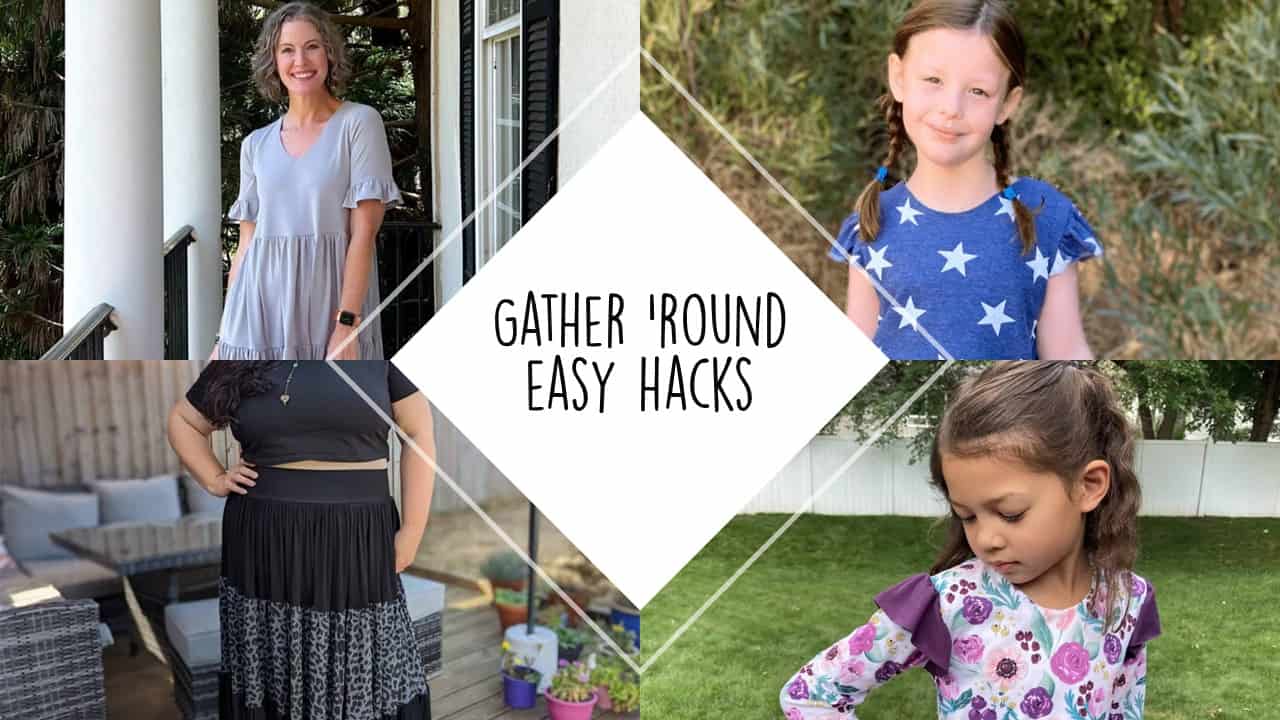
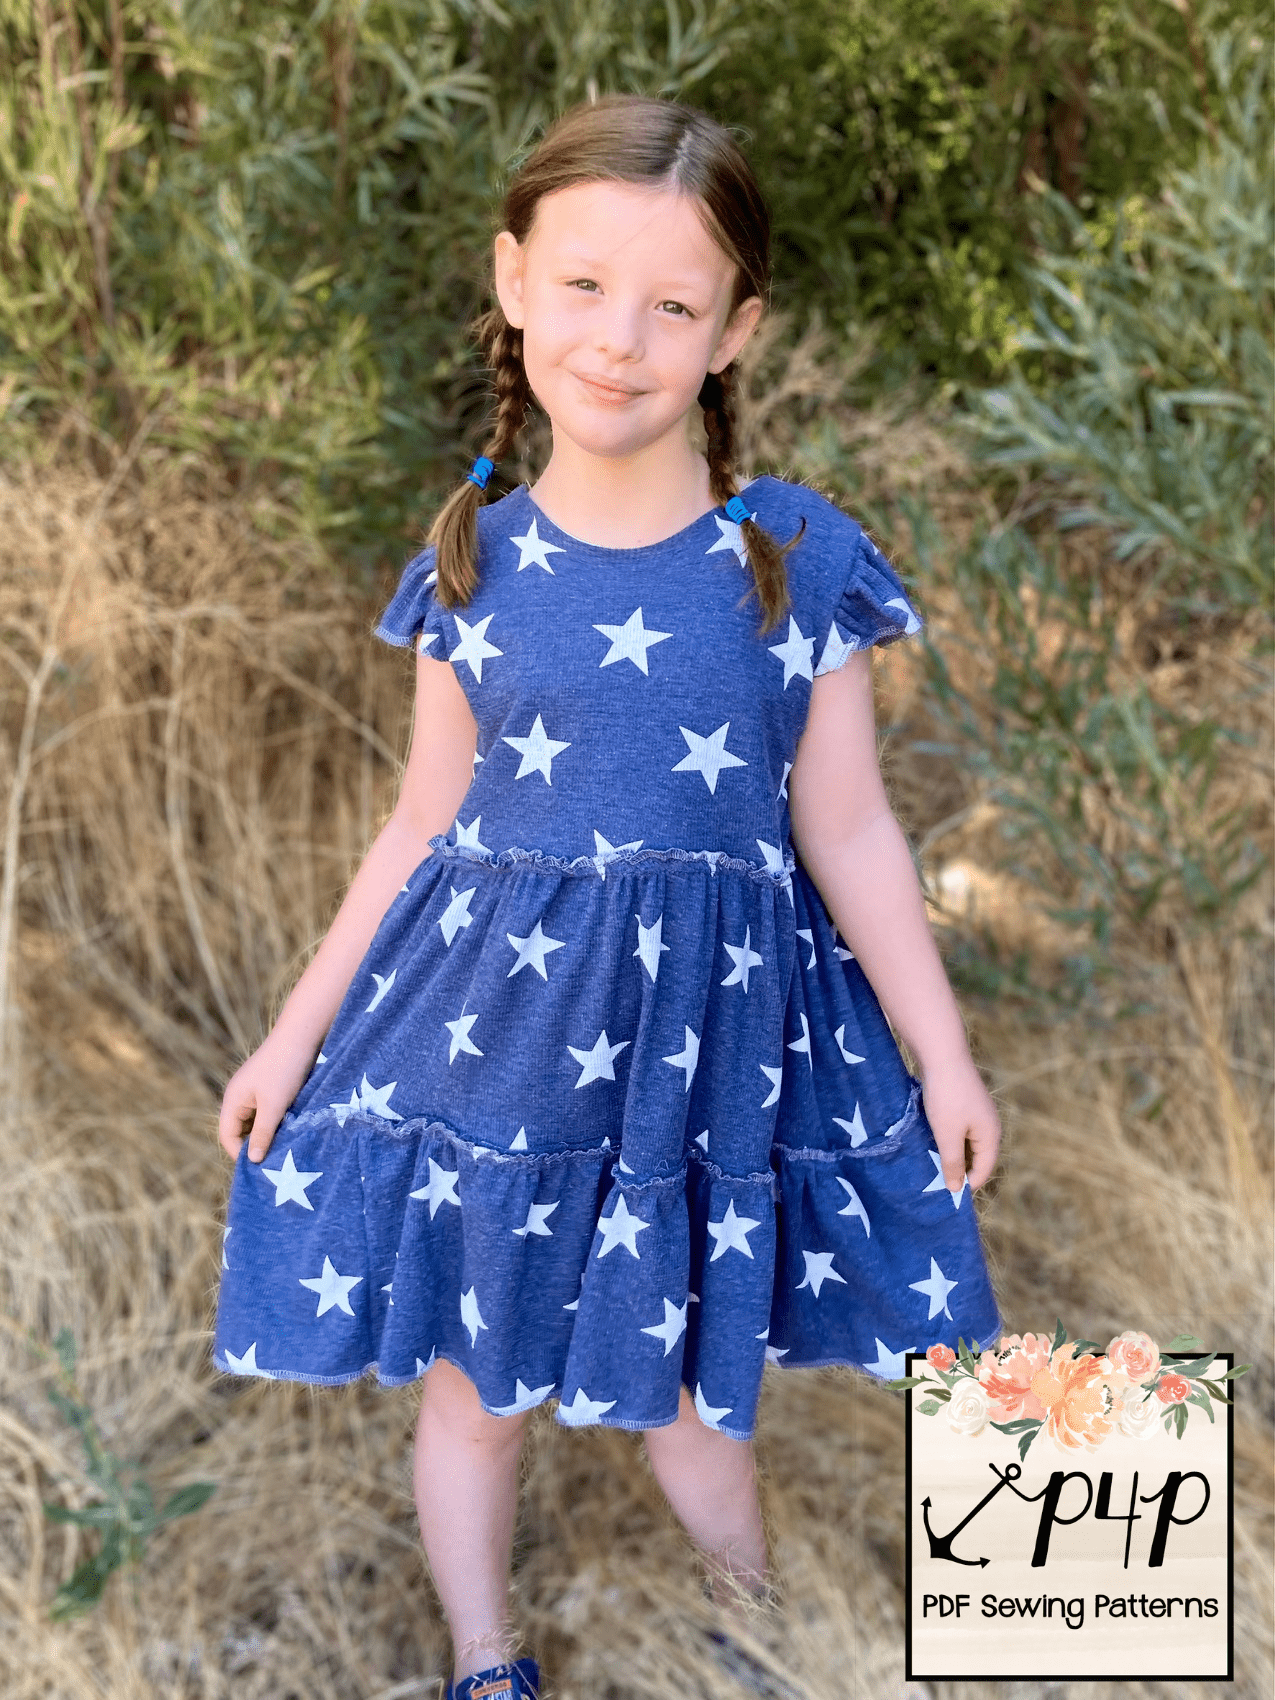
ALL GATHER ROUND HACKS
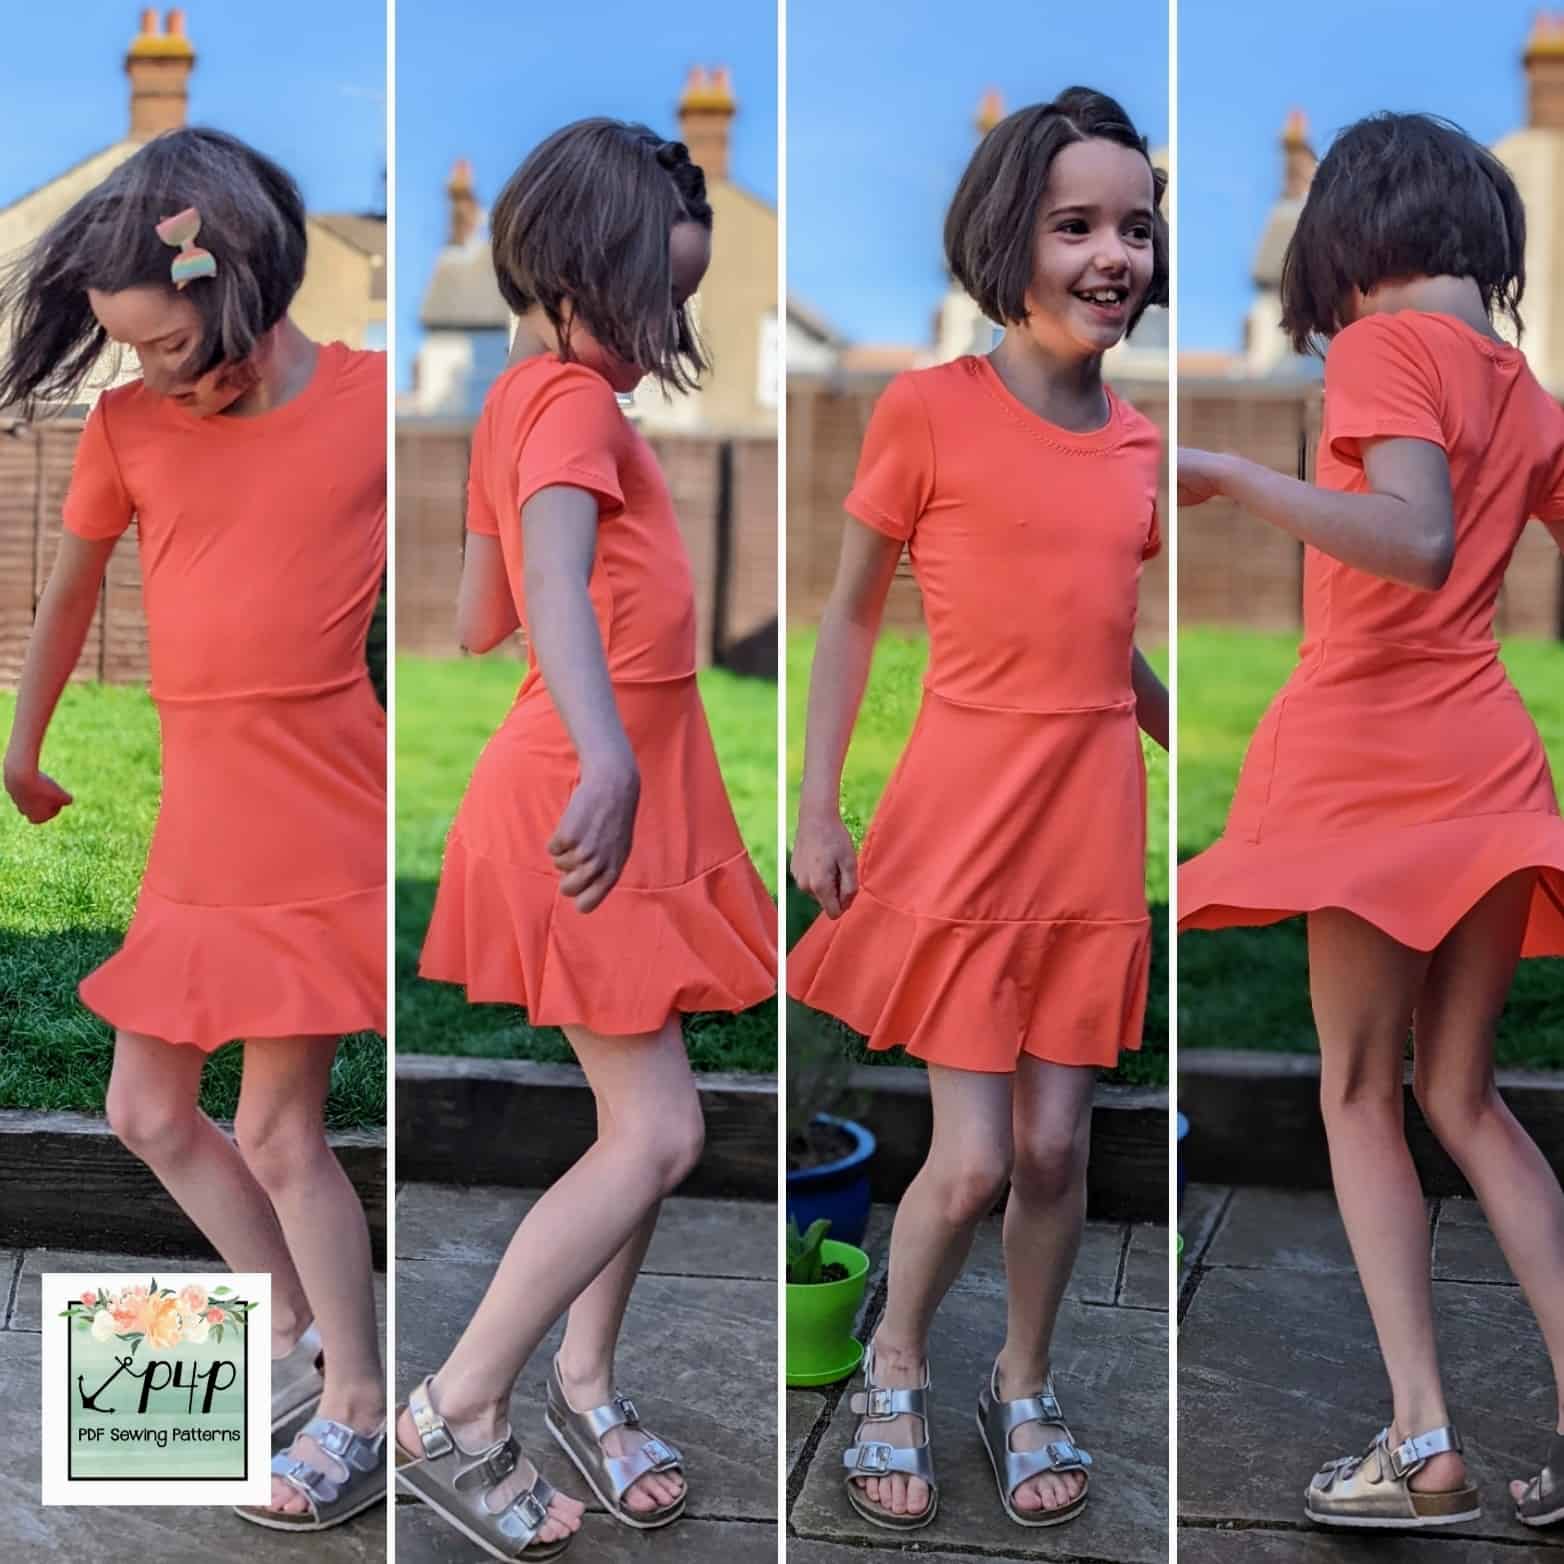
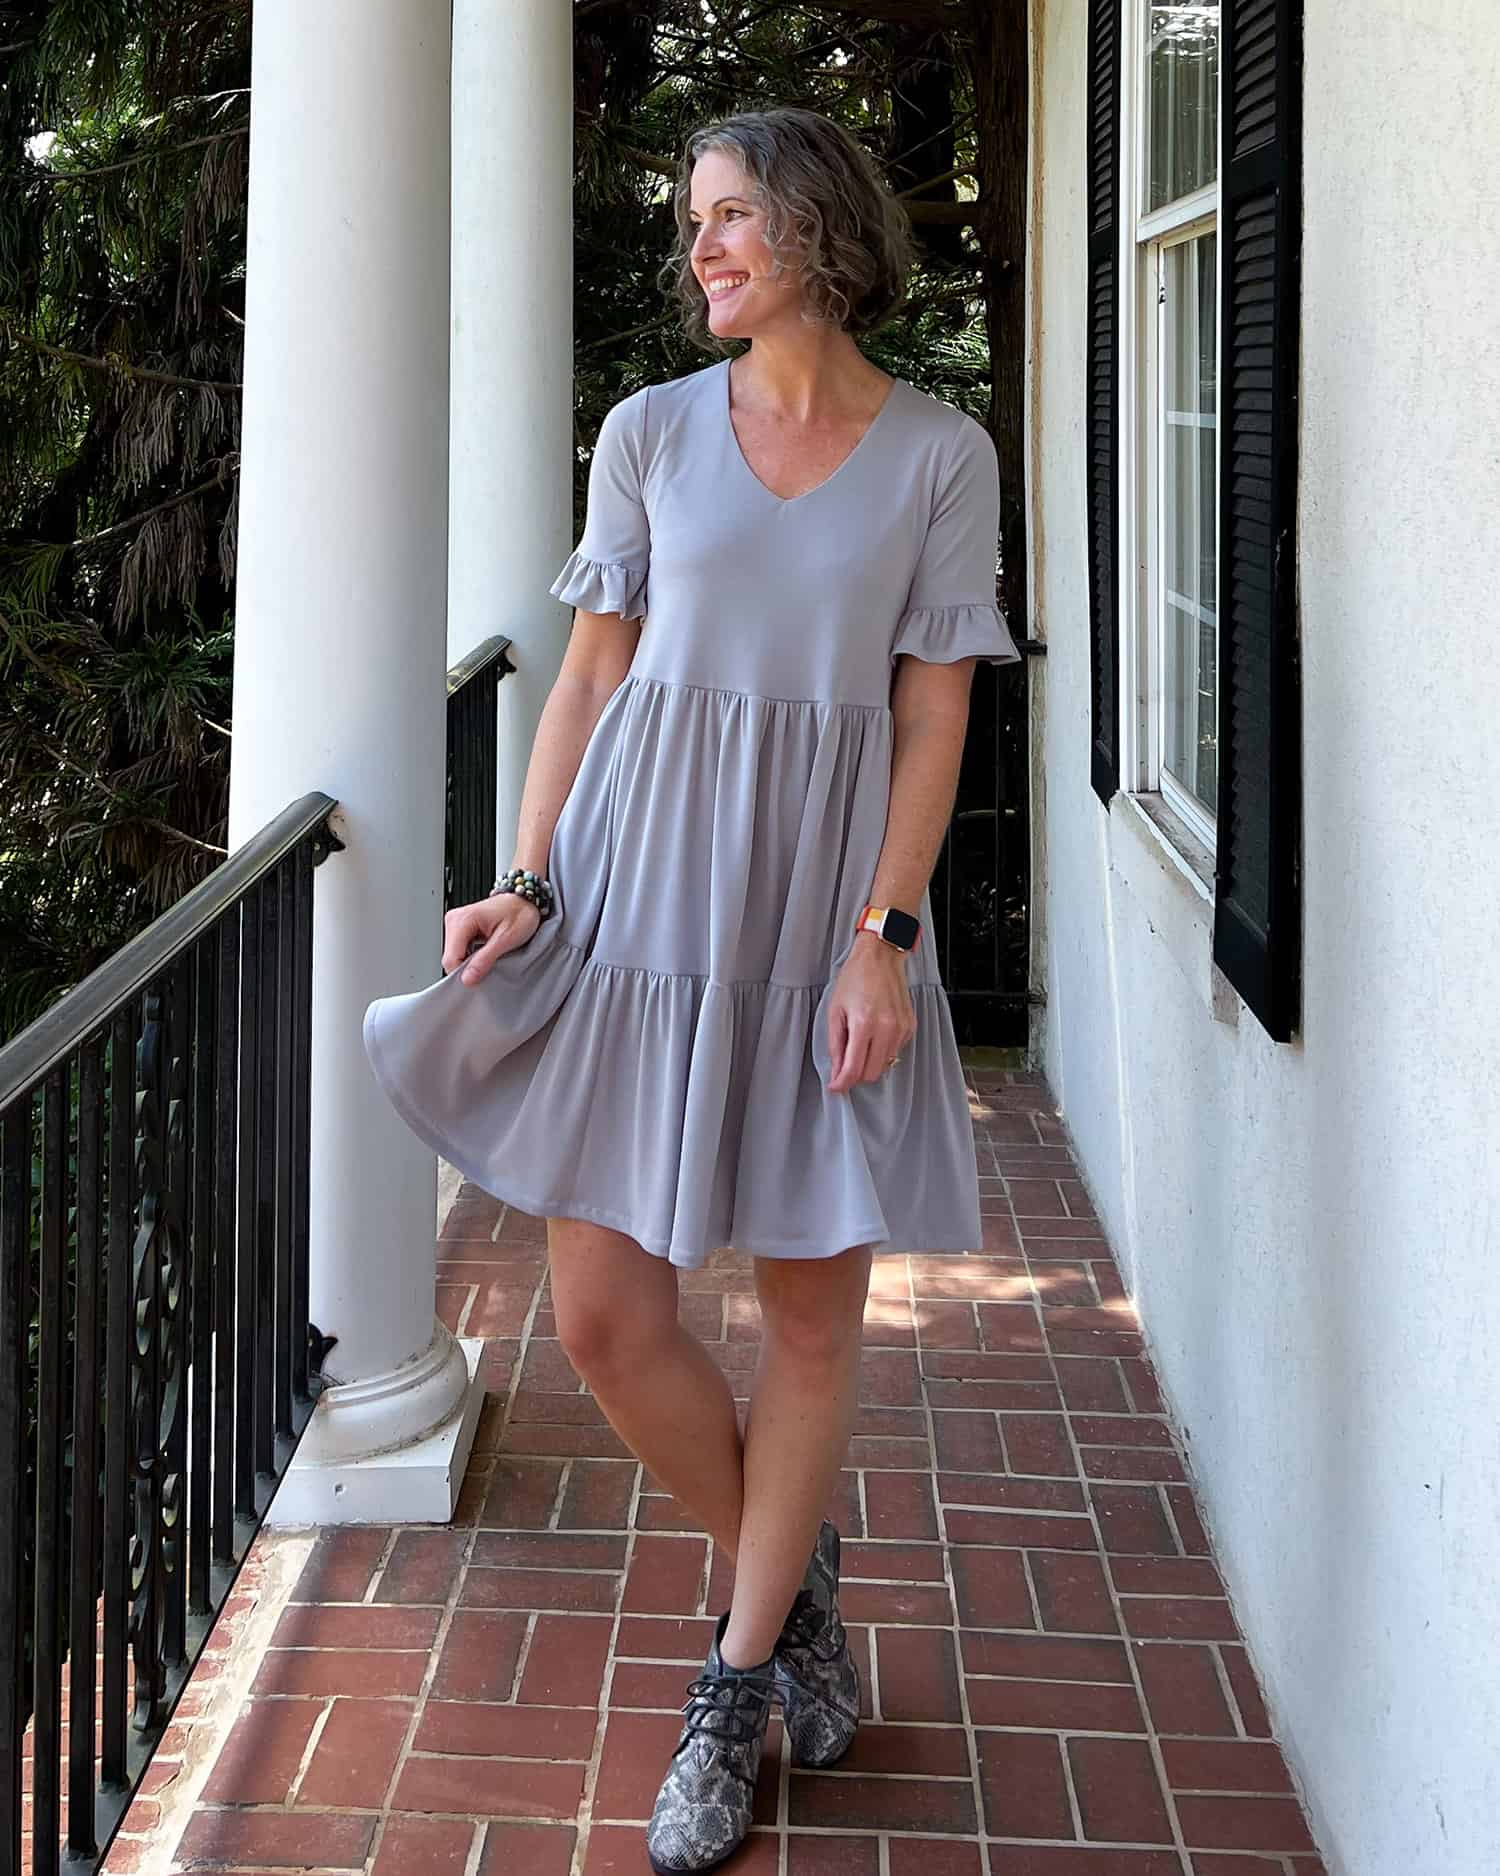
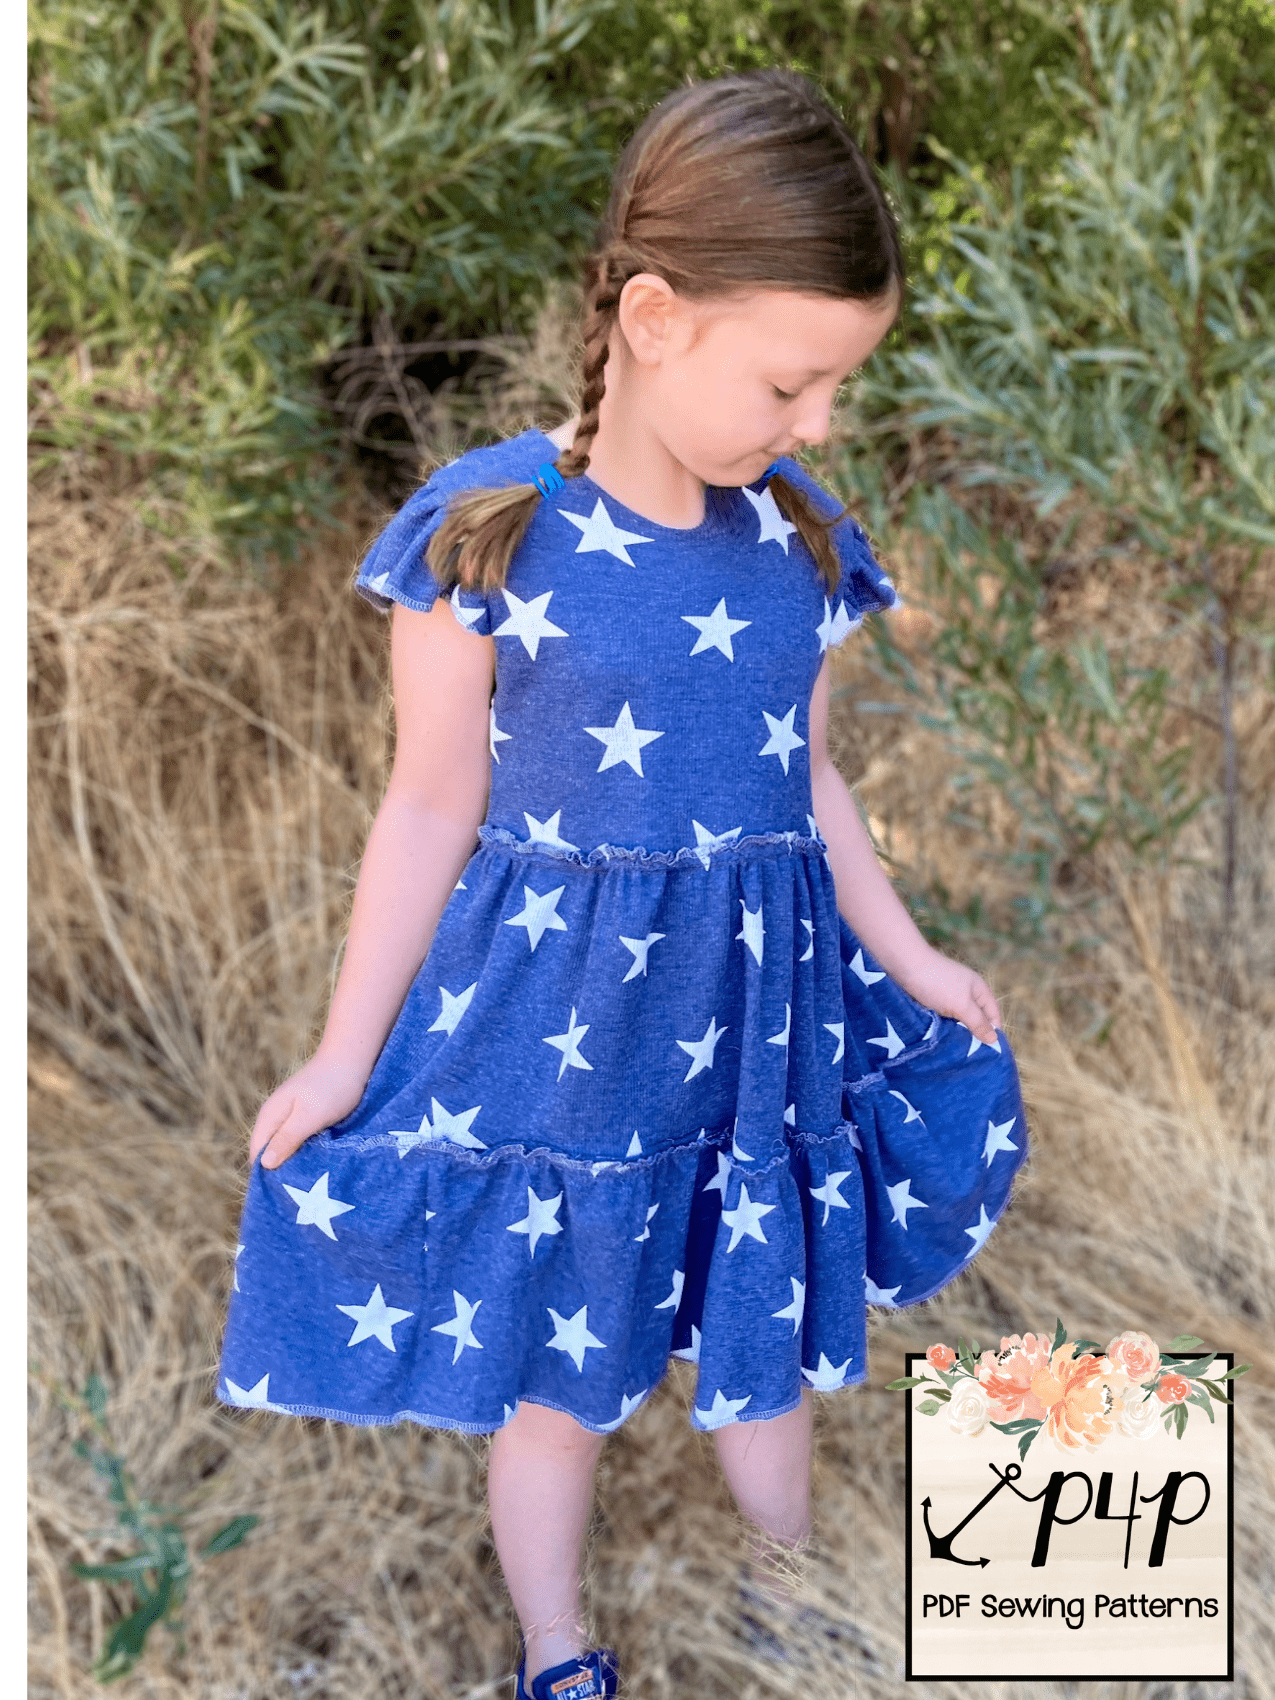
Ruffle on Short Sleeve Hack:

Copy your favorite ready-to-wear look with this simple hack!
Adding a ruffle to the sleeve of the new Gather ‘Round pattern is a very simple hack to further extend the versatility of your pattern.
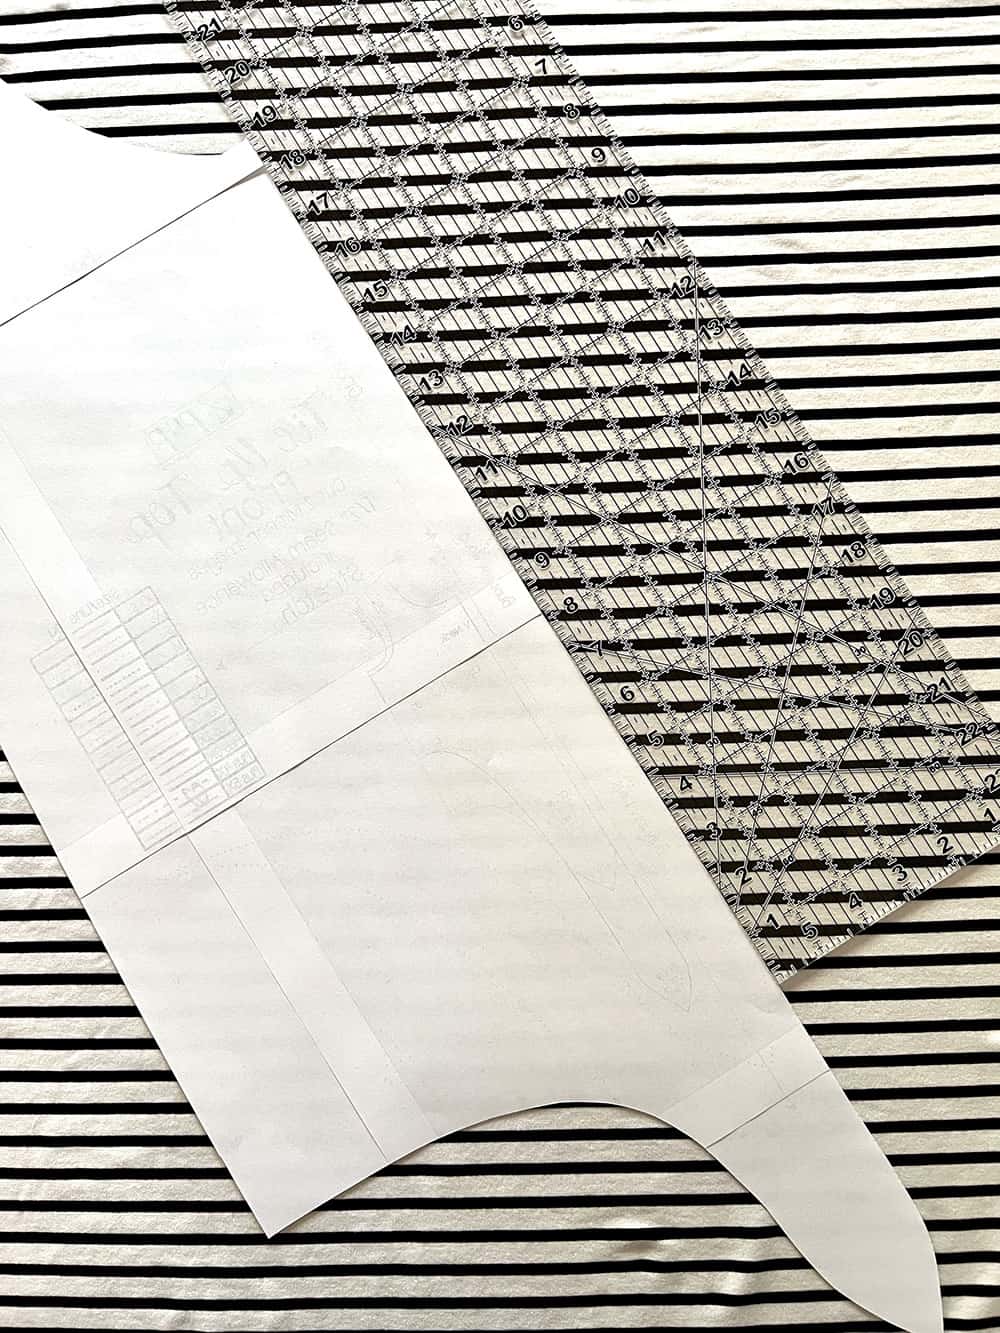
Start by cutting out the short sleeve pattern pieces.
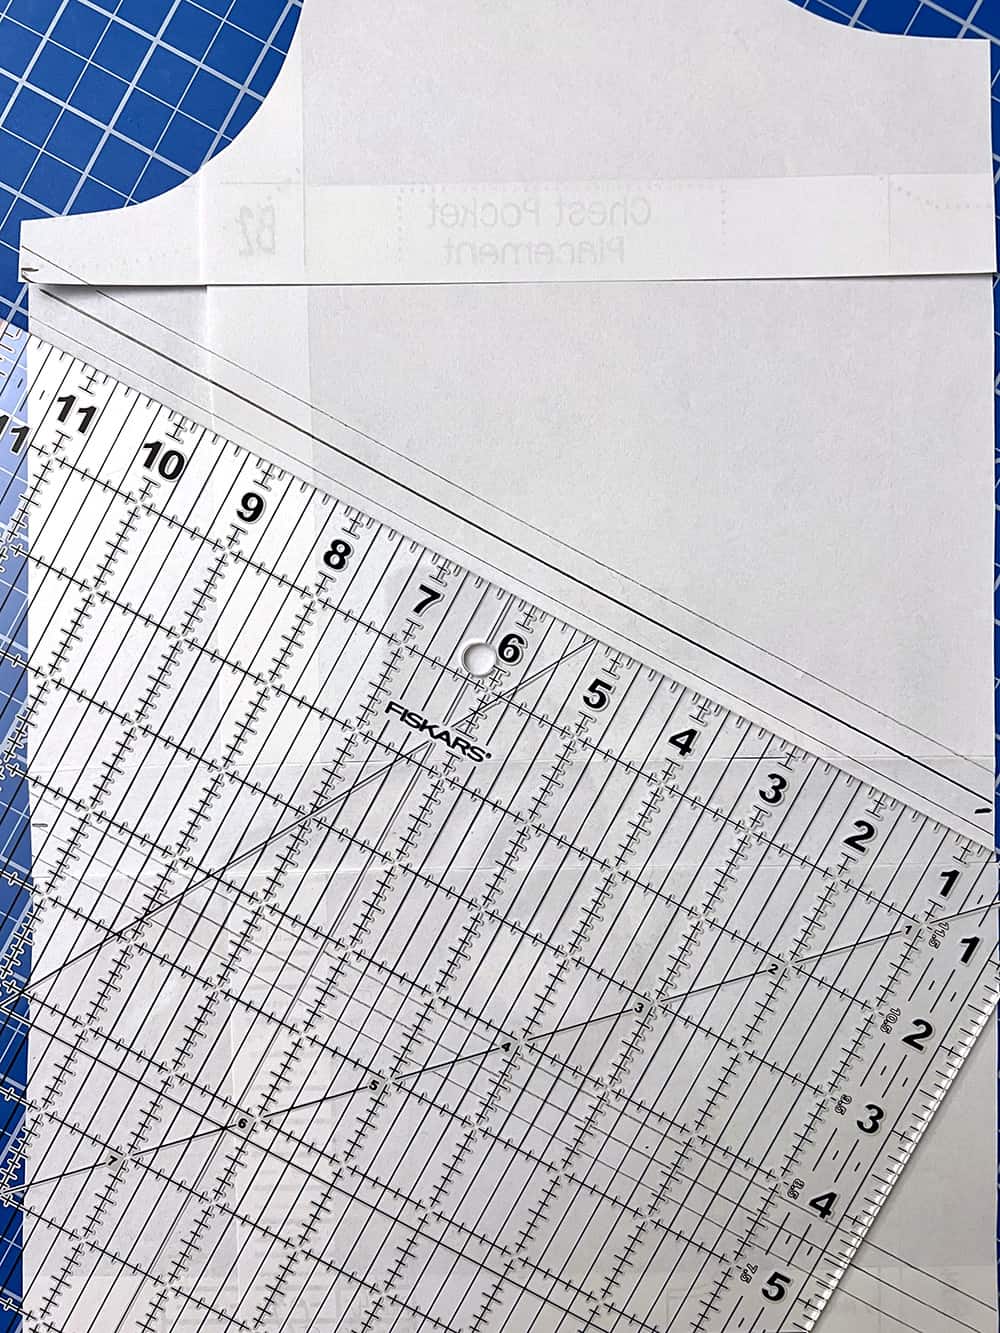
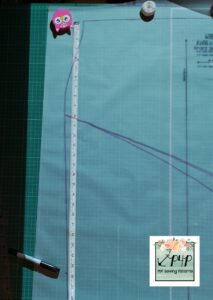
Measure the bottom hemline.
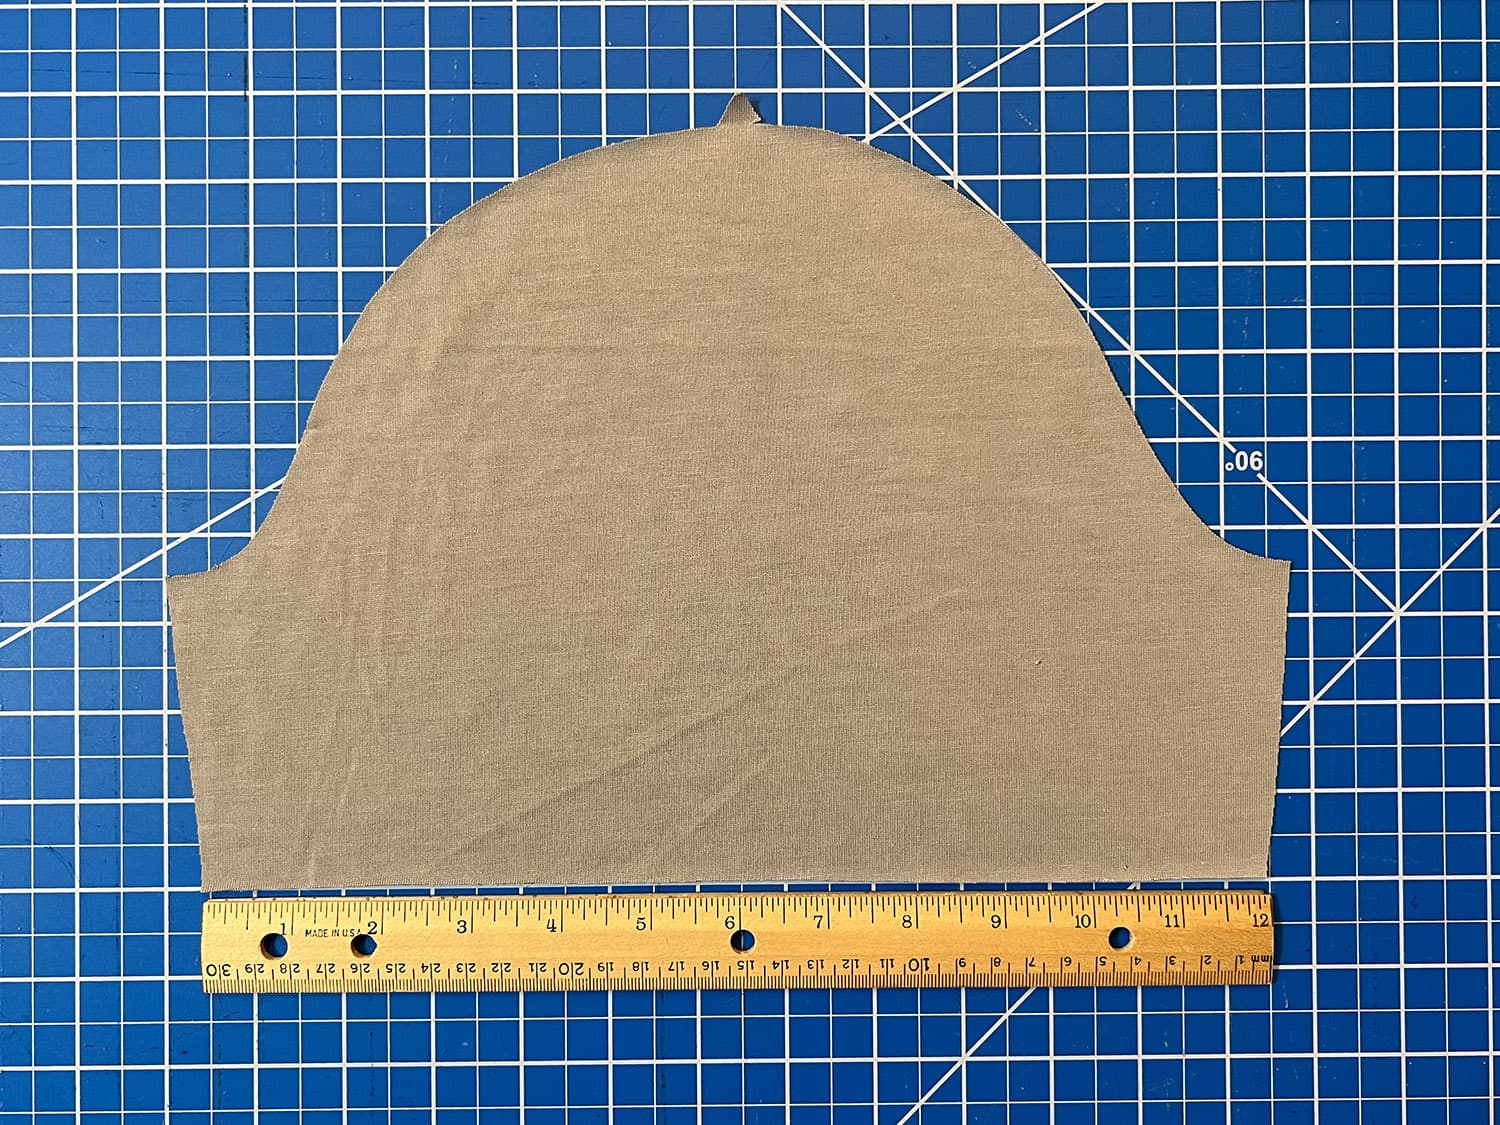
Multiply that measurement by 1.75 to get the length of your ruffle piece (i.e. 12” x 1.75 = 21”).
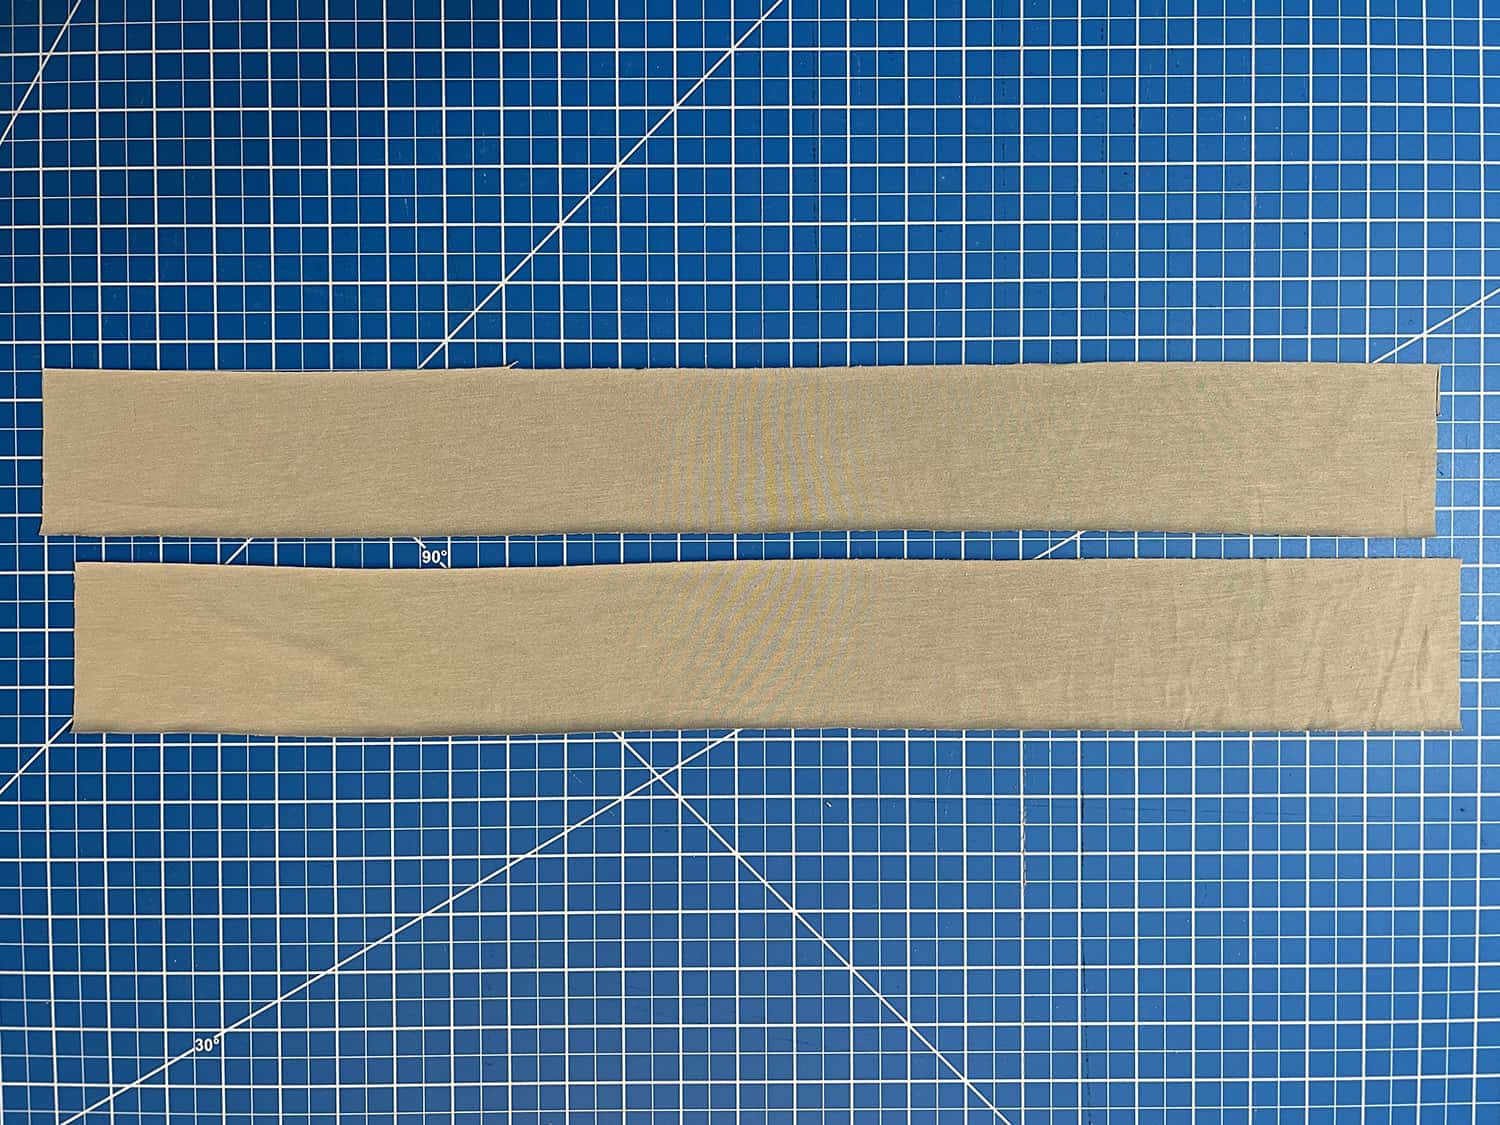
I made a ruffle that is 2.5” long, but you can make yours longer or shorter to your preference. My sleeve hem was 12” so I cut my ruffle pieces 3” tall (to accommodate the seam allowance on both ends) x 21” long.
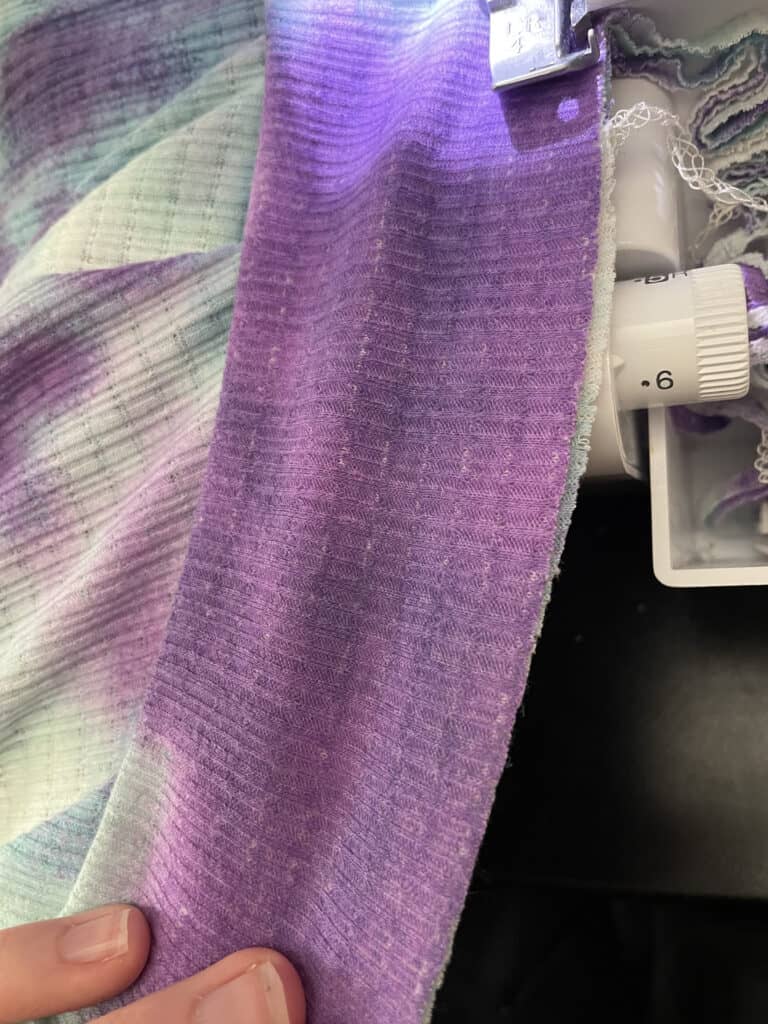
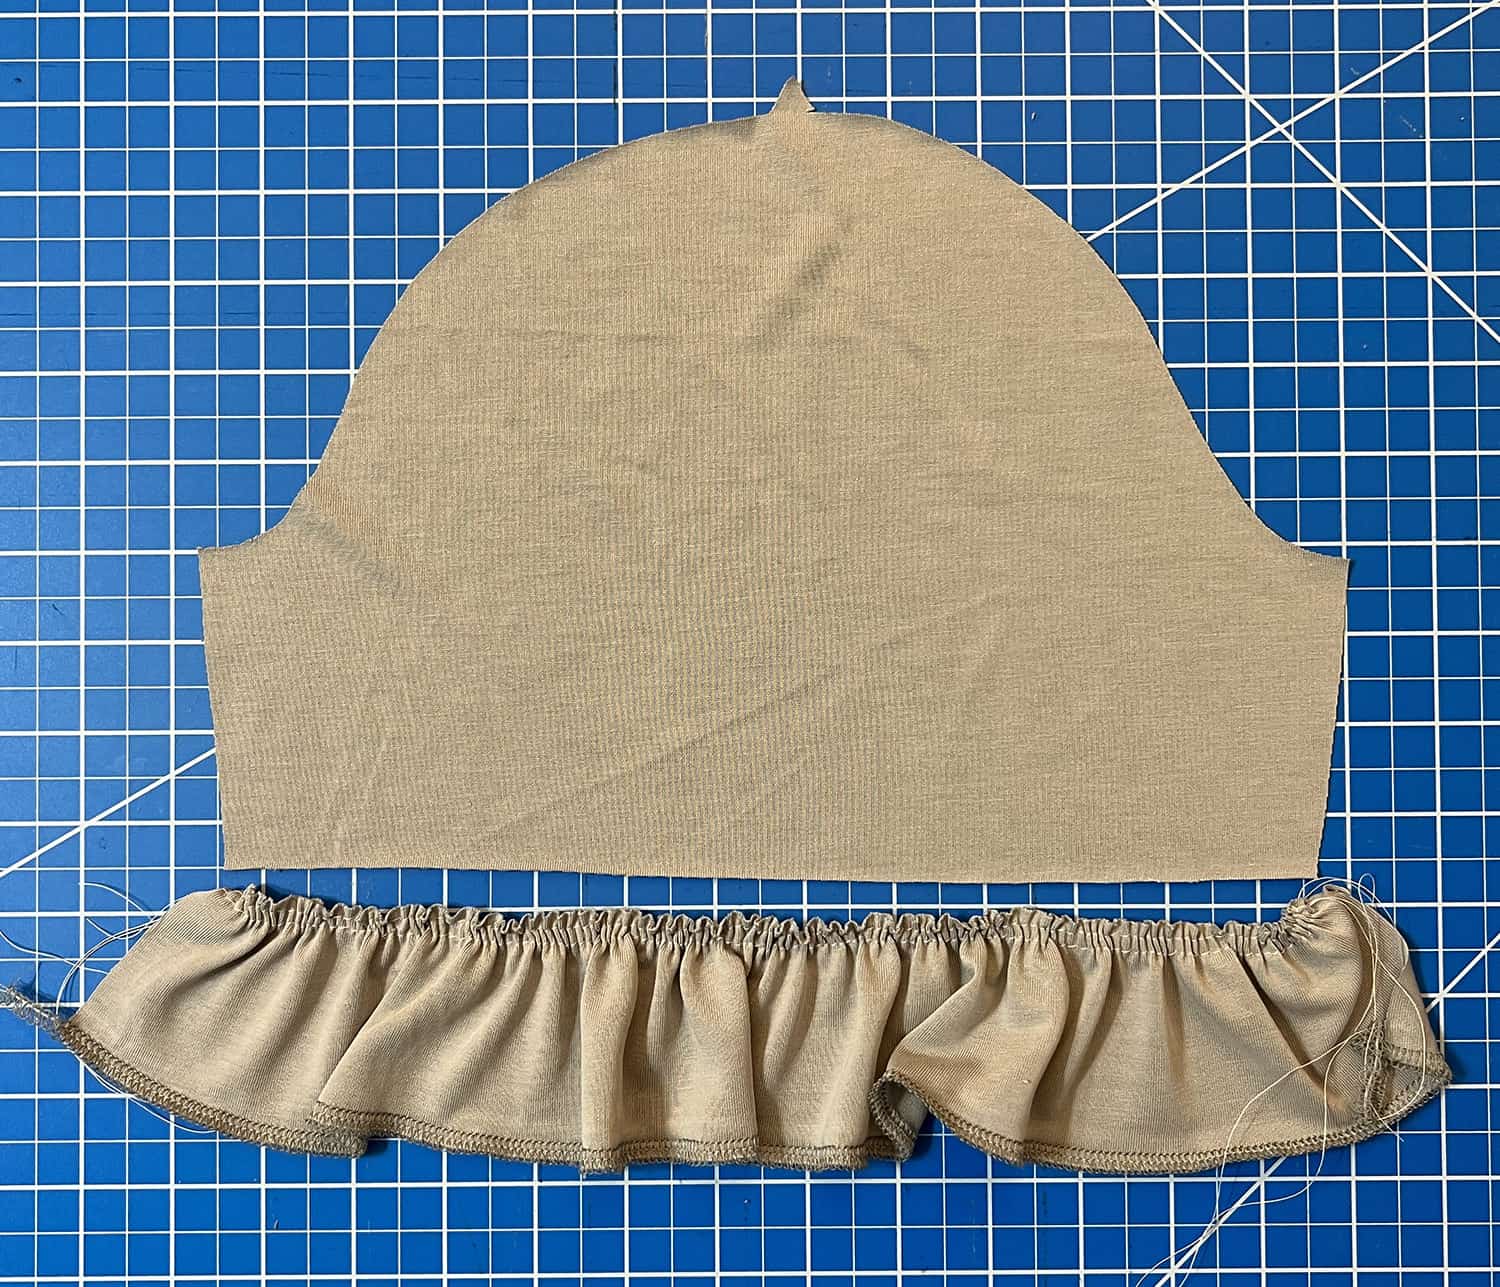
Use your preferred gathering method to fit the ruffle to the sleeve. Baste in place, then sew.
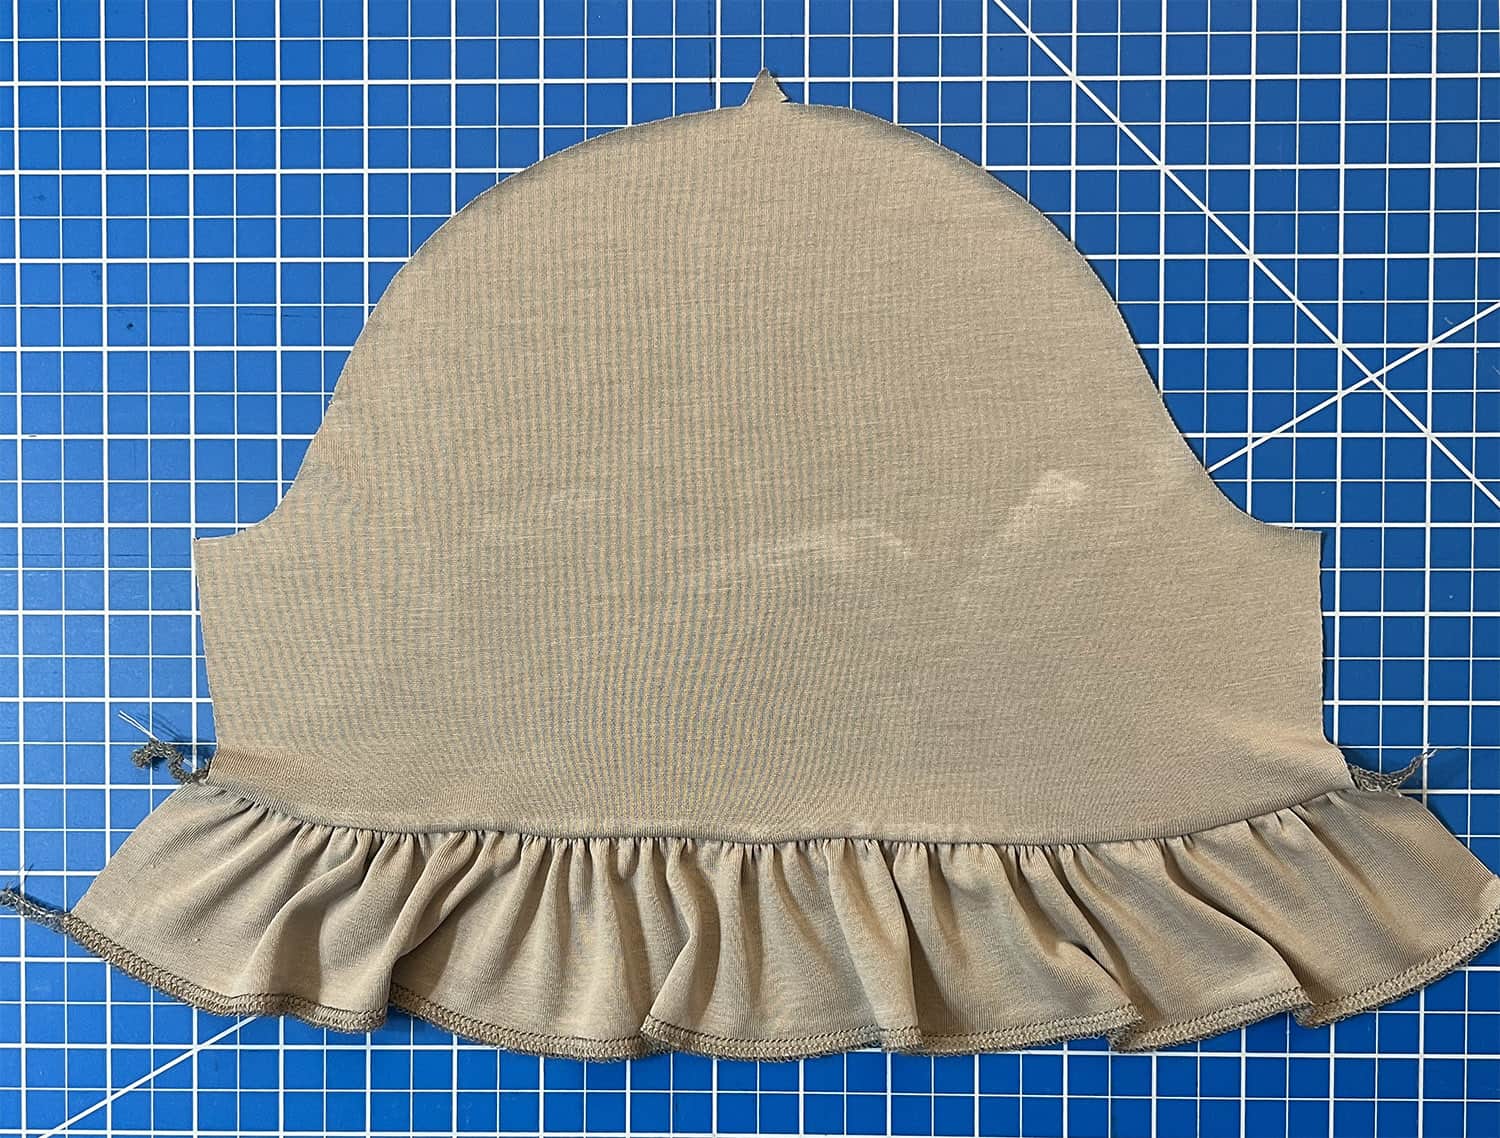
From this point forward, complete your make per the pattern instructions.
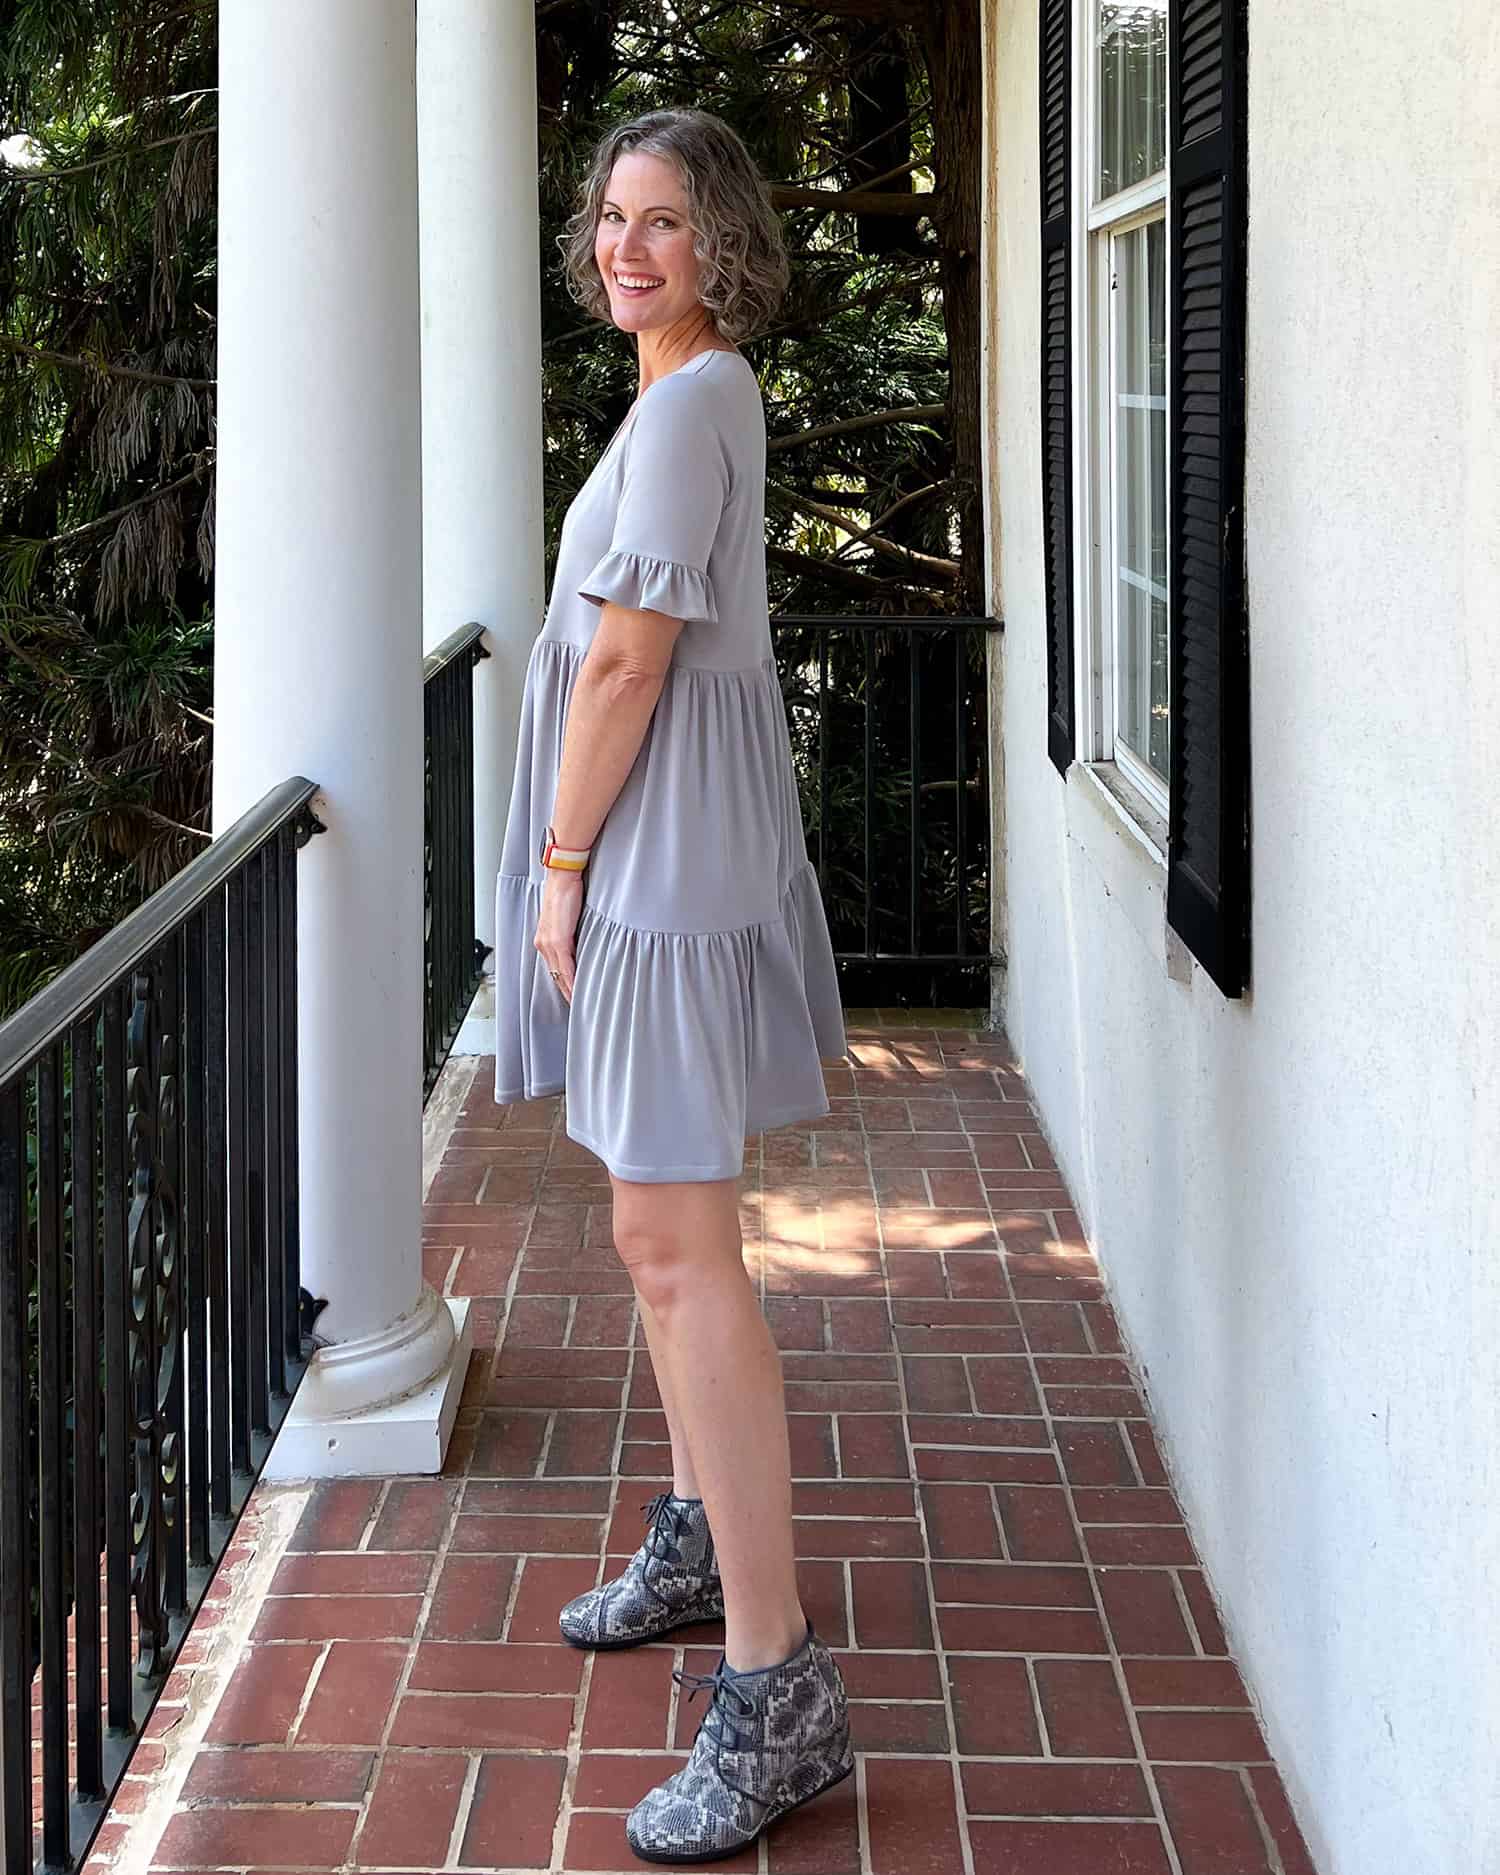
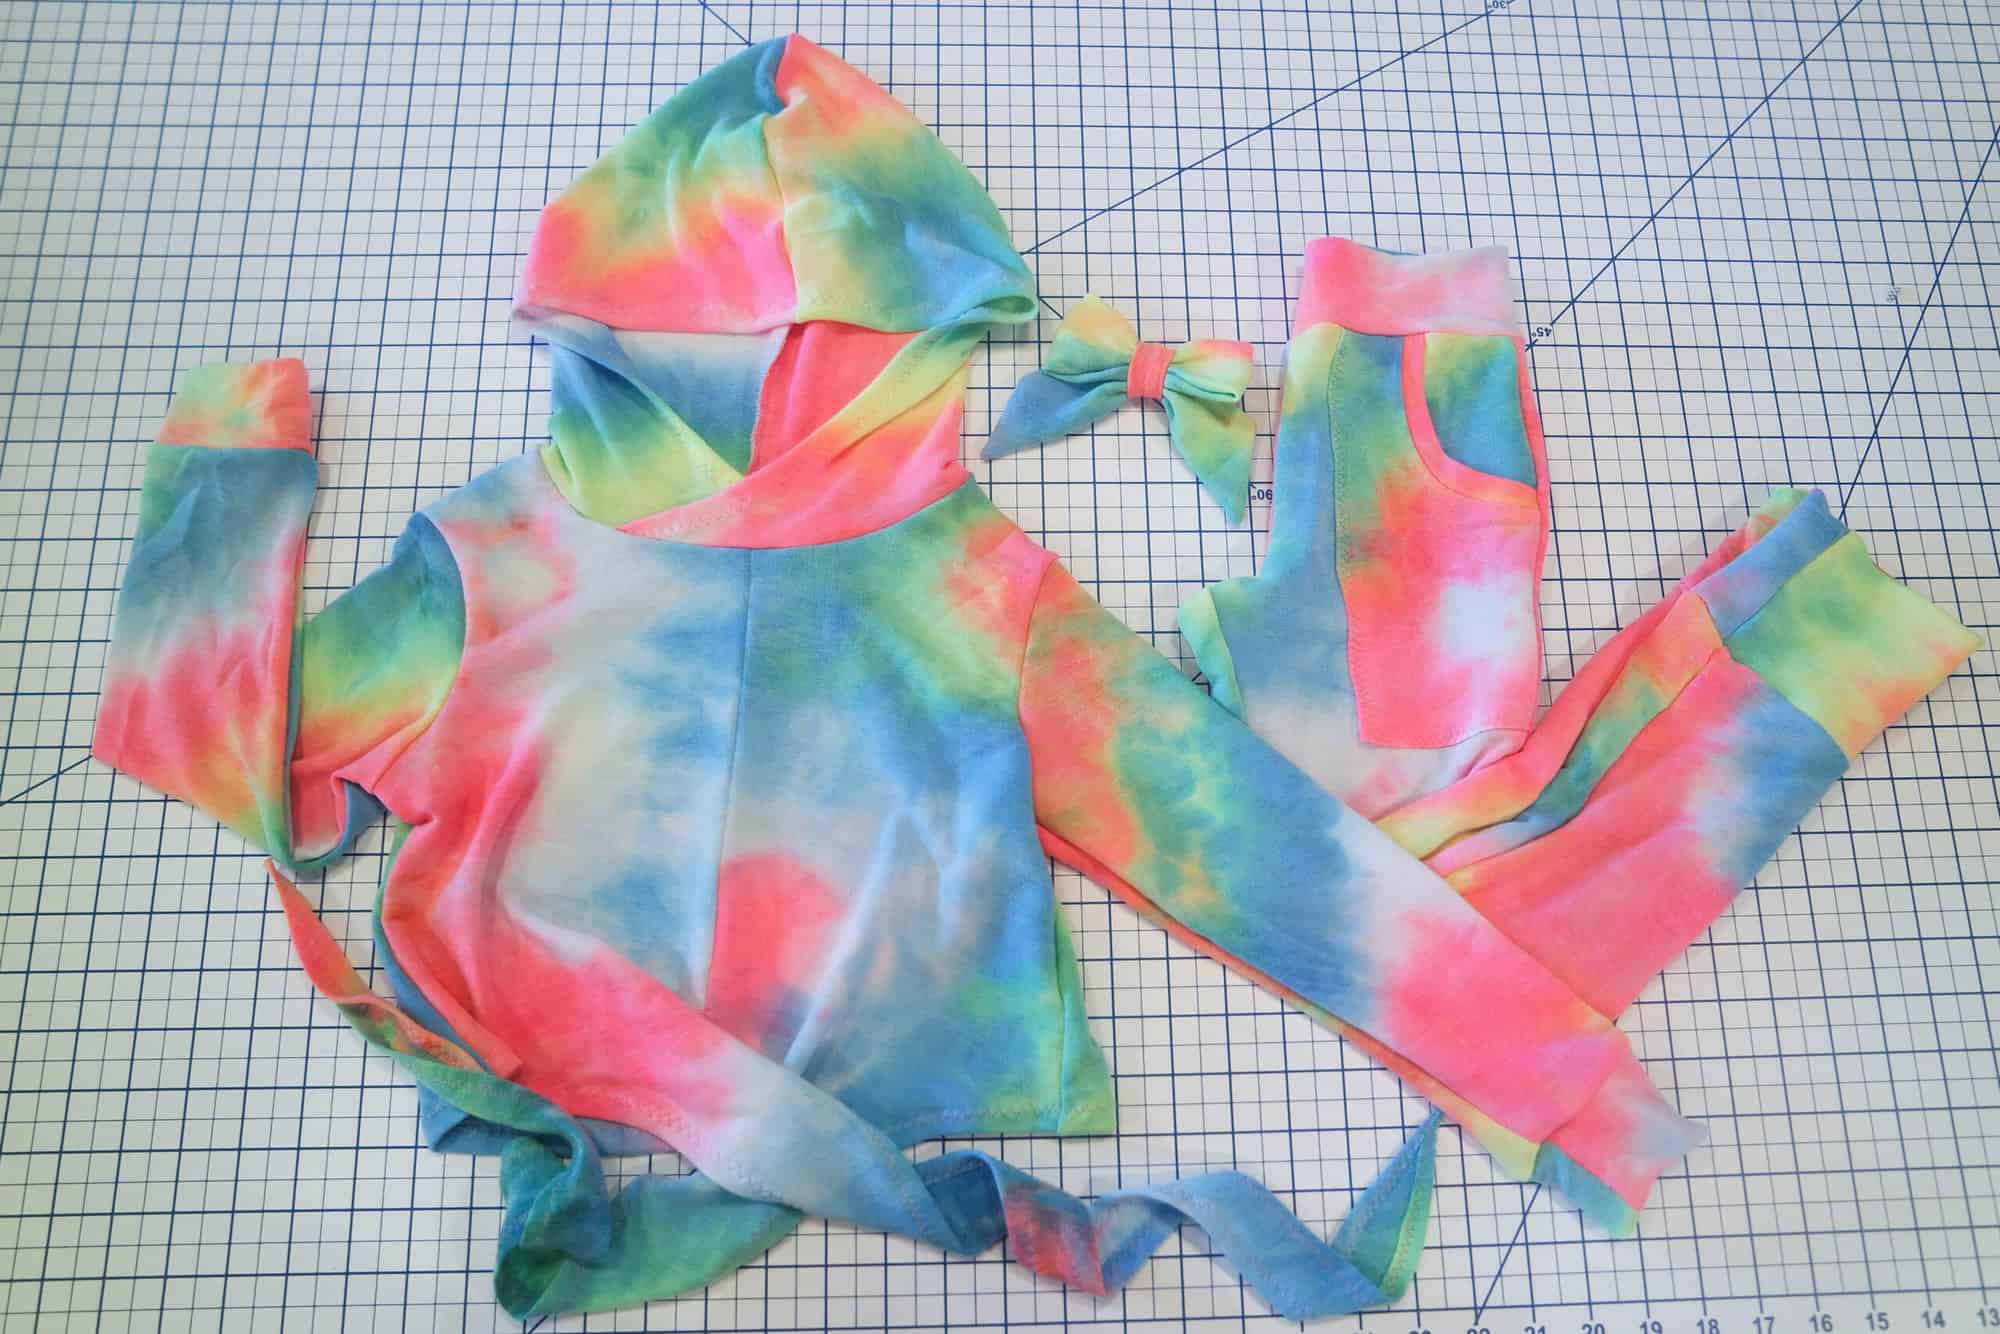
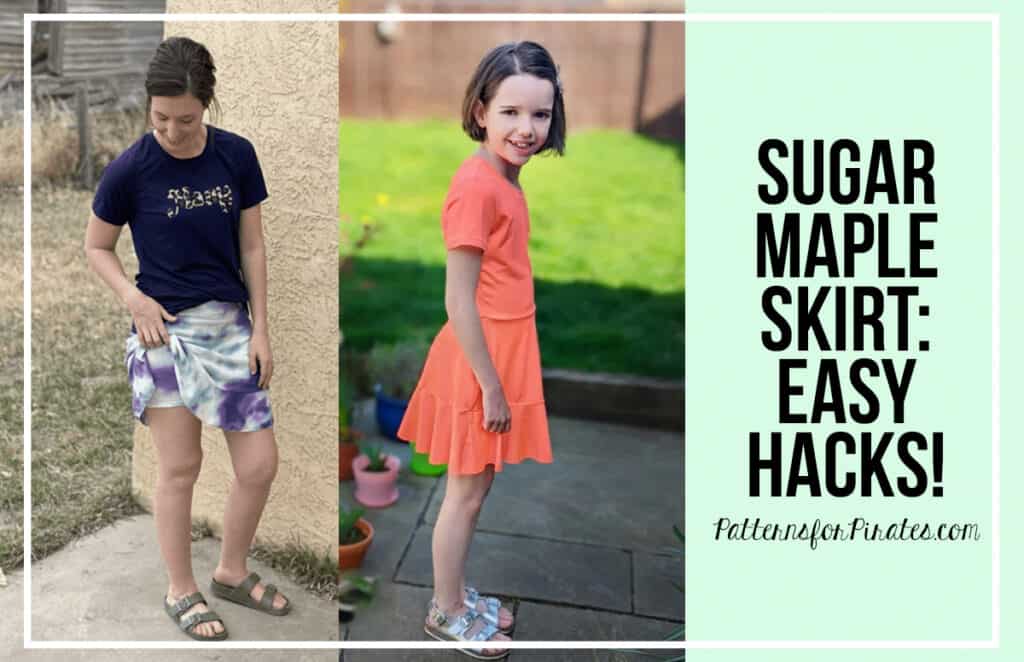
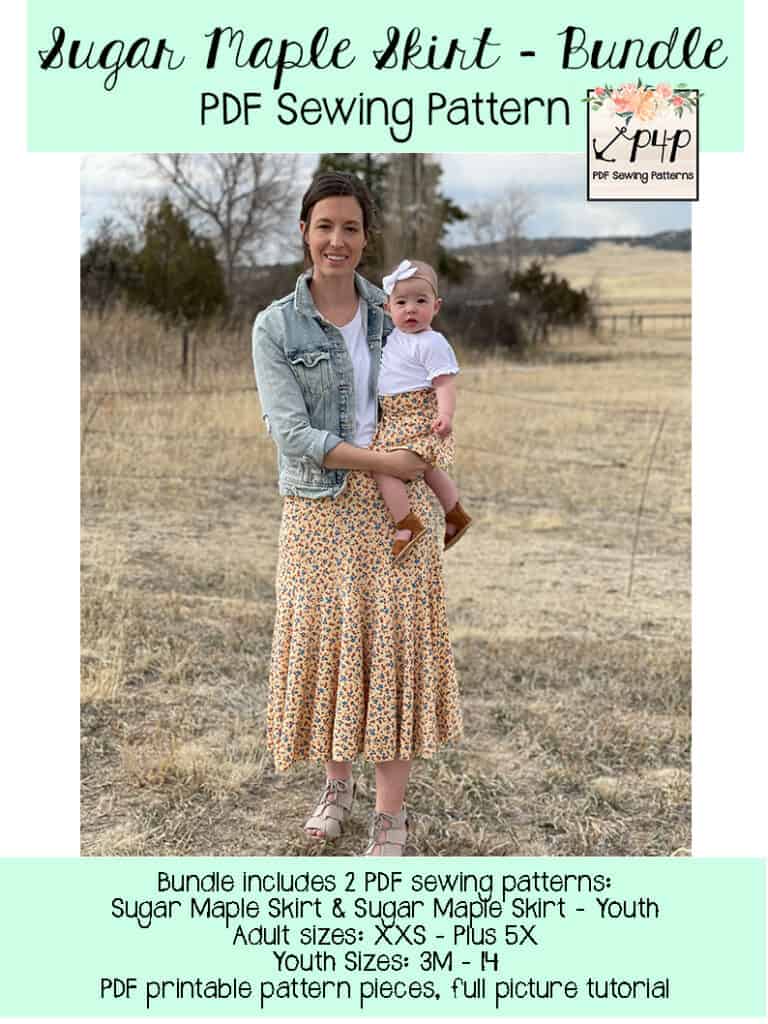
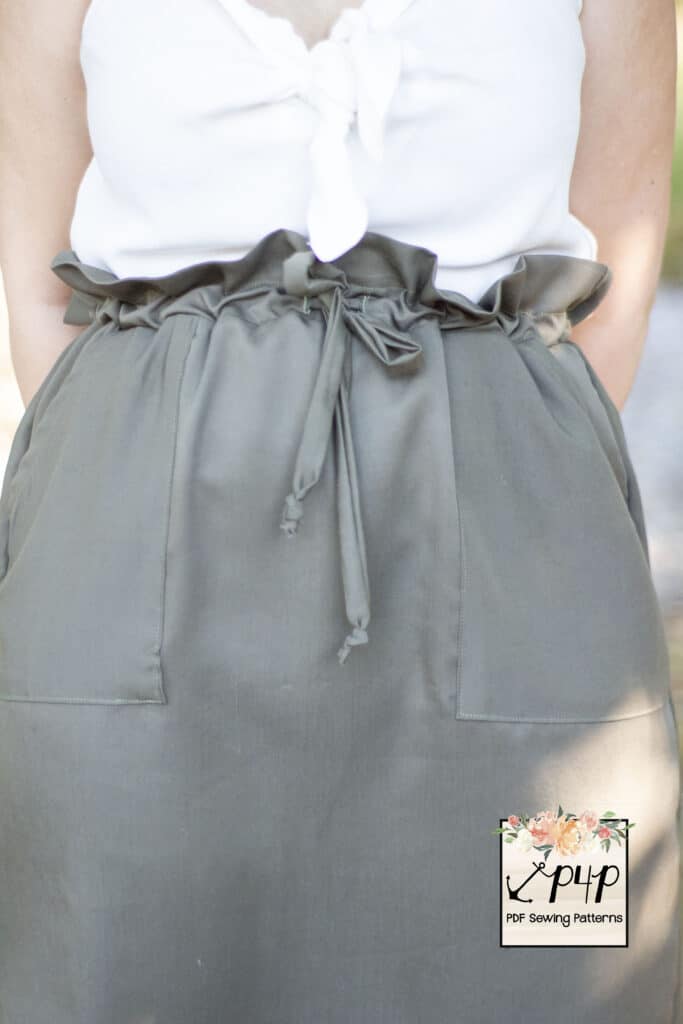
Skirt only Hack:

I have been all over the swirly skirt and crop top look this year, and when we started testing the All Gather Round I couldn’t resist making the skirt section on its own to add to my collection.
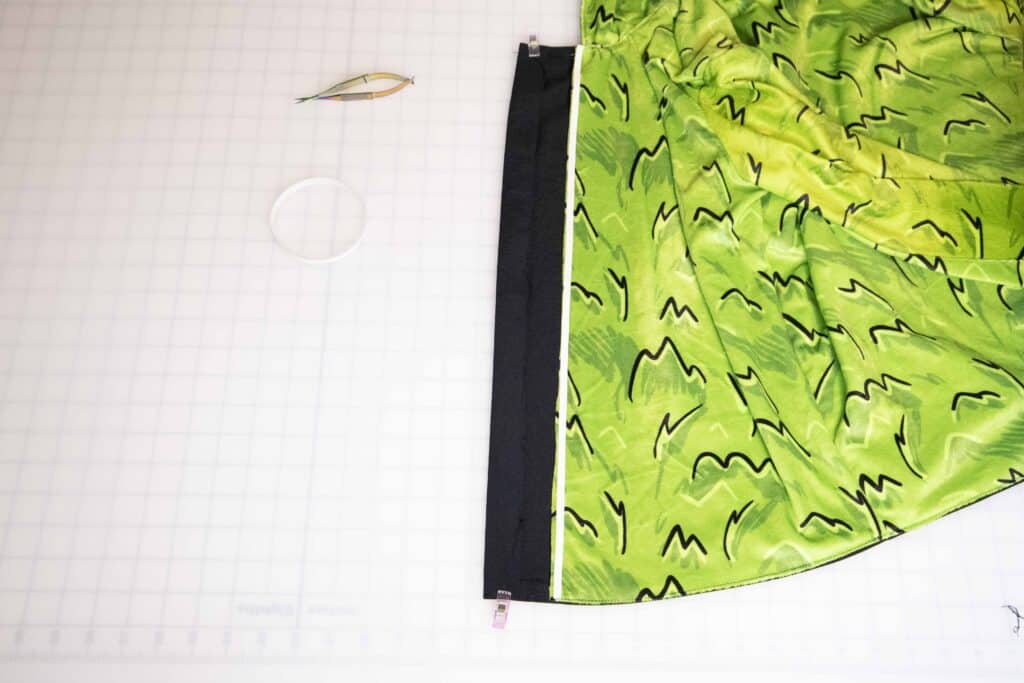
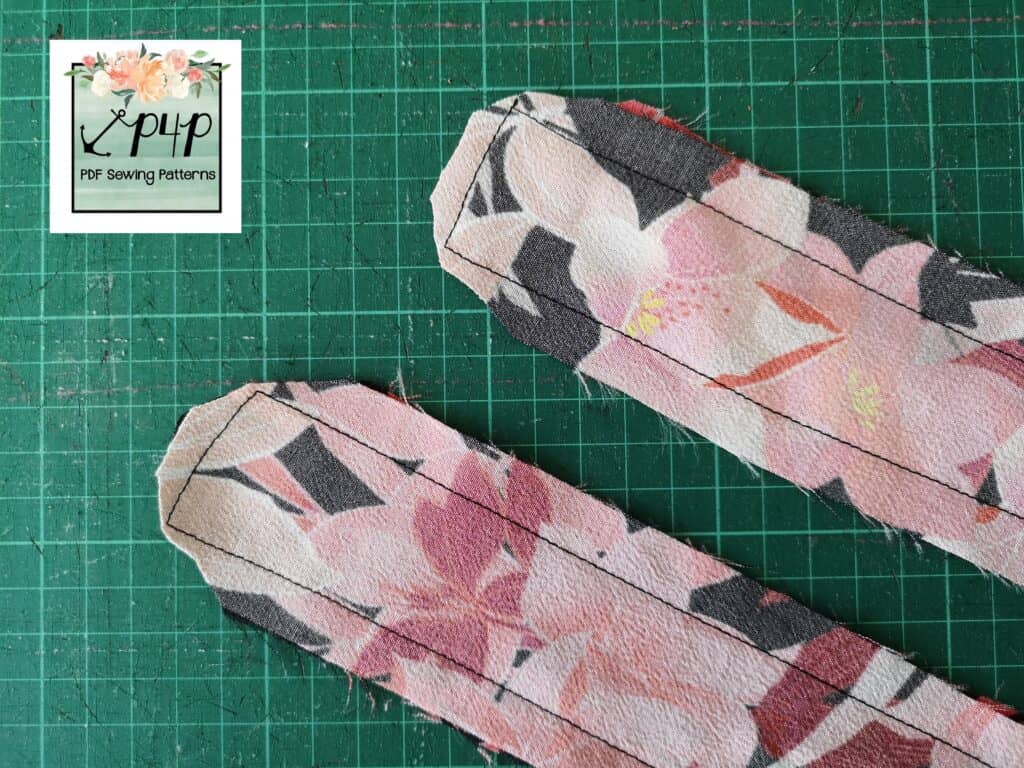
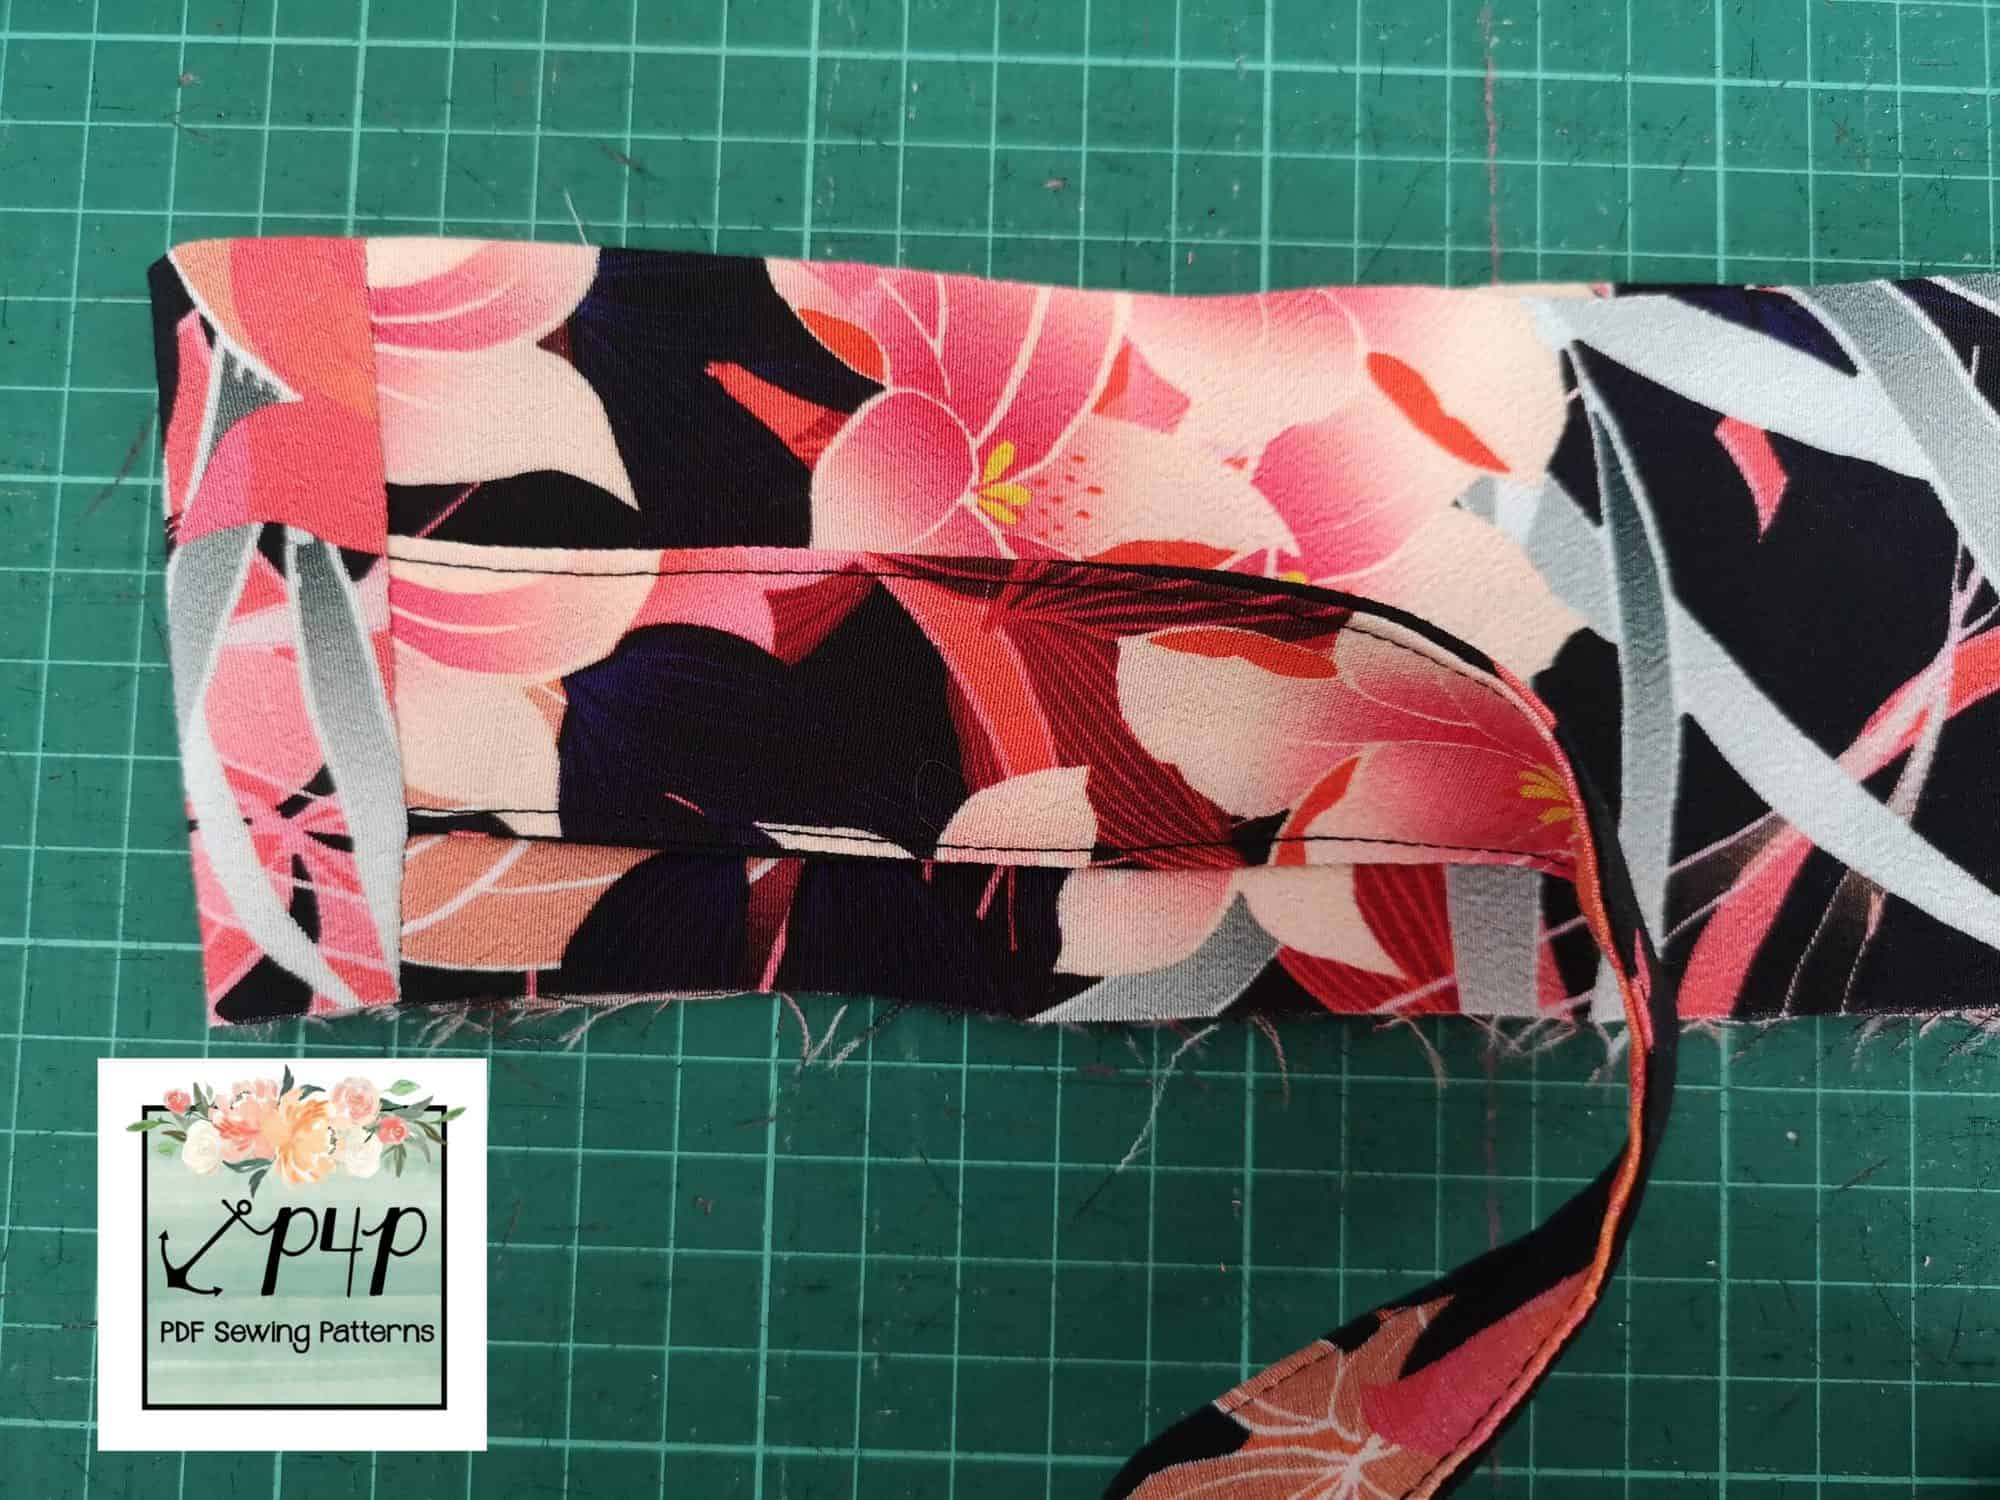
This is the simplest and easiest hack out there, just head over and grab the waistband pattern piece in your size from the FREE Peg Legs pattern.
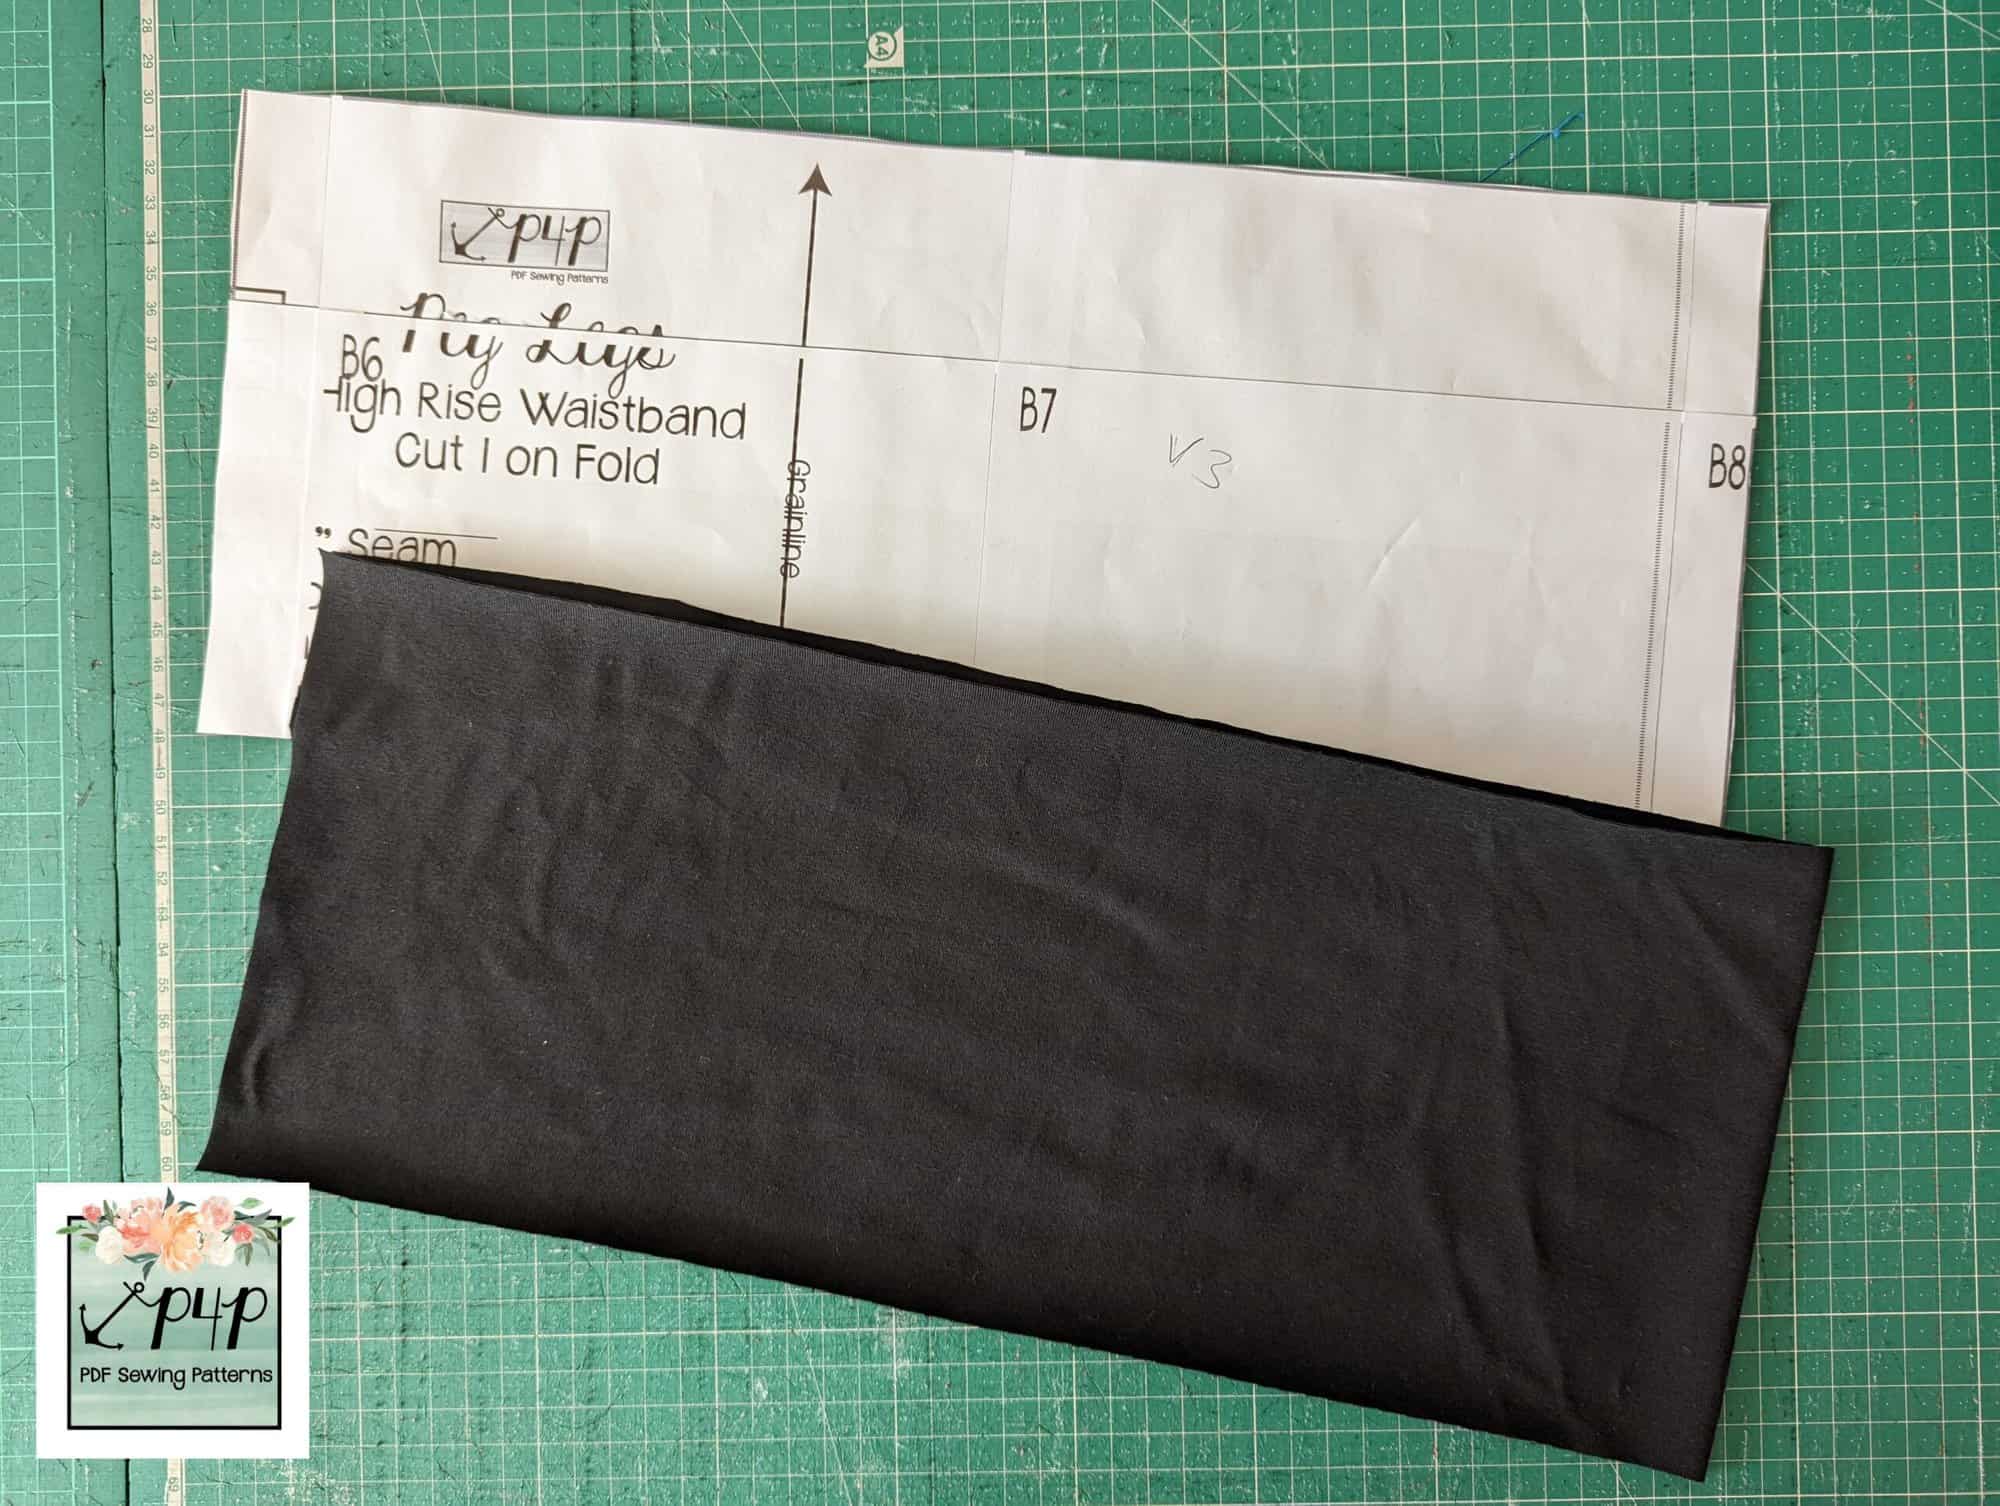
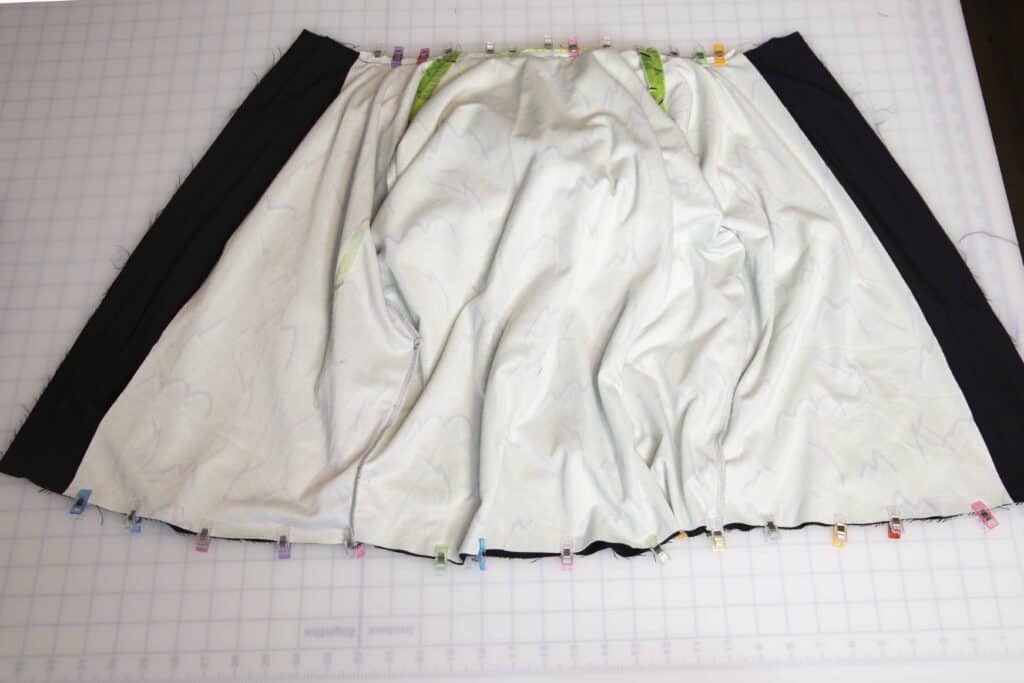
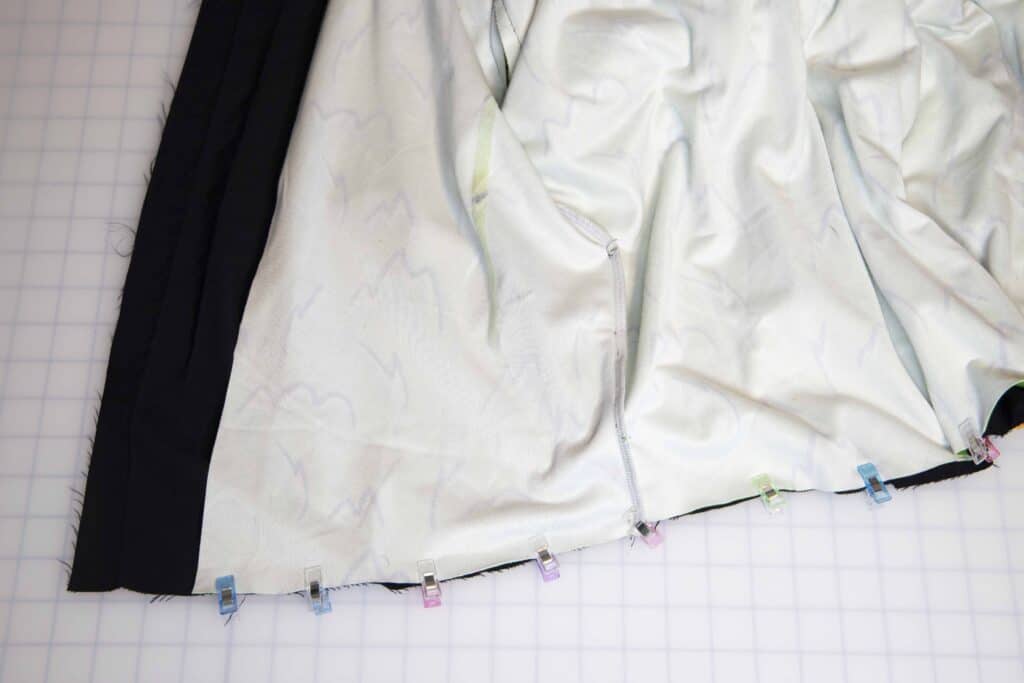
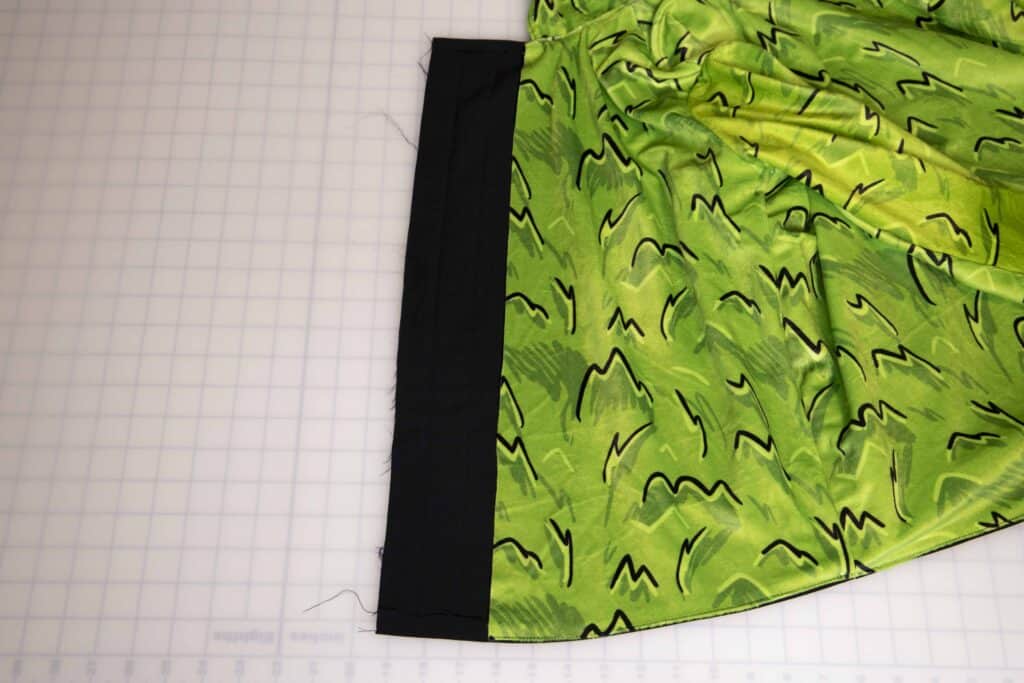
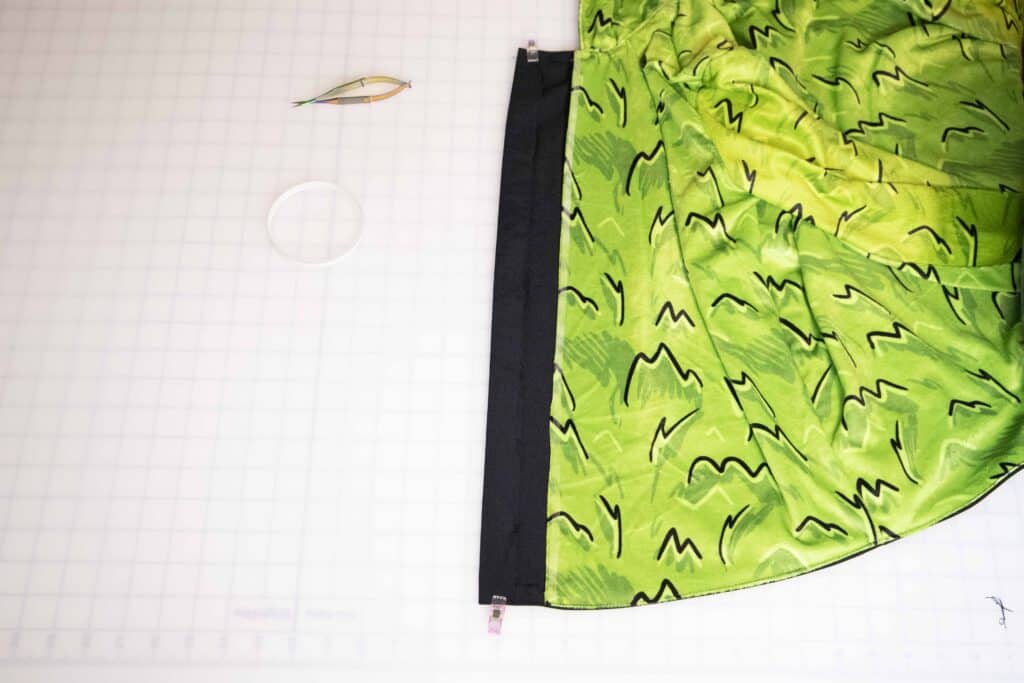
I used a viscose elastane fabric for the skirt pieces, but that wouldn’t have worked for the waistband as it wouldn’t have enough body to hold the skirt up. I decided on a plain black cotton/lycra for my waistband, but whatever you use it will need great stretch and recovery as the skirt can end up pretty heavy with all those tiers attached. Then cut your fabric for the waistband using the Pegs pattern piece.
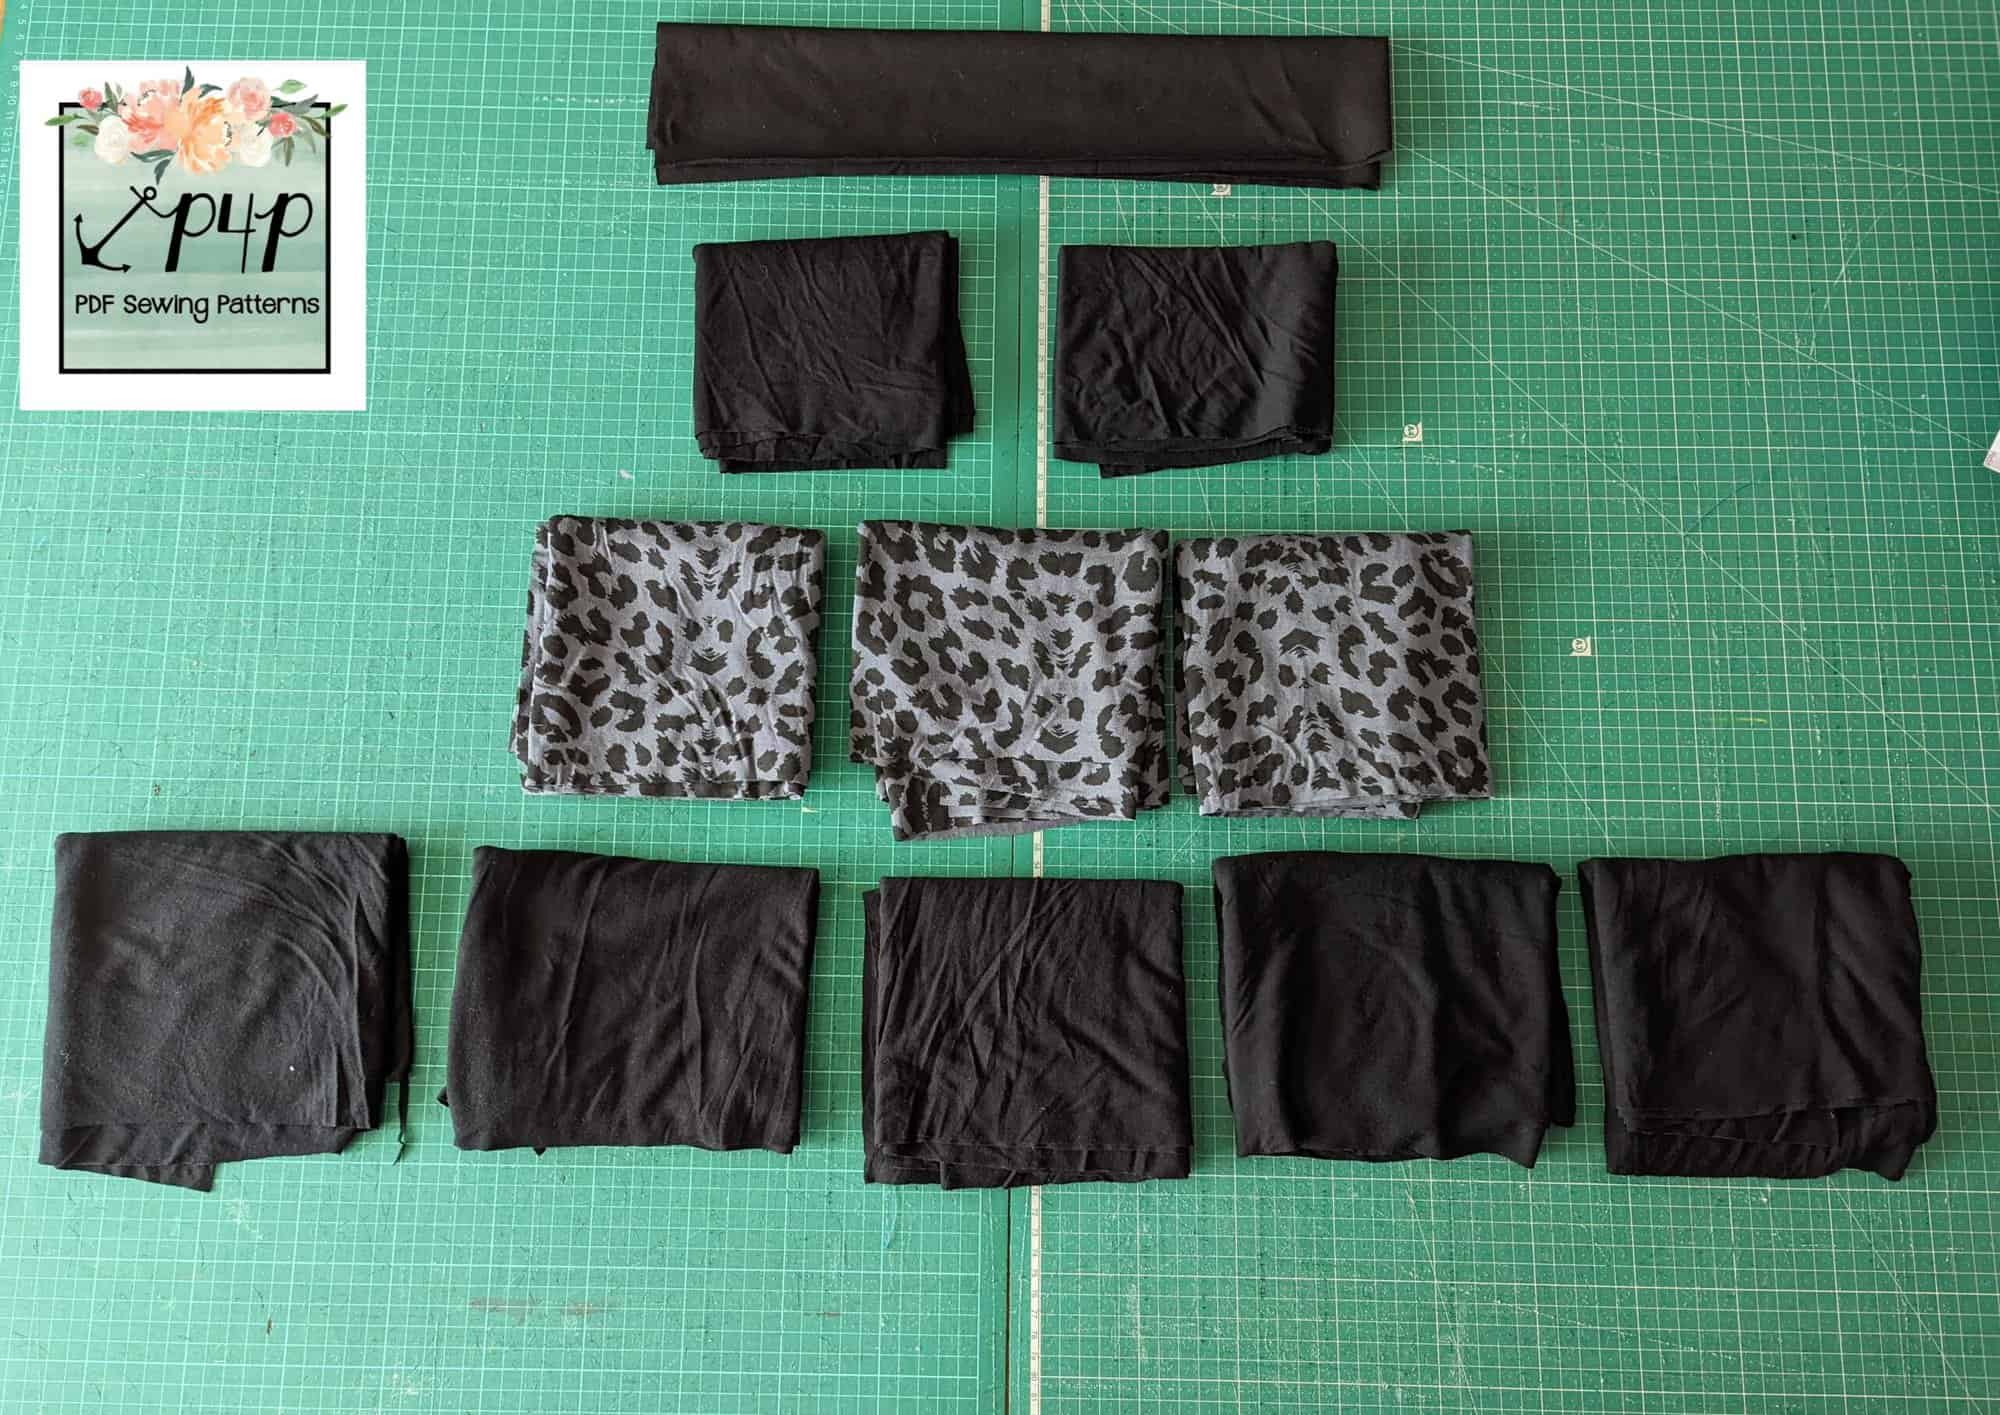
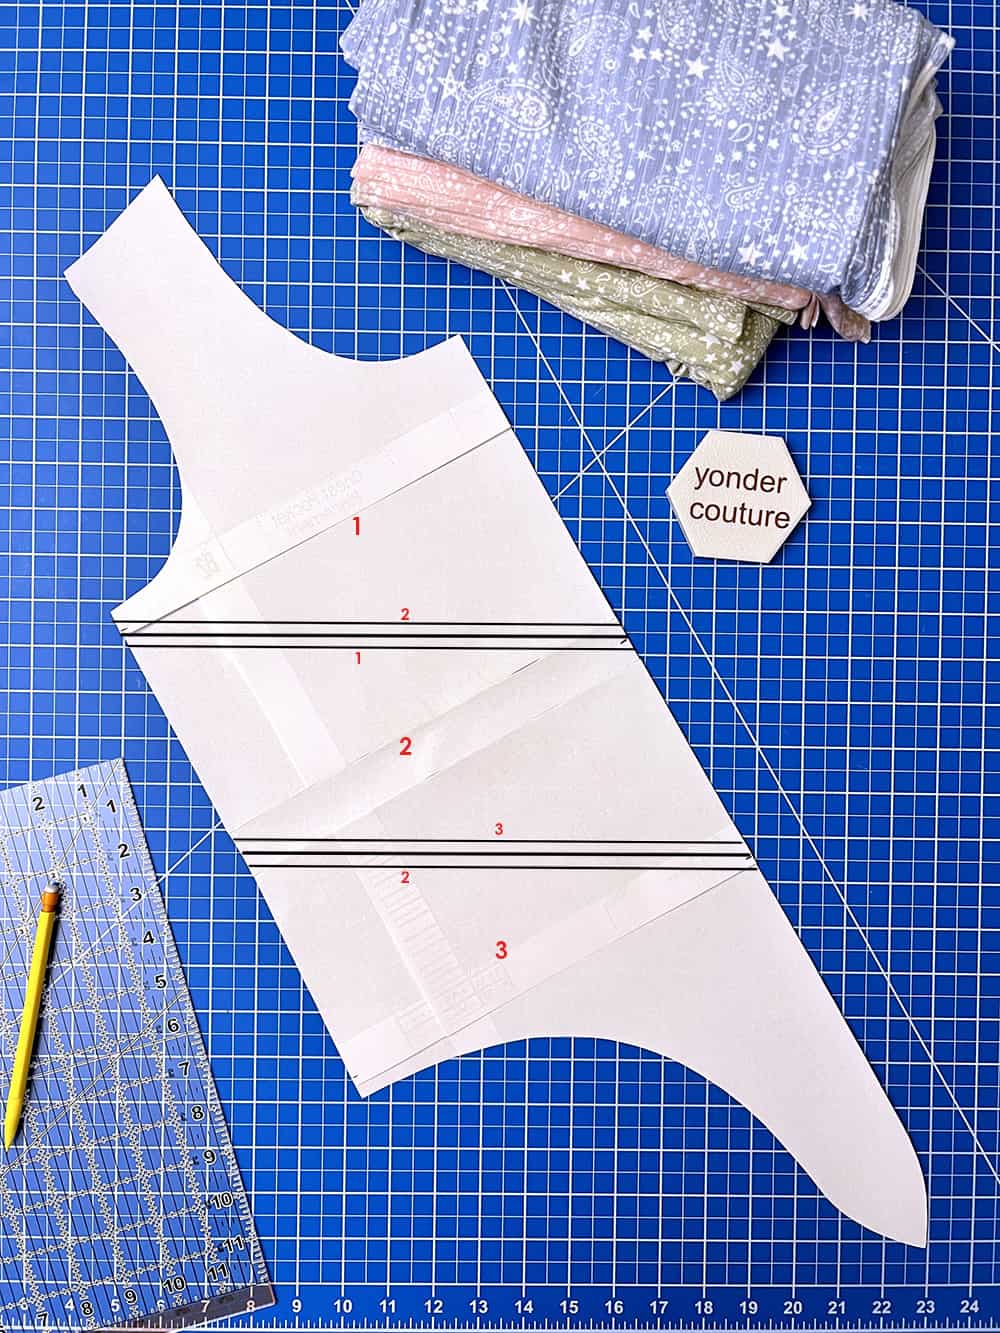
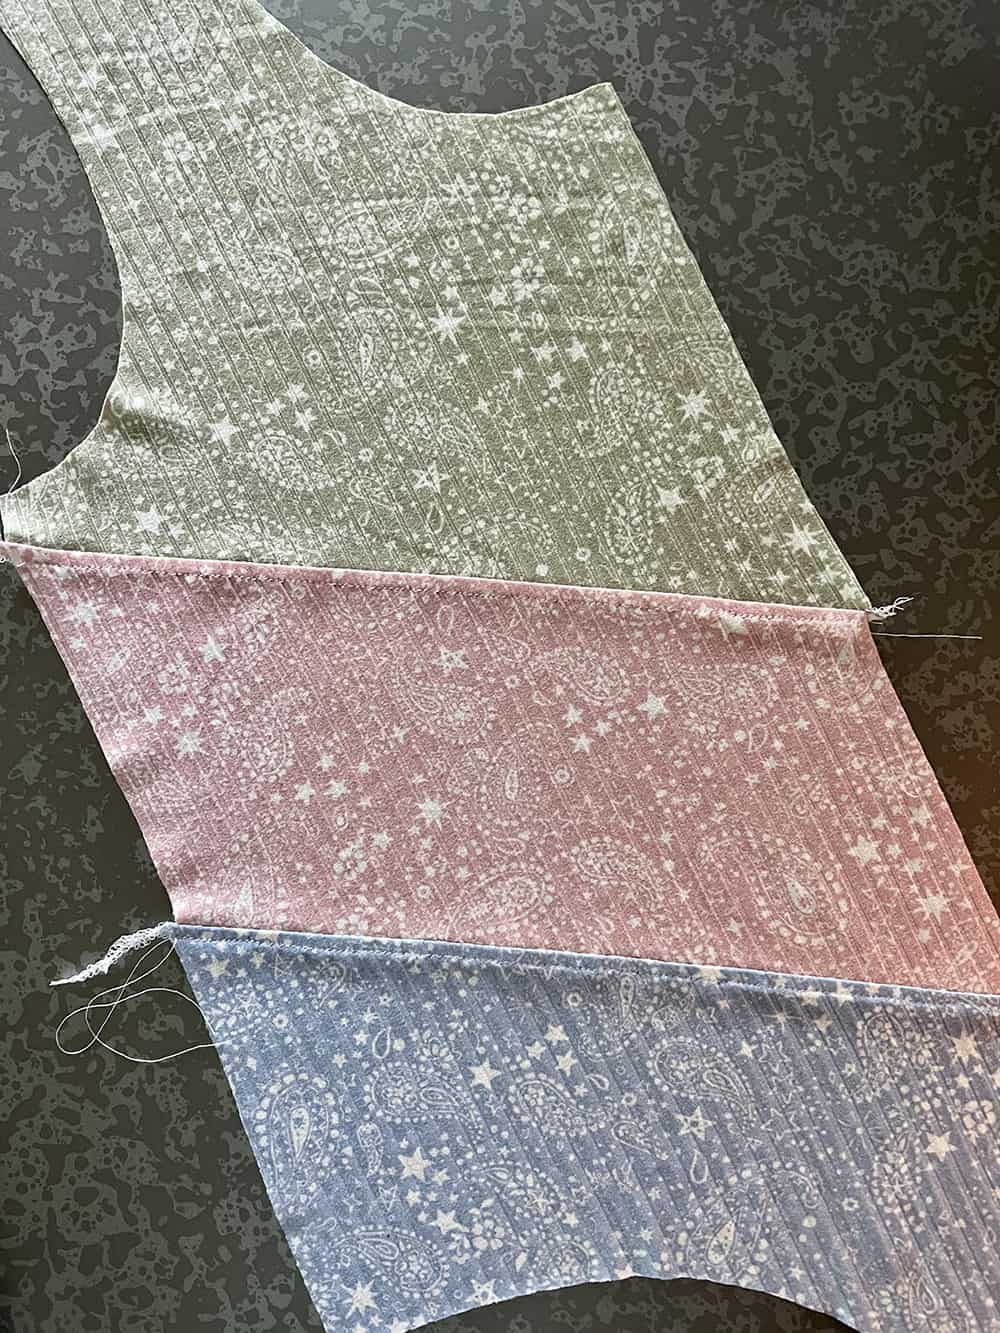
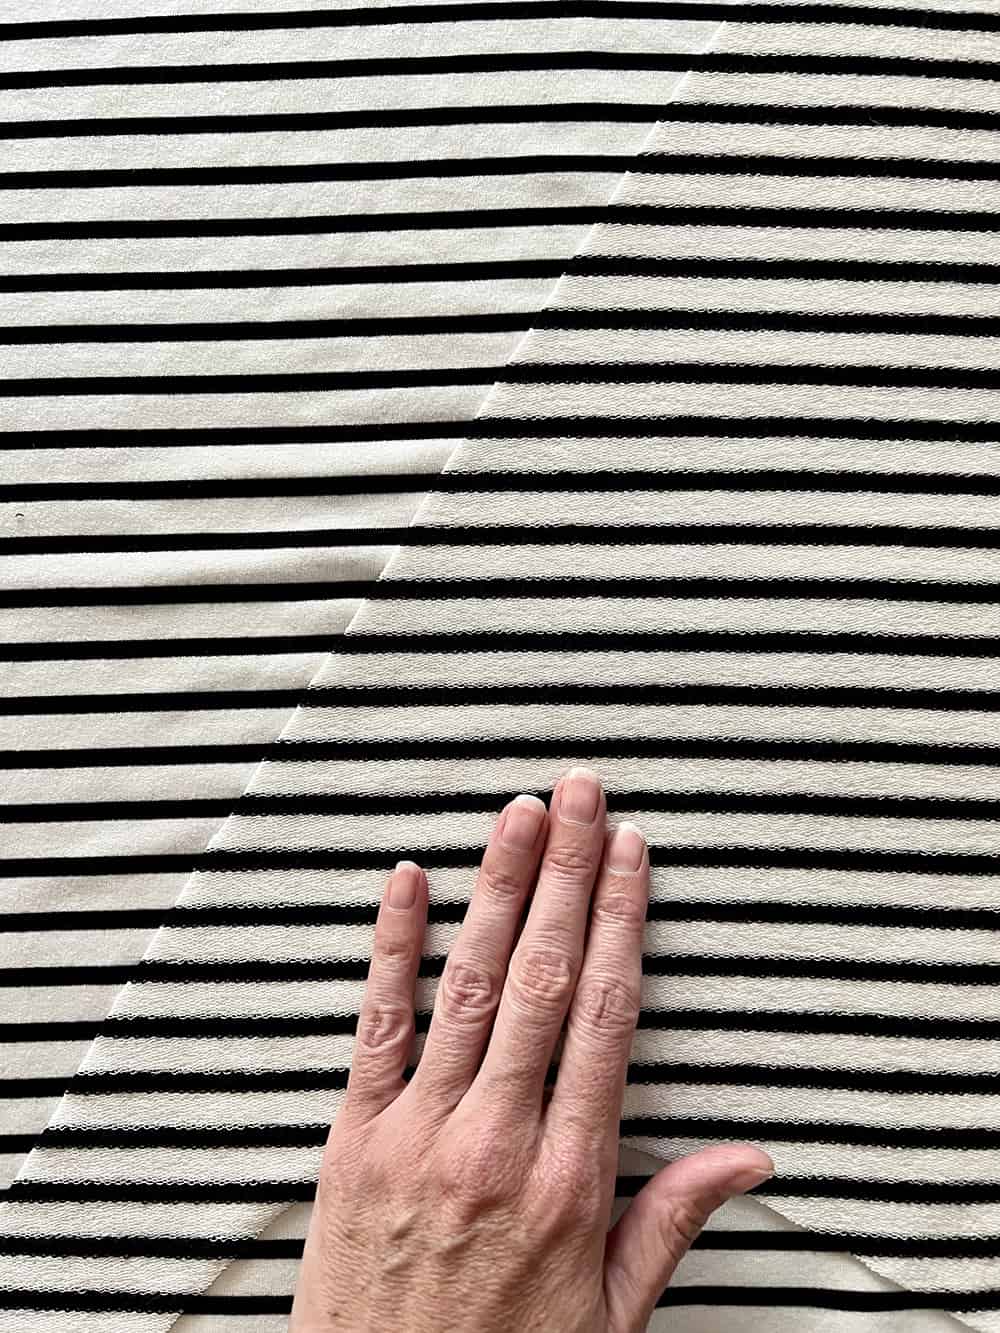
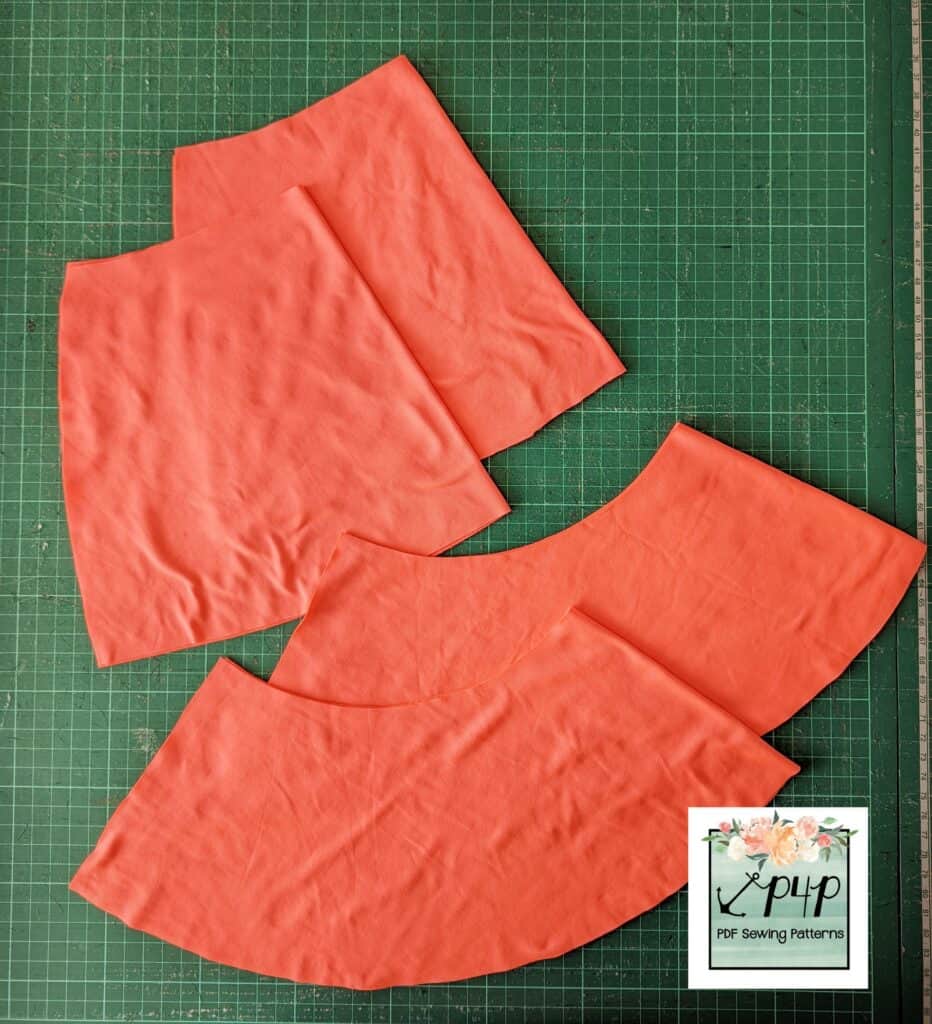
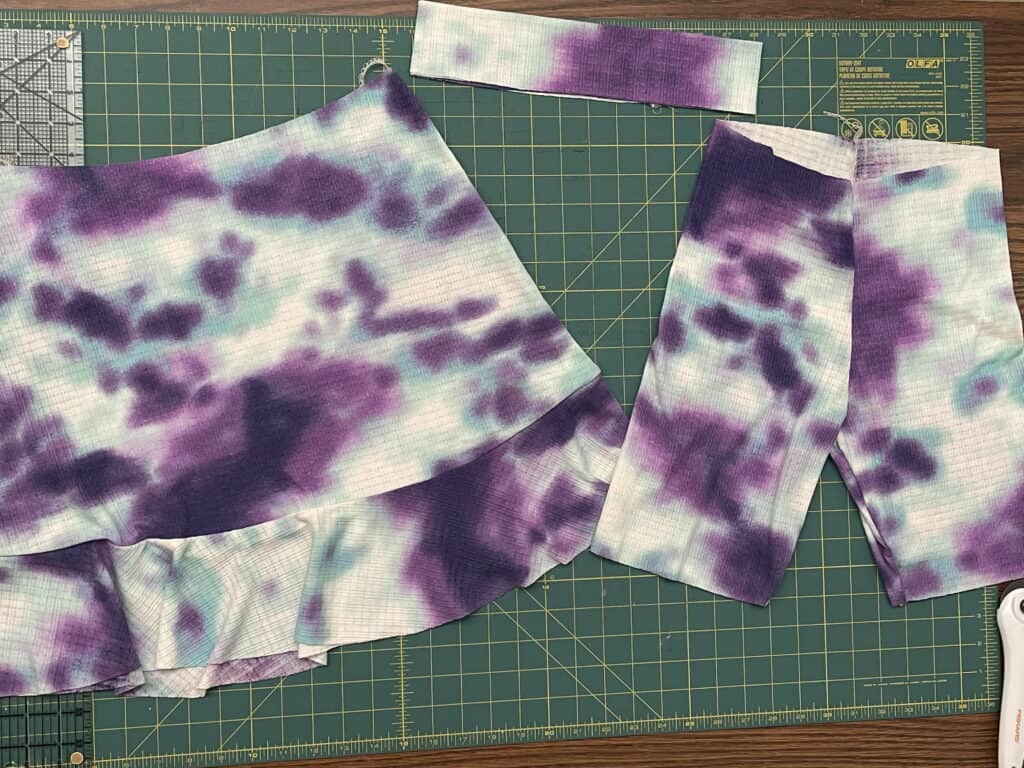
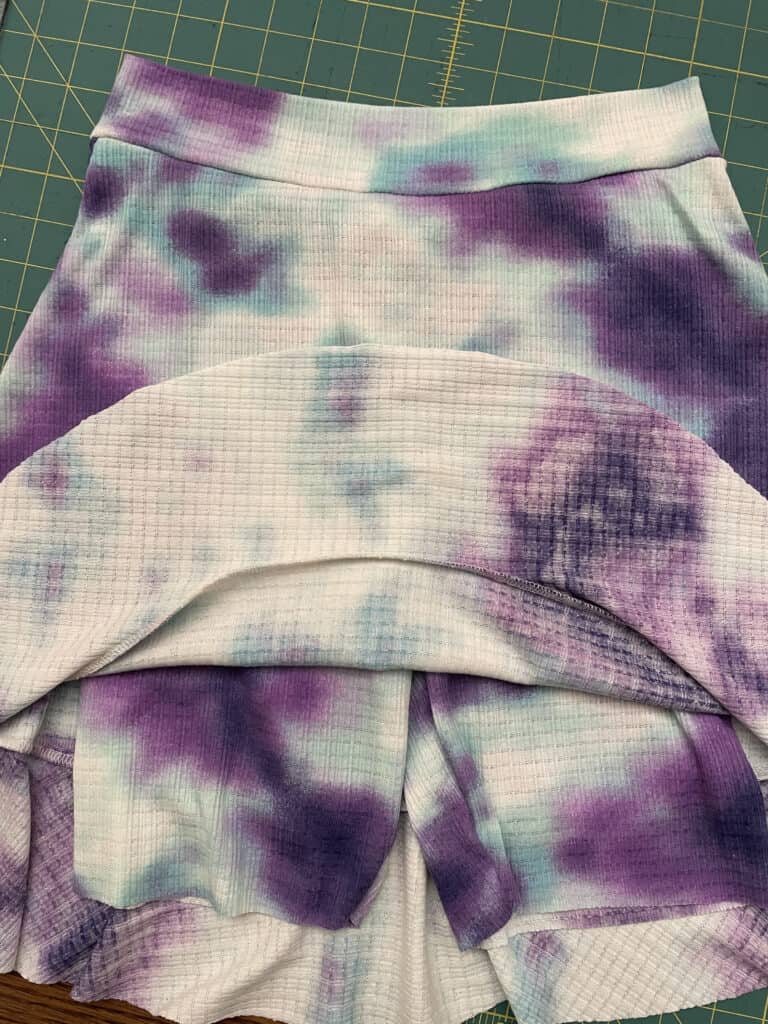
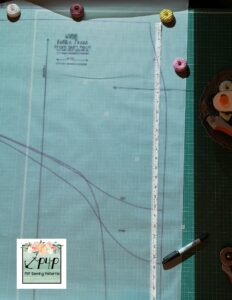
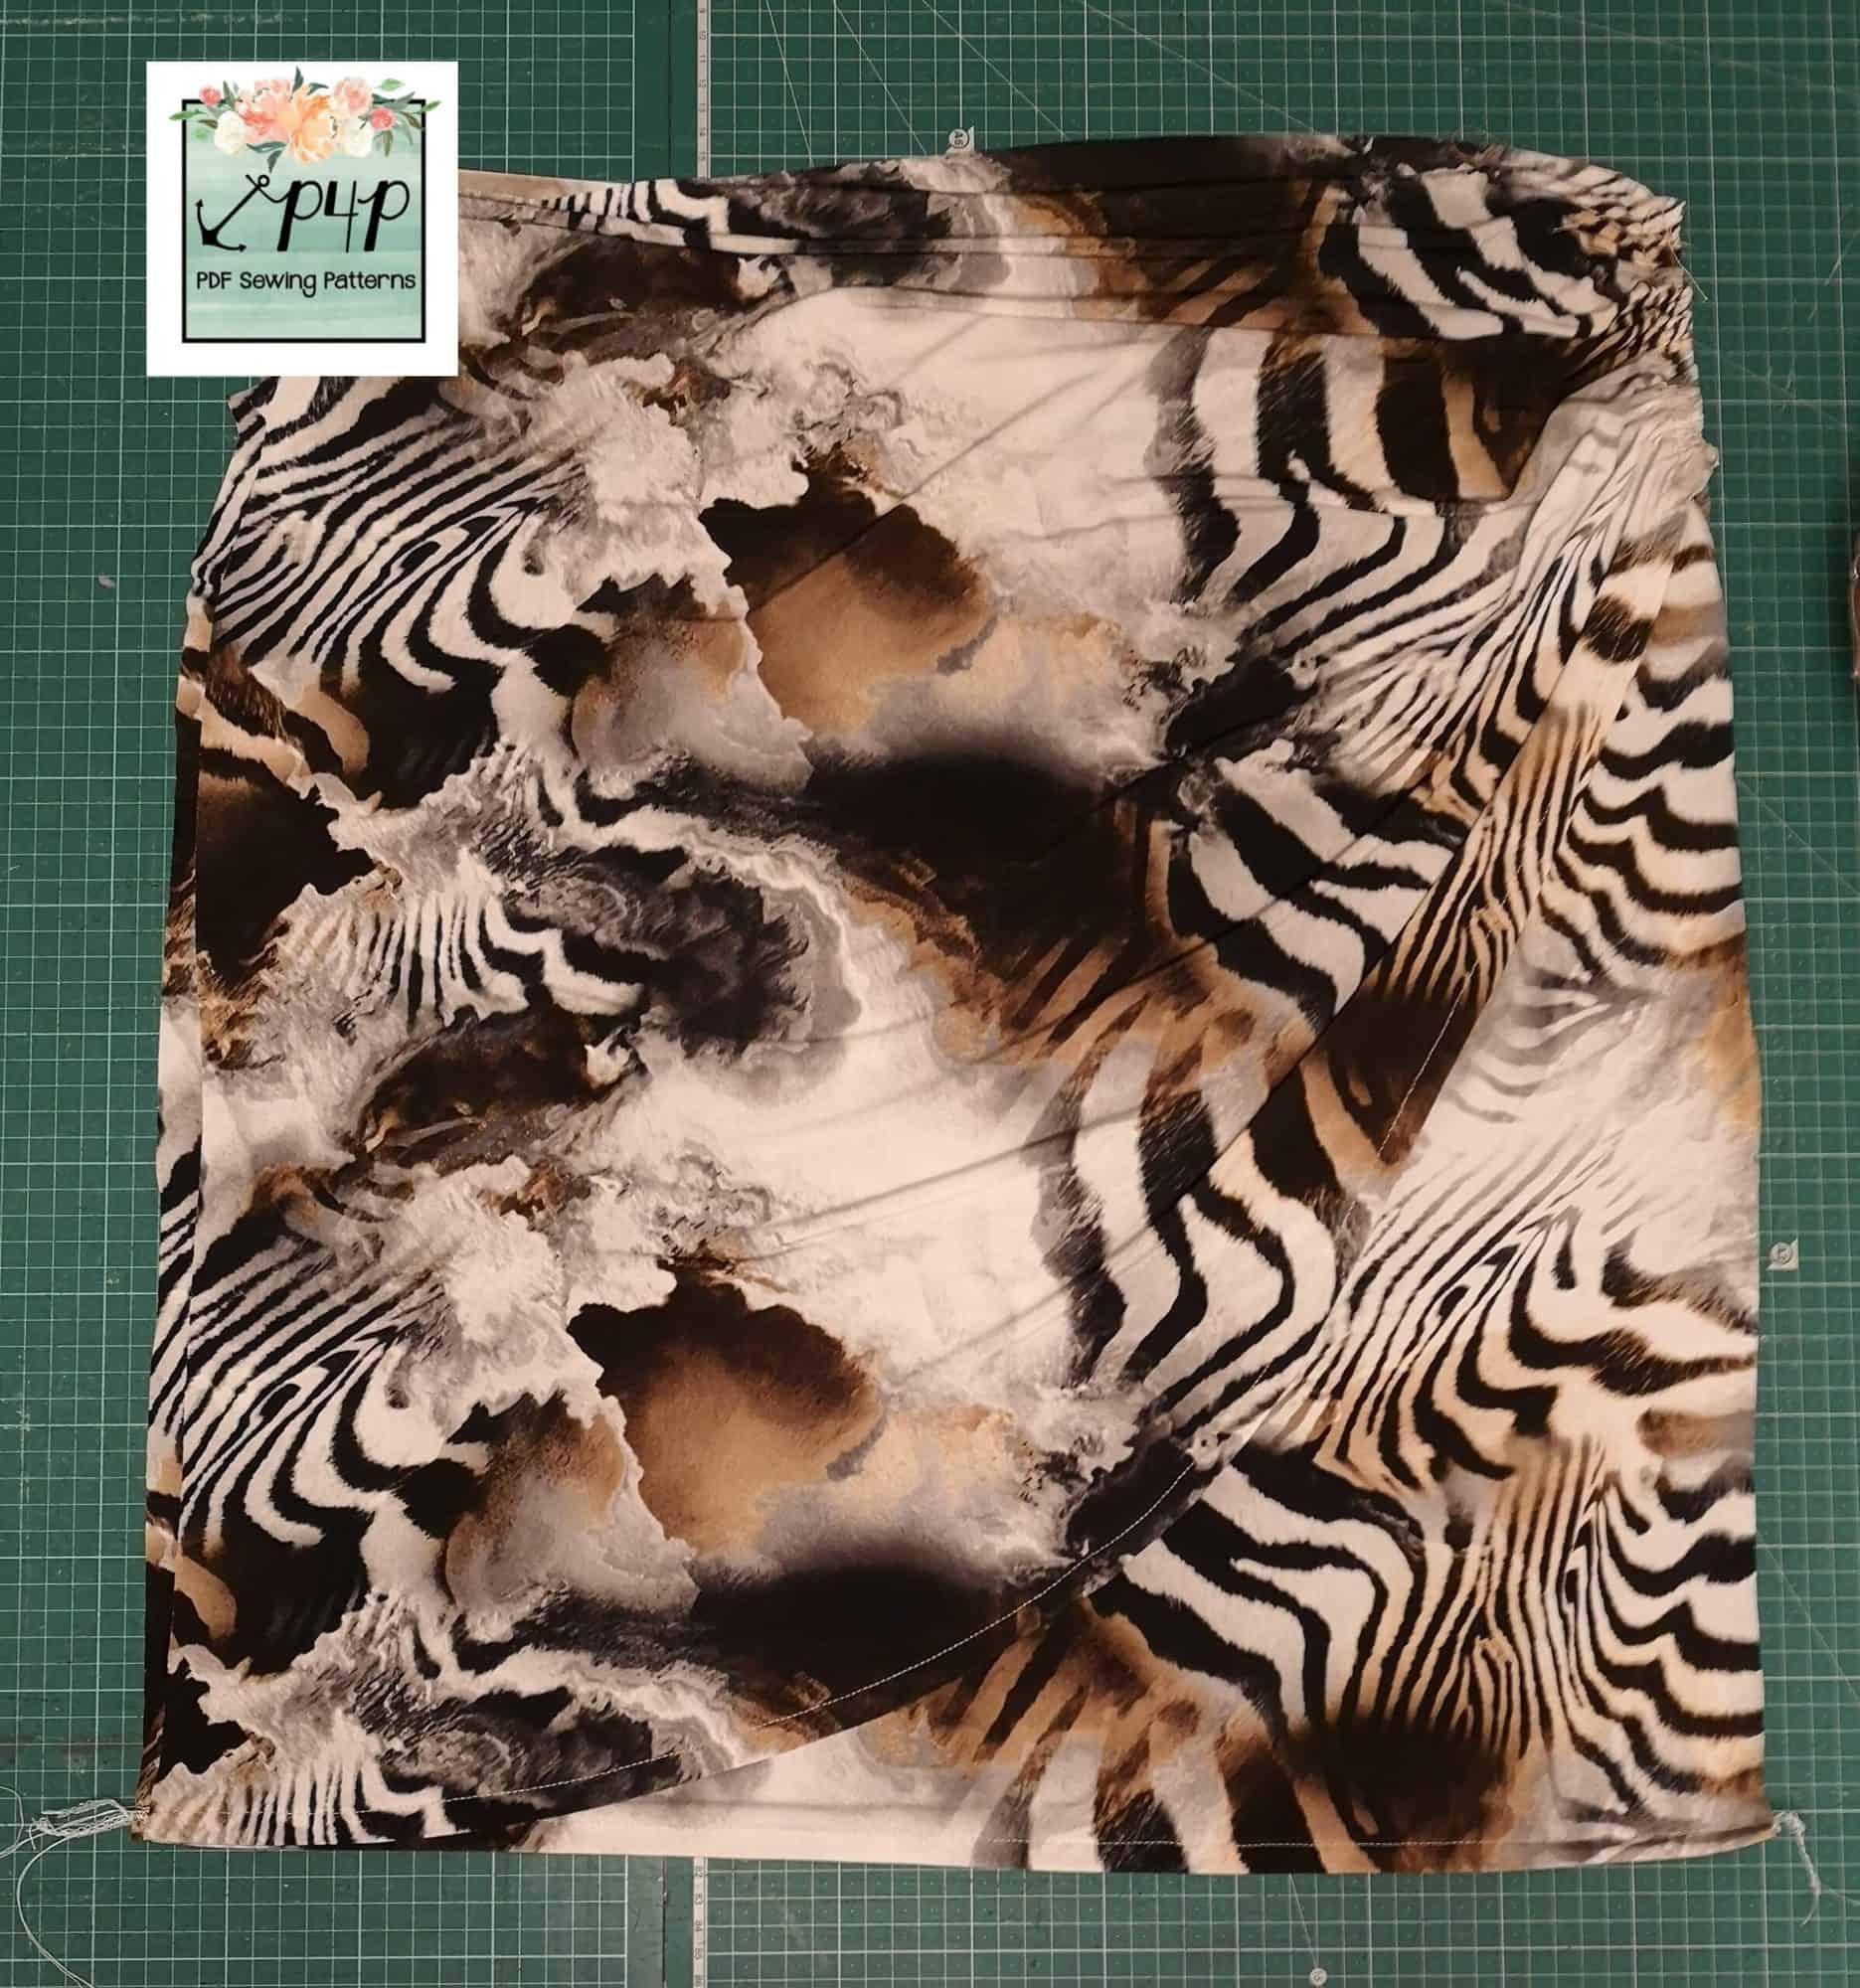
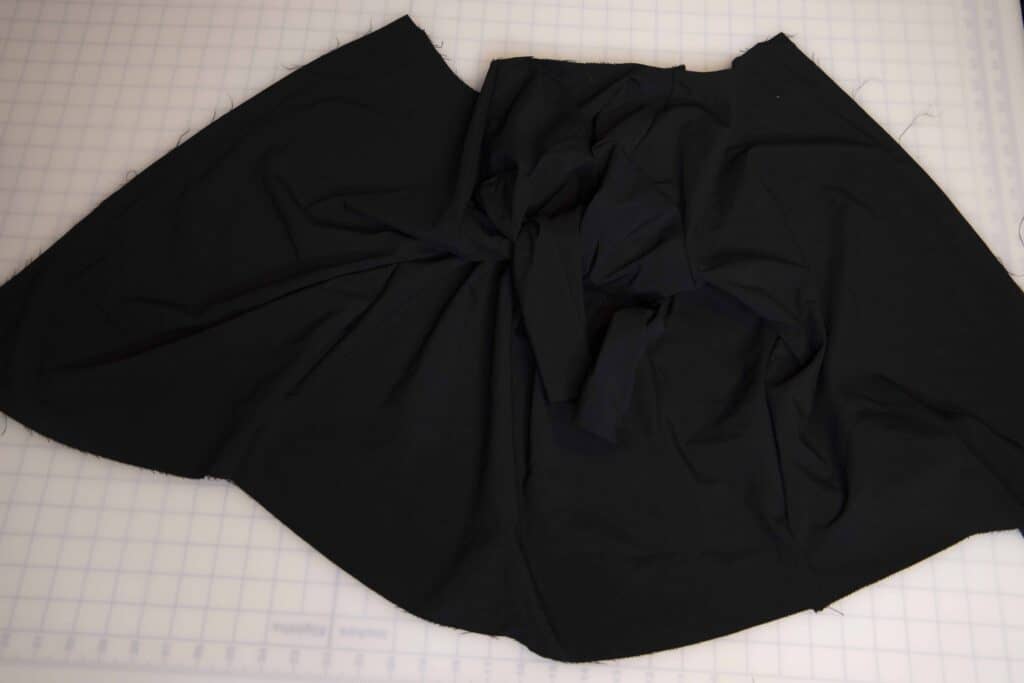
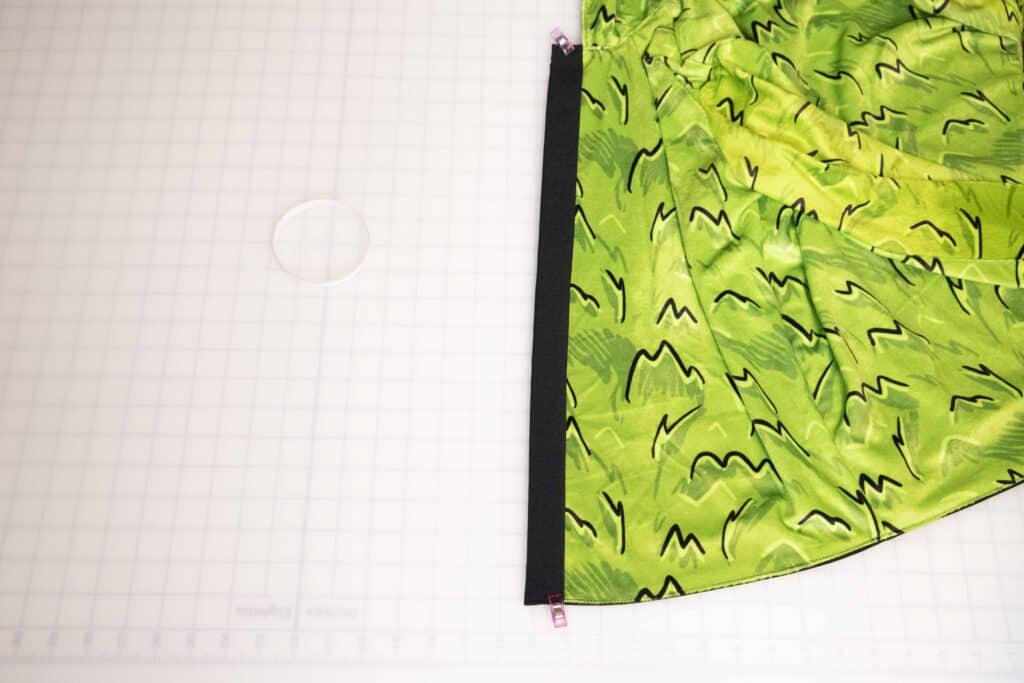
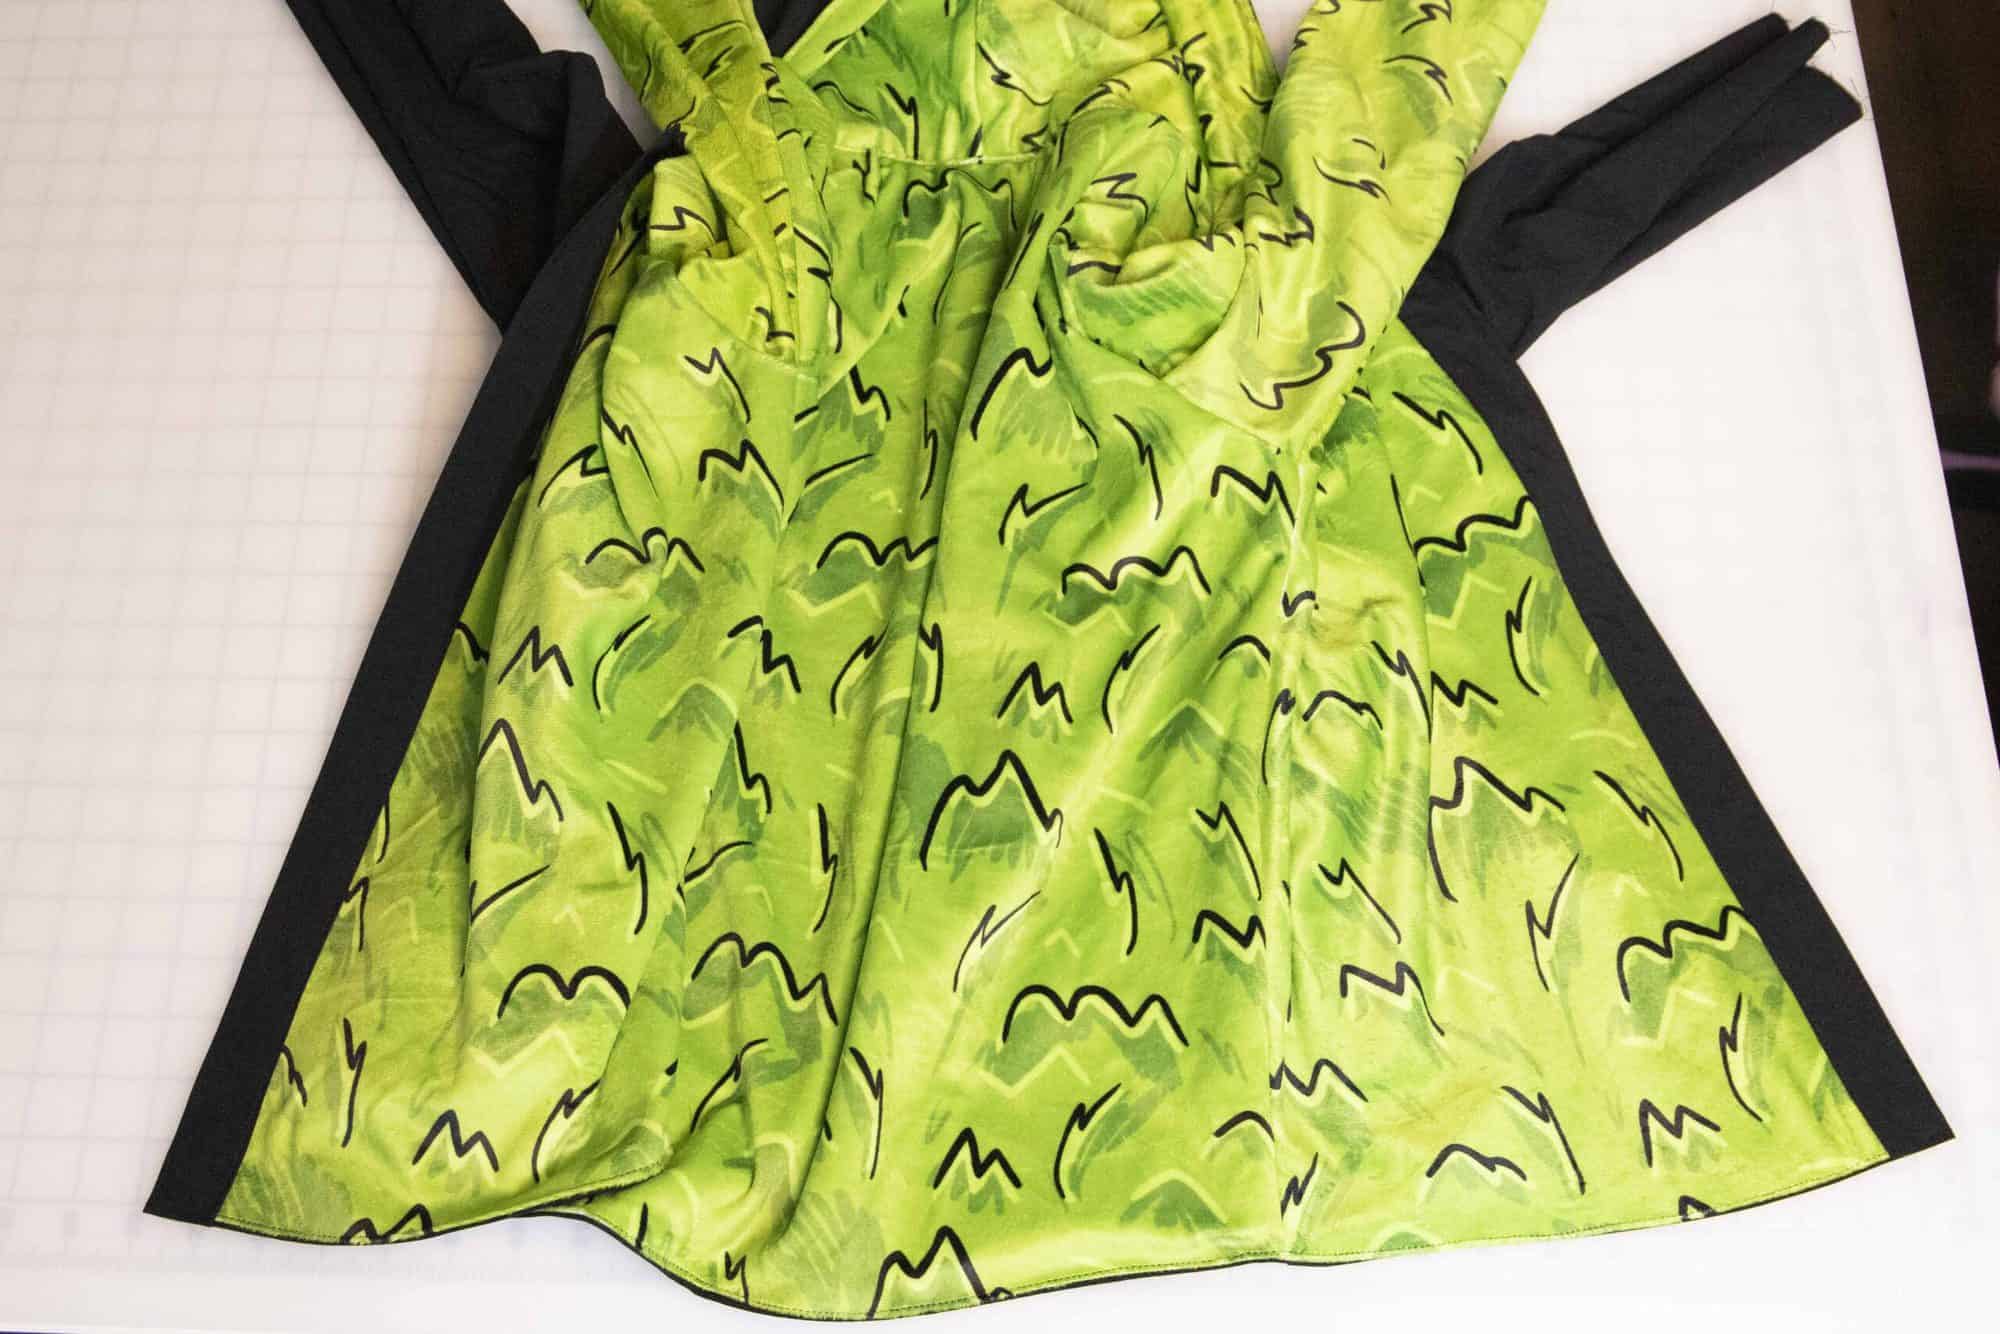
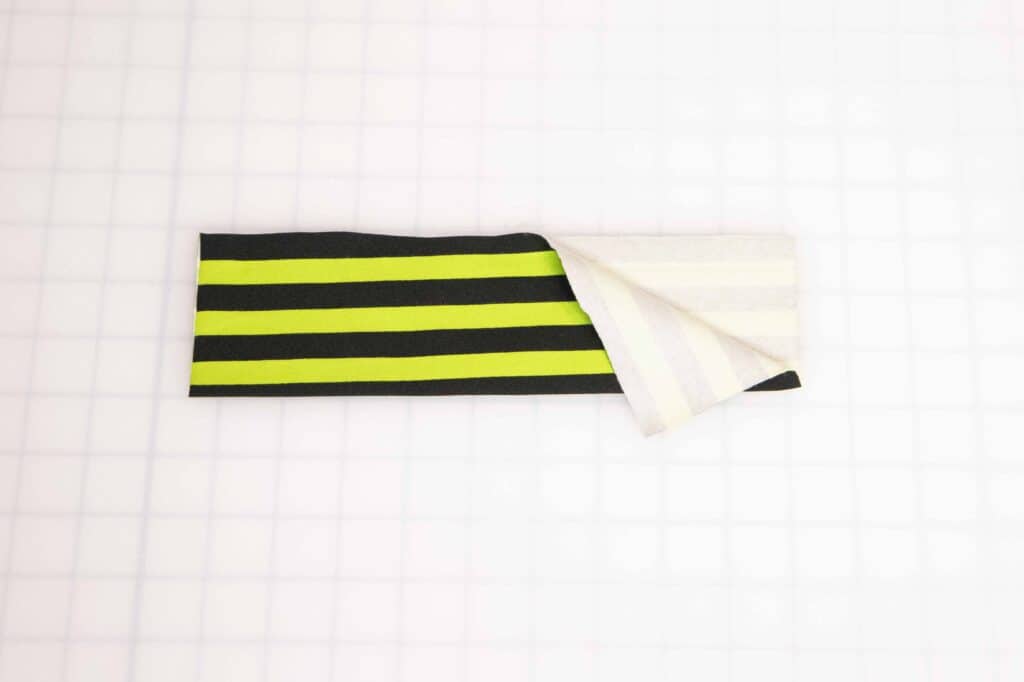
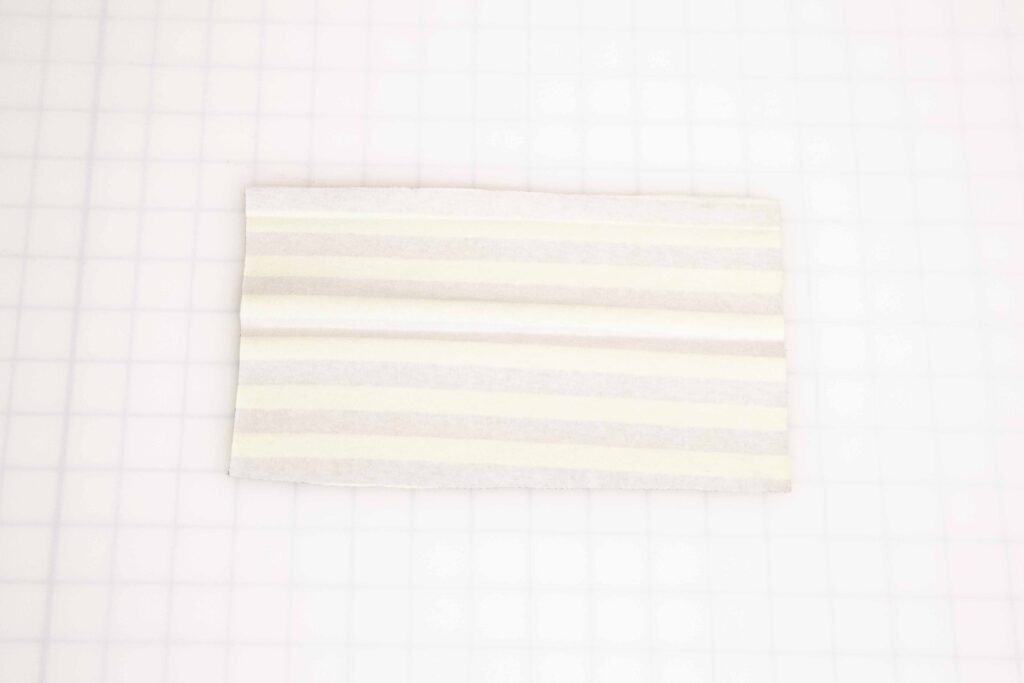
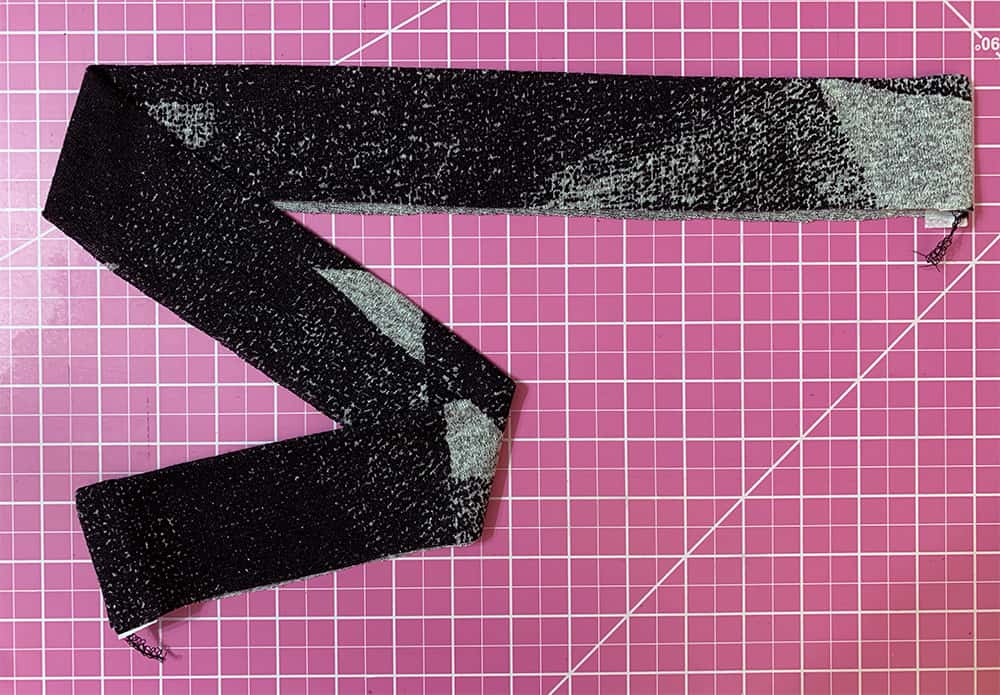
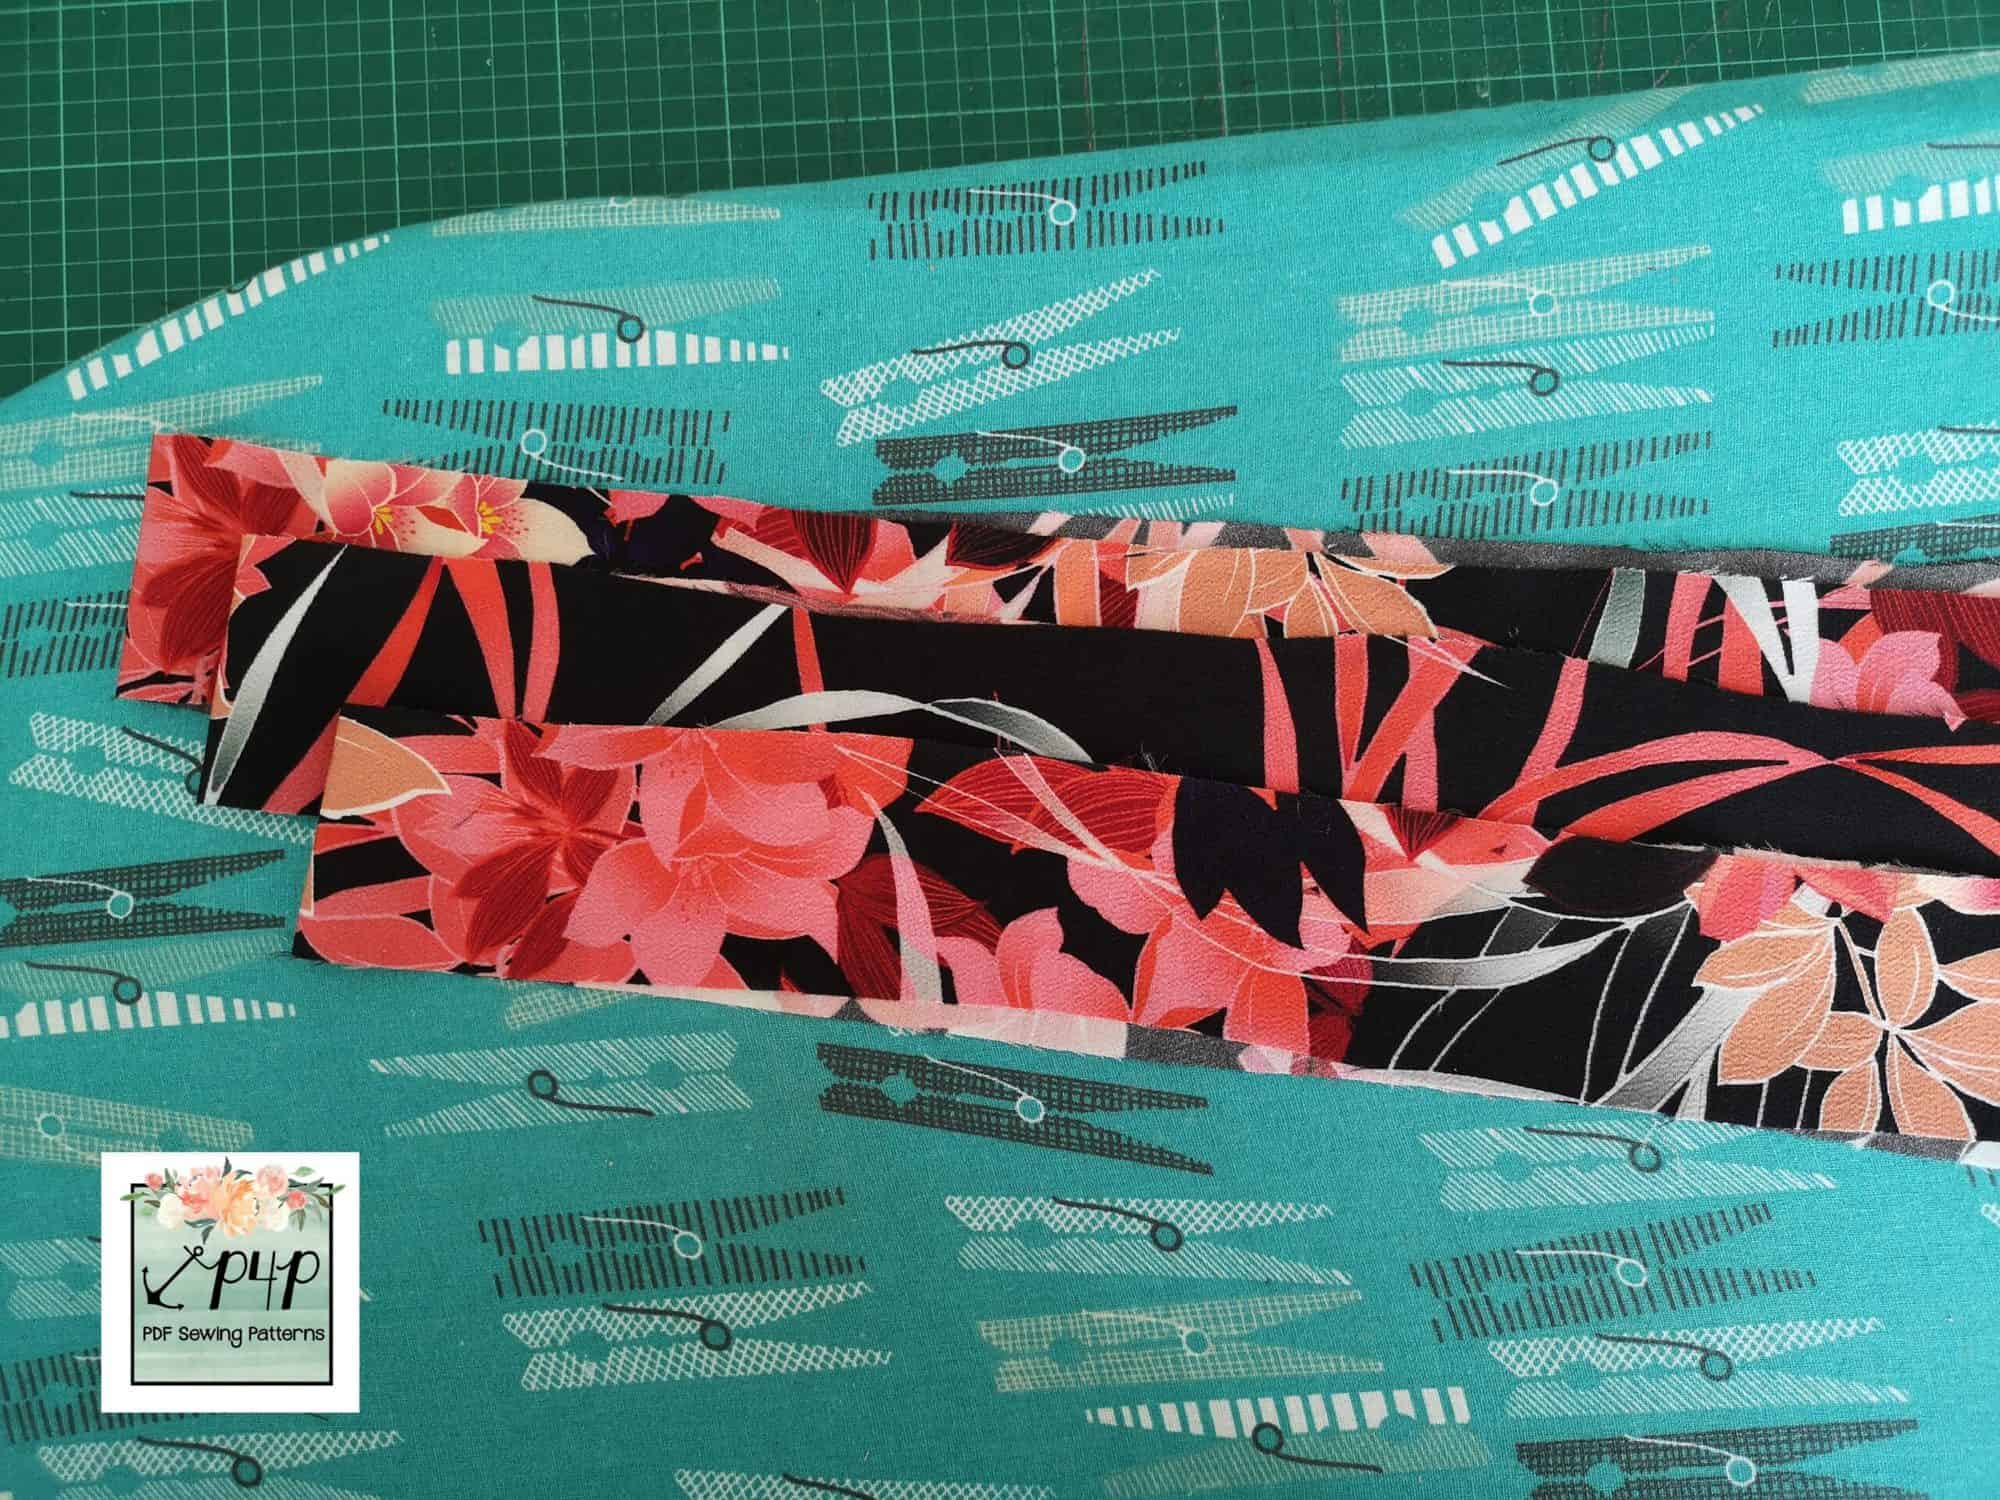
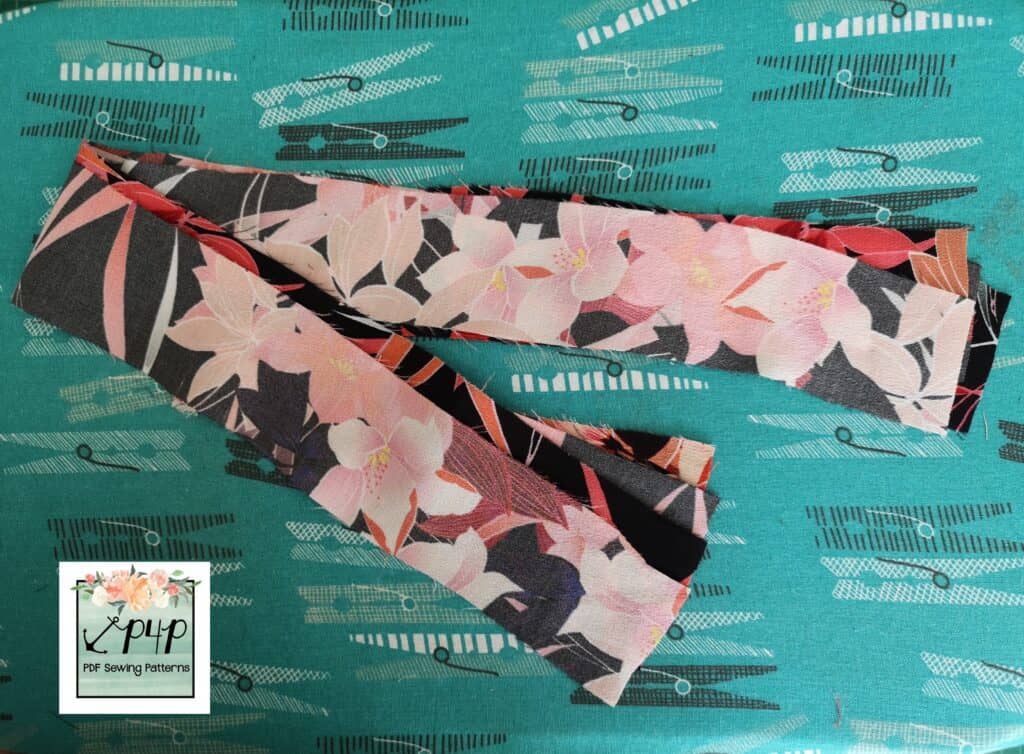
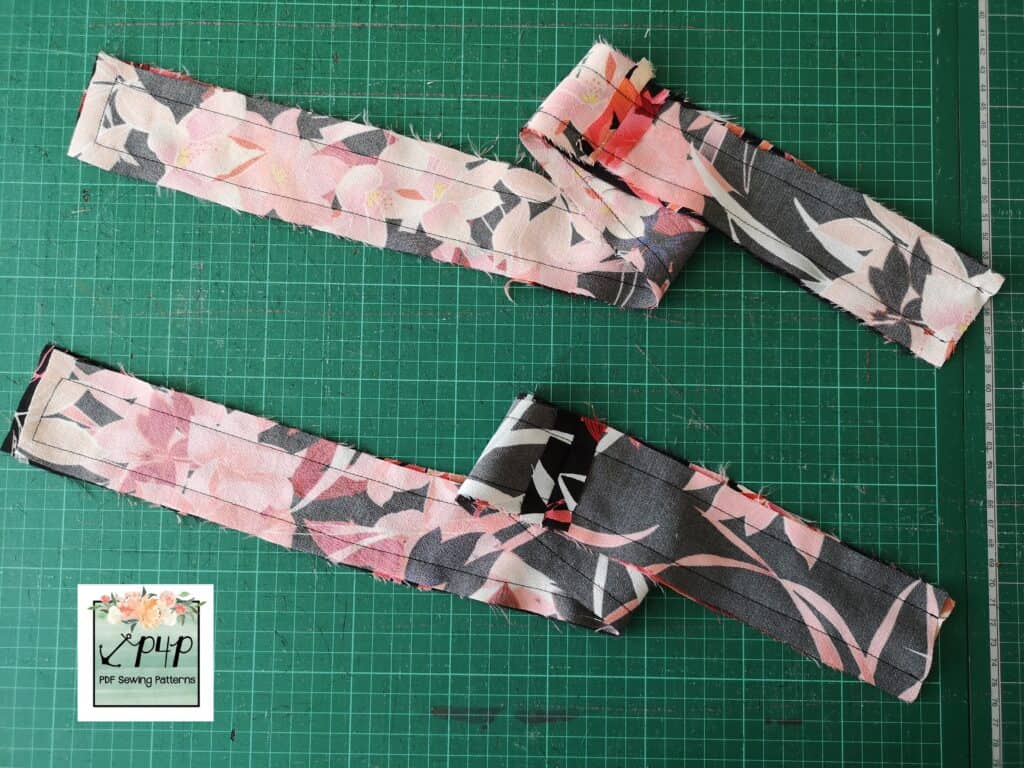
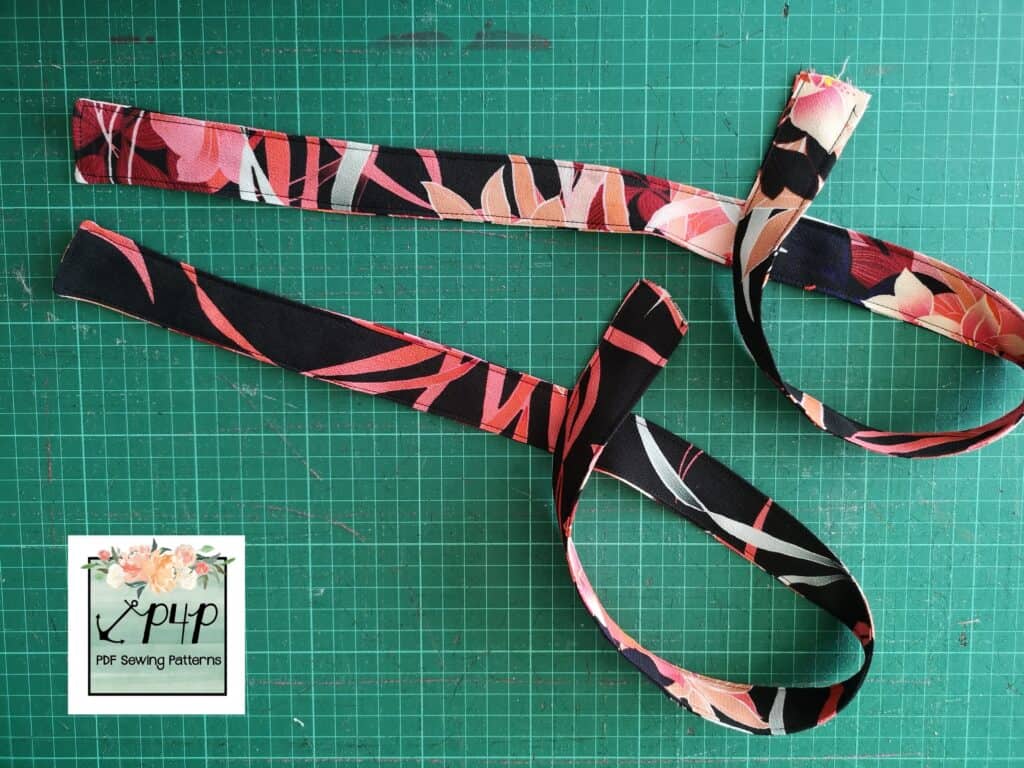
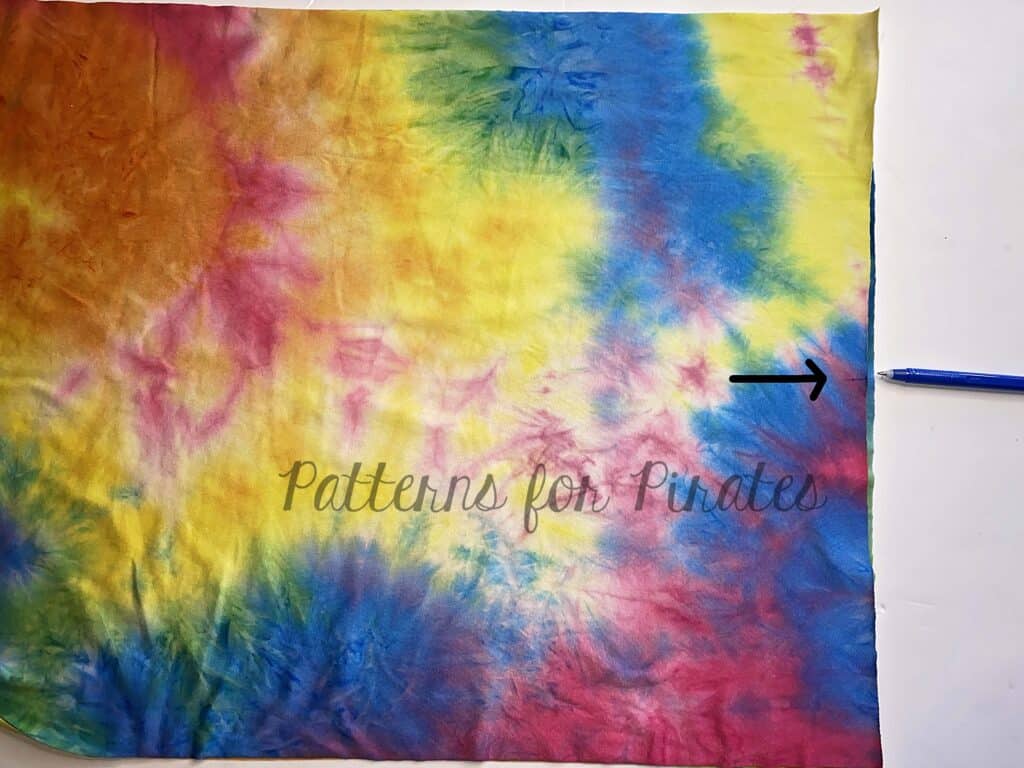
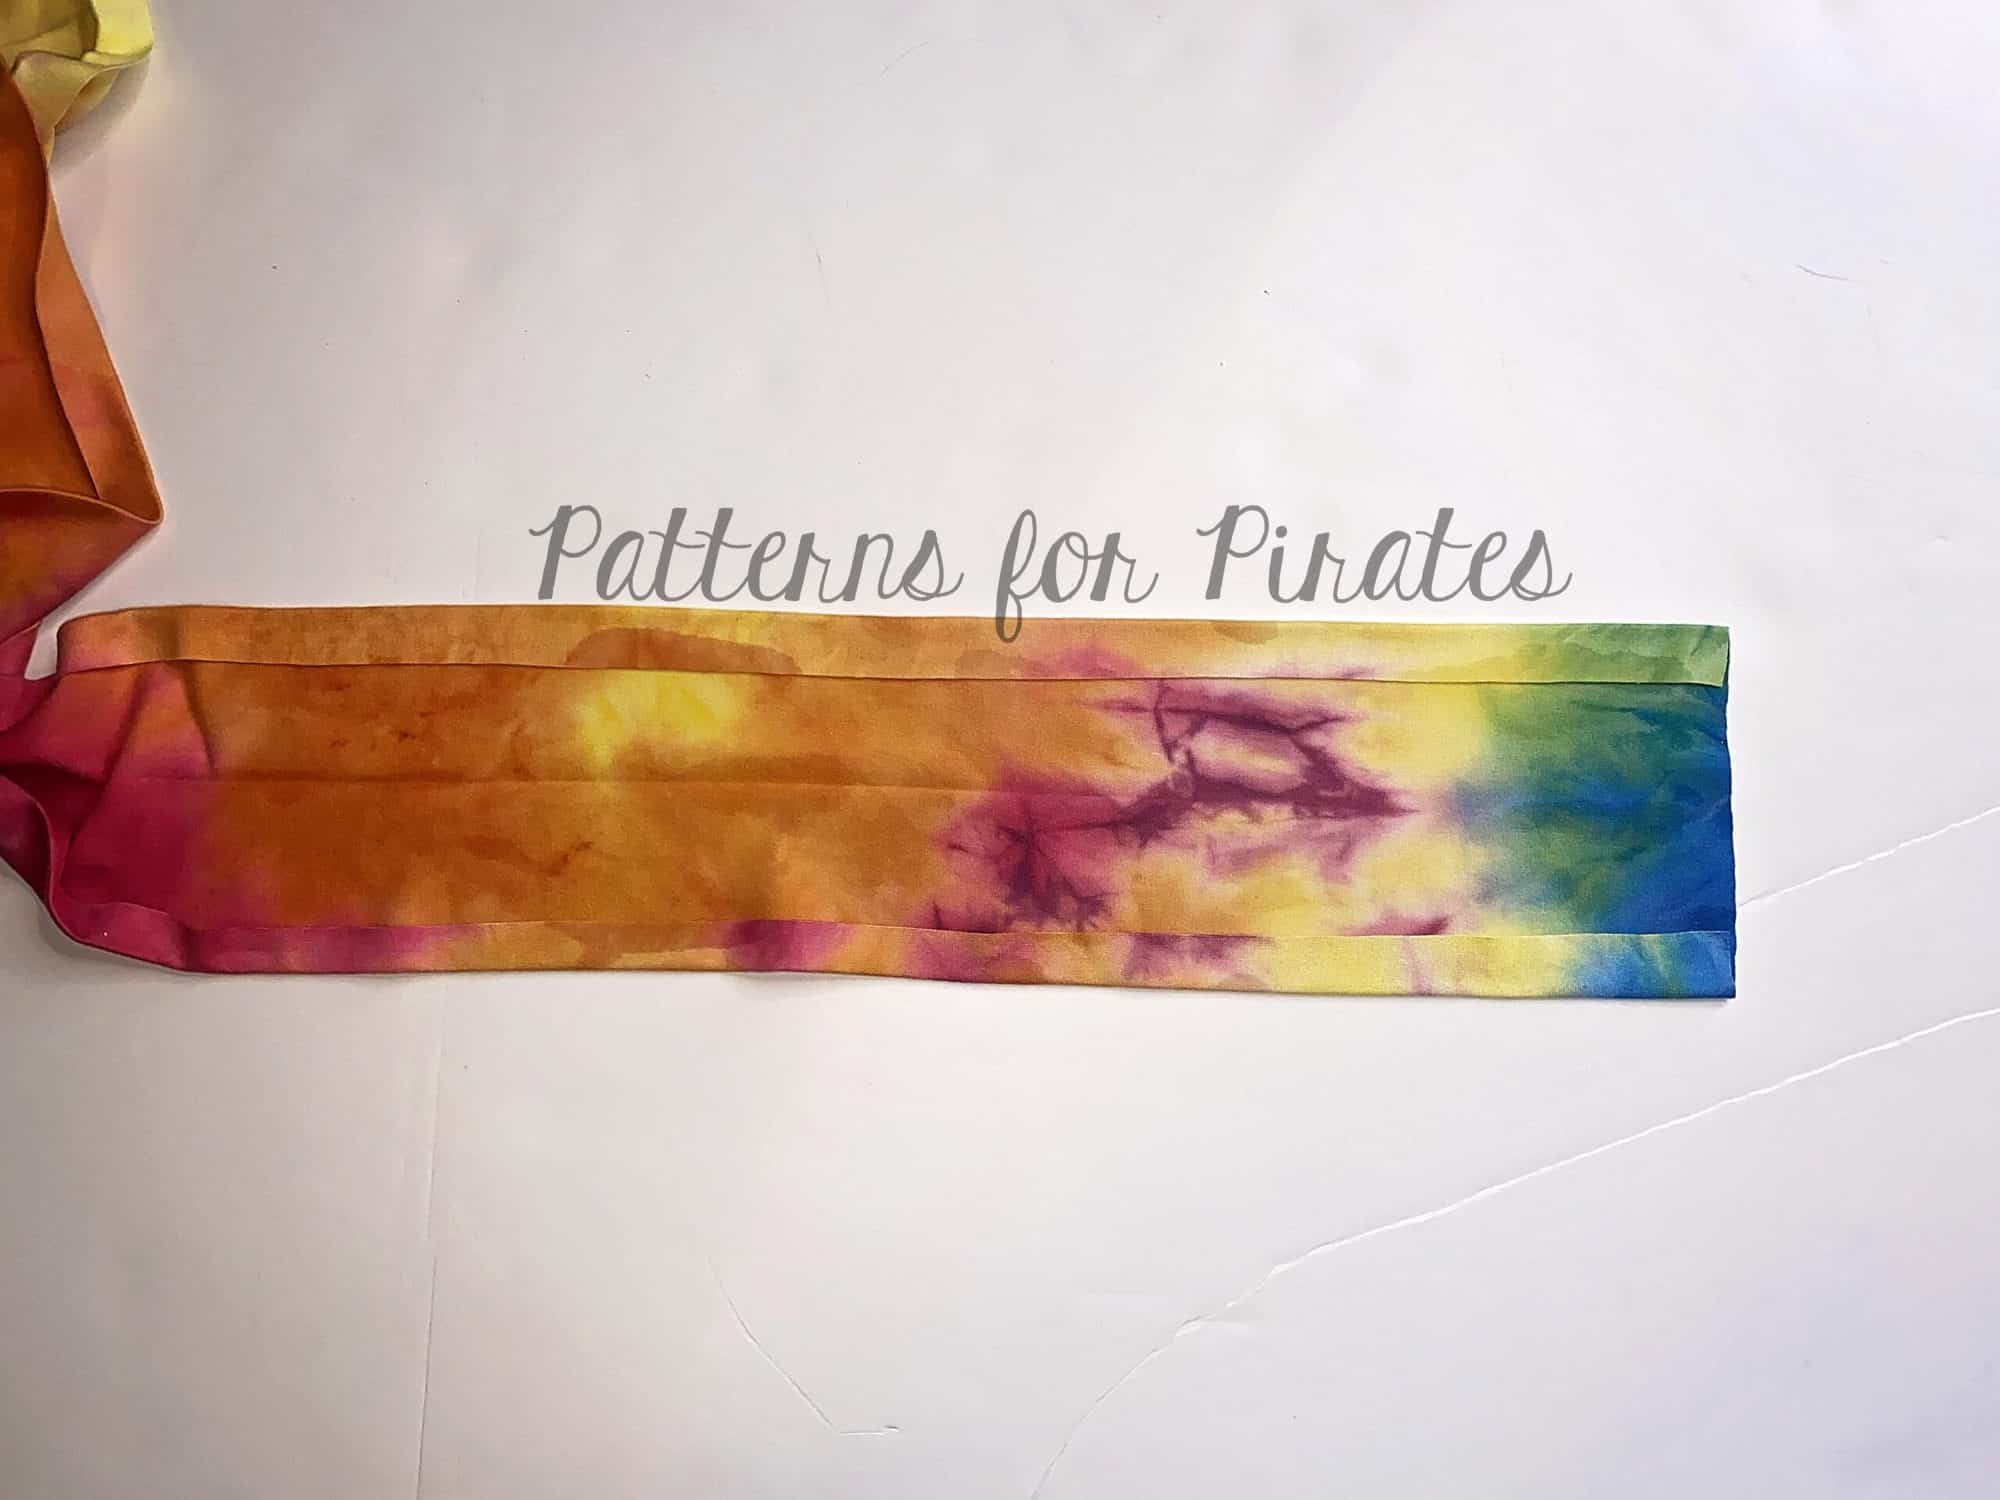
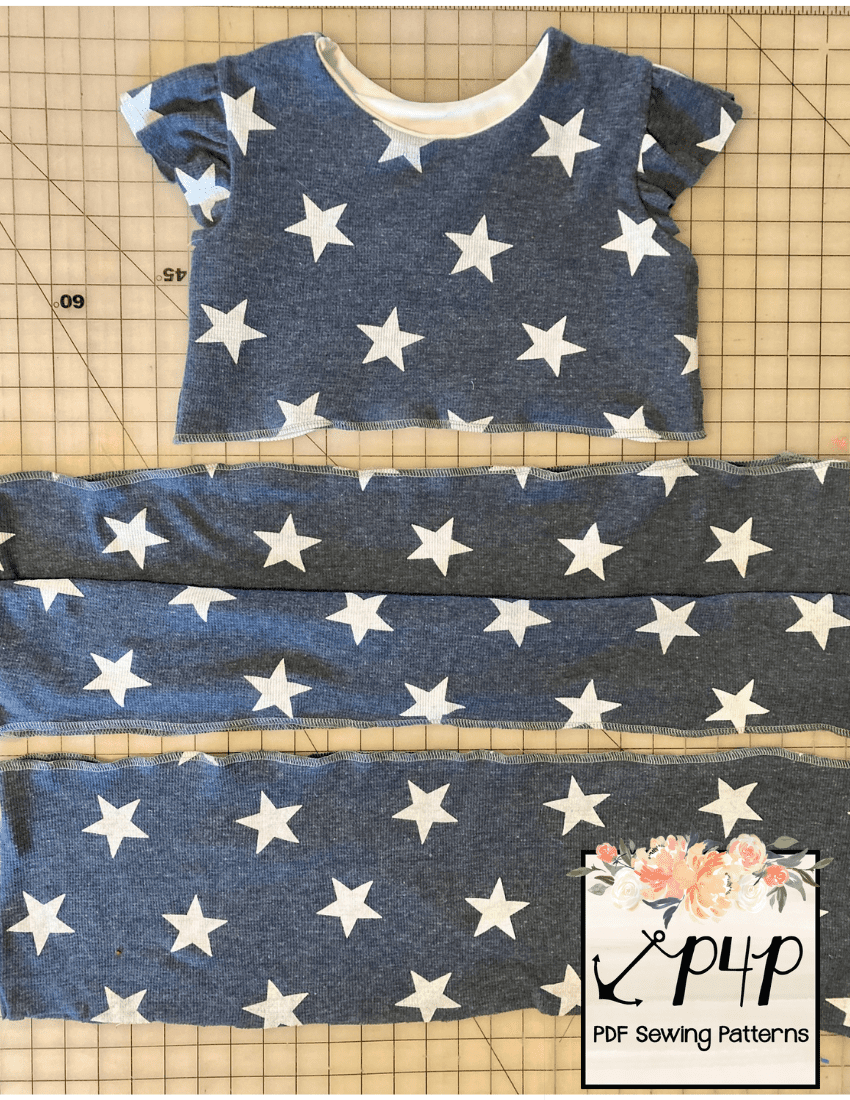
Cut your skirt pieces according to the instructions for the All Gather Round. I had:
1 x waistband
2 x top tier
3 x mid tier
5 x bottom tier
(the tier pieces are folded in the photo above, just to get them all in the pic)
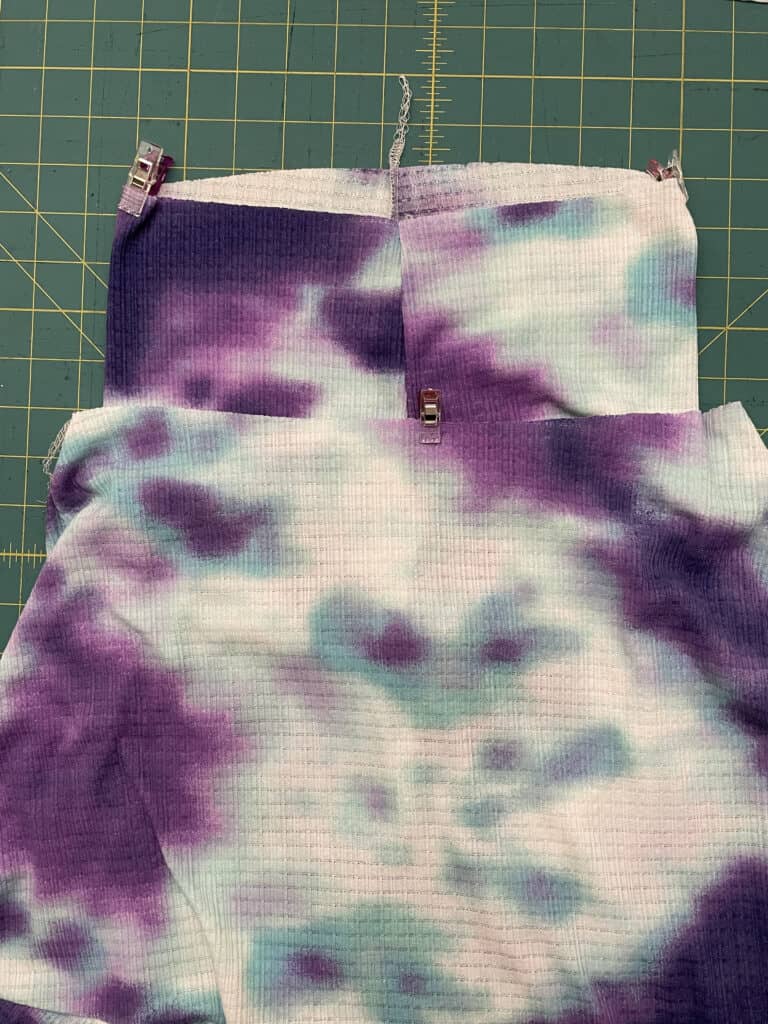
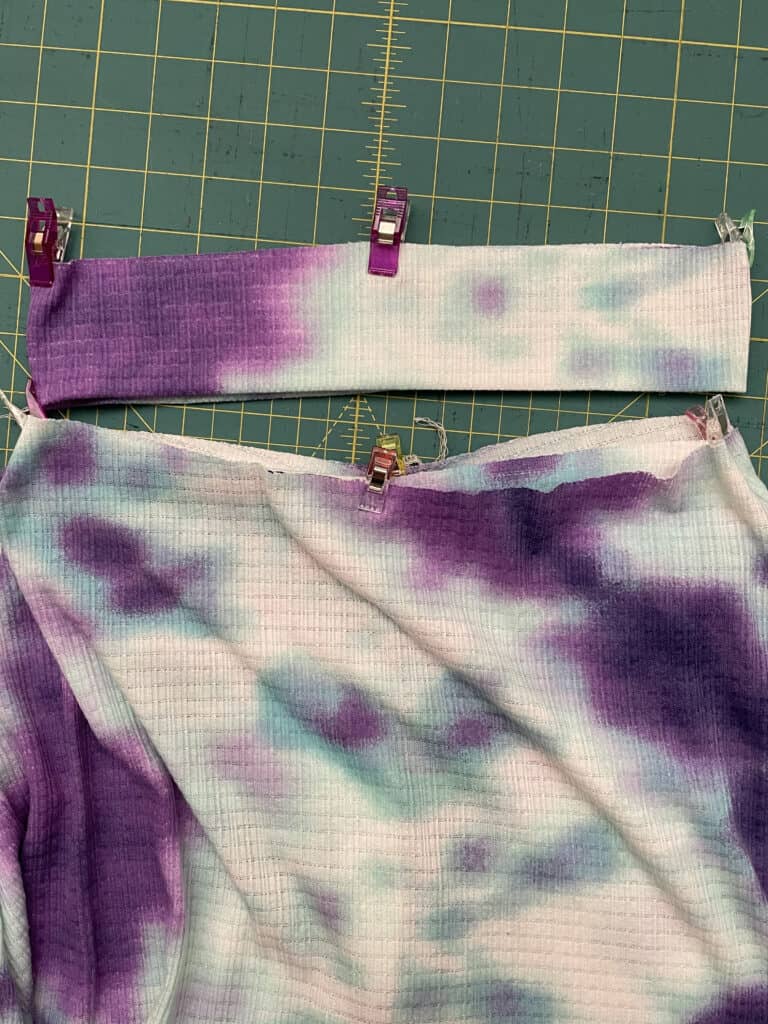
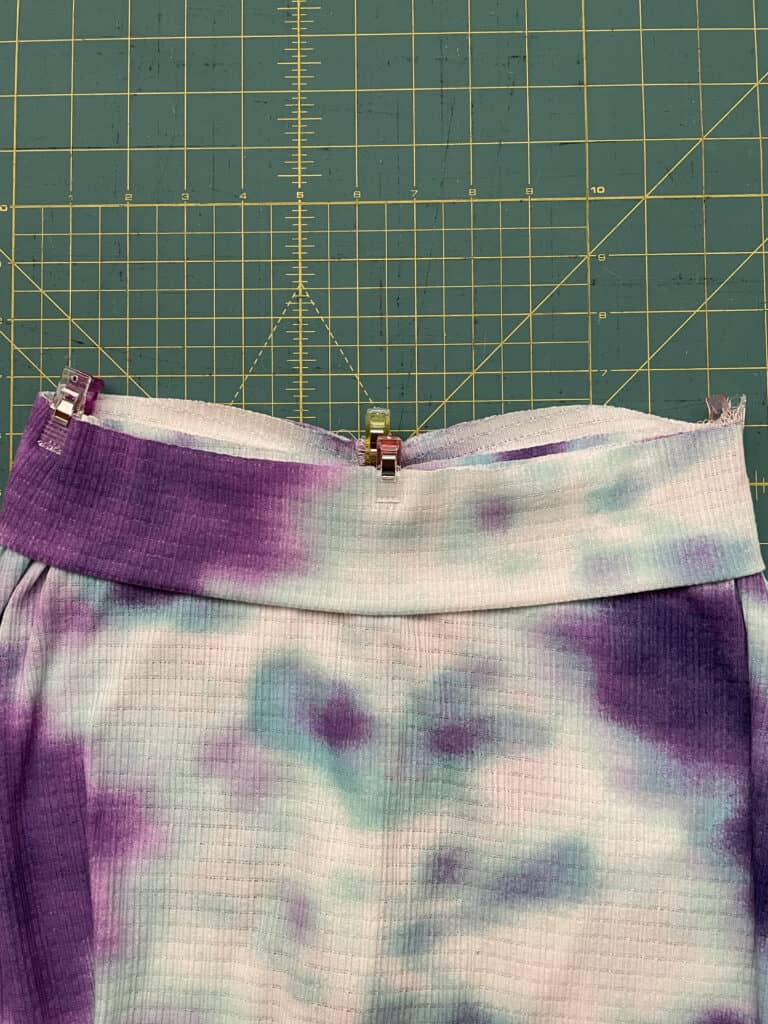
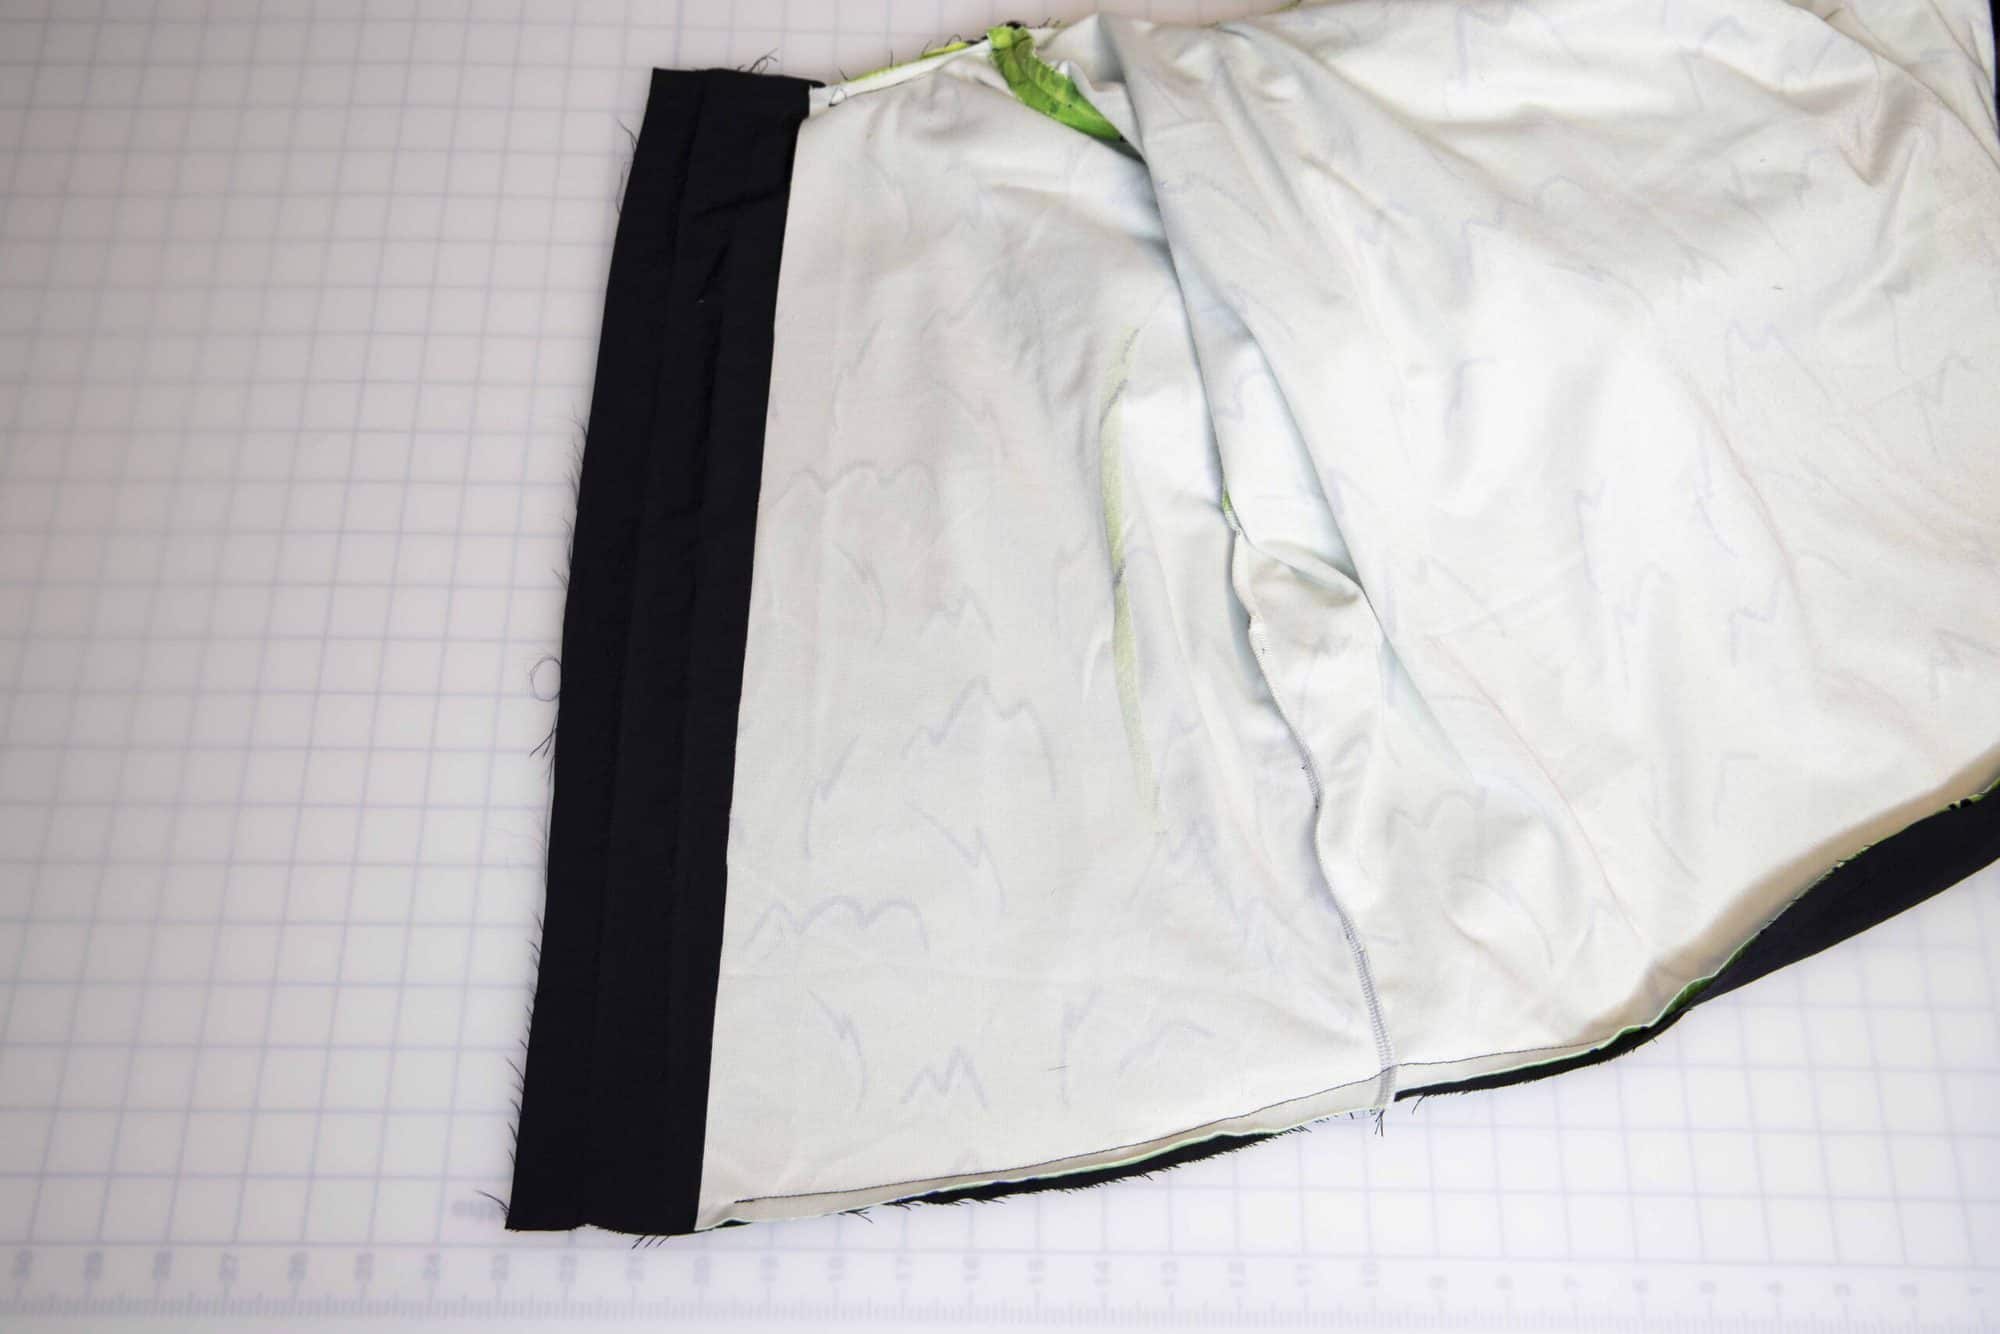
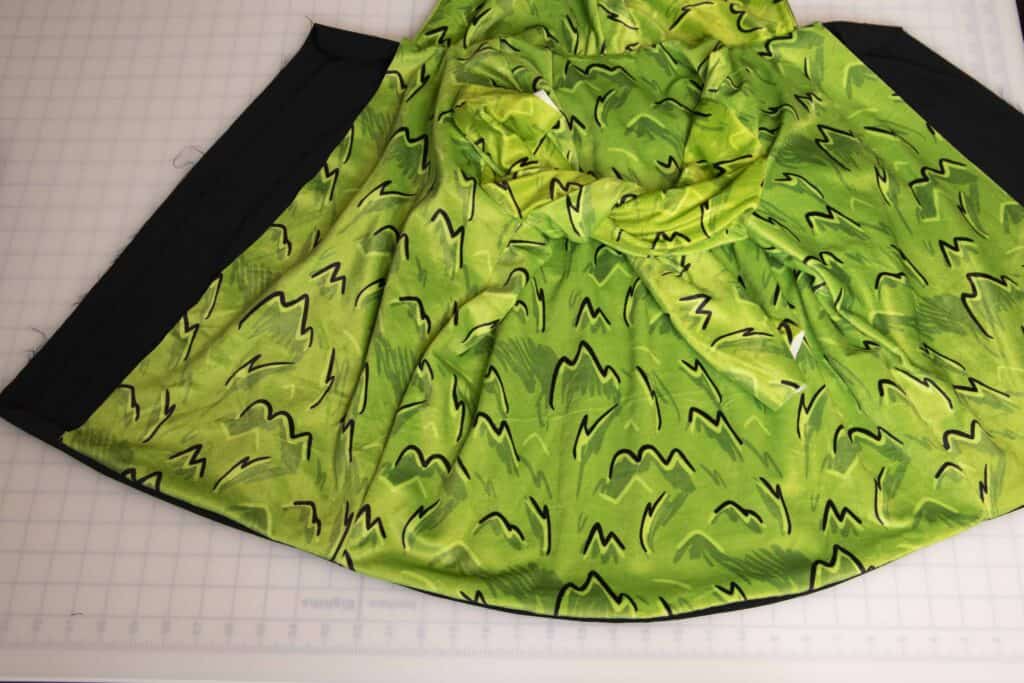
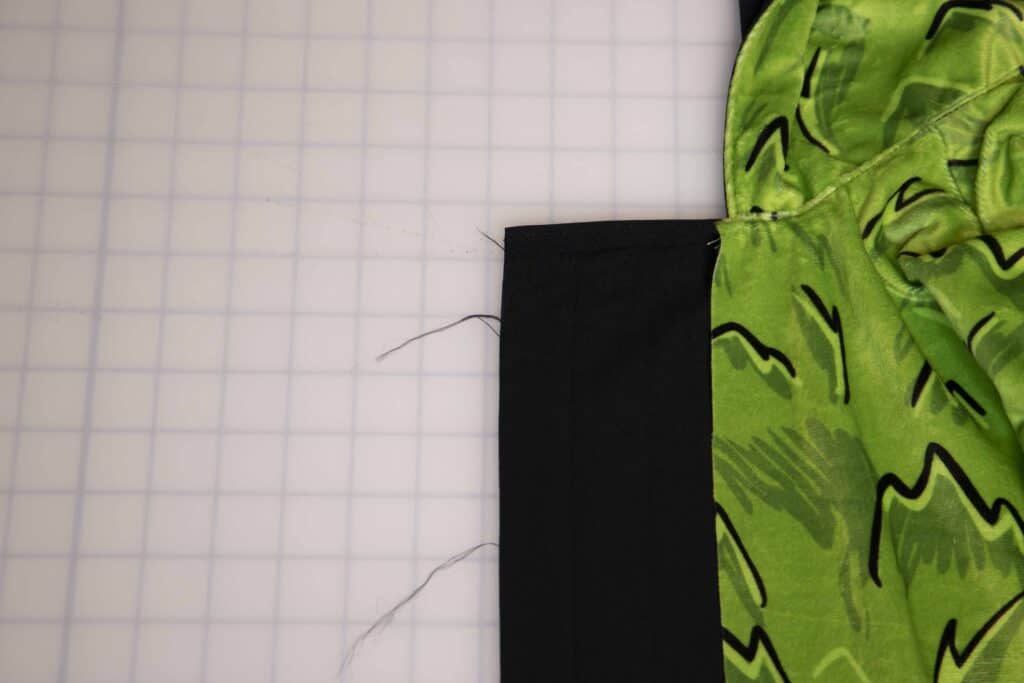
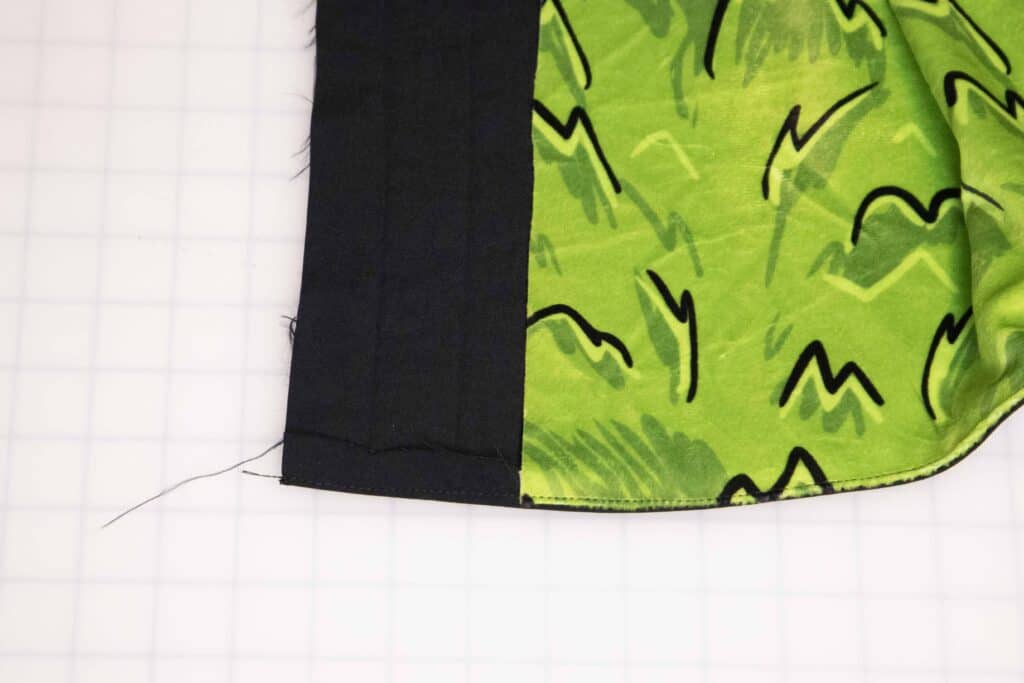
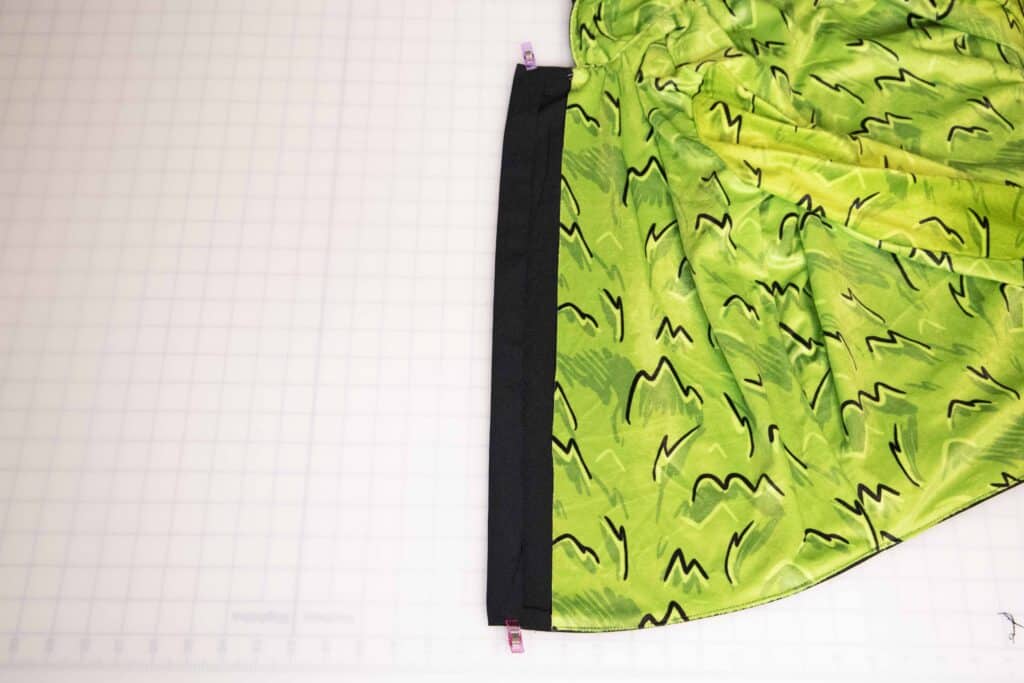
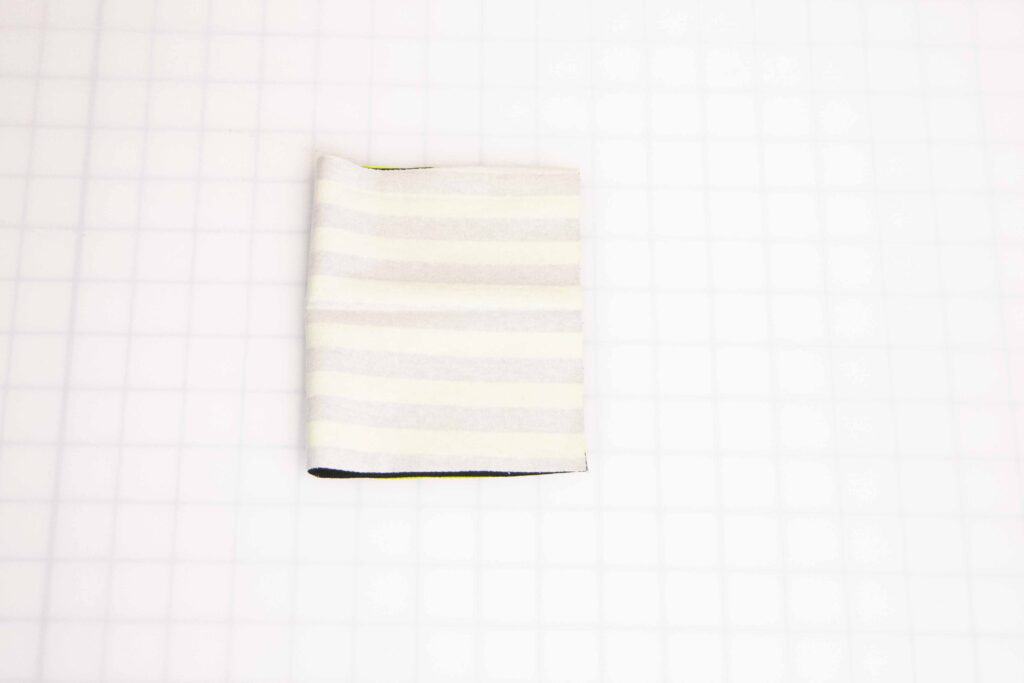
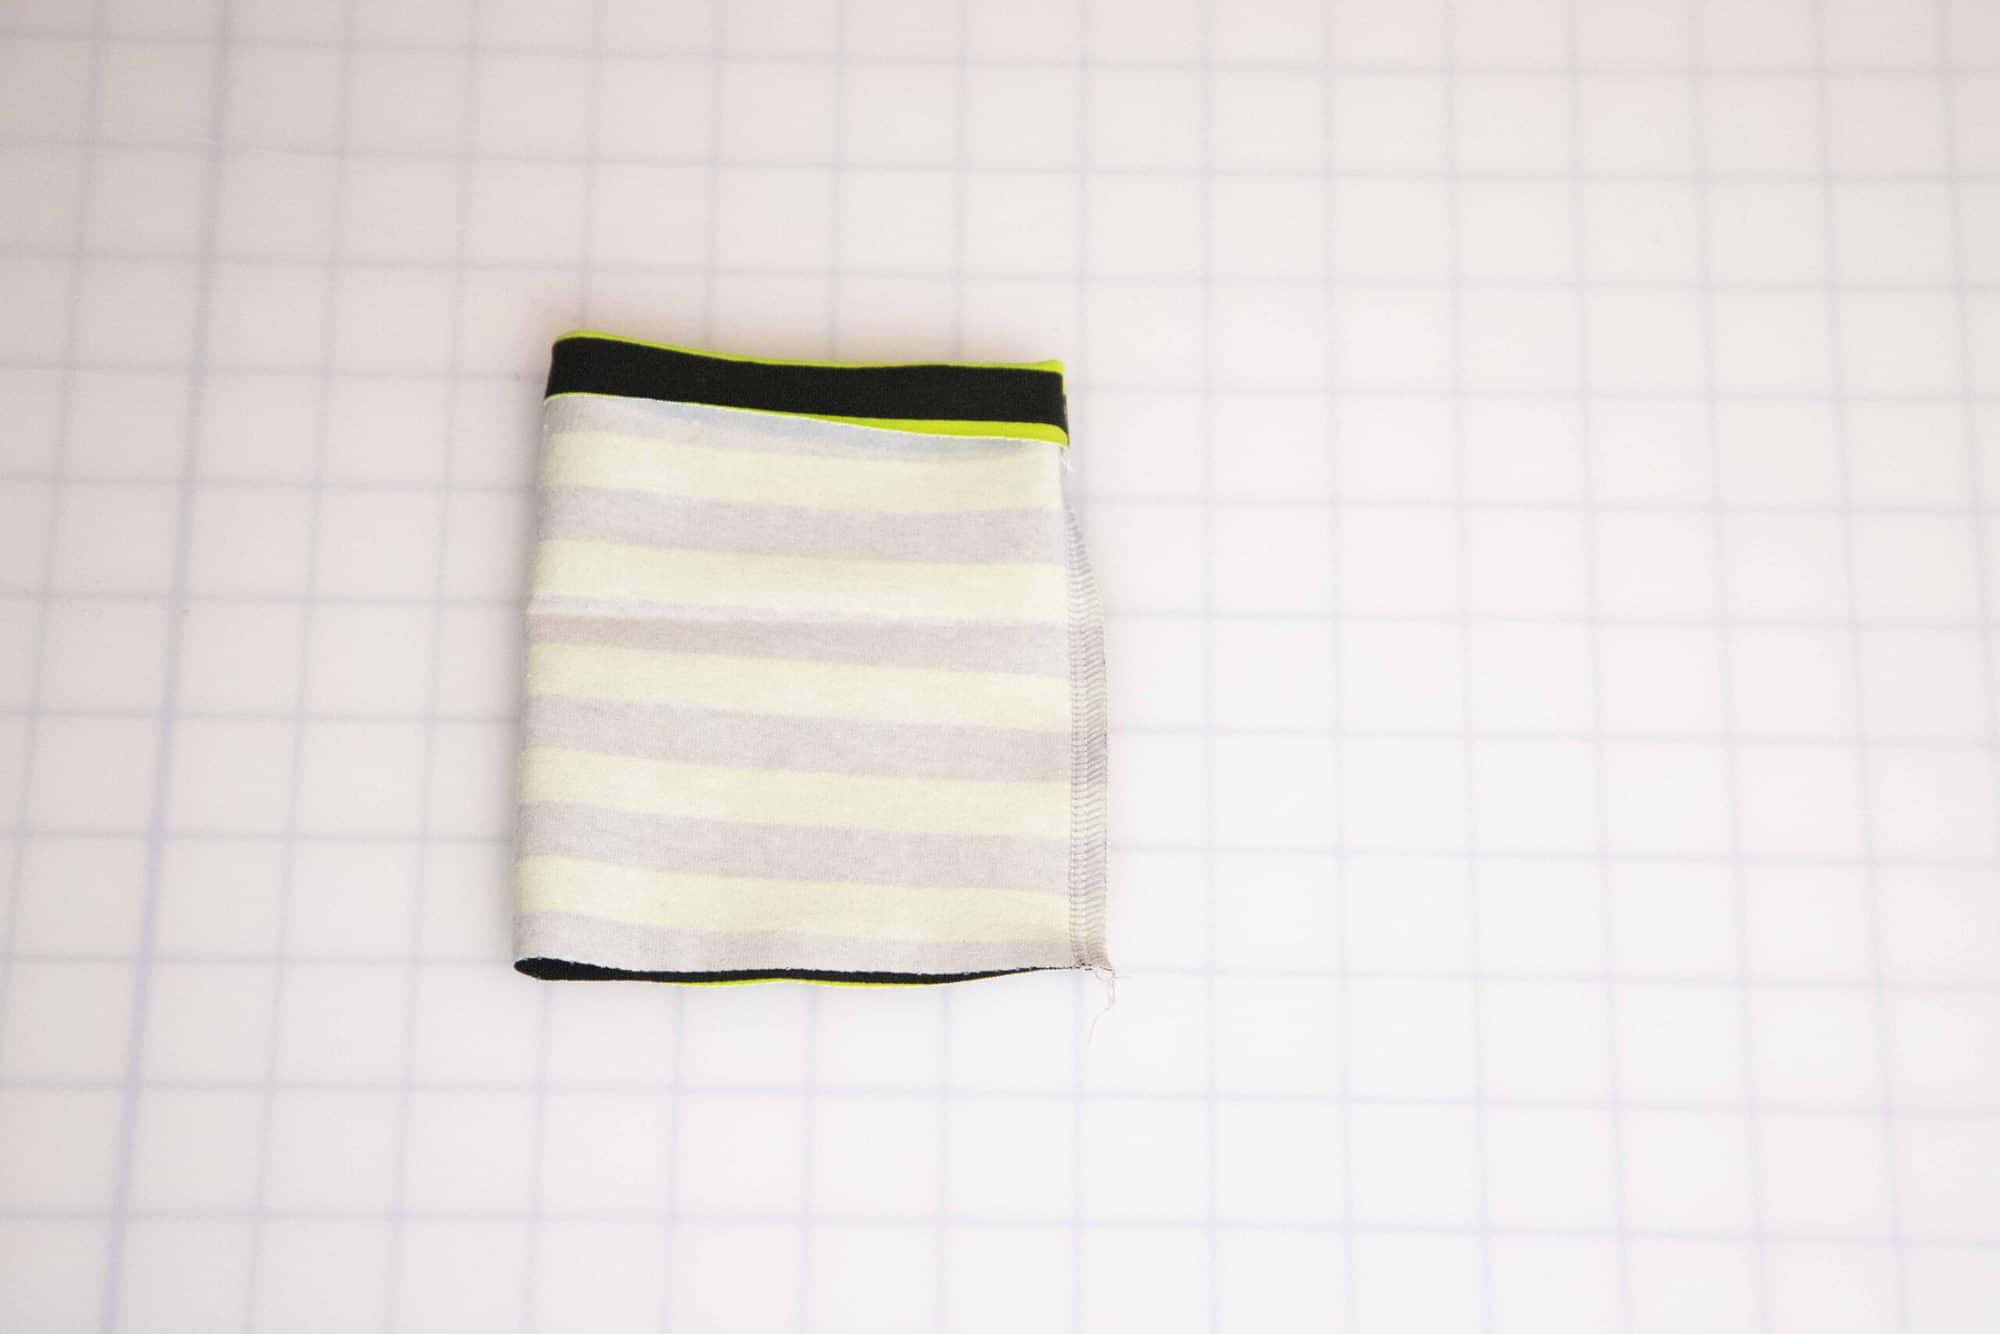
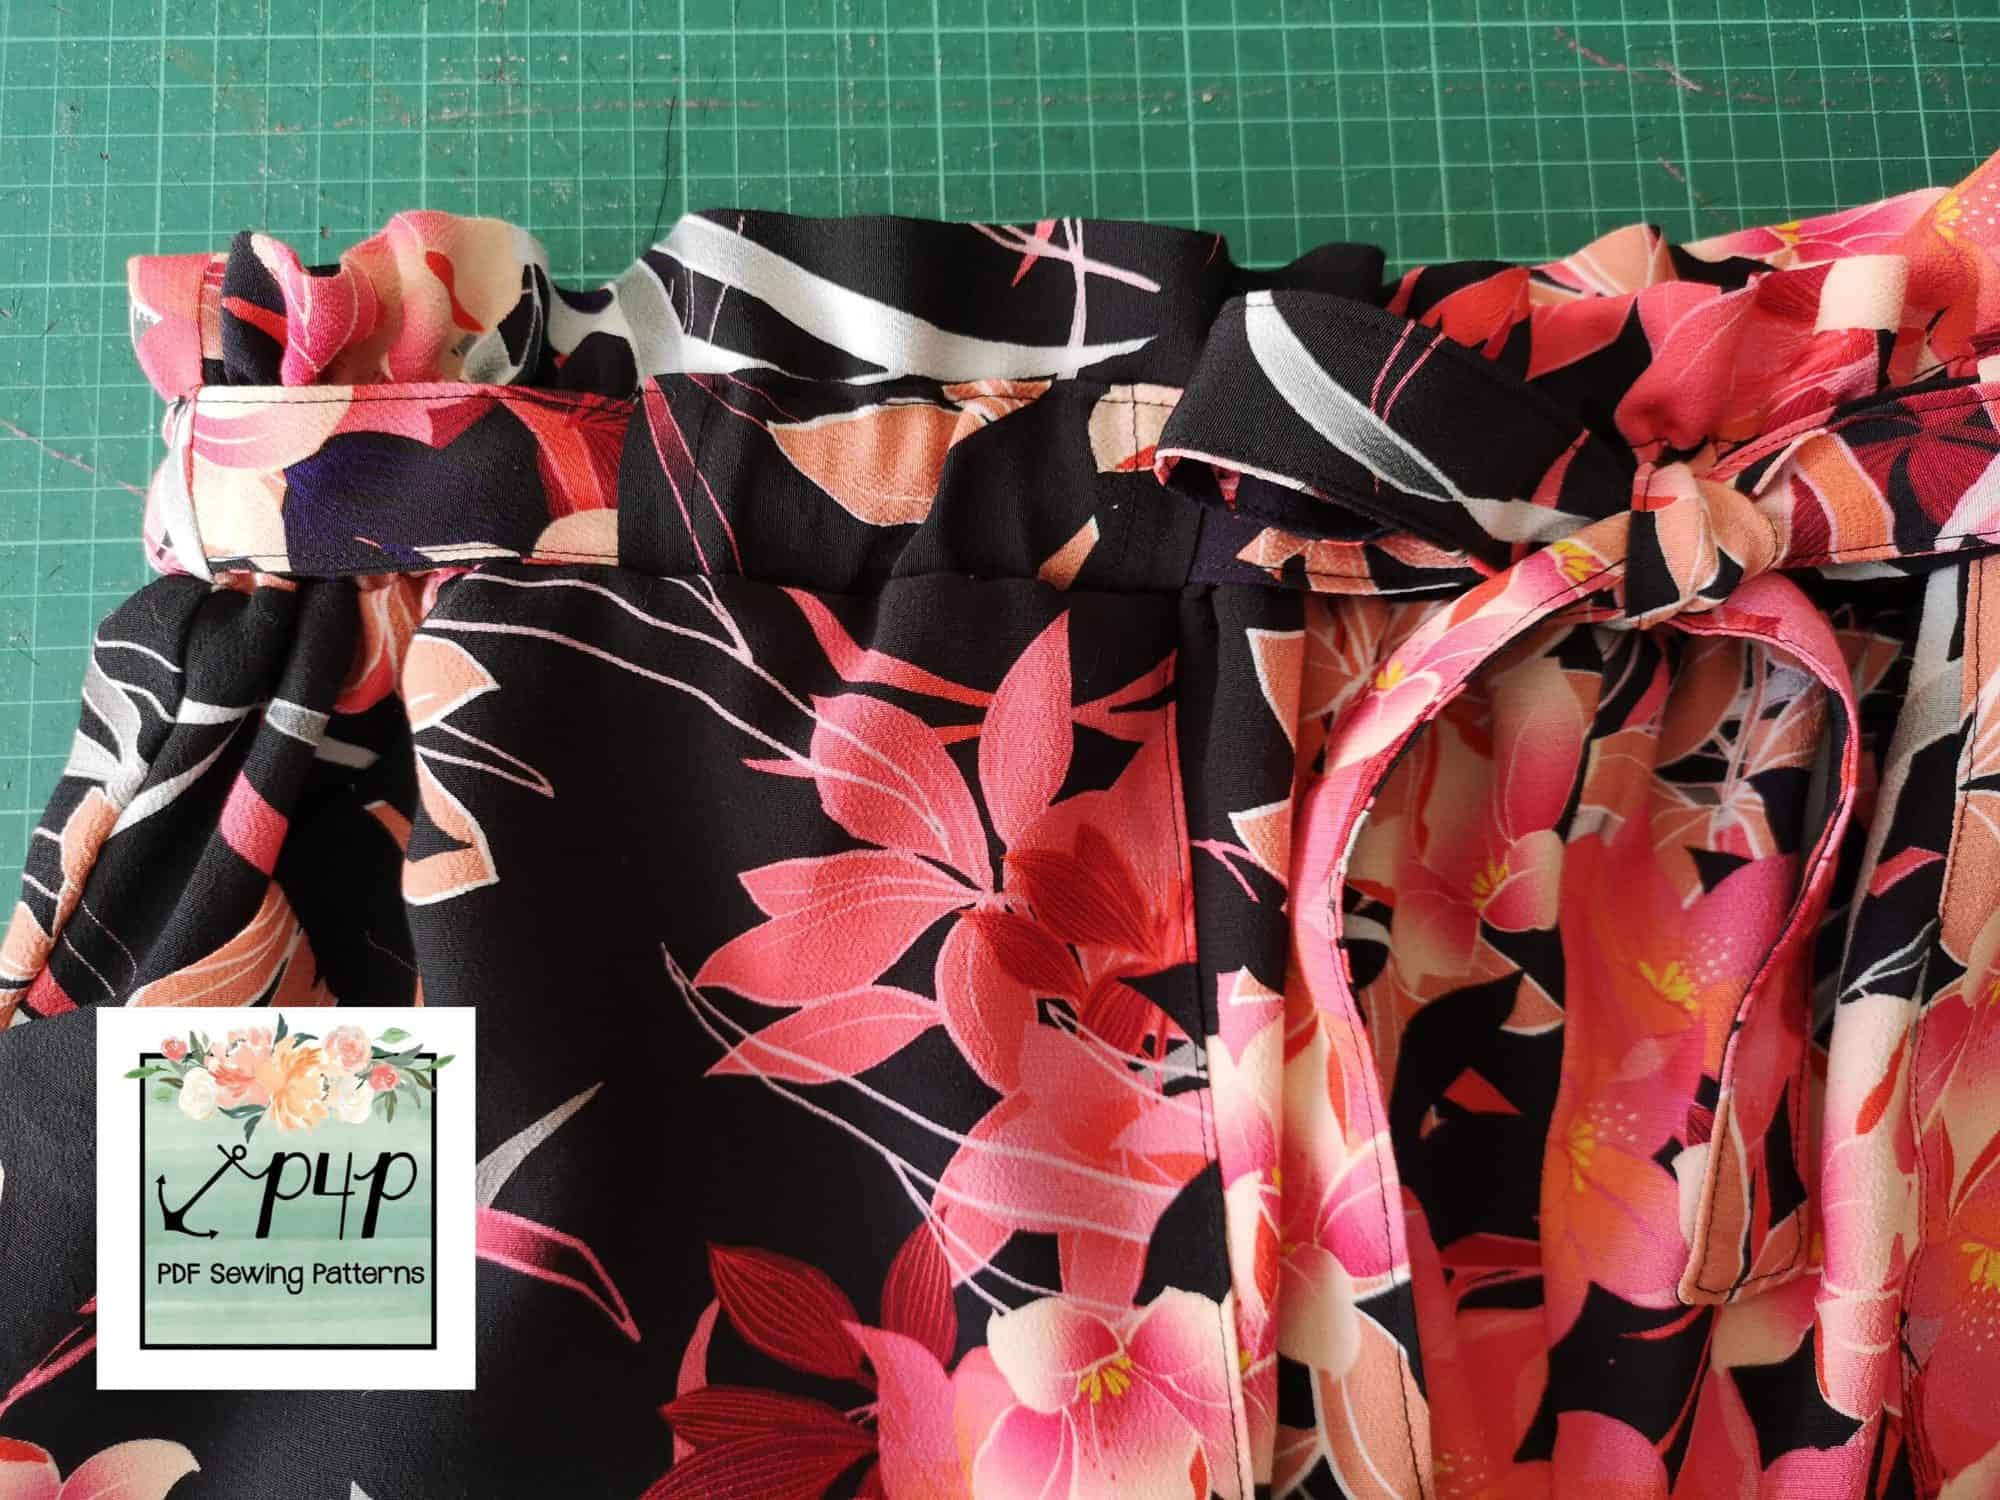
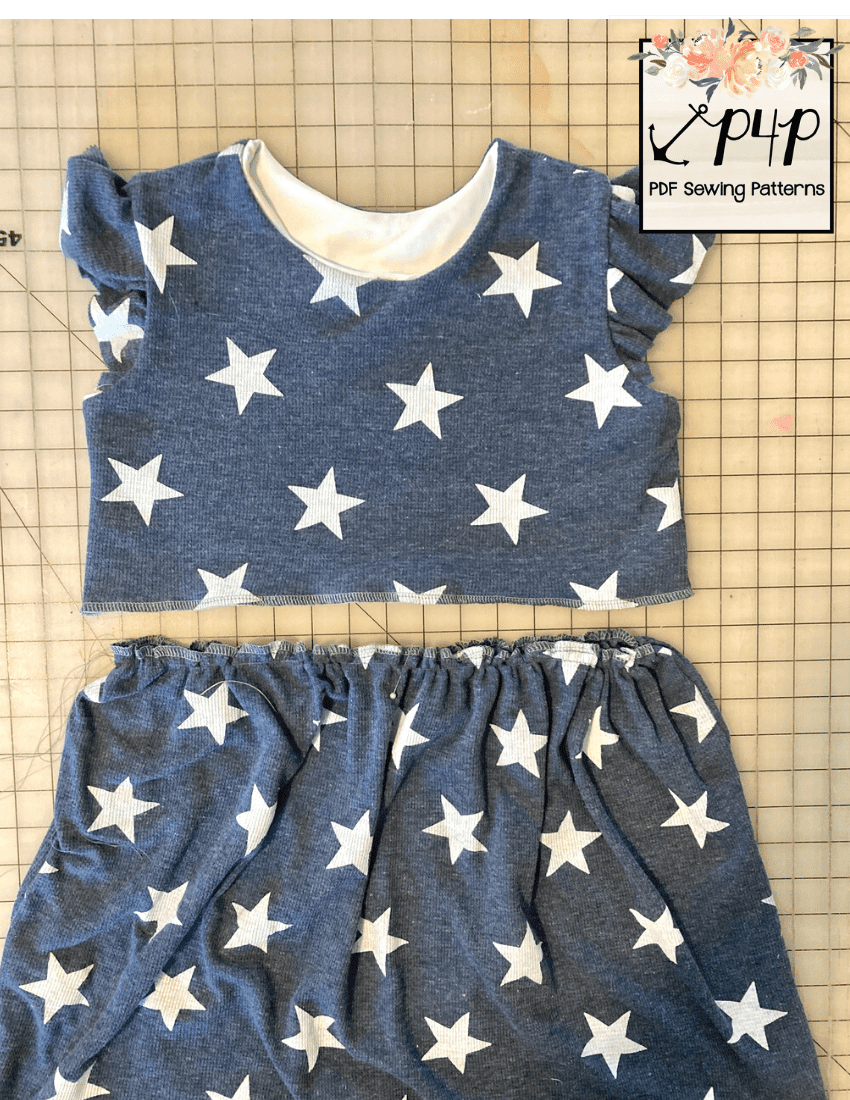
Then simply construct your skirt according to the tutorial for the All Gather Round but instead of attaching it to the bodice you attach it to the waistband. It really couldn’t be easier!
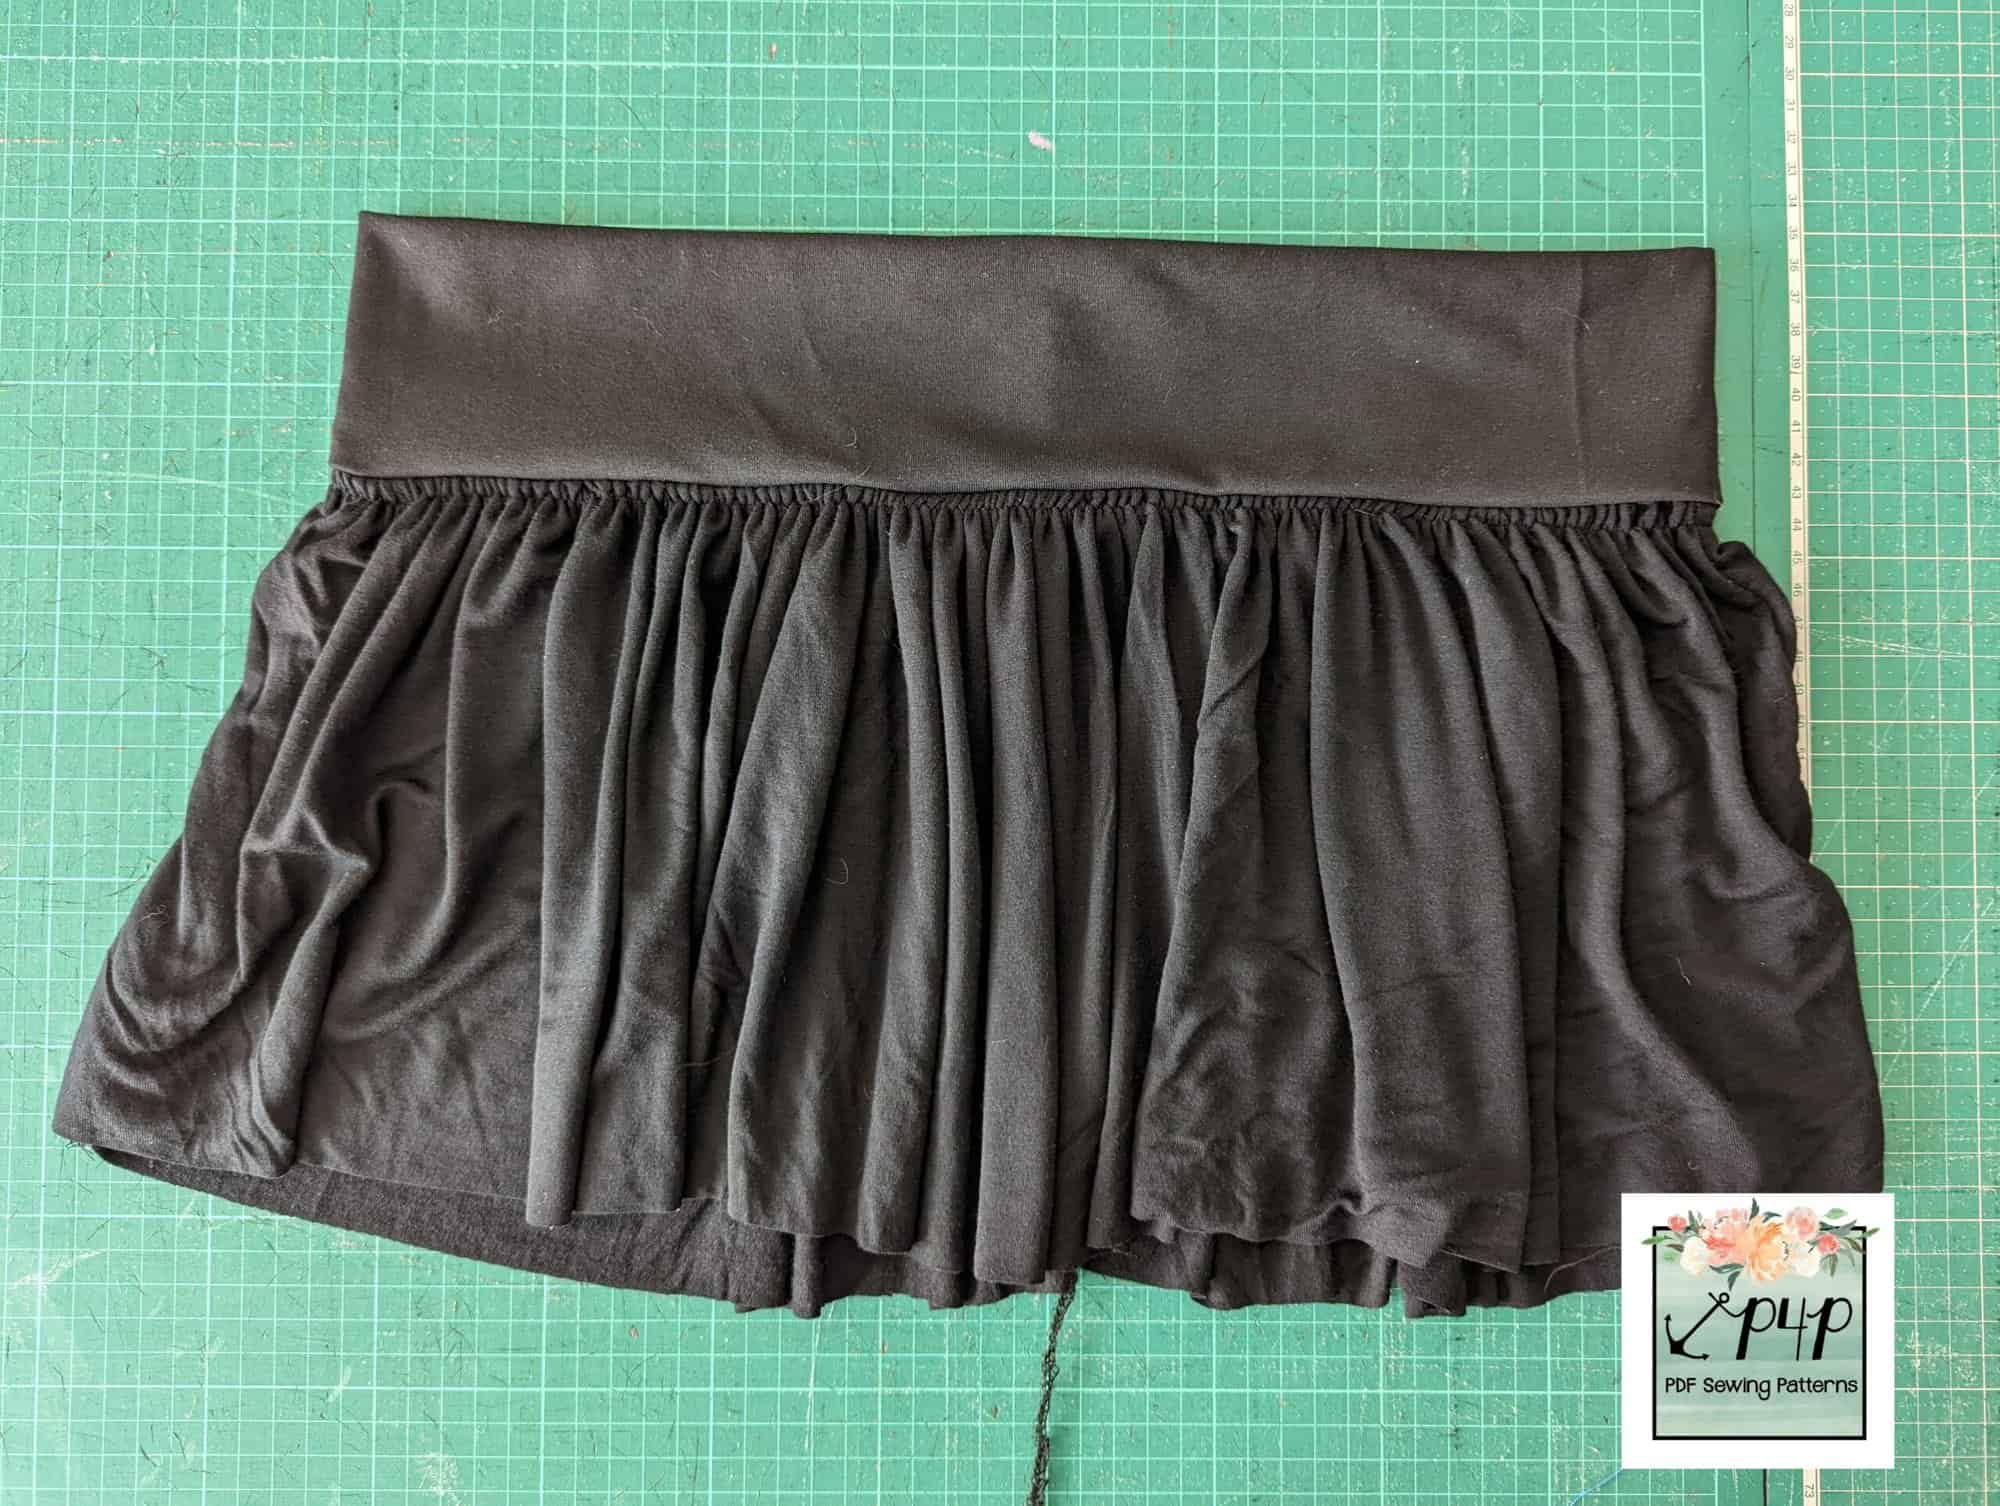
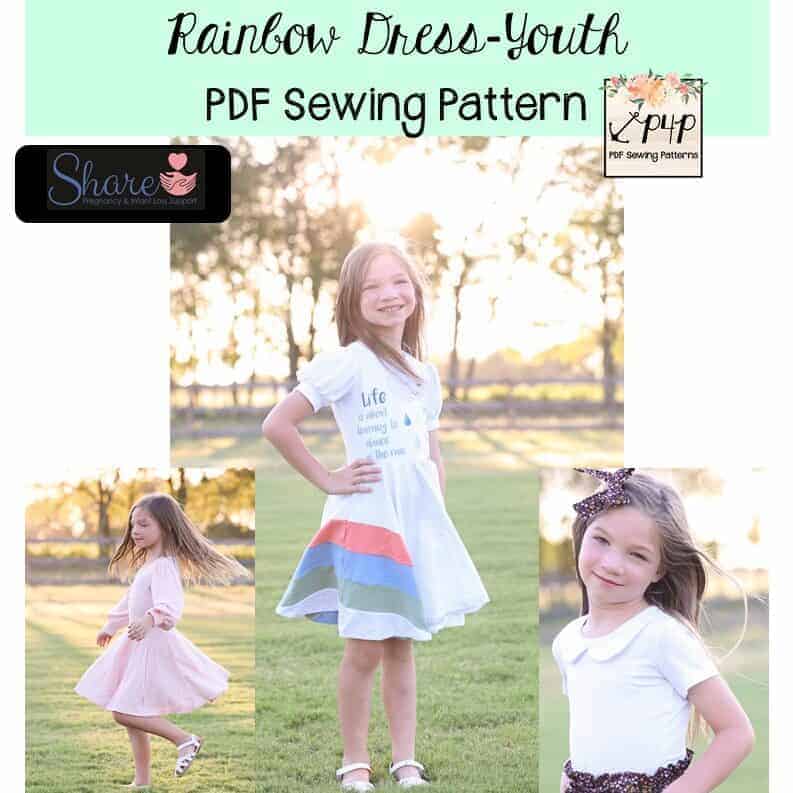
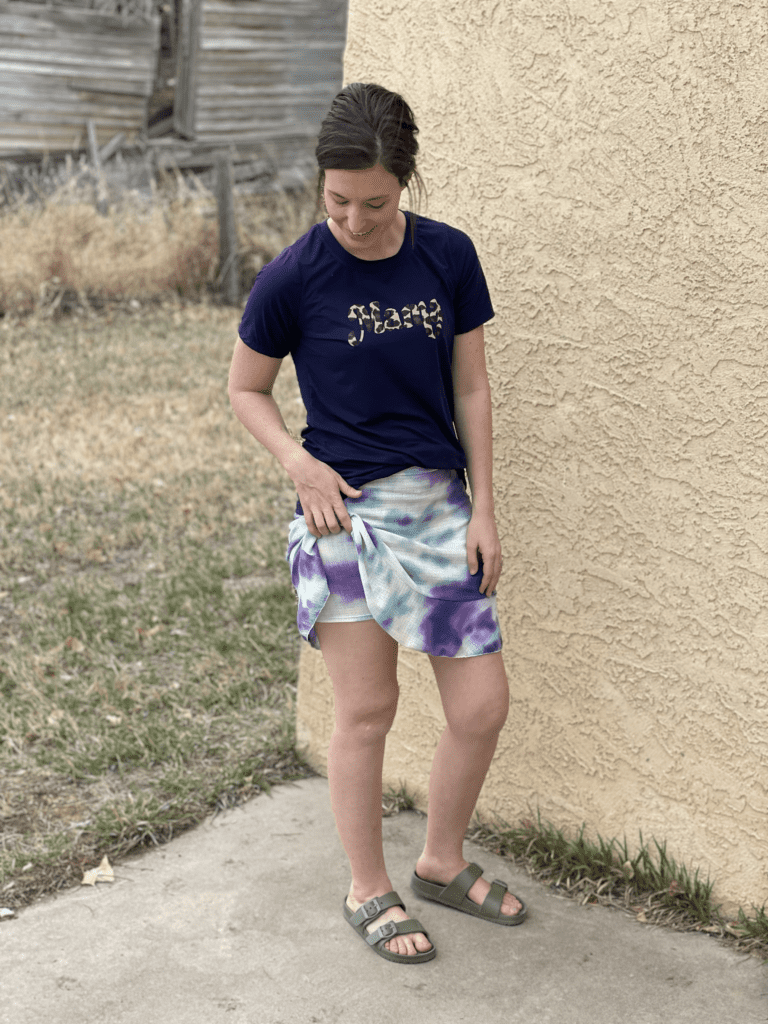
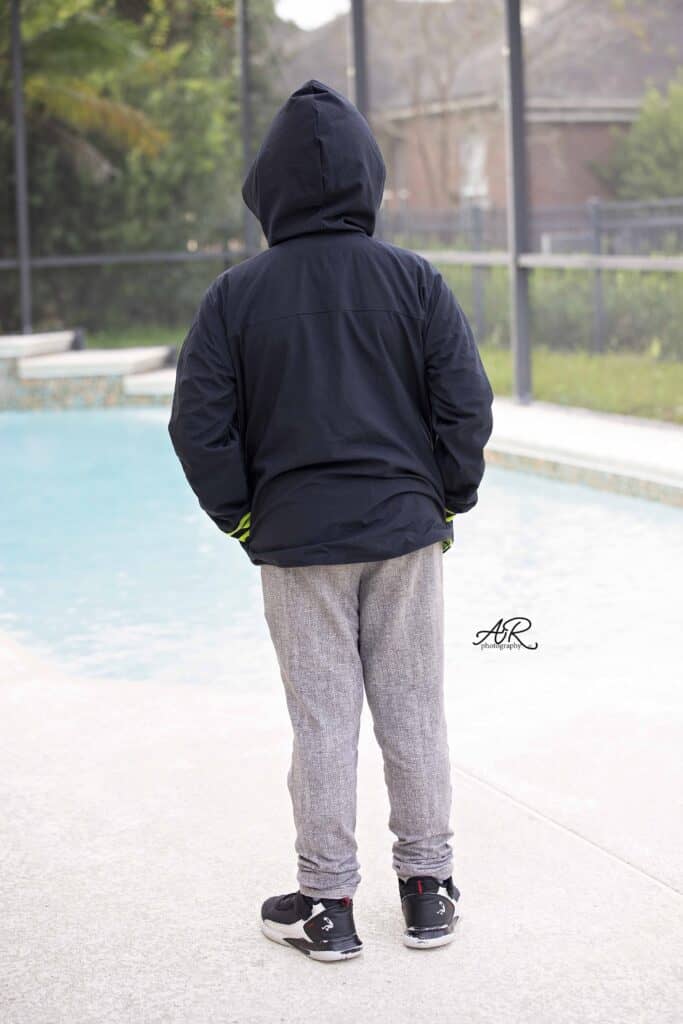
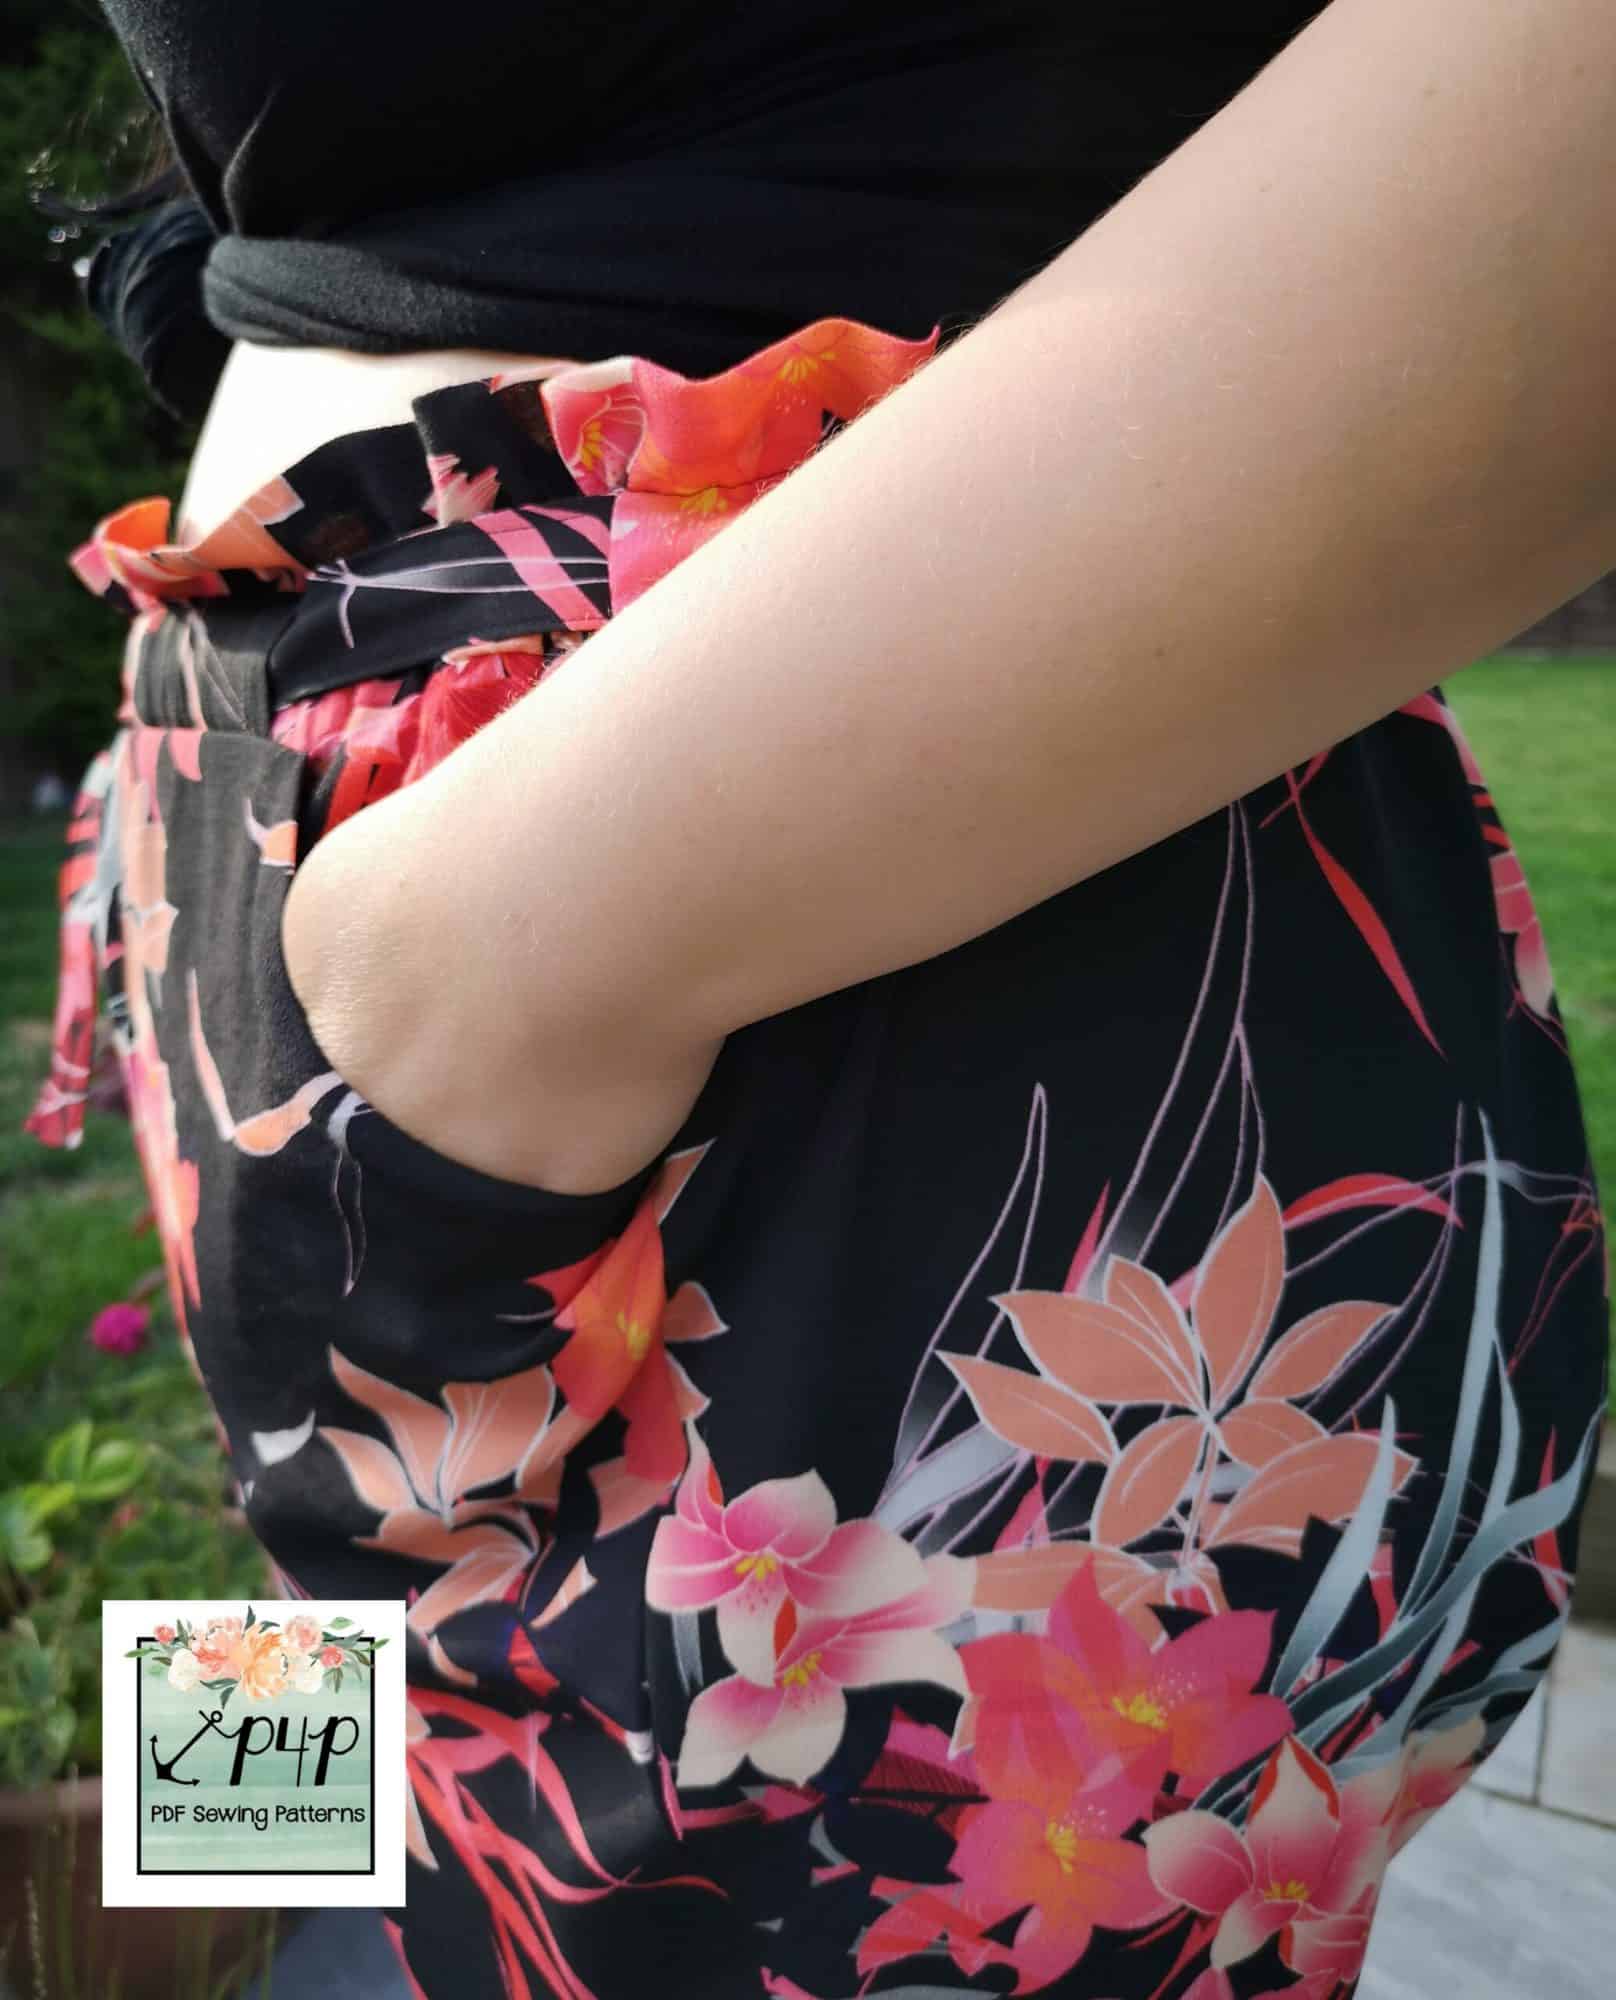
Give it a good press with some steam to help the gathers behave, and you’re all done. Enjoy your new twirly, swirly skirt! I’m wearing this with the crop length top from the Rainbow Dress Pattern

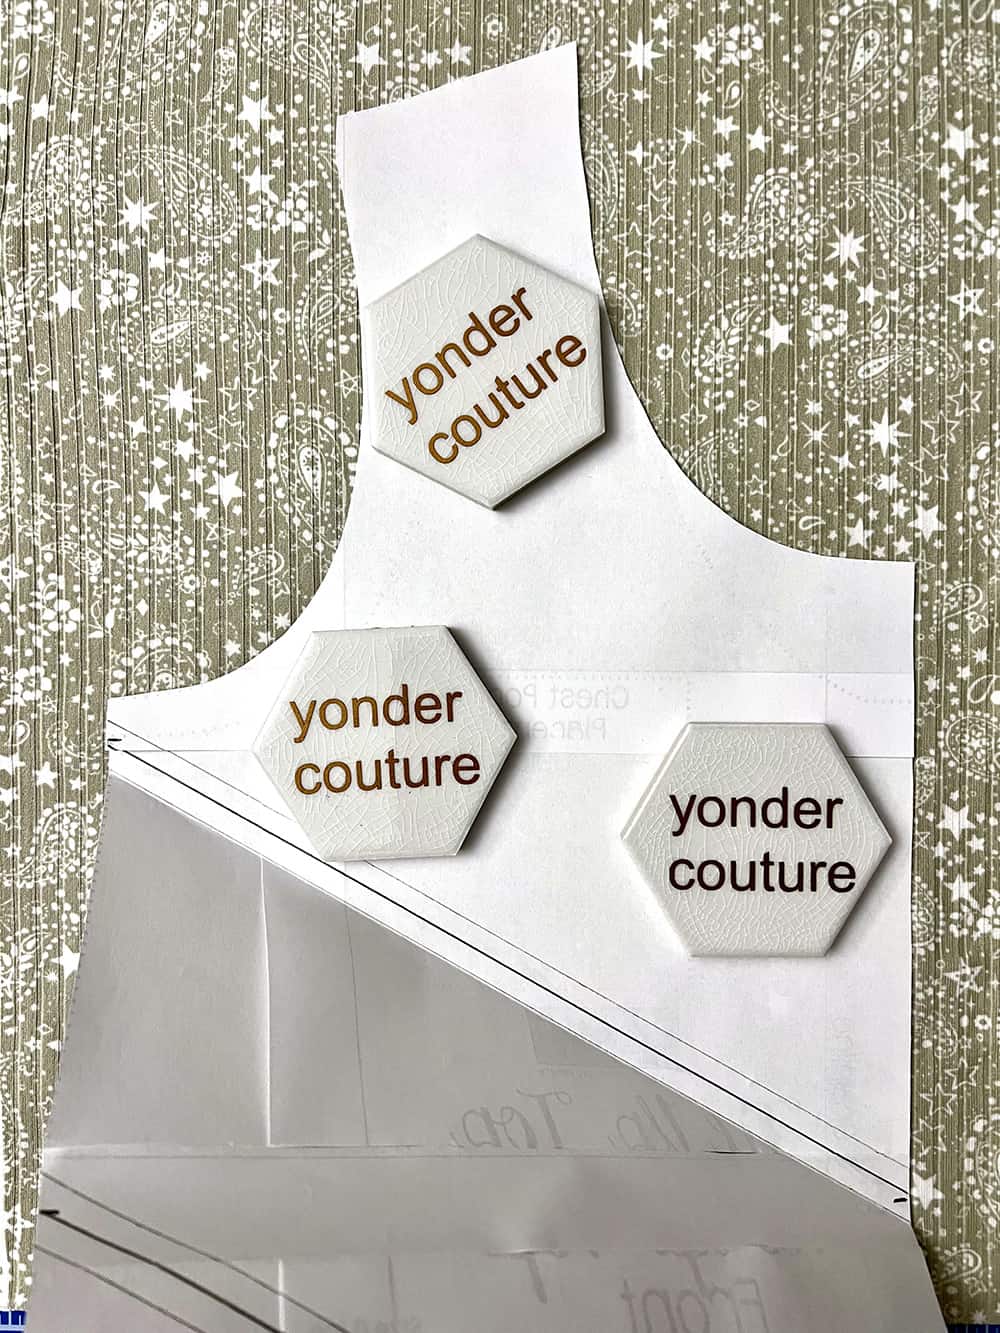
Exposed Seam Hack:
I have been seeing dresses and tops with exposed seams everywhere lately, and a hack showcasing this fun trend could not be simpler!
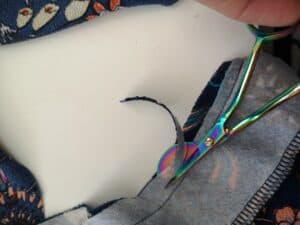
First, choose your options for the Gather ’round Dress, and complete the steps up to Step 4. That means you’ll be constructing your bodice, adding optional pockets if desired and sewing the side seams of your skirt tiers.
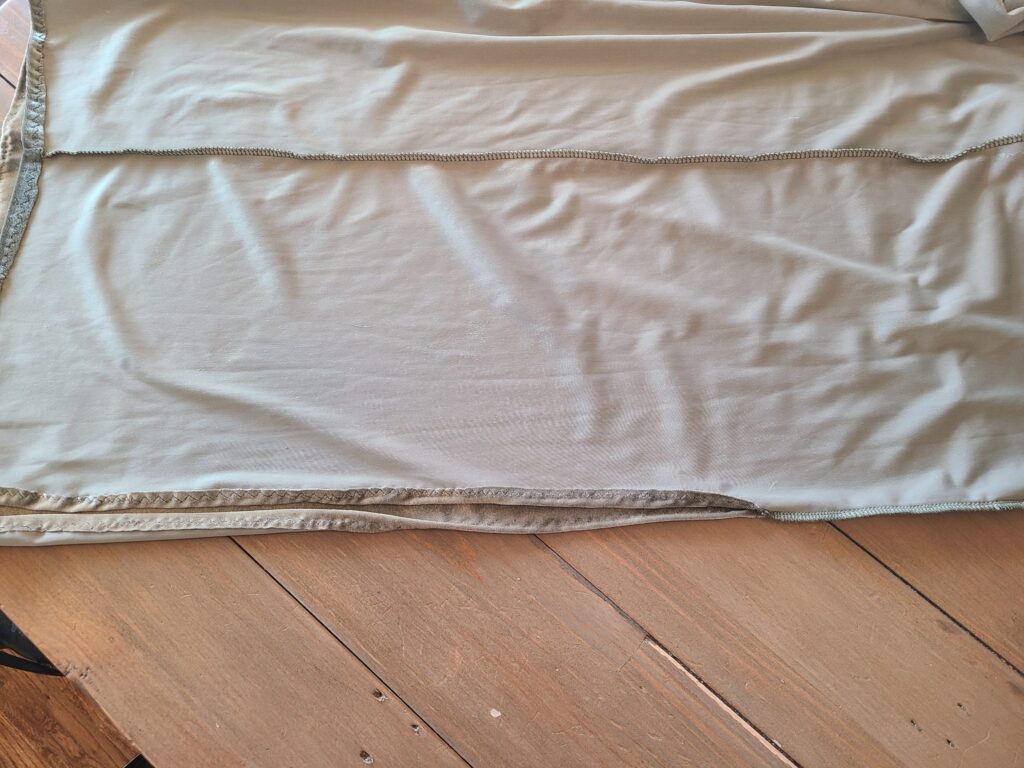
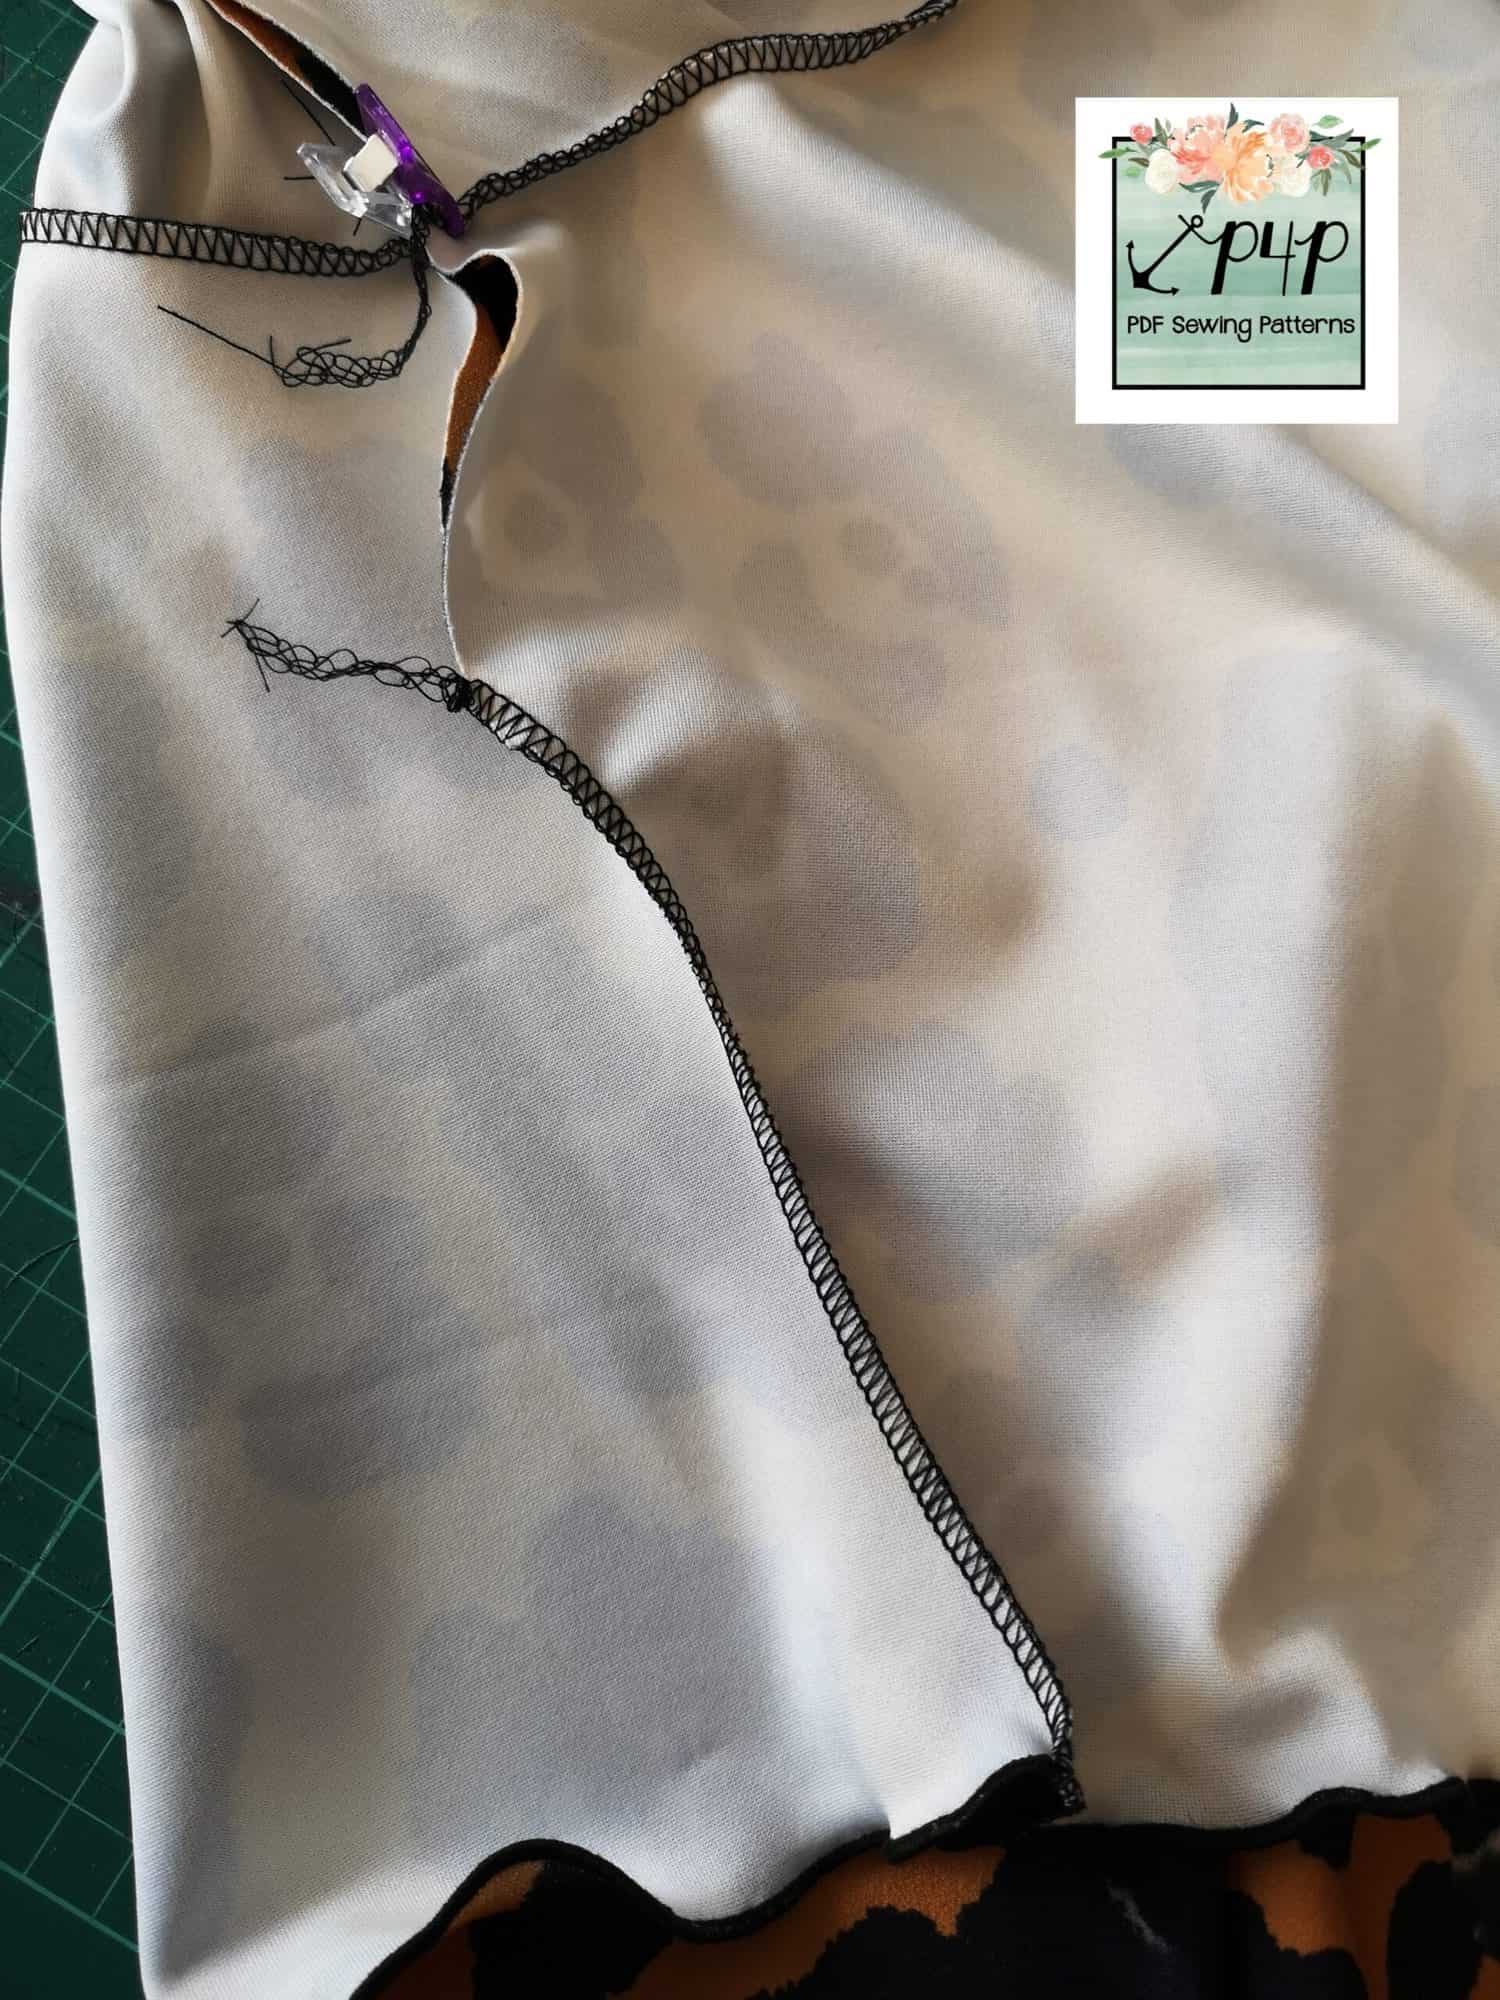
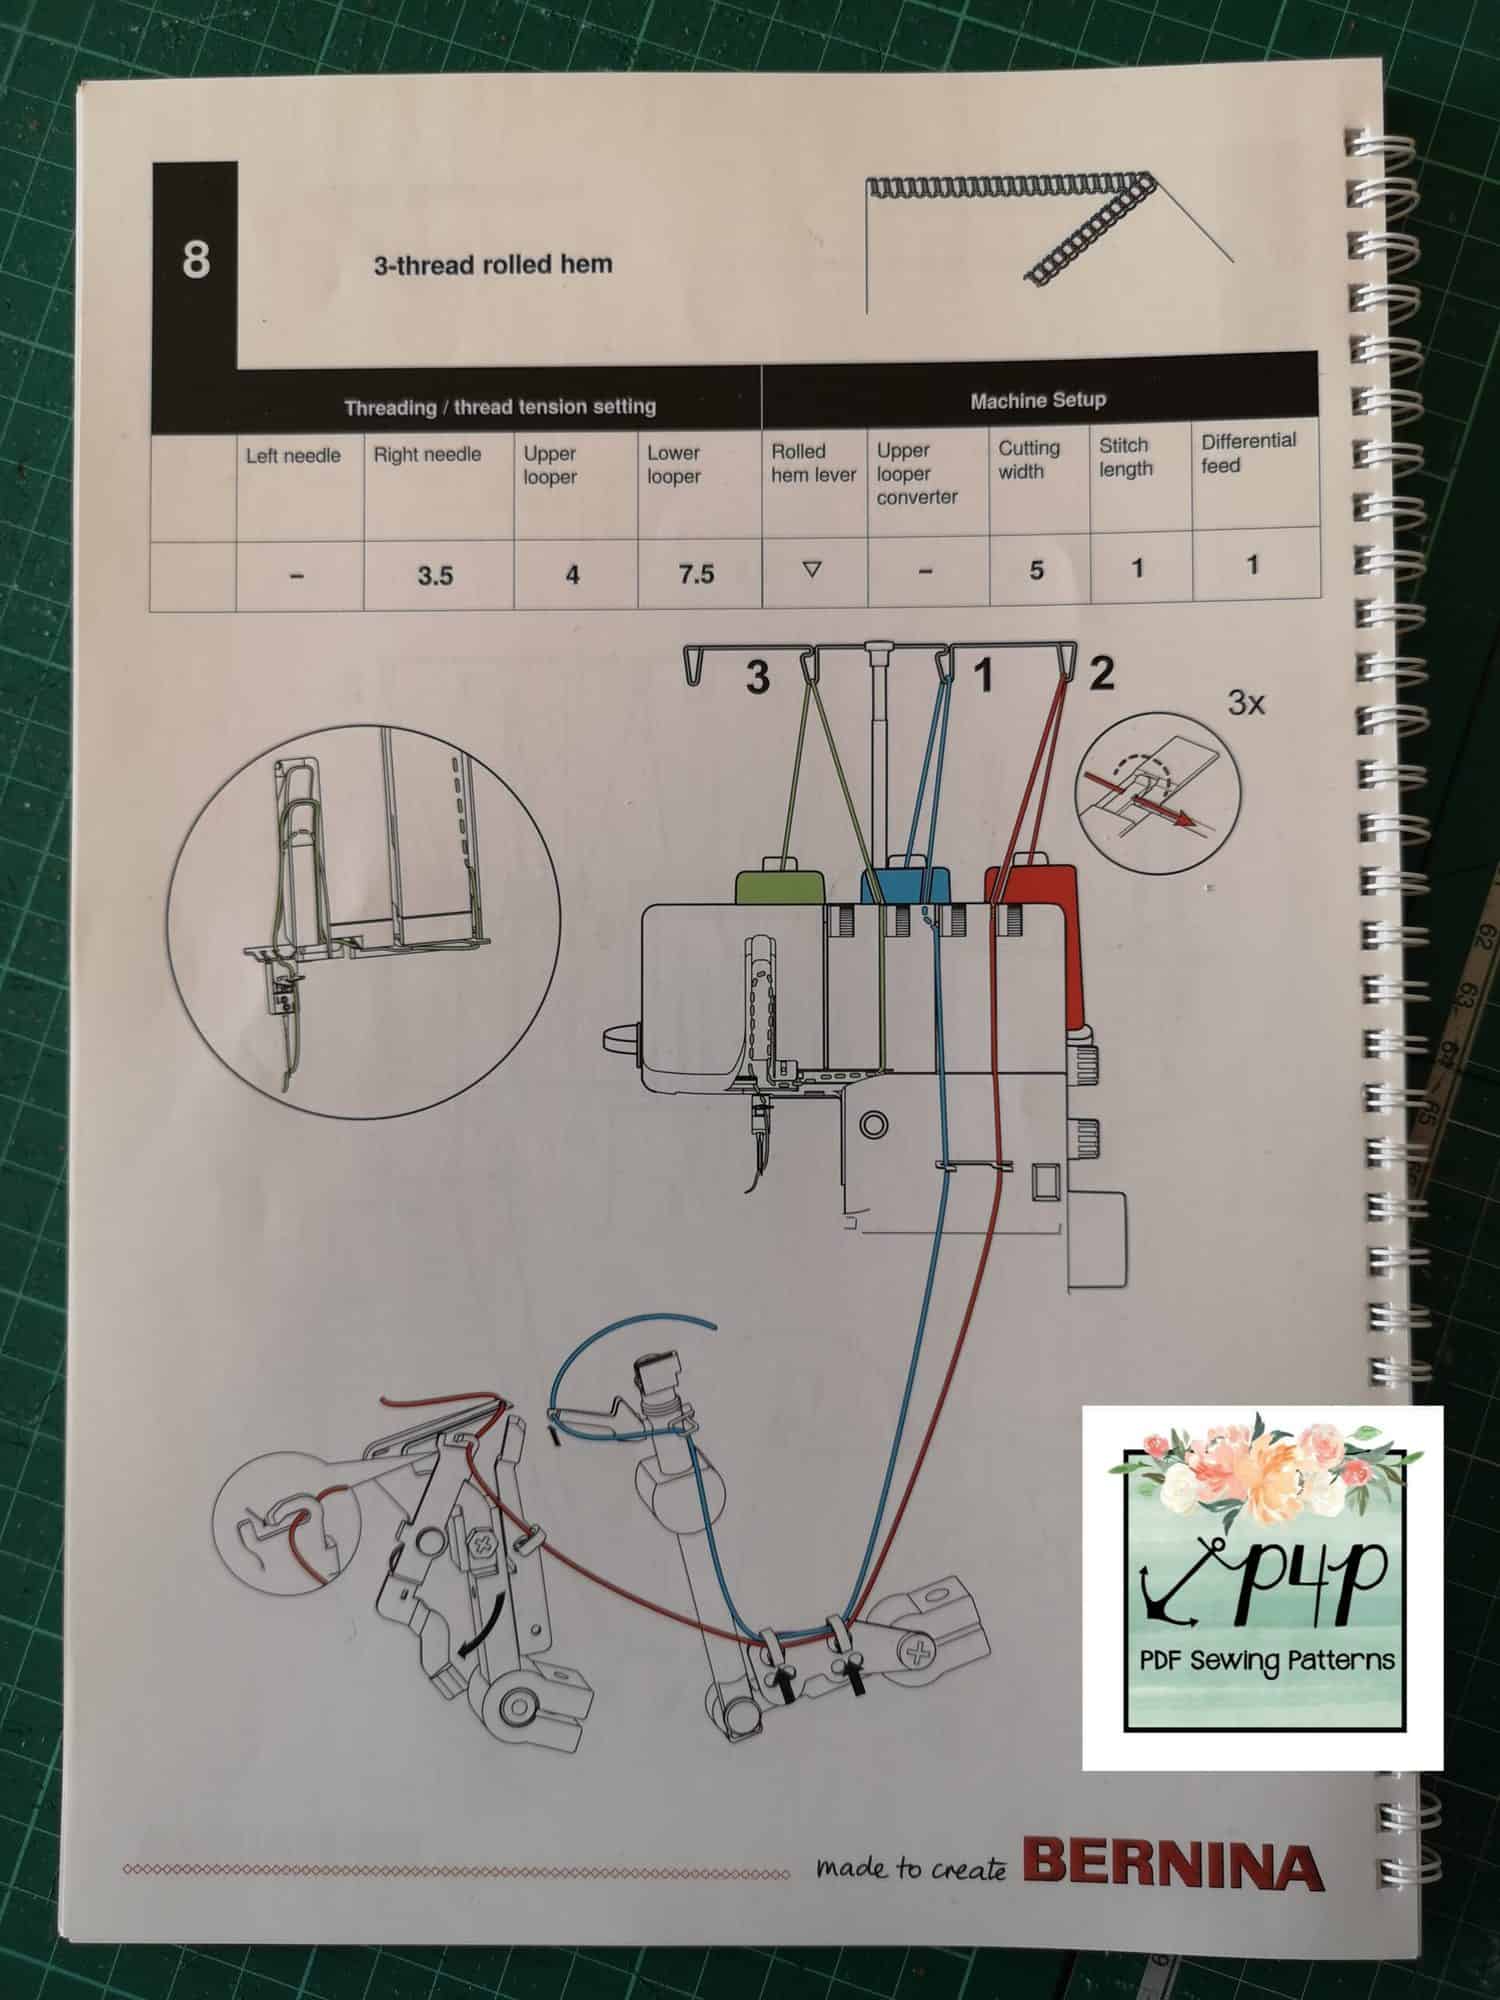
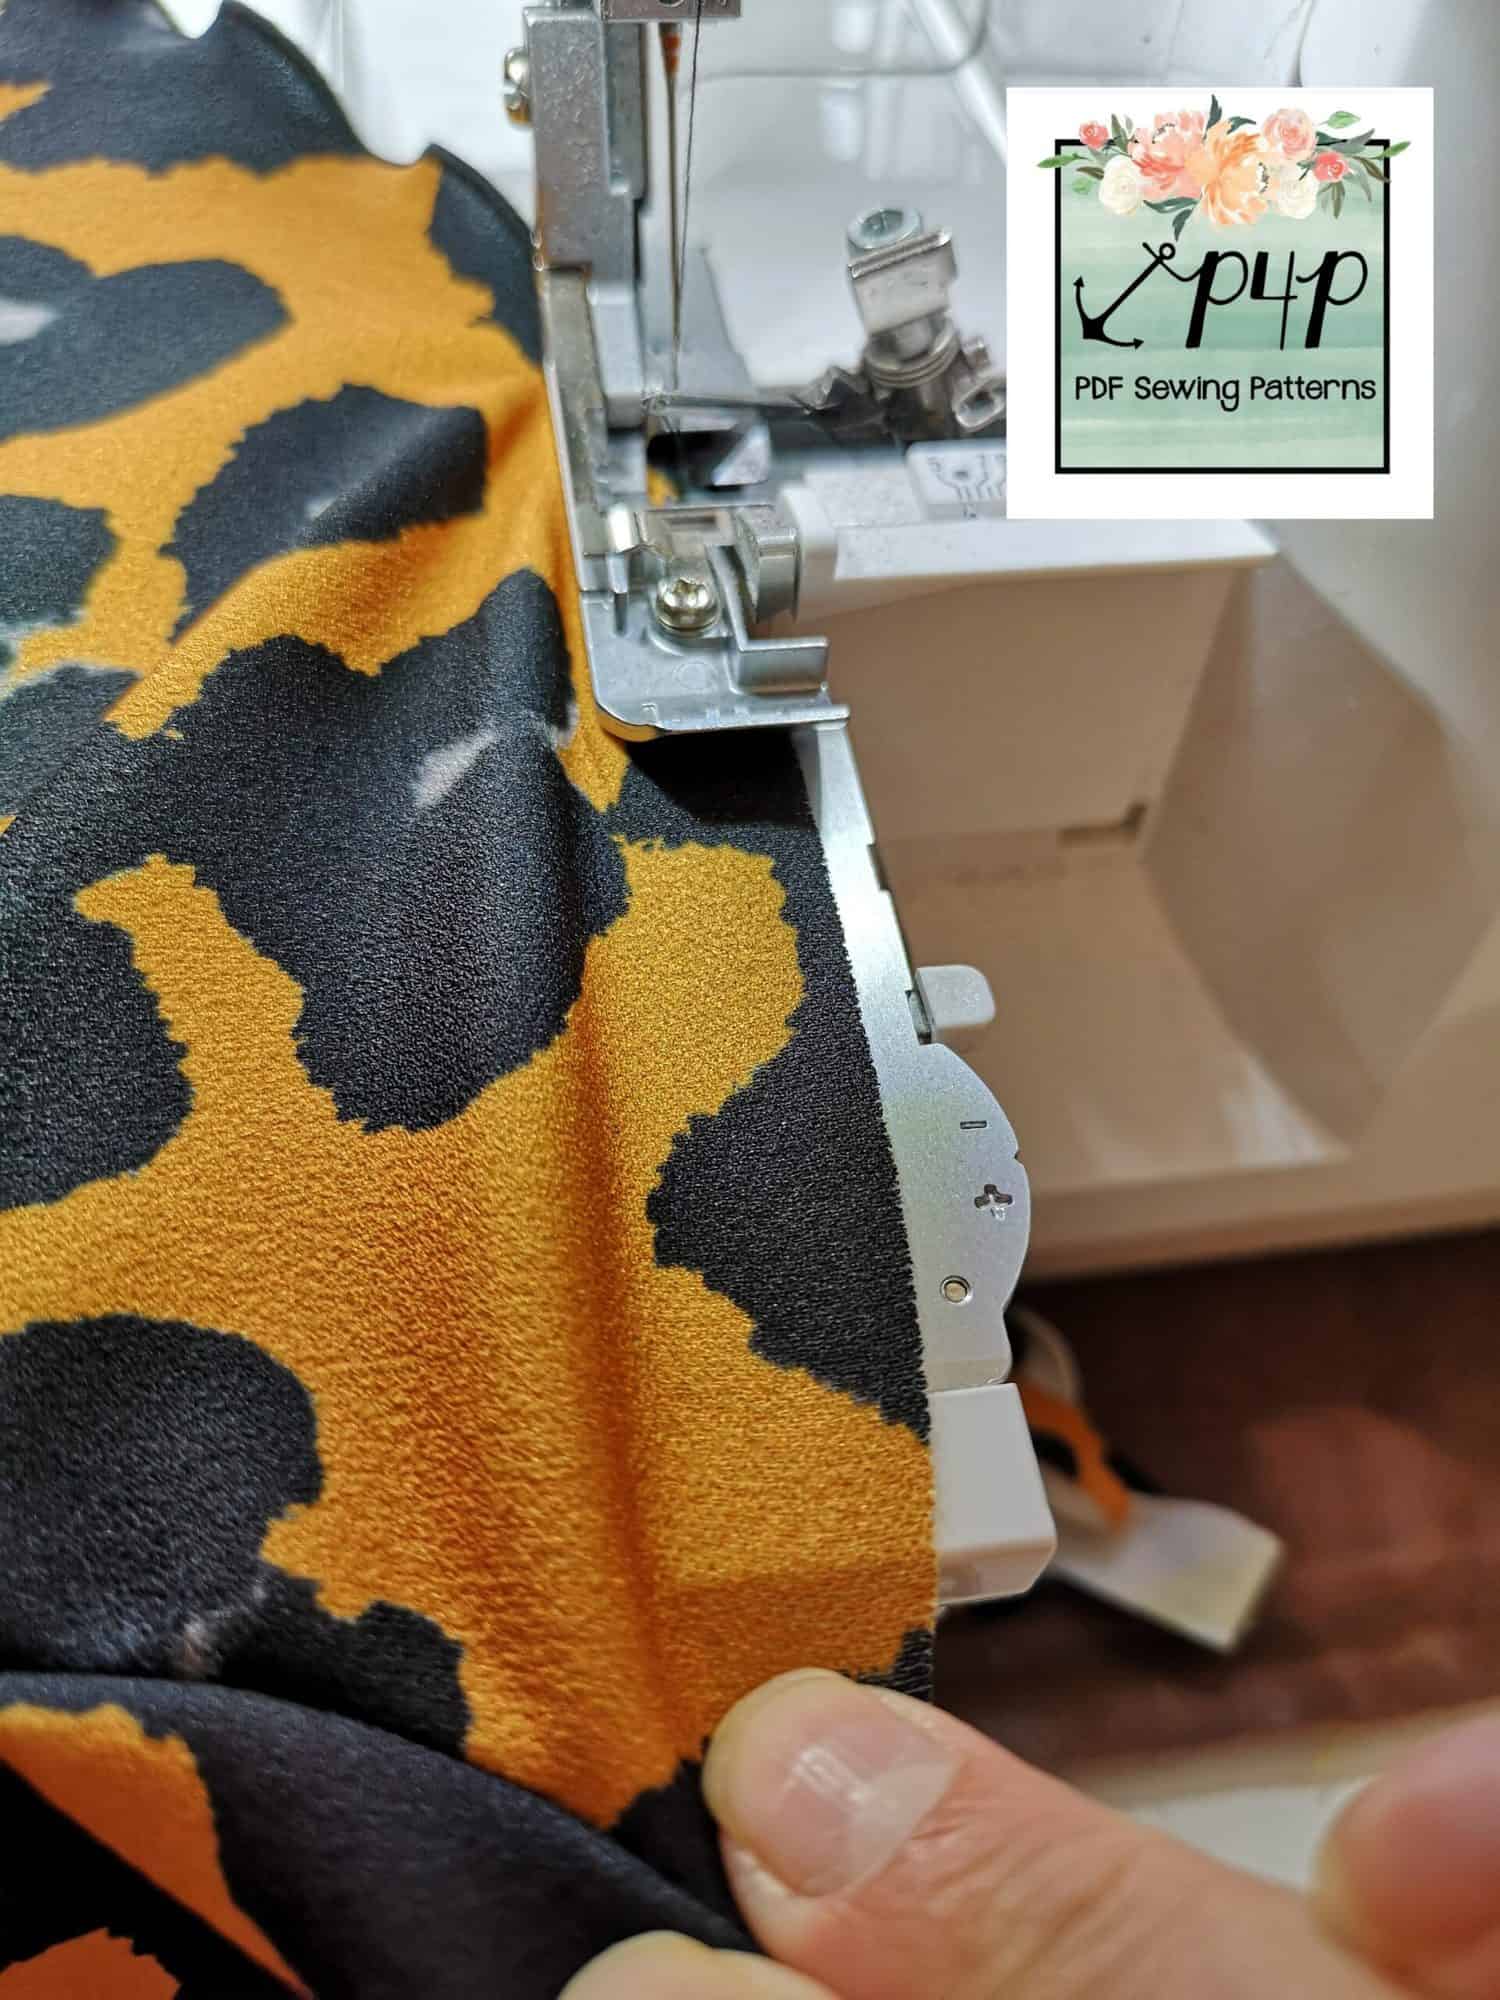
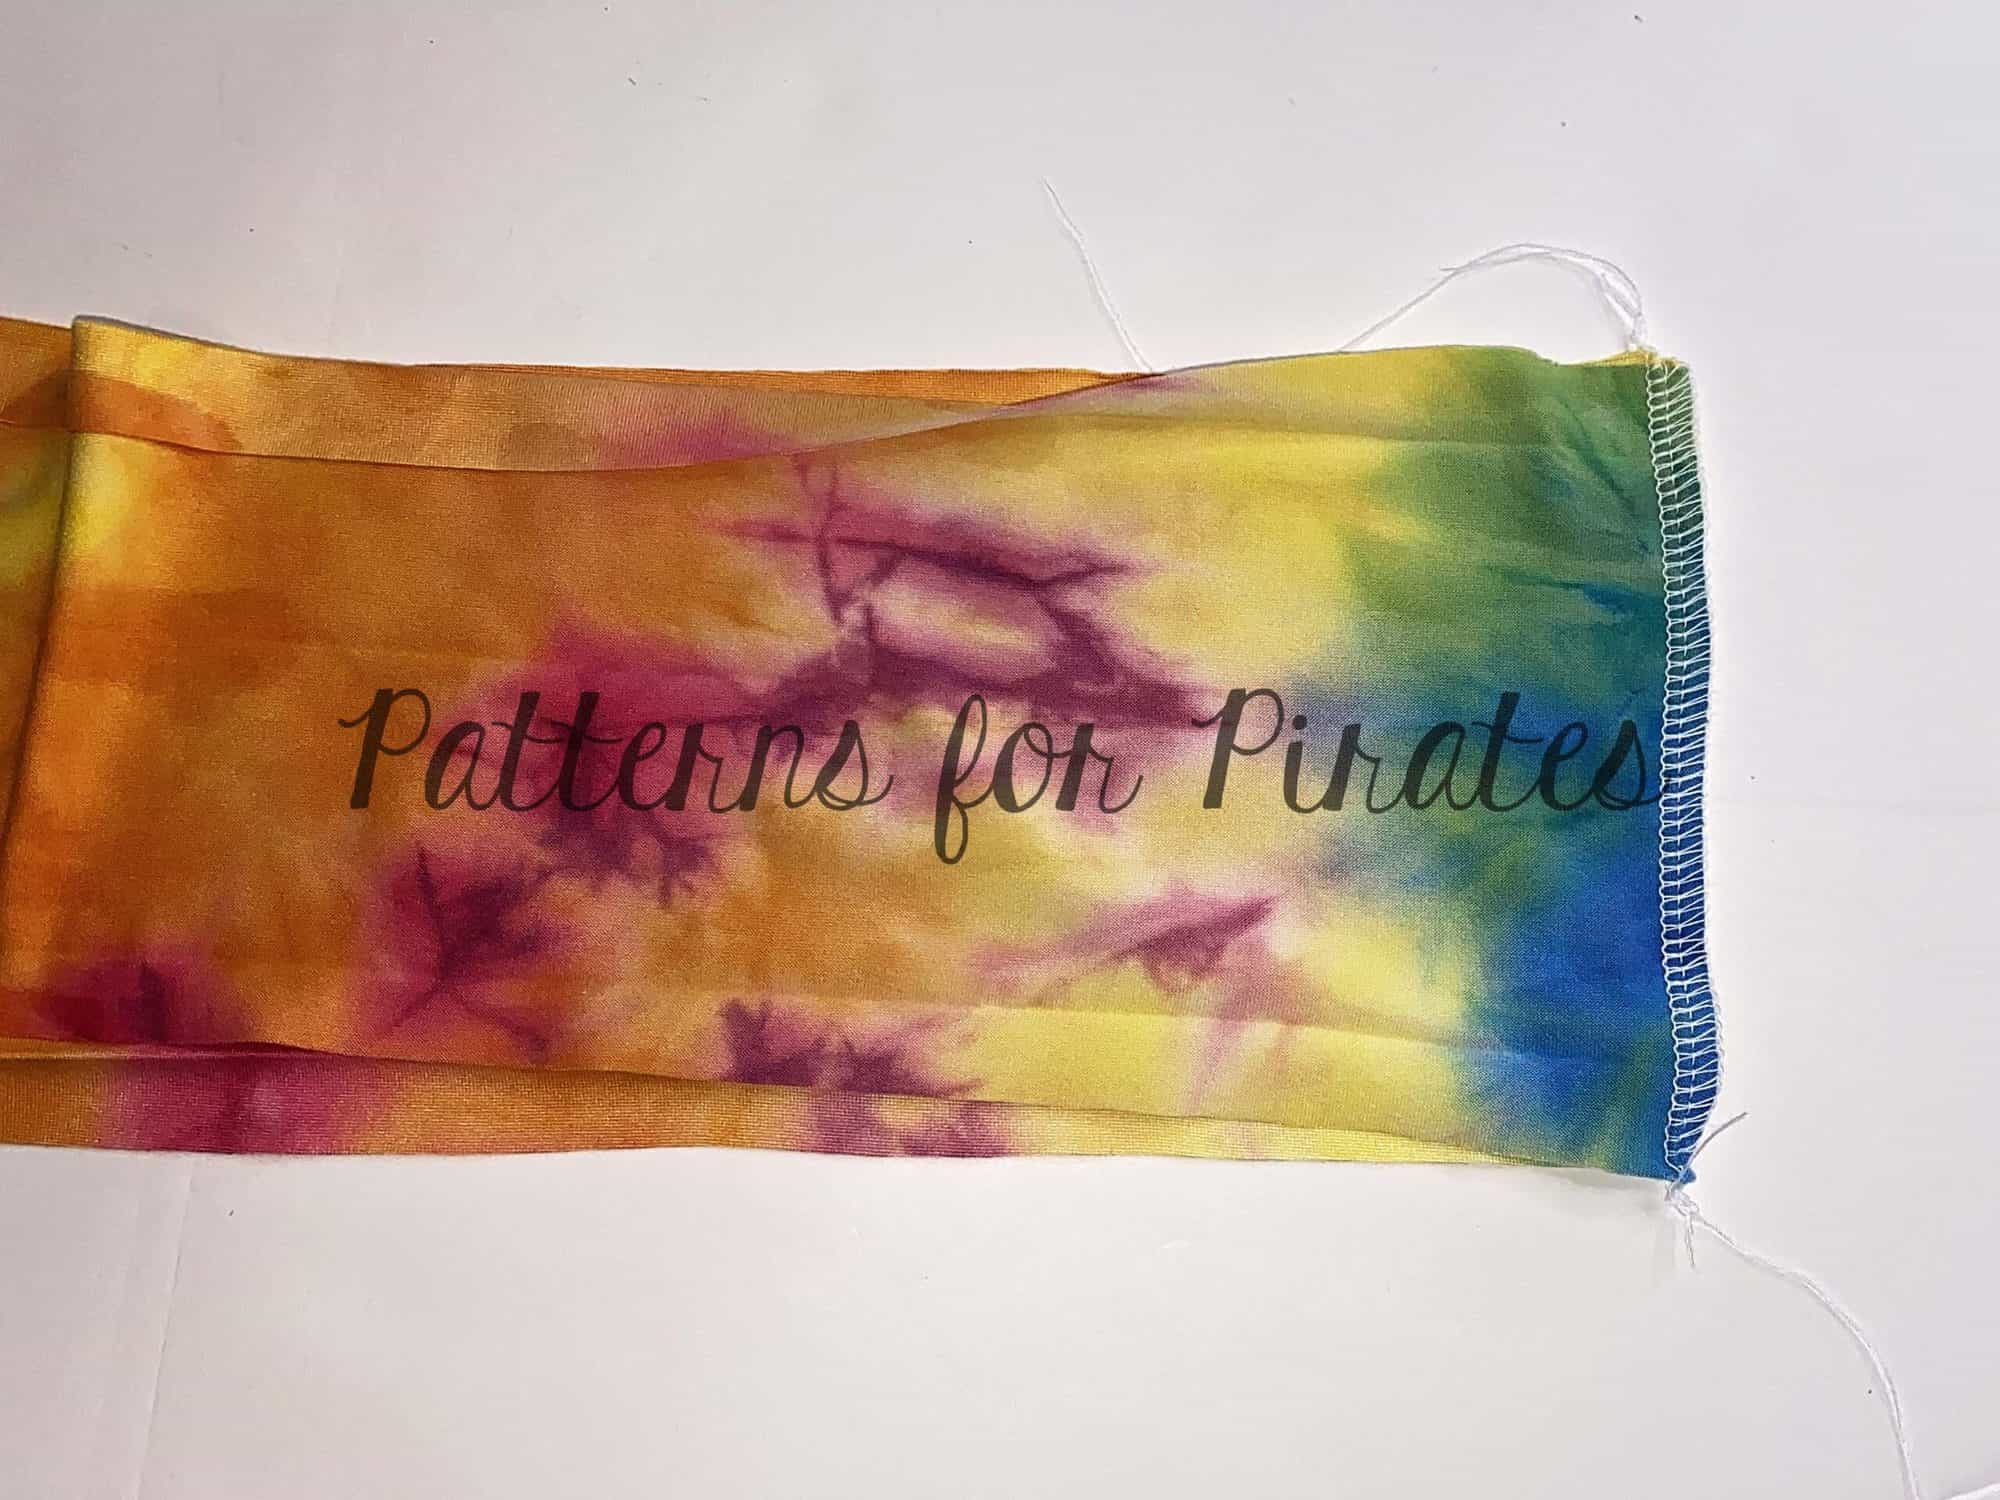
At this point, you may choose to finish the raw edges of your skirt tiers, as these will be exposed once the dress is complete. This is completely up to you! I chose to do so on this version, because I like the more finished look it gave it, although leaving the edges raw is also just fine. Just make sure that if you do choose this option, to be careful NOT to cut any of the seam allowance off with your serger.
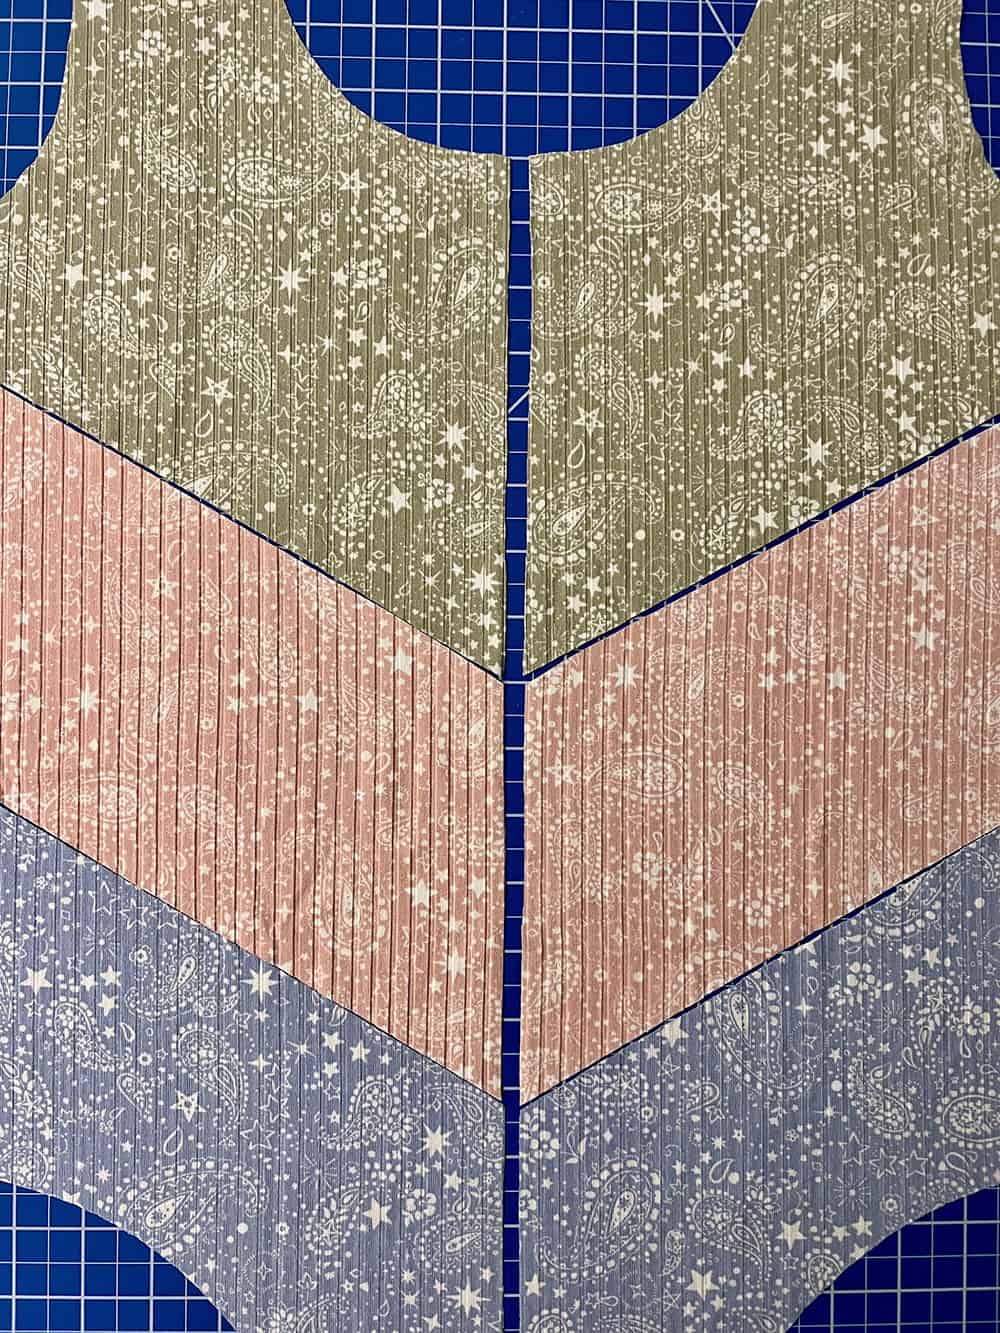
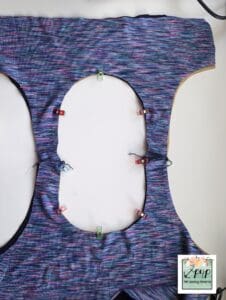
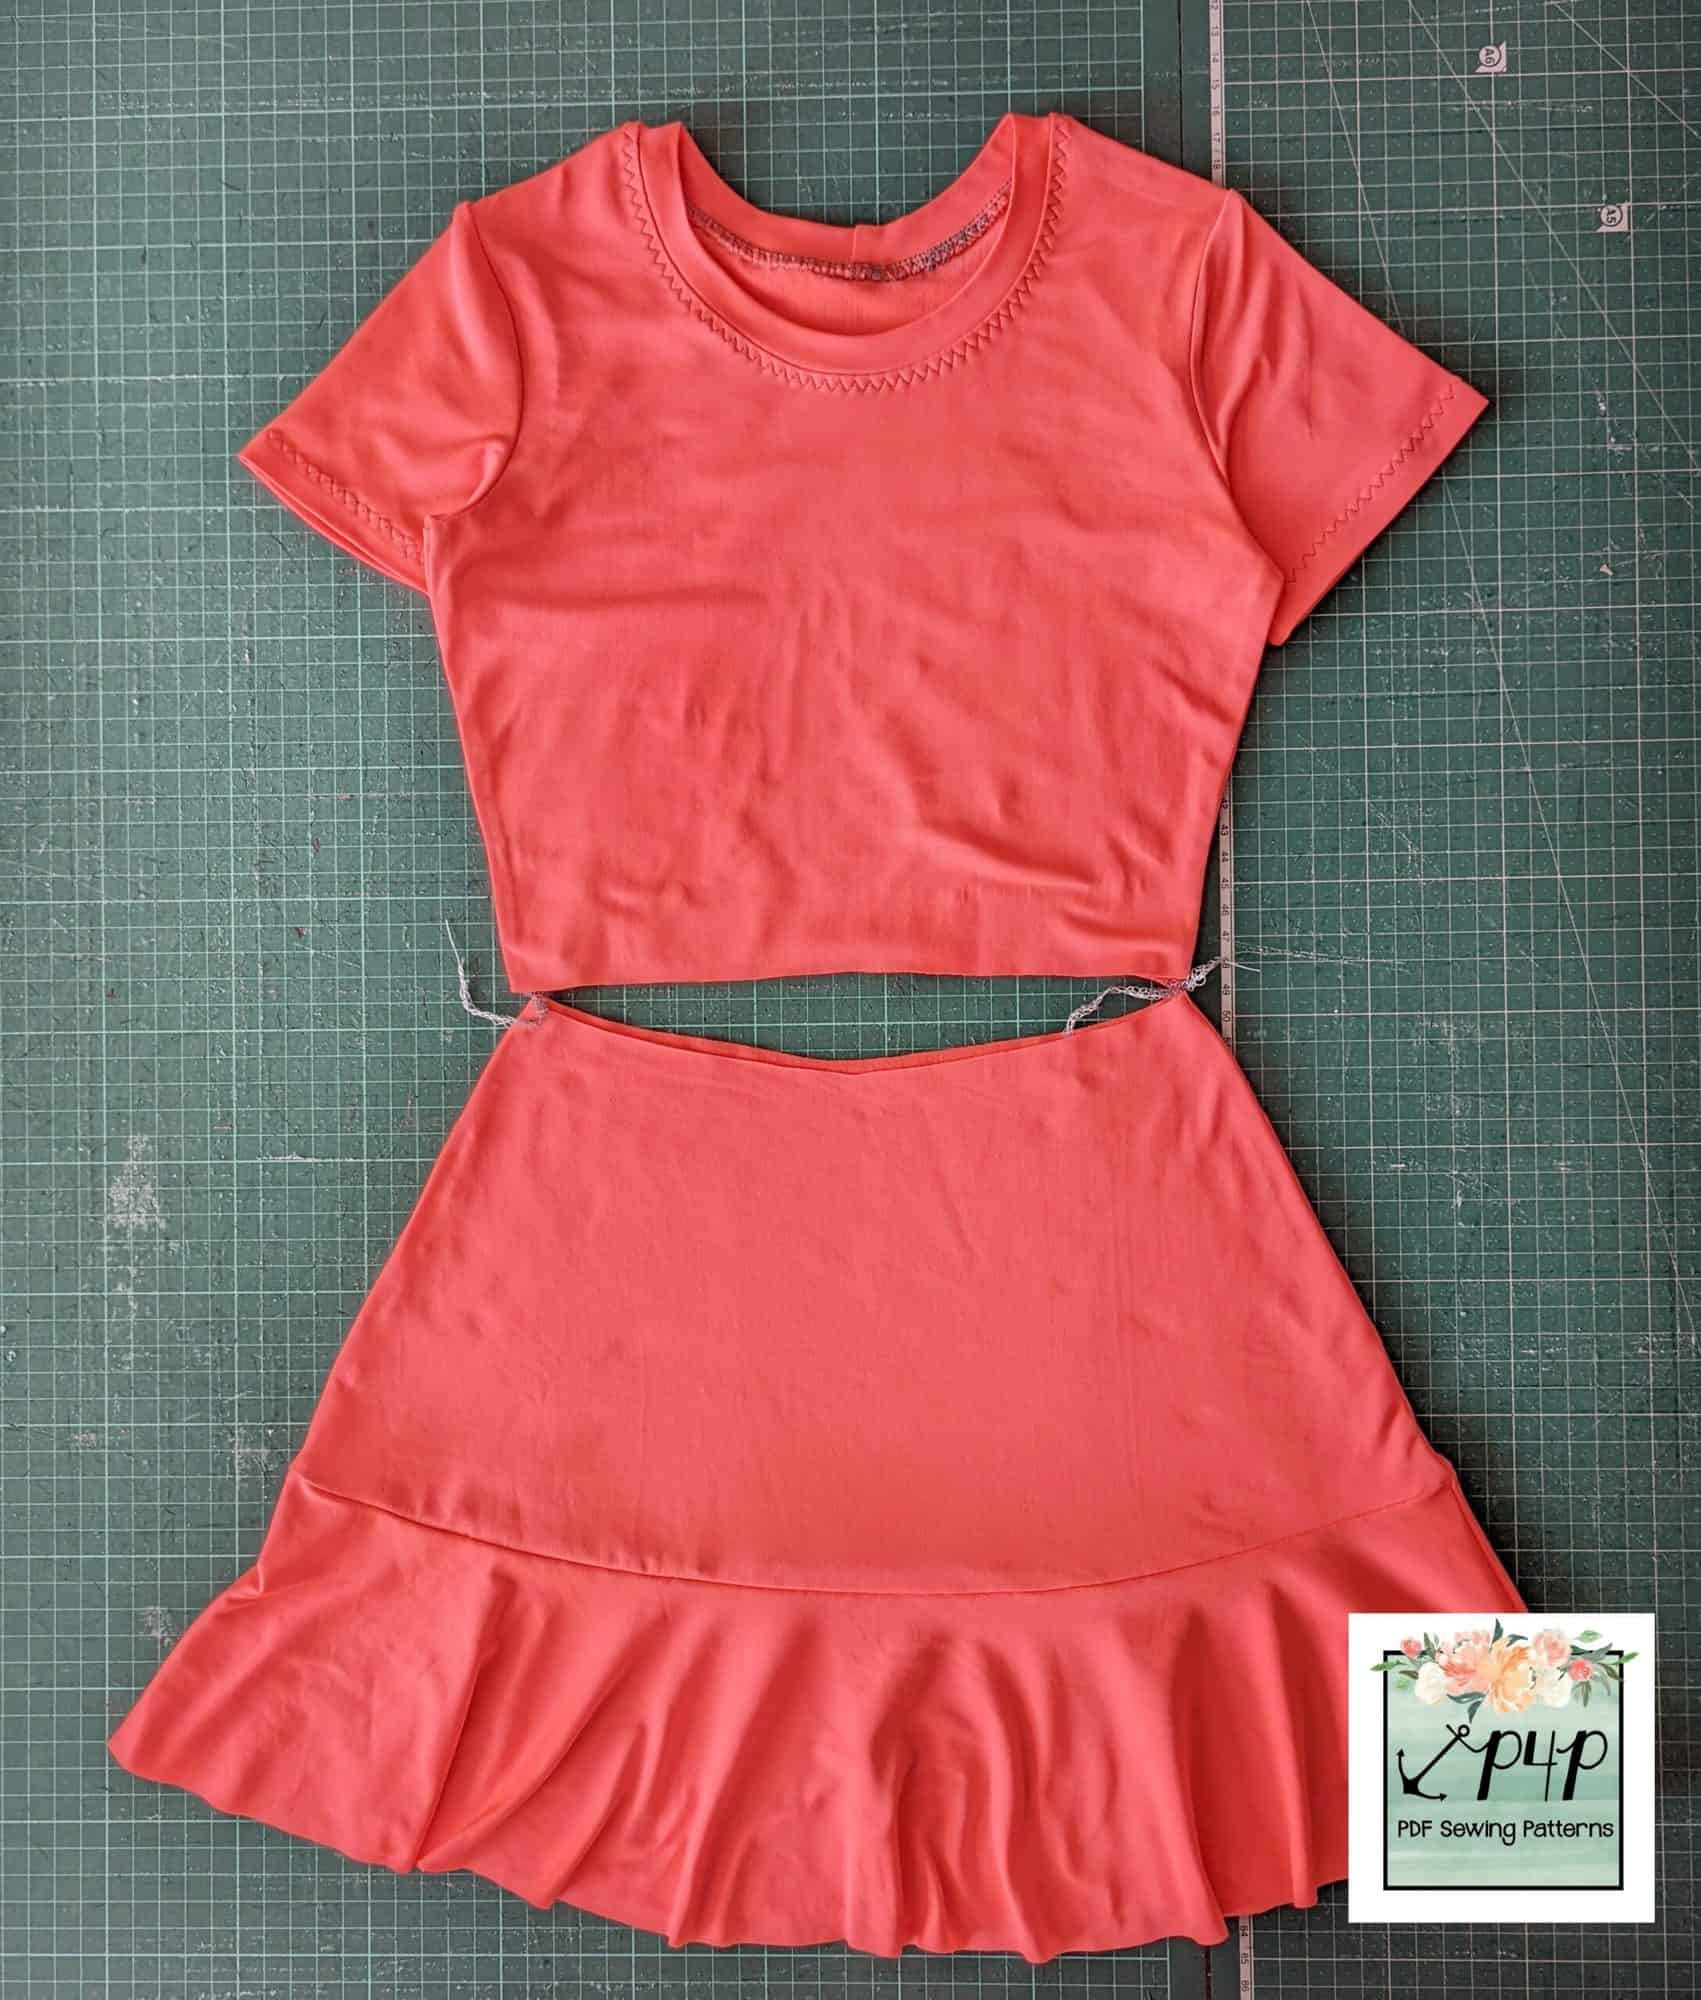
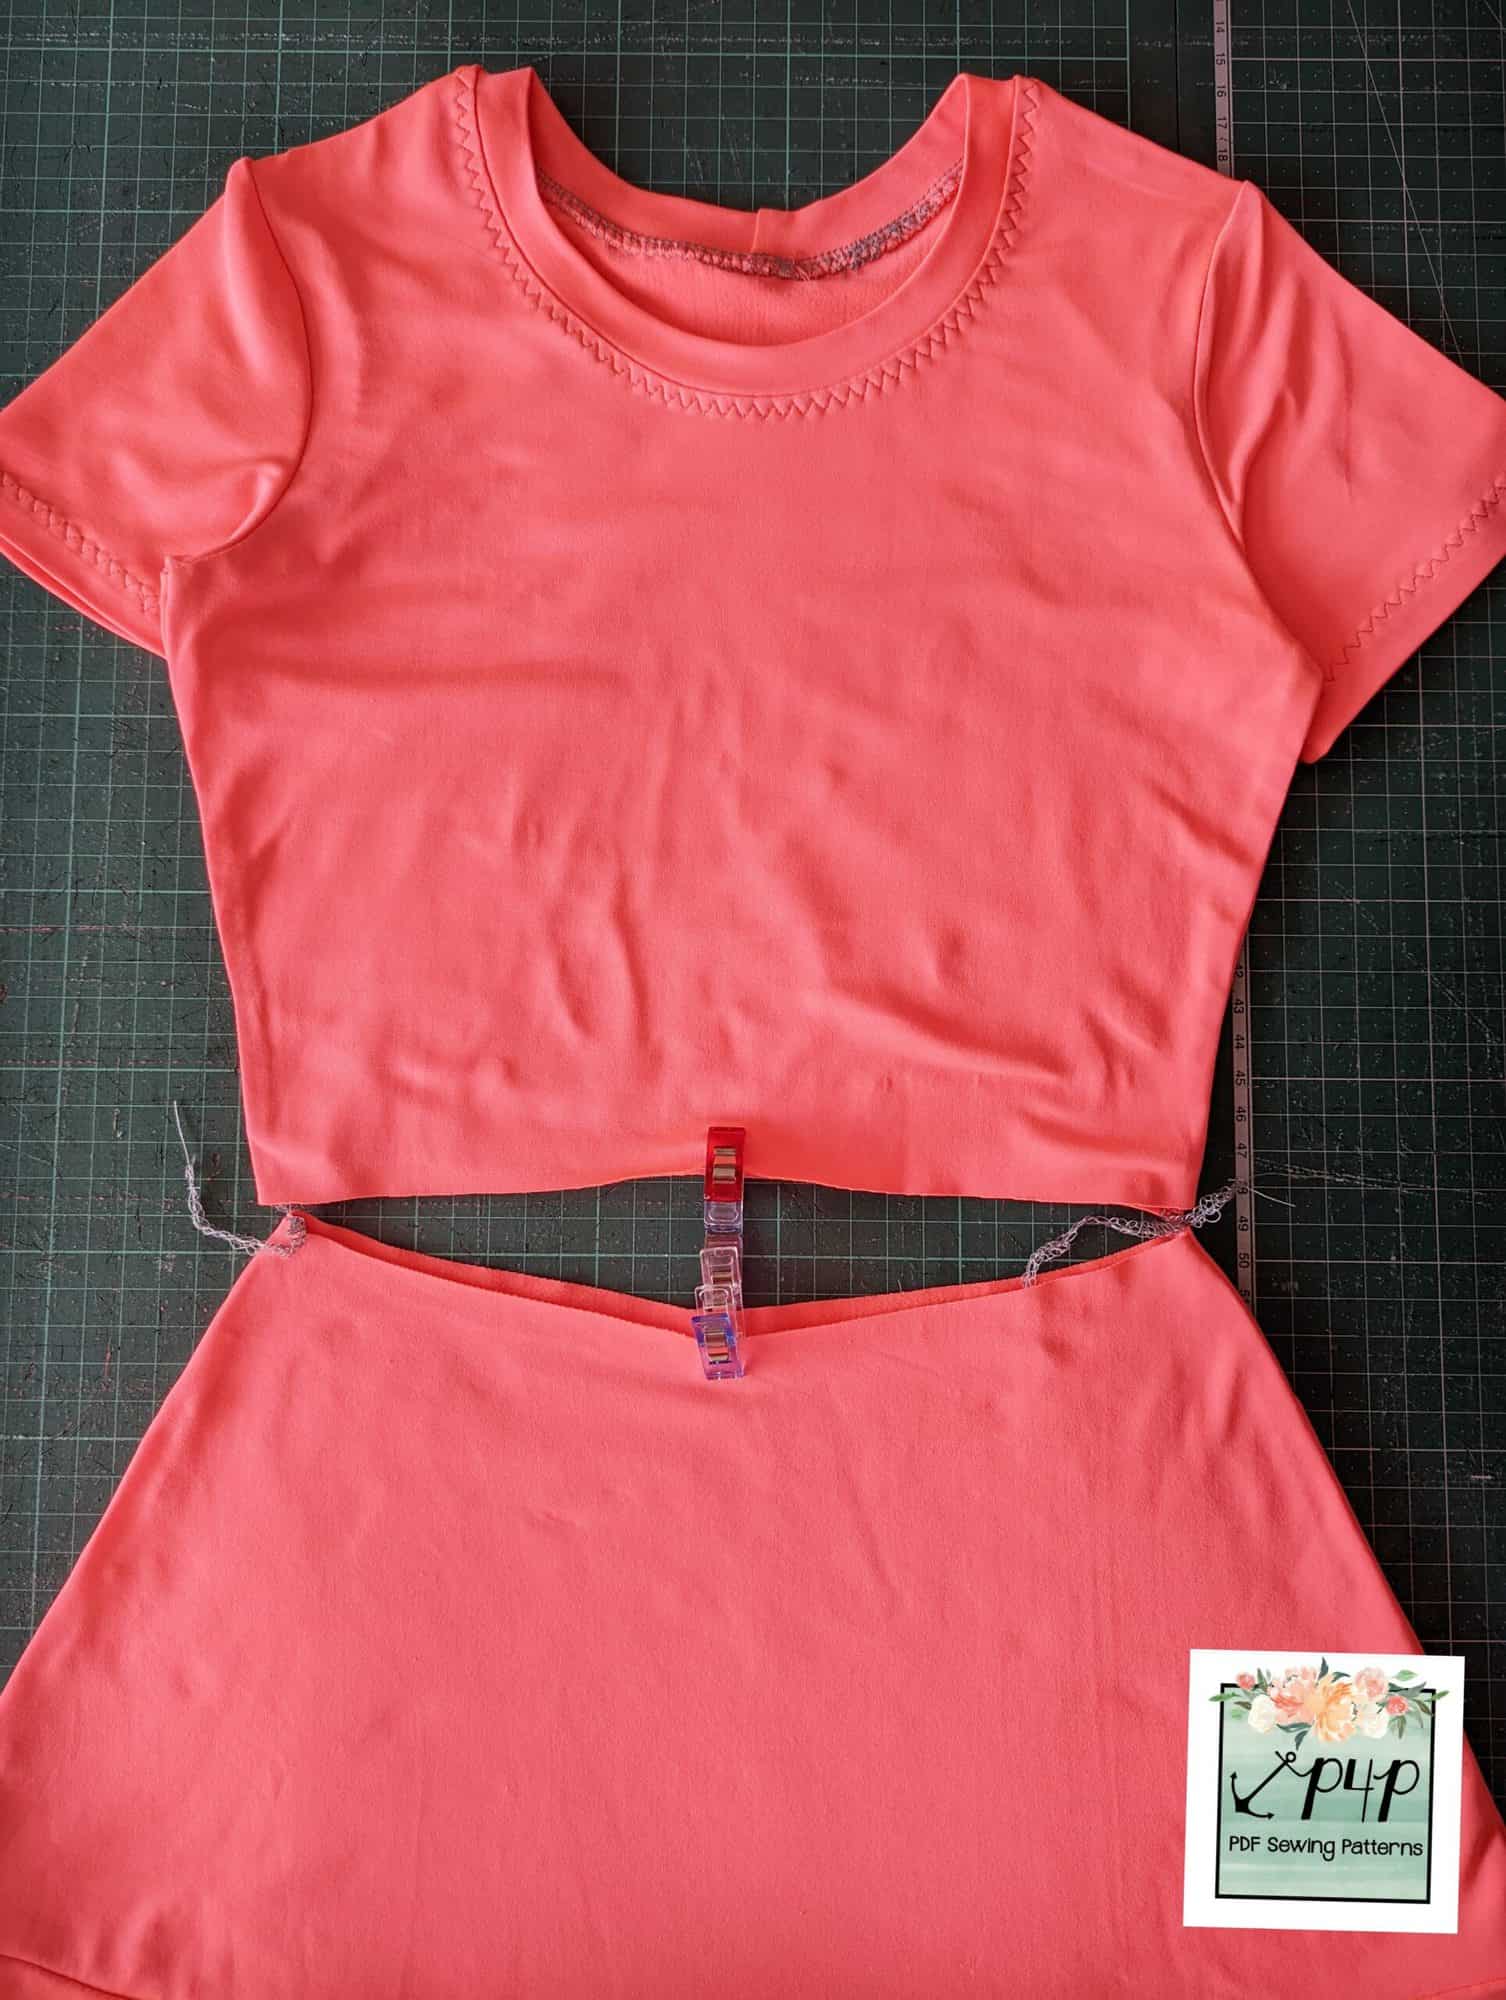
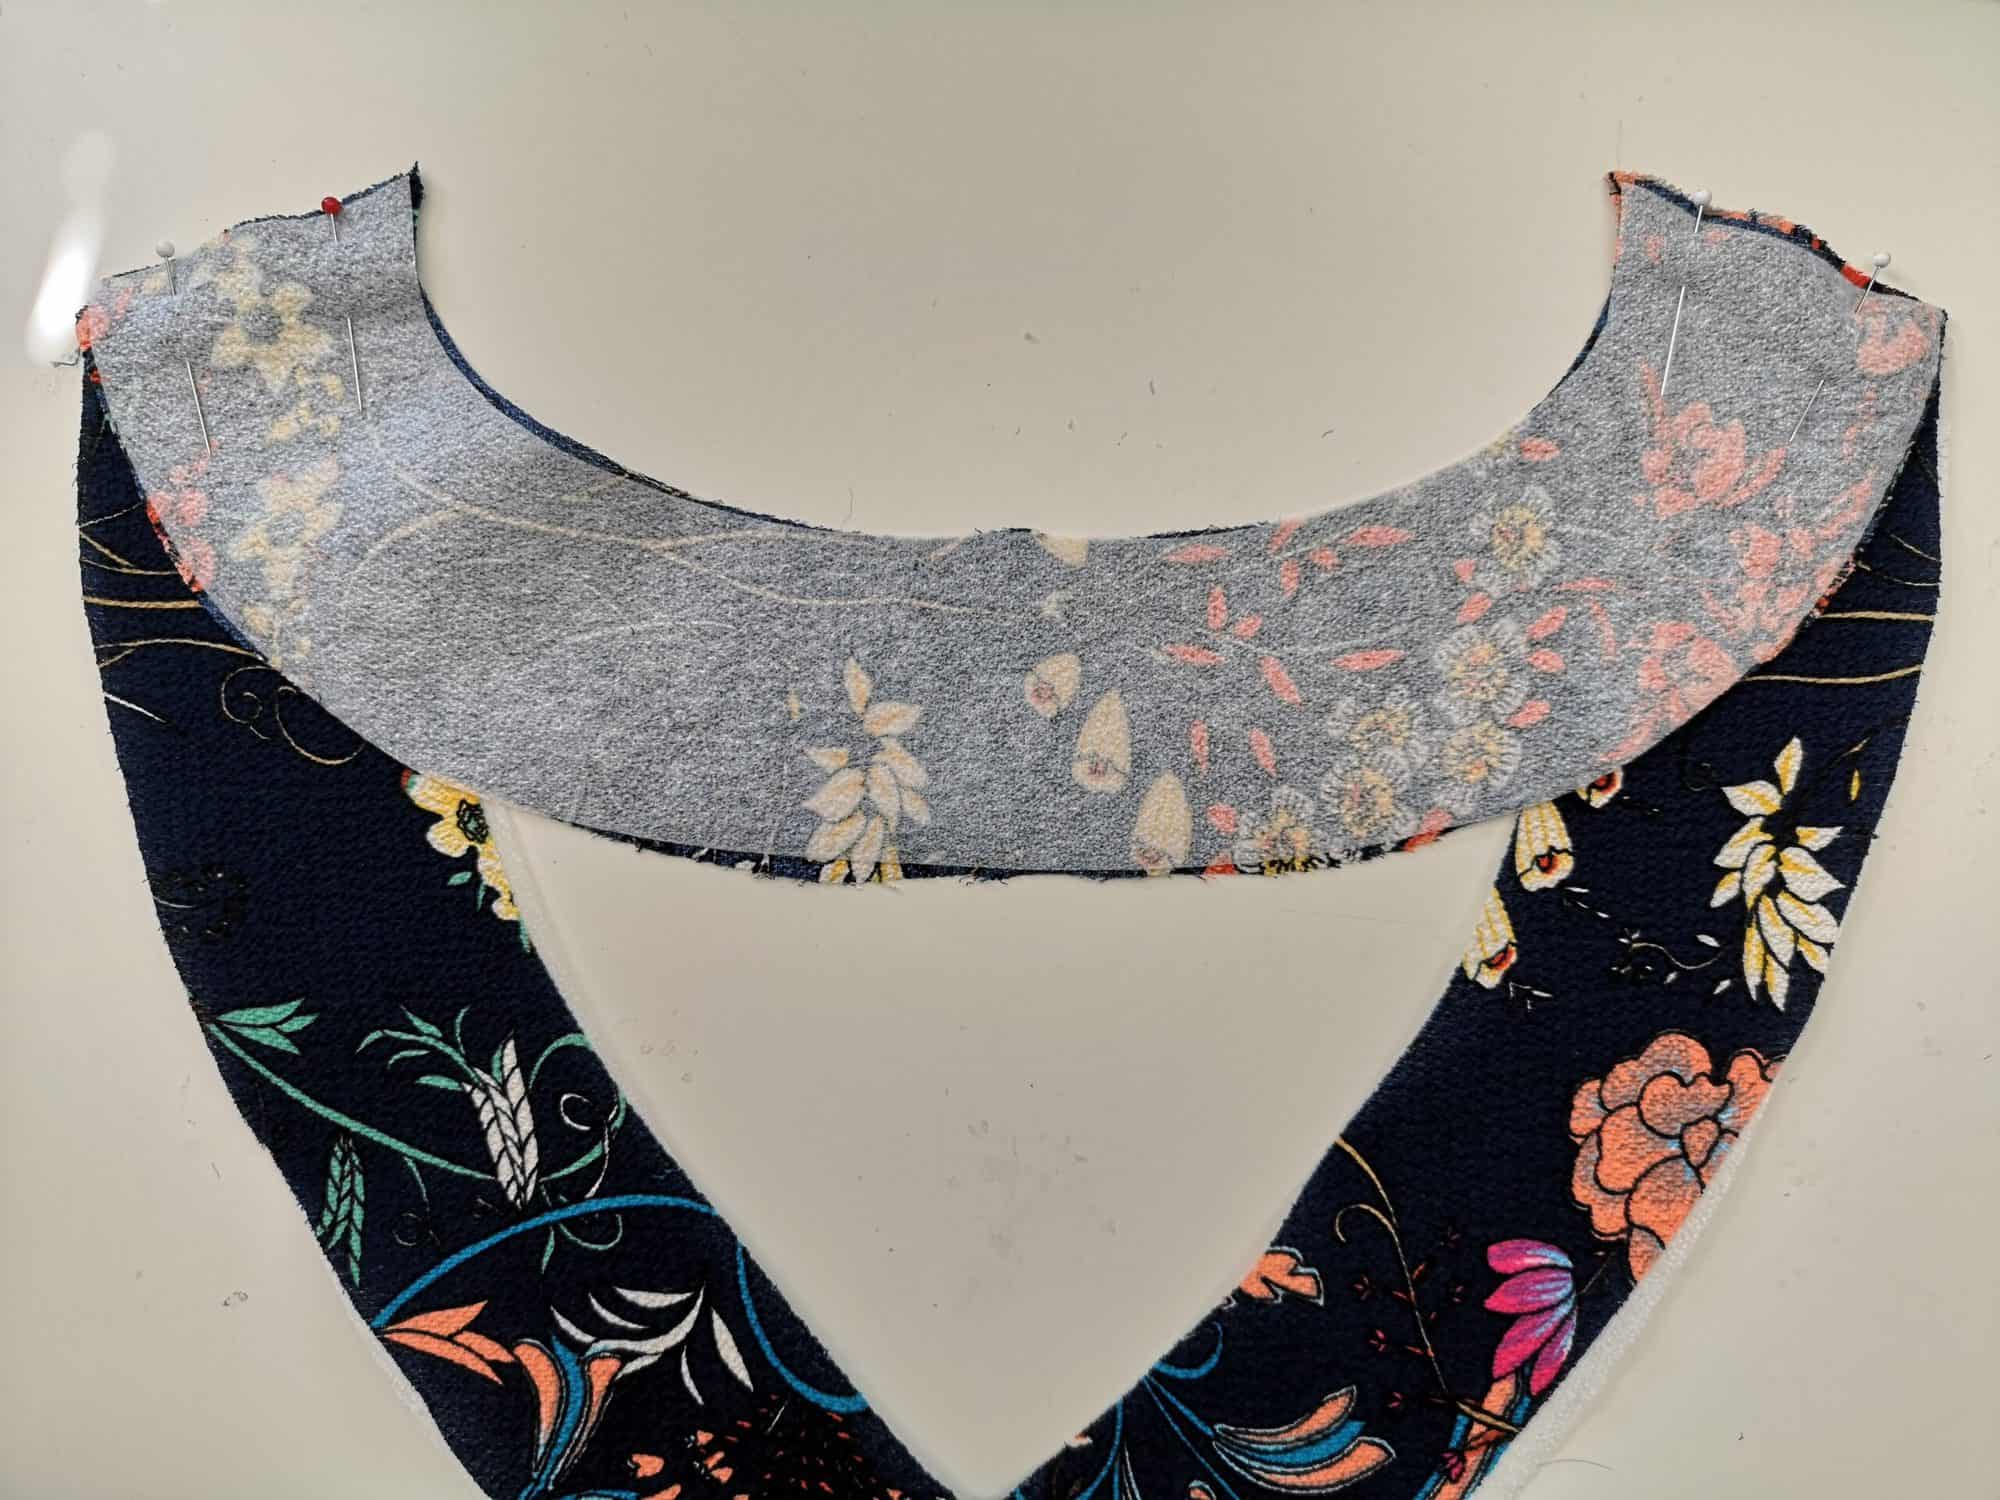
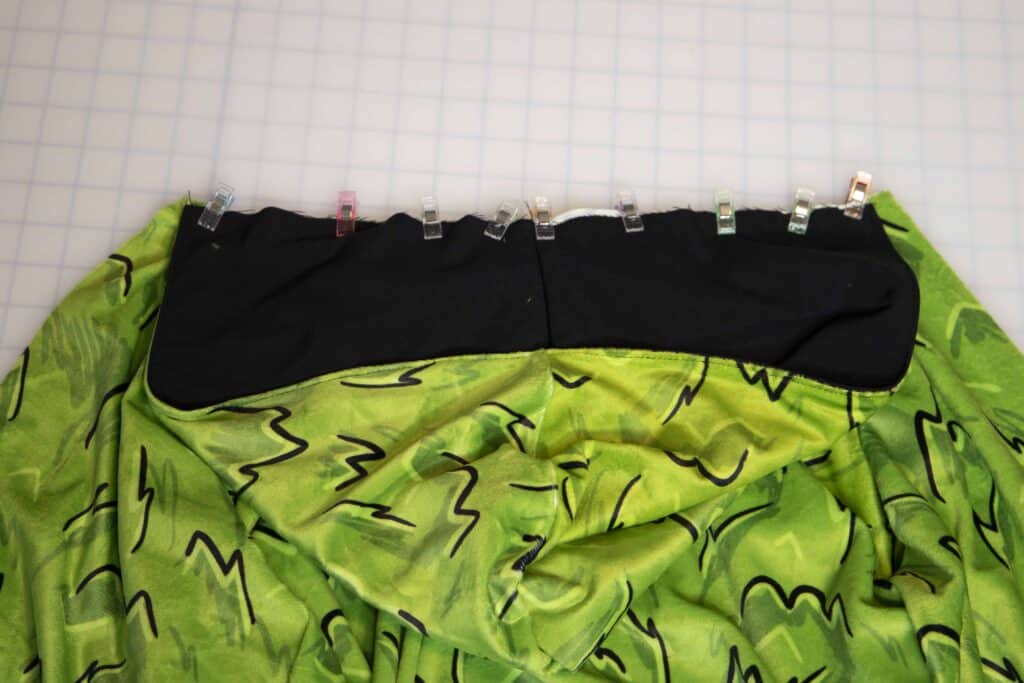
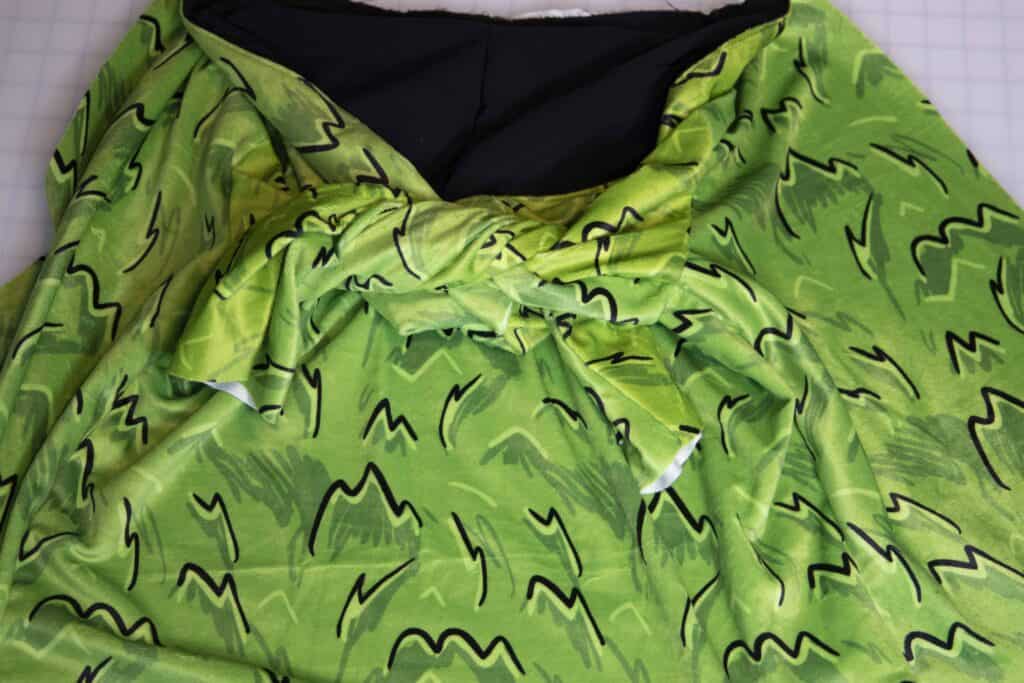
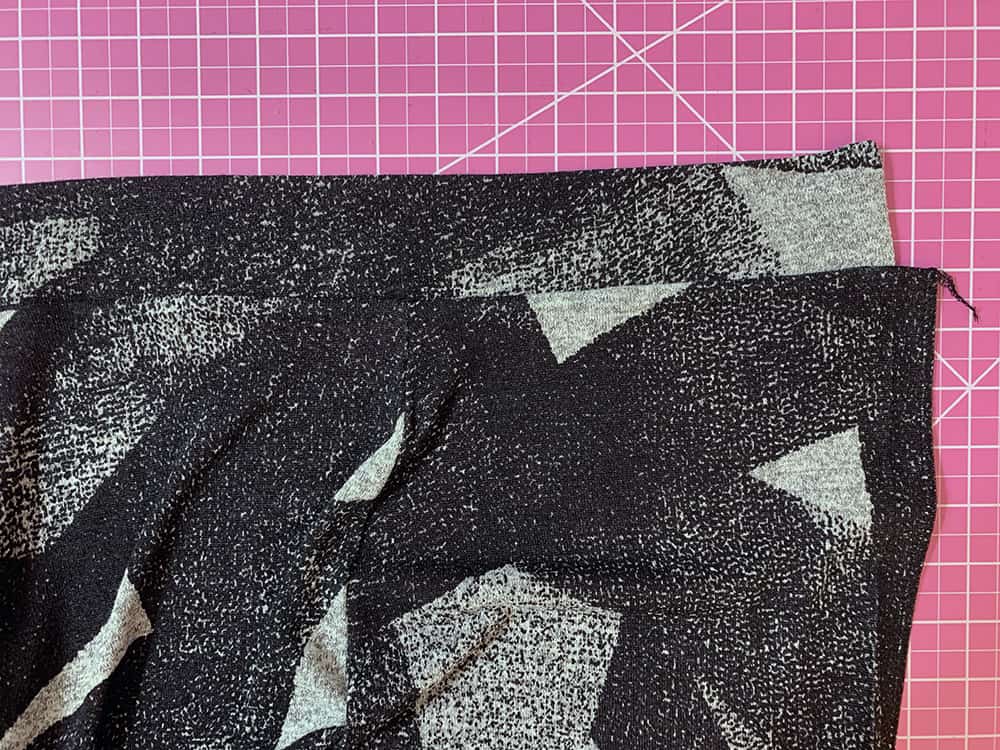
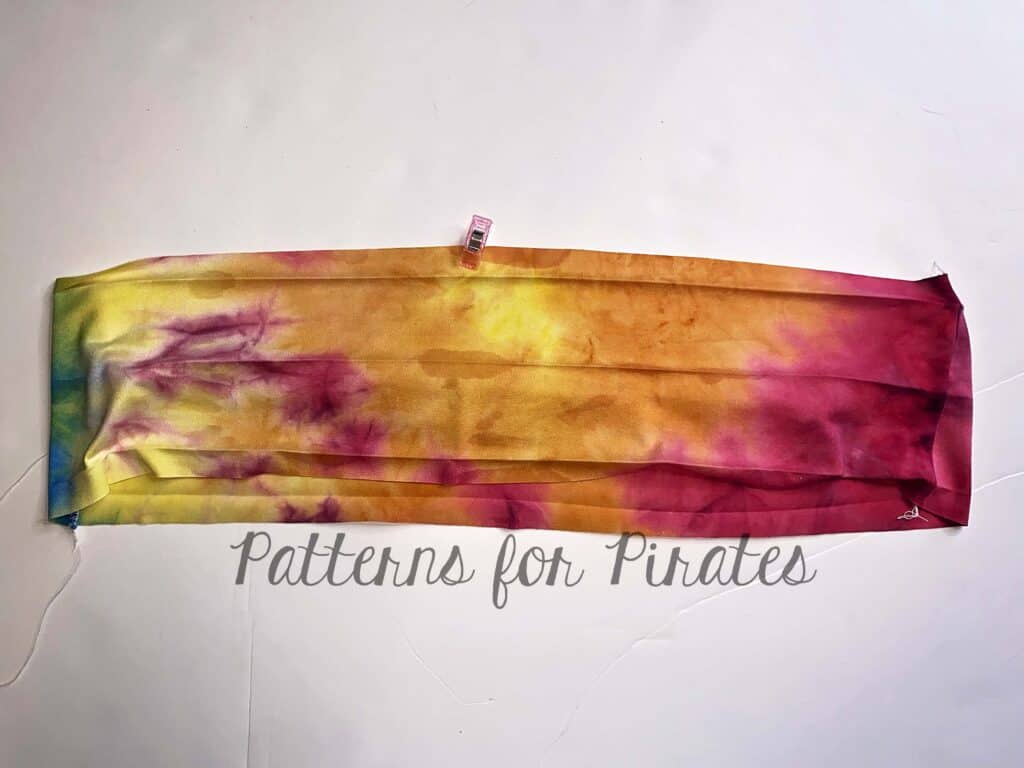
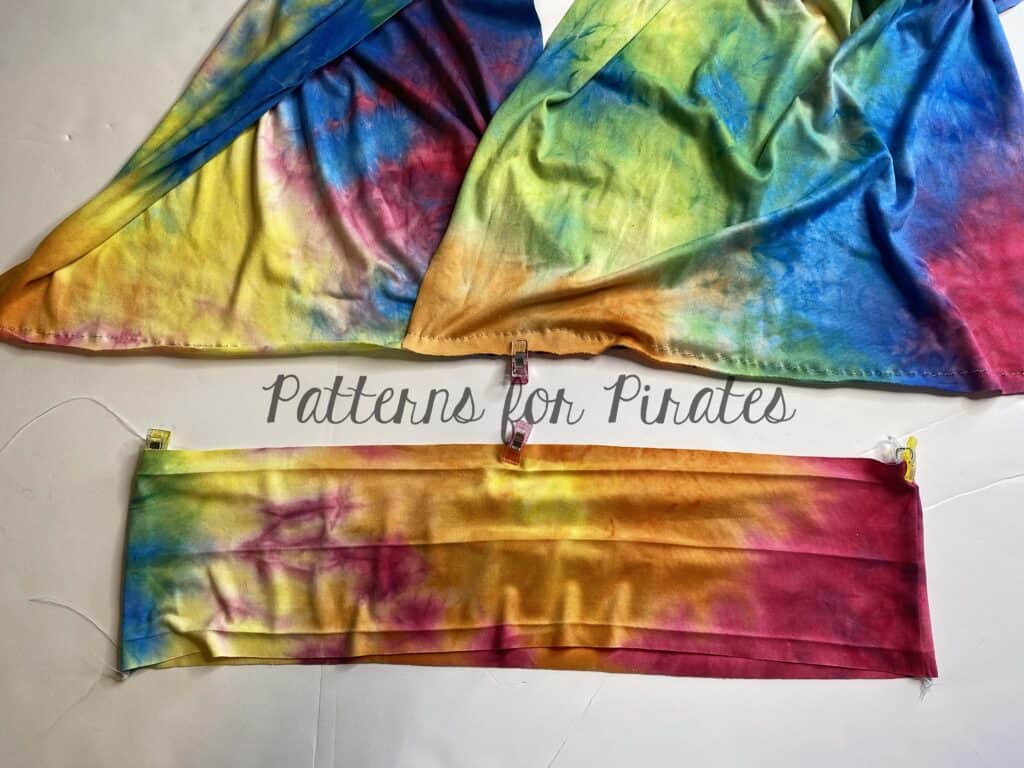
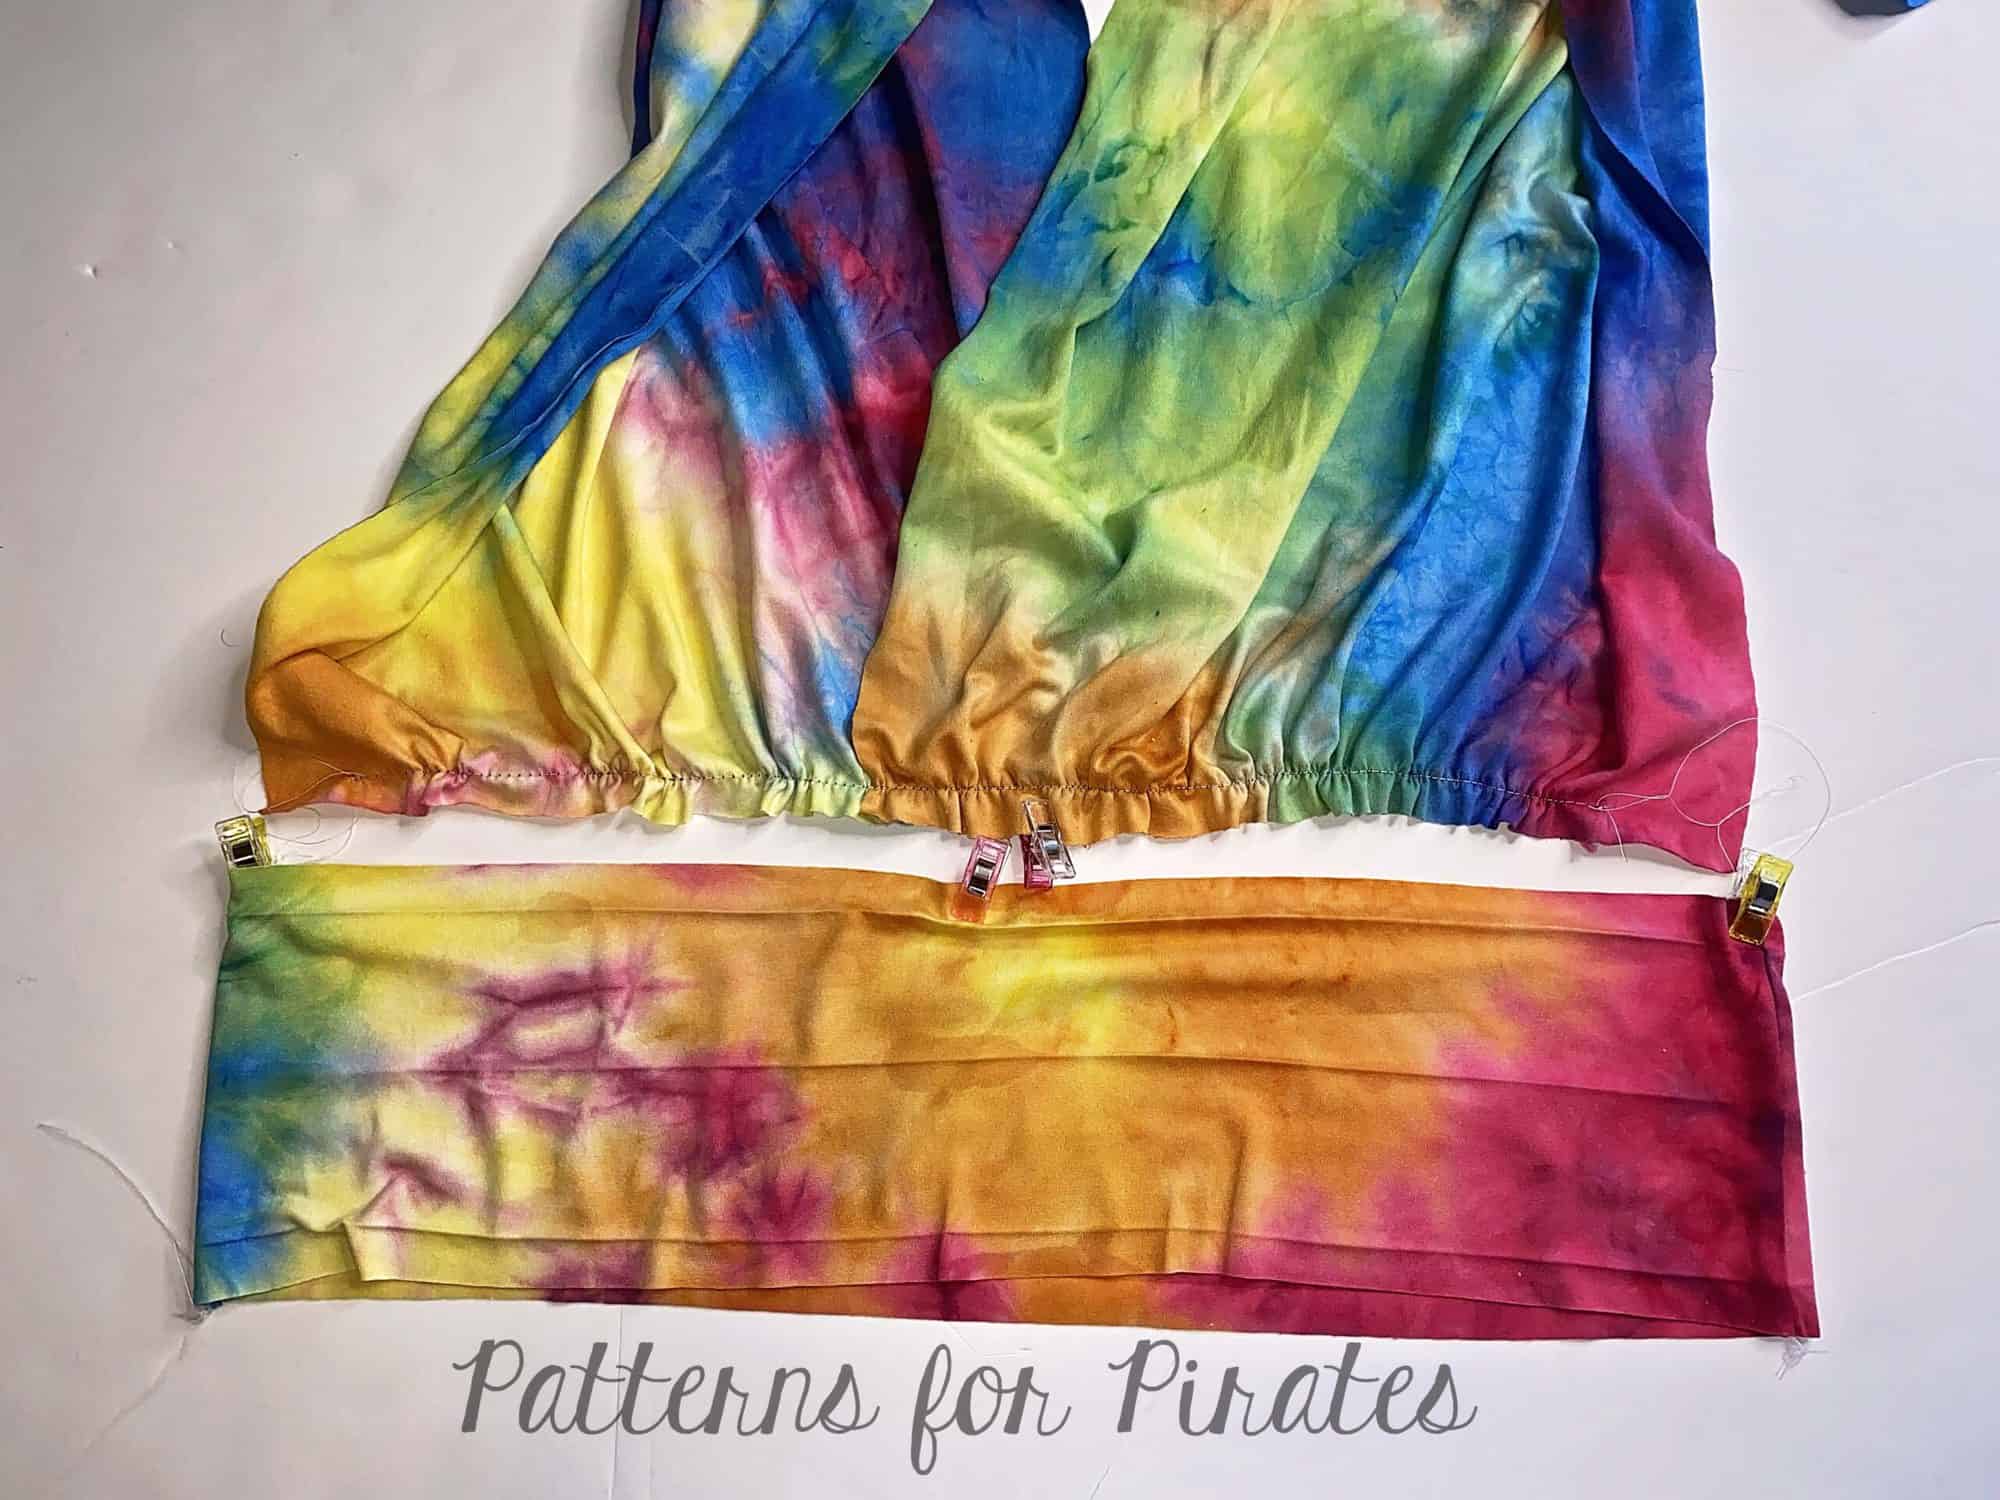
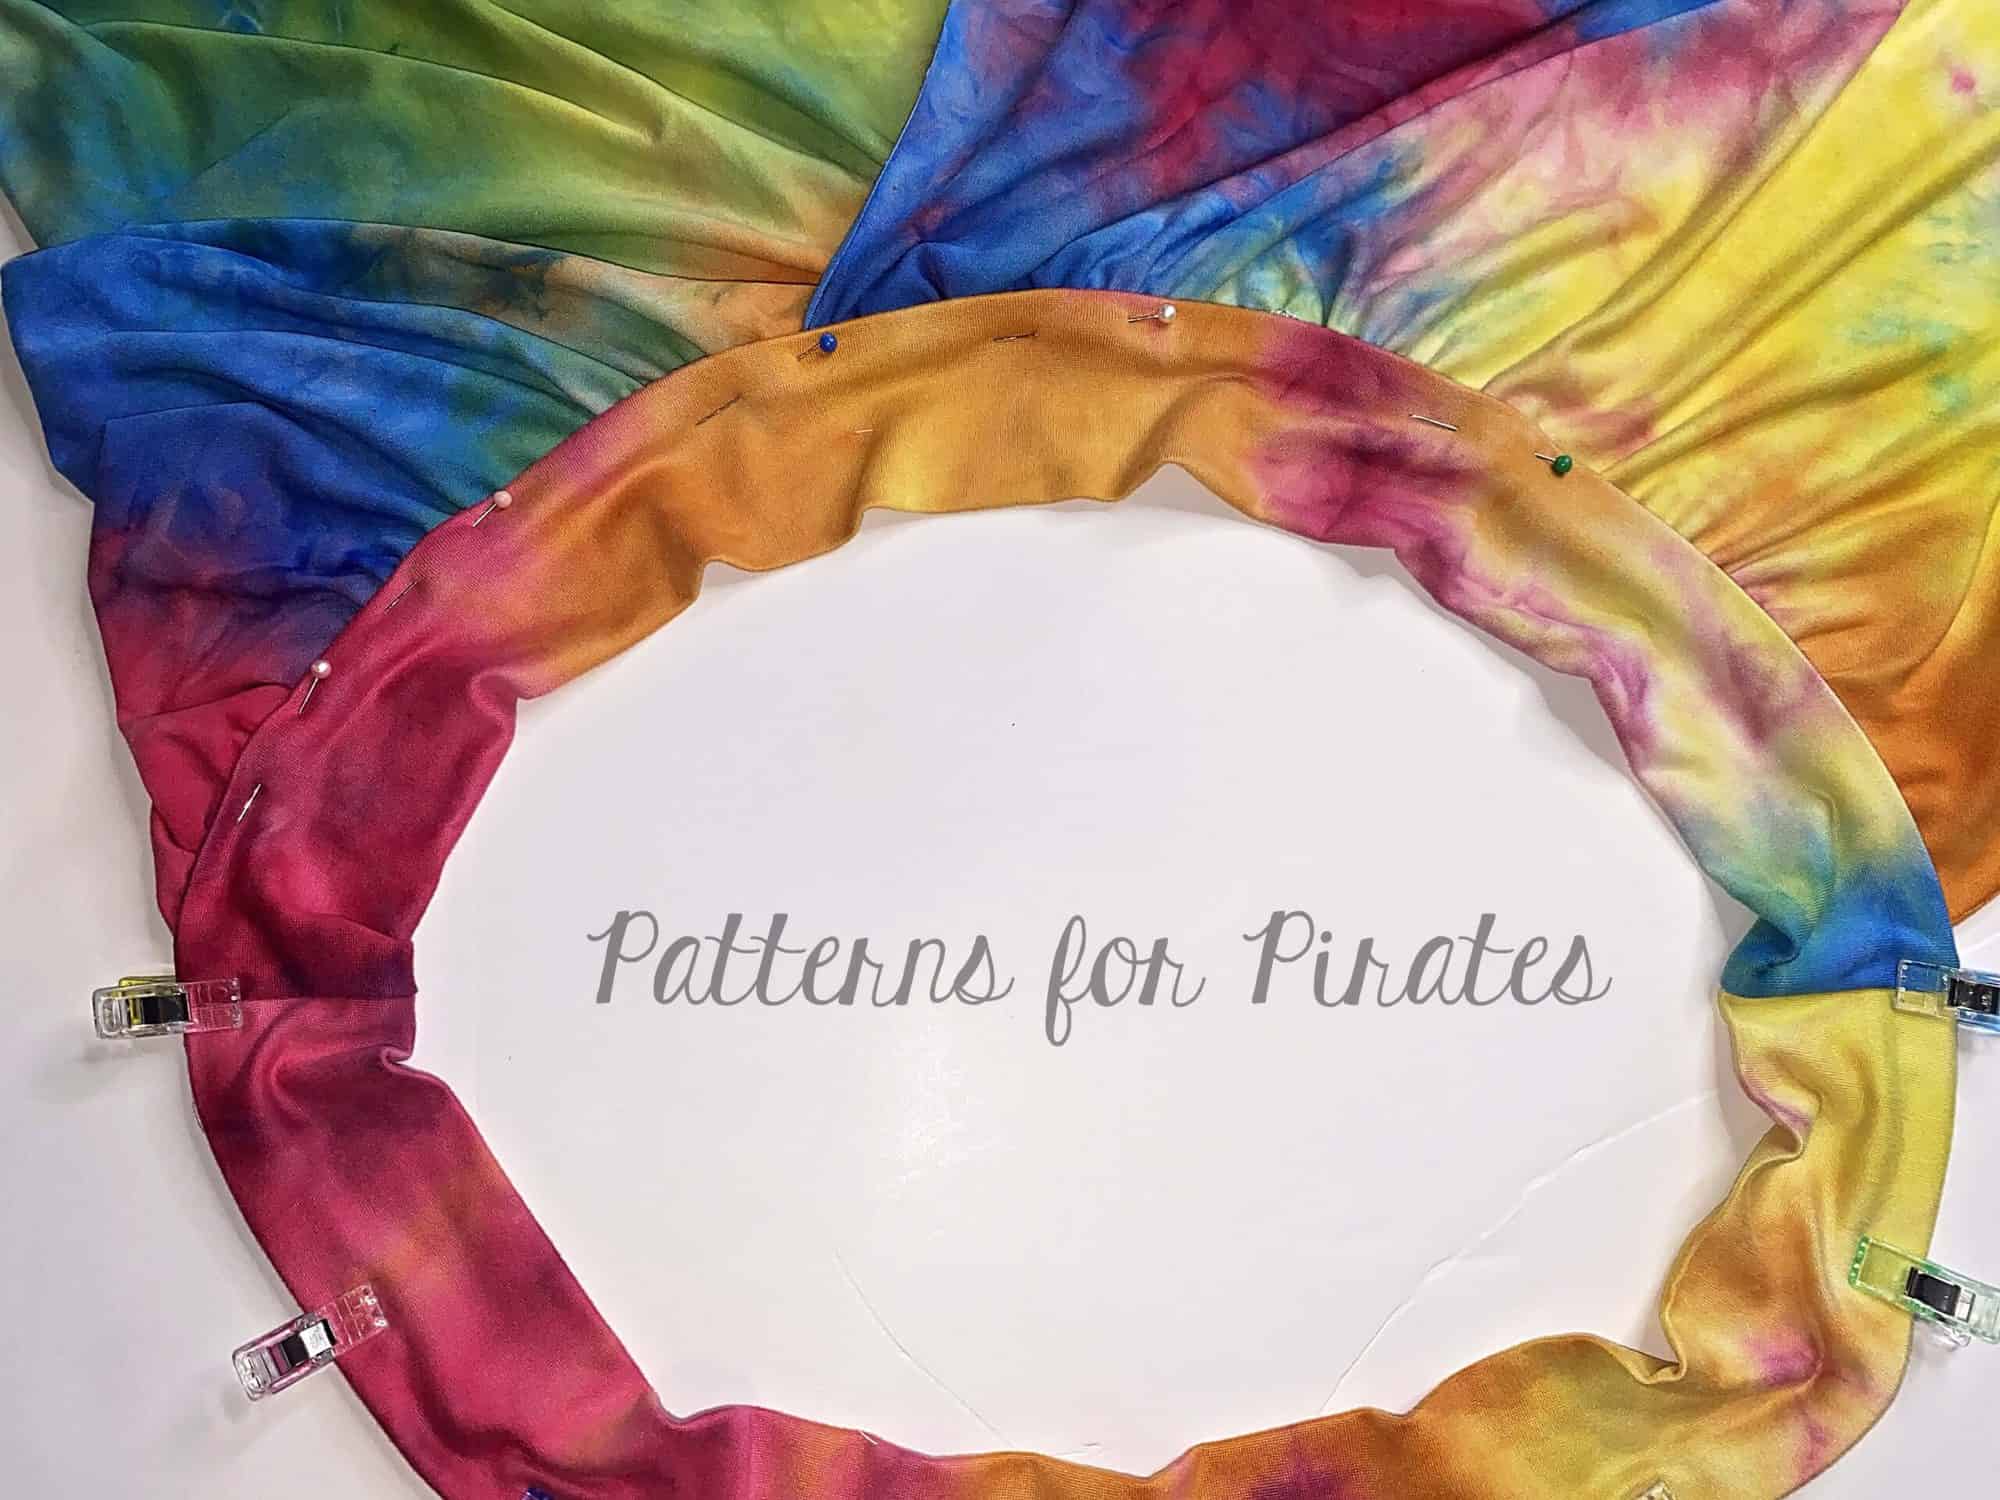
Next, select the top tier of your skirt, and run two rows of gathering stitches across the top long edge, as directed in the pattern tutorial. You’ll want to have it line up roughly with the circumference of your bodice, as shown here.
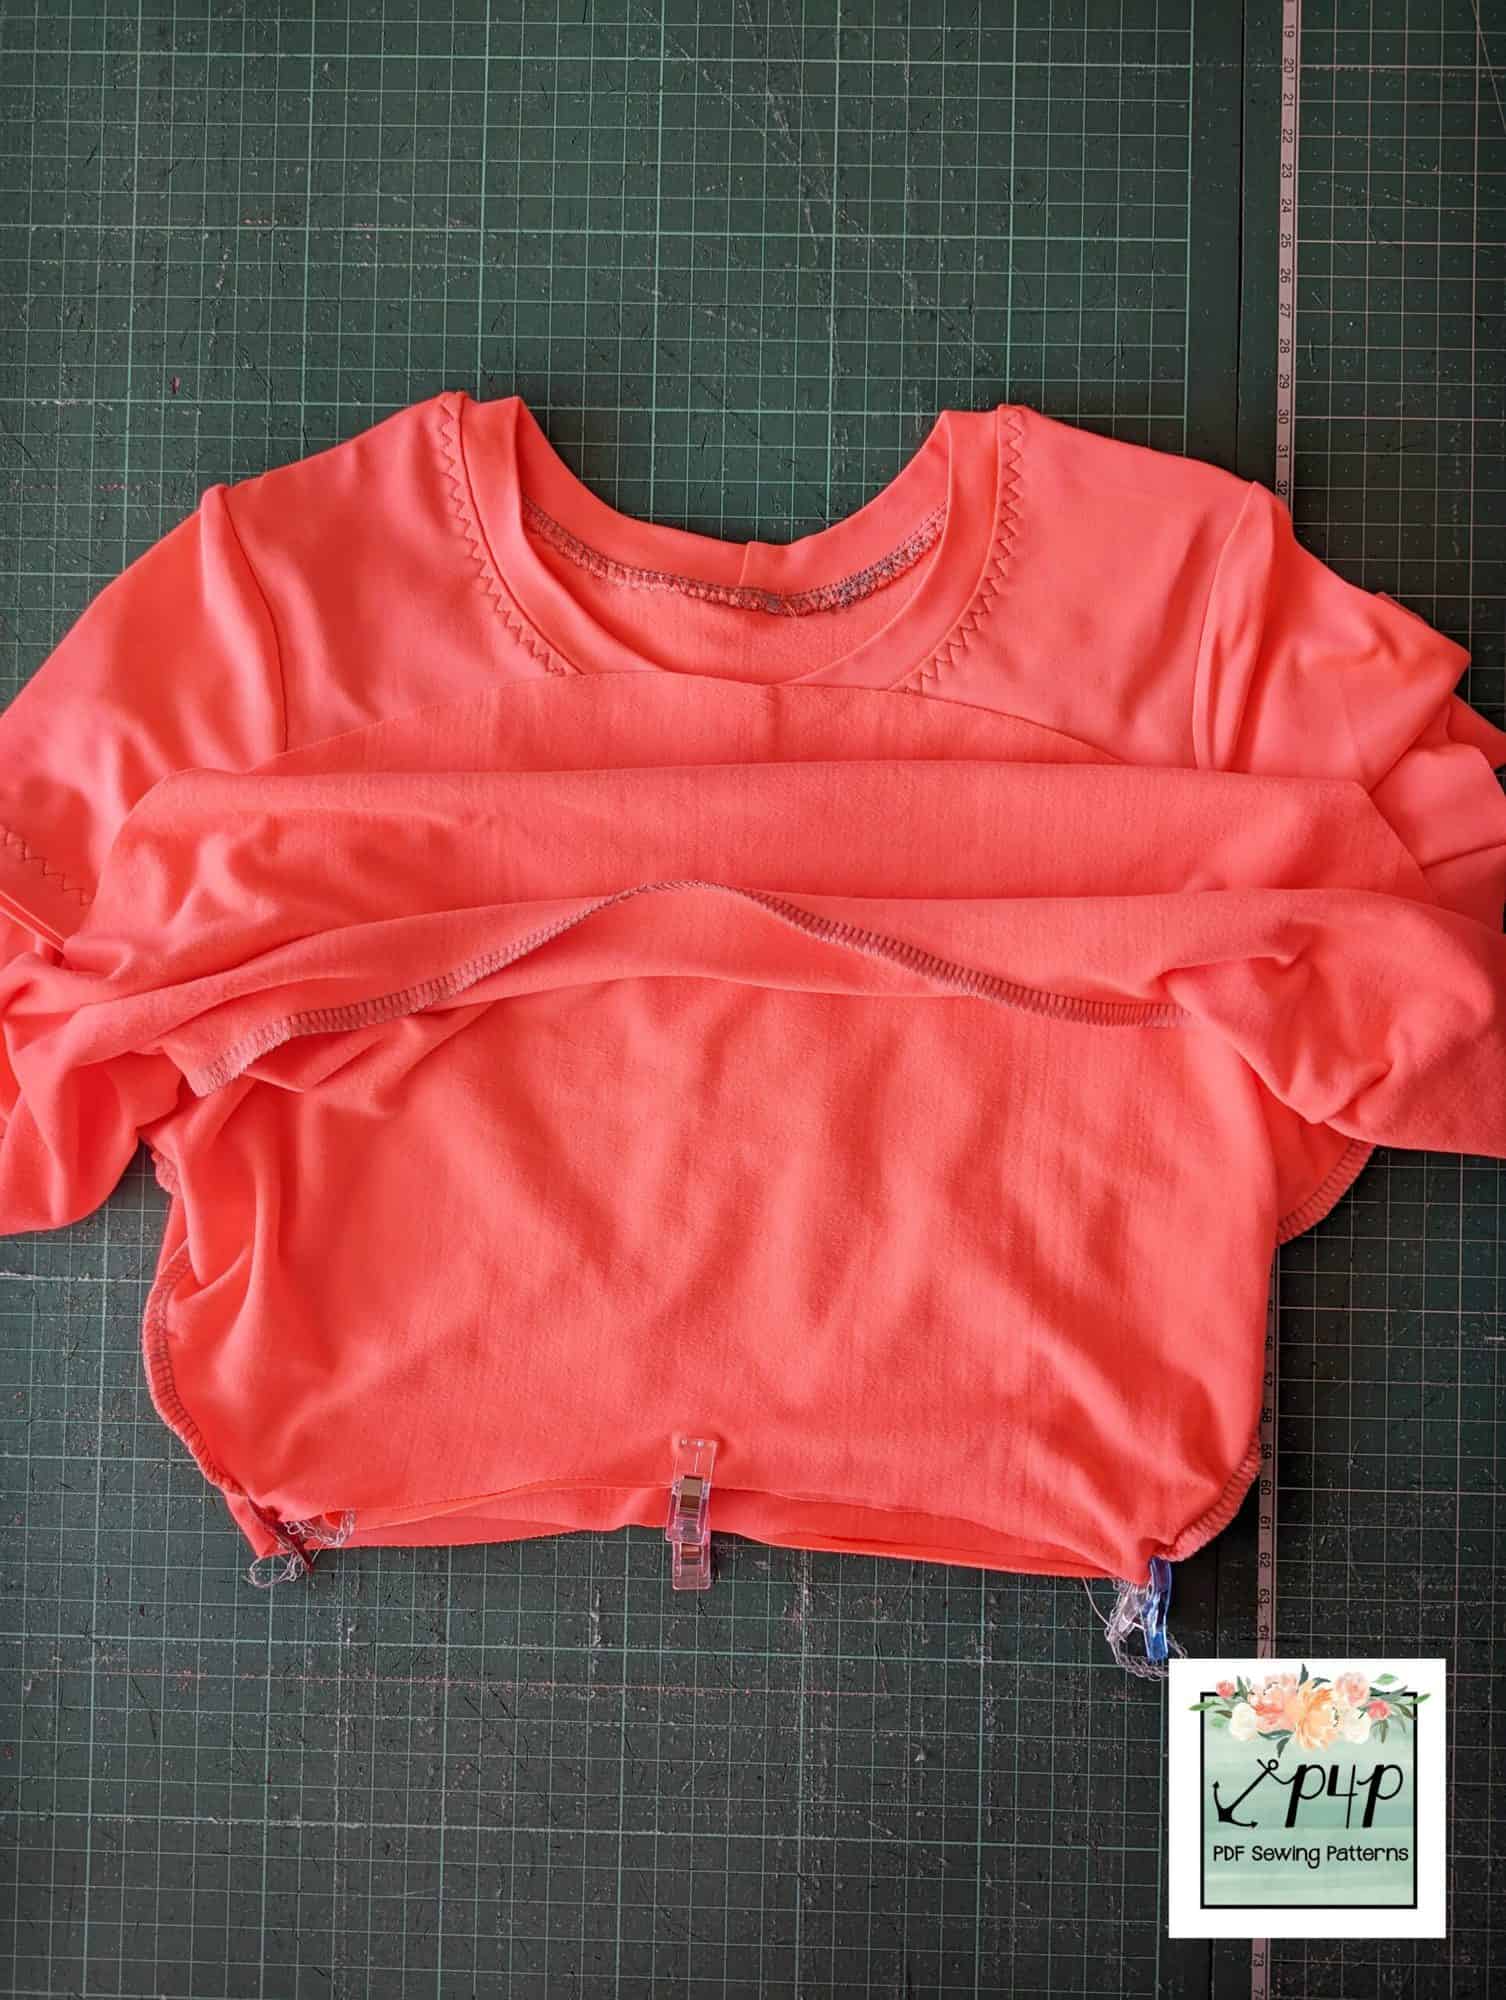
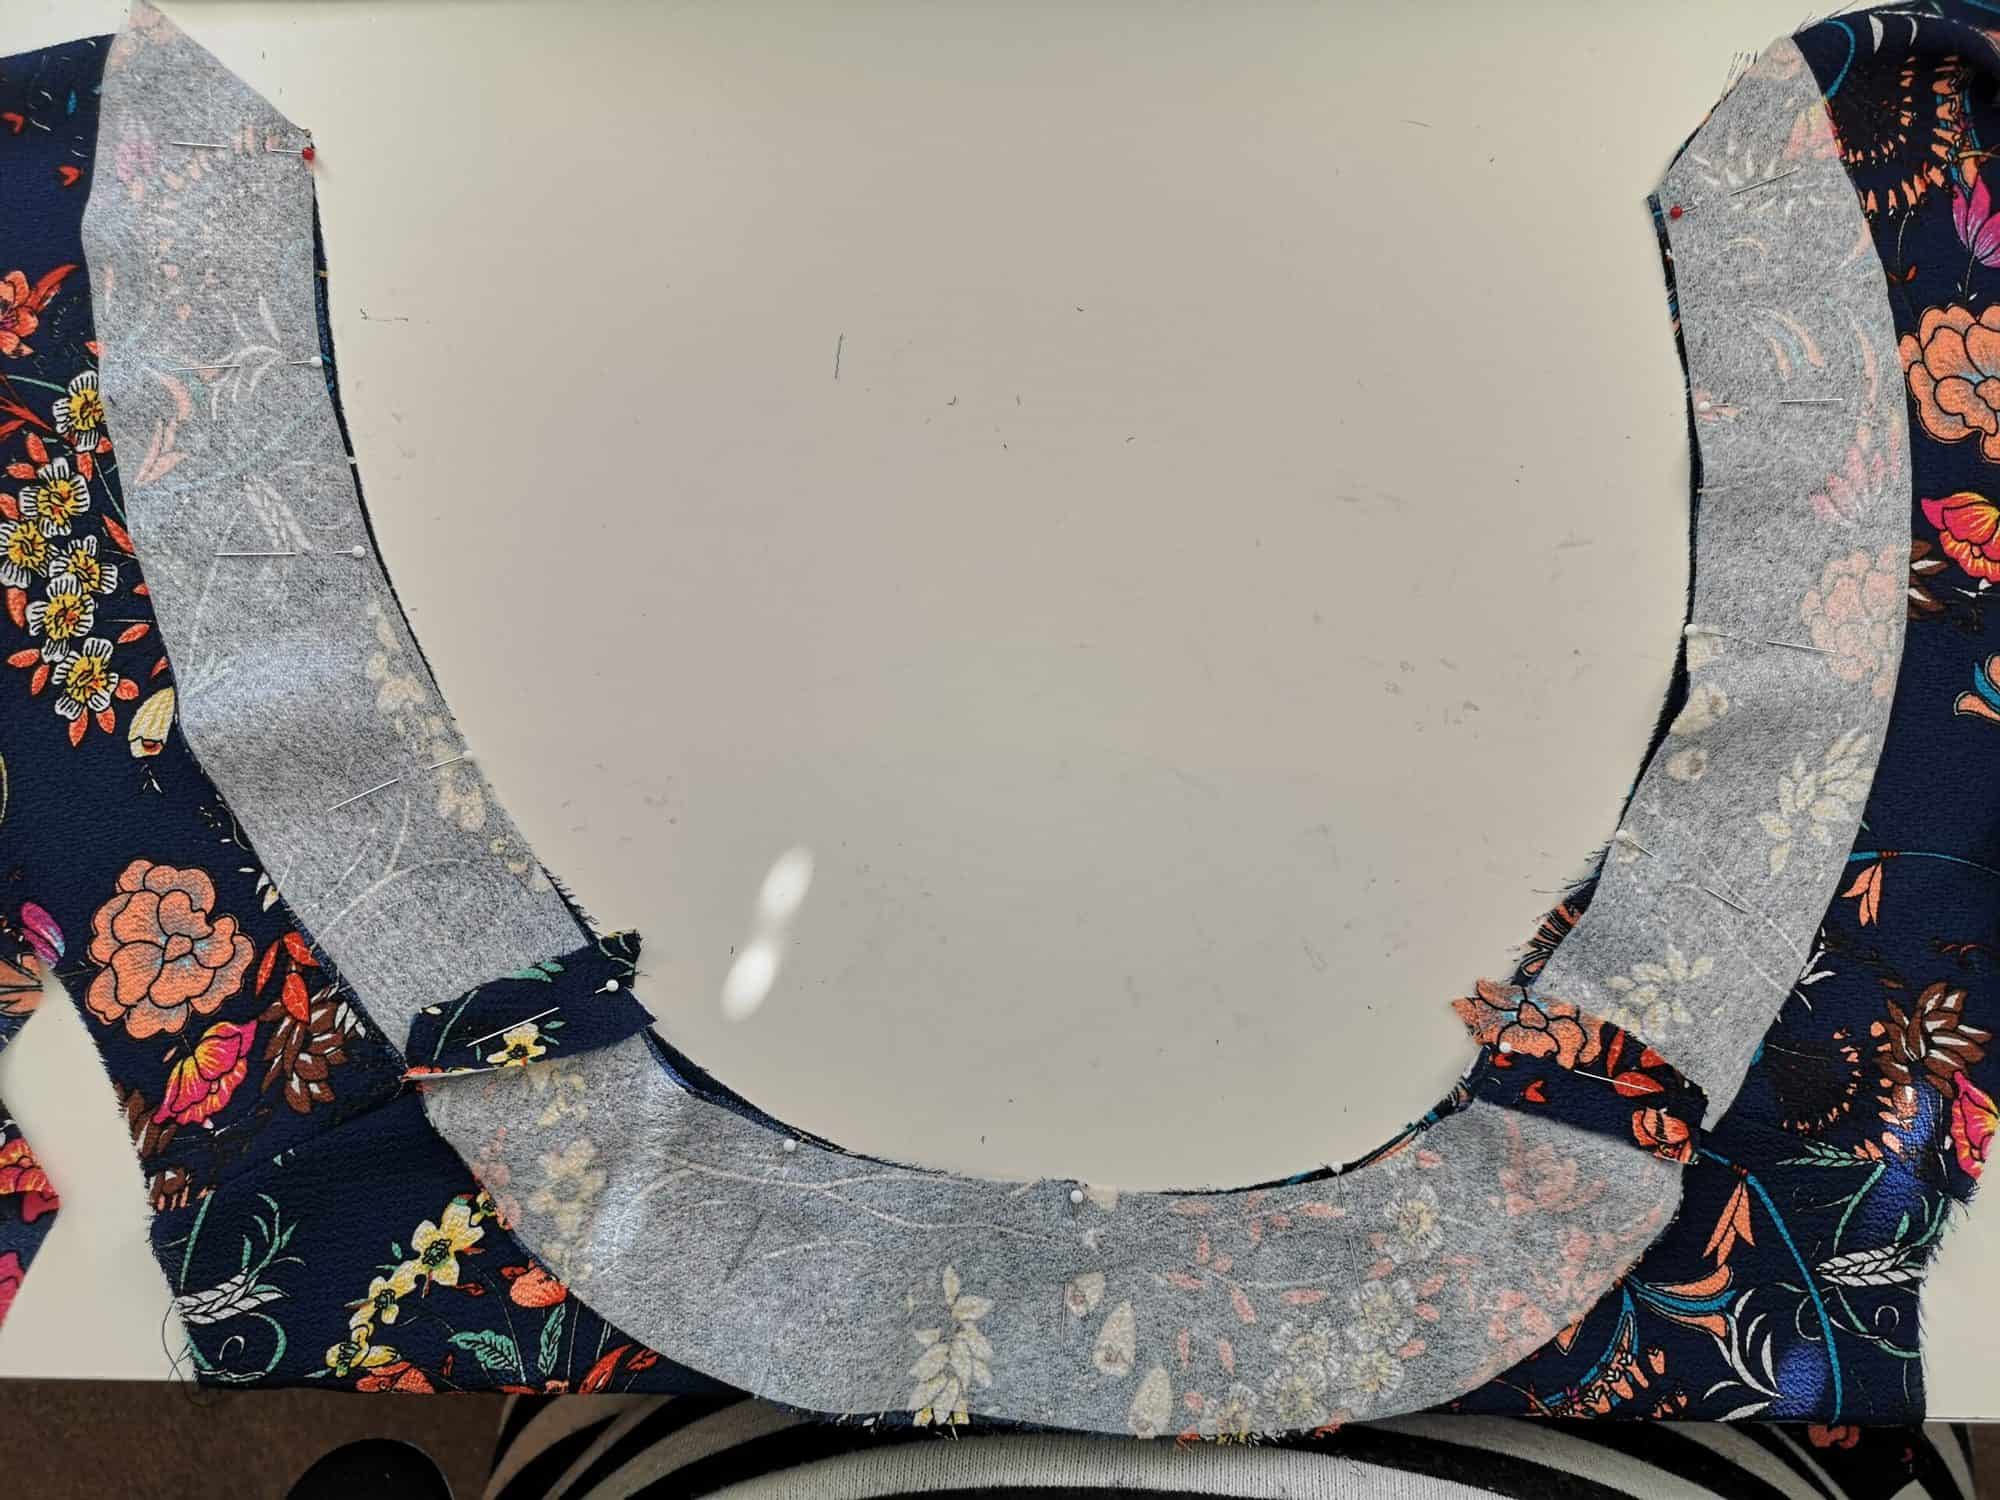
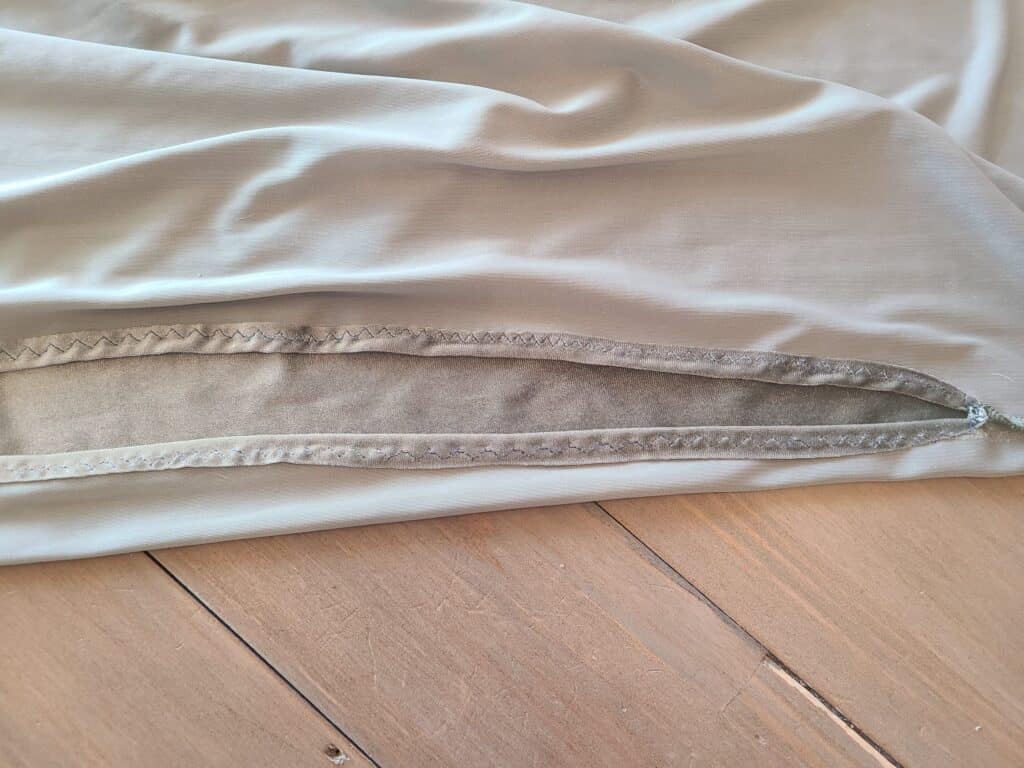
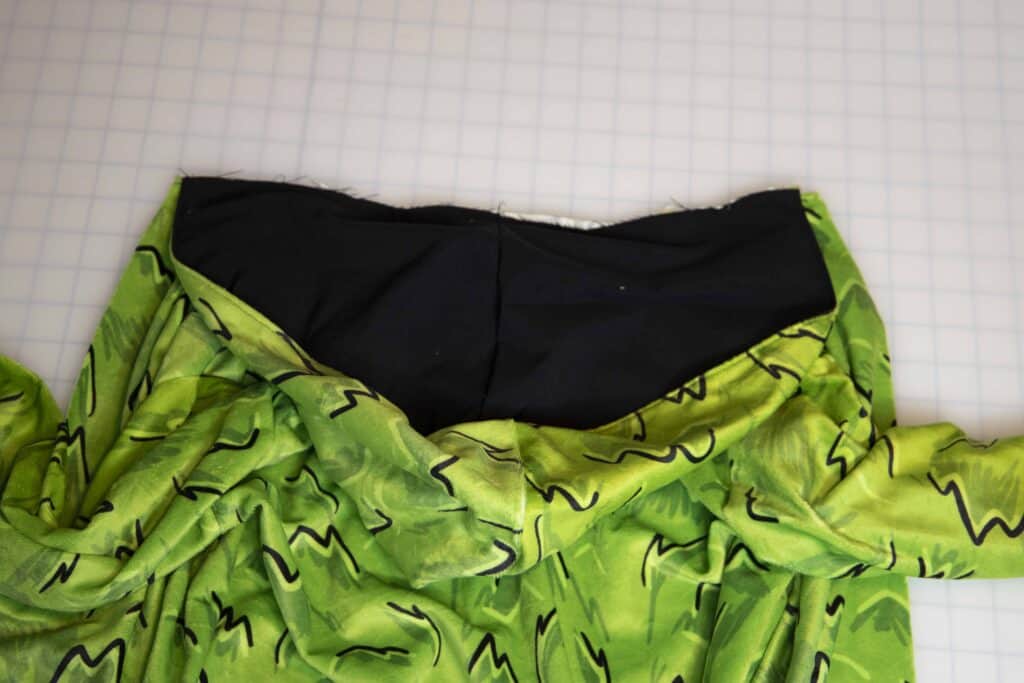
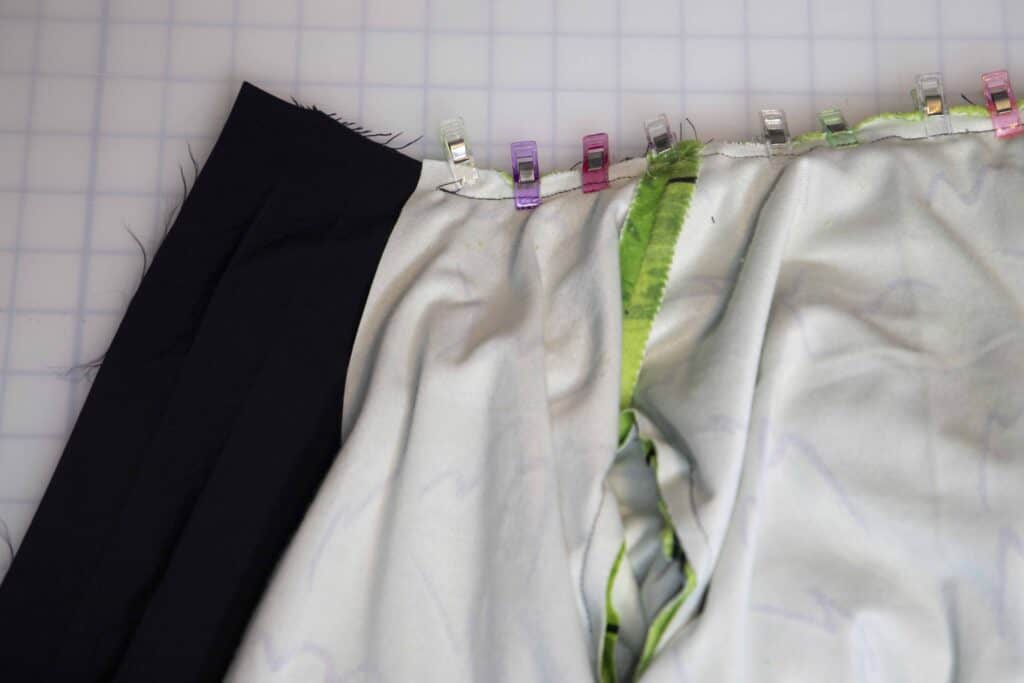
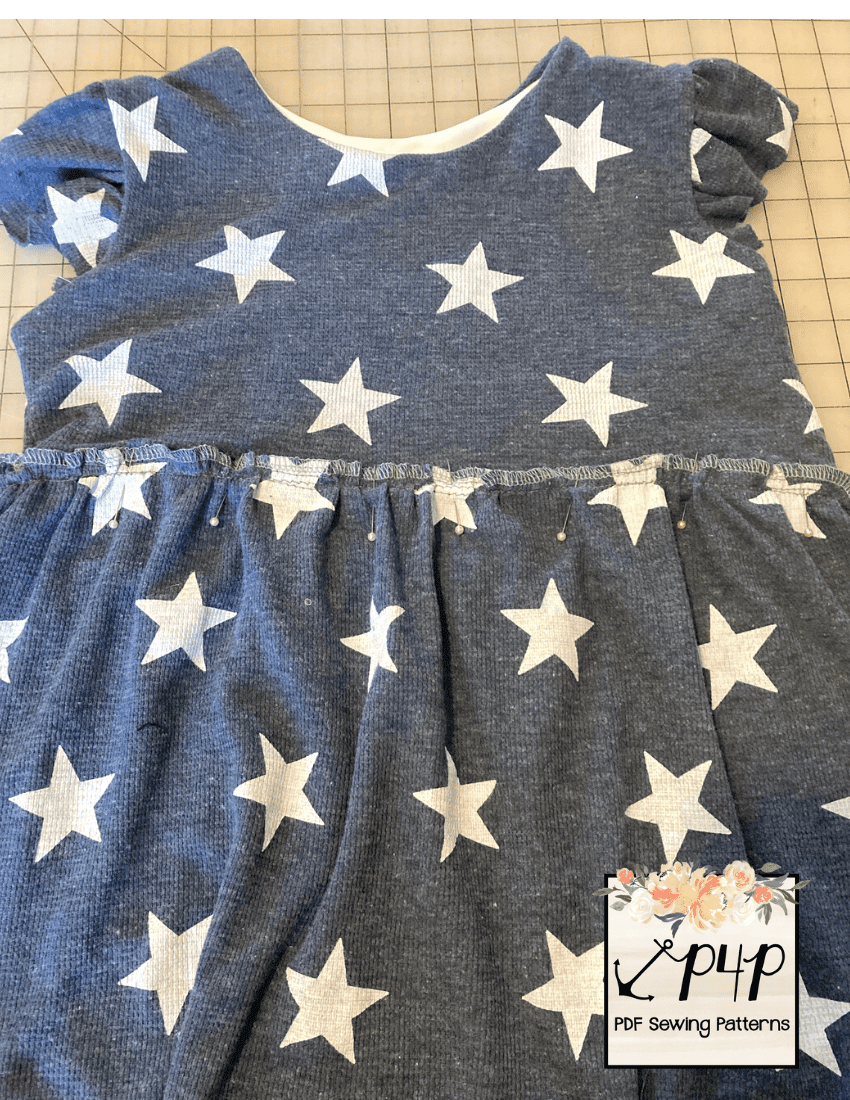
The next step is where the exposed seams come into play! This time, attach the top skirt tier to the bodice WRONG SIDES together using a 1/2″ seam allowance. 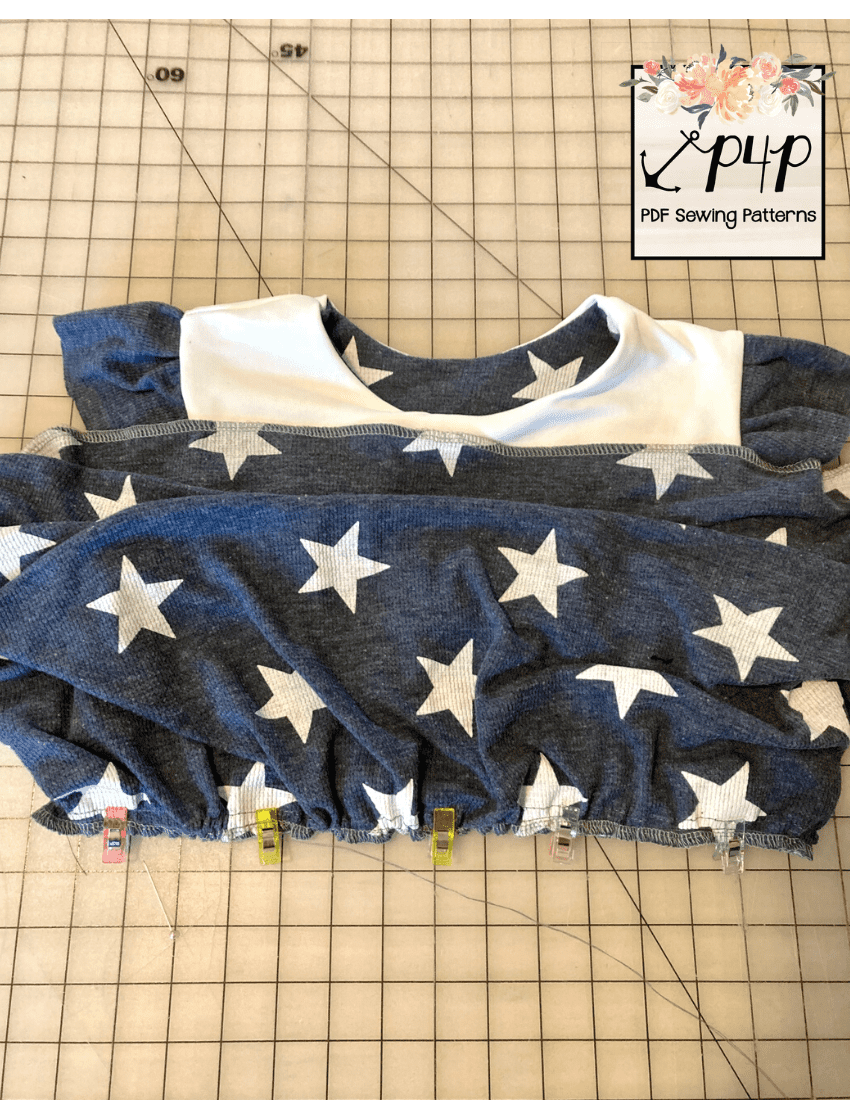
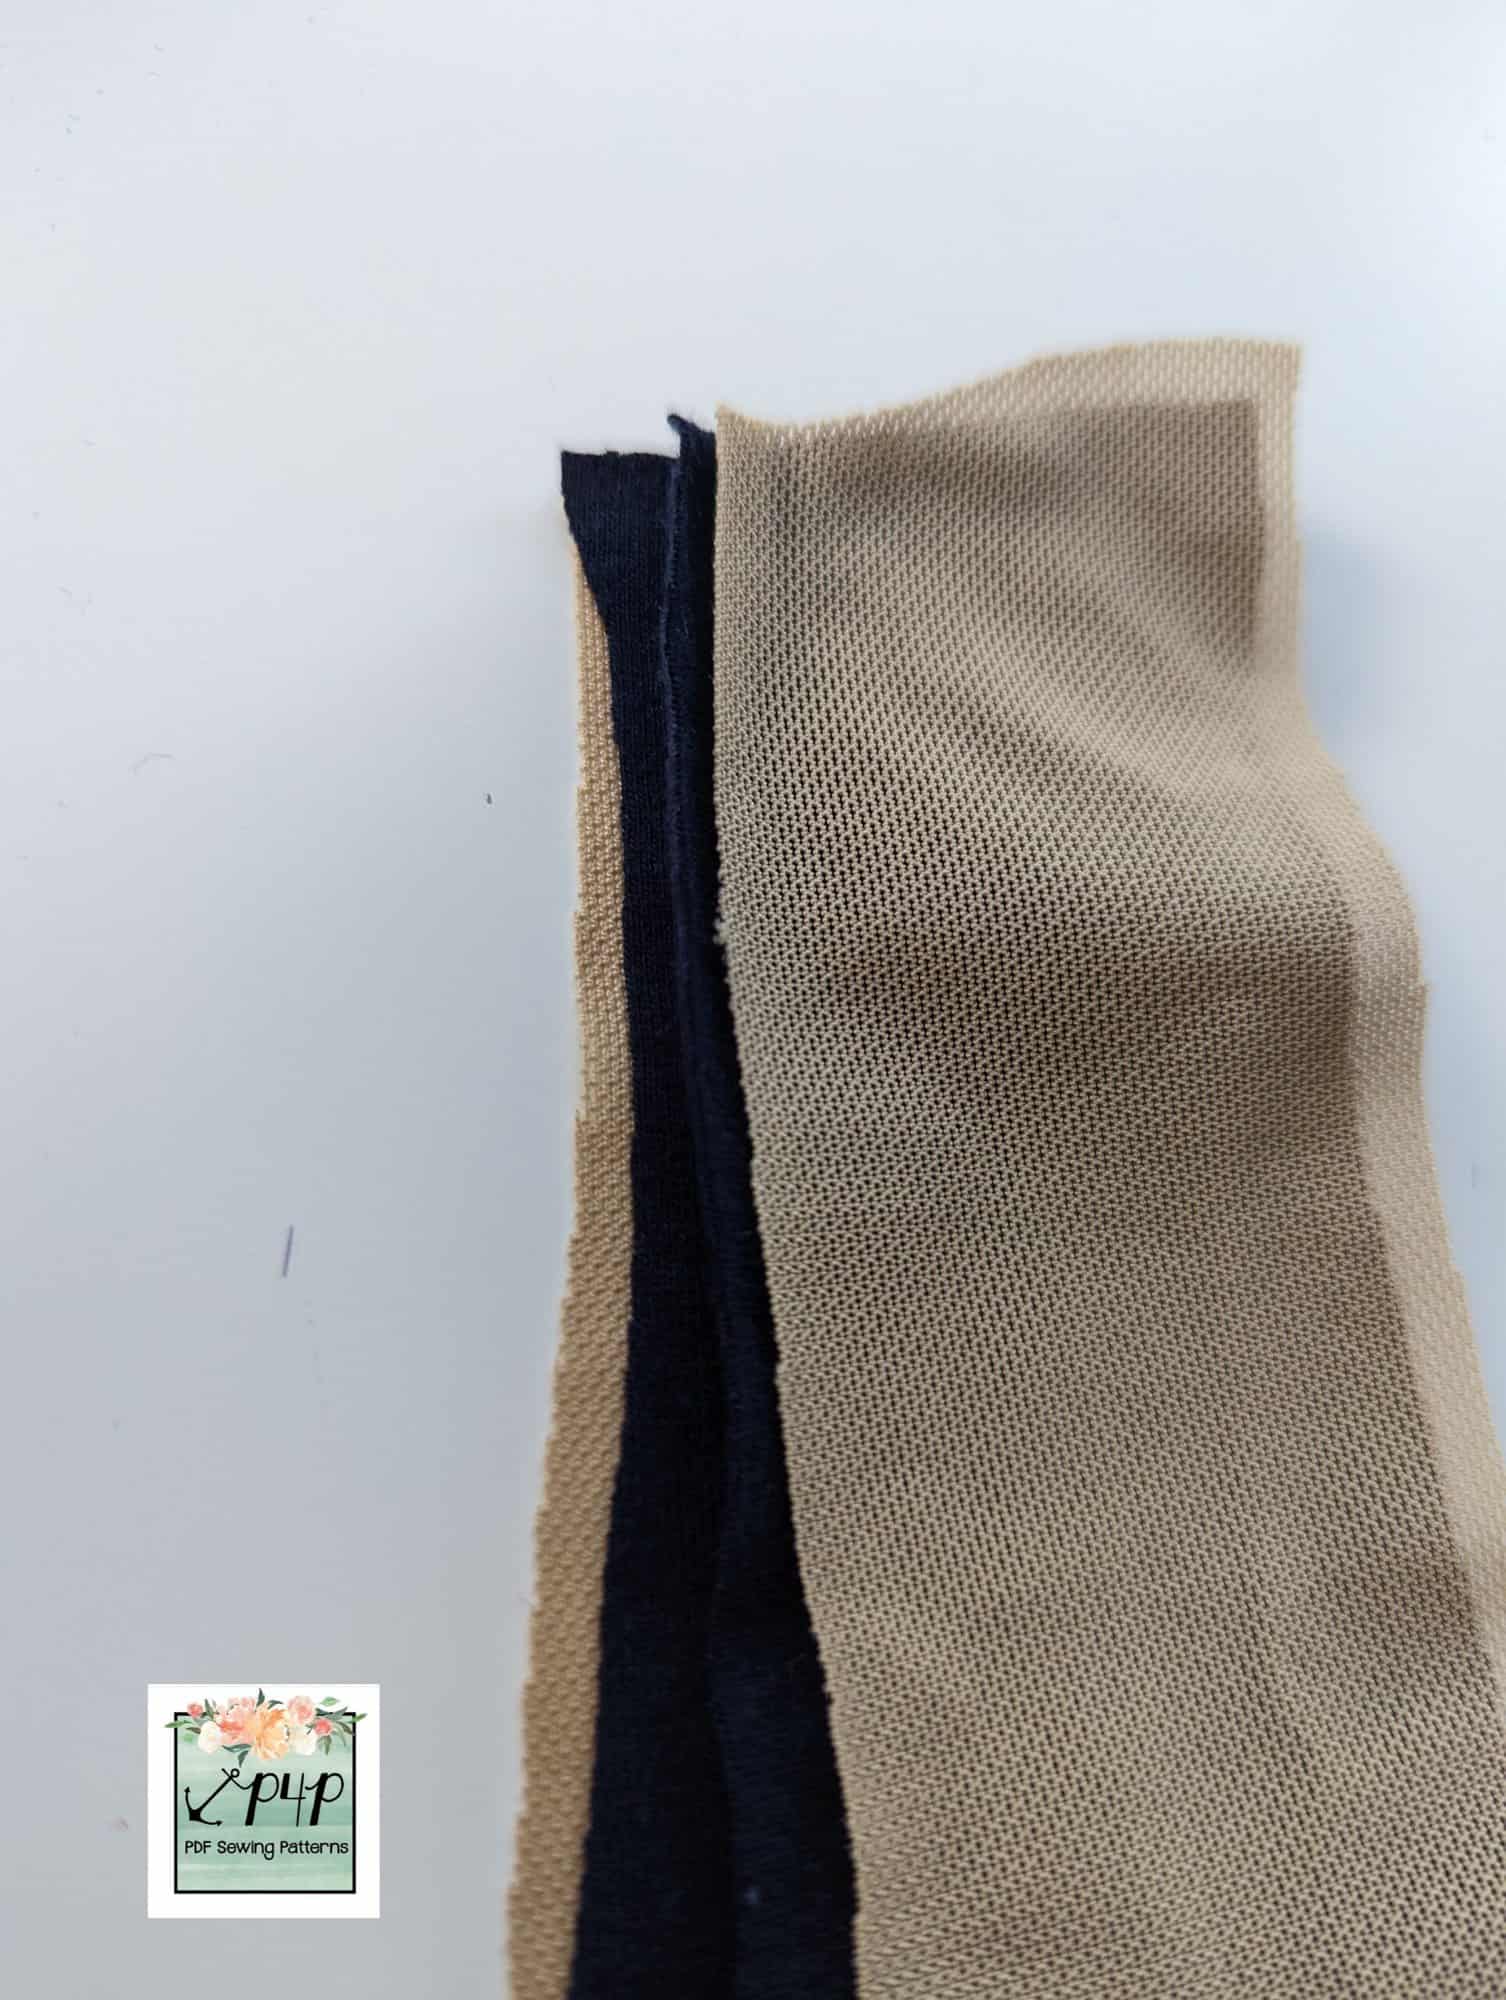
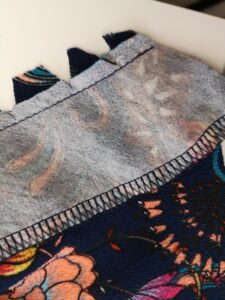
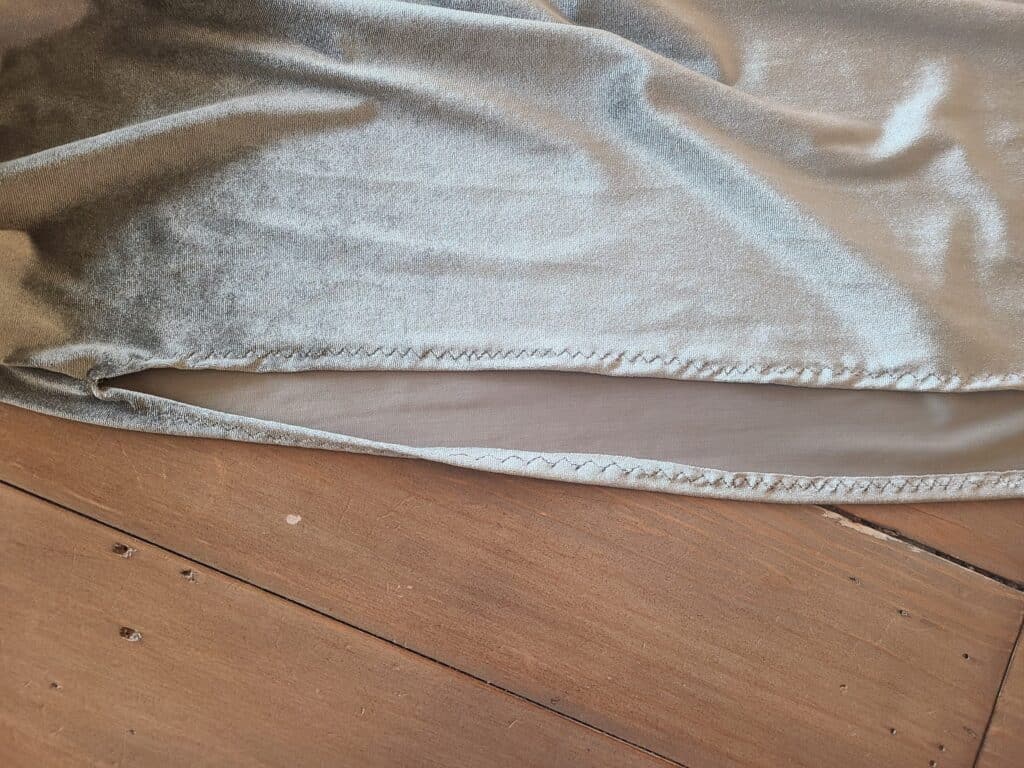
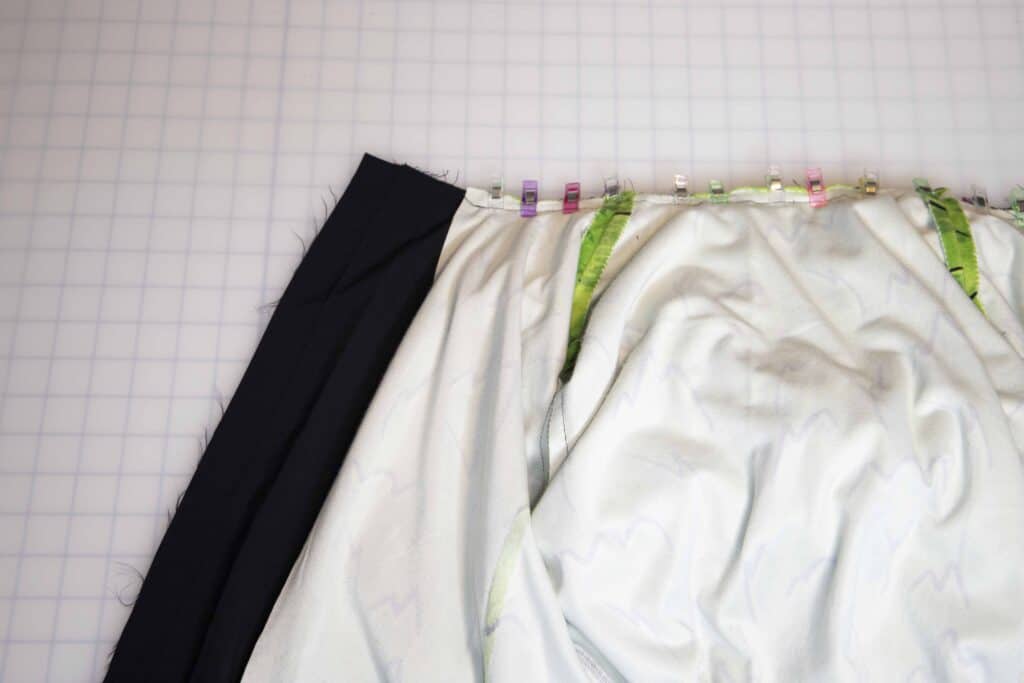
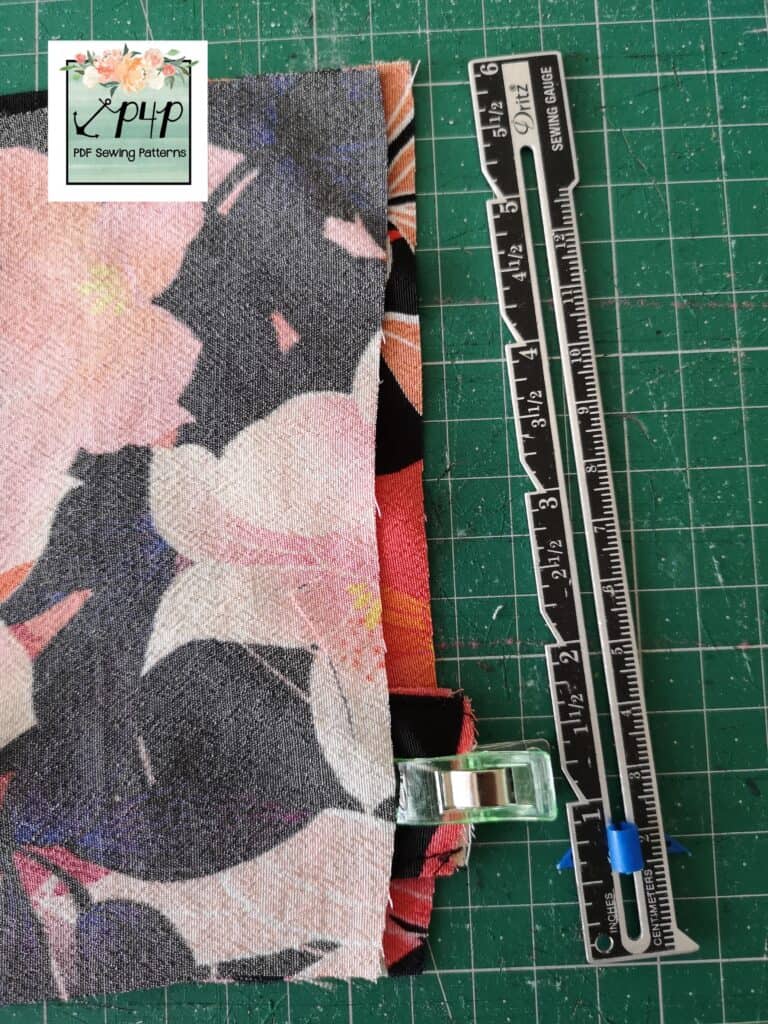
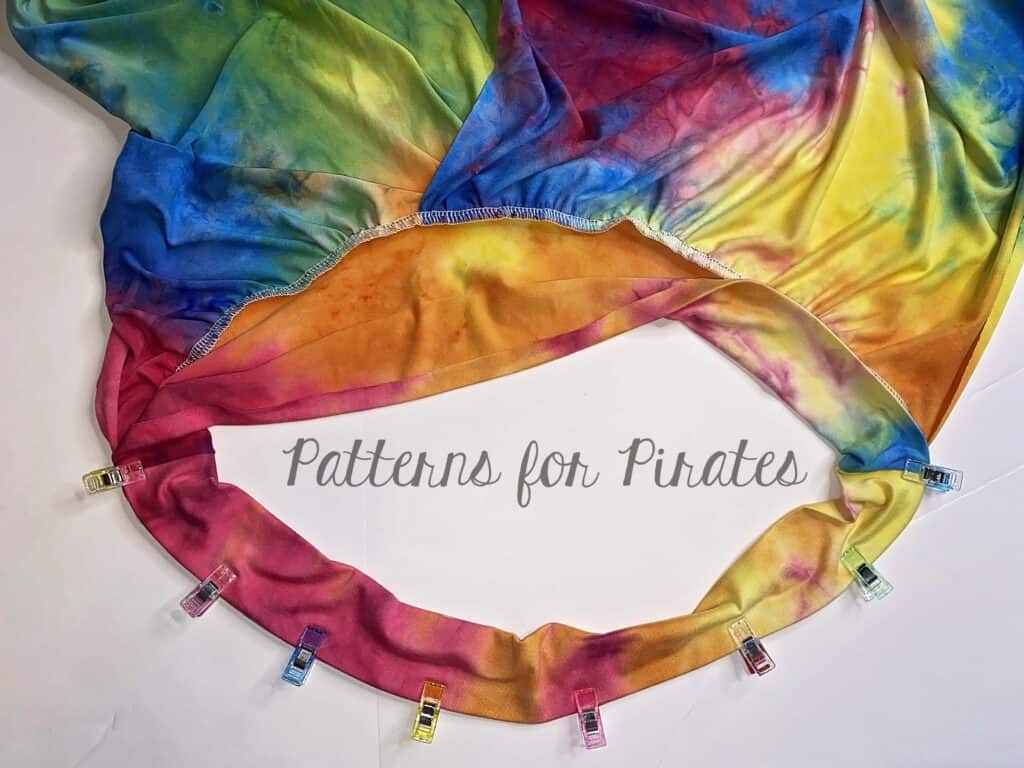
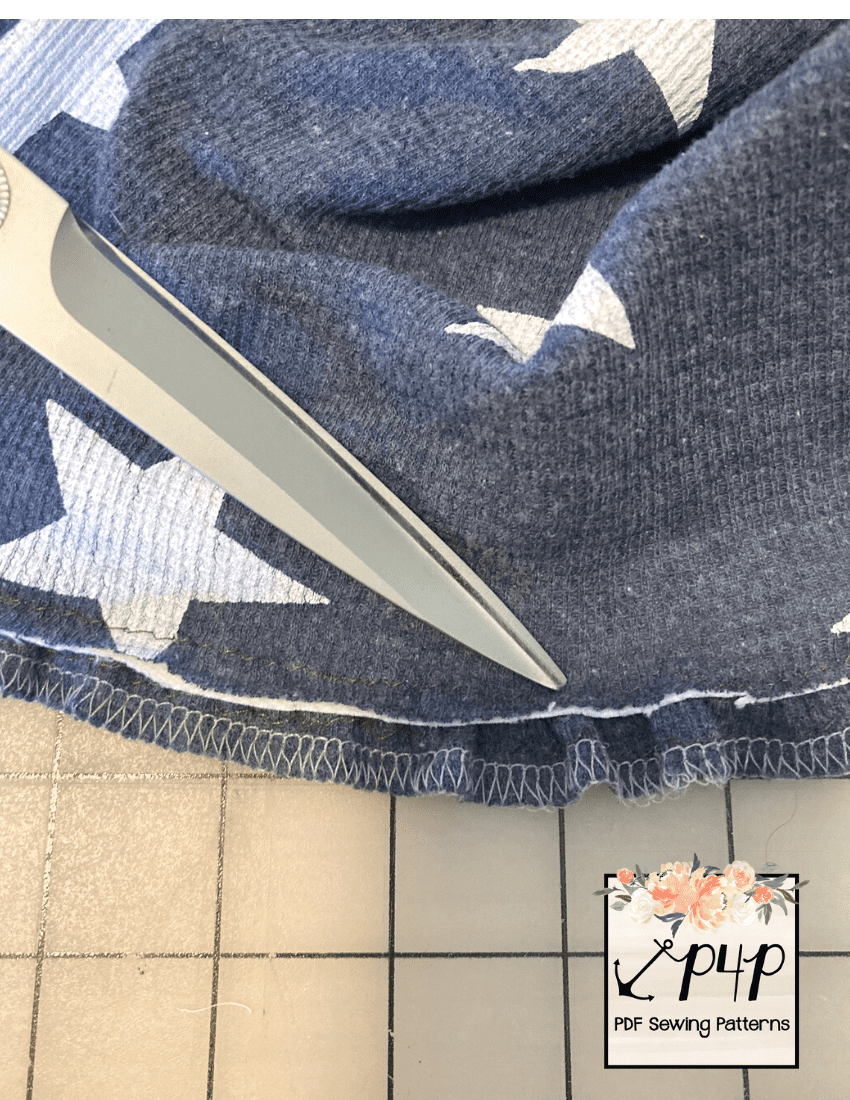
Turn your dress right side out. At this point, particularly if you’ve used a different colored bodice lining like I have here, you’ll want to trim the seam allowance of the bodice ONLY, being careful not to cut through the stitching. This will reduce bulk and enable your skirt to lay more nicely as well.
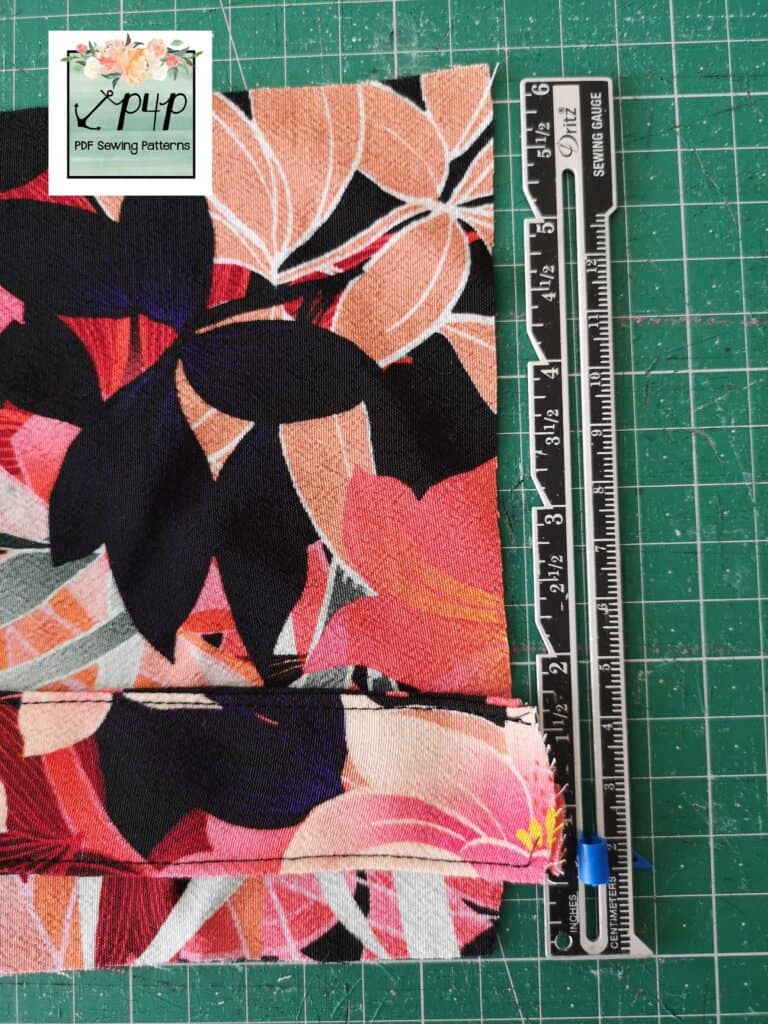
Press the seam allowance up toward the bodice, and topstitch just below the exposed edge of the skirt.
Depending on the options you’ve chosen for your Gather ’round Dress, repeat these steps until all skirt tiers are attached. Hem as usual. 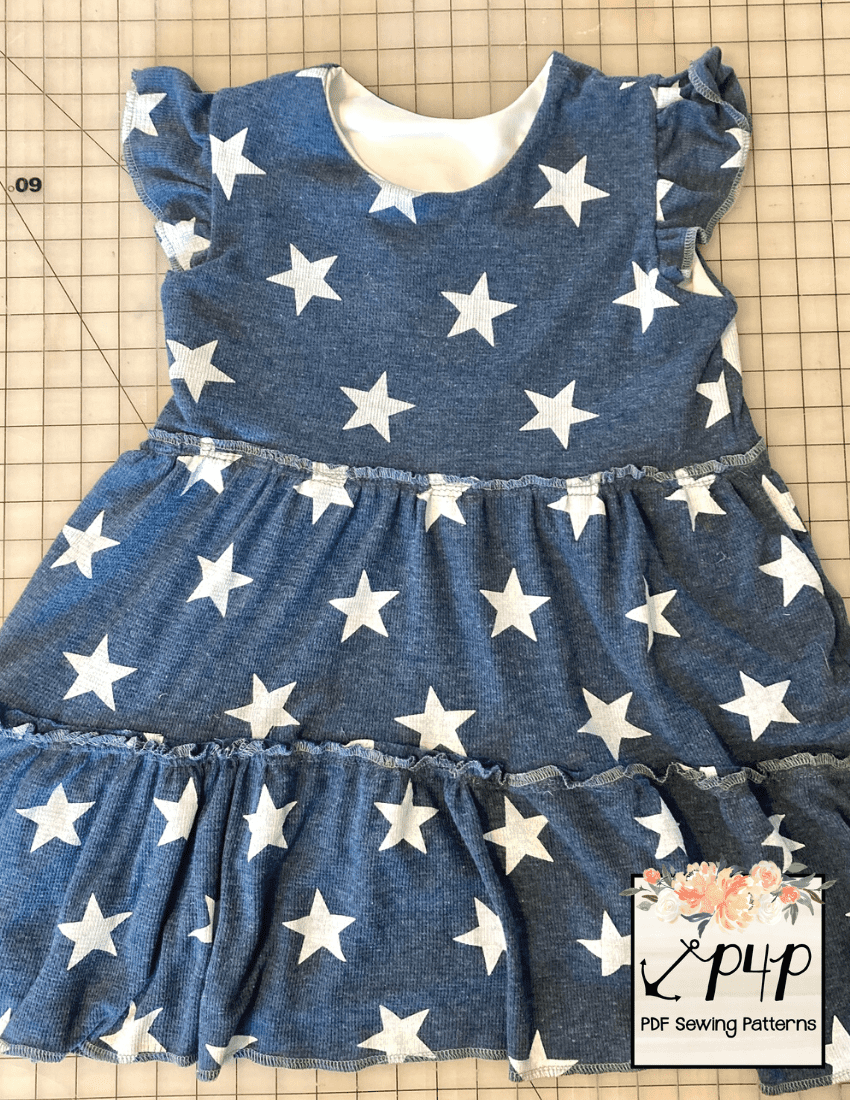
You’ve done it! Now step back and admire your gorgeous and trendy exposed seams.
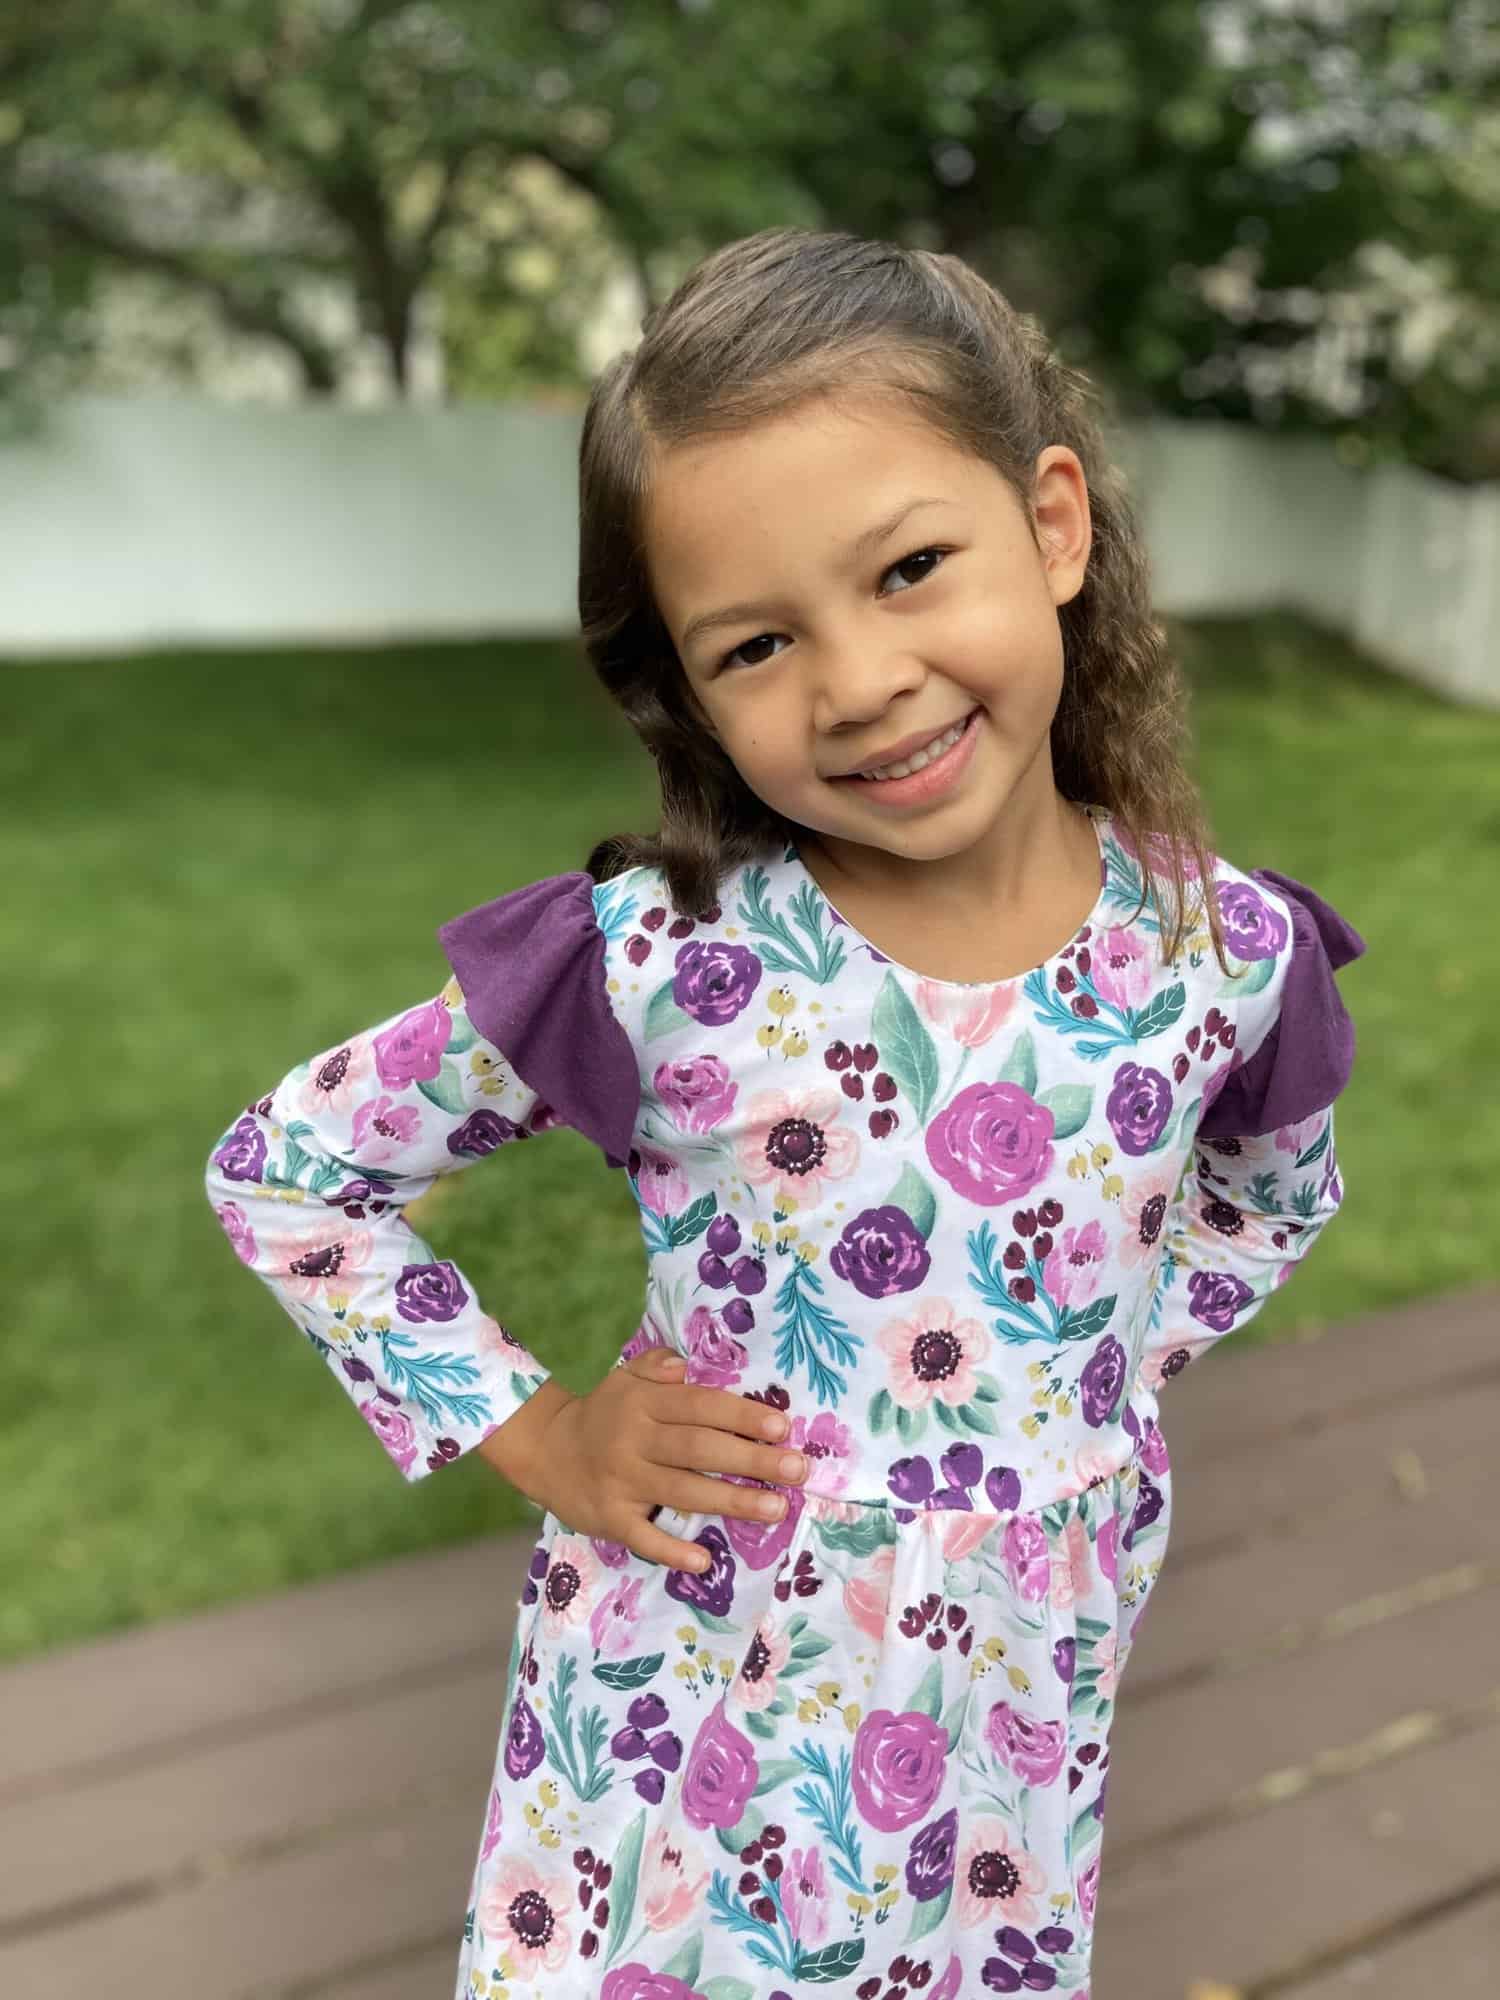
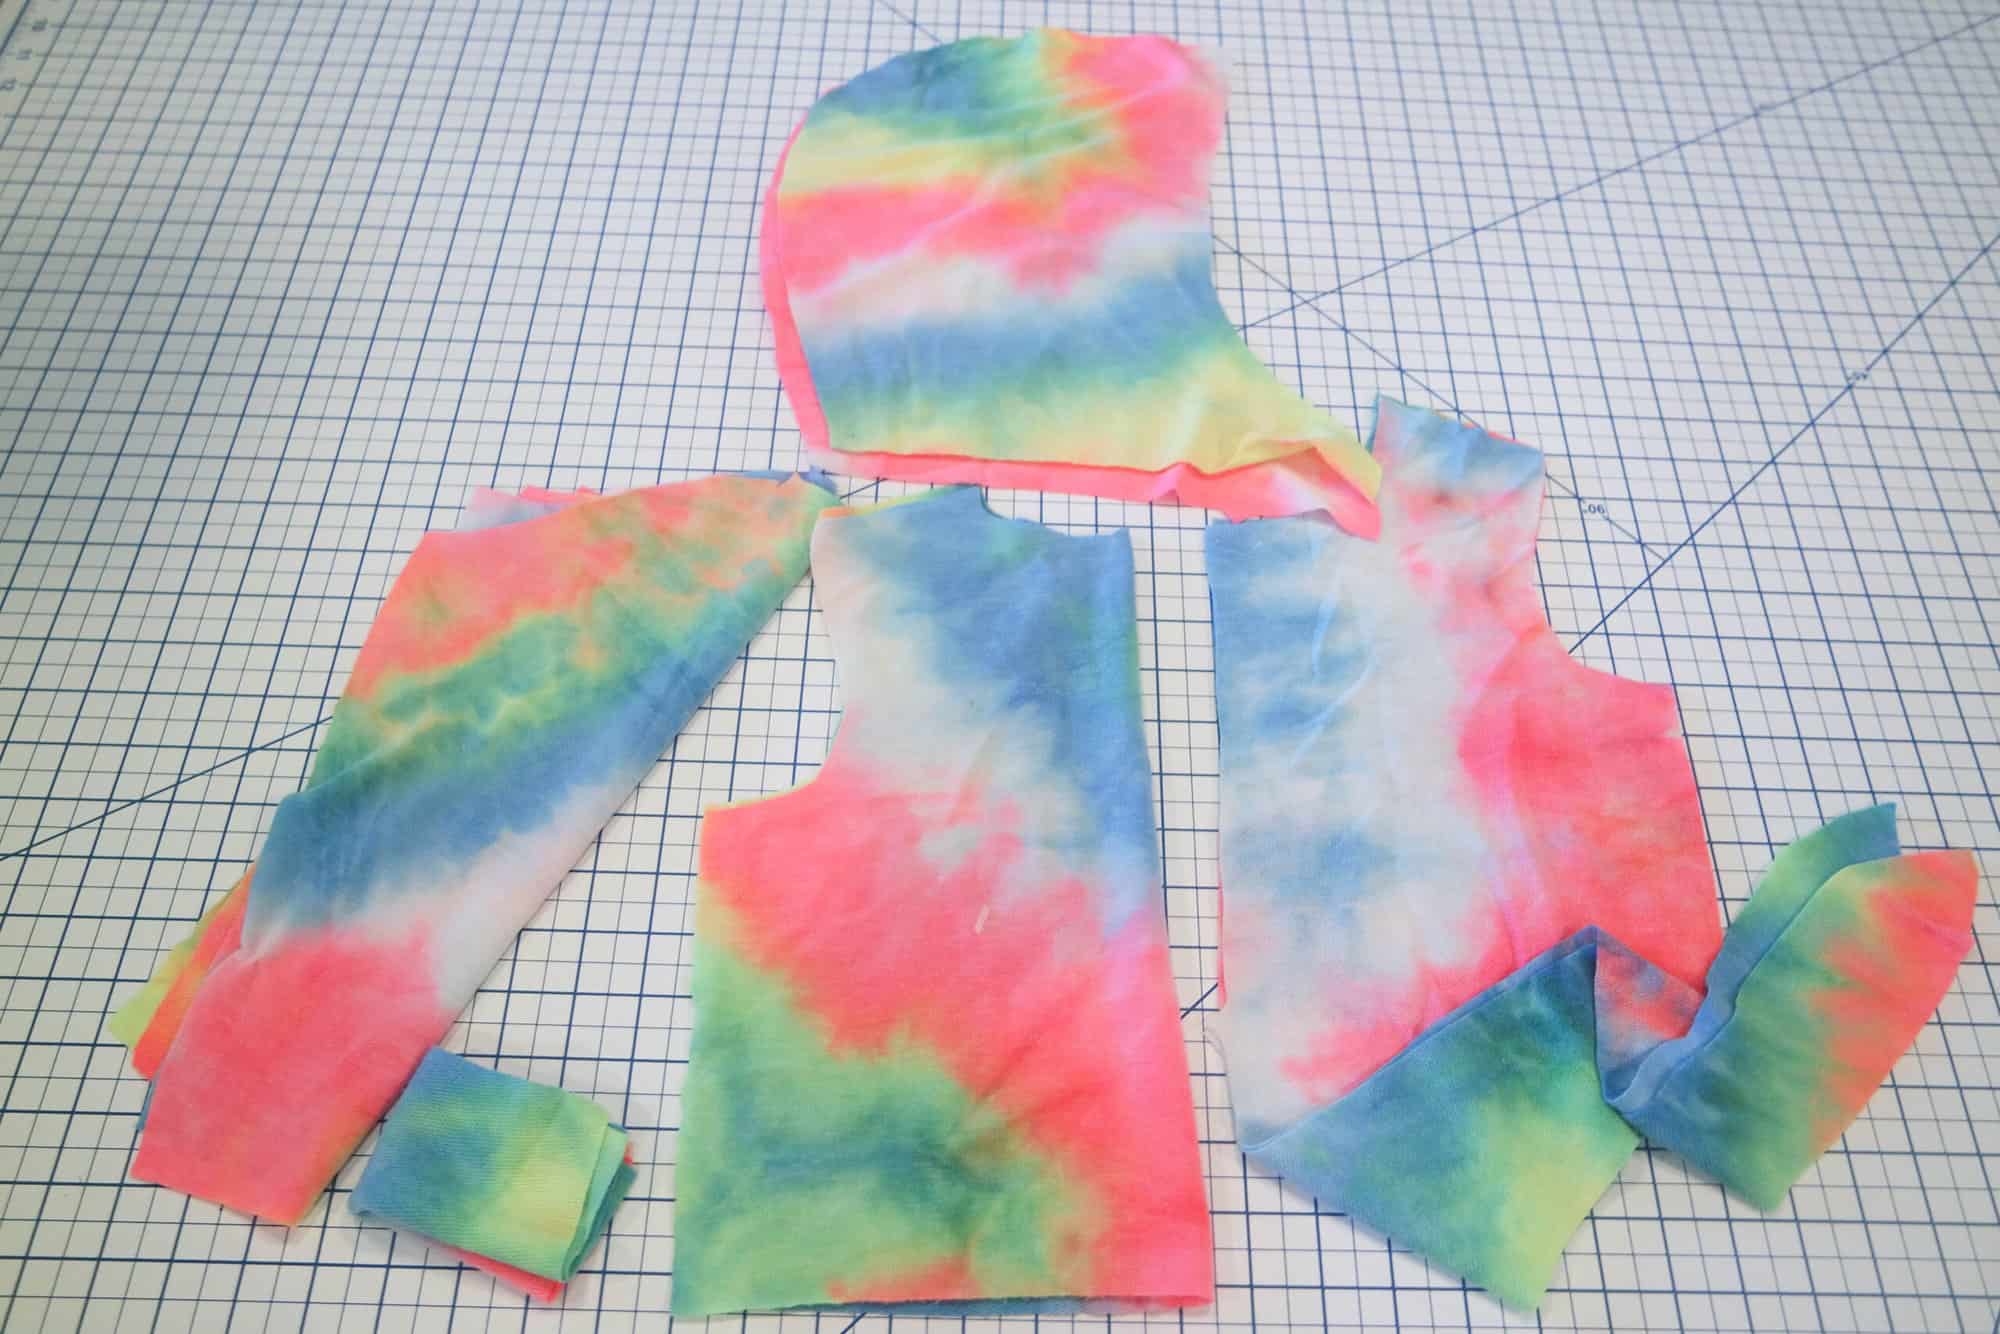
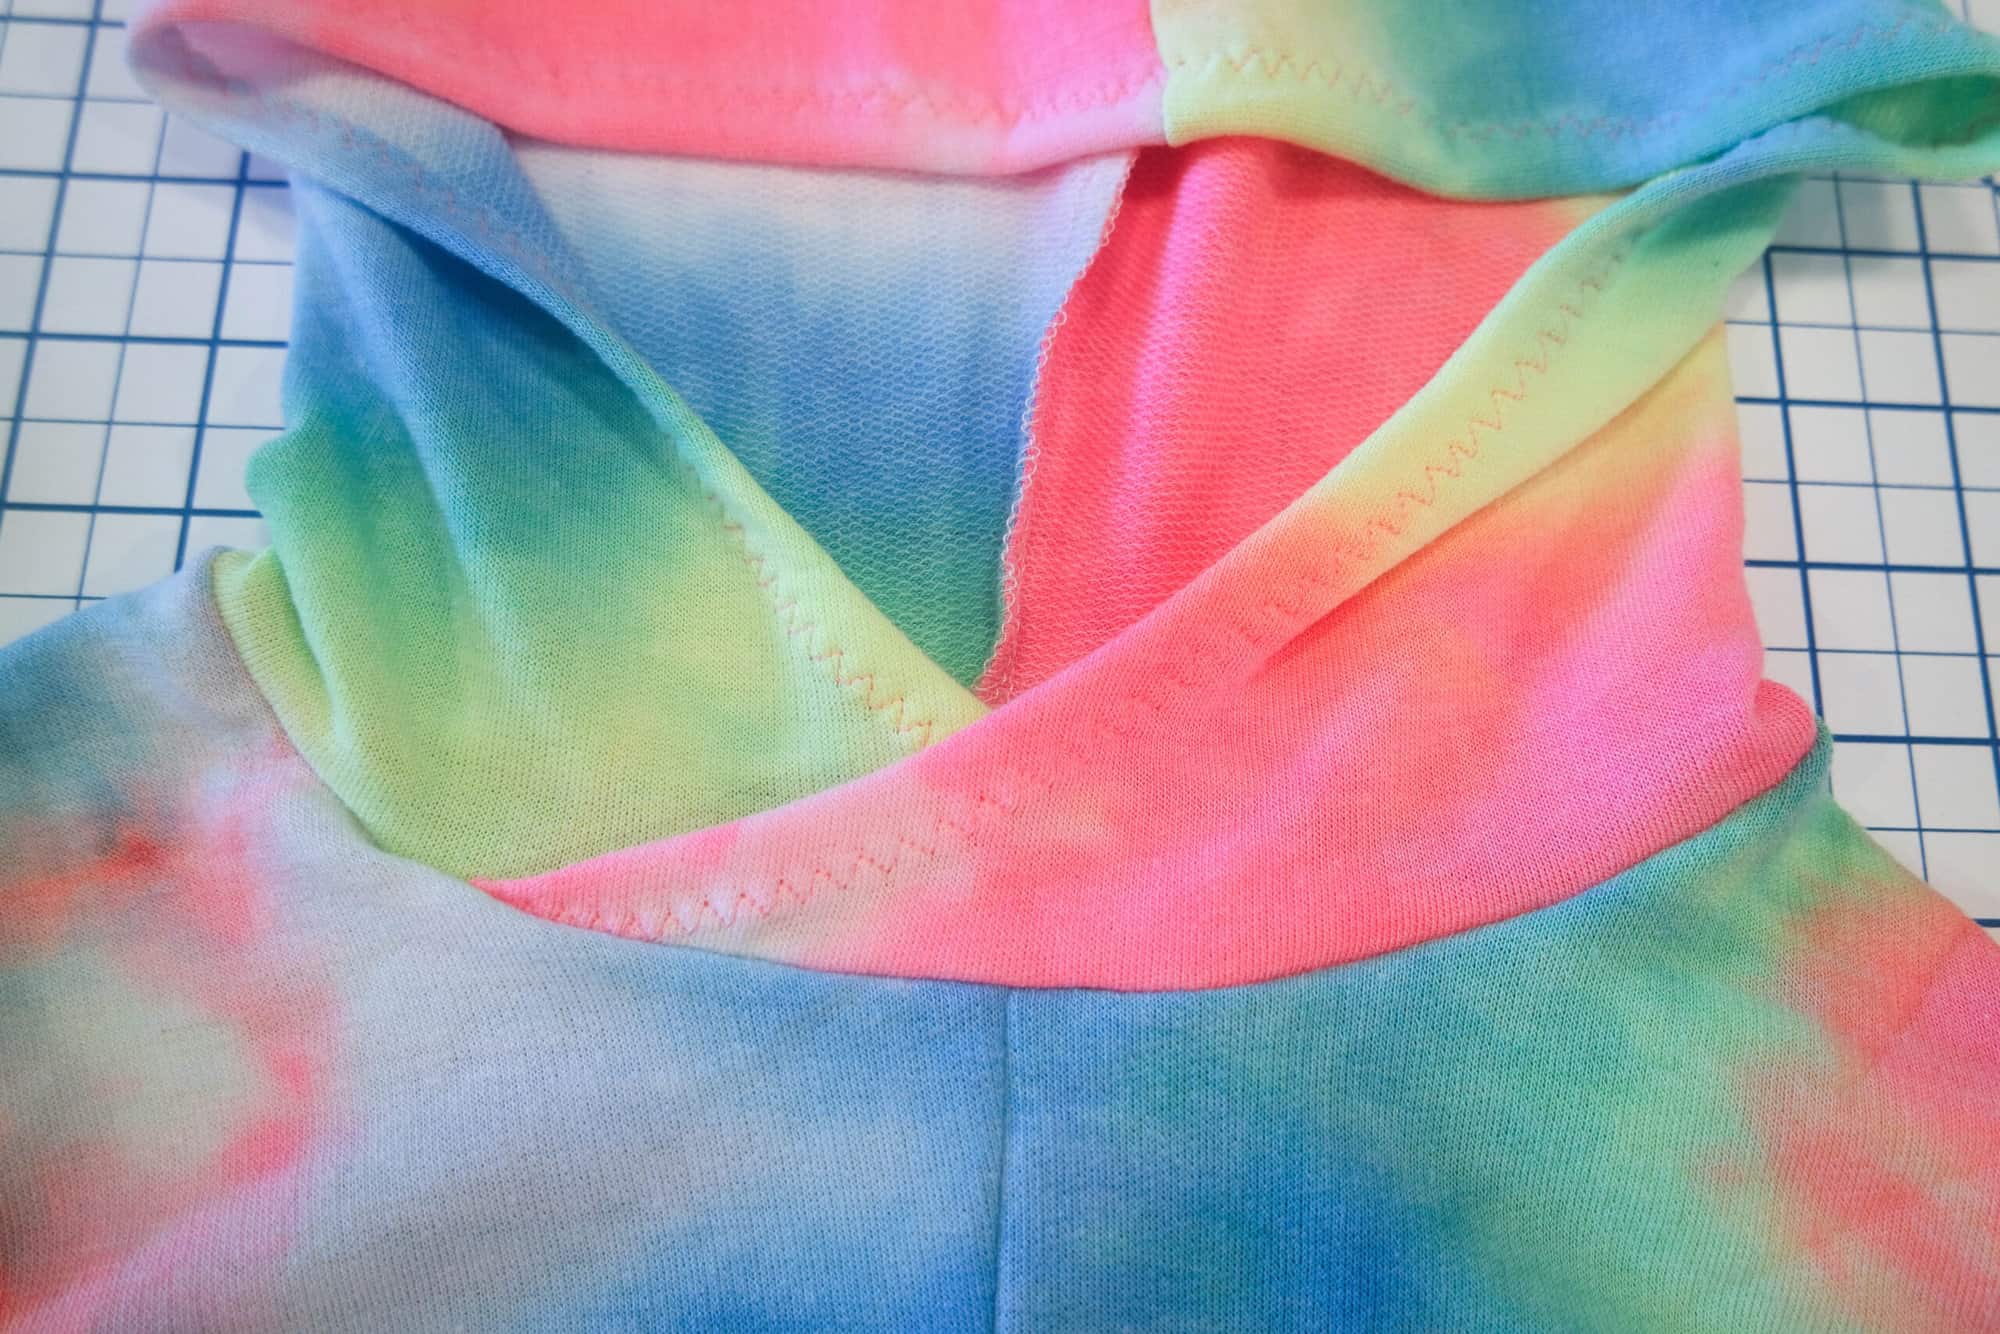
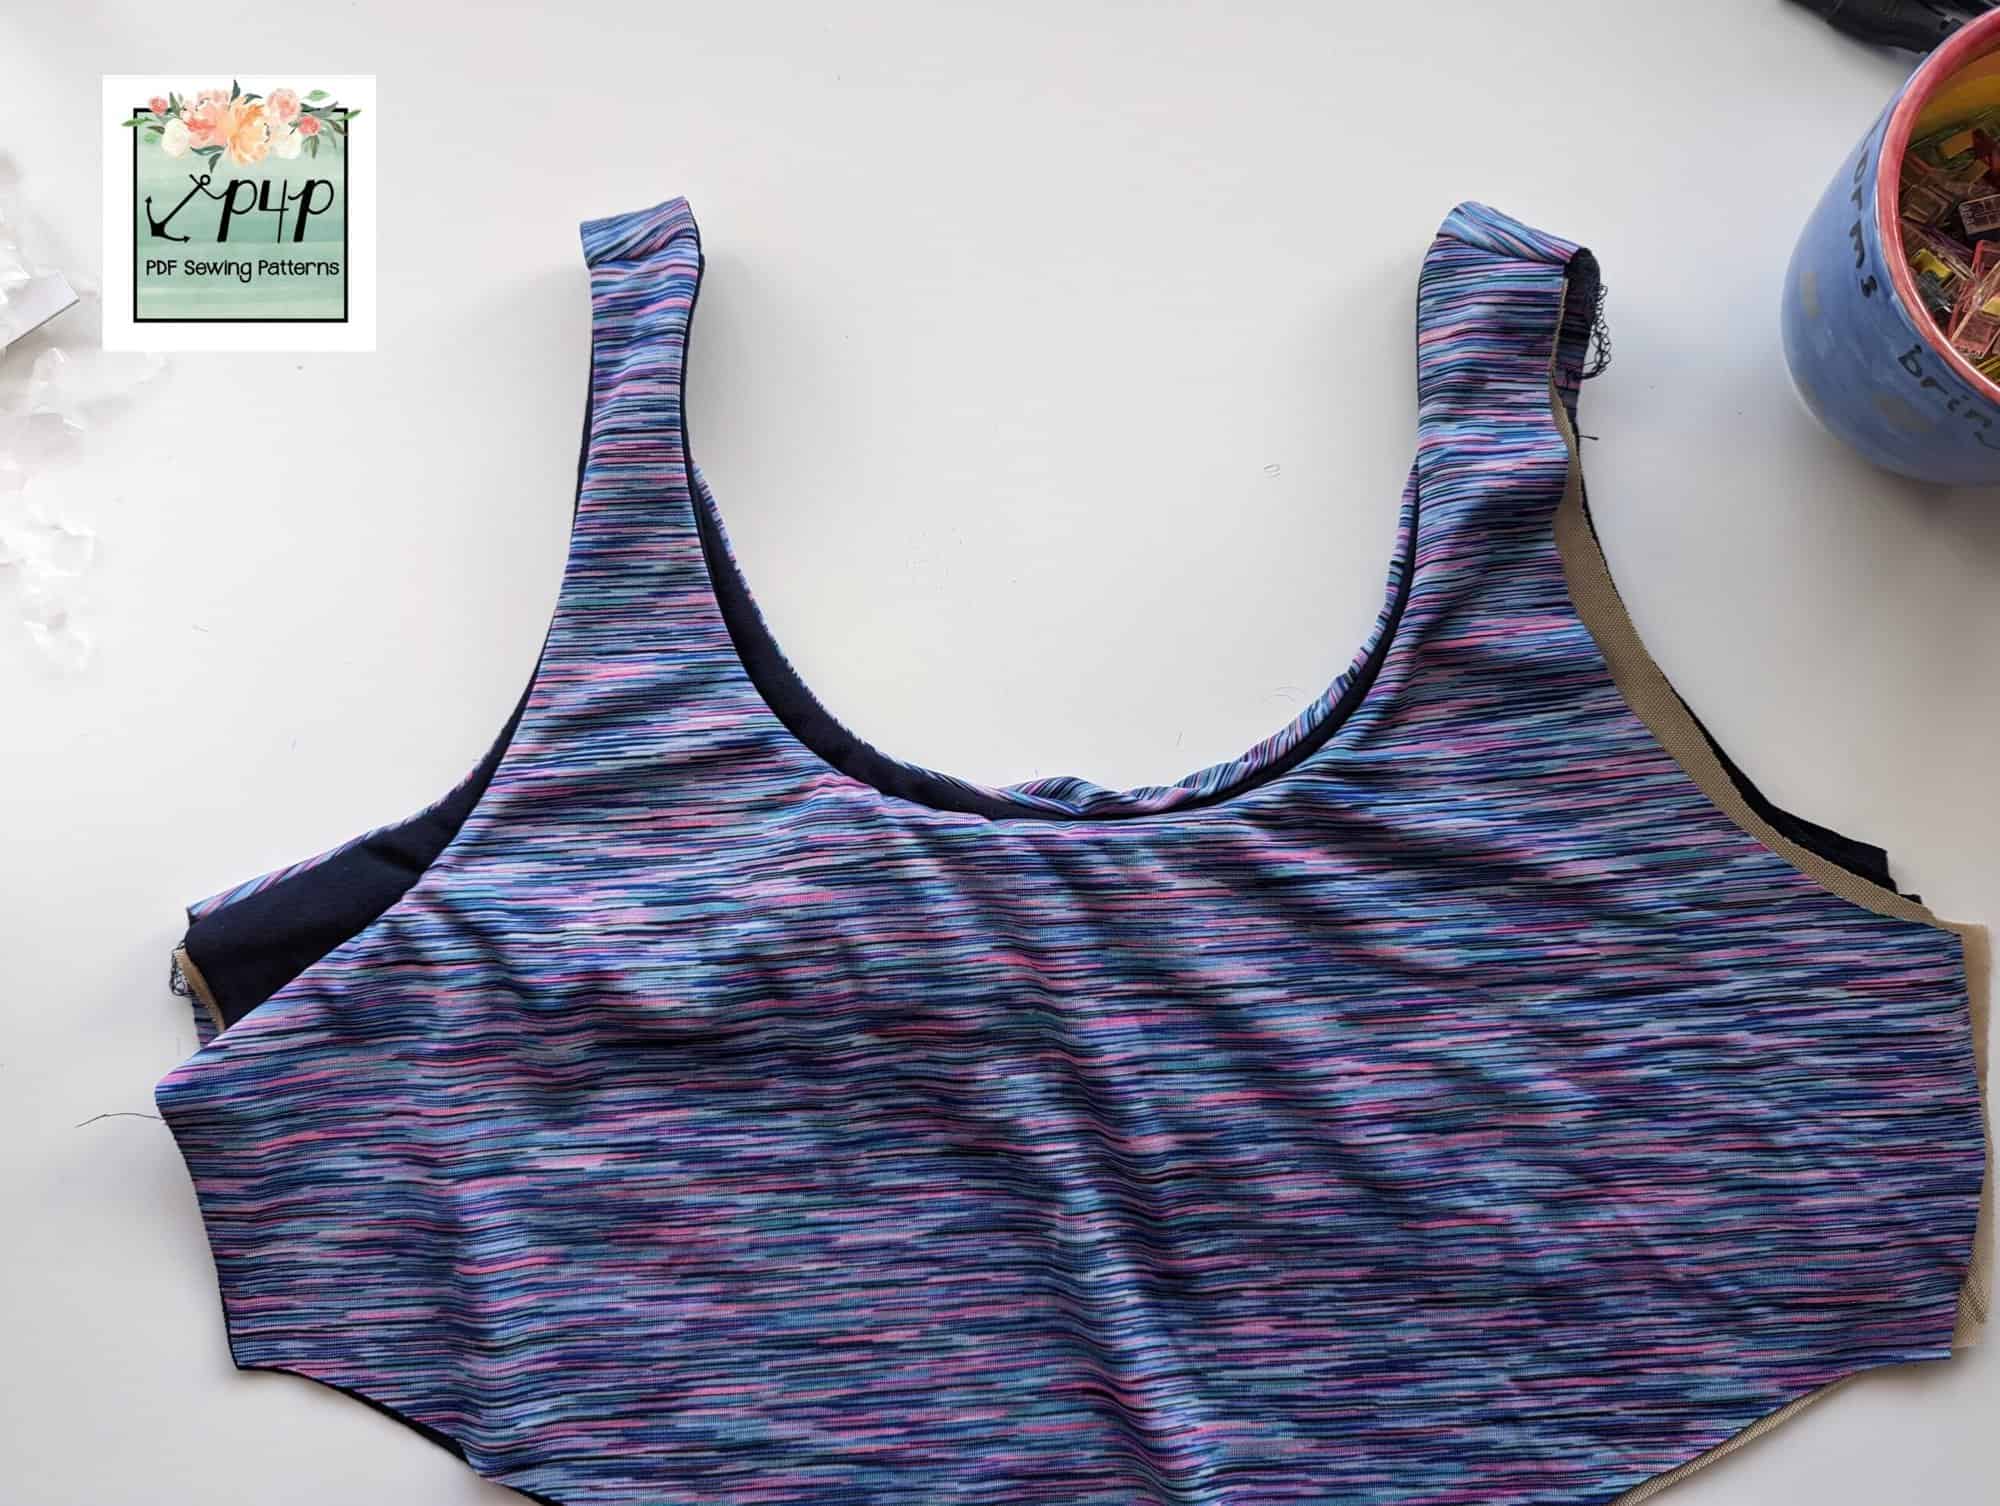
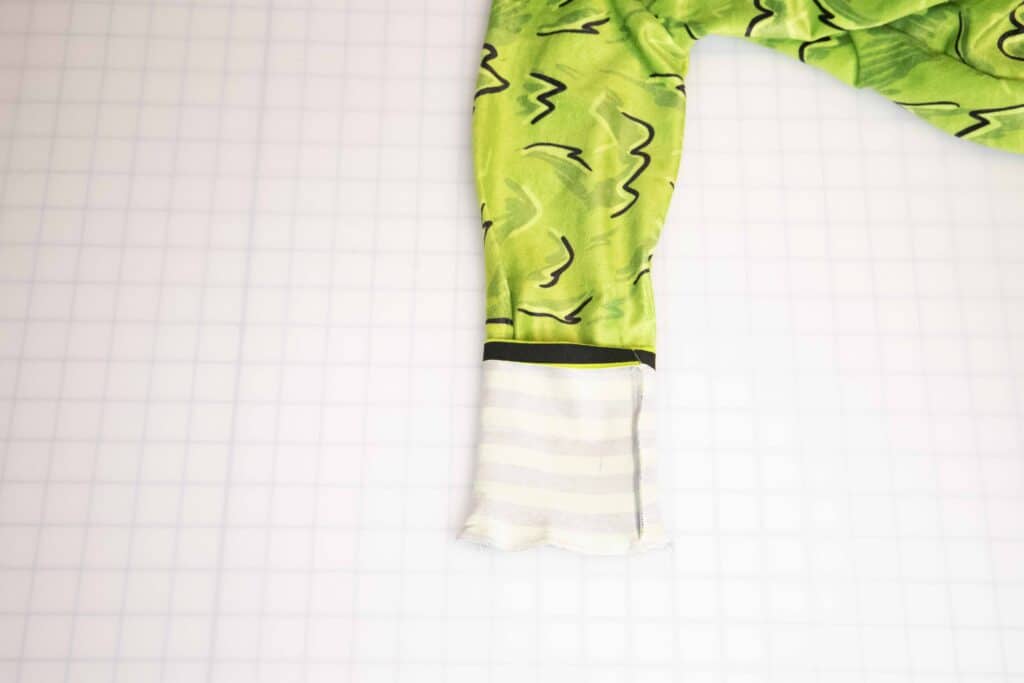
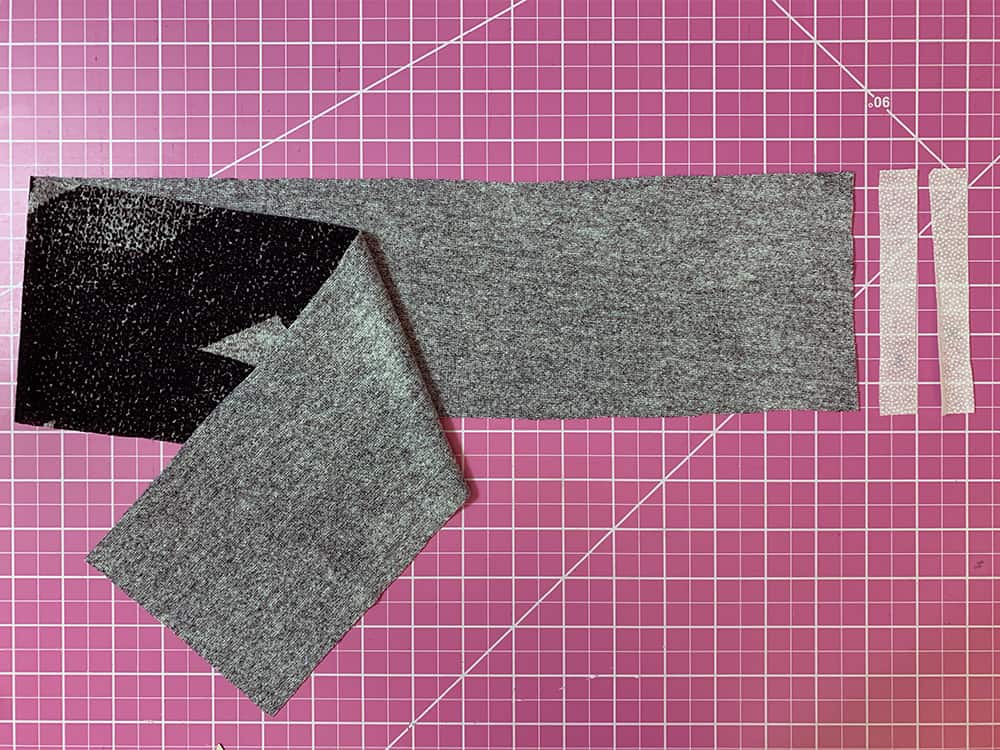
Gathered Cap Sleeve with Long Sleeves Hack:
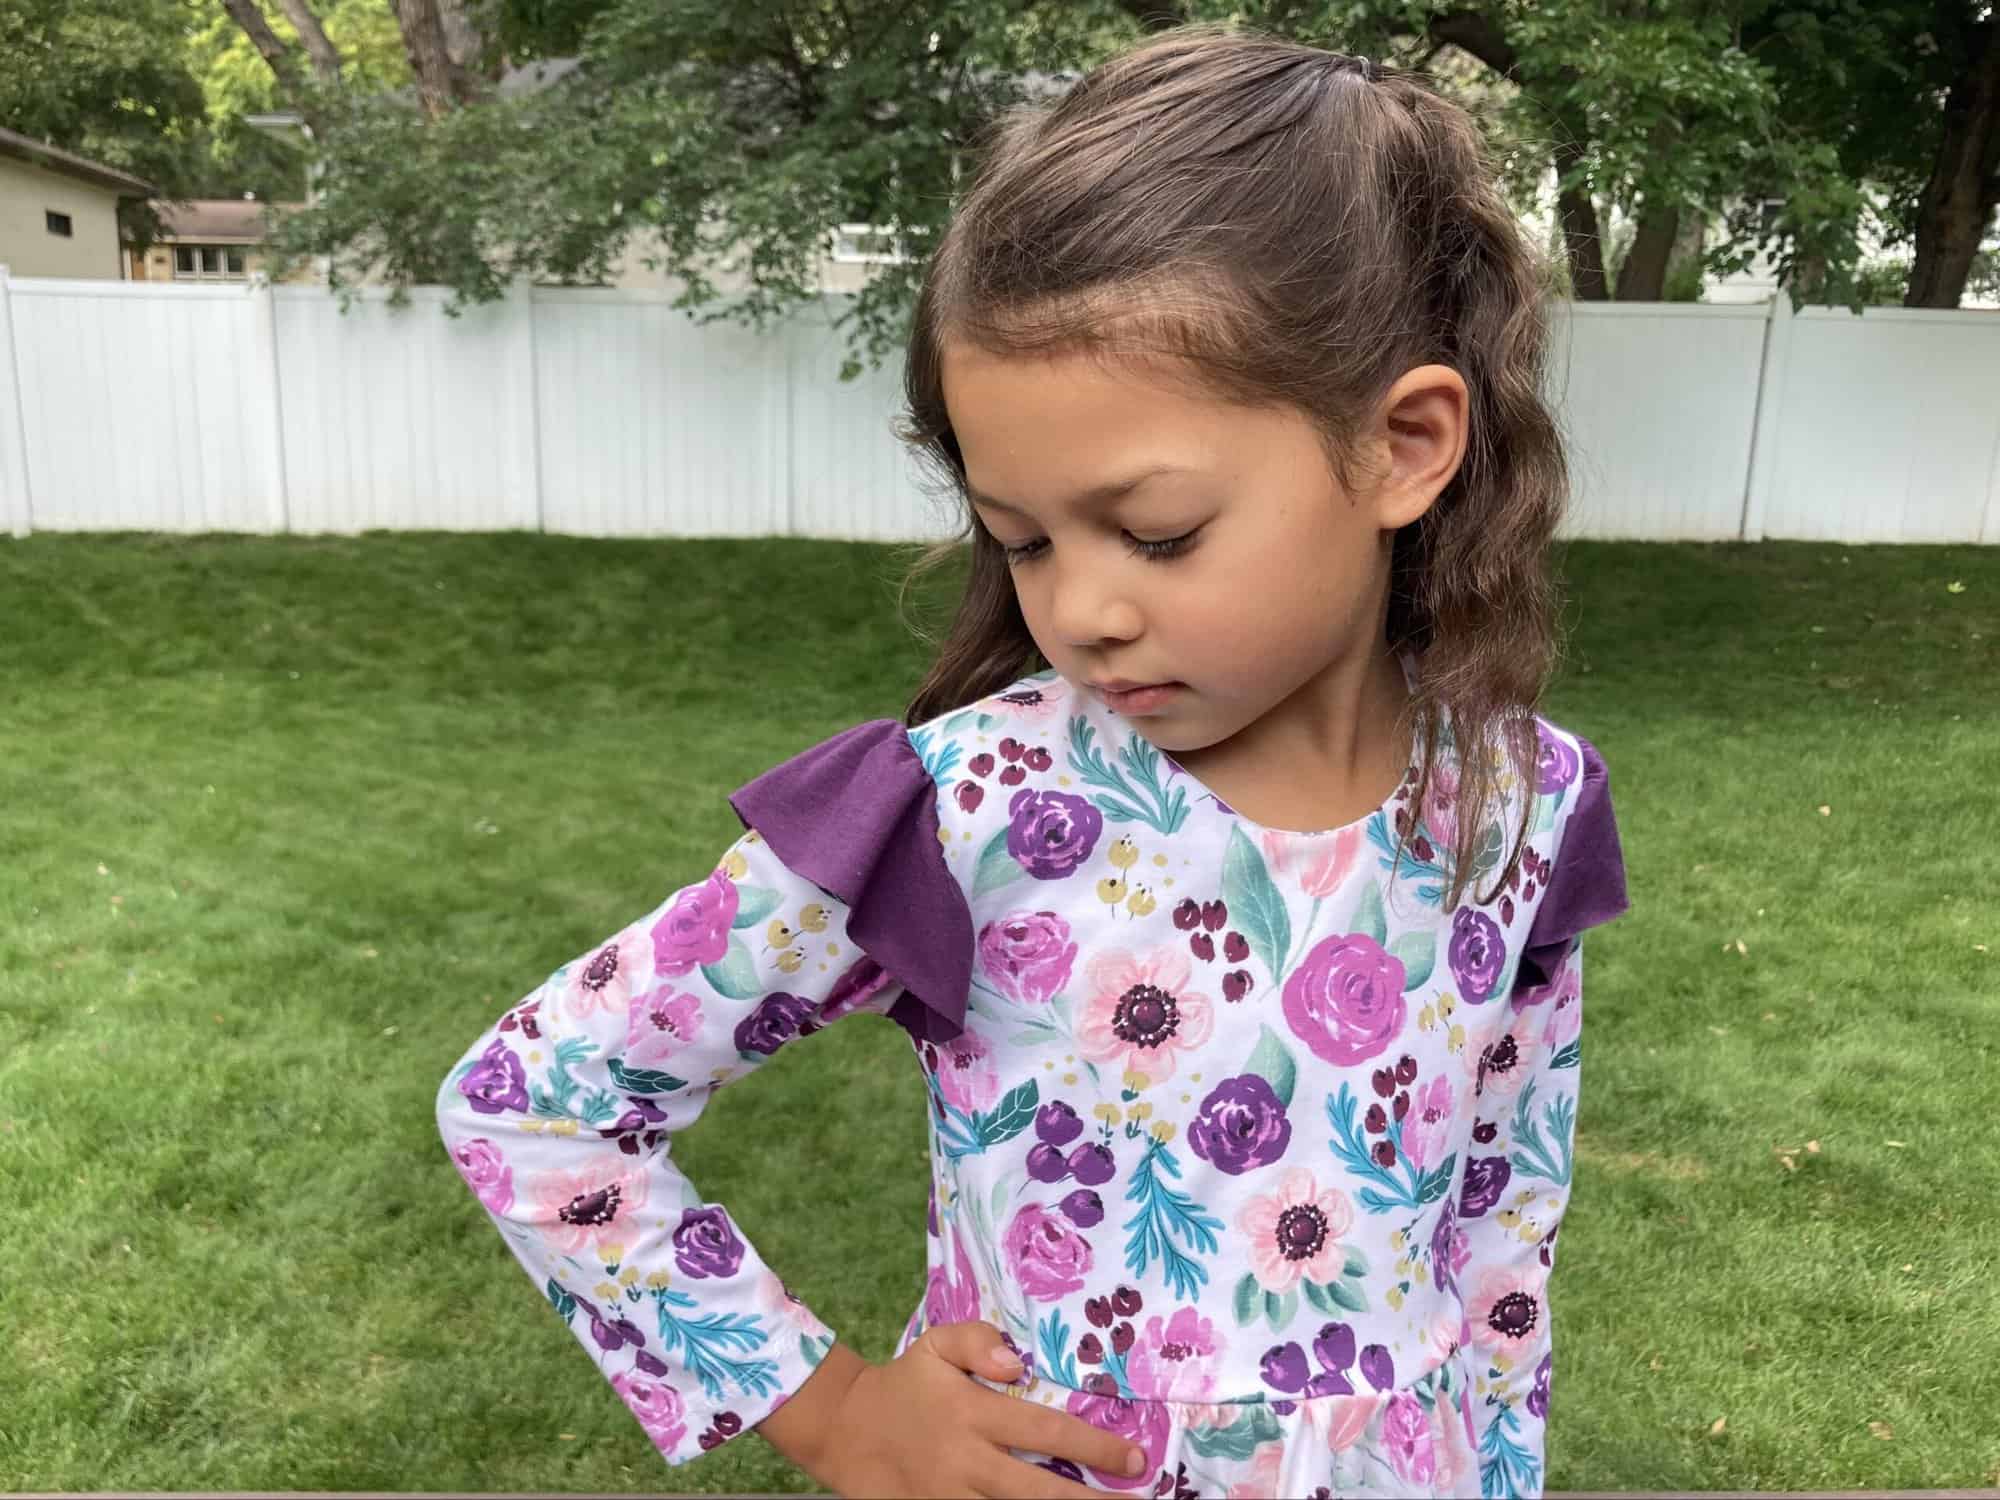
I really love the flutter and long sleeve combo and it’s super simple to achieve!
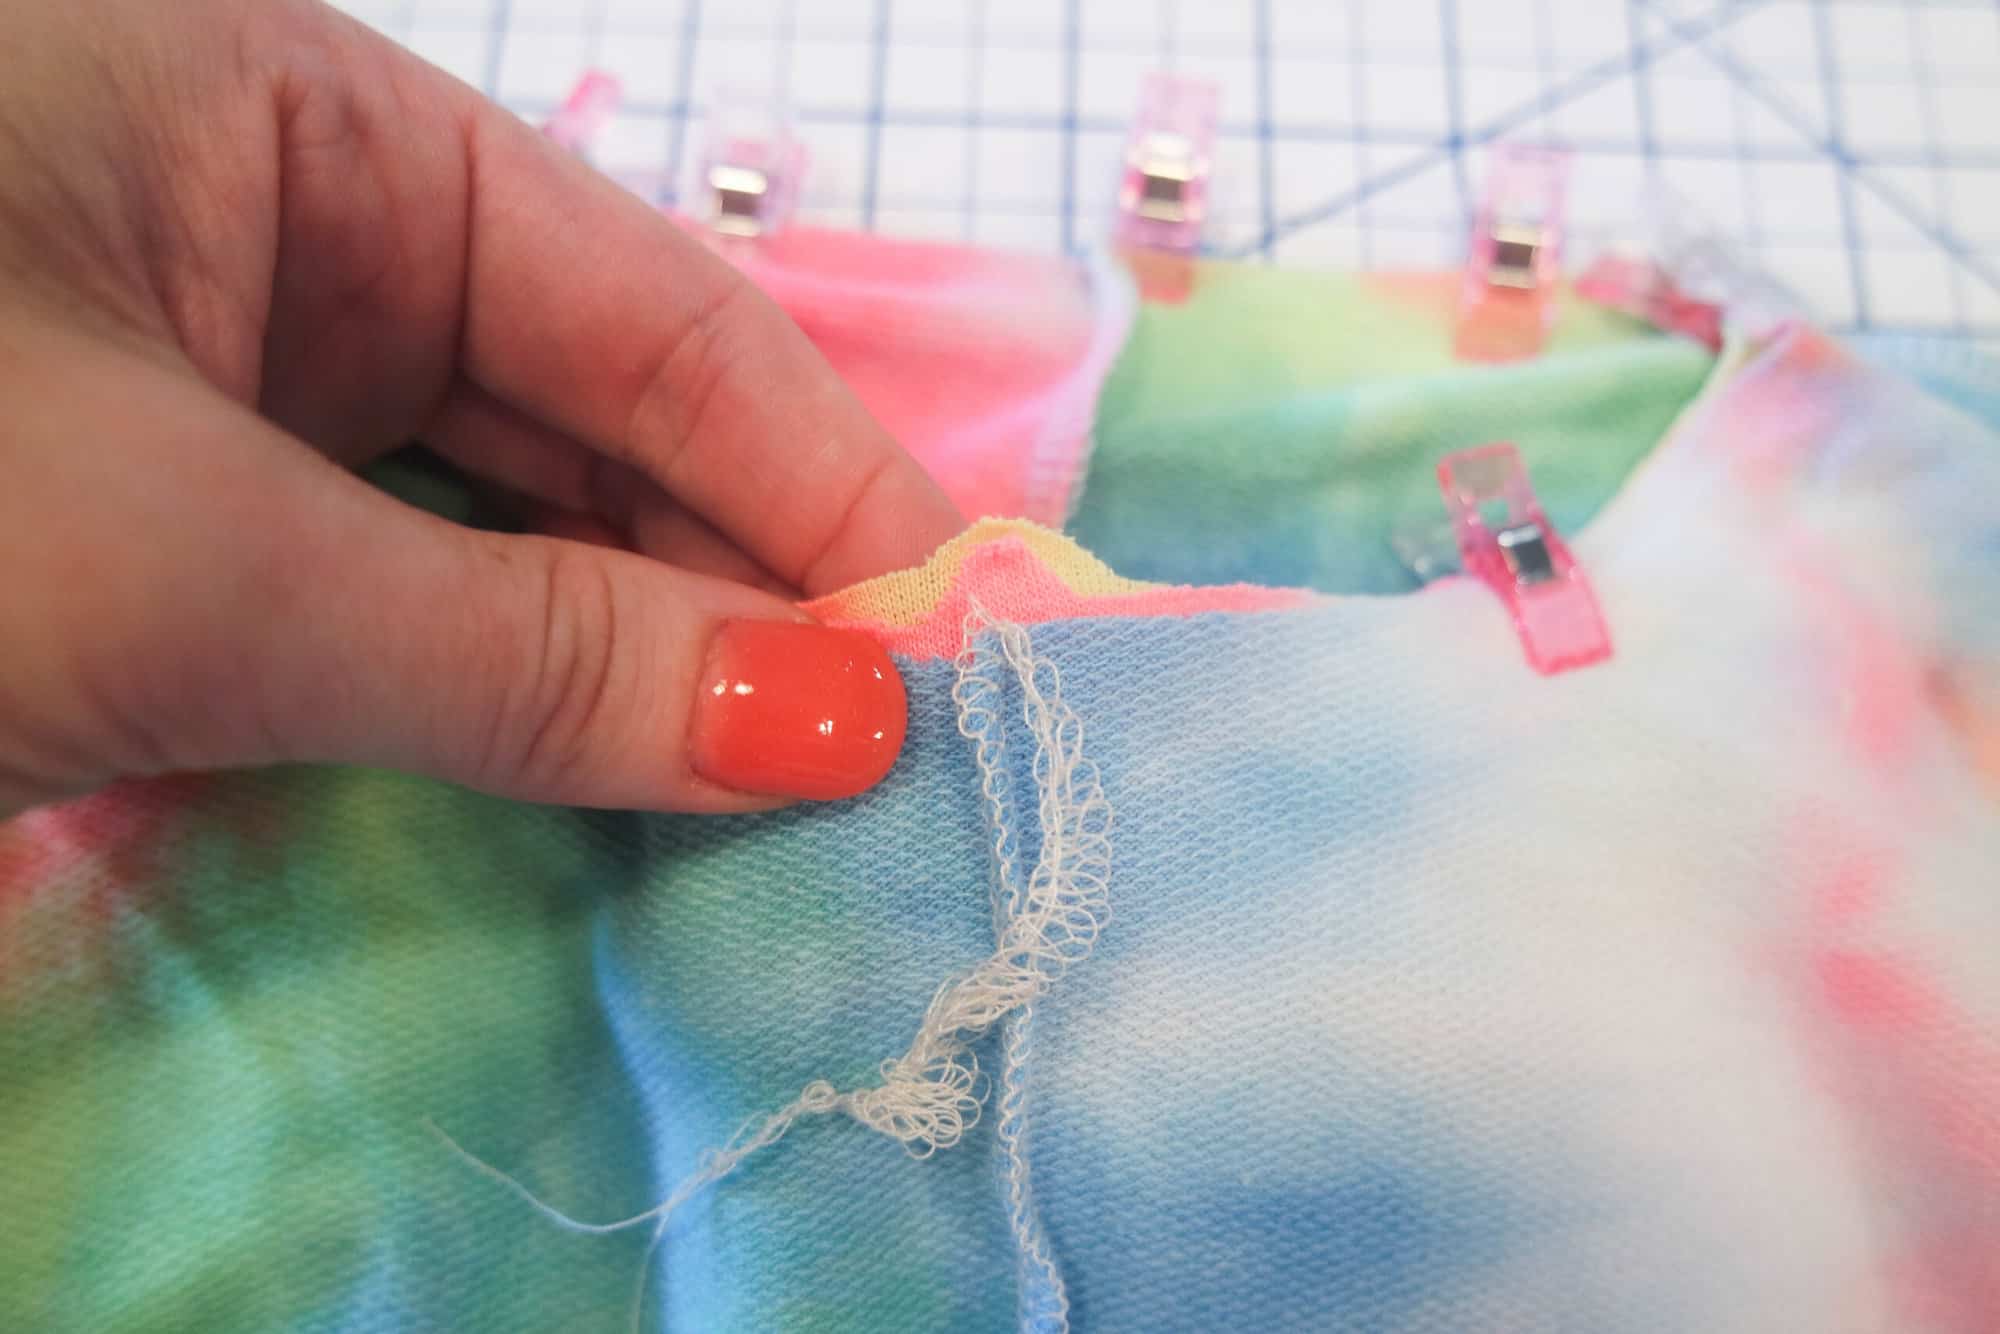
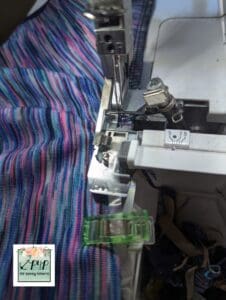
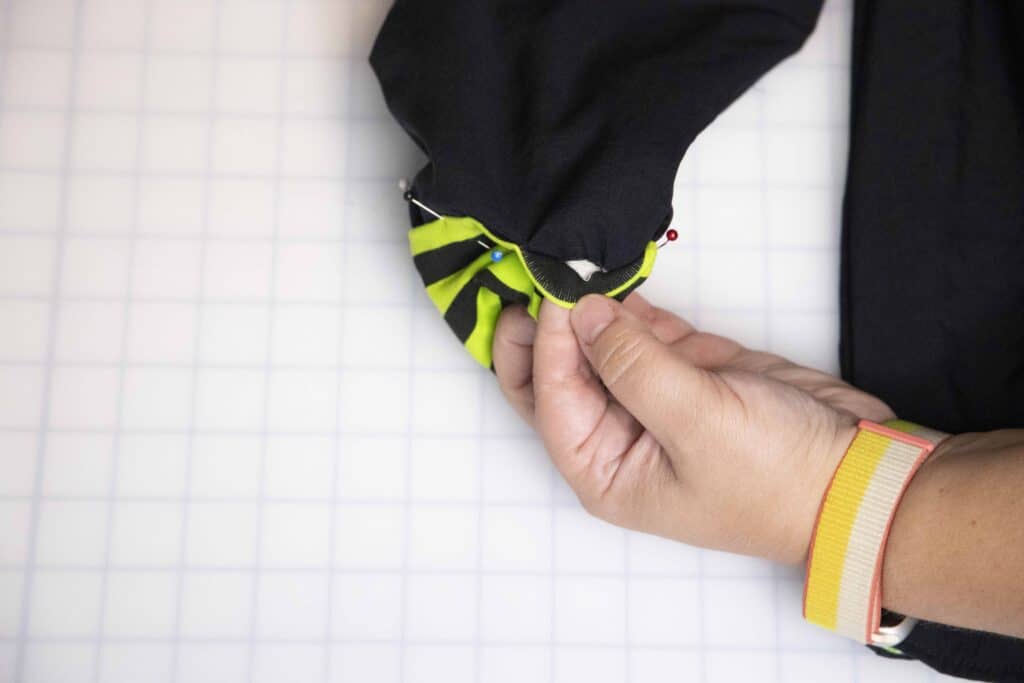
Follow the Gather ‘Round dress tutorial for adding the gathered cap sleeves to the bodice but use a basting stitch.
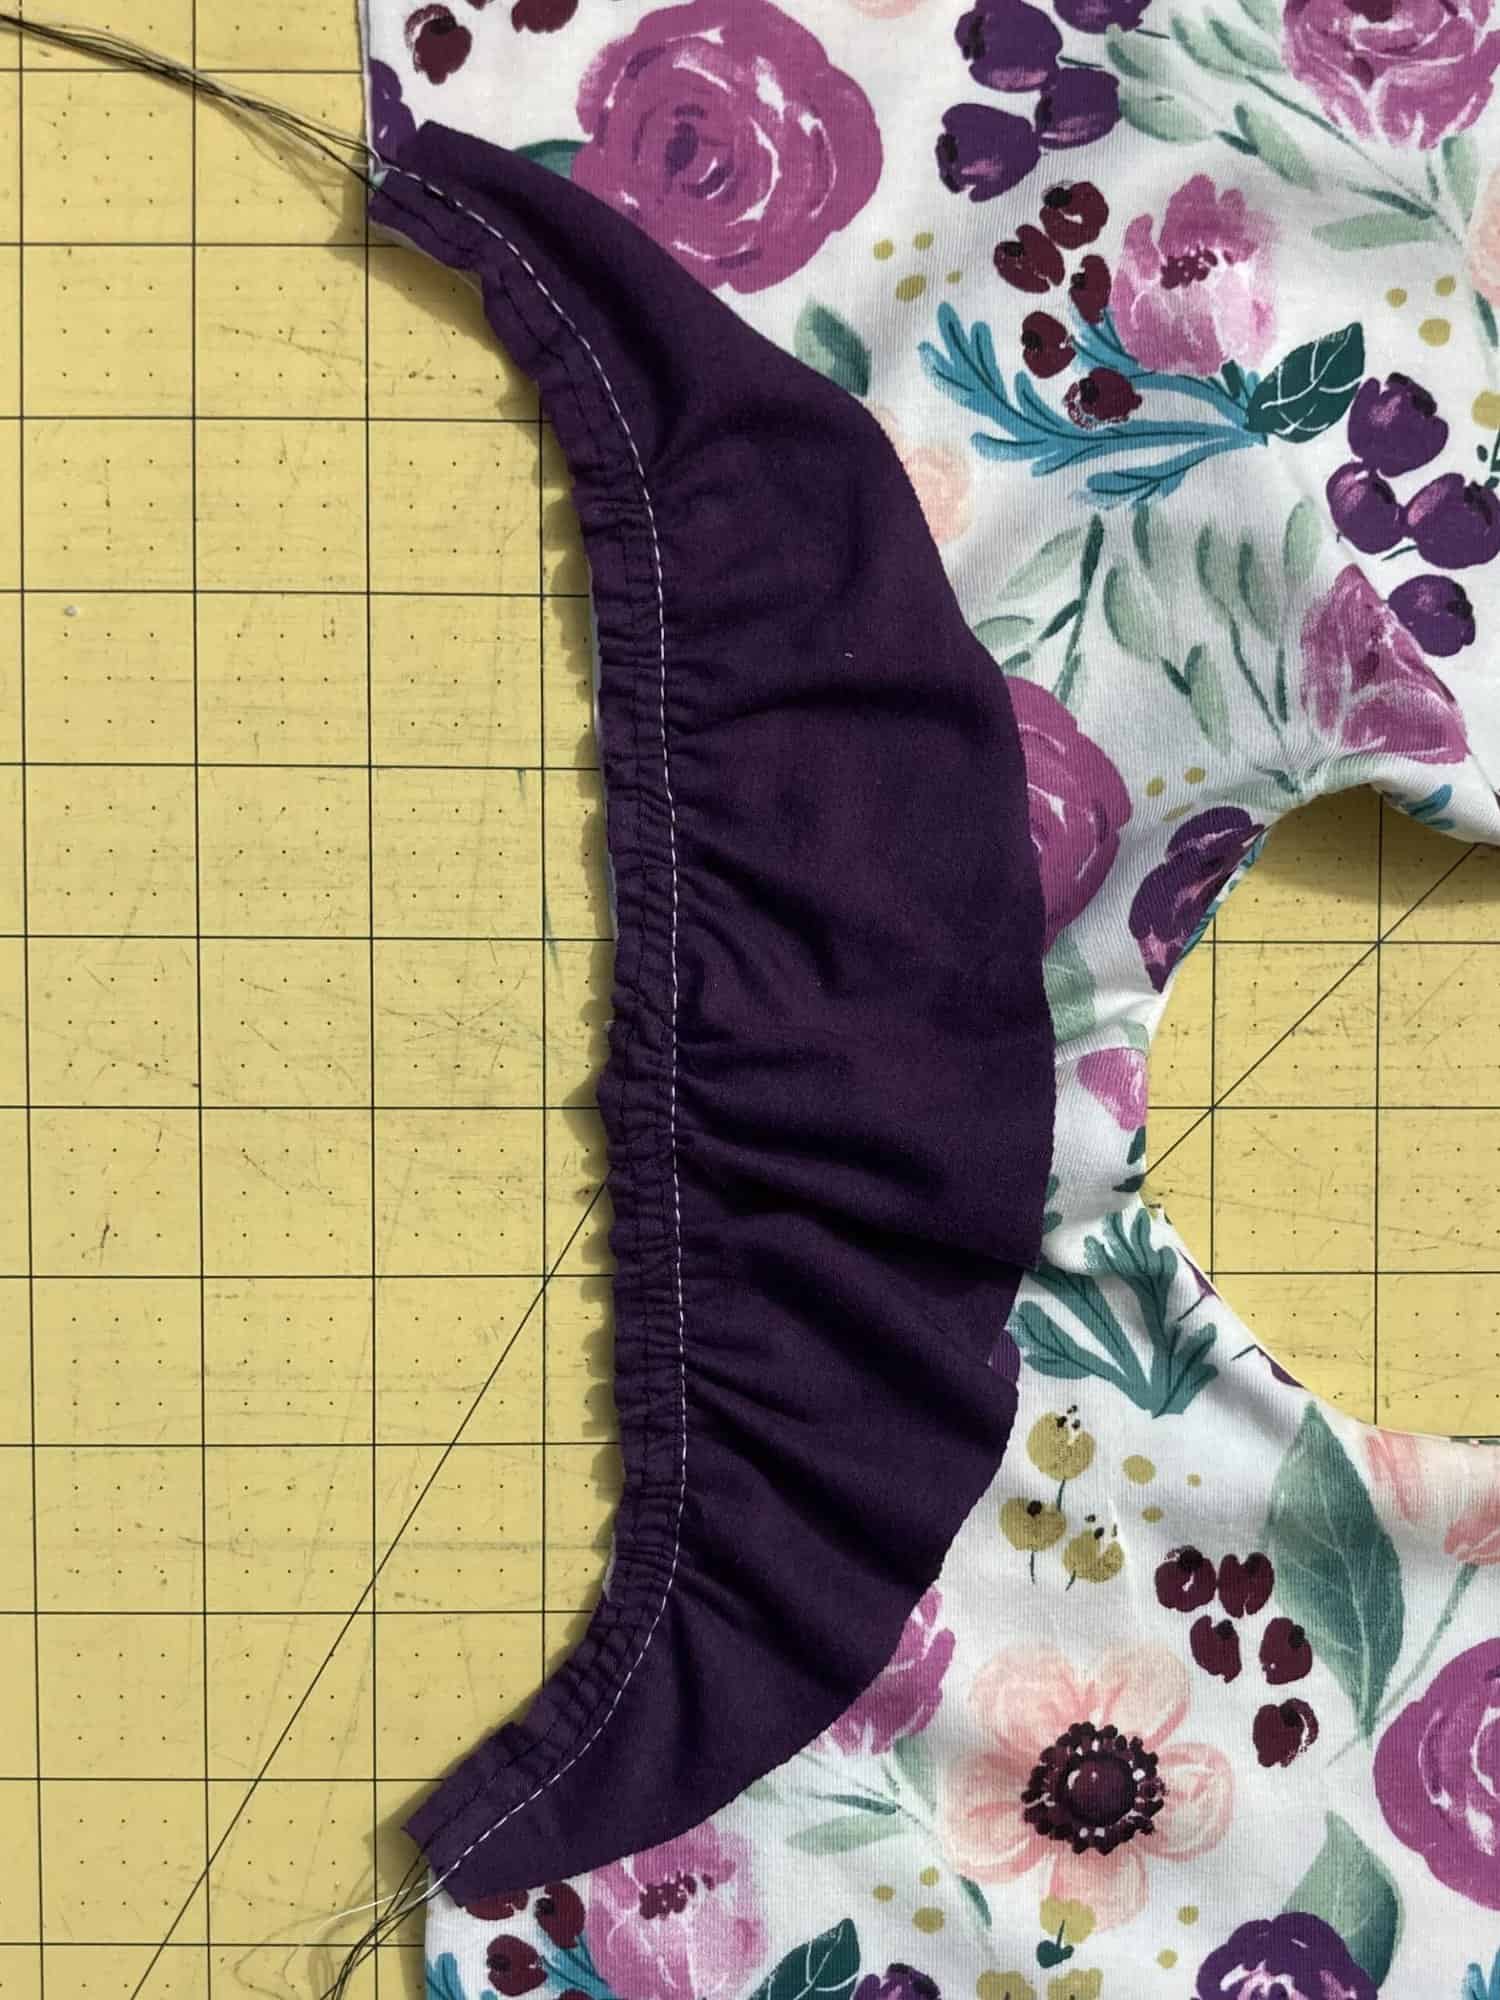
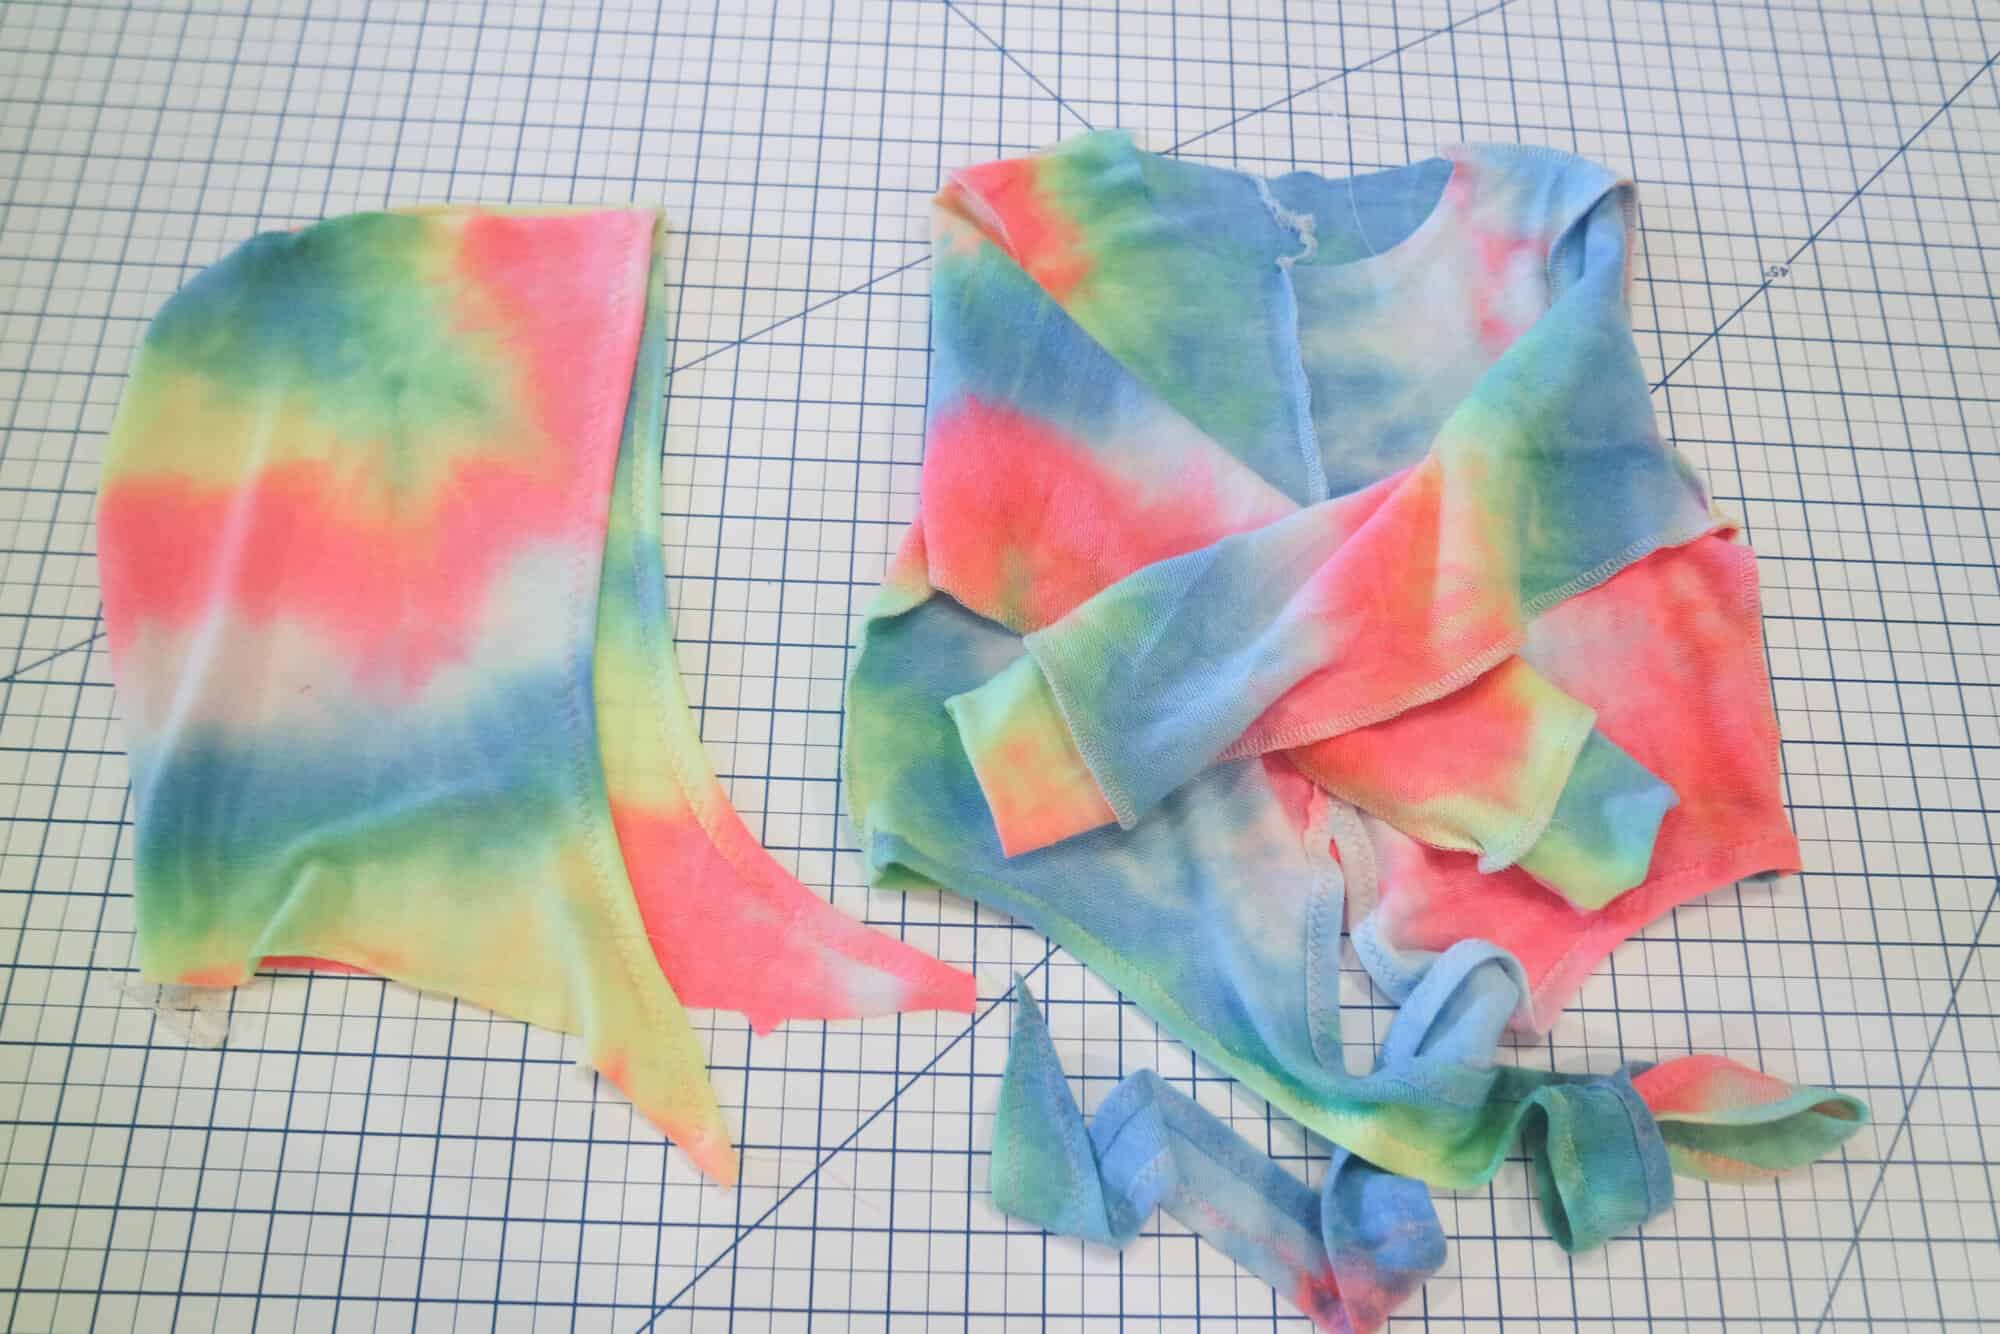
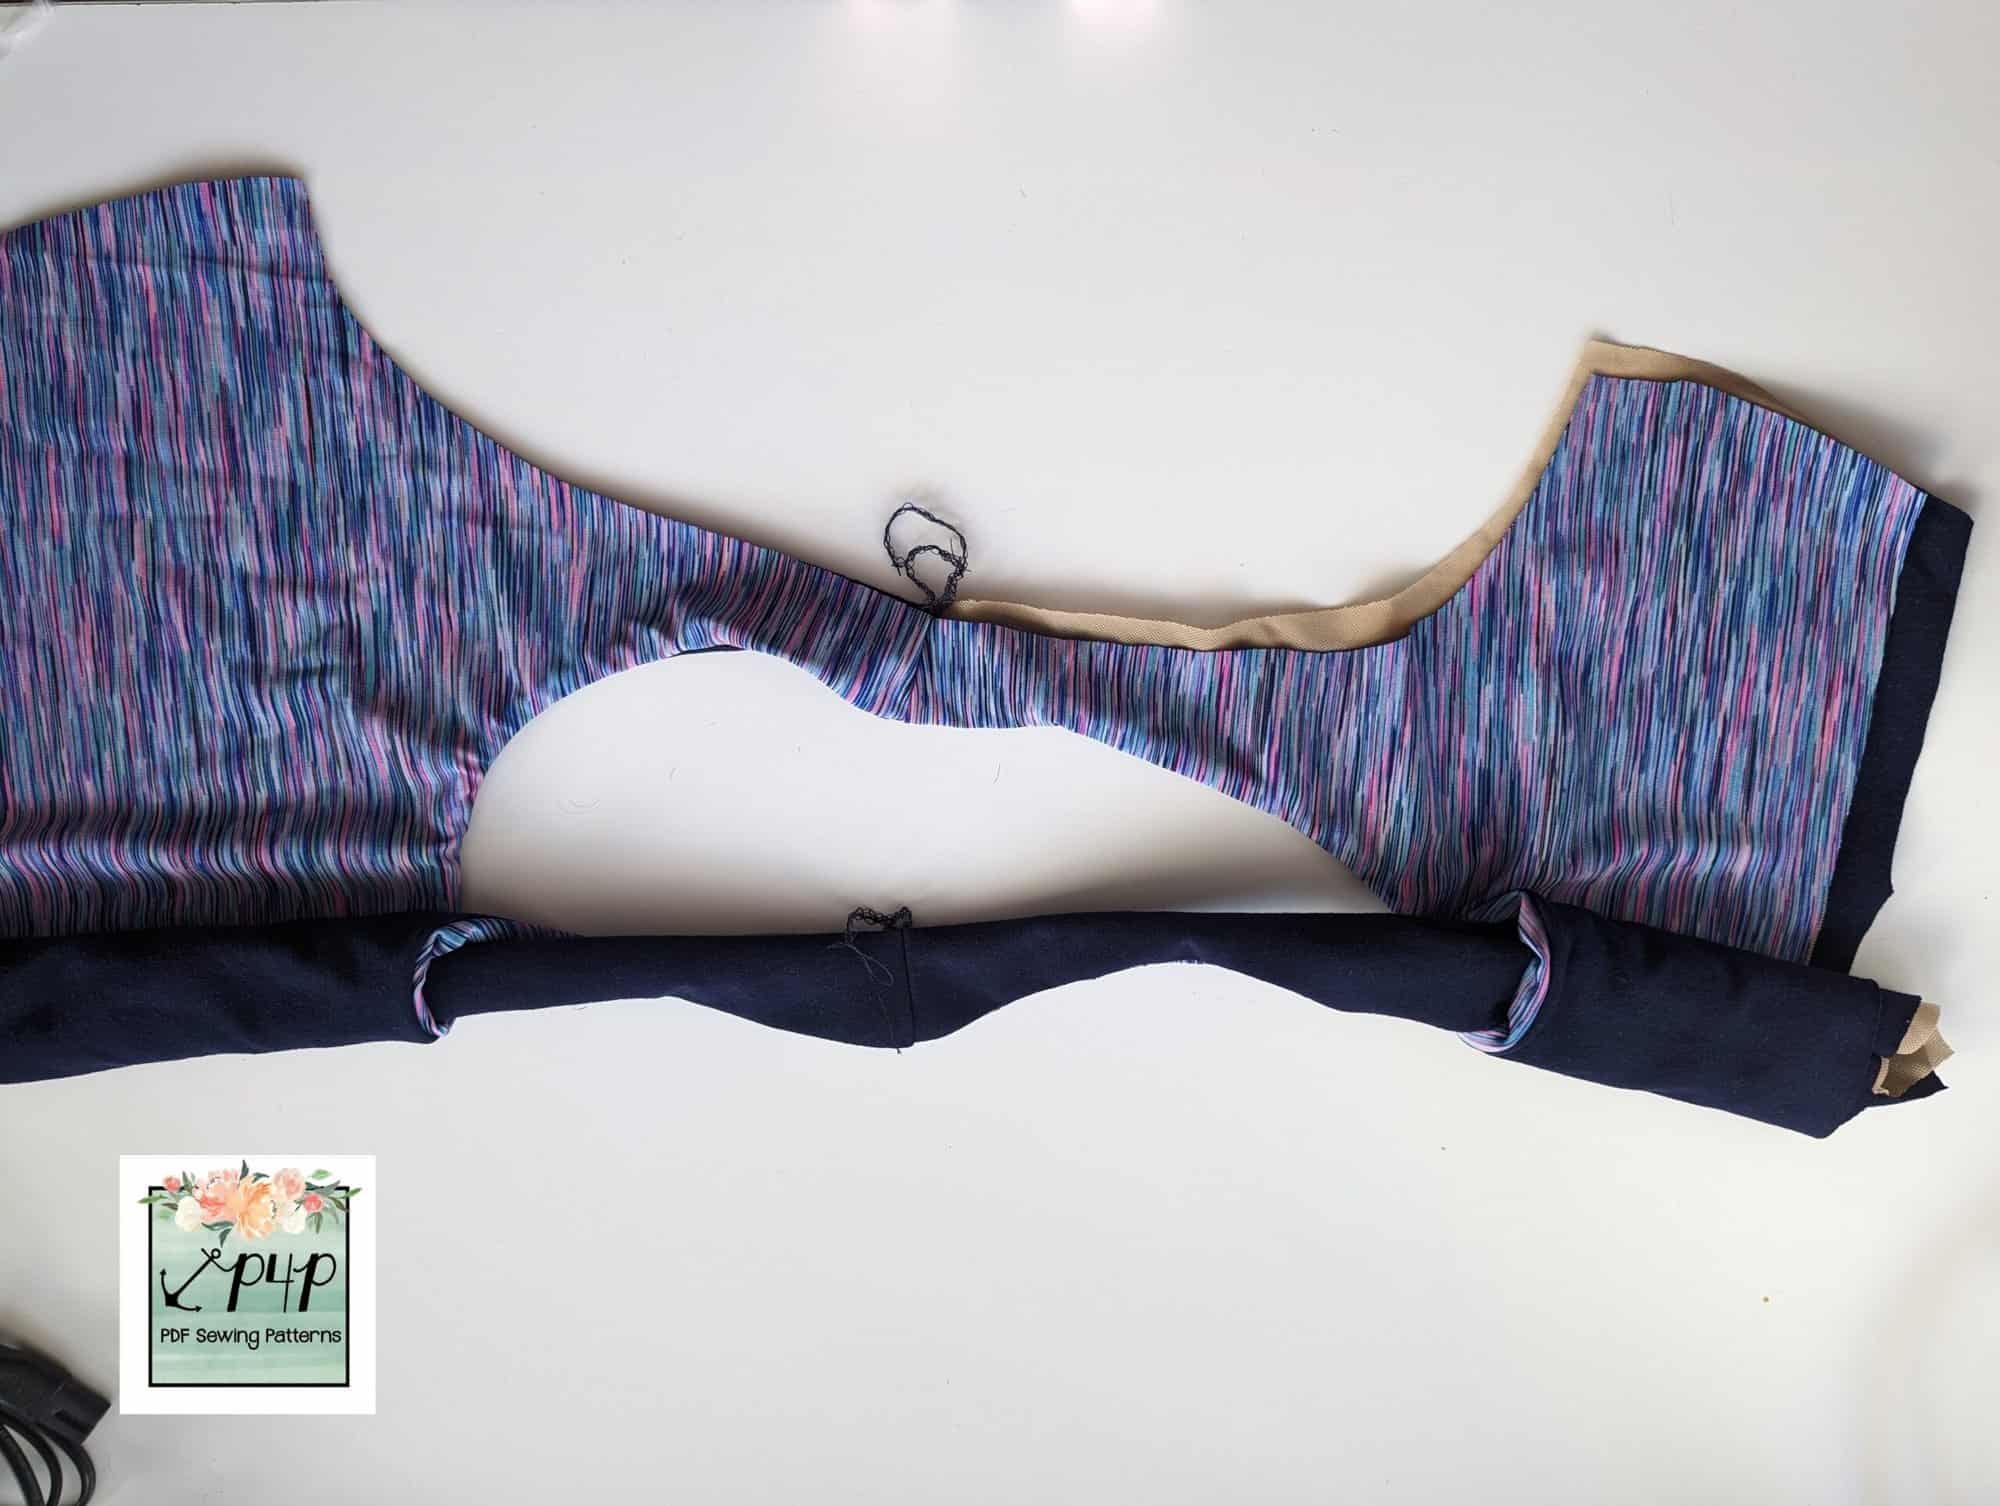
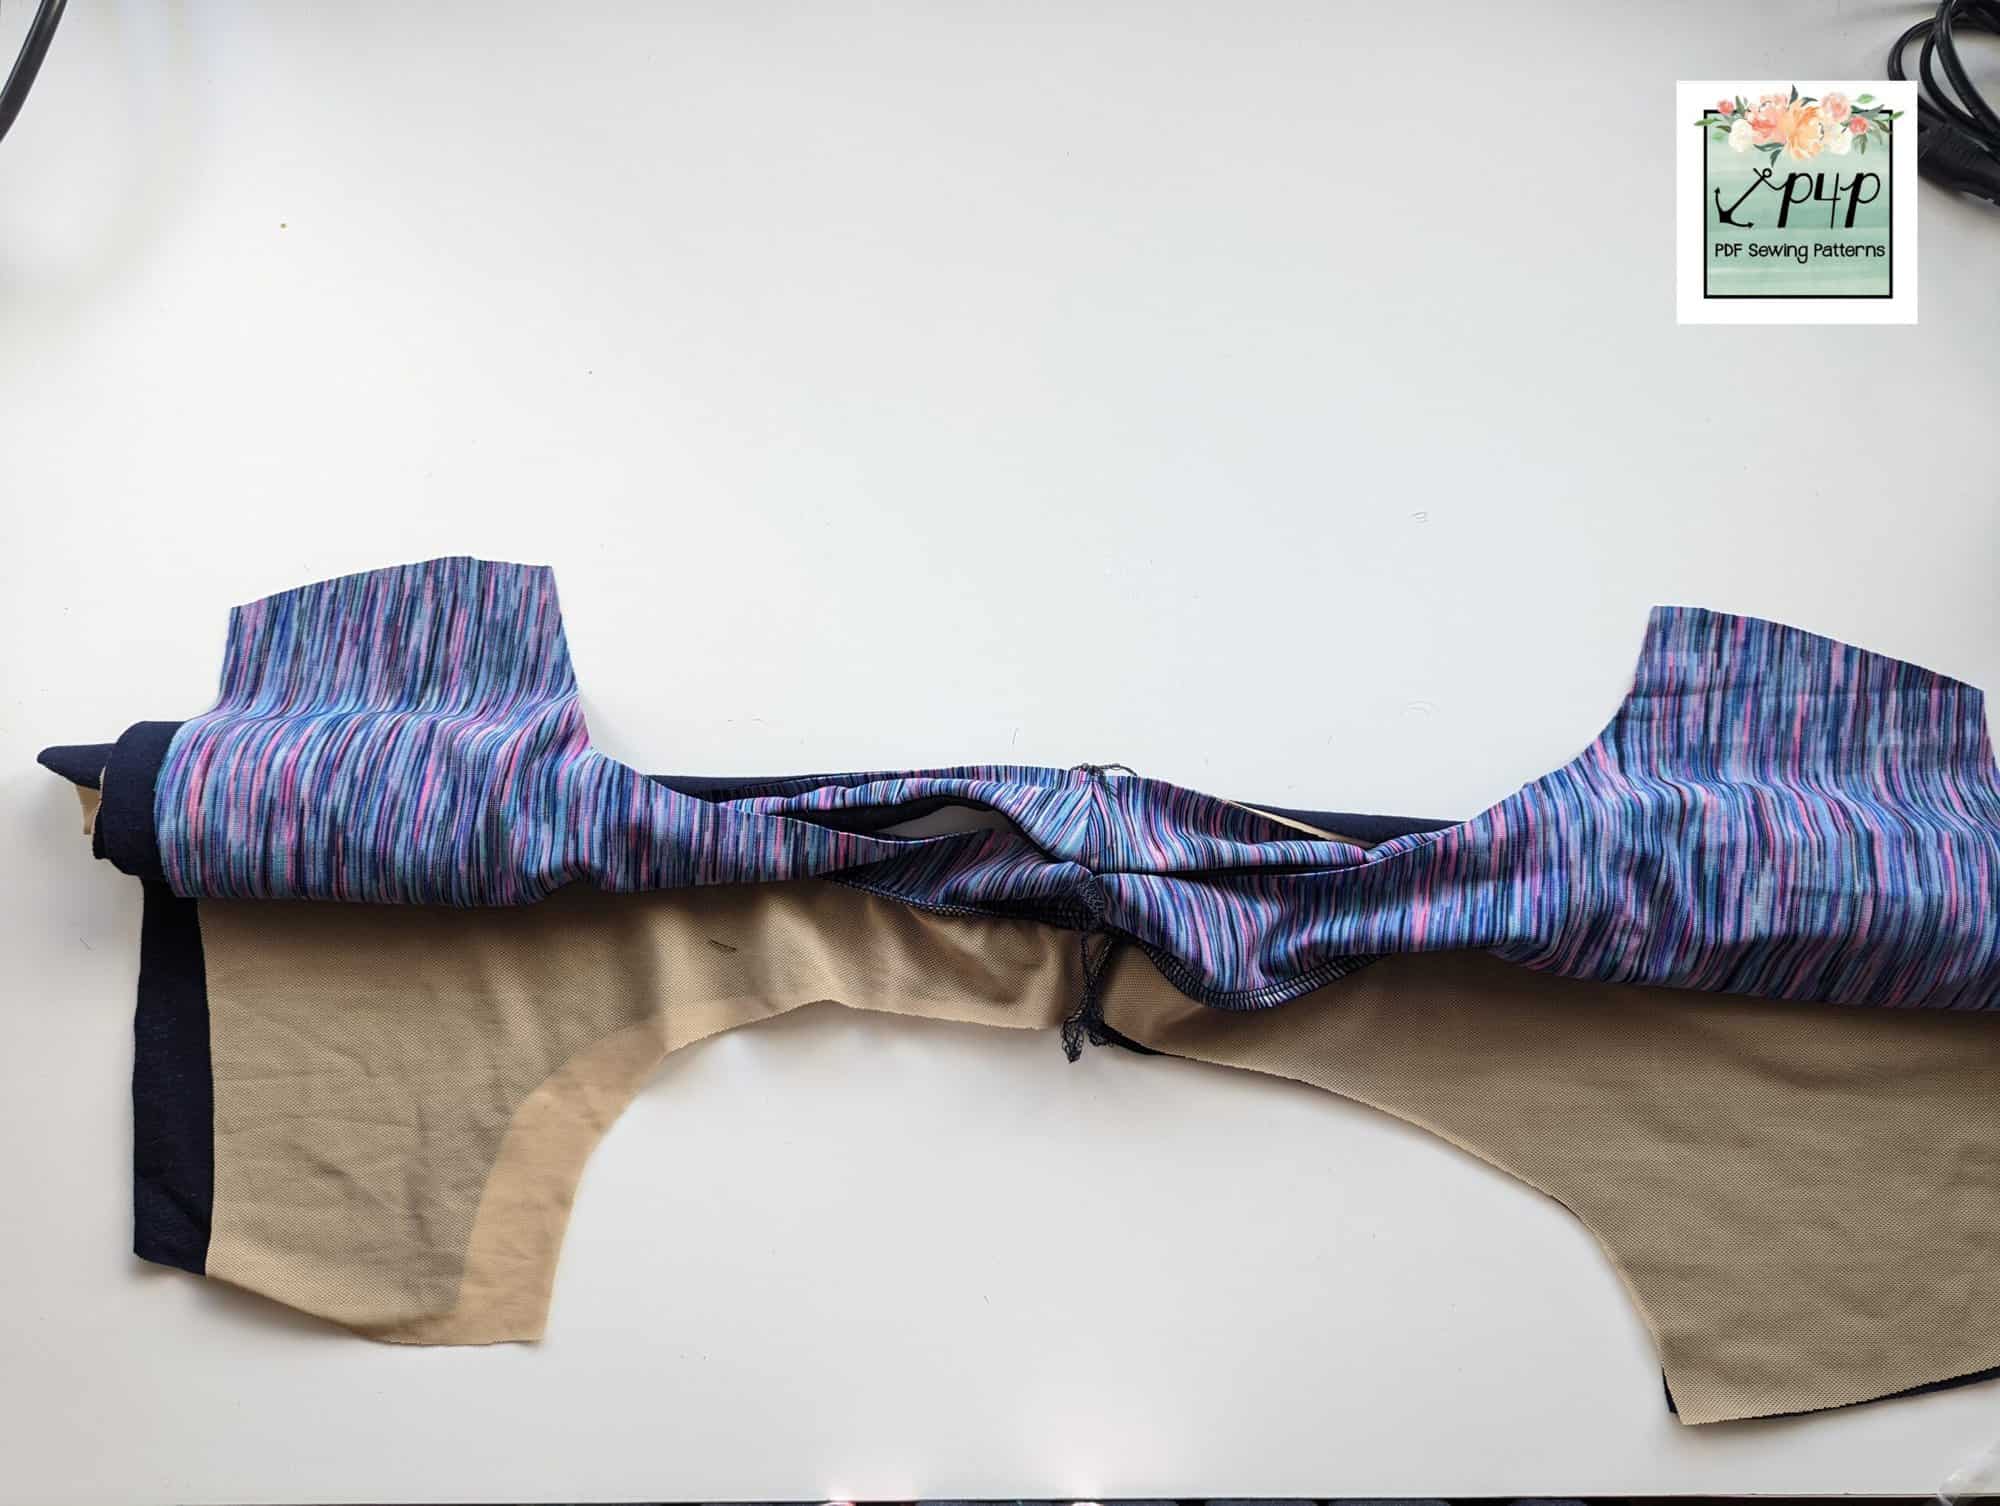
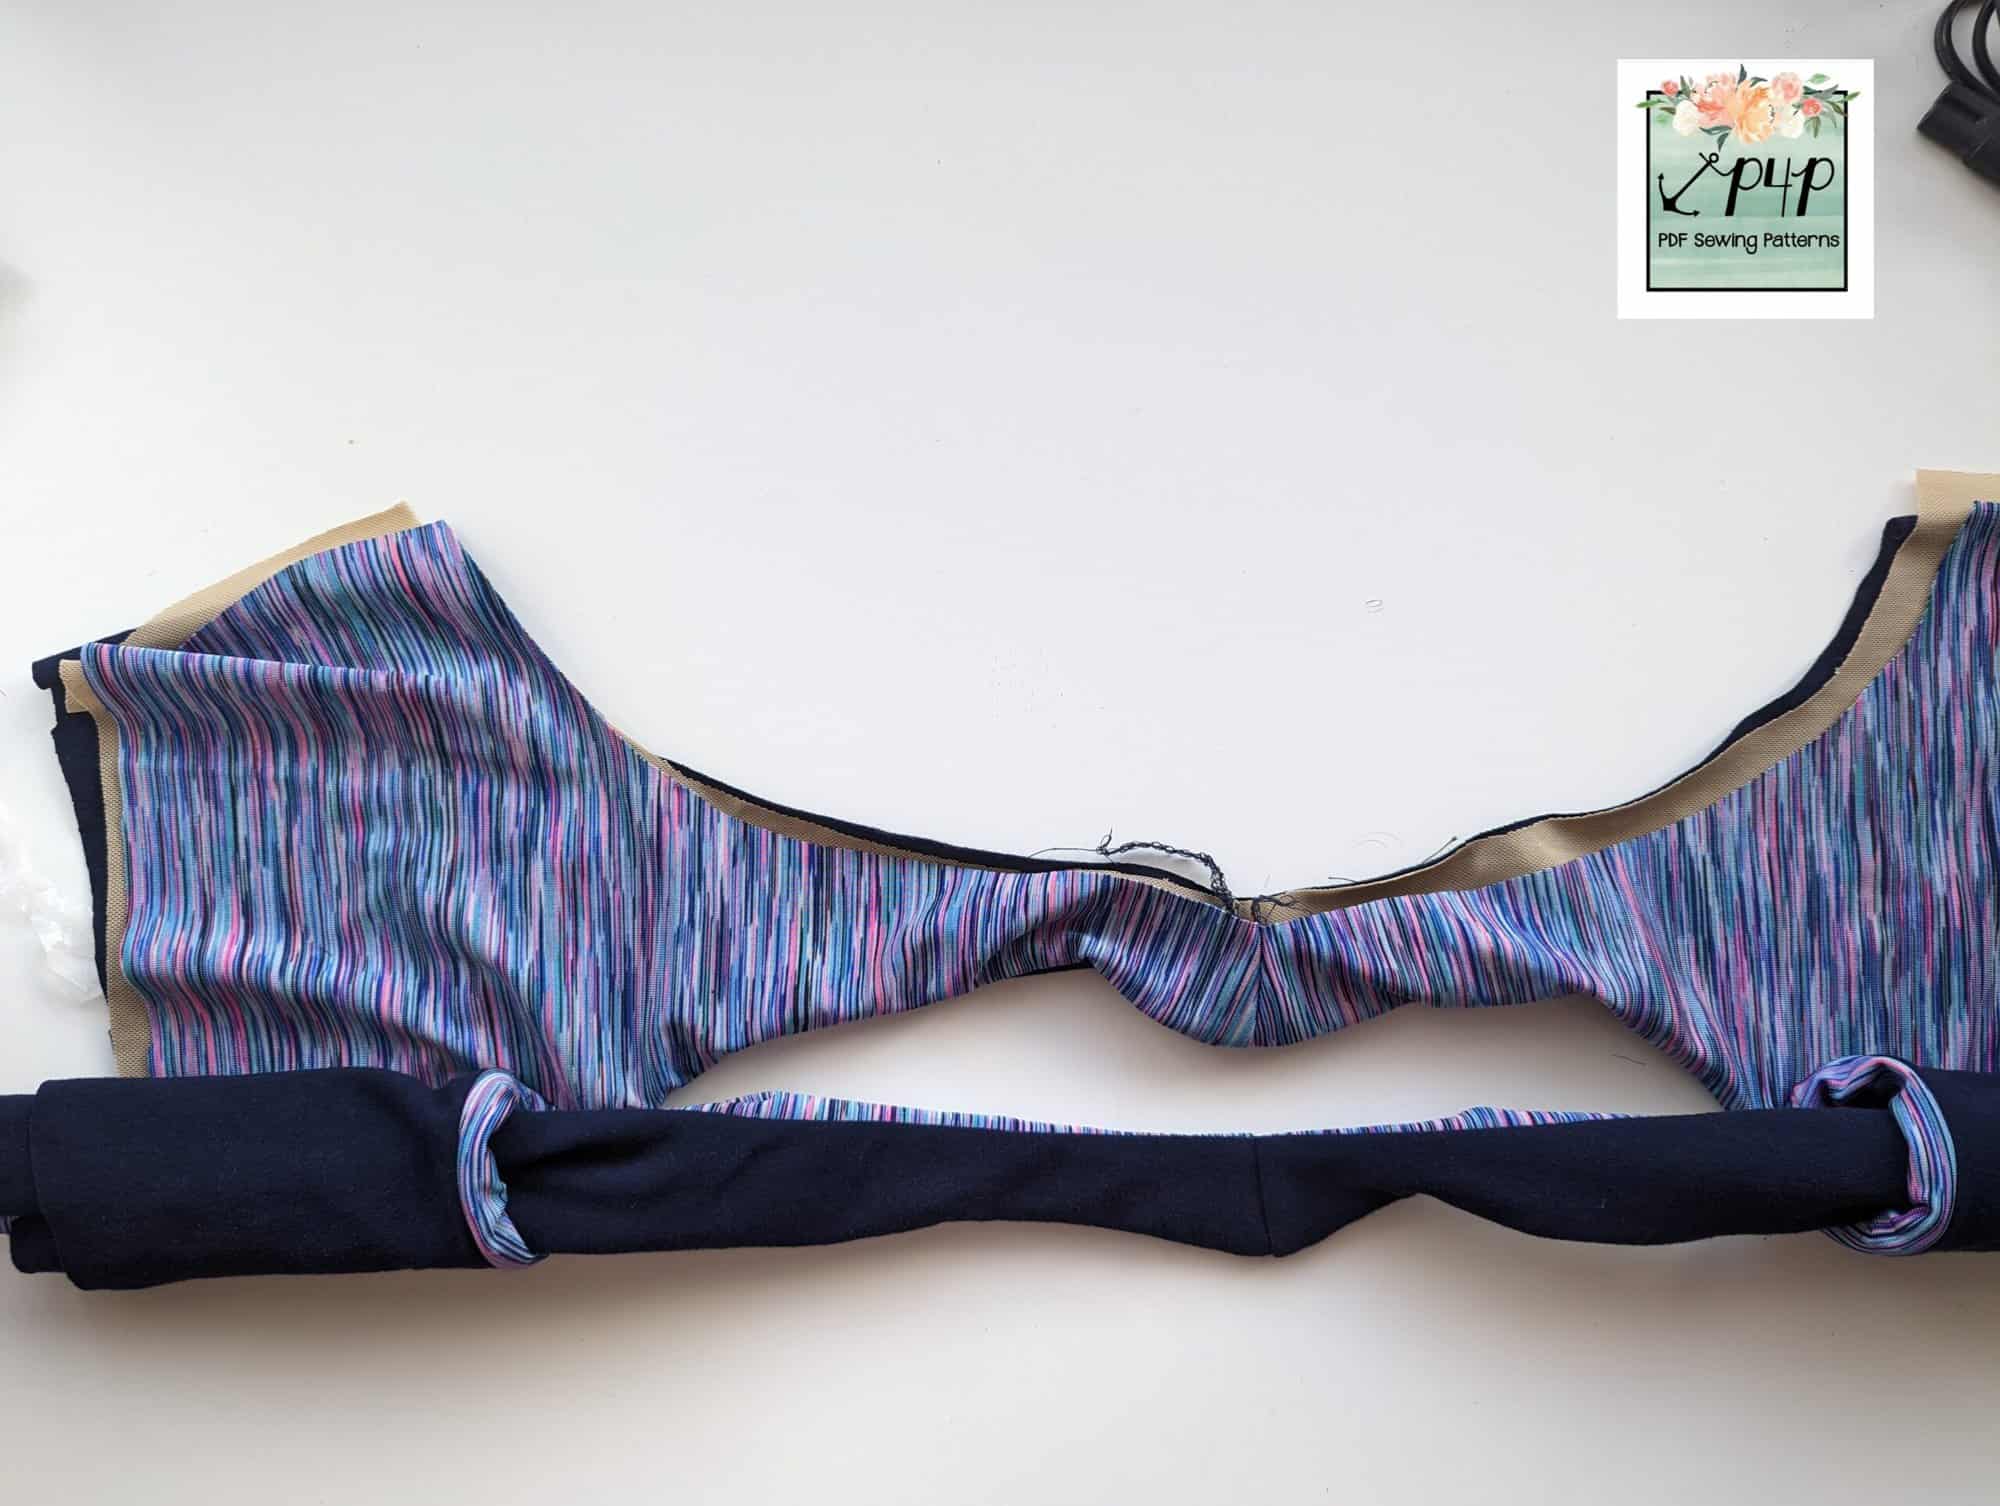
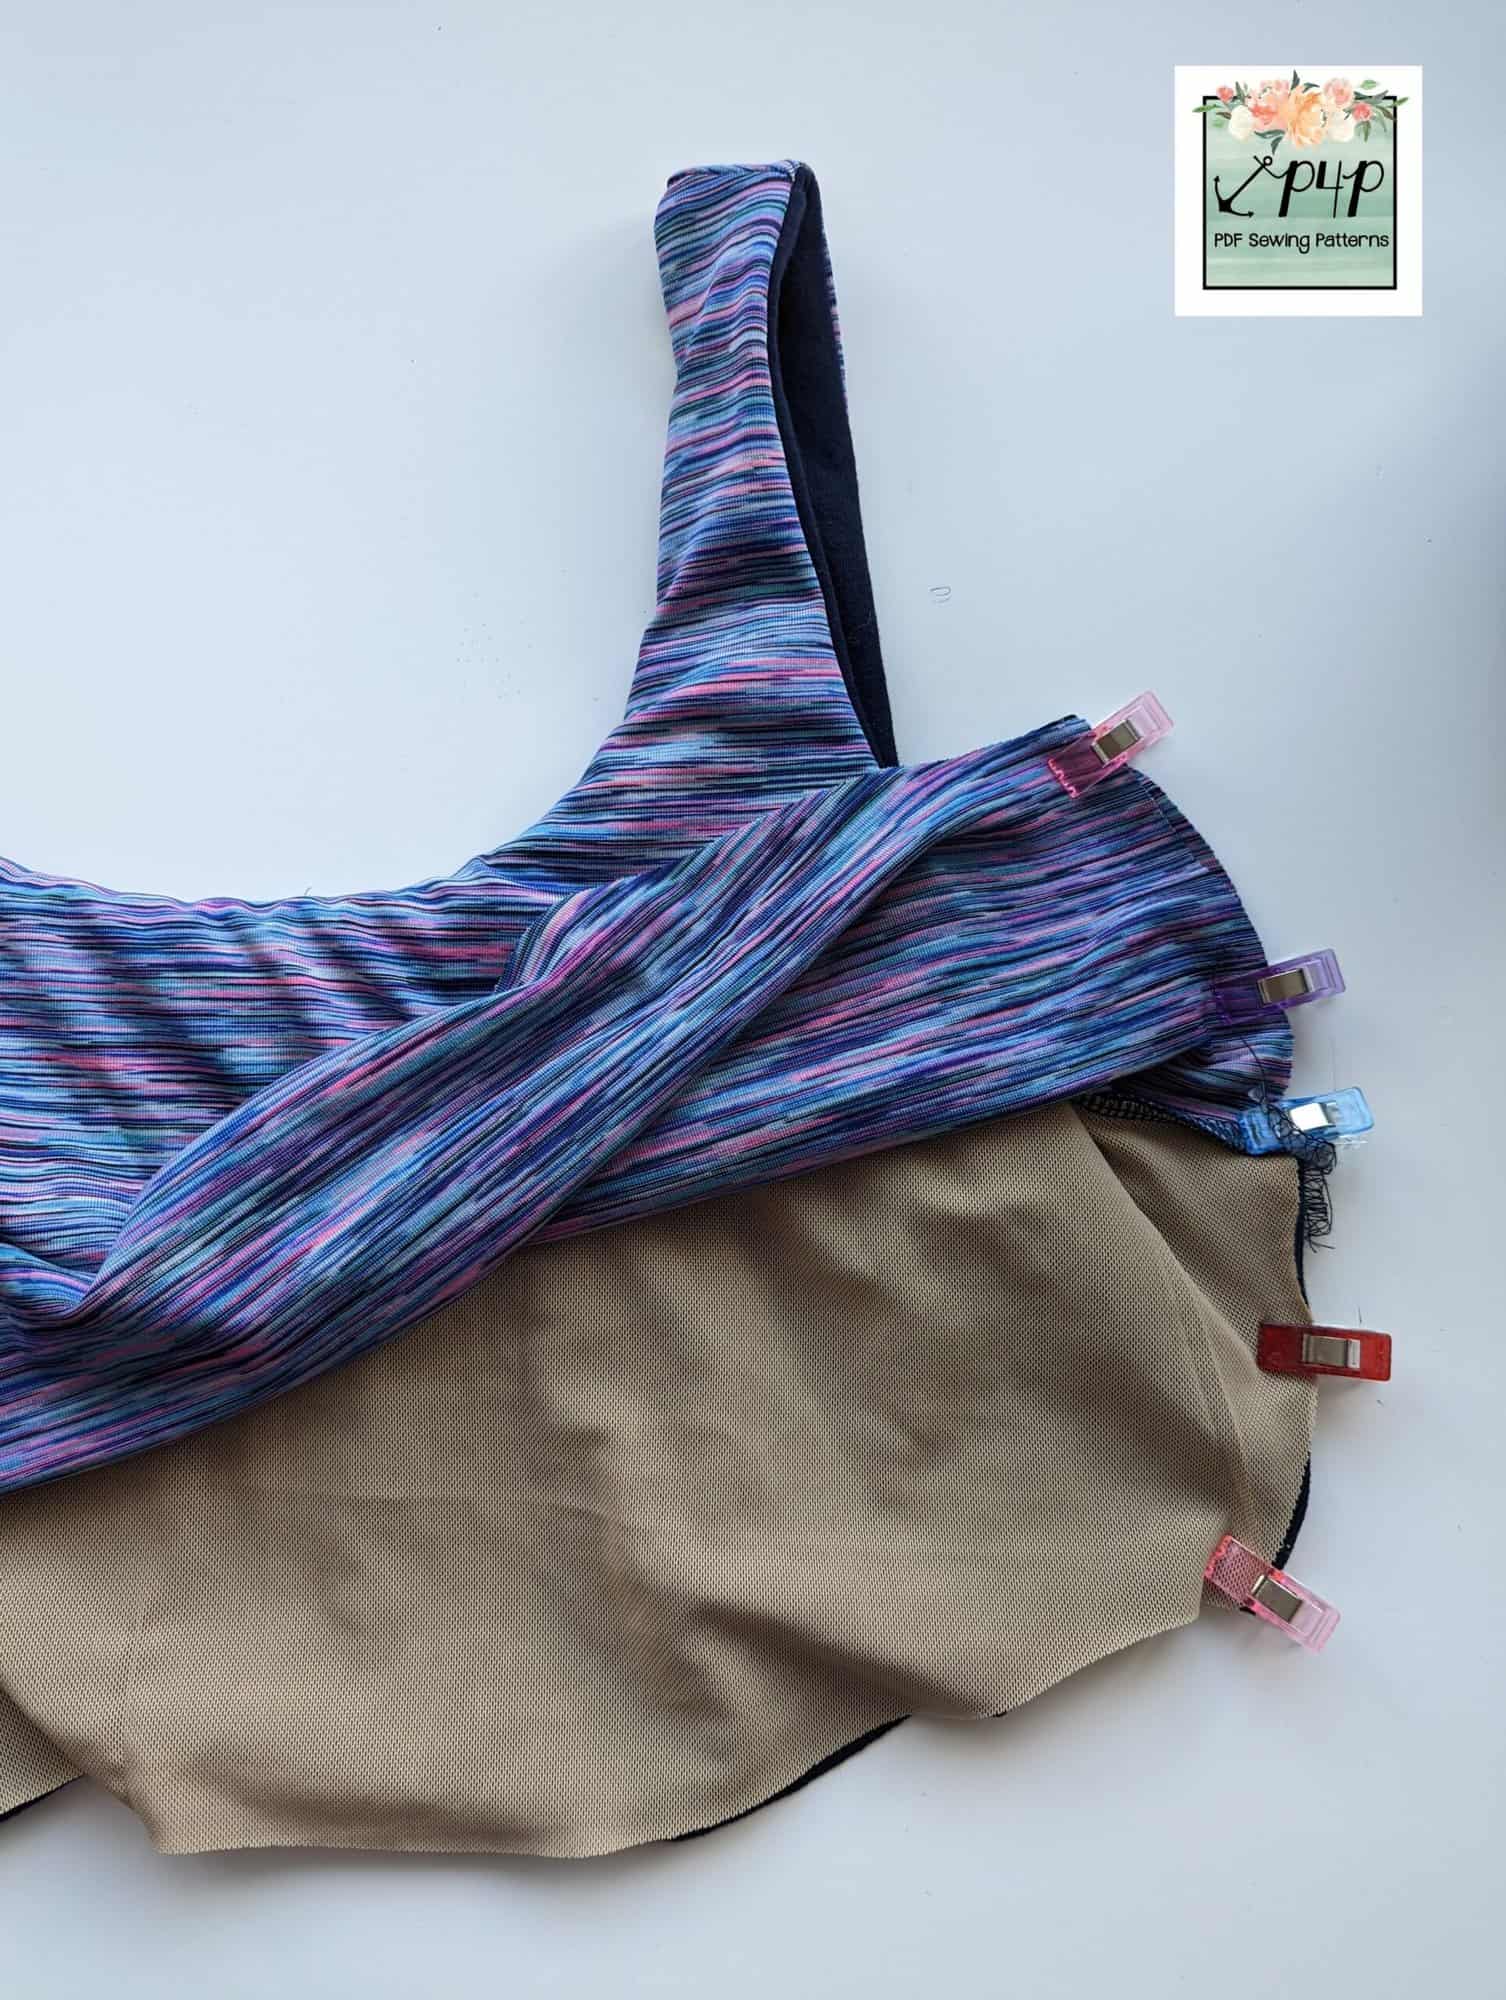
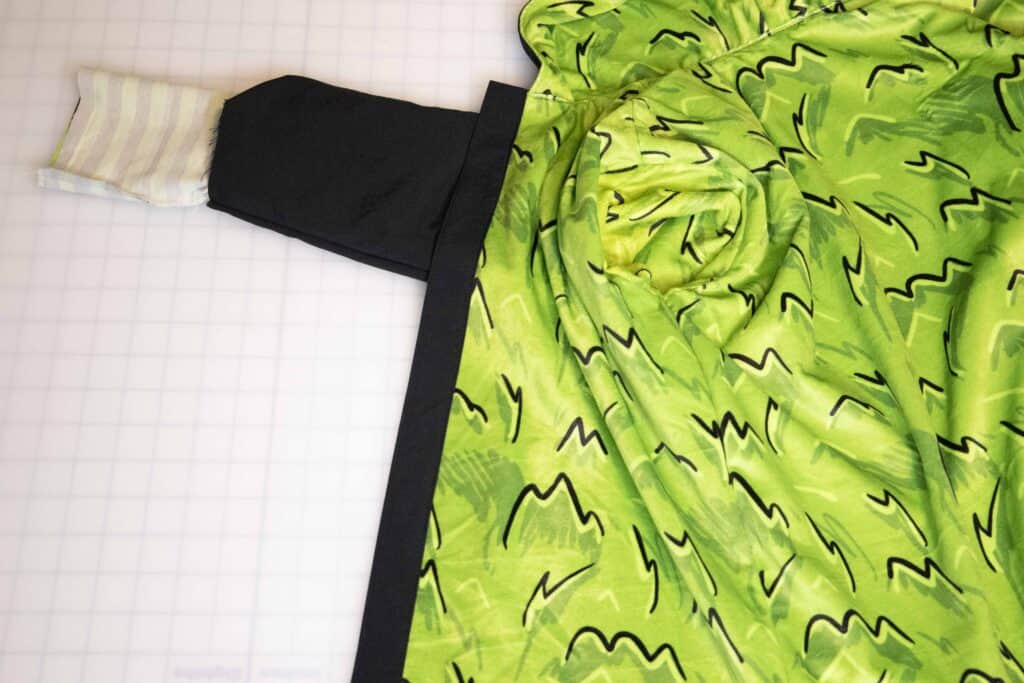
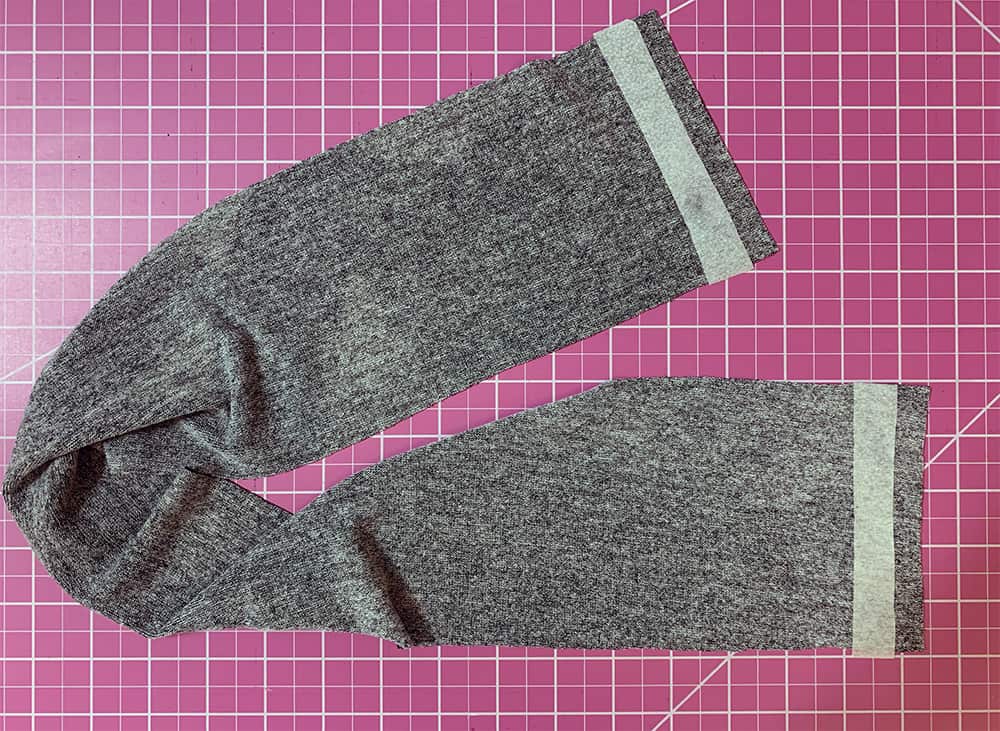
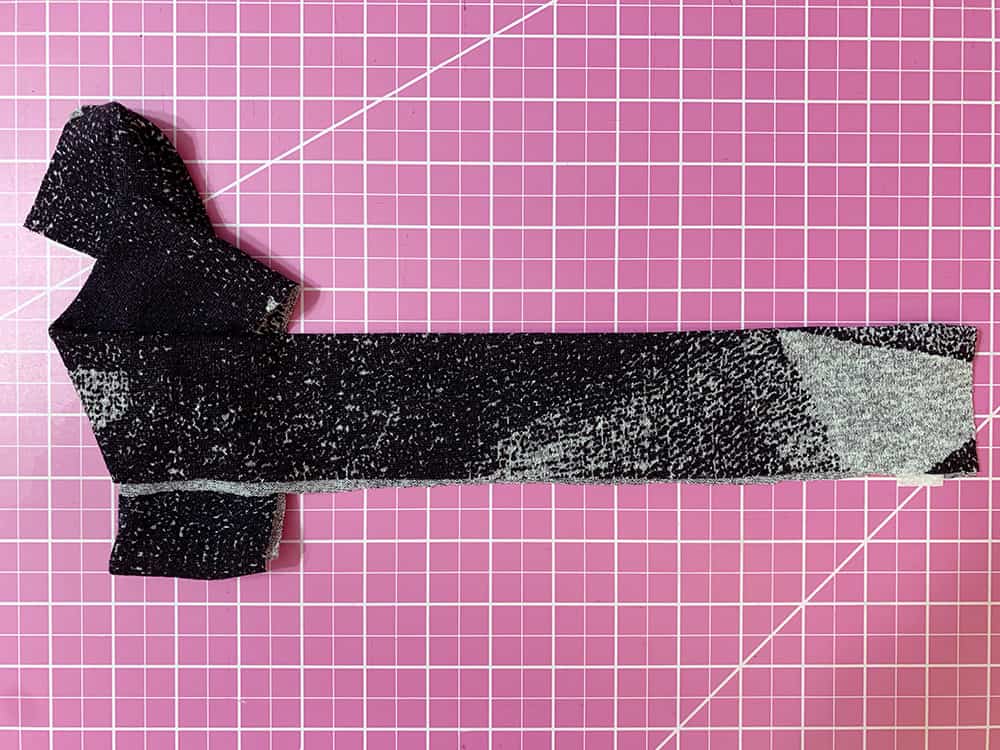
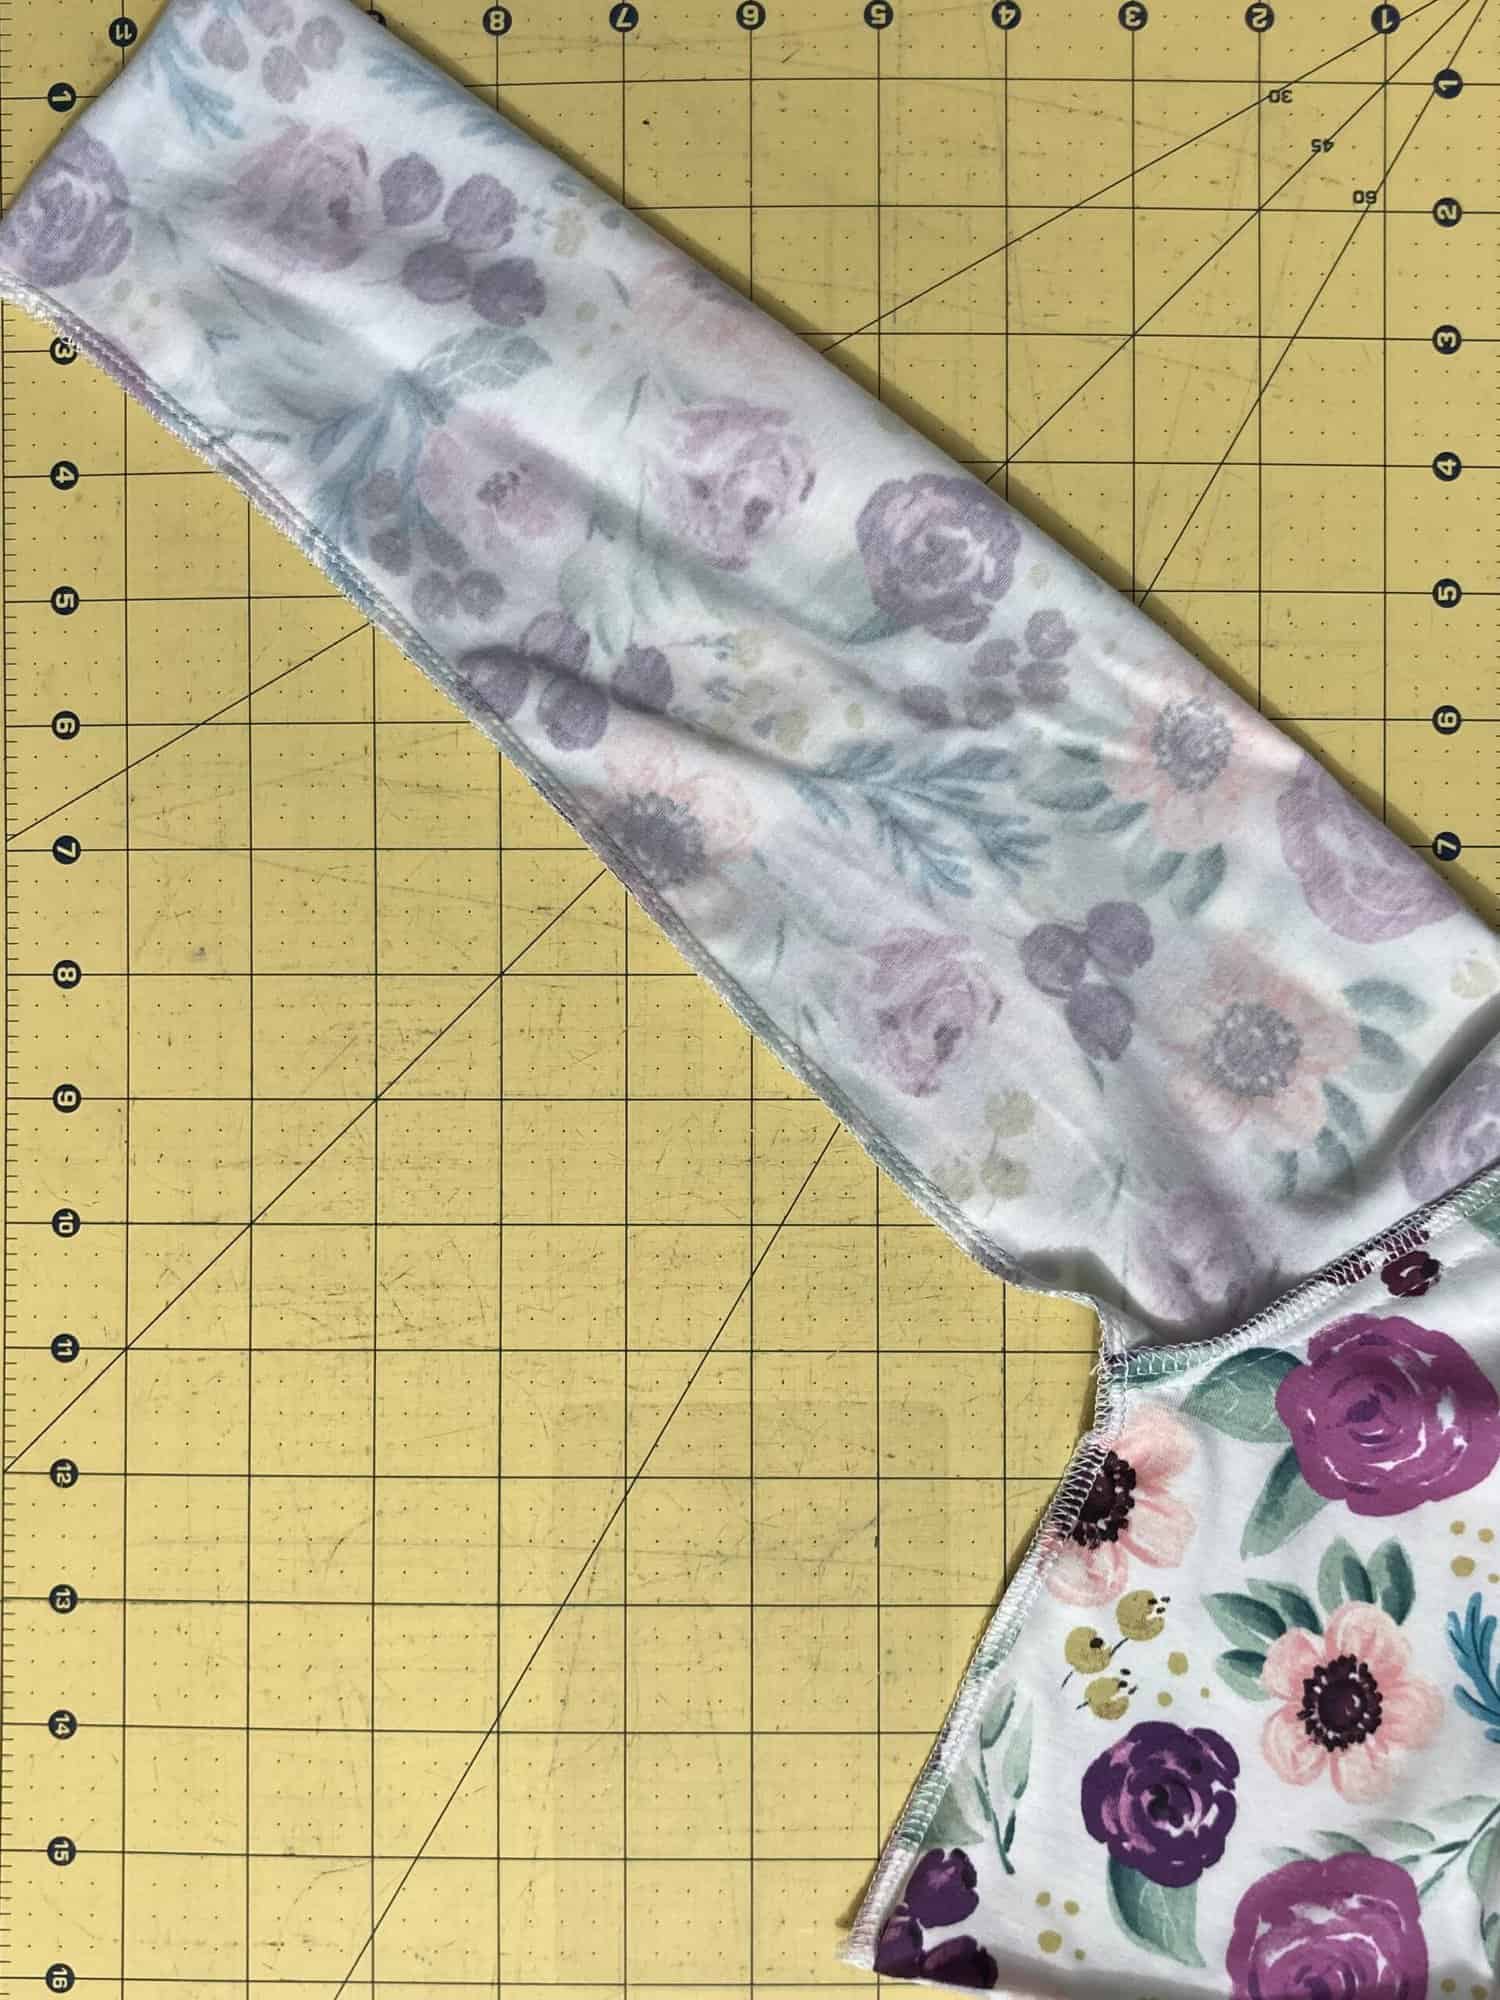
Place the right side of the long sleeve on top of the wrong side of the gathered cap sleeve, and attach flat, easing the shoulder of the sleeve to match the armscye. Pull out all basting stitches.
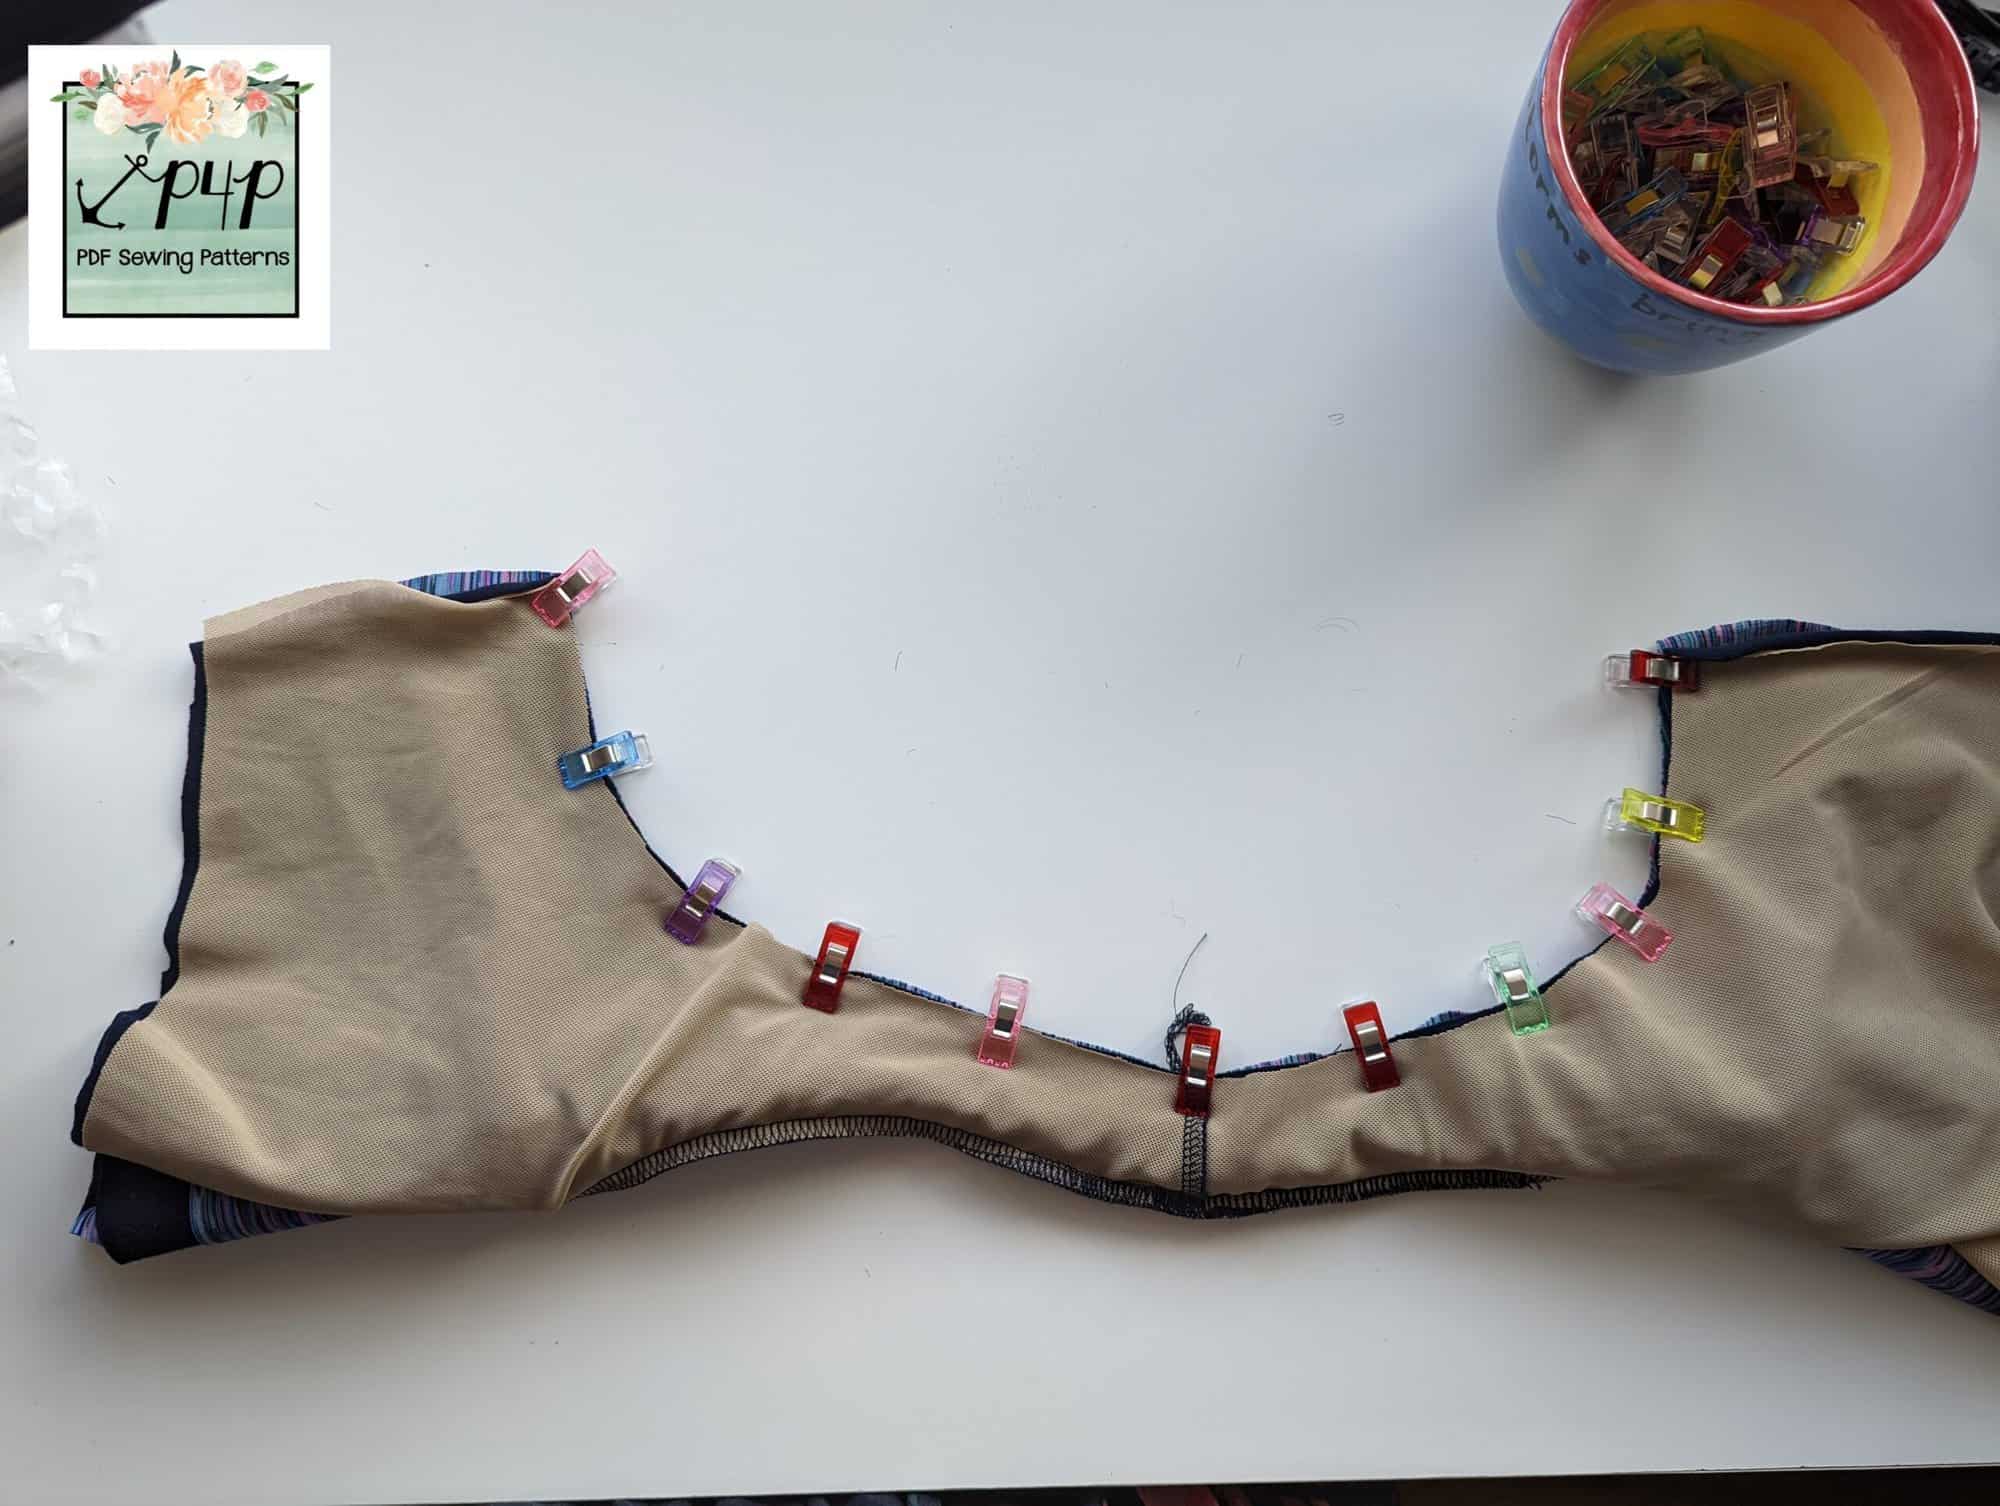
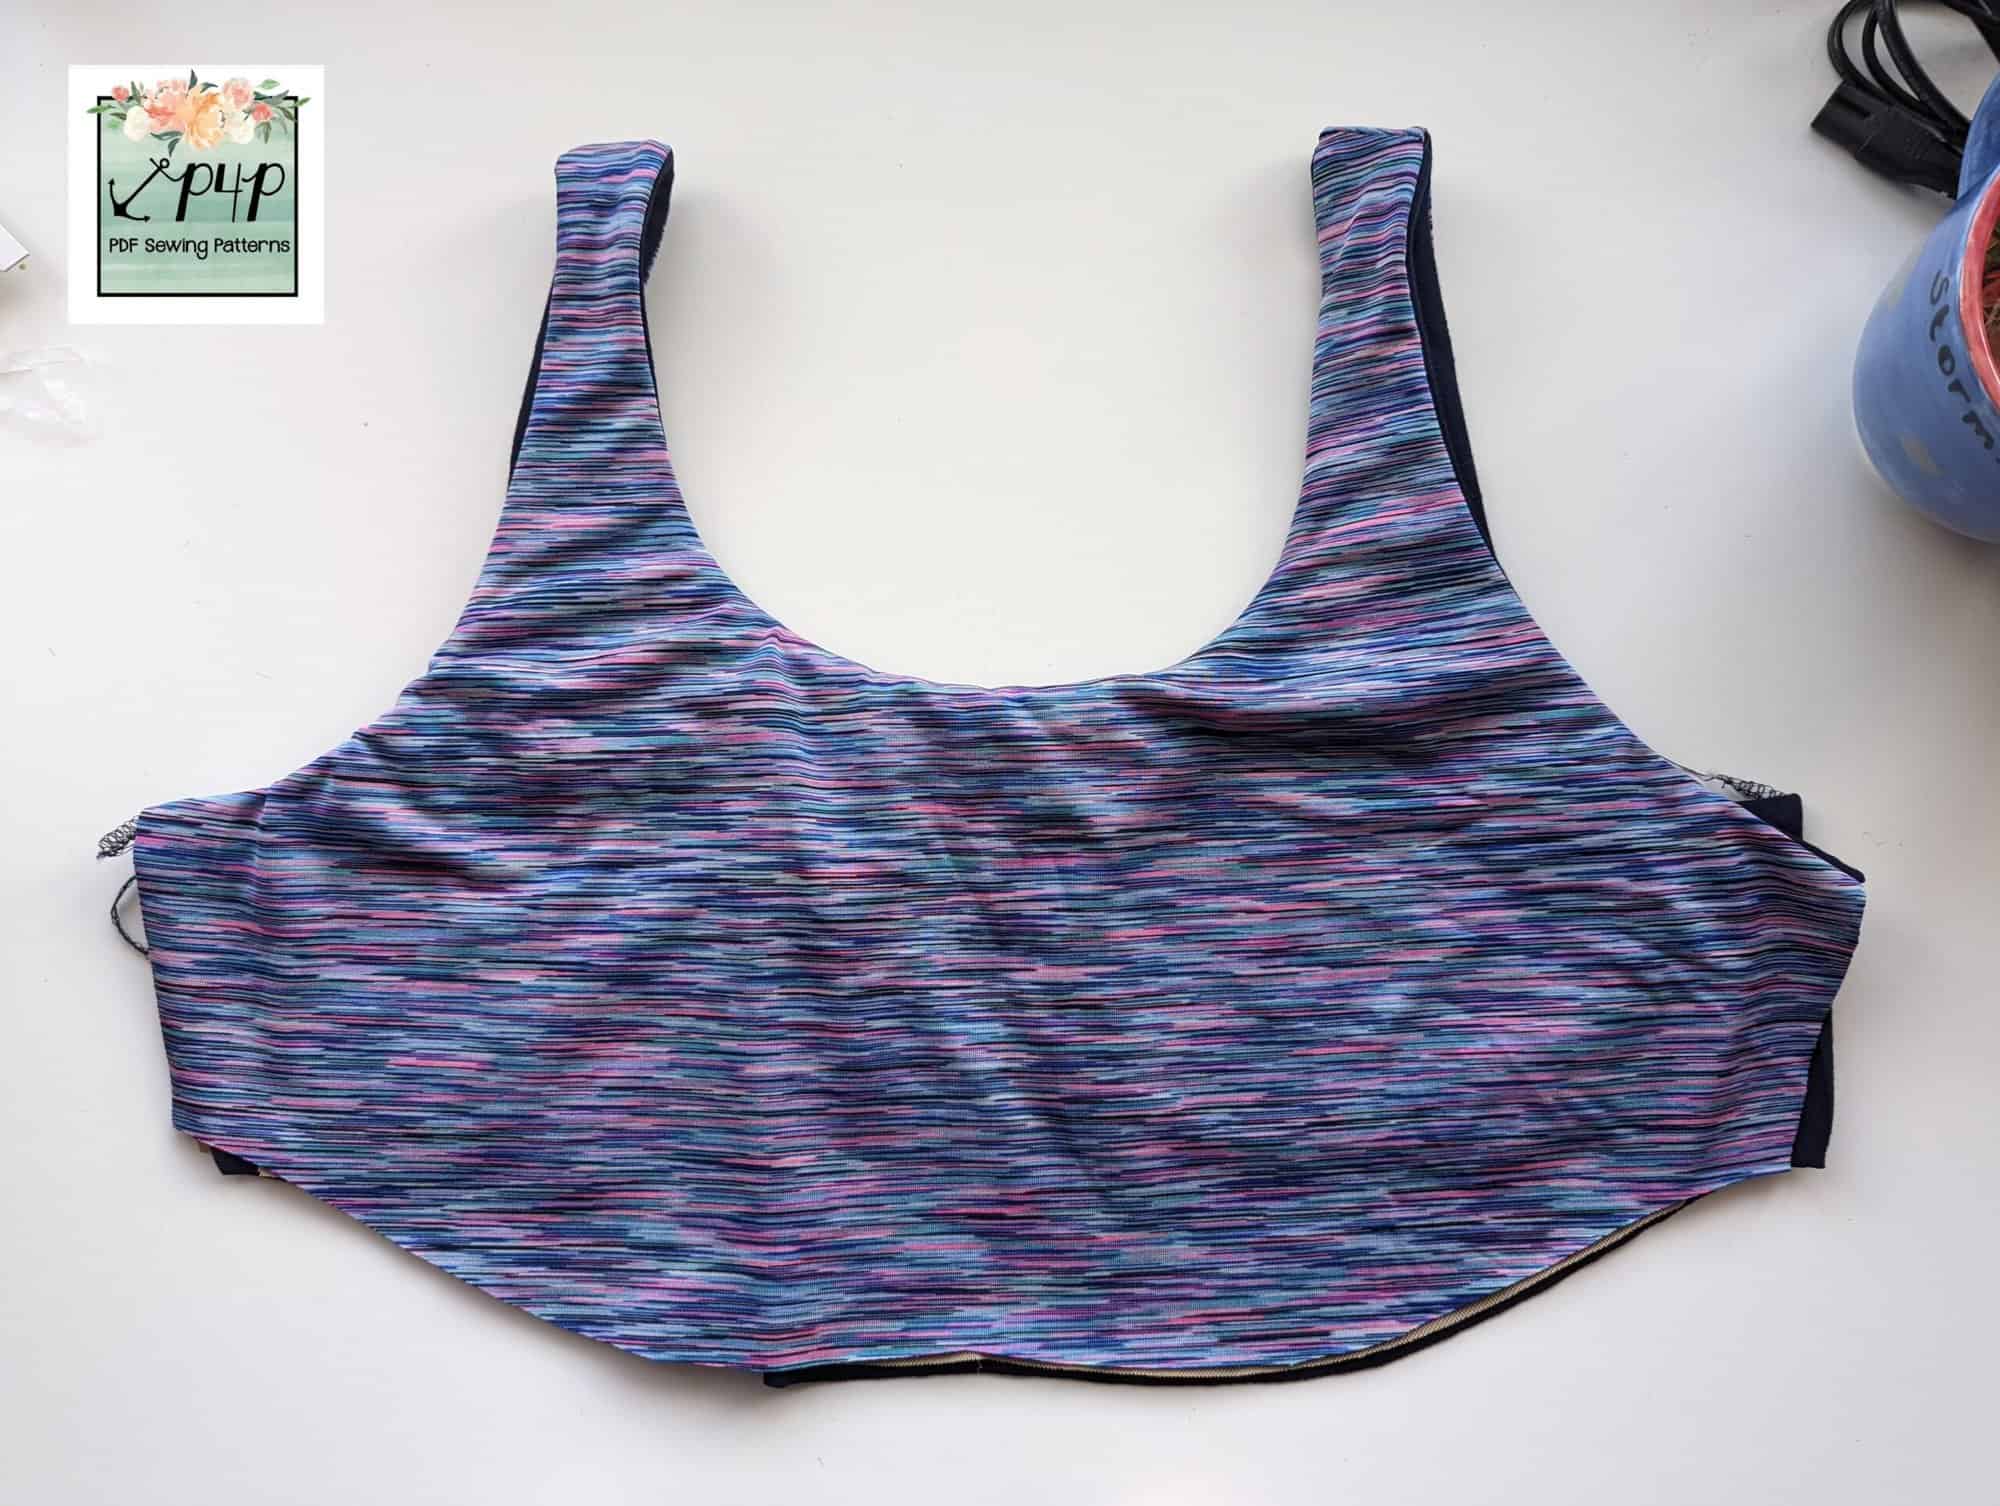
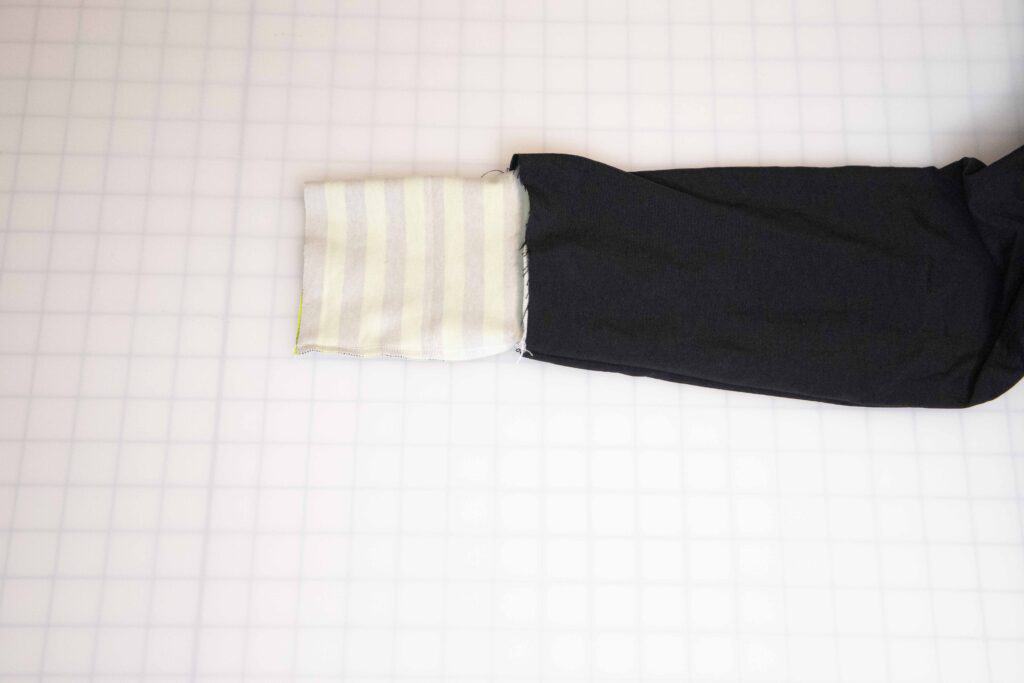
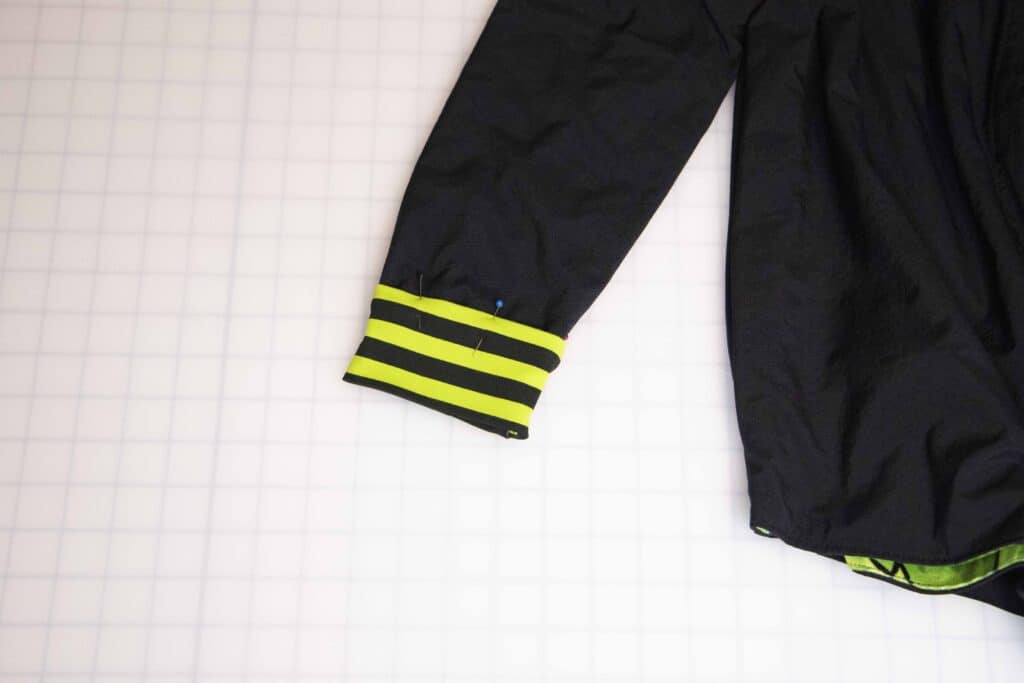
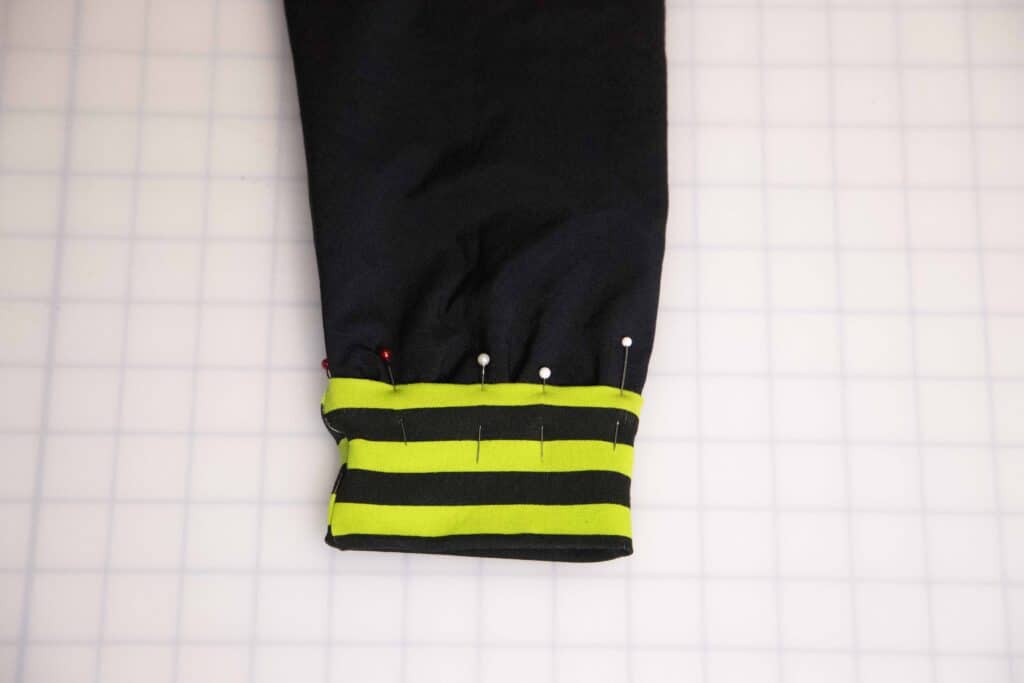
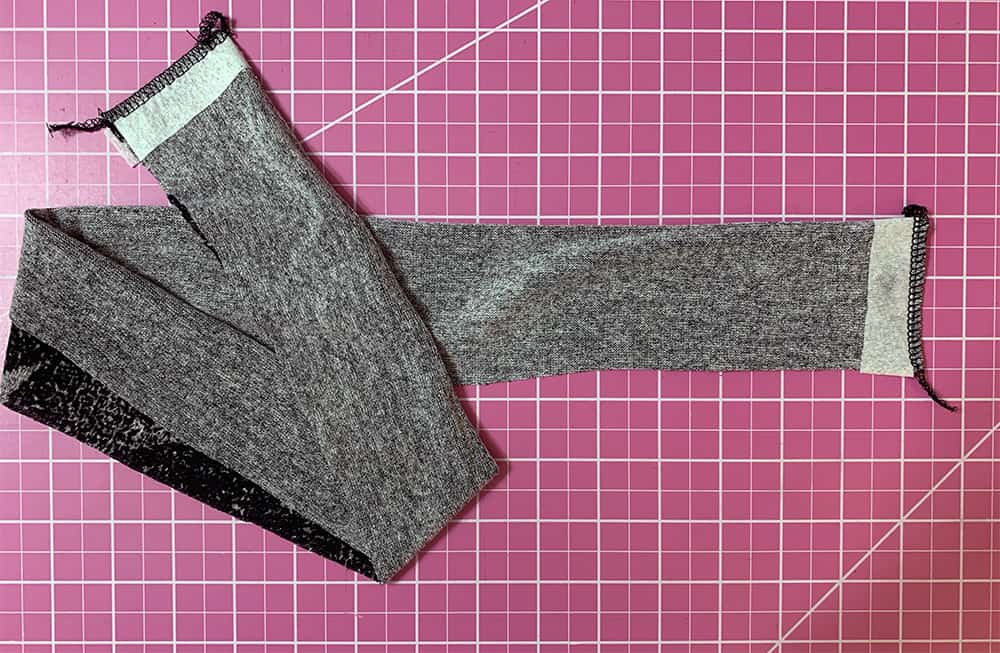
With right sides together and matching the armpit seam. Pin and stitch the side seam from the sleeve hem to the bottom edge of the bodice. Continue with tutorial to attach the skirt.
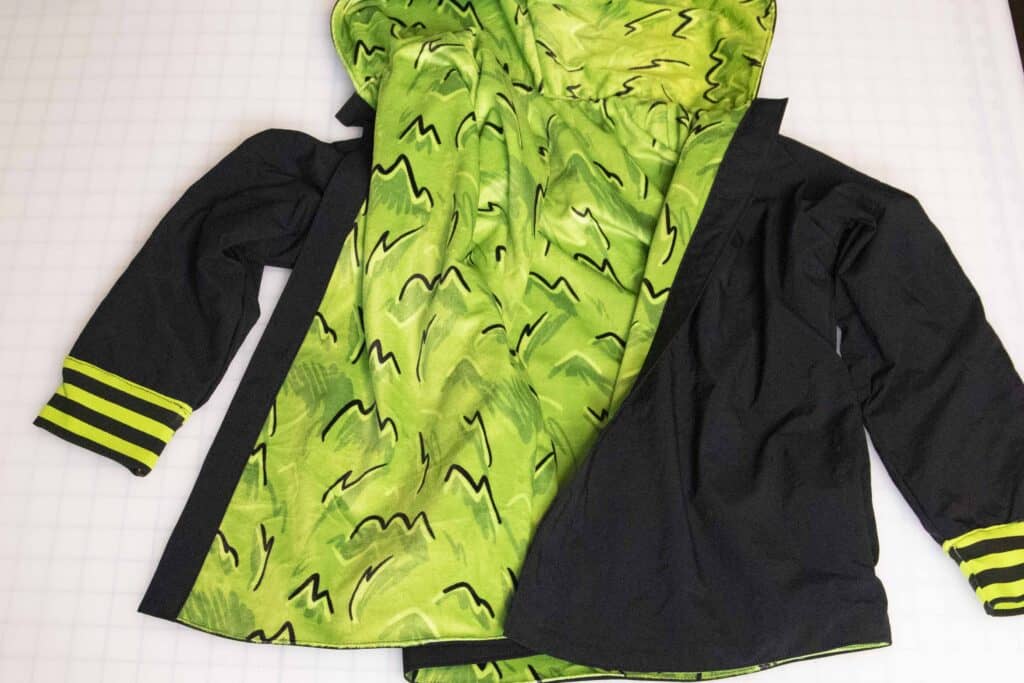
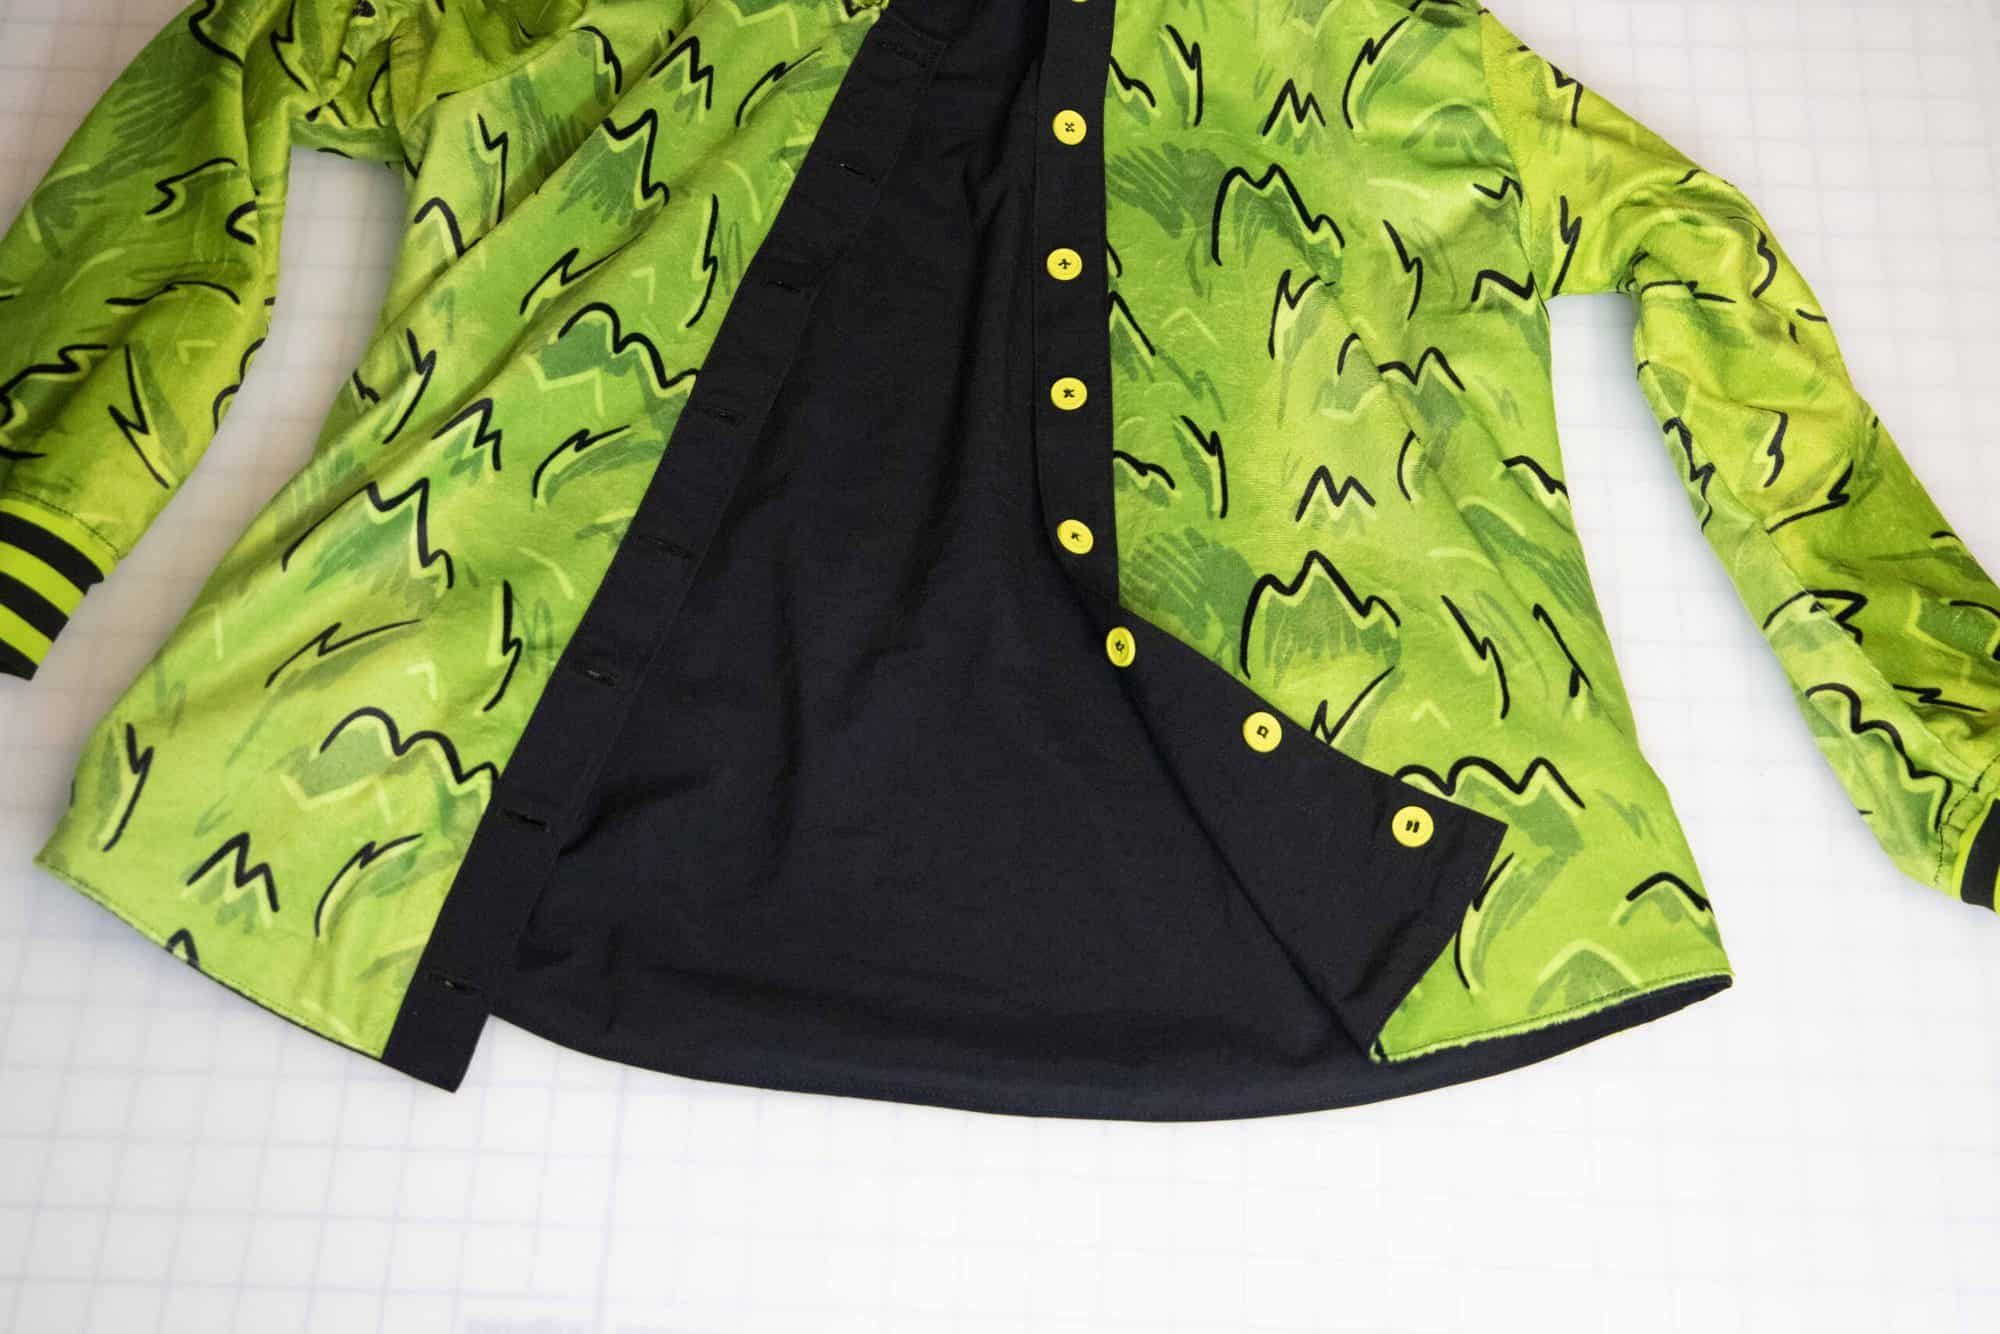
Voila! All done!