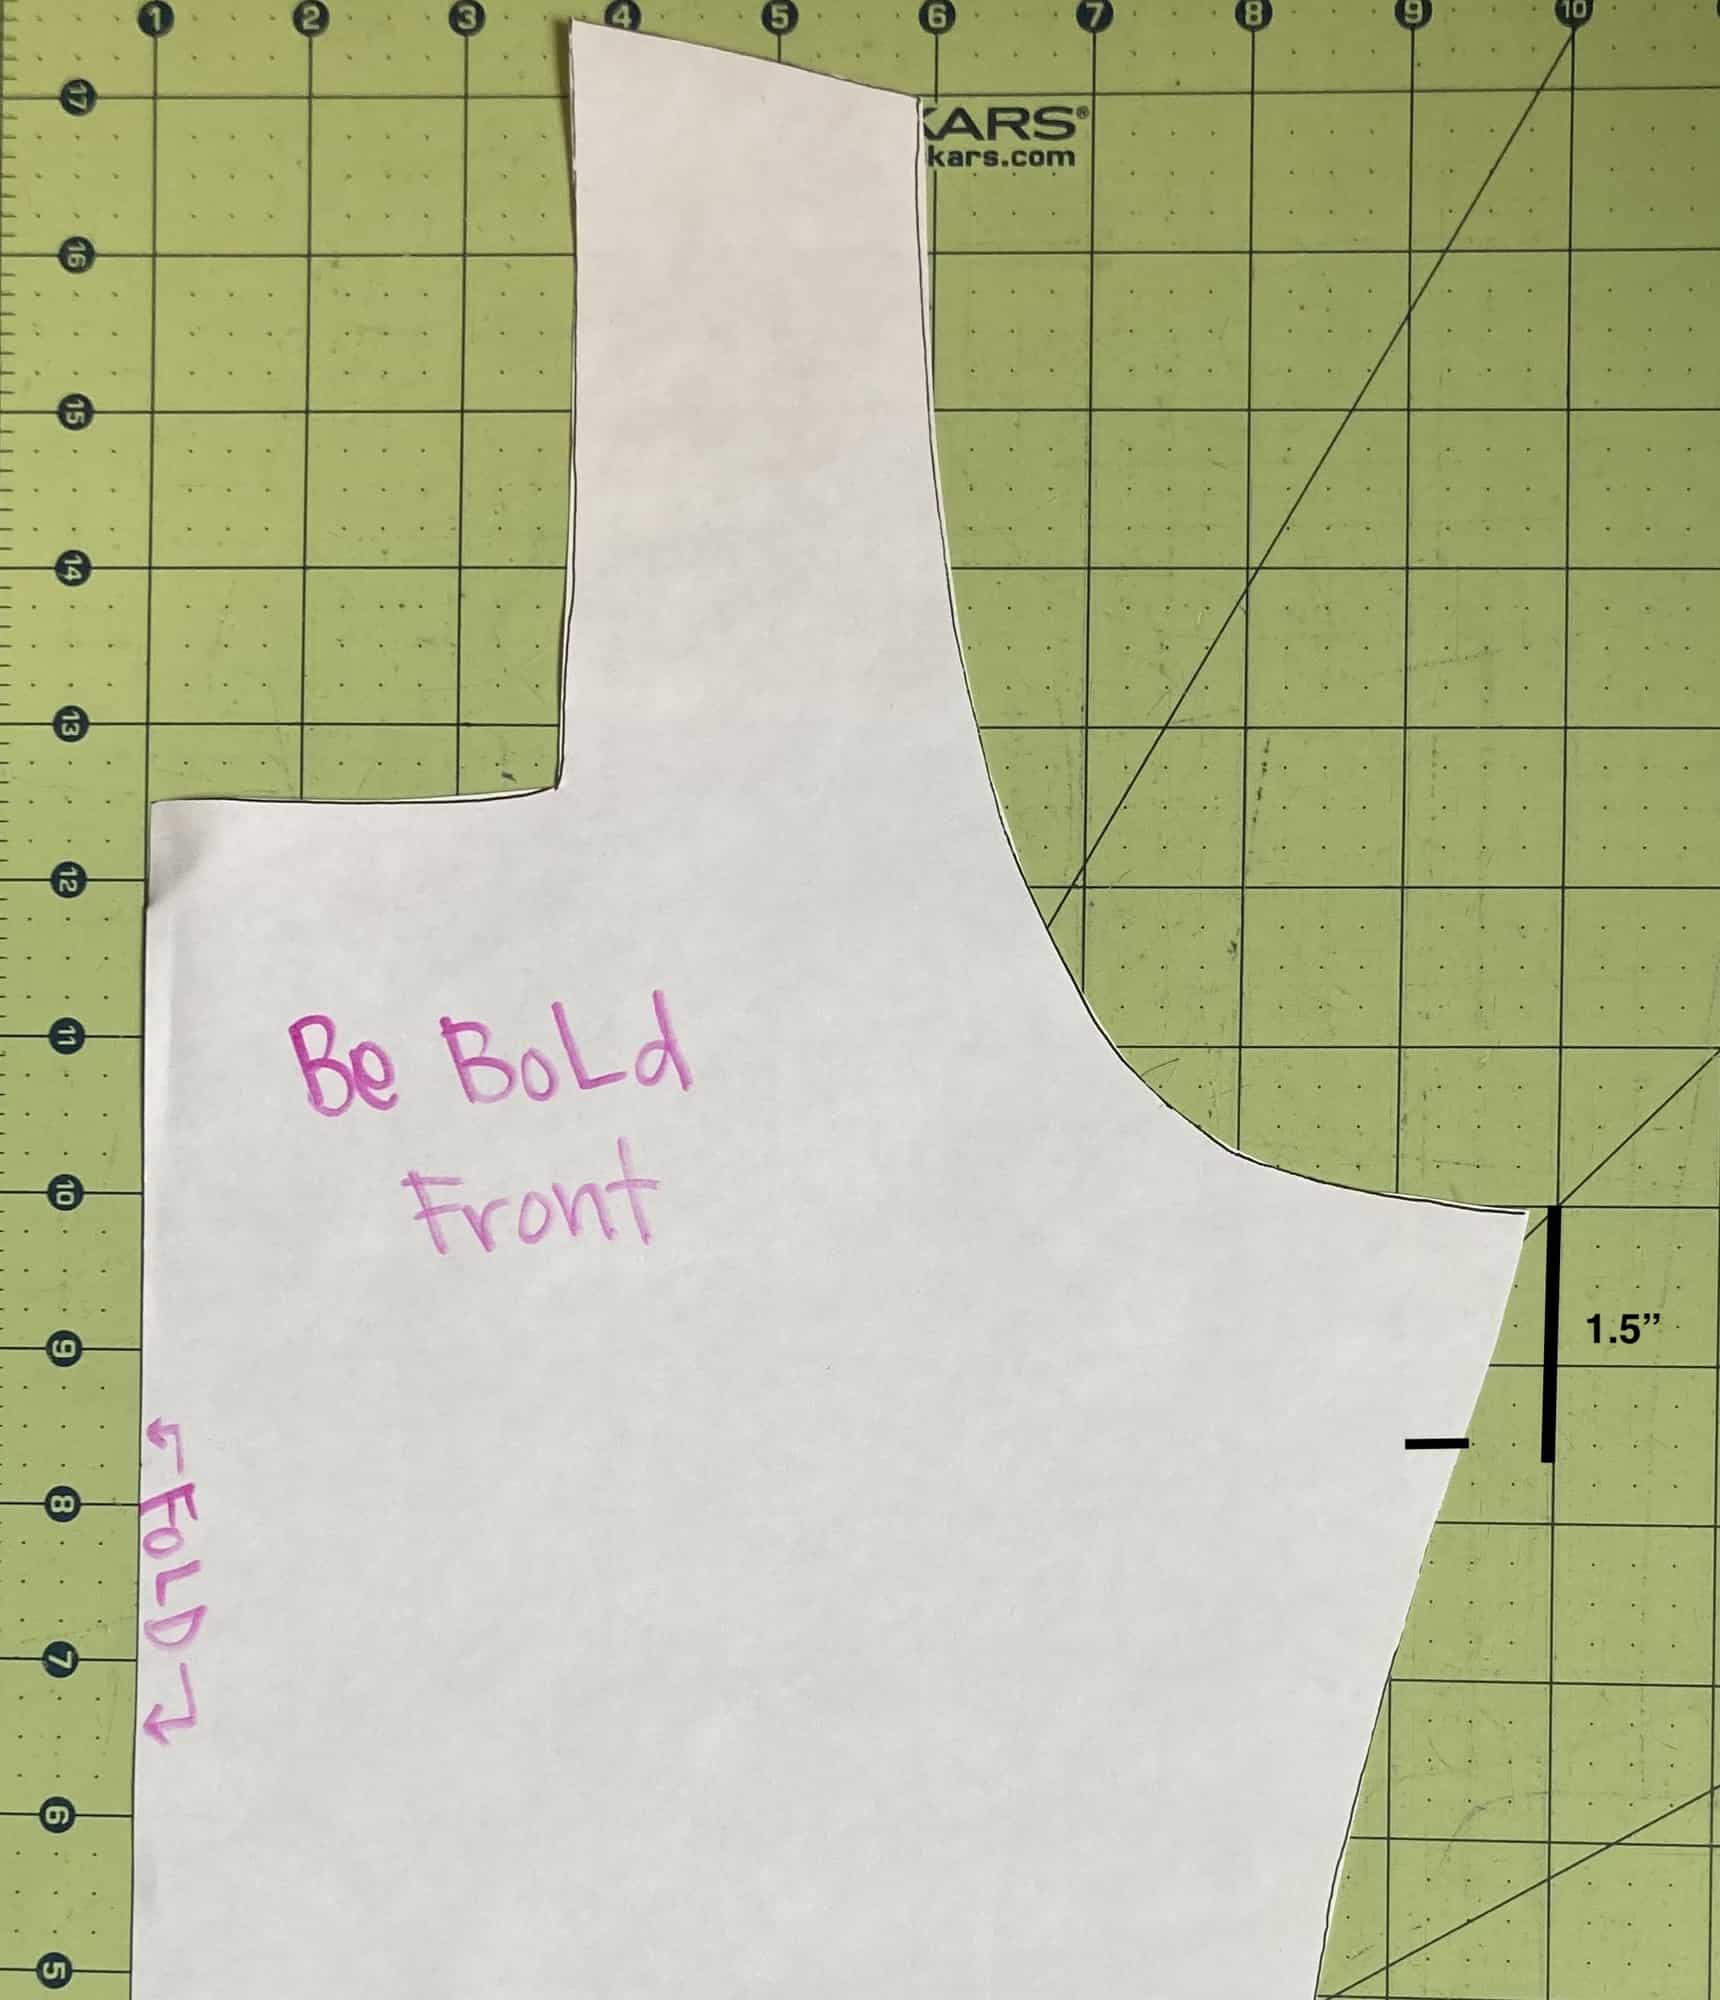
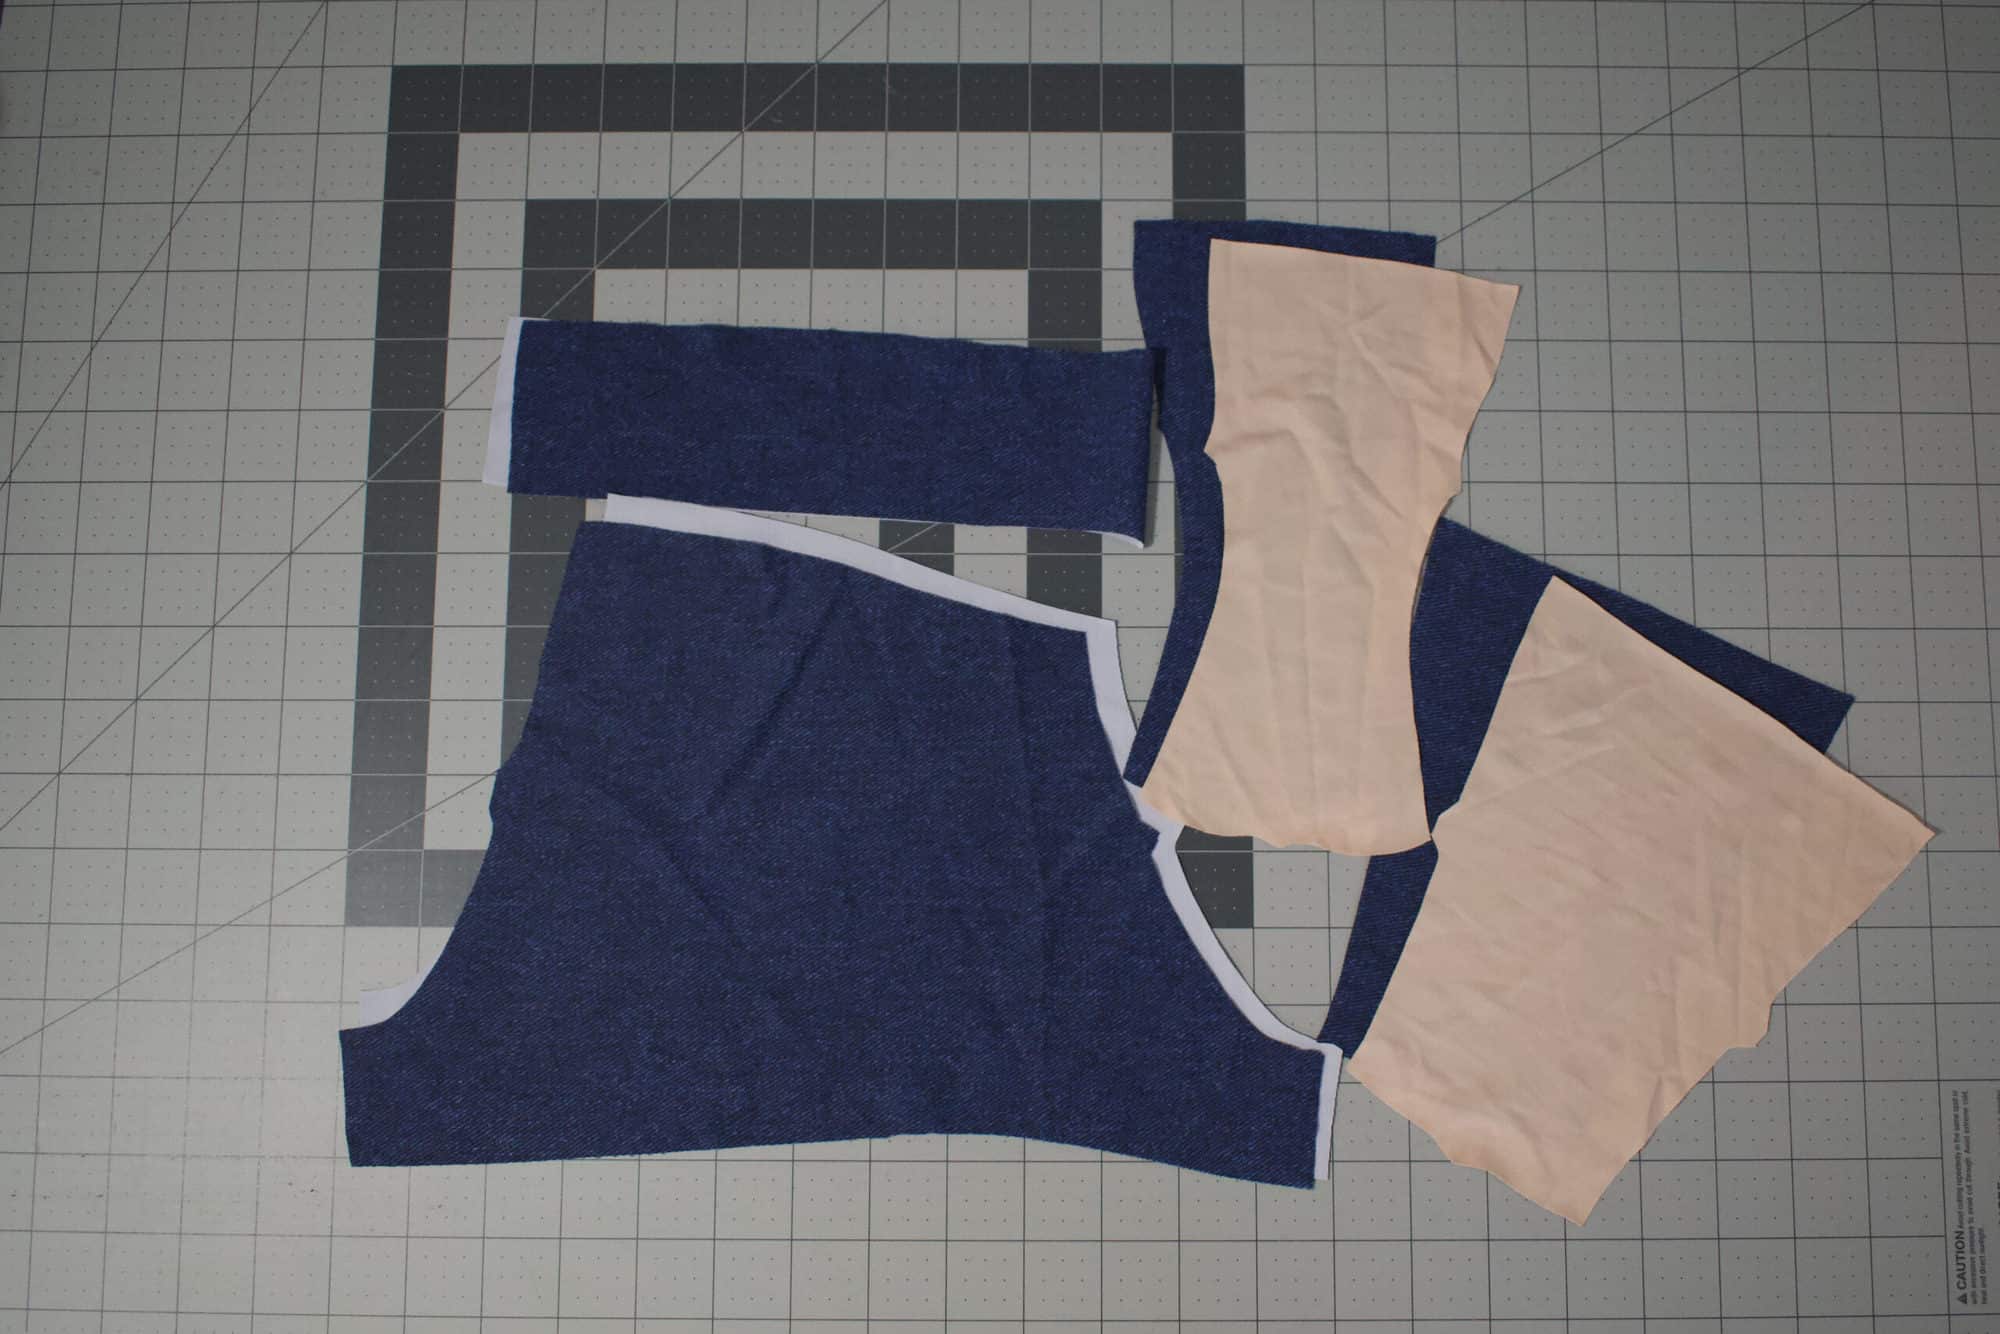
The Cutie Booty and Cutie patootie Boxer Briefs patterns have release and they are not one to be skipped! The pattern features a center front and a center back pieces as well as a separate lining pattern. In this easy hack, I wanted to show you how to fully line the center front and back. This hack is perfect if you want to enclose the briefs’ seams.
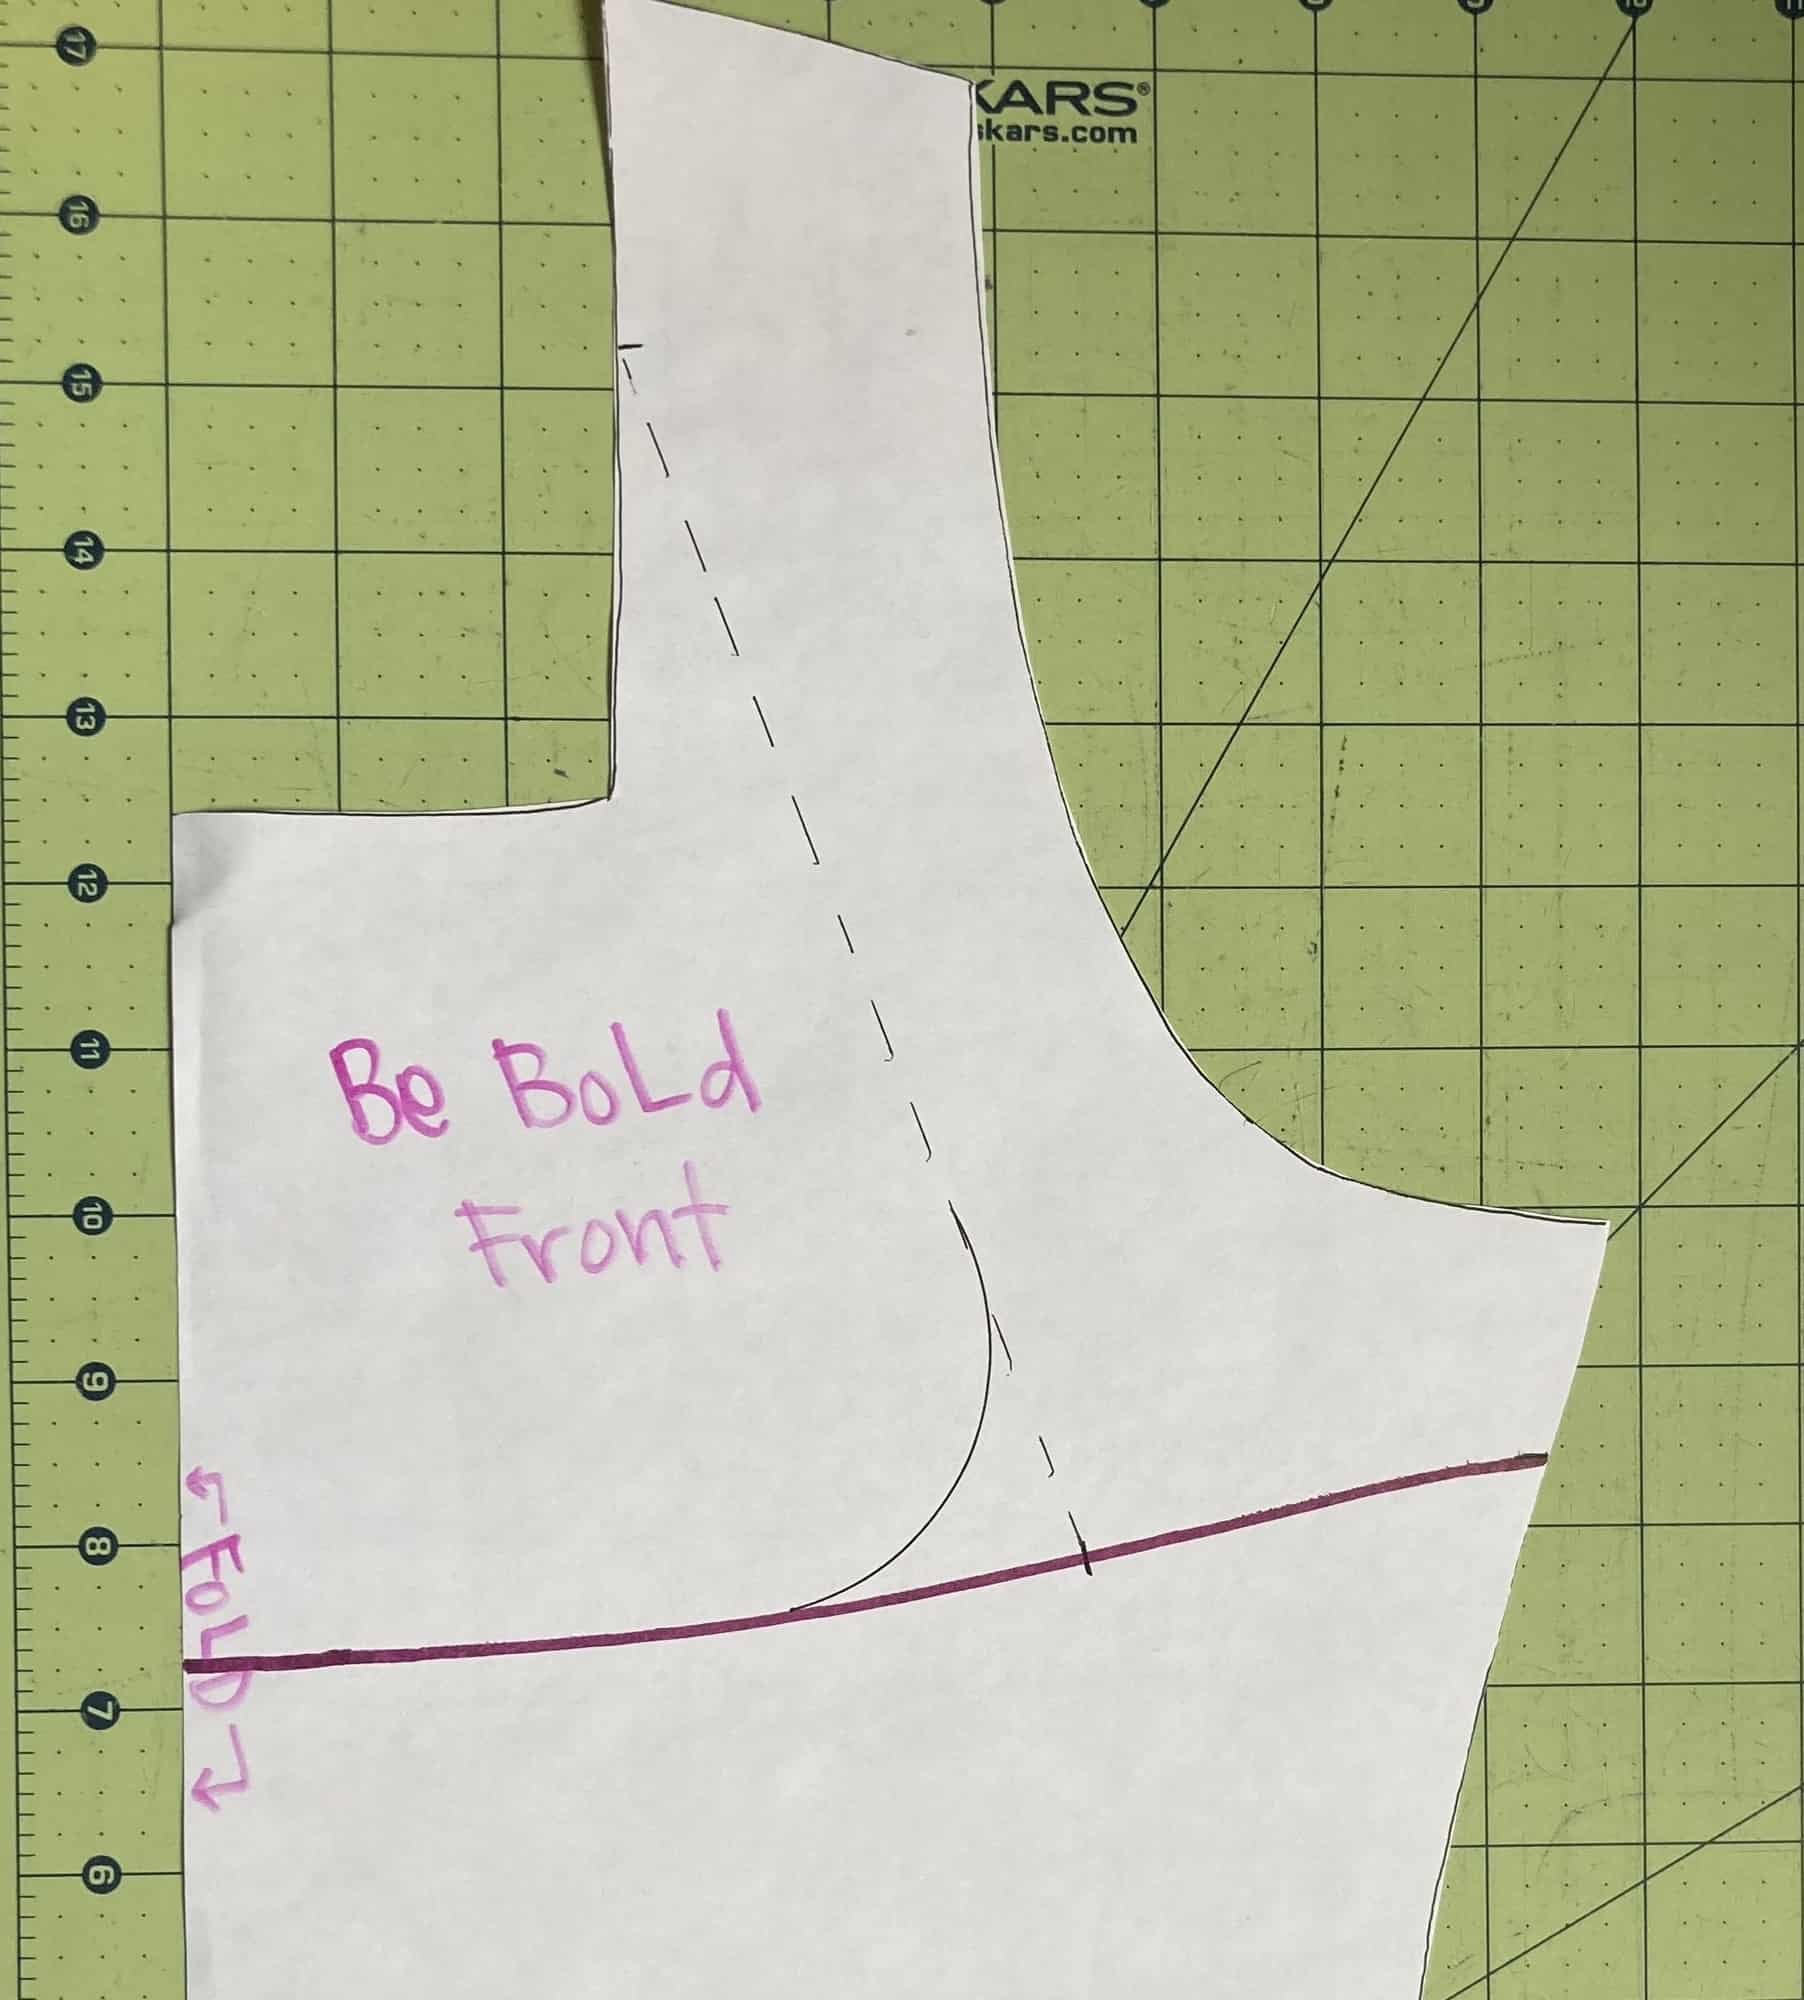
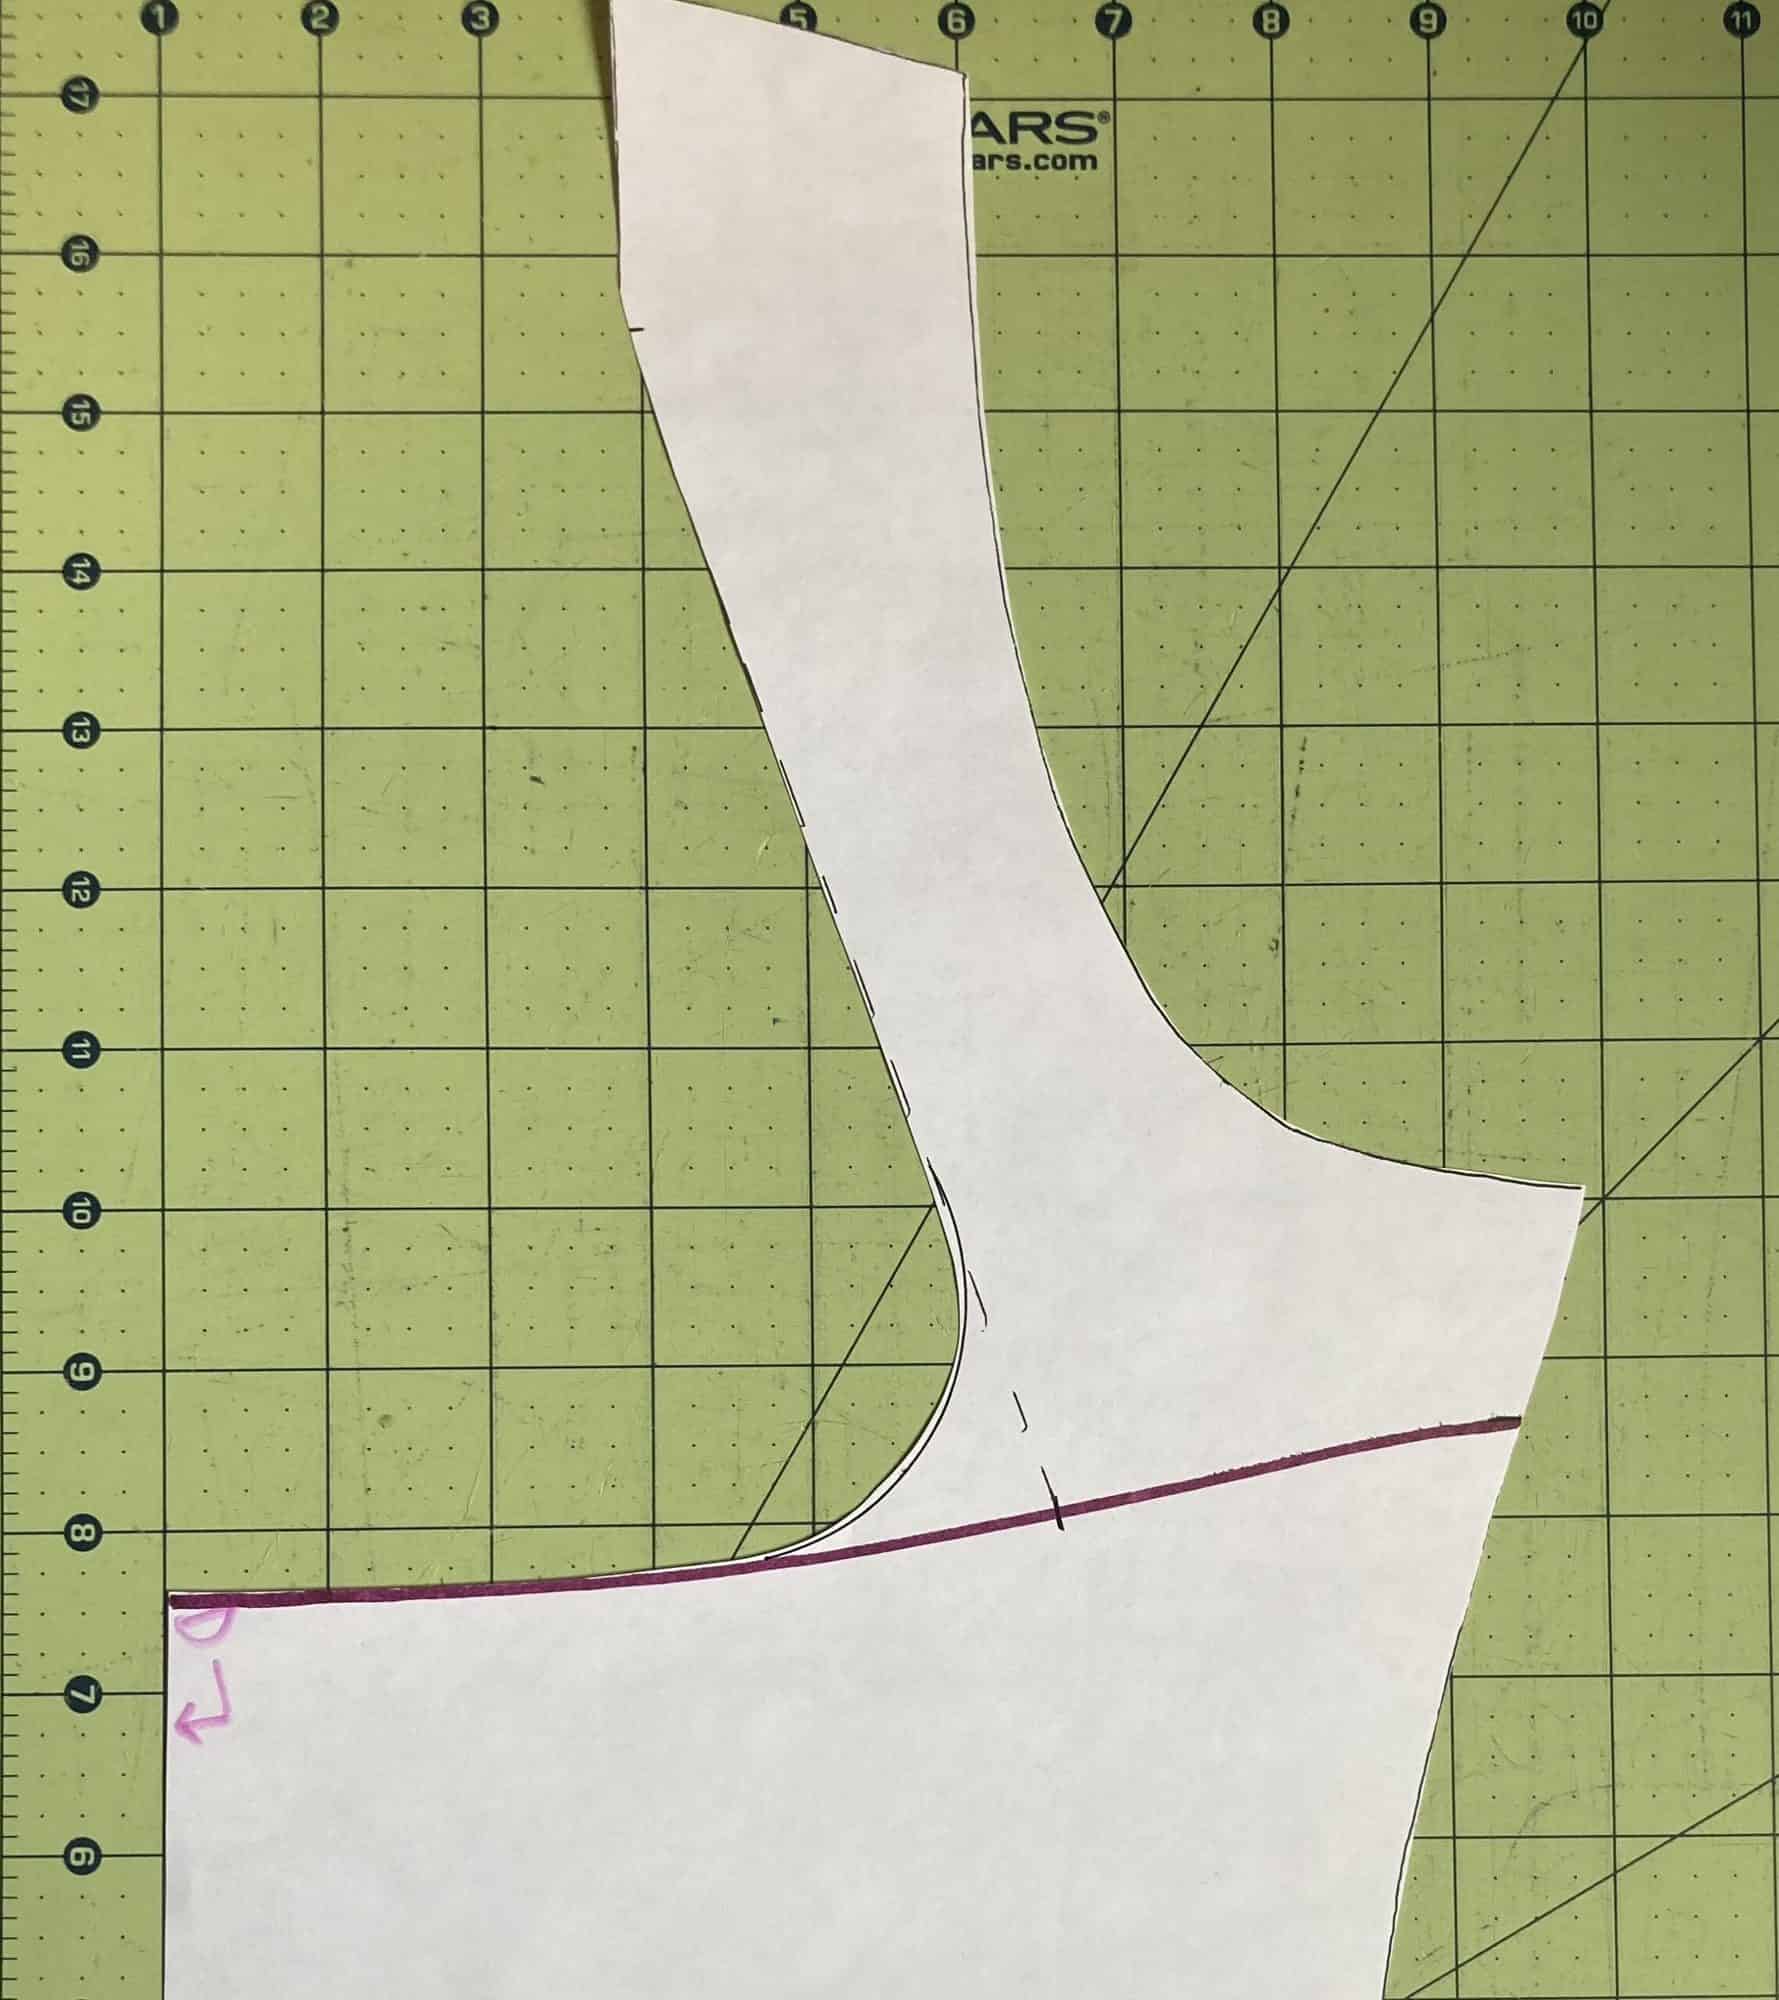
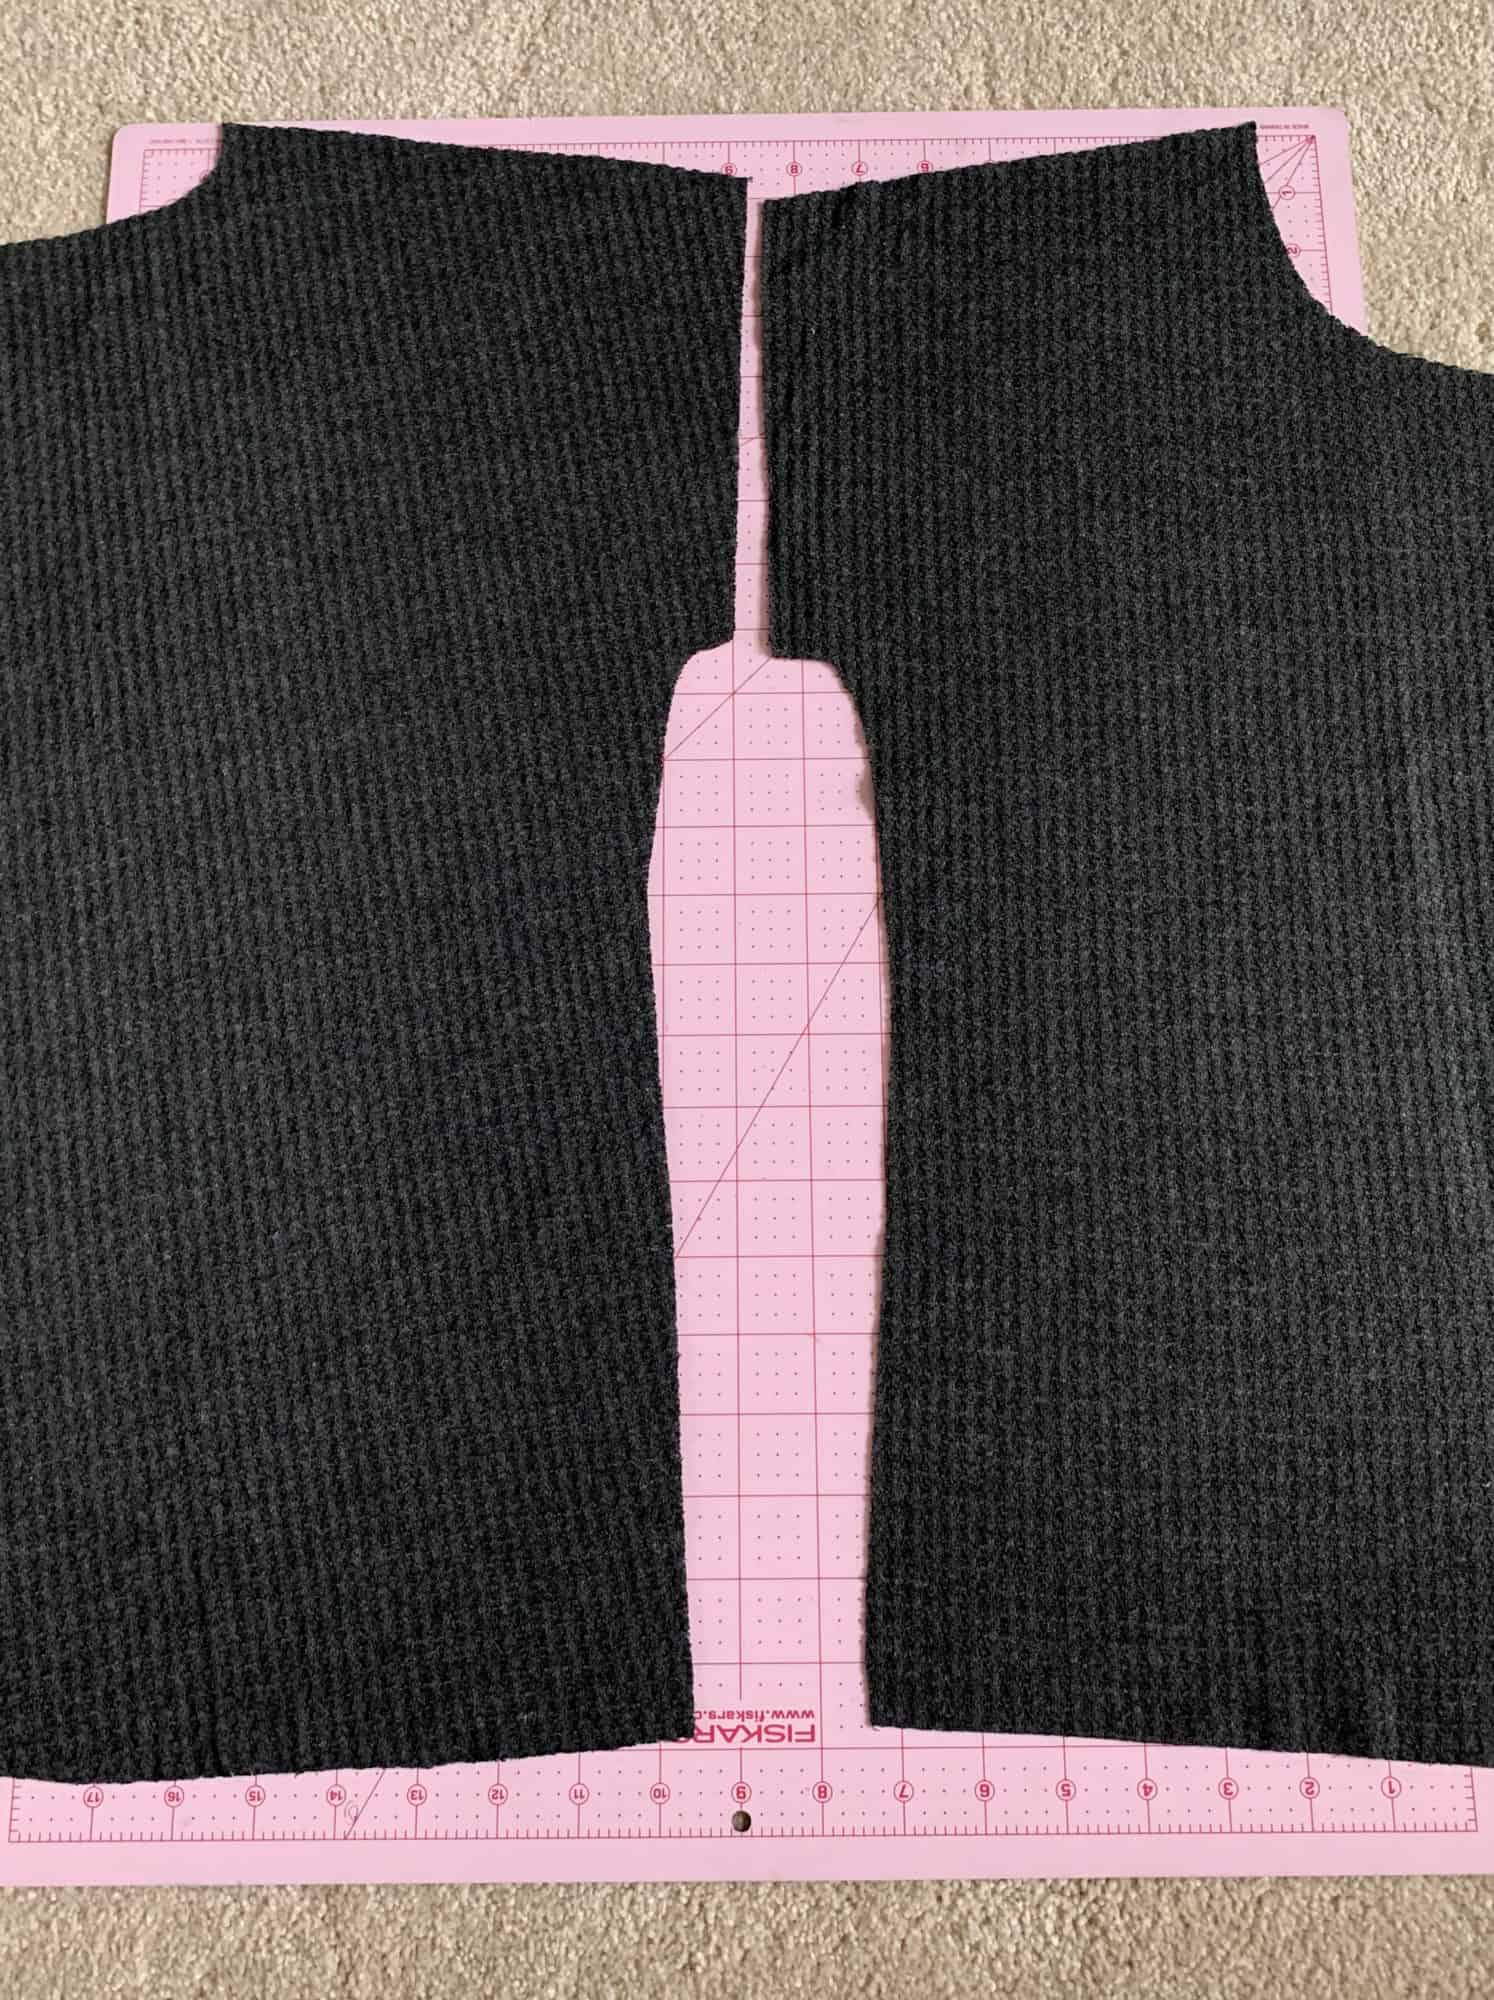
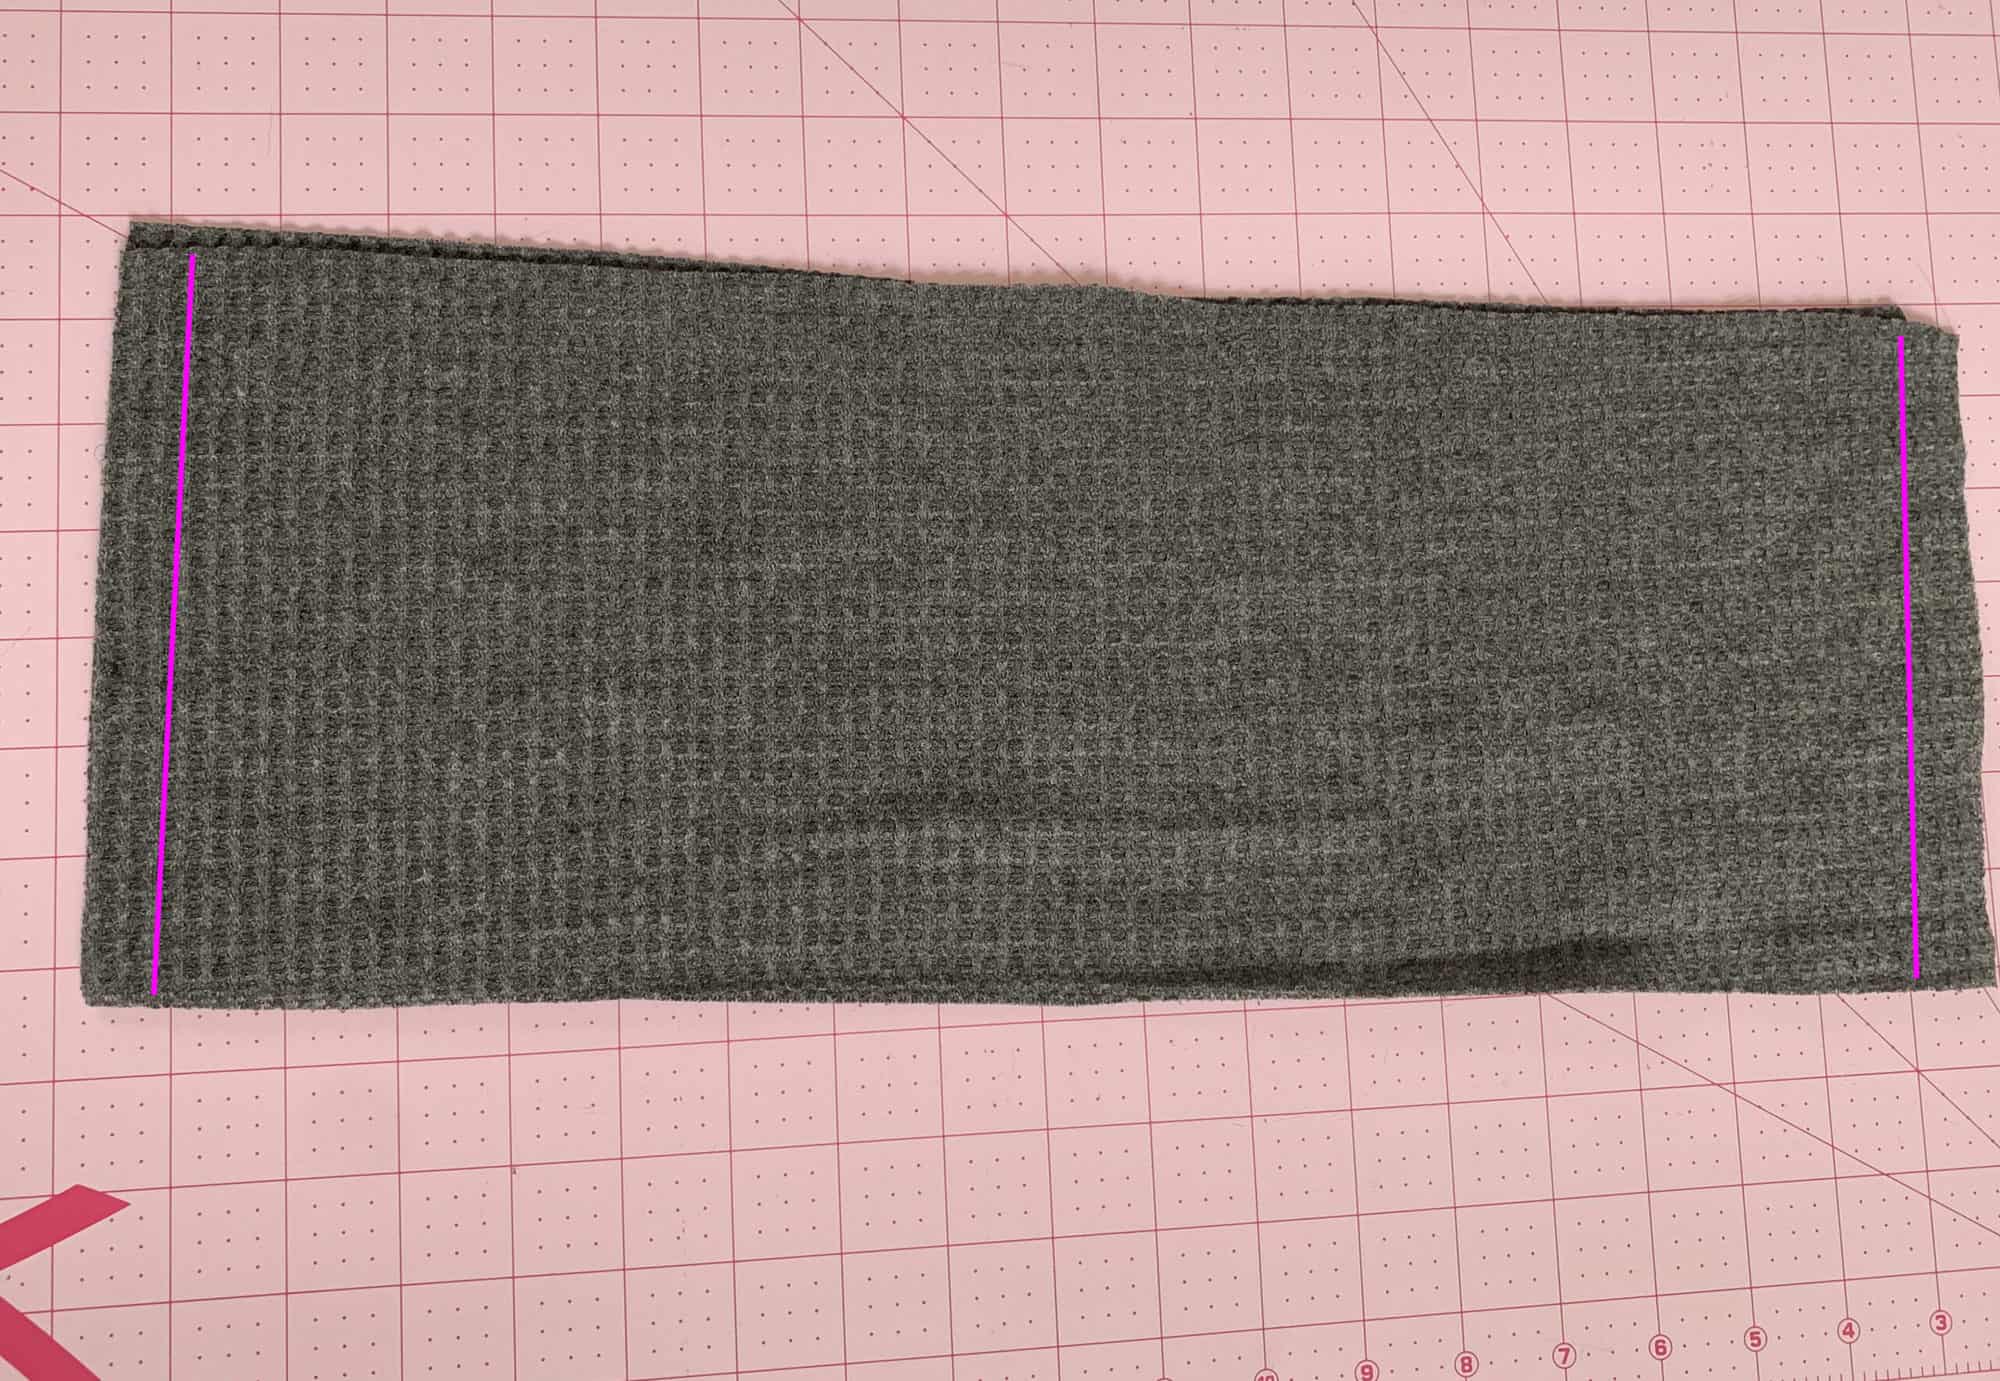
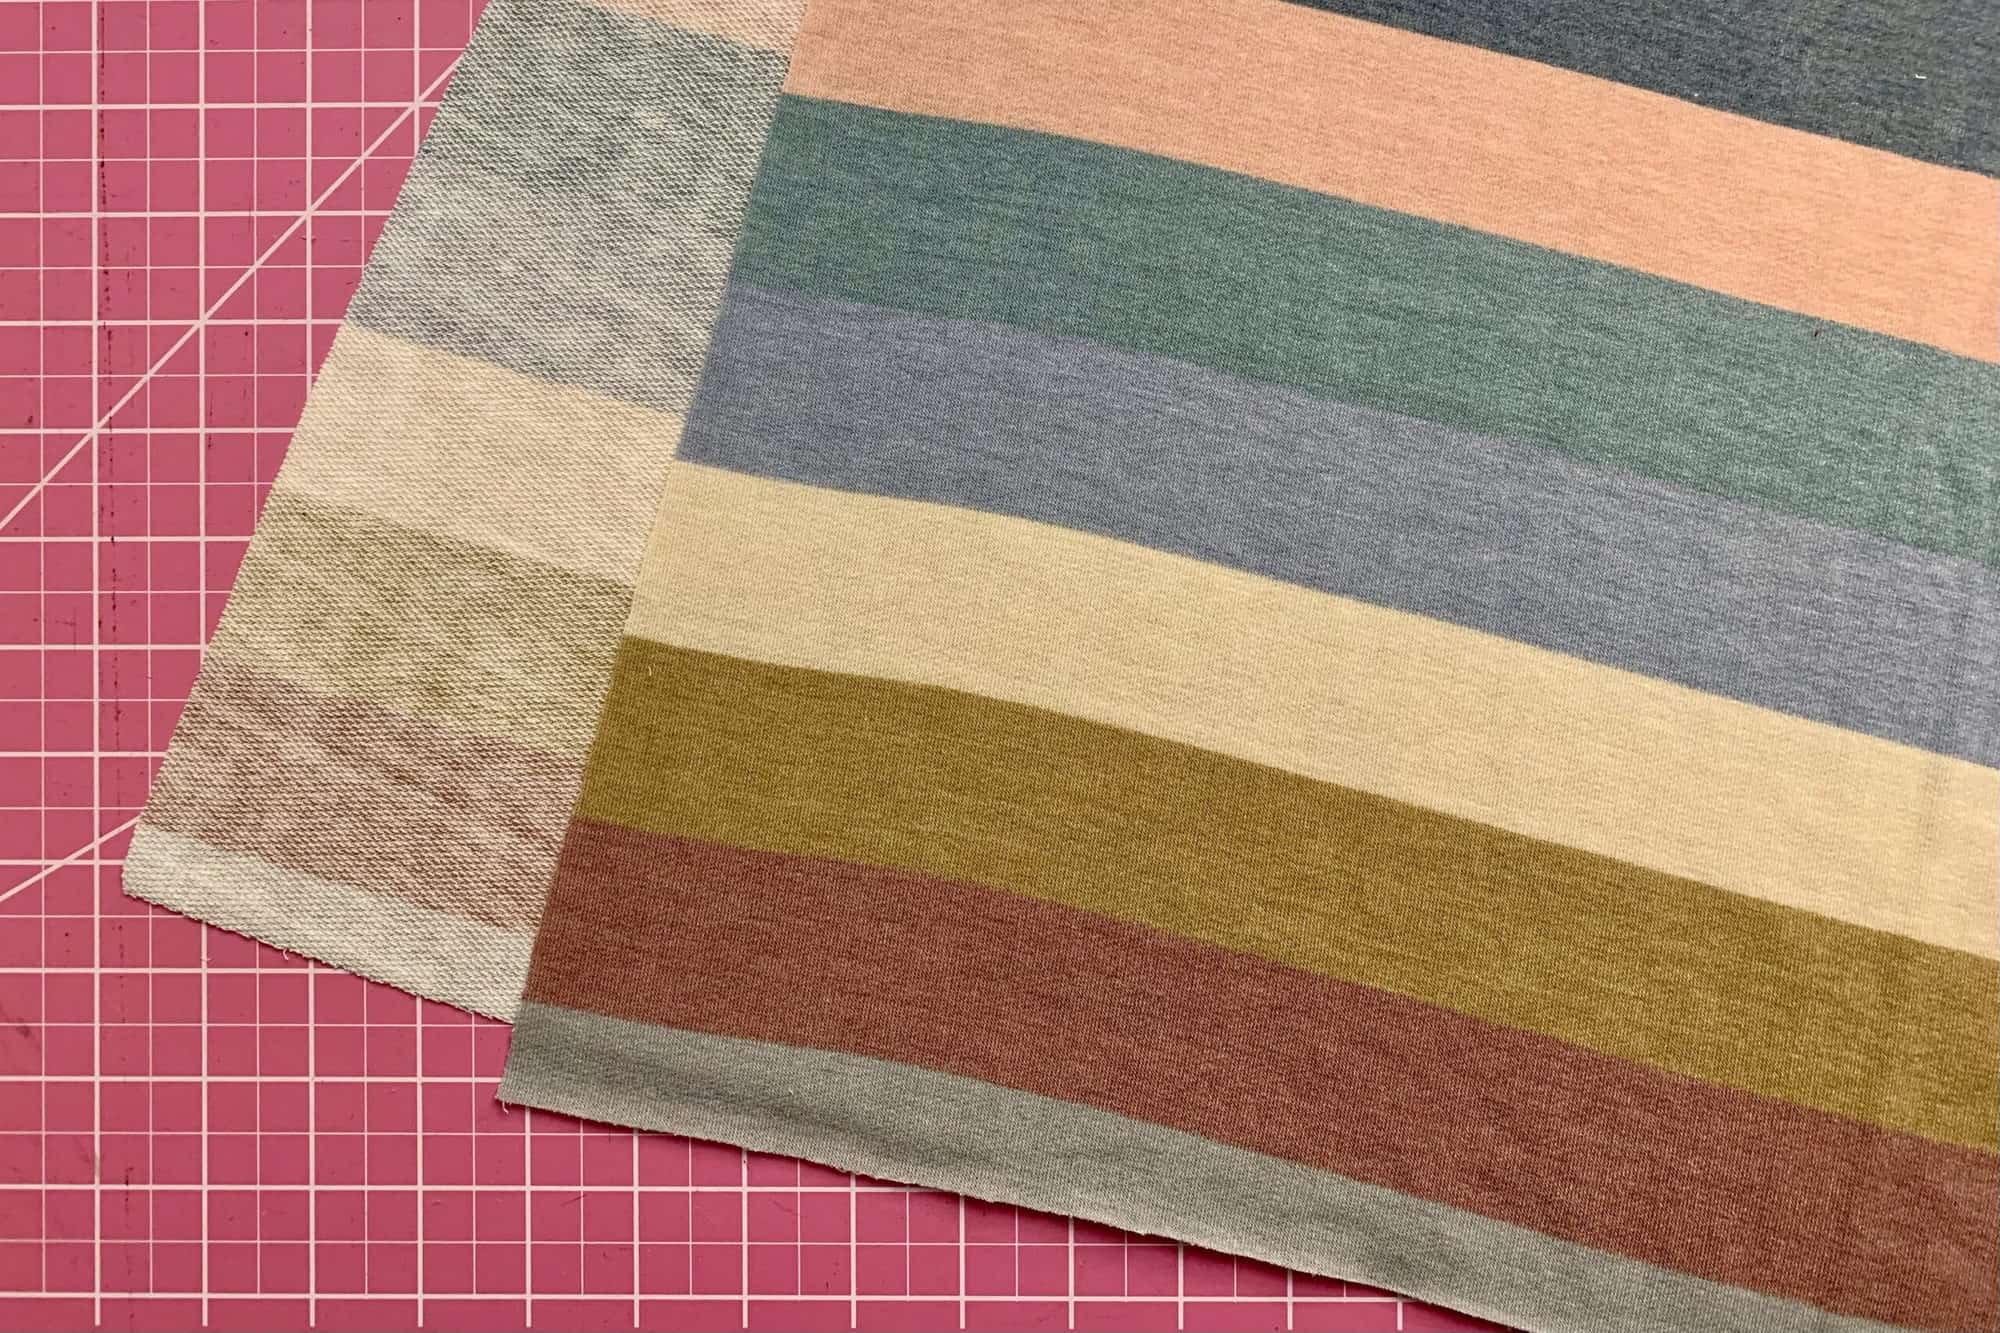
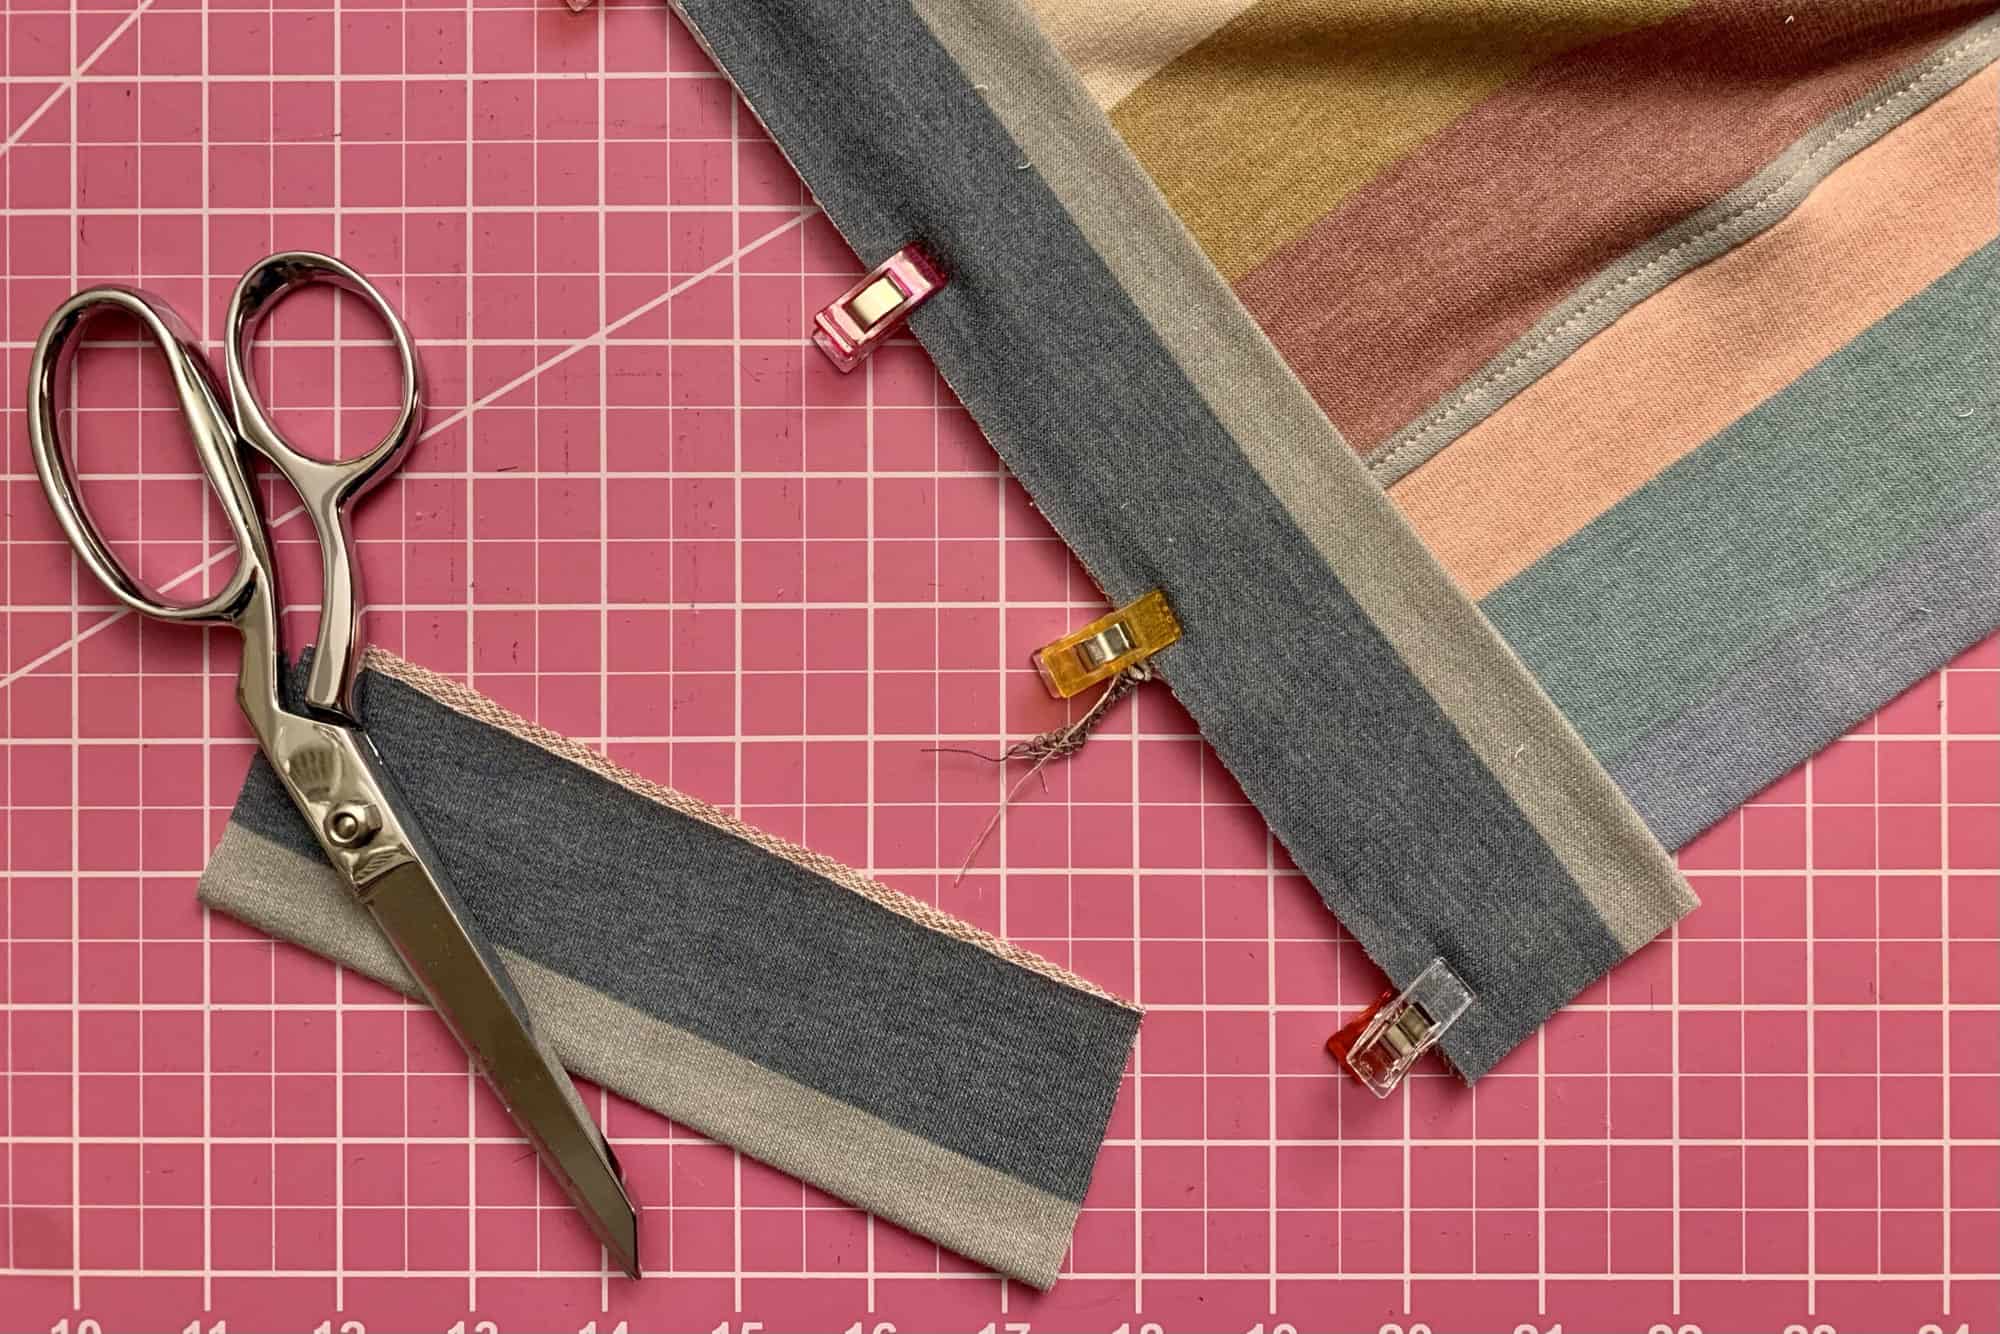
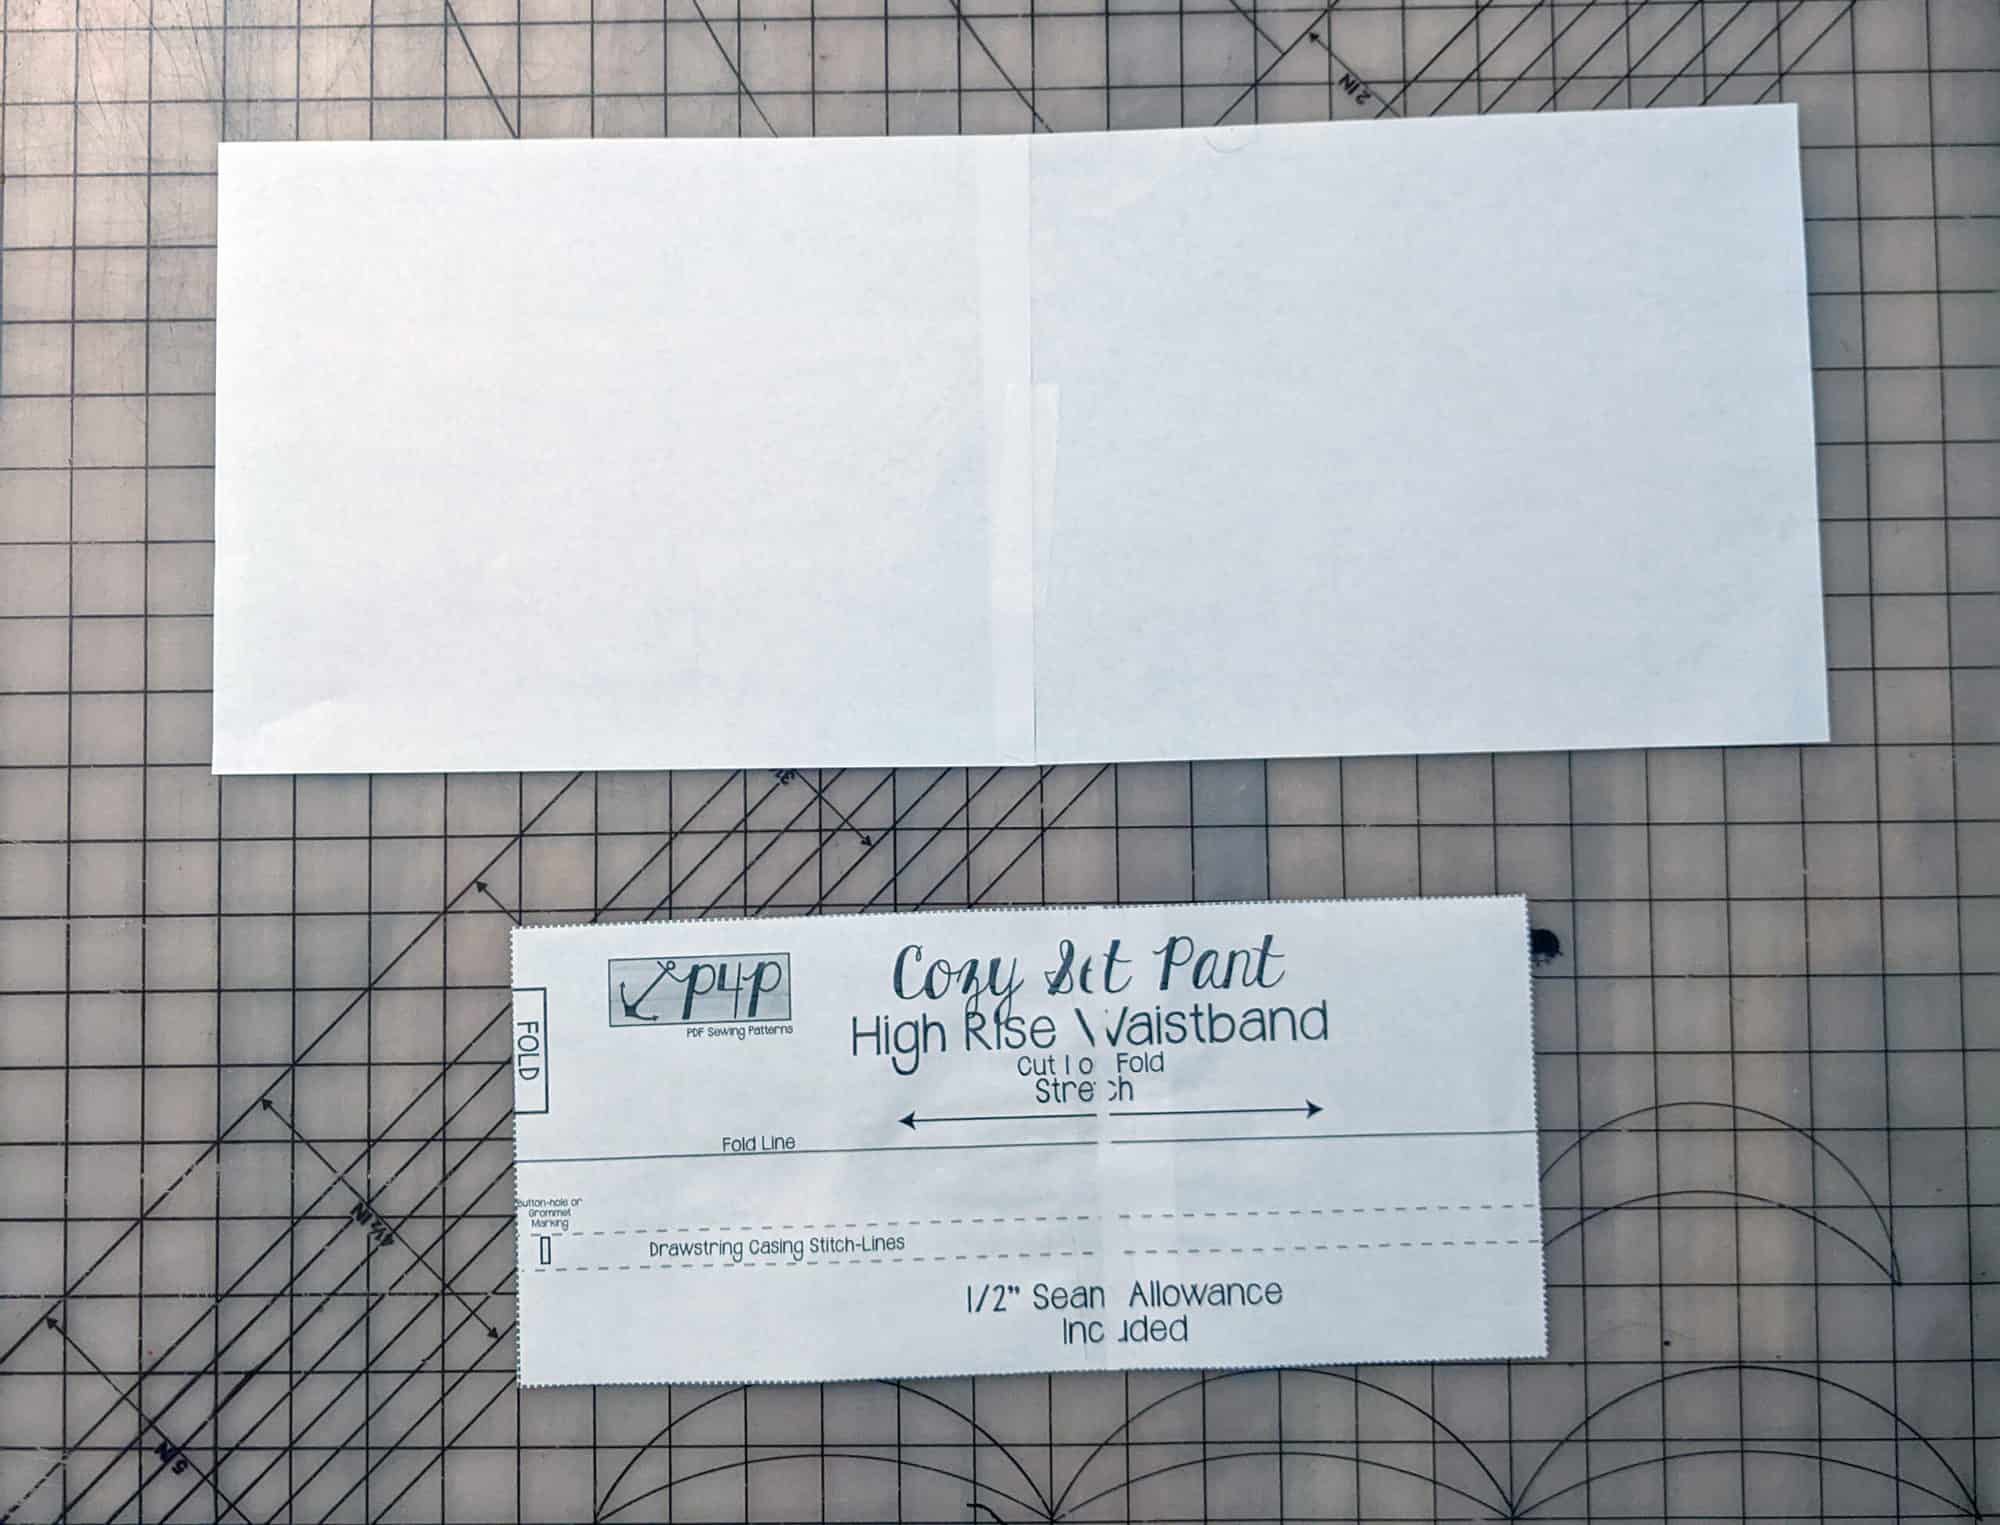
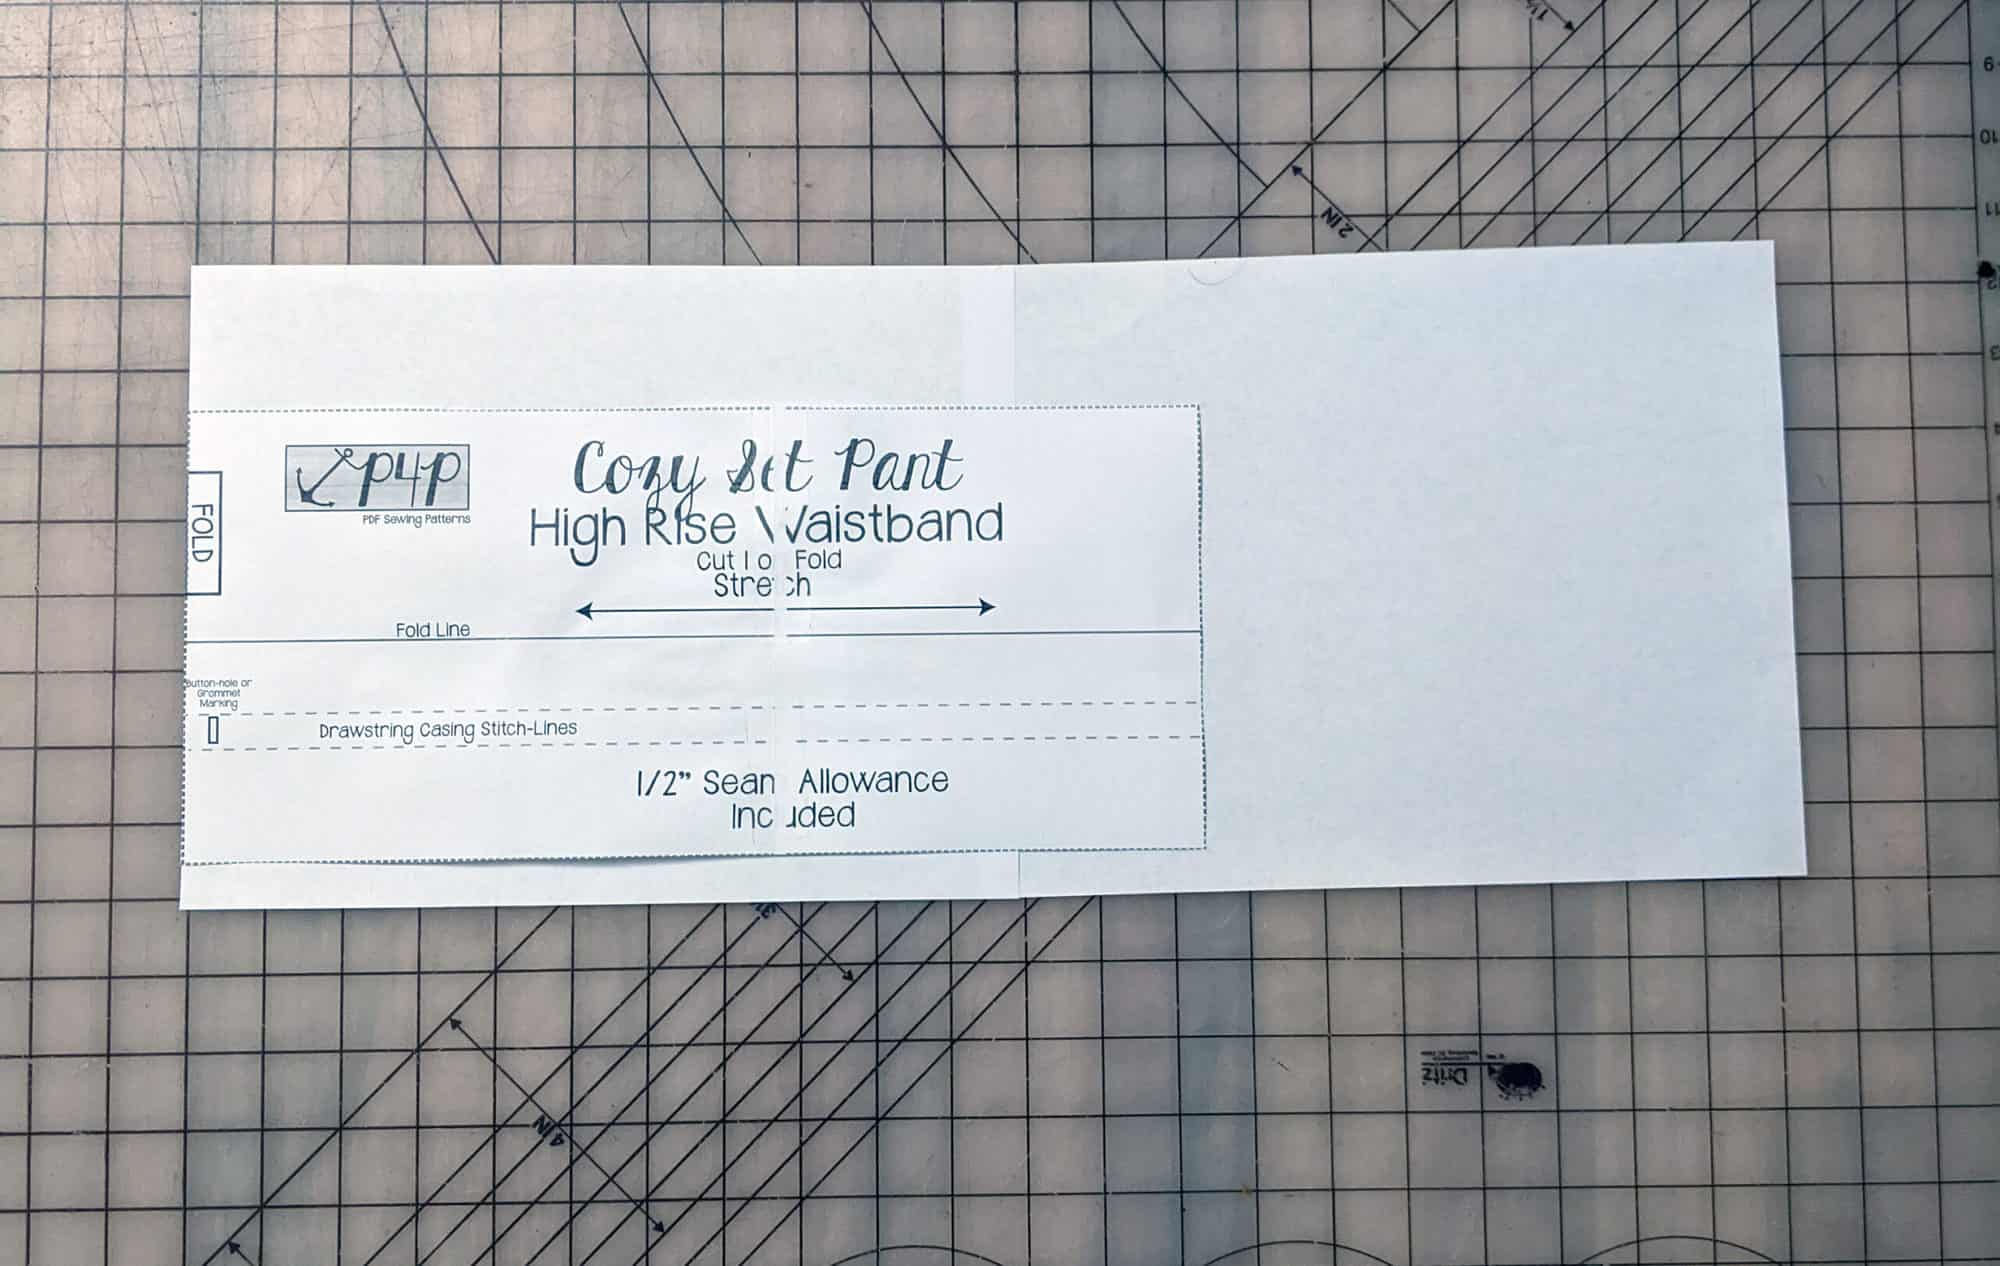
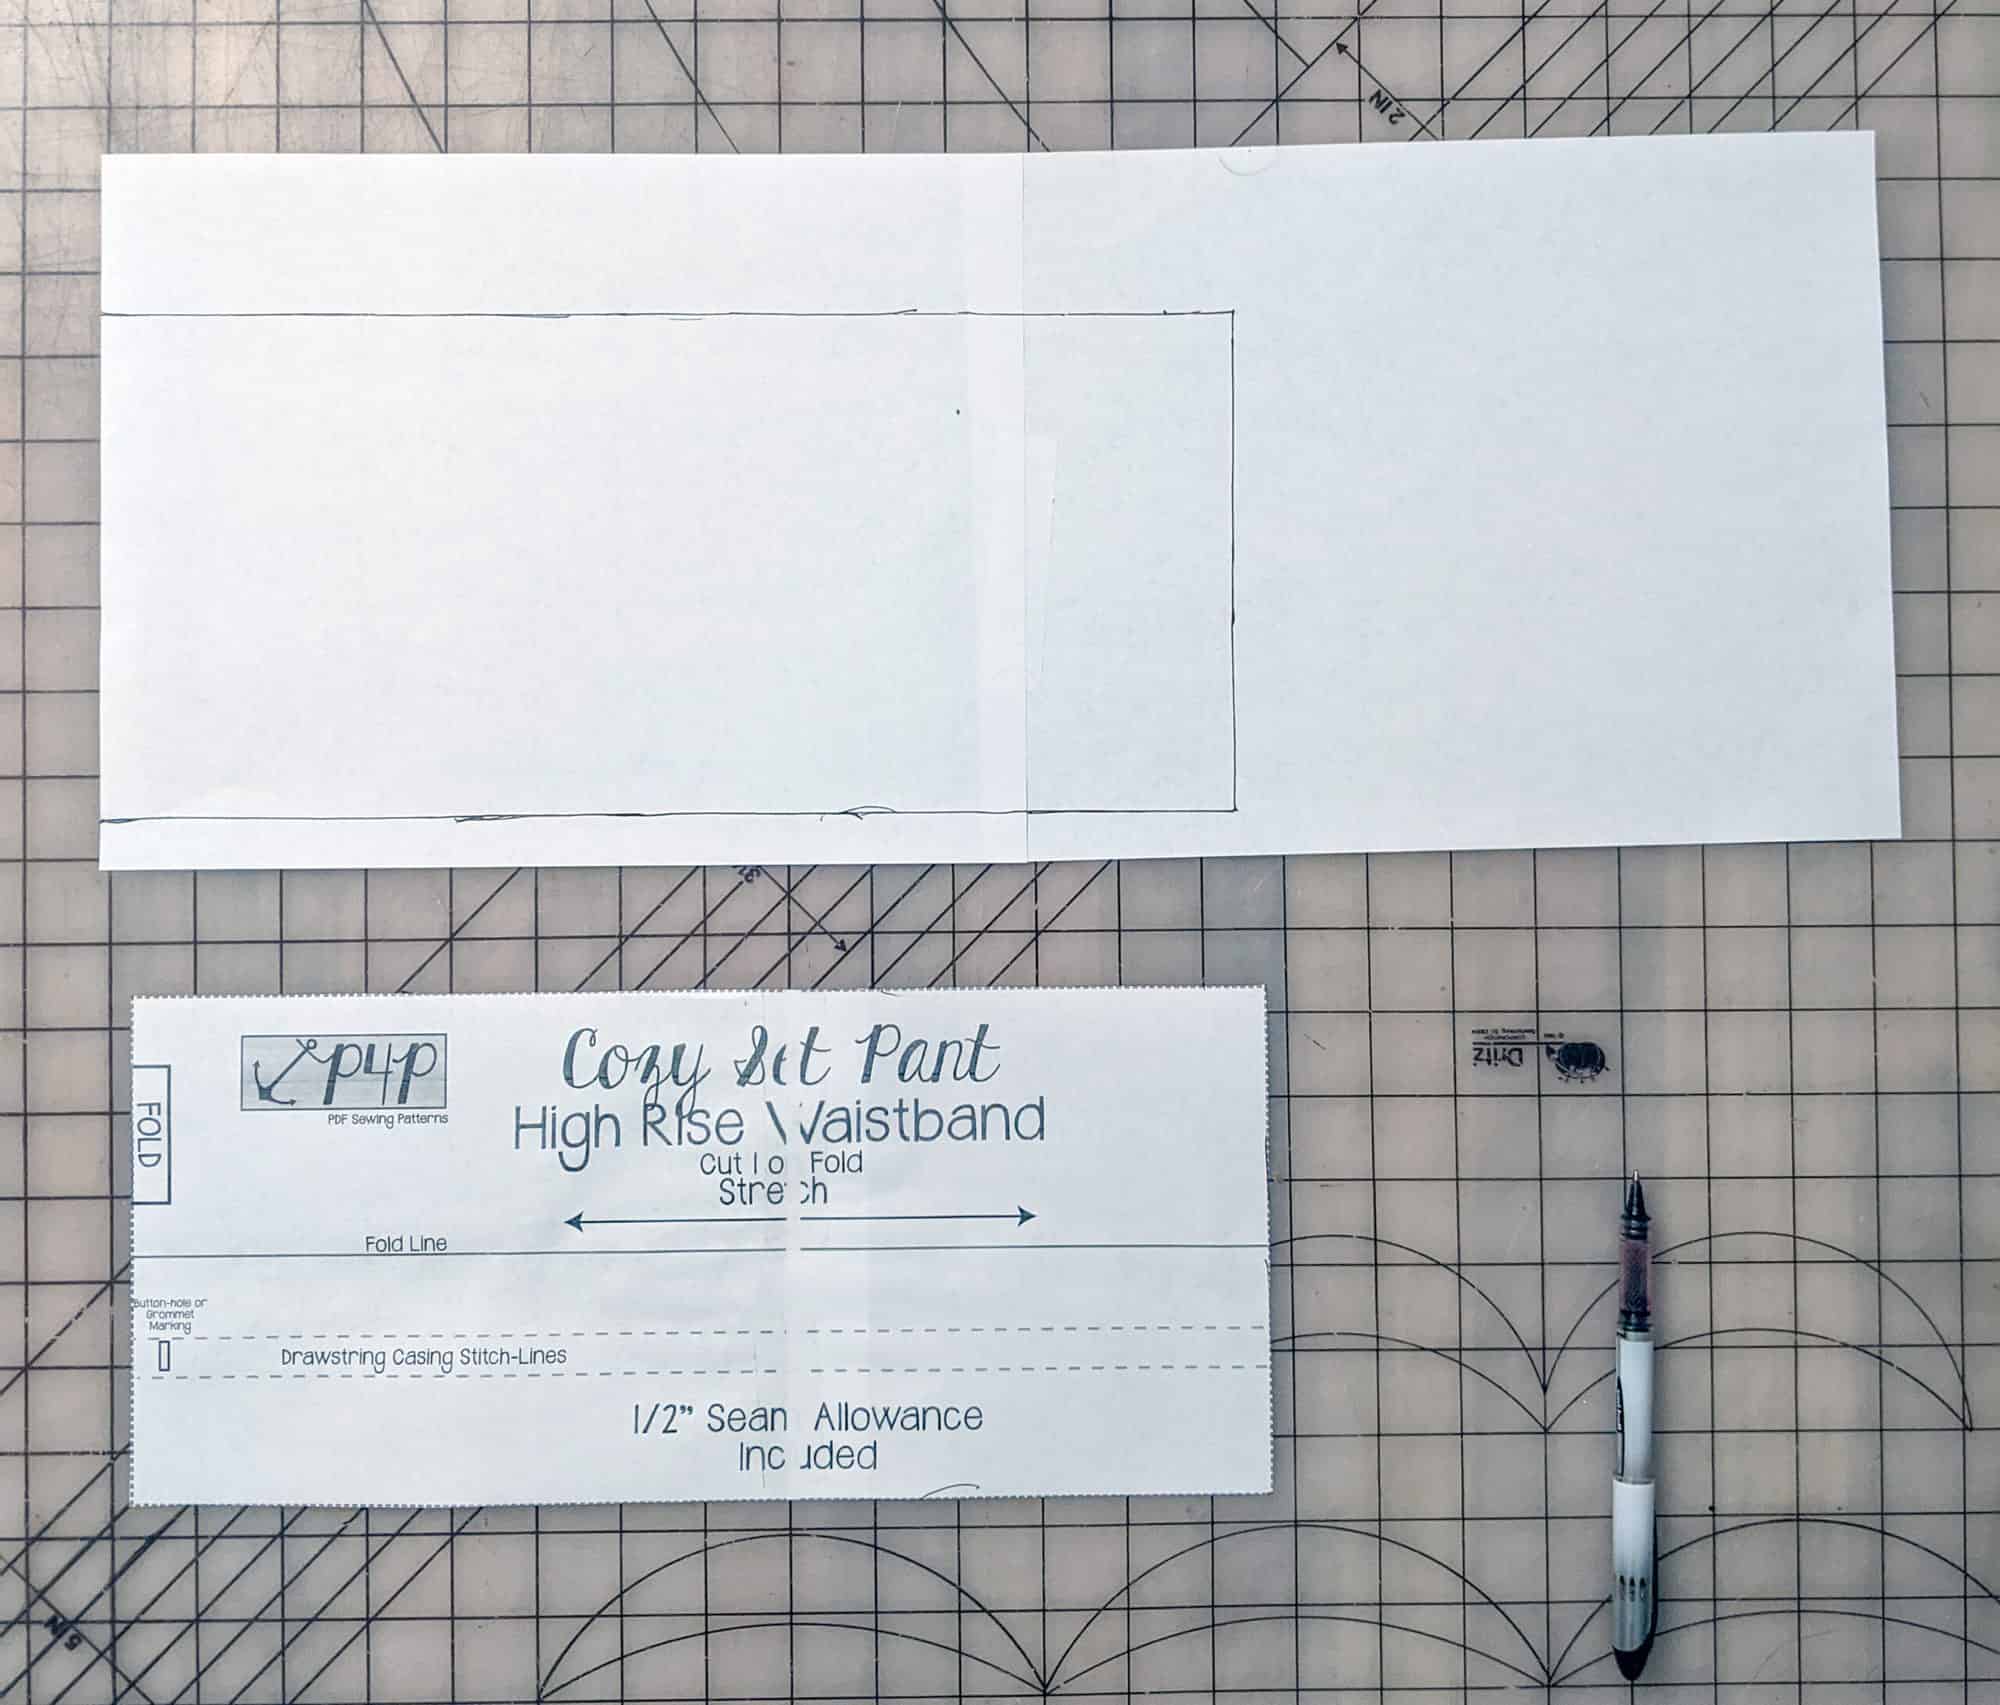
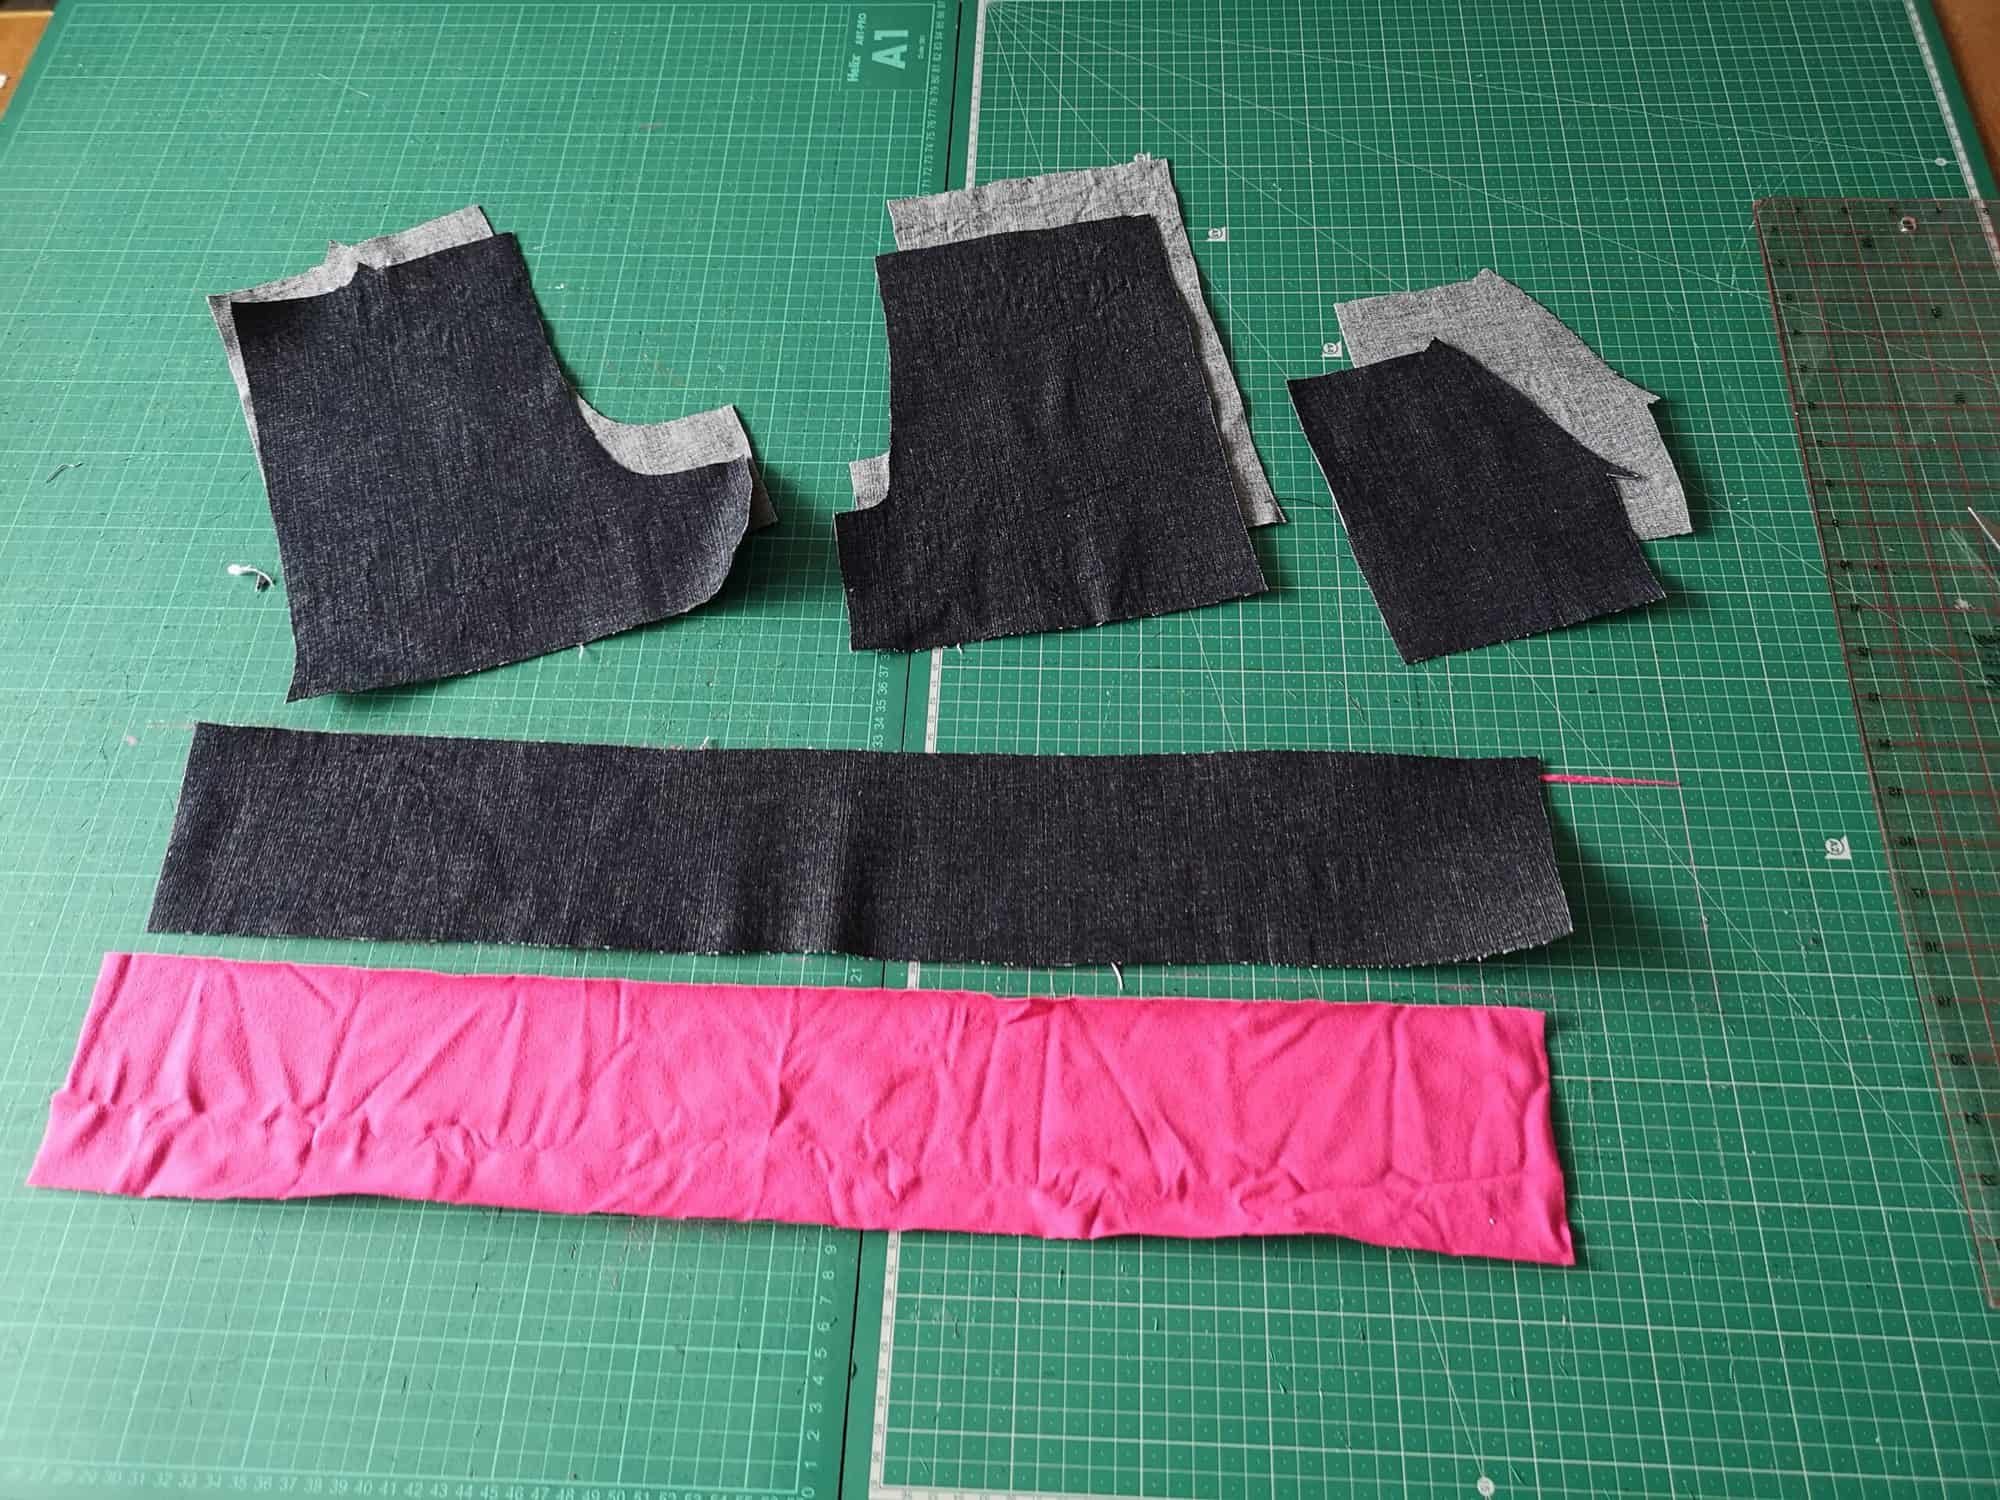
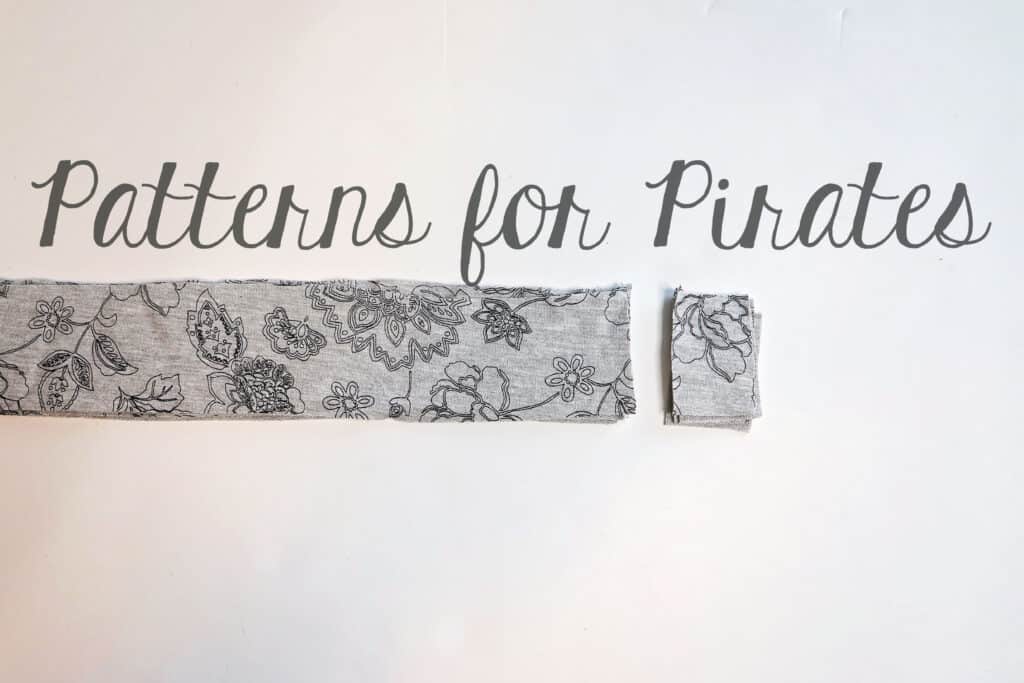
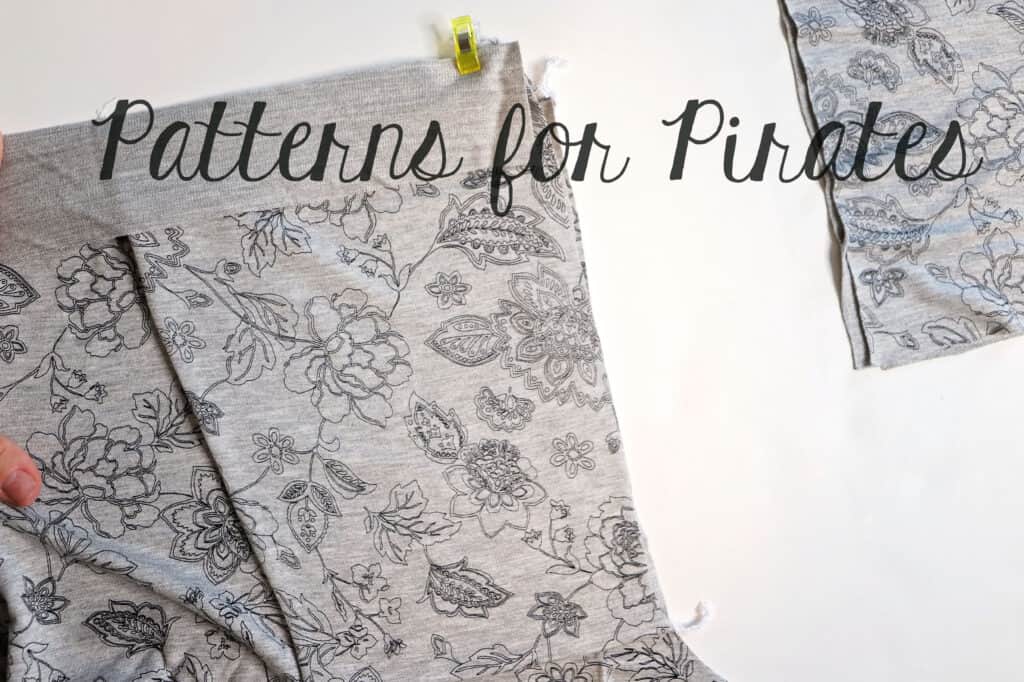
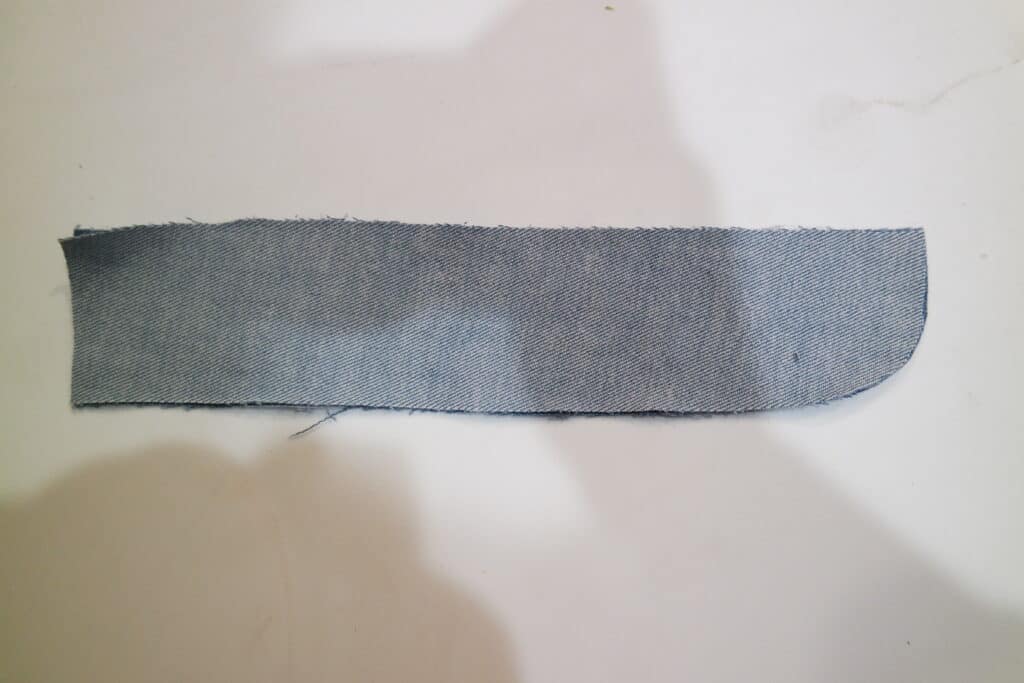
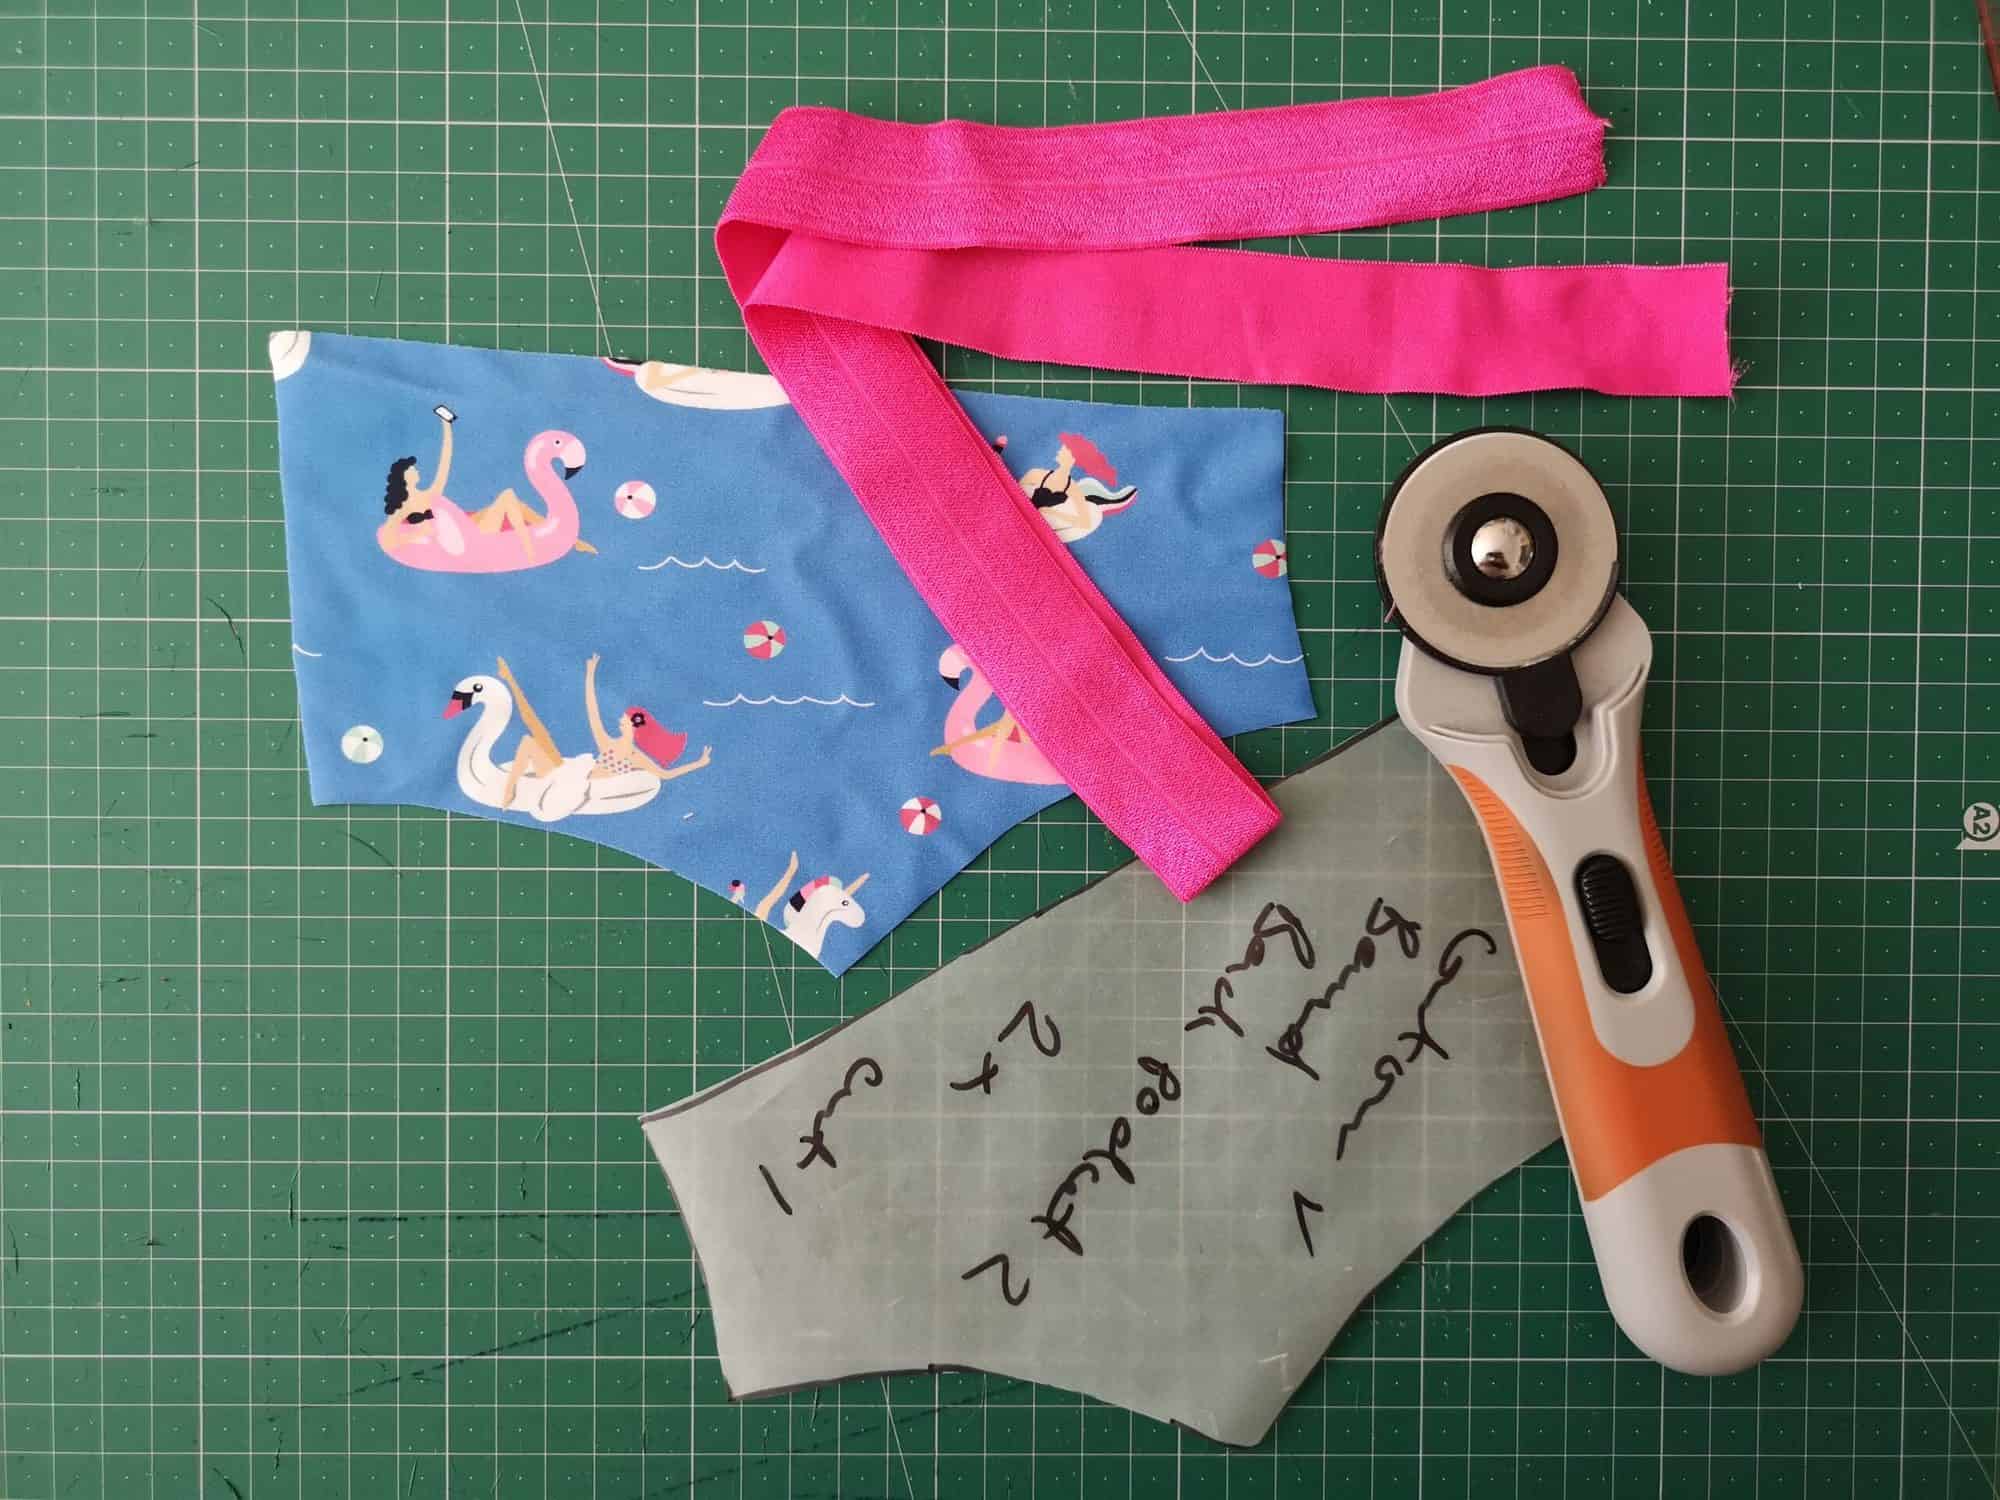
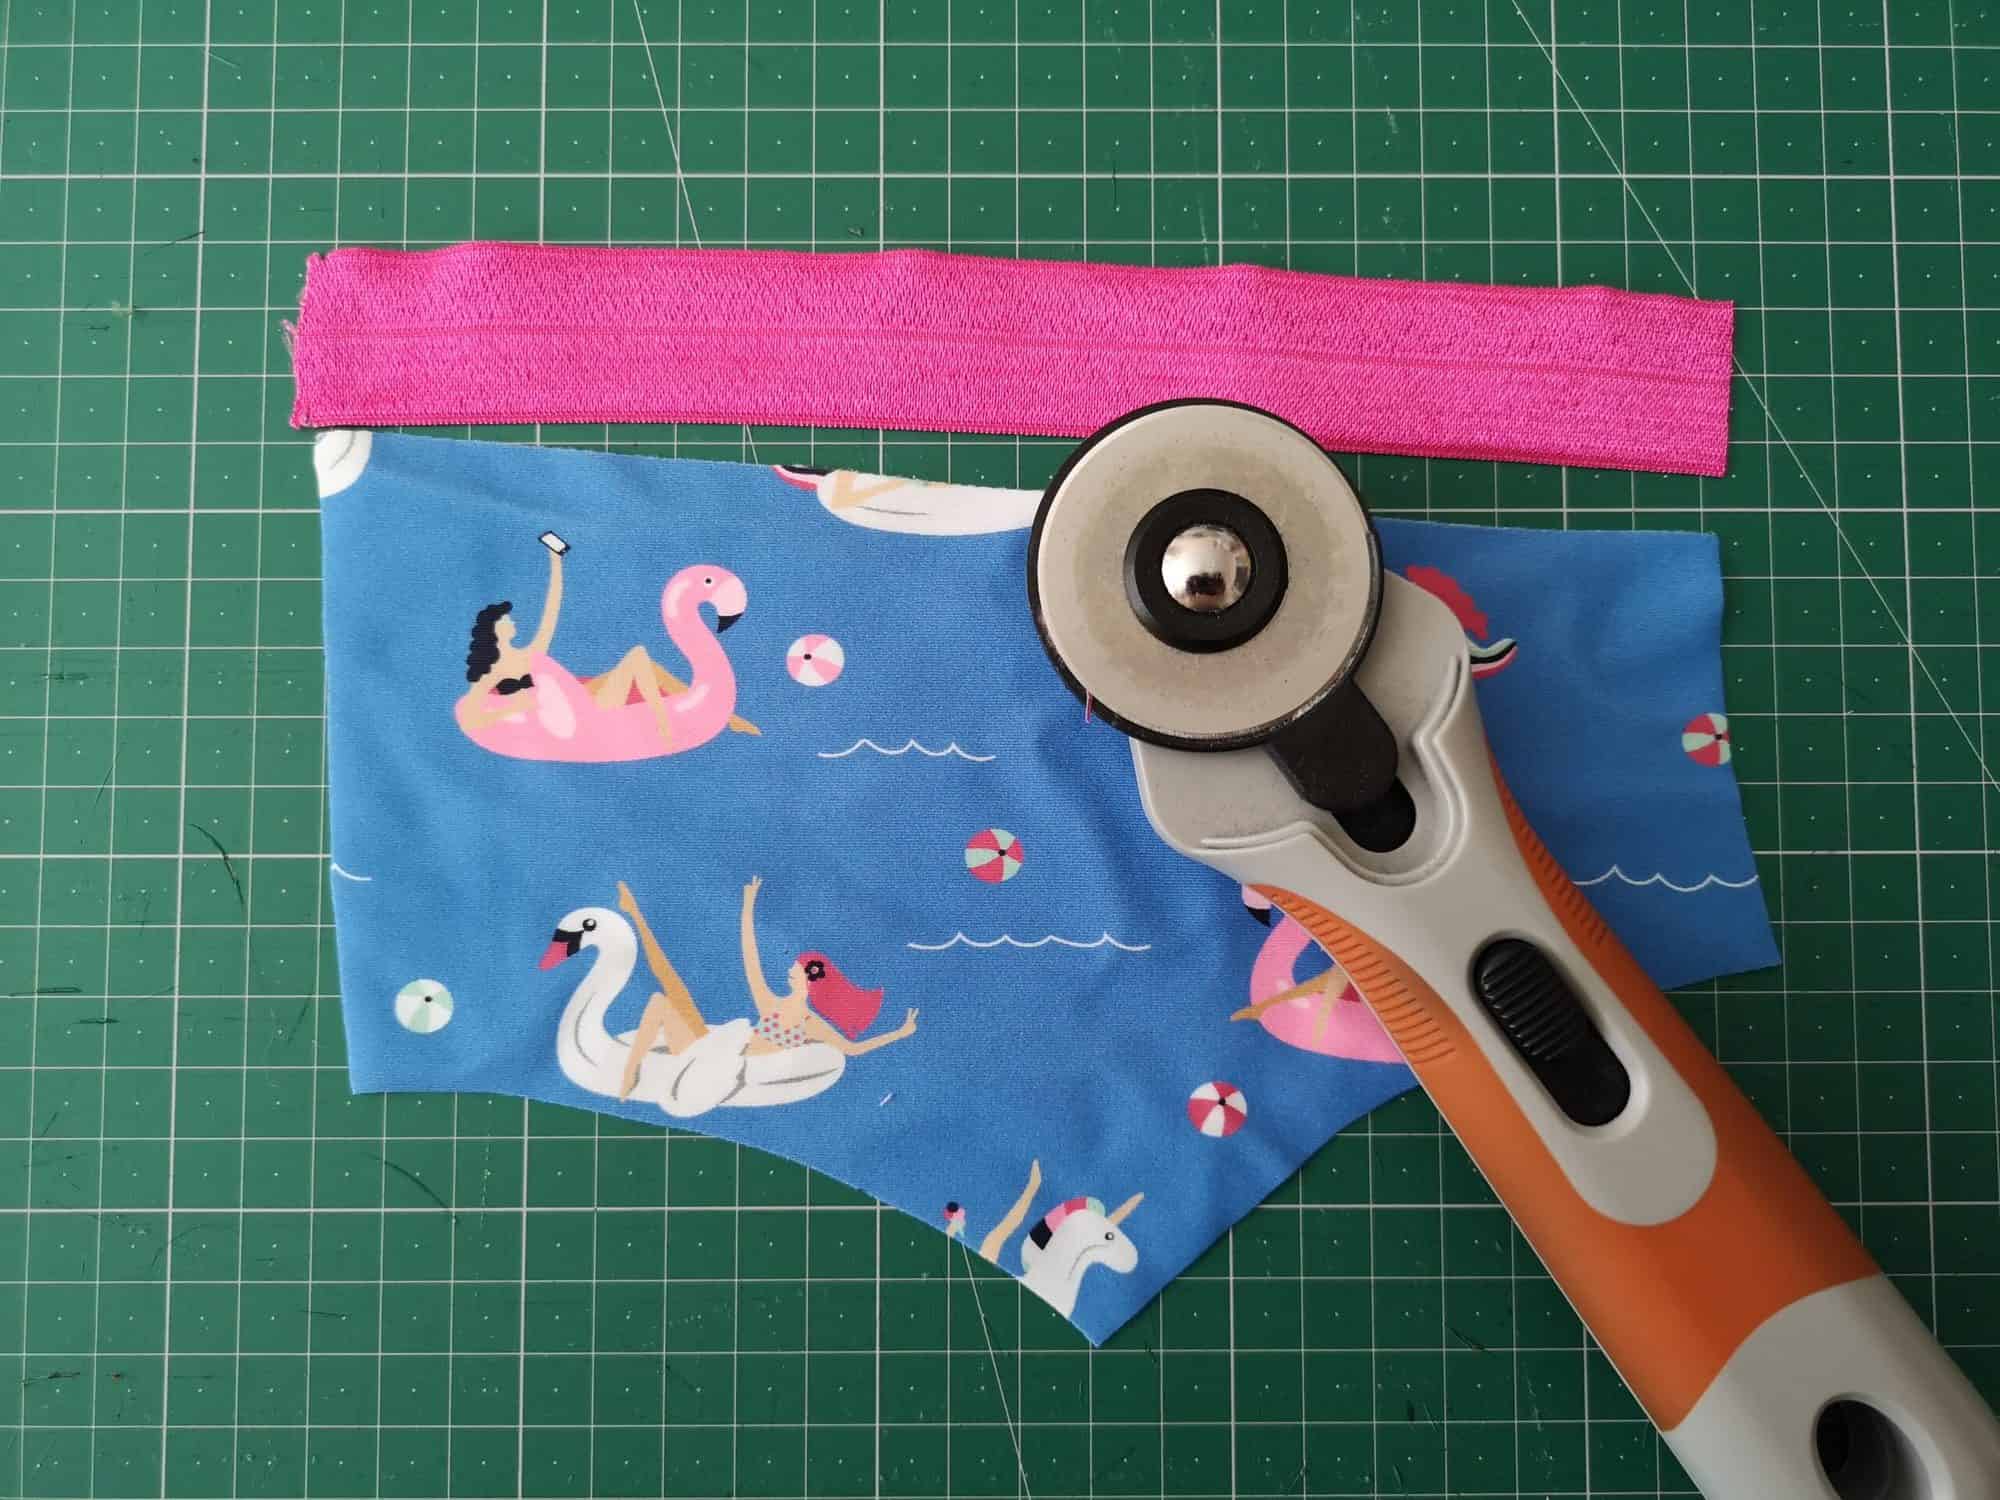
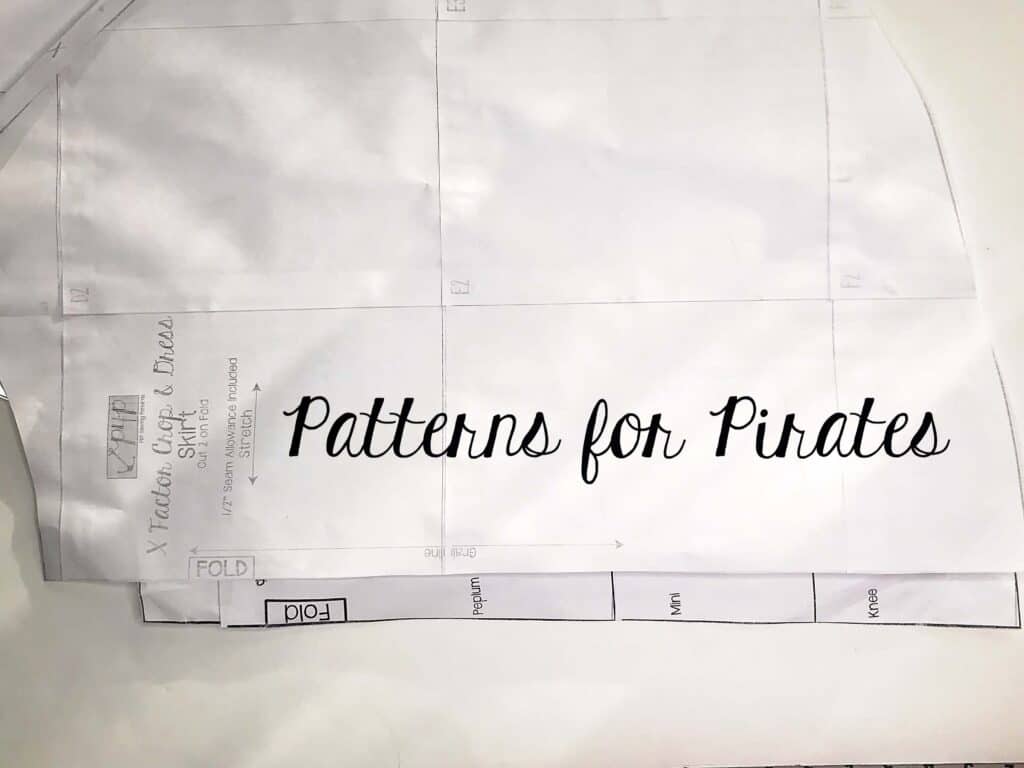
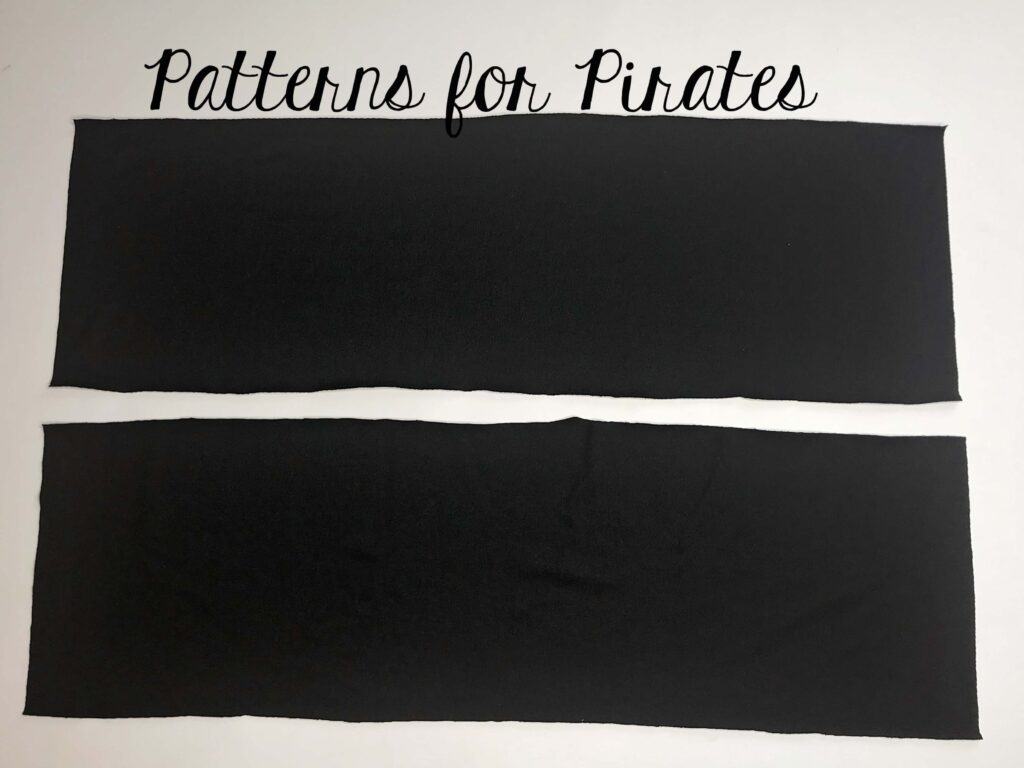
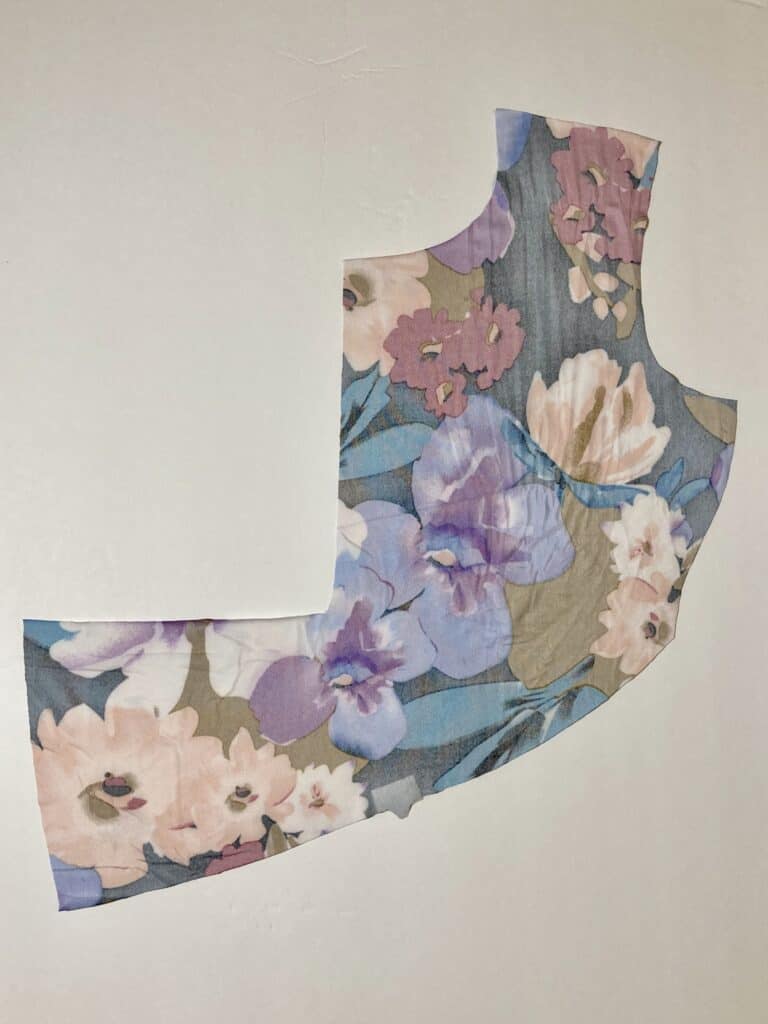
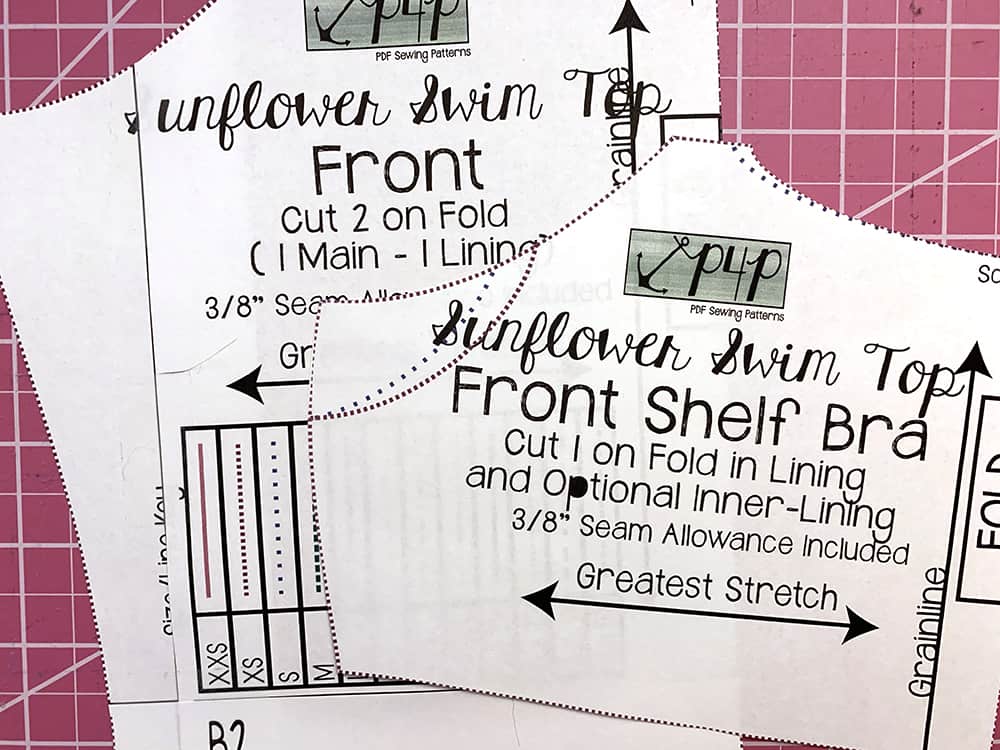
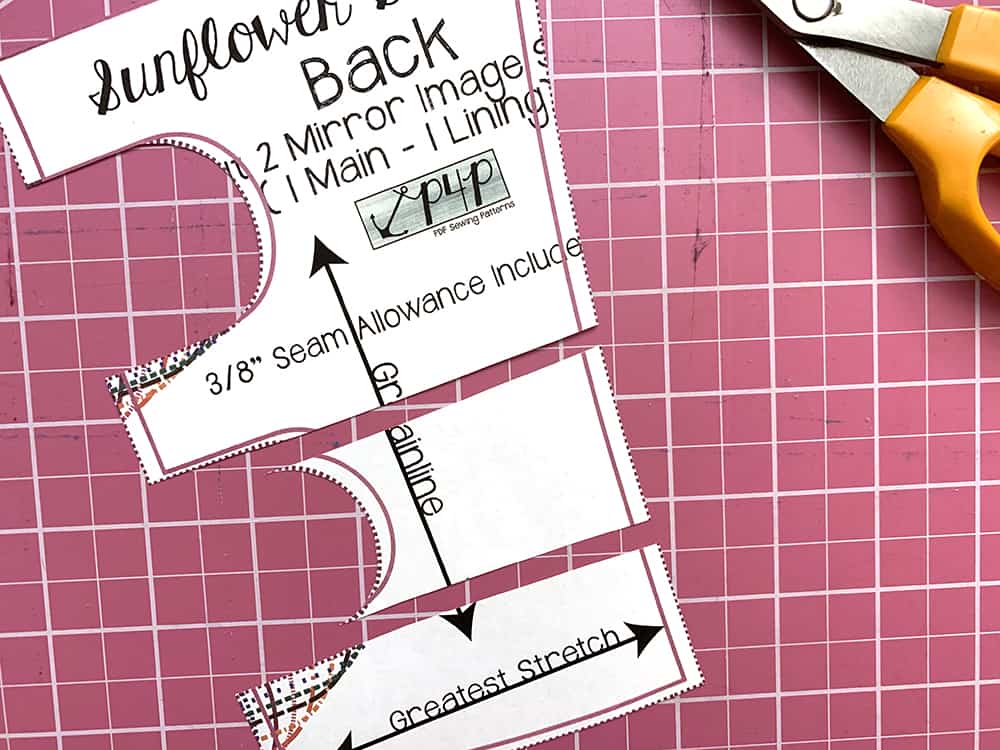
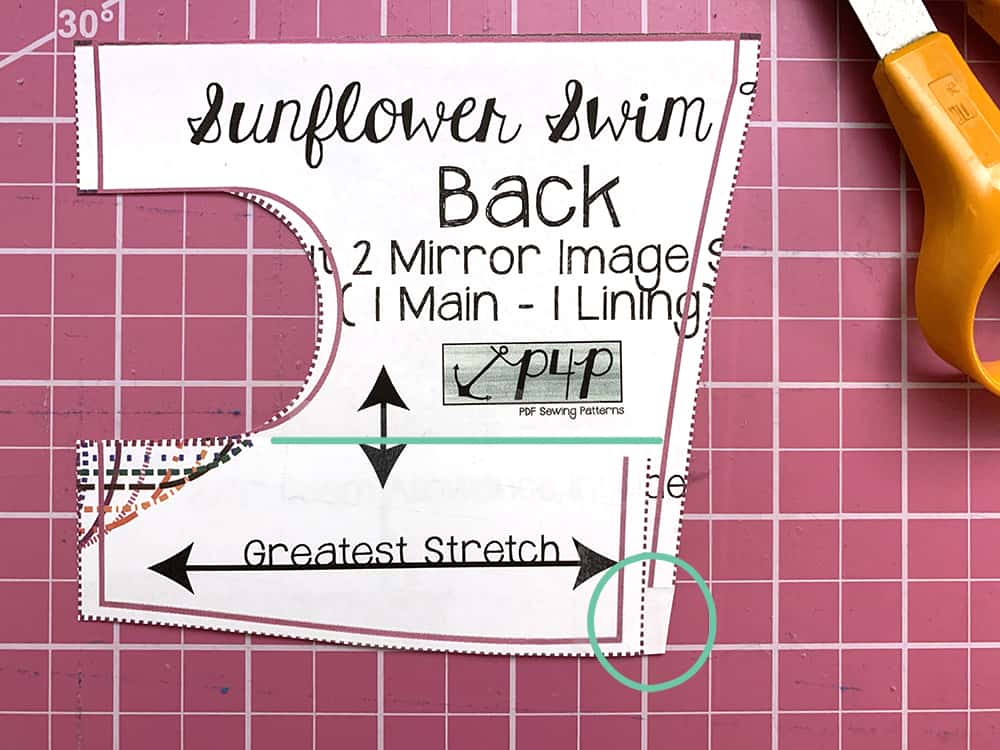
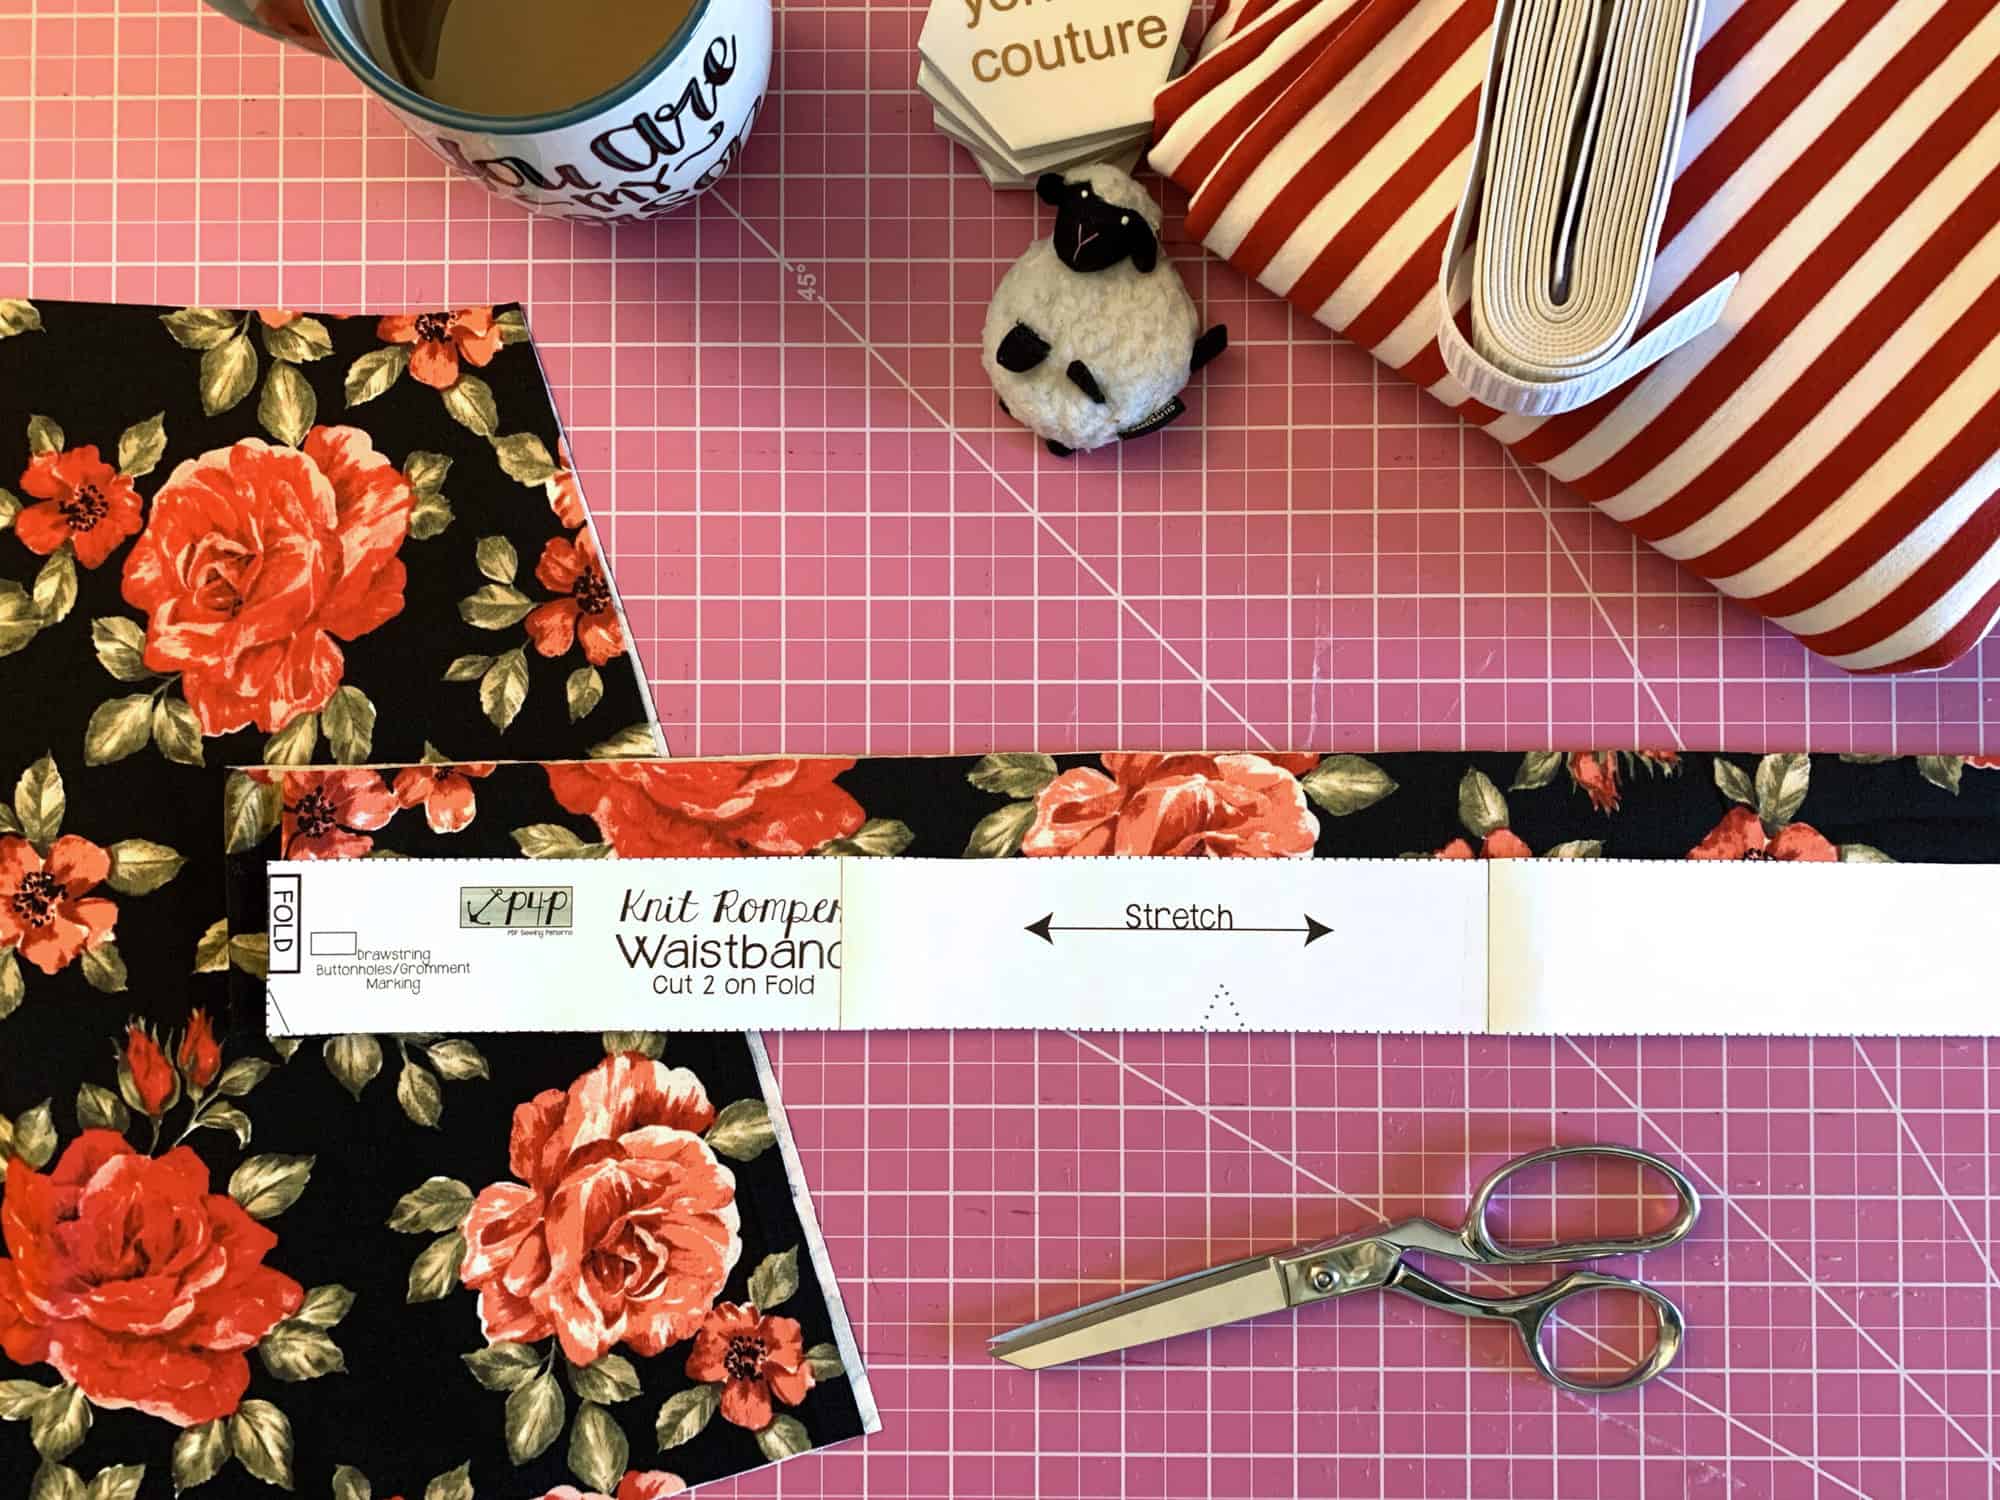
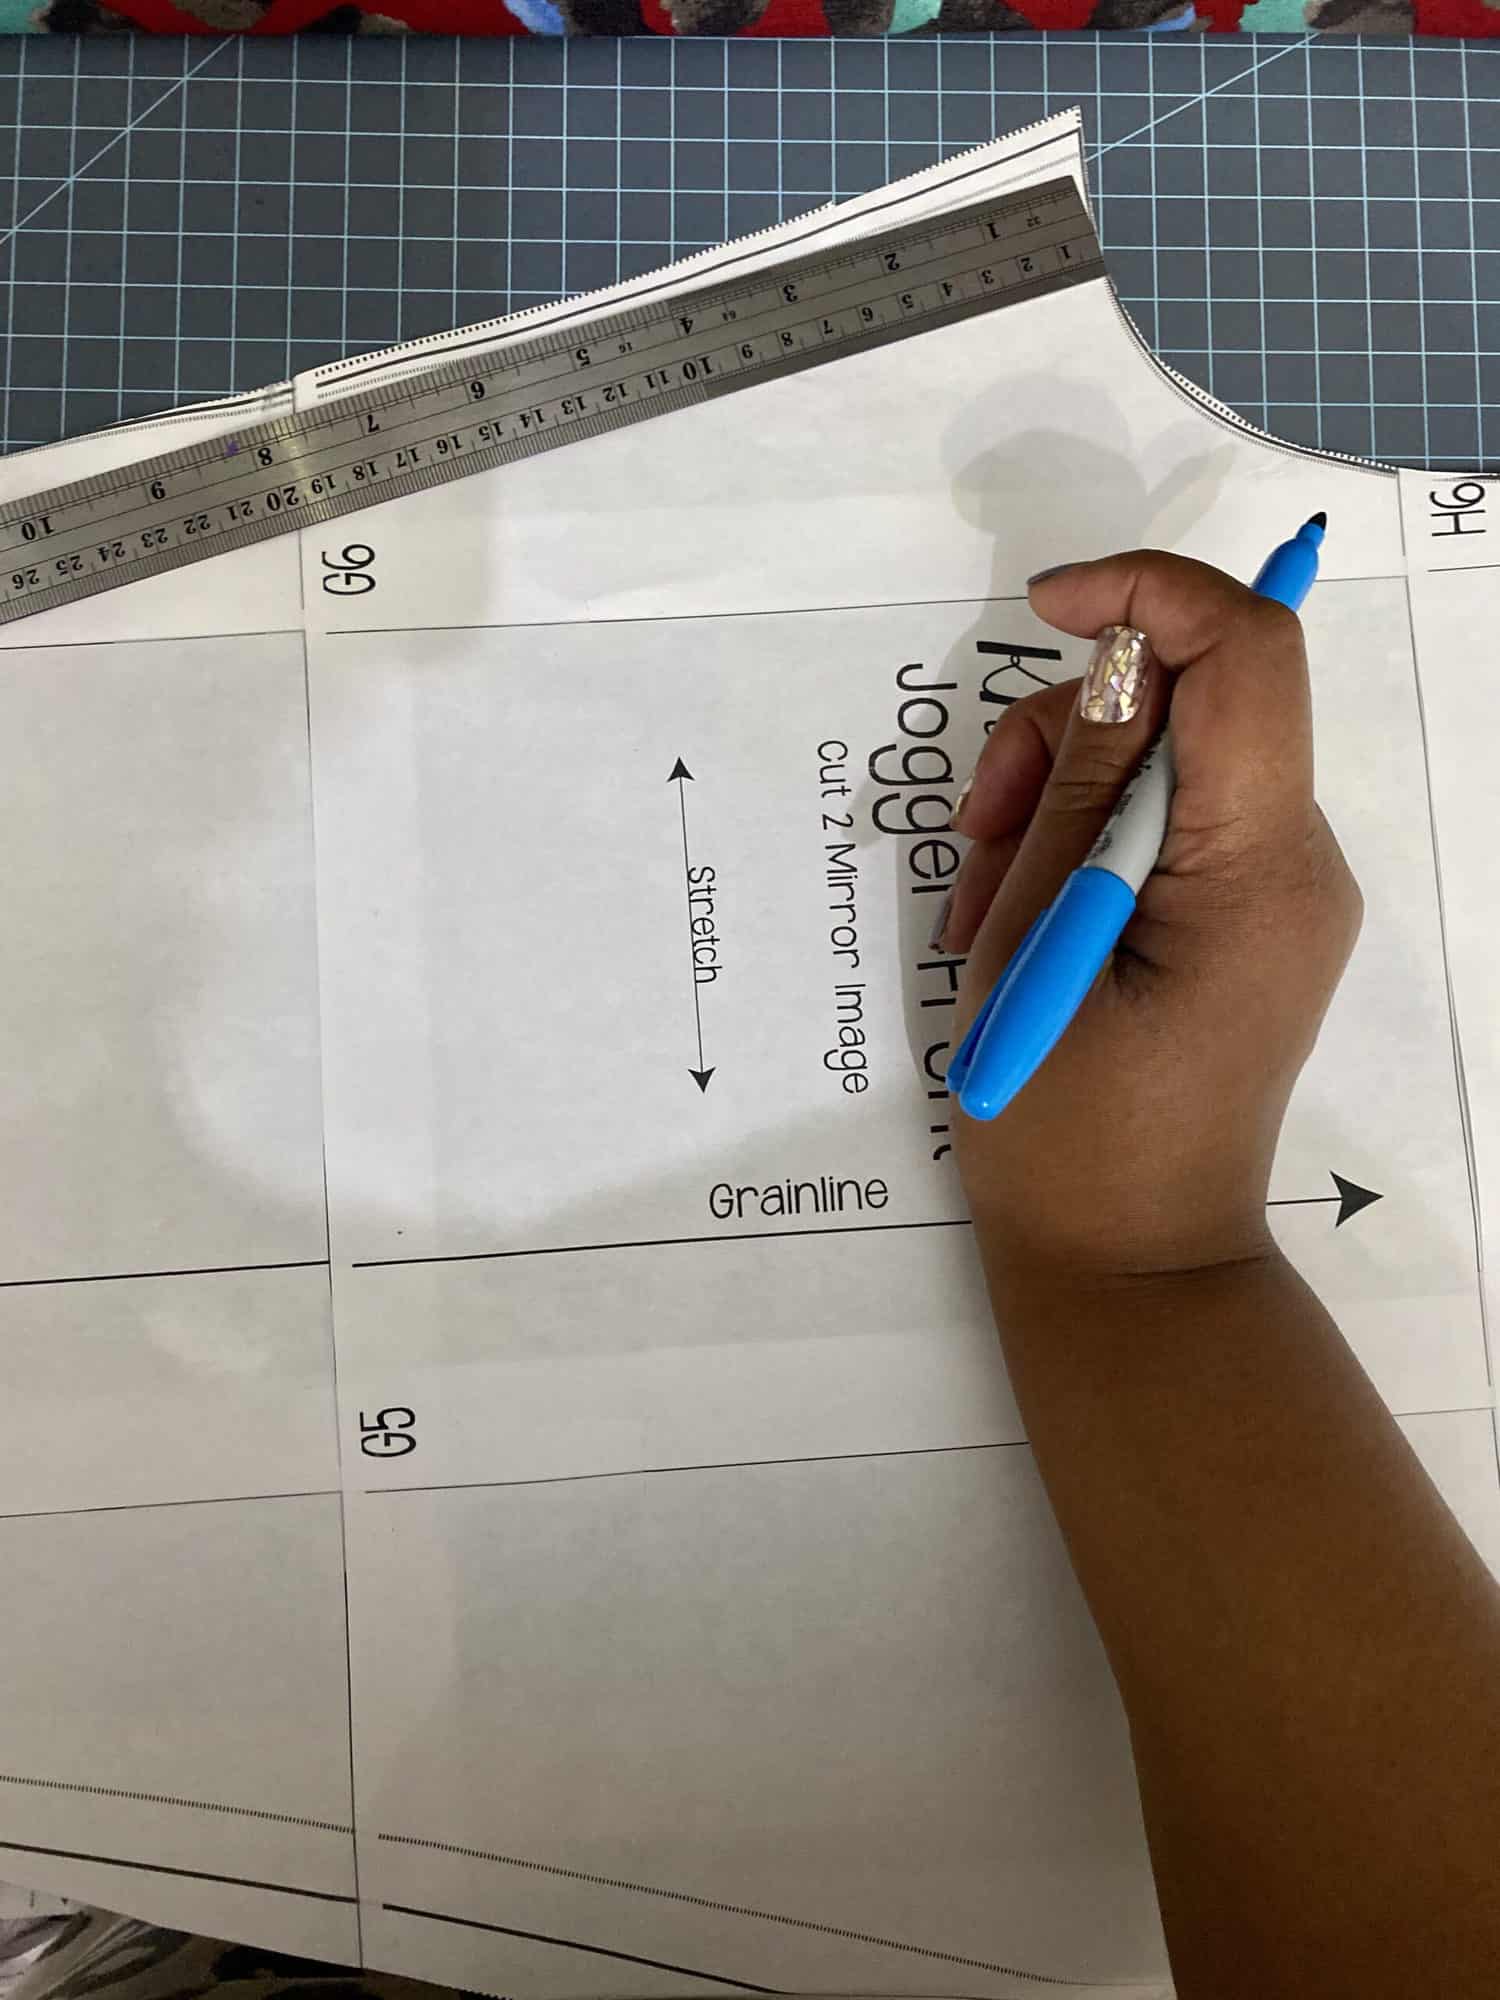
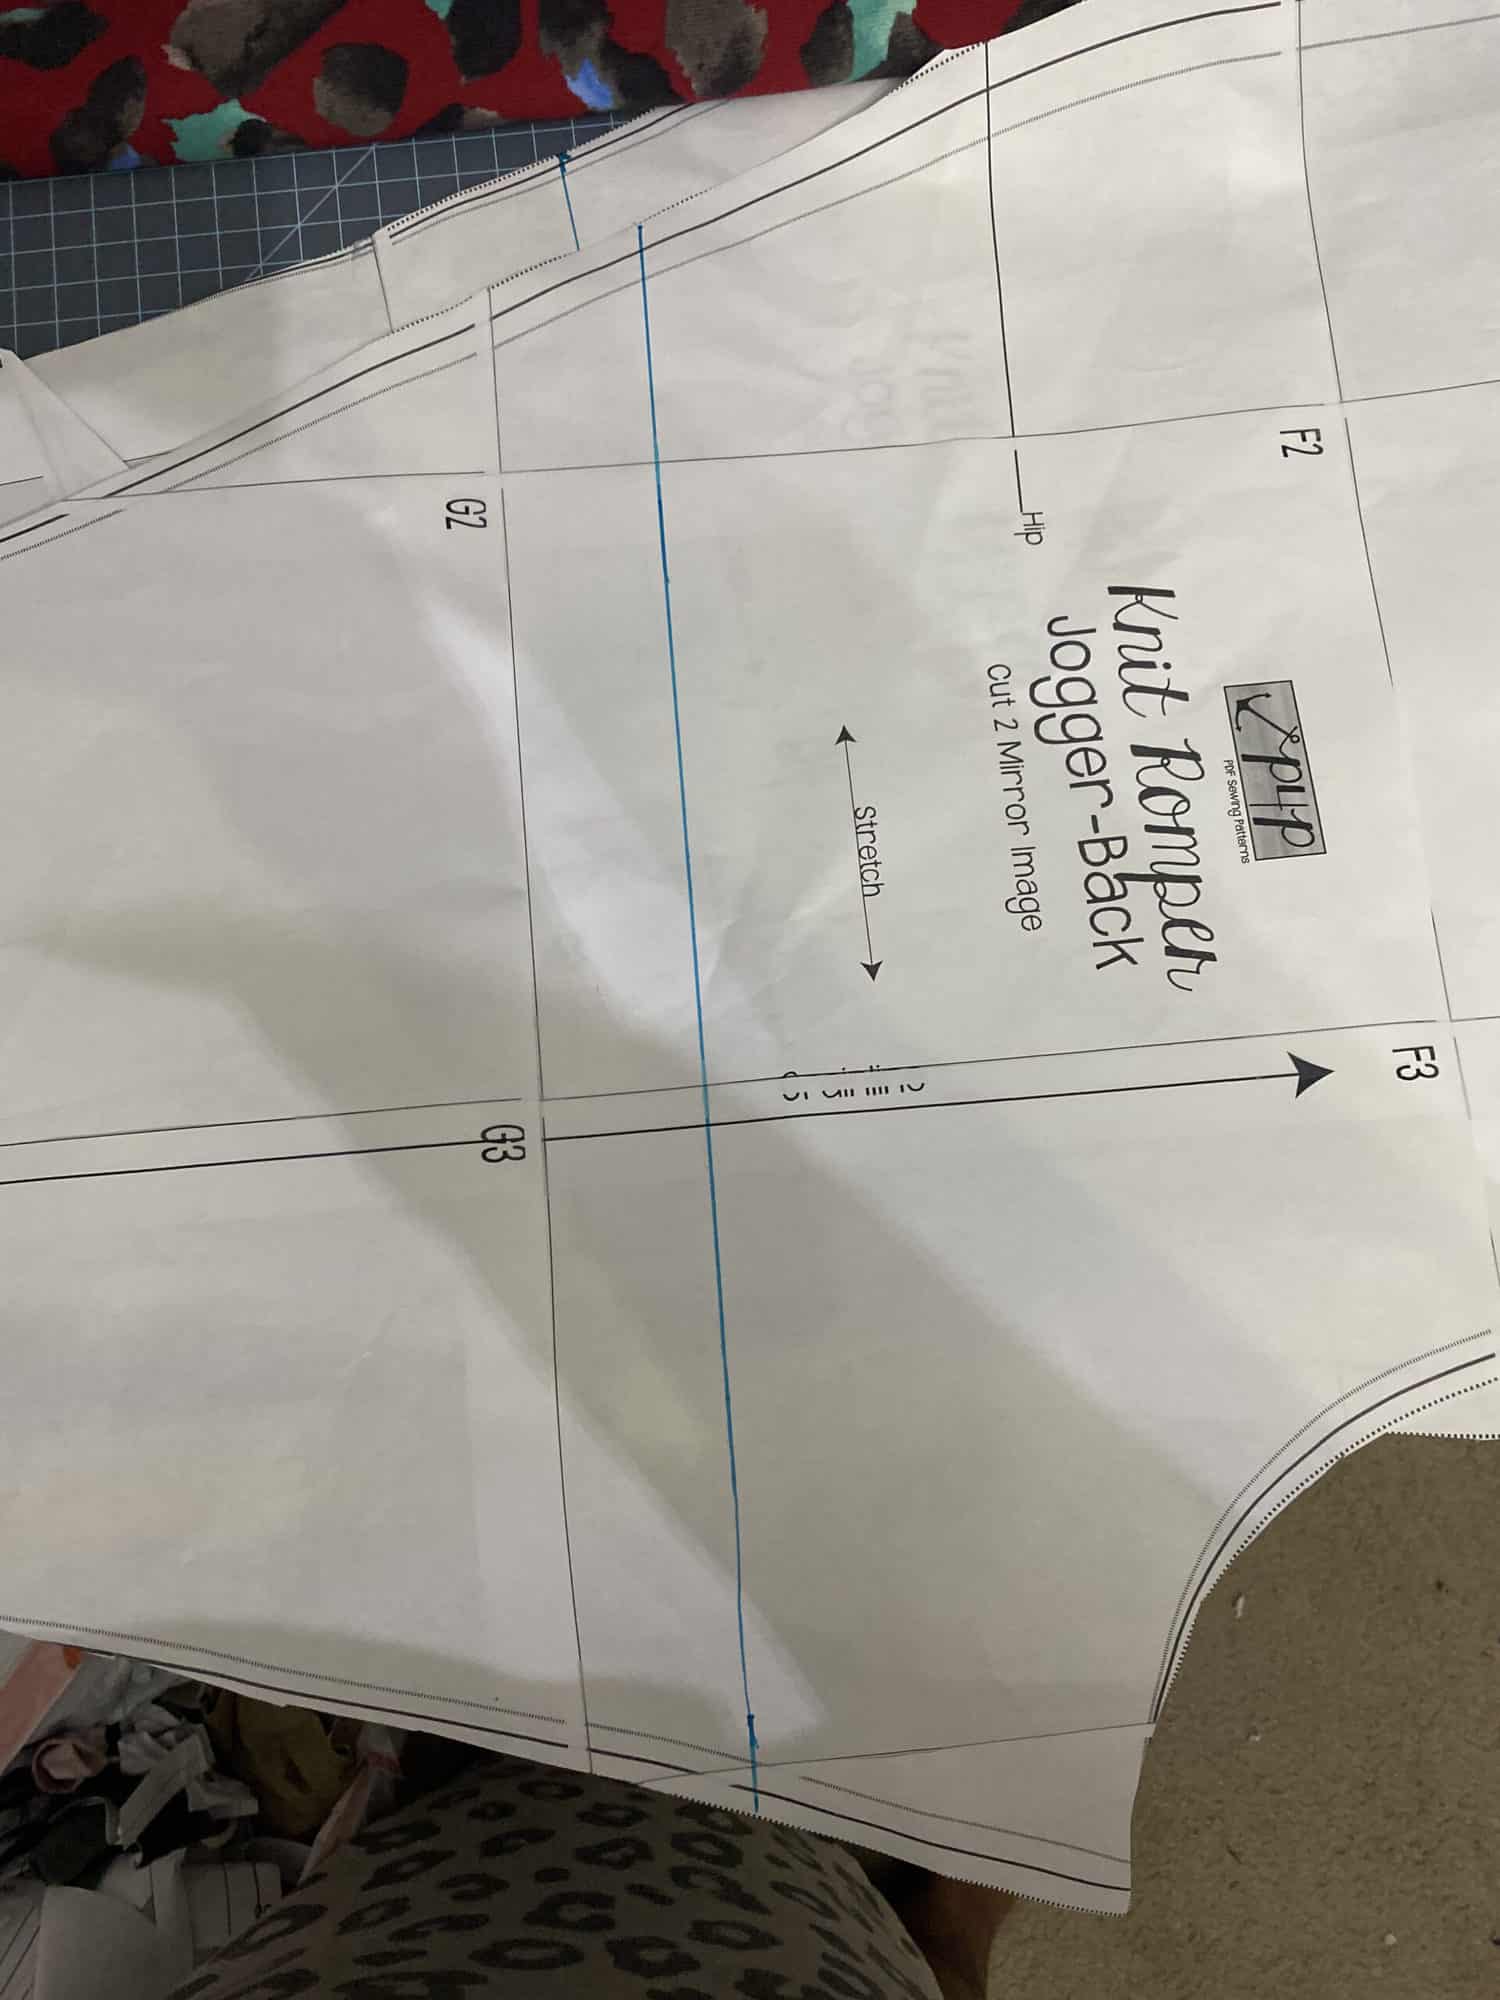
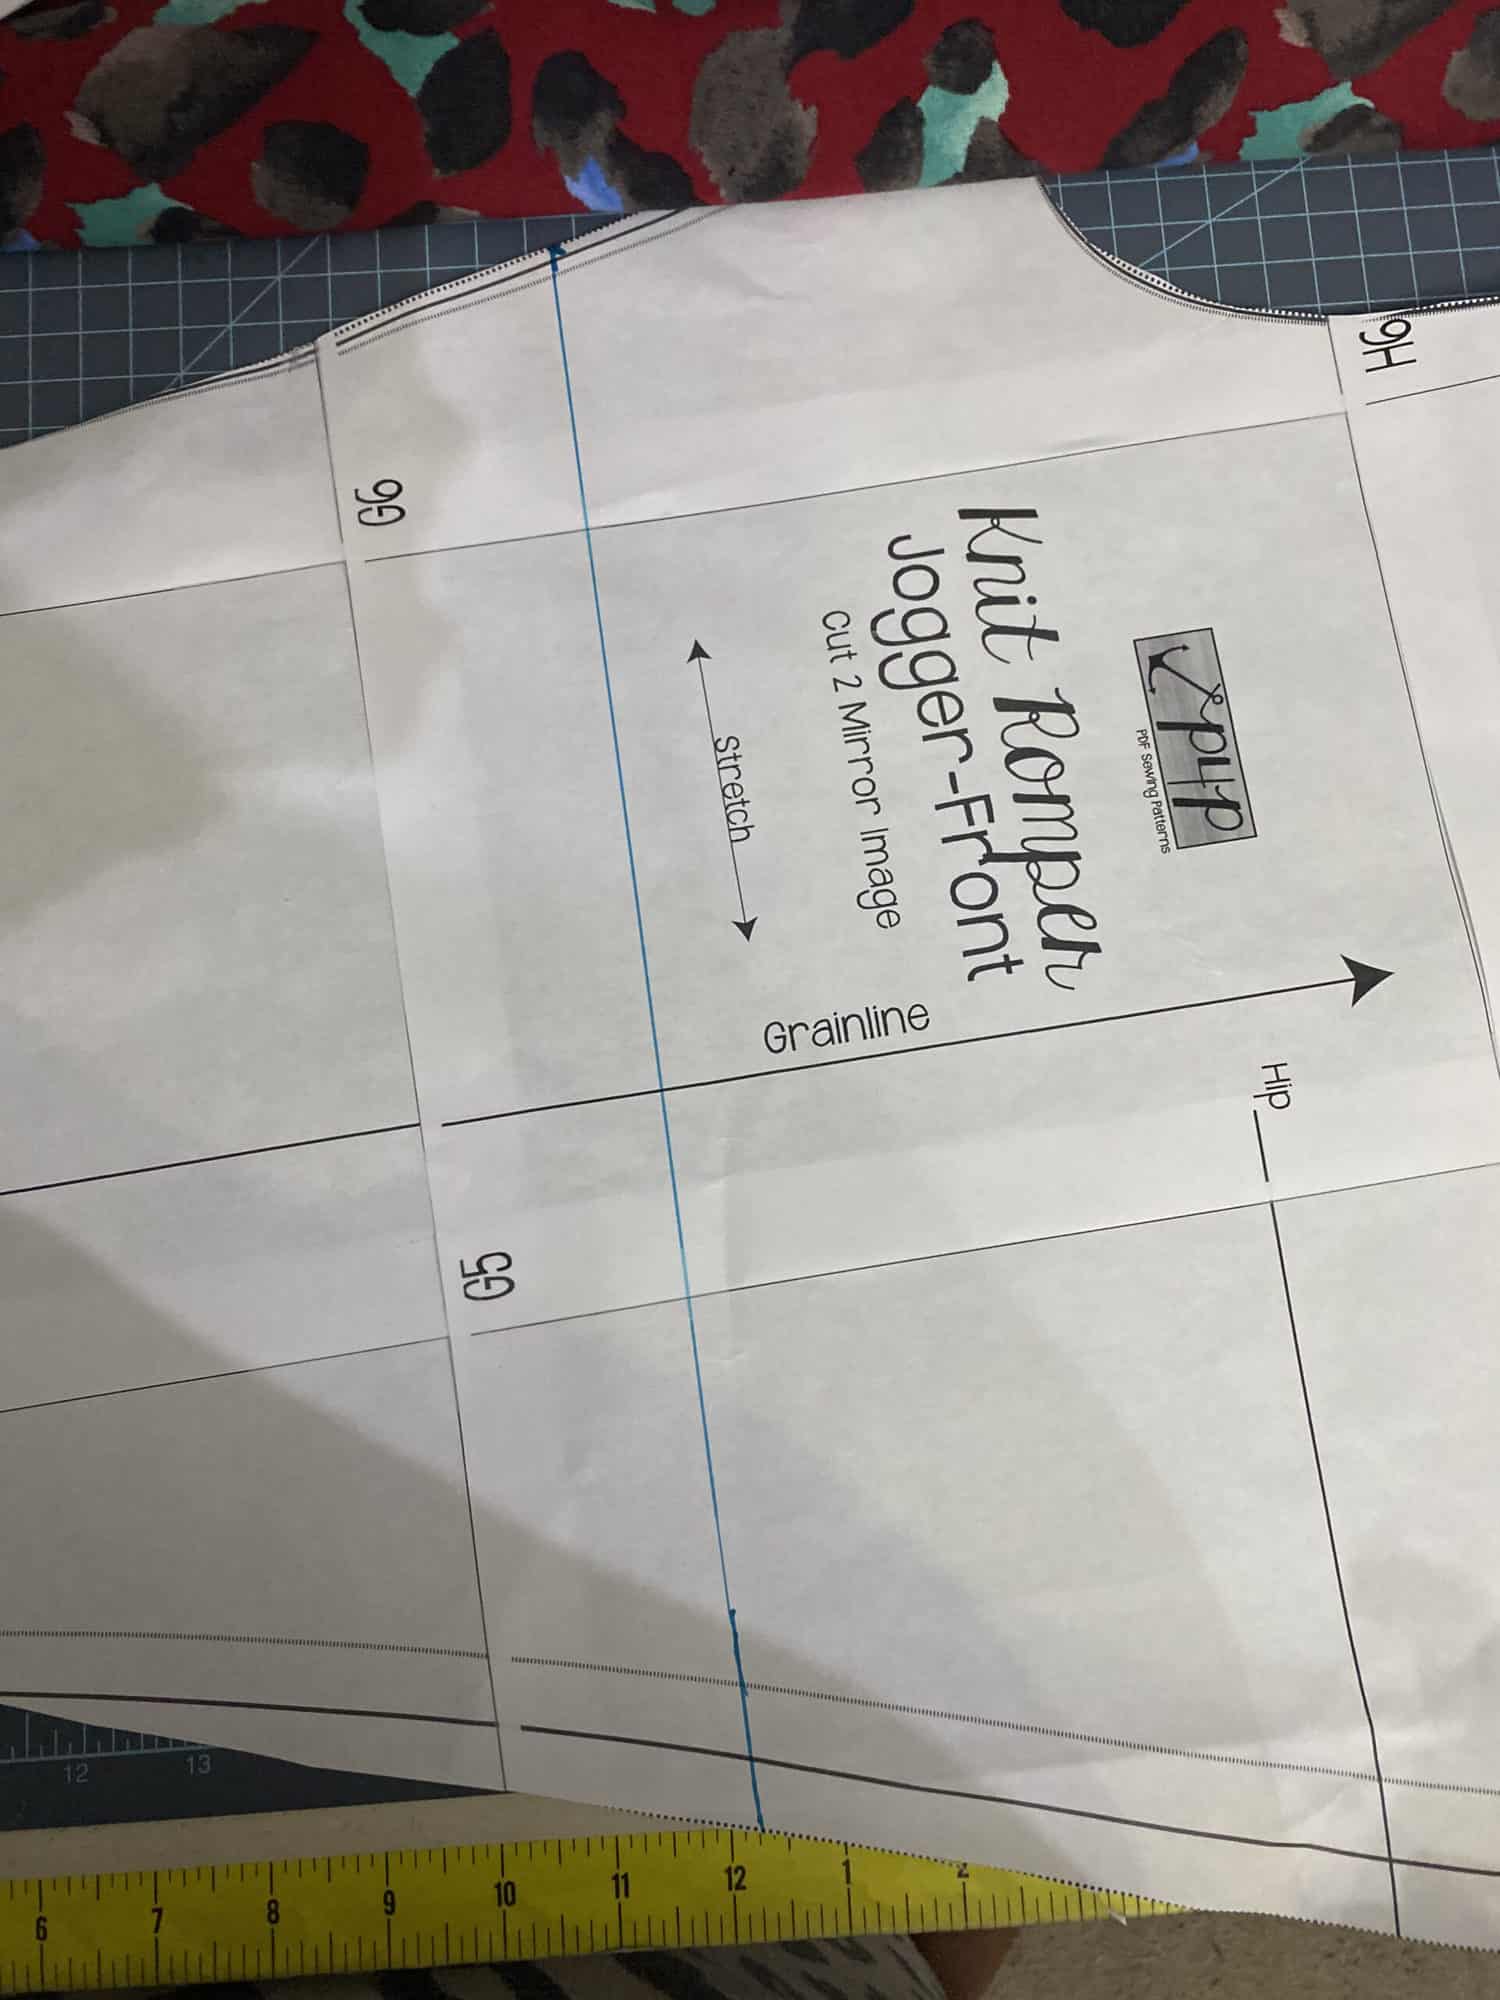
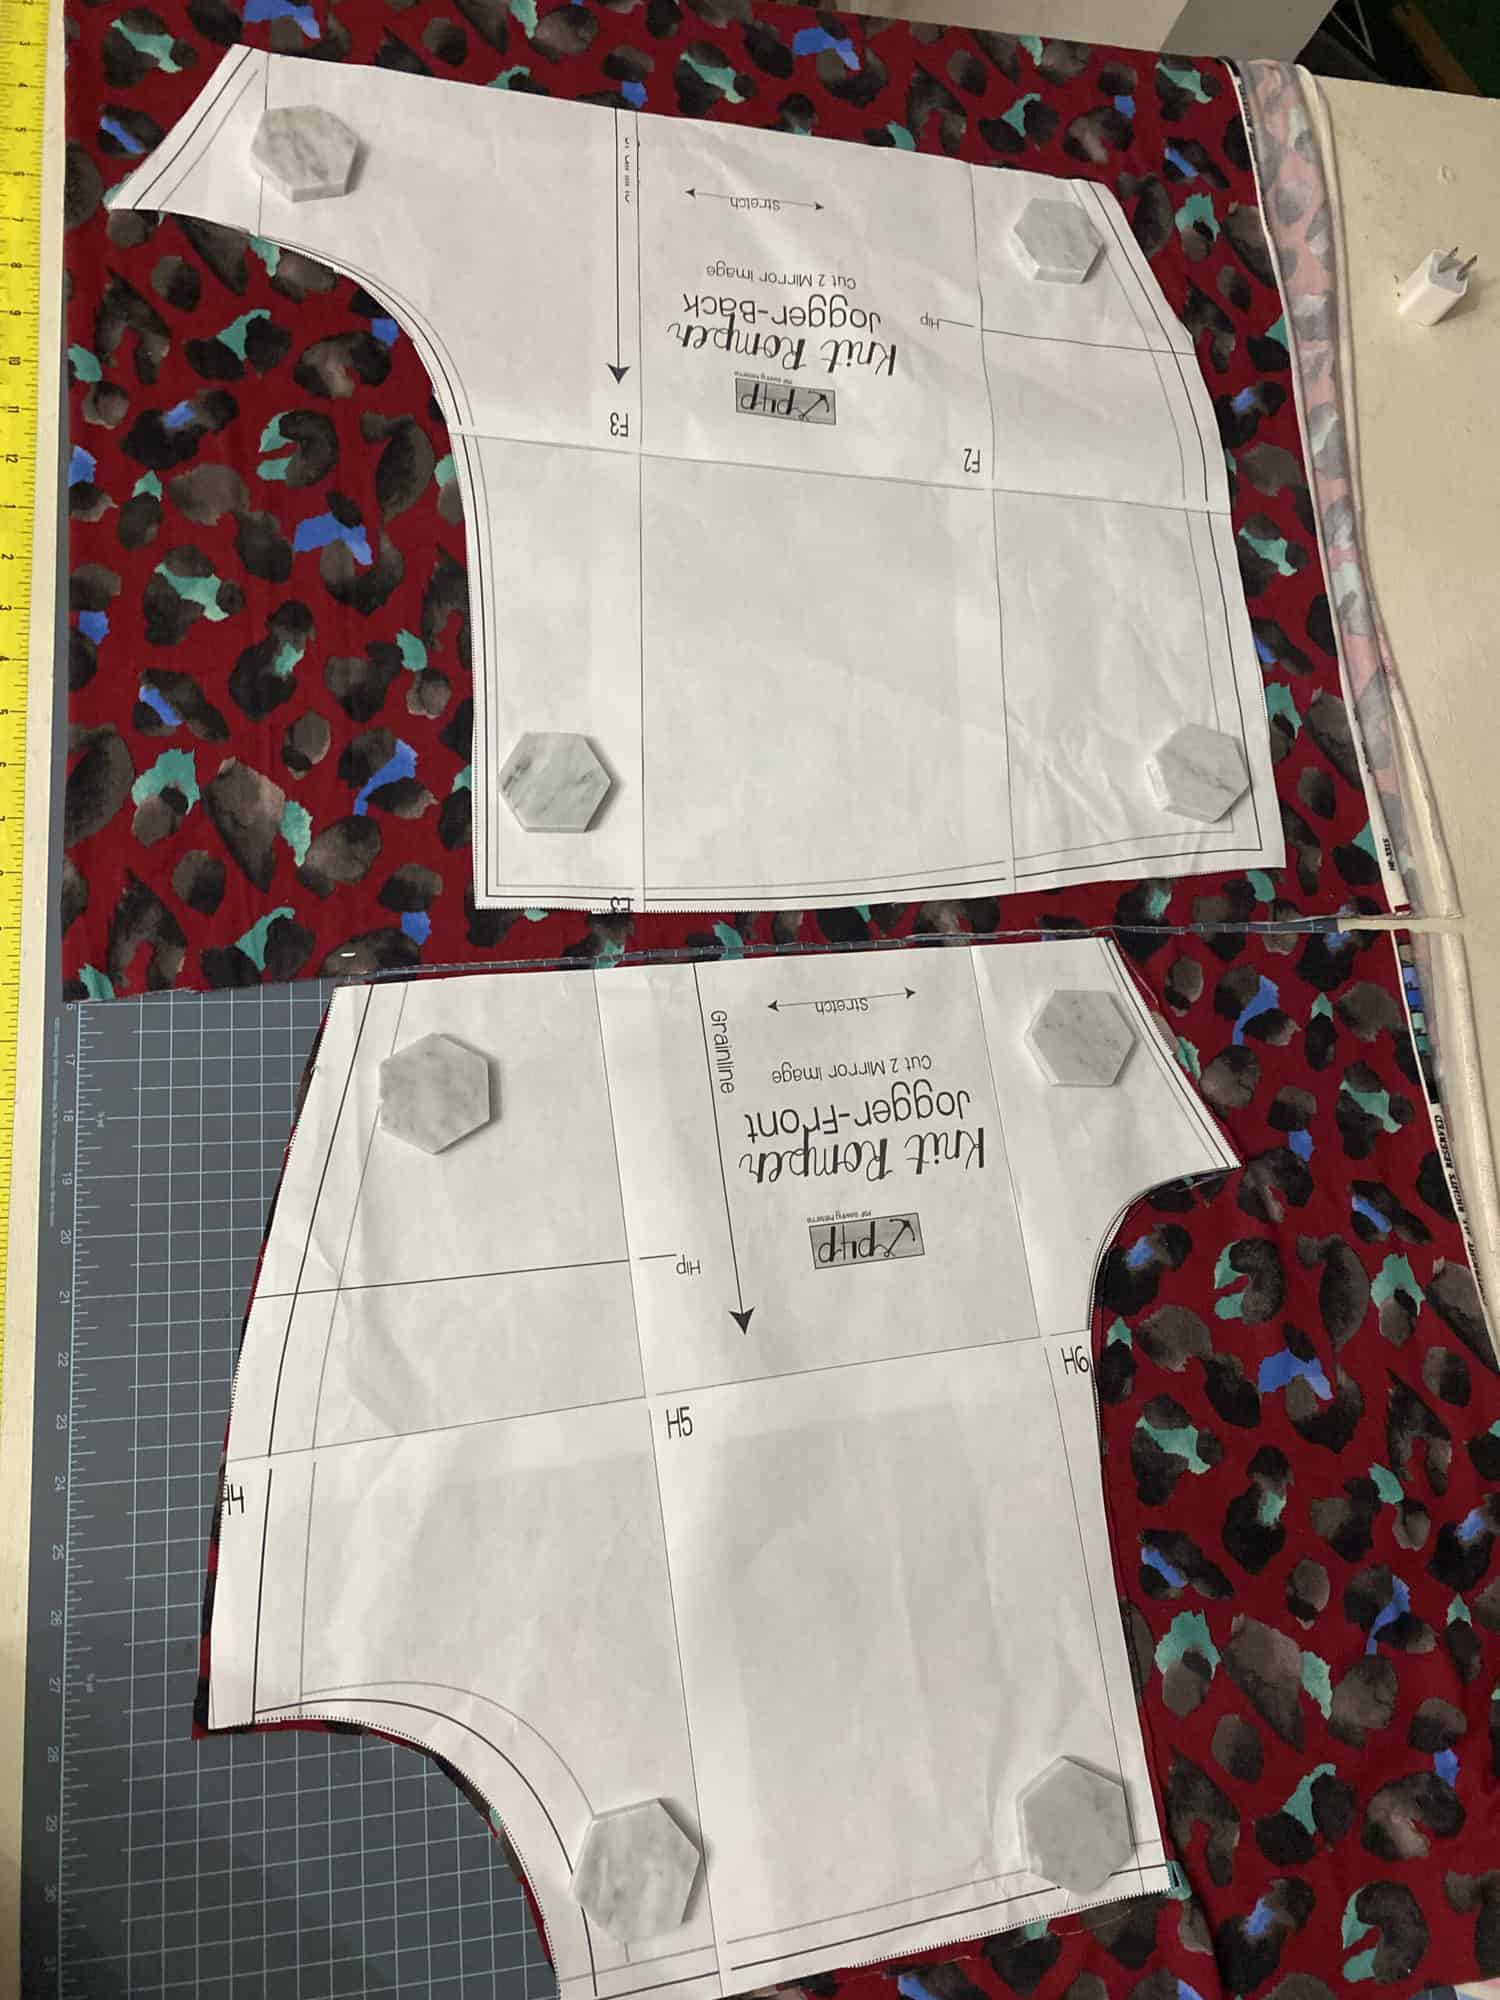
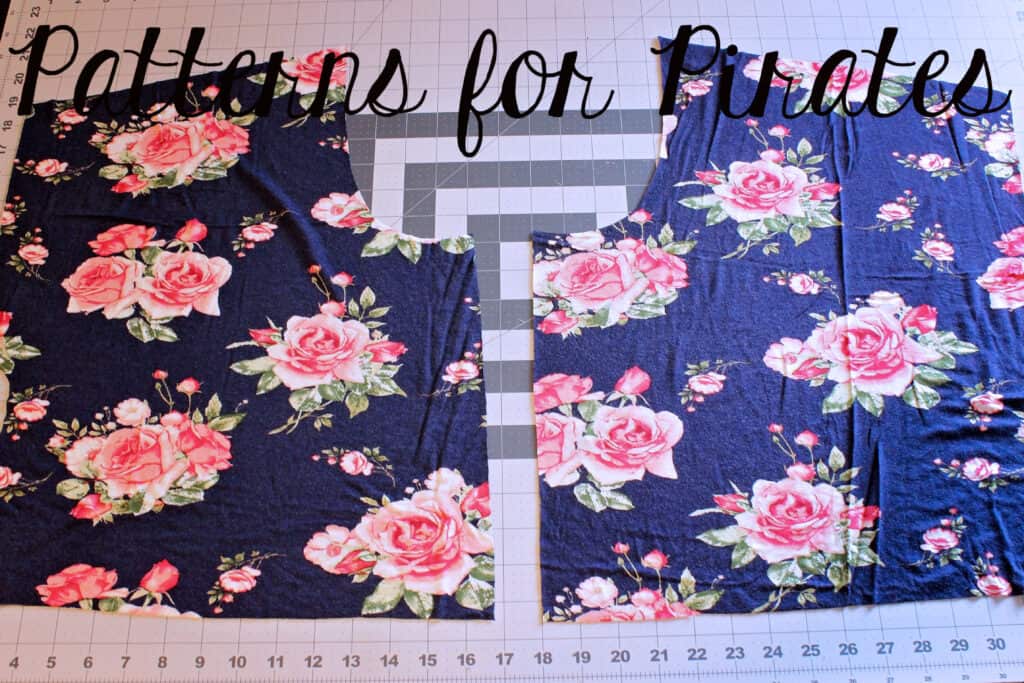
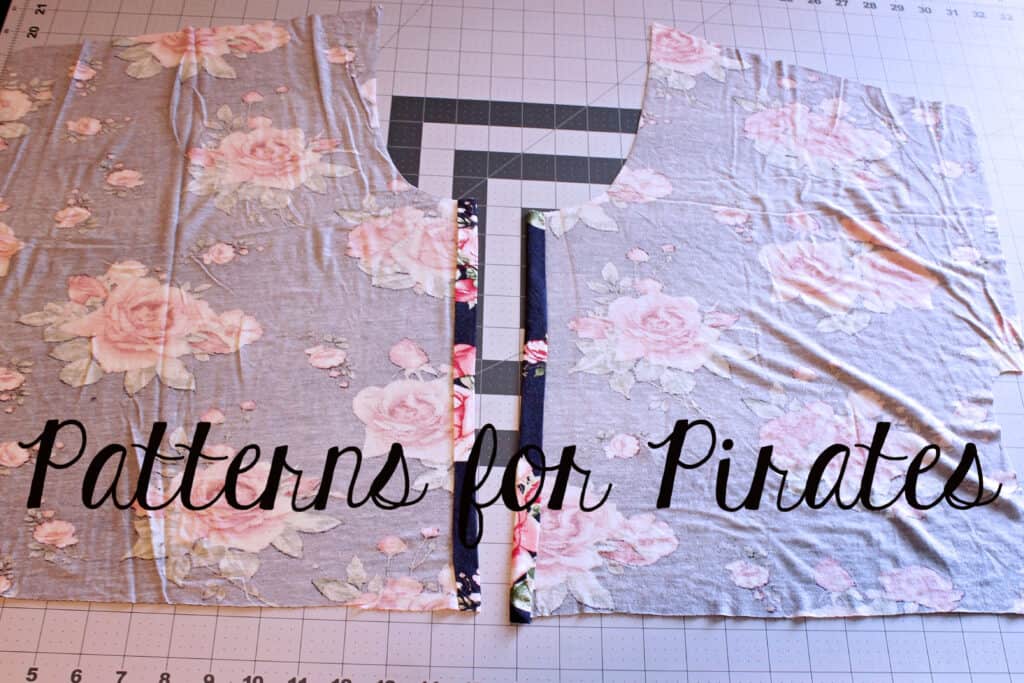
Start by cutting the pattern pieces as instructed in the tutorial. You will cut two of the front center and two of the center back piece. You will not need the liner.
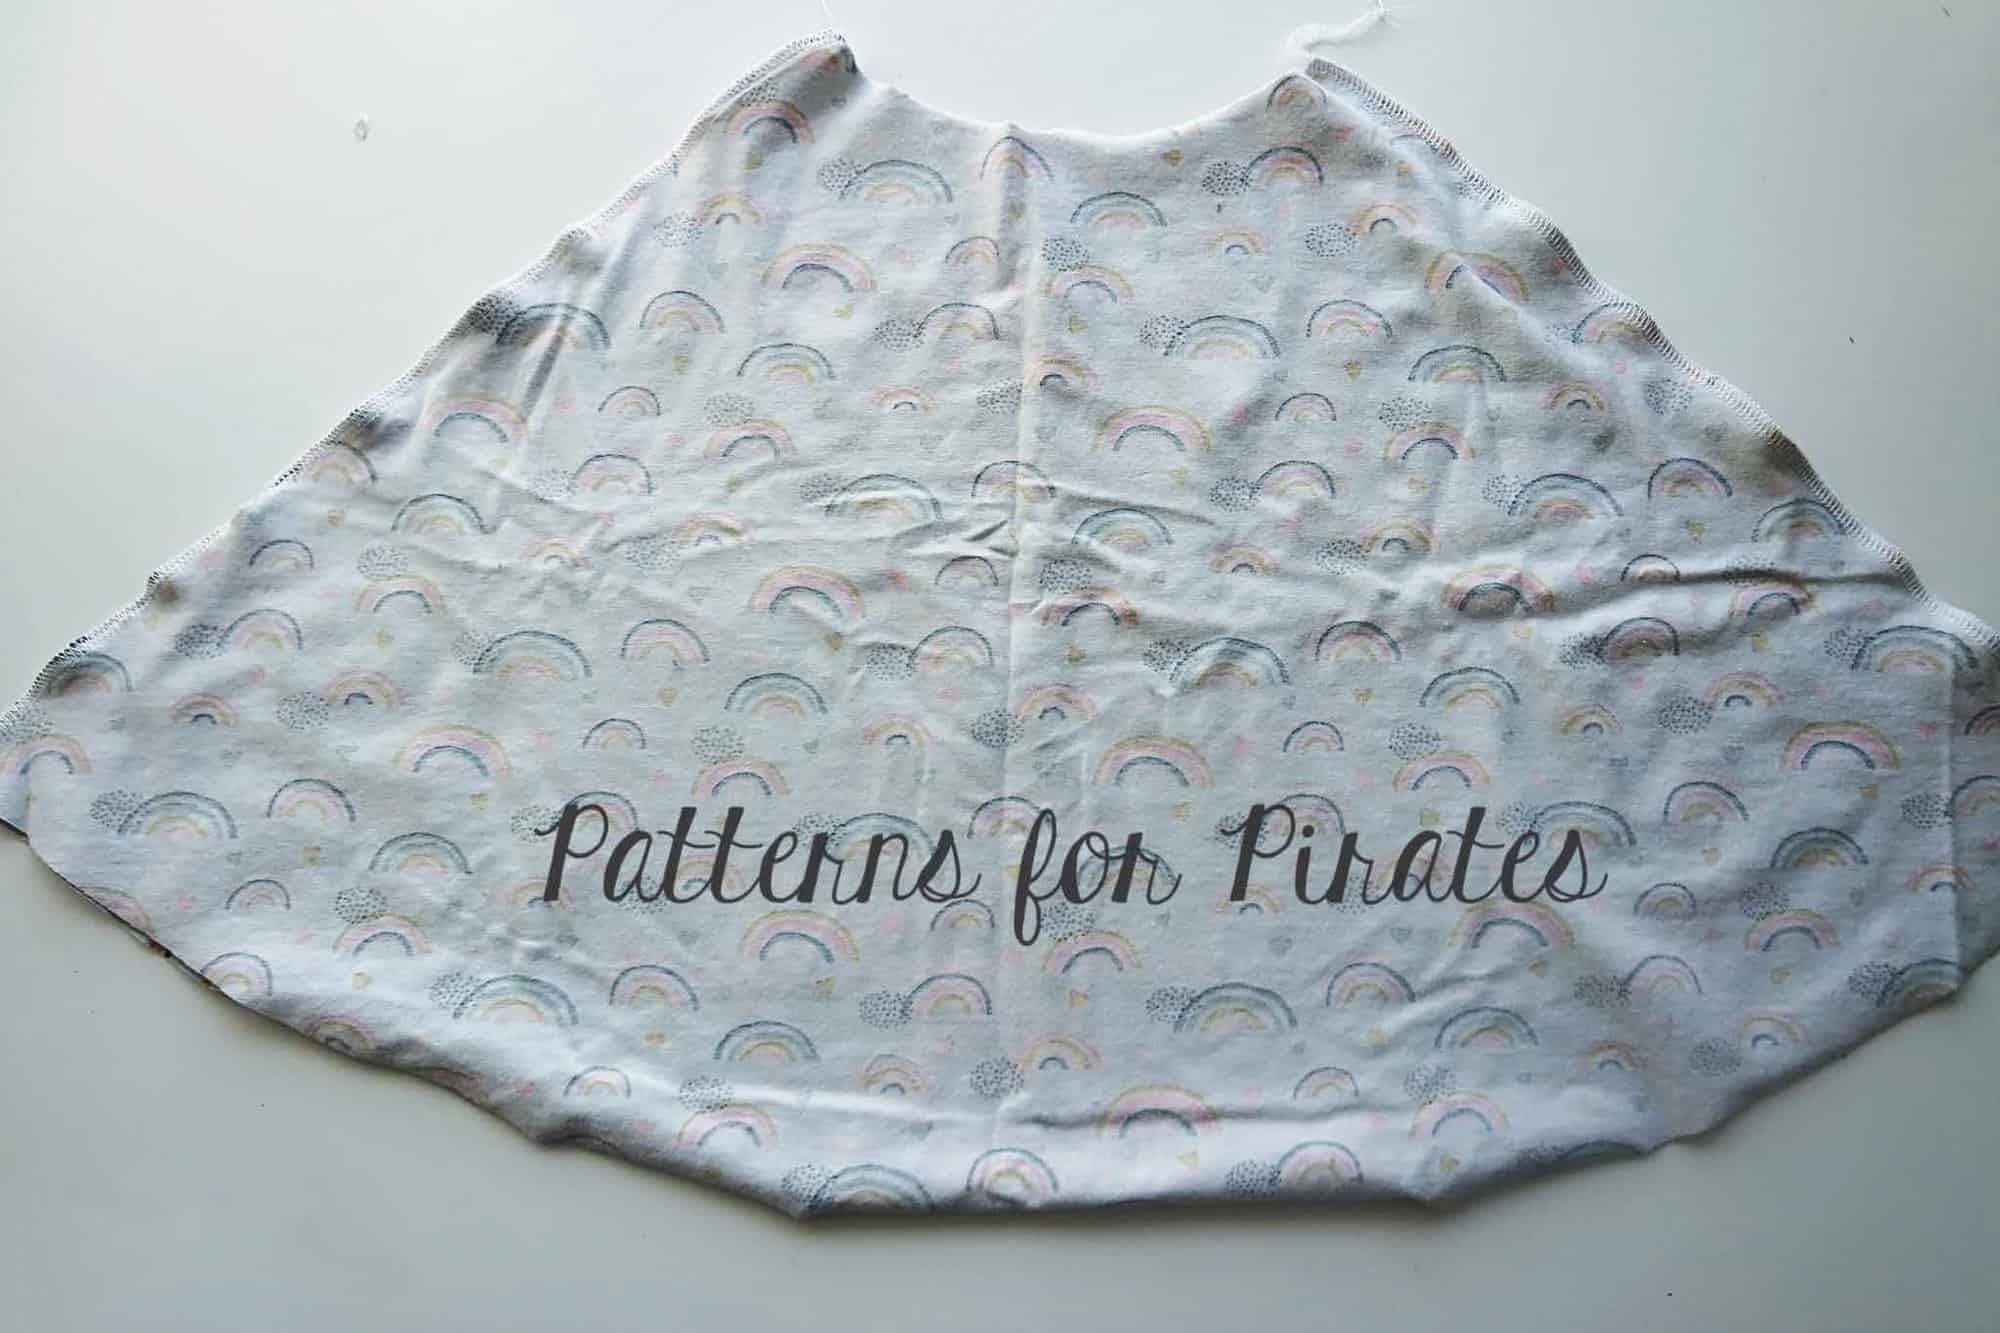
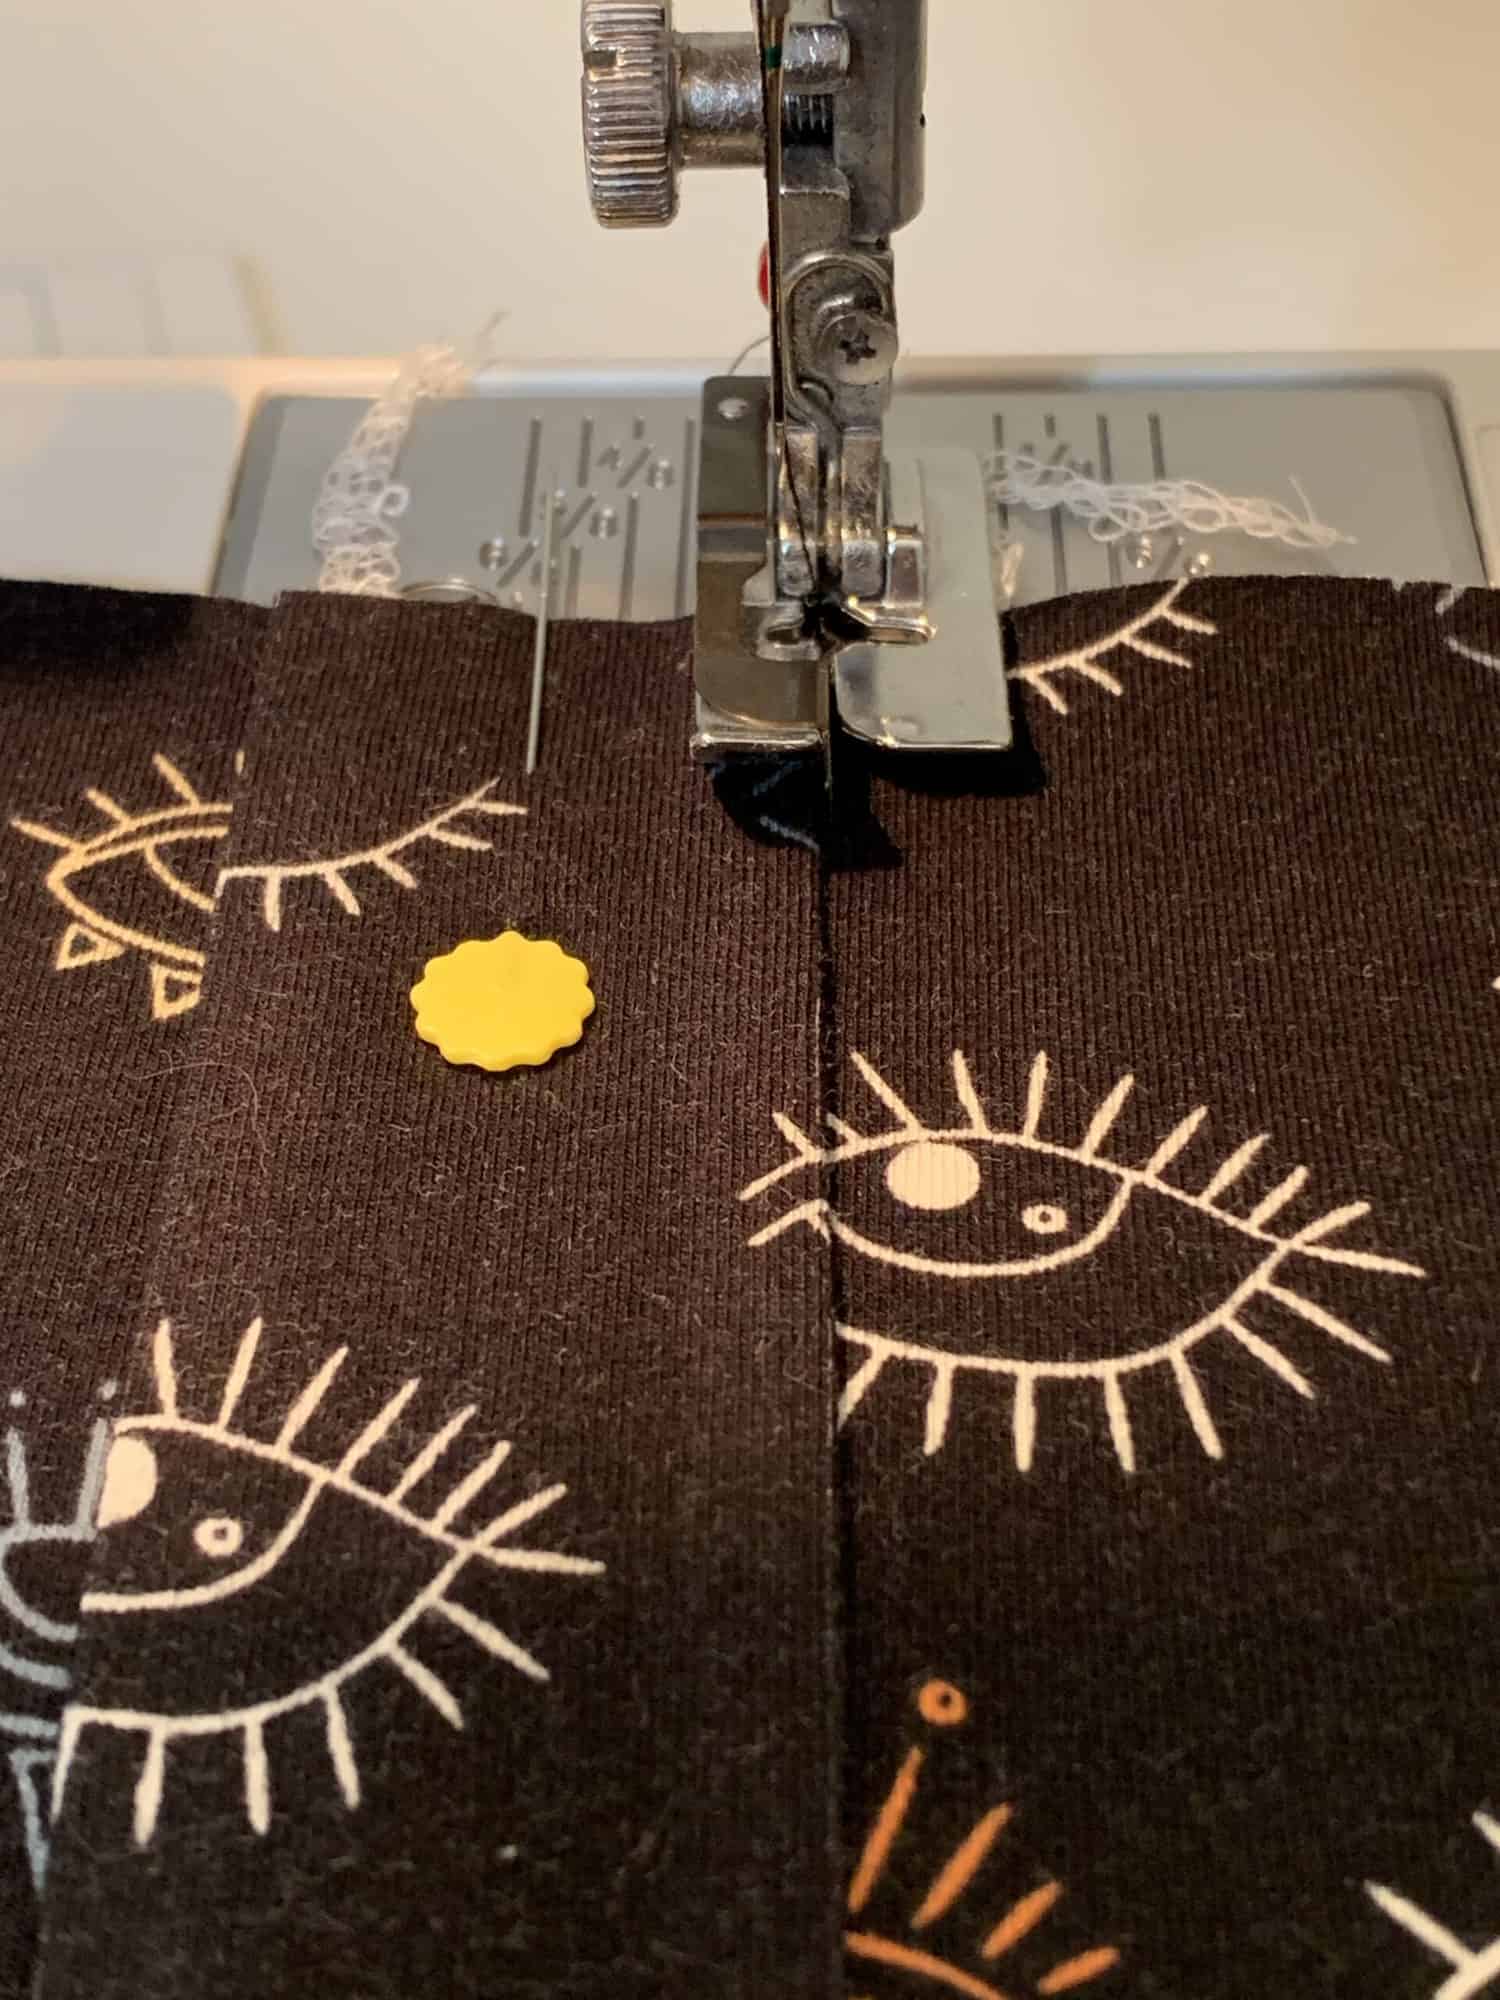
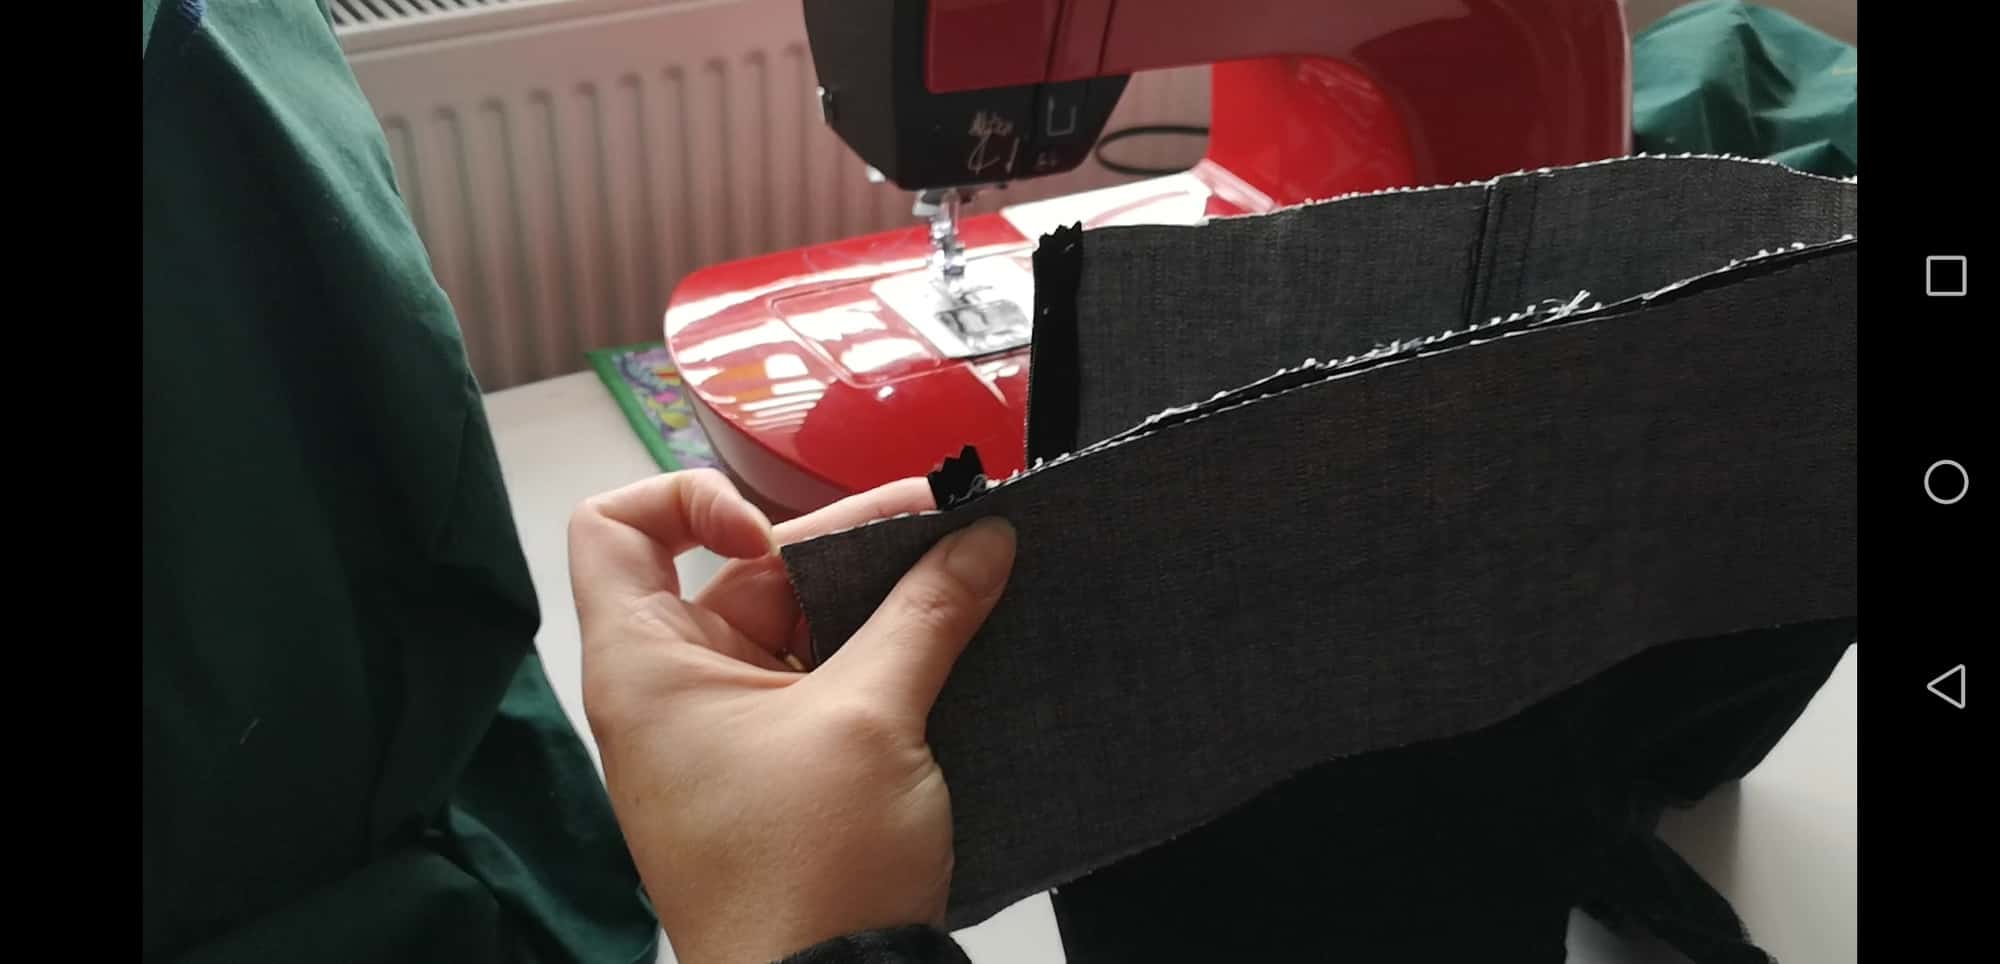
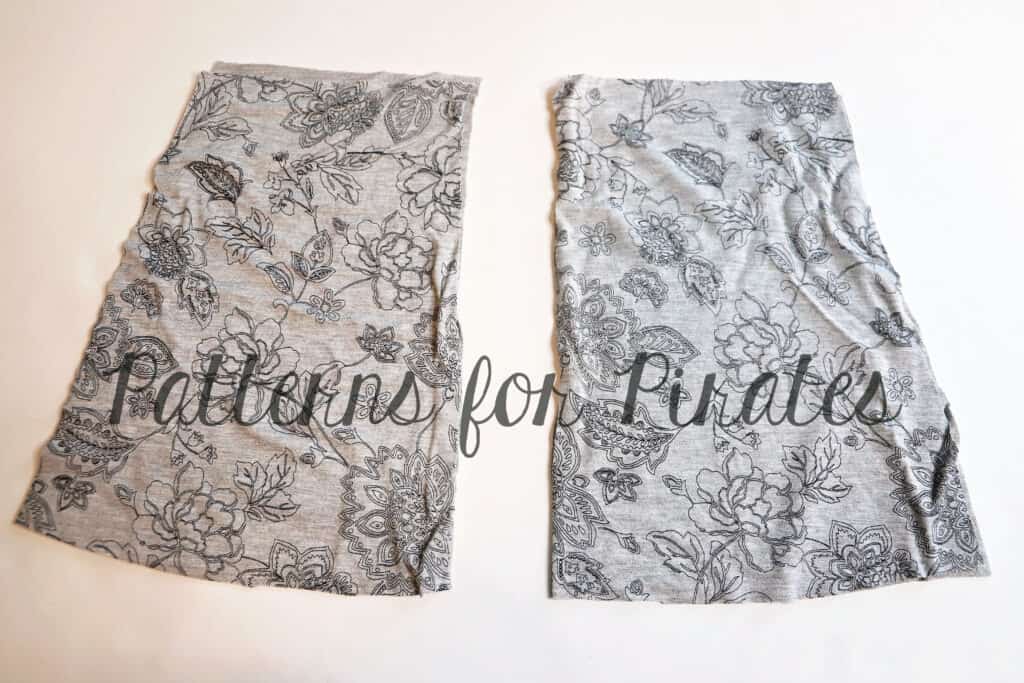
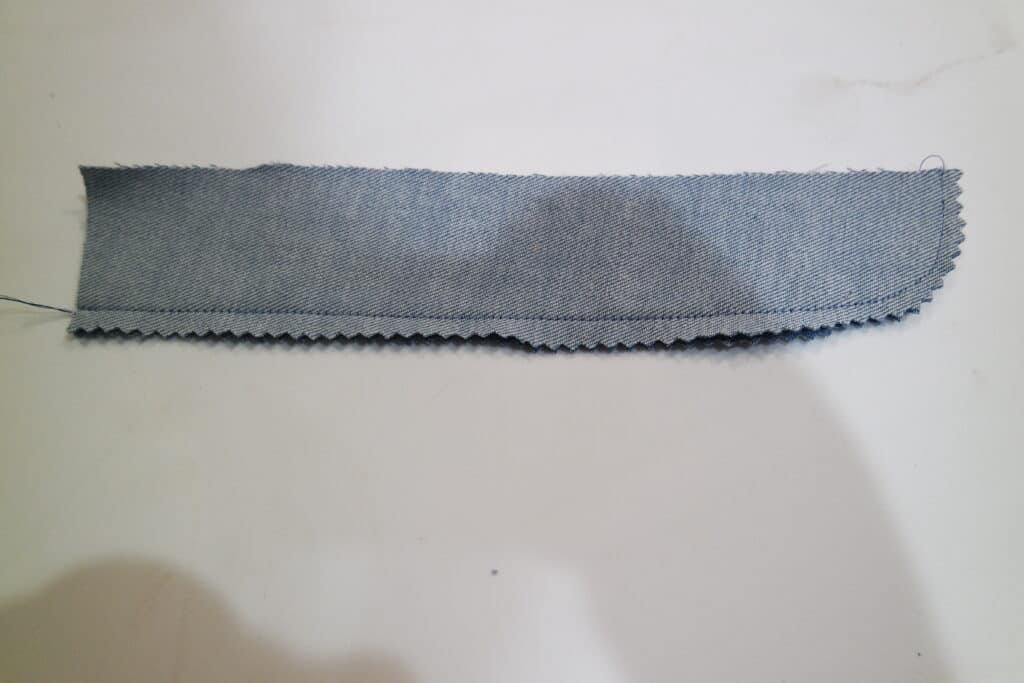
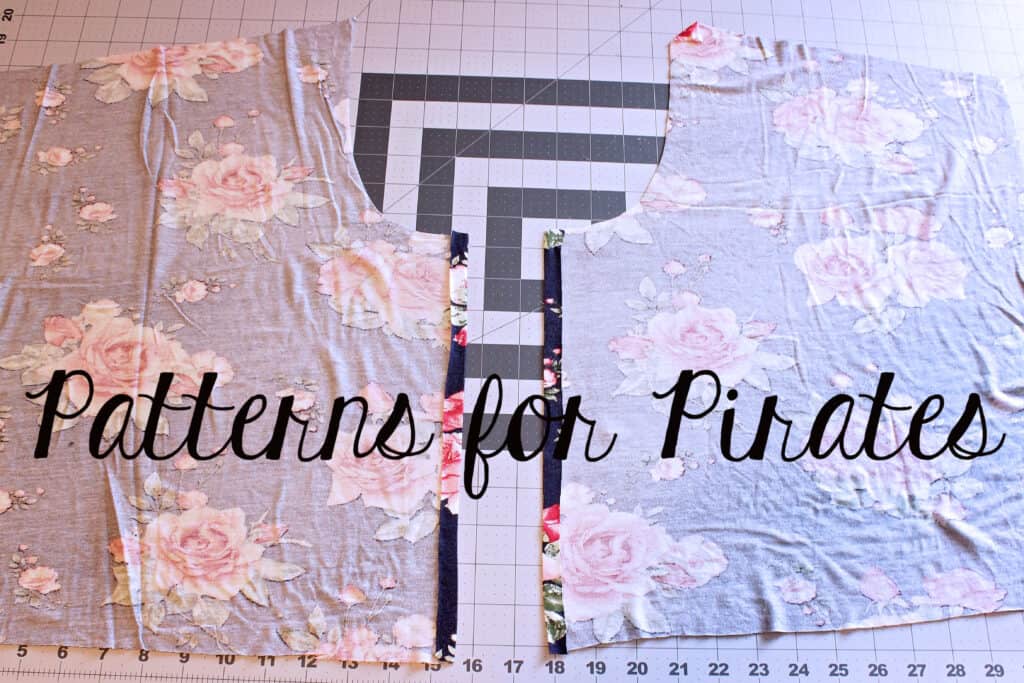
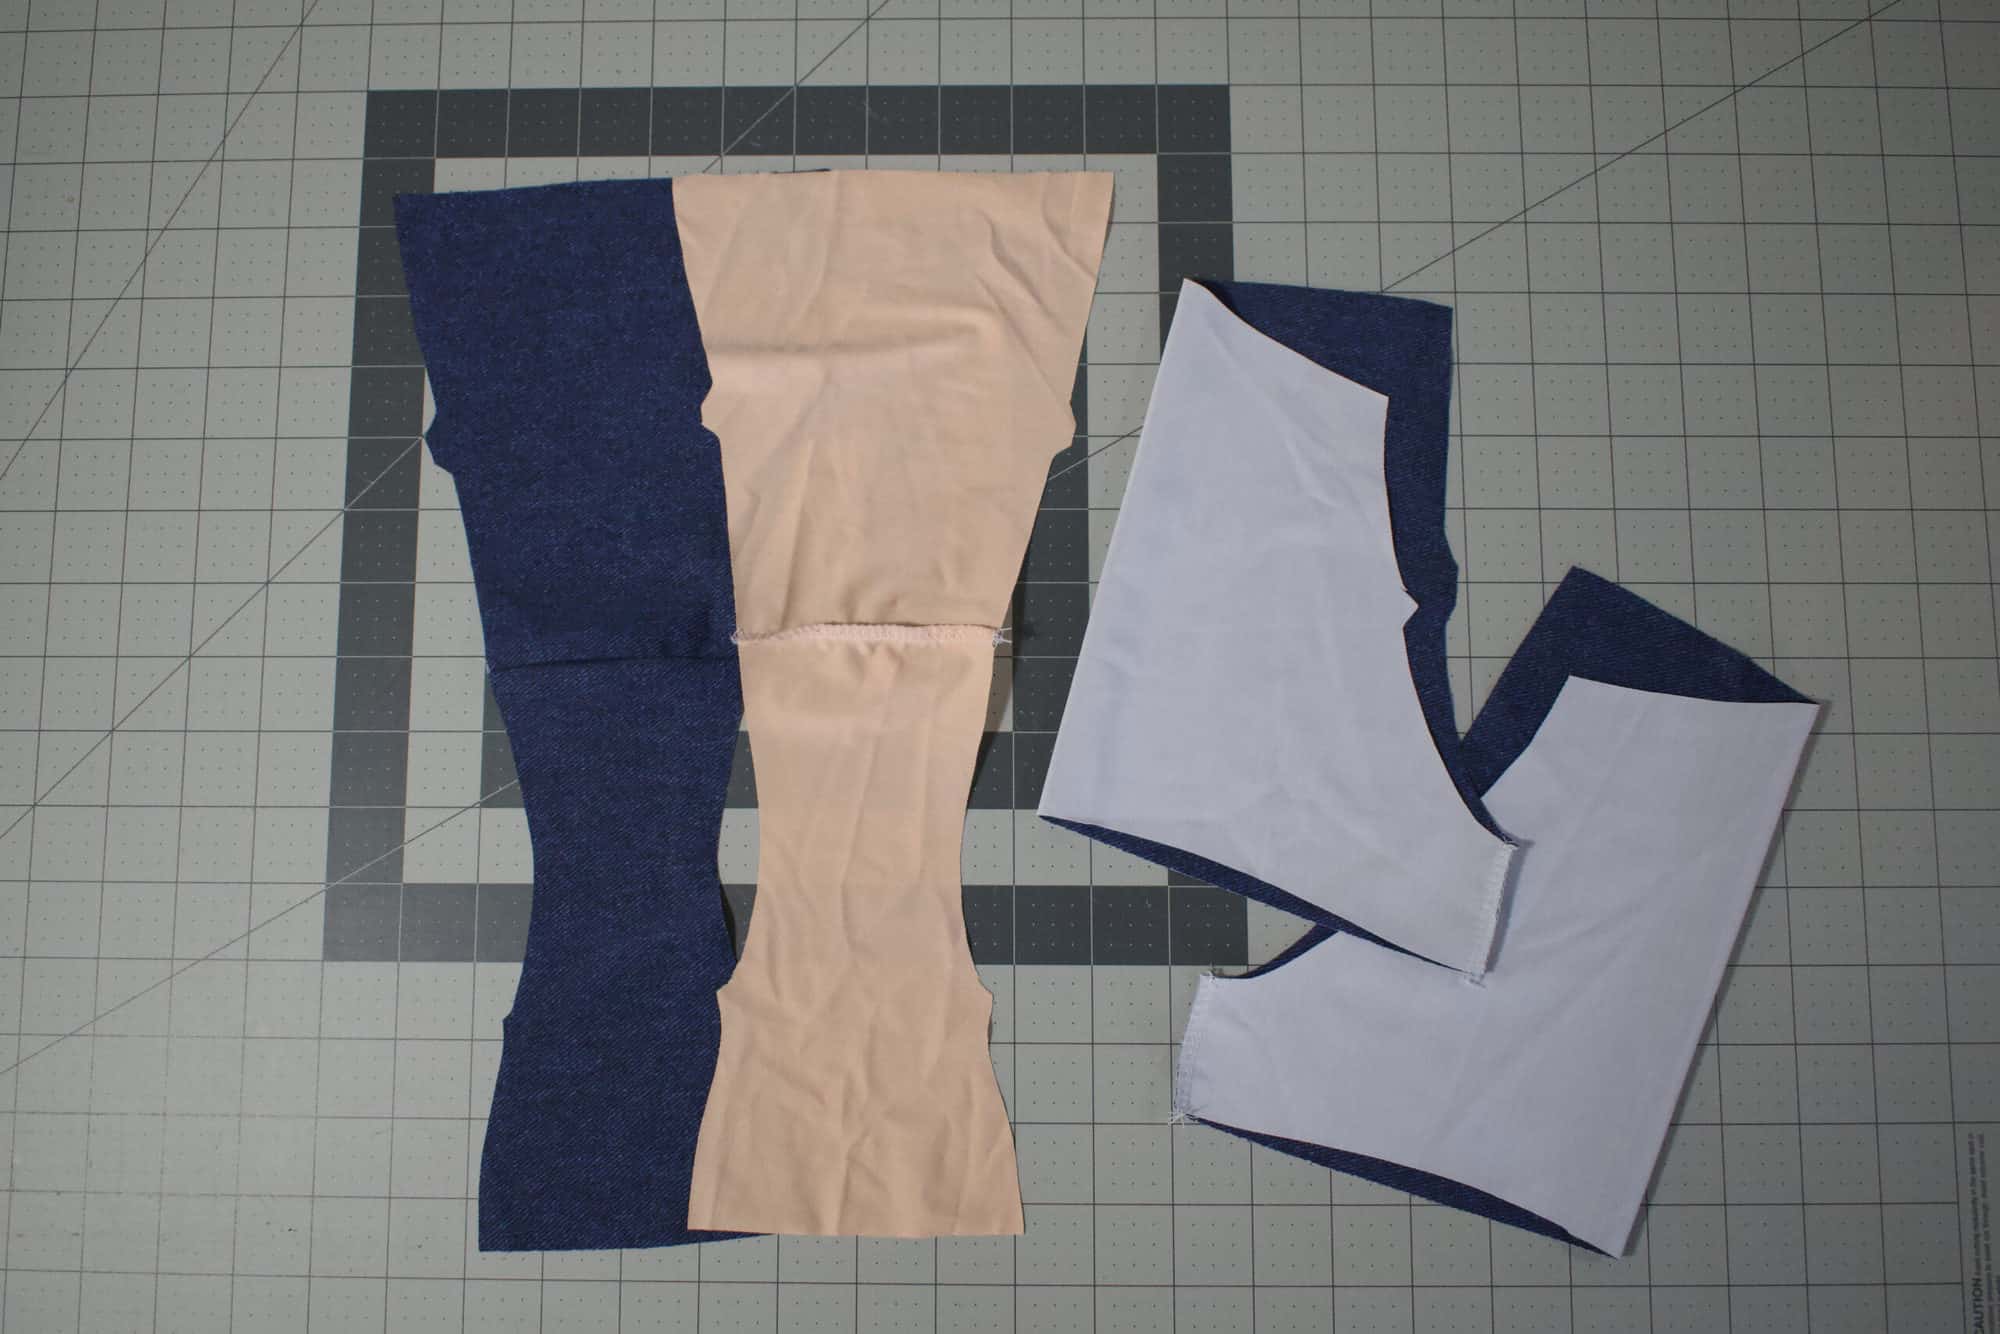
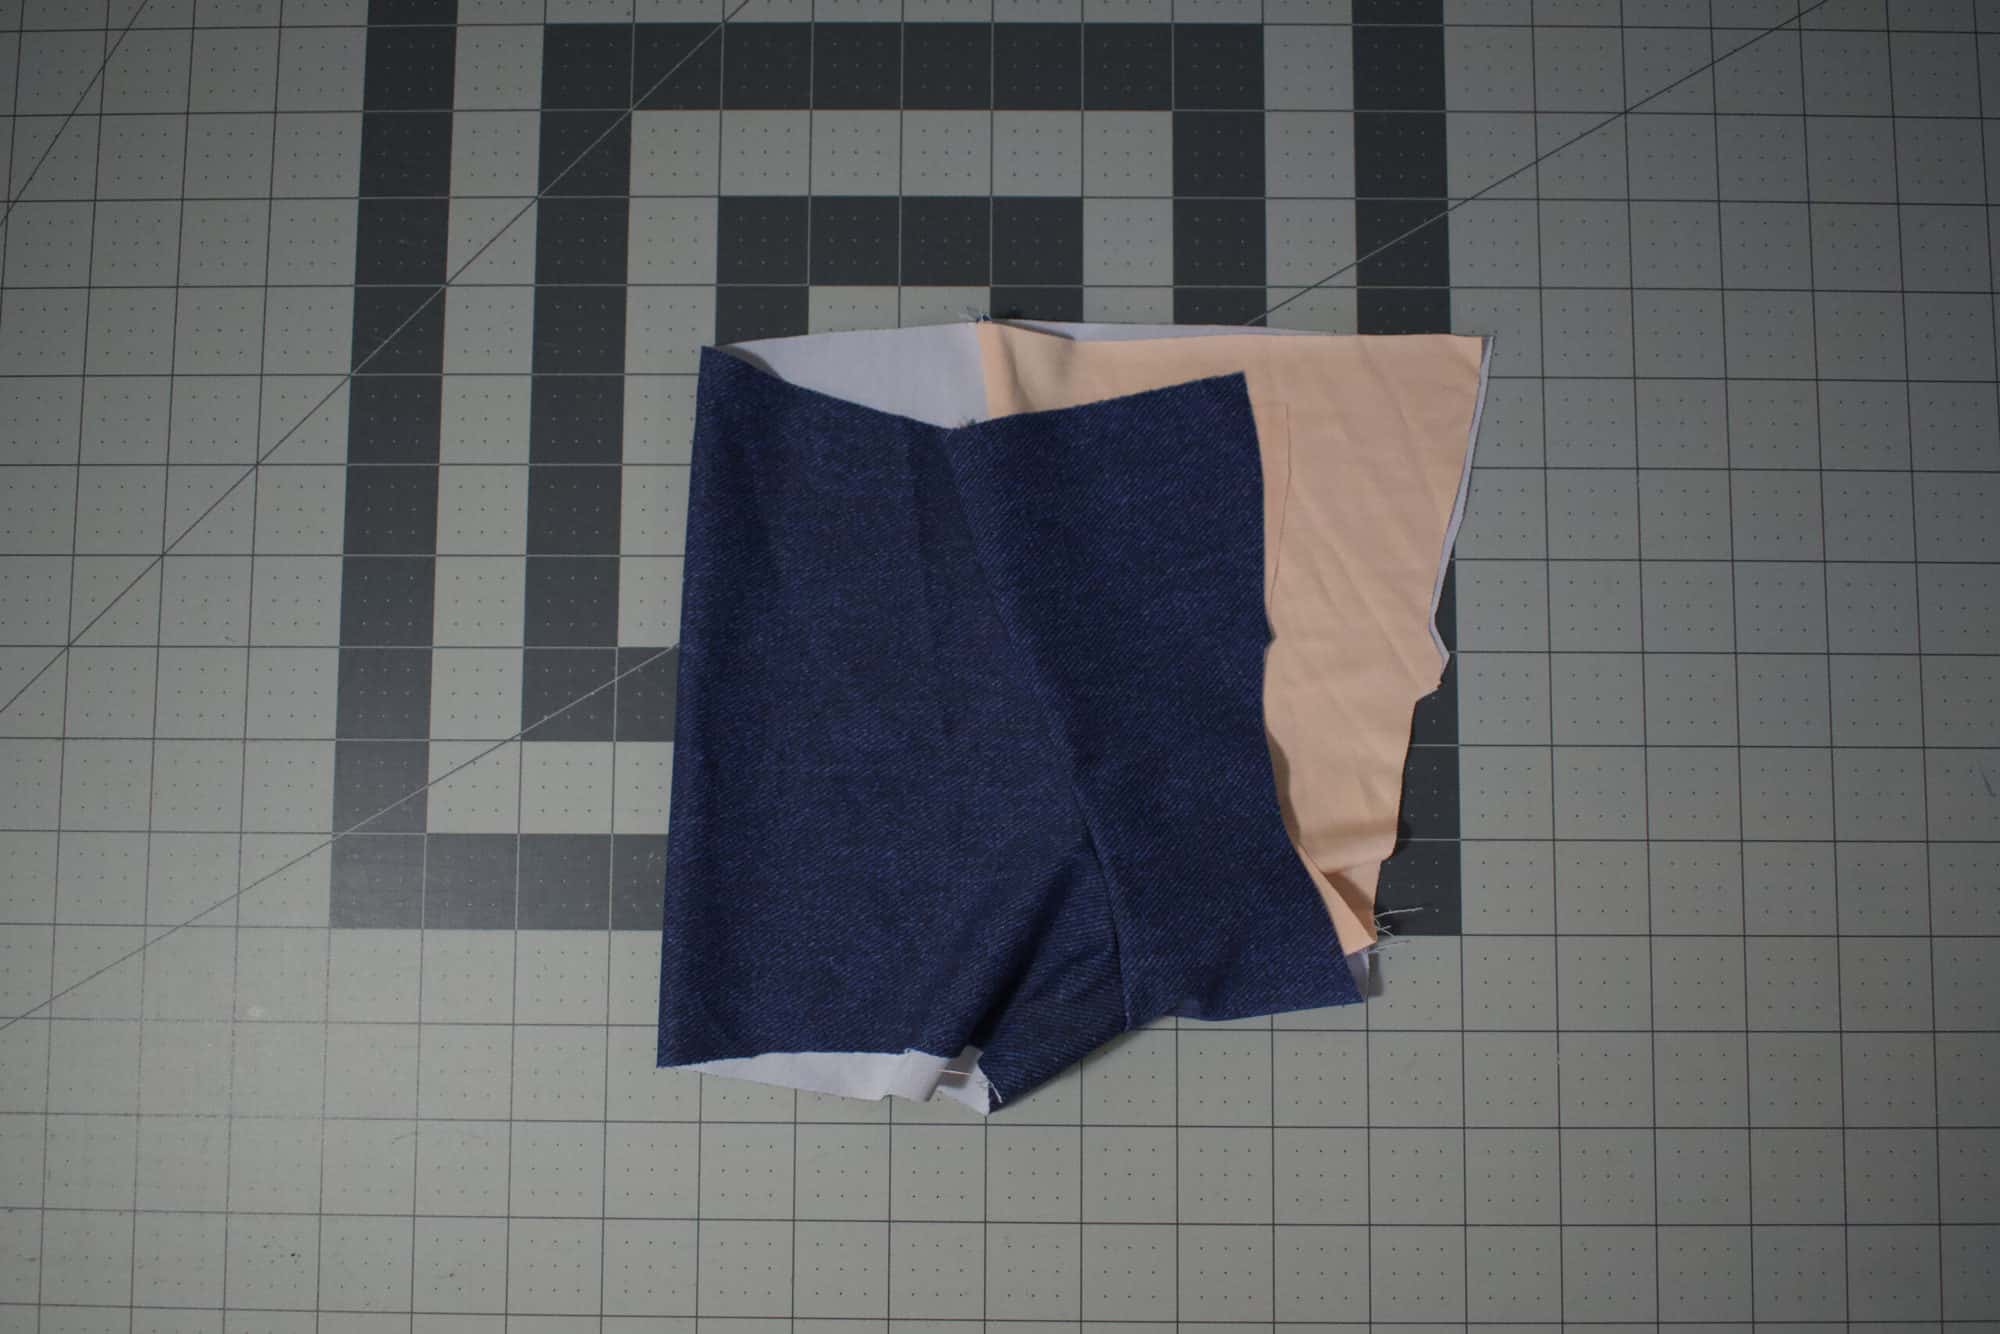
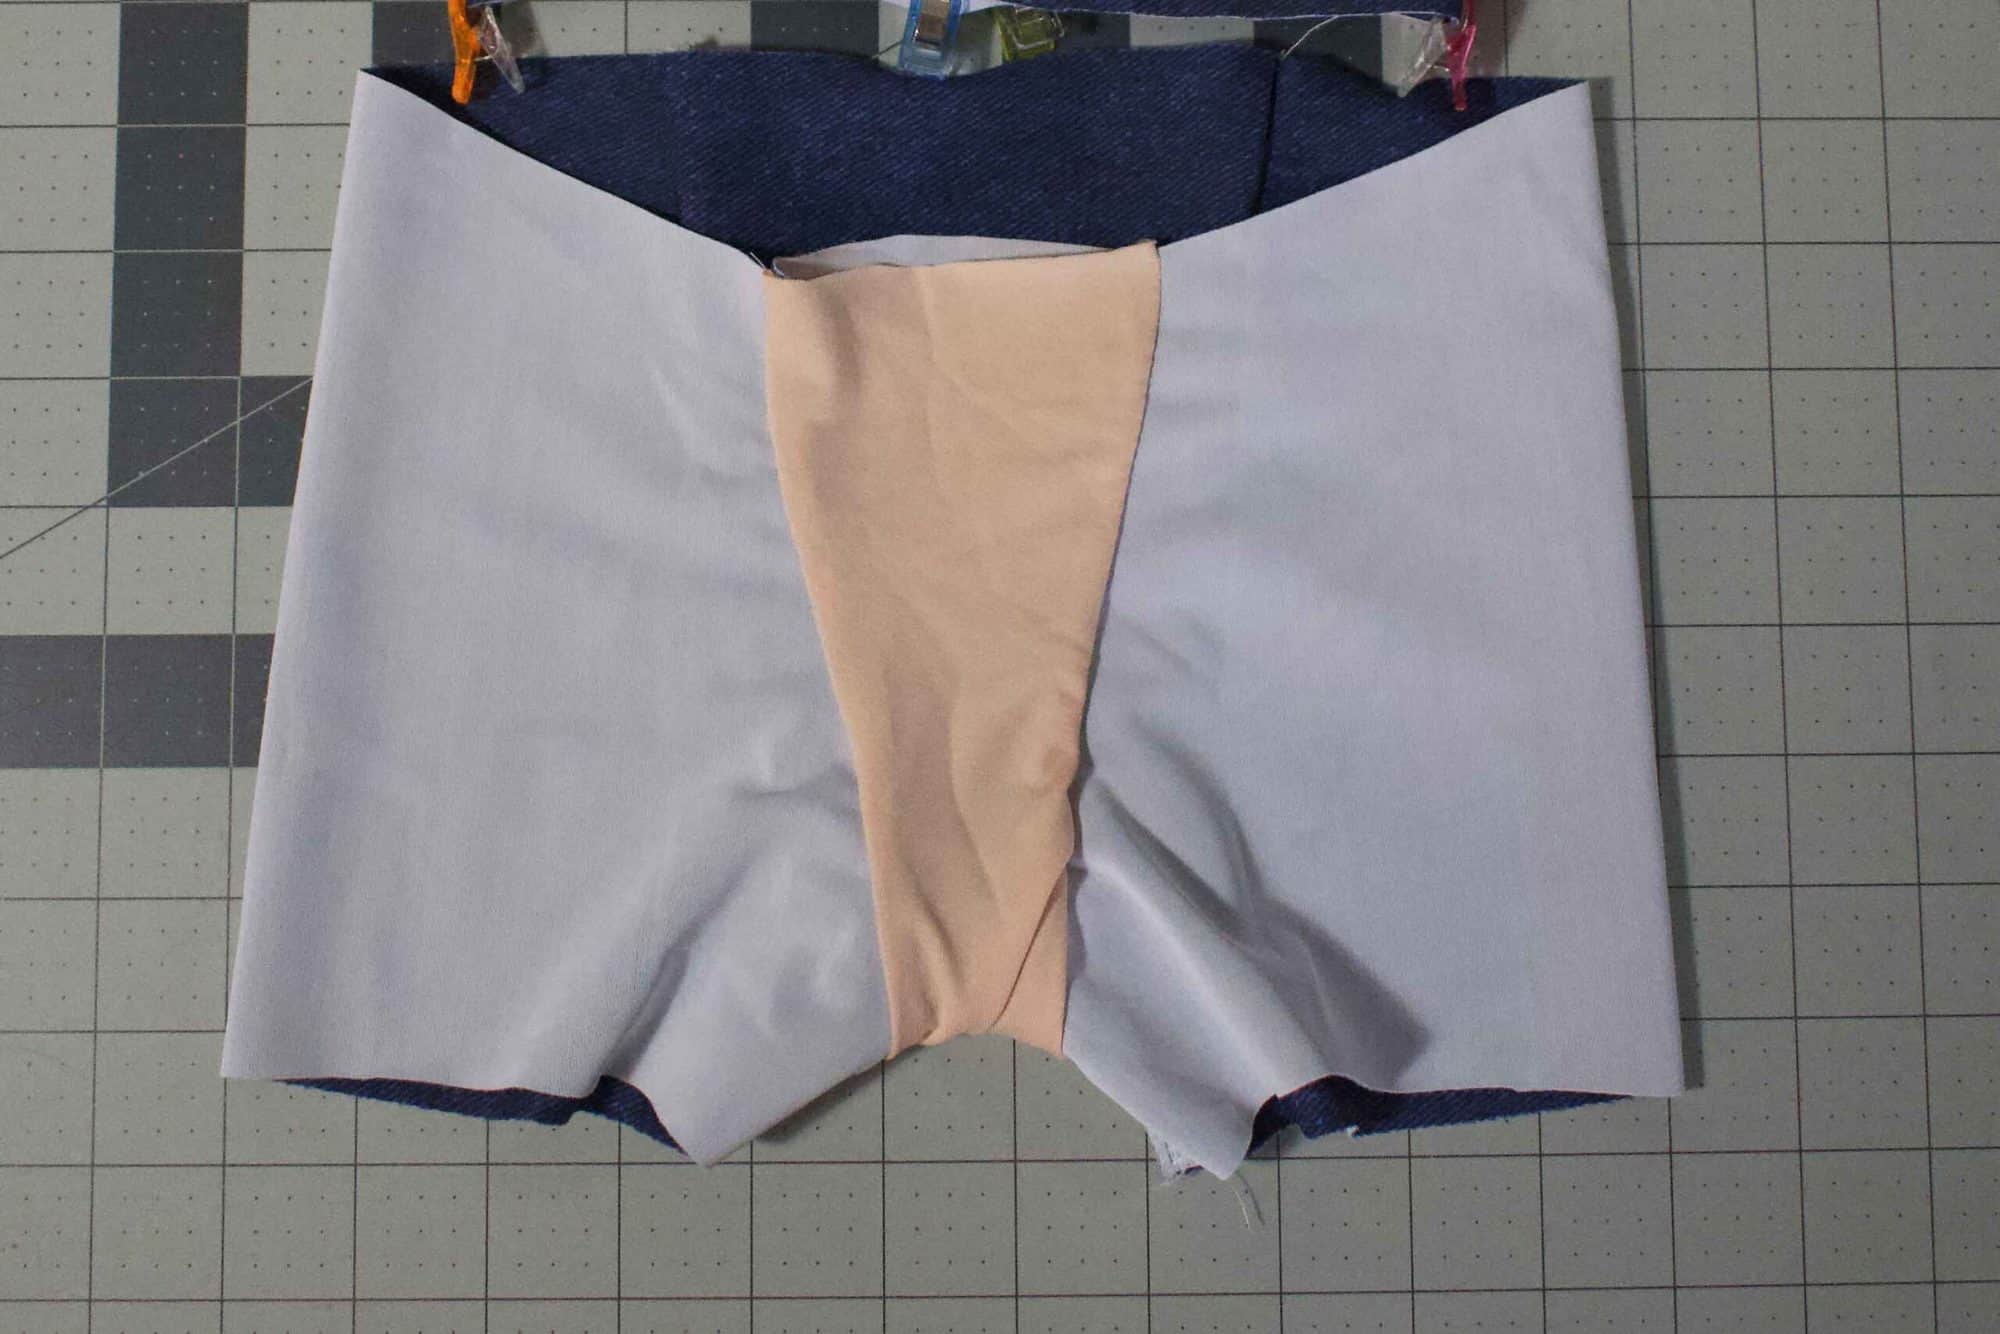
Stitch the front and back main pieces right sides together at the crotch seam. Repeat with the lining.
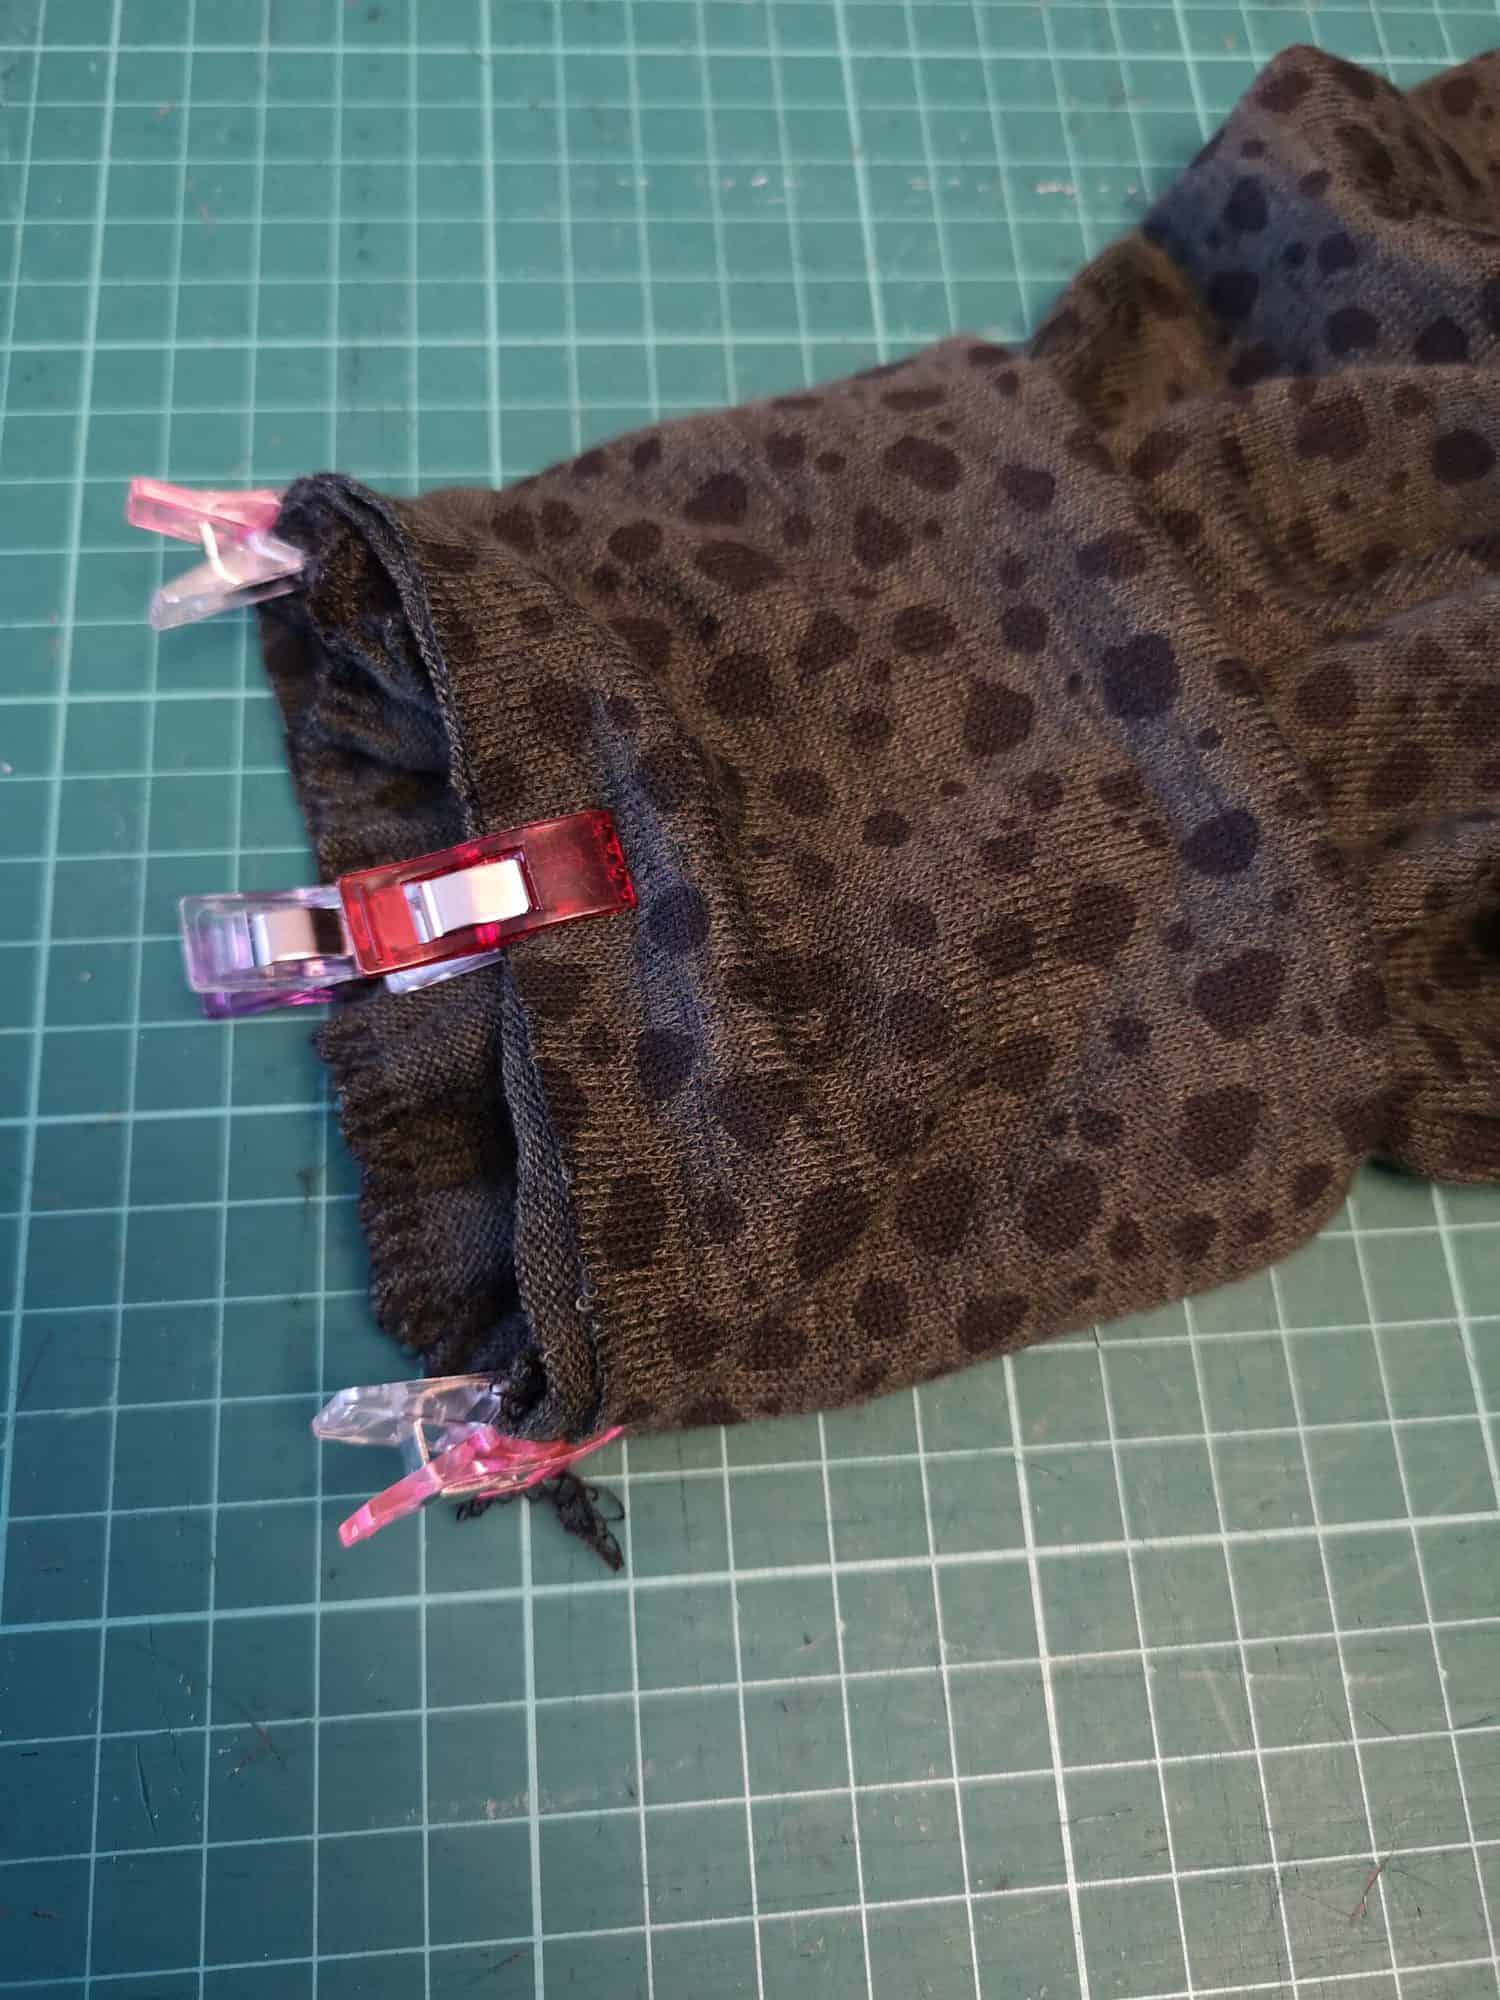
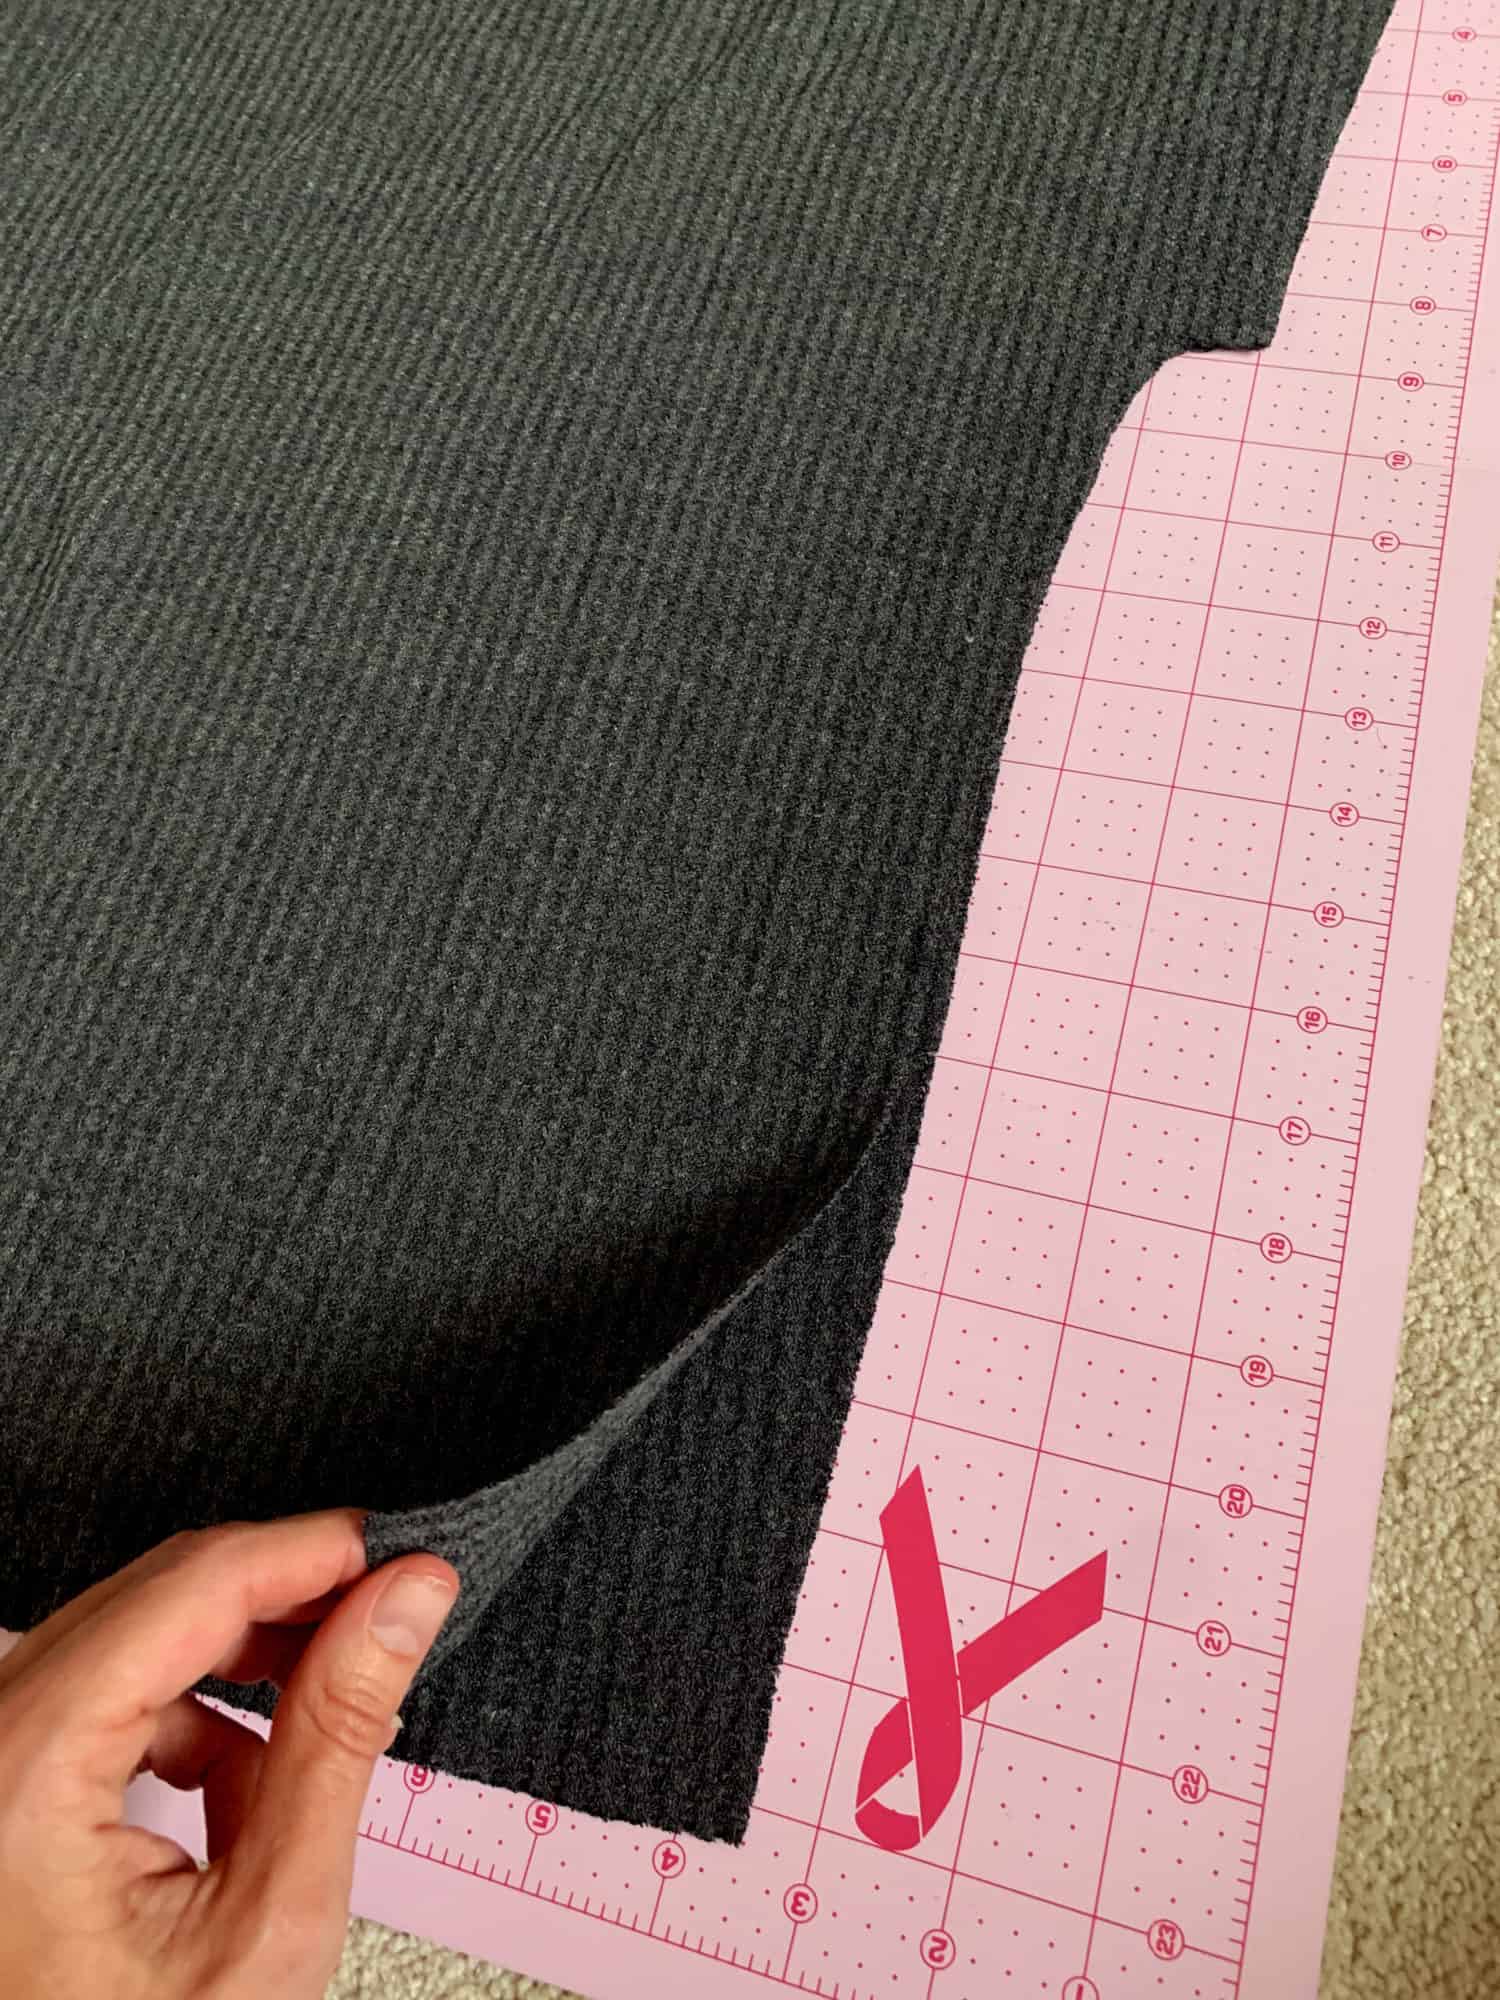
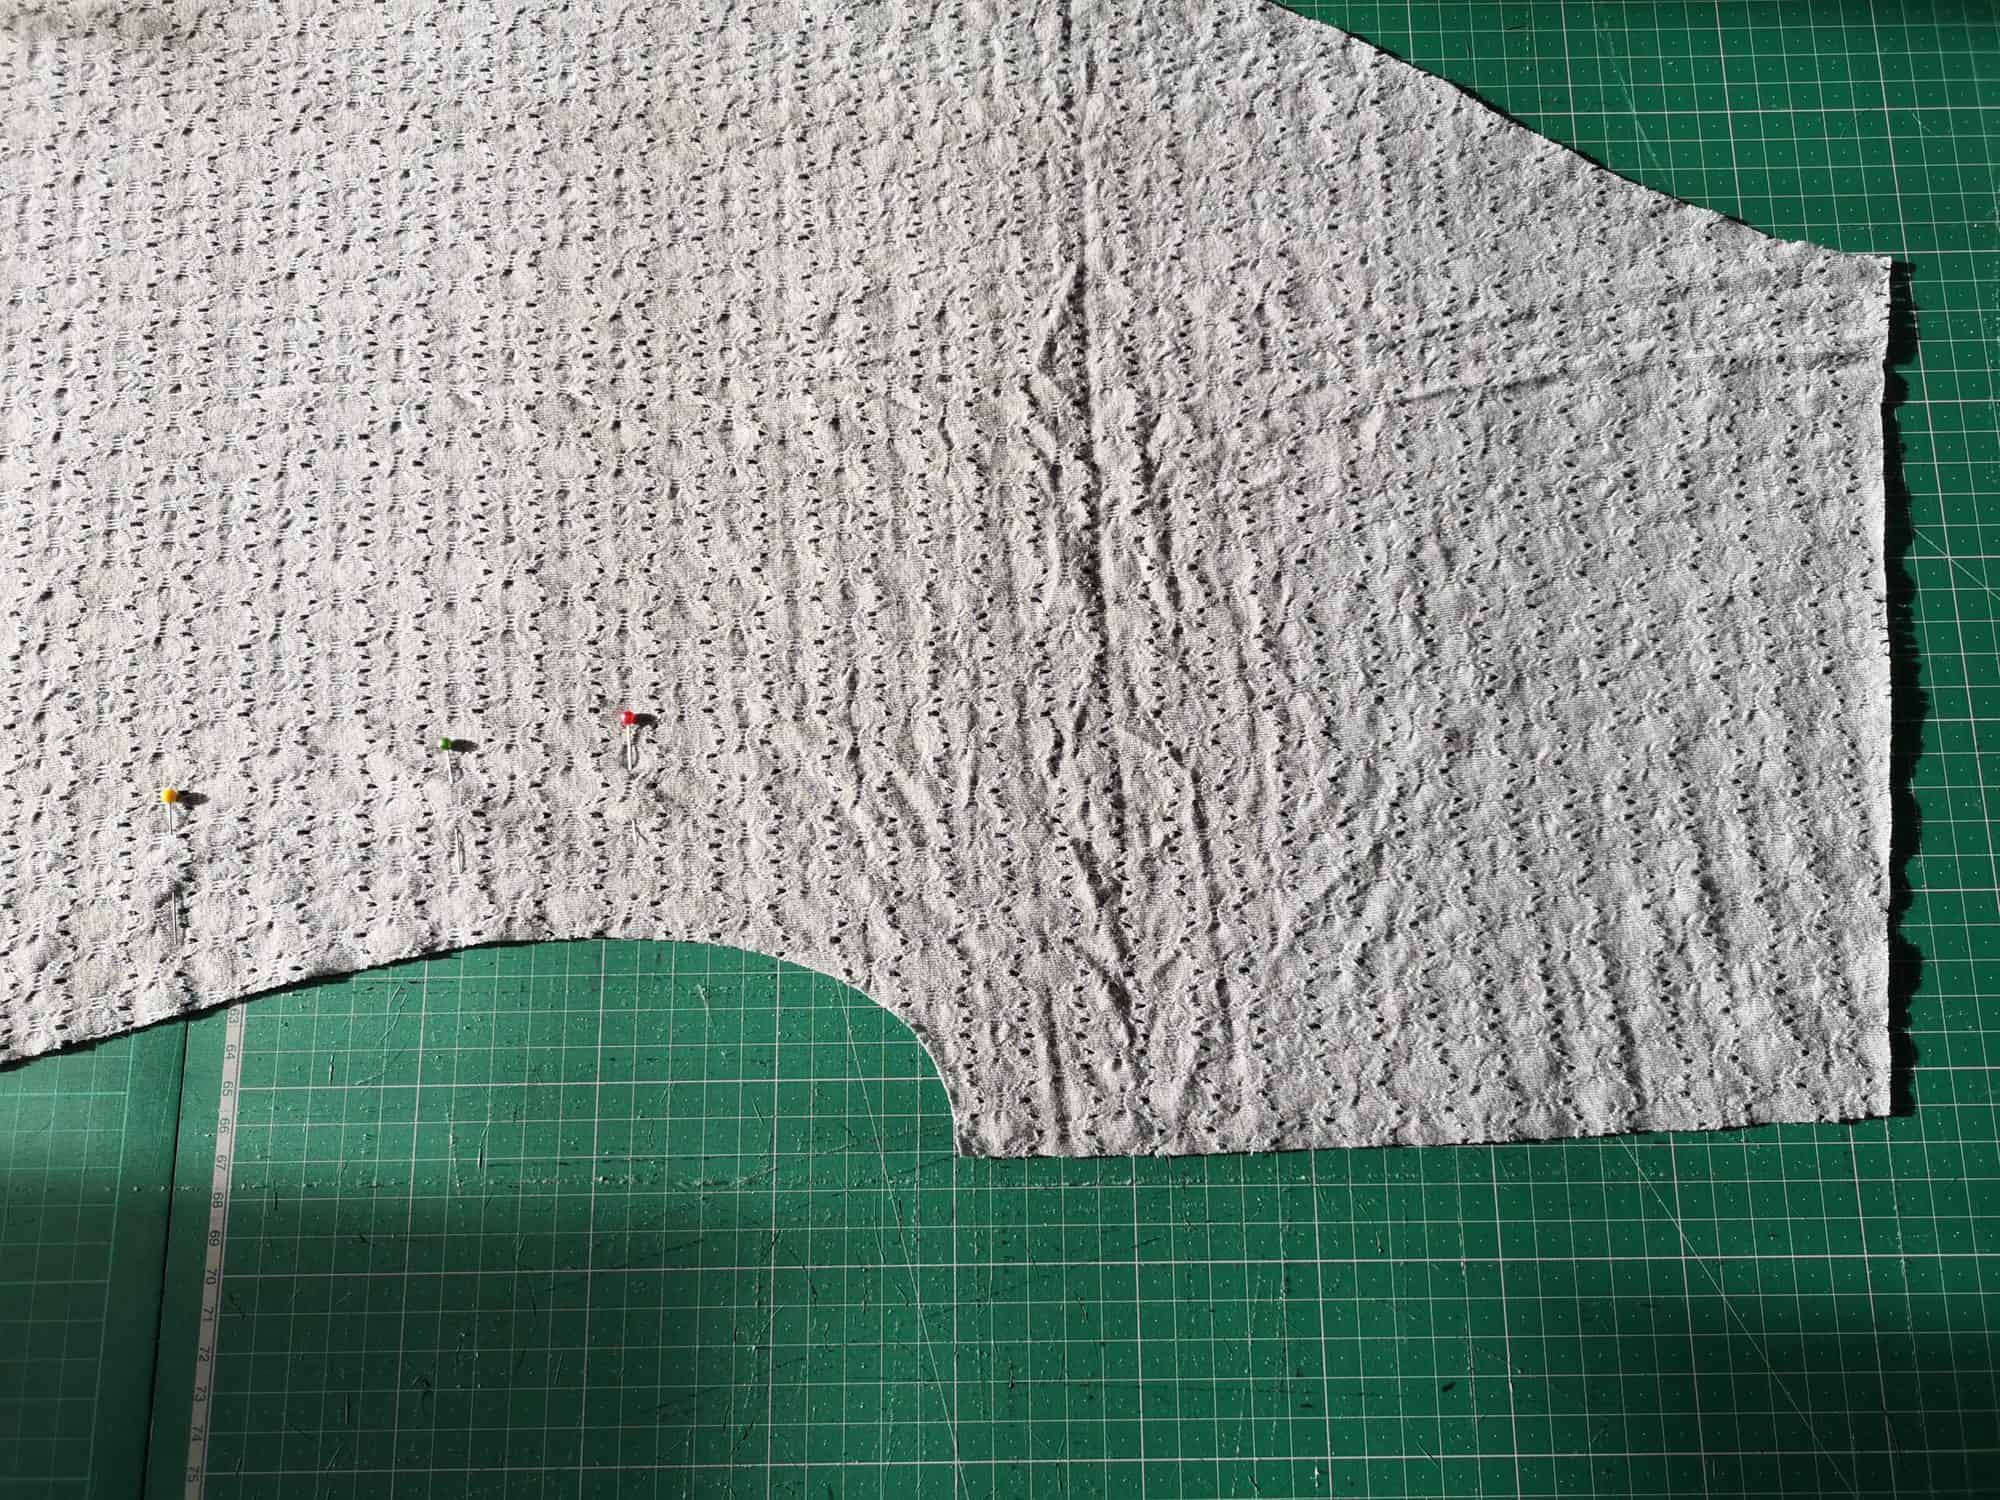
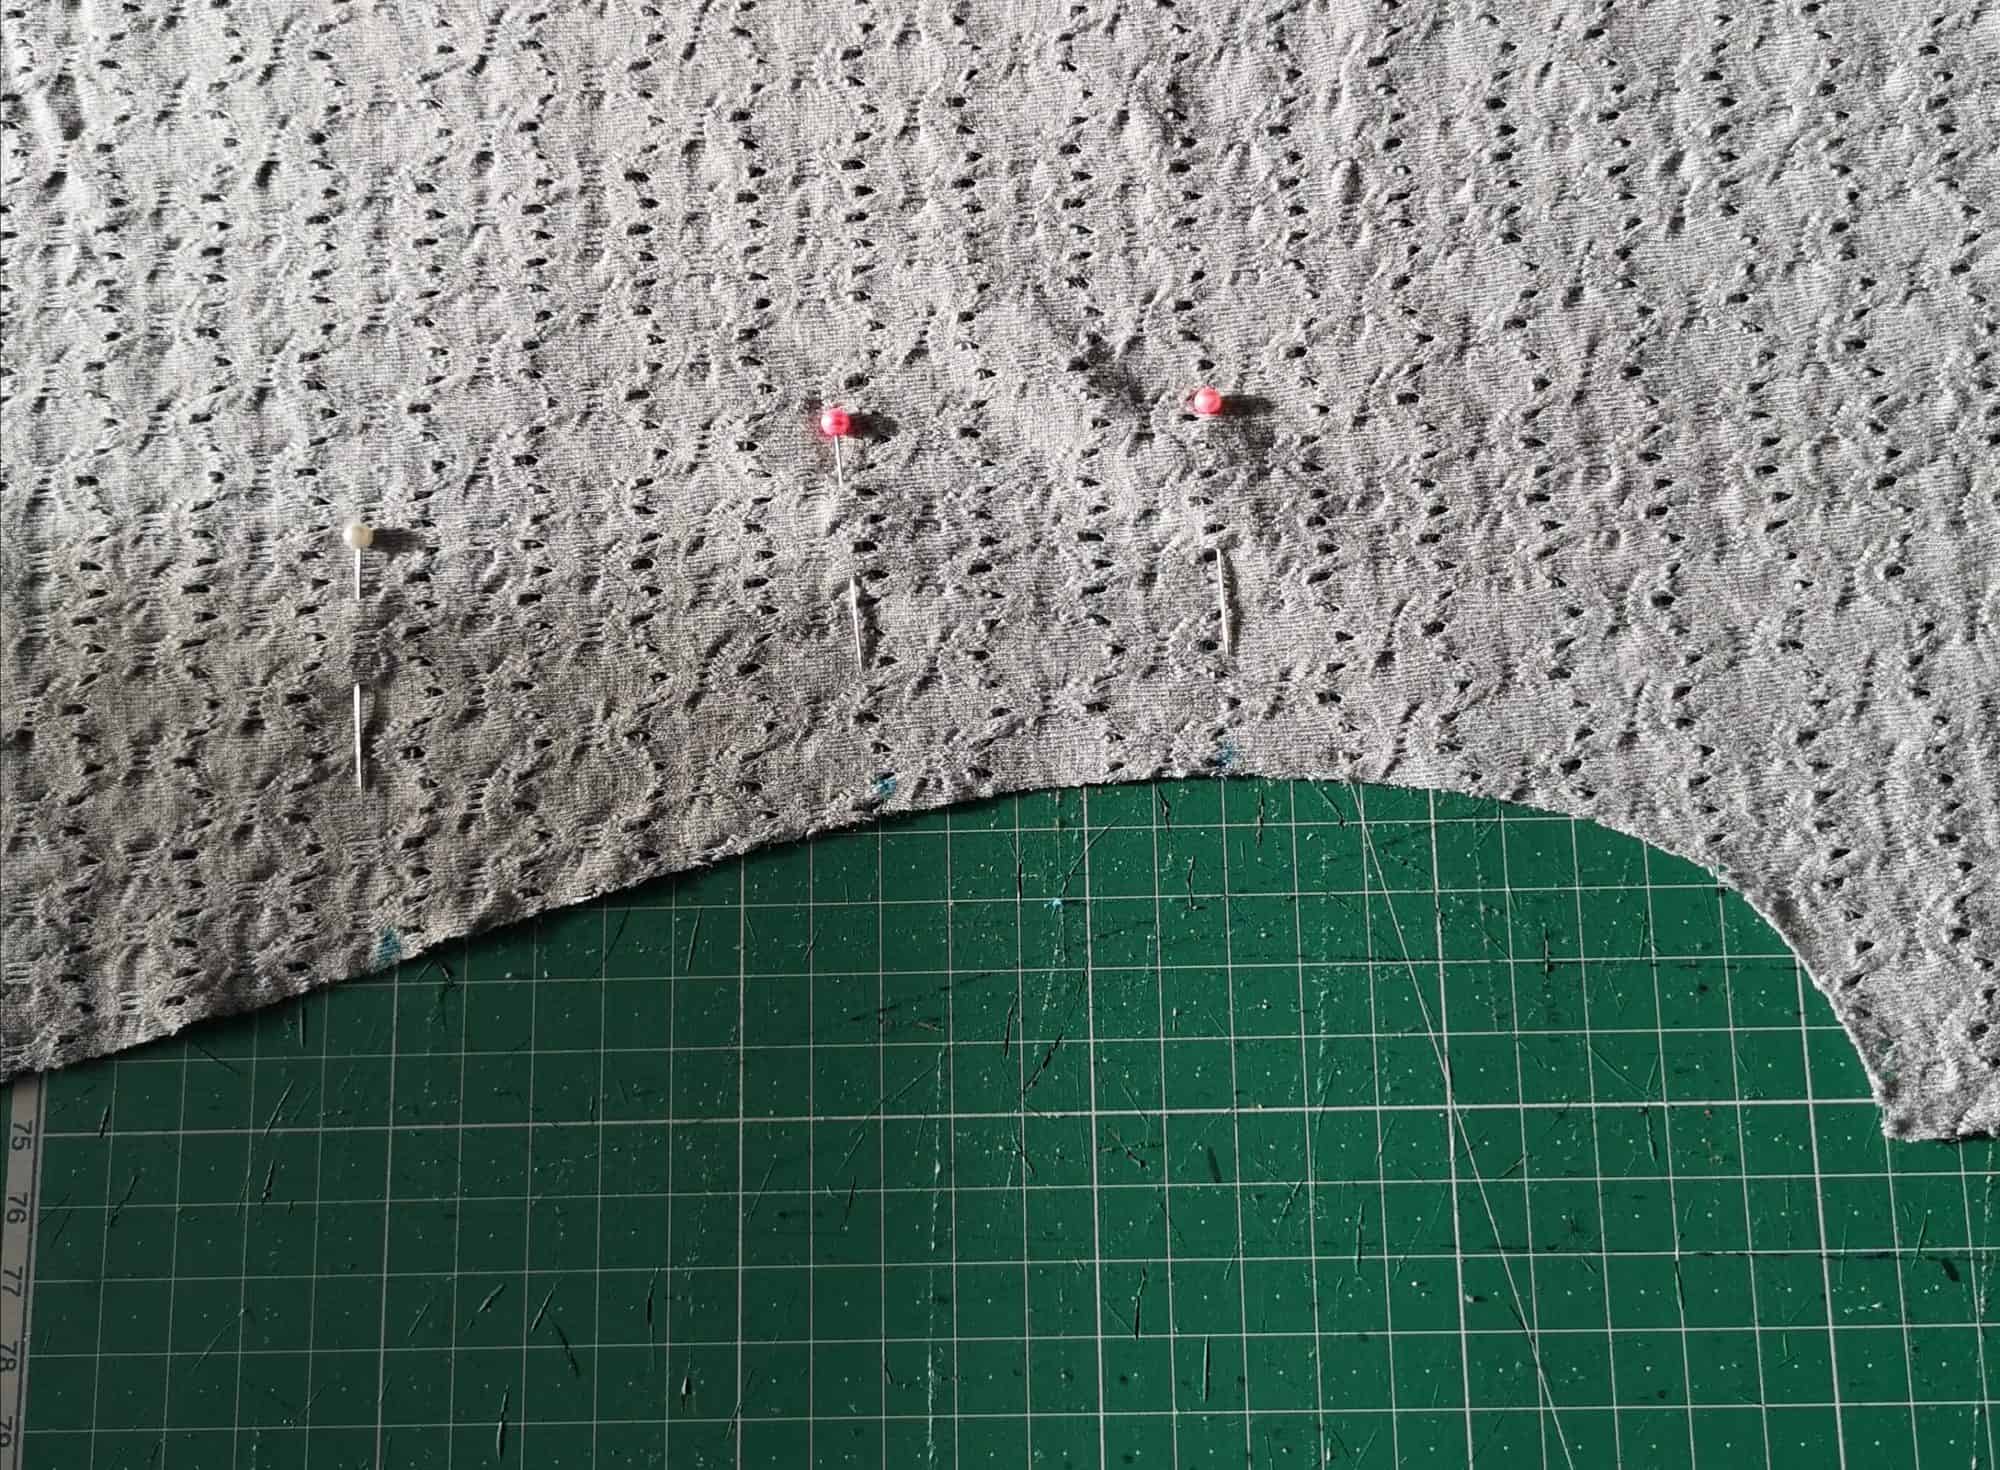
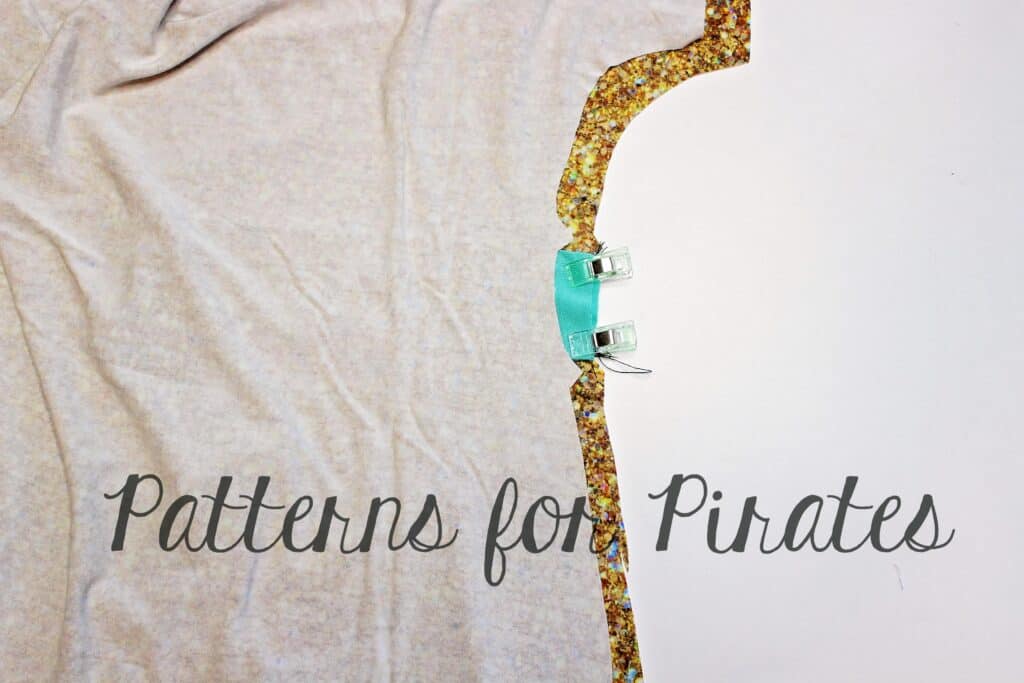
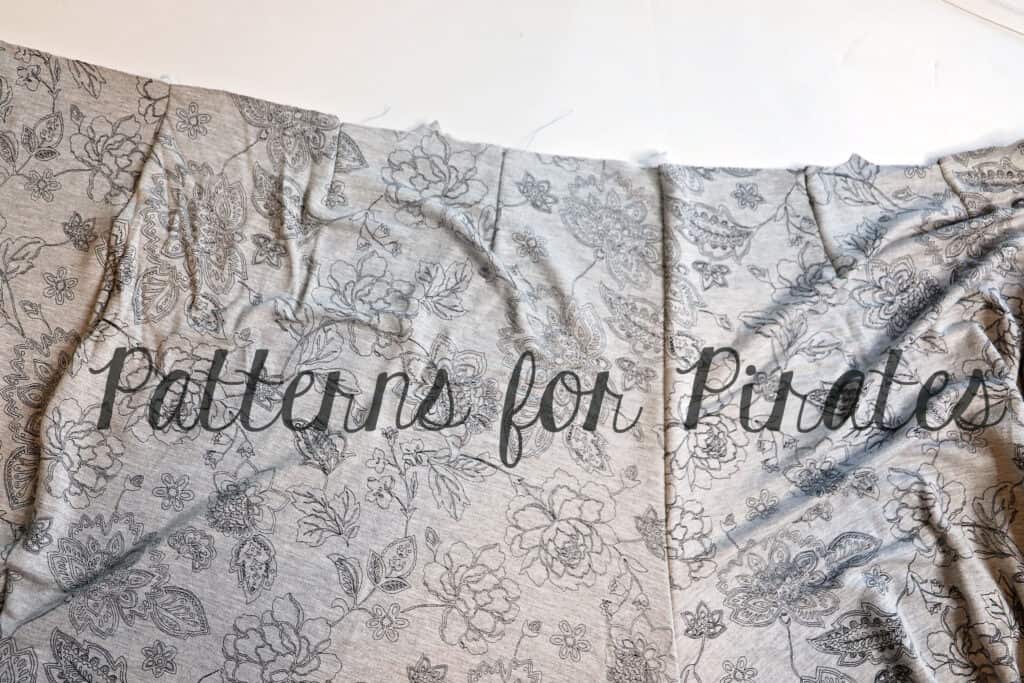
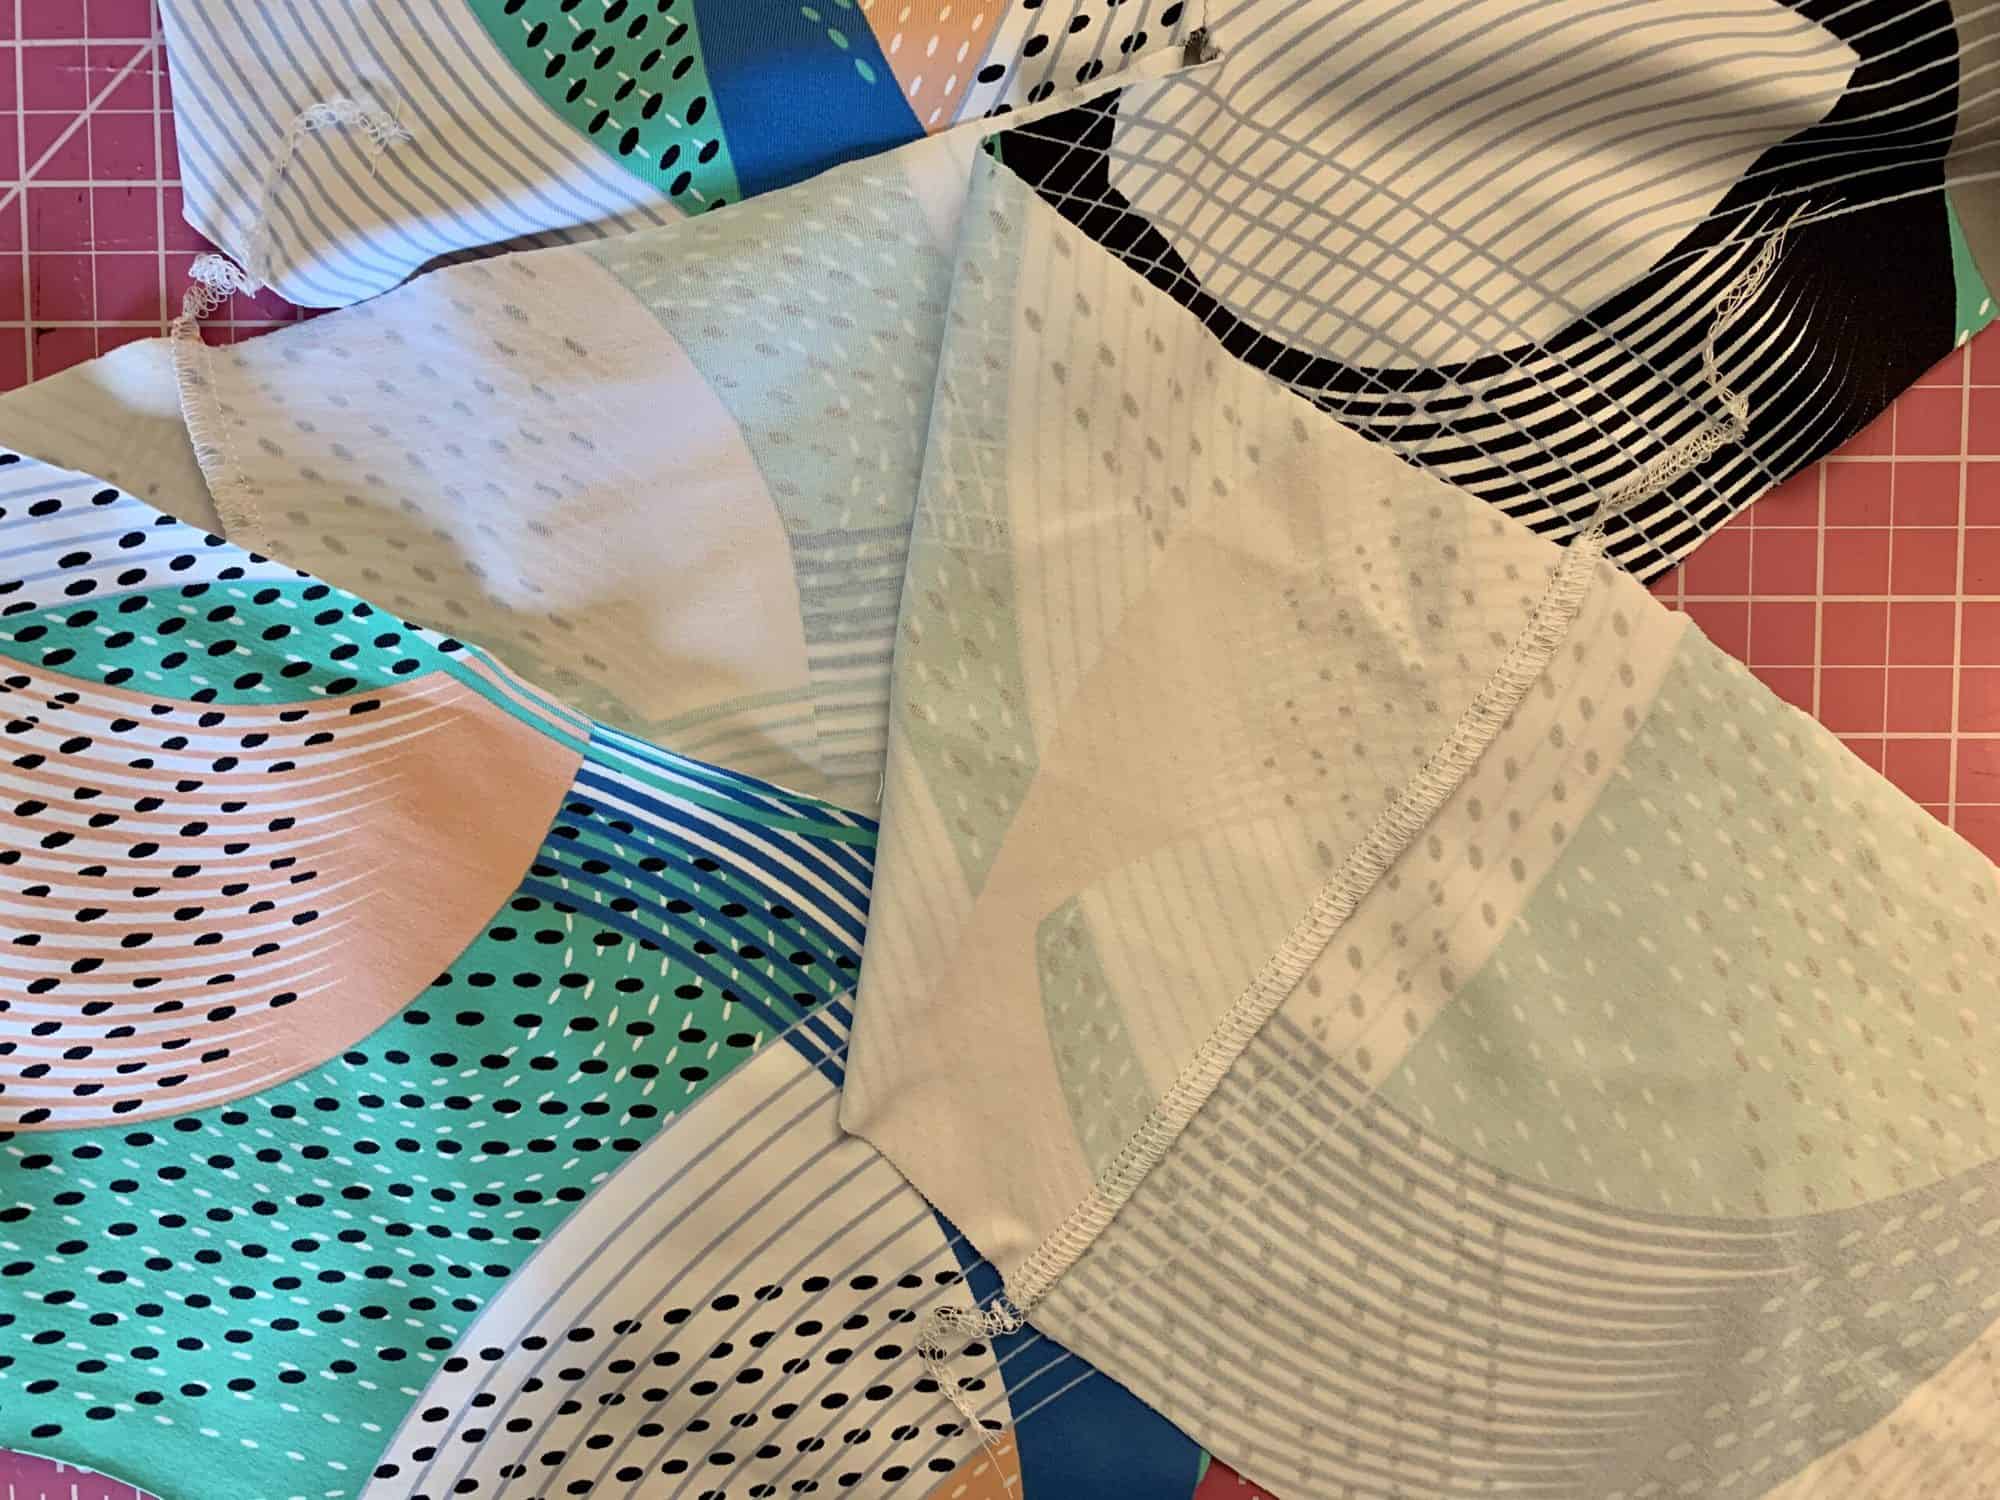
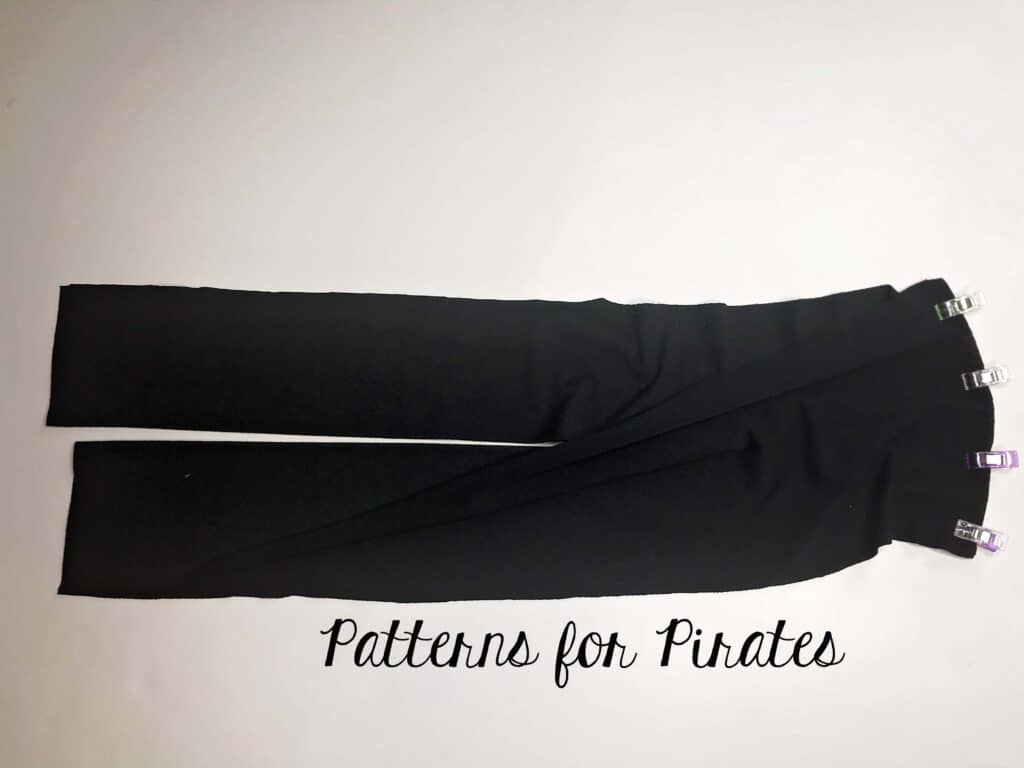
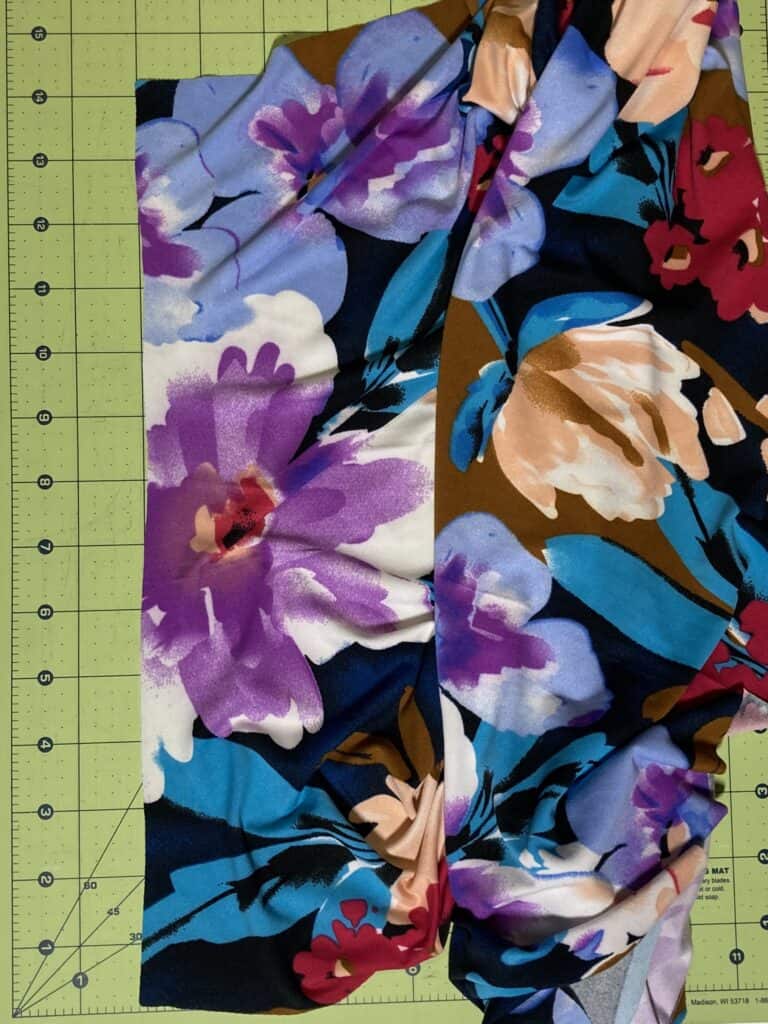
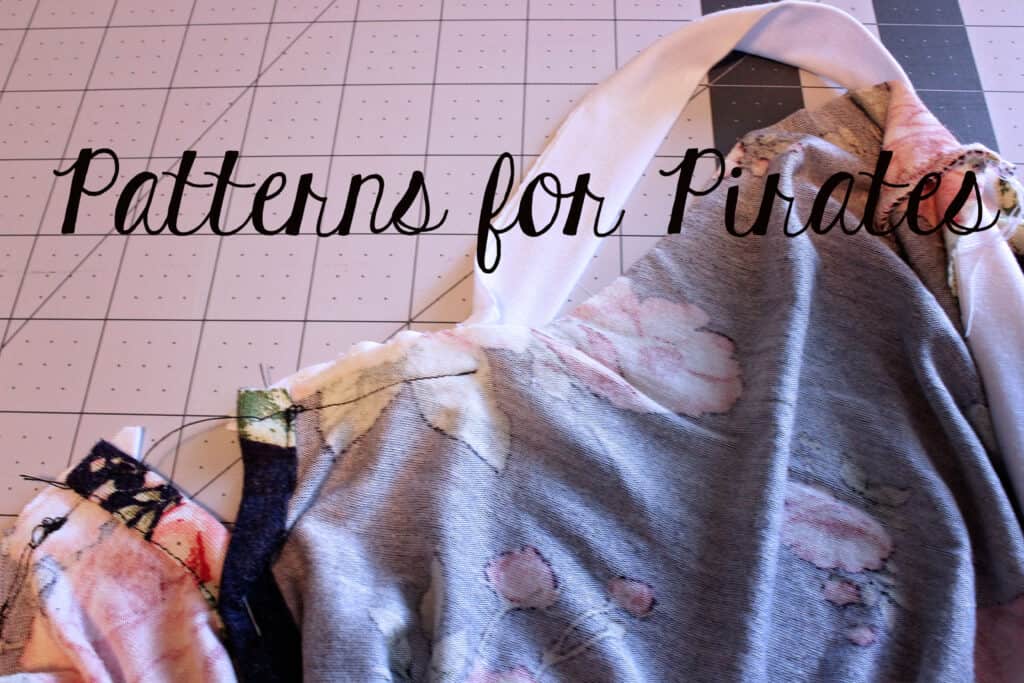
Matching the notches in the pattern (front and back), pin the main the the leg piece right sides together. Take the lining and pin it right sides to the wrong sides of the leg, making sure the notches are in the correct spot. Your leg piece will be sandwiched between the two lining pieces.
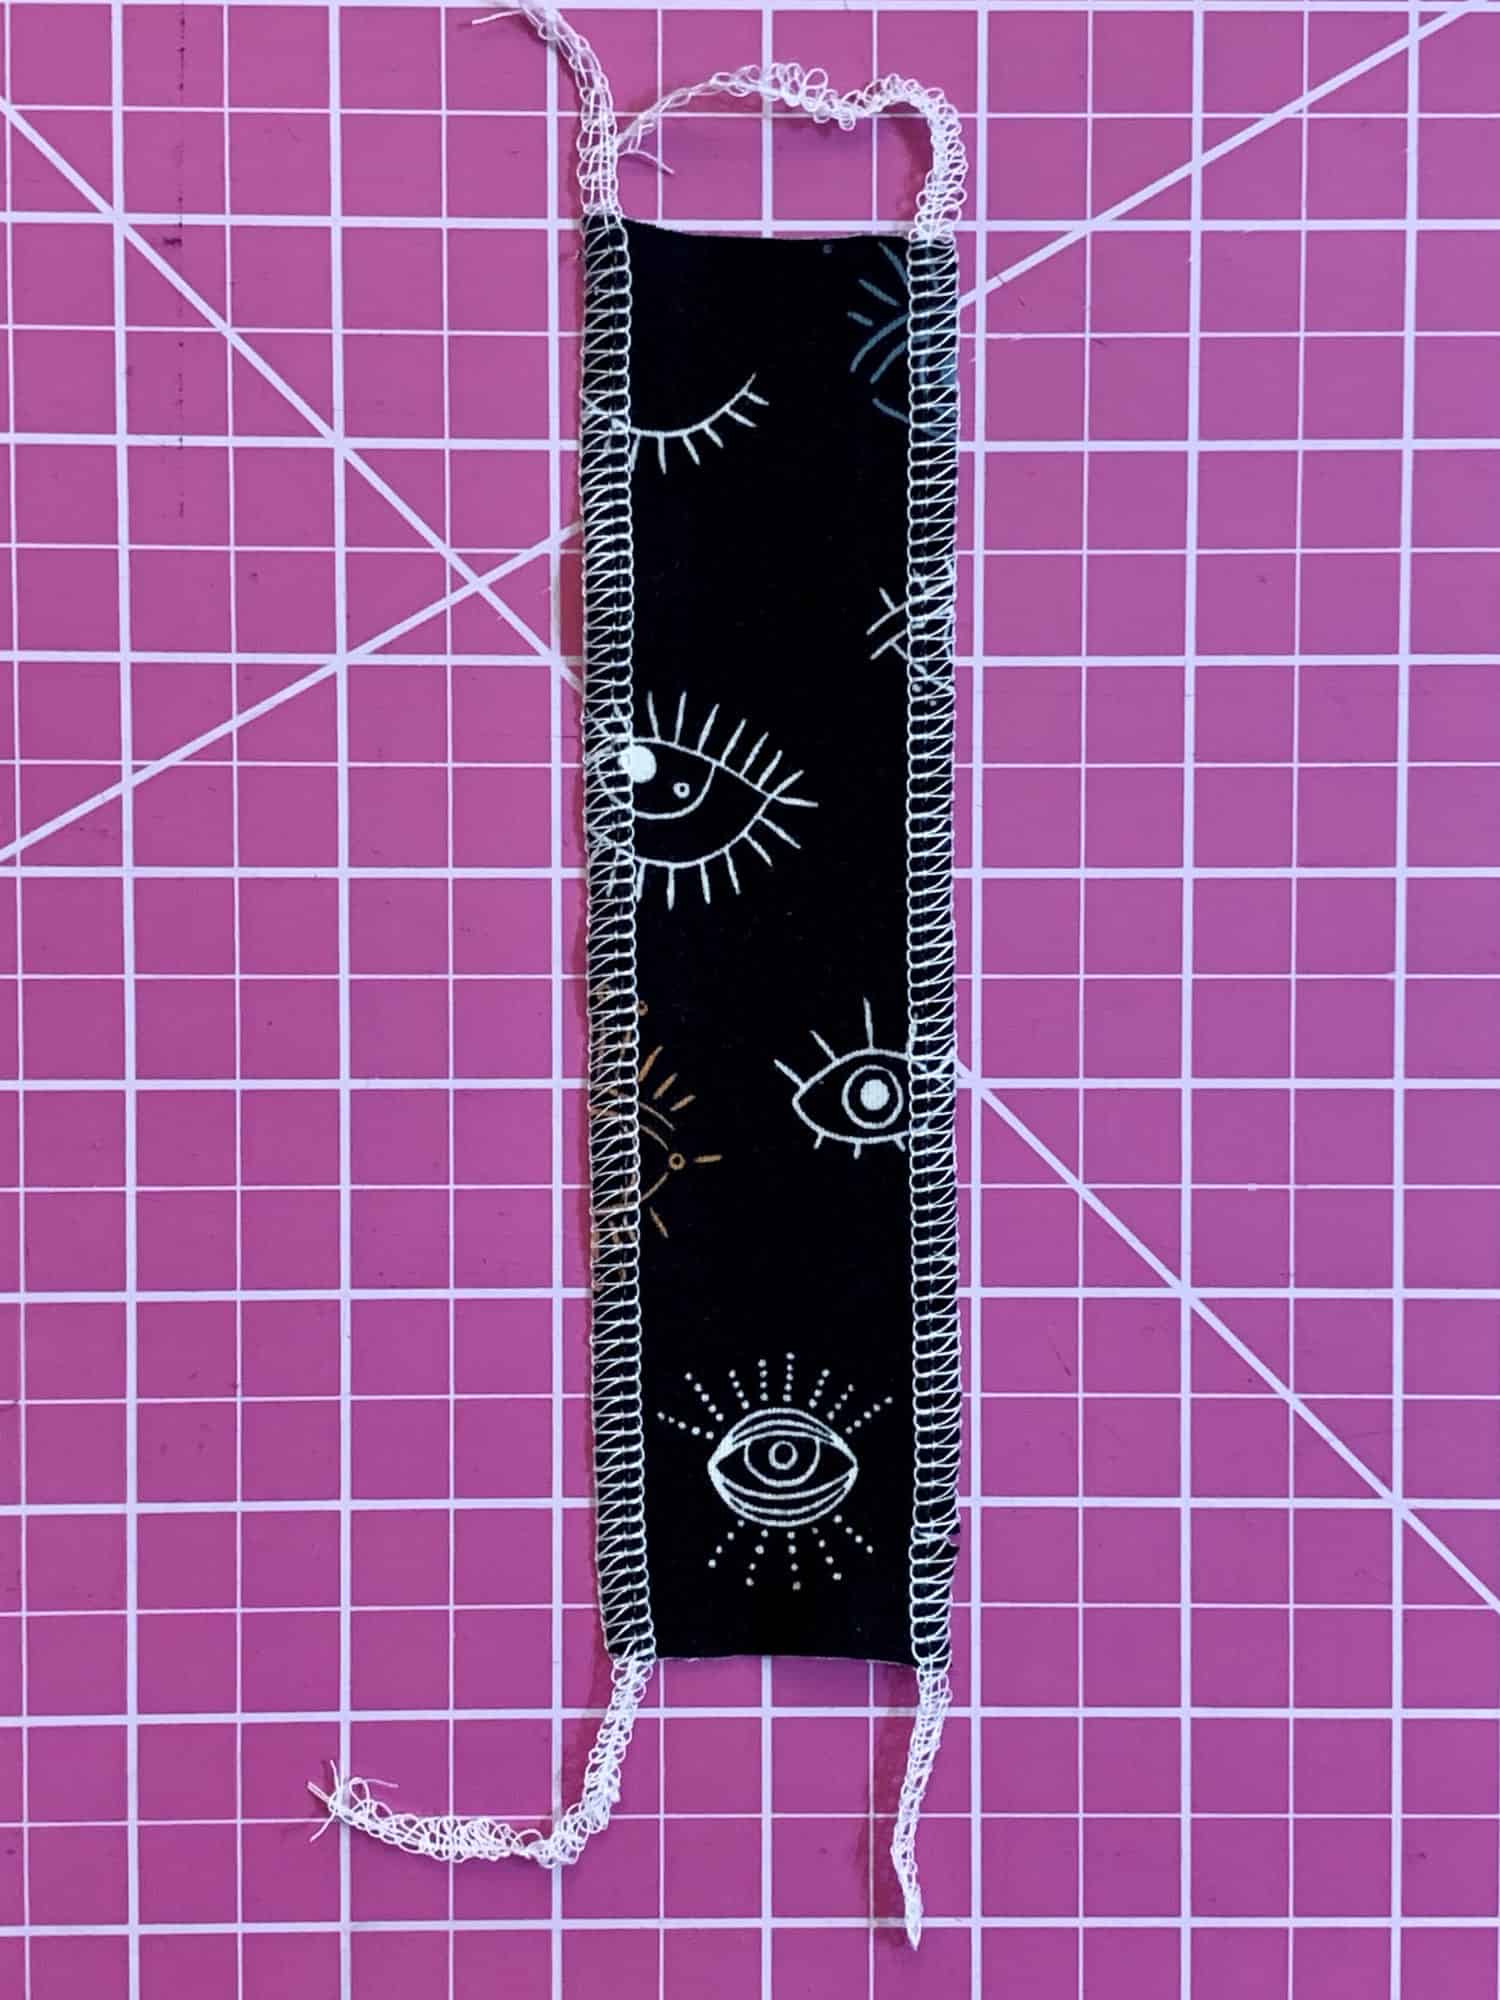
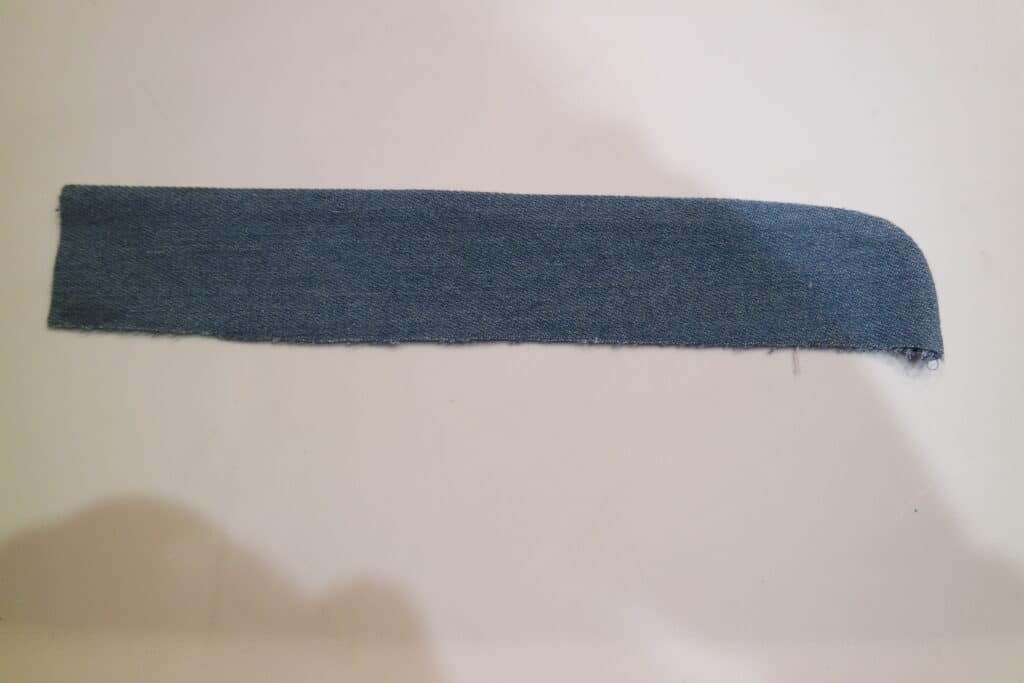
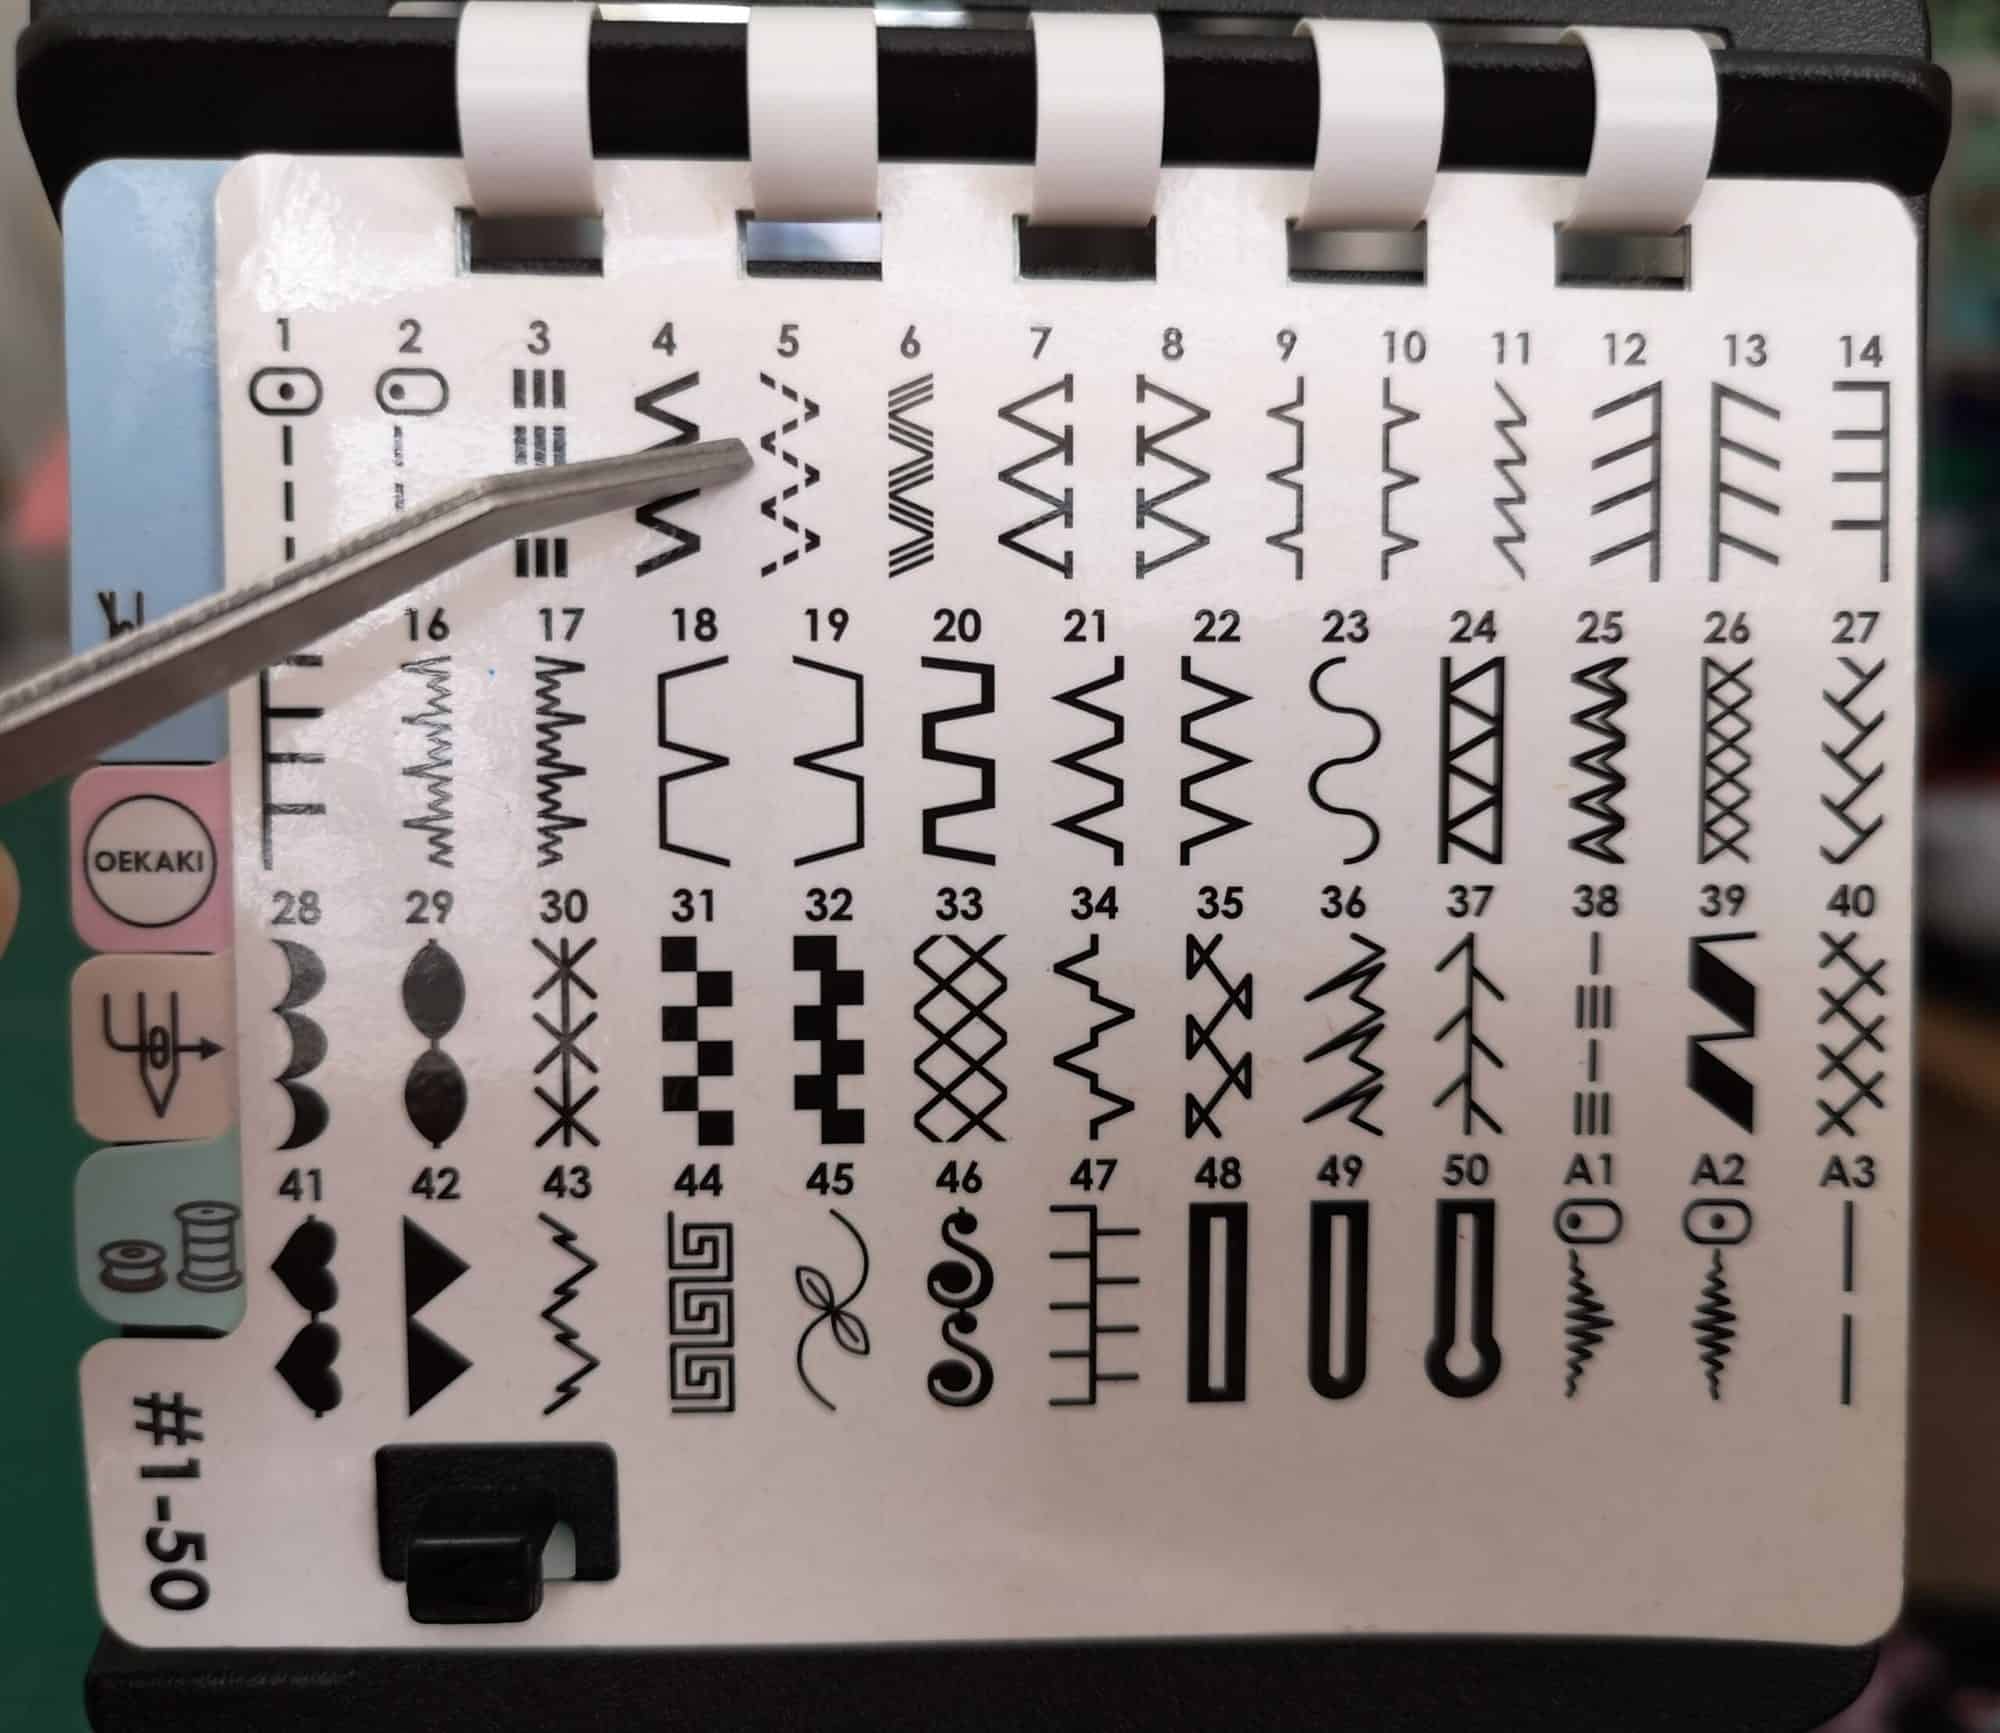
Sew them with your favorite stretch stitch or serger.
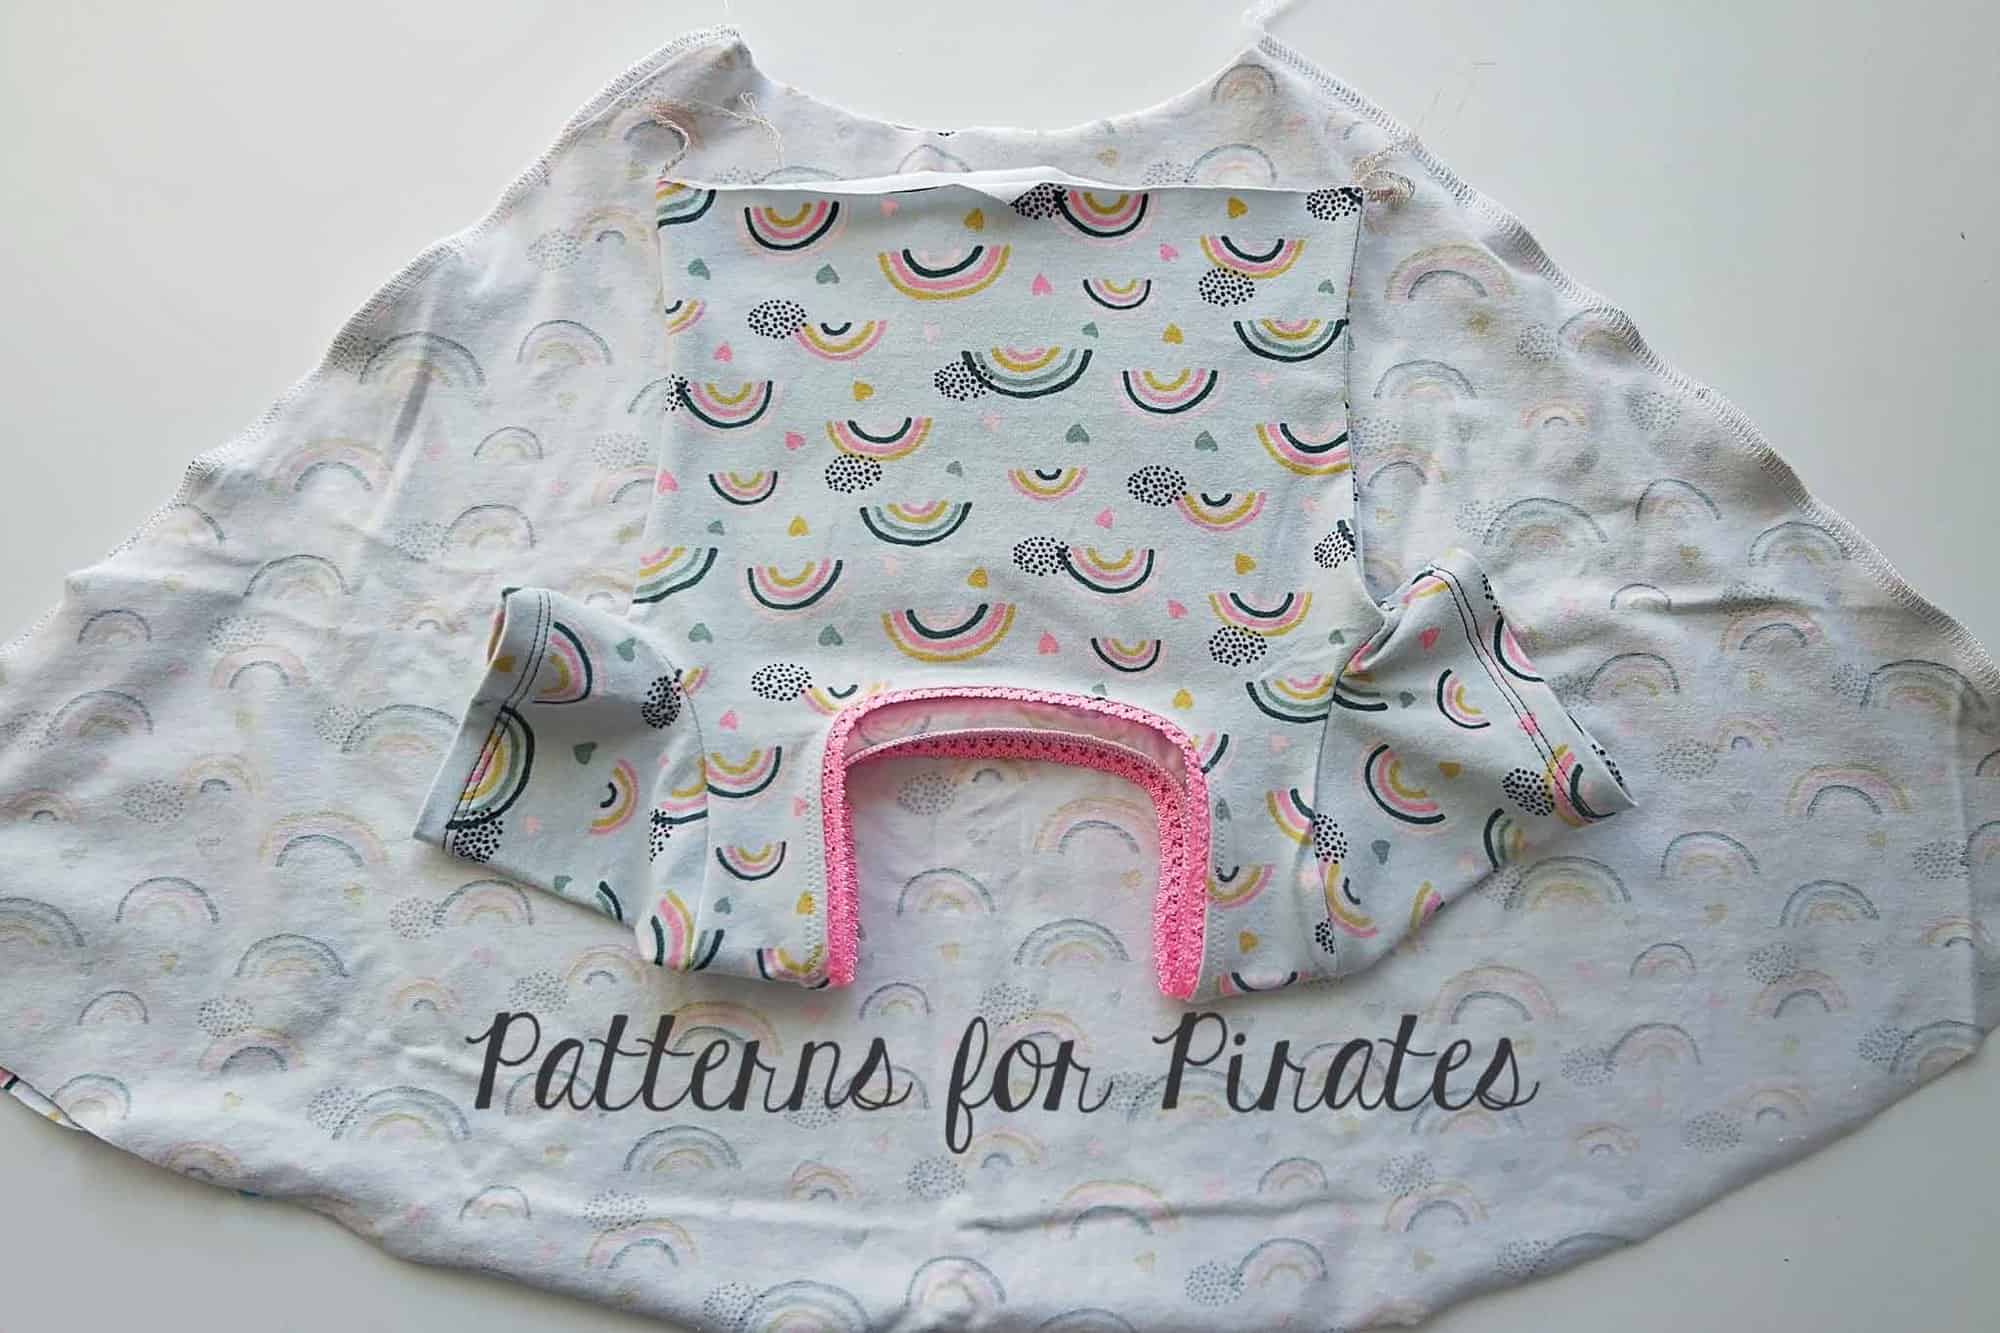
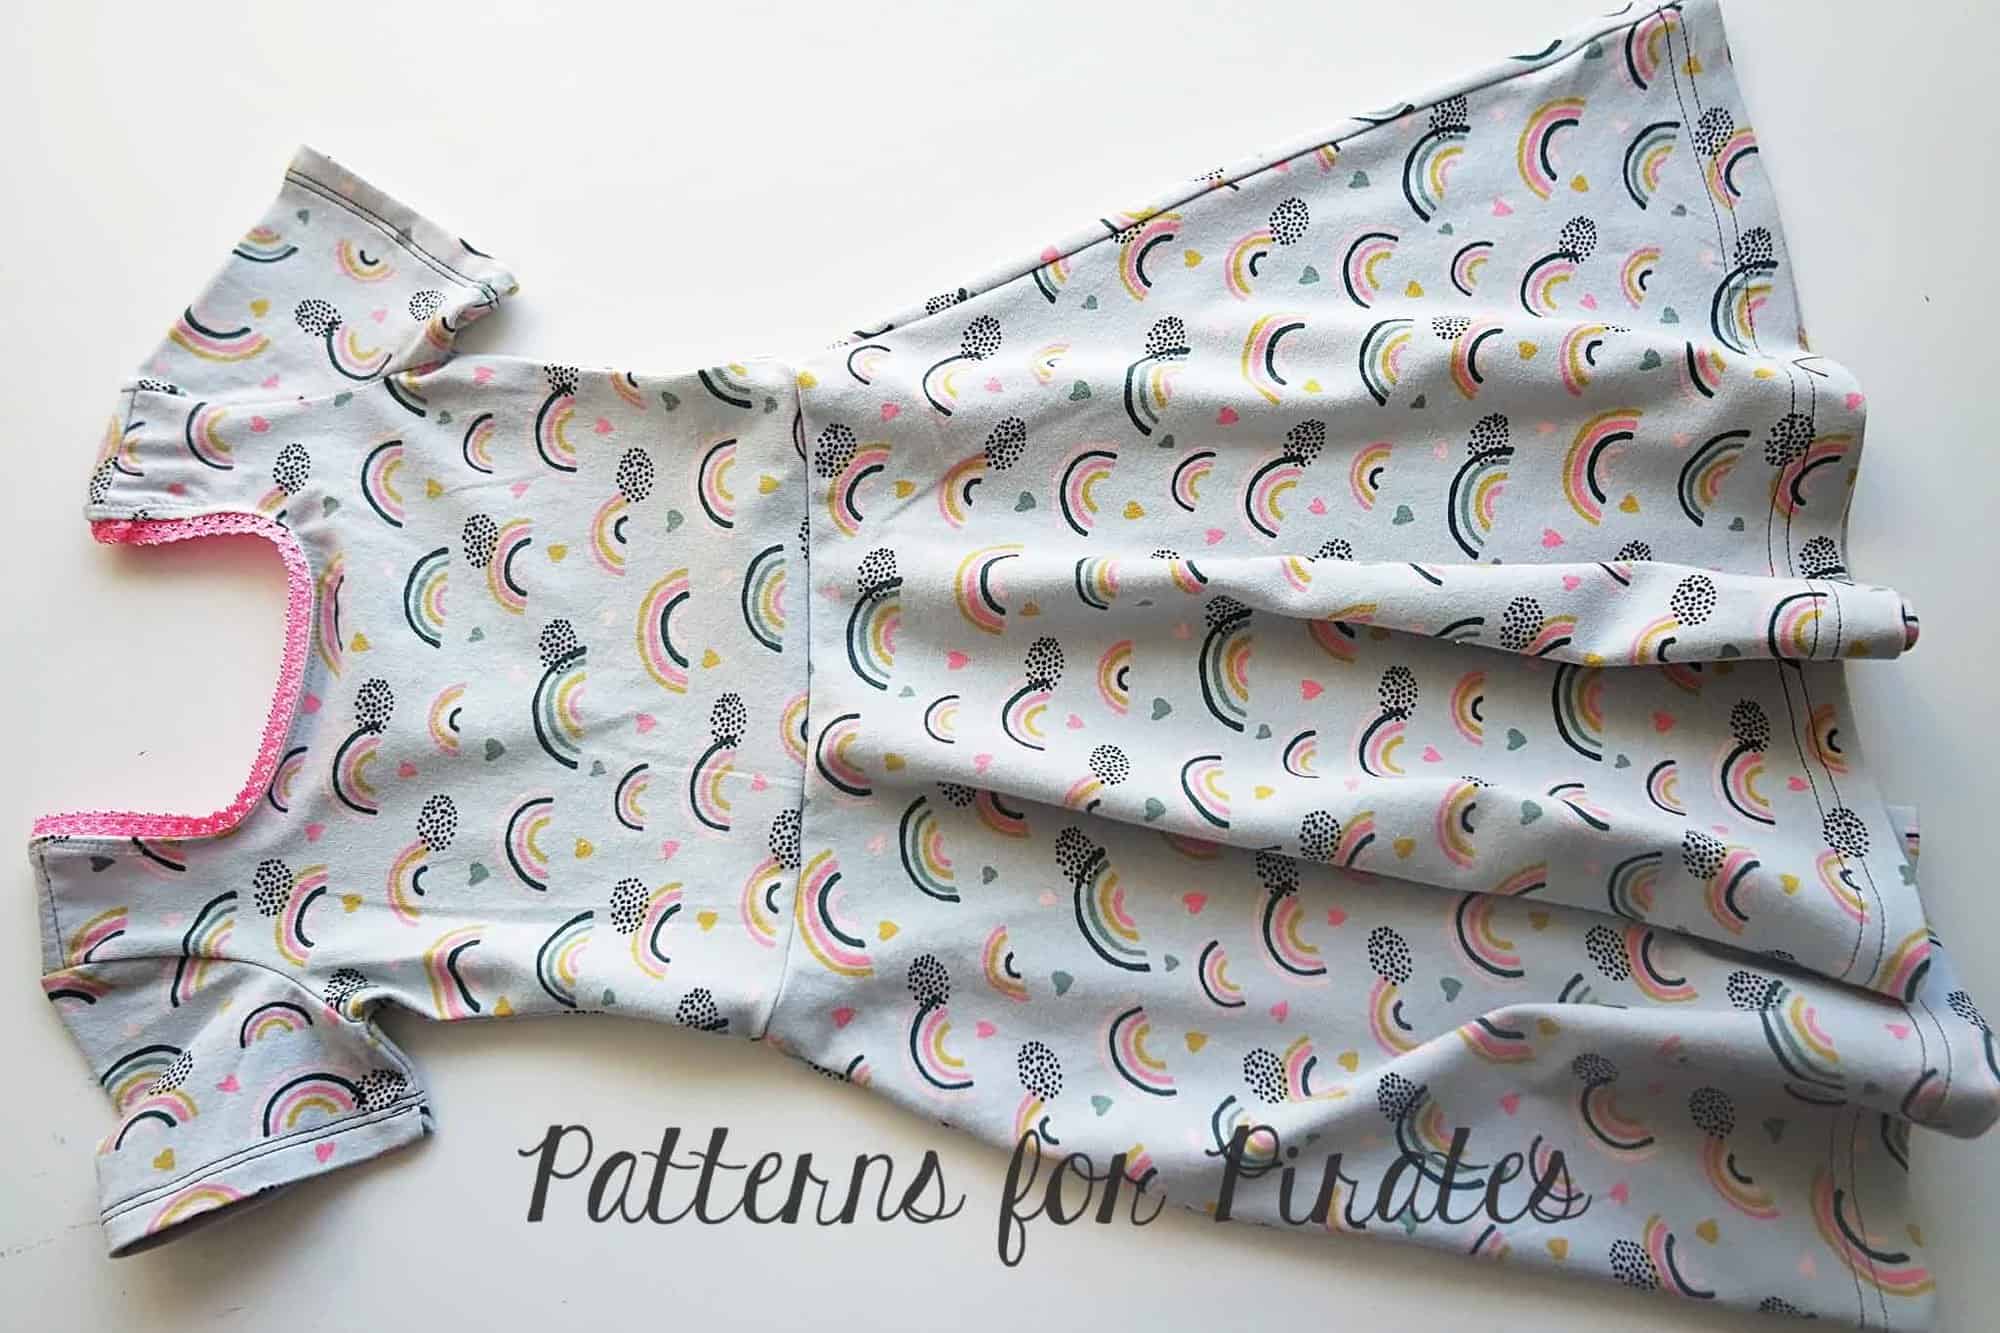
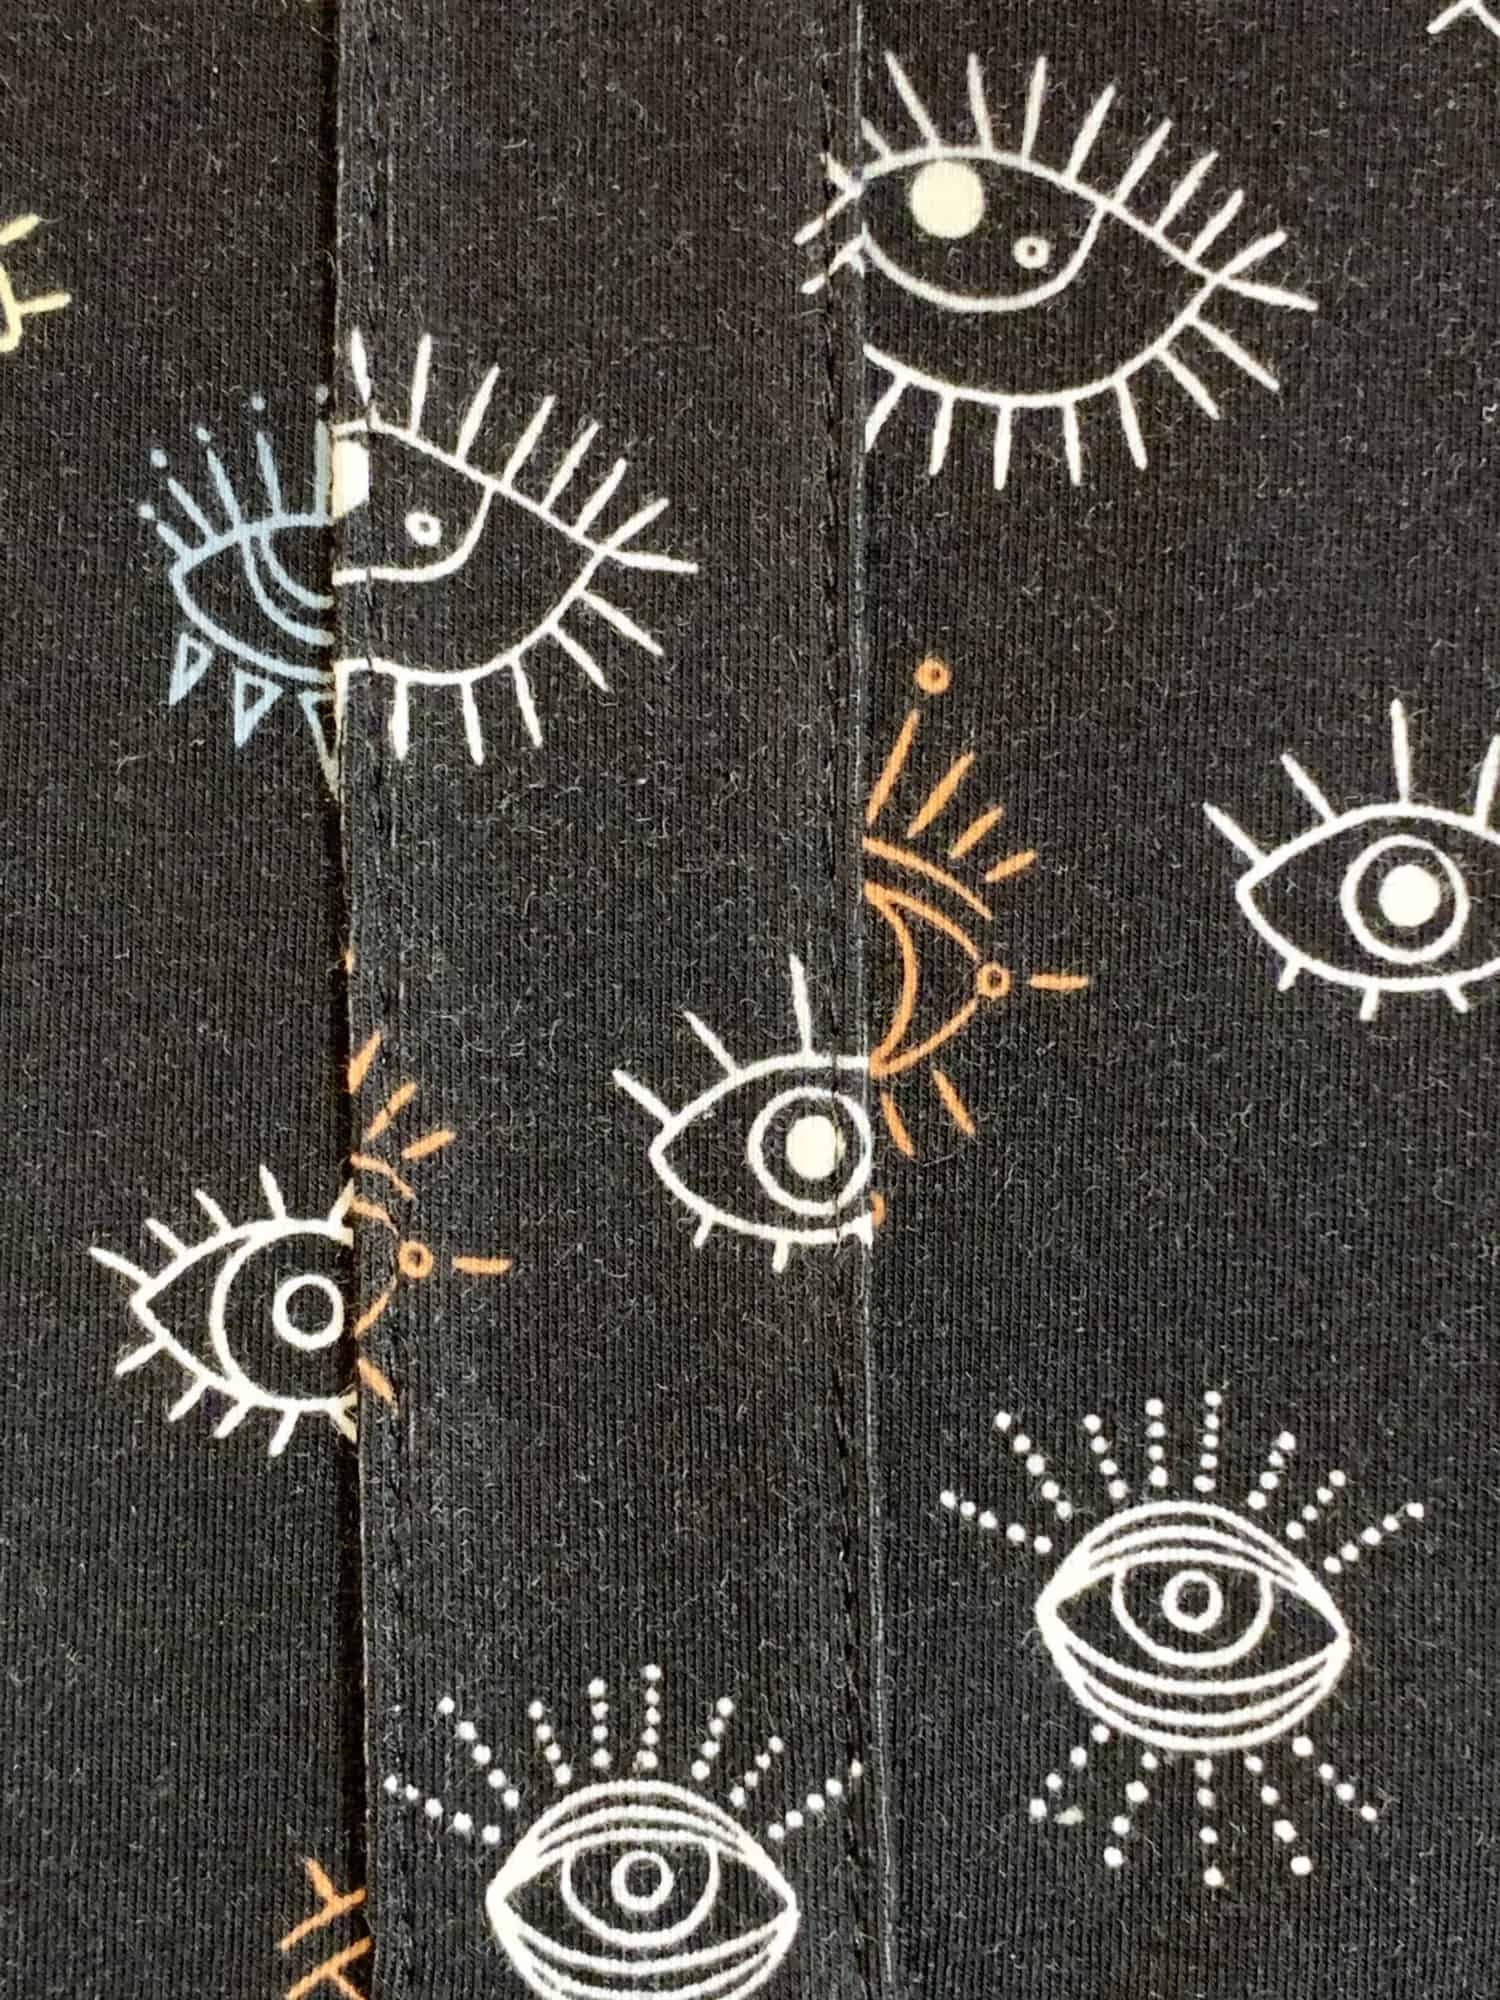
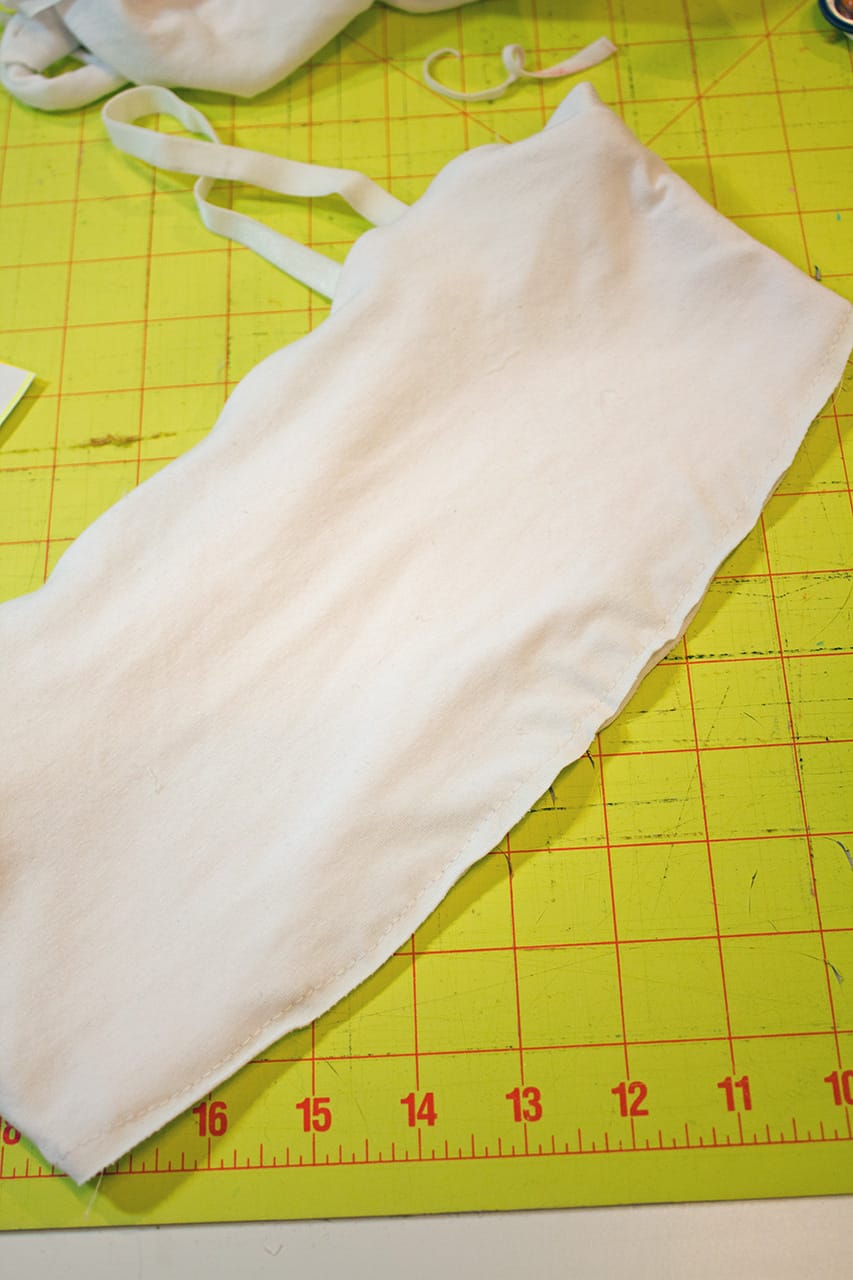
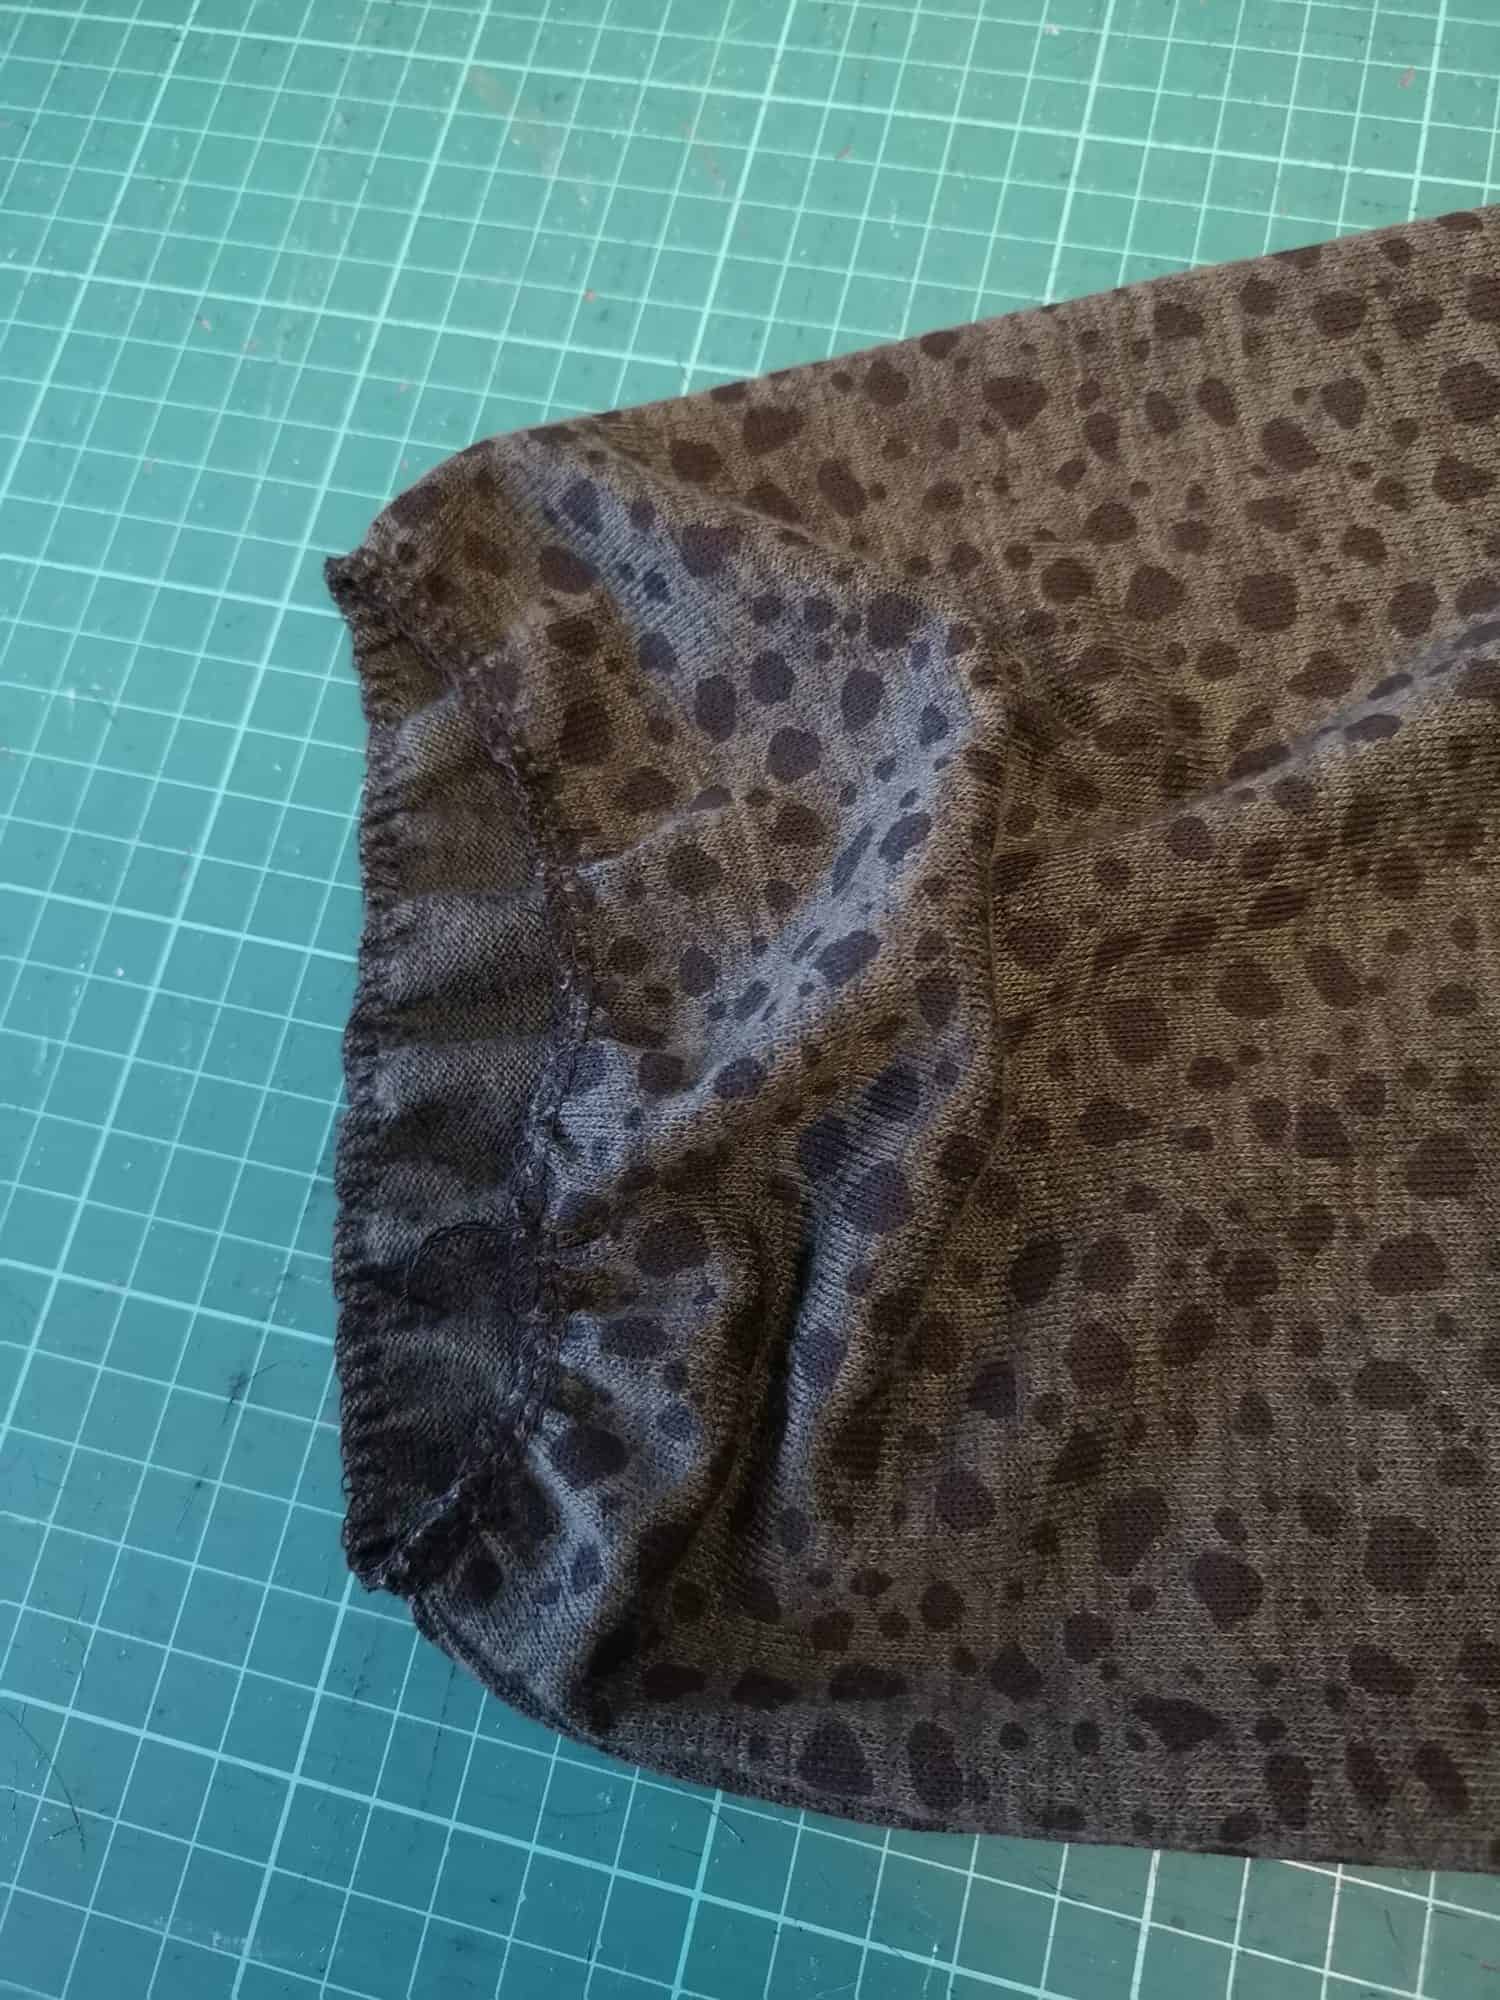
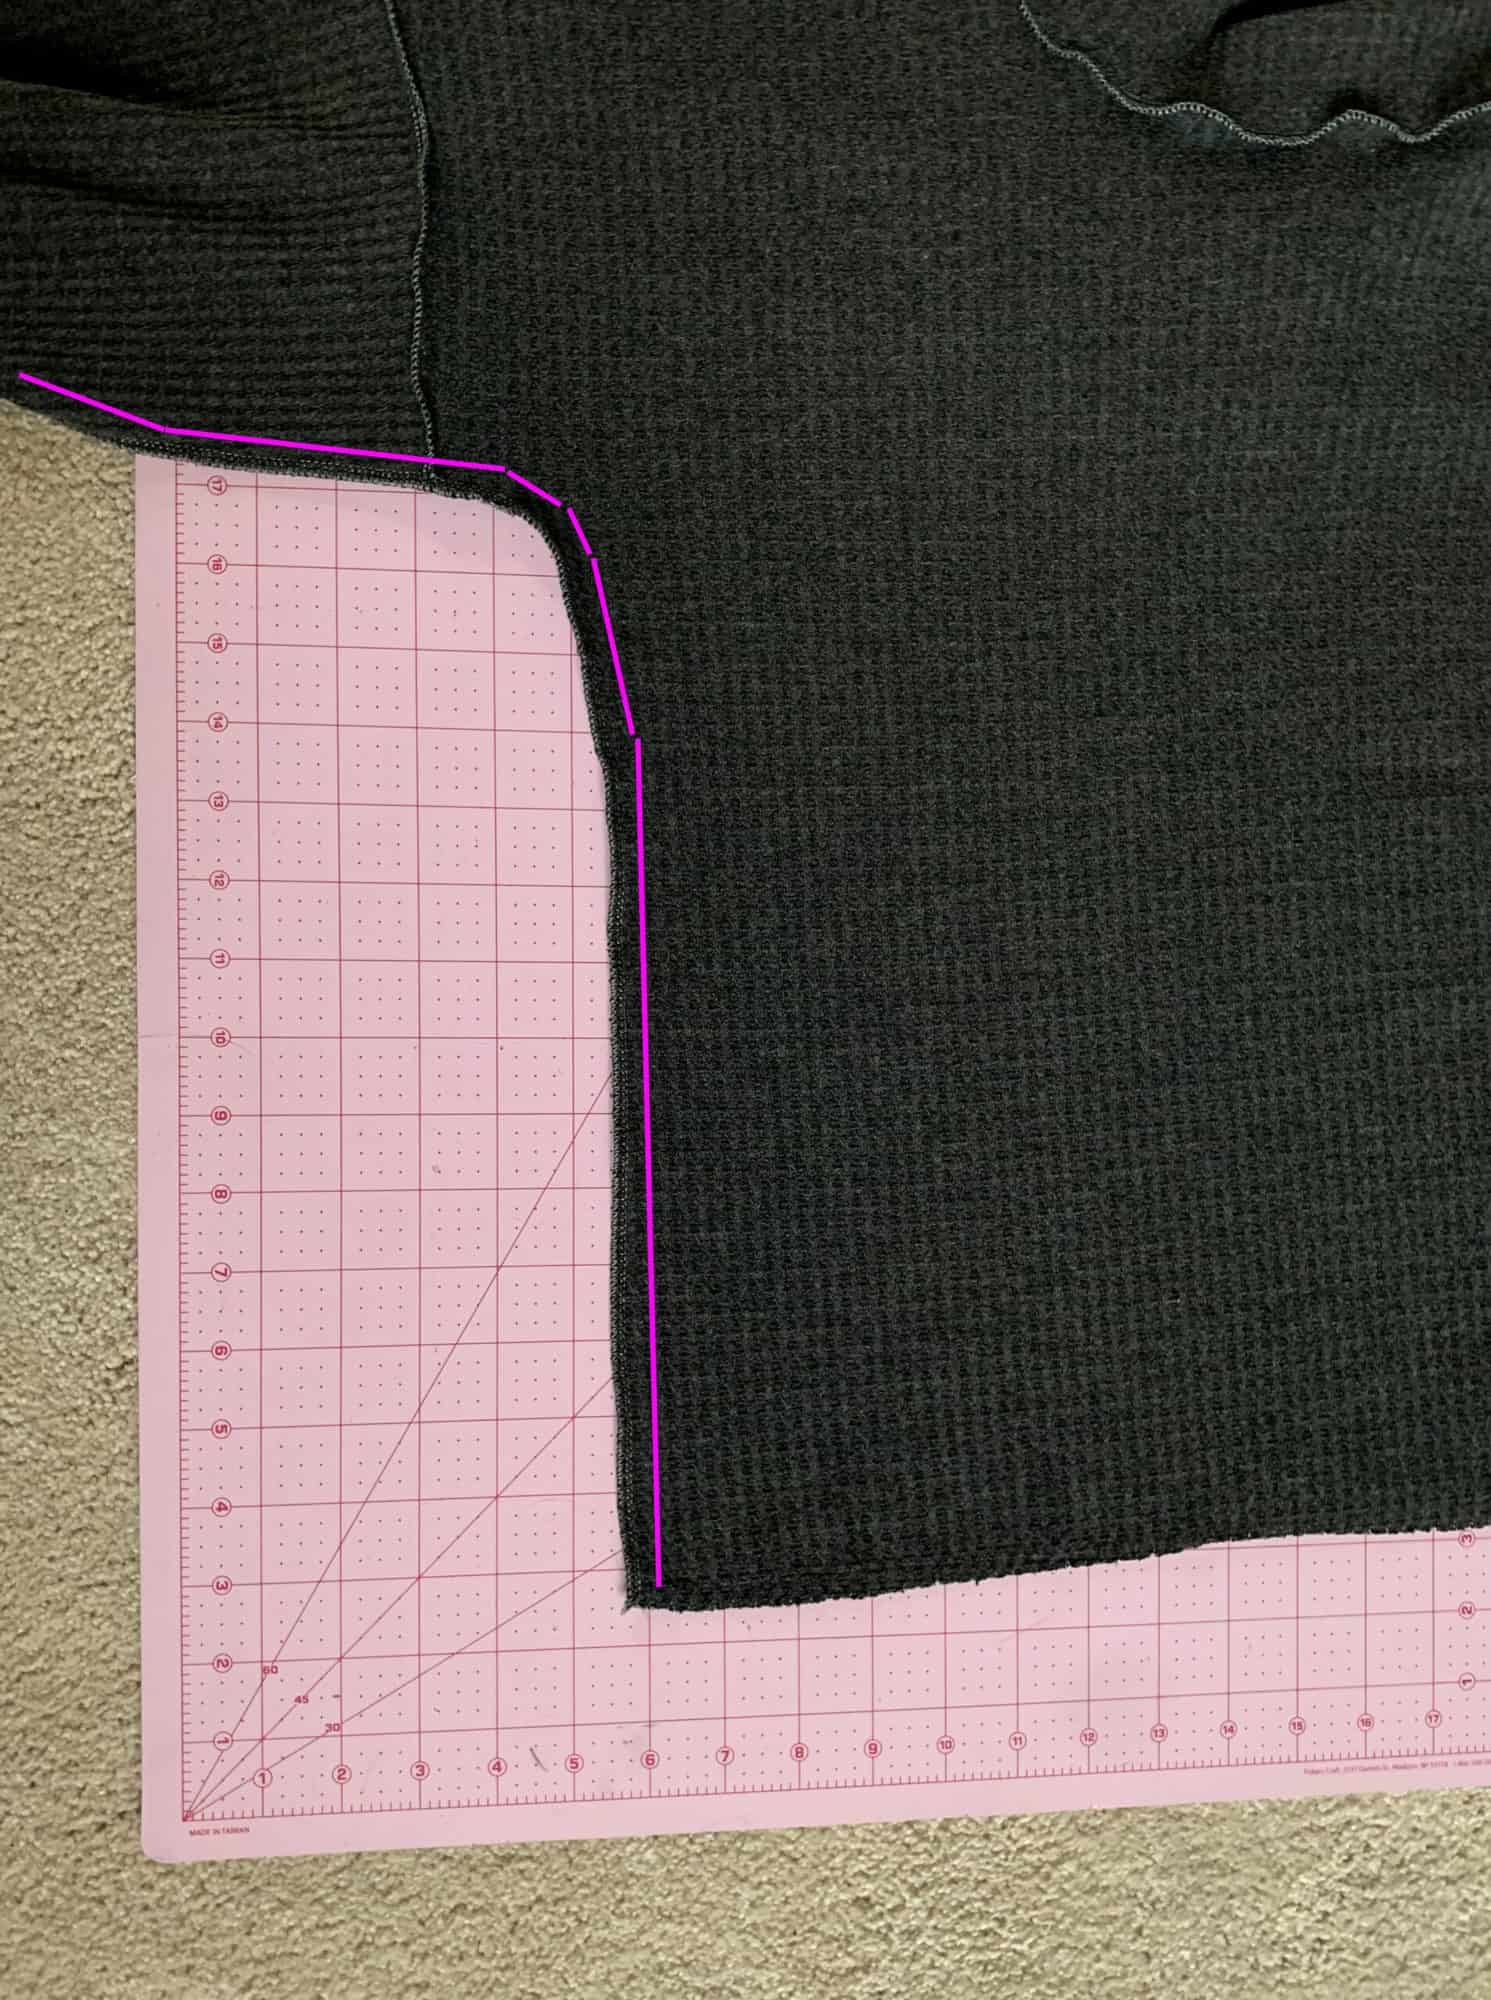
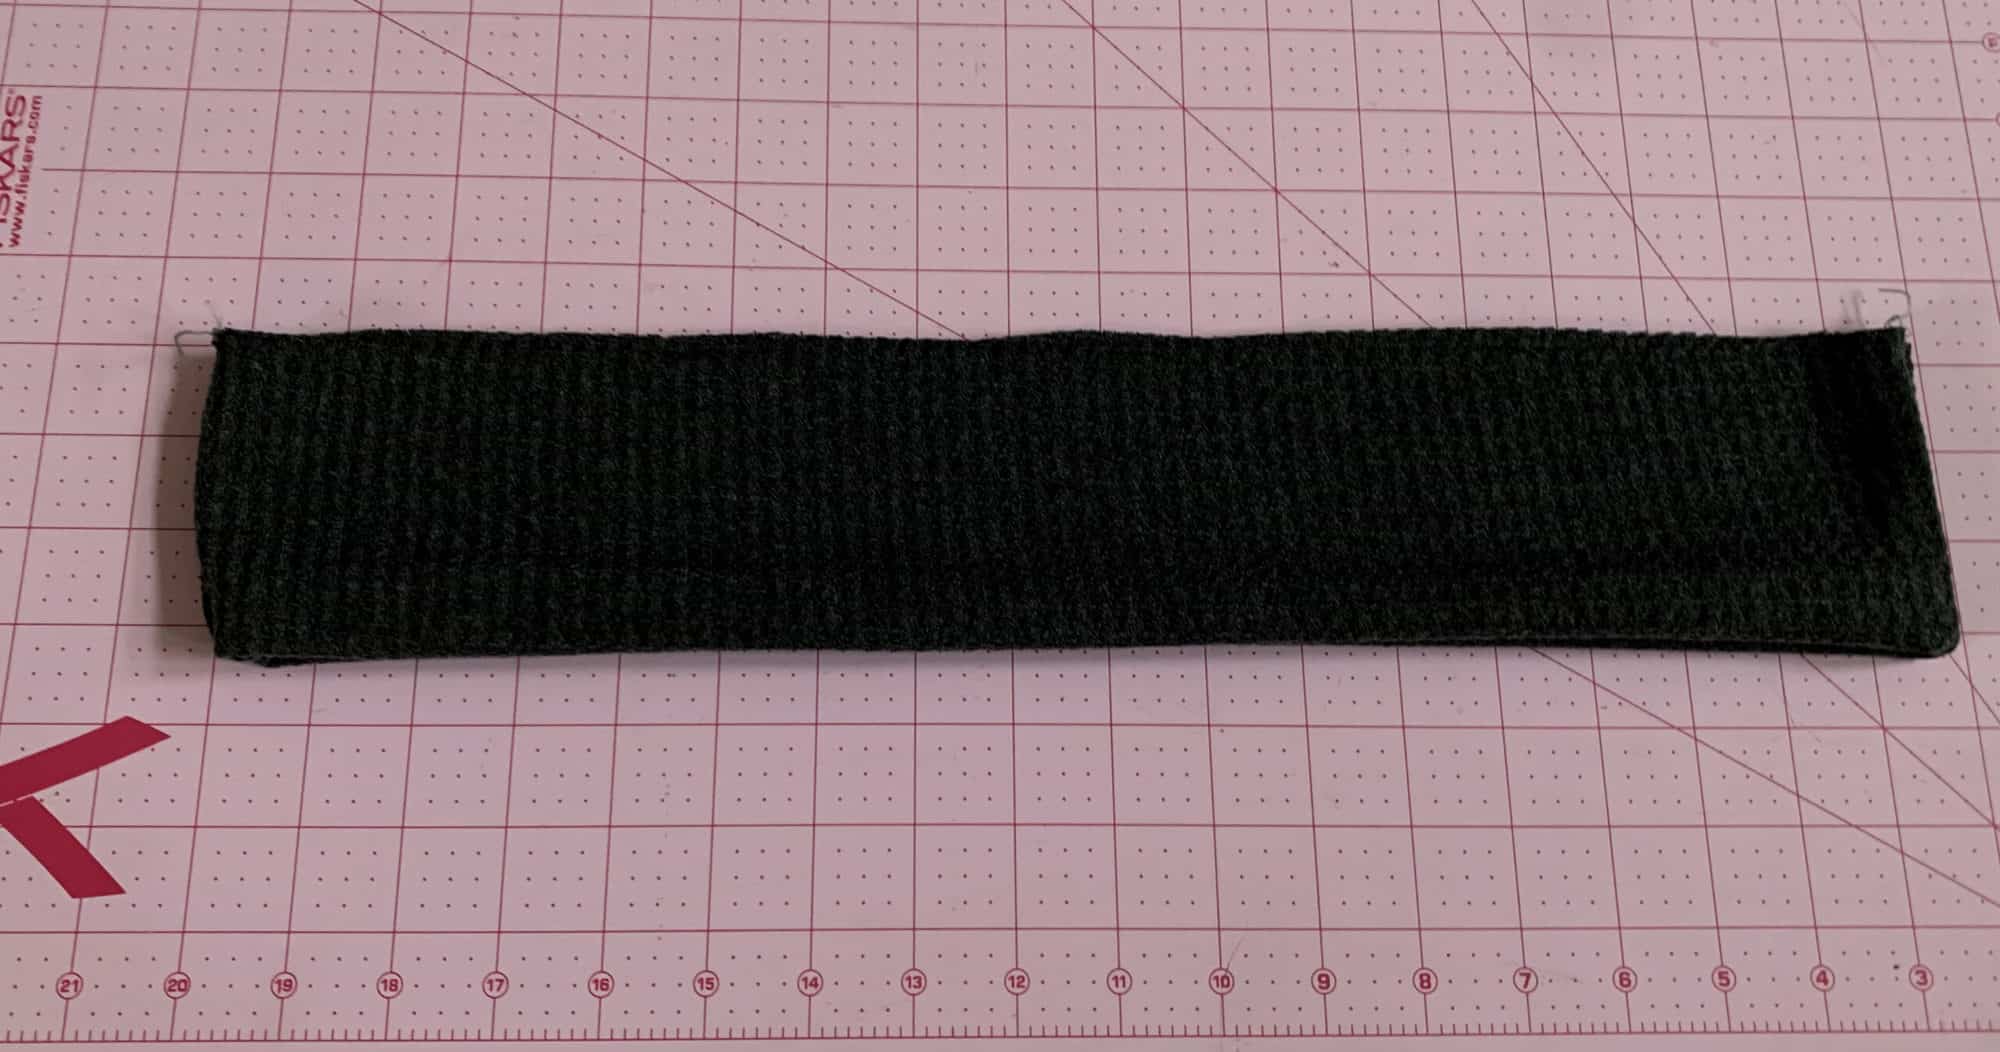
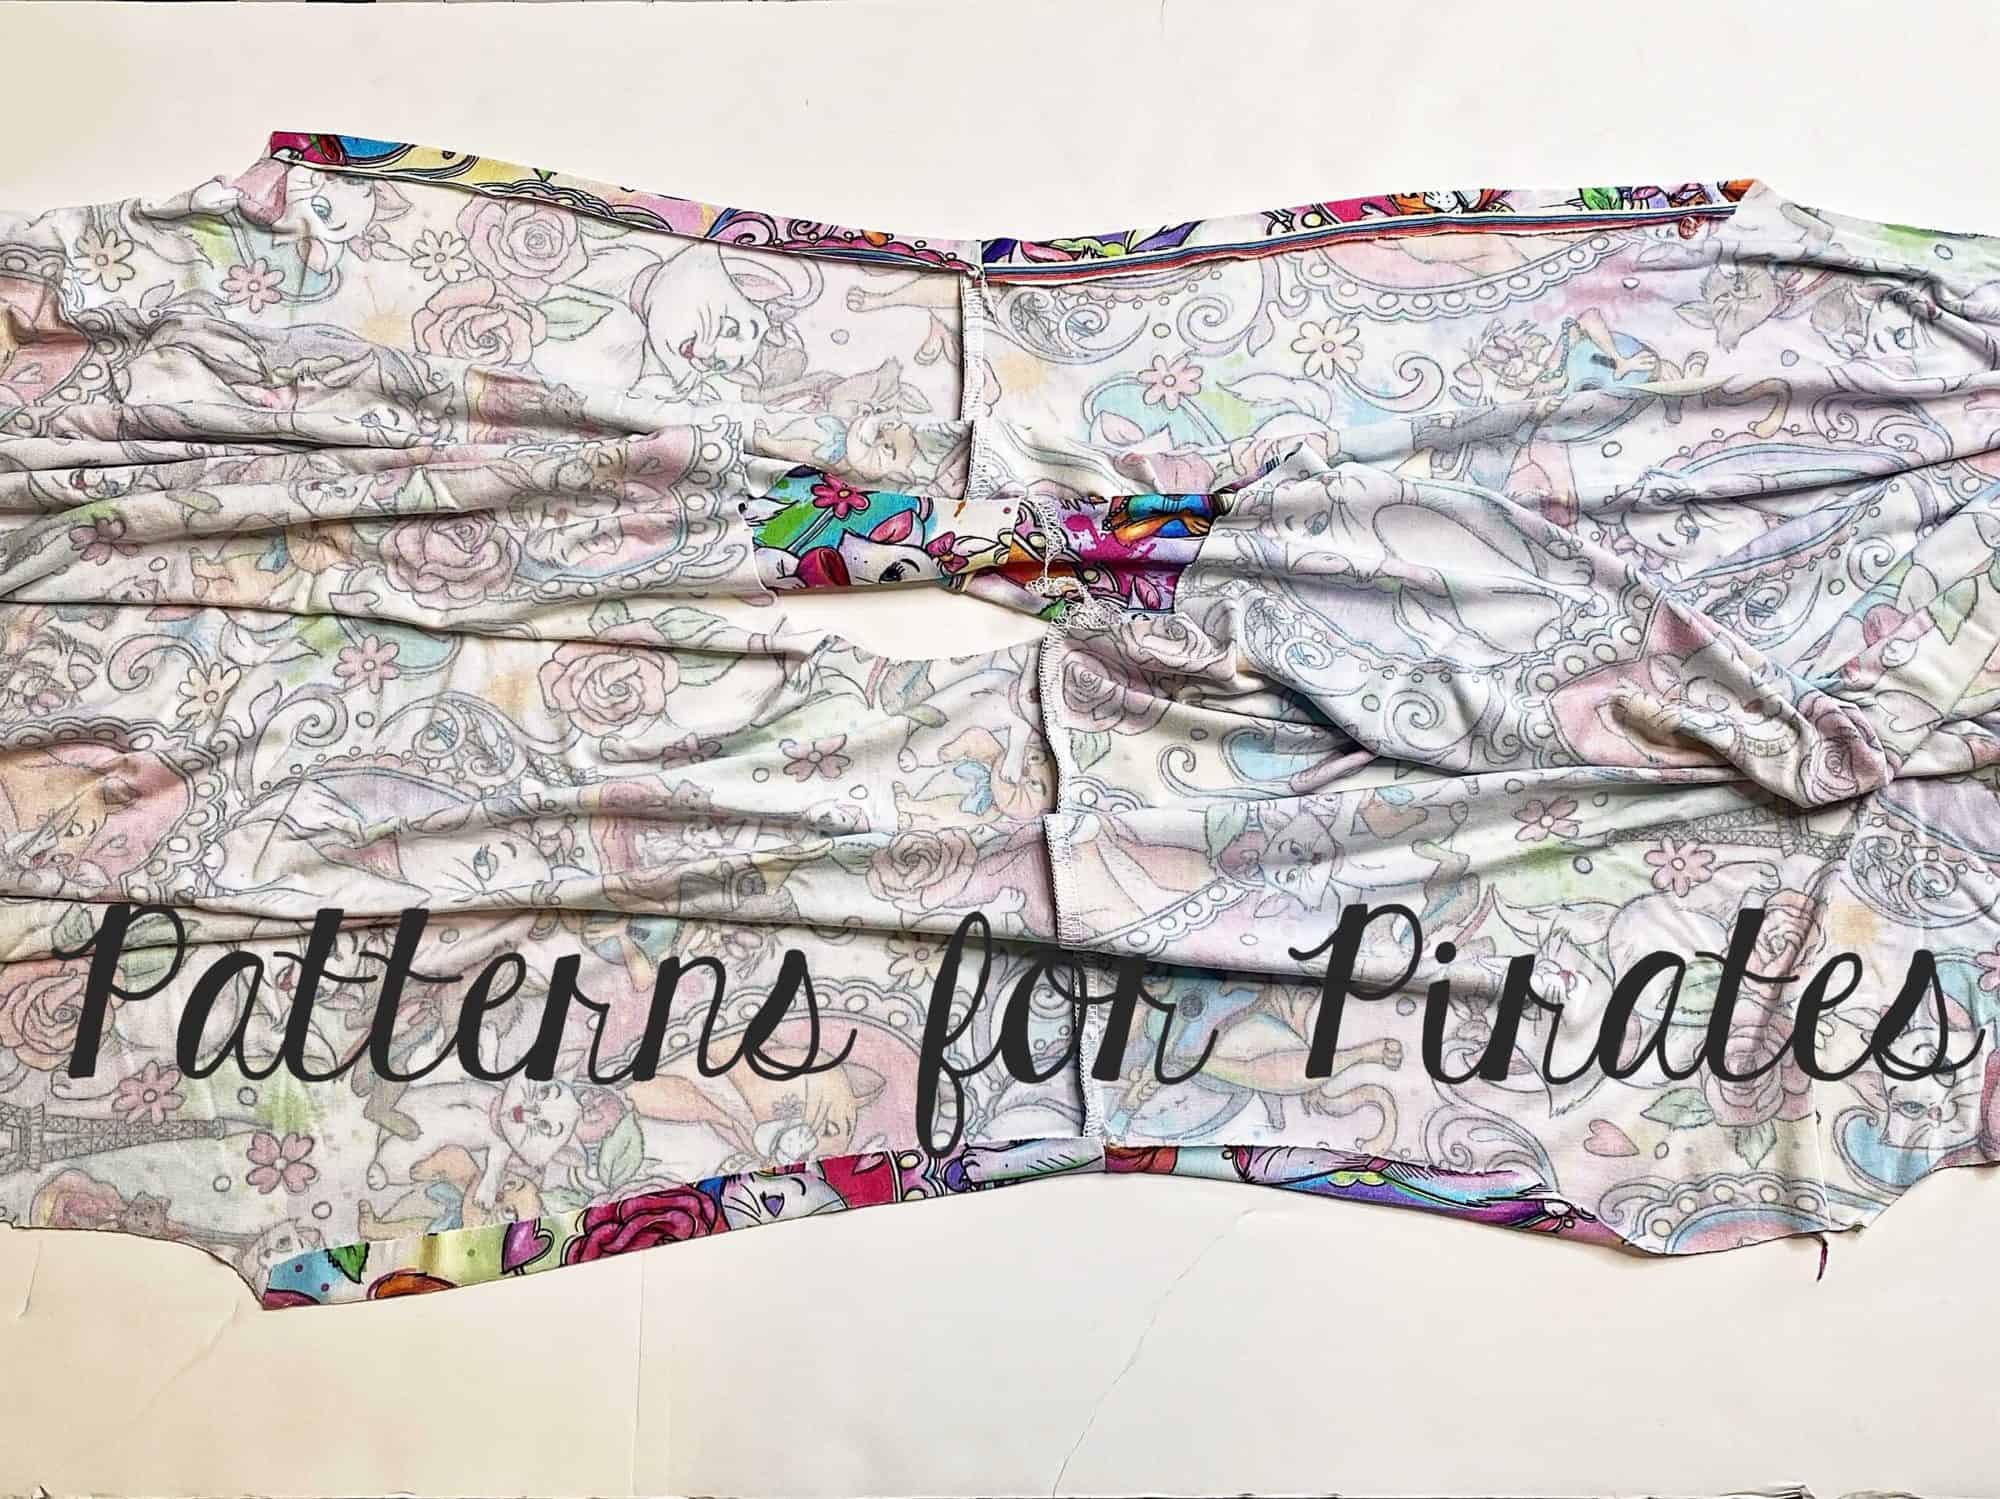
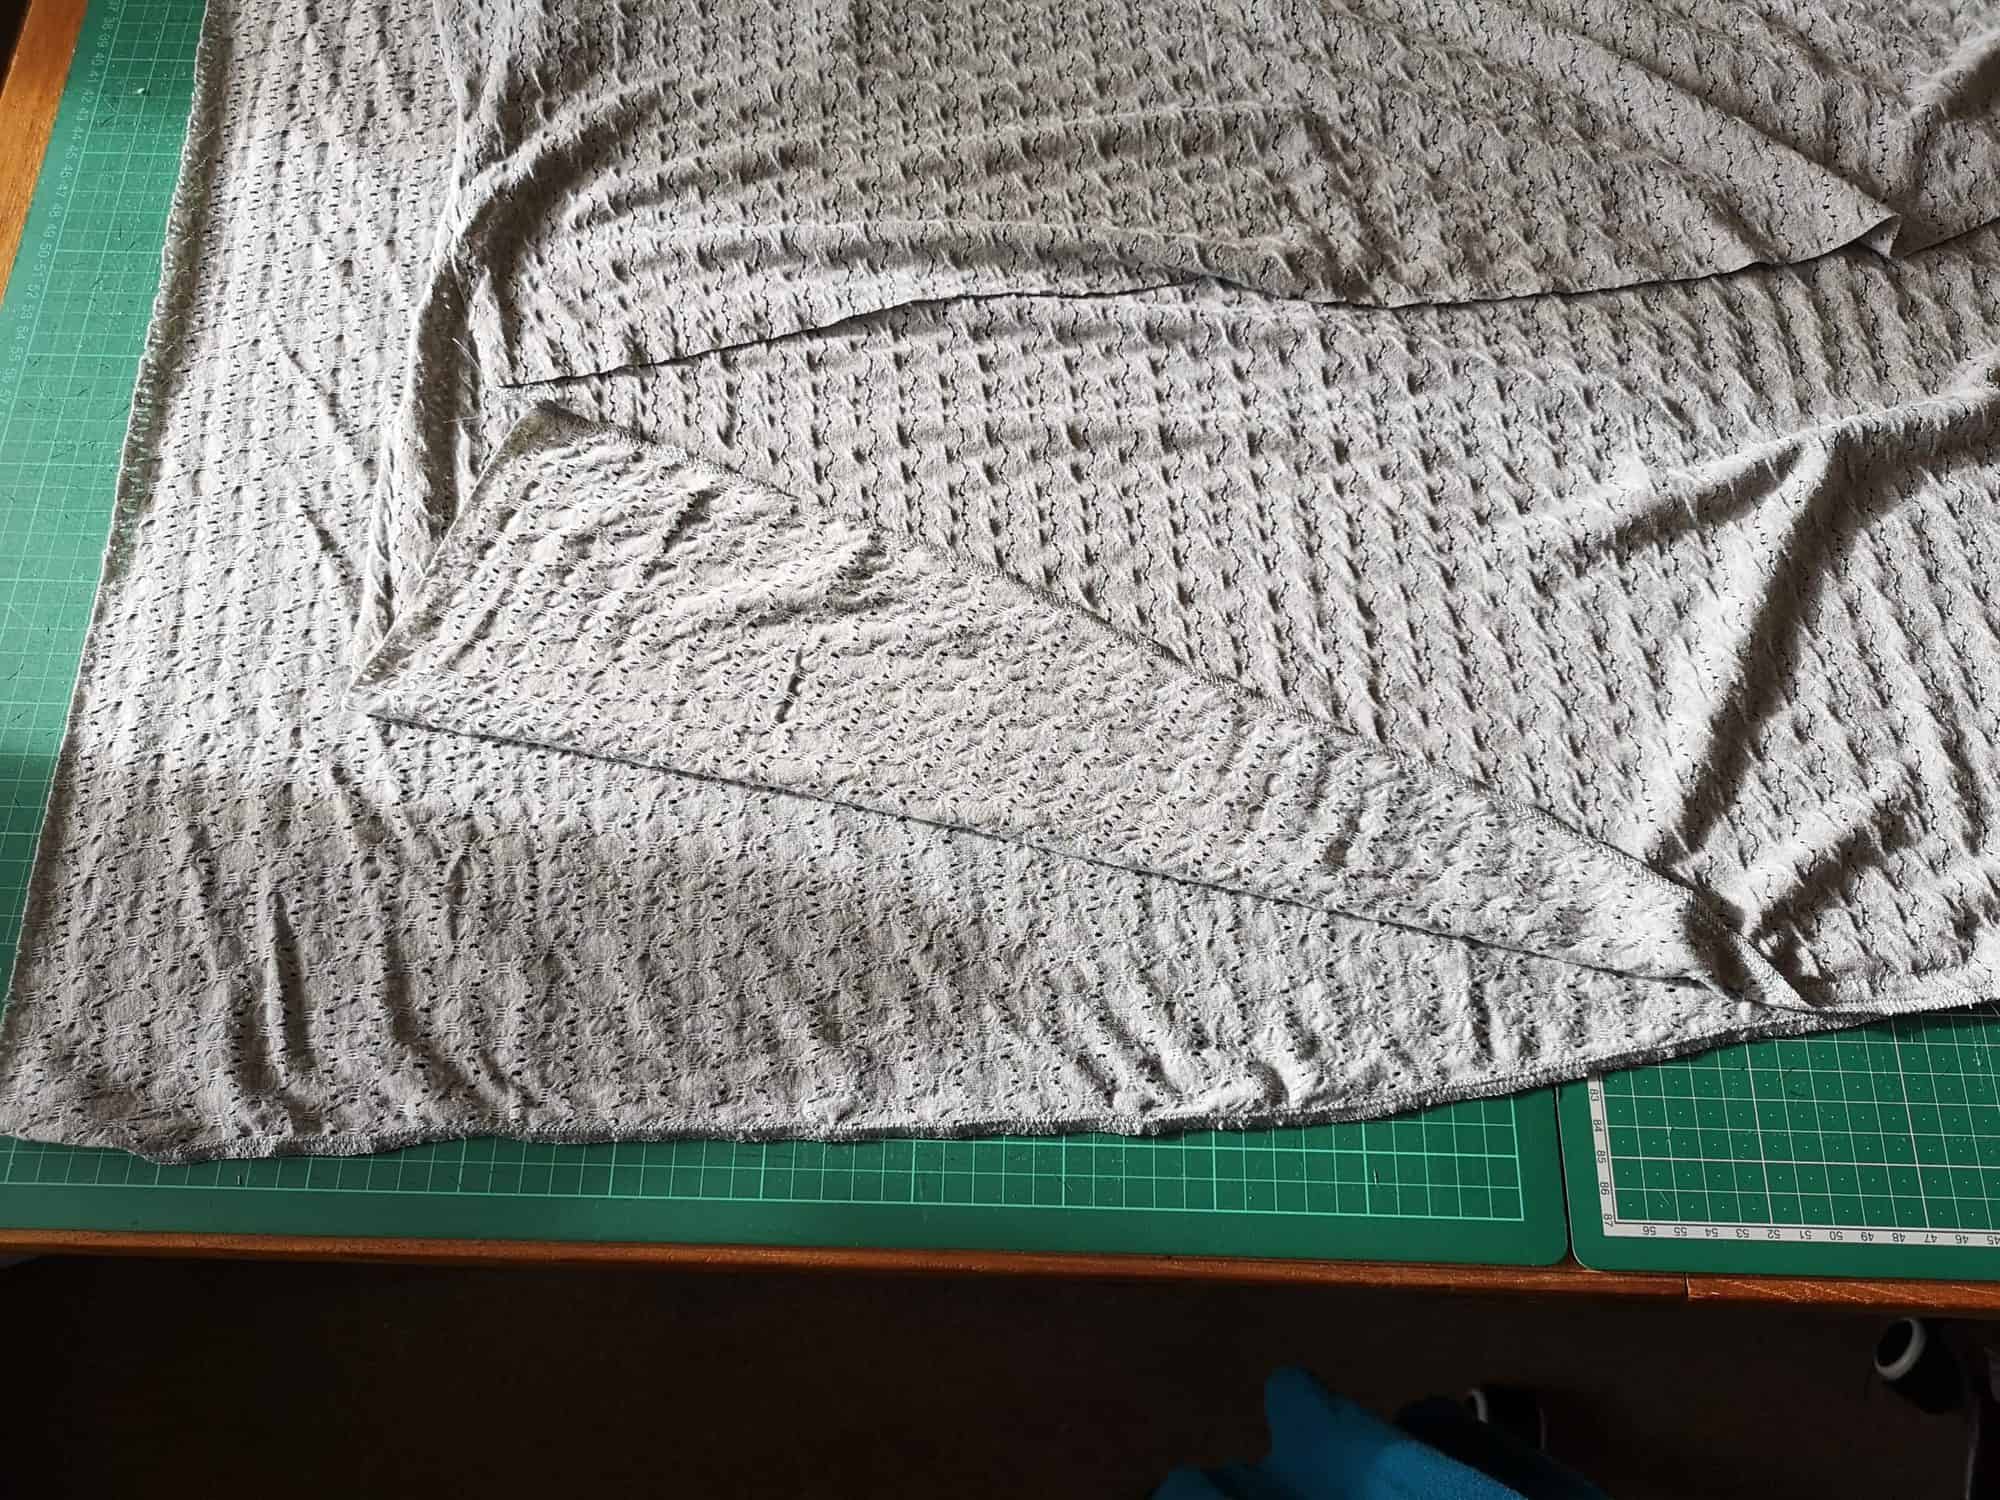
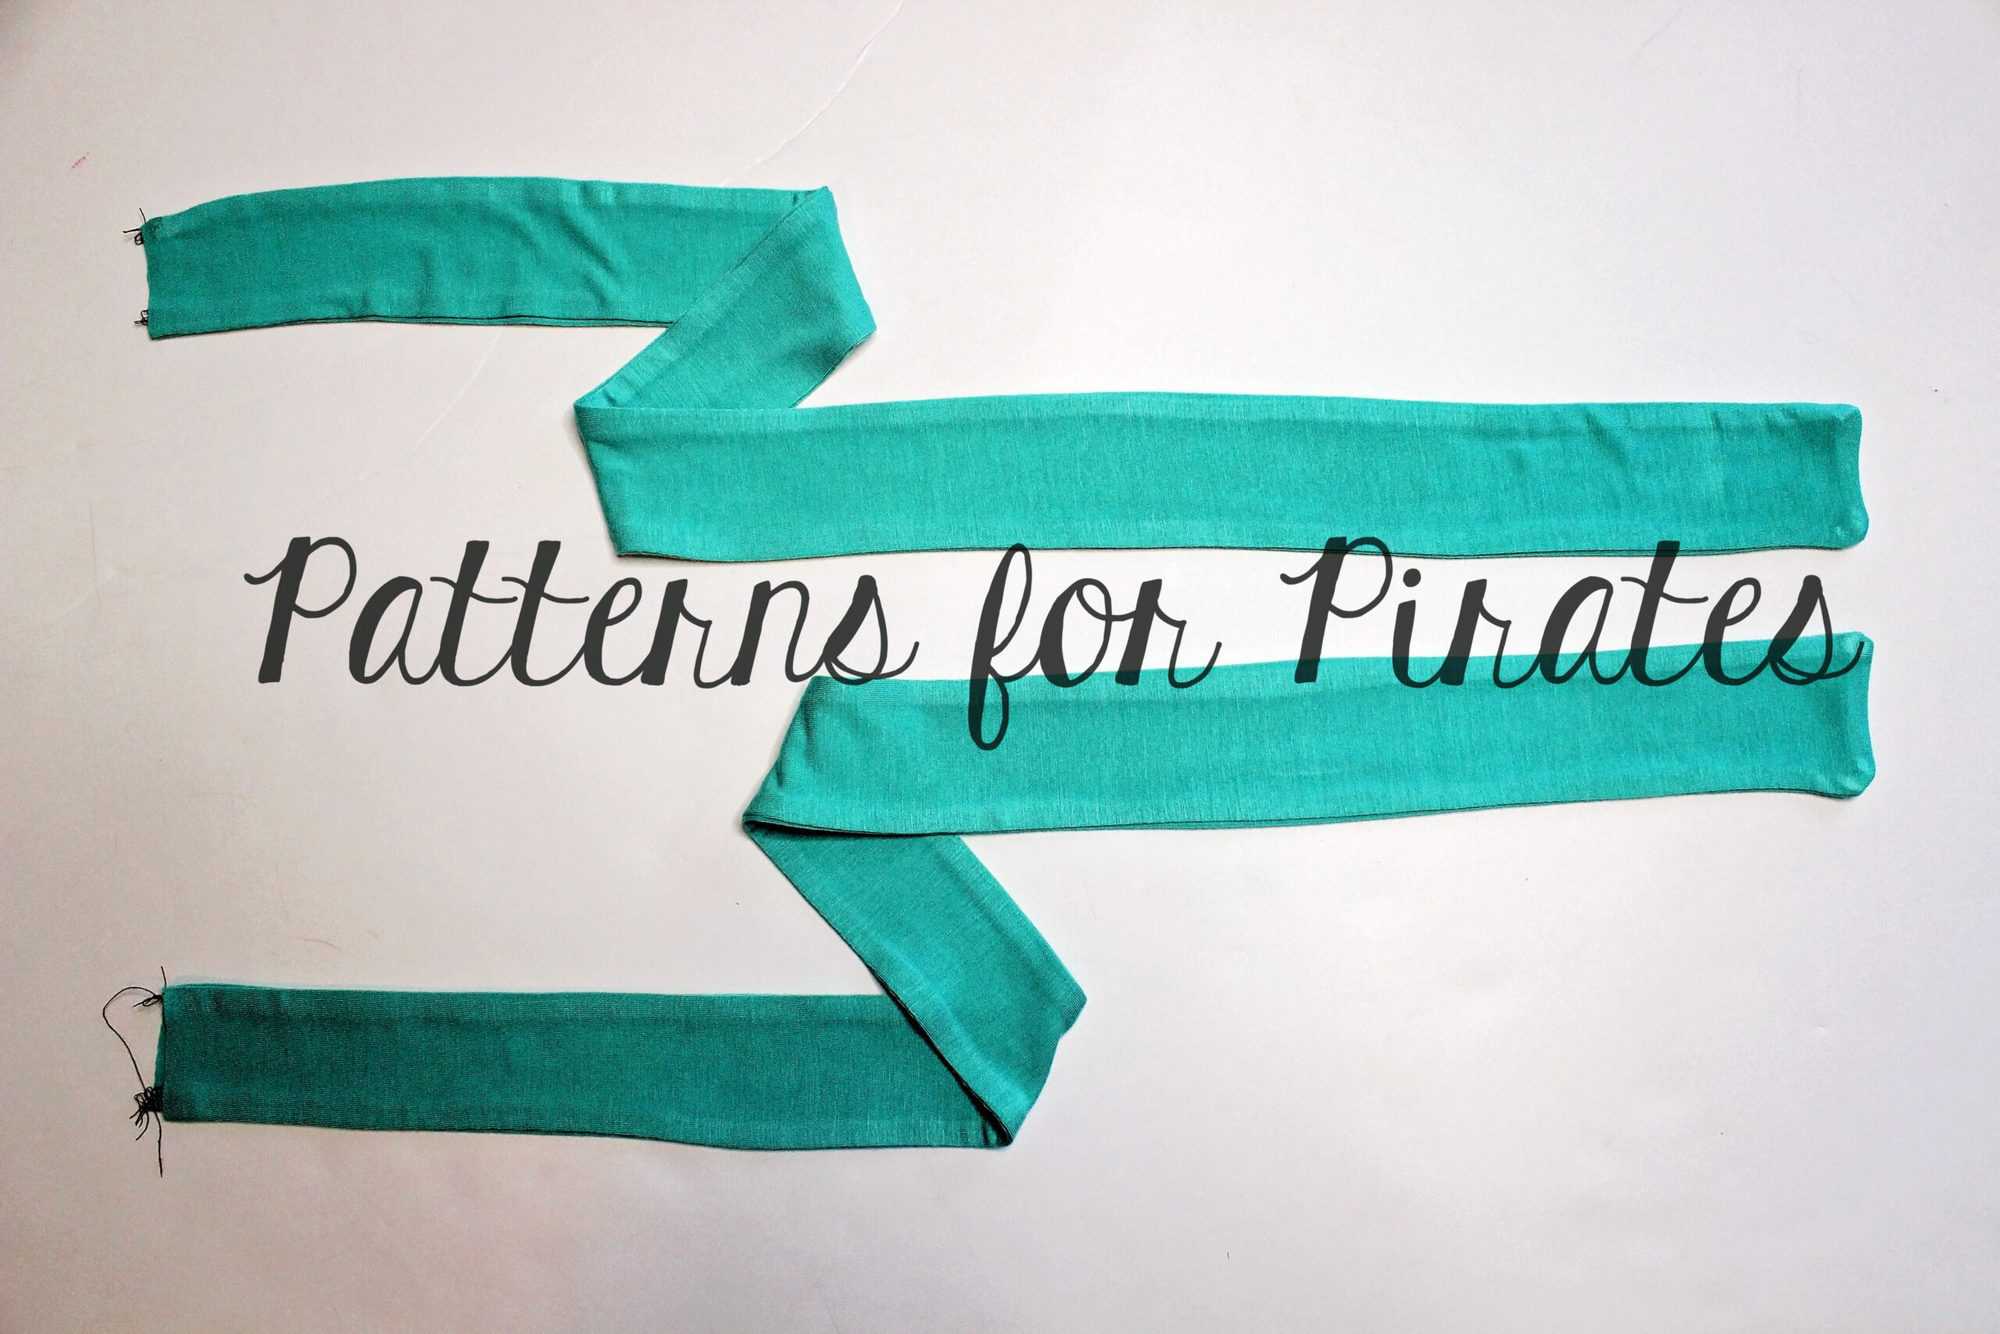
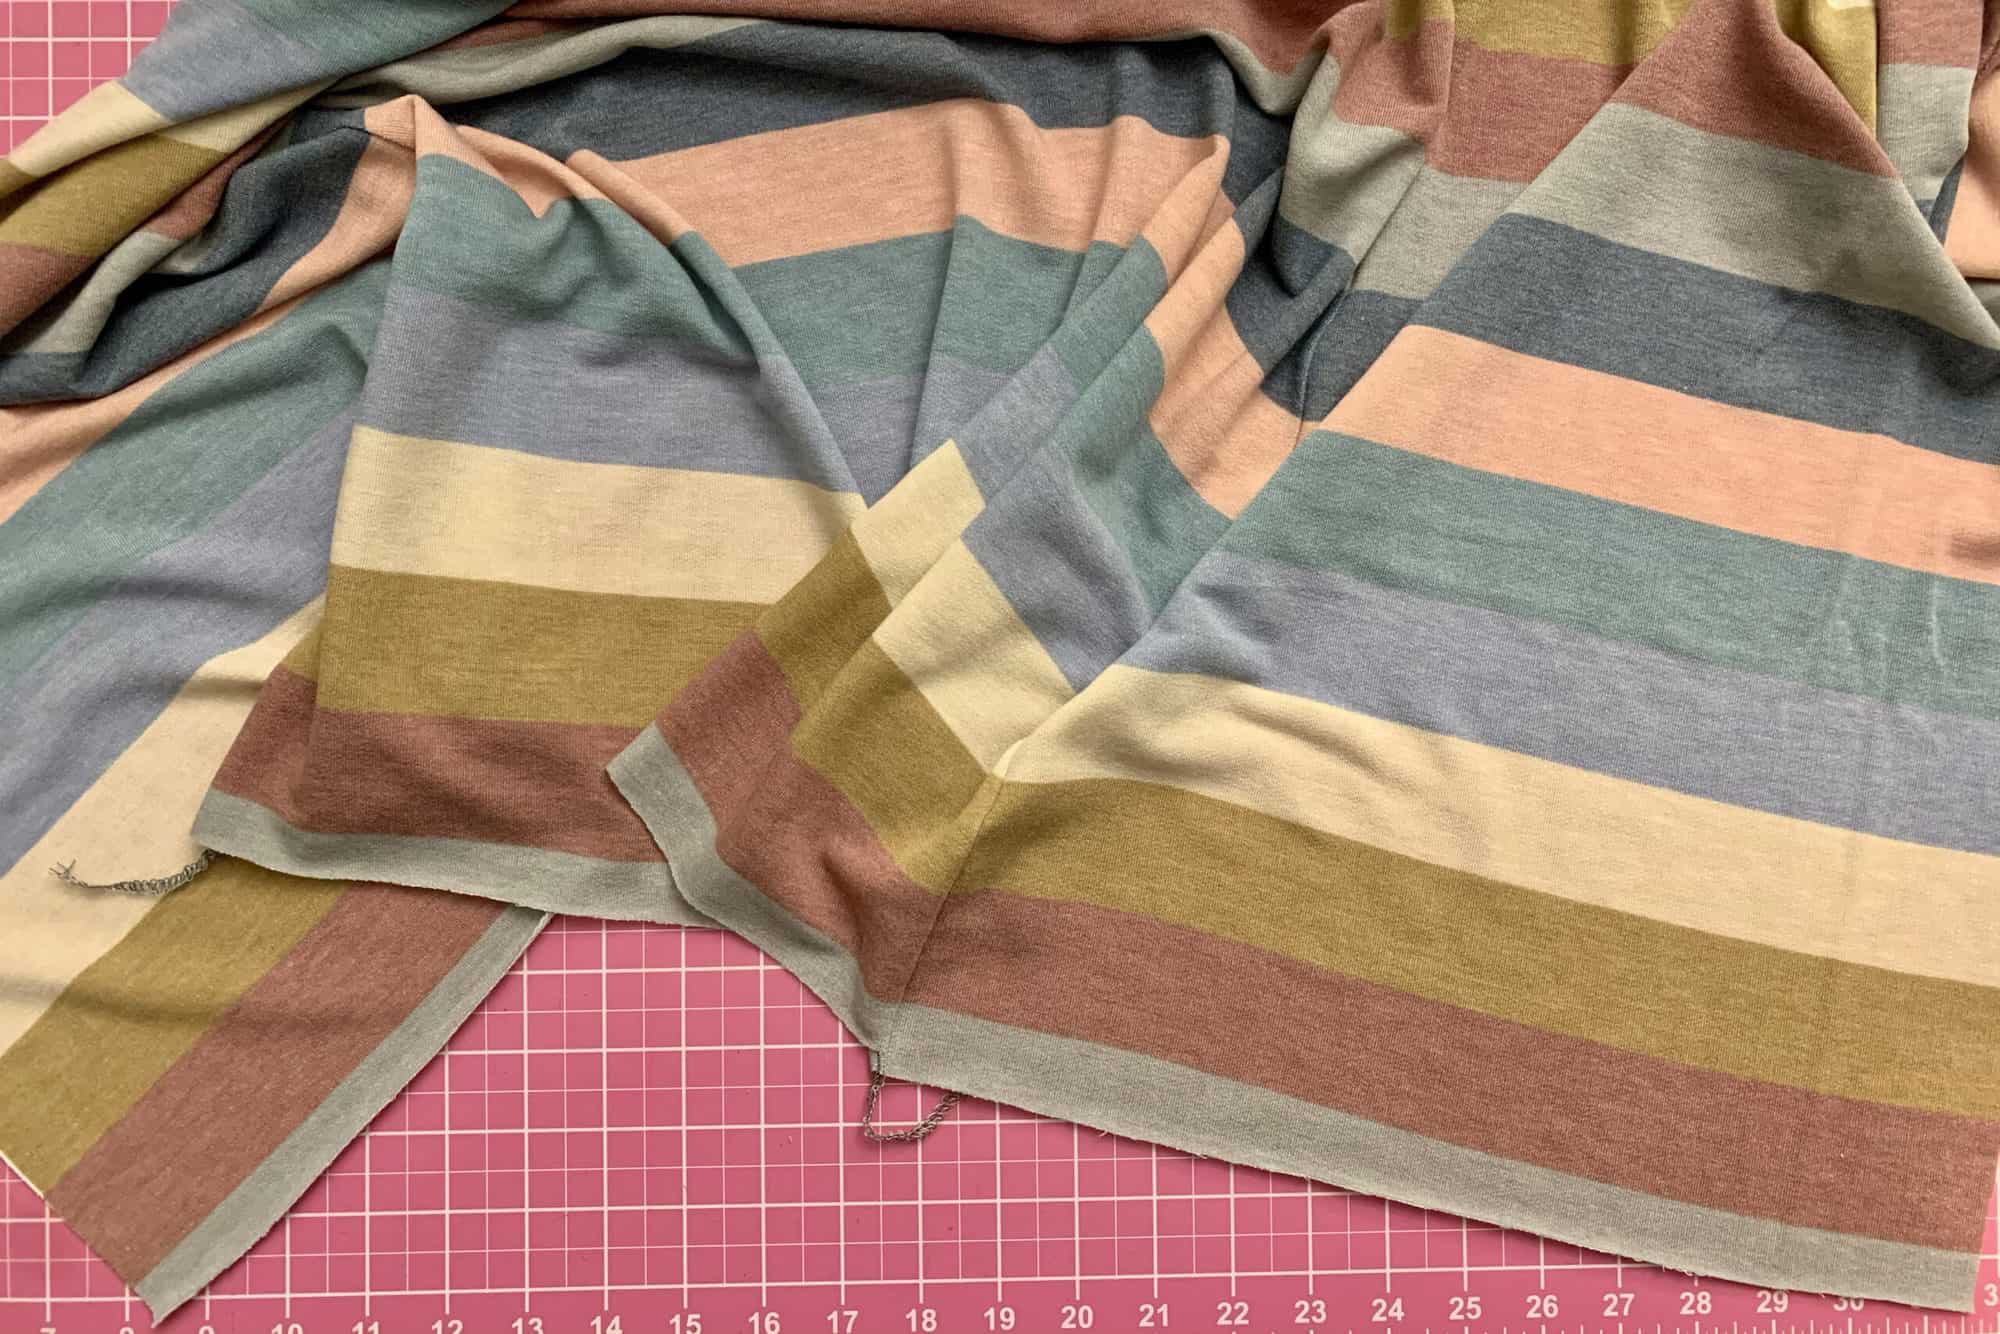
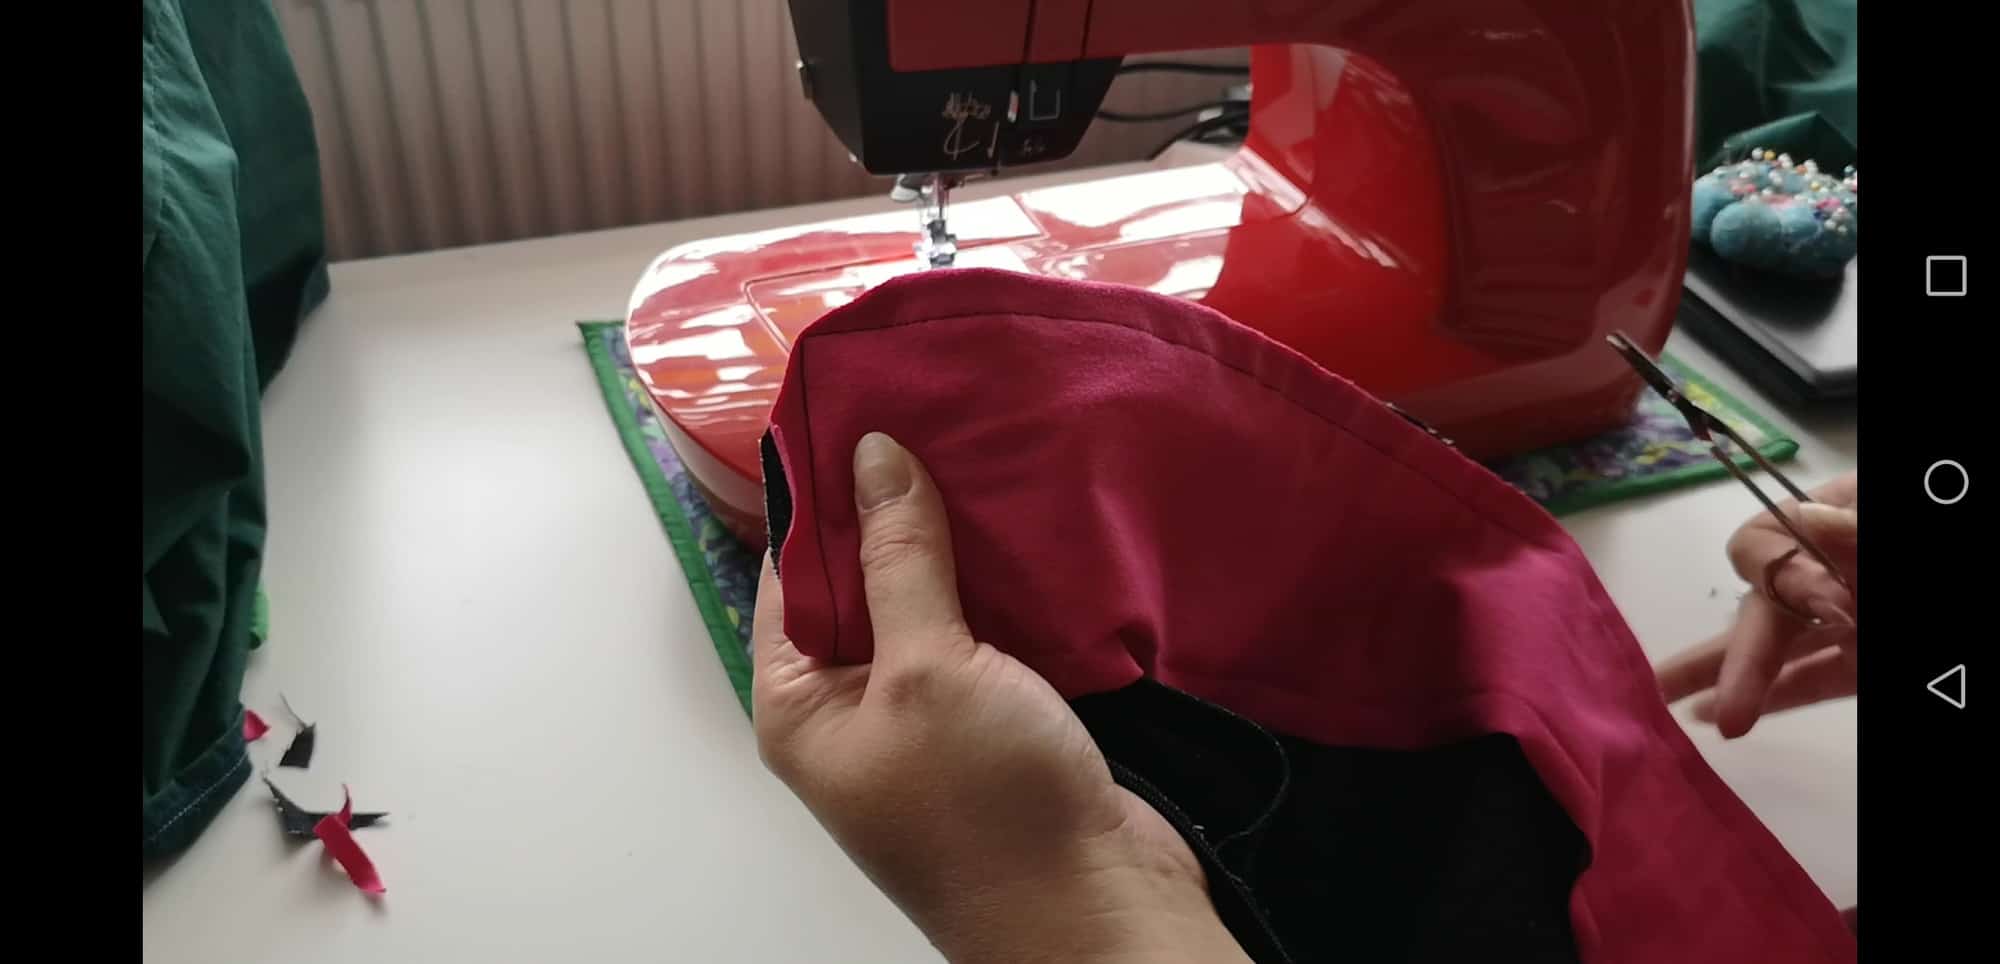
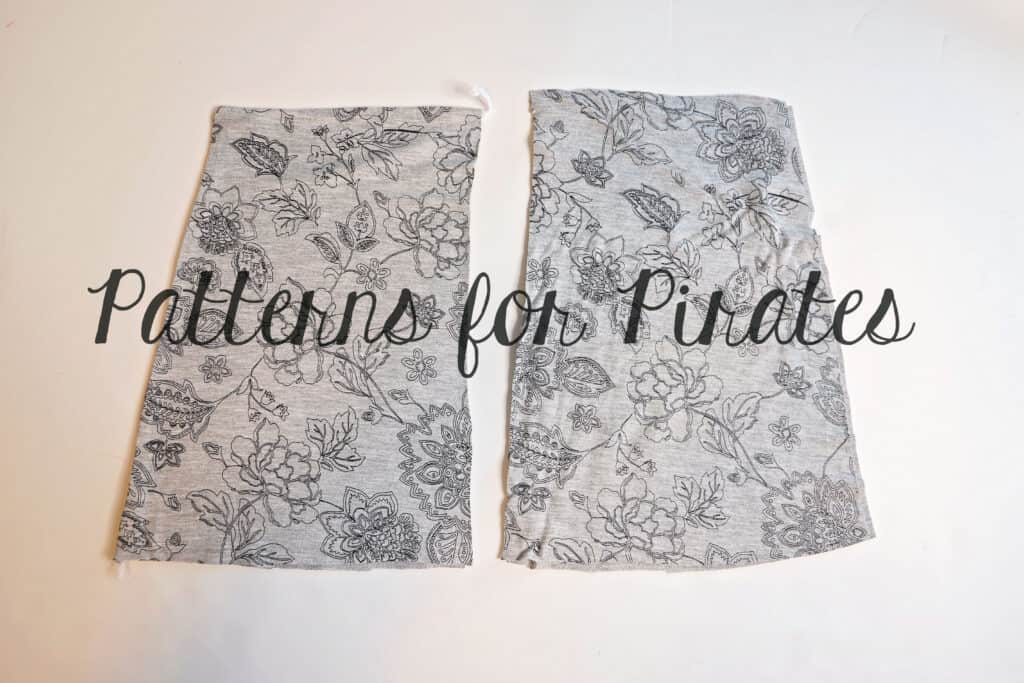
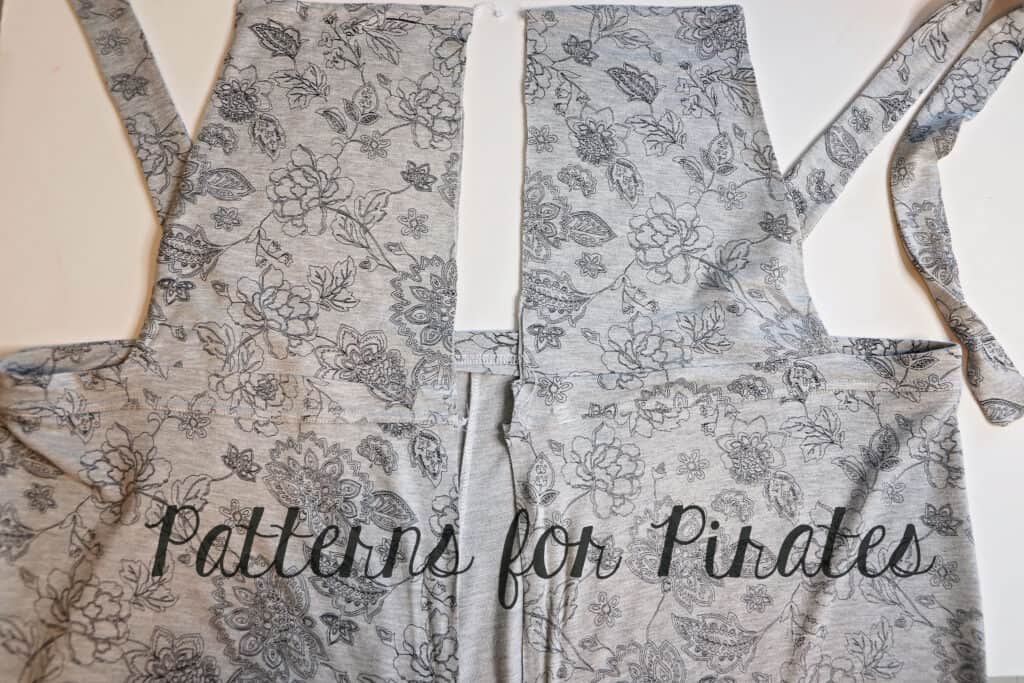
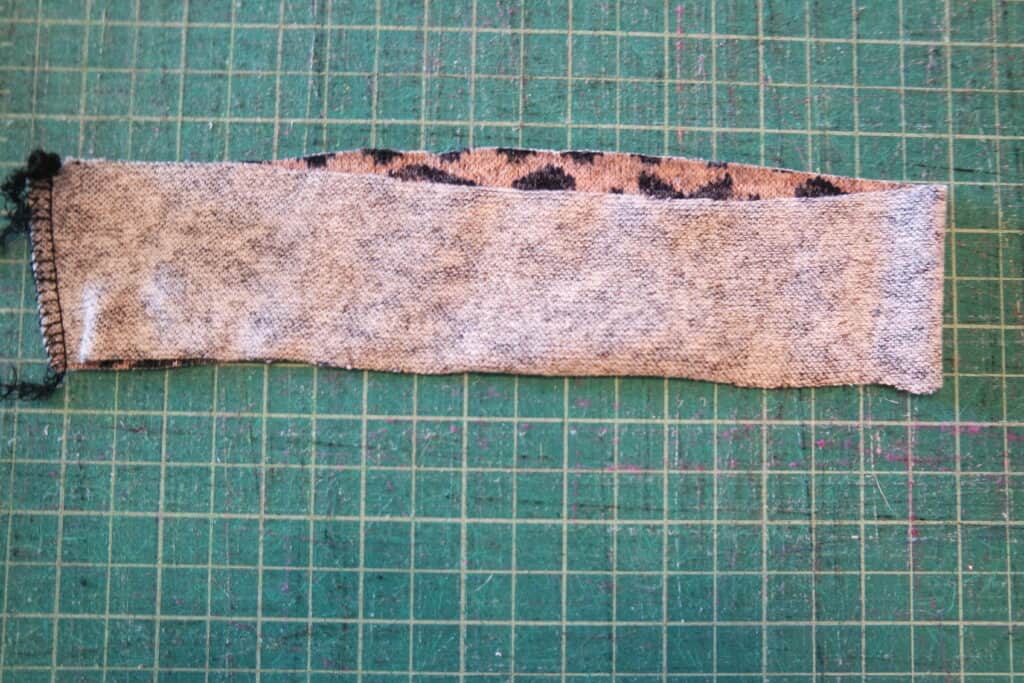
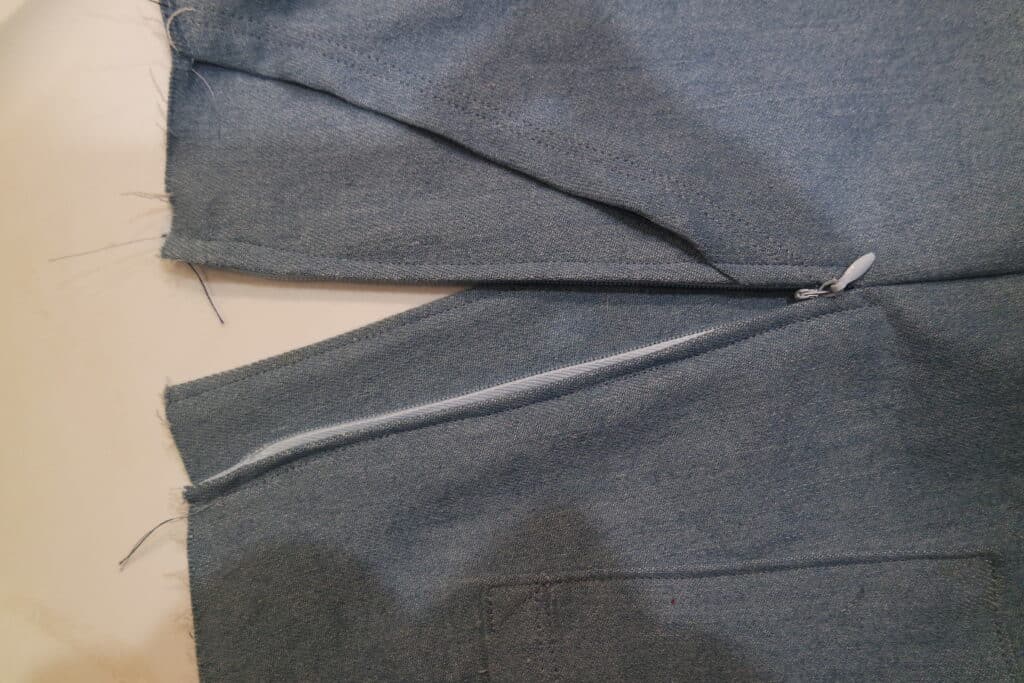
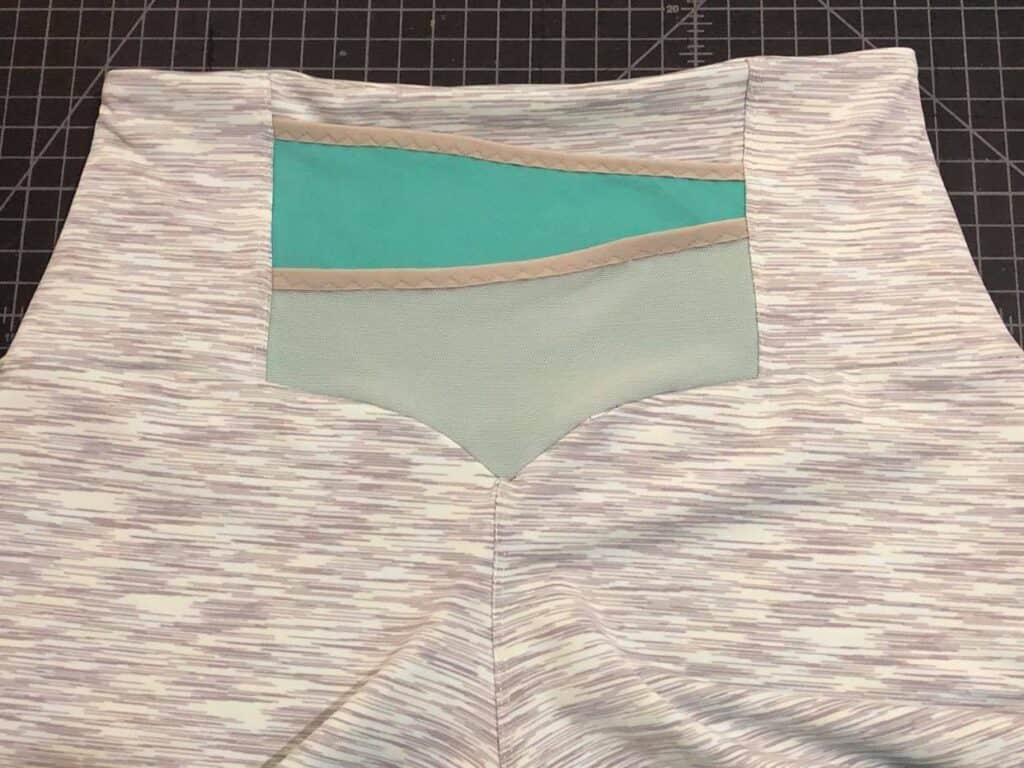
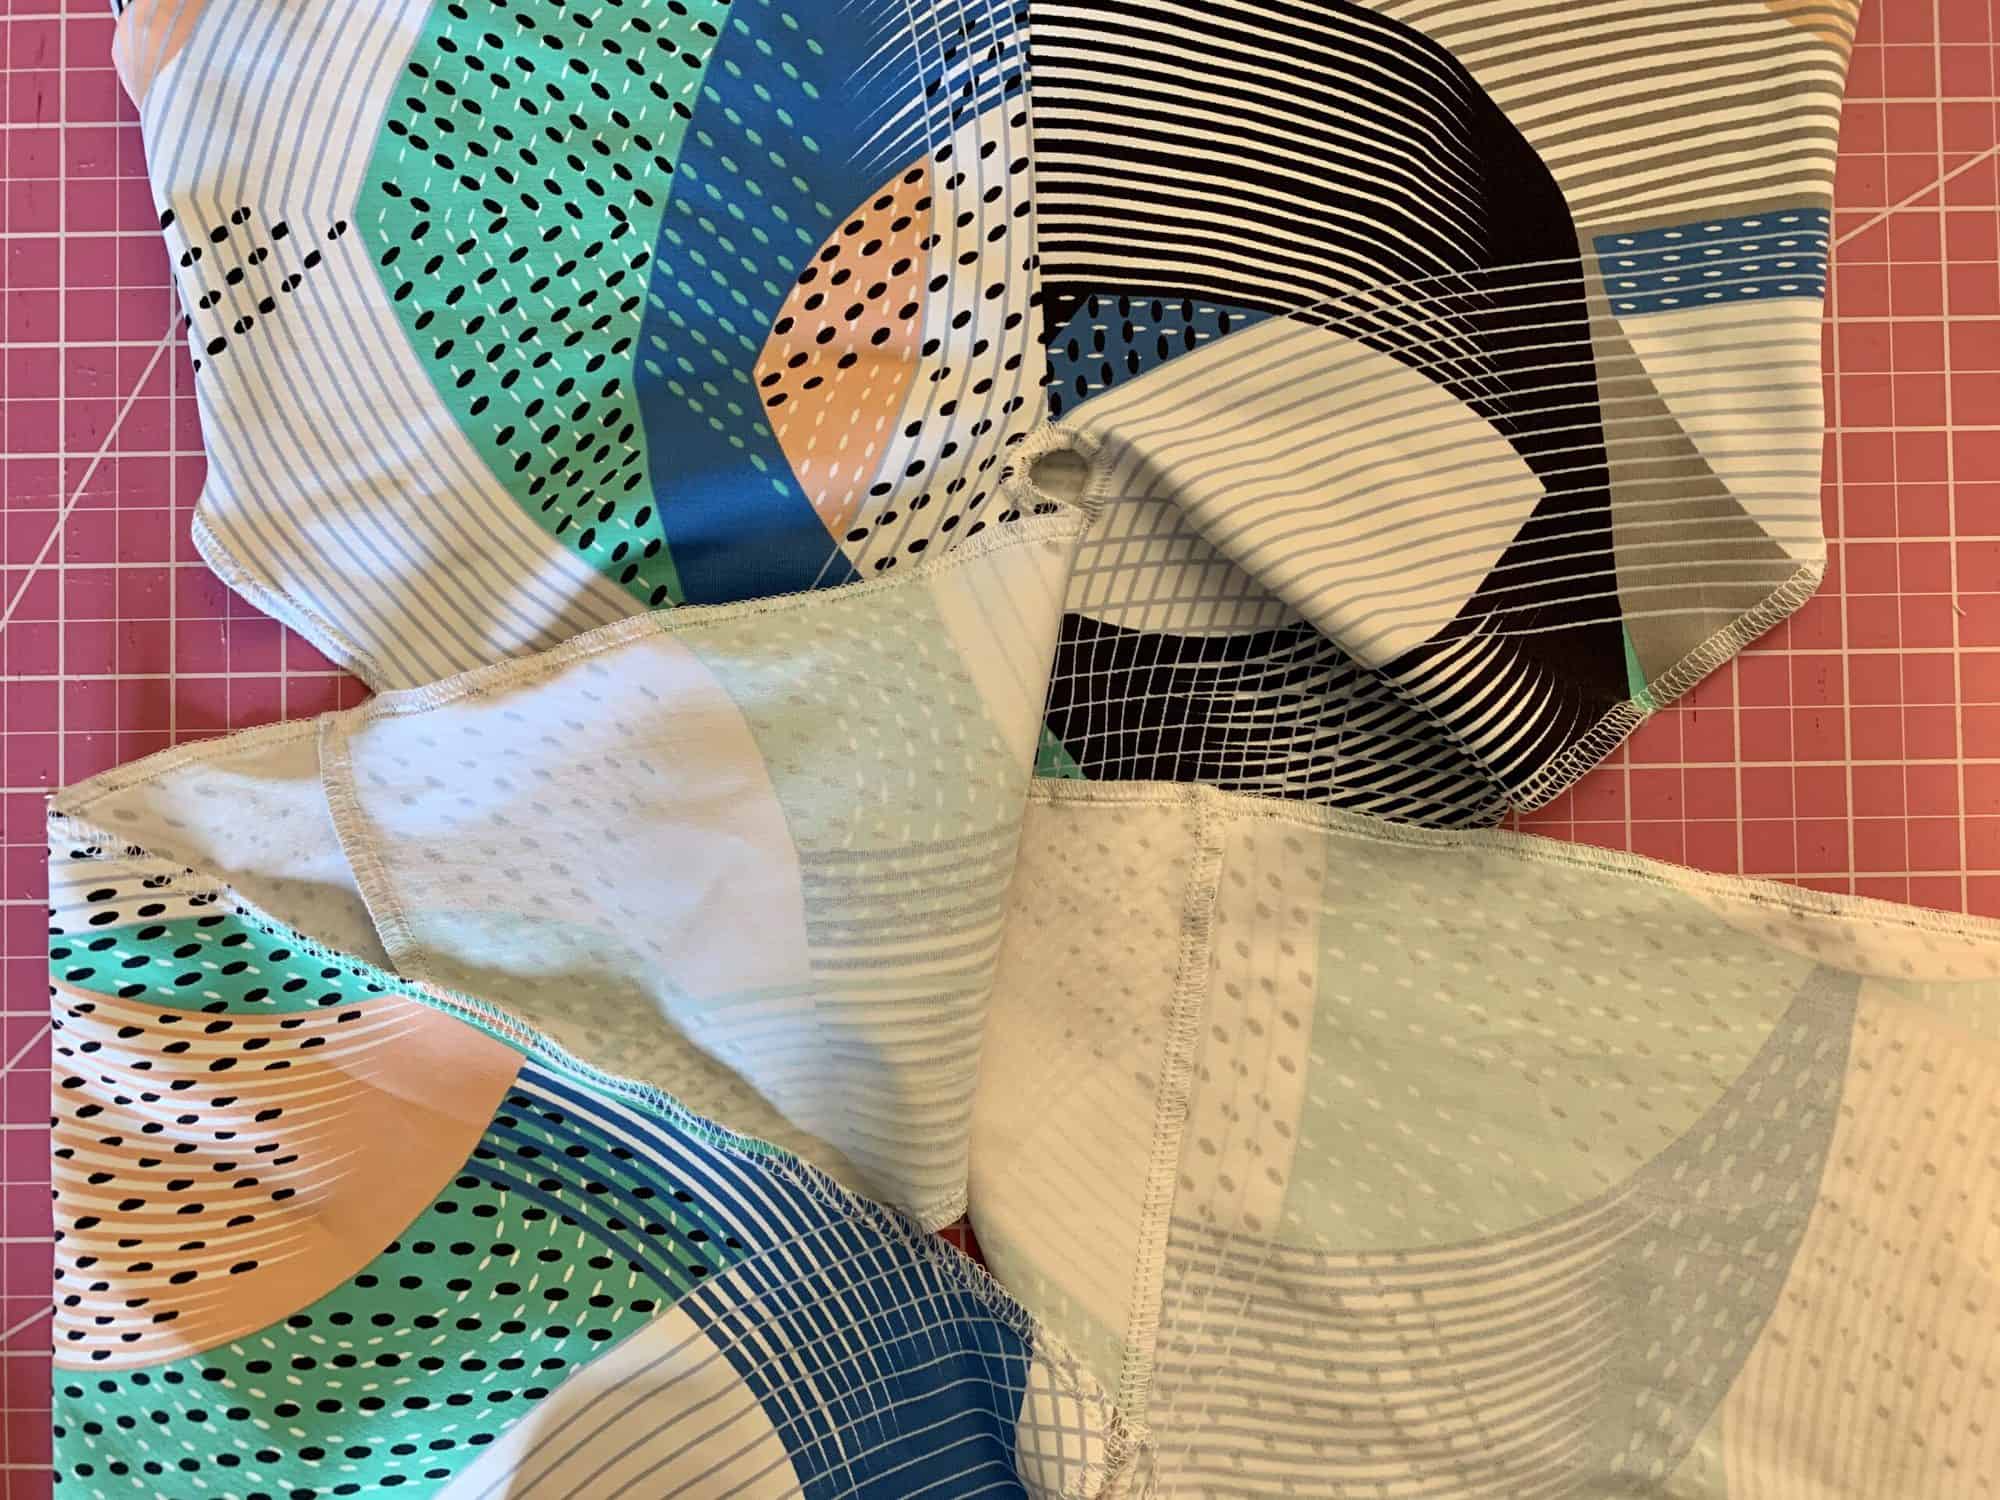
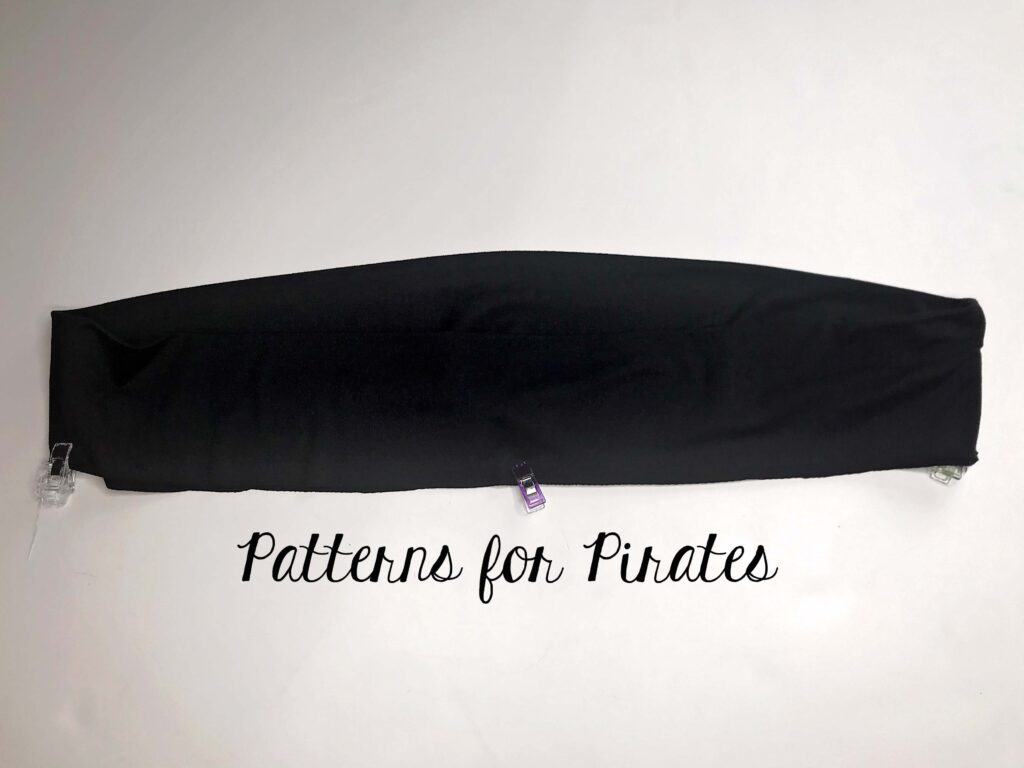
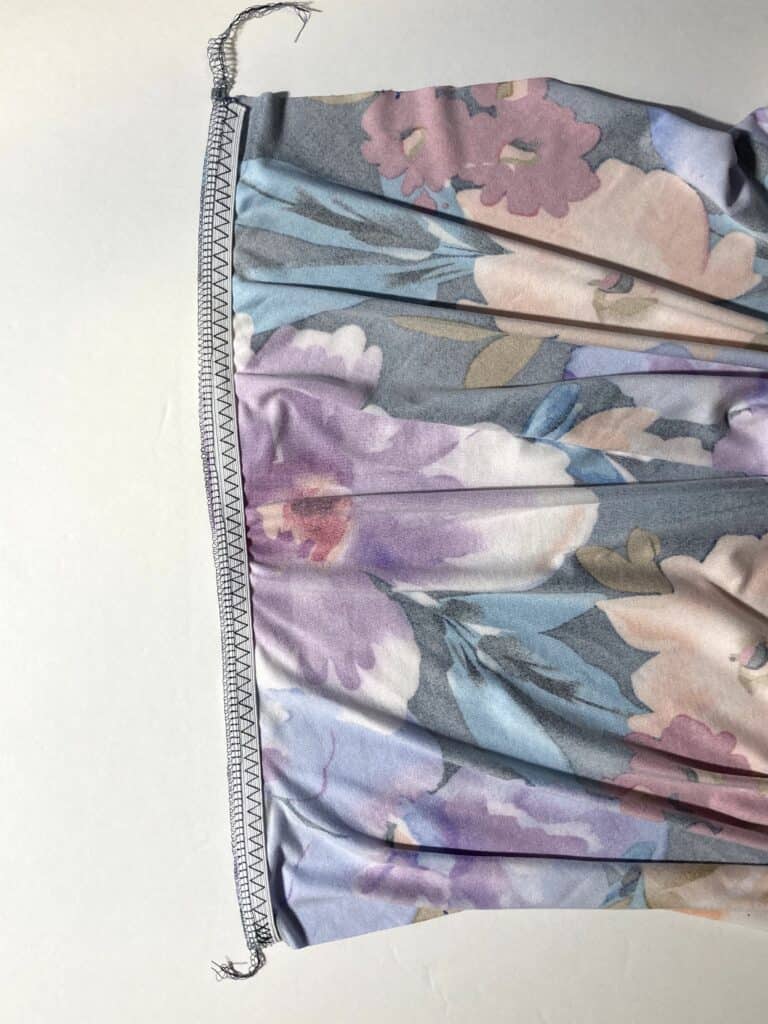
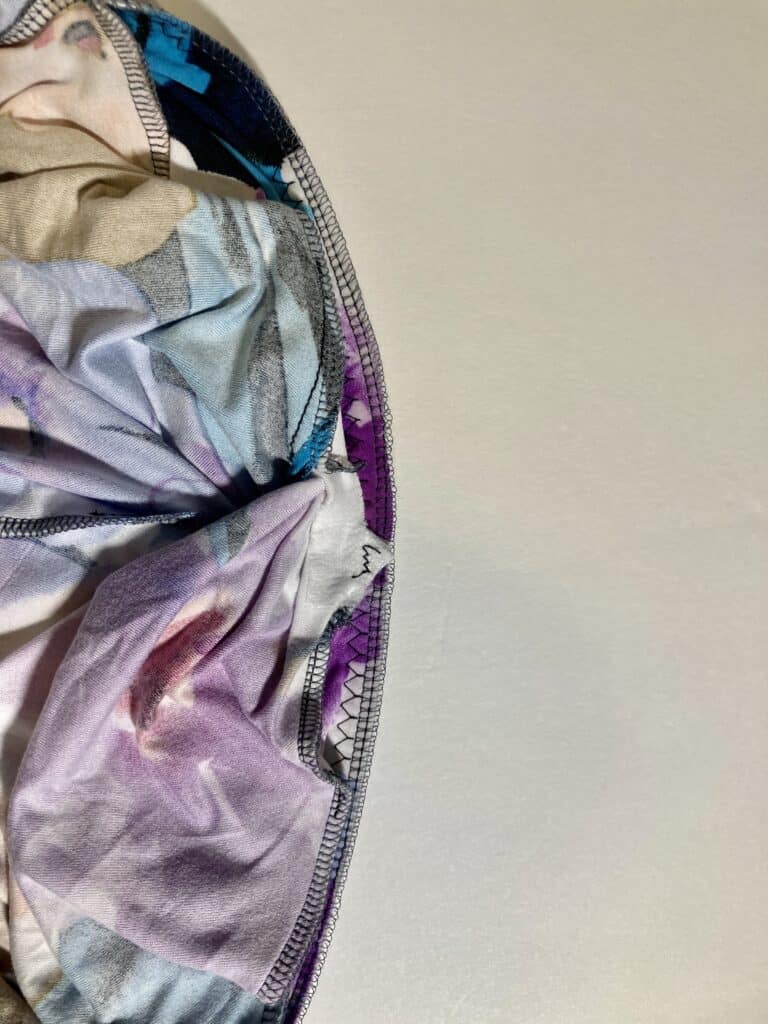
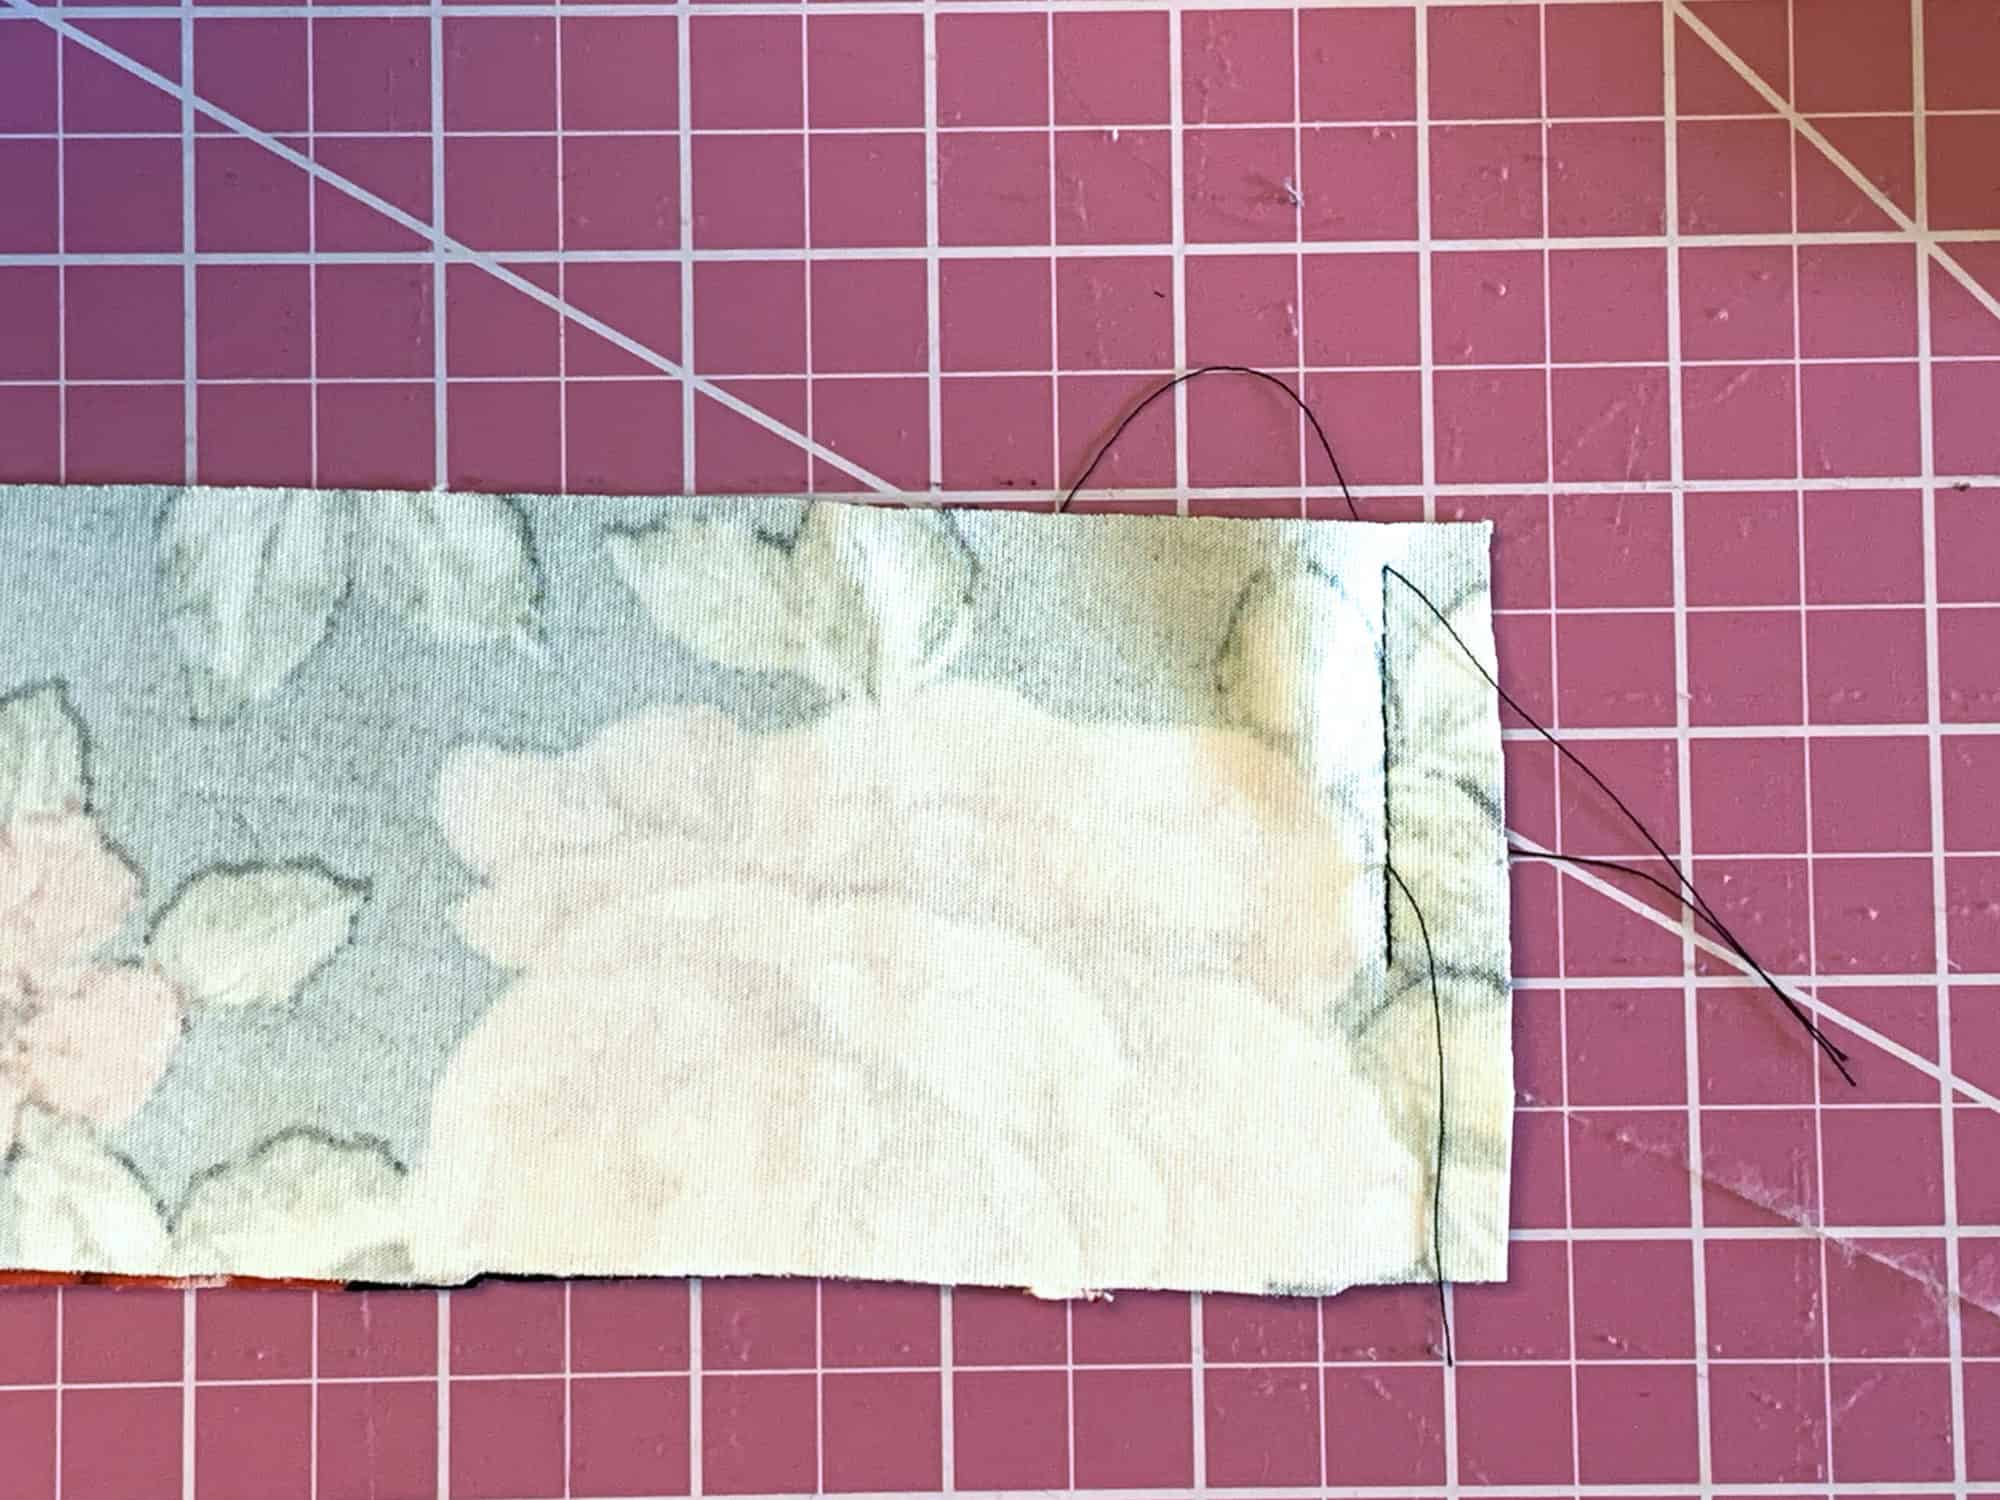
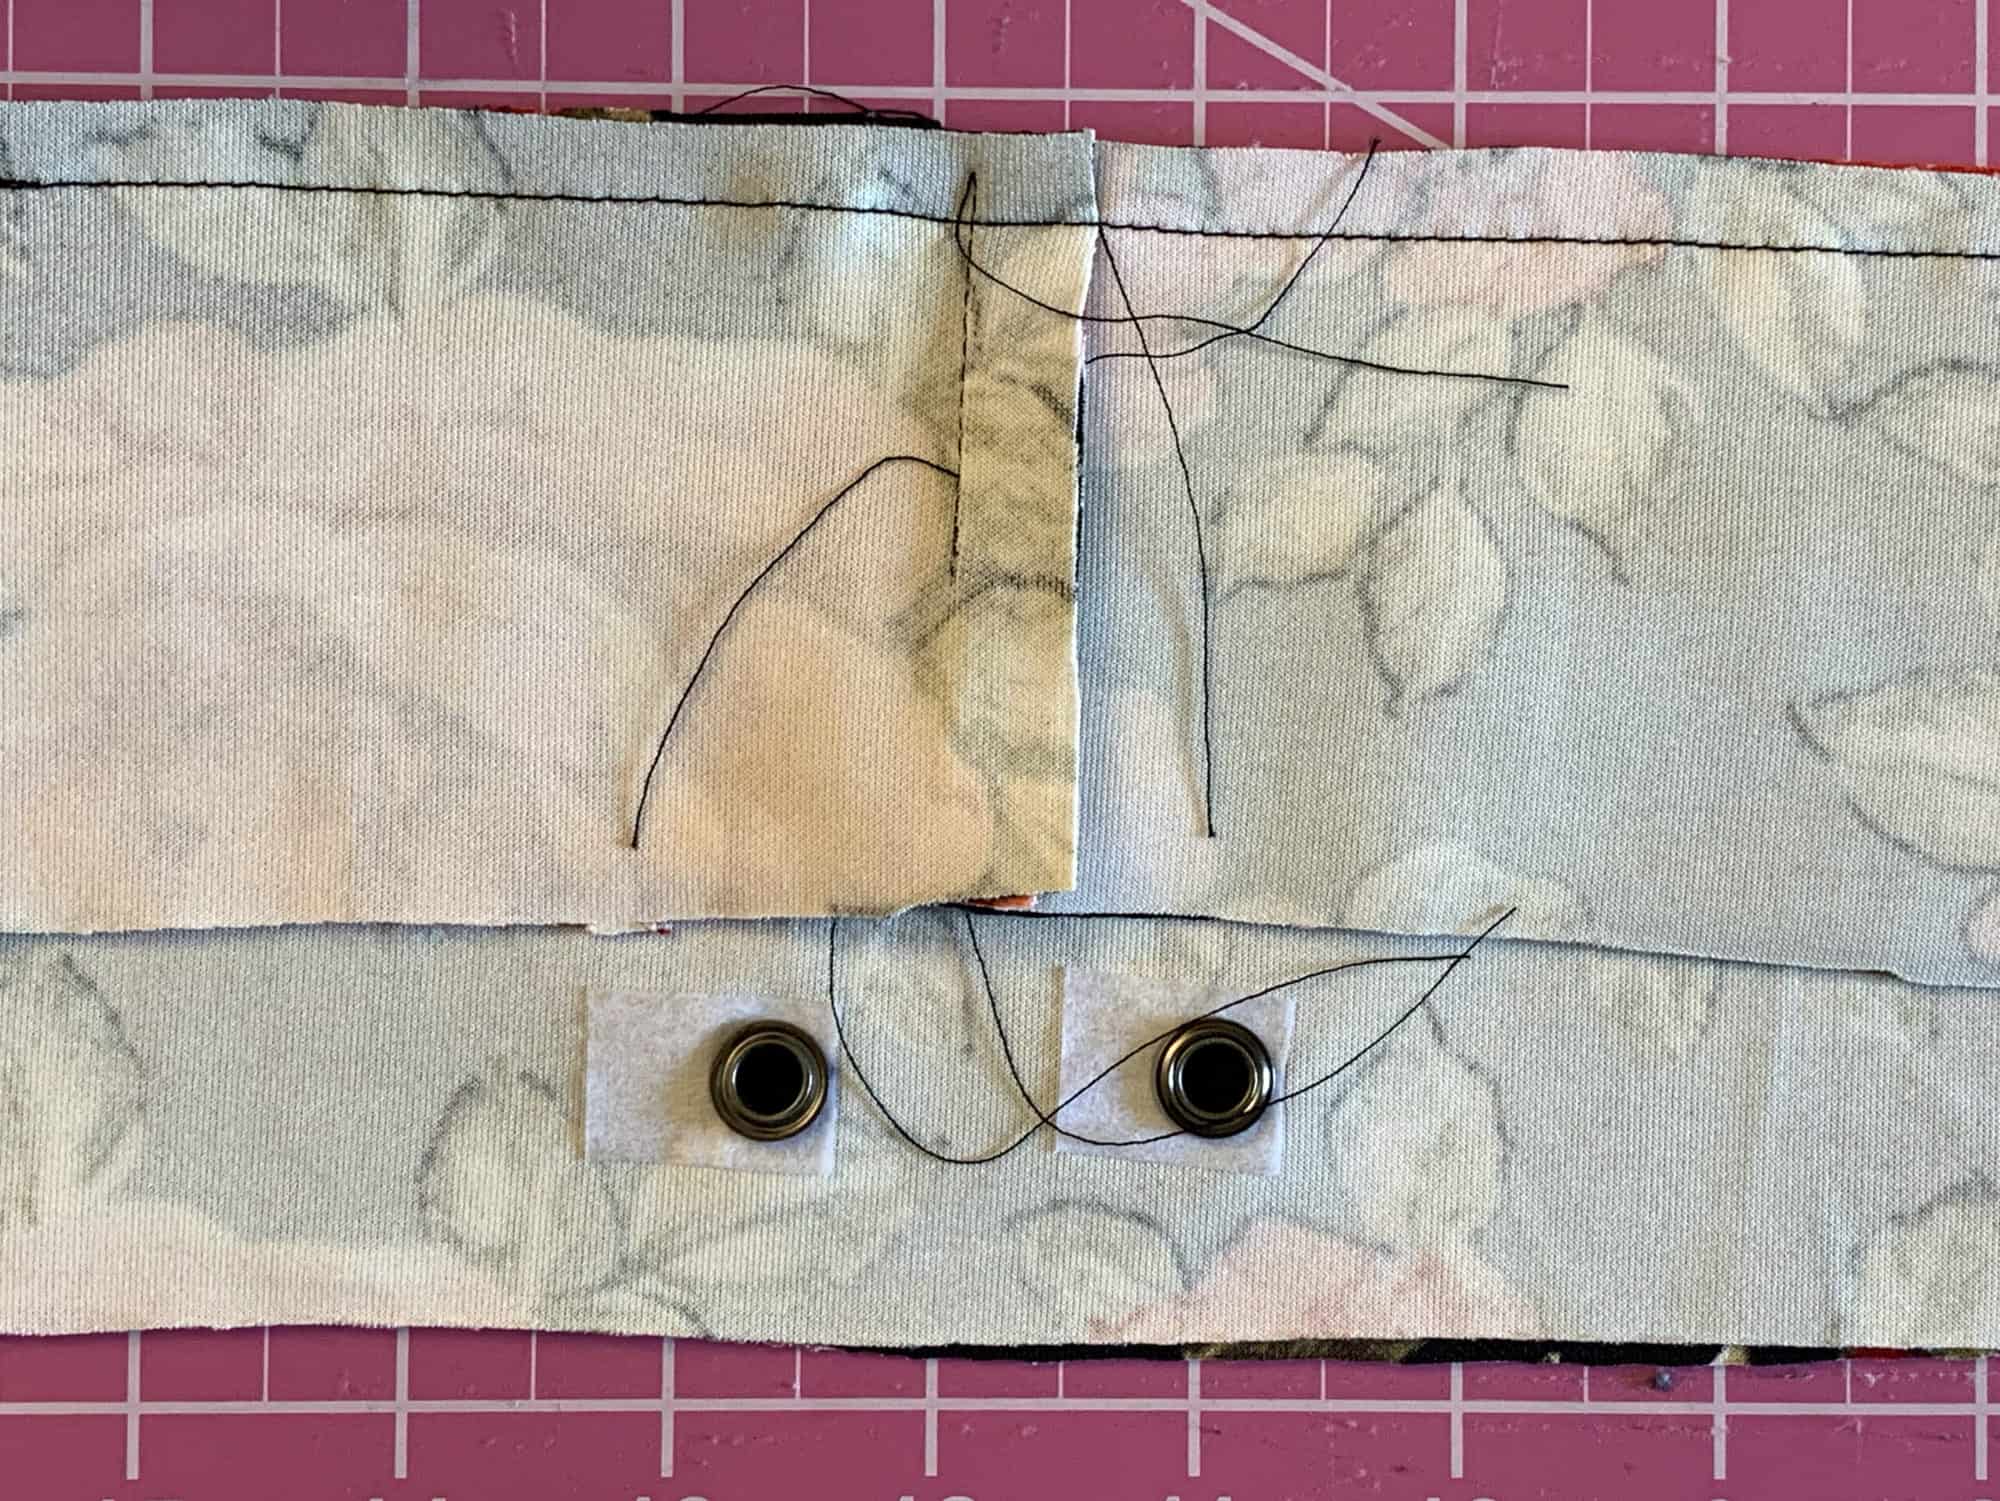
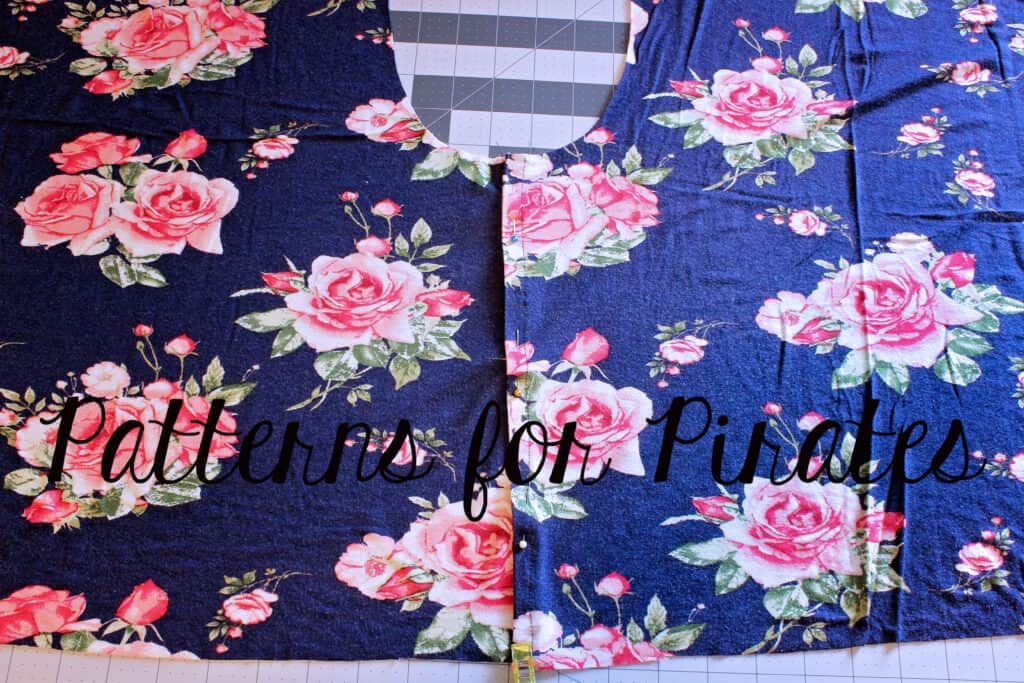
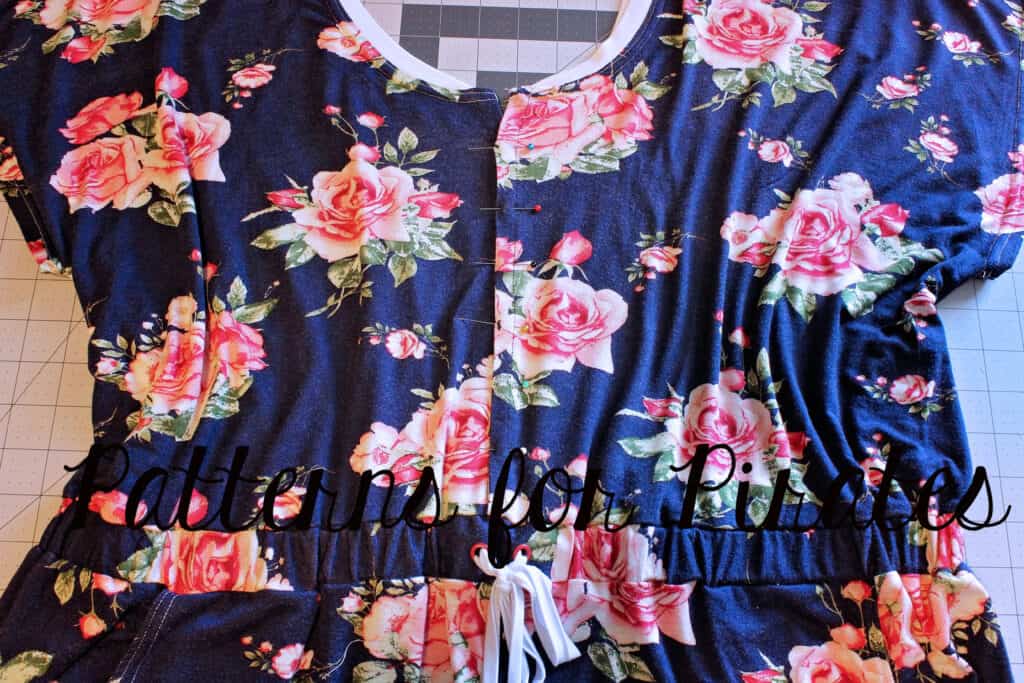
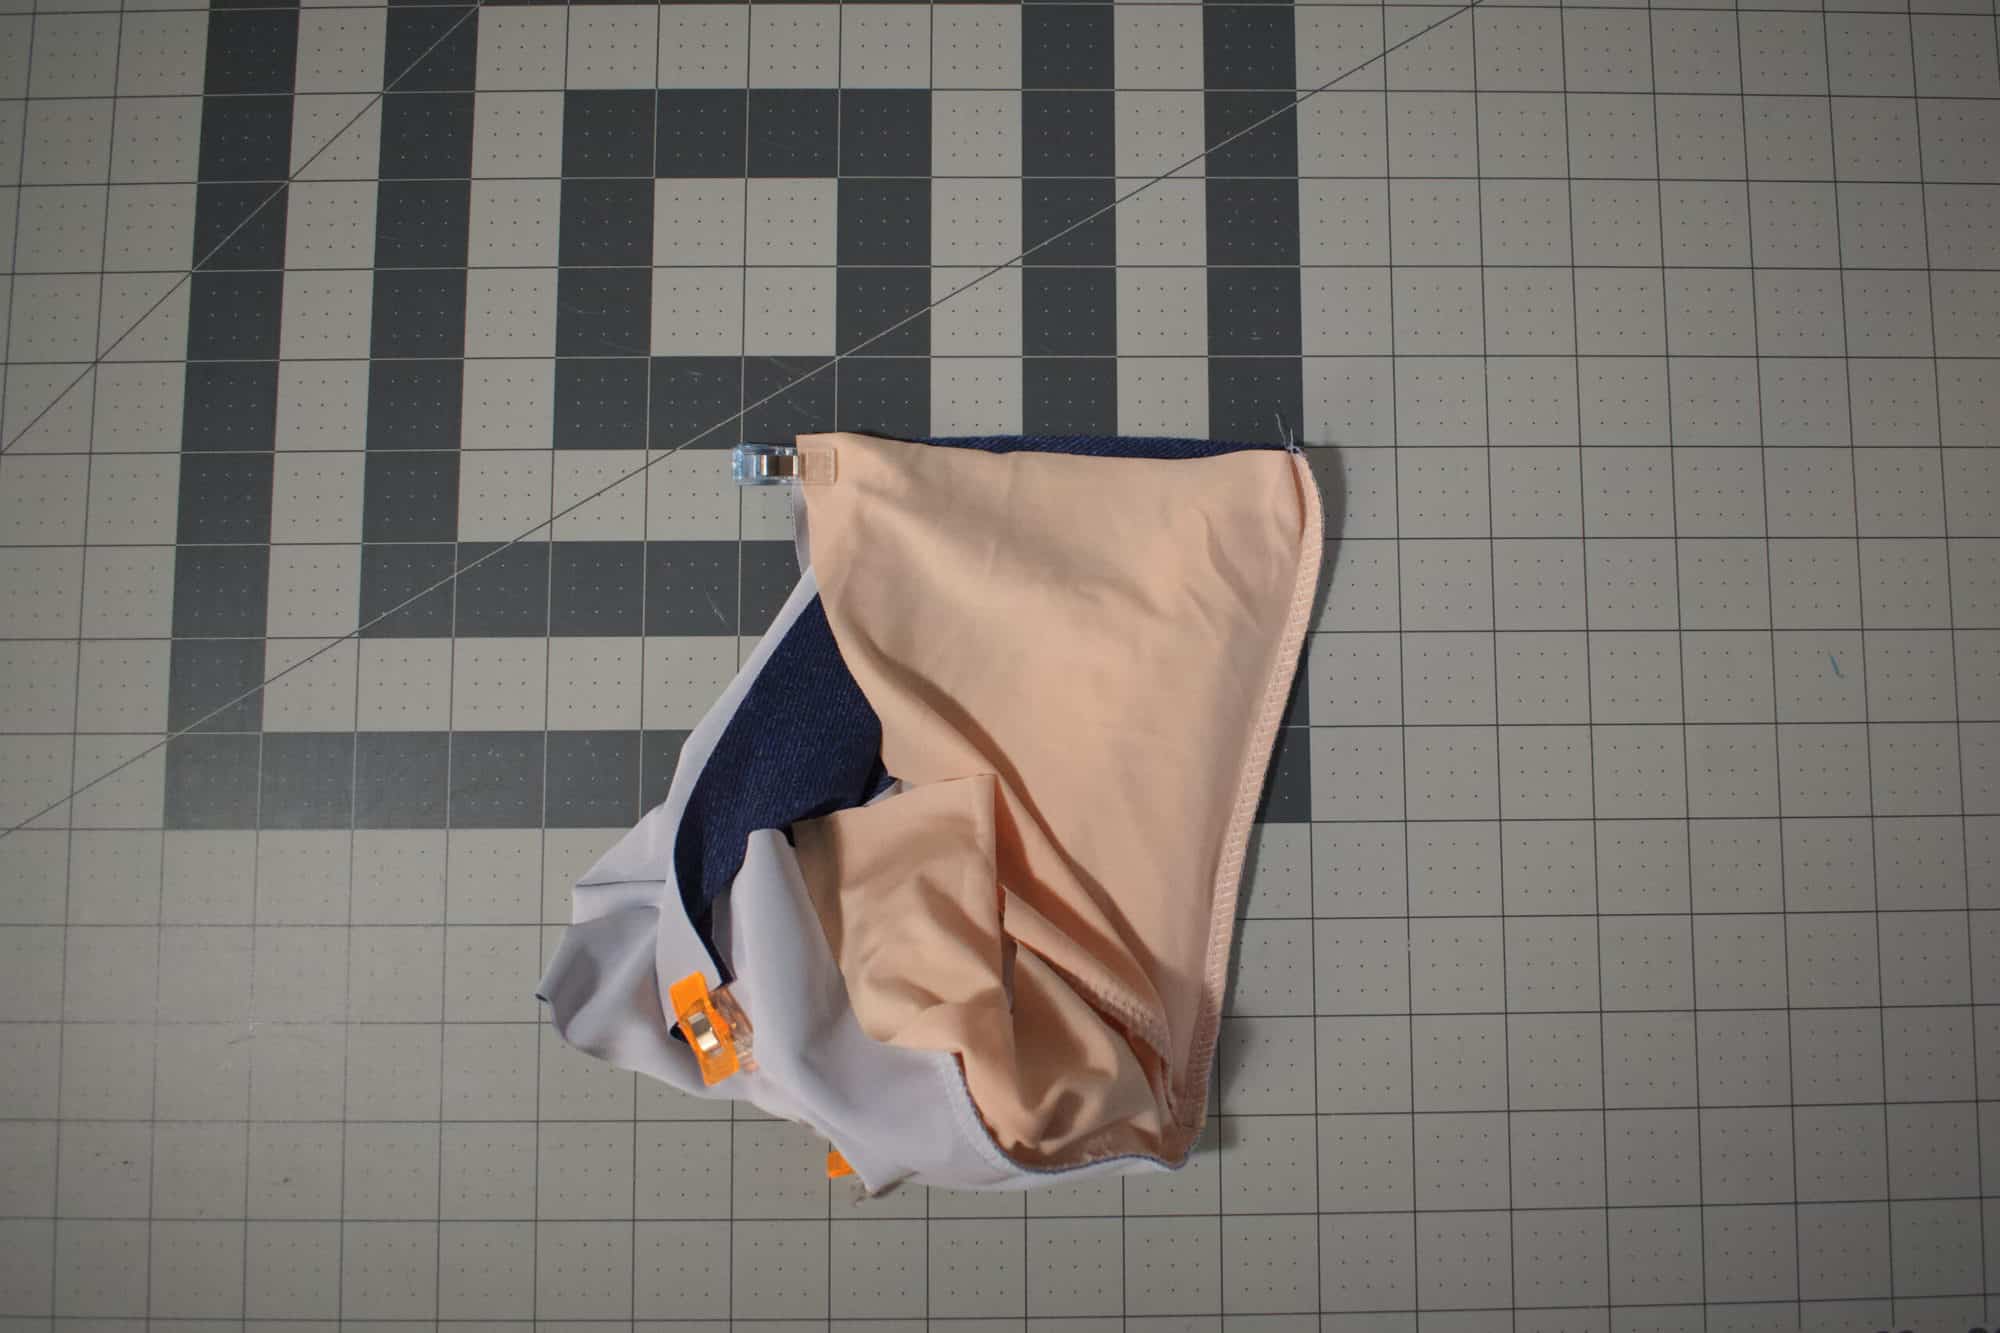
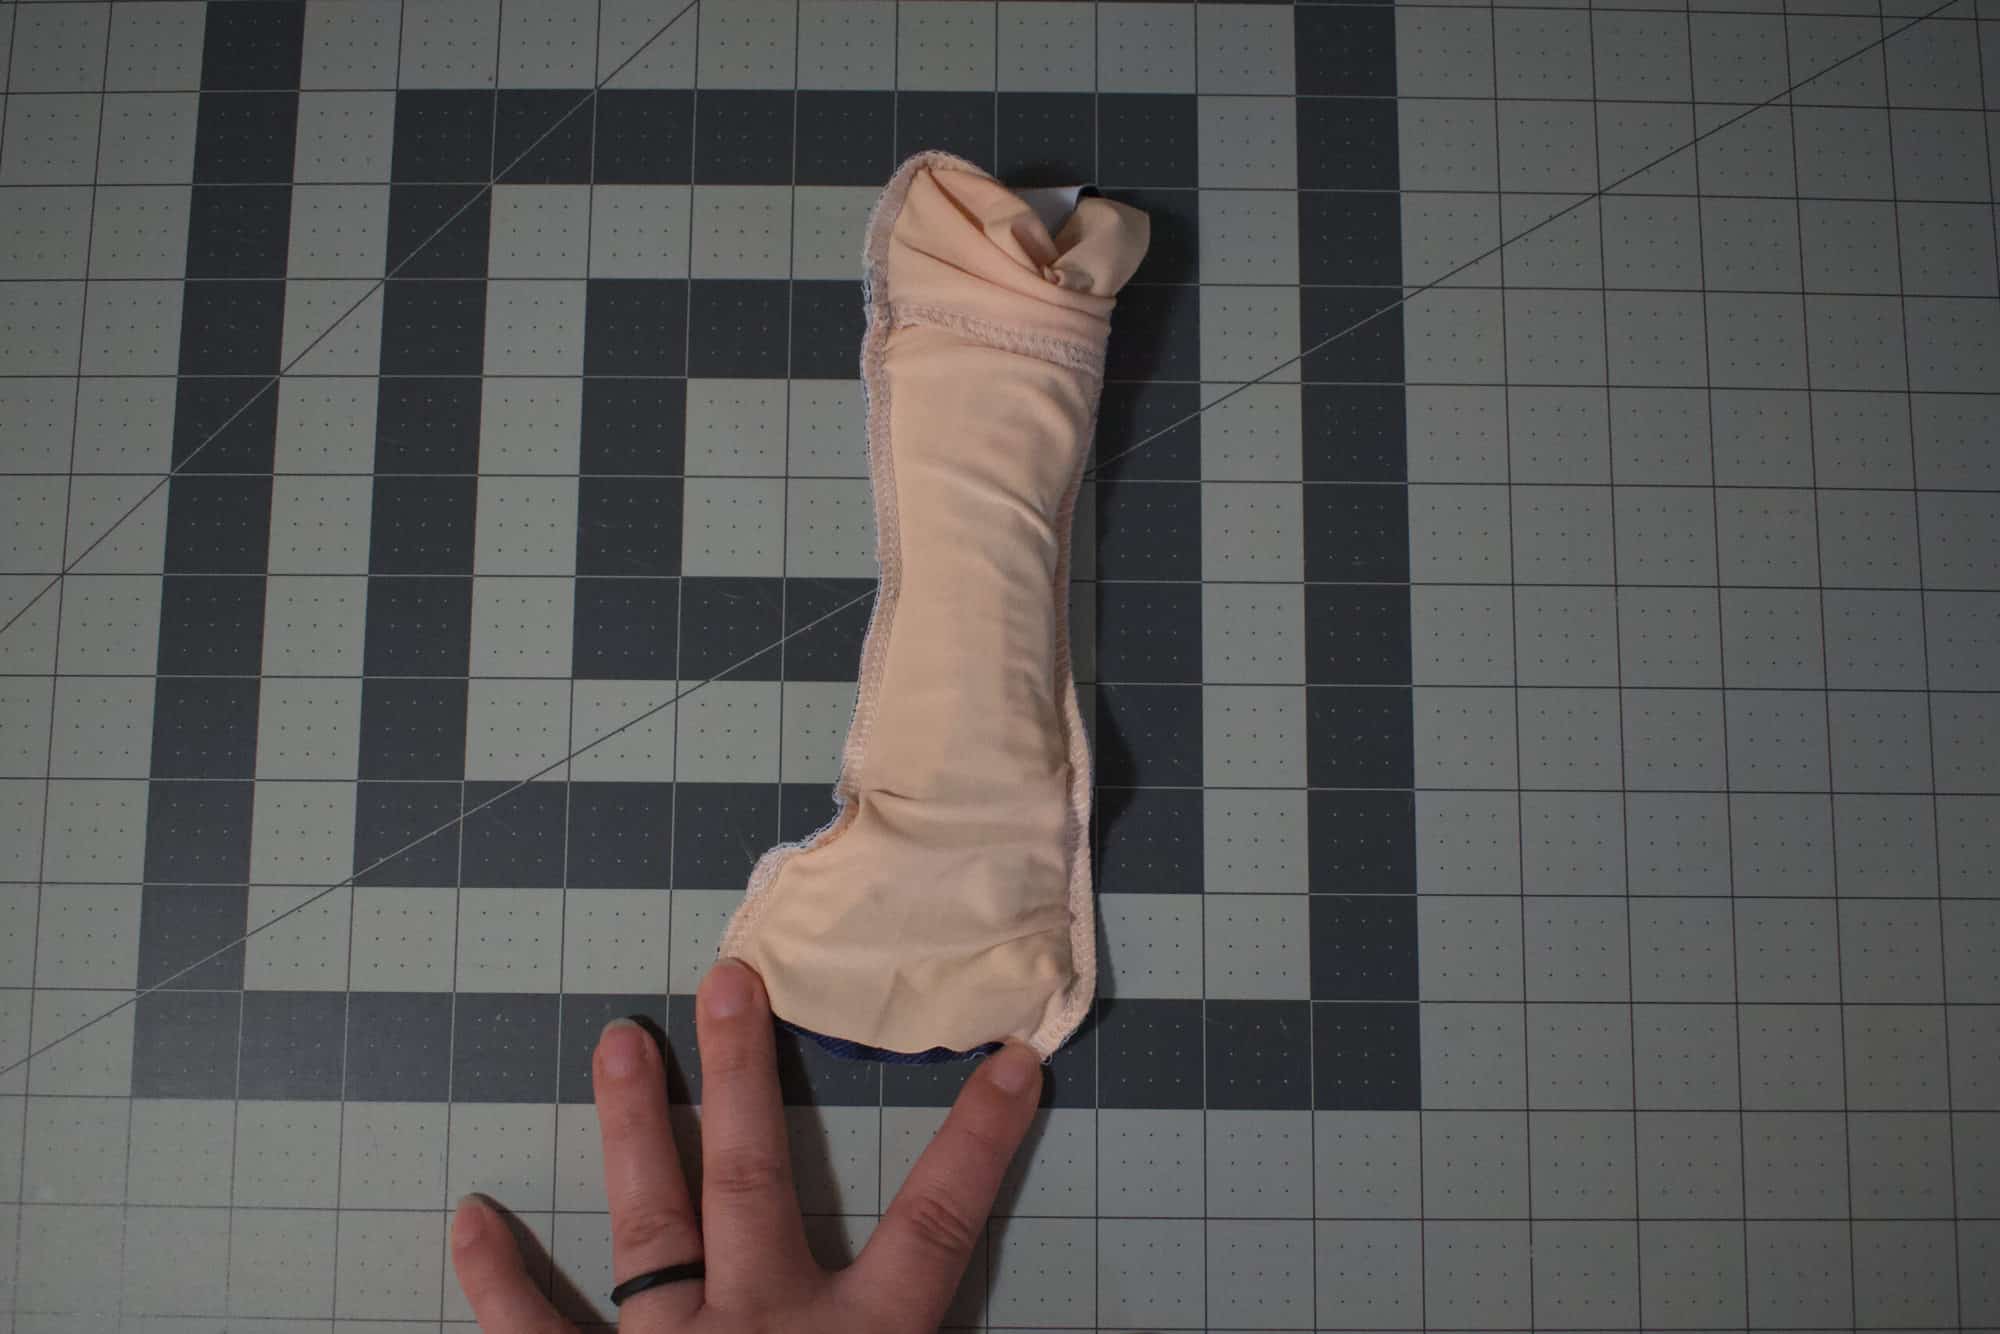
Turn the briefs right side out. They will look like the picture below.
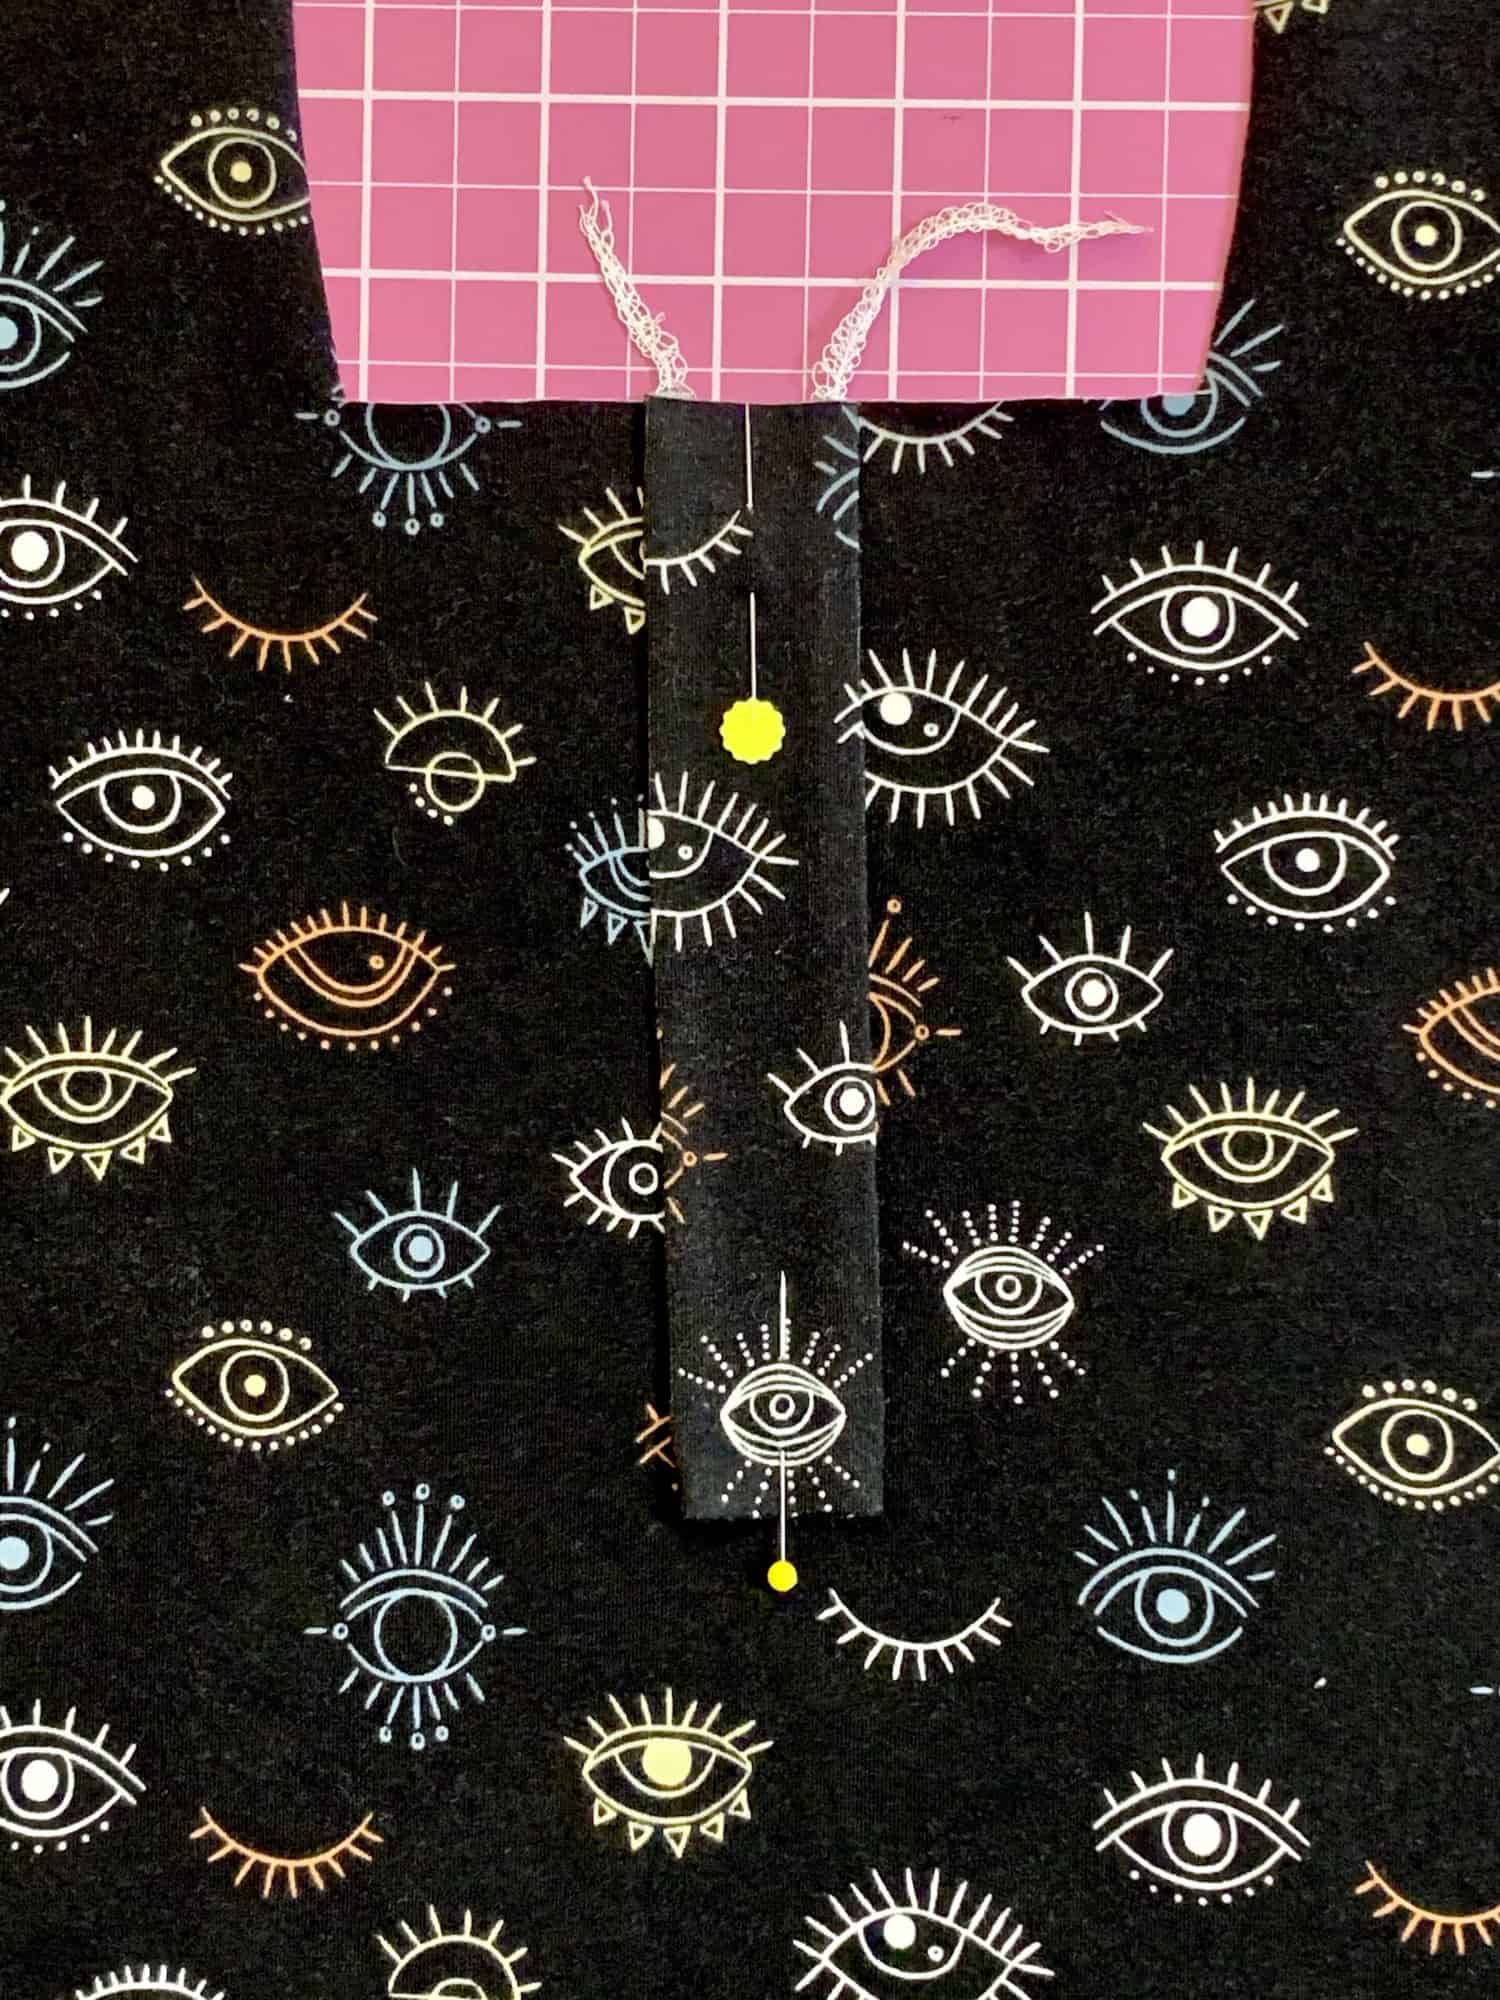
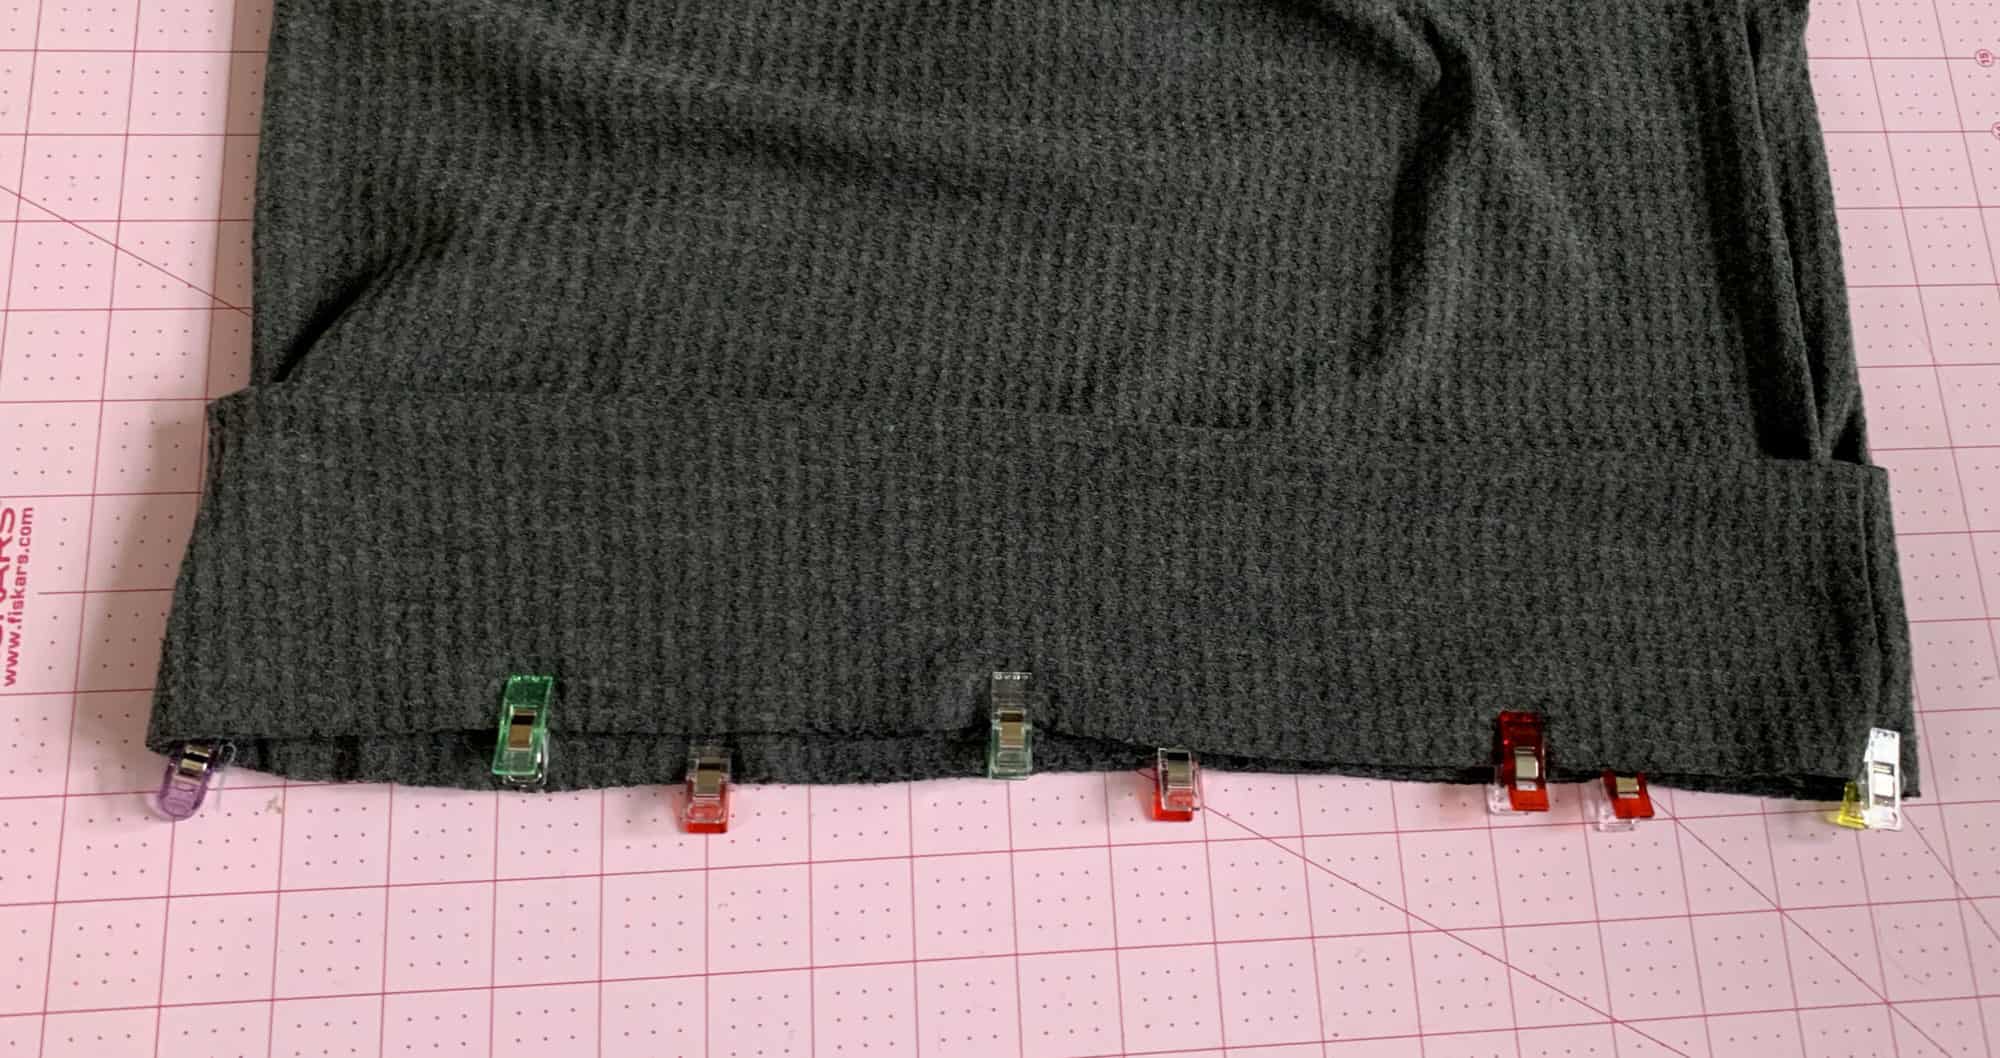
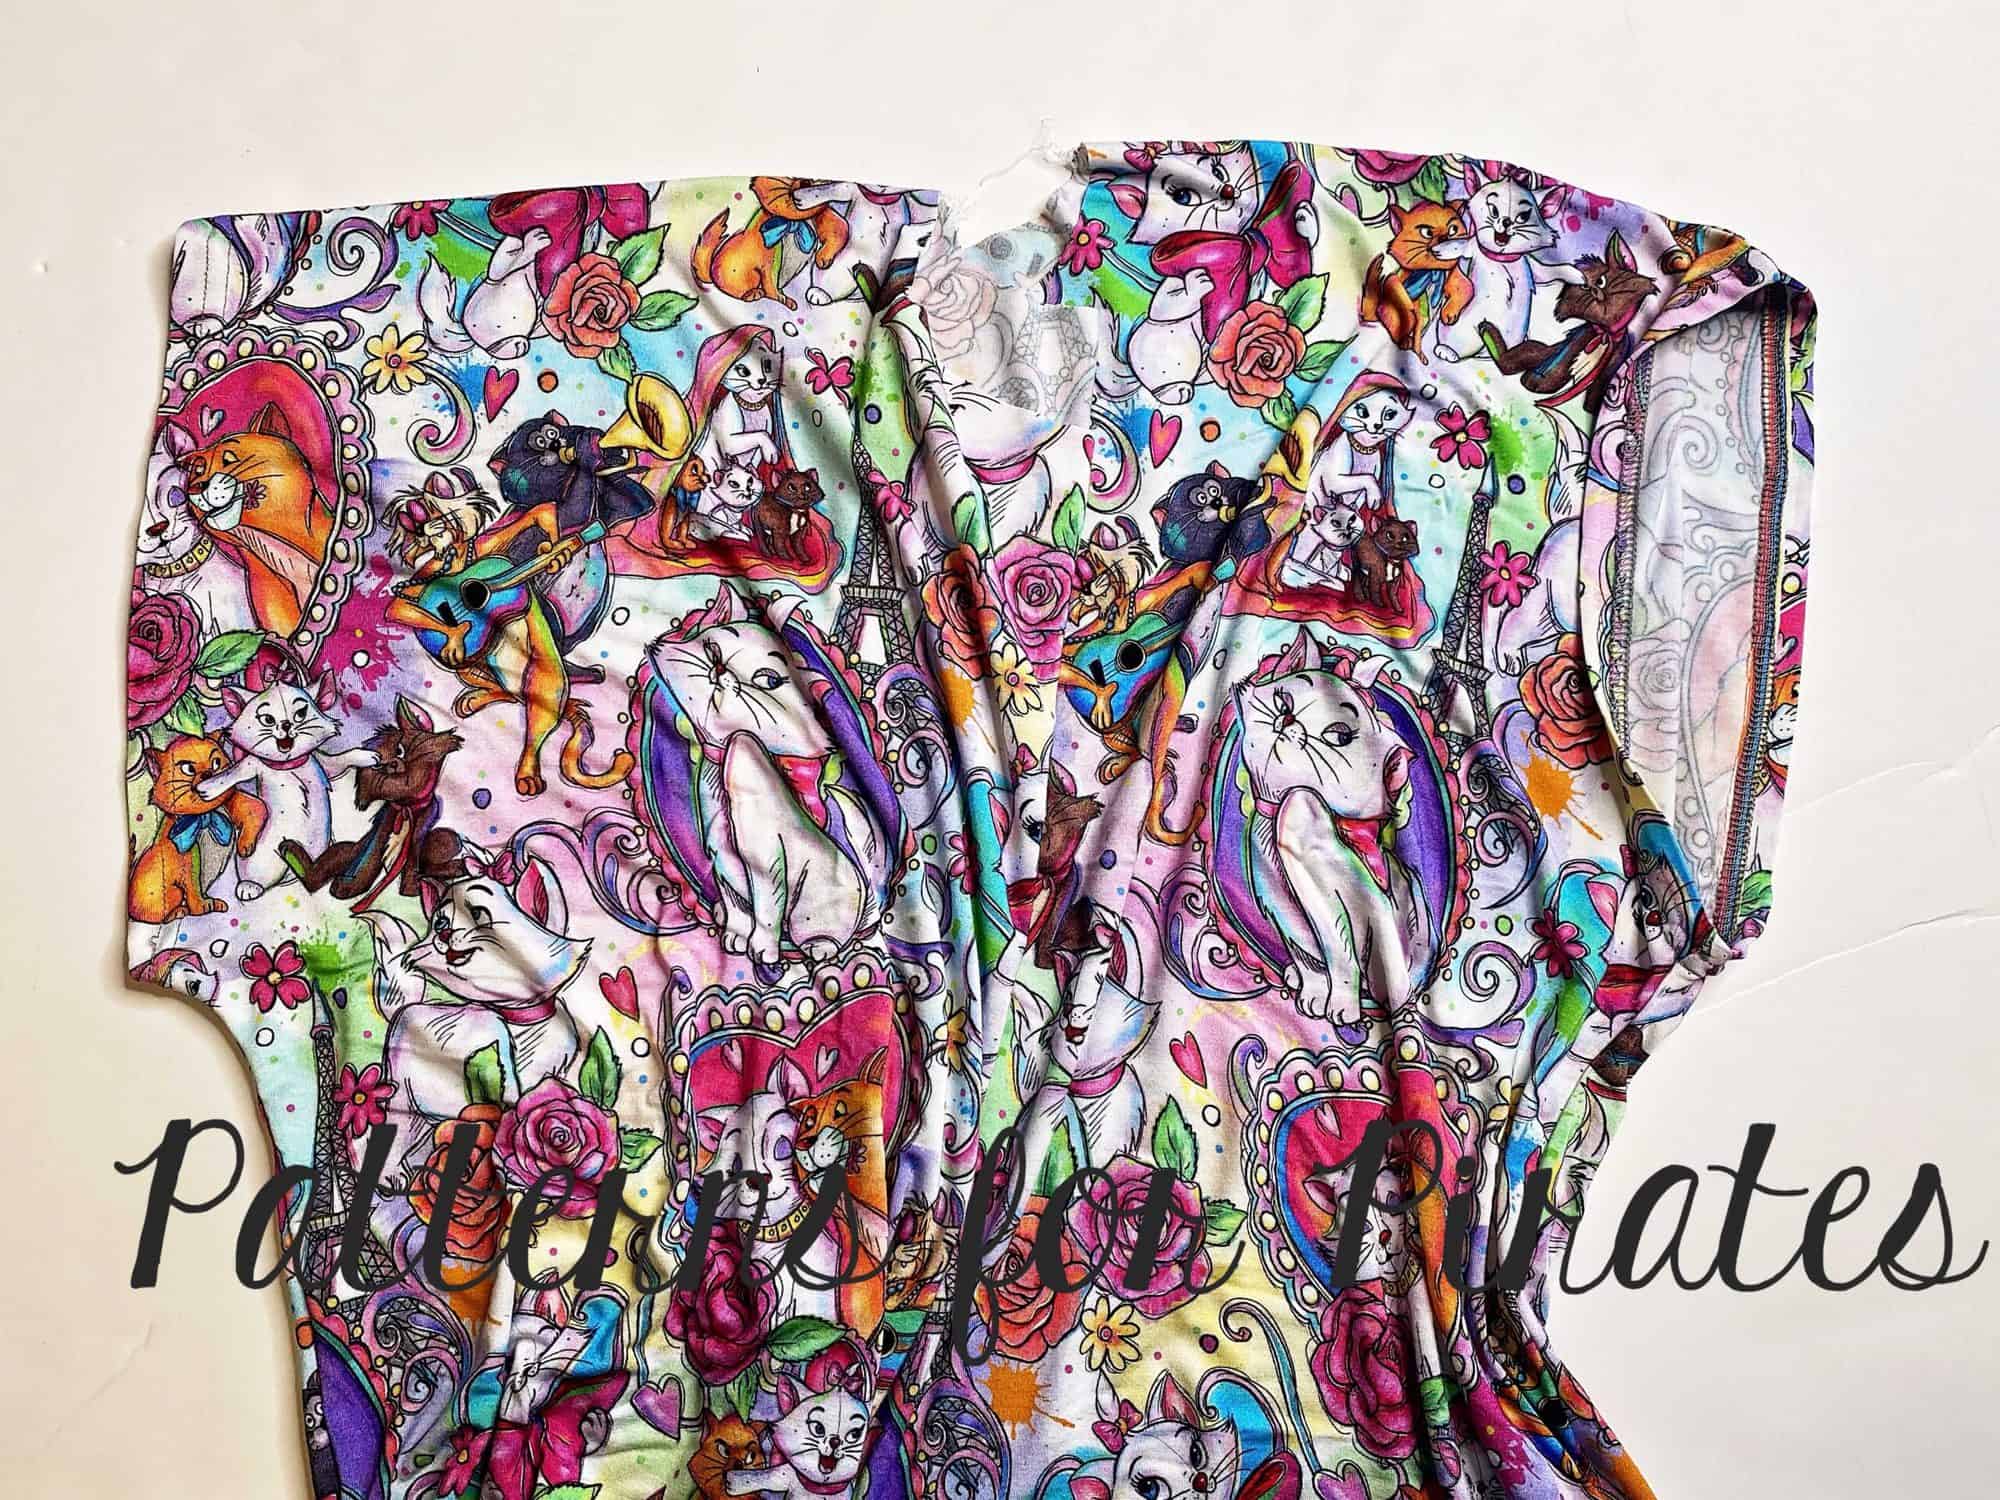
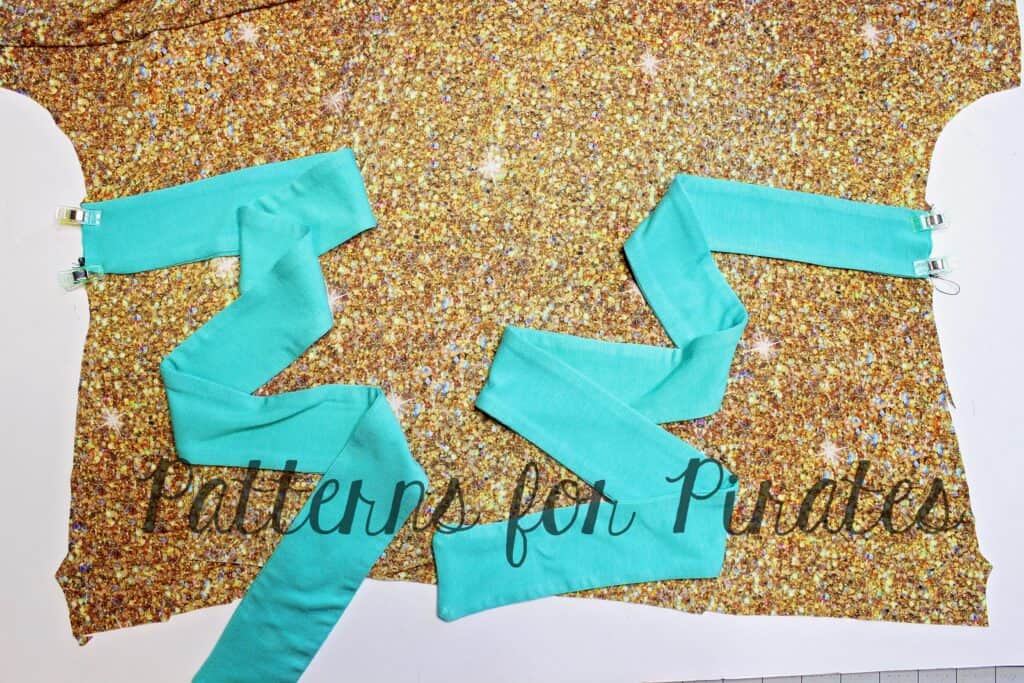
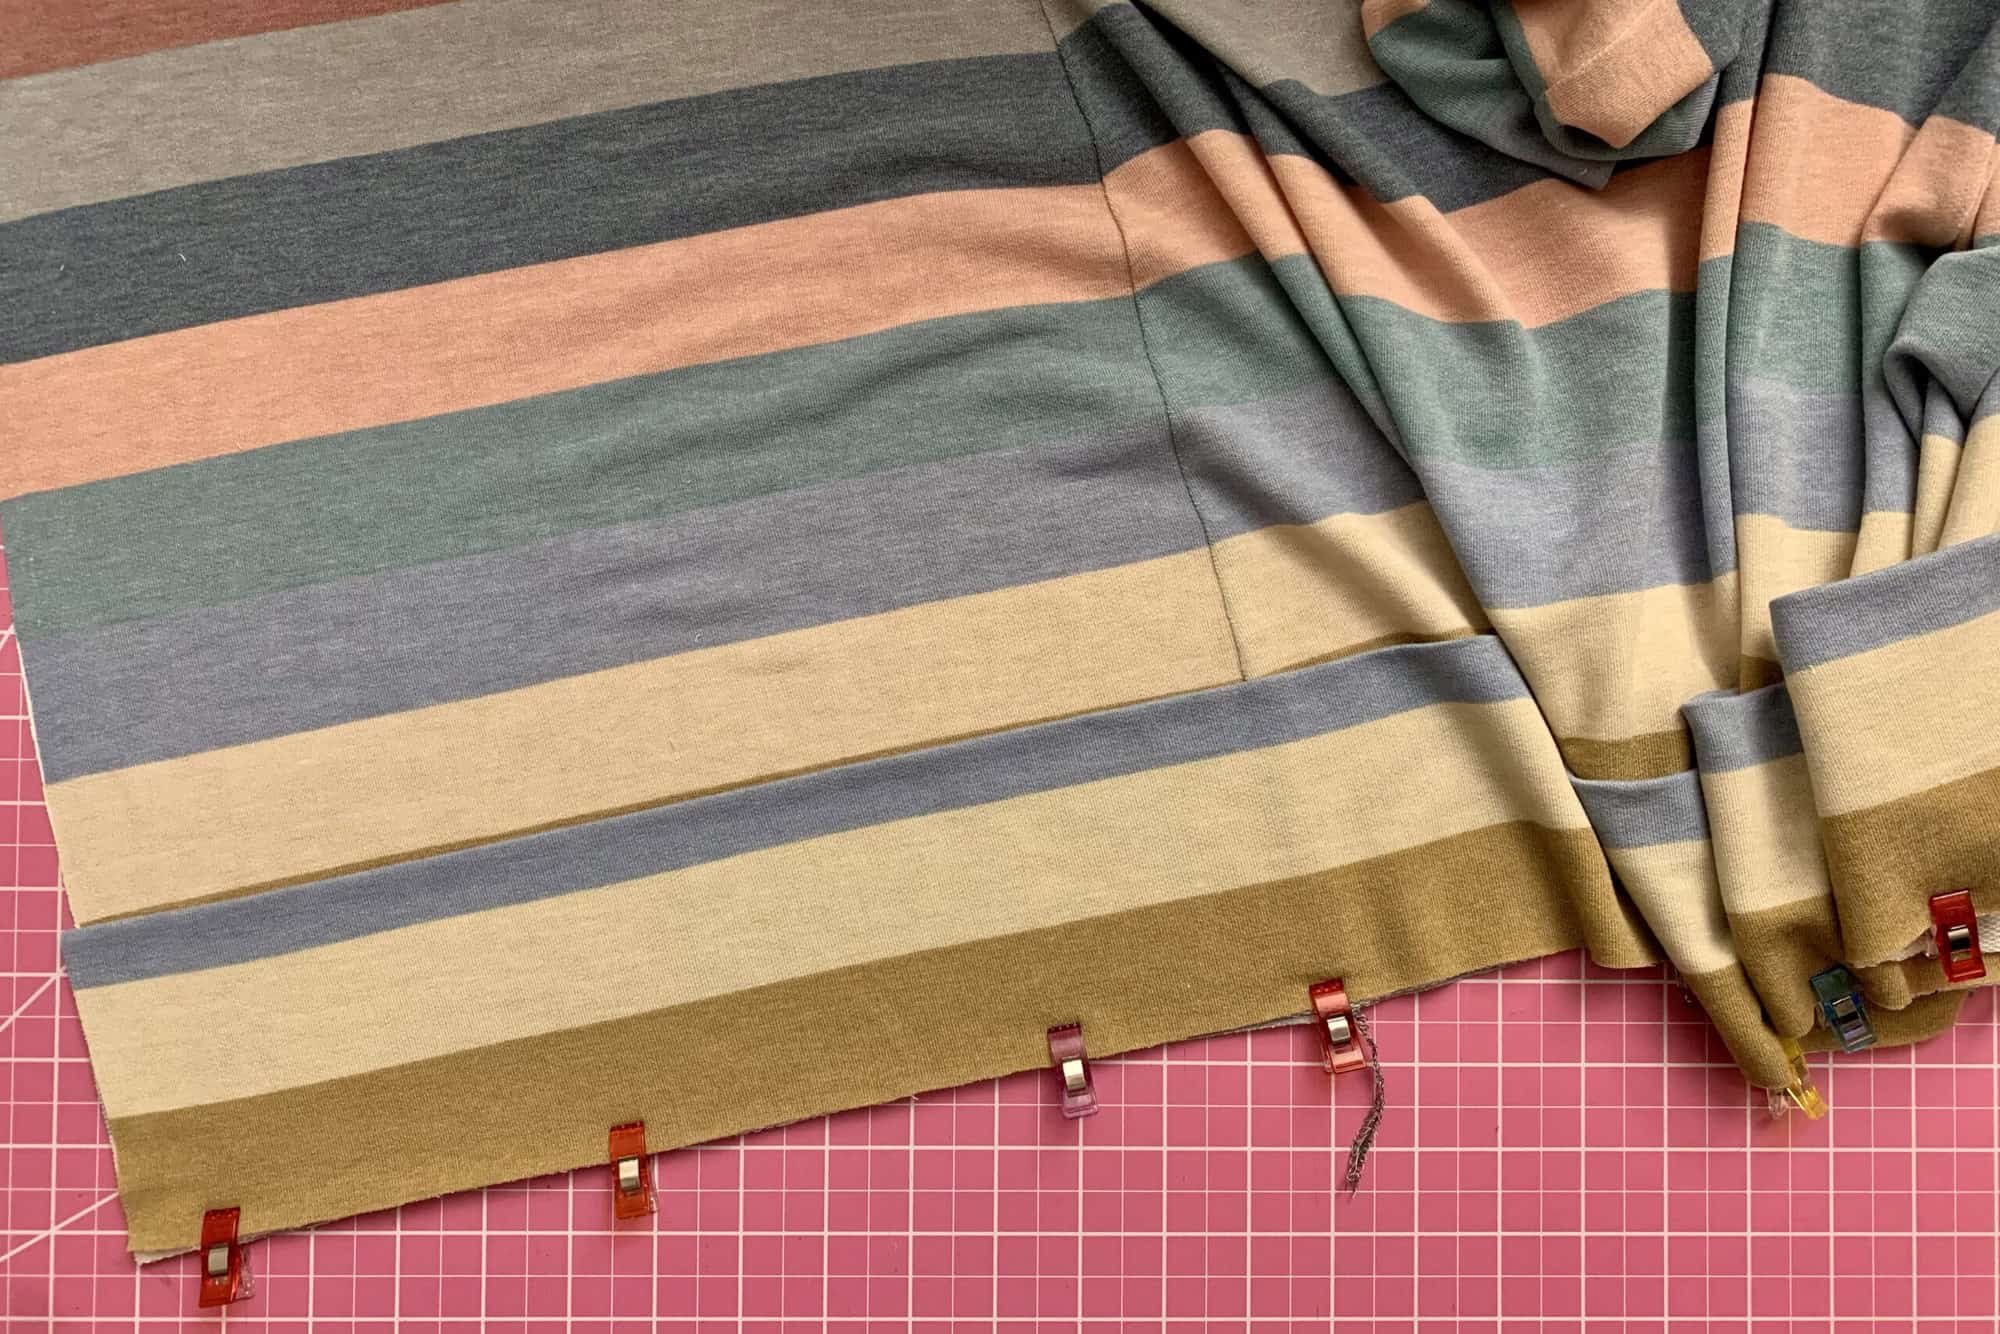
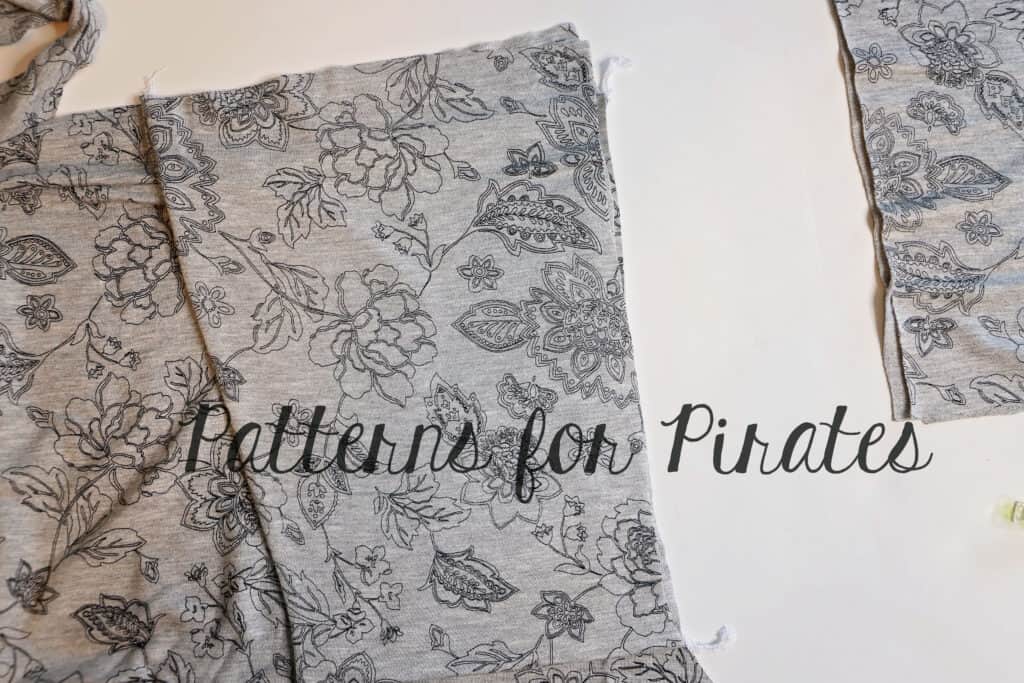
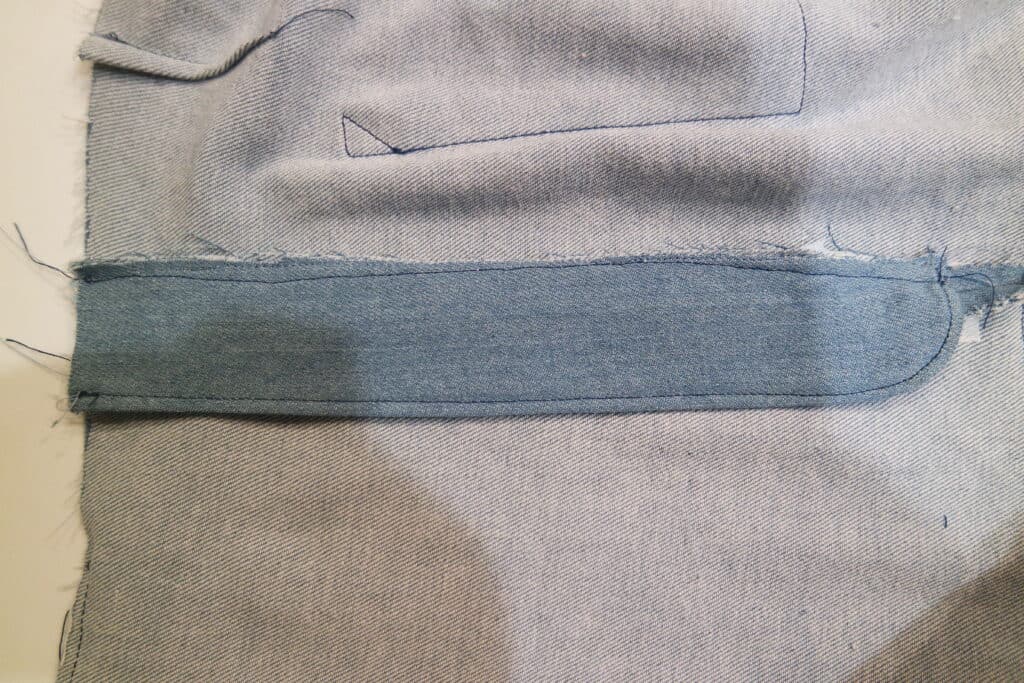
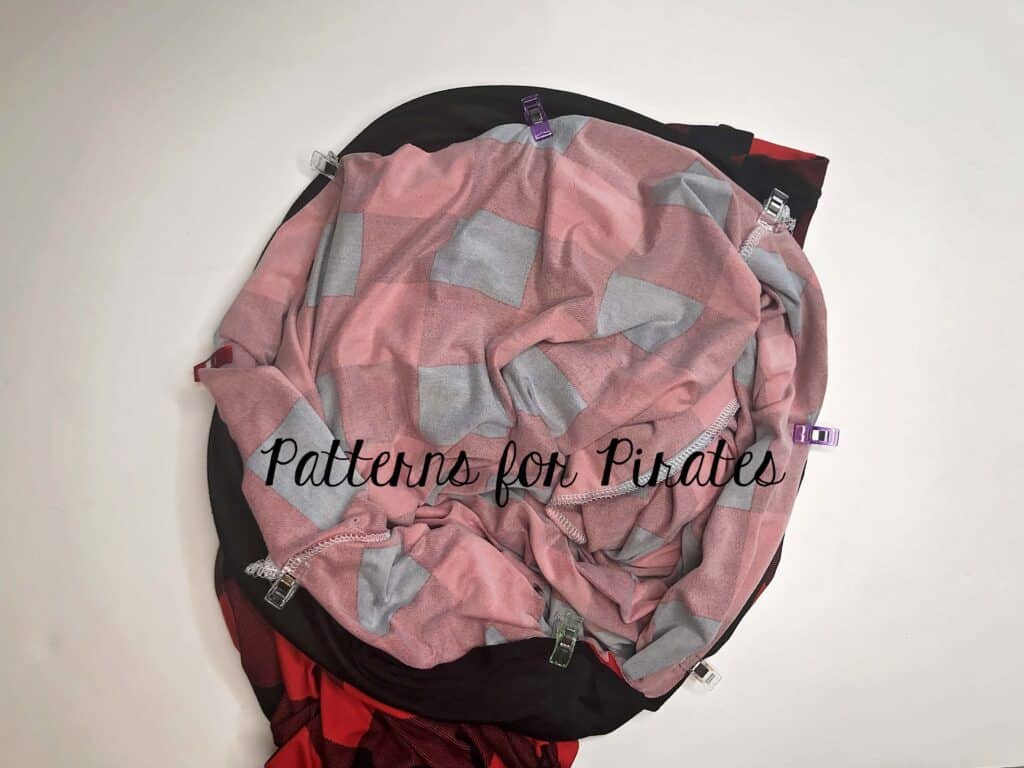
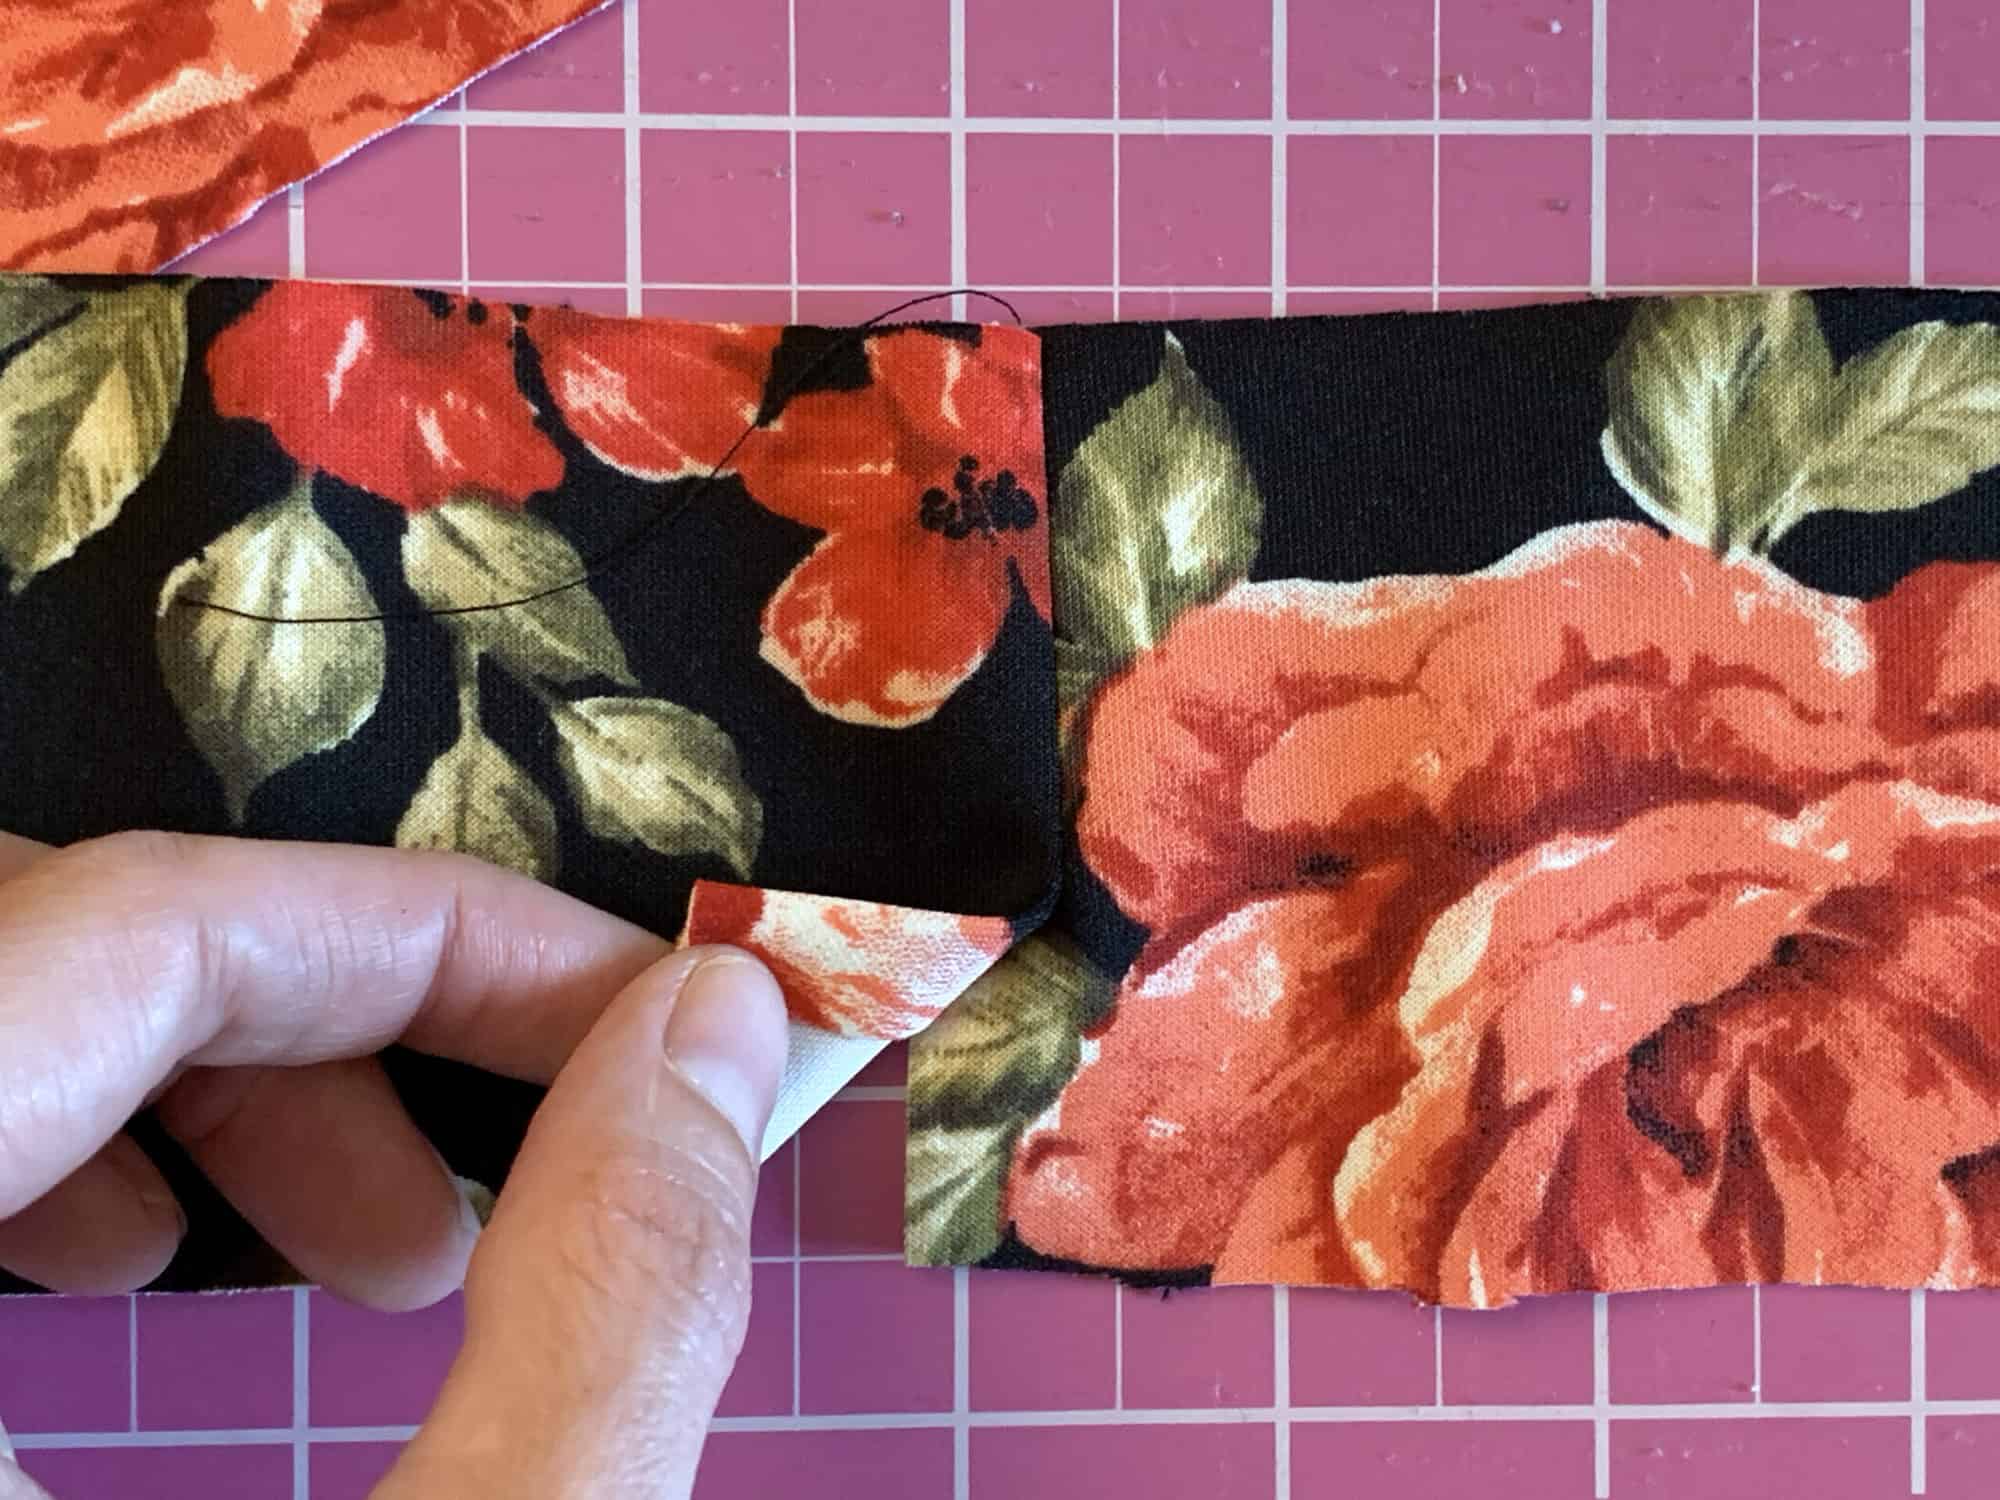
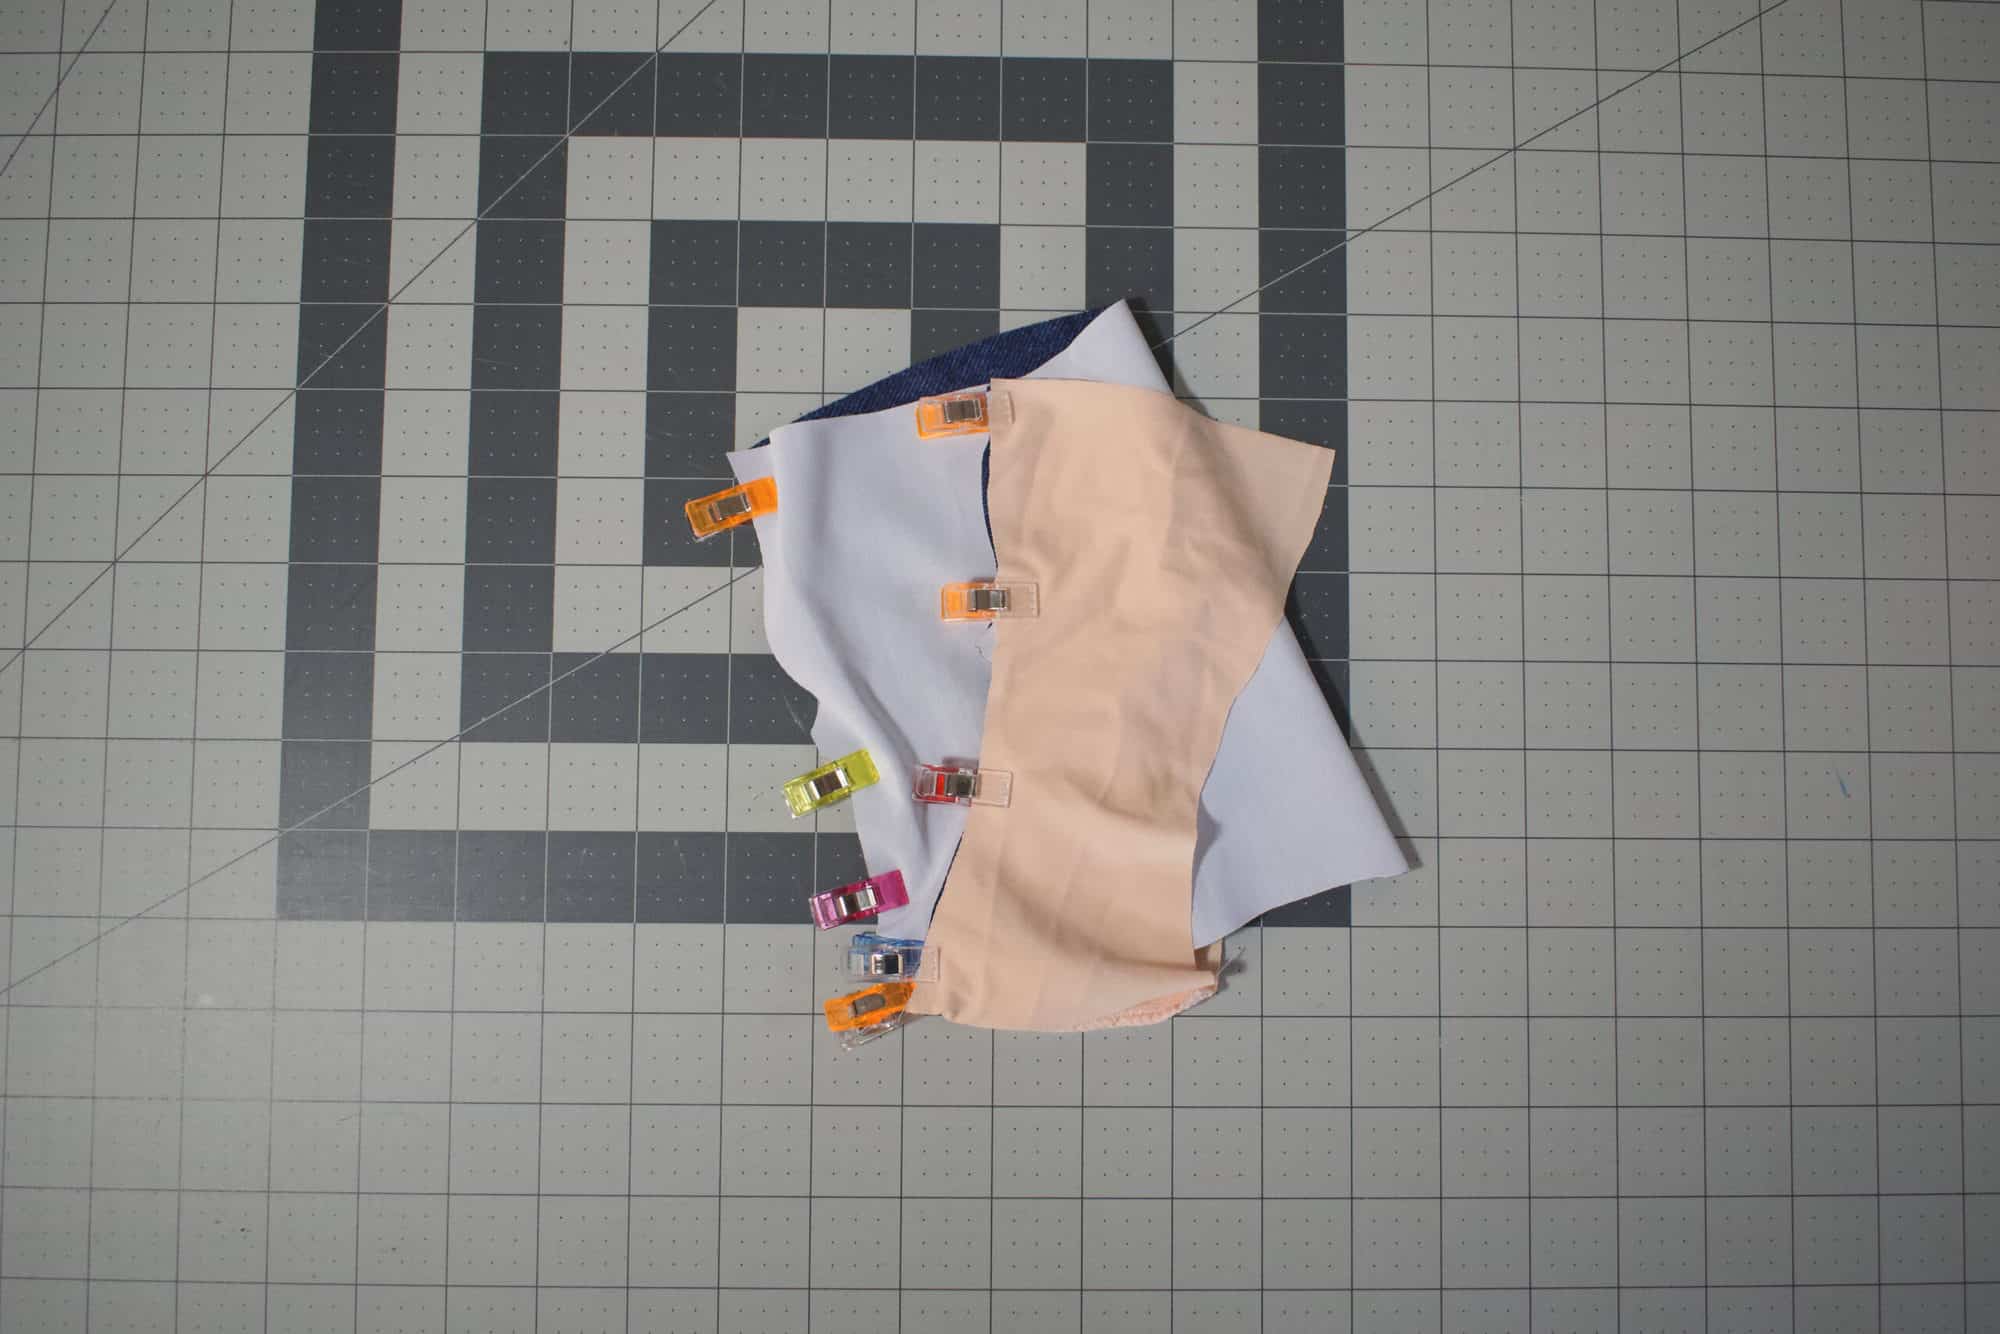
Pin the right side of the remaining leg to the right side of the lining piece, matching the notches.
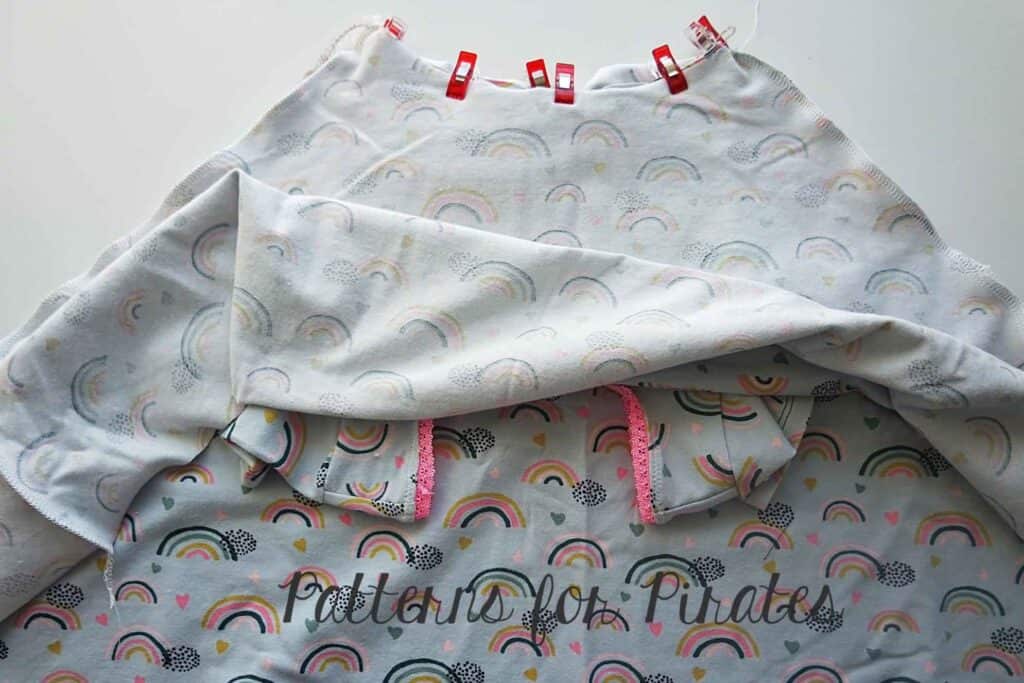
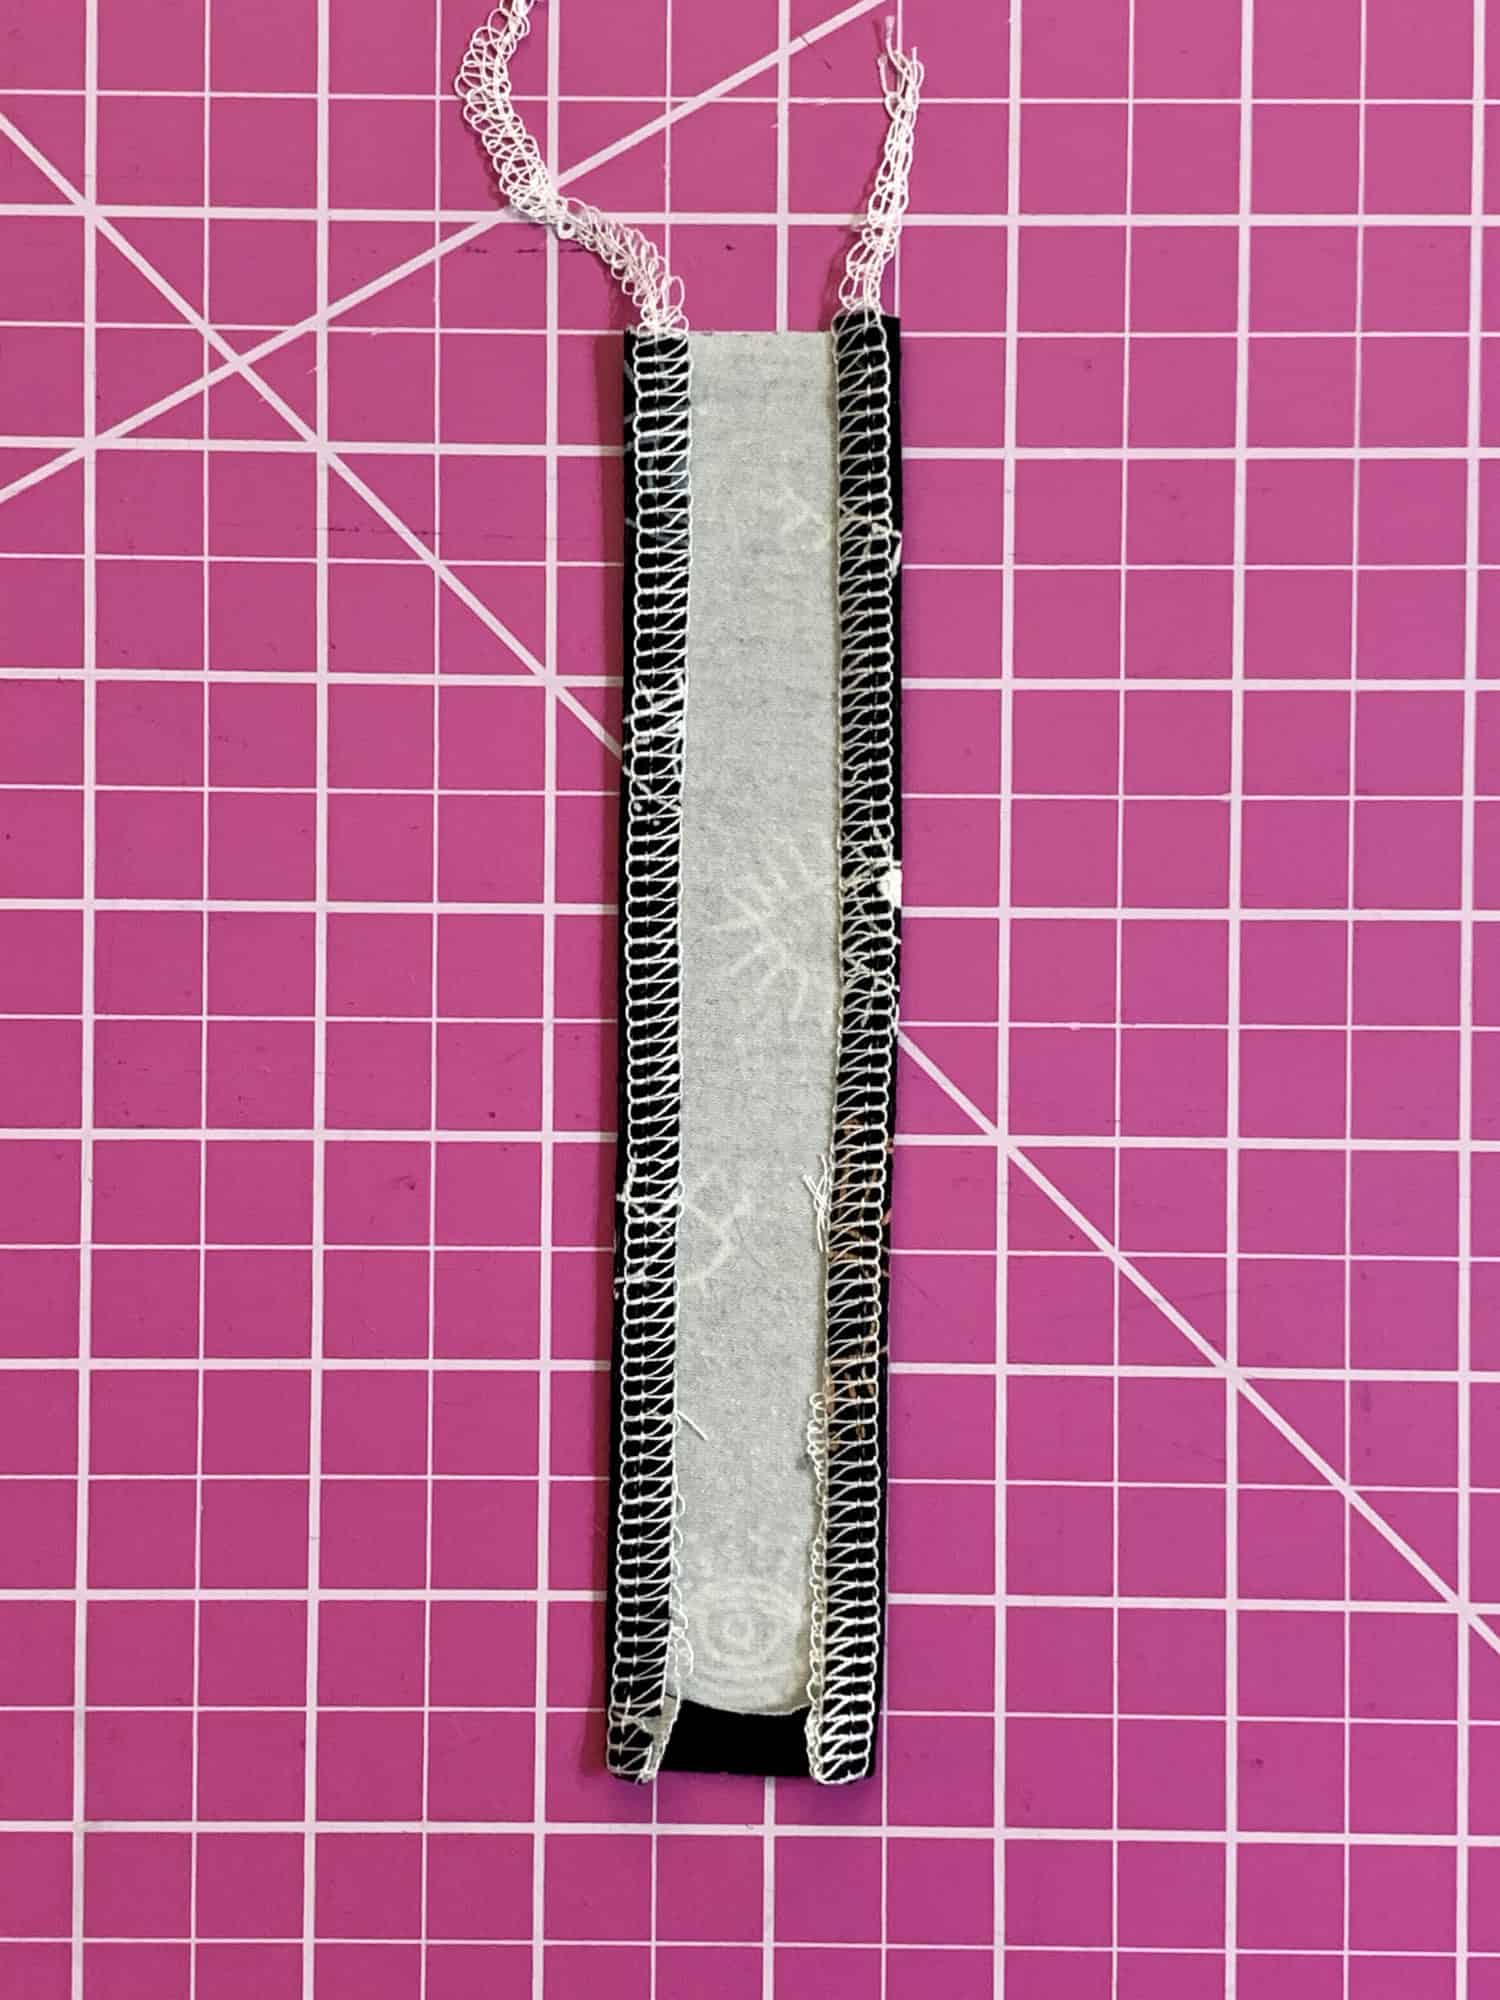
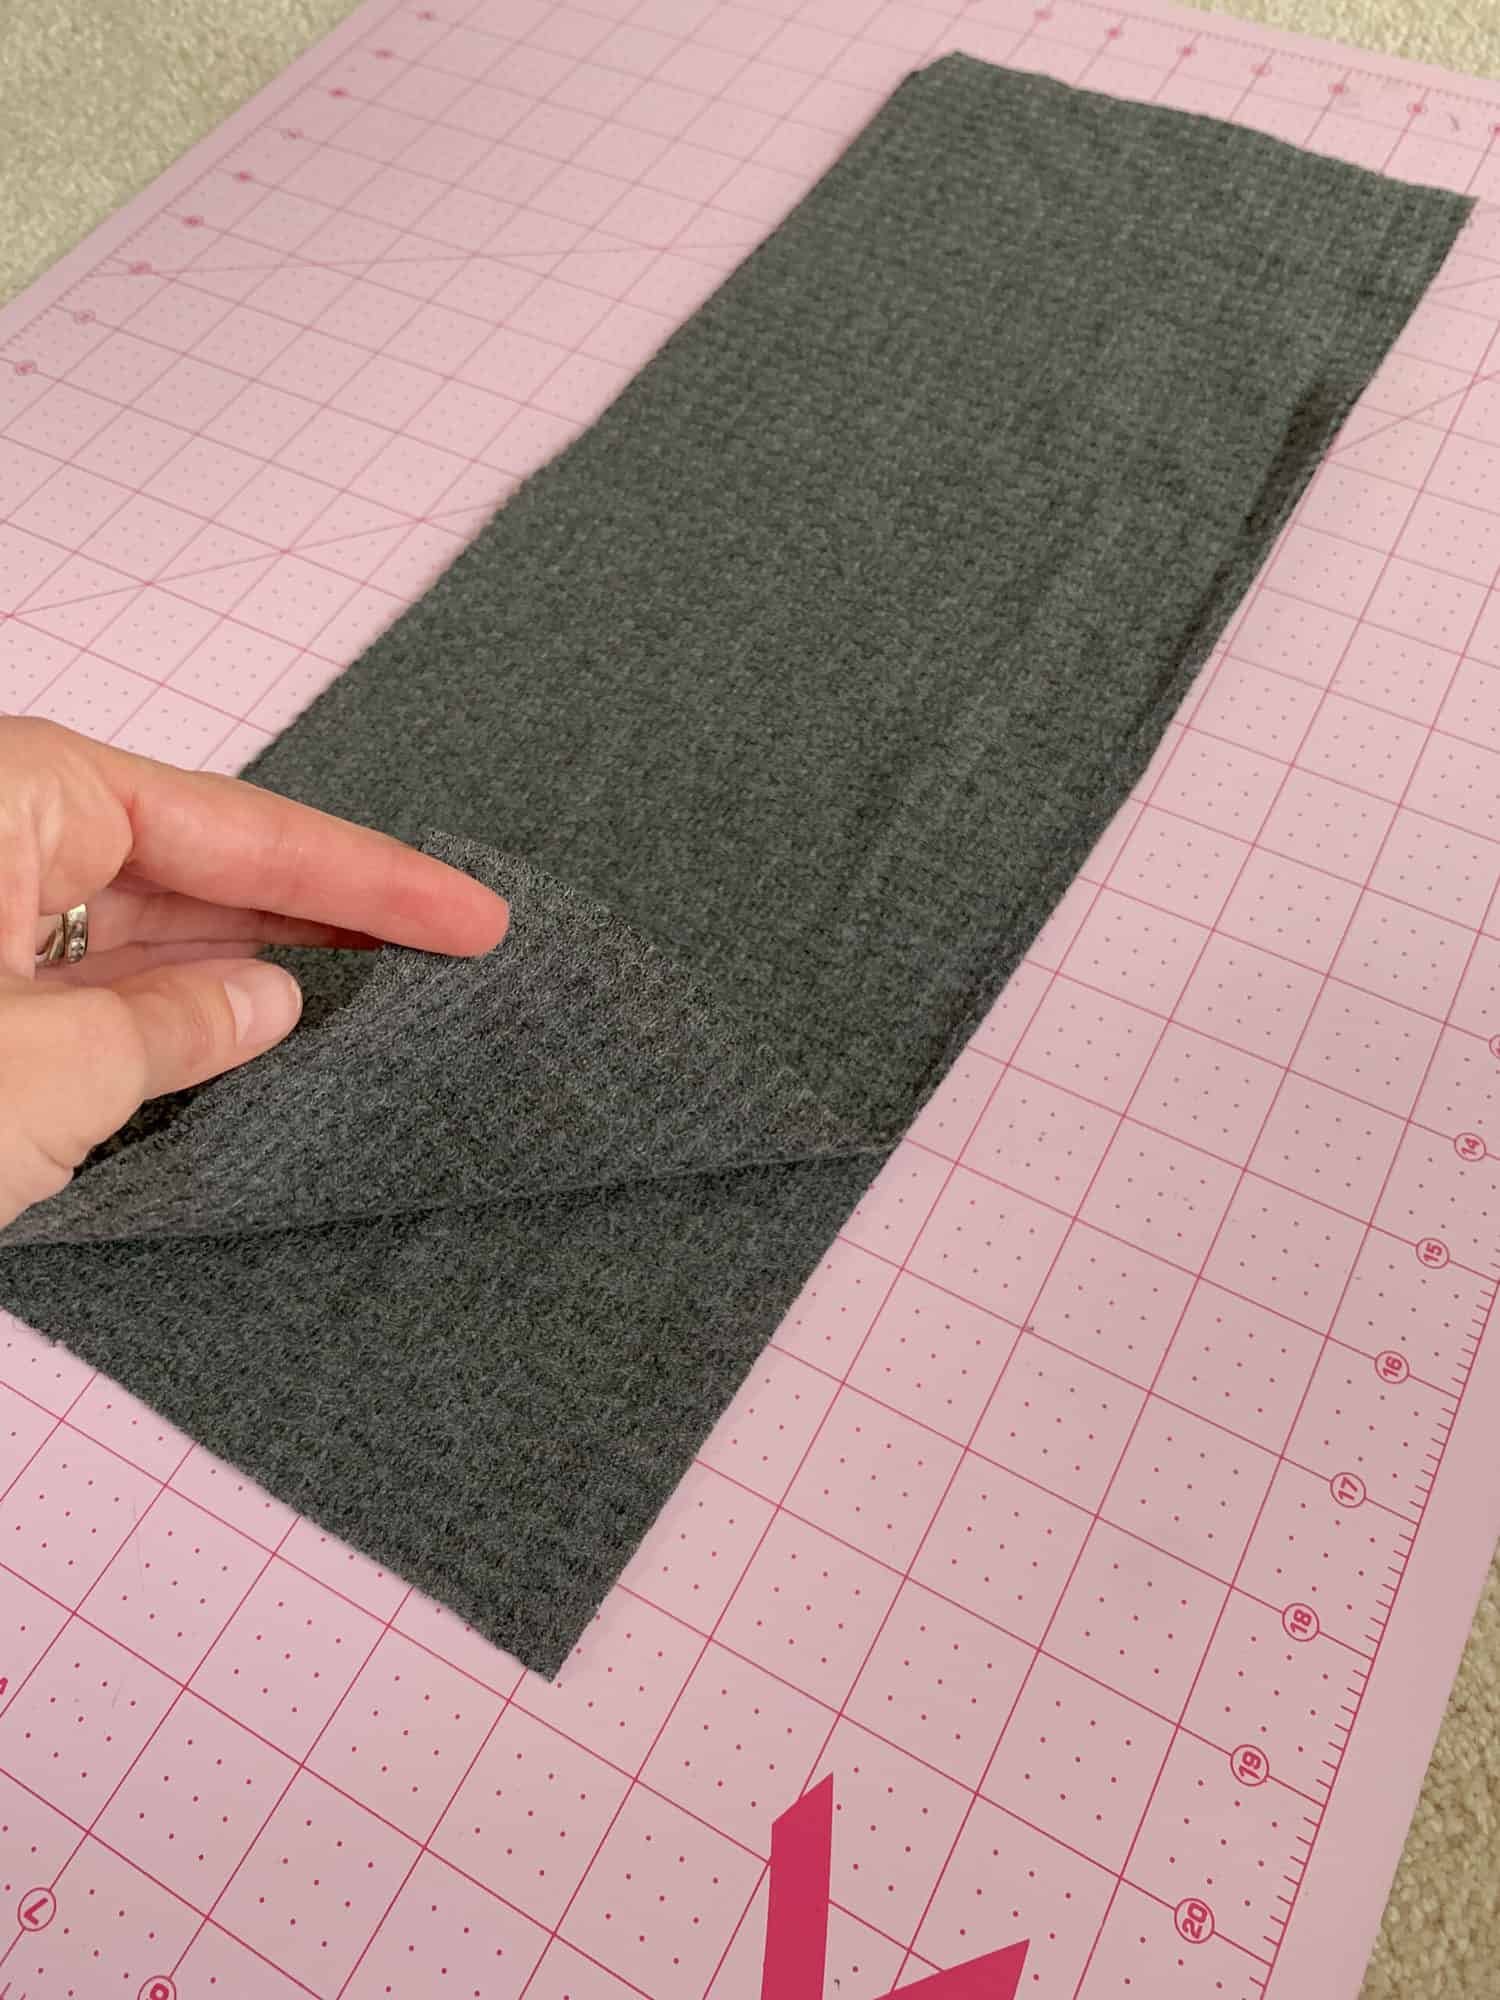
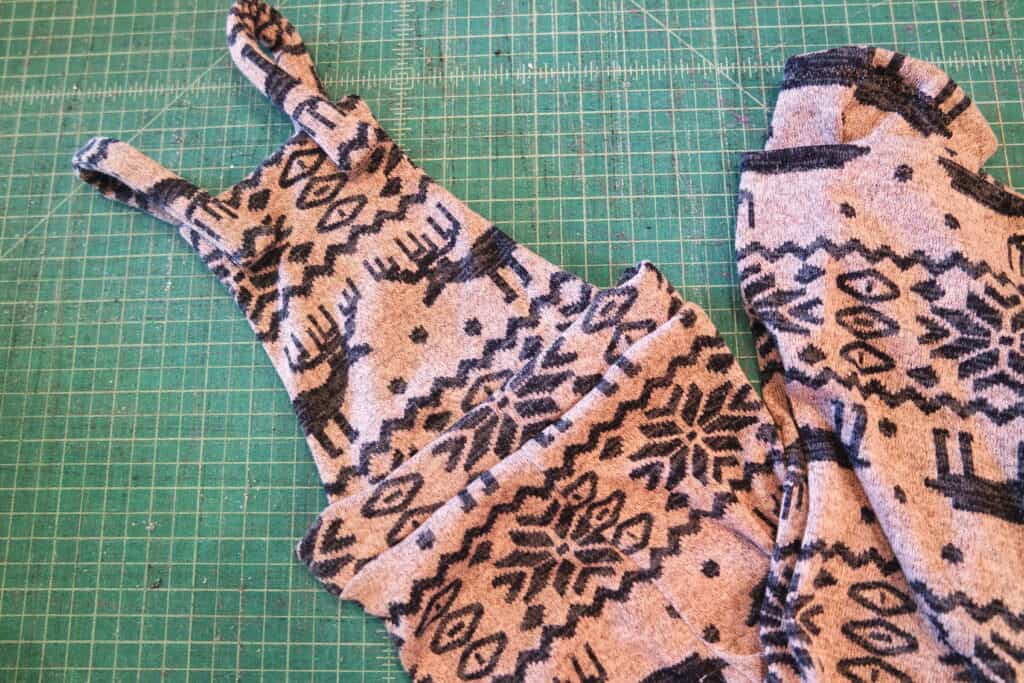
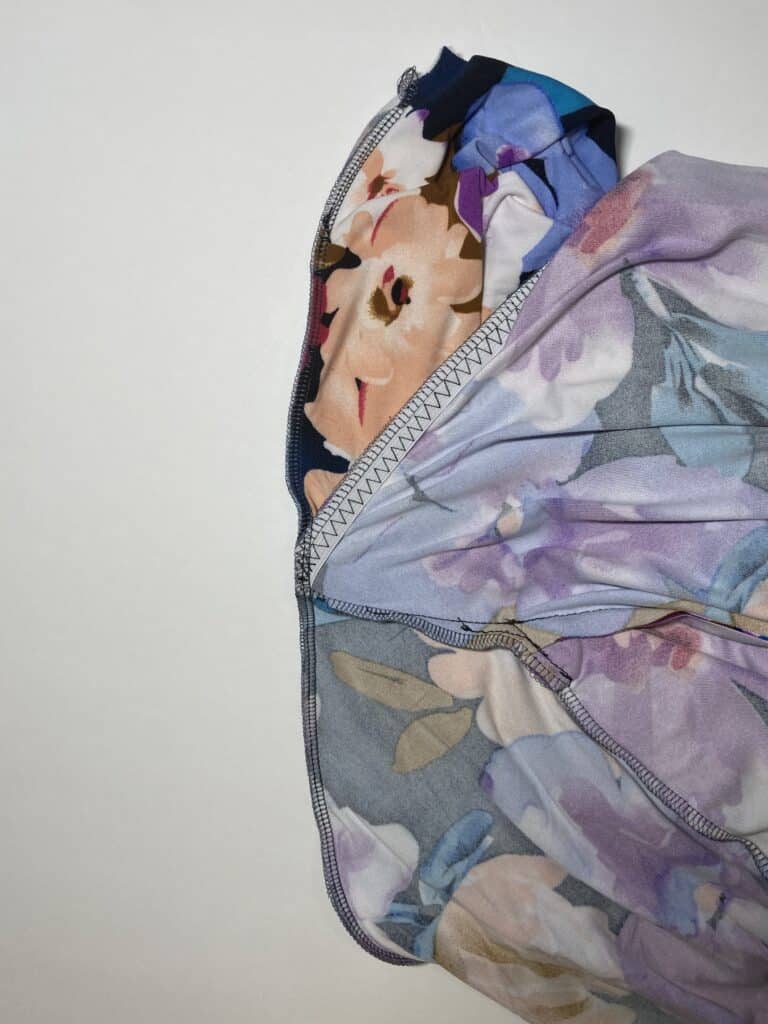
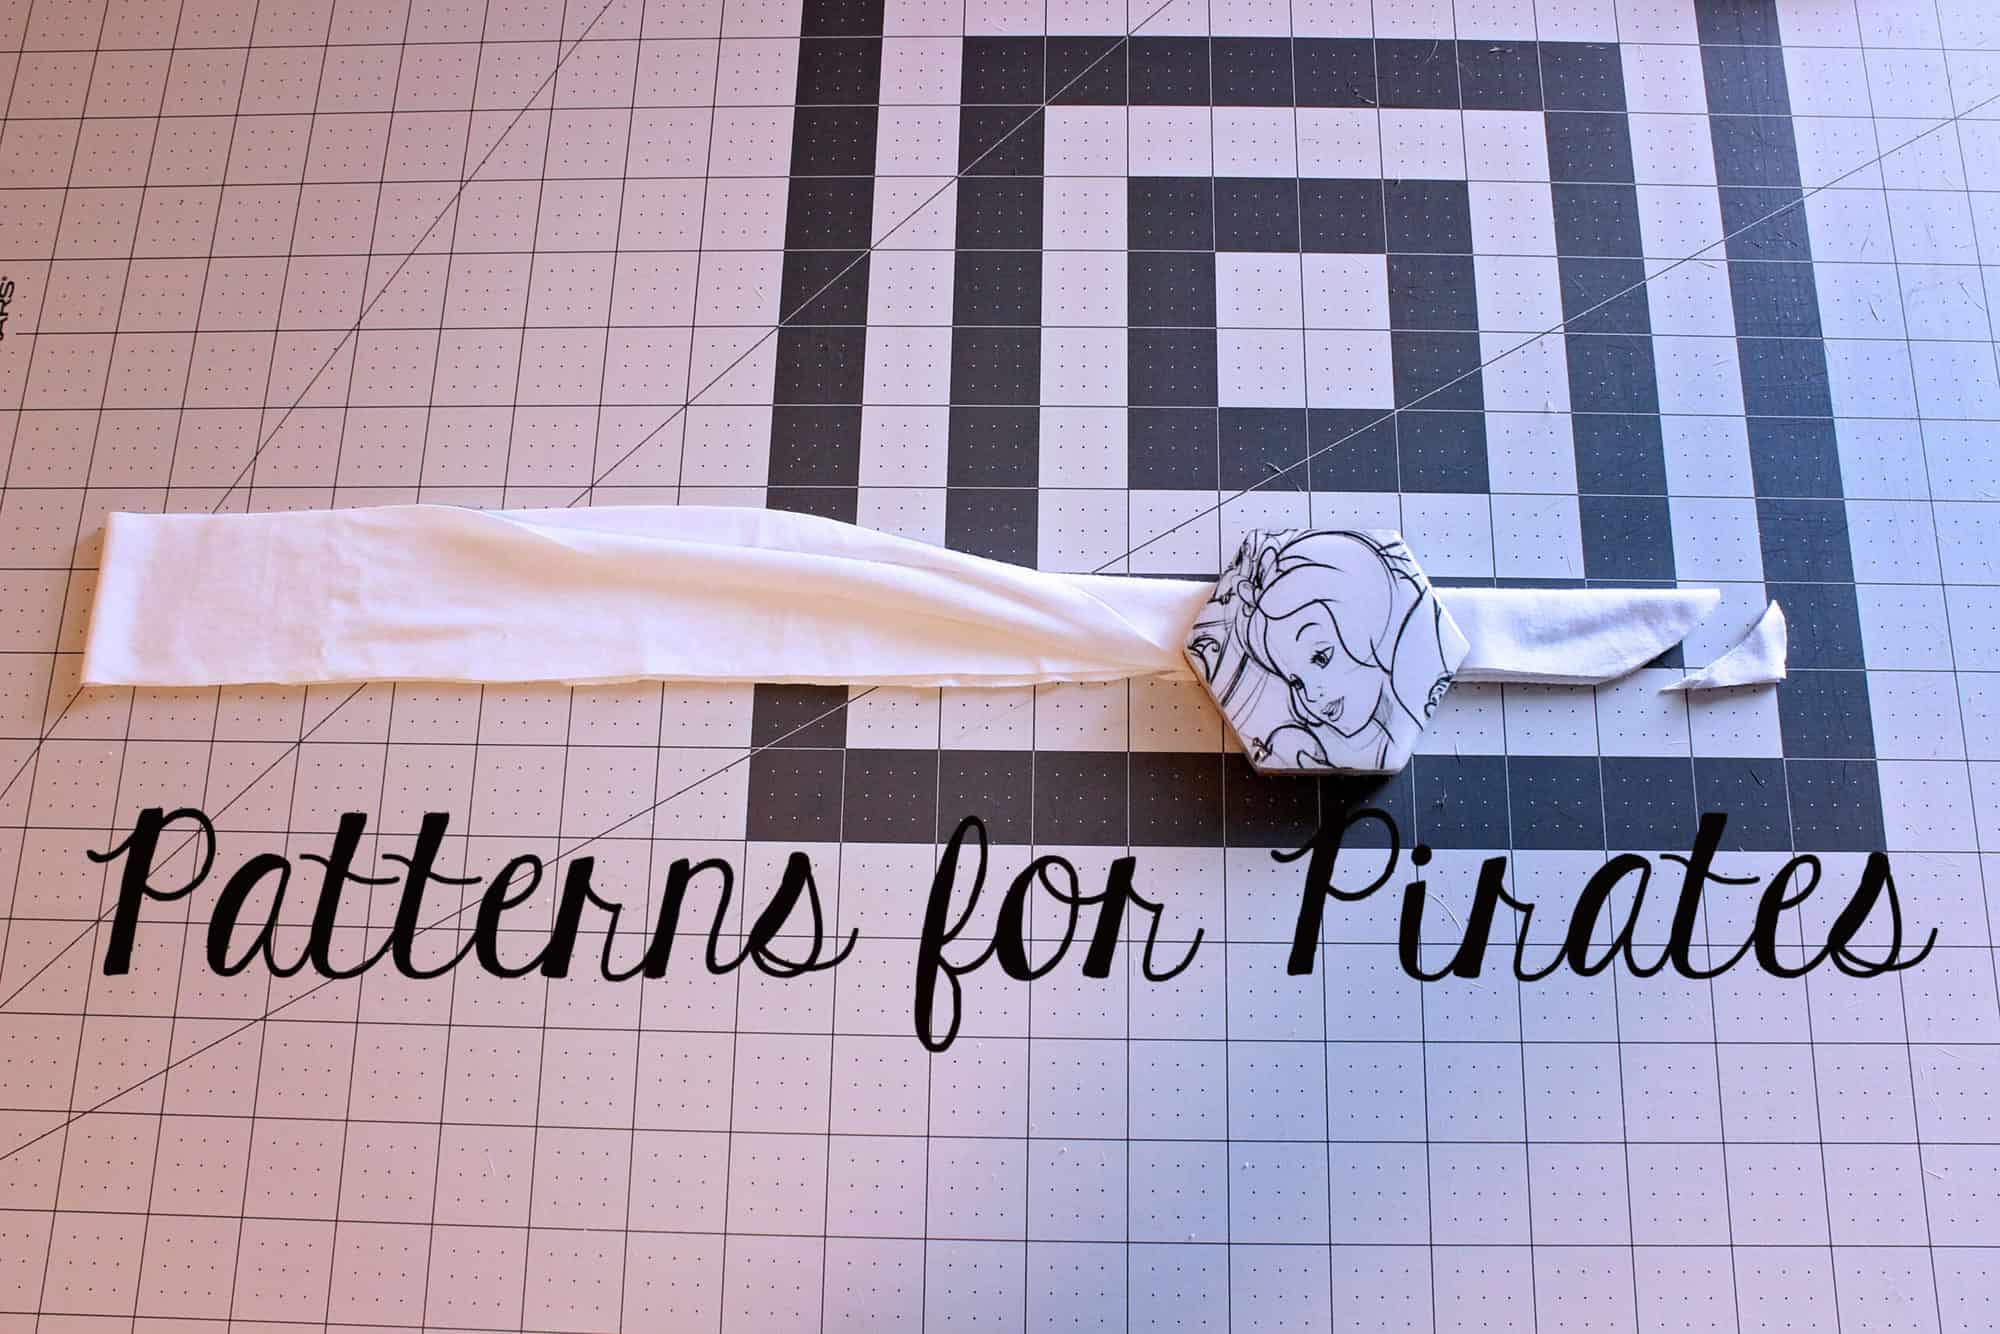
Bring the lining over and “stuff” the finished leg of the briefs inside the center “sandwich”. This is very similar to the burrito roll method used to create lined tanks. Pin it in place.
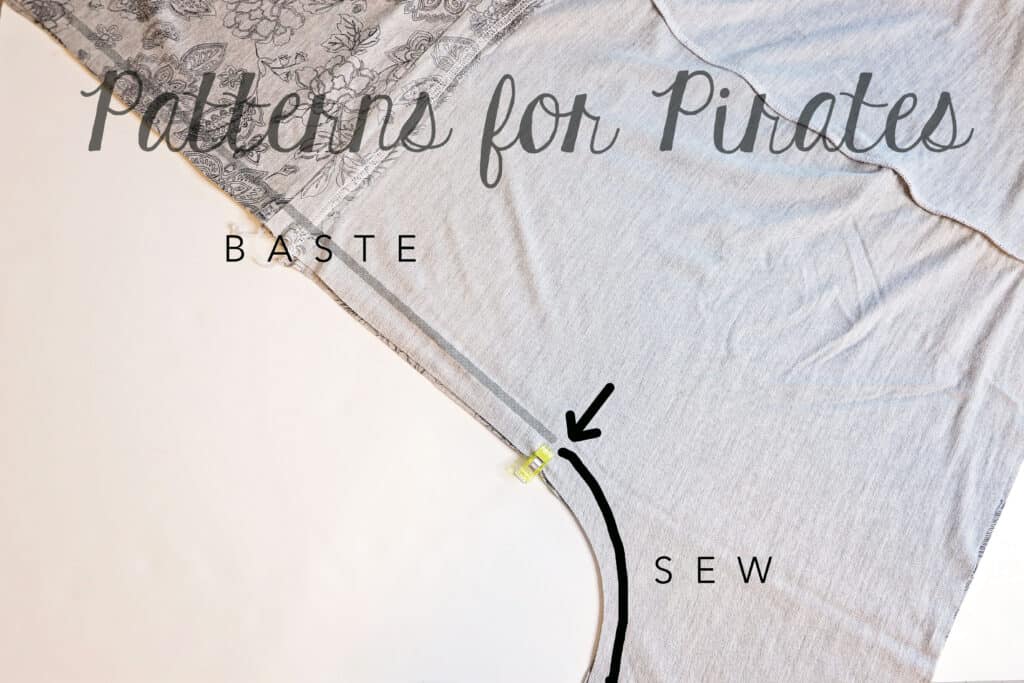
Br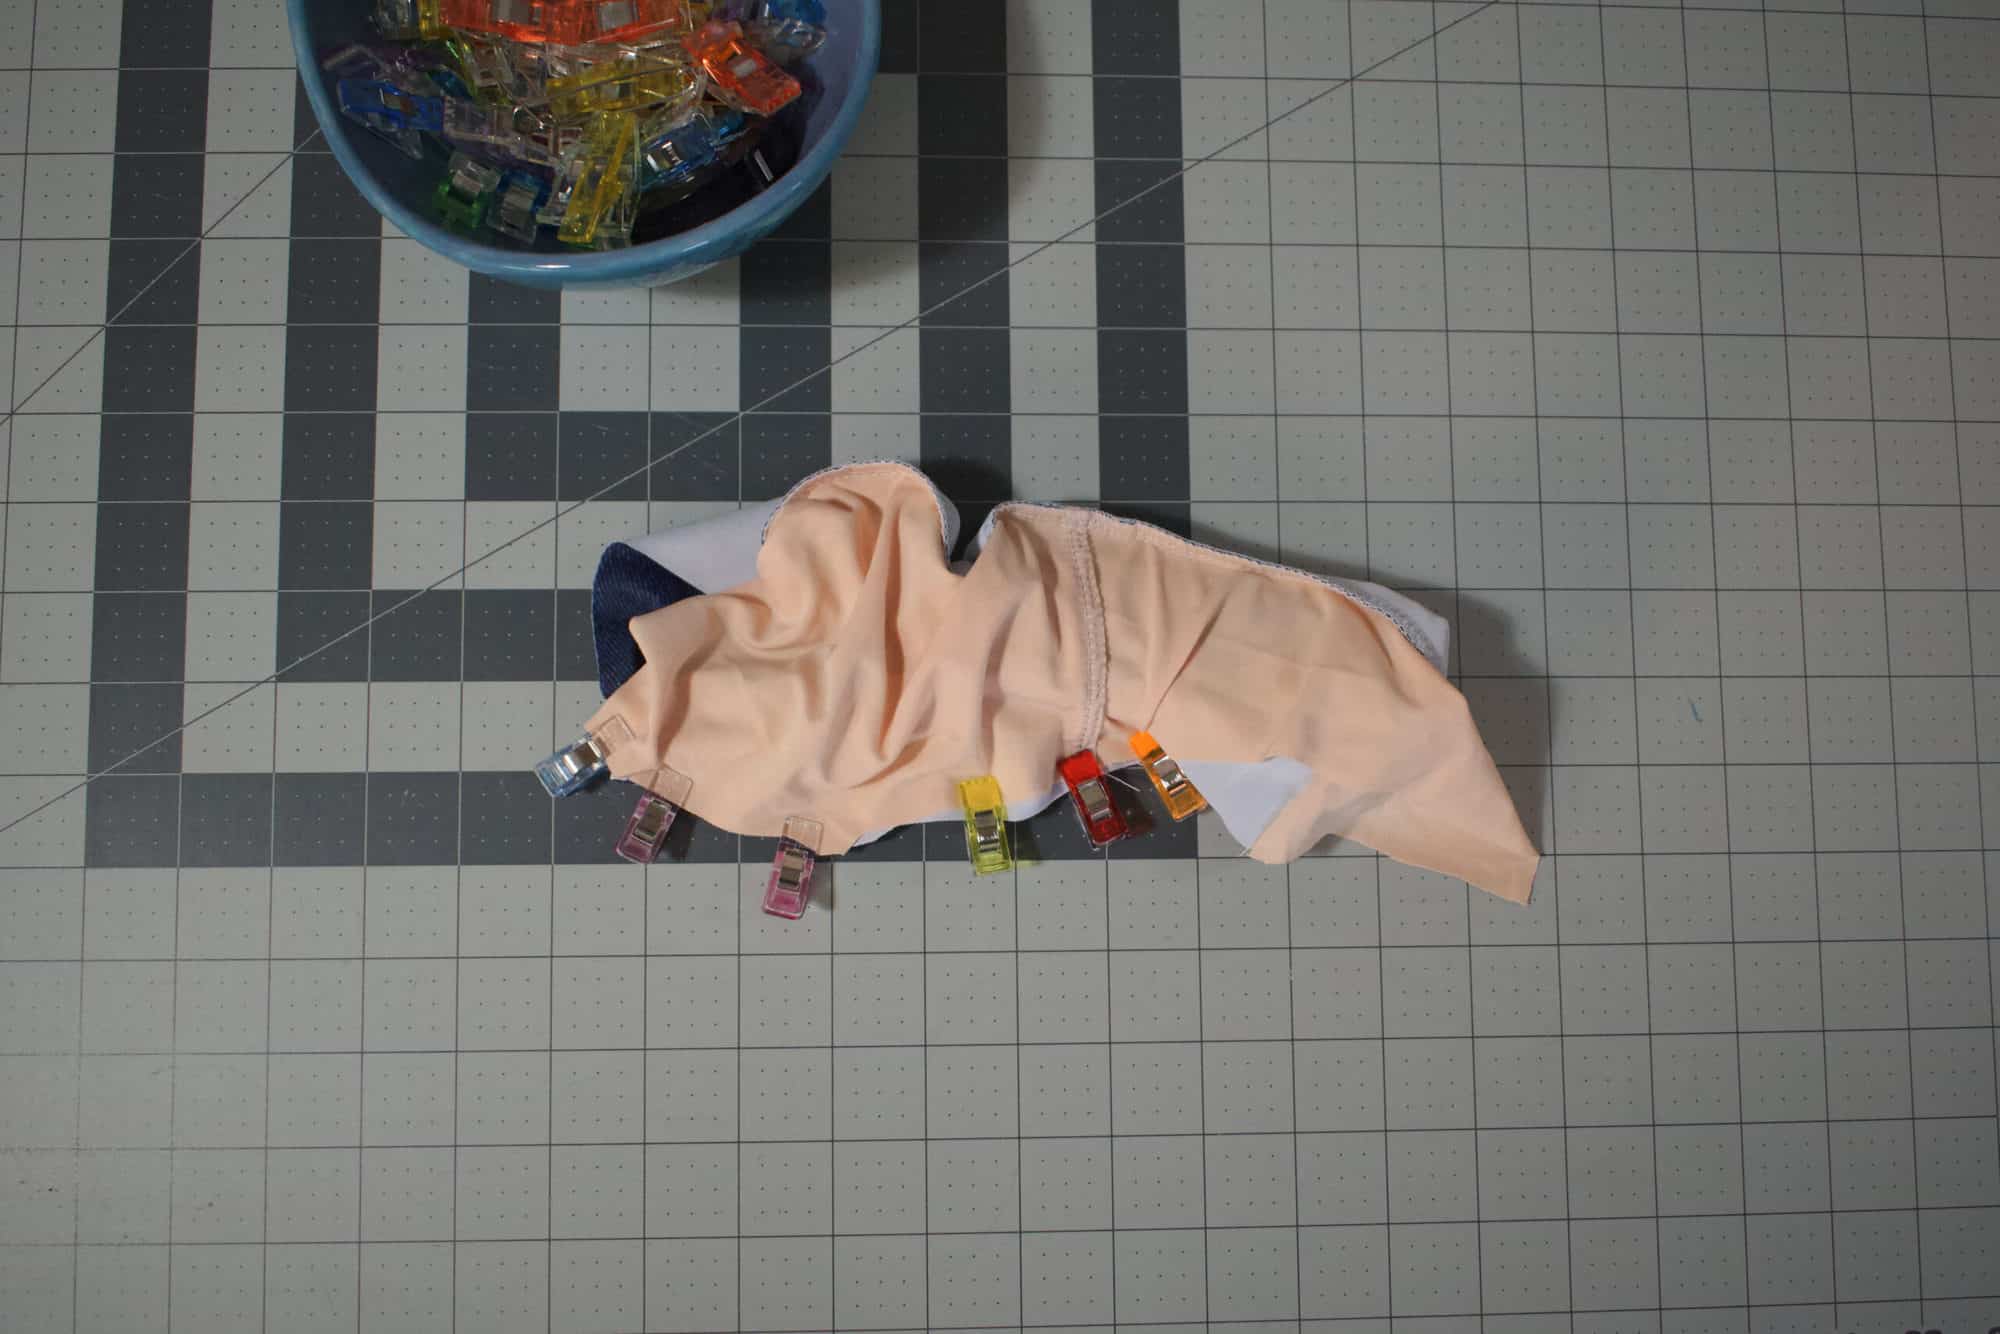
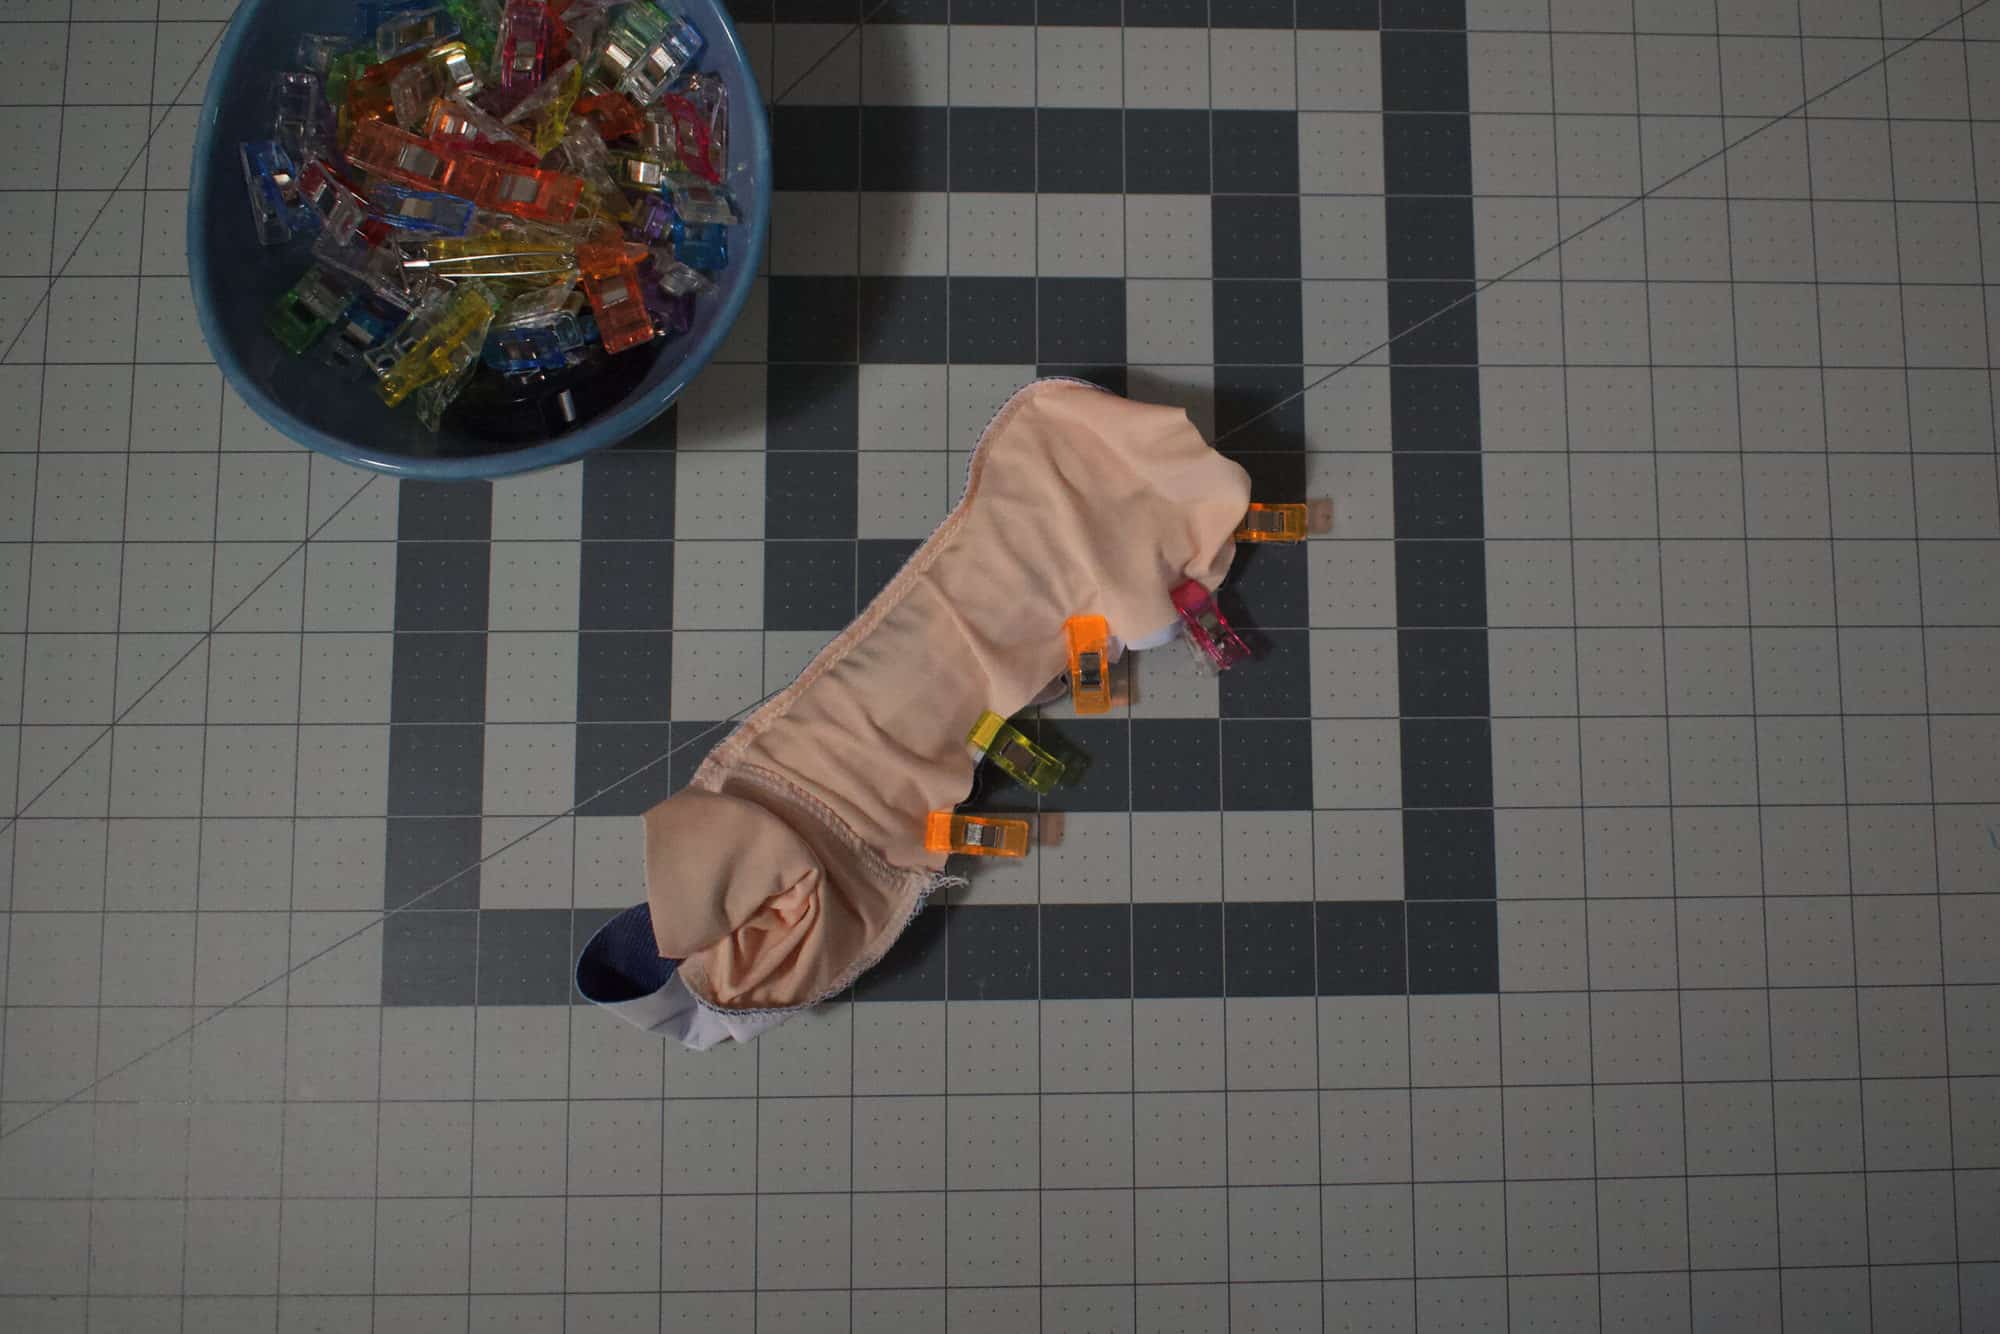
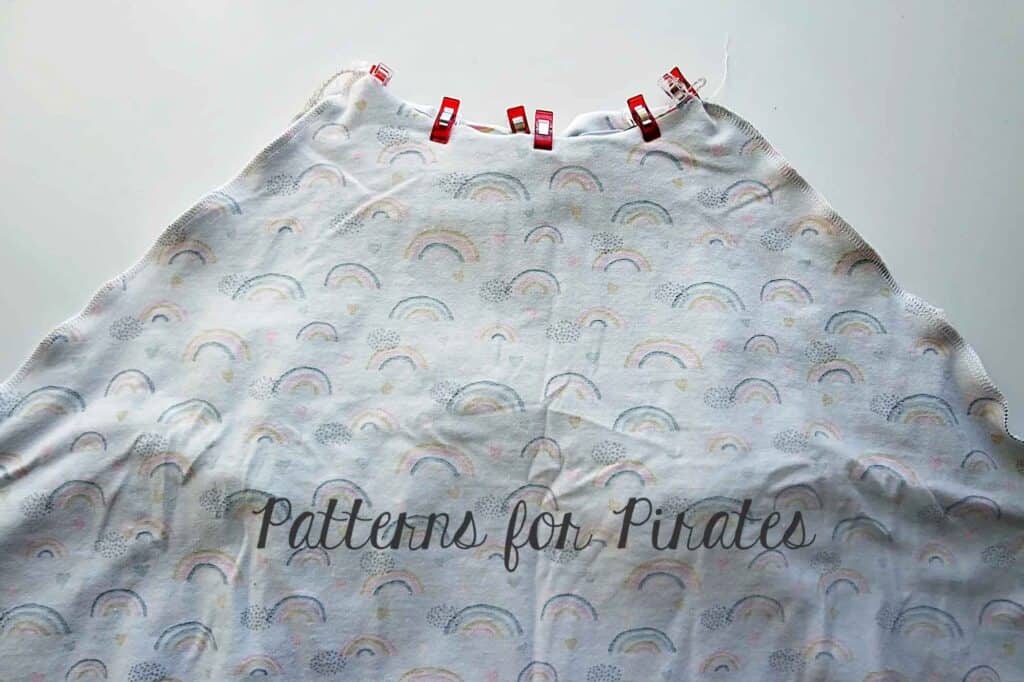
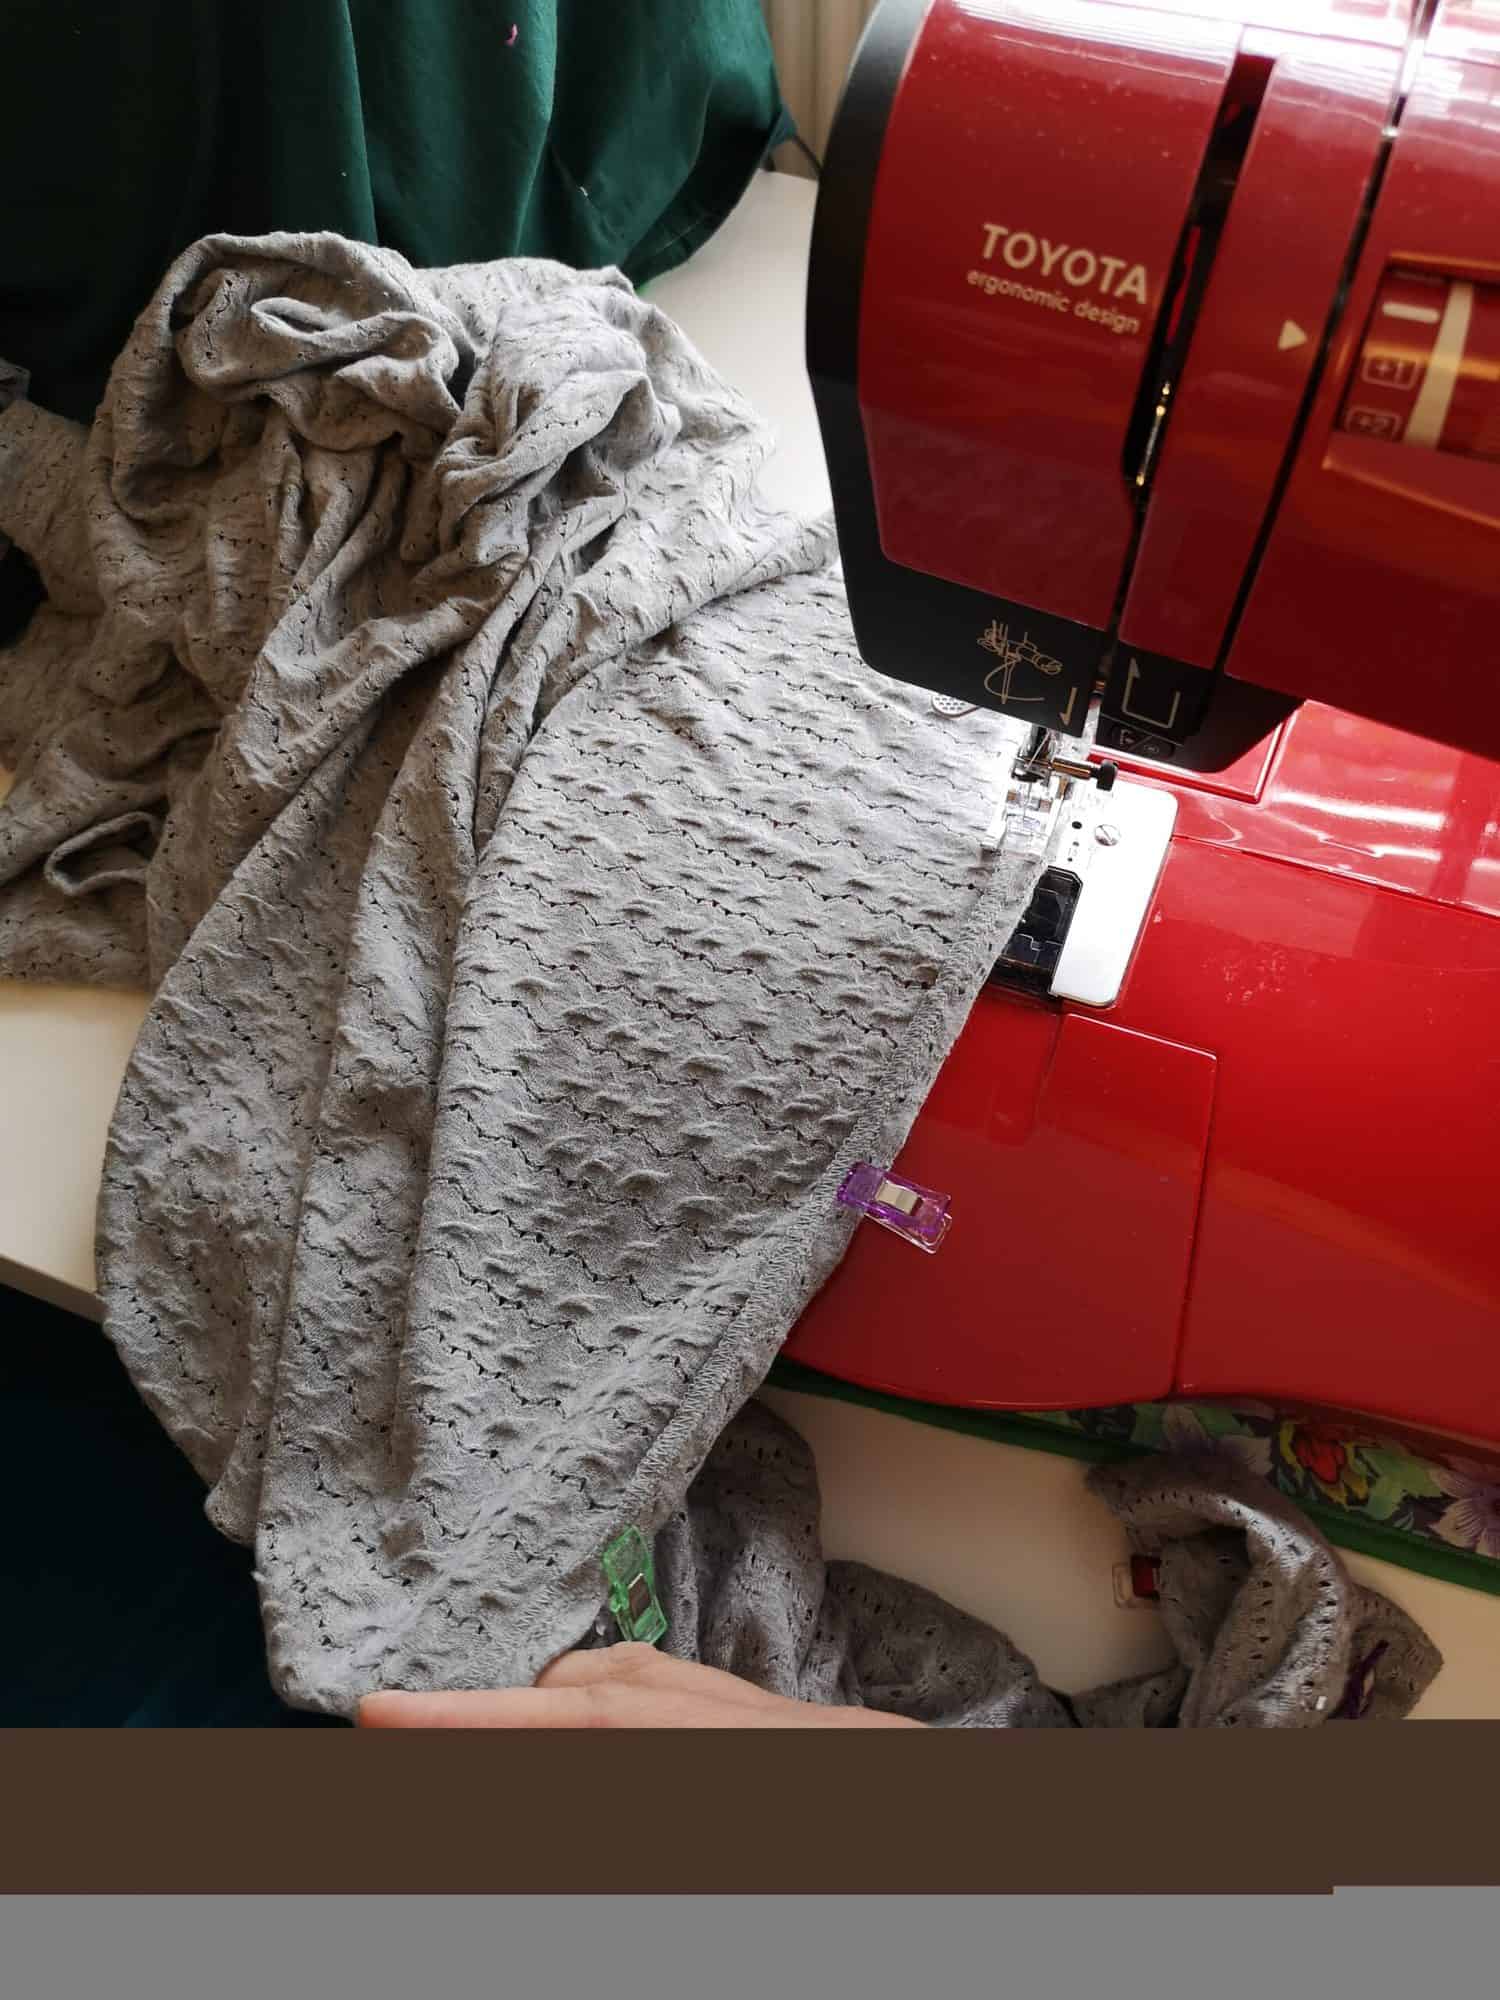
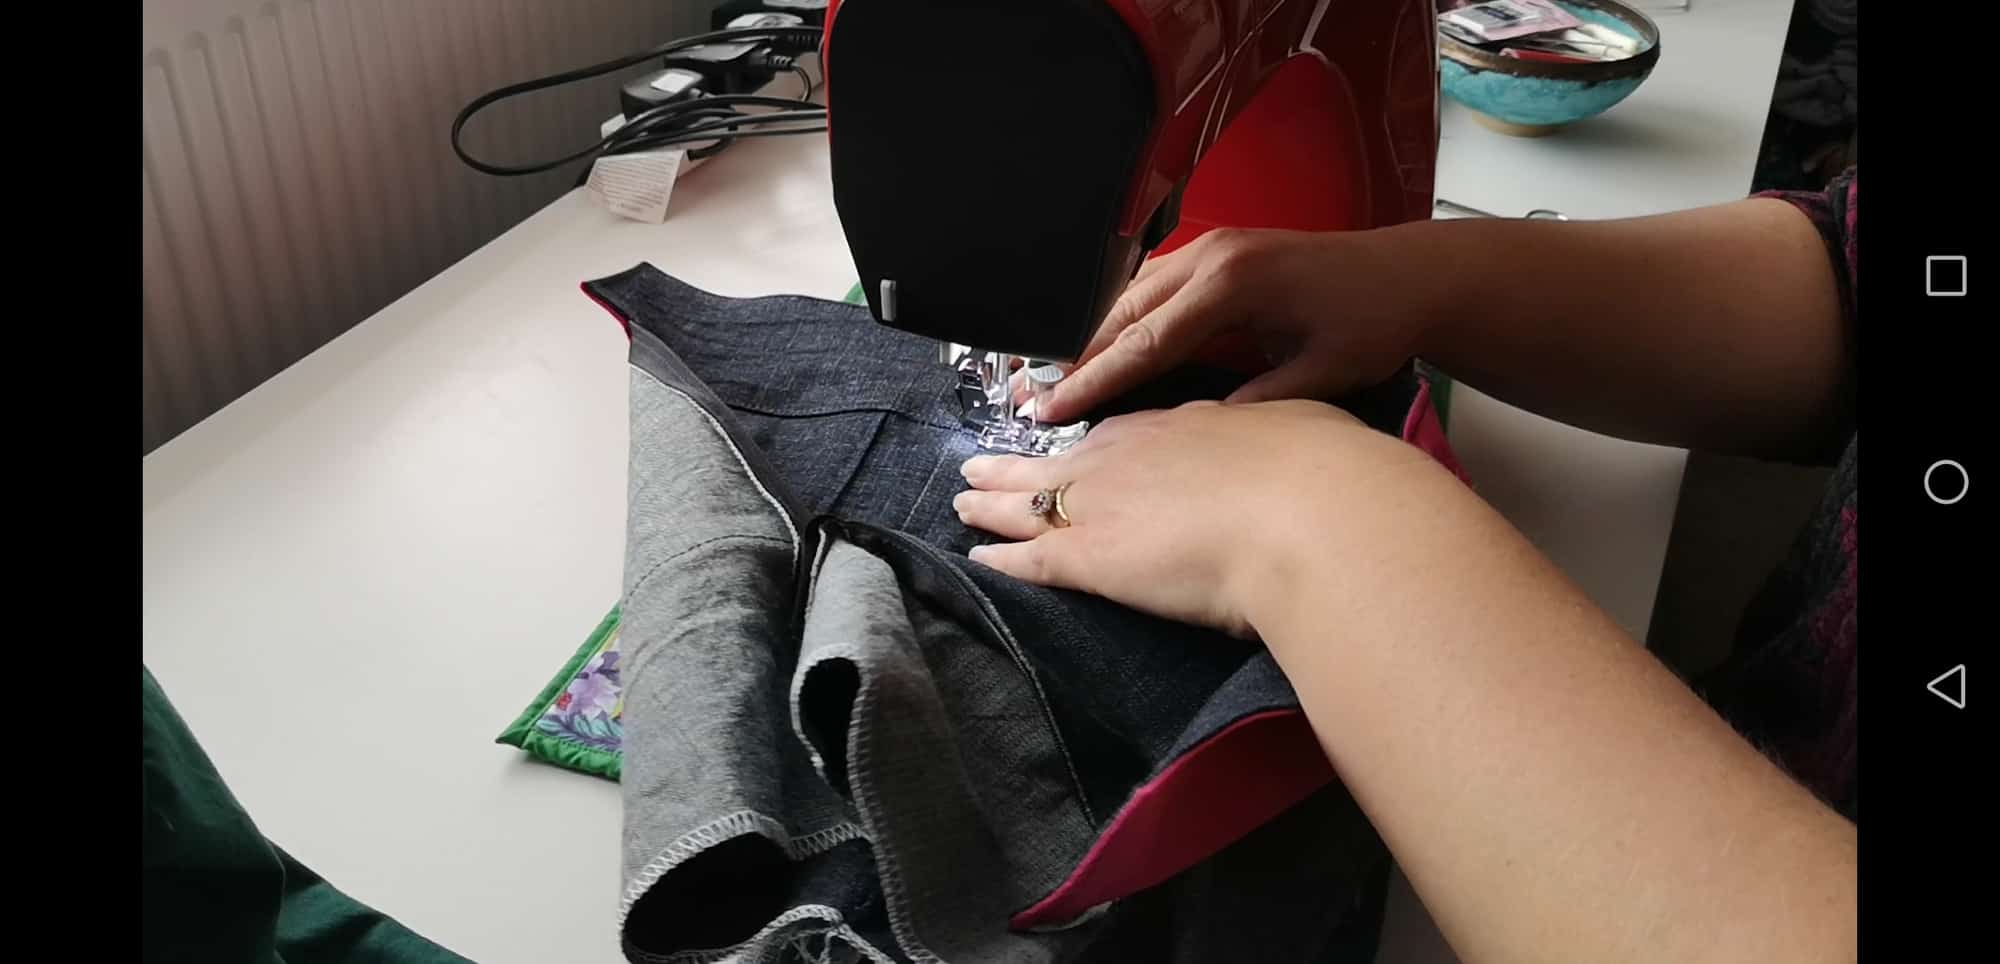
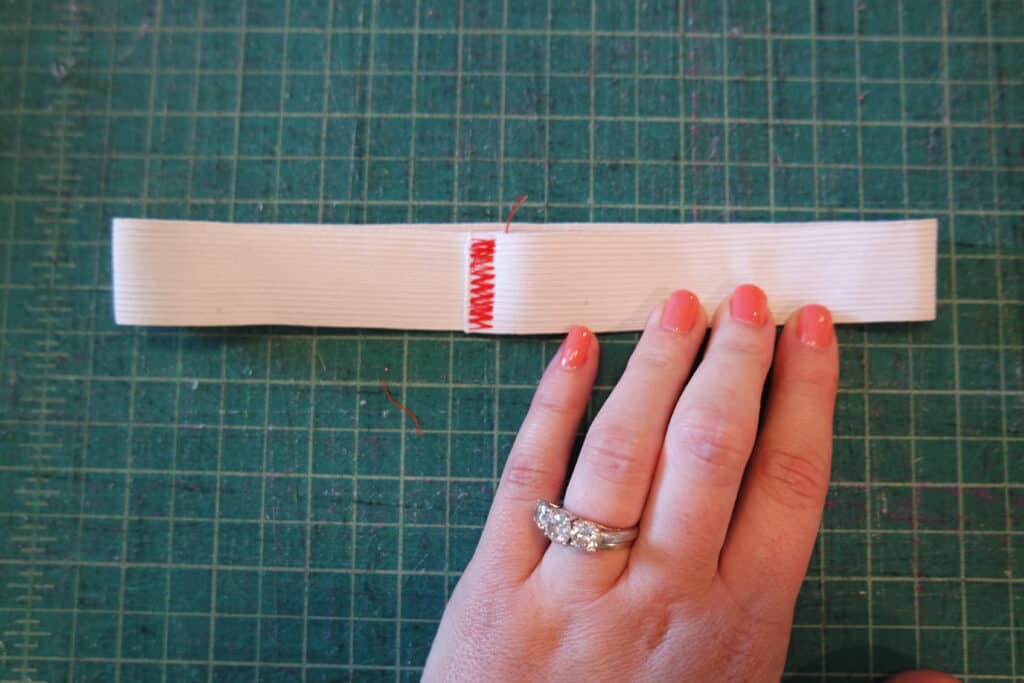
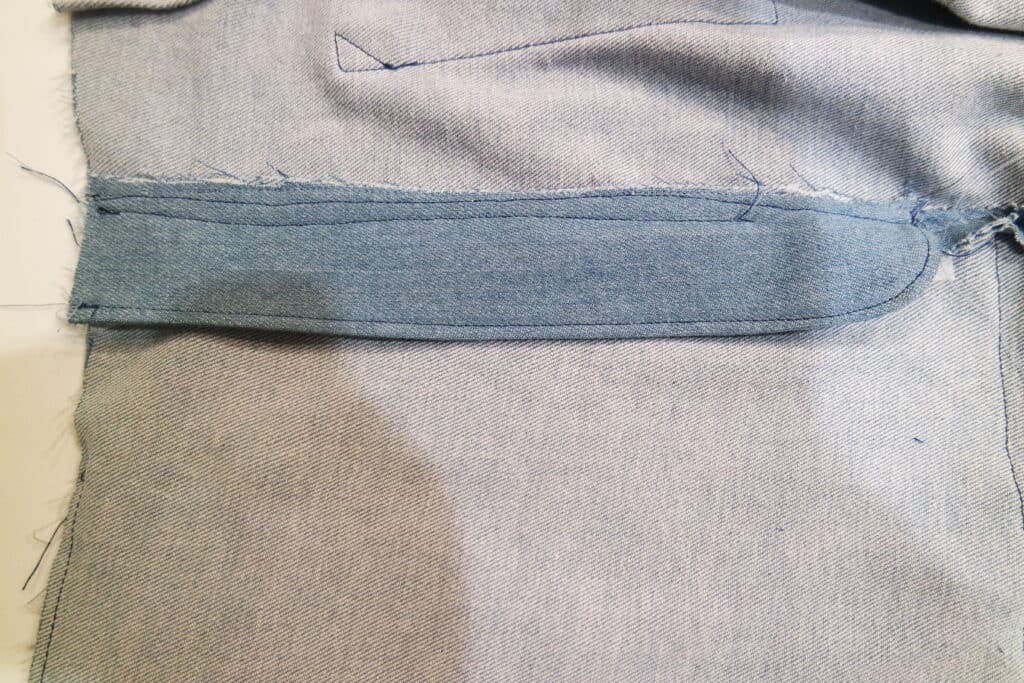
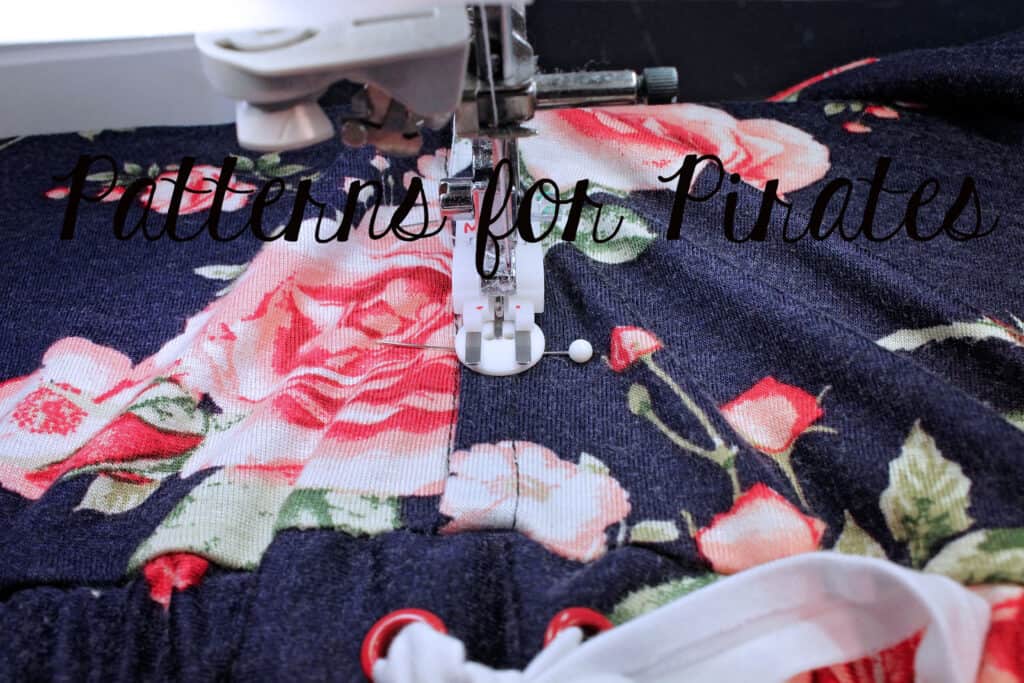
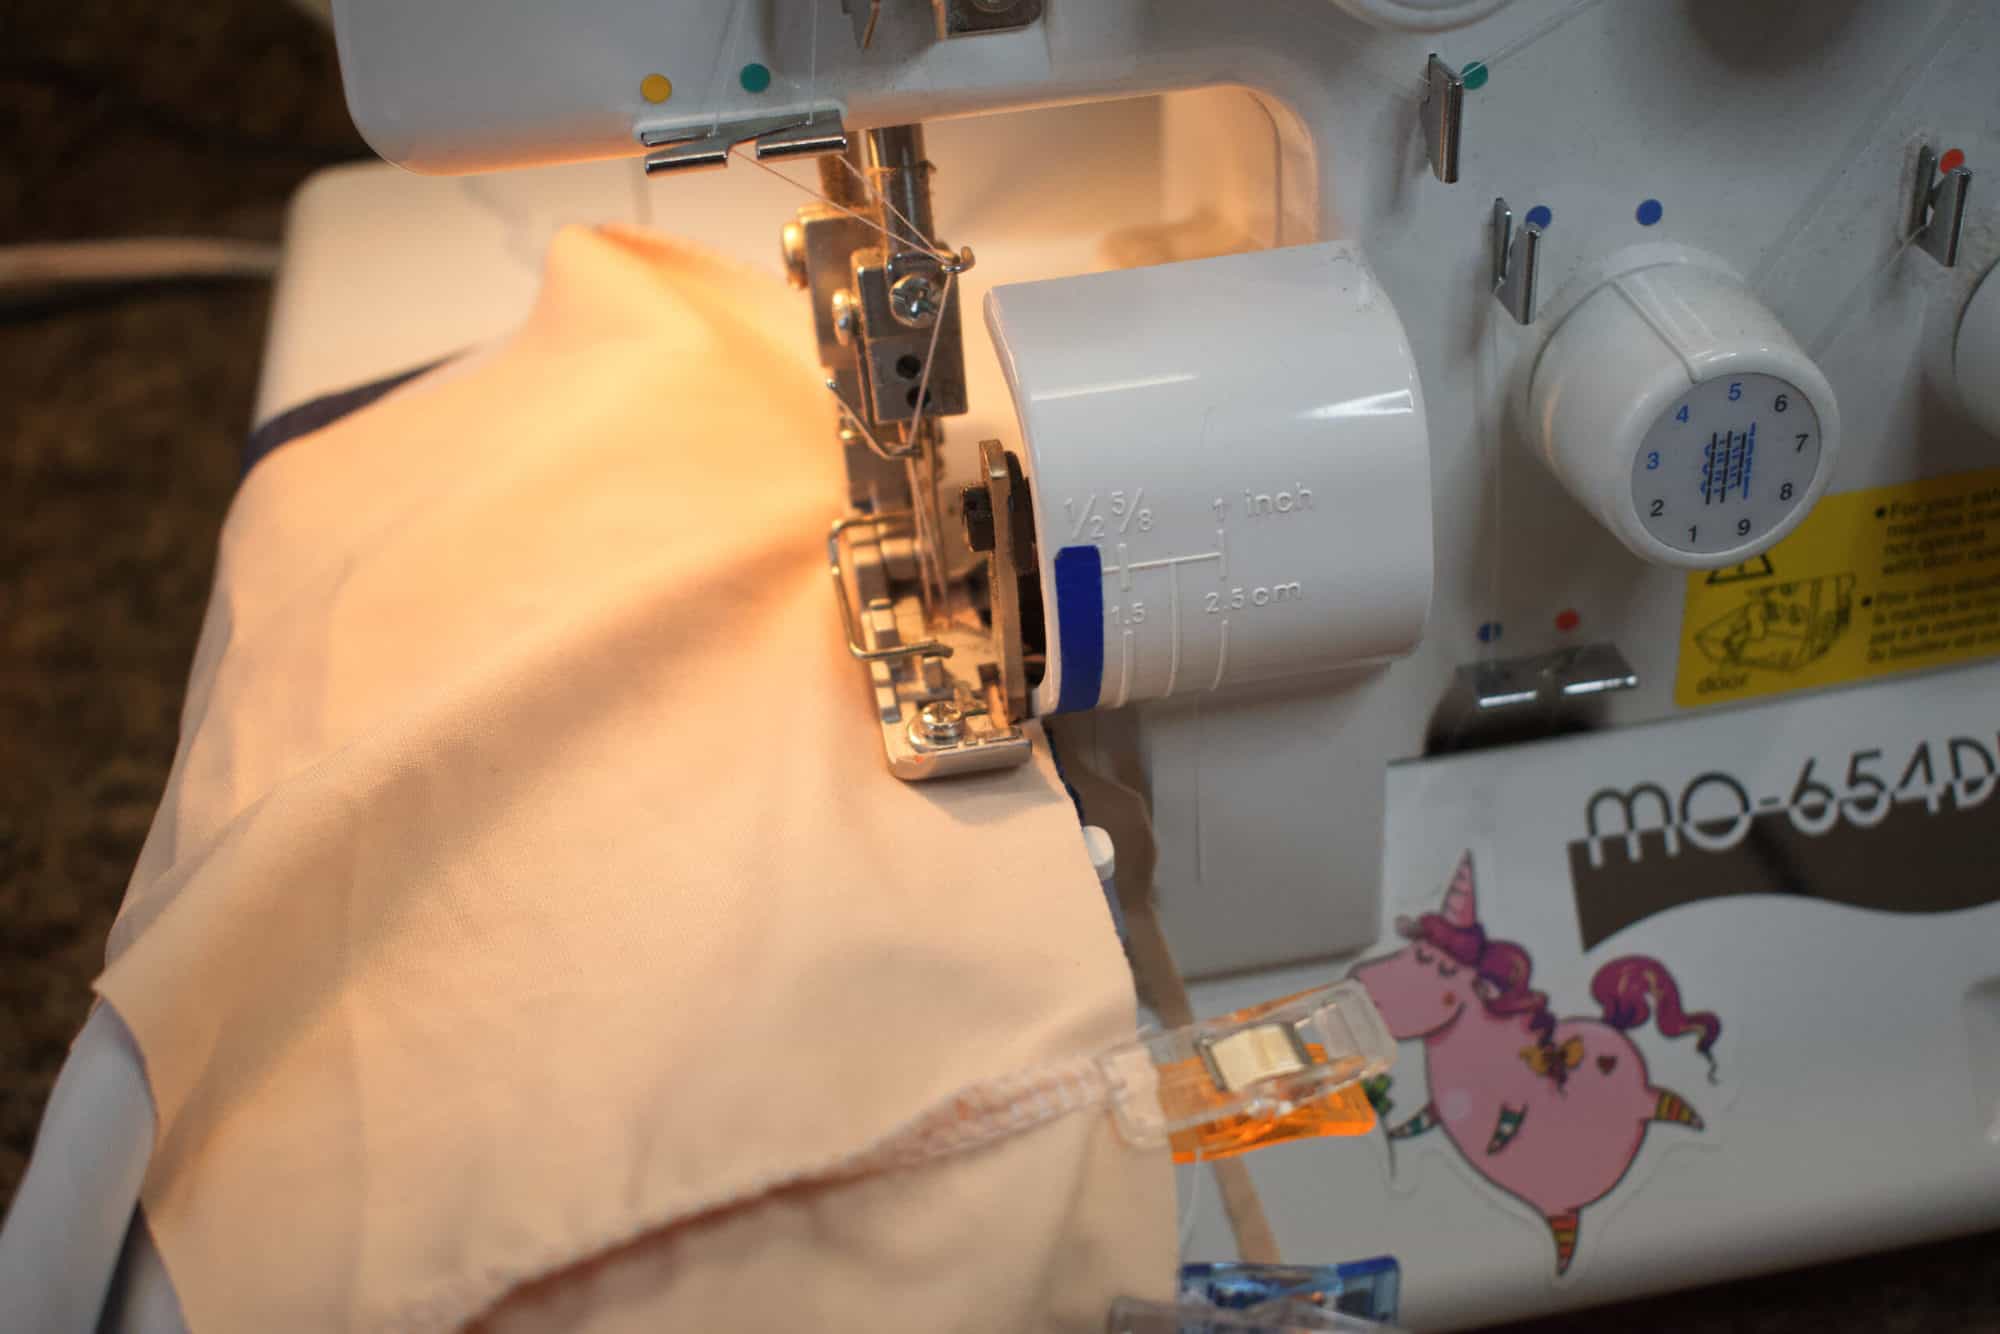
Sew the pinned side with a serger or a stretch stitch.
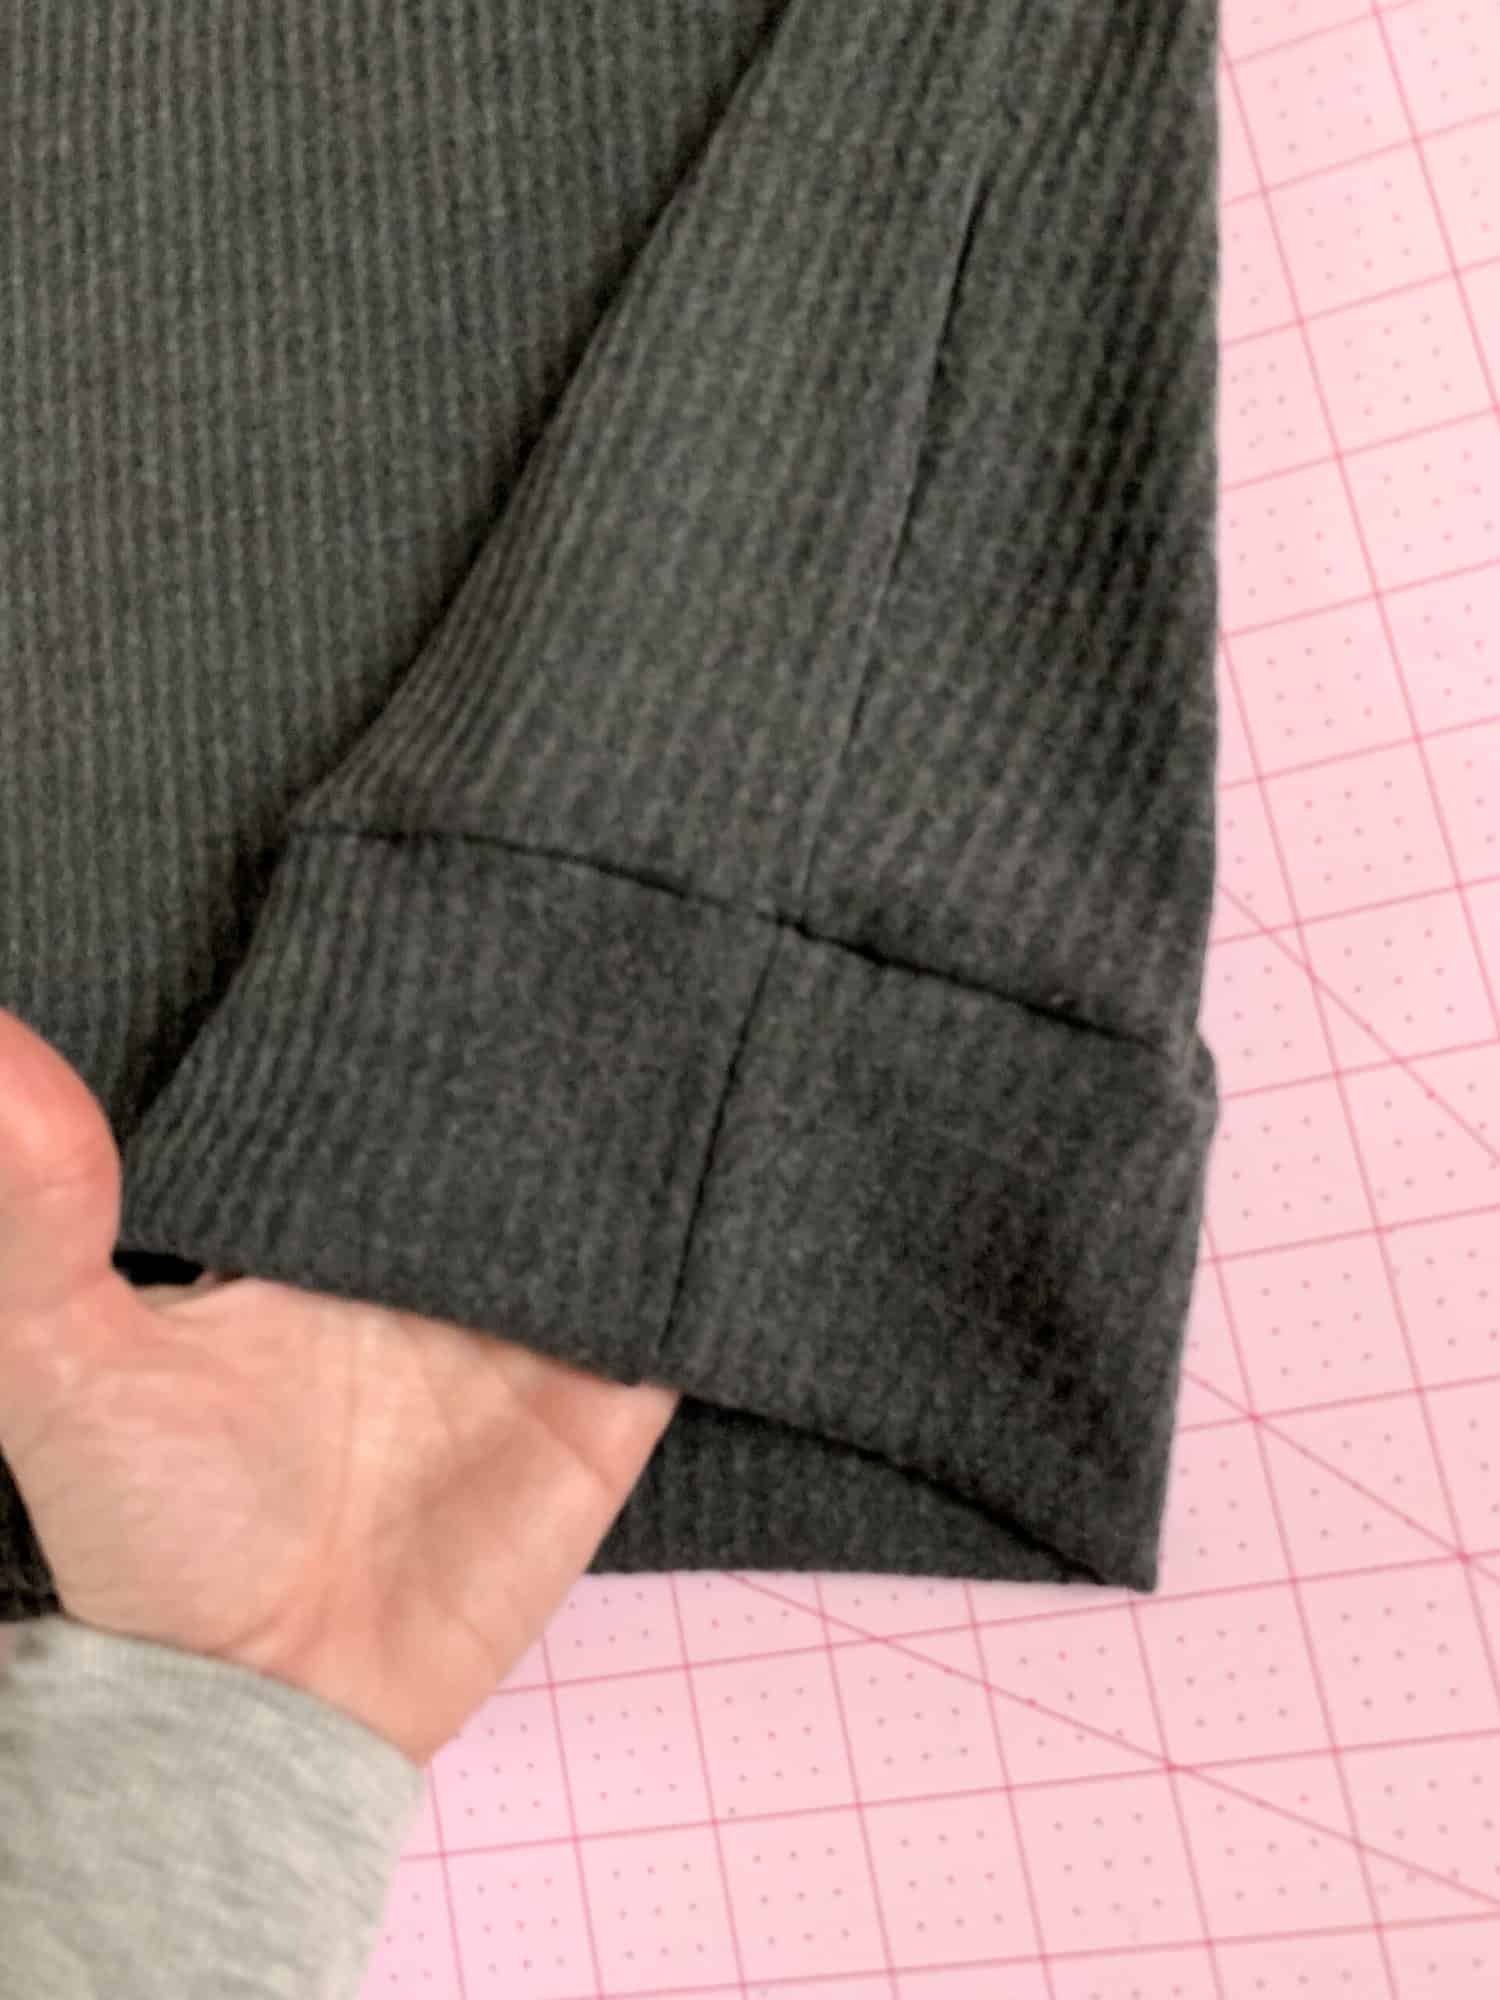
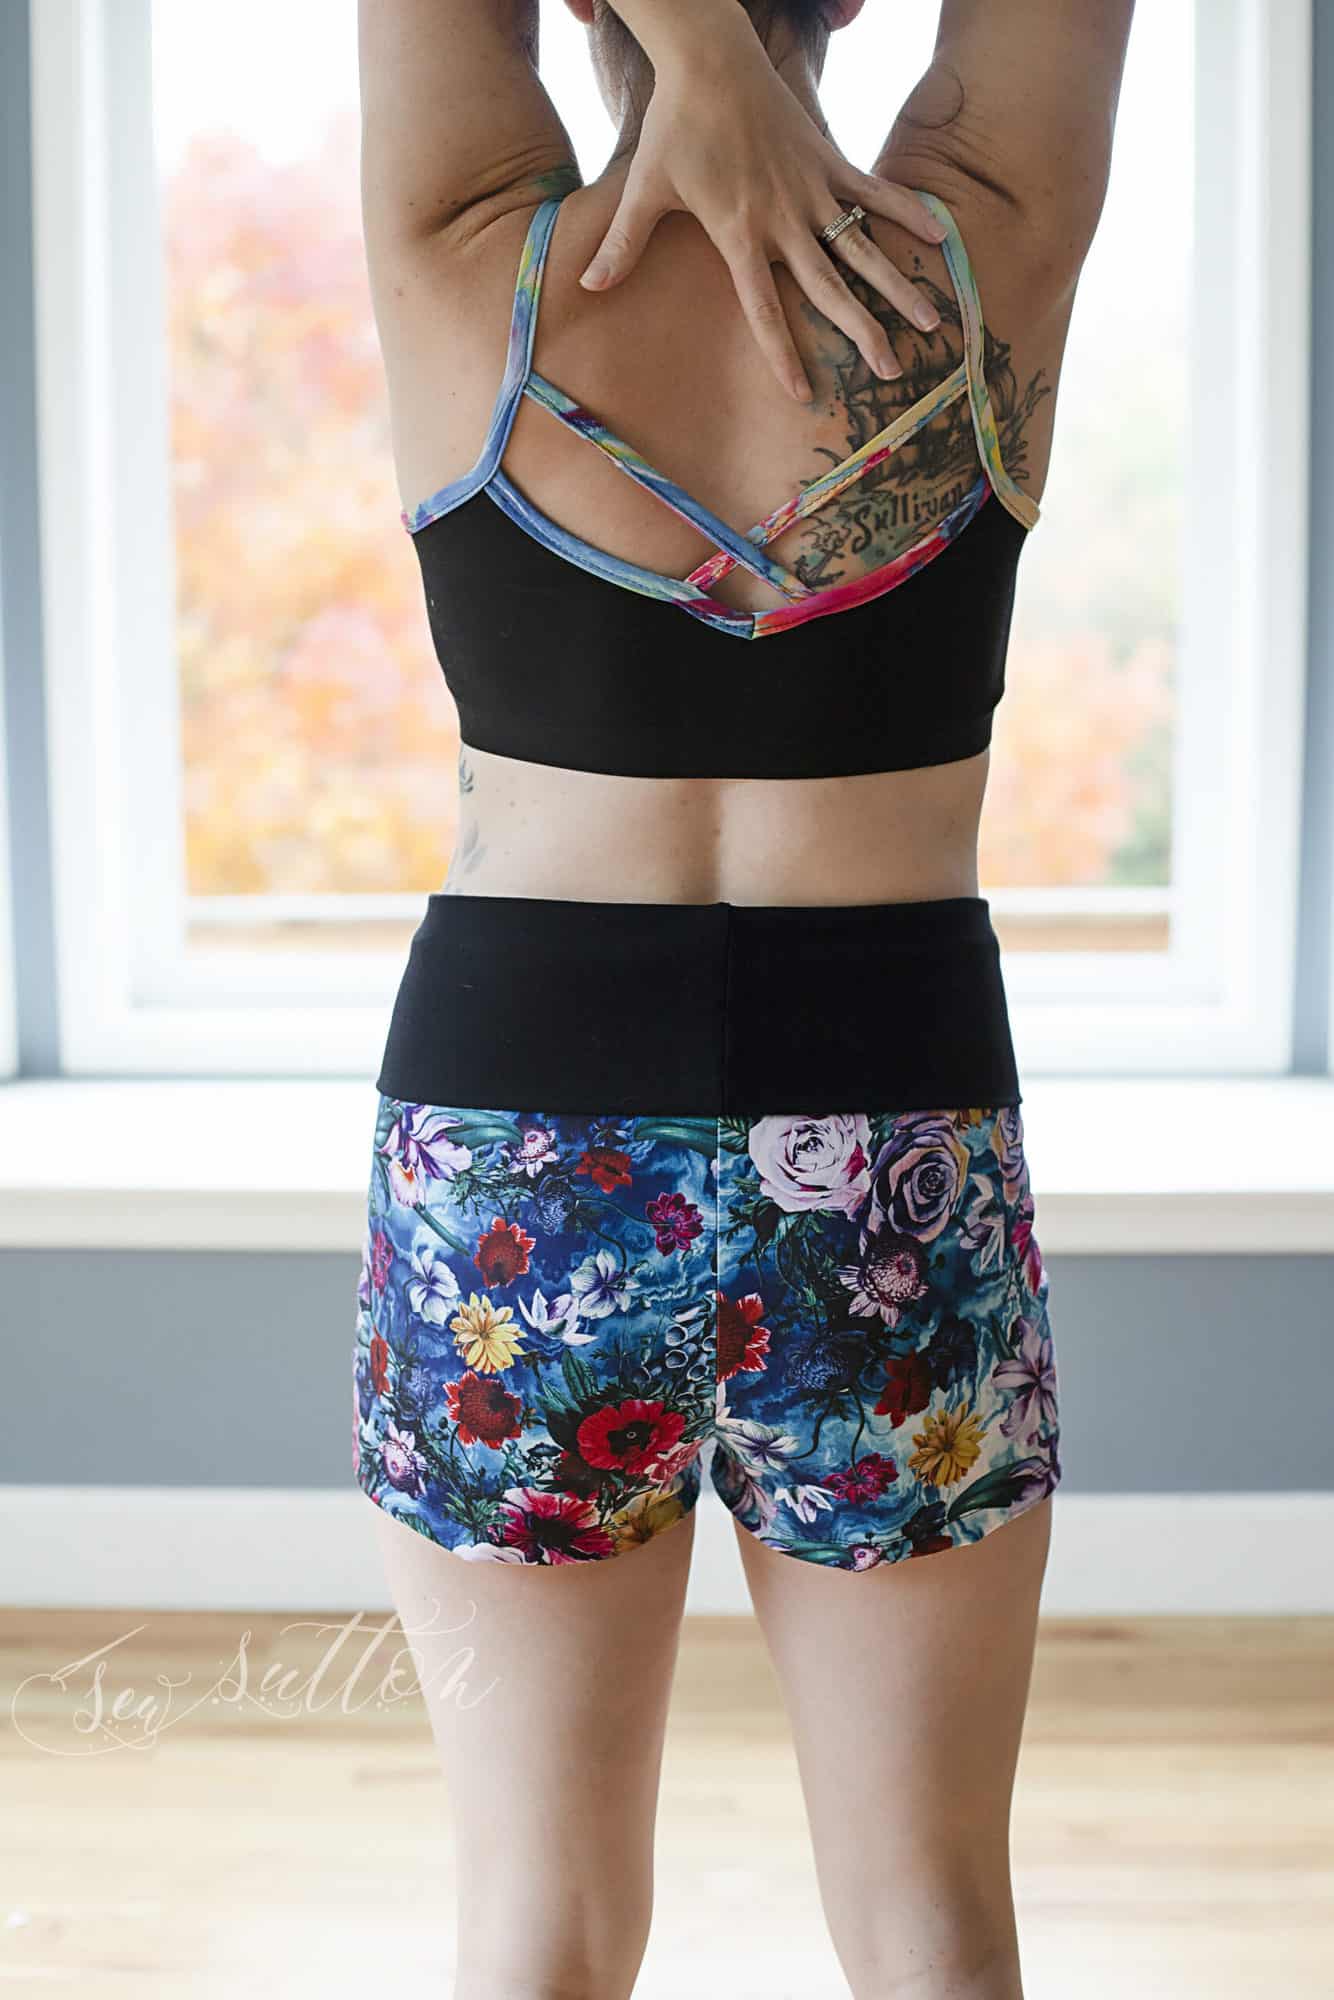
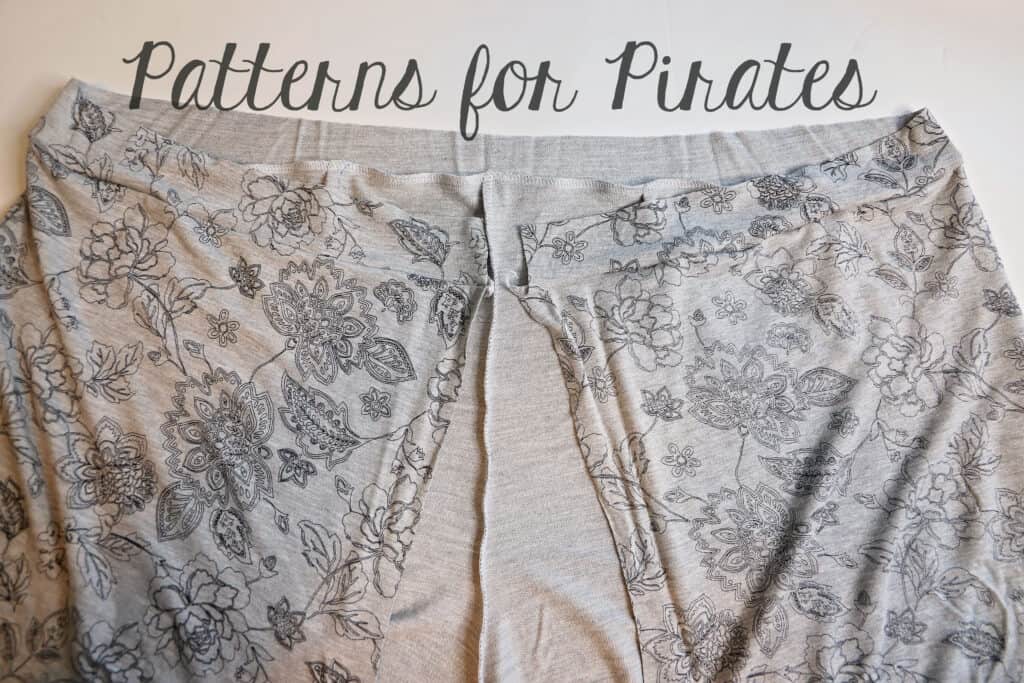
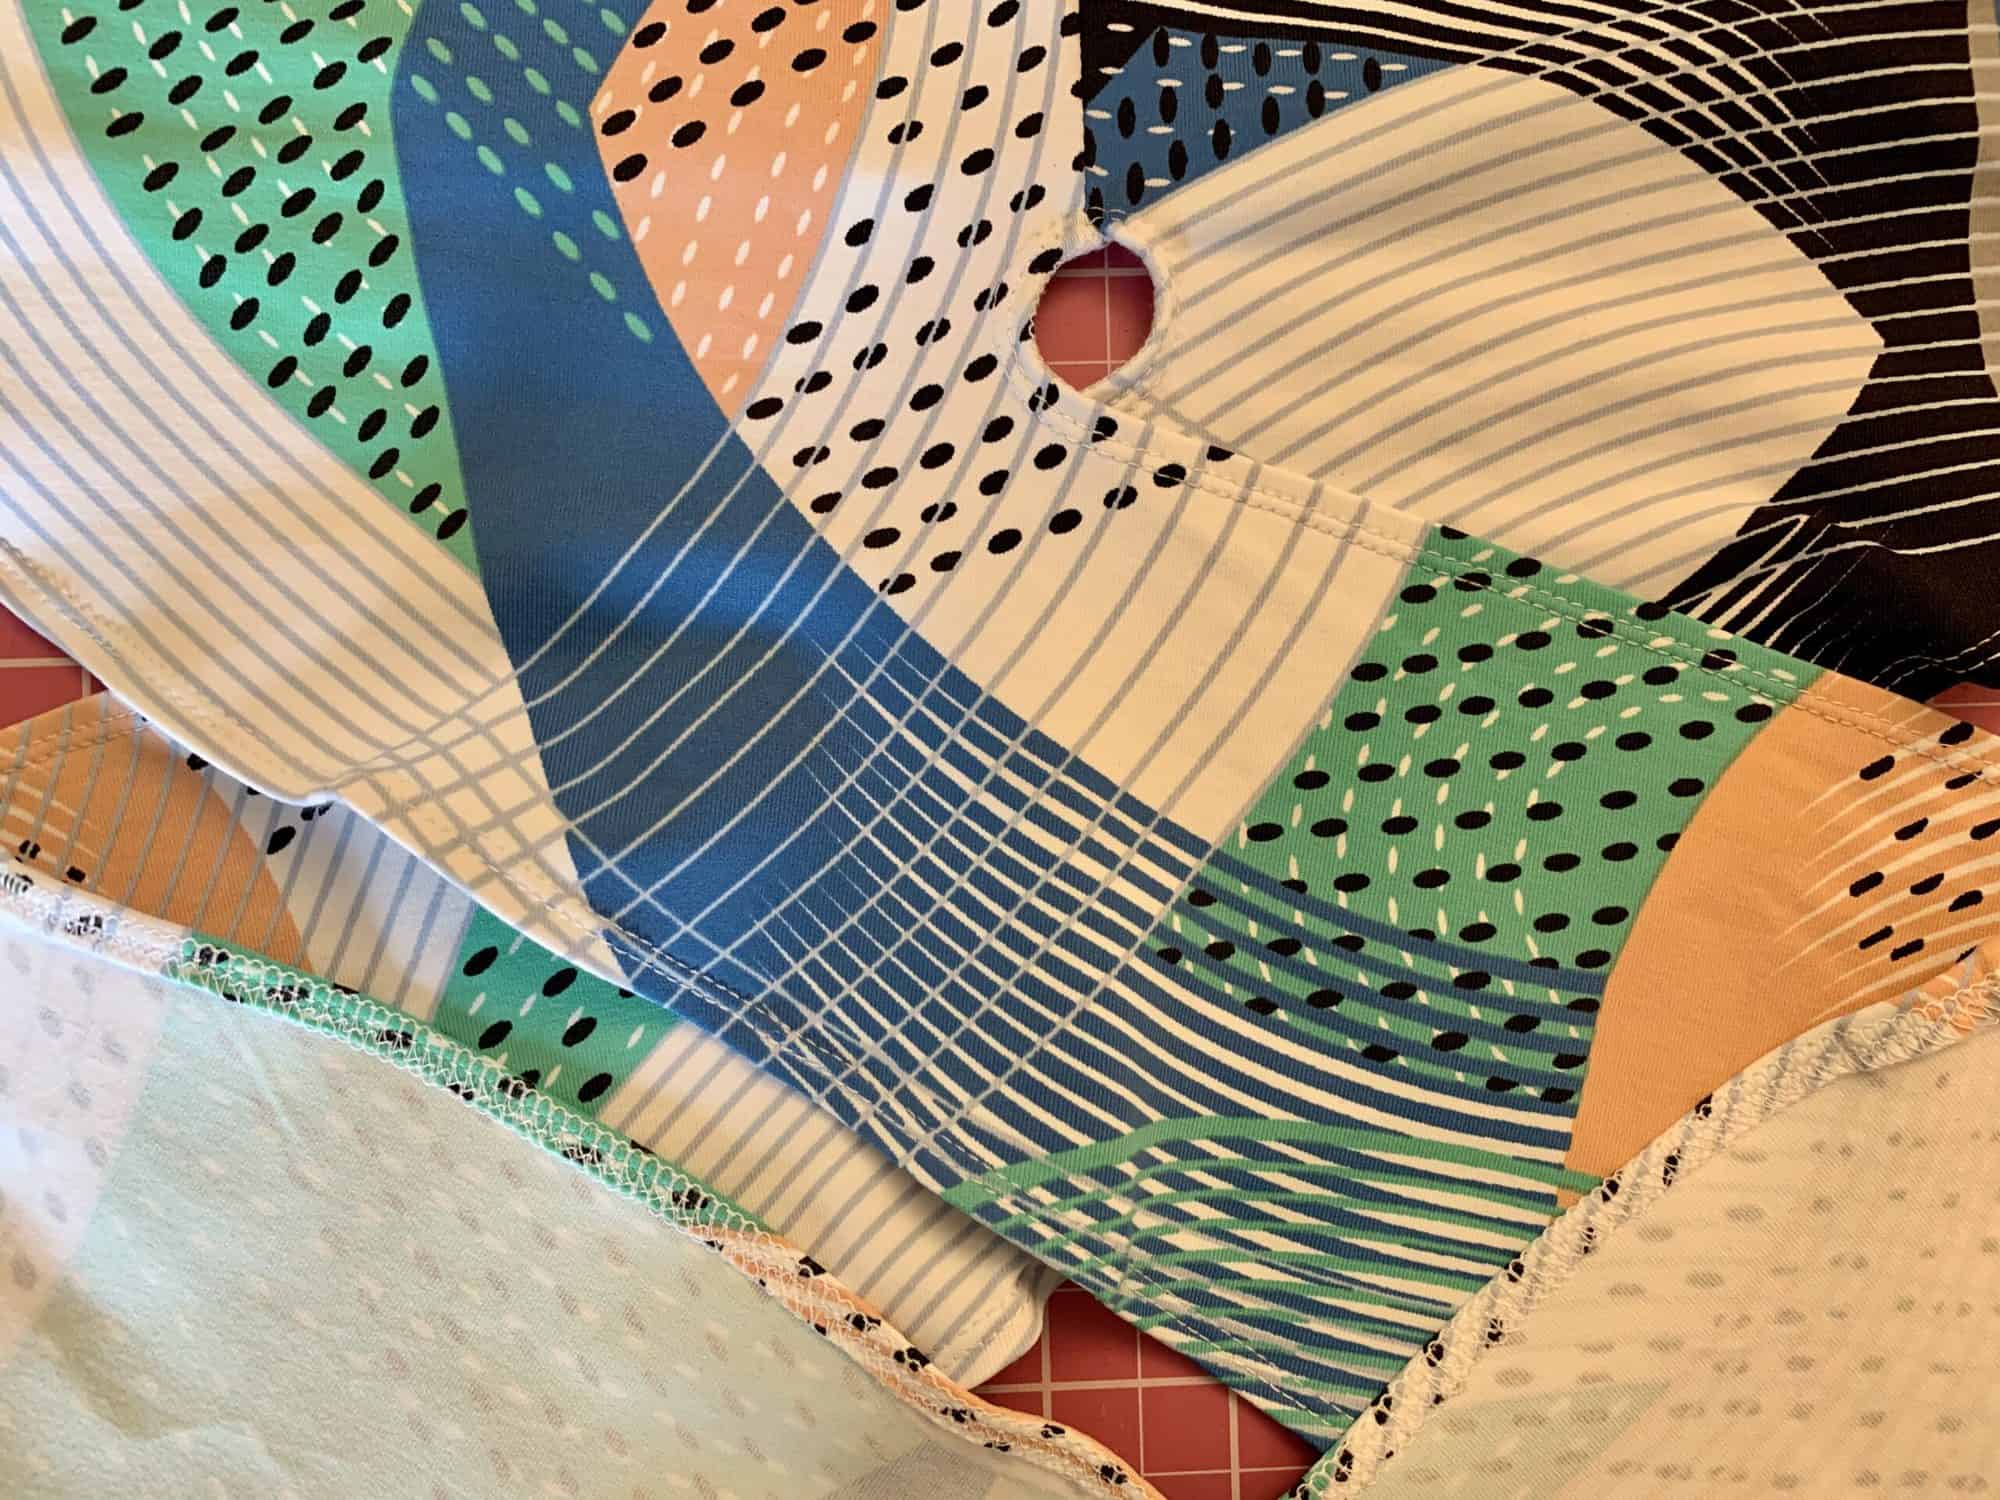
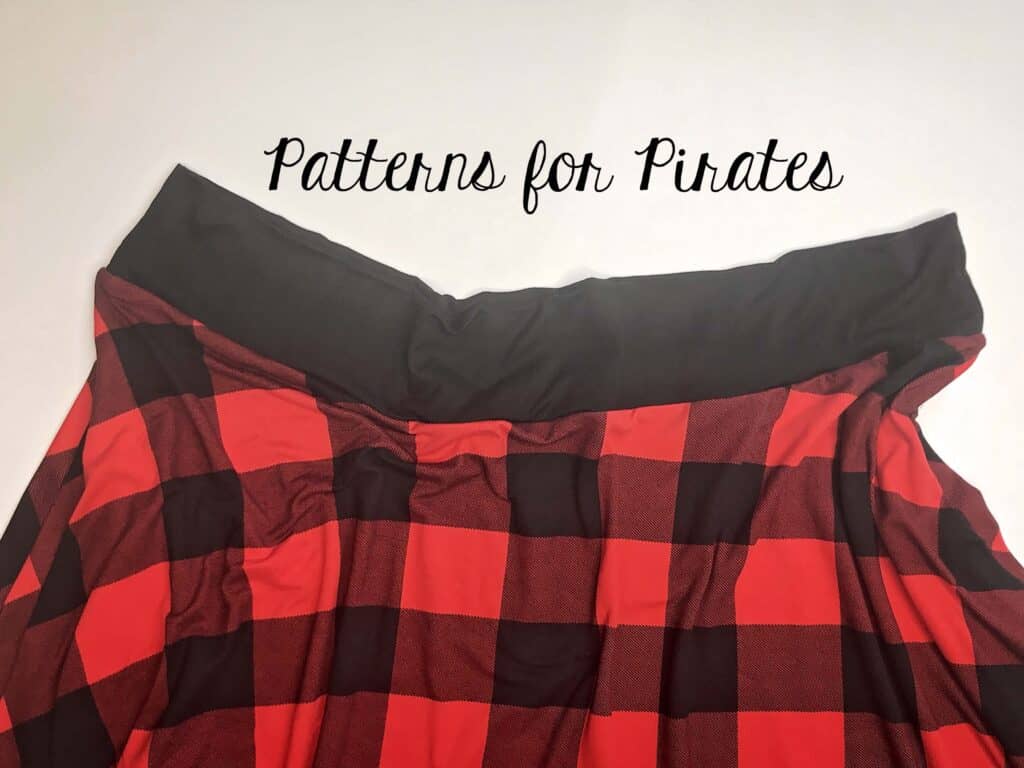
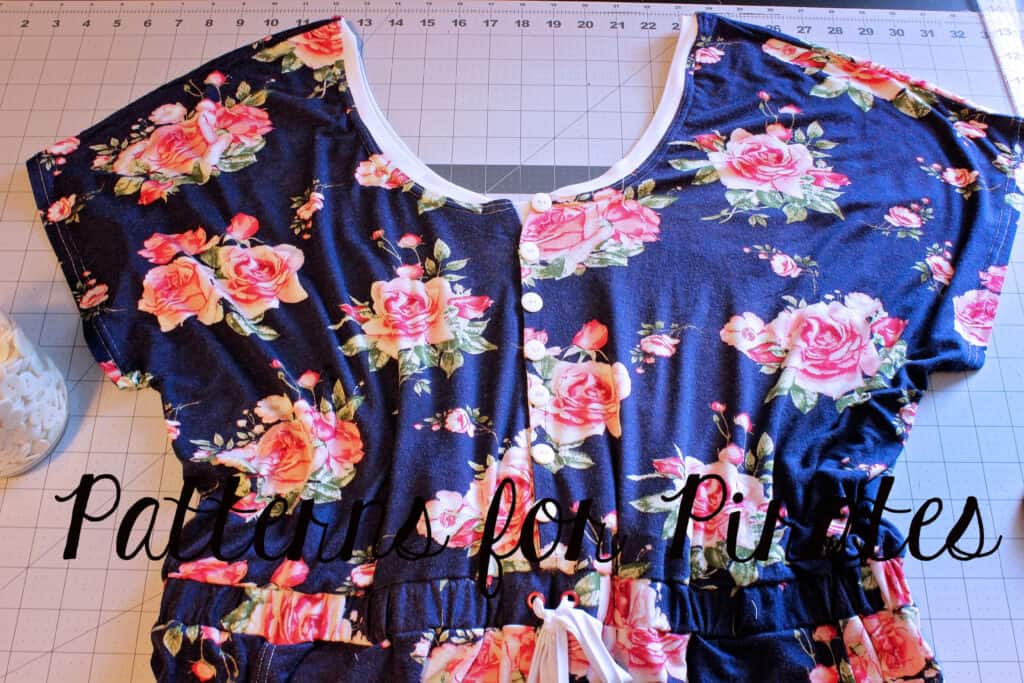
Pull the briefs right side our through one of the openings. Tadah!! Magic! Now your Cutie Briefs center seams and fully enclosed.
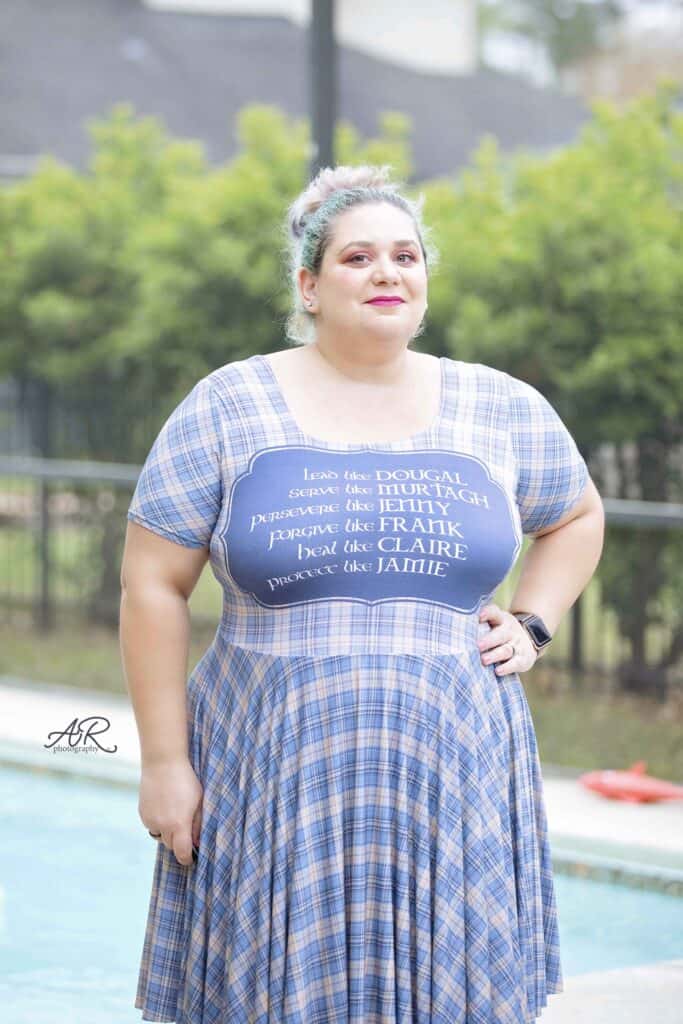
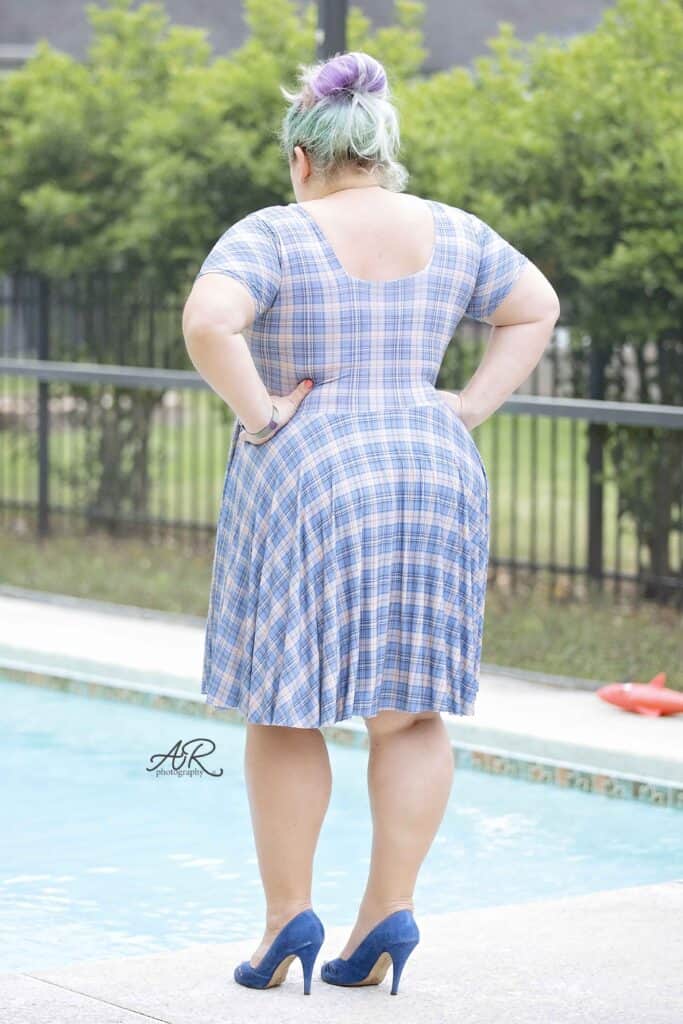
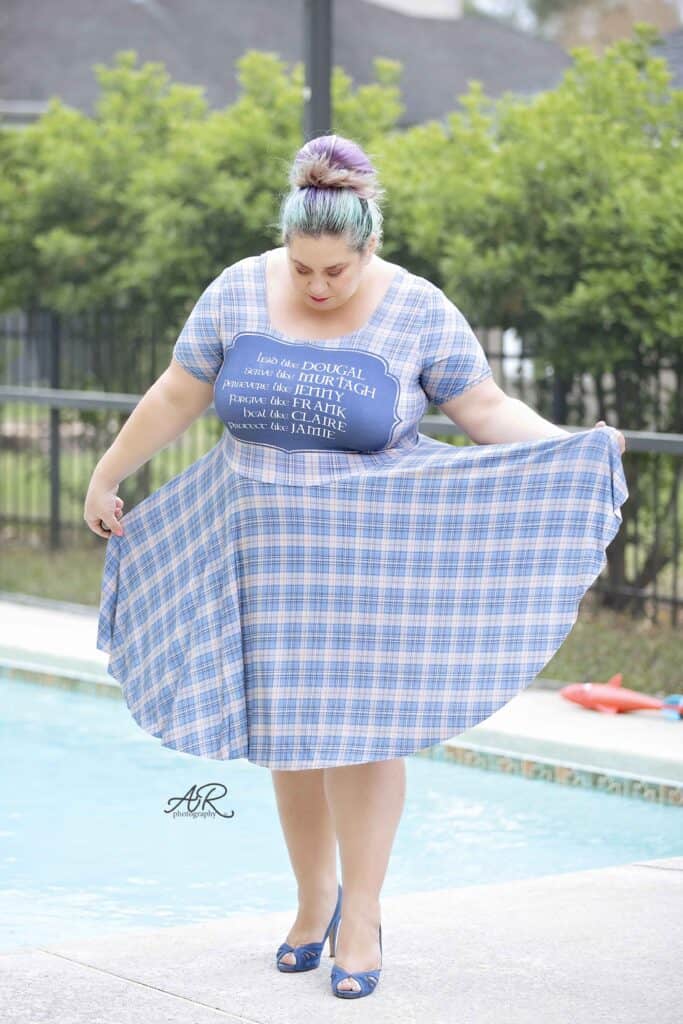
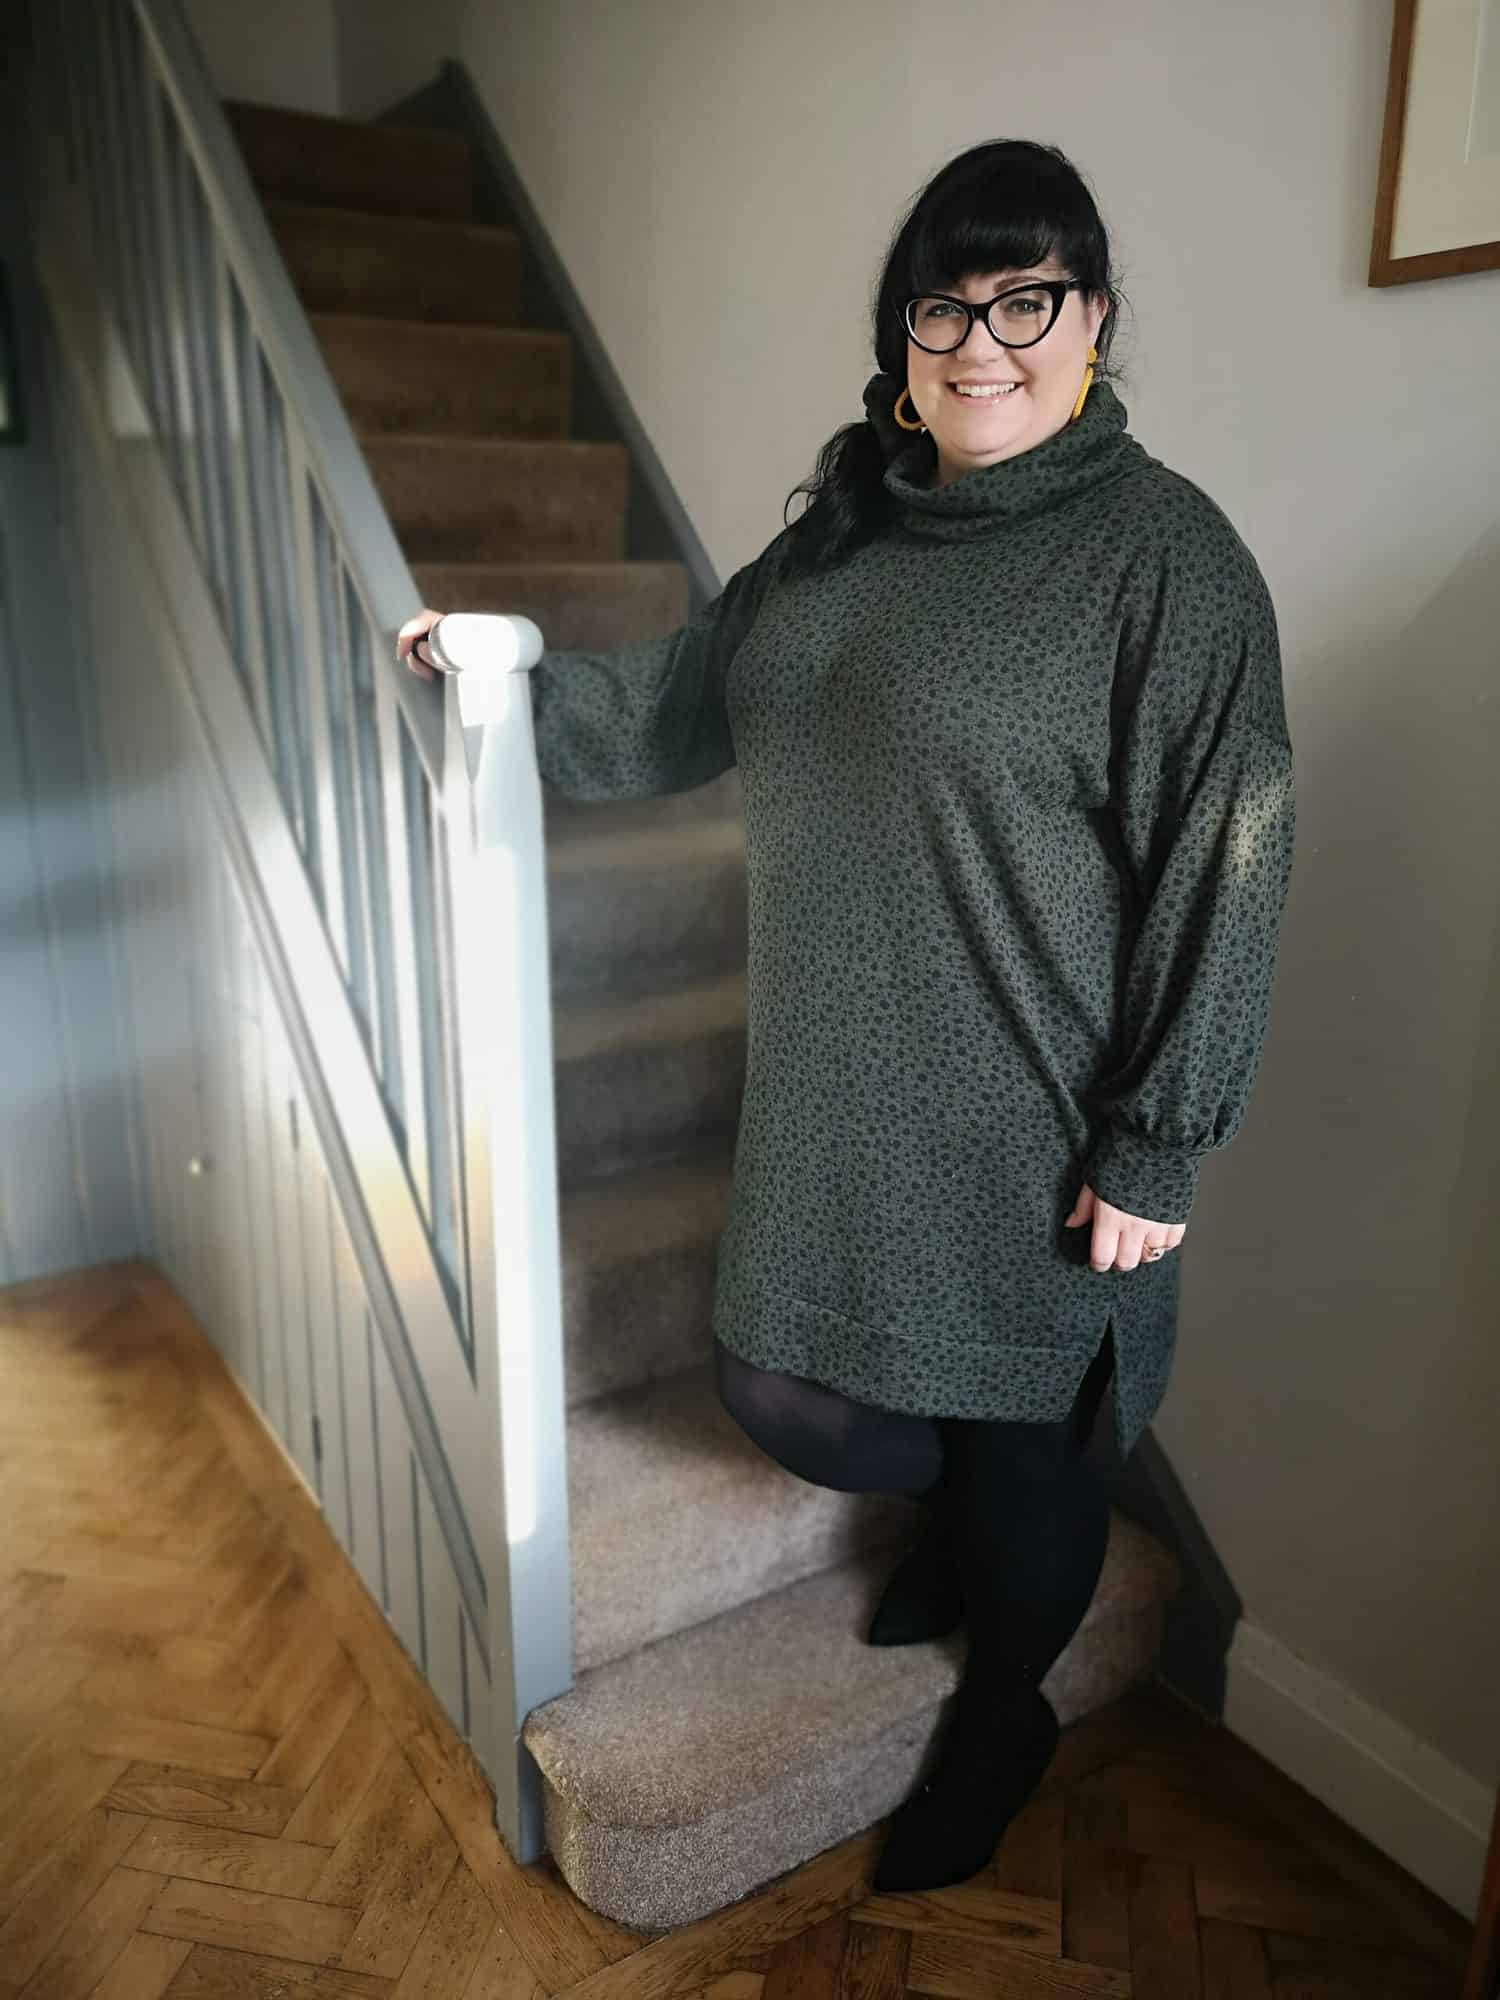
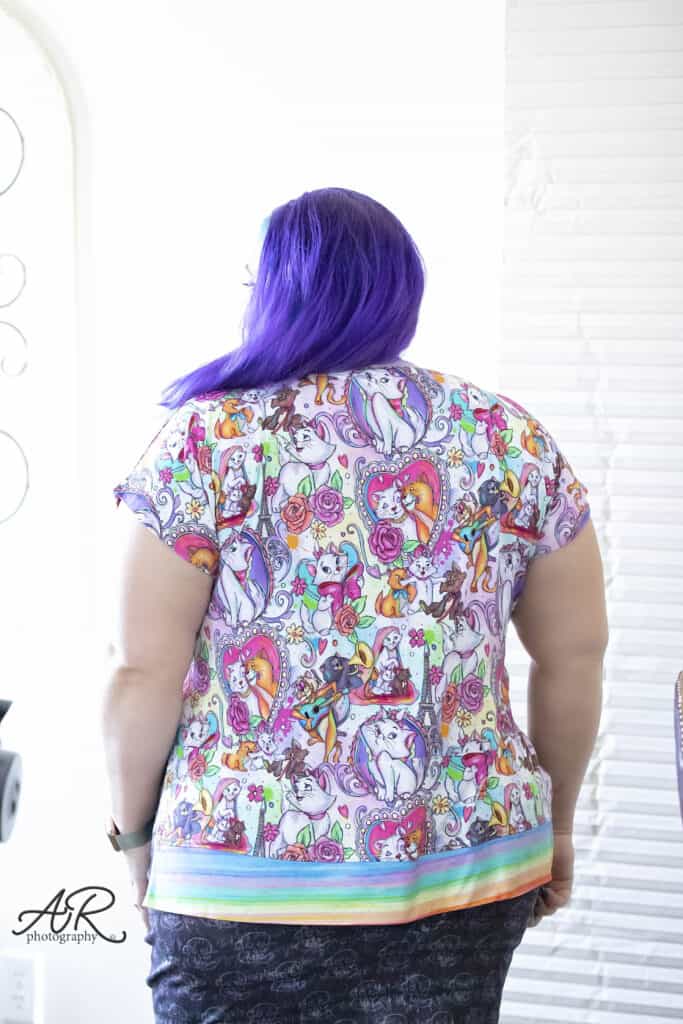
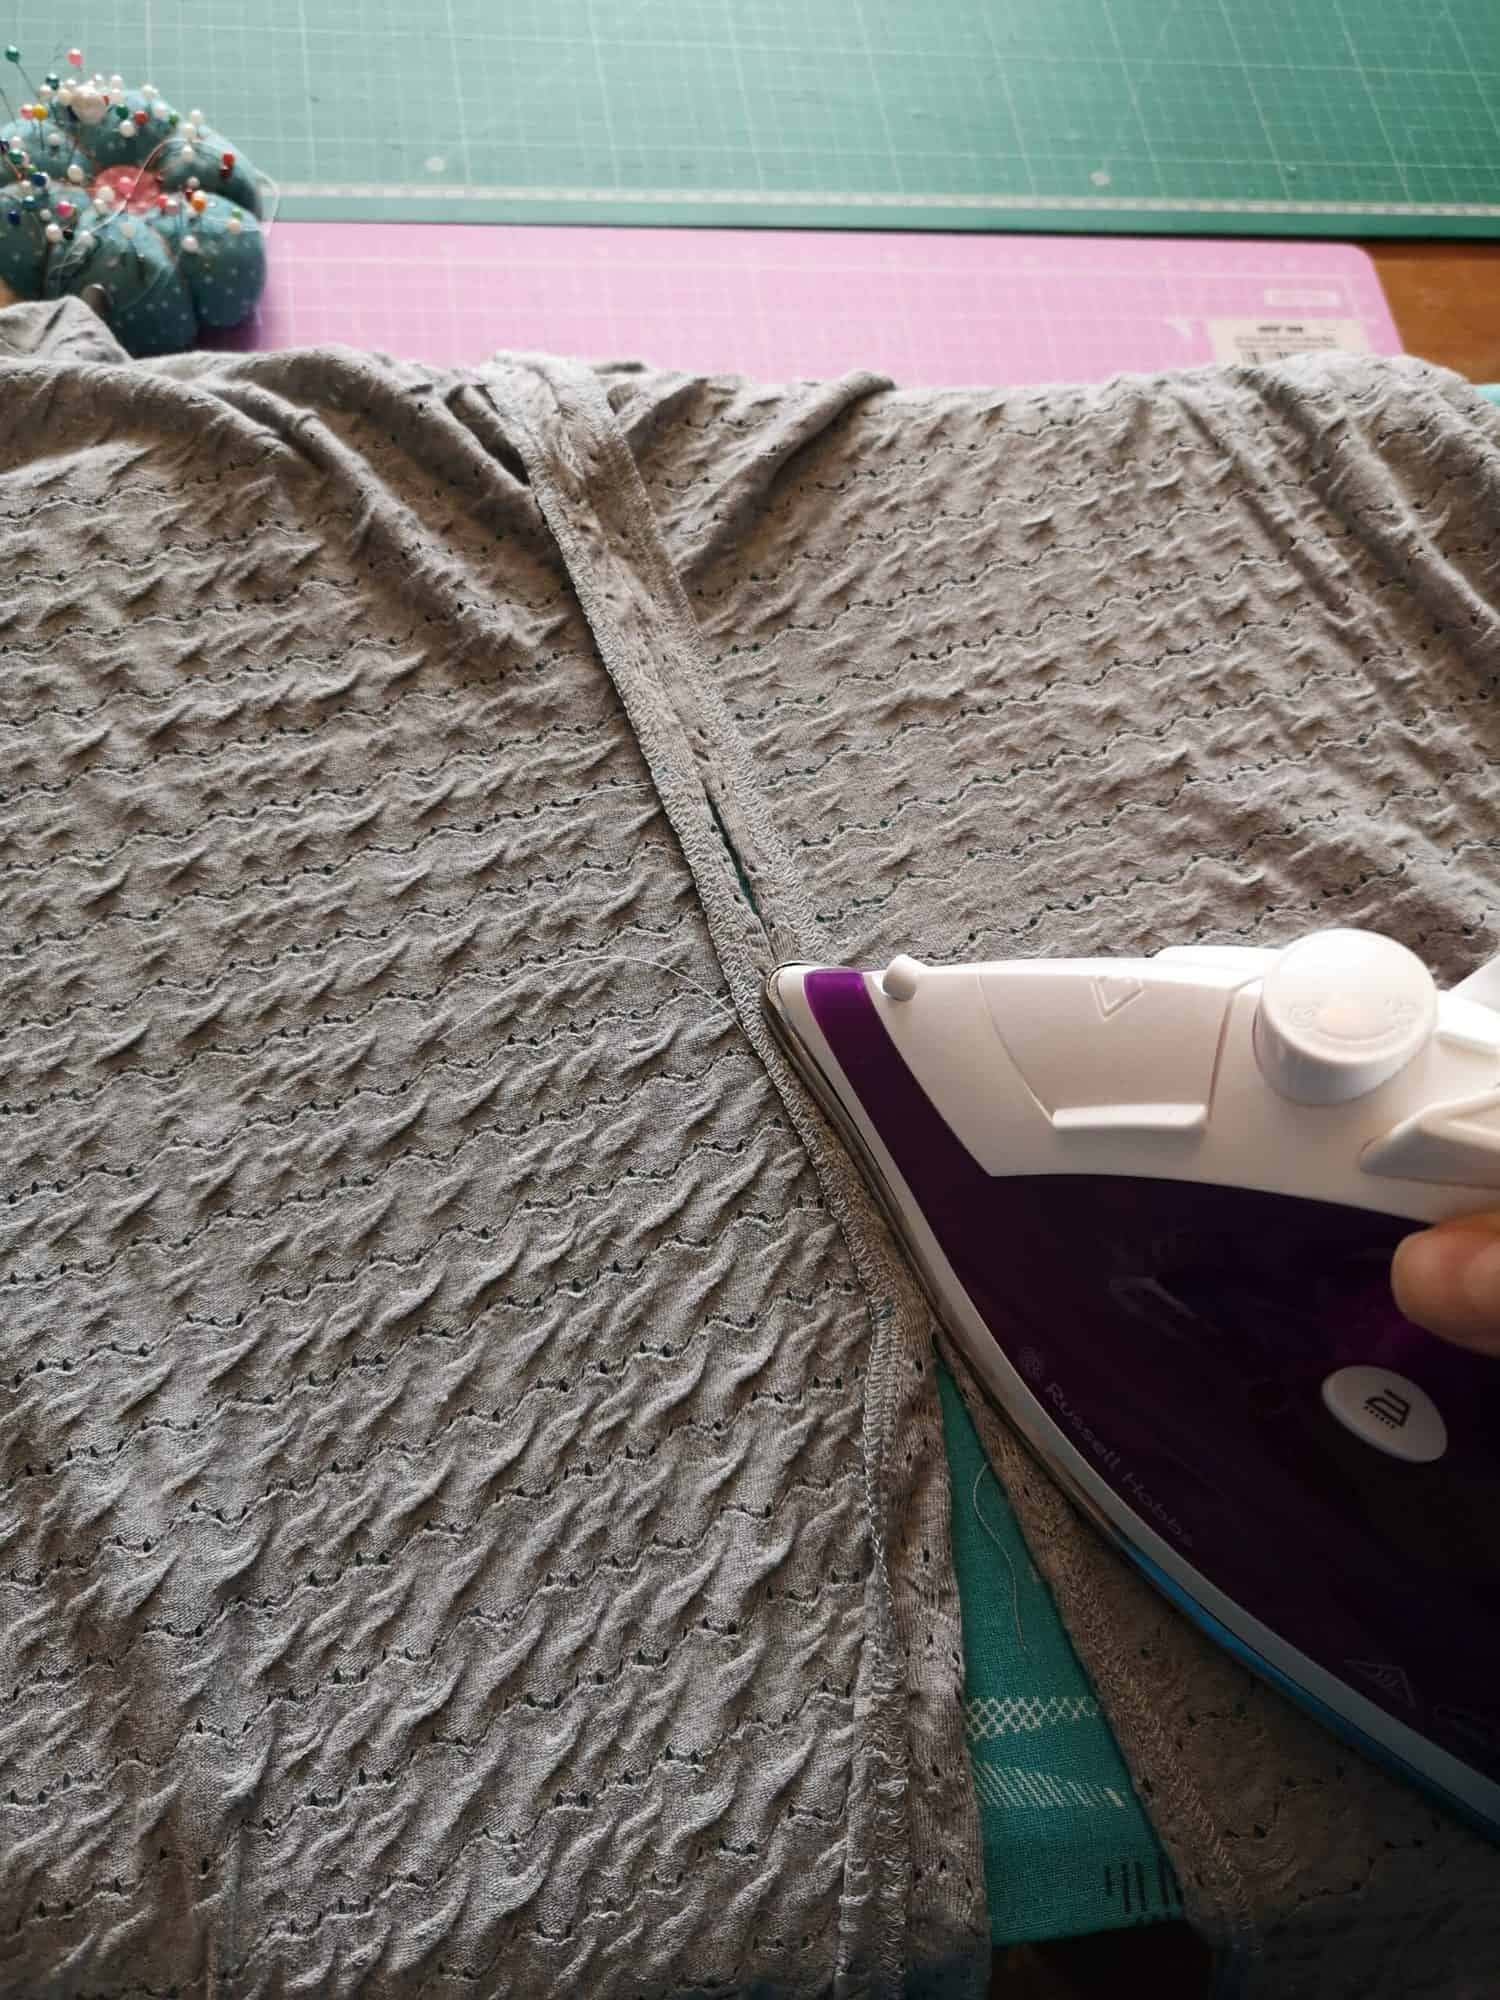
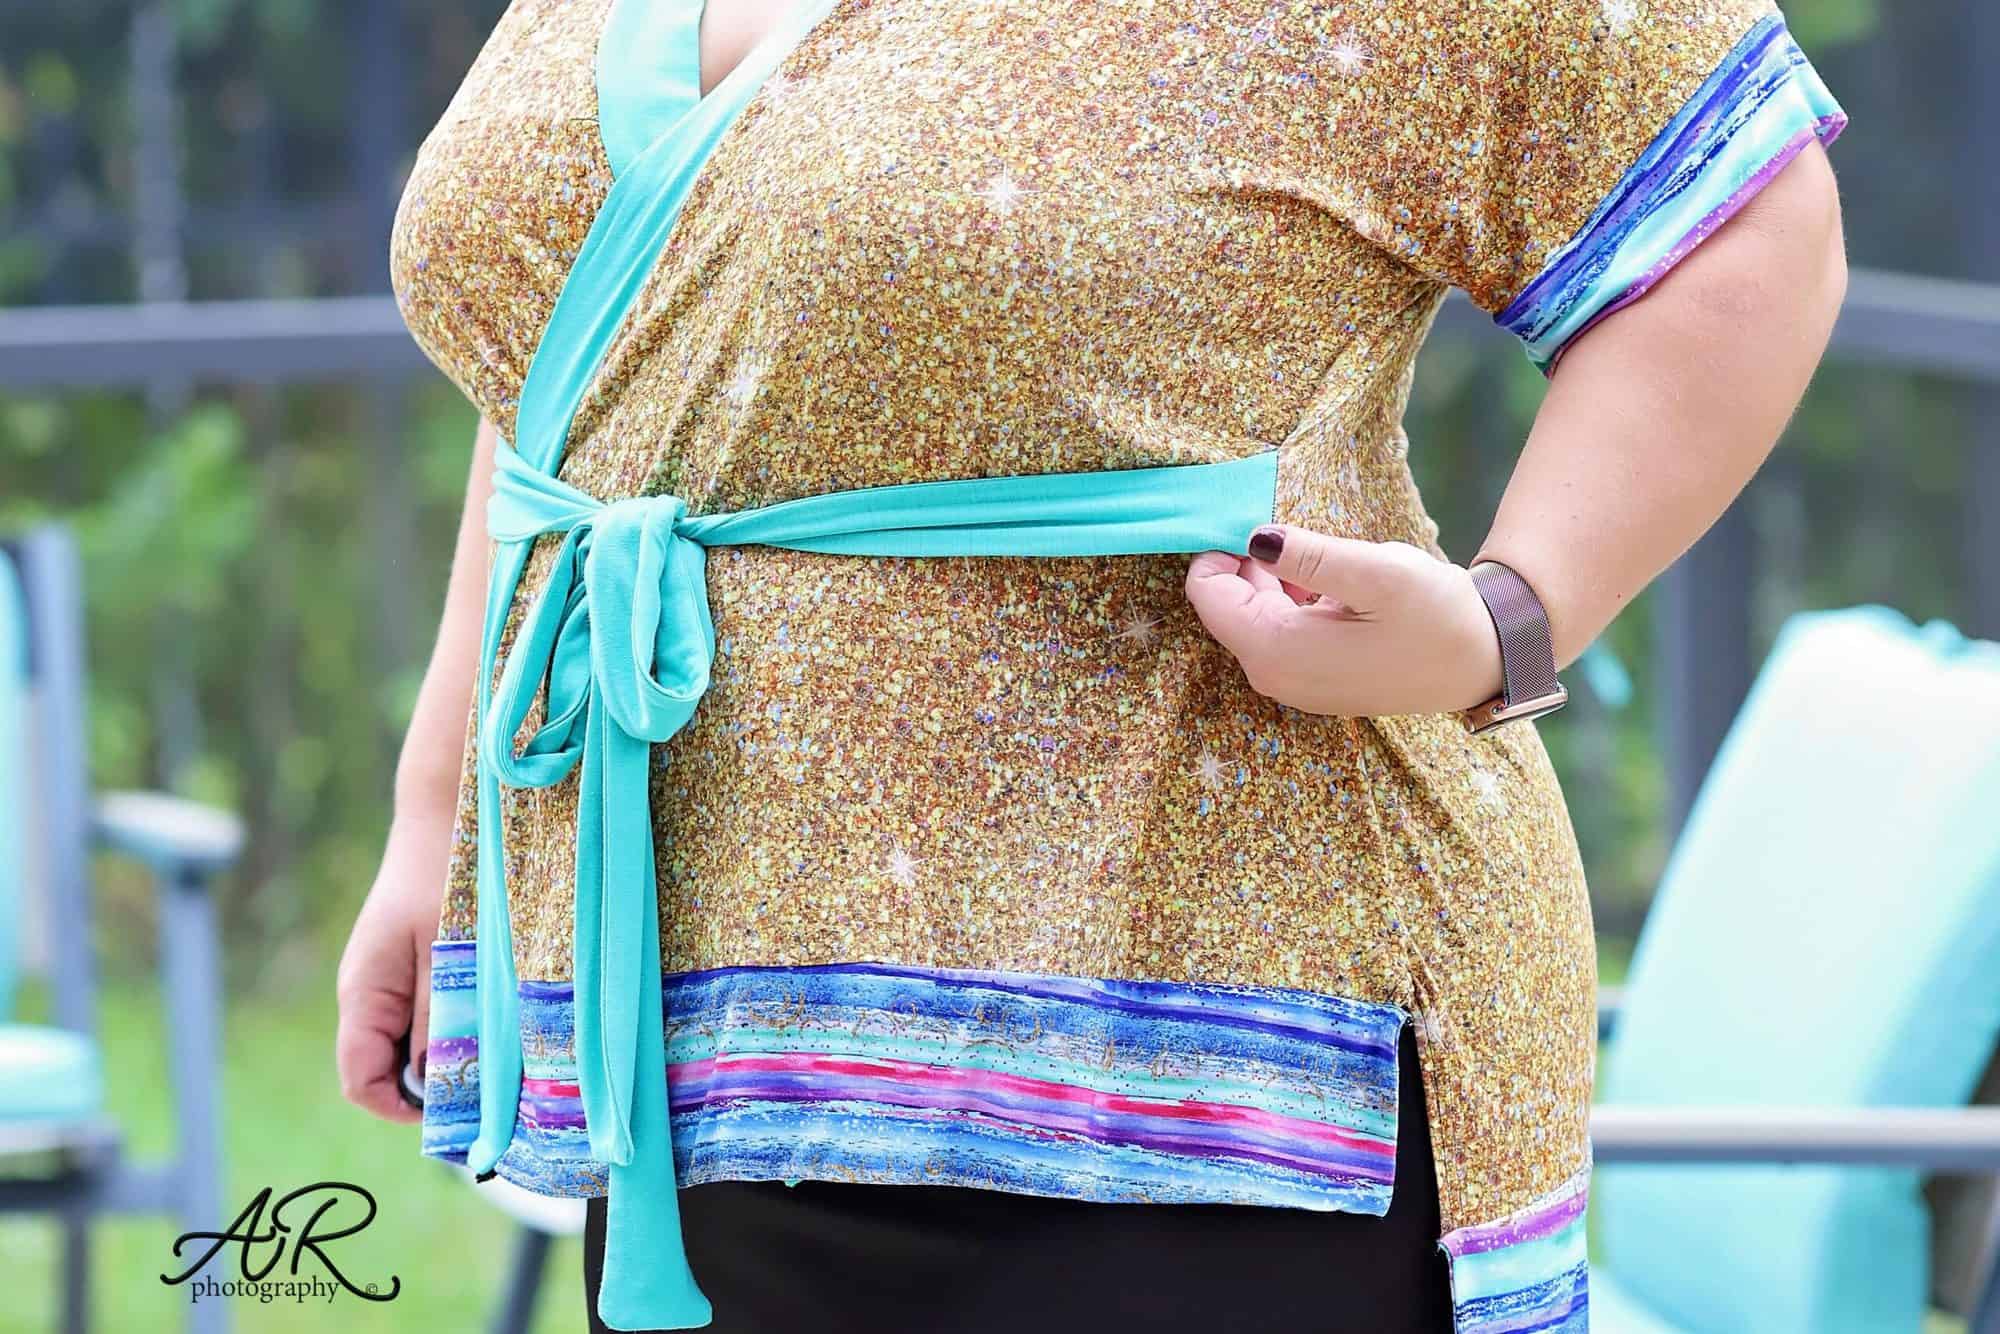
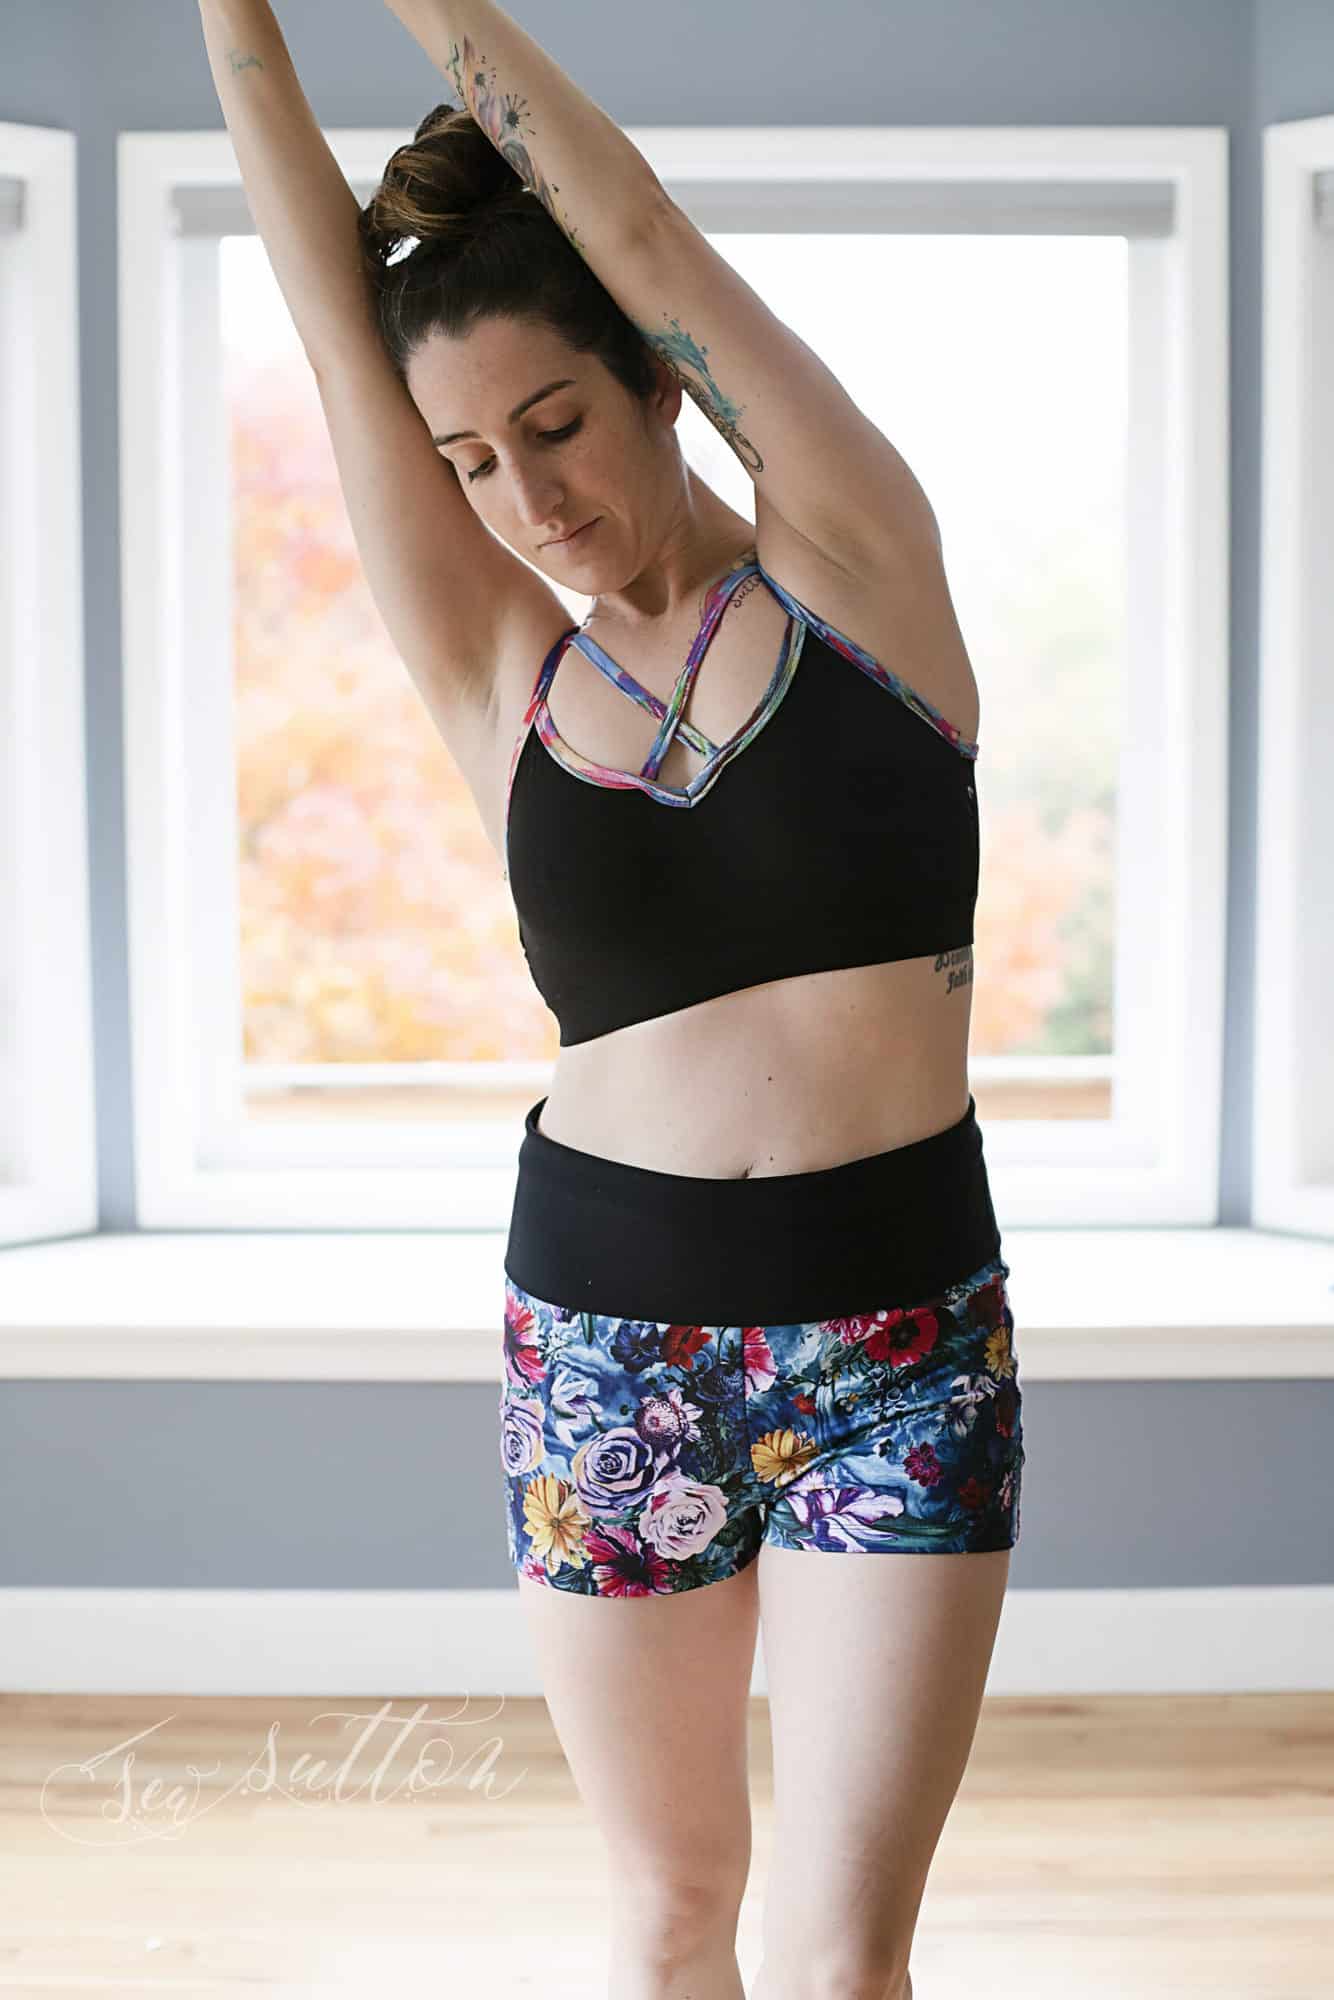
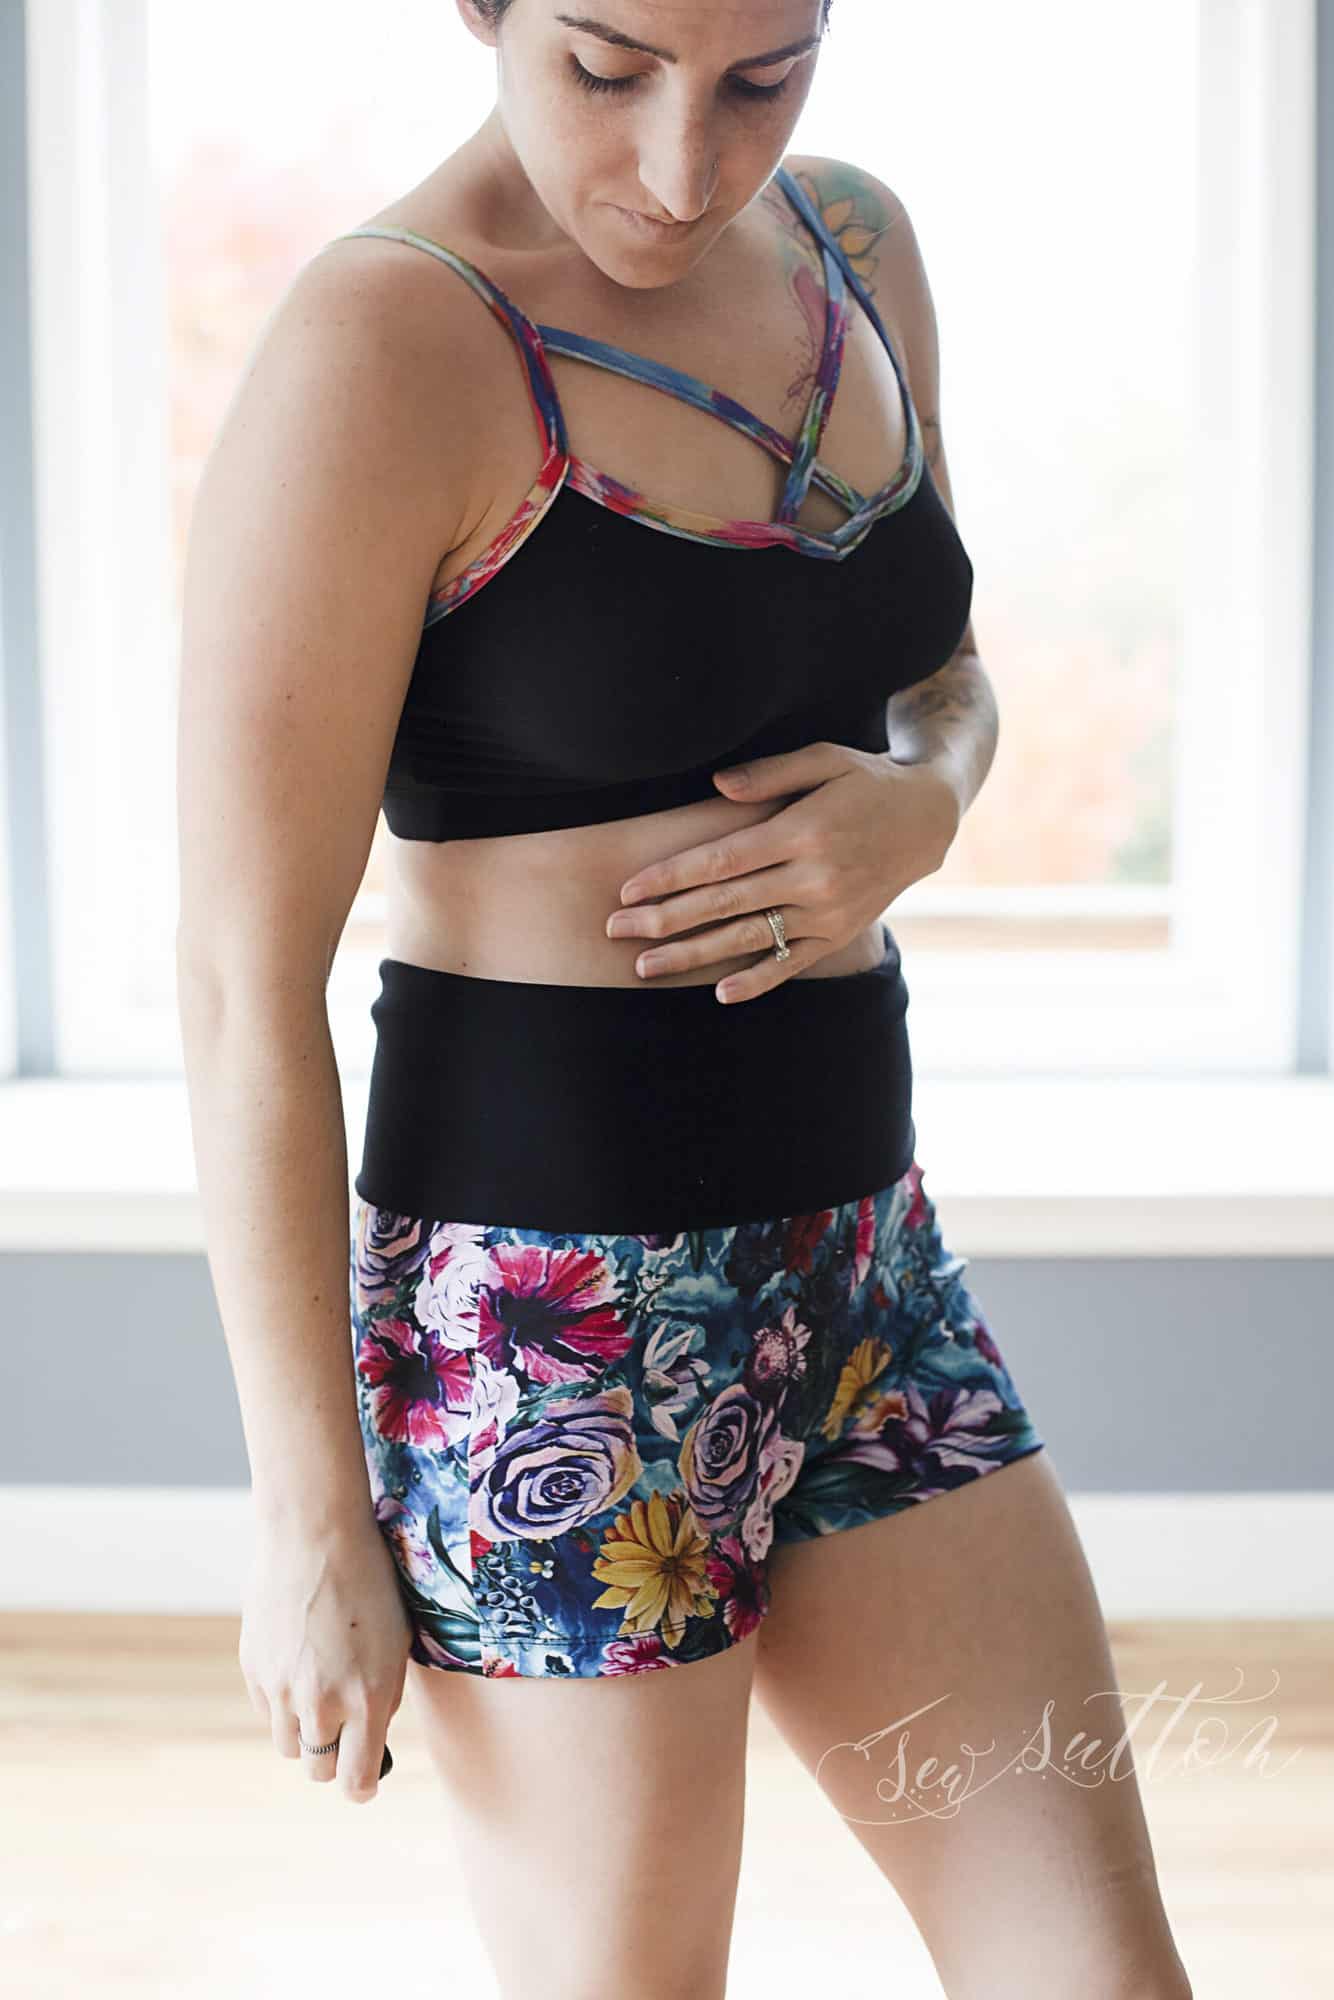
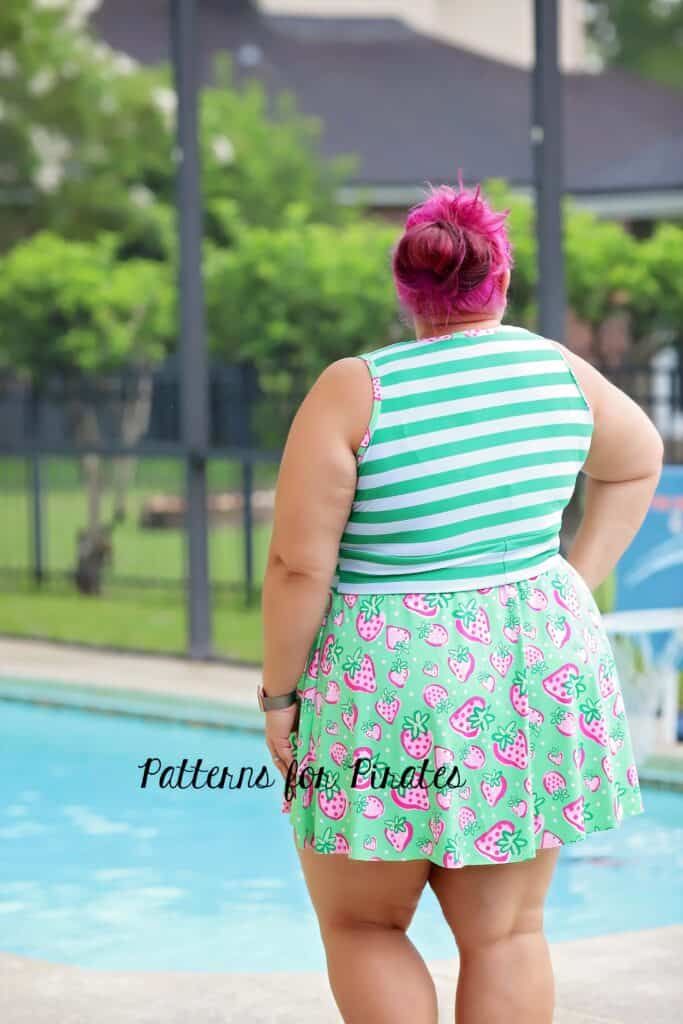
Finish the briefs as instructed in the tutorial. The example in this blog is the Cutie Patootie youth option but this hack can be done to the adult one too. Just imagine using lace for the leg pieces and a solid color for the center pieces. Va! Va! Va! Voom!

I hope you will give this easy hack a try! Can’t wait to see what you create!