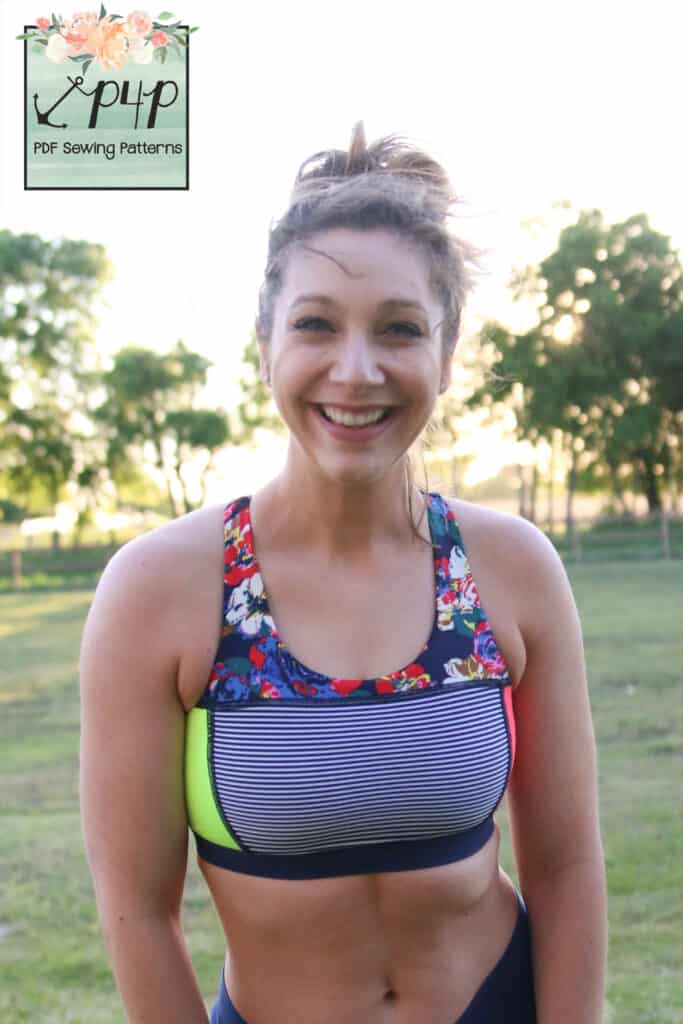
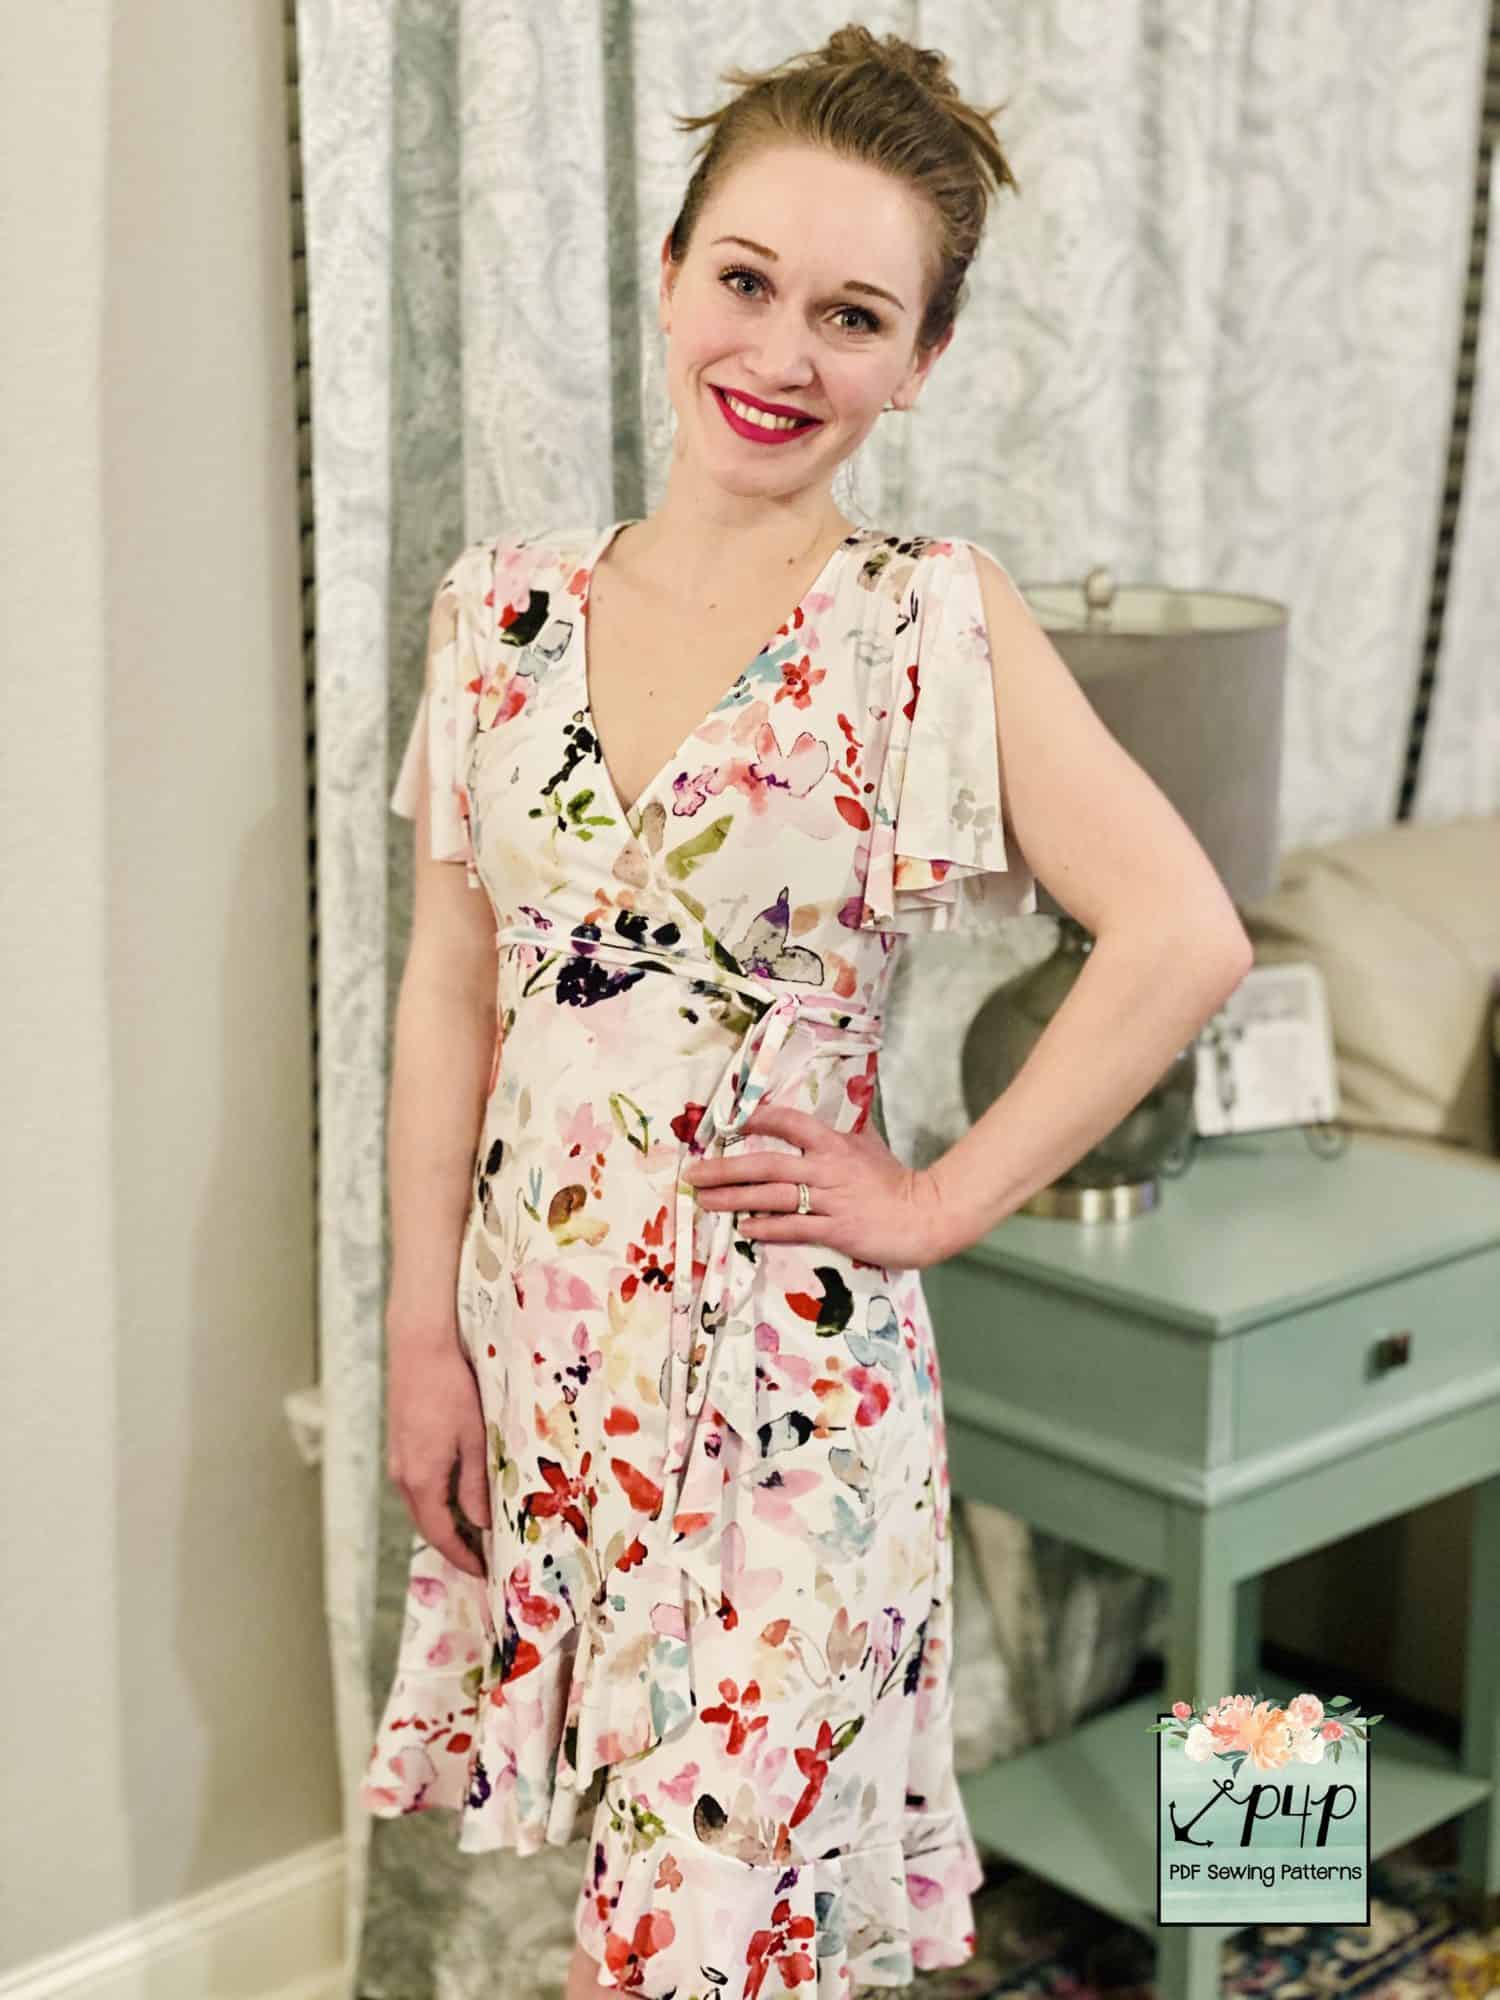
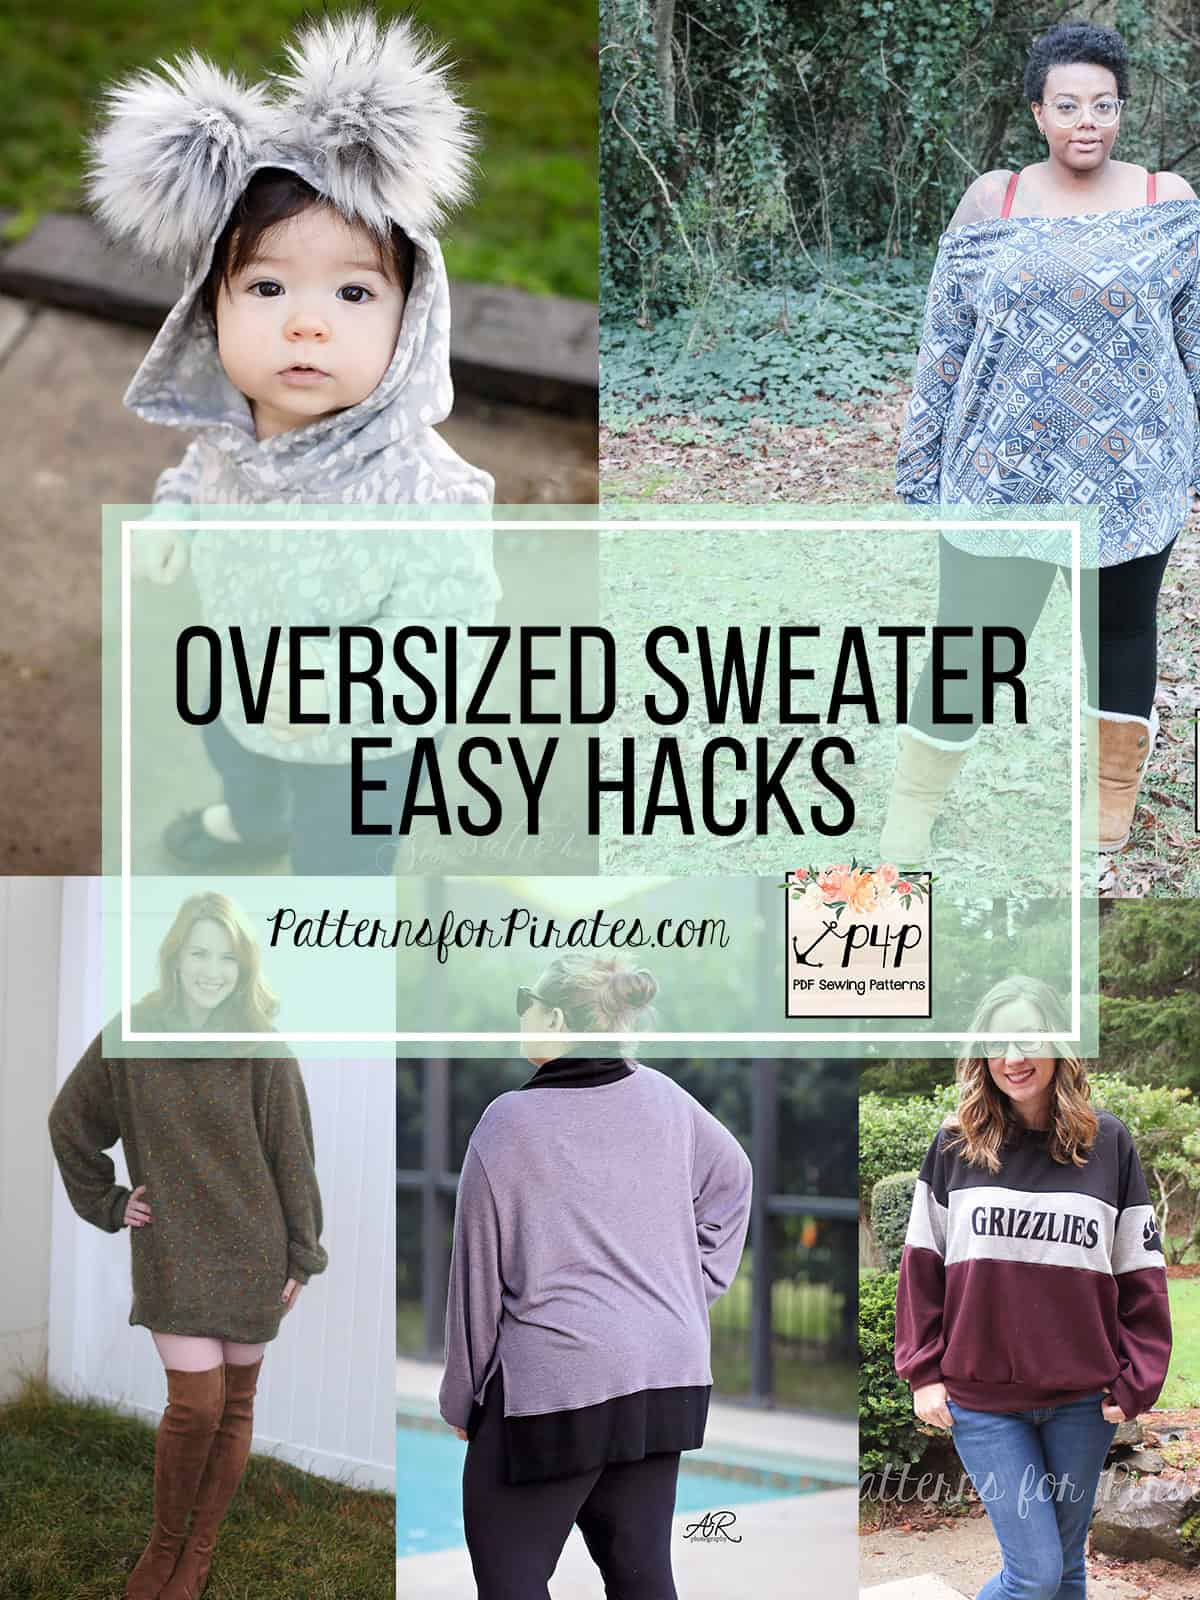
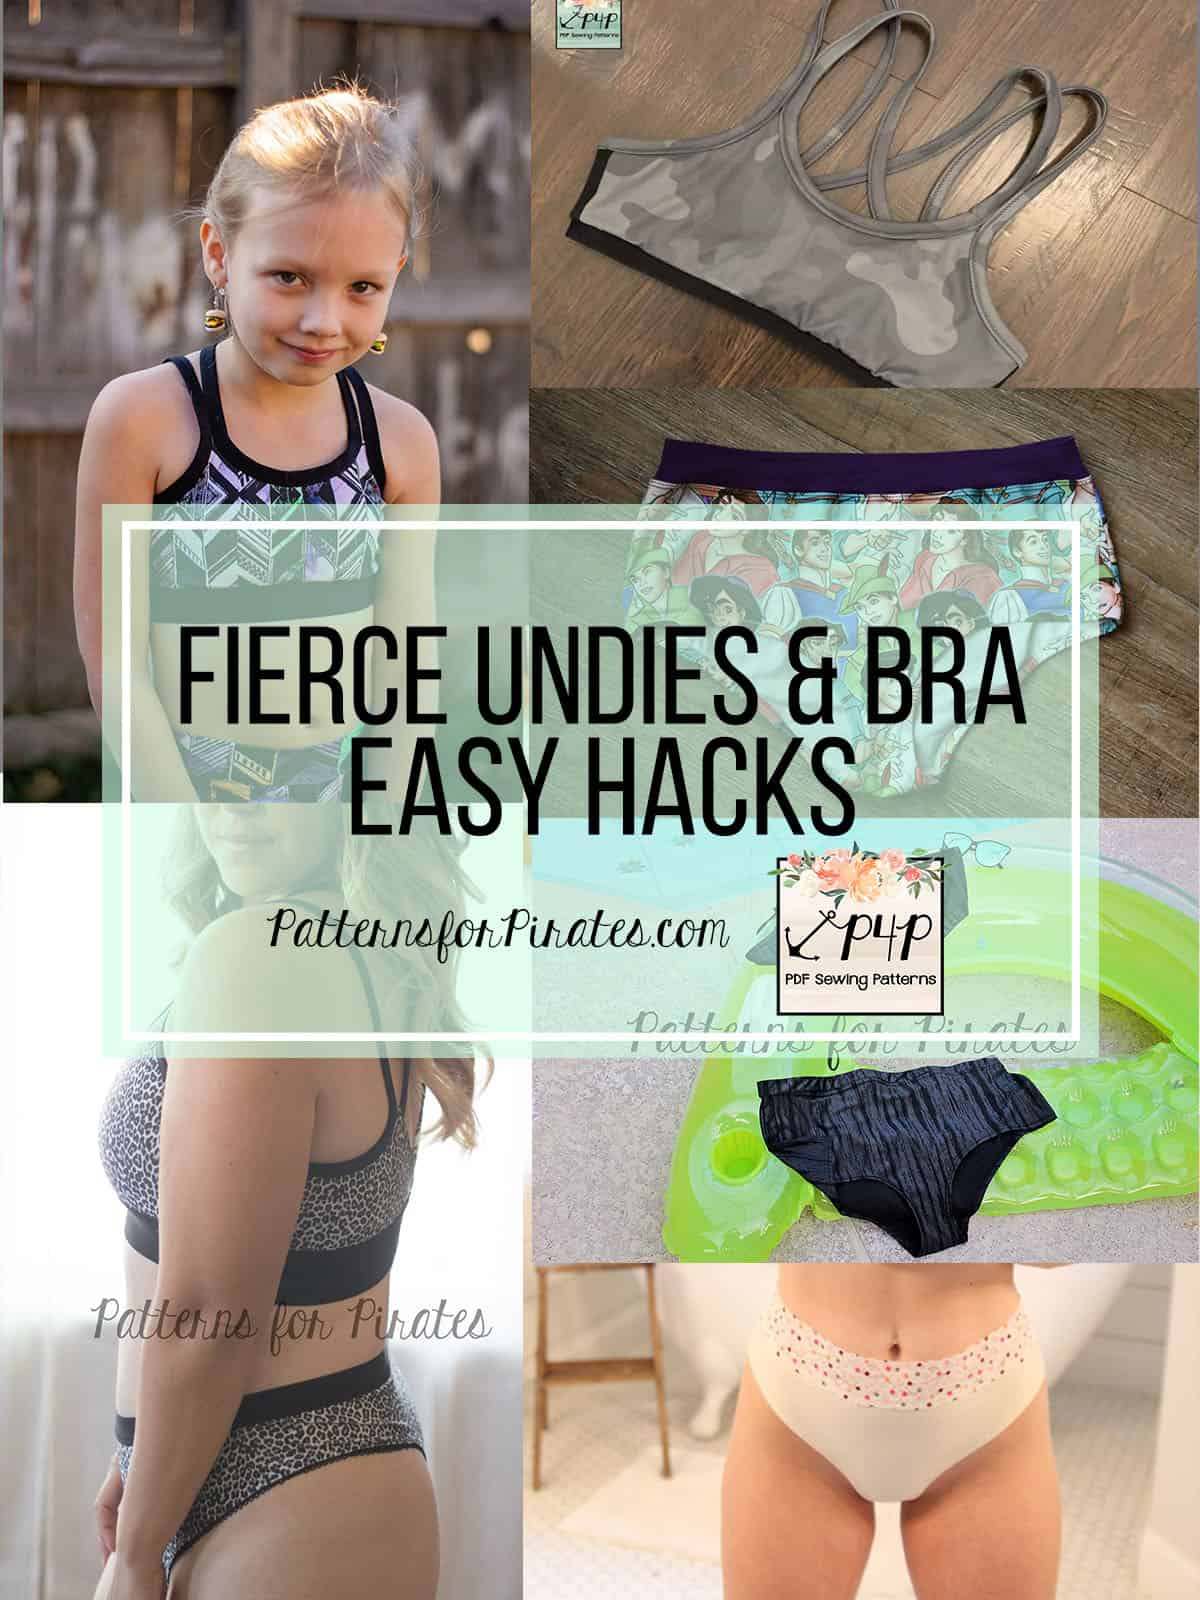
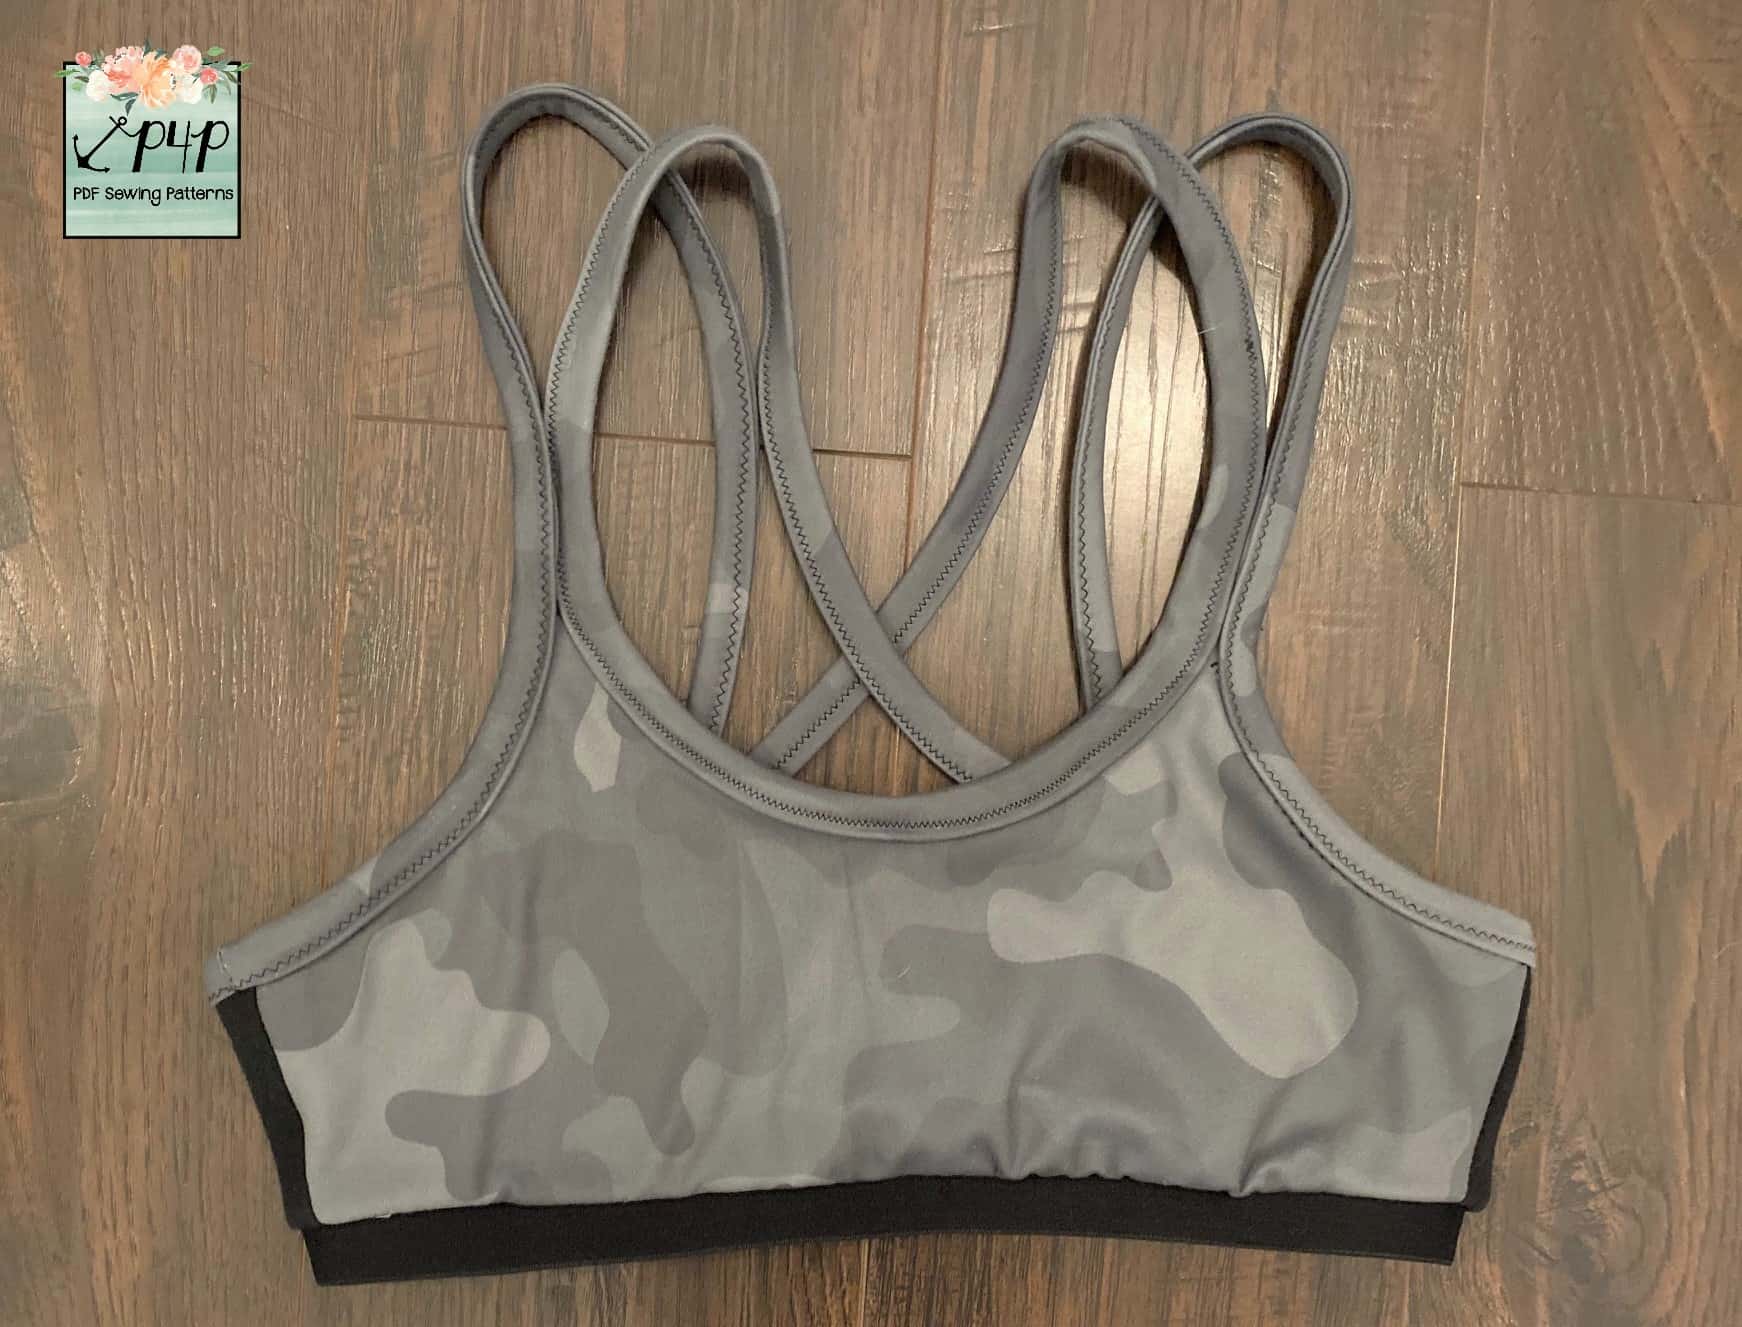
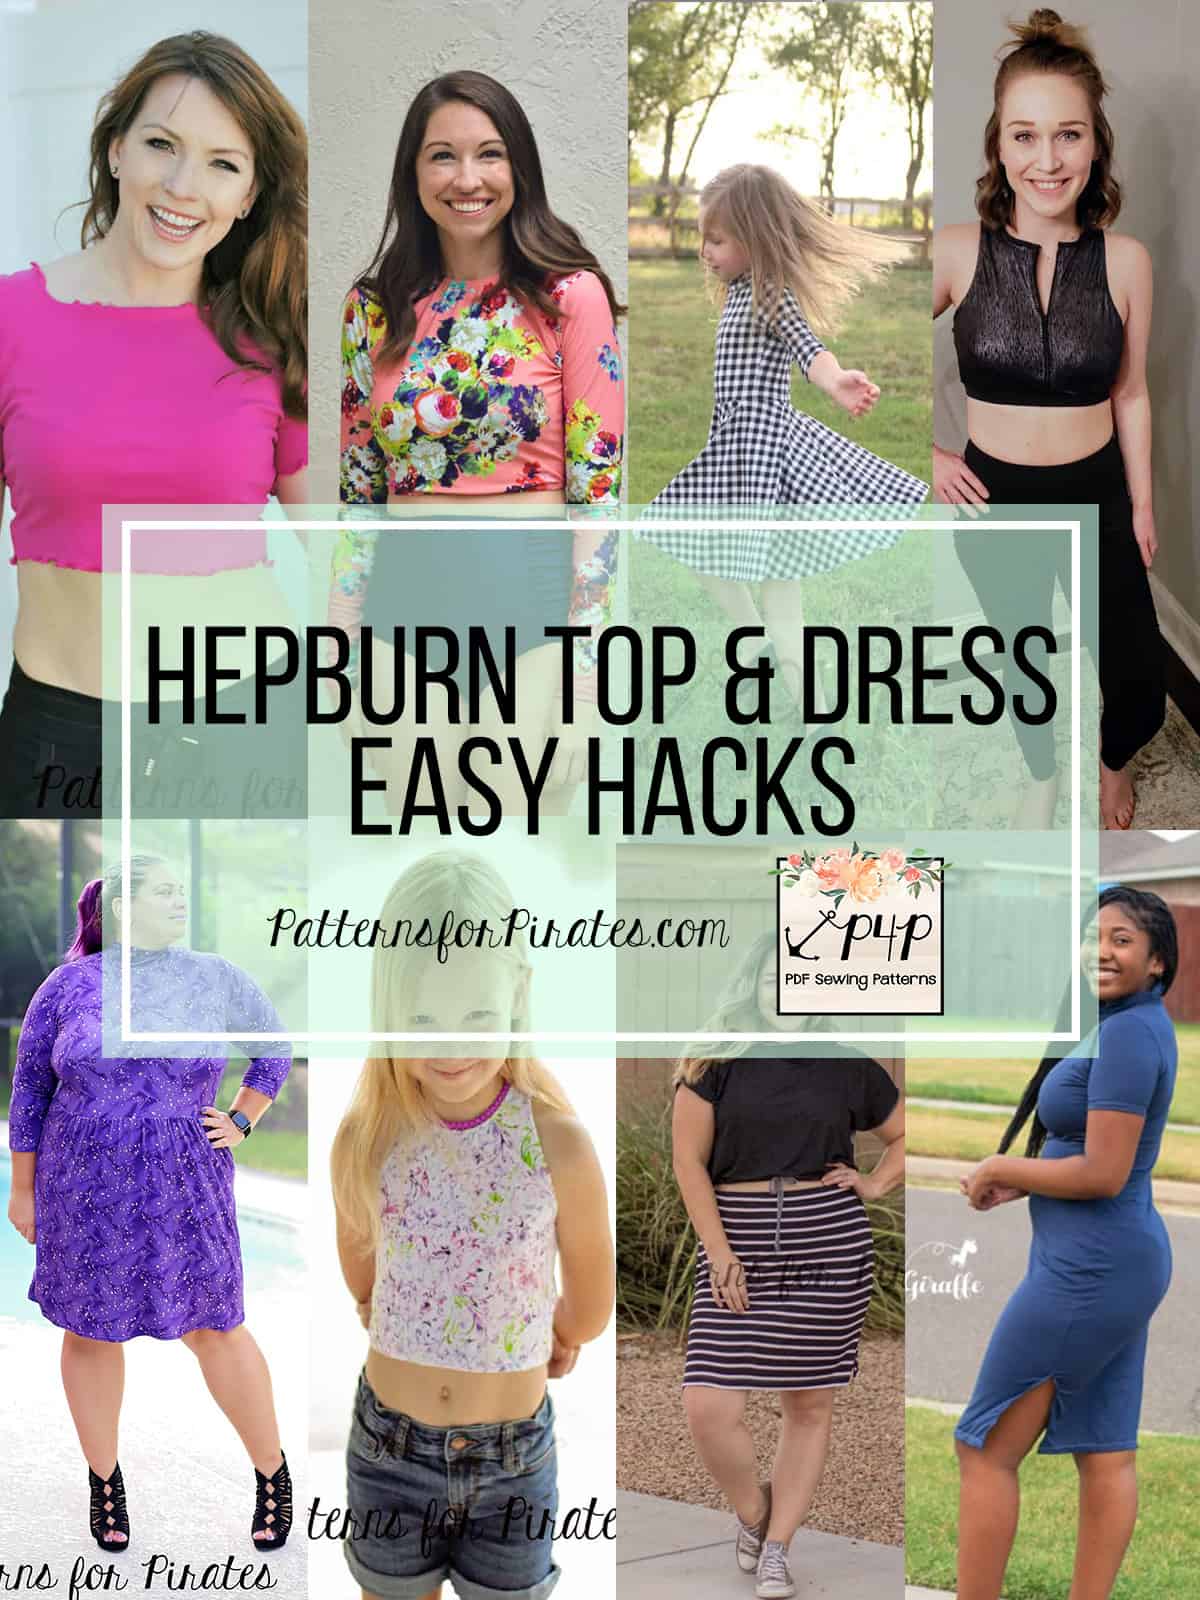
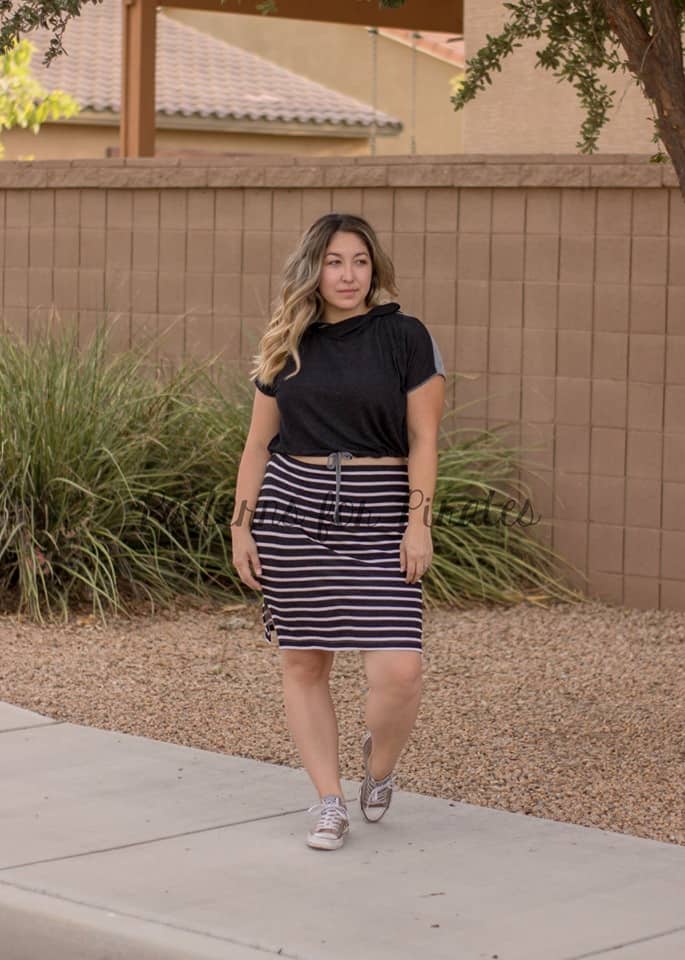
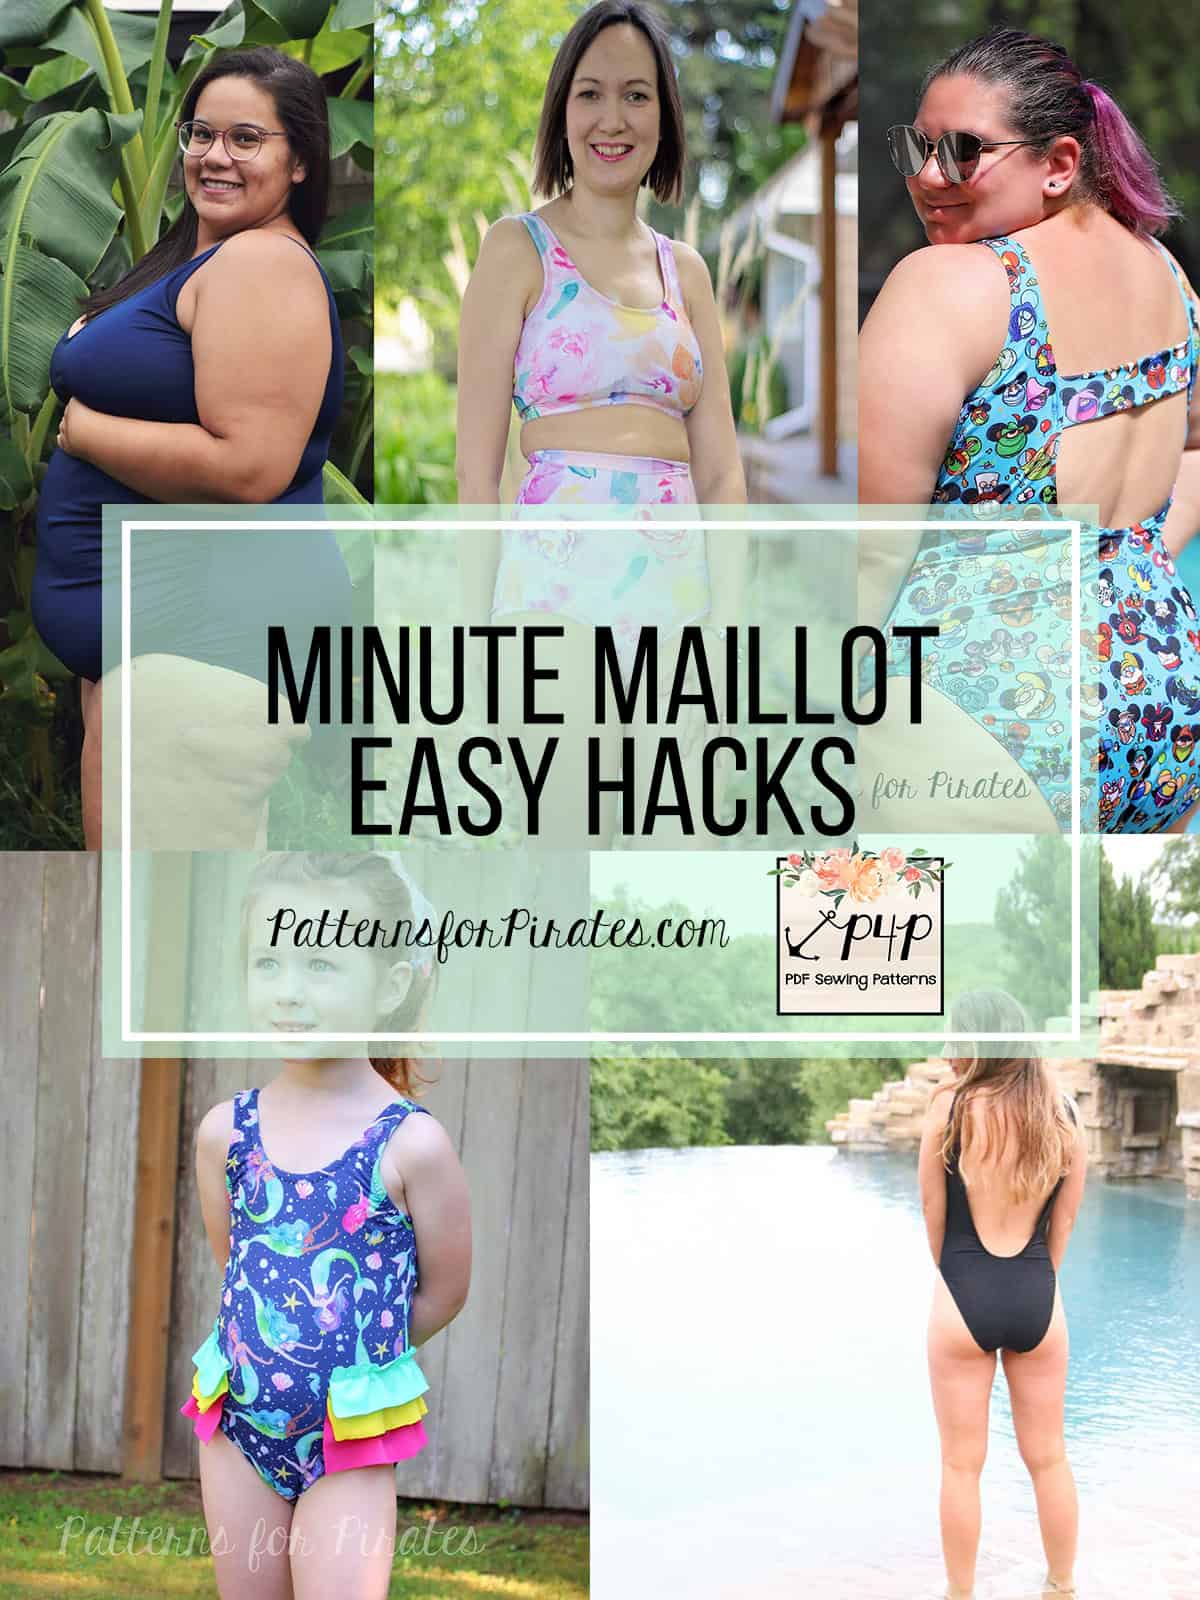
The newest P4P pattern is a must have for work out aficionados and not only! So many options are already included but you know us, we have to add just a few more to our easy hack blog. This time, the P4P blog team will show you how to make the Classic Sports Bra with a solid front, an exposed elastic and without a clasp but still having the cut out. Let’s get started!
…..
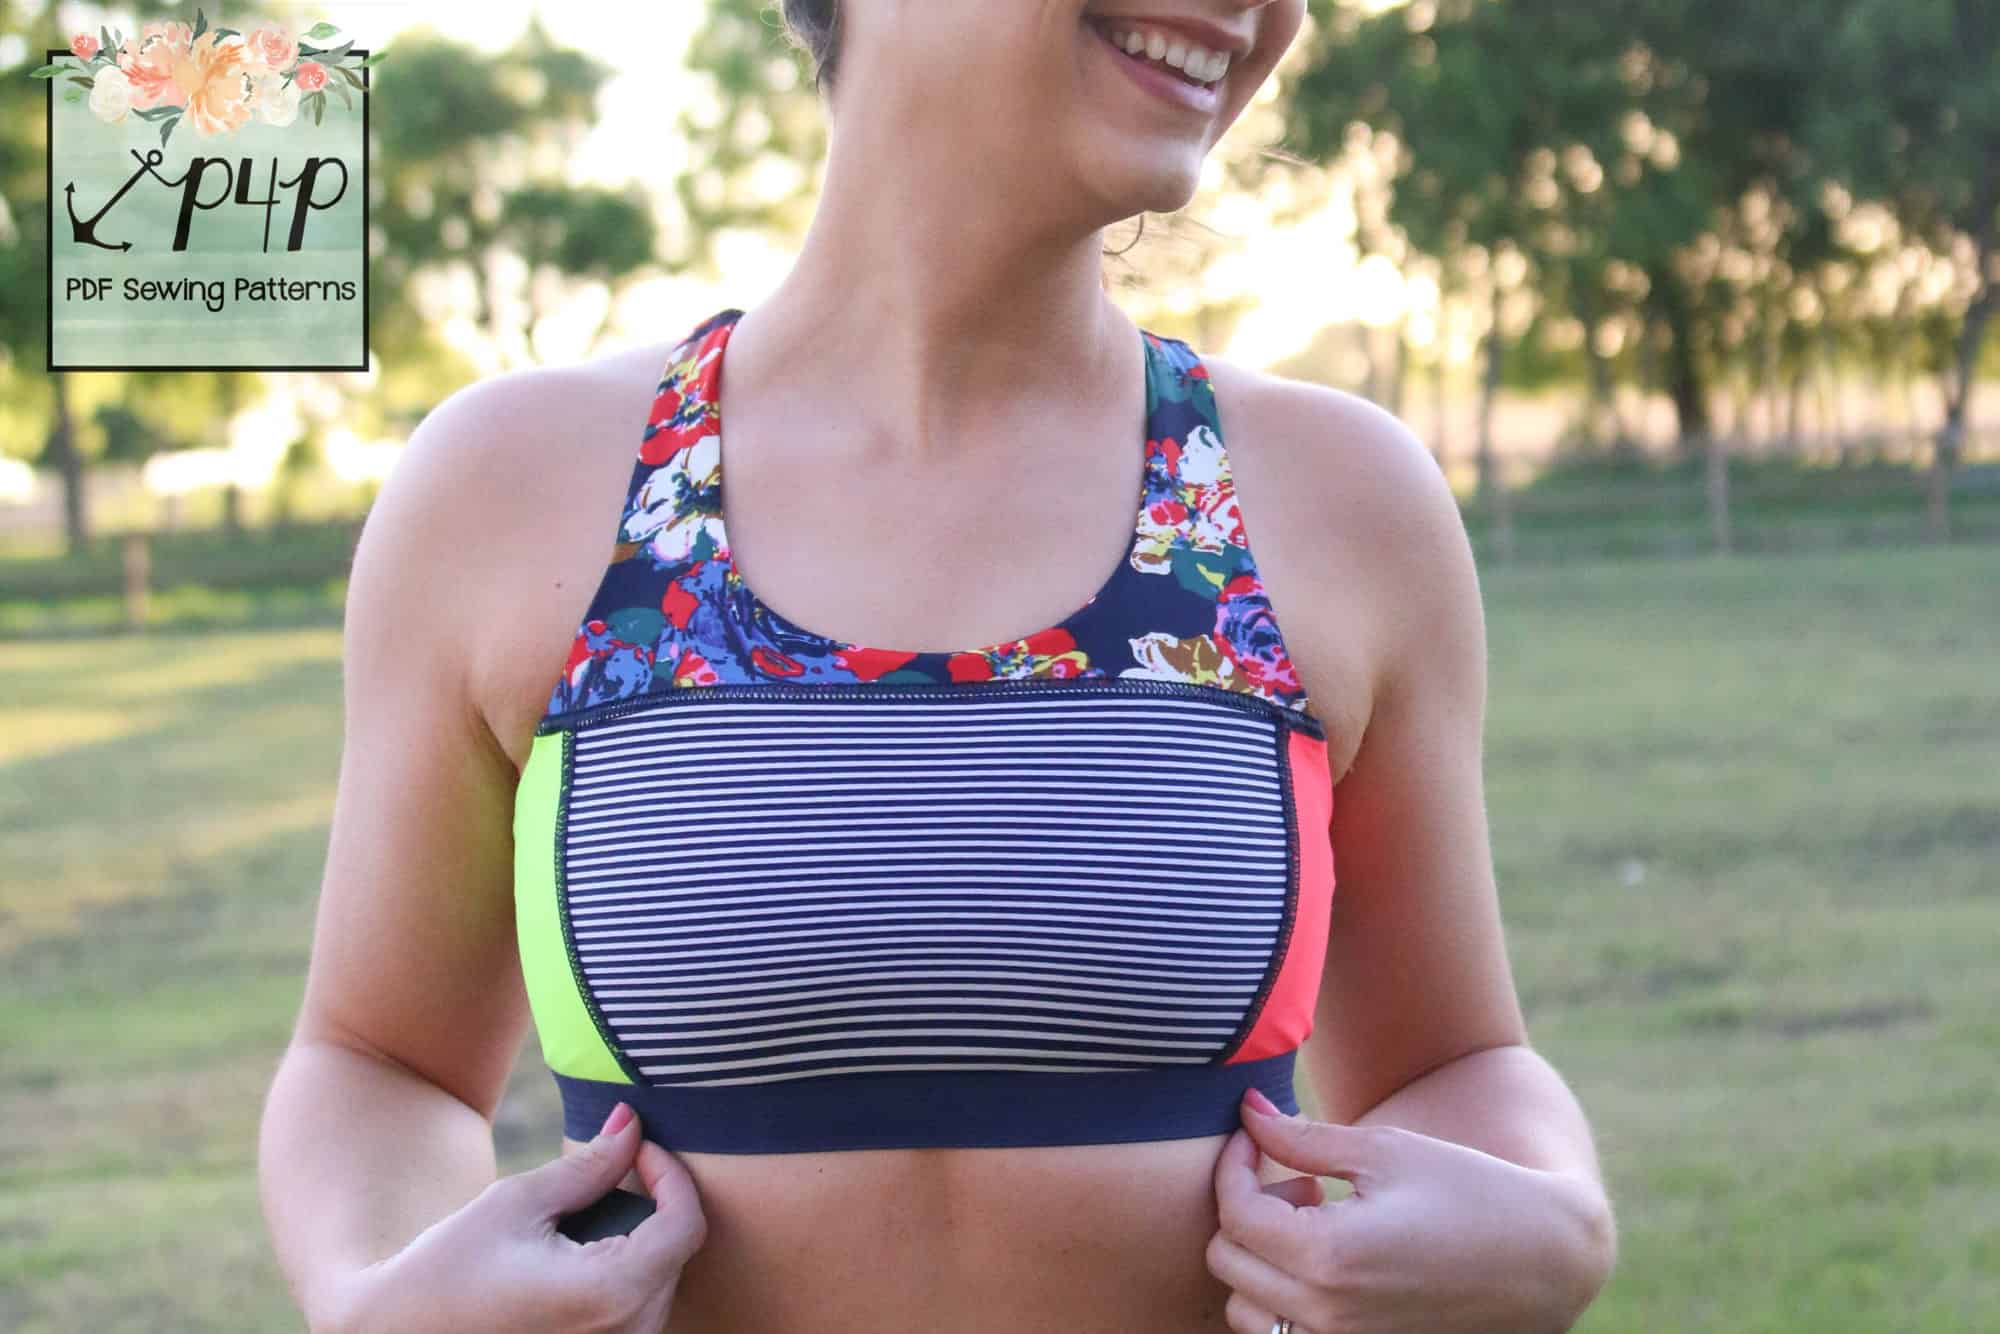
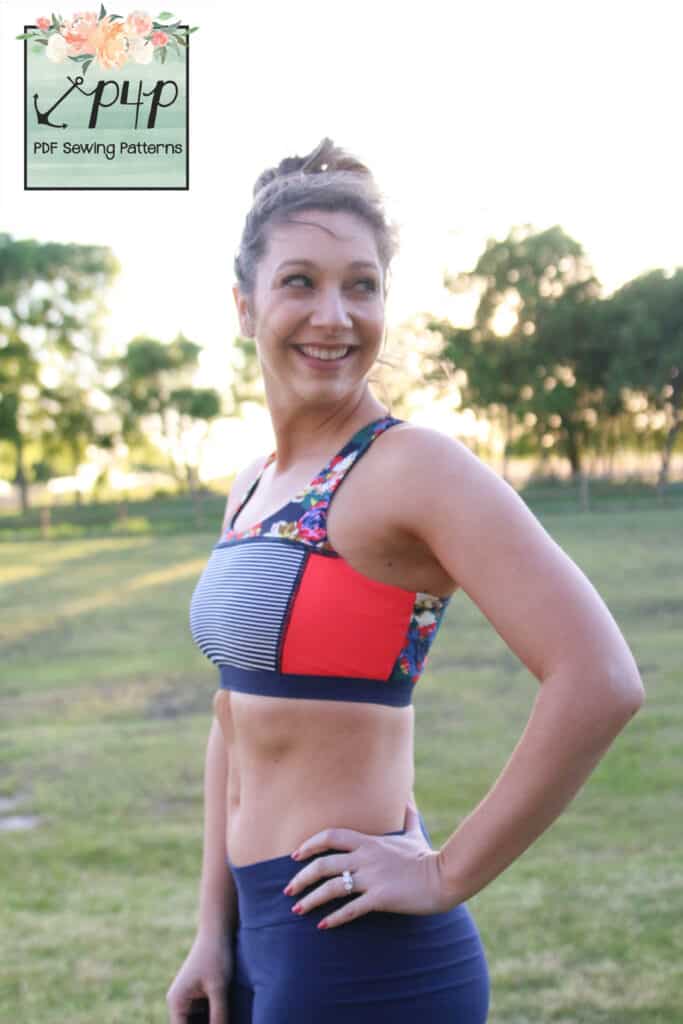
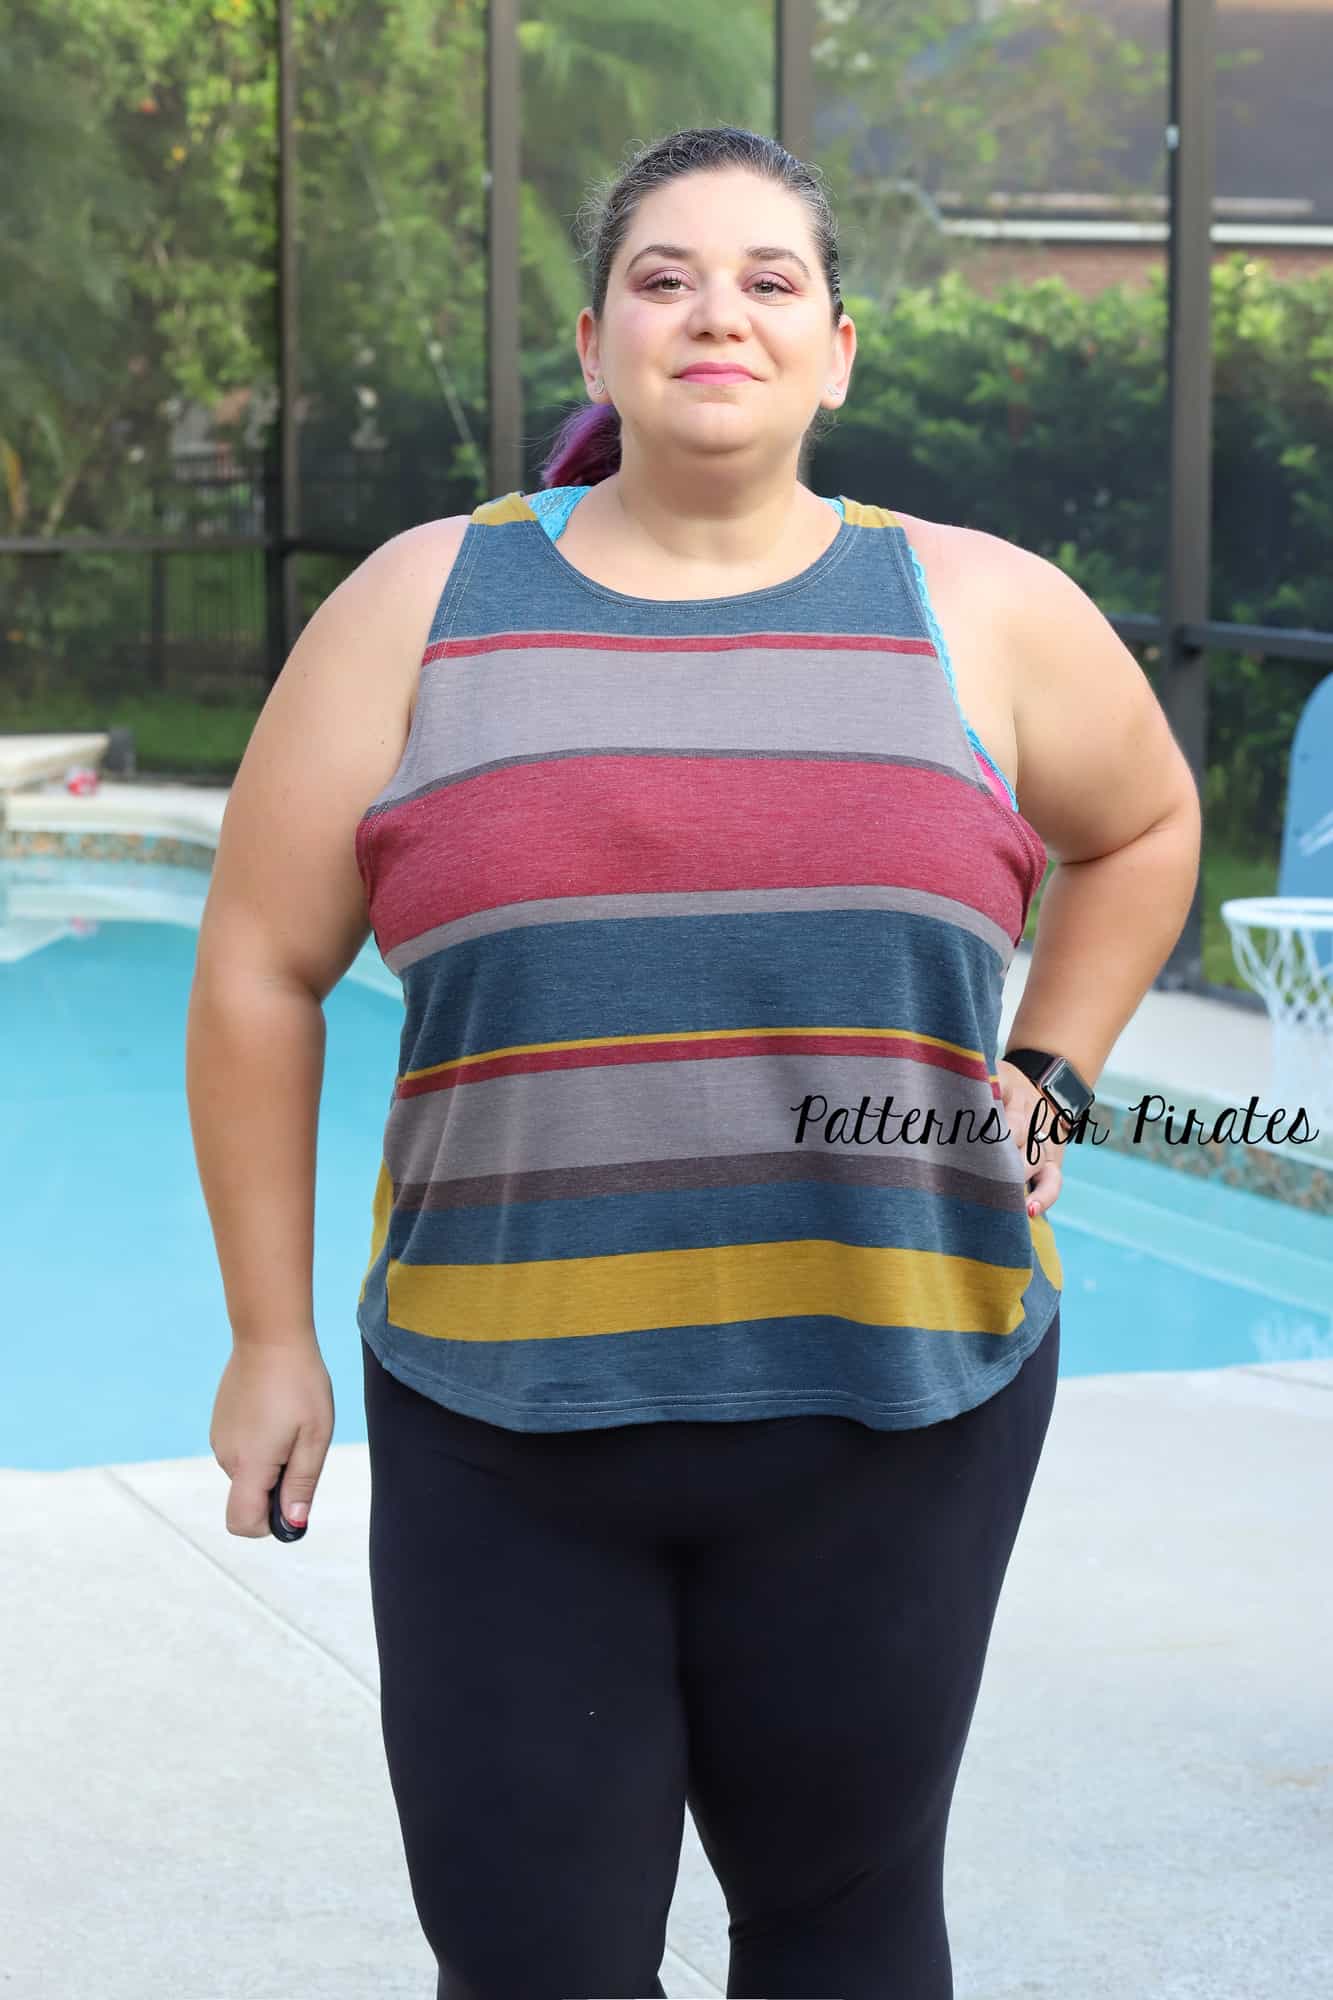
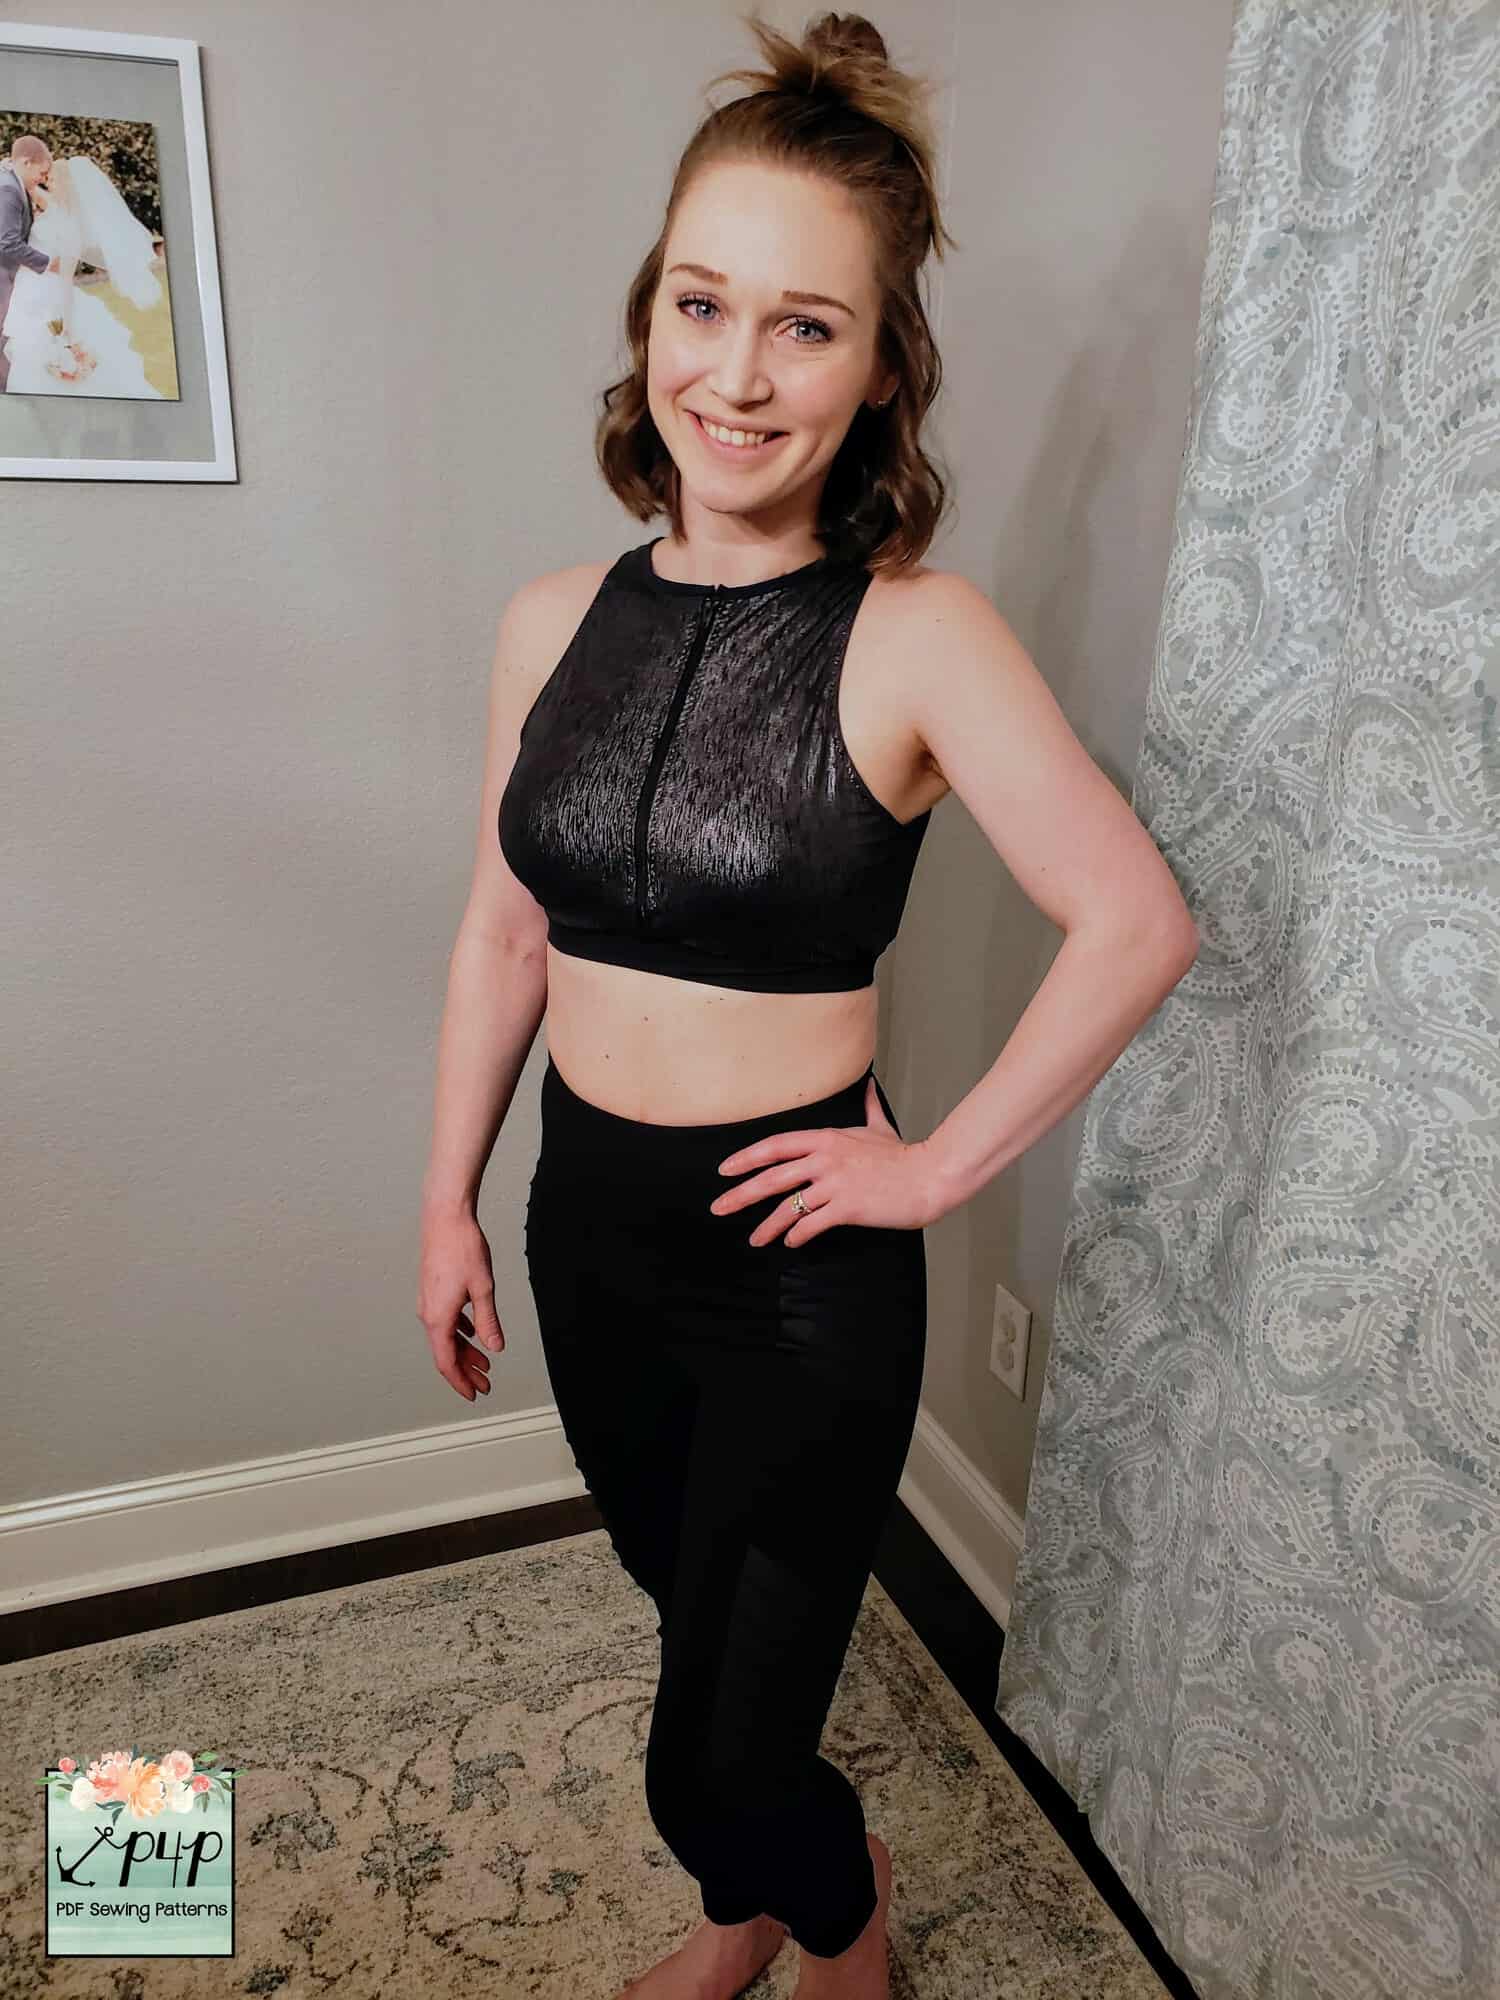
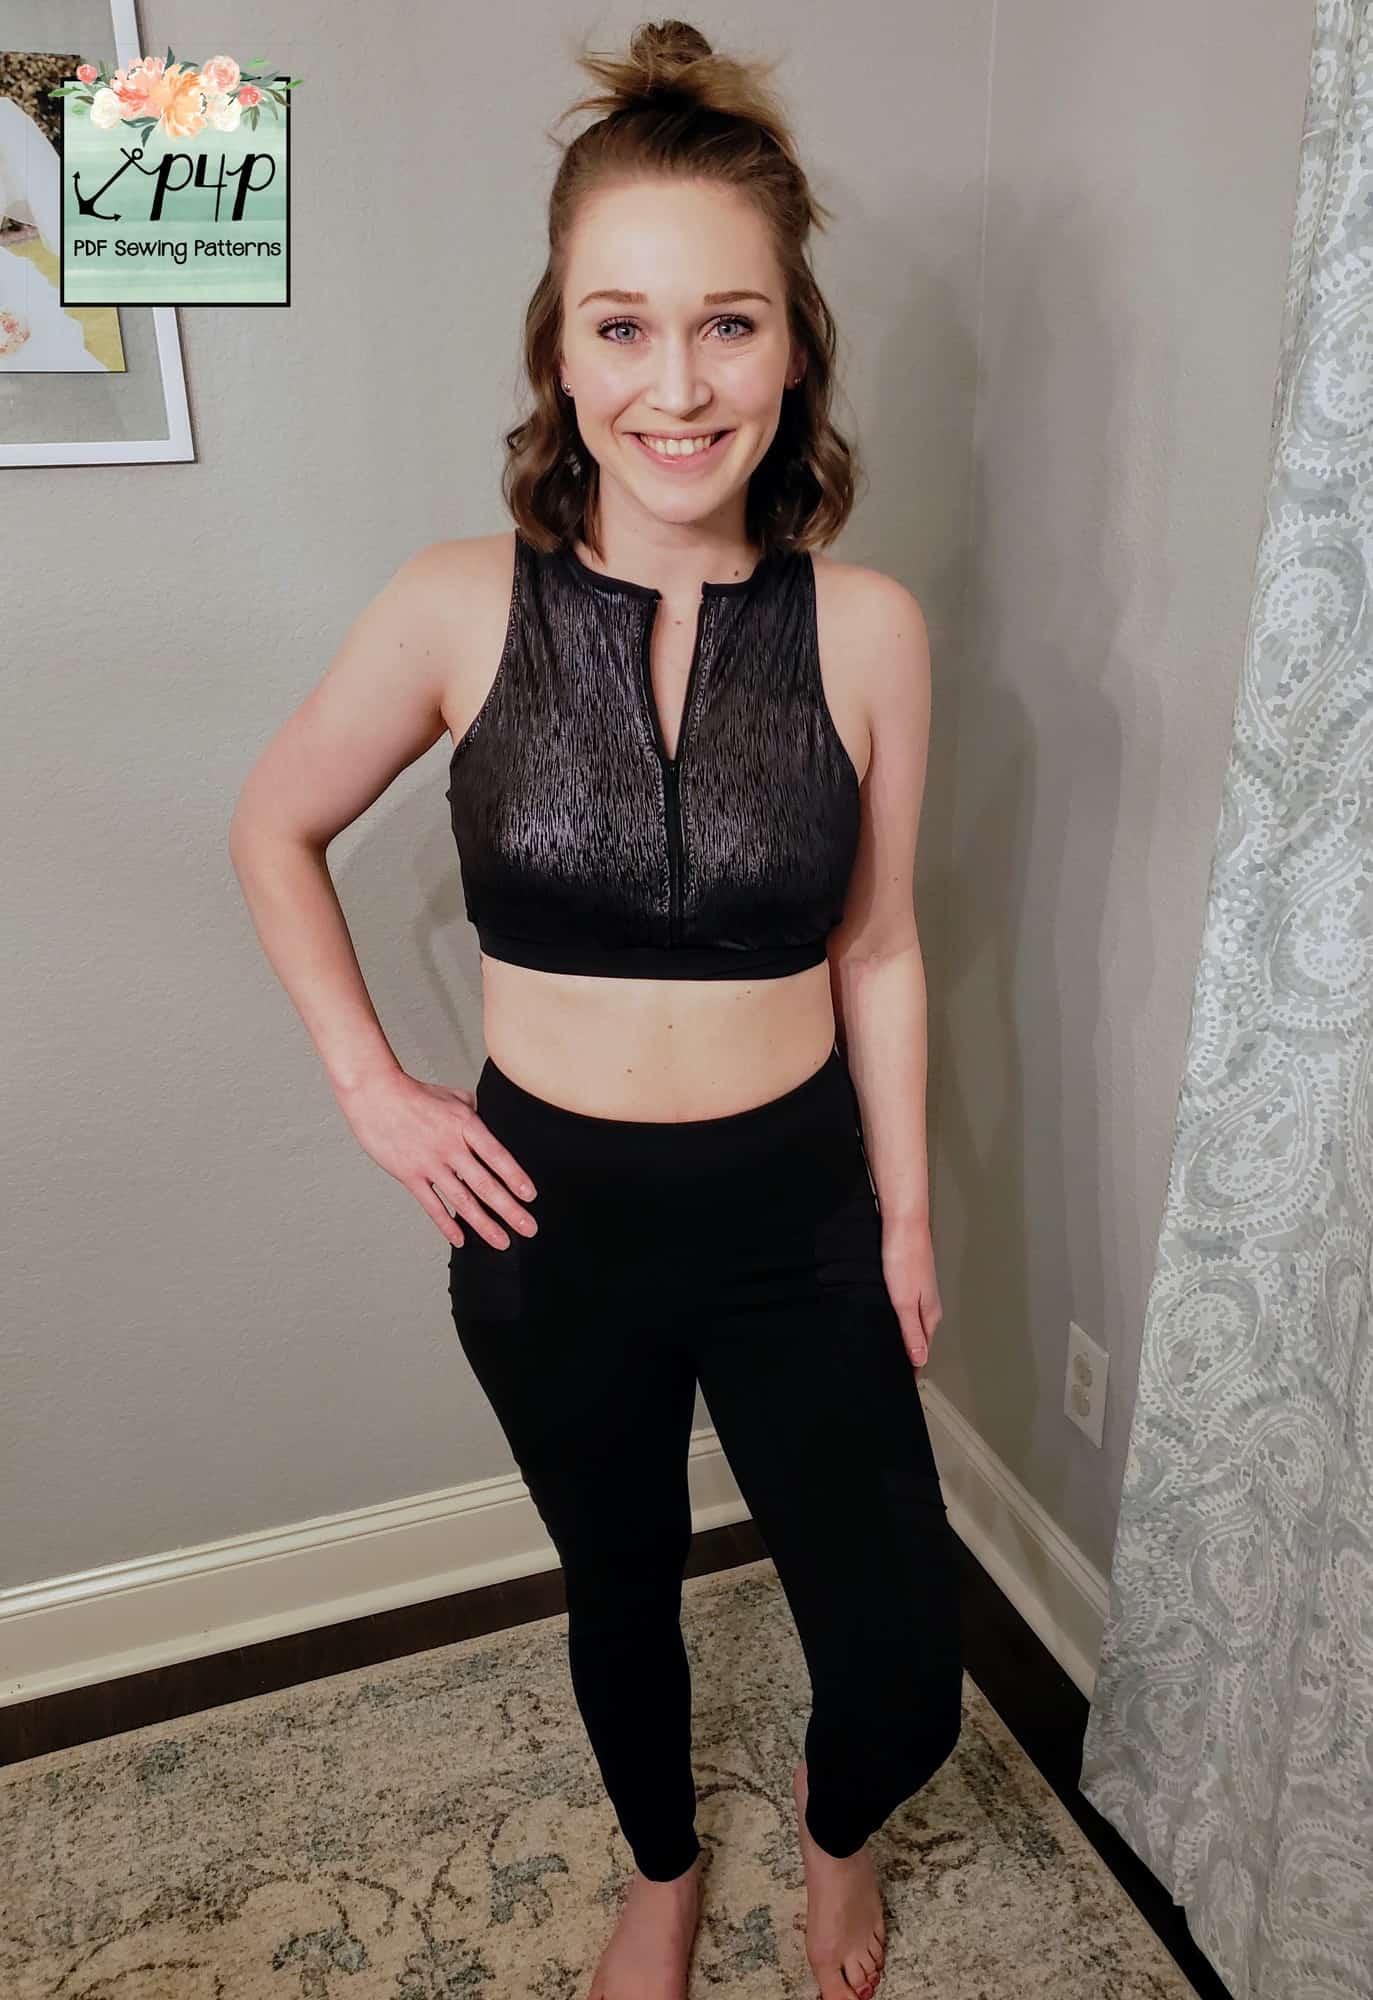
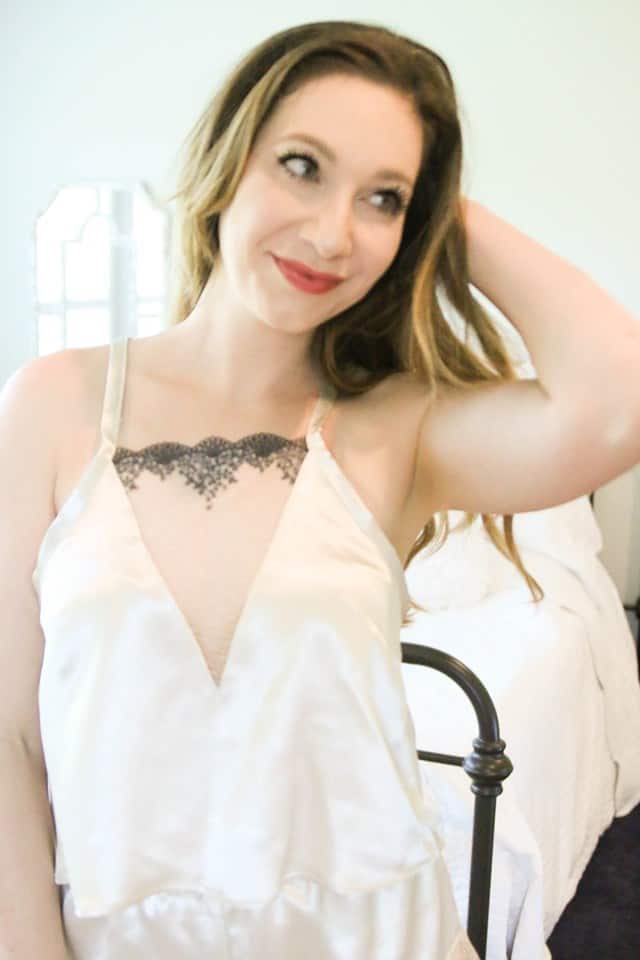
Solid Front
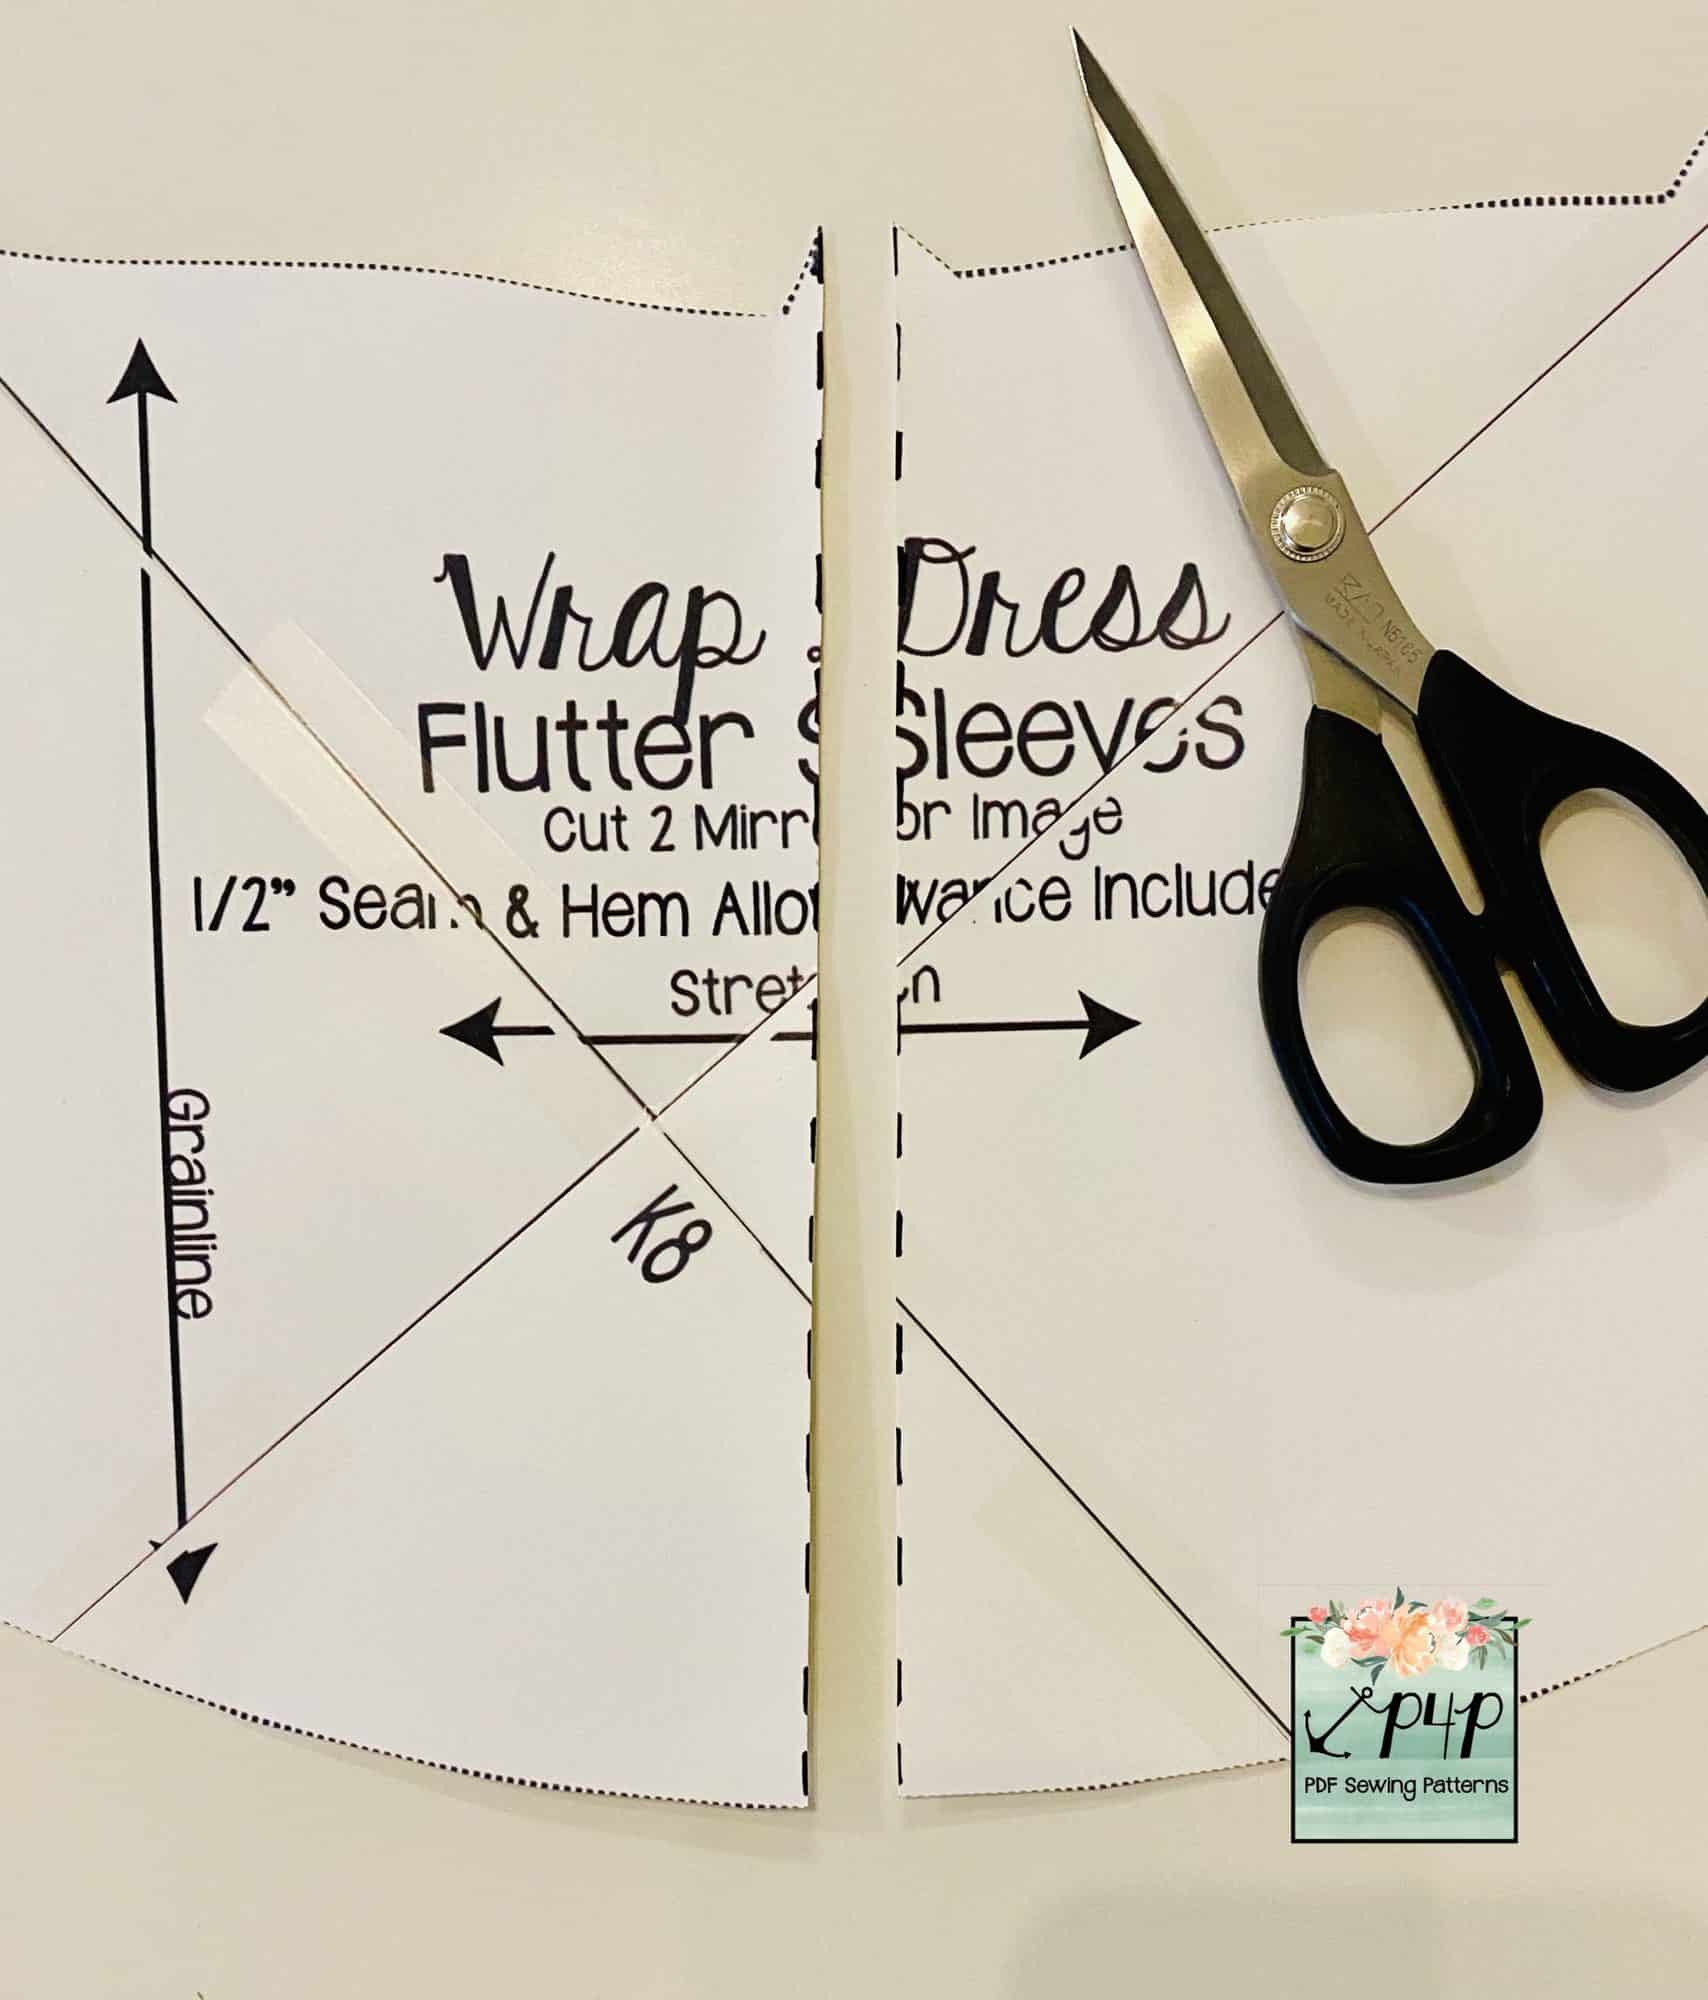
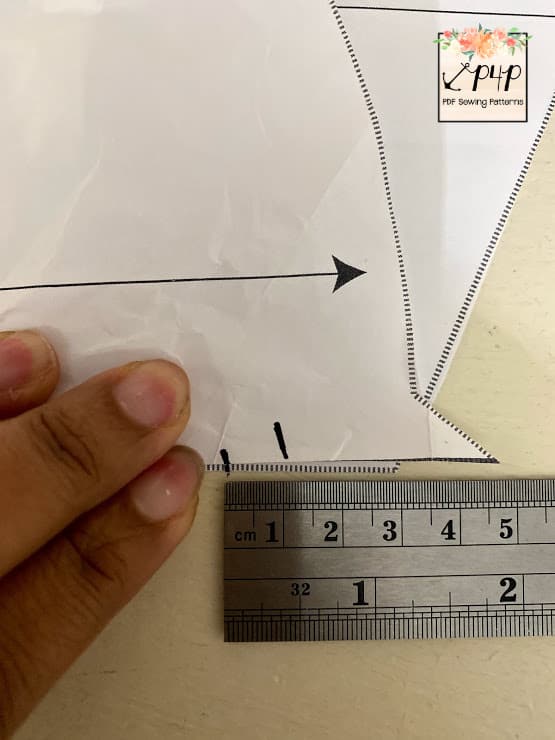
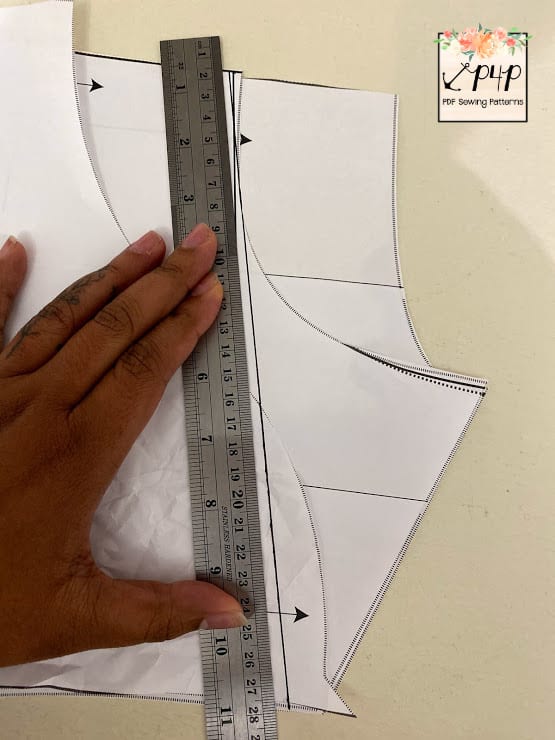
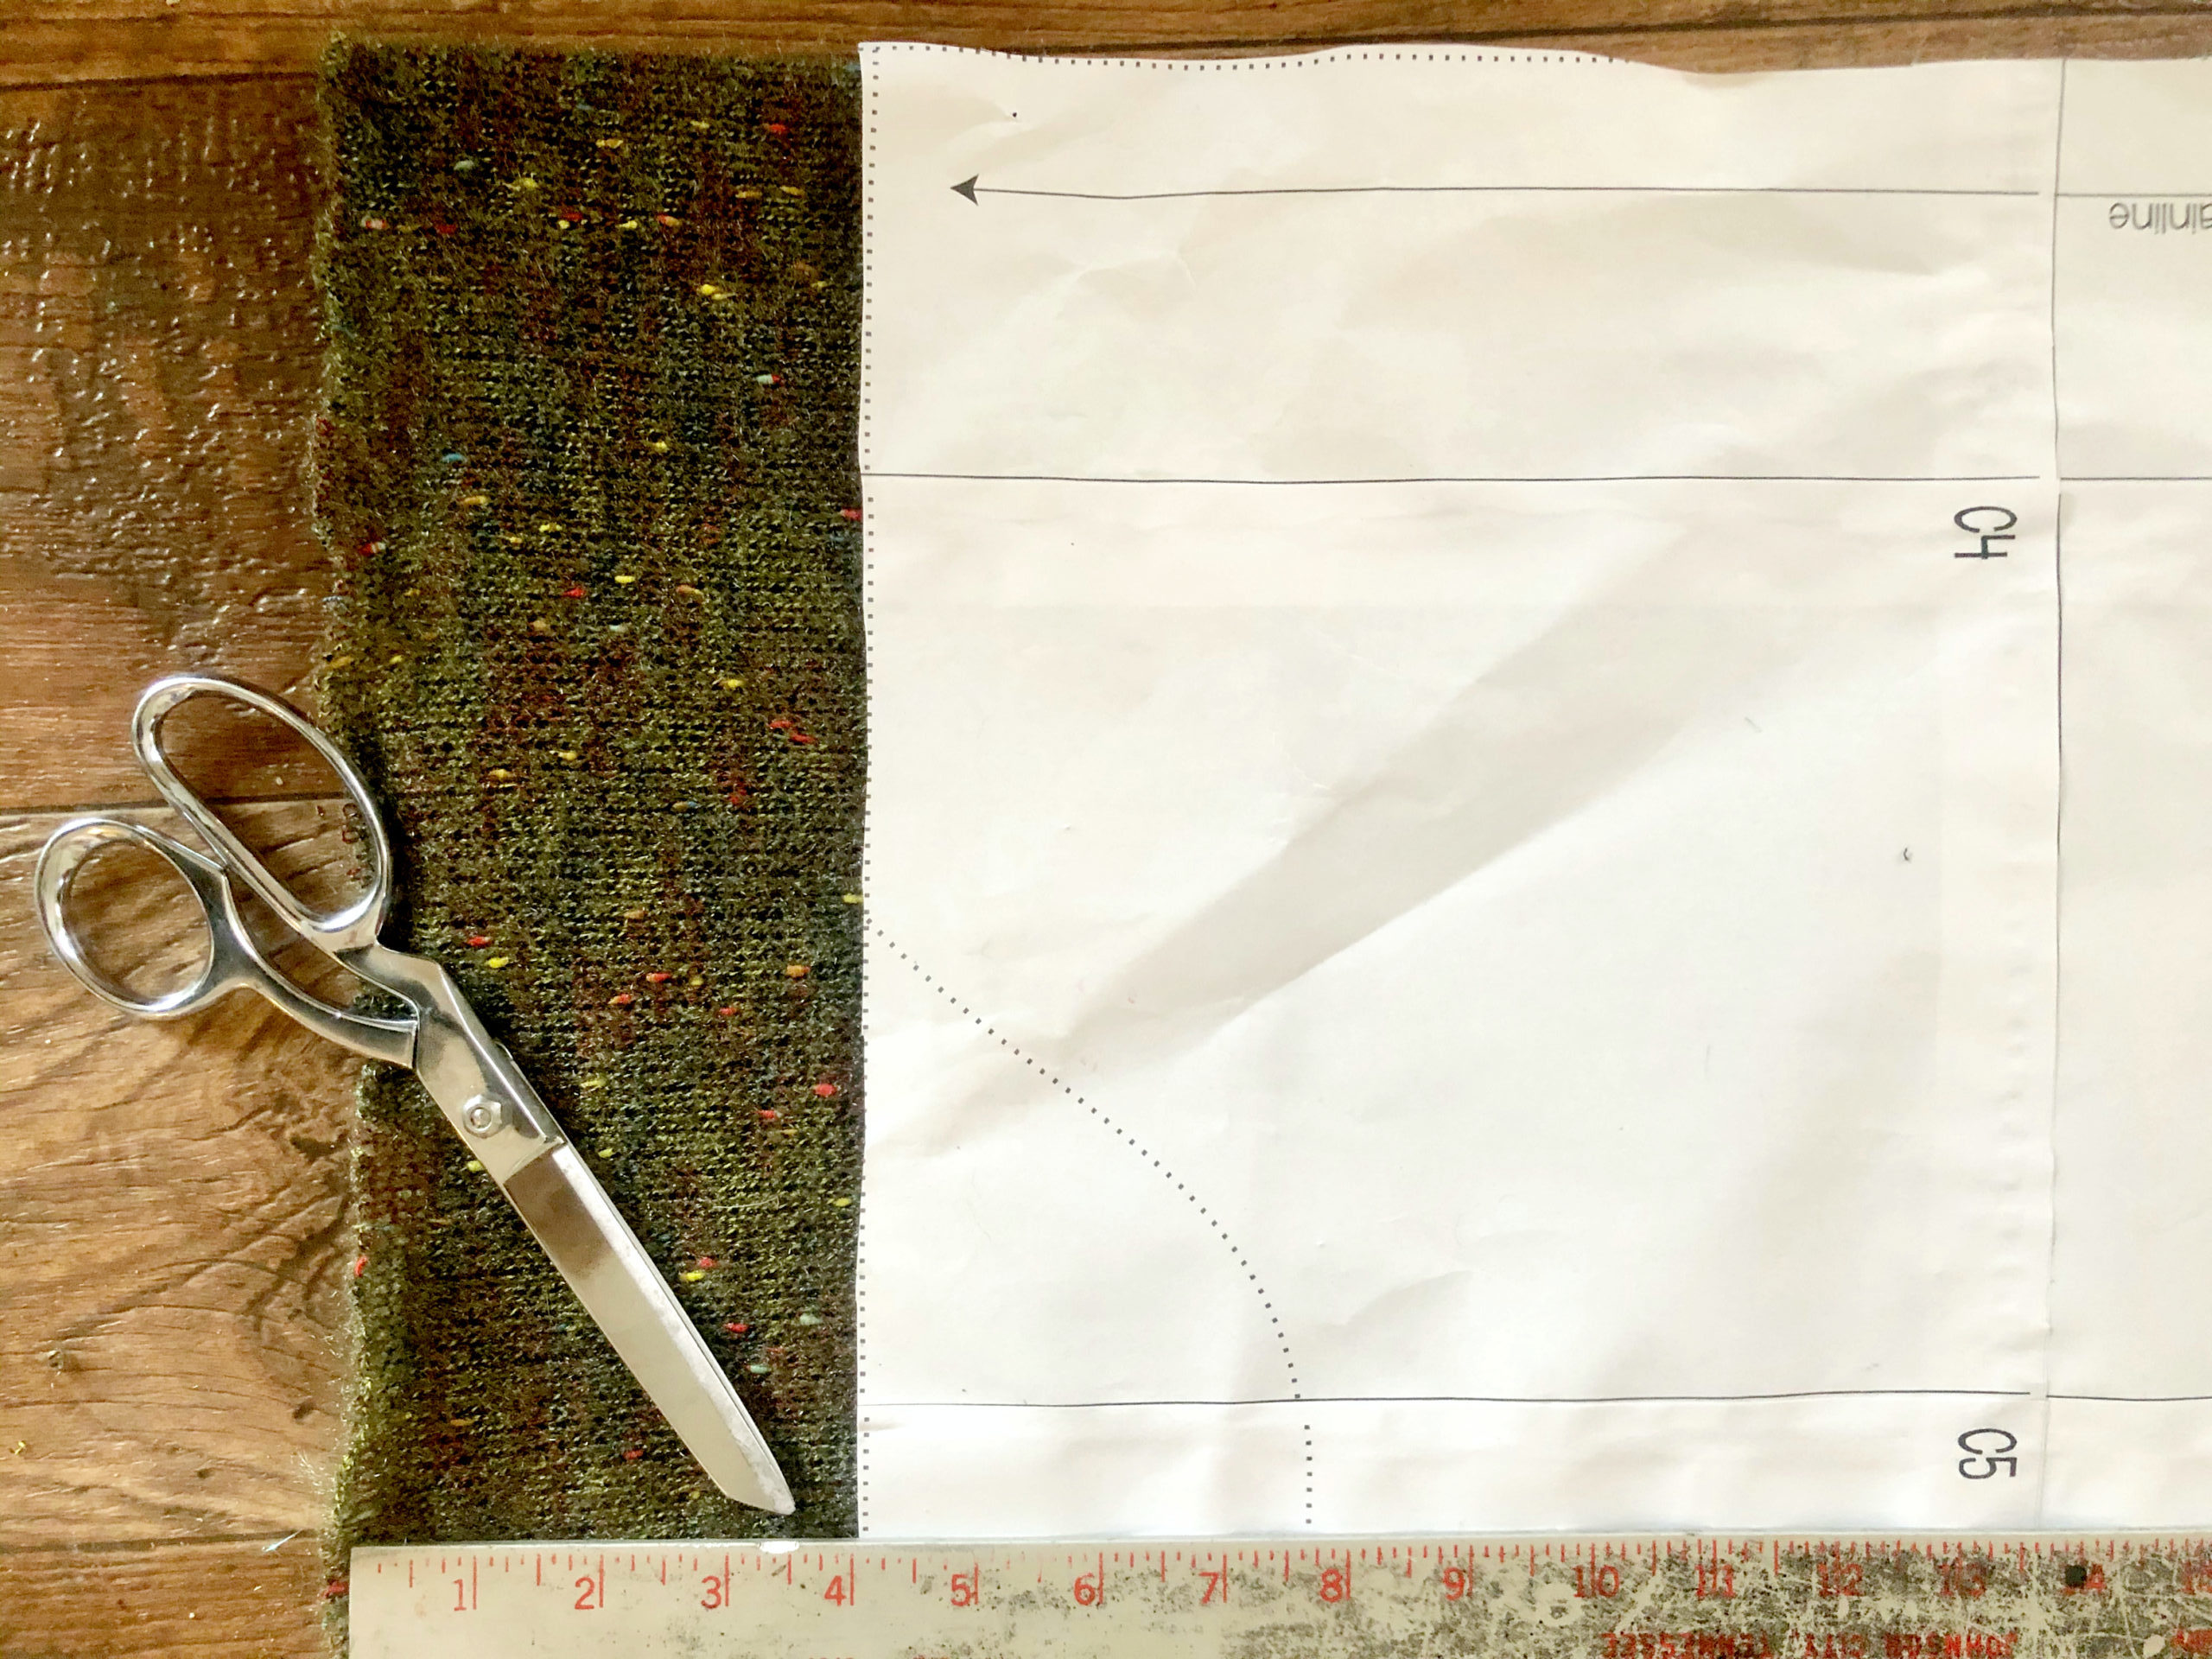
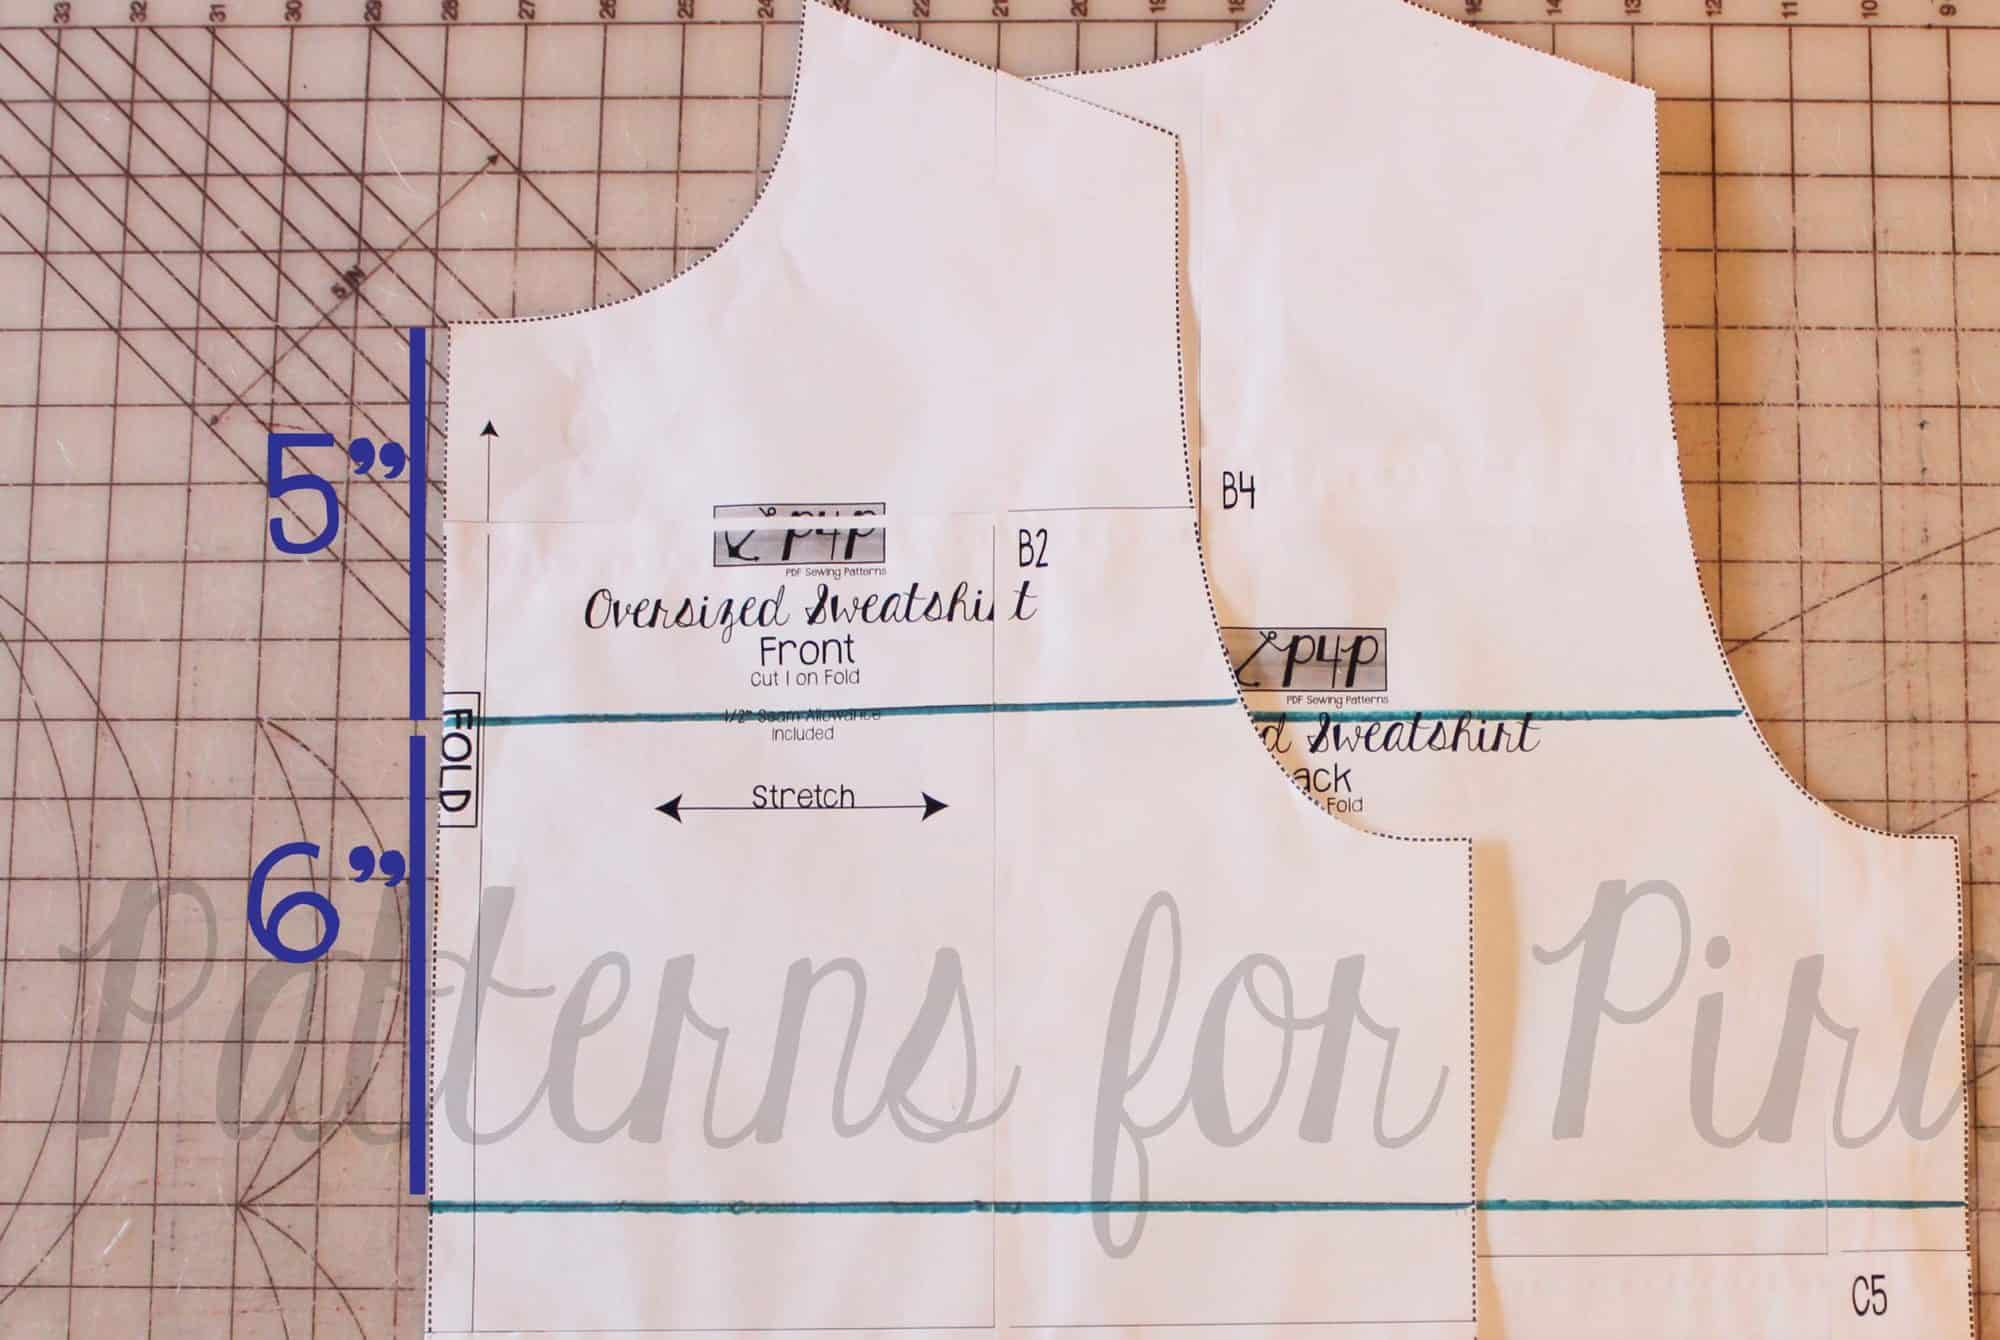
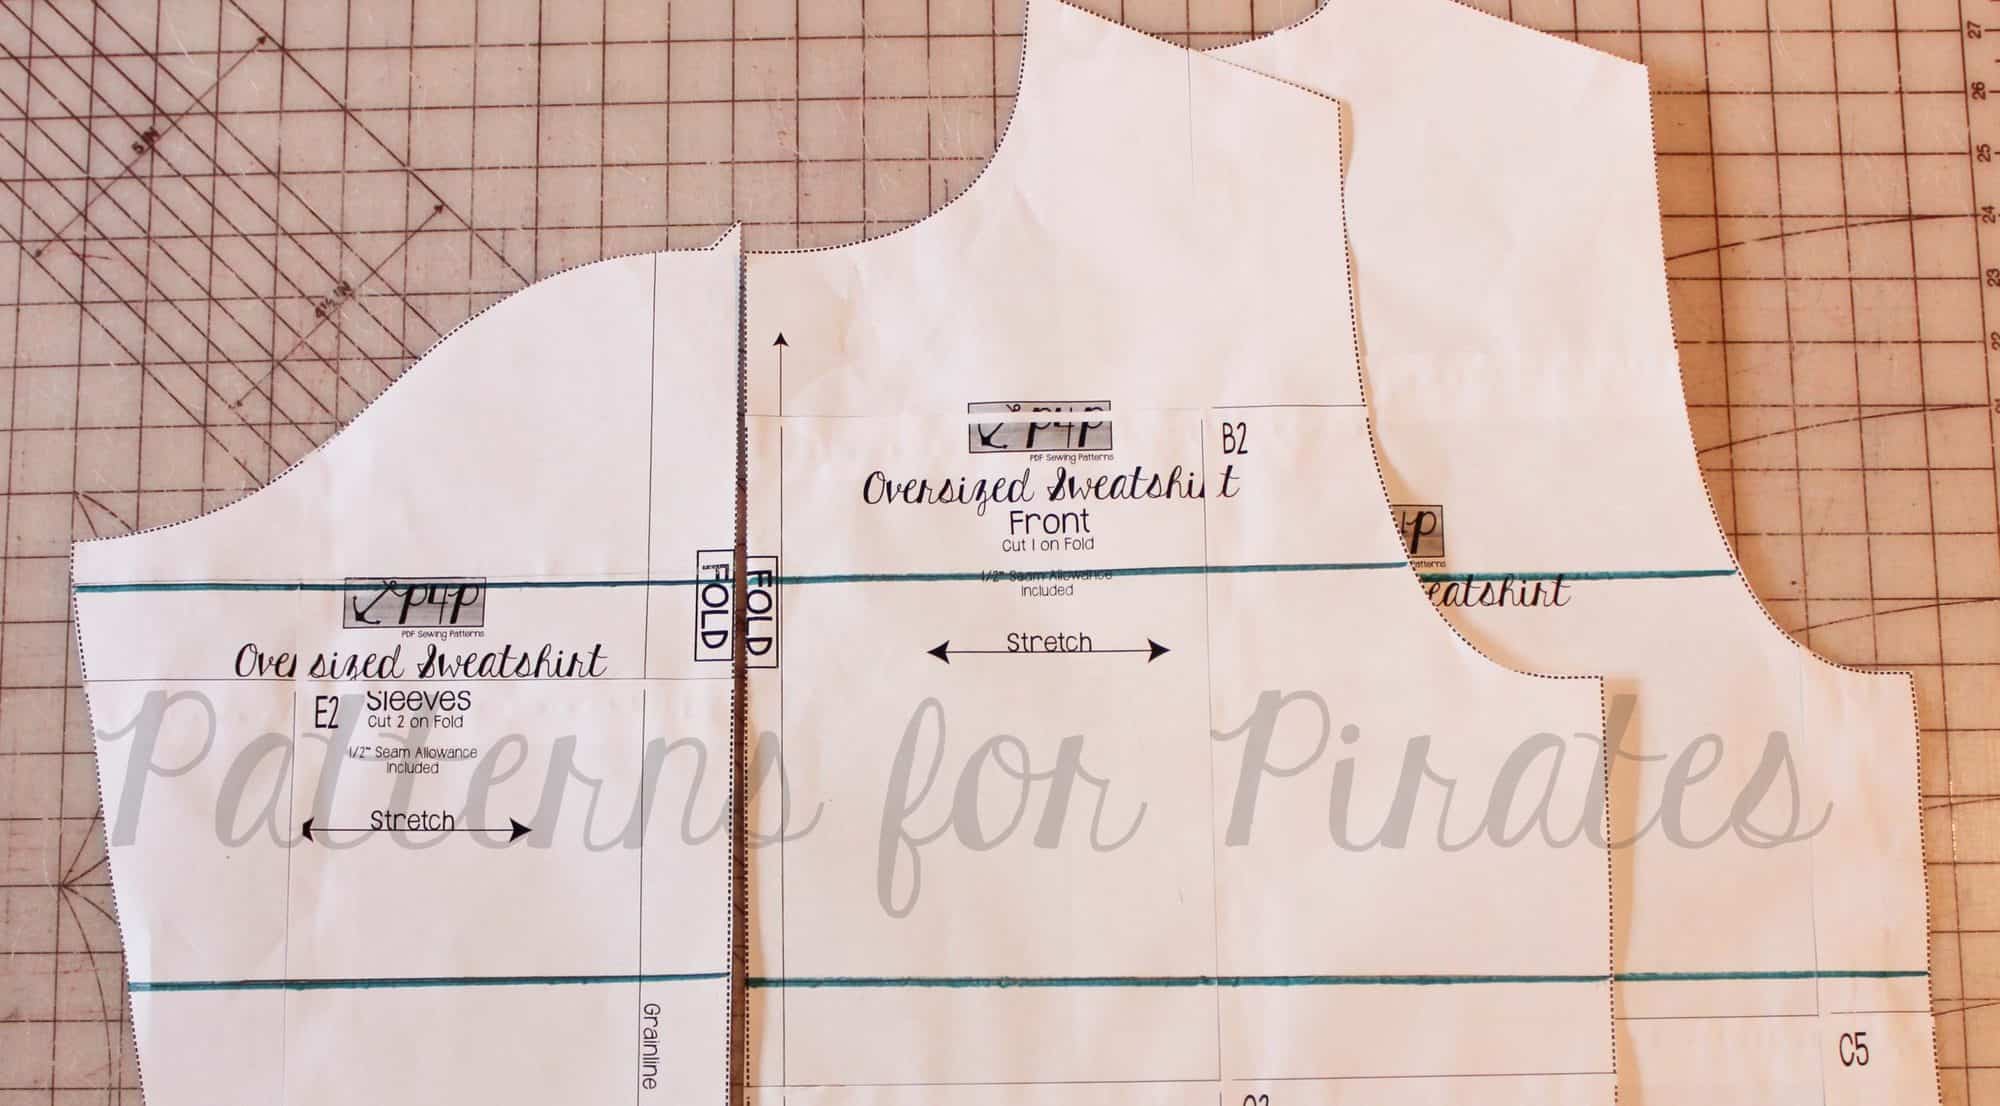
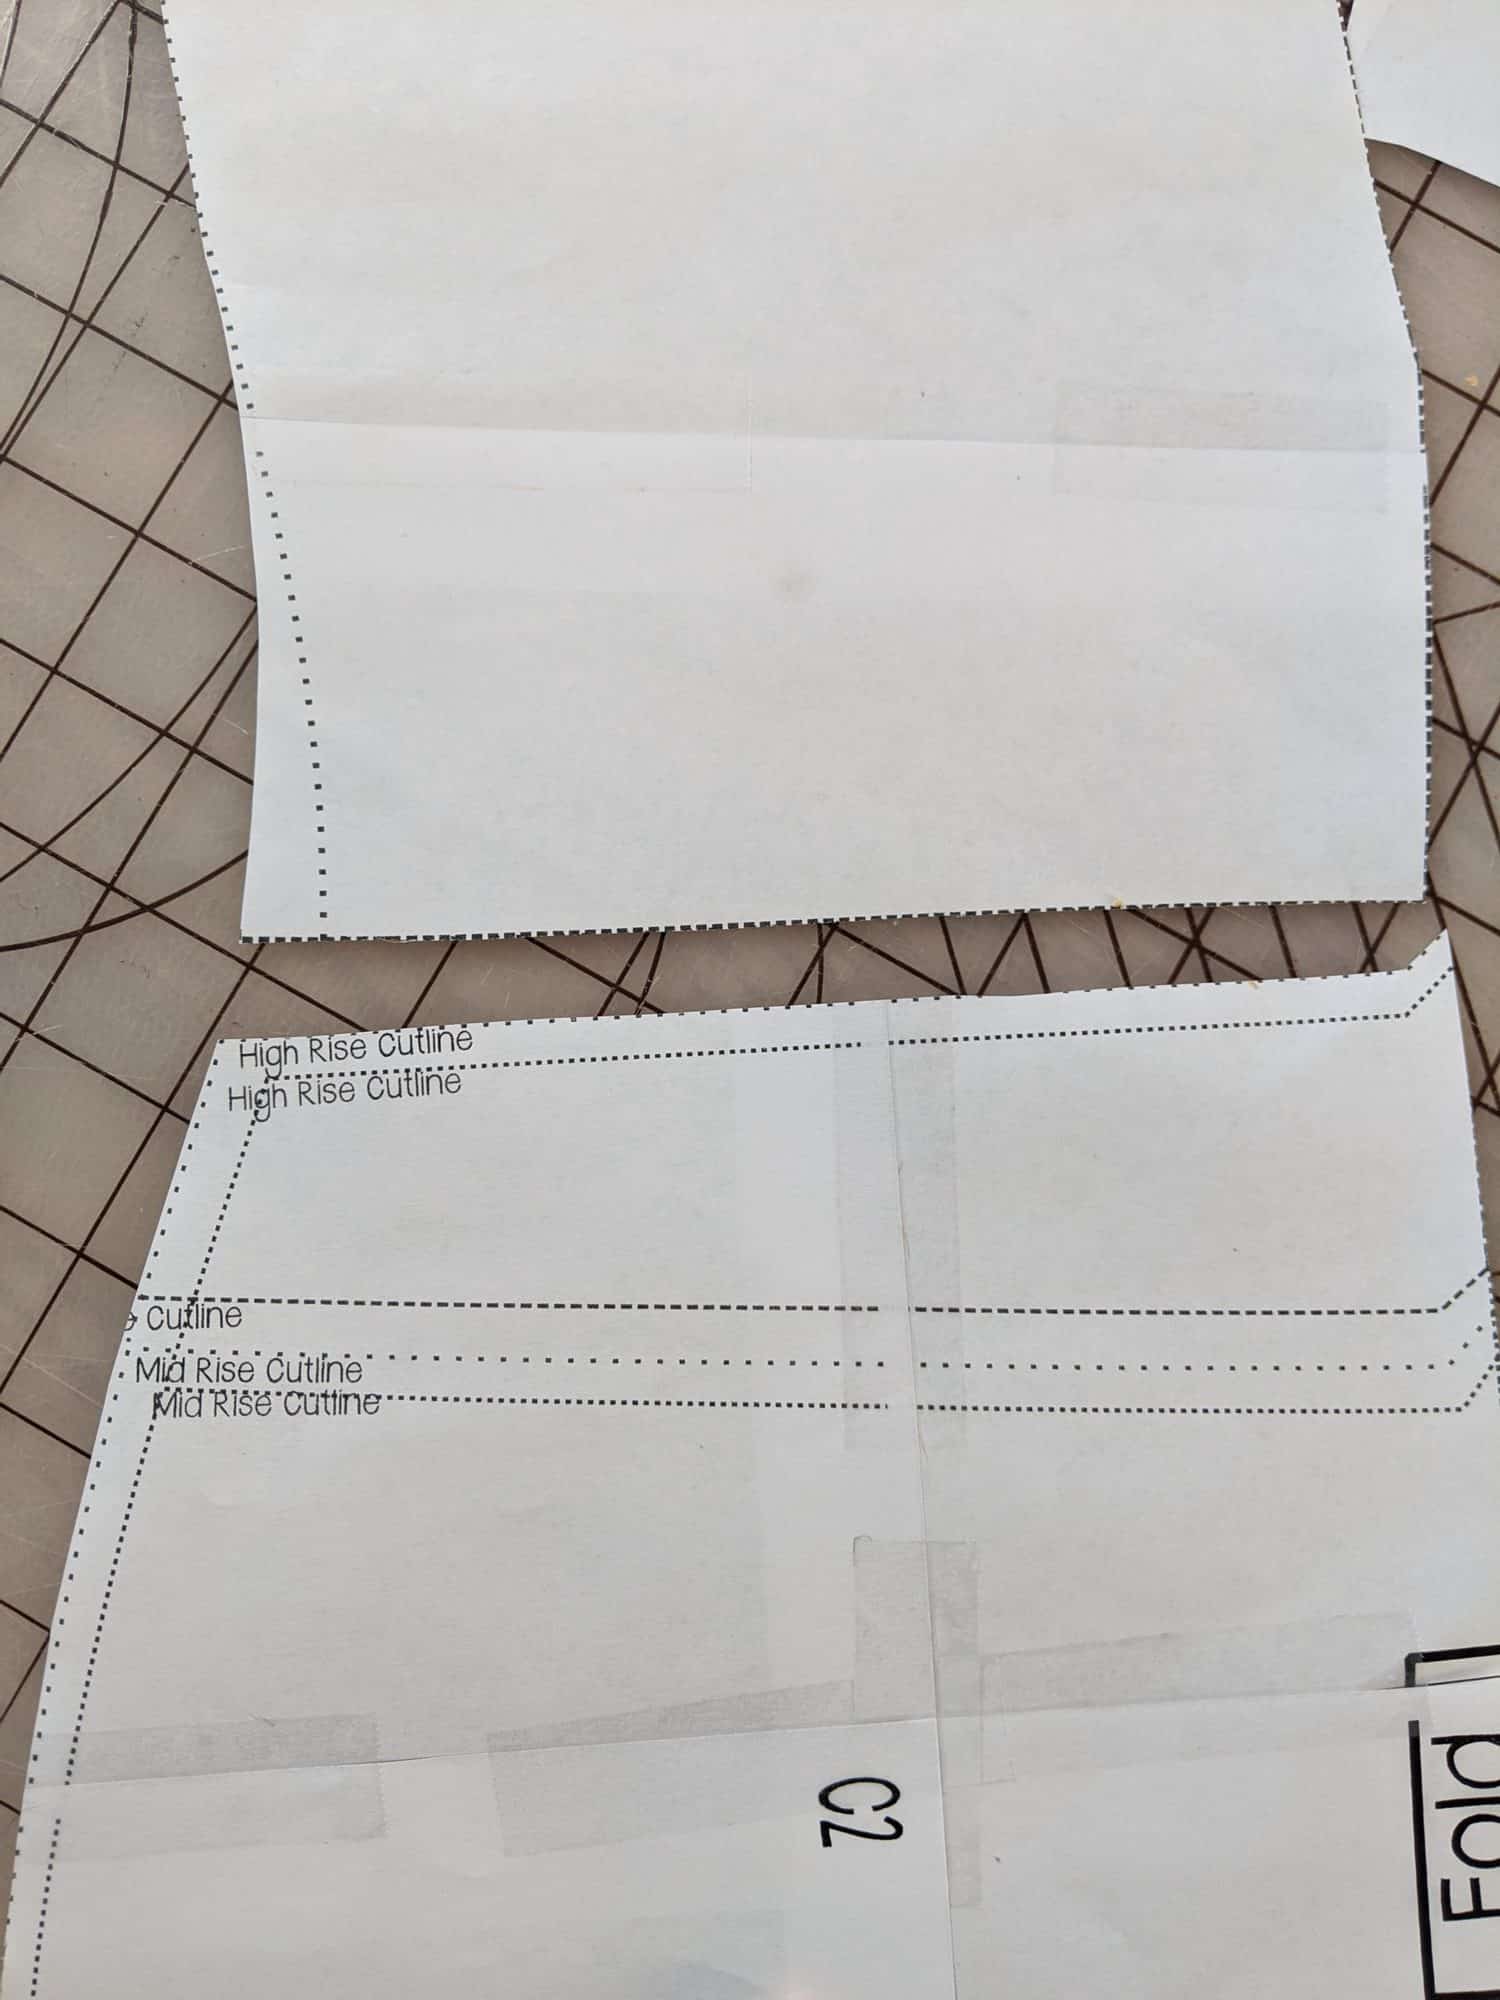
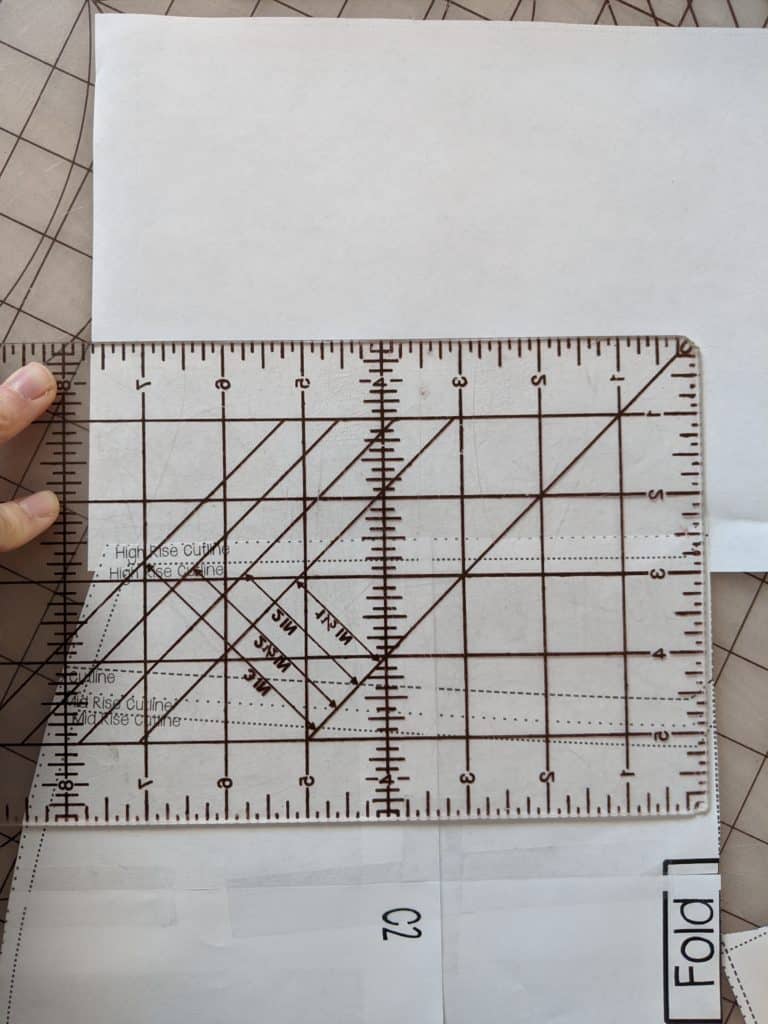
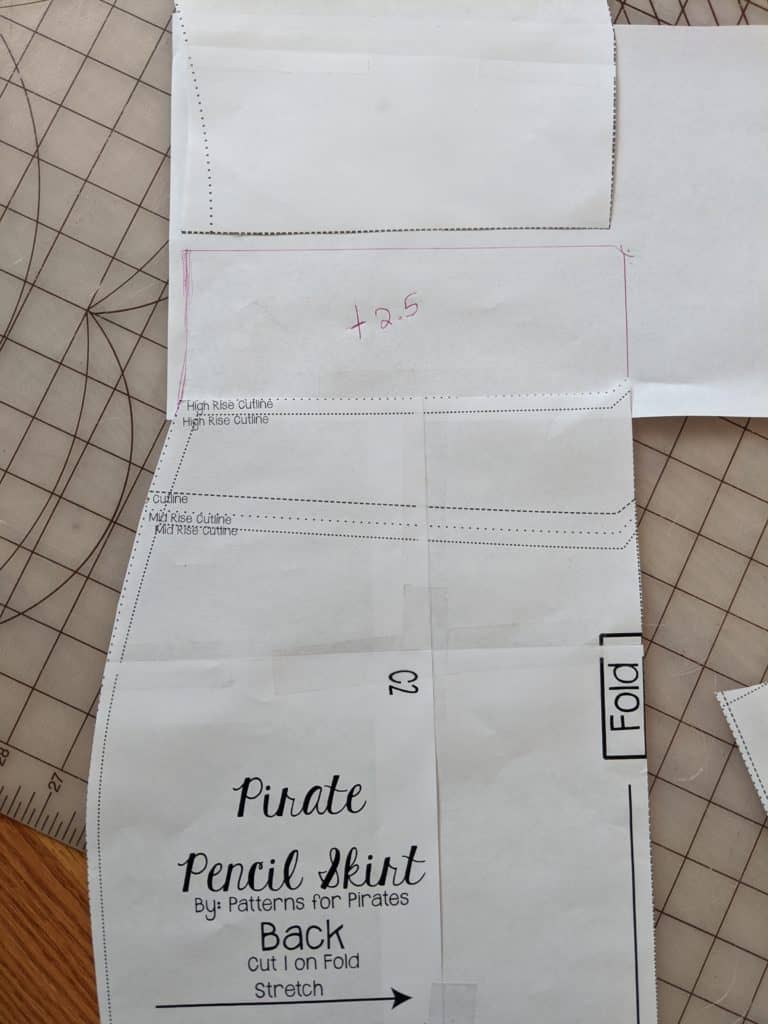
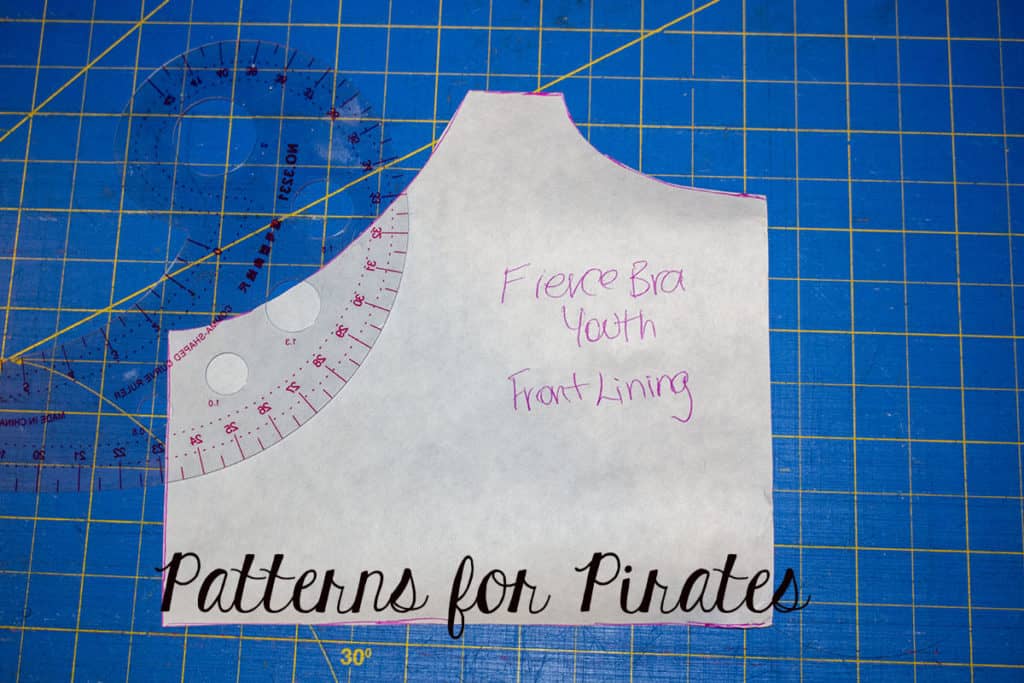
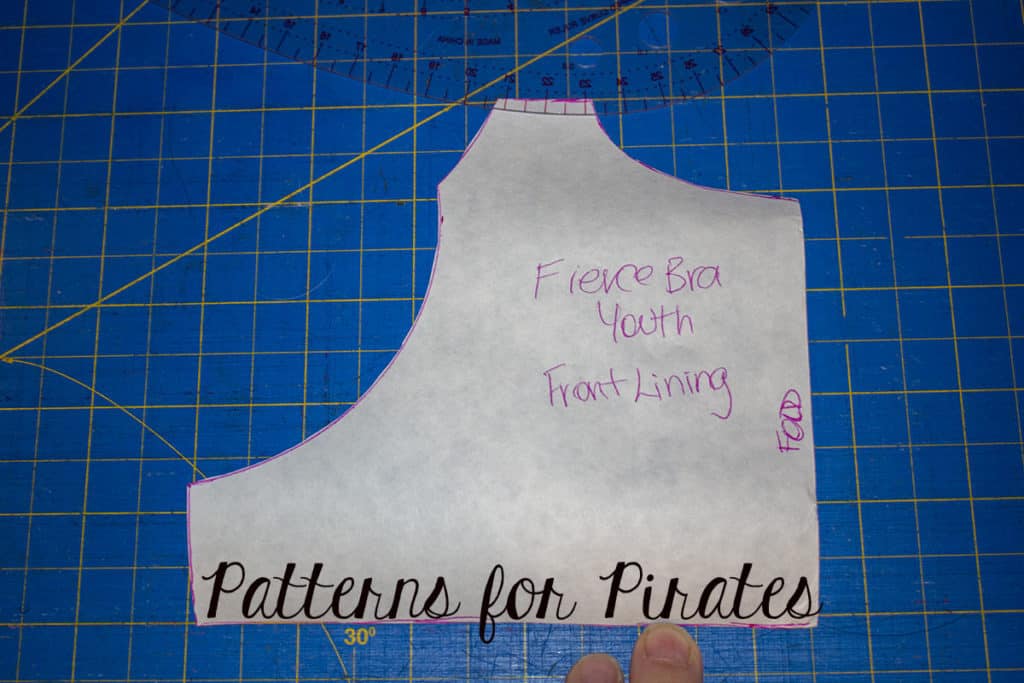
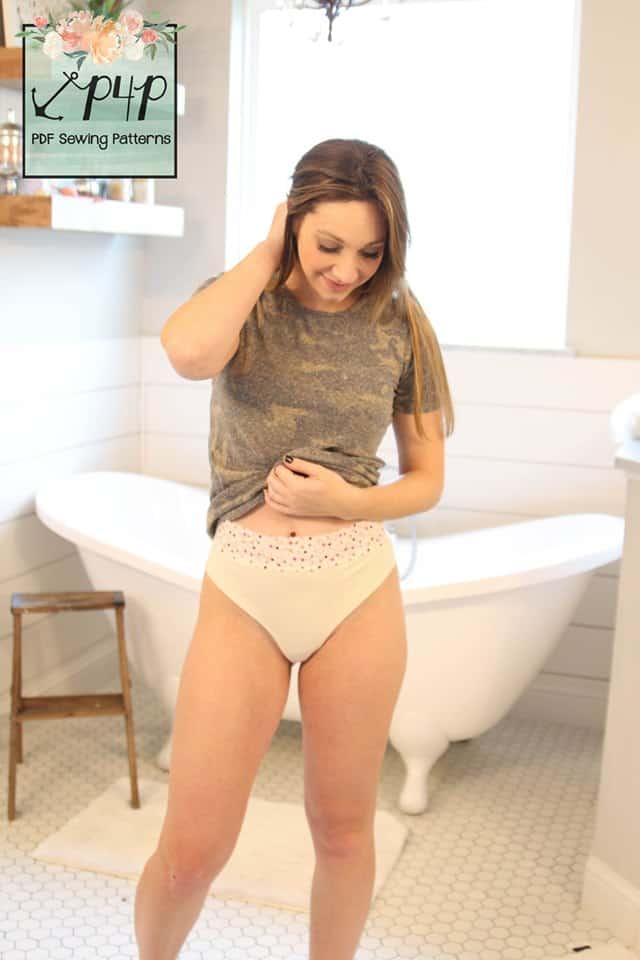
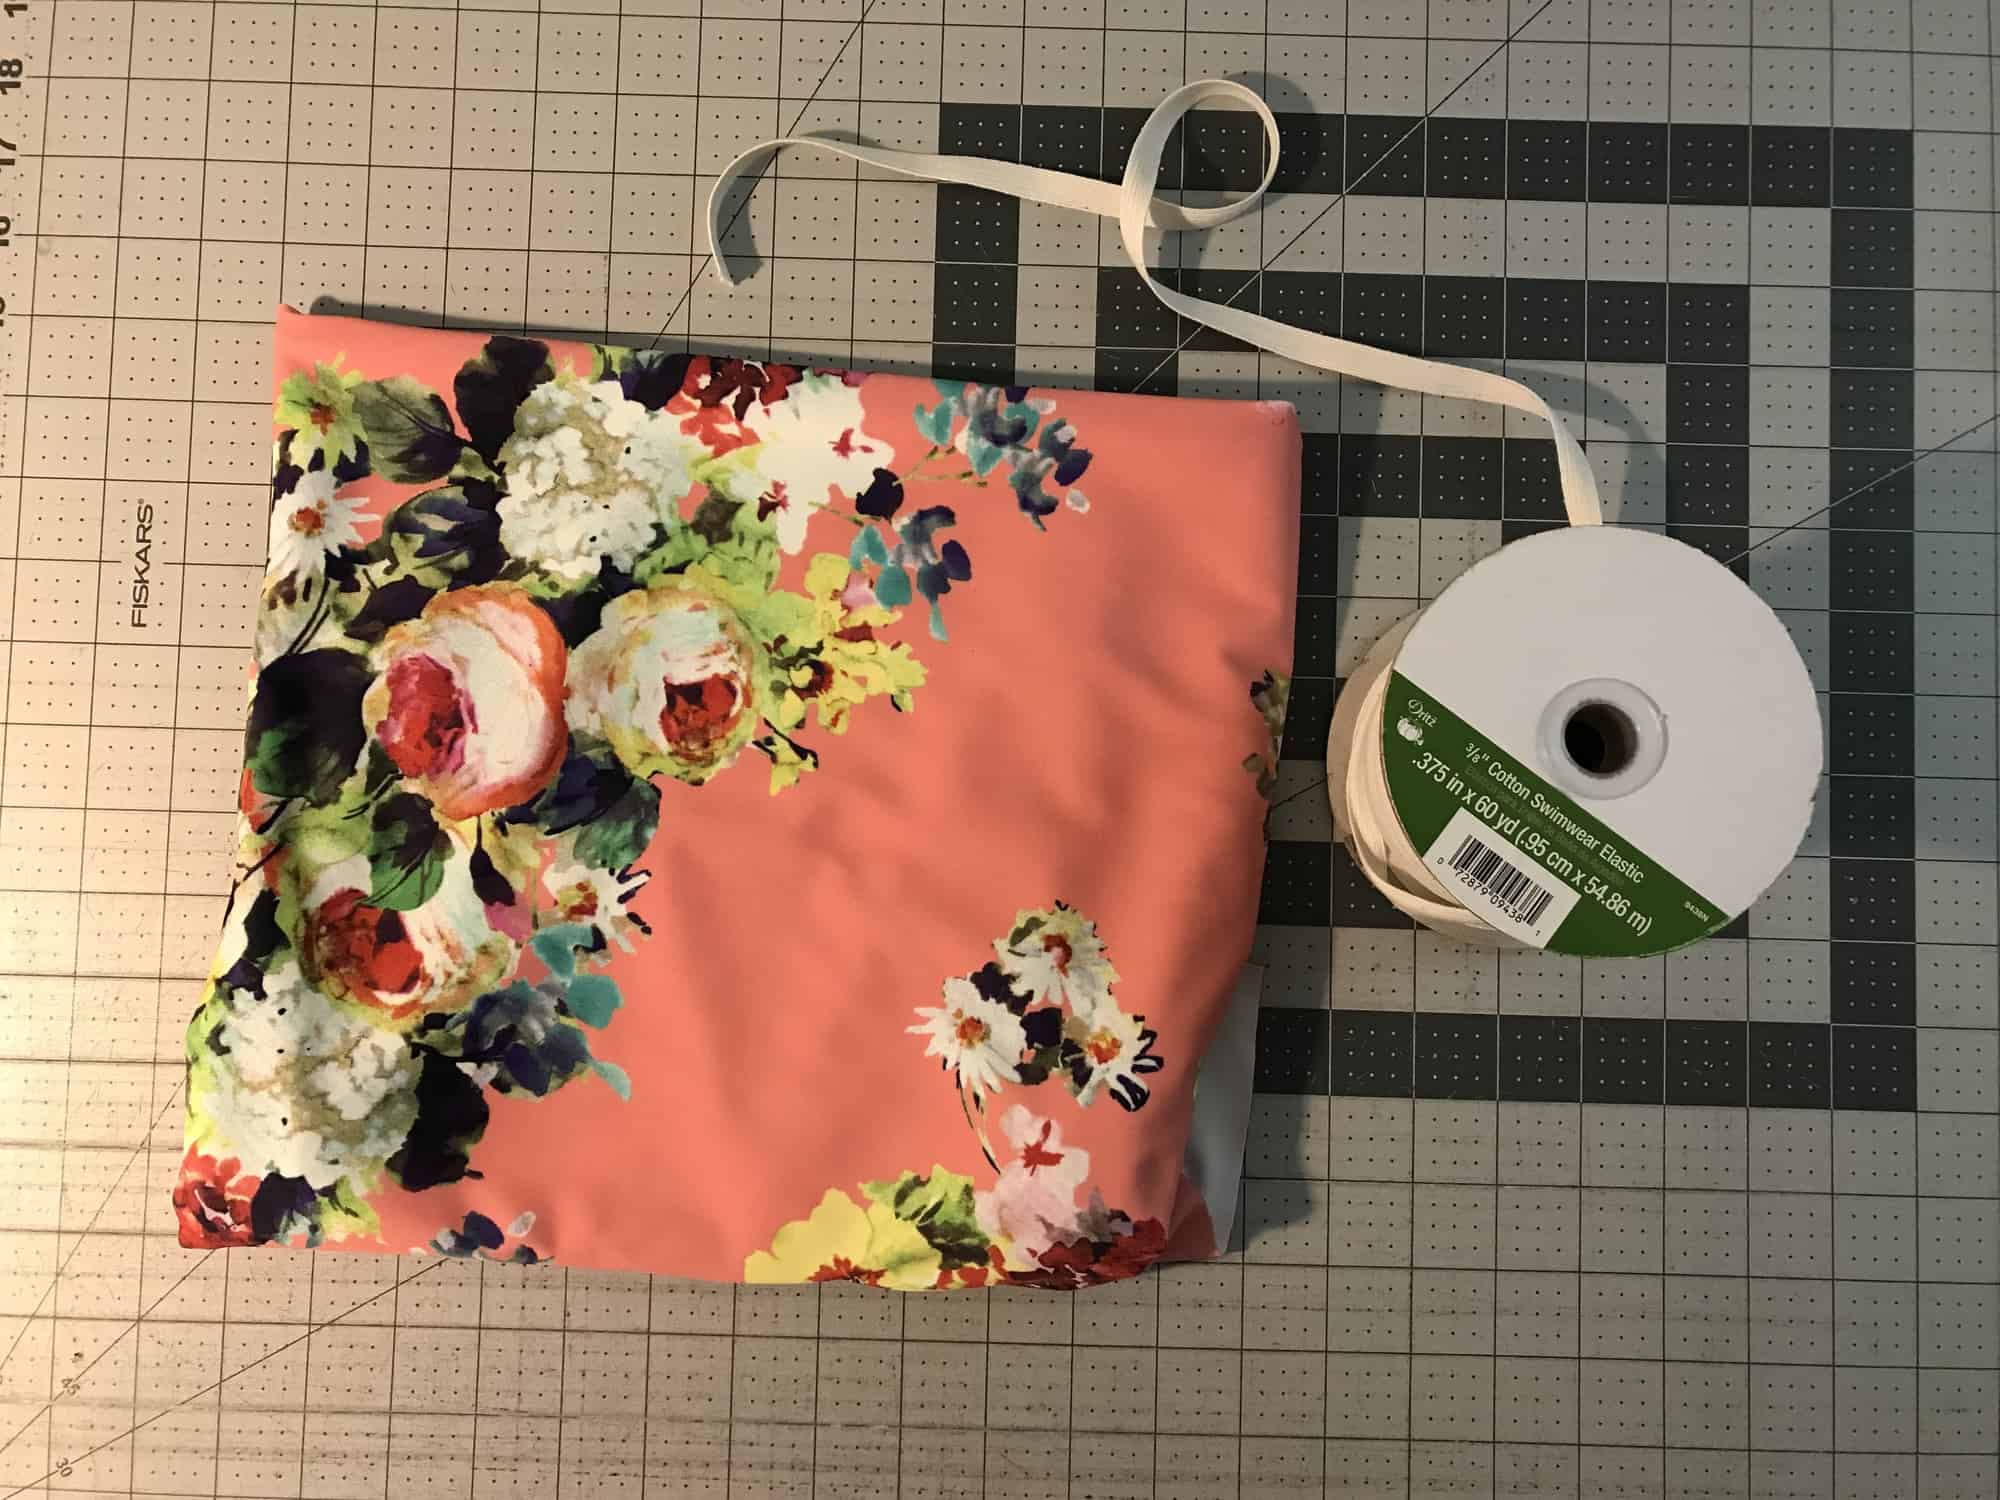
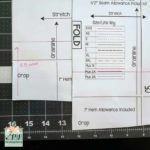
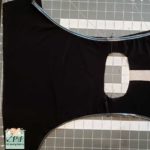
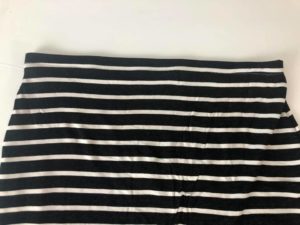
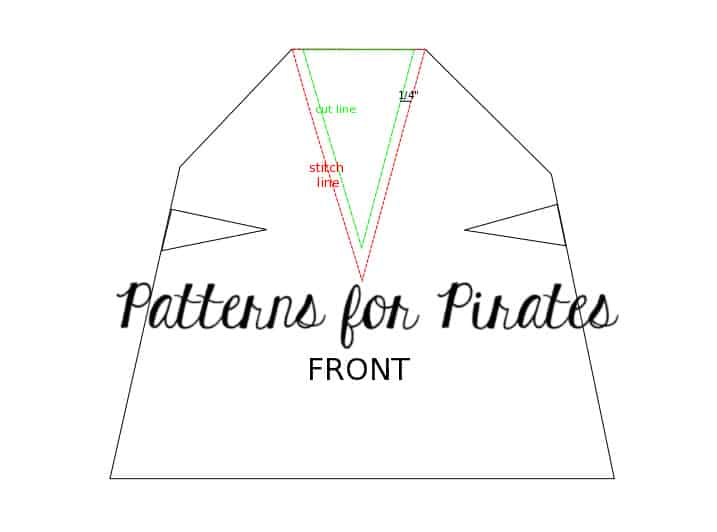
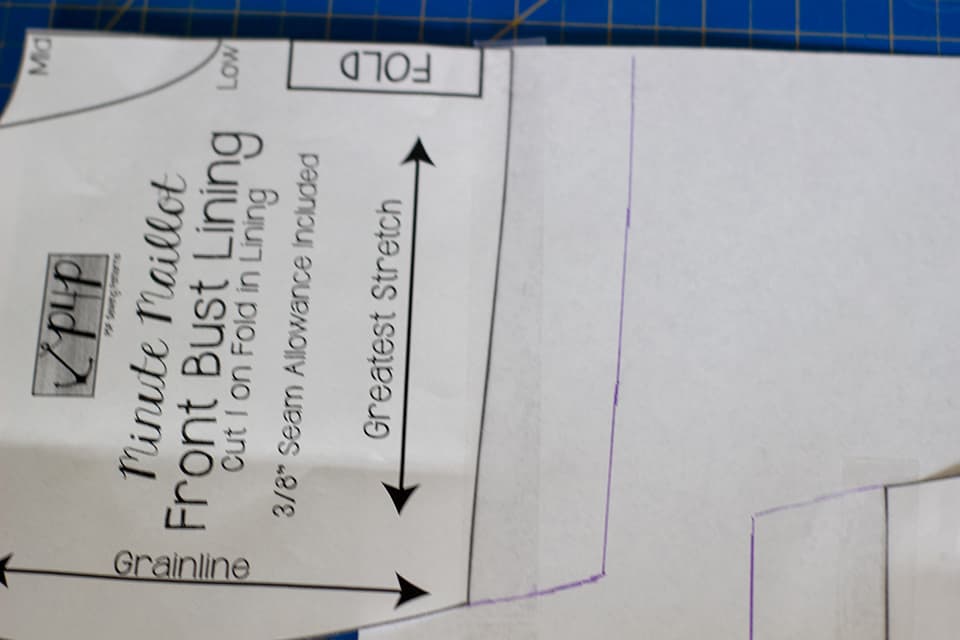
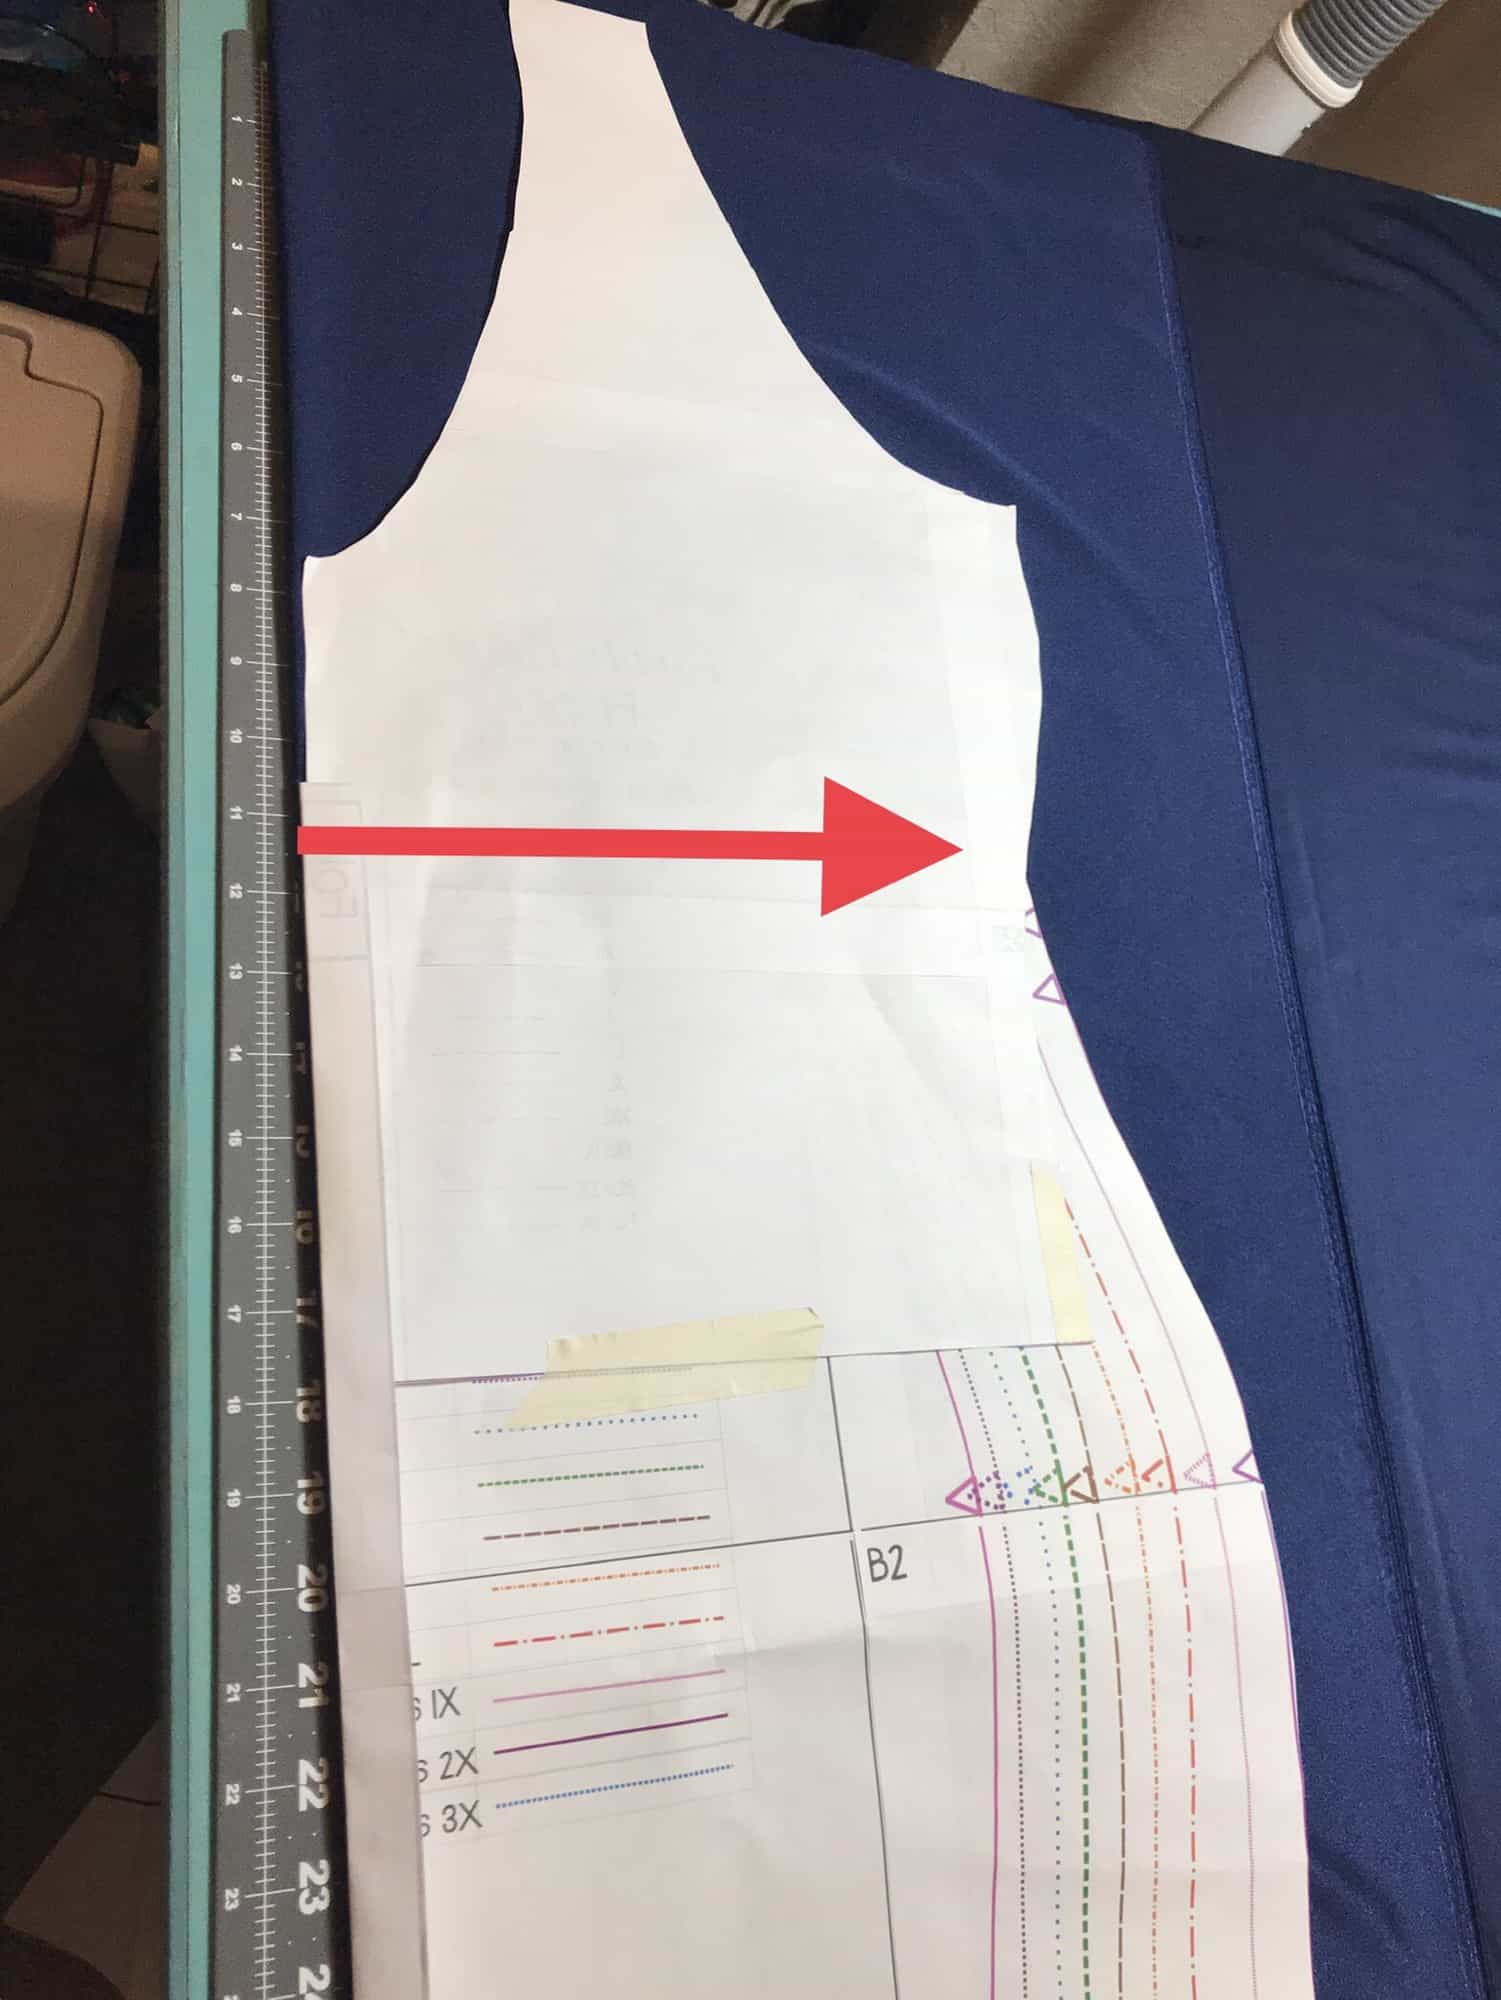
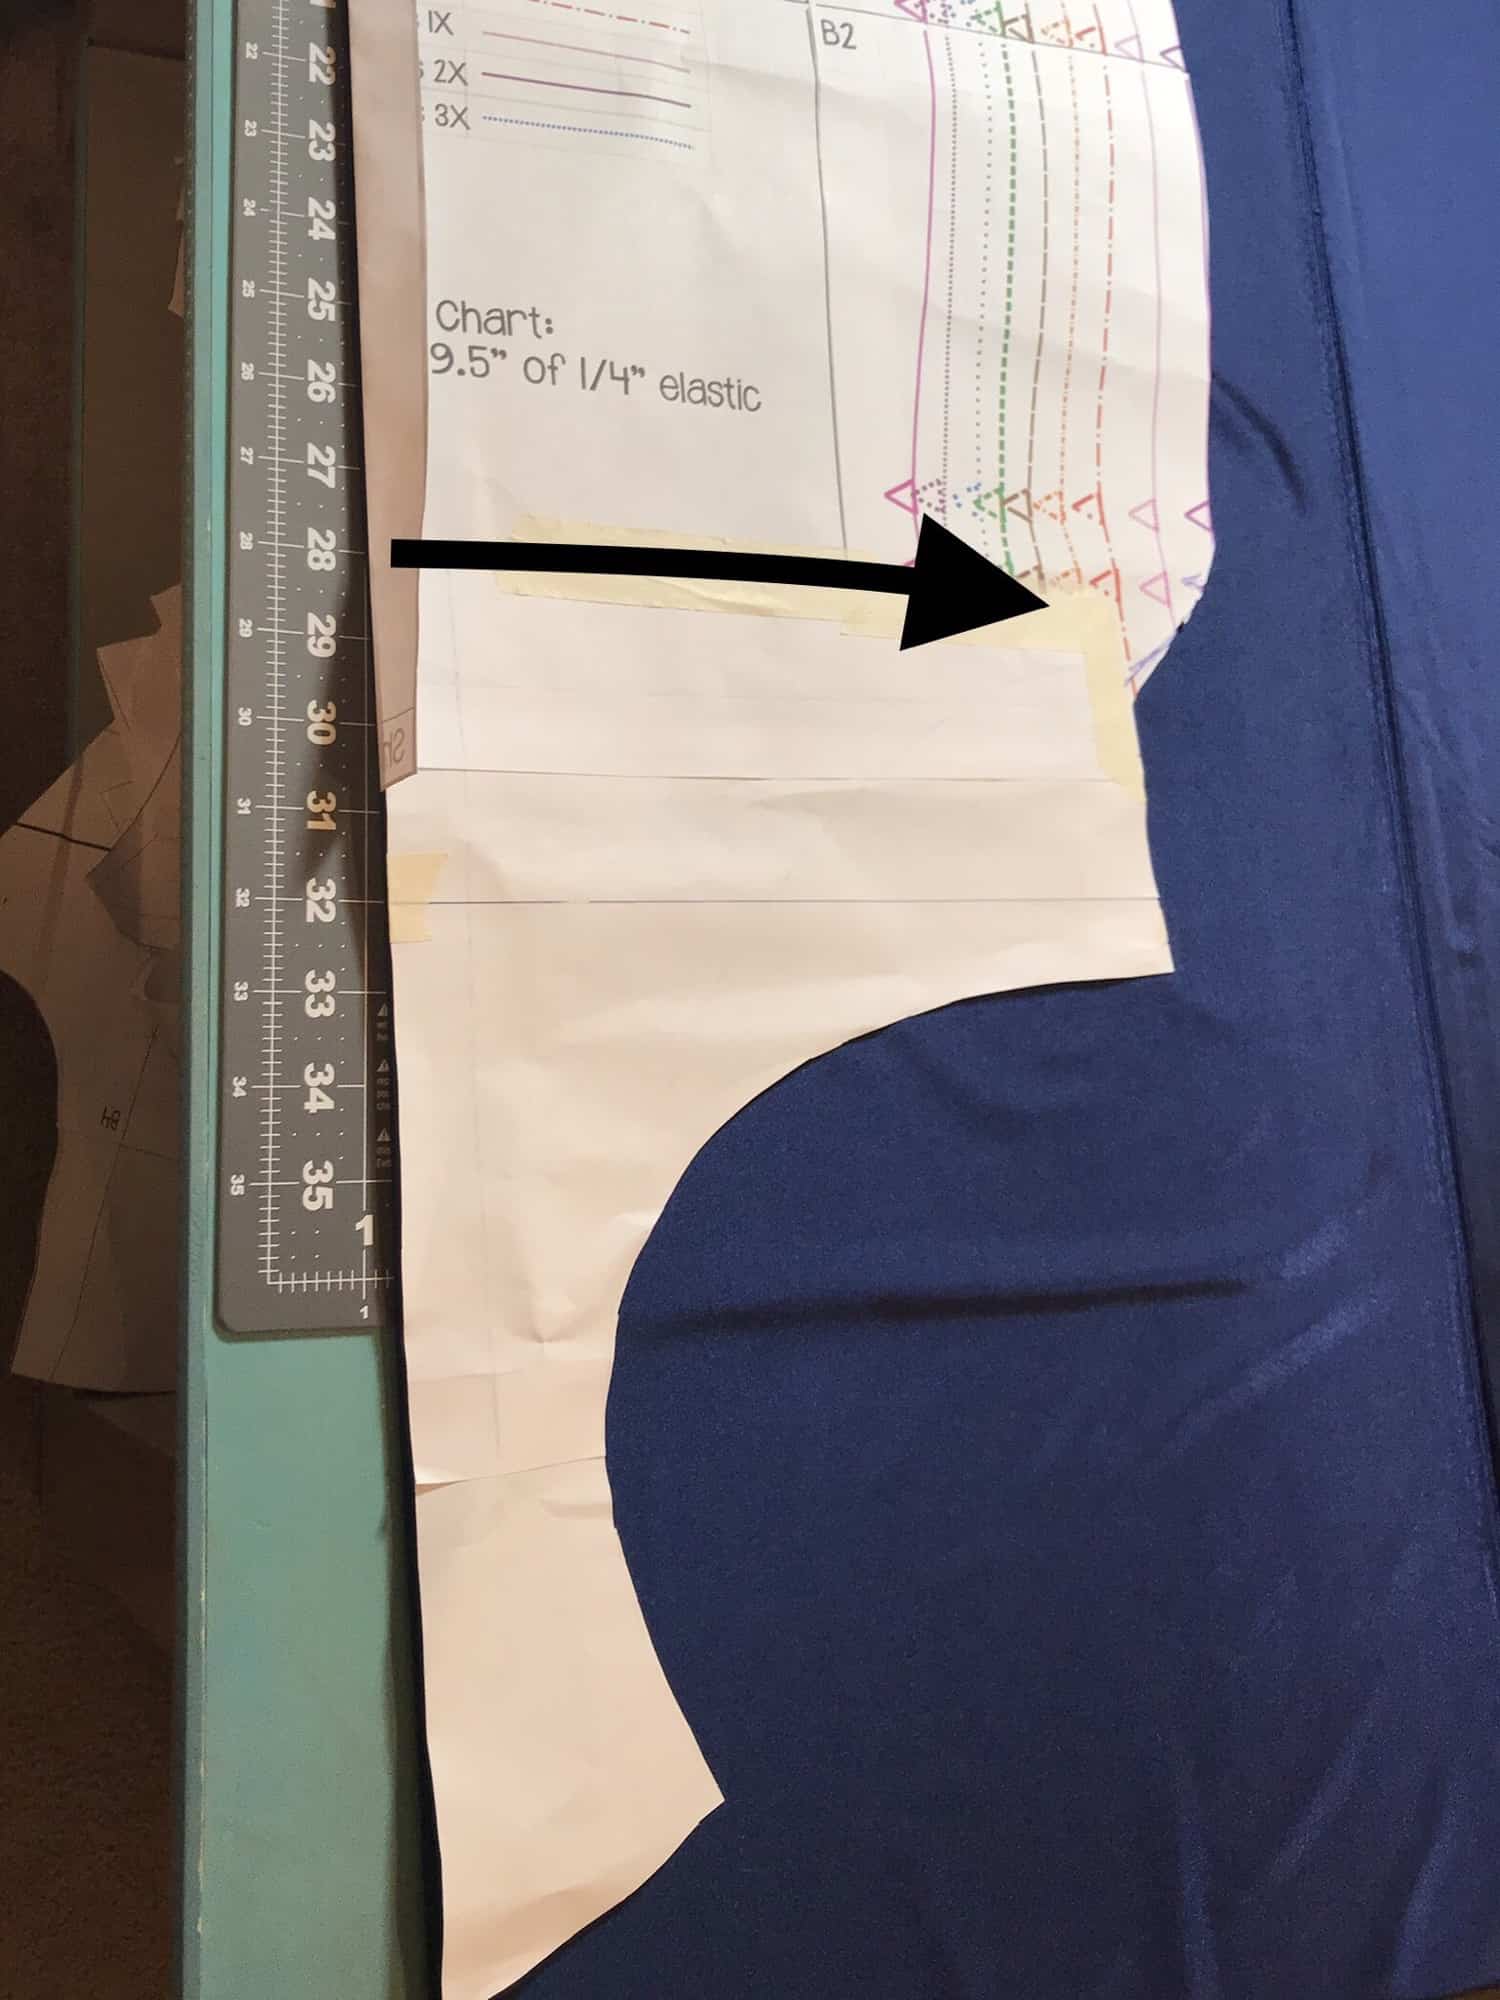
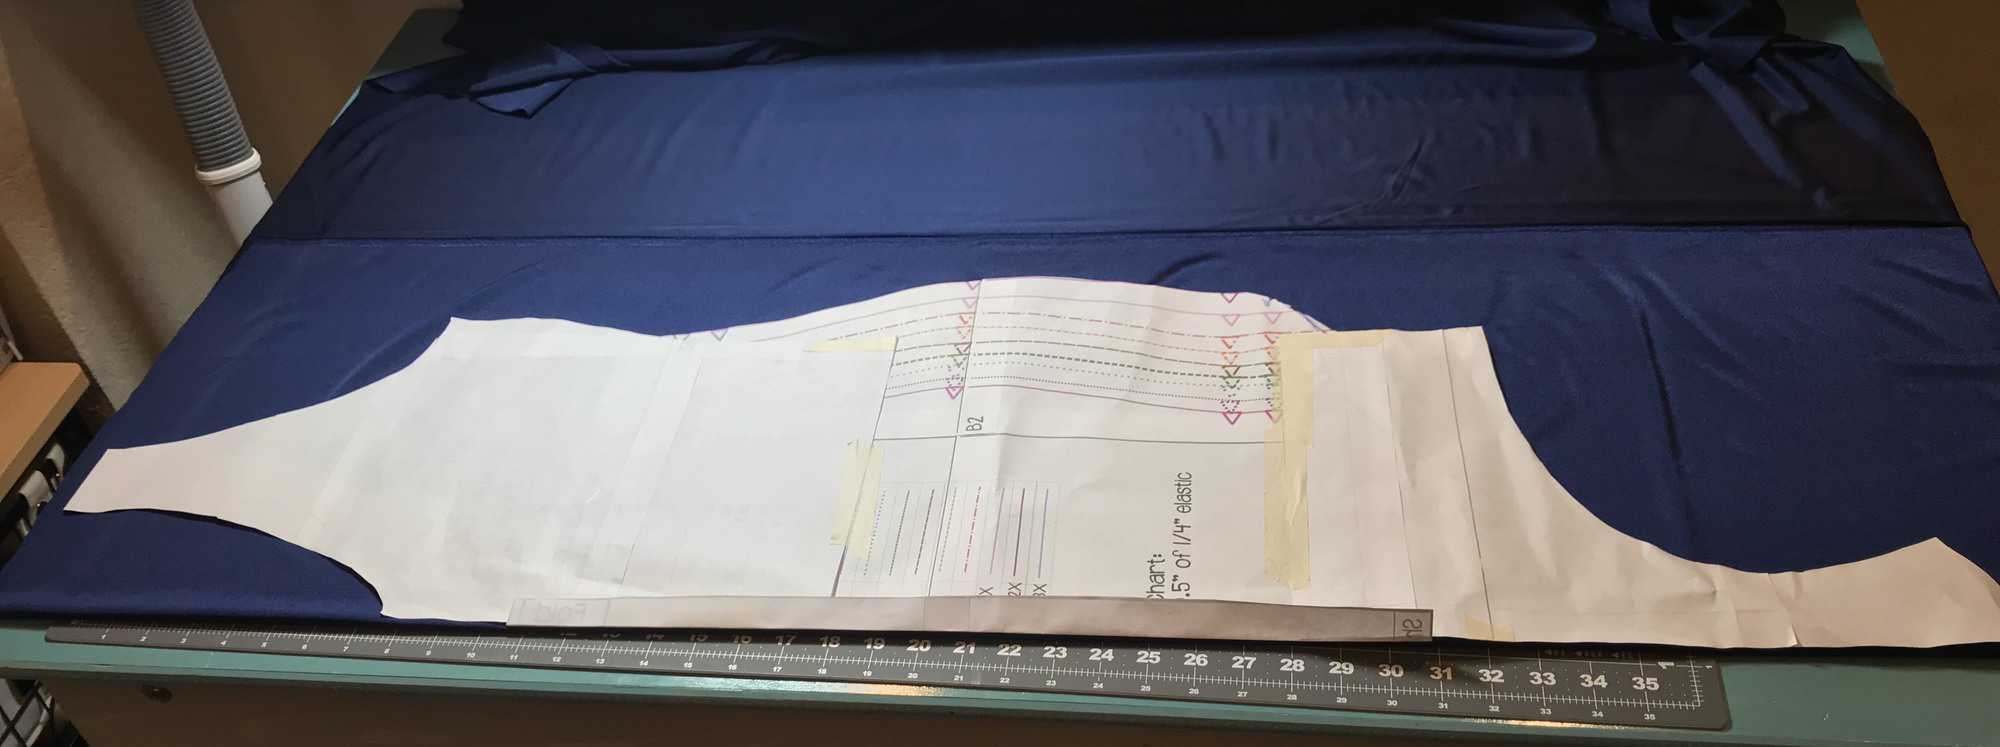
One of my favorite attributes of the Classic Sports Bra is the colorblocked front. But let’s say you have a favorite panel or fabric that you want to show off and you rather not have 3 front pieces…create your own “one piece solid front.
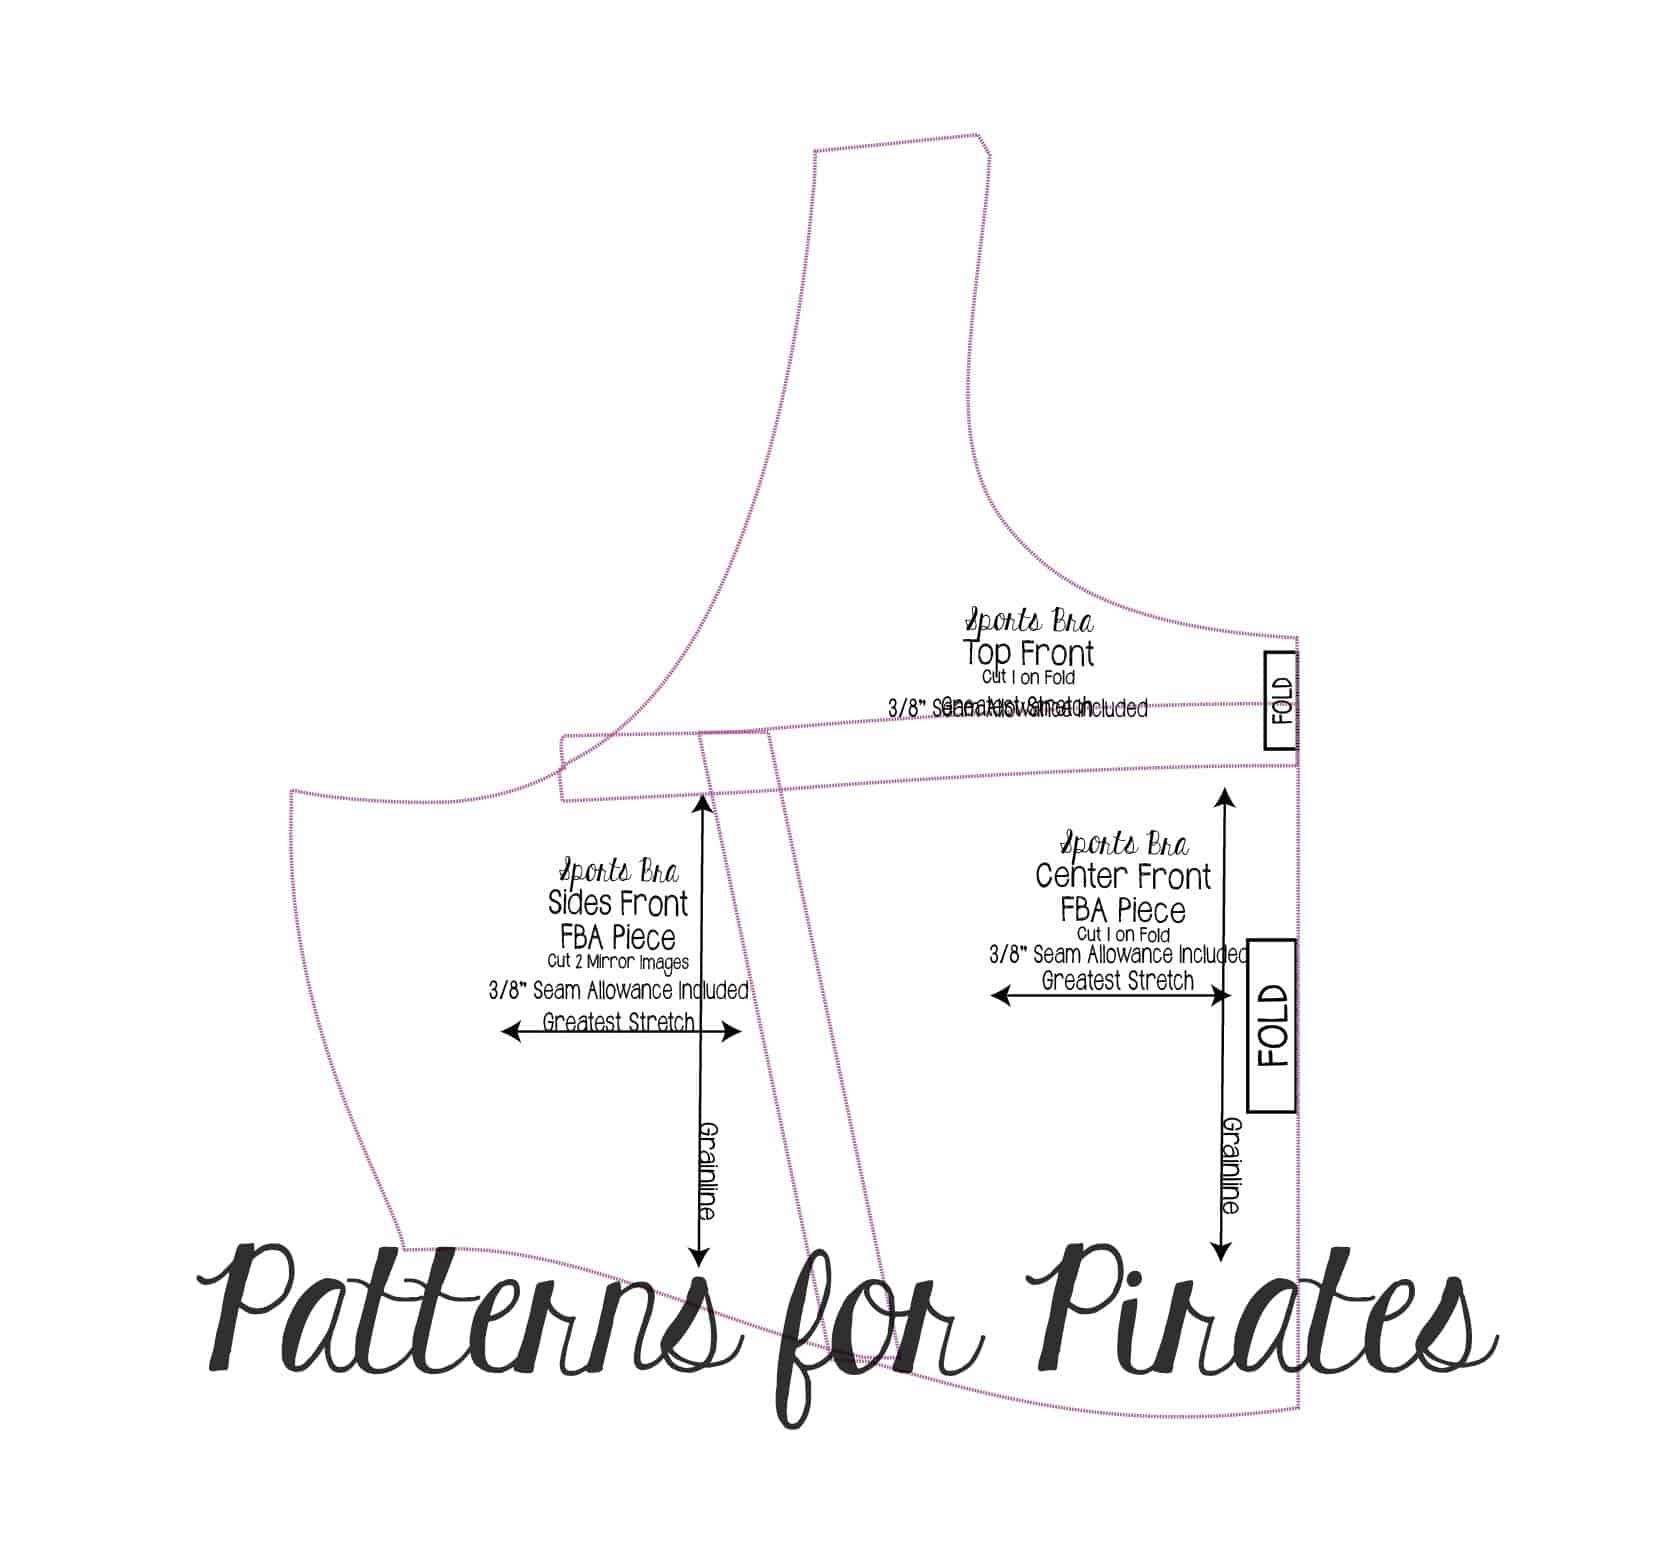
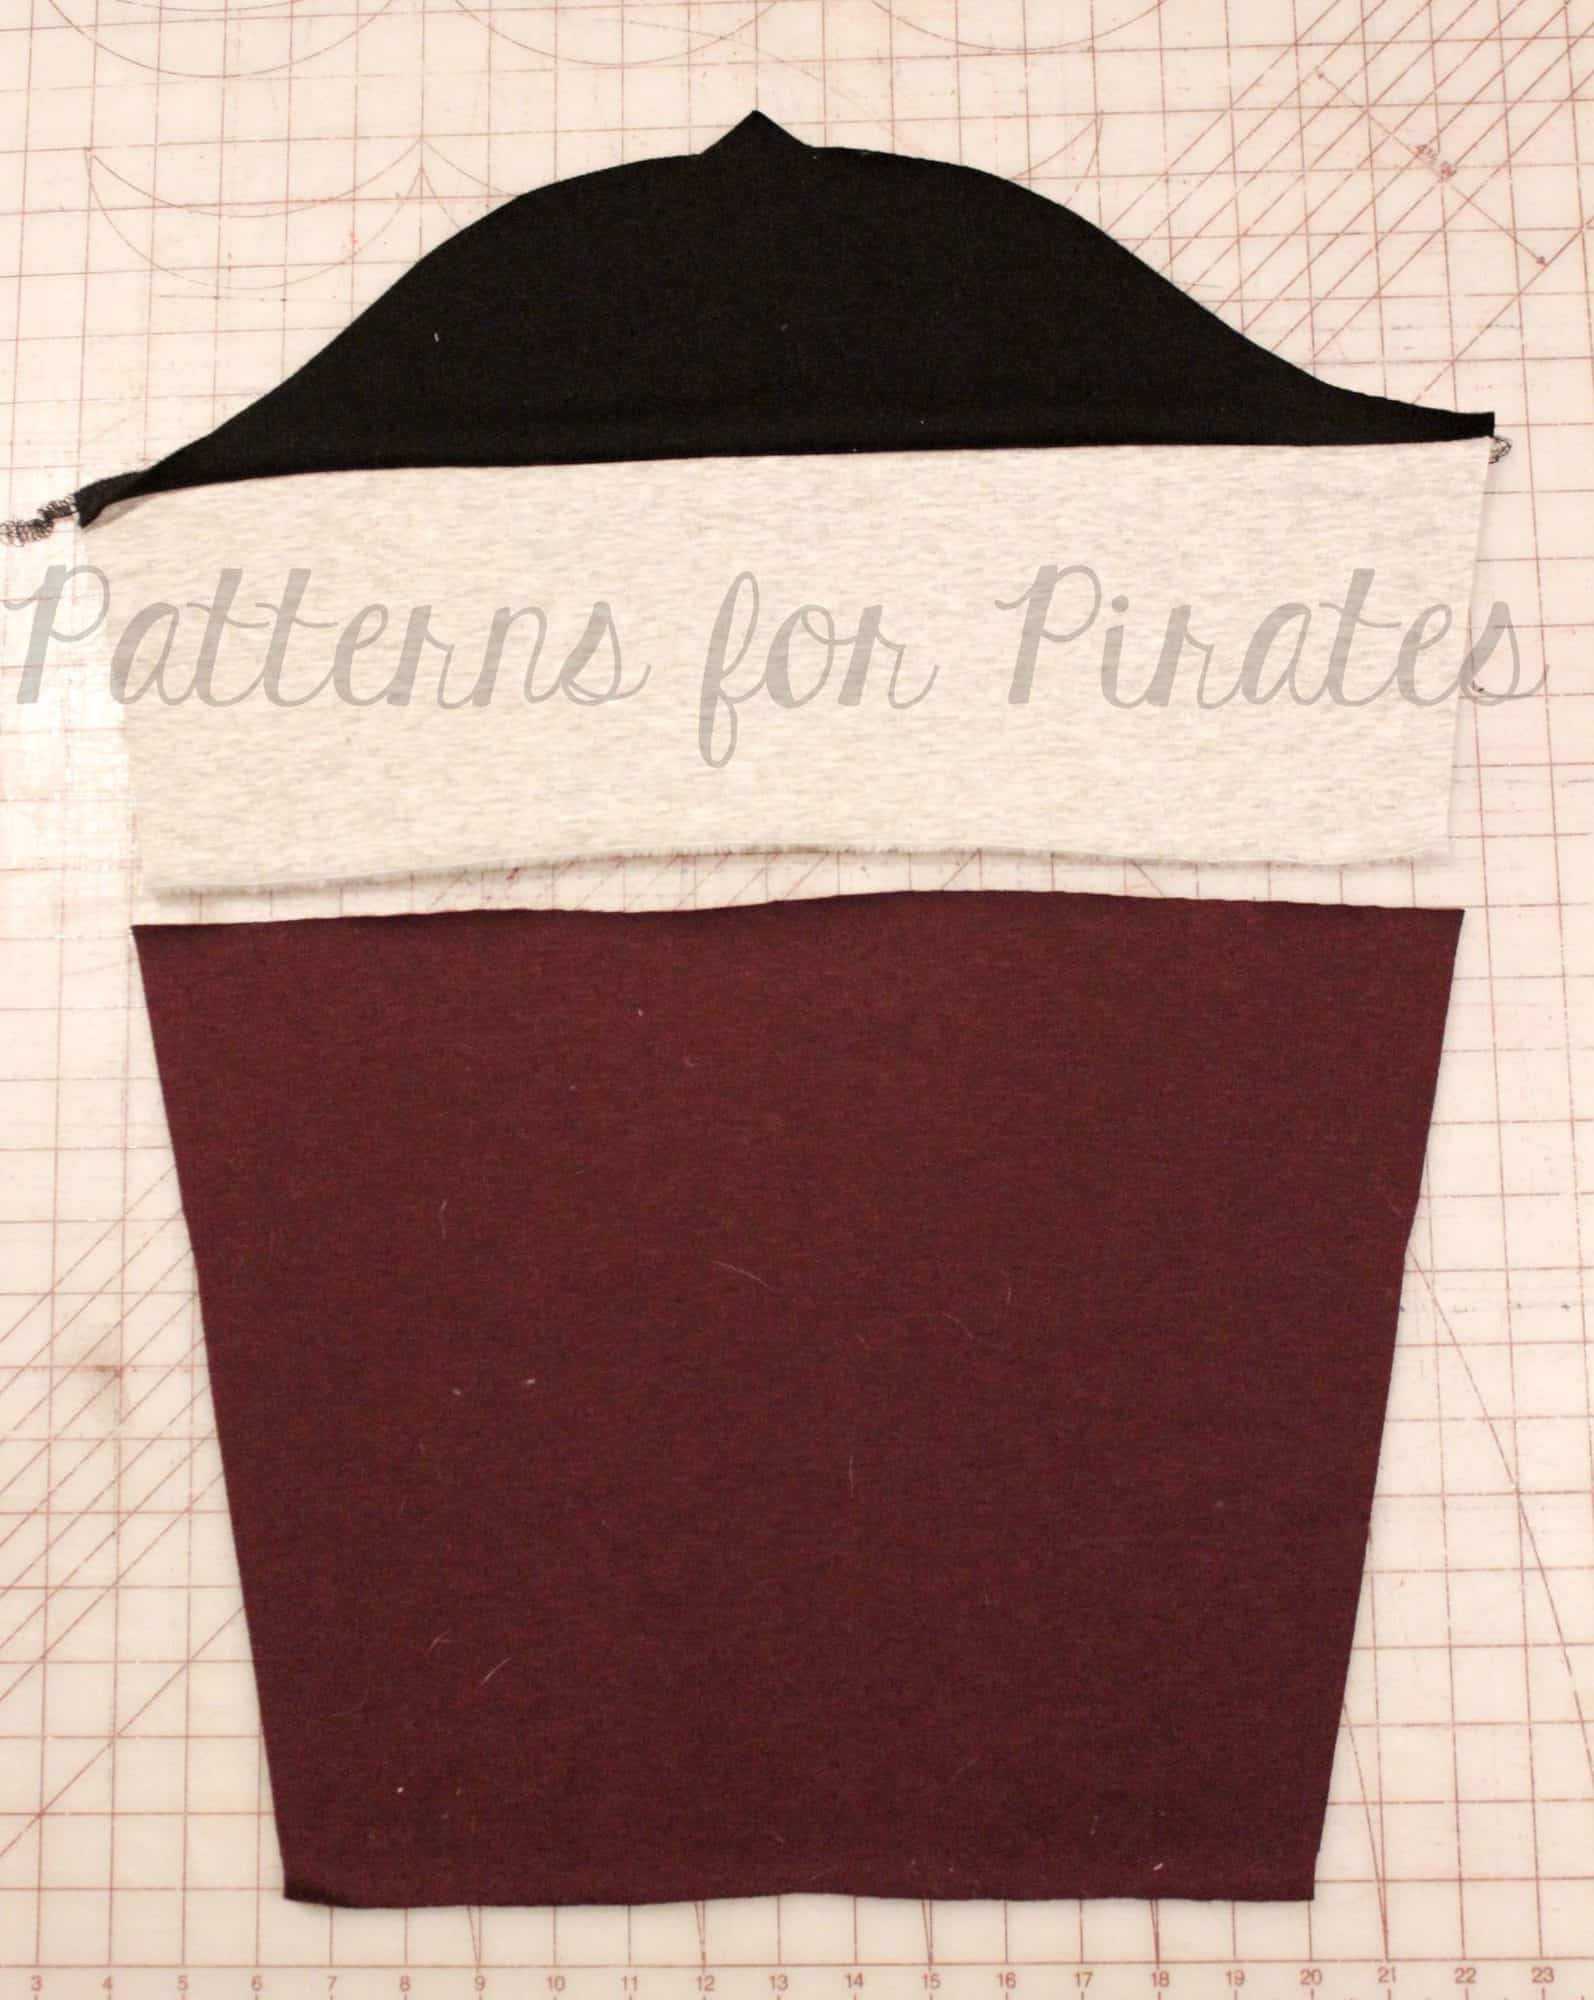
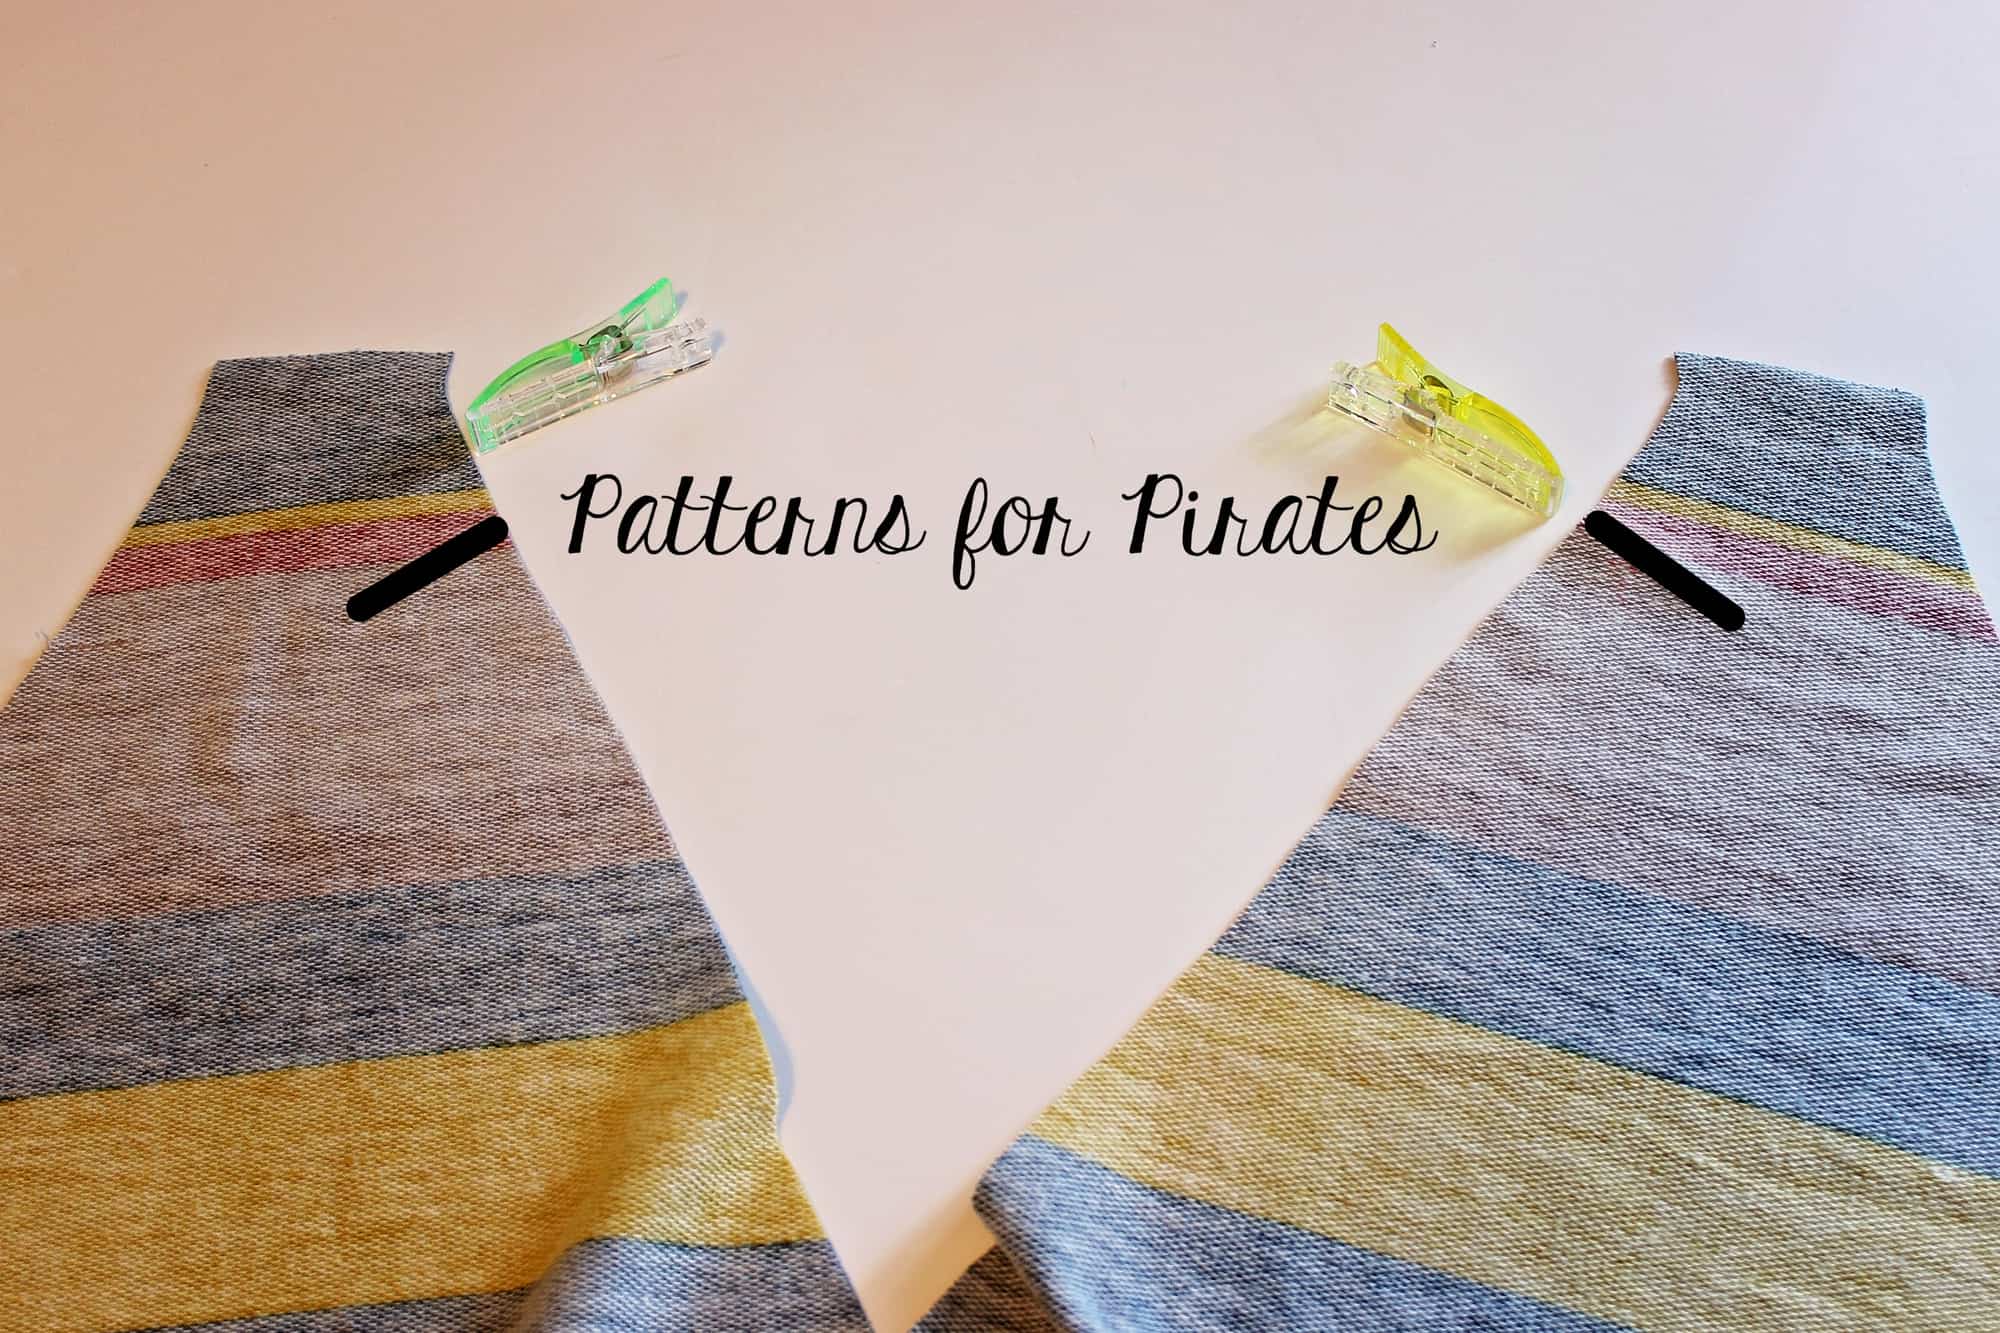
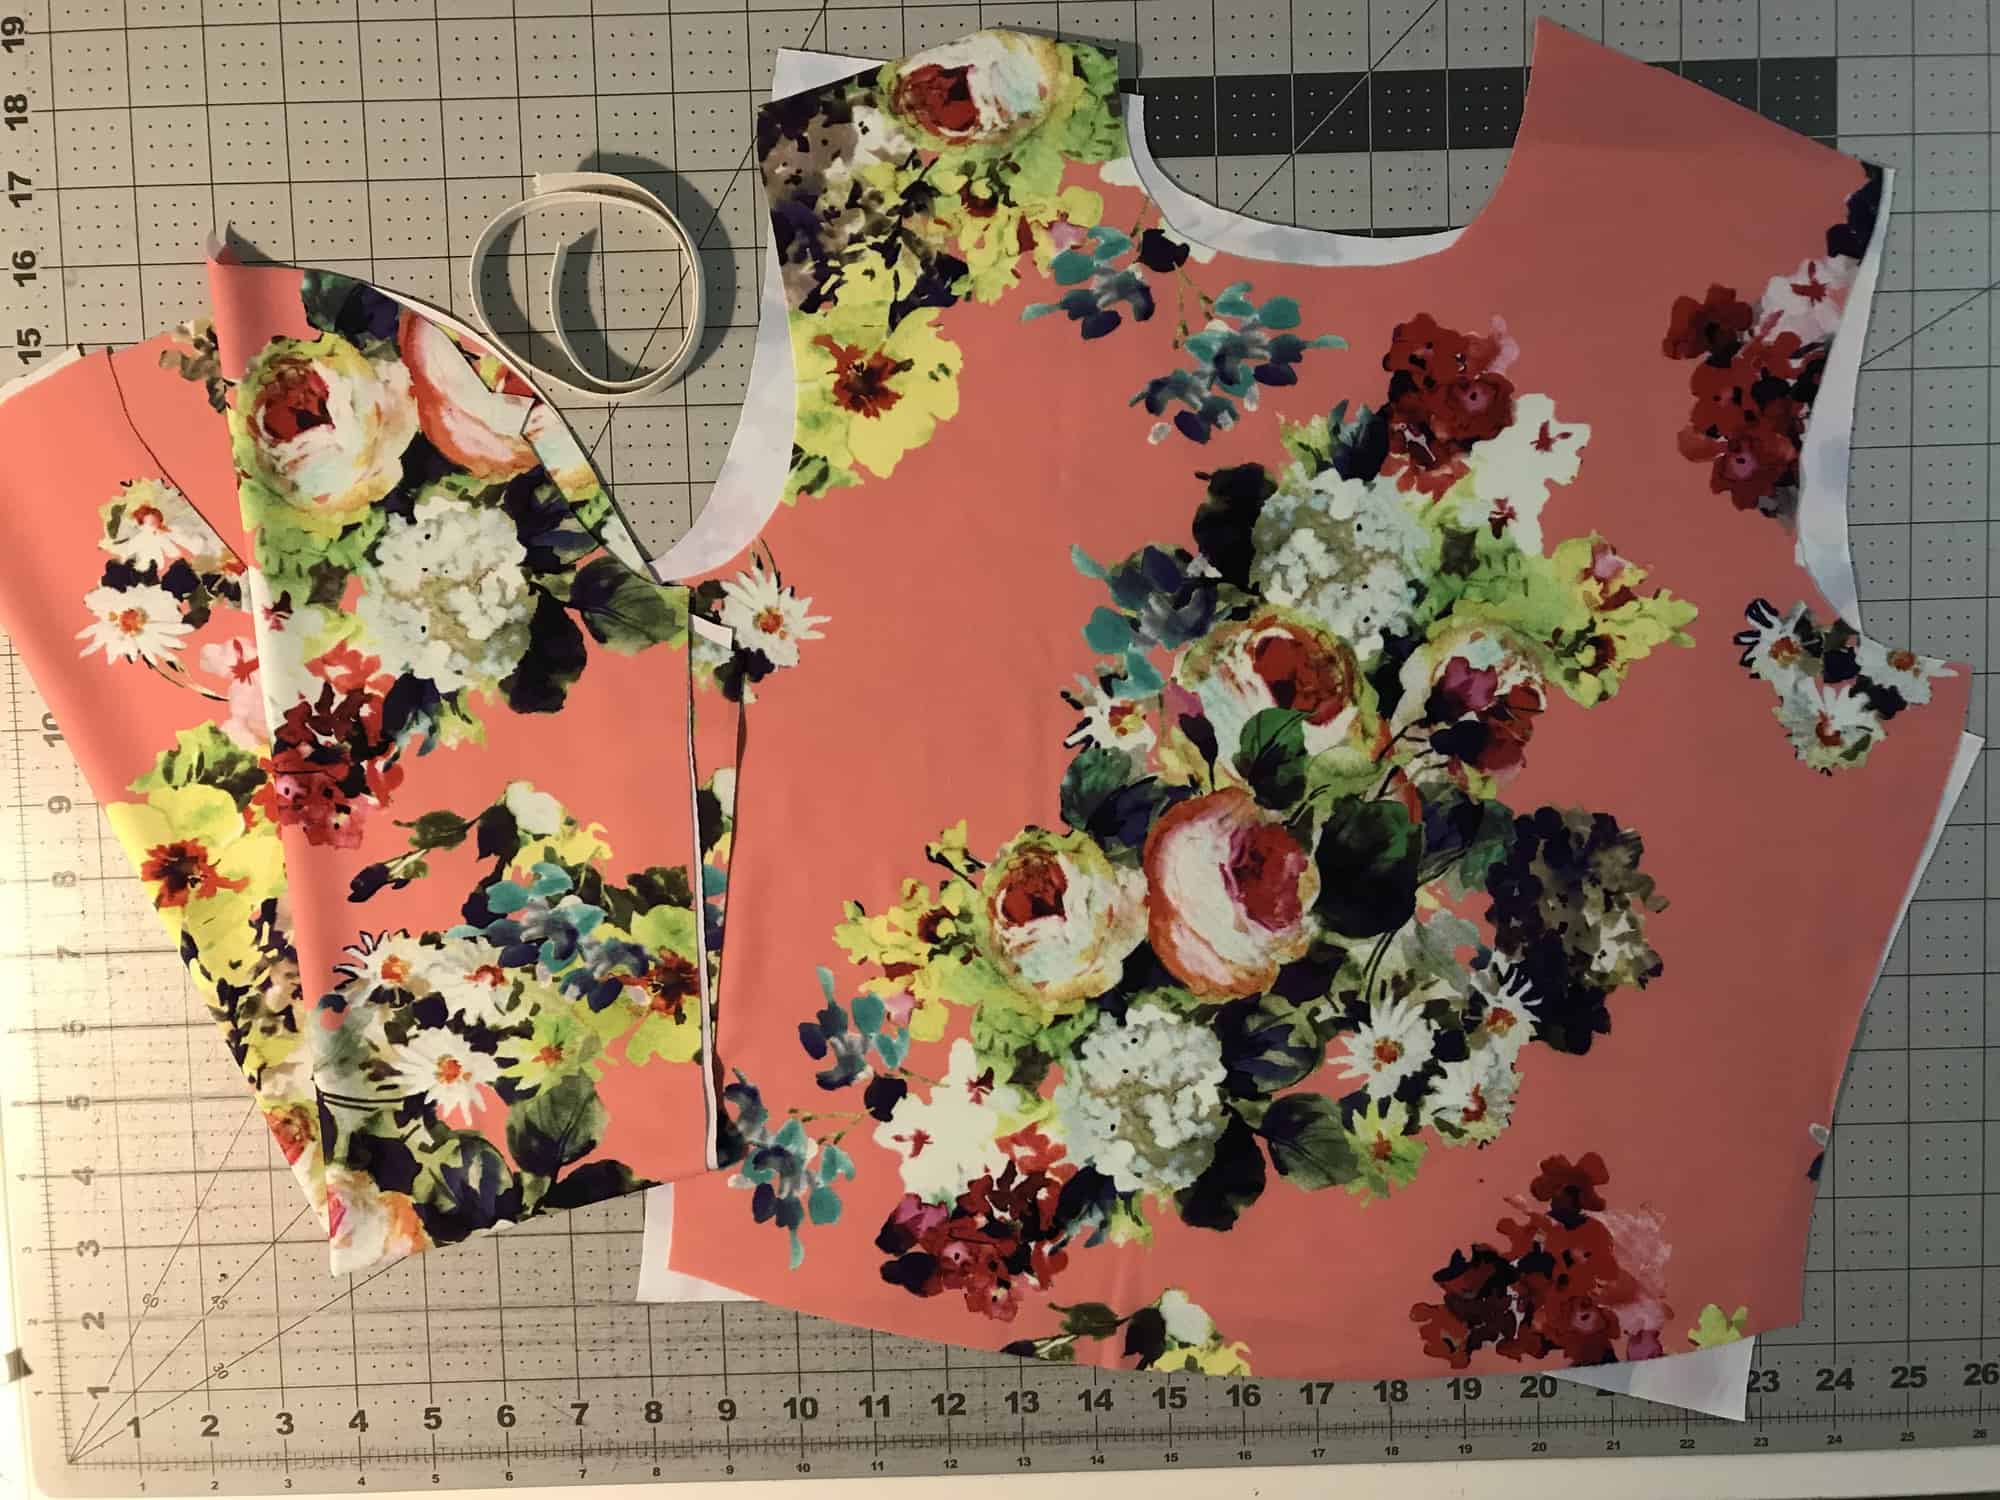
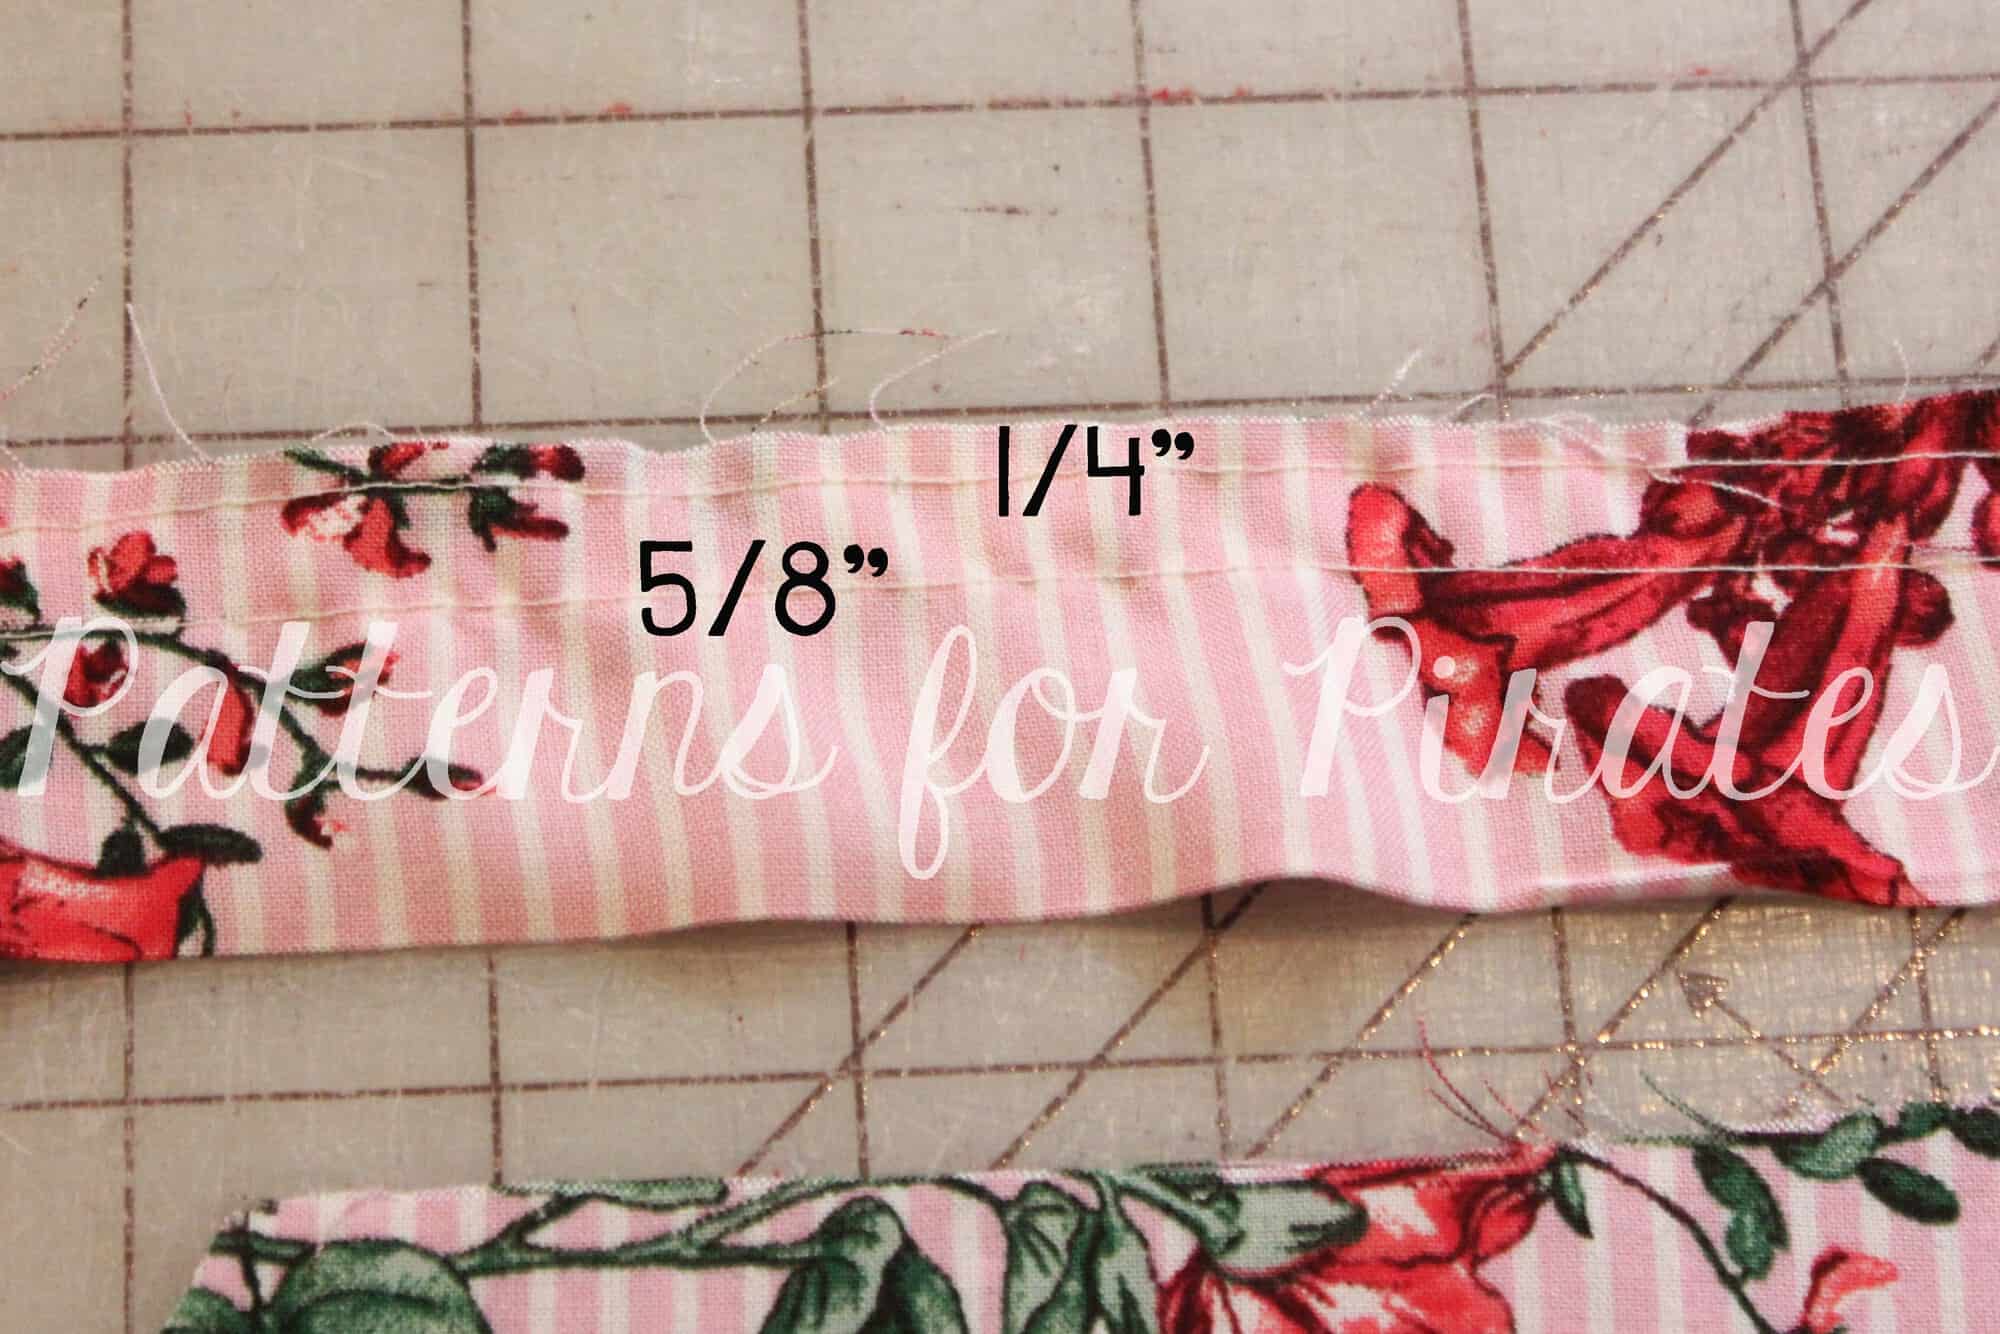
Overlap the three front pieces 3/8″ as show above. The overlap will be 3/4″ – the total of the two seam allowances. Scotch tape the 3 pieces together or trace them to create a new one. Now that you created a new pattern piece, simply cut it from your main fabric and proceed to cutting all the other pieces of the pattern (back, linings, band, elastic).
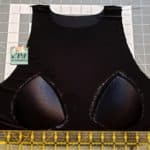
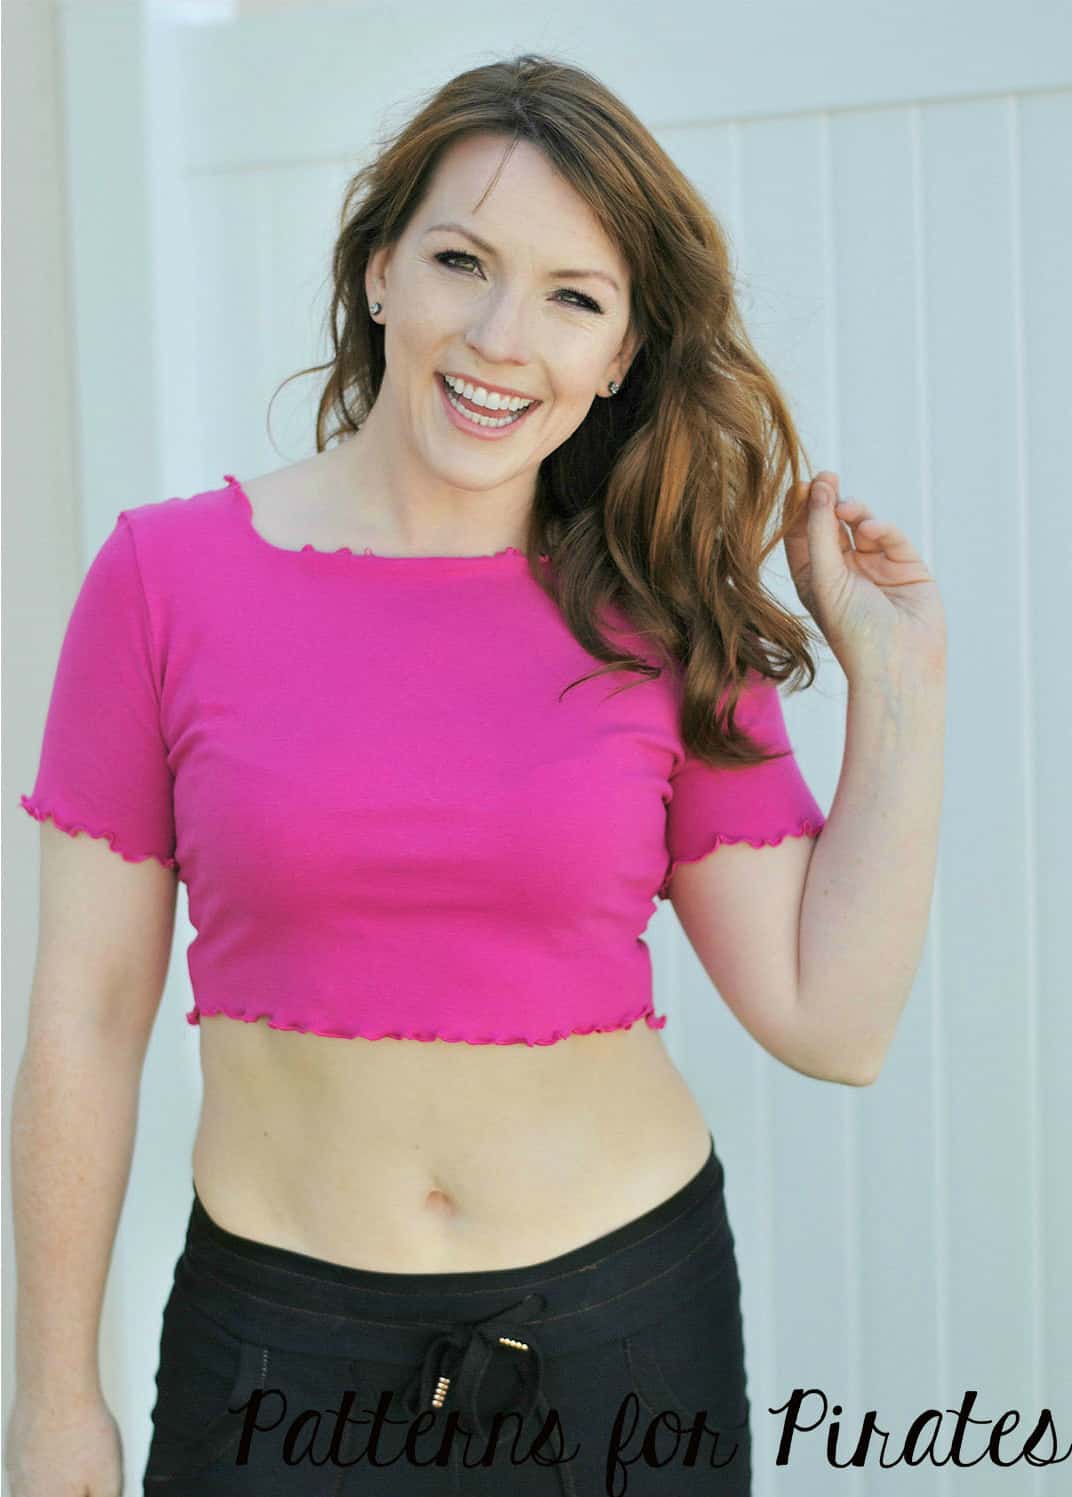
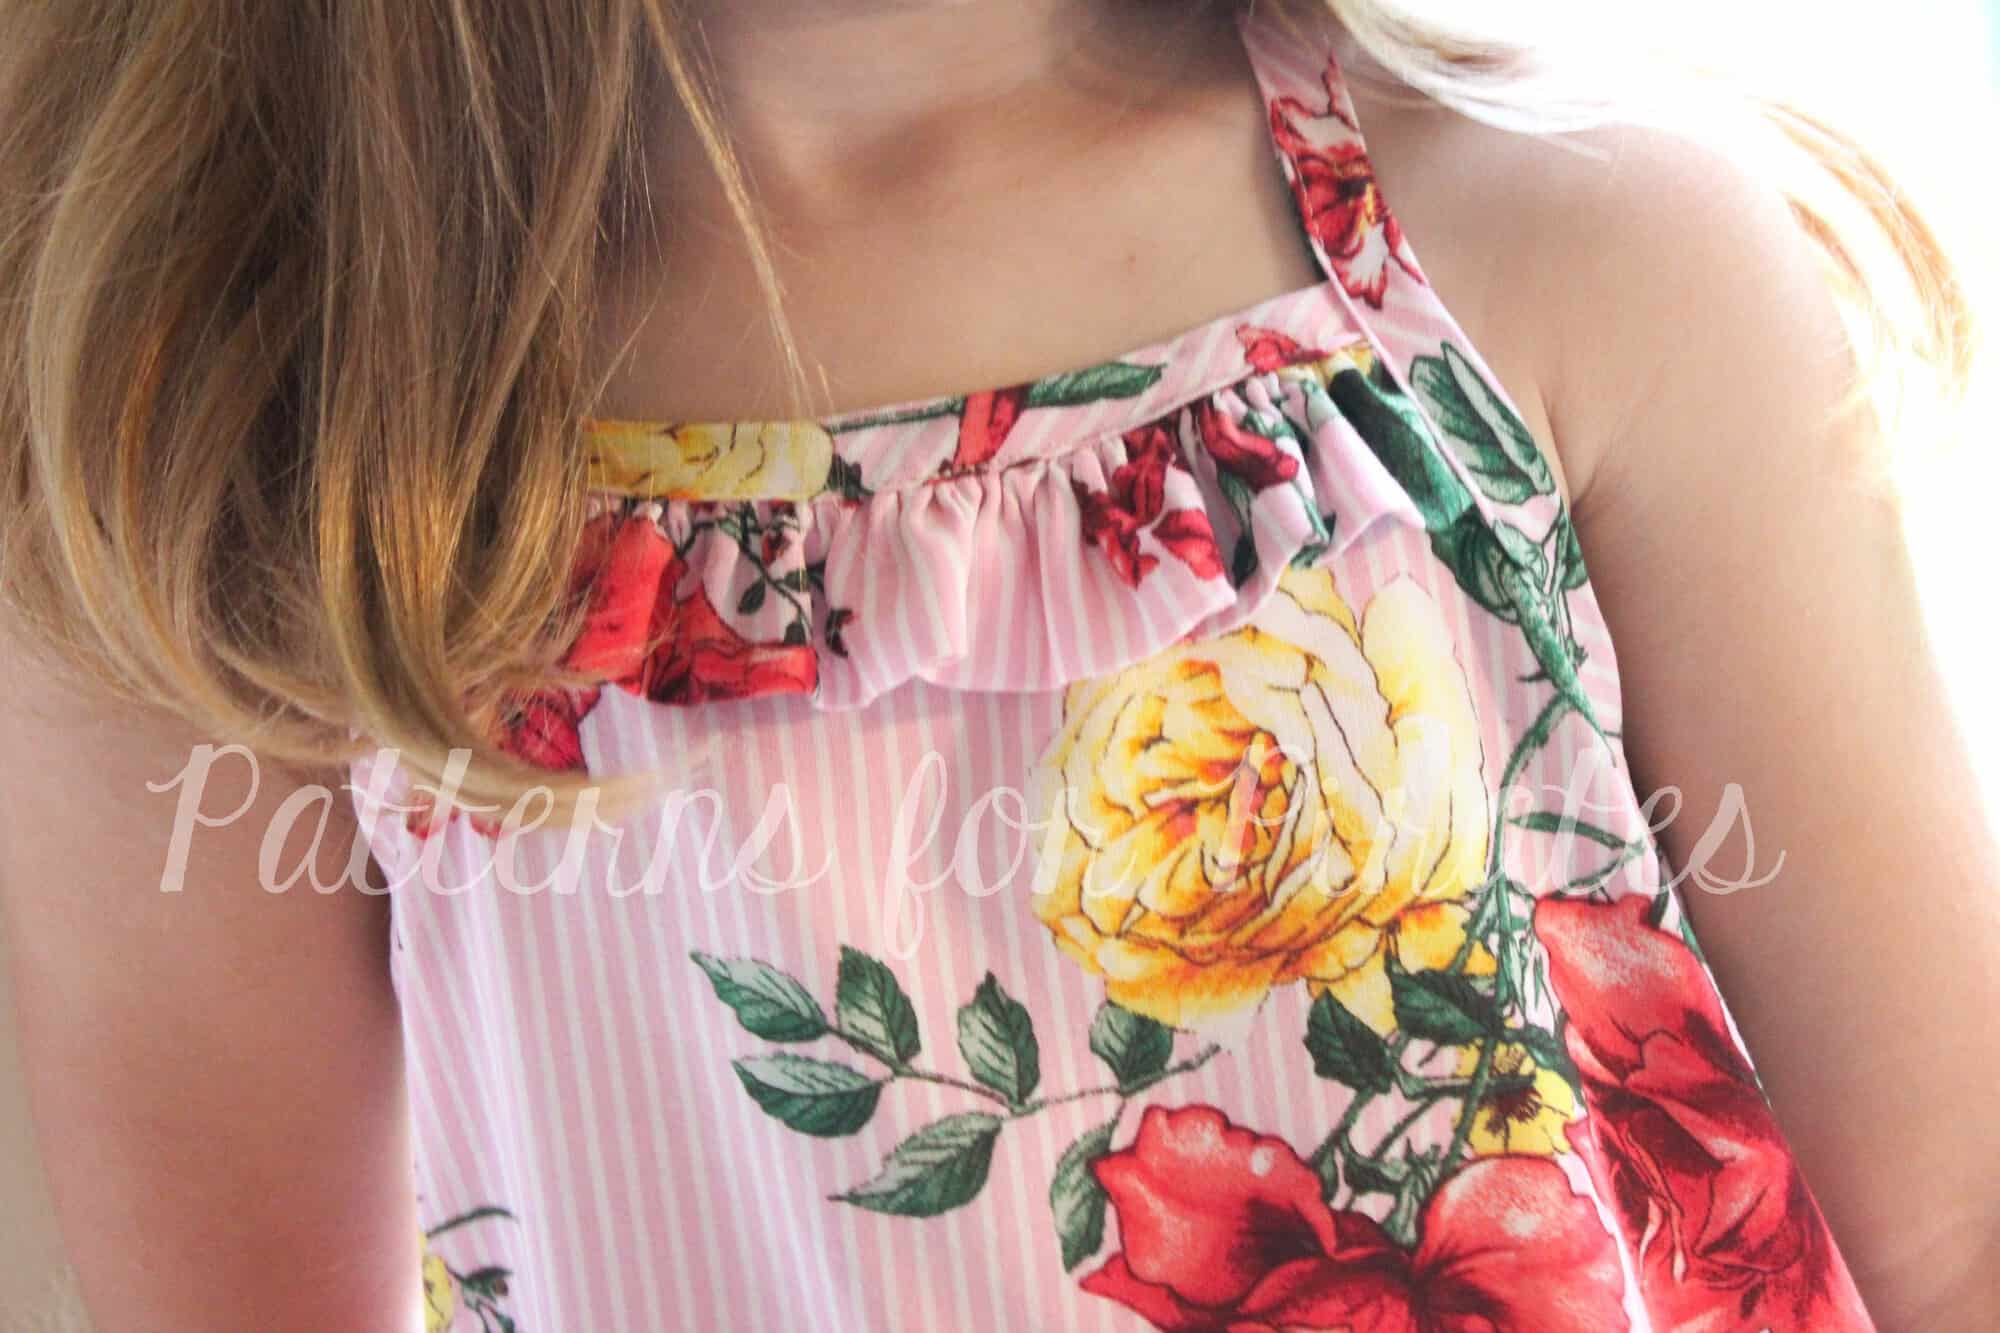
Sew the bra as instructed in the tutorial and enjoy your brand new creation. Easy peasy!
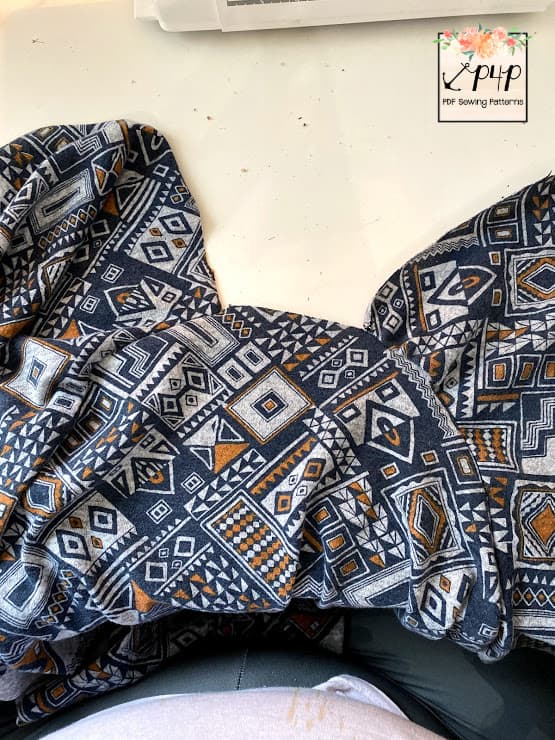
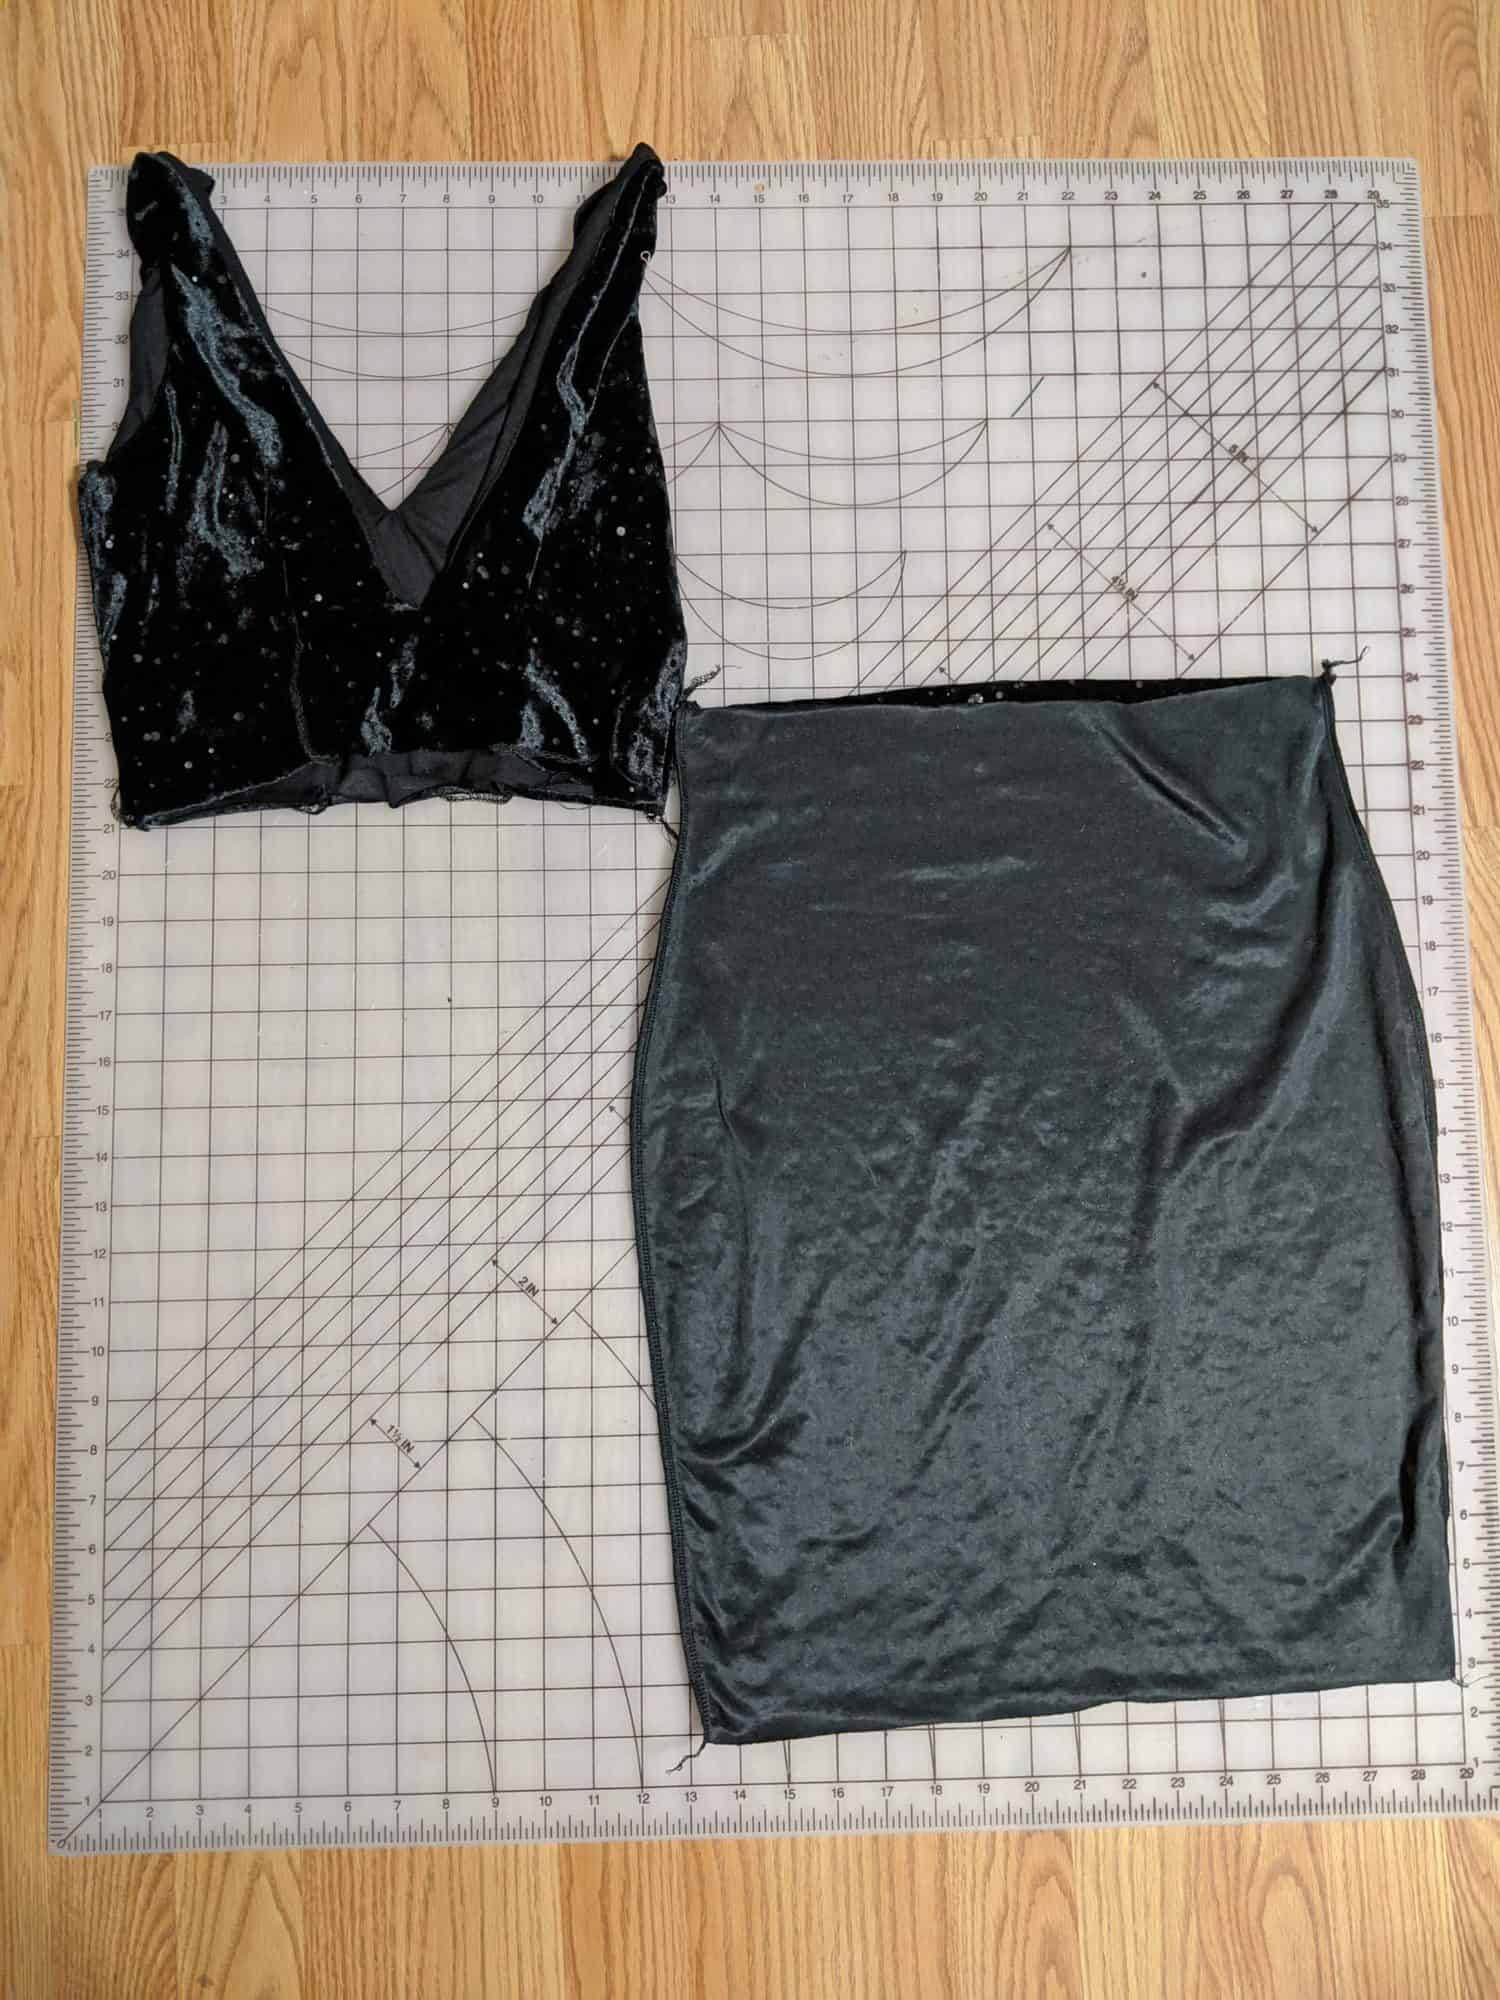
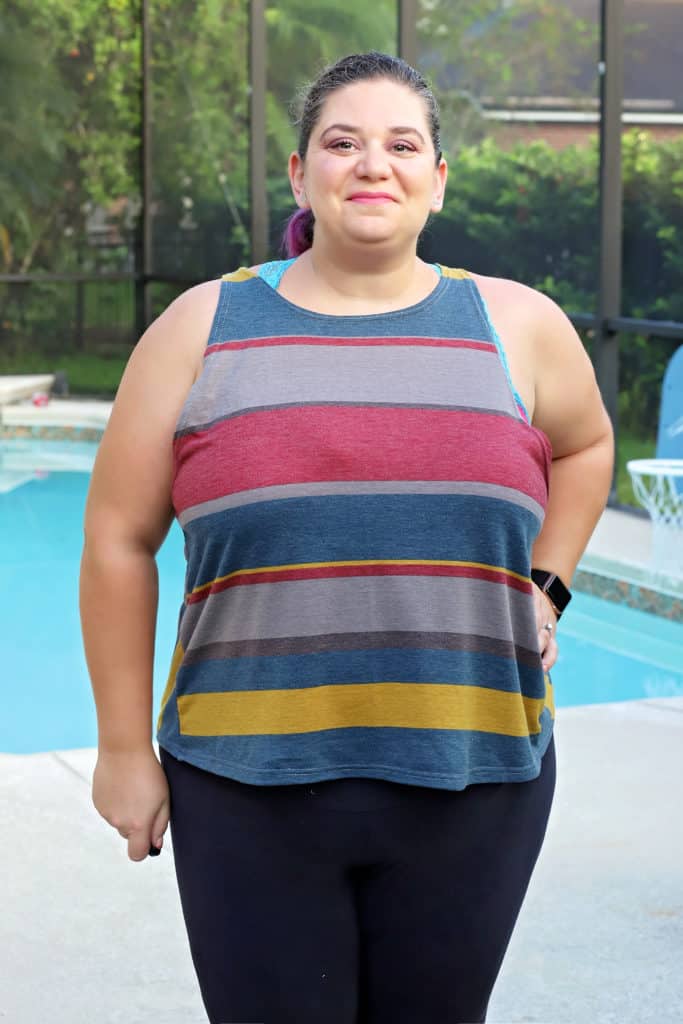
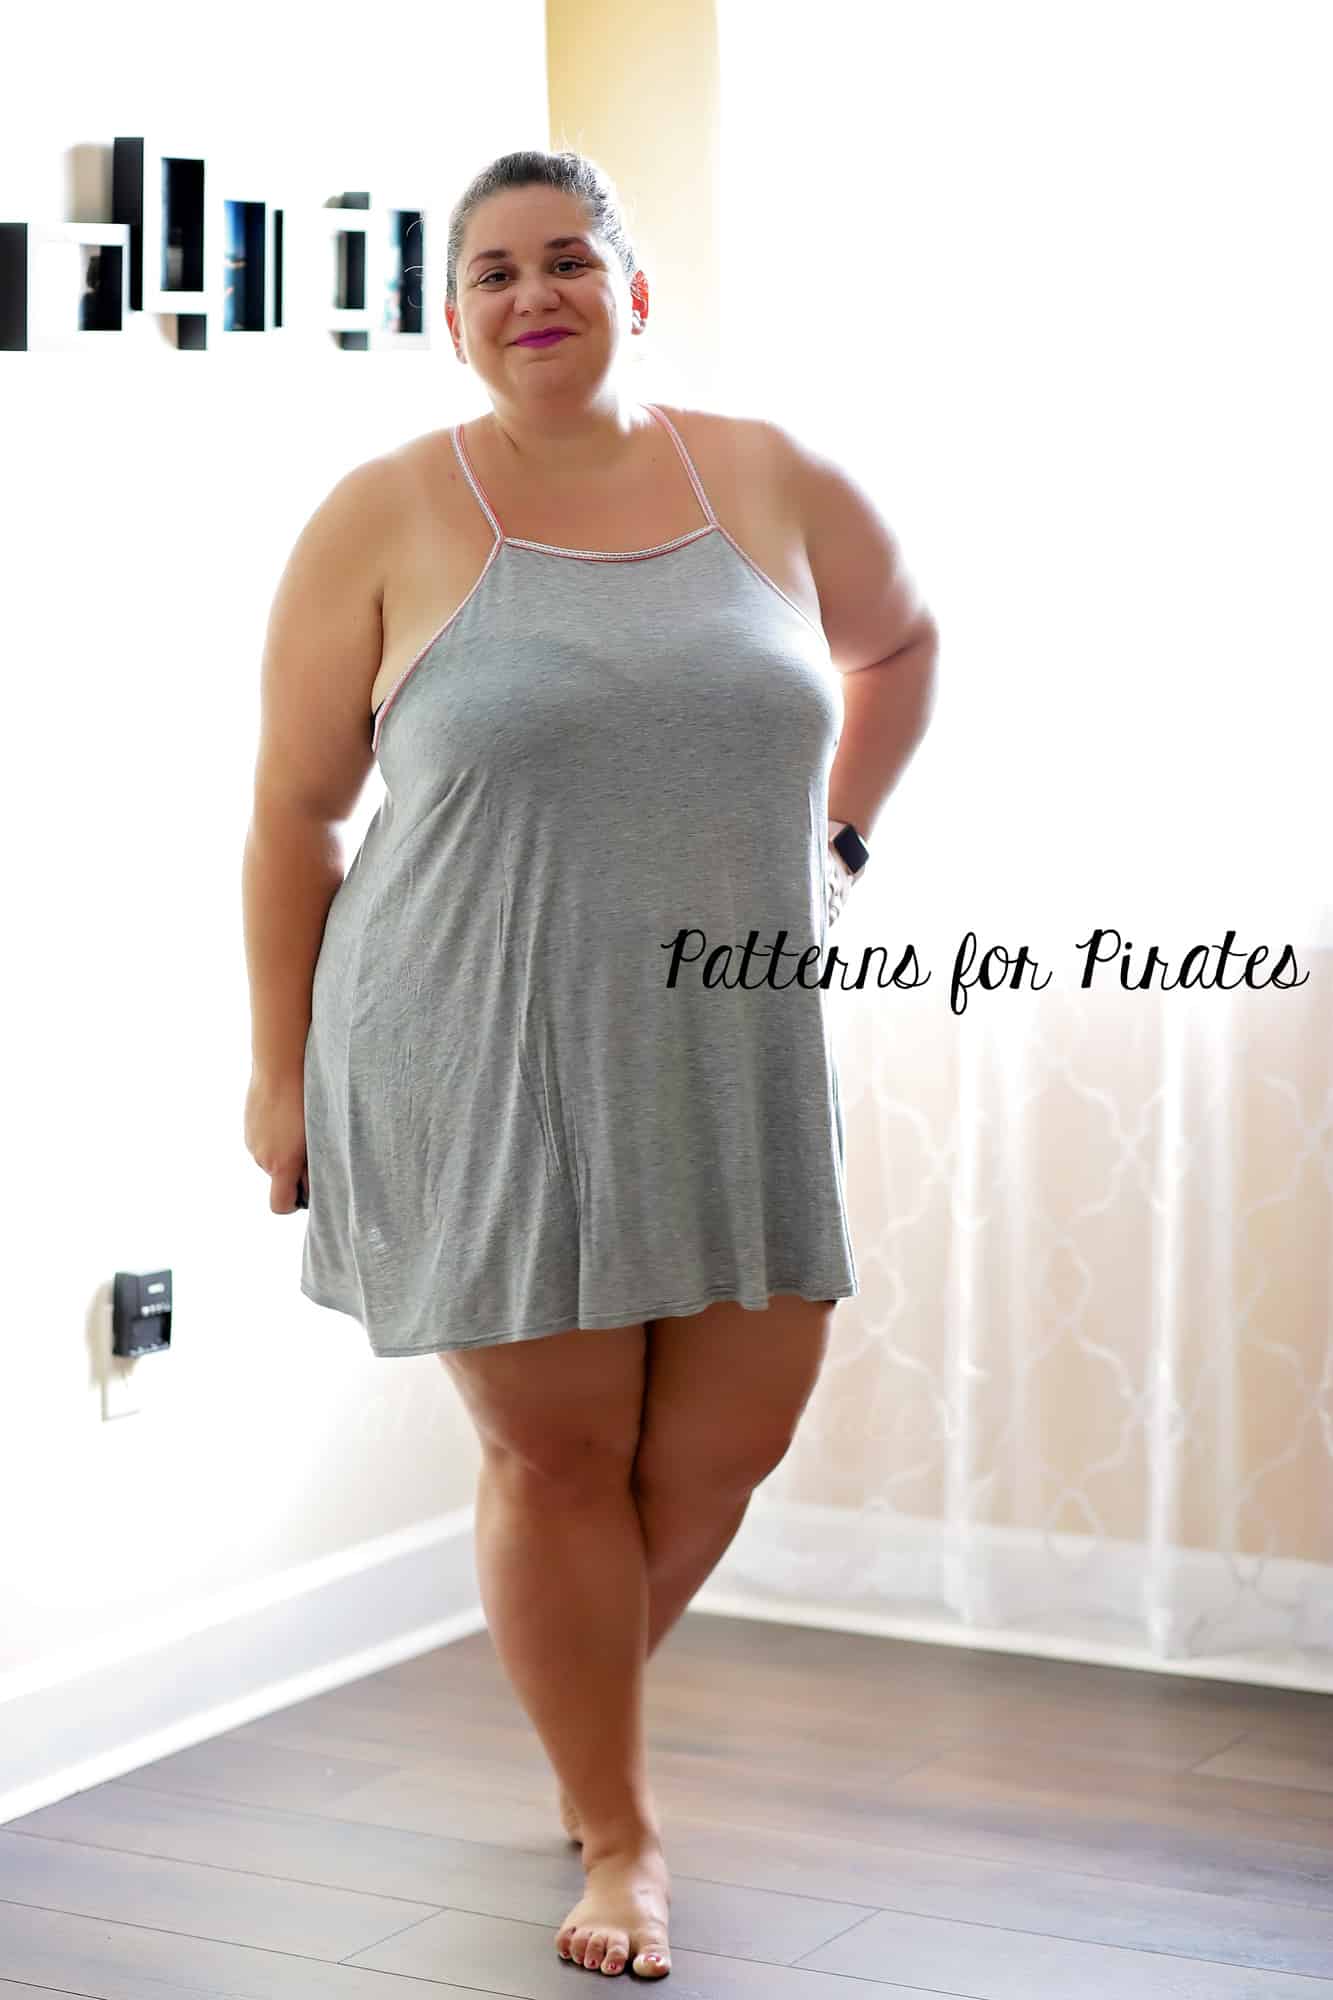
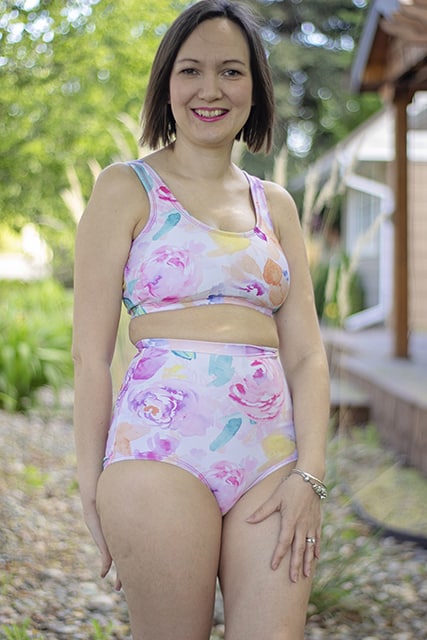
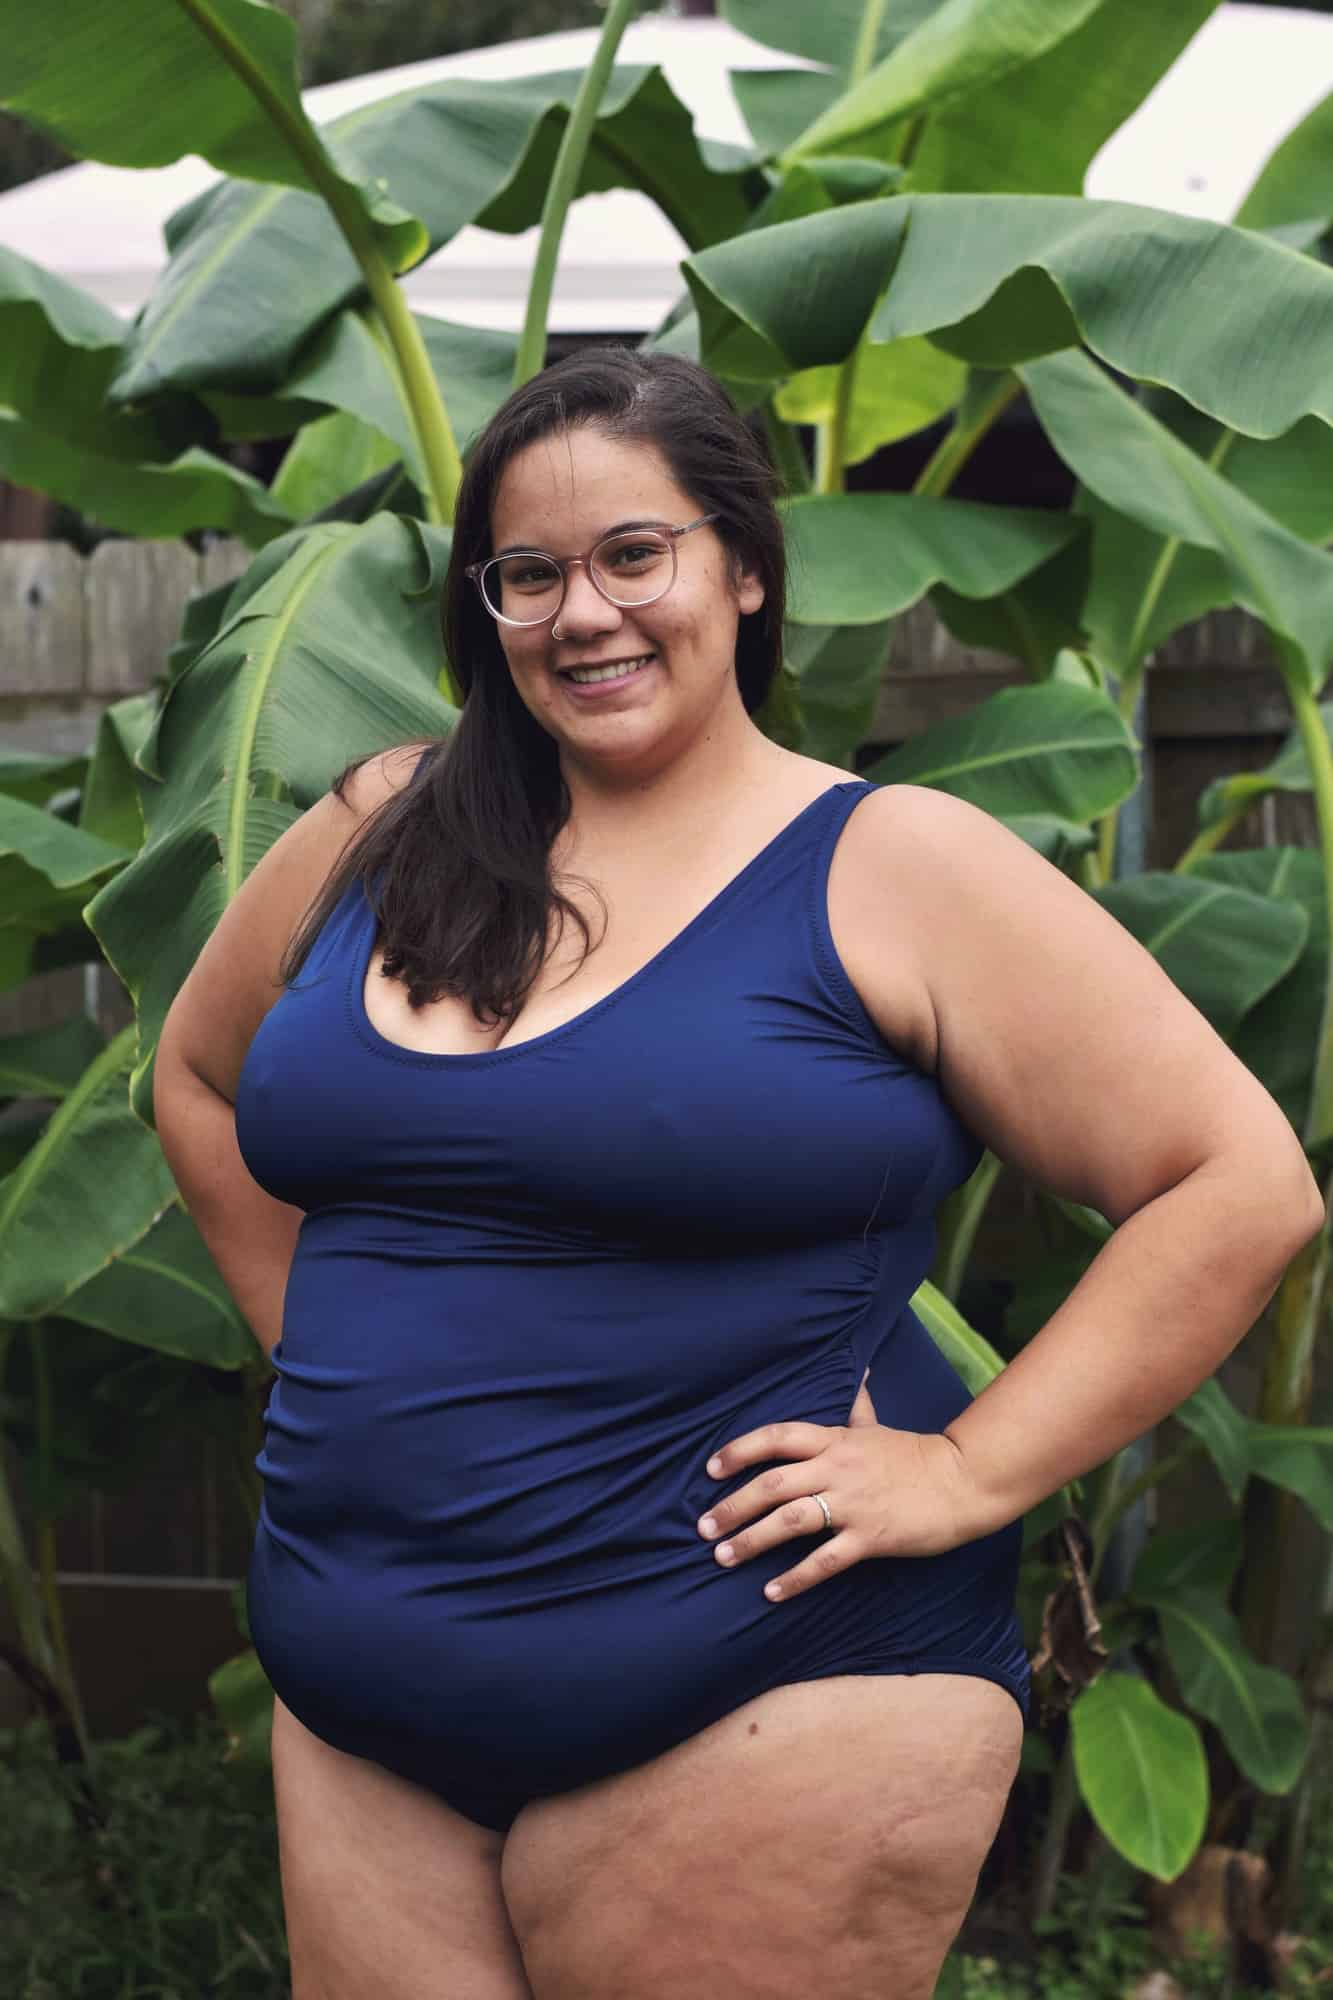
For my solid front Classic Sports Bra I used cotton lycra for both the main and the lining. It makes the most comfortable lounging bra ever!!!

…..
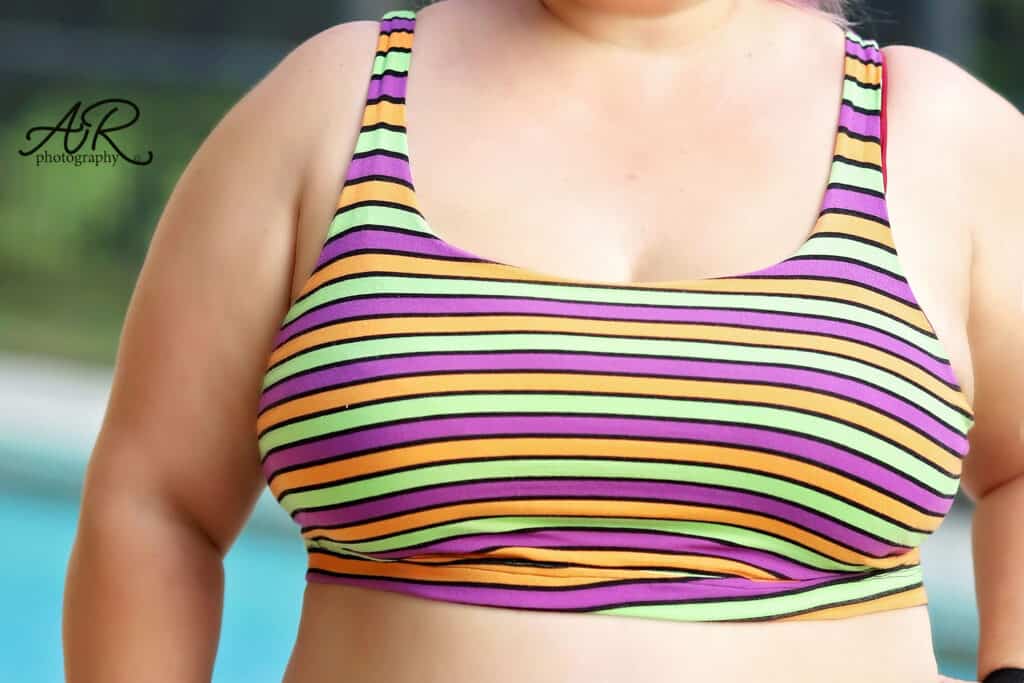
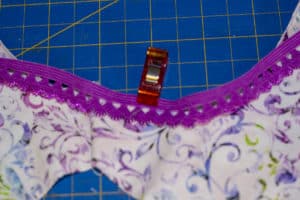
Exposed Elastic
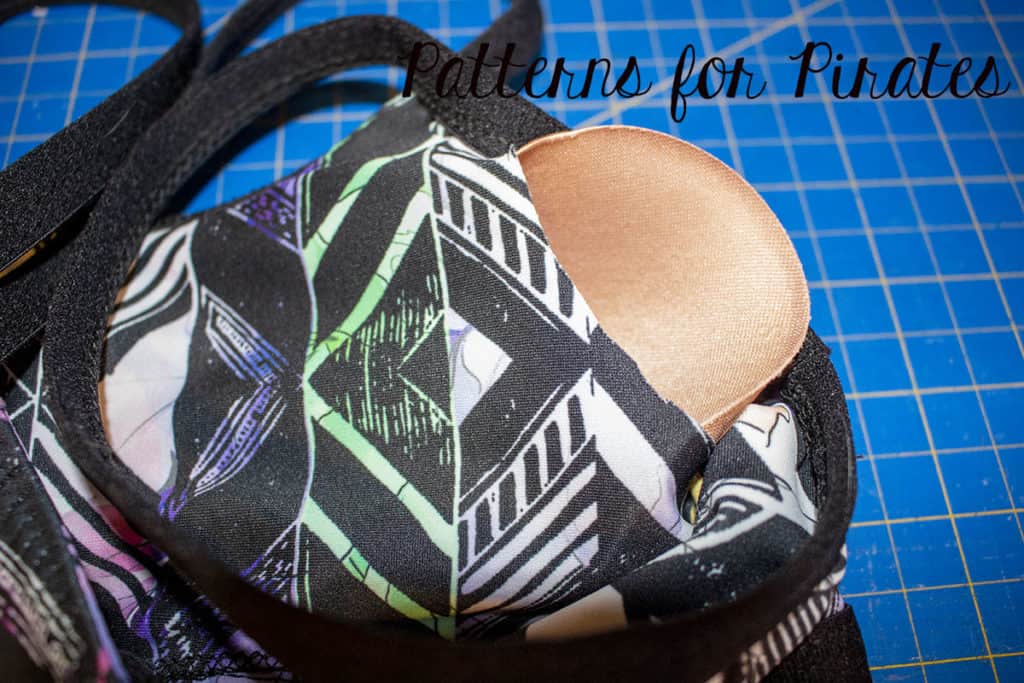
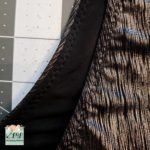
Sometimes you find cute or extra special elastic and you want to show it off! It’s a super easy modification to stitch on the elastic without the knit band so it is exposed. If you have the Fierce Bra you can follow those instructions. Just make sure if you’re using a hook and eye bra closure option that your elastic width coordinates perfectly with your clasp size.
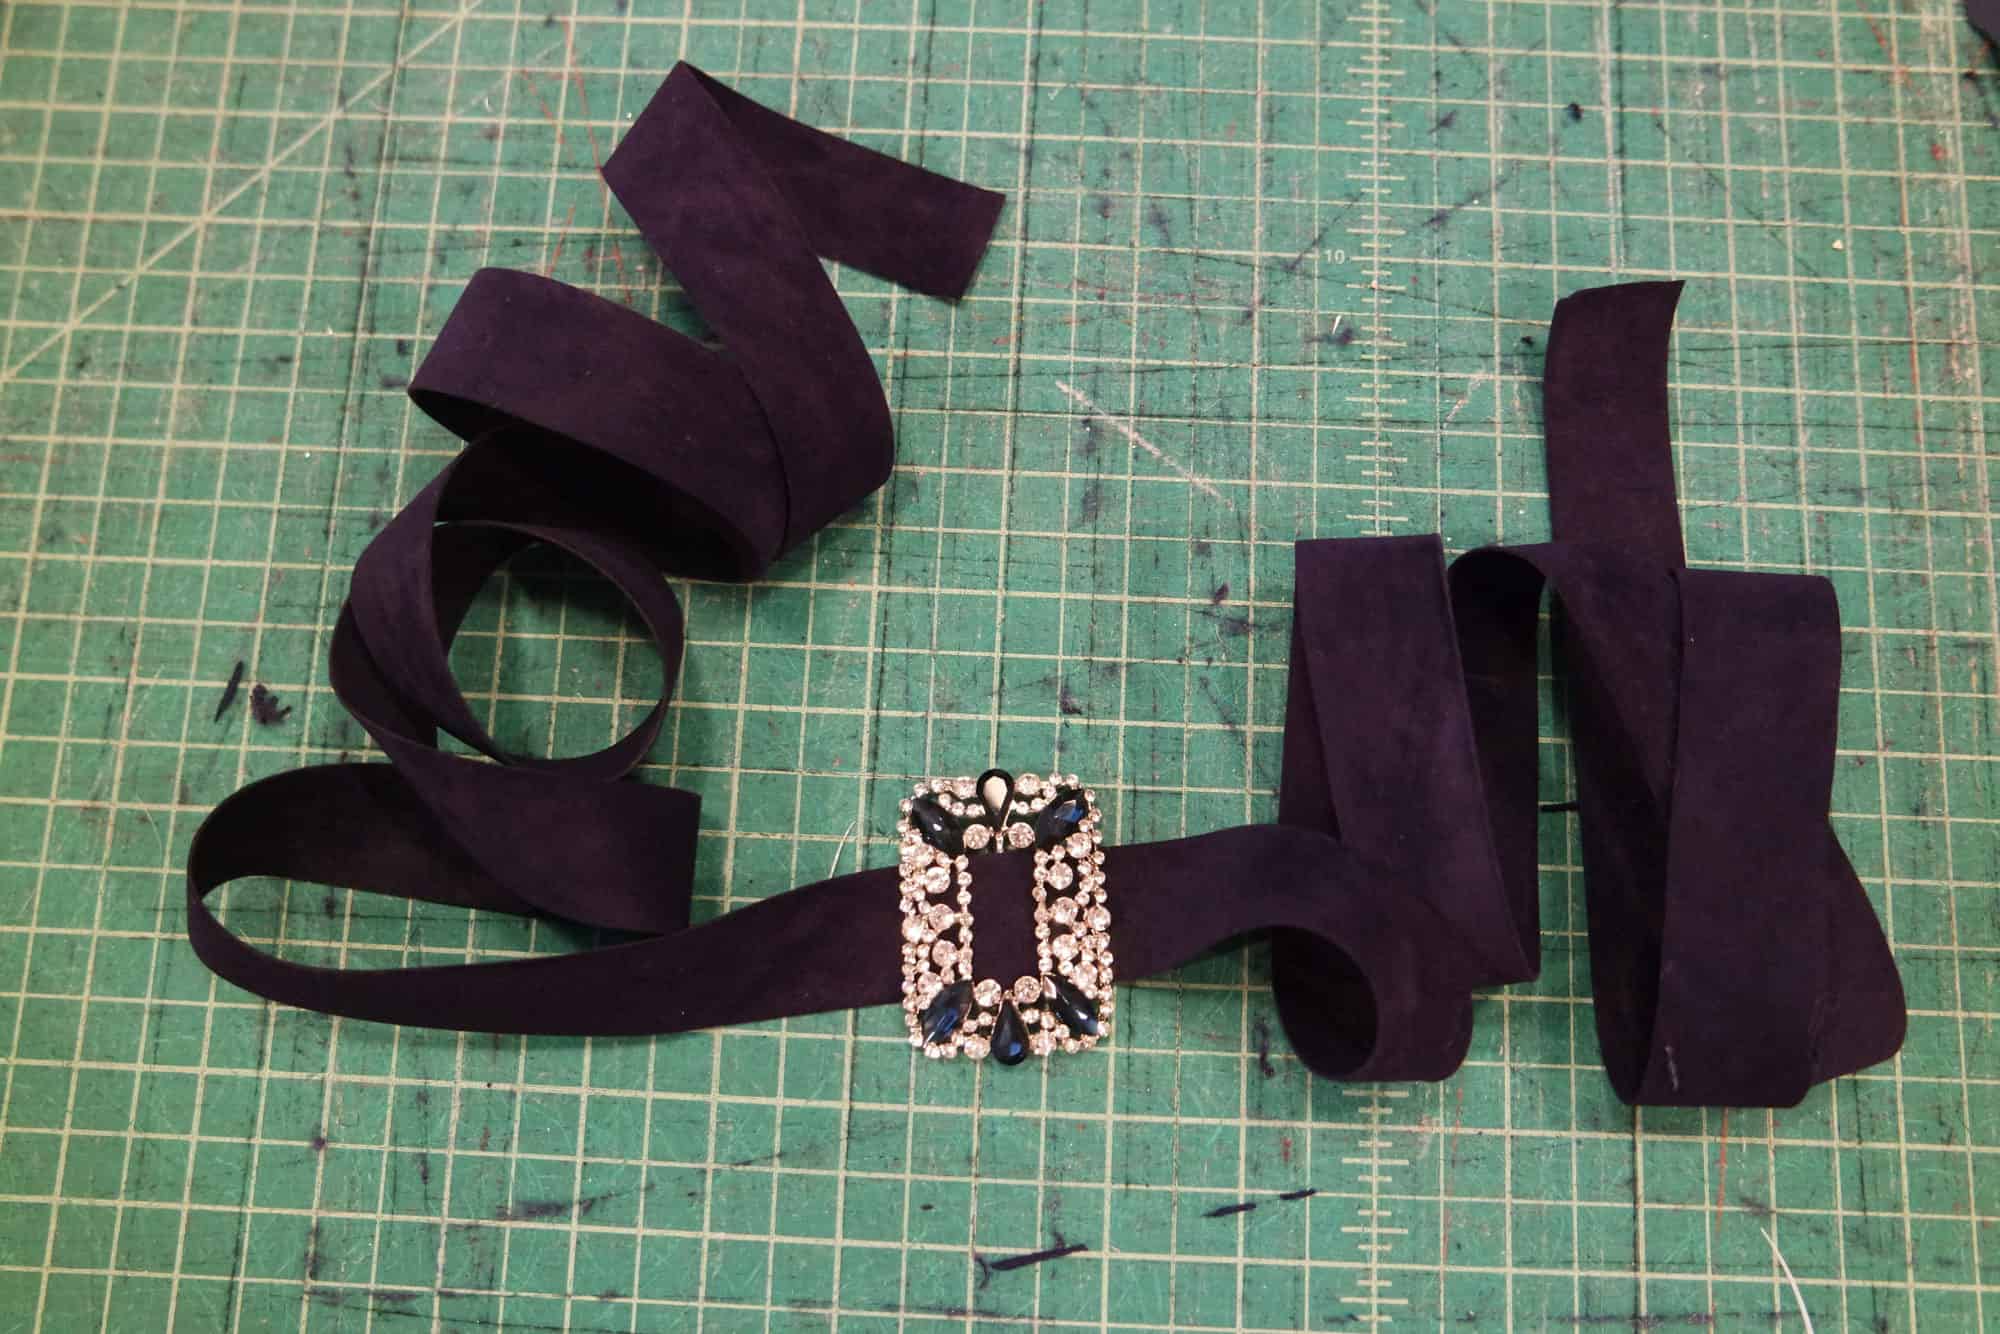
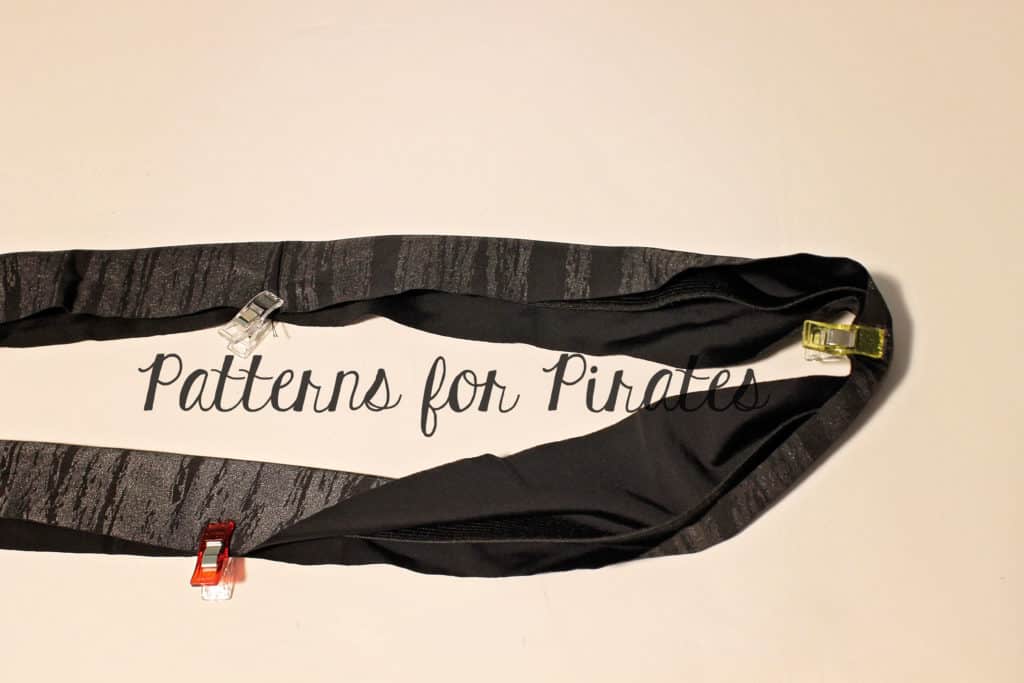
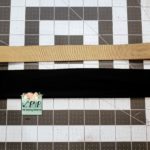
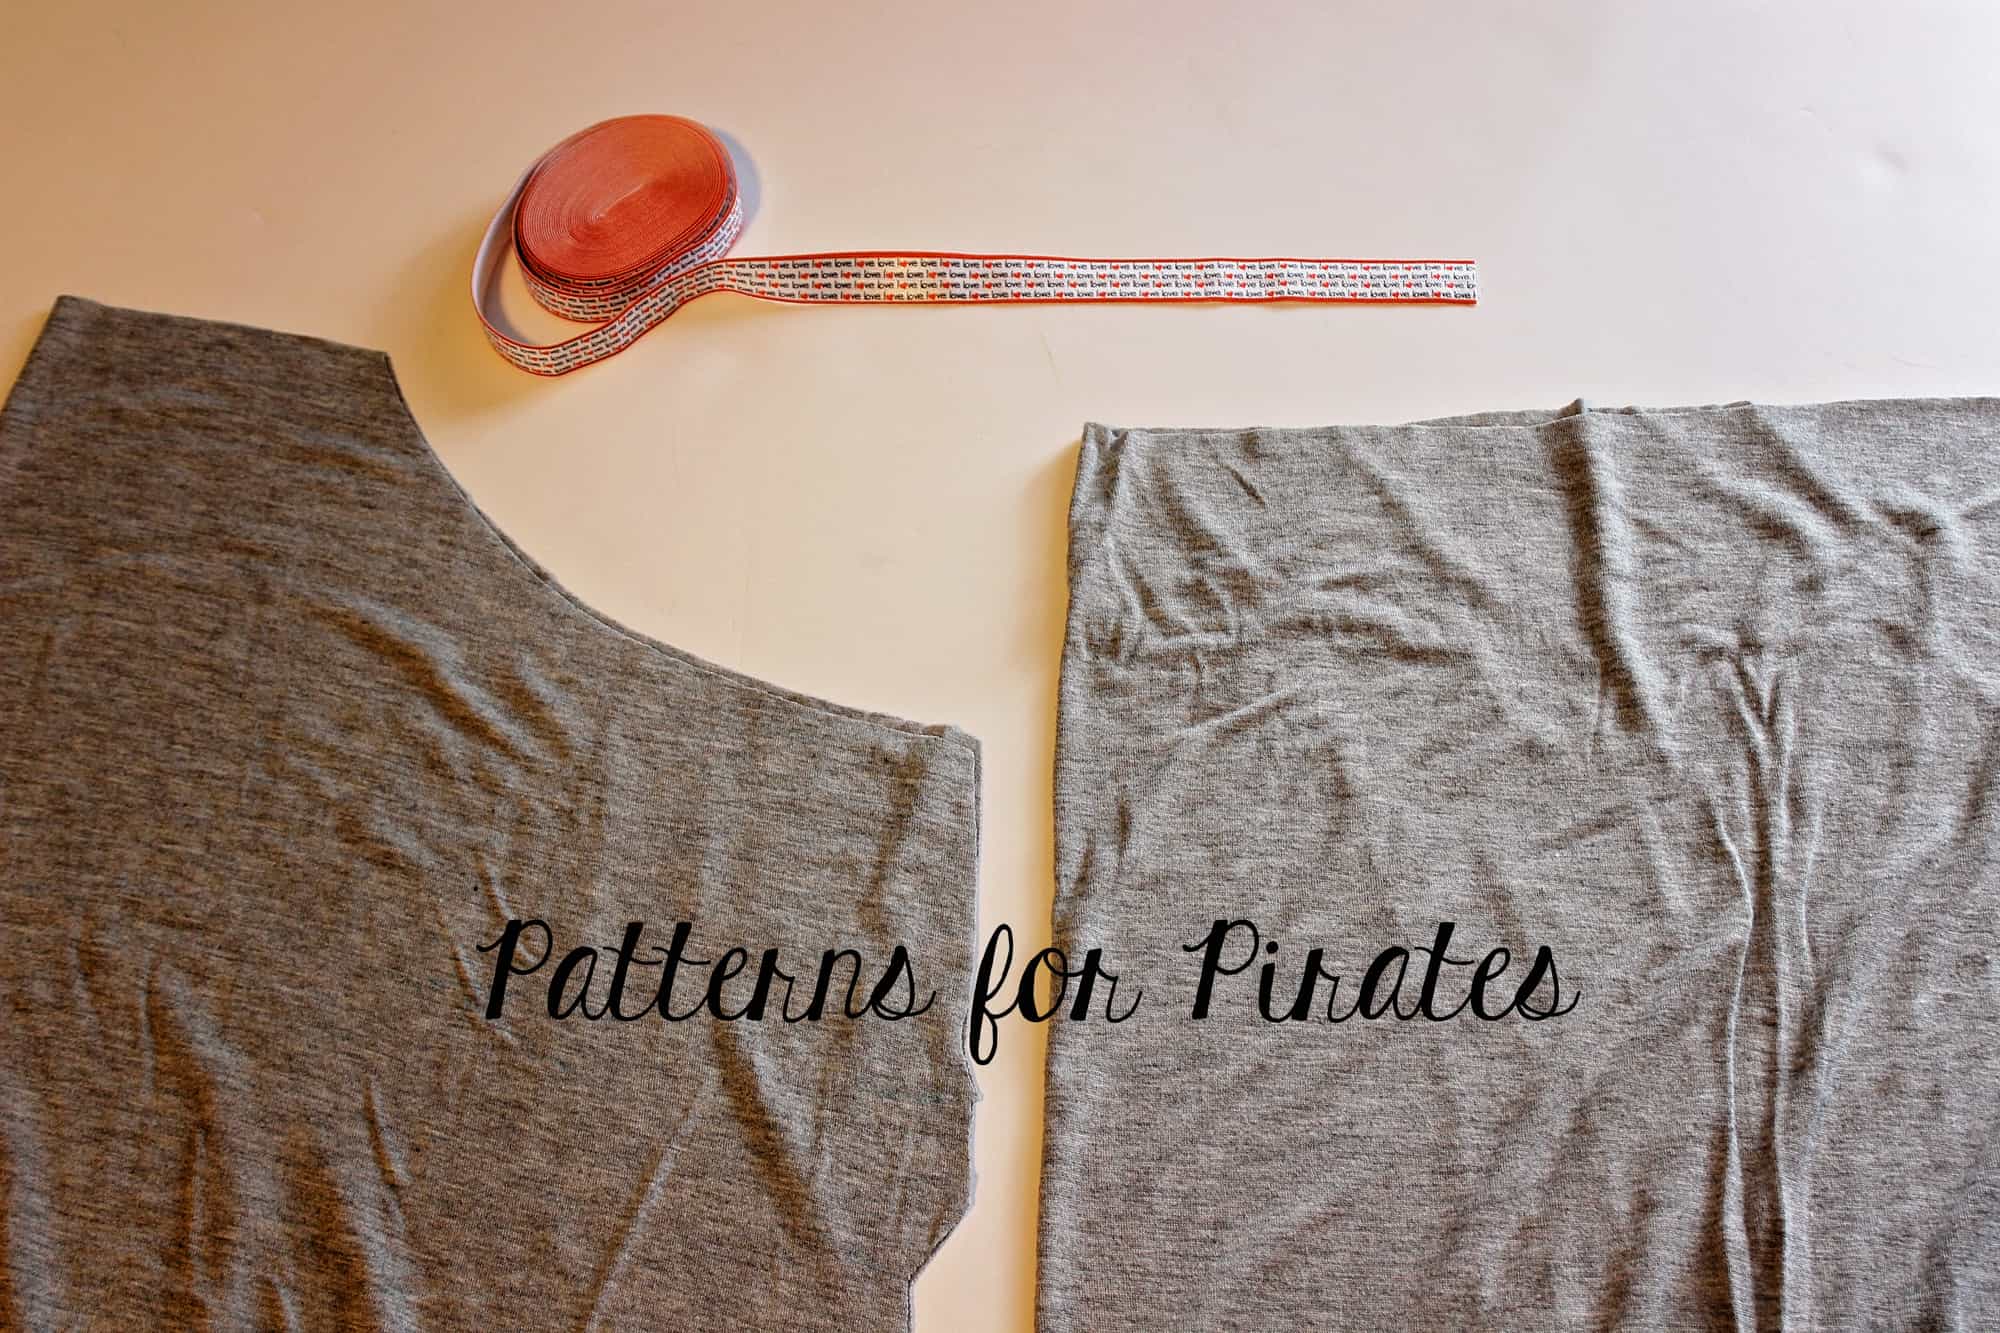
I had ordered this navy elastic with silicone stripes on the underside to help it stay in place and have been wanting to try it out on a sports bra…so here was a great opportunity! You can also find elastic with prints or words on them as well.
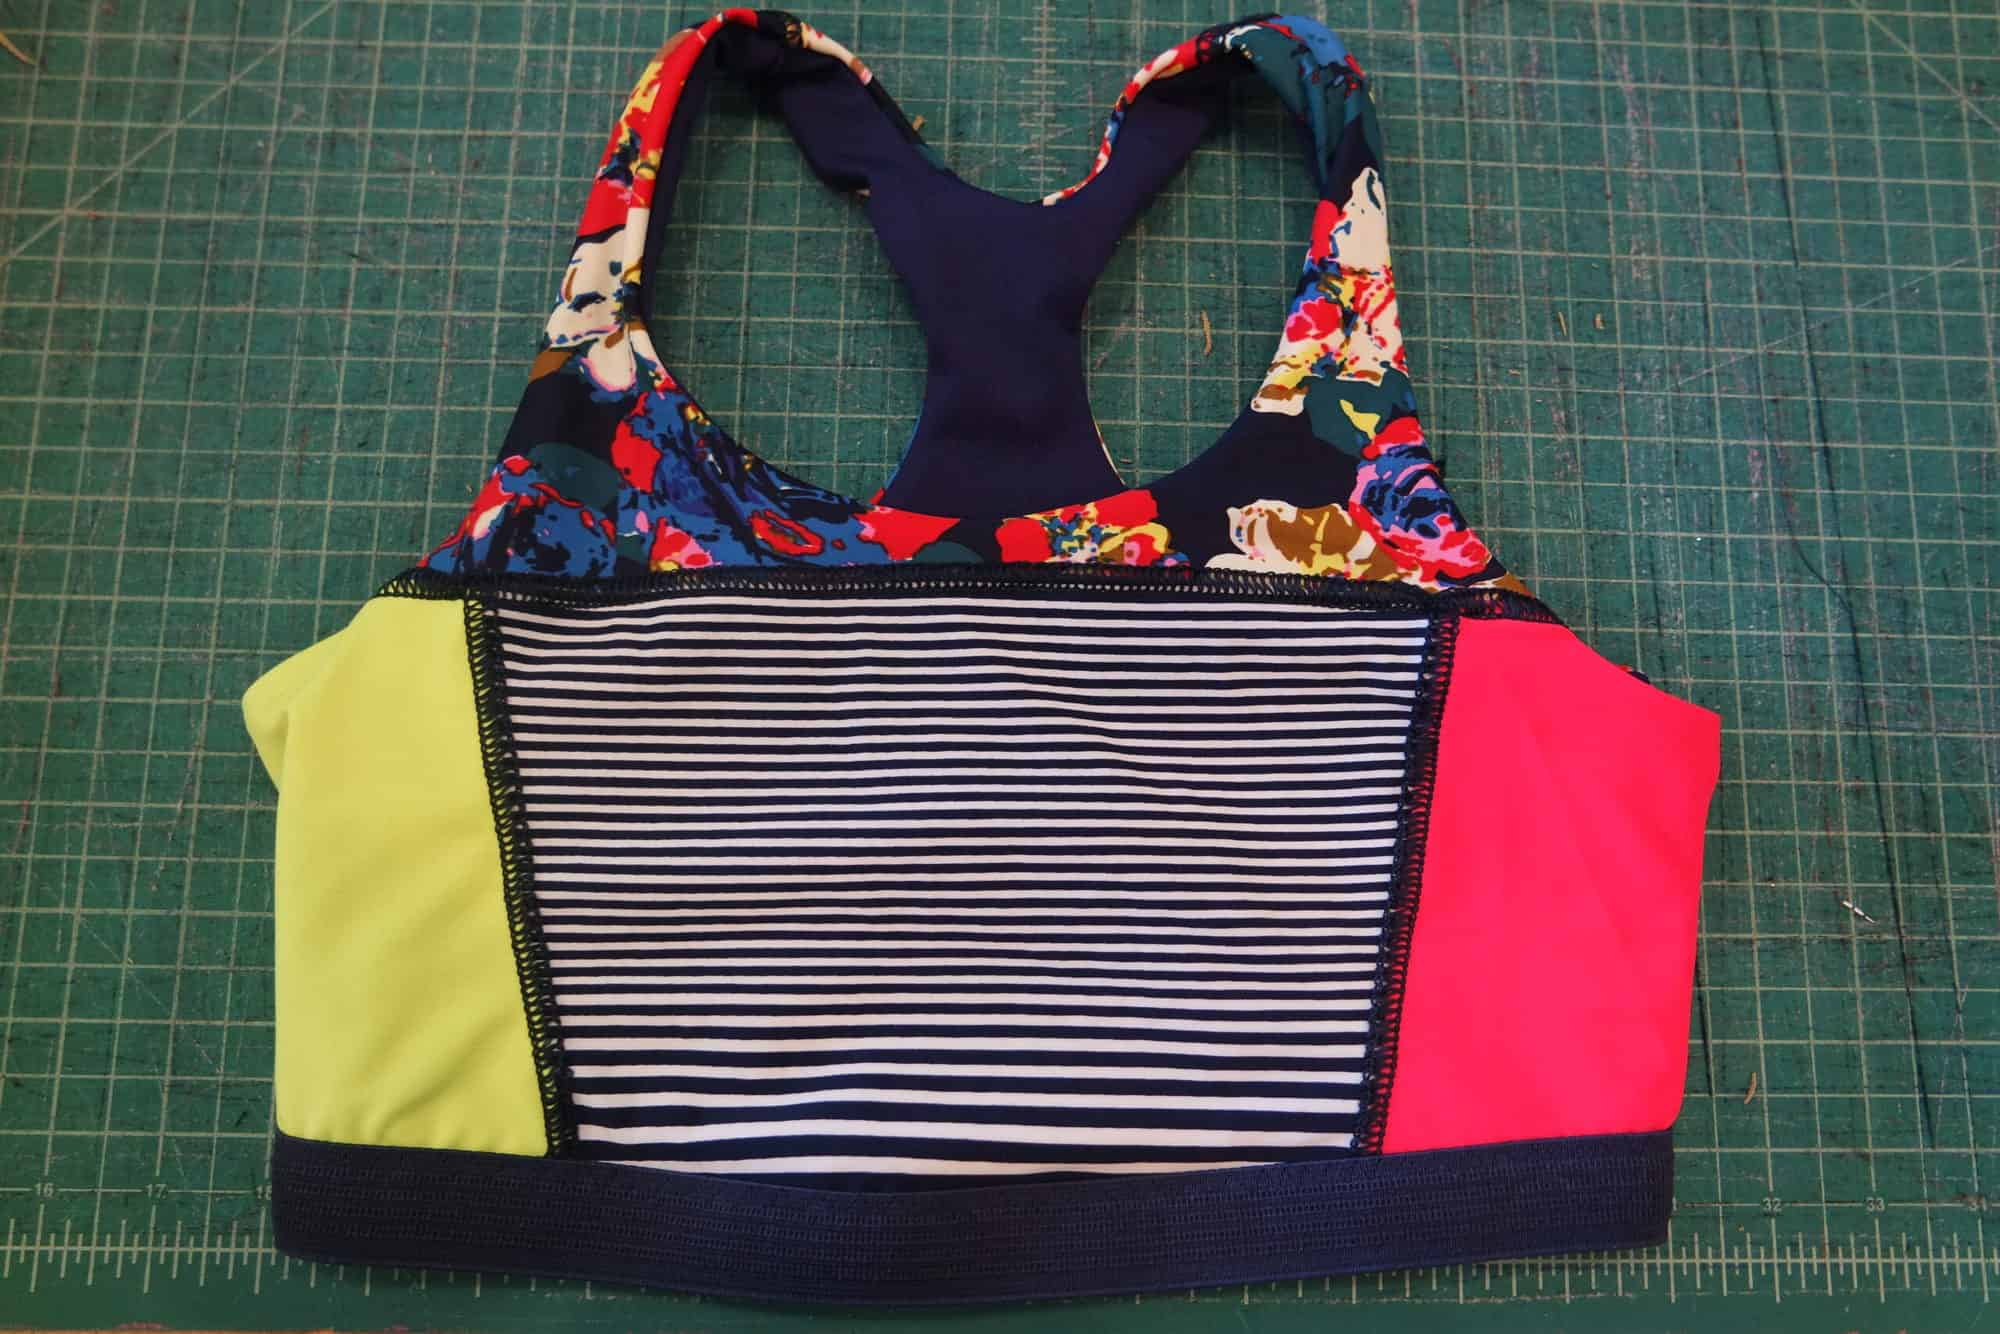
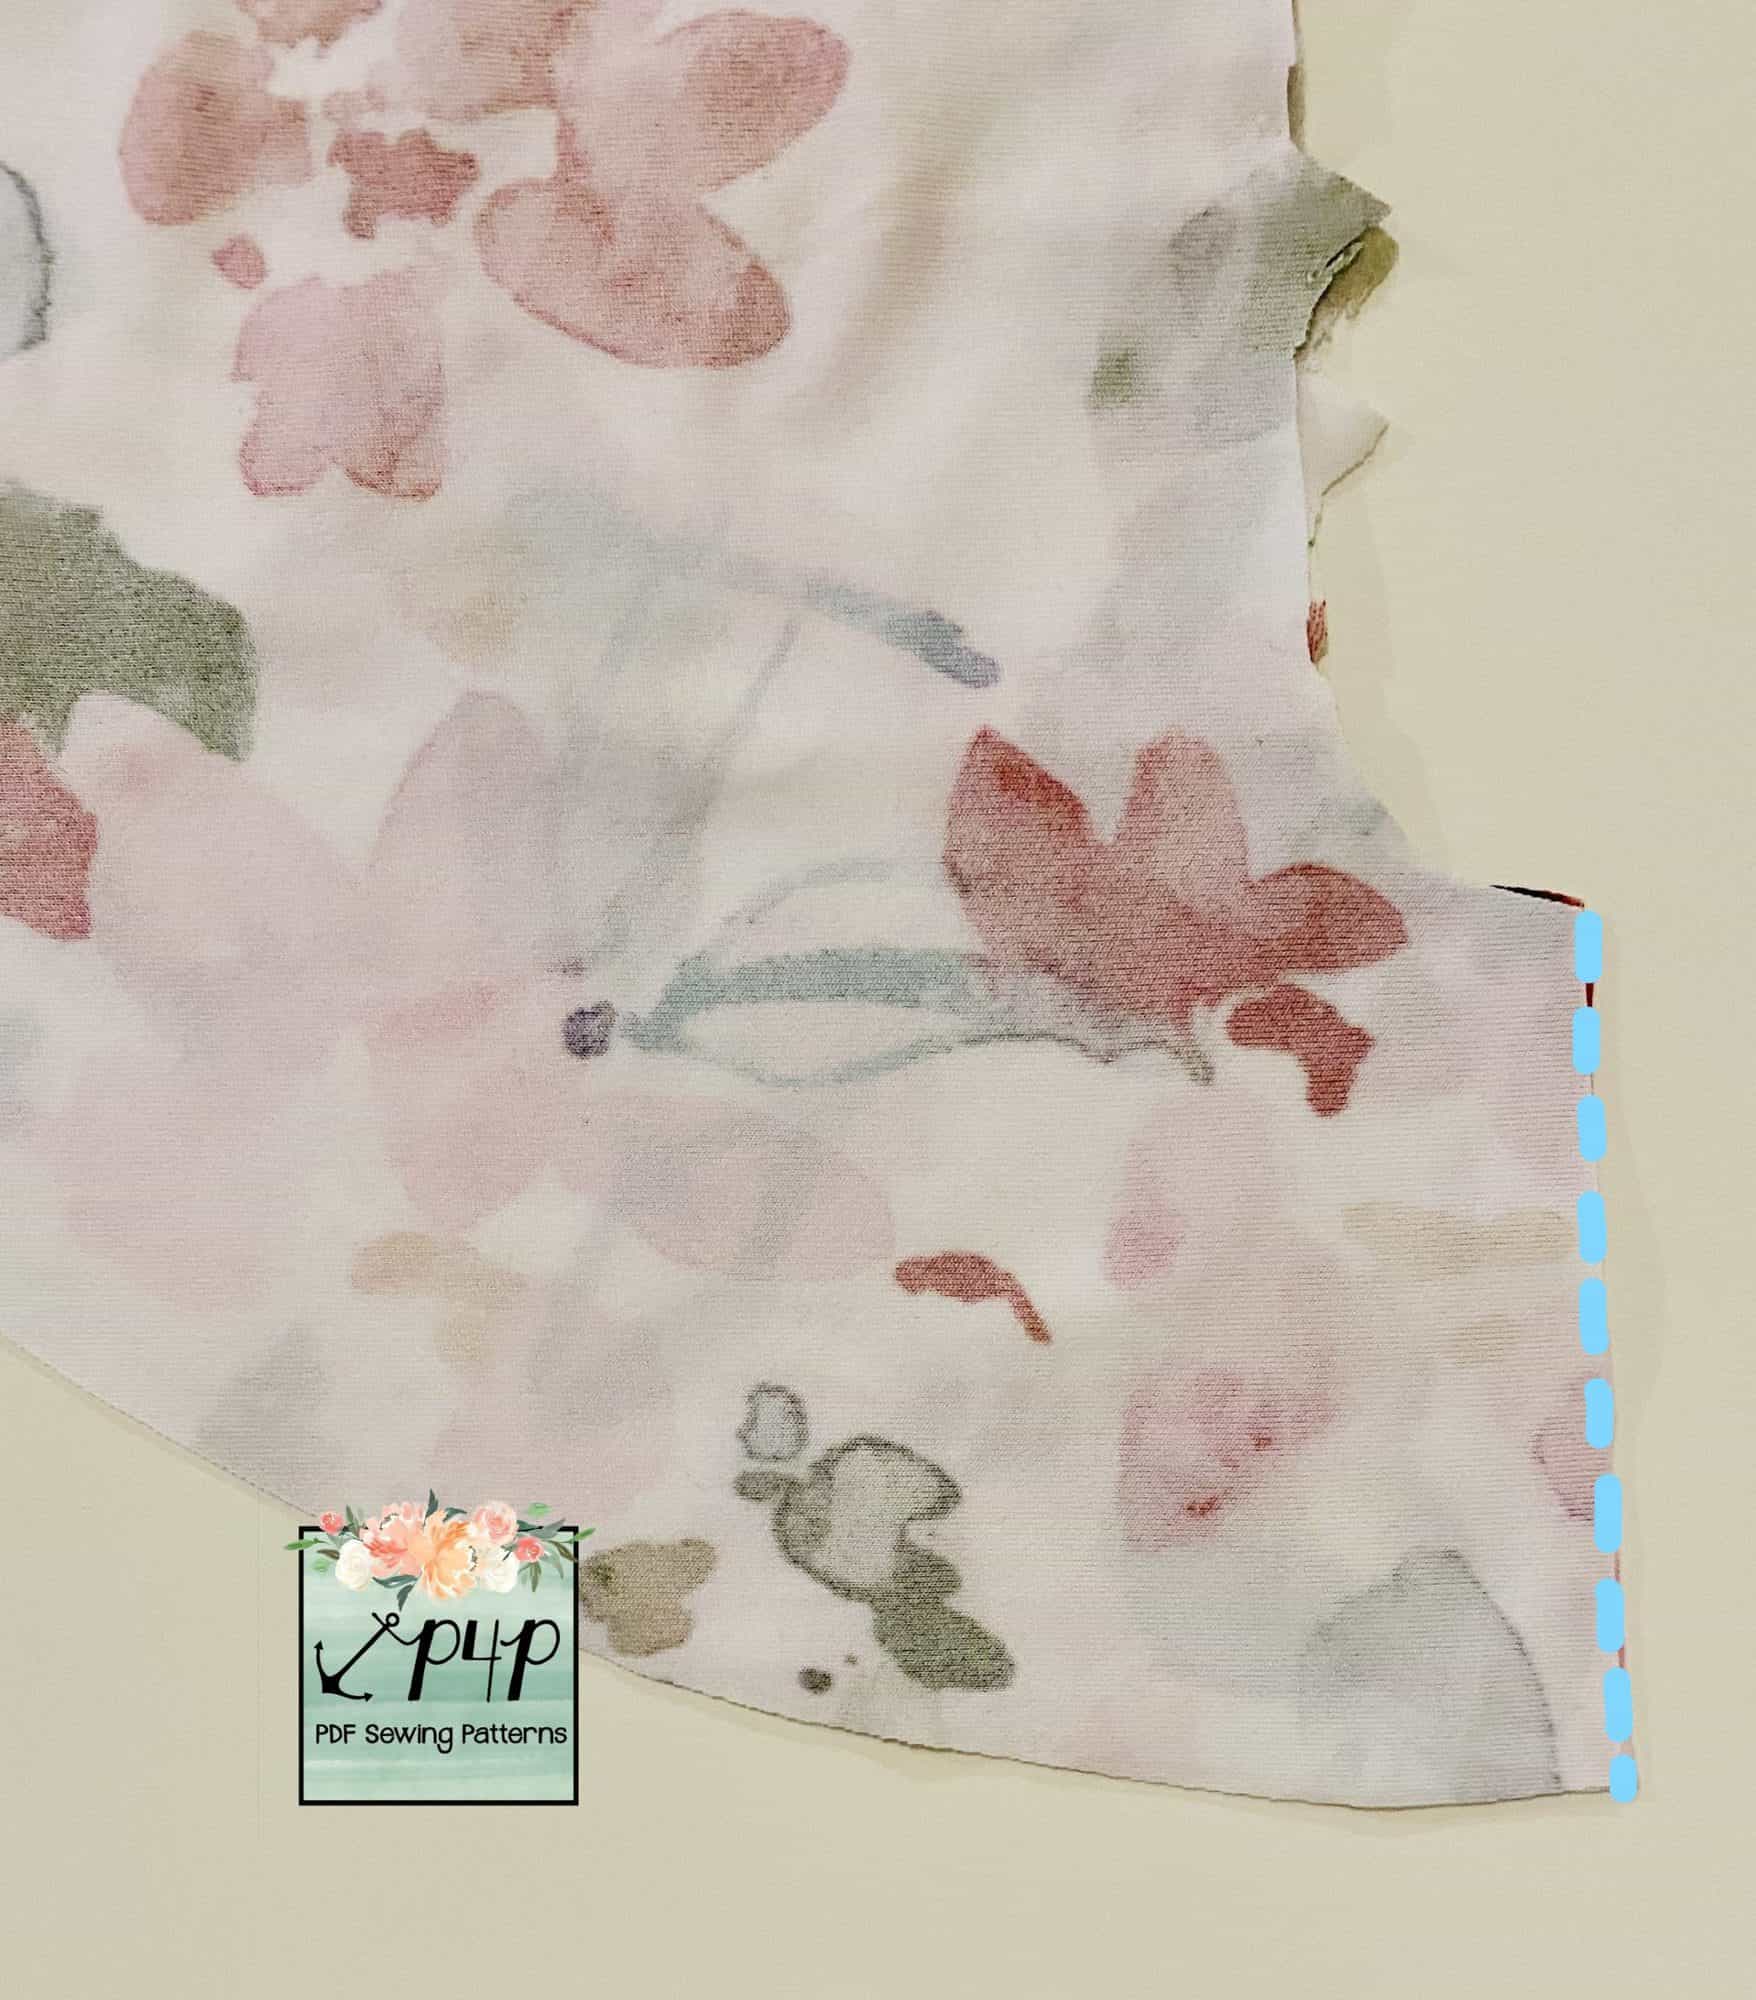
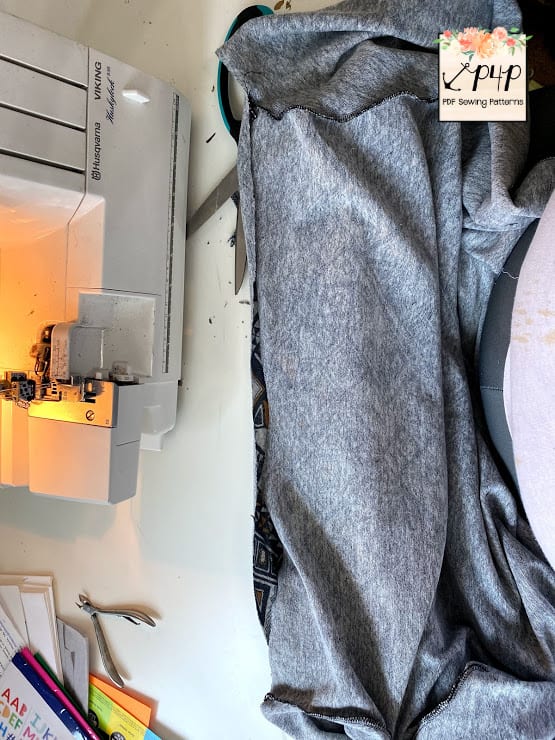
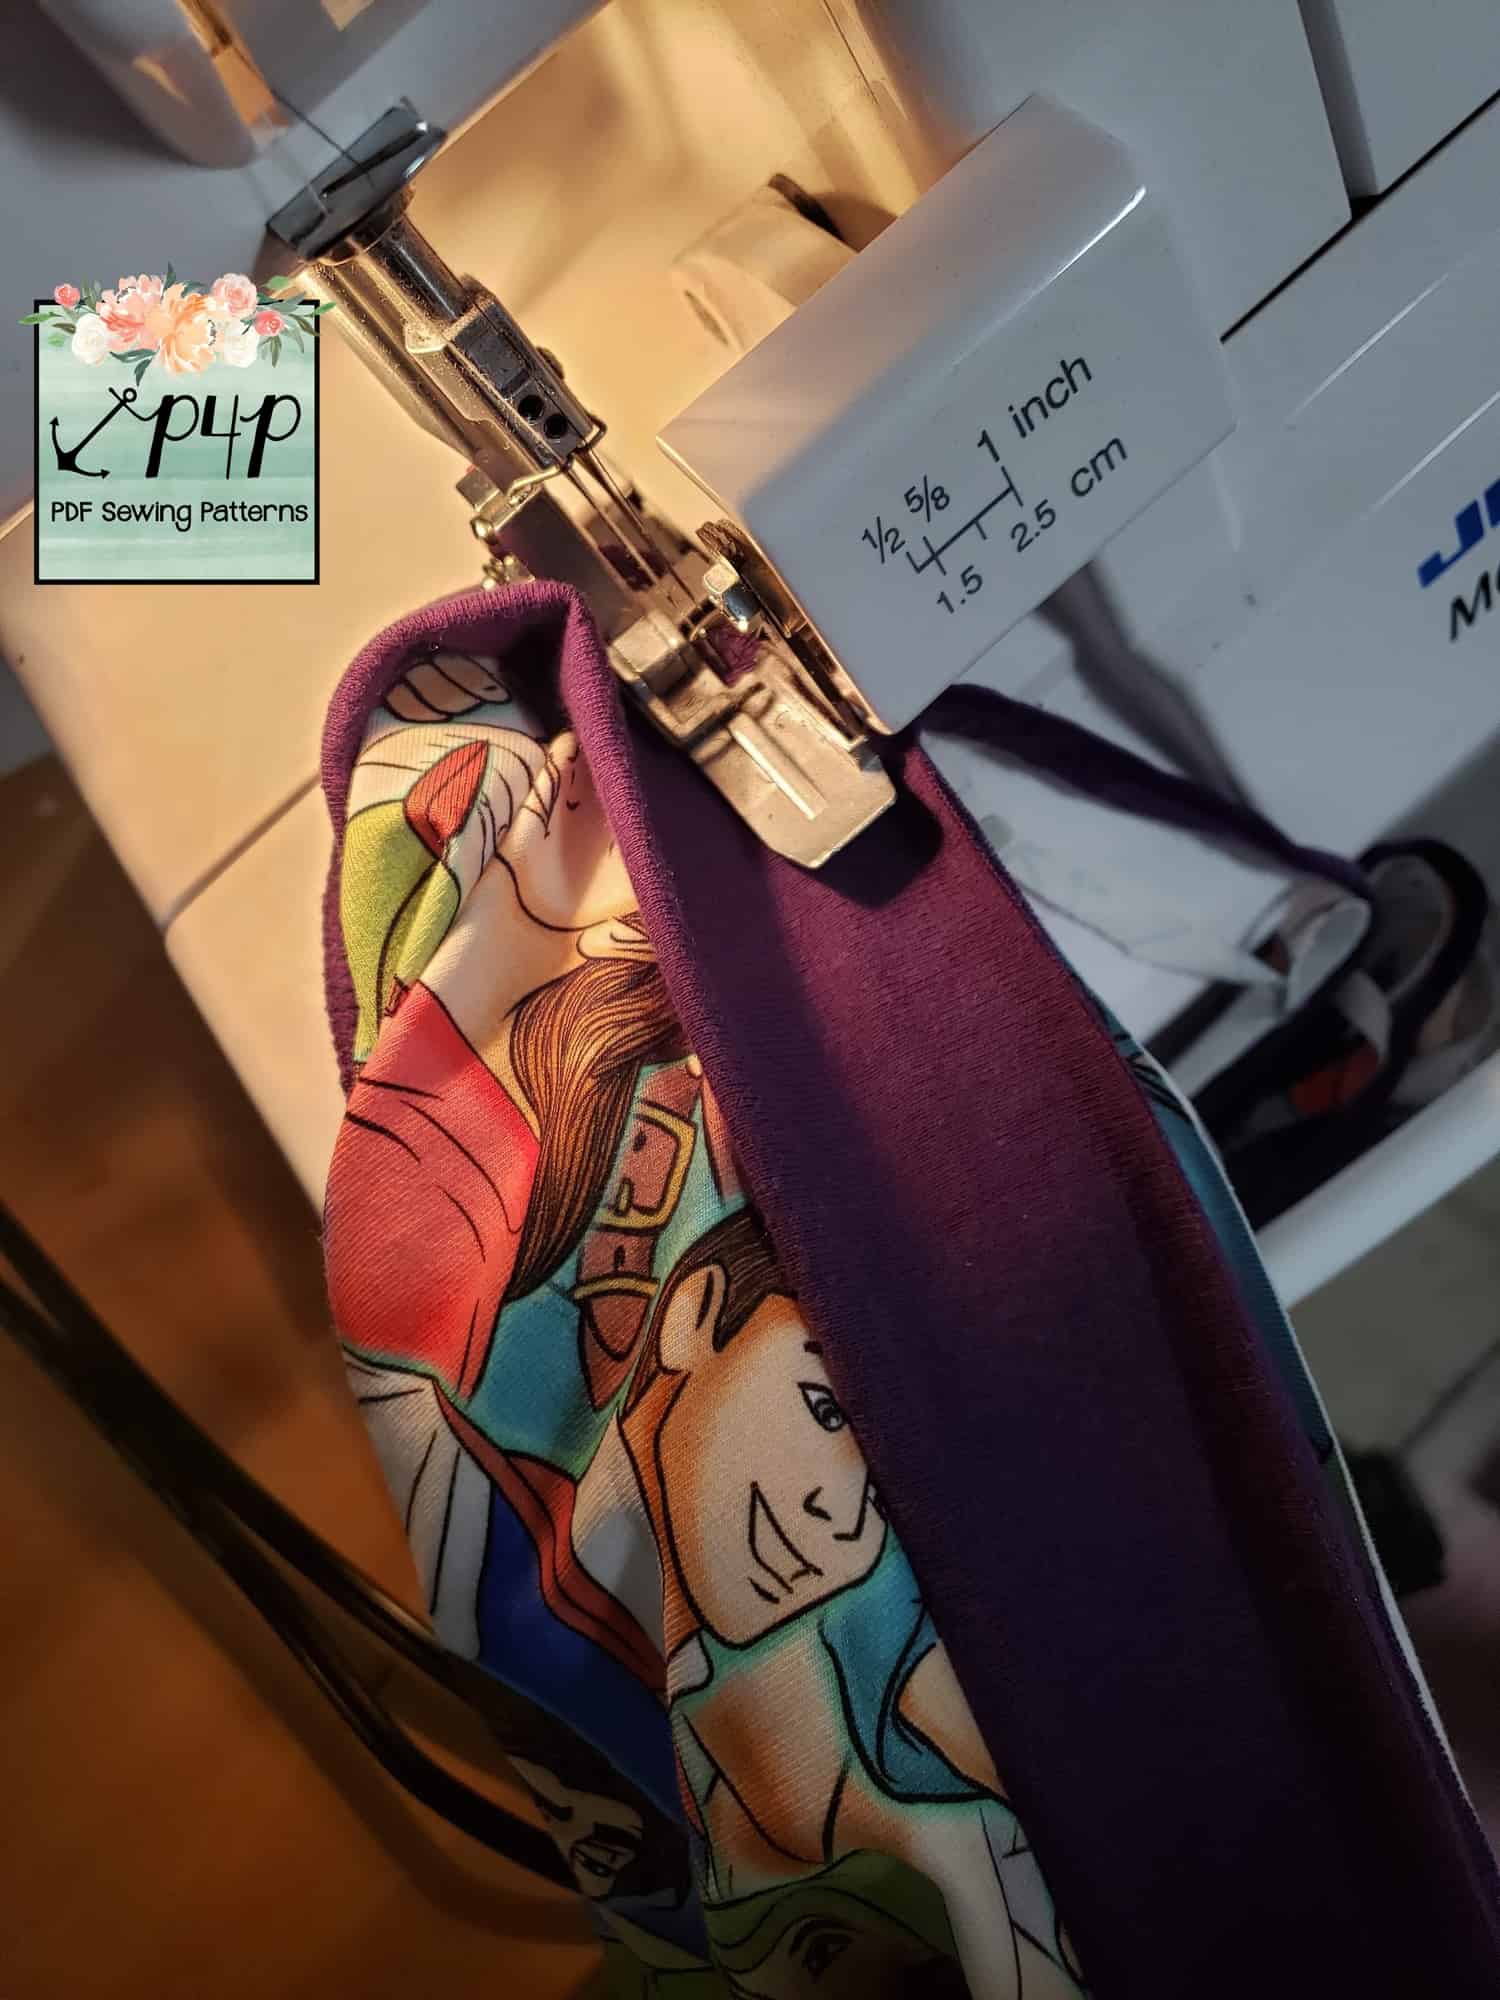
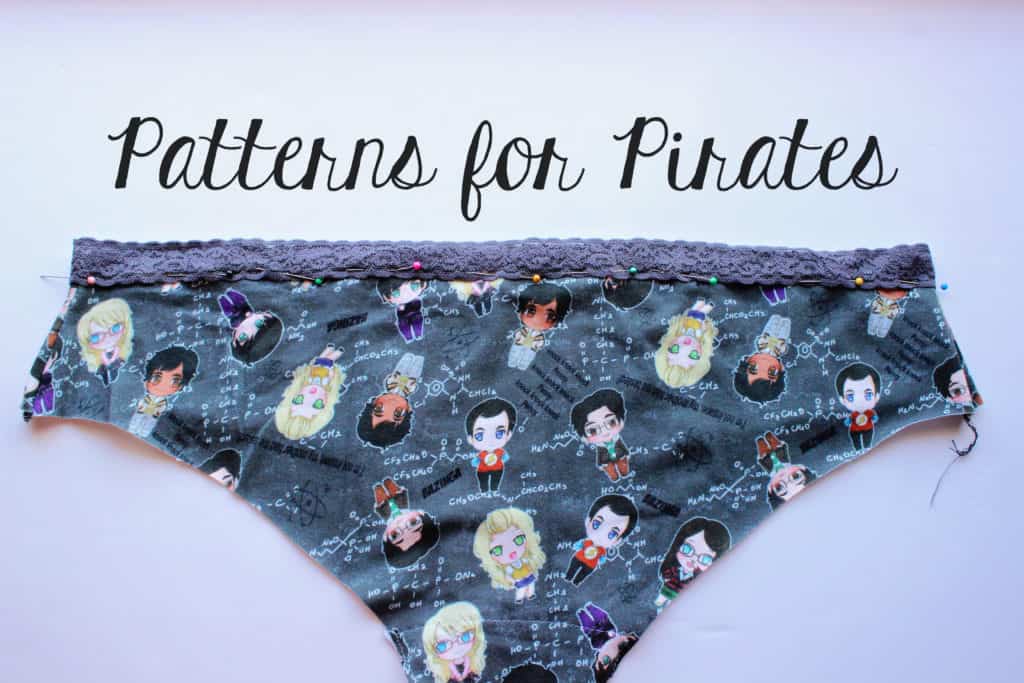
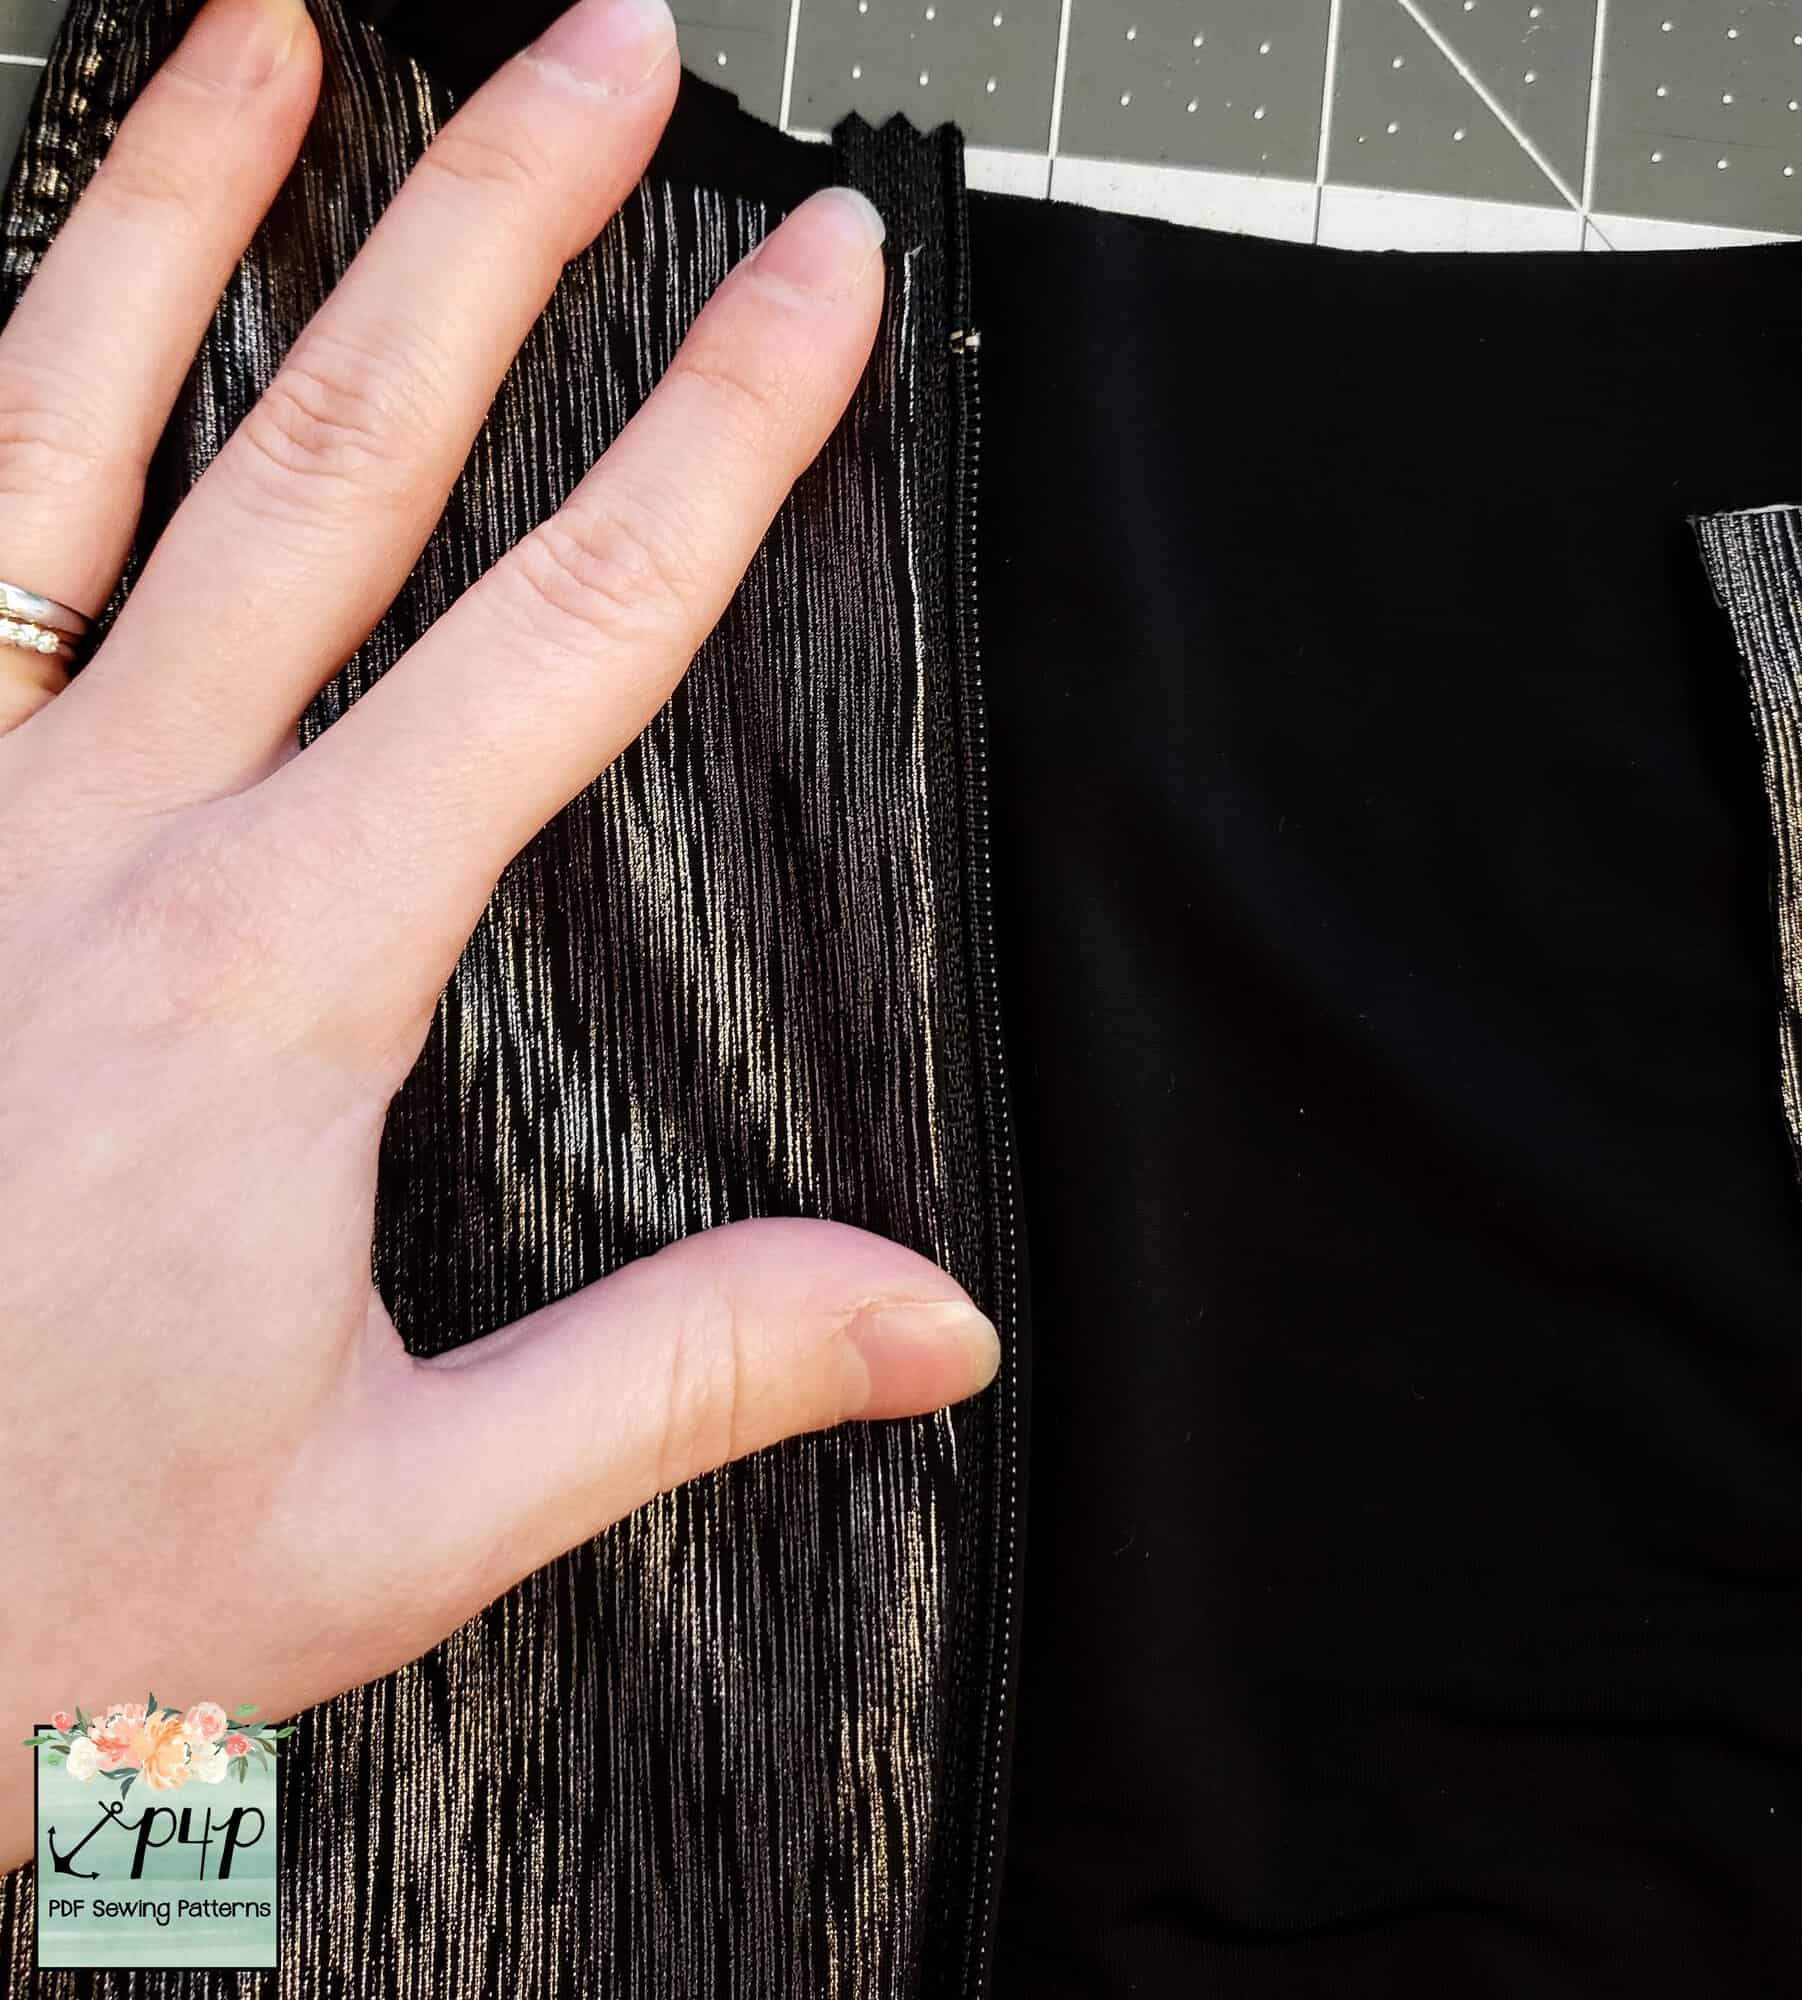
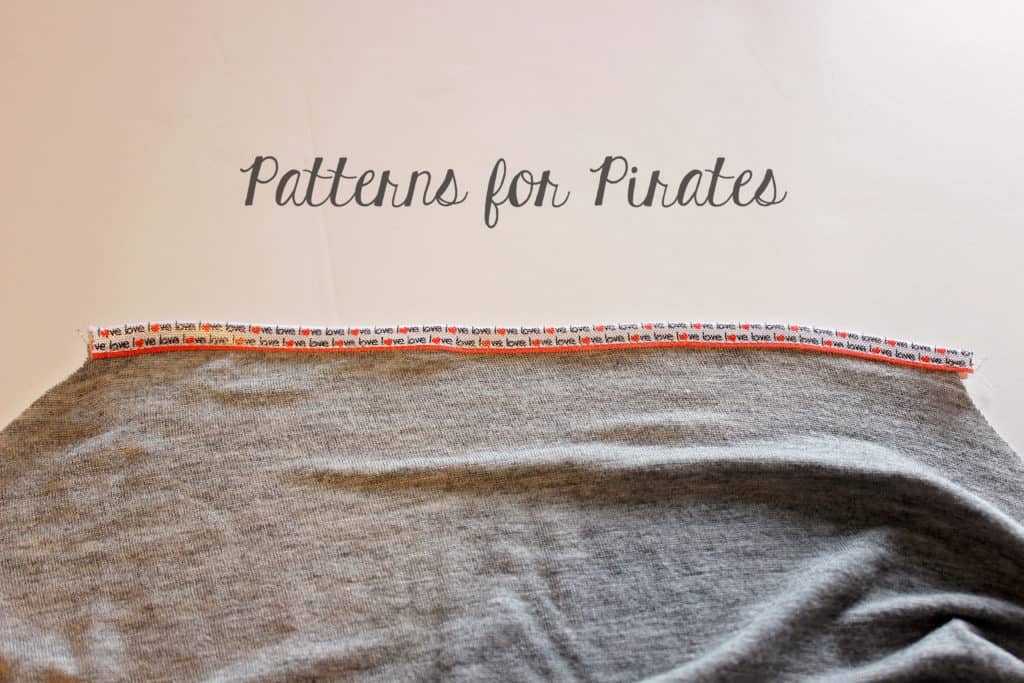
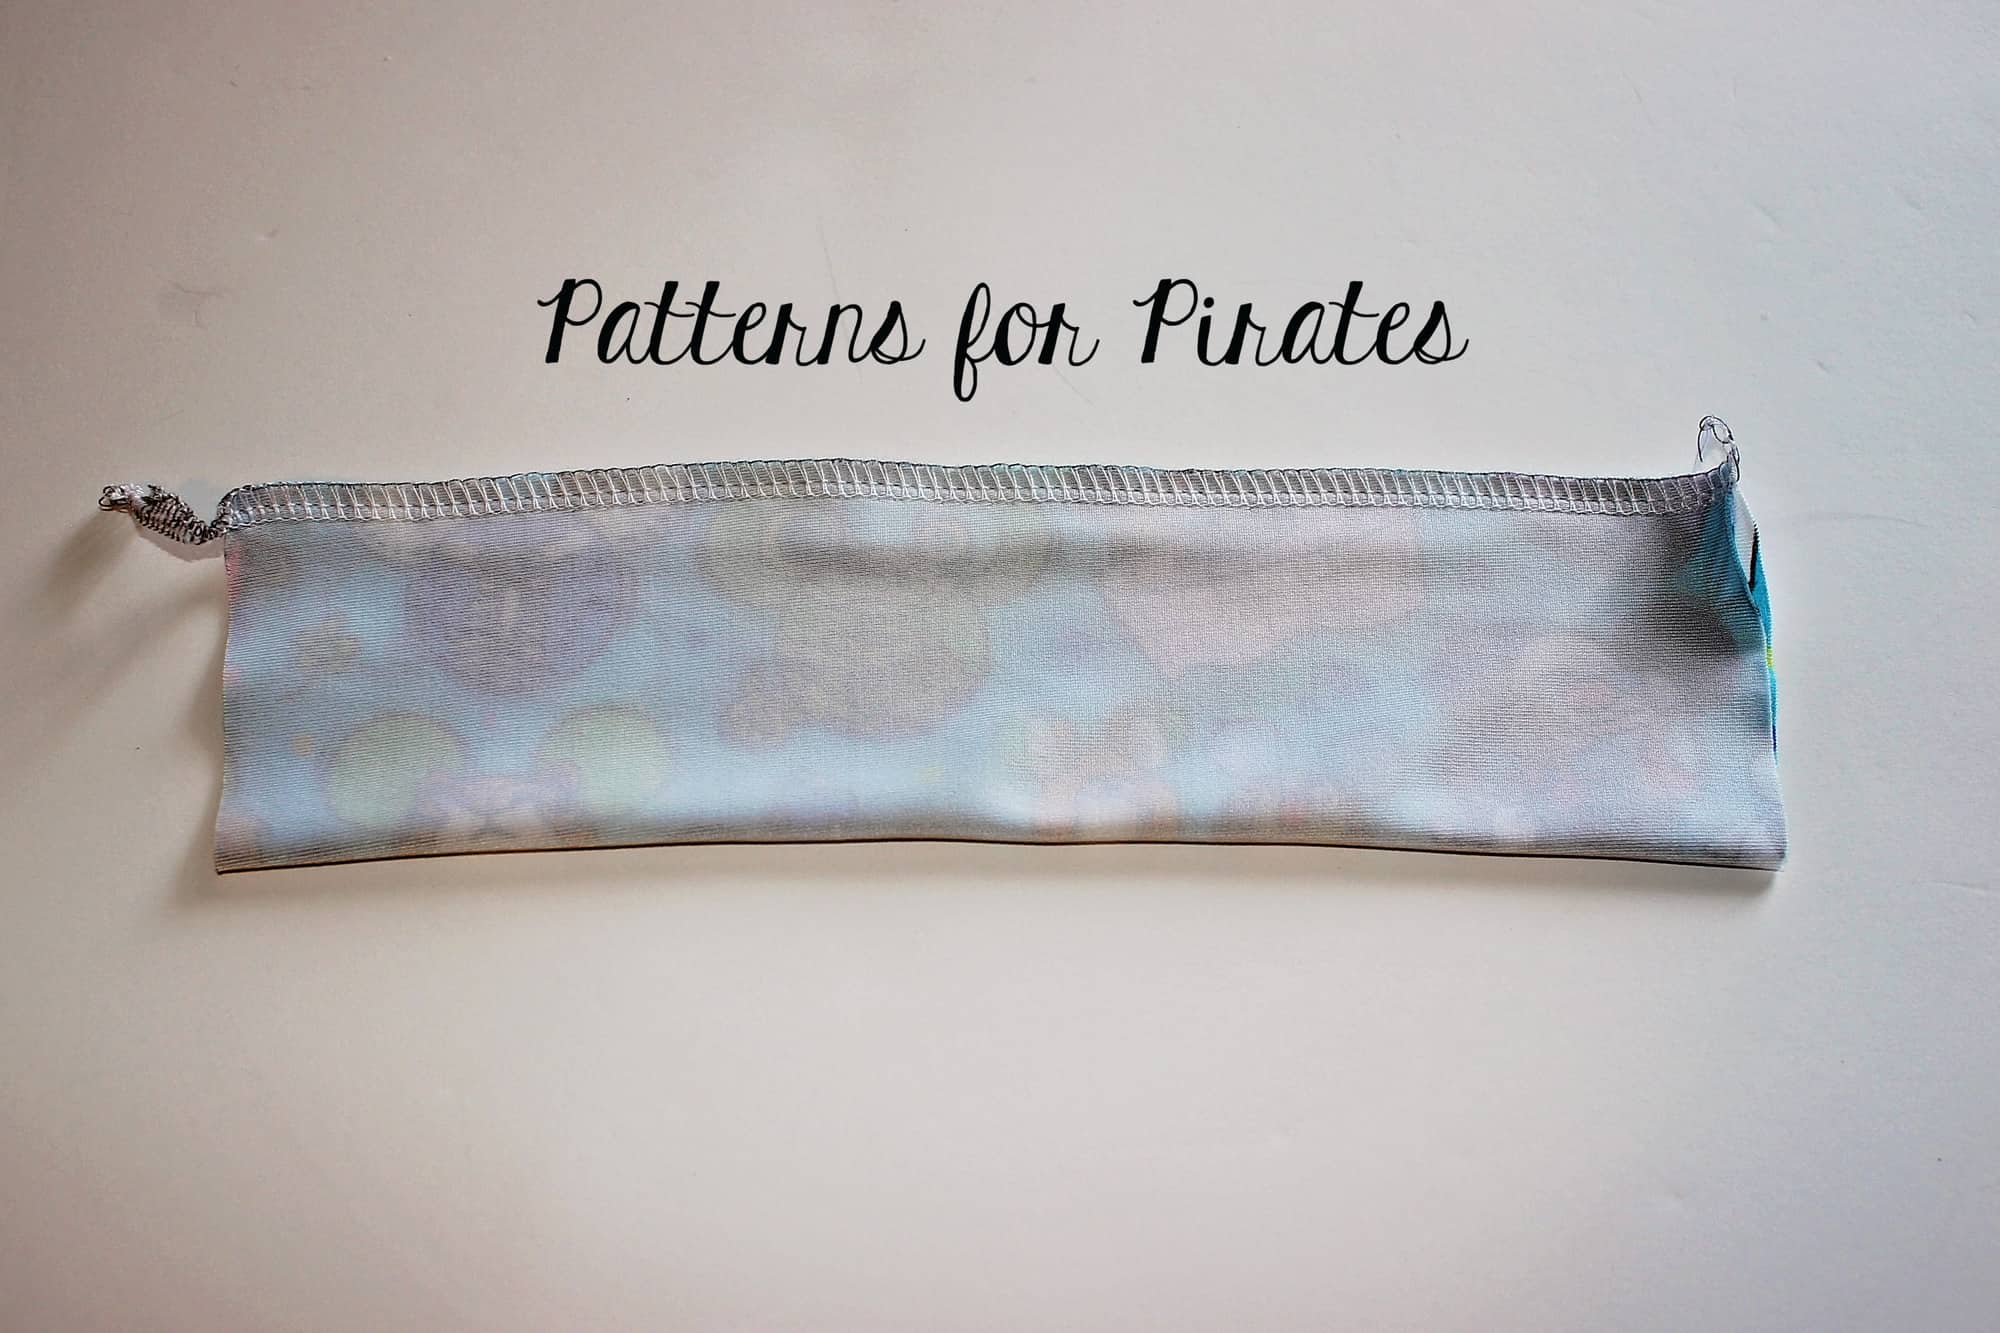
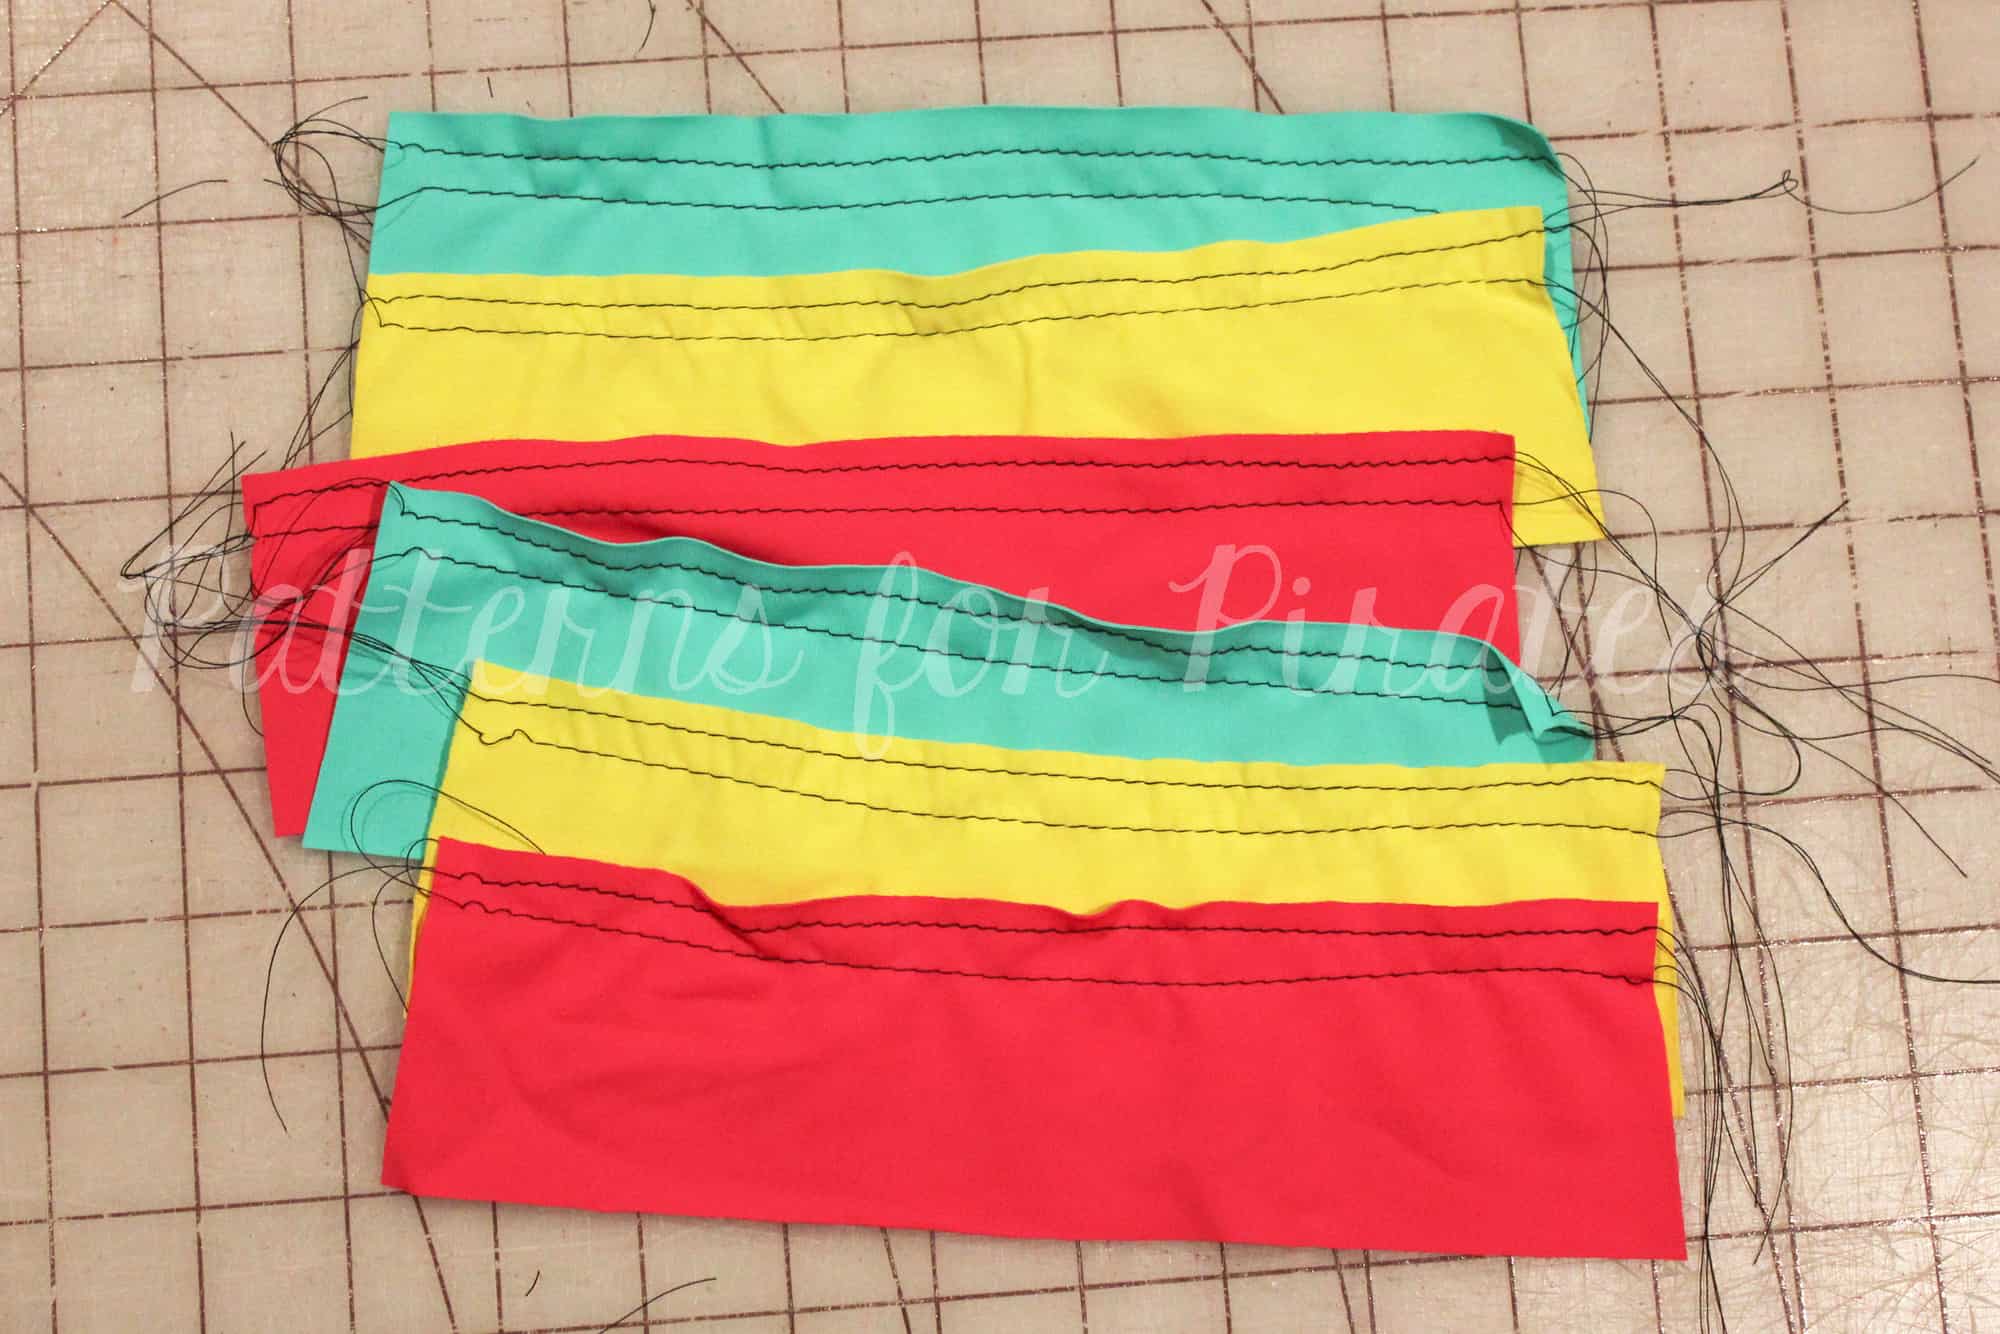
Sew up your bra exactly as you would until the underbust band steps.
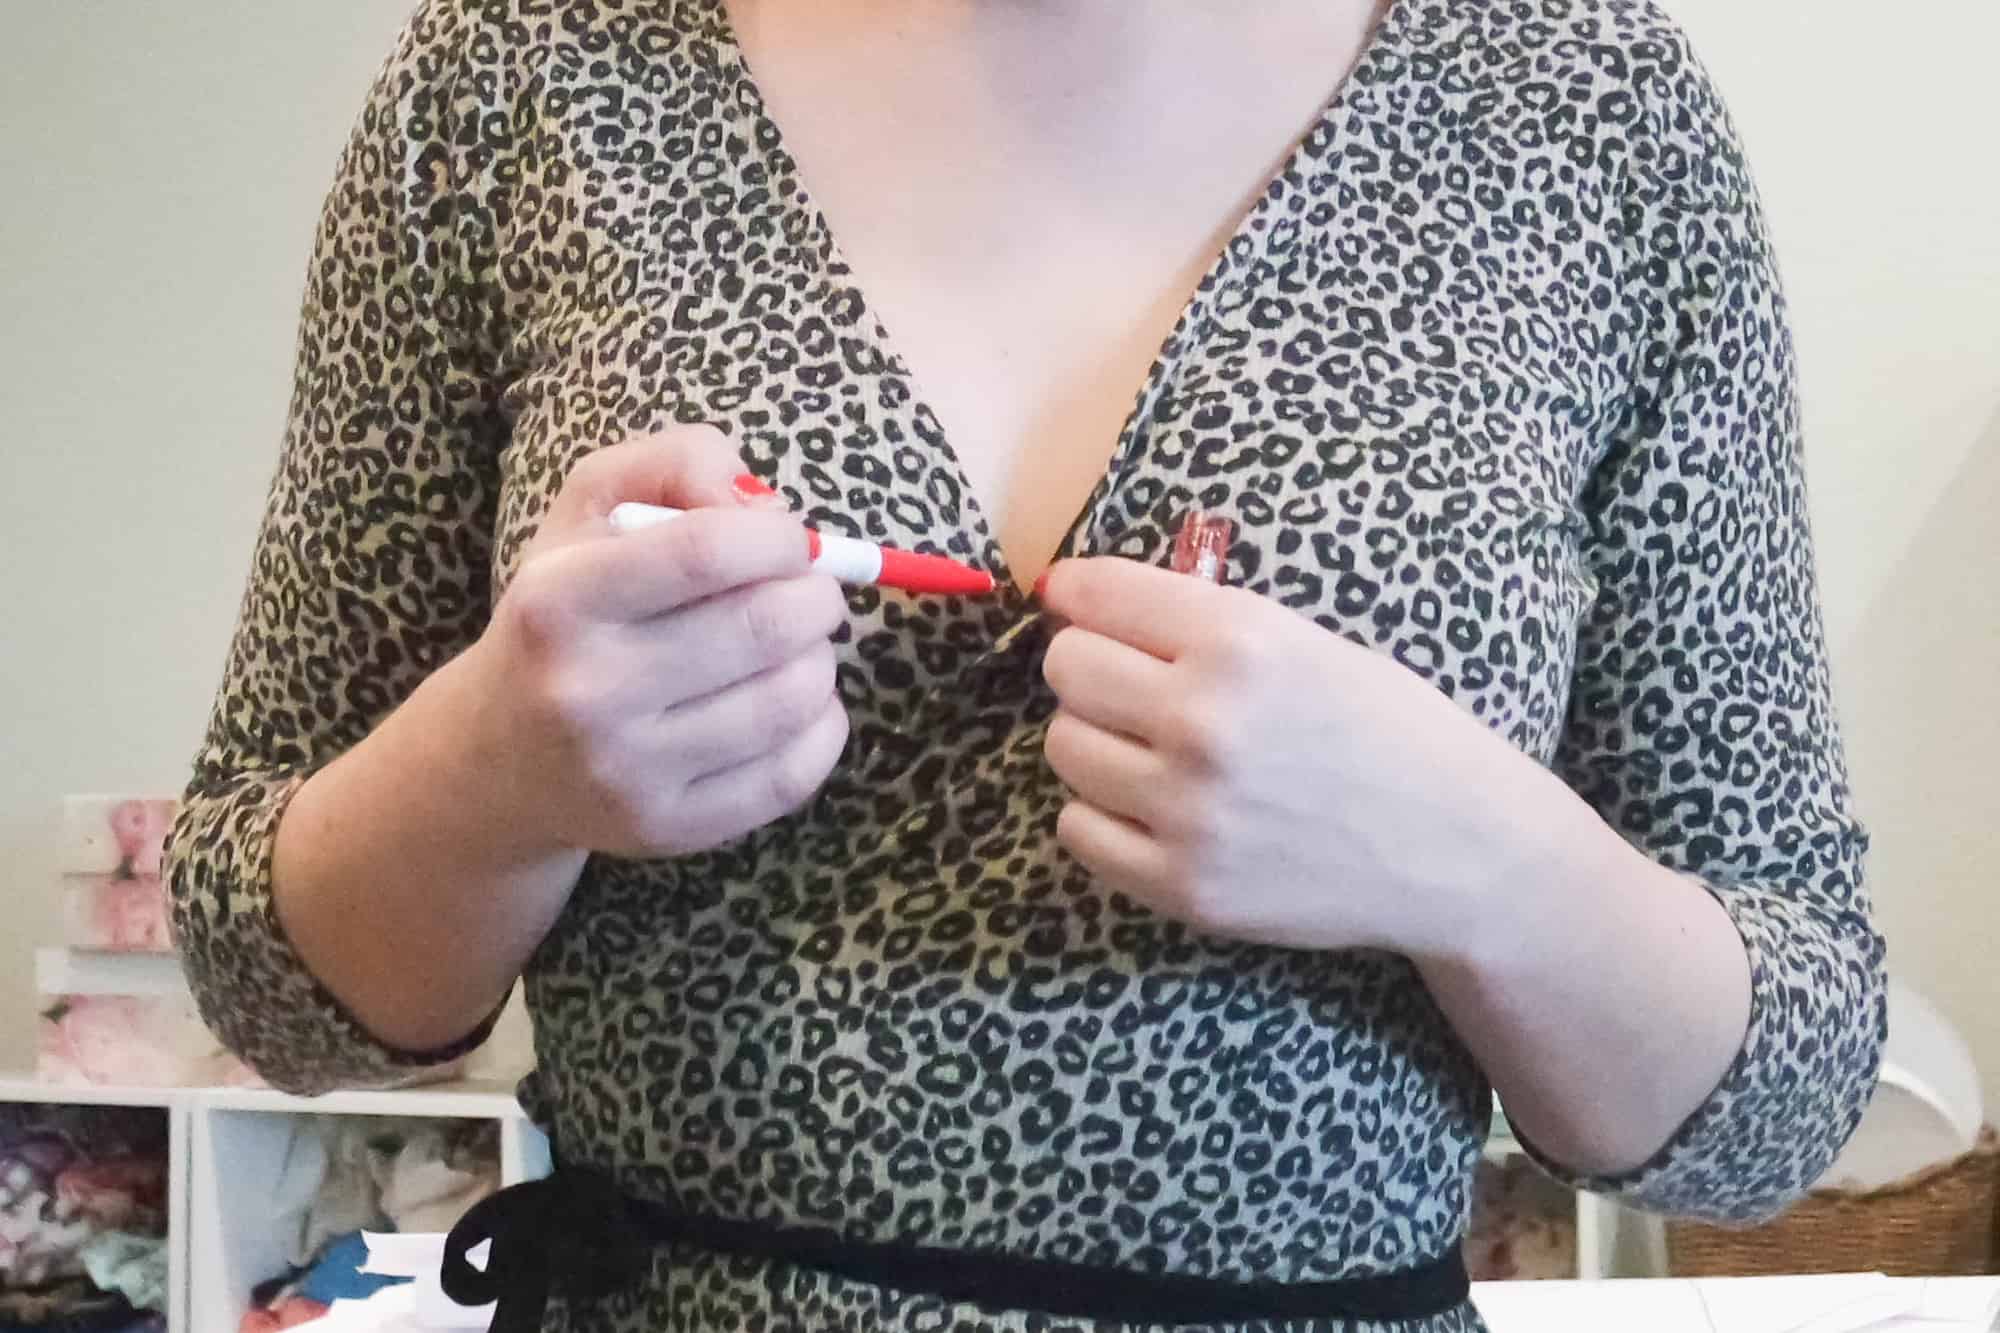
Mark your center front of your sports bra and your center of your elastic.
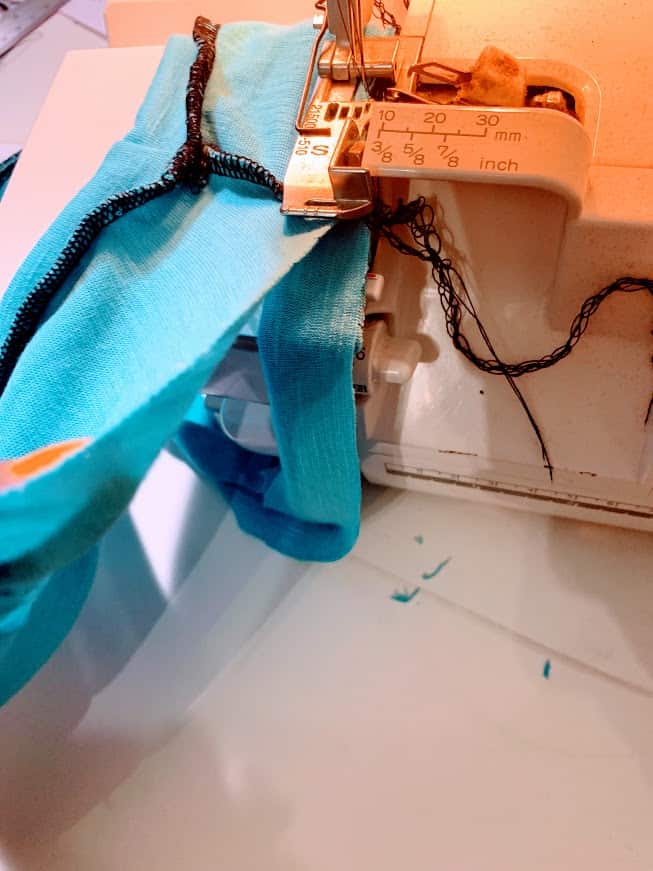
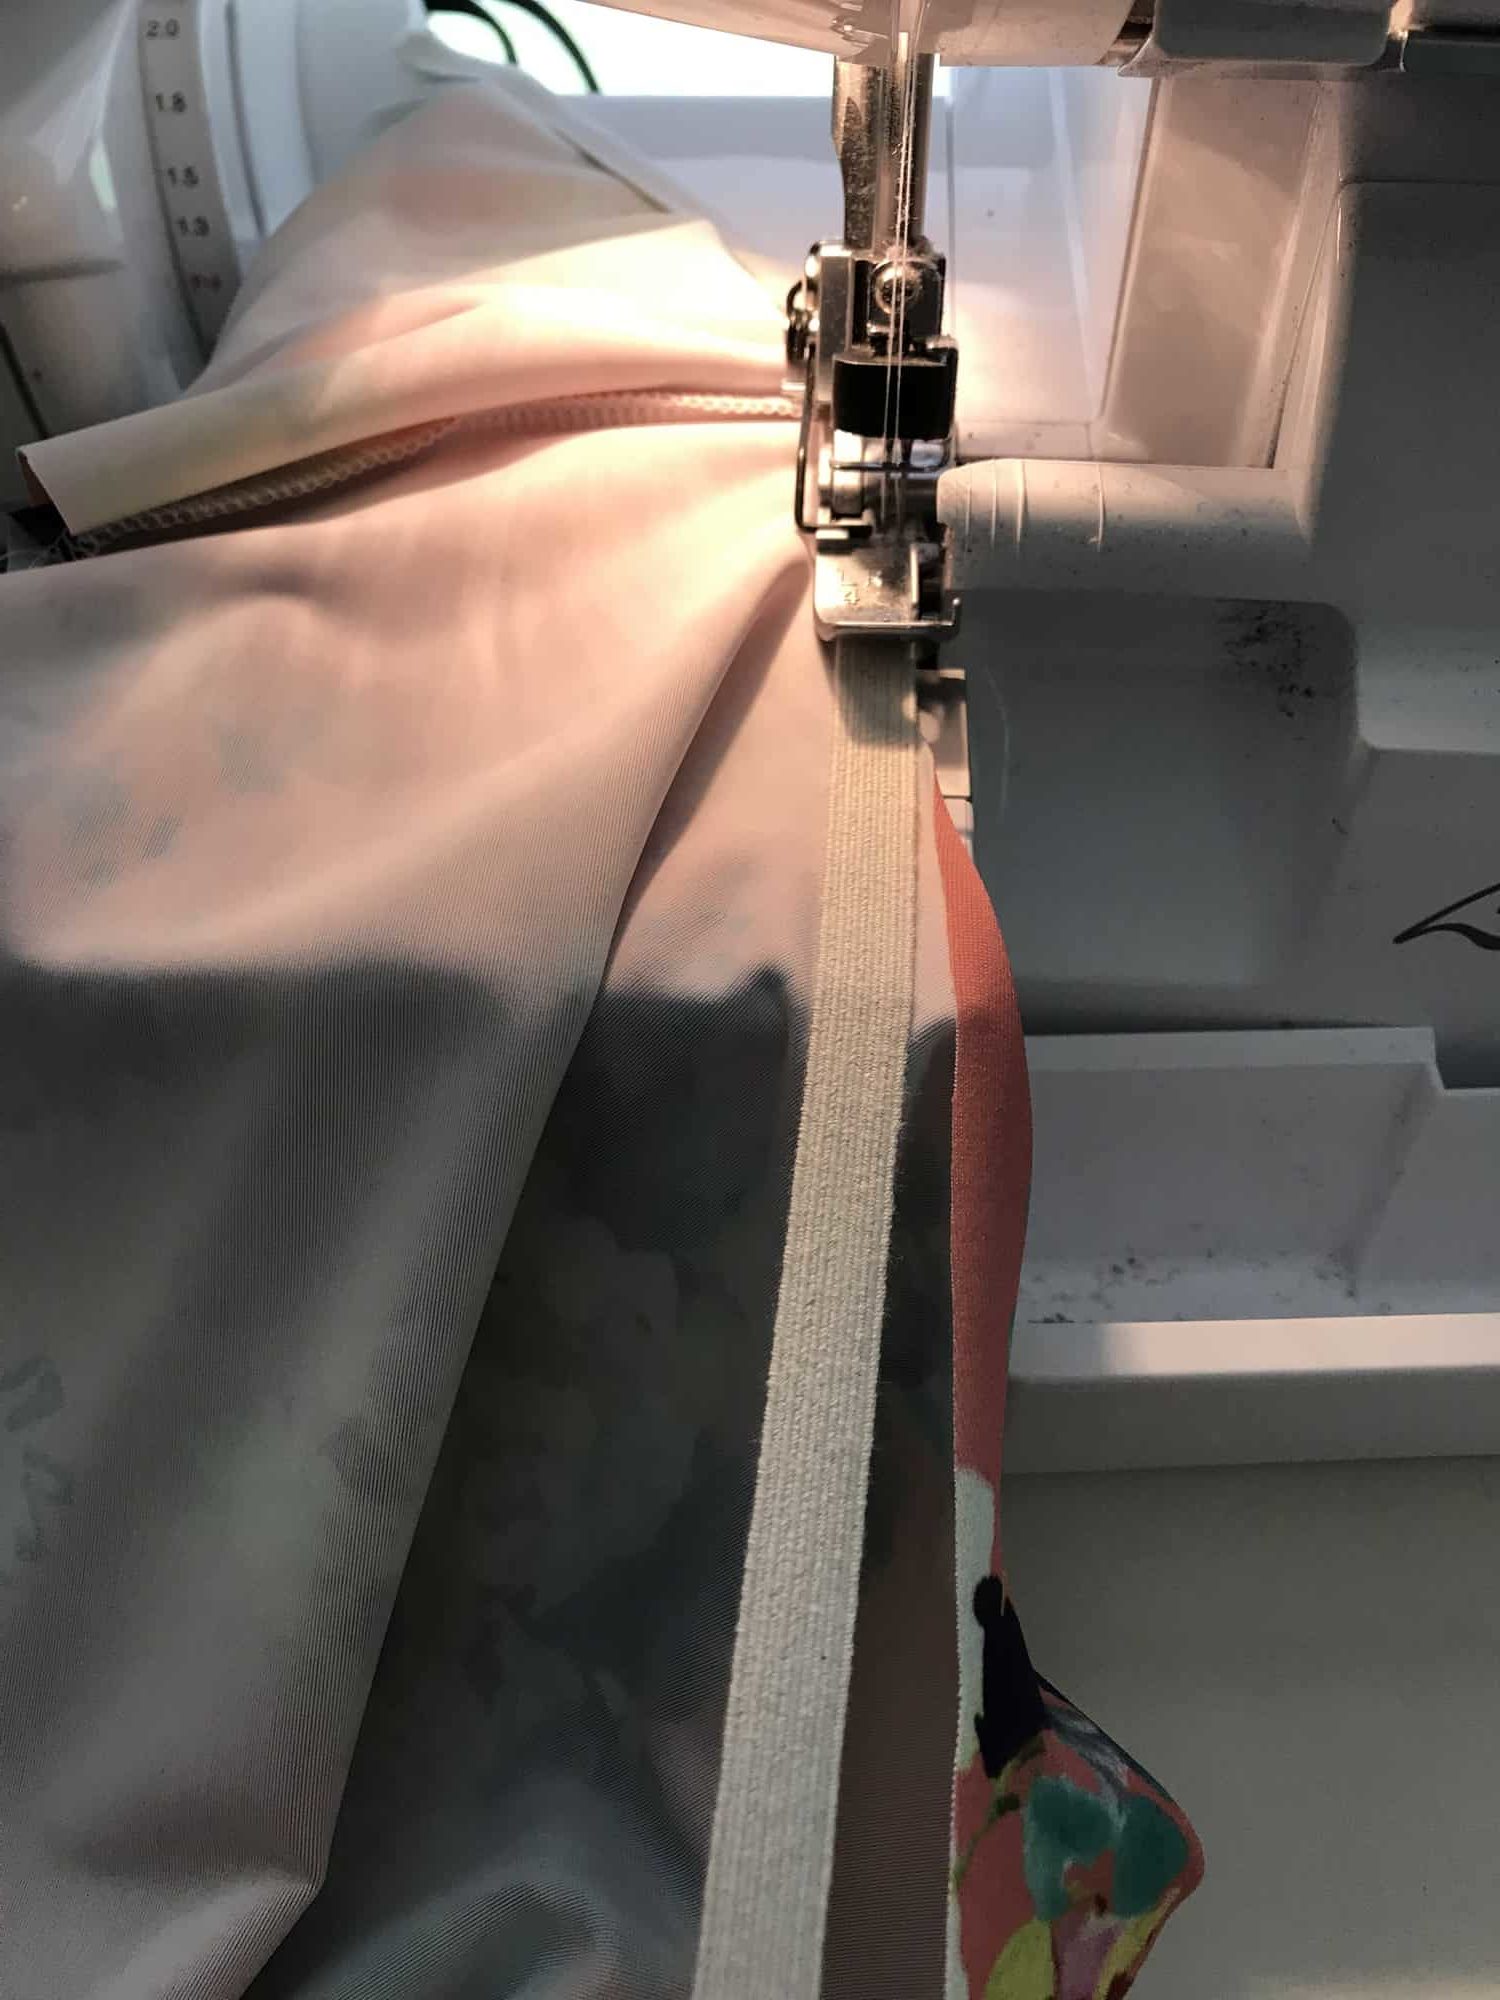
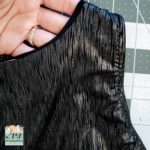
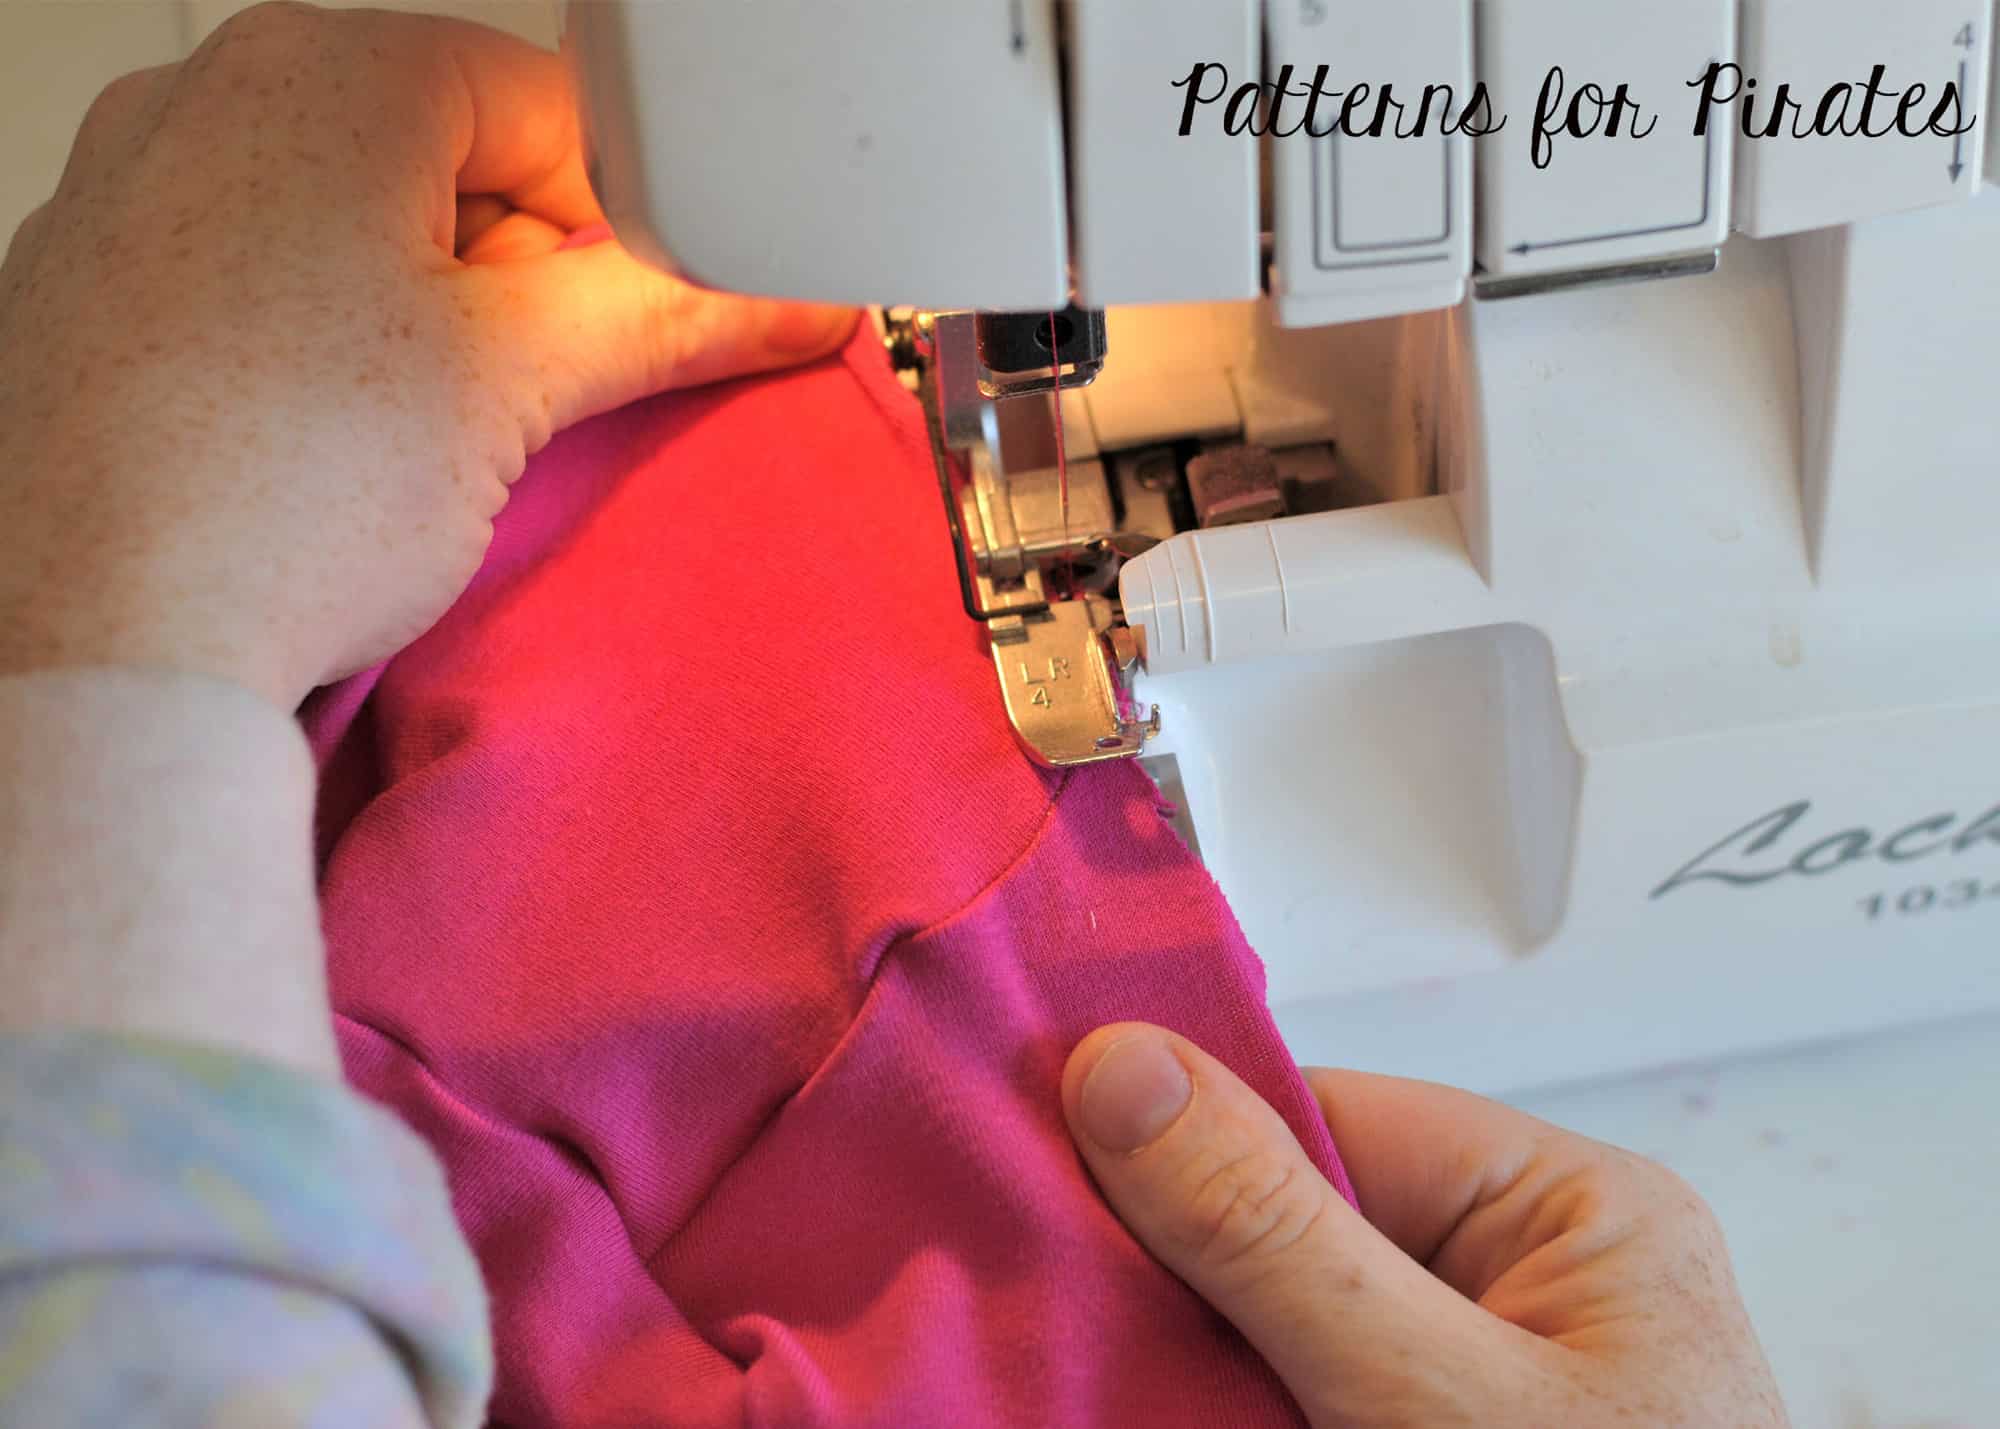
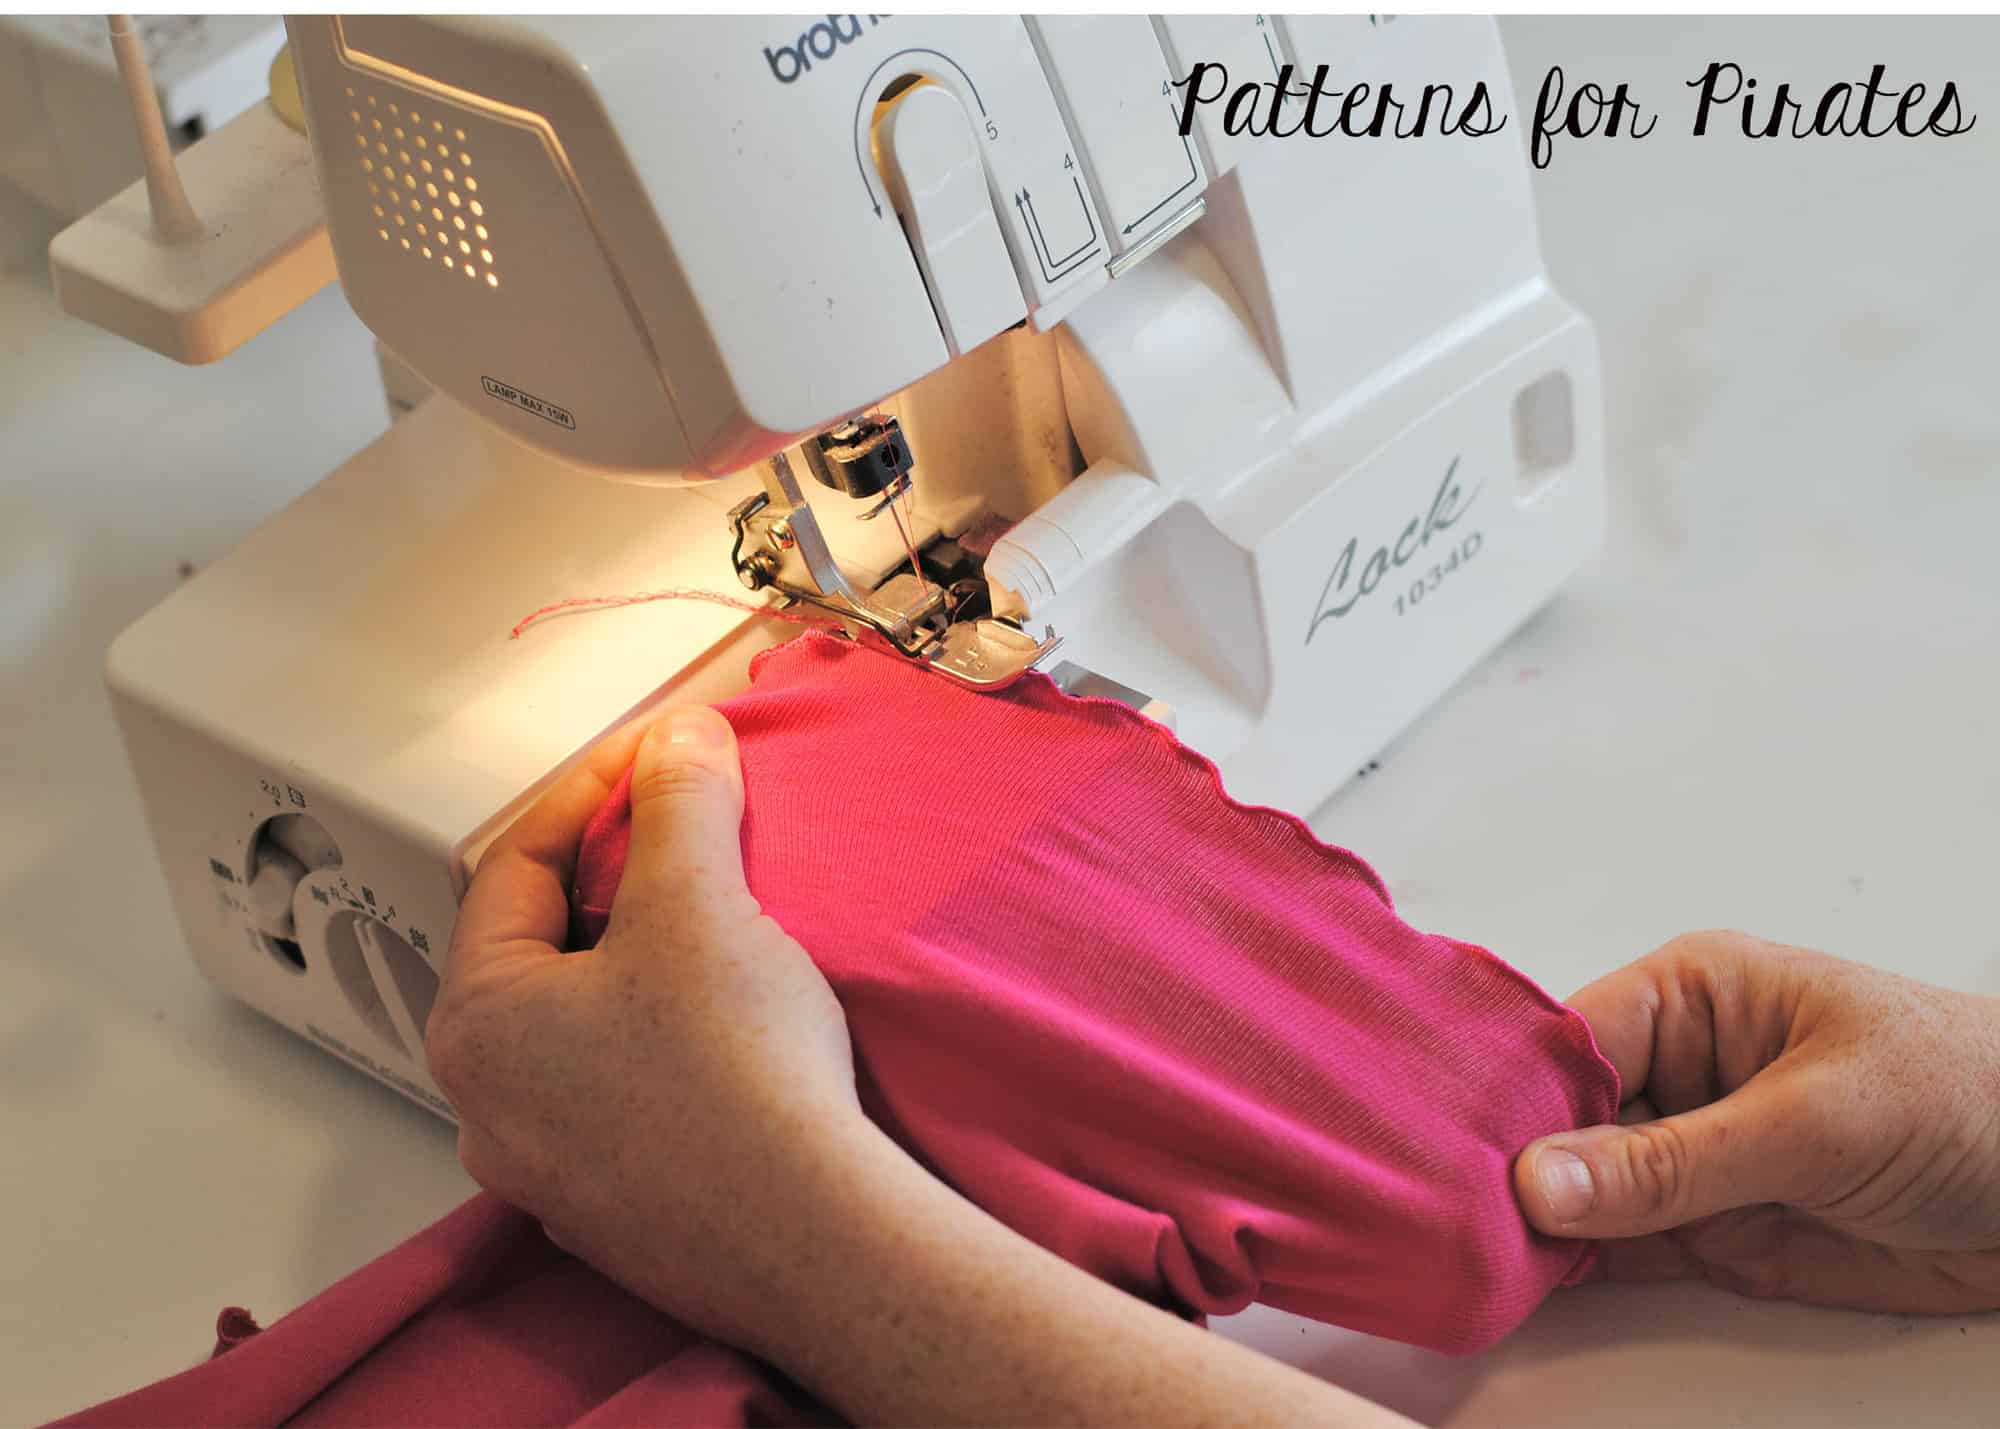
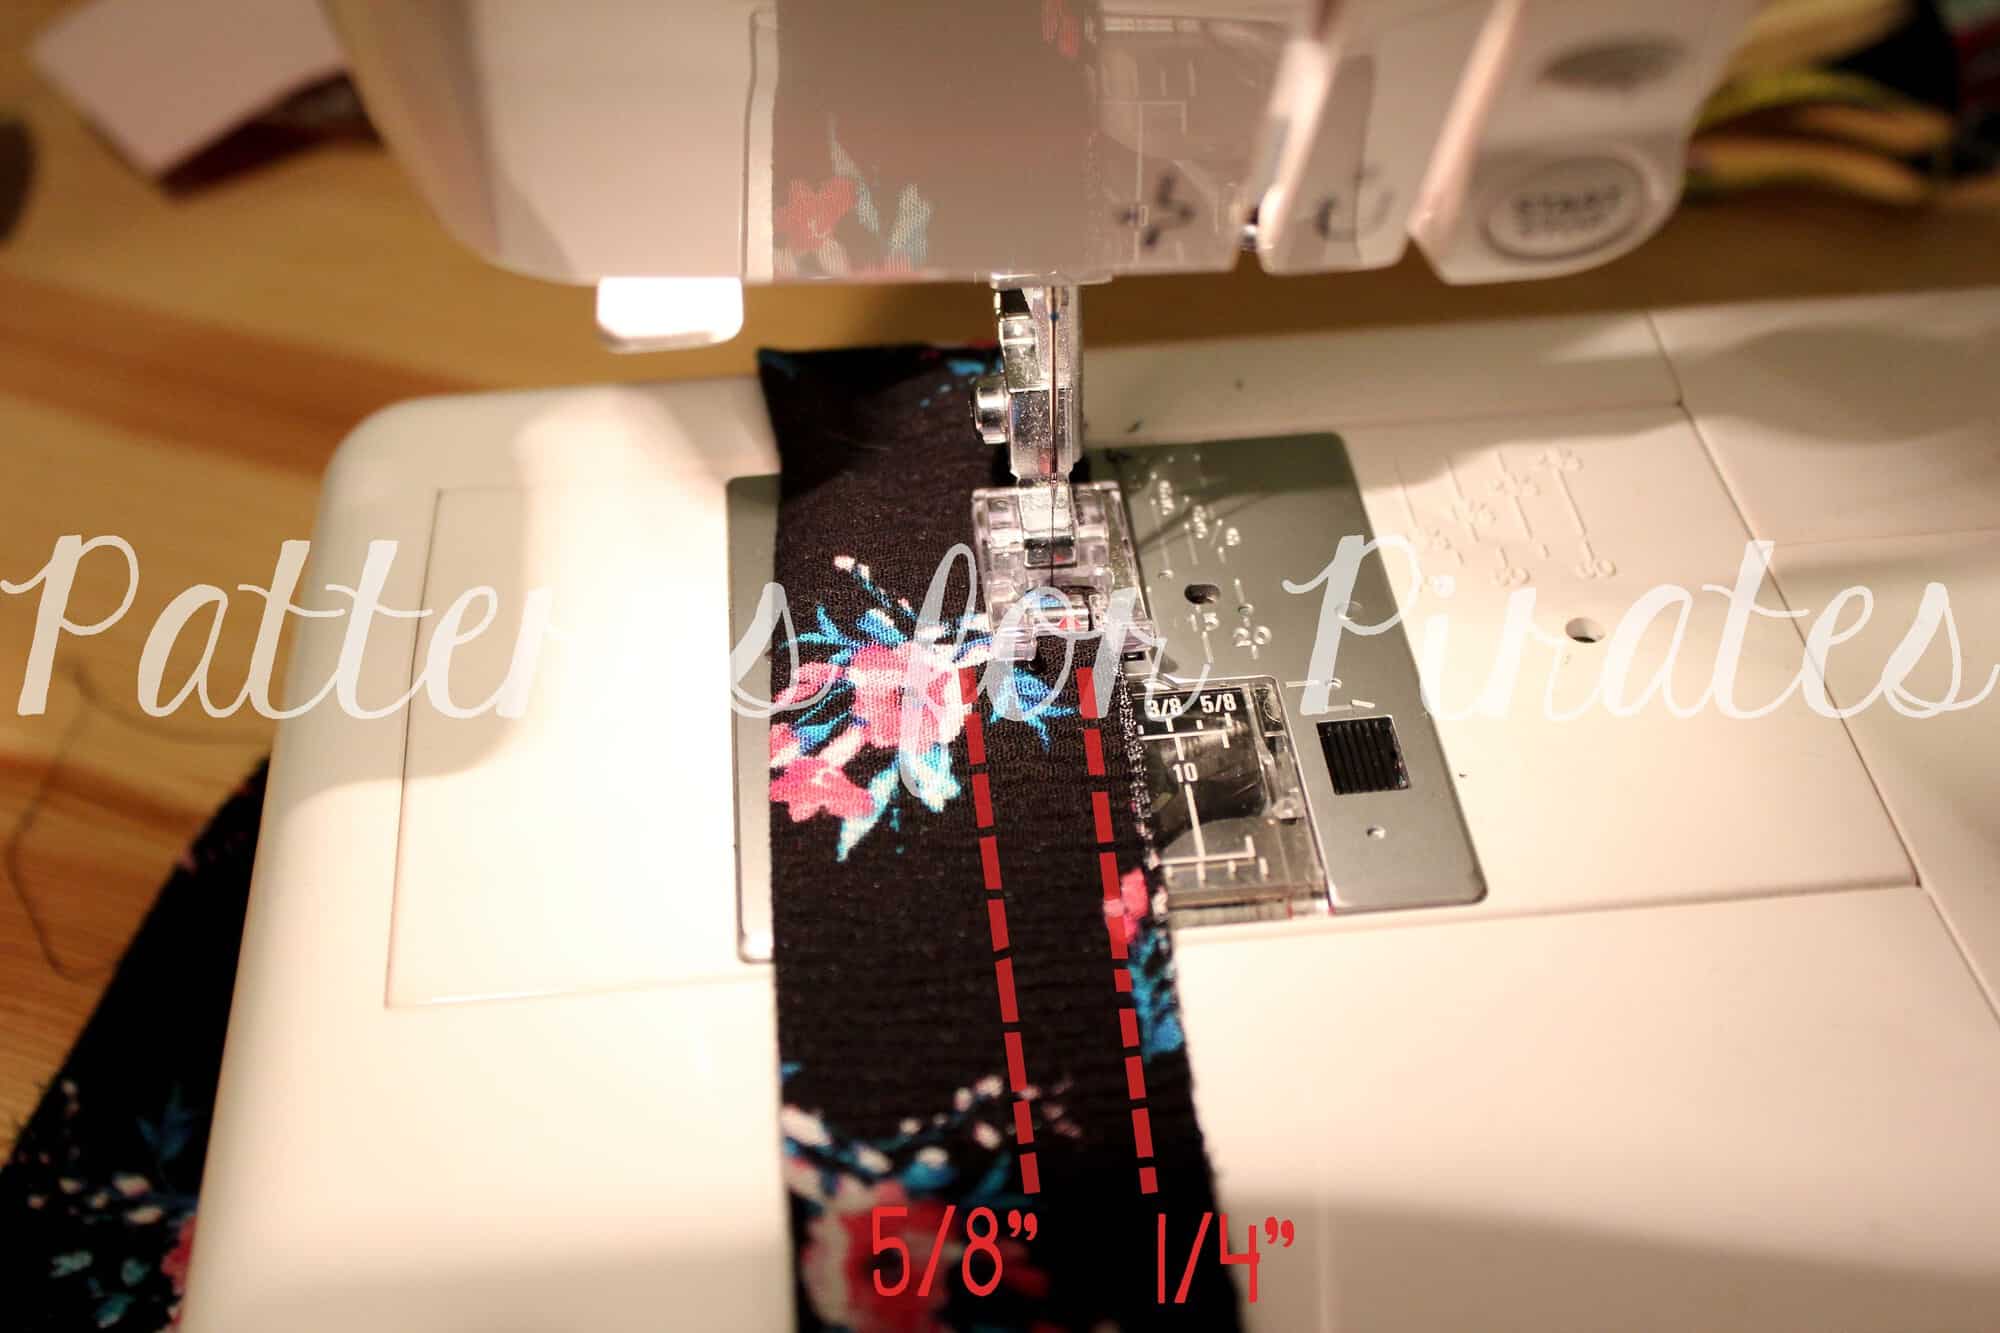
Pin your elastic onto the sports bra with the top edge of the elastic 3/8″ away from the sports bra’s bottom raw edge. (Tip- I like to baste my sports bra around the bottom edge 3/8″ away so I have a clear marking to follow). You do not need to stretch either the elastic or the sports bra at all.
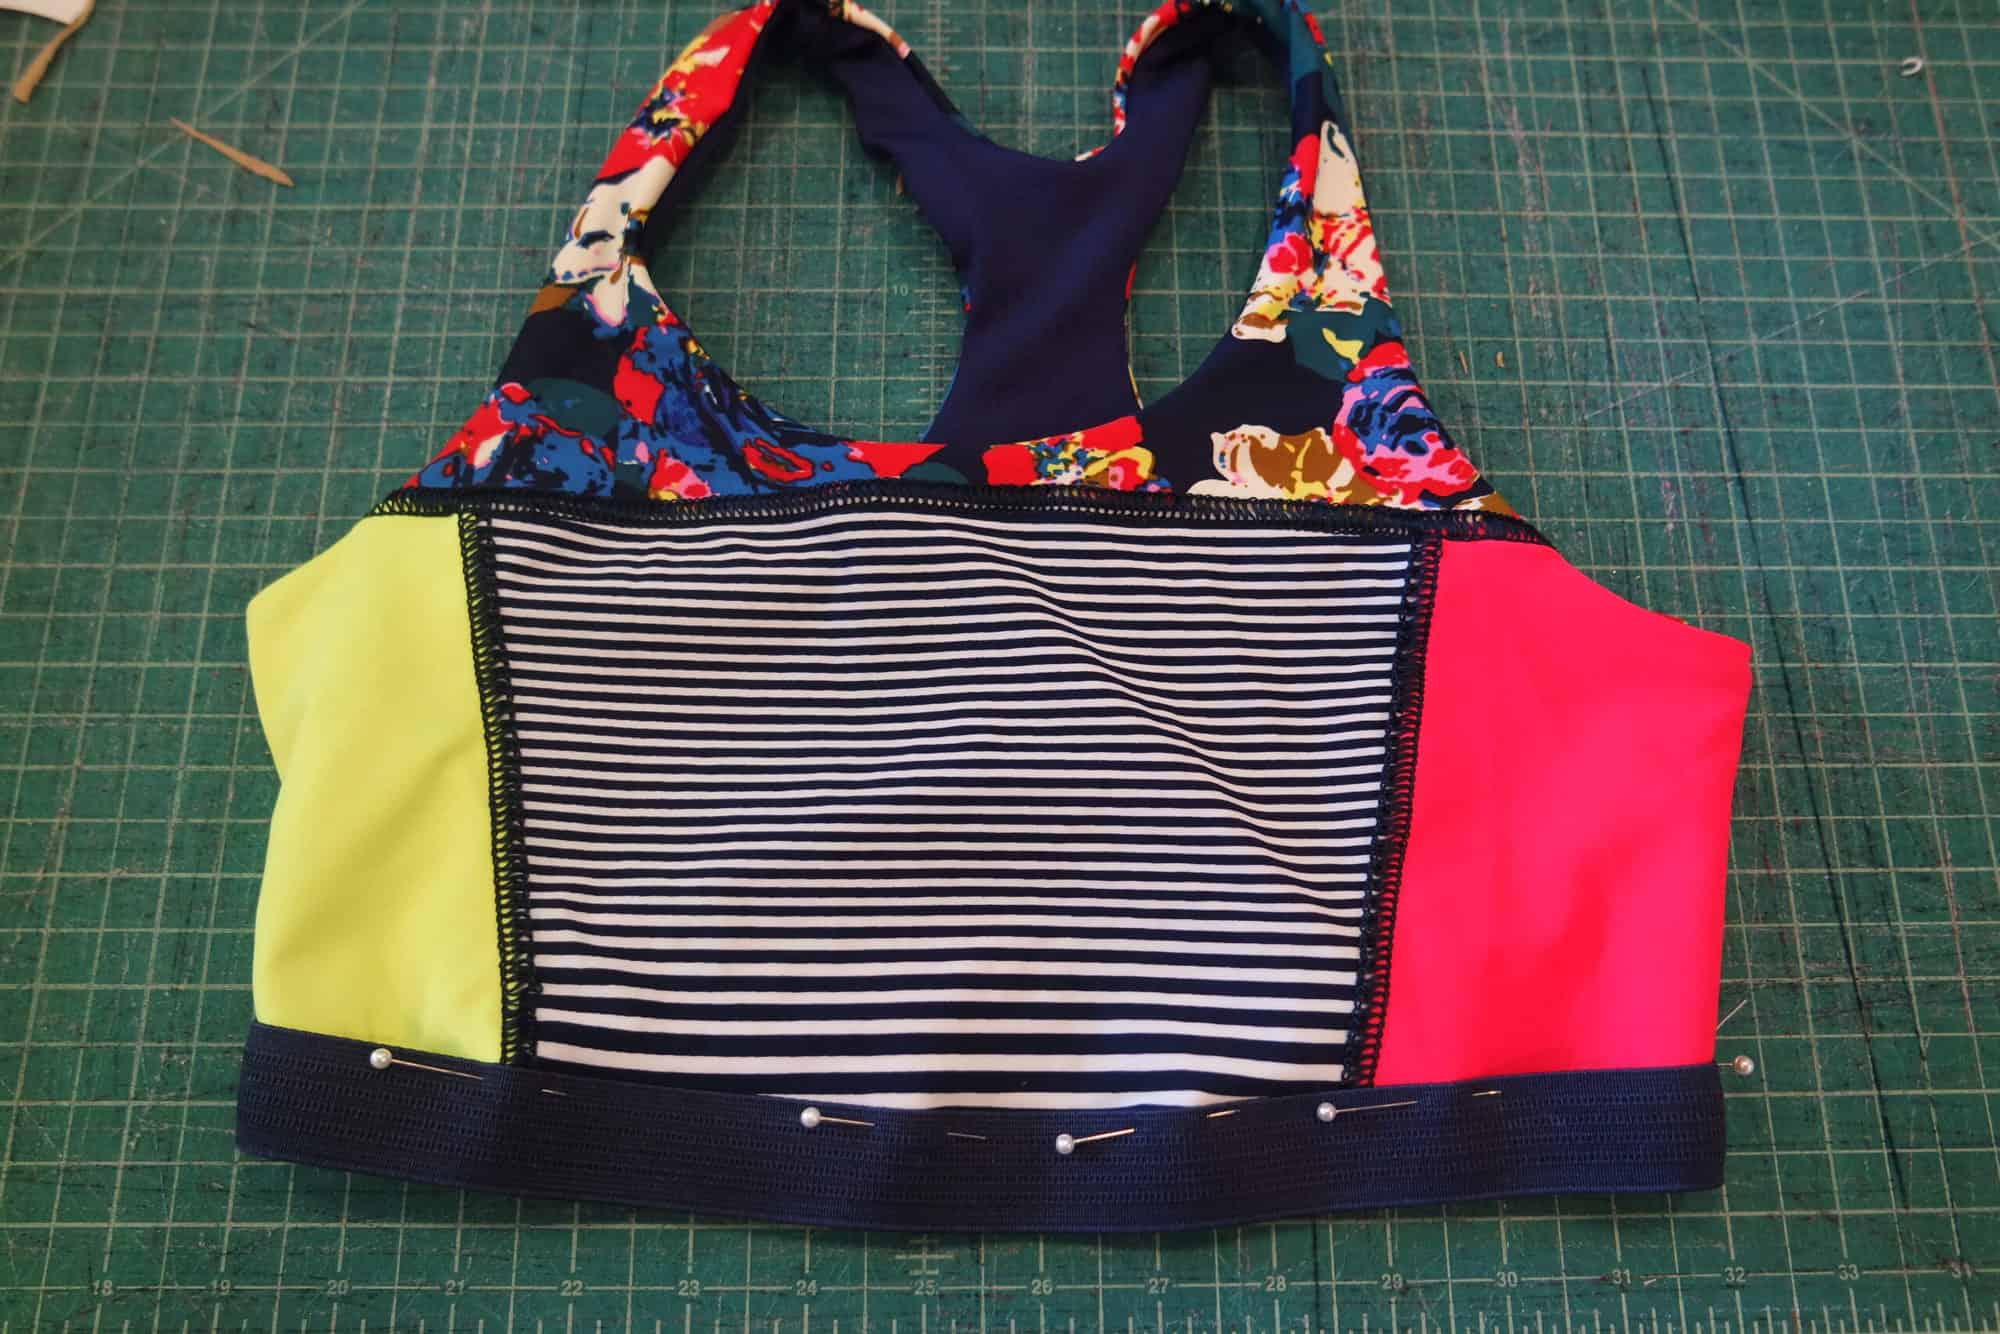
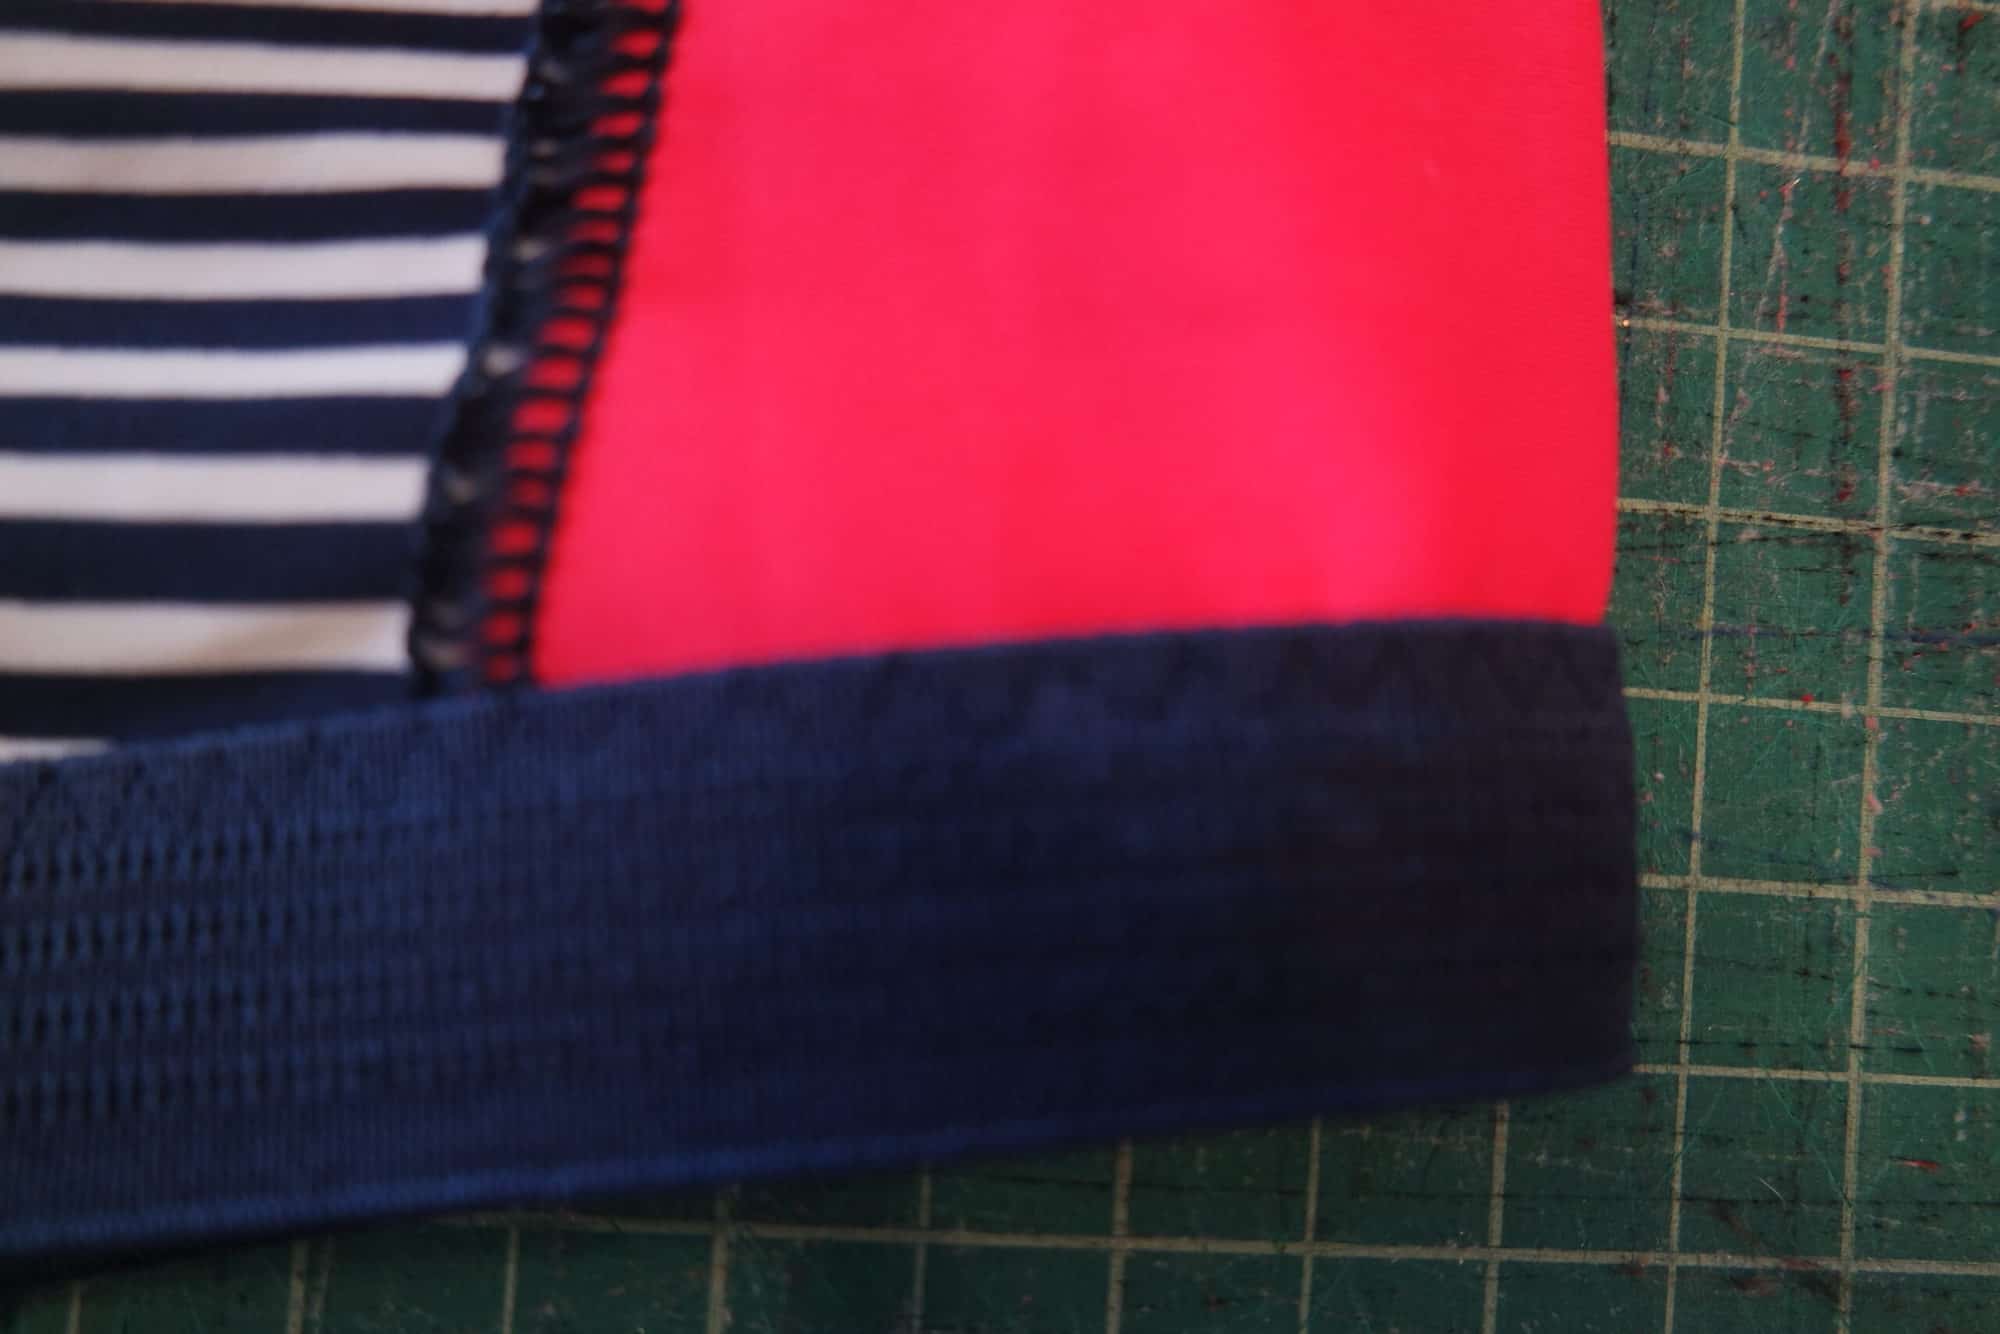
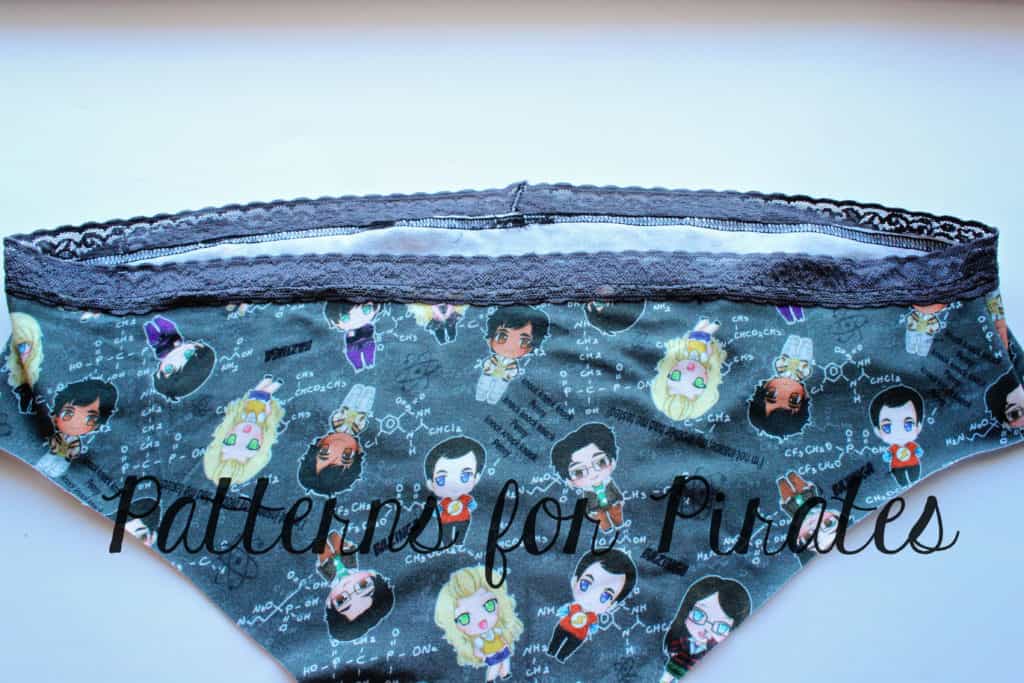
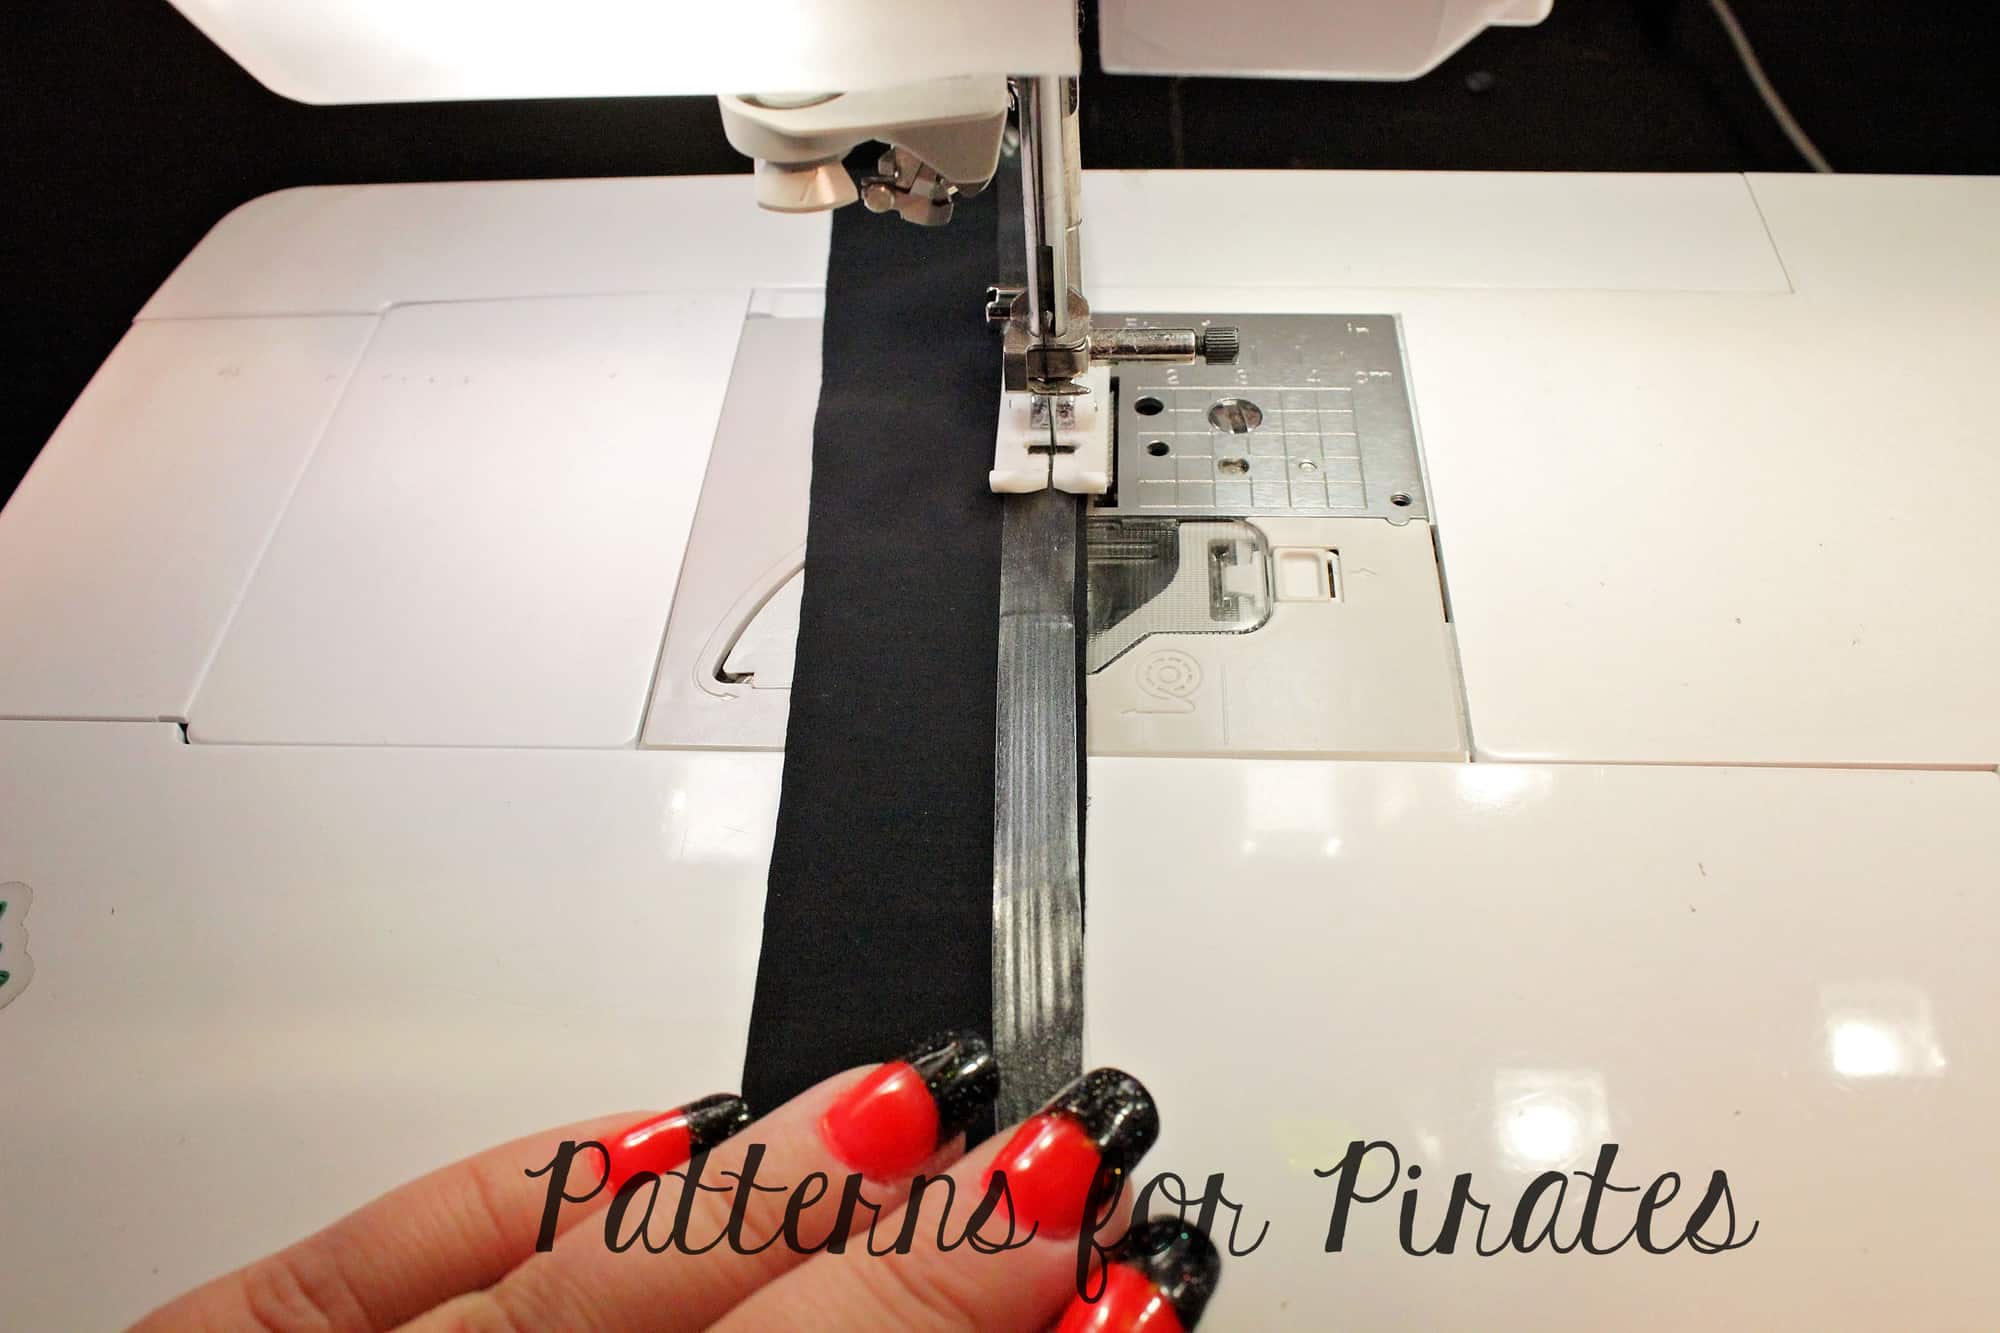
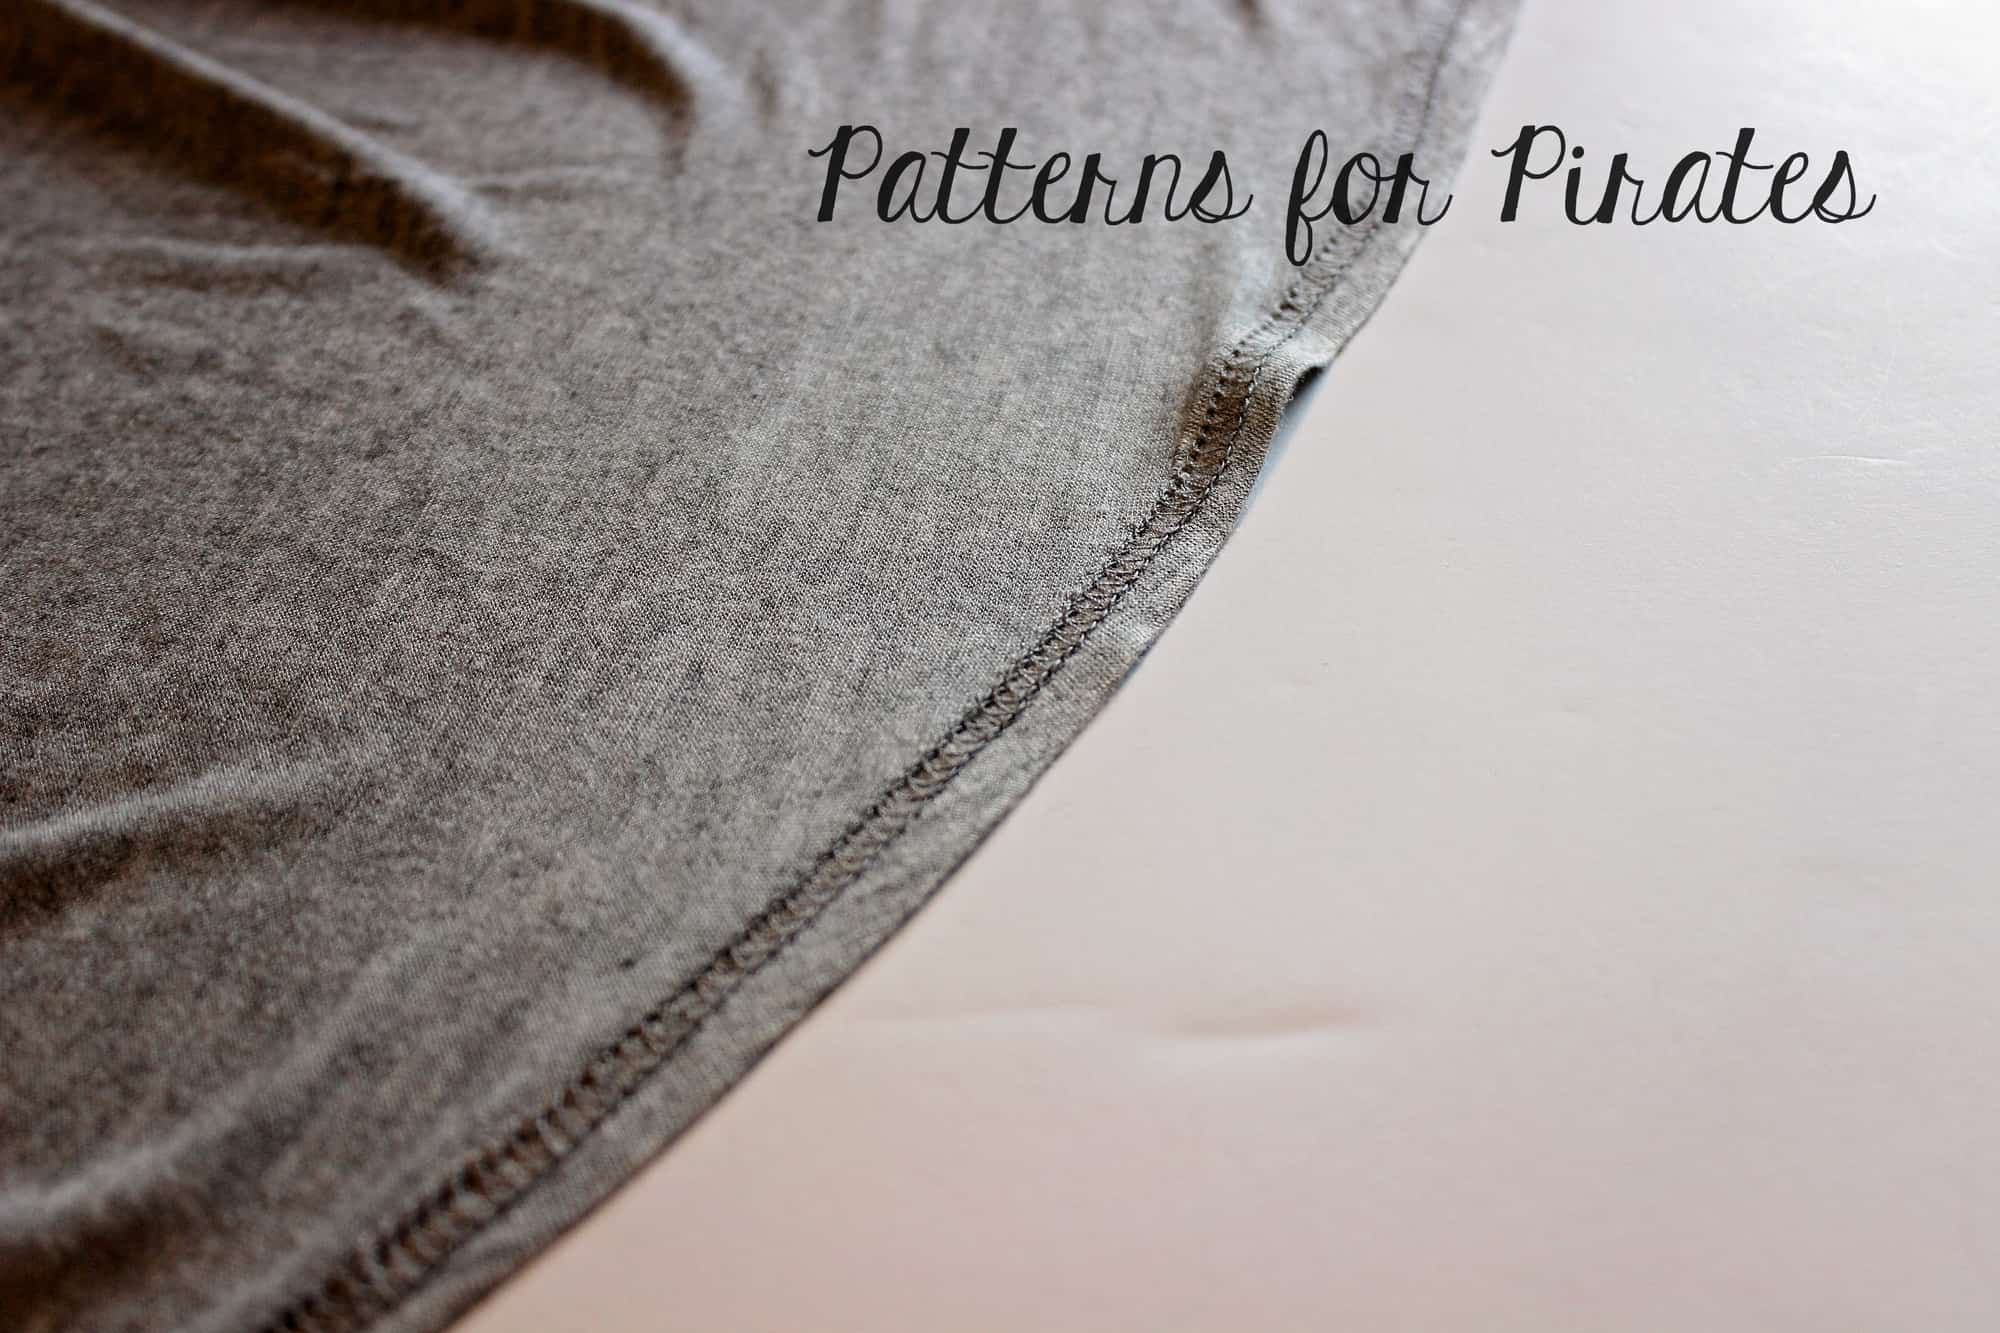
Stitch the elastic in place using your favorite high stretch stitch (mine is a triple step zigzag).
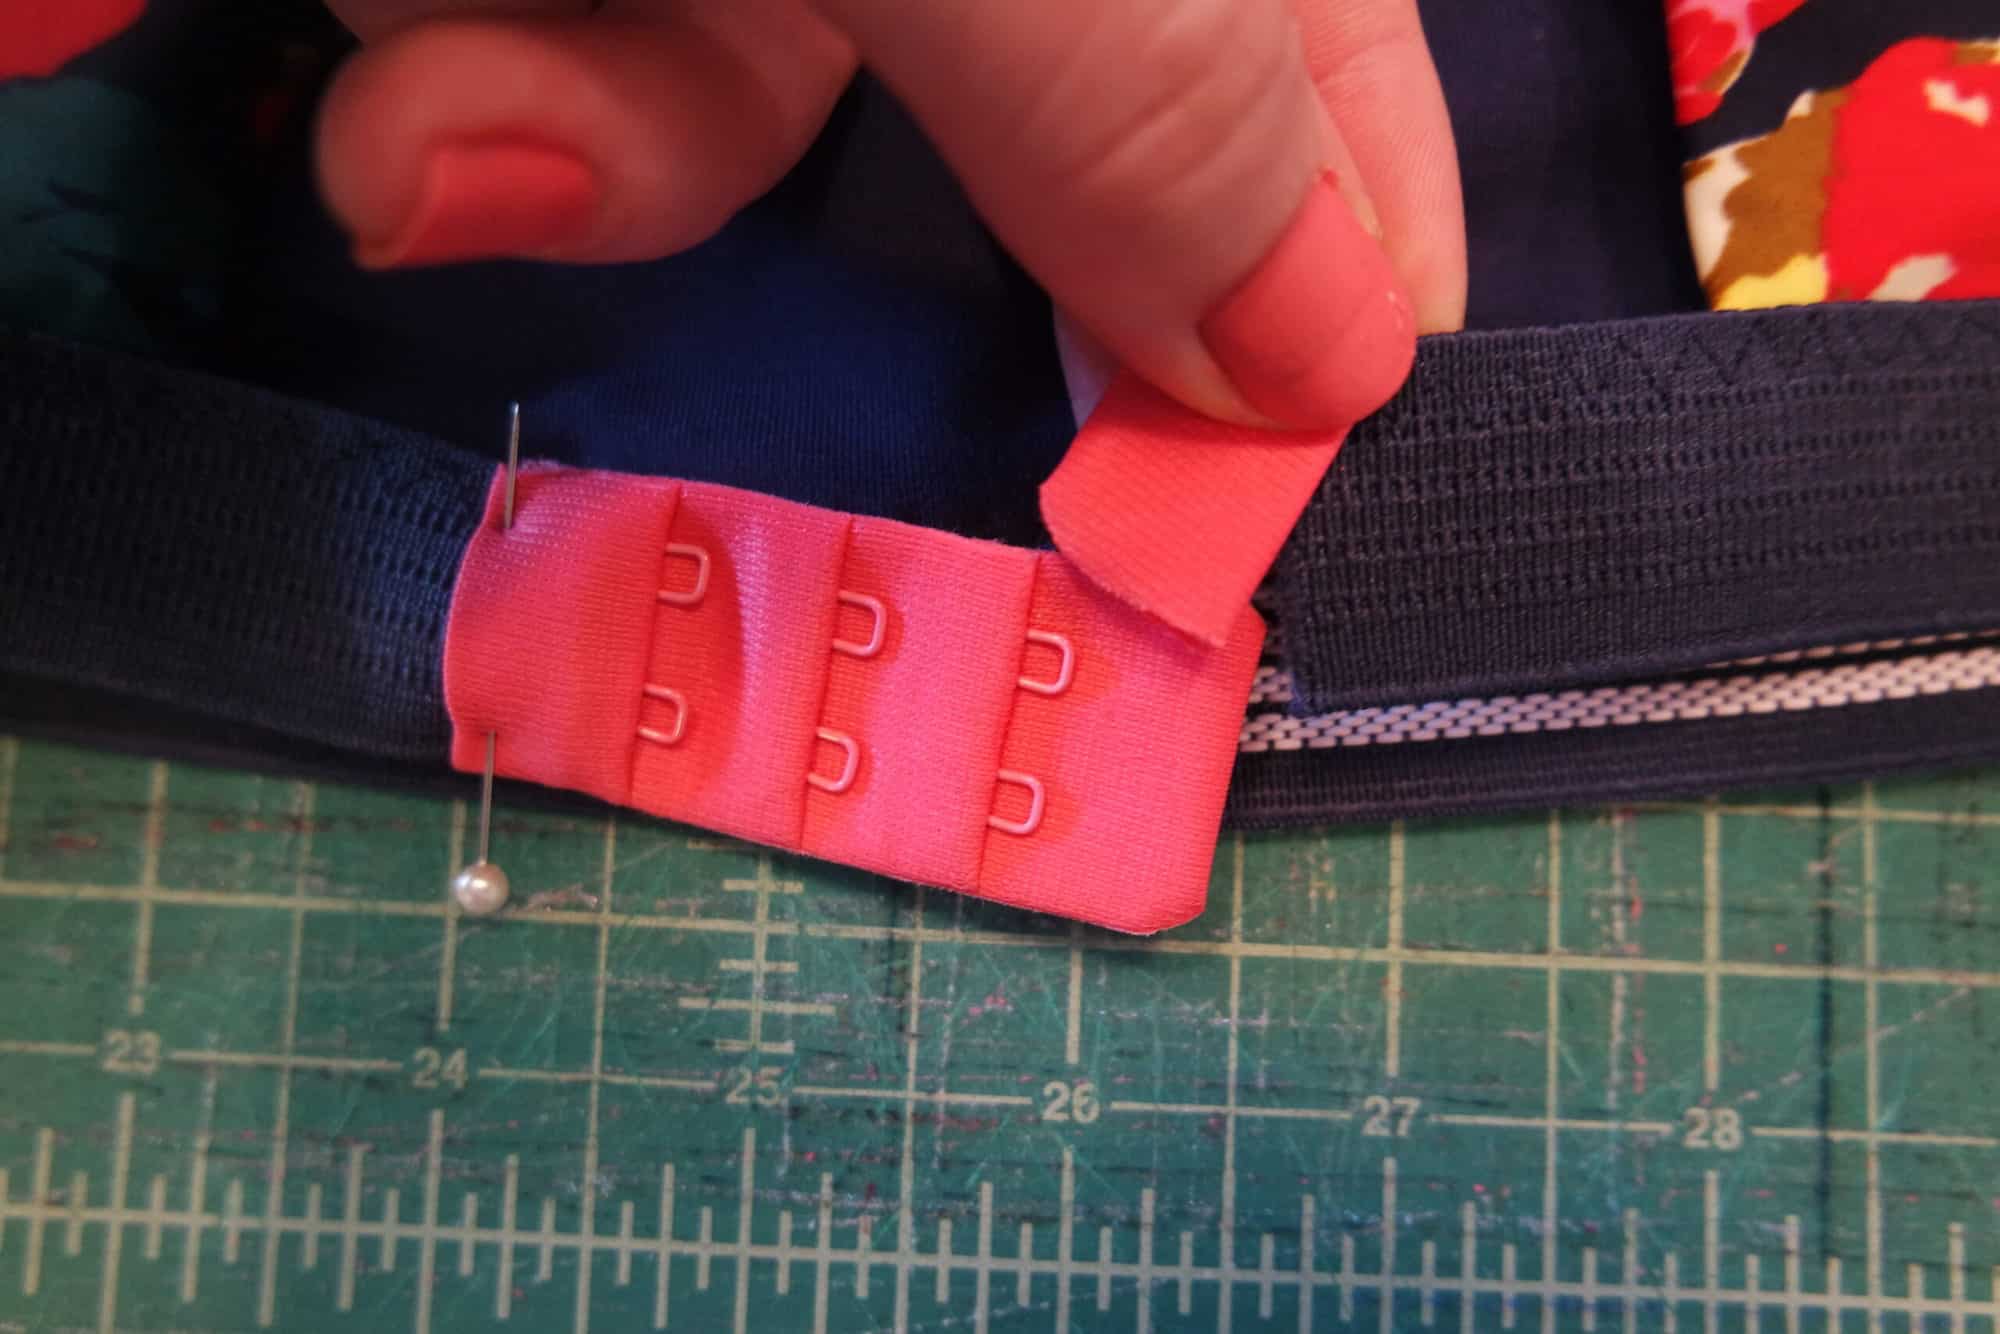
If you’re using the hook and eye bra closure option attach bra clasps just the same as the tutorial.
Now enjoy!
Judy
…..
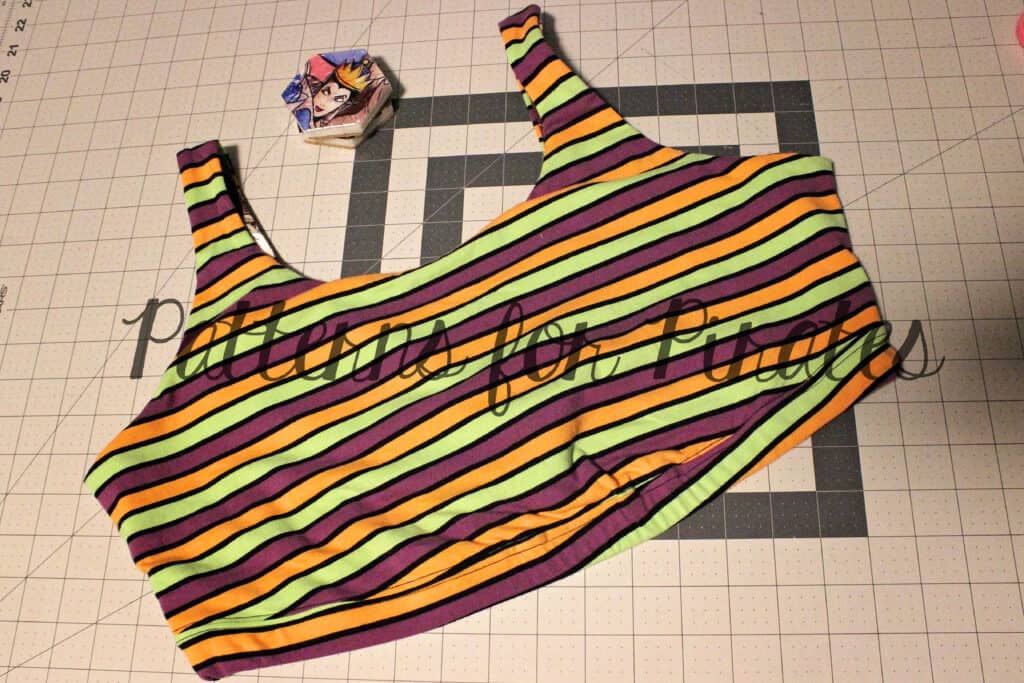
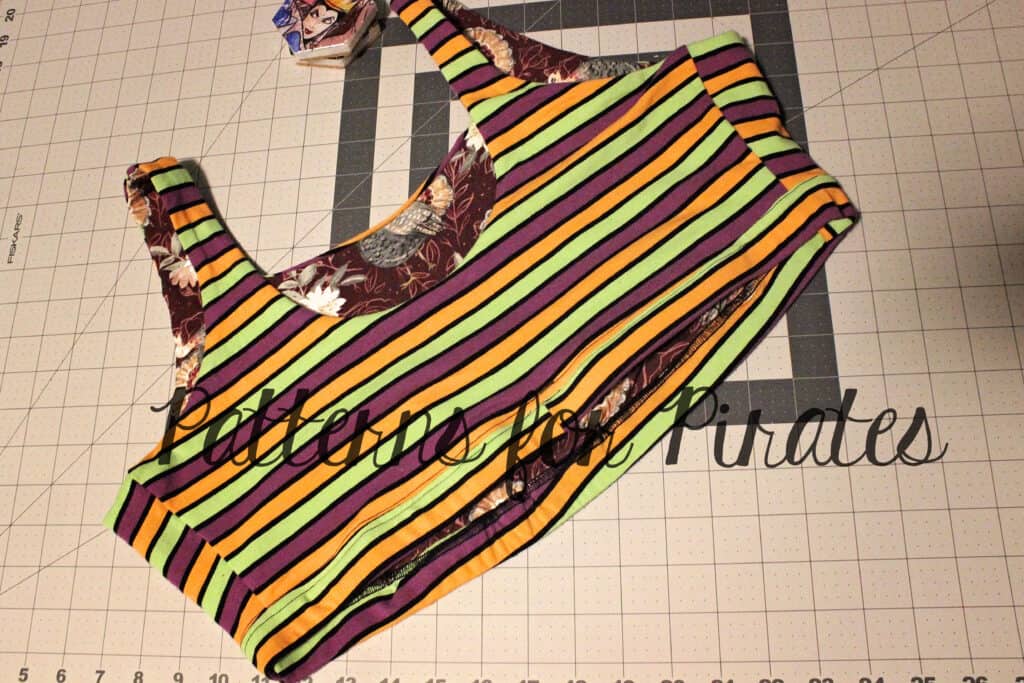
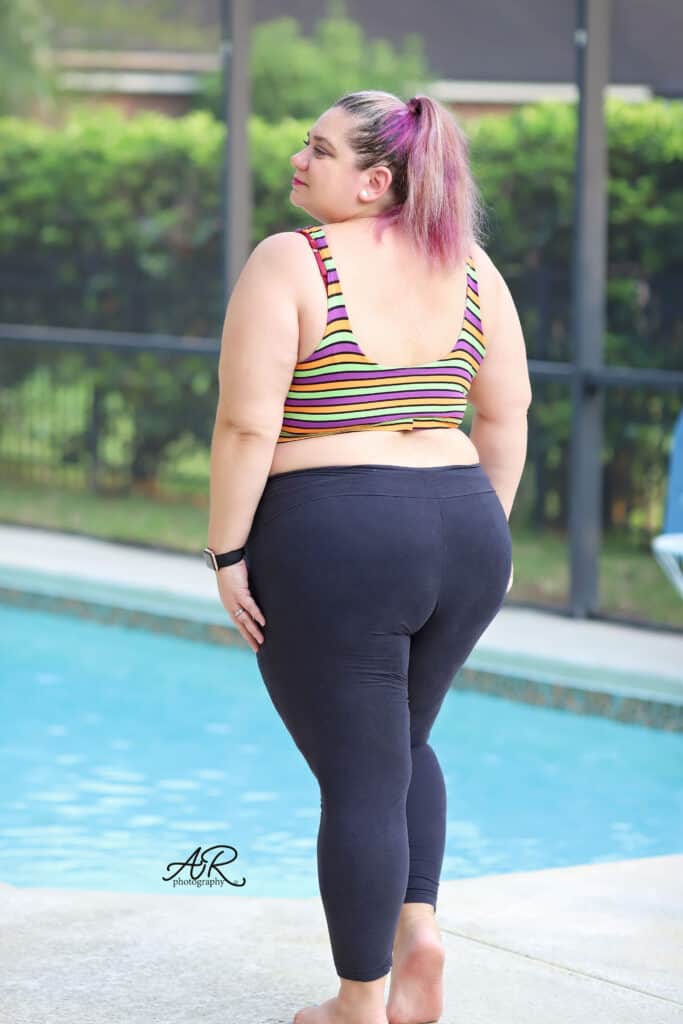
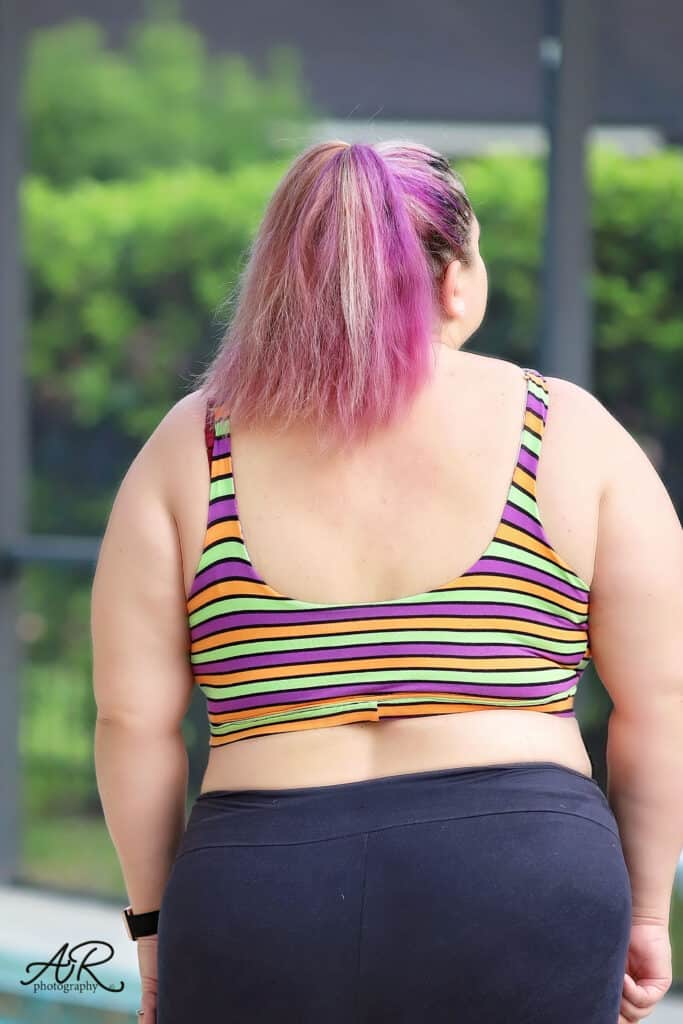
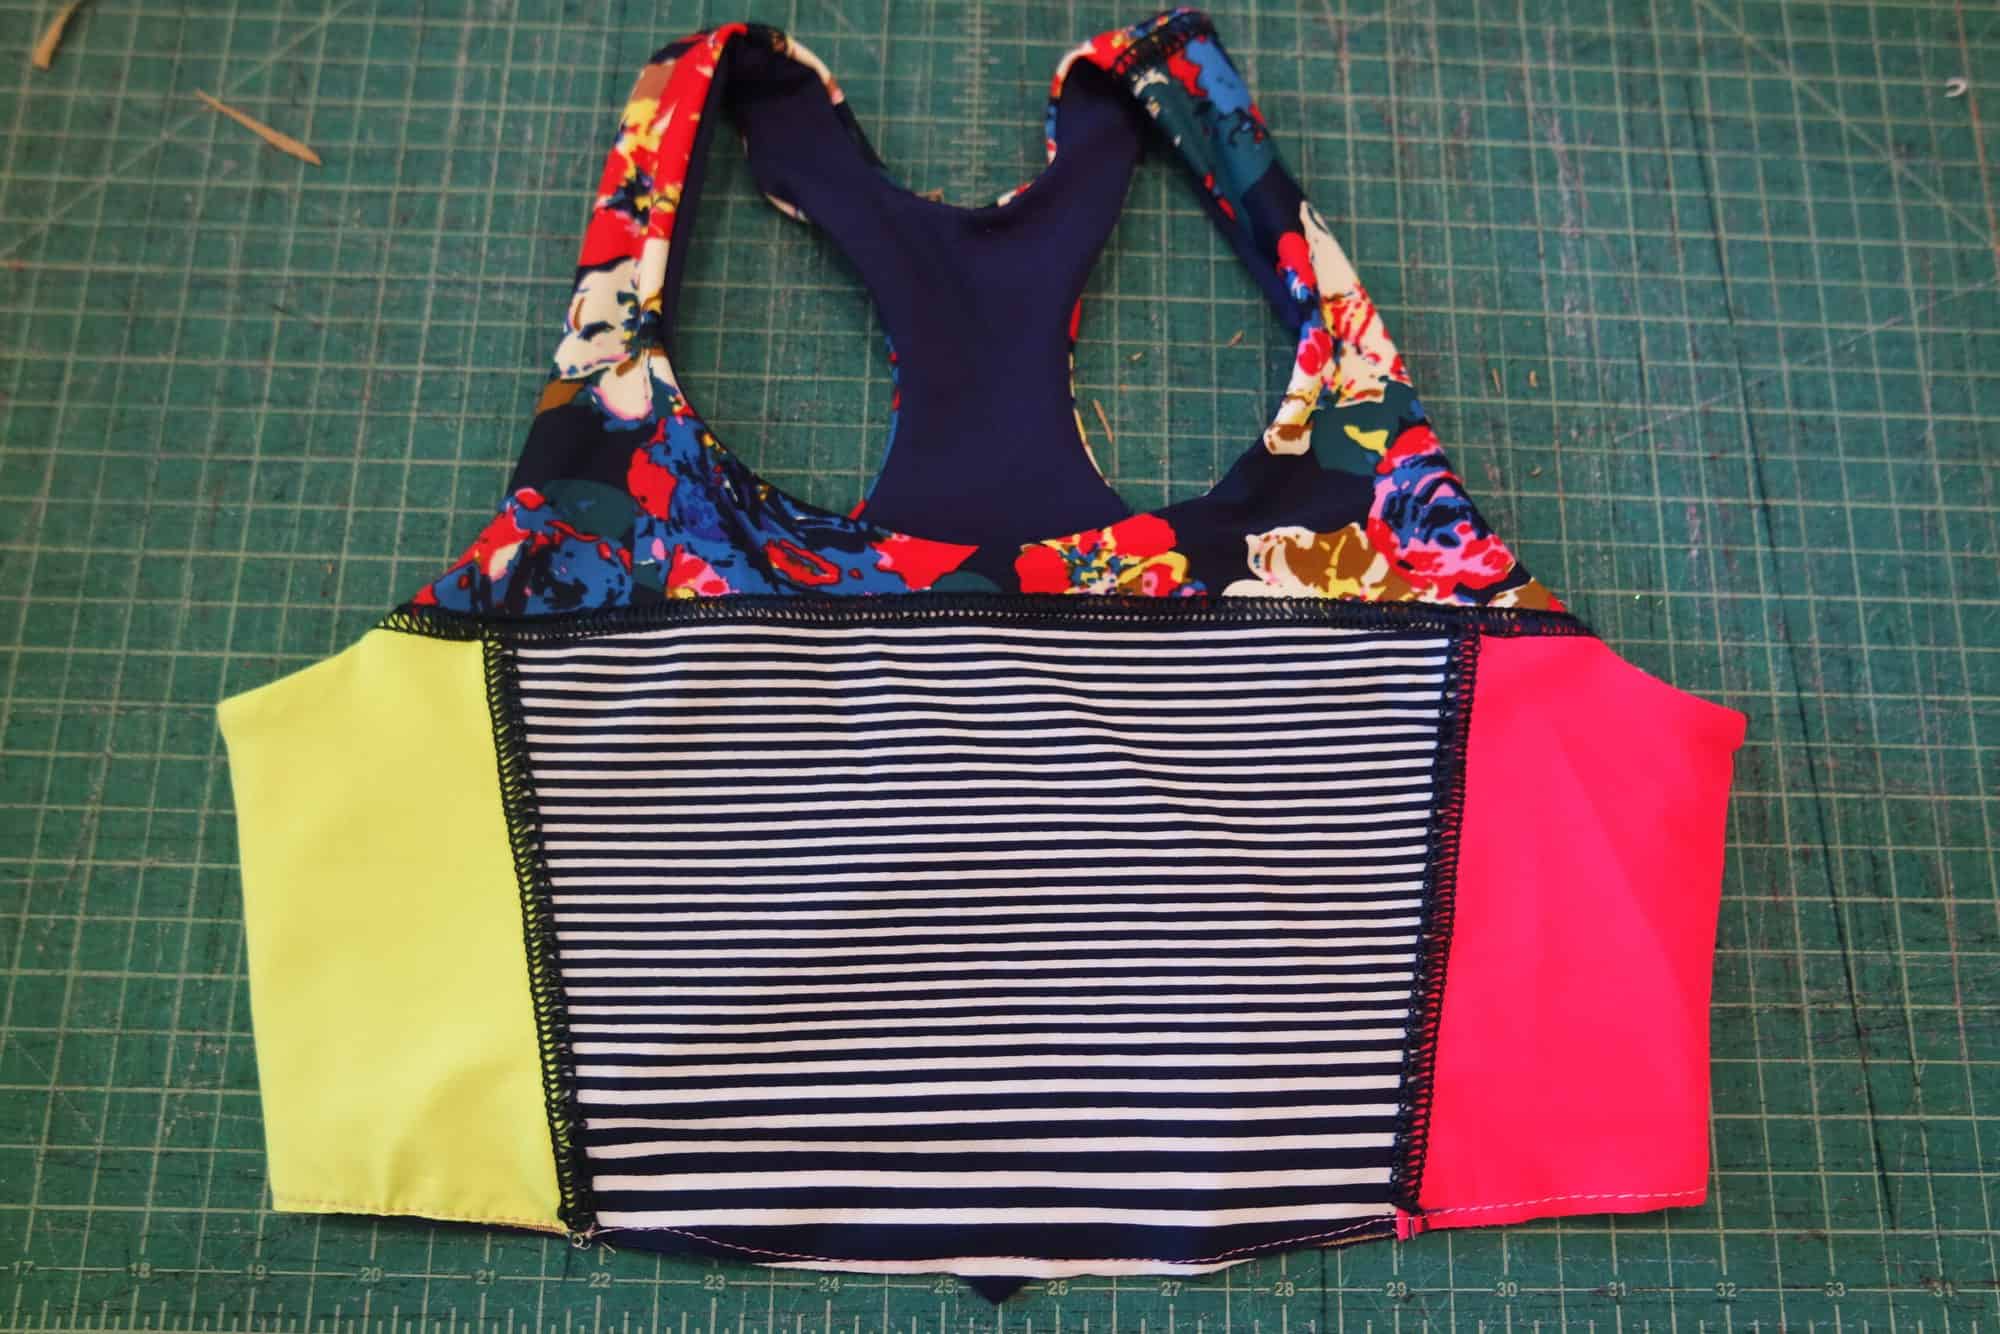
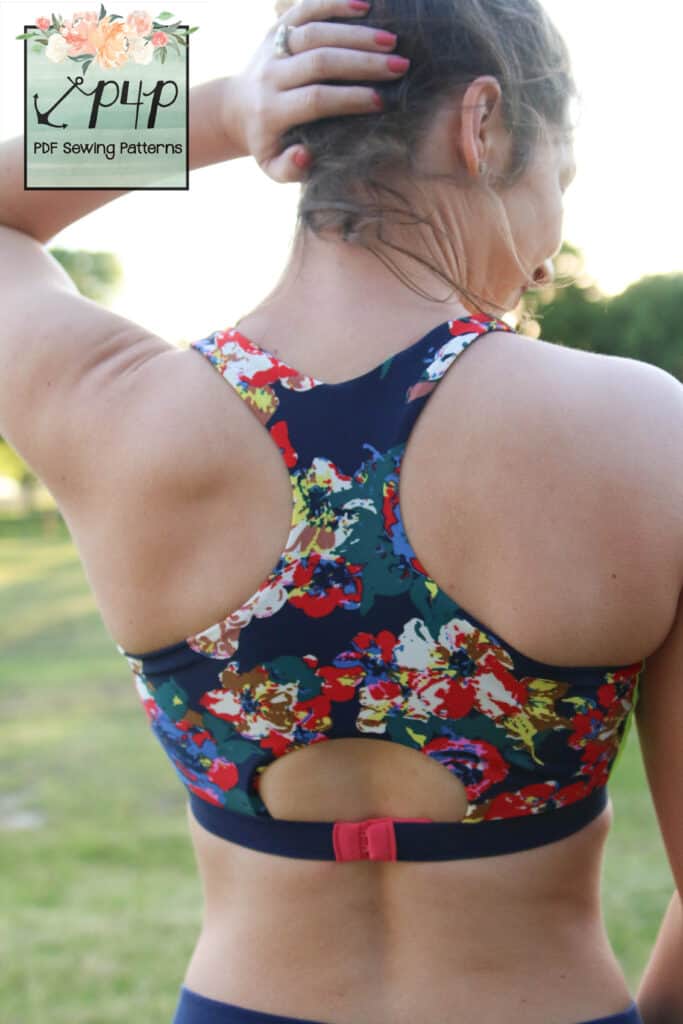
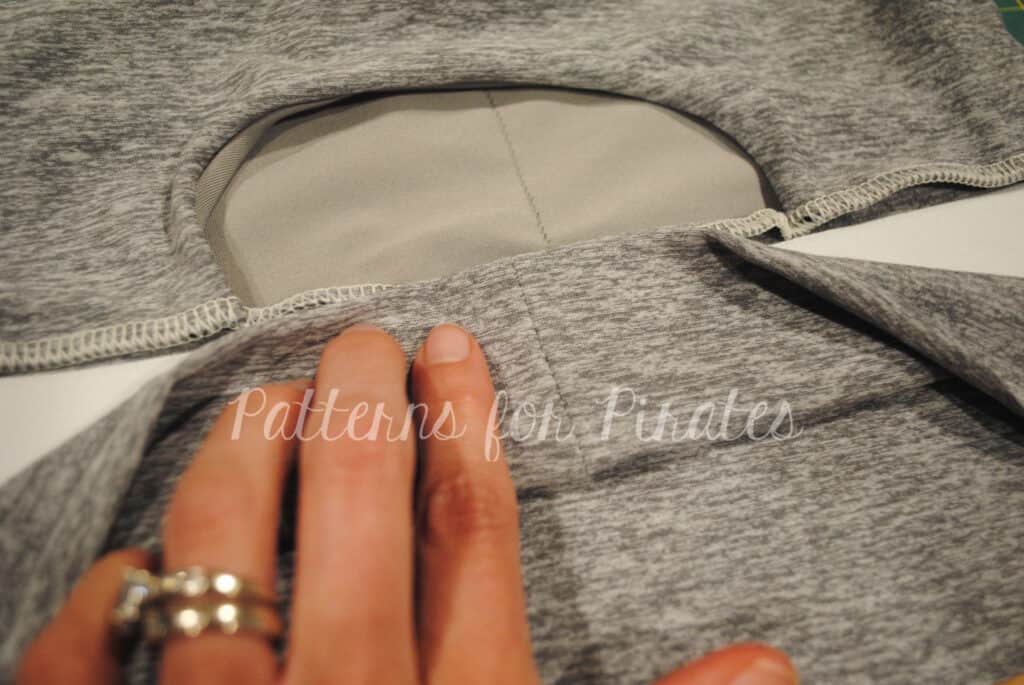
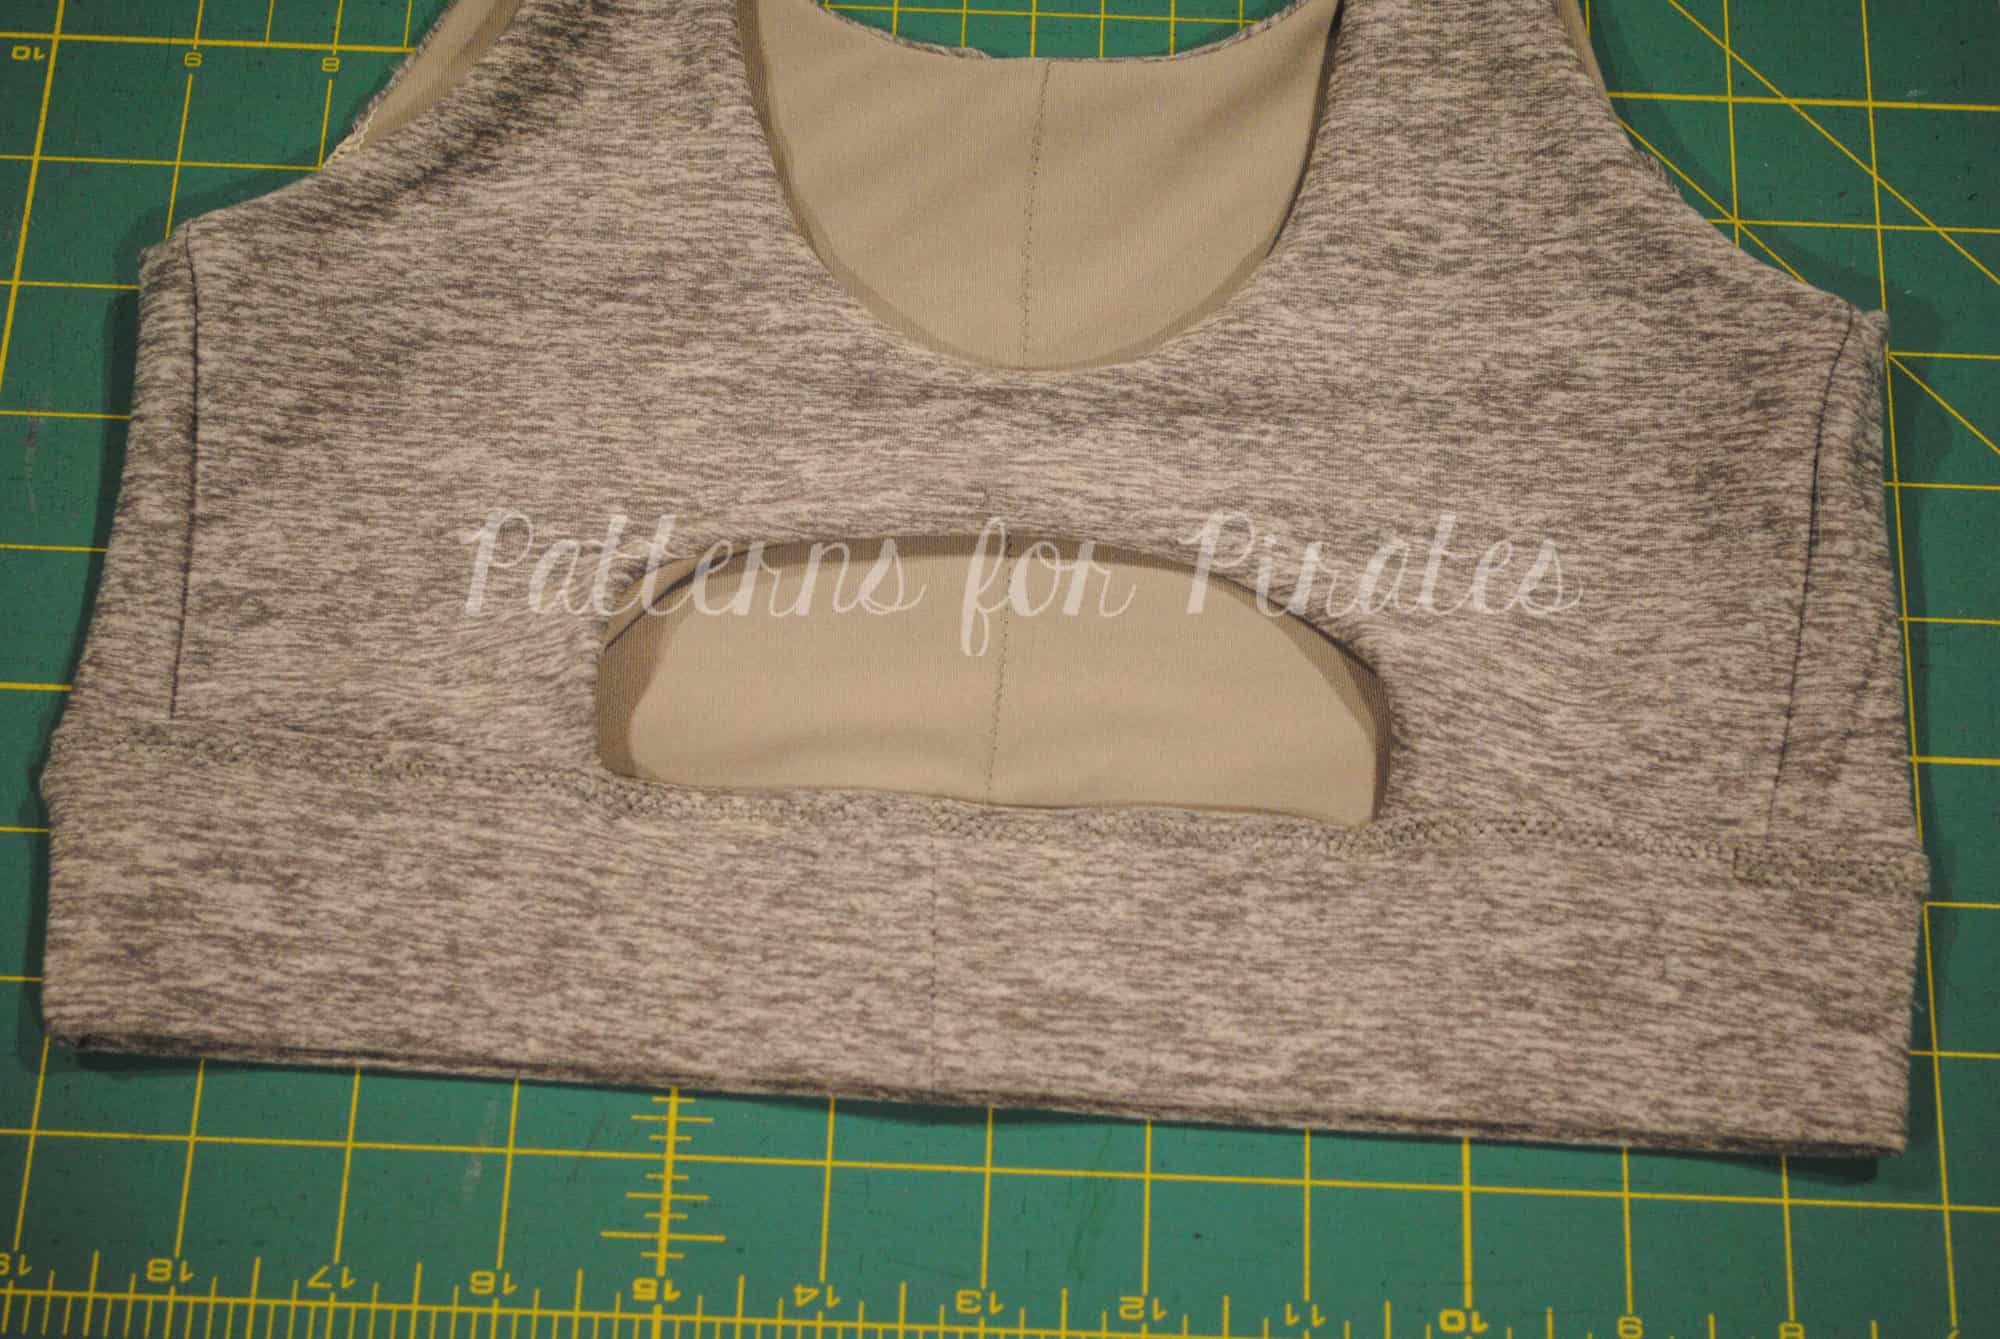
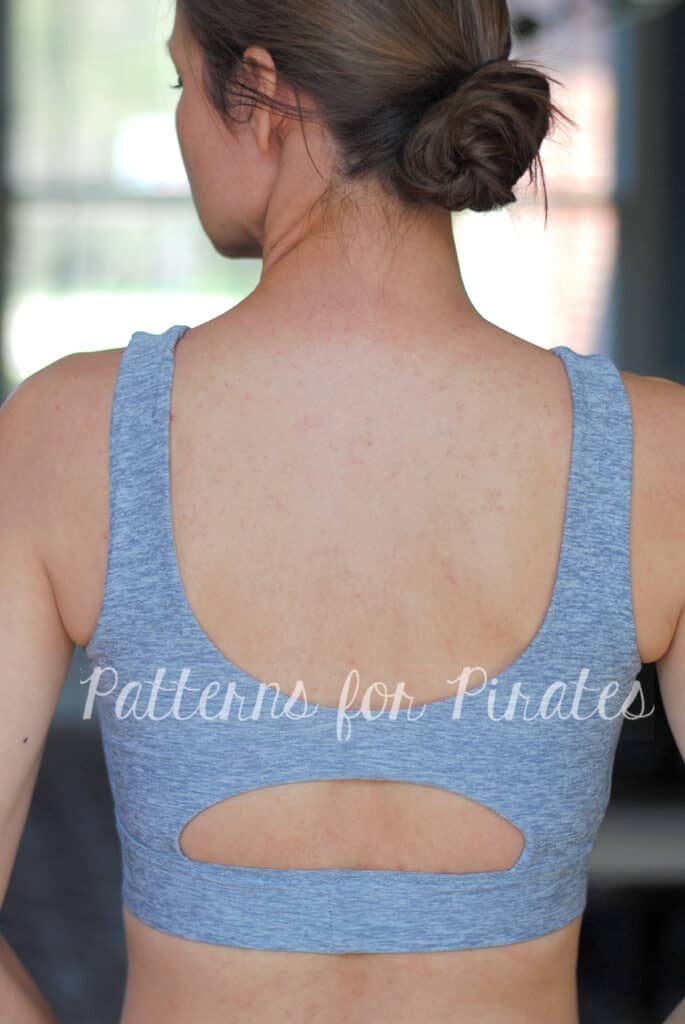
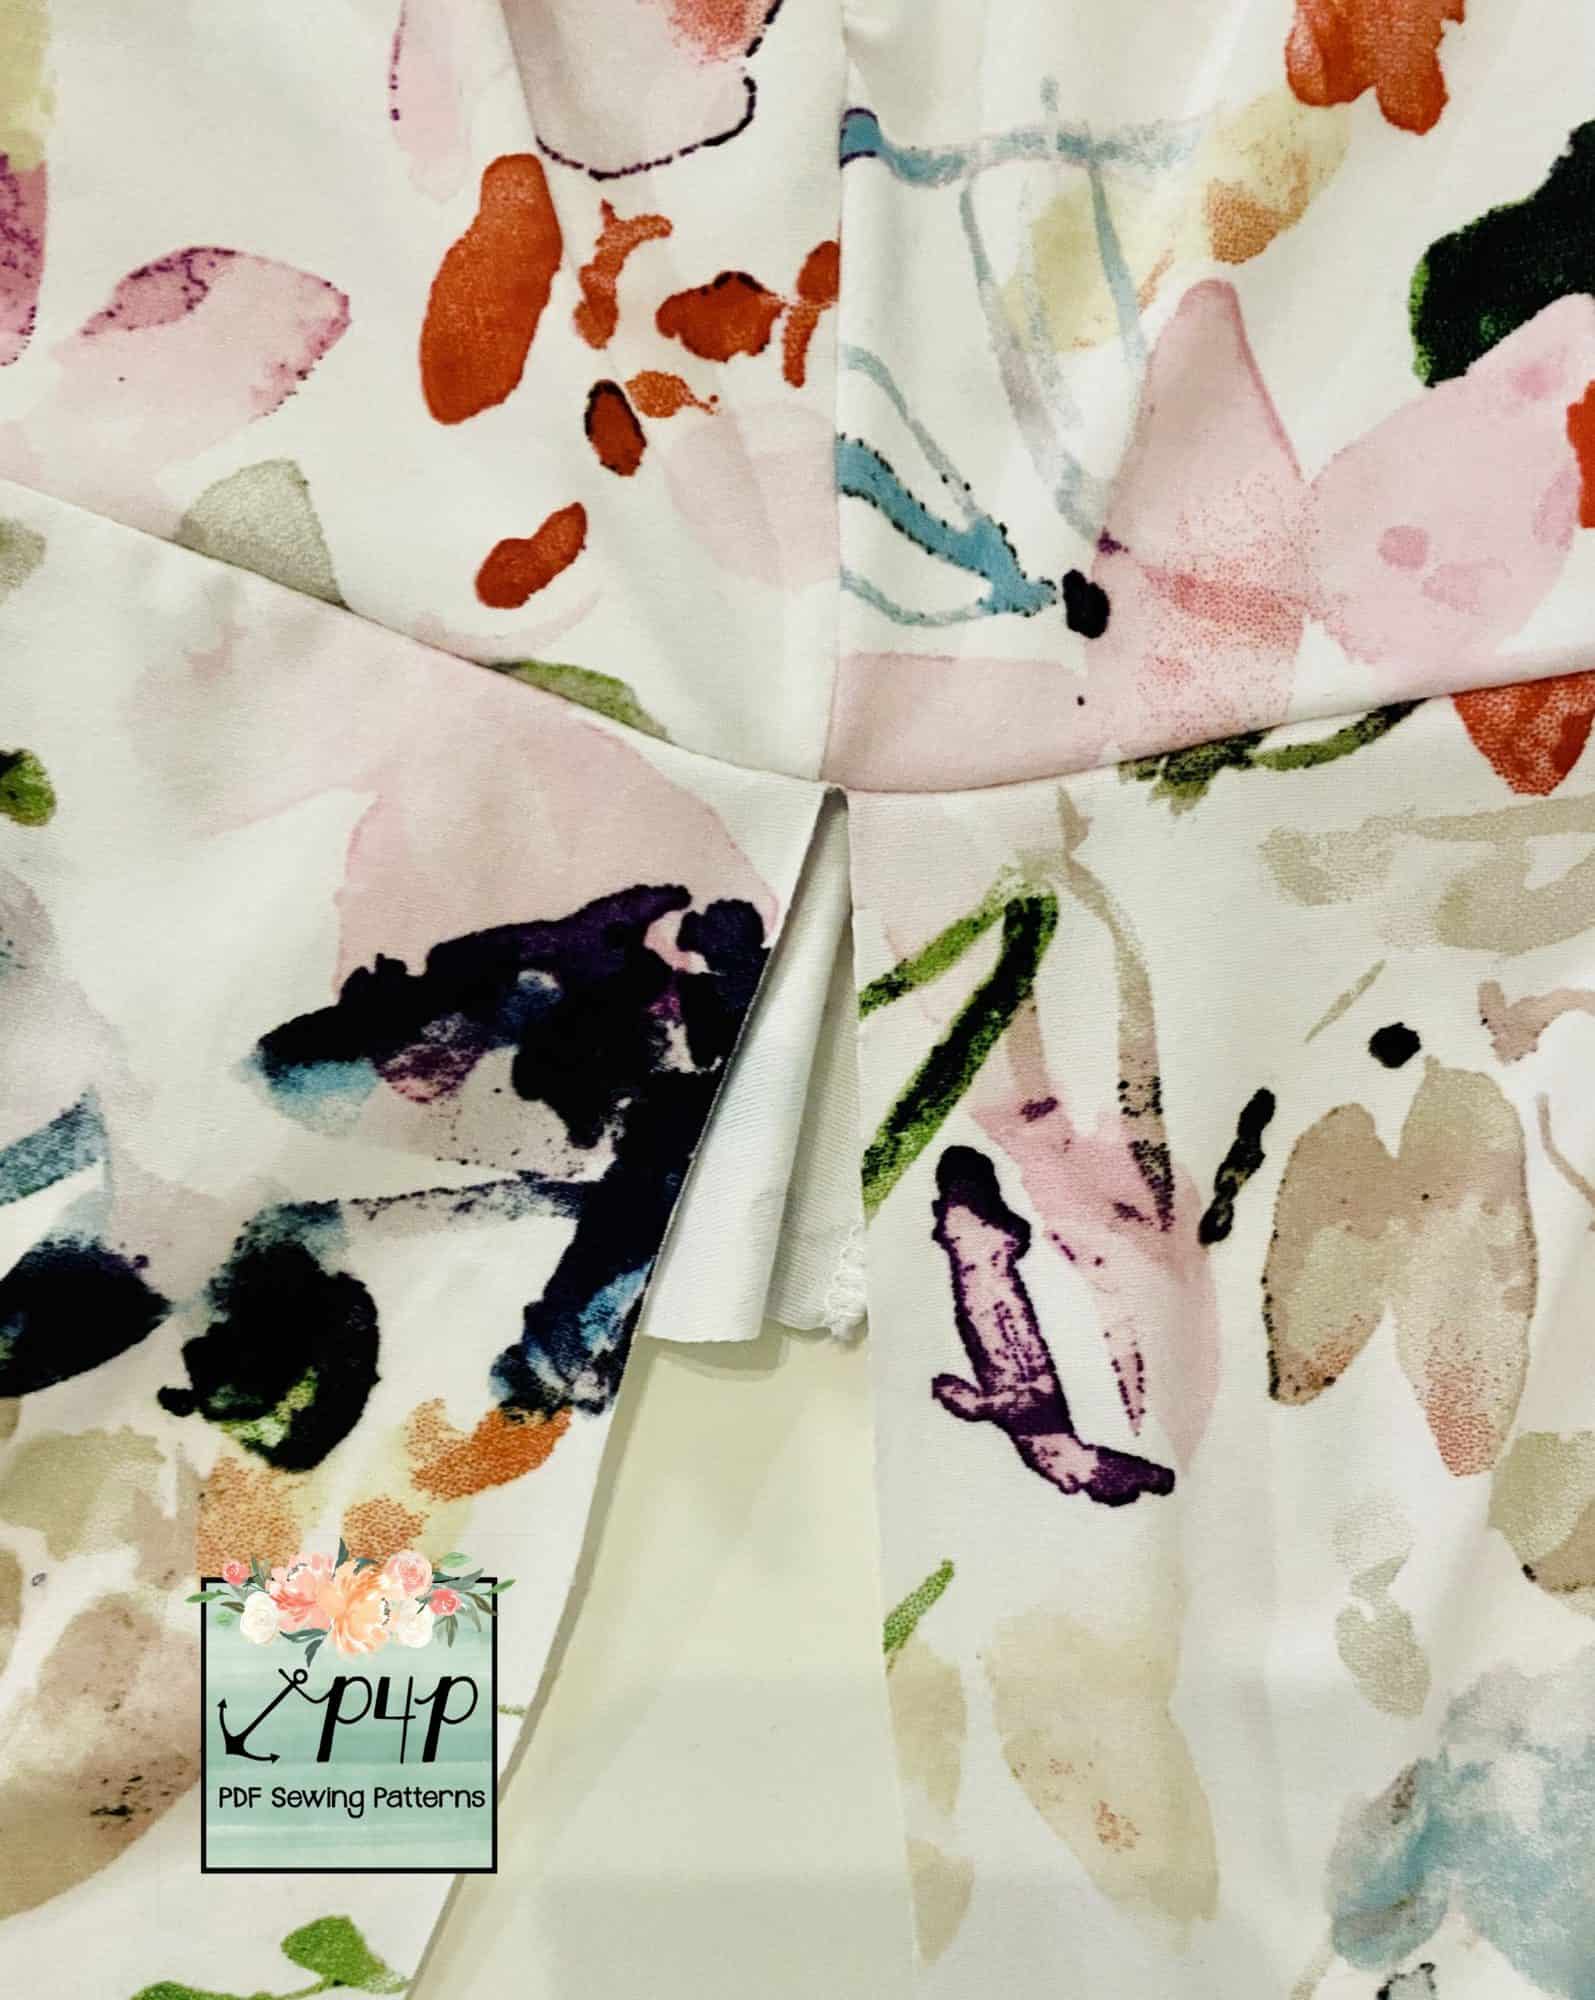
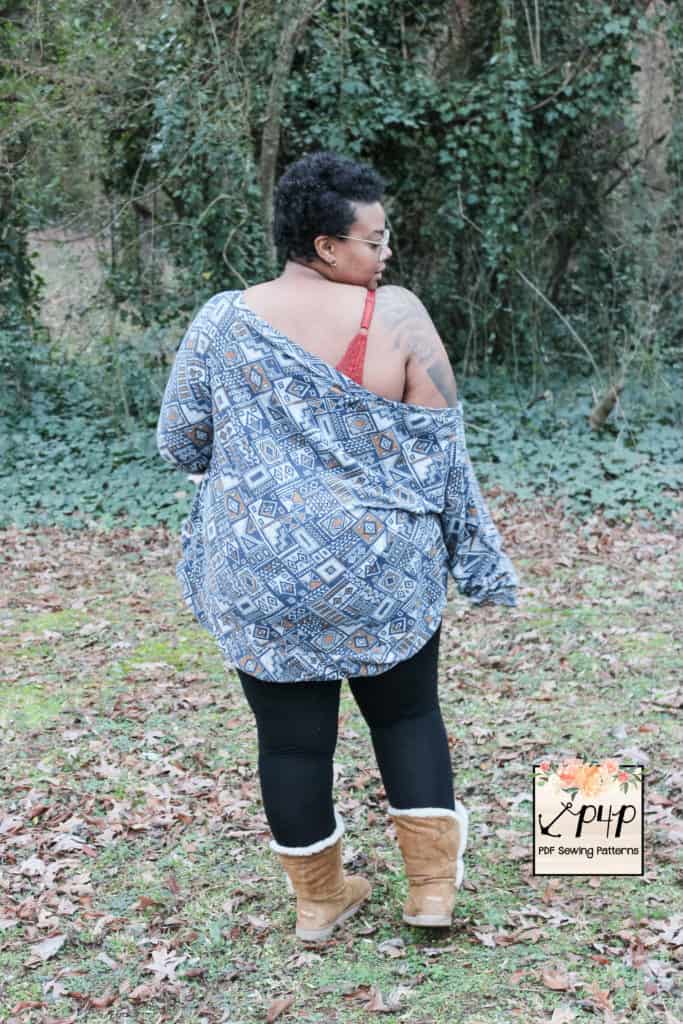
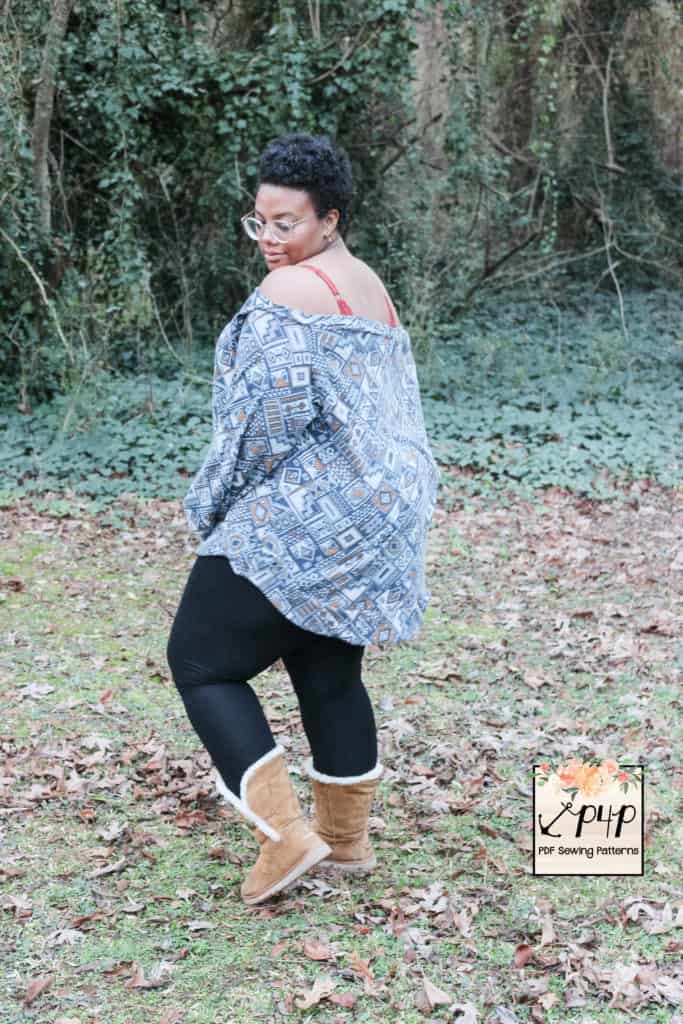
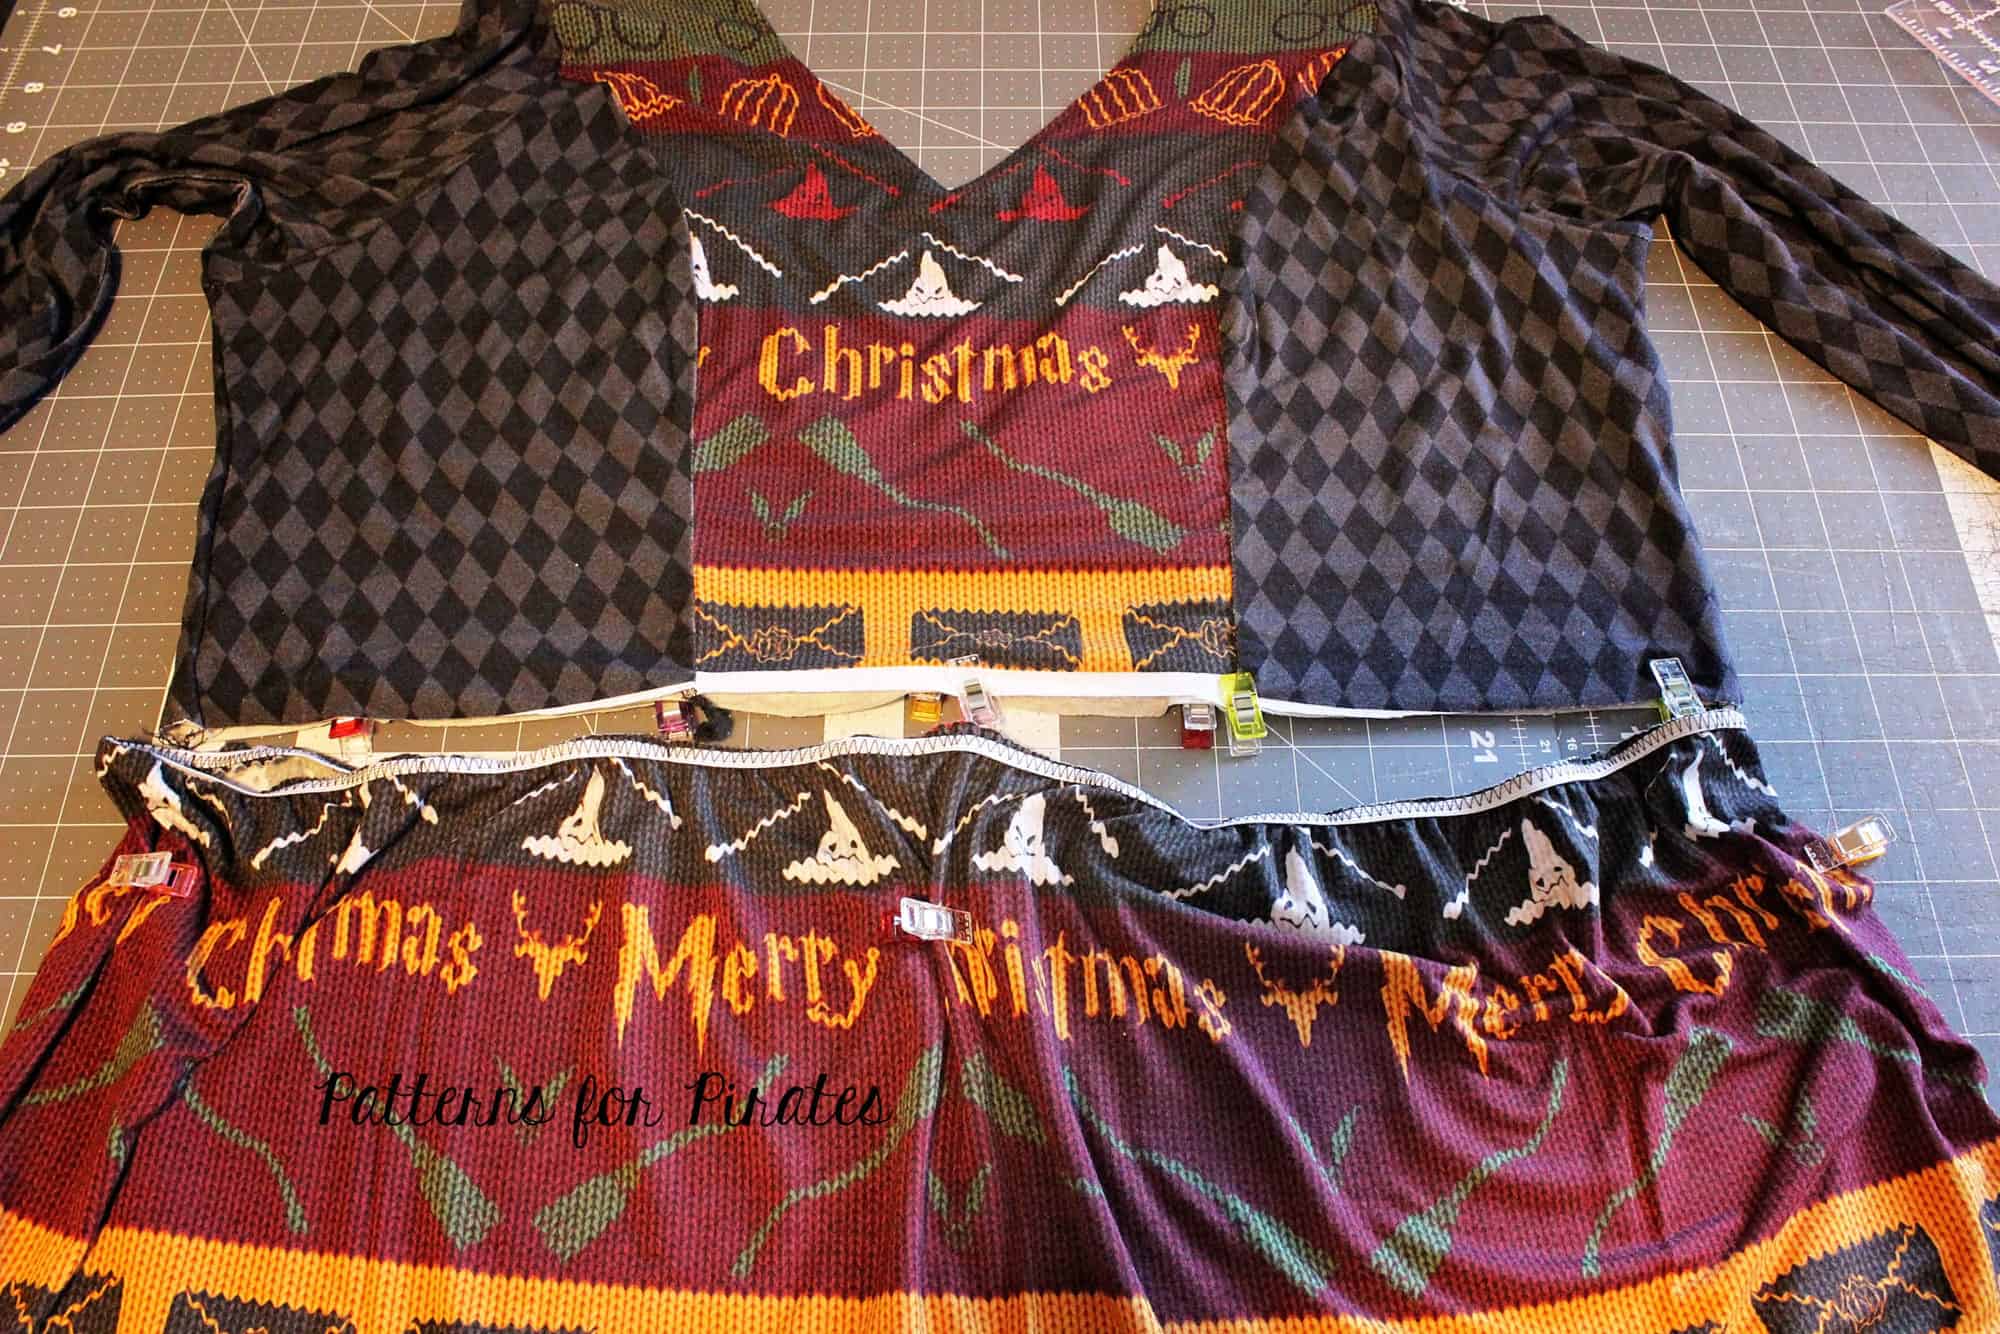
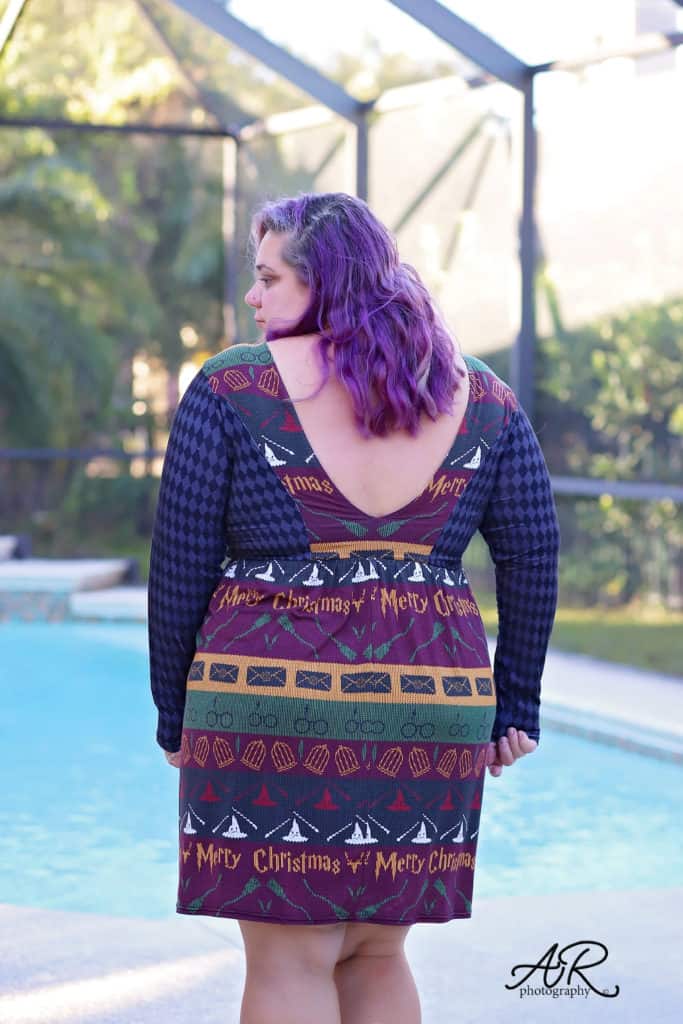
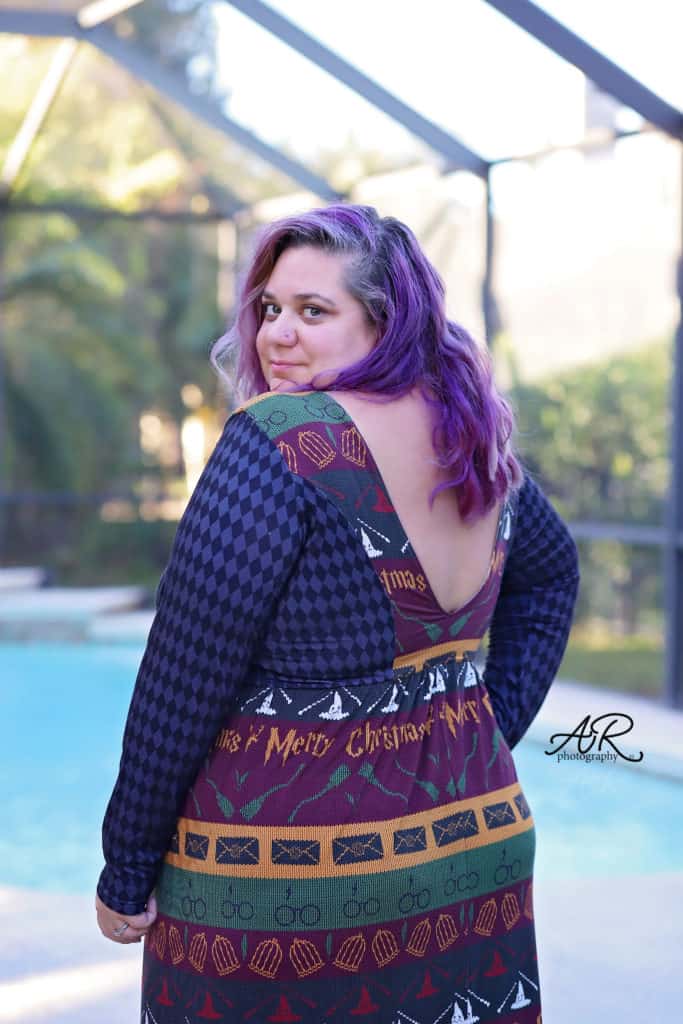
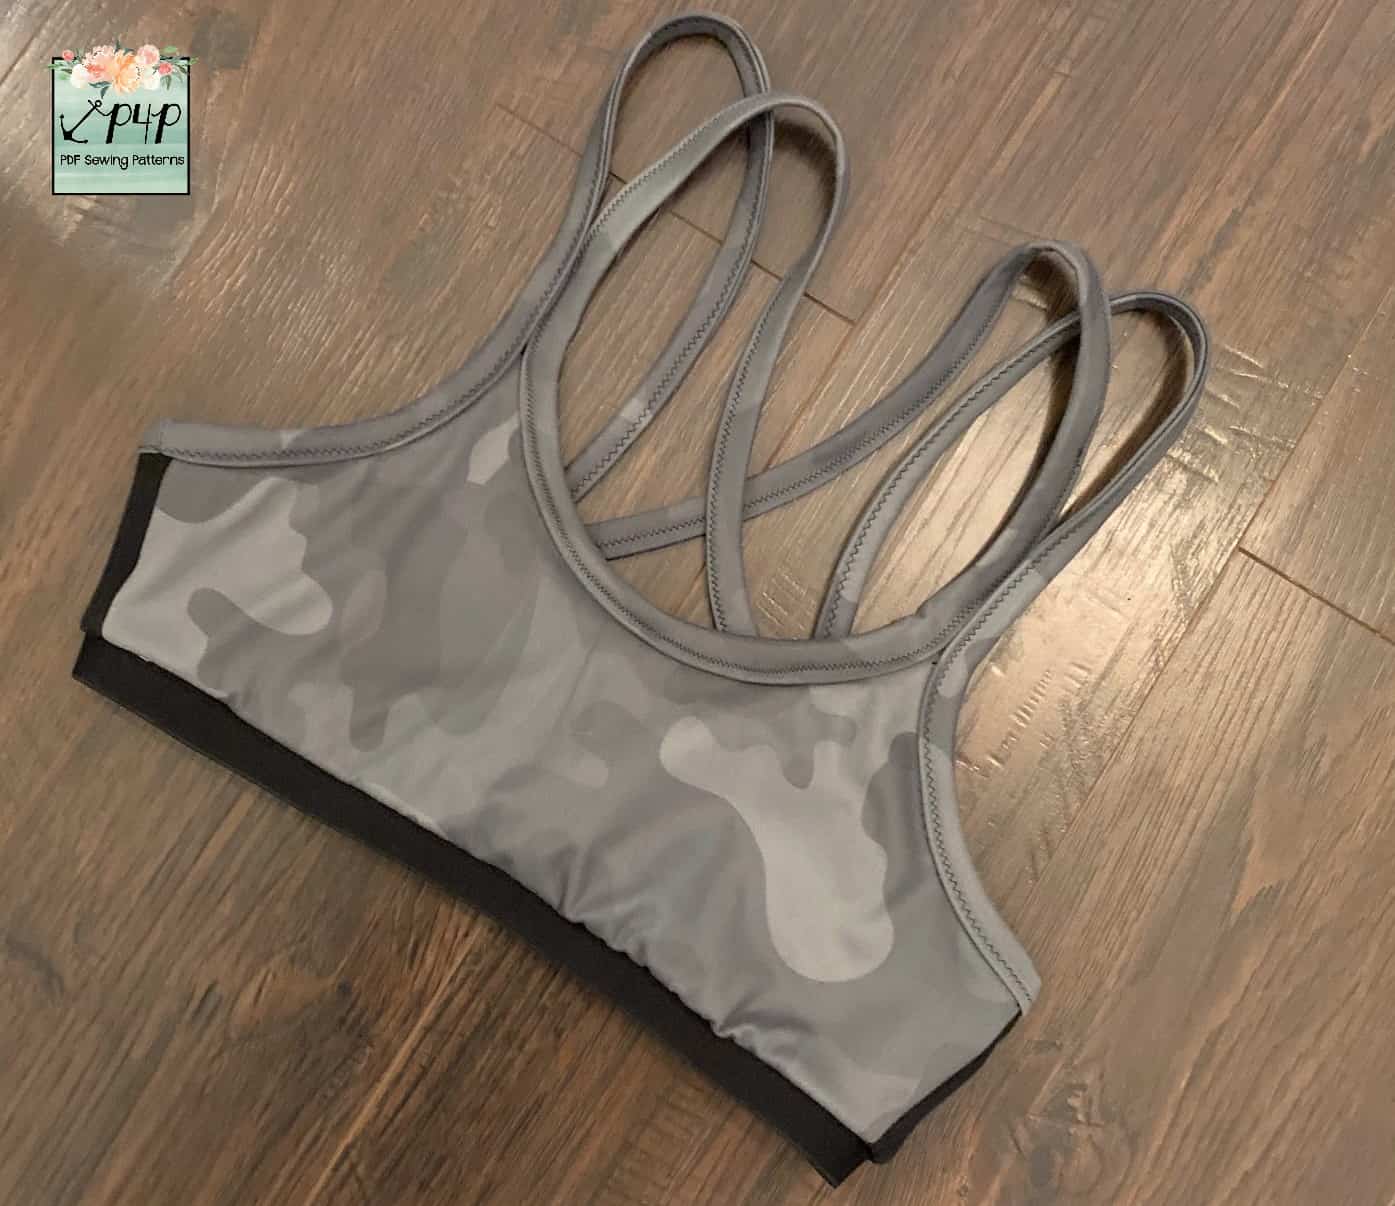
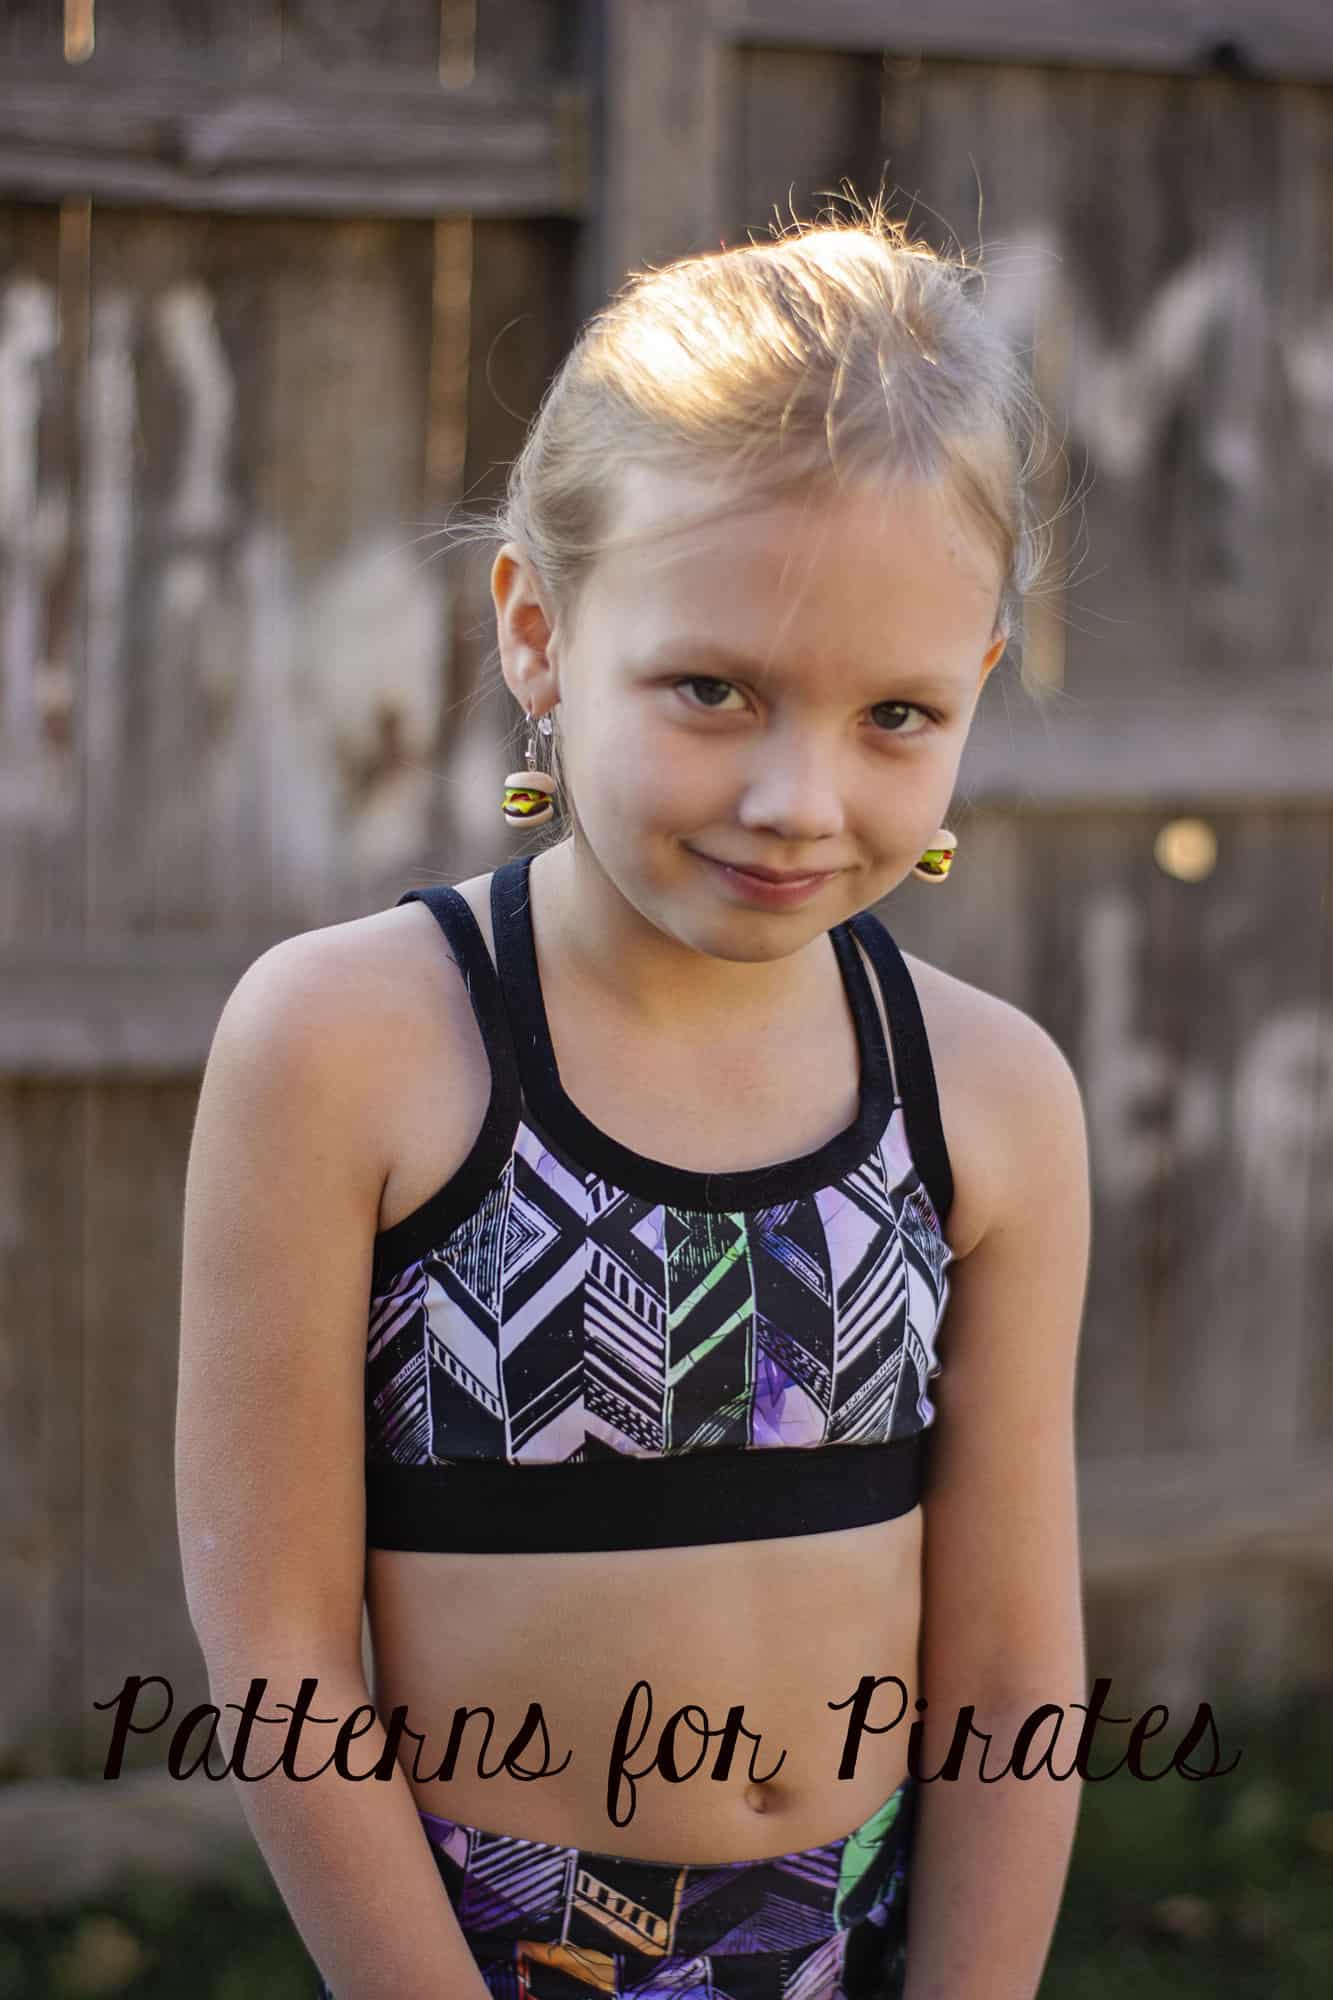
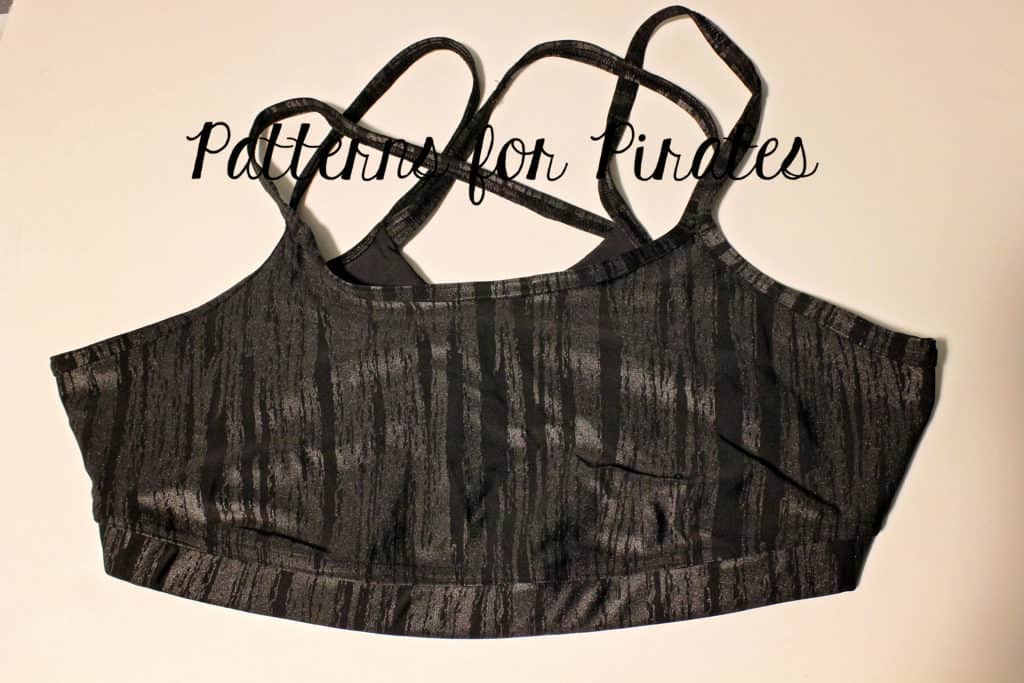
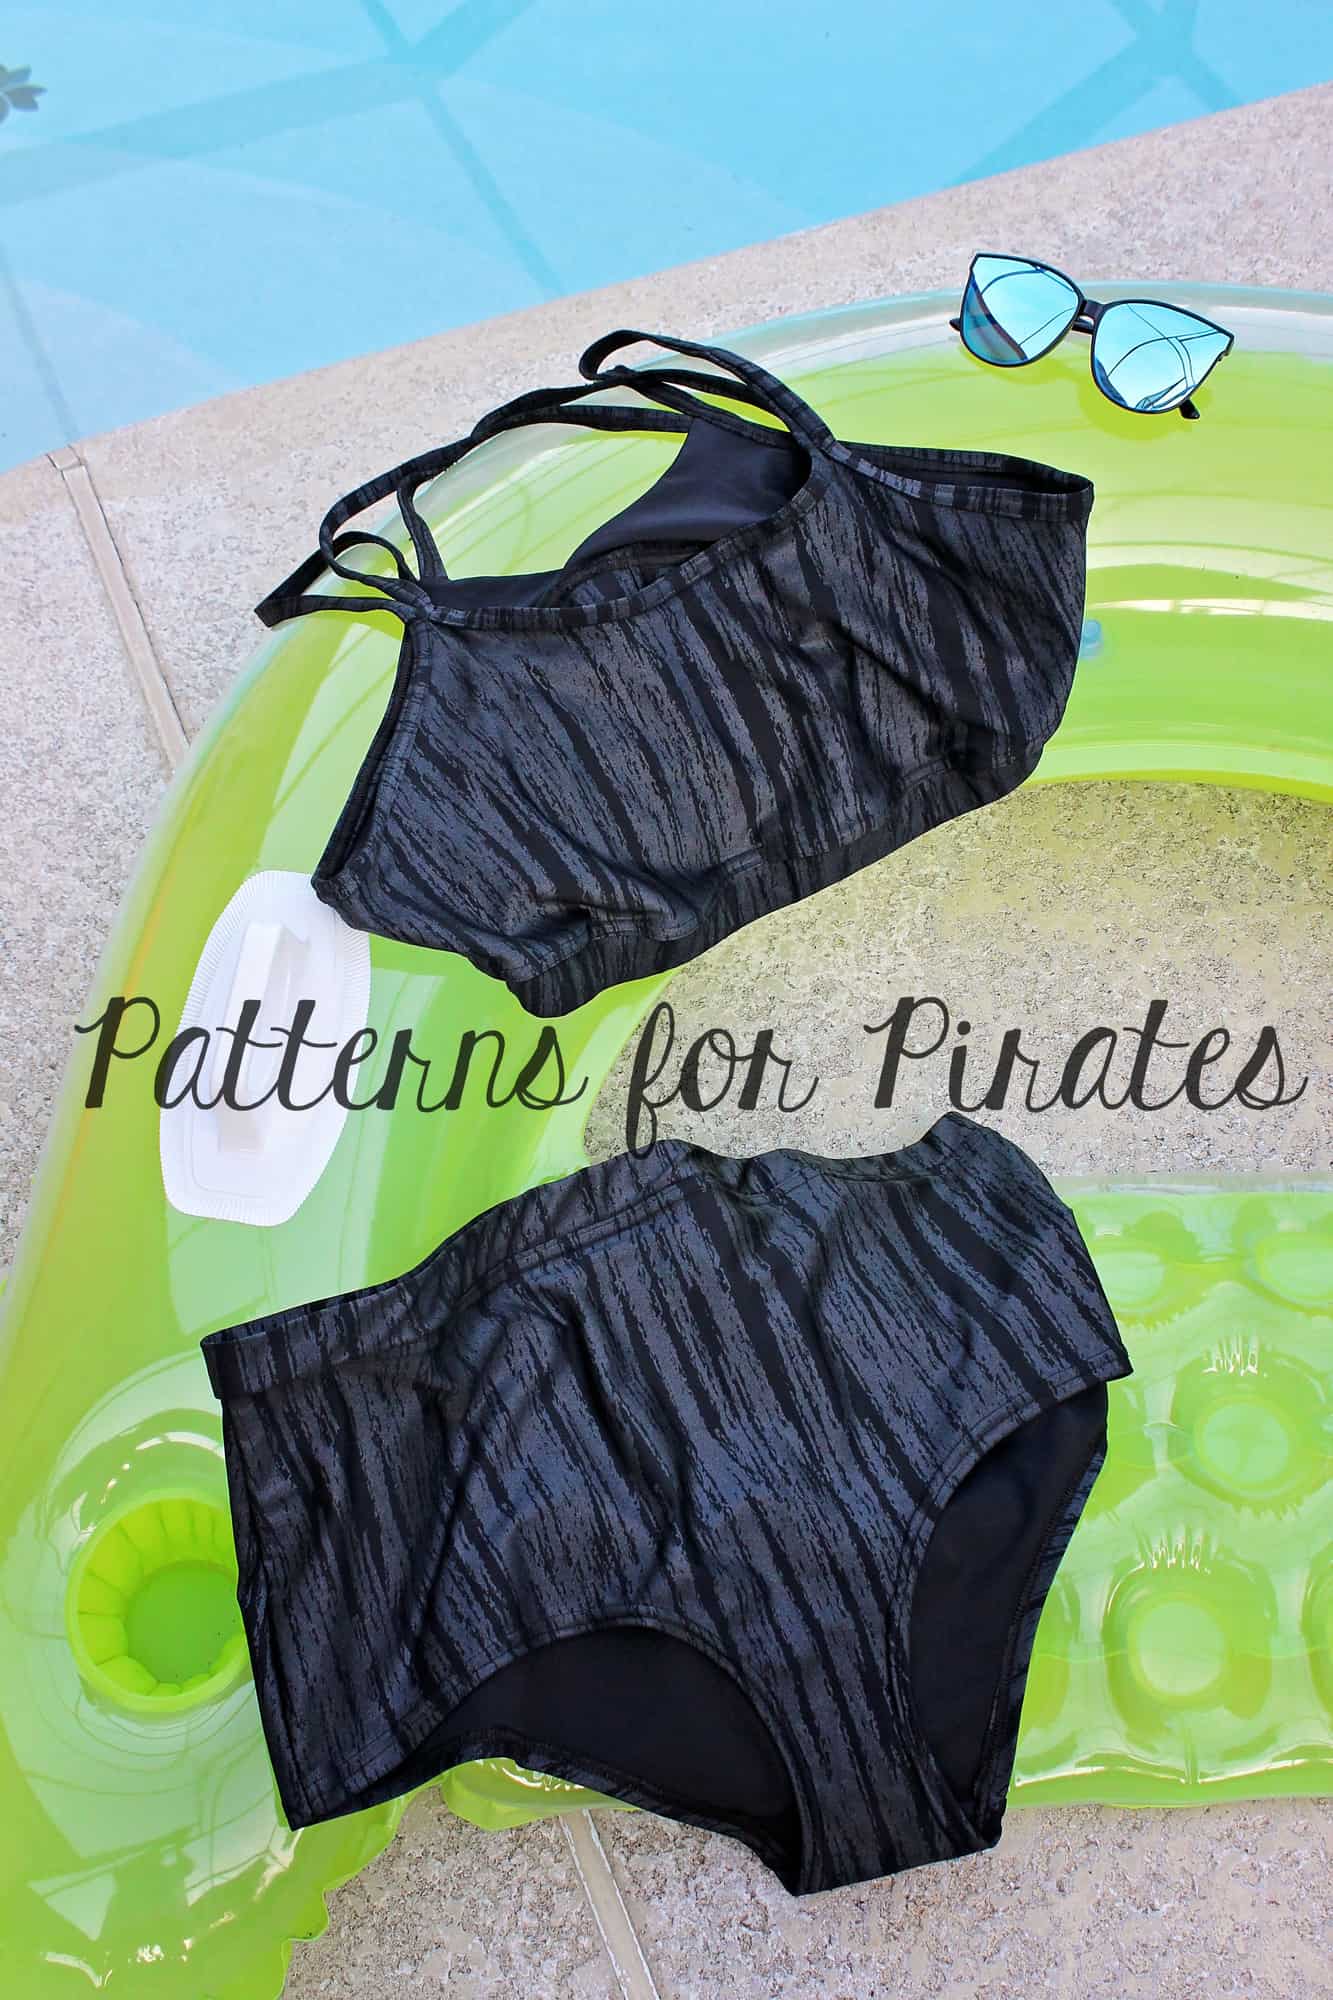
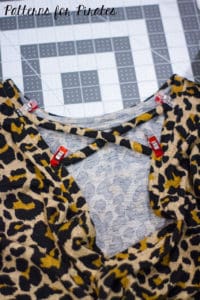
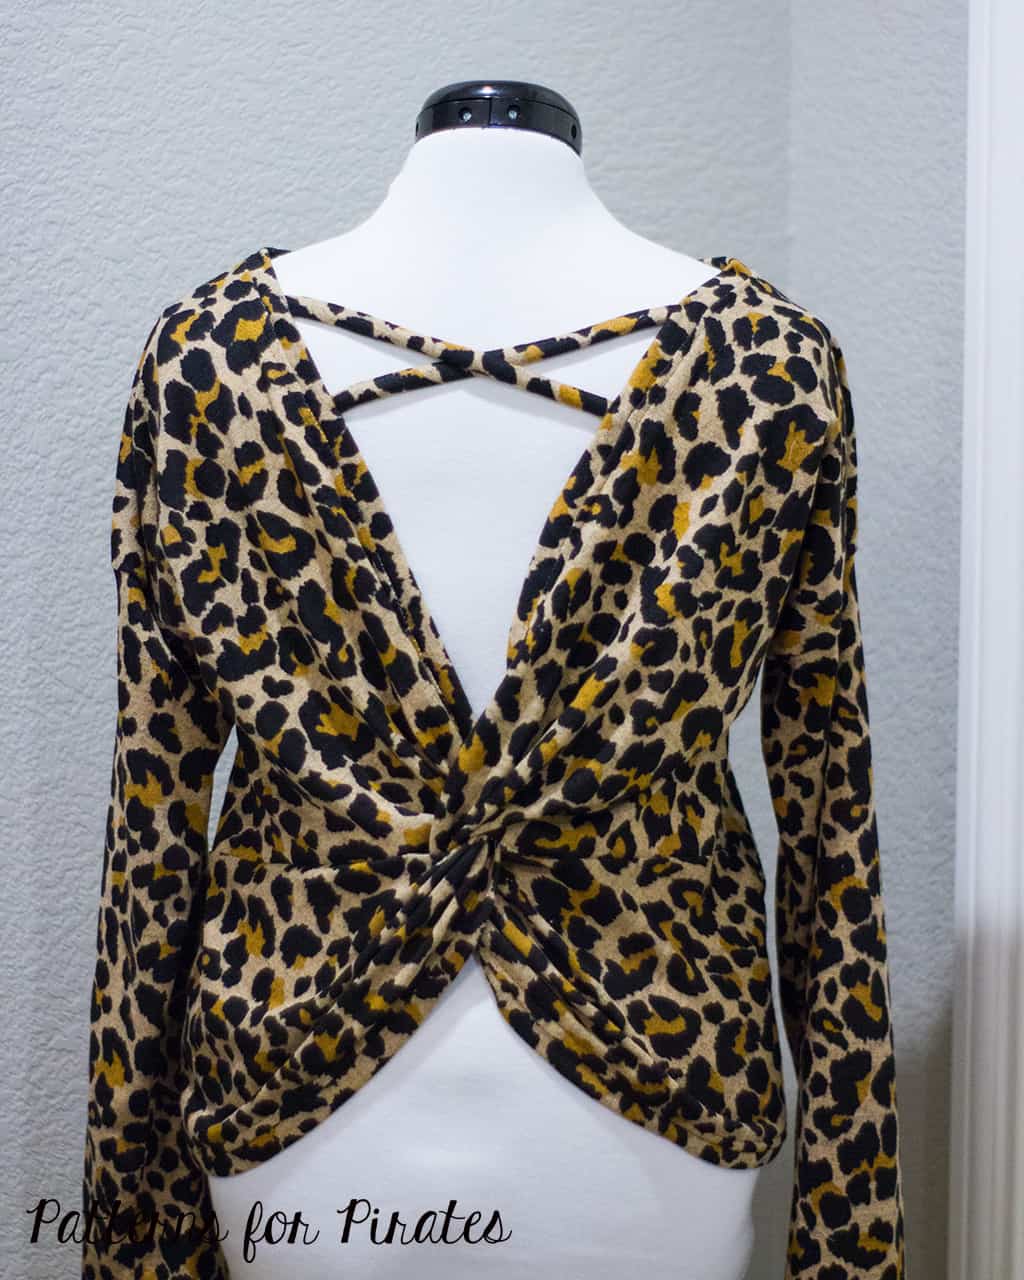
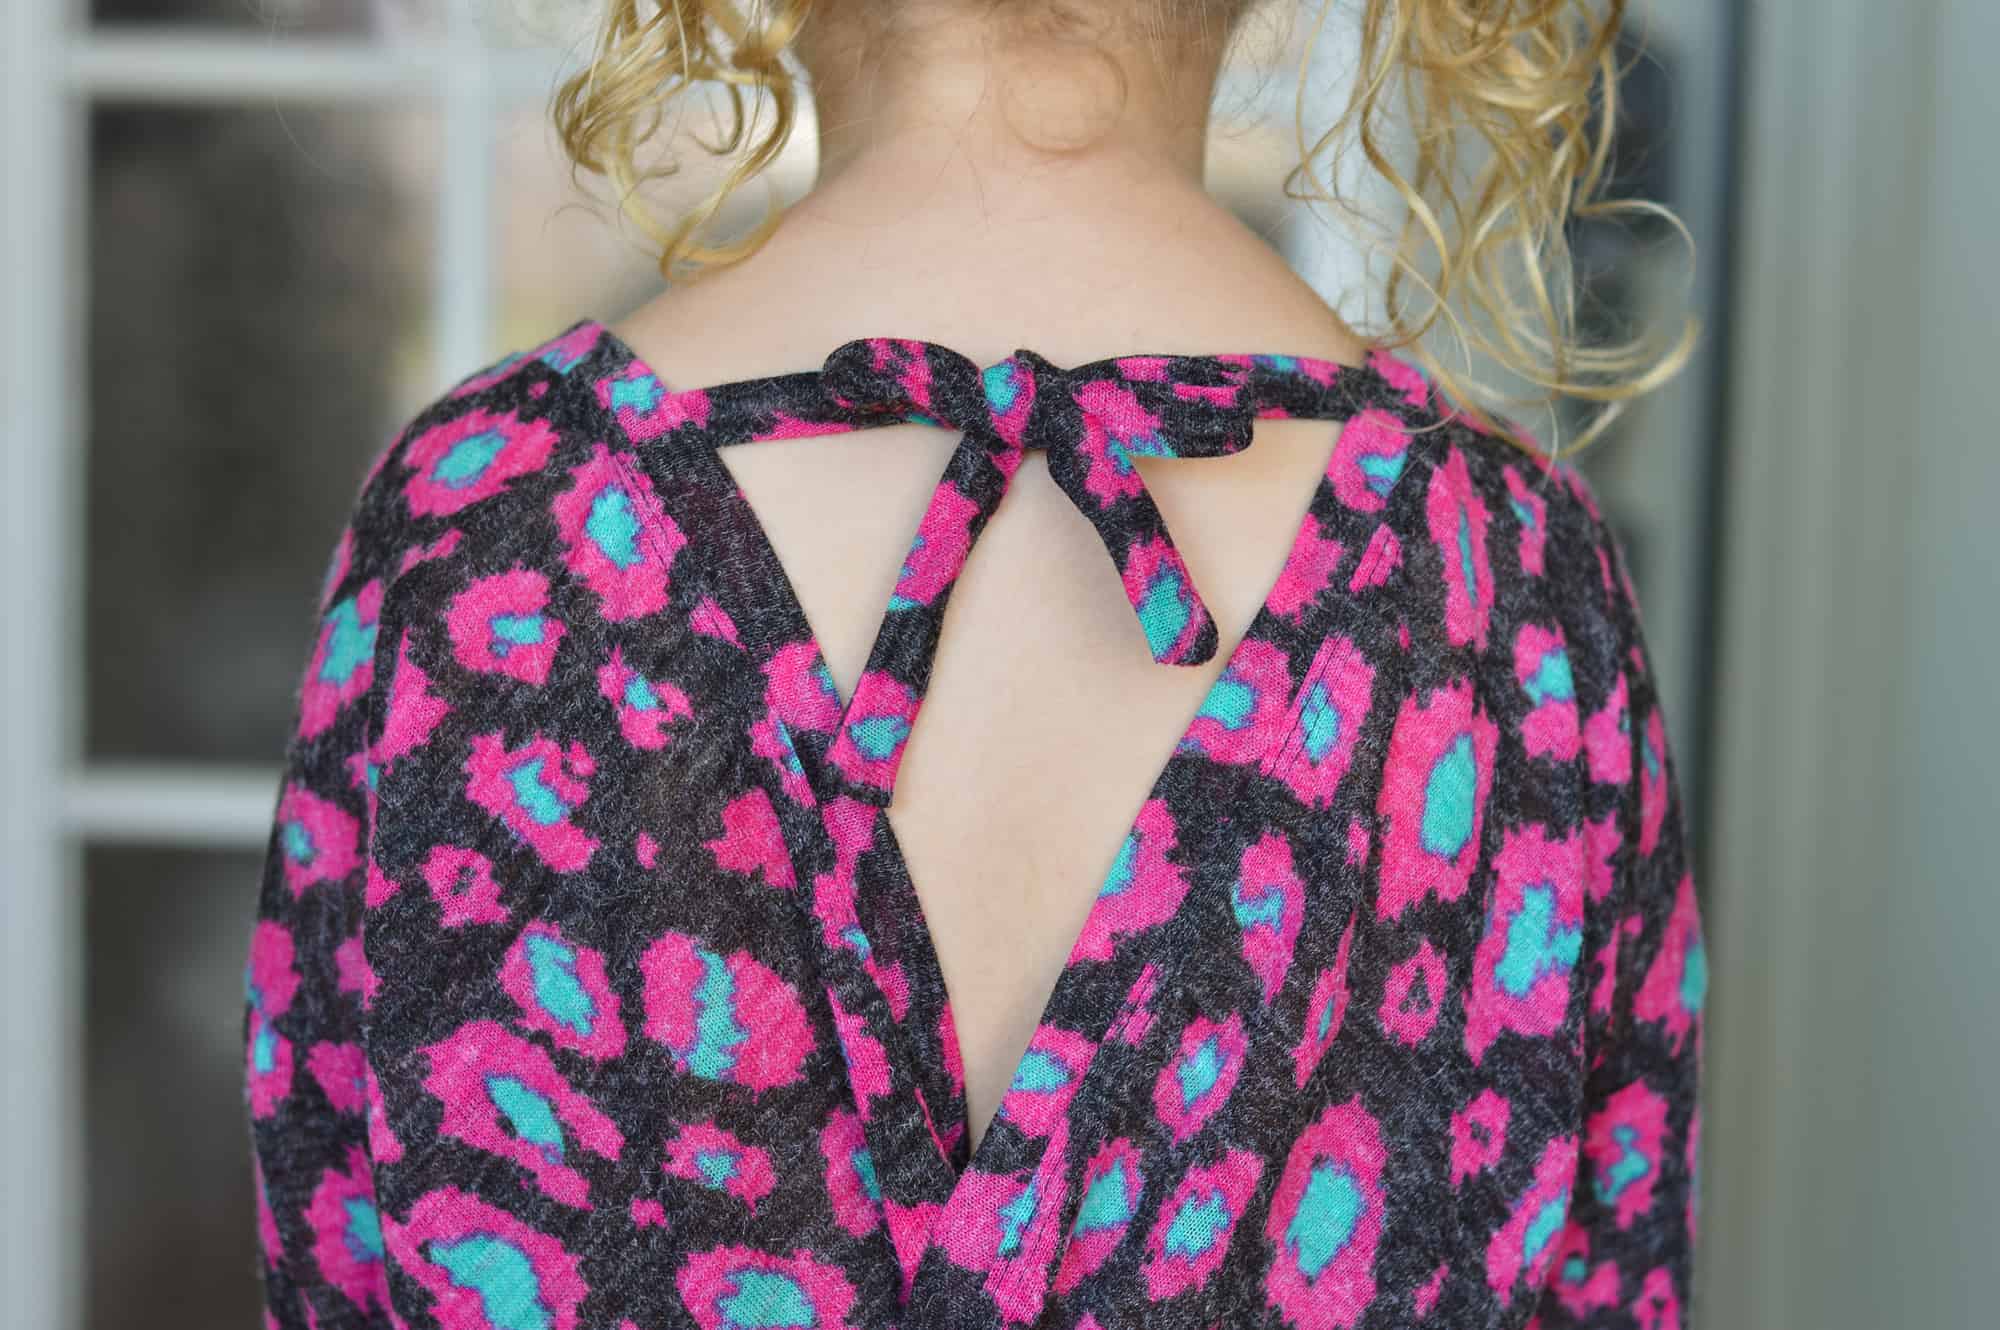
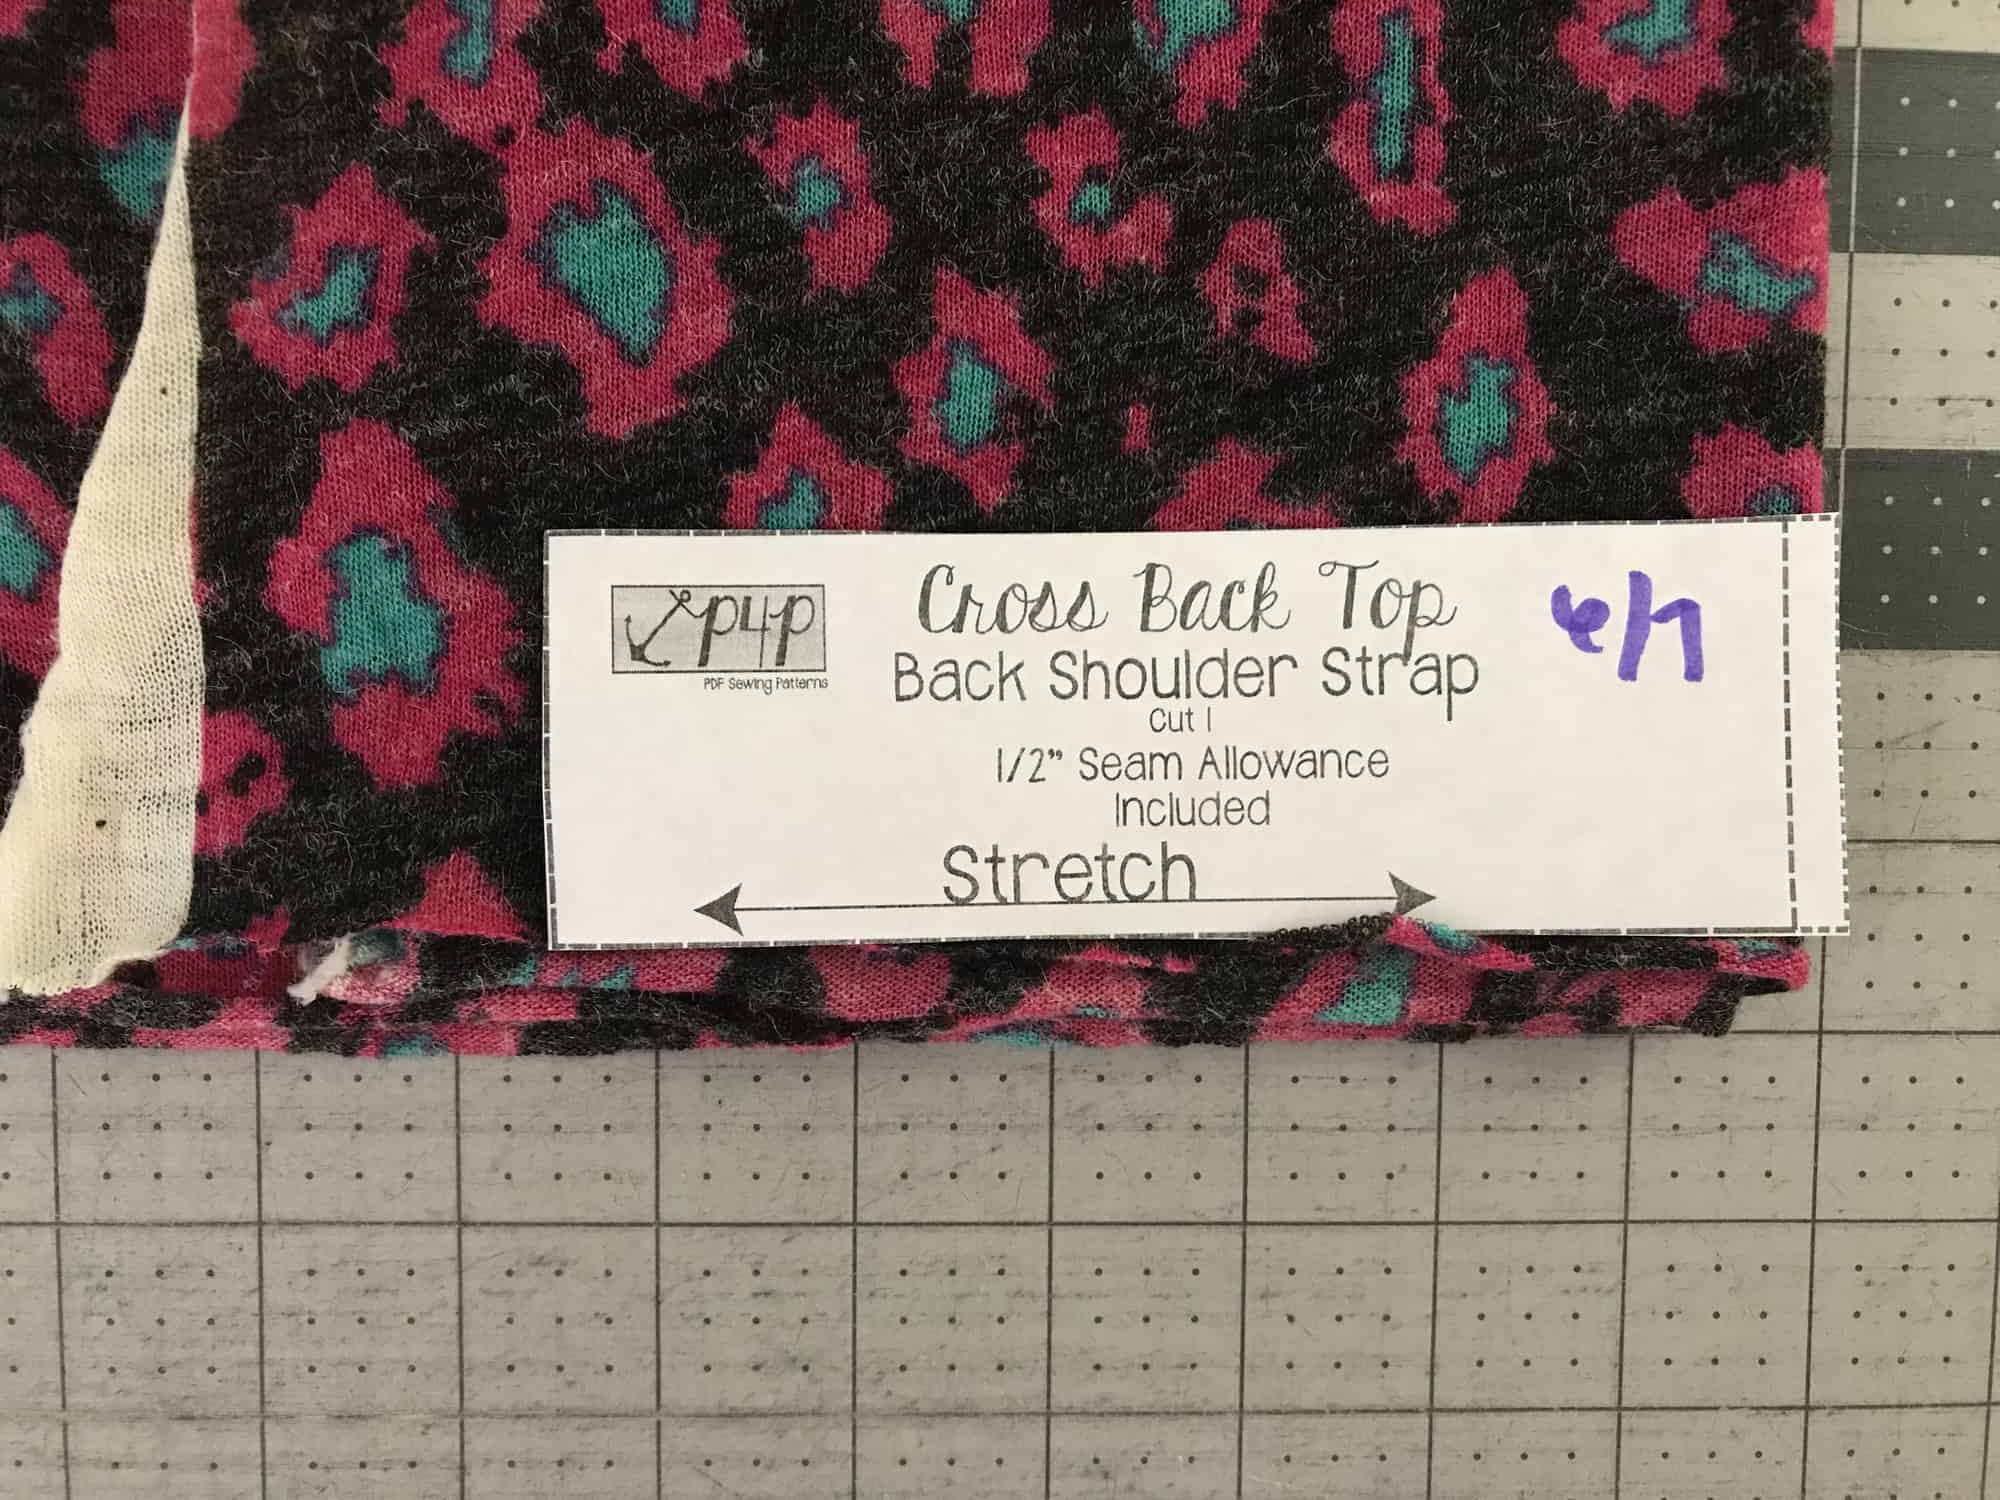
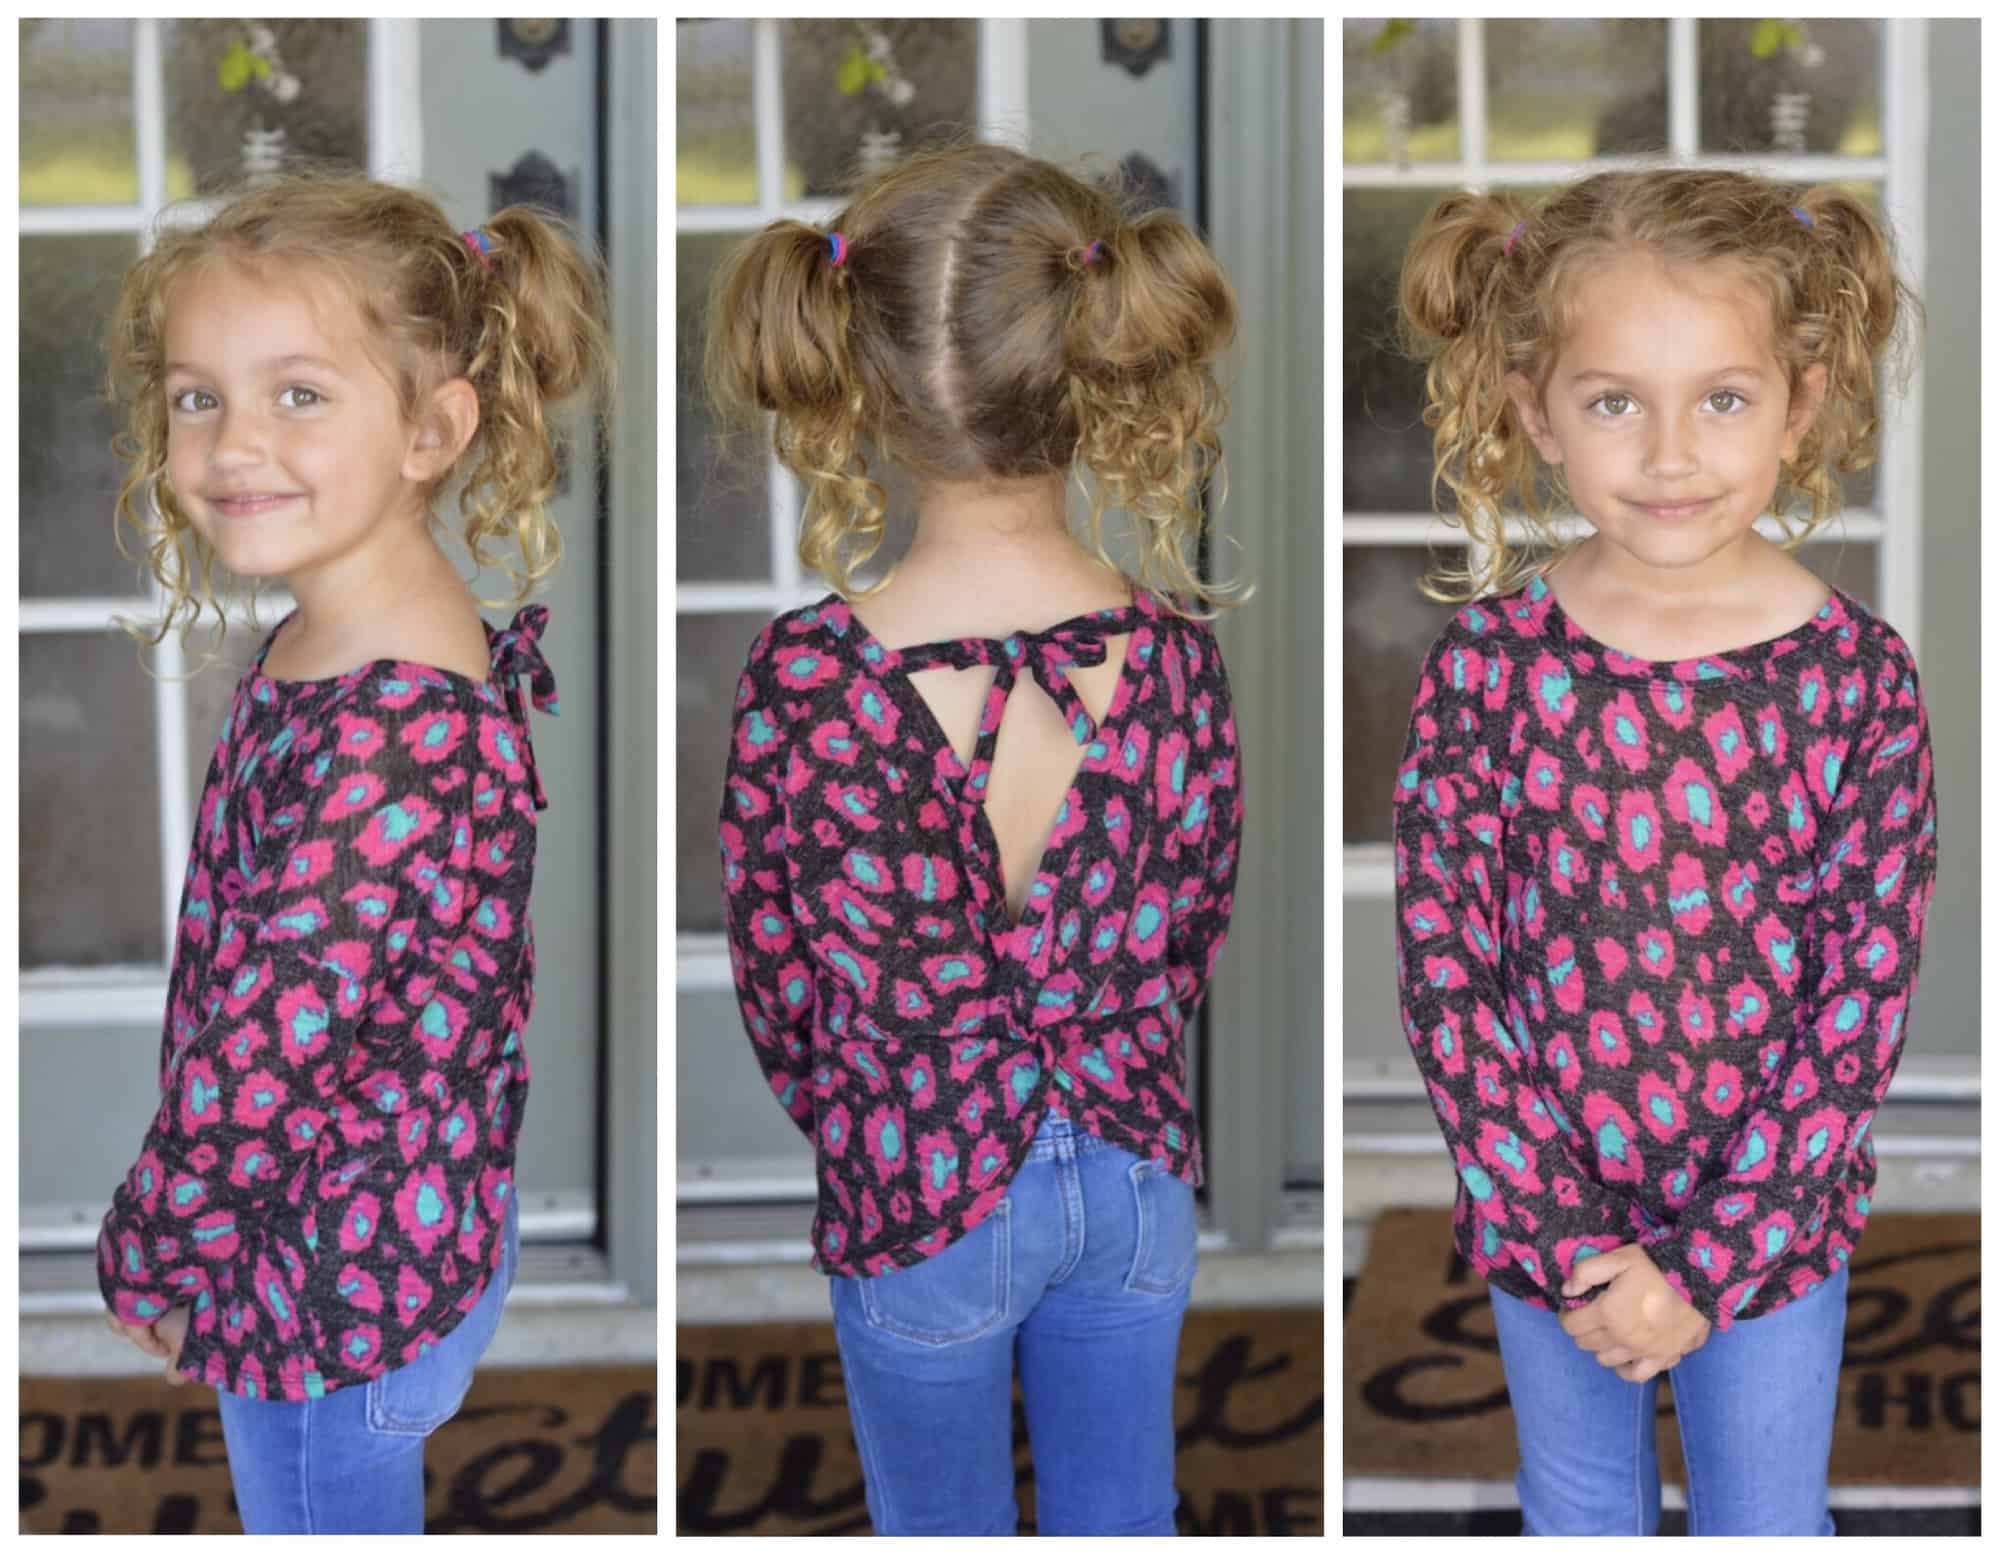
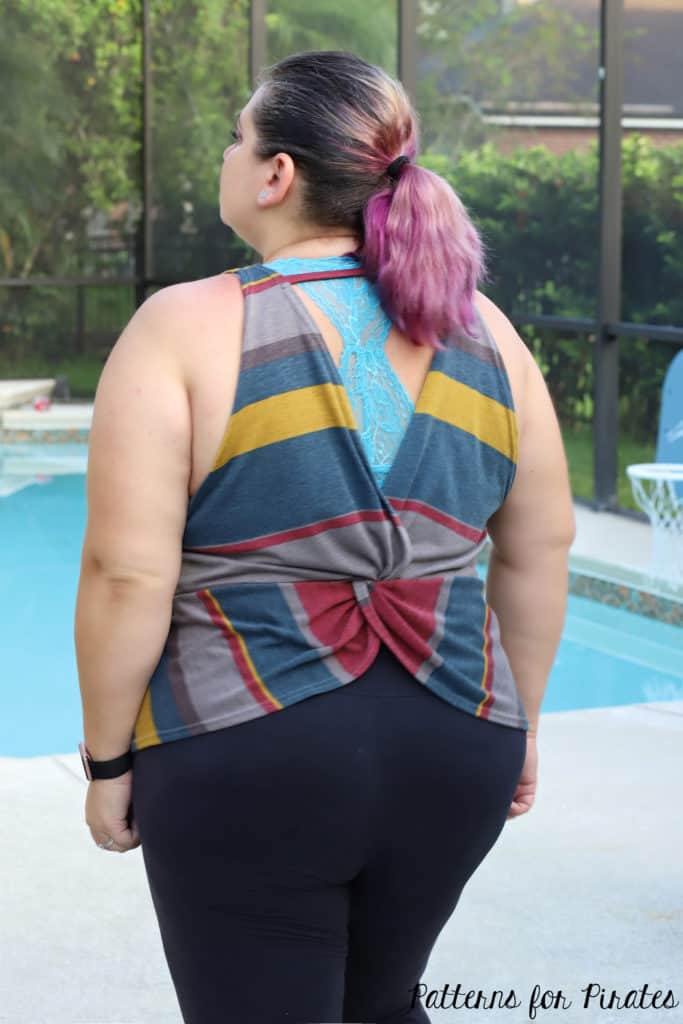
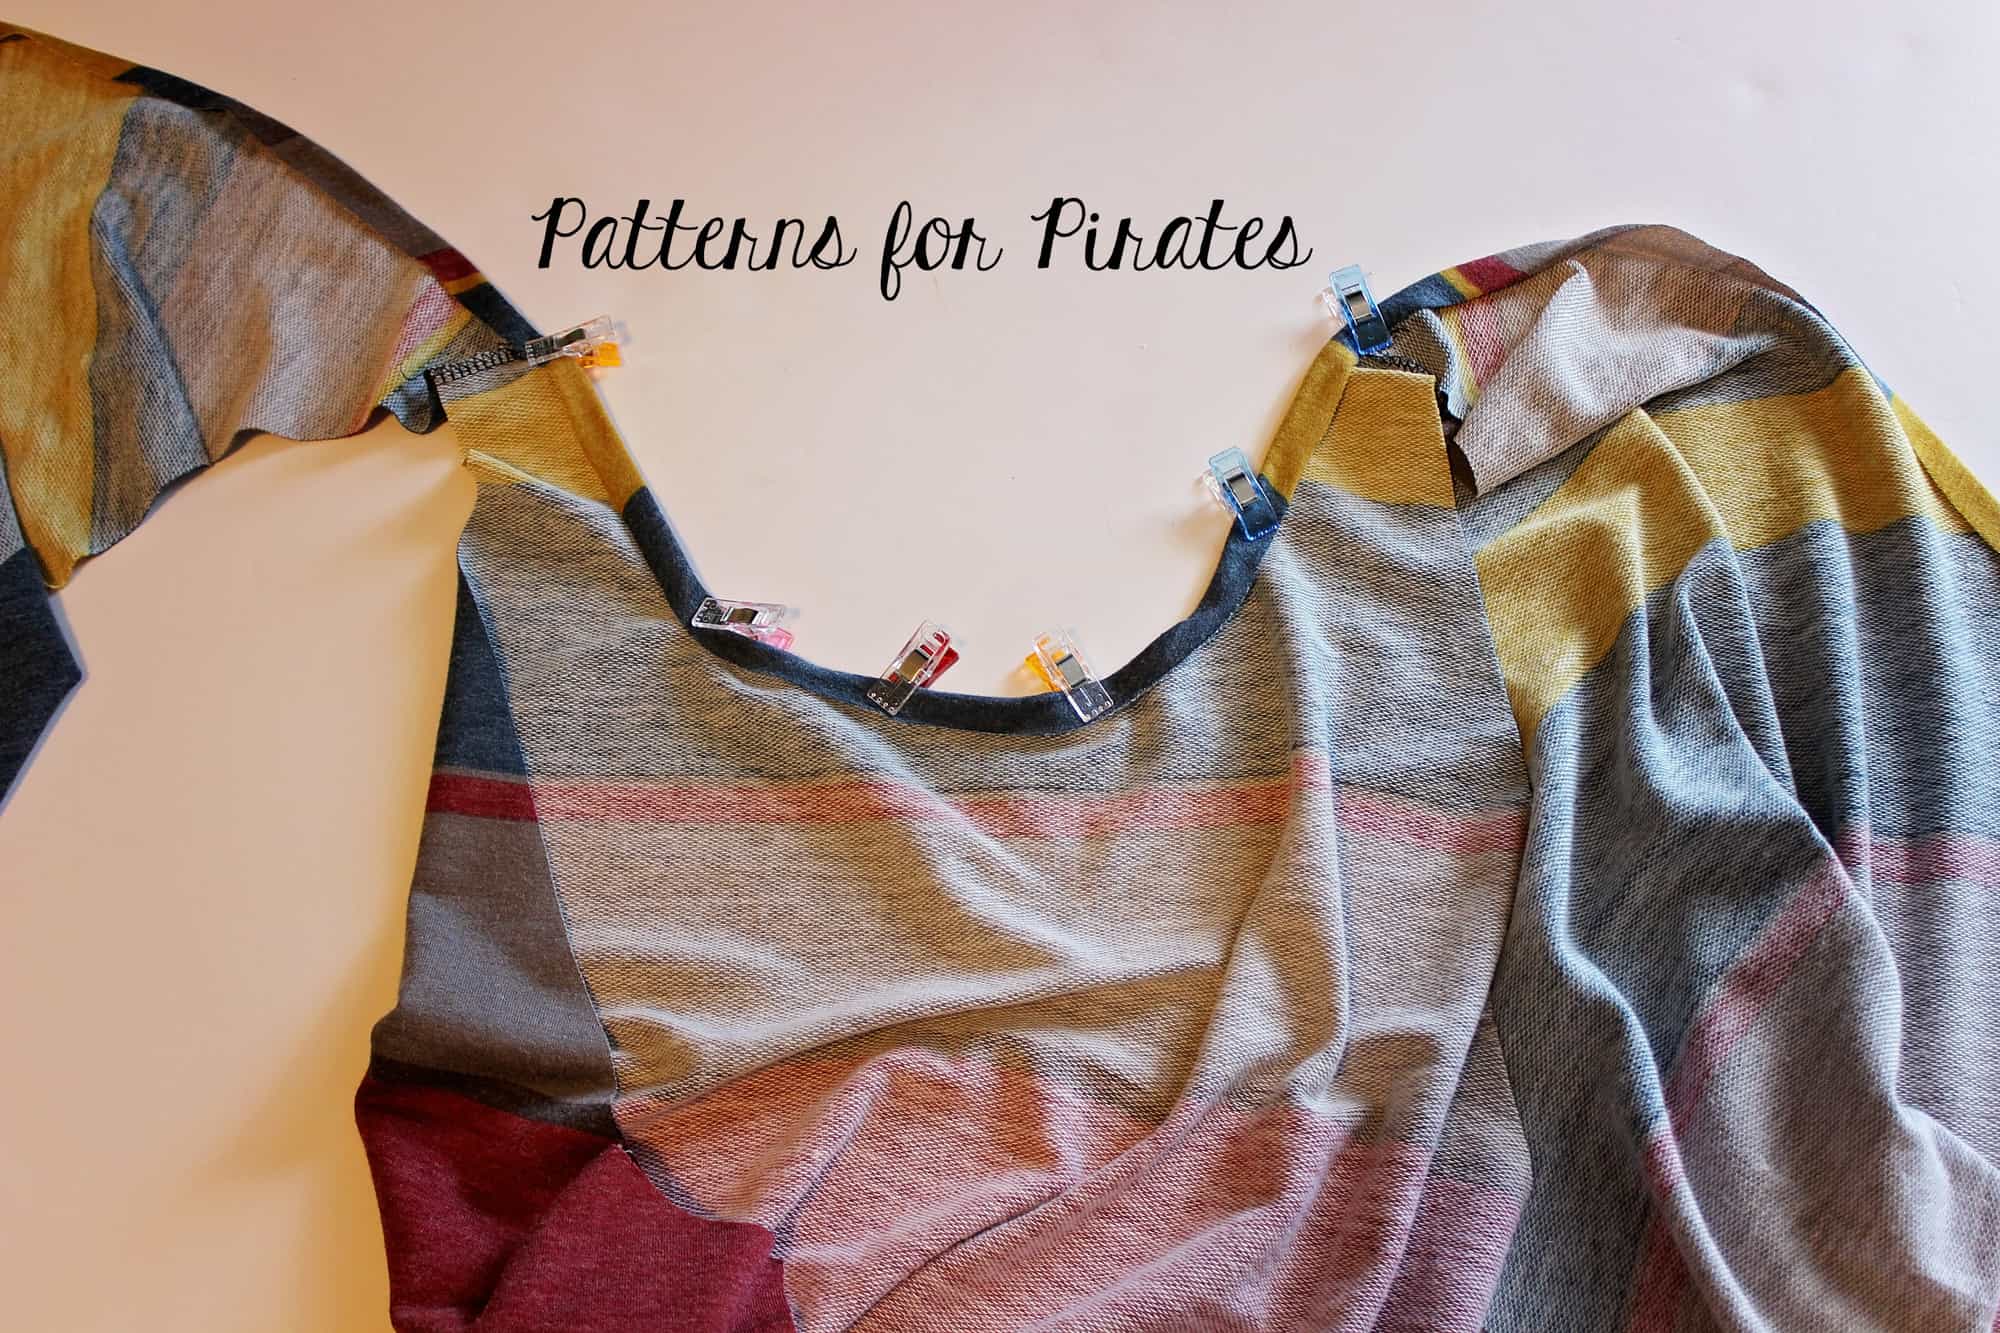
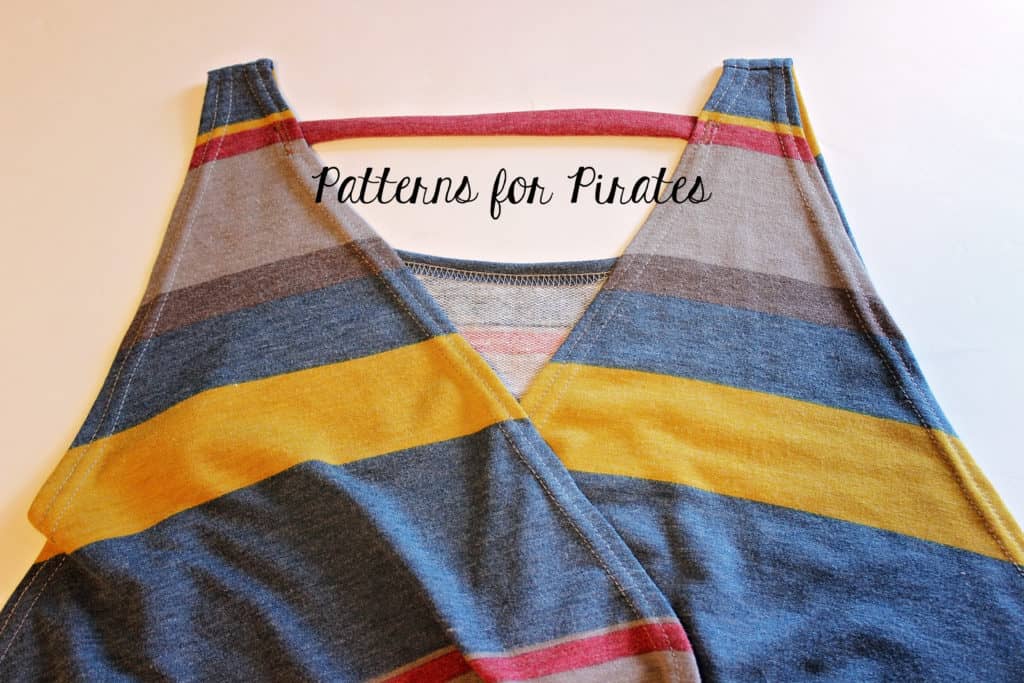
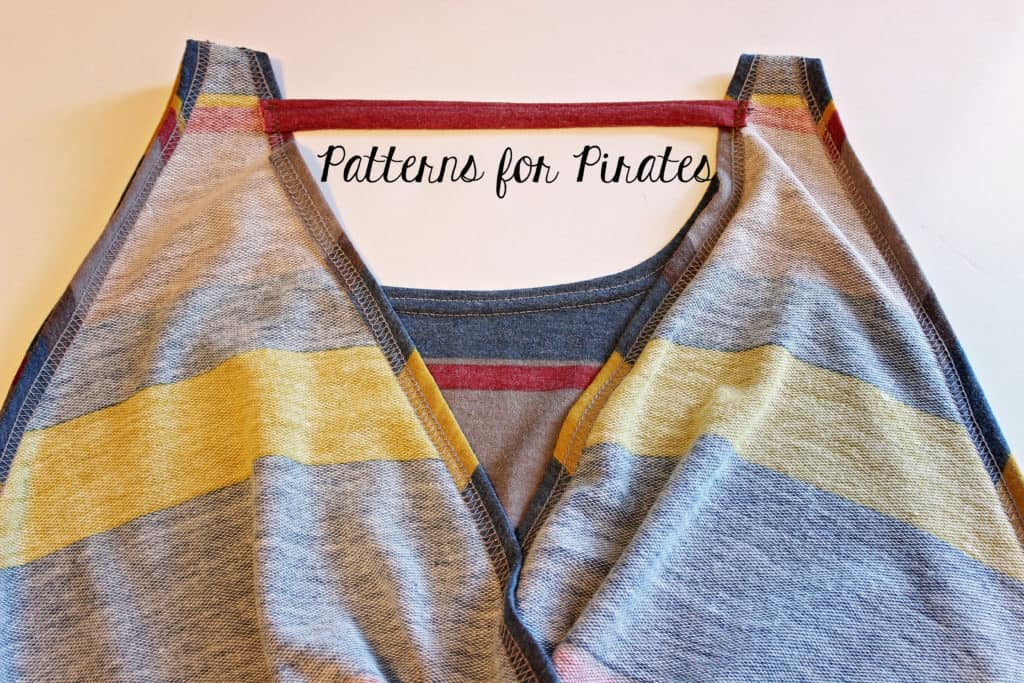
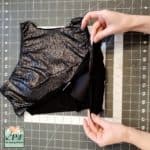
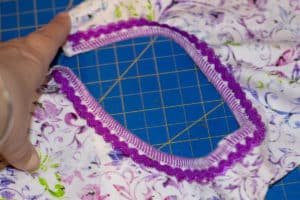
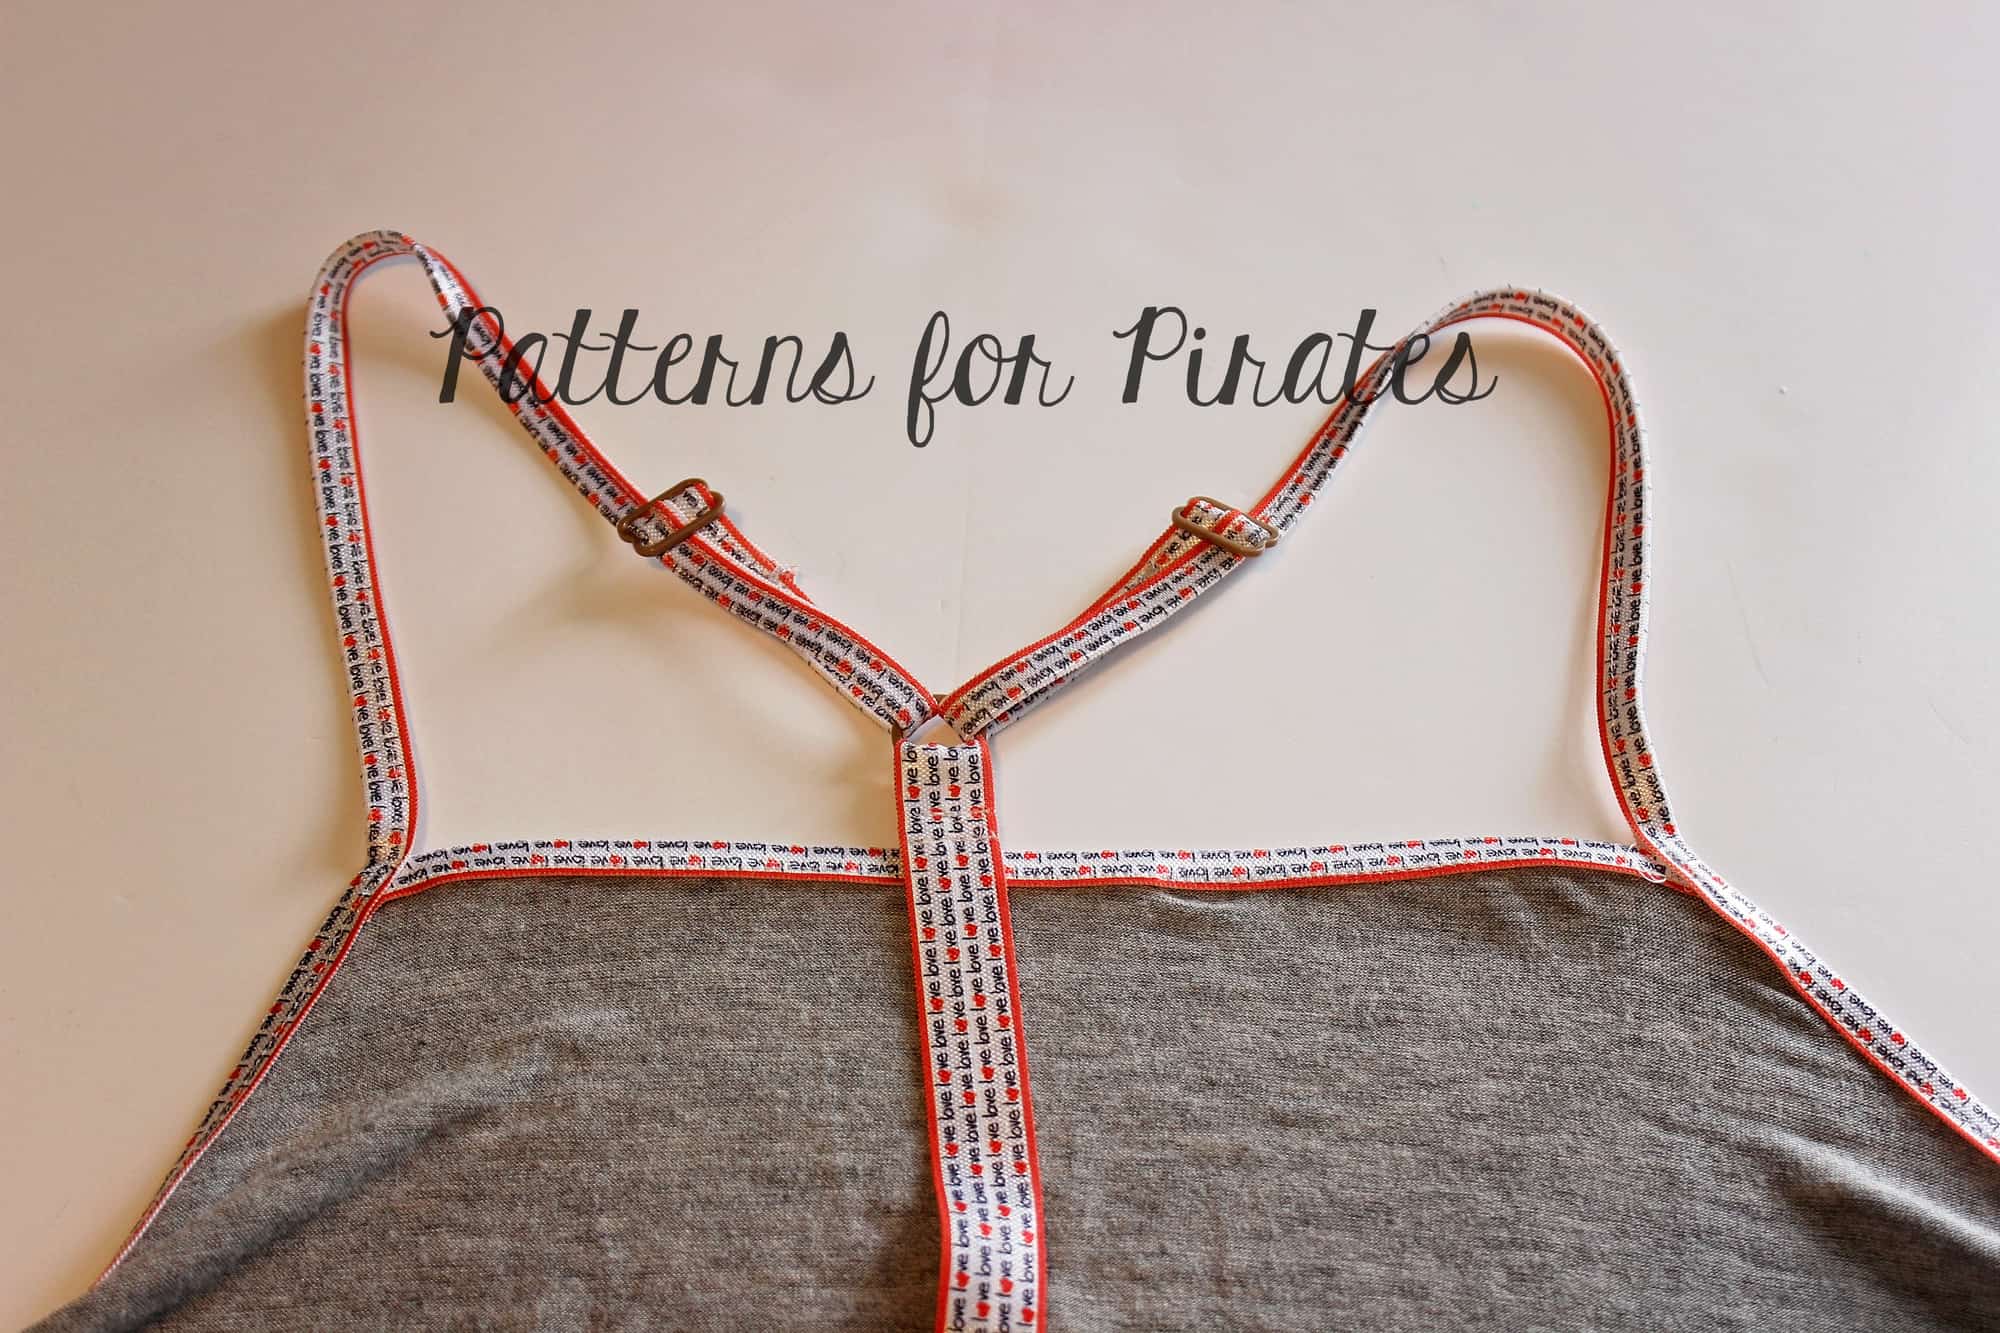
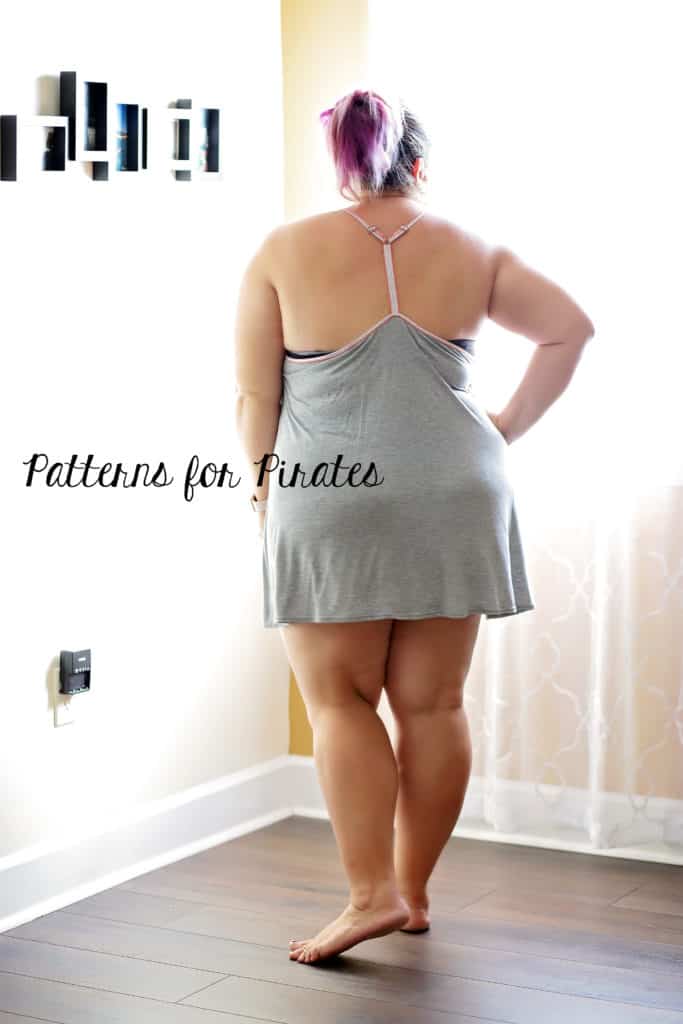
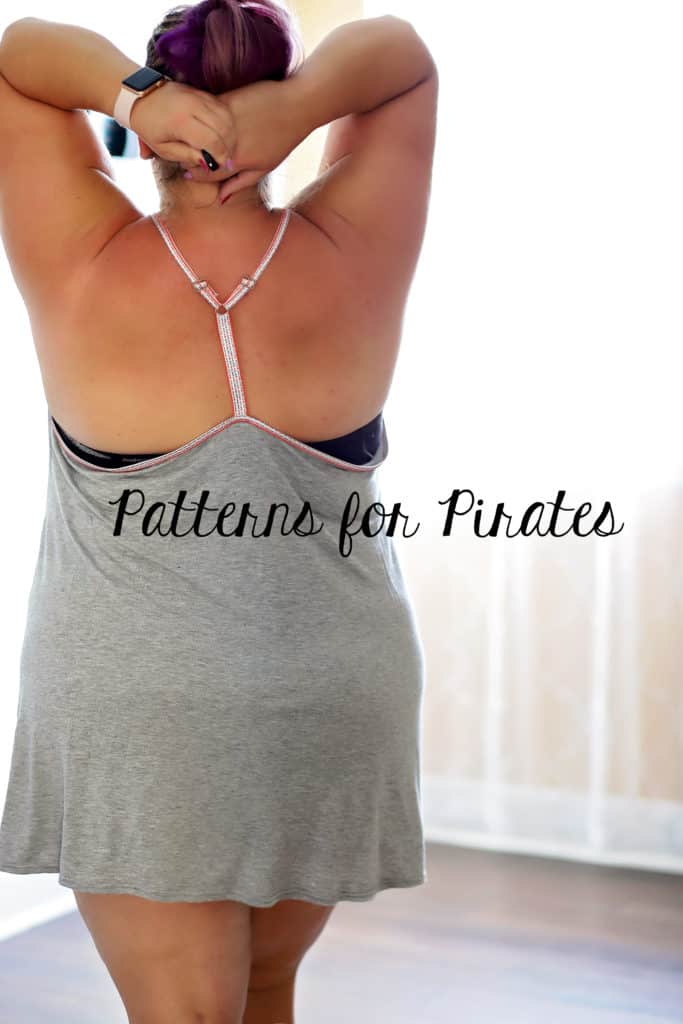
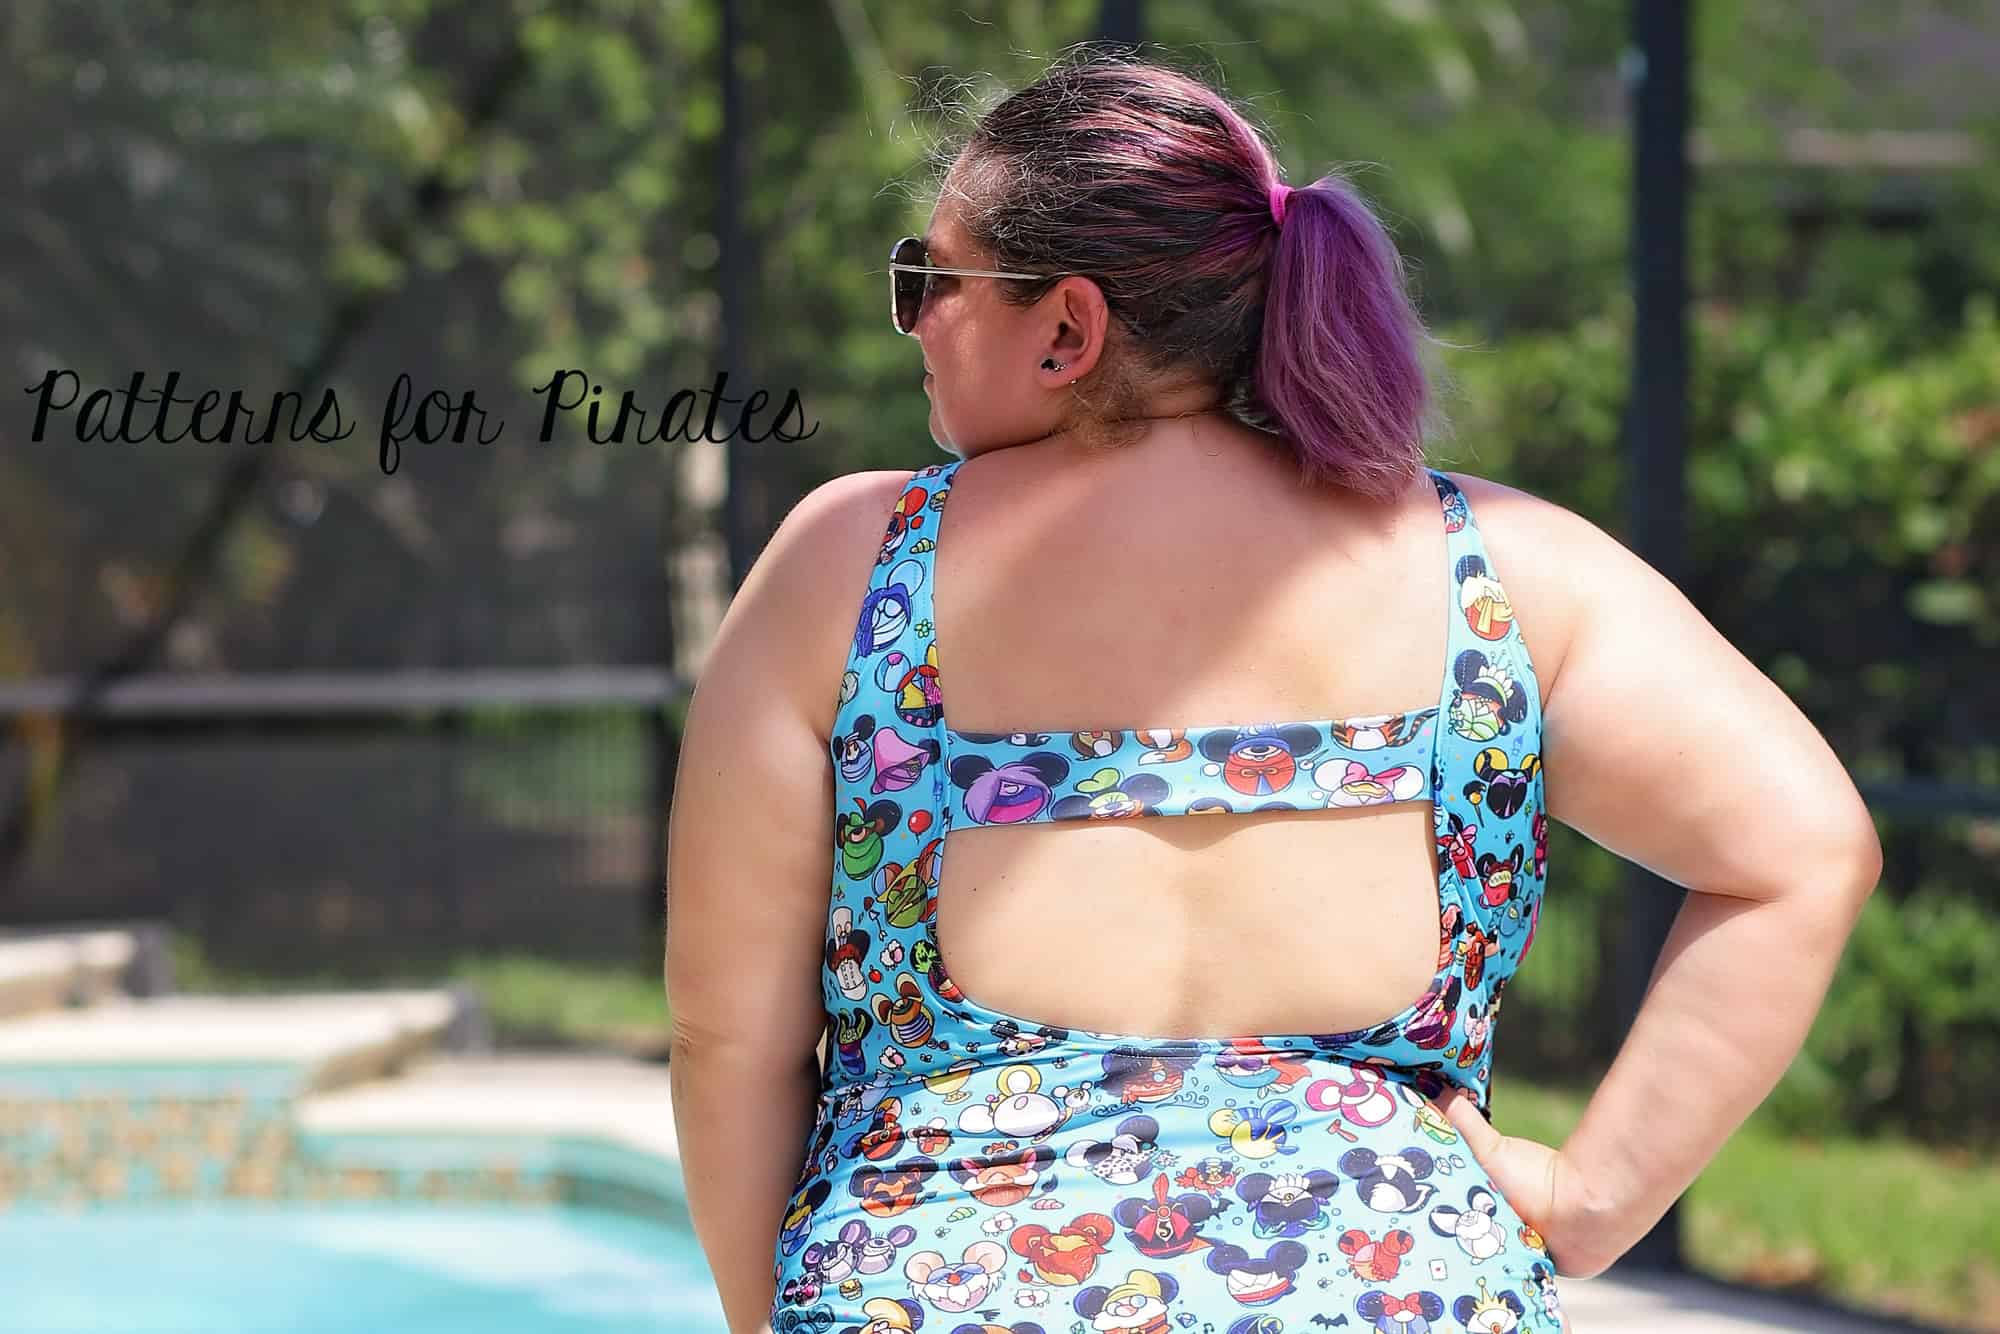
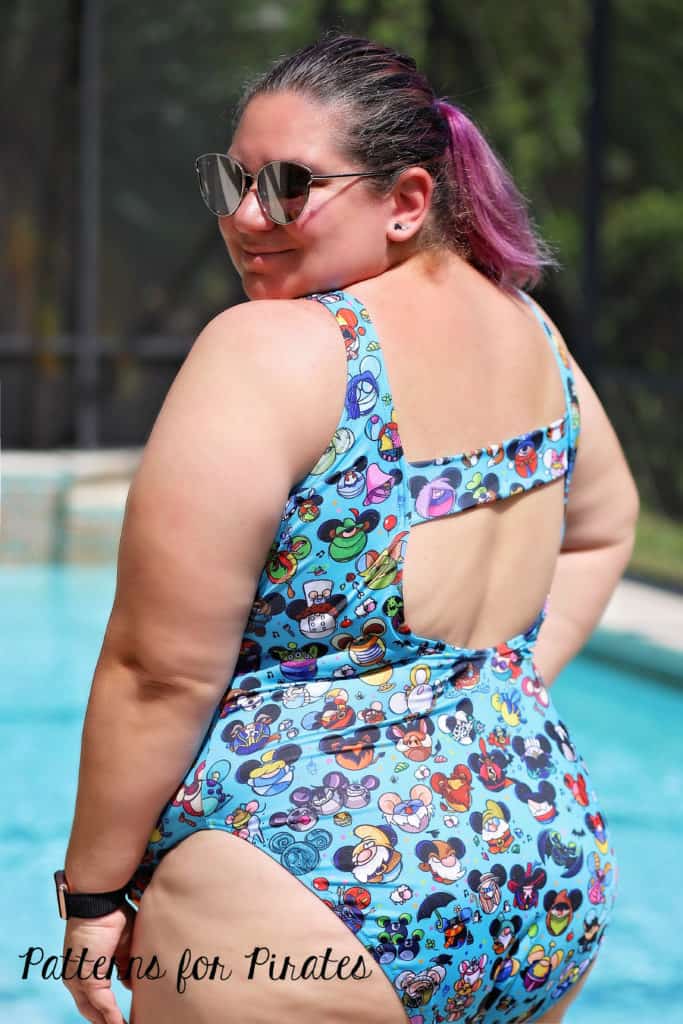
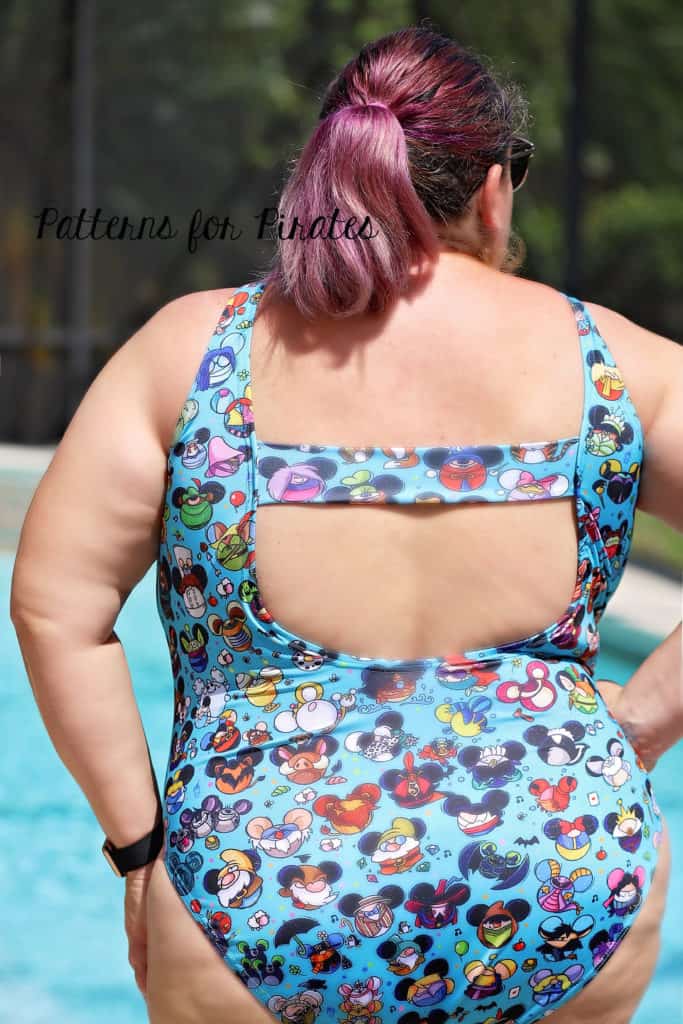
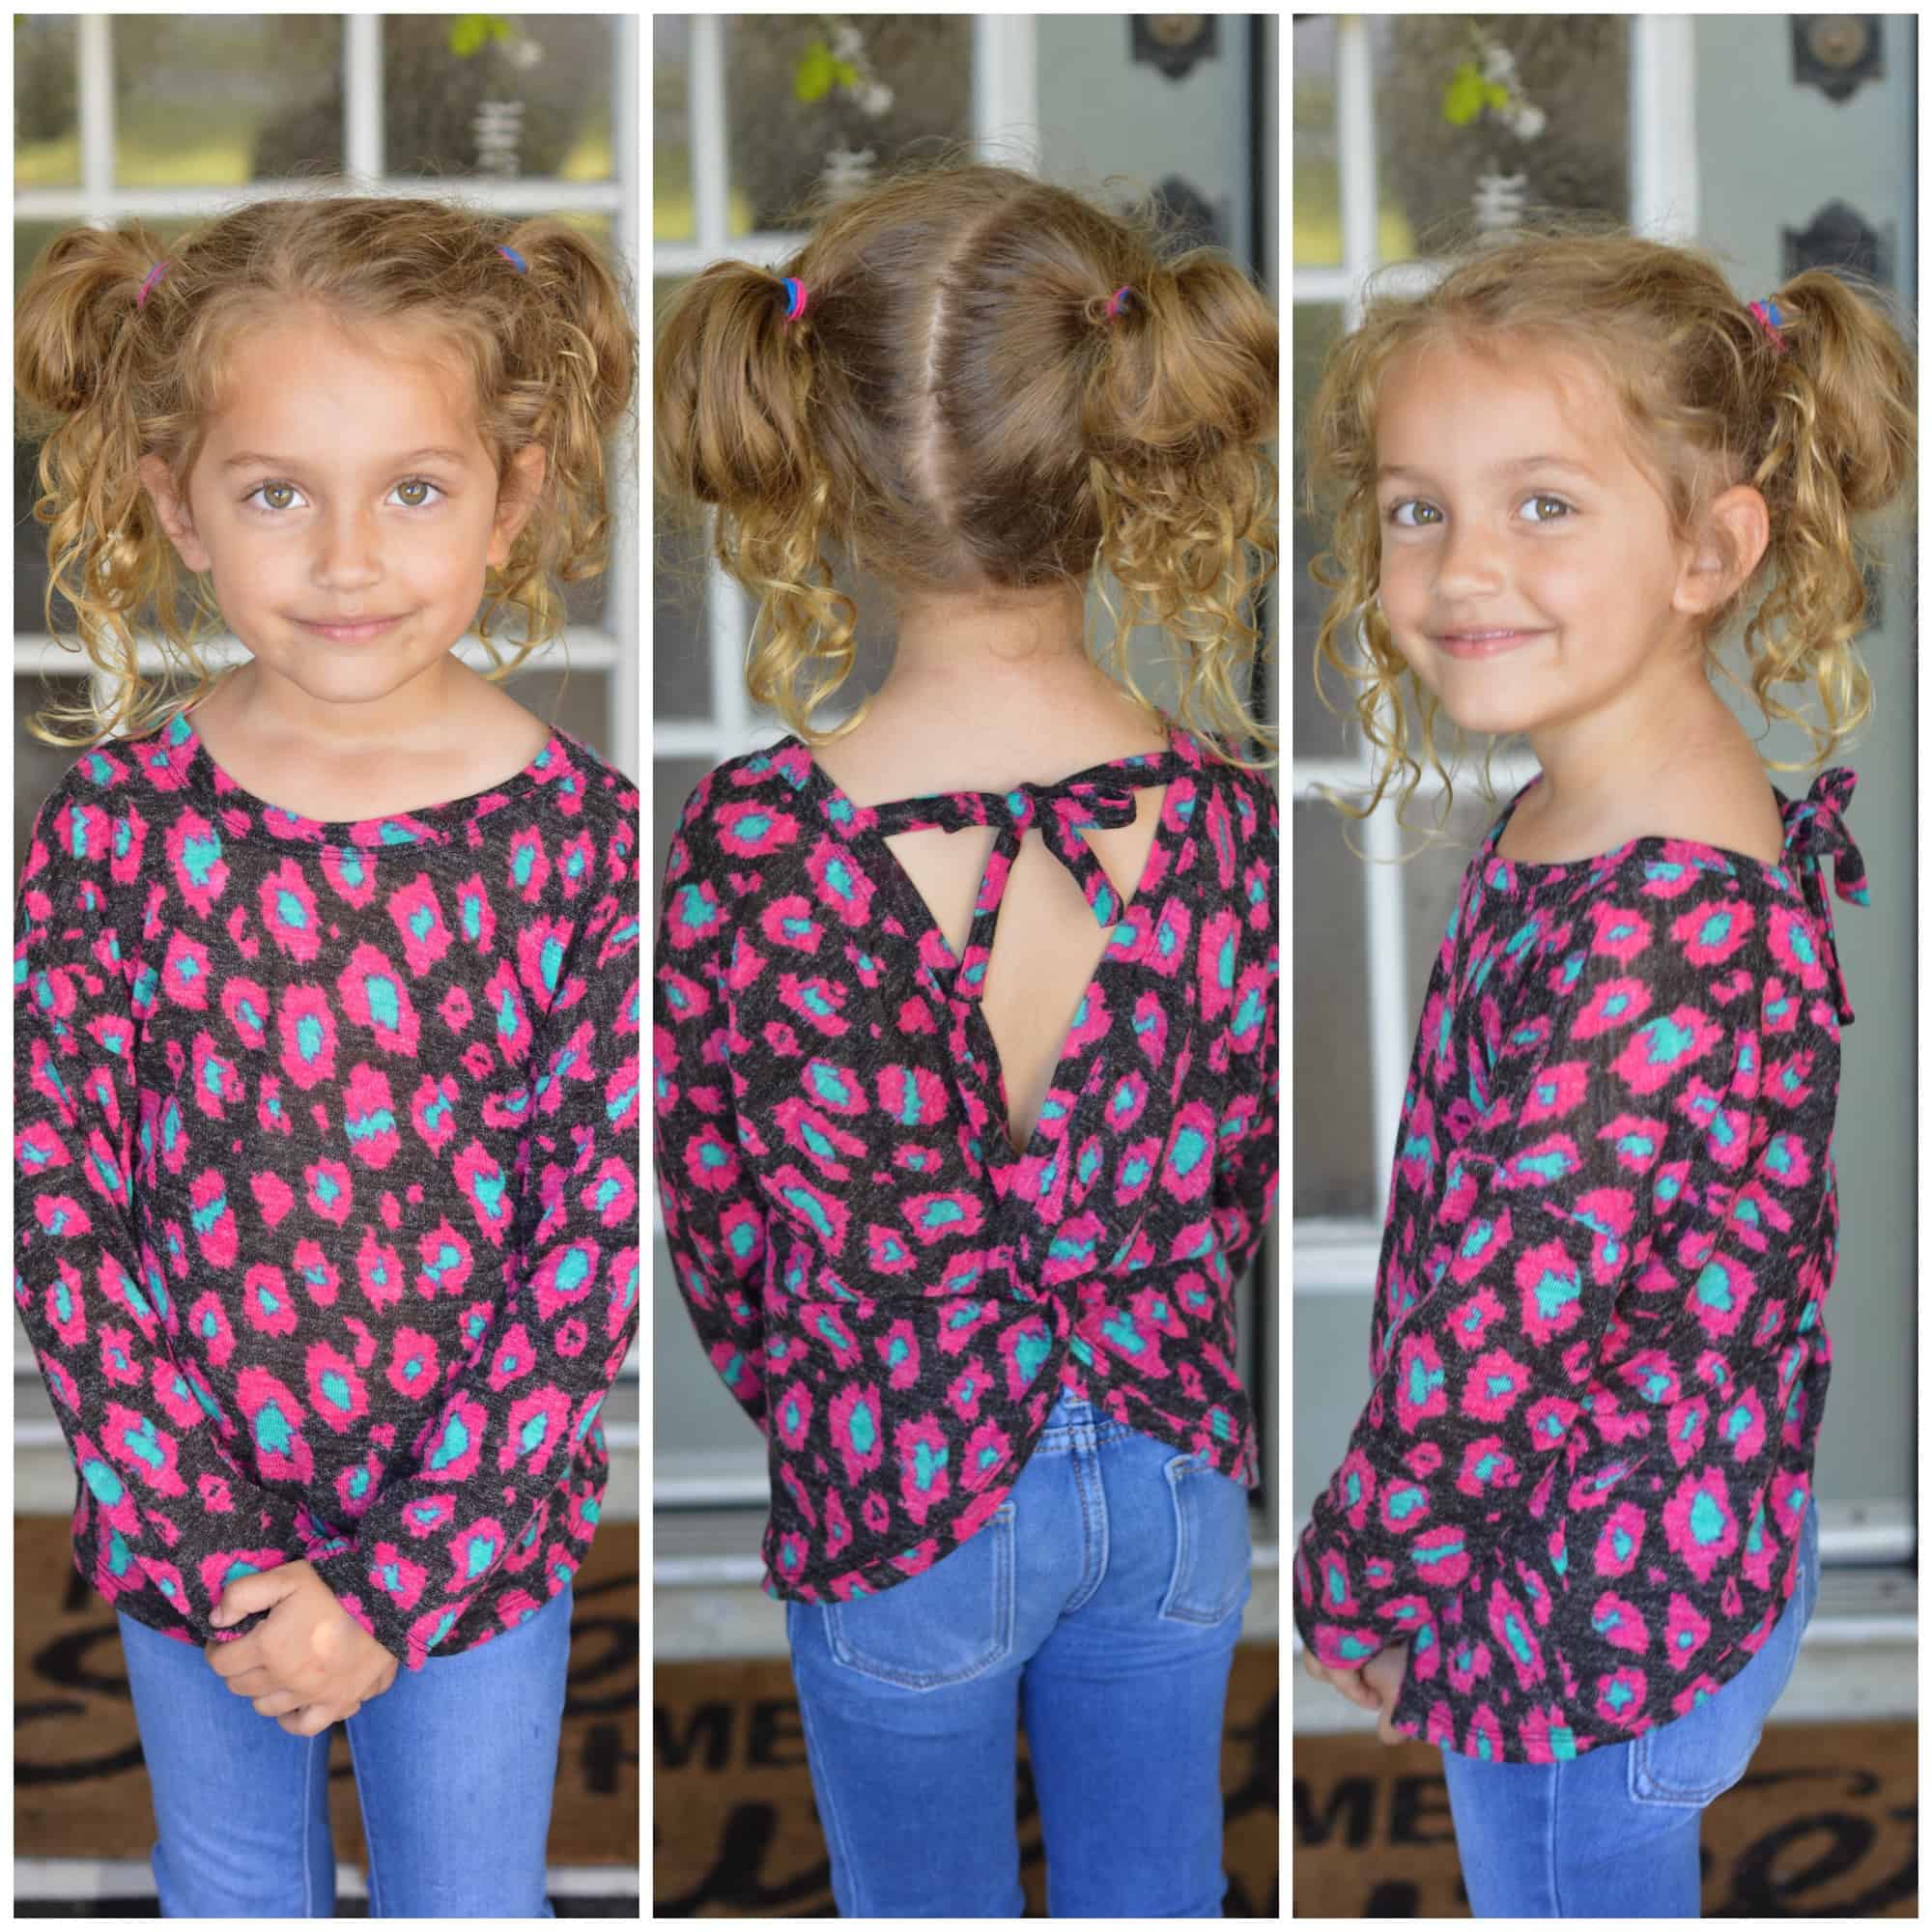
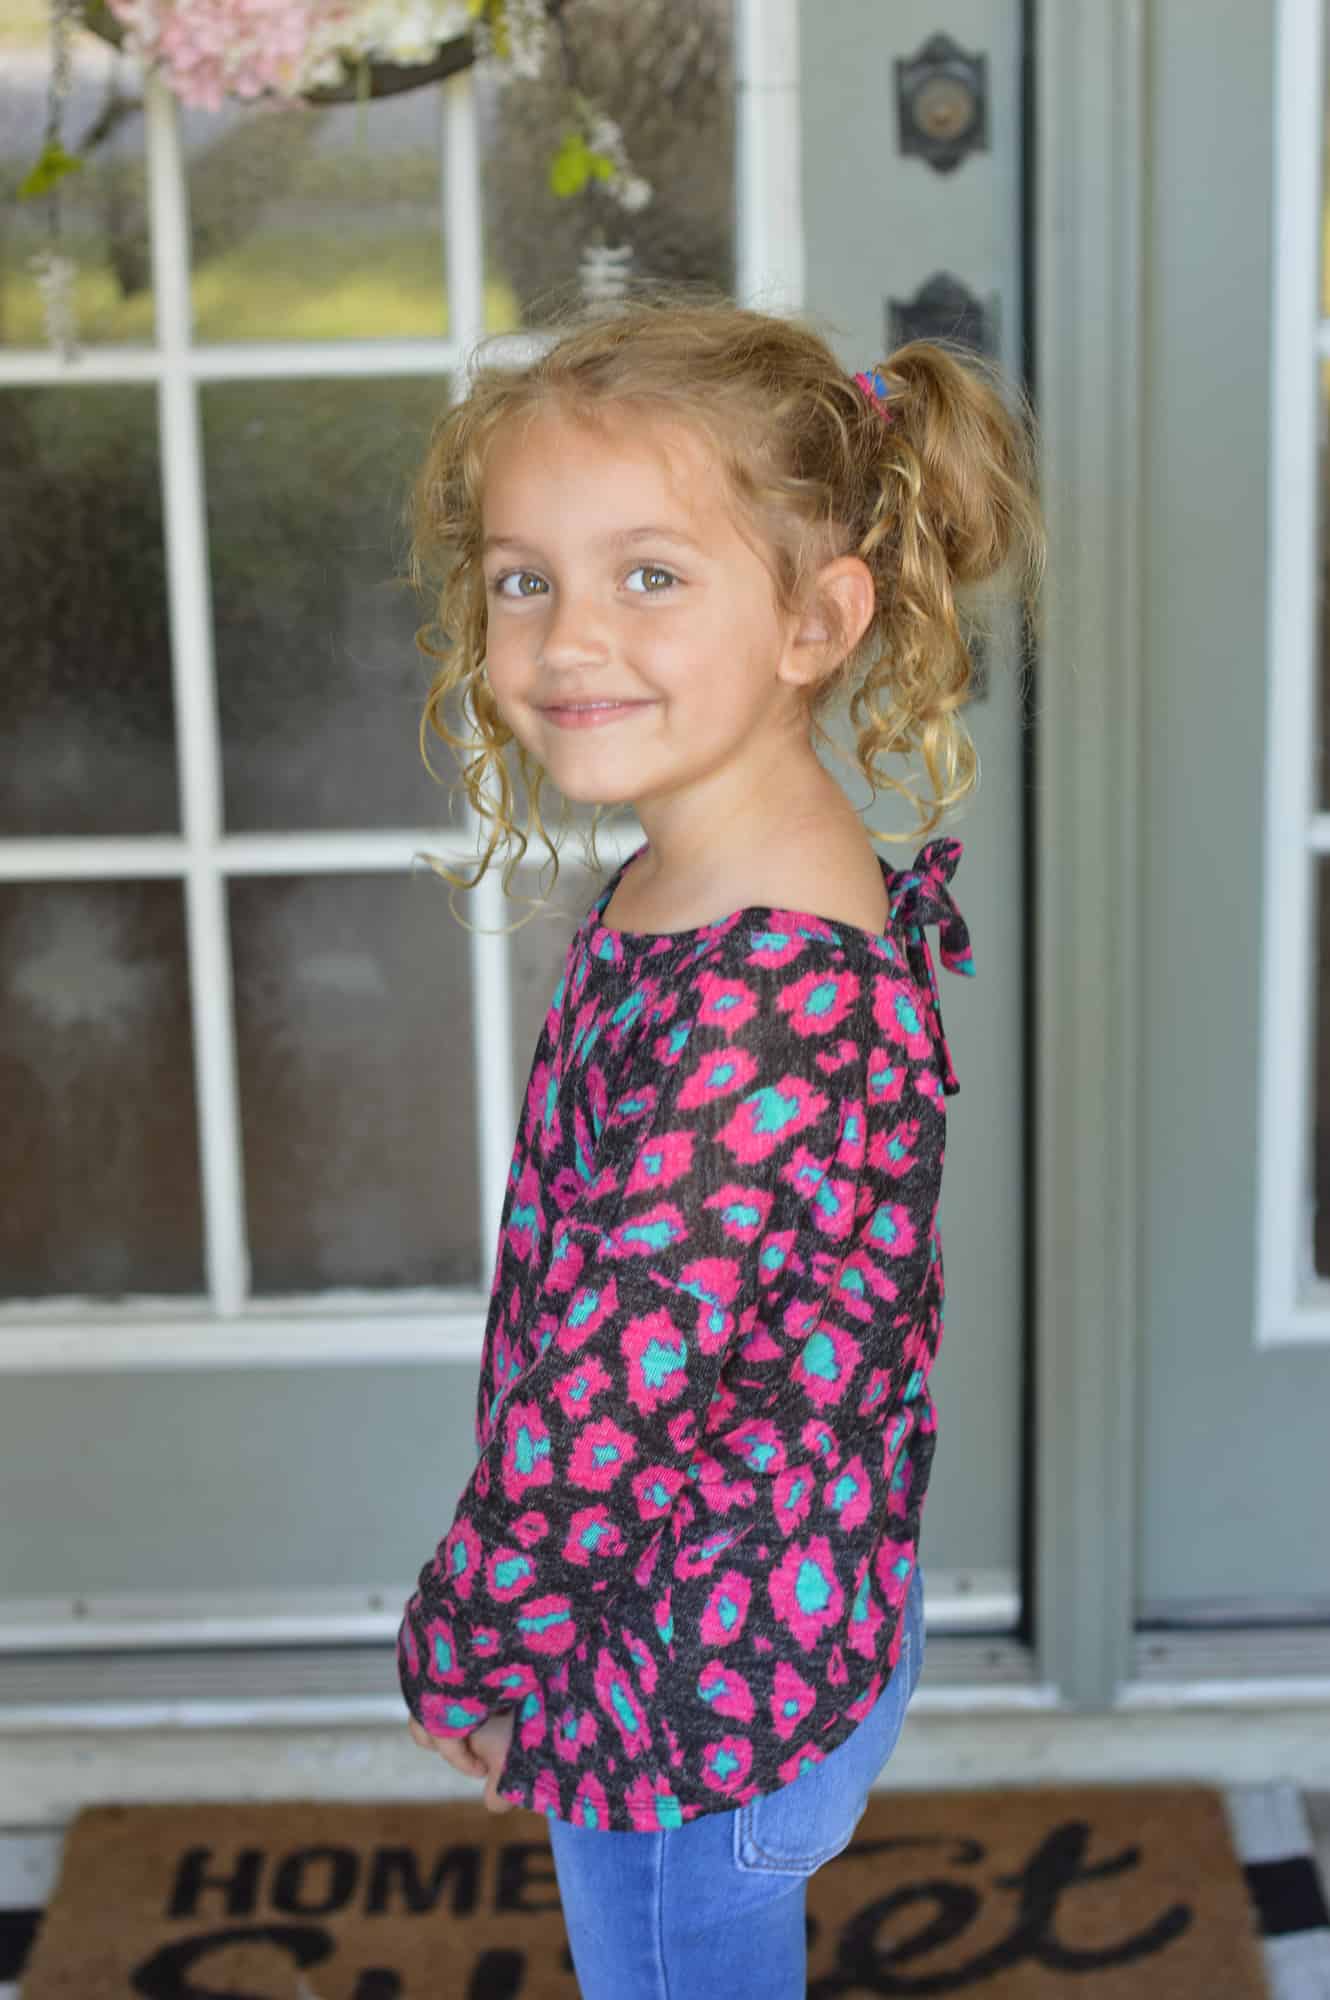
No Clasp, Cut Out Back
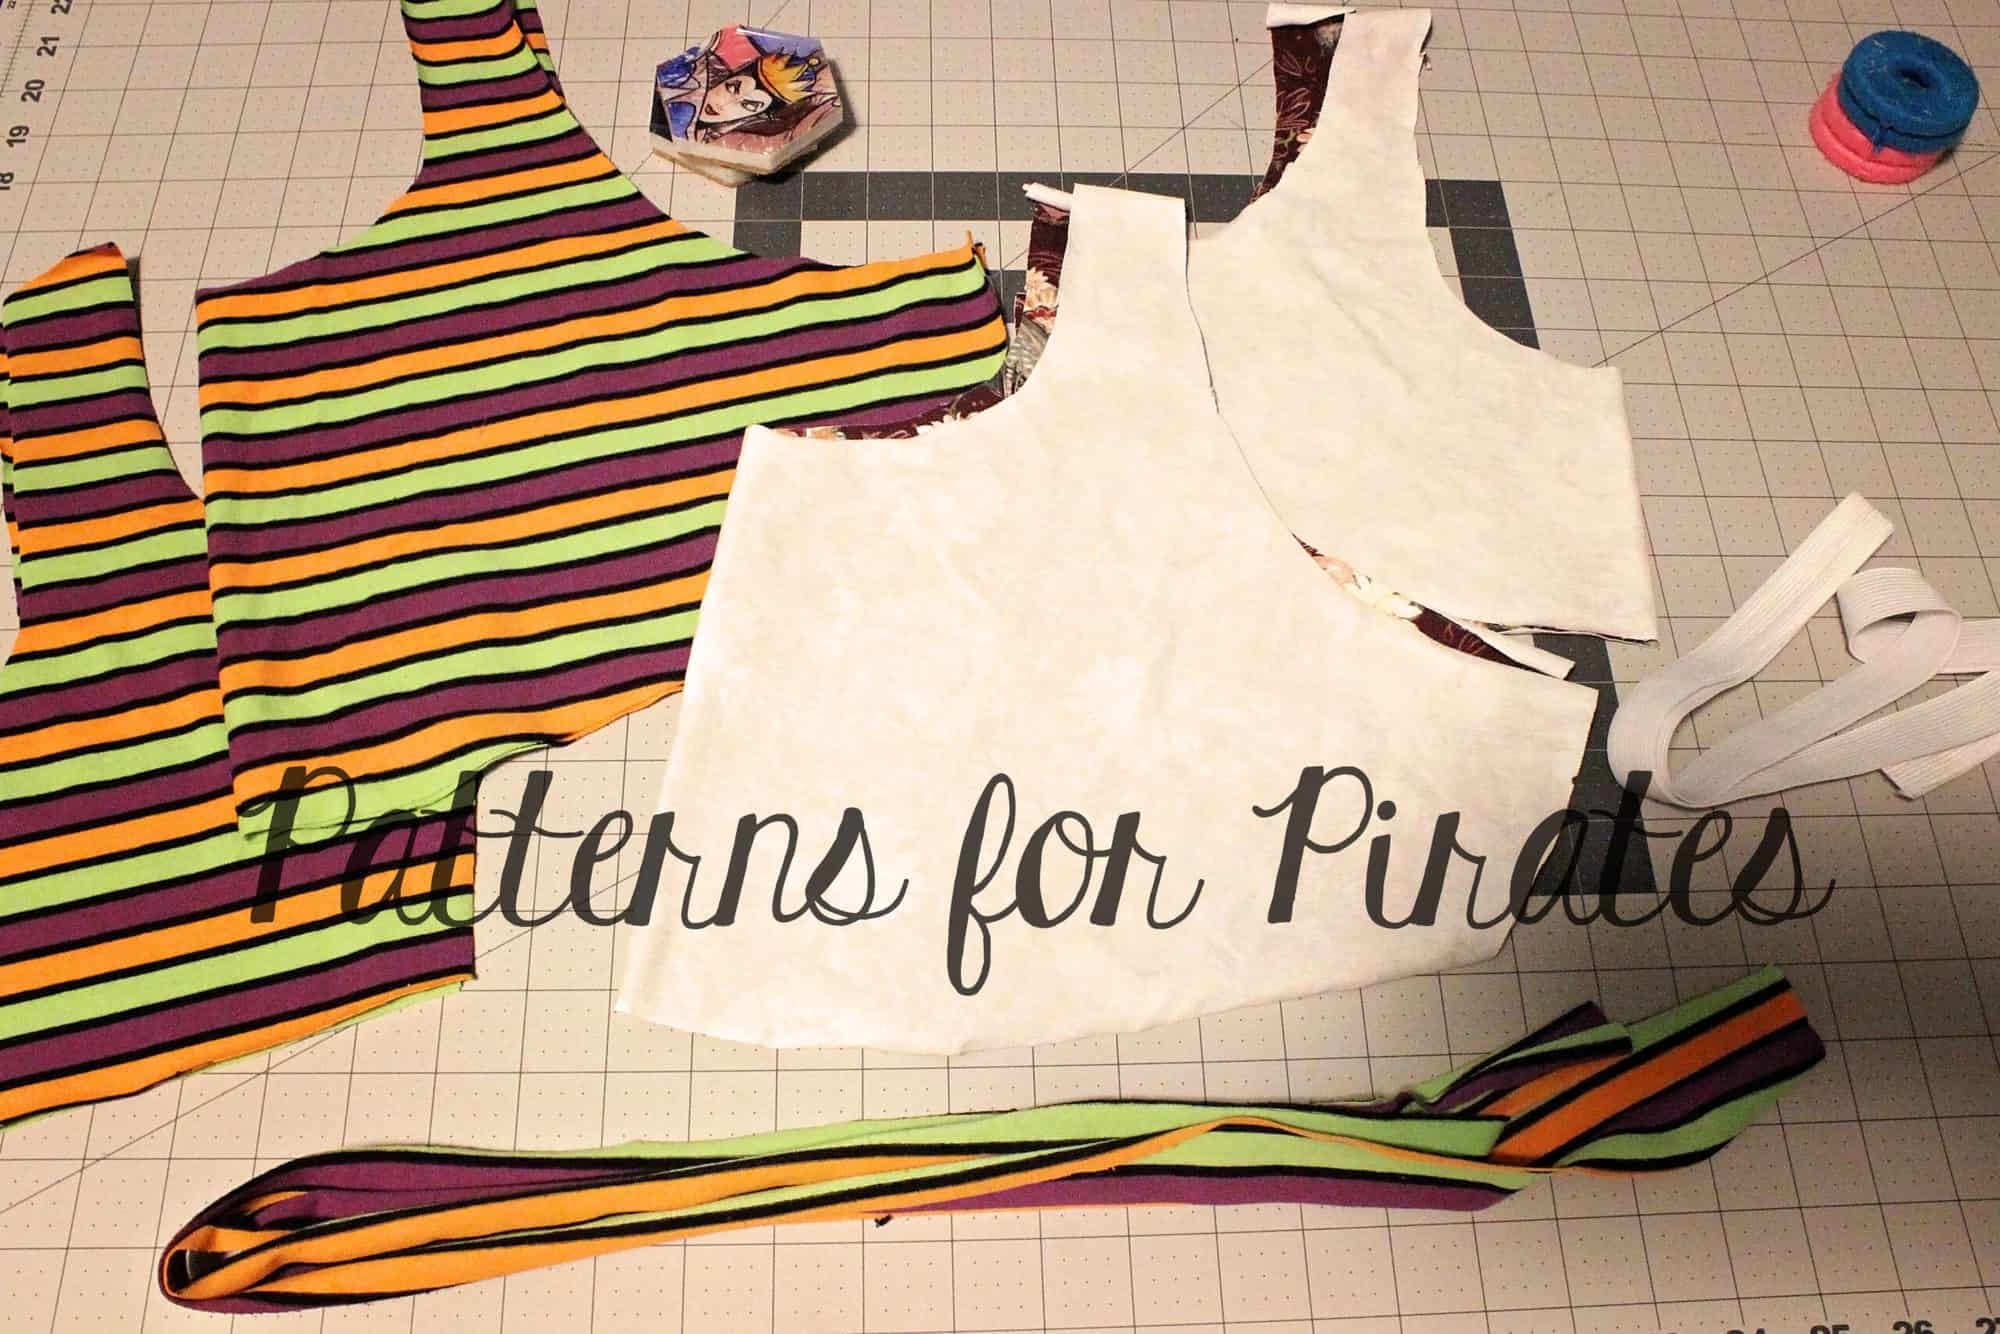
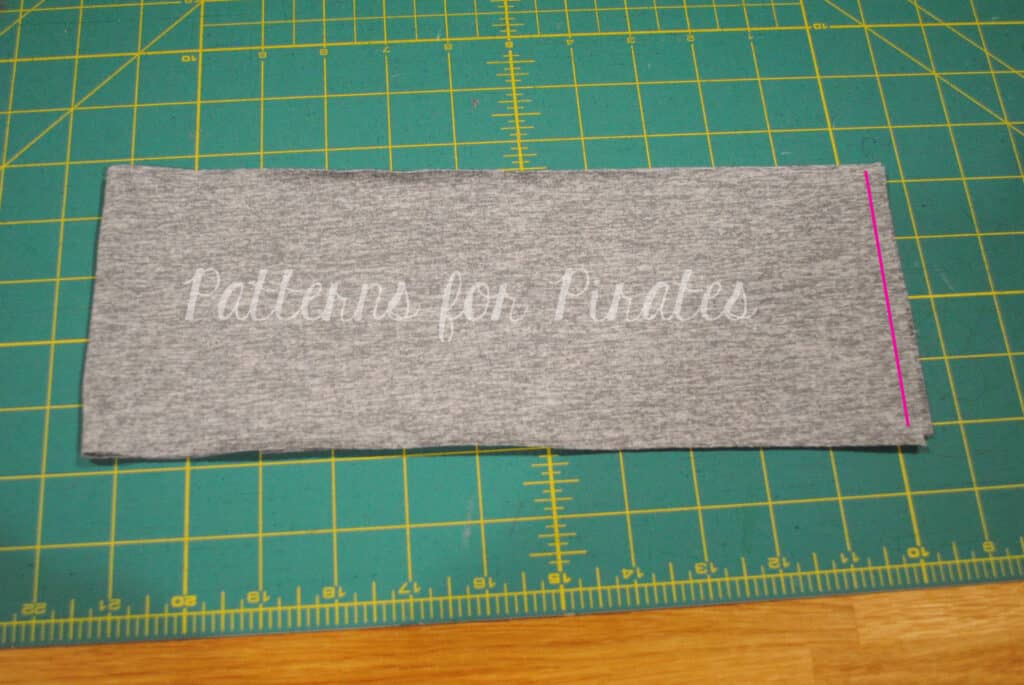
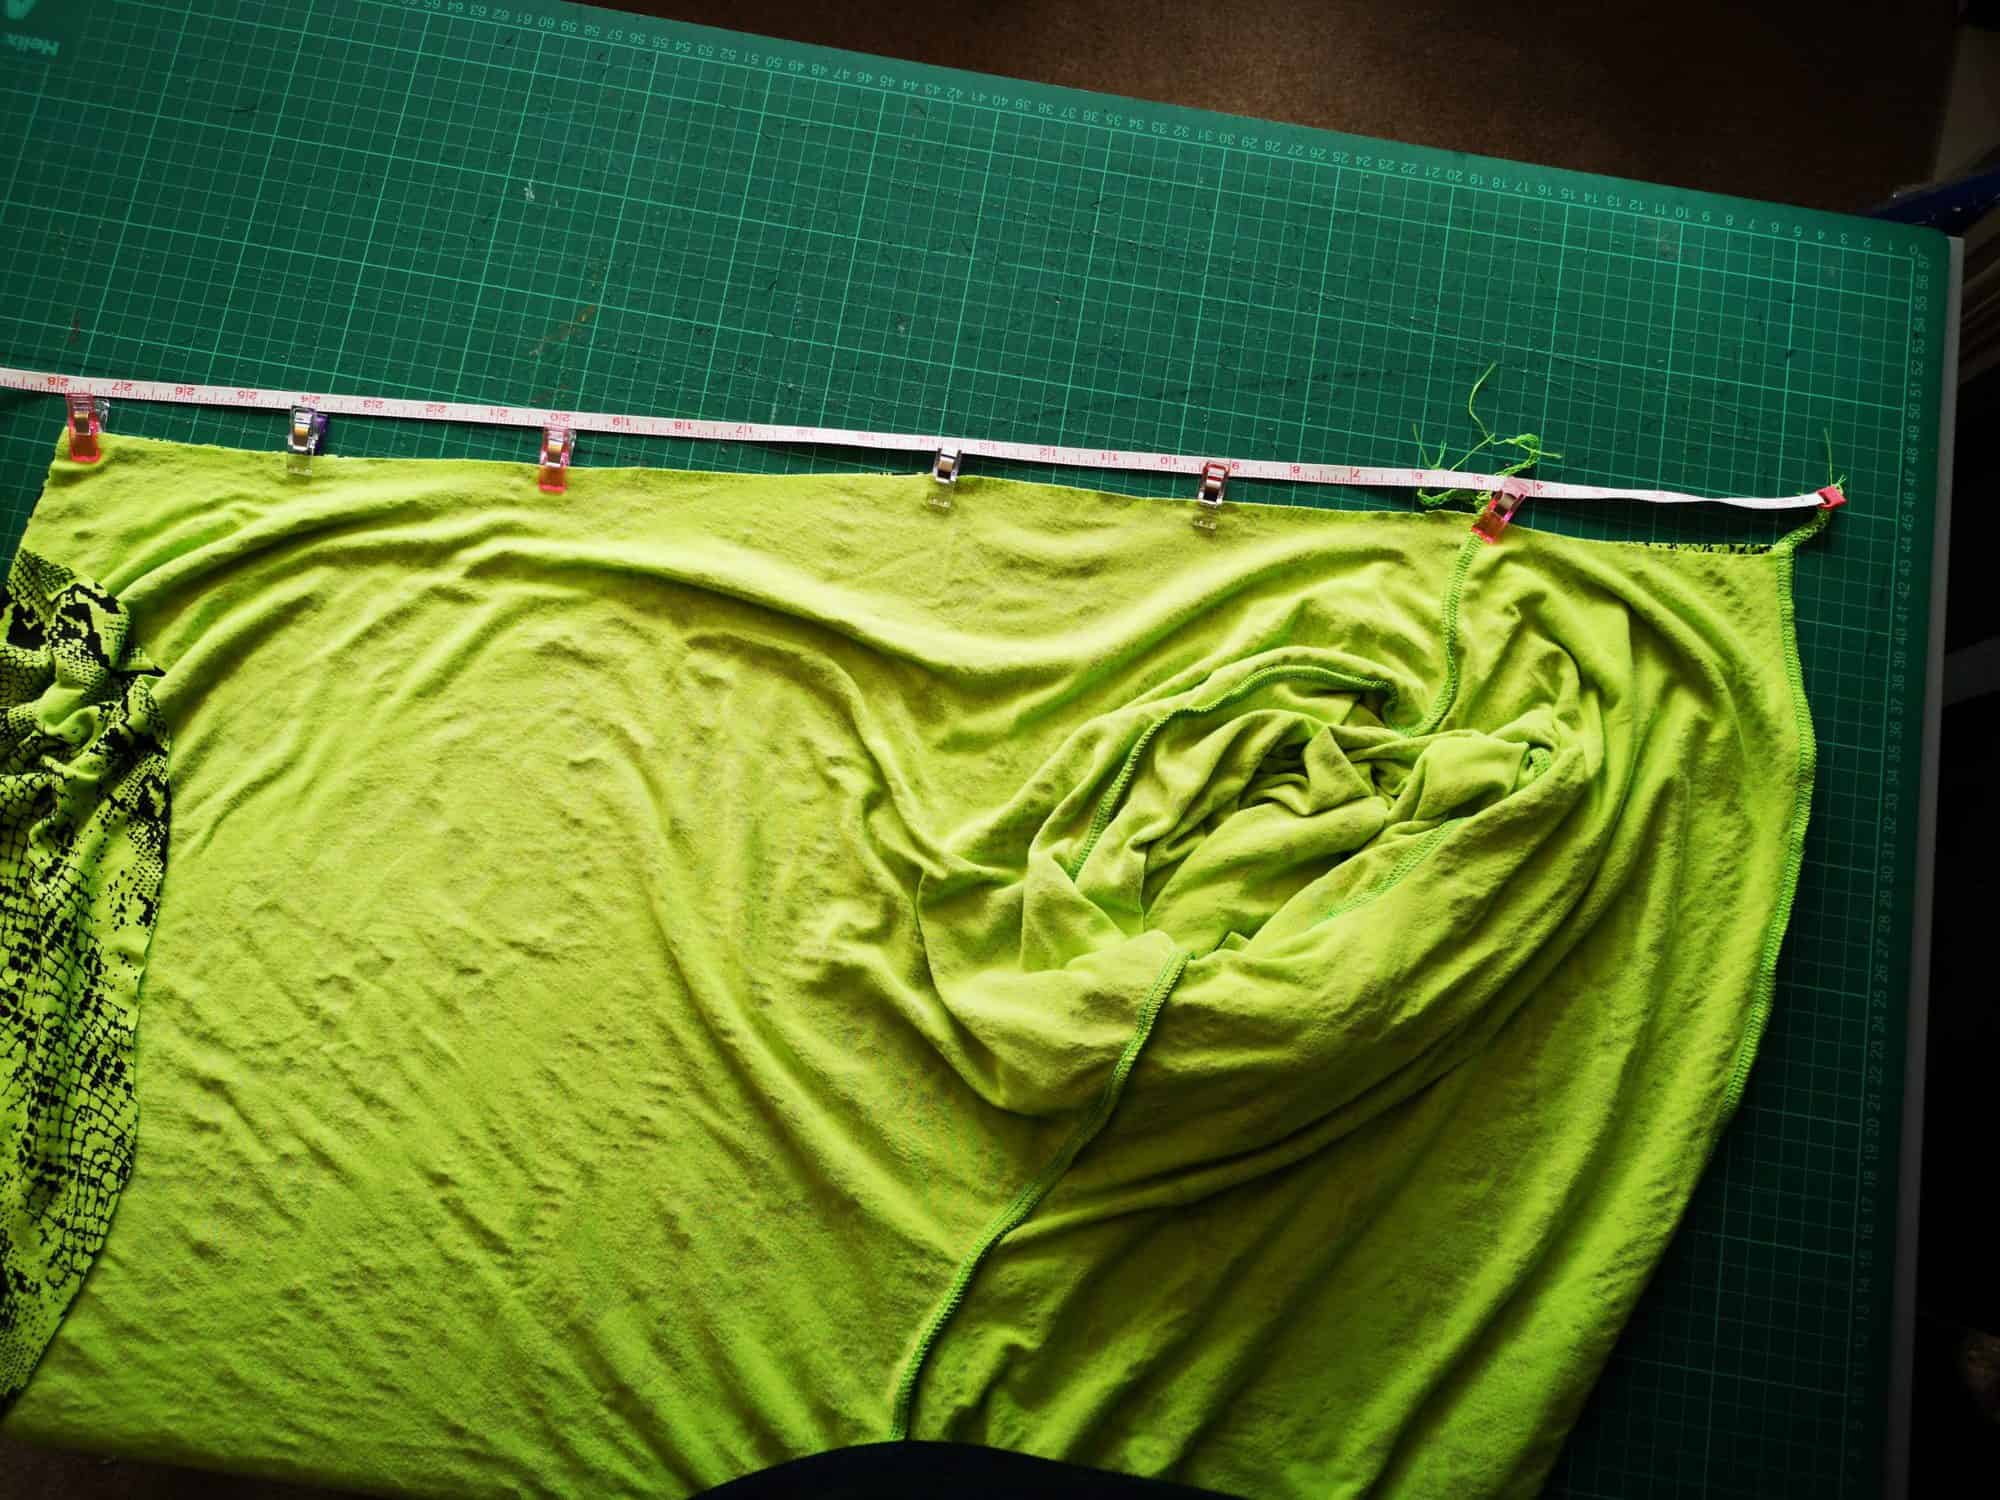
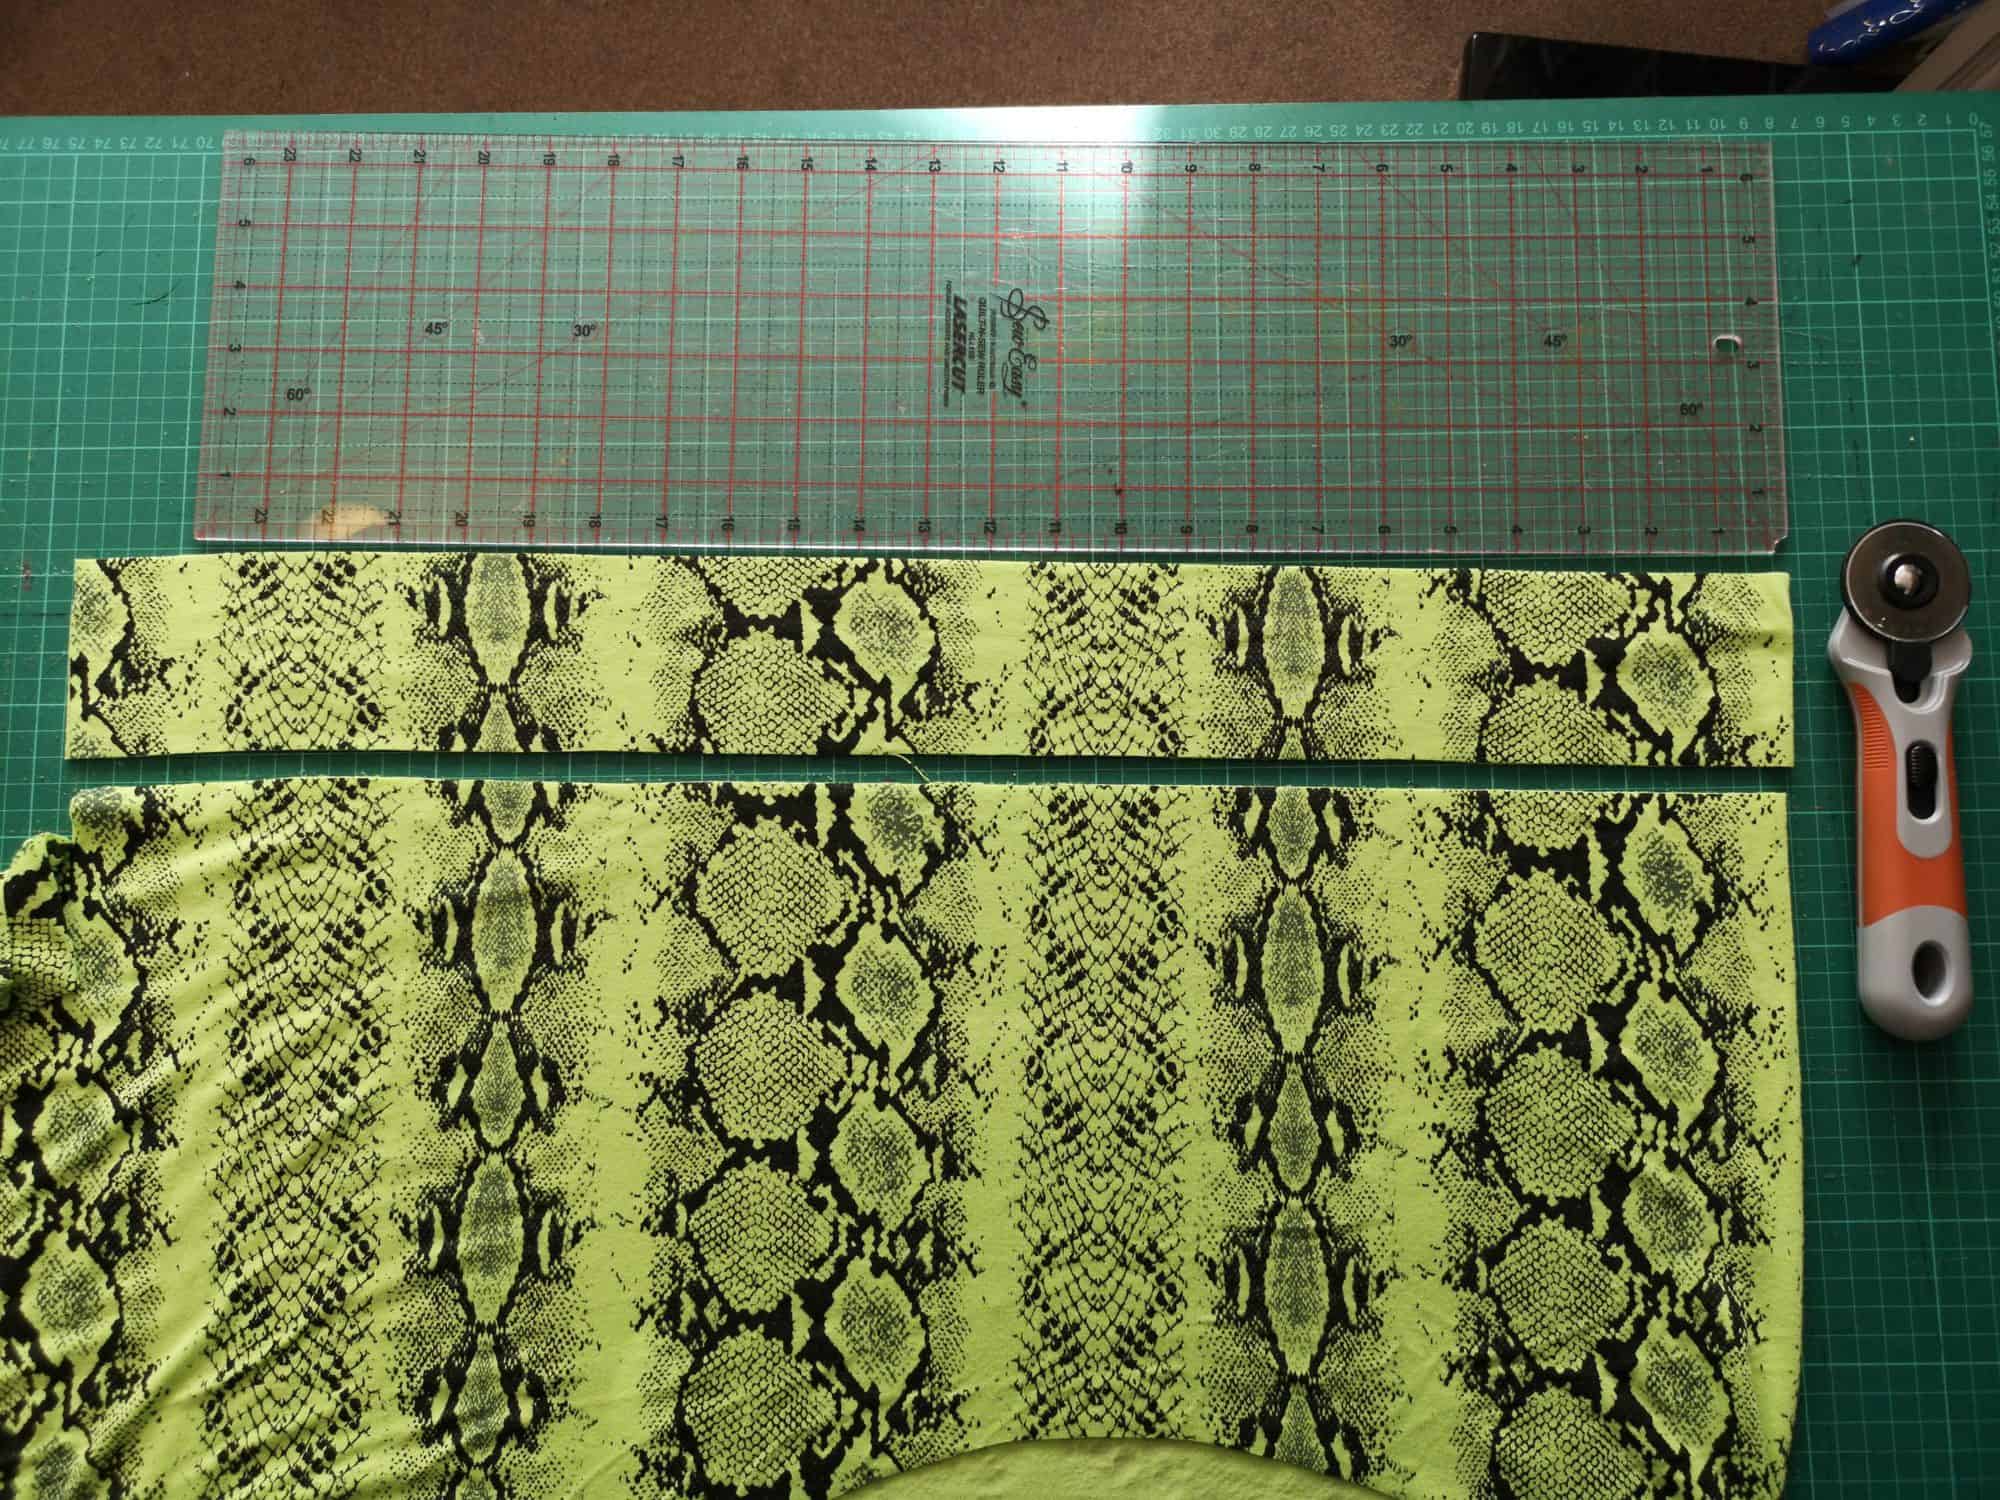
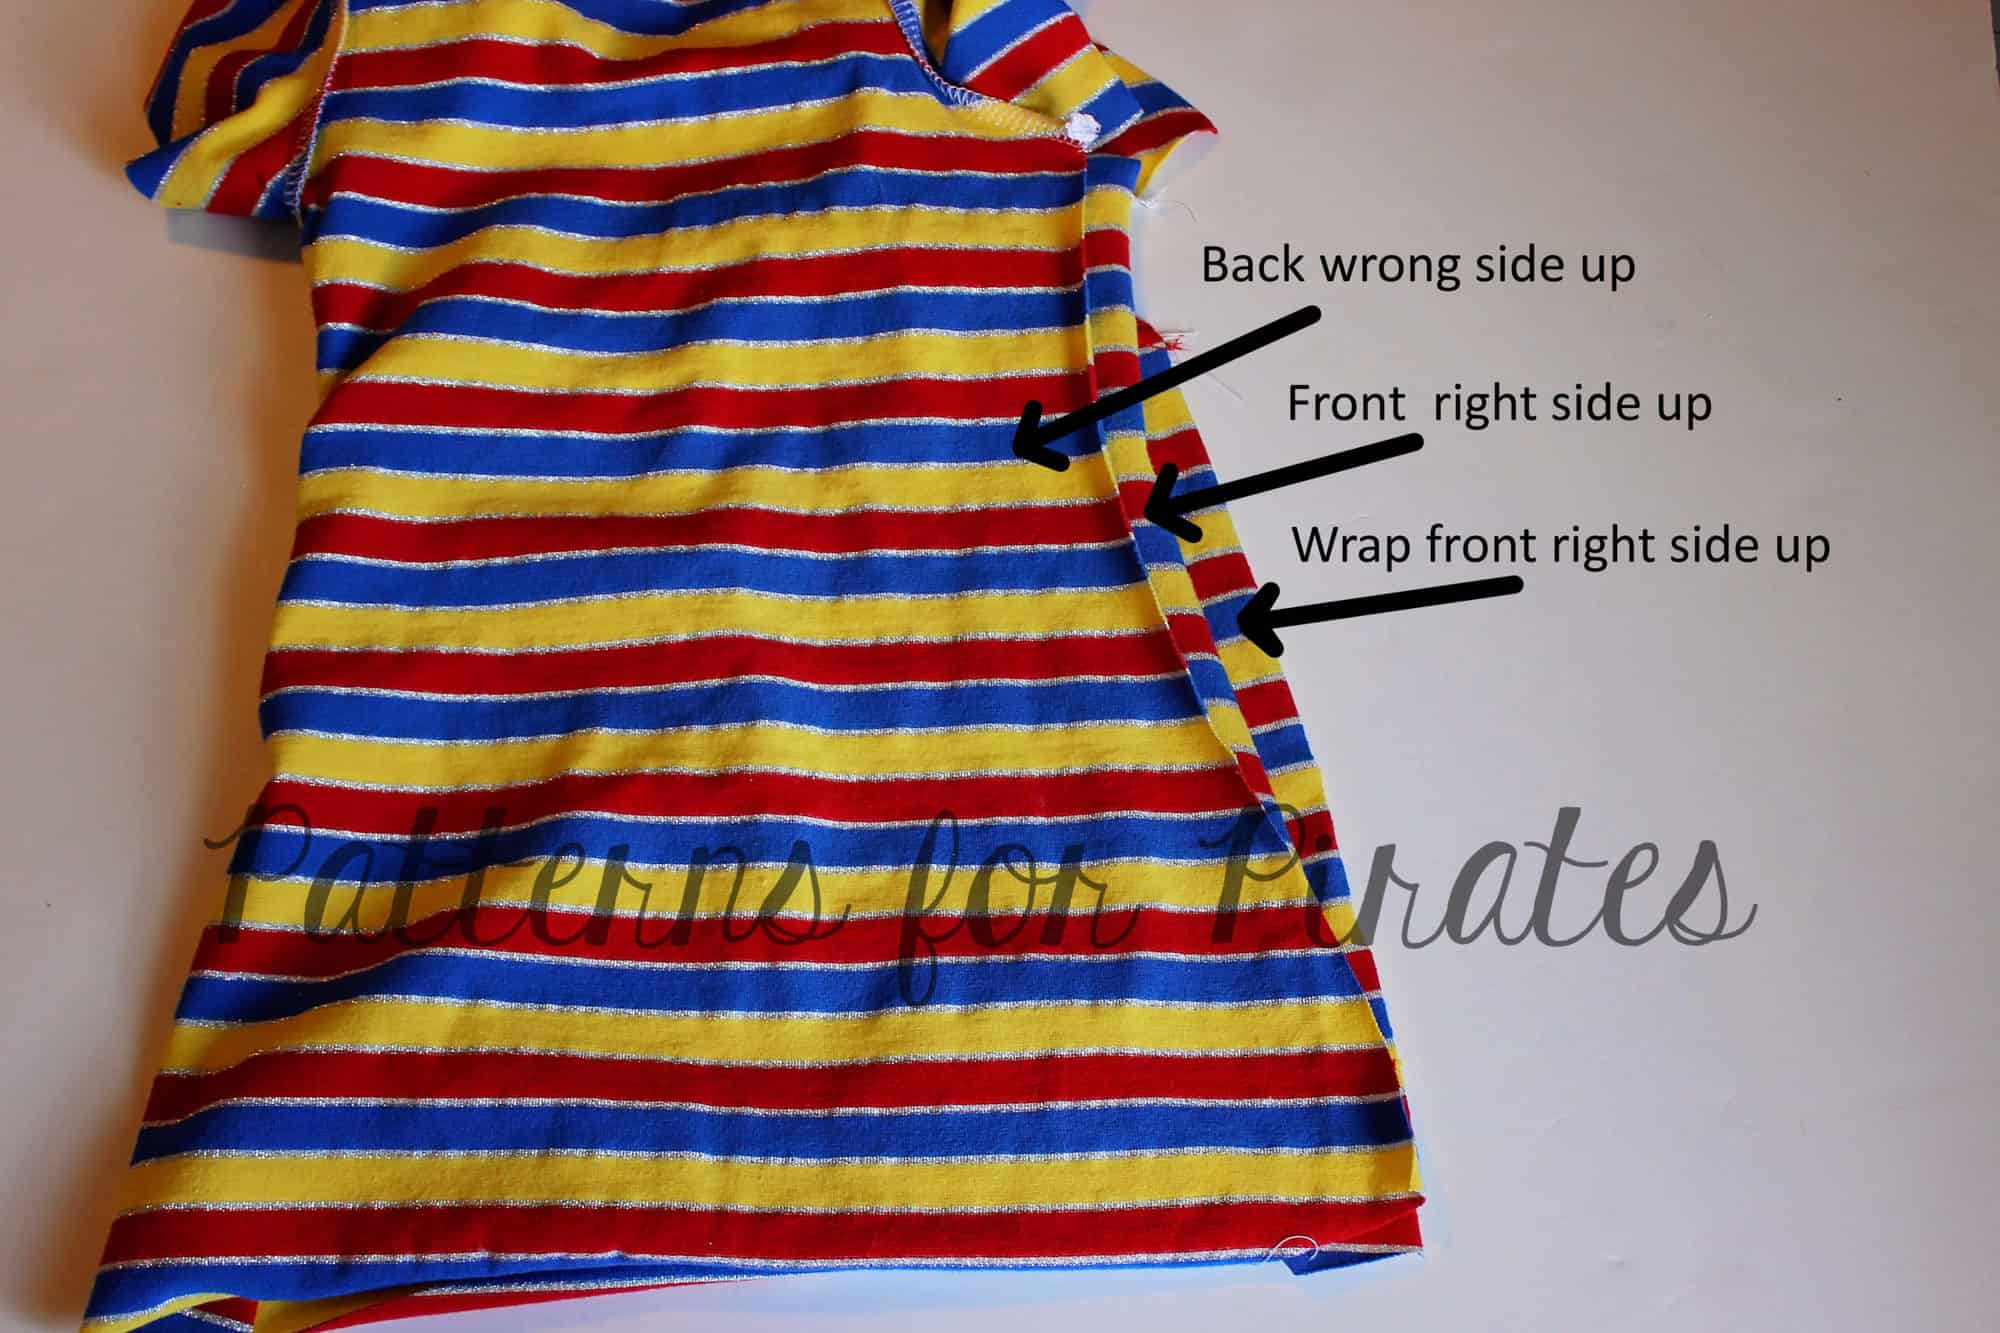
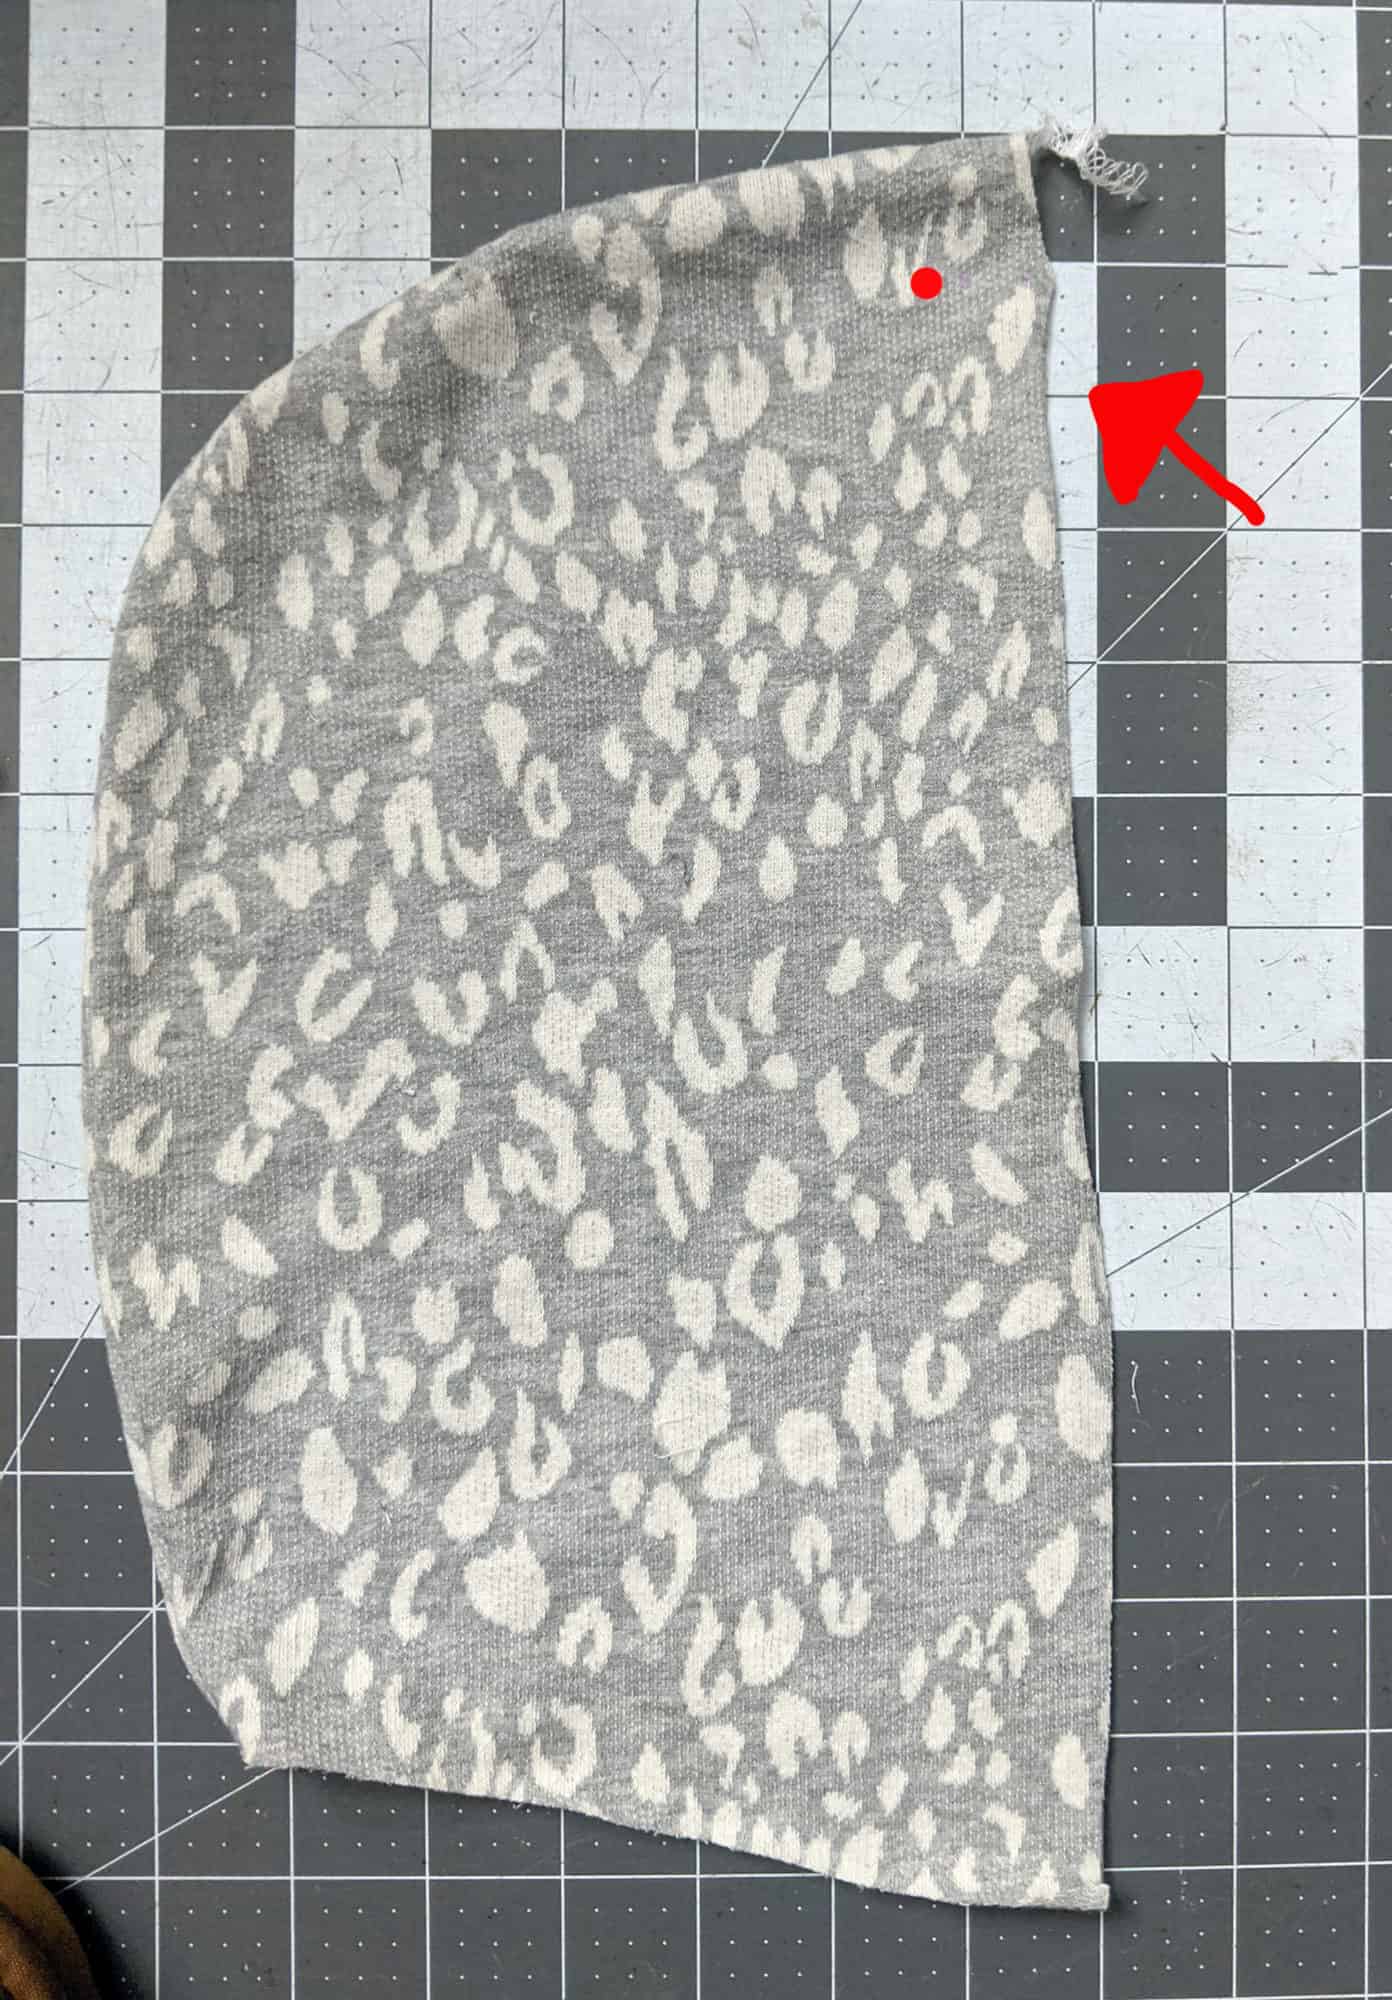
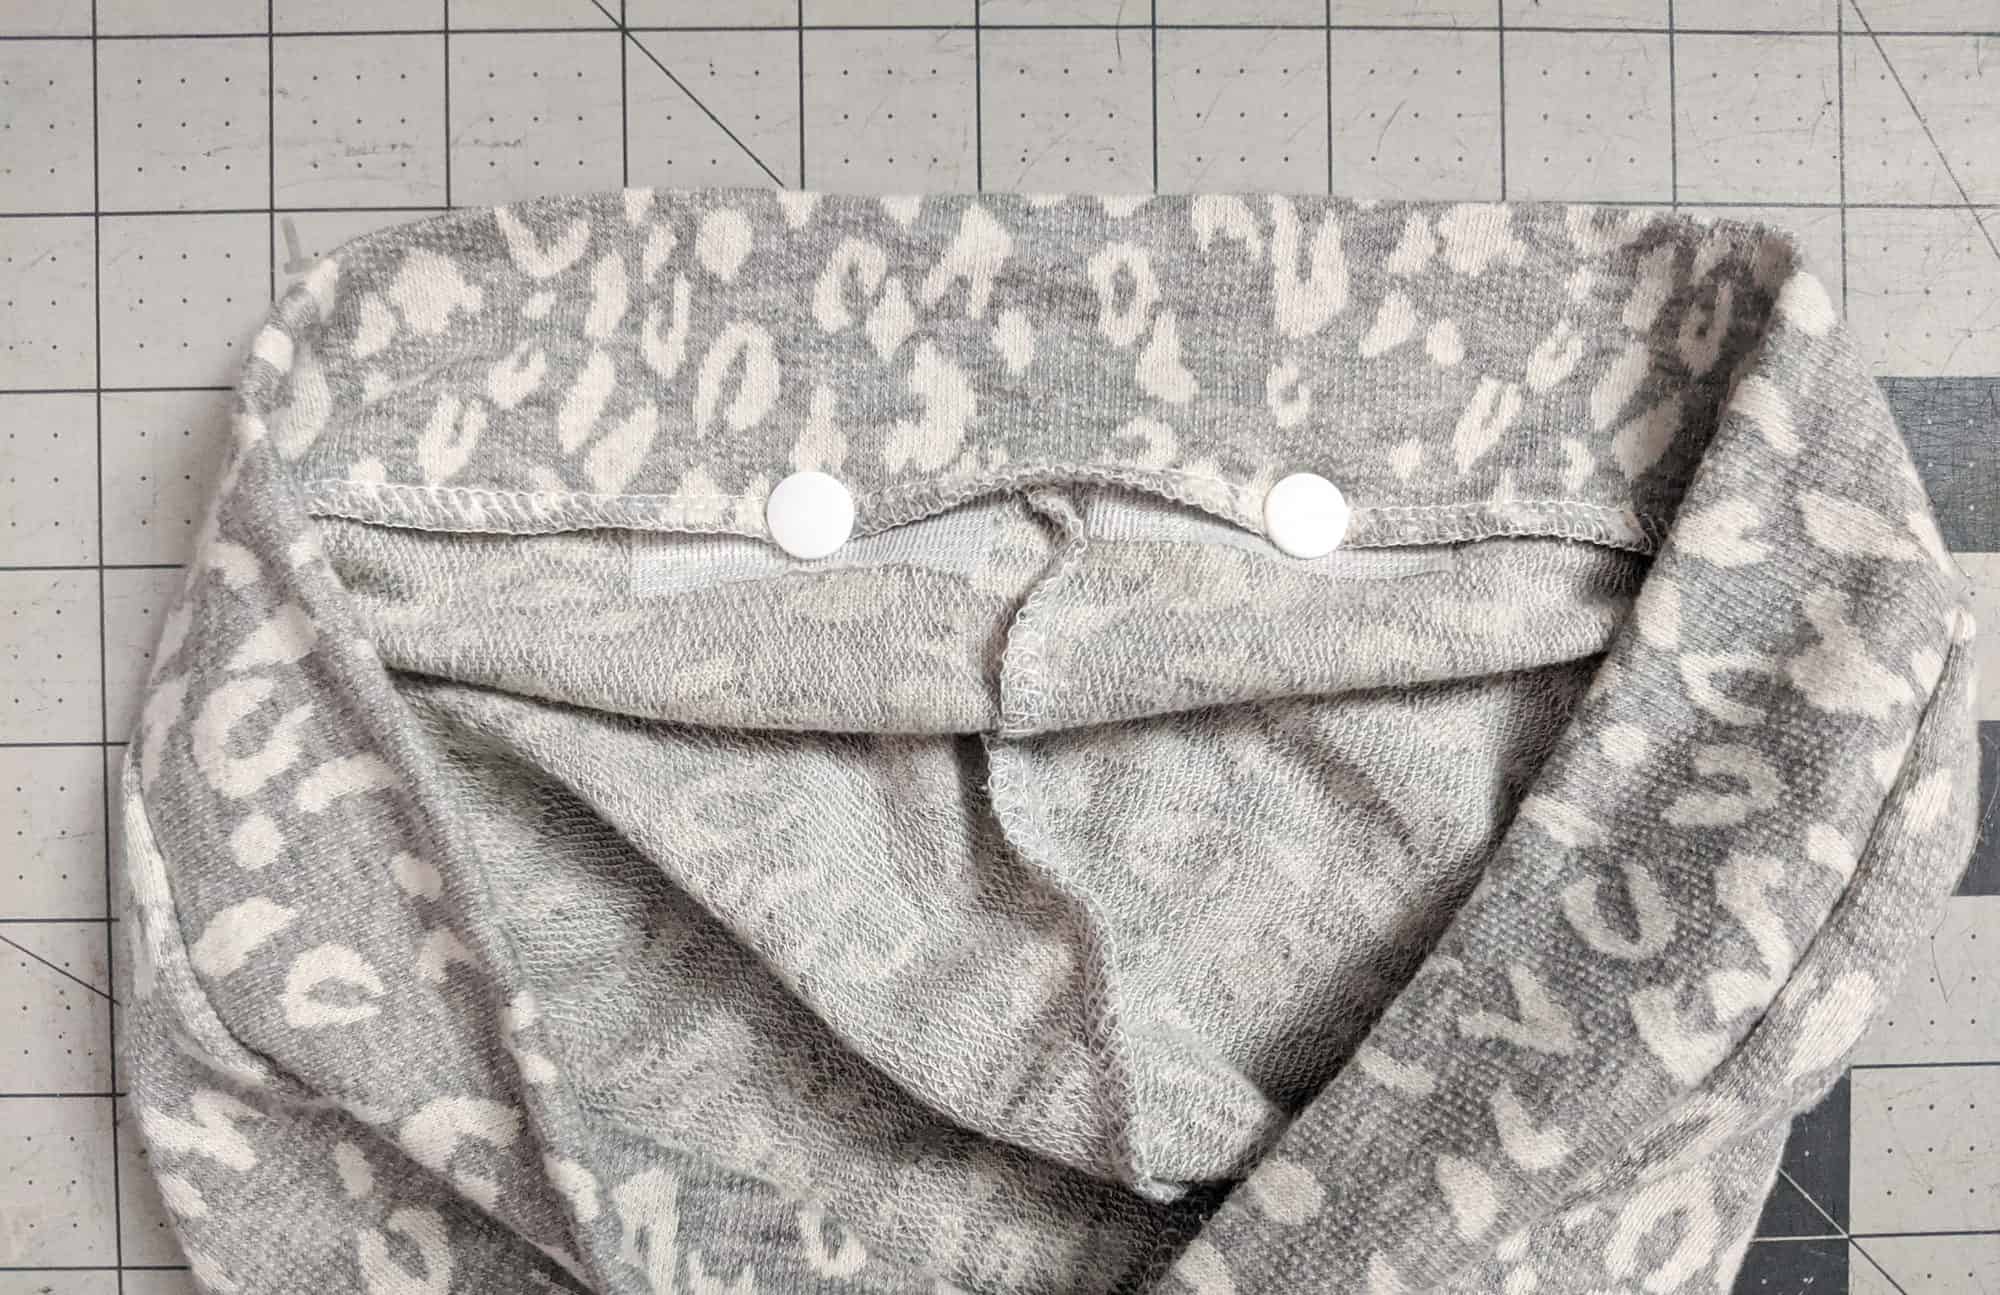
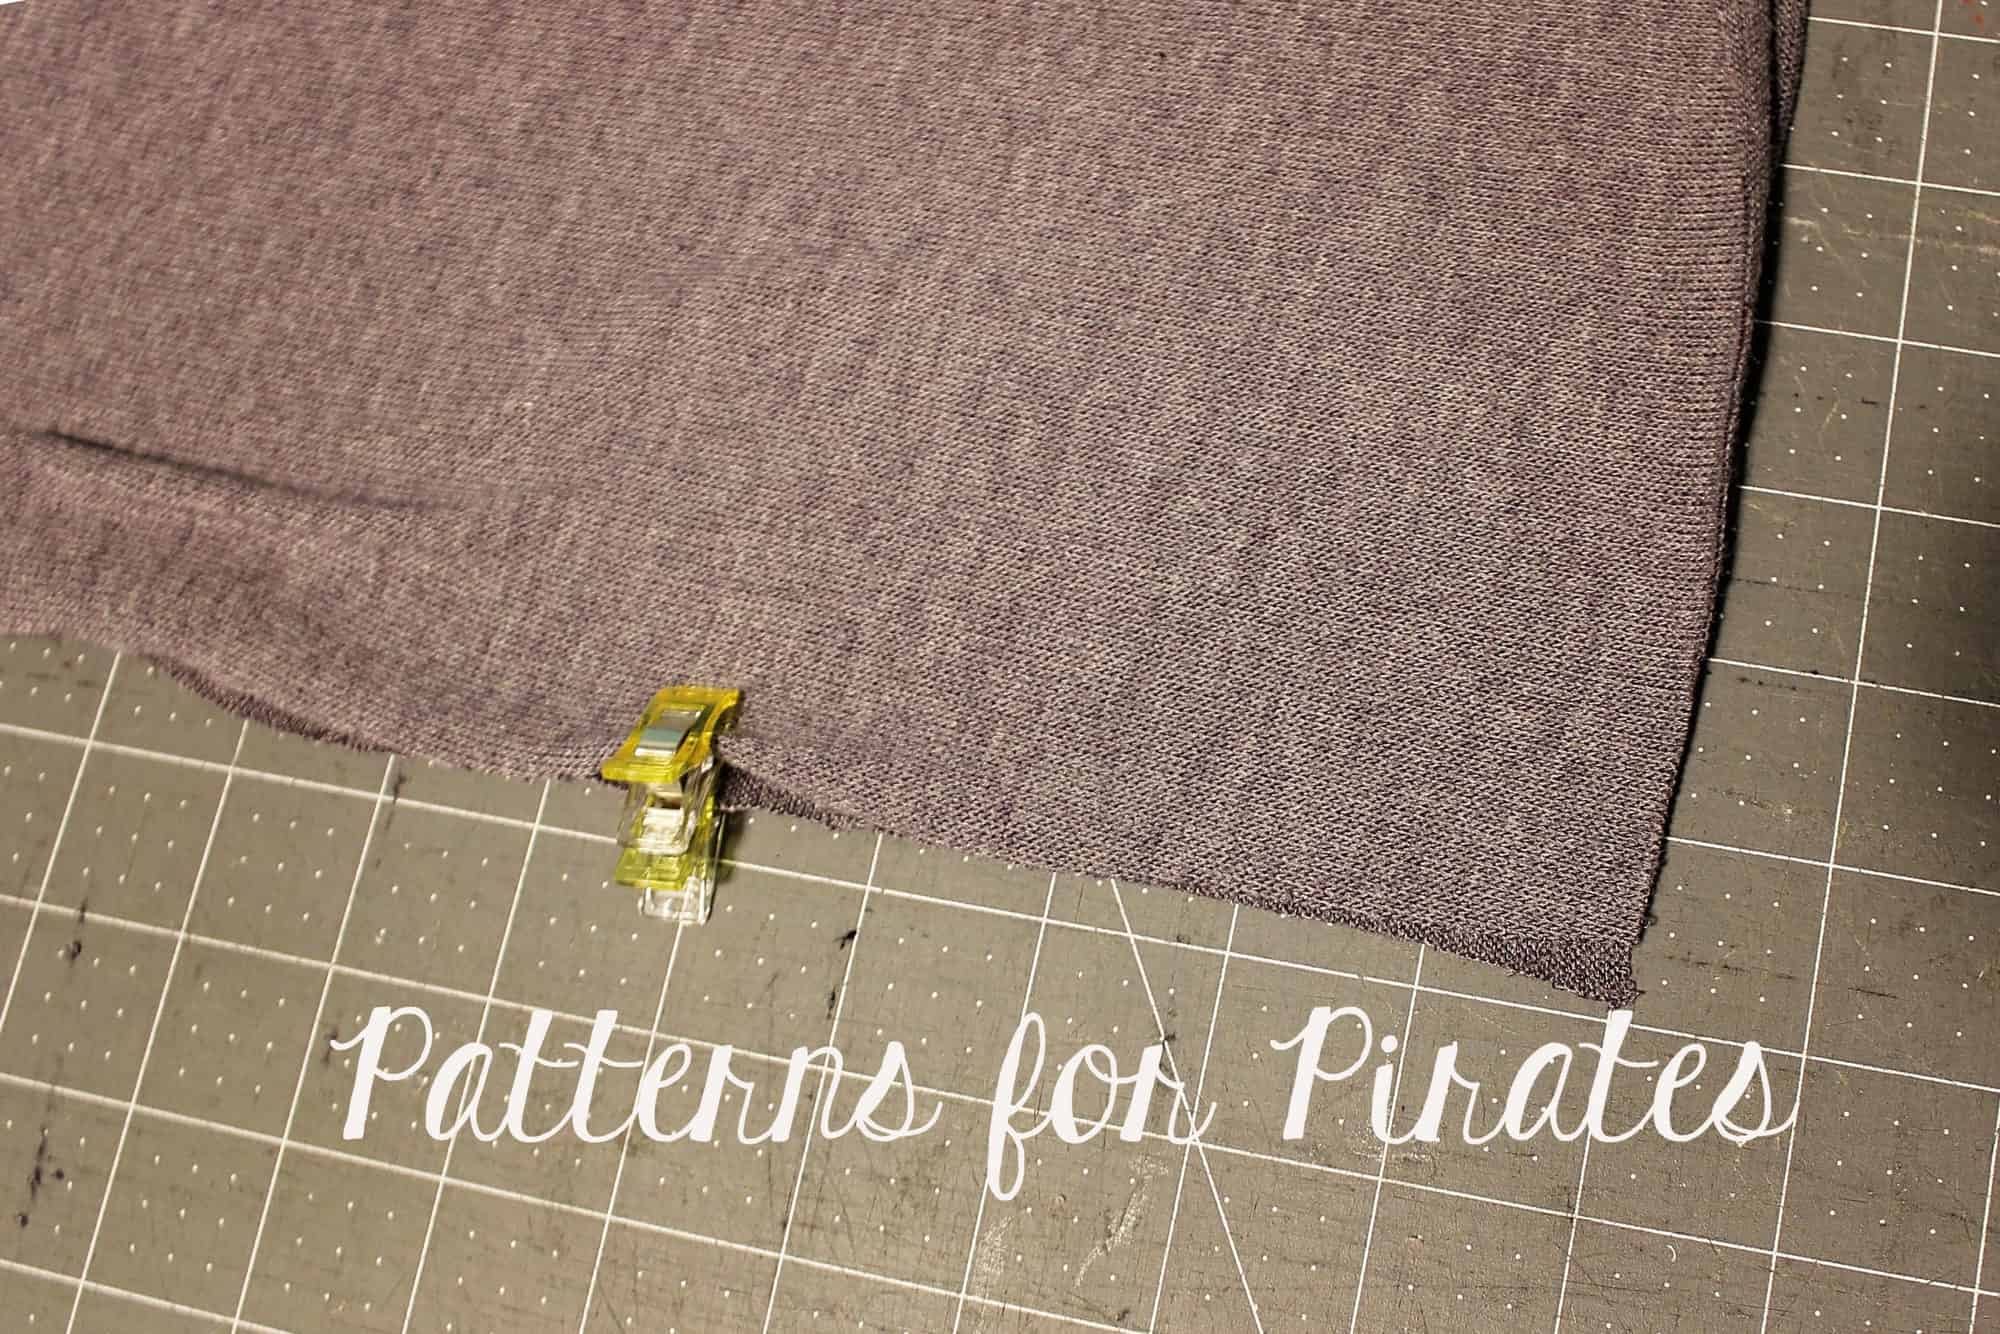
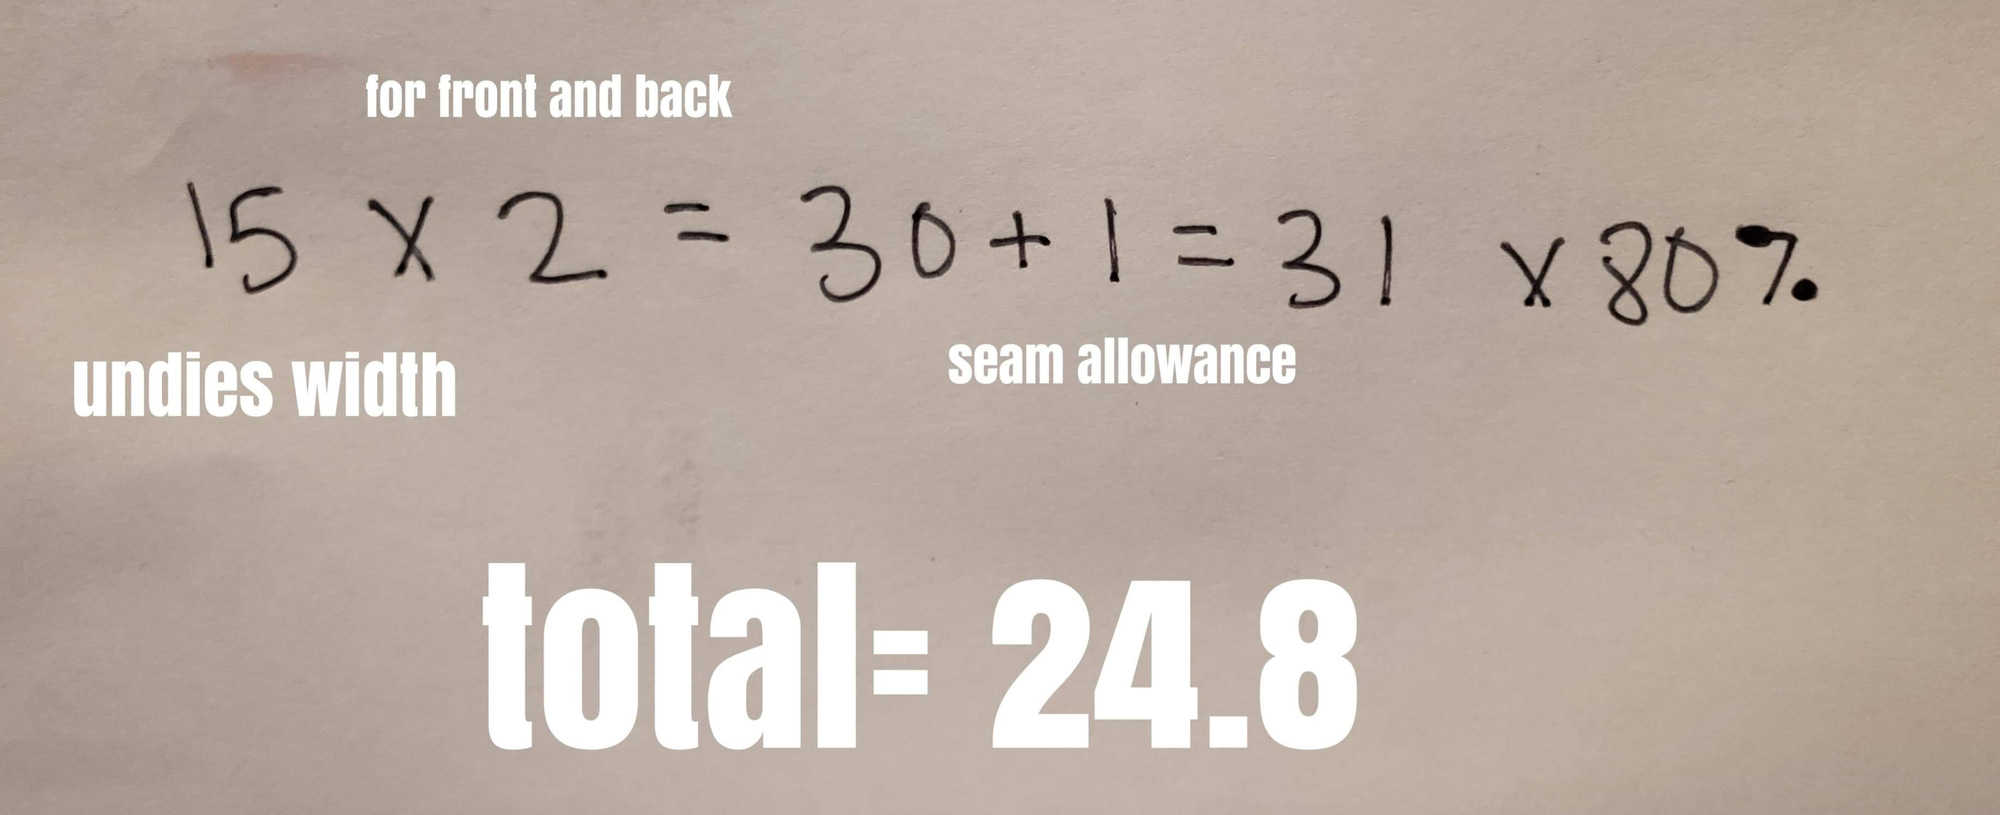
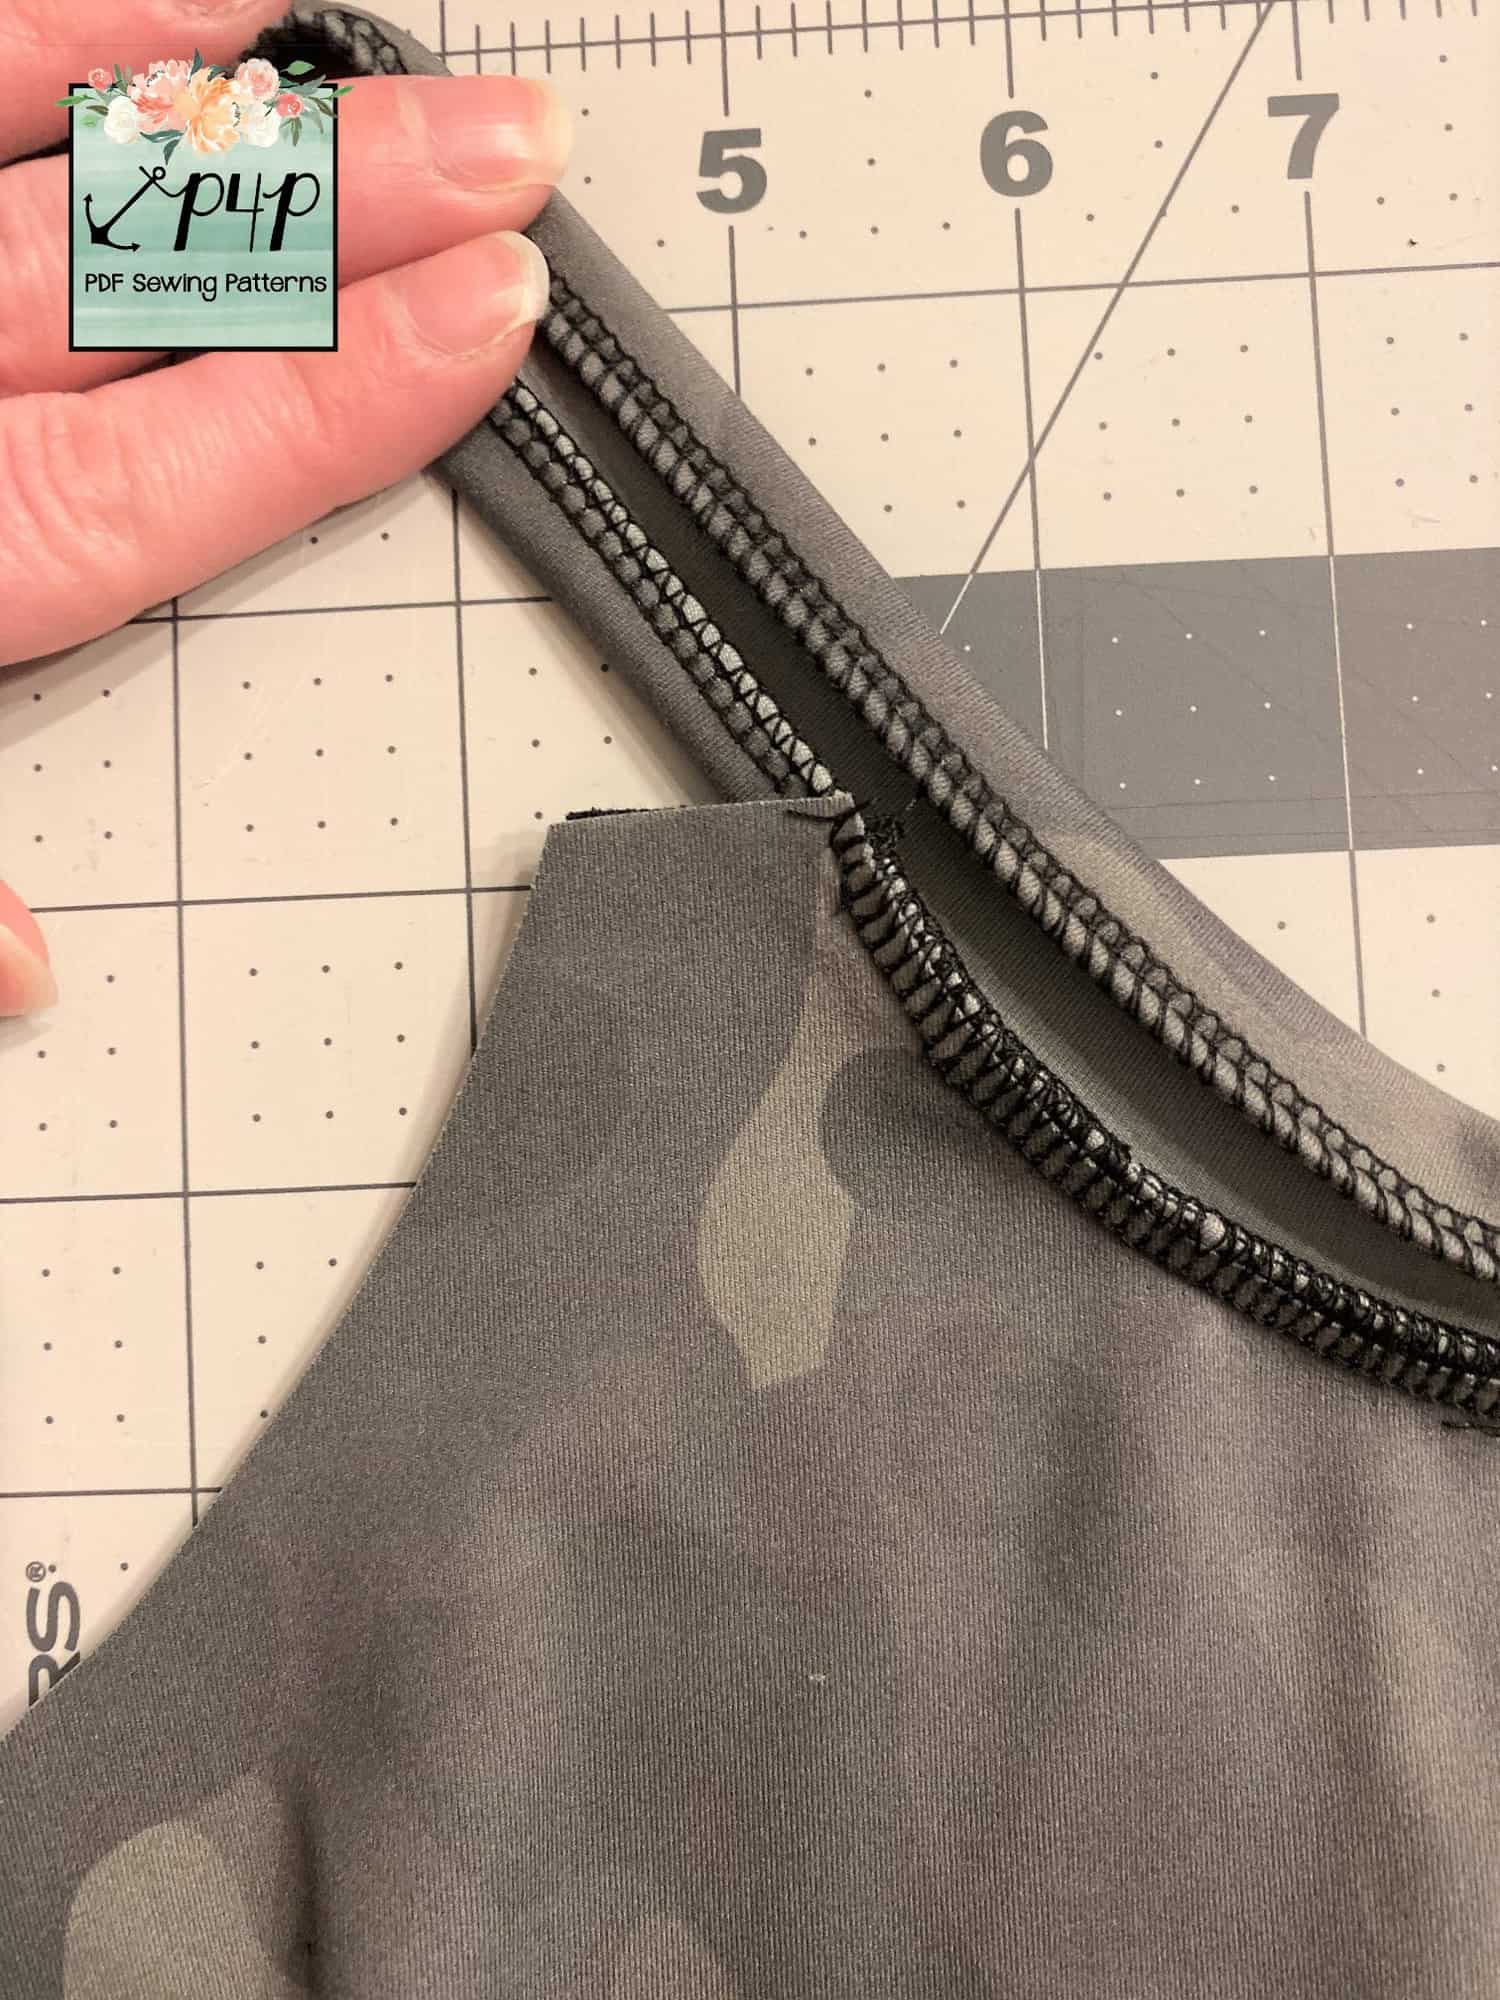
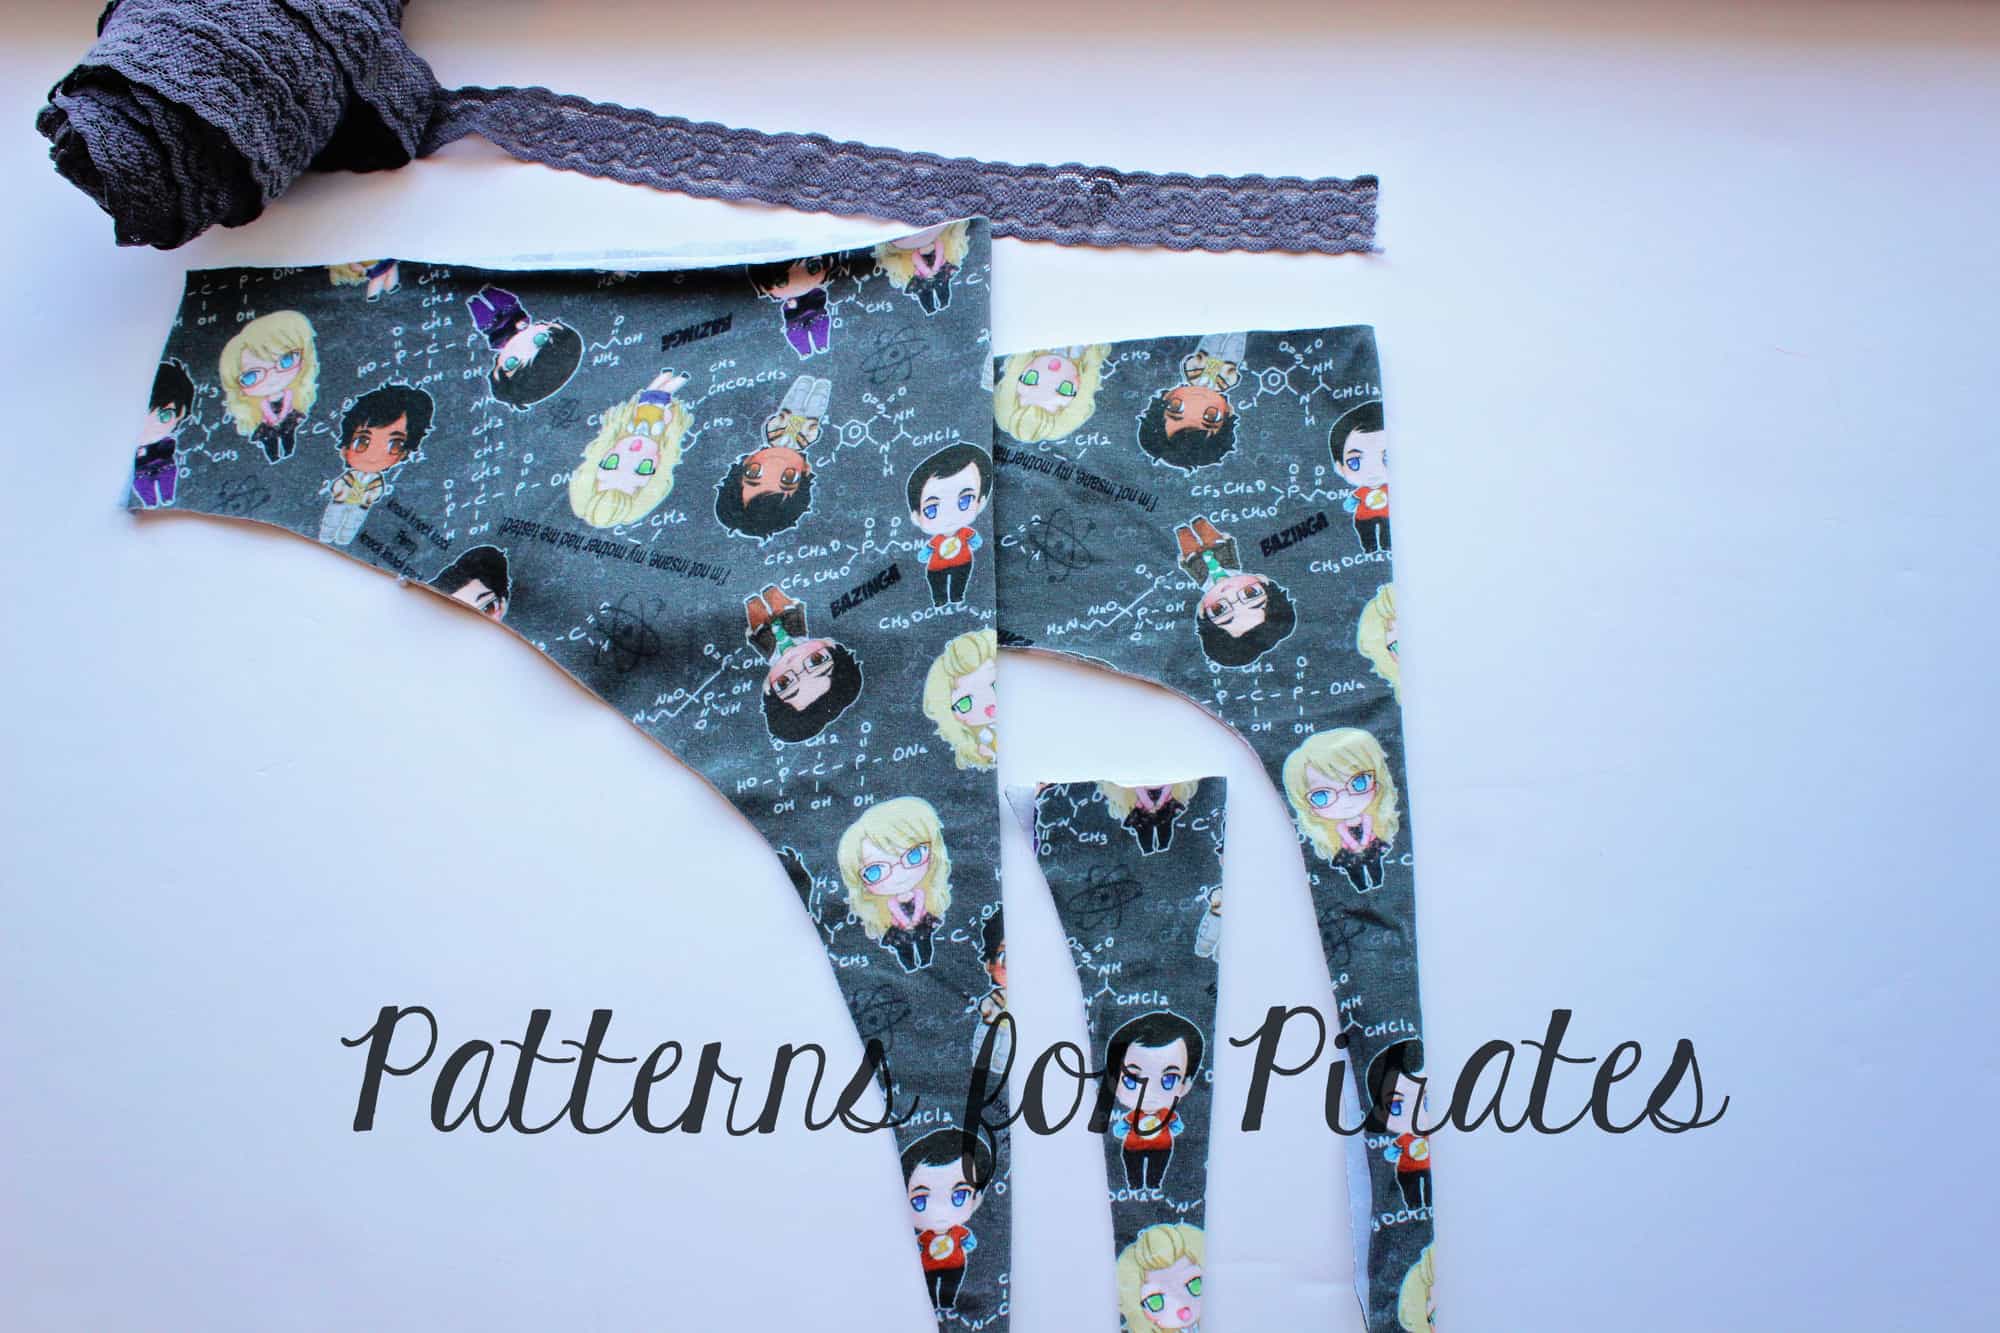
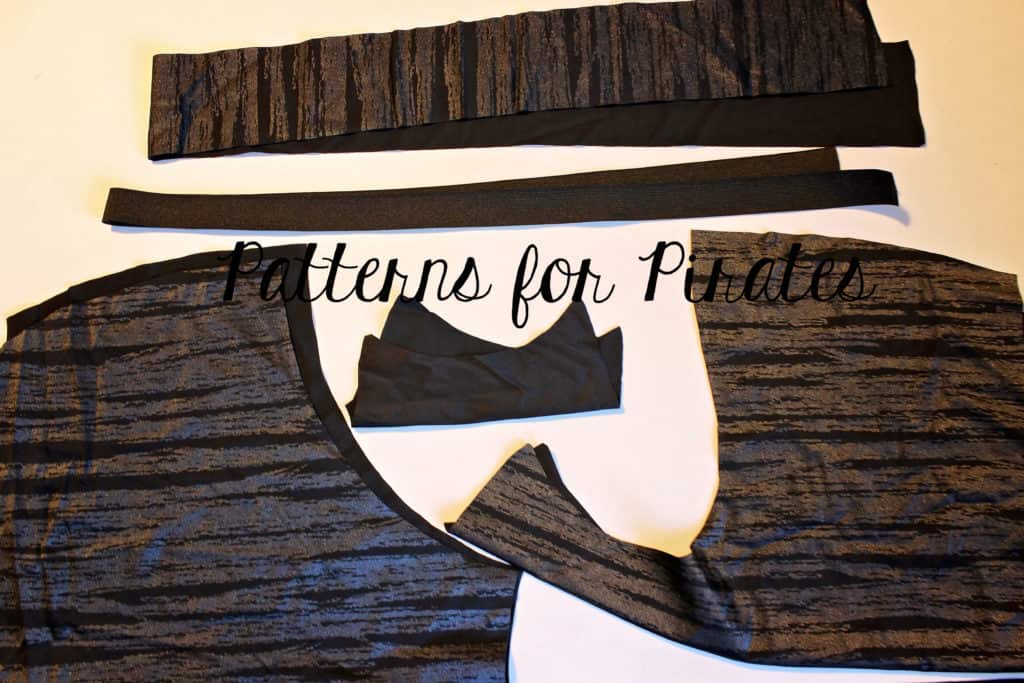
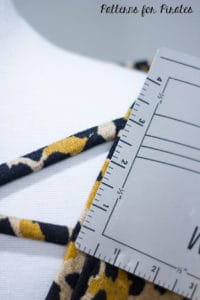
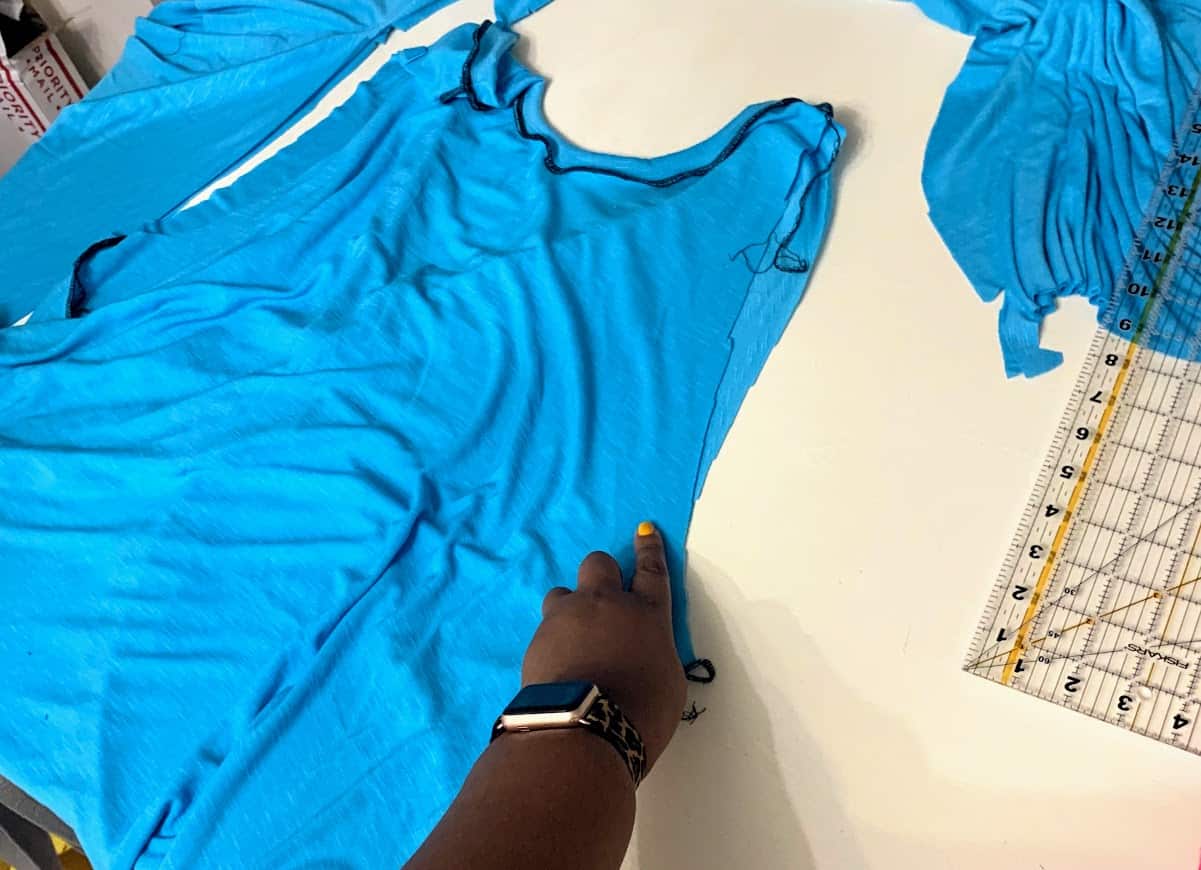
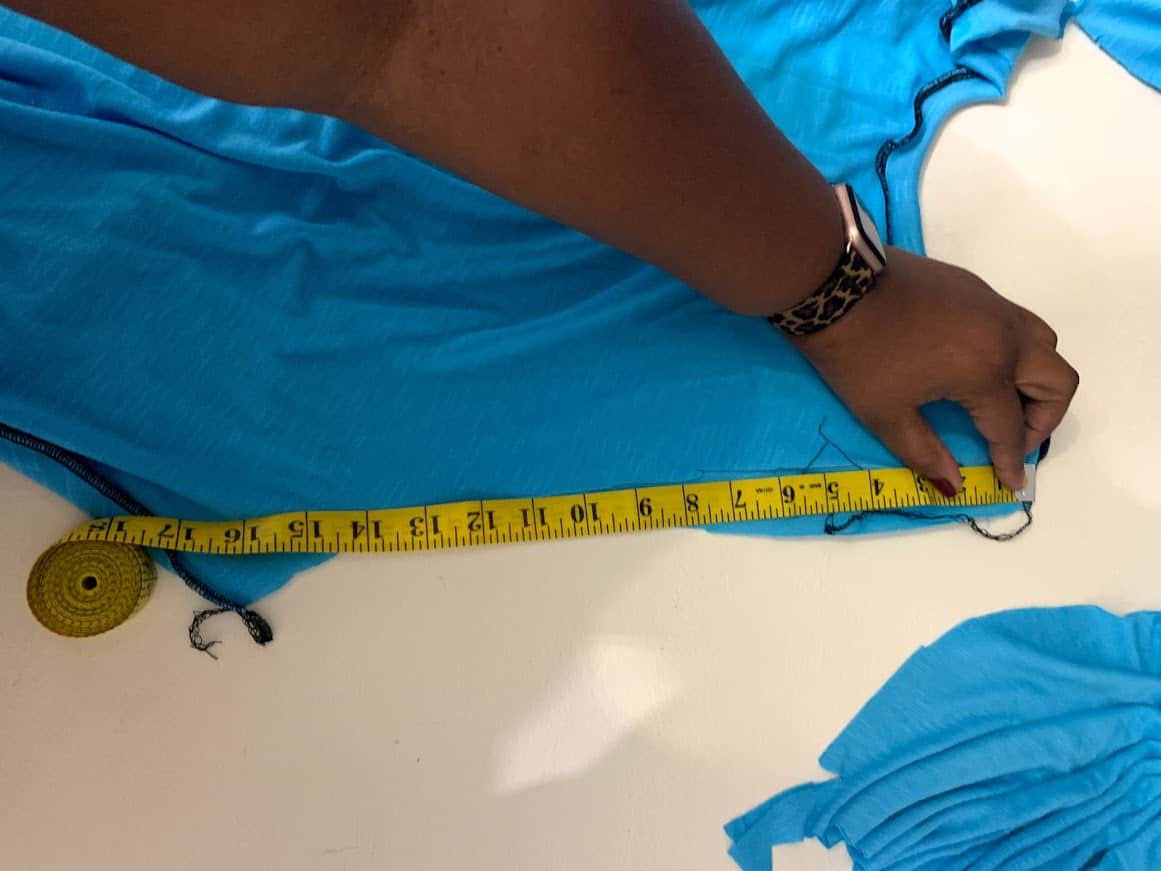
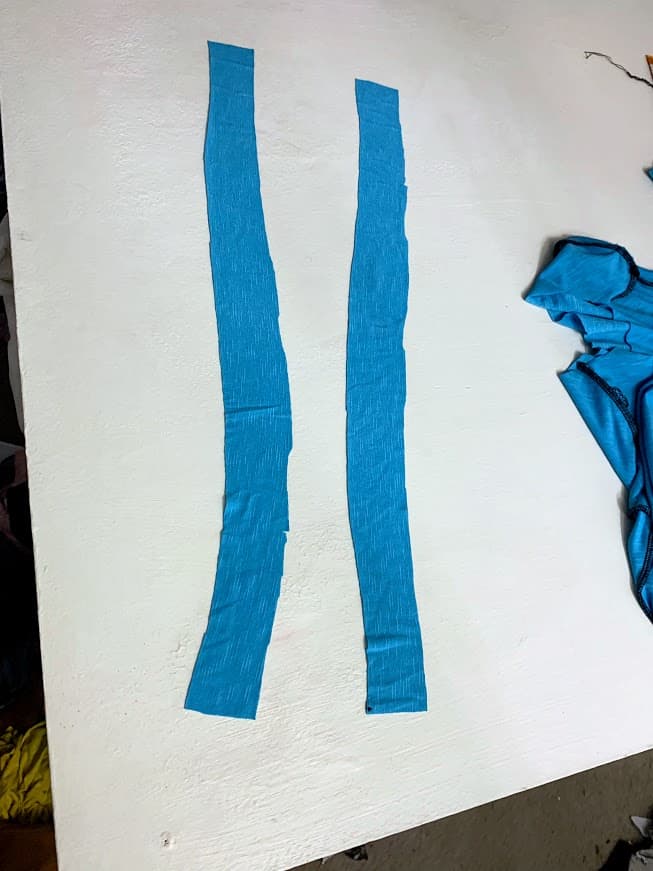
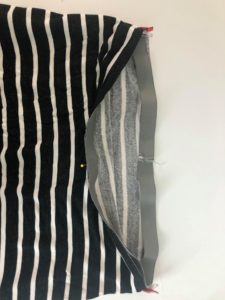
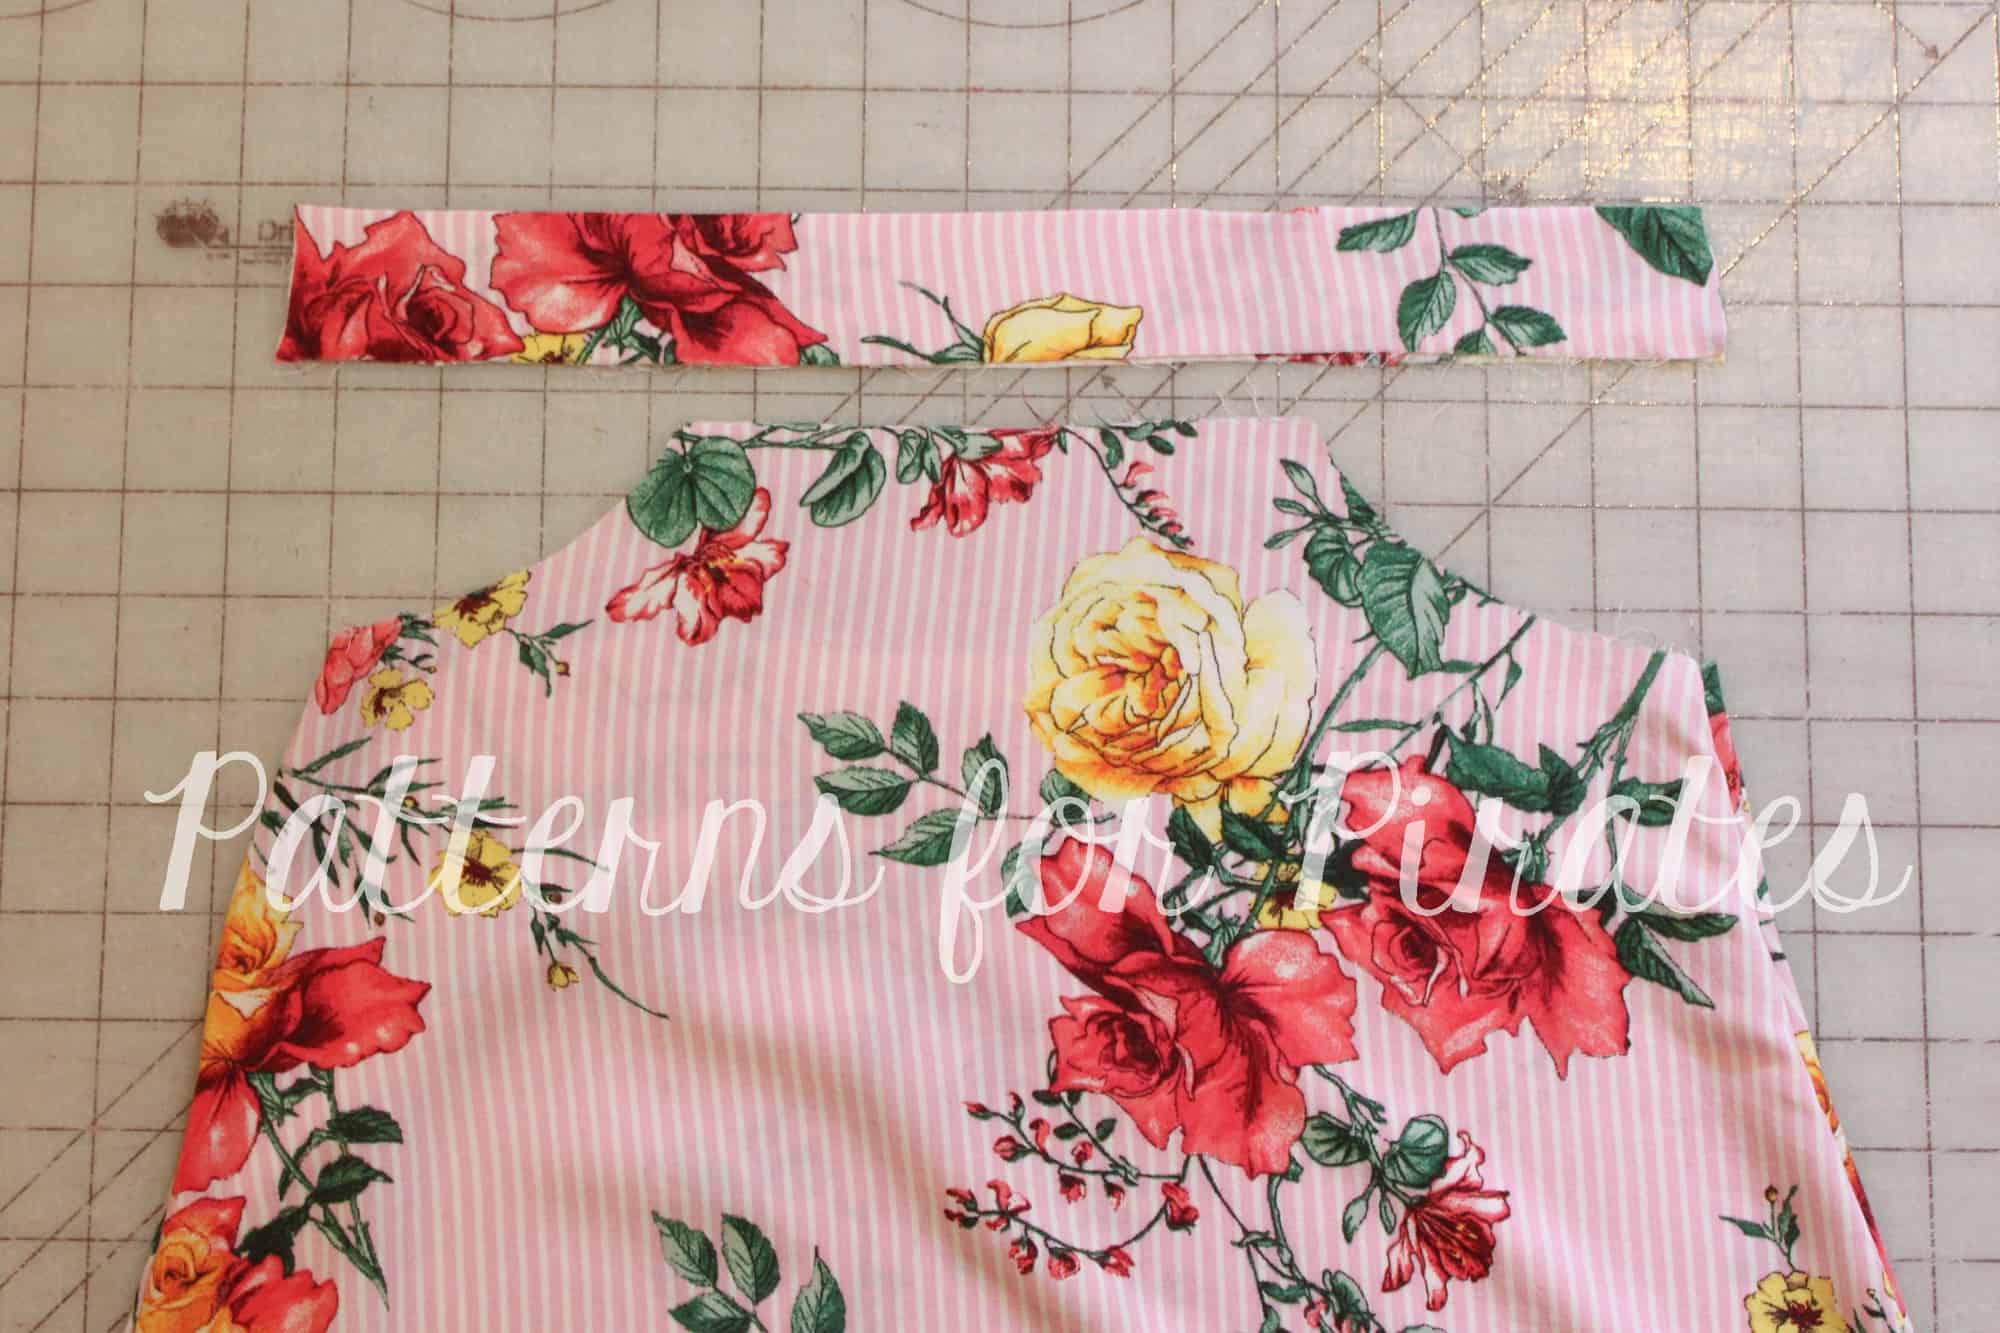
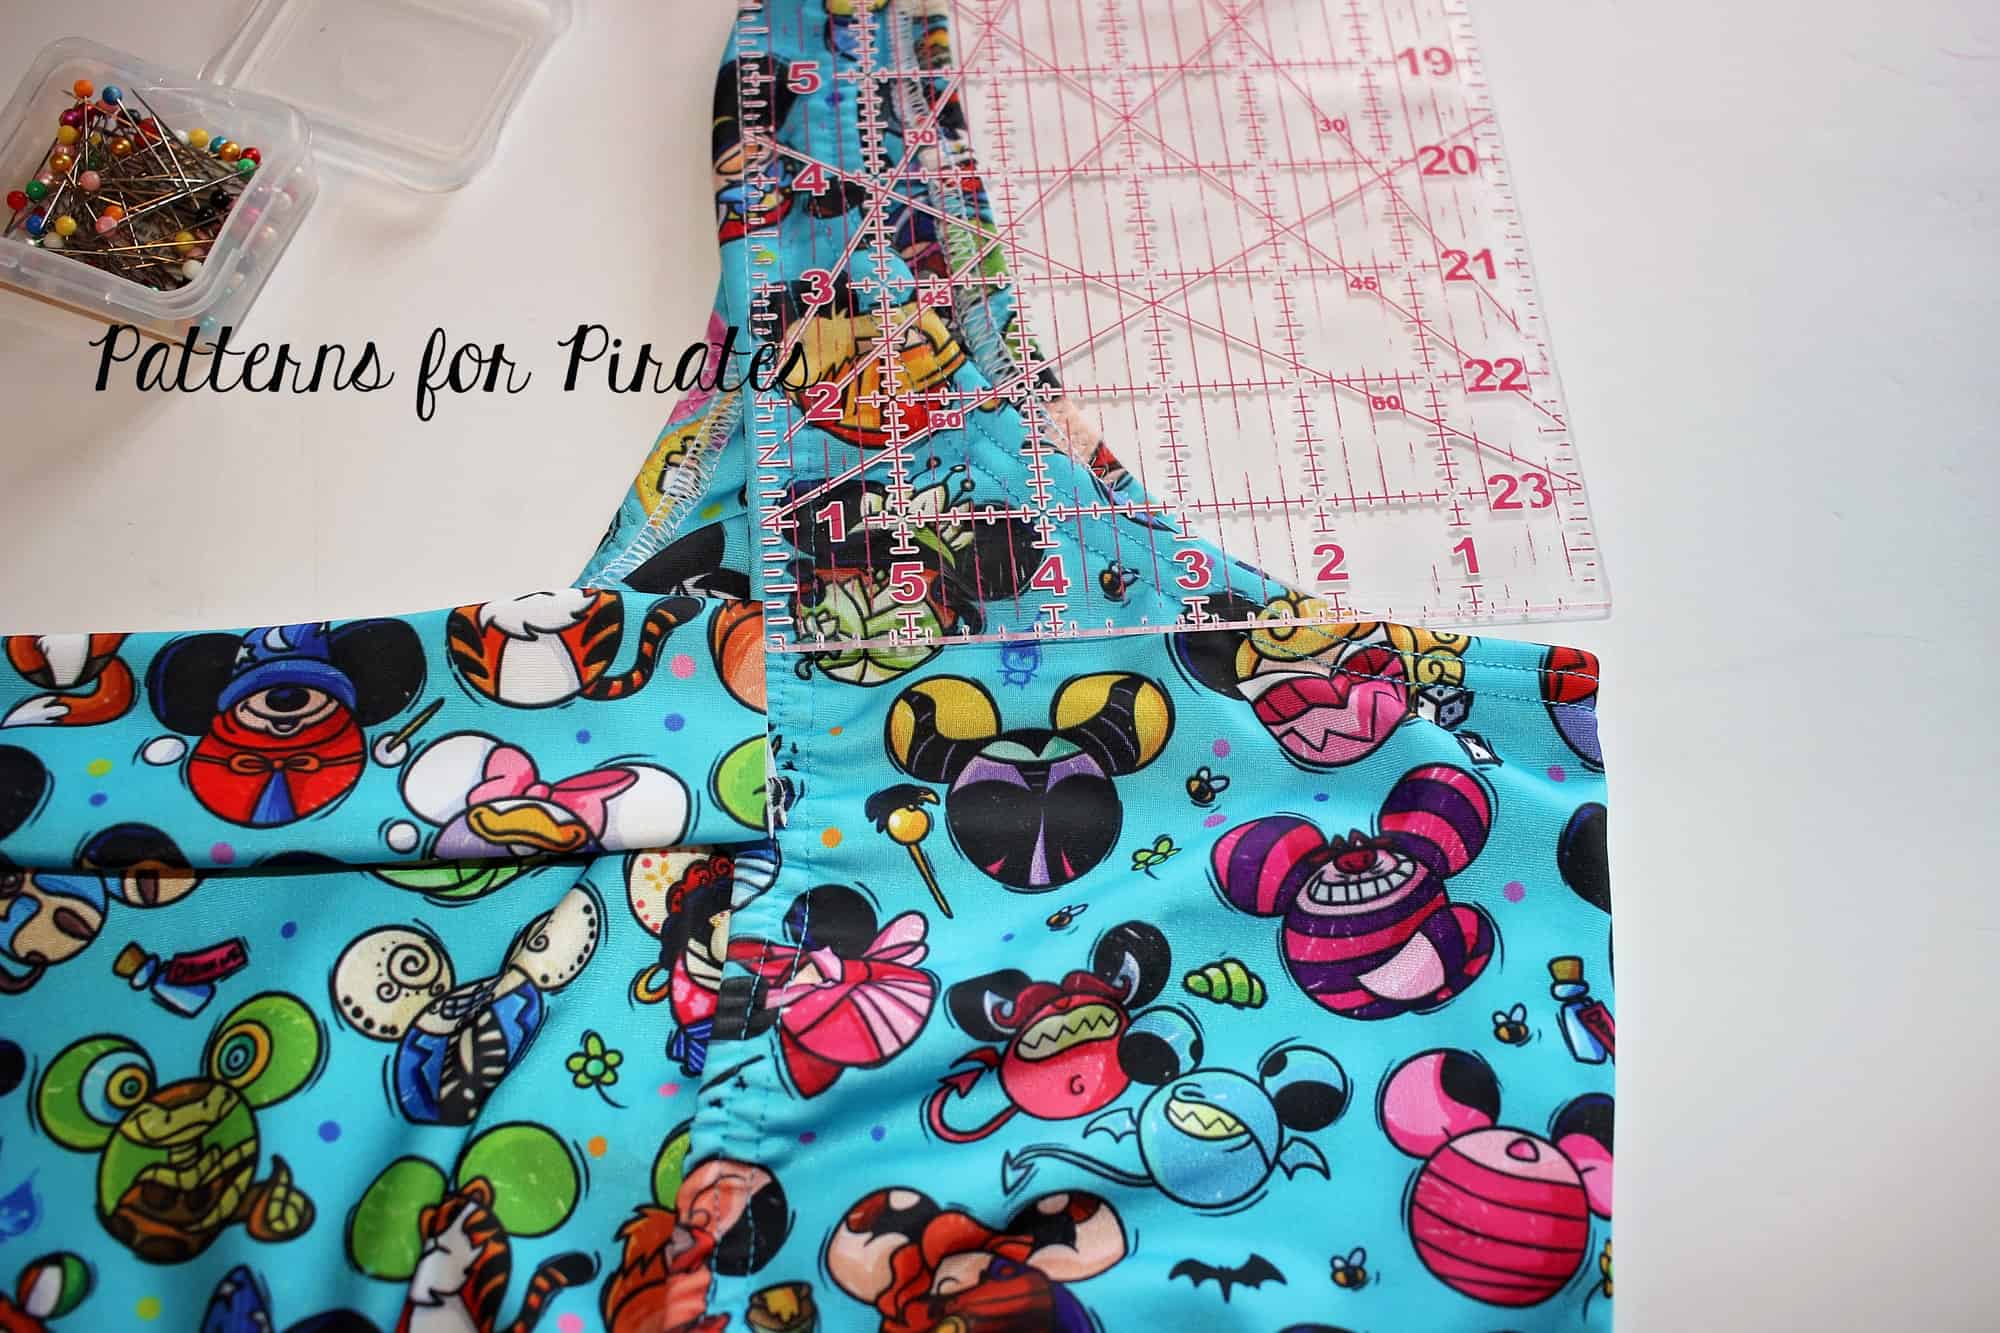
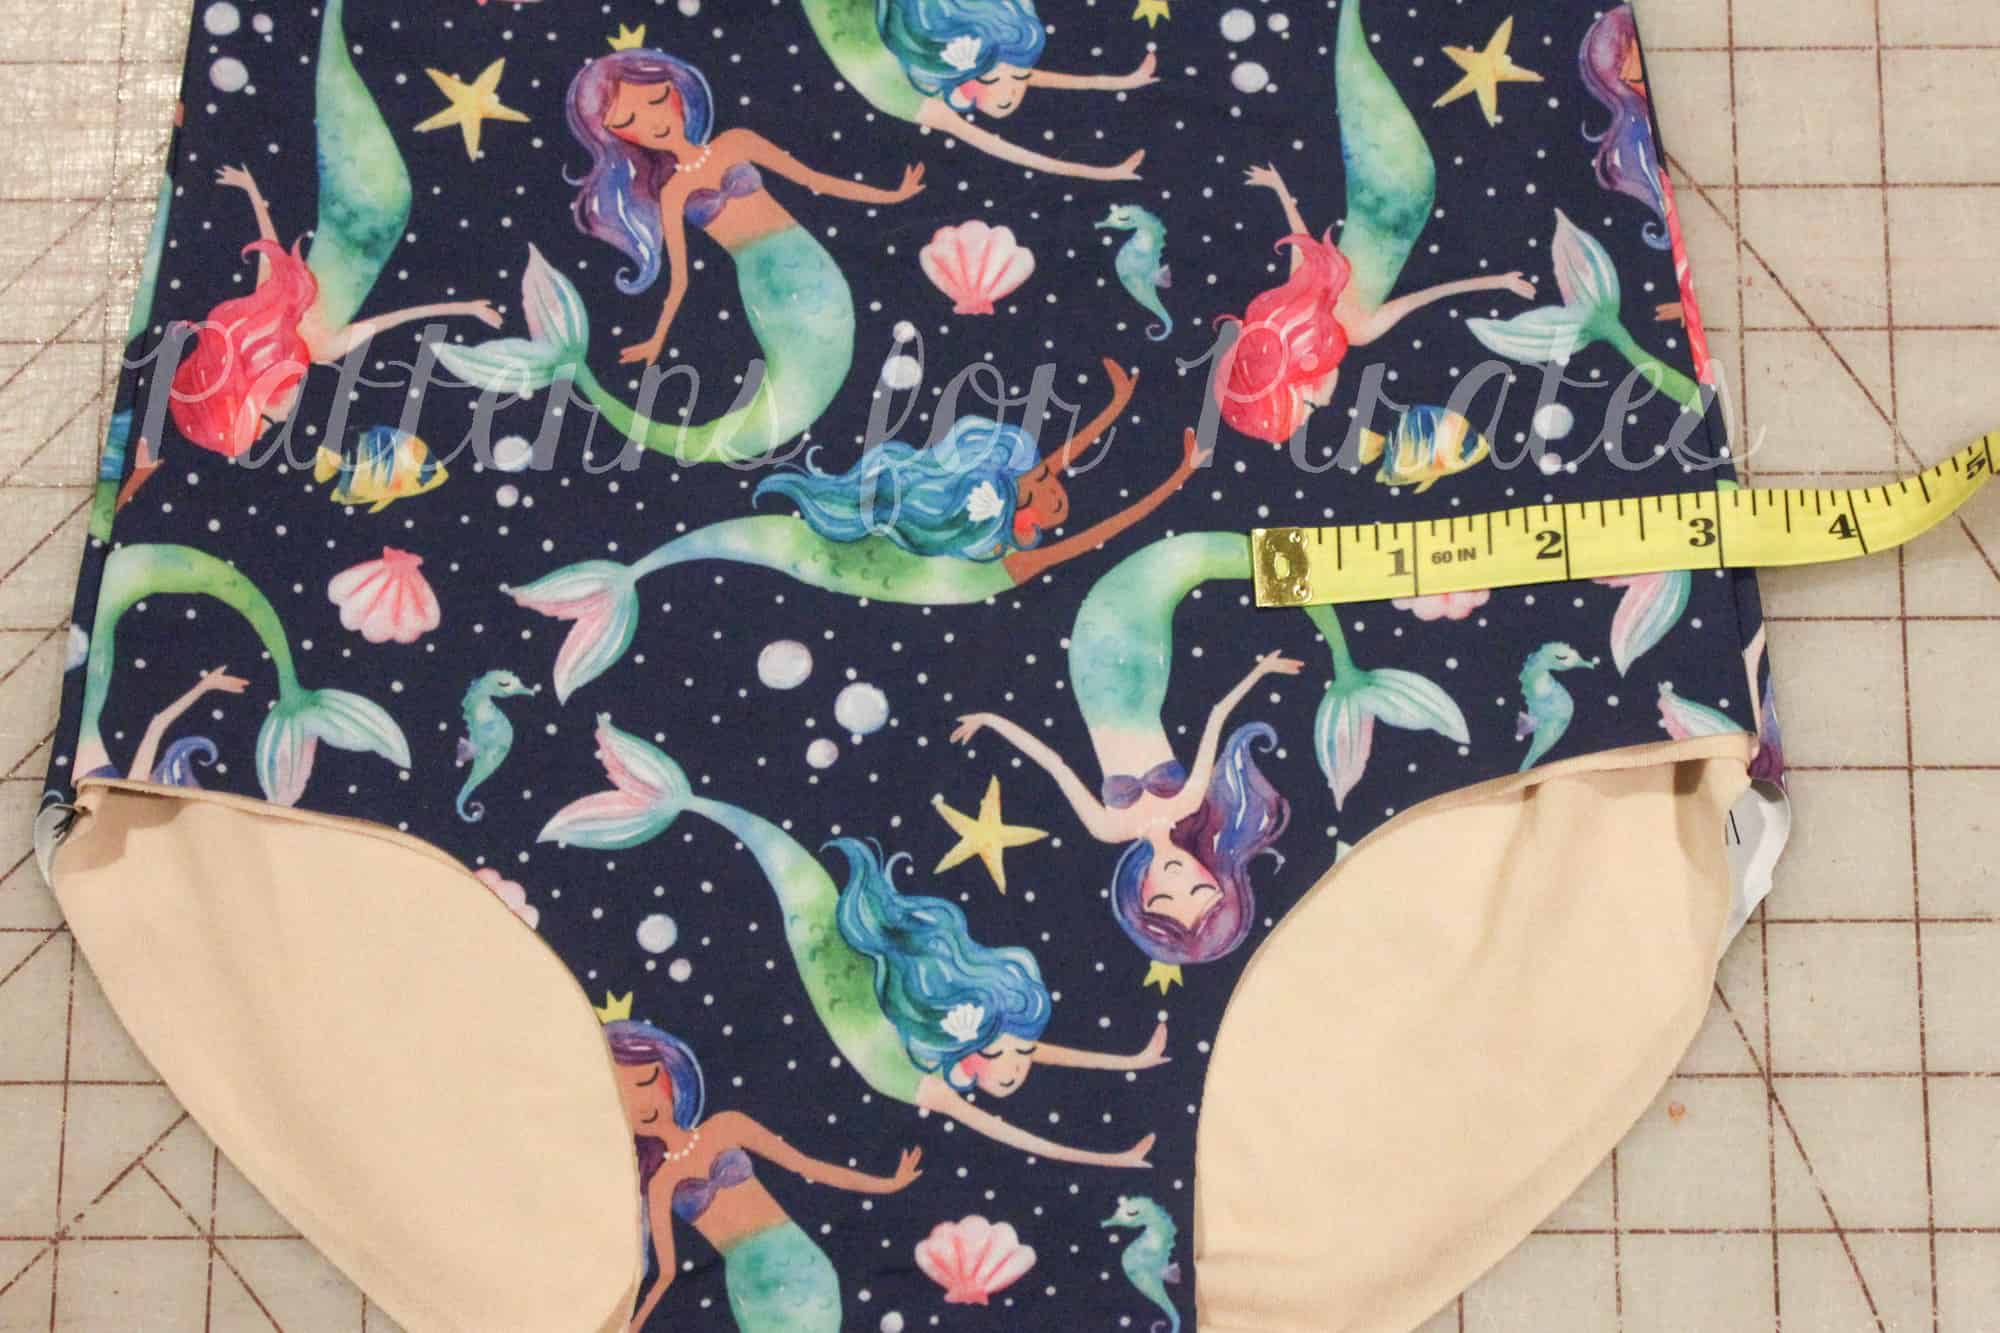
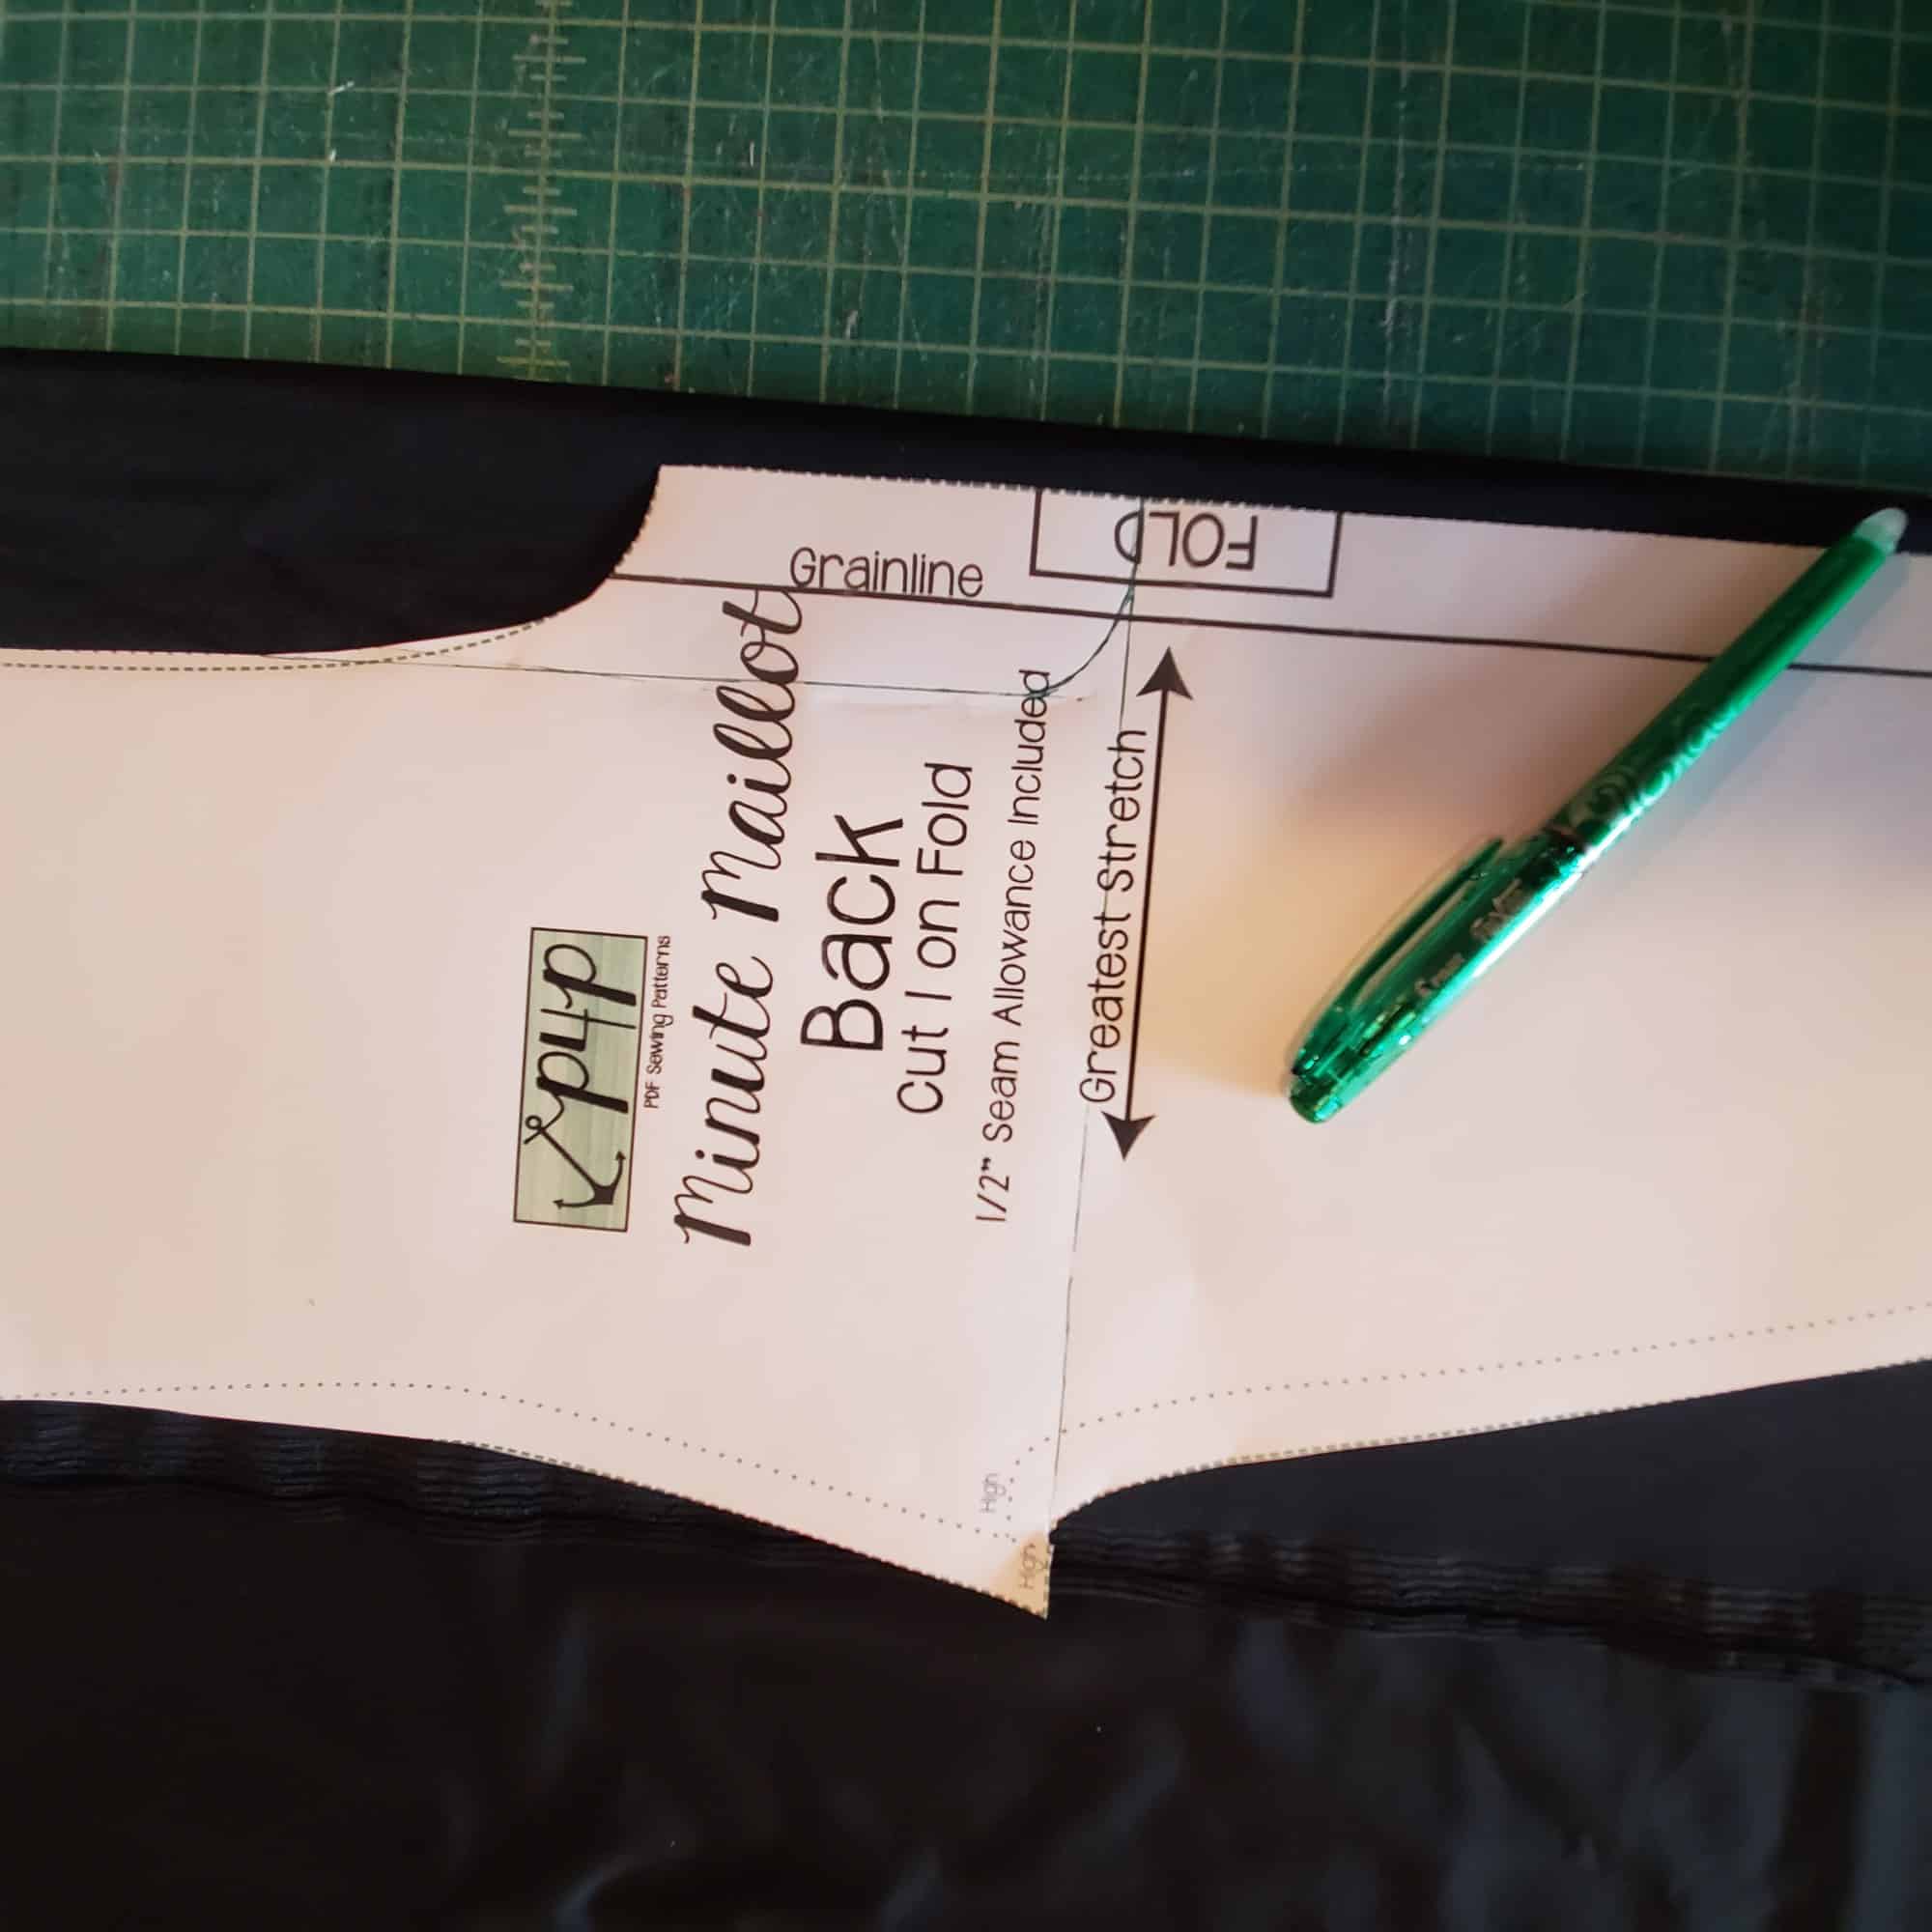
To create a sports bra that has the keyhole back detail, but without the bra closure, you’ll need to make one small change when cutting your pieces, and a few minor adjustments when sewing on the band. When cutting out your pieces, you can go ahead and cut out all the front and back pieces from the main and lining as you normally would, but then you’ll need to create a new bottom band piece for the elastic casing. The new band piece you will be using for this hack needs to be the WIDTH of the full back option band, and the LENGTH of the bra closure option band. You can either mash the two pattern pieces together, or simply use the measurements from the cut chart. I find using the cut chart quicker and easier than mashing the two pattern pieces. Again, make sure you use the WIDTH of the Full back piece, and the LENGTH of the bra closure piece. For the elastic, make sure you cut the elastic itself the width of the full back option as well.

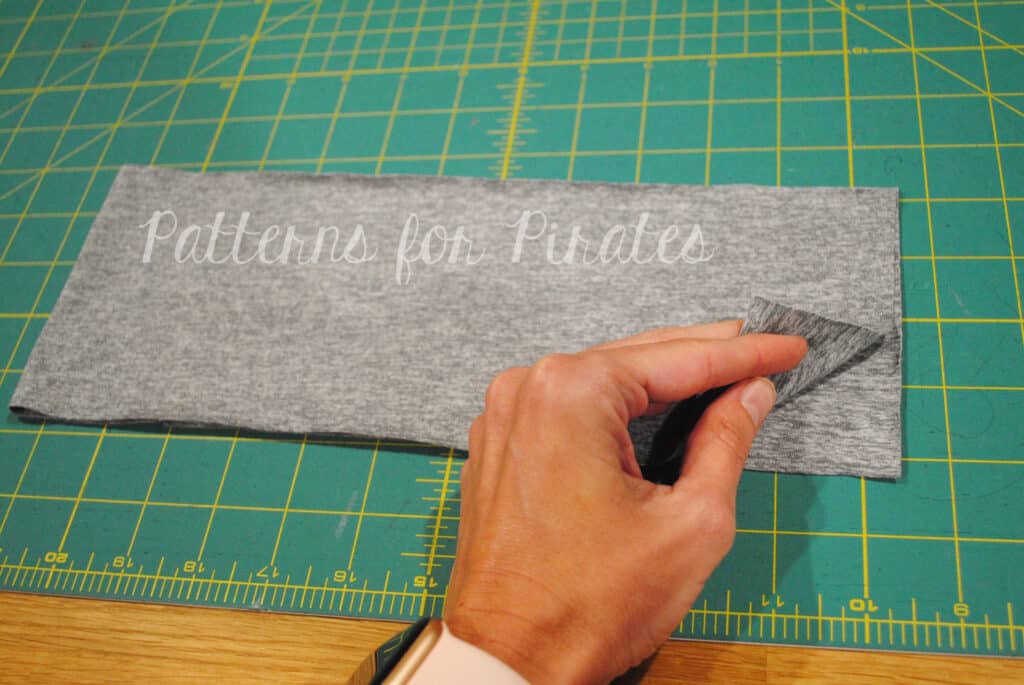
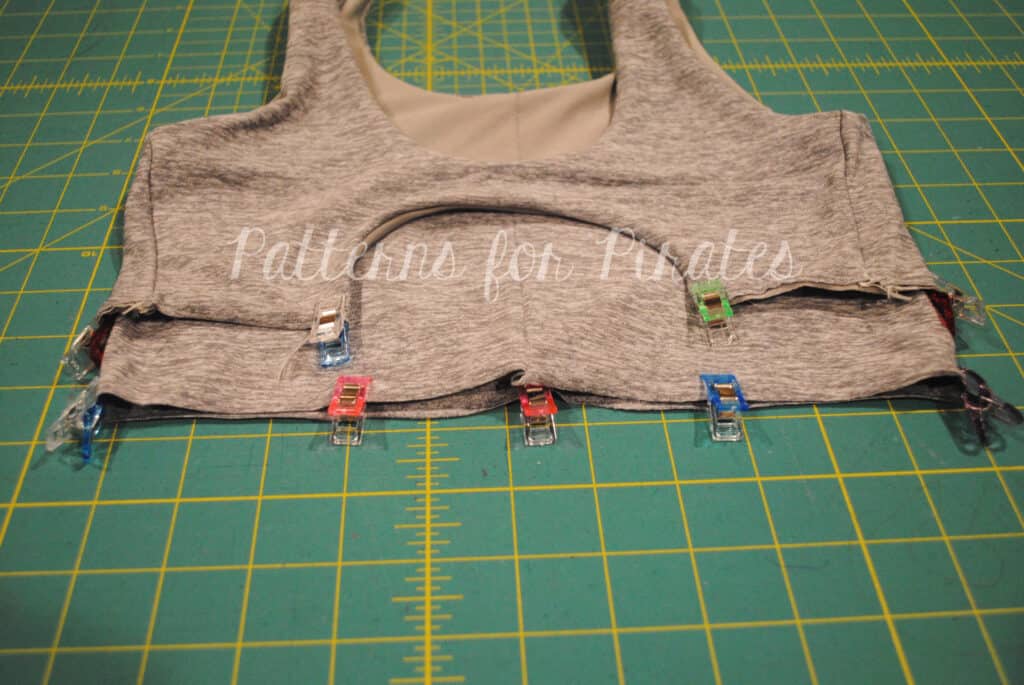
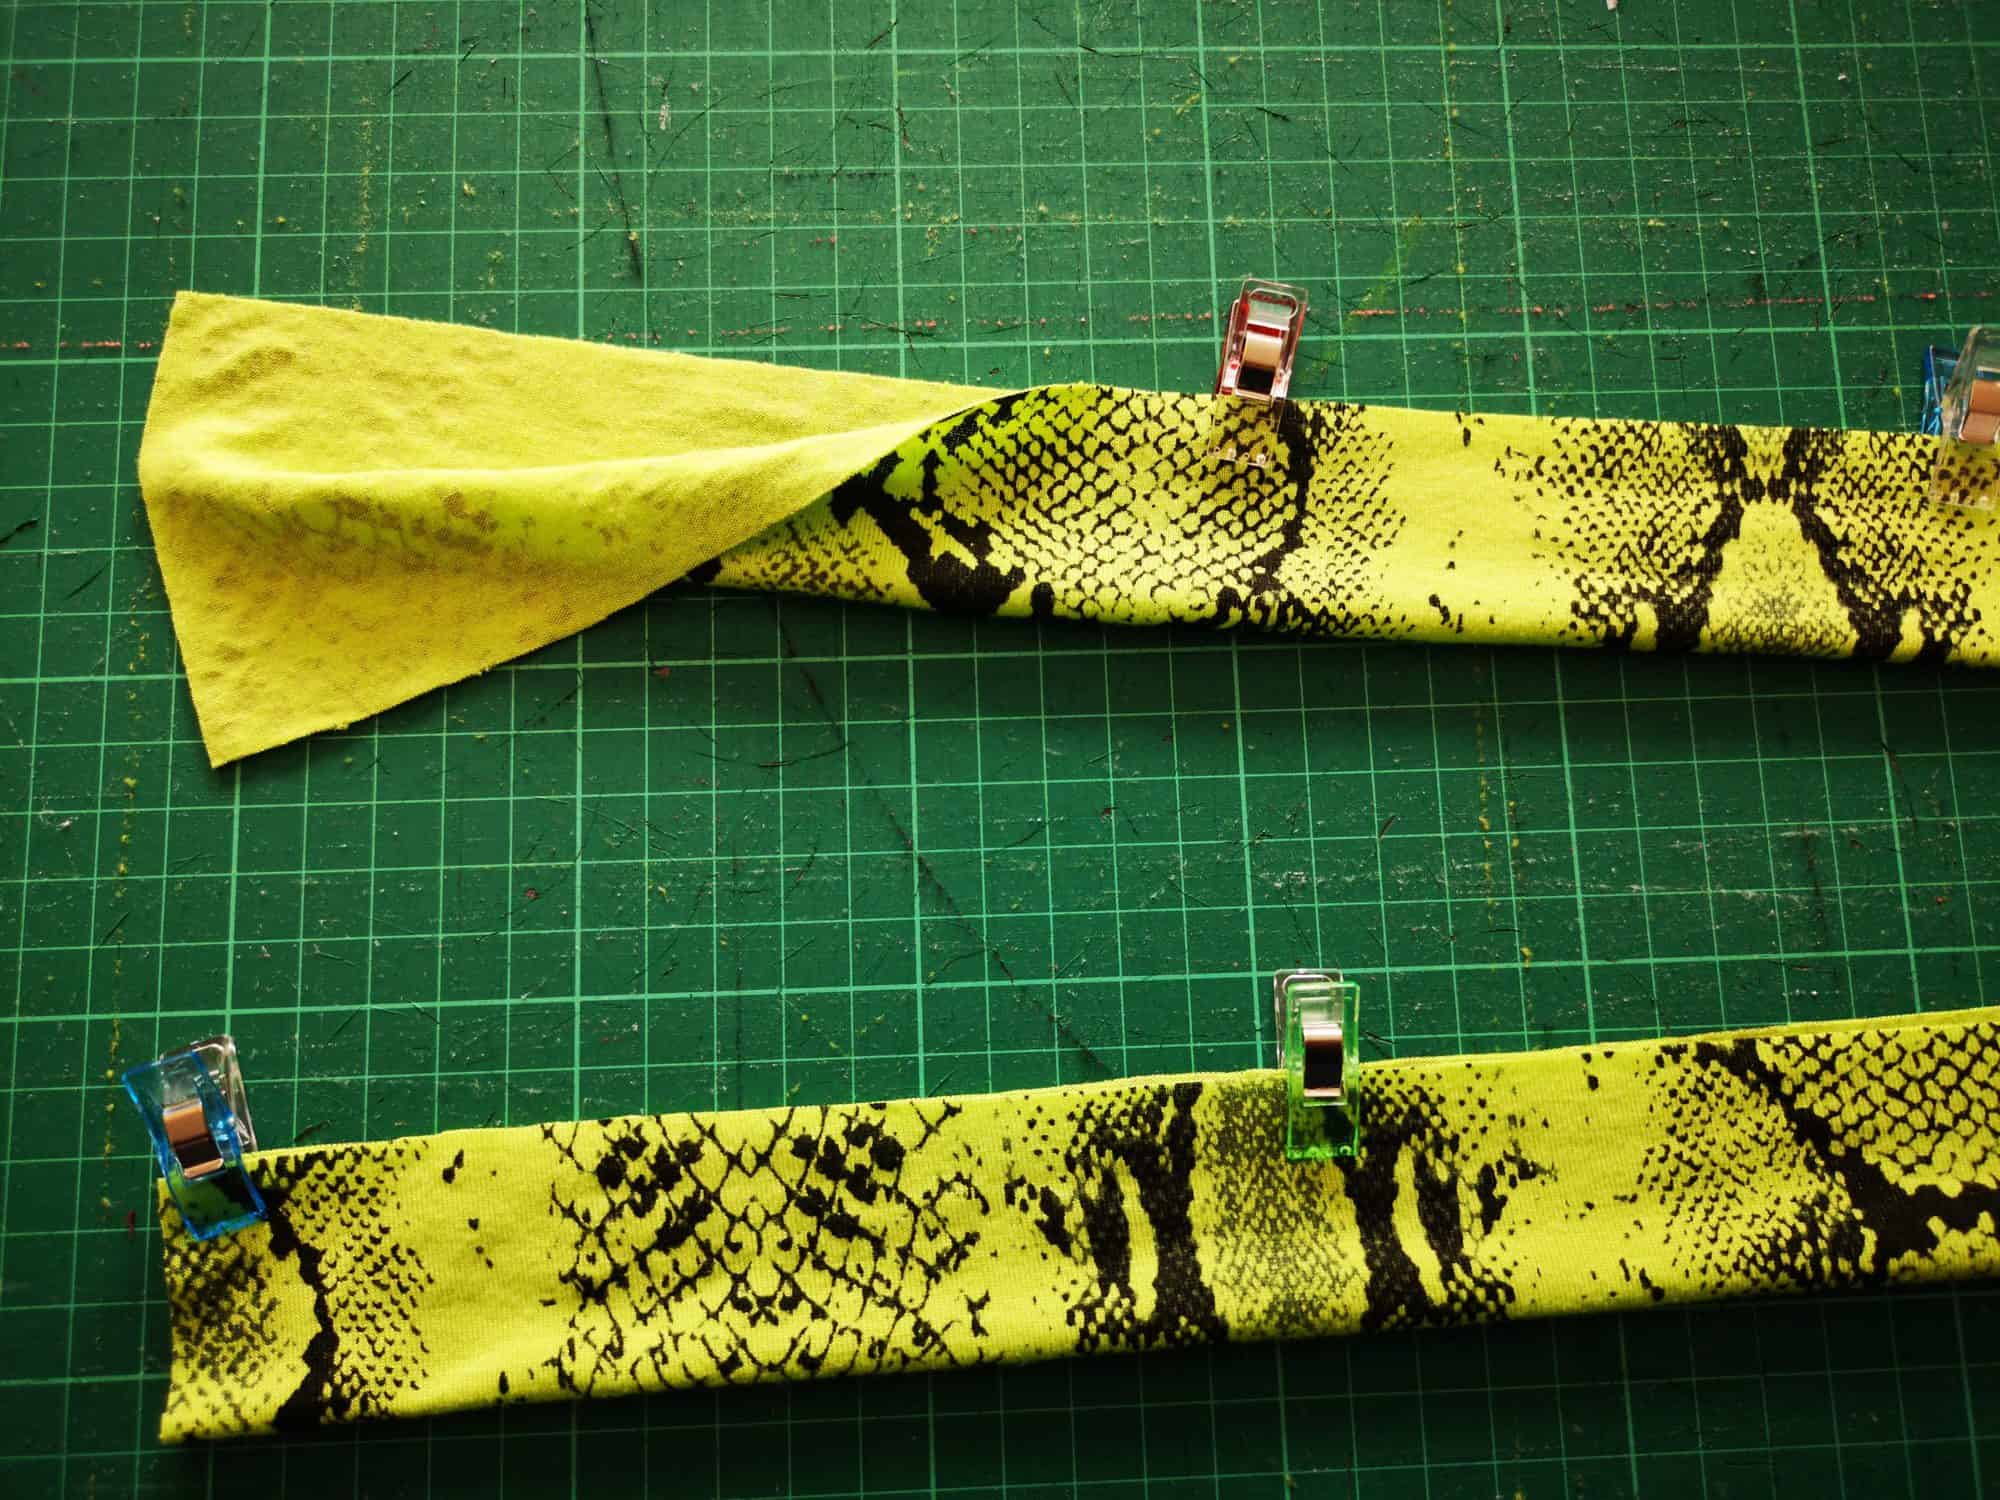
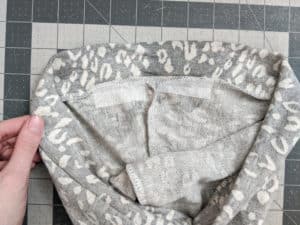
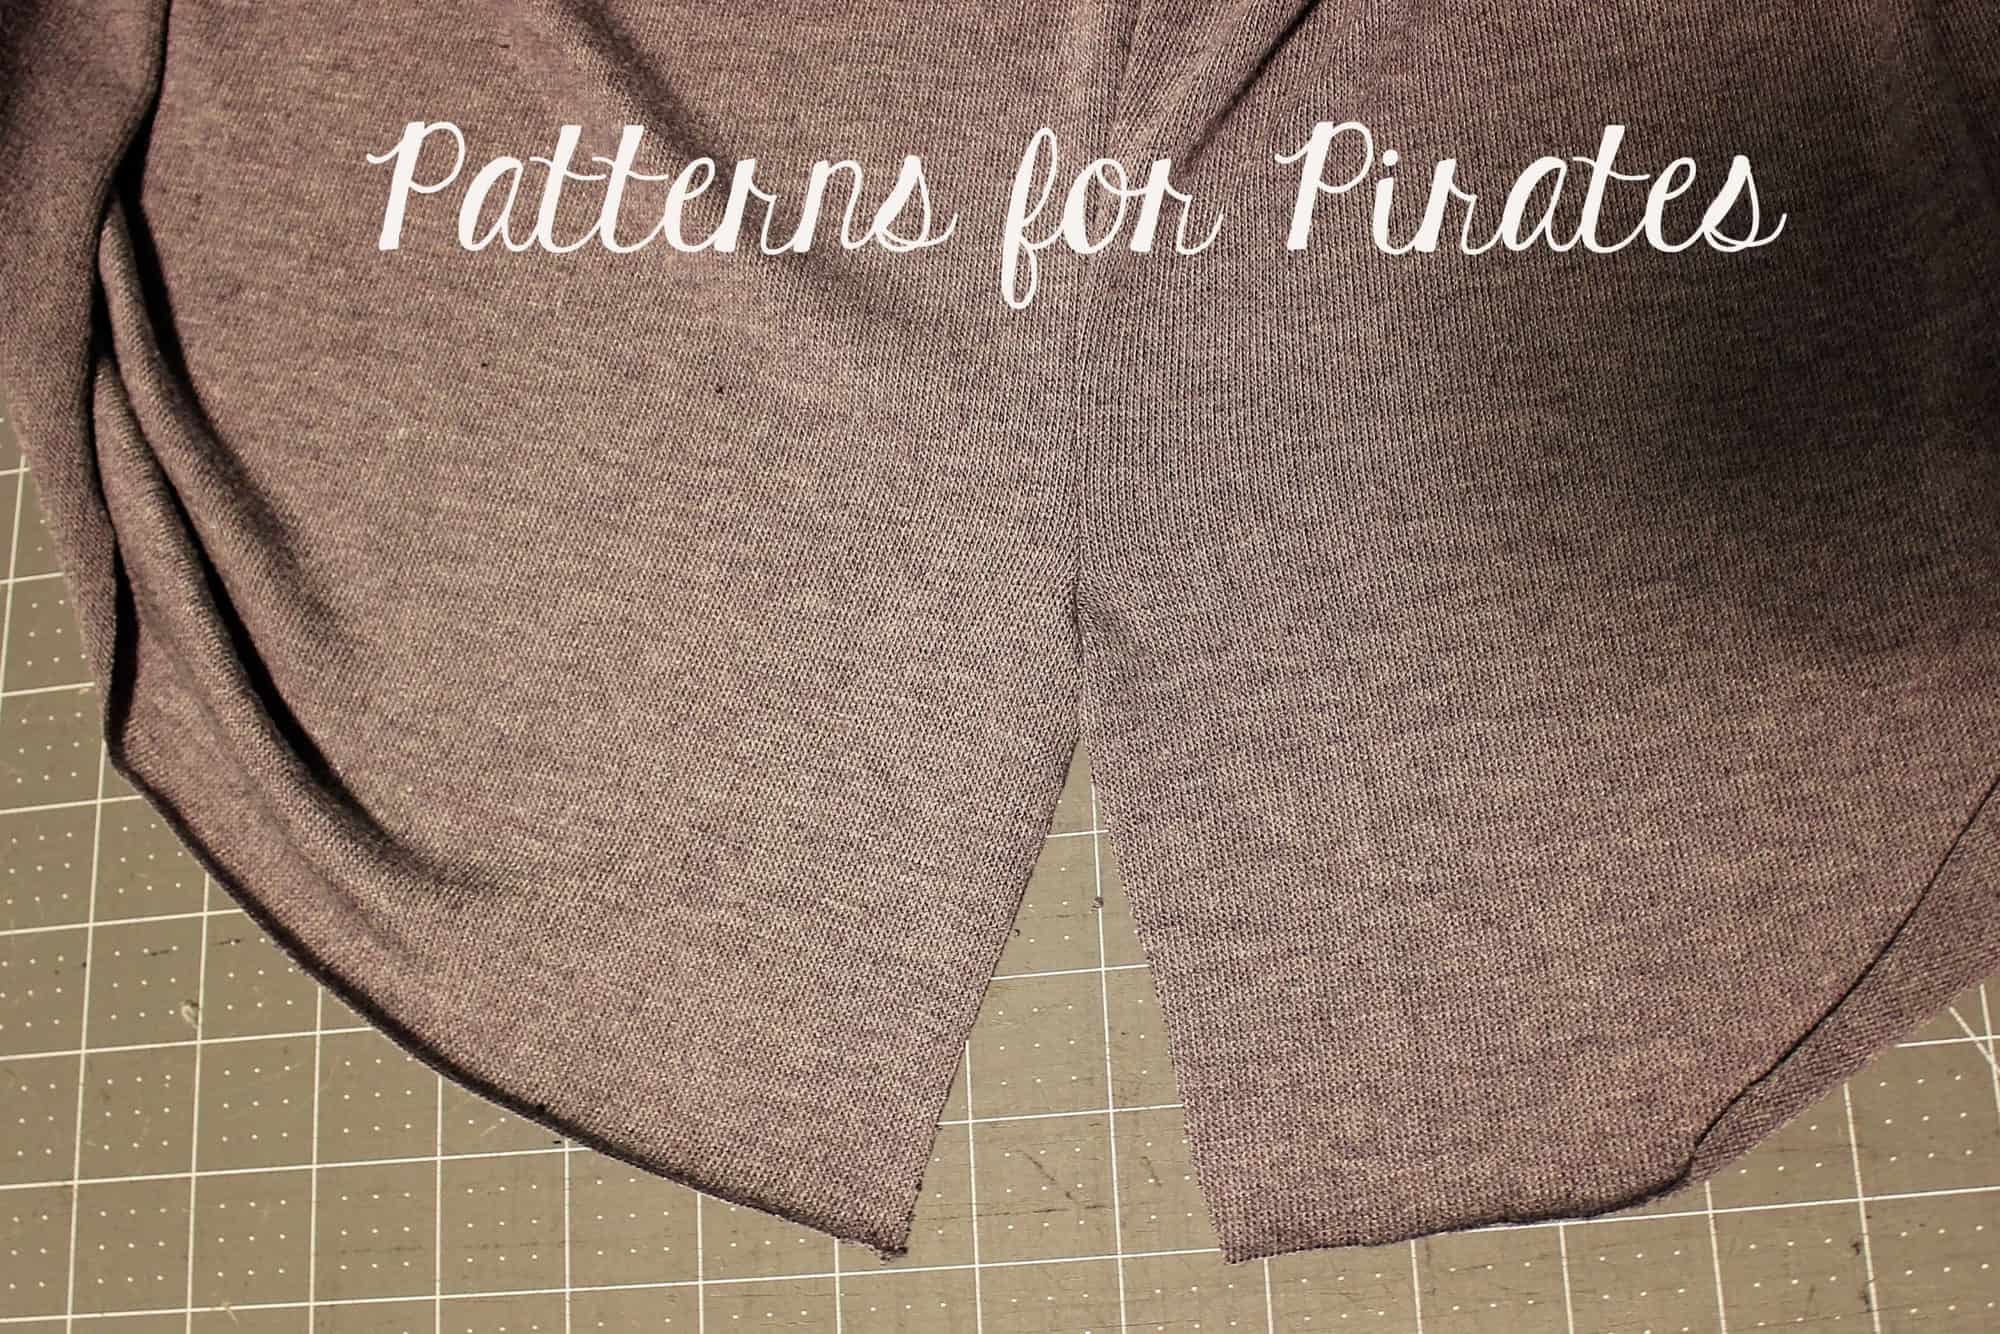
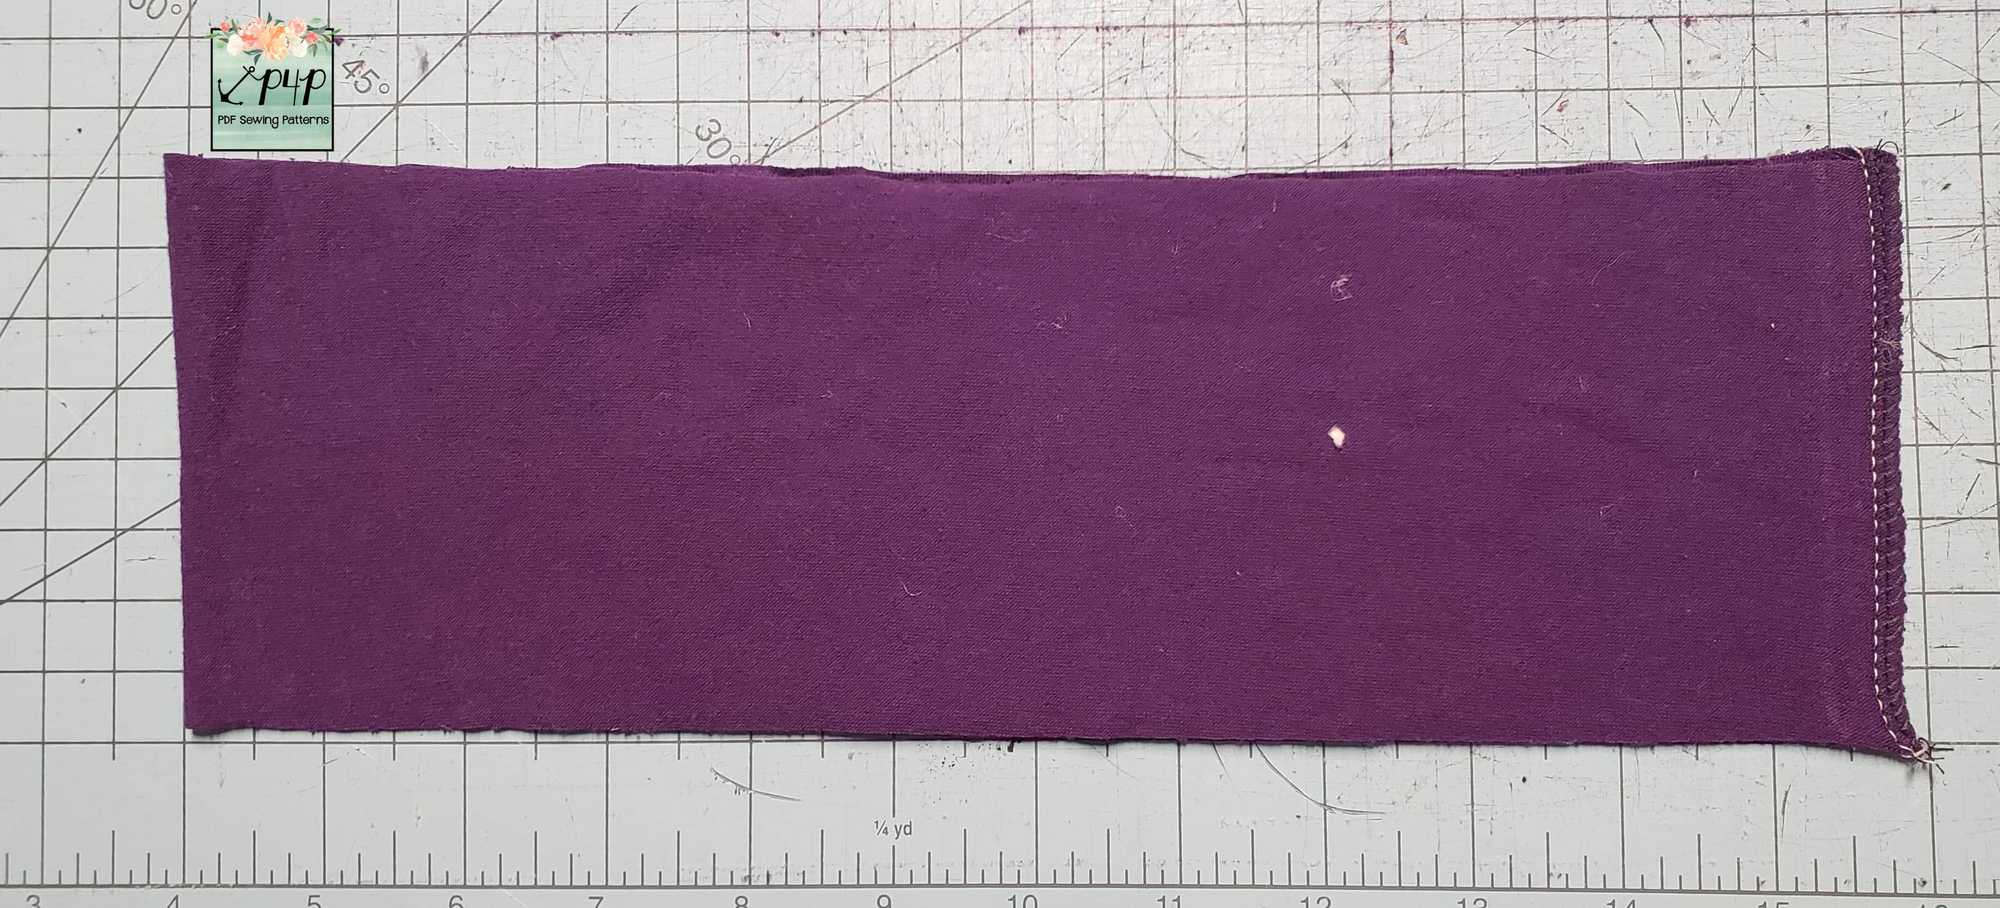
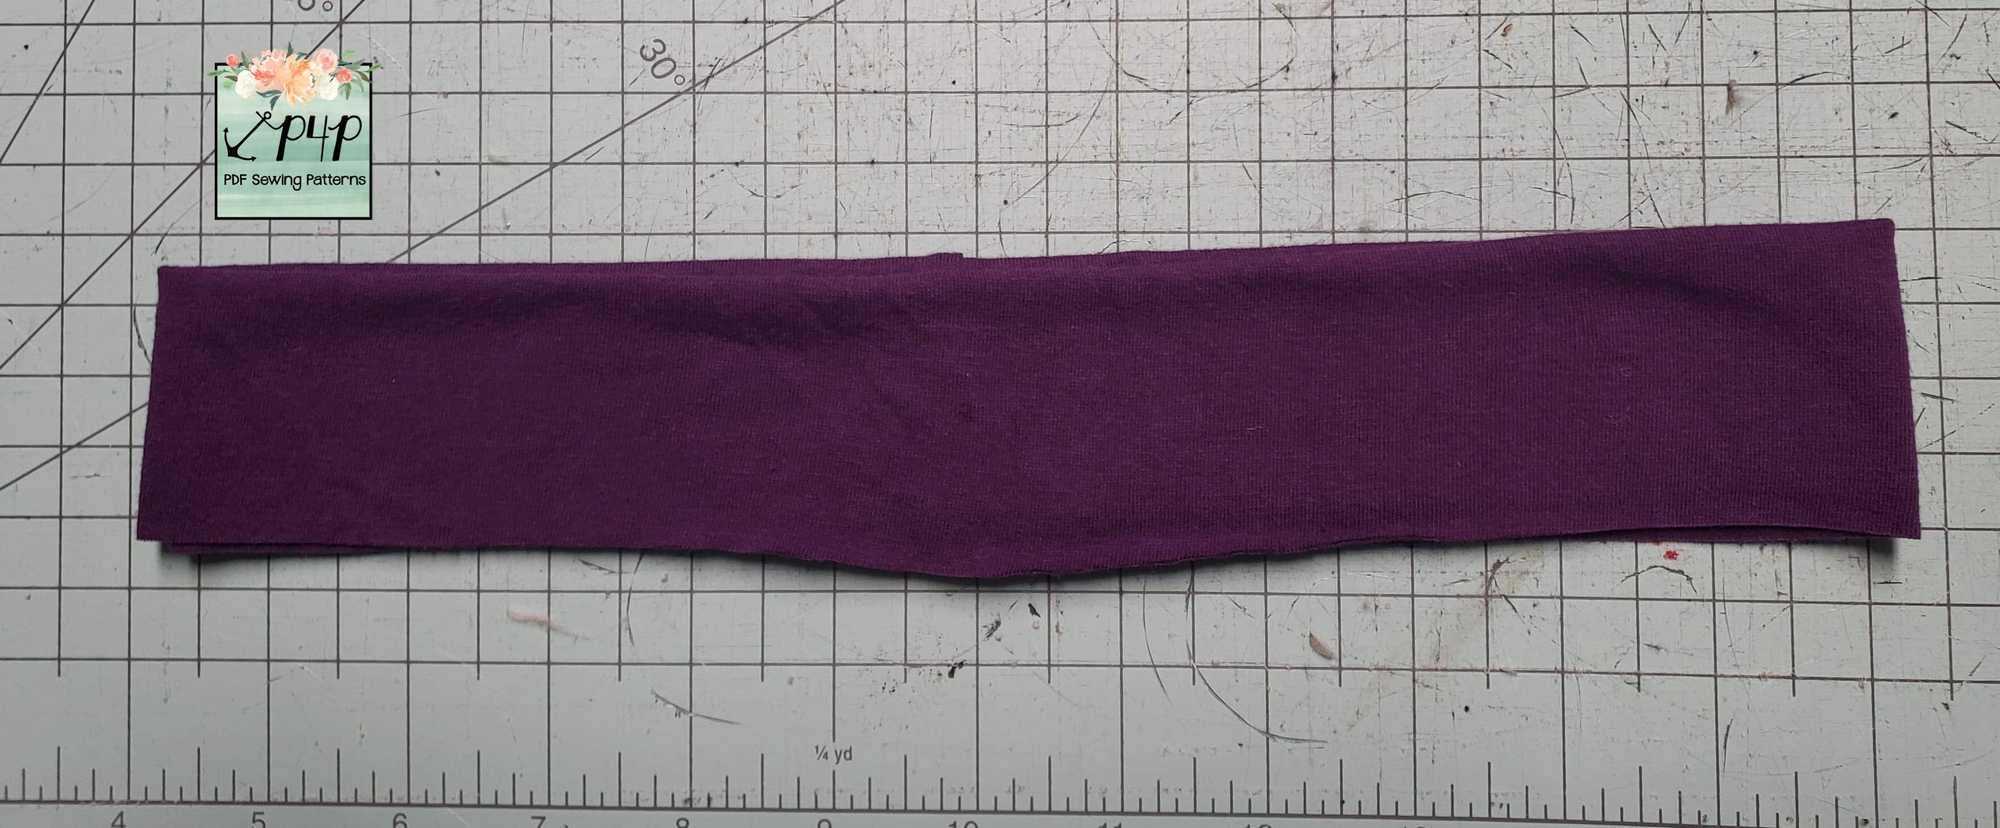
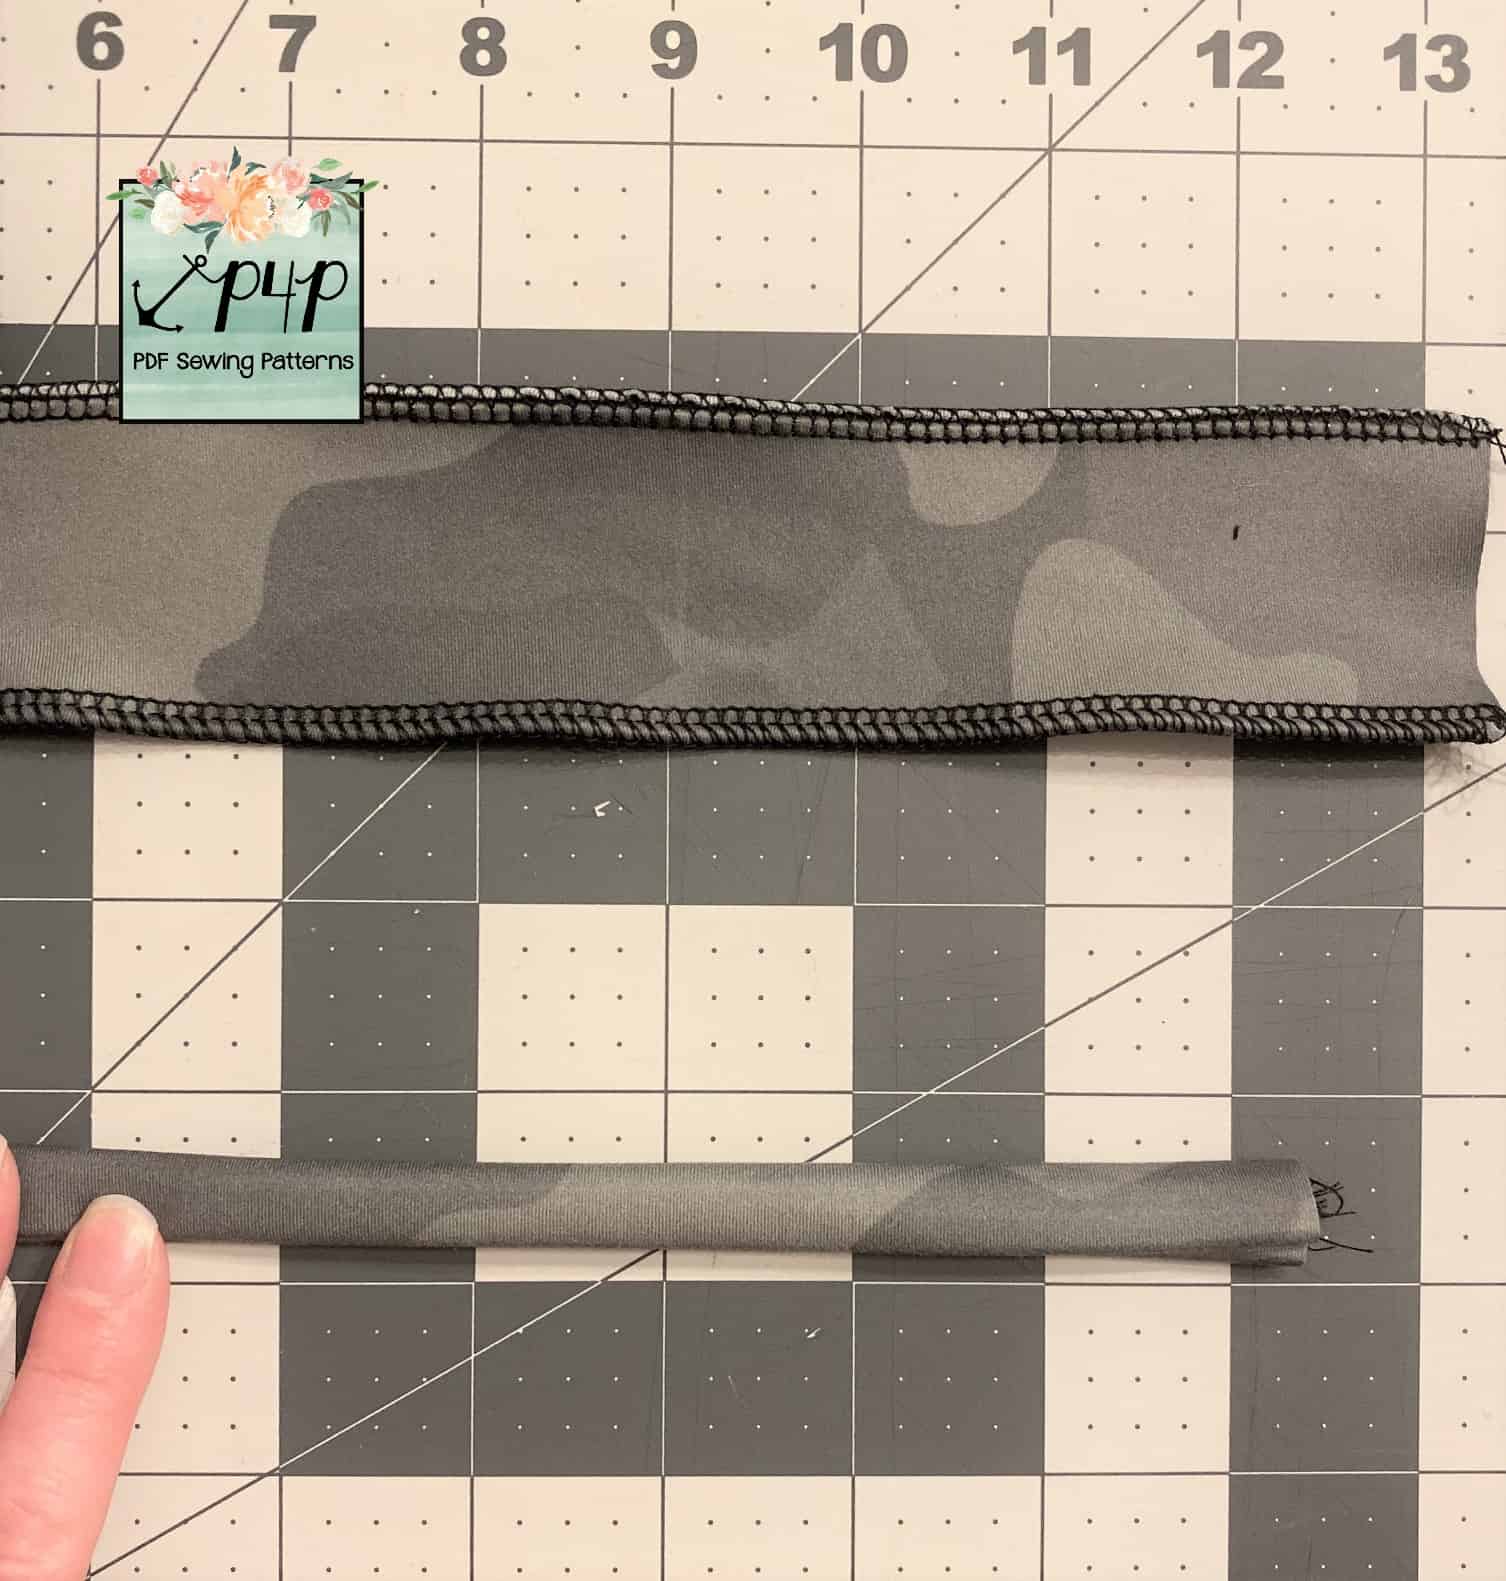
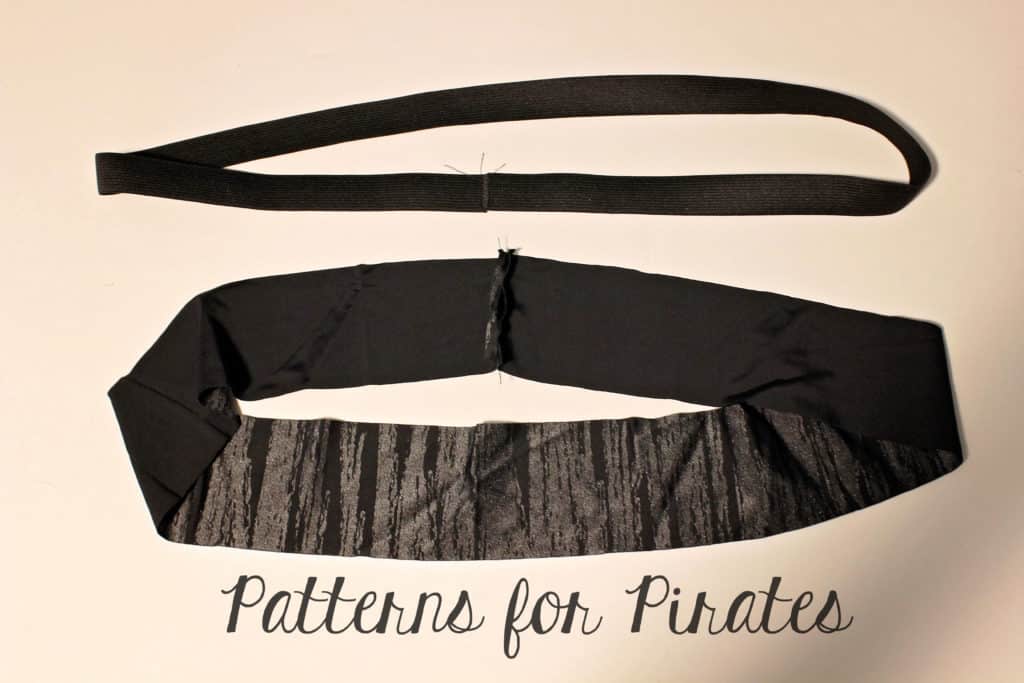
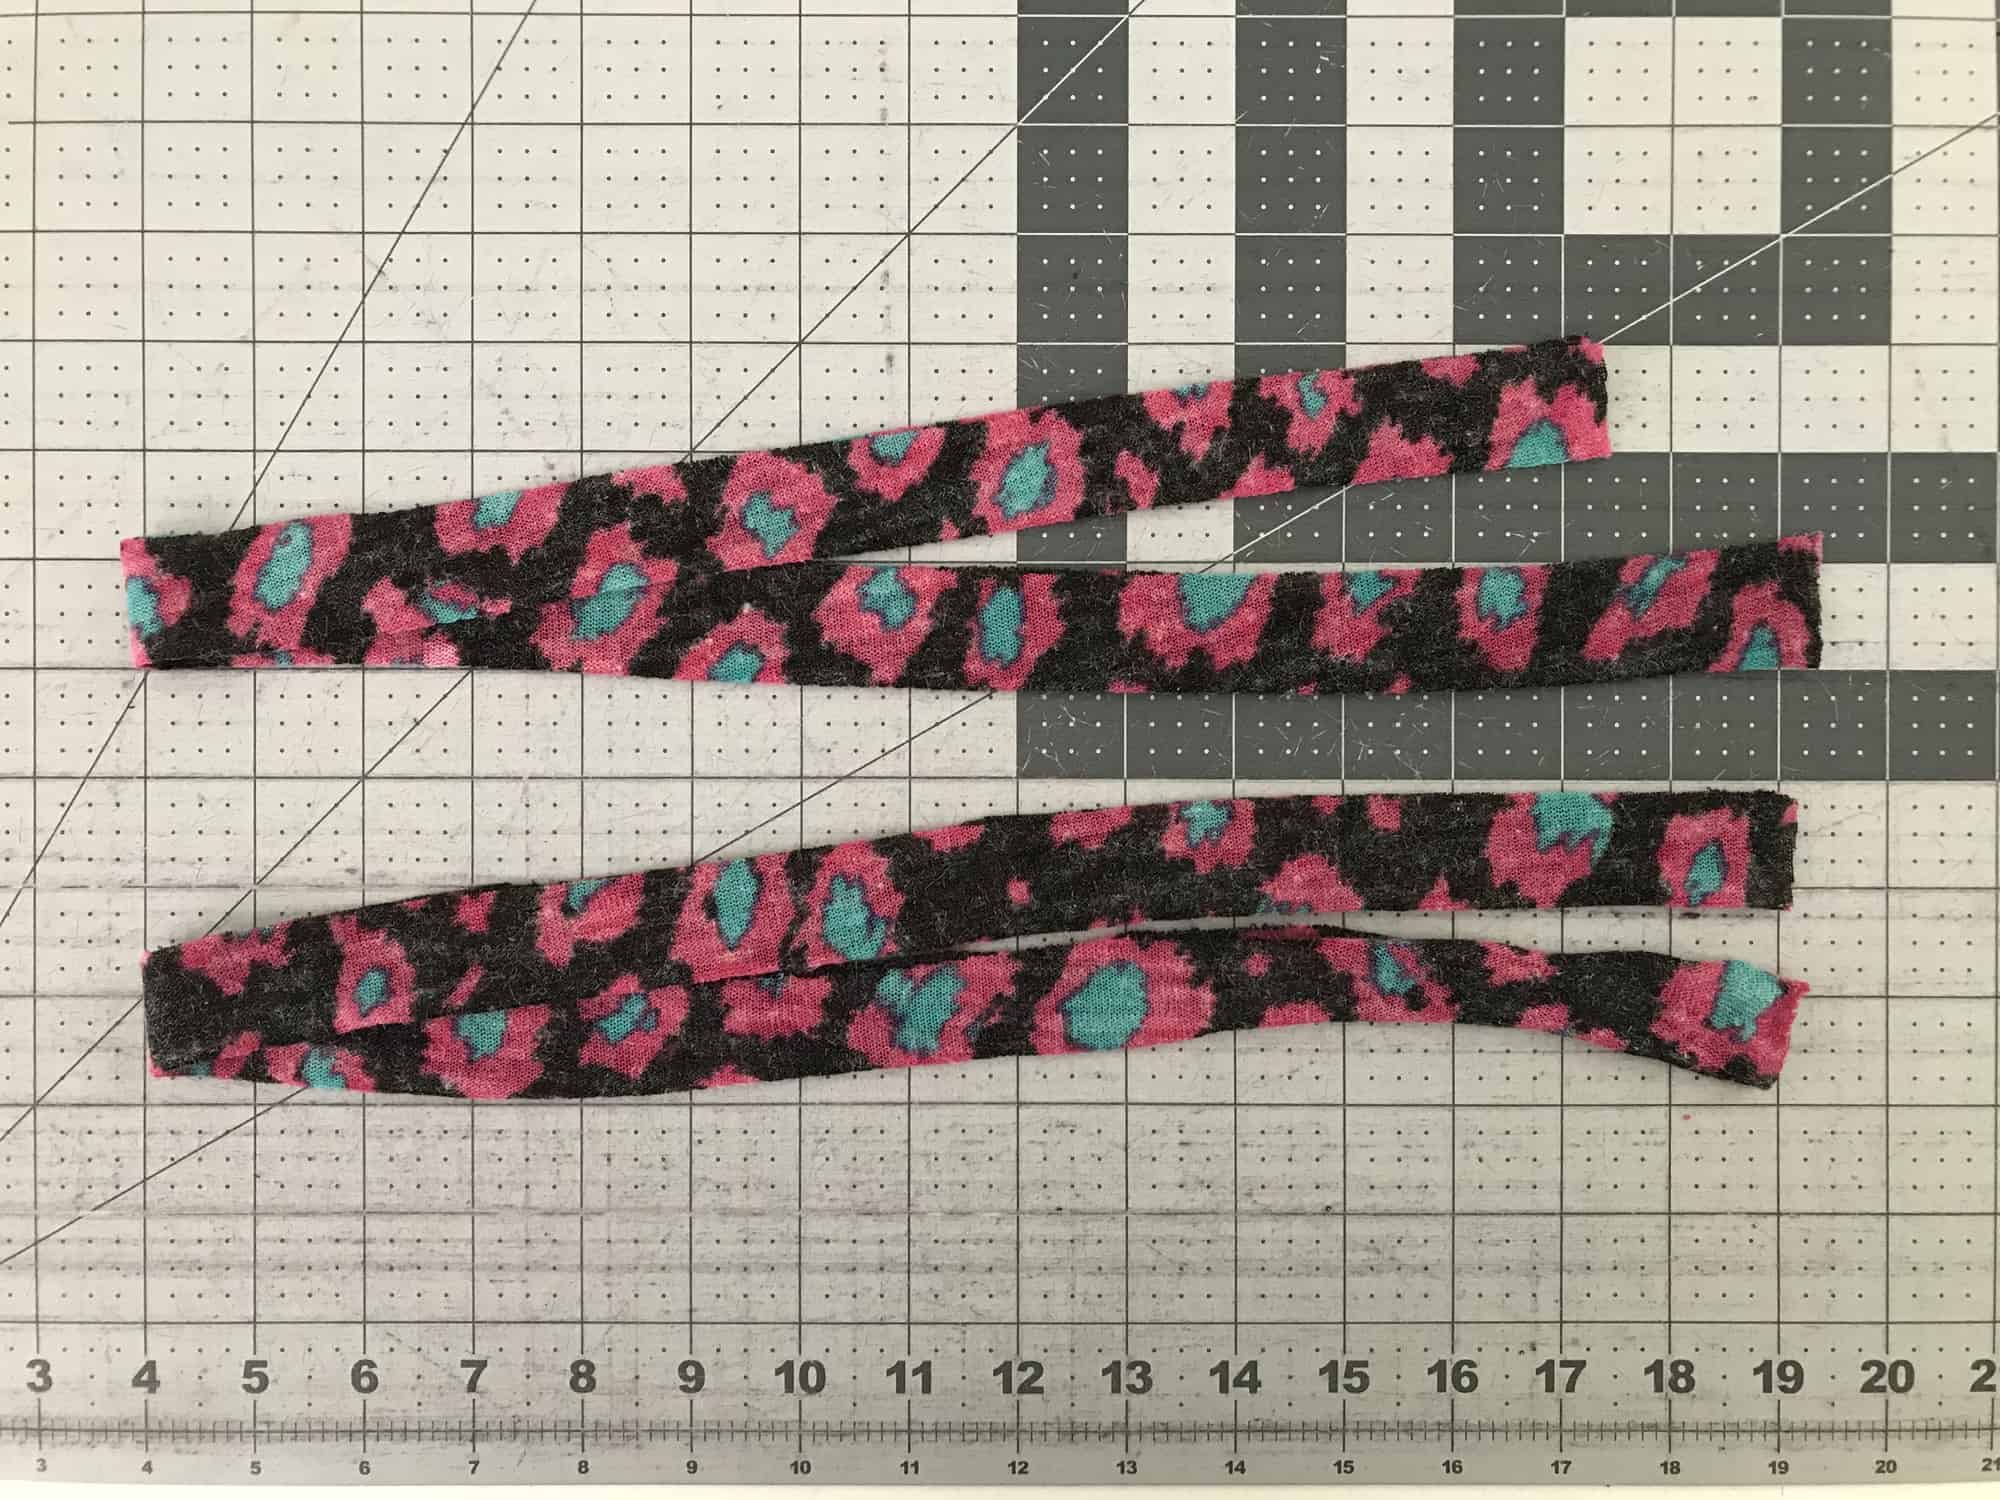
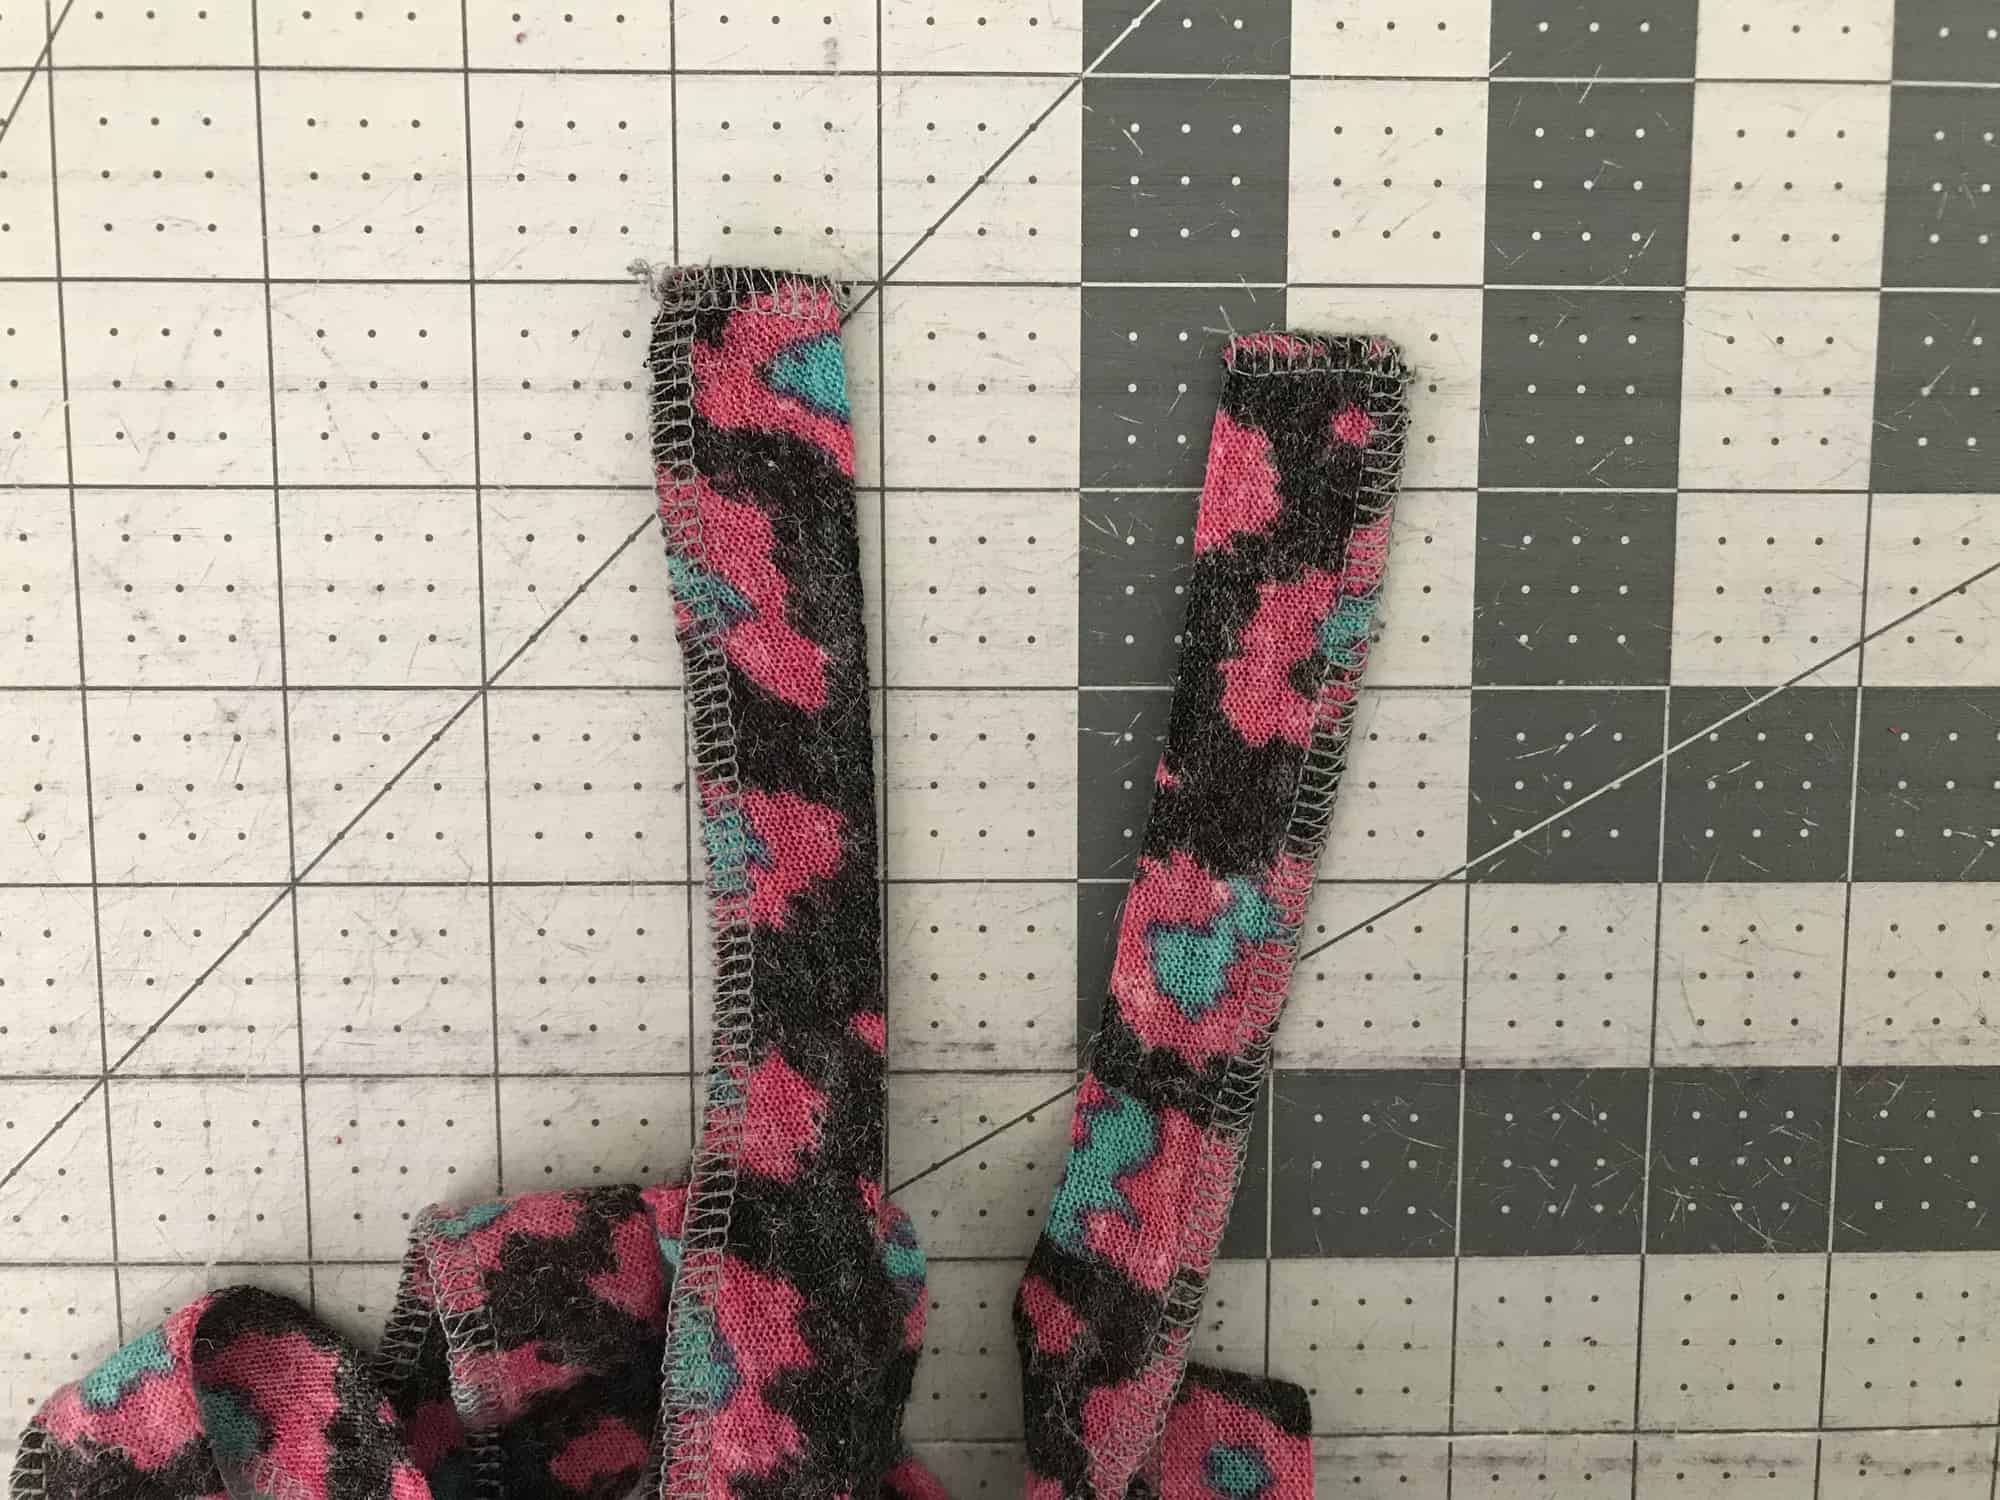
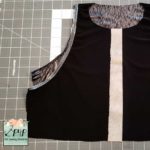
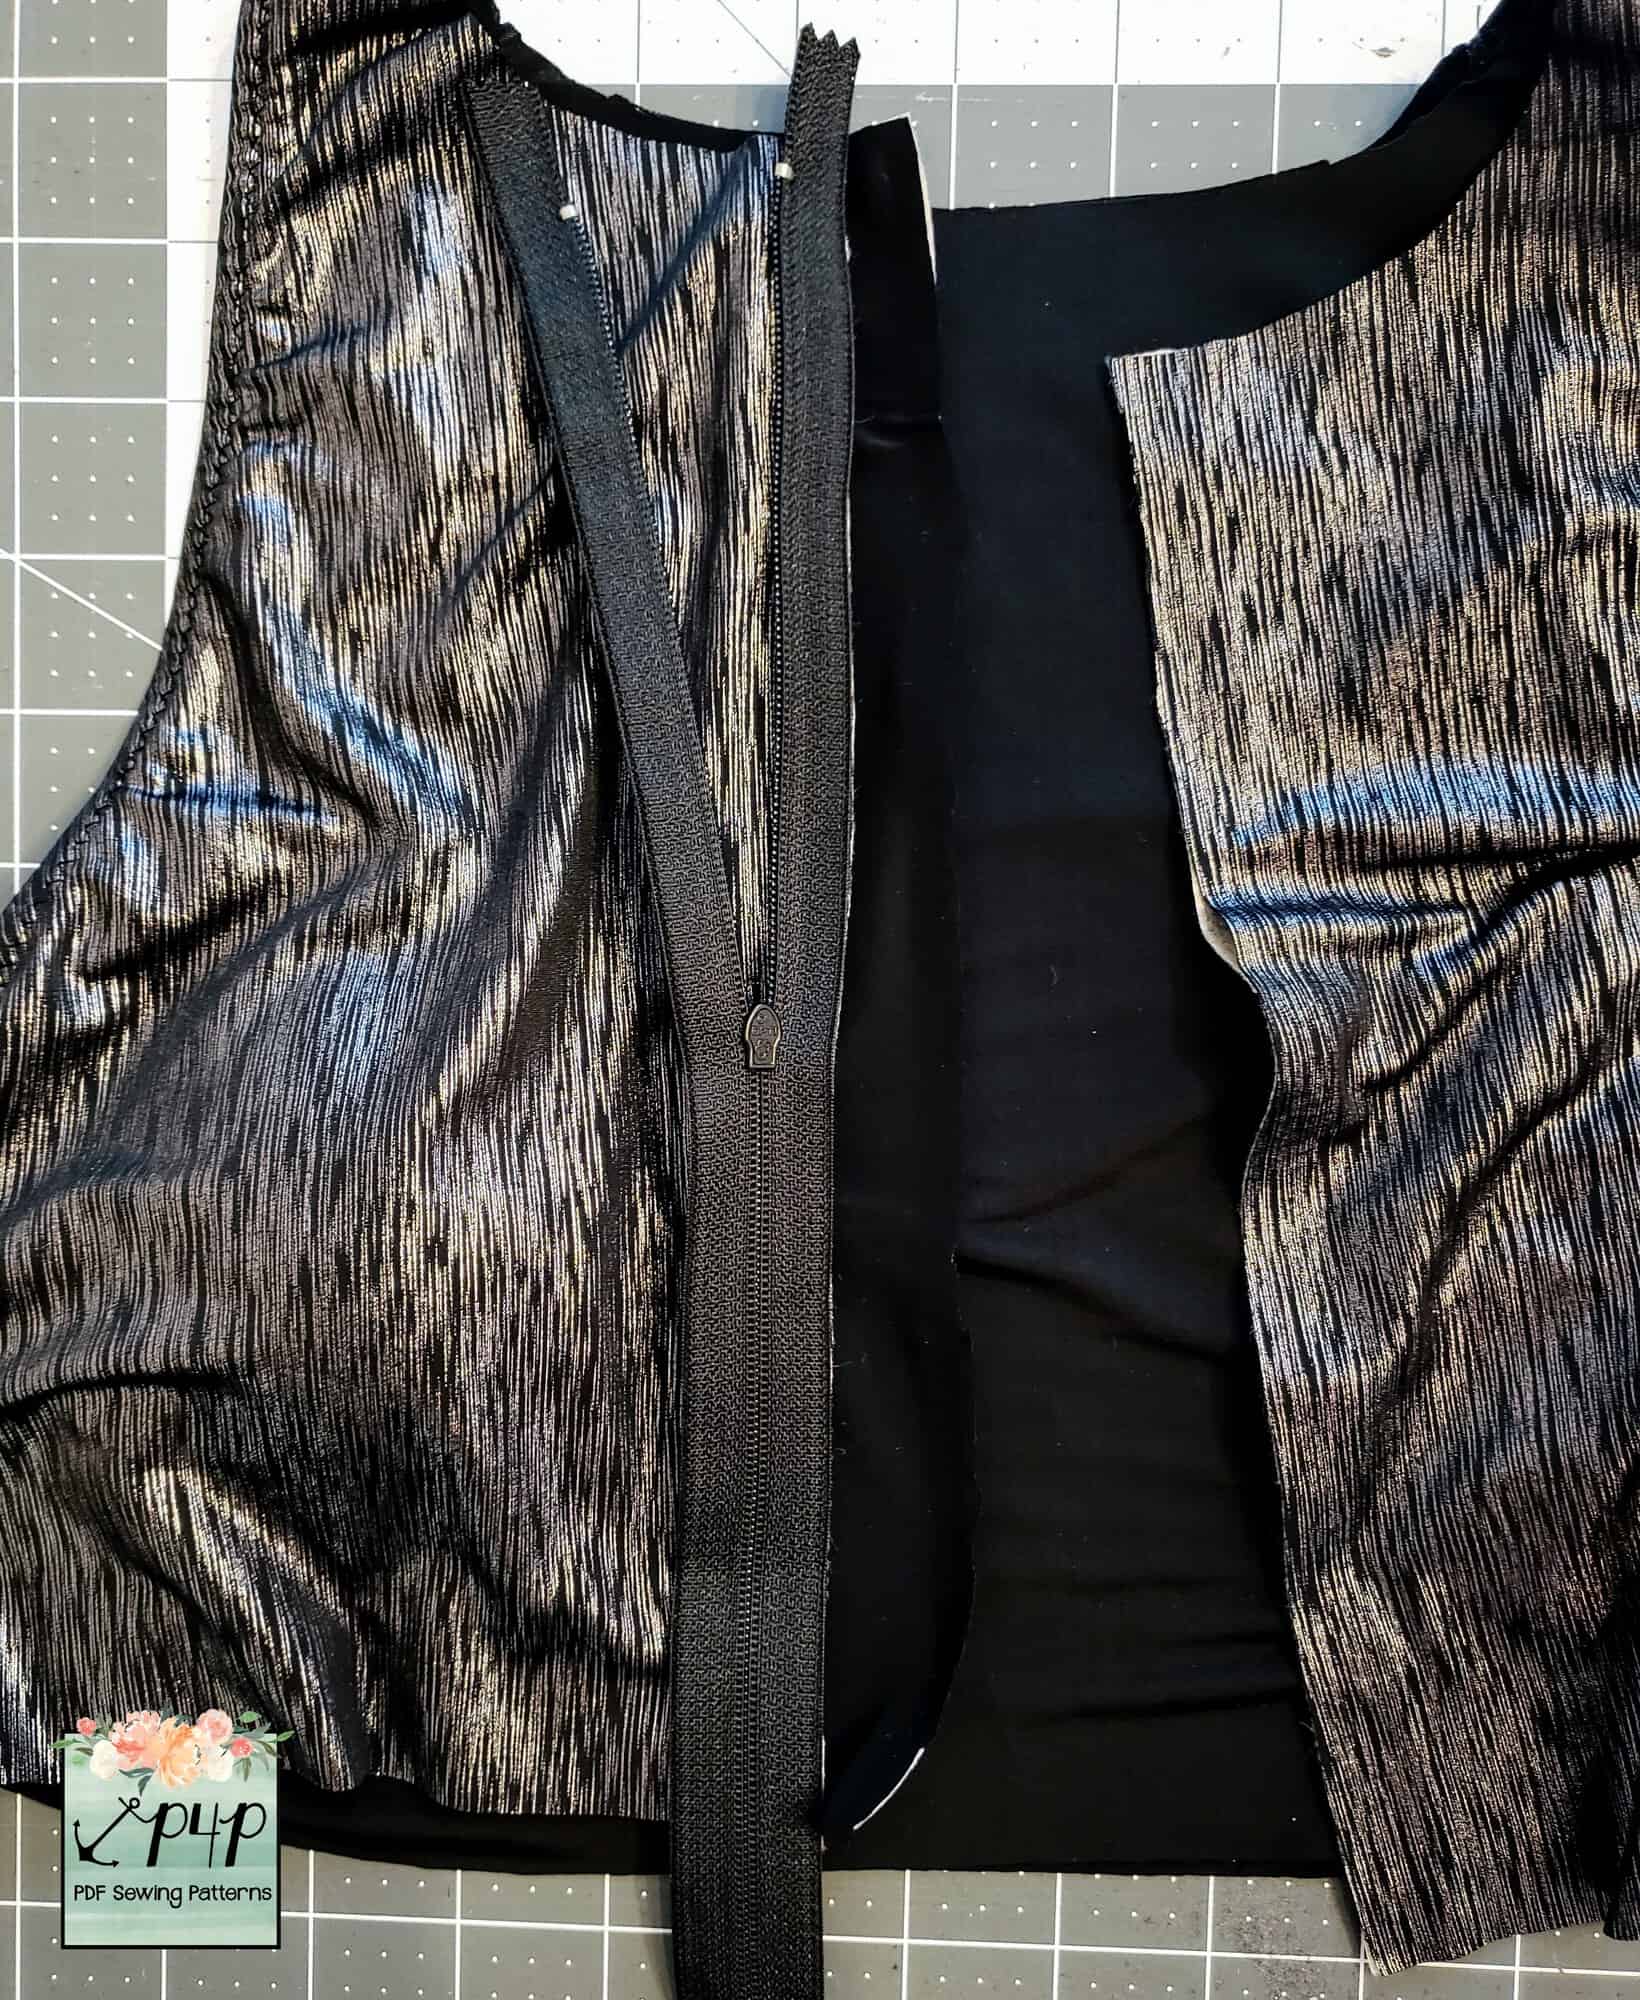
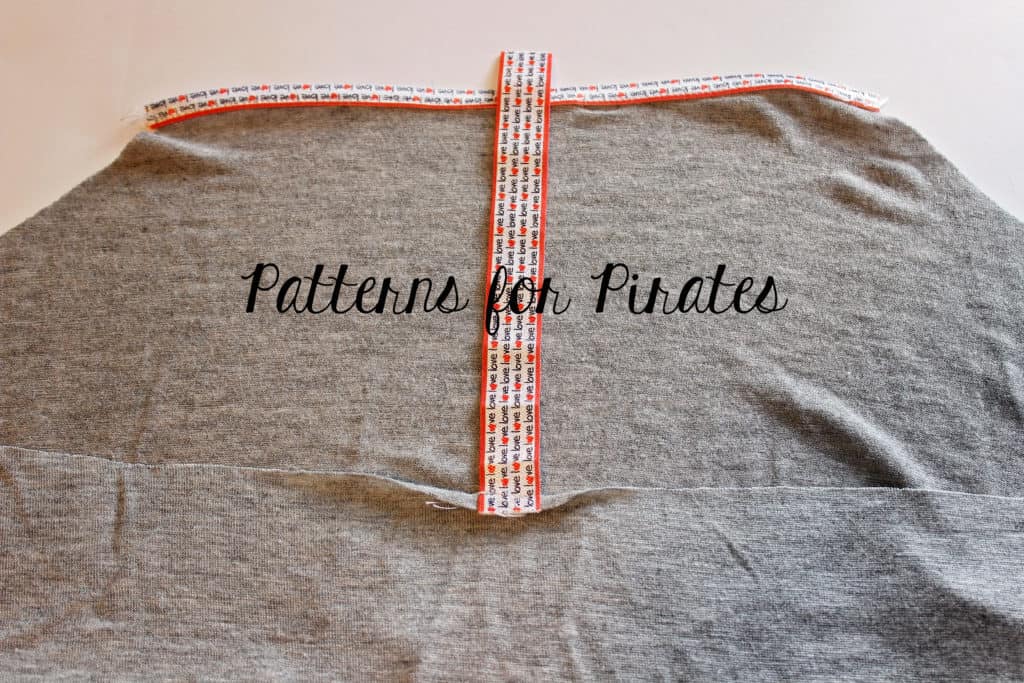
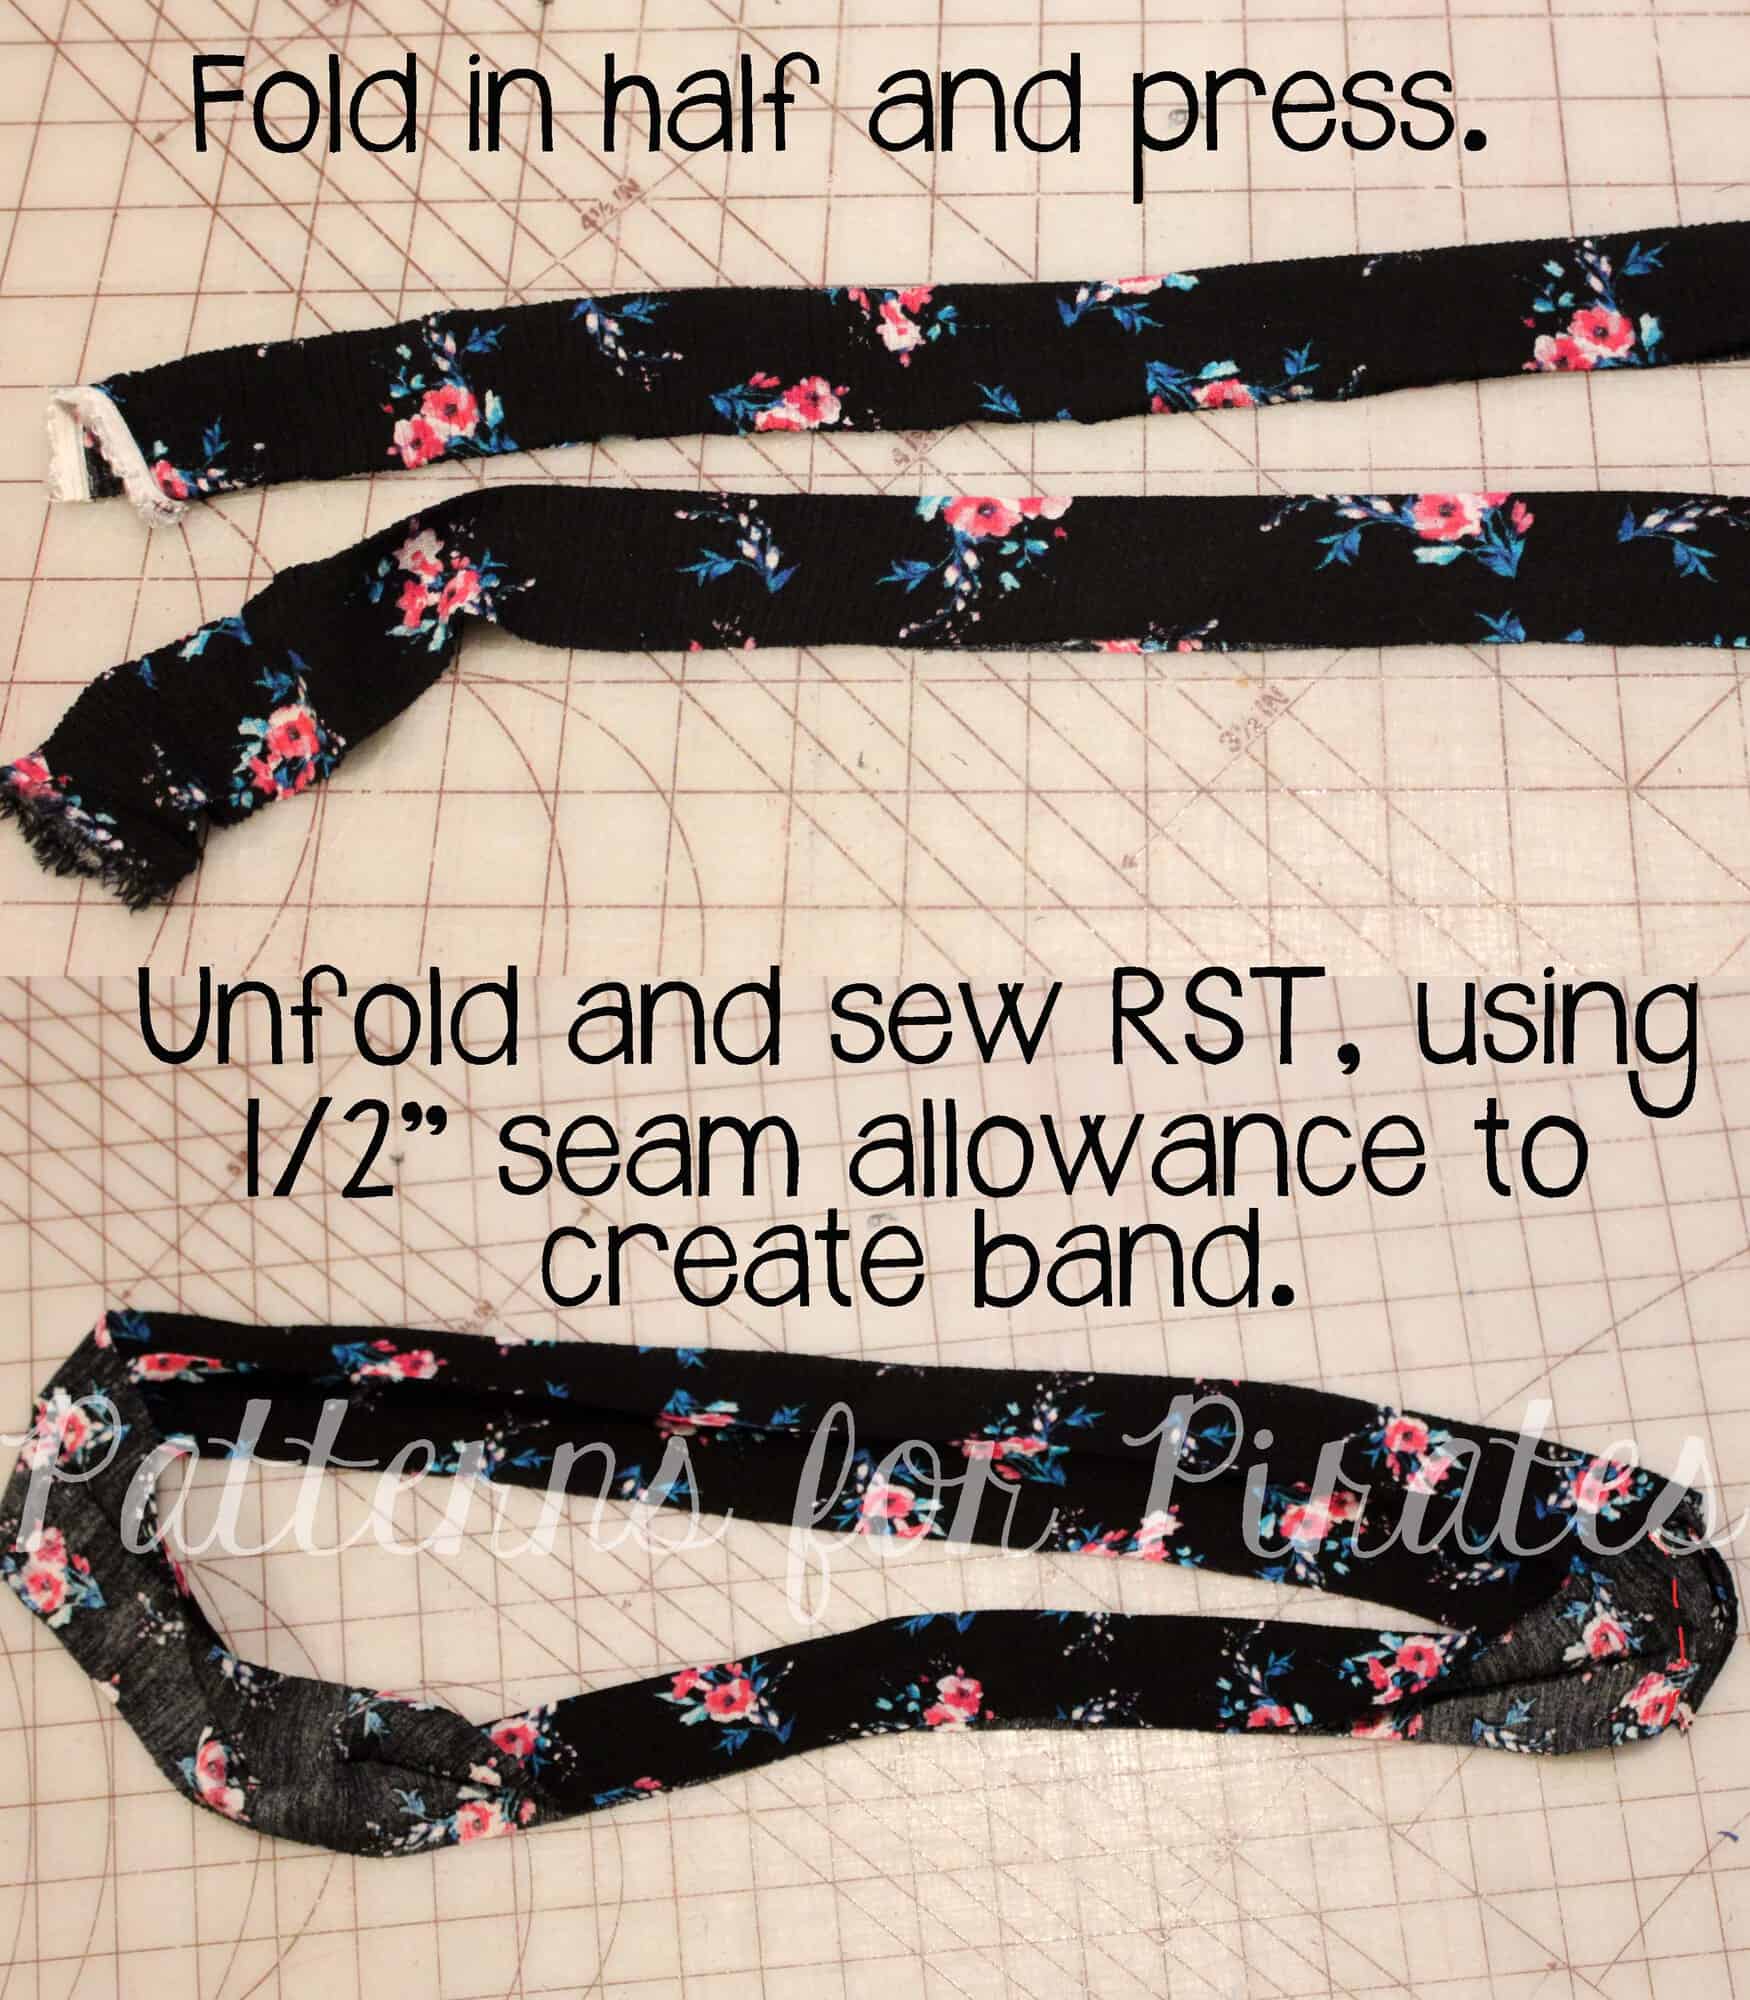
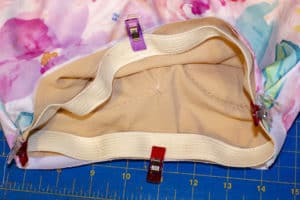
After cutting, you will assemble the sports bra according to the pattern up until the point of attaching the band. For this hack, you will take your band piece, and fold it right sides together lining up the short ends, and sew together. I prefer to use my sewing machine so I can press the seam open and reduce bulk here.
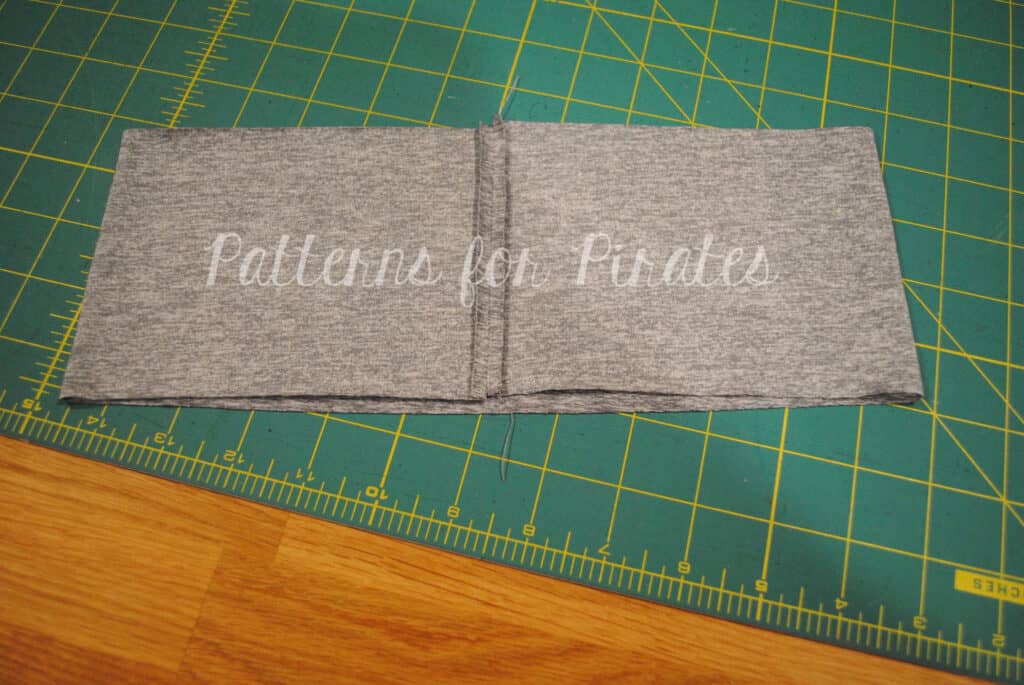
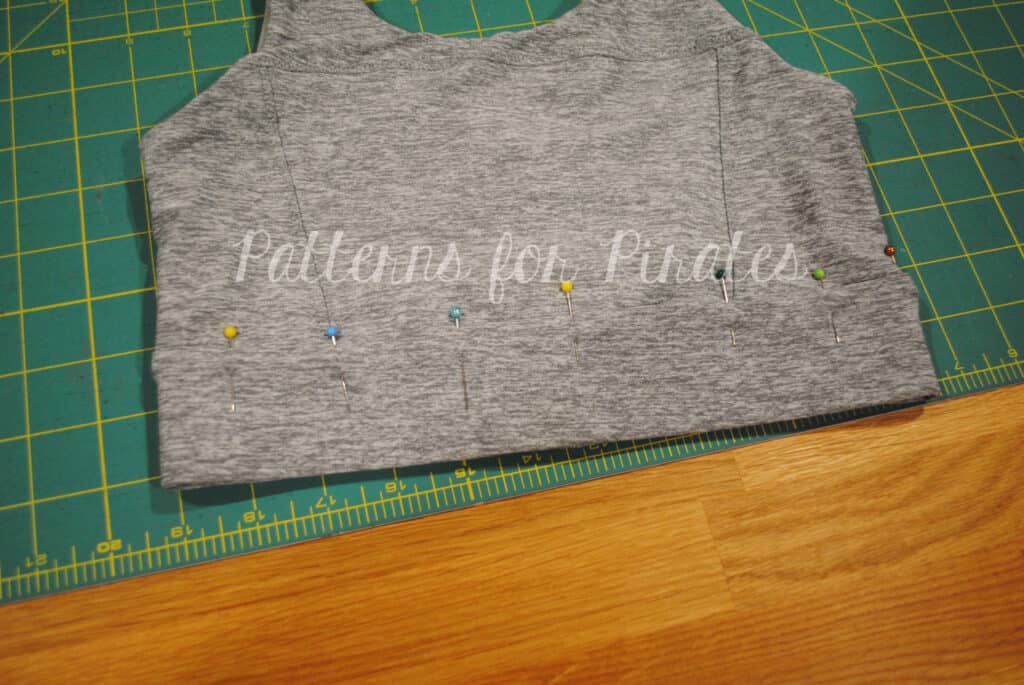
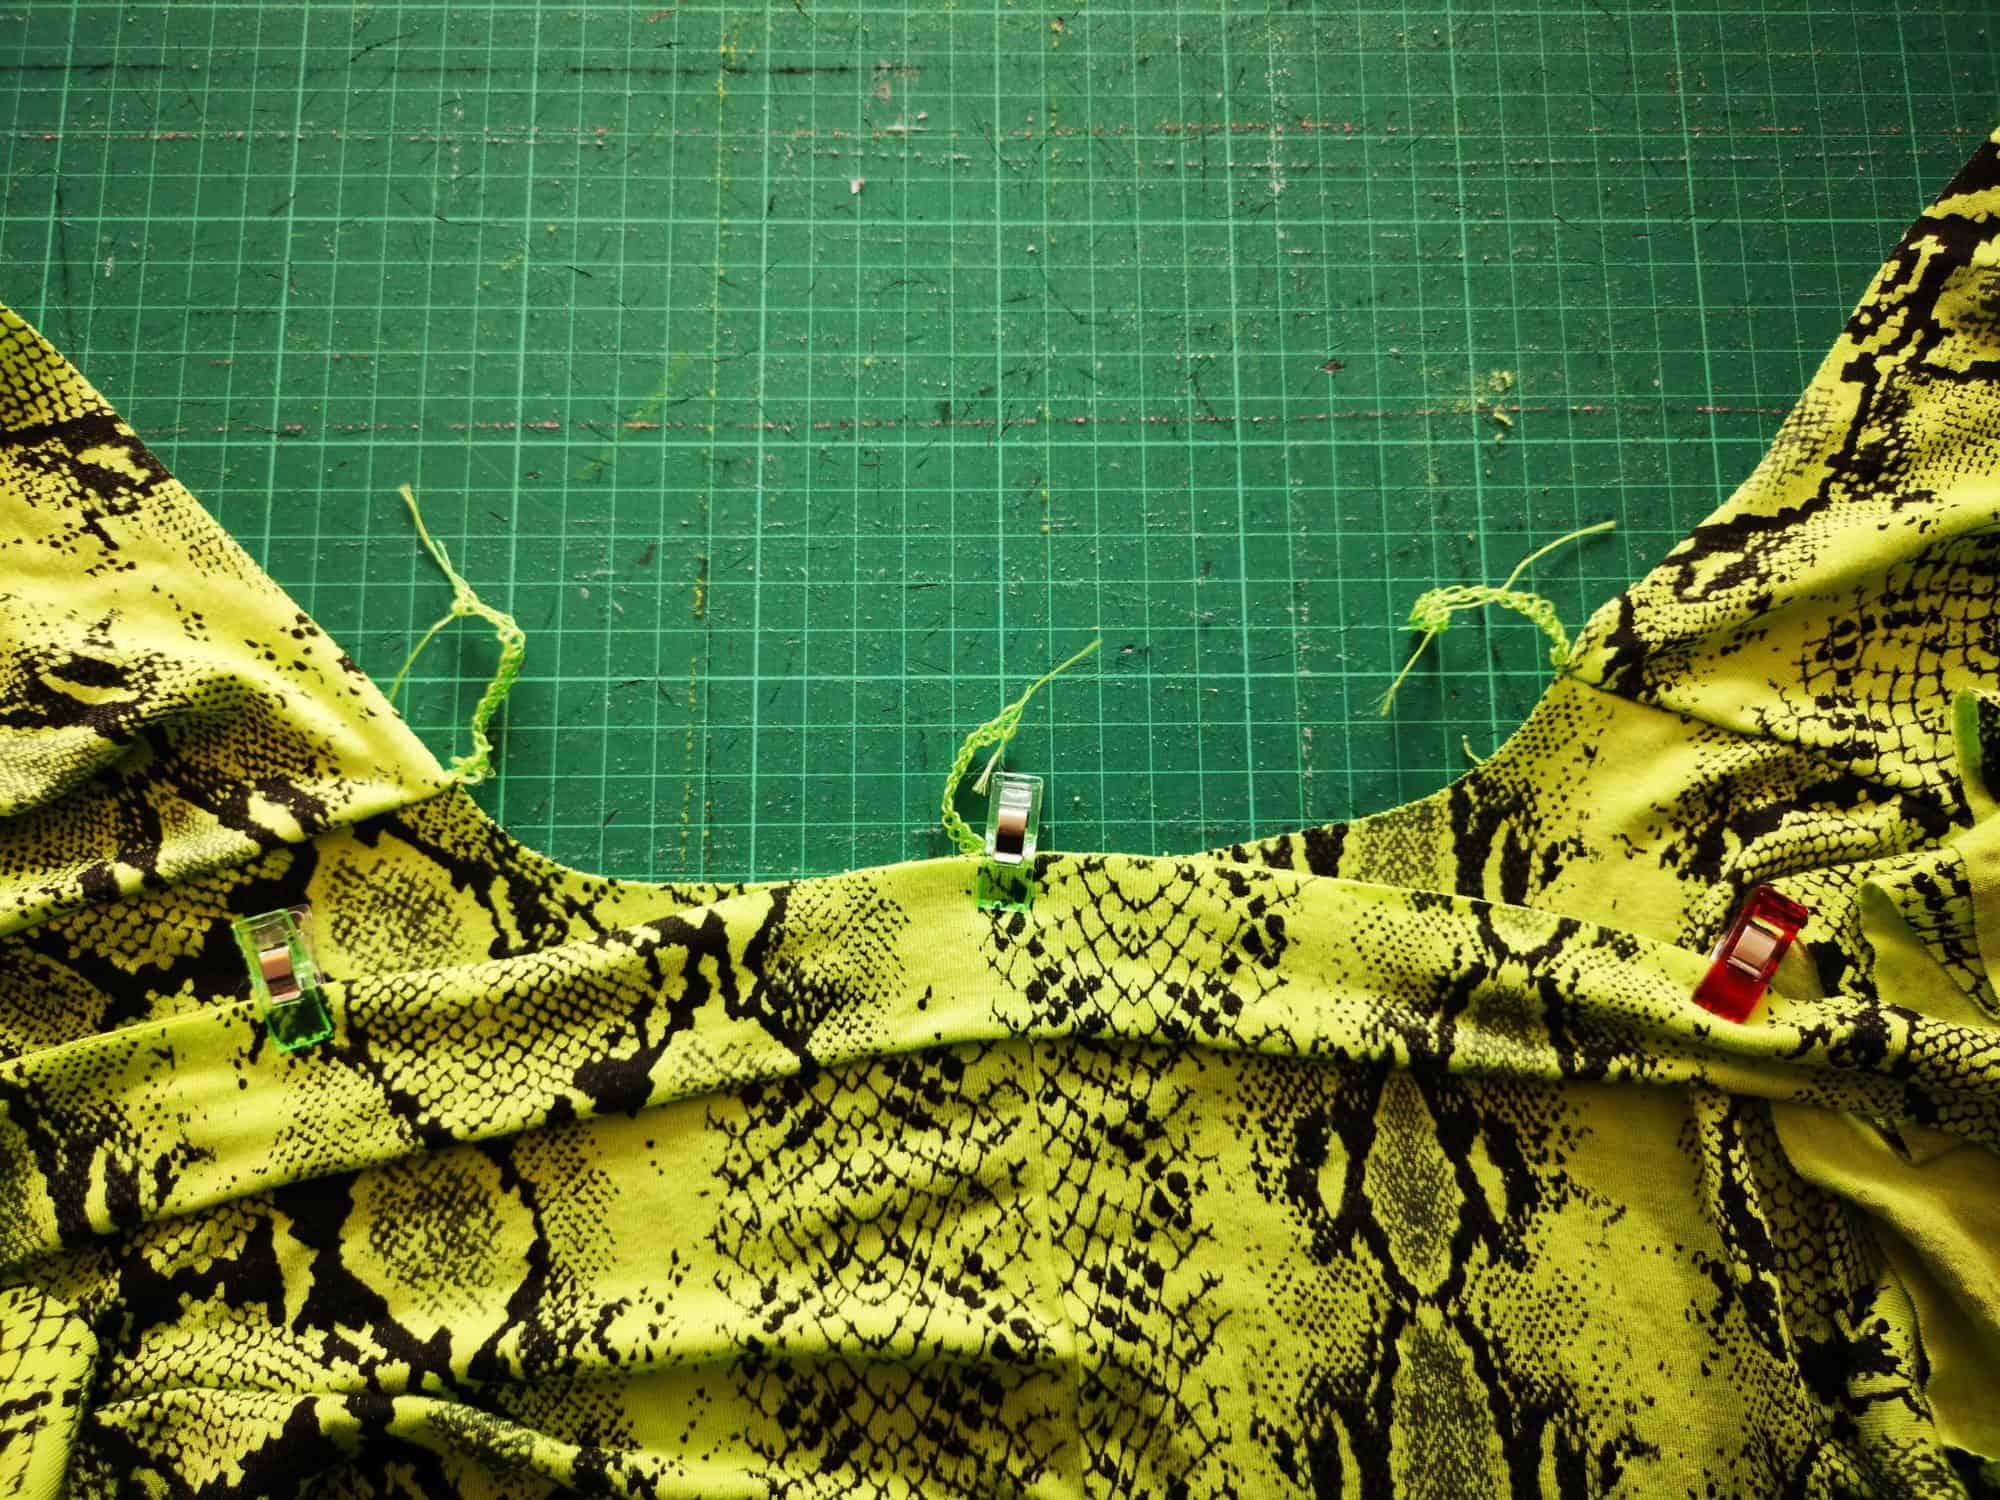
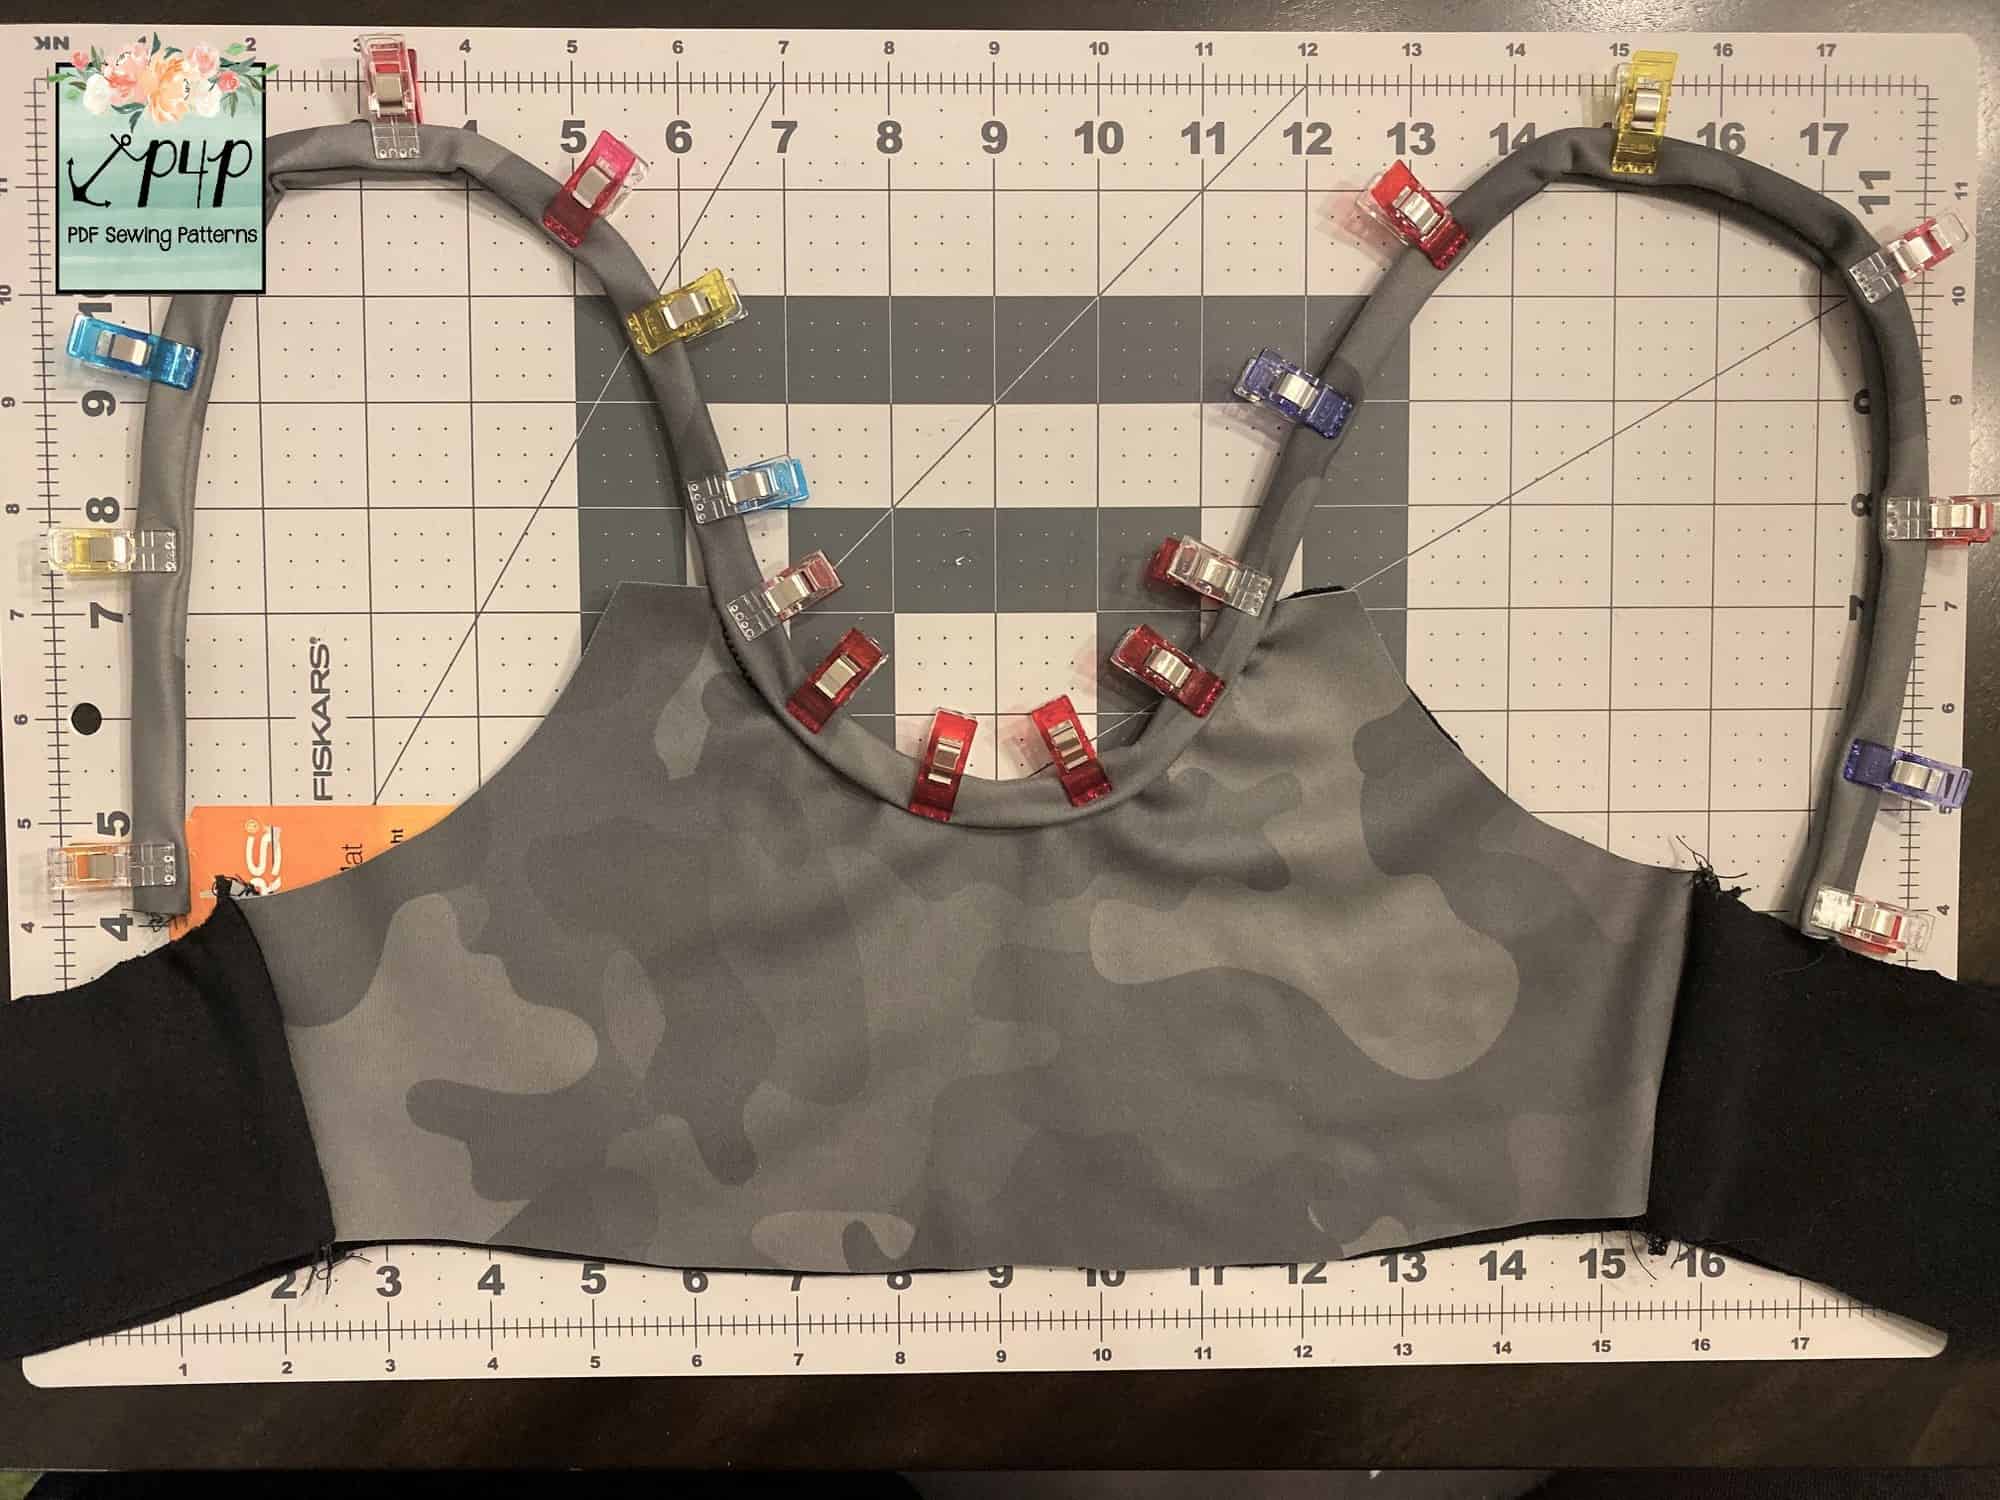
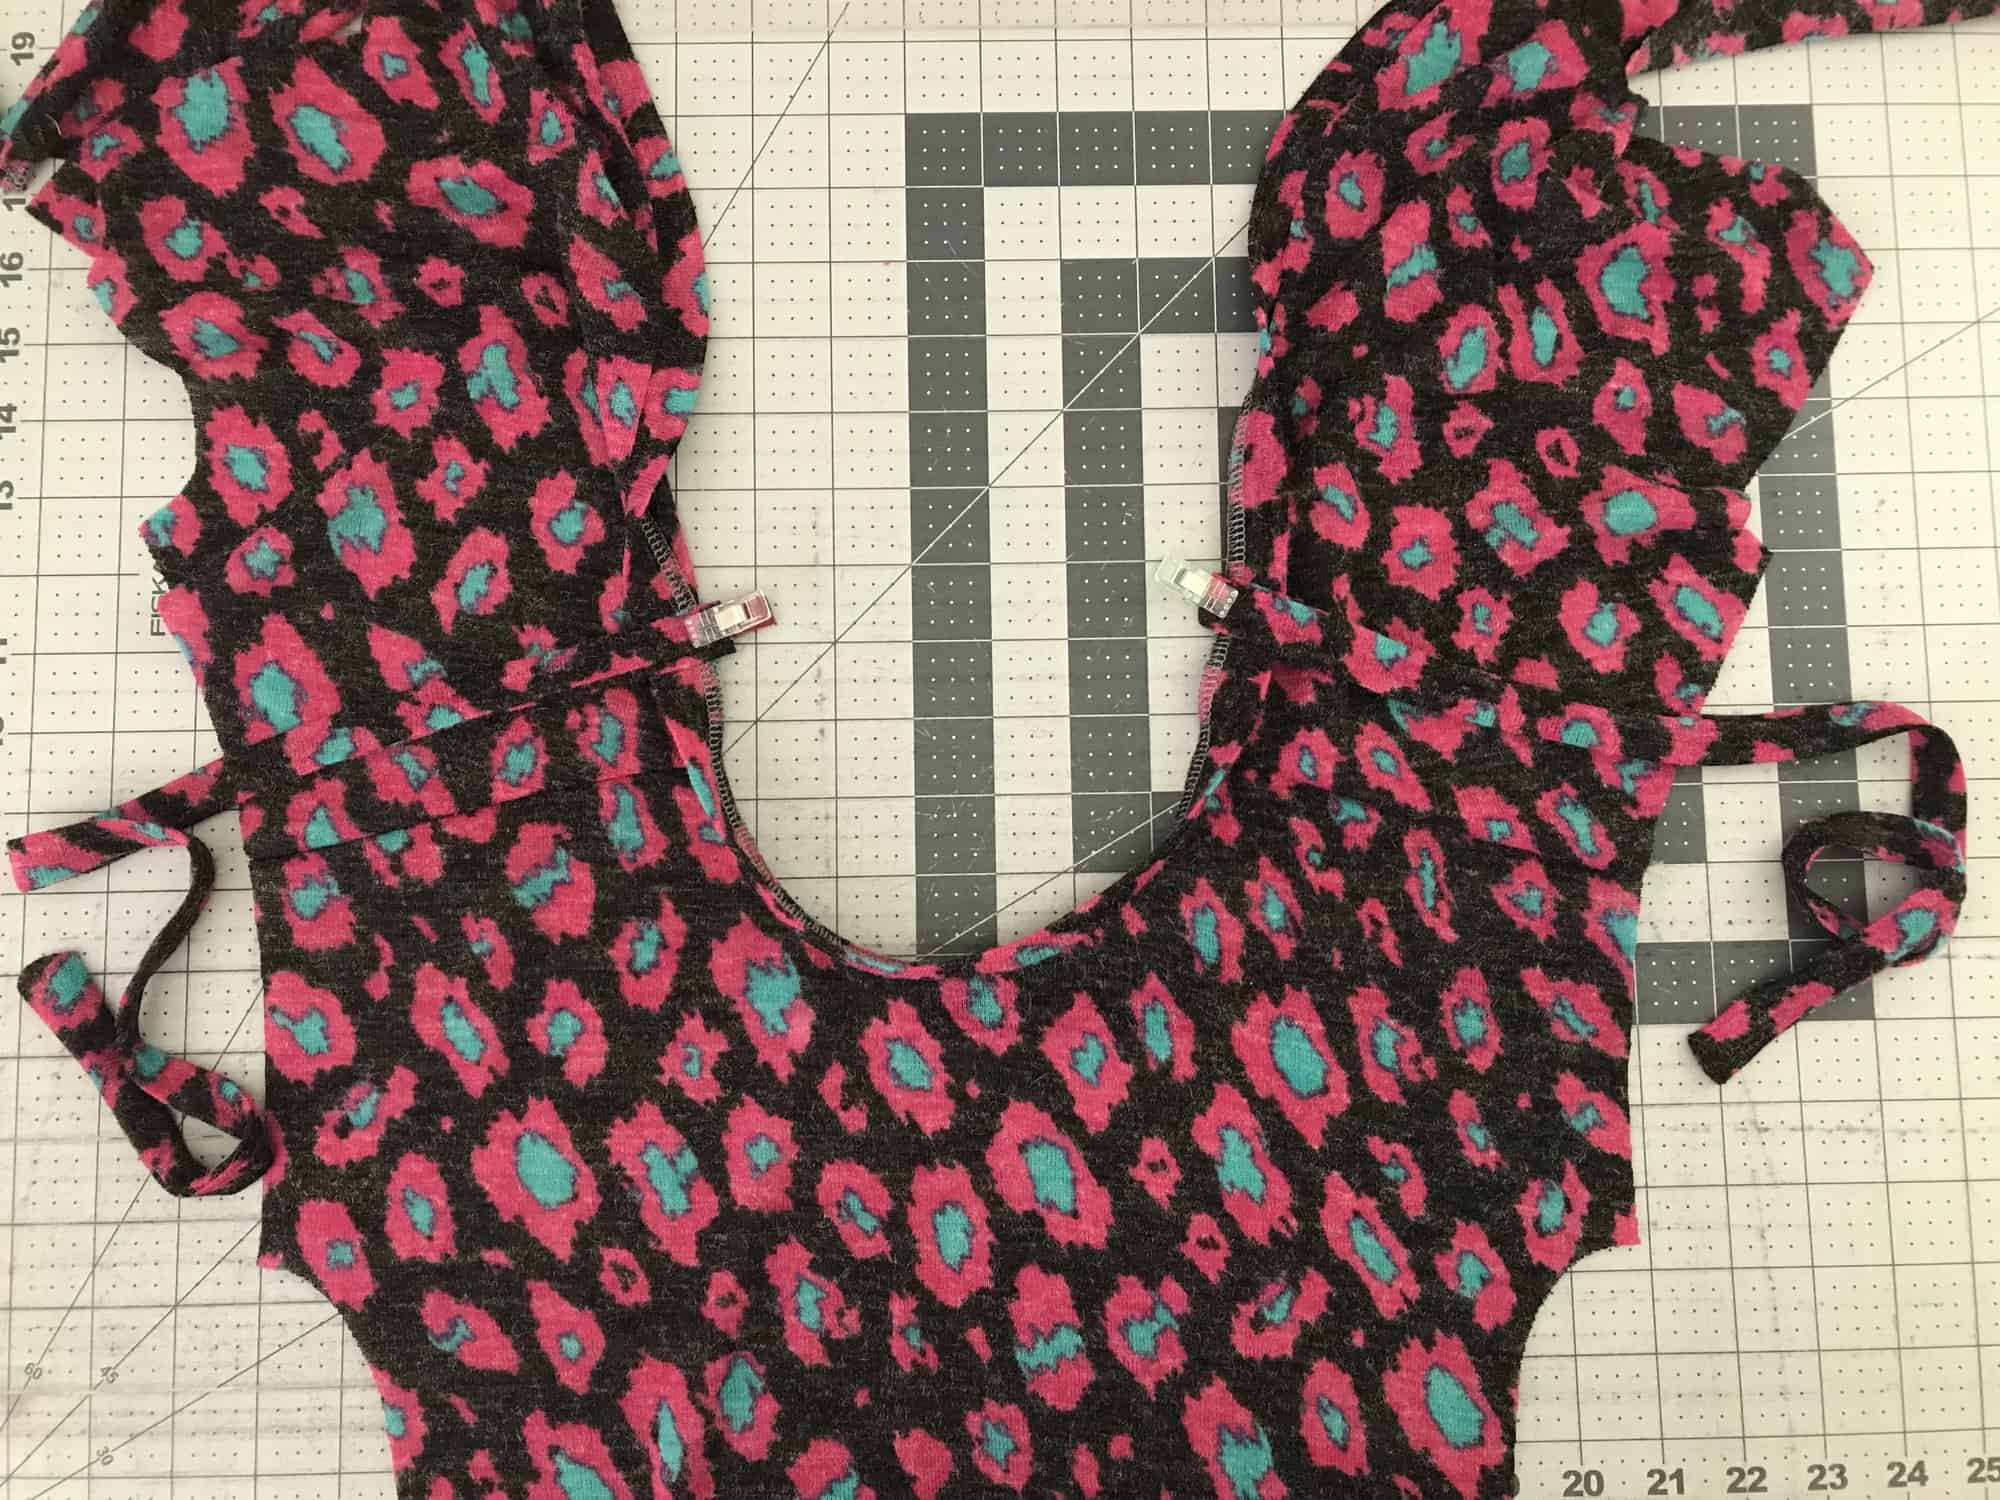
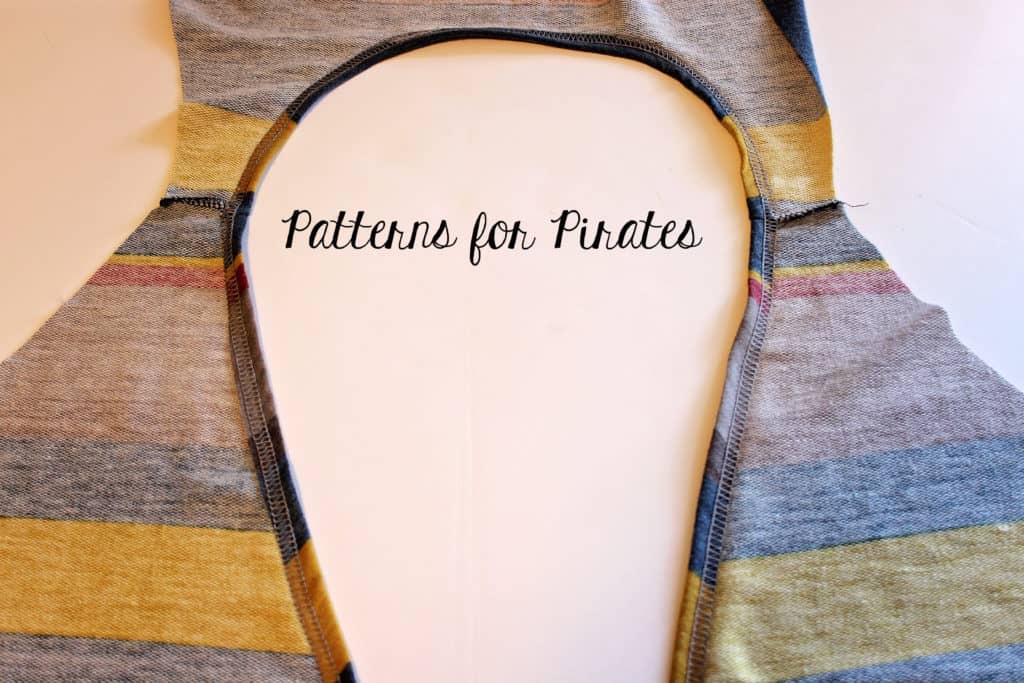
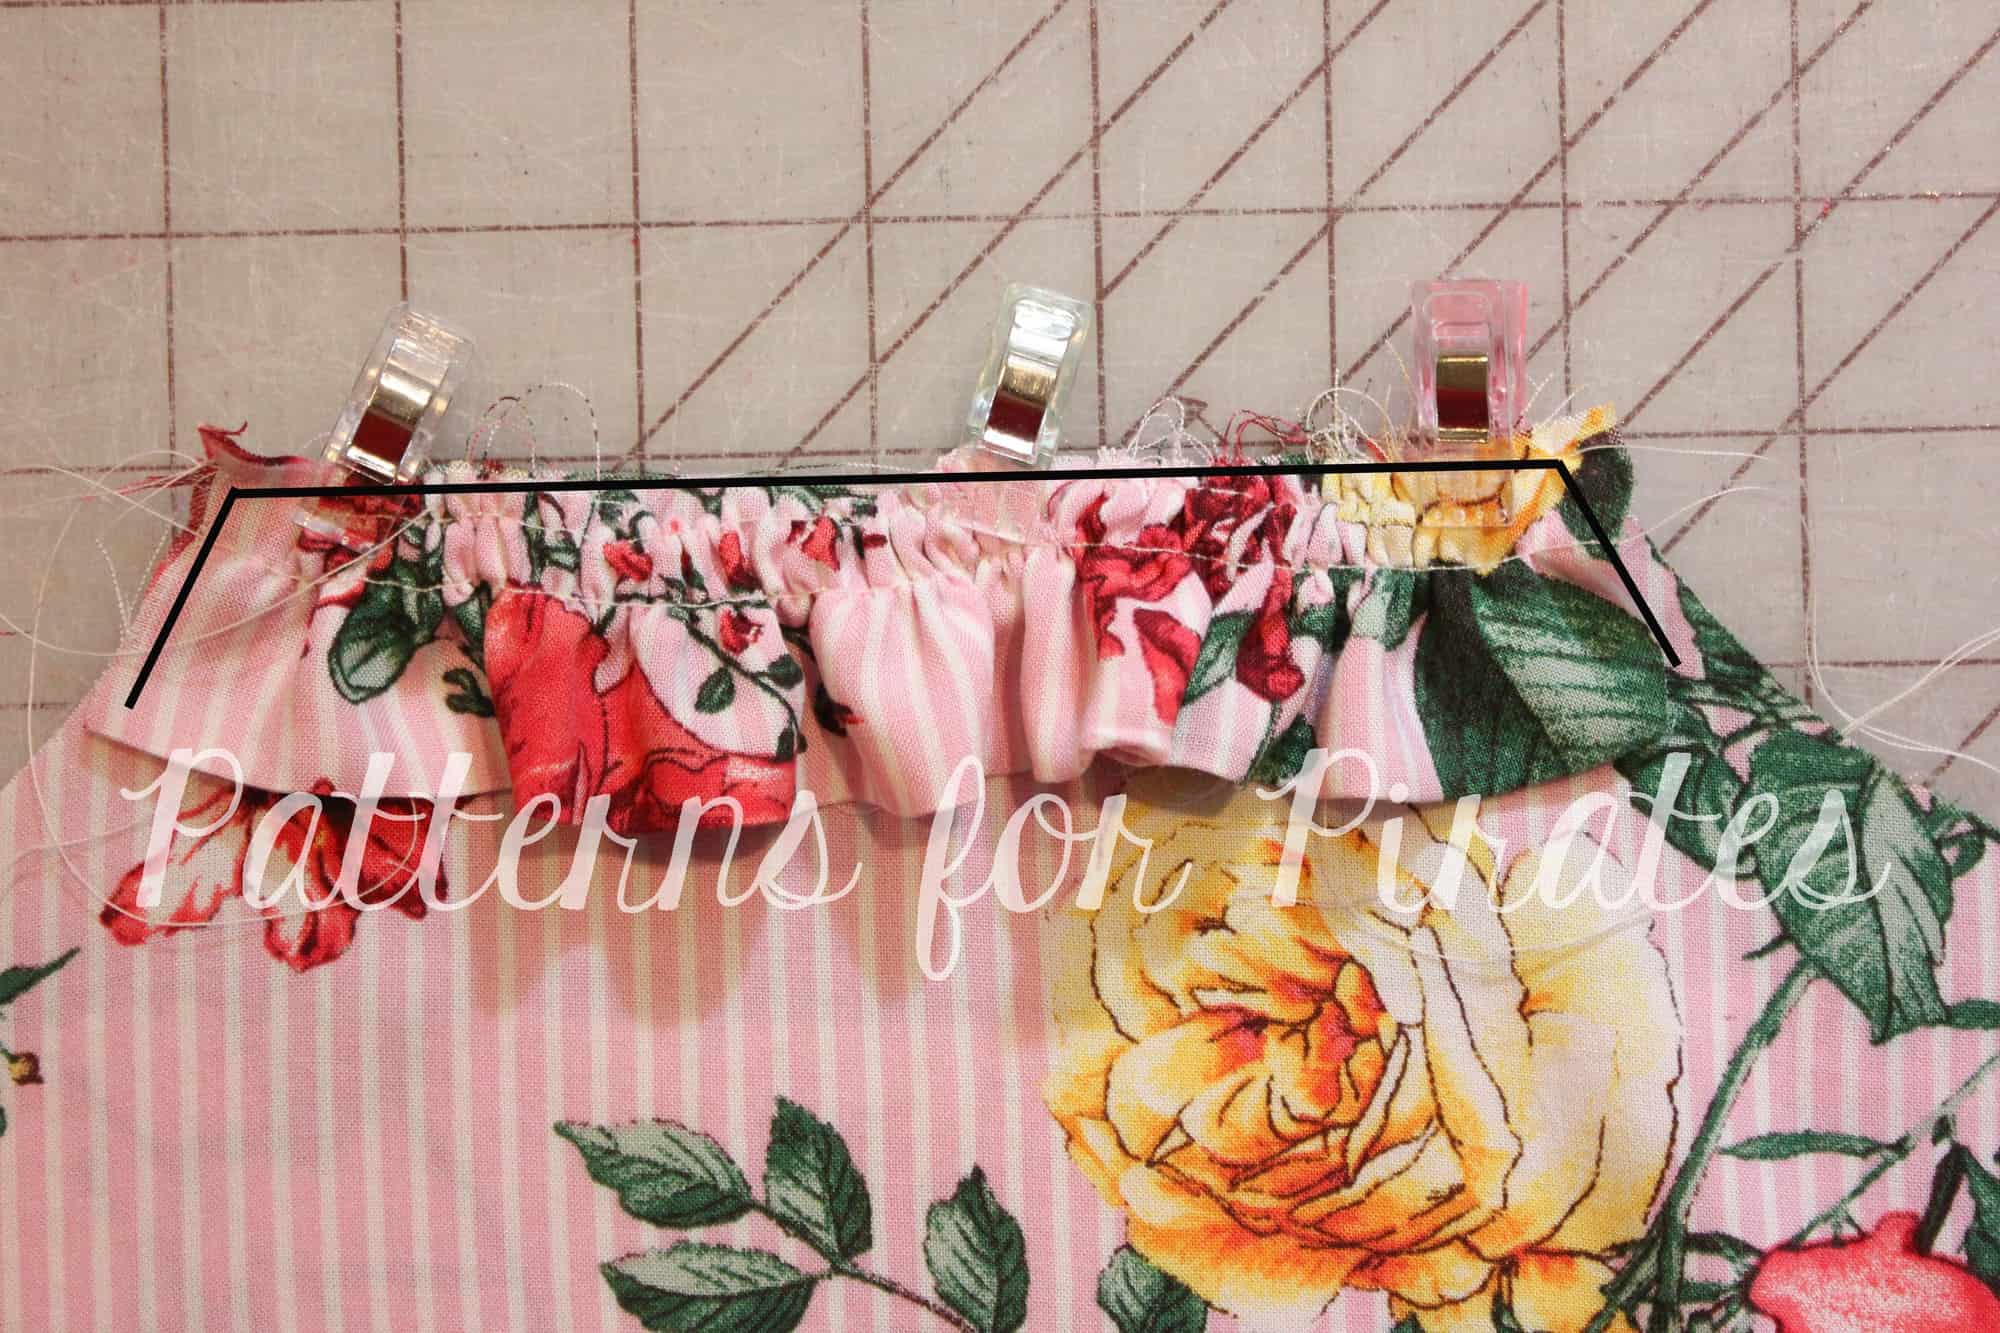
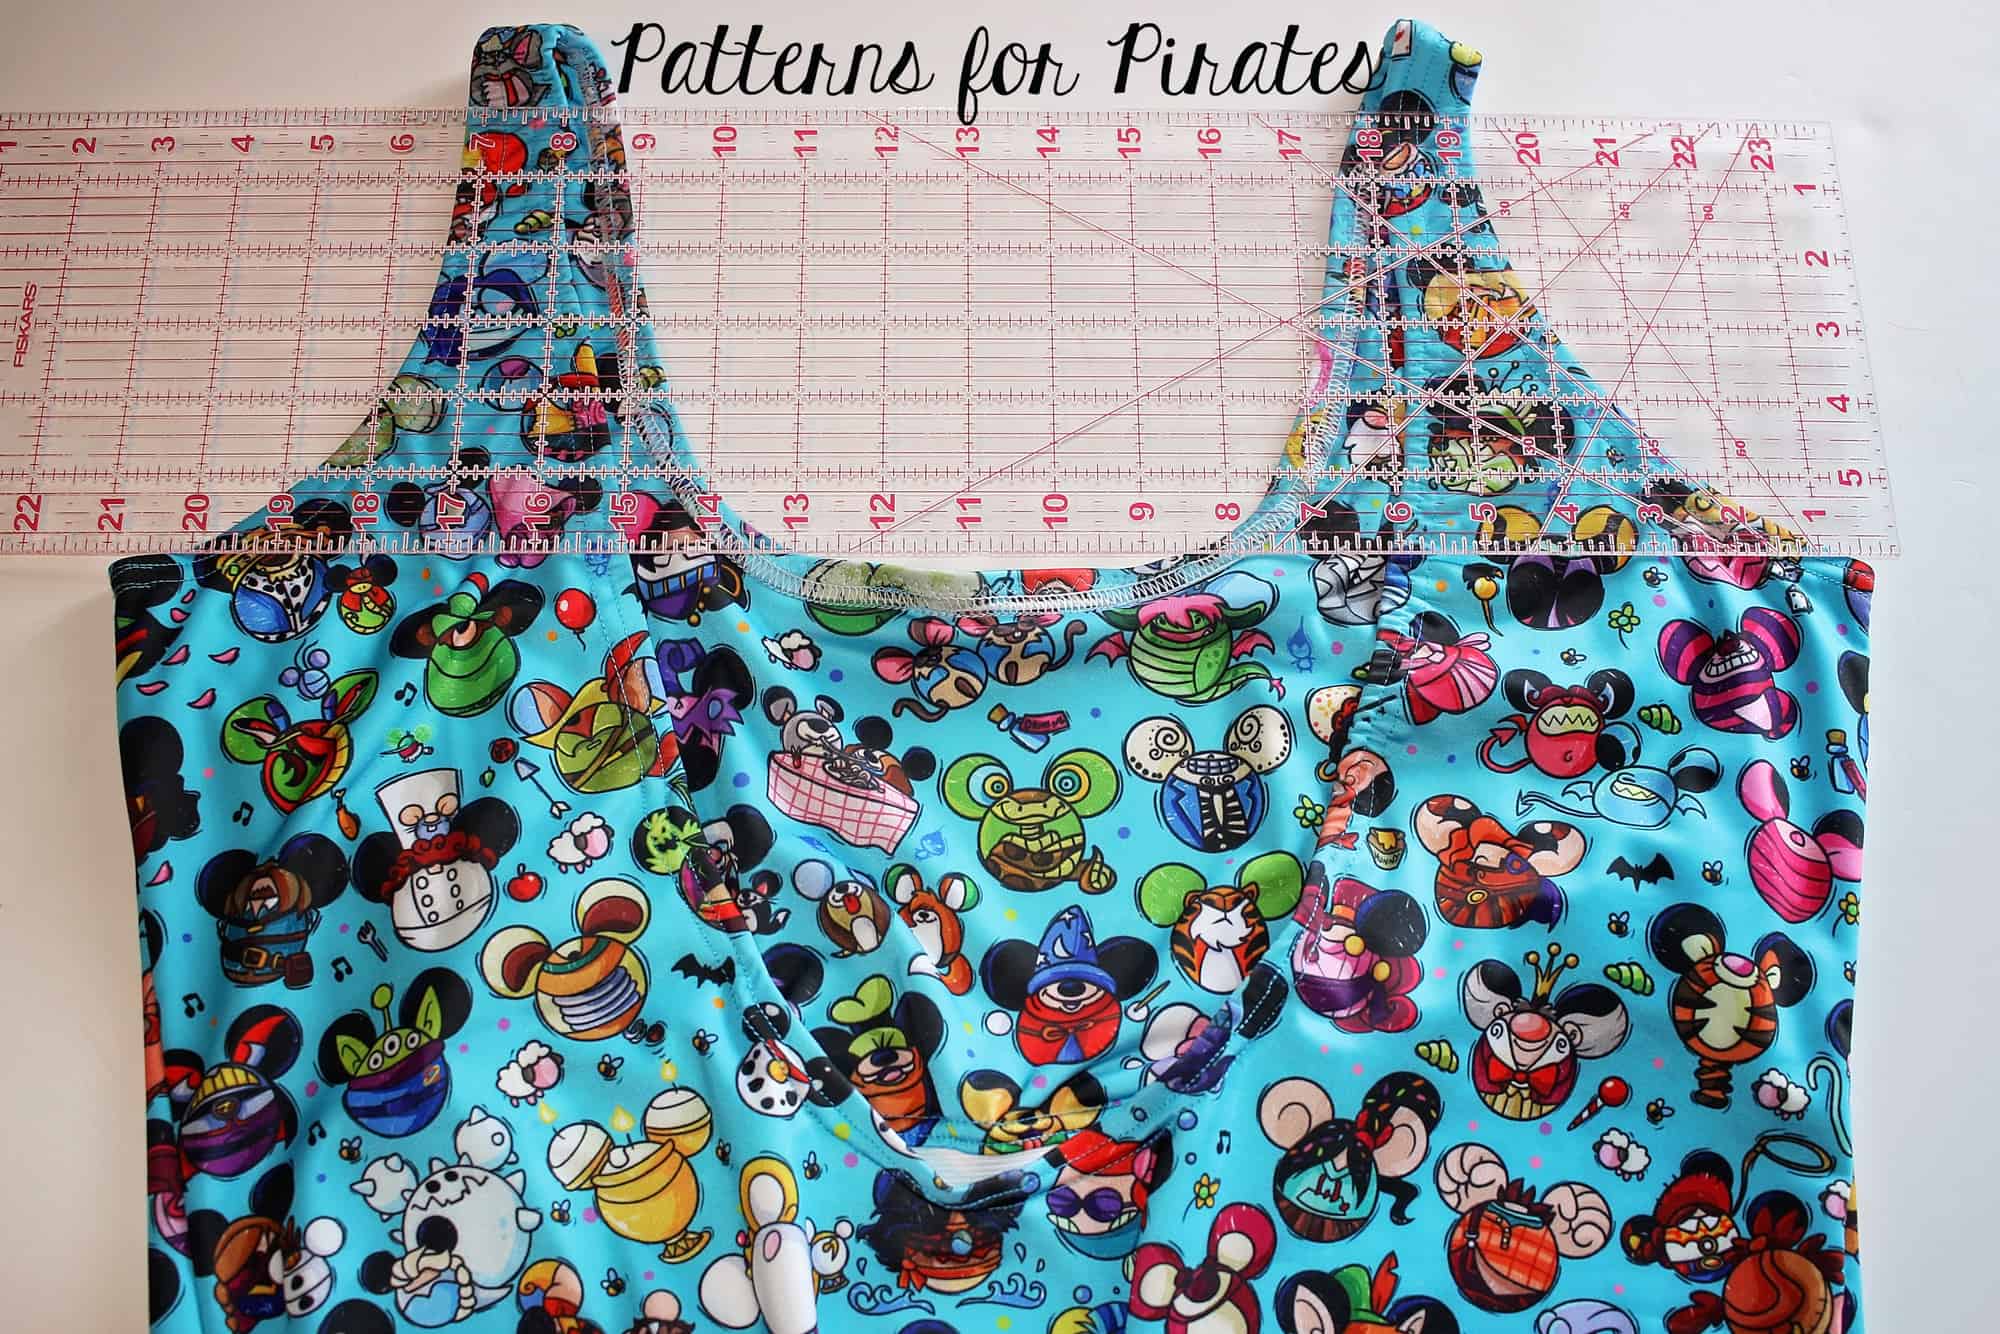
Your band should be the same width as the bottom of the sports bra. Using the seam as the back center point, quarter the band and mark the front center and sides. Match up these points on the bra and mark them as well. I also like to mark the outsides of the cutout to make sure the band gets even attached.
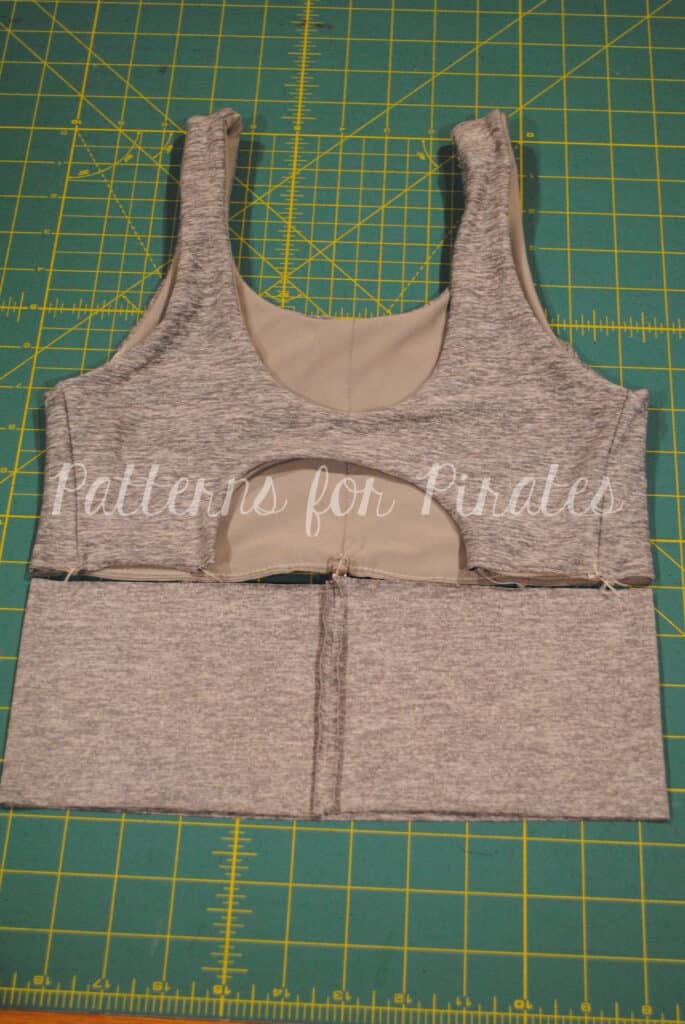
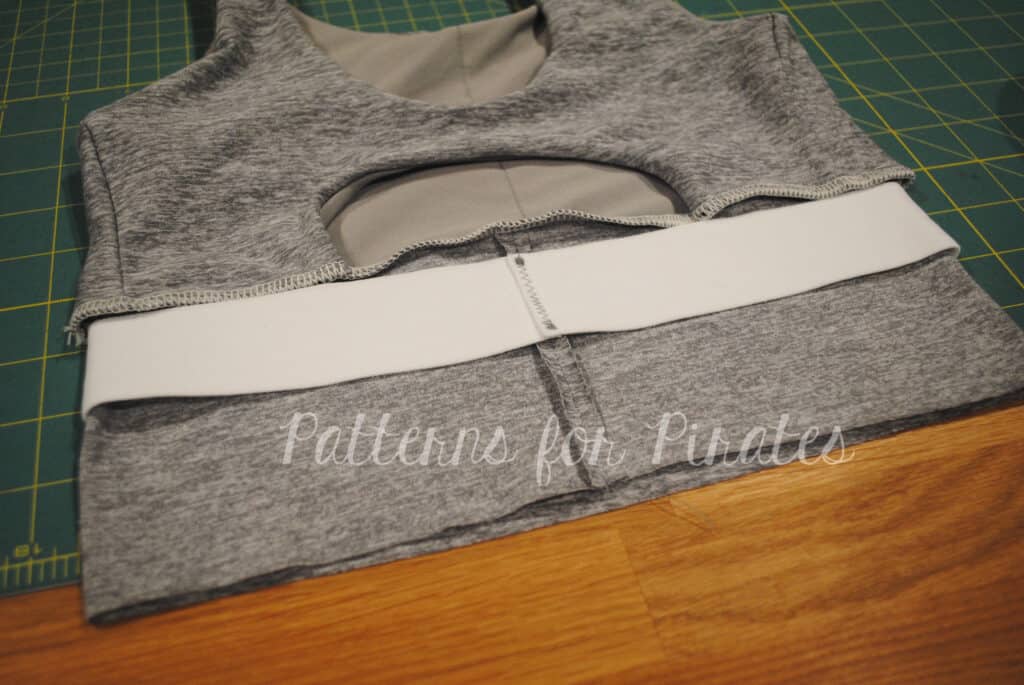
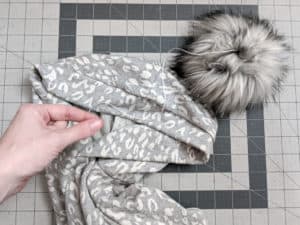
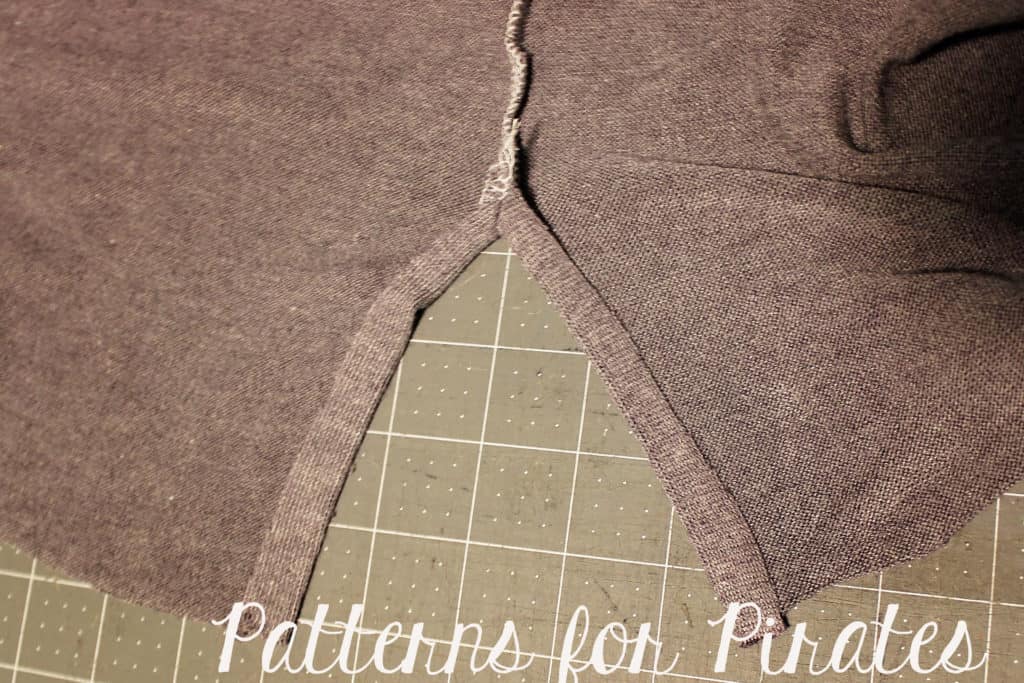
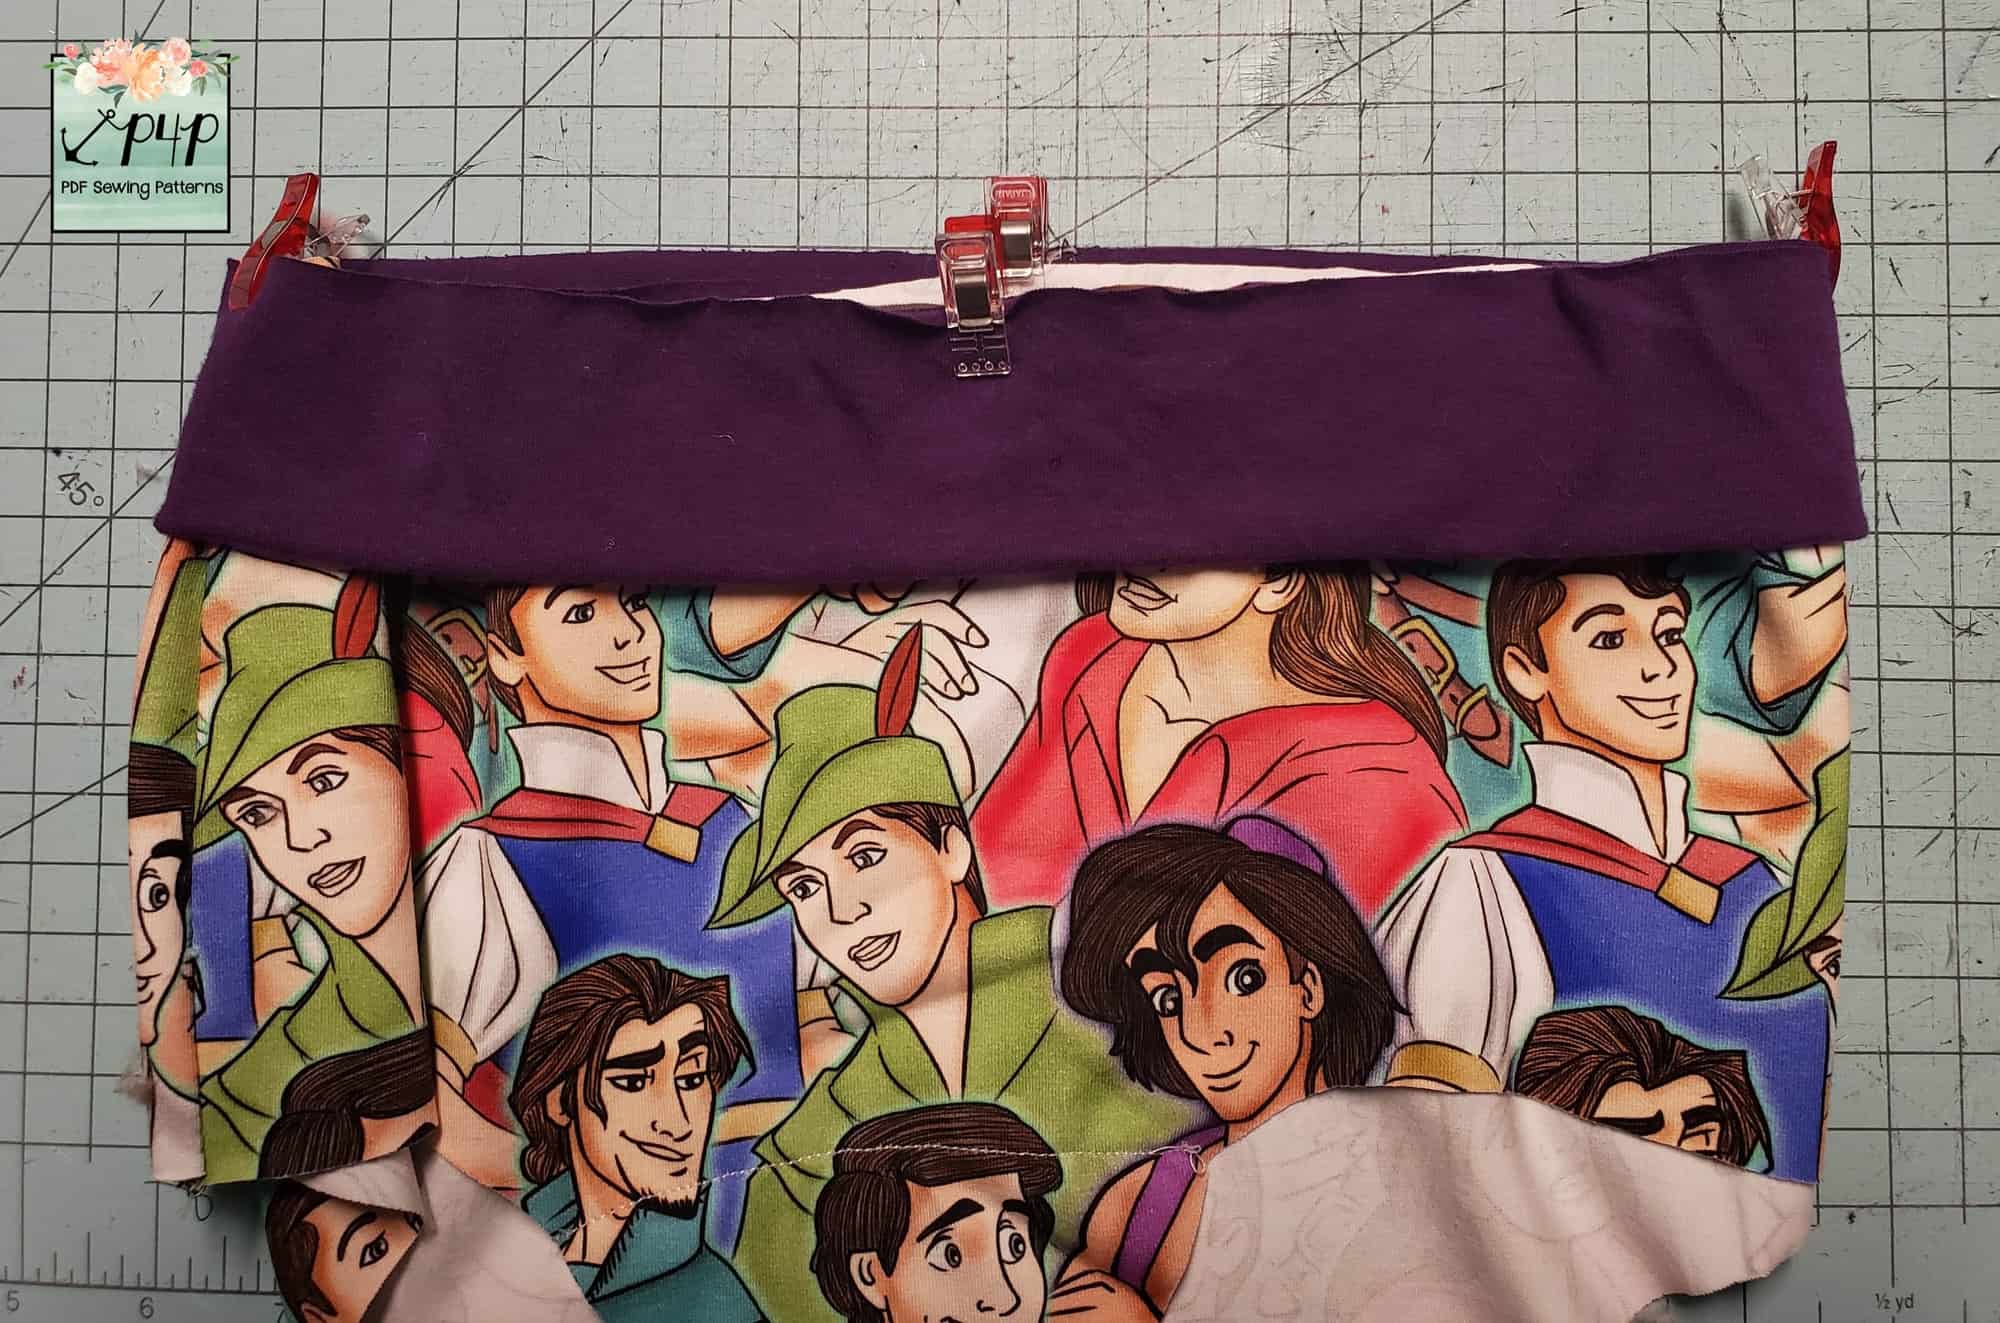
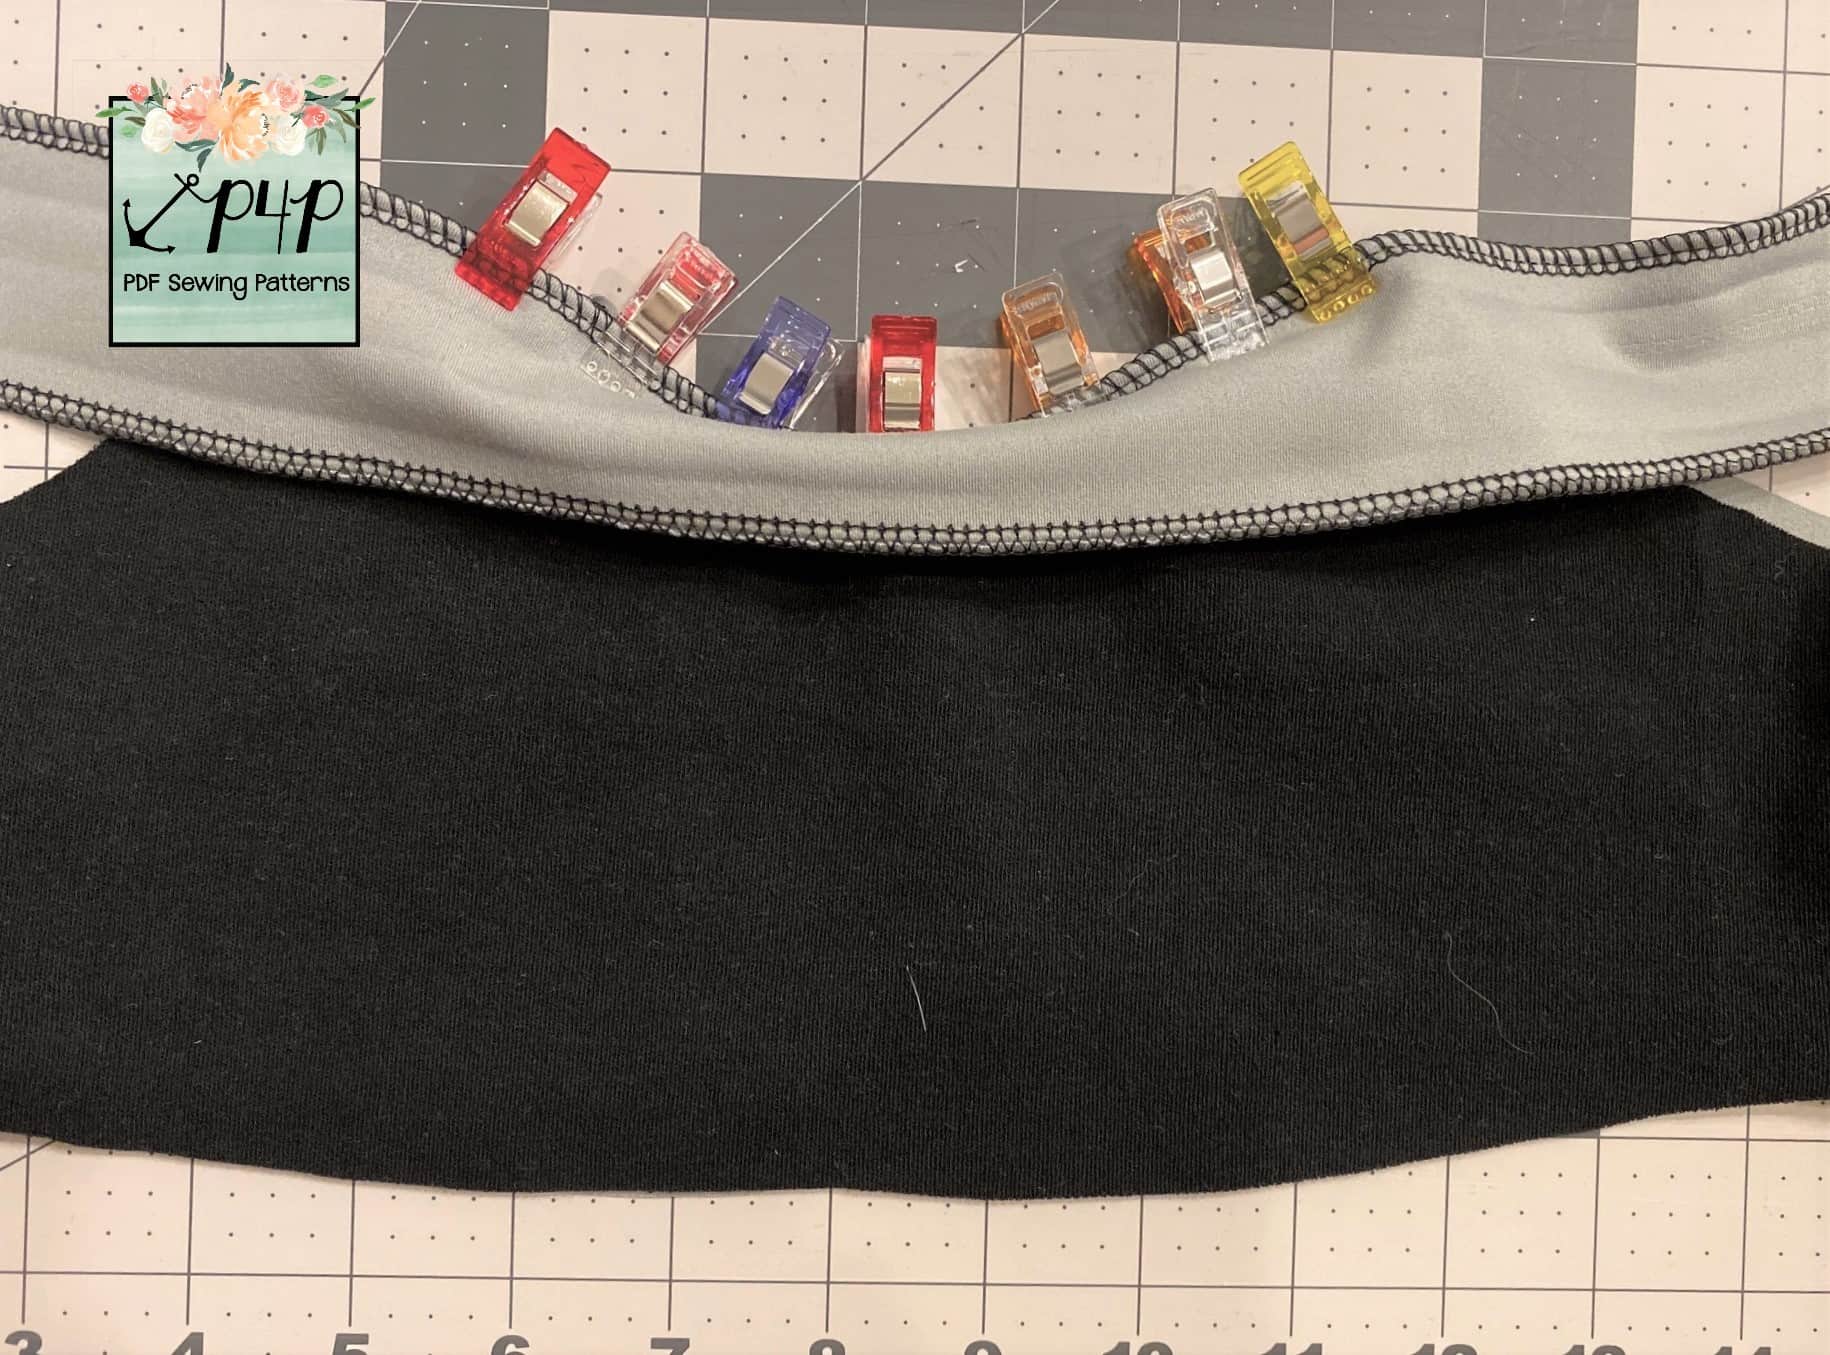
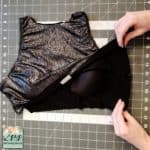
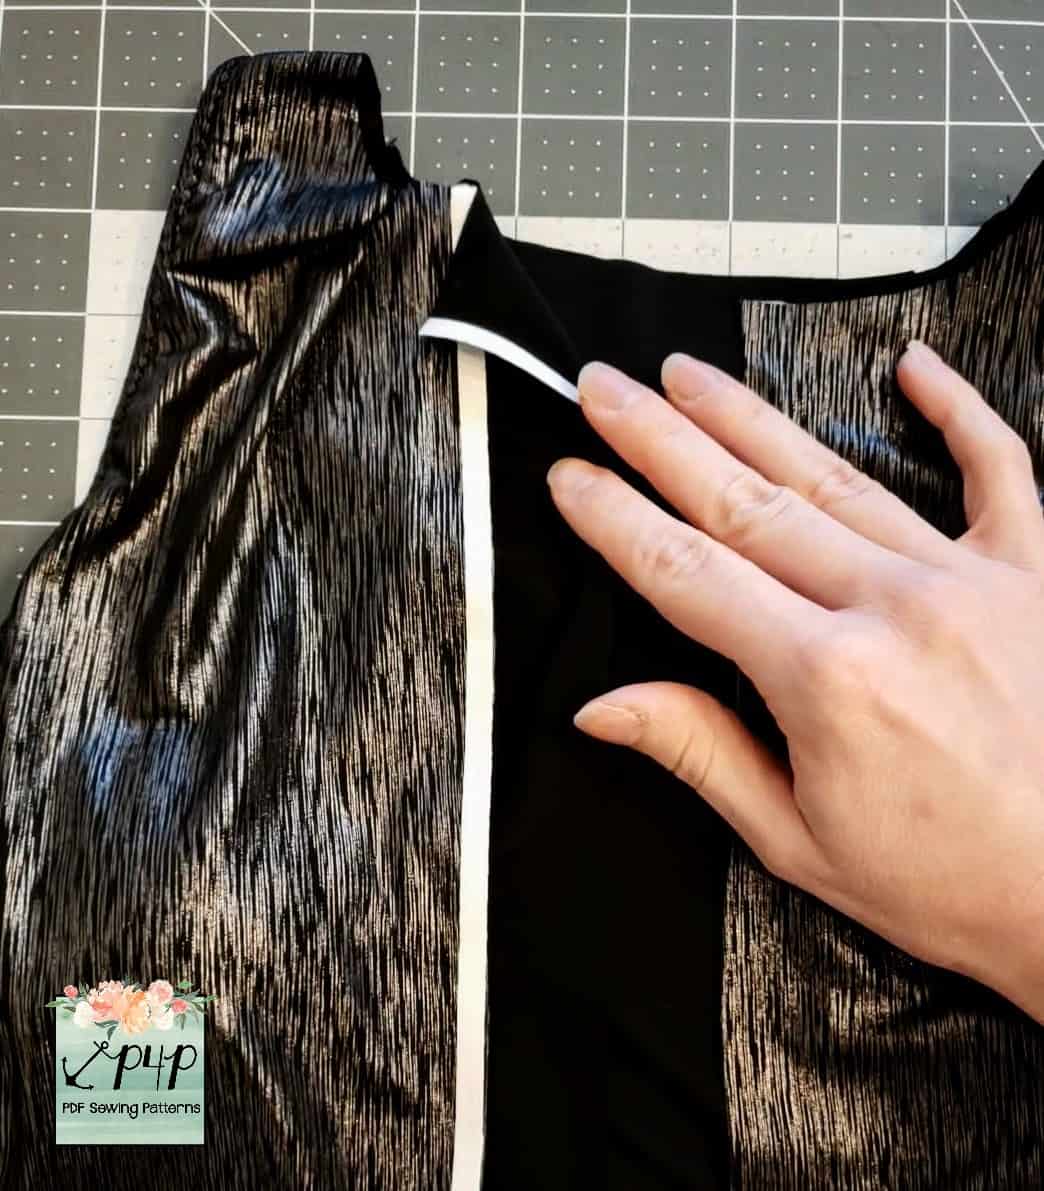
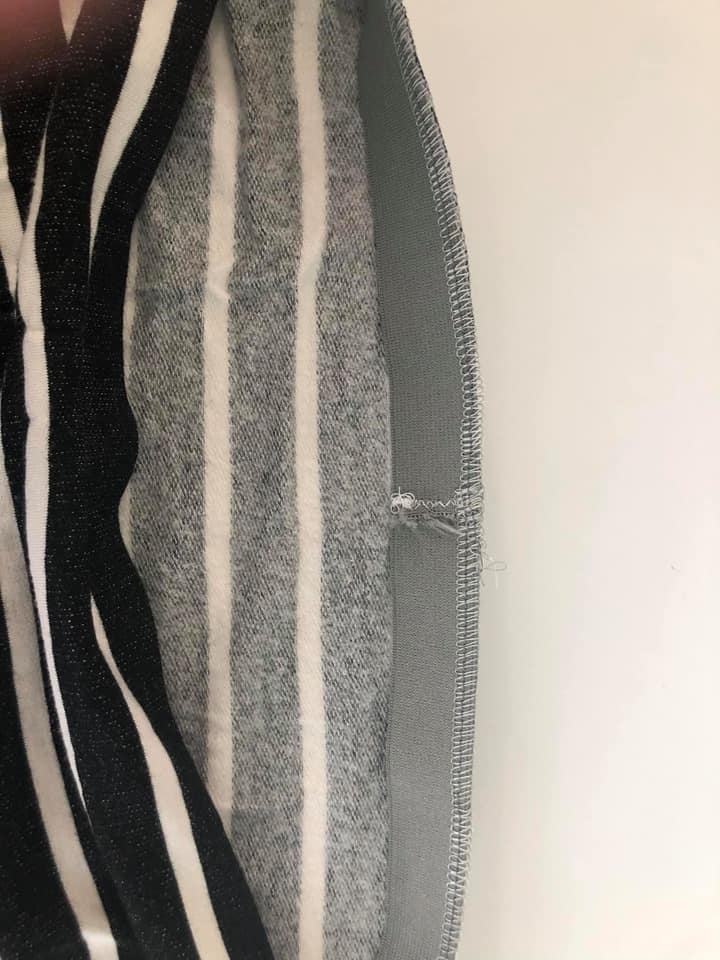
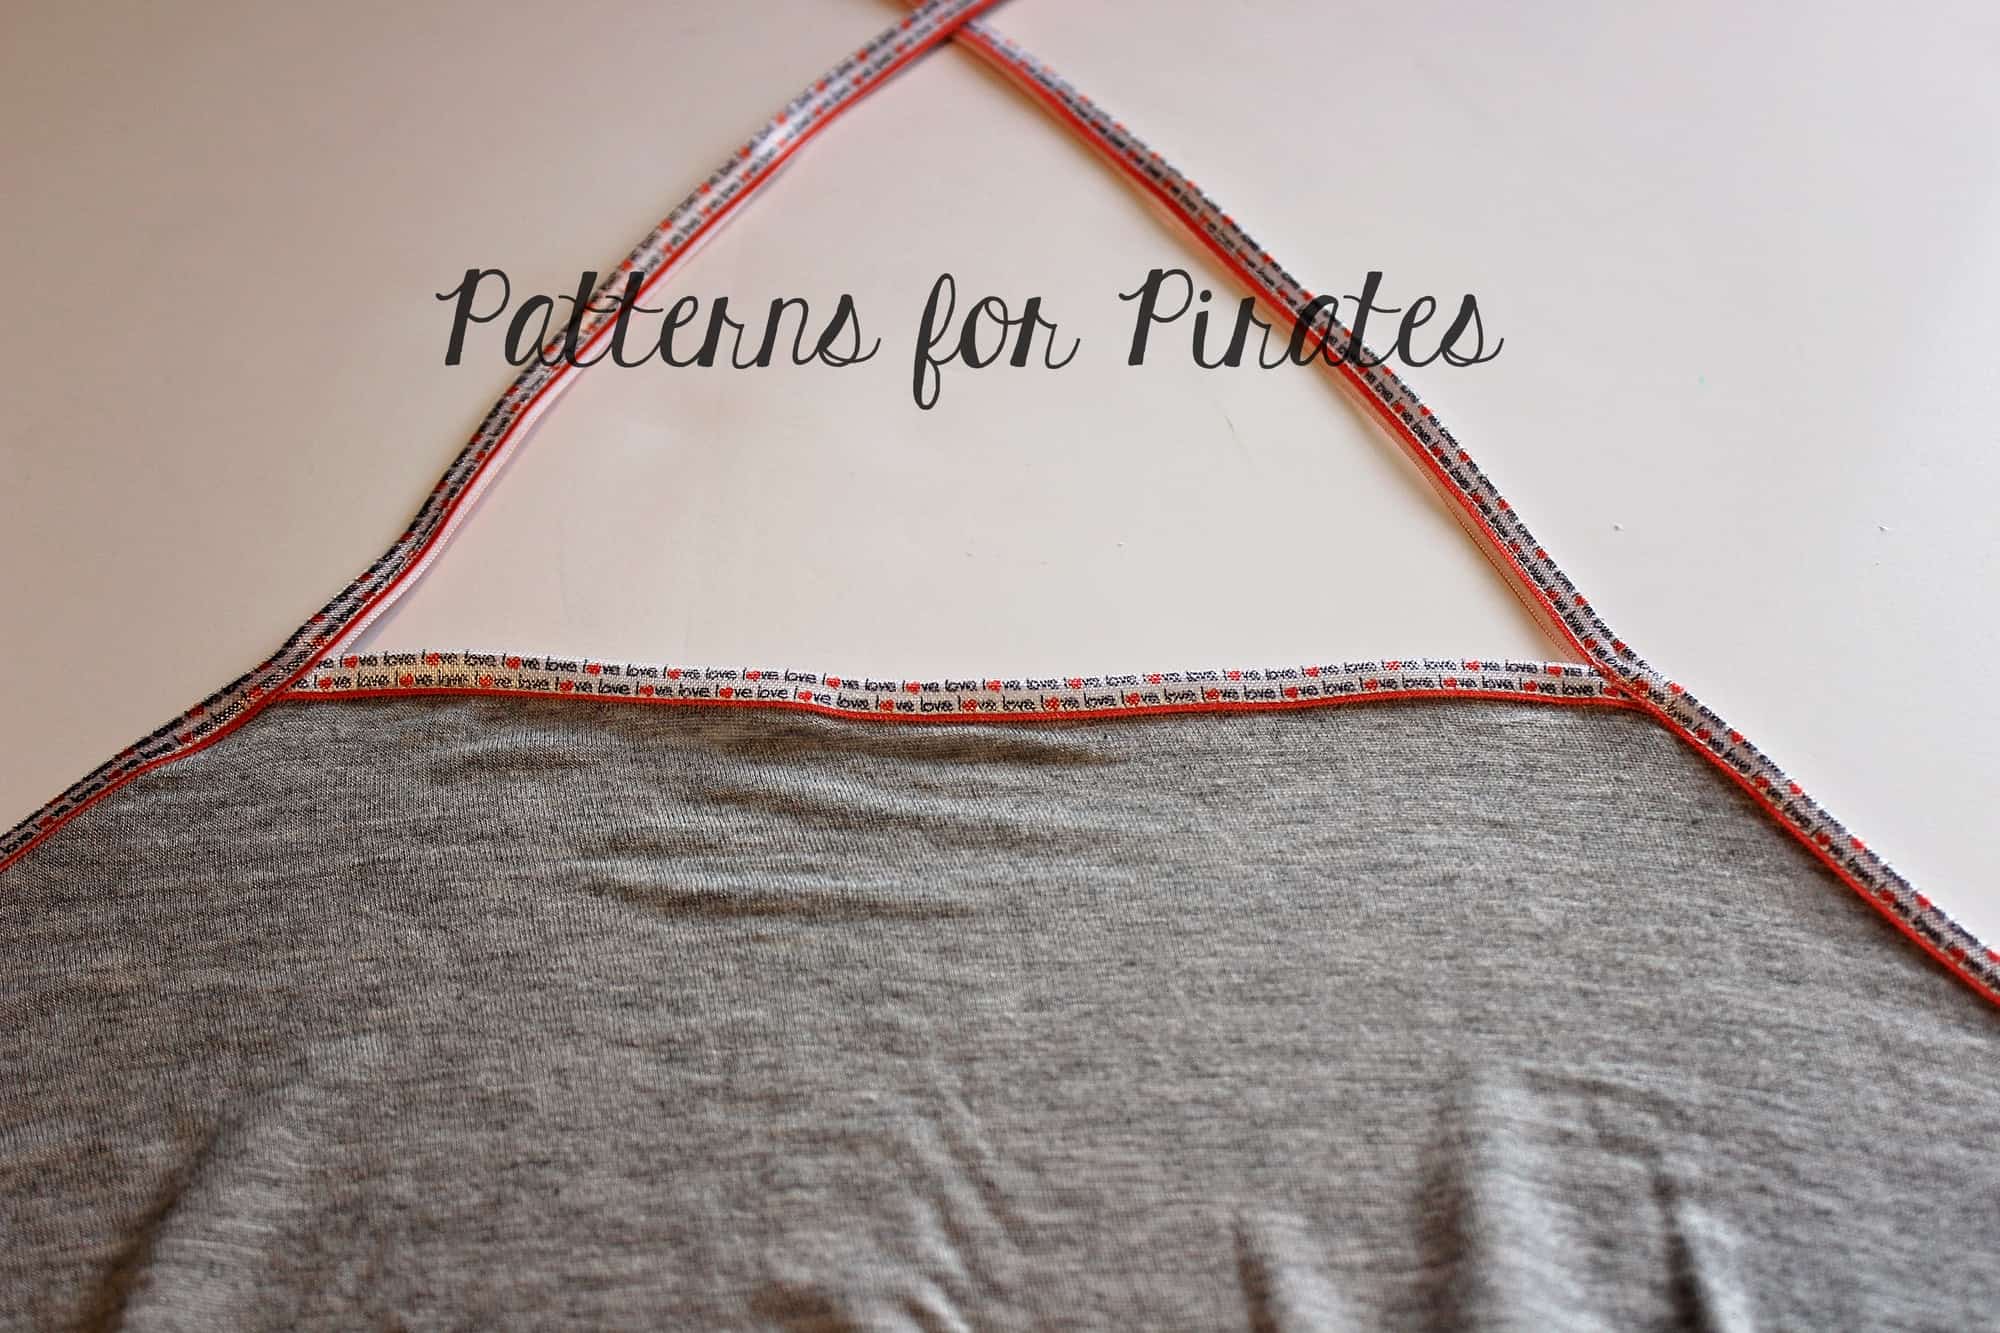
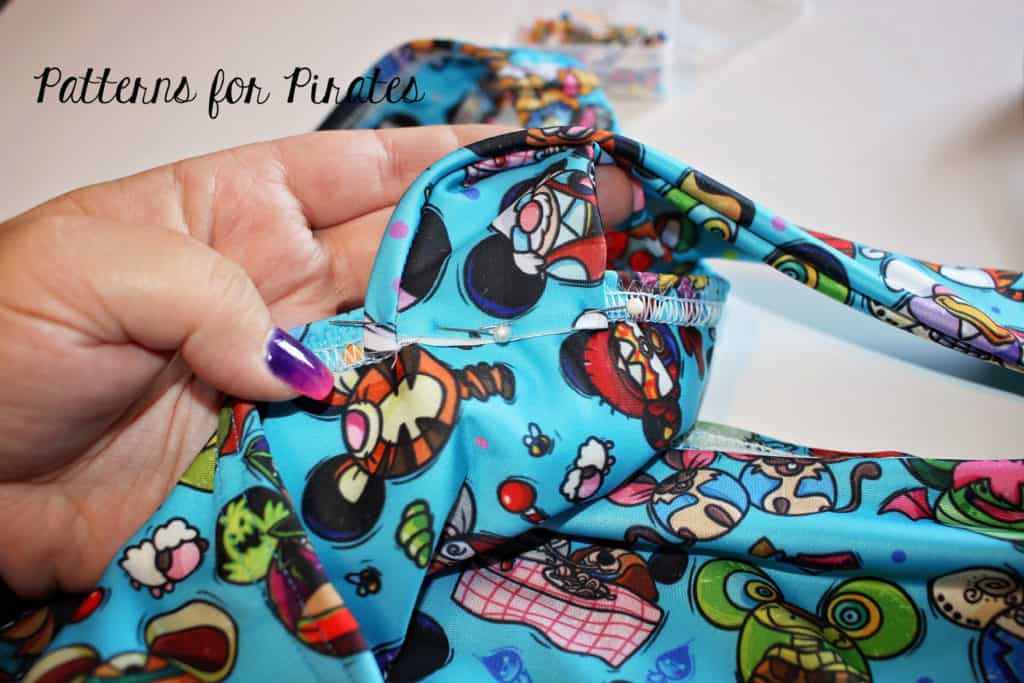
Slide your band inside your bra, lining up the RIGHT SIDE of the band against the lining.
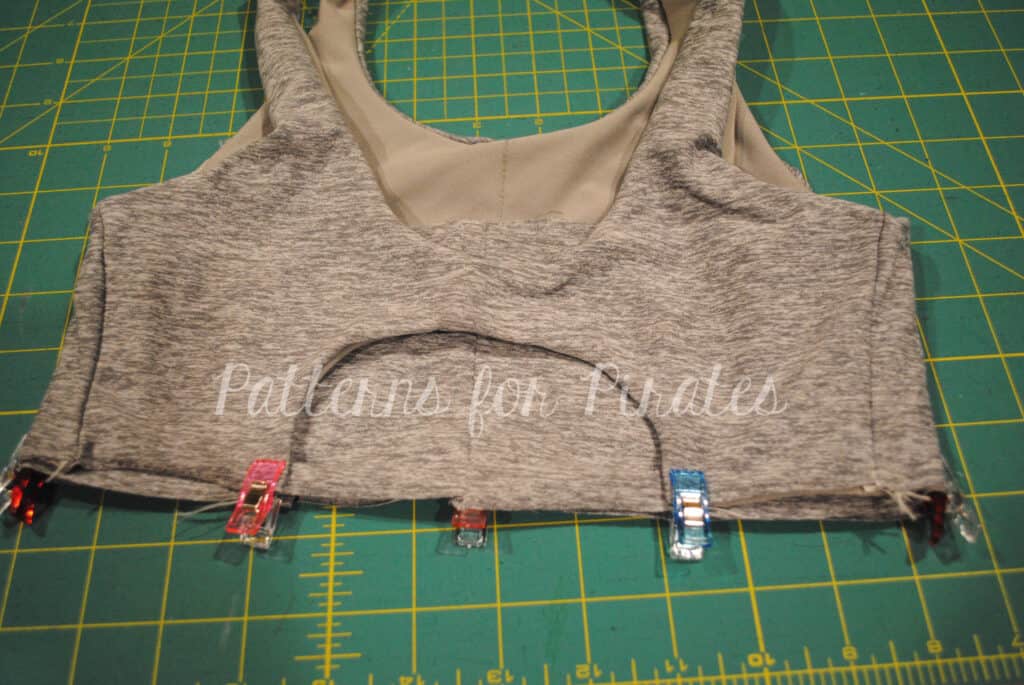
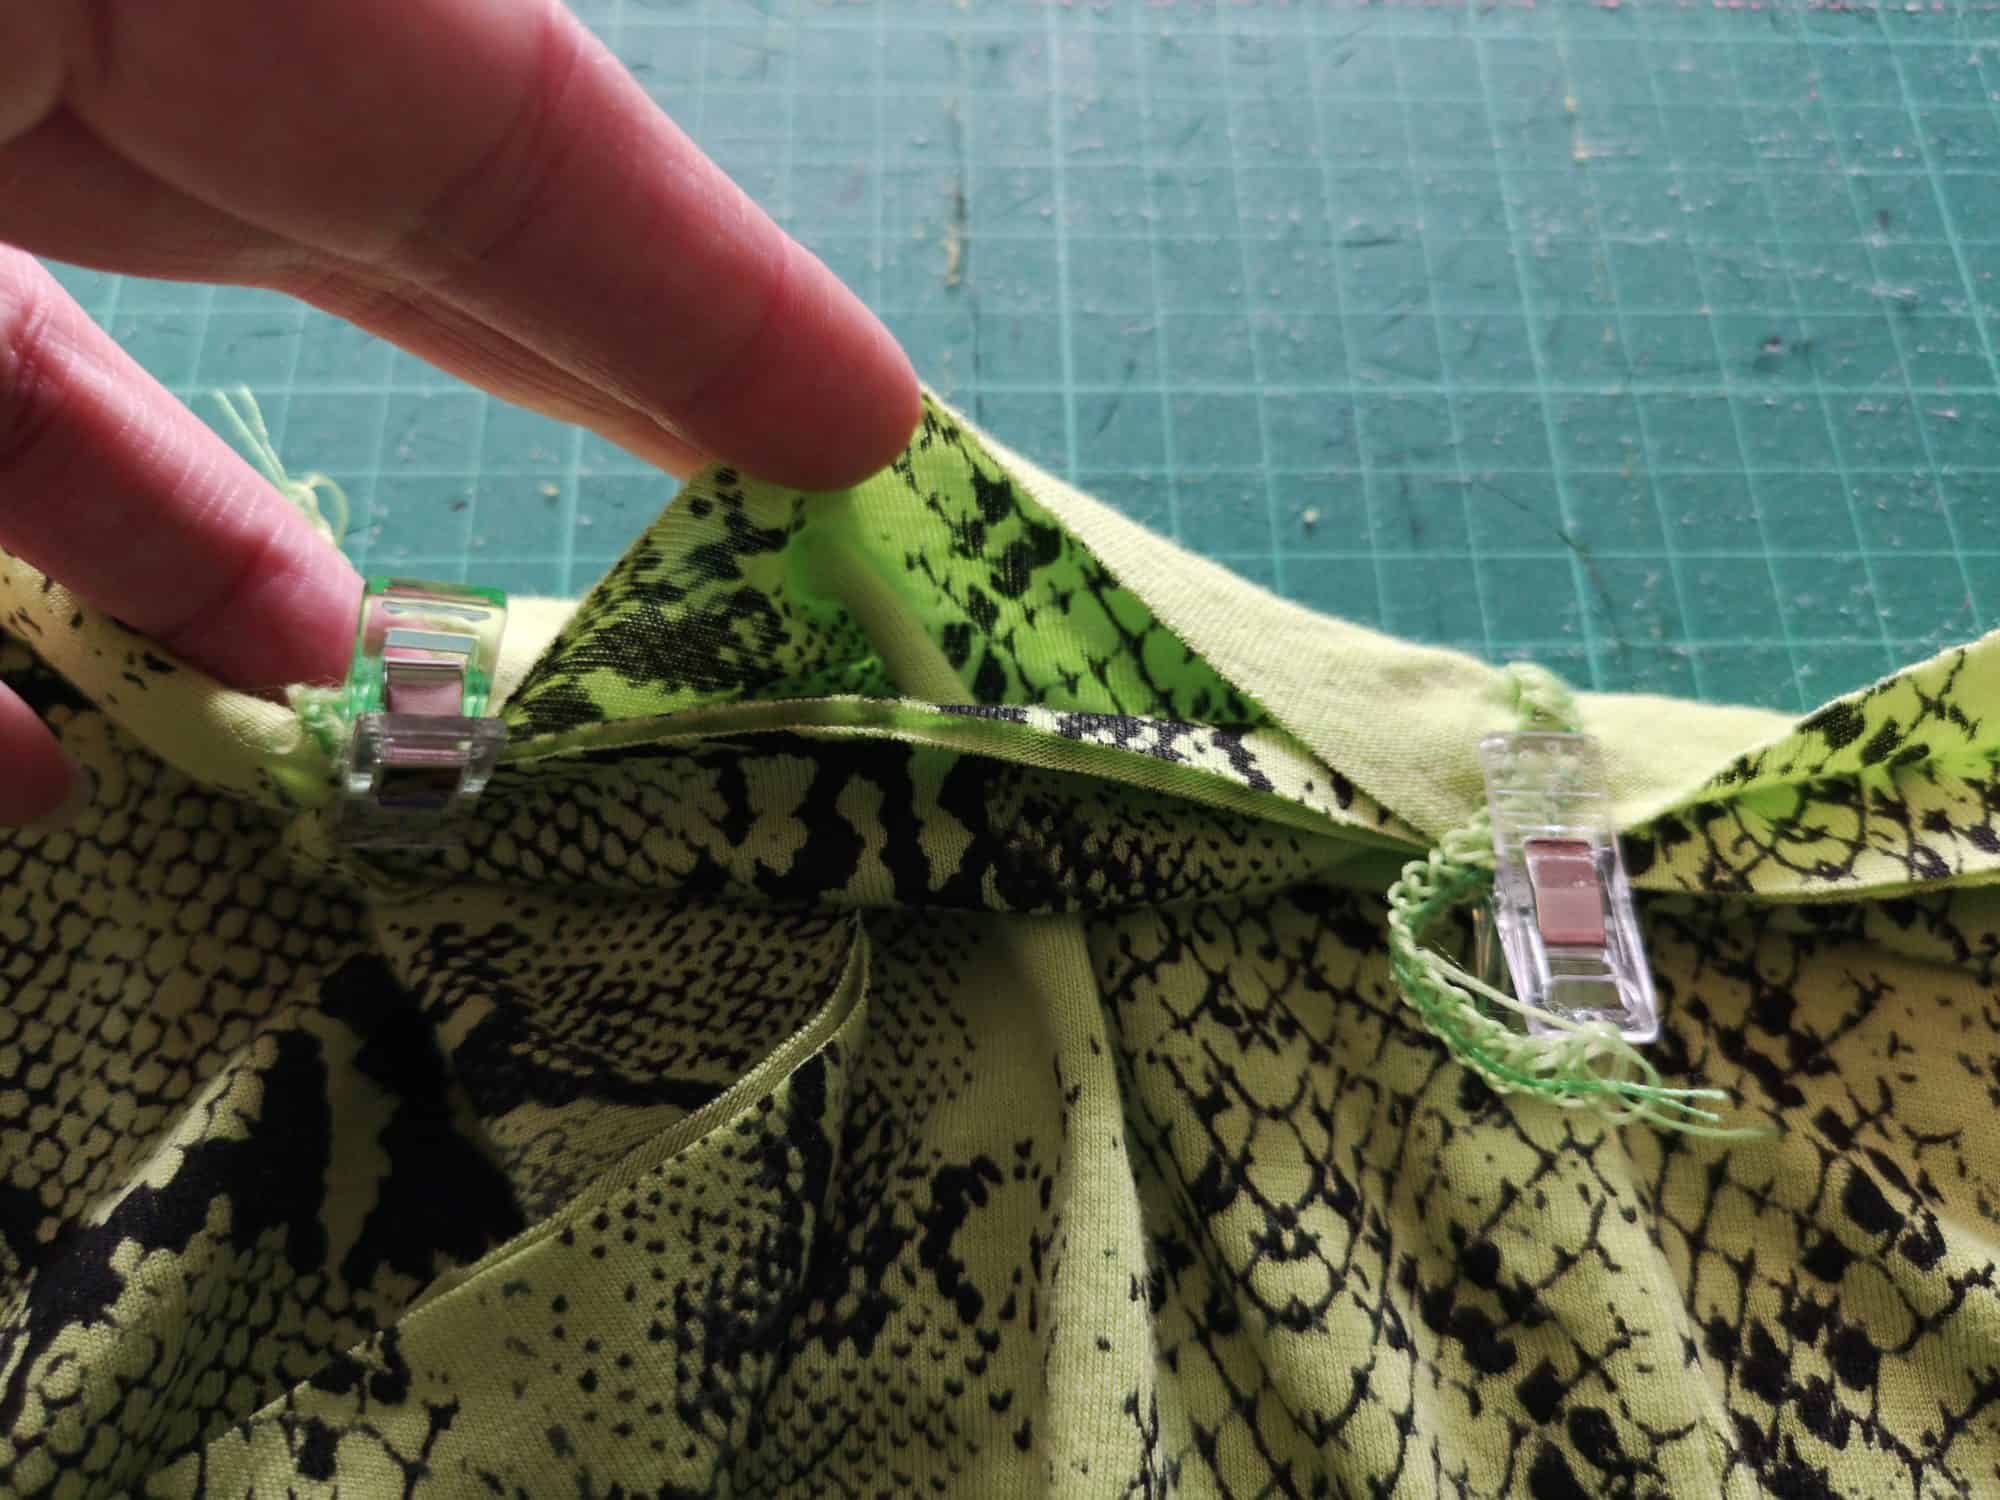
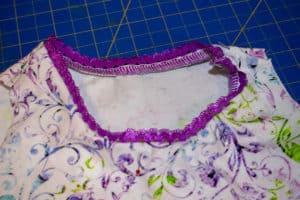
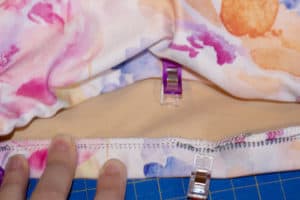
Sew or serge your band onto the bra, sewing all the way around even across the opening to give a nice edge for folding the binding there. After it has been sewn on, pull the band down and press seam allowance down as well.
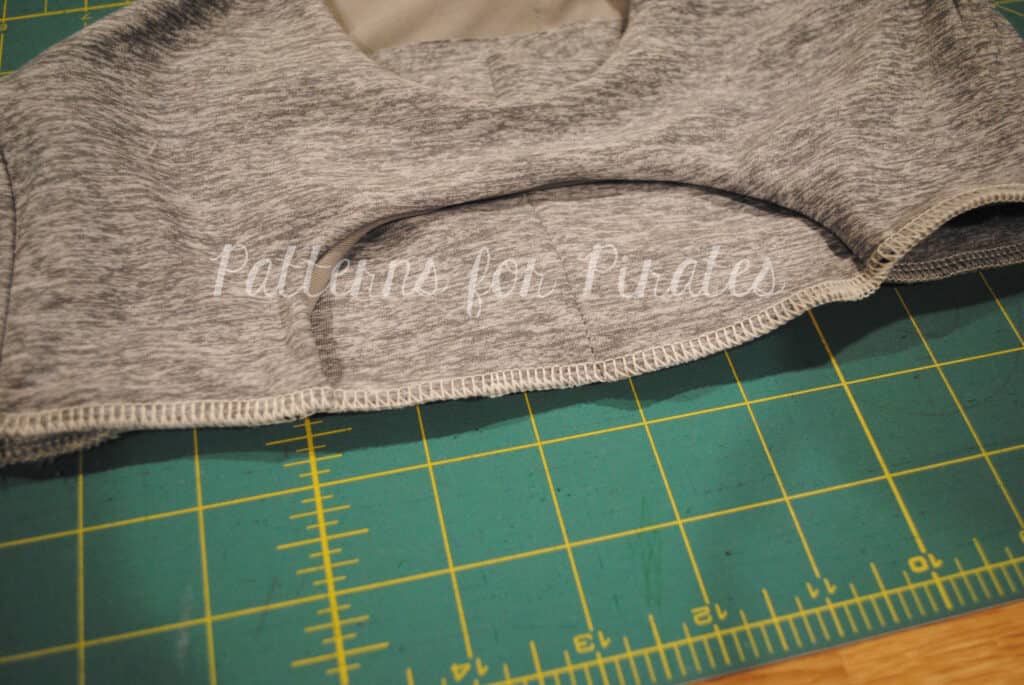
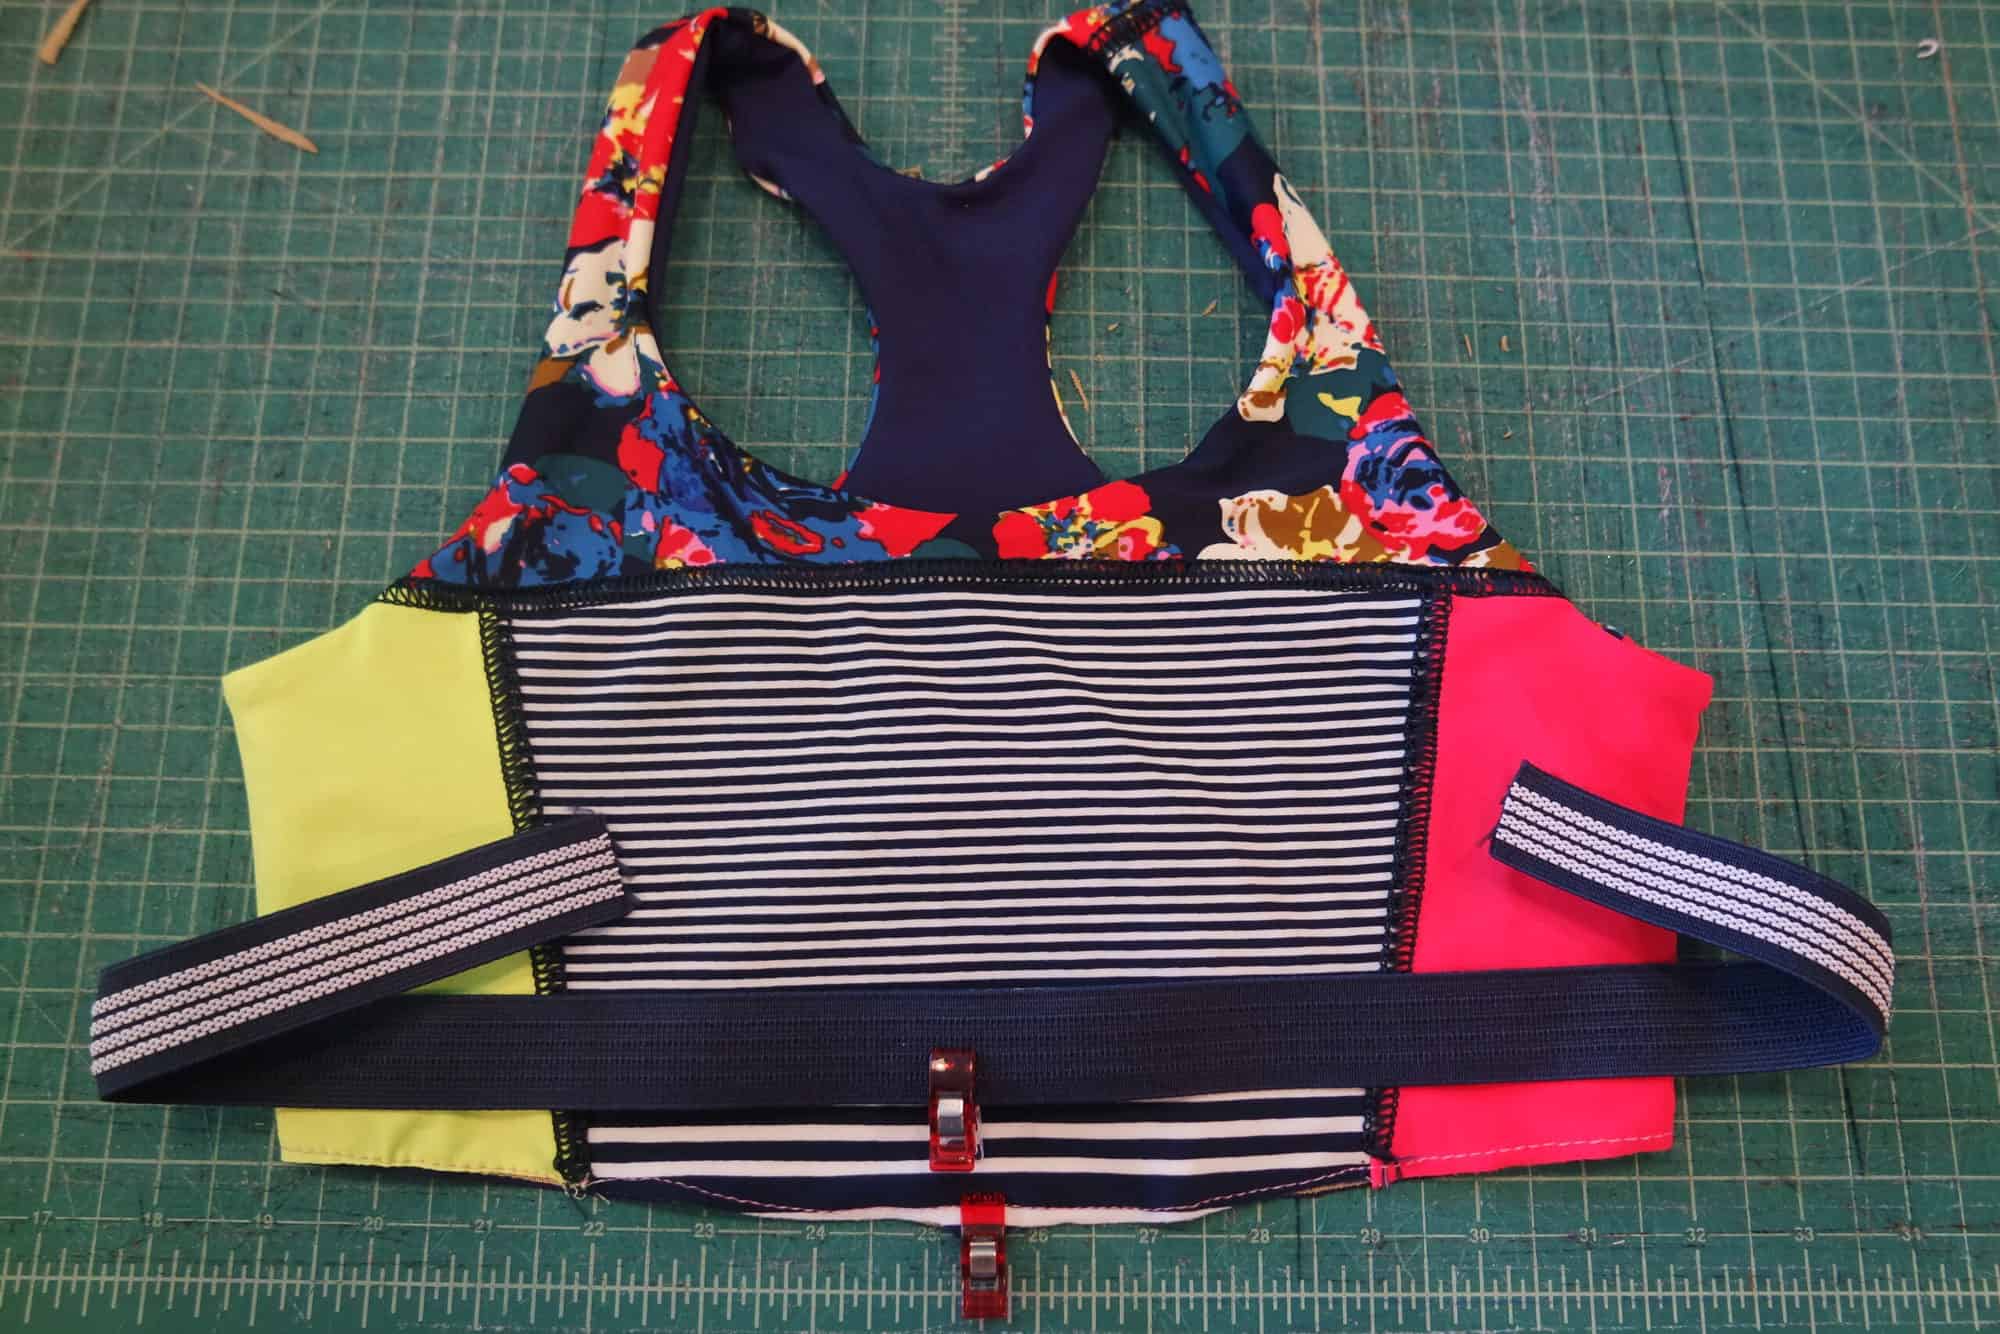
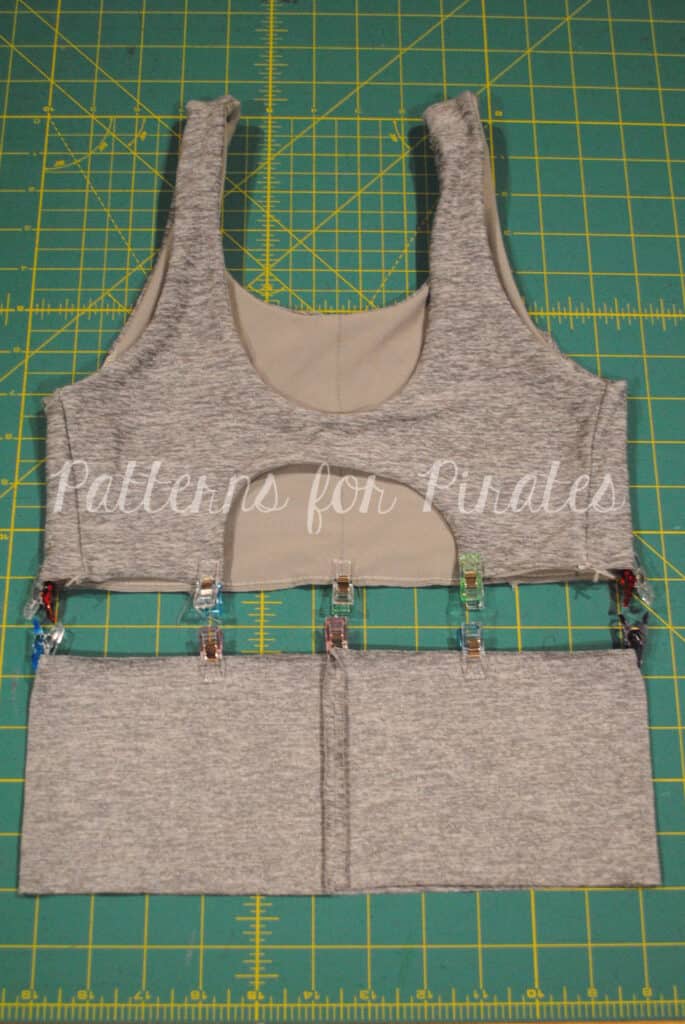
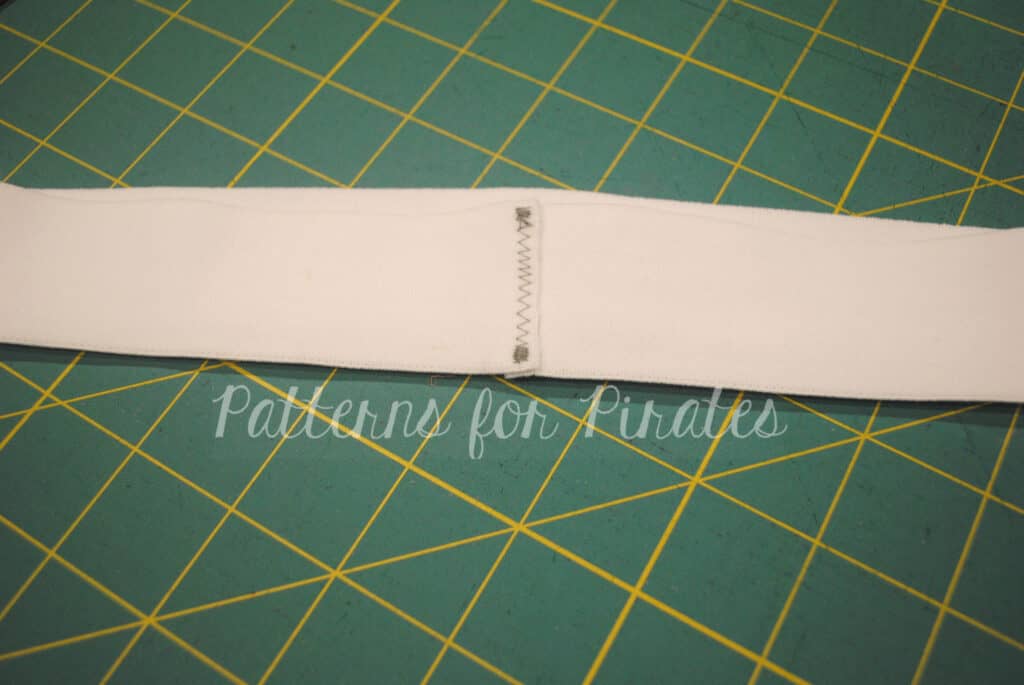
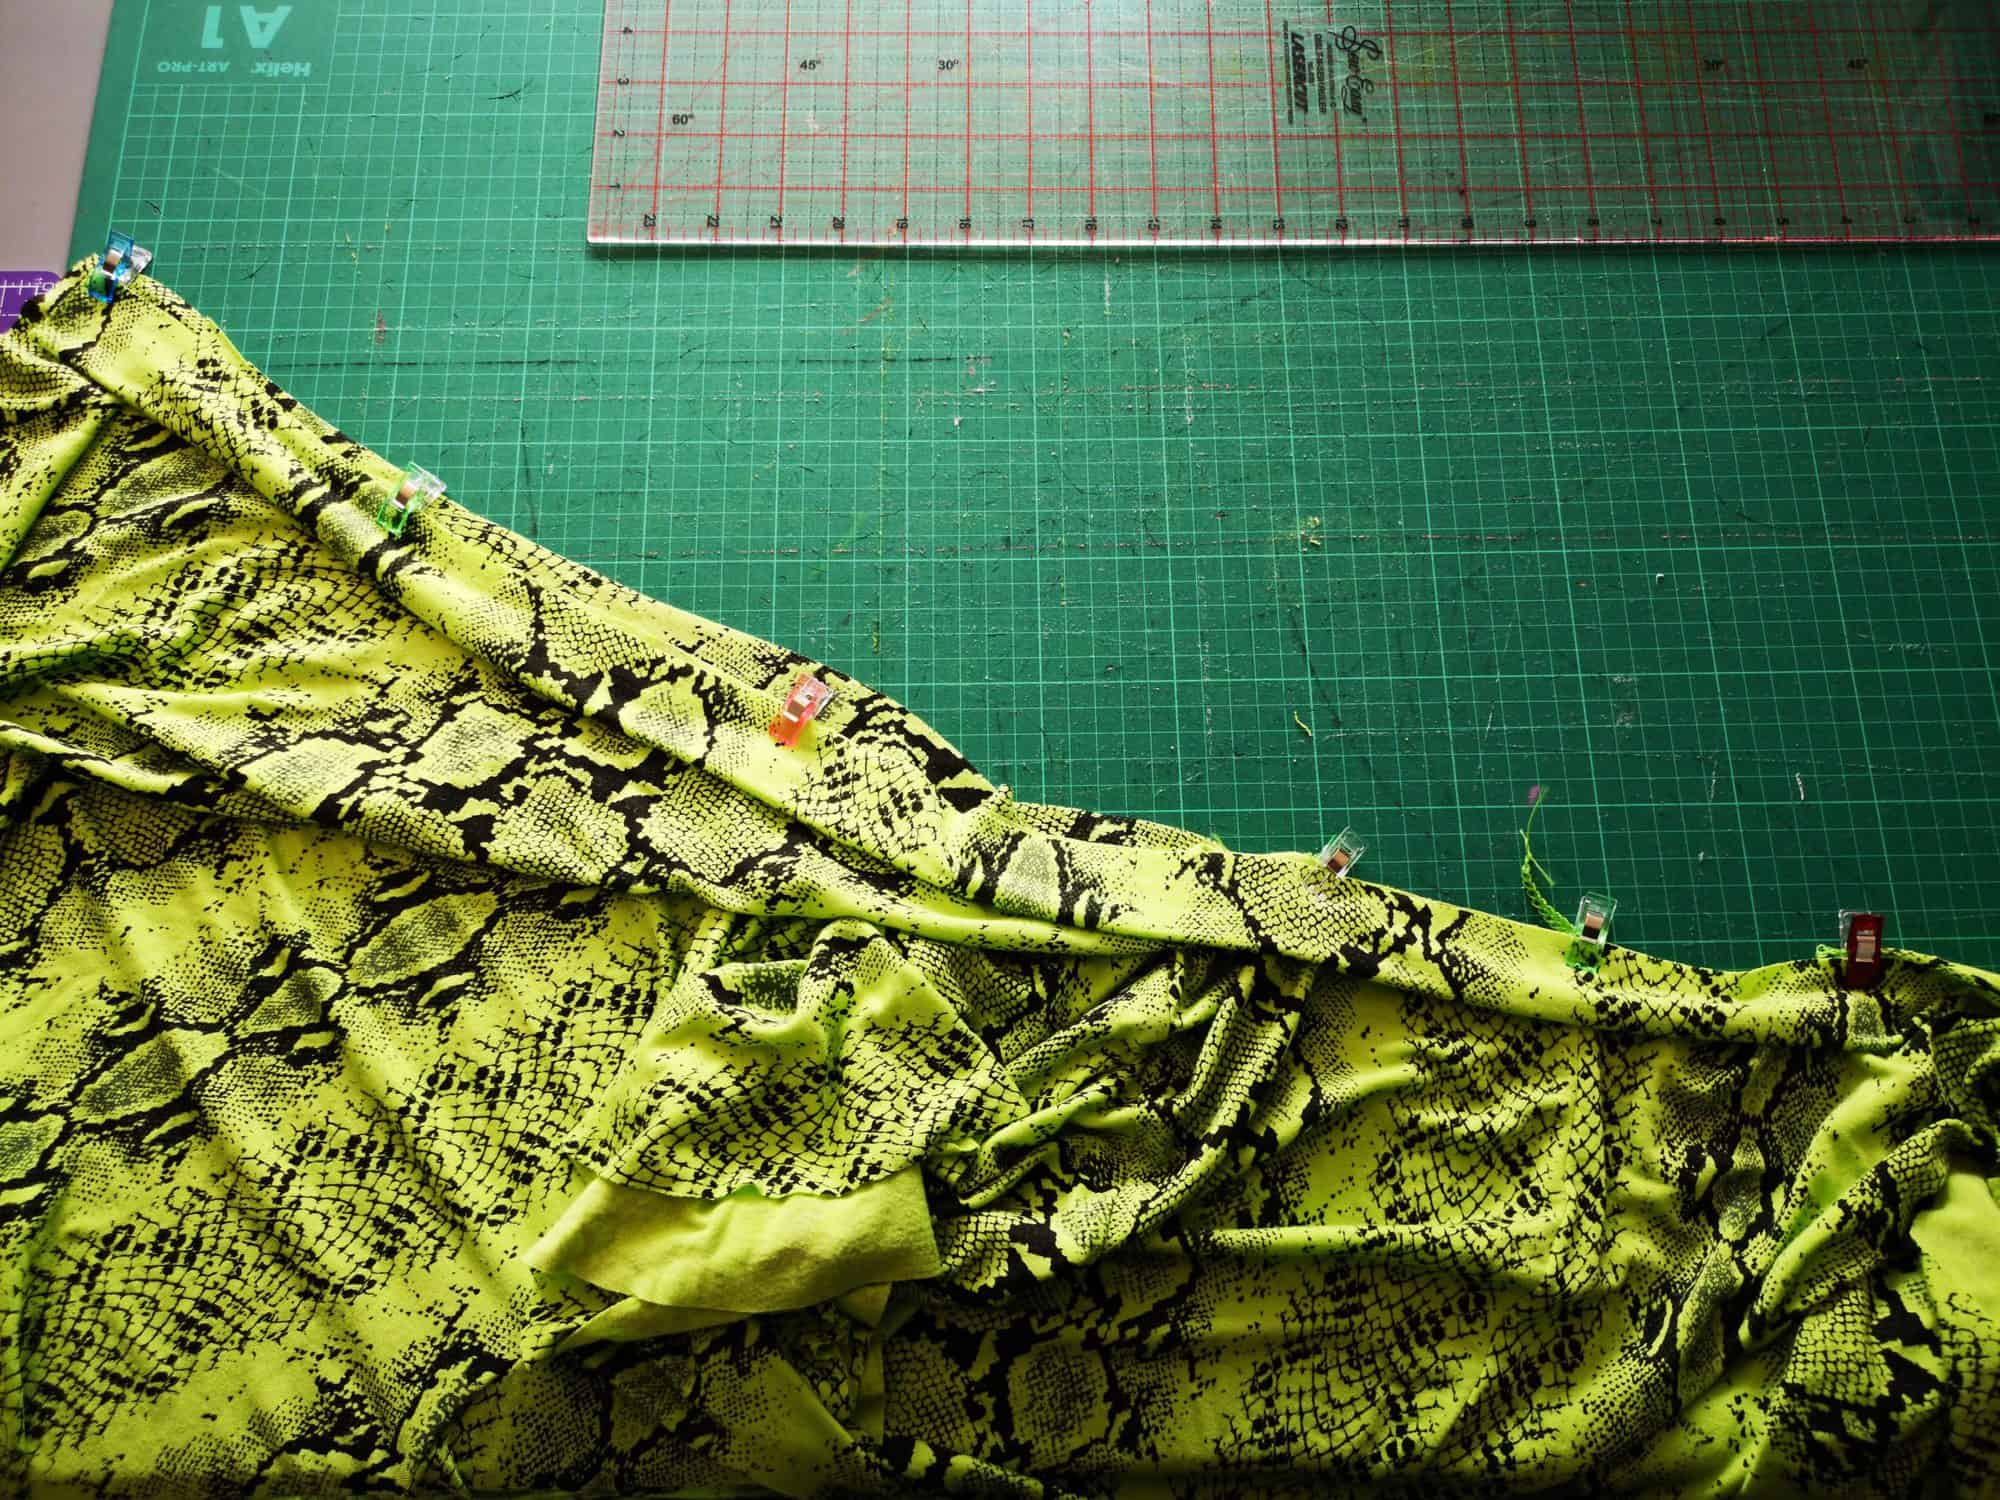
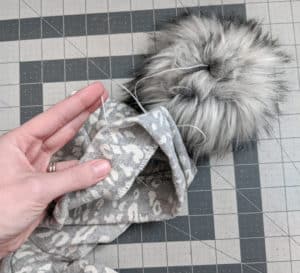
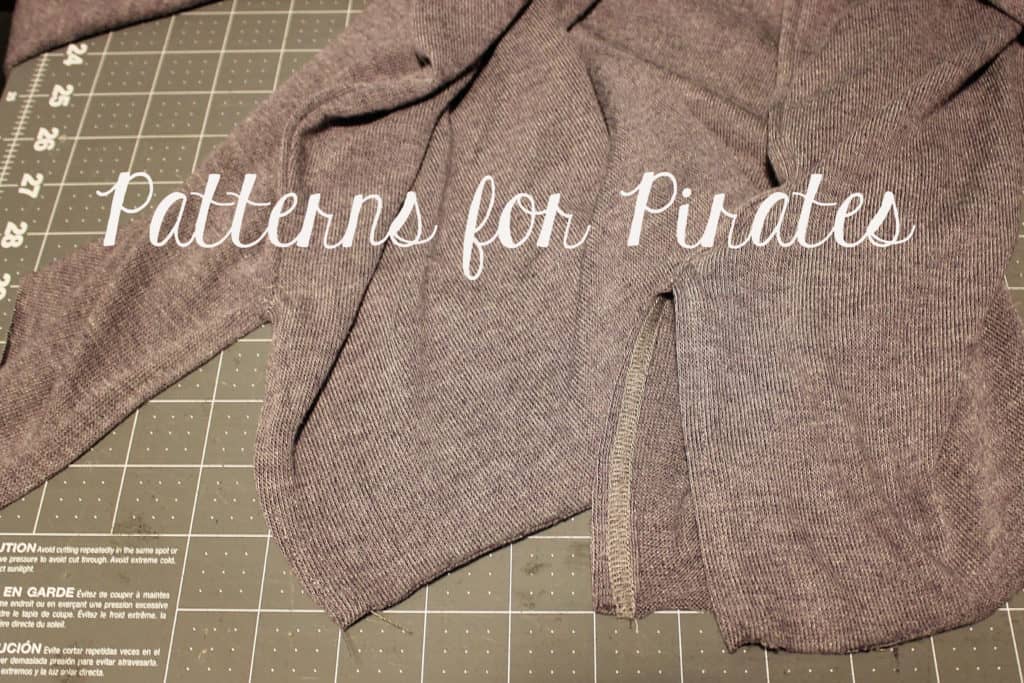
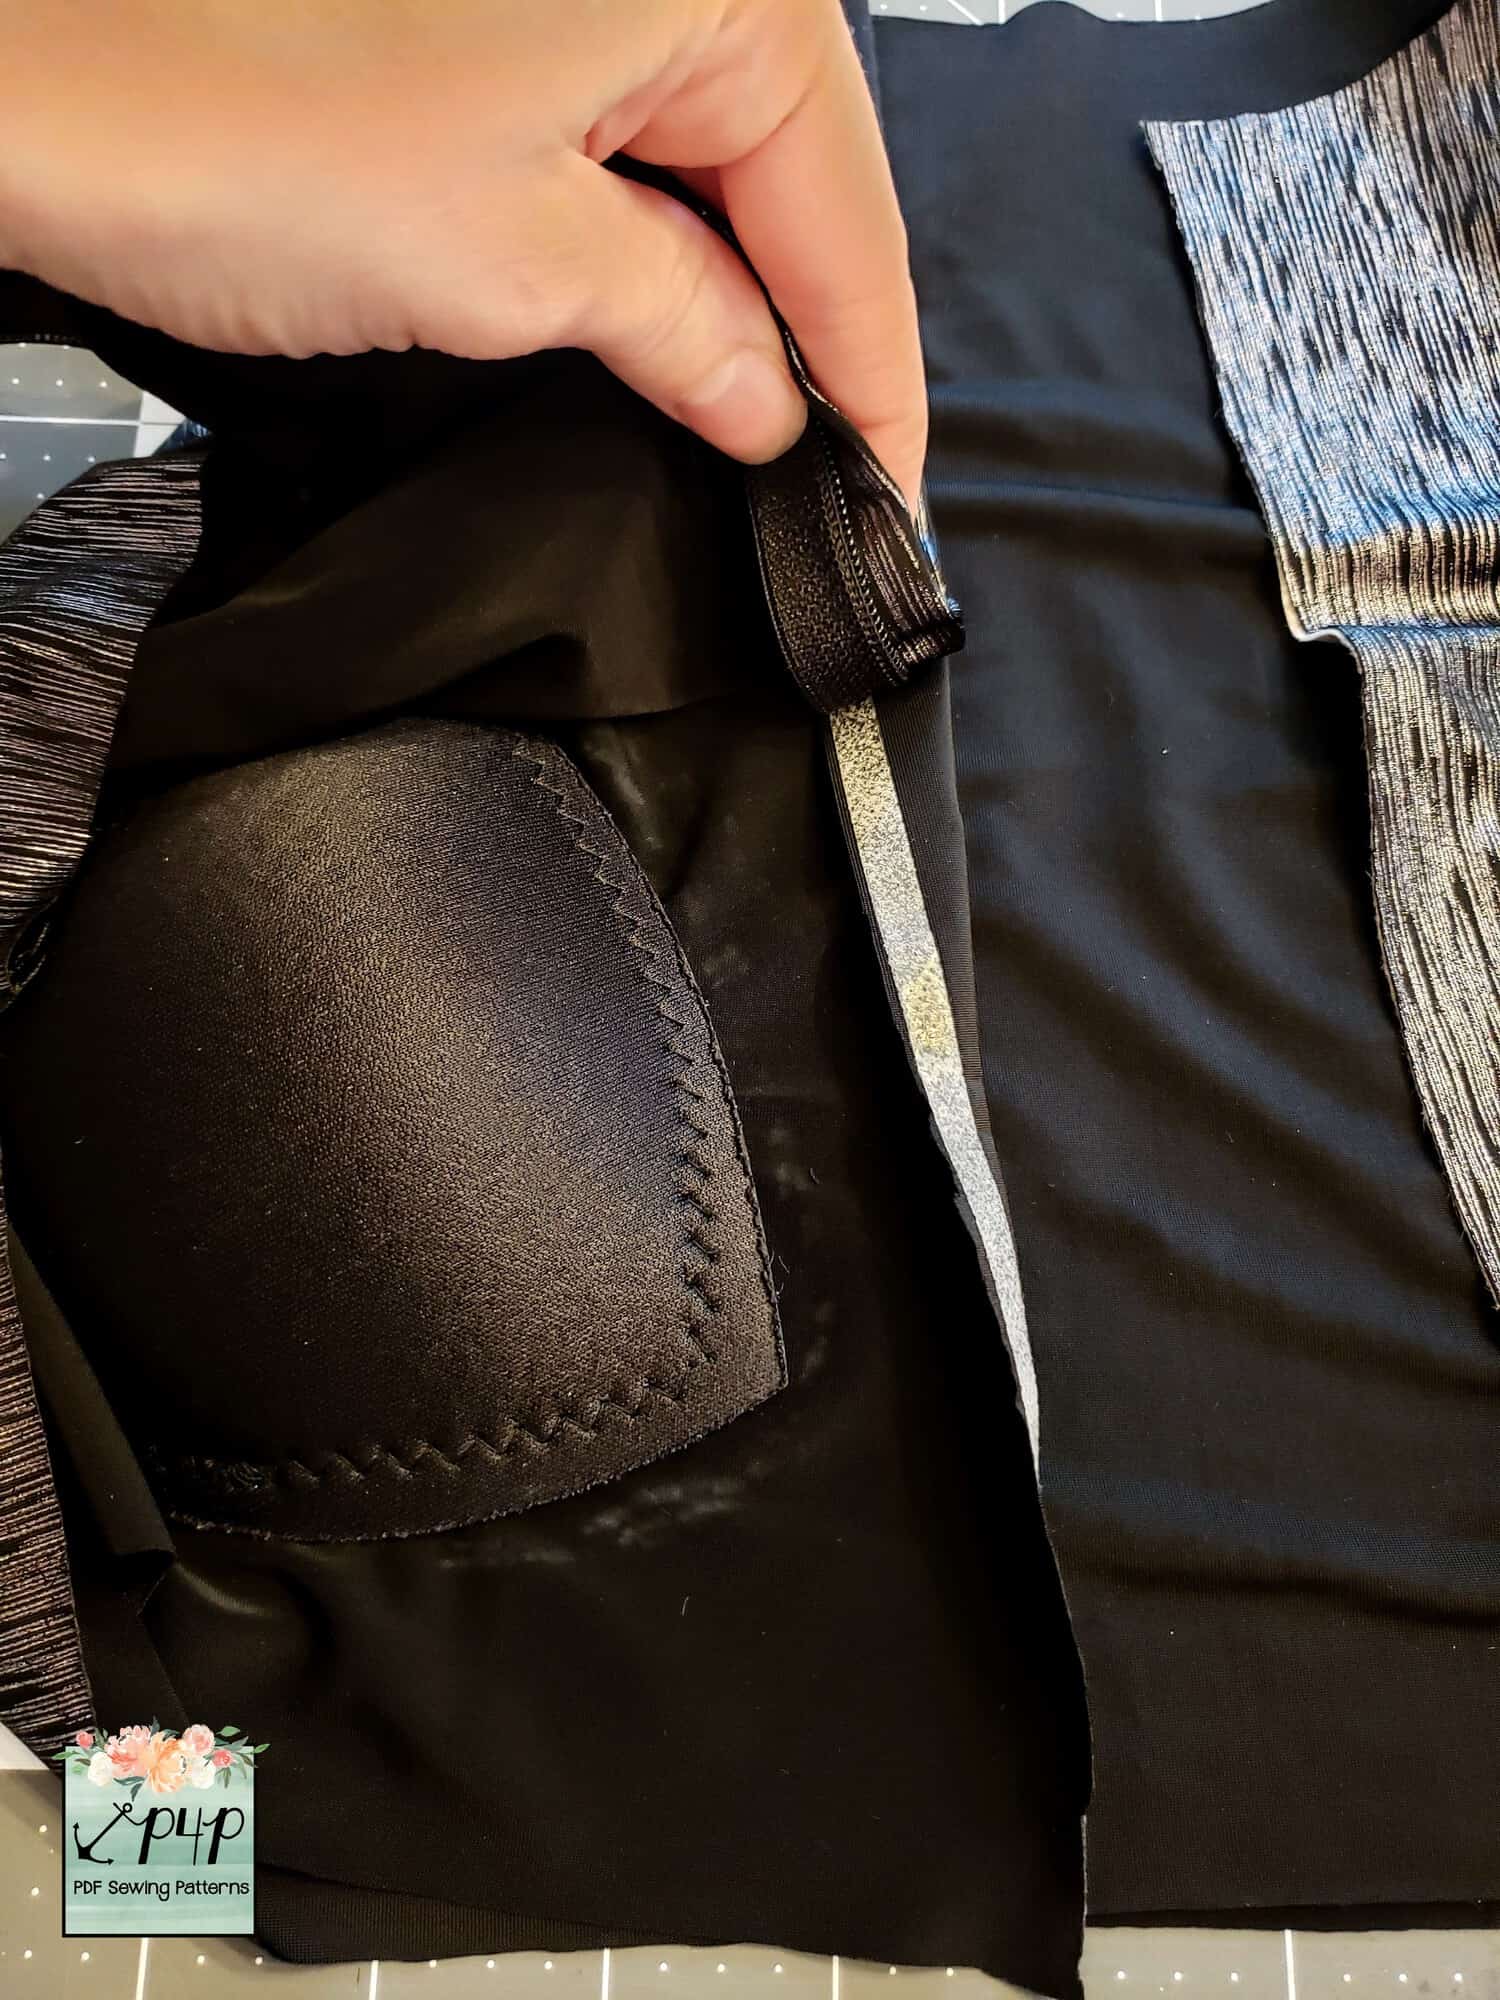
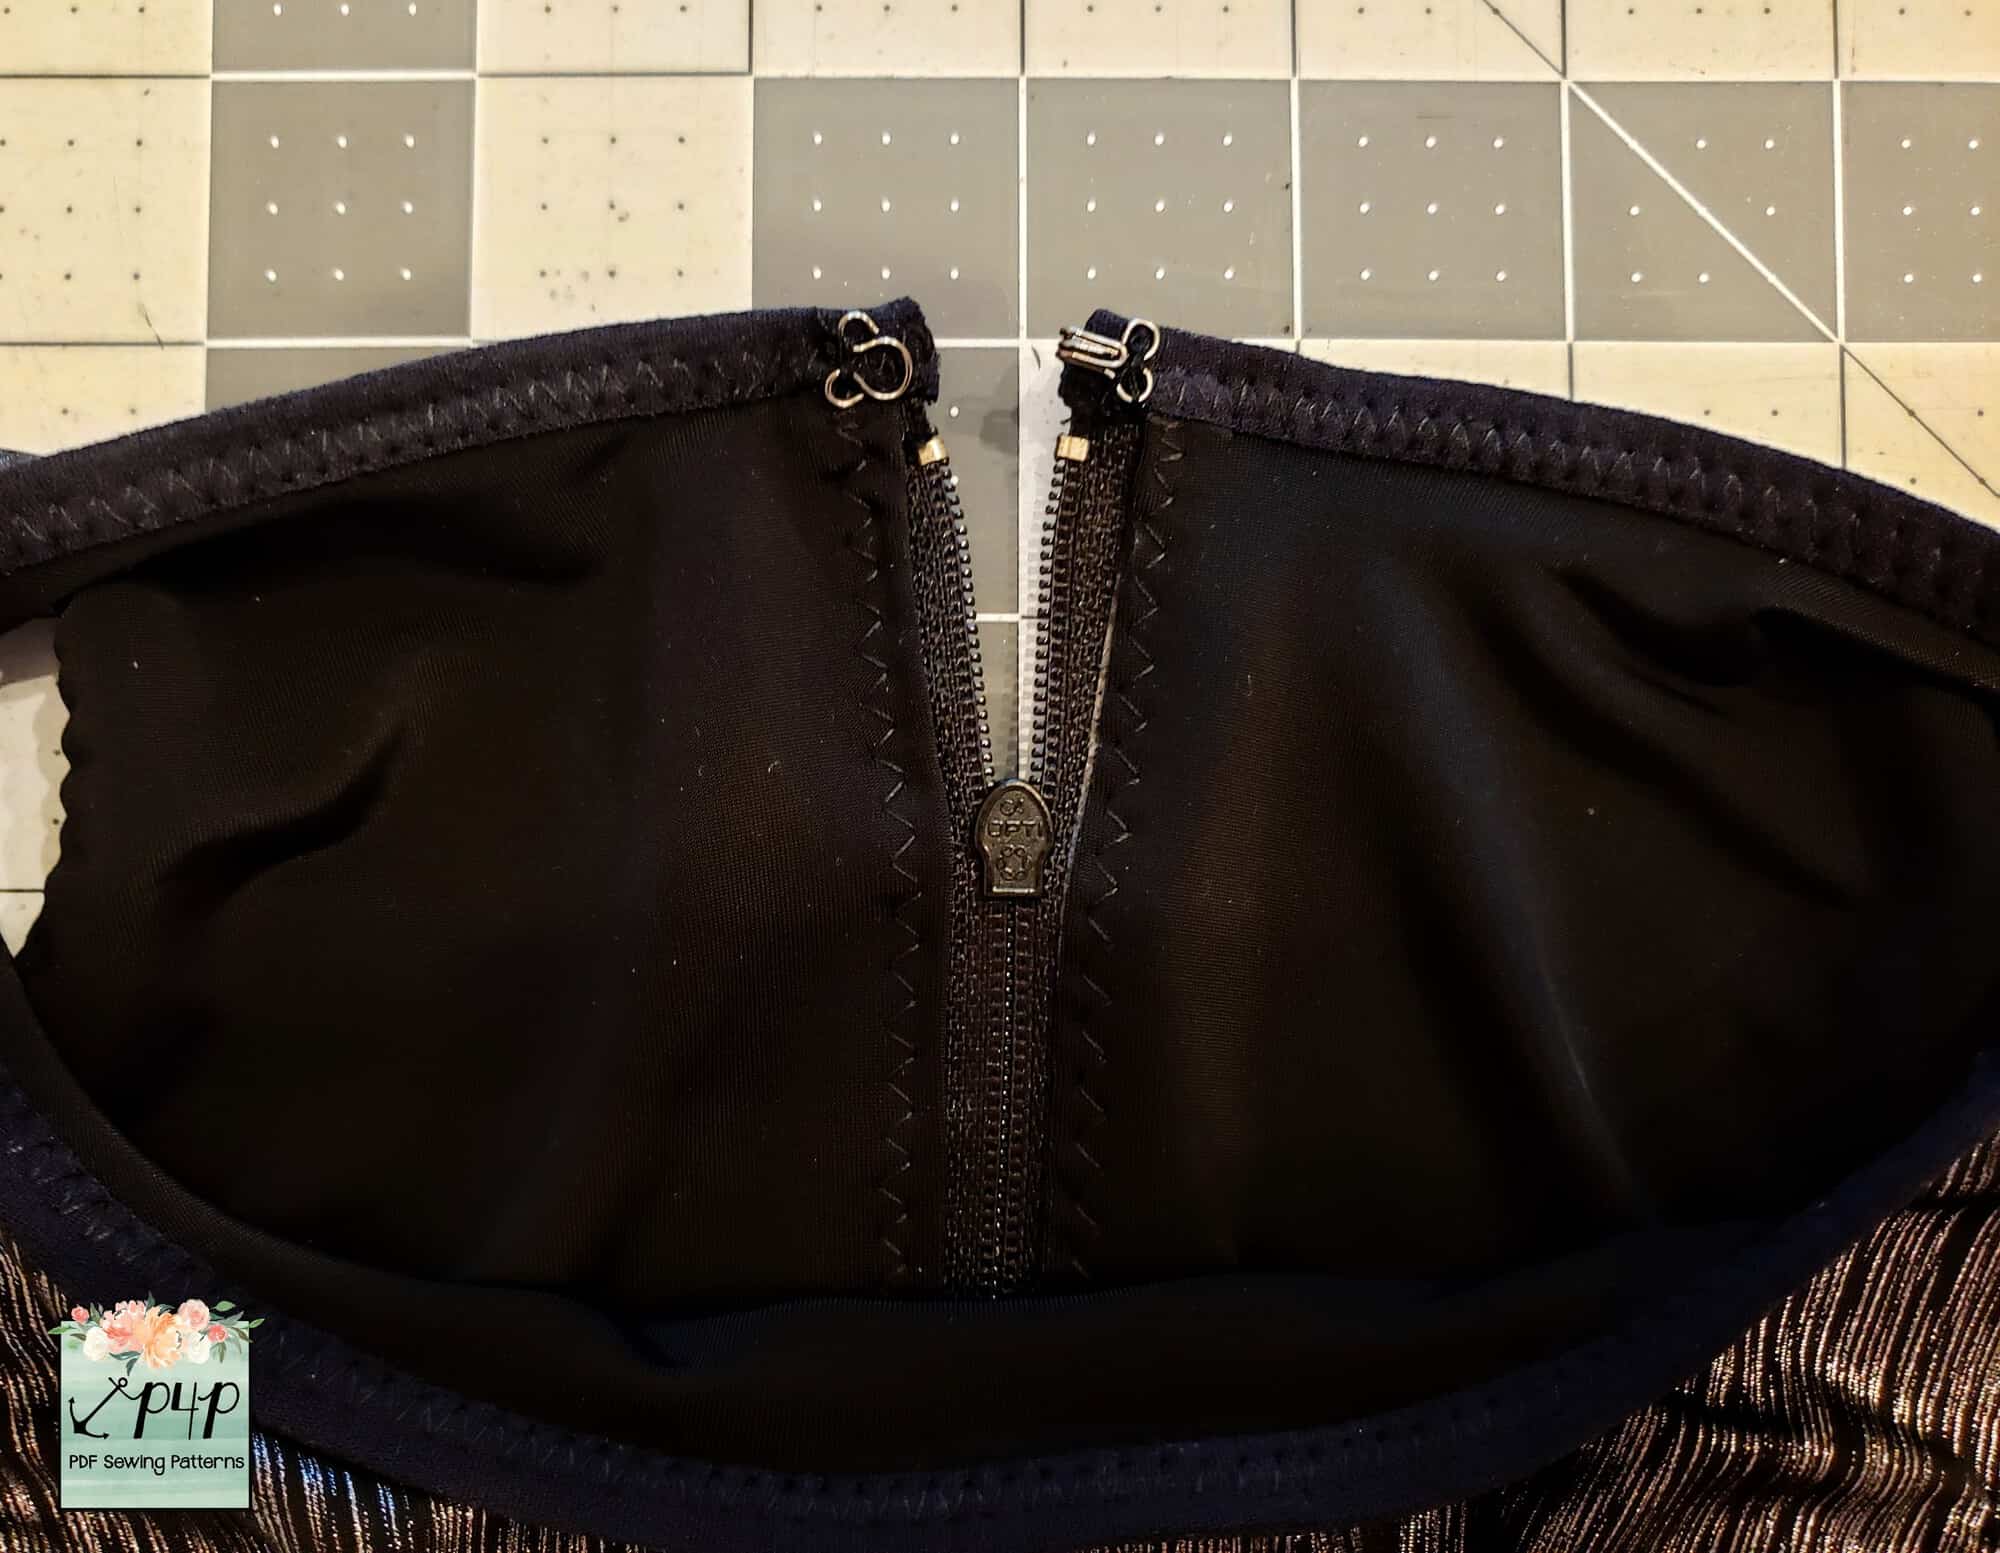
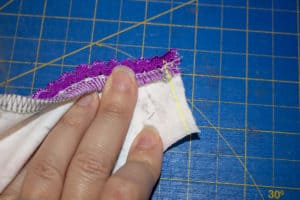
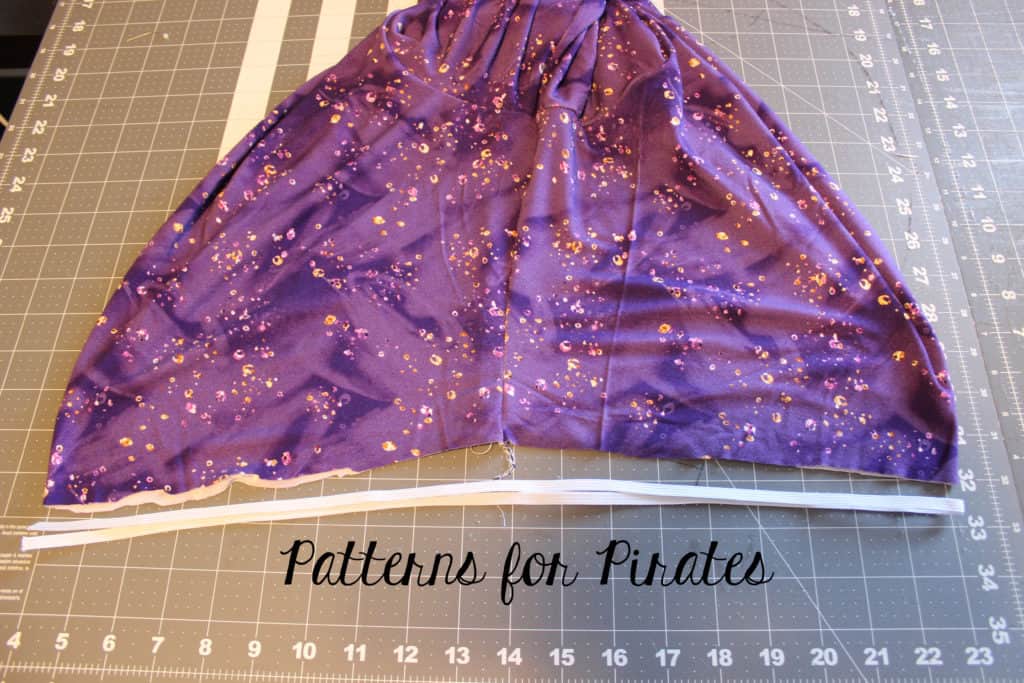
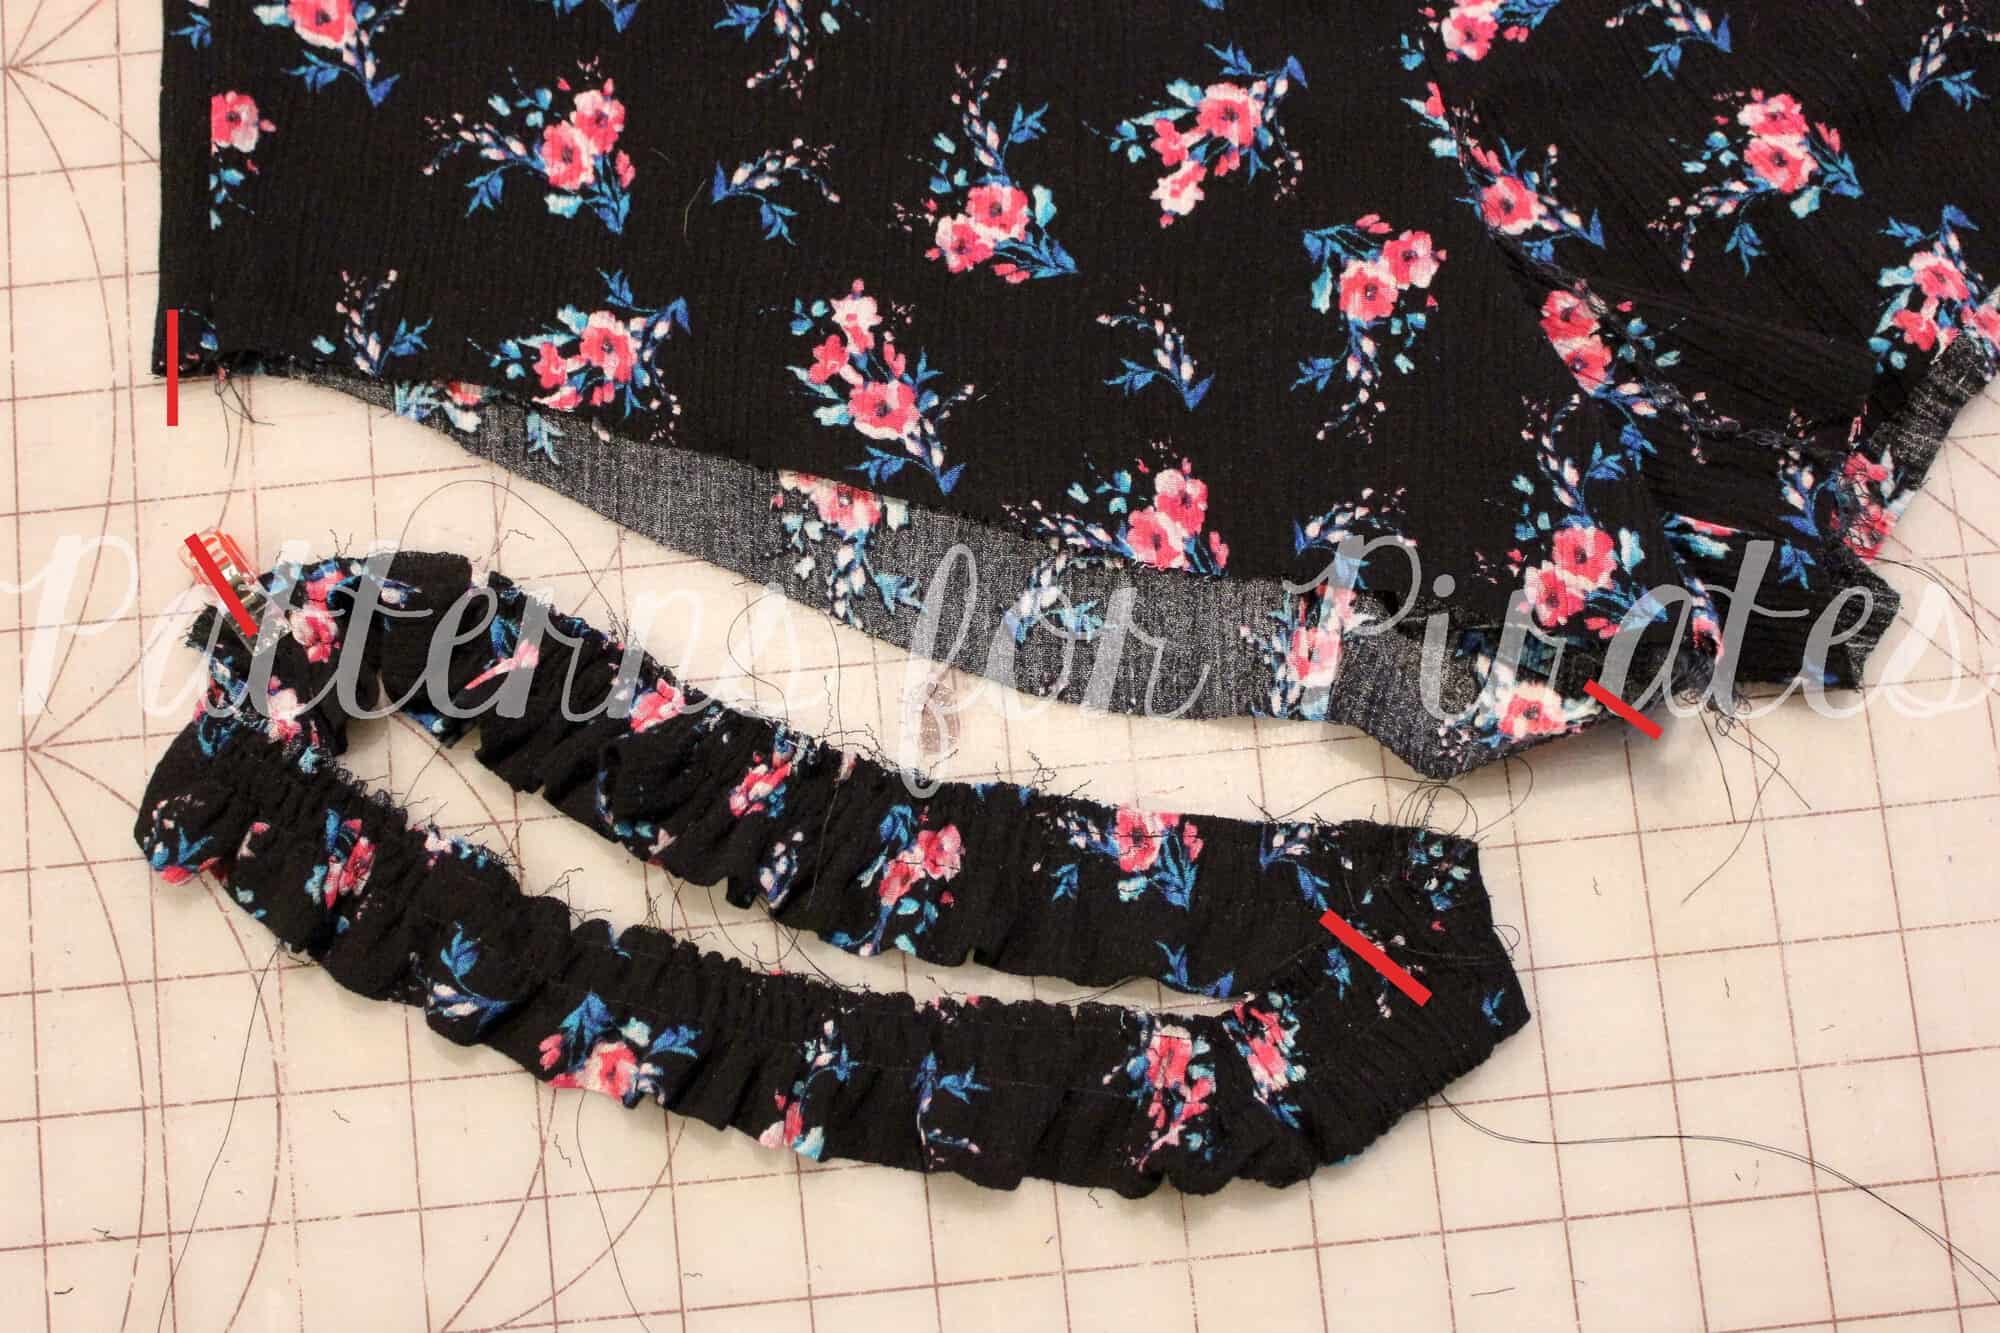
Go ahead and stitch your elastic closed in a loop, by overlapping the ends and zigzagging to secure together. The elastic should also be the same width as the band. Slide the elastic up over the band.
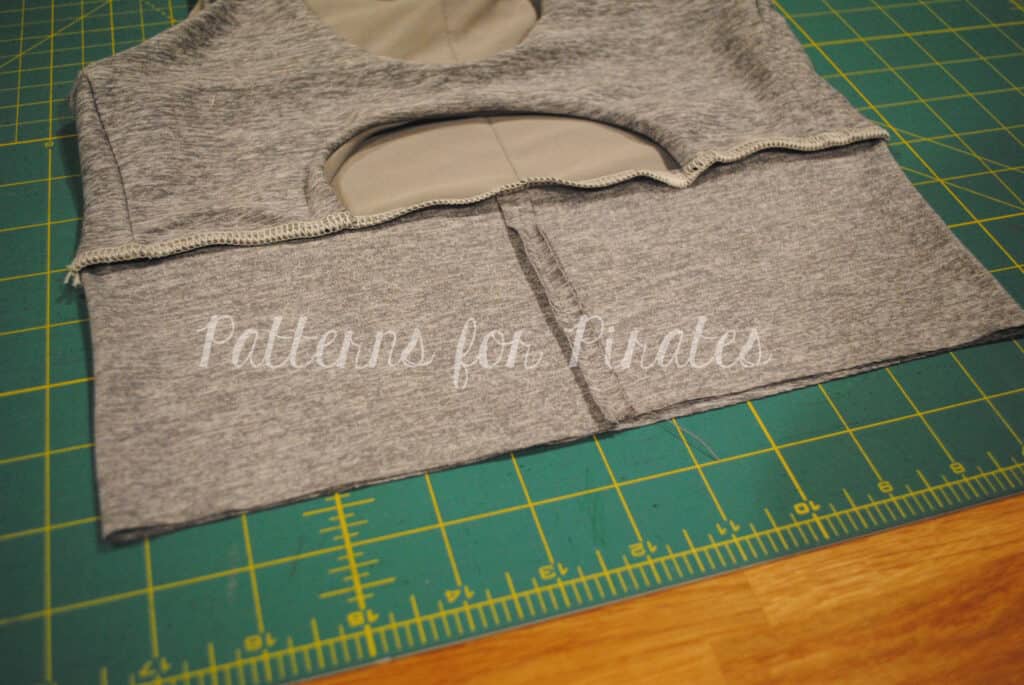
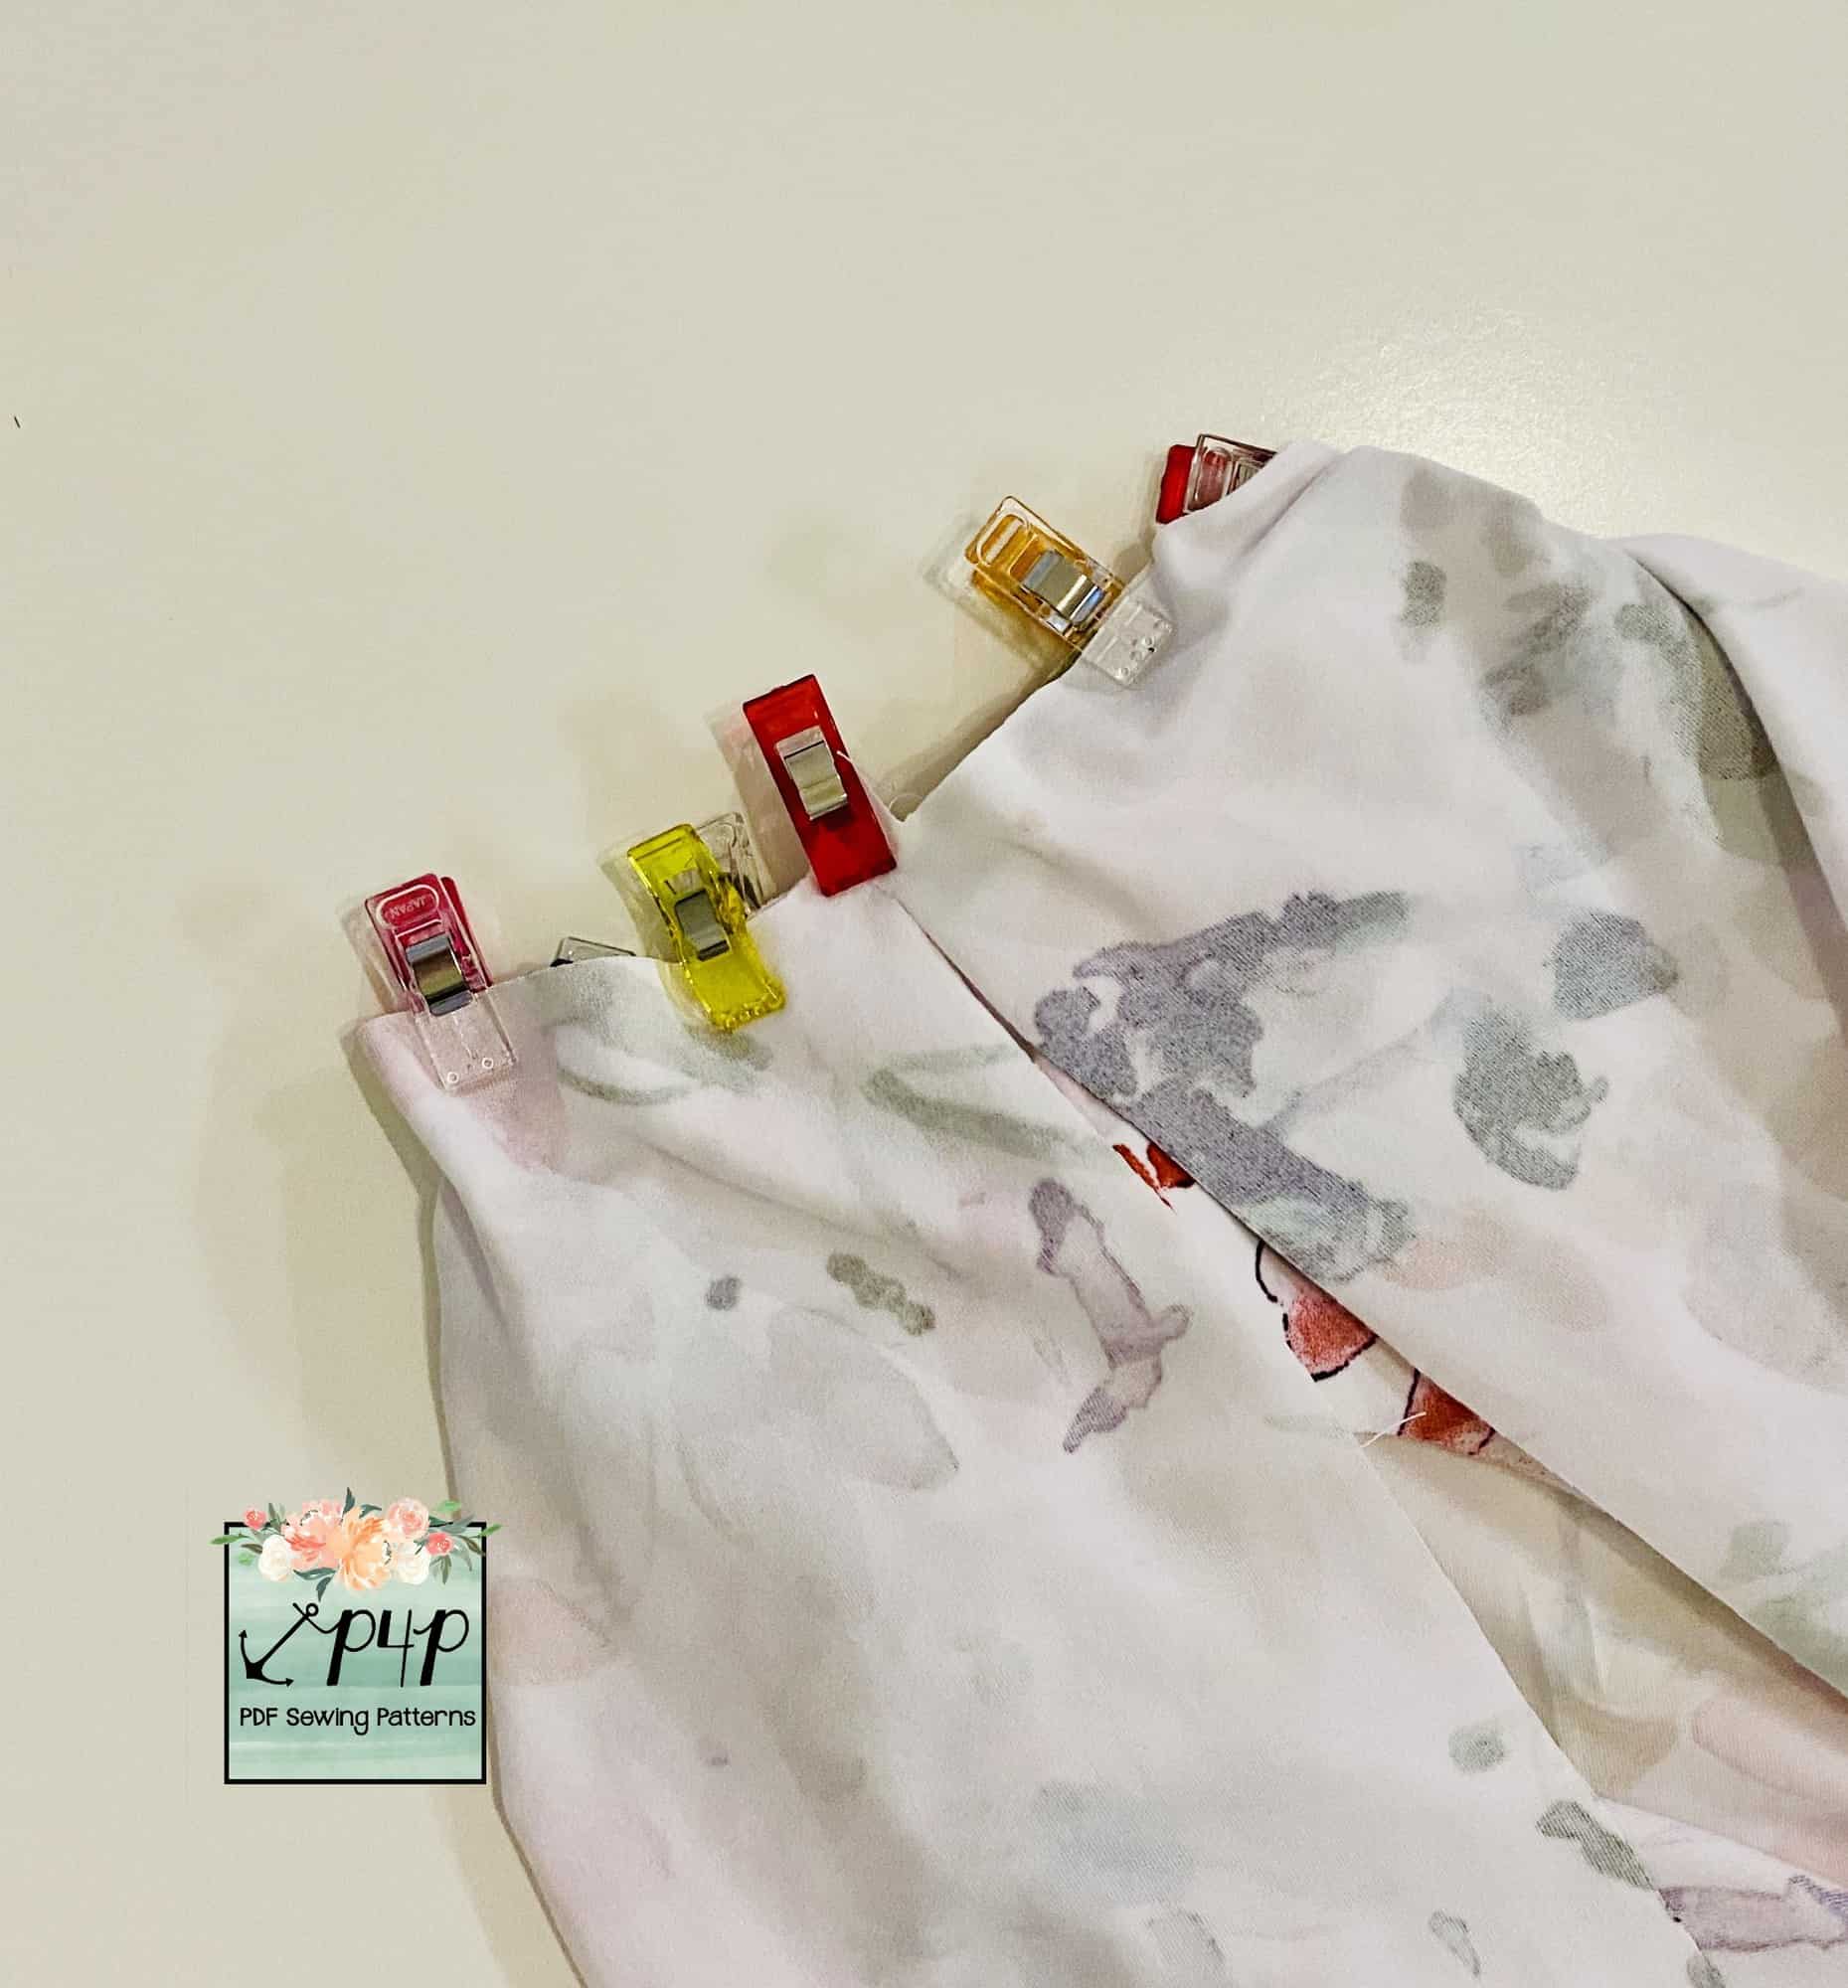
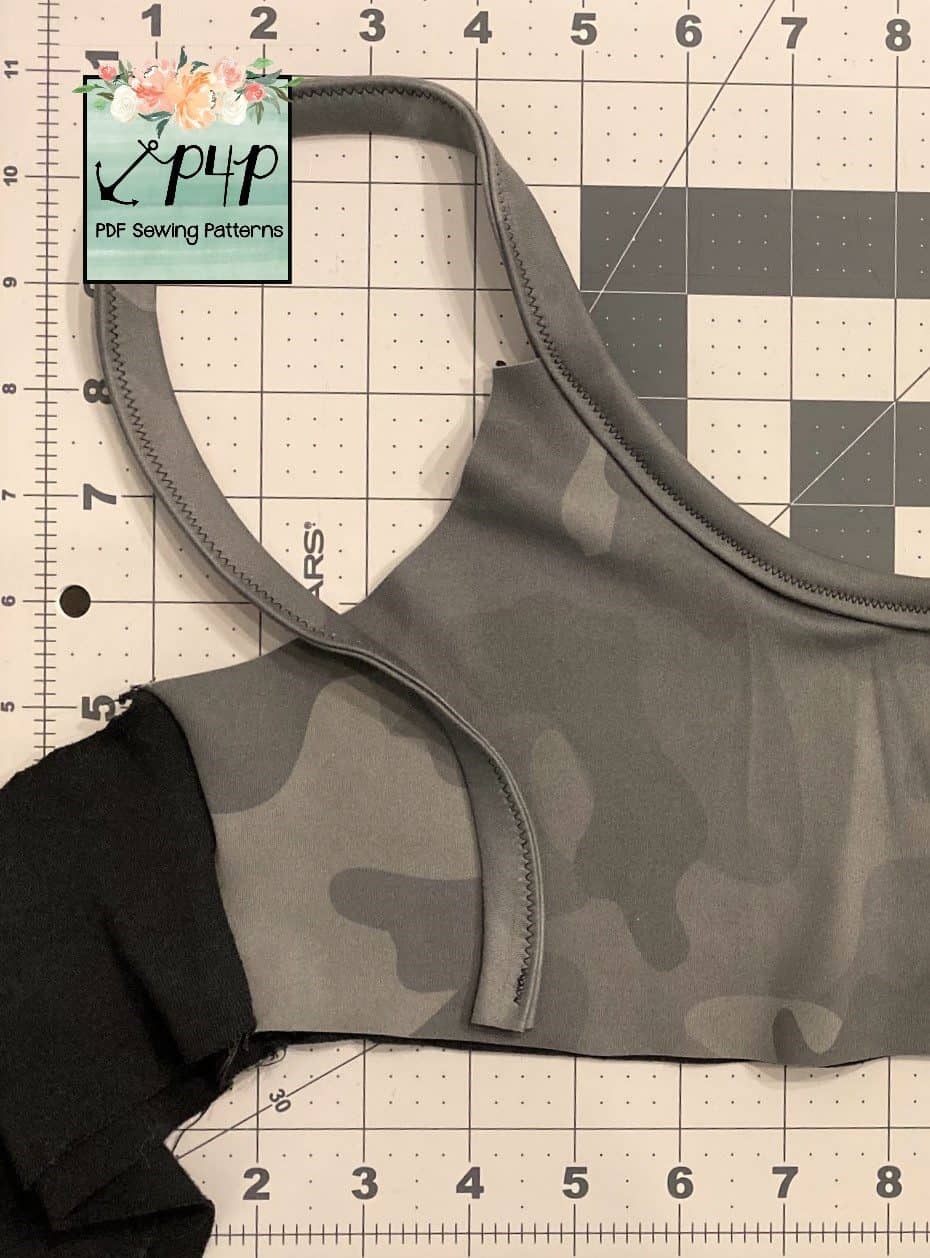
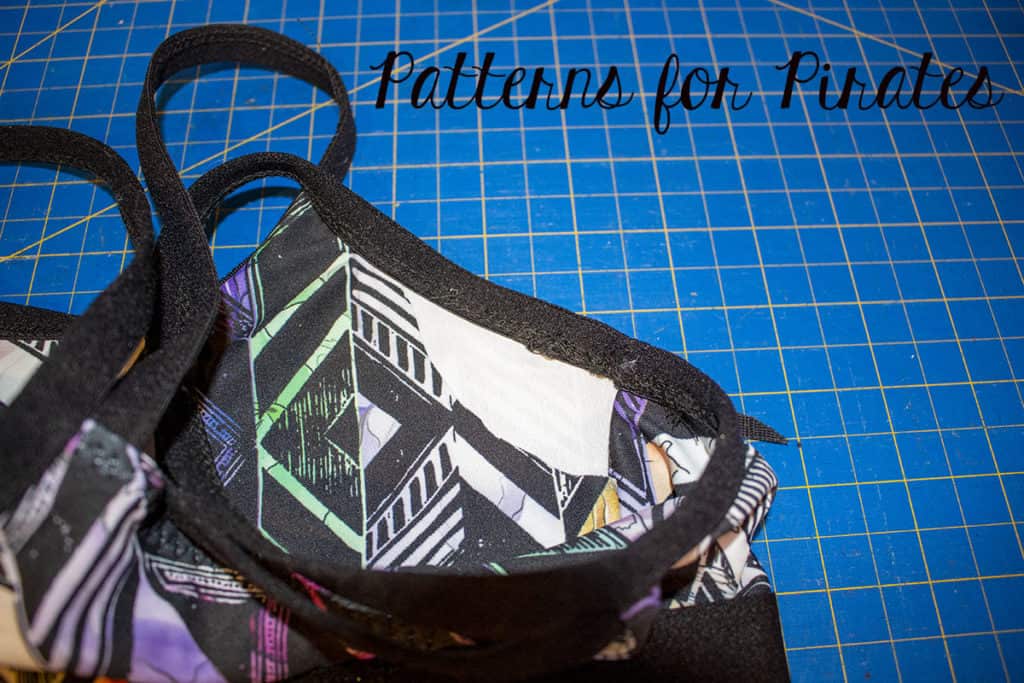
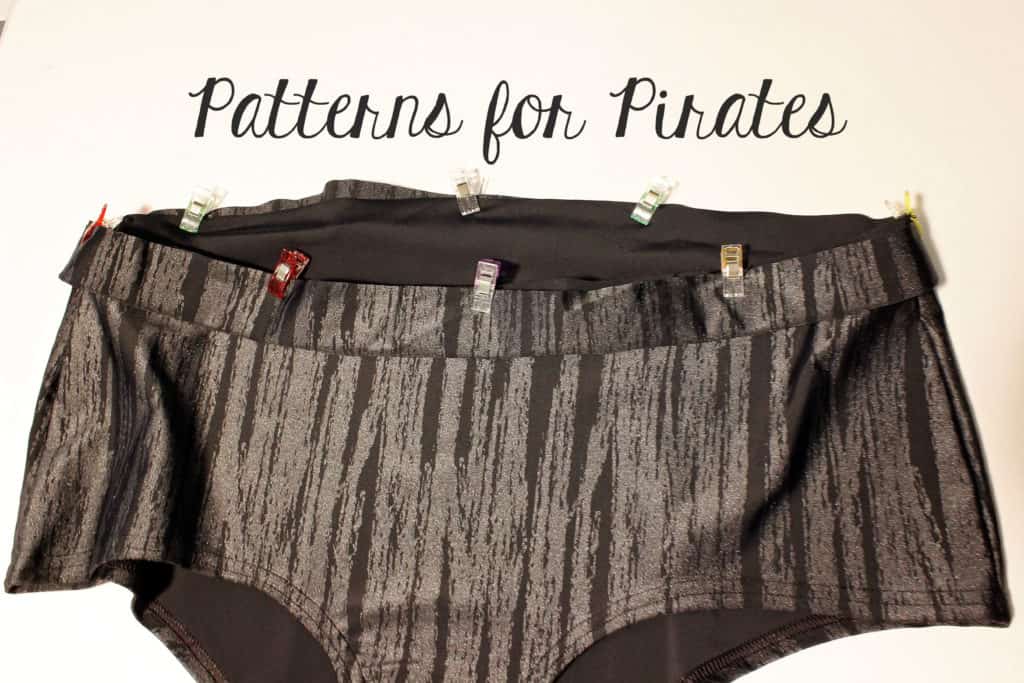
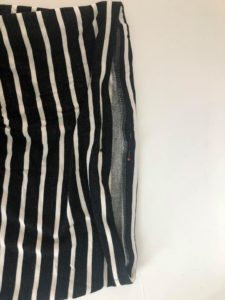
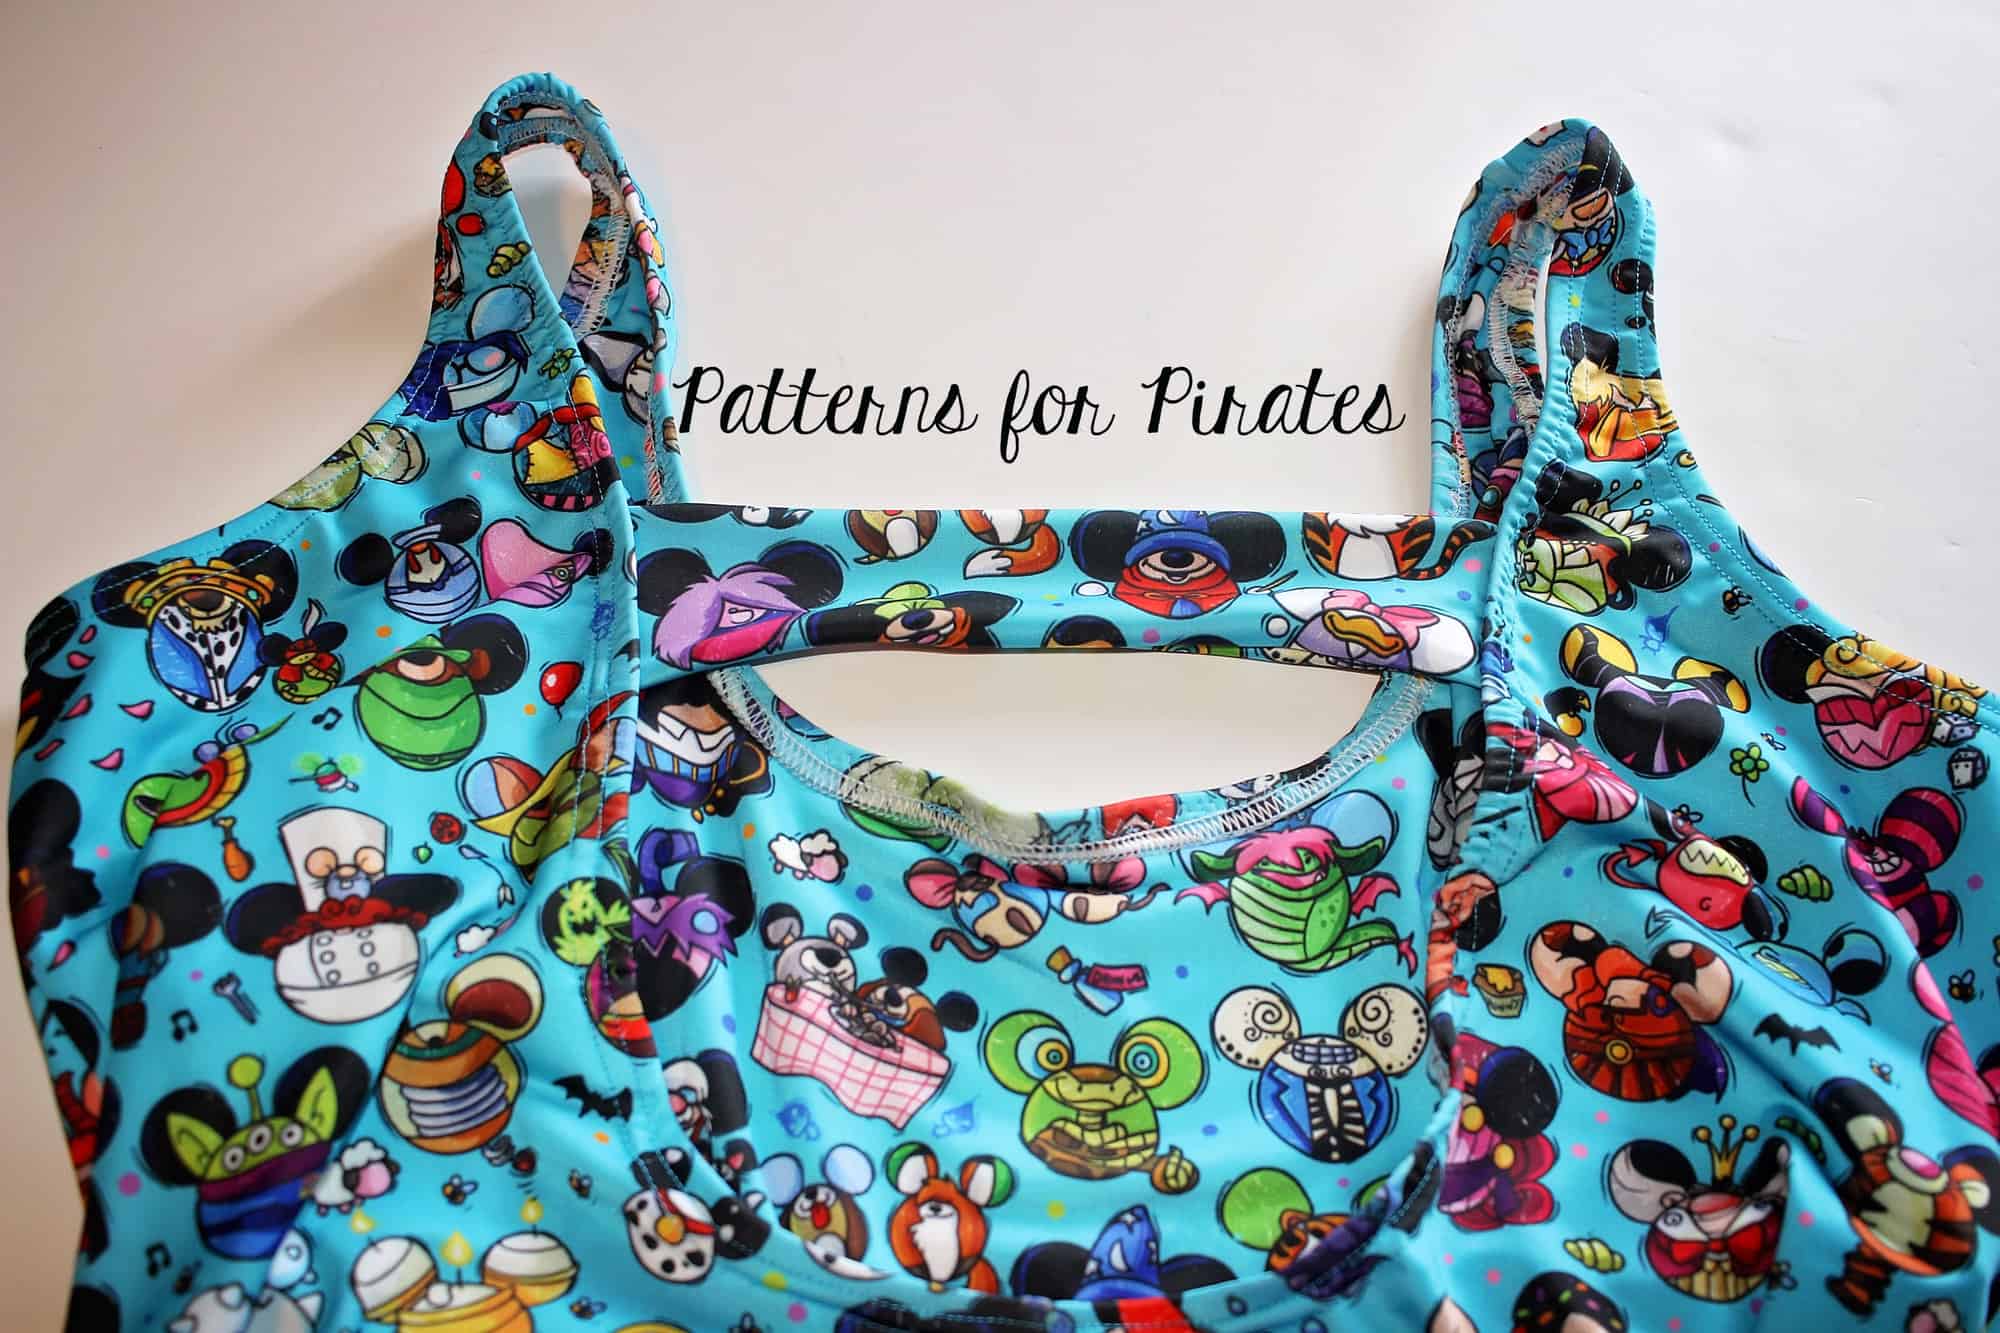
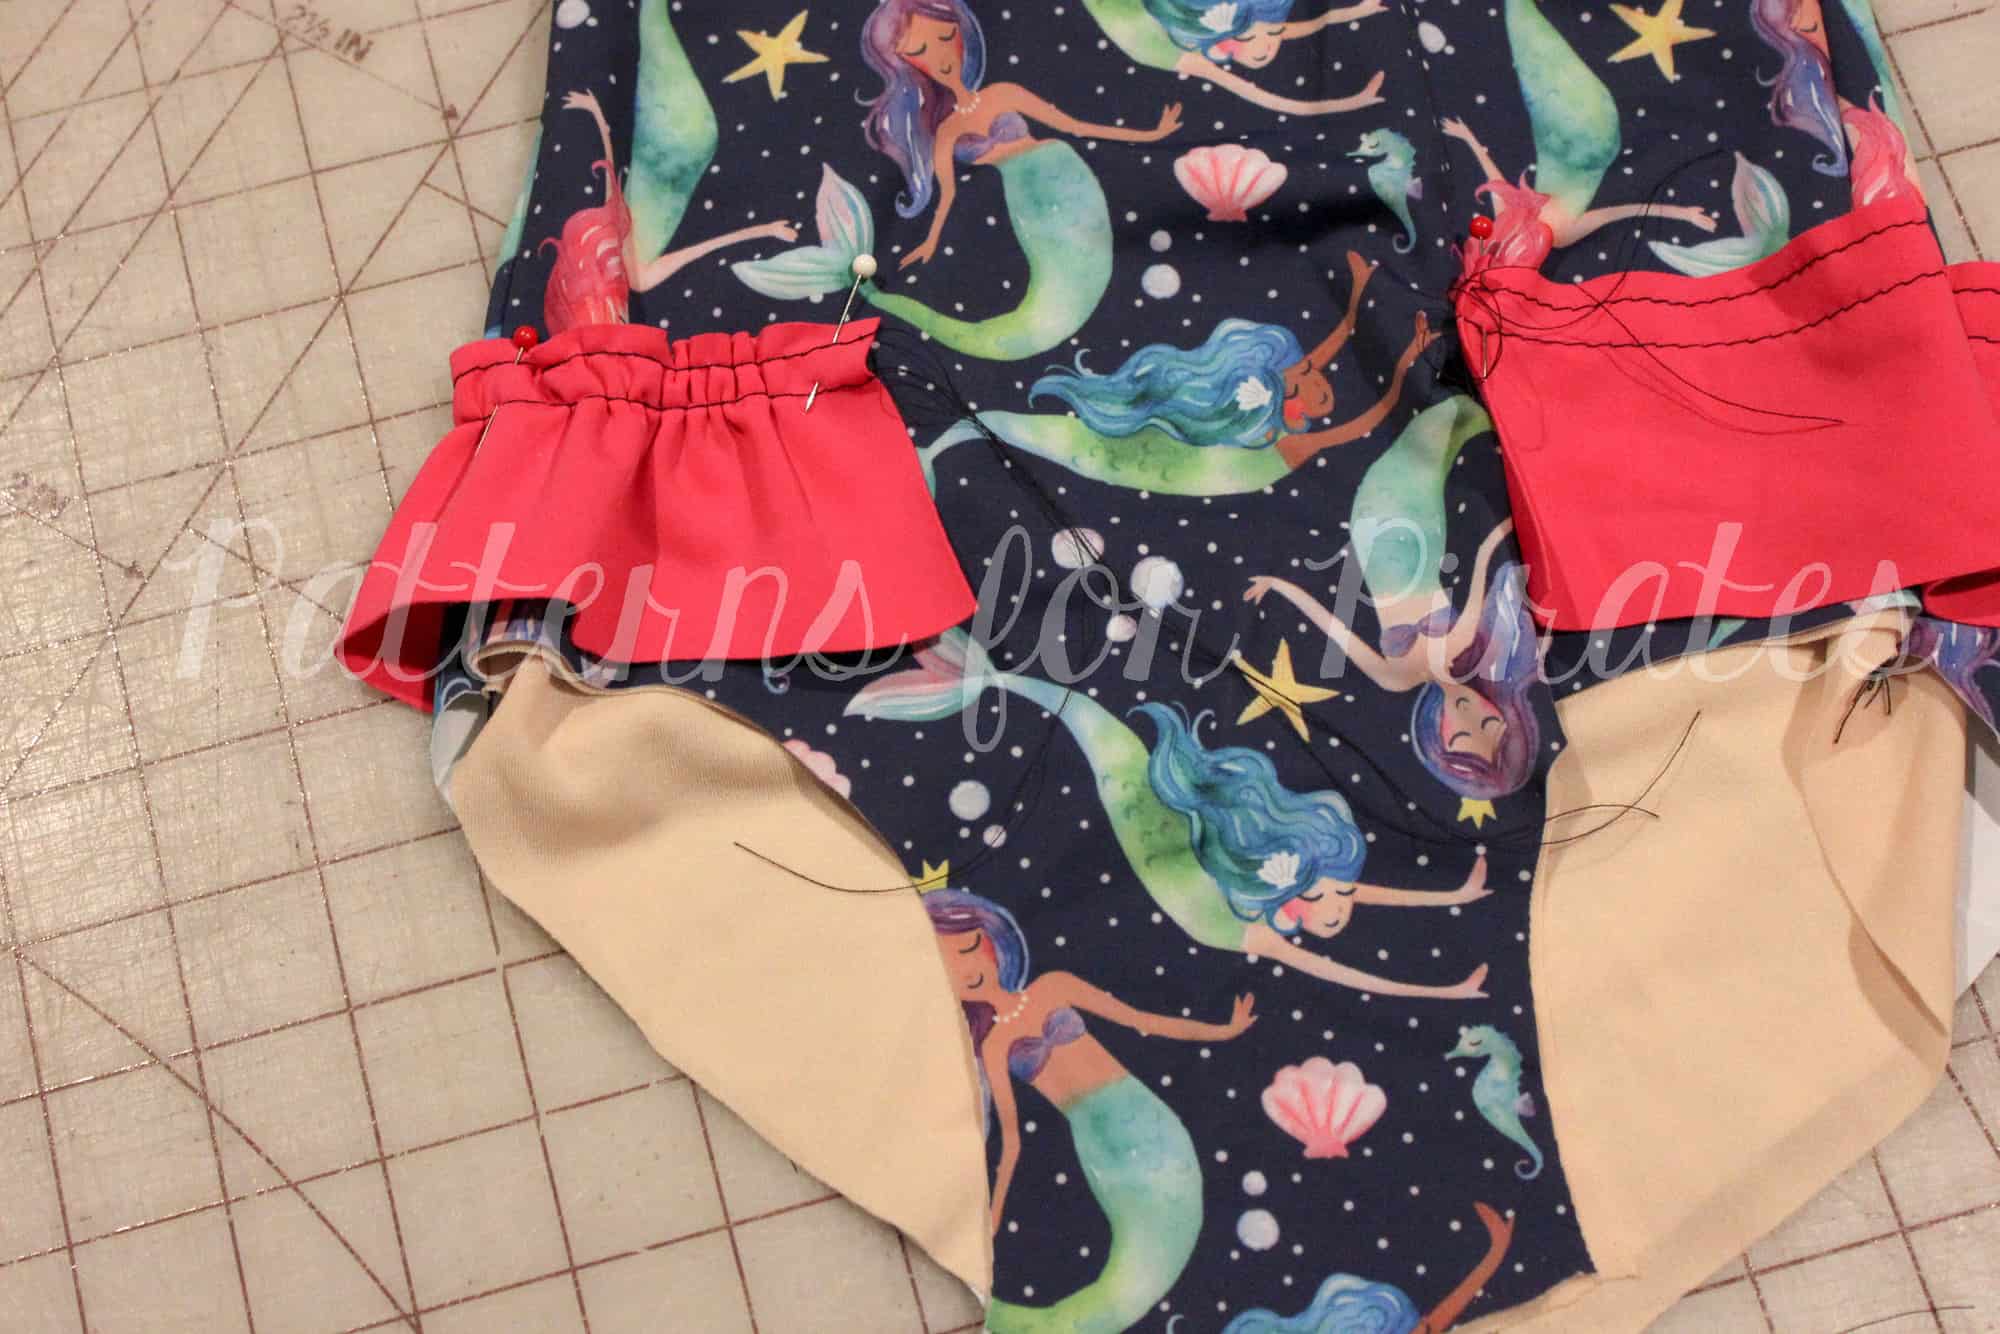
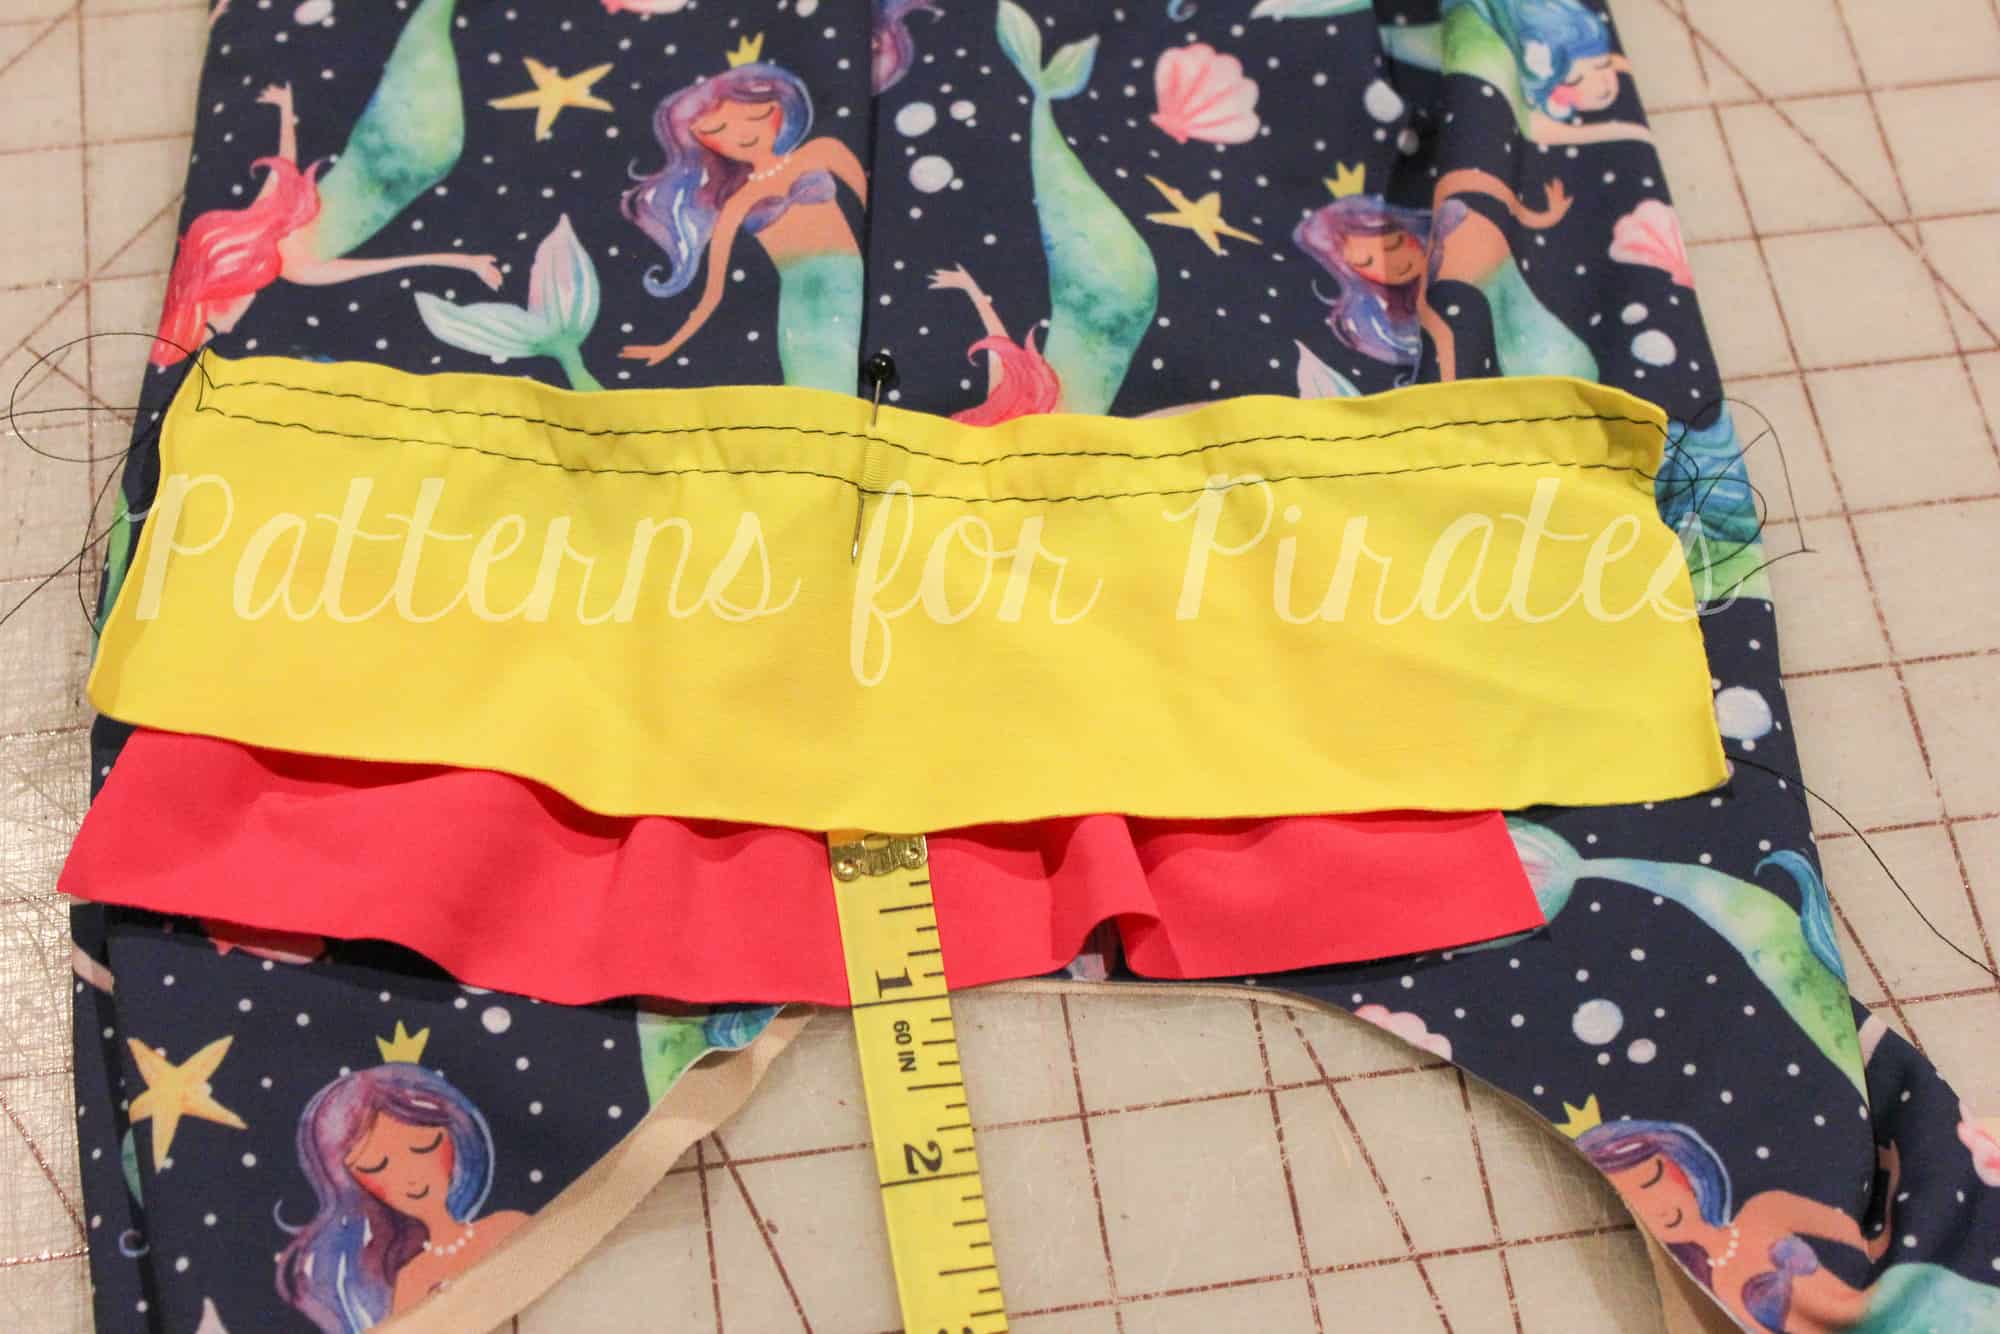
You will then need to fold the bottom ¼” of your band up and press flat, and then fold up and over the elastic encasing the elastic.
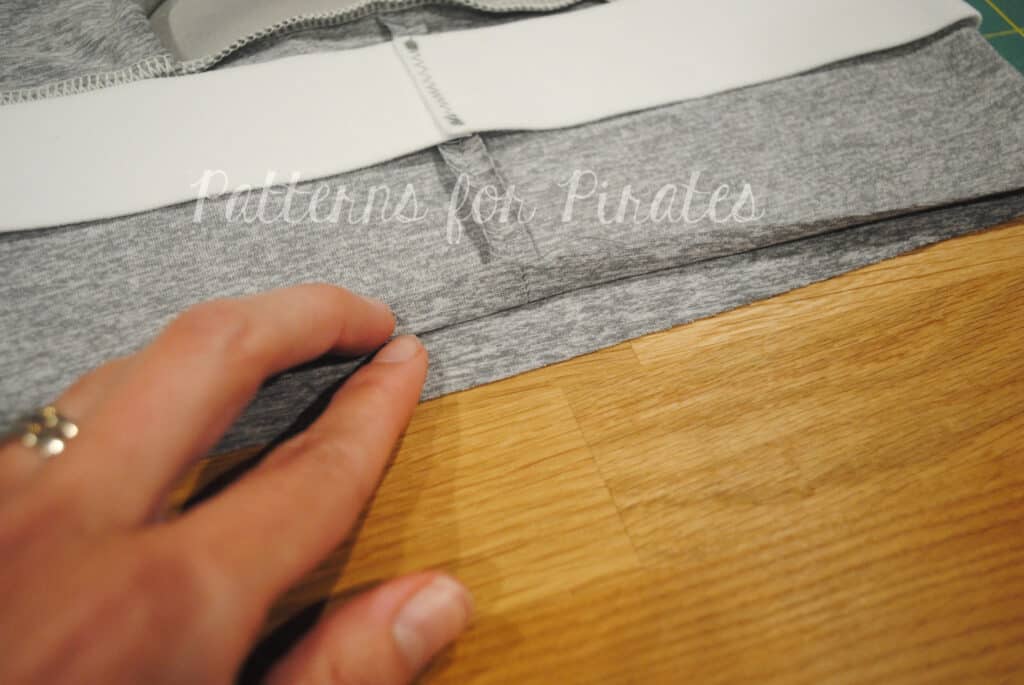
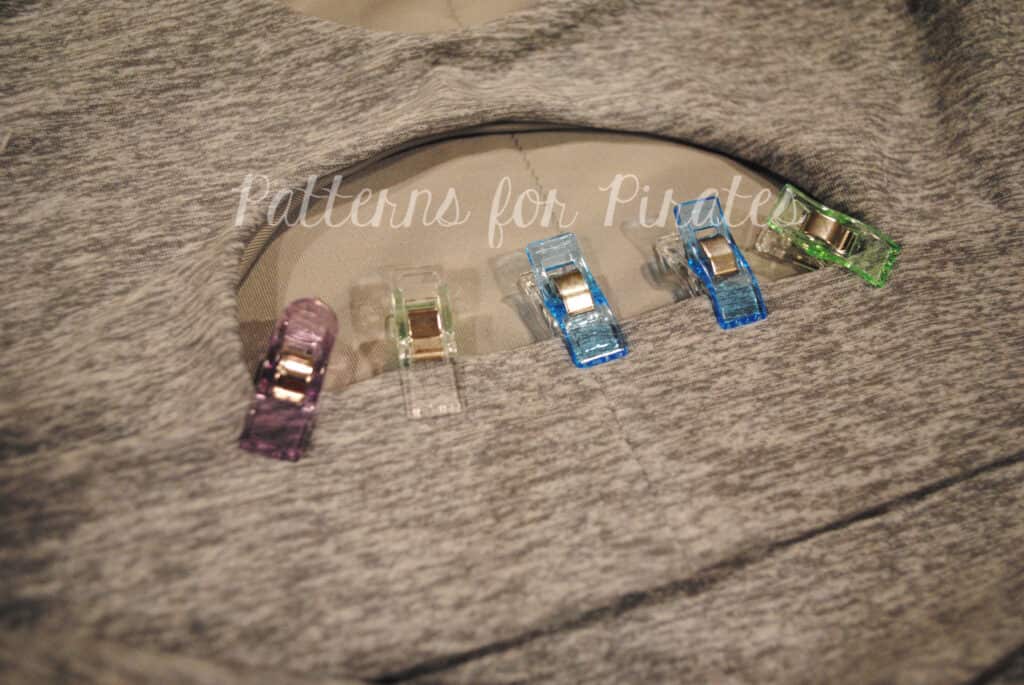
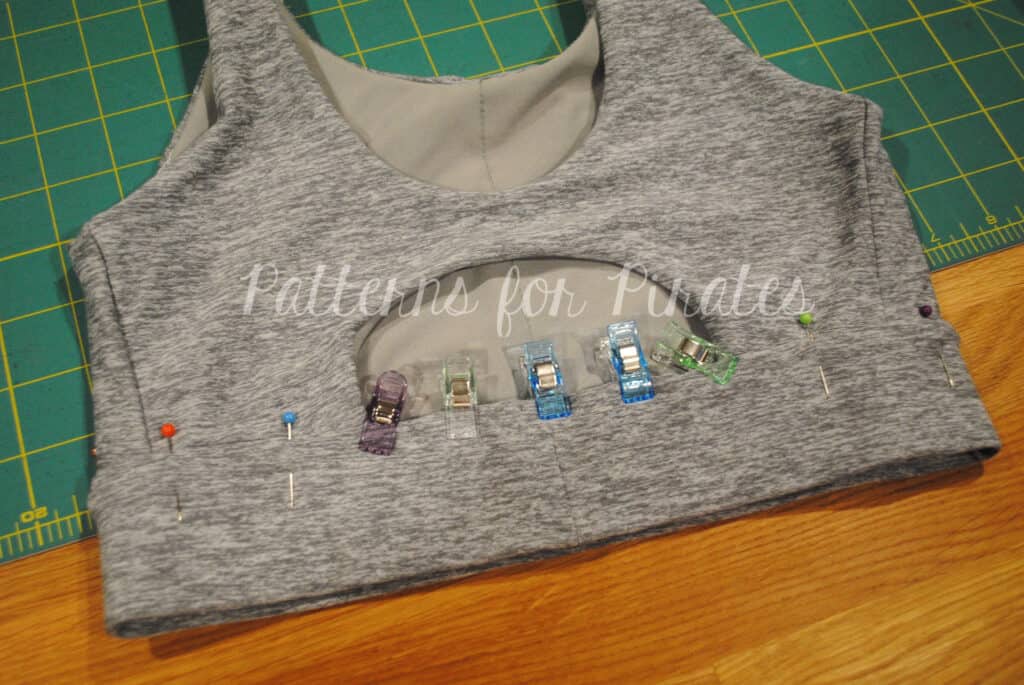
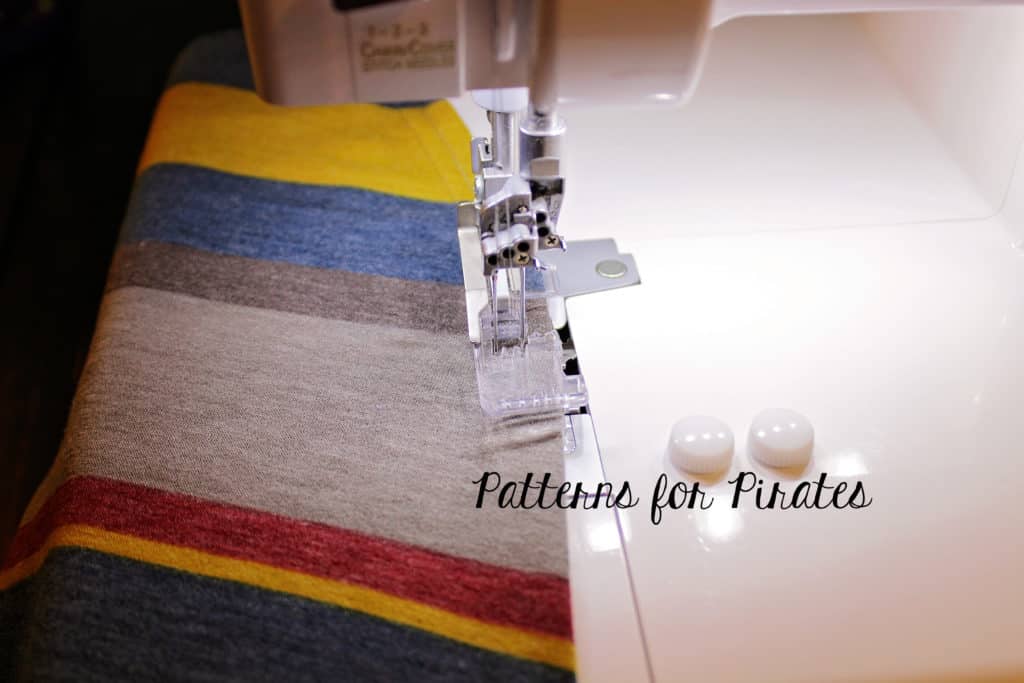
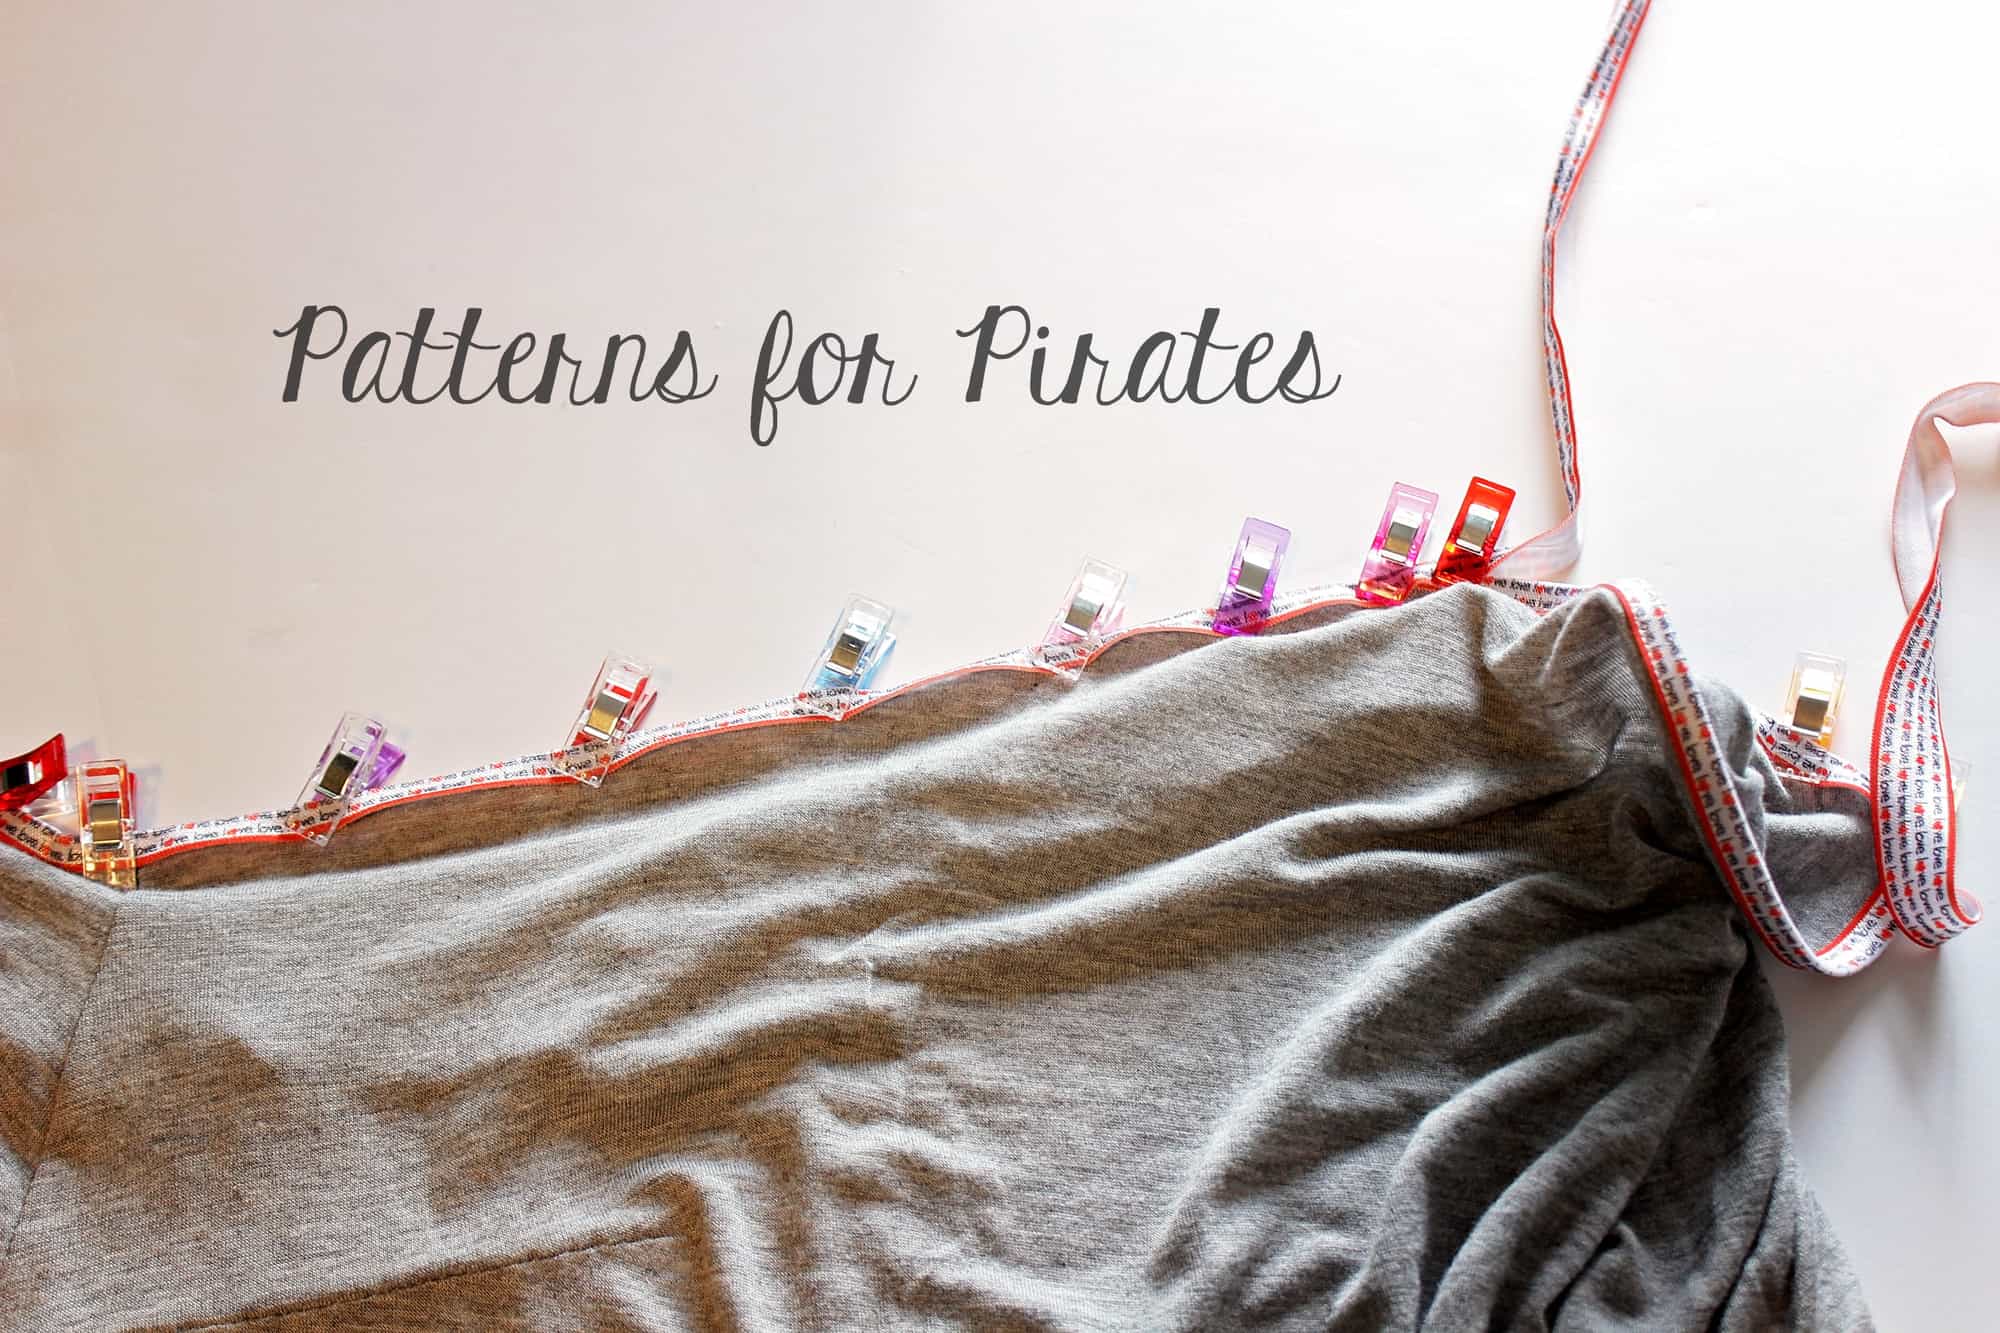
Pin (and/or clip) the band all the way around the bra, making sure you have fully covered the seam allowance.
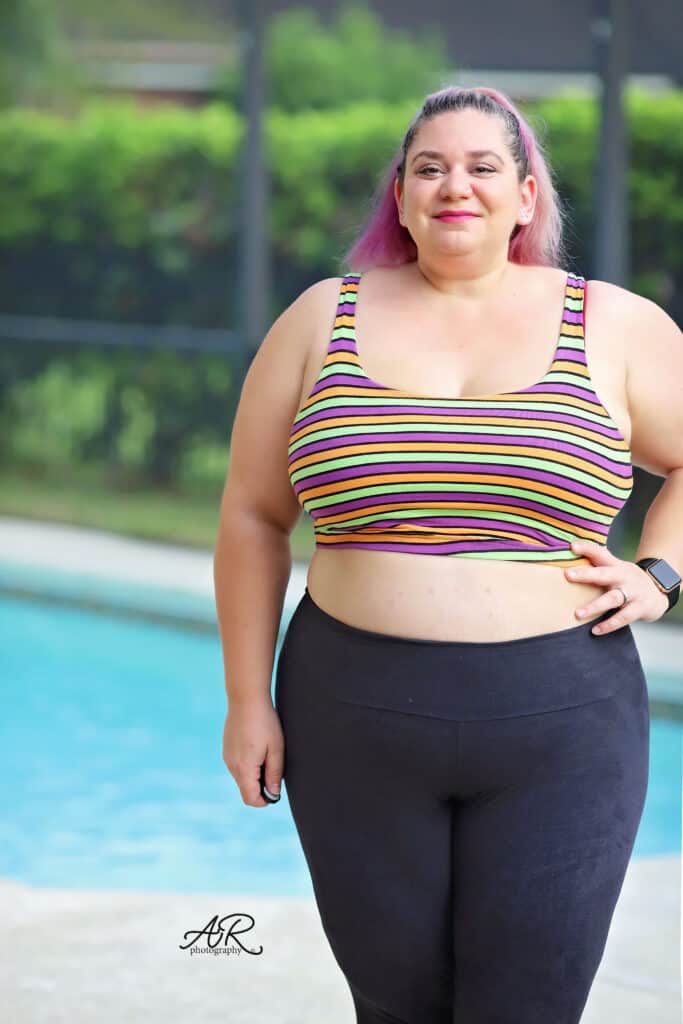
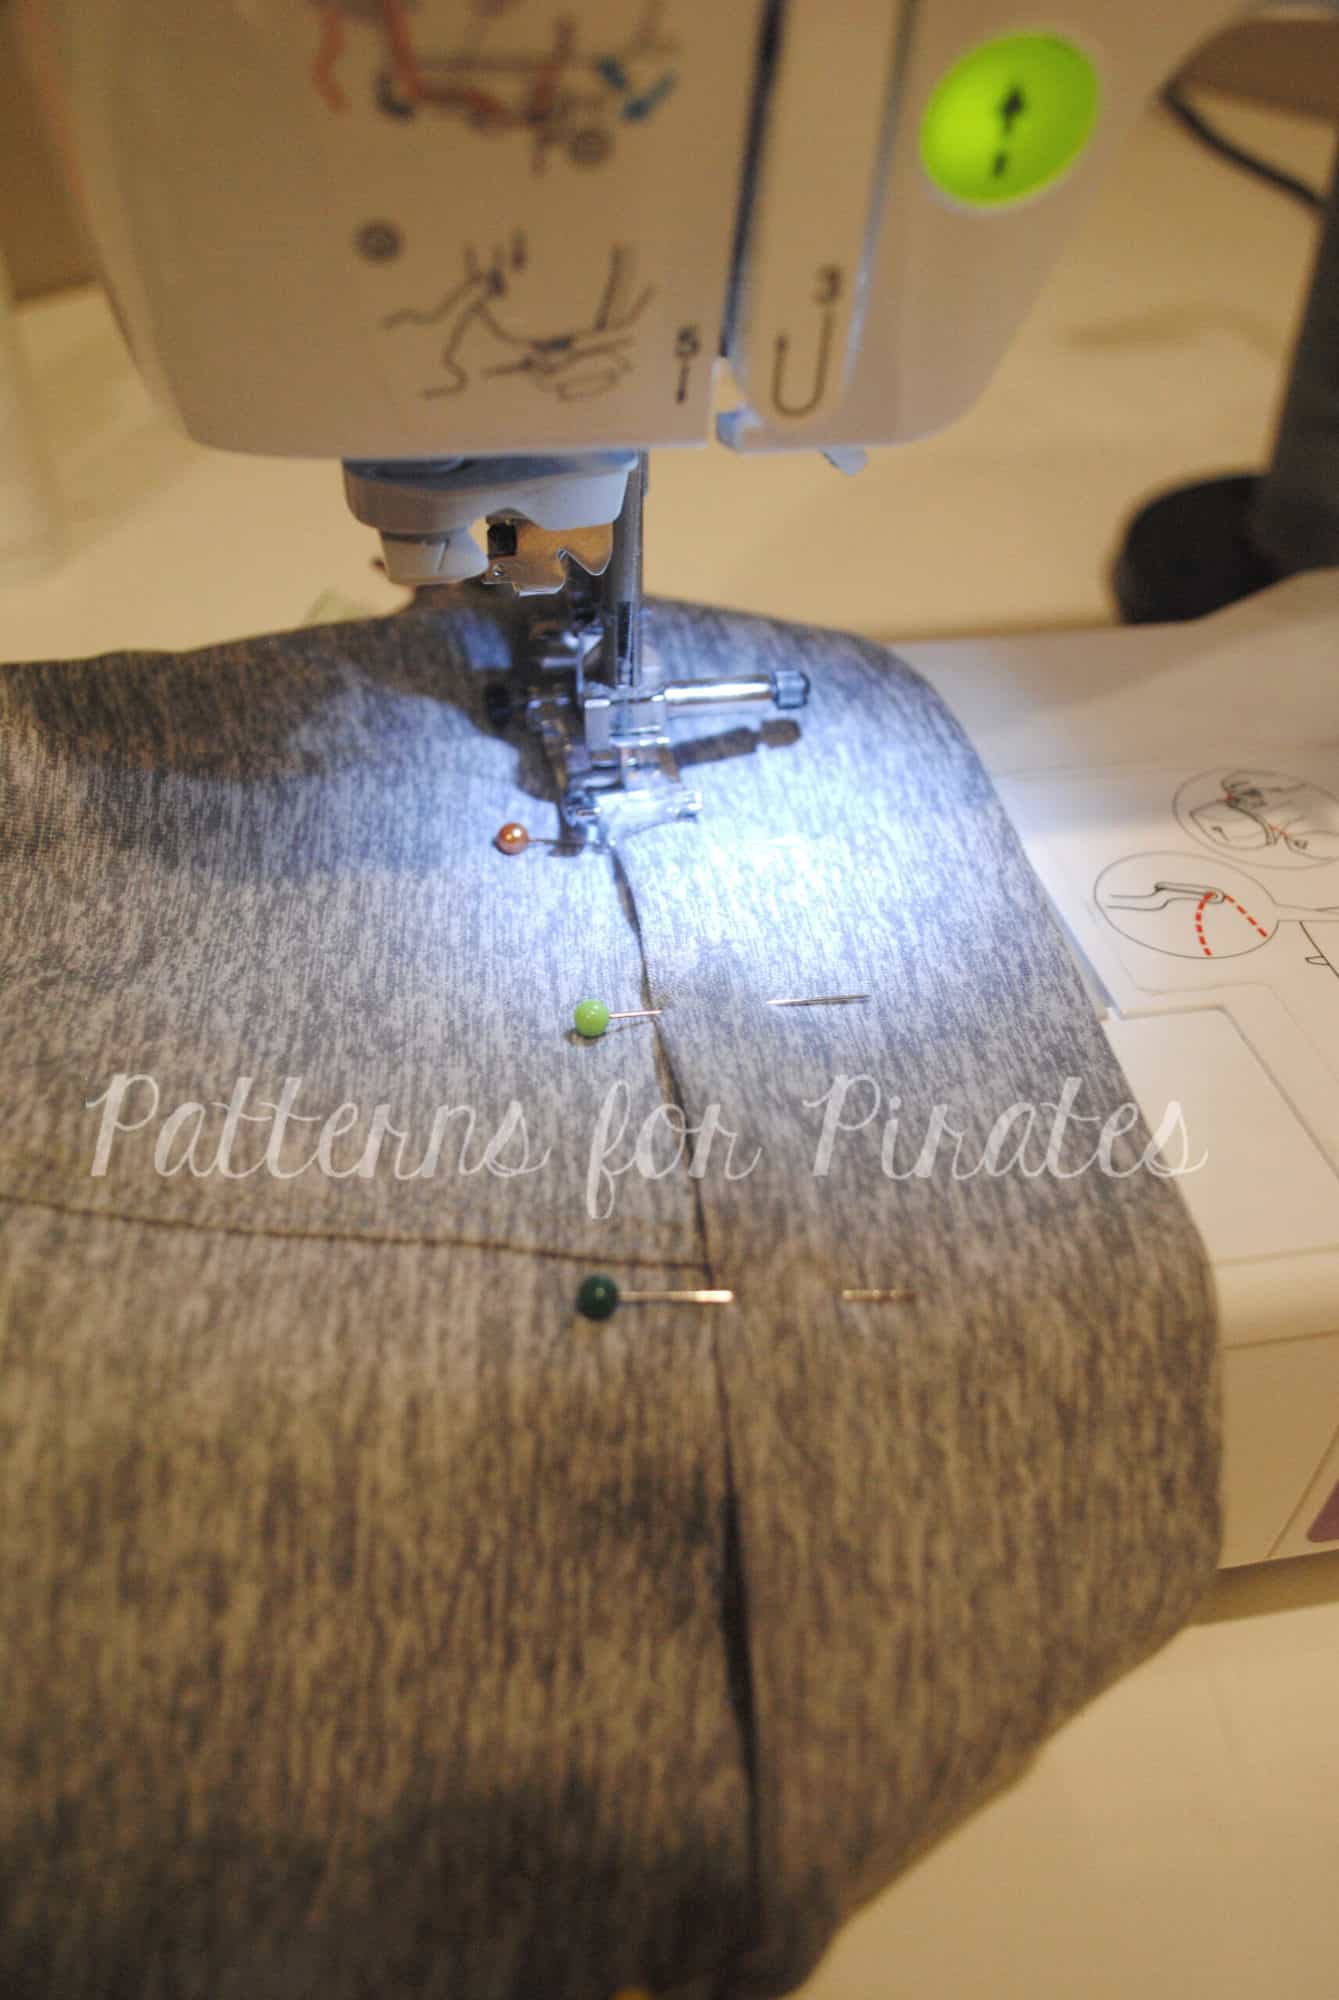
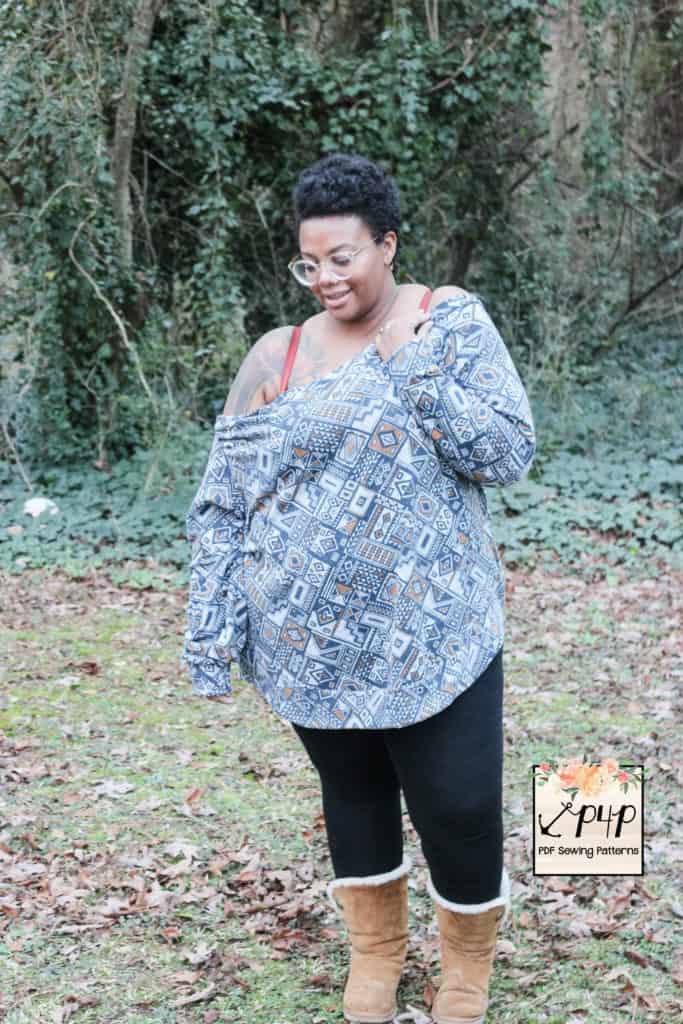
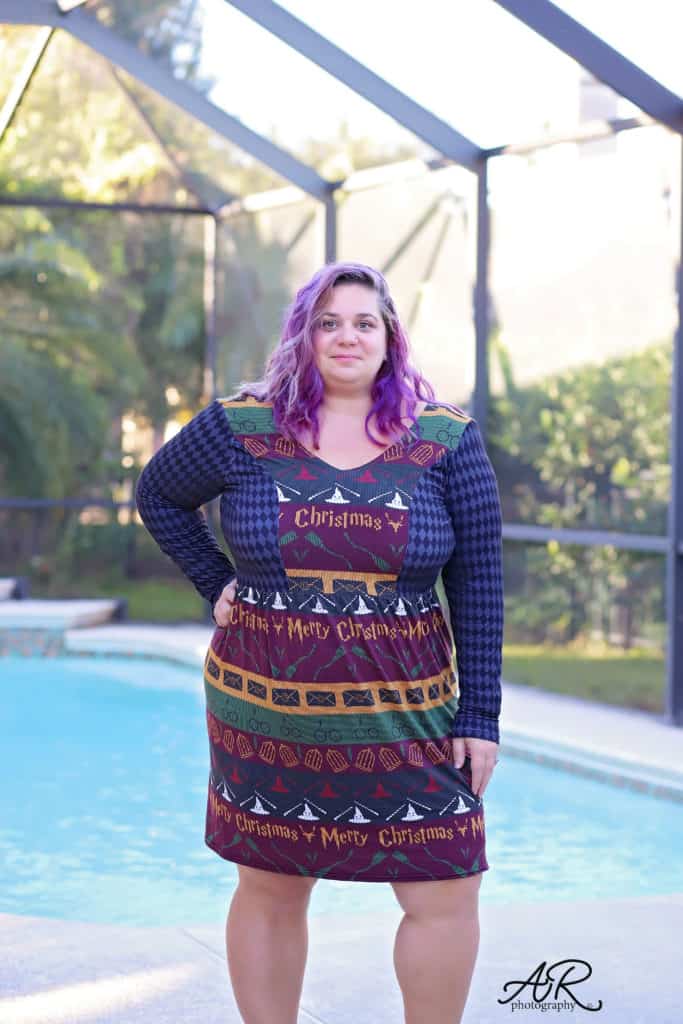
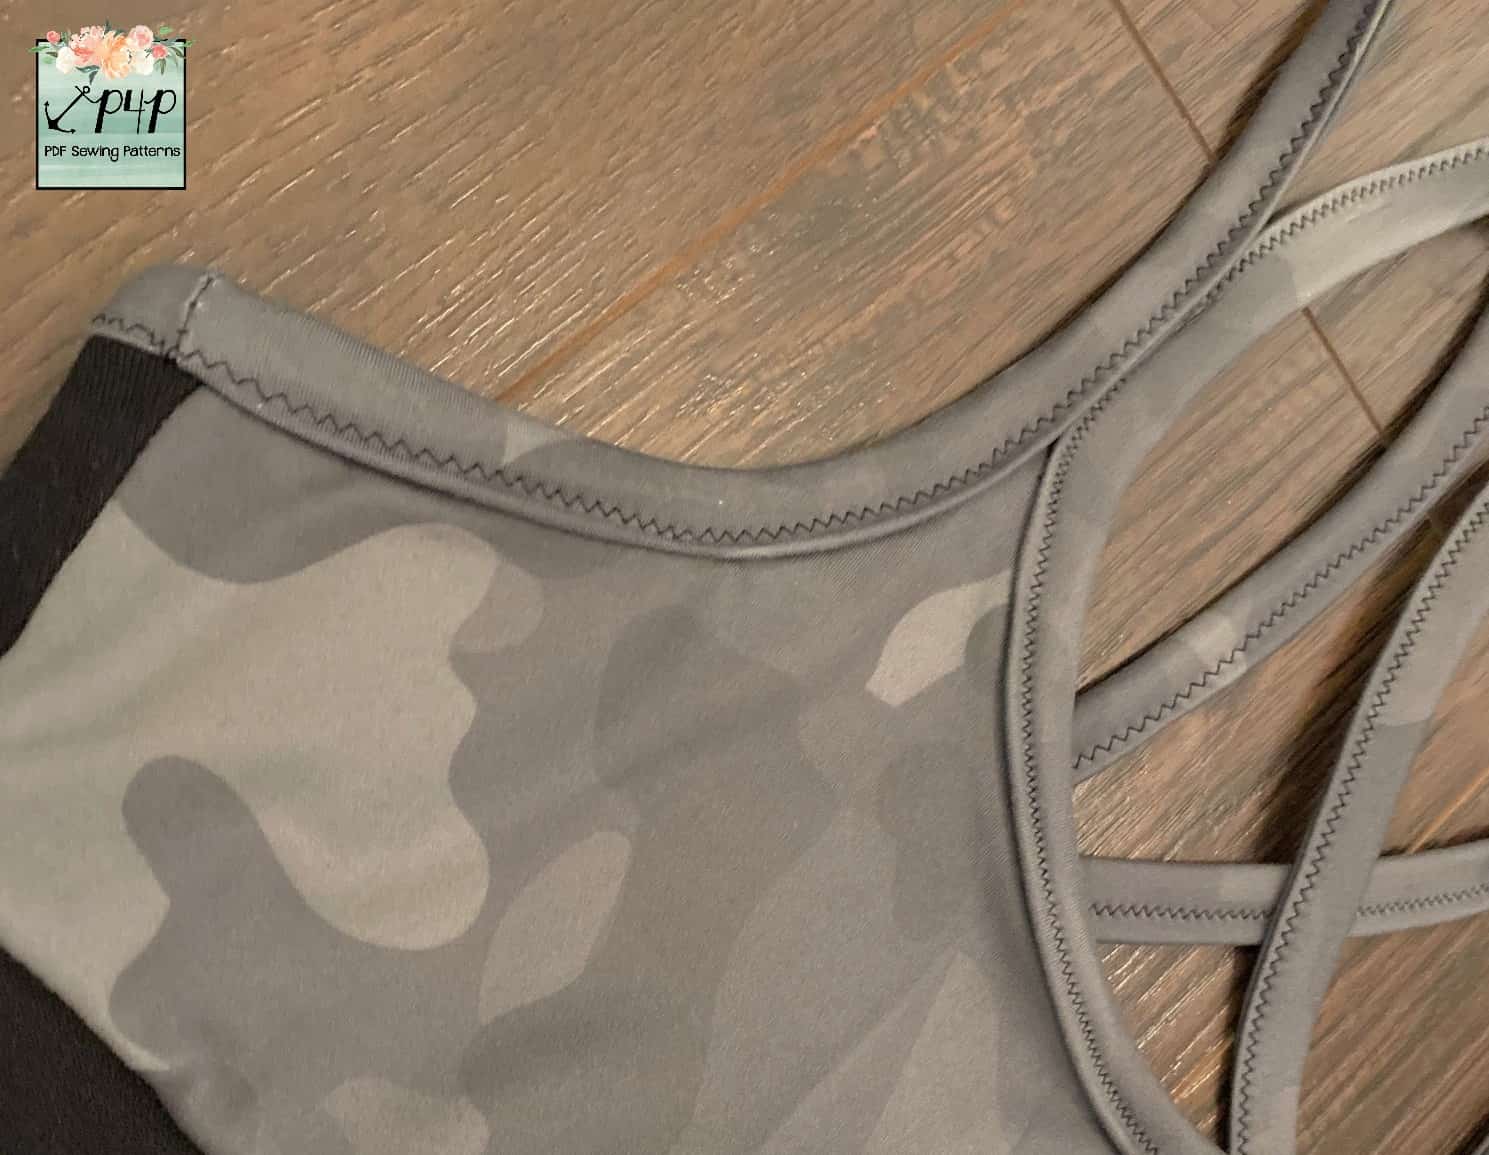
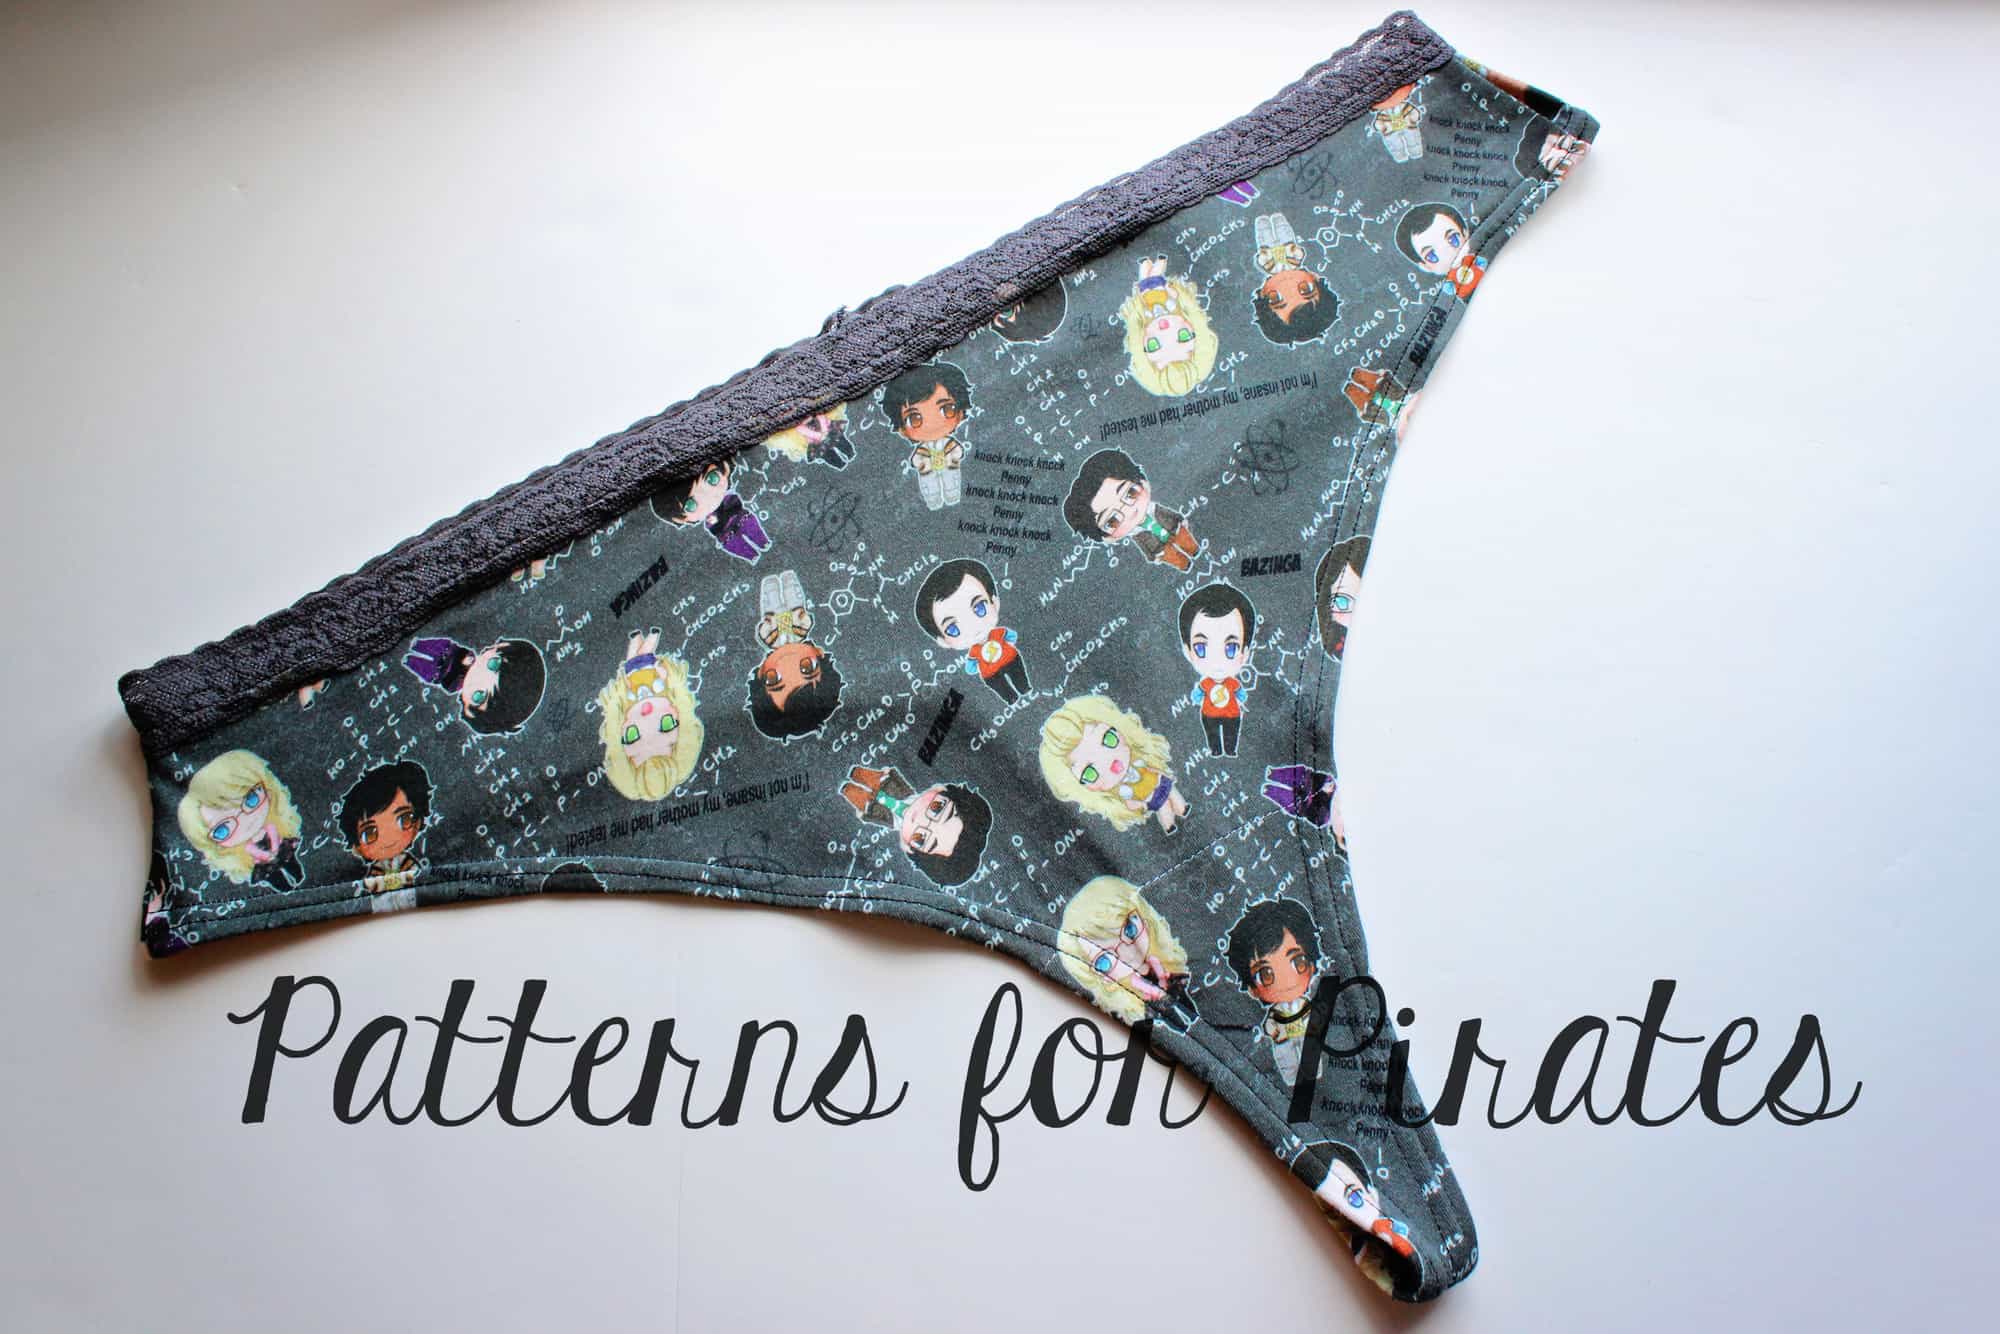
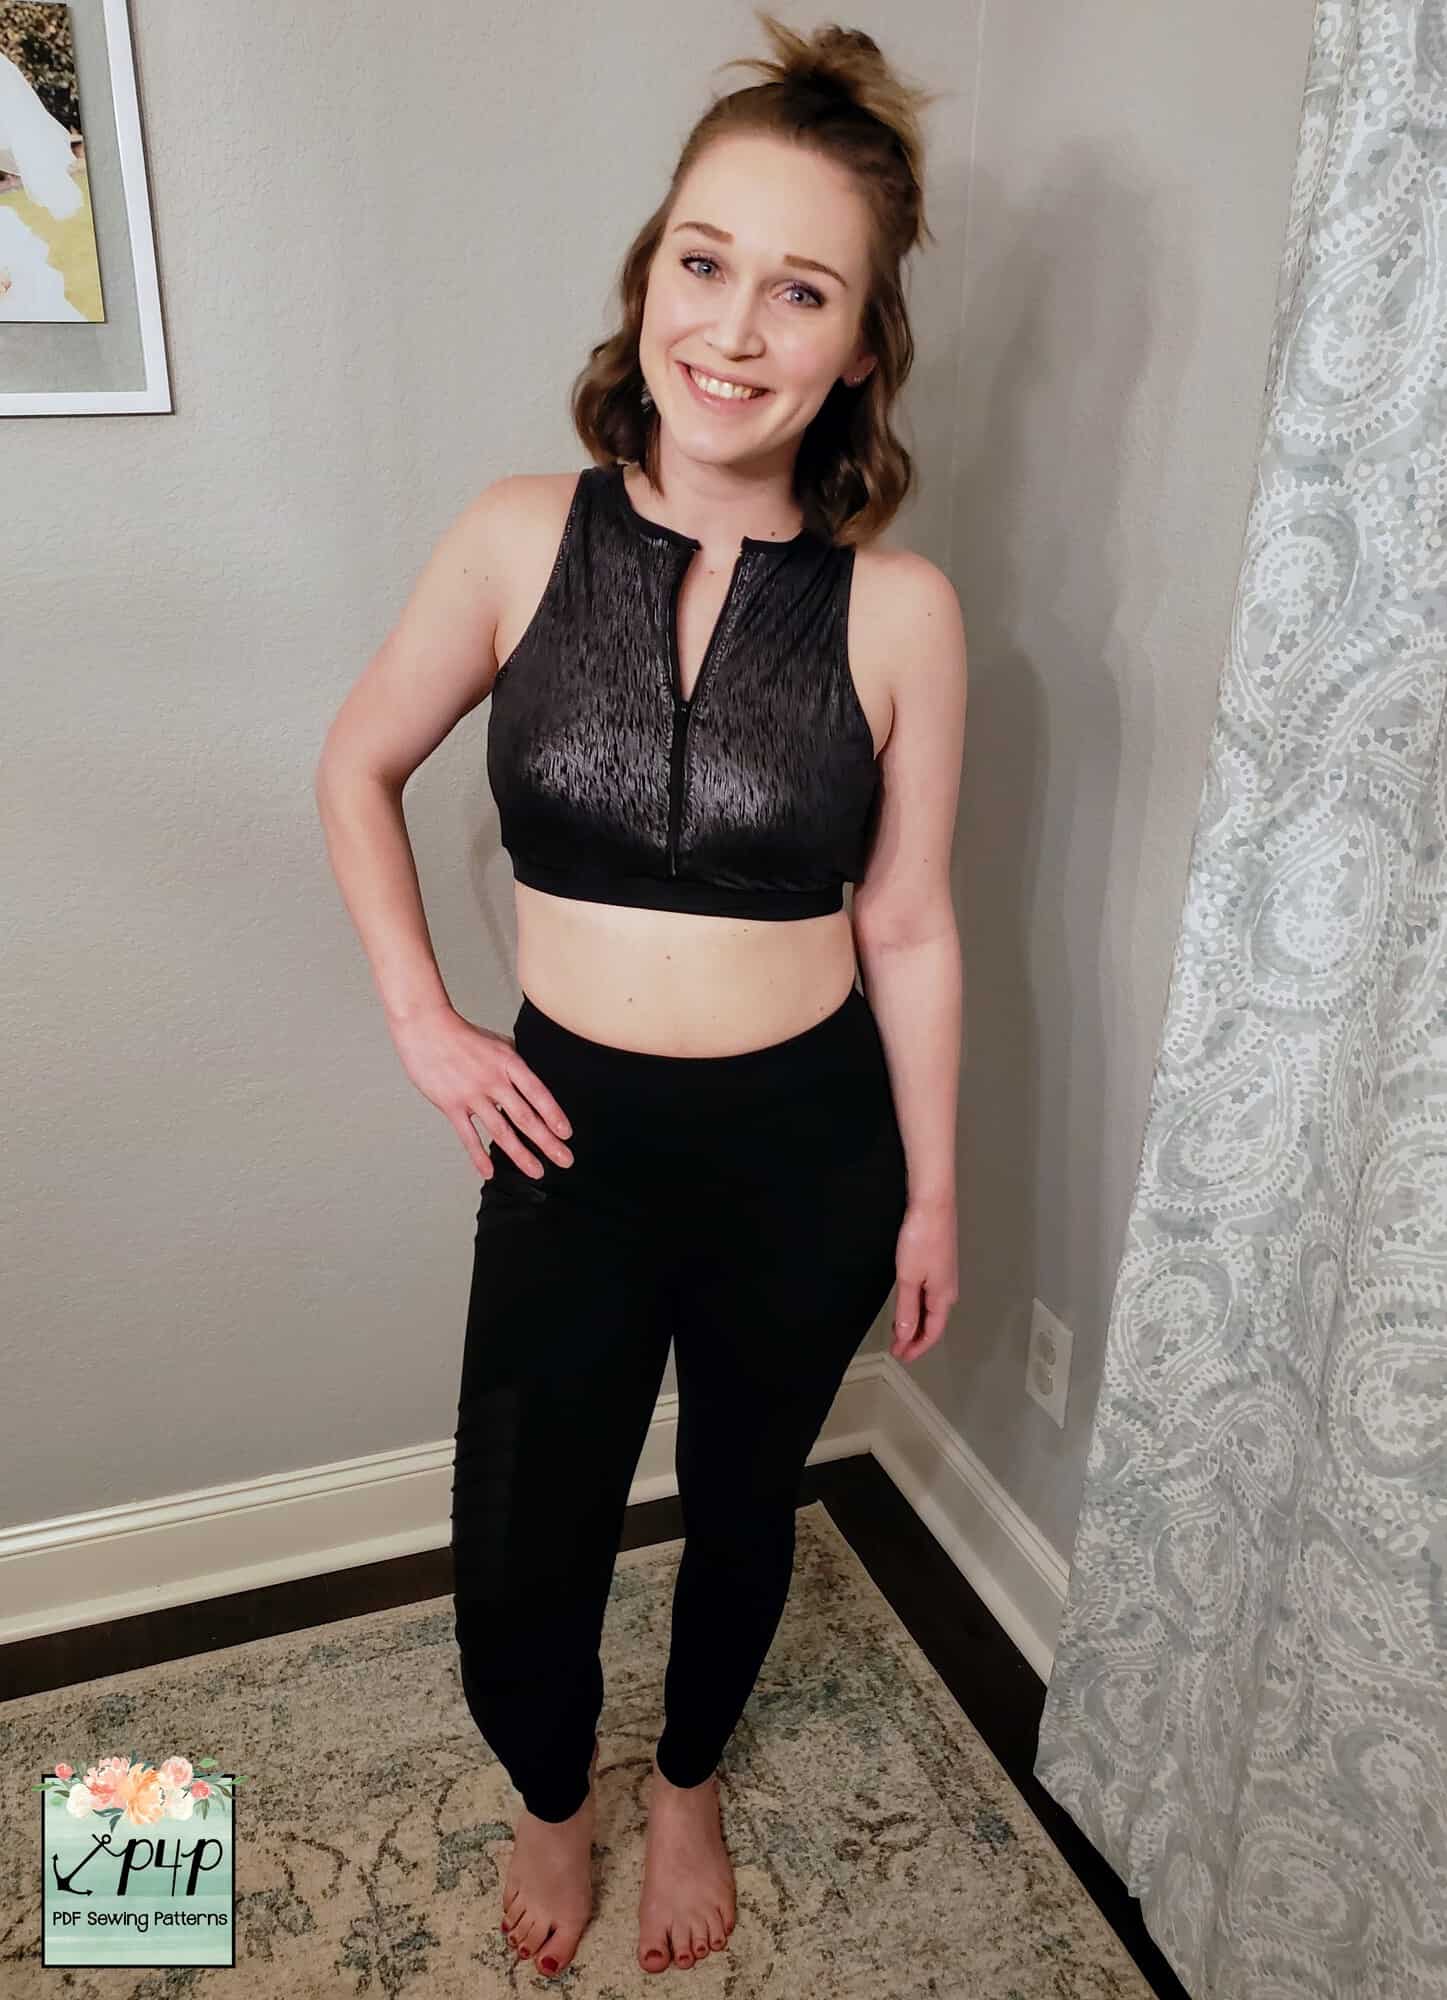
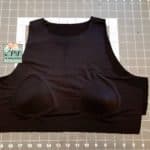
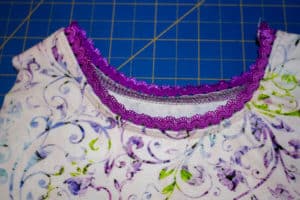
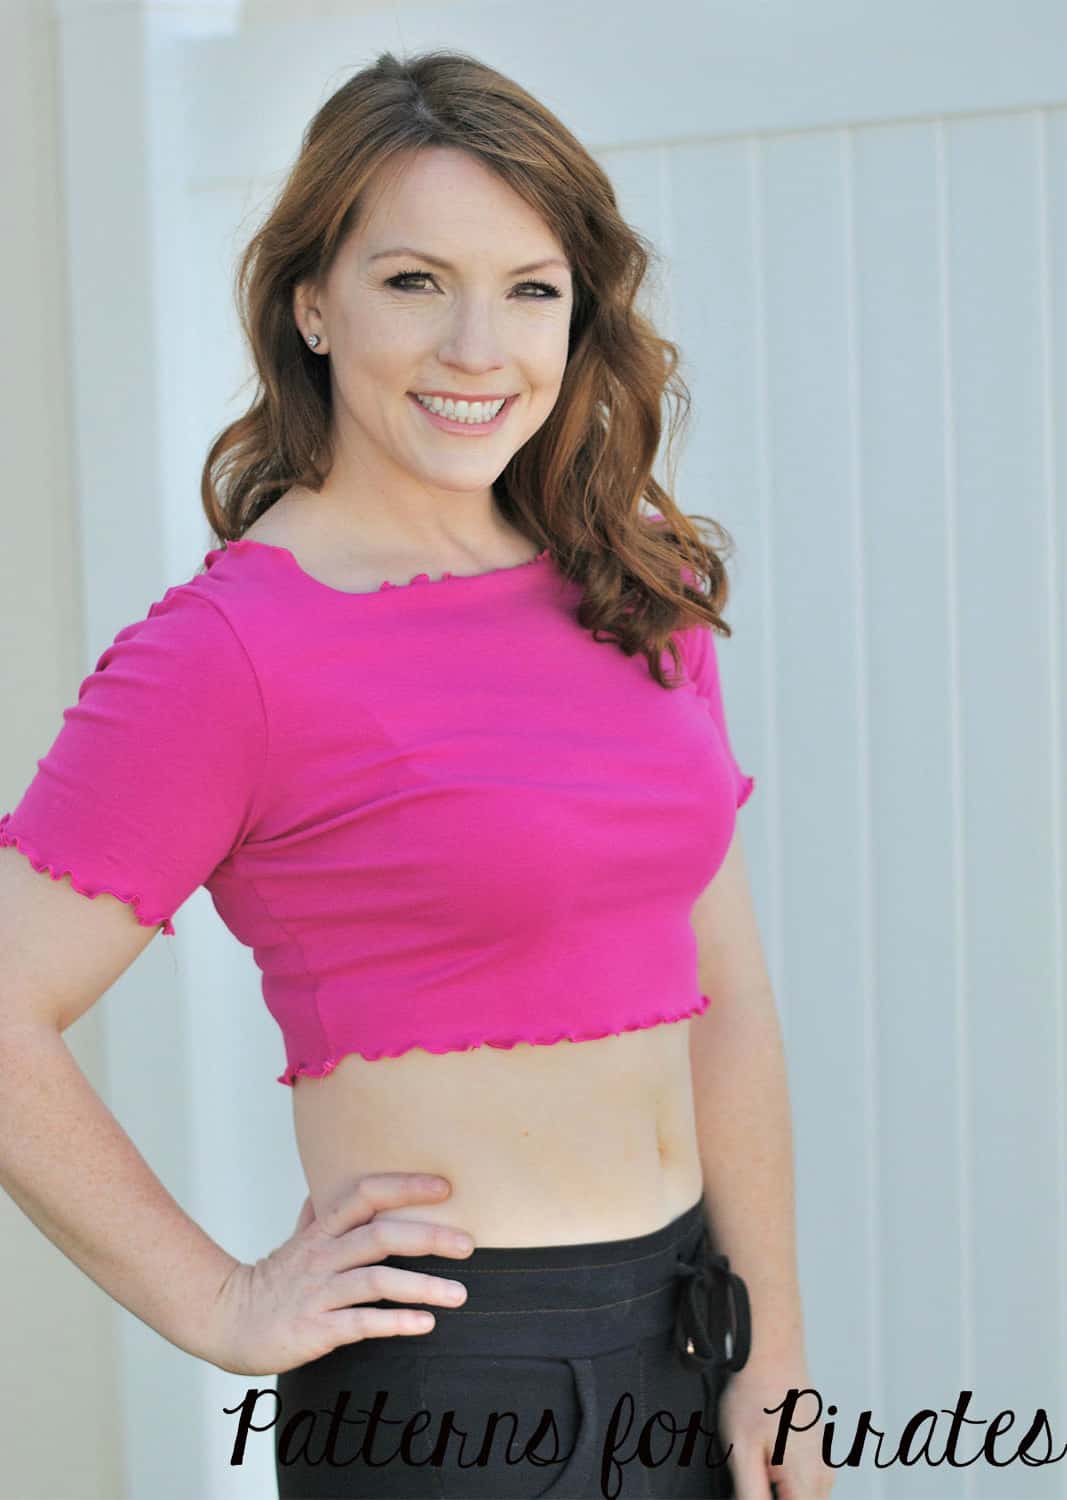
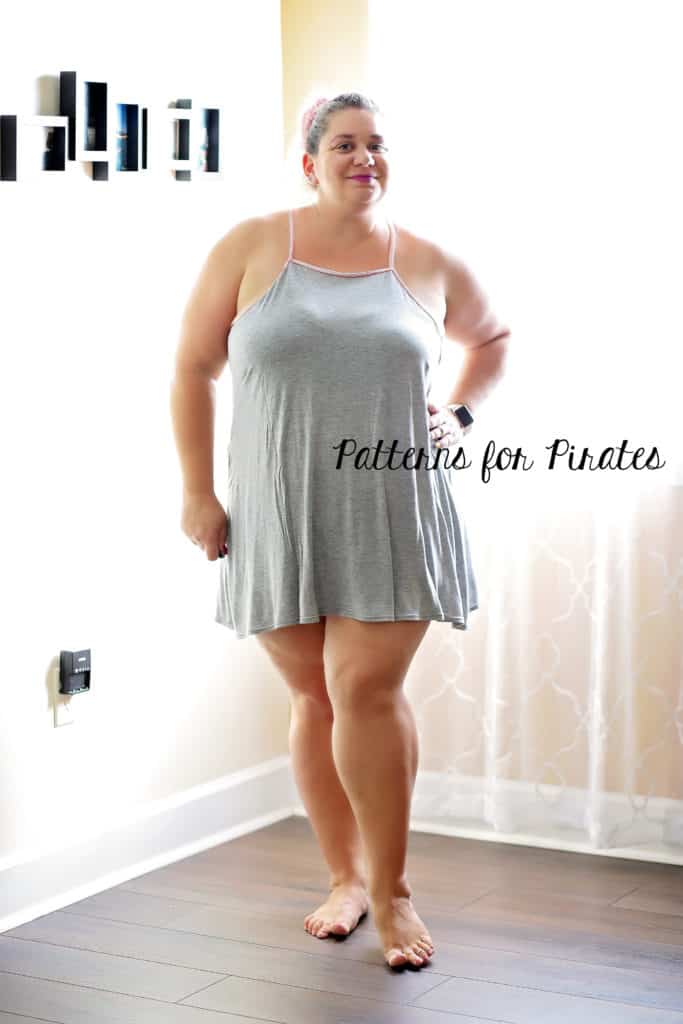
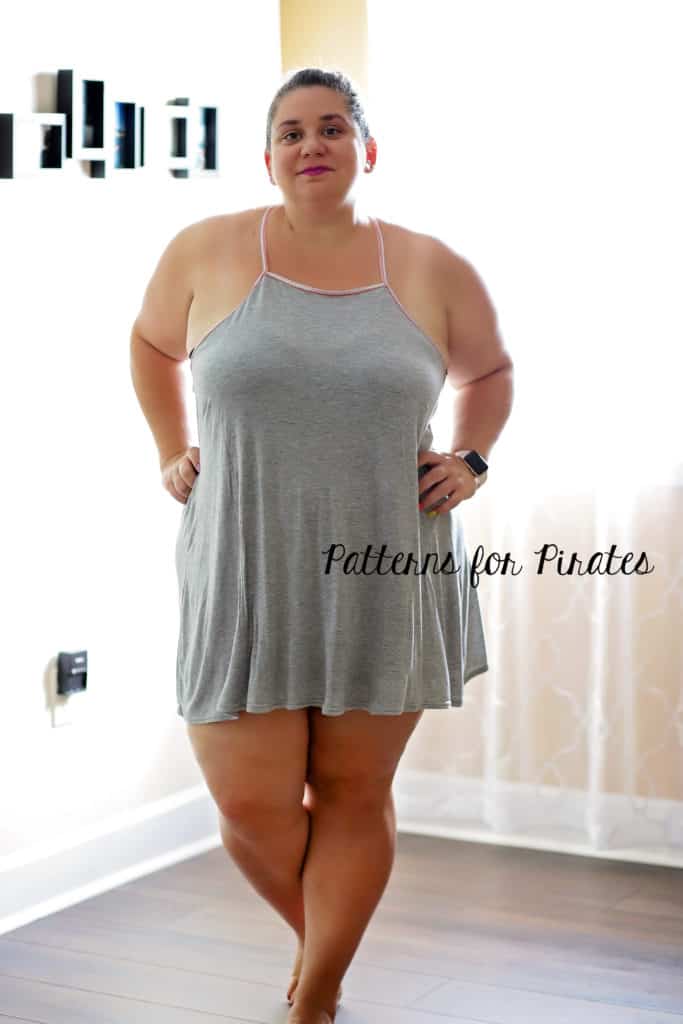
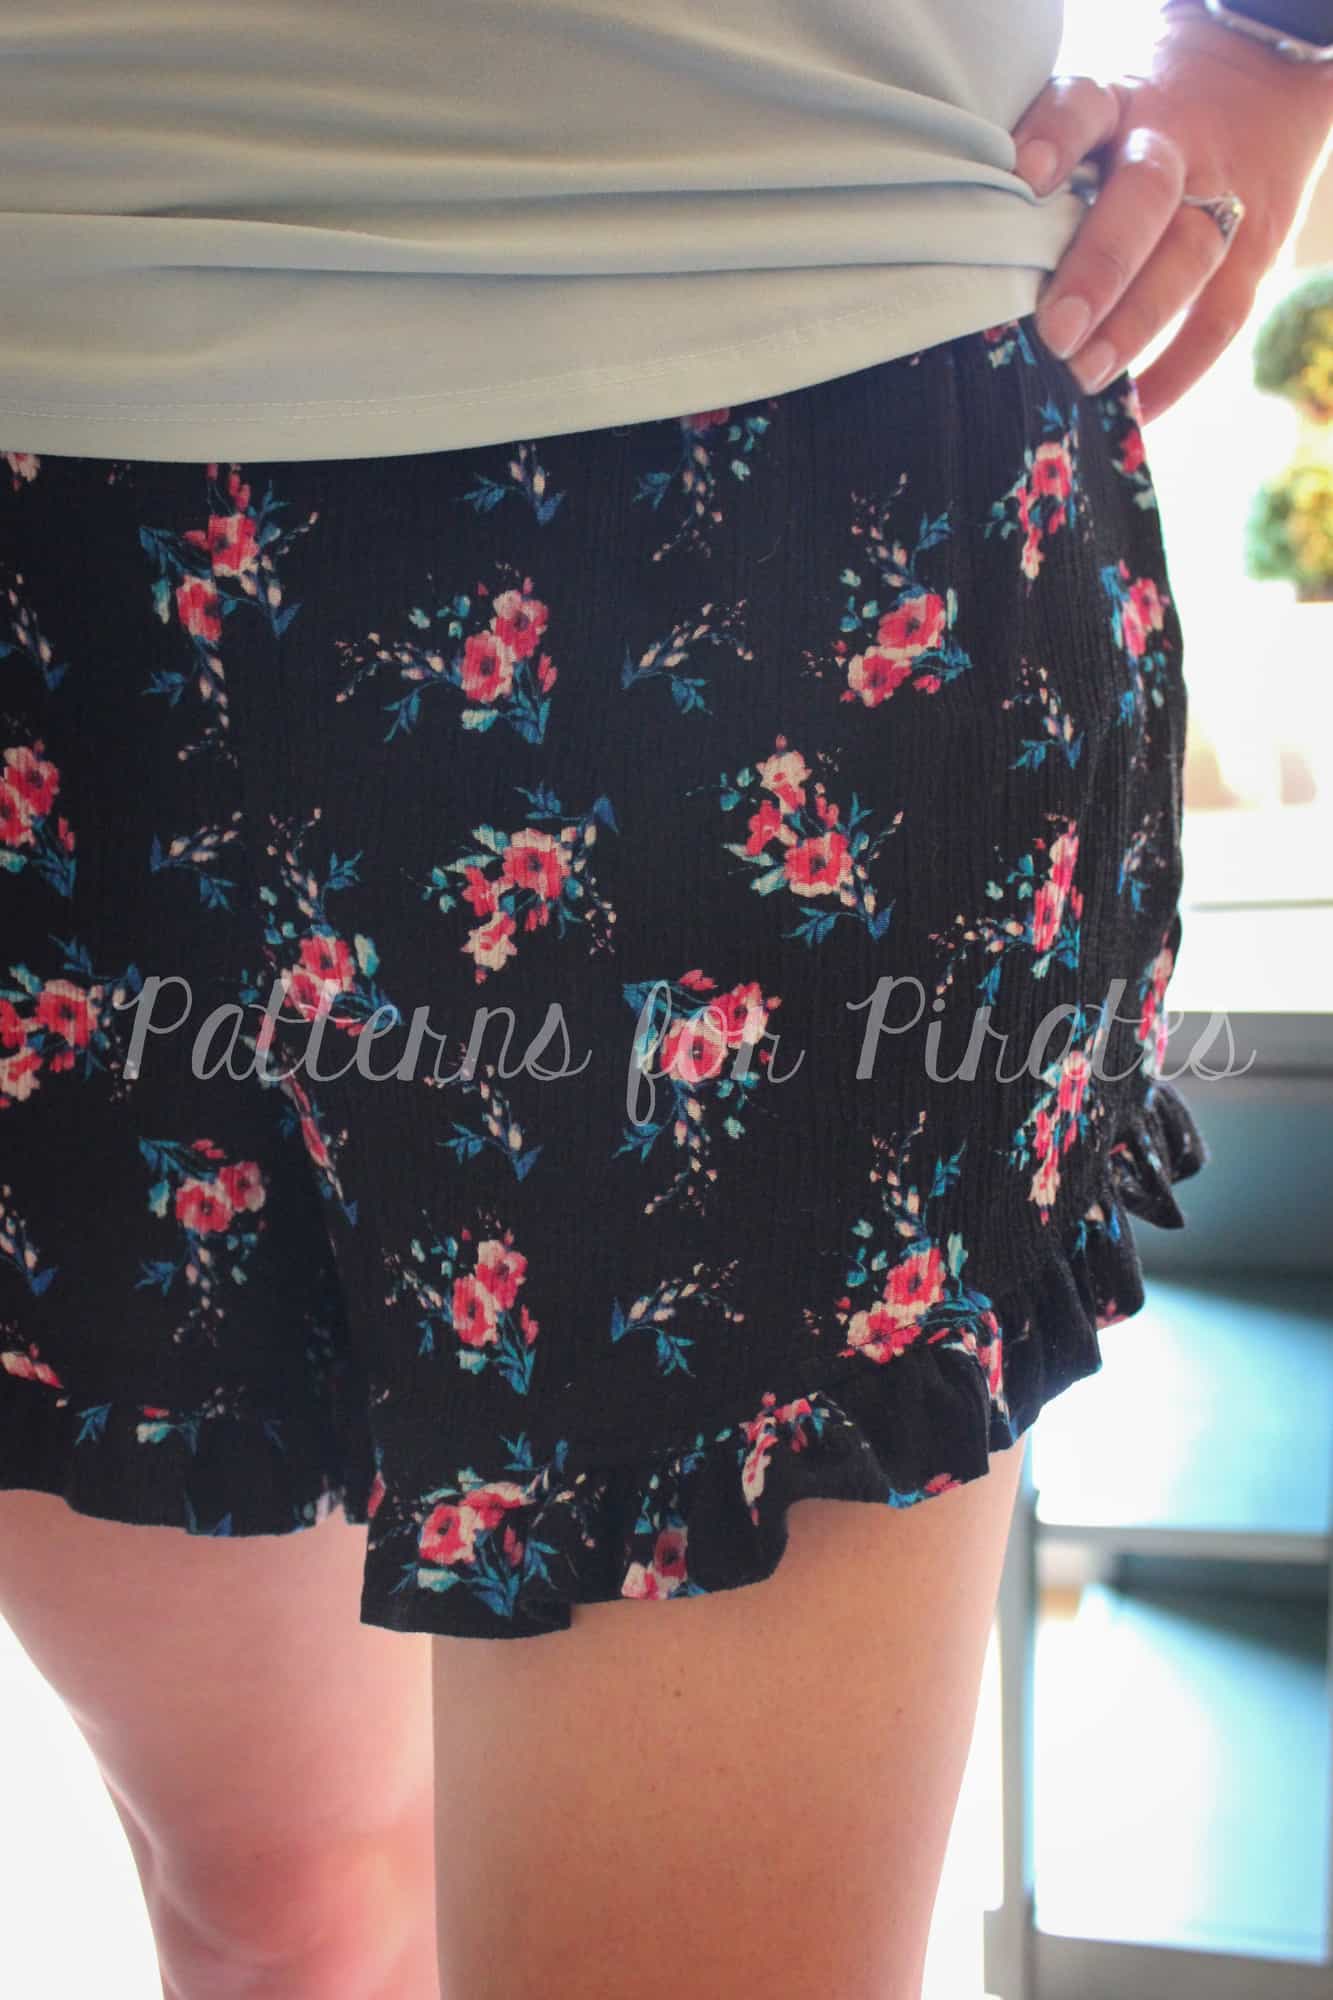
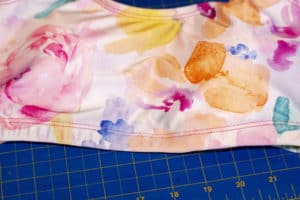
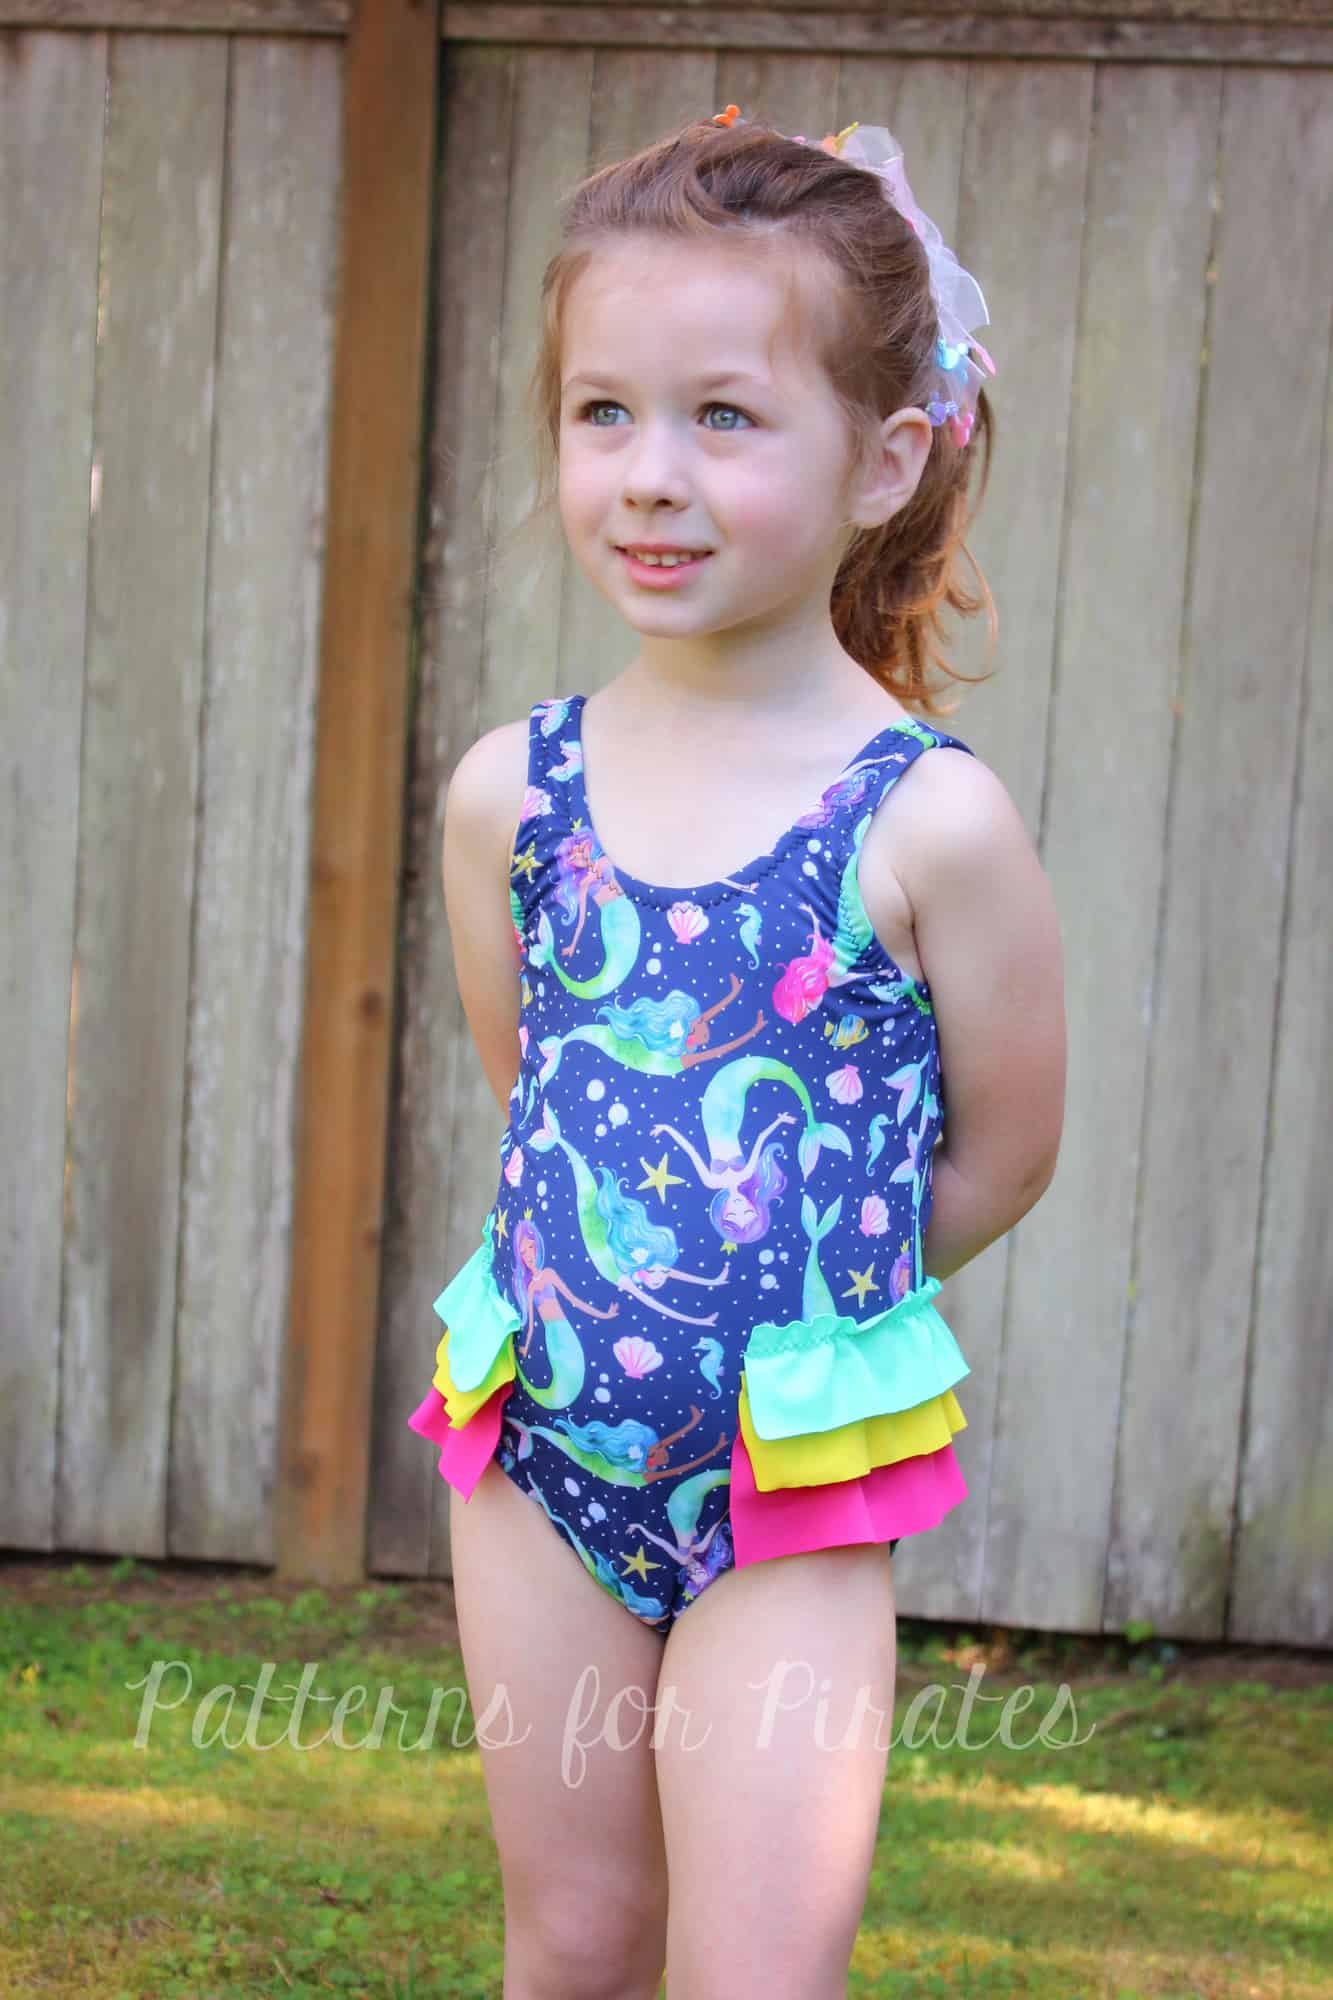
Edge stitch all the way around, then put that comfy, cute bra on and ROCK IT!
Happy Sewing!

Jody
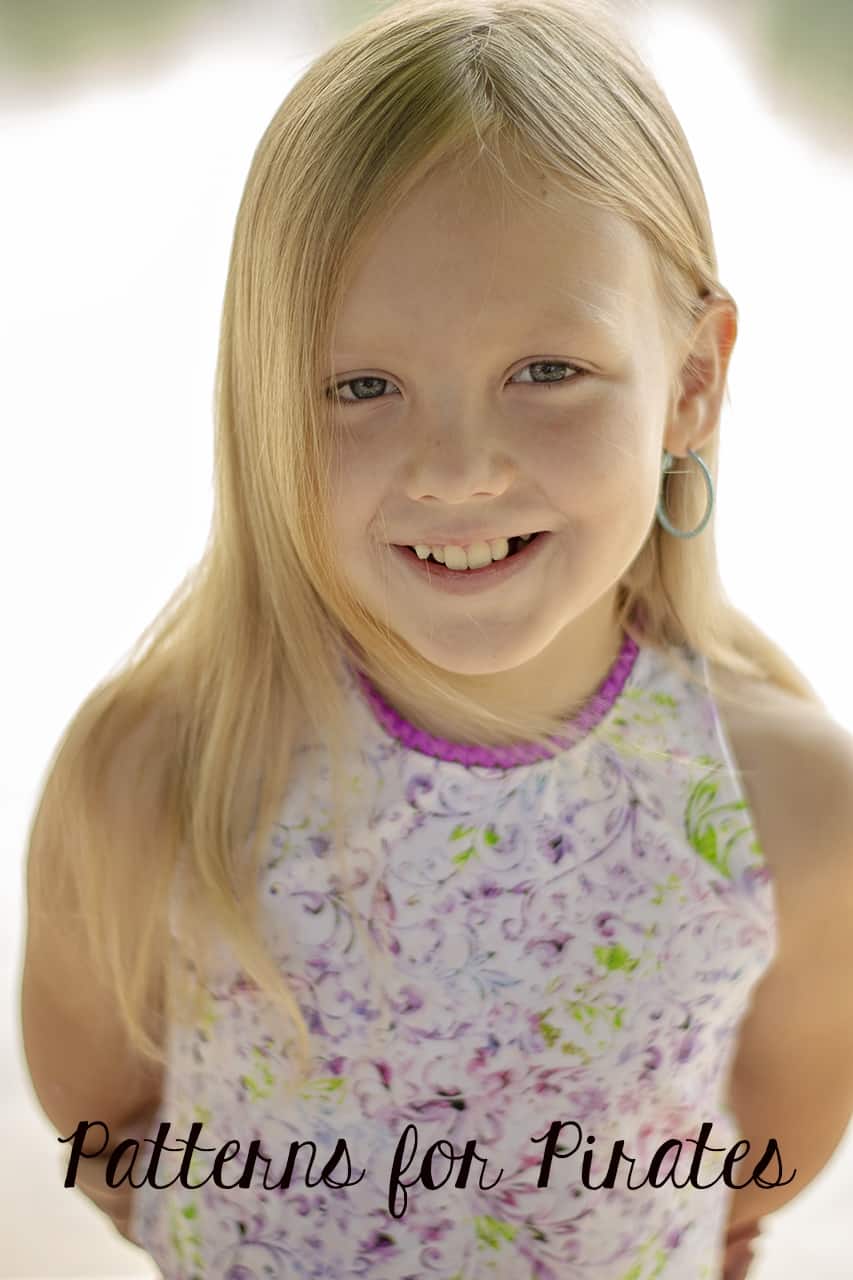
Now that you have seen how easy it is to get 3 more options for the Classic Sports Bra, go sew yourself or your little one, one! 🙂 We would love to see your creations so share them in our P4P Facebook group too or hash tag #patternsforpirates on Instagram.


