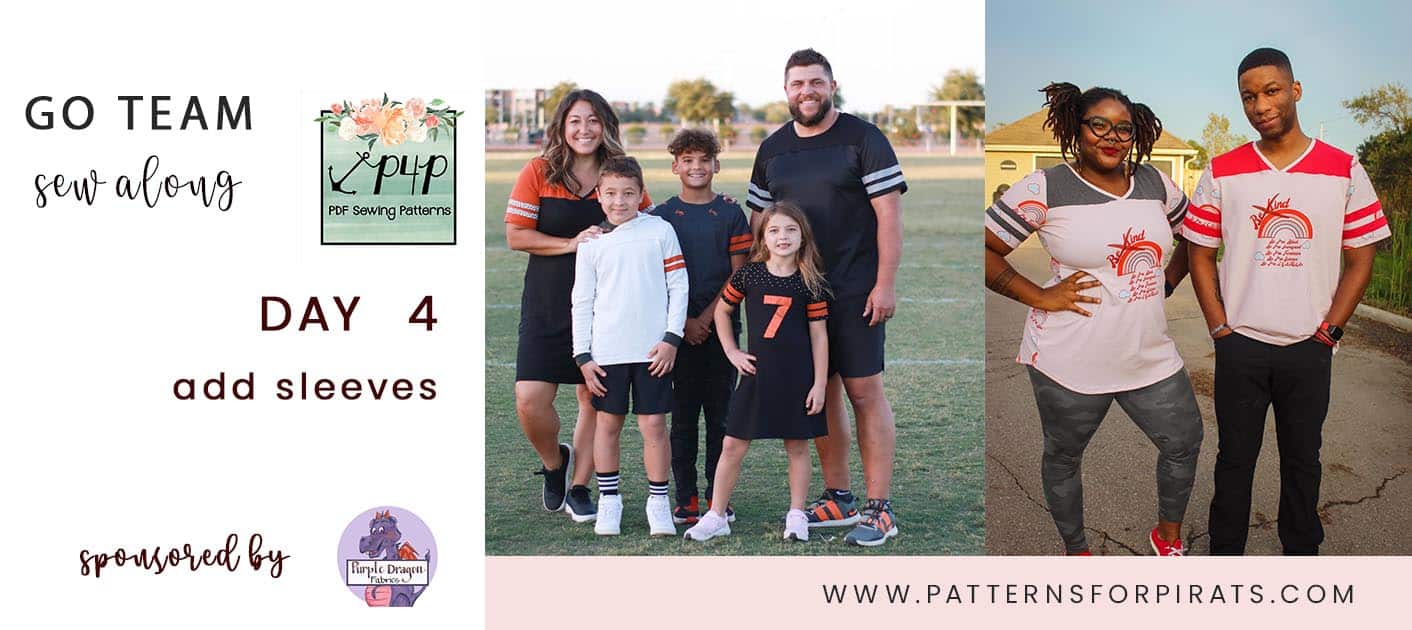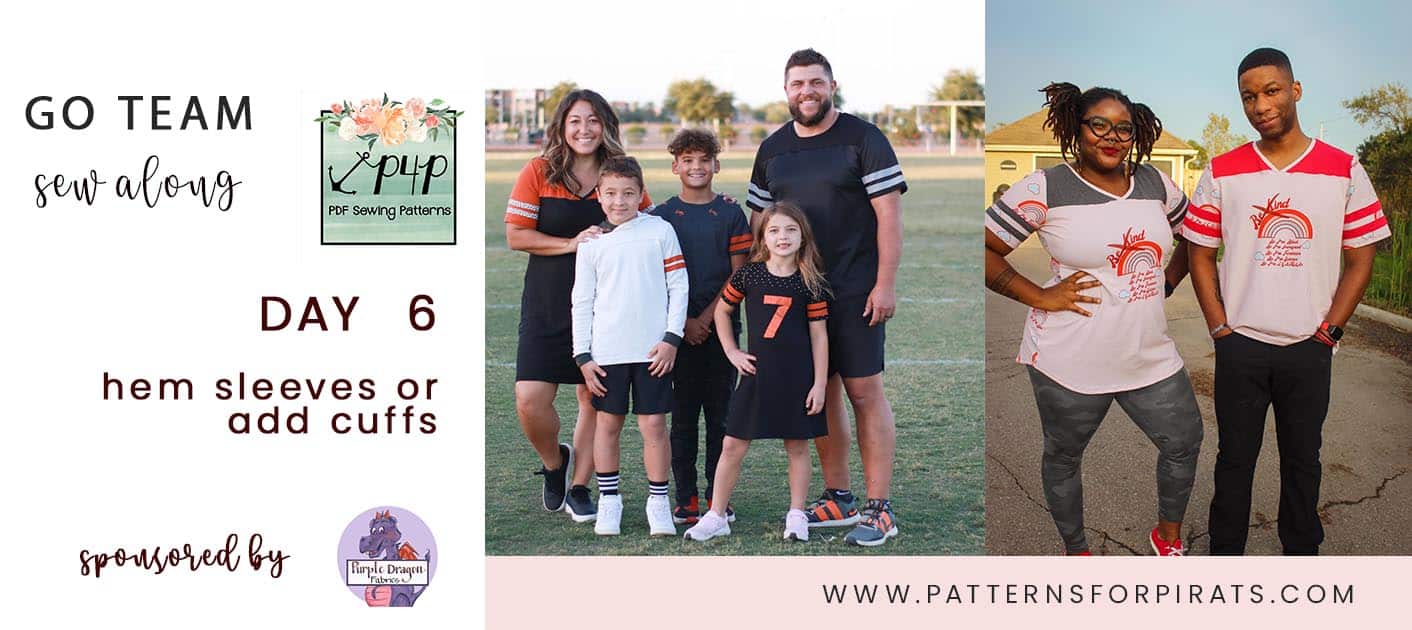
Welcome to the last day of the Go Team sew along. All we have left to do today is add the cuffs or hem the sleeves. I did both options in today’s video. The short and 3/4 length sleeve have only a hemmed option.
- When creating the cuffs it’s highly important to press the wrong sides together lengthwise. Stitch each cuff, right sides together to create a loop. Take a look over our P4P University Knit Cuffs blog to get some tips and tricks for beautiful cuffs.
- If you are doing the hem option, you can use your sewing machine’s twin needles option or your coverstitch as I have. Before you start, take a look over our Hemming blog because we have a few tips for easy and successful hemming.
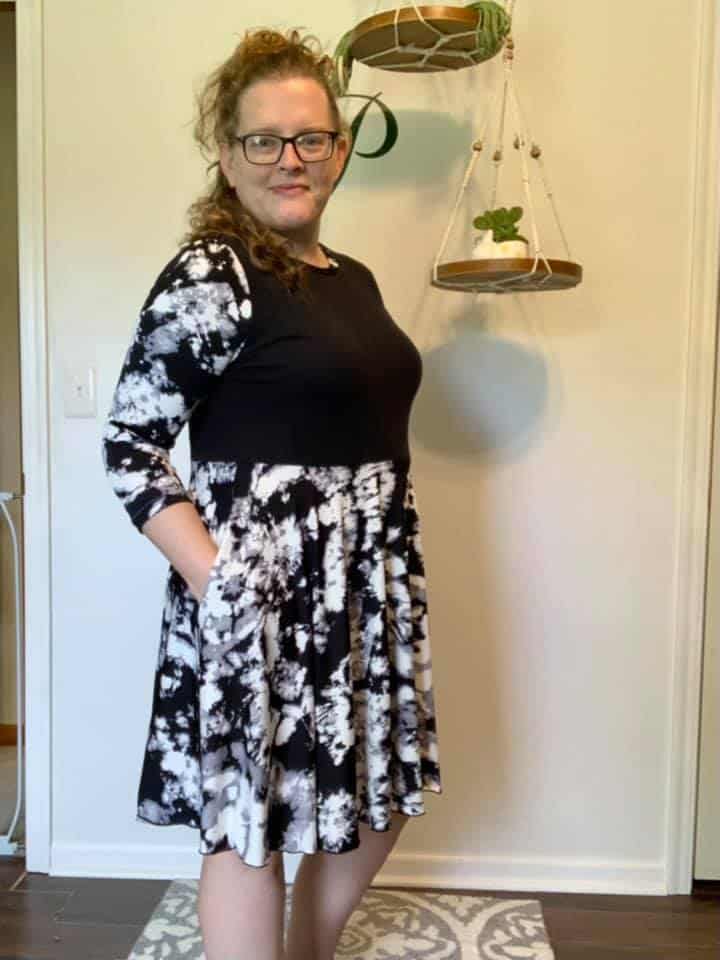
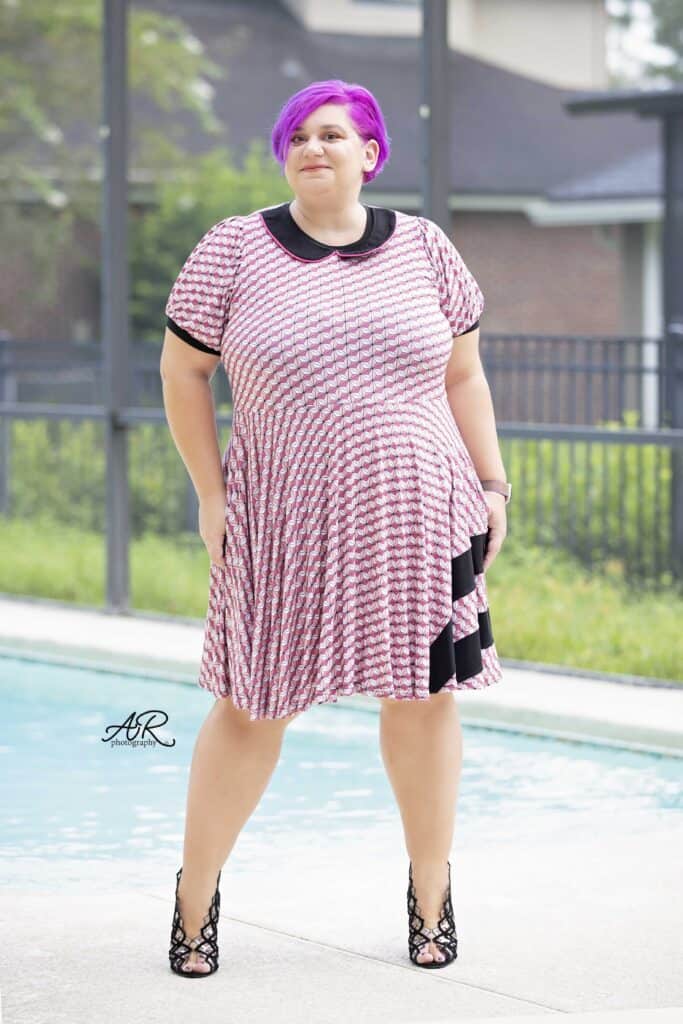
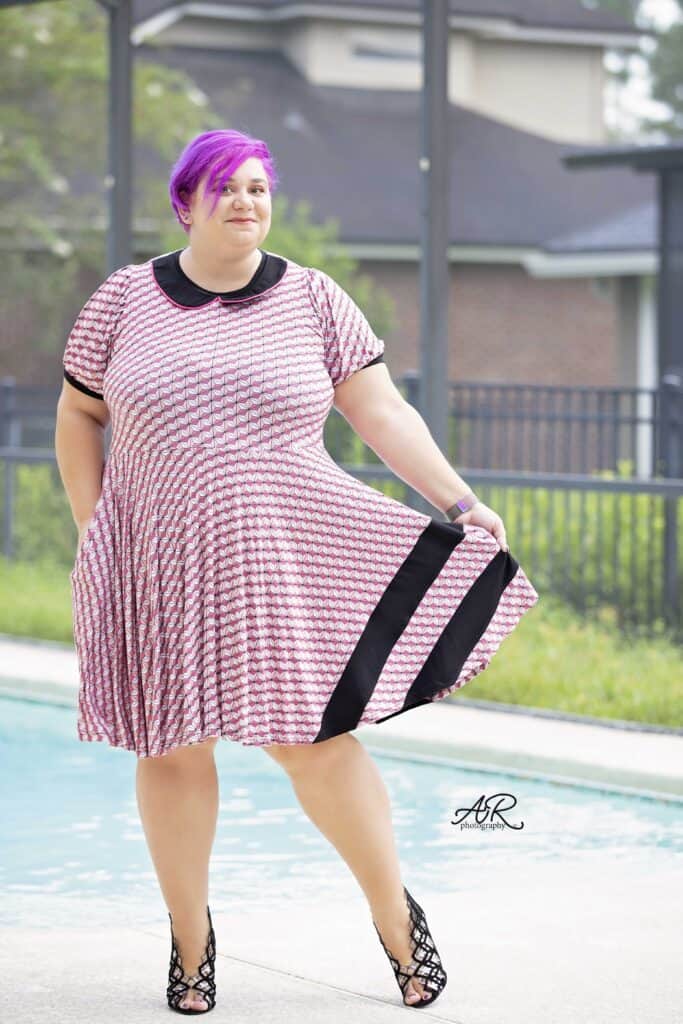
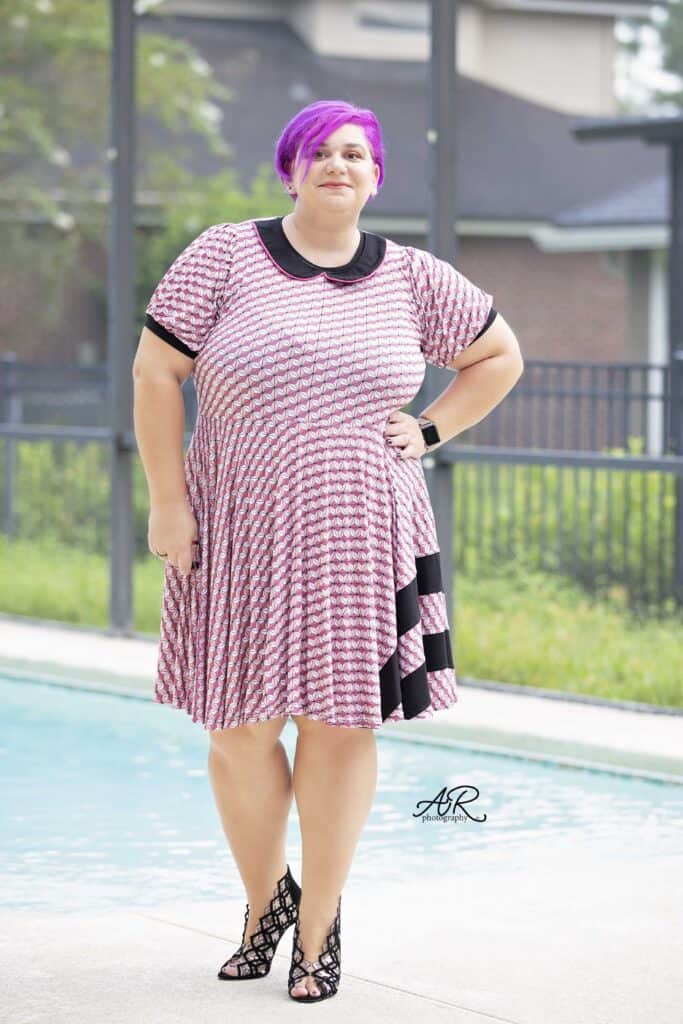
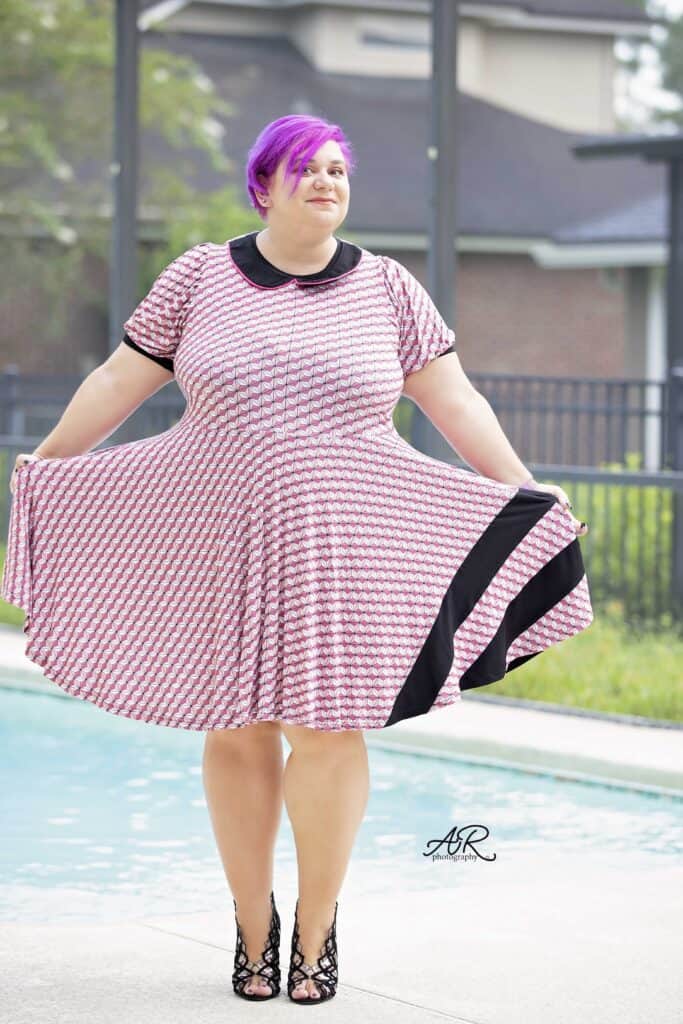
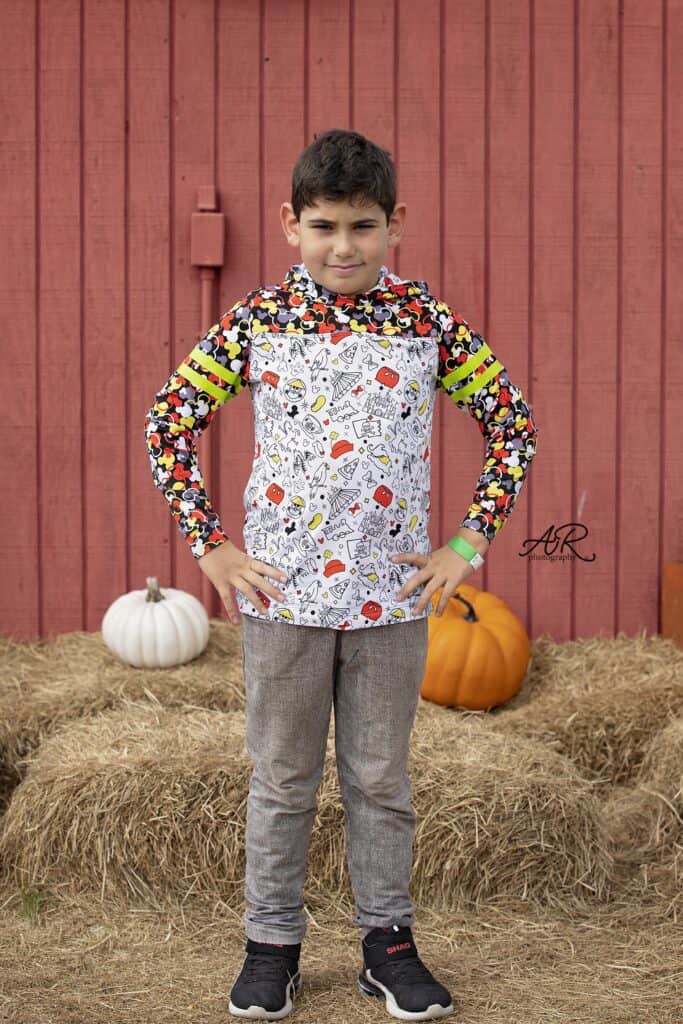
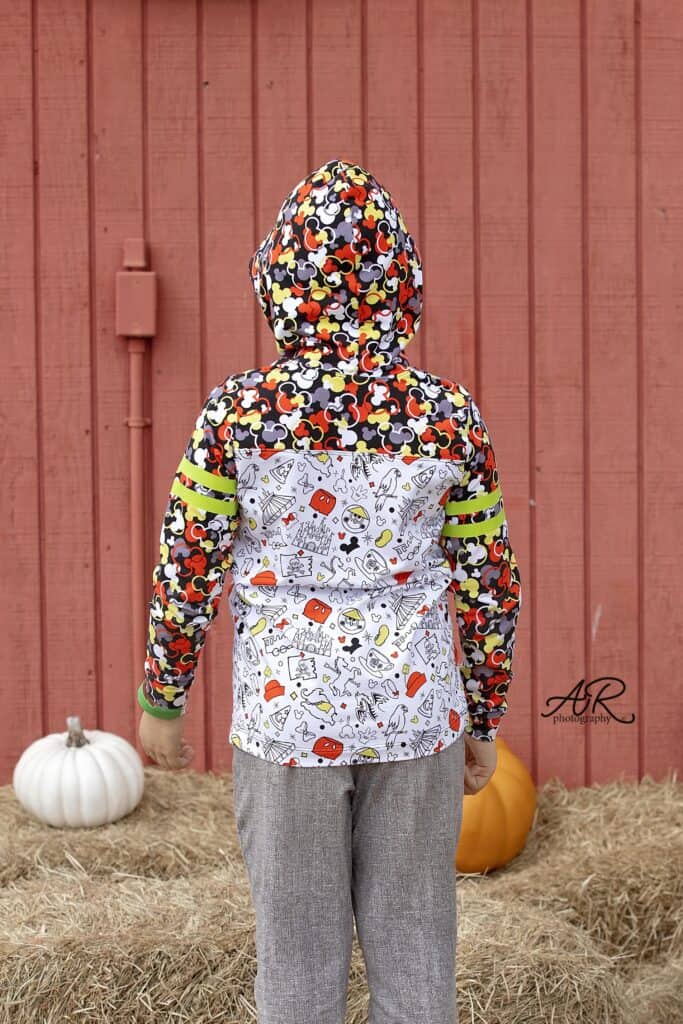
All done! Give your shirt or dress a good steam press and pair it with your favorite P4P bottoms for an extra cute look!
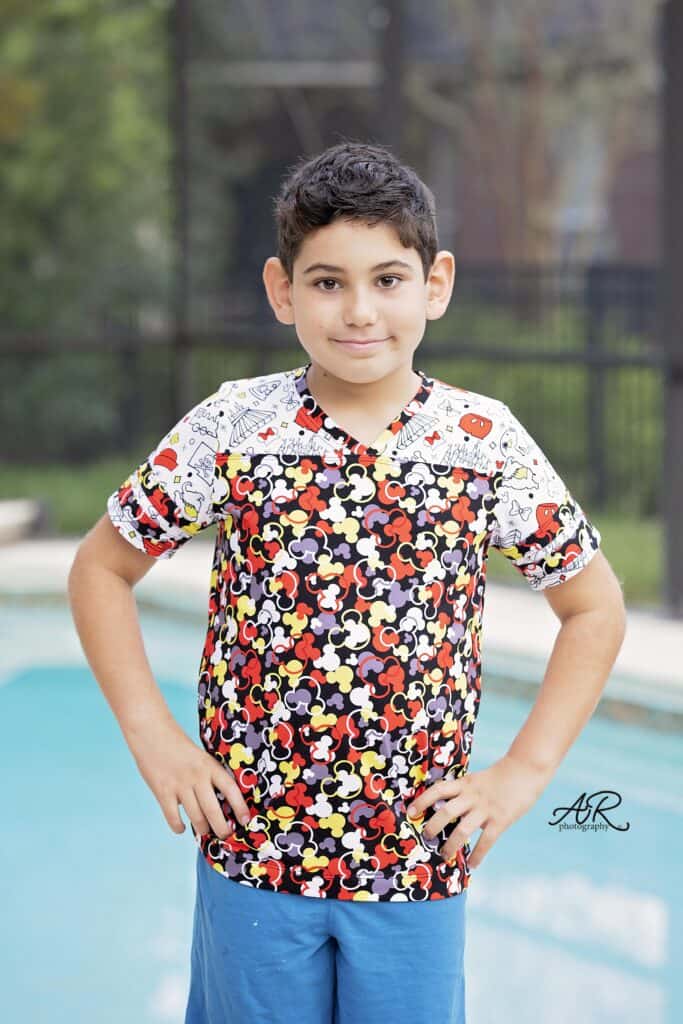

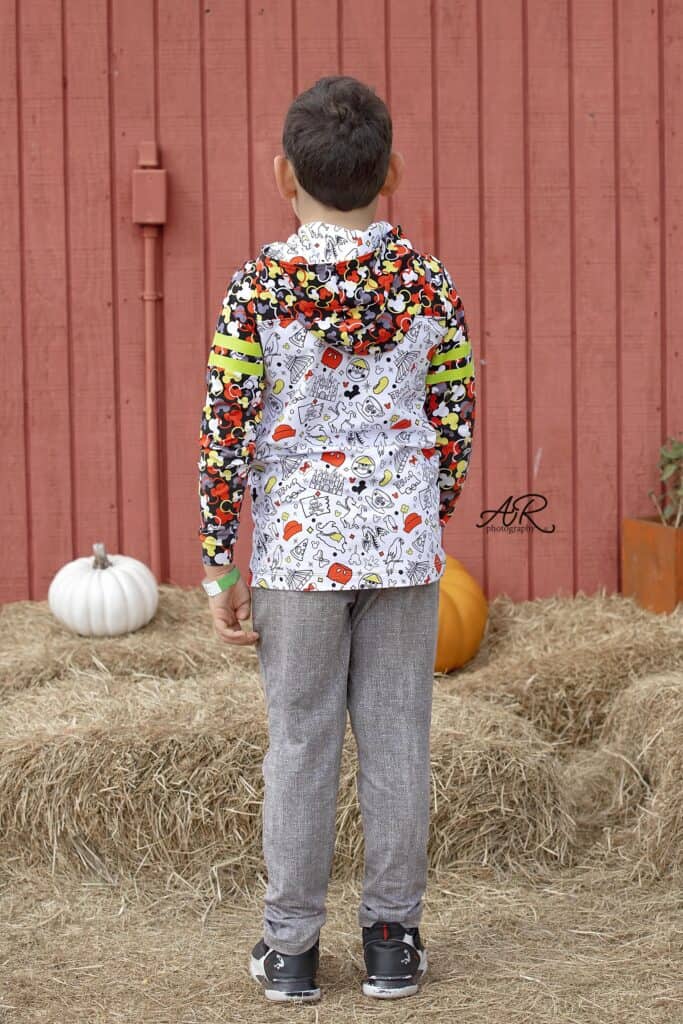
Needless to say, my little one loved both of his Mousefetti Go Team jerseys. 💜
Last Go Team sew along video is posted below. Once you complete your dress and/or jersey snap a photo of your finished project and add it to the day 6 photo comments in this SAL album. That is where the P4P team will select the winners. I do encourage you to share your pretty makes in the main P4P Facebook group so everyone can admire them. See you back here on Tuesday for the winners blog!
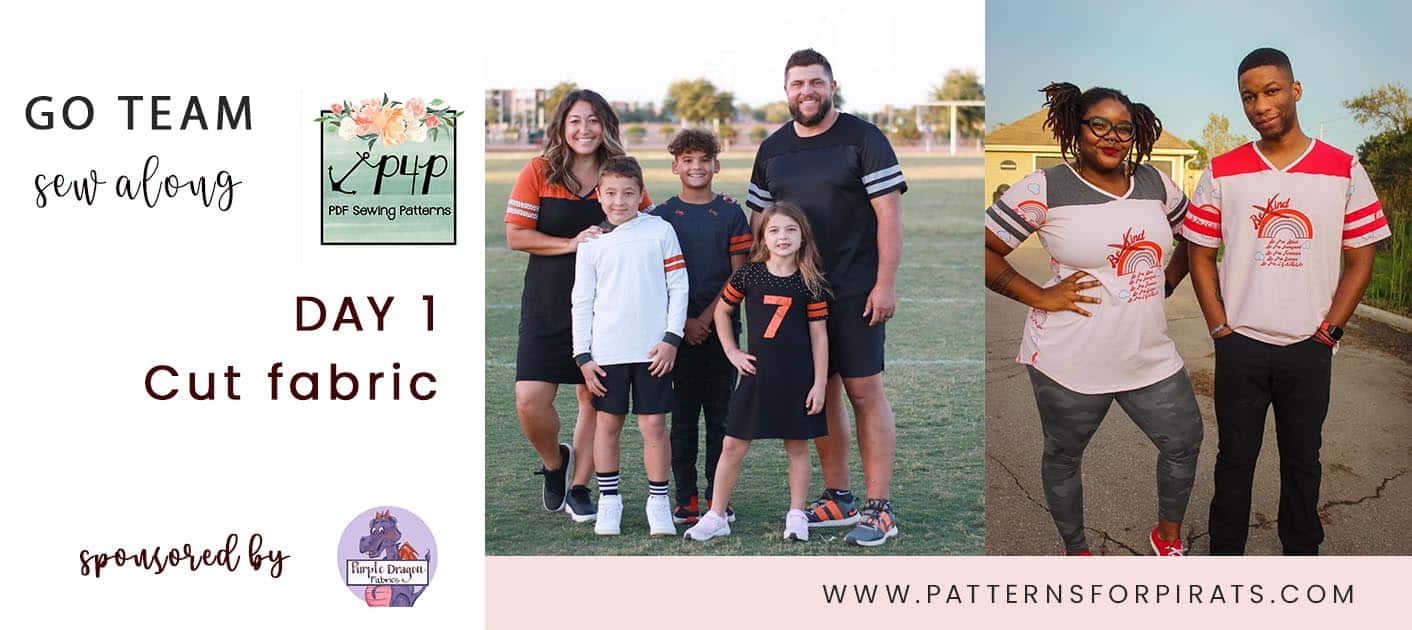
Go Team SAL – day 1 | cut fabric
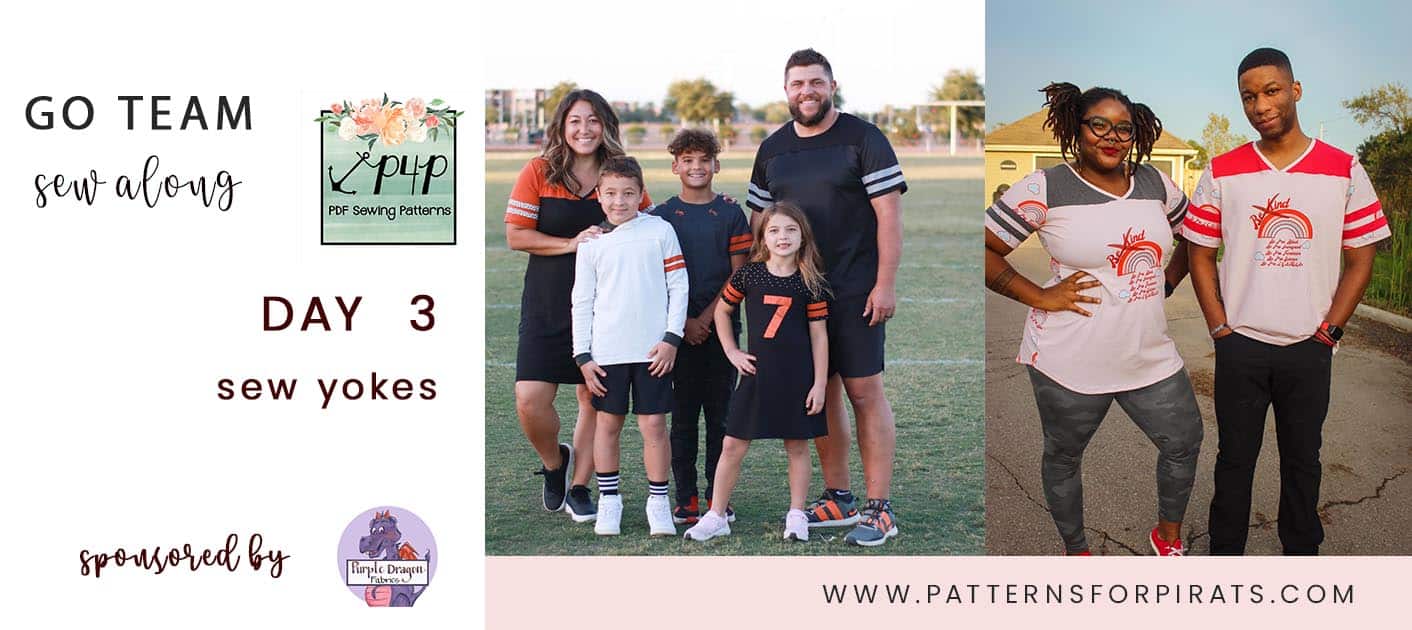
Go Team SAL – day 2 | shoulder seams & neckline
Go Team SAL – day 5 | side seams & hem bottom
Go Team SAL – day 6 | hem sleeves or add cuffs
Go Team SAL – day 7 | winners announcement