Patterns for Pirates

P4P stylish, modern, wearable patterns

  • Home
  • Blog
    • Frequently Asked Questions
    • Pattern Releases
      • Free Patterns
    • P4P University
      • Fitting
      • Sewing with Stretch, Knit Fabrics
      • Sewing with Woven Fabrics
      • Sewing Machines
    • Sew-A-Longs
    • Fabric for Pirates
    • Pattern Hacks
    • Announcement
      • Blog Tours
      • Contest/Giveaway
  • Shop
  • Bundle Discounts
  • Flash Friday
  • Gift Cards
  • My Account
  • Cart

Vintage Jumper Sew Along – day 4

March 25, 2021

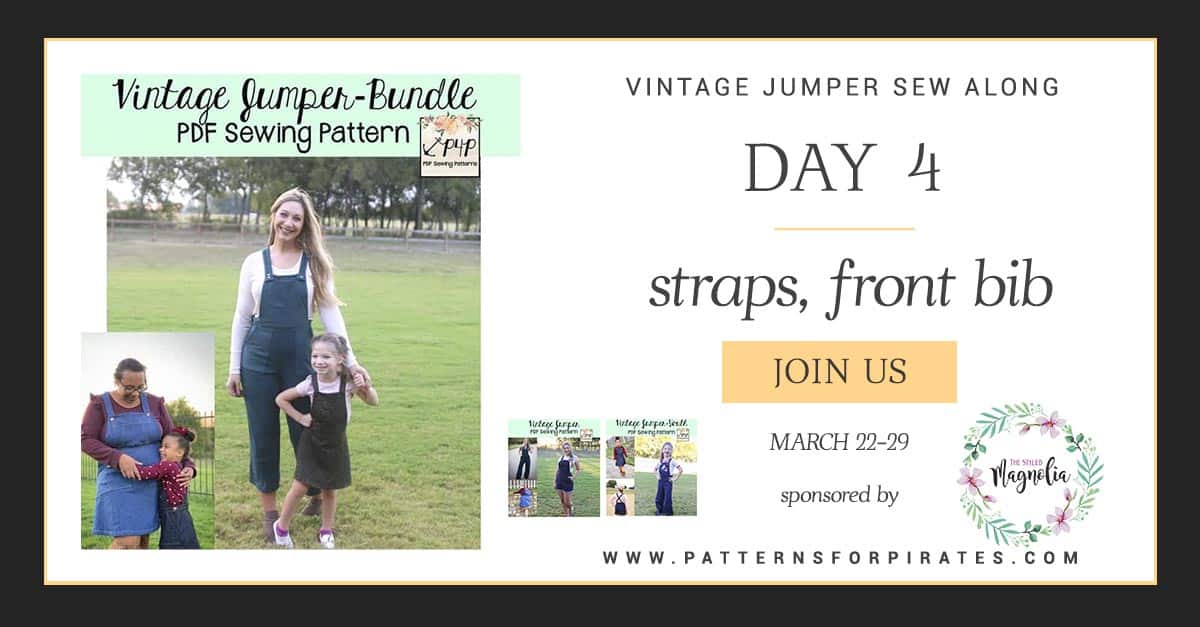
Good morning, pirates! Today we start working on the top part of the jumper. It features a cute bib and straps that attach to the waistband and bib. 

The bib is lined and it has a fun color-blocked pocket. While the pocket is optional, I wouldn’t skip it. If you are making the youth Jumper you can add a cute embroidery, a monogram a heat transfer vinyl graphic, you name it! Another way to add a little something extra to the pocket is to do some decorative top stitching. So much opportunity for embellishments!

The pocket itself is not lined, however, I did decide to line mine because the fabric was thin enough. If you are using a heavier, thicker woven, don’t line it or use a thin fabric for the back. You can see how I did it in the video below.  

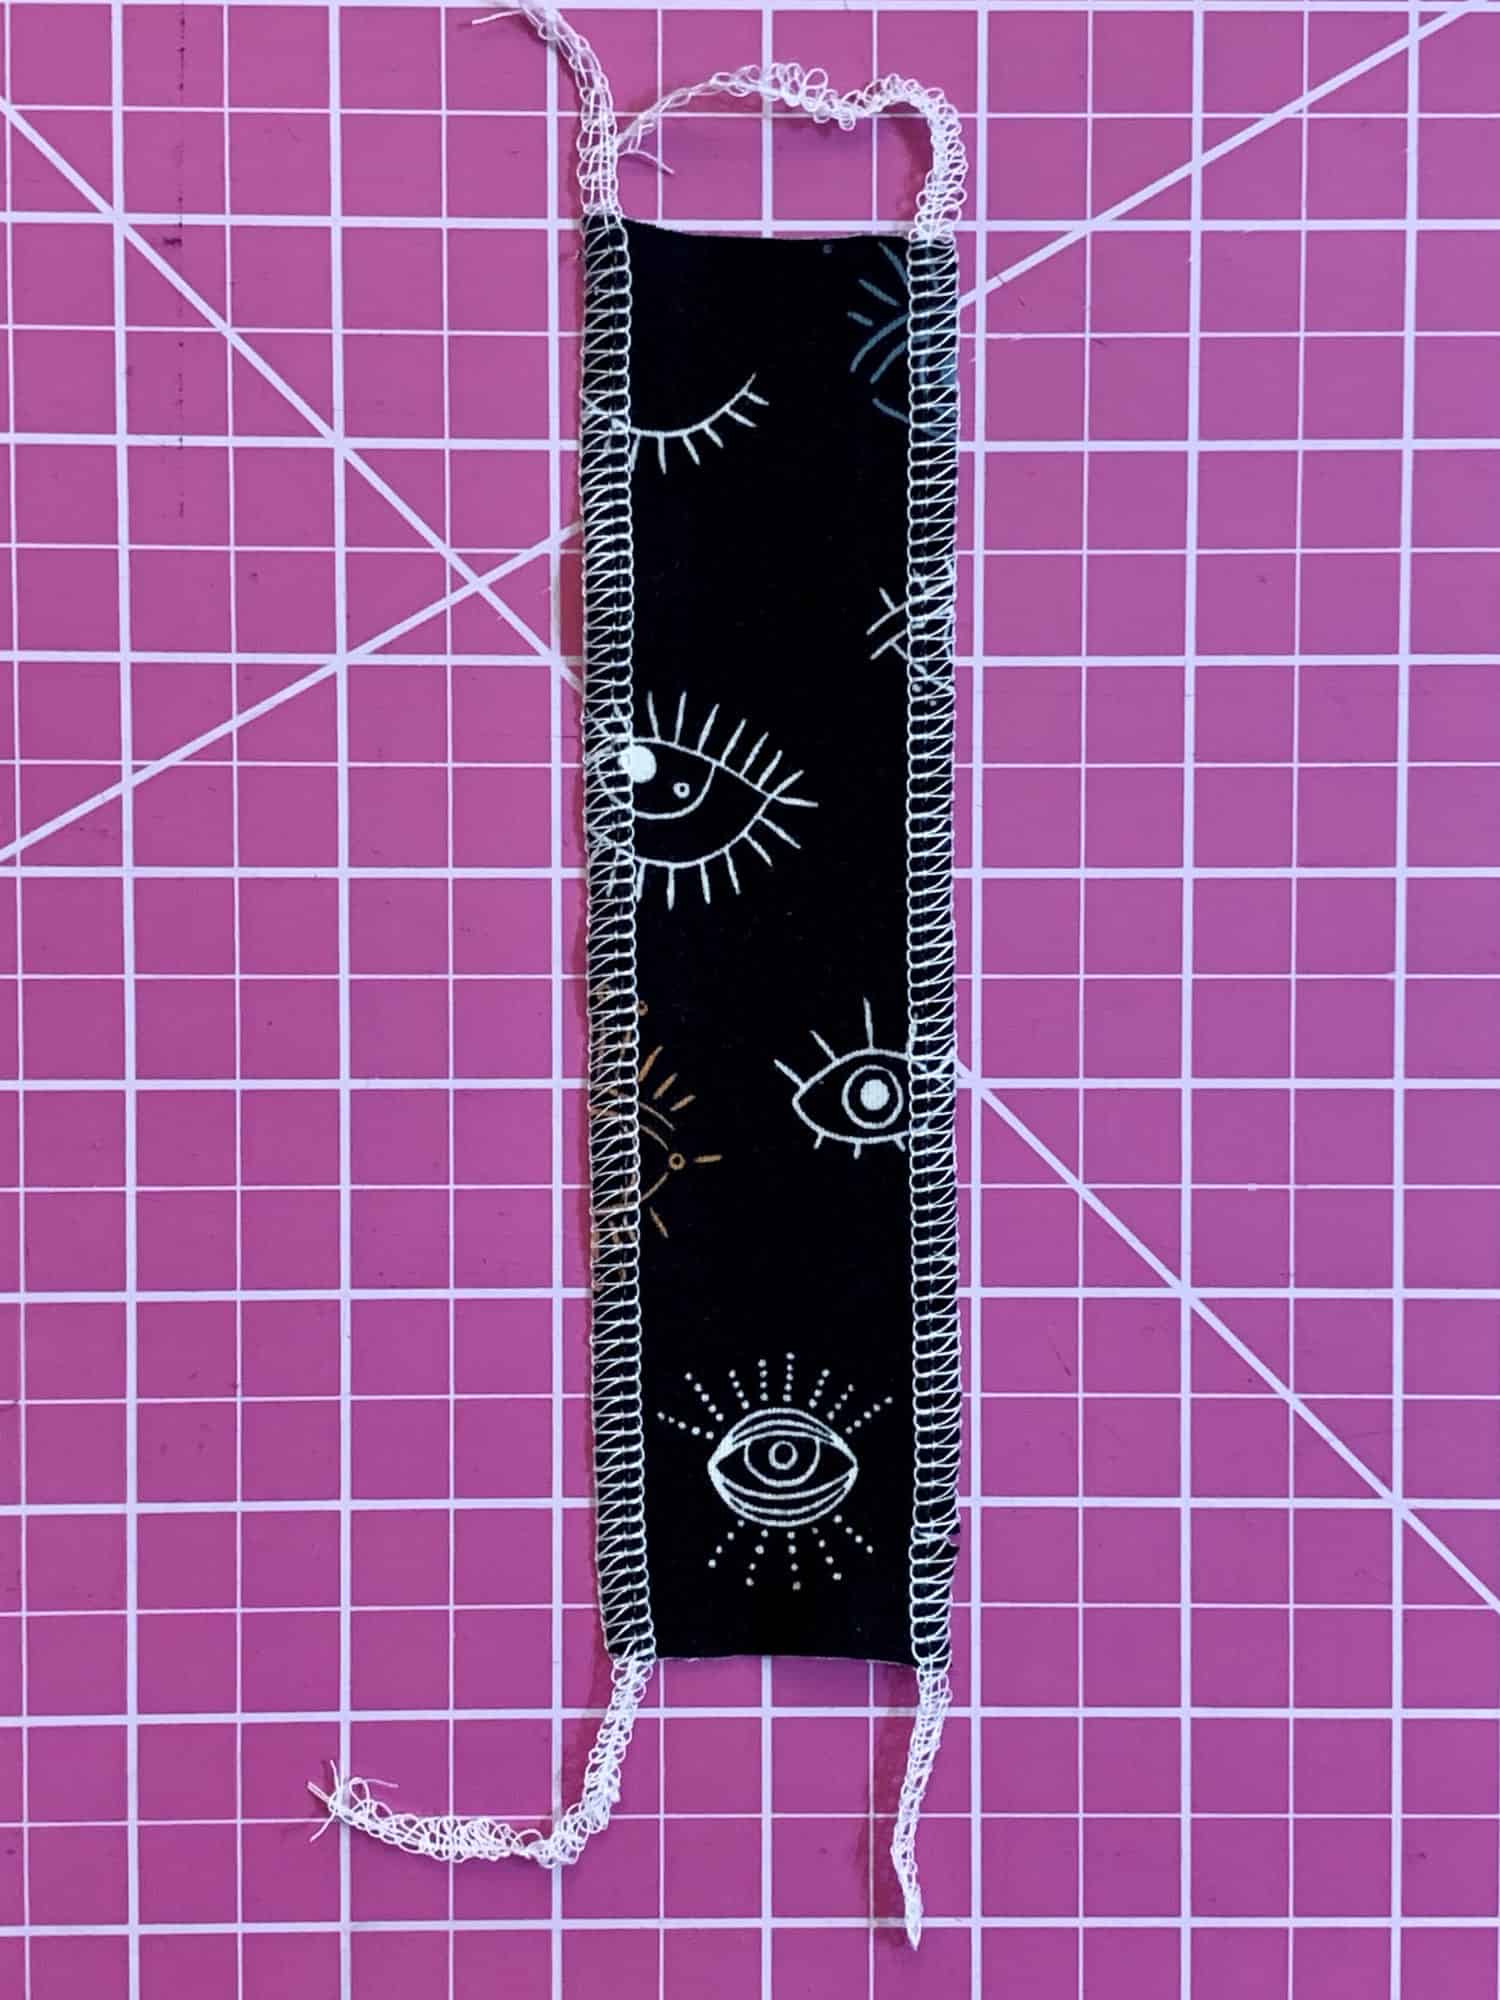
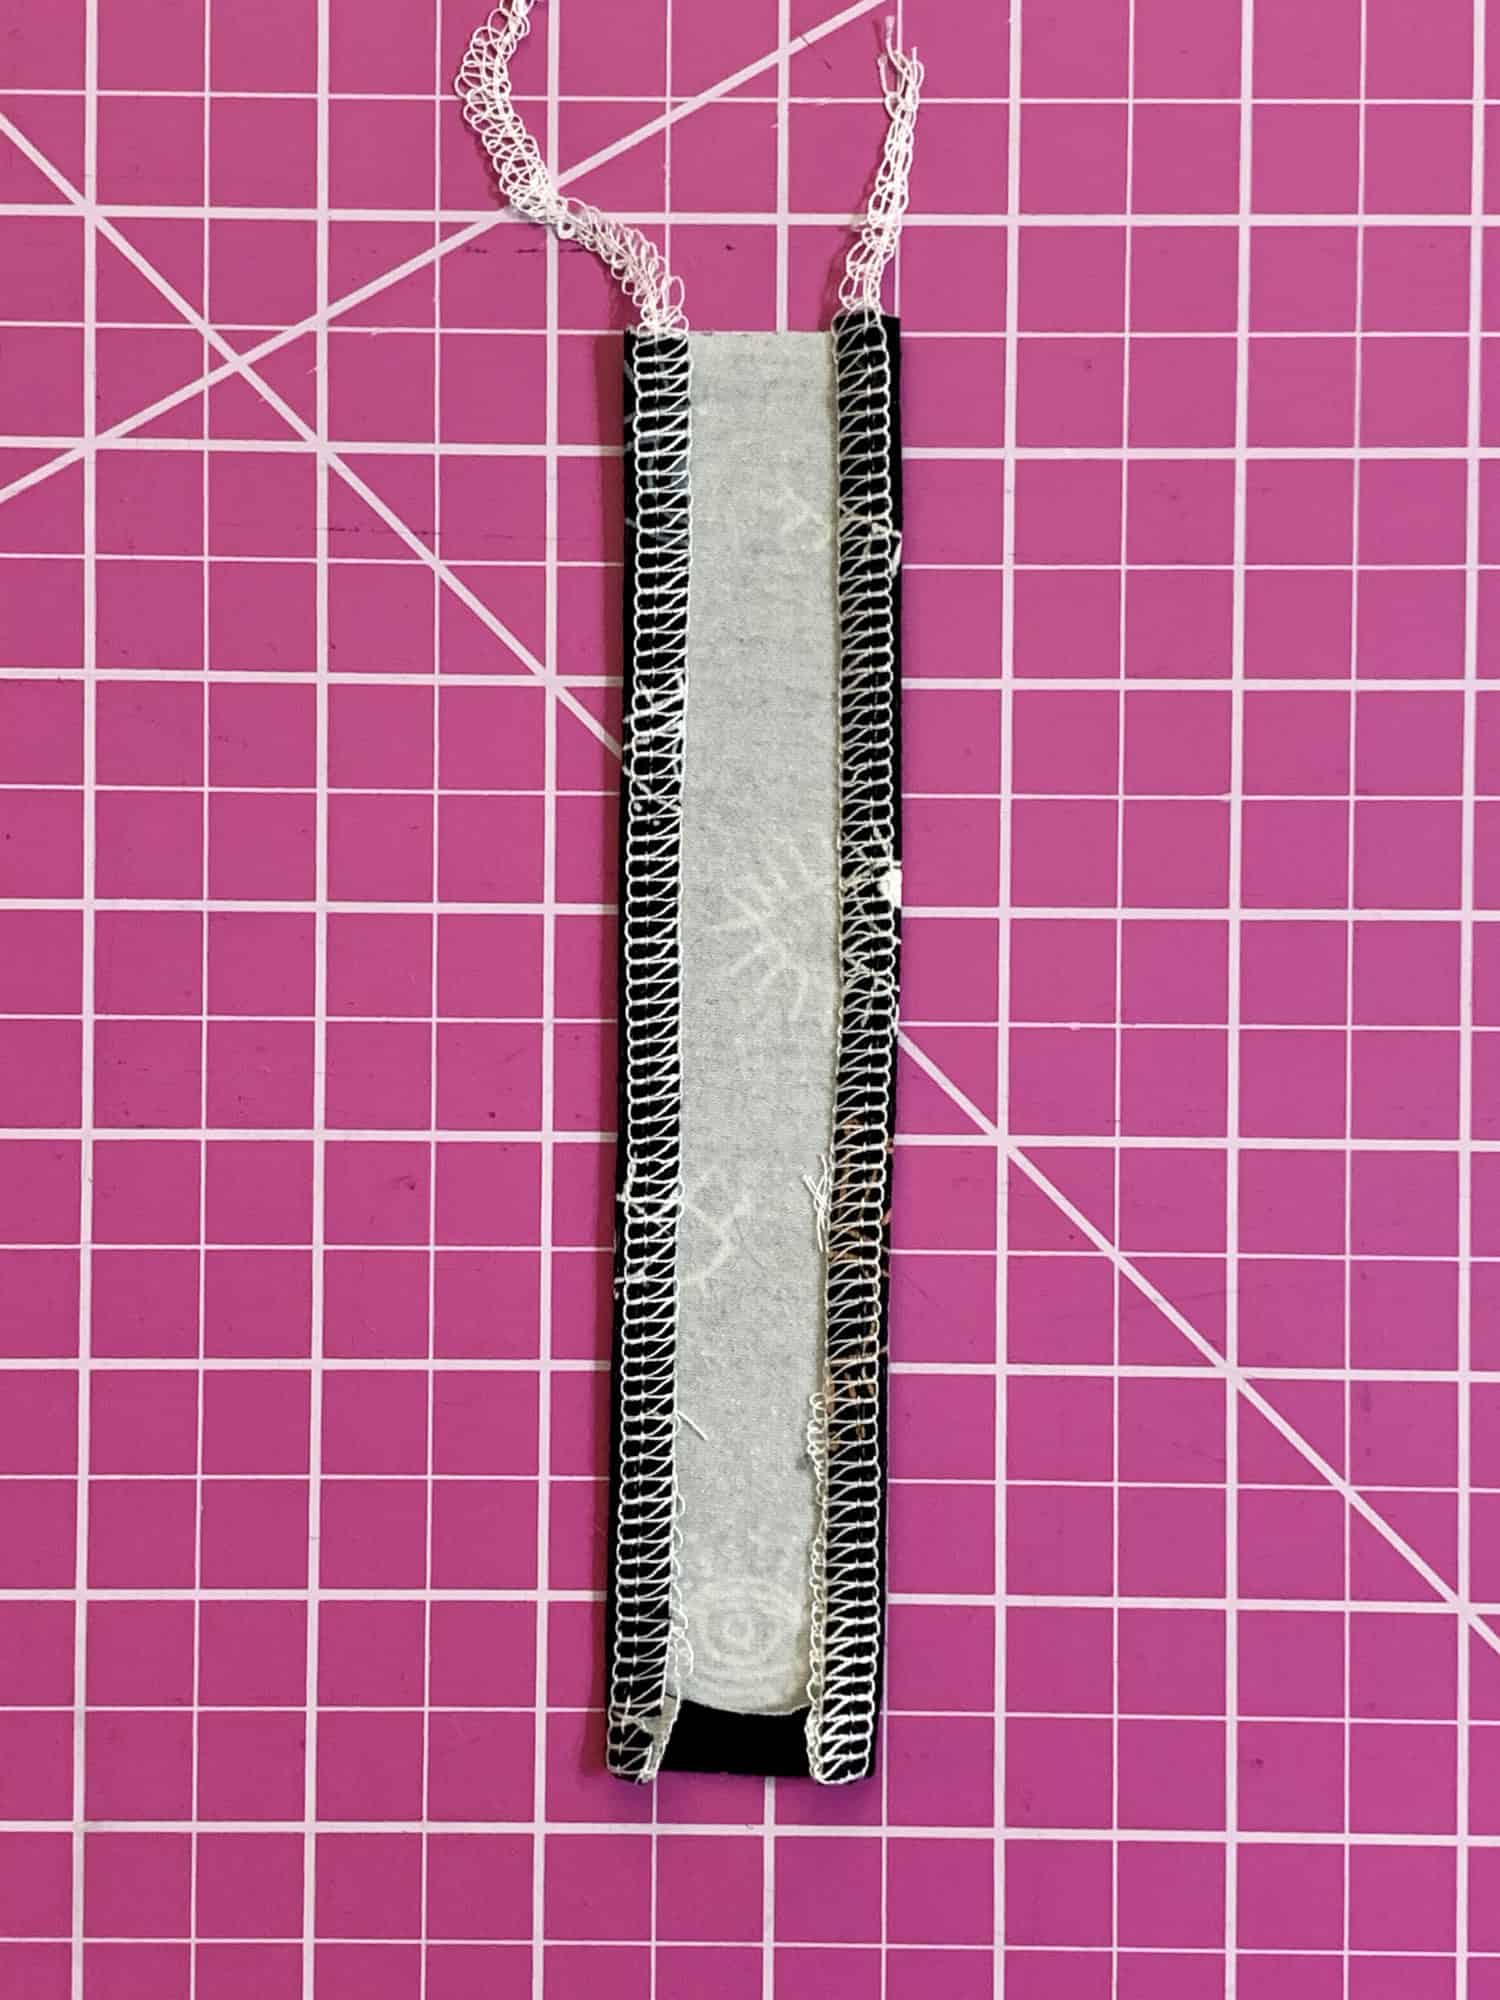
When creating the two long straps, don’t forget to as some tricot interfacing to both the main and the lining. Sew each strap lining and main, right sides together along the 3 straight edges, not the slanted one with the notch. Using your favorite turning tool, turn your straps right side out, press and top stitch. That’s it! You have completed the steps for day 4. All you have to do now is add your check in photo to the sew along album on Facebook.

See you tomorrow! 

Vintage Jumper SAL | DAY 1 (cut fabric)

Vintage Jumper SAL | DAY 2 (Back darts, front & back pockets, crotch & in seam)

Vintage Jumper SAL | DAY 3 (out seam)

Vintage Jumper SAL | DAY 4 (straps, front bib)

Vintage Jumper SAL | DAY 5 (waistband)

Vintage Jumper SAL | DAY 6 (button holes, buttons and hem)

Vintage Jumper SAL | DAY 7 (winners announcement)

Filed Under: Frequently Asked Questions, Sew-A-Long, Uncategorized Leave a Comment

Vintage Jumper Sew Along – day 3

March 24, 2021

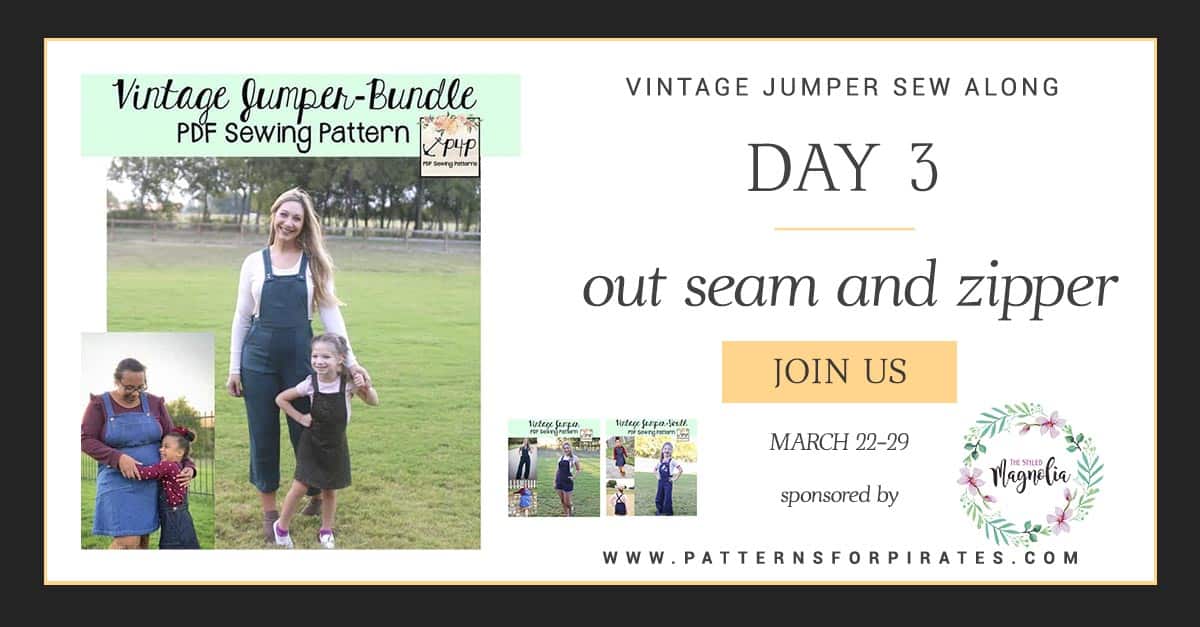
Ahoy, pirates! Day 3 is reserved for sewing the side seams. Once side will be sewn “normally”, on the other we will add a zipper. When sewing the side with no zipper, remember to place your fabrics right sides together and stitch with your sewing machine. You can finish the raw edge after with a serger stitch, a zig zag or an overlock stitch. 

I know a lot of sewists may be “scared” of zippers but trust me, they are not as frightening as they seam. Judy is showing you in the videos below, her two favorite methods for adding the little side zipper. Think about it this way, it’s just 7 inches of zipper…how scary can that be? 😉

Day 3 video is posted below. Once you finish today’s steps, grab a picture of your “almost” finished pants or skirt and add it to the Day 3 photo comments in the Vintage Jumper Sew Along album. You can find the album in the Facebook SAL group. 


Vintage Jumper SAL | DAY 1 (cut fabric)

Vintage Jumper SAL | DAY 2 (Back darts, front & back pockets, crotch & in seam)

Vintage Jumper SAL | DAY 3 (out seam)

Vintage Jumper SAL | DAY 4 (straps, front bib)

Vintage Jumper SAL | DAY 5 (waistband)

Vintage Jumper SAL | DAY 6 (button holes, buttons and hem)

Vintage Jumper SAL | DAY 7 (winners announcement)
Filed Under: Frequently Asked Questions, Sew-A-Long, Uncategorized Leave a Comment

Vintage Jumper Sew Along – day 2

March 23, 2021

\

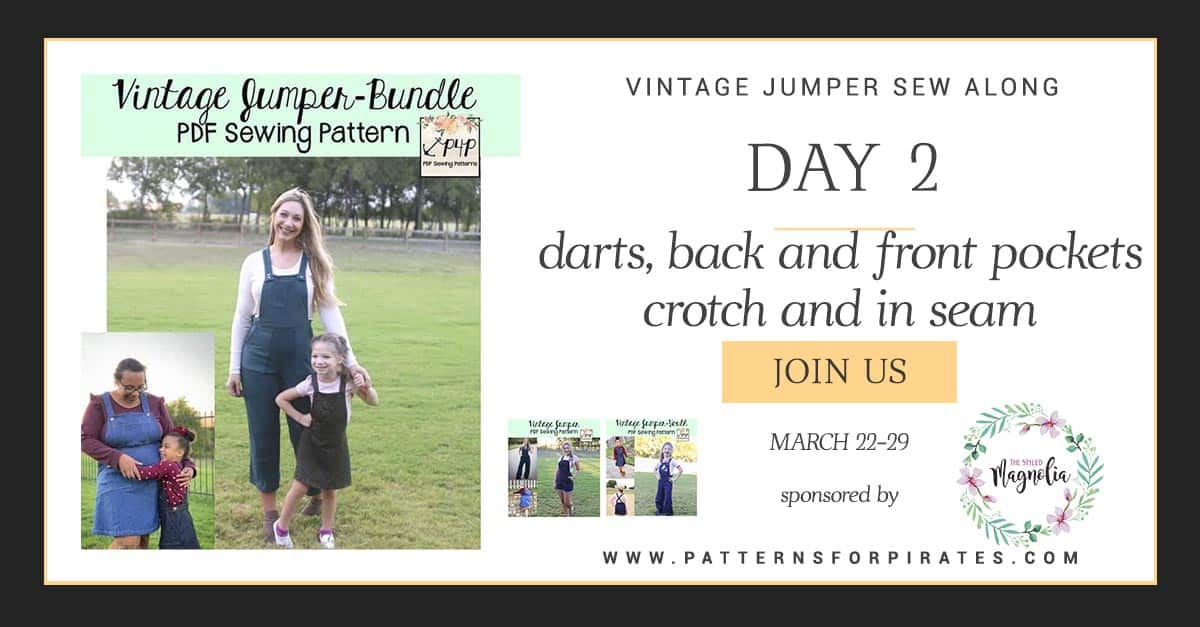
Welcome to day 2 of our Vintage Jumper Sew Along! Today we sew the darts for the shorts, capris and pants. We also add the front and back pockets as well as the pants crotch and in seam. 

When sewing the darts, remember to not back backstitch. Simply pull both threads on the wrong side of the fabric and tie them in a knot. This will reduce the bulk in the dart stitches. While I am not showing the darts in my day two video (I am making the skirt) I do recommend reading our P4P University Darts 101 if you are new to sewing this step. 

Both the pants and skirt options include a front pocket style. I recommend not skipping them, they are so adorable! I went “off the script” 😉 and added even the back pockets to my skirt. The pattern only has you adding the back pockets to the shorts, capri and long pants style. Remember to just baste your back pockets in place, try the jumper on after day 5 steps and only then sew them in place. You want to make sure you love the placement! It can make or break the look of your pants. 

If you are making the skirt option, you have completed the steps for today. If you are sewing the pants style, you still need to sew the crotch and in seam. Today’s video is below. Don’t forget to snap a picture of your completed steps and add it to the day to photo comments in the Vintage Jumper Sew Along album. 

Vintage Jumper SAL | DAY 1 (cut fabric)

Vintage Jumper SAL | DAY 2 (Back darts, front & back pockets, crotch & in seam)

Vintage Jumper SAL | DAY 3 (out seam)

Vintage Jumper SAL | DAY 4 (straps, front bib)

Vintage Jumper SAL | DAY 5 (waistband)

Vintage Jumper SAL | DAY 6 (button holes, buttons and hem)

Vintage Jumper SAL | DAY 7 (winners announcement)
Filed Under: Frequently Asked Questions, Sew-A-Long, Uncategorized Leave a Comment

Vintage Jumper Sew Along – day 1

March 22, 2021

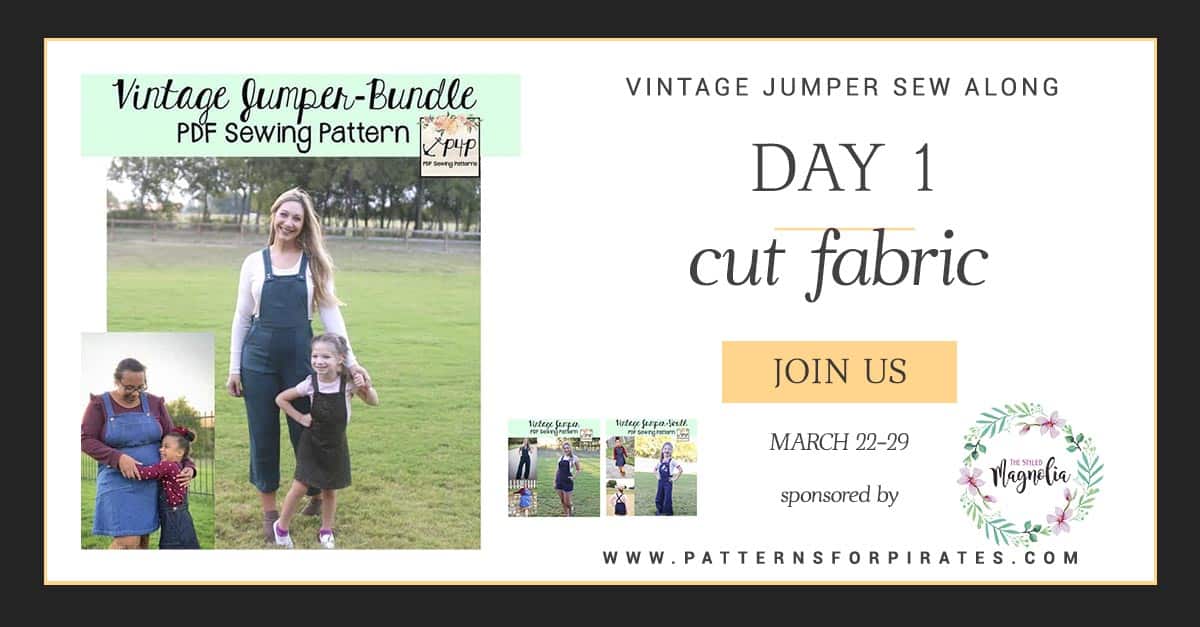
Welcome to the Vintage Jumper Sew Along! 

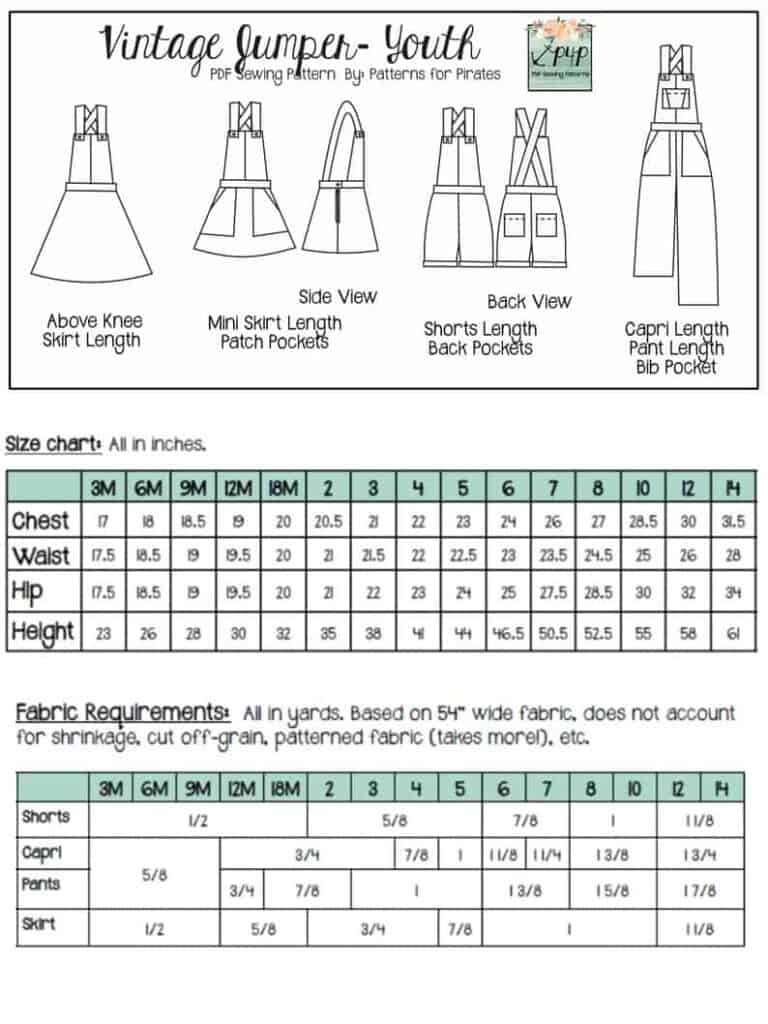
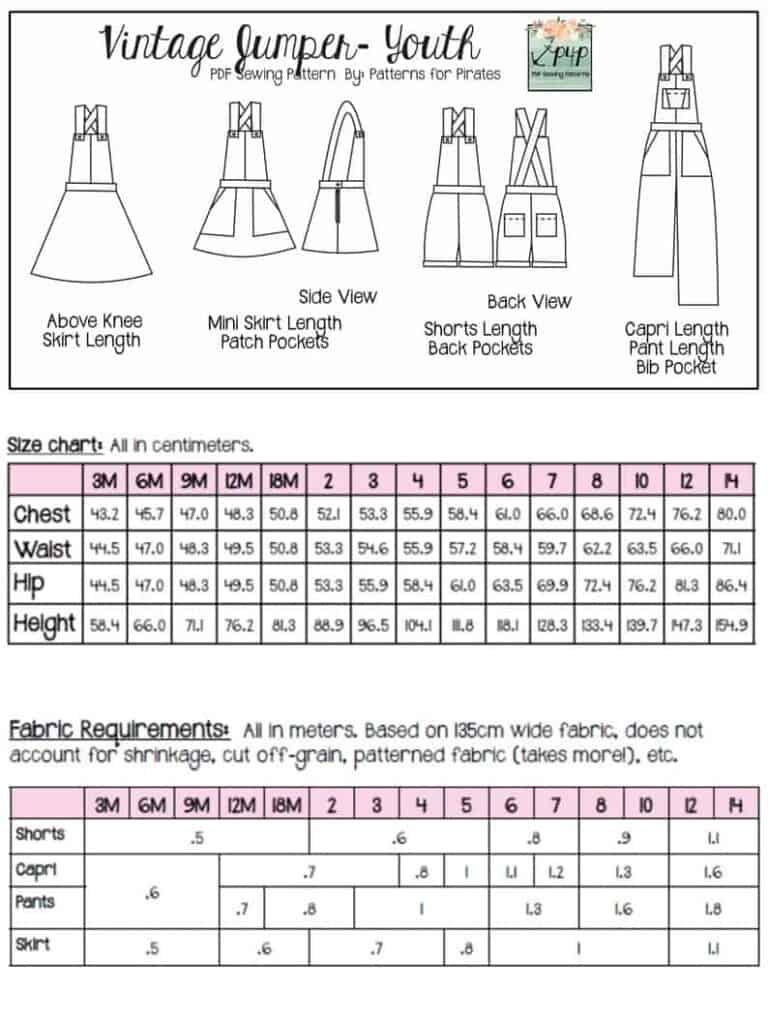
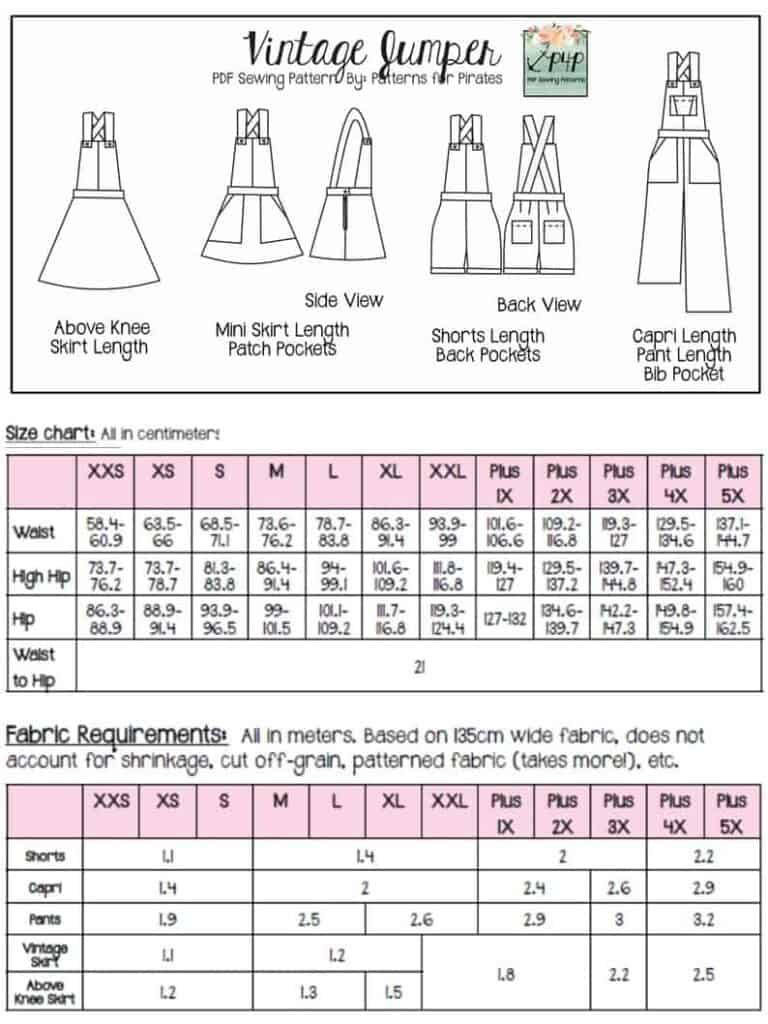
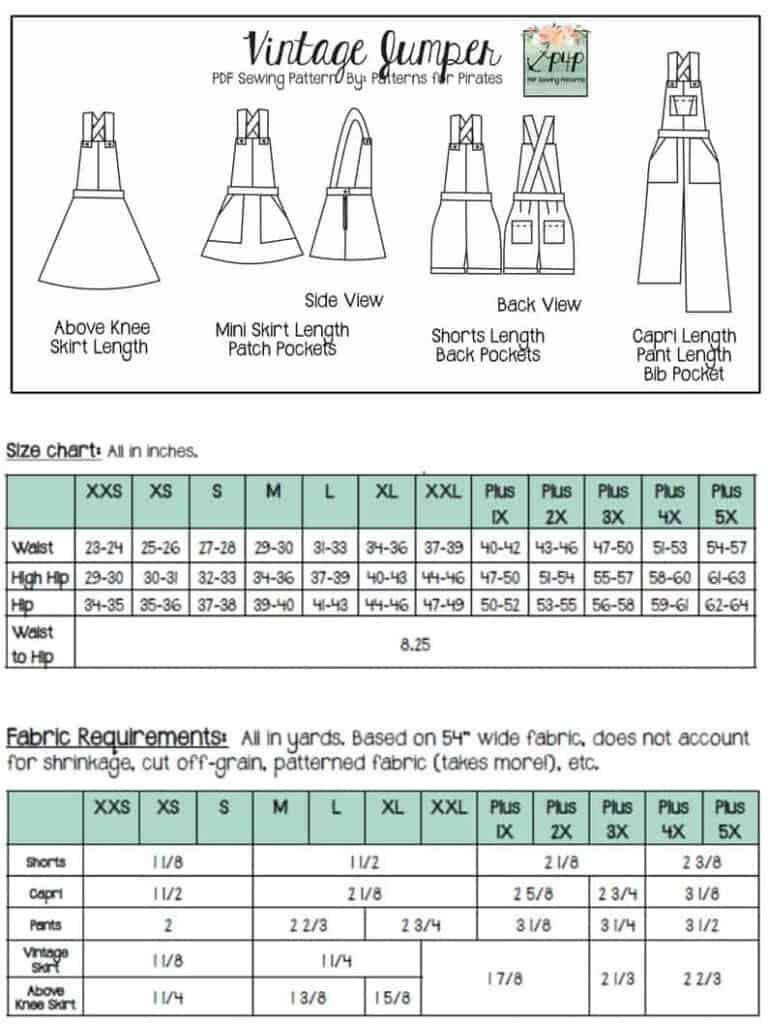
Day One of the sew along is for purchasing the pattern and cutting the fabric. If you did not buy the patterns yet, stop by the Sew Along Facebook Group to grab an exclusive coupon code. You can grab the adult Vintage Jumper here. If you plan to sew for a little one, be sure to snag the  Youth Vintage jumper or the Bundle. If you are still undecided which style to make, our Round Up blog will give you an overview of all options included, from skirts to pants lengths. You can also use the Easy Hacks blog for added options.

Now that we have the patterns it’s time to select which method of using them you would like to do. Both the Youth and the Adult come in A4 and Letter format to print at home, A0 format to print with a plotter or at a copy shop AND a projector file. If you use the projector file you will not have to print anything!! That’s definitely my favorite way! You can see in today’s video how I use the file to cut the fabric. 

Let’s start by taking the measurements needed for the best fit. P4P has an amazing blog that gives you tips for accurately taking your measurements. You can read all about it here. If your measurements put you in a different size for chest/waist/hips be sure to check out our P4P University blog and grade to achieve the perfect fit. Our most recent patterns include videos as well so be sure to check them out!


Still debating which knit type will work best for your desired look? Take a look over our P4P University Knit Types blog. We also included a cheat sheet that you can print. If you are like me and sometime are just keen on using a specific print for a specific pattern, read our Different fabric, different fit blog post before you cut your fabric. This pattern is drafted for stretch woven such a stretch suede, stretch velvet or stretch denim.

I have opted for a fun Half Black Stripes Tropical Ombre stretch woven from The Styled Magnolia. TSM is this sew along’s sponsor so our winner will get to try some of their goodies too. 


You can see day 1 video below. Once you complete you pretty pile of cut fabric, take a picture and post it in the comments of day 1 photo. This sew along album will be in the M4M & P4P Sew Along Facebook group. 

Vintage Jumper SAL | DAY 1 (cut fabric)

Vintage Jumper SAL | DAY 2 (Back darts, front & back pockets, crotch & in seam)

Vintage Jumper SAL | DAY 3 (out seam)

Vintage Jumper SAL | DAY 4 (straps, front bib)

Vintage Jumper SAL | DAY 5 (waistband)

Vintage Jumper SAL | DAY 6 (button holes, buttons and hem)

Vintage Jumper SAL | DAY 7 (winners announcement)


Filed Under: Frequently Asked Questions, Sew-A-Long, Uncategorized Leave a Comment

Be Bold Bodysuit – Easy Hacks

March 10, 2021

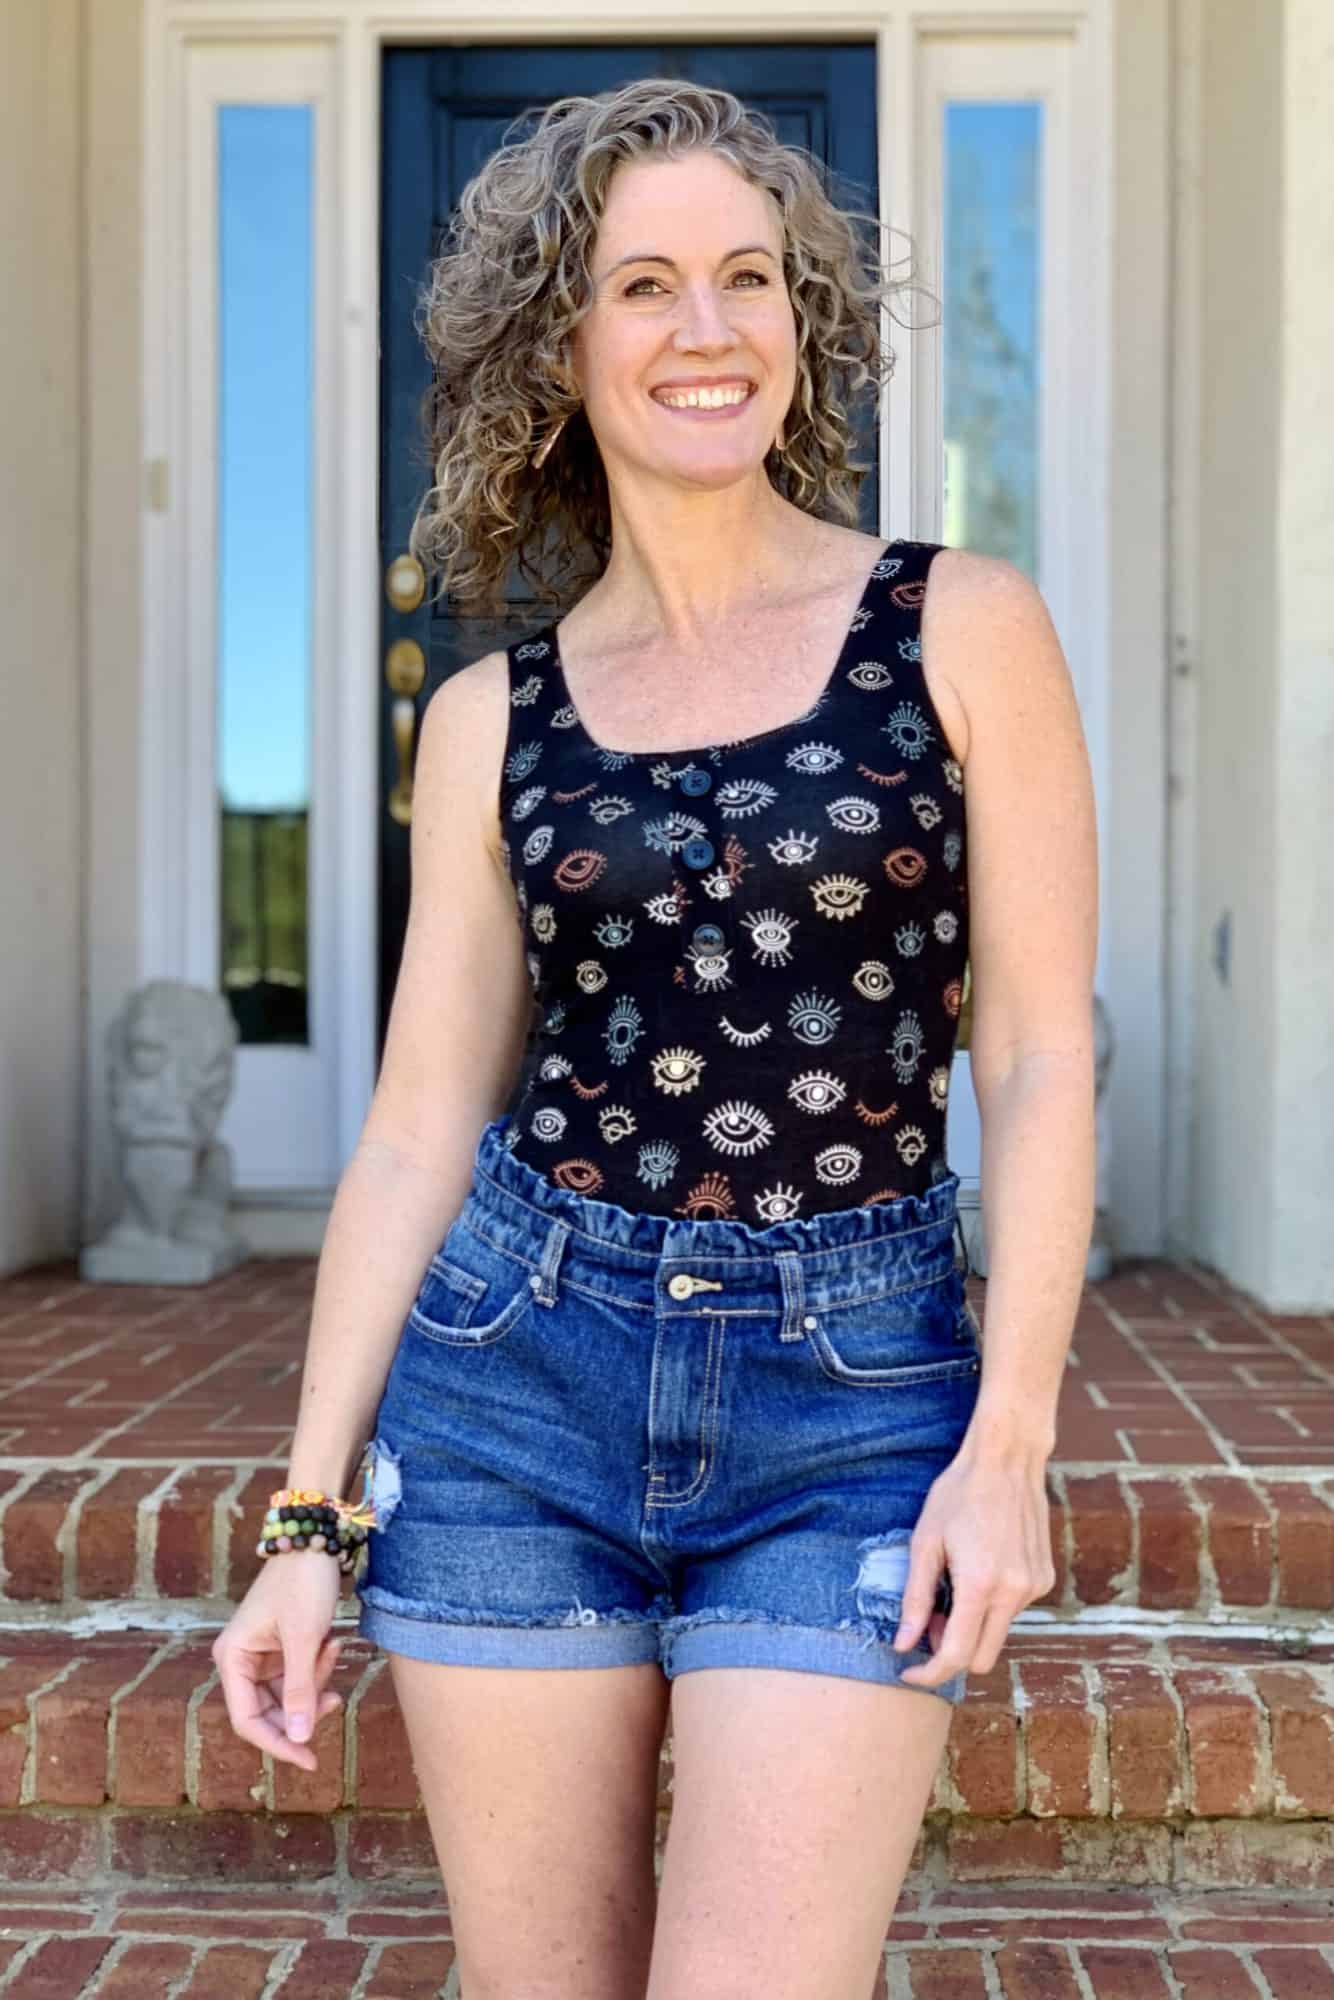
The much anticipated Be Bold Bodysuit has now released. I couldn’t be more thrilled to share with you some easy hacks that the P4P blog team has prepared for you. We will show you how to add a your favorite P4P skirt to the crop top and make it a custom dress. Rachel is adding a faux placket to her Be Bold Bodysuit and Shannon is making a very cropped 😉 crop option. Ohh and did I mention that you can turn the BBB into an undergarment compression bodysuit? Djem is showing you how below. 

…..

Dress 

Let’s start off this easy hacks series with my favorite of all – a dress!! Hello, beautiful! The Be Bold Bodysuit includes a crop top option which makes an excellent bodice for many of the P4P skirt patterns. 


In the mini tutorial below, Judy shows you how to add the X Factor skirt to the Be Bold crop to to create a gorgeous, comfortable square neckline dress. Print the skirt portion of the X Factor pattern and cut the fabric. Sew the side seams right sides together. 

Mark the center of the skirt front and back as well as the centers of the bodice front and back. 

Matching the marked points, pin the skirt and bodice right sides together. Serge or sew with you favorite stretch and a 1/2″ seam allowance. 


Hem the skirt and enjoy your new Be Bold dress! 


I used the same method as above to make a Be Bold – Sweetheart mash. Instead of using the X Factor, I use the Sweetheart dress, Easy peasy! My next mash will be with the Boundless dress. If you chose to to the Be Bold crop with the Boundless gathered skirt, make sure that you use the cutting chart for the natural waist skirt, NOT the empire one. 

My dress below is bamboo spandex and Judy’s baby girl’s dress above is cotton spandex. 


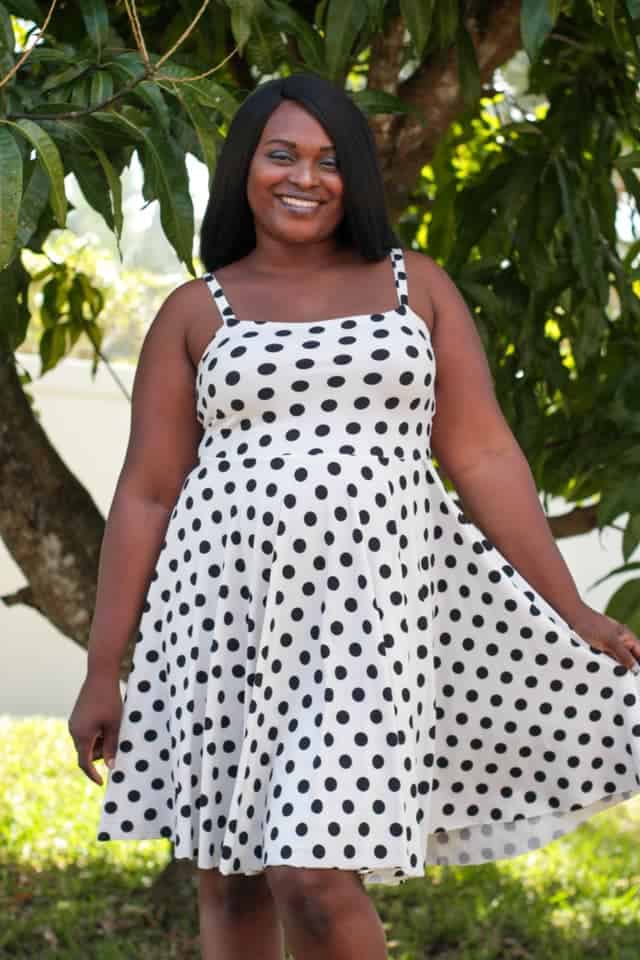
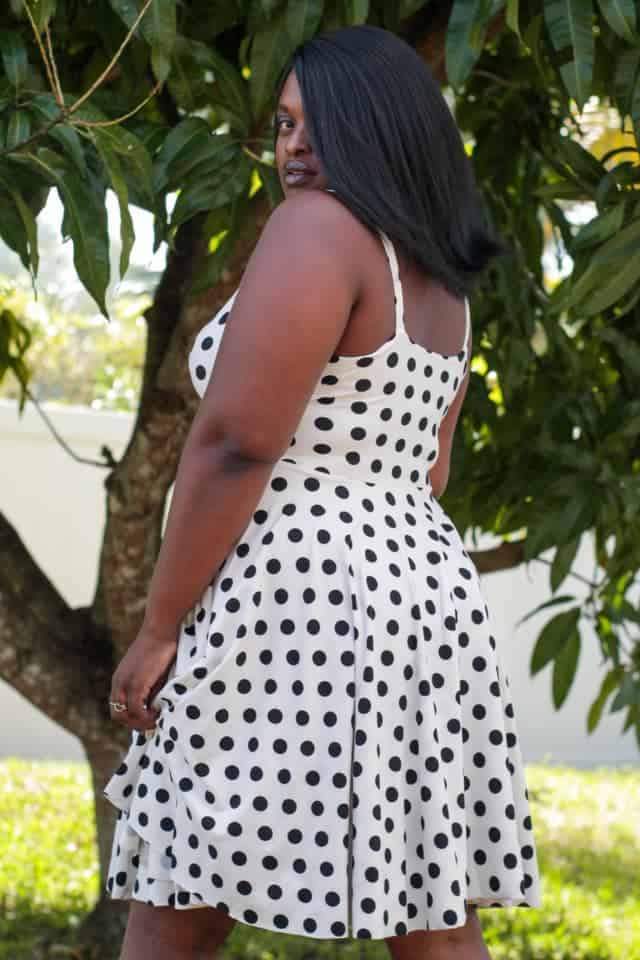
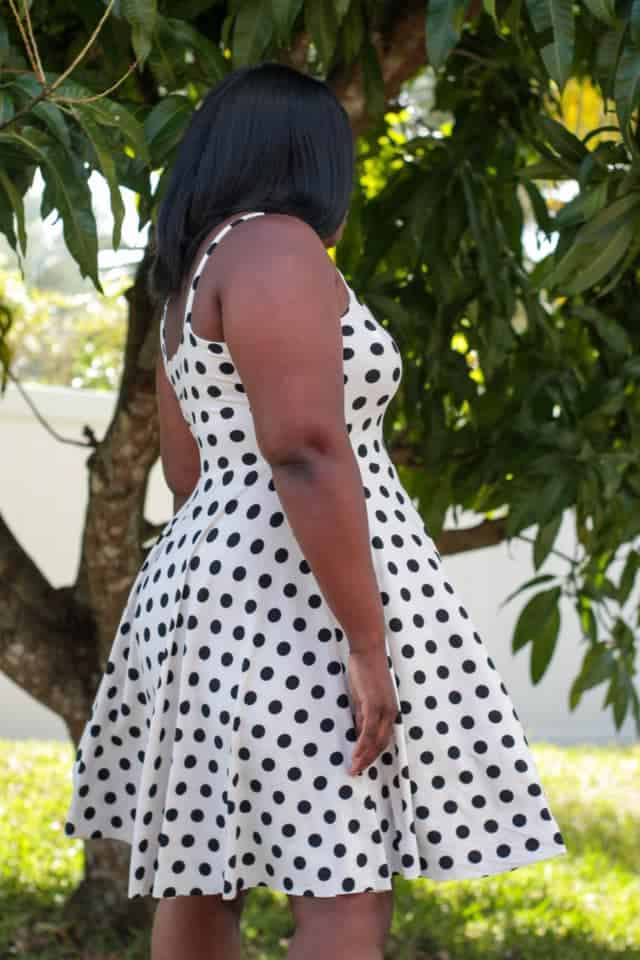
Just look how stunning Sylvia looks in her Be Bold thin strap option mashed with the Sweetheart dress. Her polka dots fabric is double brushed poly. Just radiant! 


…..

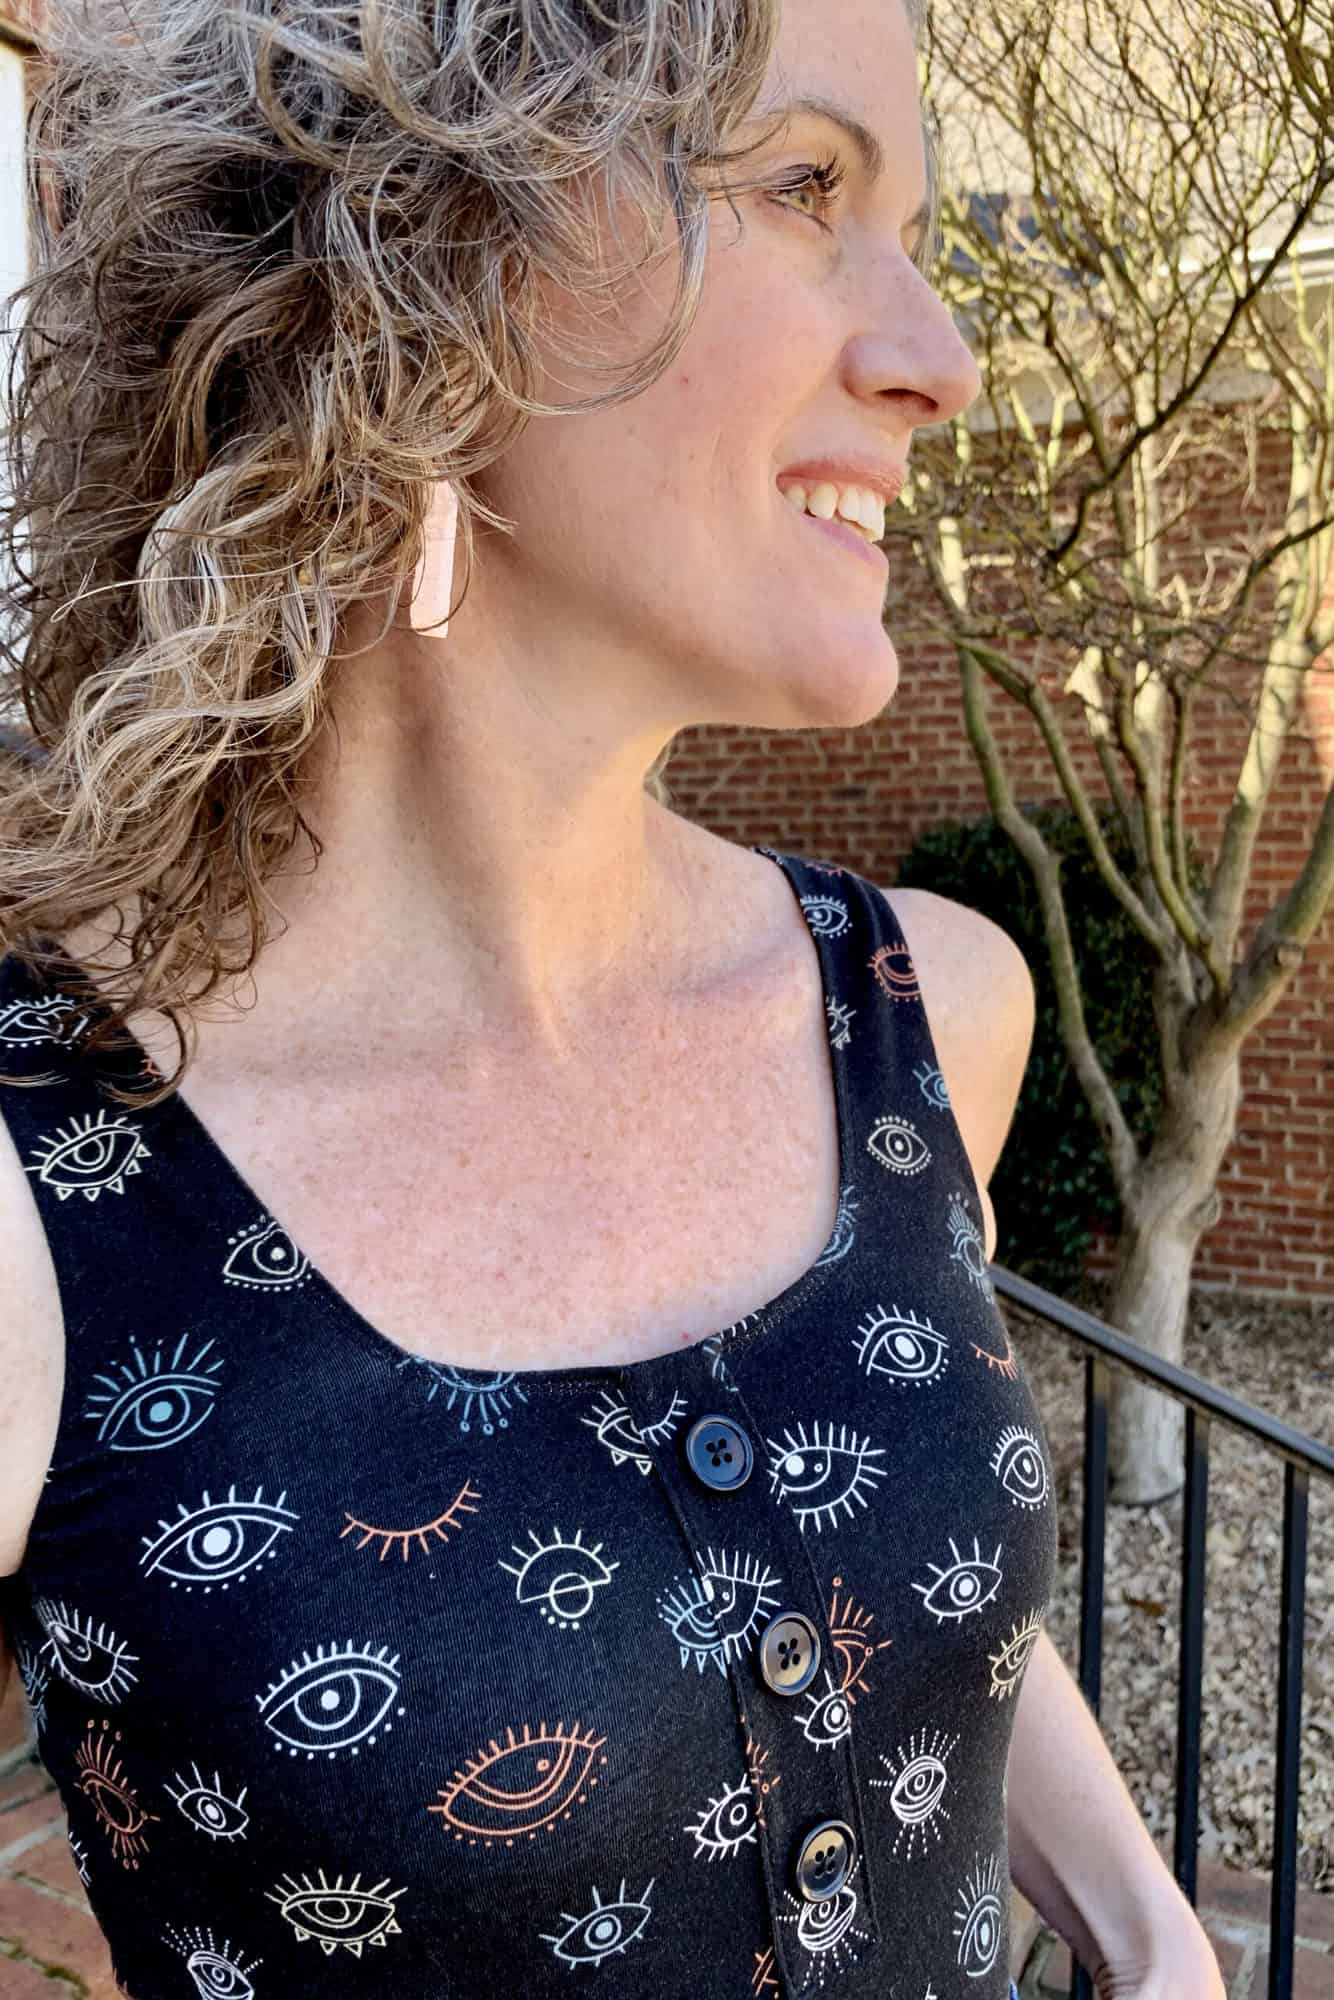
Faux Placket

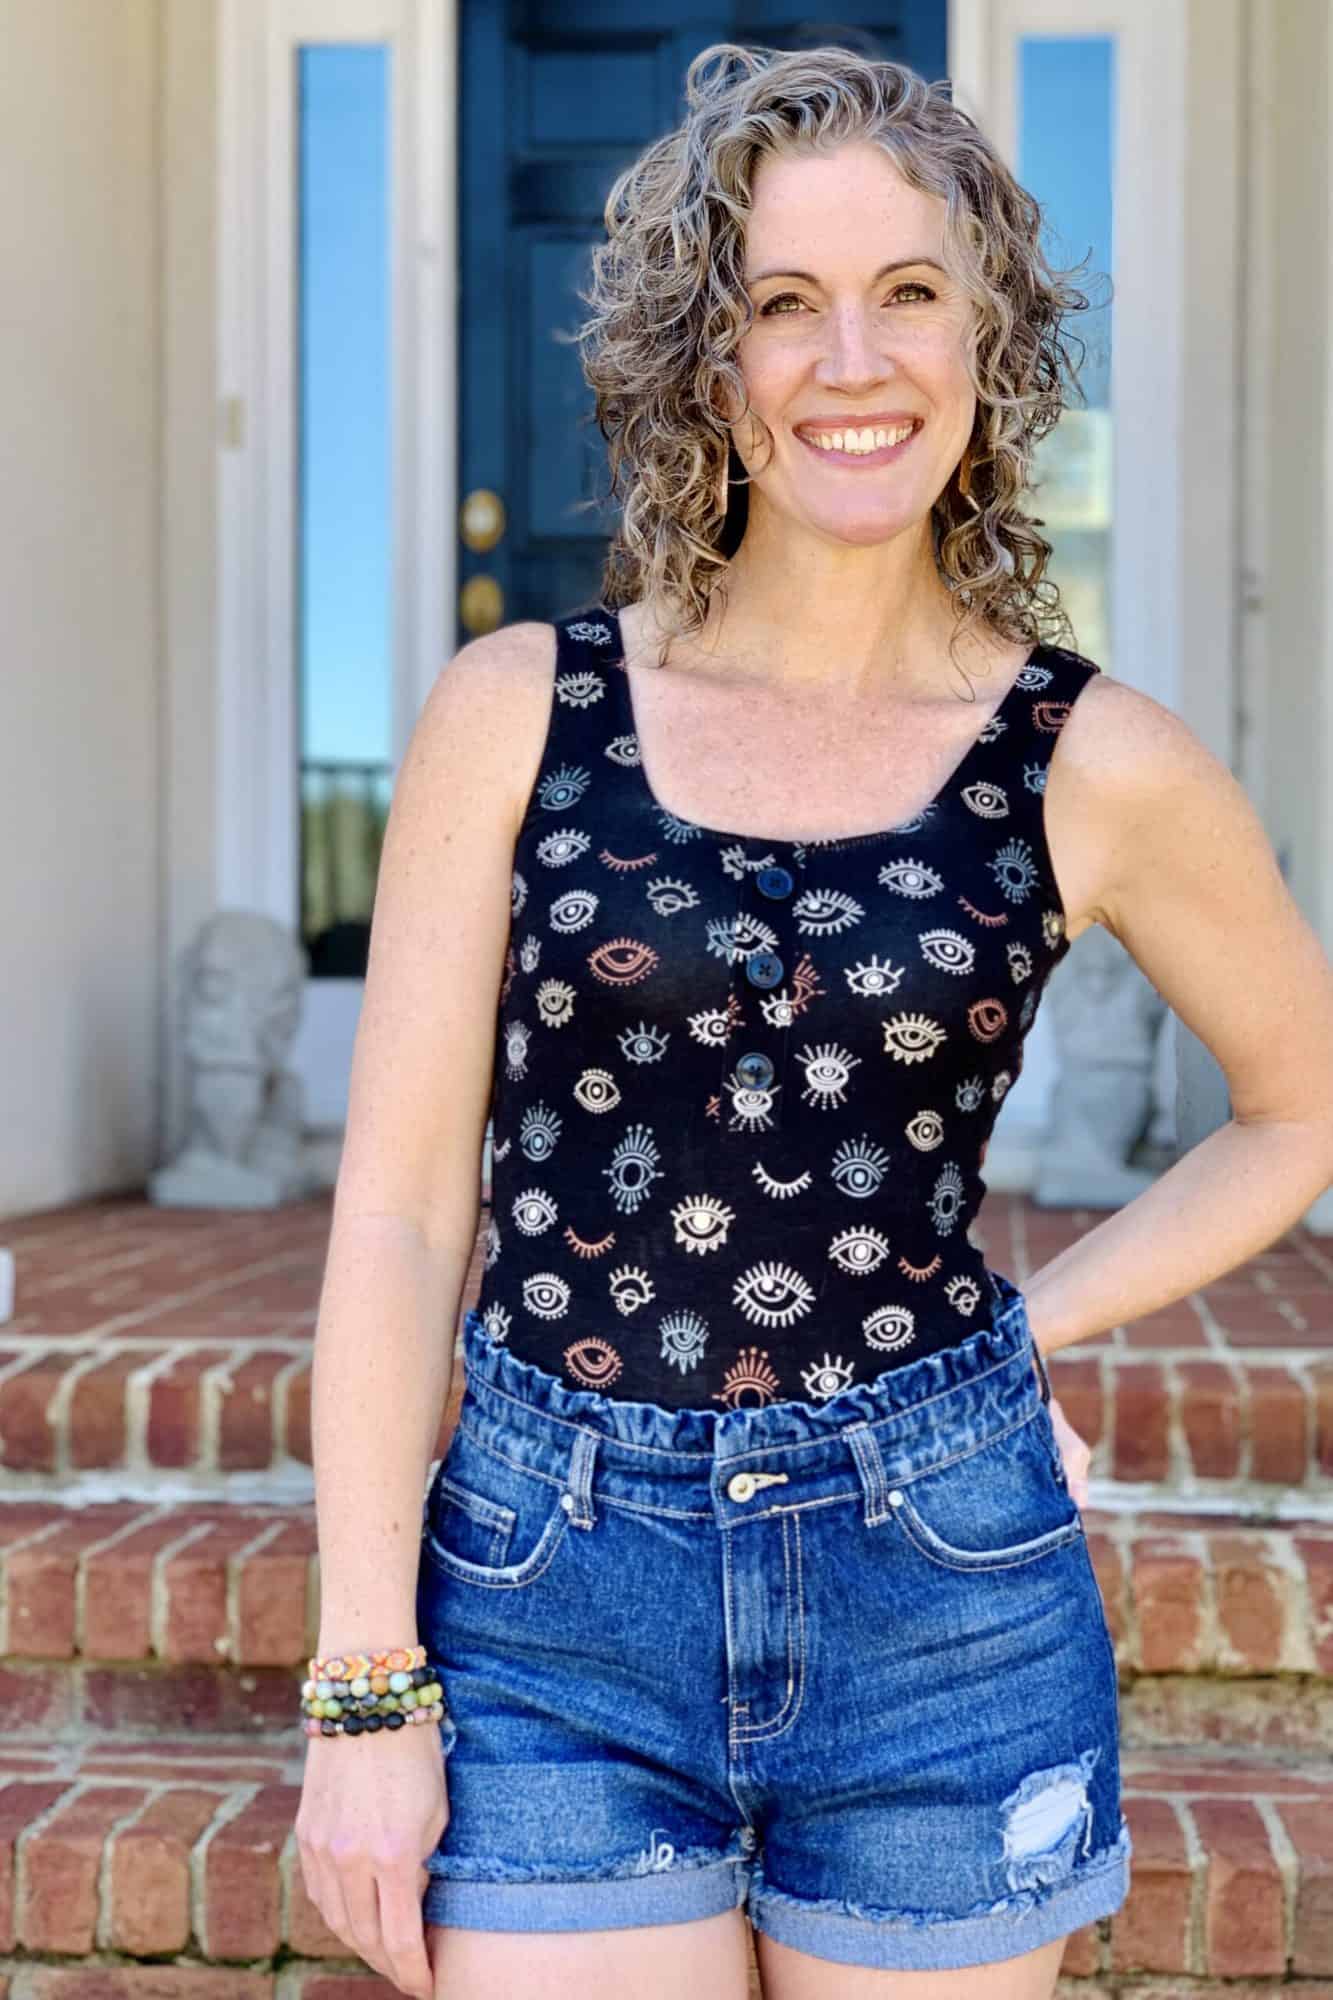
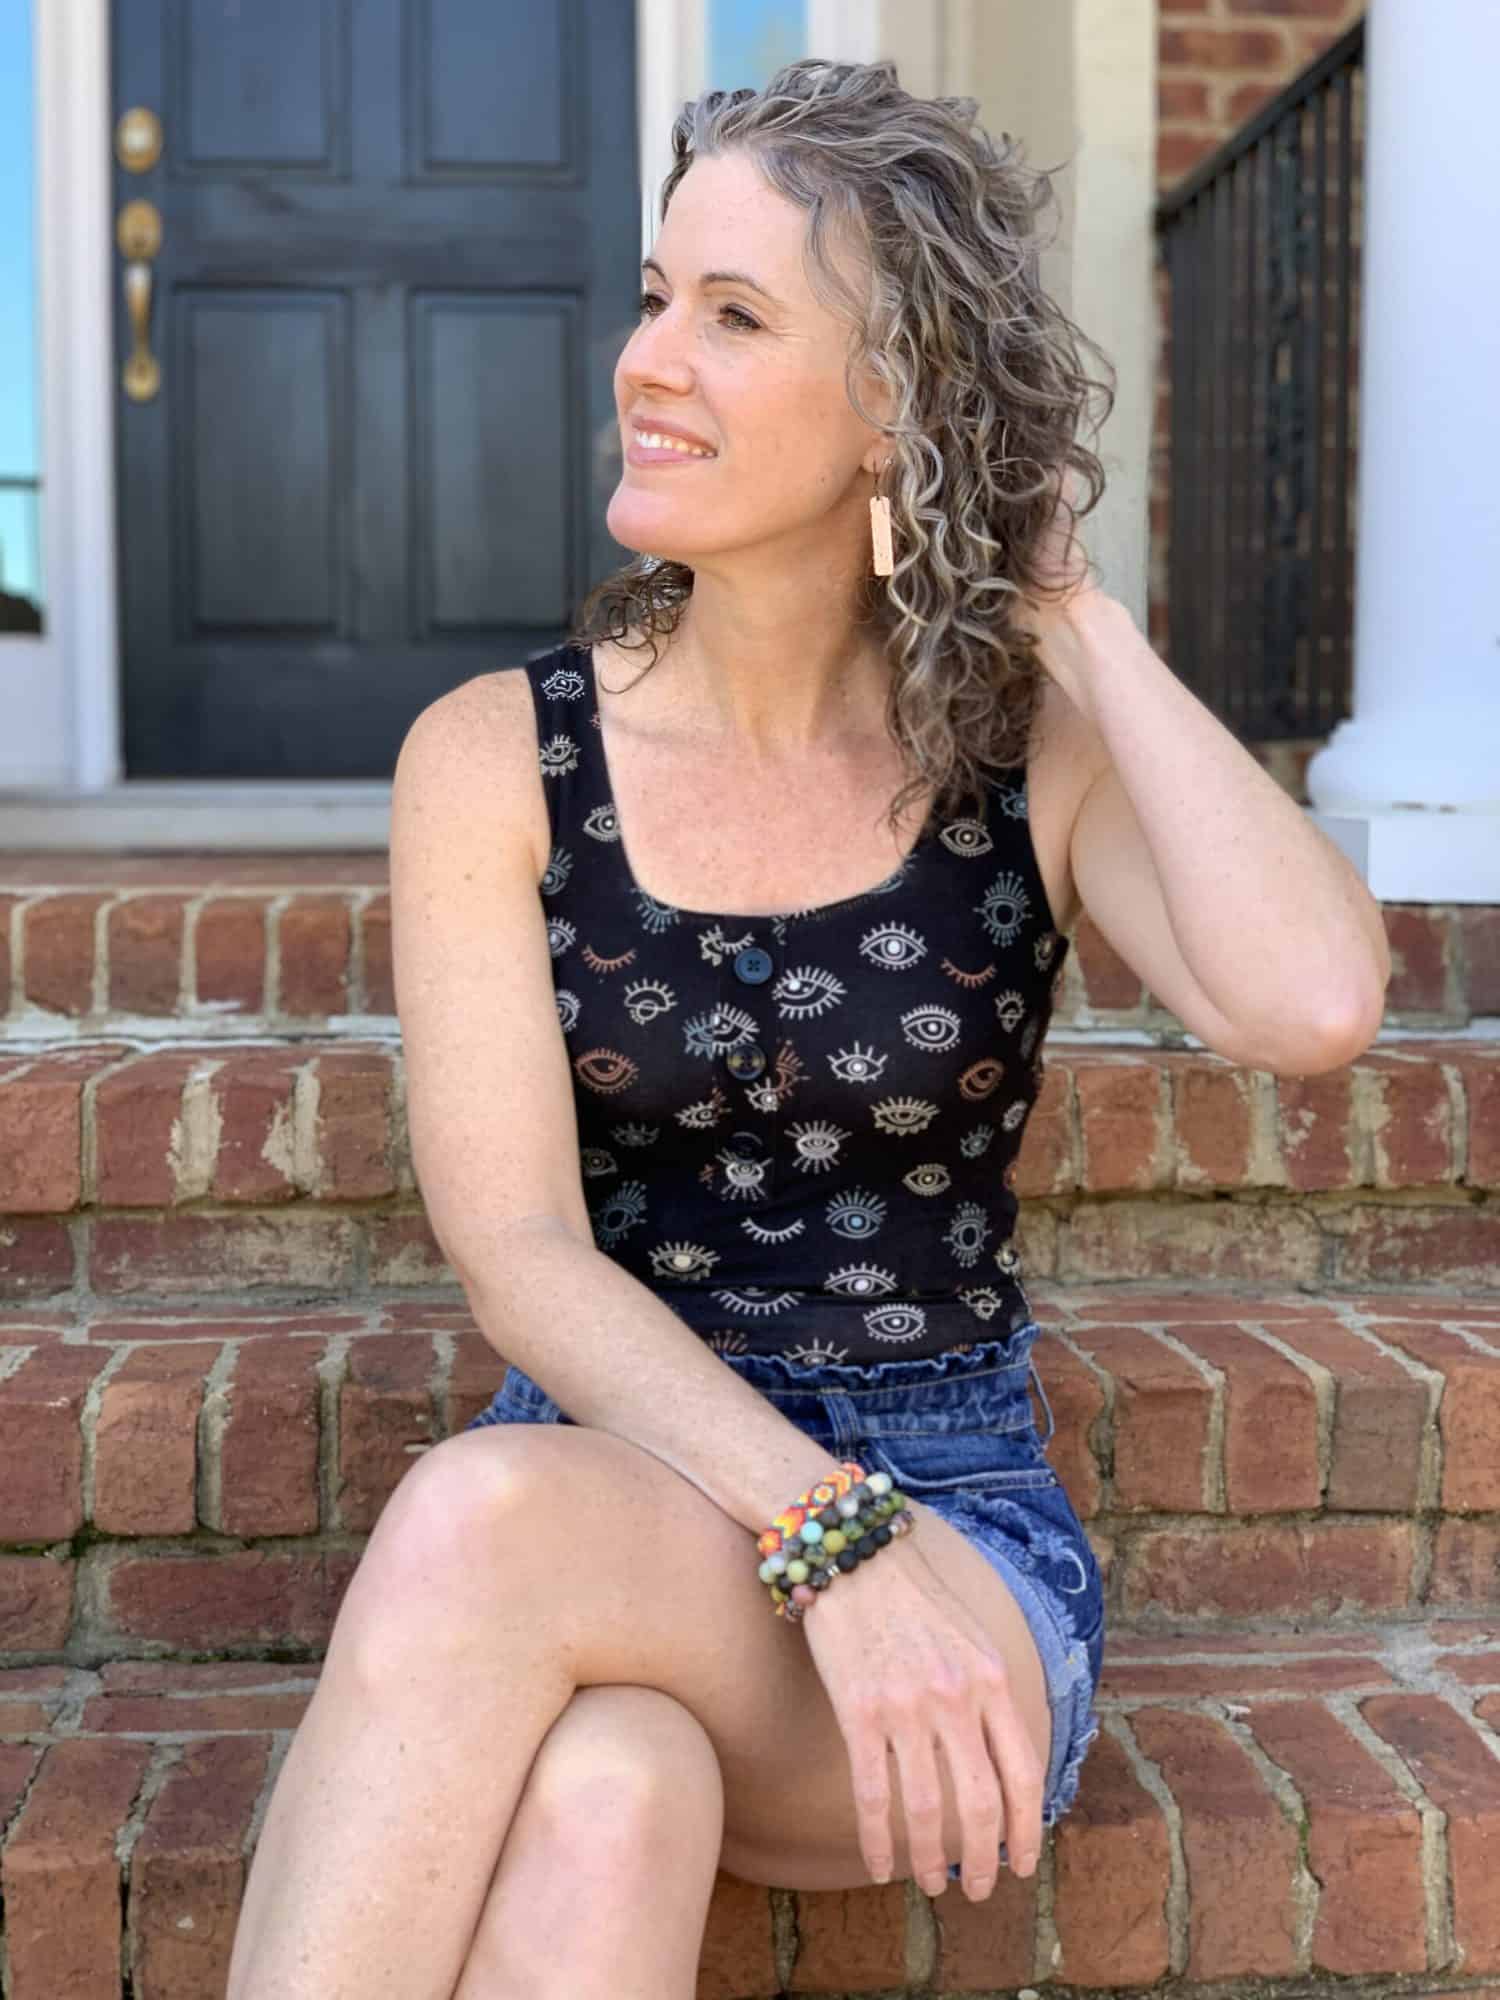
Adding a faux placket is an easy way to gain extra mileage from your Be Bold pattern. And it couldn’t be easier!

You can add a faux placket to any of the Be Bold styles, but I chose to add mine to the tank bodysuit.

Did I say that it couldn’t be easier? Keep reading…

Cut the pattern pieces for your preferred Be Bold style.

Cut an additional rectangle, 6.5” x 1.75”.

Optional! Finish the edges on your serger, without cutting off any of the seam allowance. It adds a bit of stability to your placket.

Fold the bottom and side edges in ¼” towards the wrong side and press into place.

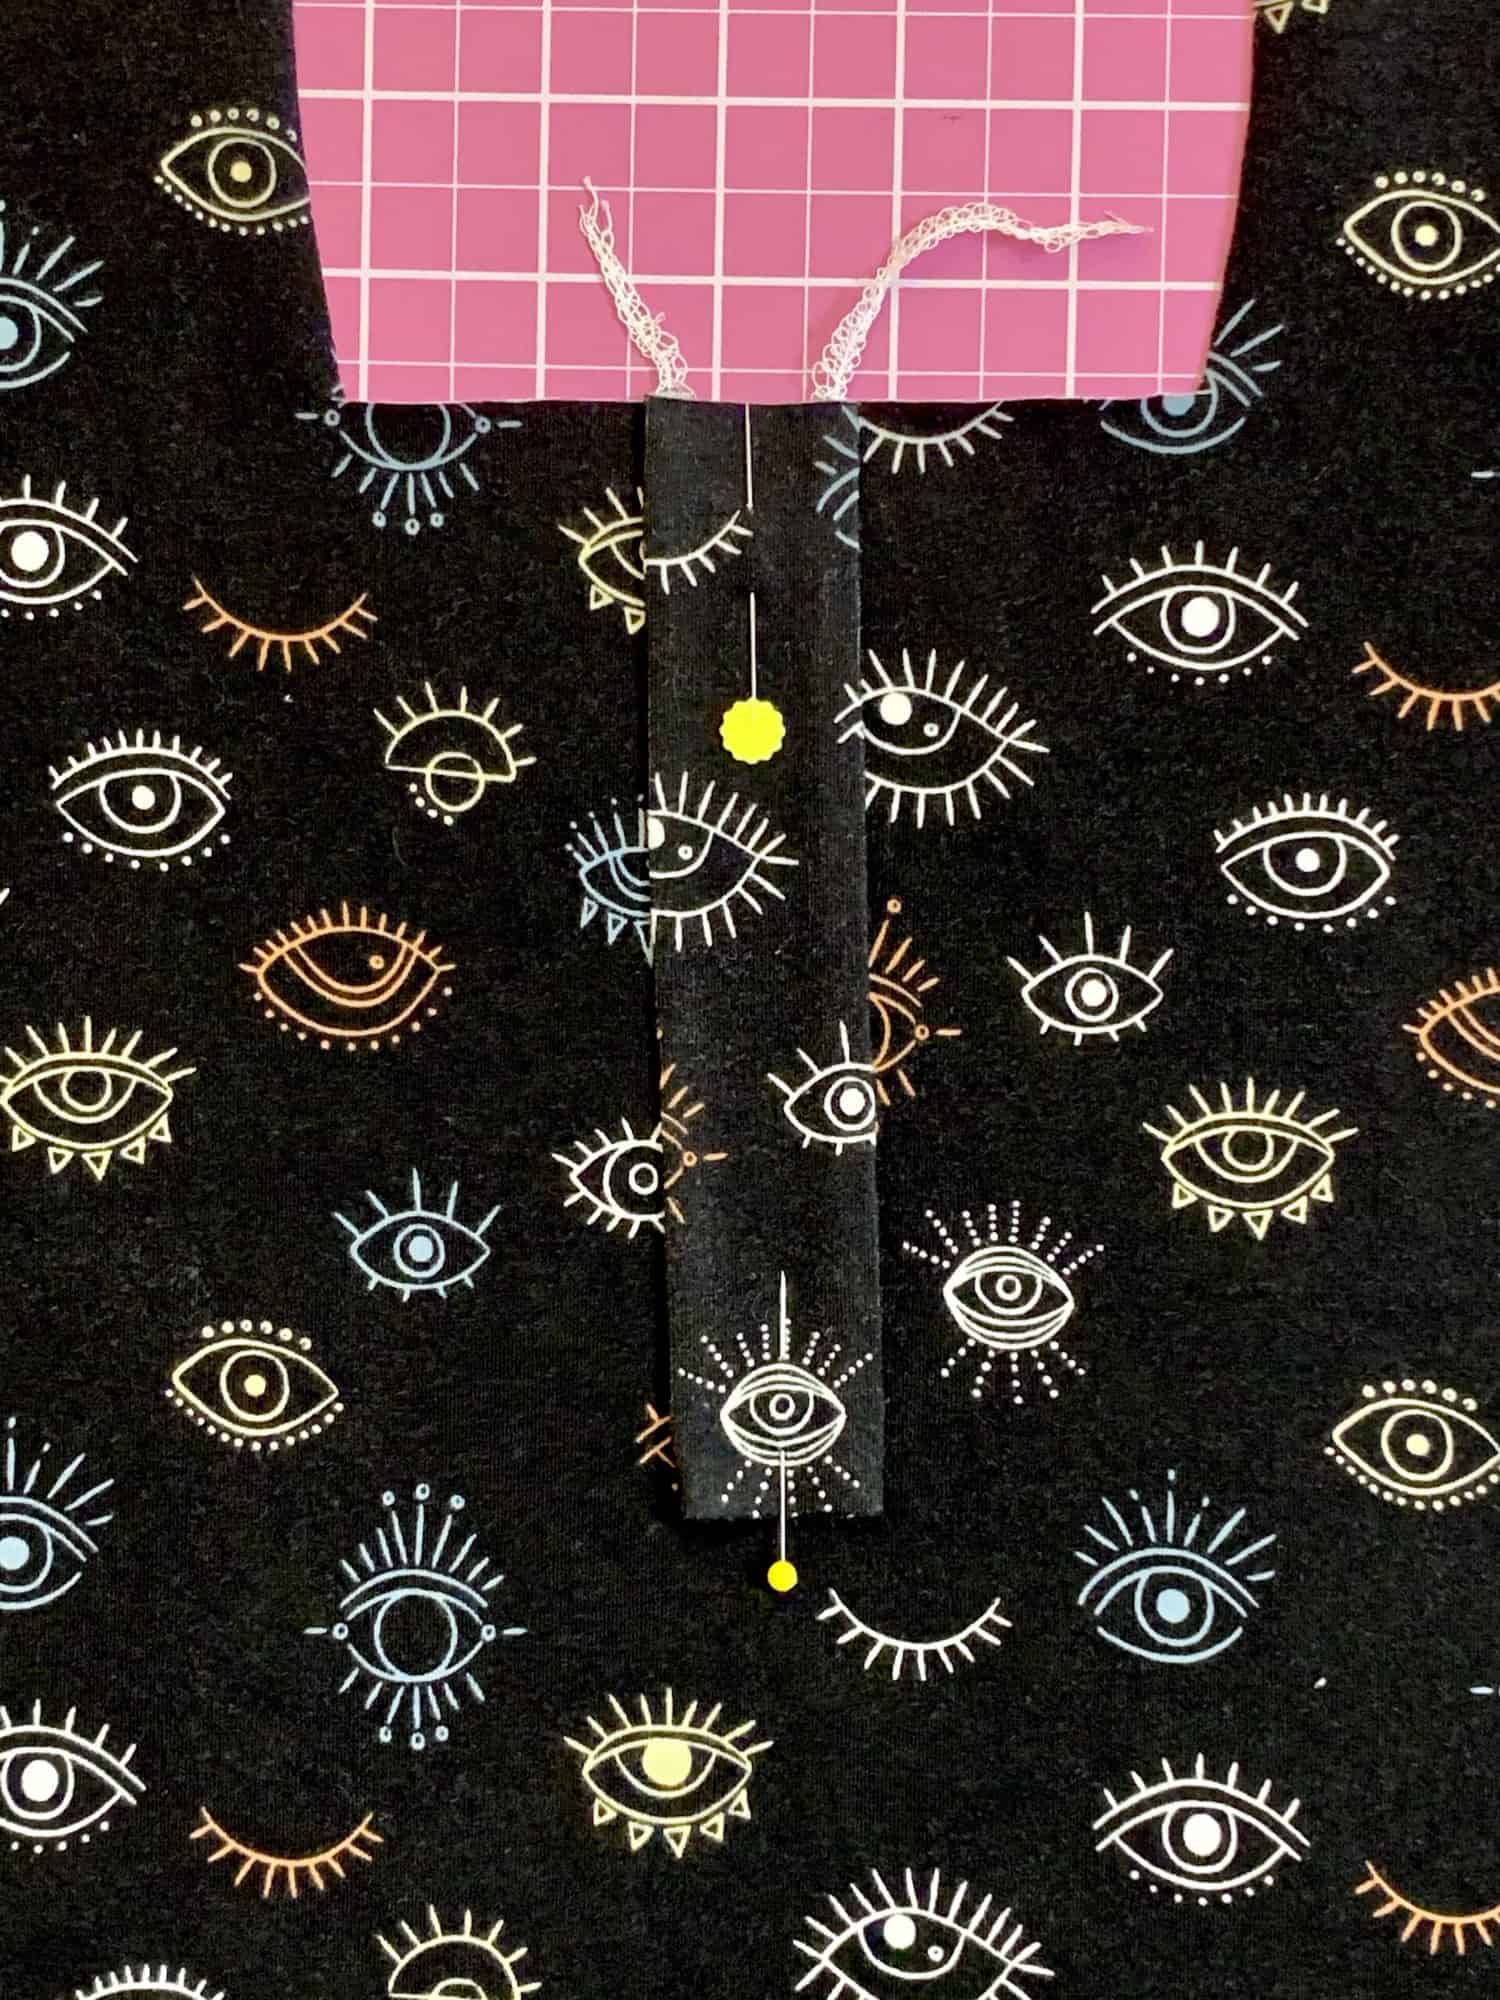
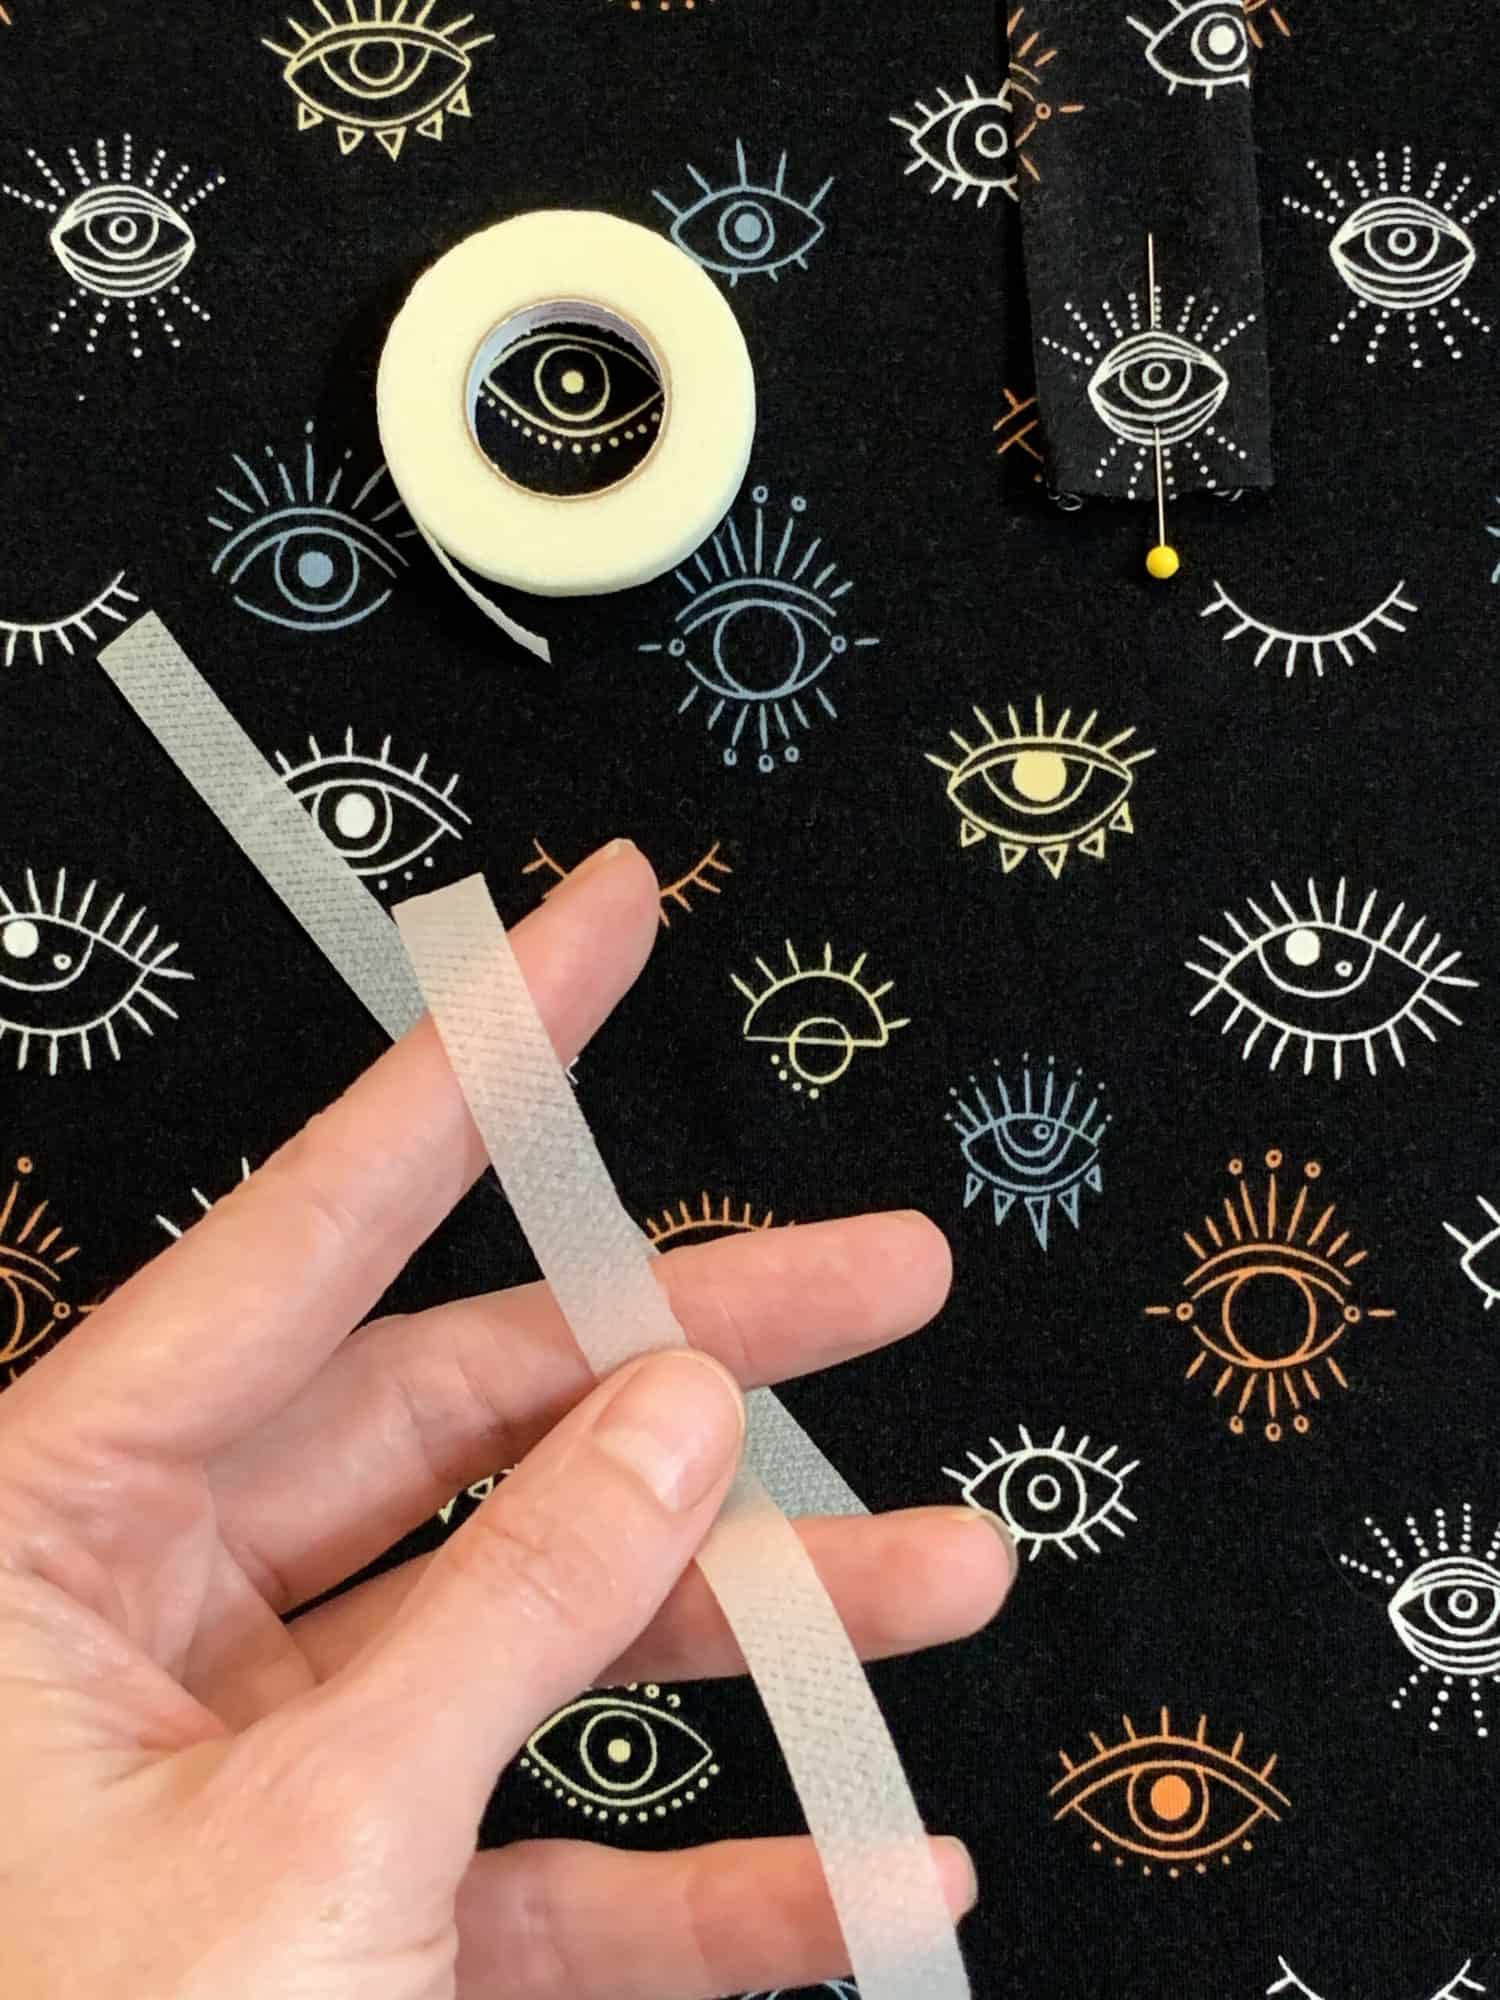
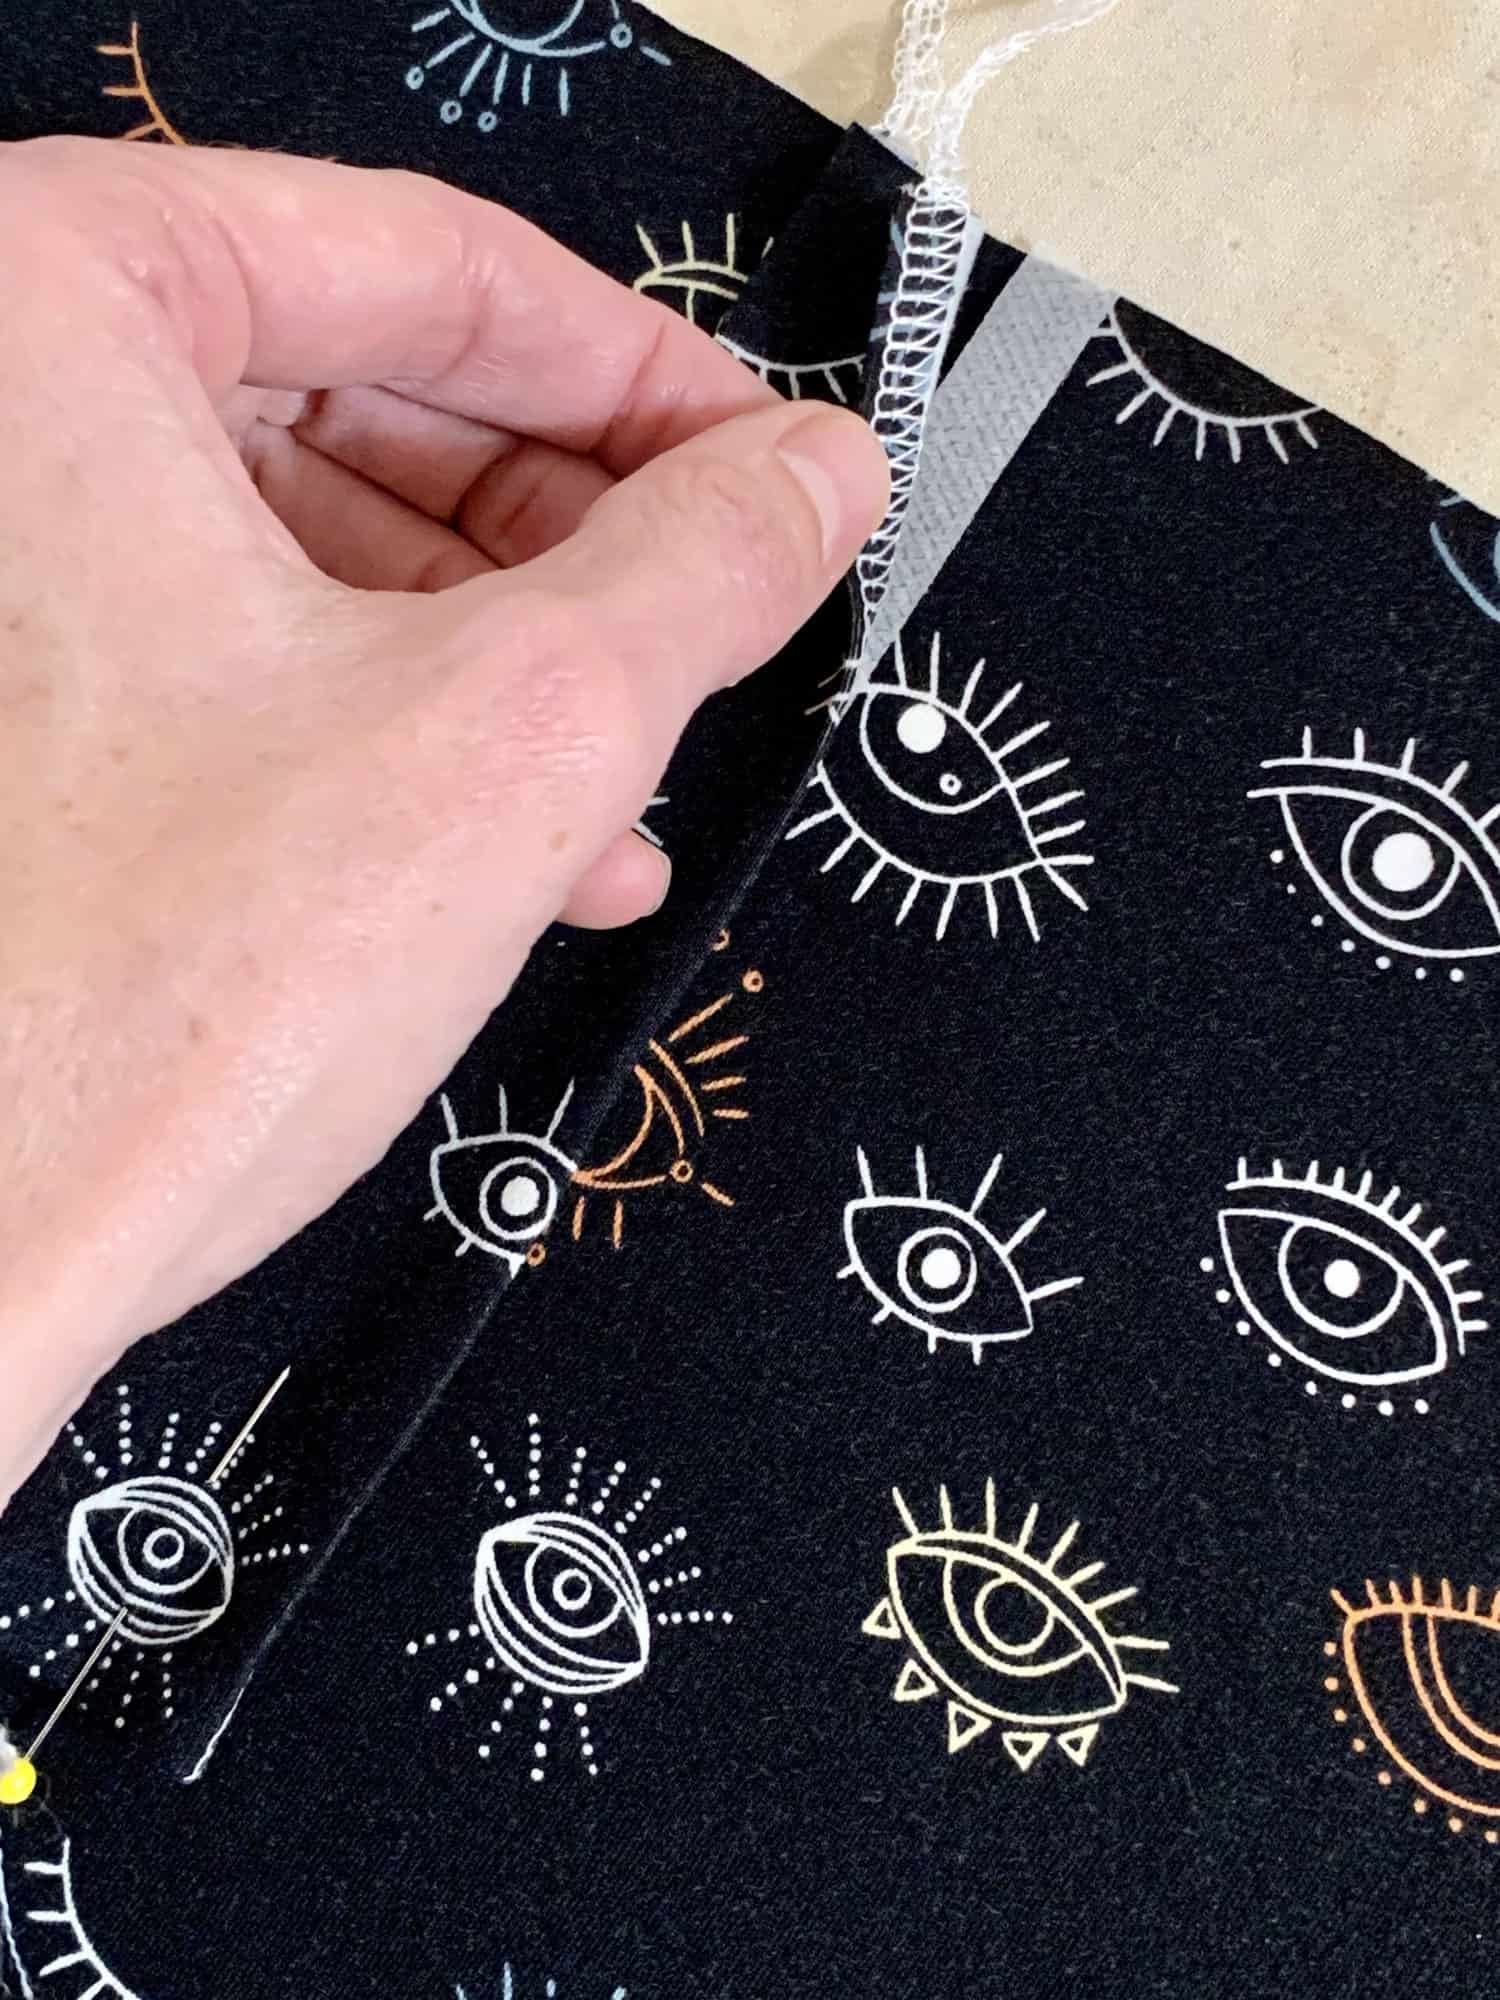
Pin your placket piece to the center line of your bodice, aligning raw edges at the top of the placket and neckline. At this point, I like to use hem tape to secure the placket into place.

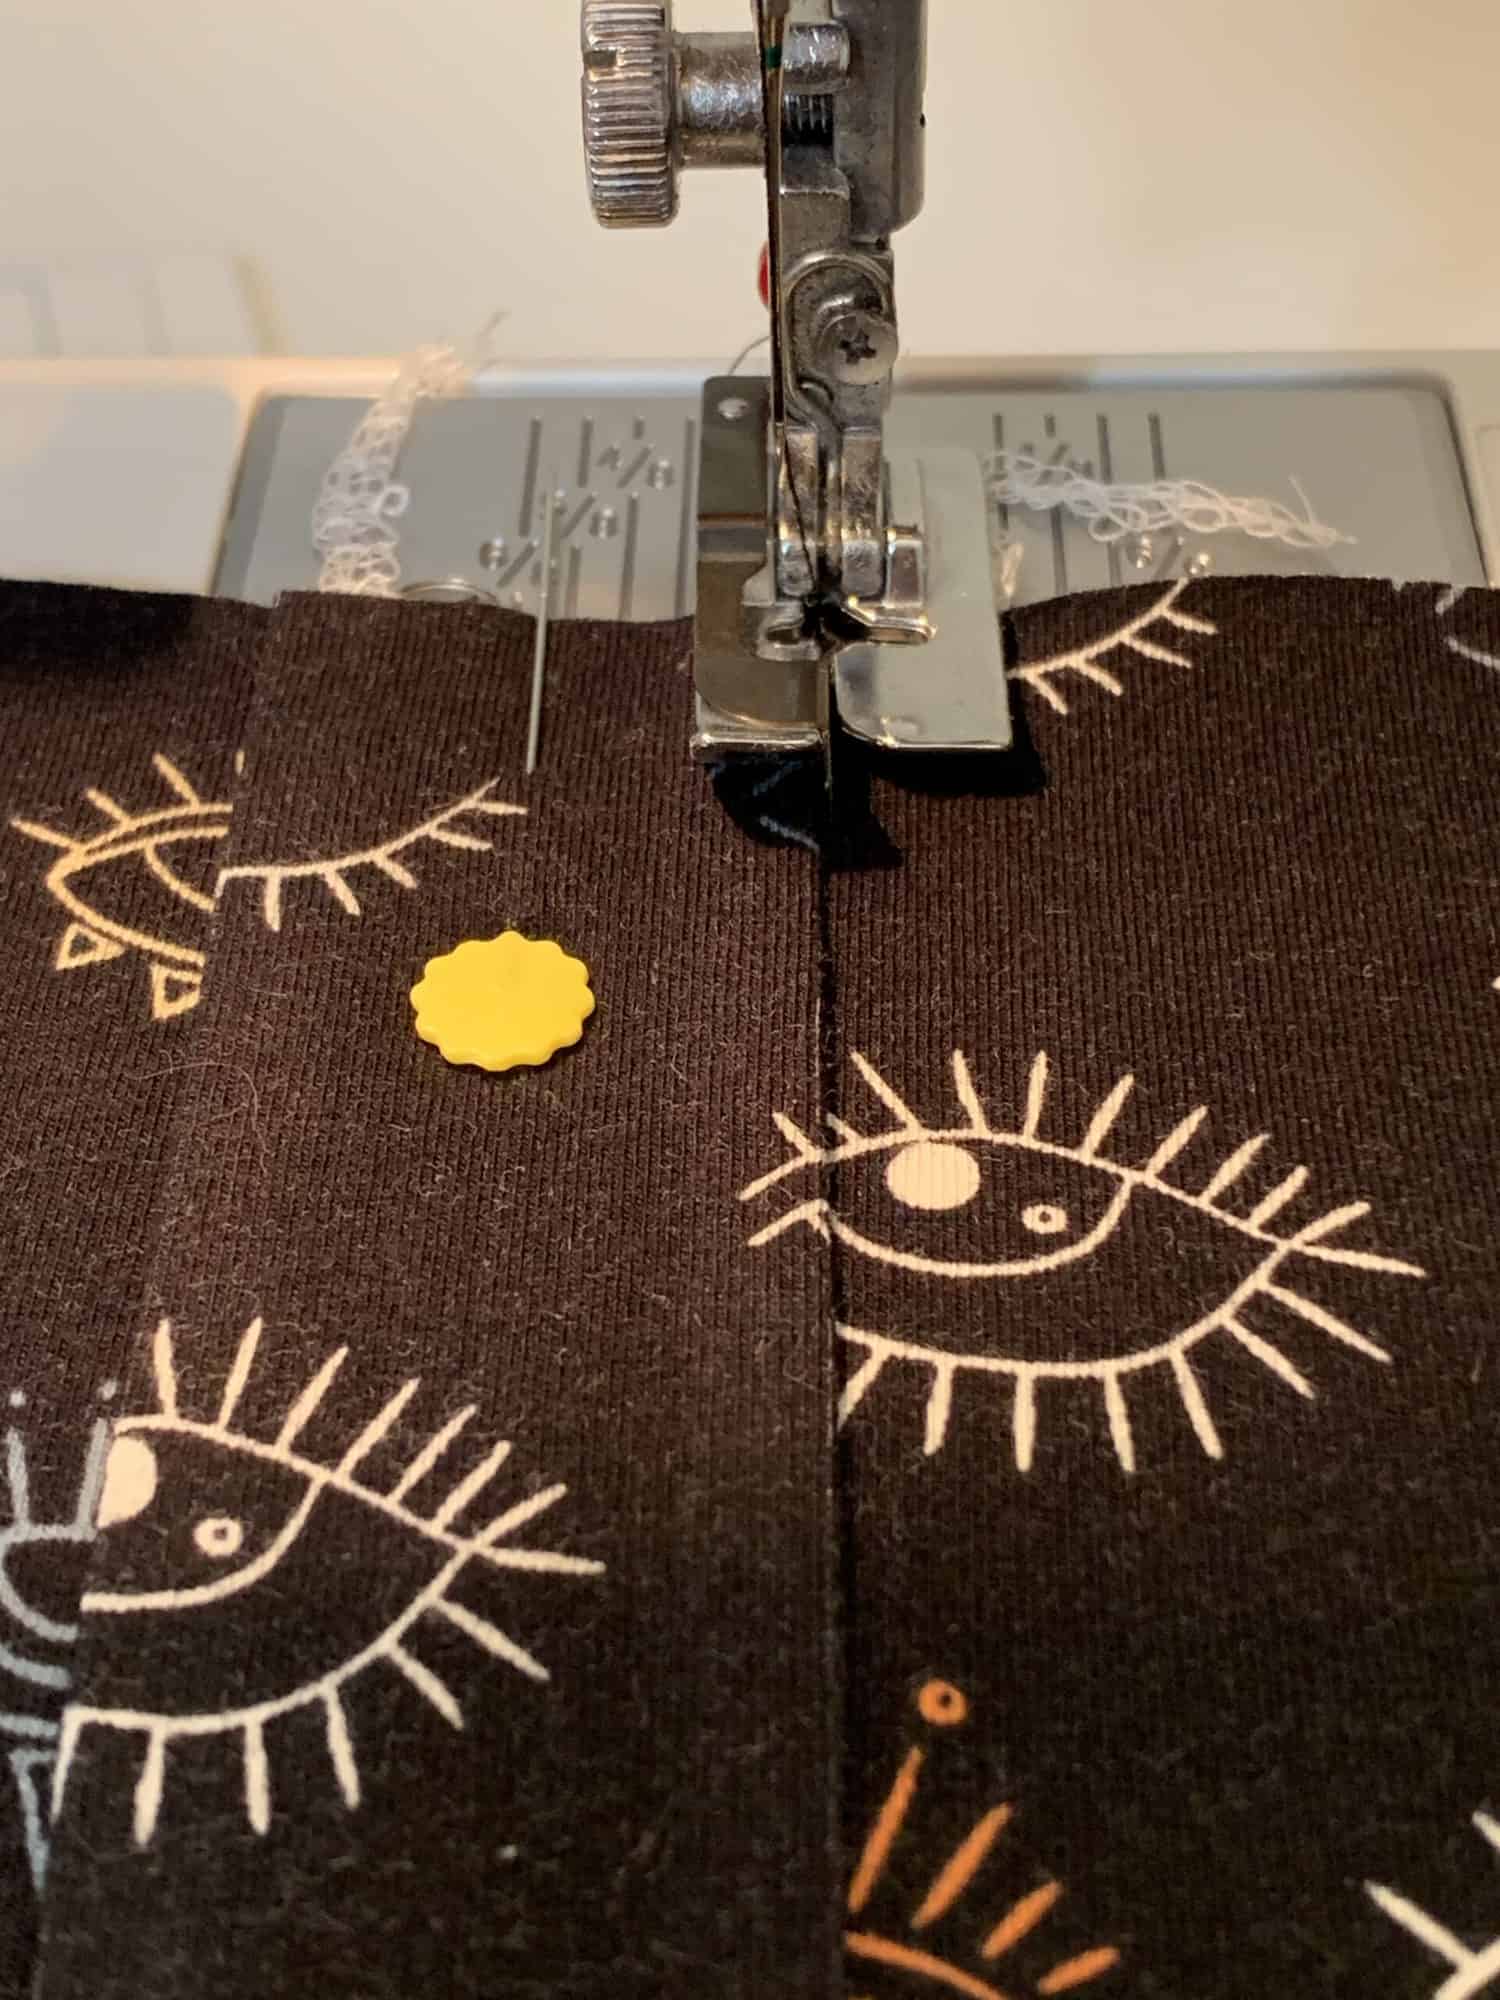
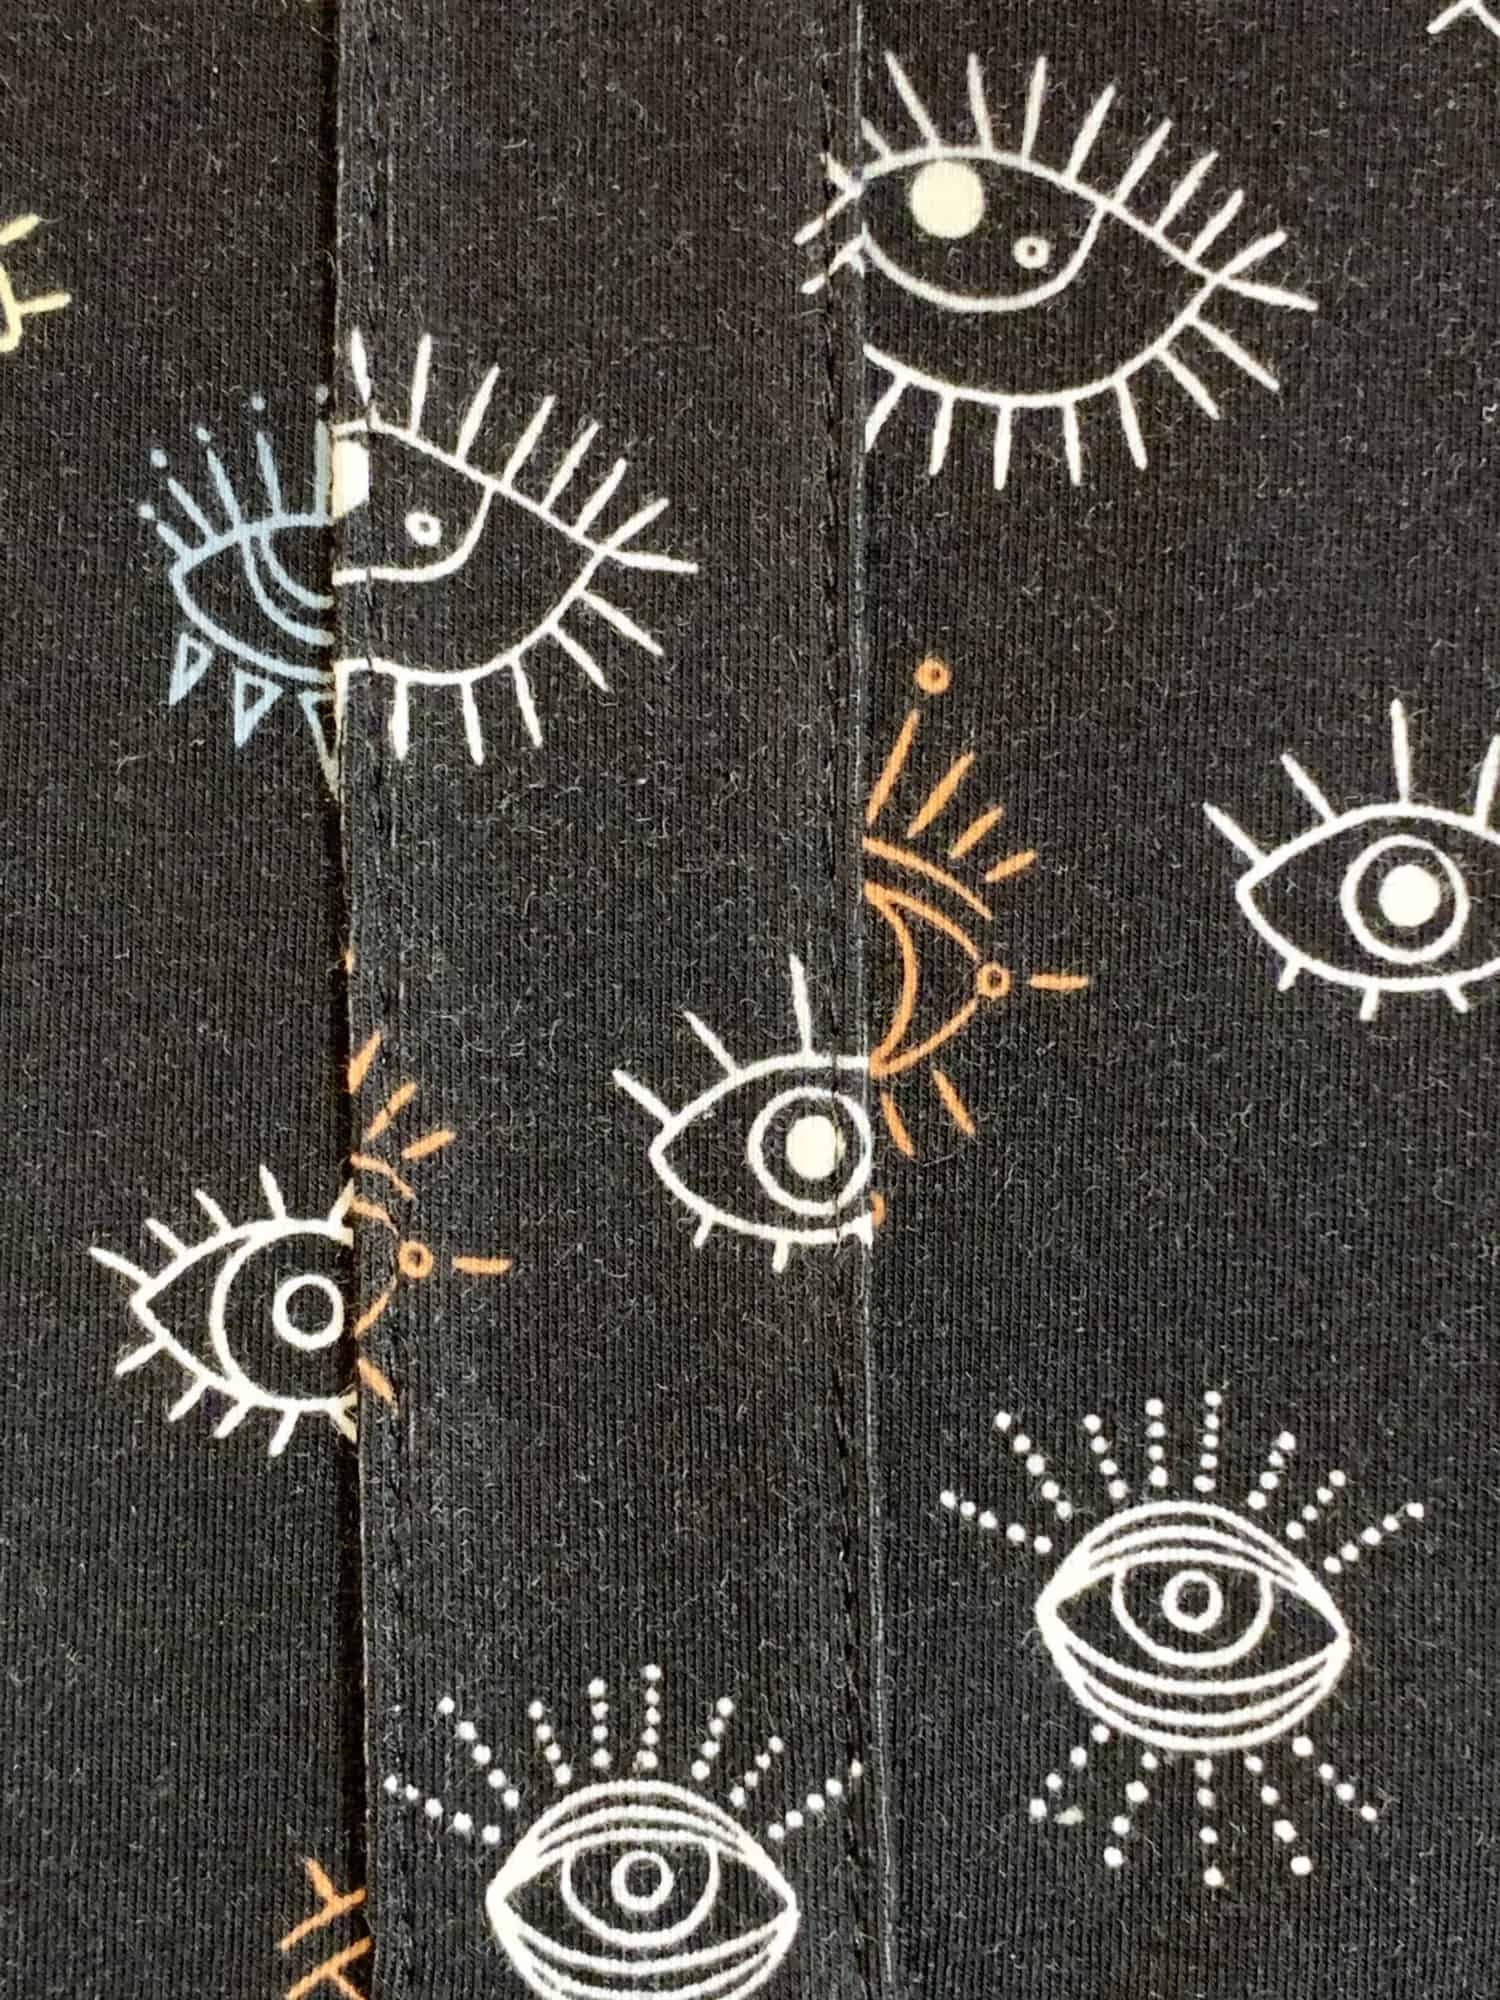
Edgestitch into place. Fun tip! Use your blind hem foot to help keep your topstitching super-straight!

Assemble the rest of the garment per the pattern instructions.

Add your buttons once your garment is complete so they don’t get in the way of your construction.

I mentioned it was simple, right?? Enjoy the newest addition to your spring wardrobe!

…..

Compression undergarment

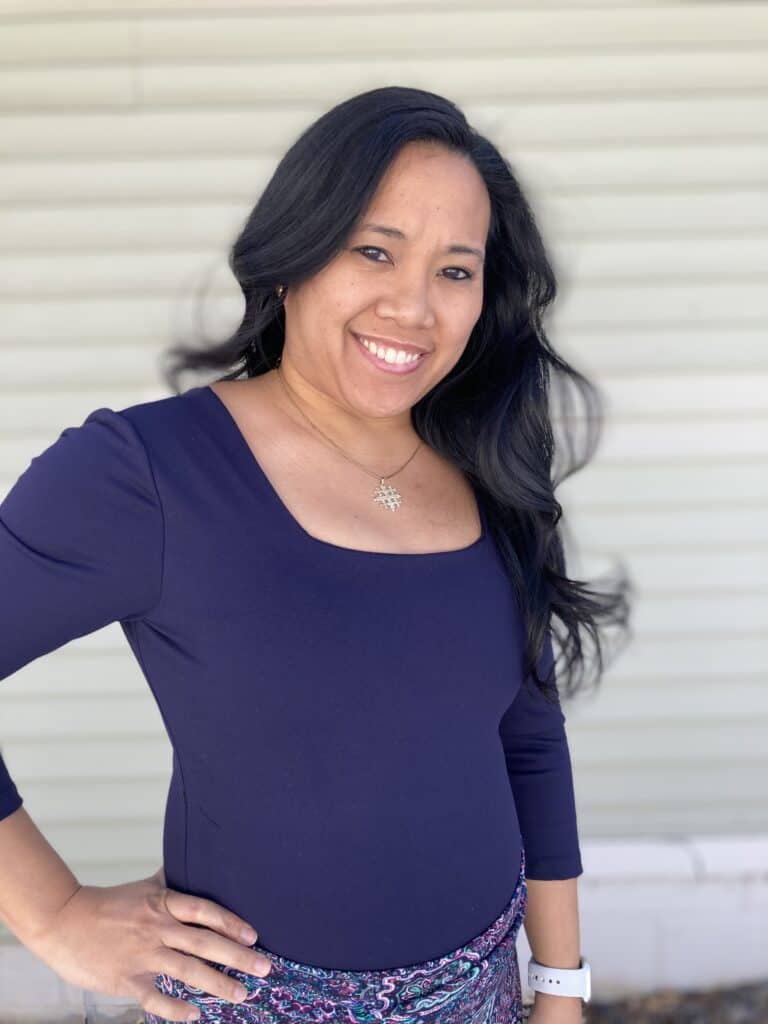
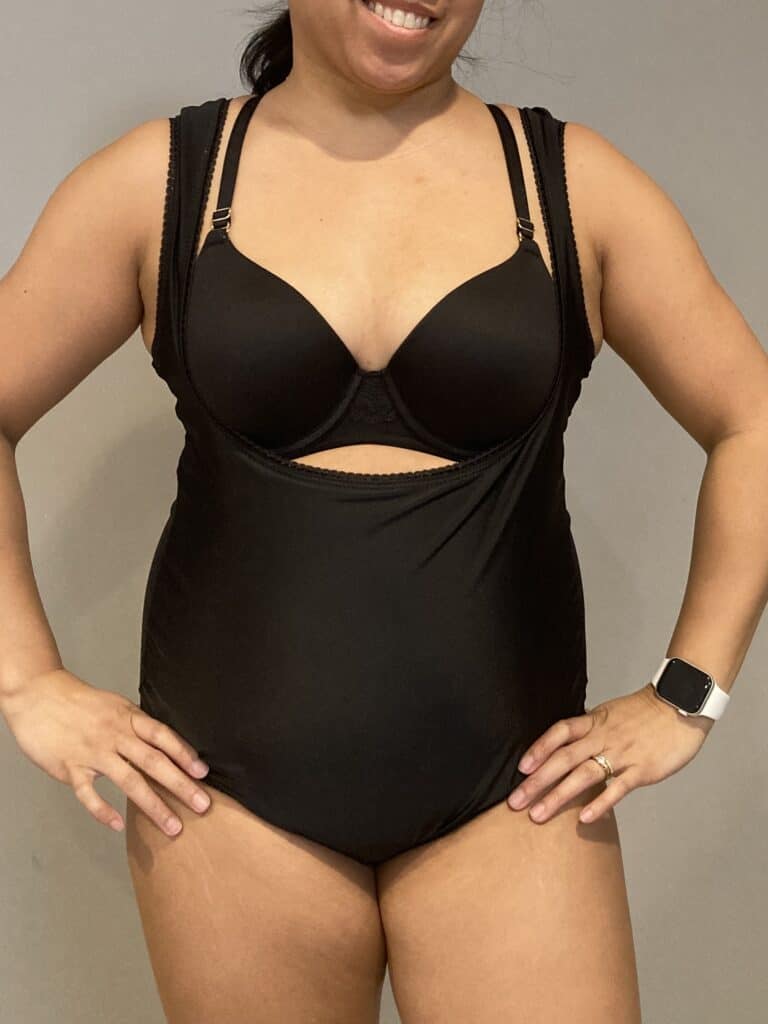
Love the Be Bold Bodysuit, but want a little tummy control? No problem. It’s all about fabric choice. You’ll want to use a heavy athletic knit with a high spandex content, like supplex or compression tricot. In my navy bodysuit below, I used supplex for the main fabric and lined the front and back bodysuit with power mesh. I treated the supplex and power mesh as one layer and followed the tutorial as written. However, if you are looking for something compressive, that can be worn as an undergarment, you’ll want something a little more like the black bodysuit on the right.


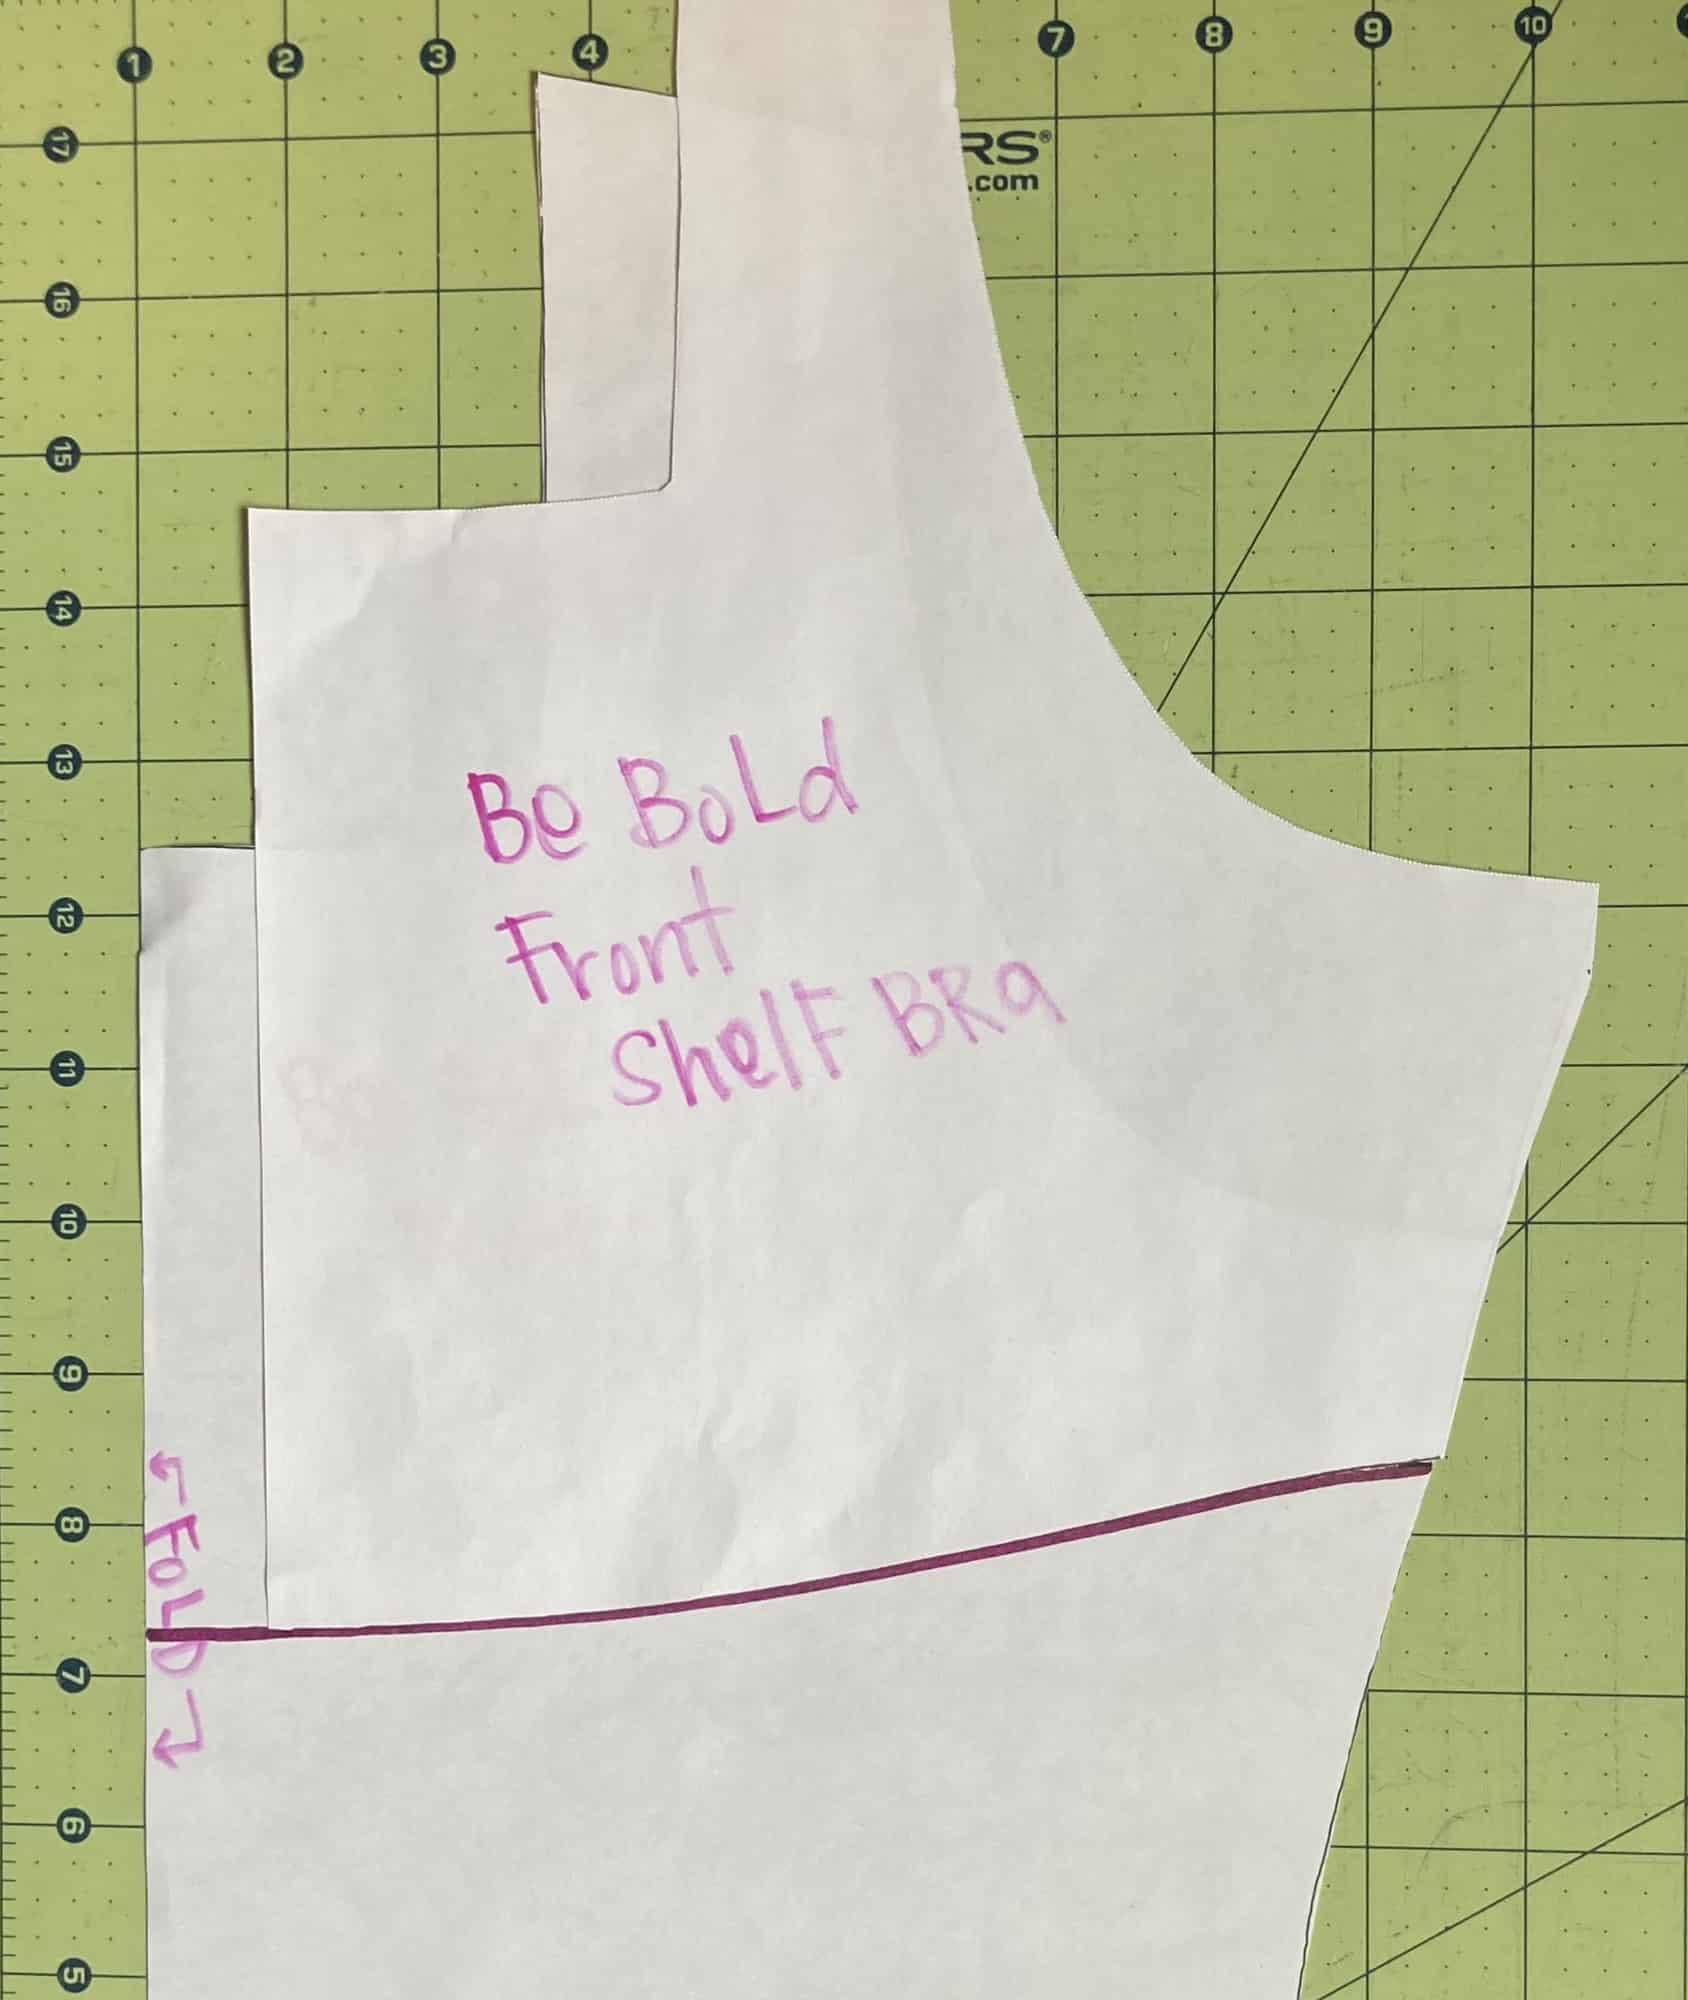
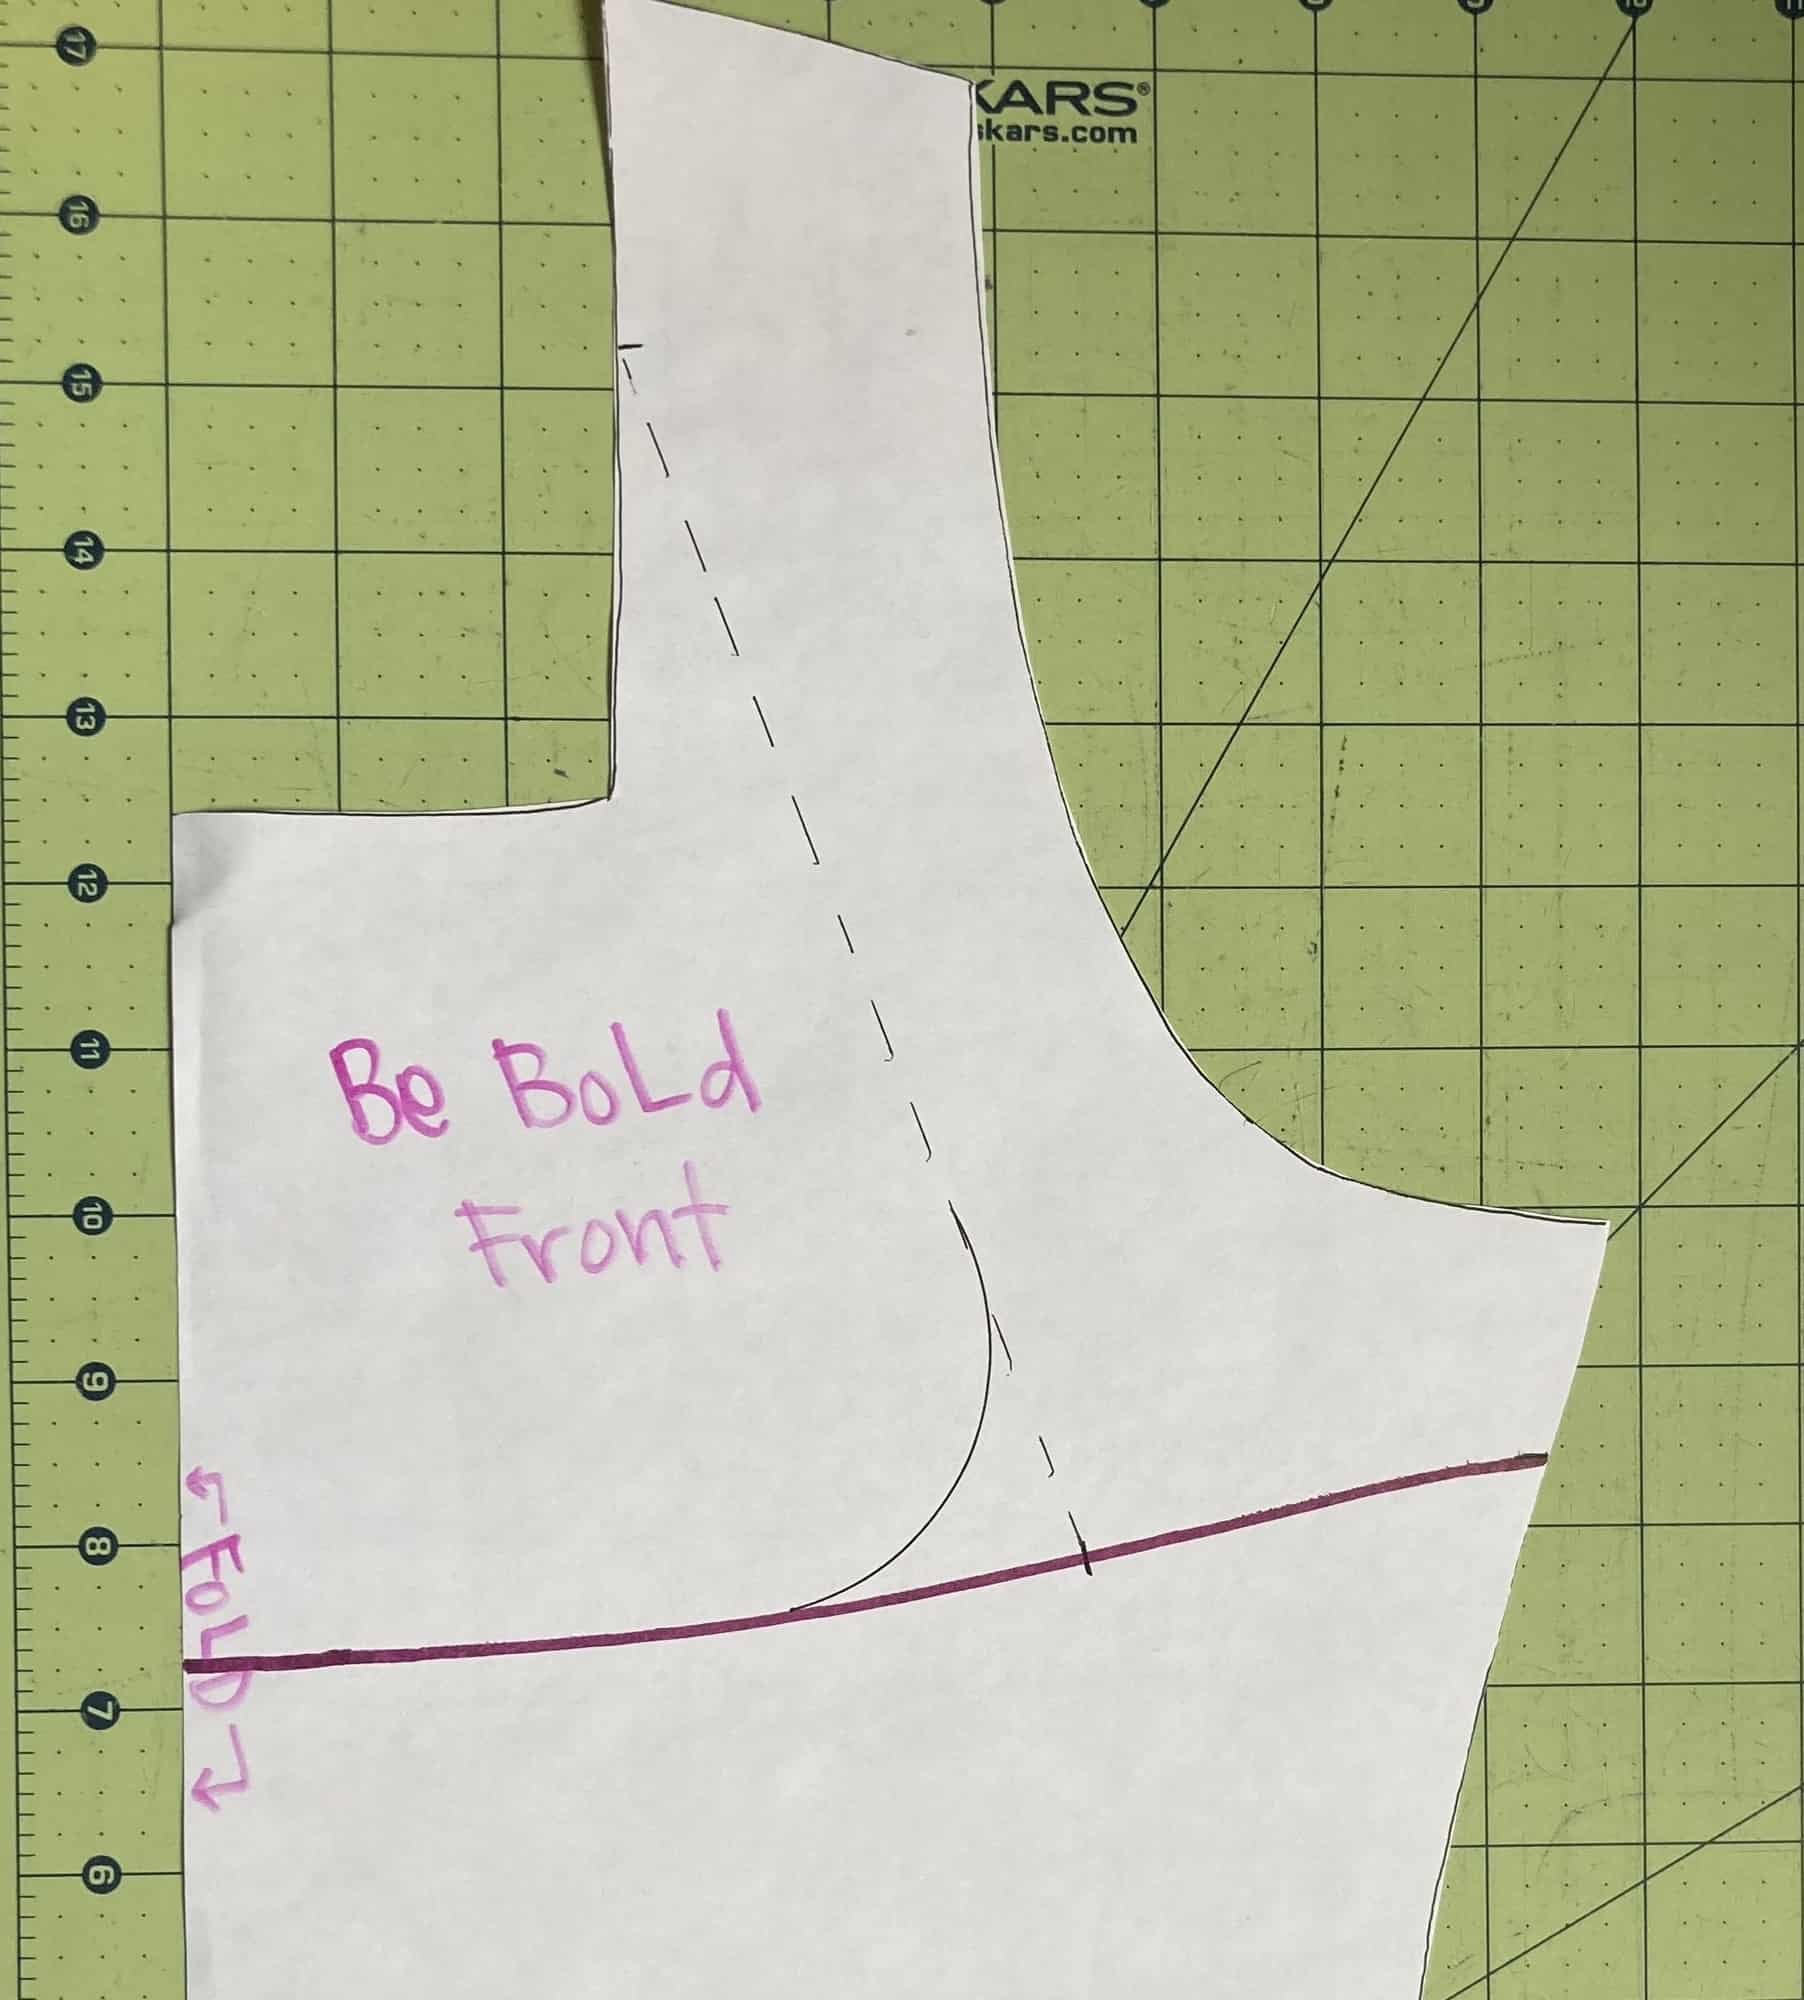
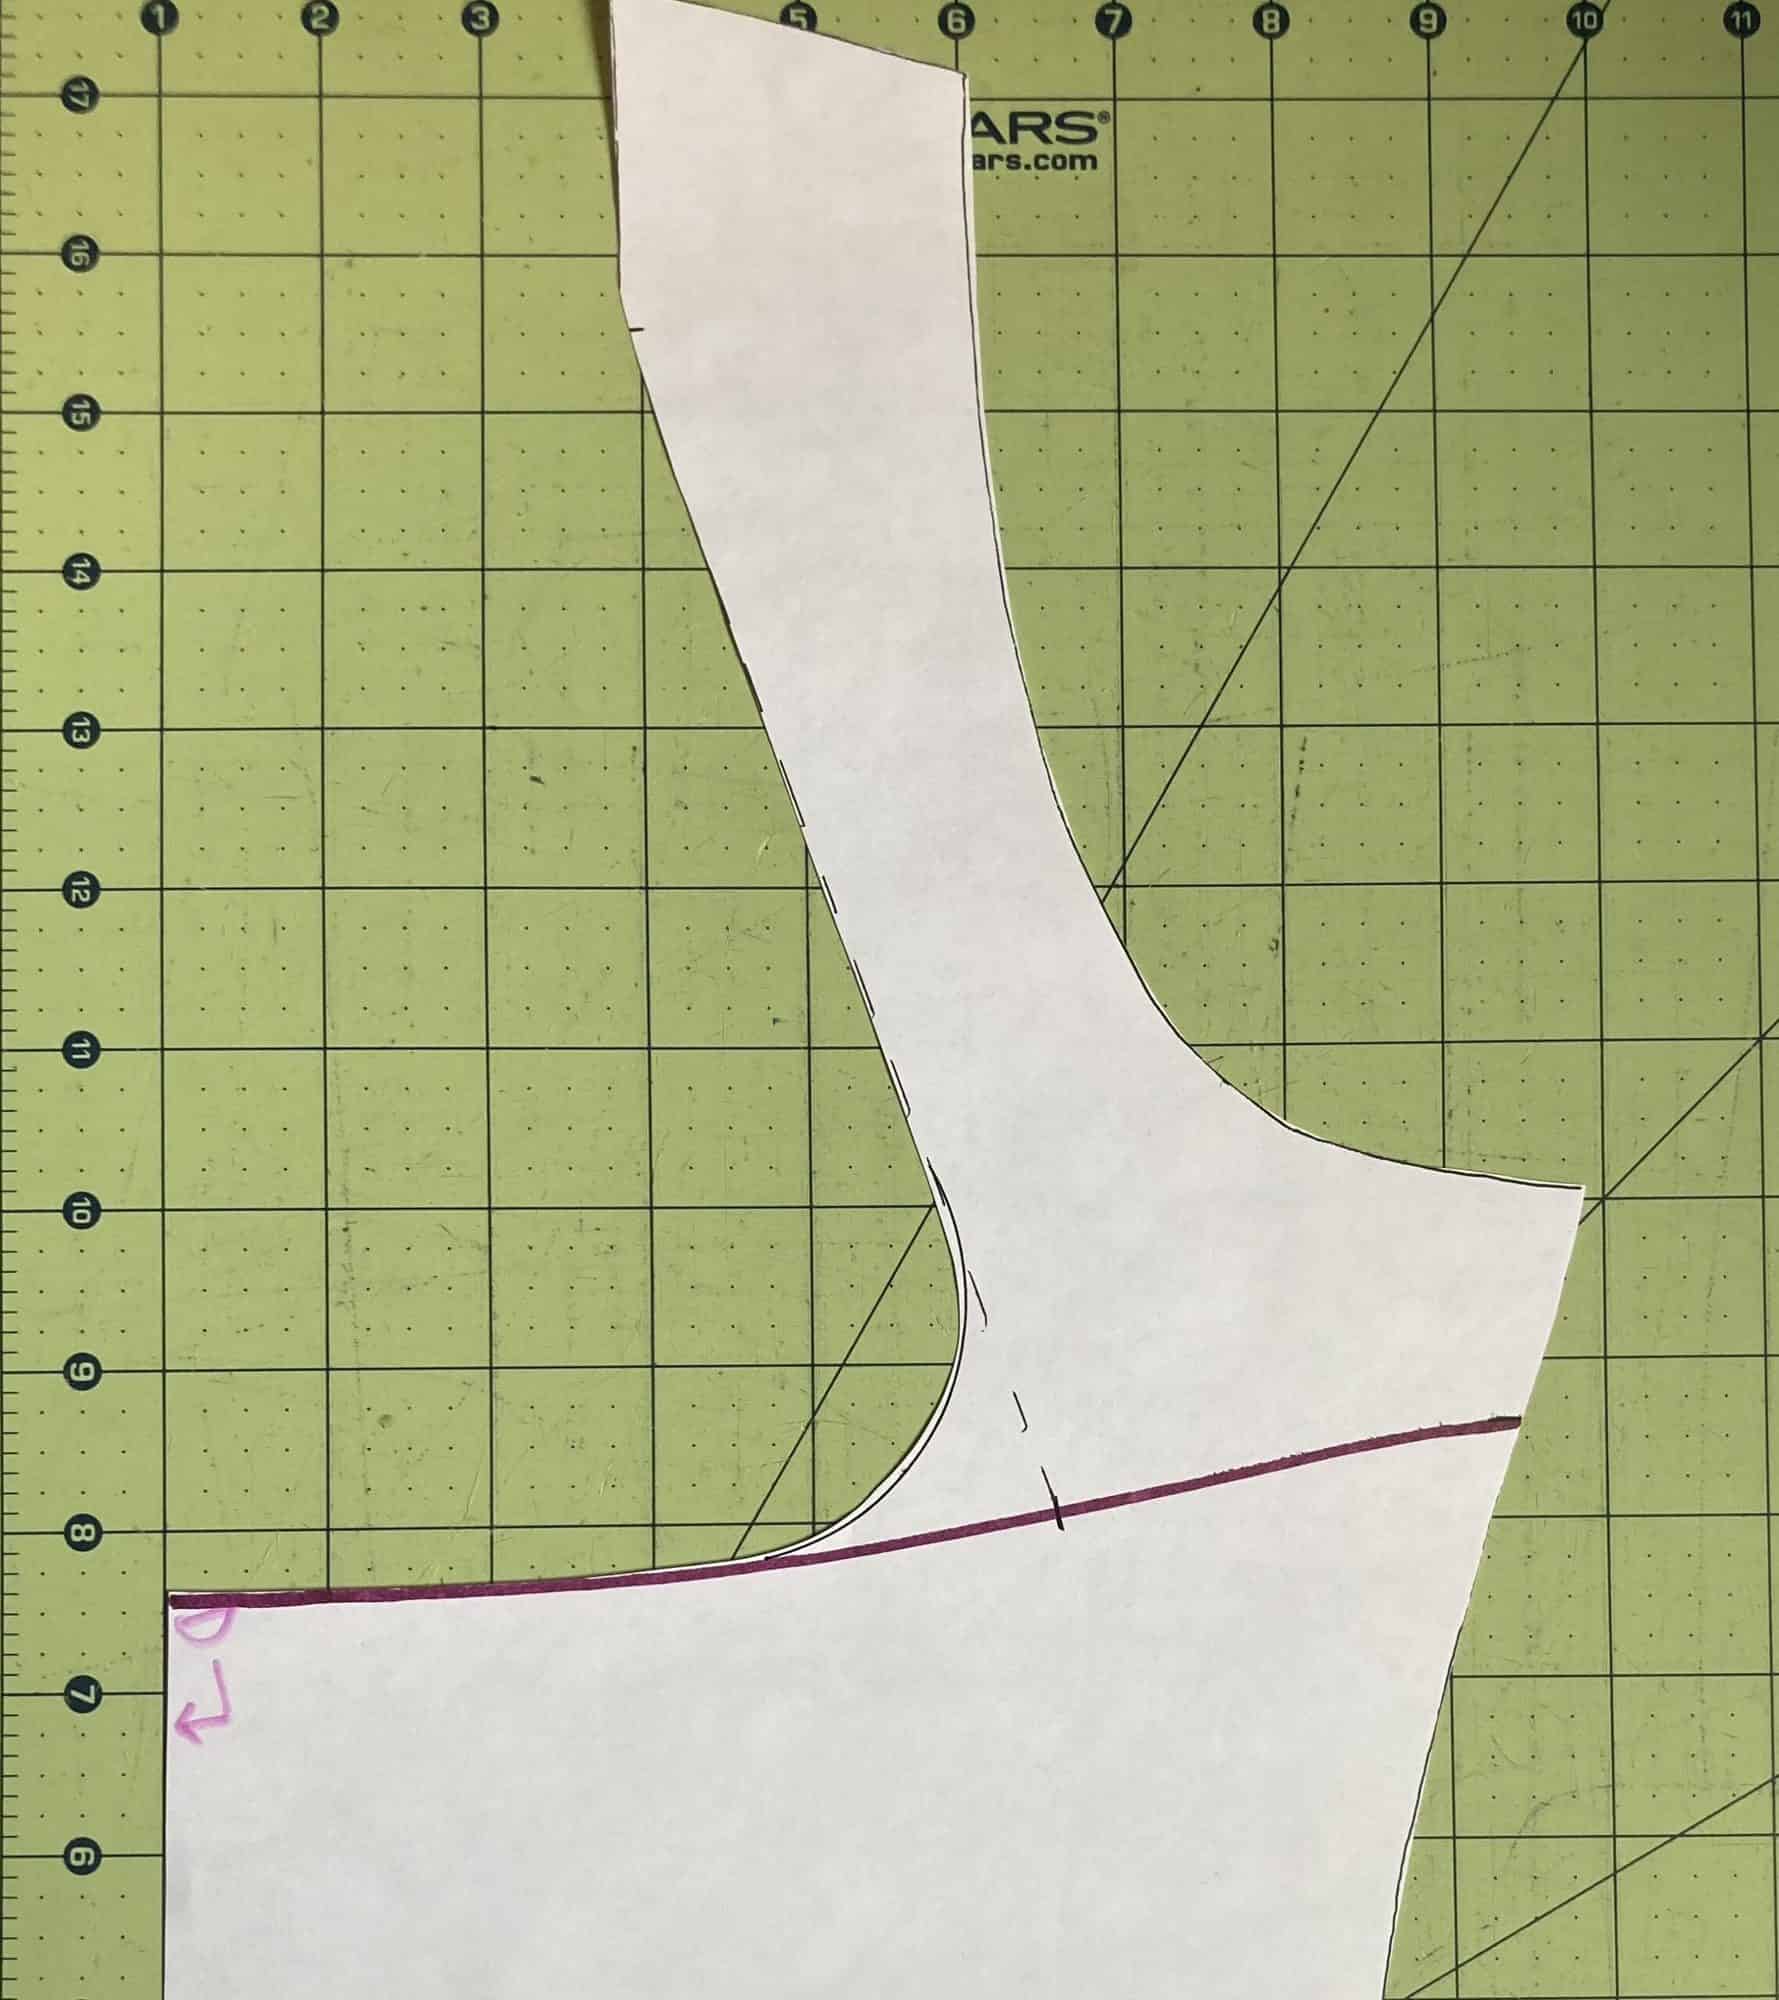
For the black bodysuit, I used tricot for the main fabric and power mesh for the lining. The only adjustments were made to the front bodice pattern piece.


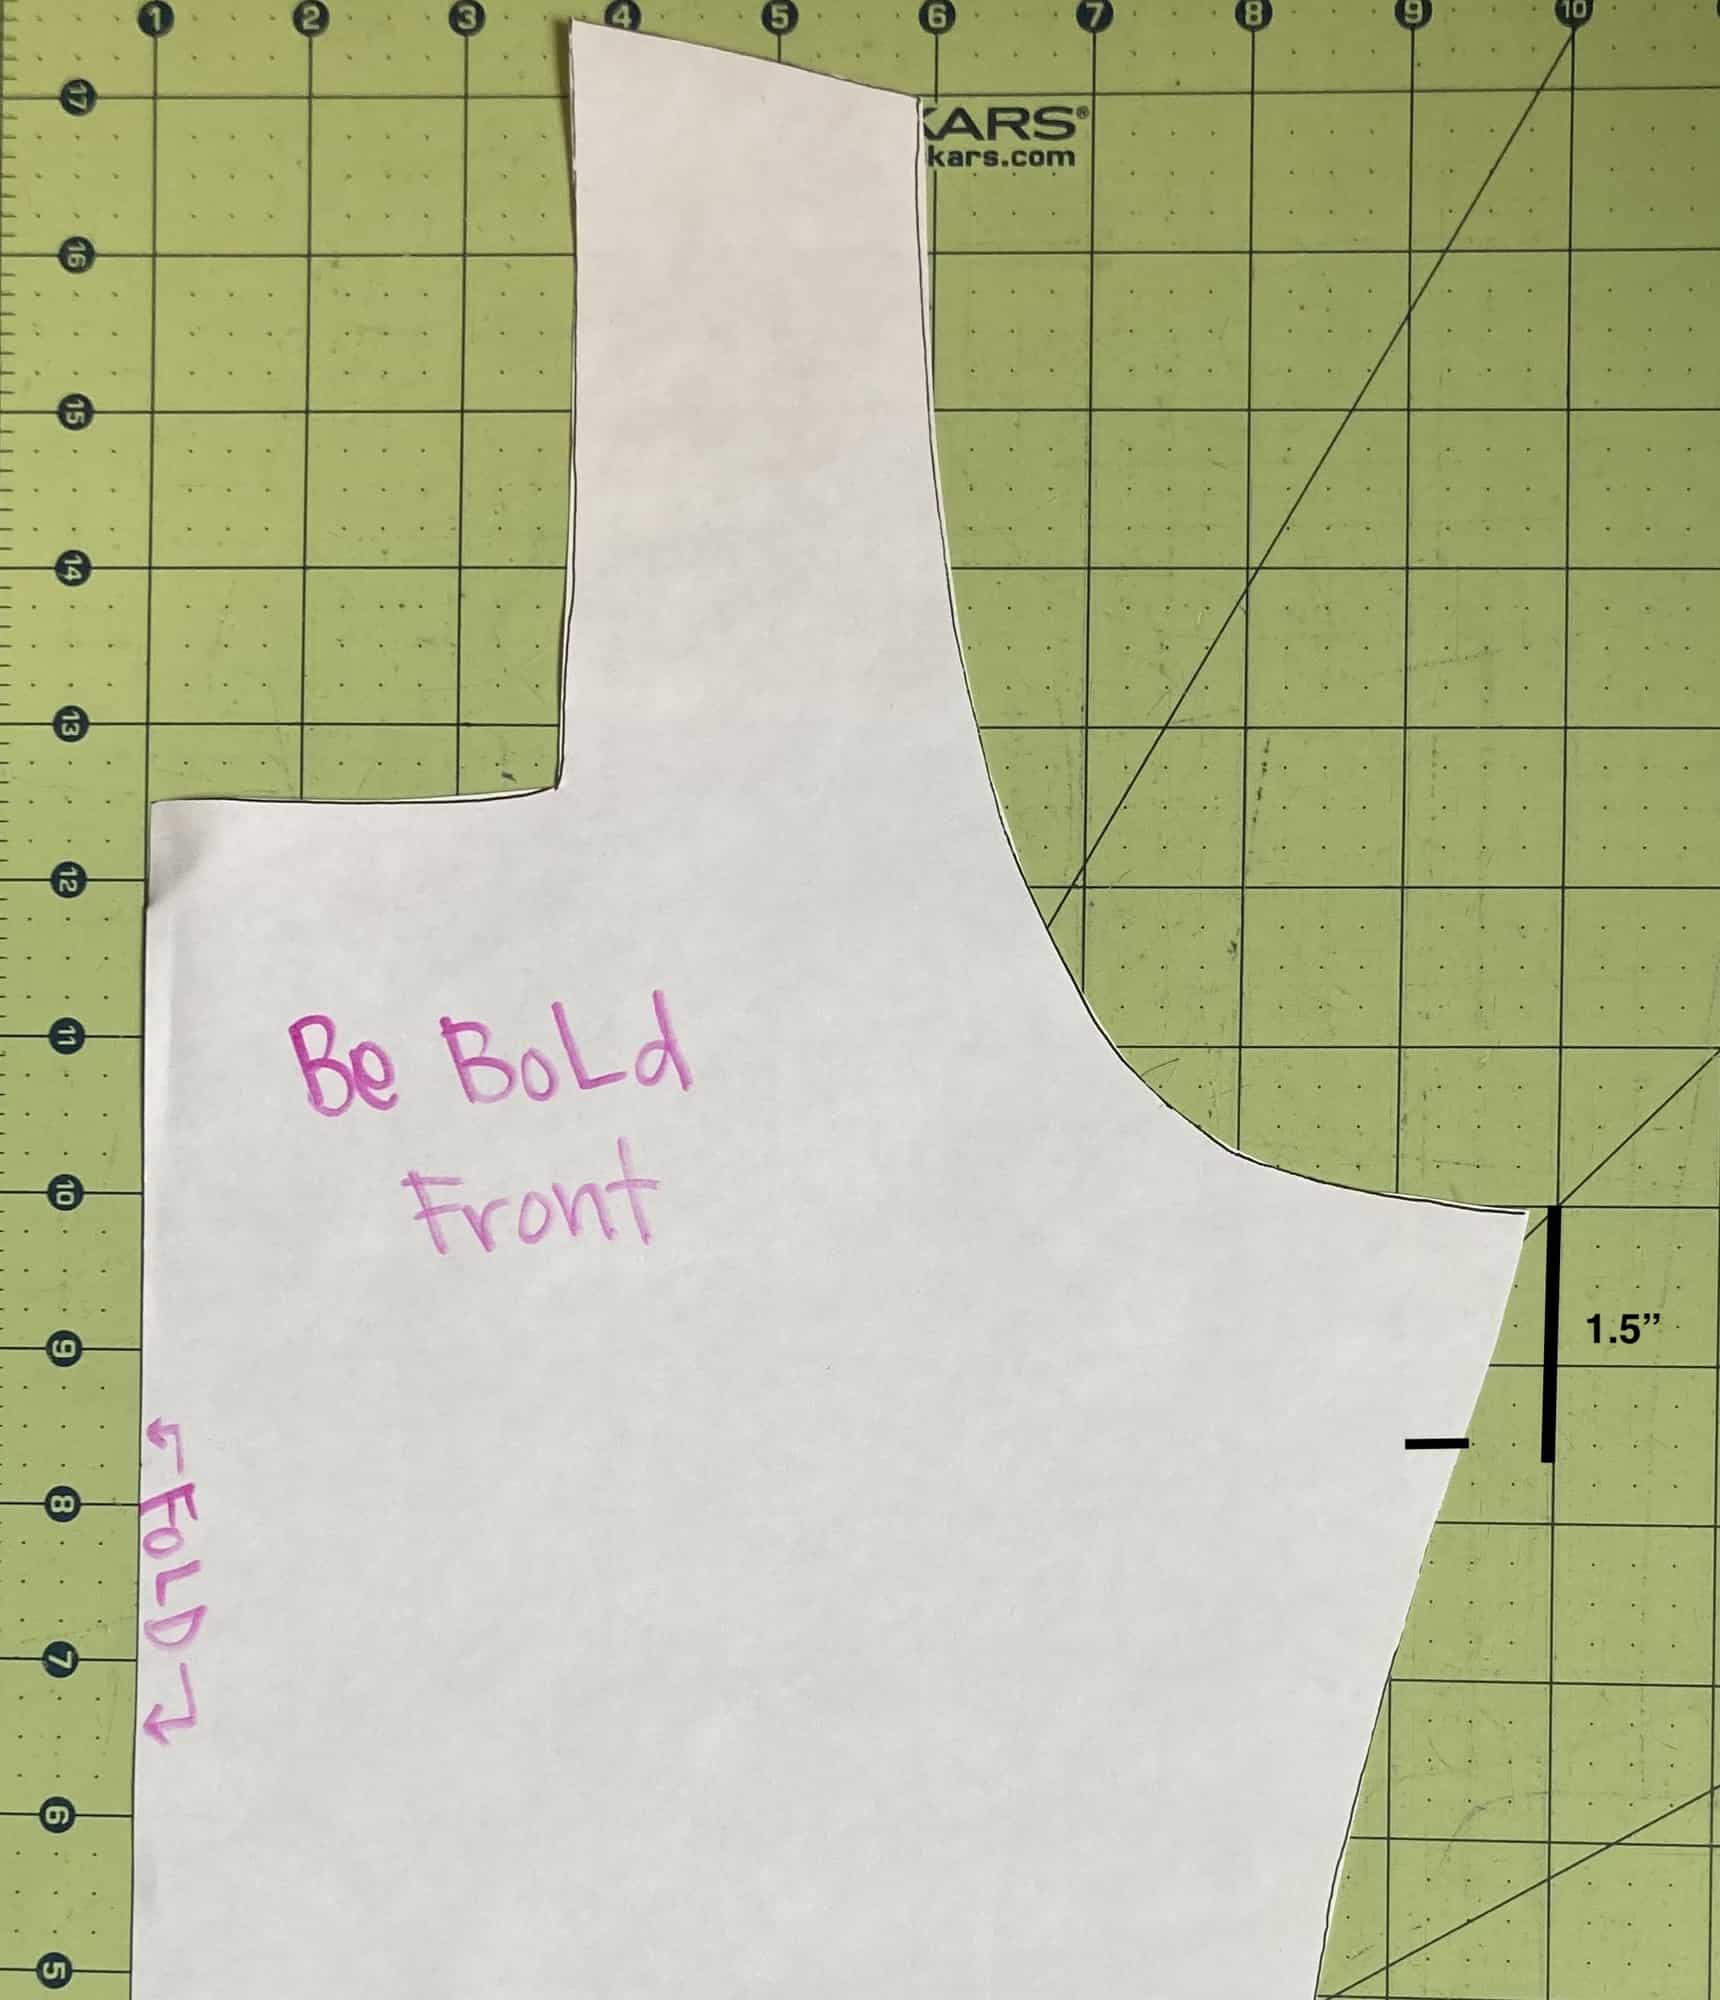
  1. Mark 1.5″ down from the armpit of the front pattern piece.
  2. Using the bottom curve of the Front Shelf Bra as a guide, create a line.


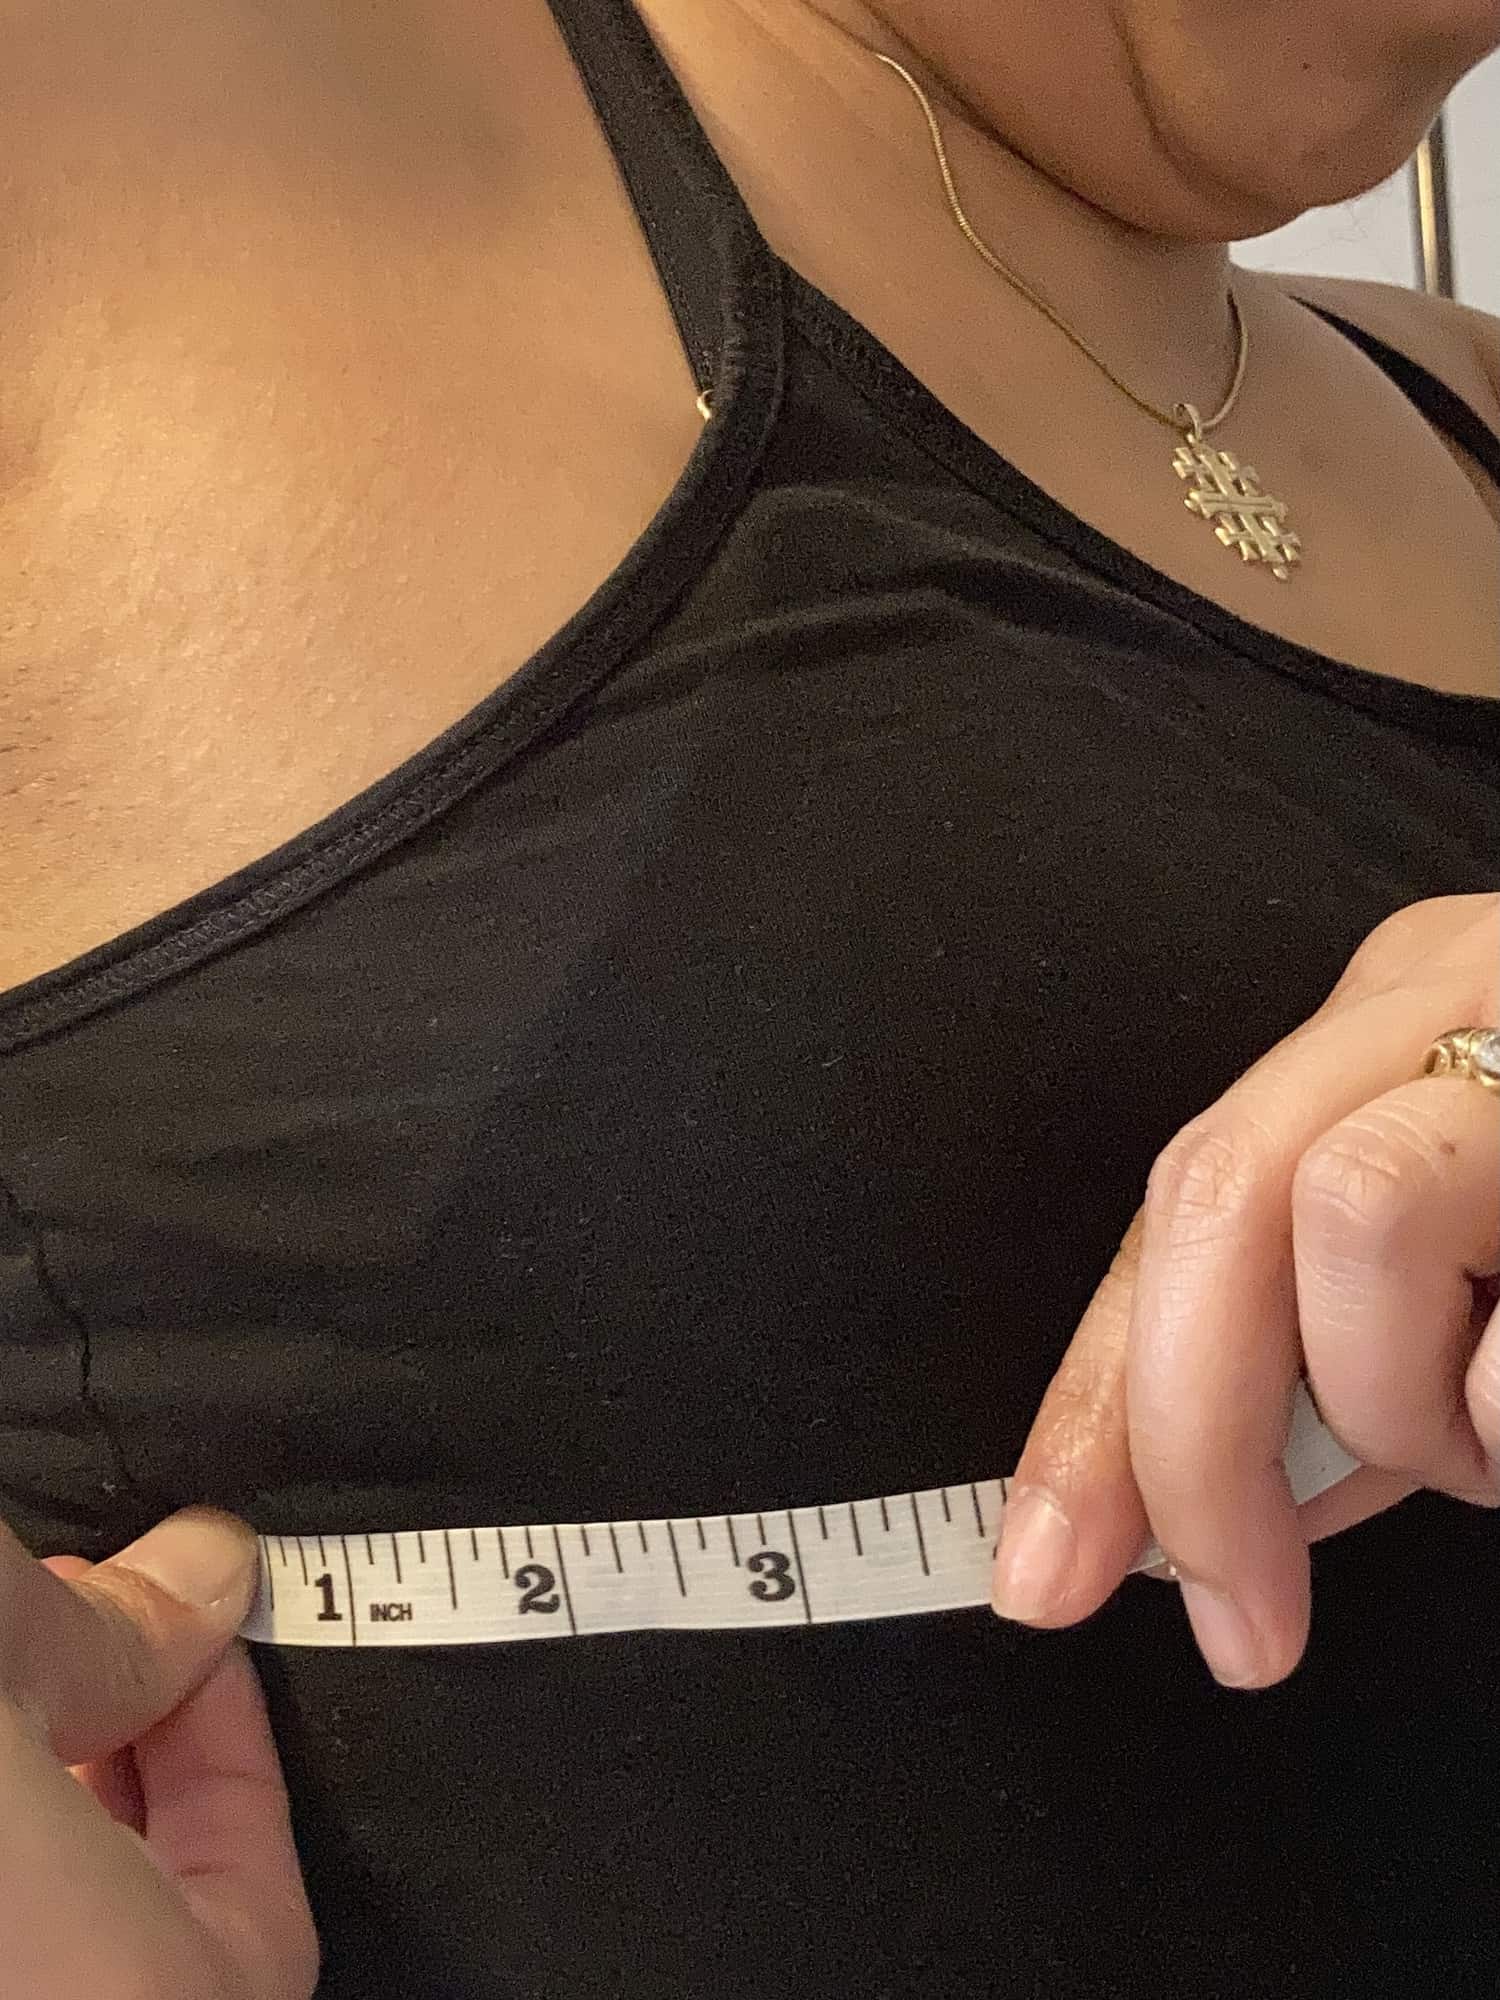
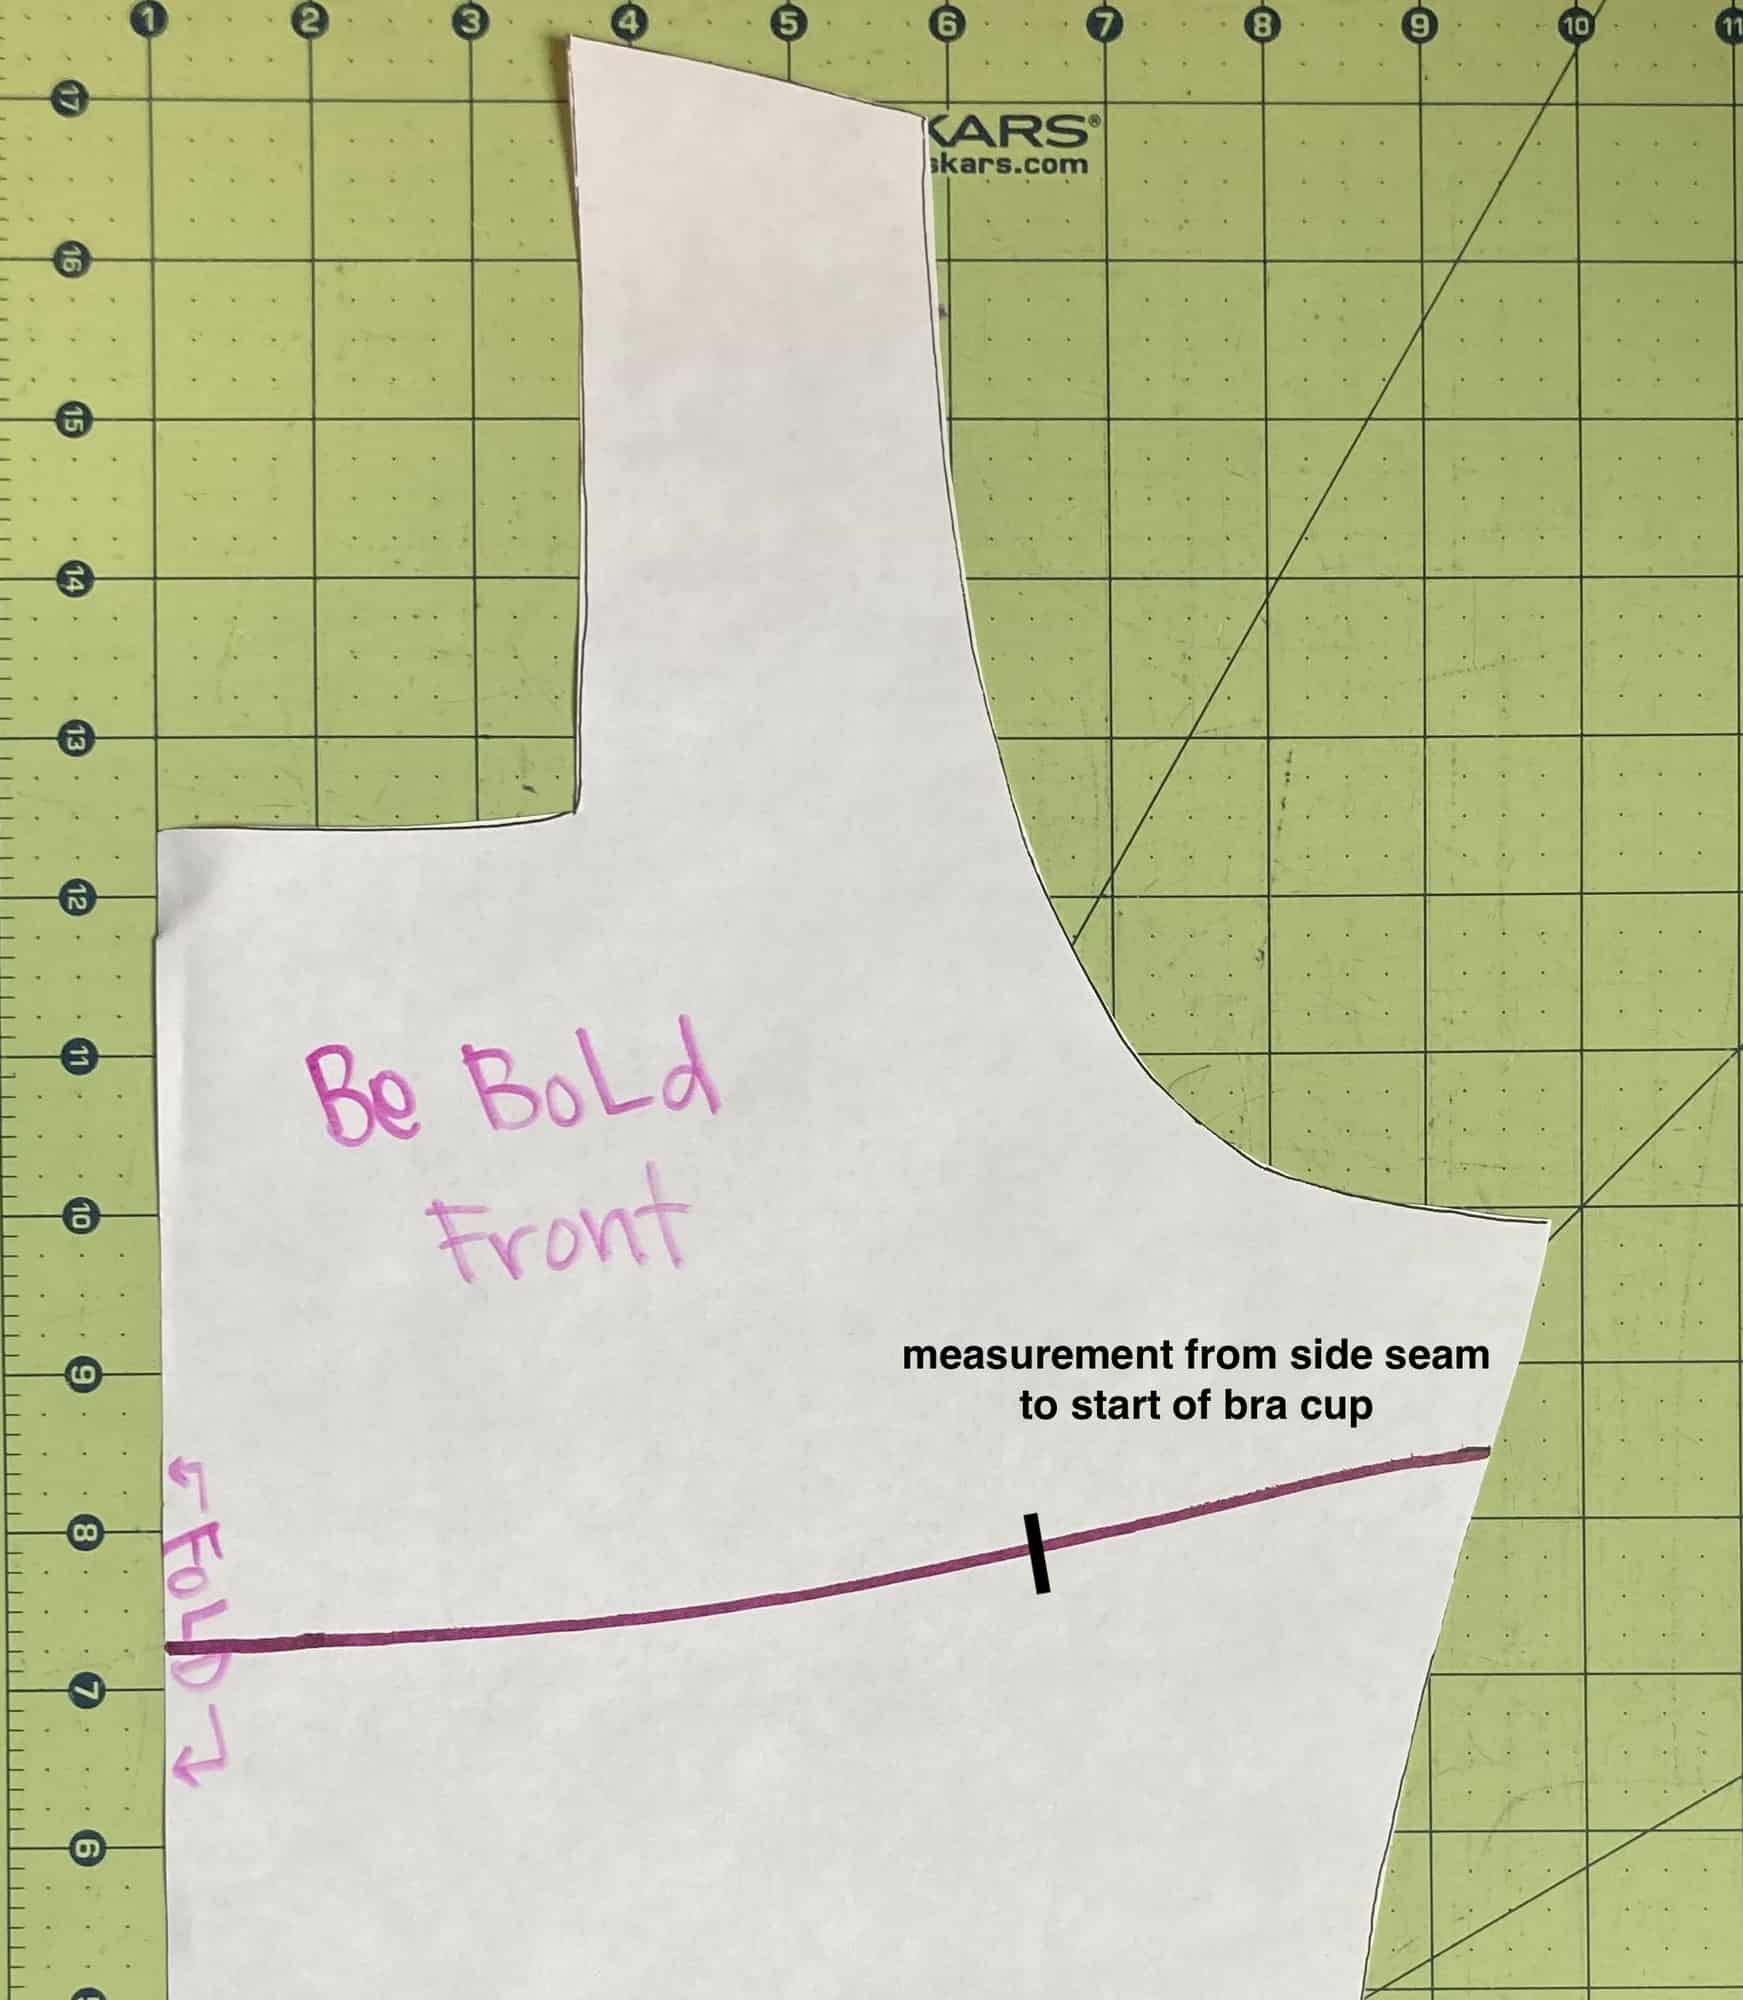
3.  Measure from your side seam to where you feel the start of your bra cup. Mine is about 3″, mark this measurement on your pattern.

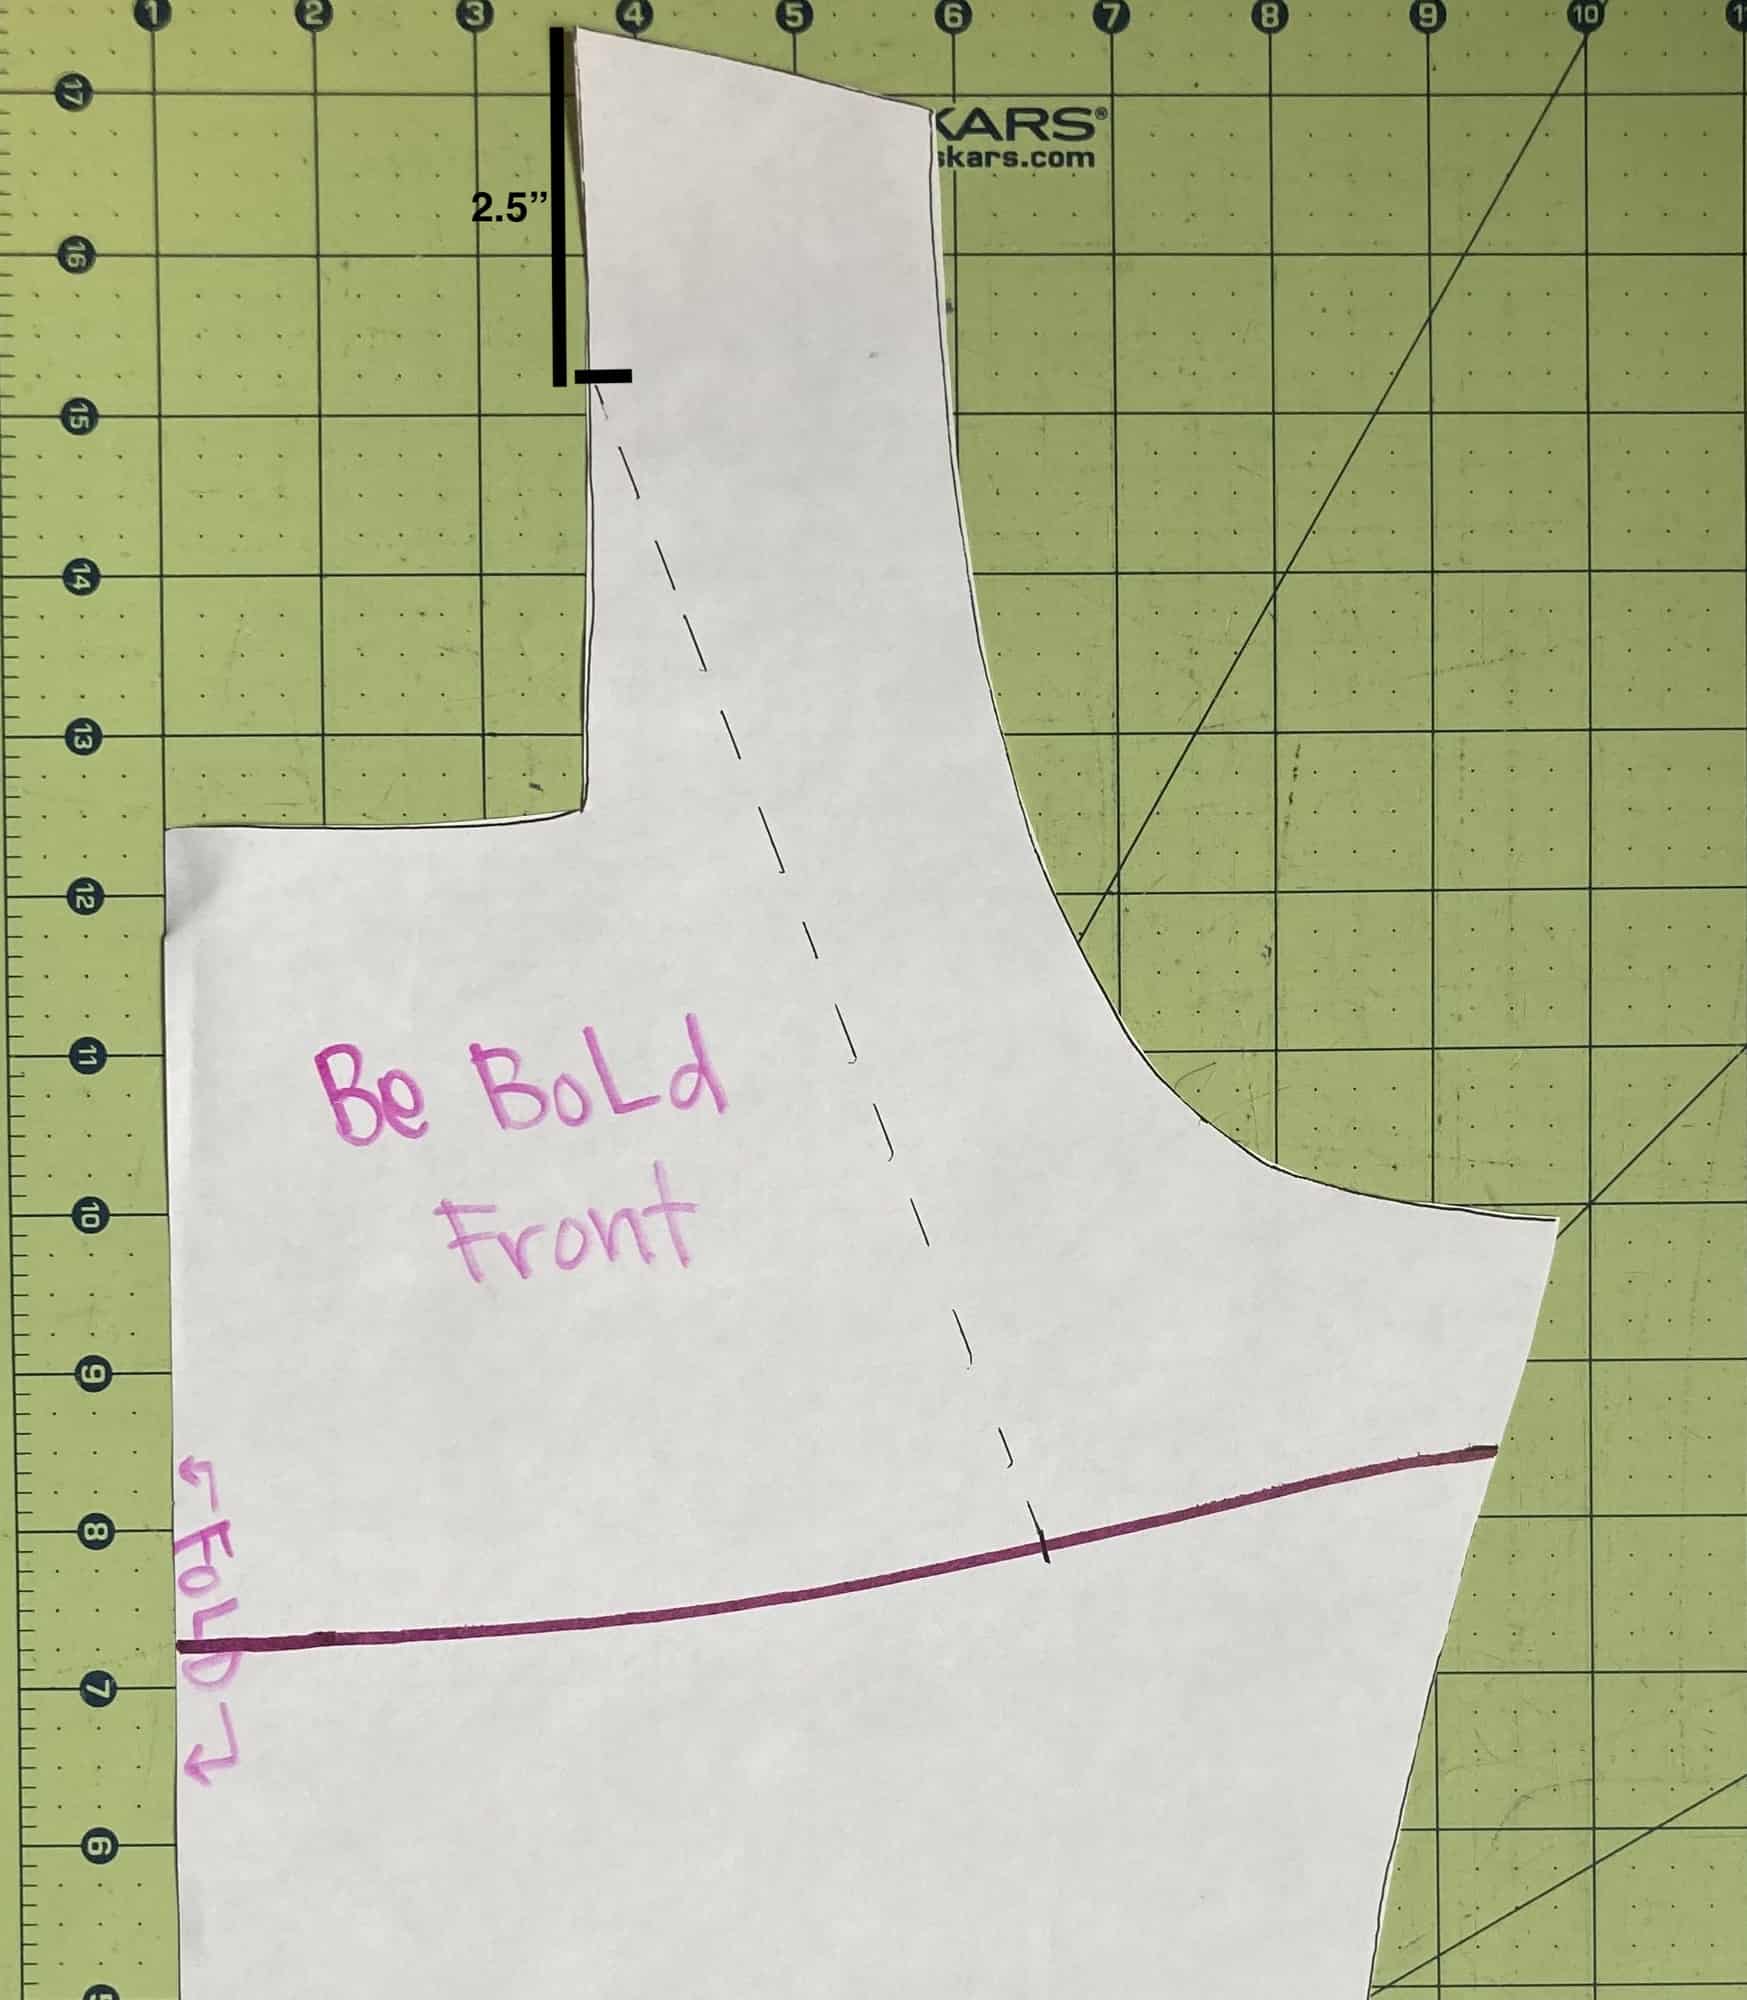
4. From the top of the shoulder seam, mark 2.5″ down. Connect the lines as illustrated above.

5. Using a french curve ruler or whatever you have around (I used a drinking glass), create a curve connecting the shoulder seam line and the underbust line.

6.  Cut out that section, and you now have your new front pattern piece! Using this piece, cut out your main fabric and lining on the fold.

7. Follow the construction of the tutorial as written, treating the deep plunge as a normal neckline. You will want to use a 1:1 ratio for the picot, while slightly stretching along the curve.

…..

Very crop top

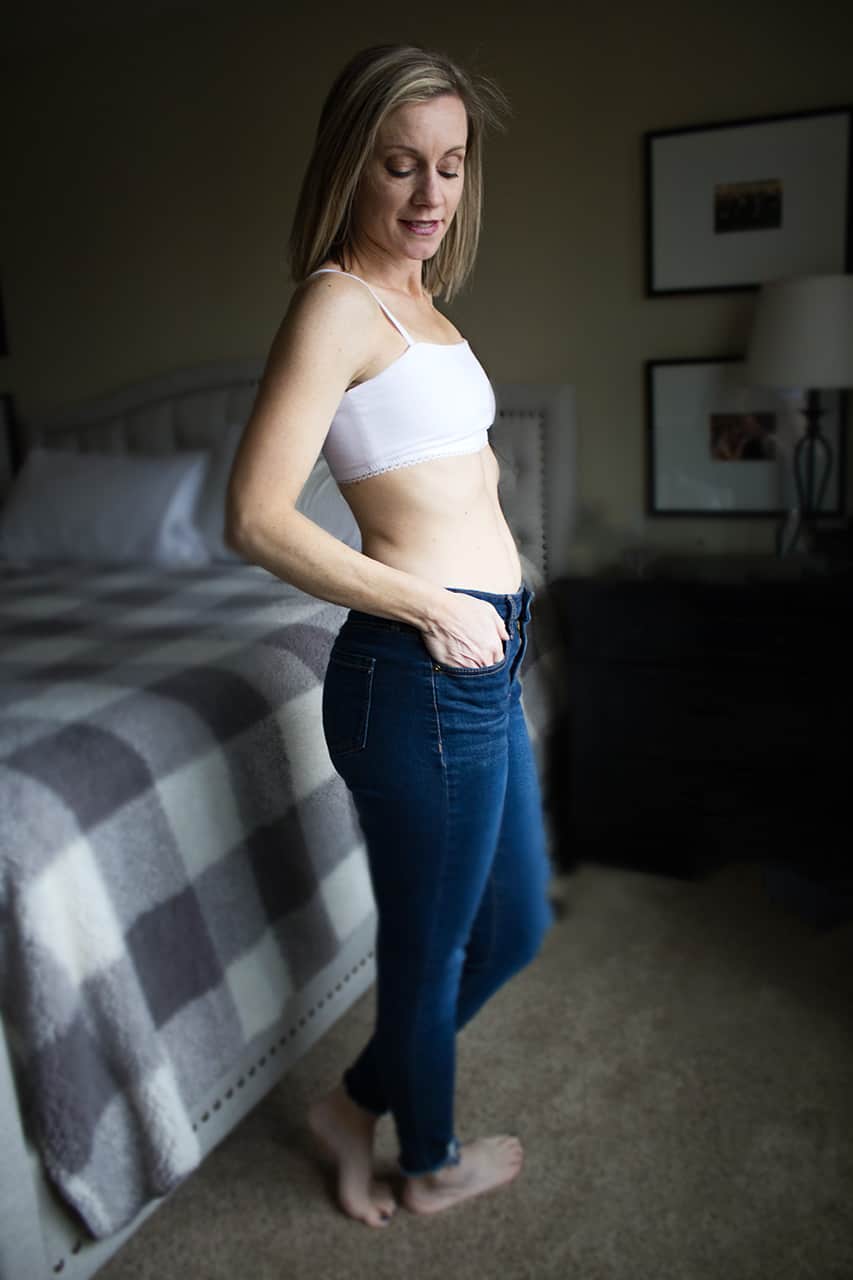
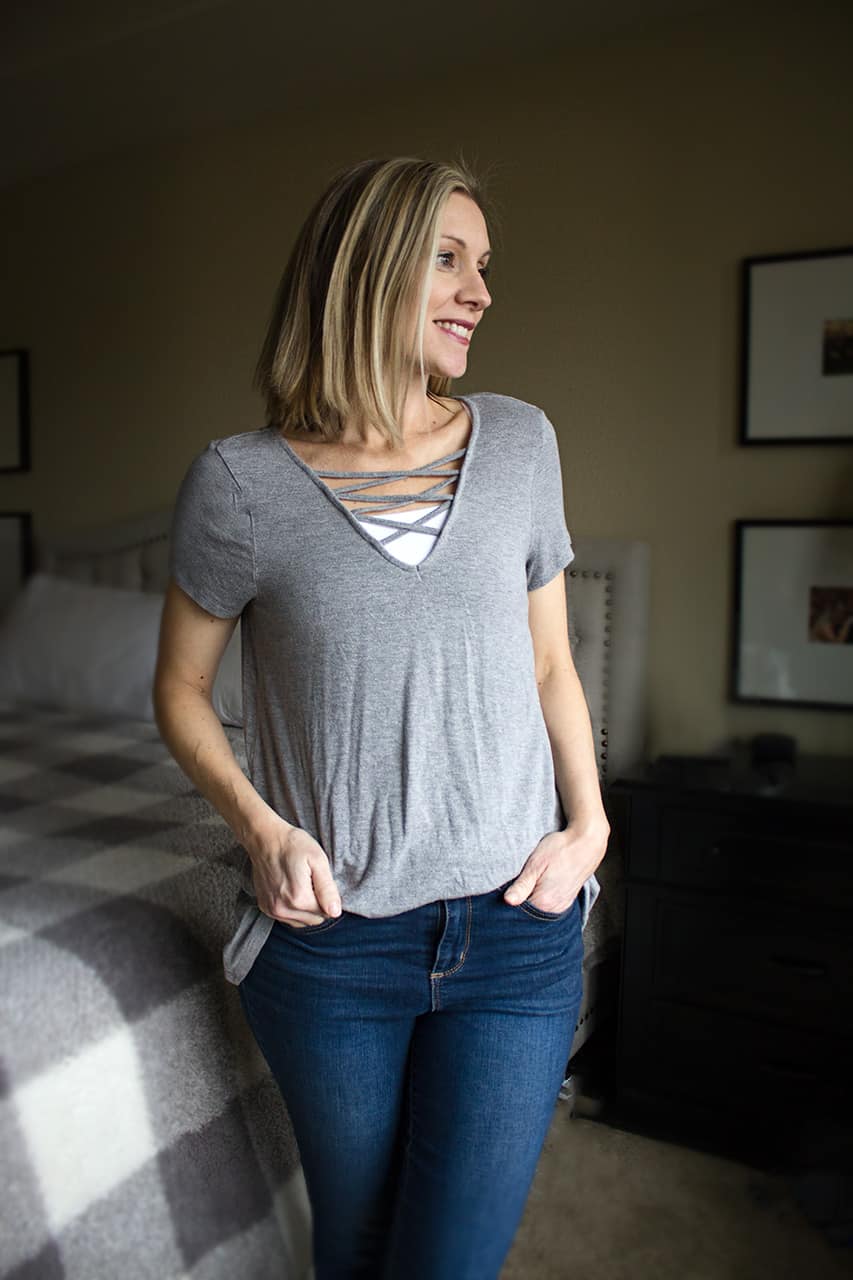
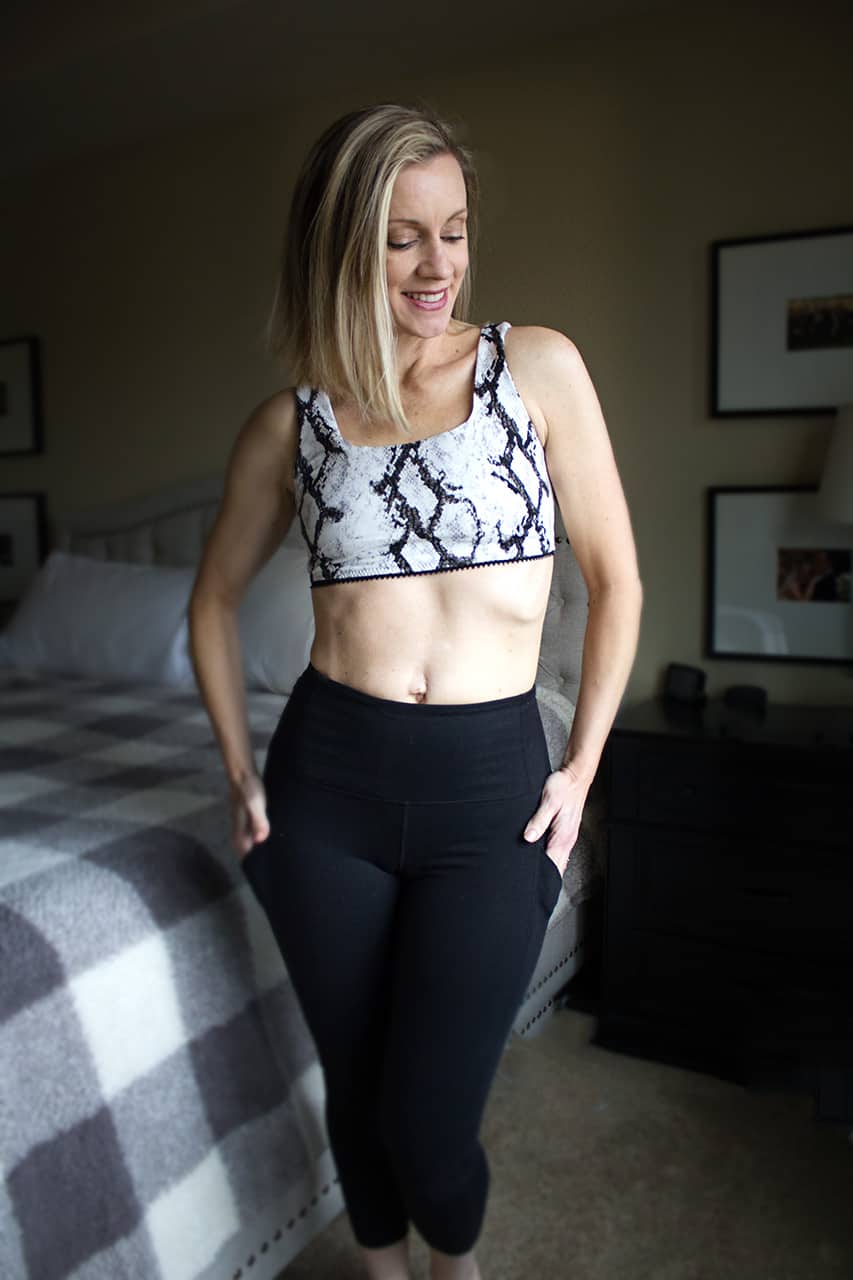
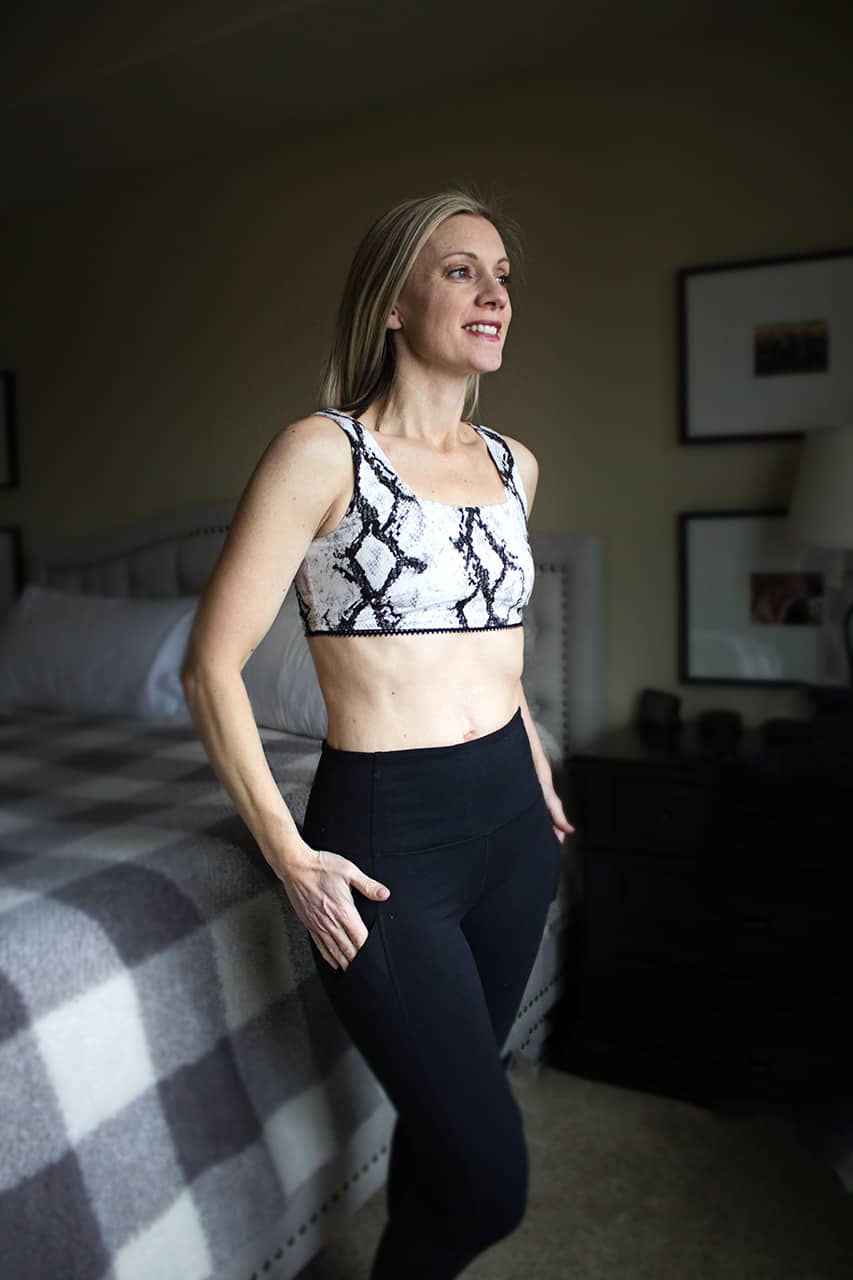
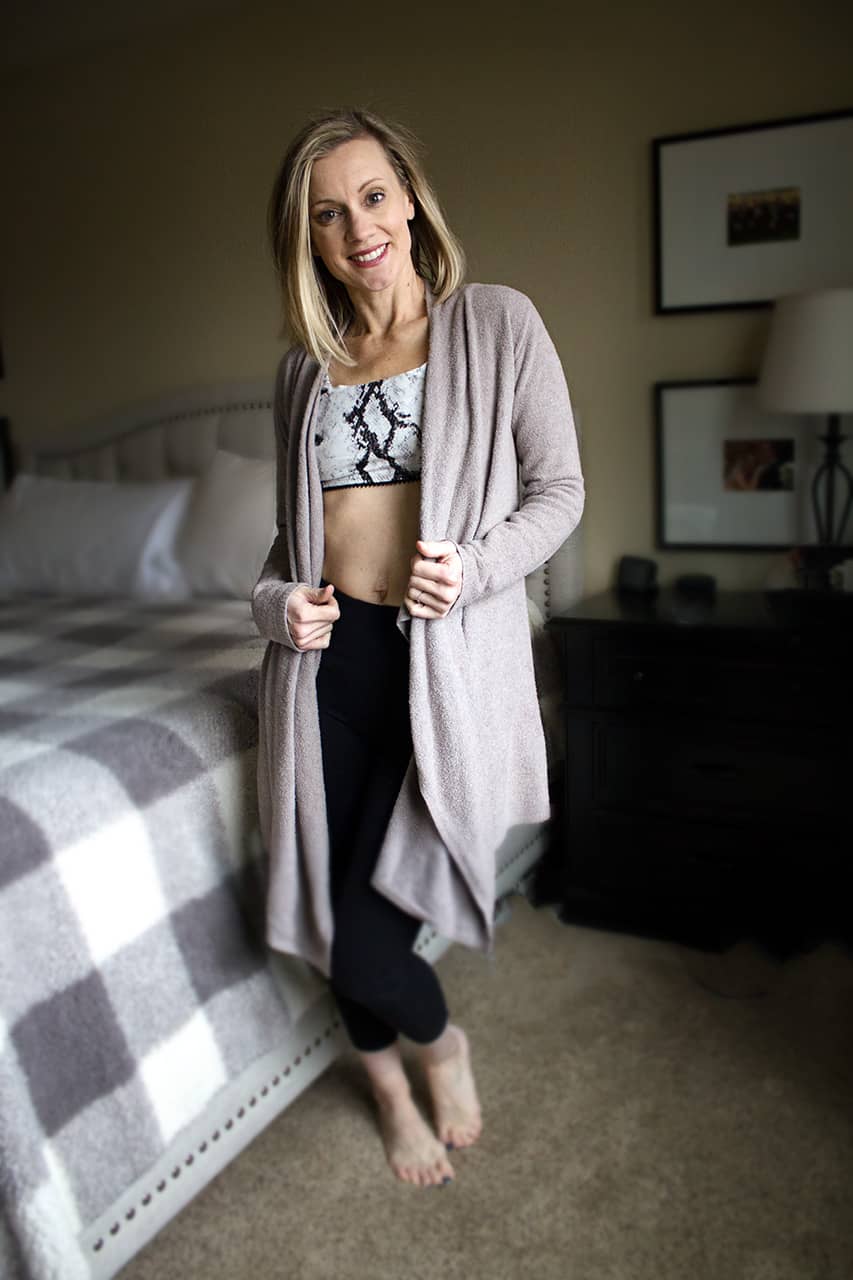
This very cropped cami and top are super comfortable and perfect to wear under low-cut tops and for loungewear. I will be living in these and the best part is they are so quick and easy to make. Here are the two tutorials for creating the crop. The first shows the tutorial using the thin strap option and the second is the tank option.

Very Crop Cami Using the Thin Strap Option:

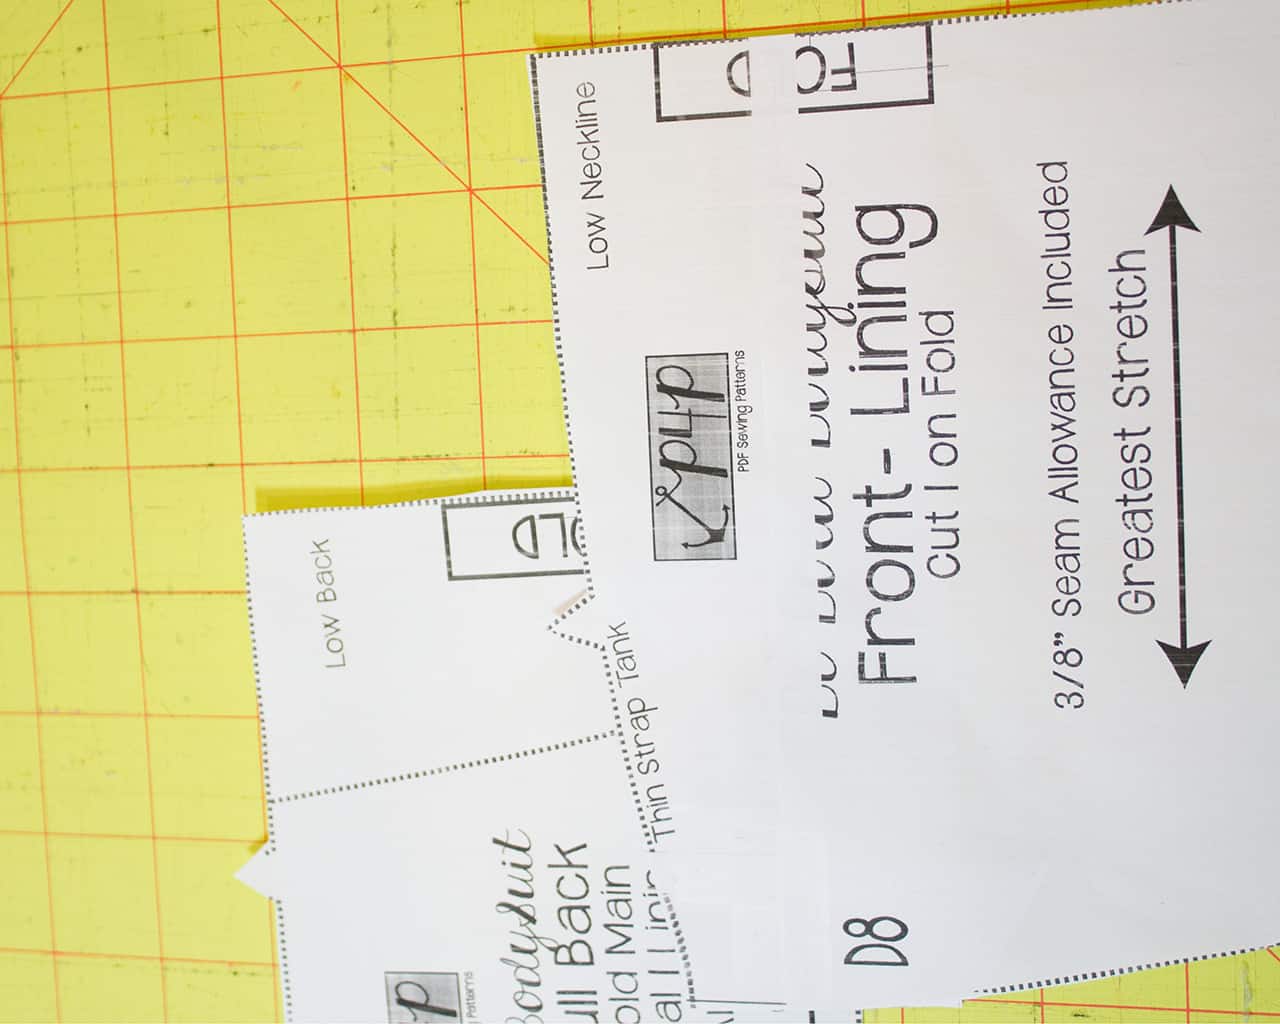
  1. Take your lining pieces for your pattern. Simply cut 2 fronts and 2 backs following the thin strap tank lines to create a cropped cami with lining. 
  2. Sew the top together using the thin strap tank directions from the tutorial. 
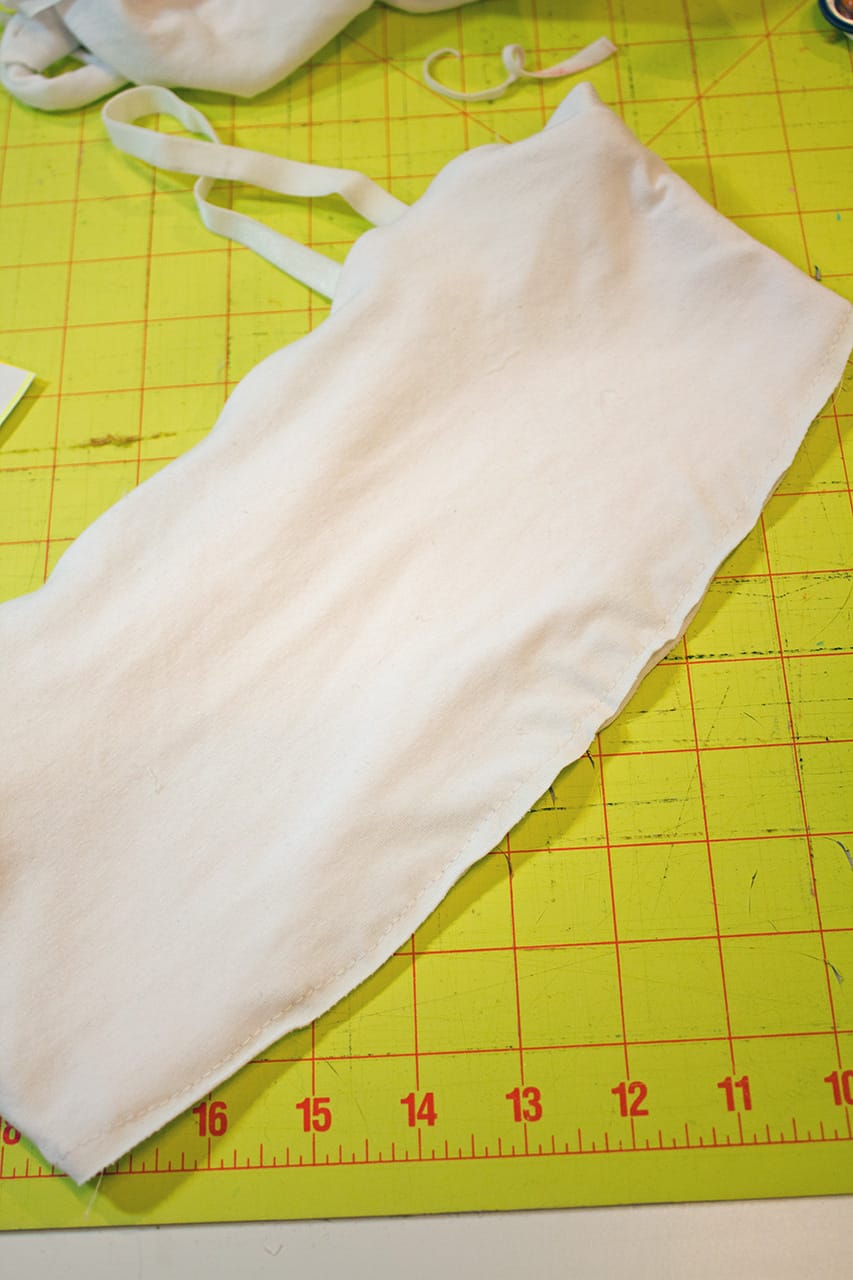
  3. Once you have sewn the side seams, baste the main and lining pieces together along the bottom edge. Treat these two as one while you attach the picot as directed in the pattern.  

This cropped cami is great for pairing with low cut tops for some extra coverage. I made this option in white cotton jersey, lined with the same fabric and used bra strap elastic in place of fabric straps. (paired here with RTW Jeans and Top).

Very Cropped Top Using the Tank Option

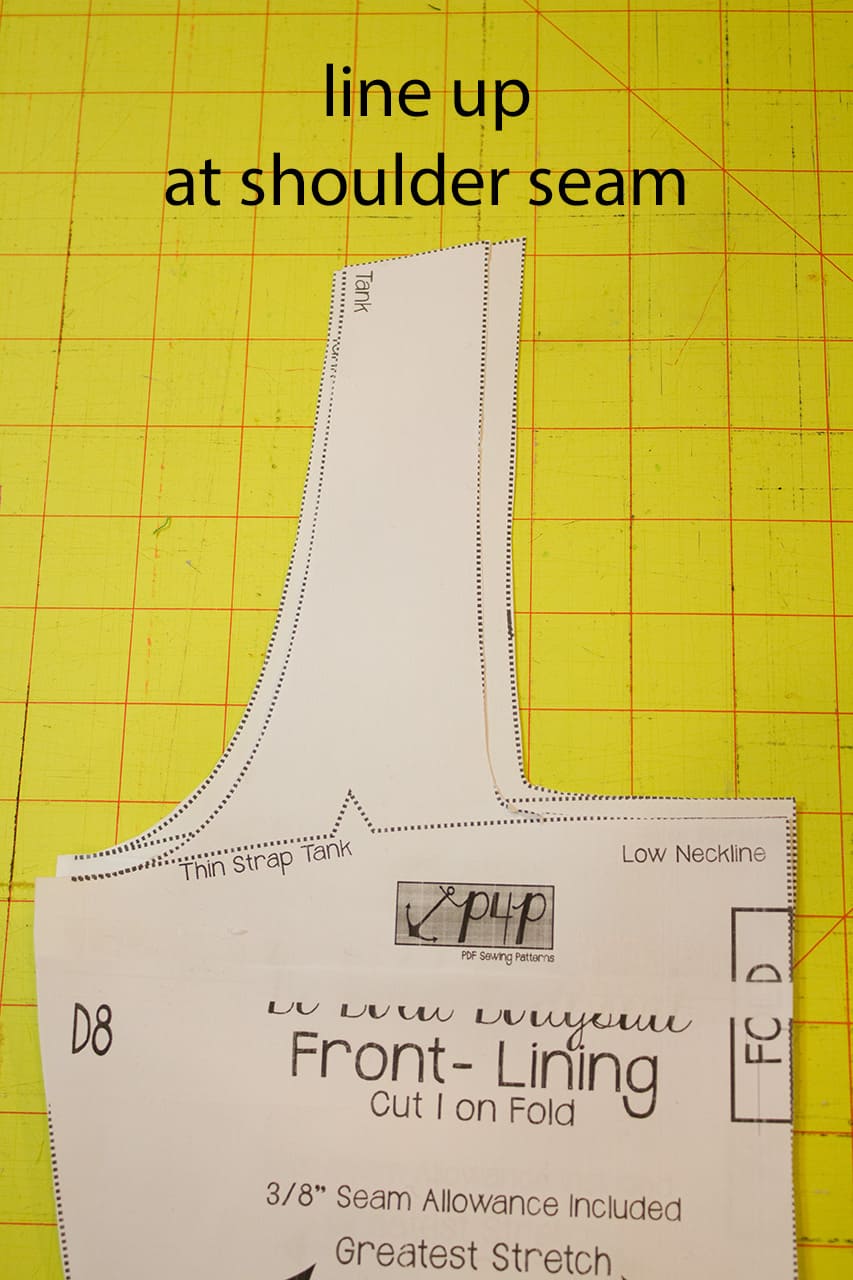
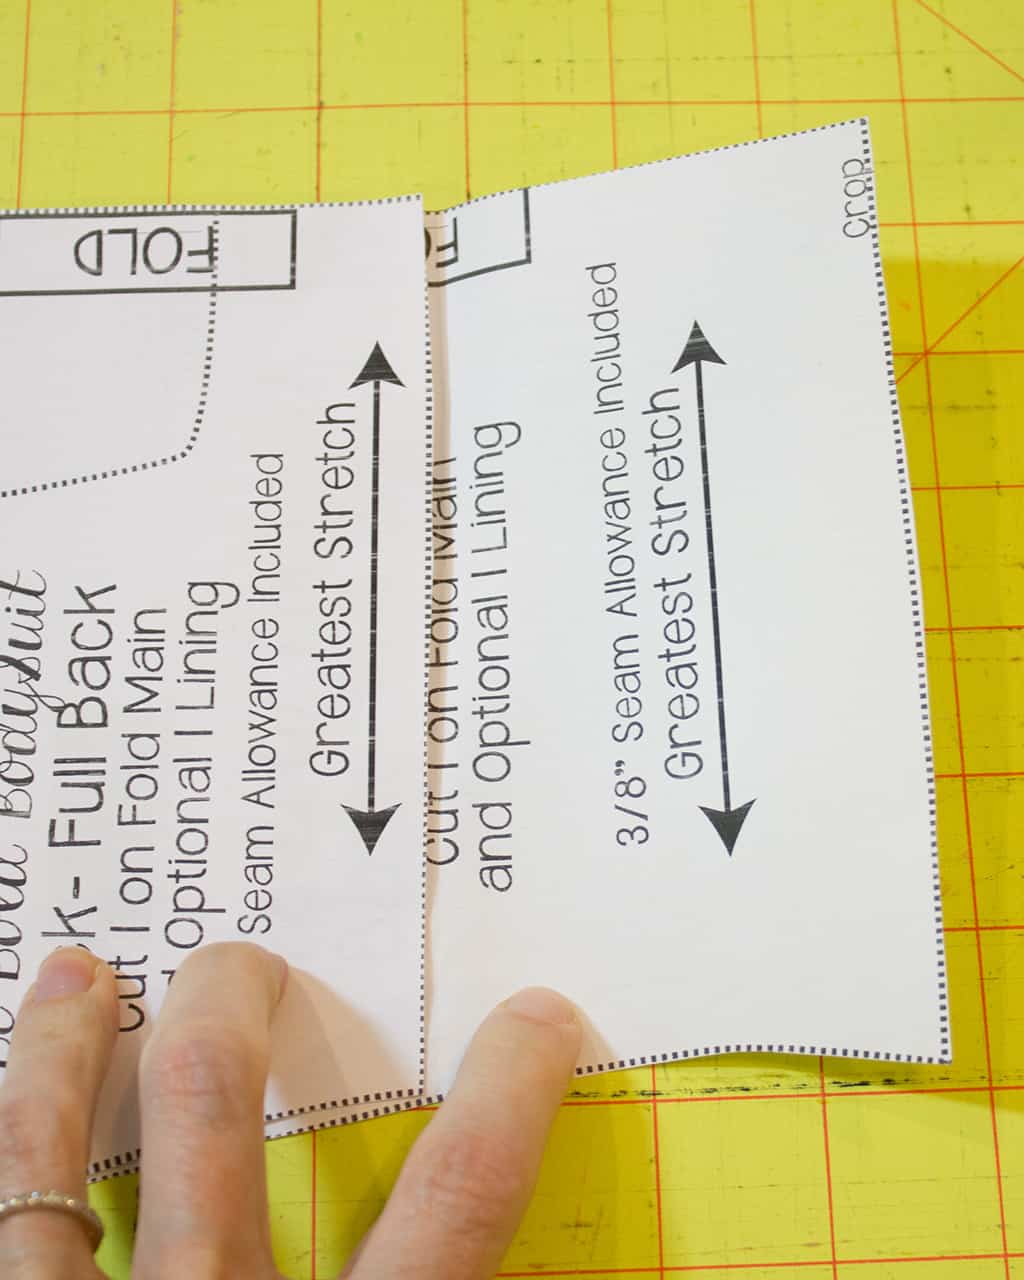
  1. Take both your front and back bodice pieces and lay the front and back shelf bra liner pieces on top, lining up the shoulders. 
  2. Draw a line on your front and back main bodice pieces along the bottom of the shelf bra piece. 
  3. Cut your main bodice pattern pieces on this line and use this for your new pattern.
  4. Cut your main fabric for the very crop tank top using your new pieces and cut your lining from the shelf bra lining pieces. Follow the tutorial for sewing the tank top. Once you have the neckline, arms, and side seams sewn, baste the lining and main fabric together along the bottom edge. You will now treat the two fabrics as one piece. Last, apply picot elastic according to the tutorial for the shelf bra.  That’s it.

This very cropped top is great to wear in place of a bra or sewn up in athletic fabric to match with your favorite workout wear. This is not supportive enough to be a sports bra, but very comfortable for lounging, a sleep bra, or paired with your own bra as a very cropped top.


I hope you will get to give these easy hacks a try. Which one will you do first? Don’t forget to share them in the P4P Facebook group and on Instagram so we can admire your work too! 

Filed Under: Frequently Asked Questions, Pattern Hacks, Pattern Release, Uncategorized Leave a Comment

Protected: FABRIC FOR PIRATES :: February 2021 REVEAL

February 3, 2021

This content is password protected. To view it please enter your password below:

Filed Under: Fabric for Pirates, Uncategorized 19 Comments

P4P University Color Blocking Tips and Tricks

February 1, 2021

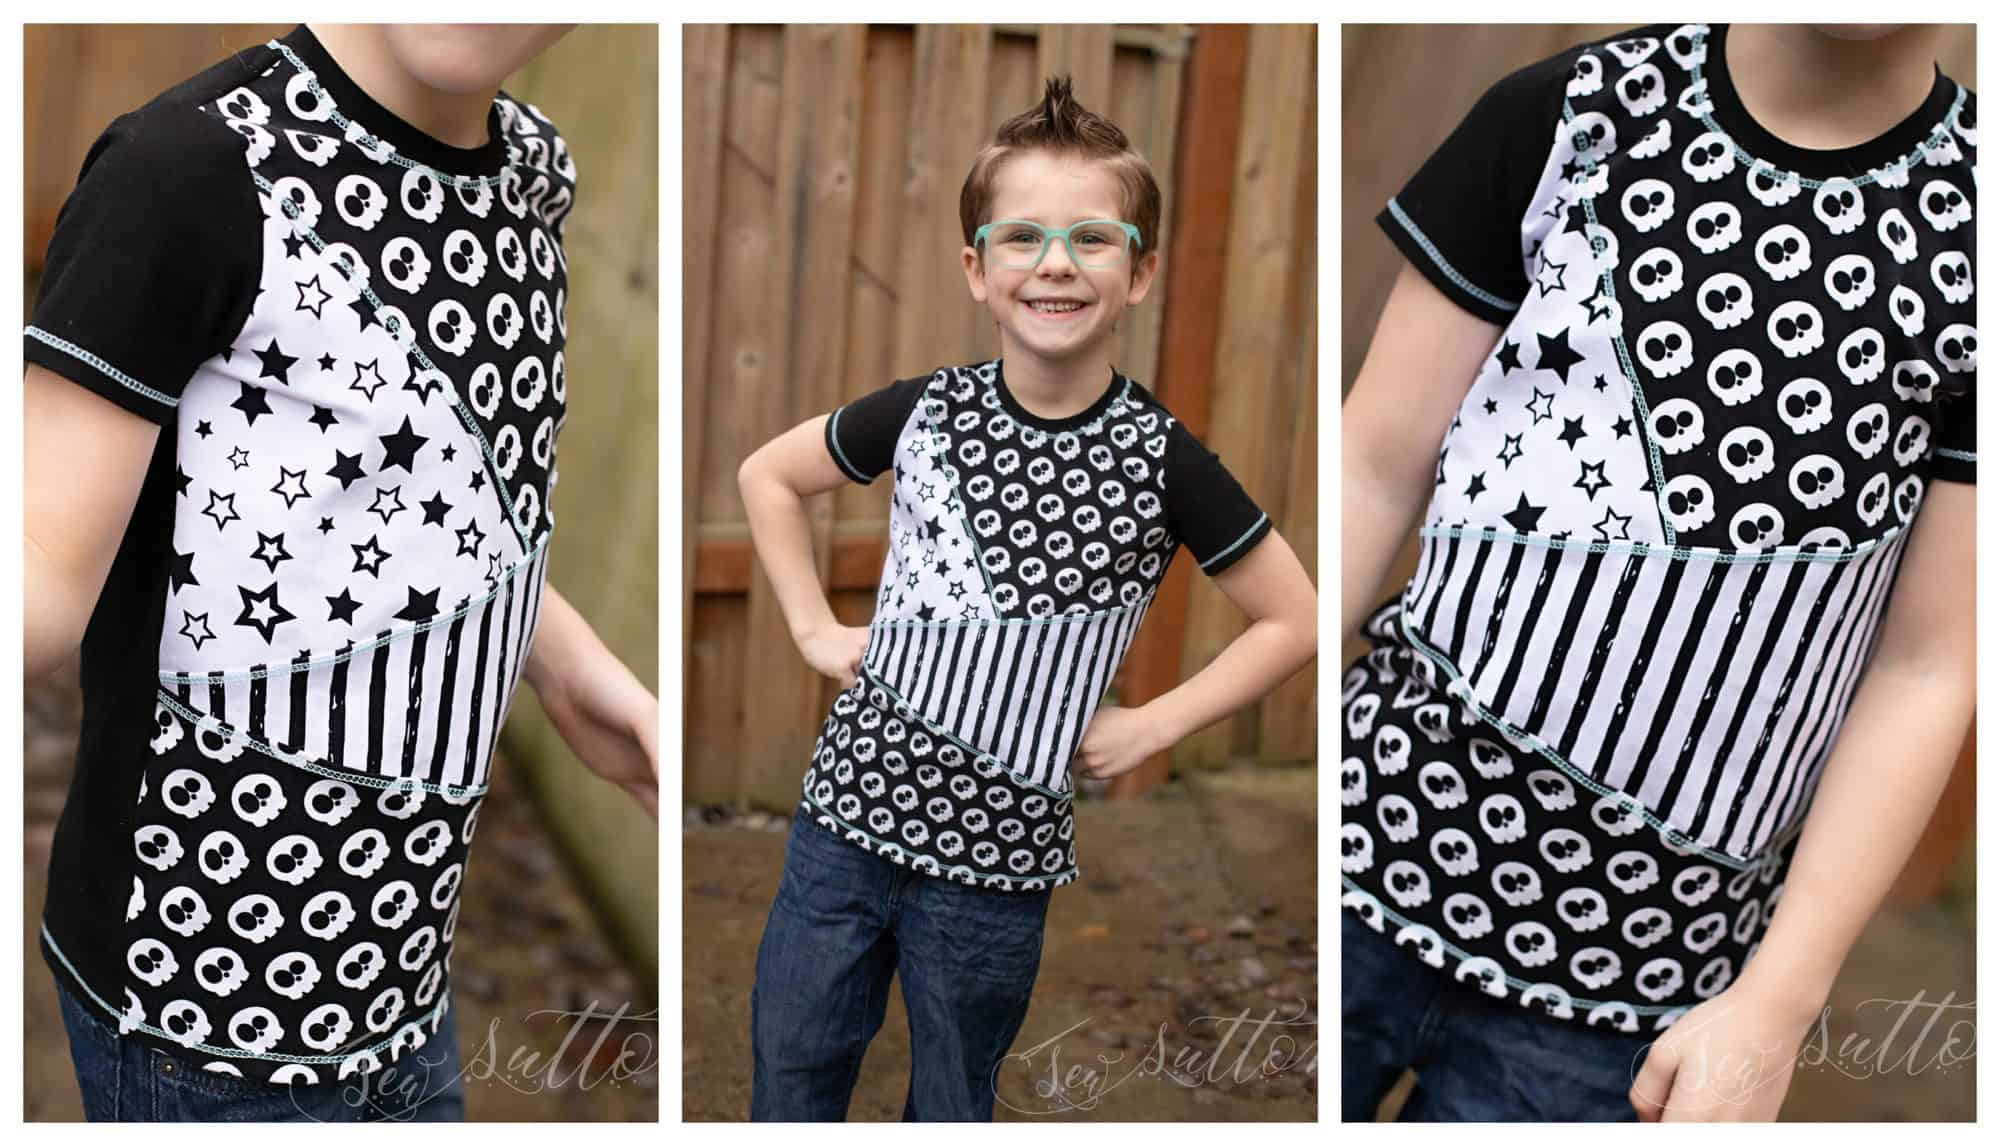
Hello, fellow sewing friends! I’m super excited to talk to you today about color blocking.  As long as I’ve been in the sewing world color blocking has always been really popular.   A lot of patterns even include it!   But what if your favorite p4p pattern doesn’t have any color blocking options?   Well, today I’m going to teach how to easily do it yourself!    If you aren’t familiar with color blocking, it’s basically just adding interesting unique blocks of different fabrics to your pattern without altering the fit.  It’s a great way to spice up a regular t-shirt, use up some scraps, and make for some fun visual art.  You can color block anything from sleeves, front bodice, back bodice, legs, hoods, if it has a pattern piece- you can color block it. Now, let’s get started!

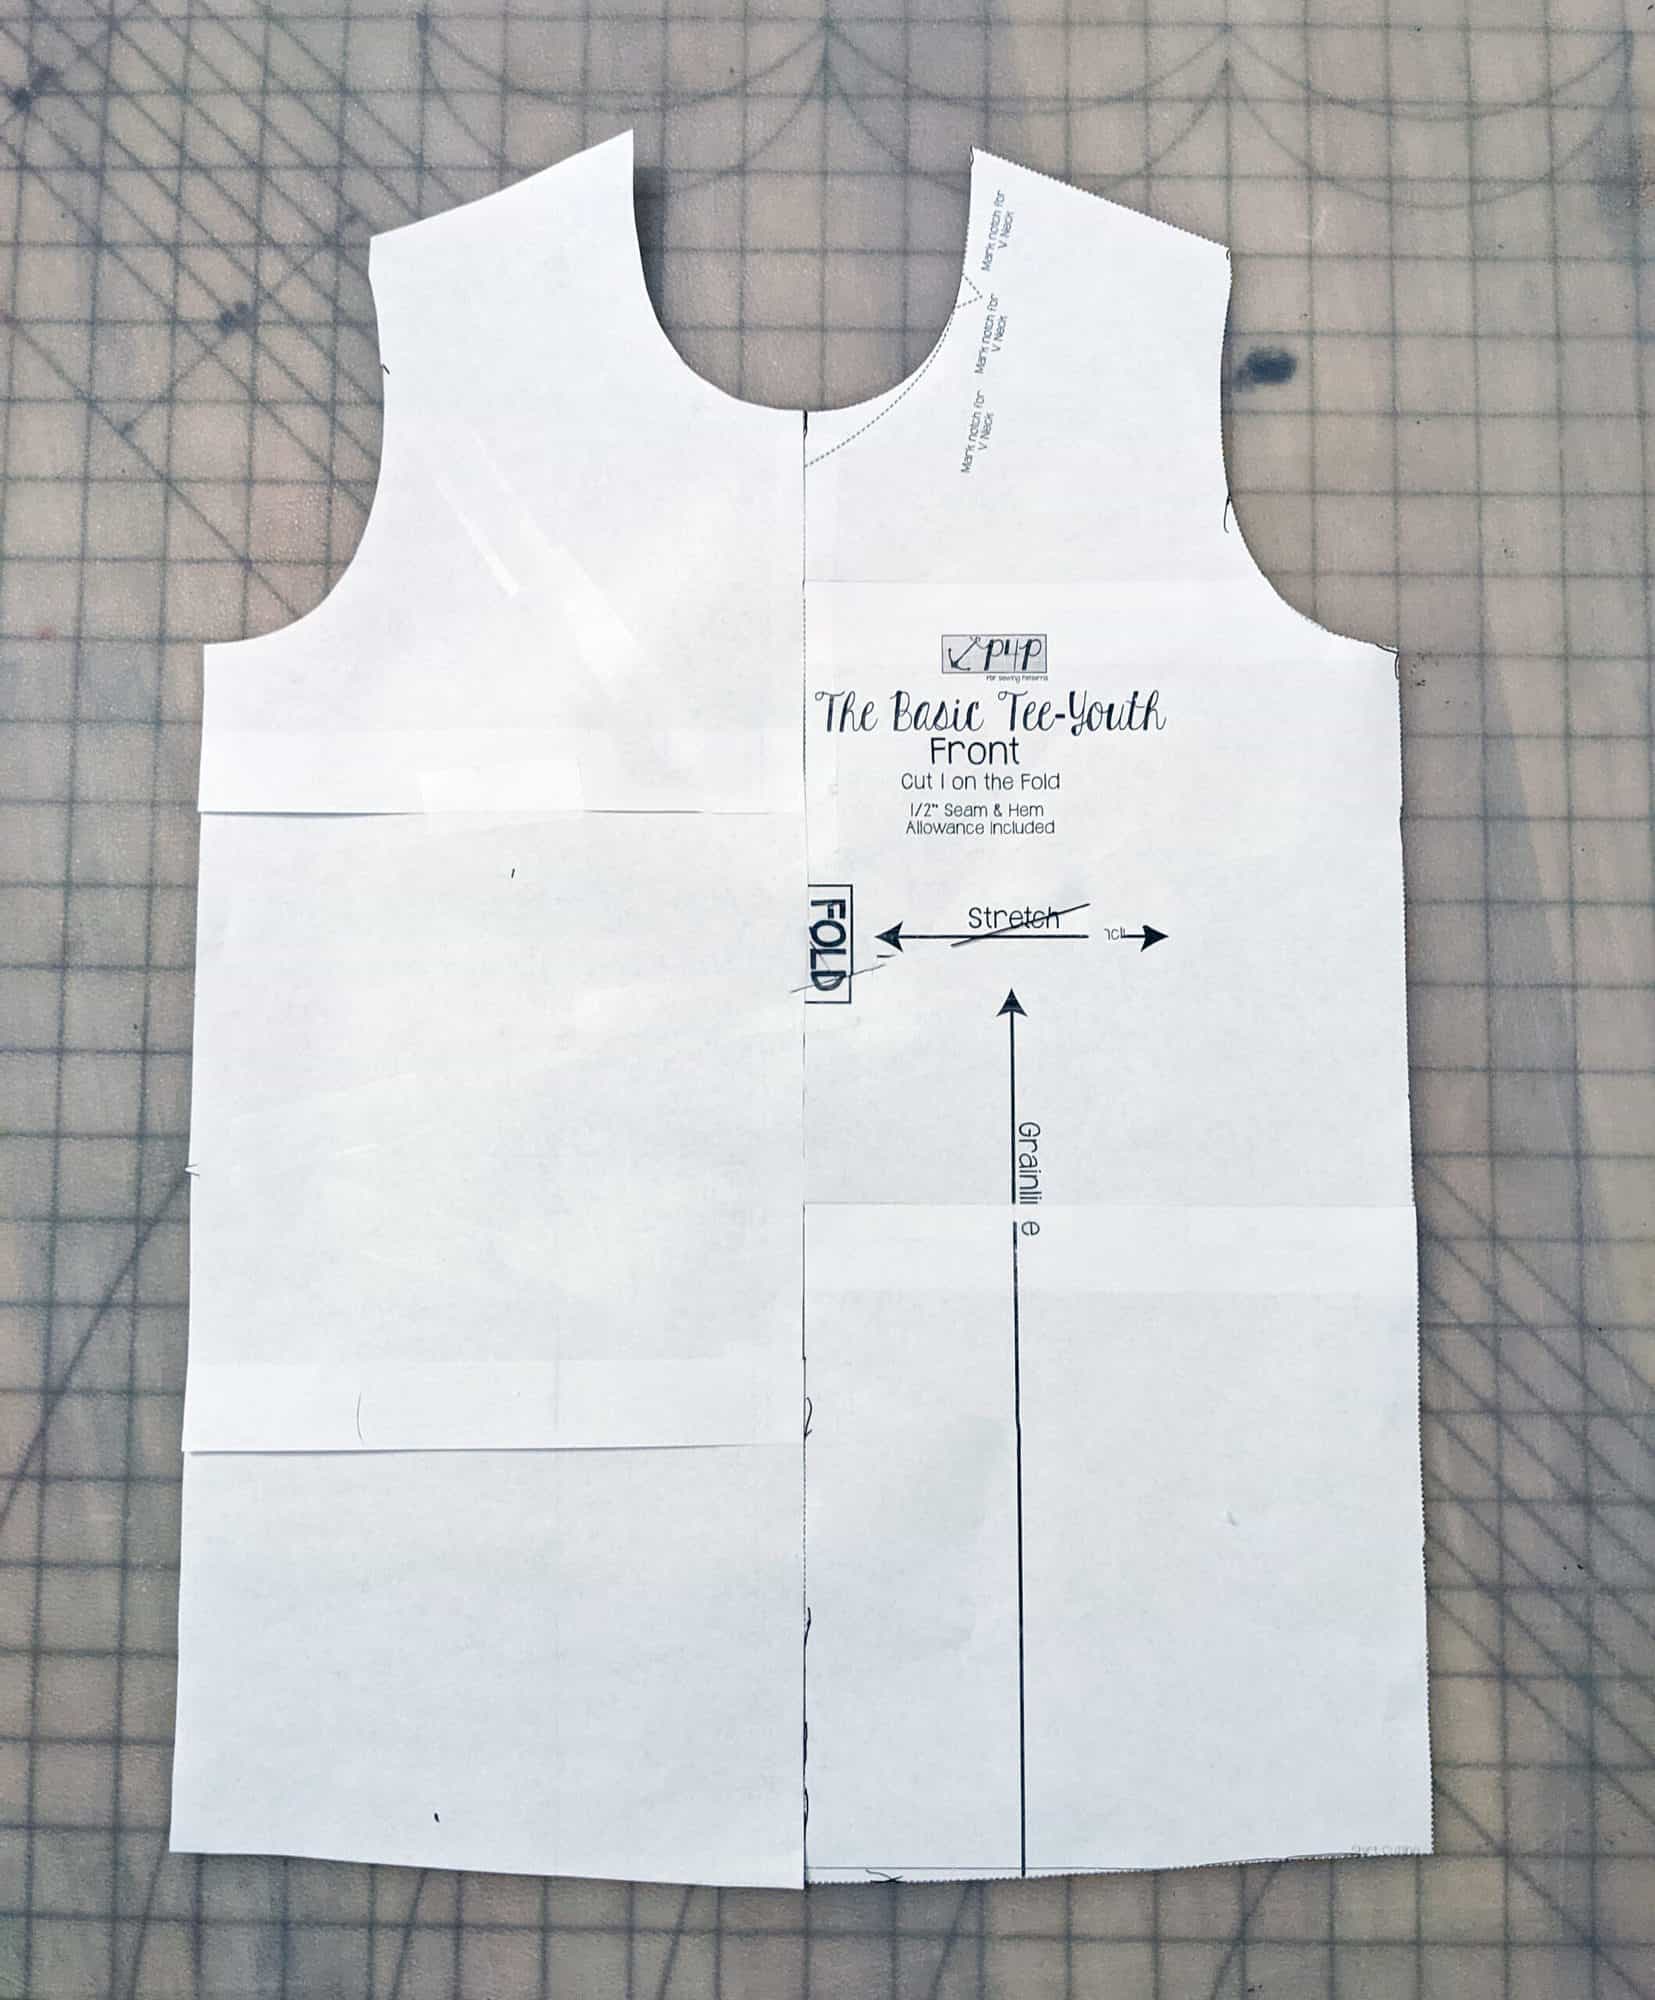
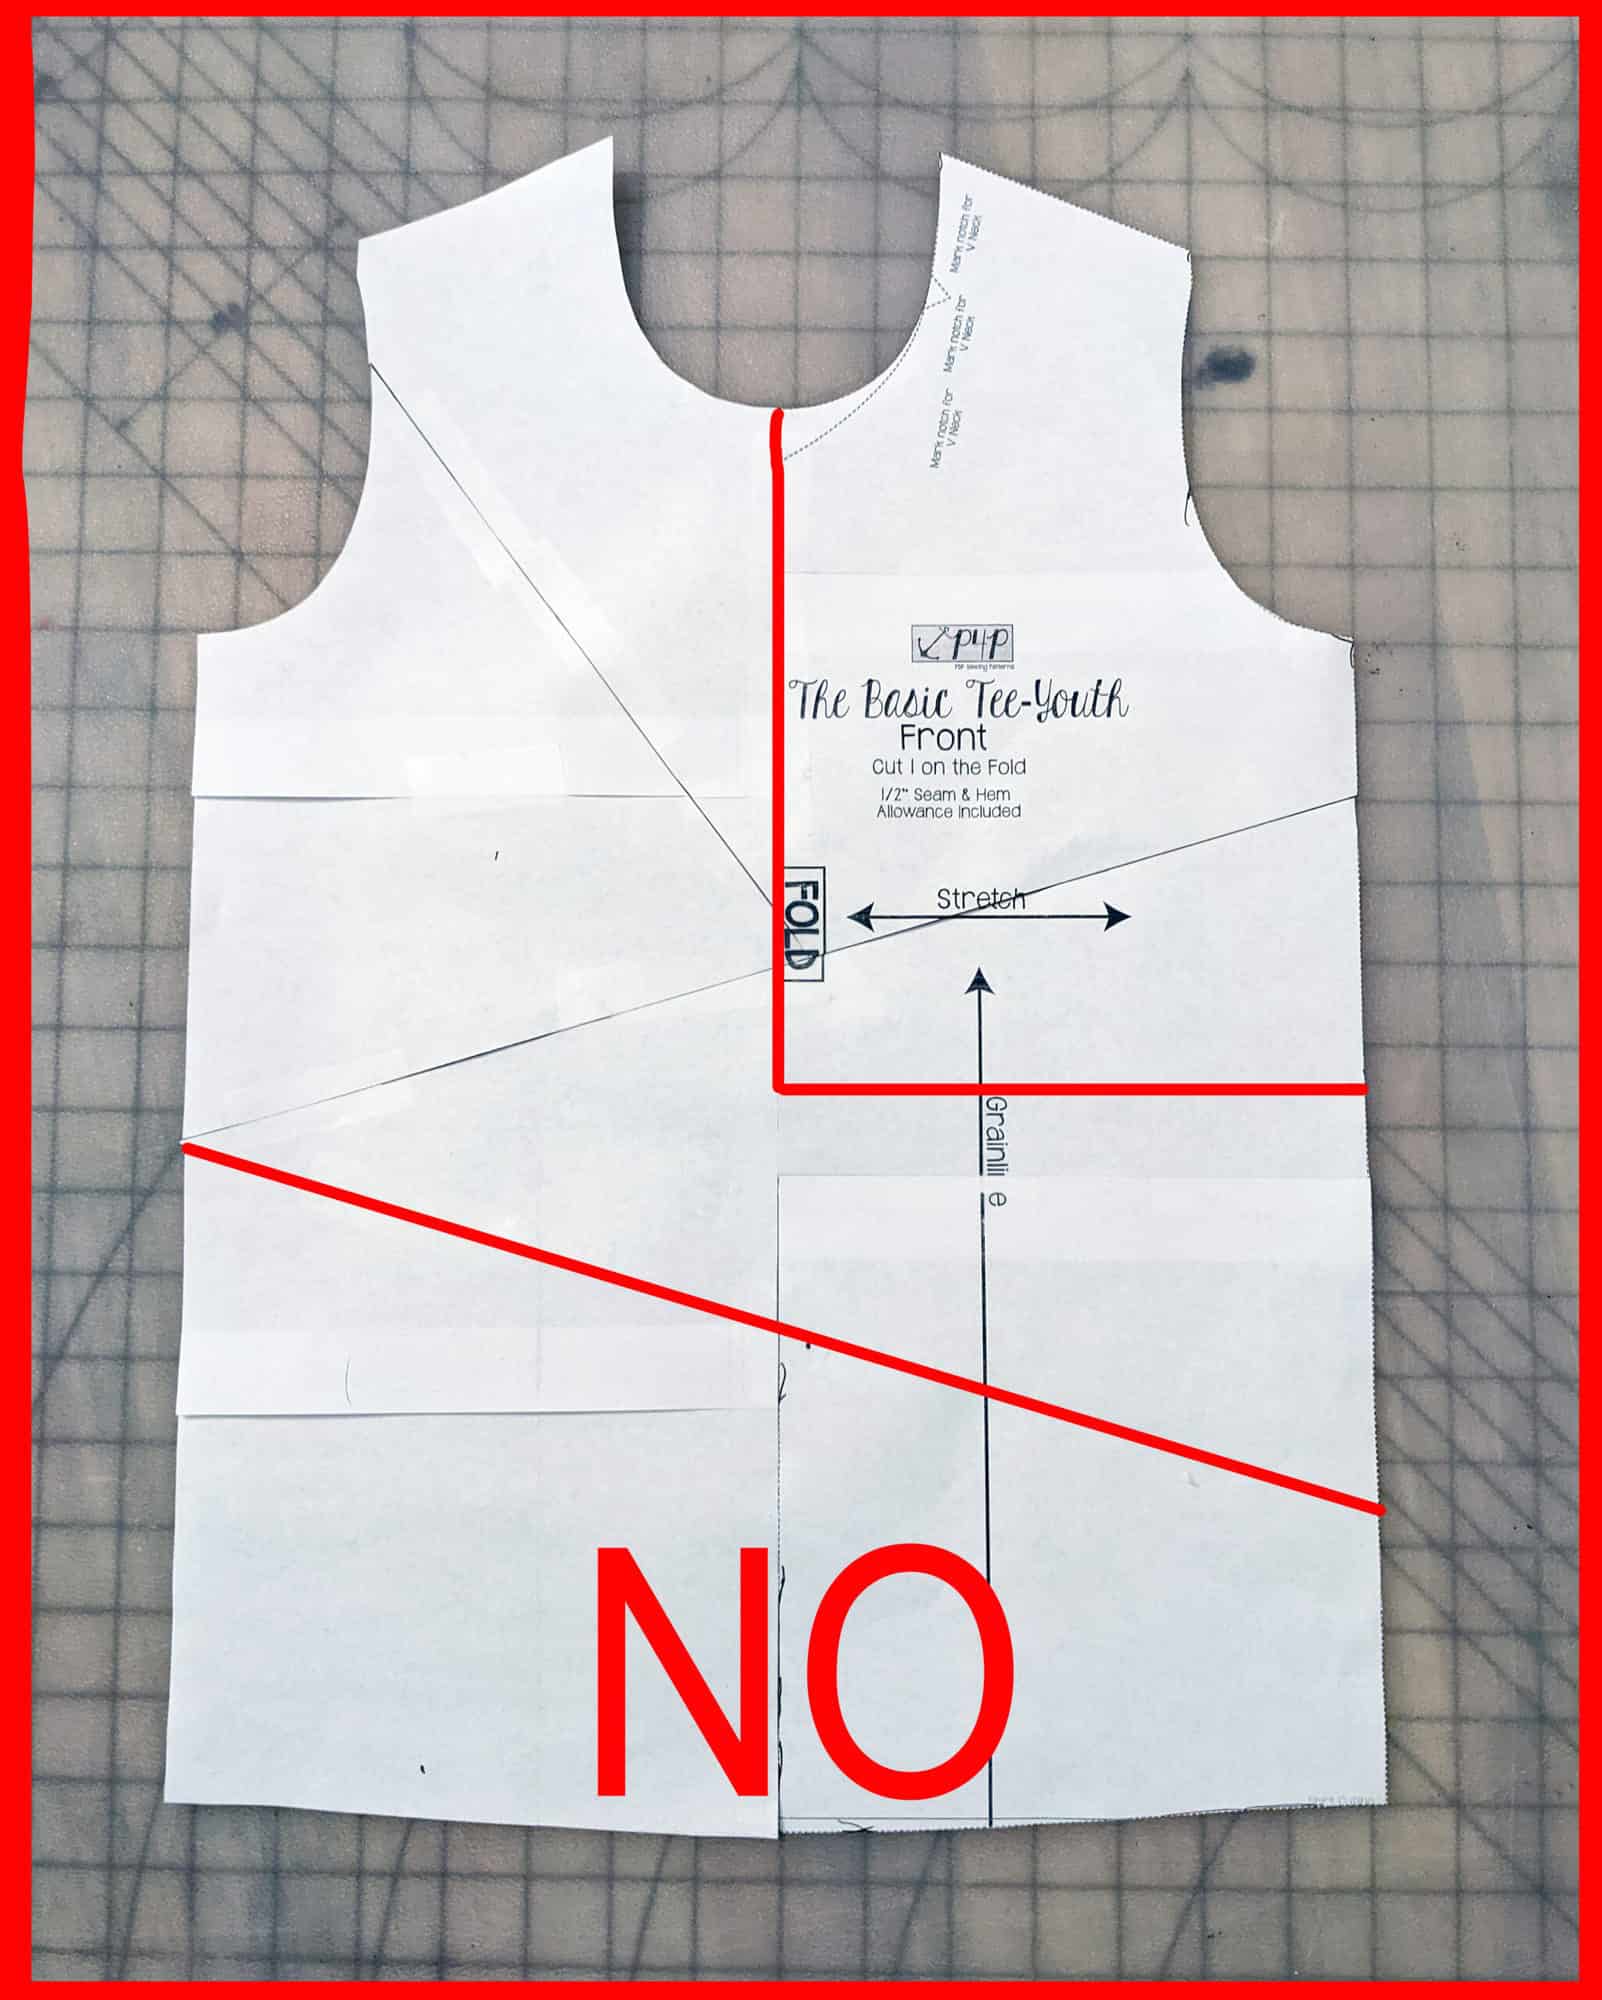
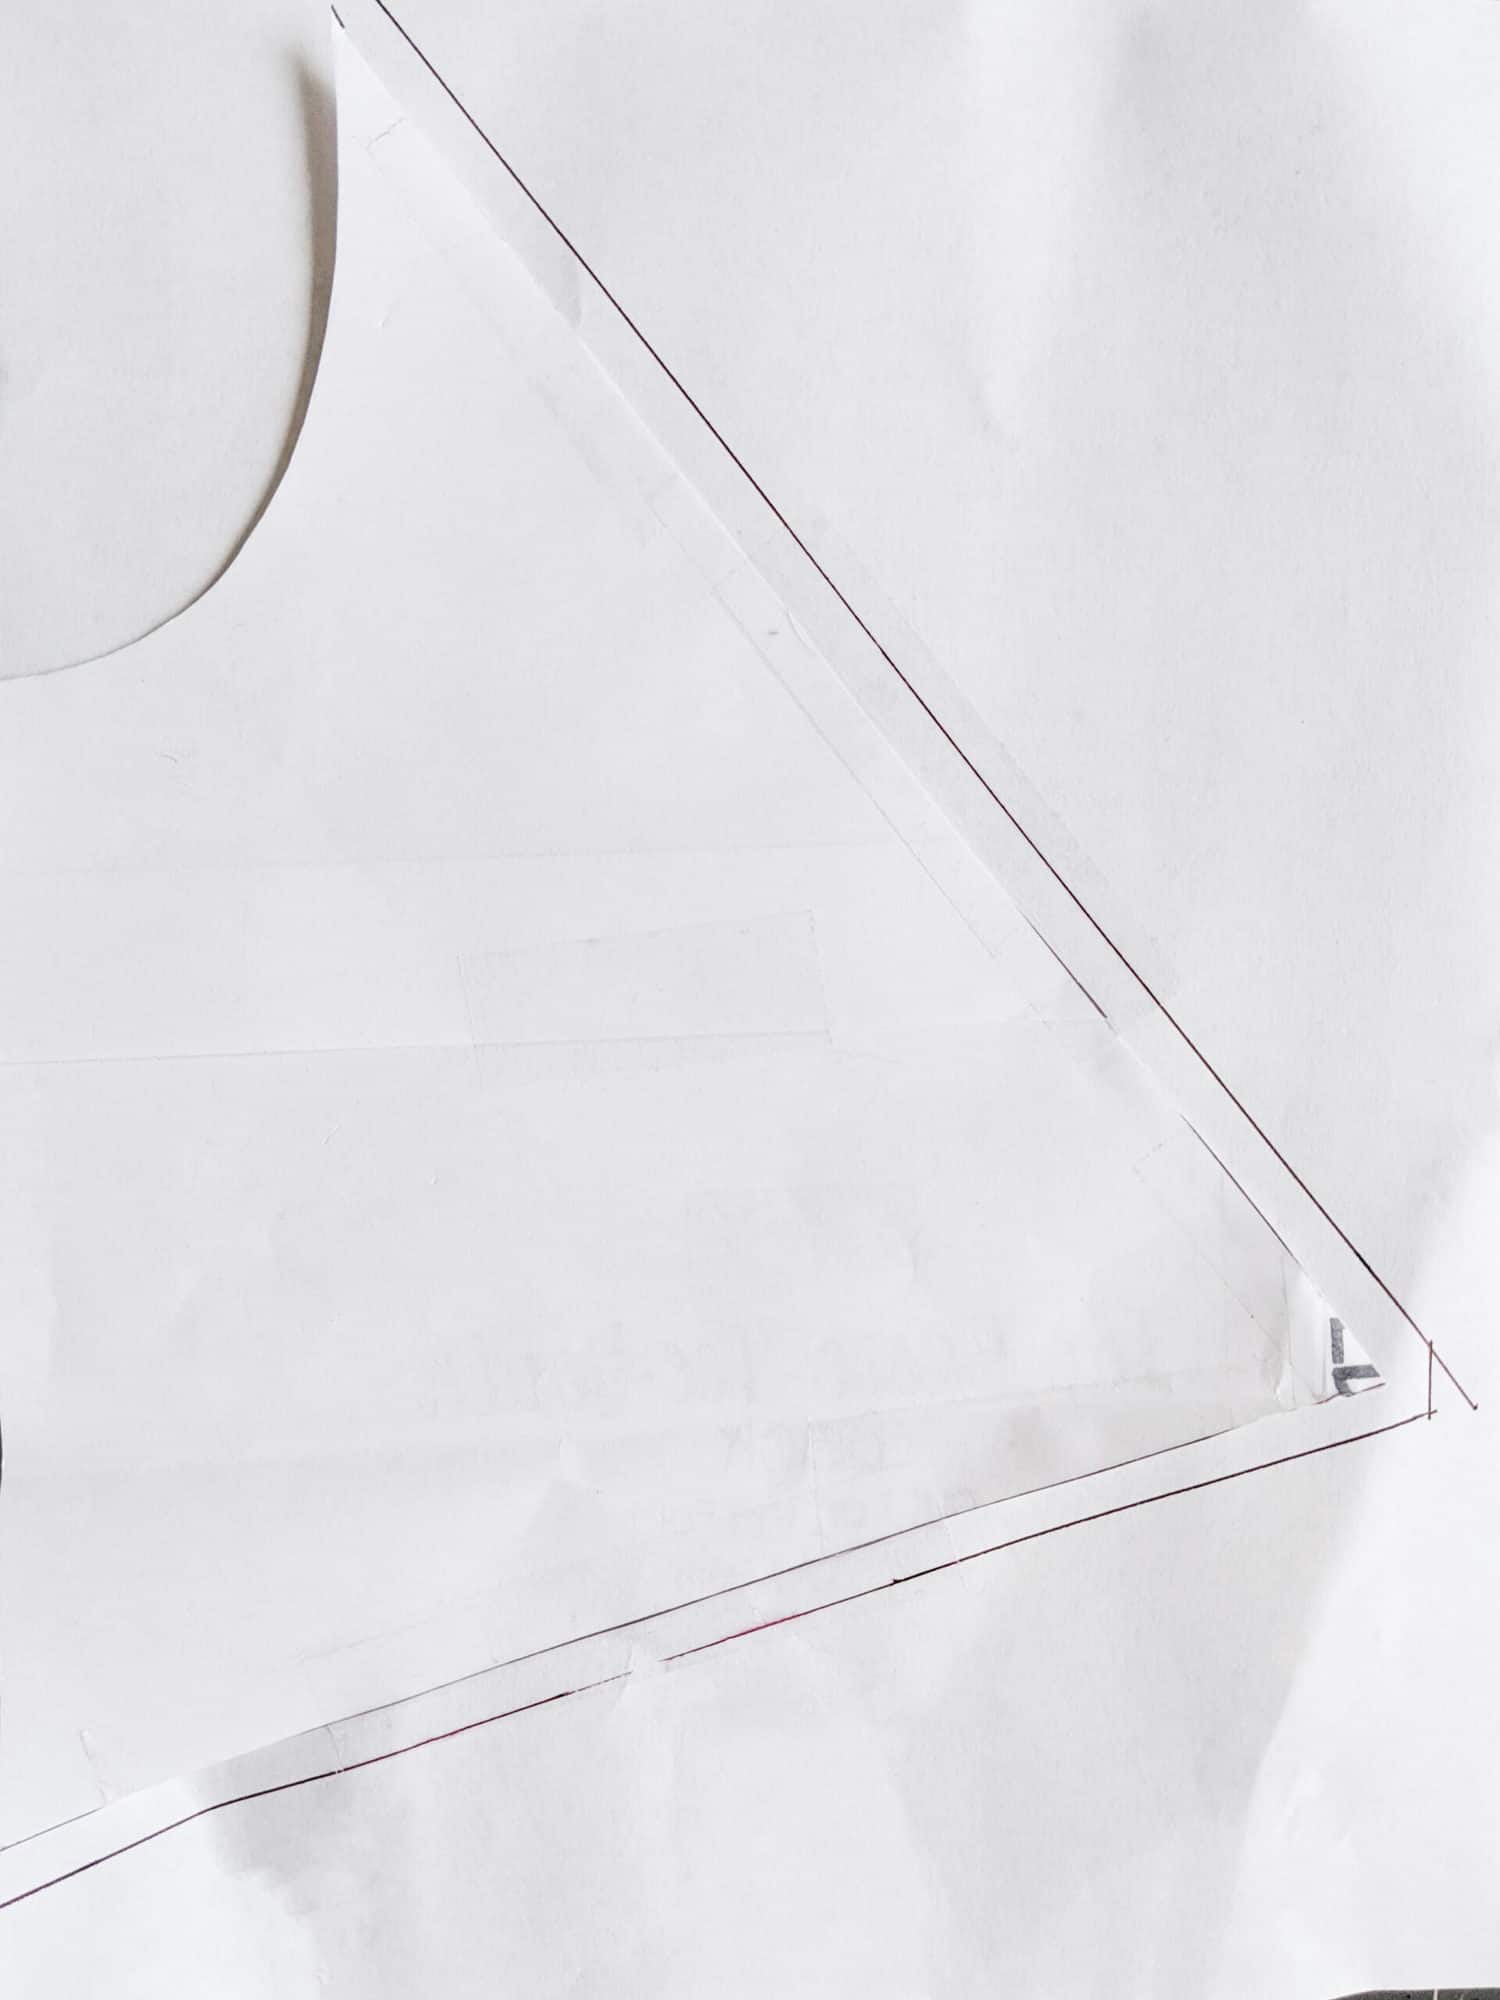
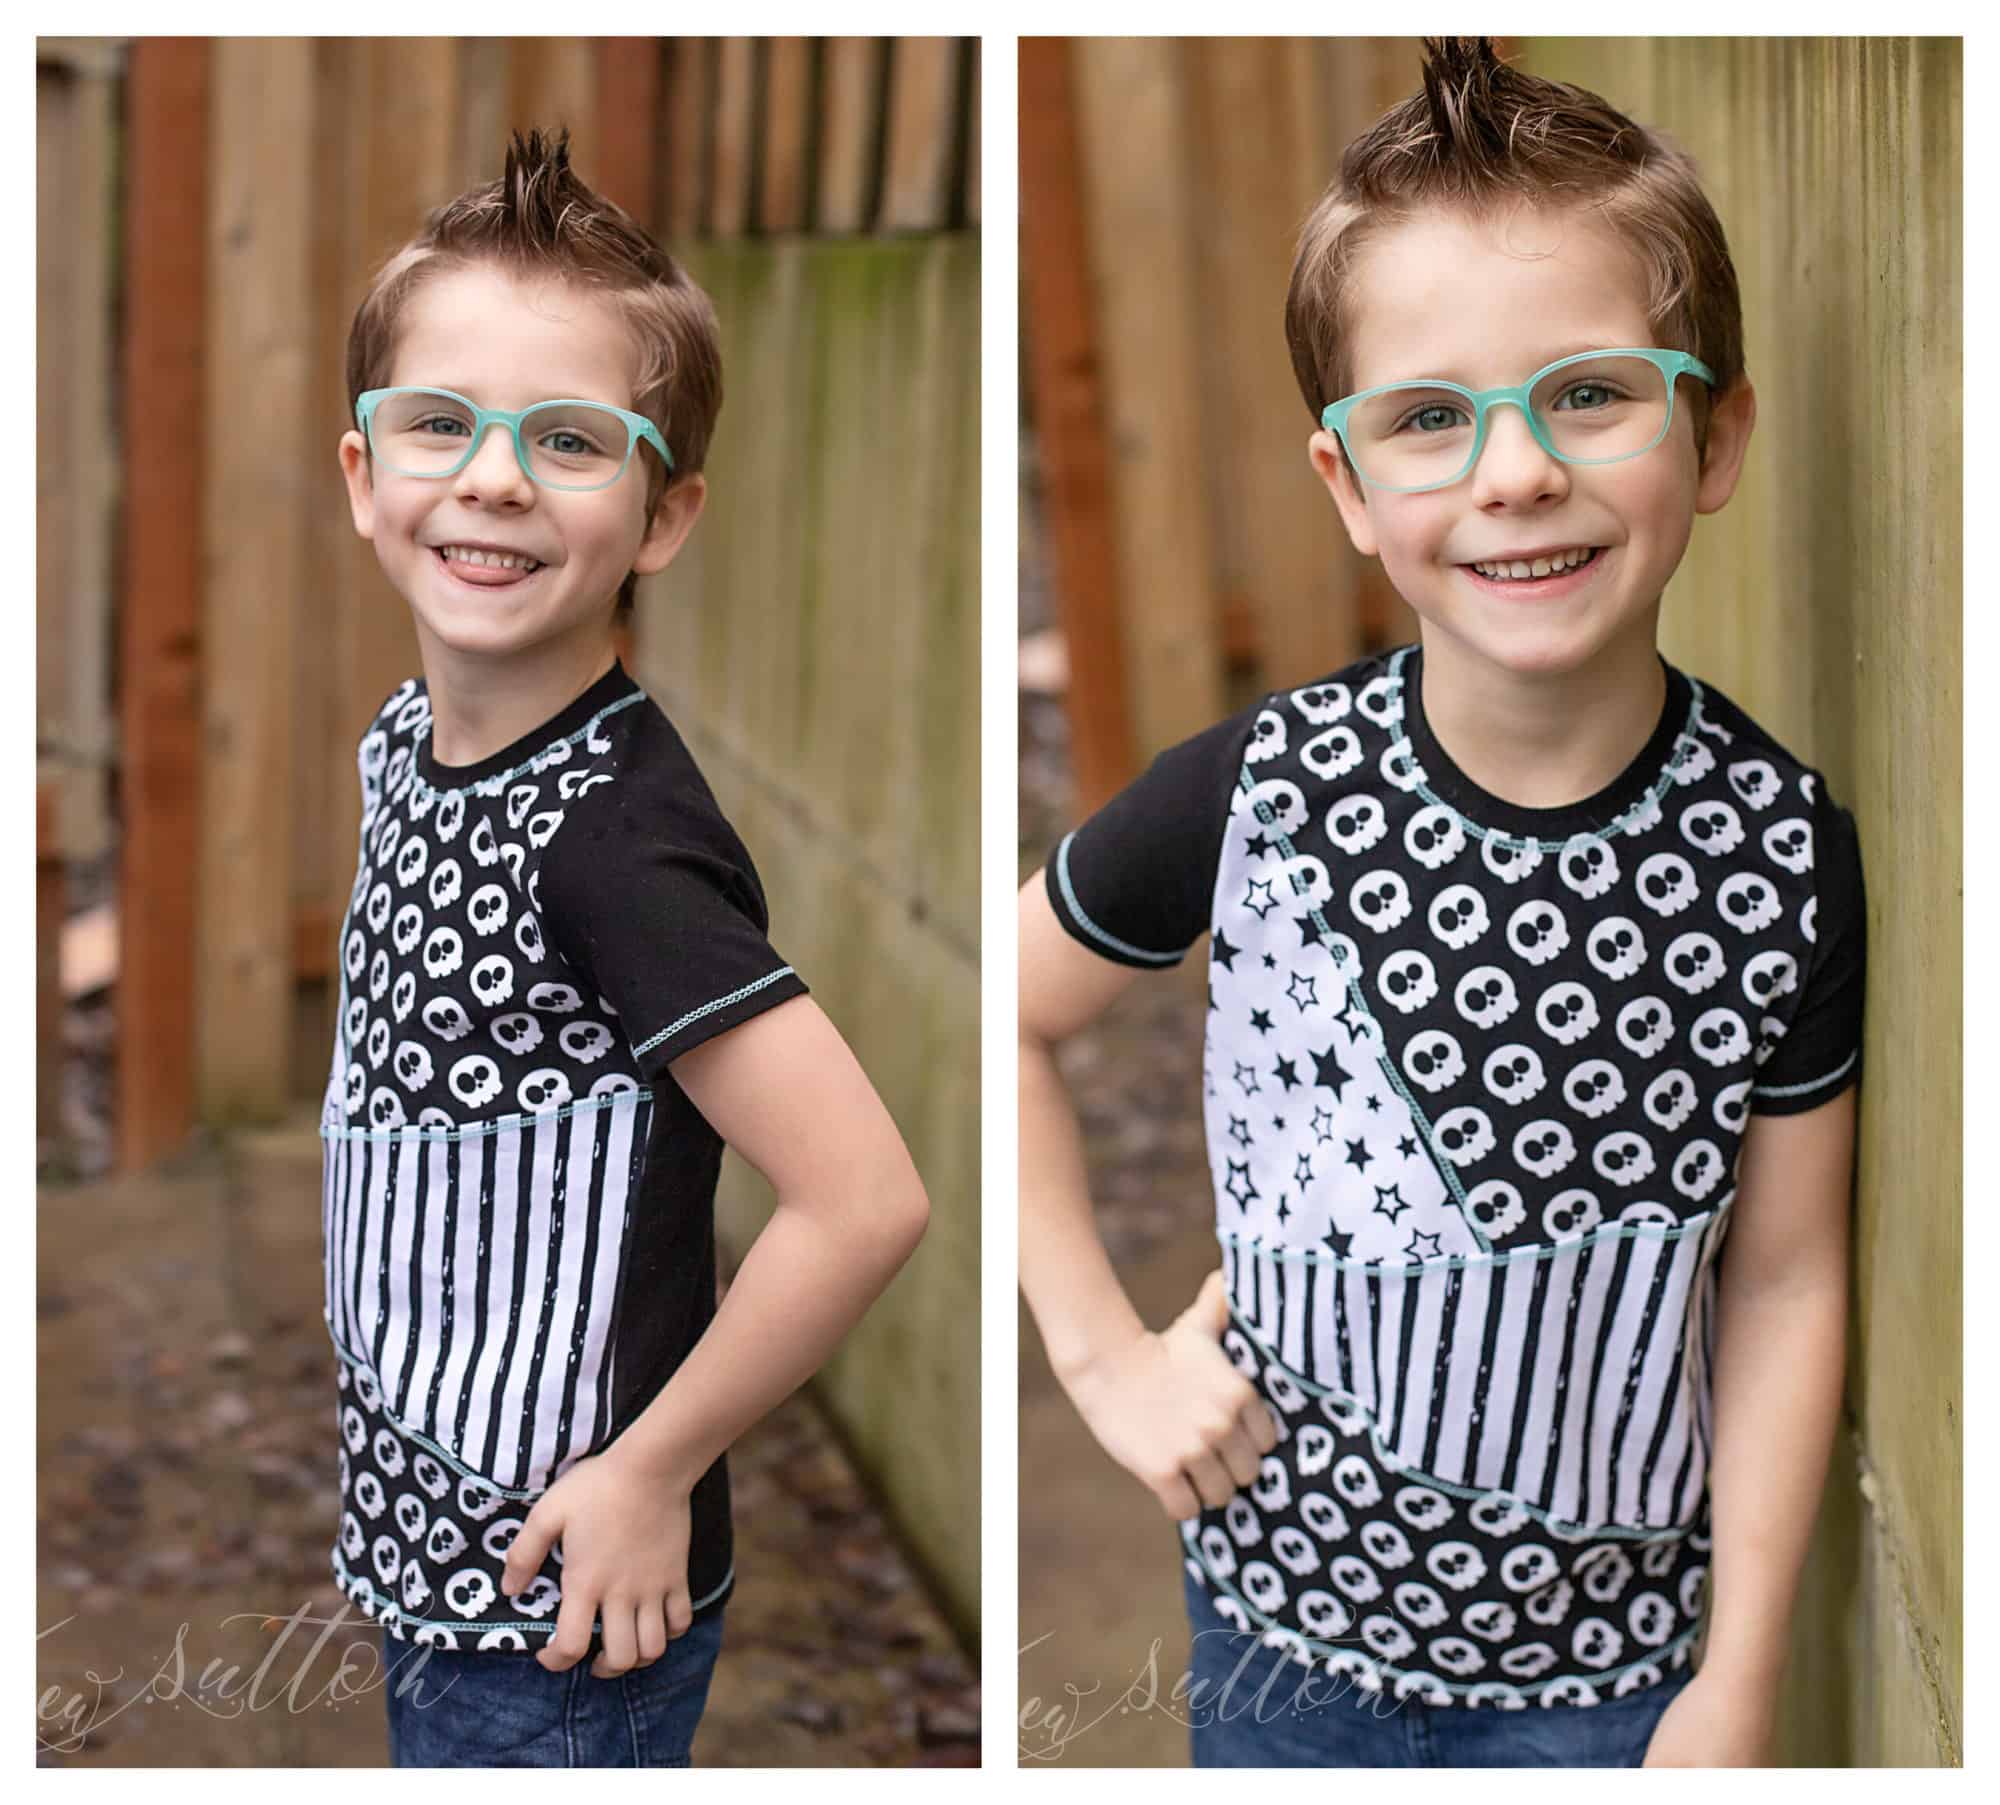
First, you’ll want to pick your pattern and print out your chosen size.   (If you are using a projector you can do it but I highly recommend printing whatever piece you want to color block.  For my example, I color-blocked just the front bodice so I printed that and then used my projector to cut the rest of my pieces. )  Now if you plan on doing any “angled” color blocks and your pattern piece is on a fold- I recommend tracing the mirror image and attaching it to your piece so you have the “full piece”.   I used The Basic tee for my son and chose to only block the front of the shirt.

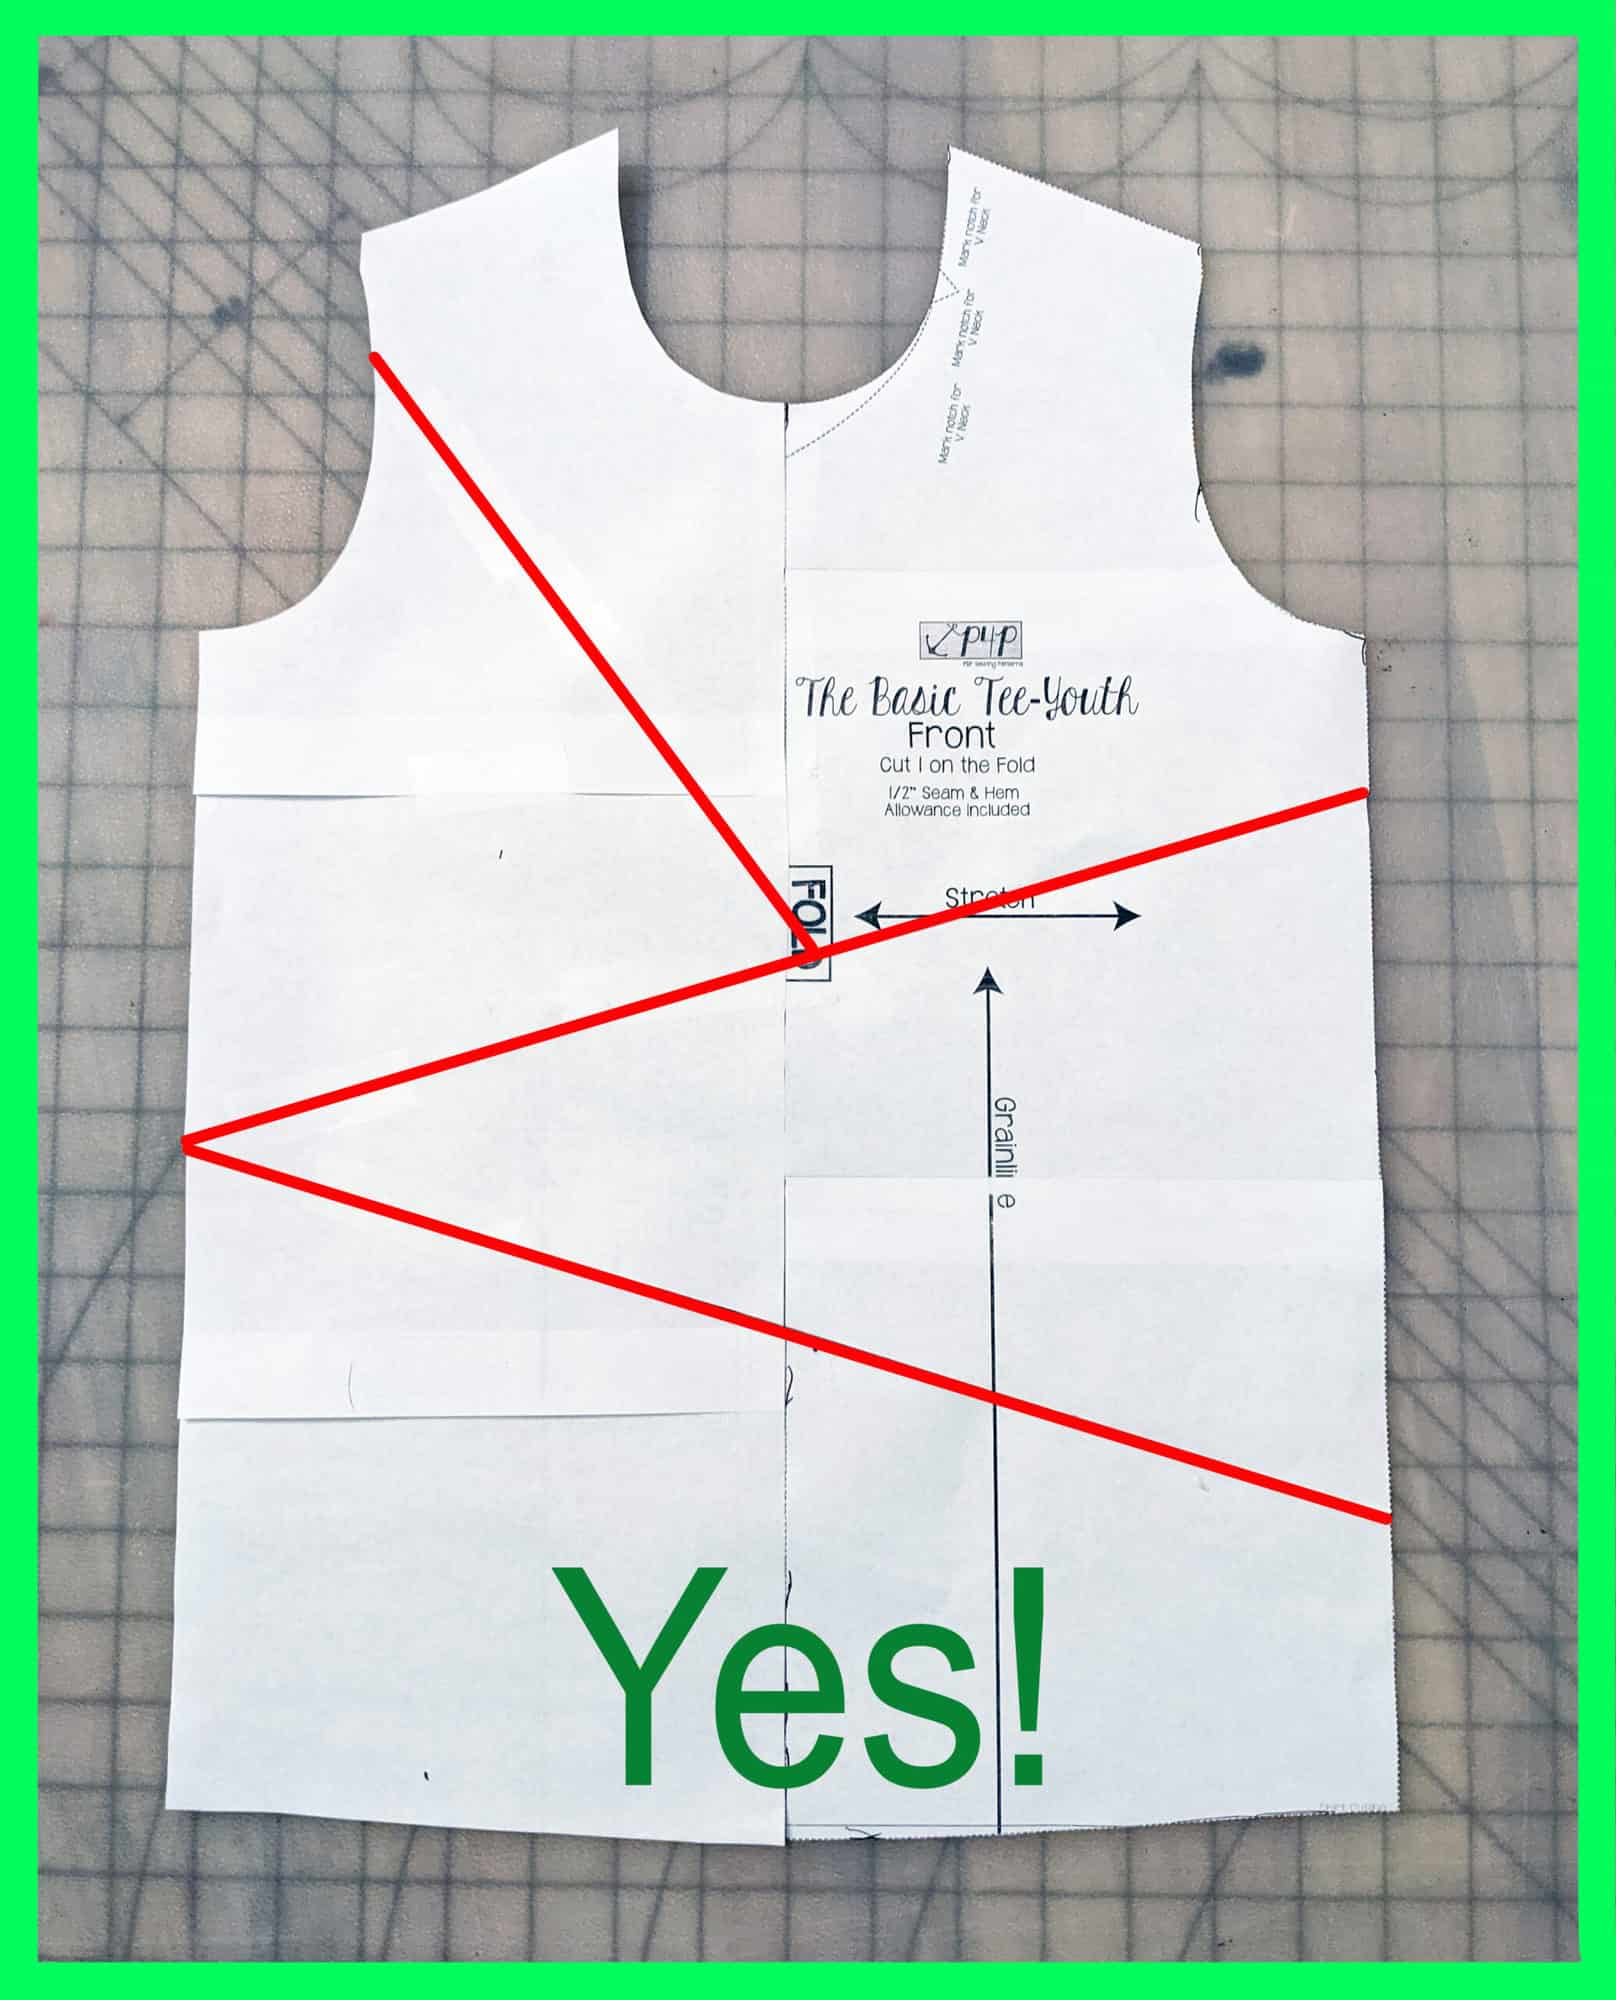
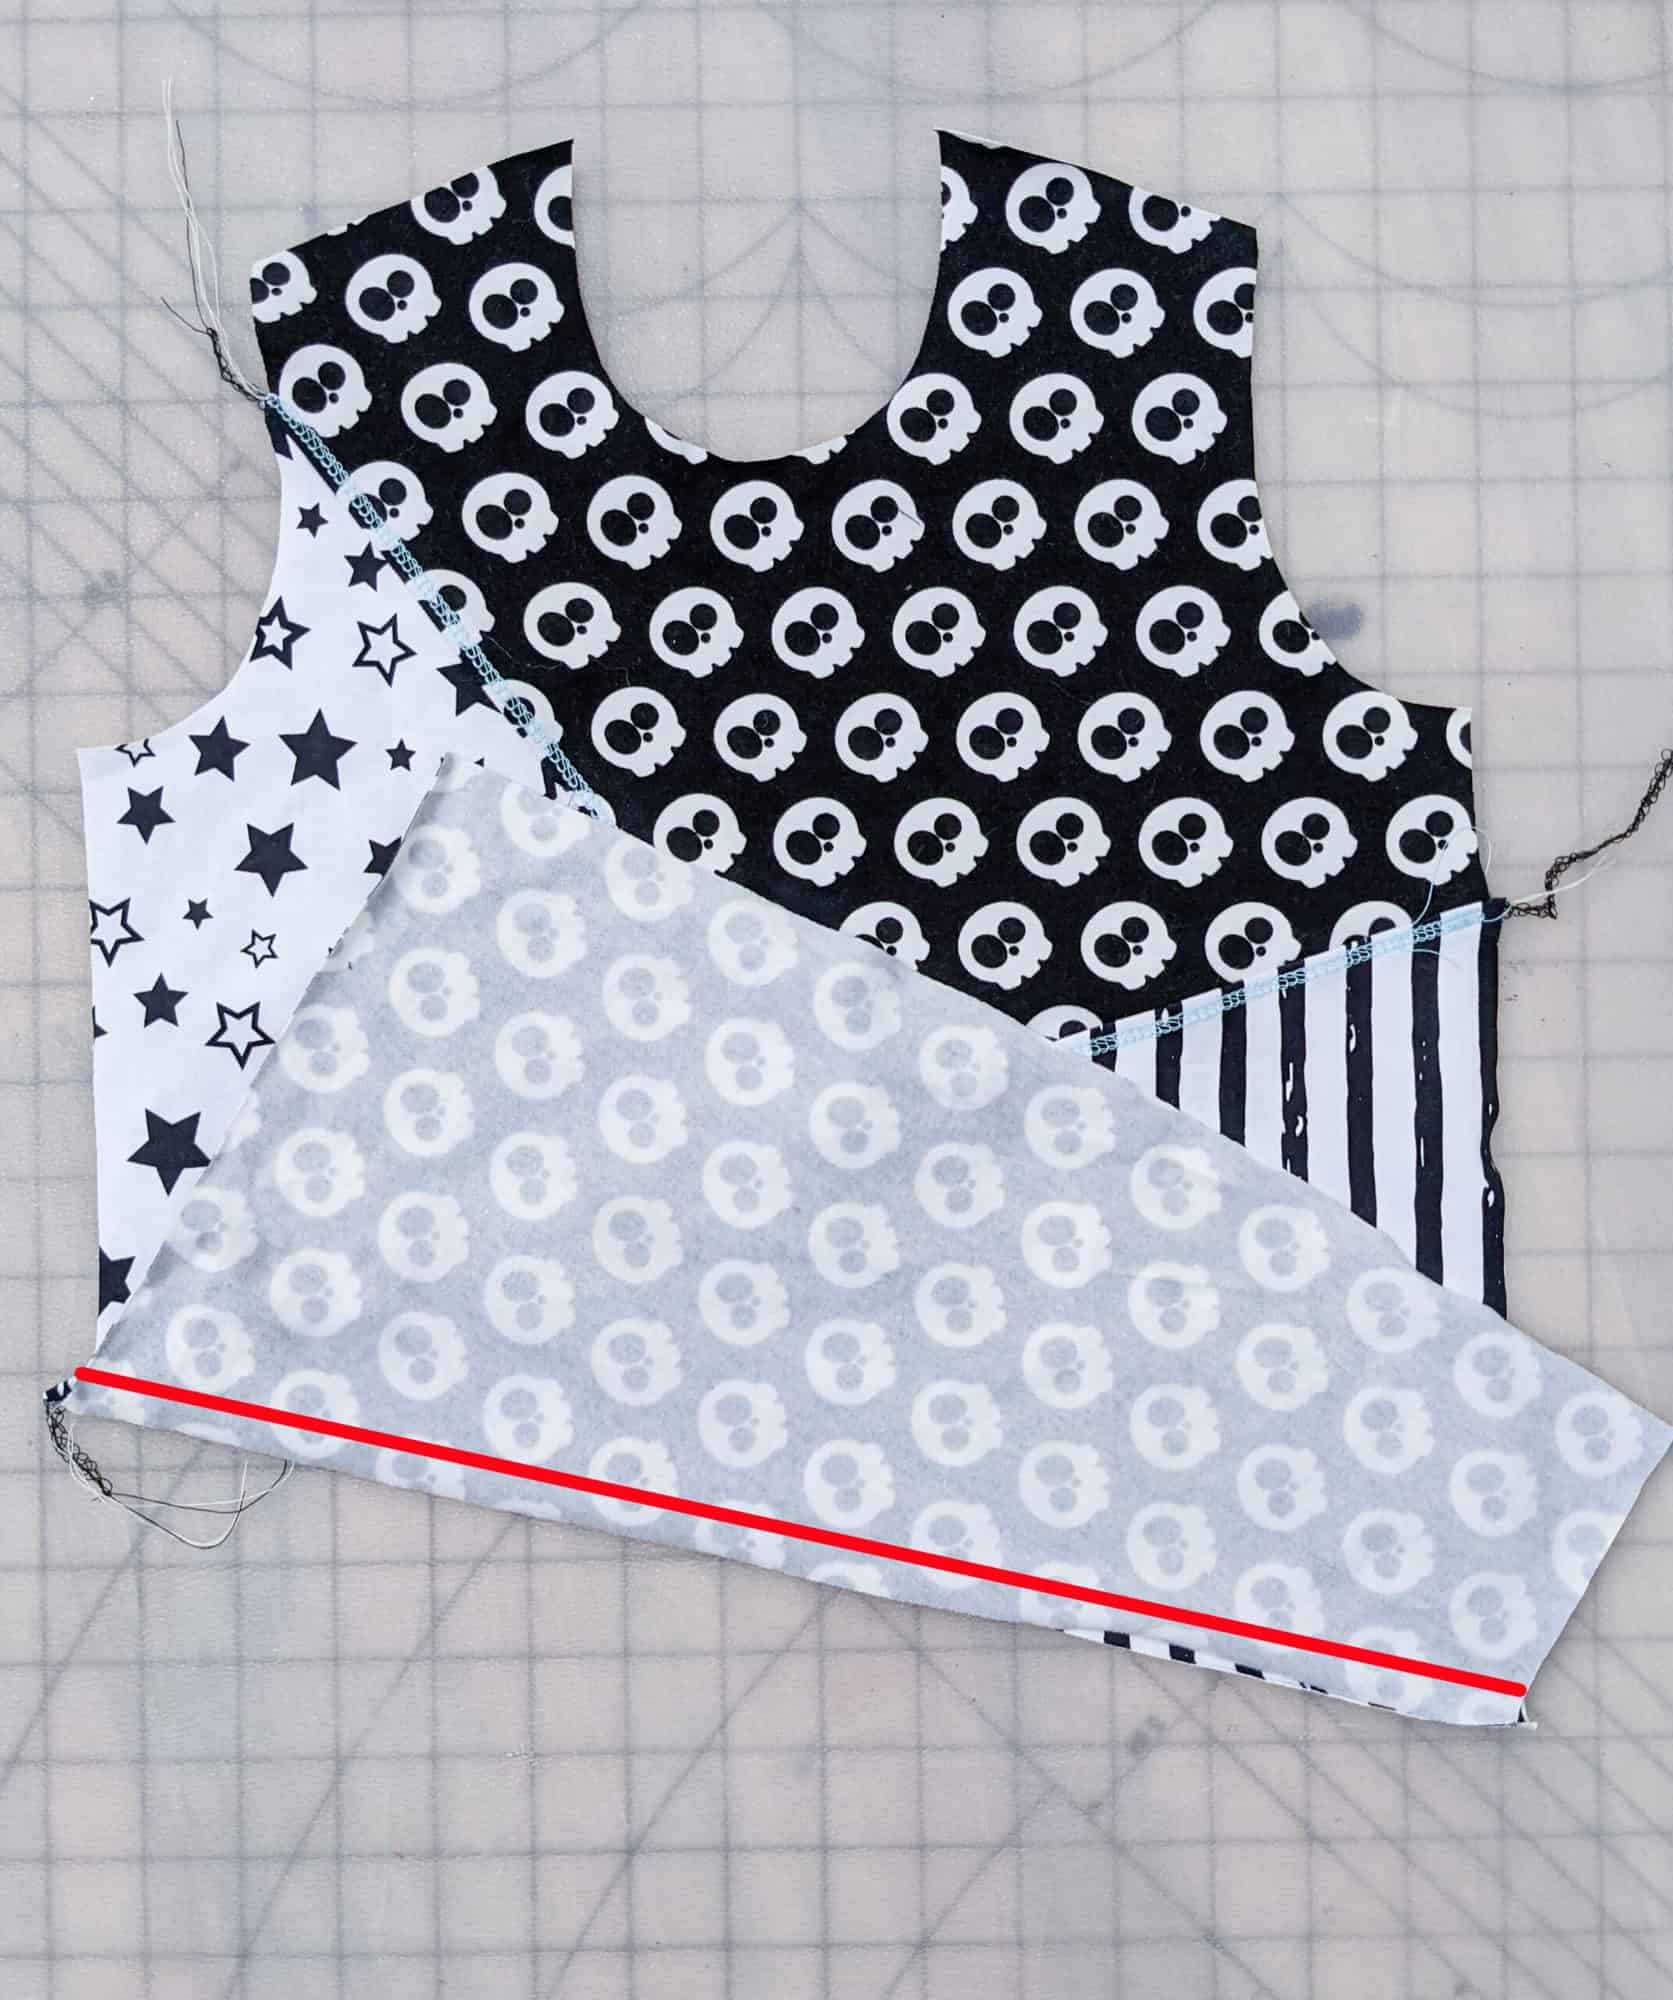
Now the fun part-  Choosing your color block!  Honestly, you can really do anything so just start drawing!  I use a straight edge to make sure my lines are nice and tidy (easier to sew that way).  The only thing I would avoid is really complicated shapes or anything like a floating “v-point” that doesn’t reach an end (you can see my example below in the red no box). If you are new to this technique I’d start simple to get the hang of it and then you can expand from there. This is what I drew out and what will be the final “look” of my shirt.

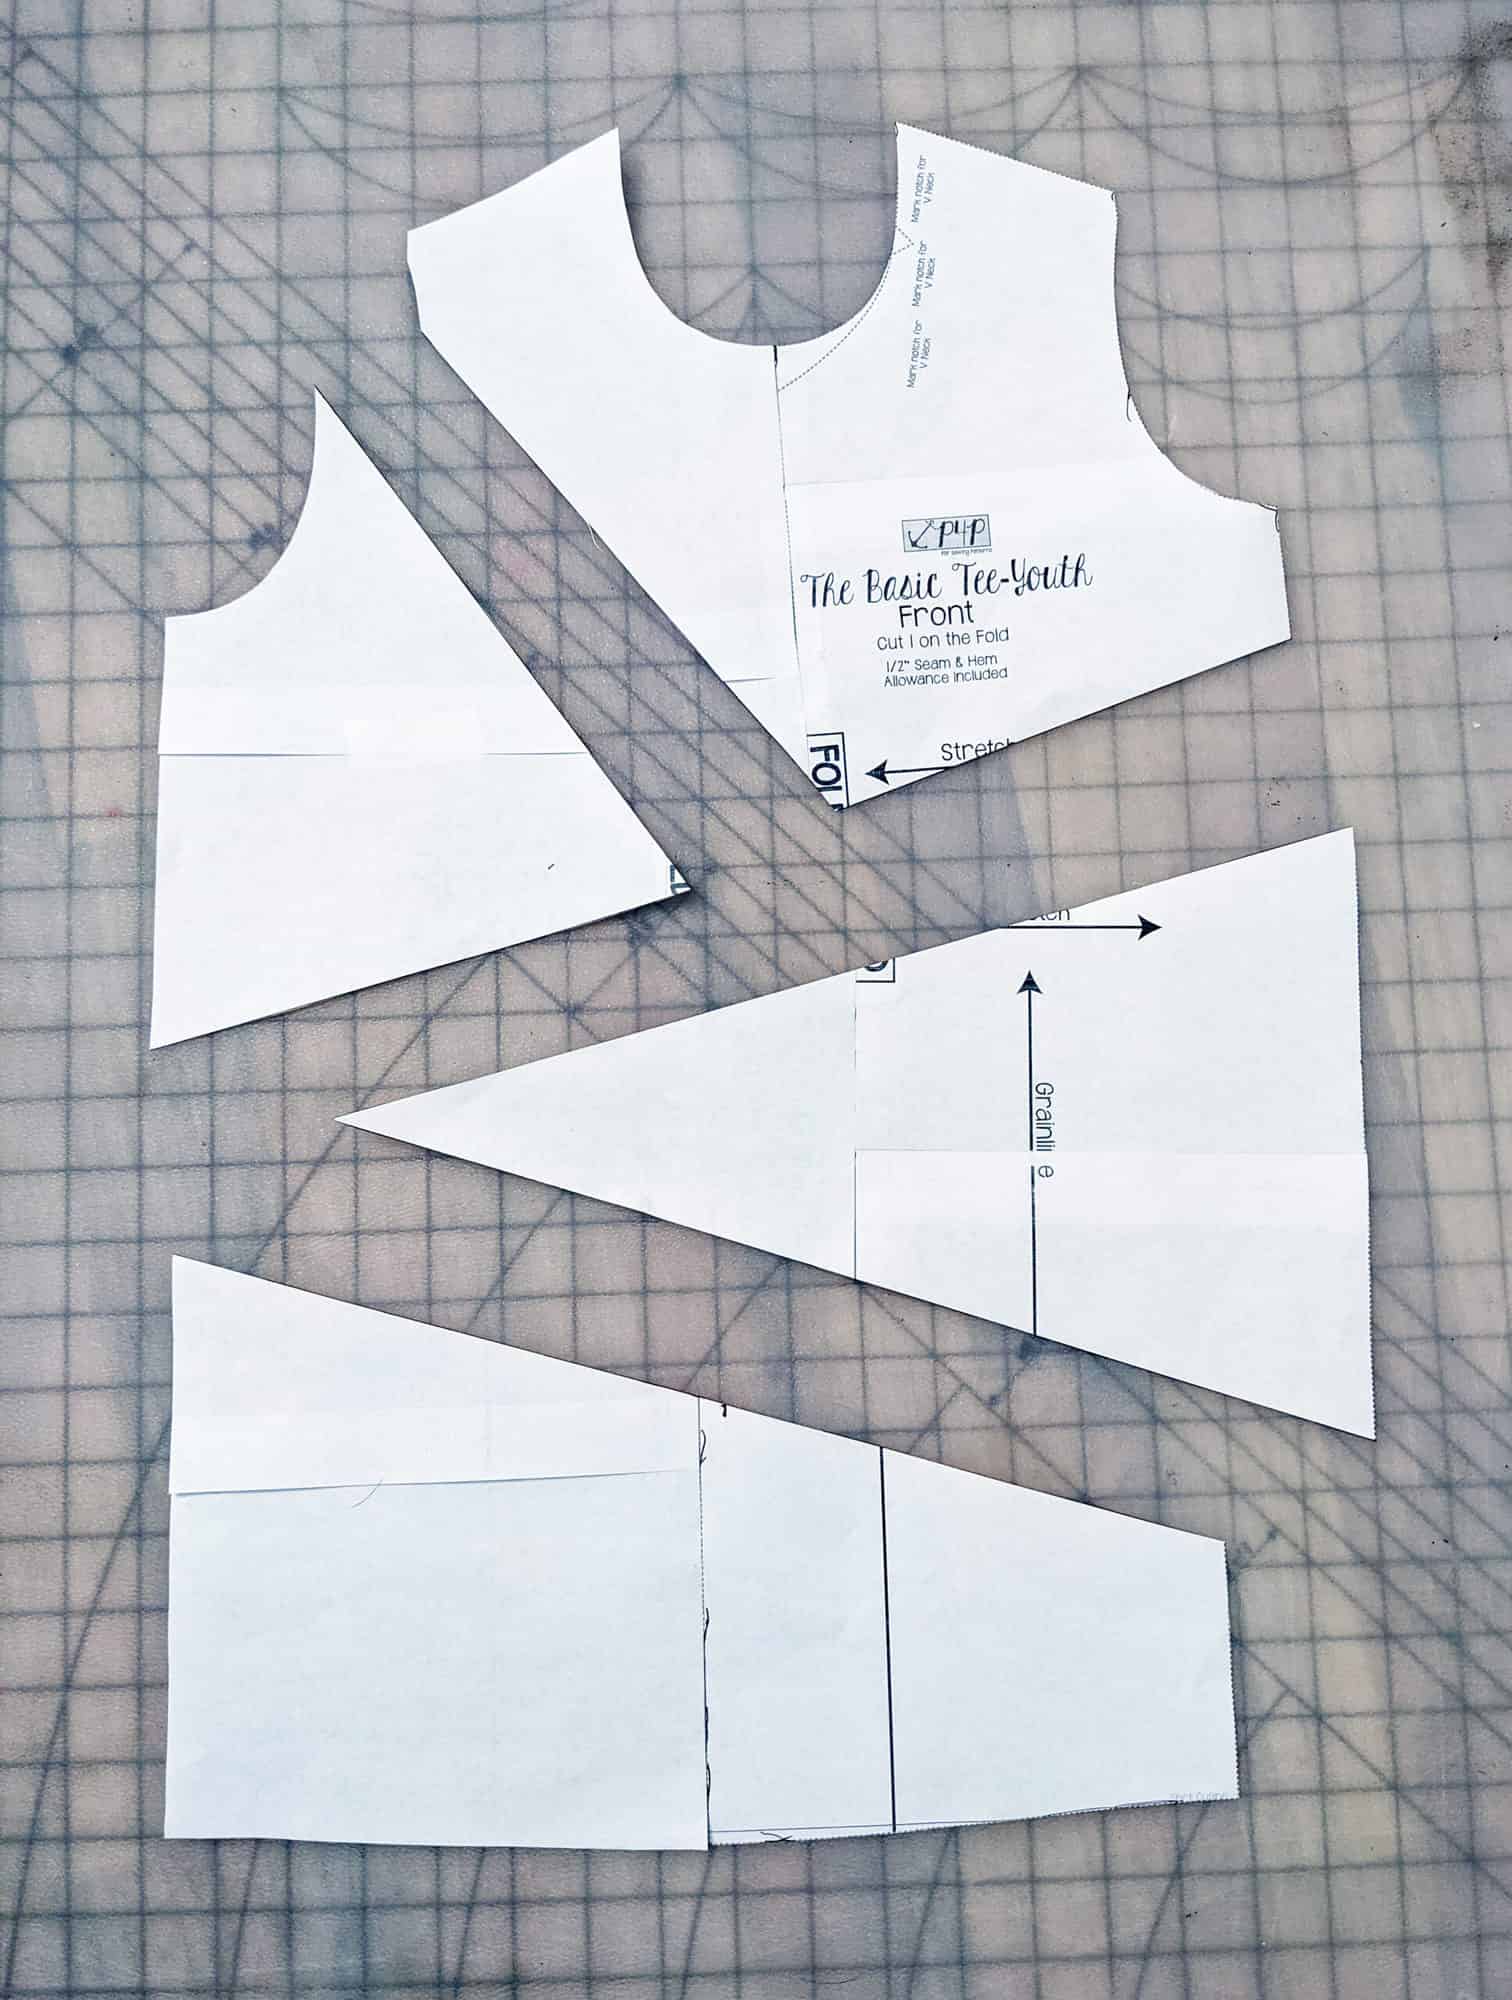
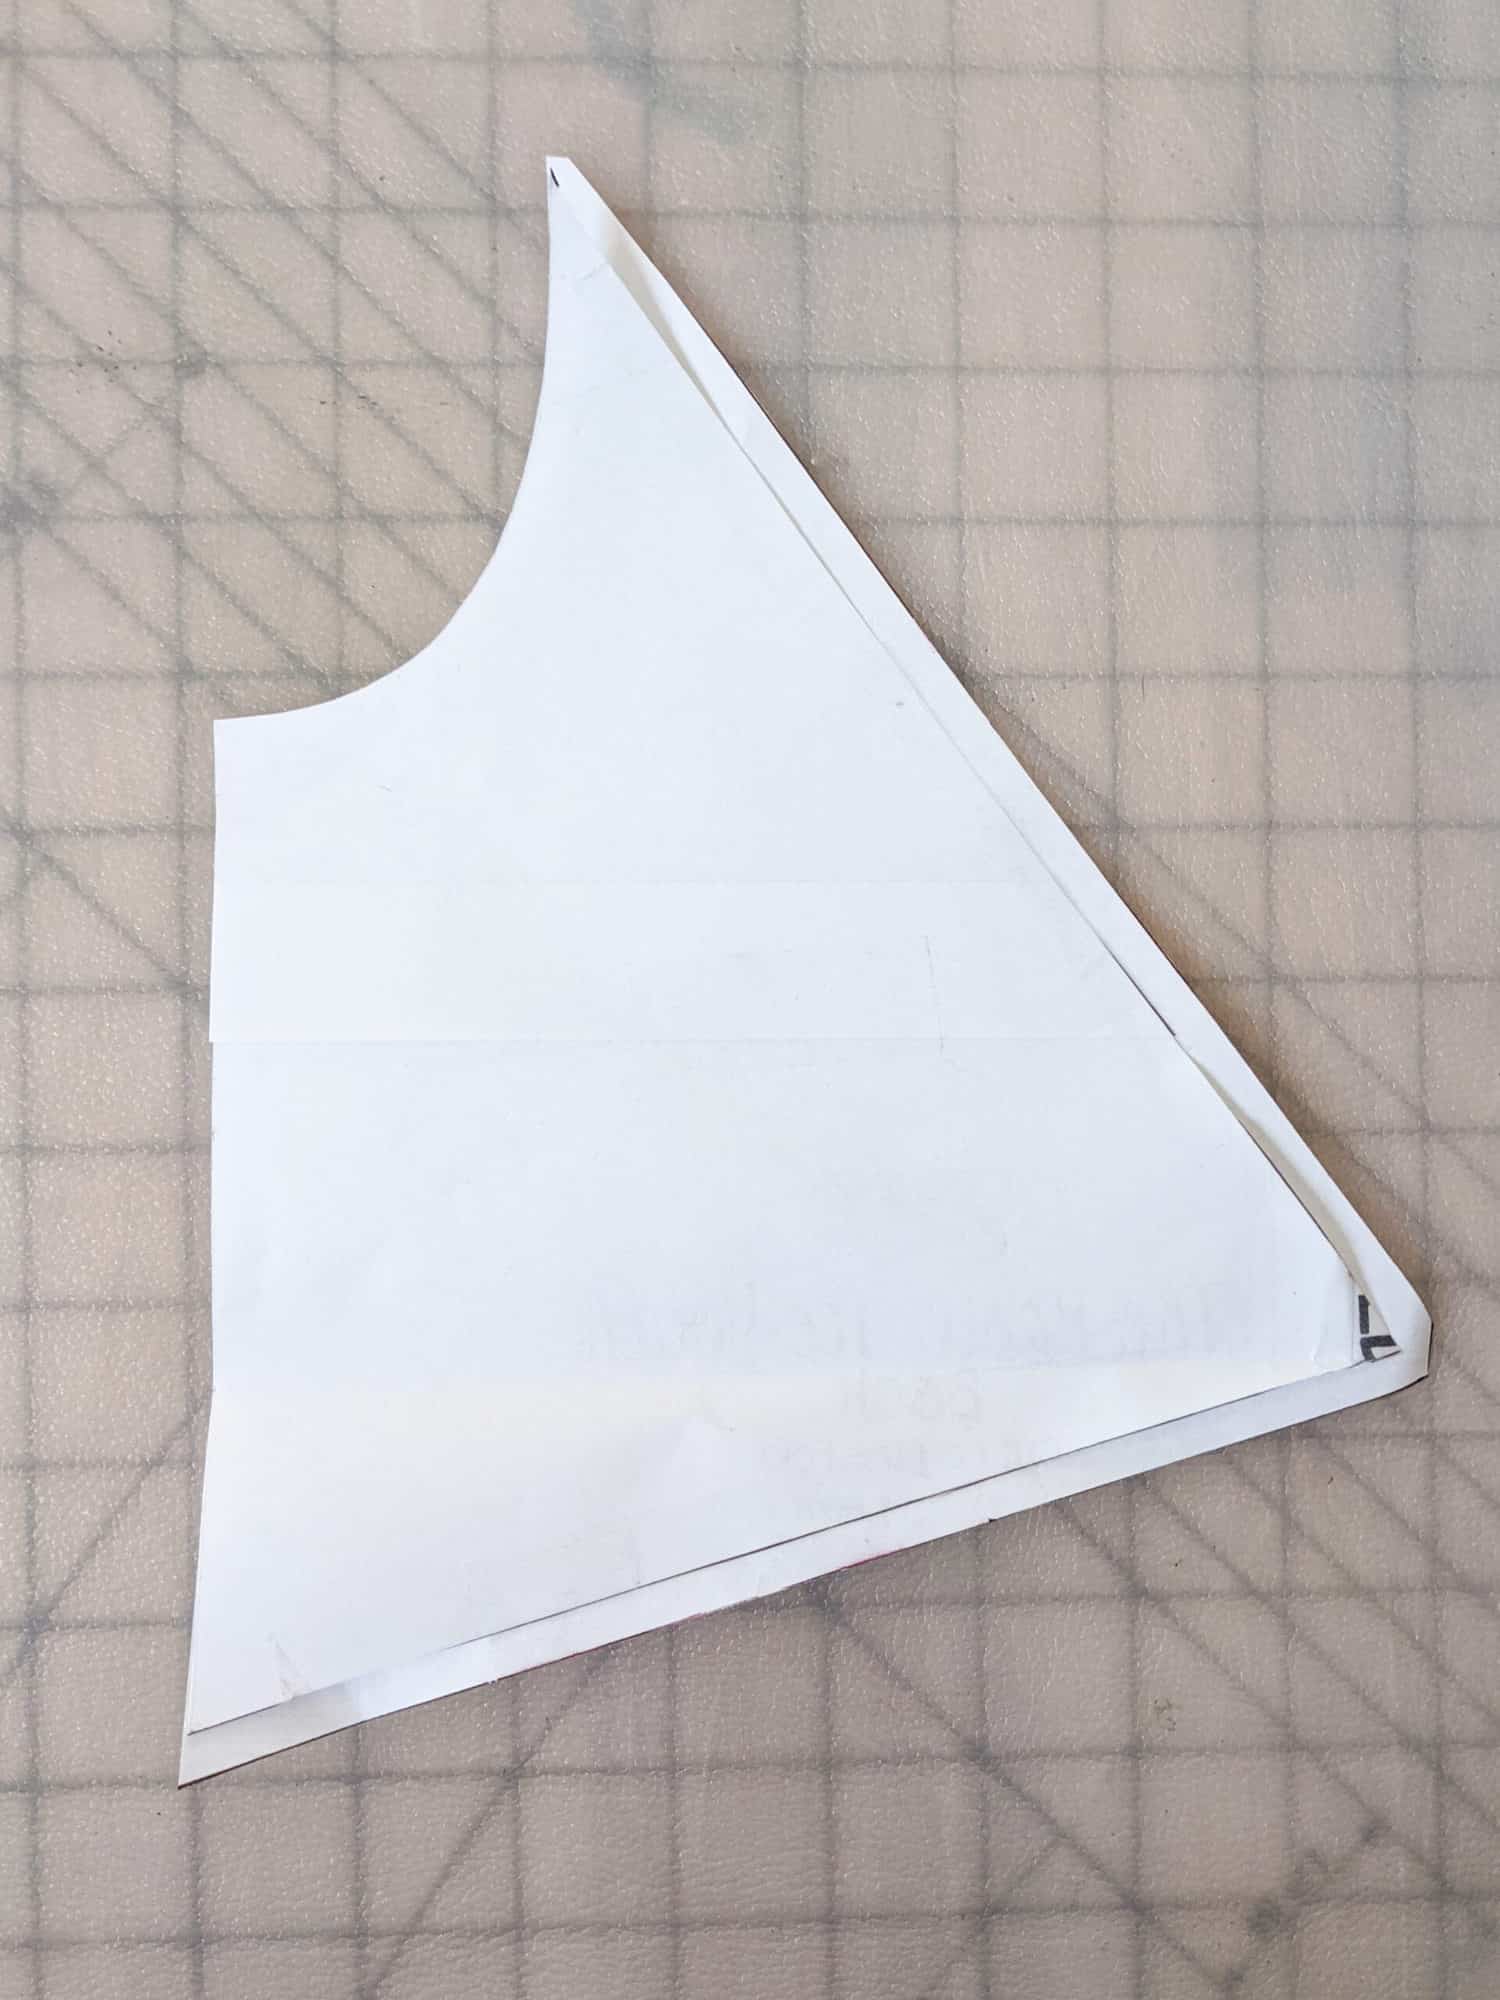
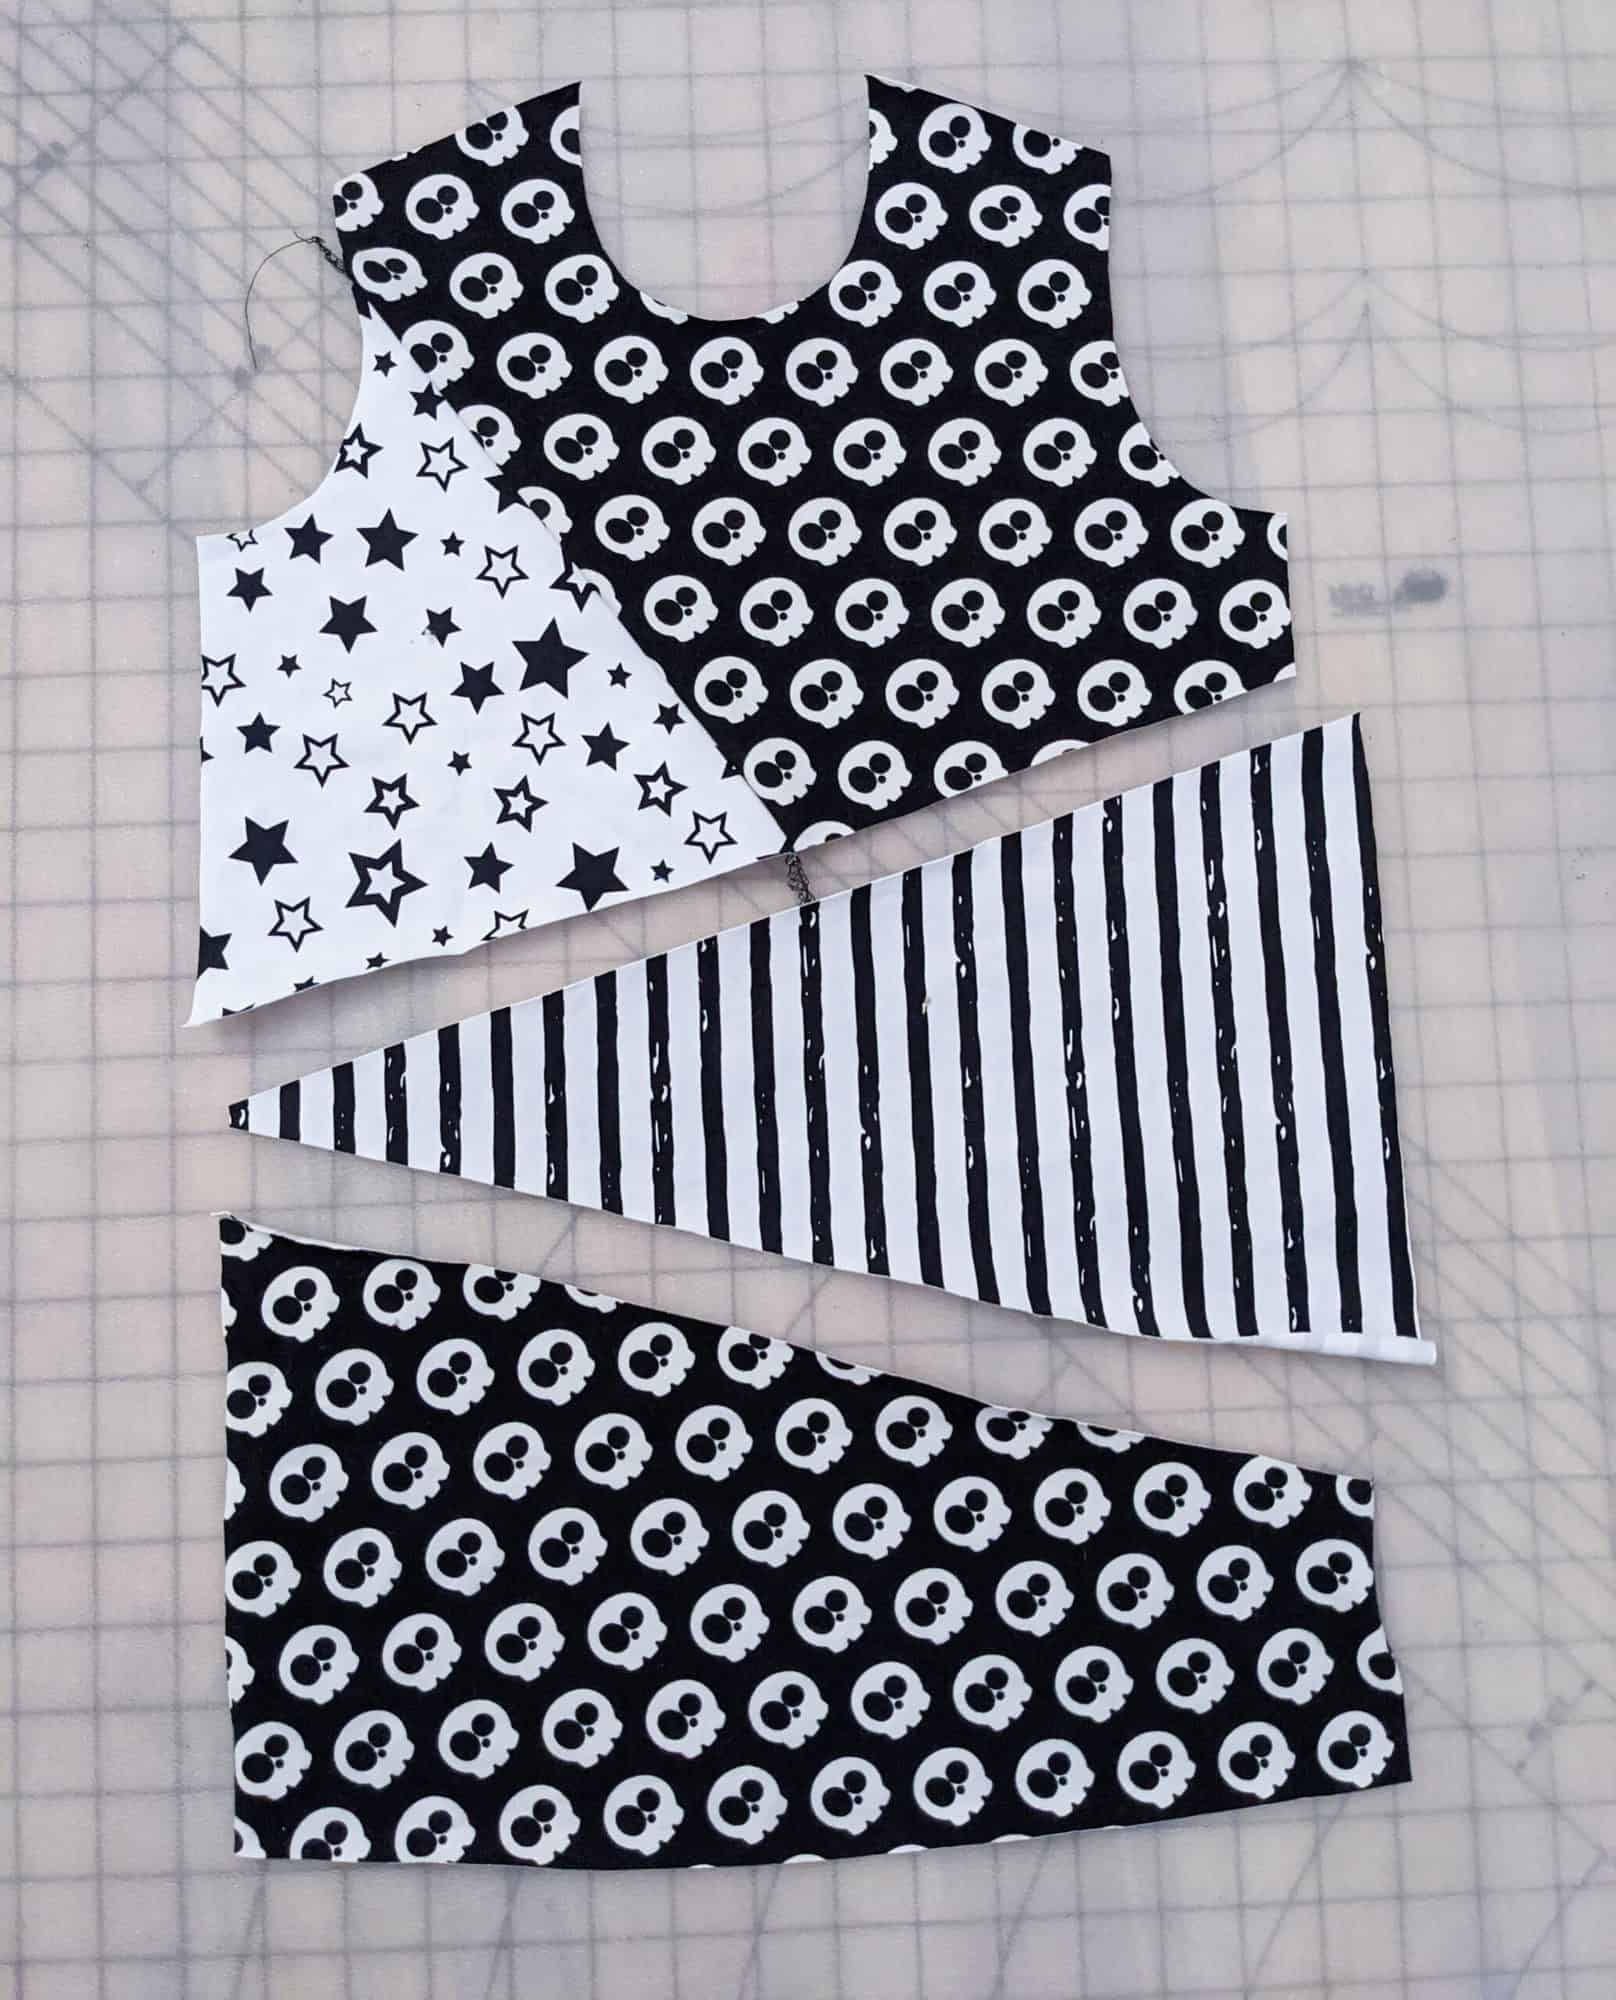
Once you’ve drawn your color-blocked lines you’ll want to cut them all out and these are your new pieces. Decide which fabric you want for what piece and it’s time to start cutting.

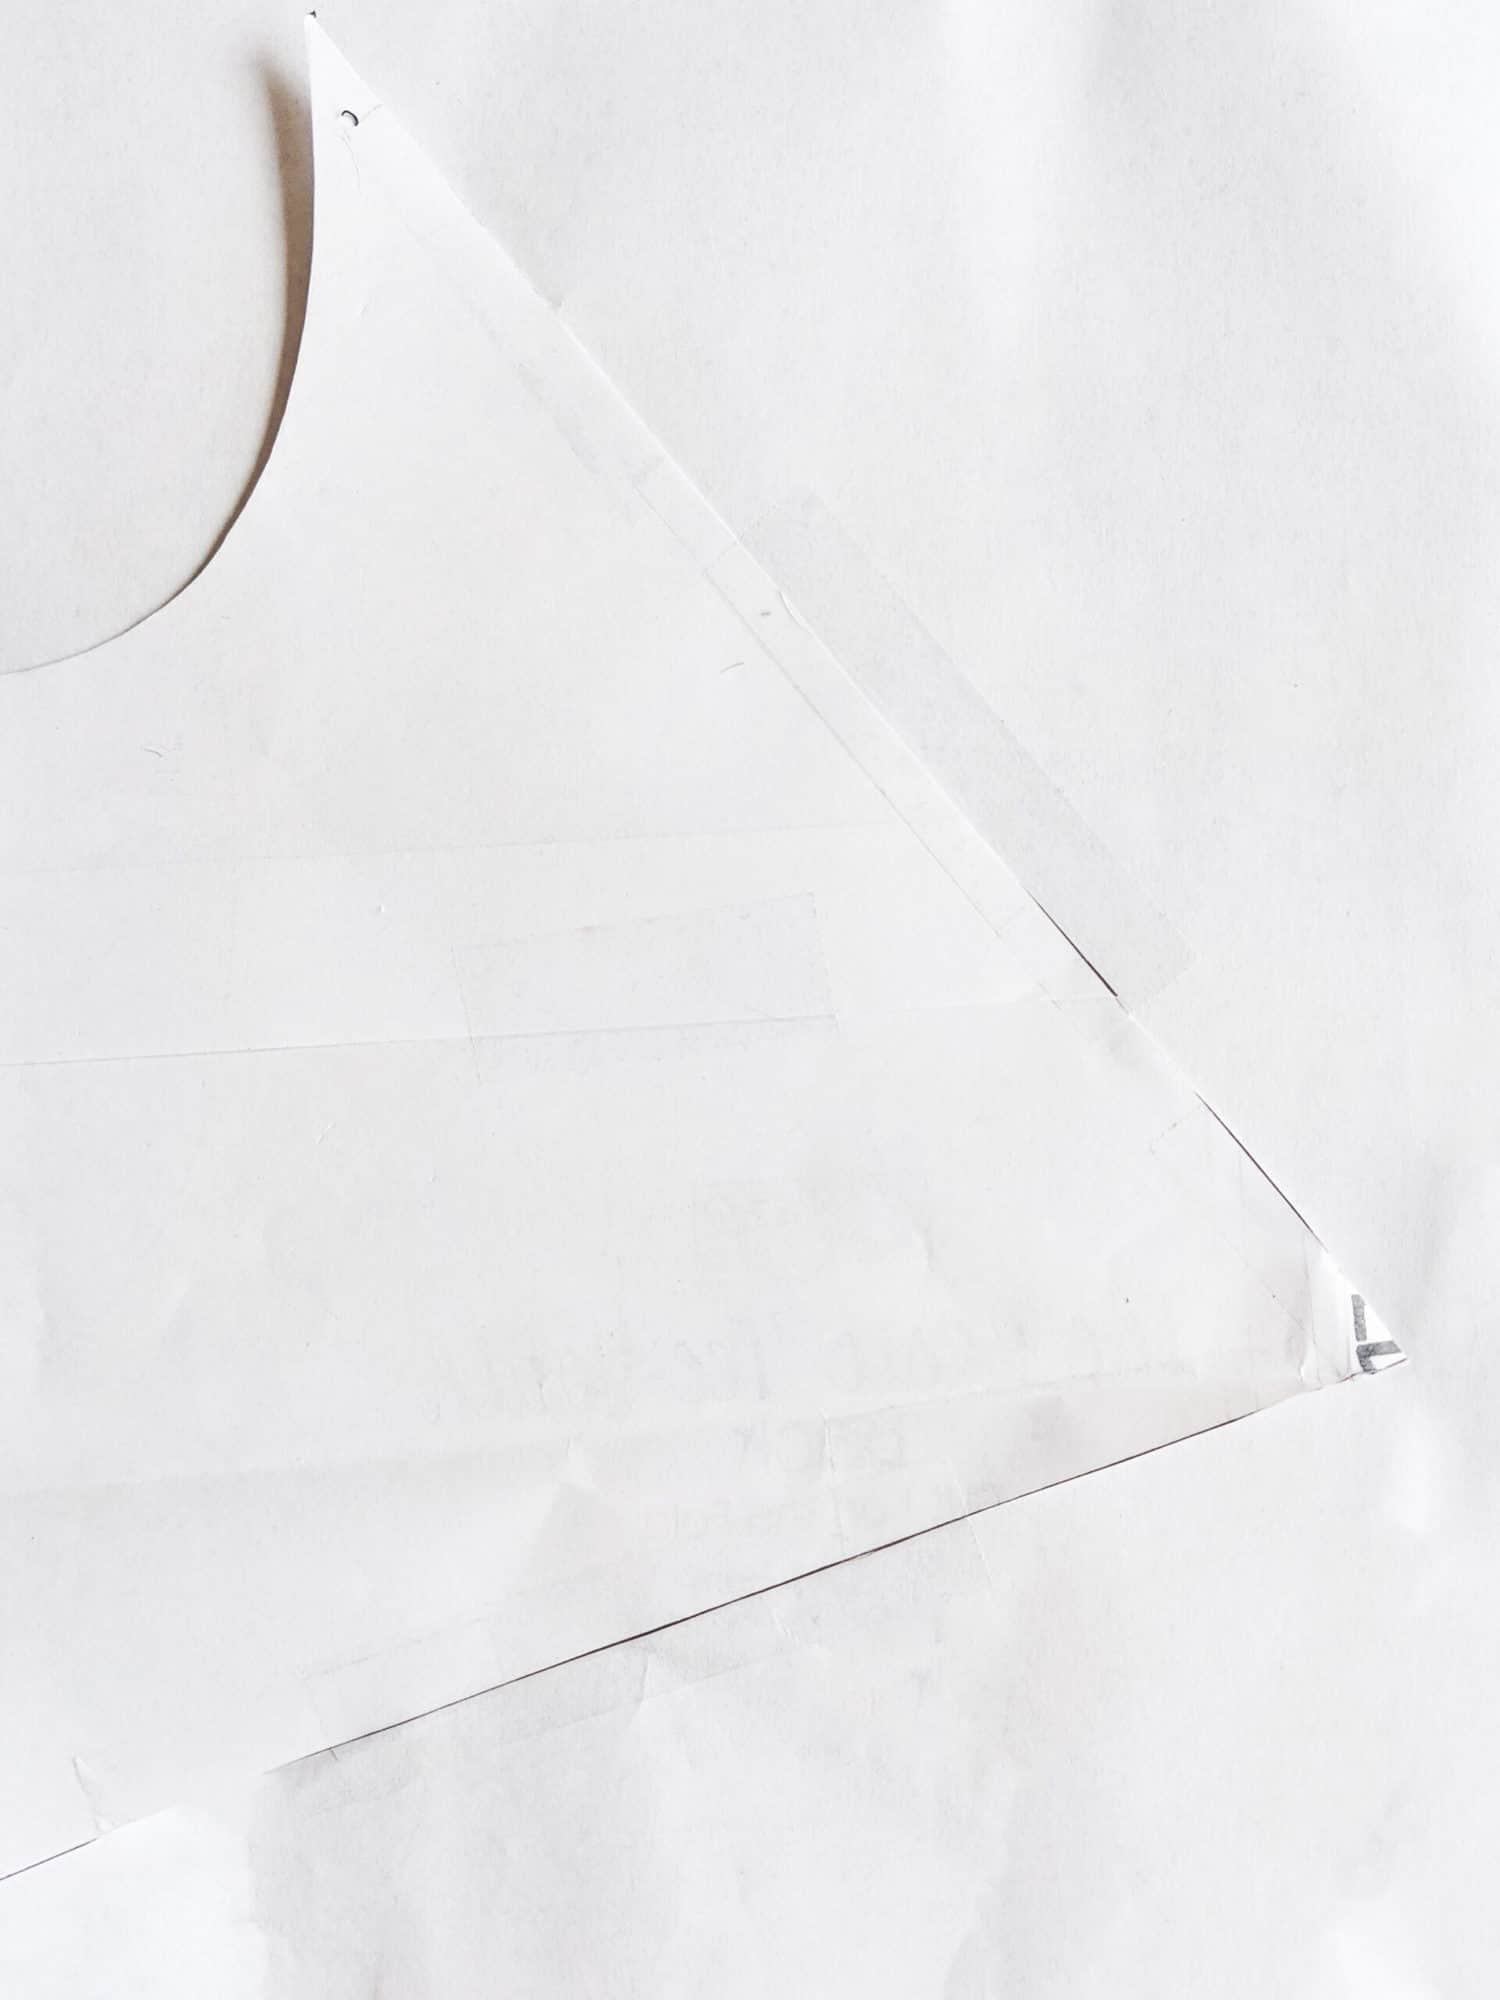
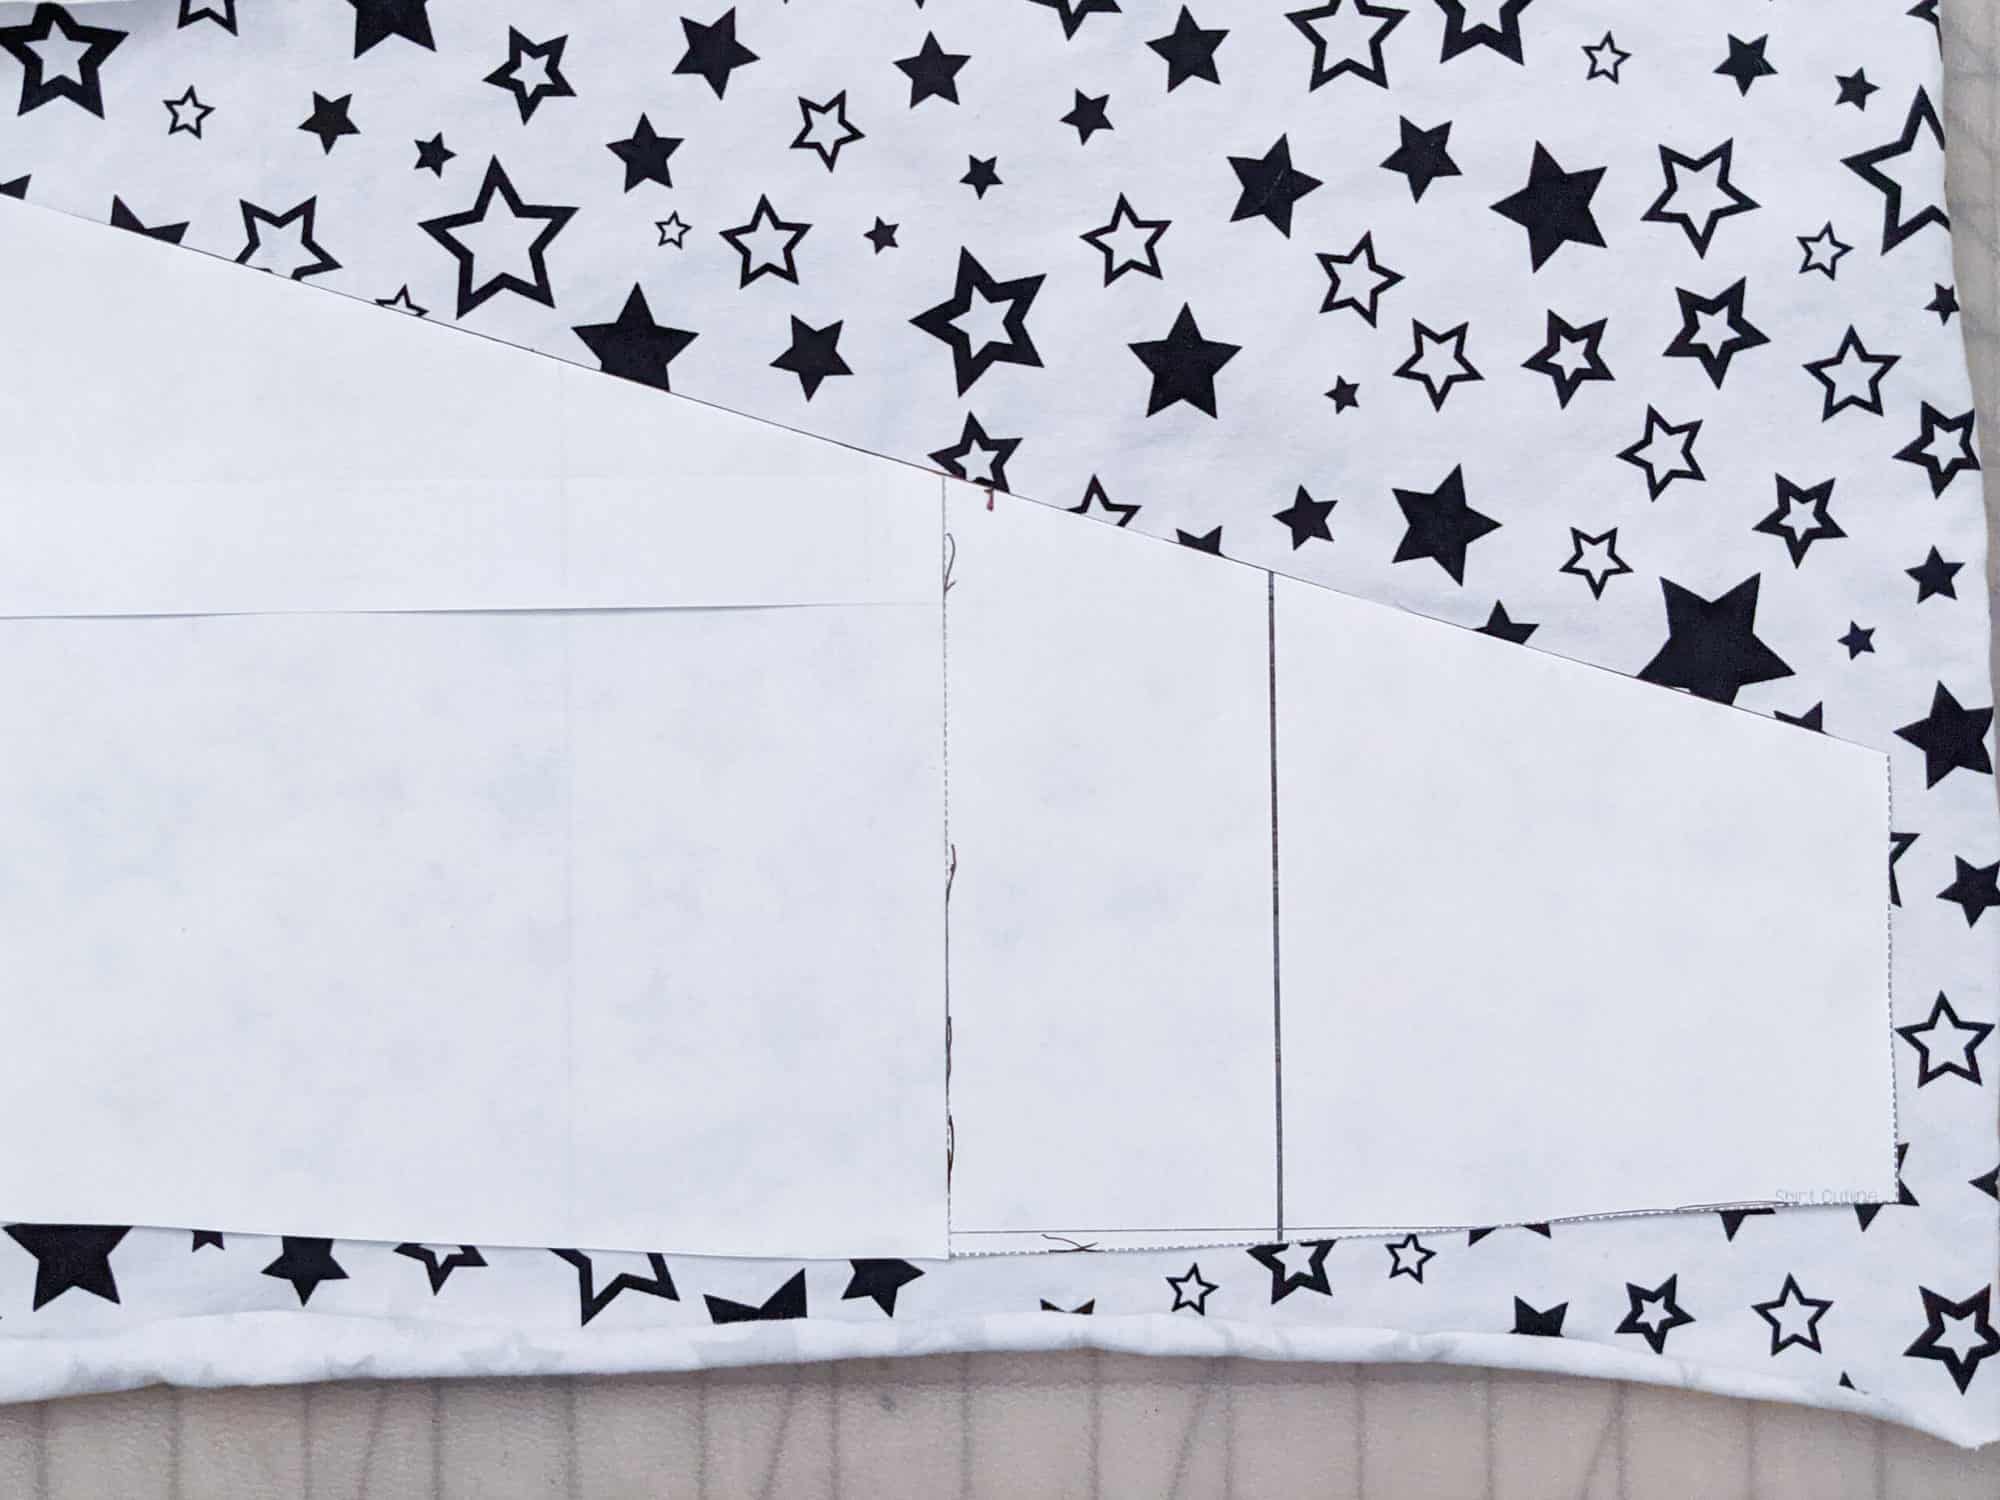
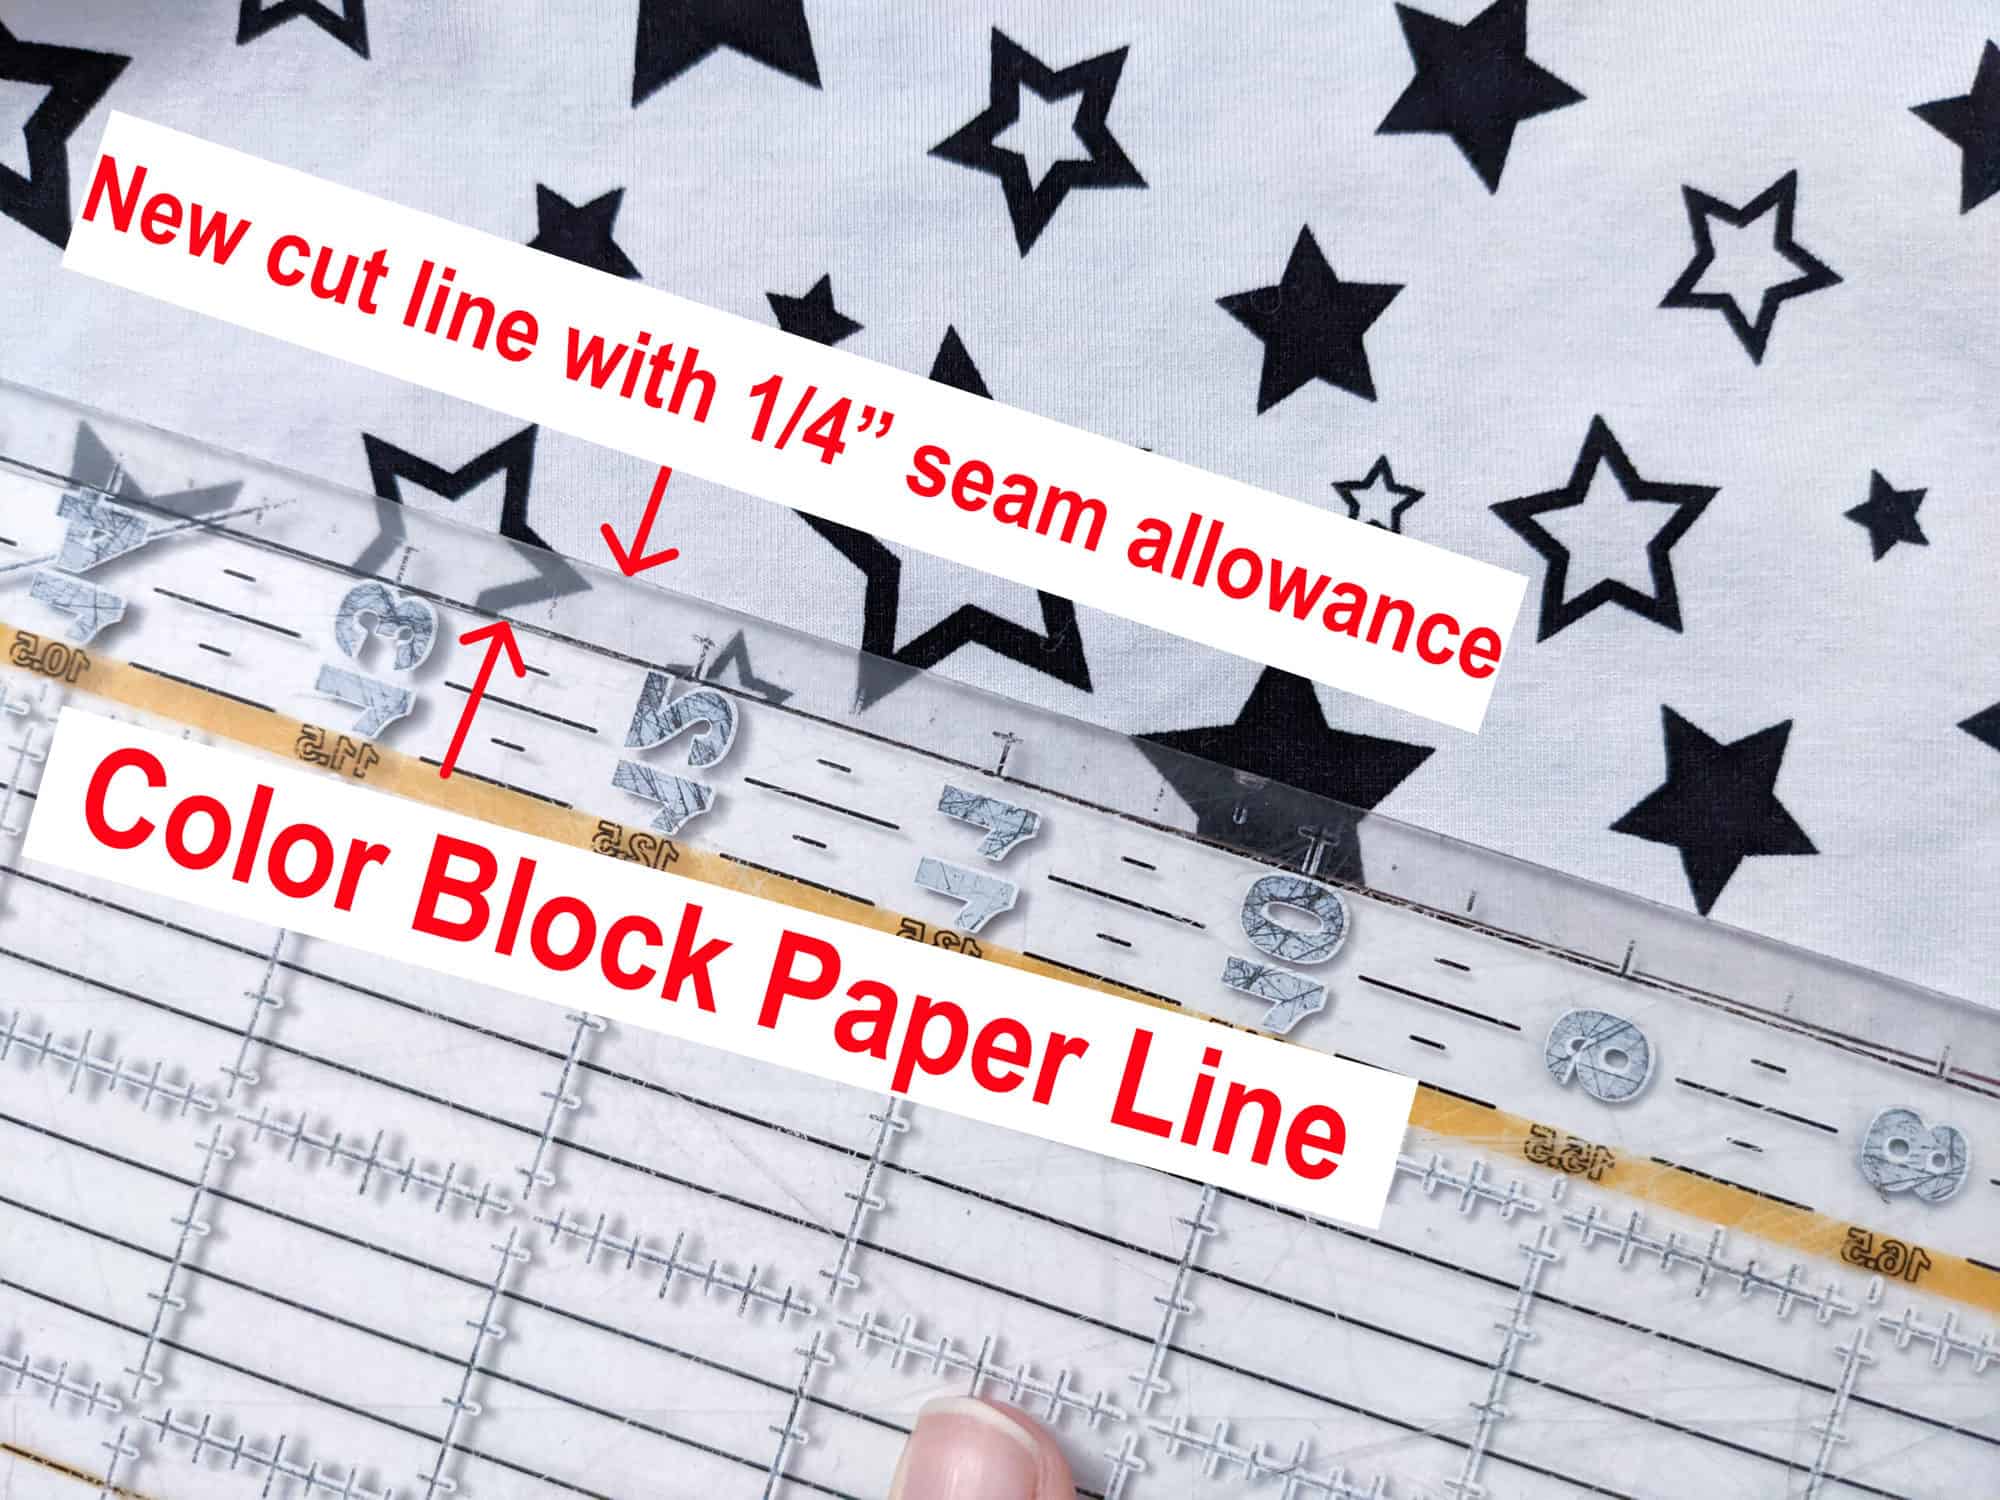
Now here’s the most important part-   You’ll need to add seam allowance to those pieces. You can choose whatever amount but I usually go with 1/4 inch.  Now you can either do this by laying your new pieces on a piece of paper and adding it to that piece so it becomes part of your pattern piece.


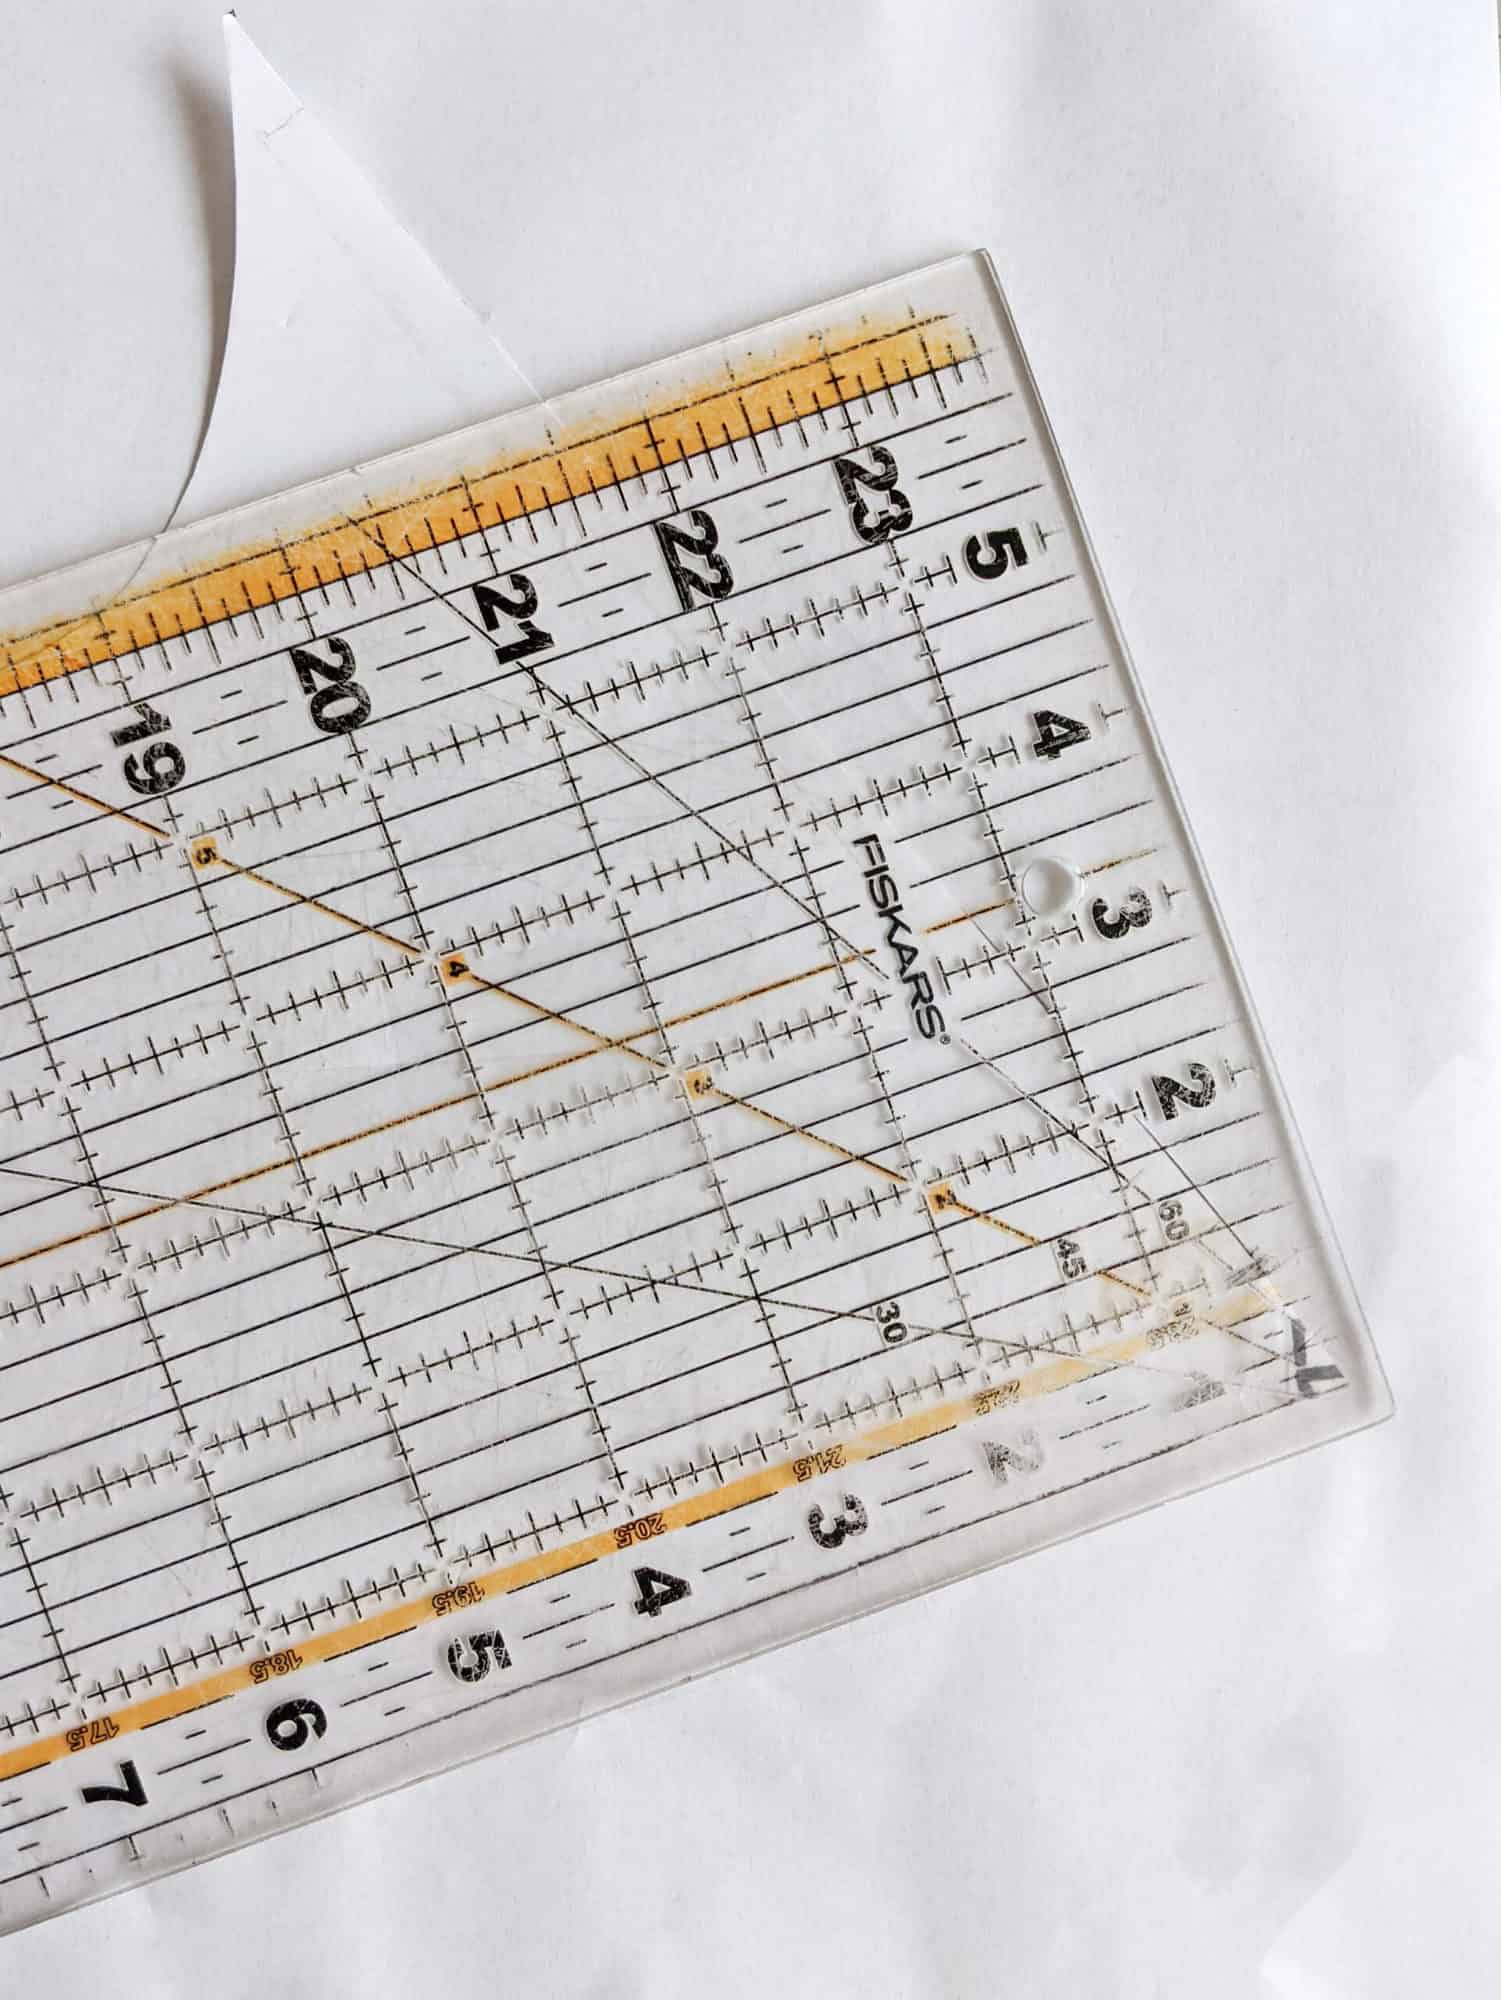
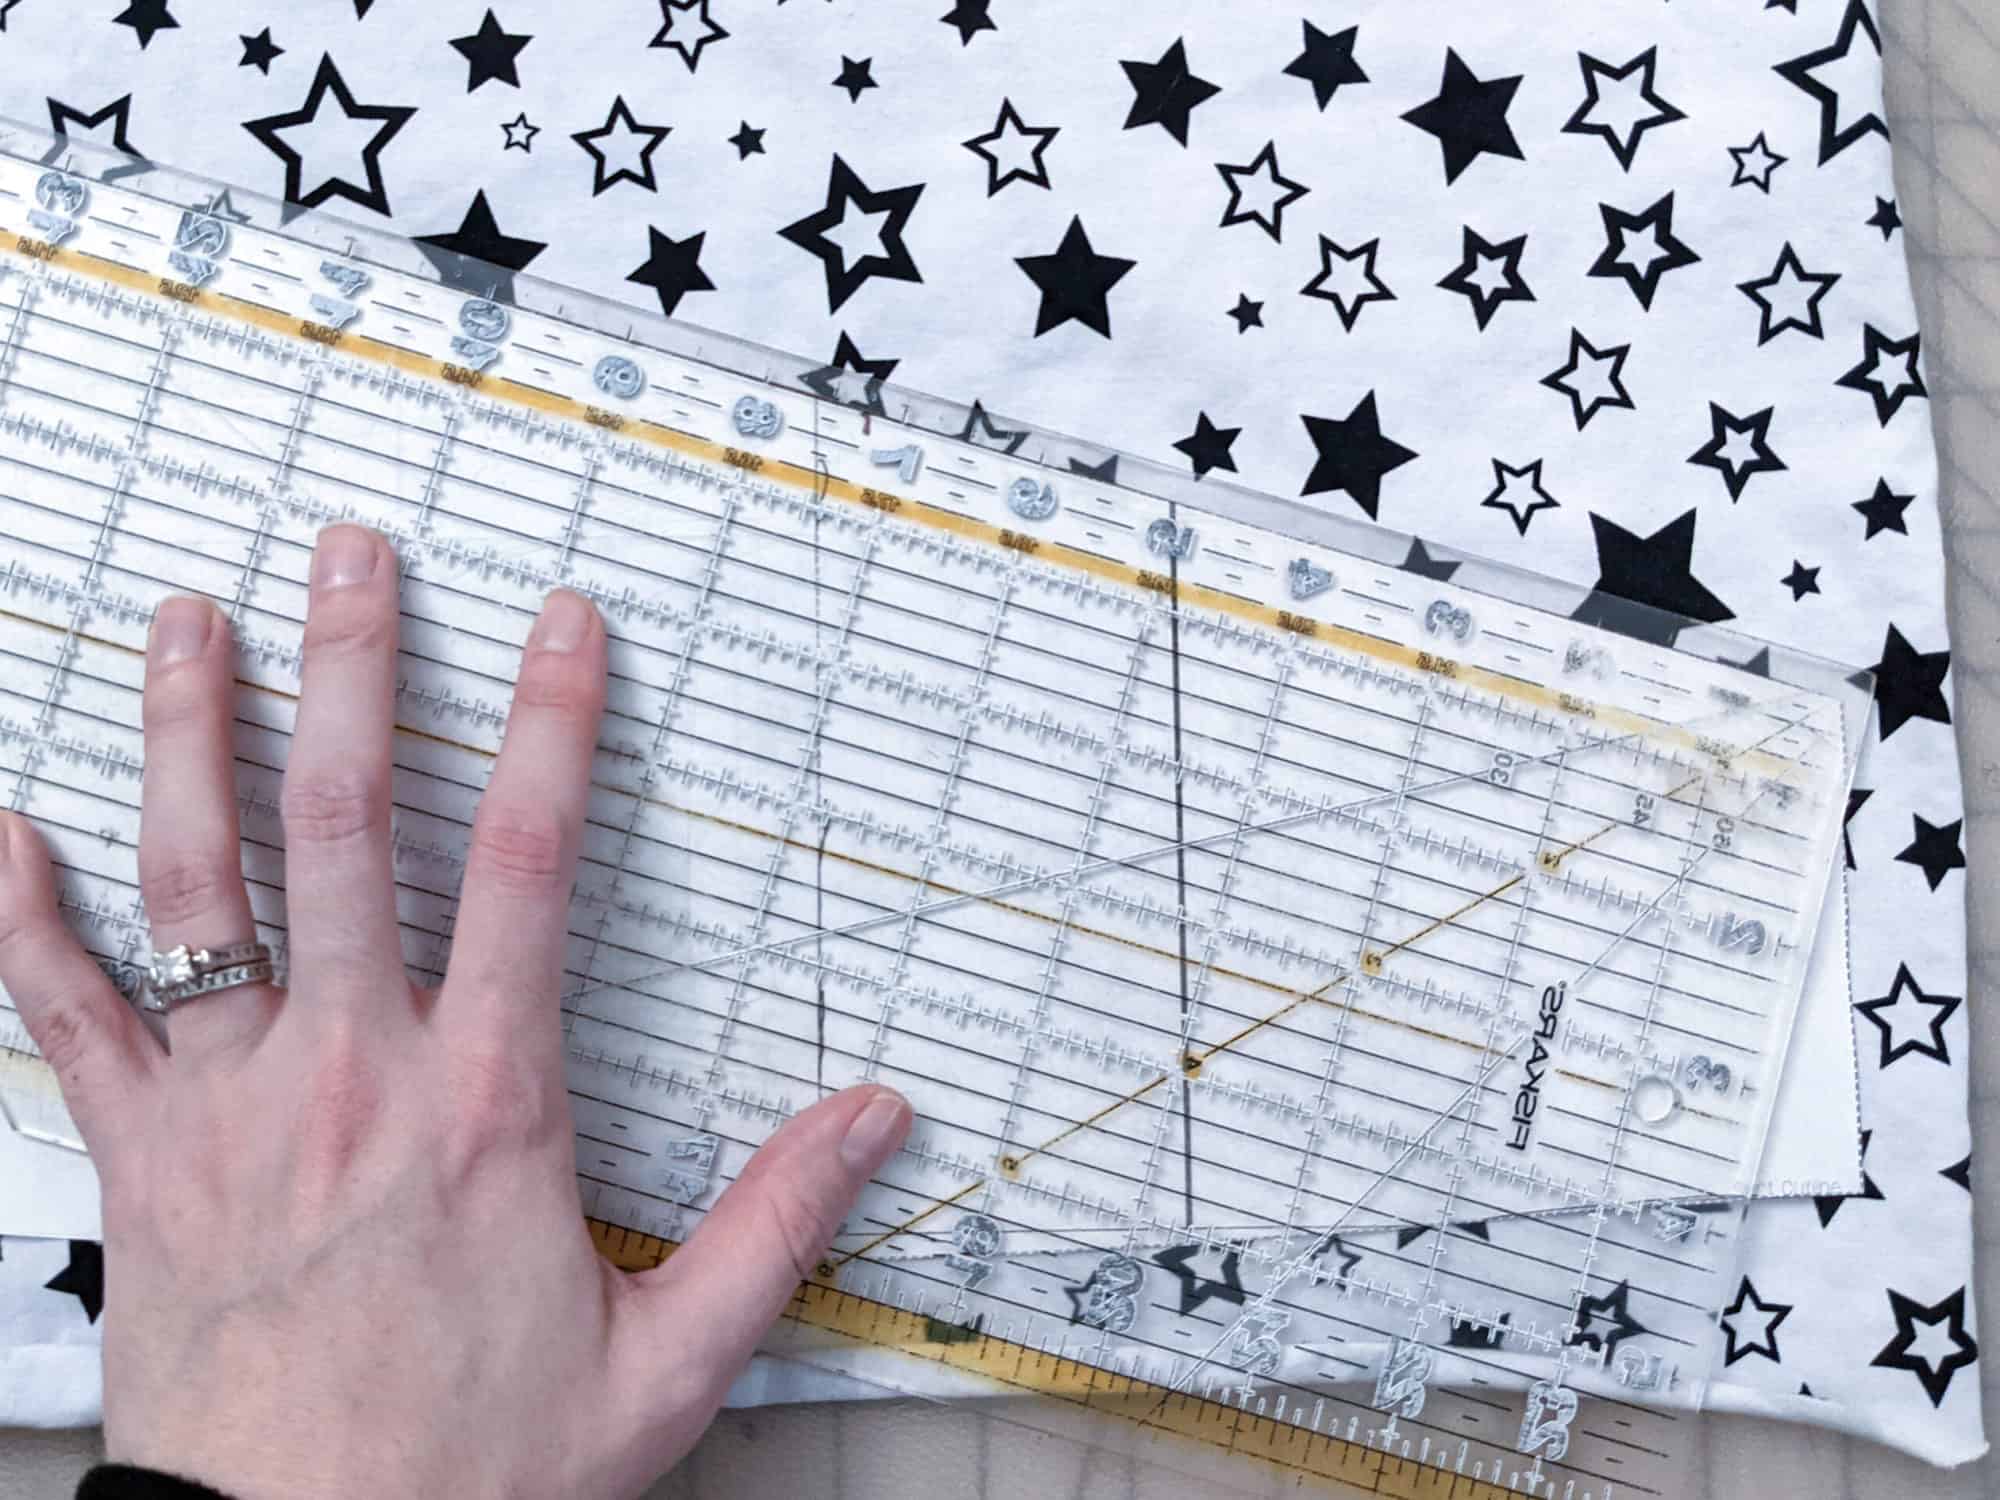
Or what I do is simply use my quilting ruler while cutting to add it to my piece. So for the cut part of my piece that needs seam allowance, I just line my quilting ruler 1/4 over my cut paper line and then use my rotary blade to cut that line instead of my paper line.

Make sure you add seam allowance to every place that you cut out a color block line on your pattern piece.

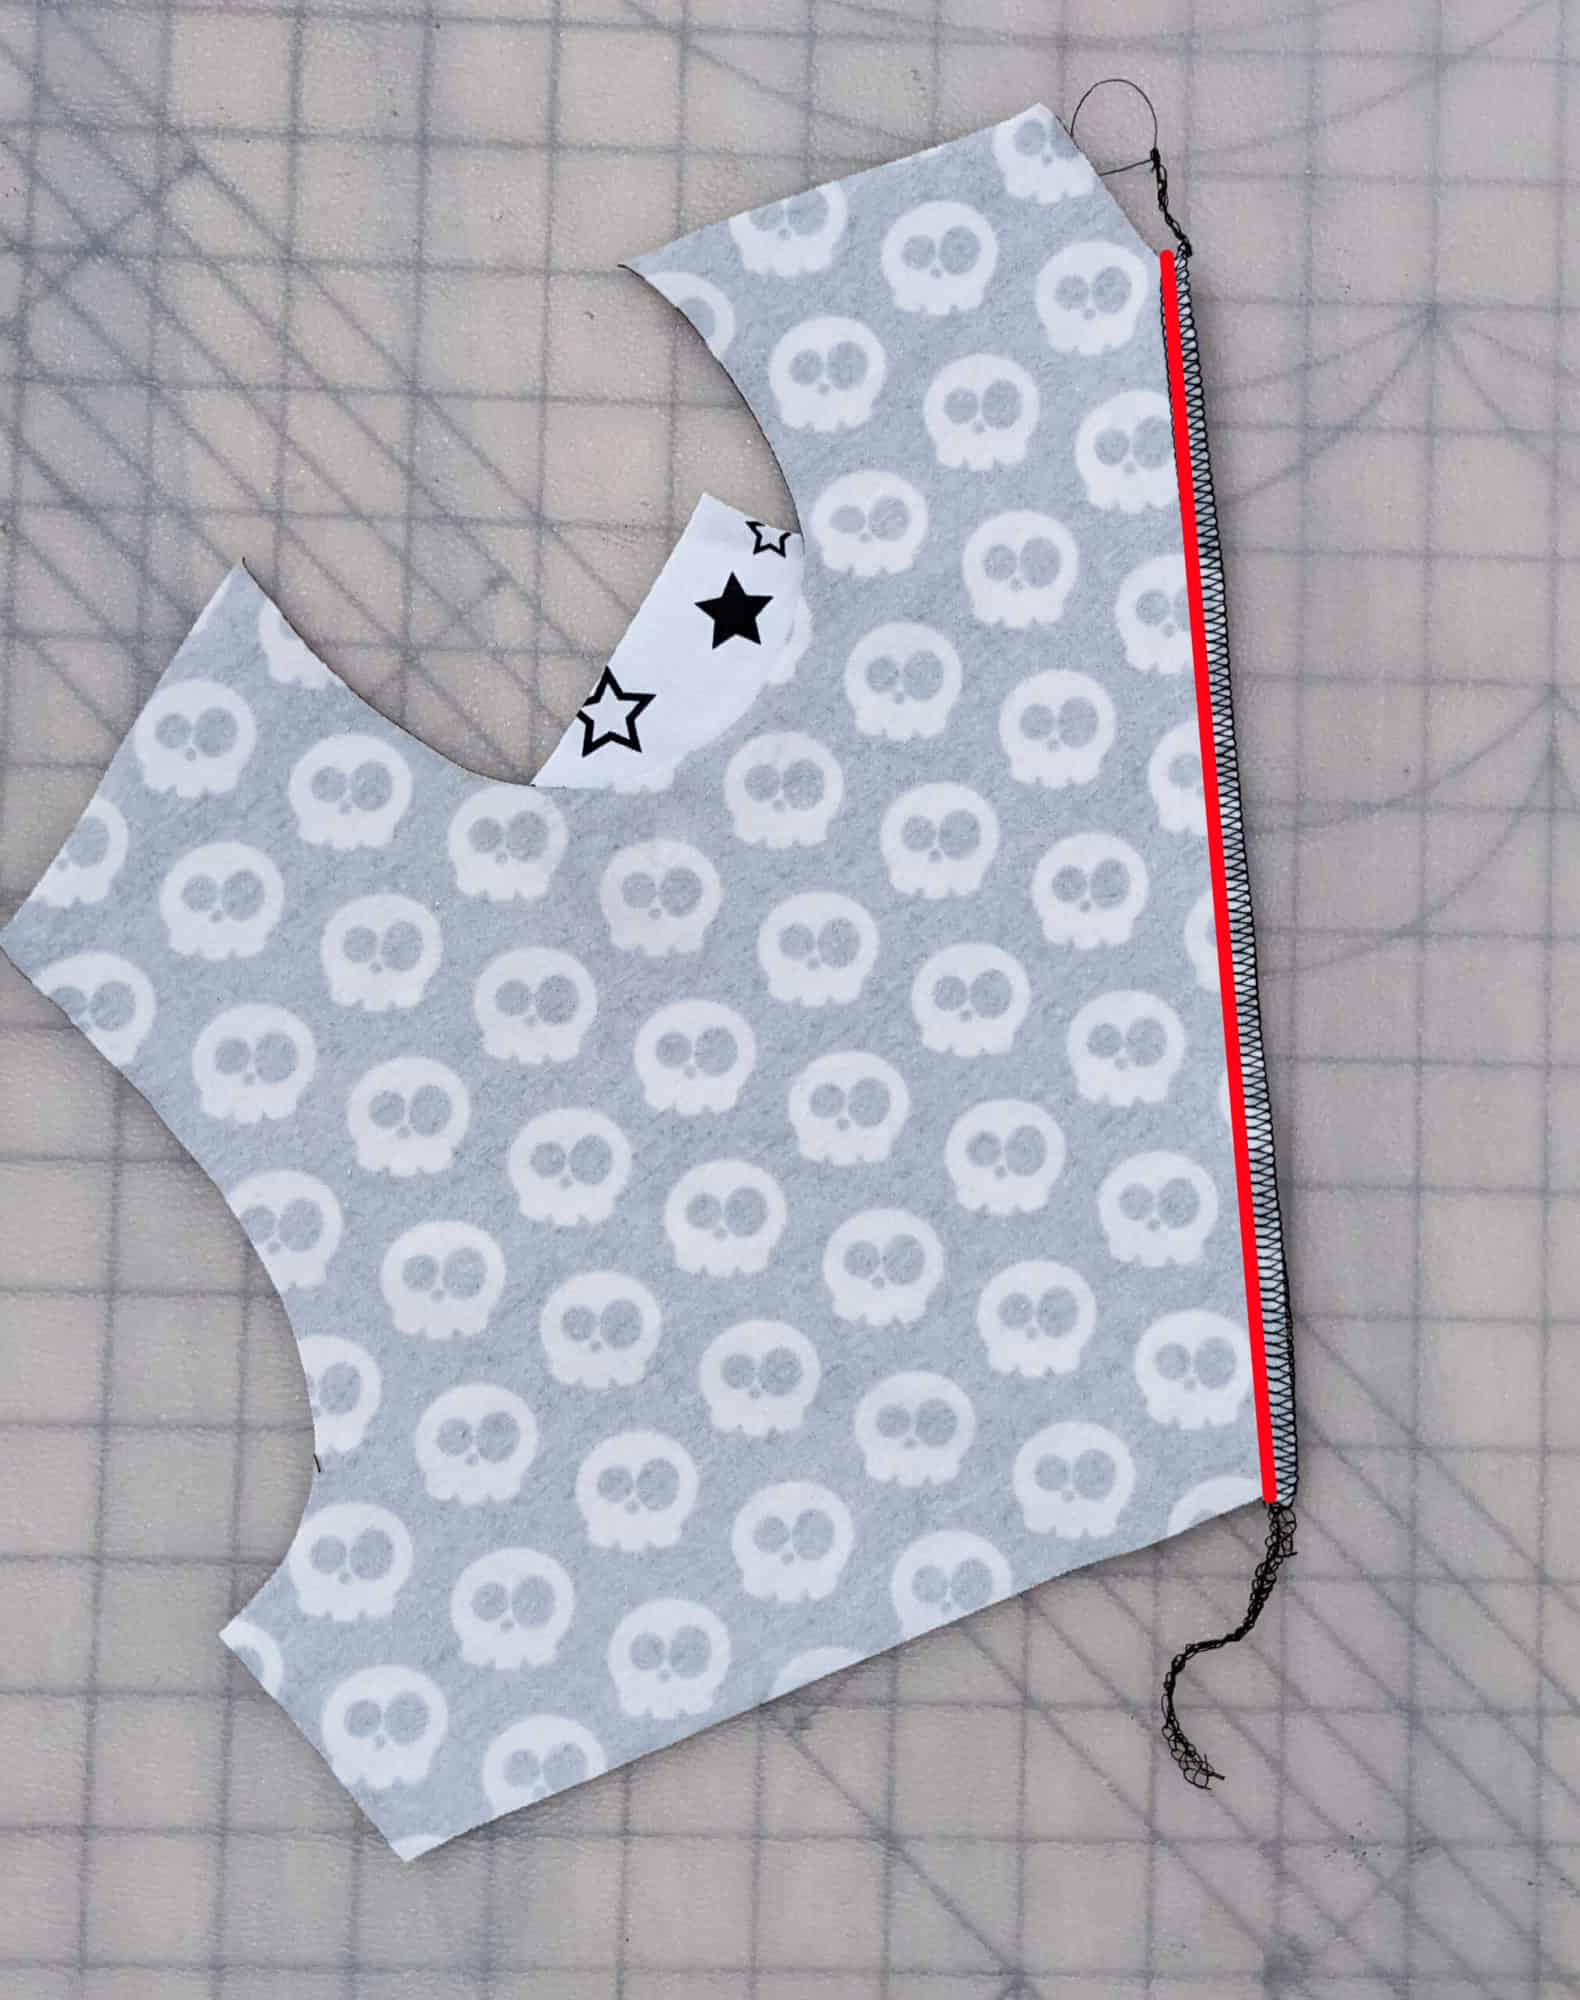
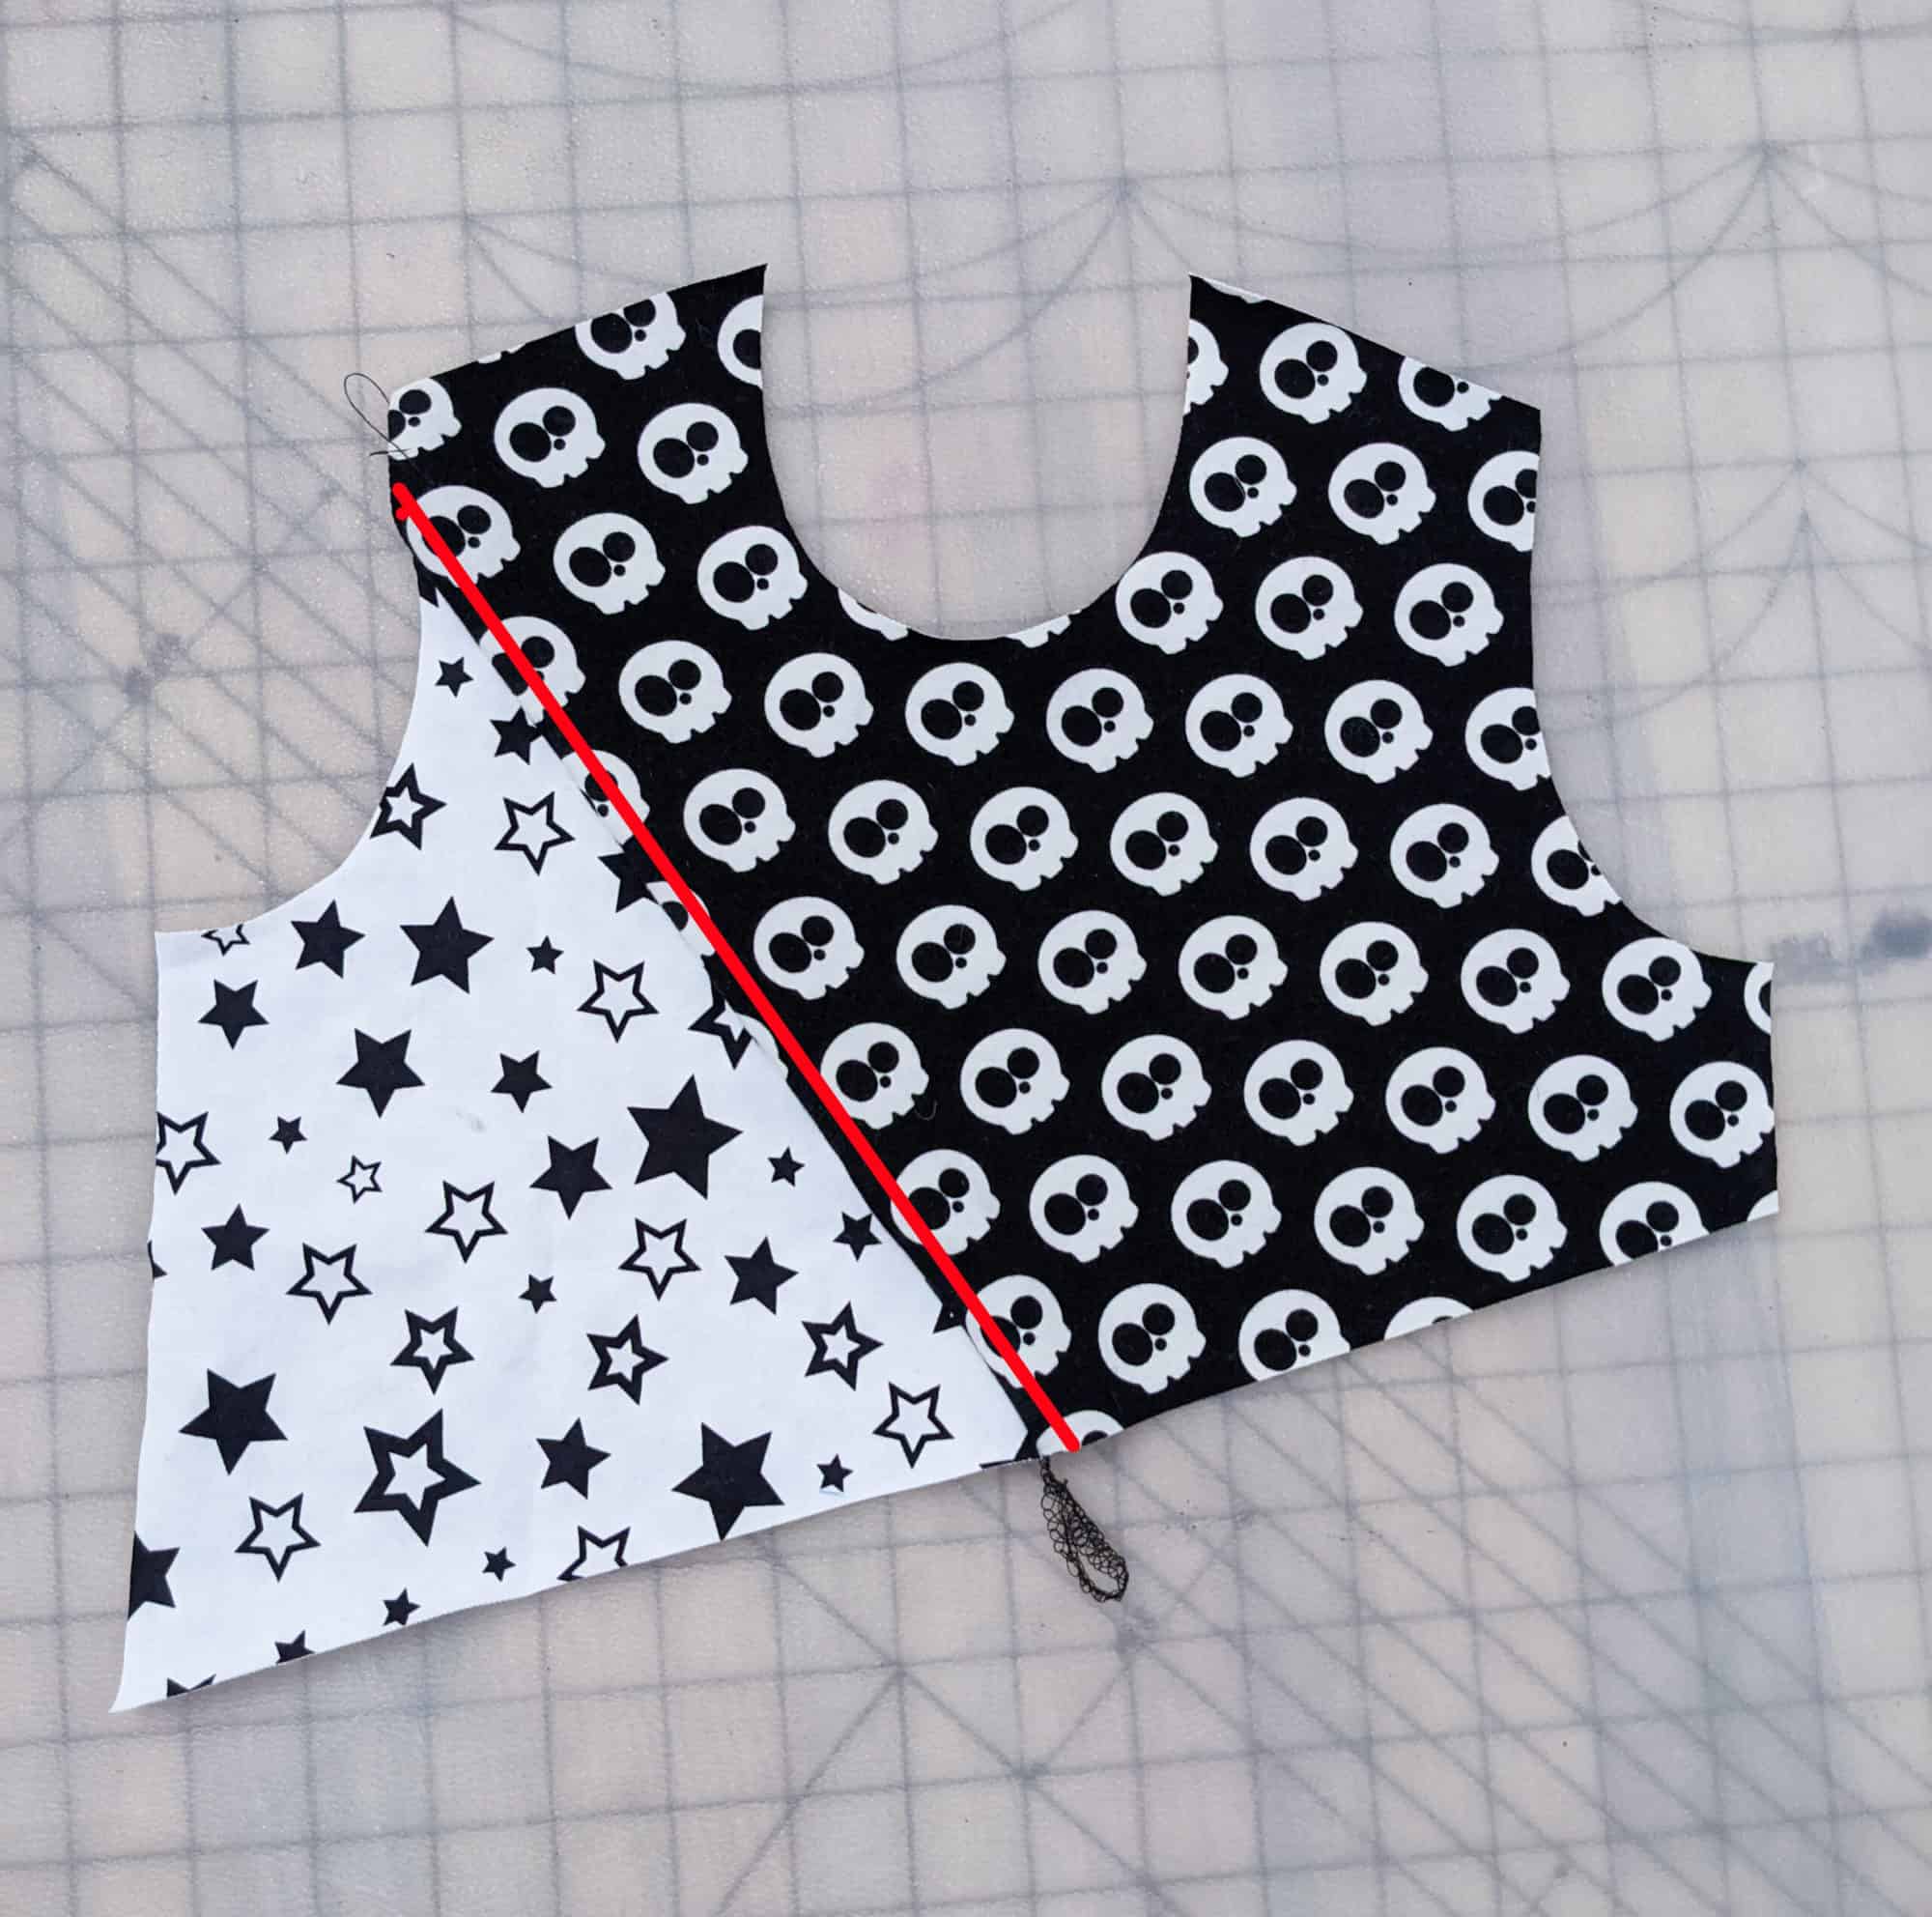
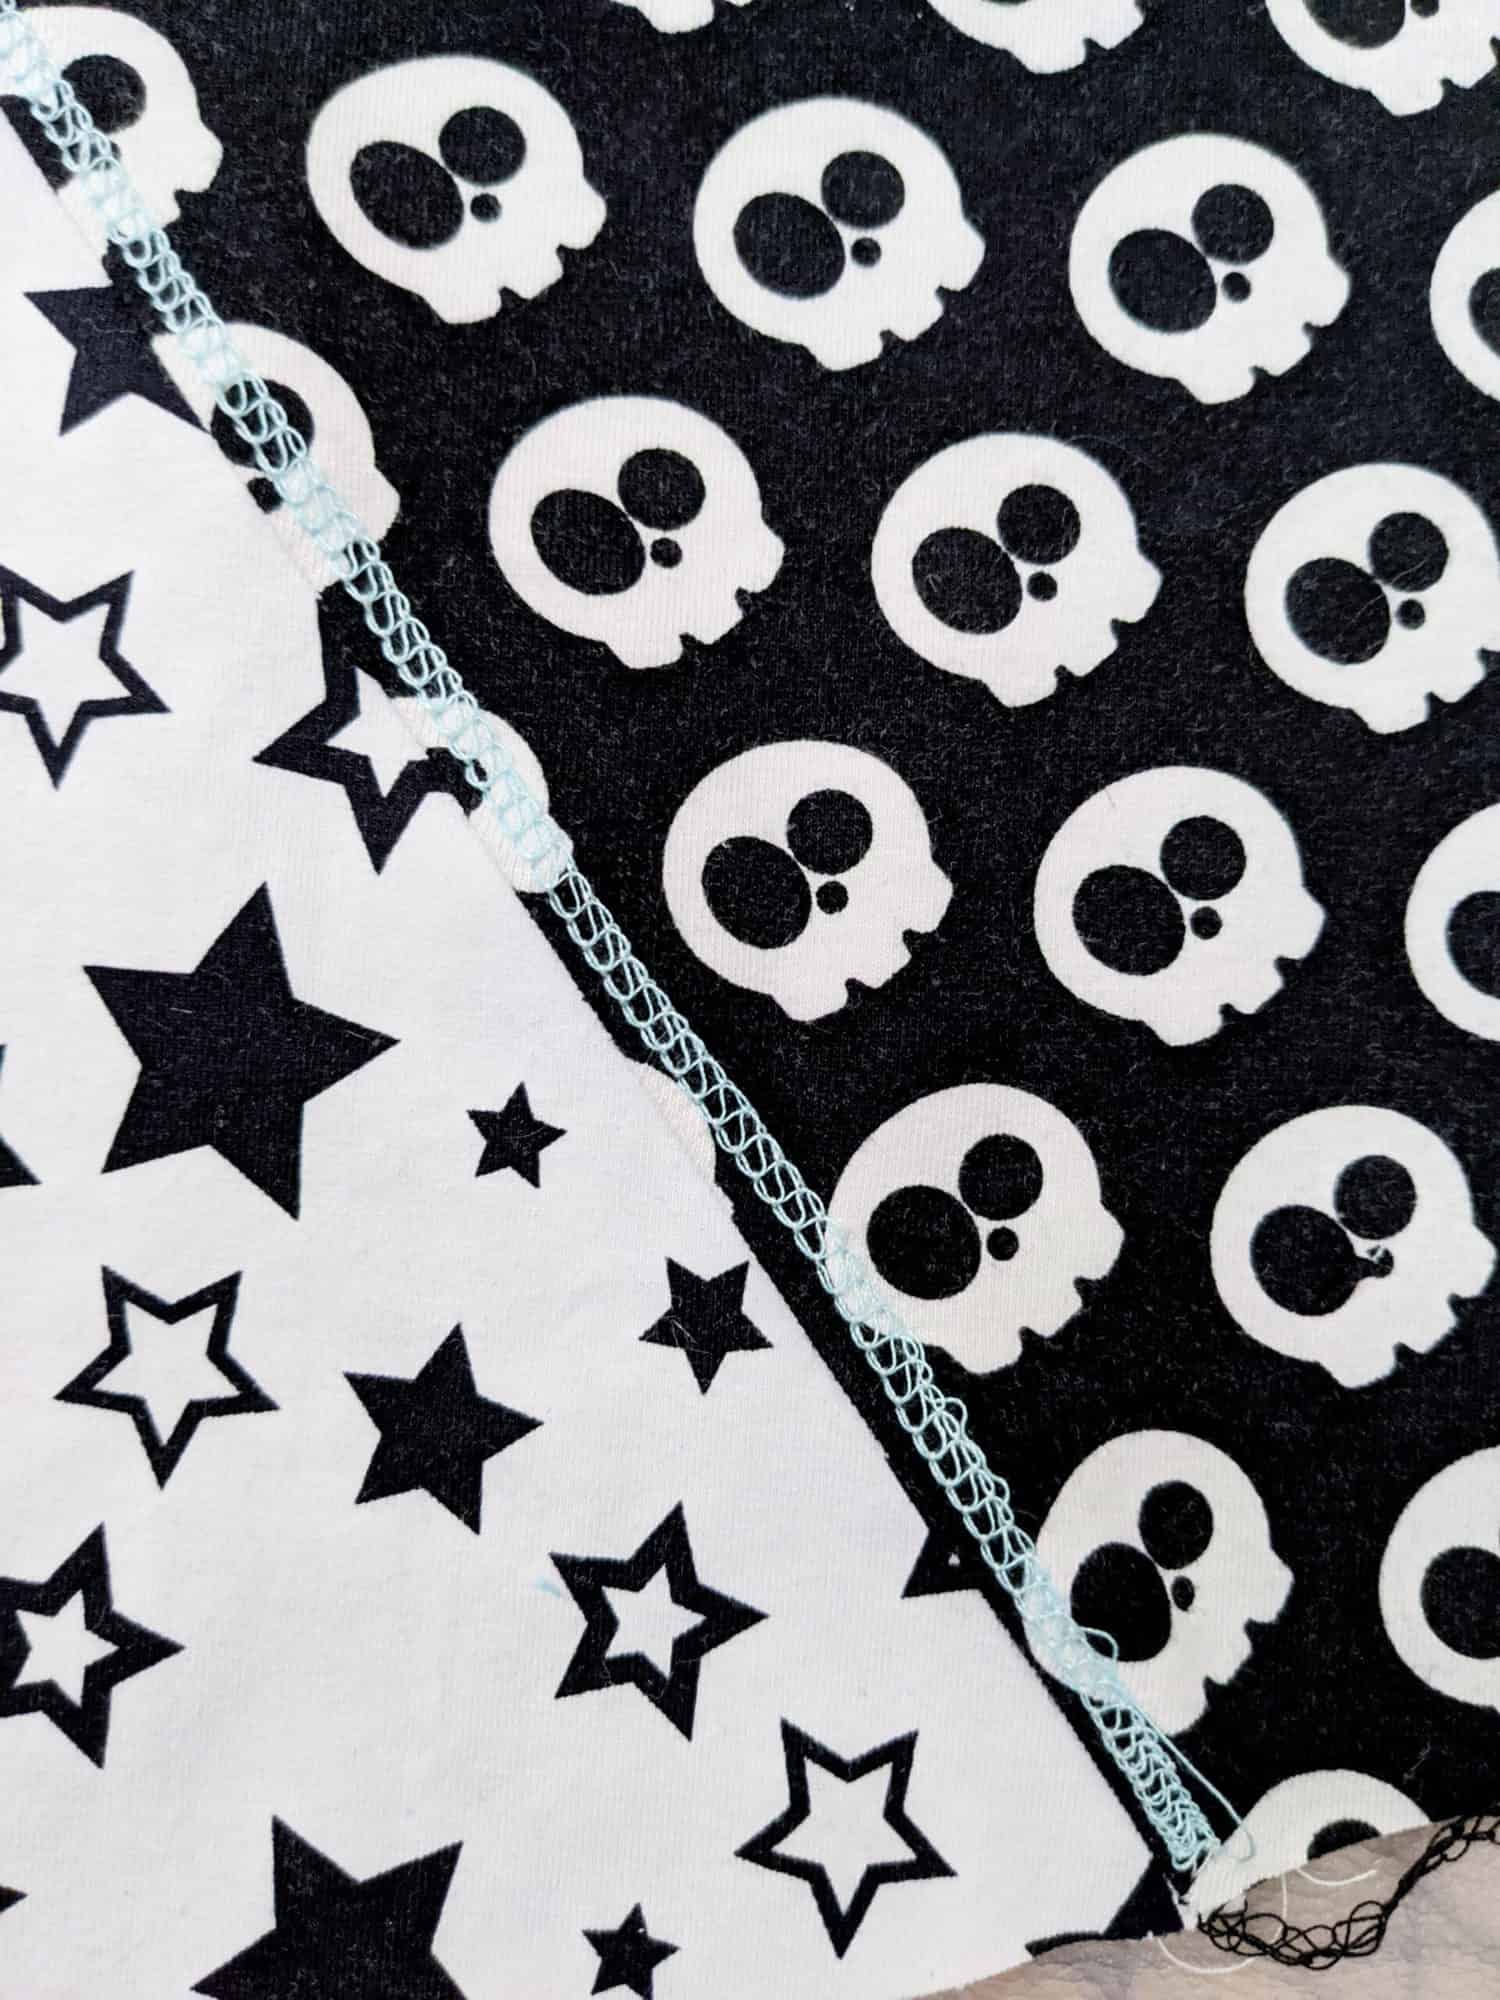
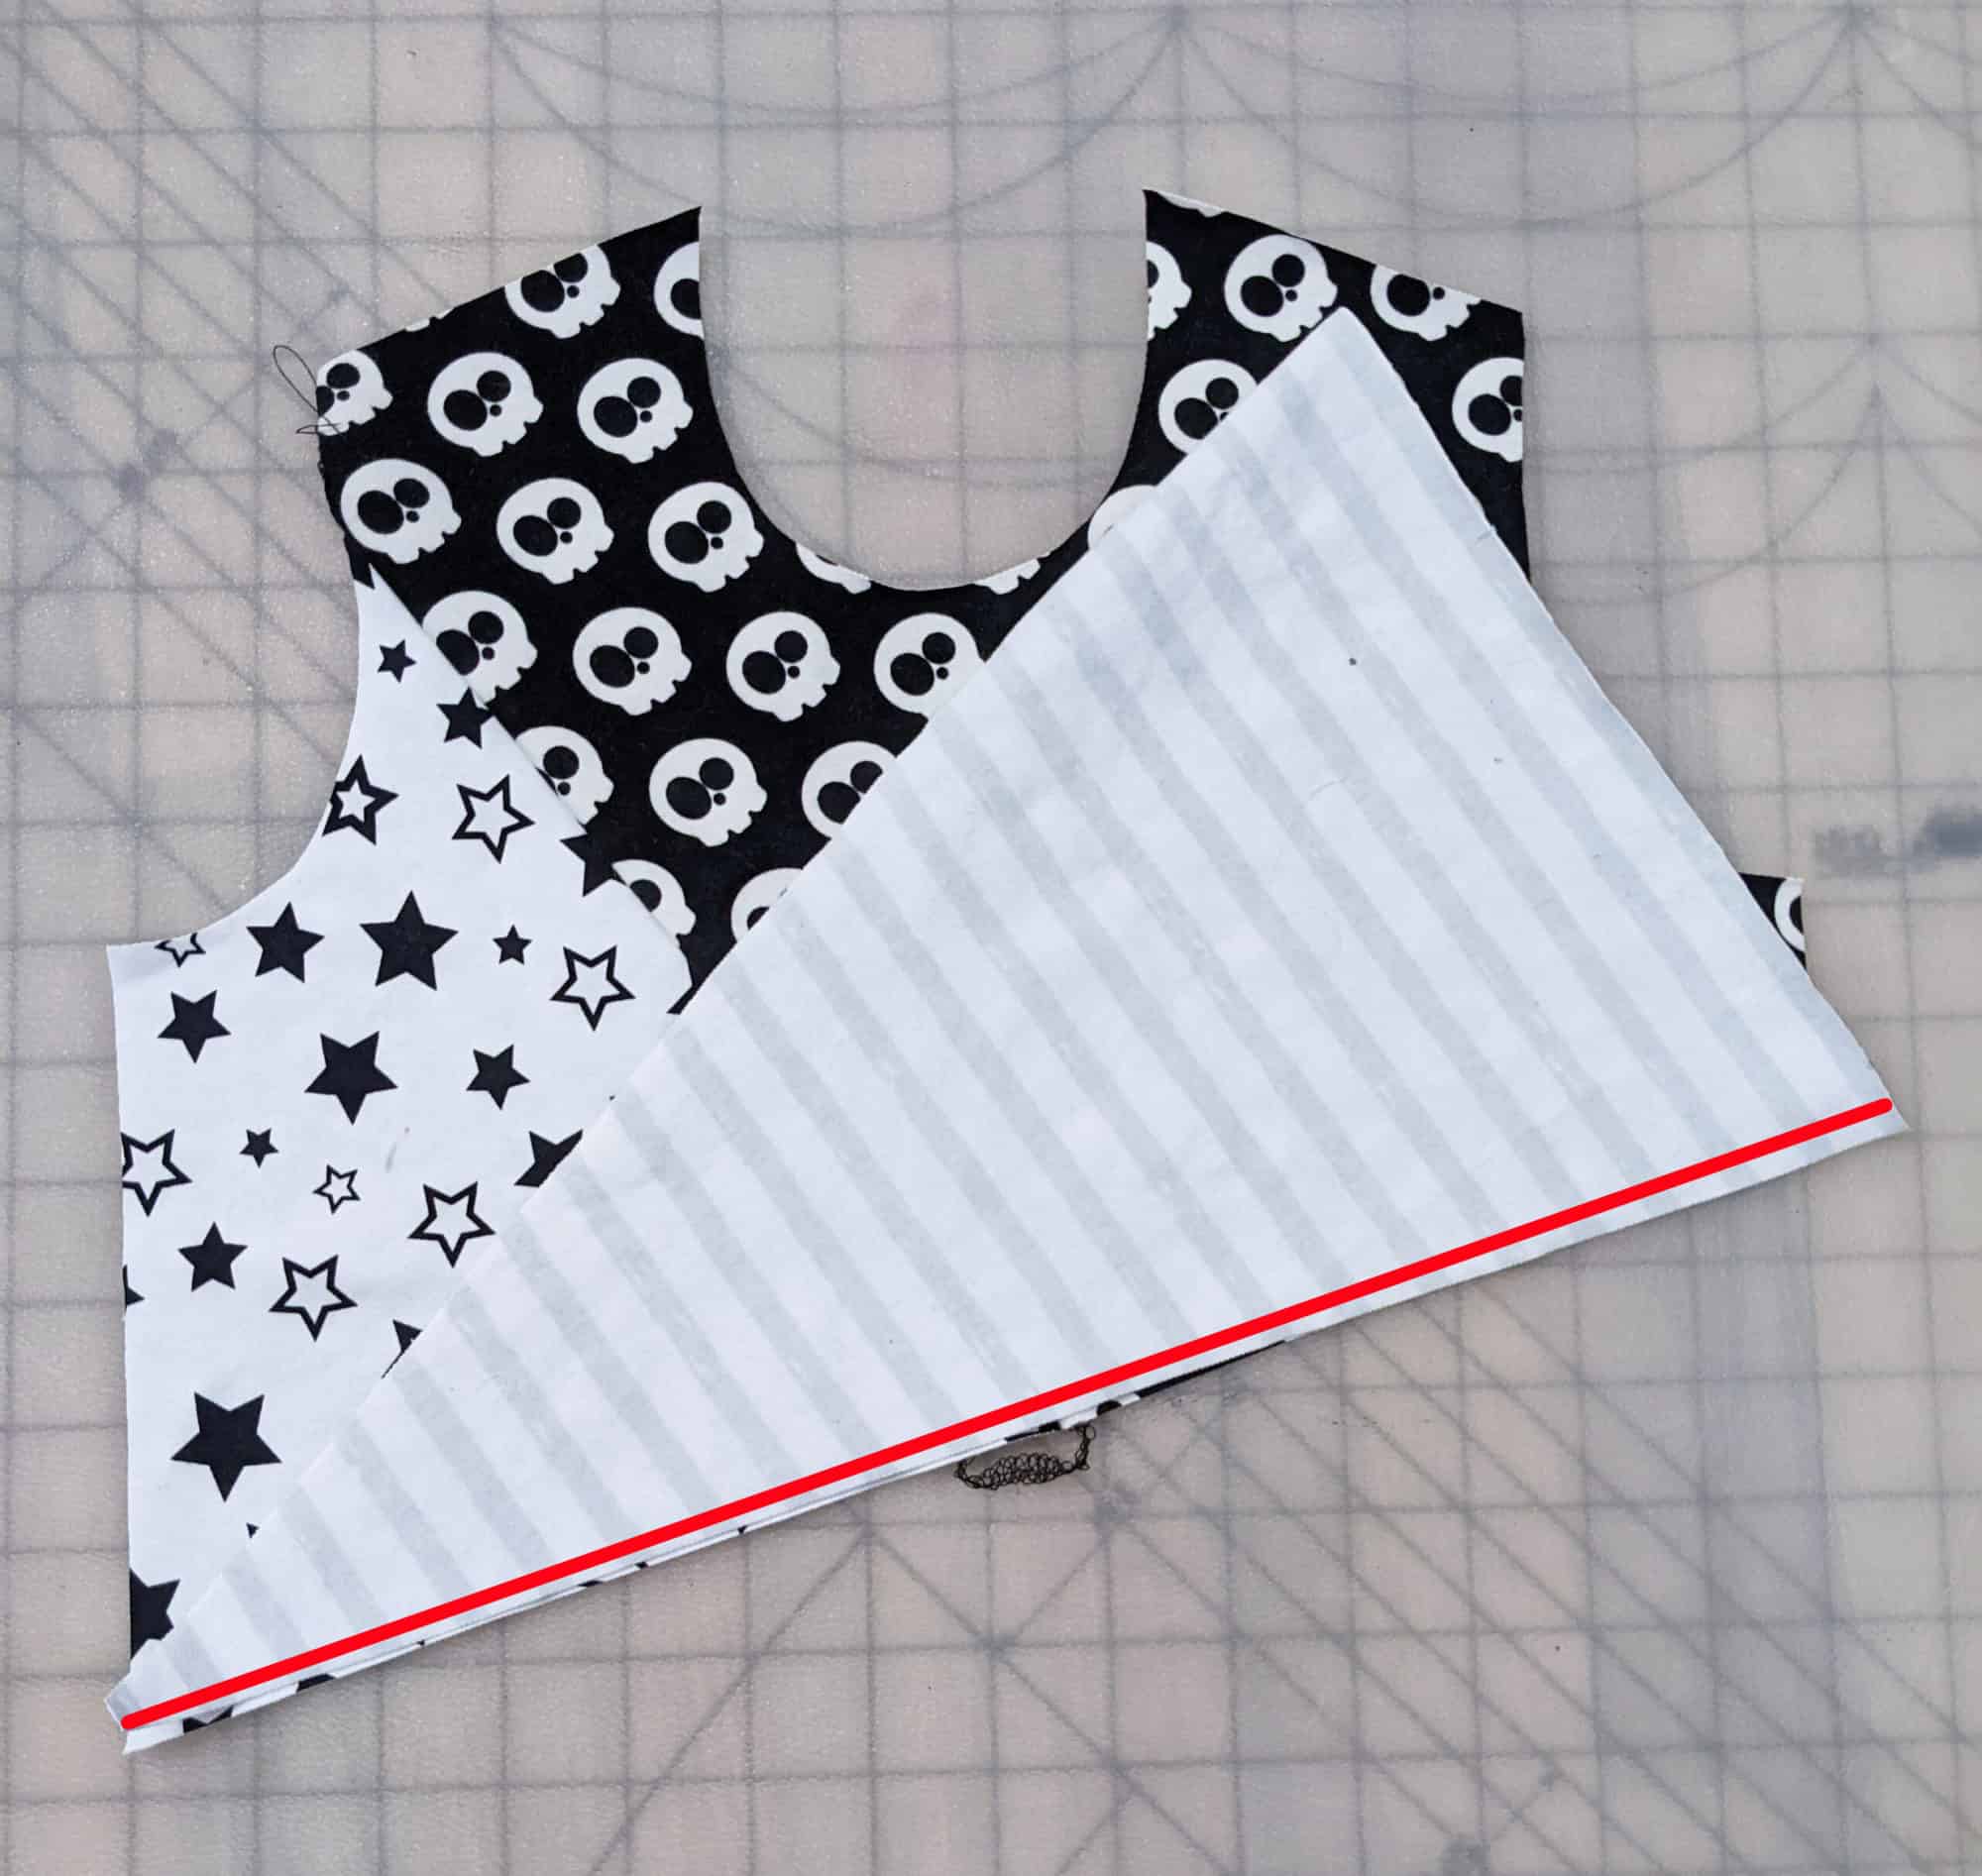
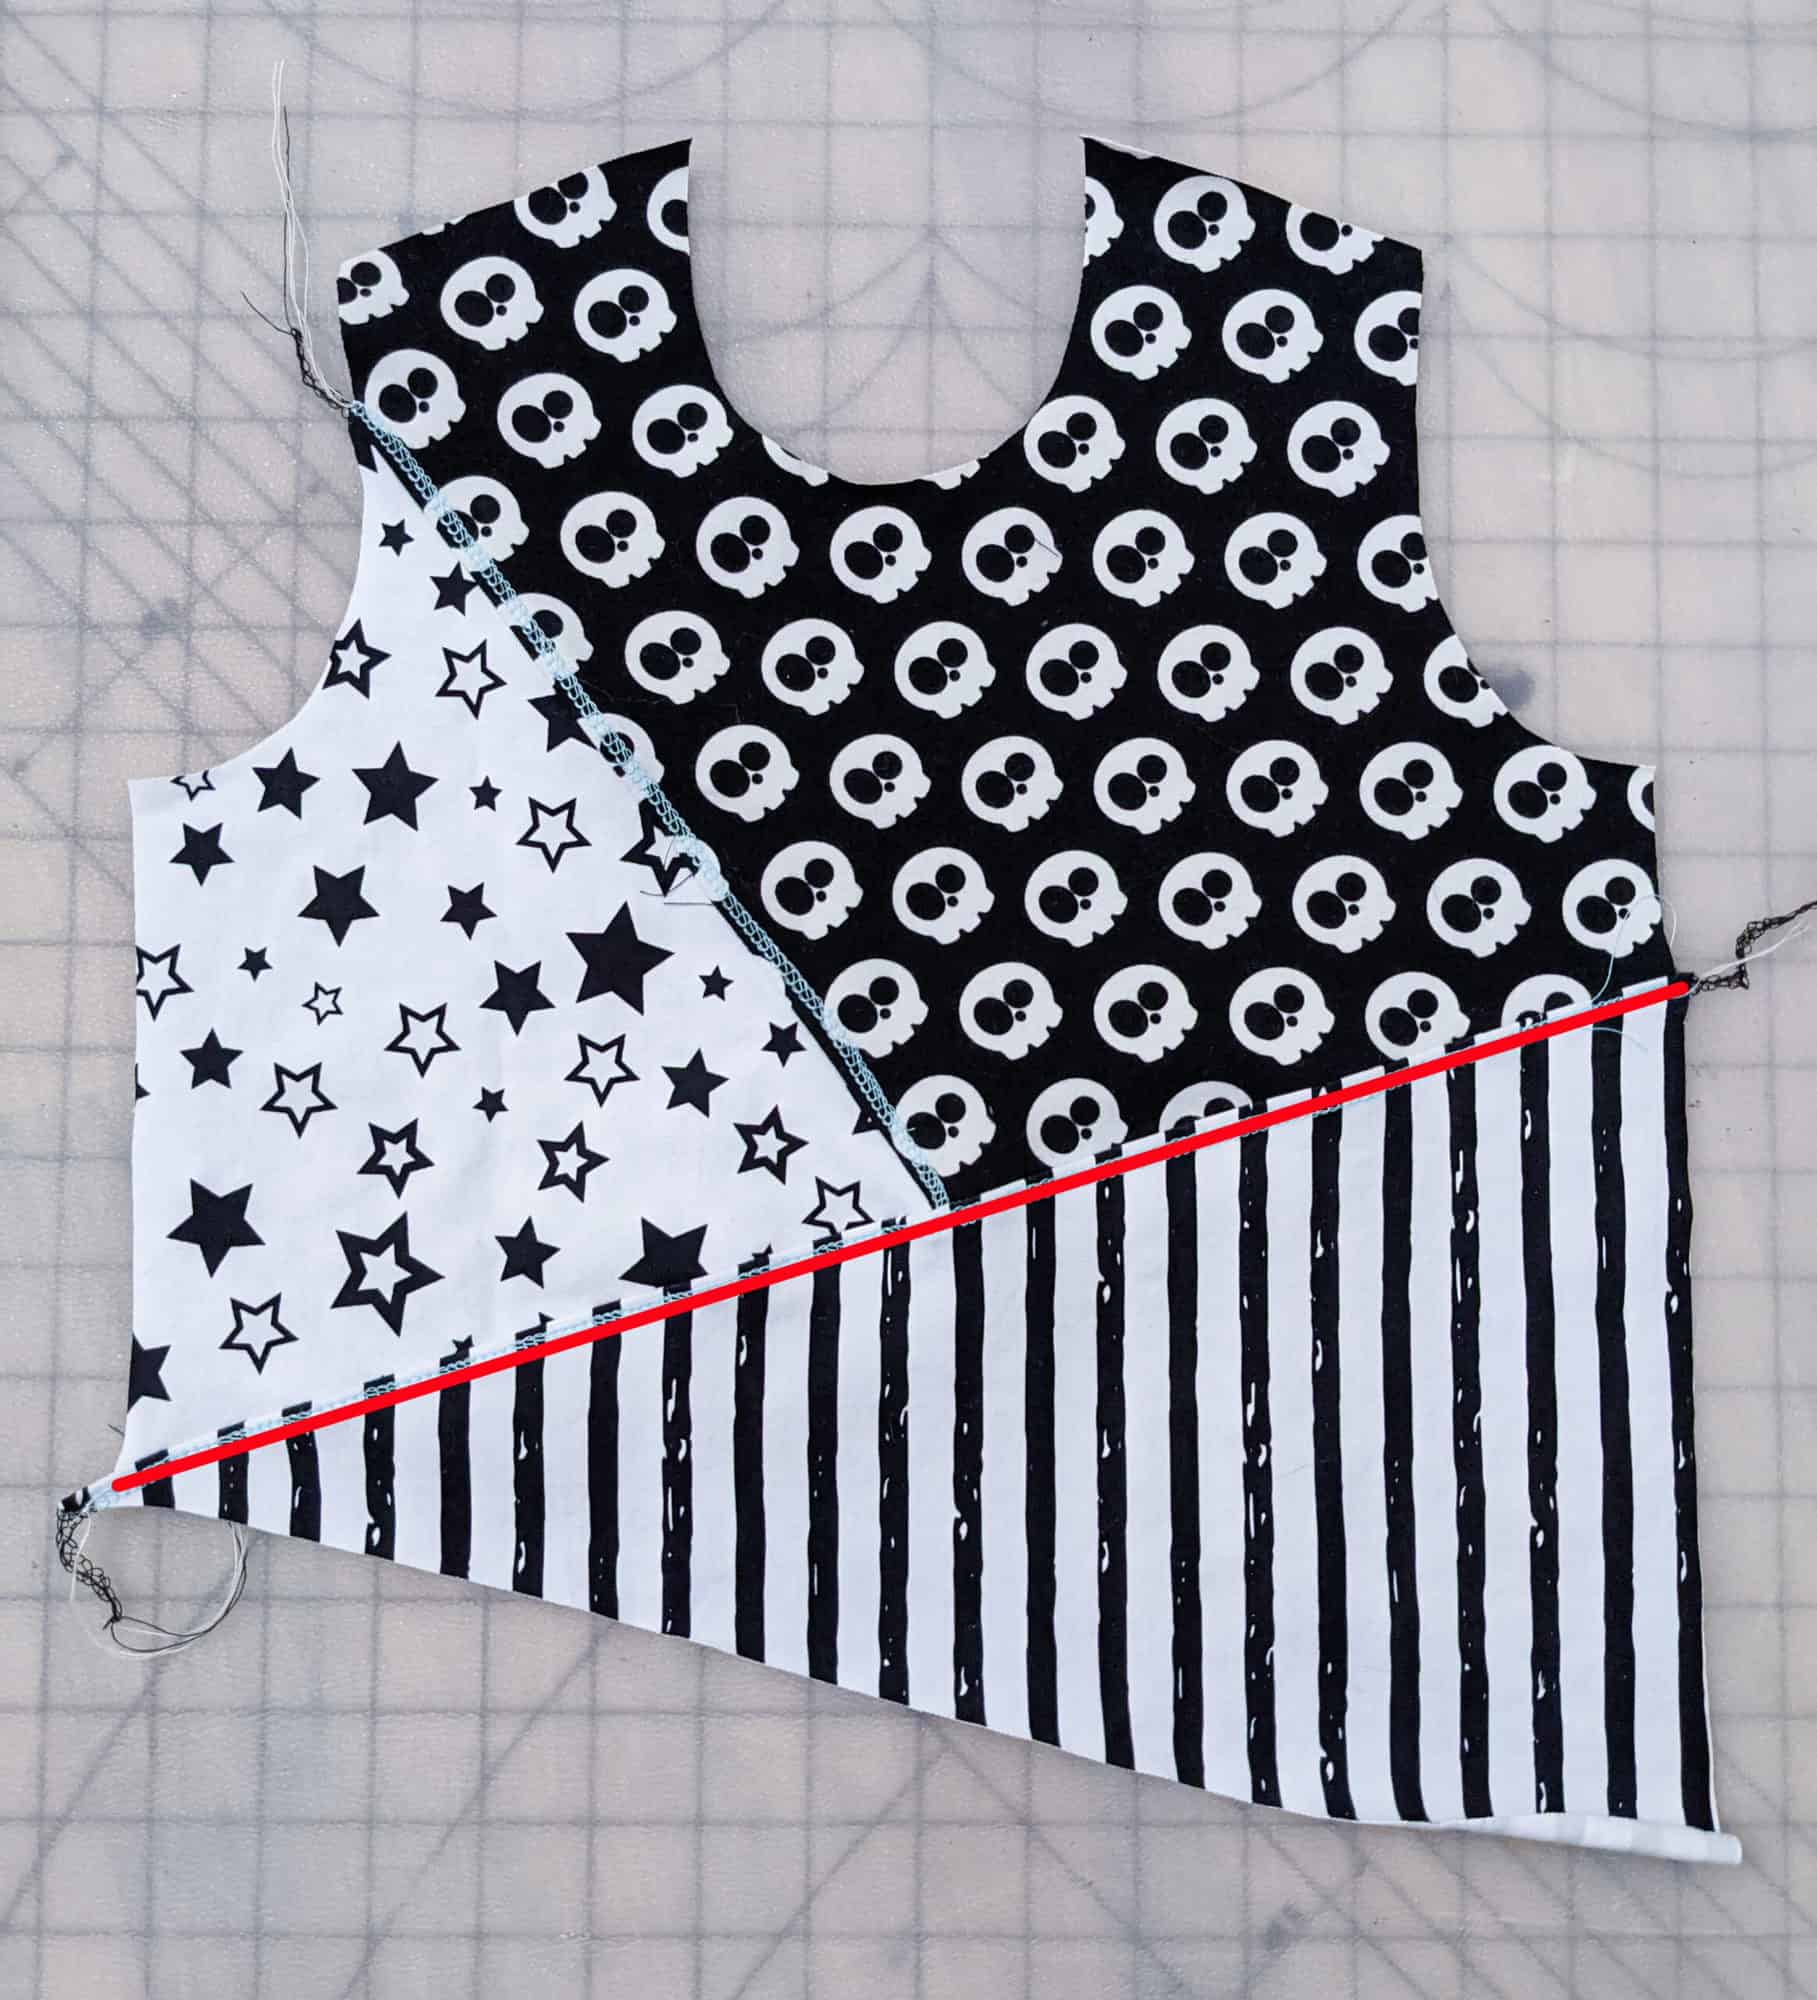
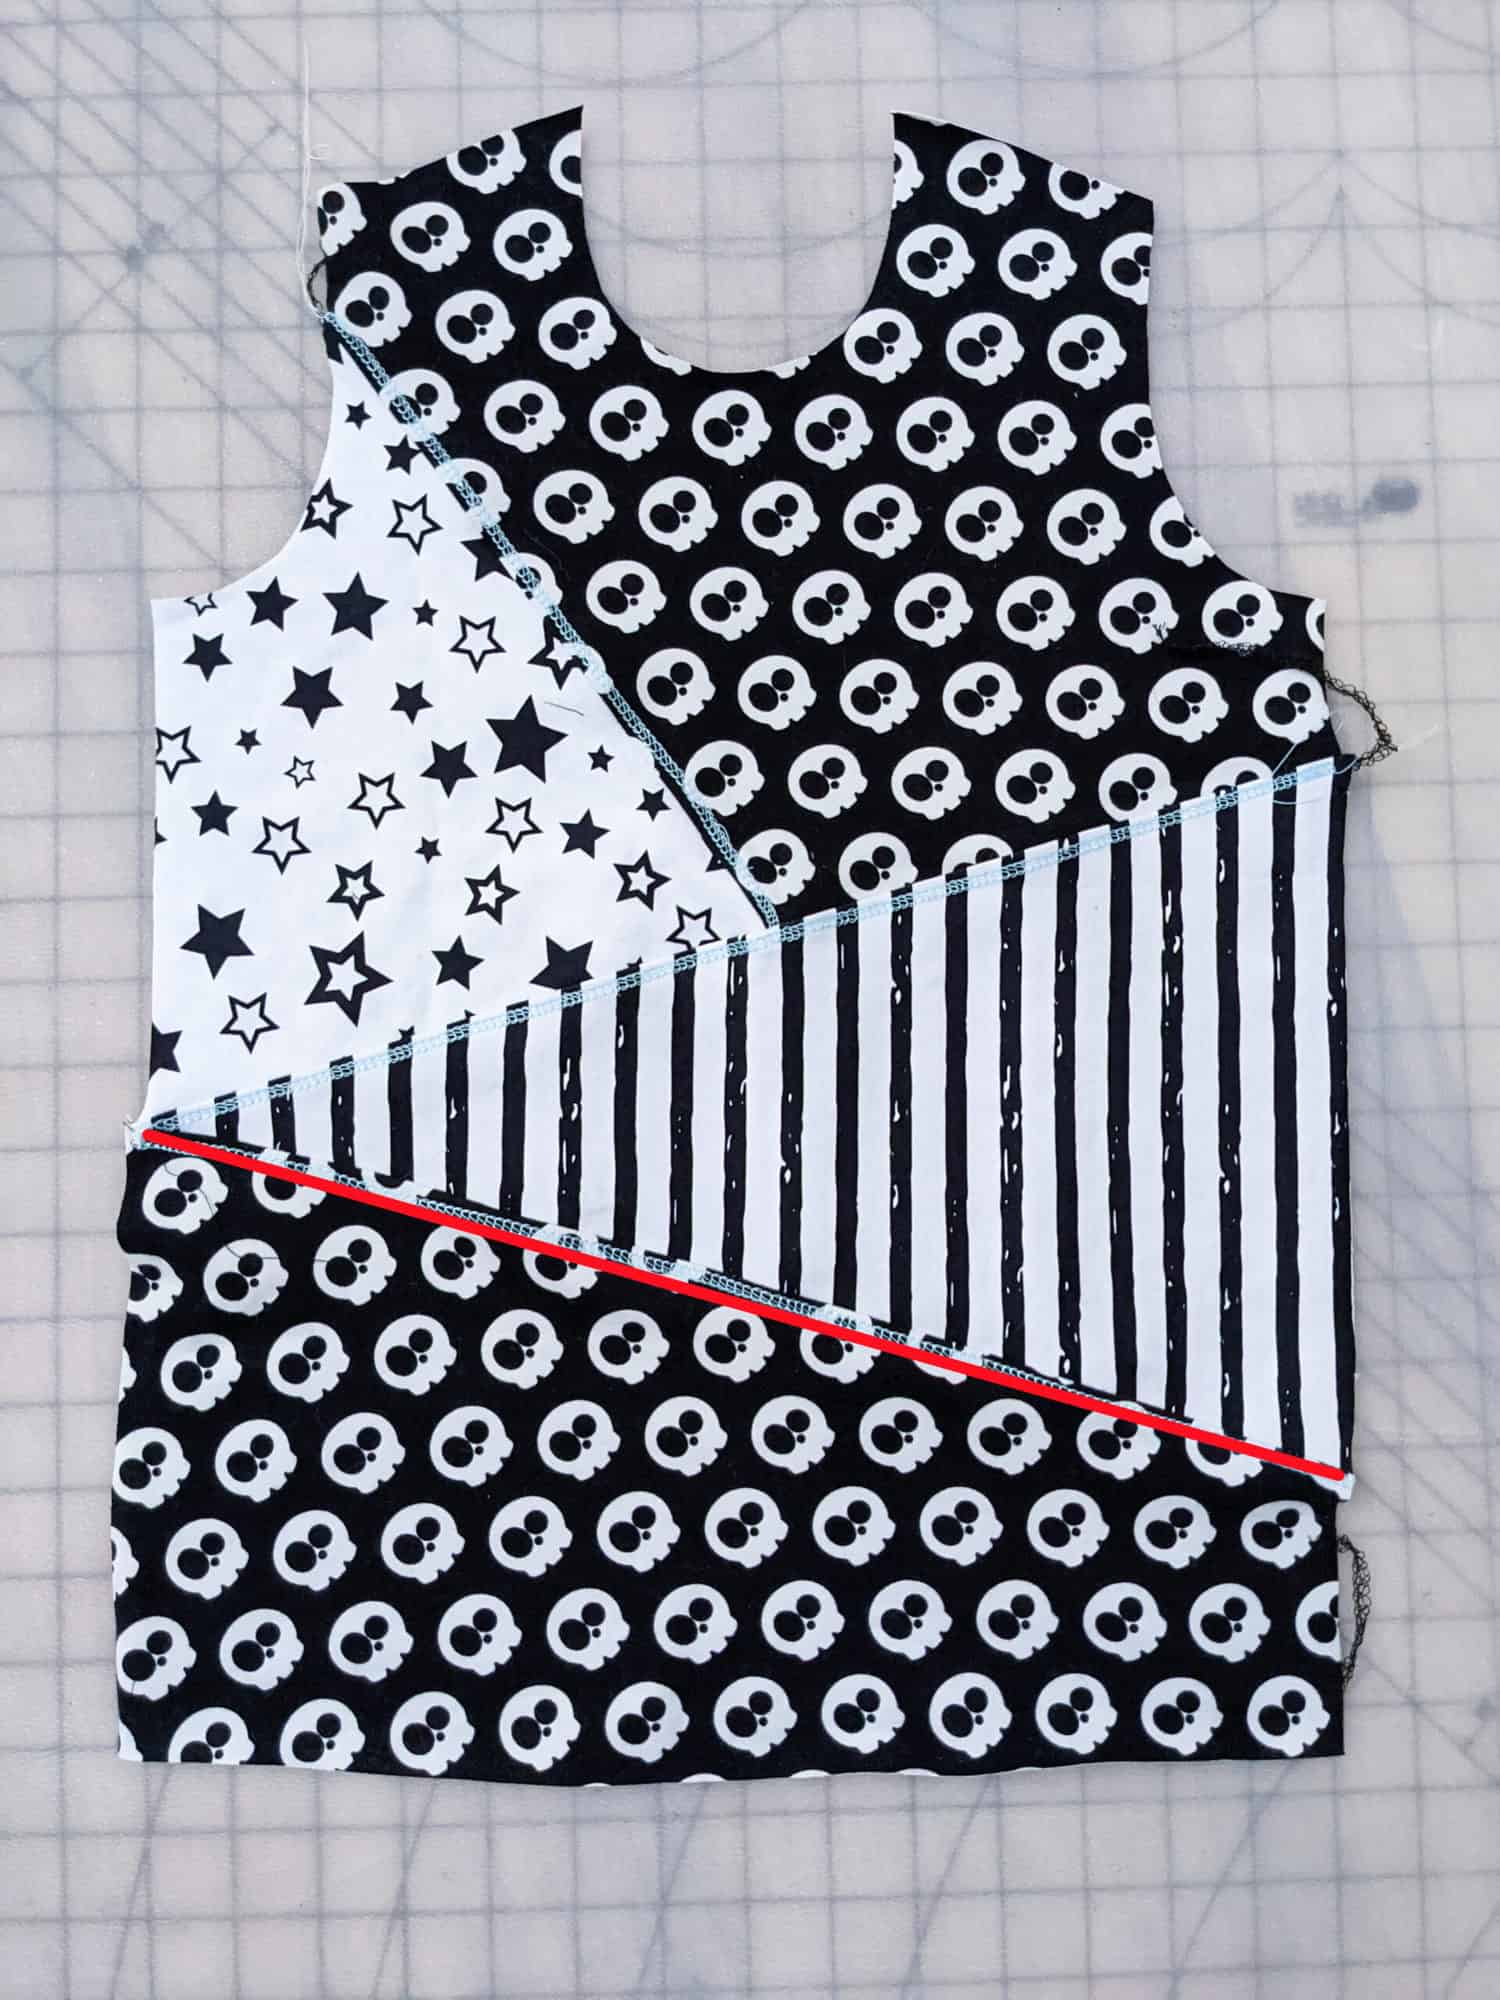
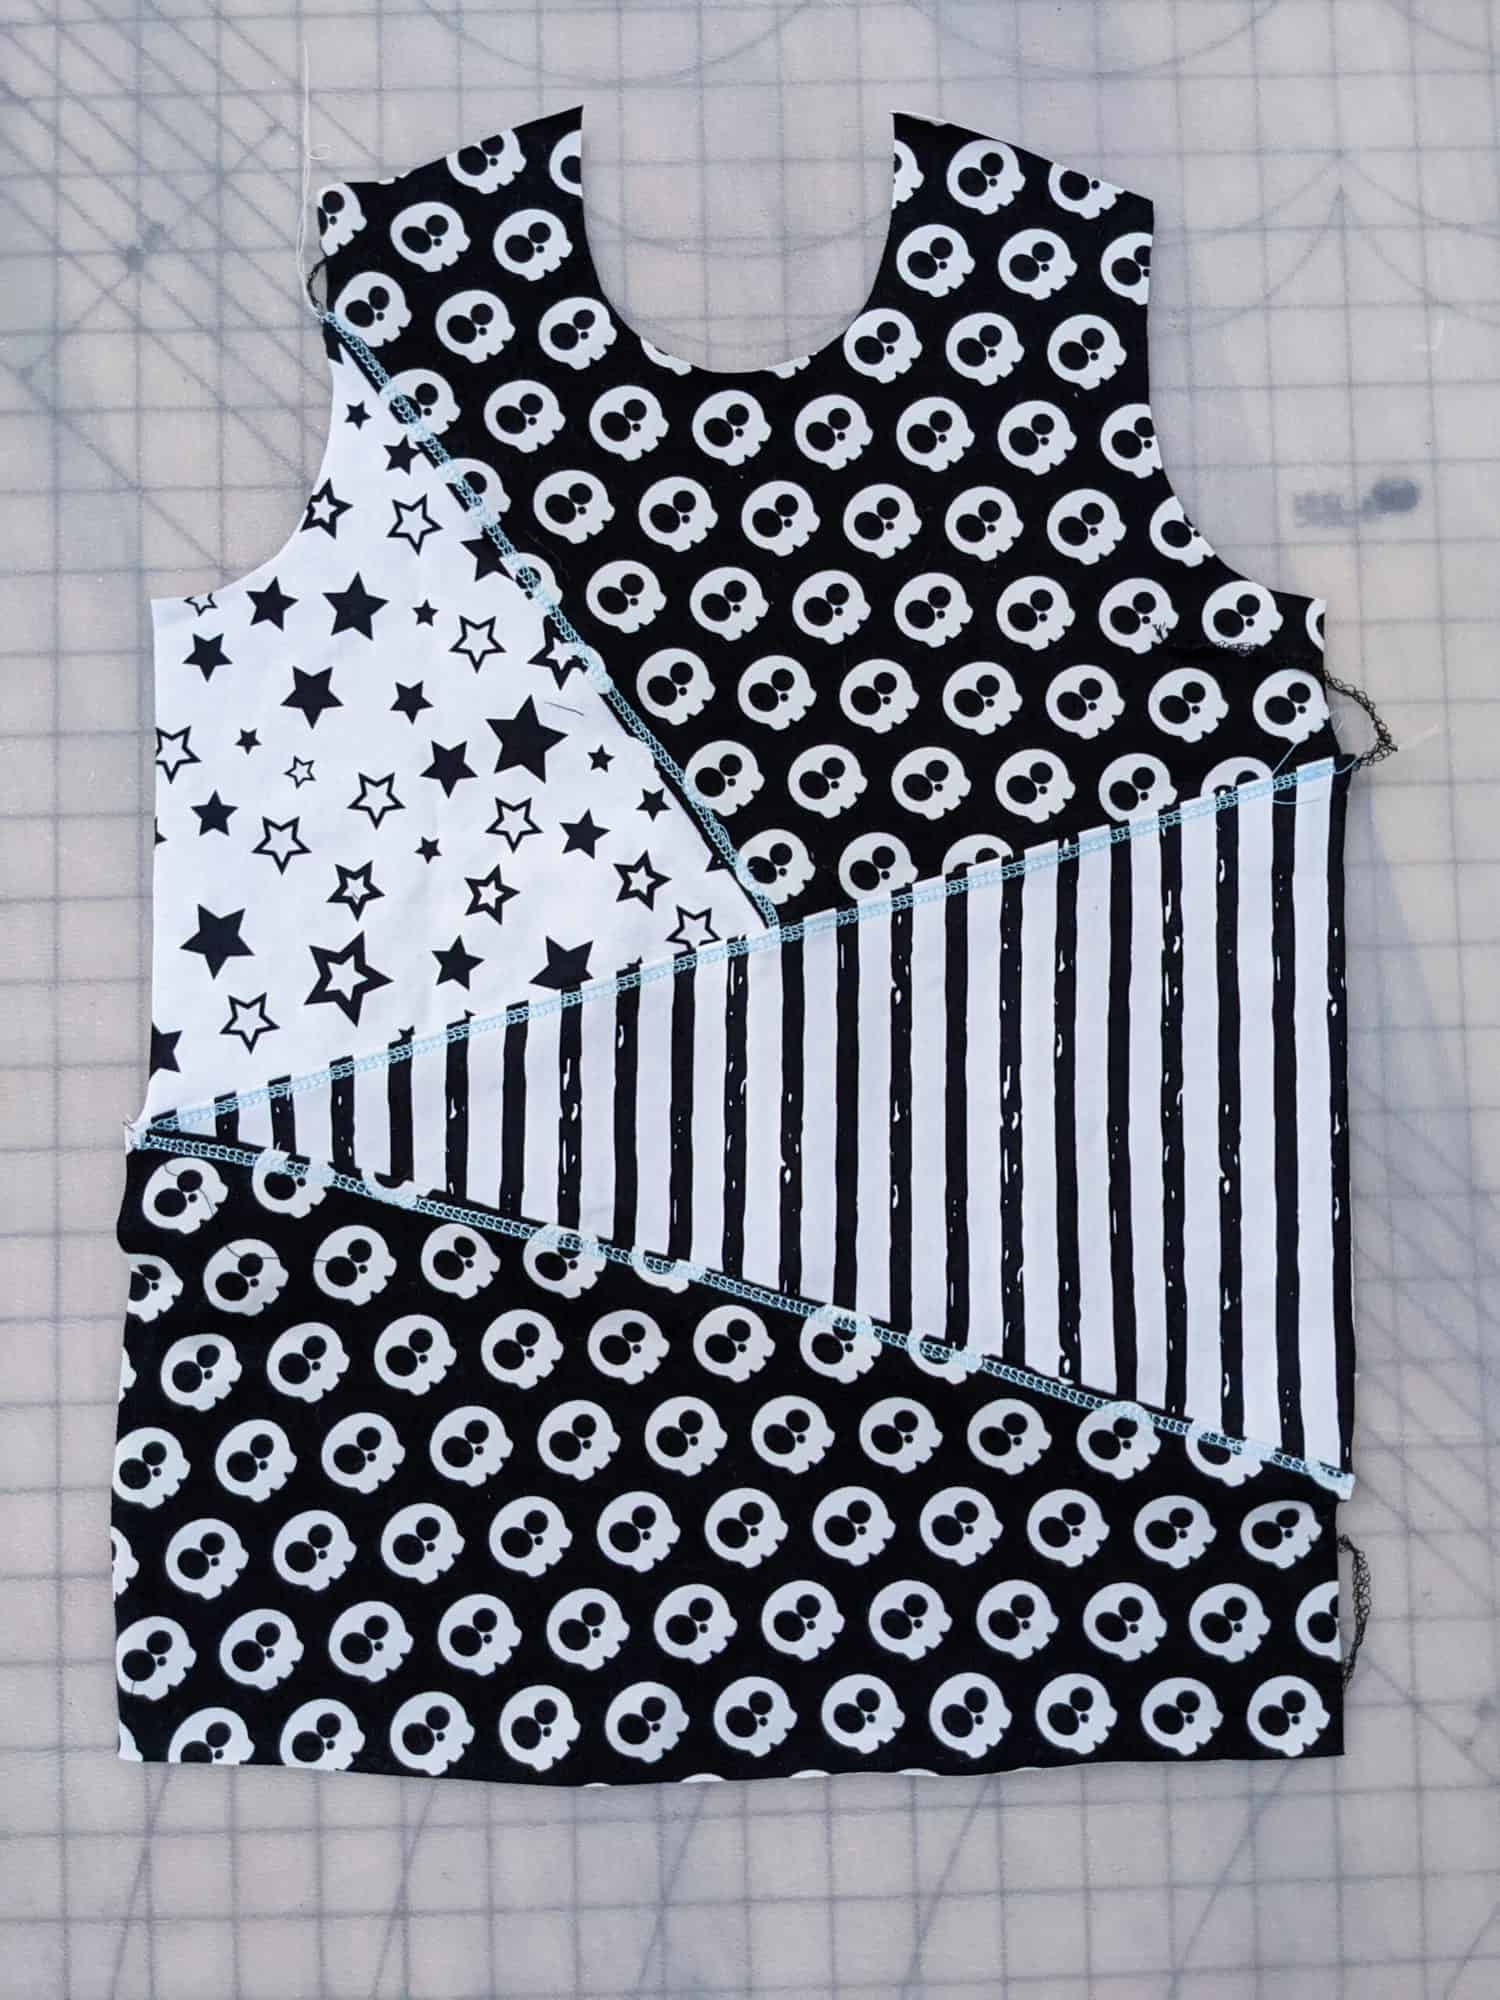
Now it’s time to sew!   If you decided to do any intersecting lines like this one I did.  You’ll want to sew those pieces together first.   So line up your piece edges right sides together and sew with the seam allowance you chose.  You’ll then want to topstitch your seam allowance down.

(Tip- if you are using a coverstitch I like to do a reverse coverstitch on the seam allowances with a fun color to add some extra “pop” to my color blocking).

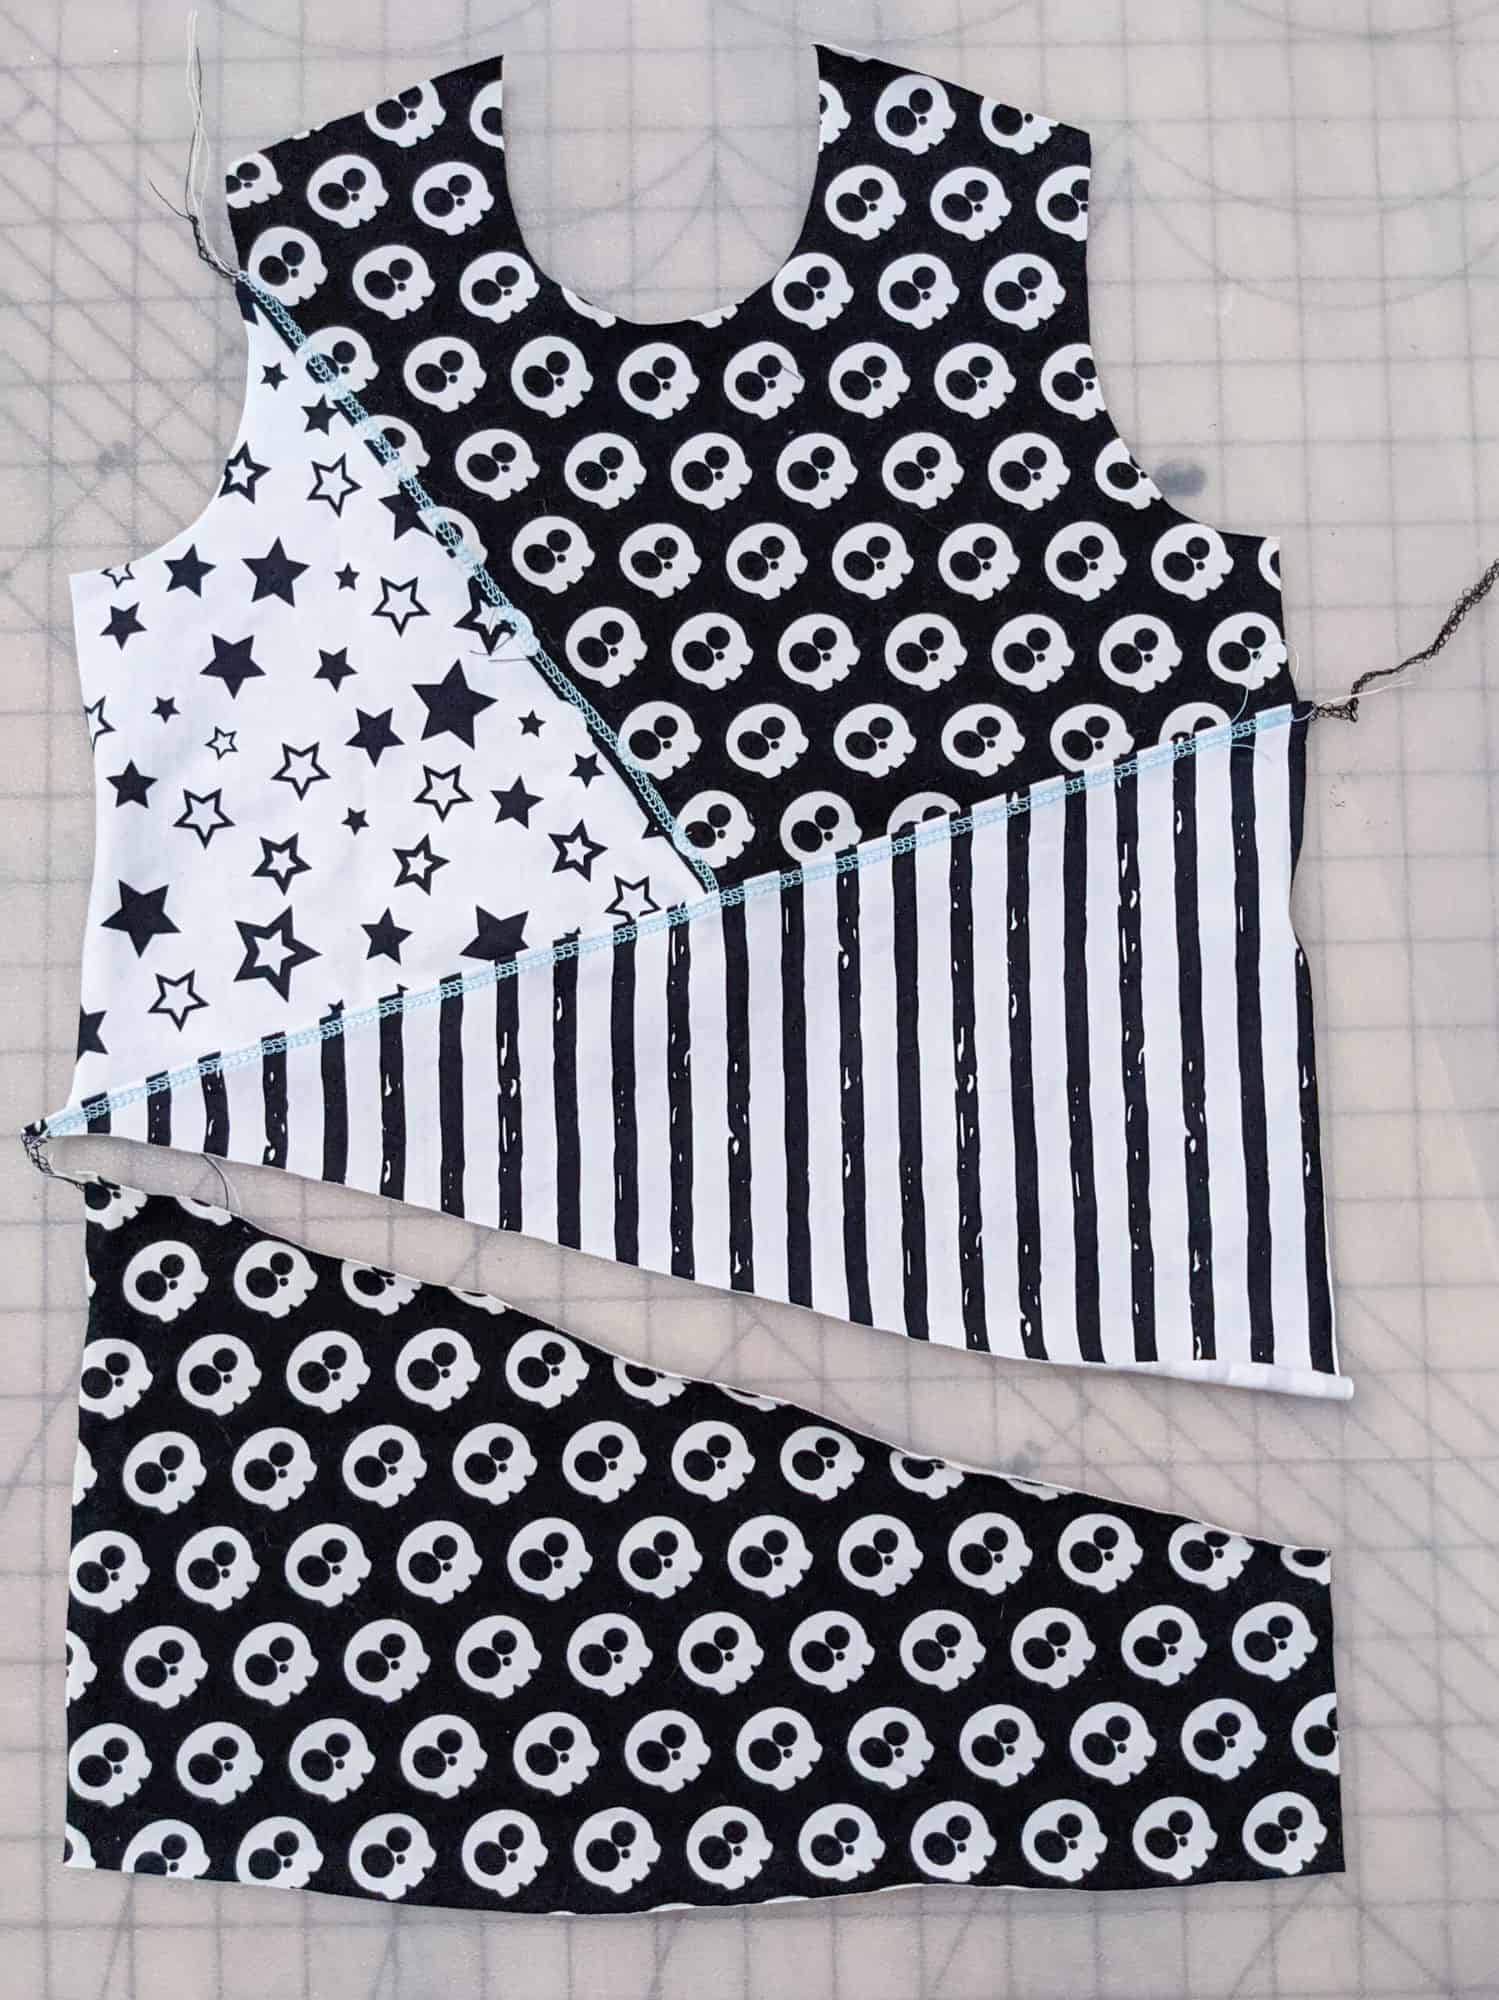
Now repeat this with your other pieces until they all come back together.  It should finish at the same size as your initial pattern piece before you added color blocking.

Finally, you can sew your garment together as recommended by the pattern. The only difference is you have a cool color-blocked piece instead of a plain piece!


Yay!  All done!!  Can’t wait to see what you all create!

Happy Sewing,

Michelle


Filed Under: P4P University, Uncategorized Leave a Comment

Cozy Wrap Sew Along – day 6

January 30, 2021

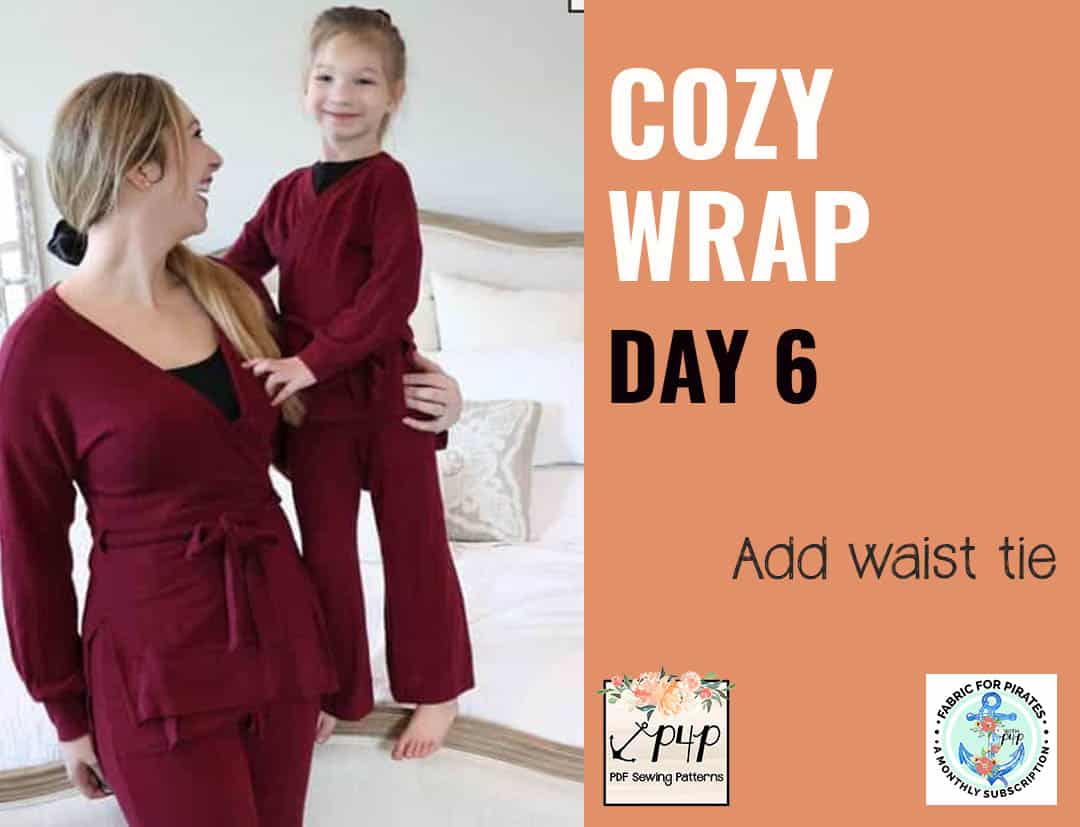
We did it! We made it to the last day of the sew long. Today we create the waist tie and show off our Cozy Wraps. 

You should have 4 pieces left in your pile. You’ll be creating the “main” and “lining” of the waist tie by stitching two short ends right sides together. You only have two long pieces now that you are stitching wright sides together, along all 4 raw edges. Don’t forget to leave a 2-3 inch opening to be able to turn the tie right side out. Top stitch all around, or be lazy like me and just close the opening. 

Give your tie a good steam press to reduce any waviness. Slide the ends of the tie through the tie openings of the side seams from the inside out. You can see this process in today’s video linked below. 

What an amazing job you did this past week! I’m so proud of you all! Here is my finished tunic Cozy Wrap, I absolutely love it!  Don’t forget to post a picture of your finished project in the comments of day 6 photo of the Cozy Wrap SAL album. We will choose the winners from that thread! 


Cozy Wrap SAL day 1 | Cut fabric

Cozy Wrap SAL day 2 | Sew shoulder and side seams

Cozy Wrap SAL day 3 | Add bottom bands

Cozy Wrap SAL day 4 | Add neckband

Cozy Wrap SAL day 5 | Add sleeves

Cozy Wrap SAL day 6 | Add waist tie

Cozy Wrap SAL day 7 | Winners announcement  

Filed Under: Fabric for Pirates, Frequently Asked Questions, Sew-A-Long, Uncategorized Leave a Comment

Cozy Wrap Sew Along – day 5

January 29, 2021

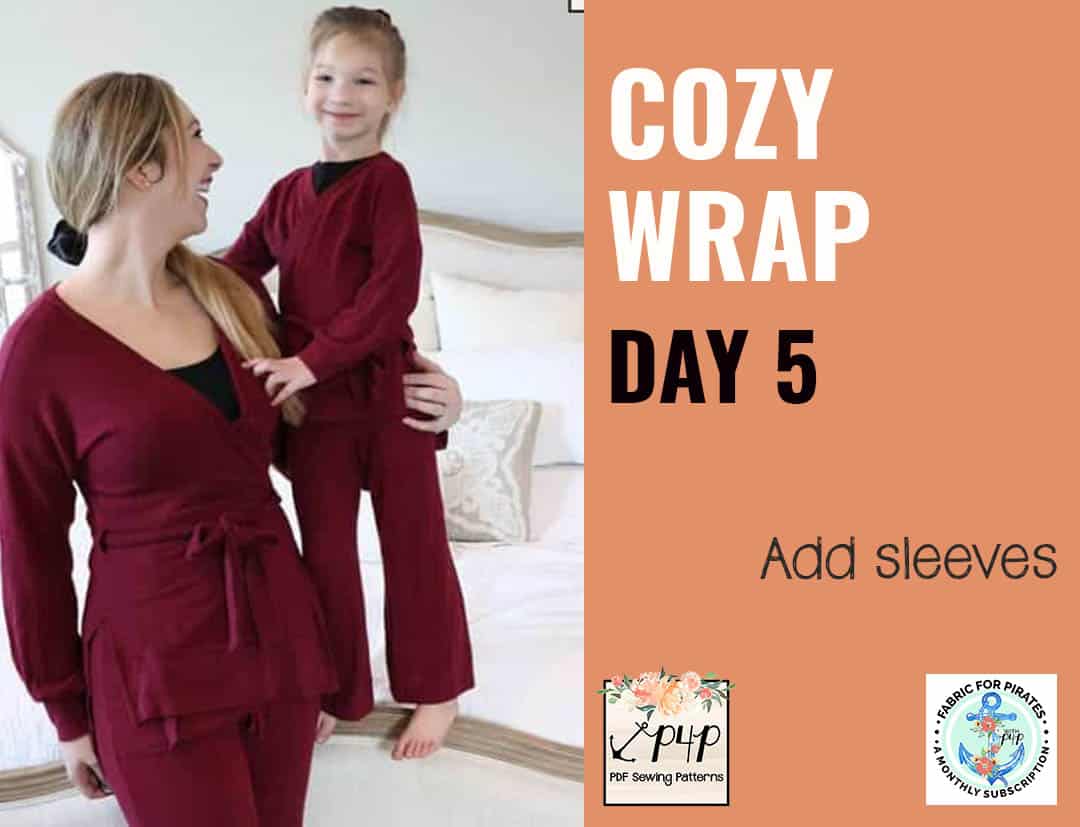
Welcome to day 5 of our Cozy Wrap sew along. Today is probably my favorite day because I get to make those cute, trendy gathered sleeves. The pattern includes a banded short sleeve, a cuffed regular sleeve and a gathered one. 

If you opted for short sleeve, you will create the bands by sewing each one right sides together to form loops. I highly encourage you to pre-press the cuffs wrong sides together before creating the loops. Just like we did the past few days. 

The standard long and gathered sleeves are attached in the round. That means you are sewing the side seams of the sleeves first. Matching the armpit seam to the sleeve side seam, attach the sleeves to the opening. If you opted for the gathered sleeves, you need to run a gathering stitch or two at the wrist. Pull the gathering threads so that the opening matches the cuff. I personally love gathering with my serger. Our P4P University Gathering blog covers a few gathering methods. 

To attach the cuff, simply match the cuff seam to the sleeve seam and sew right sides together. We have a tips and tricks P4P University cuffs 101 blog that I encourage you to check out. 

We are so close to finishing! All we have left to do is create the waist tie tomorrow. You can see today’s video below. Check in with your progress in the comments of day 5 photo of the Cozy Wrap sew along album. 


Cozy Wrap SAL day 1 | Cut fabric

Cozy Wrap SAL day 2 | Sew shoulder and side seams

Cozy Wrap SAL day 3 | Add bottom bands

Cozy Wrap SAL day 4 | Add neckband

Cozy Wrap SAL day 5 | Add sleeves

Cozy Wrap SAL day 6 | Add waist tie

Cozy Wrap SAL day 7 | Winners announcement  

Filed Under: Fabric for Pirates, Frequently Asked Questions, Sew-A-Long, Uncategorized Leave a Comment

Cozy Wrap Sew Along – day 4

January 28, 2021

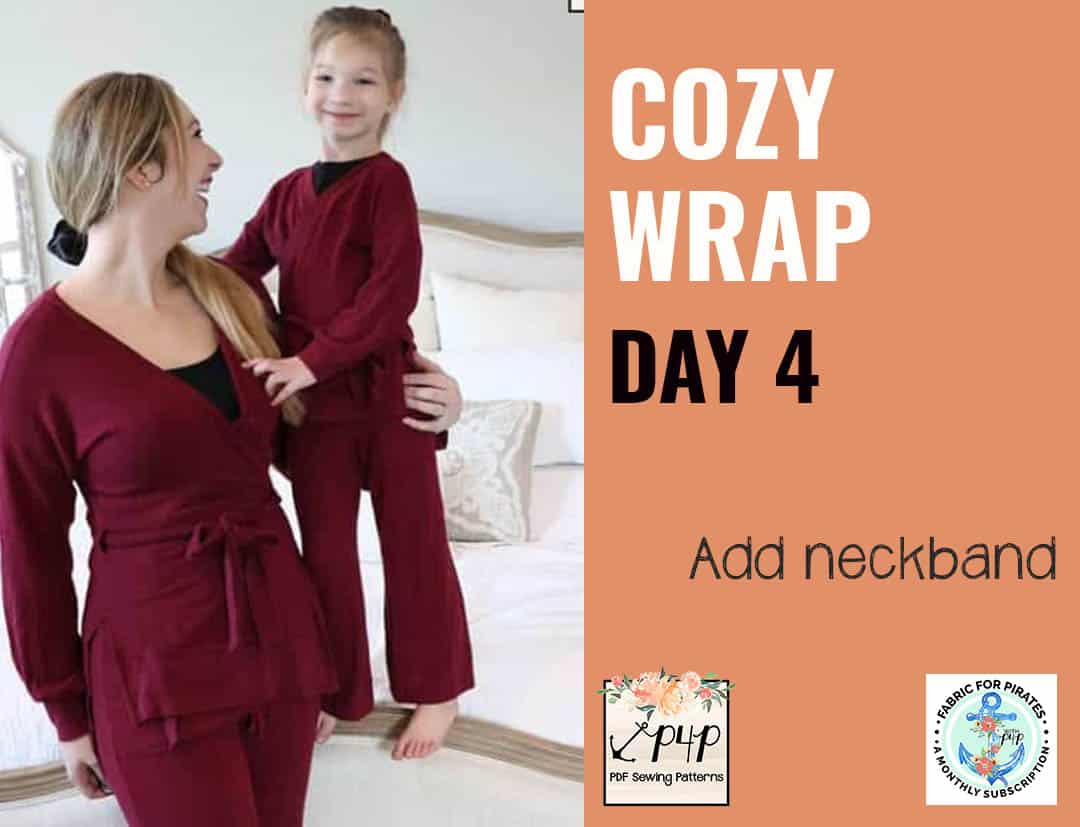
Welcome to day 4 of our Cozy Wrap Sew Along. Easy day today! All we have to do is add the neckband…the very long neckband. You should have two narrow long strips of fabric (do not mix them up with the tie pieces!) Sew them right sides together on one end so you have an even longer neckband. 

Fold the band wrong sides together and give it a good press…just like we did yesterday! Unfold it and fold each end right sides together, sew  and re fold wrong sides together. You should not have a neckband with no raw ends anymore. Time to pin it to the neckline and front raw edge. I recommend pinning the center seam to the center back of the neckline first. Proceed with pinning each front raw edge to the band, right sides together, without stretching the band. The only part of the neckband that will be slightly stretched to fit it’s between the two shoulder seams. 

After you serge the neckband on, you need to finish the serger tails. I cover a few ways to do that in this P4P University blog. 

You can see in today’s video how I attach the neckband to my tunic Cozy Wrap. When you finish adding the neckband, give it a good press and add a picture of your progress to the comments of Day 4 photo. 

Cozy Wrap SAL day 1 | Cut fabric

Cozy Wrap SAL day 2 | Sew shoulder and side seams

Cozy Wrap SAL day 3 | Add bottom bands

Cozy Wrap SAL day 4 | Add neckband

Cozy Wrap SAL day 5 | Add sleeves

Cozy Wrap SAL day 6 | Add waist tie

Cozy Wrap SAL day 7 | Winners announcement  

Filed Under: Fabric for Pirates, Frequently Asked Questions, Sew-A-Long, Uncategorized Leave a Comment

  • « Previous Page
  • 1
  • …
  • 3
  • 4
  • 5
  • 6
  • 7
  • …
  • 29
  • Next Page »

connect with me

  • Email
  • Facebook
  • Instagram
  • Pinterest
  • YouTube
Privacy & Cookies: This site uses cookies. By continuing to use this website, you agree to their use.

To find out more, including how to control cookies, see here: Cookie Policy
  • Privacy Policy
  • Refund Policy
  • Contact Us
  • About

Copyright © 2026 Patterns for Pirates

Copyright © 2026 · Genesis Framework · WordPress · Log in