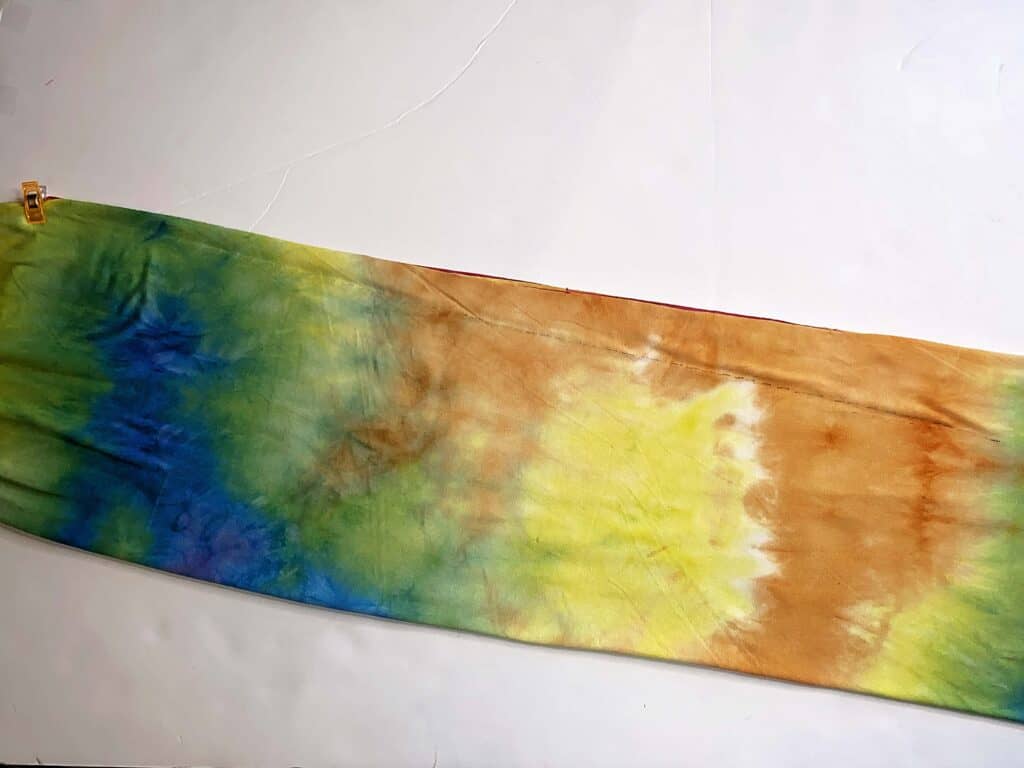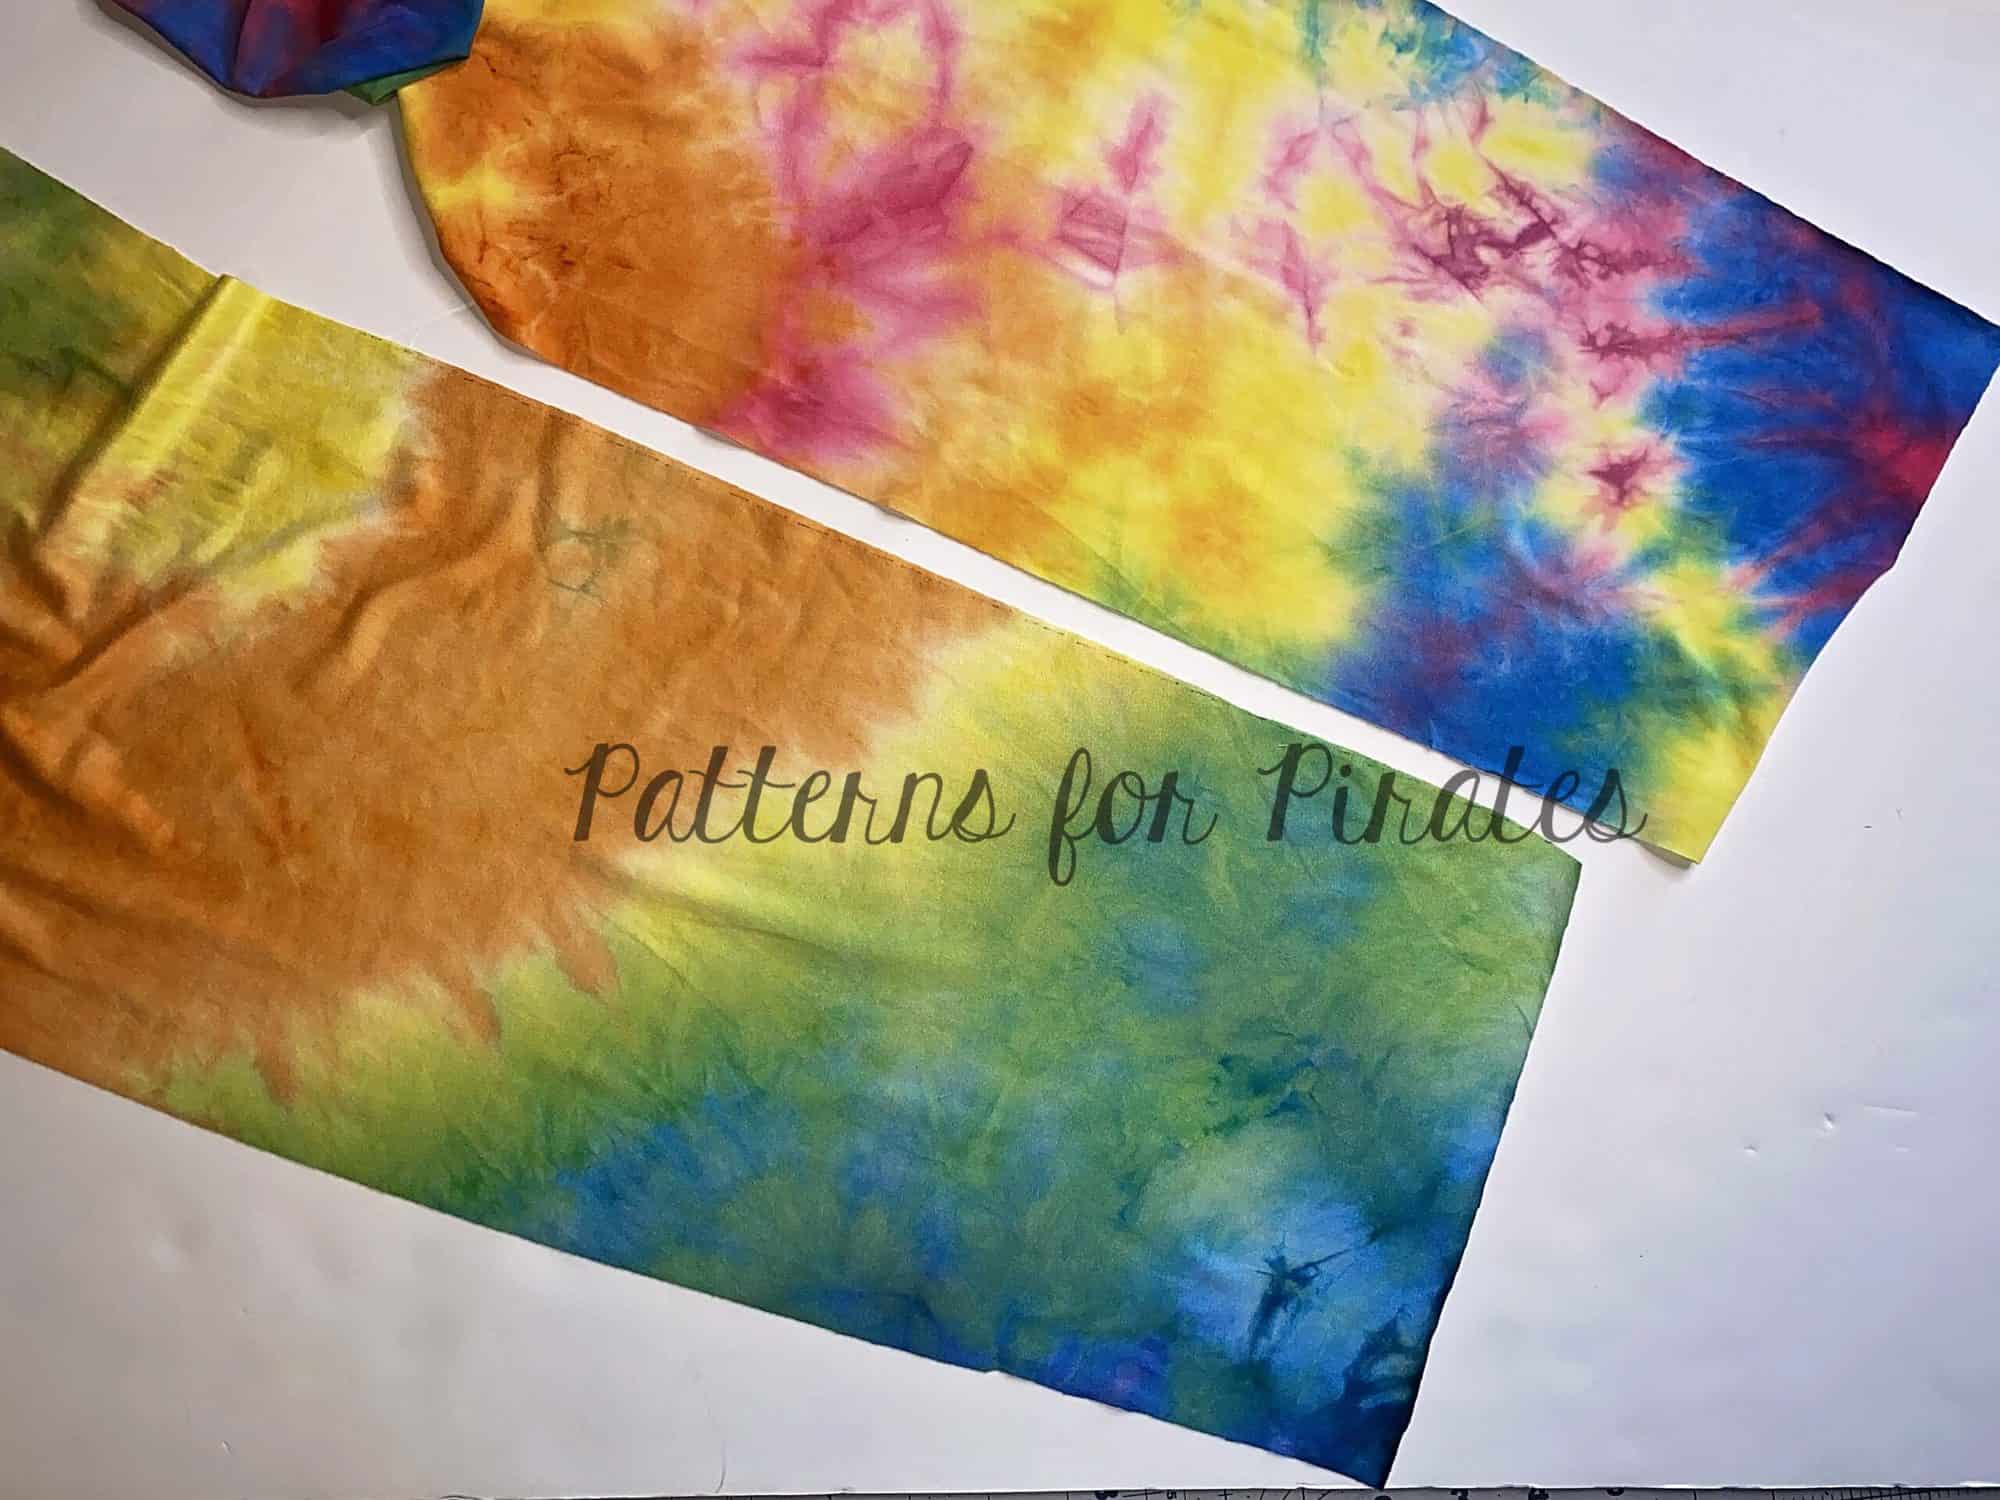
Welcome to day 3 of our Rainbow dress sew along!
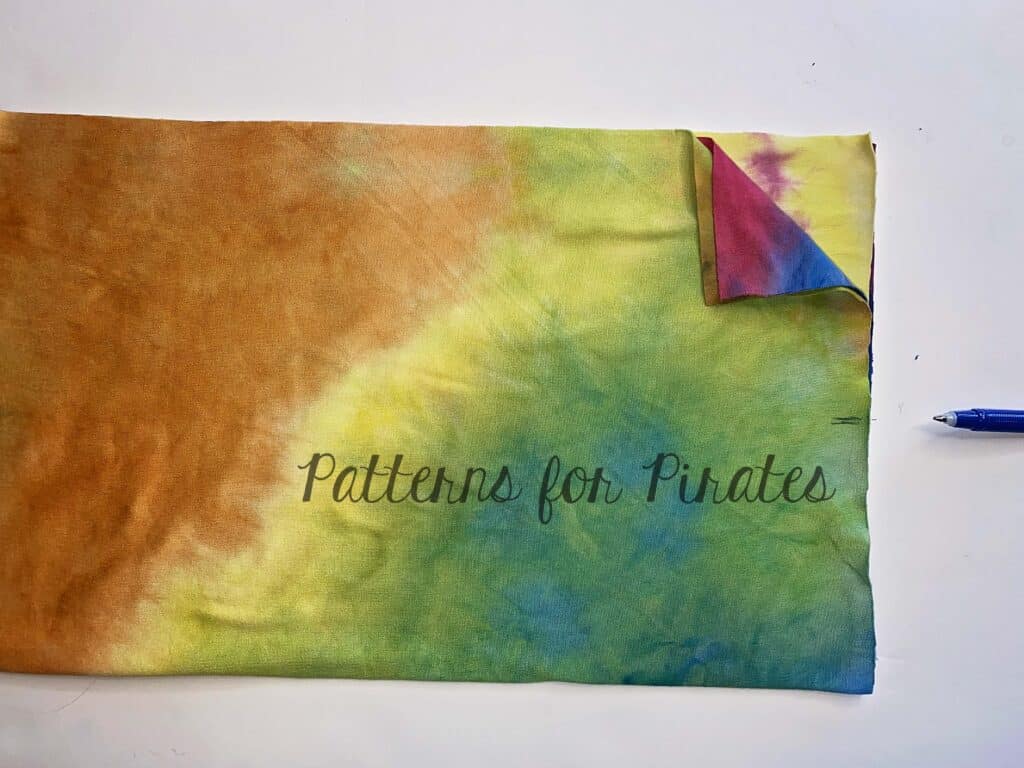
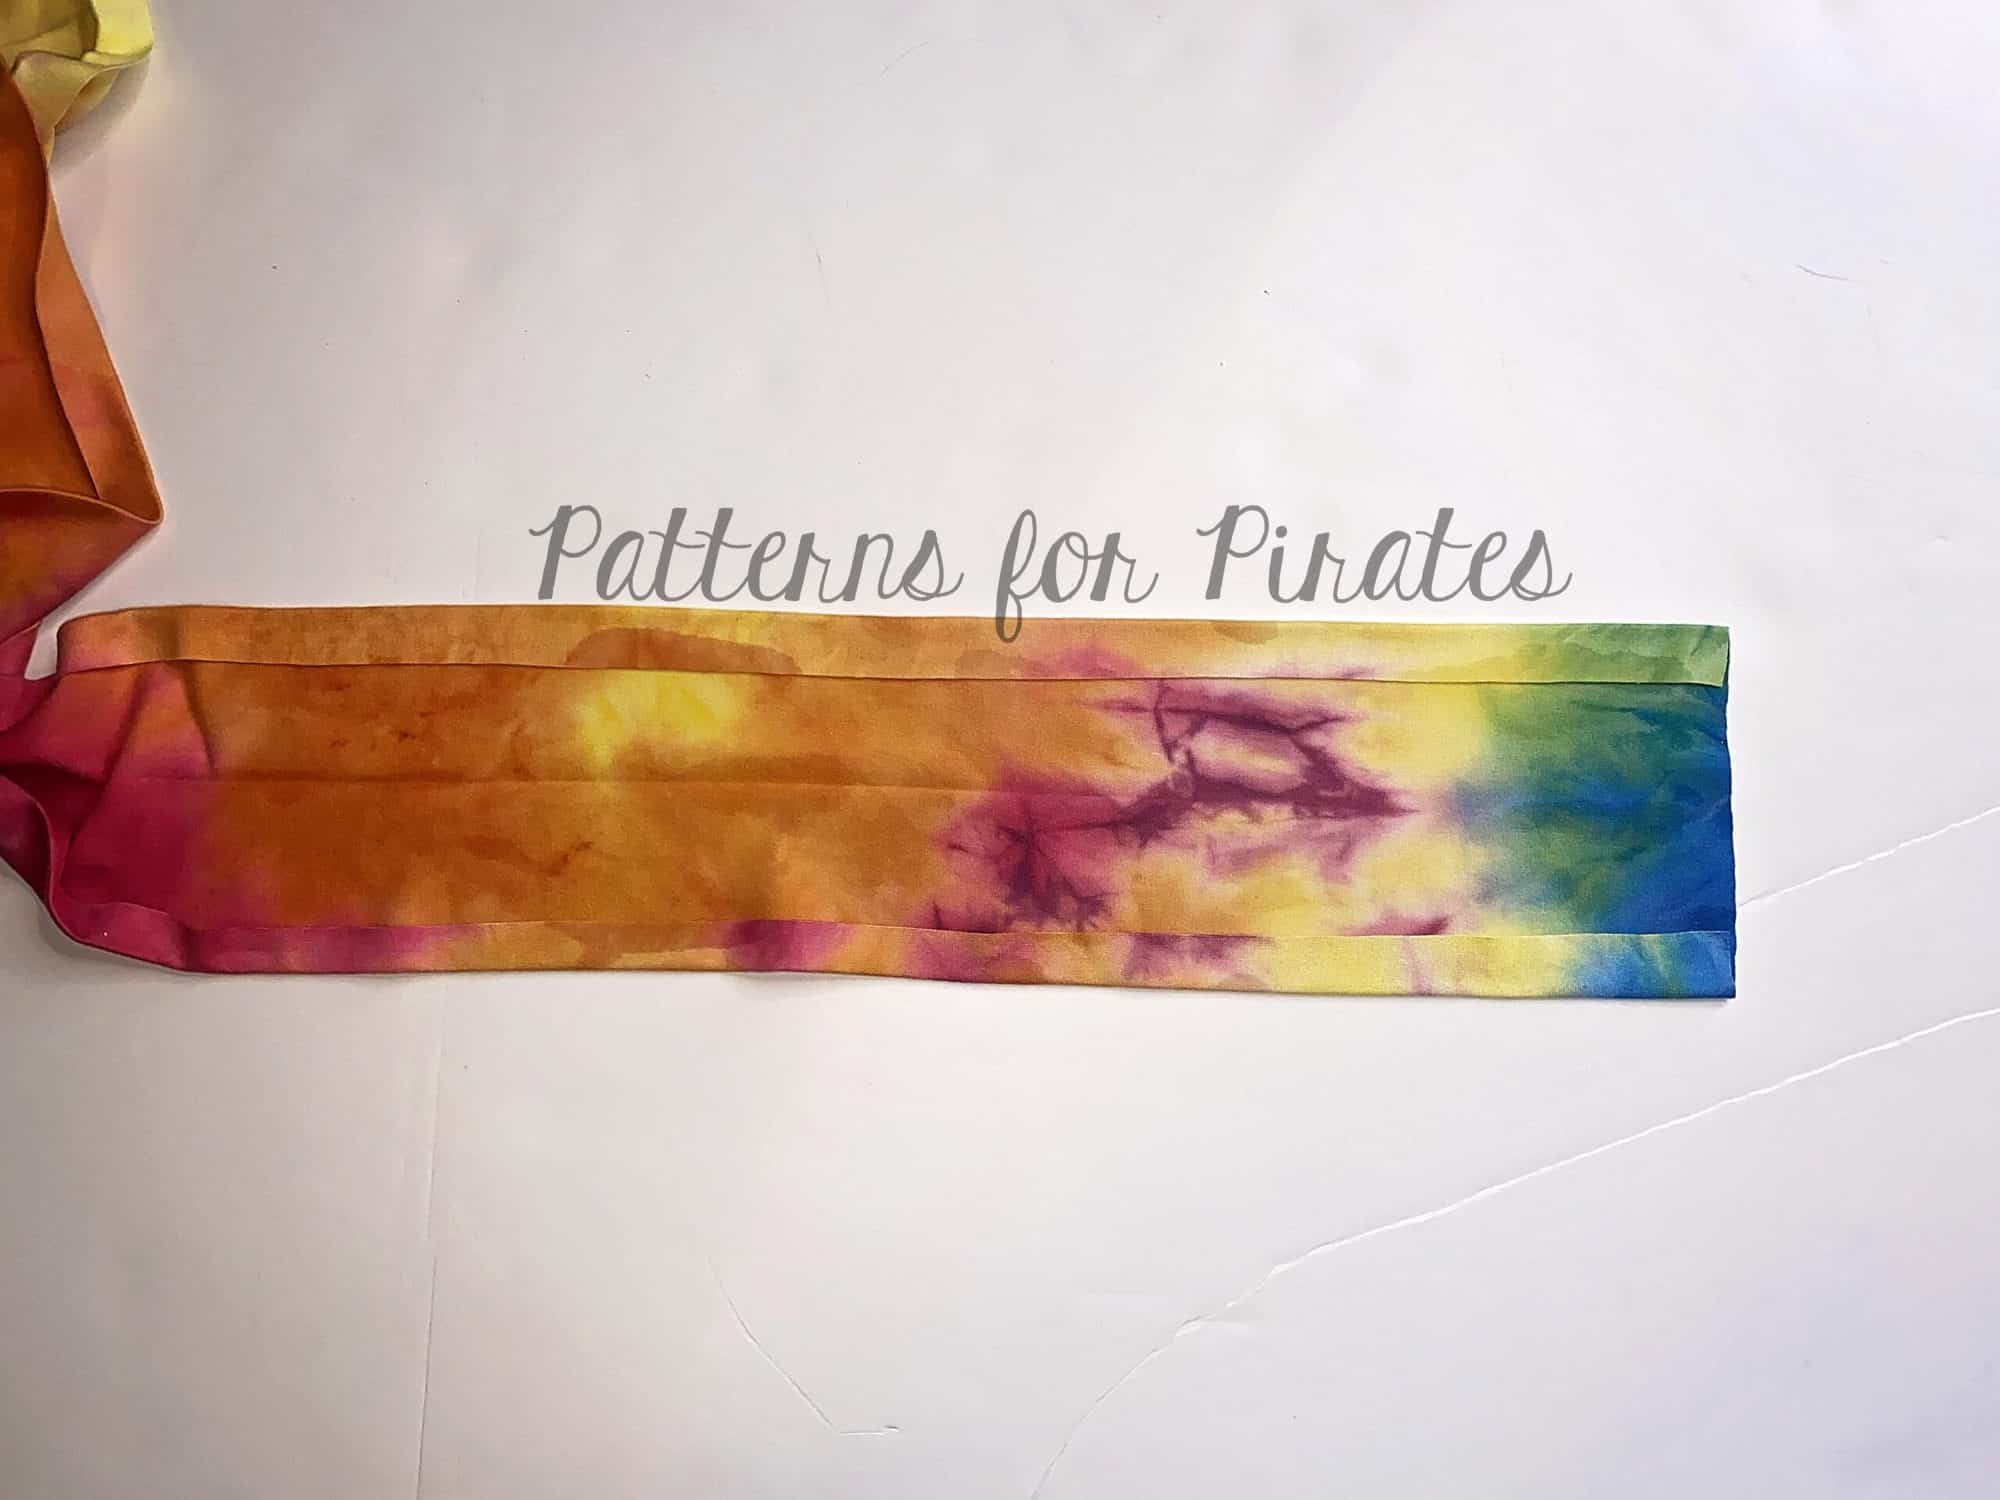
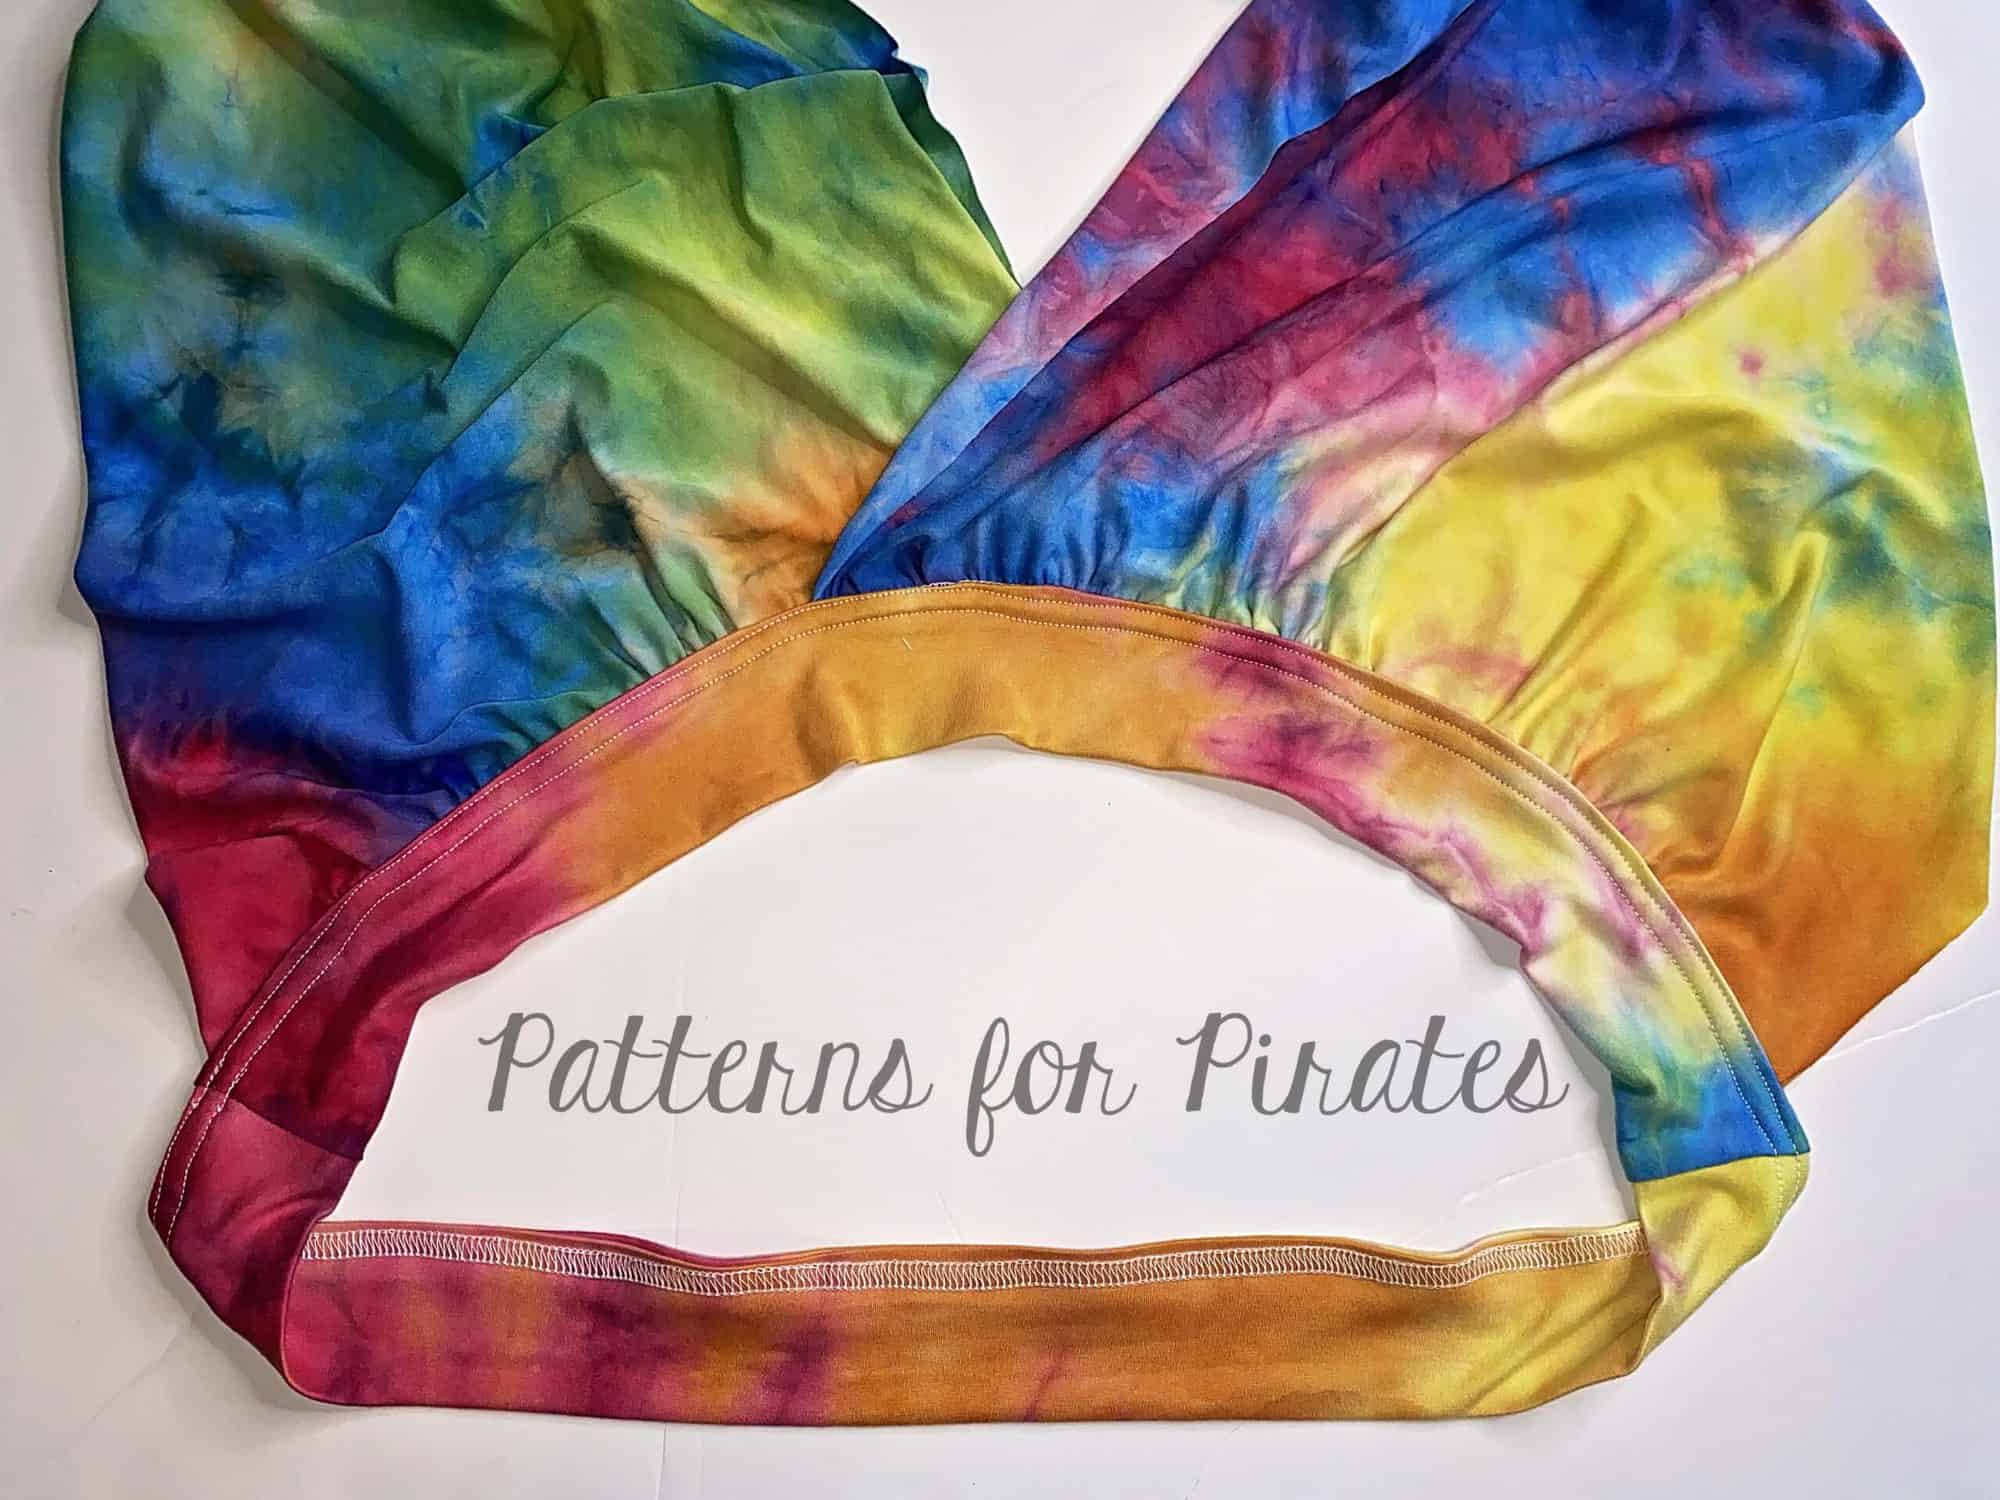
Today we create the collar and baste it to the front bodice. You will notice that the collar lining pieces are slightly smaller than the main lining. That is intentional, it will help the collar lay nice and flat once sewn. The Rainbow dress collar can be woven or knit. I strongly encourage you to interface at least the lining piece with a woven interfacing, such as Pellon SF101.
I have decided to add a little extra detail to my Rainbow dress collar so you will see how I incorporate piping in this project. I prefer store bought piping because it saves me the effort and time, but you can certainly make your own. To create your piping from scratch, simply cut strips of woven fabric that are 1.25″ wide on the bias. Press the strip lengthwise wrong sides together. Lay your cord in the crease and stitch with a long straight stitch as close to the cord as possible. OR….go to Joann or Walmart and grab some pre made piping 😉
Pin the piping to the outer curve of the main collar pieces, aligning the raw edges. Start about 1/2″ lower than the top and finish about 1/2″ from the end, veering your piping. This detail will ensure that there is no extra bulk in the shoulder seam or neckline. Baste it in place. I show you this step in the day 3 video.
Tip: use a zipper foot when working with piping!
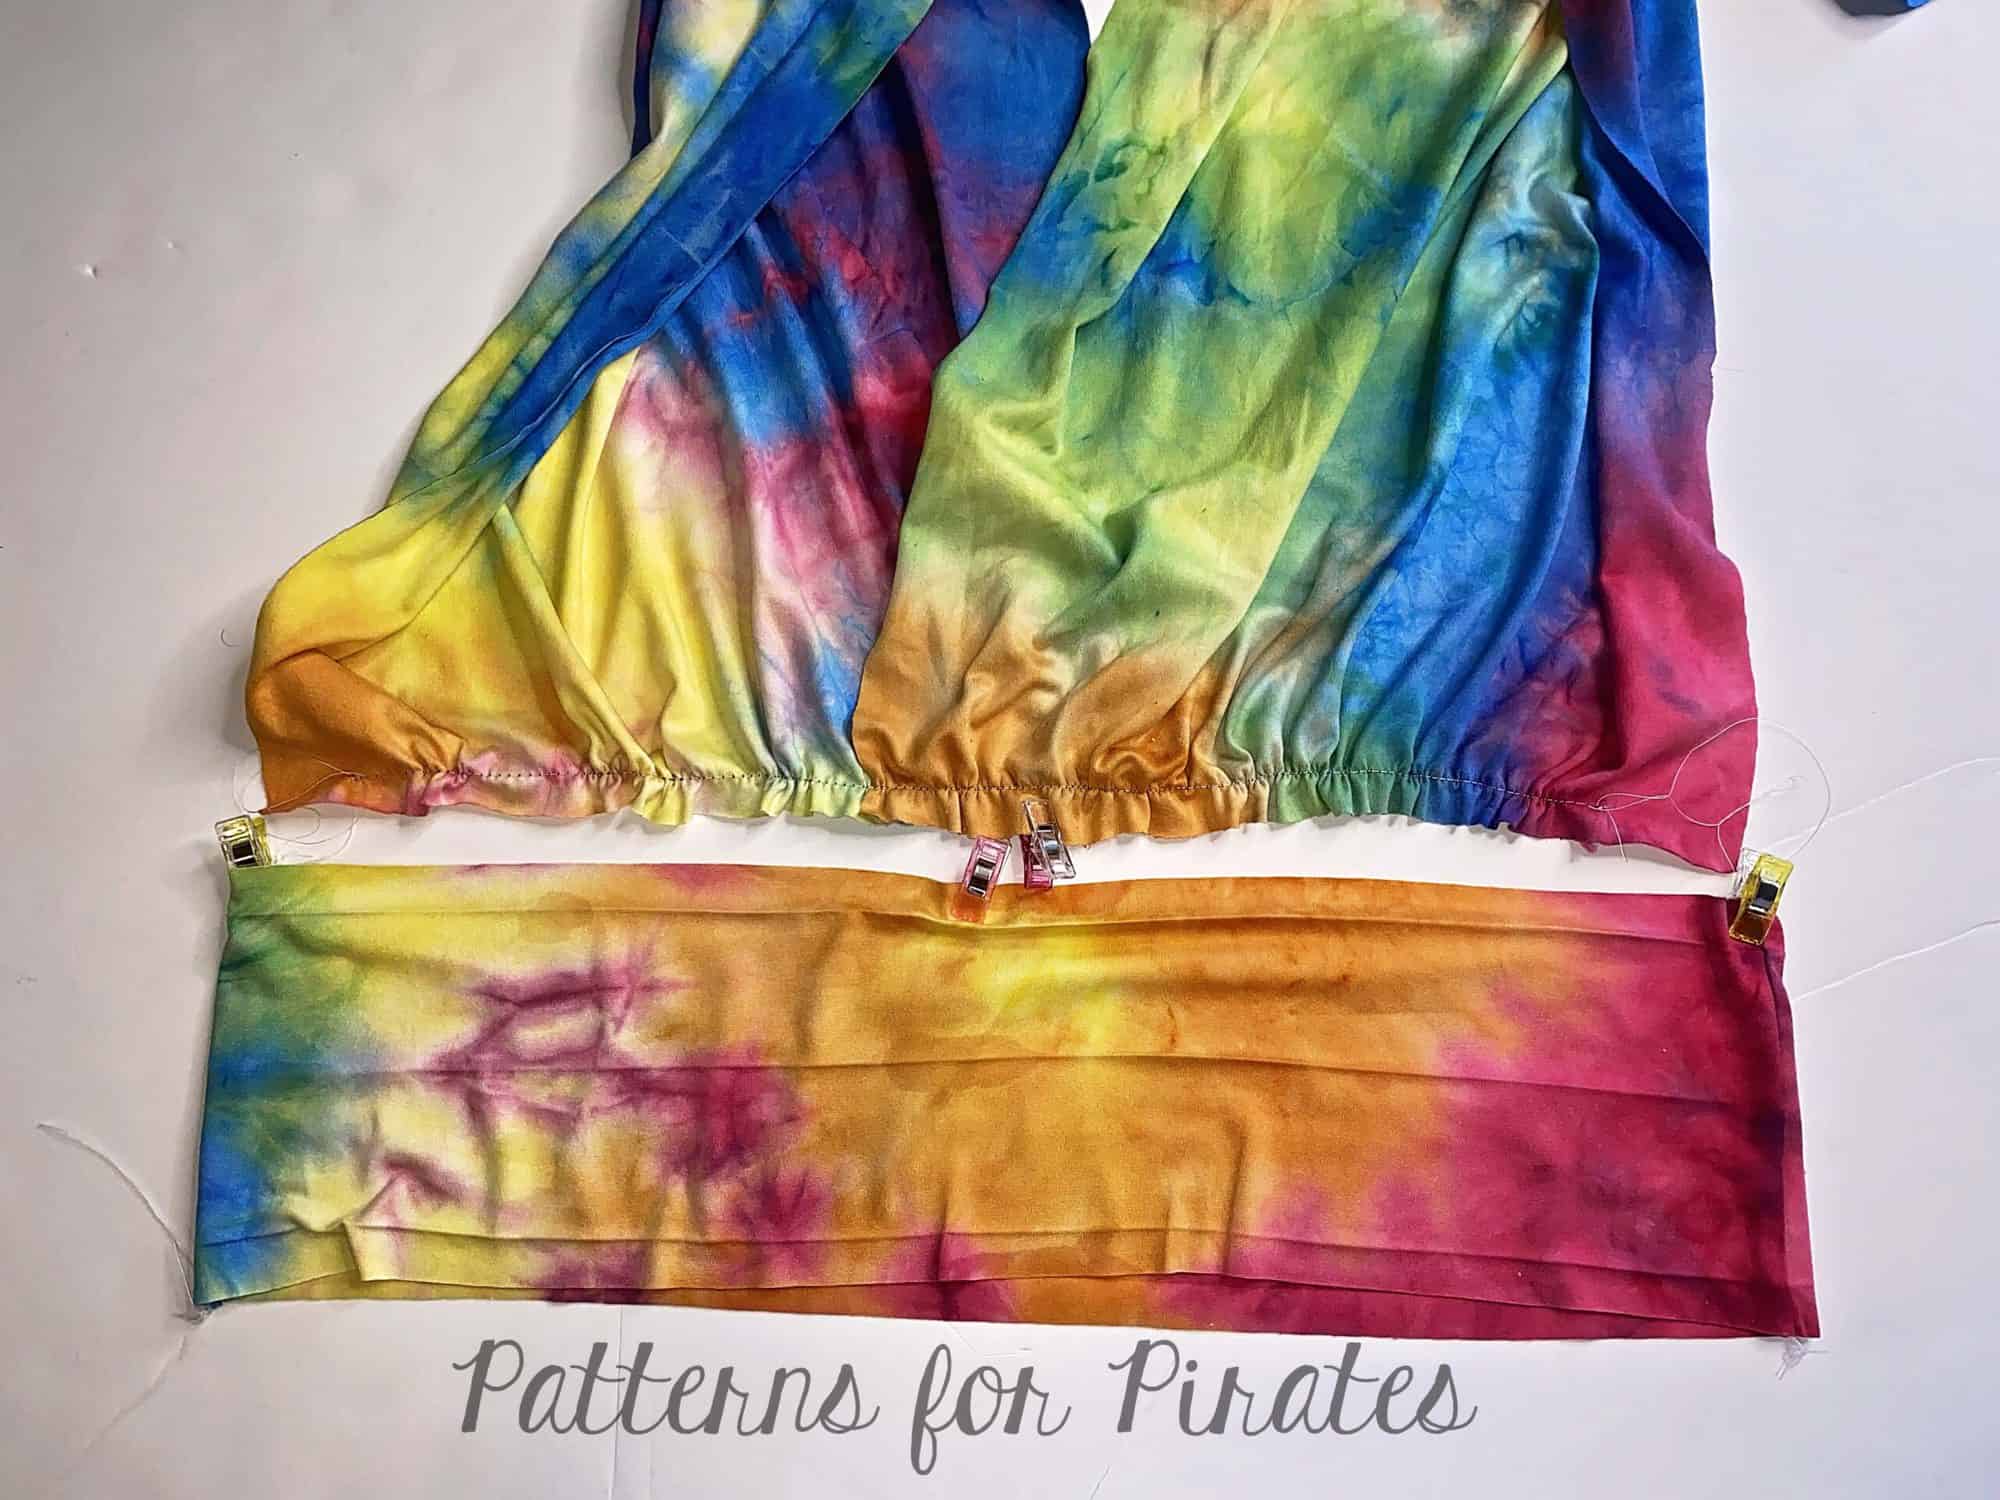
Now that the piping is added, place your lining piece over the main, right sides together. Ease the collar pieces as show in Judy’s video below and stitch.
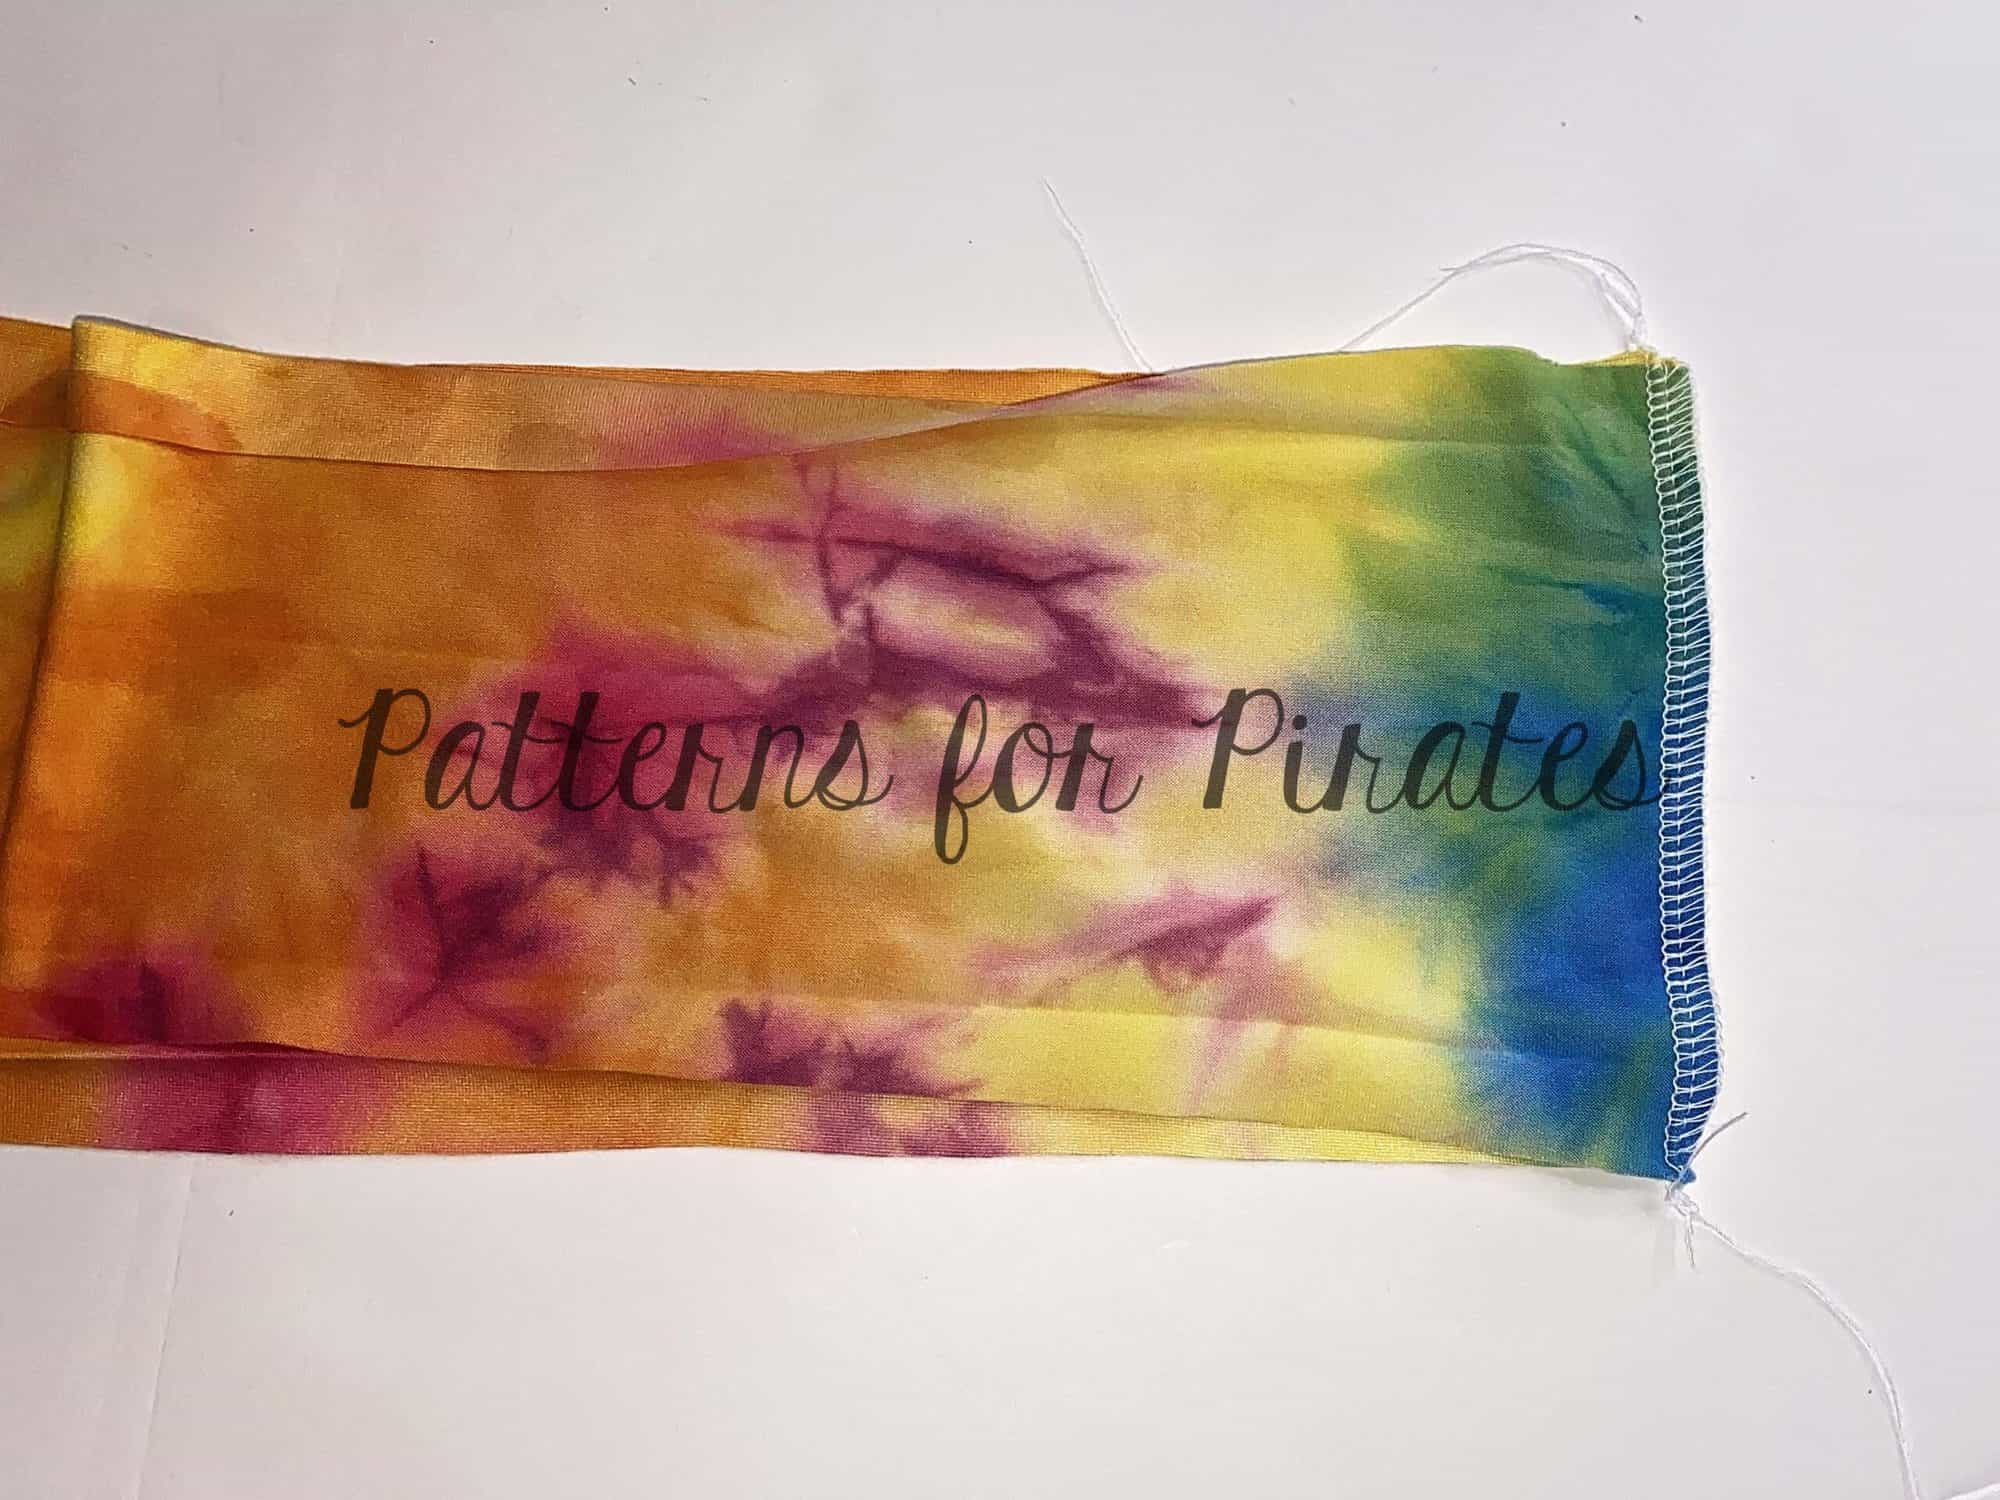
Turn the two collar pieces right side out and give them a good steam press! Optionally, you can top stitch the outer edge. If you added piping, use the zipper foot when top stitching.
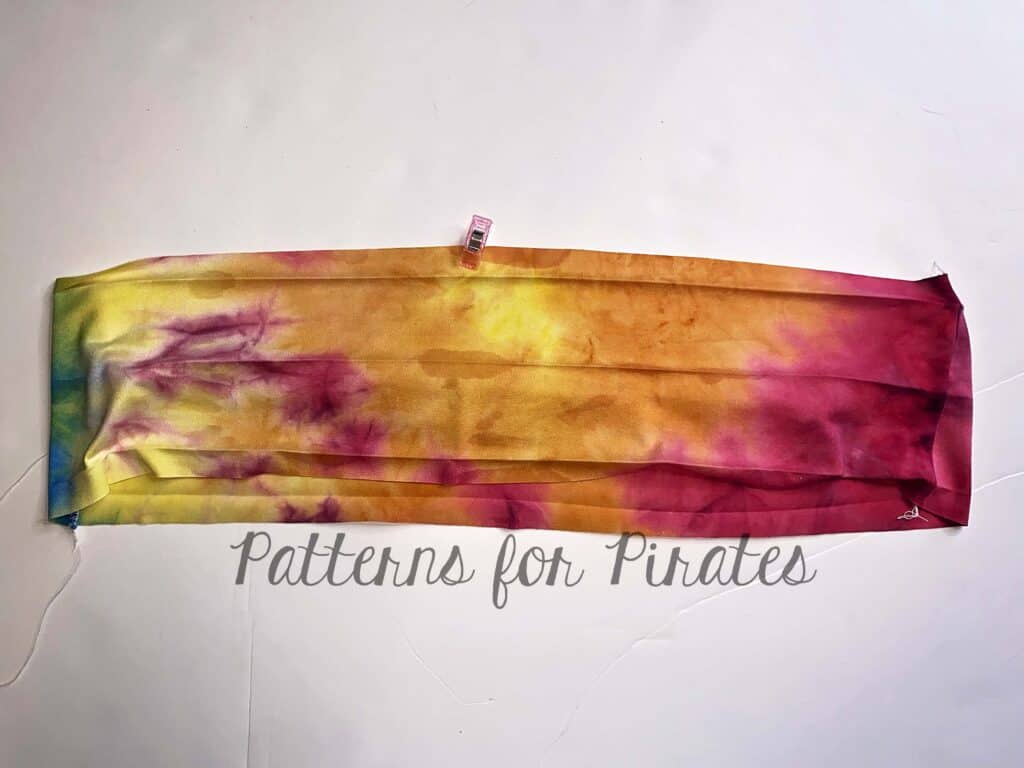
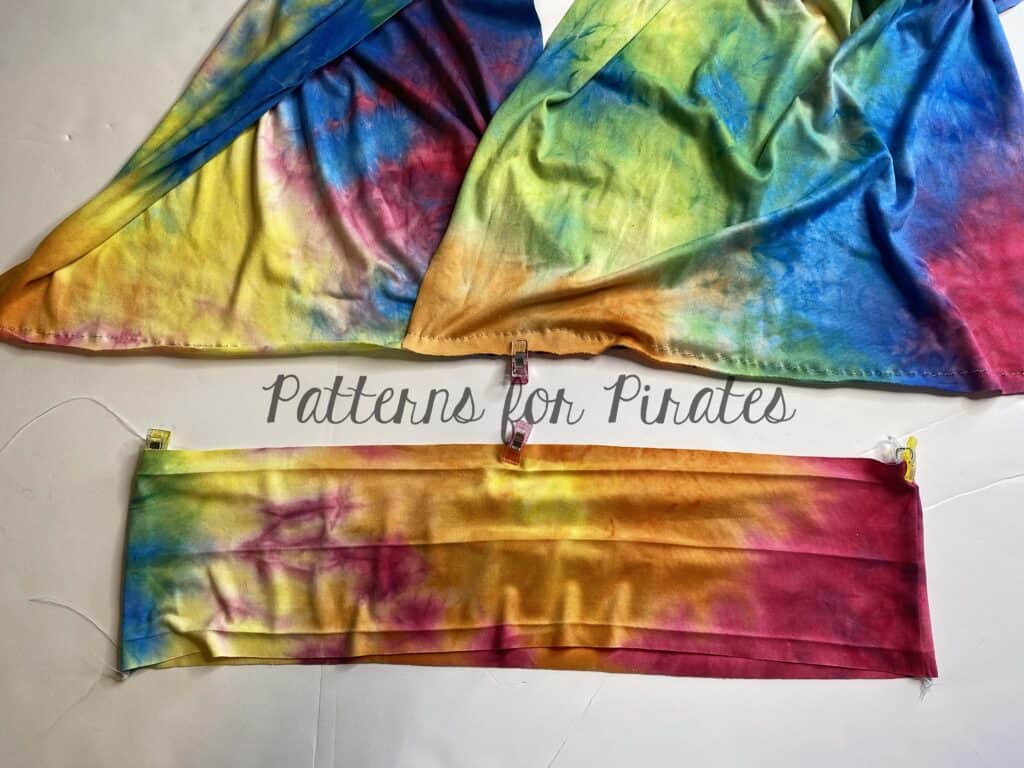
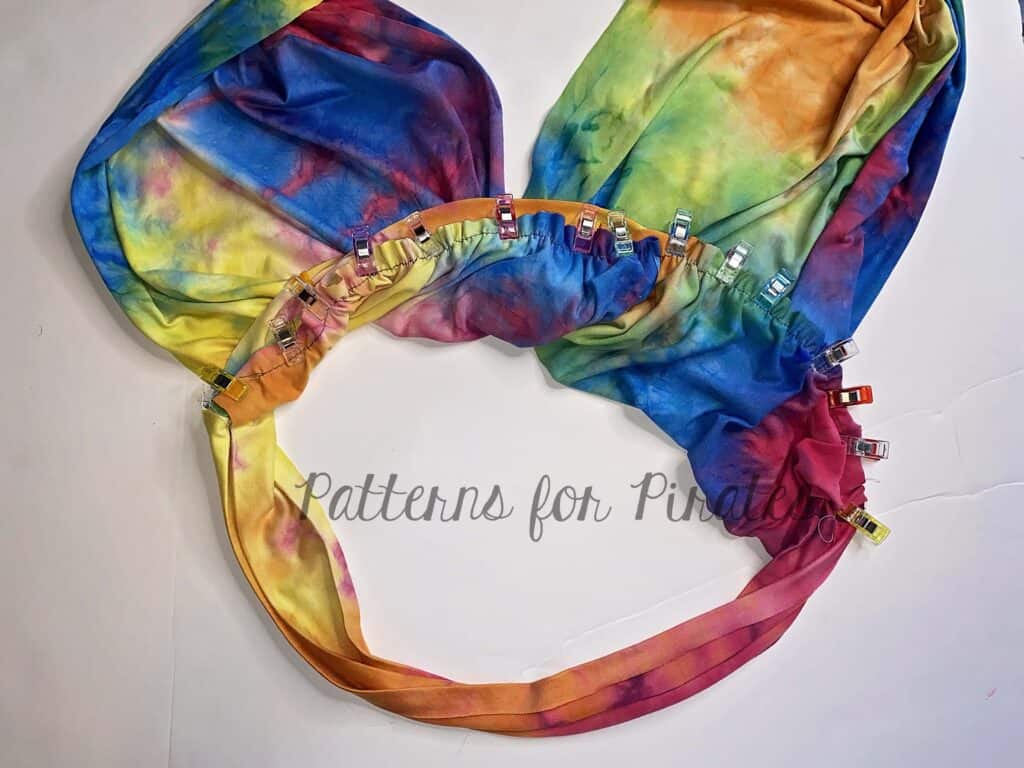
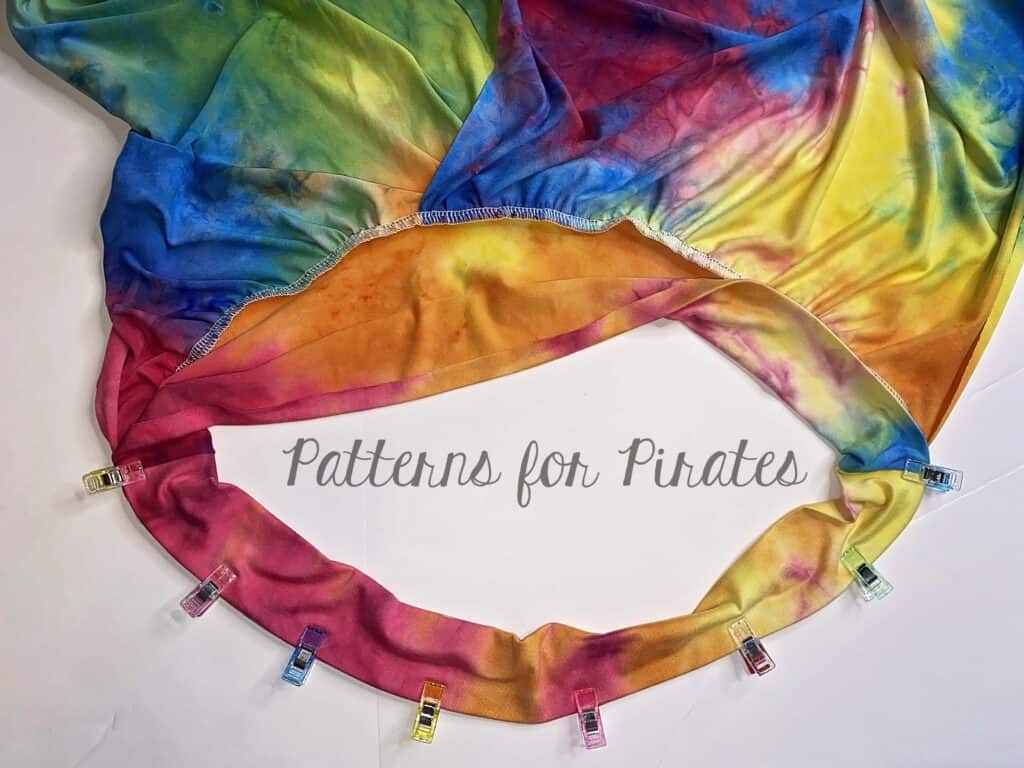
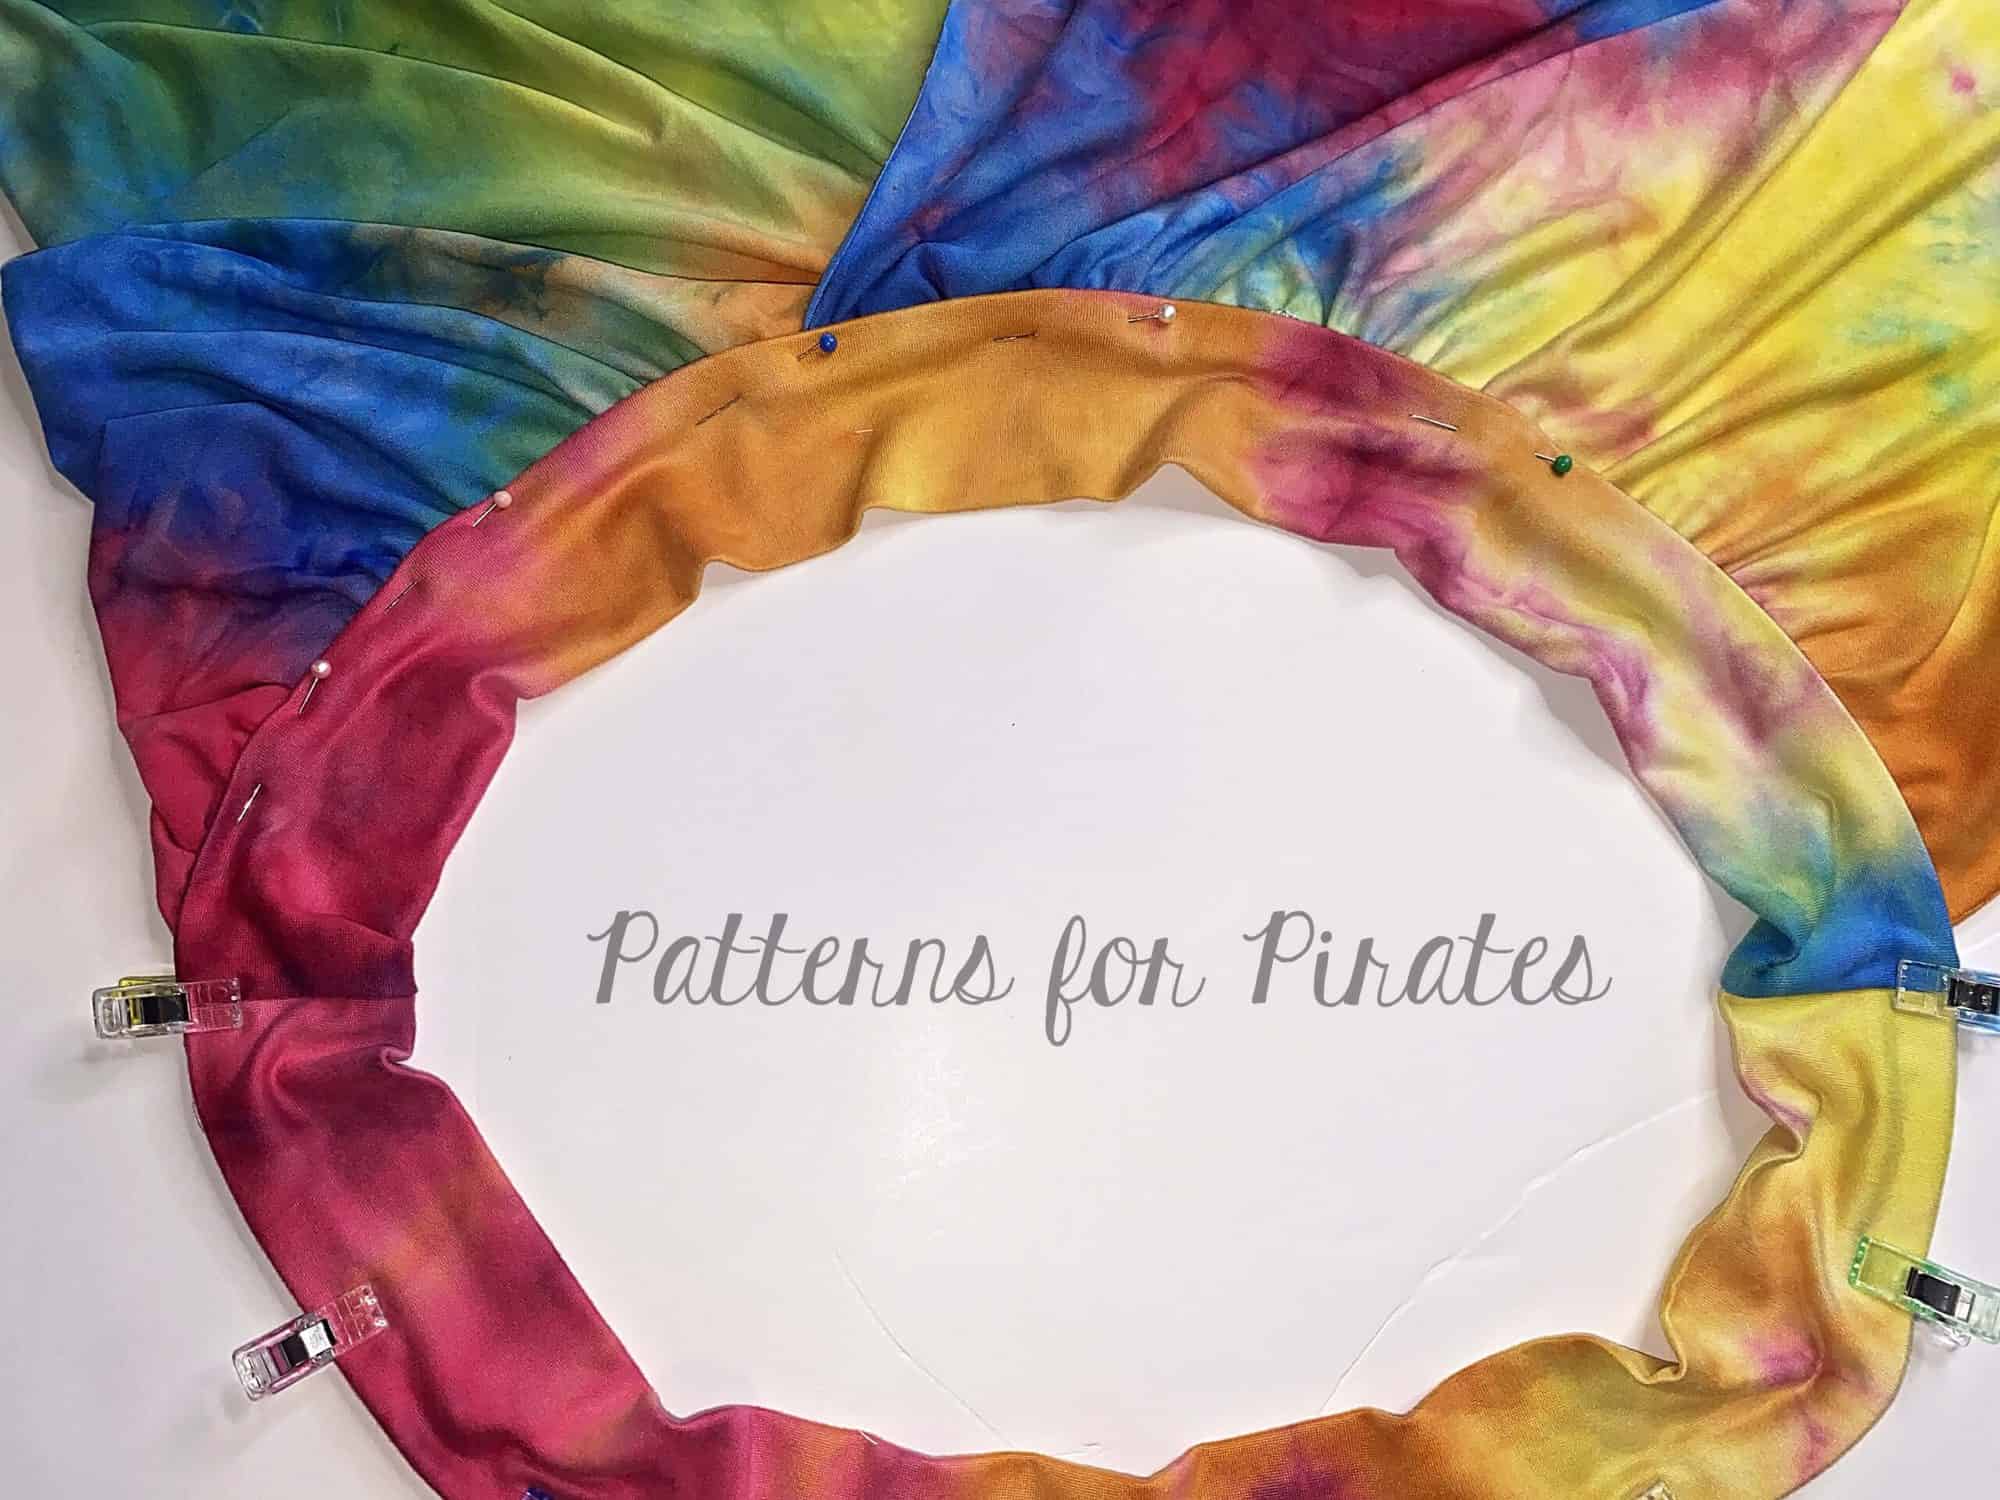
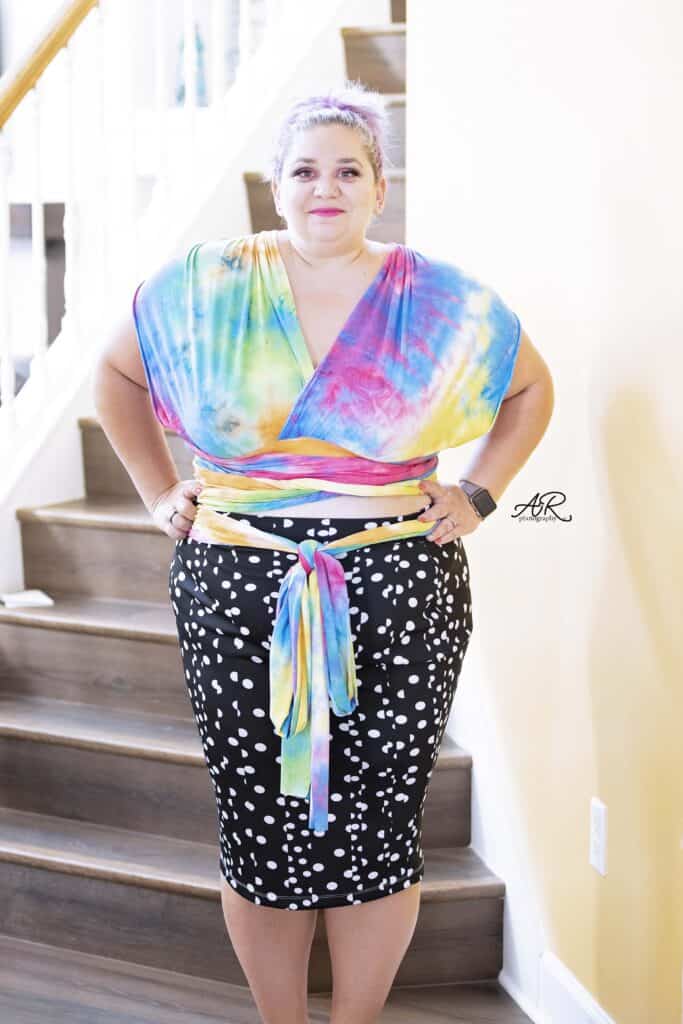
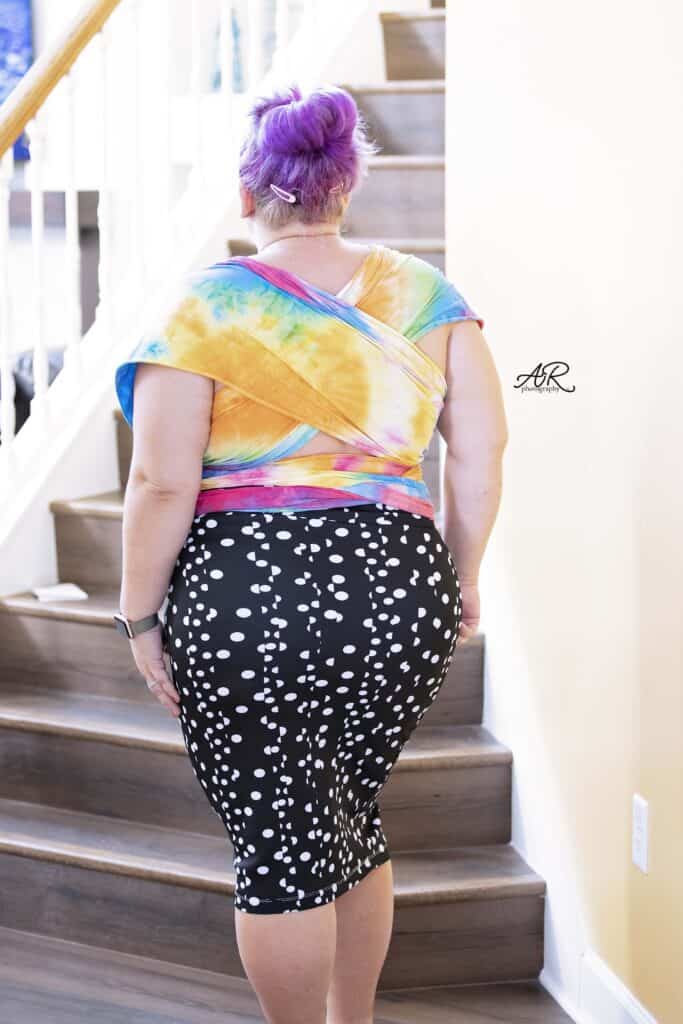
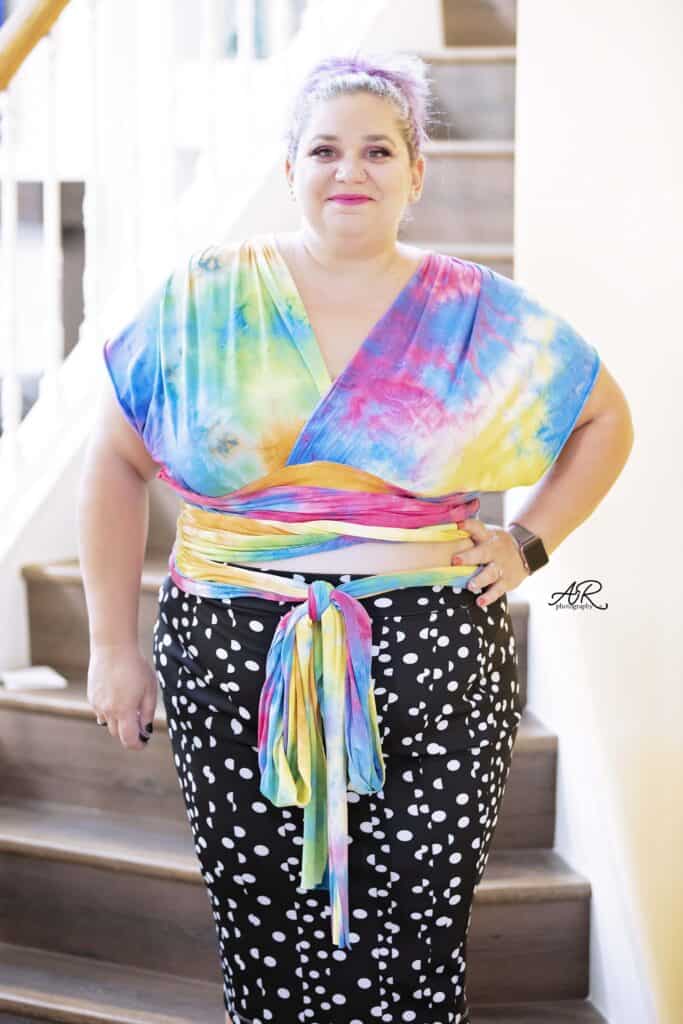
The final step for today is to baste your collar to the front bodice. Align the raw edges of the collar with the neckline and shoulder seam. Remember that for the adult Rainbow dress this option is only available for the high neckline.
You can see how I created the collar in the day 3 video below. Once you complete these steps, add your check in photo in the comments of day 3 pic. You can find the check in album on FB, in our sew along group.
Rainbow Dress SAL – day 1 | Cut fabric
Rainbow Dress SAL – day 2 | Create rainbow skirt and add optional pockets
Rainbow Dress SAL – day 3 | Create collar
Rainbow Dress SAL – day 4 | Sew shoulder seams and add neckband
Rainbow Dress SAL – day 5 | Add sleeves and sew side seams
Rainbow Dress SAL – day 6 | Add skirt and hem
Rainbow Dress SAL – day 7 | Winners Announcement