Patterns for Pirates

P4P stylish, modern, wearable patterns

  • Home
  • Blog
    • Frequently Asked Questions
    • Pattern Releases
      • Free Patterns
    • P4P University
      • Fitting
      • Sewing with Stretch, Knit Fabrics
      • Sewing with Woven Fabrics
      • Sewing Machines
    • Sew-A-Longs
    • Fabric for Pirates
    • Pattern Hacks
    • Announcement
      • Blog Tours
      • Contest/Giveaway
  • Shop
  • Bundle Discounts
  • Flash Friday
  • Gift Cards
  • My Account
  • Cart

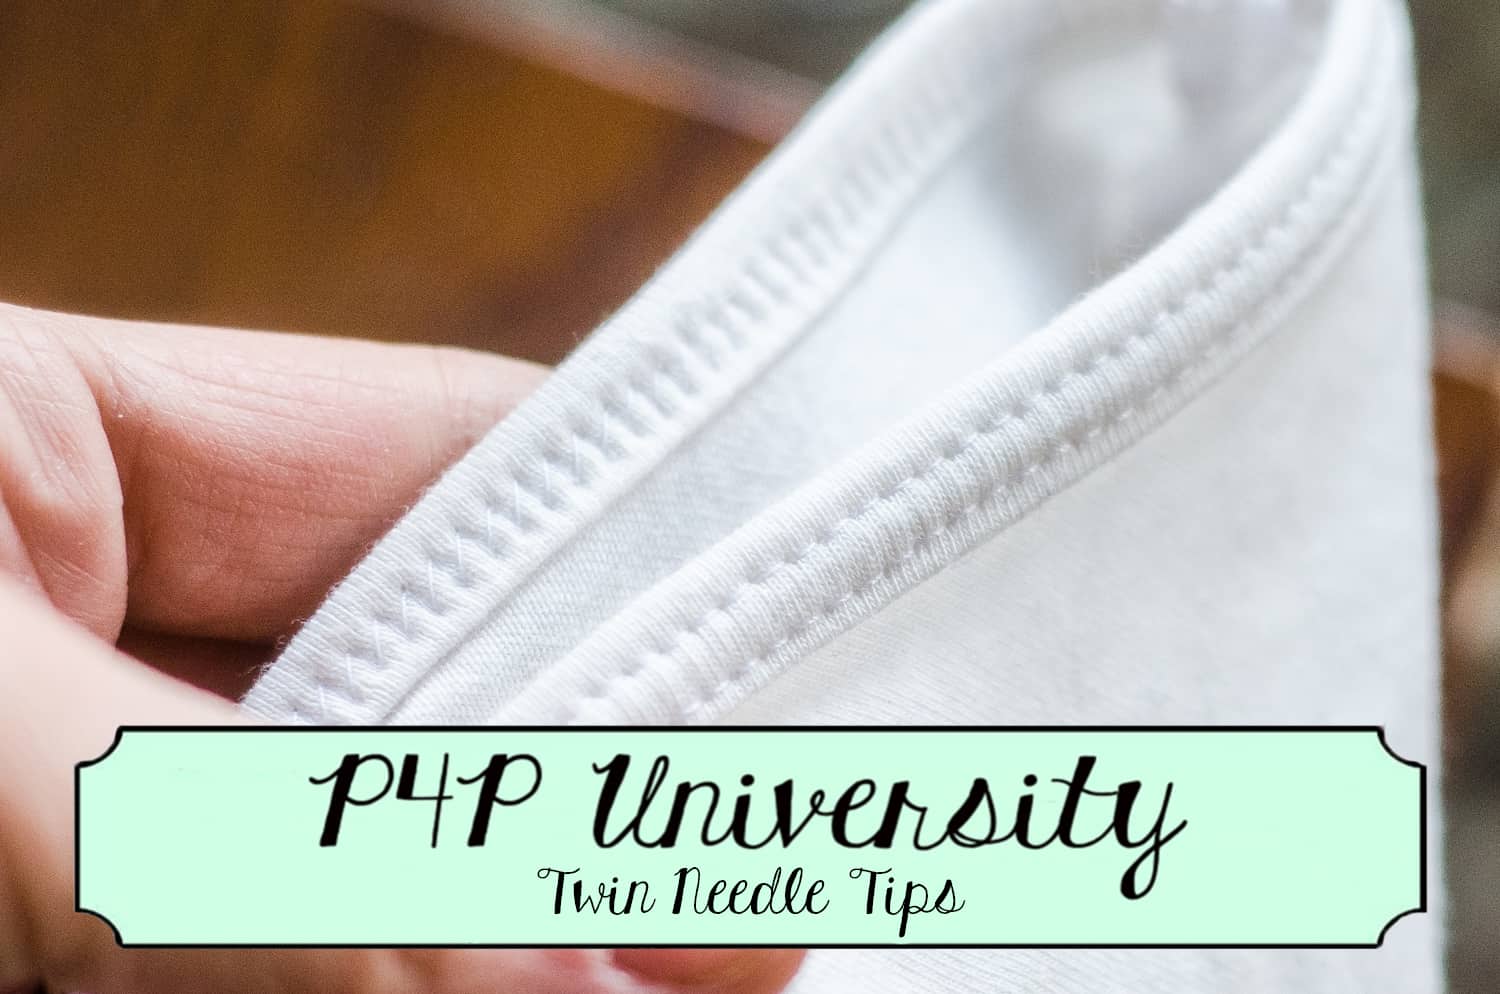
P4P University :: Twin Needle Tips

March 16, 2017

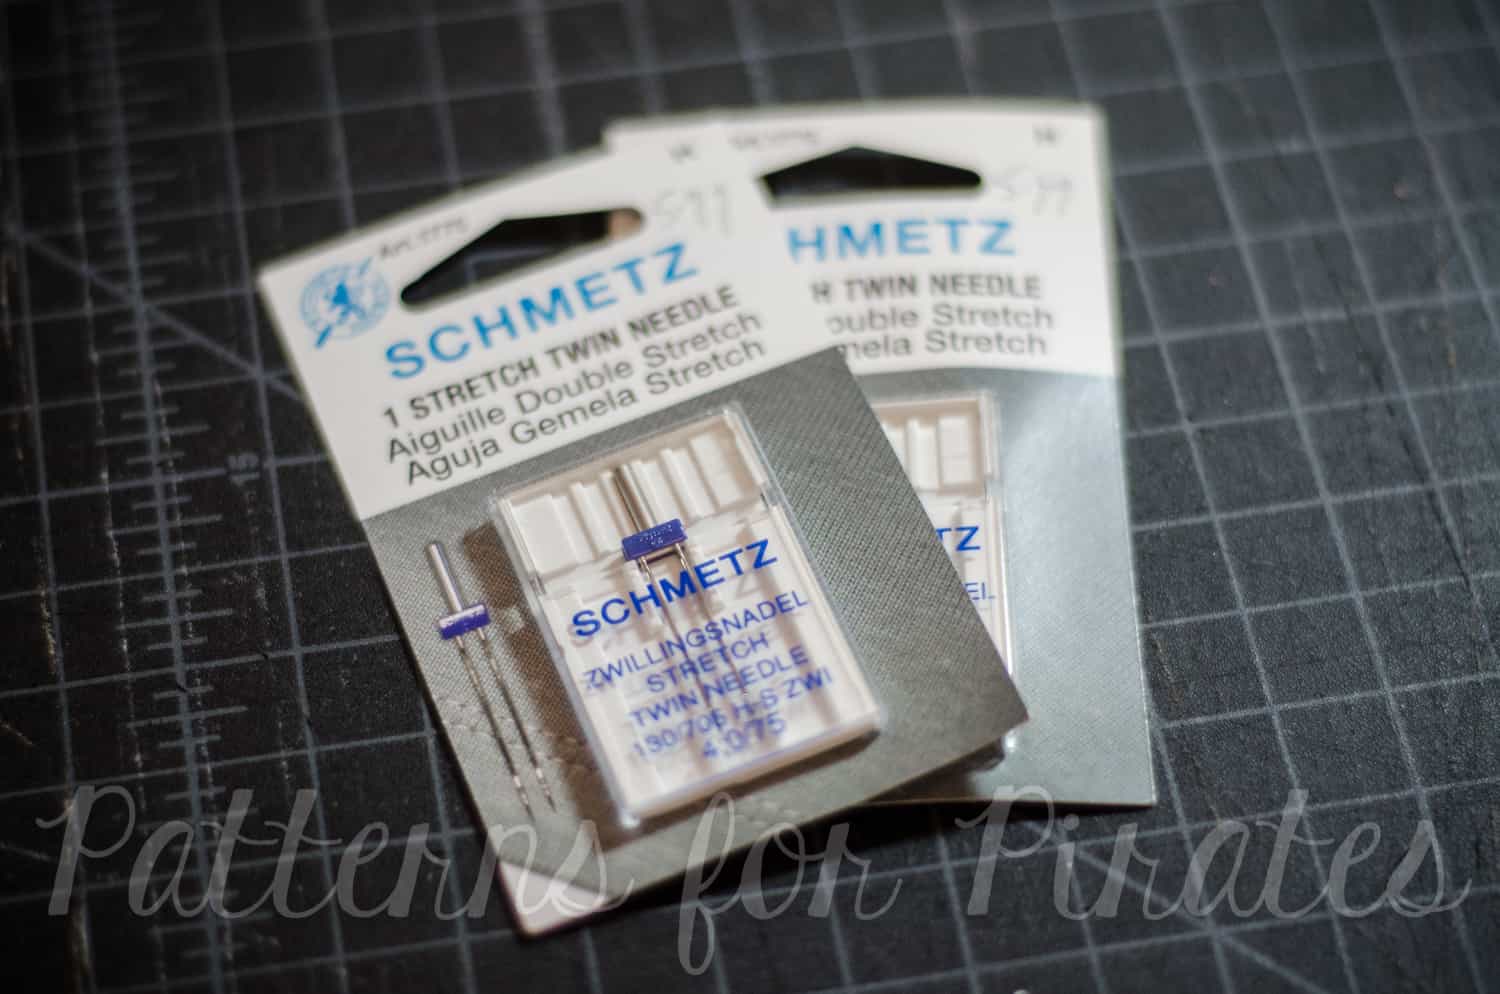
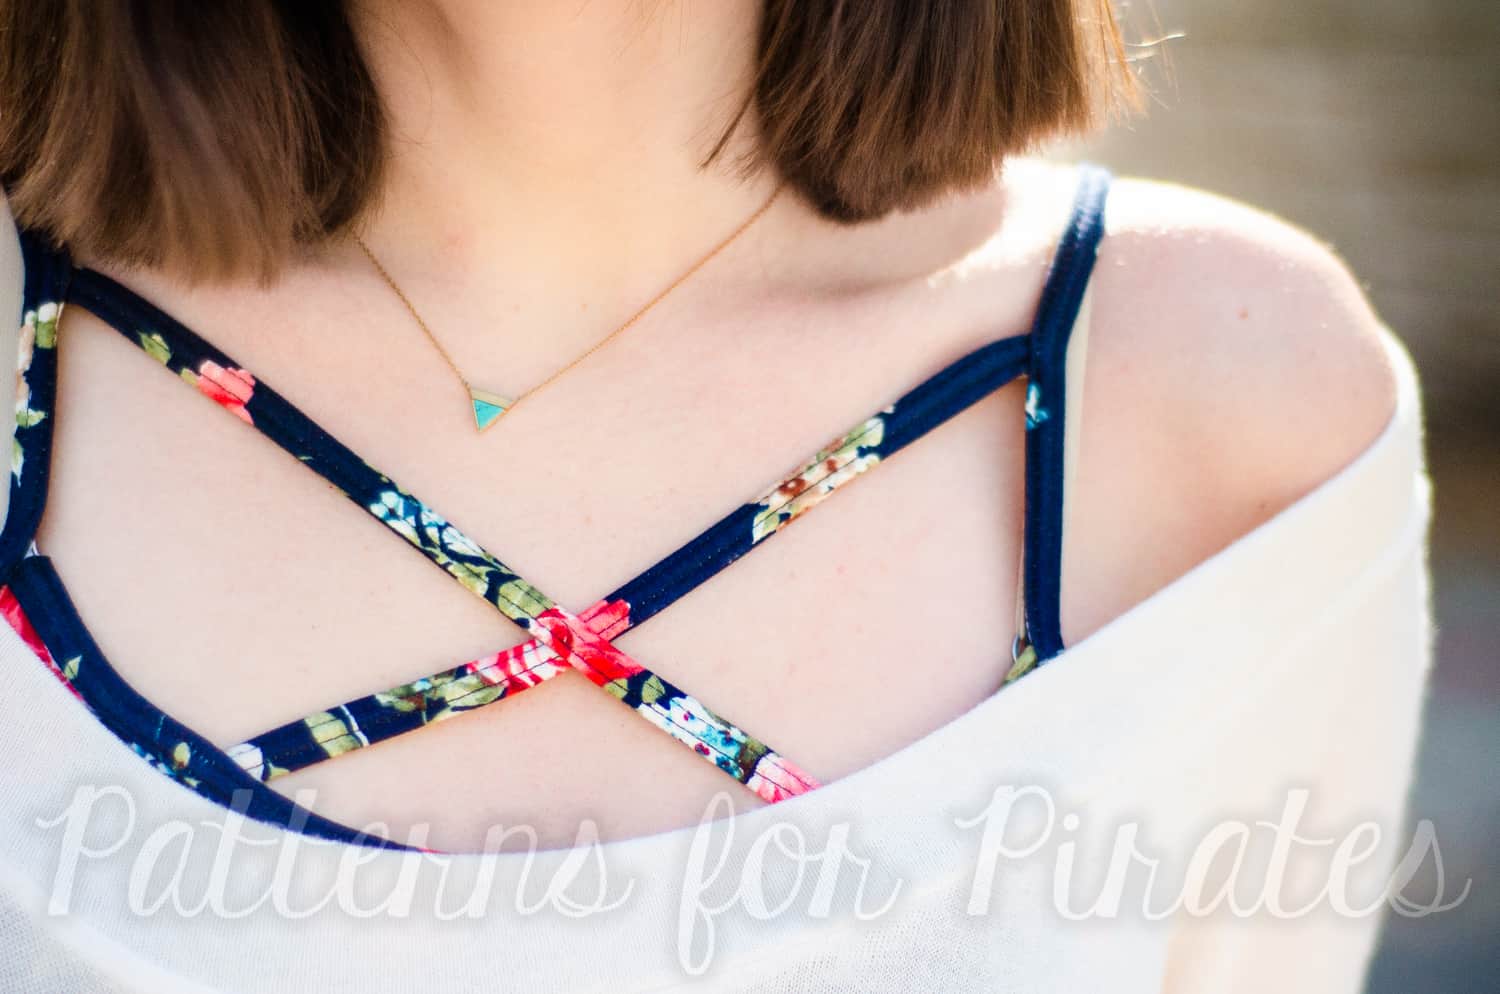
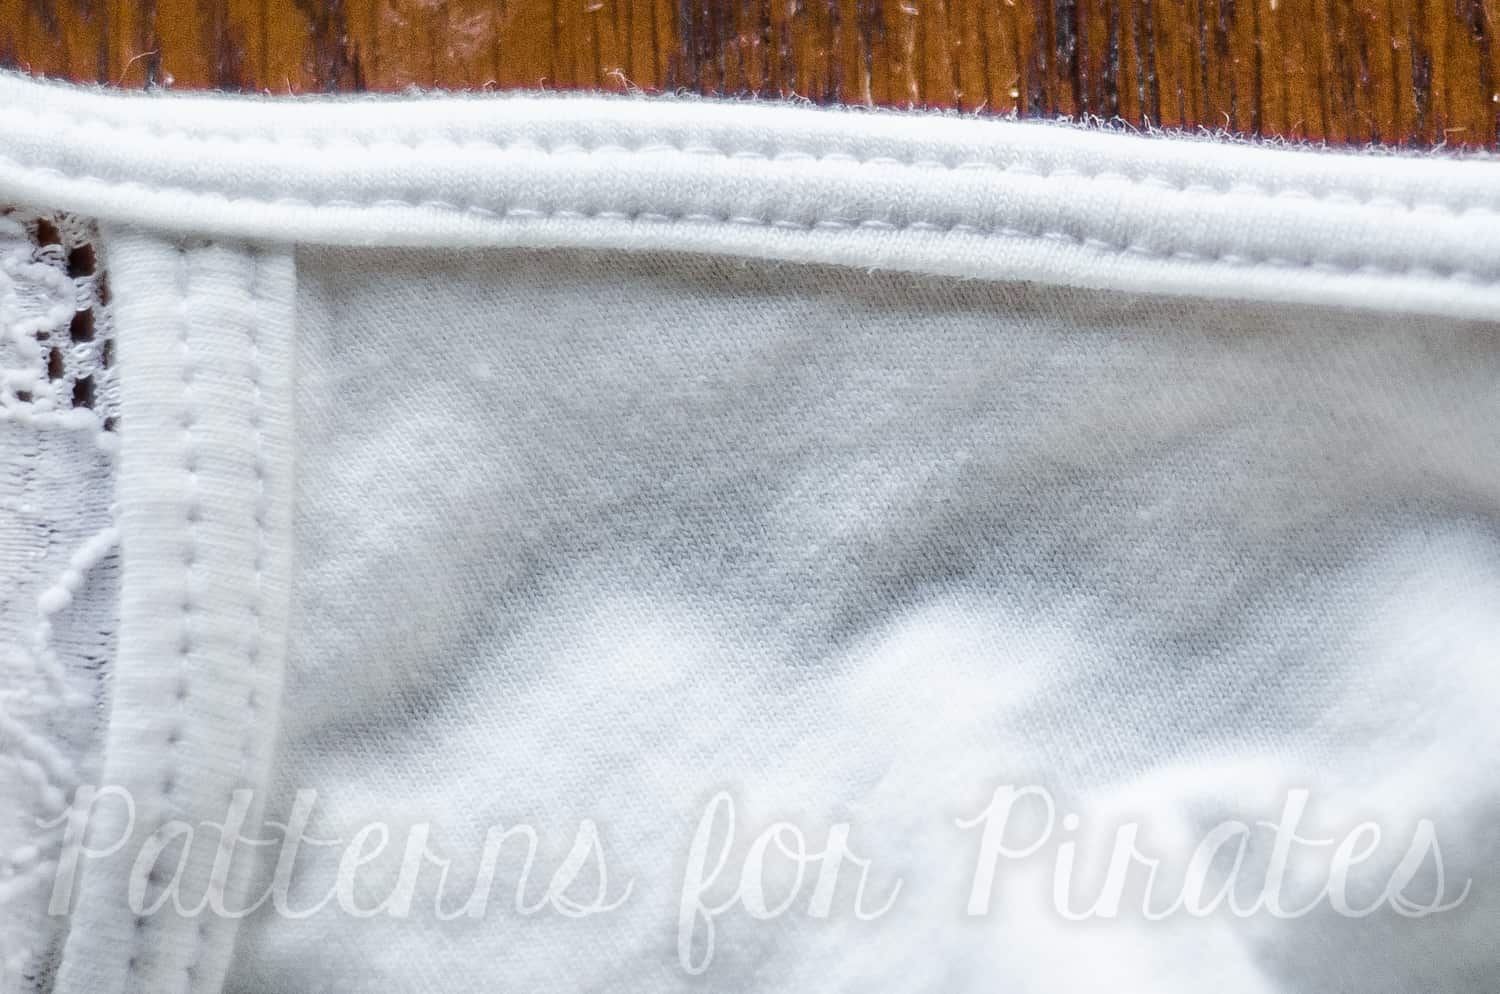
Hello Pirates!  Today I’ll be walking through some tips on using a twin needle for topstitching as an alternative to a coverstitch machine.  The end goal (of either twin needles or a coverstitch) is two lines of parallel stitching on the right side of the fabric, with the ability to stretch and not break threads when pulled.  This is usually used when hemming, but these tricks will especially come in handy when topstitching binding on our new cami pattern!
 

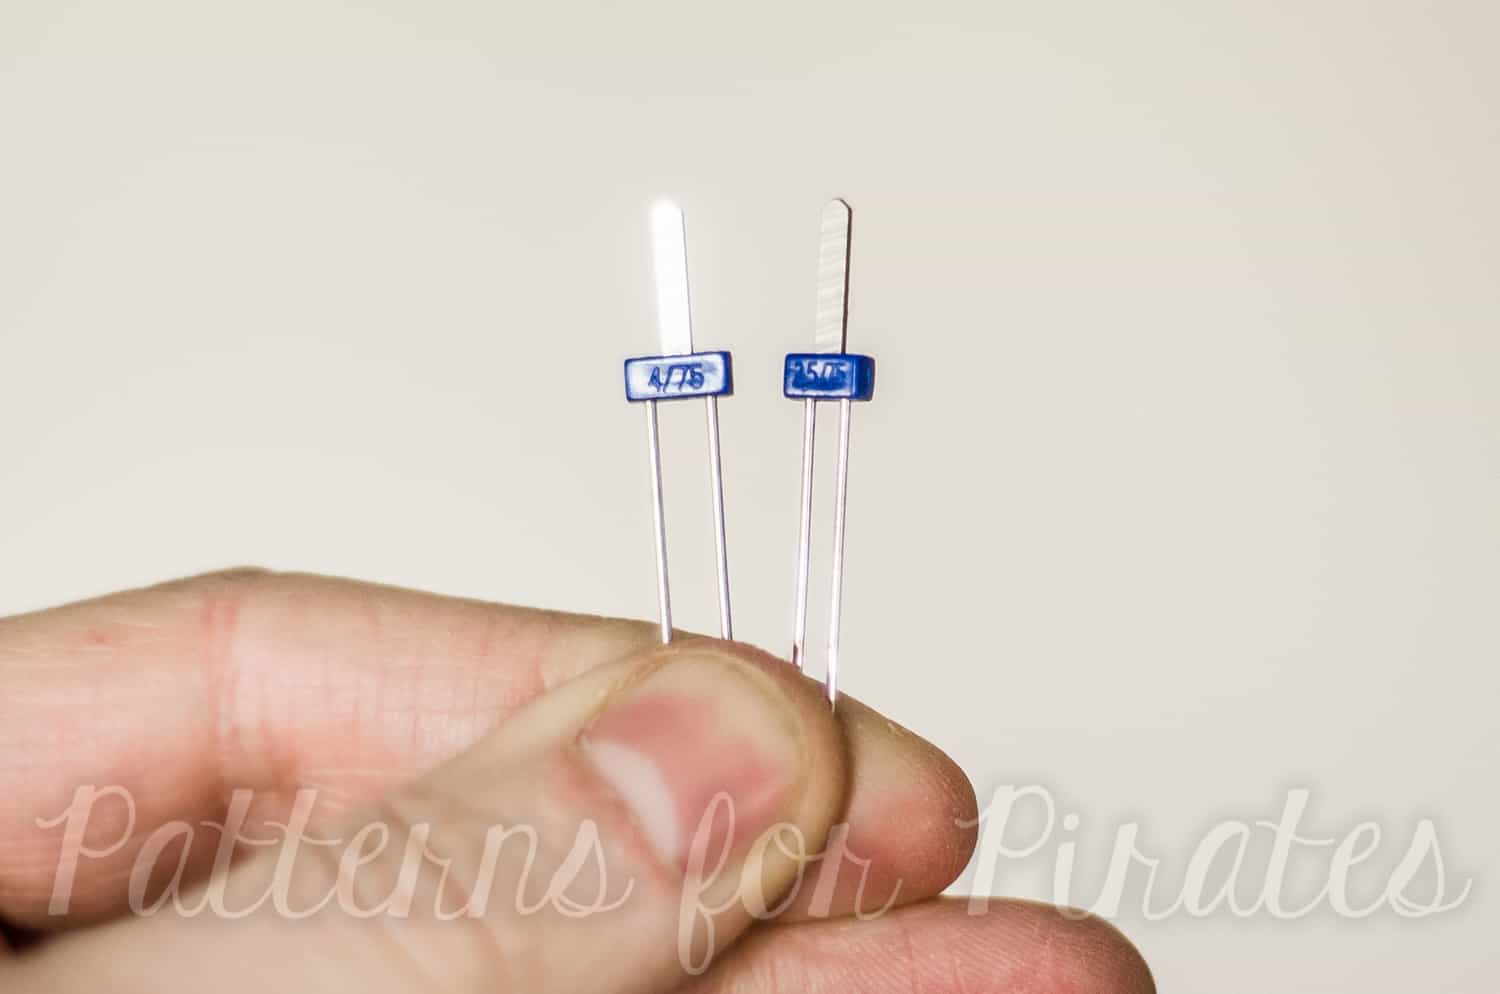
1. Stretch Needles

The most important point is to make sure you buy stretch needles.  Schmetz is the most common brand that people tend to use, they are available on Amazon.  I prefer the wider 4.0 width the best because it works better for me; it also comes in a 2.5 width.  These are both 75/11 needle size.
 

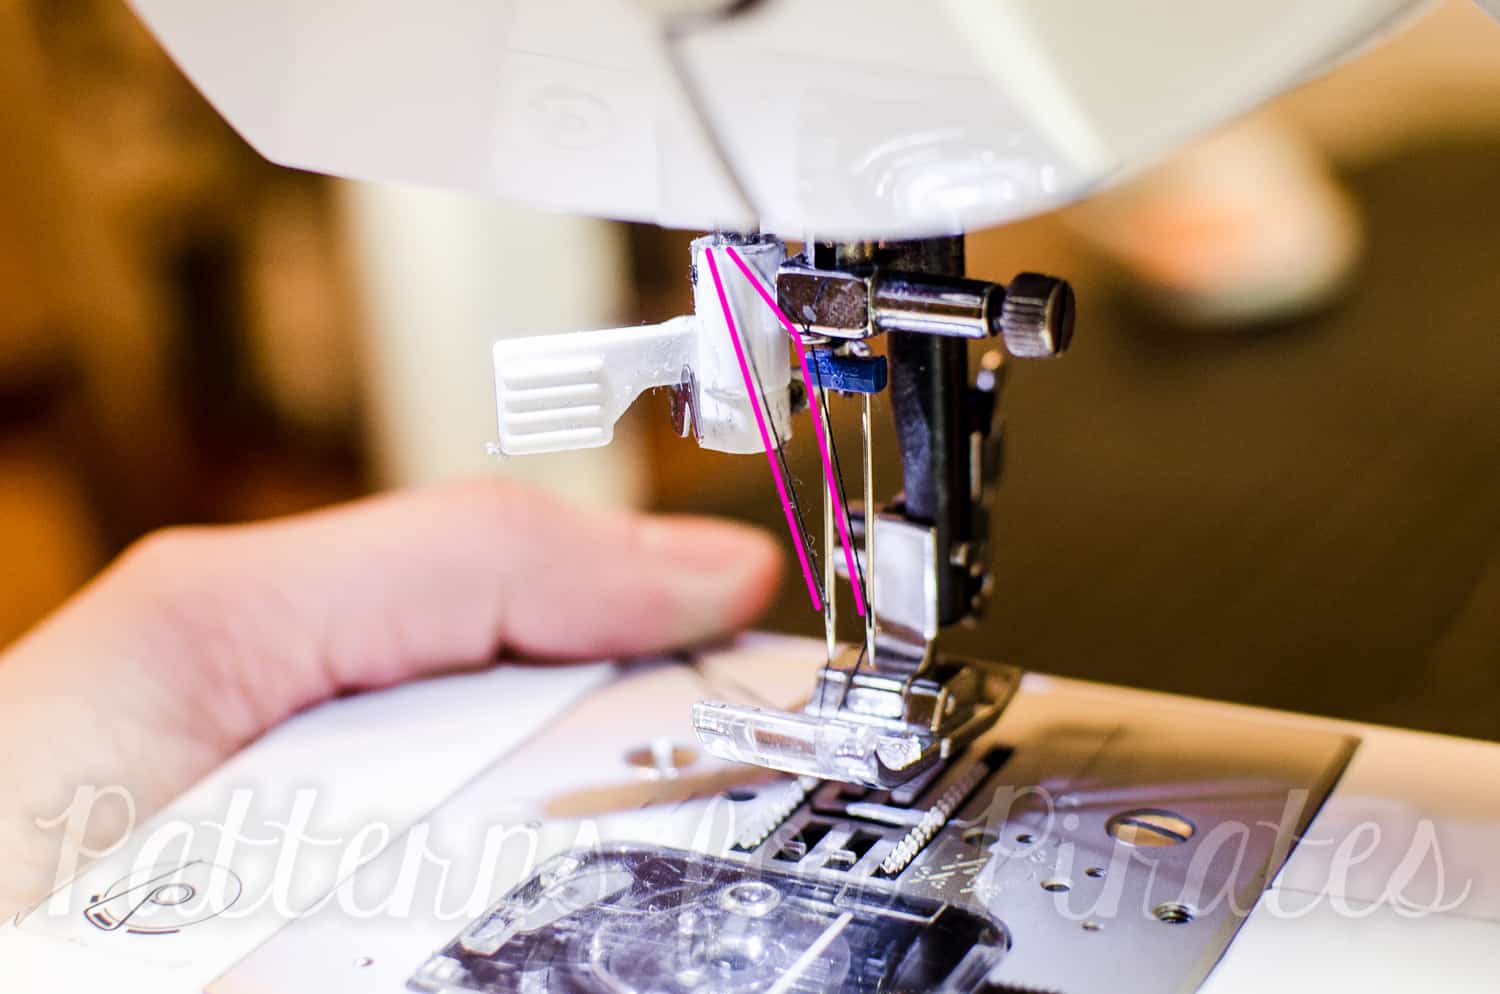
2. Threading

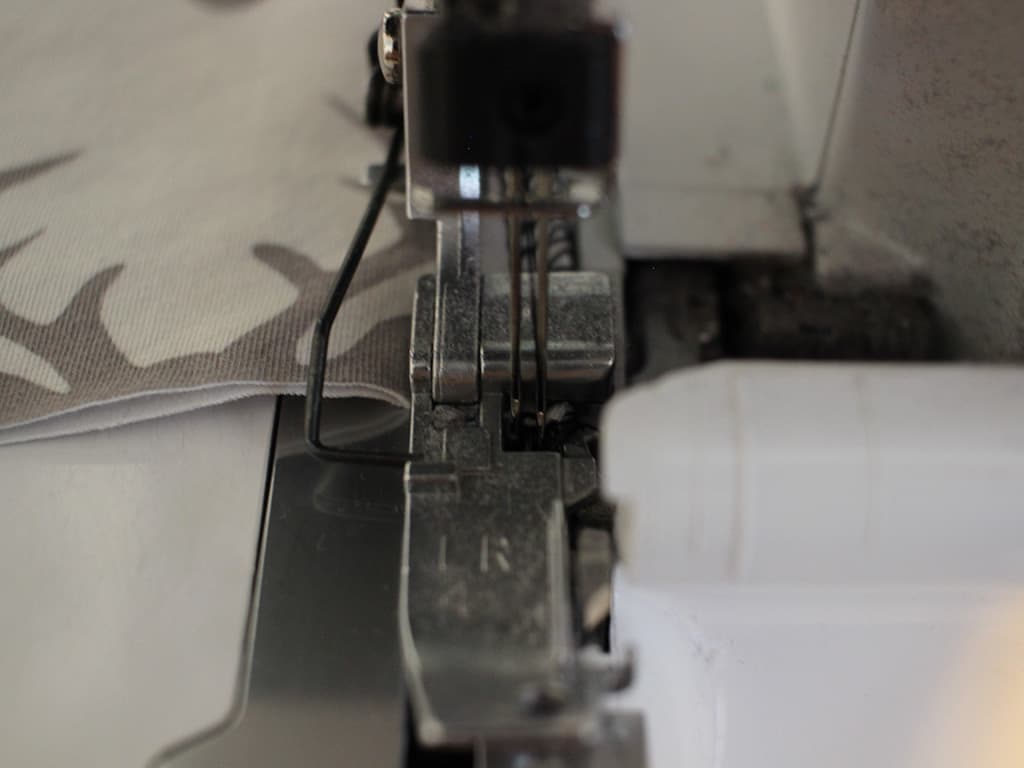
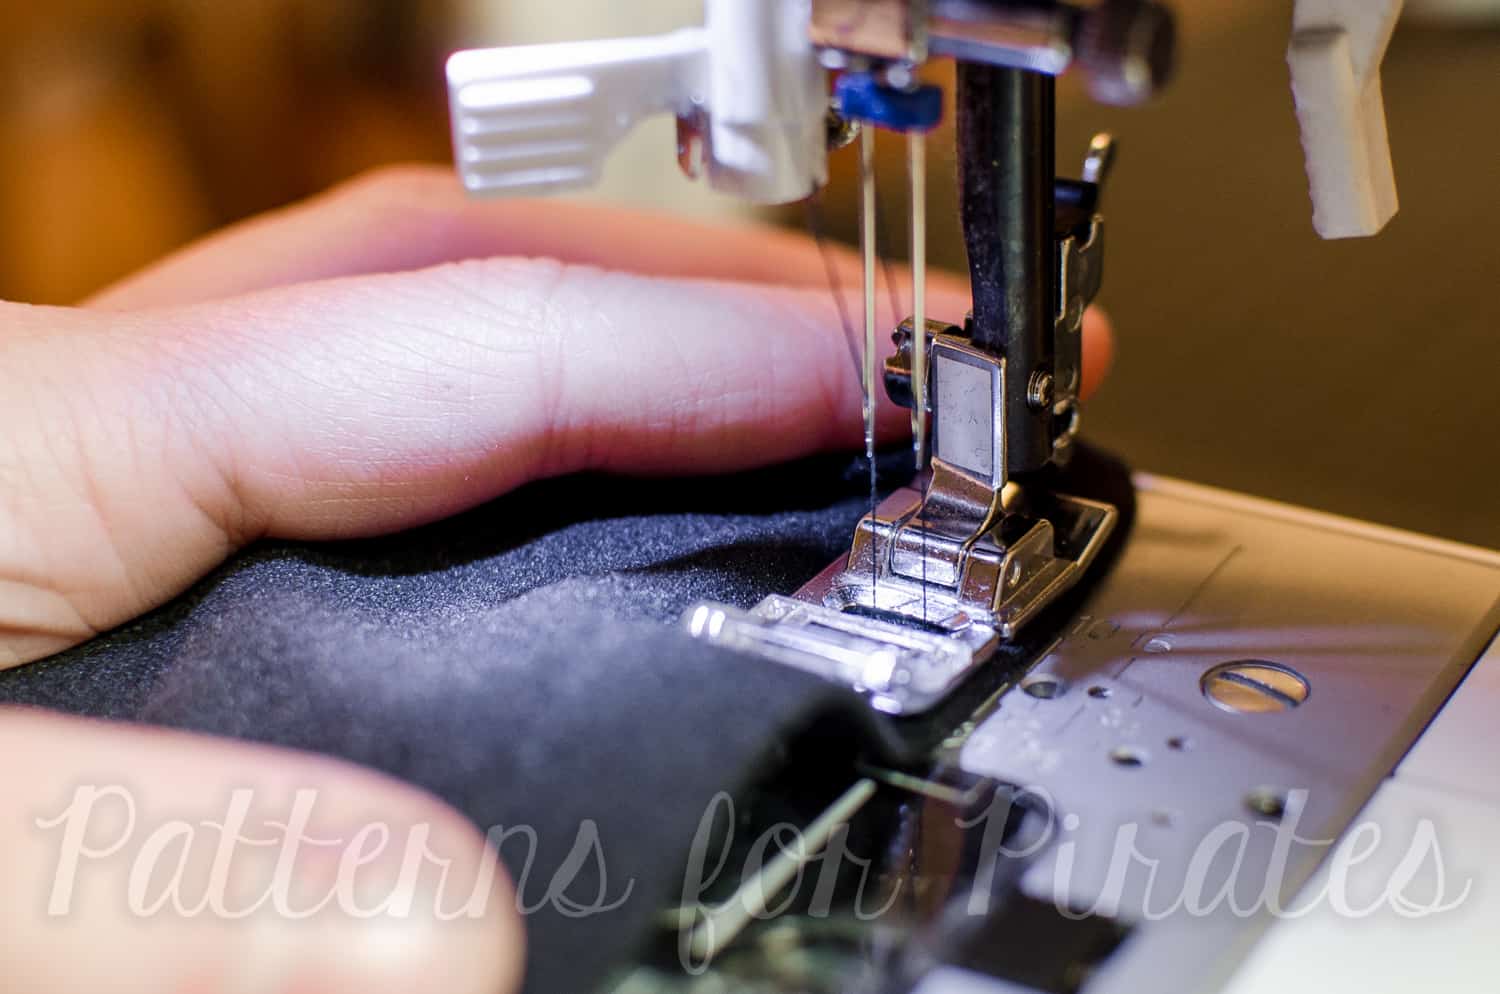
When threading, it helps to thread as shown in the below picture.  This helps stop the threads from twisting when sewing.  Also, make sure your threads are not caught on anything (or each other) at the top of your machine.
 

5. Stitch Type

Use a regular straight stitch for this; no need to use a triple stretch stitch (|||) or any other stretch stitch like that.


4. Tension

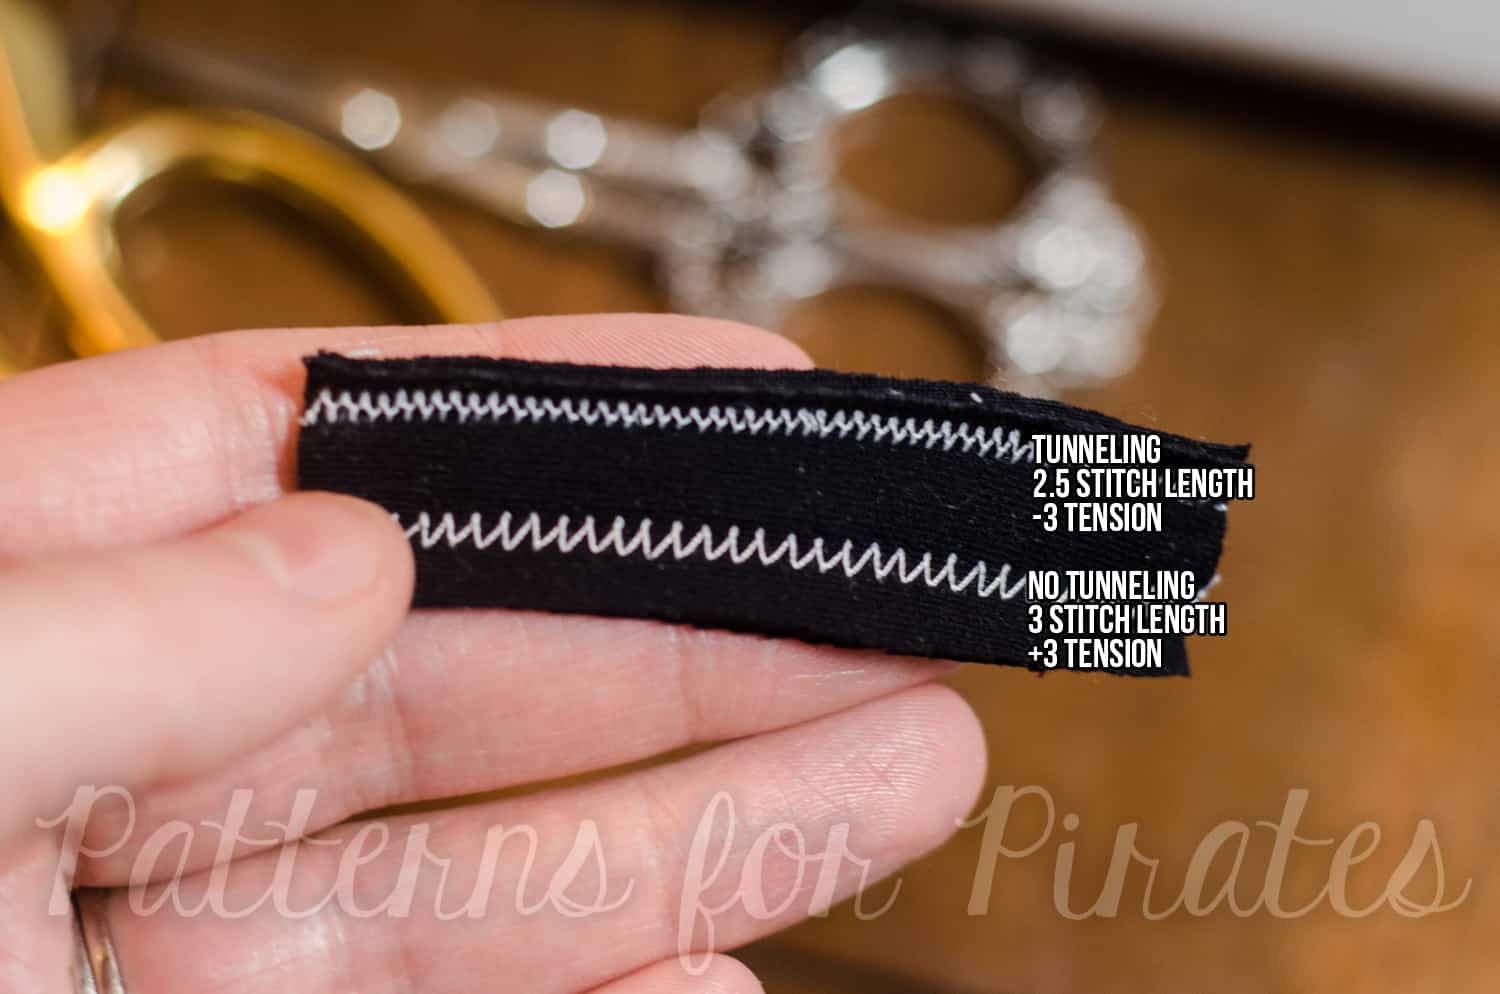
Tunneling is what happens when there is a large bump in between your two rows of stitching.  To avoid this, I’ve found it helps to increase your top thread tension.  Your machine may vary, but I usually set my tension to 3.  If possible, you should also decrease your bobbin tension as well.
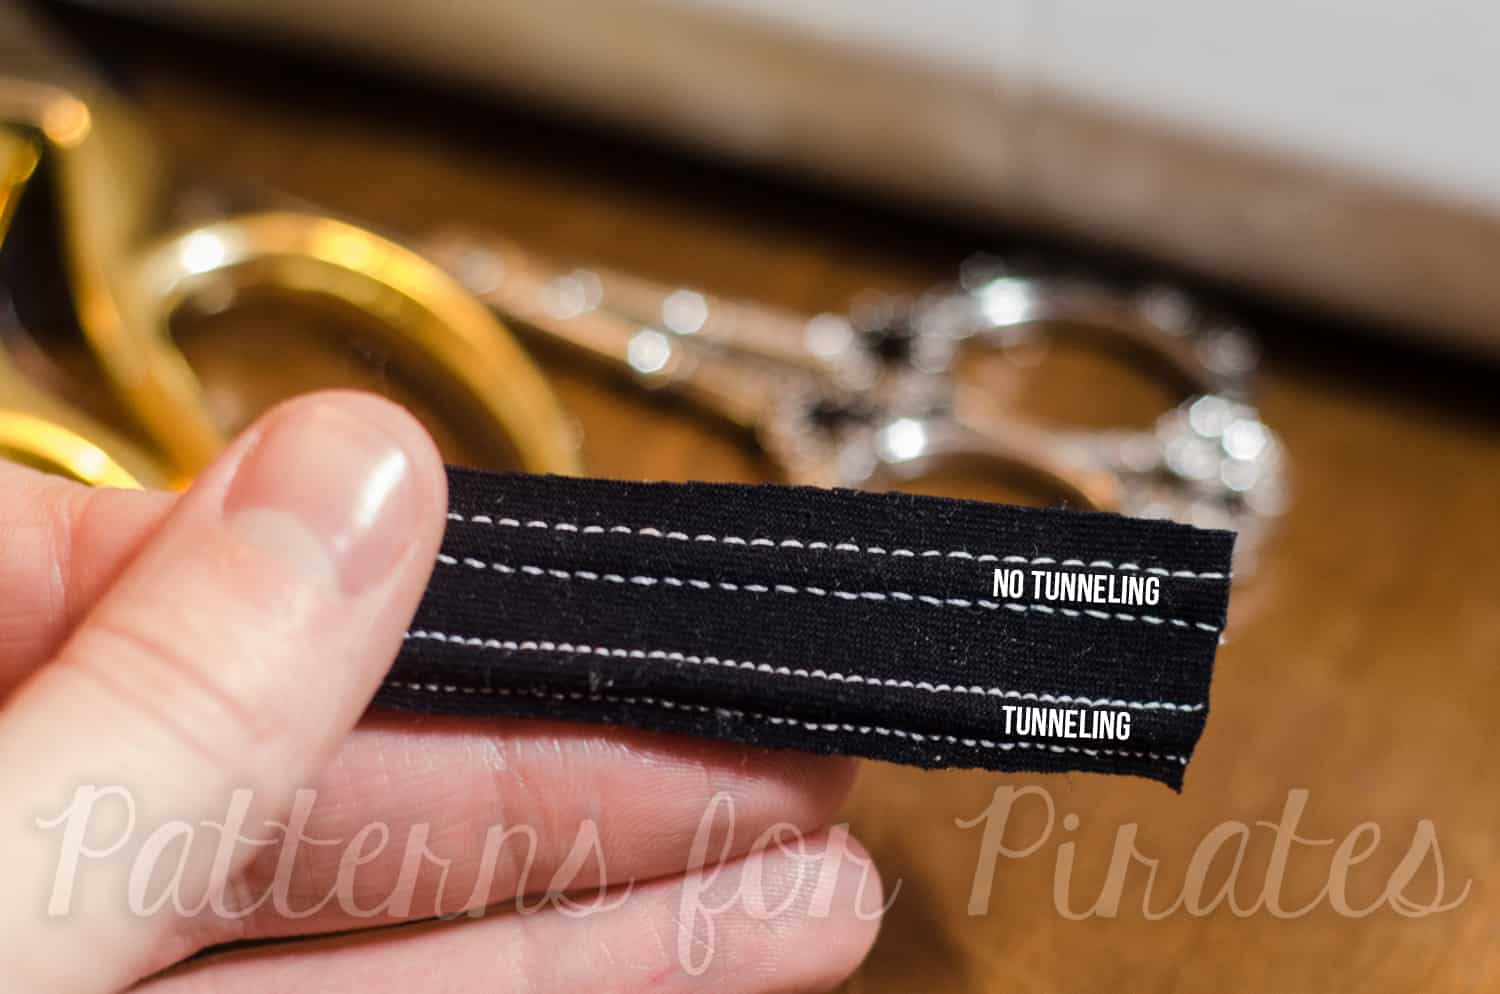
 

5. Stitch Length

Increasing stitching length usually also helps with tunneling, especially on trickier, slipperier fabrics.  Your machine may also vary on this too, but I set mine between 3.0 – 4.0, depending on fabric.  The lower number will help things stretch more though, so you may need to find a happy medium.
 

6. Go Slowly!

This is a huge one.  It’s so tempting to go full steam ahead, especially if you using a twin needle to hem.  You’re almost done with your project, but don’t ruin it with a sloppy hemming job!  Going slowly can make all the difference between a wavy hem and a perfectly flat one.  If you encounter any thicker areas of fabric, it may also be a good idea to use the hand crank on your machine, turning it slowly to ensure no mistakes as you pass over the thicker area.


7. Don’t Stretch as You Sew

This applies to all knit fabric projects, but especially when using a twin needle.  Don’t pull or stretch the fabric as you feed it into the needle area.  I’ve found that even creating a little extra negative tension as you guide the fabric can help to avoid any pulling as you sew.
 

8. Top vs. Bottom

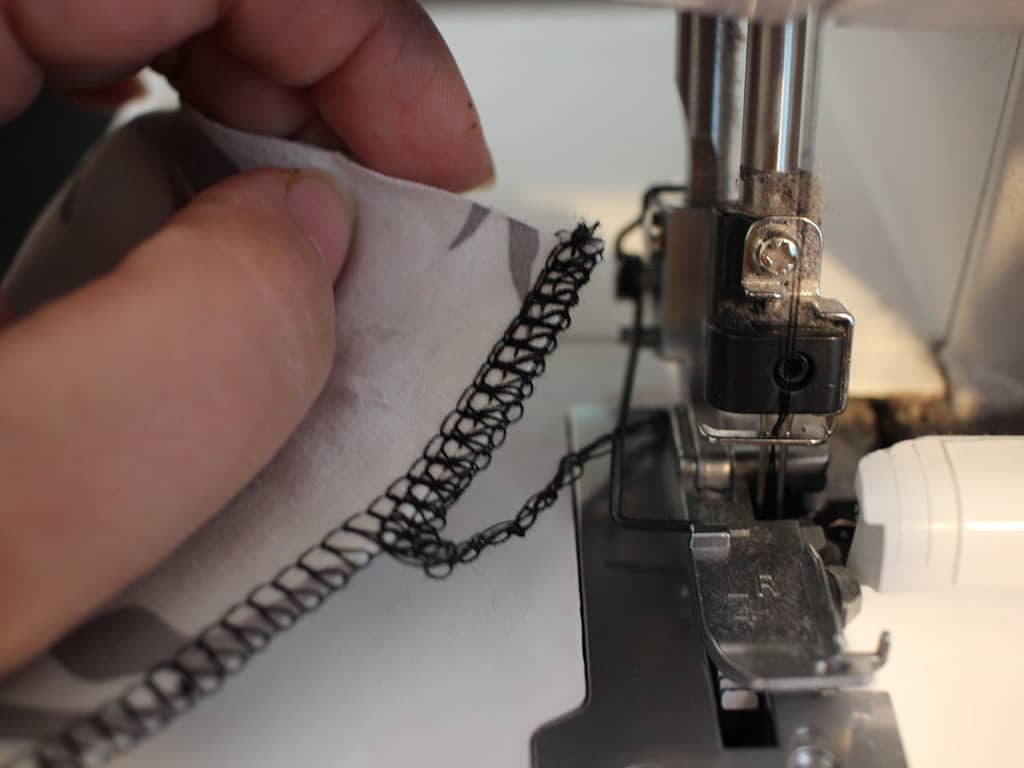
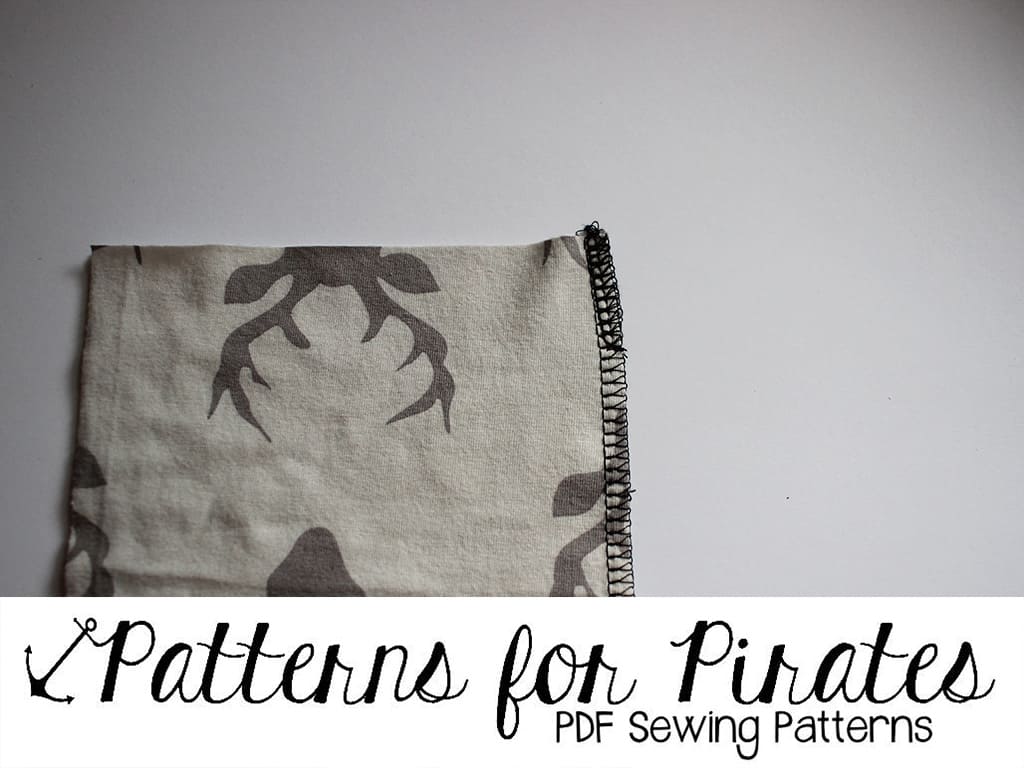
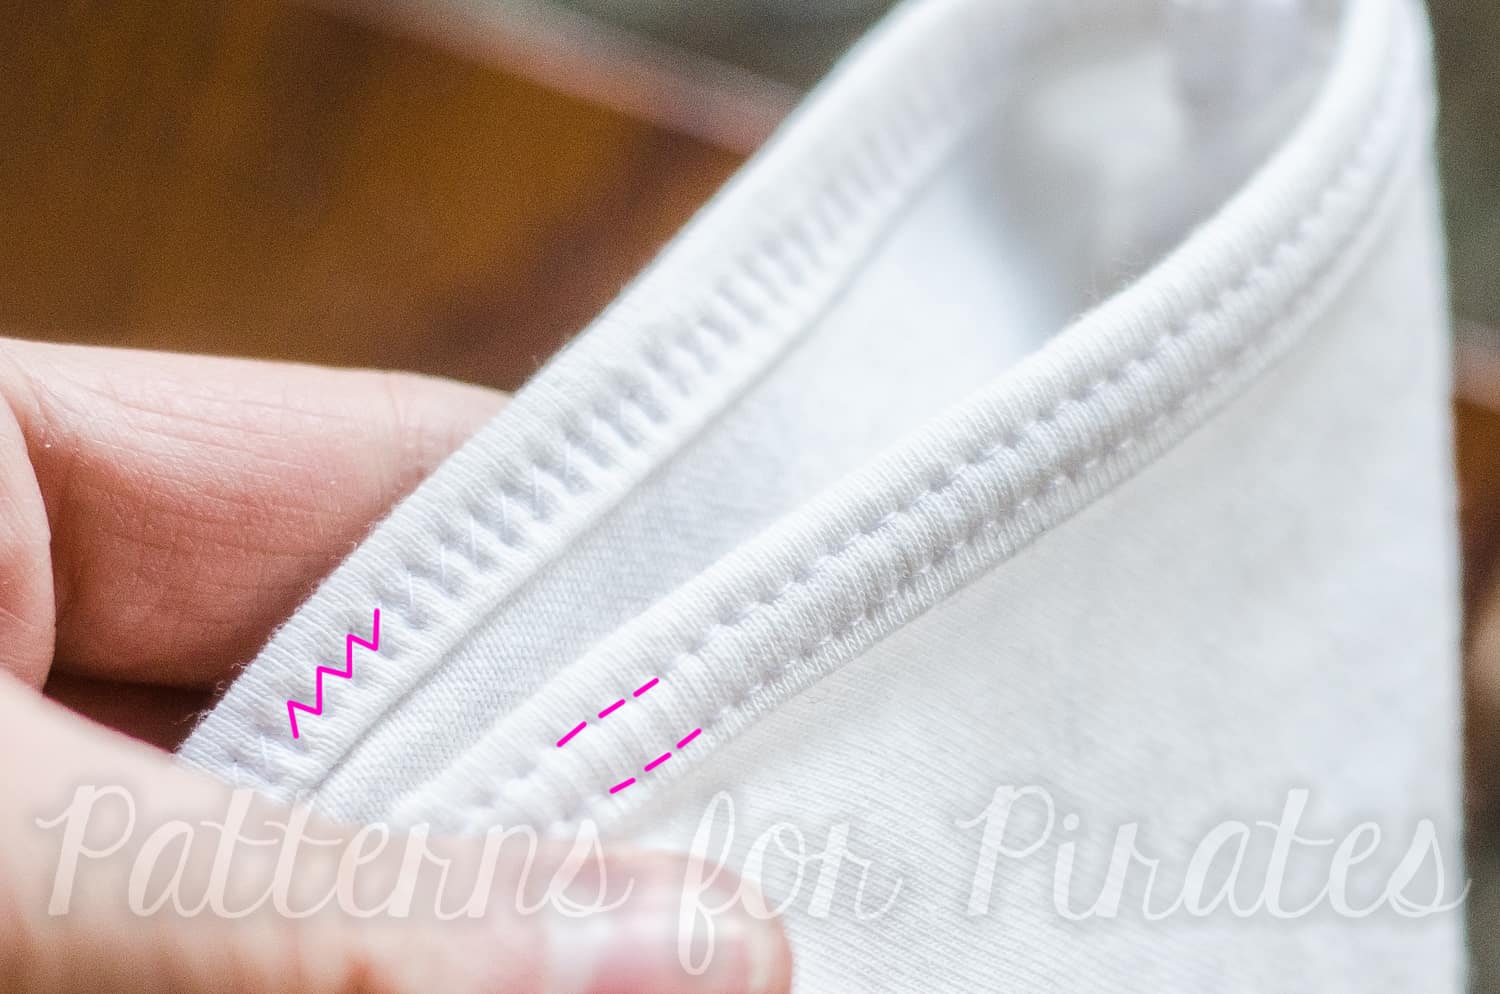
When everything is done correctly, you should have two parallel lines on the top of your fabric, and a perfect zigzag on the back.  The zigzag is what allows your fabric to stretch after it’s sewn, so if you have super tight or non-existent zigzags, then you likely need to adjust (likely increase – confusing, I know) your top thread tension.  Here’s how it should look, the underside of the fabric is at the top of the picture and the right side is on the bottom.  Note the zigzags!
 

I hope these tips help you as you prepare to topstitch lots of fun binding or finish up a fancy new garment with a twin needle hem!  Let us know in our Facebook group or here in the comments if you have any questions about twin needles!

Elisabeth
Filed Under: Frequently Asked Questions 15 Comments

Cross My Heart Cami Hacks

March 14, 2017

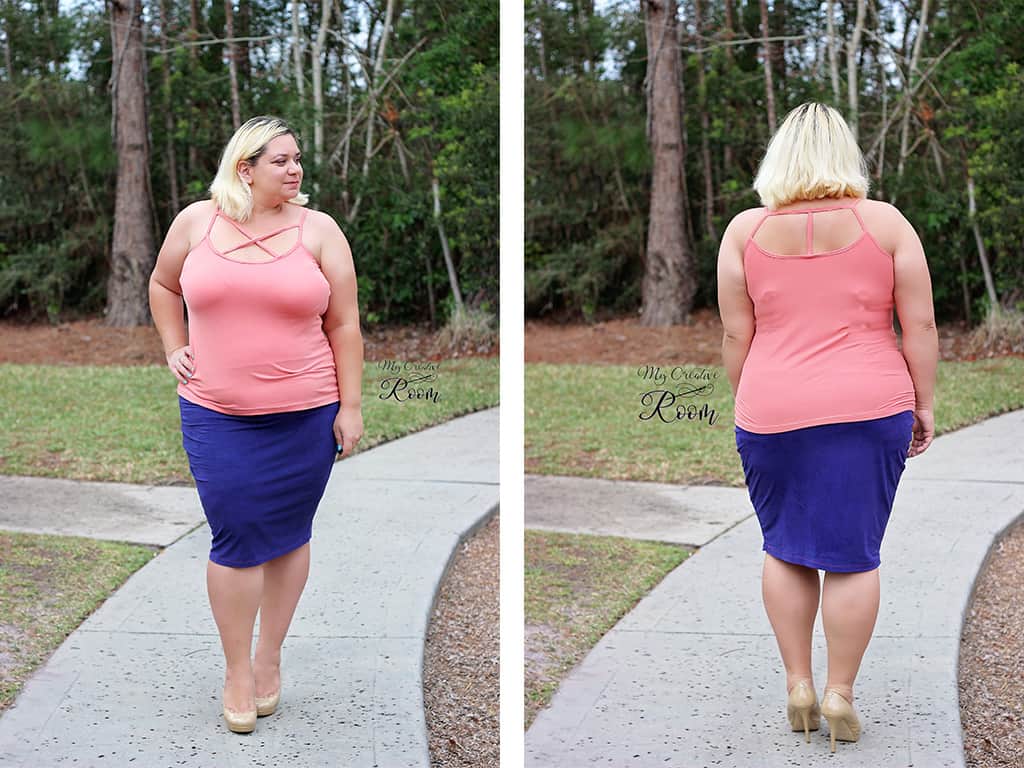
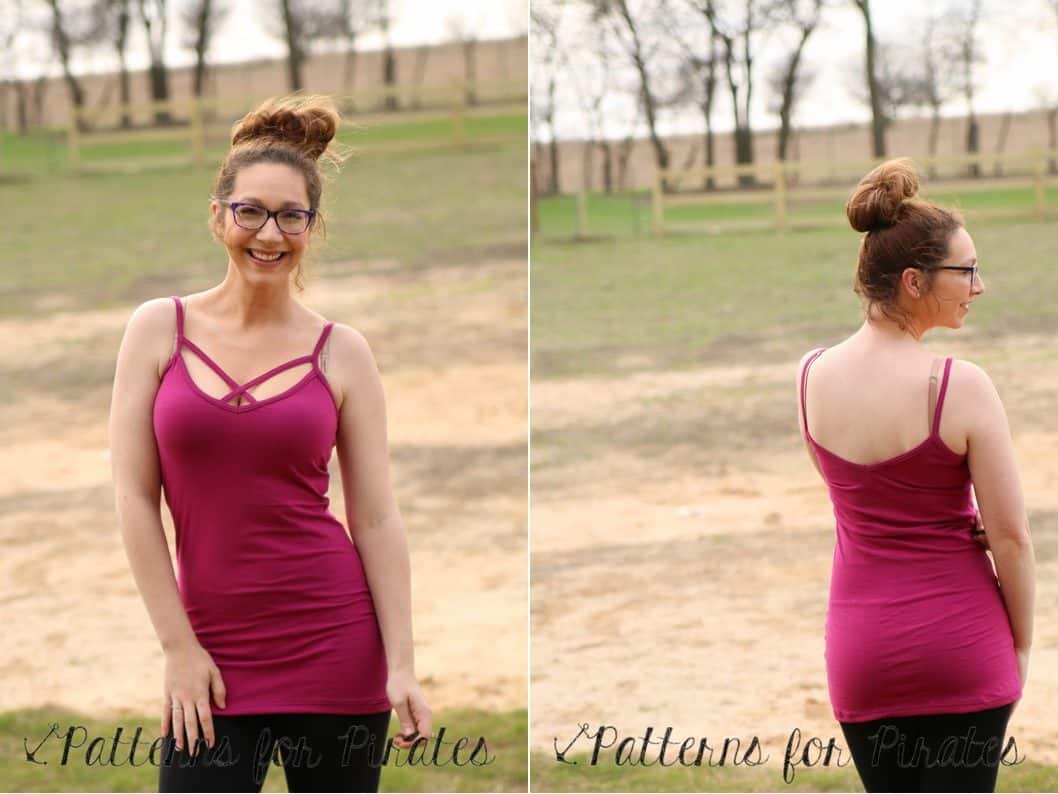
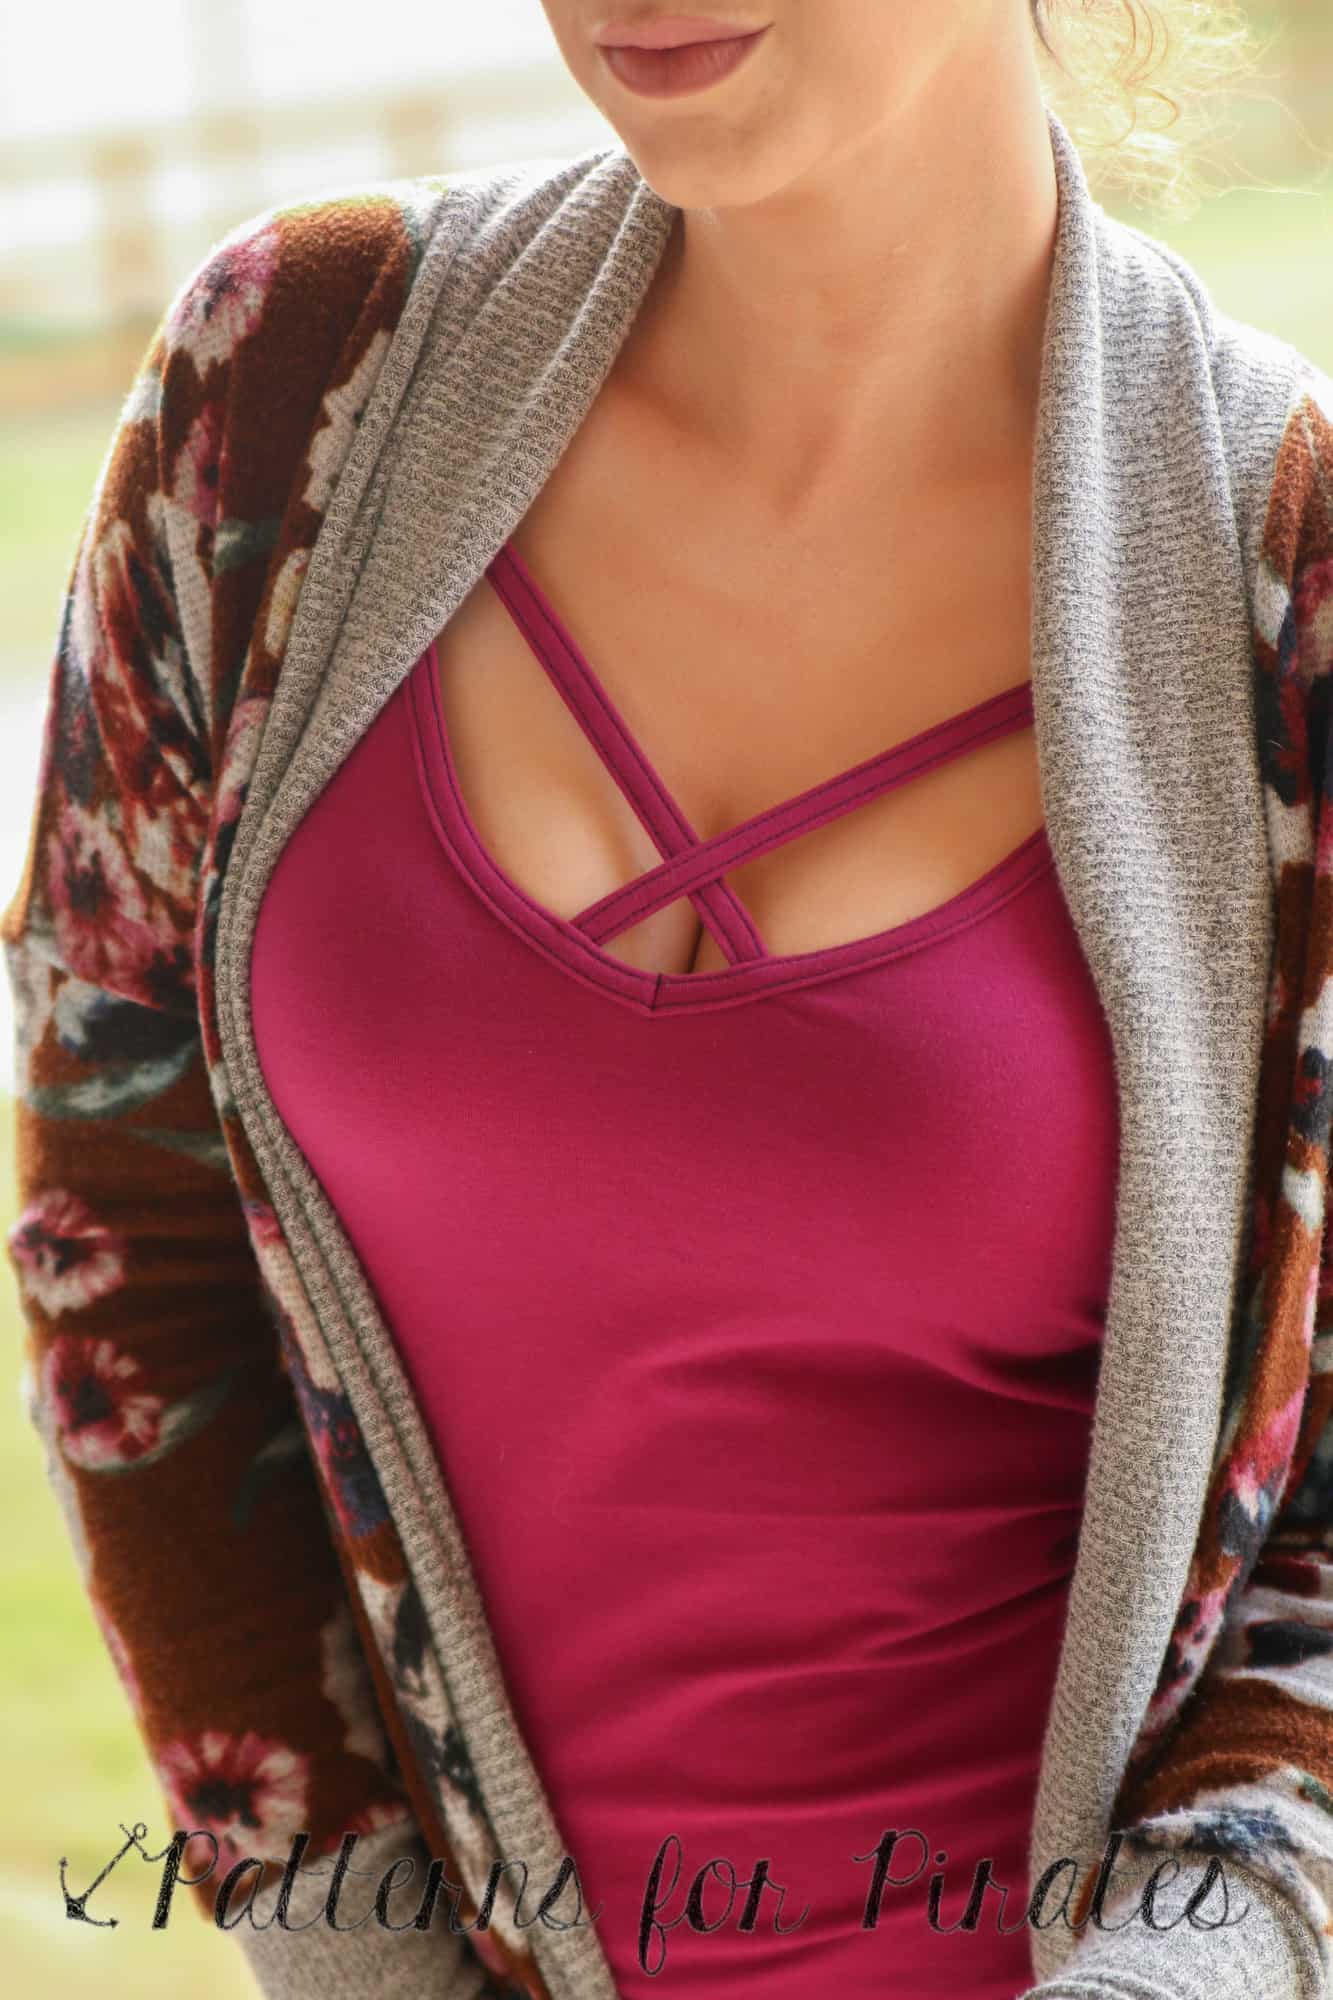
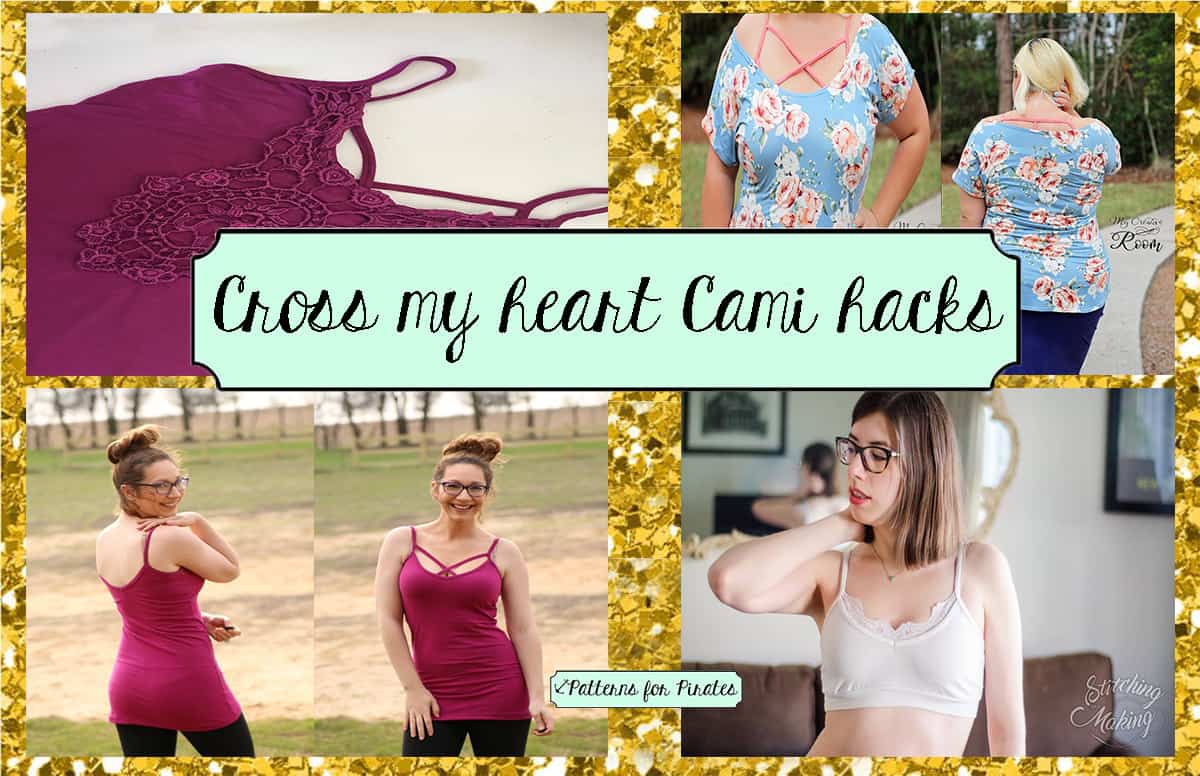
So you love the X option but you also love the T option of the Cross My Heart Cami and now you’re in a pickle…which one do I make? The answer is obvious, you make both! And if you’re anything like I am, you make both style in one cami! 🙂

IMG_6658

IMG_6671

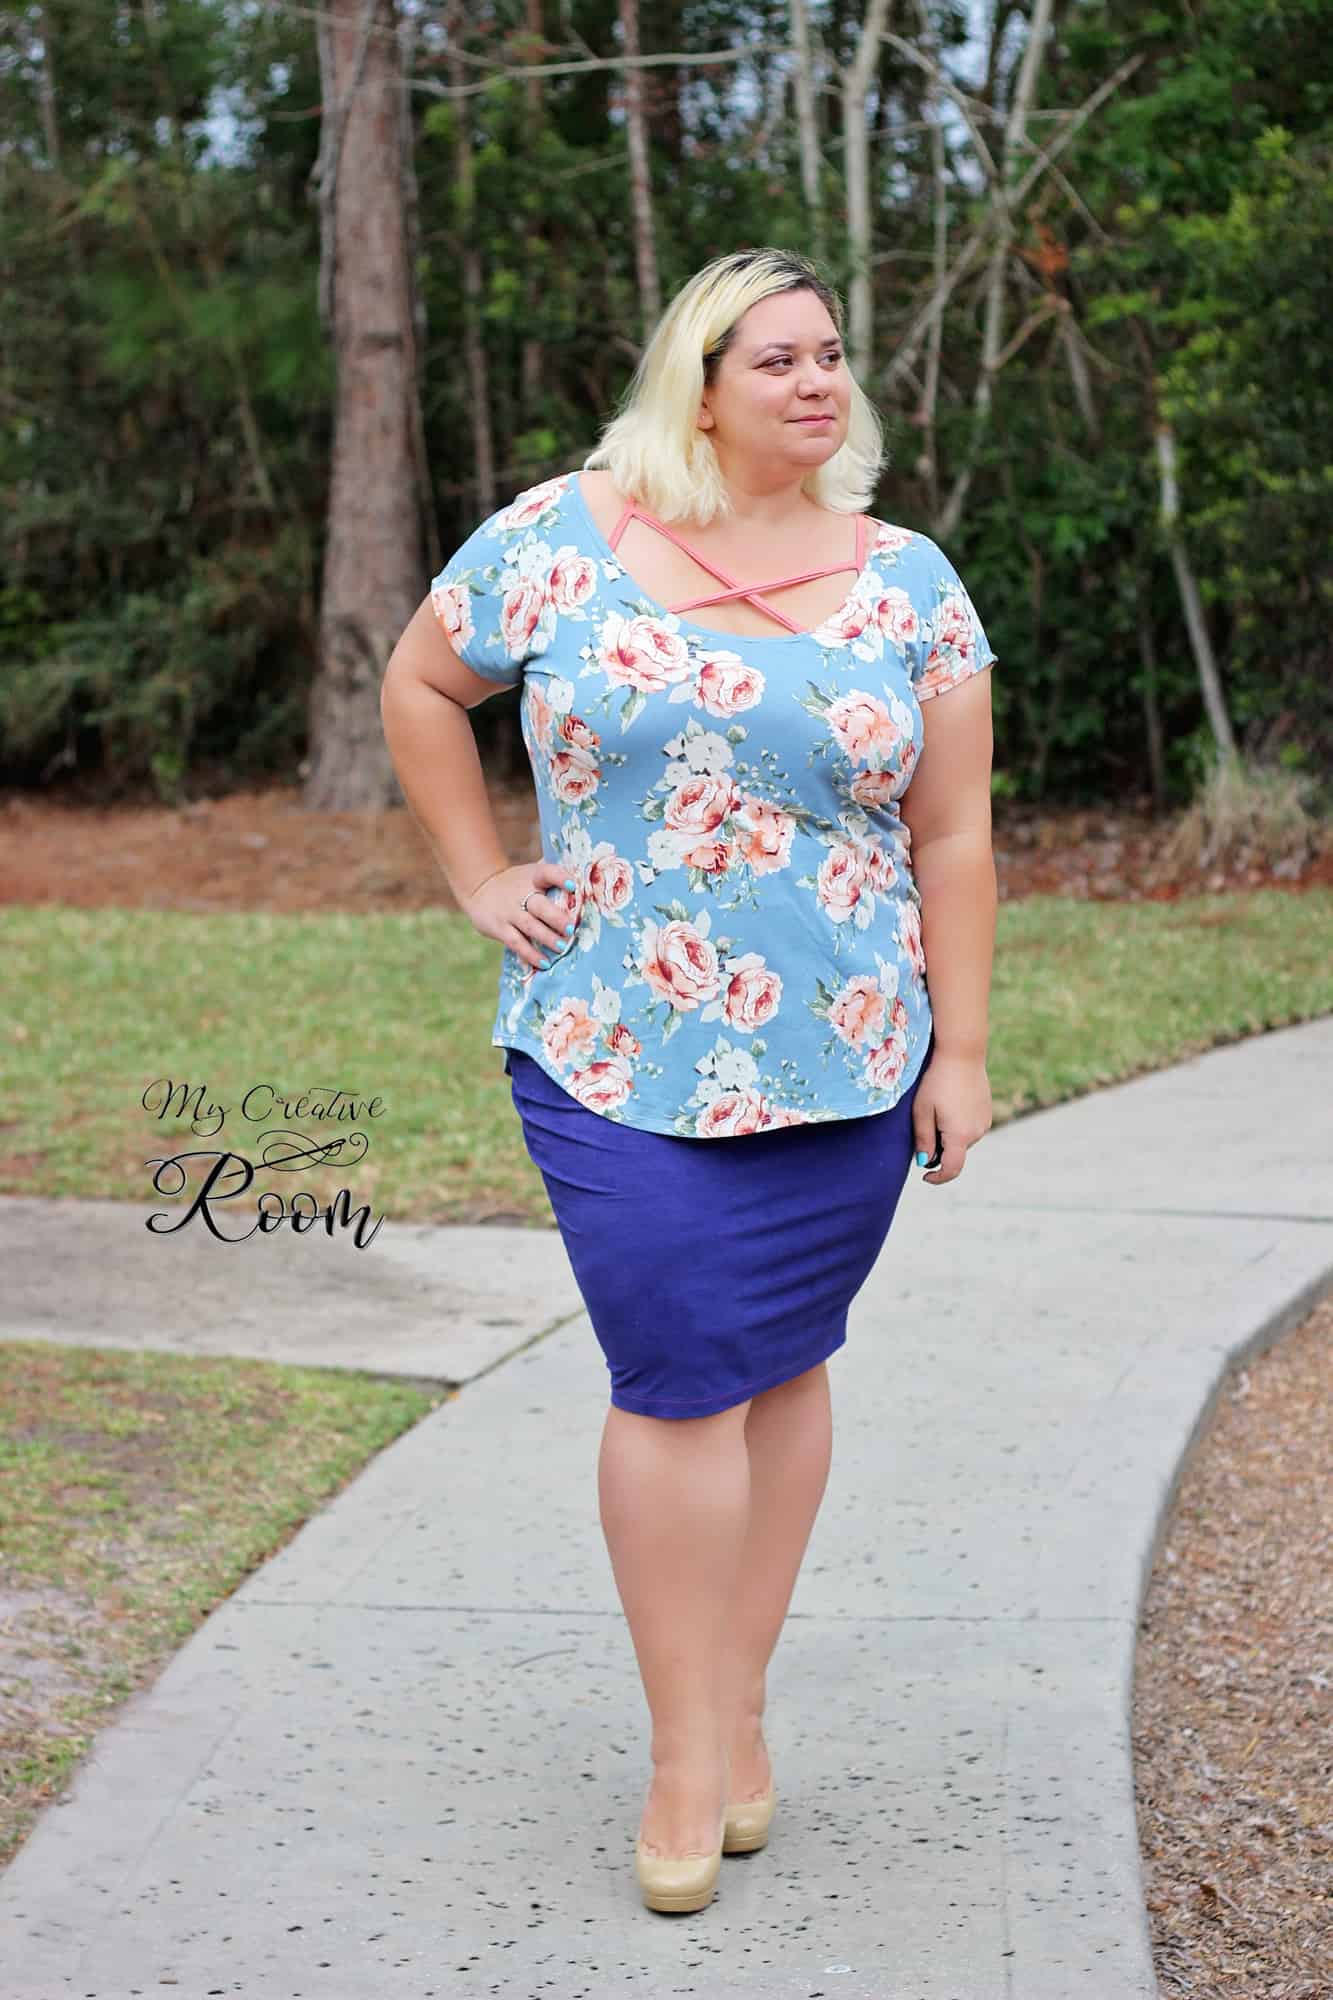
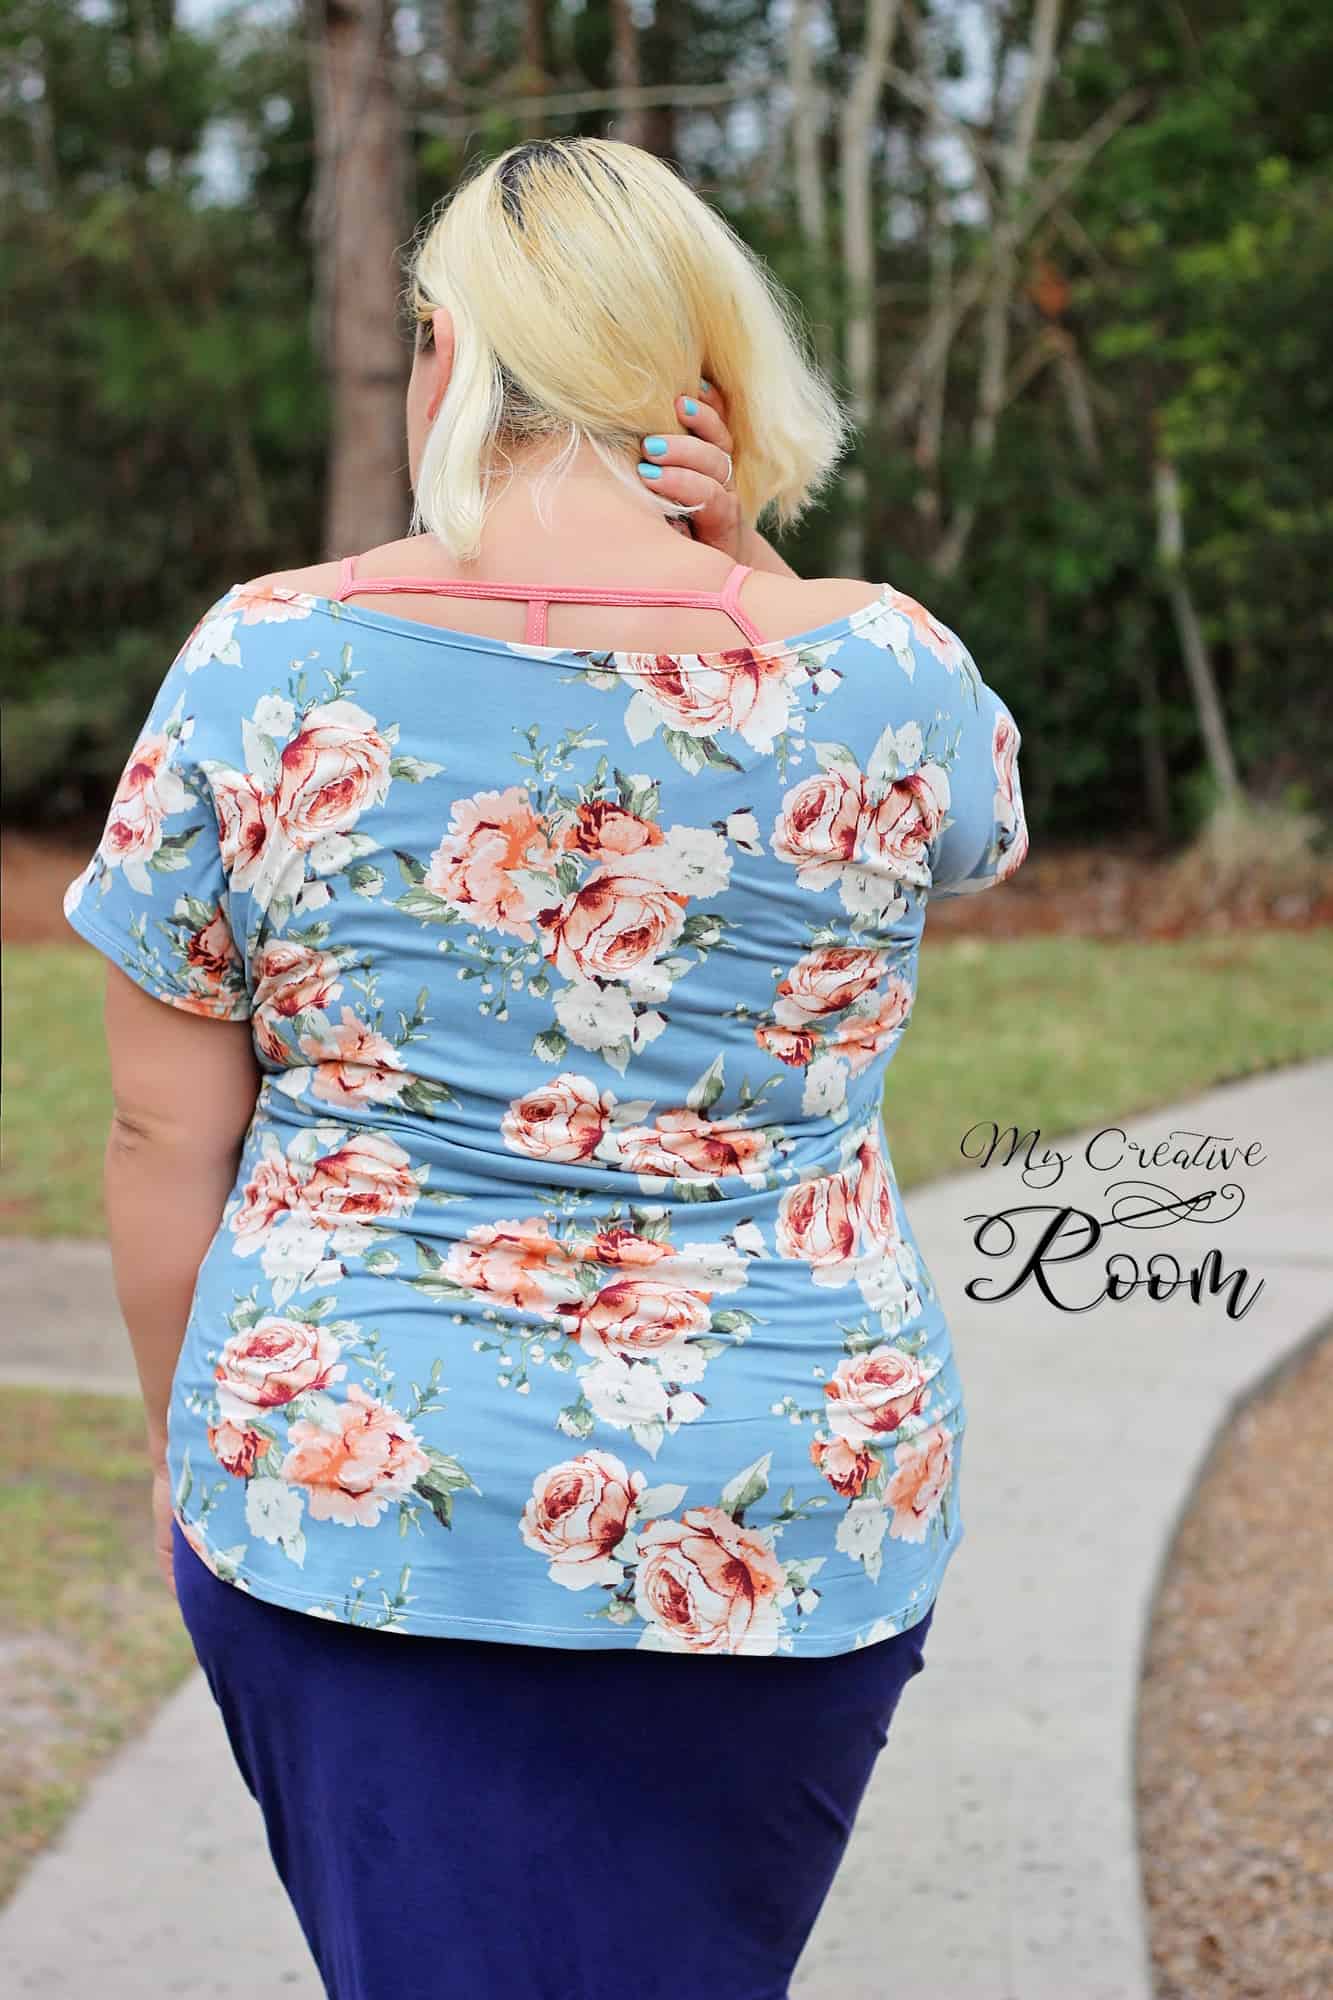
The beauty of the CMHC pattern is that you don’t even need to make any modifications to achieve this look. Simply cut two pieces of the front pattern and follow the directions for adding the T and the X details to the pieces. Finish the cami as per the tutorial and voila! You made yourself a brand new cami that can be worn both way. You can wear the X in the front and the T in the back like I did or you can wear the T in the front.

cami 2fronts

I paired this cami with a Pirate Pencil Skirt and a Sweet Tee with curved hem and an off the shoulder mod. Which styles will you be making first?

Judy made this one with two backs! Such a simple mode that can add so many more options to this pattern!

The V front and low x makes a sizzler! I mean, who doesn’t love to have that piece of clothing that you can pull out, slip on feel a little sexy every once in a while?

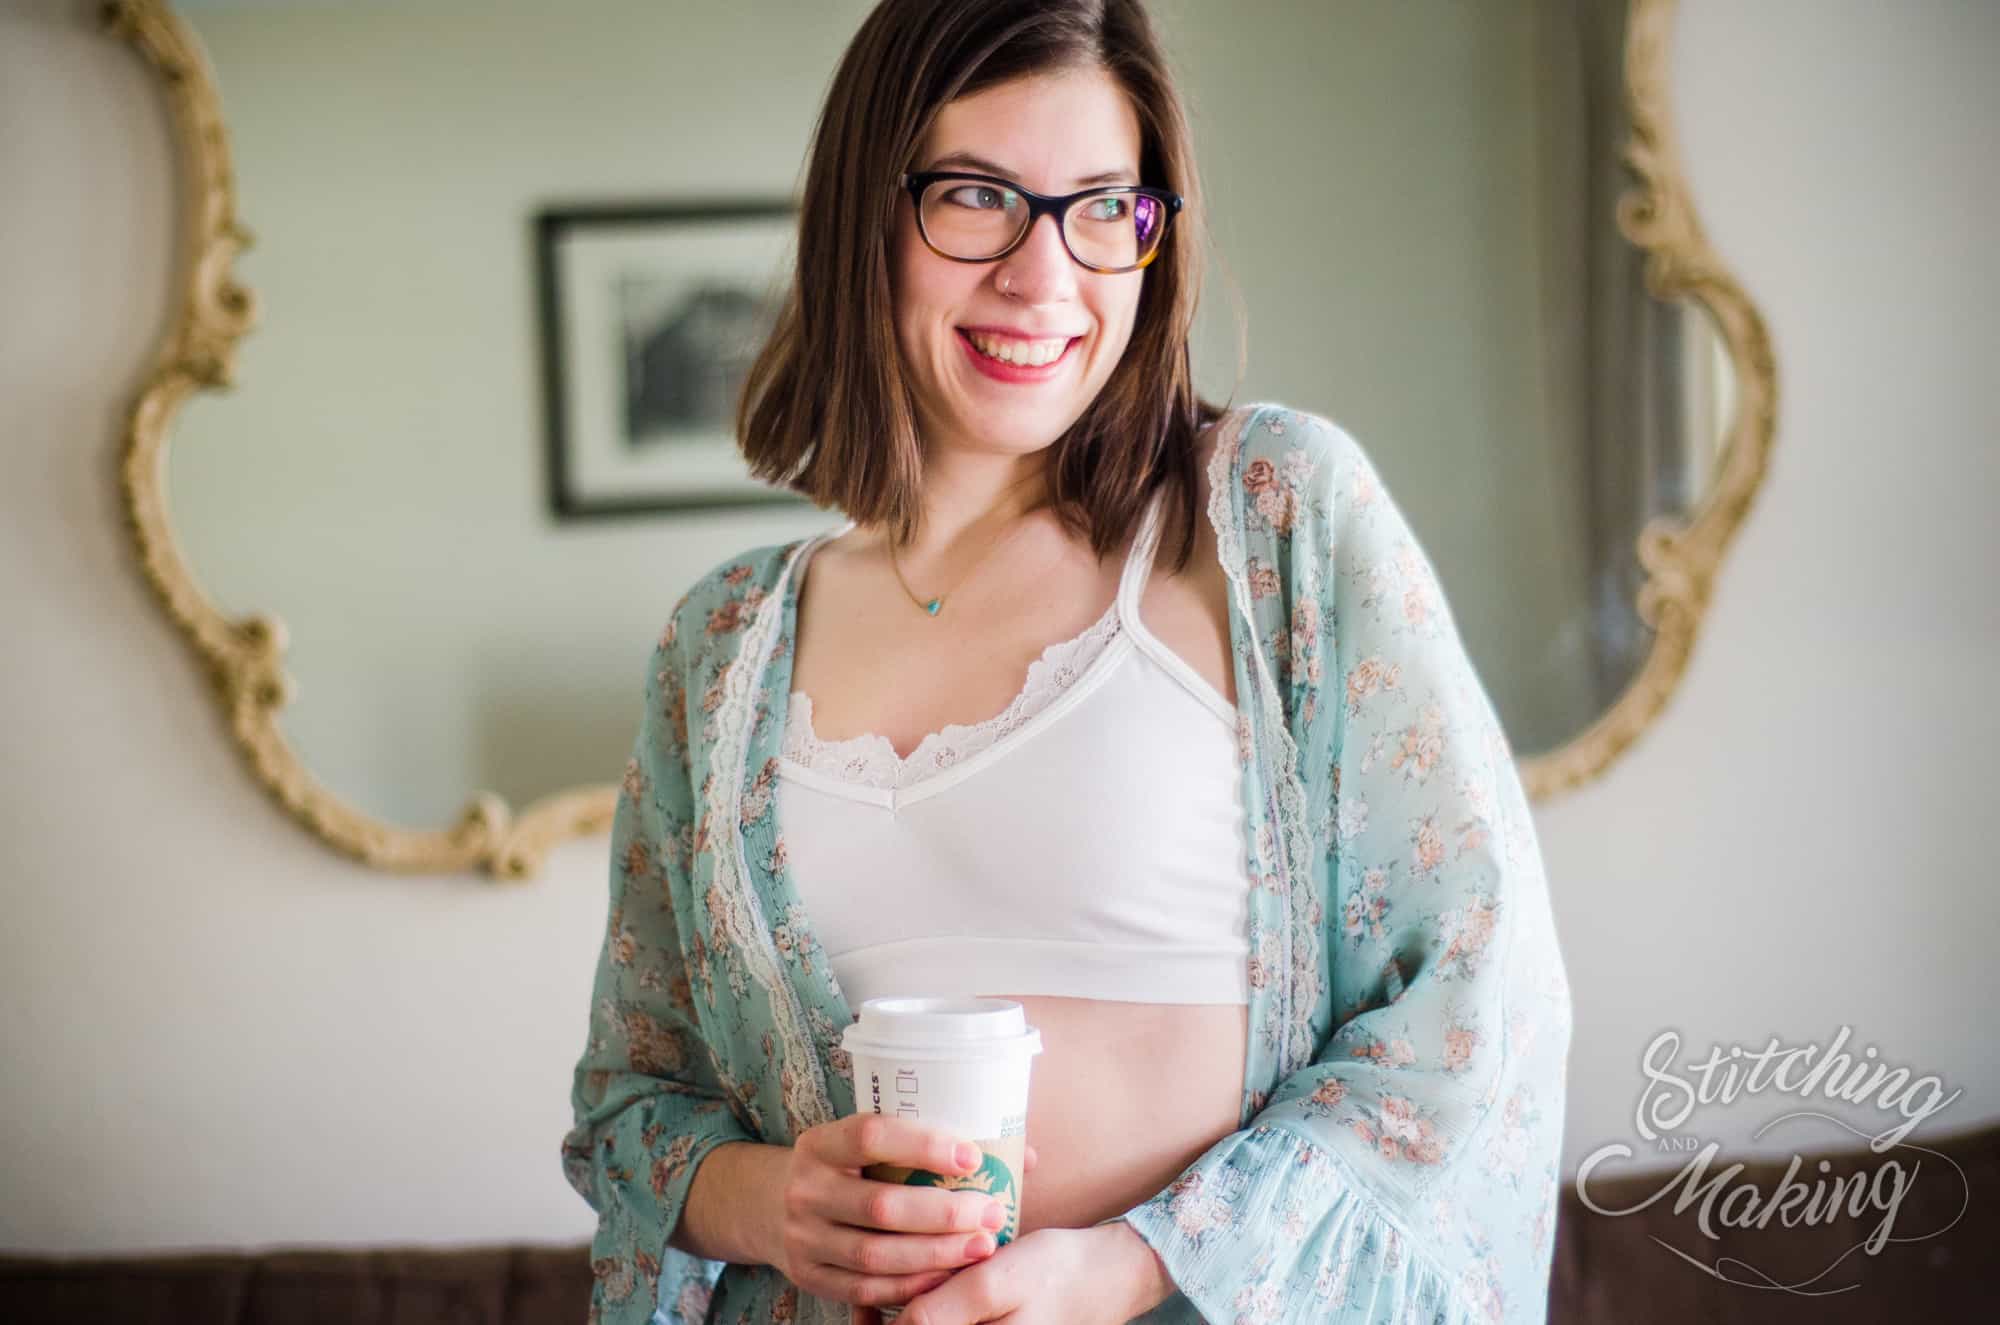
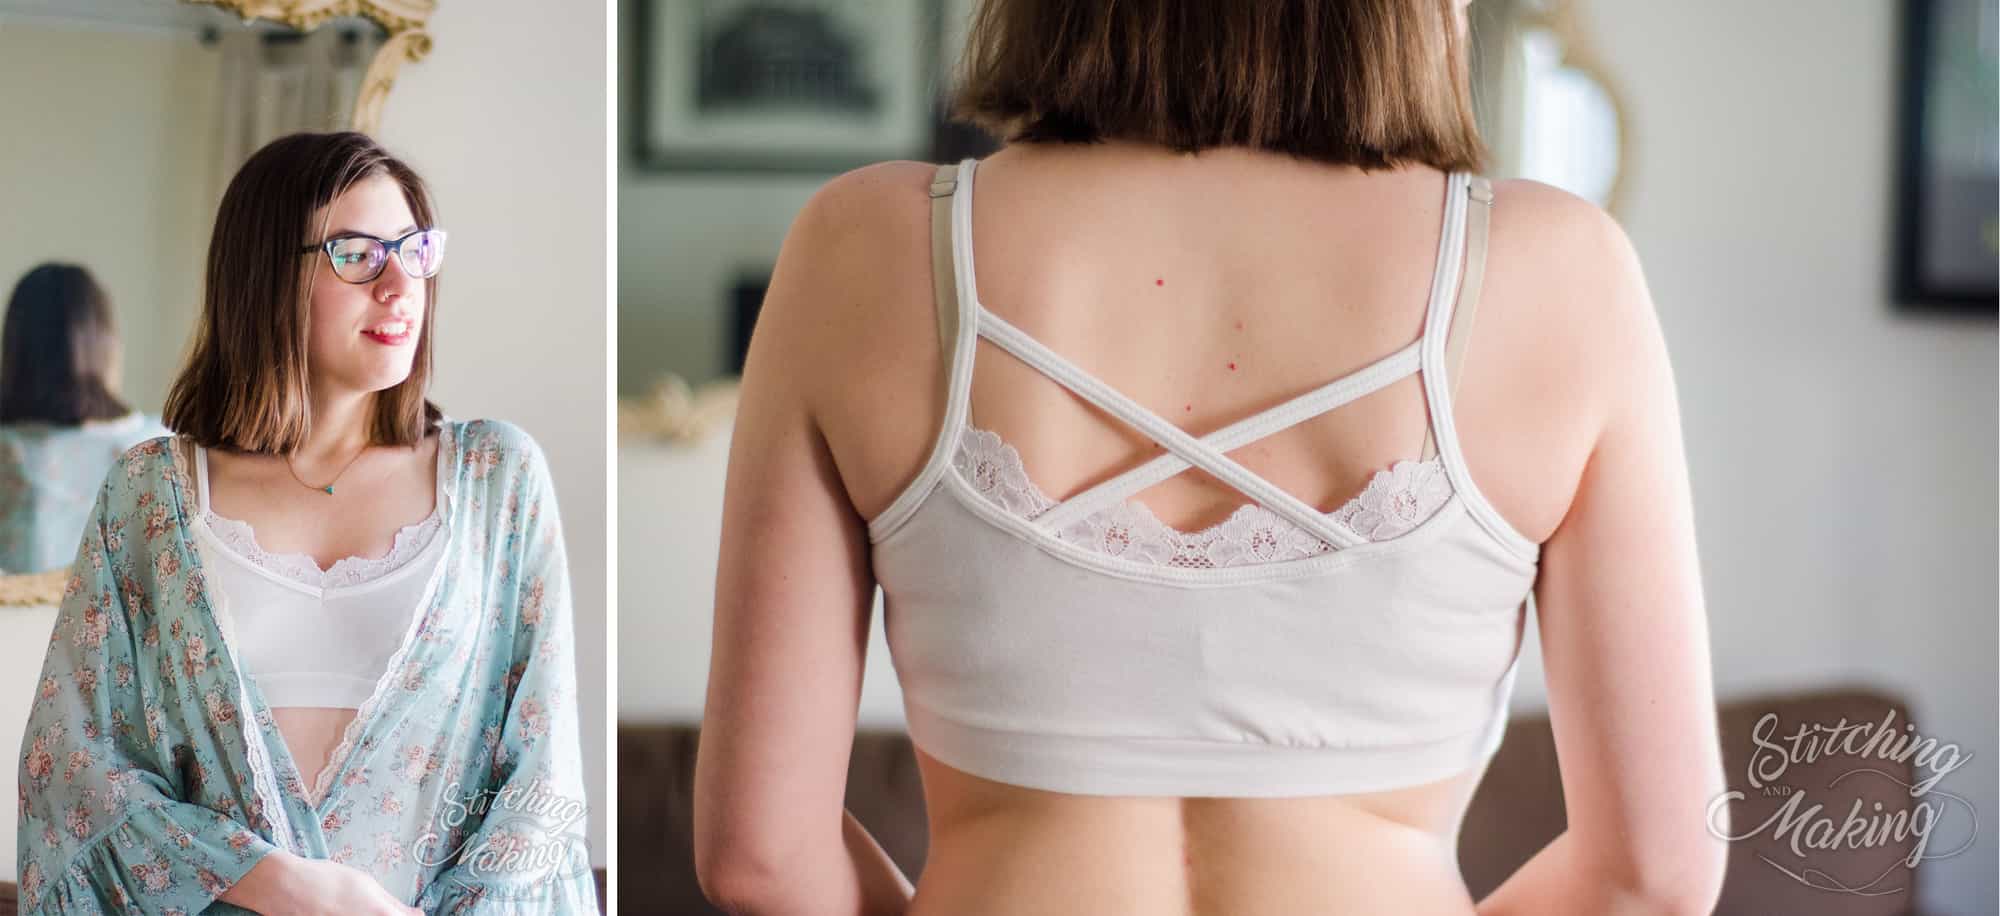
Are you looking for a more delicate, feminine feel?  Grab some stretch lace for an easy hack!

Here’s a simple how-to:

1. Cut the lace the same length as your binding pieces, for whichever neckline you are using.

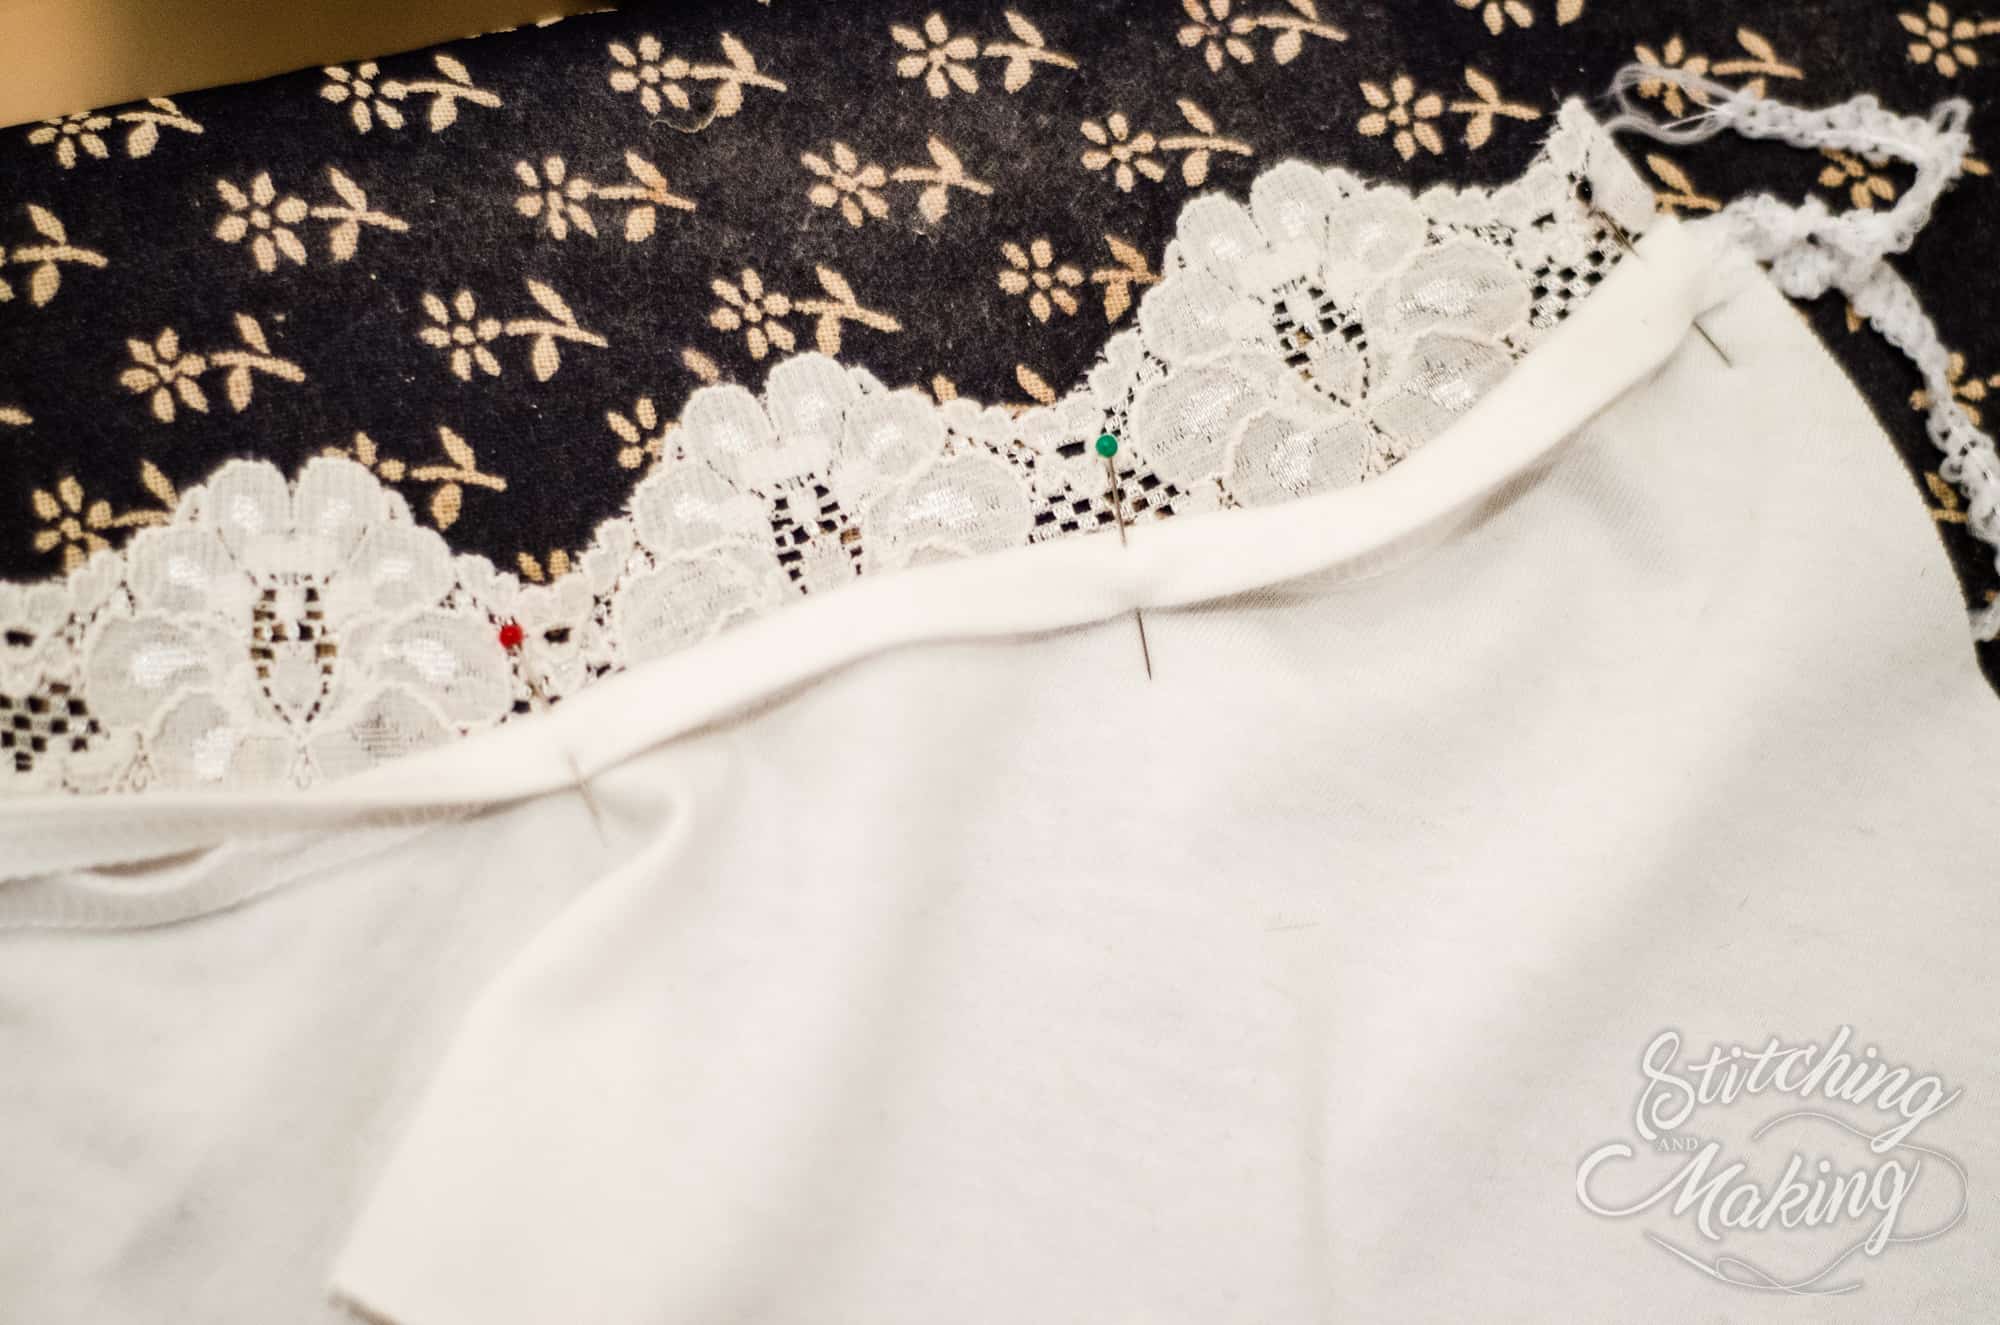
2. After you’ve attached and folded over the binding as directed in the tutorial, pin the right side of the lace to the wrong side of the neckline/binding. In the picture below, the fabric is right side up.


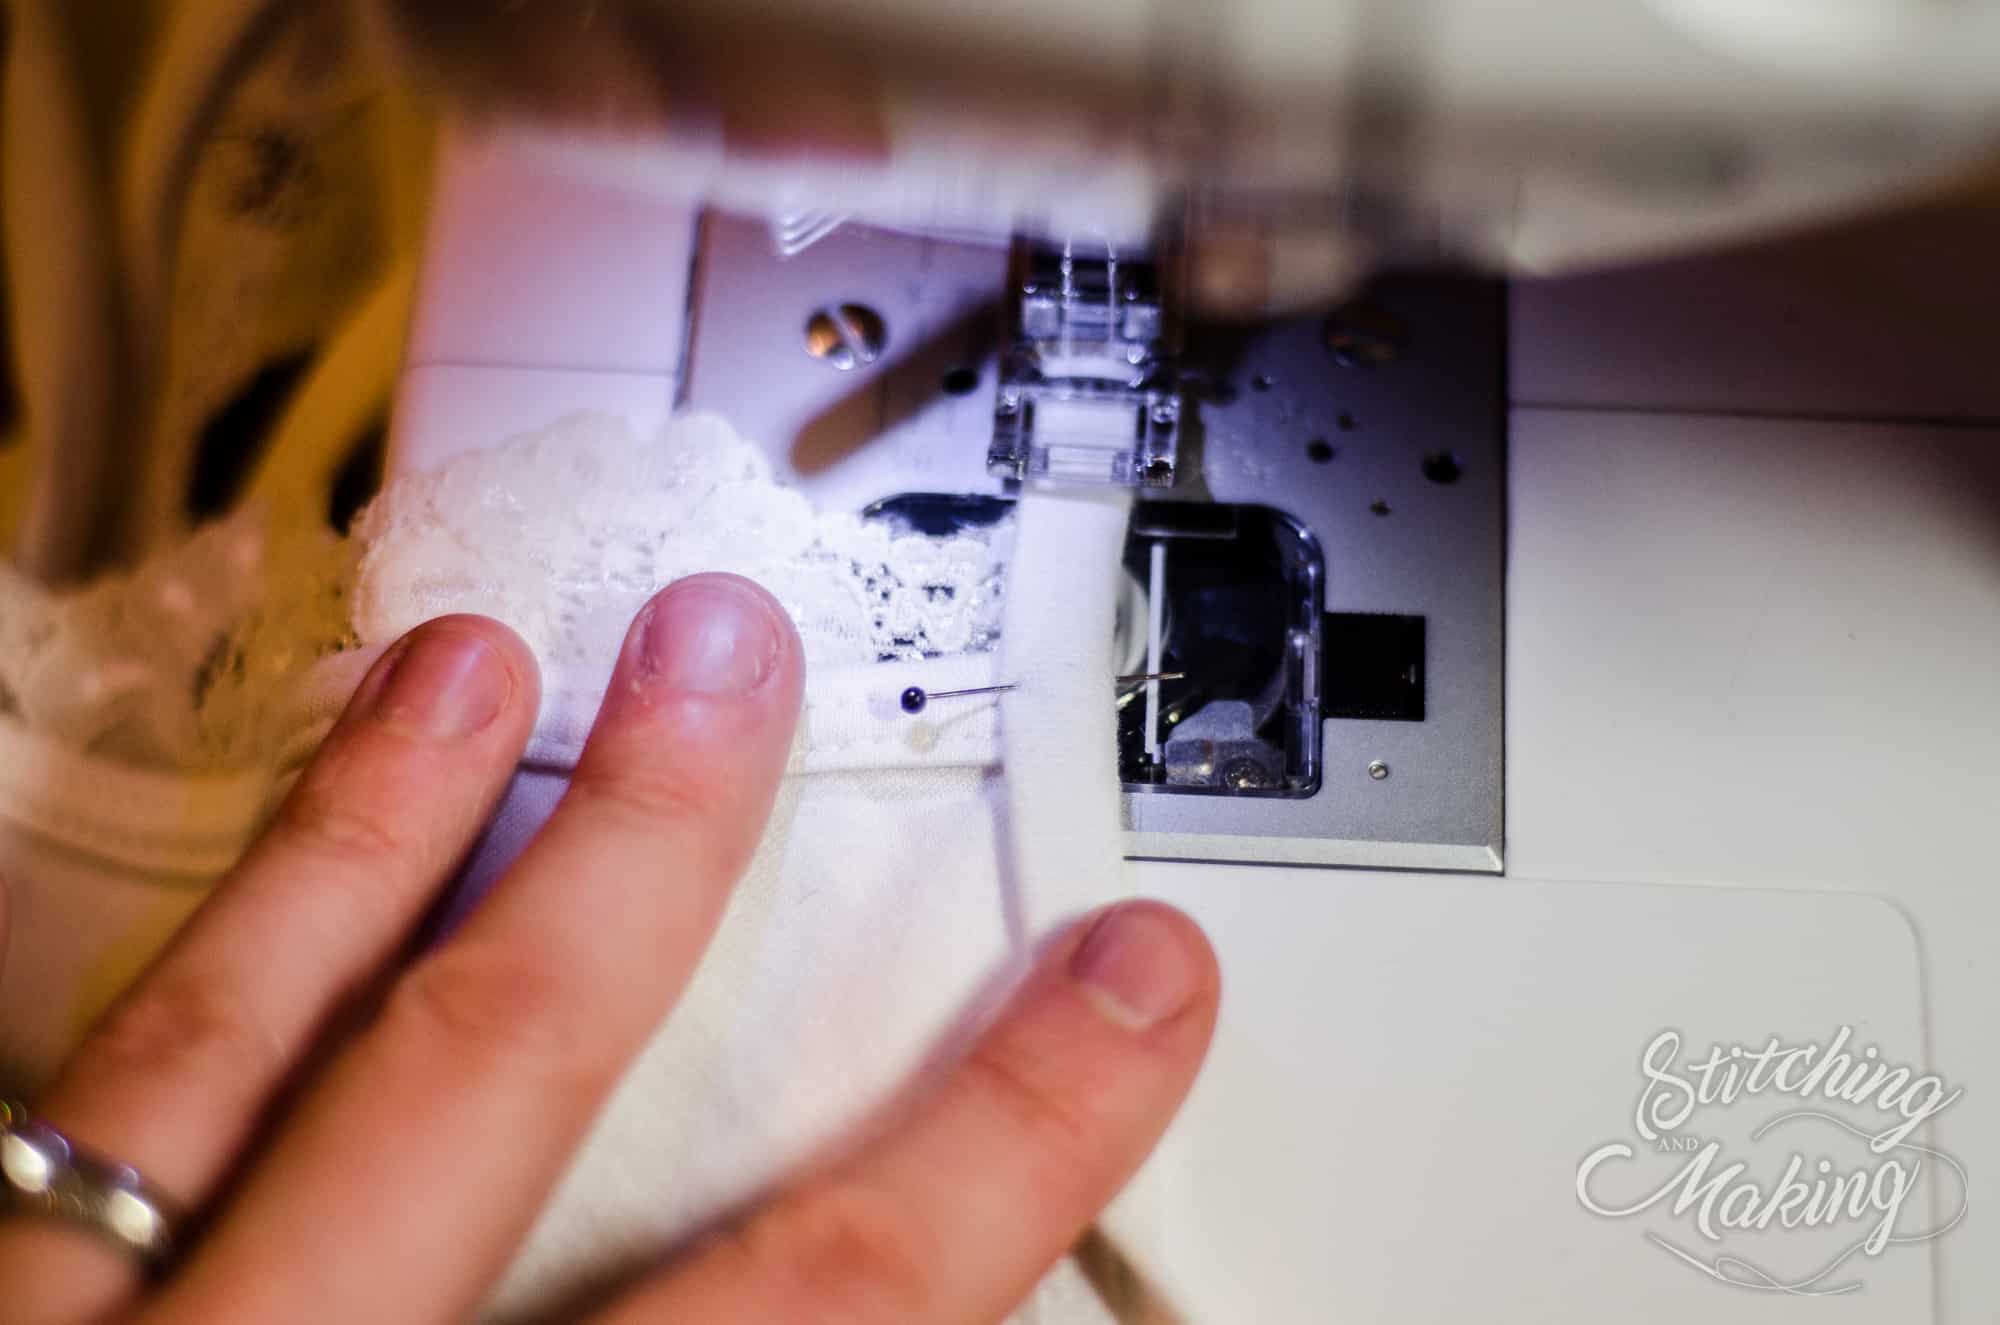
3. Repeat for the back as well, if you’d like.  Then, sew it on as you top-stitch the binding, per the pattern tutorial.  Here’s how it should look all said and done; wrong side up shown on the bottom of the picture, right side up shown at the top.


4. Be sure to catch the edge of the lace on the side of the shoulder binding as you attach it.


5. Finish the shirt as the pattern tutorial directs.  That’s it – easy peasy!

~ Elisabeth
 

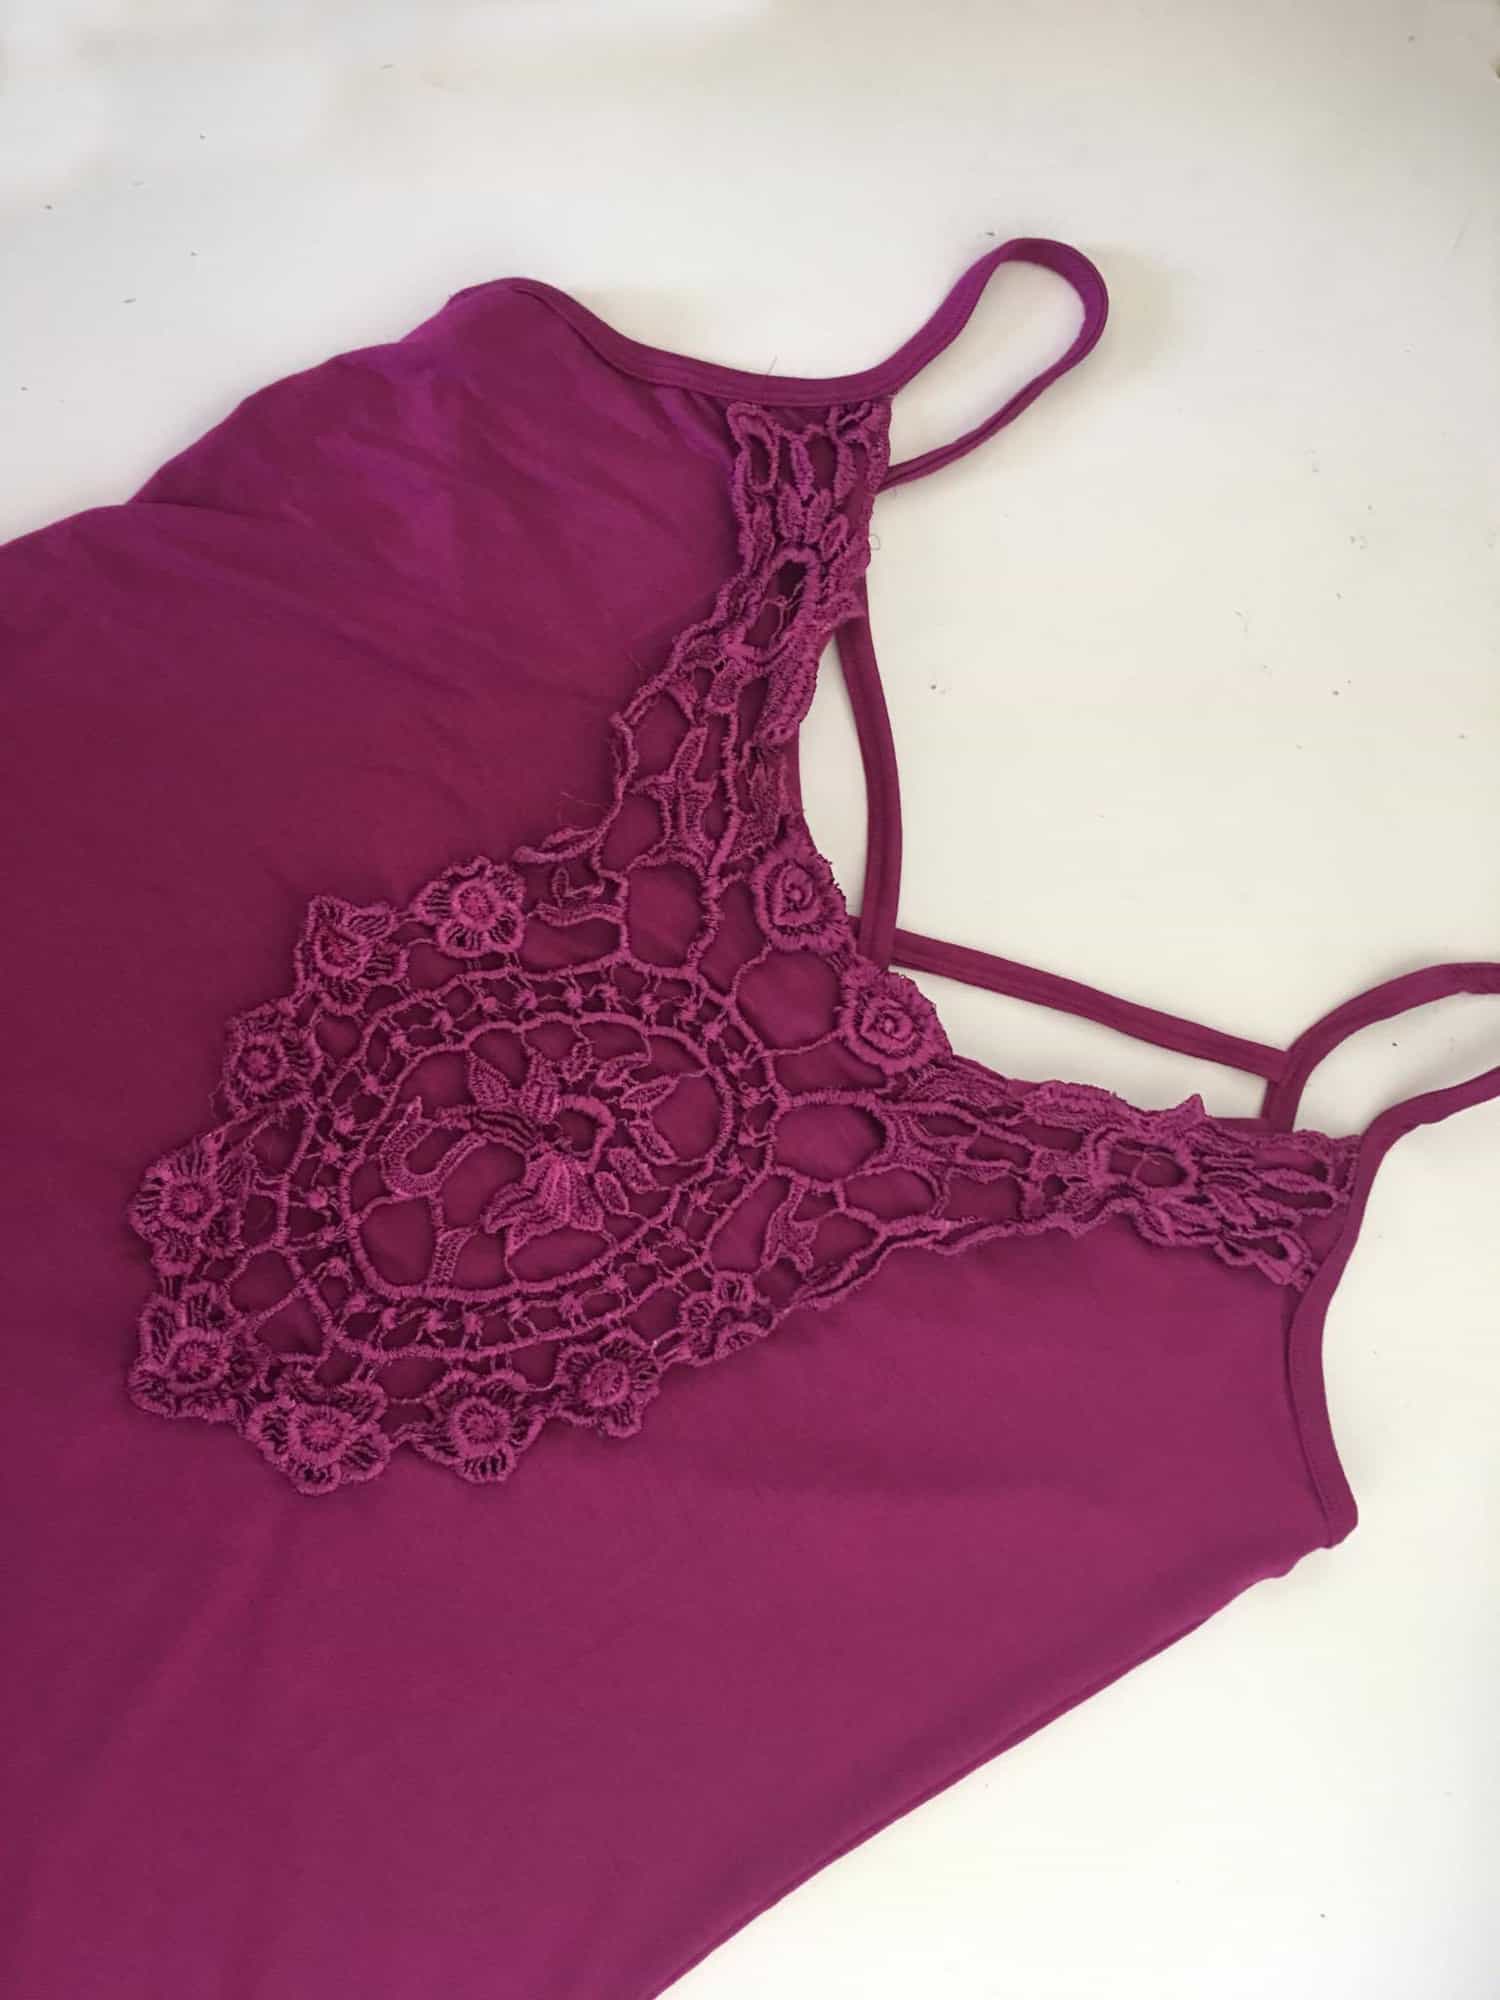
Not sure what to do with all those pretty lace appliques? Attach one to the front or back of the cami.  I happened to up-cycle one from an old shirt that didn’t fit anymore and have some knit on hand that matched perfectly!  I used to V back because of the shape of the applique.  I left the front neckline raw and stitched the lace just overlapping the top edge using a zigzag stitch.  (Knit does not unravel so no need to finish those edges).  Attach to the right side of the cami prior to doing the shoulder binding if your applique extends to the armholes.  For the main body of the applique, I chose to tack down in a few areas (center of the flowers) as the applique itself was pretty open throughout.  Easy Peasy!
 

Filed Under: Frequently Asked Questions, Pattern Release, Uncategorized 1 Comment

5 ways to finish a serger hem

March 9, 2017


IMG_6554

“How do you finish your serger stitch since you can’t back stitch?”; “What do I do with the long serger tail ?” ….just a few of the  serger questions we’ve seen in our group. So, today in the blog I will show you 5 easy ways to finish your serger seam. These techniques will definitely come in handy when your seams will not be enclosed in a hem or they won’t be serged over in a subsequent pattern step.

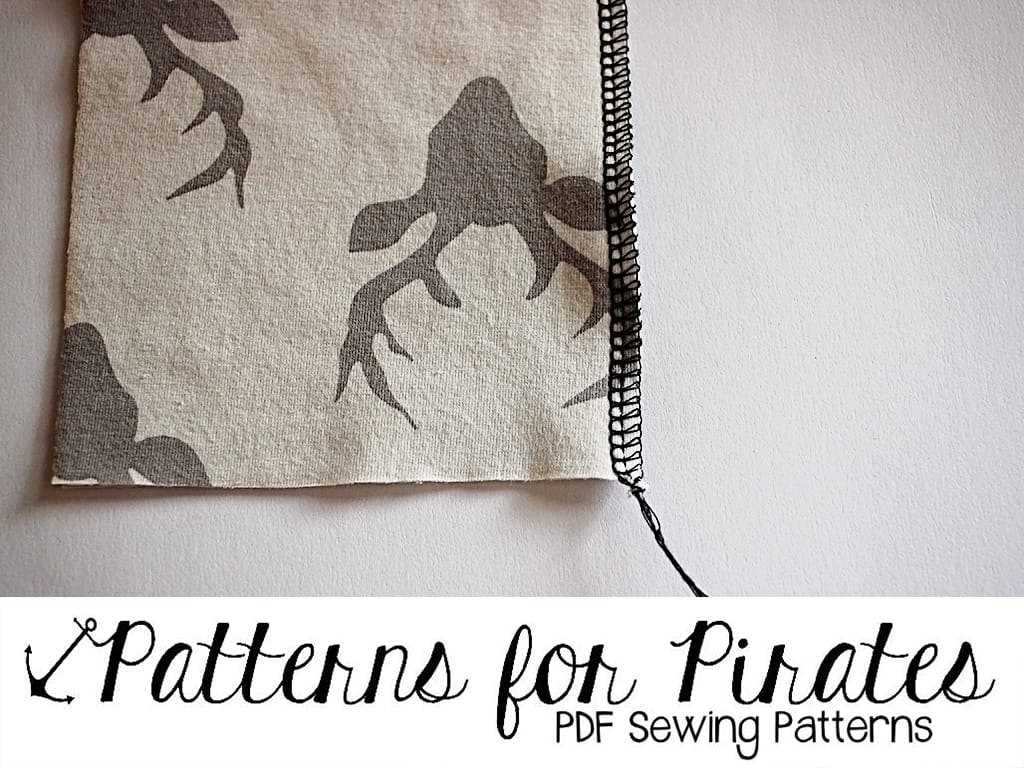
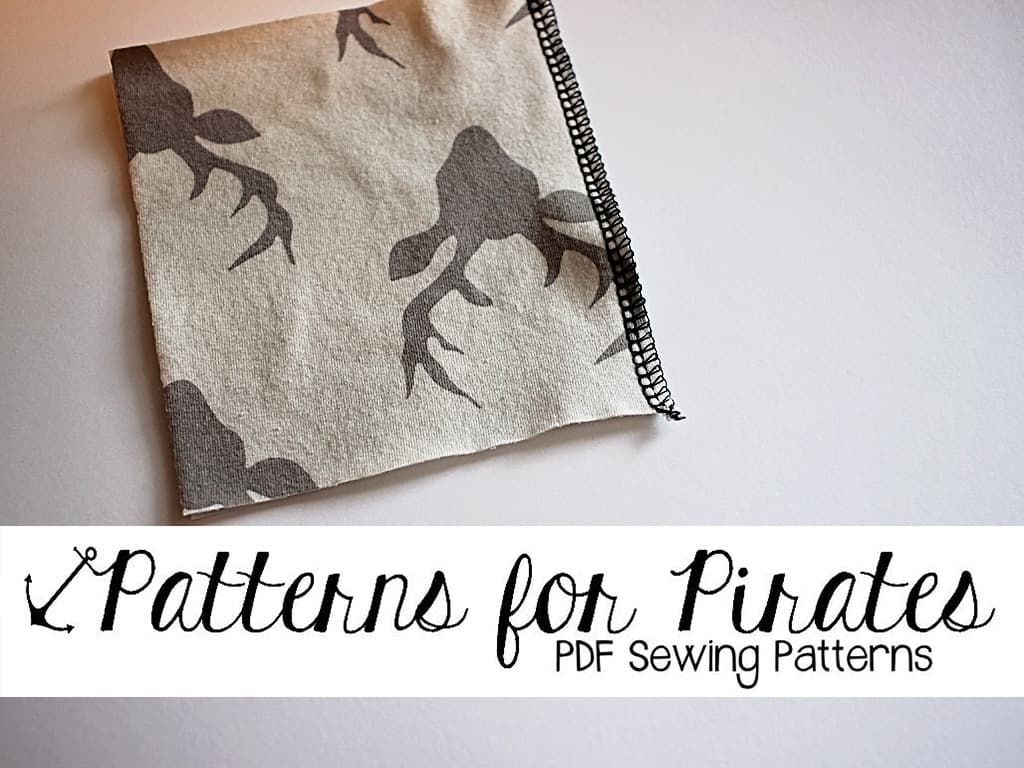
1. Let’s start with my most used one, and the easiest method since it does not involve any other tools. Serge your fabric together and chain off a 5- 6 inches tail. Simply tie a knot as close as possible to the edge and done! It will not unravel and it took you 20 seconds to do. 🙂

IMG_6537

IMG_6538

TIP: For a cleaner look you can tack down the seam with your sewing machine. Simply stitch down the serged edge half an inch  towards the back.

2. Another simple way to finish your serged seam is to snip the tail close to the edge and then add a little dab of Fray Block or Fray Check. This will prevent your seam from coming undone. This method is my least favorite since it takes a while for the liquid fray block to dry and they are not always 100% secure.

IMG_6539

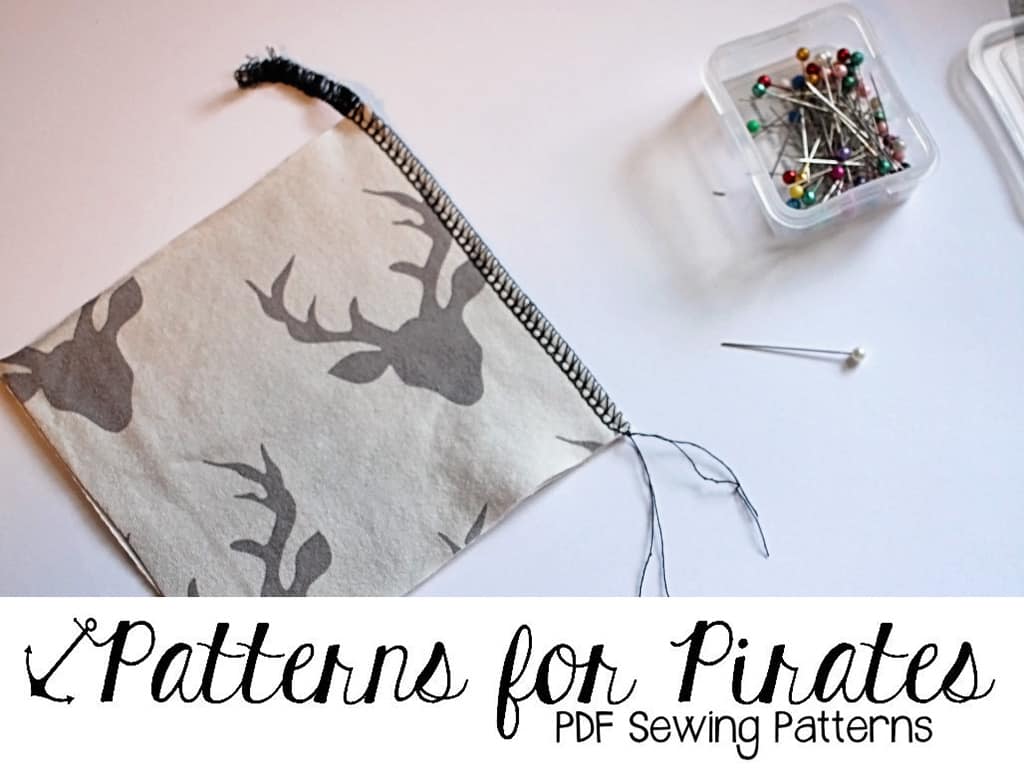
3. A third way to insure that you have a nice smooth finish to your serged seam is to chain off 4-5 inches then using a needle gently unstitch the chain so you have 4 threads. Take the two needle threads and the two looper threads and tie a double knot. Carefully snip the threads as close to the knot as possible.

IMG_6540

IMG_6541

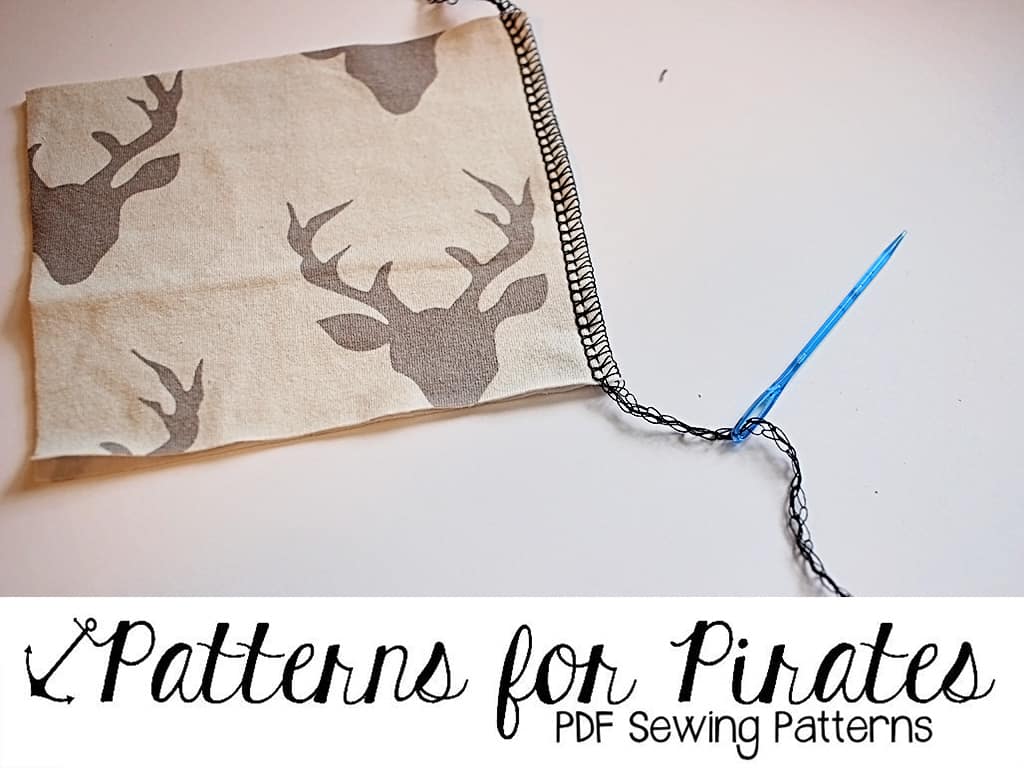
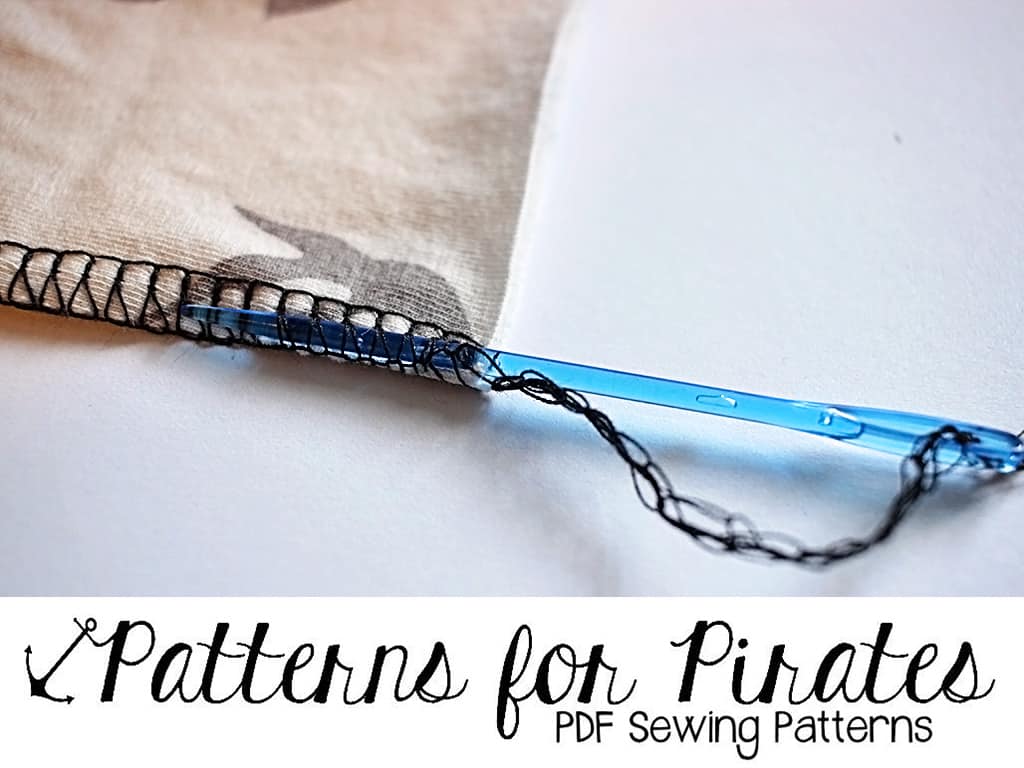
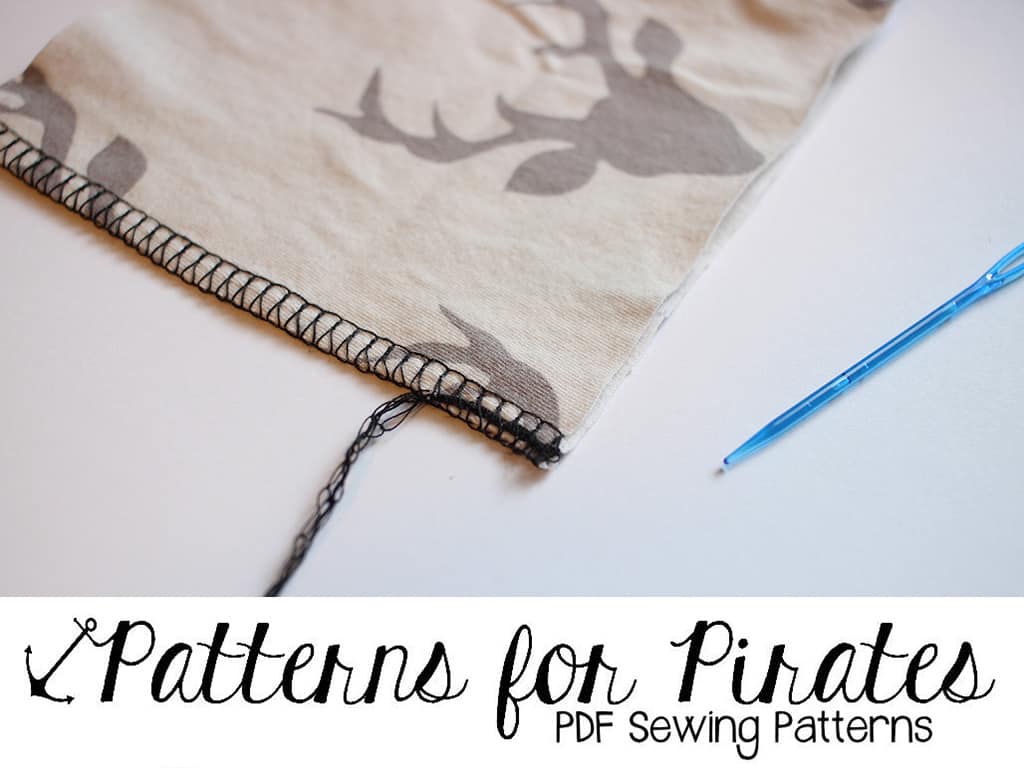
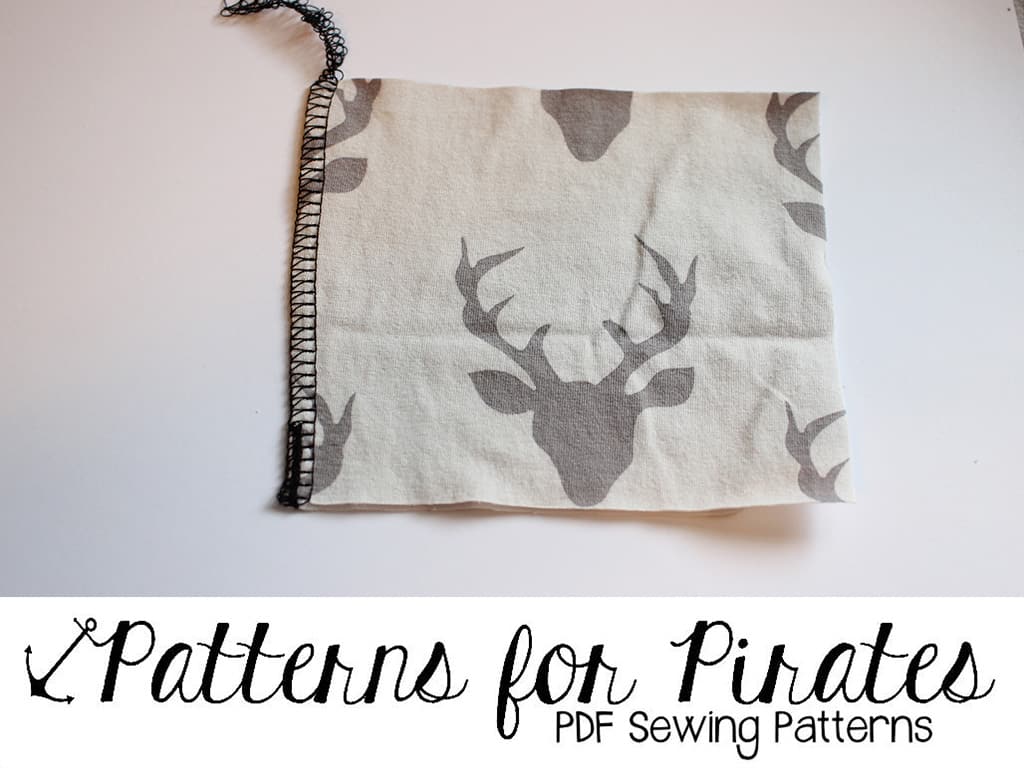
4. One of the most popular ways to finish a serger seam is the “weaving through” method. In order to do that you will be chaining off your stitches about 5 inches, then you will be using a knitting or crochet suture needle to weave the chain in the looper stitches. Grab the needle and thread the chain through the needle eye. Slowly weave the chain through the looper stitches about an inch or so. Carefully trim the rest of the chain stitch.

IMG_6542 IMG_6543 IMG_6544 IMG_6545

5. The last finishing method is the most “complex” one and it will need a bit of practice. It is not difficult, you just need to pay extra attention. Serge your seam and when you get to the end of the edge, lift your presser foot, gently but firmly pull the fabric just enough that you can flip it on the other side. Disengage the serger knife and serge in the opposite direction for an inch or two. Stop, lift your presser foot and carefully pull the fabric on the side away from the foot. Chain off a couple of inches and then cut the chain as close to the fabric as possible. In doing this “faux backstitching” you will end up with a beautiful finish that is also very secure.

IMG_6547 IMG_6548 IMG_6549

There you have it! Hope you found these 5 easy ways to finish off your seam helpful and that you’ll refer back to them when you’ll be sewing the new cami patterns that Judy sneaked on the P4P Instagram page. 😉

Alex


Filed Under: Frequently Asked Questions, P4P University, Sewing Techniques, Uncategorized 12 Comments

How to lower or raise a neckline

January 6, 2017

img_4108

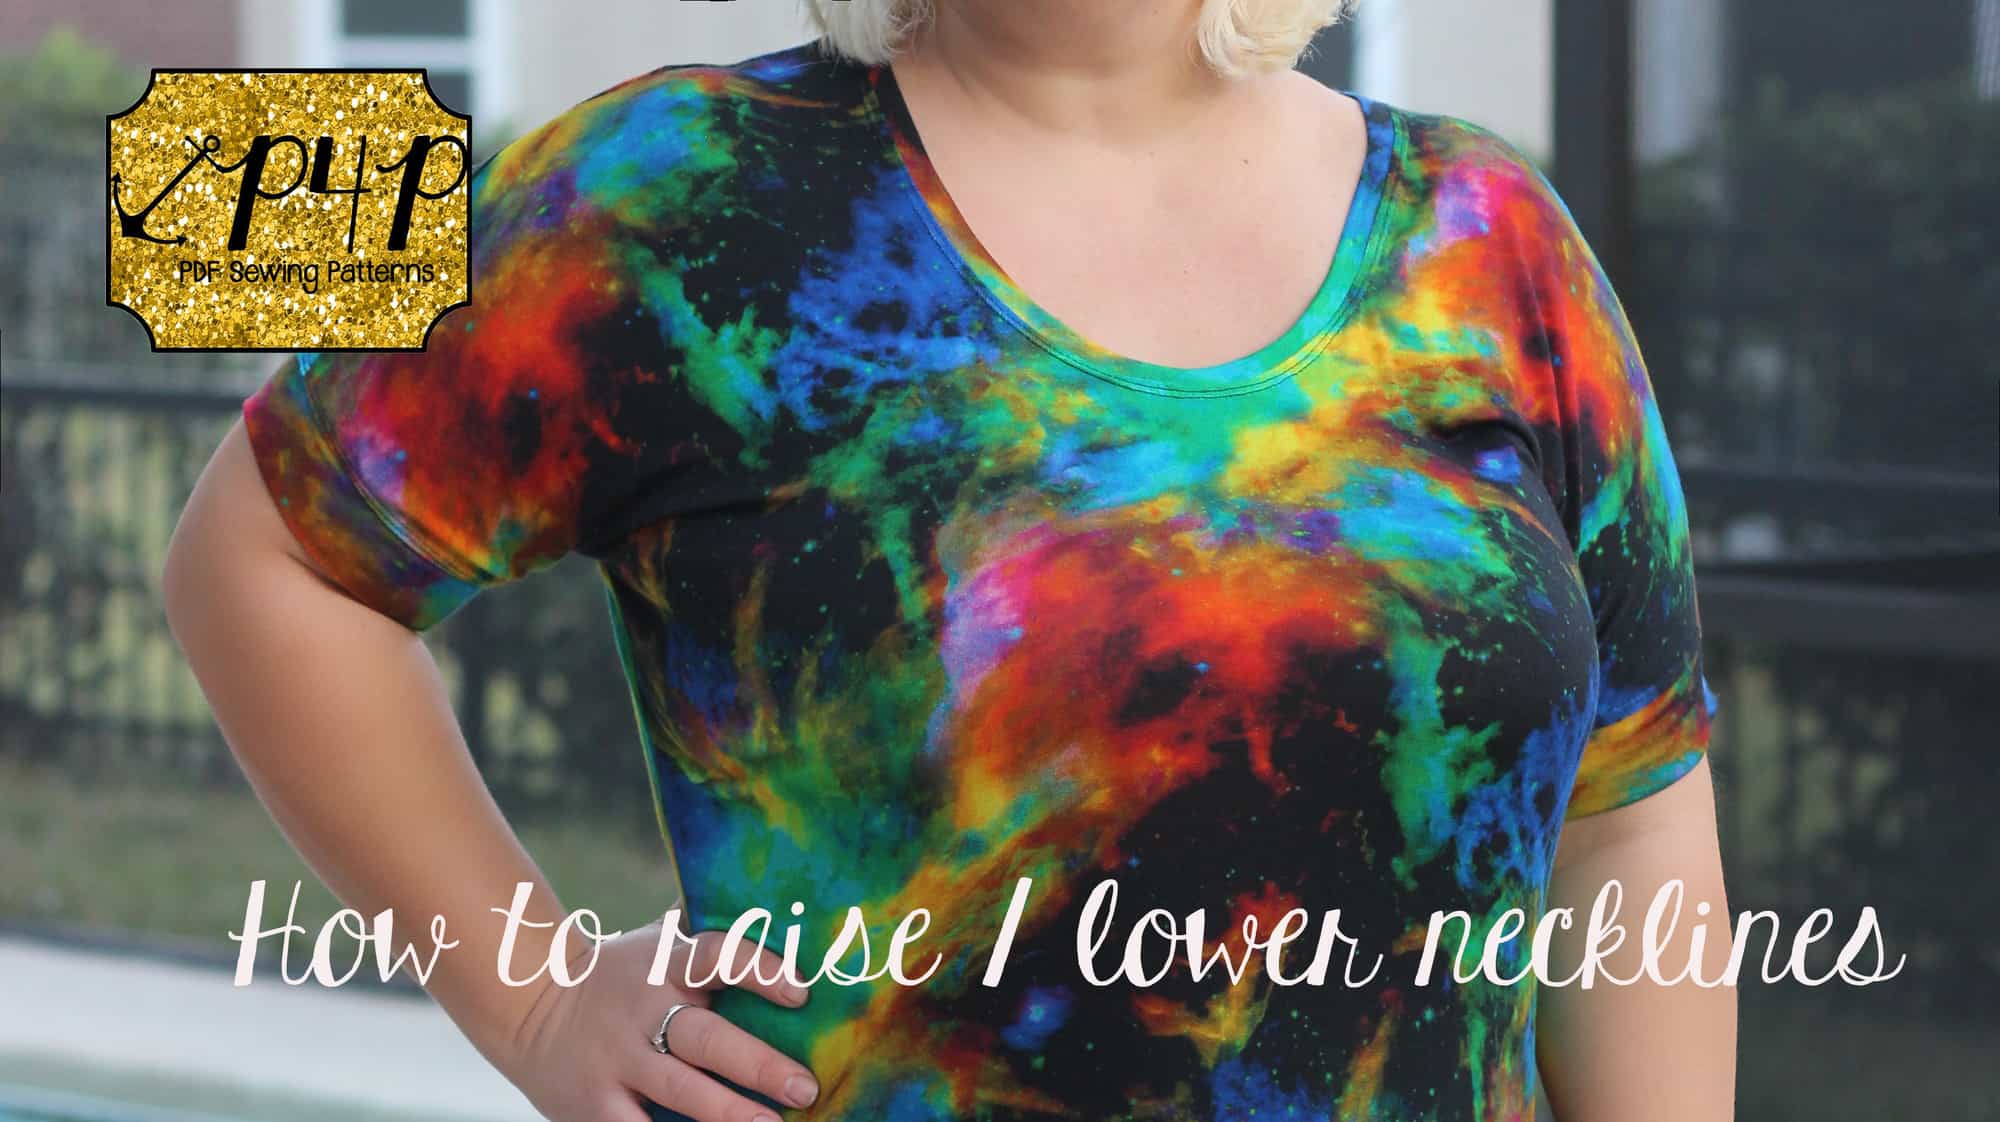
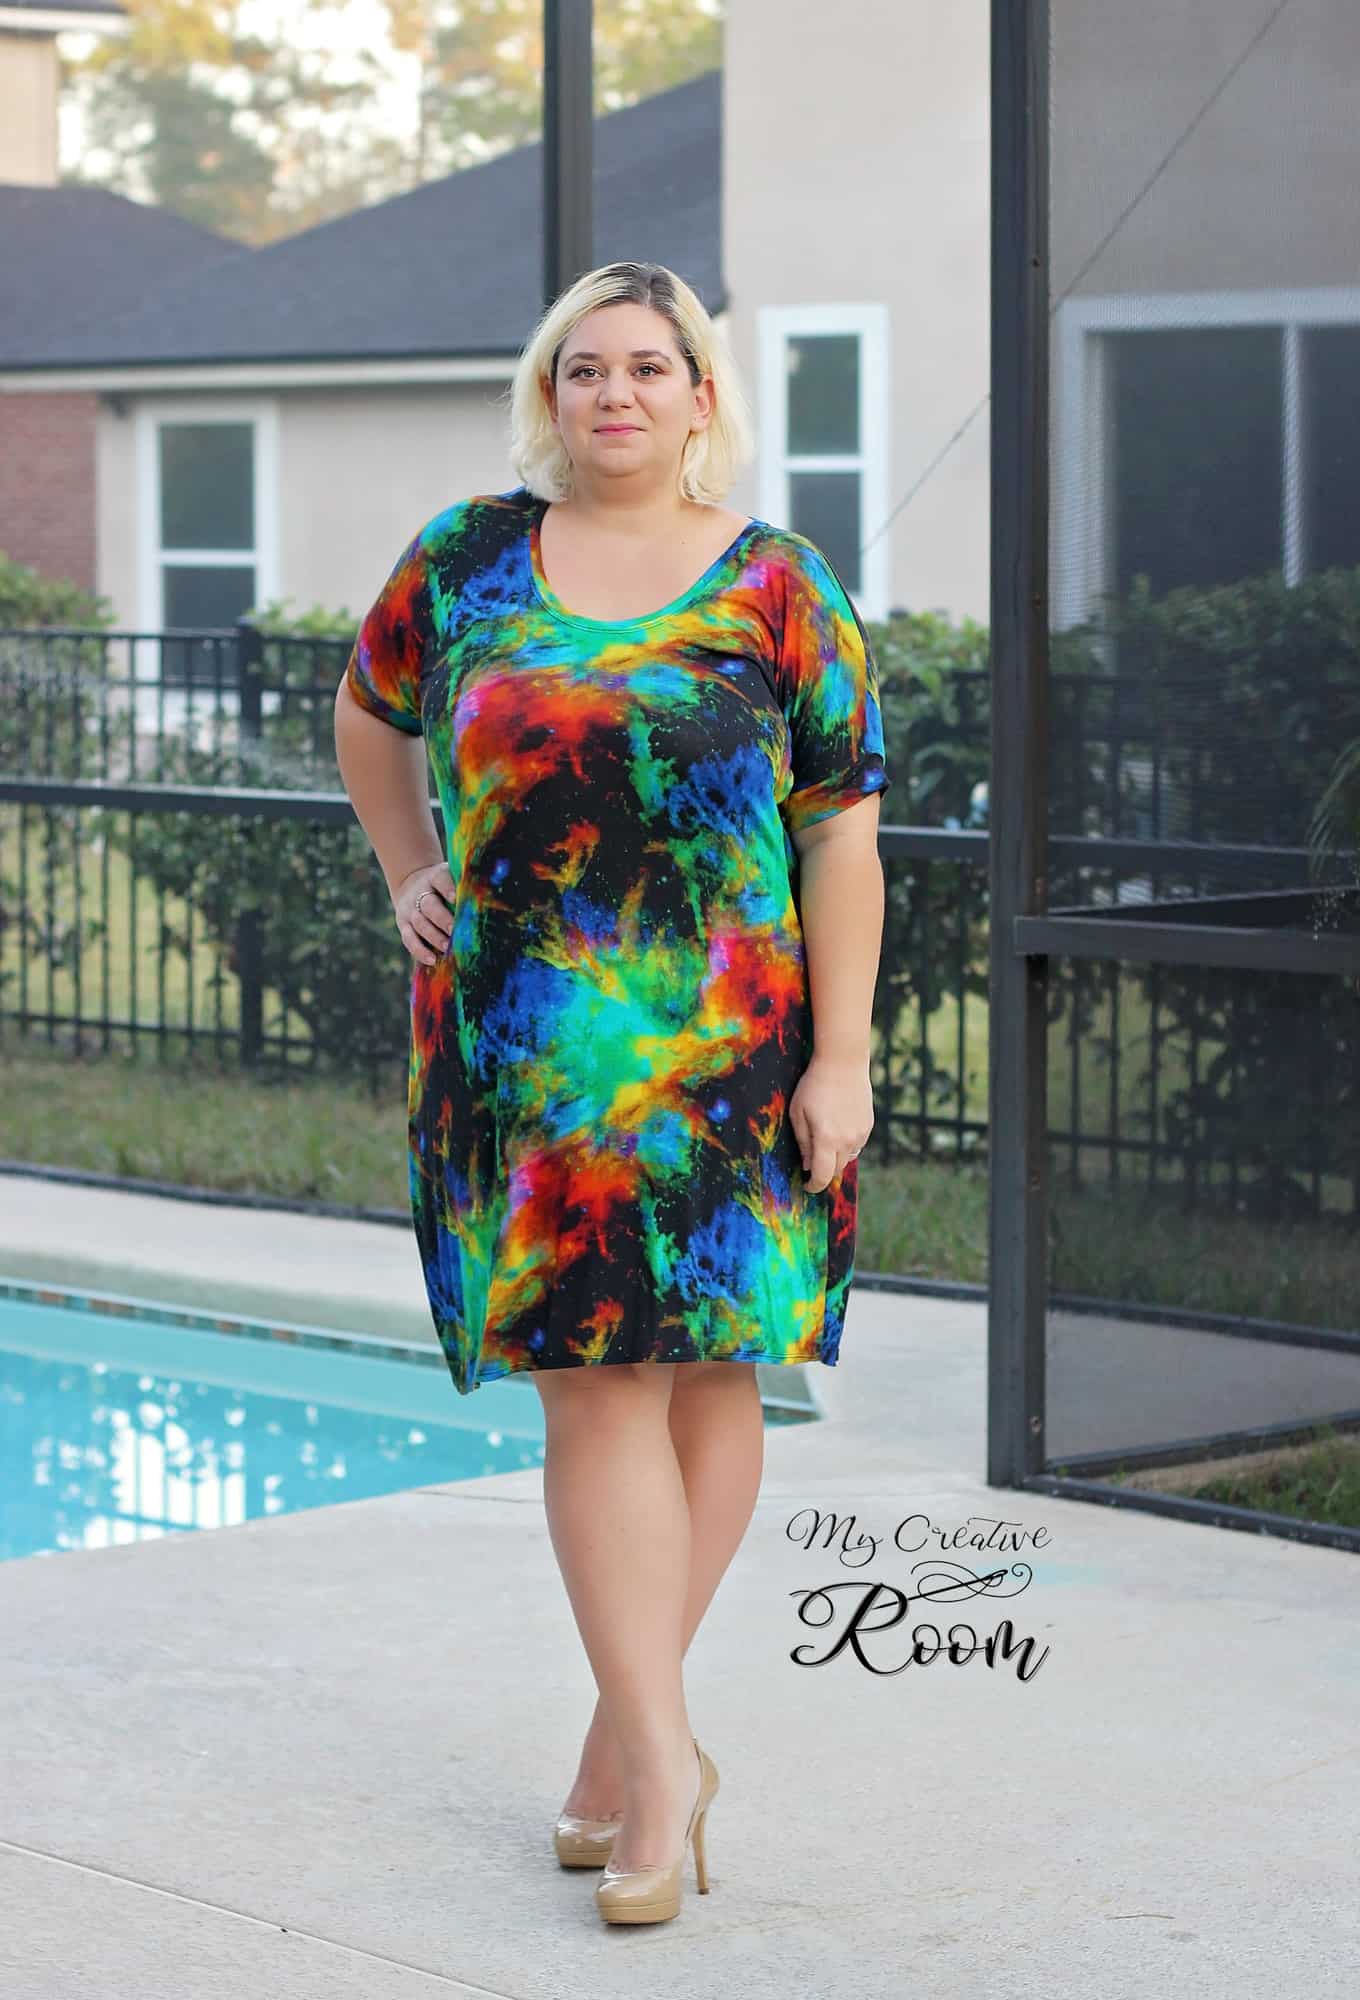
We have seen a lot questions about raising or lowering the neckline of various P4P shirts or dresses. On the blog today I show you how easy it is to alter the neckline to achieve the look you want. For this tutorial I will use the Sweet Tee pattern in a beautiful viscose rayon (dress option lengthen 3.5″) but you can apply this technique to either one of the shirt patterns.

img_4118

Start by printing and cutting your pattern in the size needed. The only piece we will be altering will be the front of the shirt (or bodice).

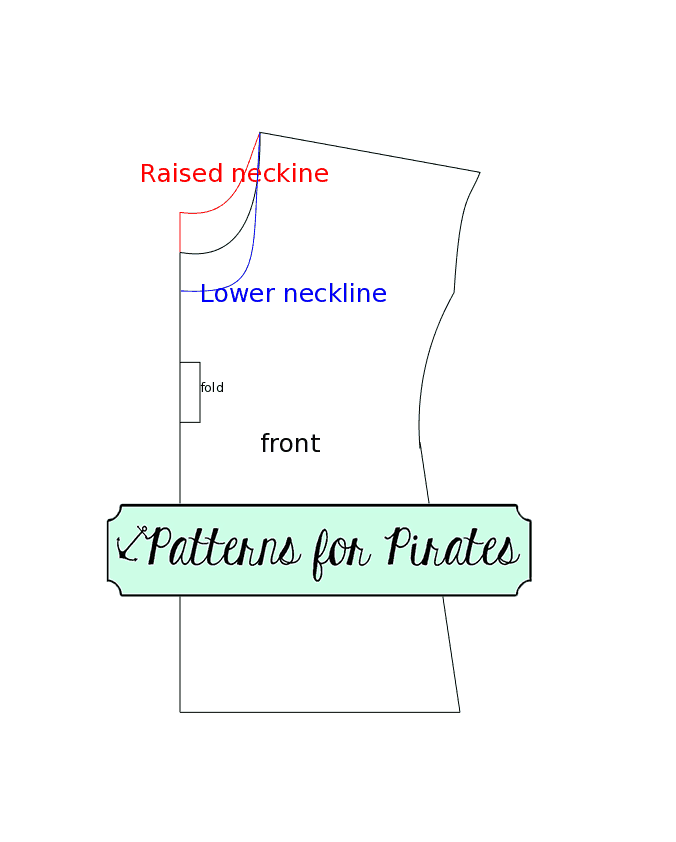
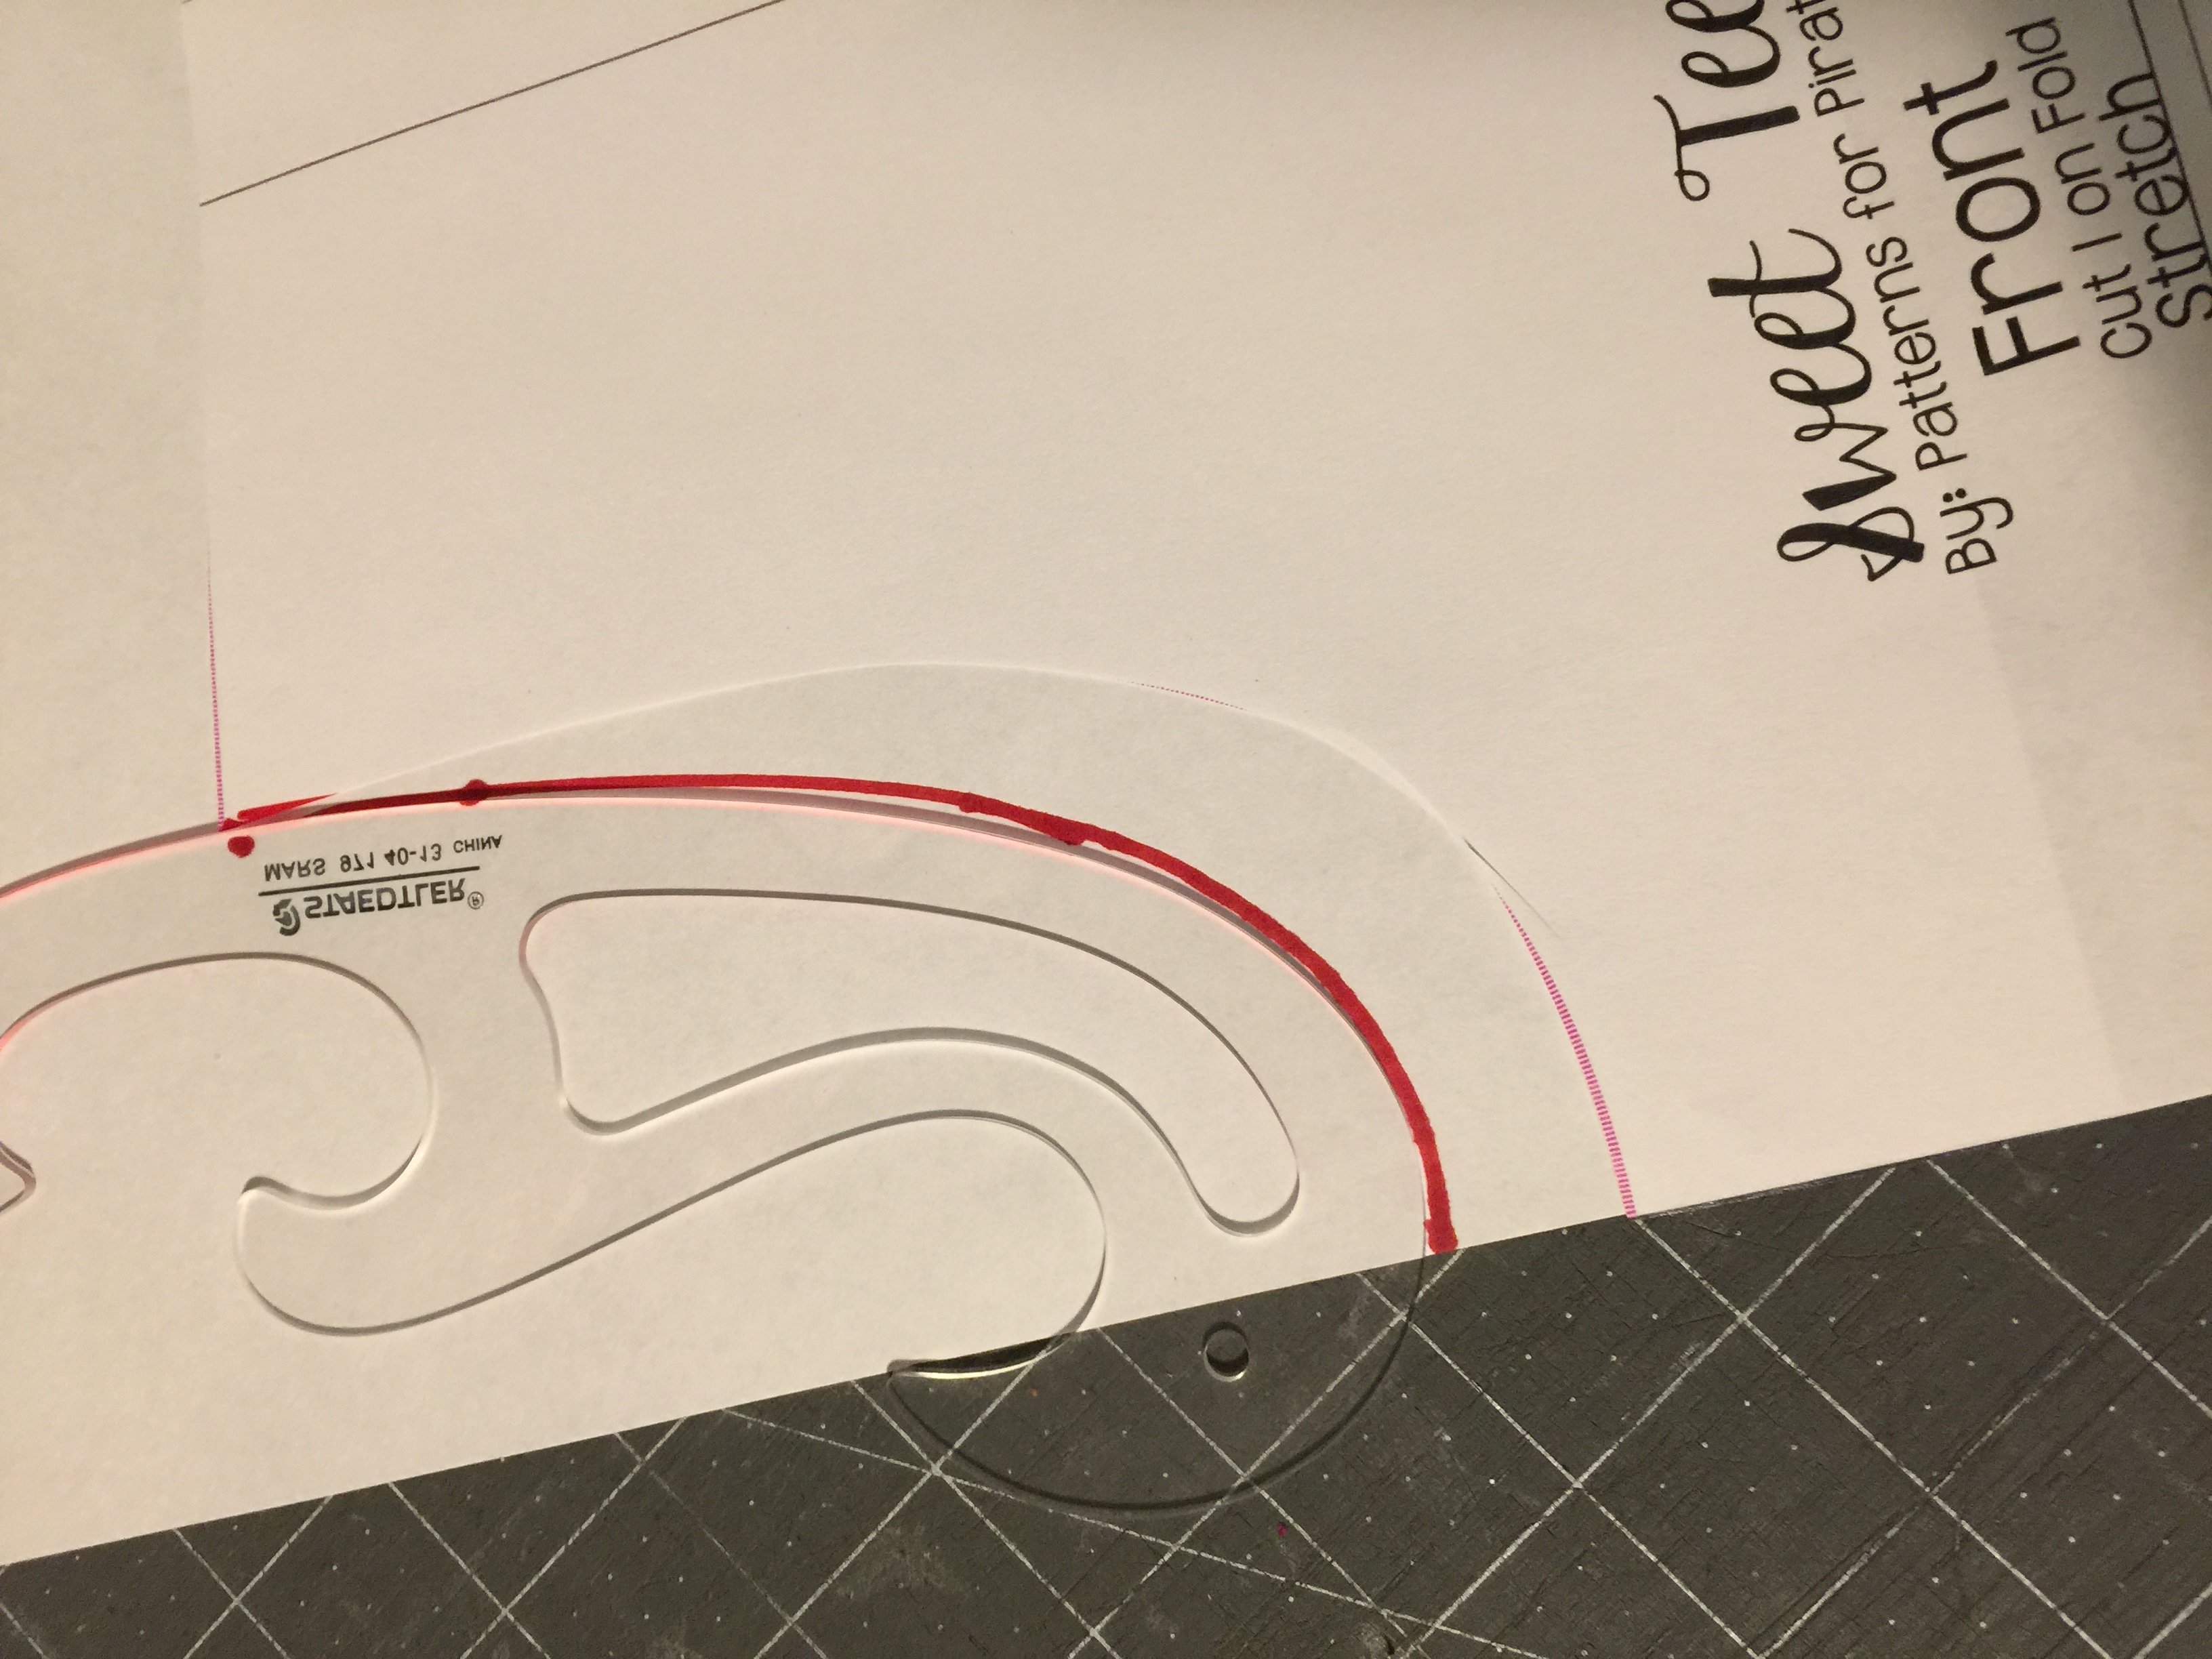
For lowering the neckline you will need to mark on the center fold where you would like the new neckline to be. I usually lower my Sweet Tee neckline 1.5 inches. Using a French Curve (or going slowly) draw a curve similar to the original one from your mark to the inner shoulder point.

raiselowerneckline

img_4502

Cut your fabric using the new front pattern piece. The rest of the pattern pieces will remain the same. The only other change you will need to make is the length of the neckband or binding.

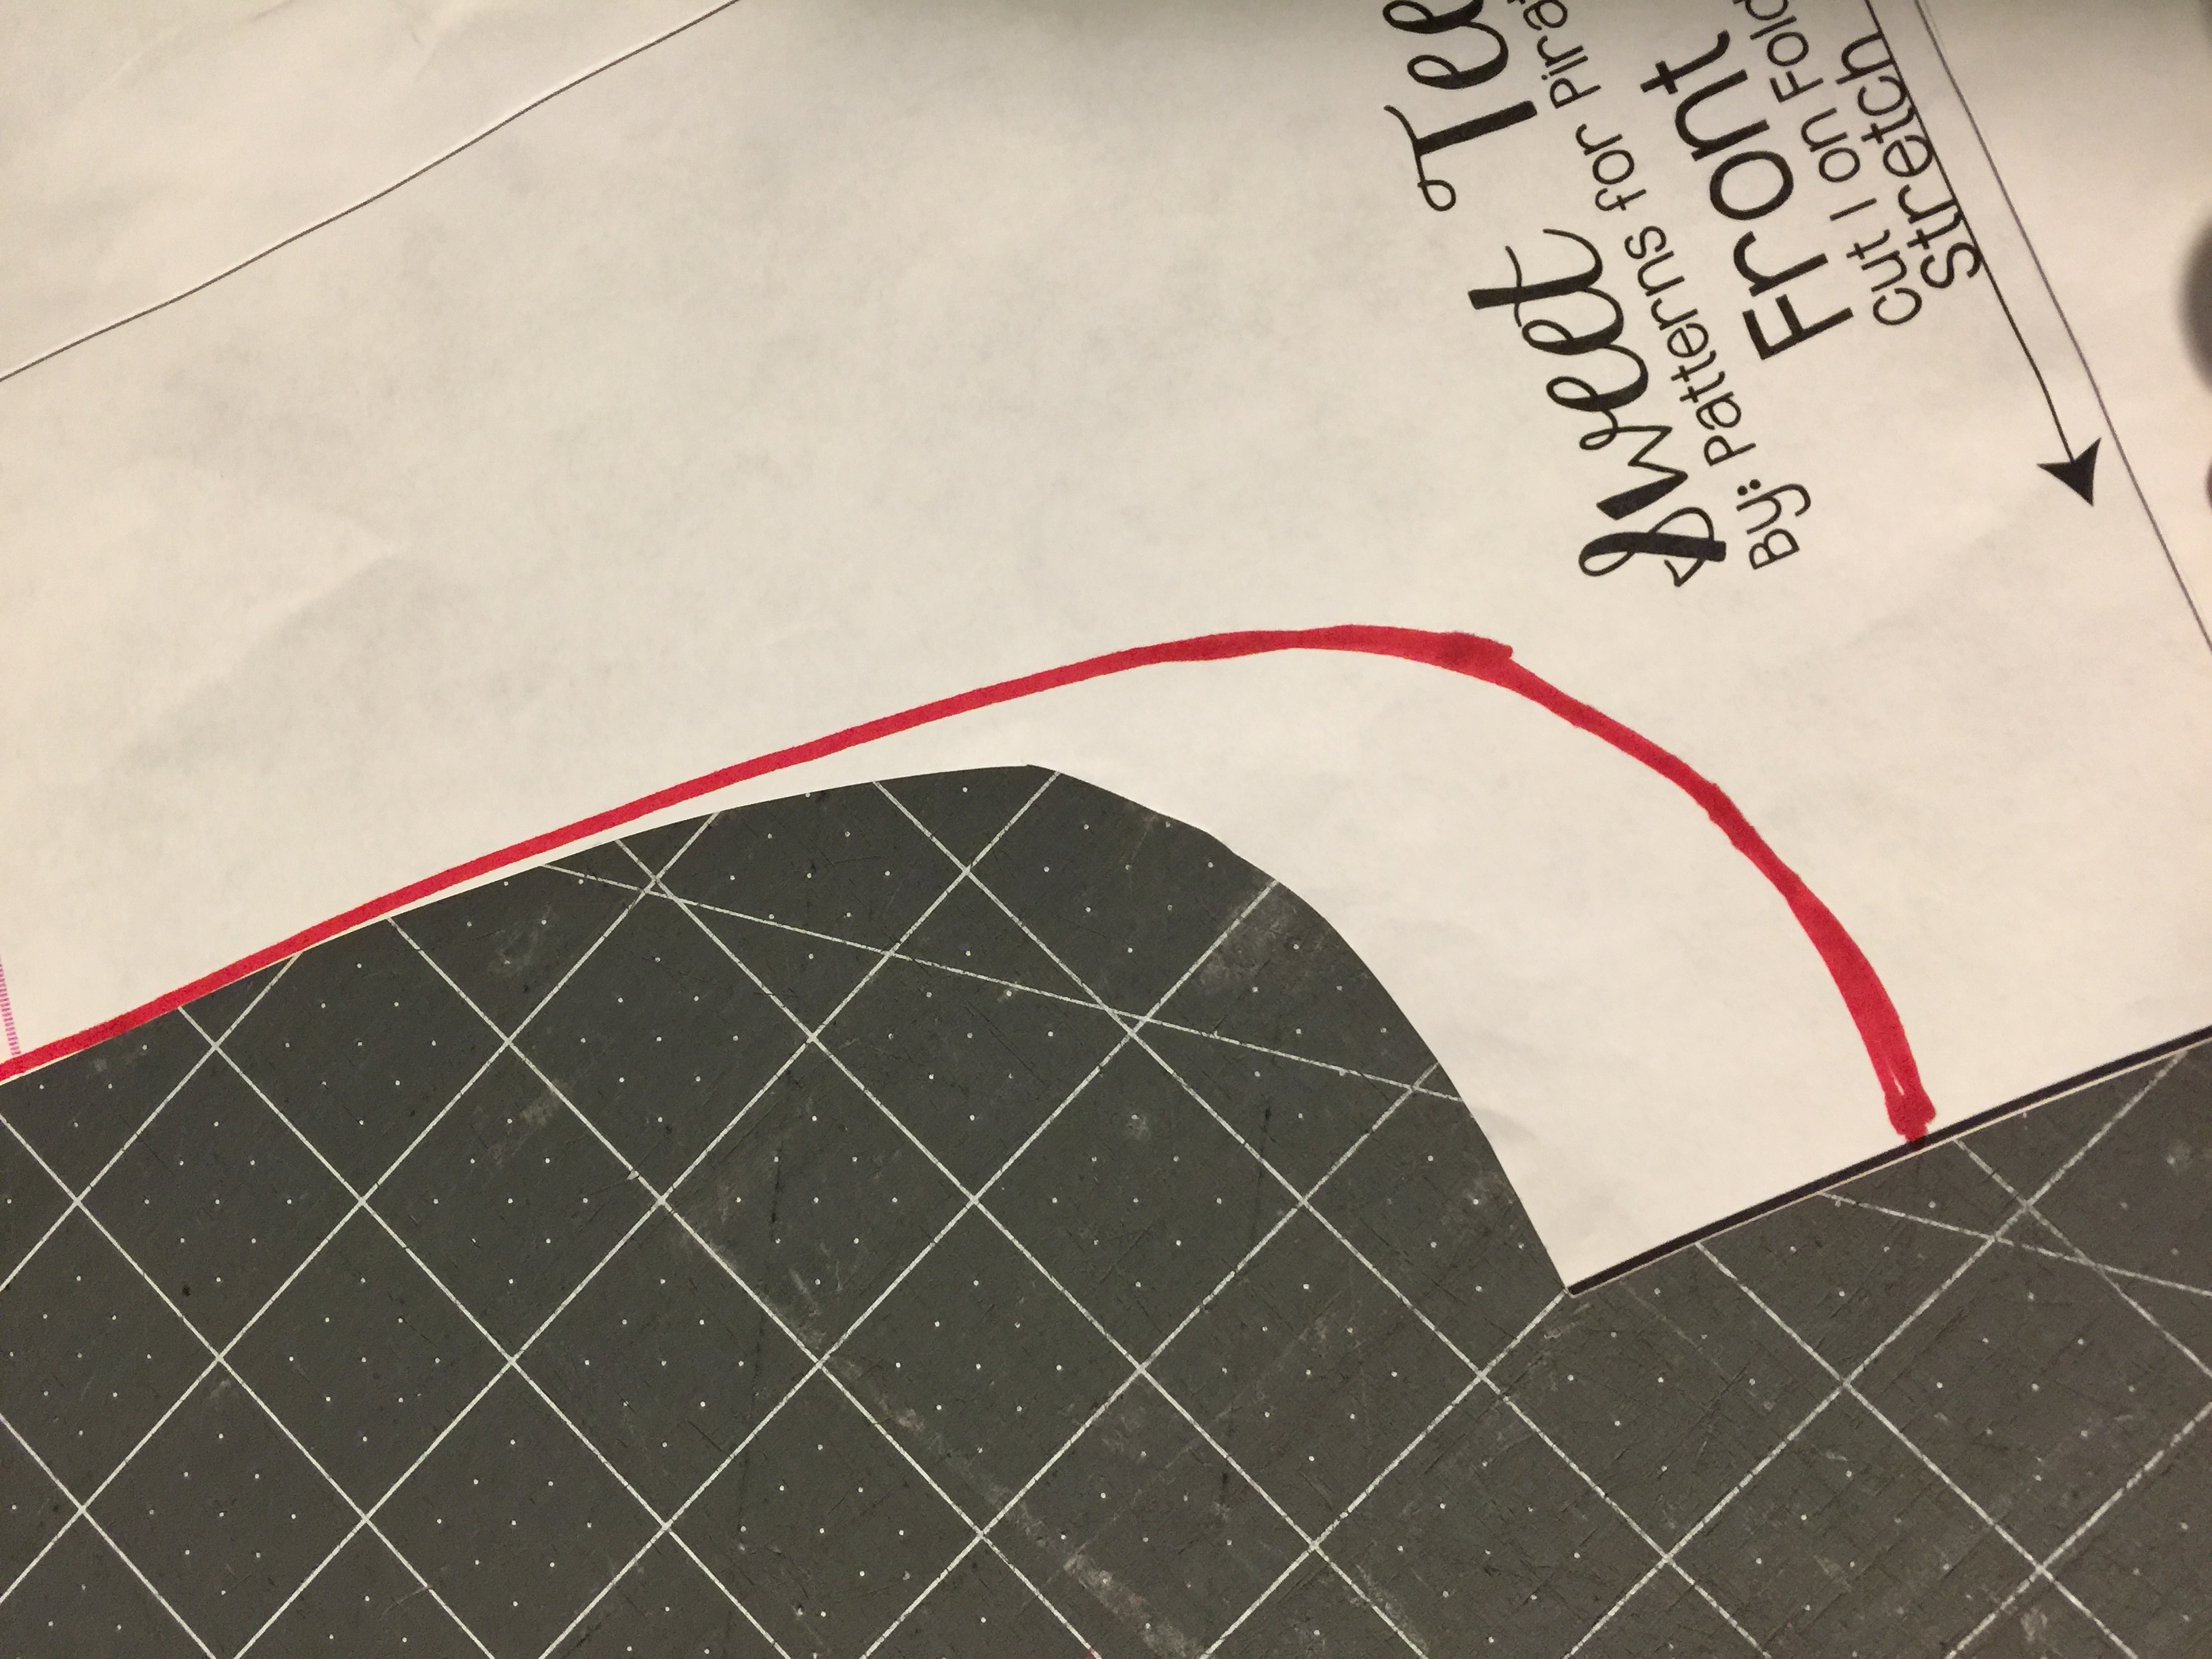
To raise the neckline you will need to grab your front bodice piece and a blank piece of paper. Align the center fold of the front pattern piece  with the side of your paper and glue them together.

Mark a point 1-2 inches above the original top center depending on how high you’d like the neckline. Using the French Curve draw a curve from the center point to the inner shoulder point. Cut the new front using this modified pattern piece and the rest of the pieces as in the original pattern.

img_4503

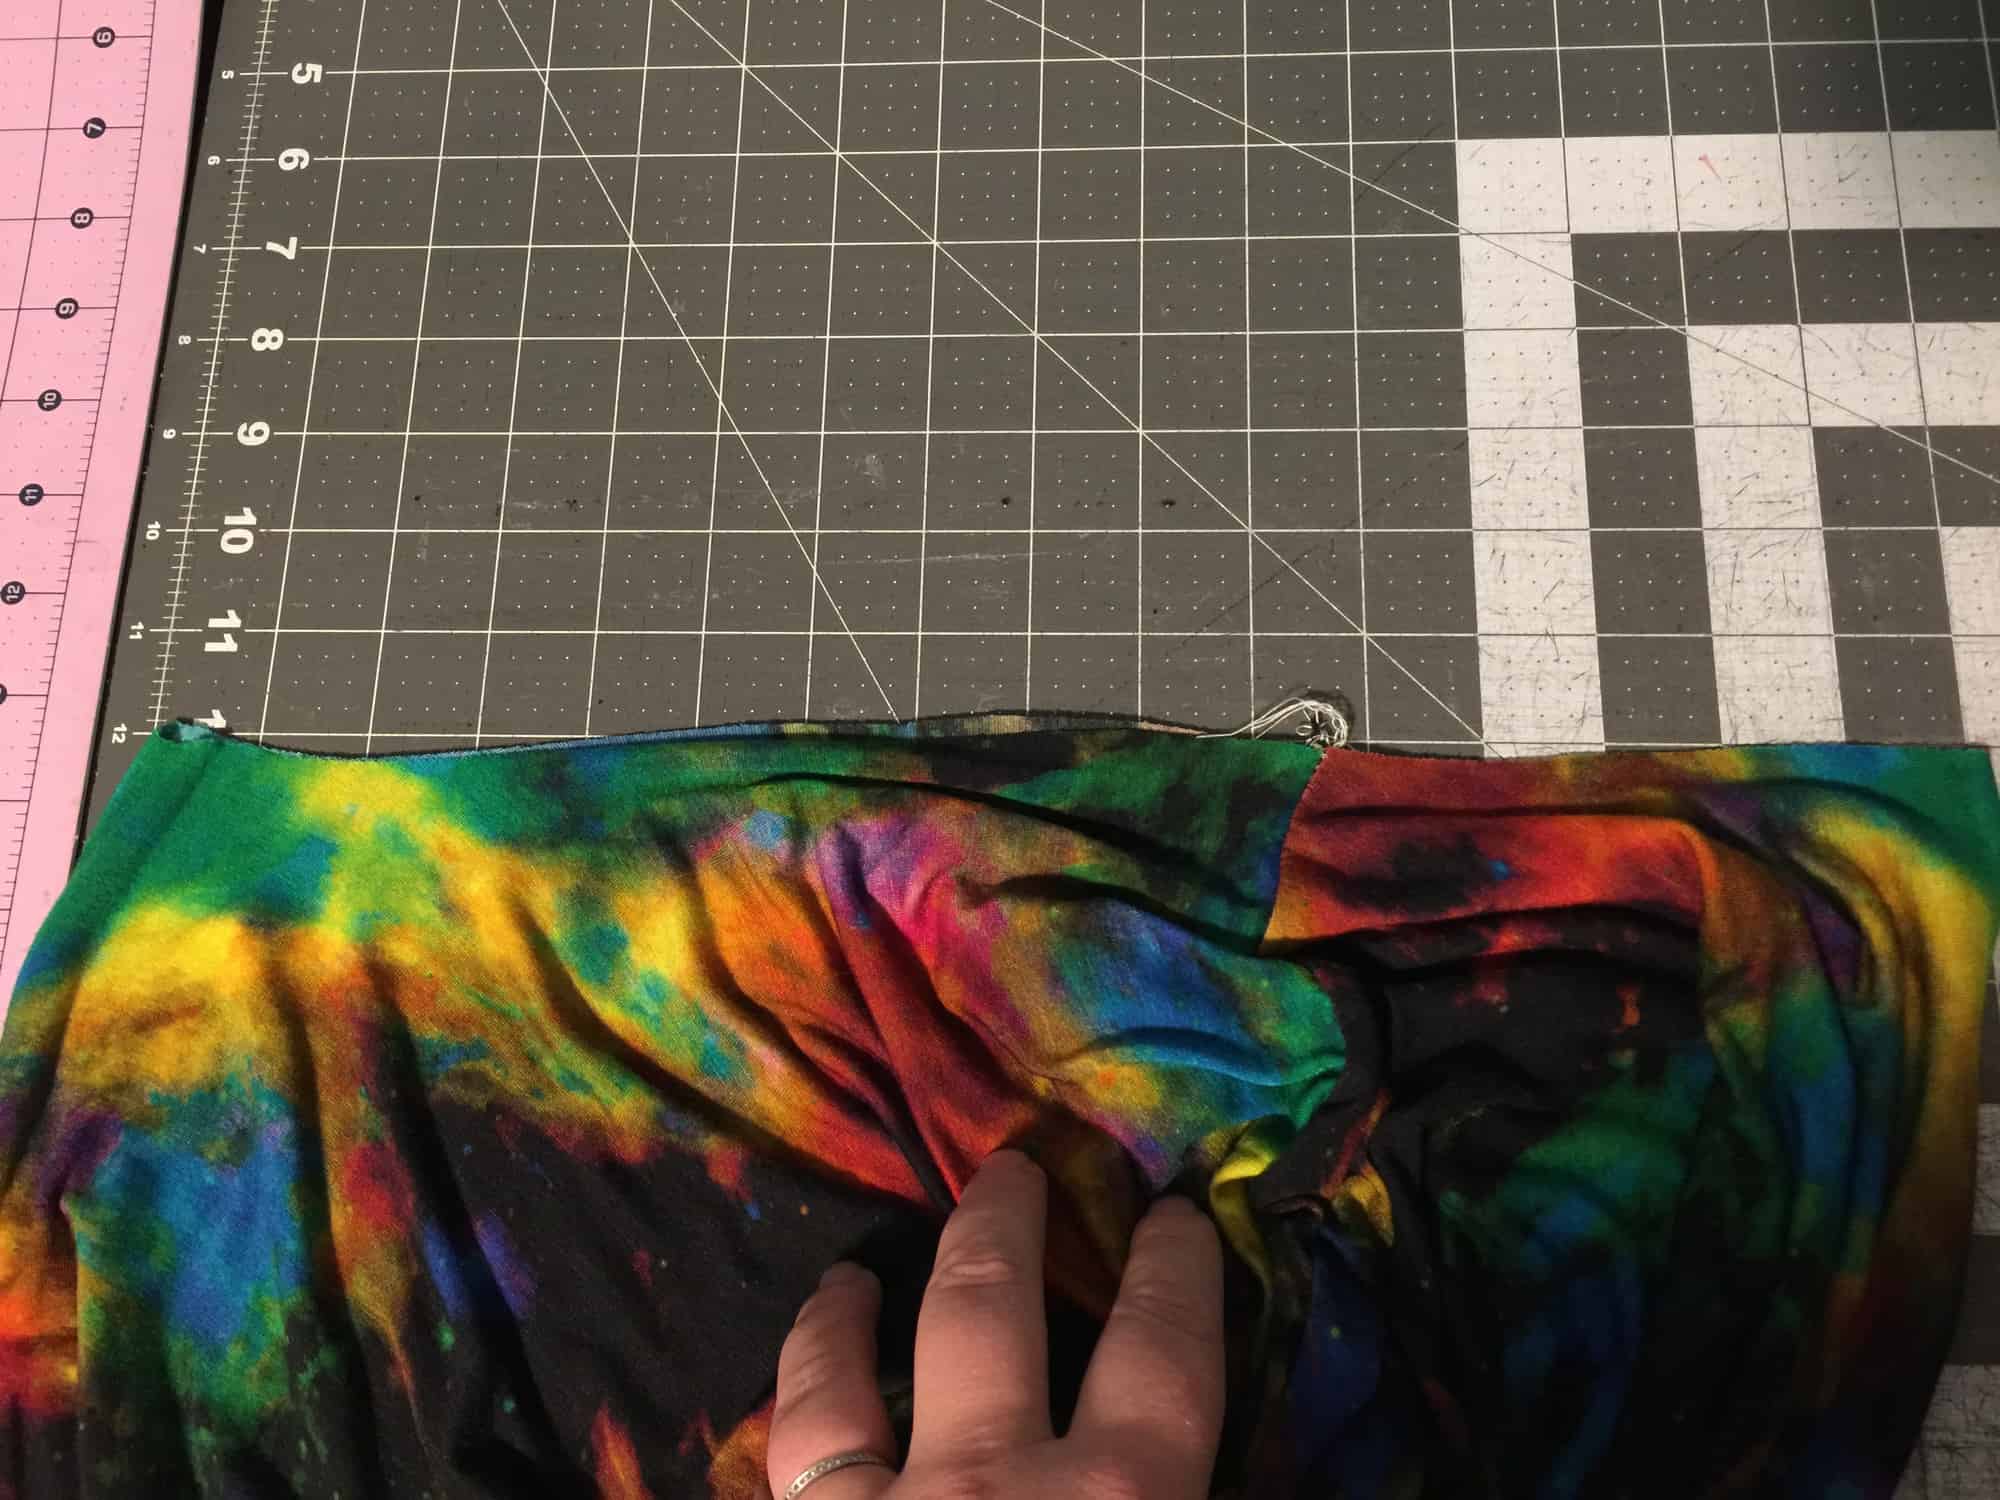
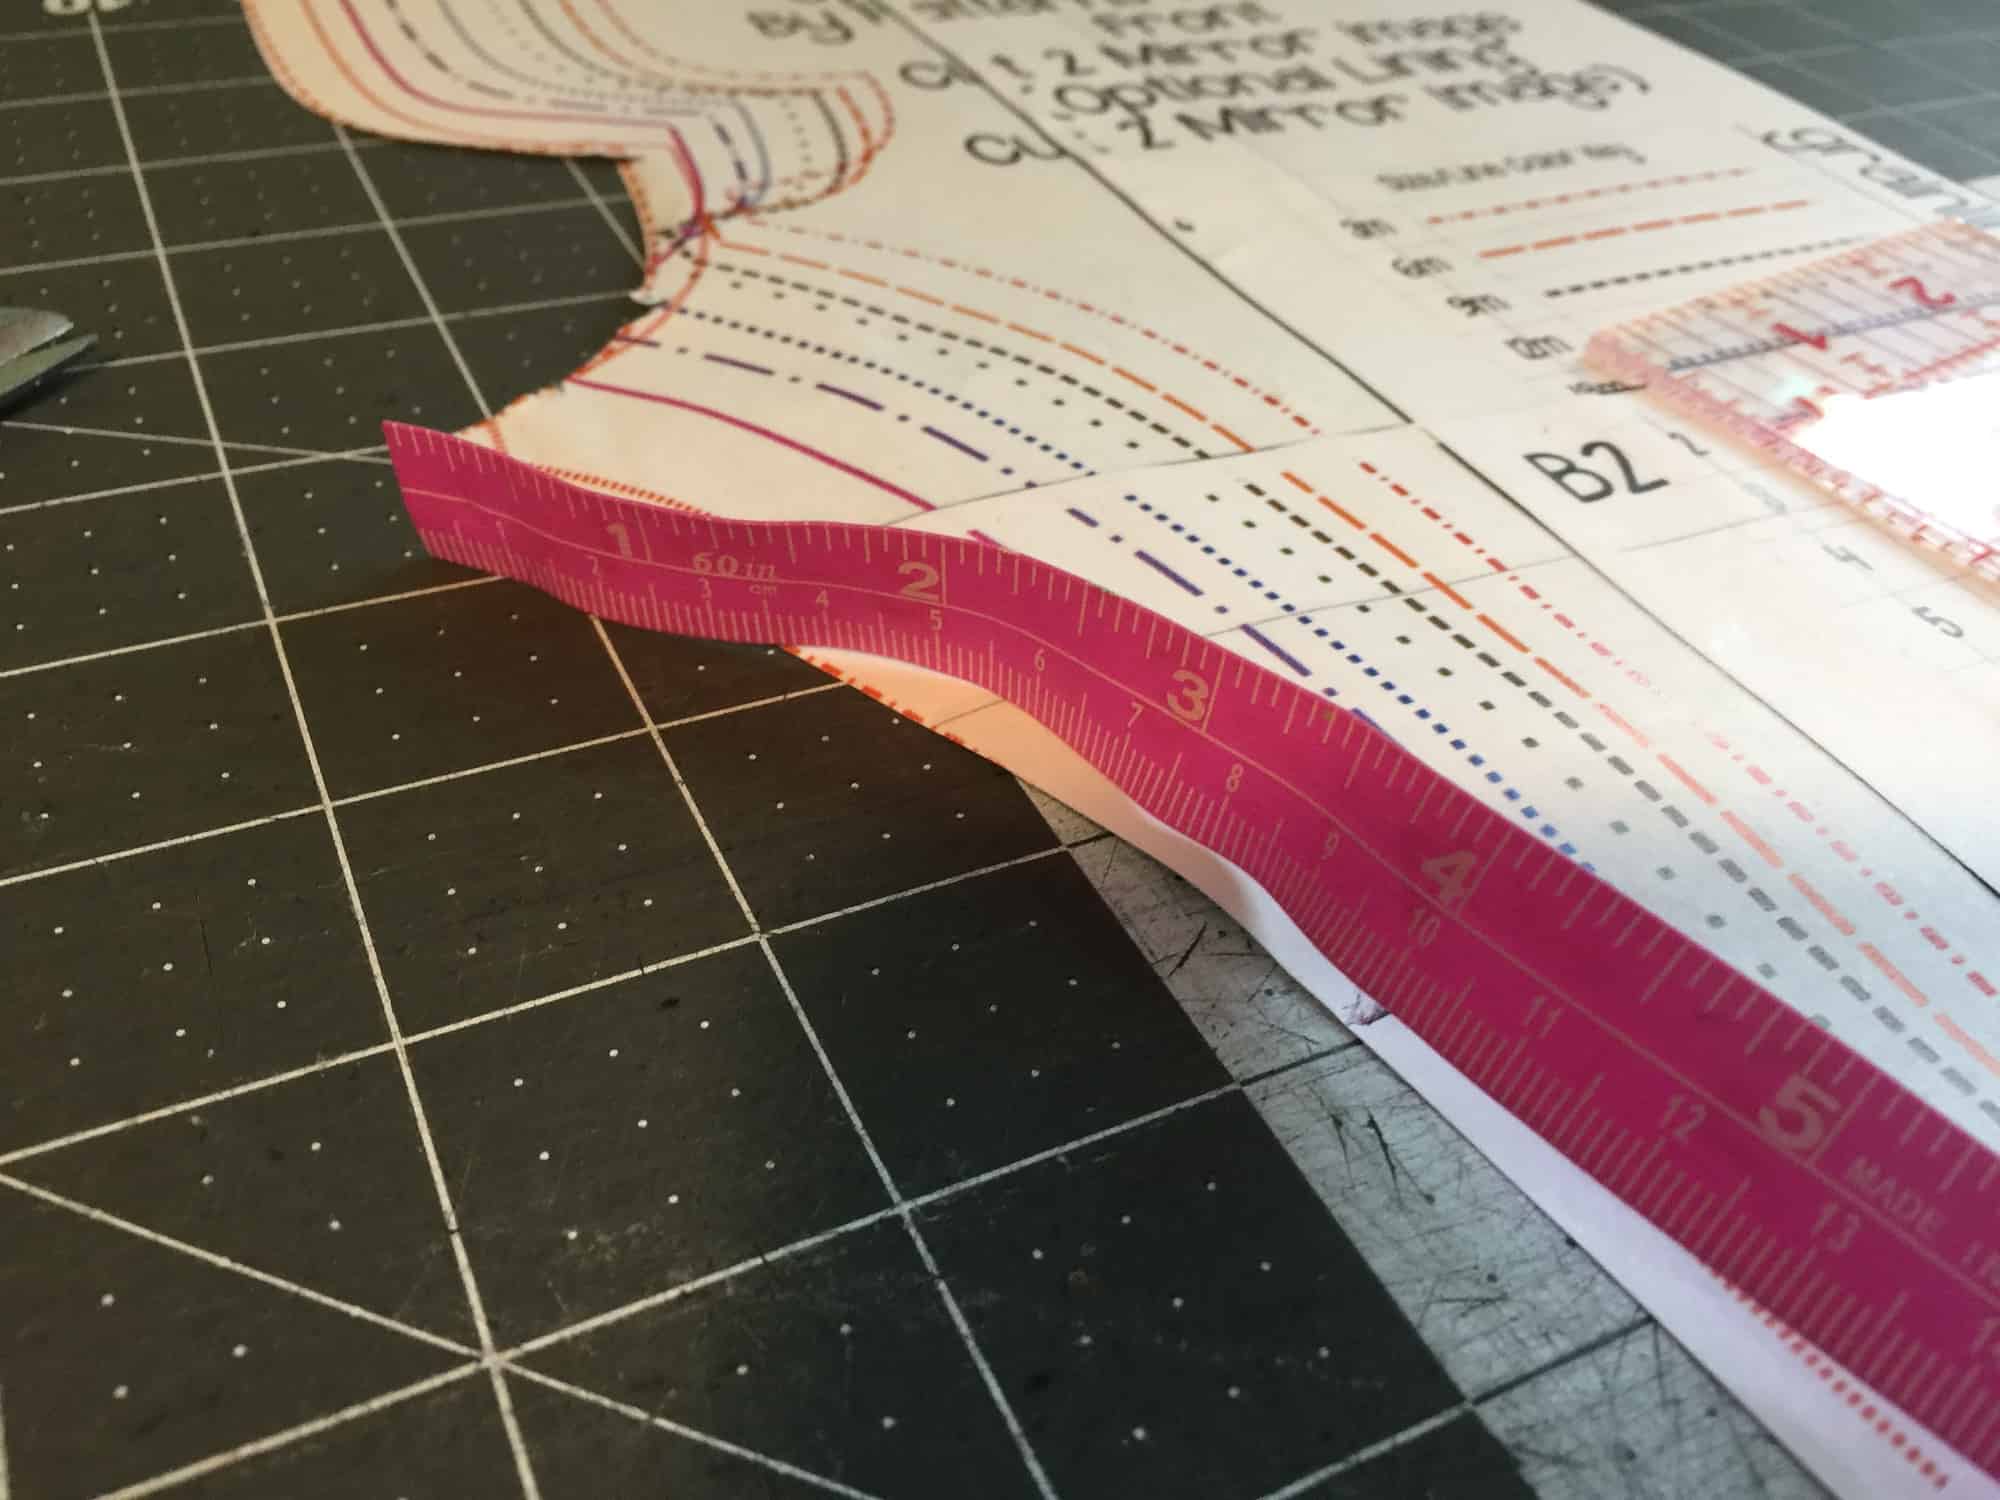
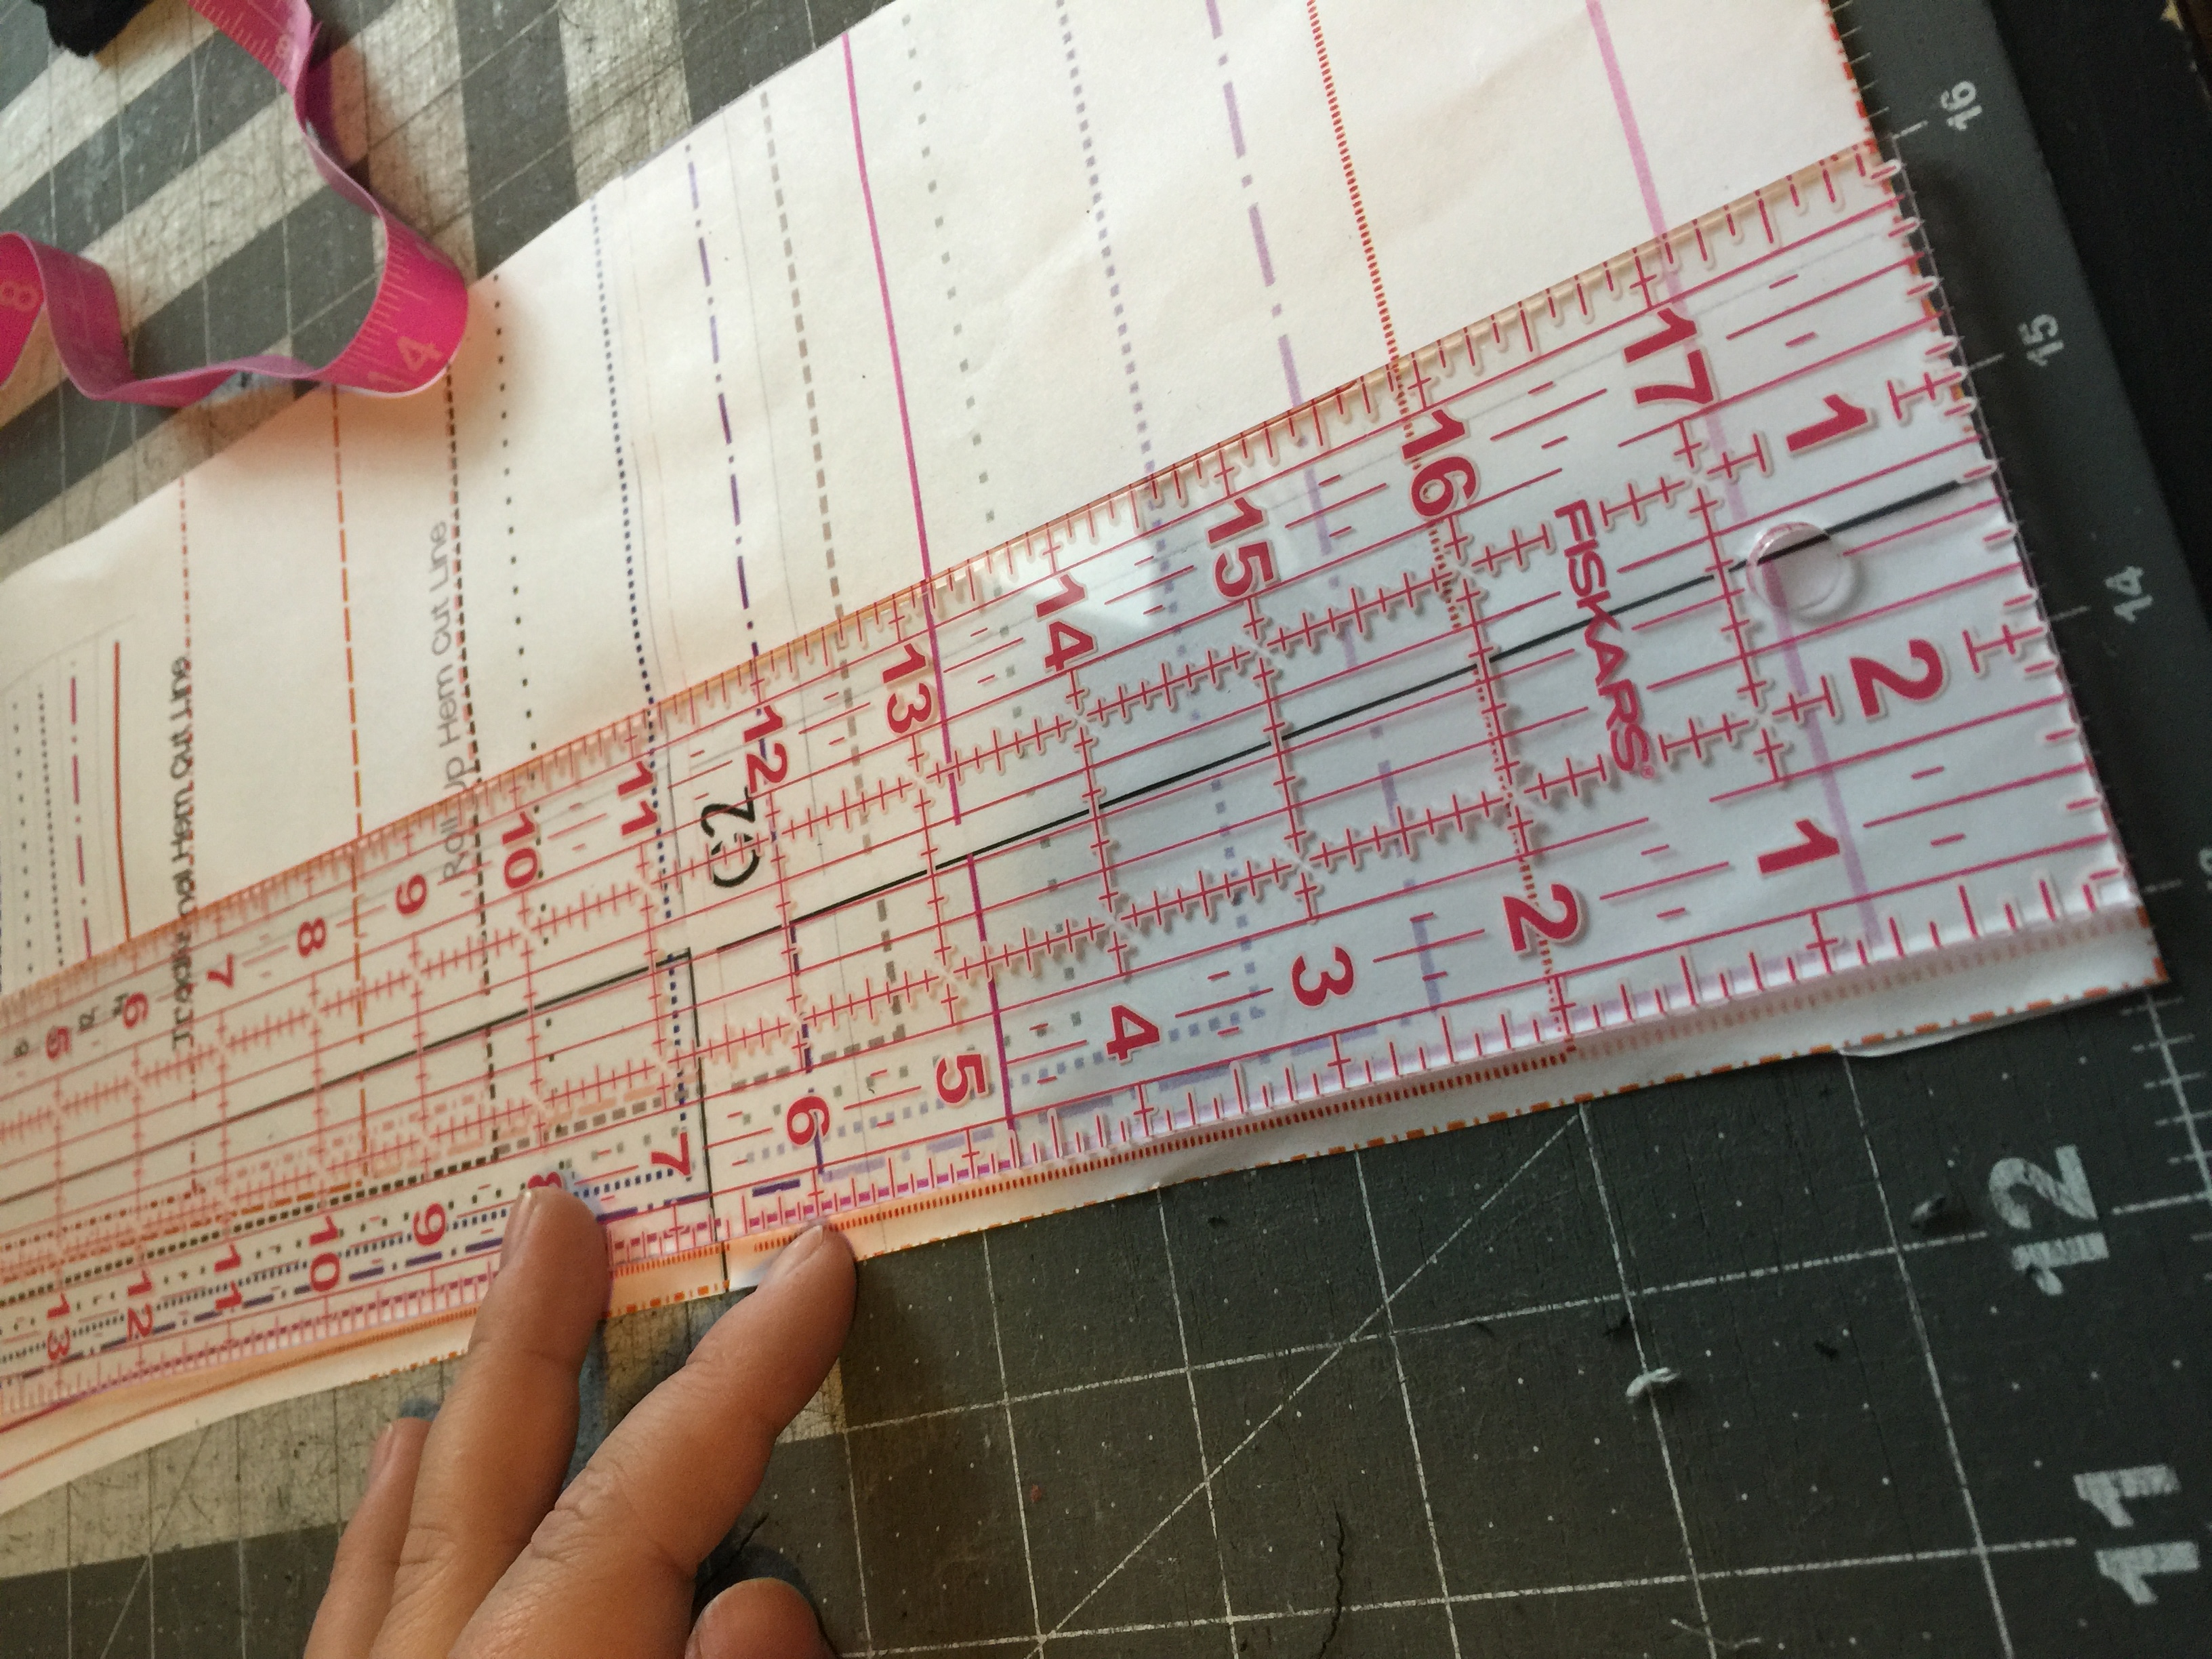
The only additional modification you will need  to make is to adjust the neckband or binding length. You will need to make it longer or shorter depending on the new neckline. I like to calculate the new neckband length after I sew the front and back pieces together at the shoulder. To find out the new neckline circumference lay the neck opening along a ruler and multiple it by 2.

img_4505

Your new neckband length will be 85% of this circumference plus 1 inch to accommodate the seam allowance. (C * 0.85 +1 ). Cut the new neckband/binding using the new length but keeping the width suggests in the pattern. All you have left to do now is sew the shirt or dress according to the tutorial and you have just made yourself a custom outfit. Easy peasy…right? 🙂

I can’t wait to see your creations in the Pattern for Pirates group.

img_4115

img_4113

Happy sewing, pirates!

Filed Under: Frequently Asked Questions, Pattern Hacks, Uncategorized 6 Comments

Sew, what do I wear? Planning and Sewing for Family Pictures

November 19, 2016

swdiwlogo

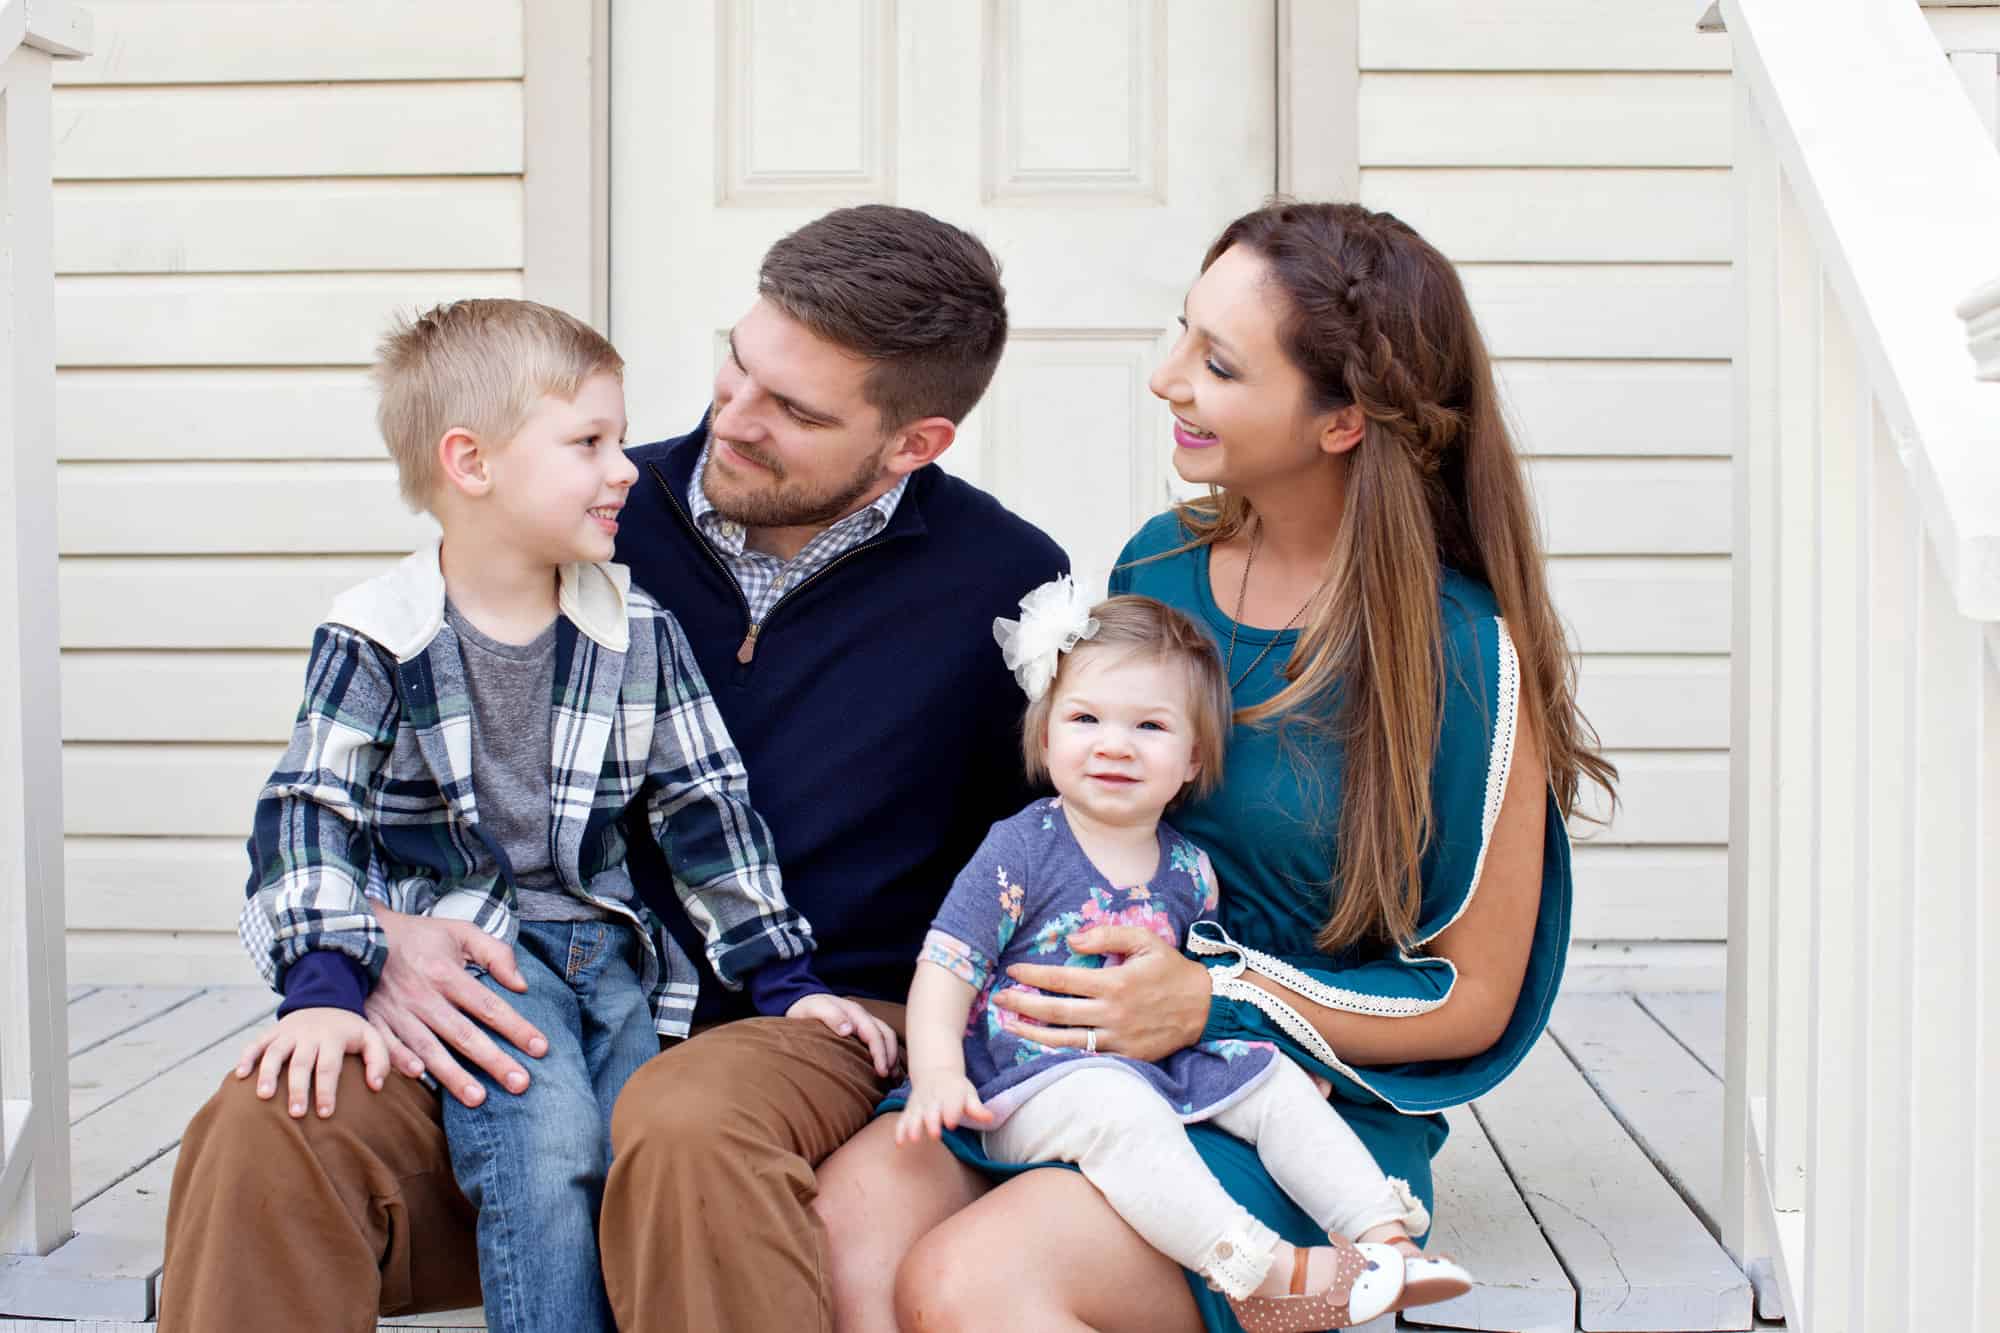
I, along with a lot of apparel seamstresses LOVE to sew up something special for family pictures! We get our family pictures done every fall.  And each year I like to think I get a little bit better at my part, which is coordinating/sewing the outfits.  Or most of them!

1185182_10101089986360483_1574504116_n 10660348_10101707723280743_4188534425432925783_n

_dsc4951

2047

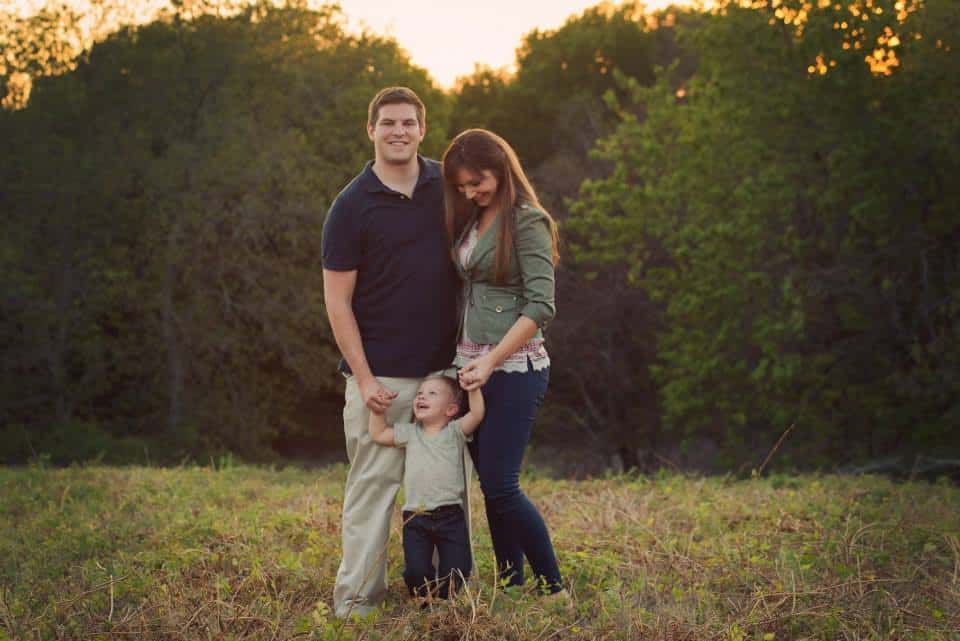
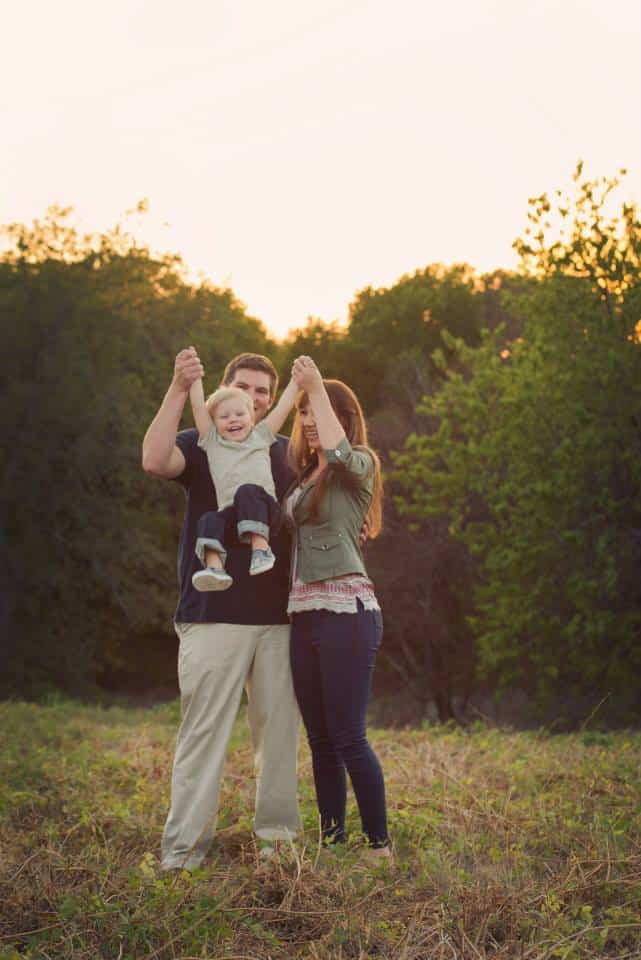
I think the most important “rule” is to have solid back ups.  I like to pick out a true back-up plan with clothes we already have.  I’m a last minute kind of girl, but nothing is worse than really being under pressure to finish something right before you need to look happy in front of a camera! And, you never know when a project decides to be a “doomed project”… you know it happens from time to time that it just isn’t meant to be… everything that could go wrong goes wrong! So… have a REAL back-up… something you will genuinely be happy with and have picked out and ready just in case.  It will take off pressure, stress and be there in case you need it 🙂 This year we slipped into someone’s “spot” after they cancelled… so I only had about 24 hours to get ready. I made Little Guy a Deep Sea VNeck and he wore a pair of Cpt Comfort Jeans I had already made him.  Hubs and I both wore all store bought.  And I still love the pictures 🙂 and I’m glad we could slip in with this photographer that I love!  This year we did navy, green and cream/khaki and my undershirt had a little tiny bit of pink.

10653650_10101707723320663_7624800562902864647_n

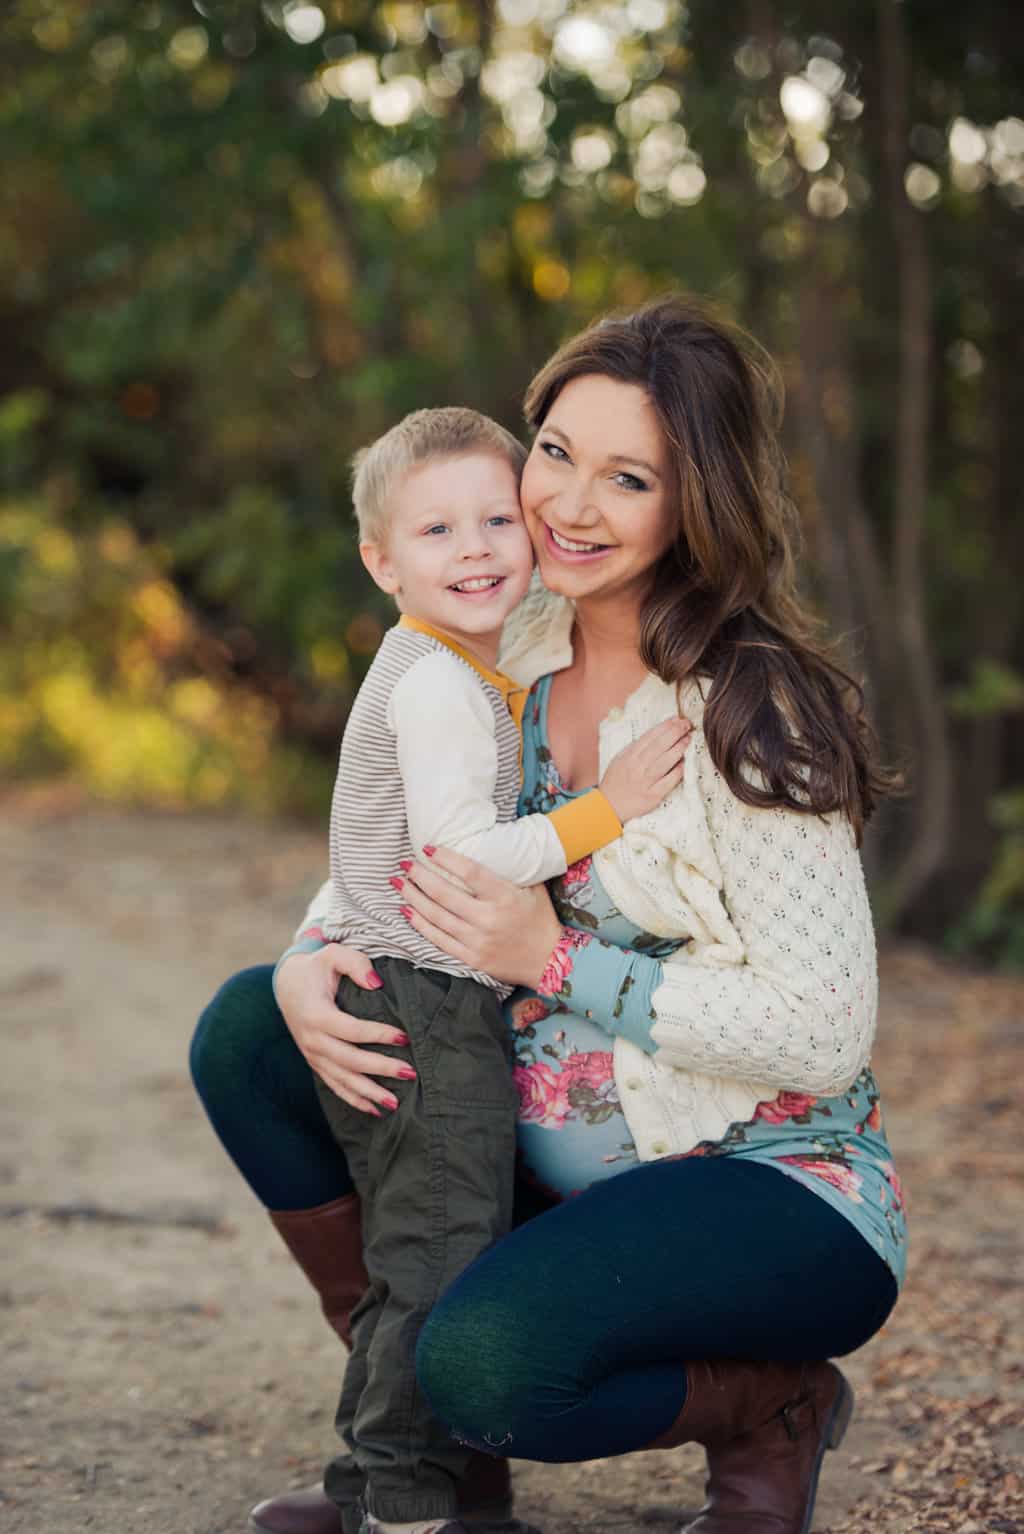
On to the next… I don’t ever try to sew every single piece of clothing in the picture.  That’s a lot to take on, especially if your family is growing and has lots of bodies to clothe! I like to pick the most important to me and make those extra special.  That way I have time and energy to make those “show stoppers” and leave the rest to store bought or something that was made a few months ago! My poor husband pretty much never gets anything made for him…maybe next year 😉  Last year when I was at the end of my pregnancy I only made my shirt (a Layer Me Up )! I wore some SOS skinny pants I had and my Little Guy wore a Yo Ho Henley I had also made previously.  I paired a sweater that was my Granny’s (so still a special to me piece) and the rest was store bought we had on hand.  I had set out to make a cardigan and pants for Little Guy, but those back ups came in handy when I couldn’t muster up the energy!

_dsc4958

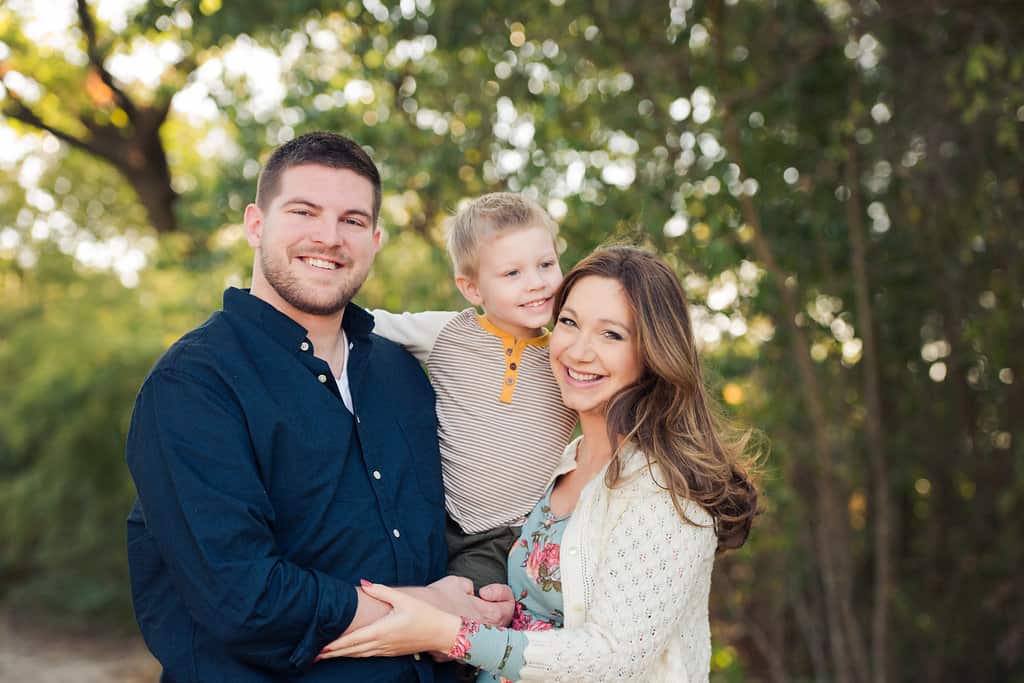
When picking colors I love to pick colors that I think compliment both our skin tones and my house! I print the pictures and have them in our living room every year… so I don’t want some crazy colors that aren’t going to go well with all my other decor.  We happen to all be very fair skined, so it’s easy to compliment all our skin tones with the same cooler tones.  If your family has different skin tones, no biggie! You can mix in cooler and warmer tones with different shades and colors. When I’m deciding I love to search Pinterest for family photo in the colors I’m deciding between.  I can’t pull off brighter warmer tones like yellow and orange, so we usually do cooler greens and blues.  I did do a bold lip color this year, but I don’t think I’ll be repeating that 🙂

2011

I like to pick only a couple colors to use in our pictures and just add neutrals to fill it in.  I almost always go for navy as a base.  It’s super easy to use because you can find it so easily in male and female clothes, jeans and chambray are great and easy neutrals to work with navy/blue as well.  I also always add in white/cream as another neutral.  It helps balance the picture having a dark, mid and lighter tone color.  Then I pick a midtone color or two to work in.  This year we did navy, cream and darker khaki/caramel for the neutrals and teal for the color and I added in a tiny pop of pink since it was our first family pictures with Baby Girl and thought it needed that pop of pink to celebrate! Don’t worry about making everything the same exact shade either, adding different shades of the same color help give some dimension.

2000

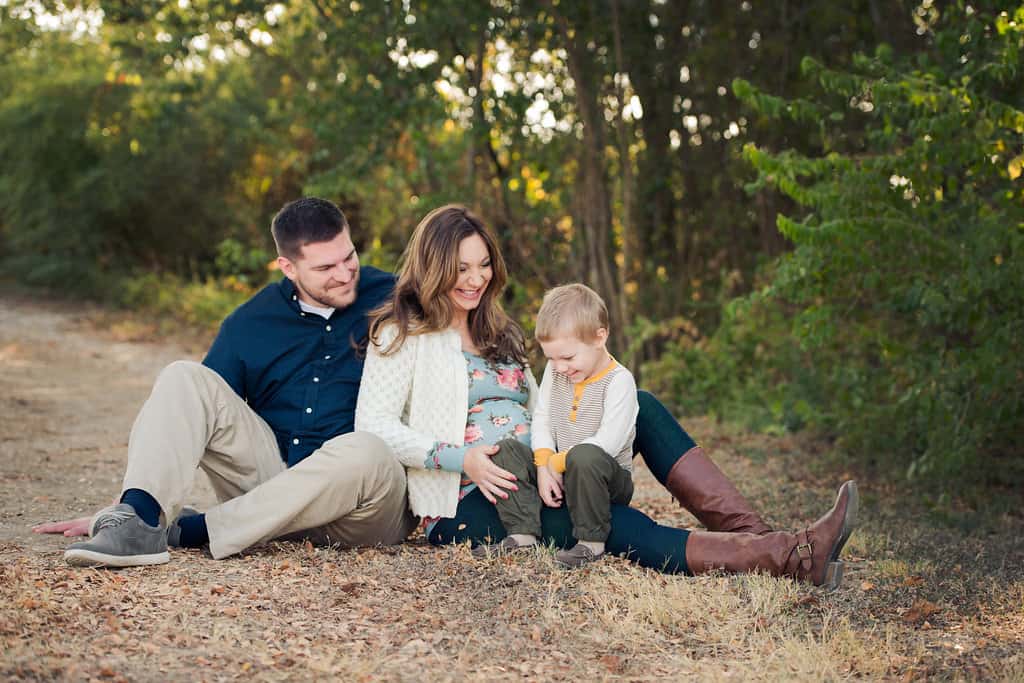
Next is finding a good mix of texture, solids, prints in your outfits.  This can be tricky and honestly a bit time consuming.  But, I really cherish these pictures forever and I don’t mind sitting and staring at a mix of fabric and clothes for a day for them! I like to use jean, knit, plaid, stripes, prints, sweater, ect to make us have some depth.  I like a lot of solids or near solids as well though, because in the end I really want our faces to be the highlight of the picture not our clothes (as hard as that is for a seamstress ;)).  Adding things like buttons and trim to a solid can be the best of both worlds!  A little trim can really make your solid apparel look extra special without being distracting at all like a loud print can become. I usually like to do the kids in the bolder prints or colors but I have mixed it up where I wear a floral, like when I was a million months pregnant last year…. everyone was looking at the belly, so I thought I’d go ahead and highlight it!  And I put Little Guy with a pop of a brighter mustard color to bring some attention to him too.  Here we did navy, cream and olive with his pop of mustard and my floral brought in a bit of pink.

_dsc4917

Layering is a great way to add some more depth and texture.  But, if you’re finding it hard to pair that many items together don’t worry.  It doesn’t make or break your photos if you’re not layered! We did our first year in the summer months in Texas— no one was going to layer anything!  Again we’re in navy, white as neutrals and added that pop of red.  I put Little Guy in the boldest and we’re both in a more subtle print.

1175421_10101089987912373_2084890075_n

But, you know… if your personality is loud print, then go for it! It’s all about outfitting your family to show them off… put them in something that reflects who you guys are!

I do think it’s important to be comfortable enough that you and your kiddos can sit, stand, walk, and move around without having to adjust your clothes every time.  Otherwise you will spend more time in your session fixing clothing than taking pictures and no one wants that! Or even worse you get them back and  you look uncomfortable! You don’t want to wear something you feel like you need to stand a certain way to be flattering…so suck in the whole time! (This is also wear layers can help mamas cover areas they might be more self conscious of!)

Even though I was super pregnant and merely standing was pretty uncomfortable, I just had on stretchy SOS pants, a super soft rayon spandex Layer Me Up and sweater. So I could sit, squat without worrying about my clothes at all!  (A little secret though, I pulled my hamstring muscle squatting down for this picture, lol!)

_dsc5025

I almost always let my Little Guy wear some kind of t-shirt.  It’s what he always wears day to day and I want him to look like him! I want him to look and feel comfortable while we take the pictures as well.  This Deep Sea V Neck is in a sweater knit.  So the fabric choice dressed it up a bit while he was still very comfy!

10354875_10101707723774753_441210257010283846_n

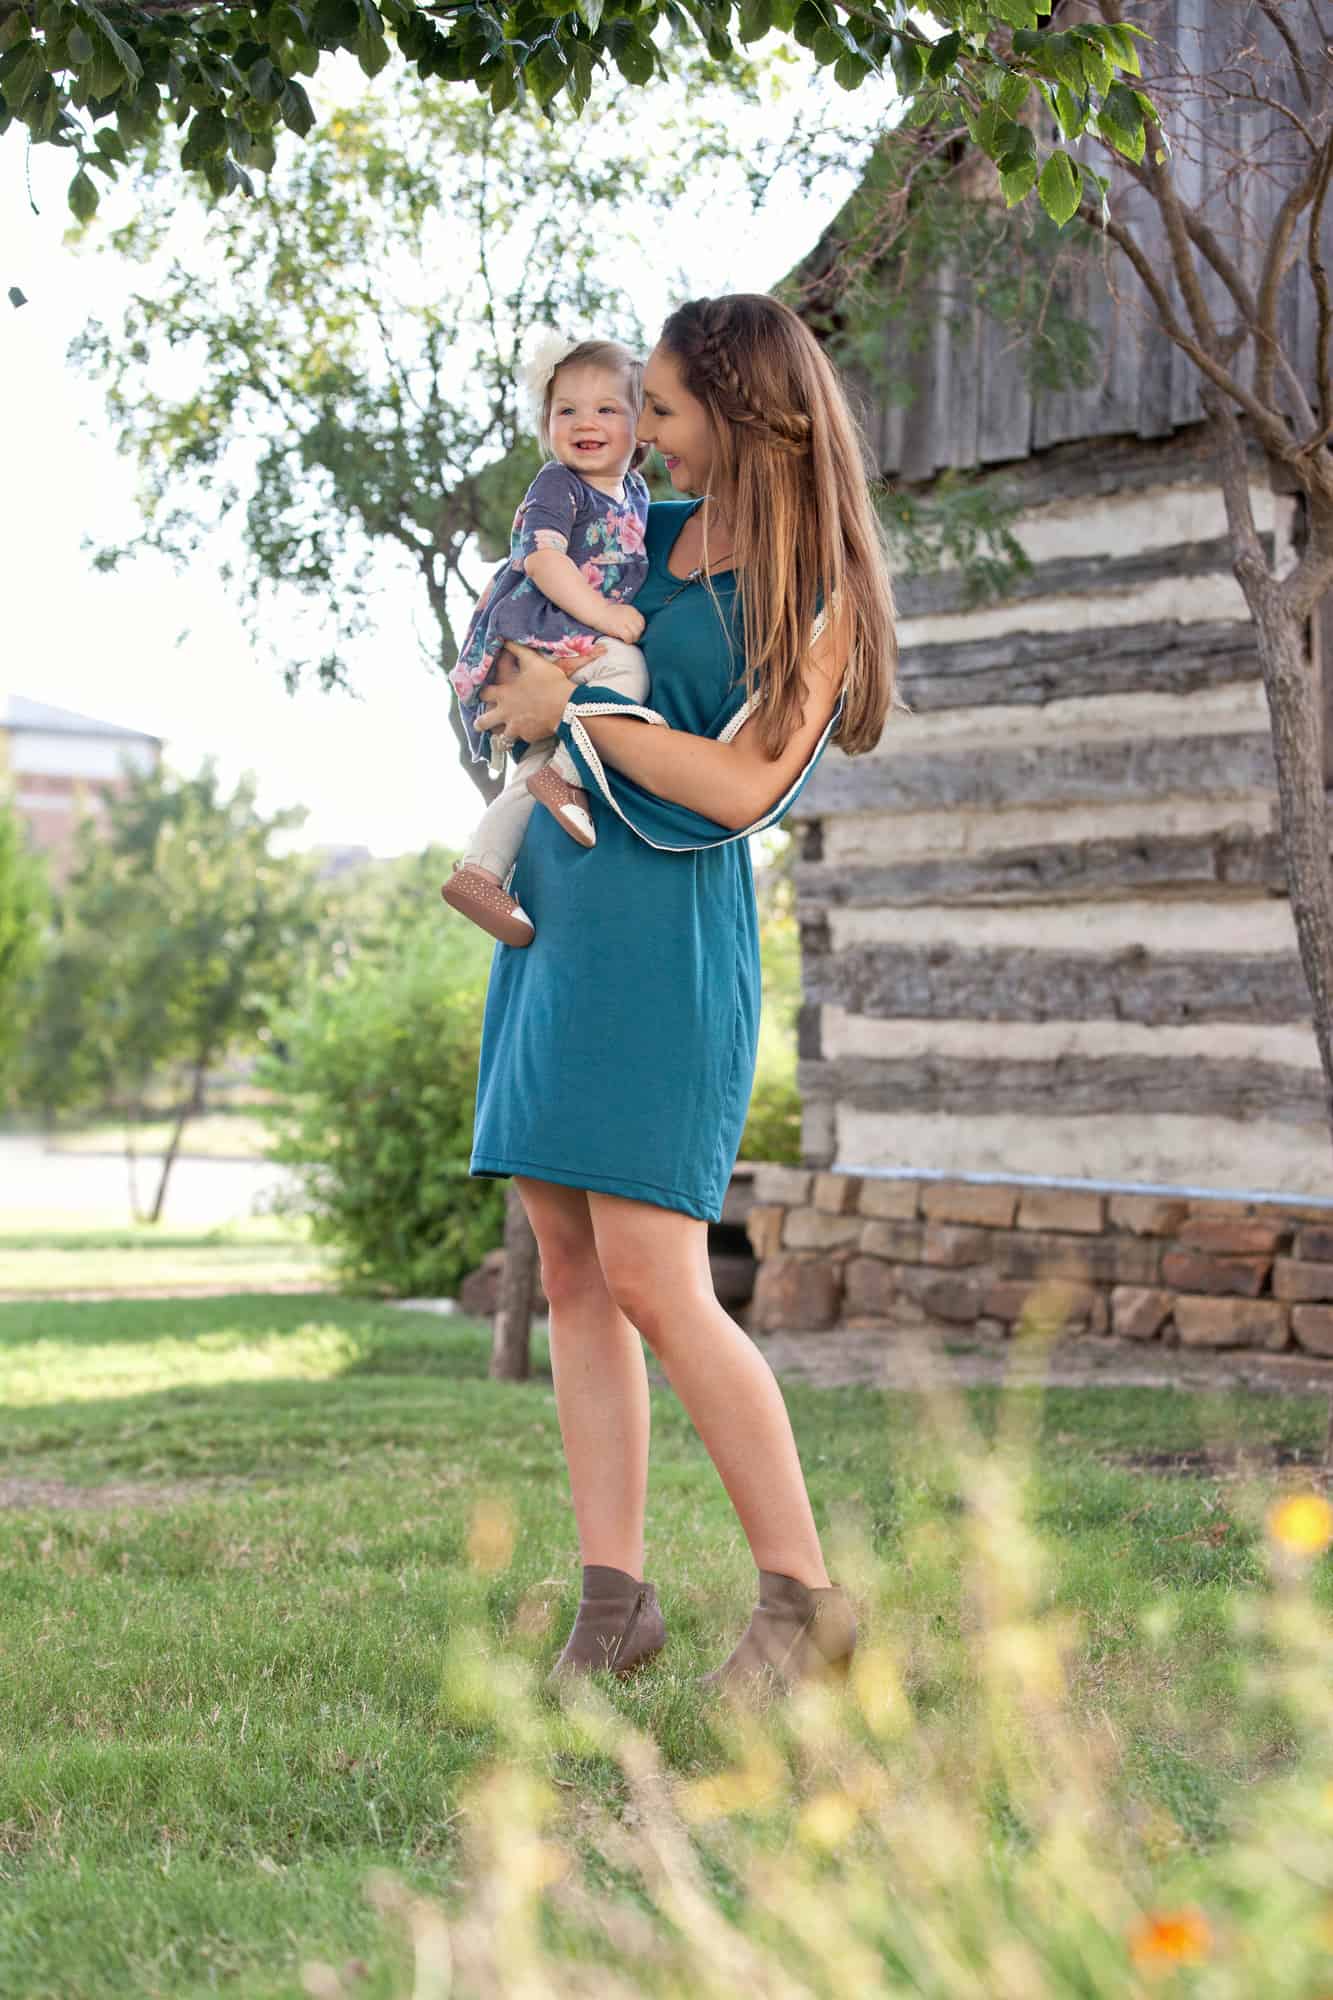
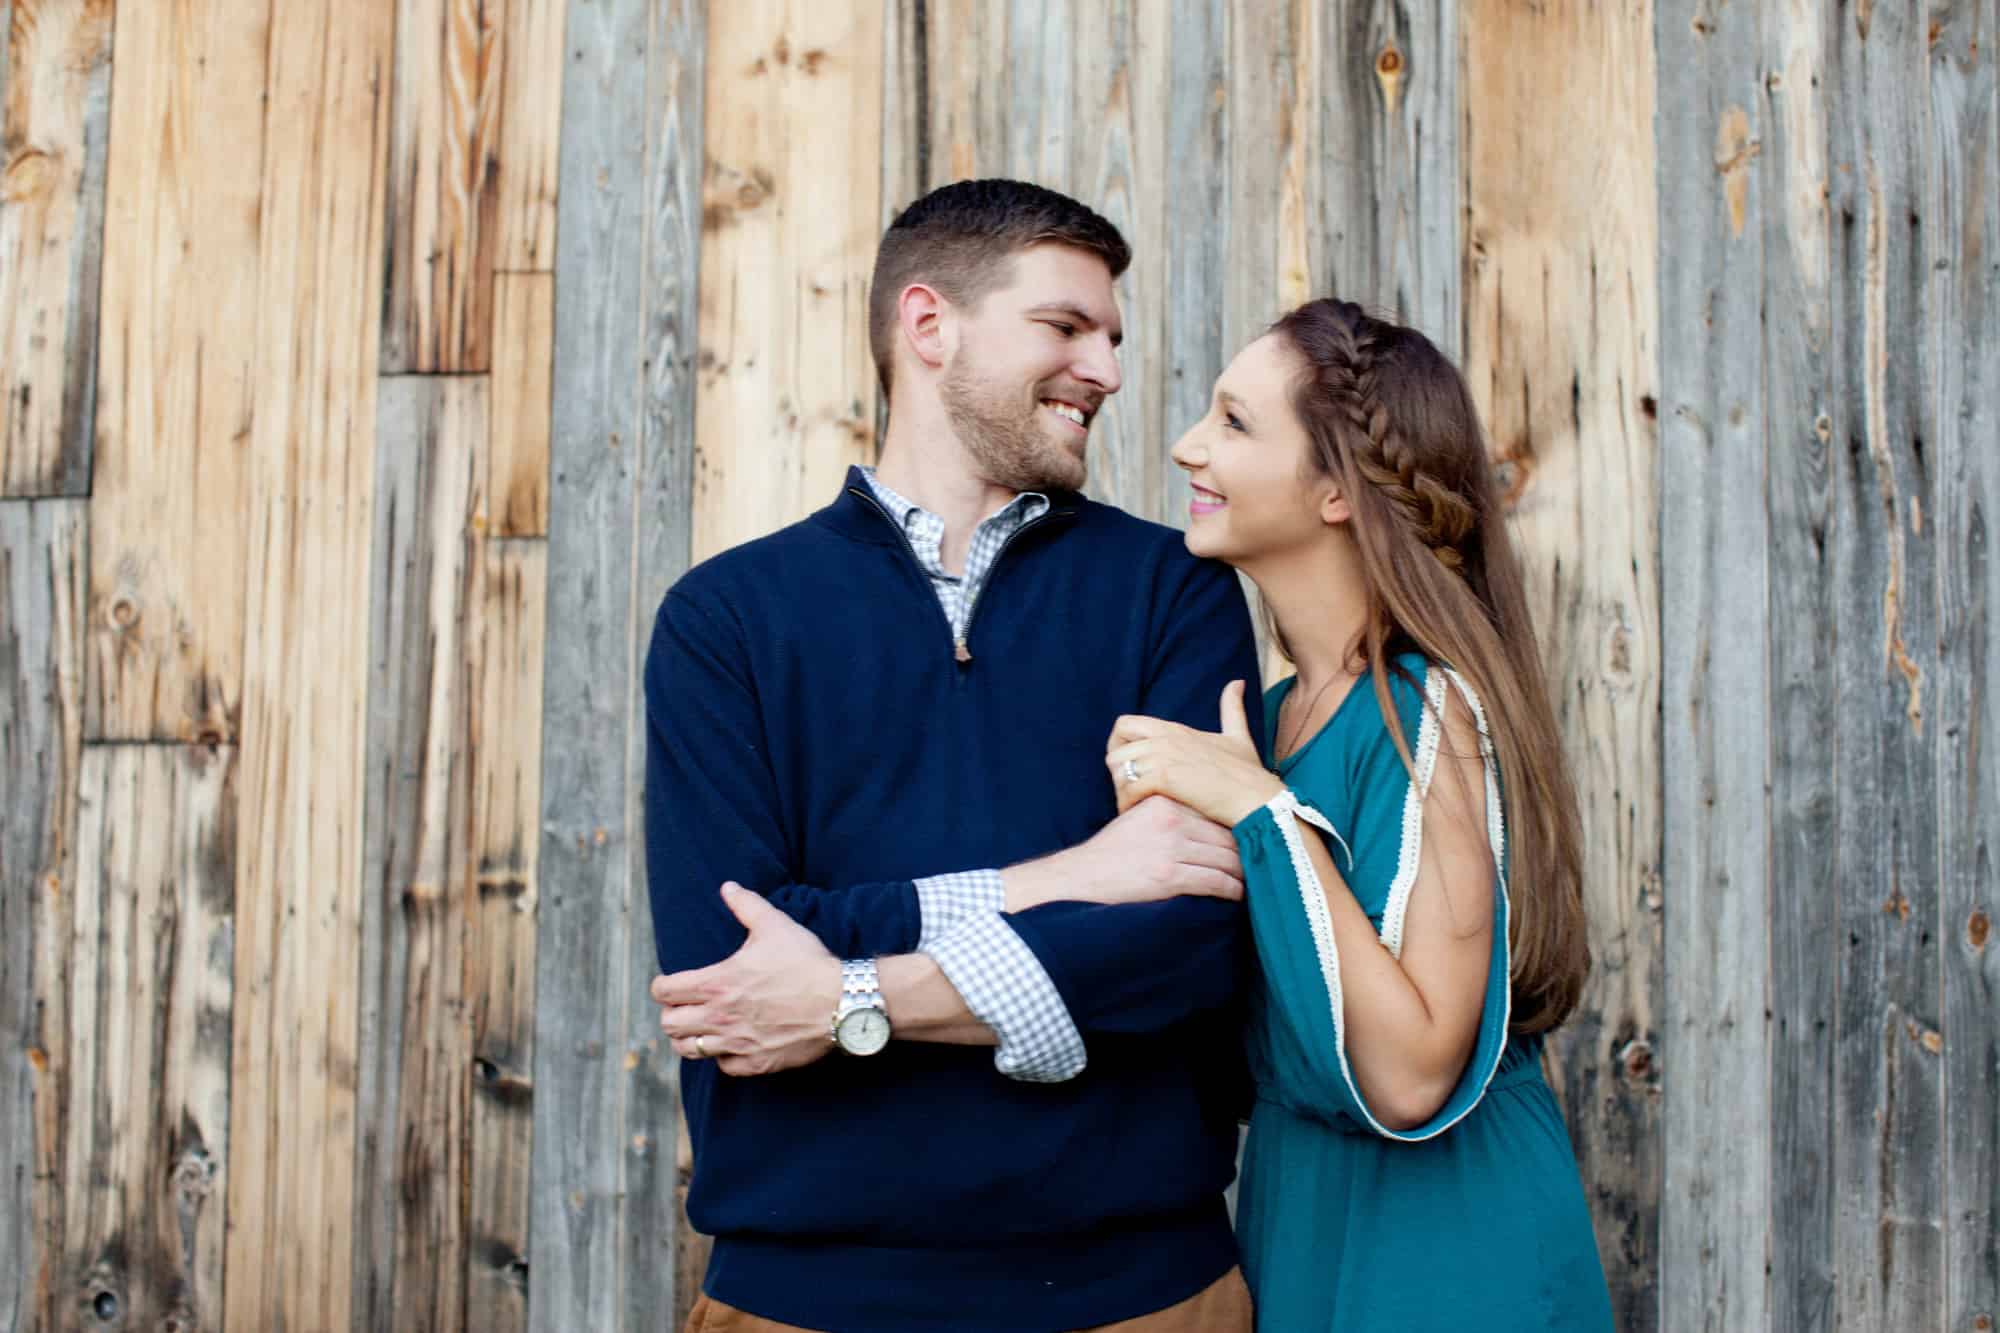
For this year I used the Timeless Tunic for myself.  I did a solid teal rayon jersey in the dress length.  I did size down to a small since I used a very stretchy and drapey knit rather than a woven it’s drafted for.  I also drafted out the bust darts since it was knit.  I used the sleeve split hack that Angela had shared when it released and used a little crochet trim along the split.  I thought it gave the solid a little more umph! I also love to put us in trendy clothes, which is sometimes a “no-no” for family photos.  But, since we do them every year I love the idea and I can’t wait to look back through the fashion!  I paired it with a long necklace and wedge booties.  I was comfortable in the knit and the skirt wasn’t so tight that I felt like I needed spanx or to “suck in” the whole time.  The split sleeve was something I had to be aware of while taking pictures though and how they were laying.

2053

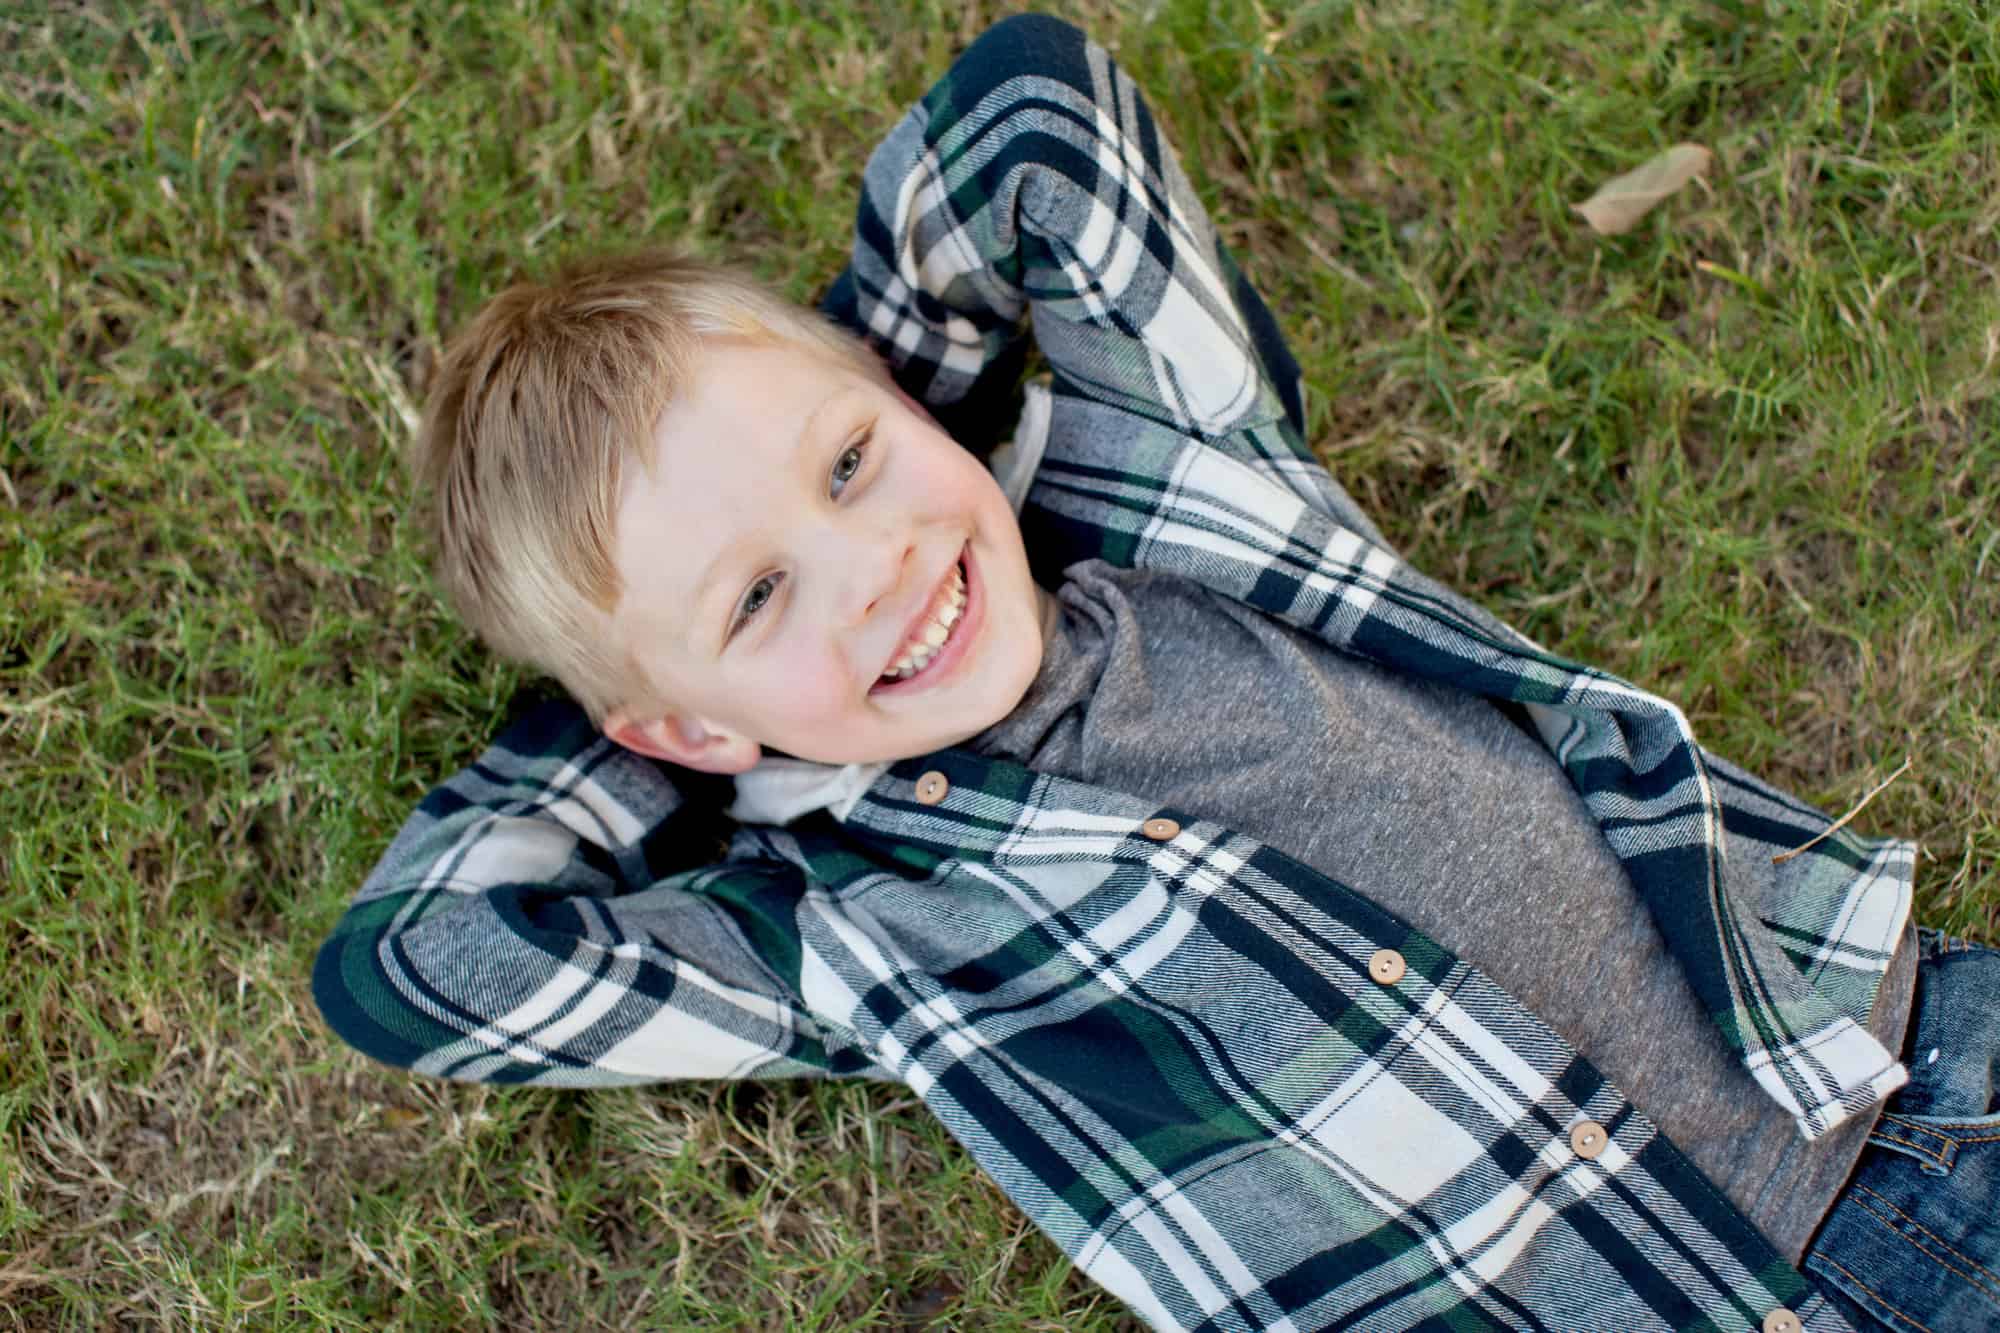
For Little Guy I made him a plain grey Jolly Roger Raglan in a heathered cotton jersey.  The heathering gave it a tiny bit of texture/interest even though it was a solid.  I also made him a Lumberjack out of a flannel (the poor baby was so hot! It was in the higher 90’s when we took these!).  I did the hood option and added quick knit bands in place of the cuffs.  I also didn’t have time to actually make the button holes if you look closely! But, I bet no one else will ever notice…I hope! He wore some store bought jeans with it.

2078

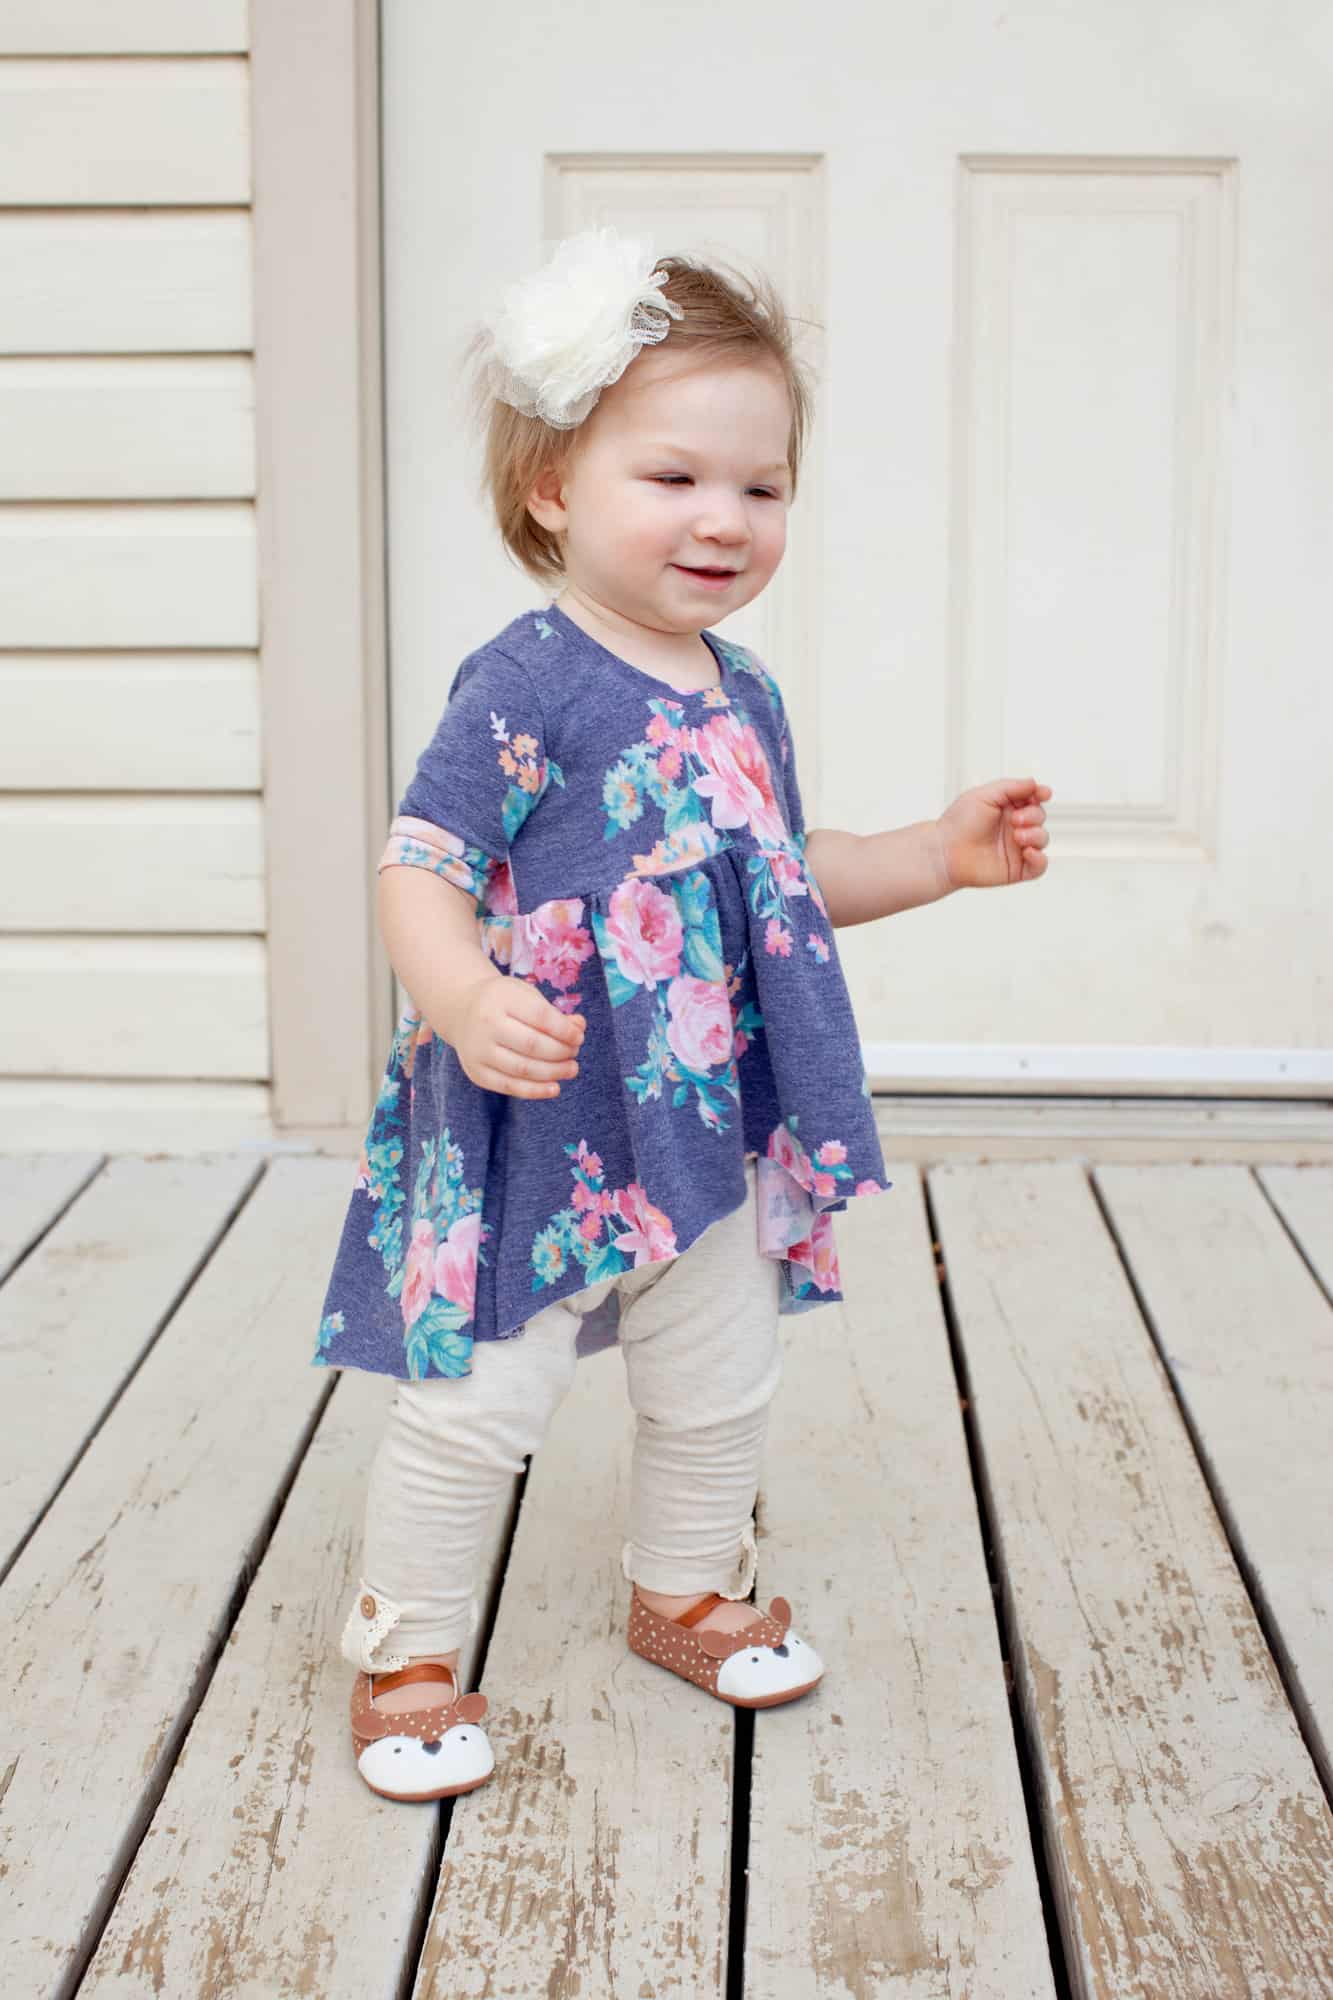
Baby Girl wore a High Low Tide Top in a french terry.  She was the only one is what I’d consider a more bold print.  Since she’s so little I thought it was a great way to drawl your eyes to her. She also had the pop of pink within the color scheme in the floral.  A nice soft knit for her too so she would be comfortable and I wouldn’t have to worry about it getting all wrinkled everything I held her or she plopped down walking a few steps.   I added a little of the crochet trim and the buttons on Little Guys’s Lumberjack to her leggings (I used the Bonny Leggings by M4M).  Just a tiny detail that no one else will probably notice coordinates and matches but me.

2024

Husband wore all store bought–sorry honey! Darker khakis, a button up and a sweater (he was also VERY hot— but he looks great right? 😉 Gotta love a man who will wear layers on a hot TX day for you!)

2094

I love seeing the family pictures pop up in the Patterns for Pirates Facebook Group!  And I see the questions for help from time to time too! So I hope this helps you get your family pictures planned and sewn  up for next time!

2002

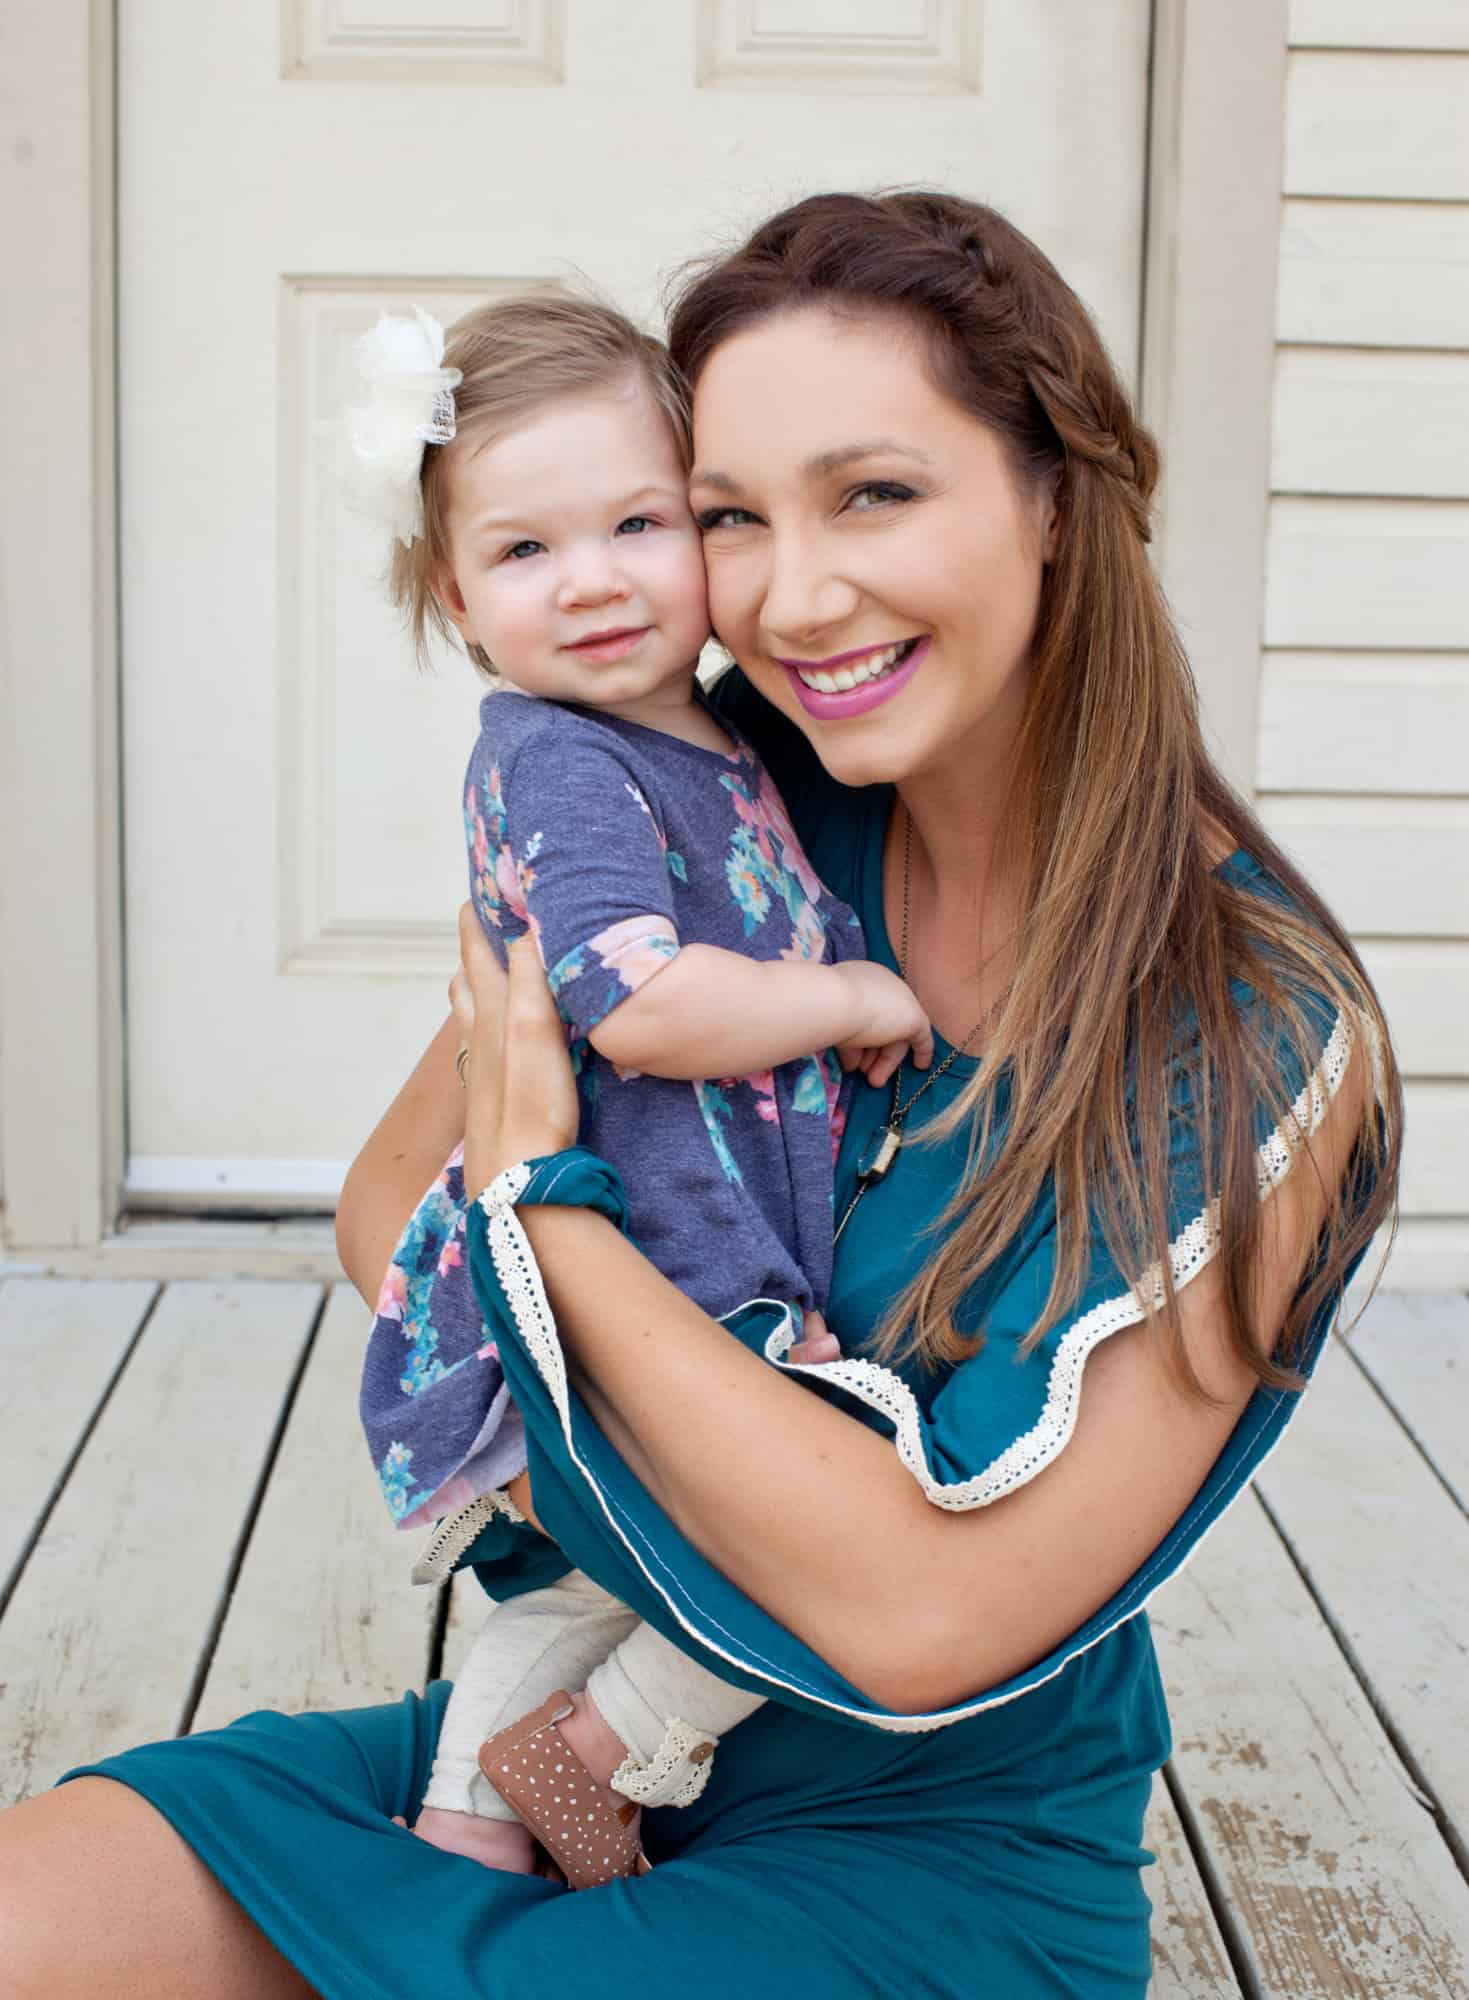
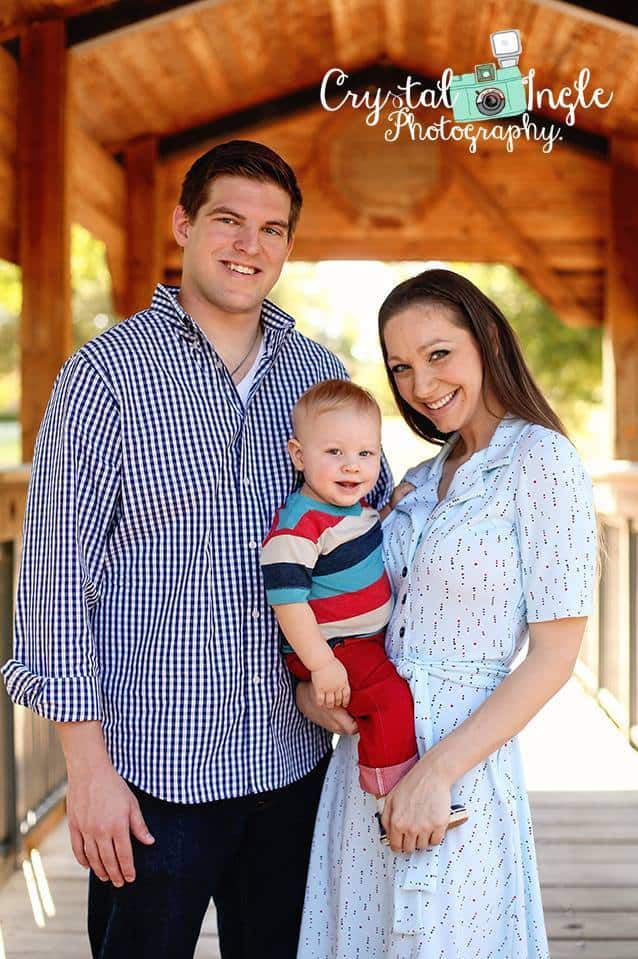
Blue and Red- Photos by Crystal Ingle Photography, Green, Navy and Blue, Floral- Photos by Colleen Hauth Photography, and this years teal- Photos by Contemporary Portaits.

tourdates

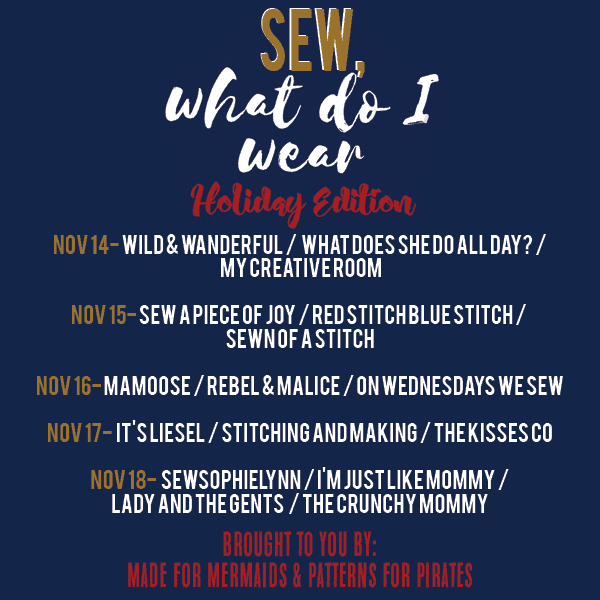
Nov 14 – Wild & Wanderful/ What Does She Do All Day?/ My Creative Room
Nov 15 – Sew A Piece of Joy / Red Stitch Blue Stitch/ Sewn Of A Stitch
Nov 16 – MaMoose / Rebel & Malice / On Wednesdays We Sew
Nov 17 – It’s Liesel / Stitching and Making / The Kisses Co
Nov 18 – SewSophieLynn/ I’m Just Like Mommy/ Lady and the Gents / The Crunchy Mommy

Filed Under: Blog Tours, Frequently Asked Questions Leave a Comment

a cool way to add reinforced knees to the Captain Comfort Jeans

November 15, 2016


img_3369

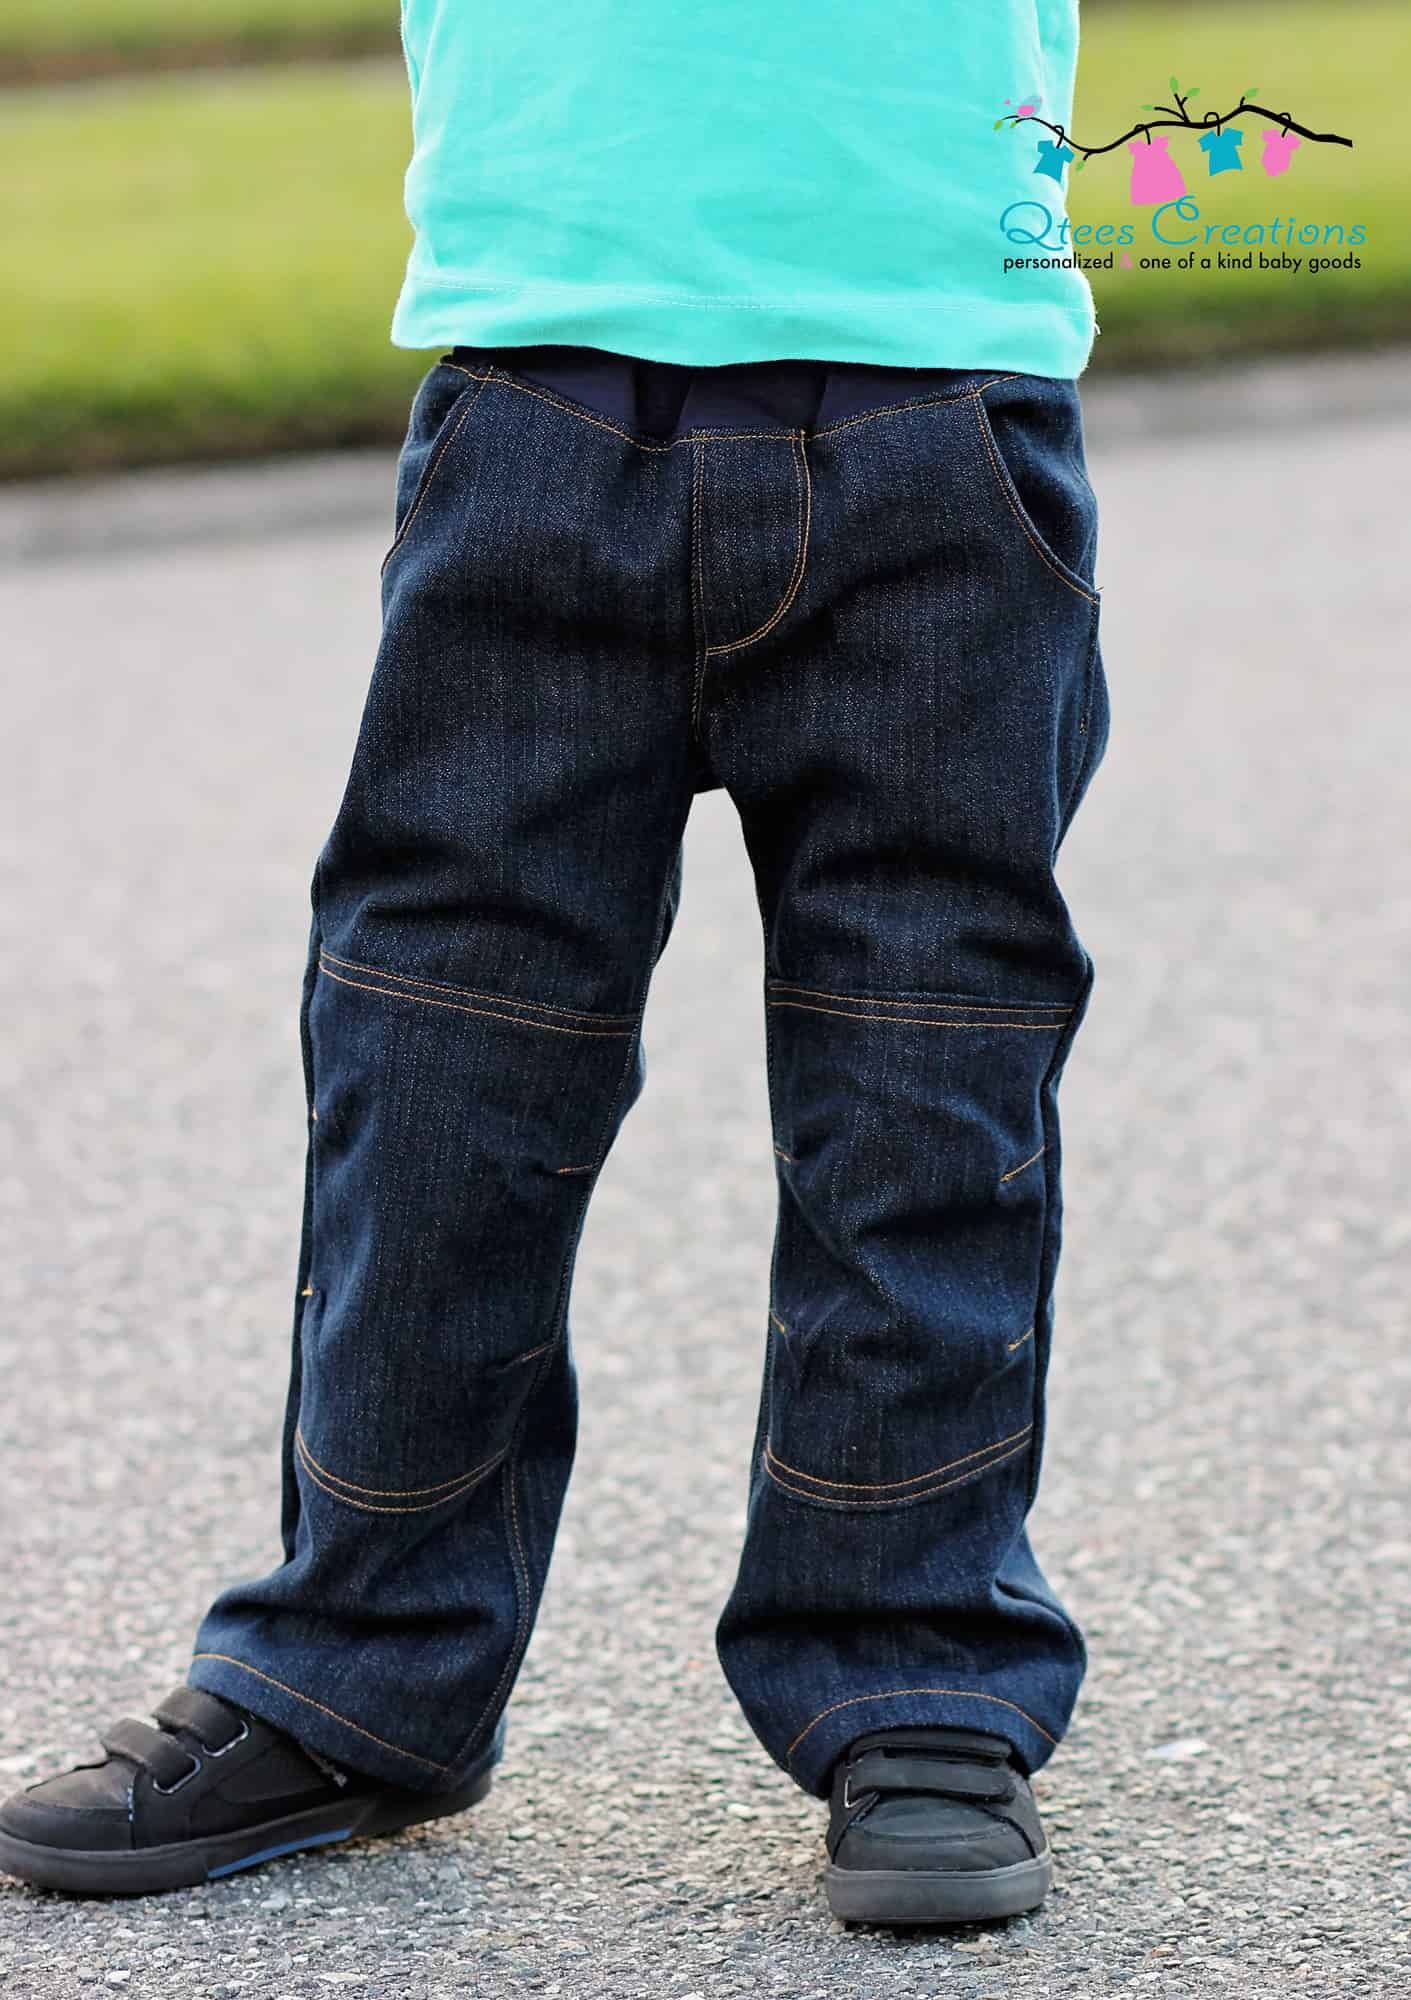
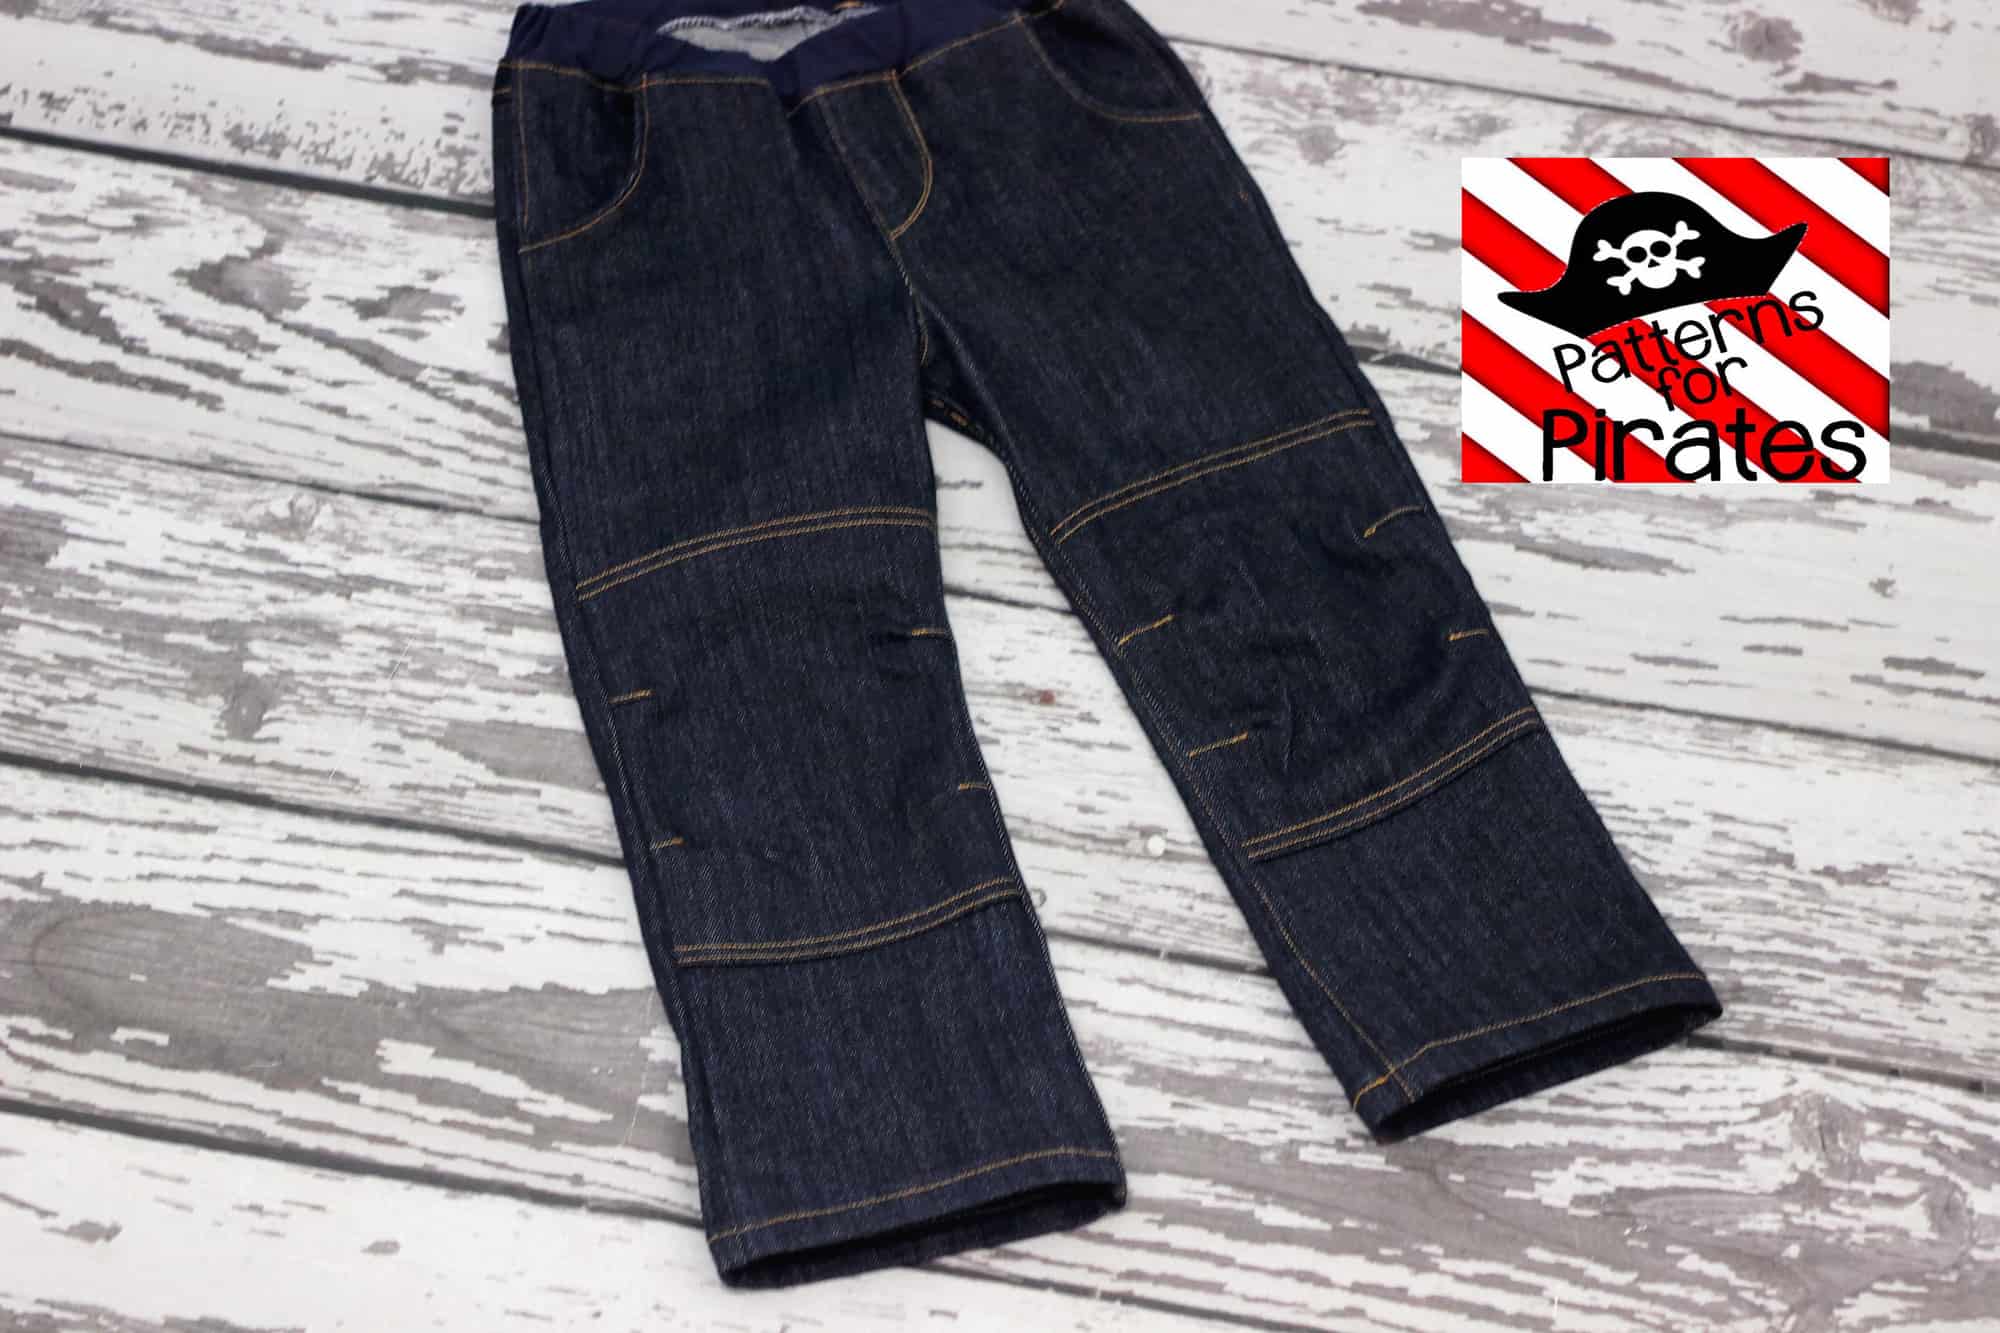
As a mom of young kids I am always looking to make them cool clothes that are not only on trend but can withstand their active lifestyle. In today’s blog I will show you how to take the already cool Captain Comfort Jeans to the next level and reinforce the knees in a modern new way.  If you’re looking at the Cpt. Comfort and need some tips on sewing jeans we’ve done a blog post all about it here!

img_3979

img_3319

img_3321

Start by printing the pattern and cutting your fabric. I used an old pair of jeans I had saved for upcyling. (Here is a blog post about using an old pair of jeans for this pattern!) I find denim fabric by the yard to be pretty costly so I save all usable jeans pairs that my husband and I don’t wear anymore. You can make any style Comfort jeans with this hack, including the lined version.

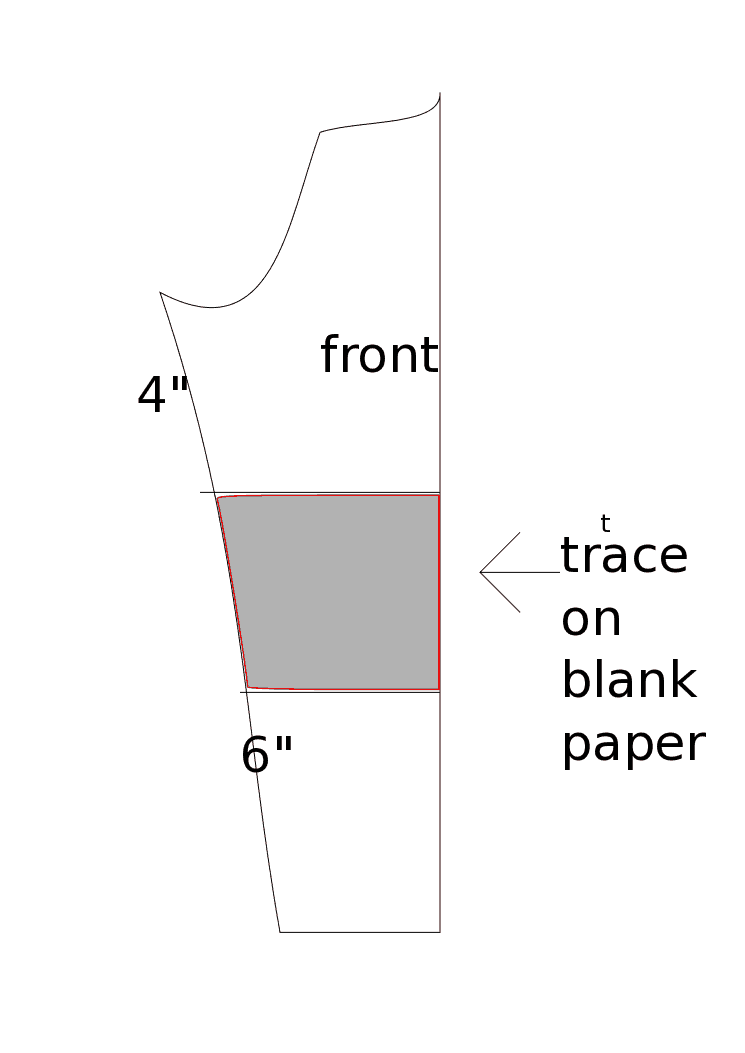
Take your front piece pattern and measure 4 inches down from the top of the inseam, mark it on the pattern. Now measure and mark 6 inches from the bottom of the hemmed option cut line. I made a size 5 but I think these measurements would work well for sized 4-6. You will need to mark higher or lower depending on the size you need and how big you want the knee patch.

img_3936

img_3937

front-cpt-comfort

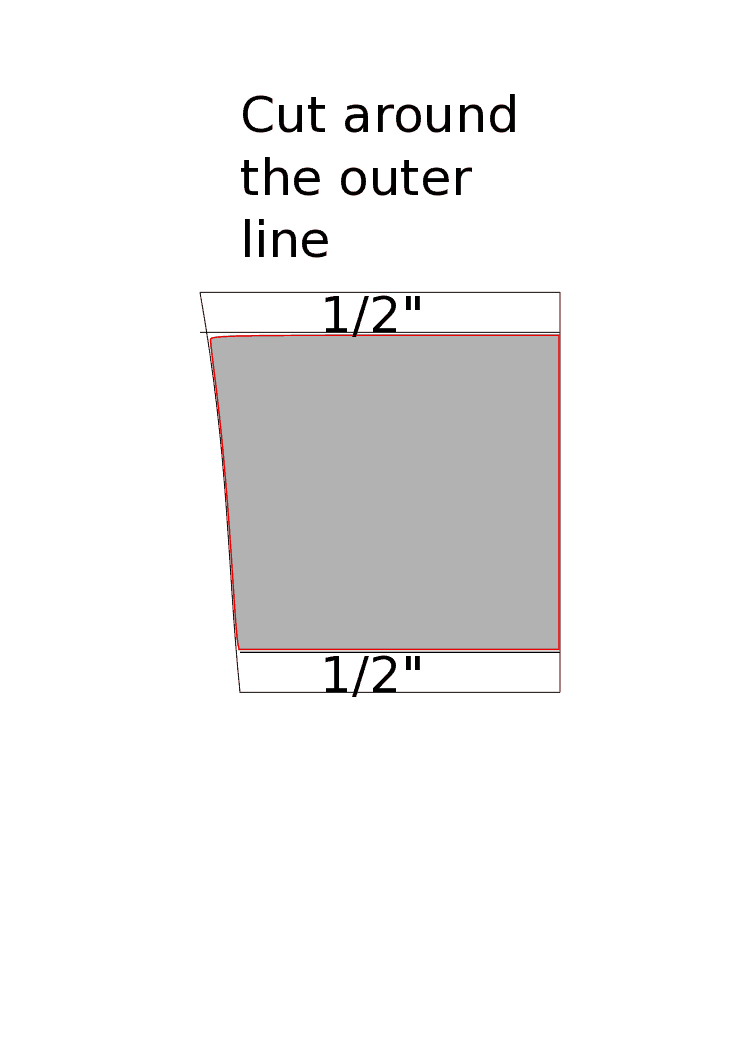
Draw a horizontal line from the two markings. Using a blank paper trace the knee patch between the two lines you just drew. Now you will draw another line parallel to these two 1/2 inch above the top line and 1/2″ bellow the bottom one. You just made the patch pattern piece.

patch

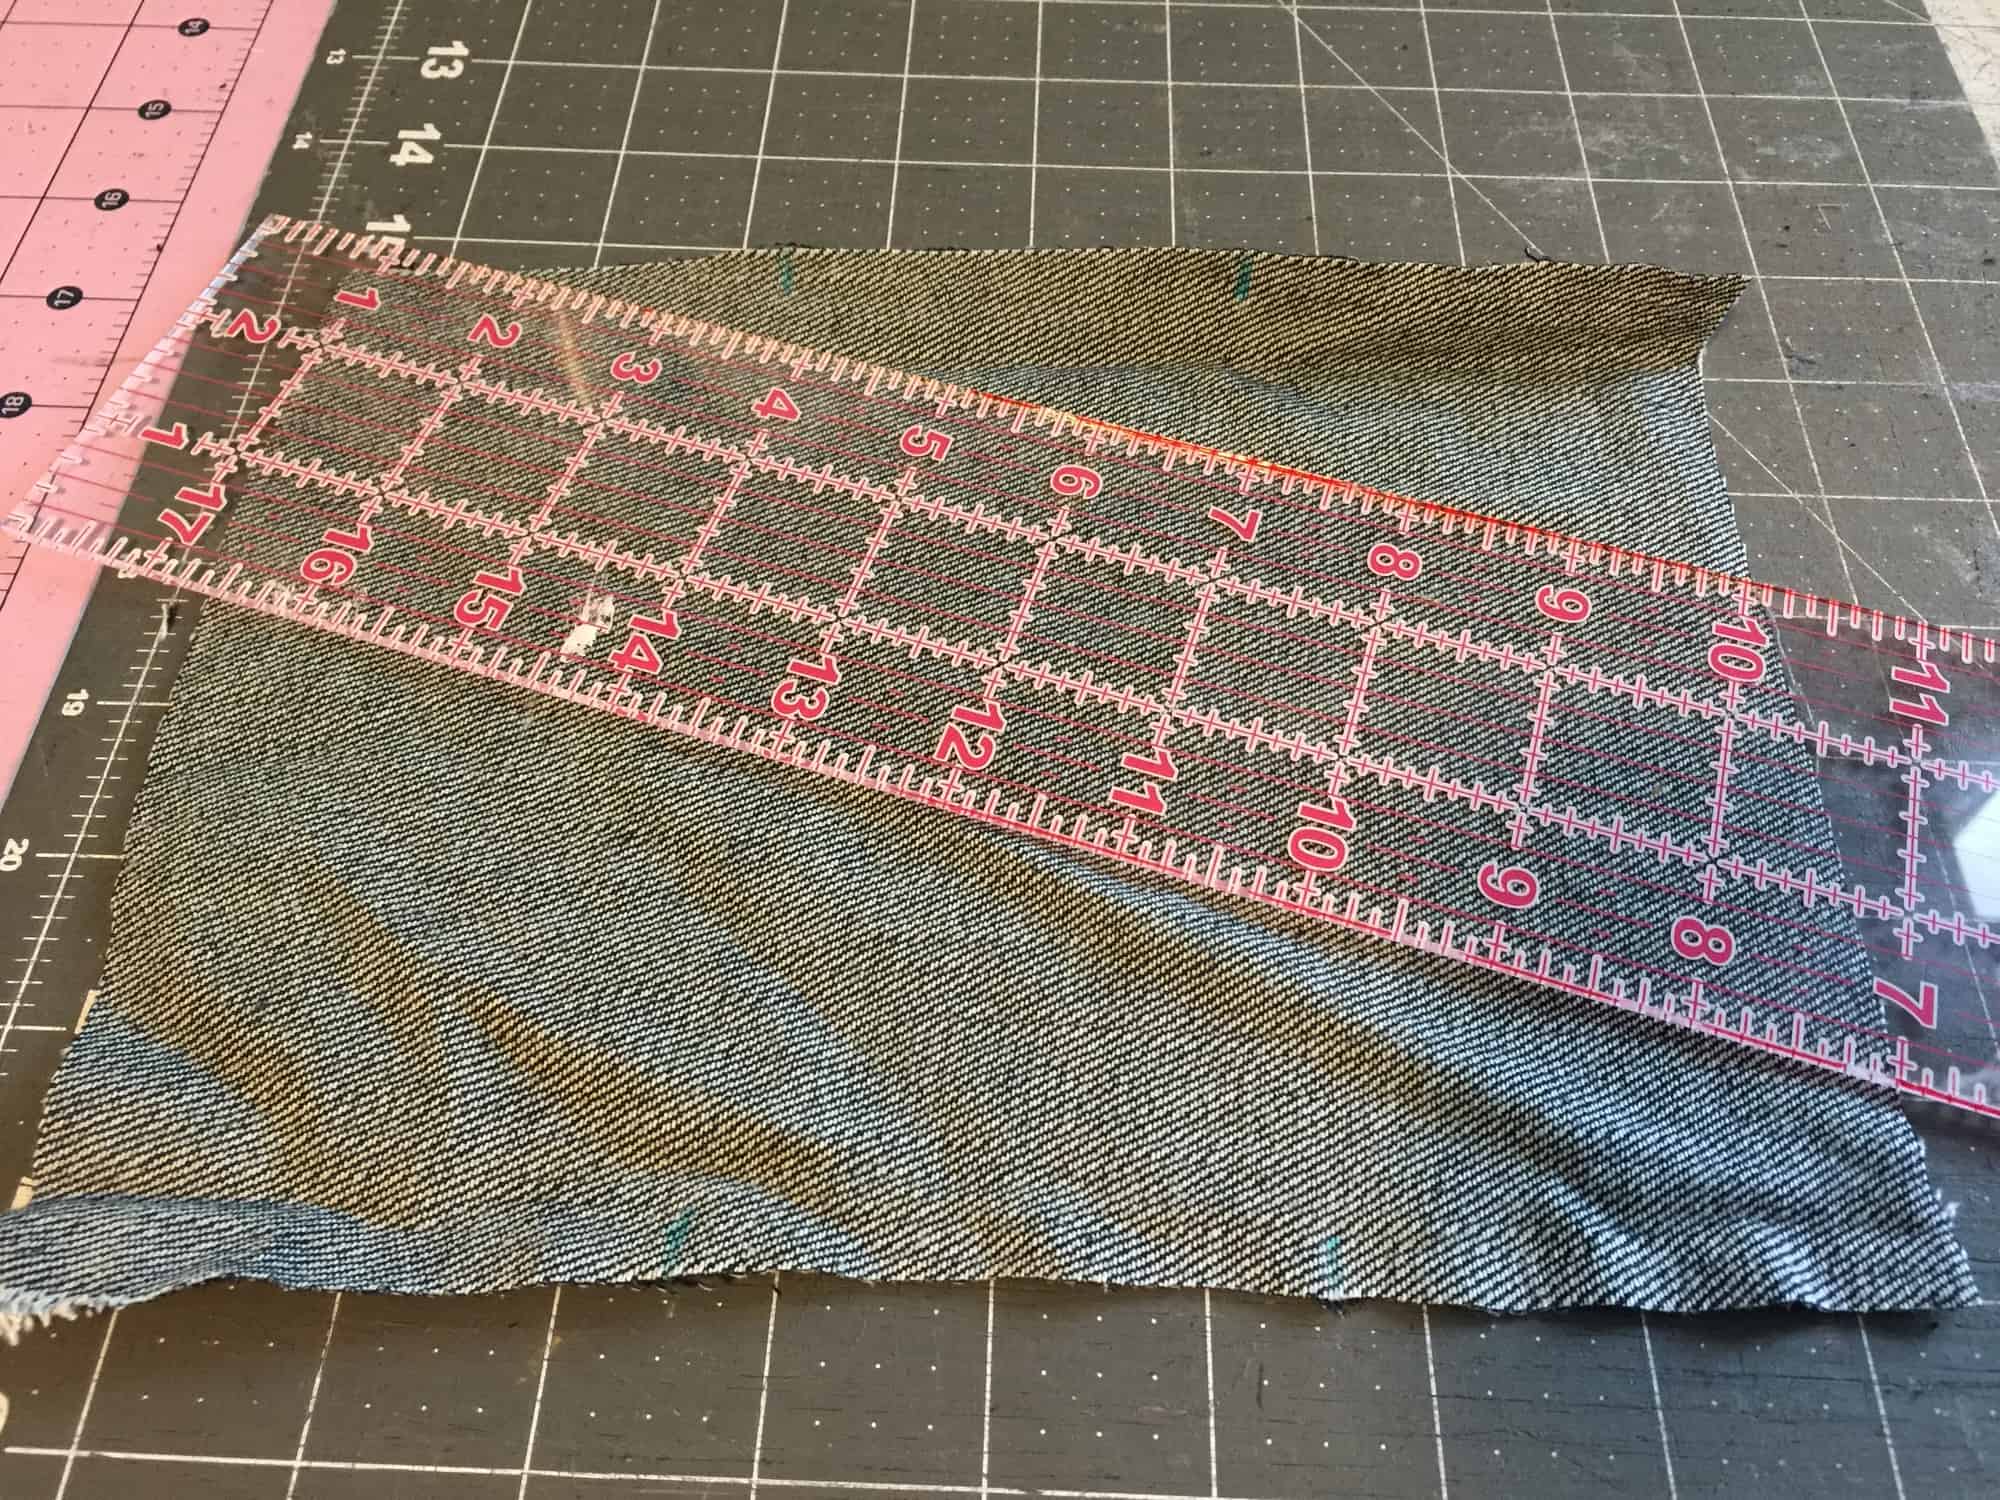
Cut two jeans patches using the pattern piece you just created. Don’t forget to mirror the pieces!! Measure the inner and outer leg part of the patch and divide it by 3. Grab your fabric marker or chalk  and draw a one inch line perpendicular to the sides of the patch at the markings.


img_3940

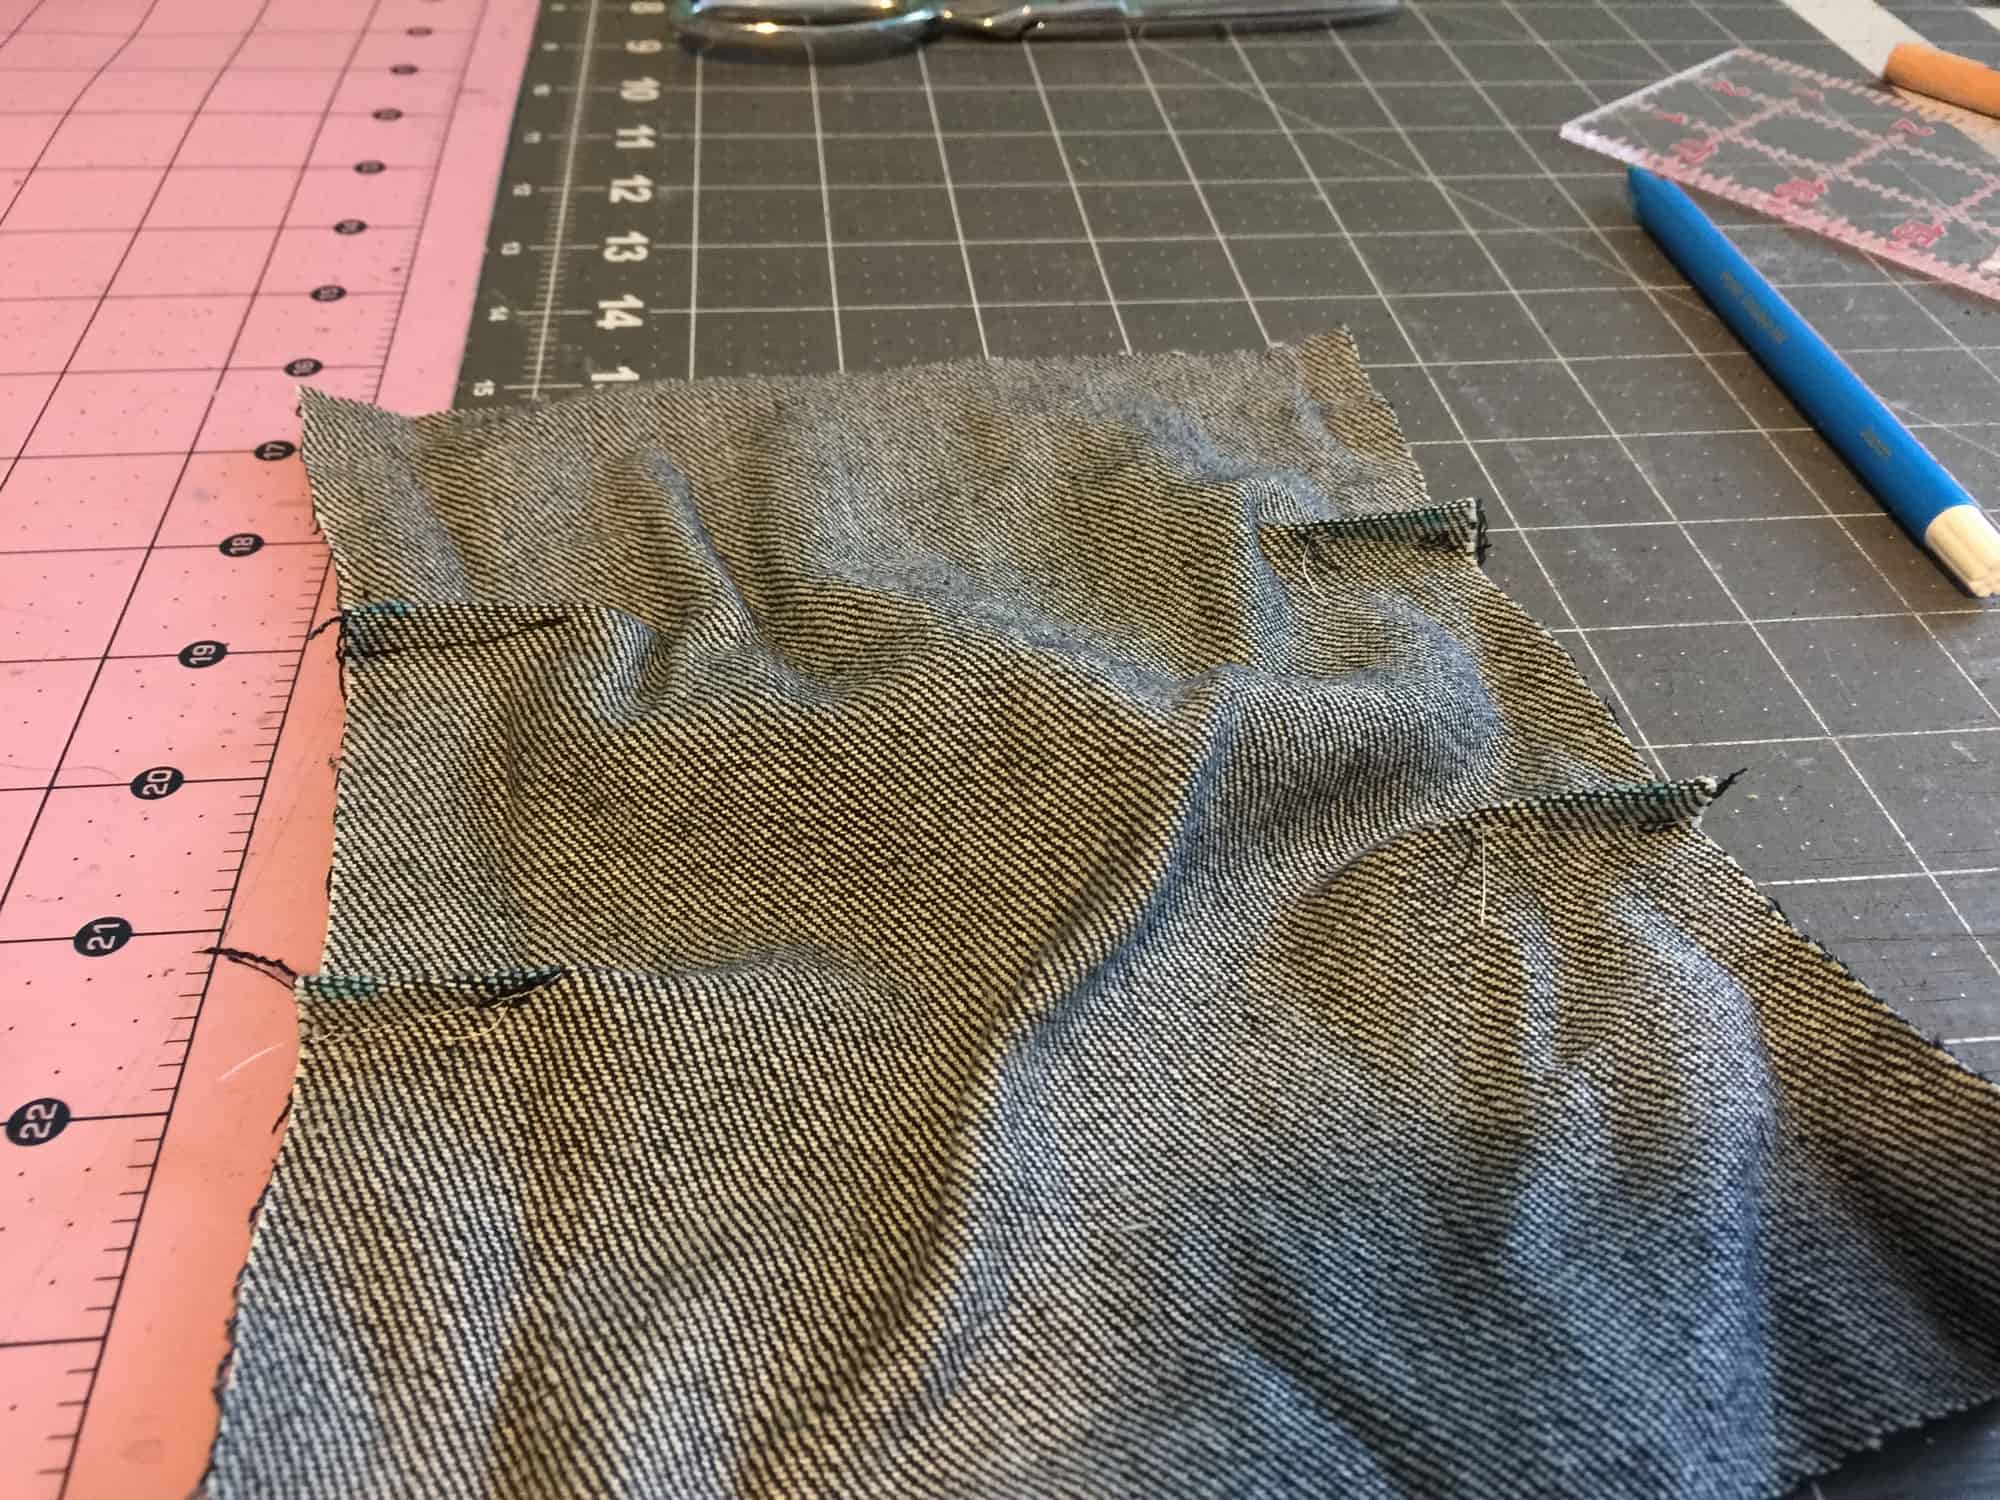
Using a your sewing machine and denim needles sew a small dart that starts 1/4 inch away from the marking. Repeat the process for the remaining 7 small darts on the two patches .

img_3942

Press the top dart up and the bottom darts down. Top stitch them in place. I love jeans thread for topstitching, It adds a nice touch to the finished look. Take your patches to the ironing board and press the top and bottom edges 1/2″ wrong sides together. Stitch in place 3/8 inch from the fold.

Place the patched on the front pieces (wrong side of the patch to the right side of the leg piece) making sure to match the right leg patch to the right patch and the left leg patch to the left leg.  Sew the patches on about 1/8 inch away from the folded edge.

img_3952


img_3953

There you go! You just added cool knee patches to the Cpt Comfort Jeans. Continue sewing the pants according to the pattern and don’t forget to show them off in our group.

img_3349

img_3353

img_3339

Happy sewing, pirates!

Alex

Filed Under: Frequently Asked Questions, Pattern Hacks, Uncategorized 1 Comment

Flannel Kimono with pockets

October 28, 2016

img_2004

It is officially fall! The crisp morning air should make its appearance soon and what better way to embrace it than by treating ourselves with a cozy flannel top. For my blog today I’ll show you how you can take the Summer Kimono into fall and I’ll also give you some tips for working with flannel.

img_2008

You will need your printed and cut kimono pattern pieces. You can chose any of the styles, I went with the curved hem because it’s my favorite. 🙂 Now grab your Grandpa Cardi pattern and print just the pocket piece. It’s on page 22-23. img_1918

Sew your pockets according to the instructions. I opted for the band pocket but you can certainly use the non banded option too. Remember to press the bottom of the pocket too! You’ll now stitch them on to your two front pieces. Placement it’s a matter of personal preference so I’ll show you where I stitched mine on but you can certainly move them higher or lower. I placed the pocket about 4 inches from the center and about 2 inches from the bottom (remember the bottom is not hemmed yet). Sew the pockets on the front pieces.

img_1927You will now start assembling your kimono according to the instructions. Something very important to keep in mind, especially if you are sewing sizes L and up is that most flannel fabrics are 42-44 inches wide. Your fabric may not be wide enough to cut the entire length of the sleeve so in this case you have a few options. You can either do what I did and just shortened the sleeves length by 2.5 inches or so and either add the sleeve band (as per the pattern) or just hem it. The other option would be to attach additional fabric to the selvage and cut the pattern pieces as they are. You could use the same fabric as the main one or even coordinating/contrasting fabric for a colorblock look. Get creative!

TIP: When sewing a curved hem on woven fabrics I like to first serge the raw edge, making sure I don’t cut any of it with my serger knife.  This will basically give me the 1/4 inch mark and make the fabric more stable. Press the 1/4 inch hem, and then press again another 1/4 inches and sew in place. Wasn’t that easy? That’s the magic of serging the raw edge first.

img_1931

I know a lot of you have asked in the Facebook group is the Summer Kimono can be made with flannel fabric so now you know it can…and it’s pretty cozy on top of that! As always, don’t forget to show off your creations and tag me if you have any questions!

Alex

img_1988-1

img_1991 img_2013-1

Filed Under: Frequently Asked Questions, Pattern Hacks, Uncategorized 2 Comments

P4P Raglan Week: Adding Stripe Accent

September 25, 2016

We’re rounding out the end of #RaglanWeek and I’m excited to share another way you can add some flare to your raglans!

I love the sporty look for my little guy since he is so active!  Adding a simple stripe accent to raglan sleeves is such an easy, cute, sporty look!


raglan-week-day7


Here is how you can add them to your raglans!

img_9596

img_9622

Decide how thick you would like your stripes.  Cut your stripe of knit fabric double that for the length and as wide as your sleeves where you will be adding the stripe.

Example: I wanted my stripes just a bit over 1″- so I cut my strip 2.5″ and the width matching the sleeve width.

img_9422

Press the strips in half lengthwise and create a crease. Please excuse my ironing board… I swear taking pictures of it makes it look 1000X dirtier than it looks in person!

img_9424

Press bottom raw edge up to center crease.

img_9425

Press top raw edge down to center crease.

img_9426

I used a fabric pen to mark a straight line across my sleeve.  Since they’re both knit fabrics you can find your self ever so slightly off easily, so I’d highly recommend this for a flawless stripe!


Pin your stripes carefully along your marked line or lines if you’re doing multiple stripes.  I did 2 on each sleeve for mine. You can also use a wash away hem tape to hold them in place while you stitch.  I recommend not doing this with your baby in the room— or you MIGHT sew the stripes onto the back piece of the shirt rather than the sleeve 😉 OOPS!!

img_9429

img_9439

Edge stitch along the top and bottom fold of your stripes.  I used my single chainstitch on my coverstitch for mine- you will want a stretch stitch since we’re working with knits.

img_9445


Complete the shirt as the tutorial directs you— only noting to align your stripes carefully along the sleeve seam when you stitch up your sleeve and side seam.

img_9636

I also added a little number 4 since Little Guy is about to turn 4 next week.

img_9614

He also picked out the pirate theme lining for the hood for a little pop of “coolness” 😉 .

img_9617

His Jolly Roger is a size up from his width measurement in a thick and cozy sweatshirt fleece.  I kept the length what he measures on the chart, this is the banded shirt length, long sleeve with cuffs and regular hood from the new Jolly Roger Add on Pack.

img_9656img_9665 img_9663

He’s not much for modeling for Mama!

But, we were both so happy with his new hoodie he has already requested another one!

If you’ve added some fun stripes to the sleeves of your raglan during P4P Raglan week, we would love for you to share it with us!  Head over to the Facebook Group or share on Instagram.  And be sure to use the tag#P4PRaglanWeek so we can find you!

Curious about what else has been happening during our raglan-loving week of fun?

Just take a look at our schedule!

Monday, September 19:Jolly Roger Raglan Pattern Update + Jolly Roger Add-On Pack Pattern Release

Tuesday, September 20:JRR Woven Fabric Hack

Wednesday, September 21: JRR Animal Faces Add-On

Thursday, September 22: Contrast Band Hack for Kangaroo Pockets

Friday, September 23:Women’s Keyhole / Scoopback Raglan Hack

Saturday, September 24:Off-The-Shoulder Raglan Hack

Sunday, September 25: Adding Stripes to Your Raglan Sleeves

We’ve had such a blast seeing everyone’s raglans this week! We will be picking a winner from those who shared with hashtag #P4PRaglanWeek! Tonight is the last chance to pick up any of the P4P Raglans on sale- though midnight US CST.

Filed Under: Frequently Asked Questions, Sew-A-Long 1 Comment

P4P Raglan Week: Contrast Bands Hack

September 22, 2016

Say you bought this really pretty cotton interlock with zero stretch recovery and you just had to use it for a raglan with a kangaroo pocket.  The things is, you know your darling little rock collector isn’t going to understand that she can’t actually use her pocket or the openings will get stretched out.  The solution?  Stretchy bands on the pocket openings.

img_6282

If you haven’t bought your Jolly Roger Raglan and Add-ons, go do it now.

I’ll wait while you buy, print and glue.

Perfect.  Now, cut out your kangaroo pocket, mark and cut off a half inch from each pocket curve.  I marked on the back with the ruler and a fine tip washable kids’ marker.

img_6265

Next, you want to measure your curve by carefully, without stretching, pulling the curve straight along the ruler.  Make sure you measure the curve after you’ve trimmed off the extra half inch.

img_6266

Subtract half an inch and cut out bands that length by 2 inches wide.  If you don’t have a rotary cutter and mat, you need one.  Trust me, it makes a whole world of difference cutting out bands.

I’ll wait while you go buy one.

There, wasn’t that easier??

Press bands in half lengthwise.

img_6269

Pin band to the right side of the curve by pinning each end first and then stretching to fit.

img_6270

Serge or sew on, stretching to fit the pocket curve.  Do not stretch the pocket fabric.

Press the bands back.

Now continue with the pattern tutorial to complete your shirt.

img_6276

Now put it on your adorable child and snap pictures to share with us on Facebook!

– Patty Hamm

img_6292

img_6300

If you’ve hacked a kangaroo pocket of a raglan during P4P Raglan week, we would love for you to share it with us!  Head over to the Facebook Group or share on Instagram.  And be sure to use the tag #P4PRaglanWeek so we can find you!

Curious about what else has been happening during our raglan-loving week of fun?

Just take a look at our schedule!

Monday, September 19: Jolly Roger Raglan Pattern Update + Jolly Roger Add-On Pack Pattern Release

Tuesday, September 20: JRR Woven Fabric Hack

Wednesday, September 21: JRR Animal Faces Add-On

Thursday, September 22: Contrast Band Hack for Kangaroo Pockets

Friday, September 23: Women’s Keyhole / Scoopback Raglan Hack

Saturday, September 24: Off-The-Shoulder Raglan Hack

Sunday, September 25: Adding Stripes to Your Raglan Sleeves

Filed Under: Blog Tours, Frequently Asked Questions, Pattern Hacks, Sew-A-Long 1 Comment

Darts 101

August 10, 2016

13886338_10102825780914283_2473314520084428633_n

You may have already heard, but Patterns for Pirates has some ladies woven patterns in the works! Woven patterns tend to use a few techniques that are not often used in sewing knits.  One common technique on woven patterns are darts and I’m here to give you a few tips on how to make the perfect dart.  Darts are used to create contour and shape in your woven fabrics and accentuate your curves. You will find them quite often used in ladies patterns at the bust, and often on the back of pants or skirts.  Don’t be intimidated by darts as they are actually very easy to sew!

I am using the Everyday Elegance Pattern for my example today and we will be focusing on the front piece. The first thing that I like to do before I even start cutting out my pieces is poke a little hole right thru my pattern piece at the tip of the dart.  I usually just use a pen and make a hole big enough that I’ll be able to put the tip of my marking tool into it after I cut my pieces.dart

Once you have your front piece cut out you don’t want to remove your pattern piece from your fabric.  I’m going to show two ways that I like to mark the dart depending on the type of fabric that I’m using.  First, if I’m using something that is a bit more stable like a quilting cotton, chambray, or shirting fabric I will just take my marking pen (I use washable crayola felt pens or a disappearing tailors pen) I poke my pen thru the little hole that I made in the pattern piece. I then take a pair of scissors and make a 2 little snips in right where your darts end, on the side seam of your piece.  You will then flip your fabric over, still folded, and repeat the same process on the other side.

IMG_5014

IMG_5017

If my fabric is slippery or really lightweight and tends to slip I will mark where I made the little hole with a needle and thread. Yes, I said needle and thread but I promise that it is much easier then trying to flip your fabric over and lining it all up again with your pattern piece.  You are just going to make a little cross stitch with your needle and thread, keep it nice and loose and leave a long tails.  Then as above make your two little snips on the side seams.

IMG_5029

You’re now ready to remove your pattern piece.  If you used the needle and thread method to mark the point of your dart gently pull your fabric apart and snip the threads that connect the 2 sides.  Next we are going to connect the tip of the dart to where we snipped at the side seams.  I use a ruler and draw from my point to the side seam on both sides. I then like to draw a line from the point straight down the middle.  Now you are going to fold on that center line and press it with your iron making sure that your snips line up together.  I then secure my dart with a few pins.  Time to sew!

IMG_5018IMG_5021
I like to decrease my stitch length just a bit, usually I sew at a 2.4 stitch length but for darts I go down to a 2 stitch length, this is just to make sure that when you press it after you’re done none of your stitches show.  We are going to start at the side seam and sew right on the line that we drew earlier.  When you get to the tip of the dart, DON’T BACK-STITCH!  You want to sew right off the end of the dart, leave long thread tails.  You can back-stitch at the side seams but never back-stitch at the tip of the dart.  You want to tie off the end of the dart and then trim your threads.  I usually knot my threads 3 times.  This helps keep the very tip of your dart nice and clean/crisp.

IMG_5025

Now we are done sewing the dart we want to press it.  I like to use something that curves to press my dart.  I have this little pressing tool that is used to press sleeves but it works great for darts to, you could also use a tailors ham.  Don’t have anything? You can roll up a bigger piece of fabric you have in your stash.  You want to press the dart down towards the bottom of the top from the wrong side.  Then I flip it over and press it from the front and you’re all done!

IMG_5033IMG_5035IMG_5036
Not that bad right?!  Take the time to be accurate and press well.  If you try to rush or skip out on the pressing you’ll be sorry!

Now go and practice your darts and get ready for the new woven patterns coming really soon!


Filed Under: Frequently Asked Questions, P4P University, Sewing Techniques, Uncategorized 1 Comment

  • « Previous Page
  • 1
  • …
  • 14
  • 15
  • 16
  • 17
  • Next Page »

connect with me

  • Email
  • Facebook
  • Instagram
  • Pinterest
  • YouTube
Privacy & Cookies: This site uses cookies. By continuing to use this website, you agree to their use.

To find out more, including how to control cookies, see here: Cookie Policy
  • Privacy Policy
  • Refund Policy
  • Contact Us
  • About

Copyright © 2026 Patterns for Pirates

Copyright © 2026 · Genesis Framework · WordPress · Log in