Patterns for Pirates

P4P stylish, modern, wearable patterns

  • Home
  • Blog
    • Frequently Asked Questions
    • Pattern Releases
      • Free Patterns
    • P4P University
      • Fitting
      • Sewing with Stretch, Knit Fabrics
      • Sewing with Woven Fabrics
      • Sewing Machines
    • Sew-A-Longs
    • Fabric for Pirates
    • Pattern Hacks
    • Announcement
      • Blog Tours
      • Contest/Giveaway
  • Shop
  • Bundle Discounts
  • Flash Friday
  • Gift Cards
  • My Account
  • Cart

Woven Apparel Fabrics

September 22, 2017

Since we did the blog post about Knit Fabrics and included a printable cheat sheet for those diving into the world of garment sewing- we’ve been asked to do a Woven Apparel Fabrics one as well! As part of our Summer of Wovens I’d like to present
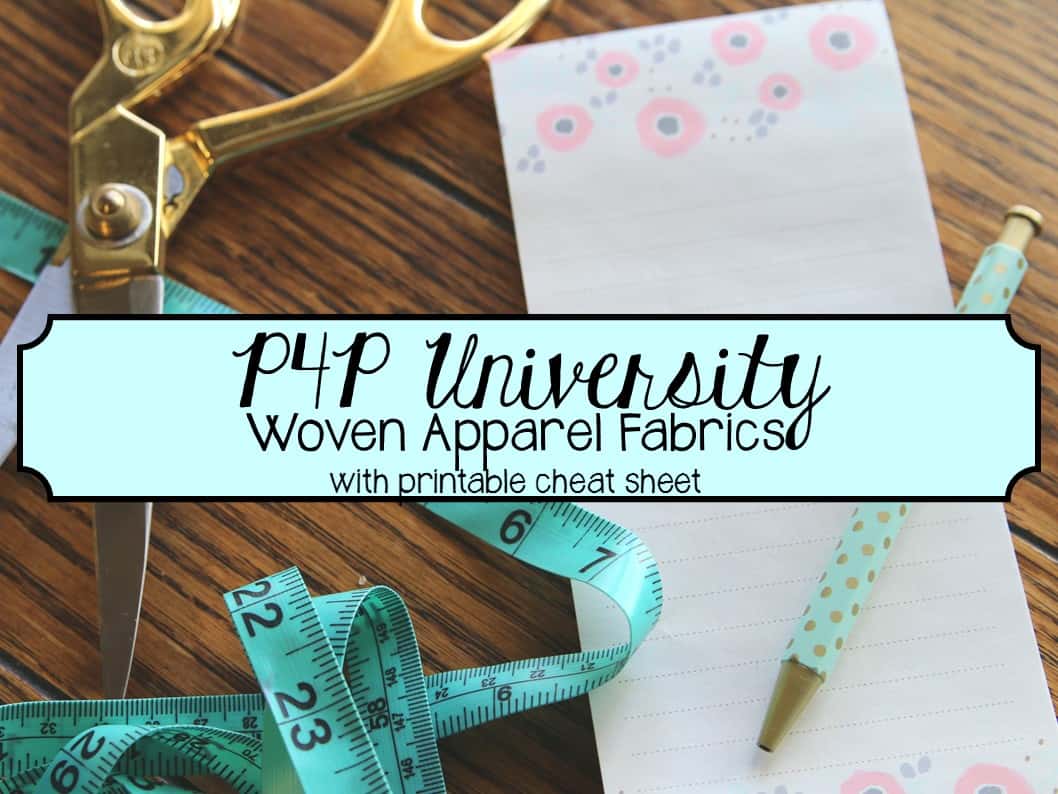
I worked hard on a Woven Fabric Cheat Sheet that you can download and look through when trying to pick the perfect fabric to pair with your woven patterns.

I also did a show and tell with the woven apparel fabrics I had in my stash in our Facebook Group. But you can watch it here as well:

I hope this helps you pick the perfect fabric for the P4P patterns drafted for woven fabrics!
Filed Under: Frequently Asked Questions, P4P University, Sewing with Woven Fabrics Leave a Comment

P4P’s Next Top Tester

September 16, 2017

“How do I become a P4P tester?”  It’s a question we’ve heard a million times.  We even wrote a blog post all about how to get noticed by the Pirate Crew.

But friends.  Listen up.  Because next week, we are bringing you a special opportunity that just might fast track you into our tester group.  Allow me to announce:

That’s right!  We are doing an open call for a FULL BLOWN pattern test for P4P, and you’re invited!  Be sure to check the Patterns for Pirates Facebook Group on Monday, because we will posting a tester call.  And we are taking EVERYONE.  It’s going to be a wild ride and I couldn’t be more excited!

Top Tester will be putting you through the ringer.  You will be taking on a pattern test, and you’ll be doing all of the steps that we do for any of our normal tests.  Which means we will have size assignments, fit pictures and feedback, final photos, tutorial feedback, and promoting of the pattern when it gets released.

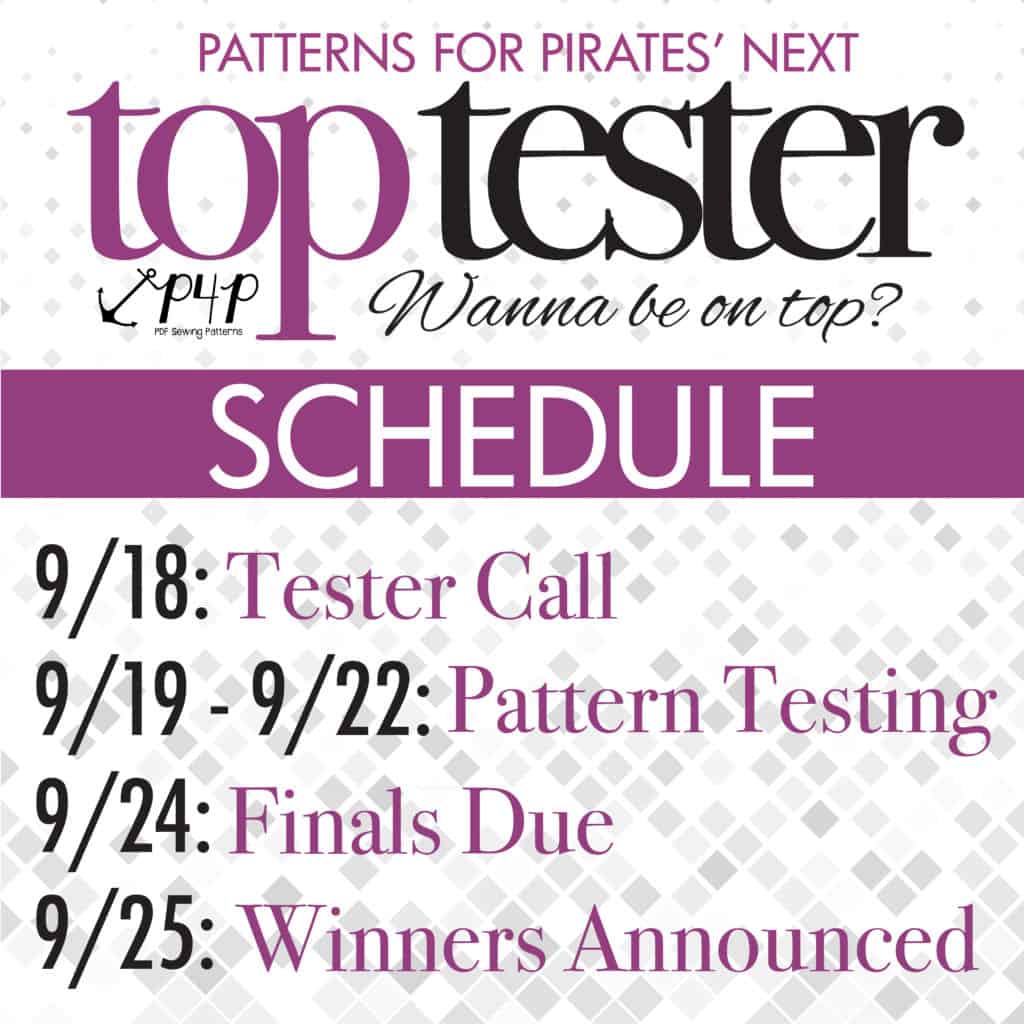
#P4PNTT will result in two official winners: a Top Tester and the Runner Up.  But first, let’s talk schedule.

Tester Call!
Monday, September 18, 2017

I will post a “Tester Call” for the challenge in the Patterns for Pirates Facebook Group. You’ll need to sign up with your size and information in the form we will be sharing with you.  There area actually two unisex patterns, and we are looking for men, women, boy, and girl models.  Everyone is welcome to join!

Measure, measure, measure!! Kids grow fast and weight/size fluctuates weekly.  Make sure you have the most up-to-date measurements so you can make the appropriate sized garment.  Knowing your actual measurements and not what you’d pick up in a store is SO IMPORTANT for testing.  We want to put out a pattern that is drafted for the proper sizes.  (Need help measuring?  We’ve got a post HERE all about it!)

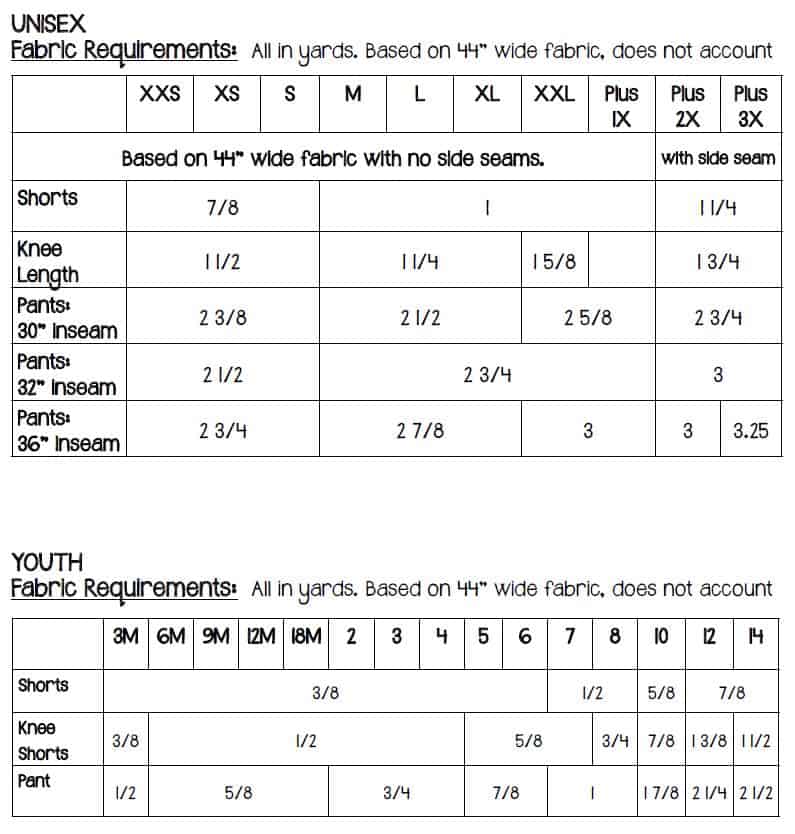
We aren’t telling what the pattern is until you’re in the group (since we’d like to keep it a surprise) but we didn’t want to leave you scrambling for fabric this week.  Here are the fabric requirements, based upon 44″ wide WOVEN fabric.

Print, Sew & Fit Feedback + Tutorial Edits/Feedback
Tuesday, September 19 – Friday, September 22, 2017
All participants will be added to a private Top Tester group on Facebook. (Remember to check your emails on Tuesday for the invites!!)

Print, assemble and cut your pattern.  Select your fabric.  Sew up your garment.

This portion of the process, we ask that you make your assigned version first, and you make sure to only print the pattern right before you’re about to sew — since we can make several changes to the patterns during the process and we want people sewing the most recent update.

Show us “fit” pictures with feedback.  This is a huge step in getting our patterns just right.  These do not need to be professional pictures.  They can be cell-phone shots or selfies, but we need to see how things are fitting in the size you signed up for!  It helps us identify any fit issues throughout the testing process.

We will also be posting the tutorial for the pattern(s) for you to edit.  The PDF will be located in the files within the Top Tester group and will have spelling mistakes, typos and maybe some construction errors.  Put on your “editing eyes” and catch the problem areas and provide us with revisions.

Final photos
Sunday, September 24, 2017

Take your photos and load them into the Top Tester group.  We prefer natural, outdoor photographs but understand completely that the weather doesn’t always cooperate.  You will need to provide at least 5 pictures showing fit from all angles. Think front, back, side shots, close up on details, etc.  You may style them as you like, but remember the focus of the picture should be the garment and it should make sense for the item you’ve sewn.  **You do not need to have a fancy DSLR camera and photo editing software to produce clear, beautiful tester photos.**


All of these tasks must be completed by their respective deadlines in order to be in the running for Patterns for Pirates’ Top Tester title.  Most of our testing periods last 4-7 days.

Winners will be announced on Monday, September 25, 2017!  Here are the prize packages:

Top Tester- 1st Place
Guaranteed testing spot for next 3 patterns
3 P4P pattern pack of choice
Pattern of Choice from Cole’s Creations and Made for Mermaids
LFRB Fabric Bundle from Sly Fox Fabrics

Runner-up
Guaranteed testing spot for next pattern
3 P4P pattern pack of choice
LFRB Fabric Bundle from Surge Fabric Shop

*Note: while only 2 winners will be selected, depending on your performance and effort, you may be invited to join our testing group!!! Bring your A-Game, P4P Fans!
**Winners will be chosen by the Patterns for Pirates Team**

Are you ready to party?!  Make sure to tune into the P4P Facebook Group on Monday, so you can join the tester call!!
Filed Under: Contest/Giveaway, Frequently Asked Questions, Uncategorized 11 Comments

Tips for adding a woven skirt to a knit bodice

August 17, 2017

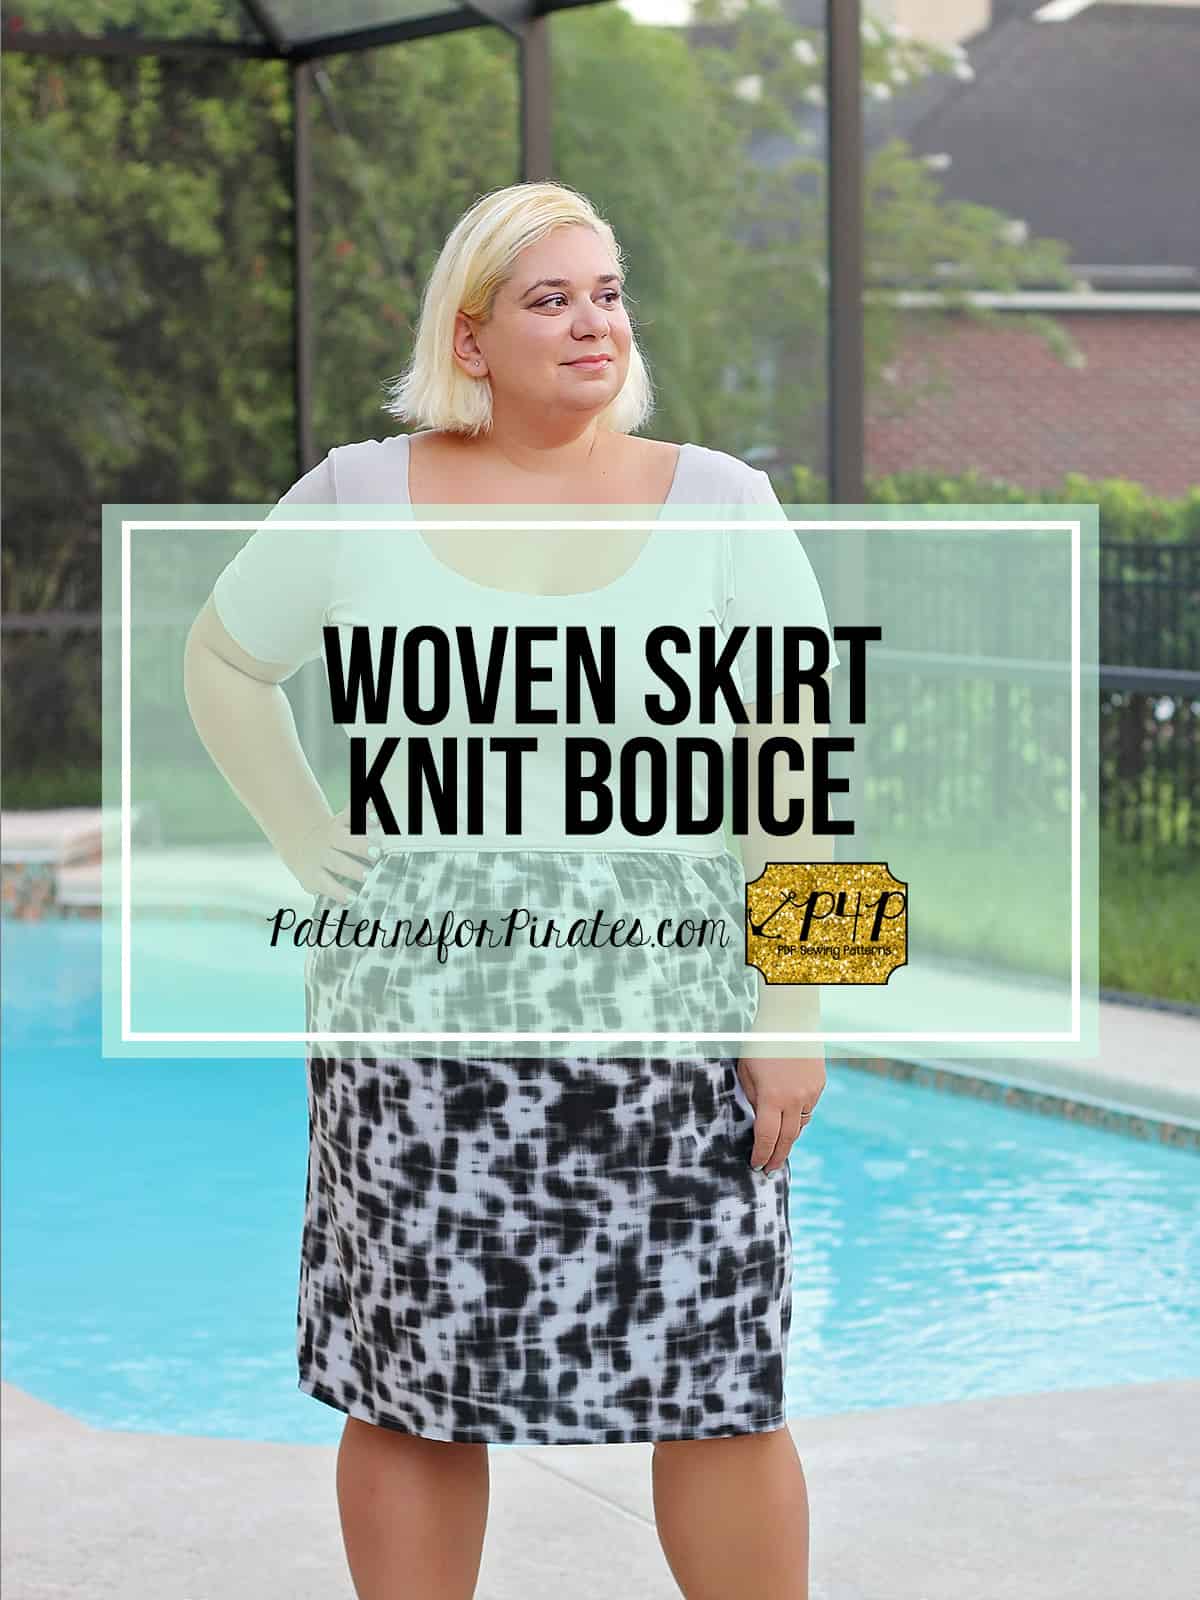
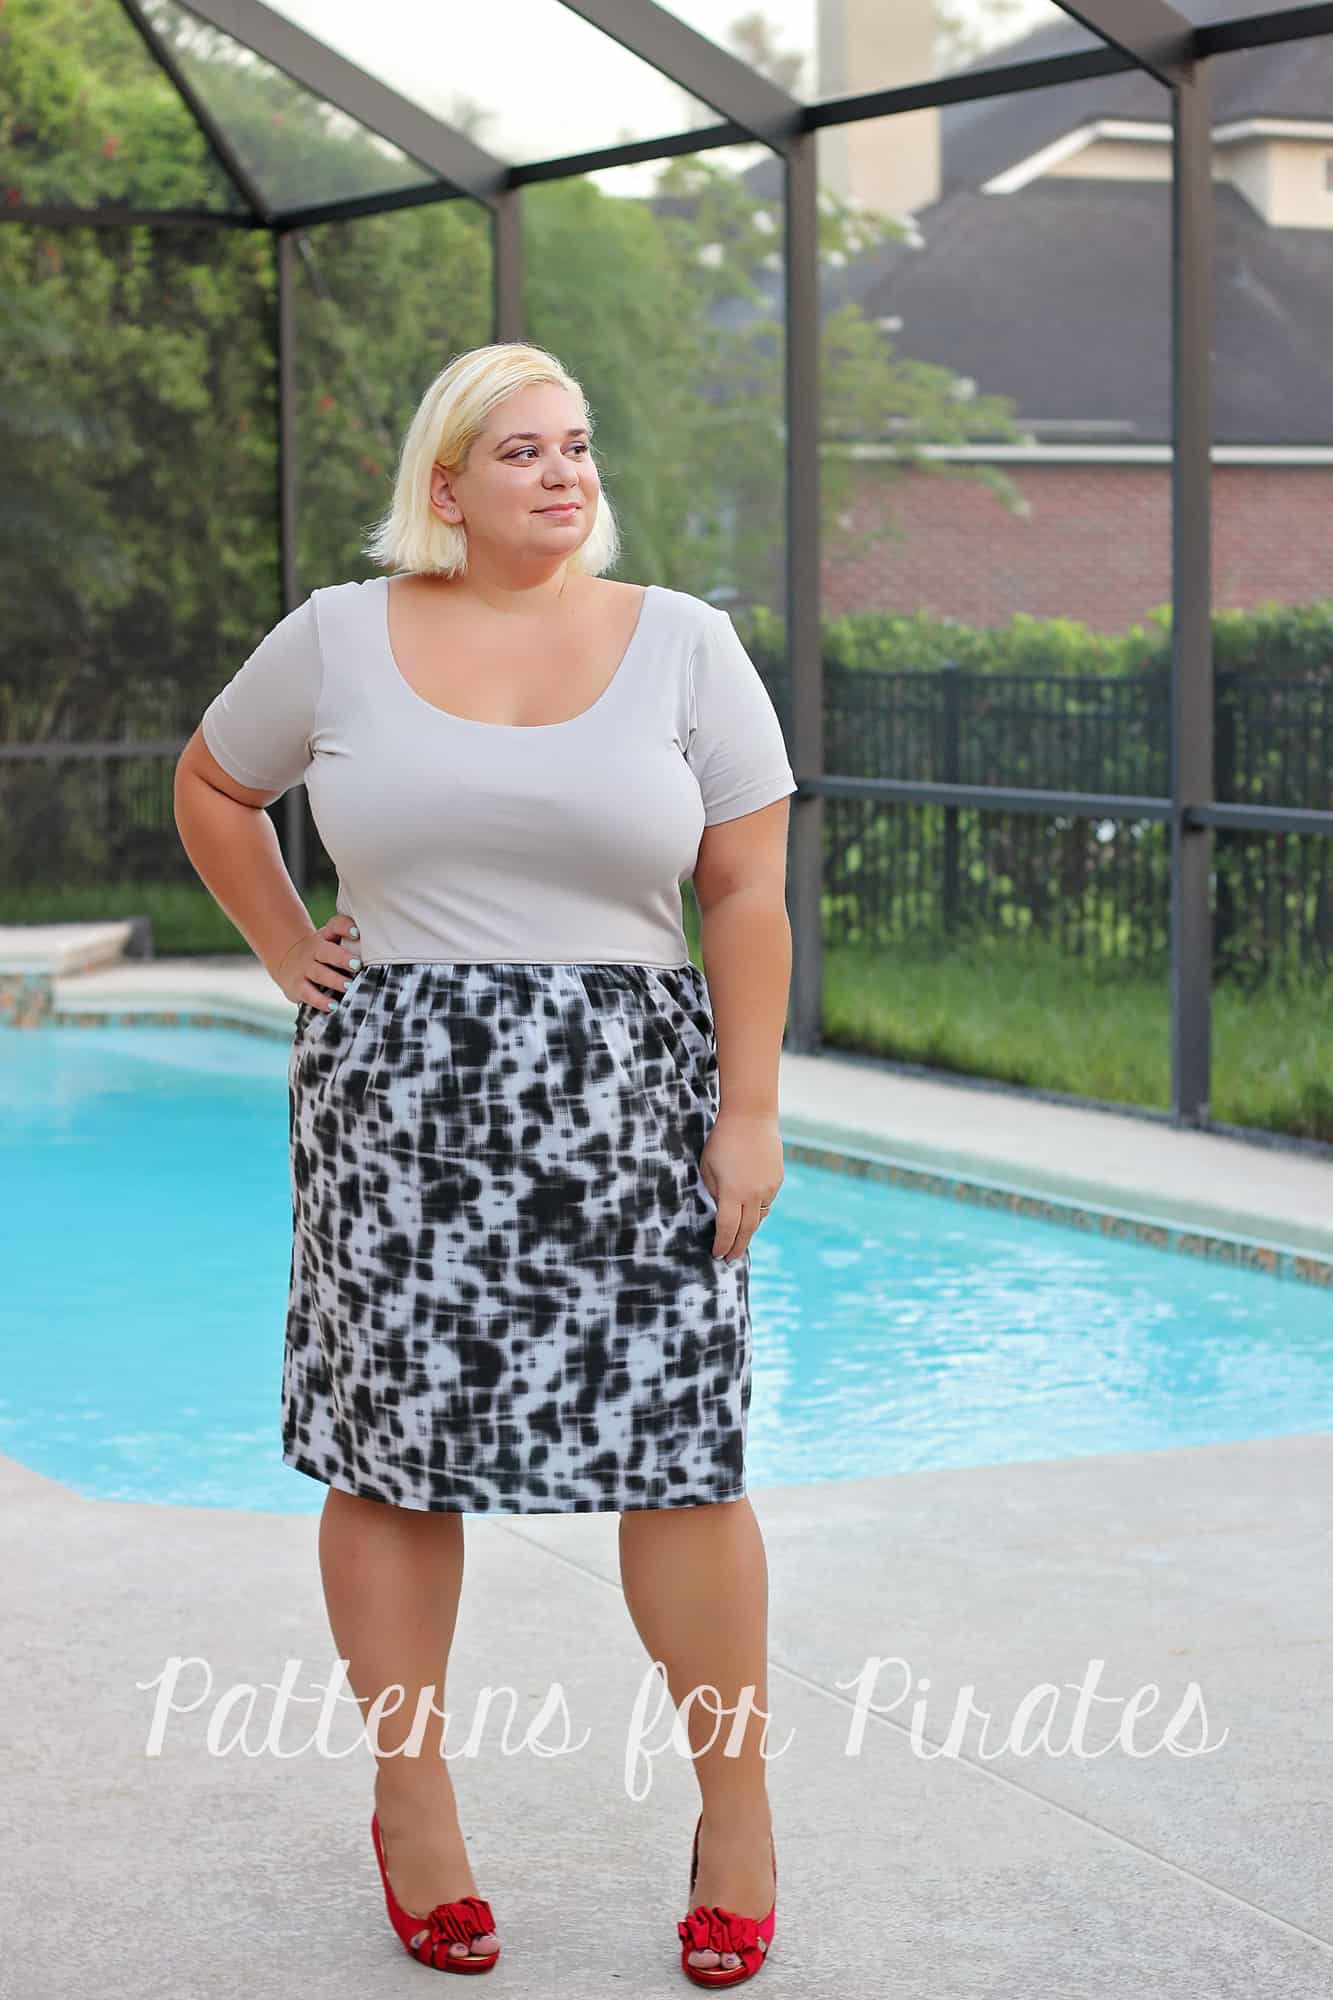
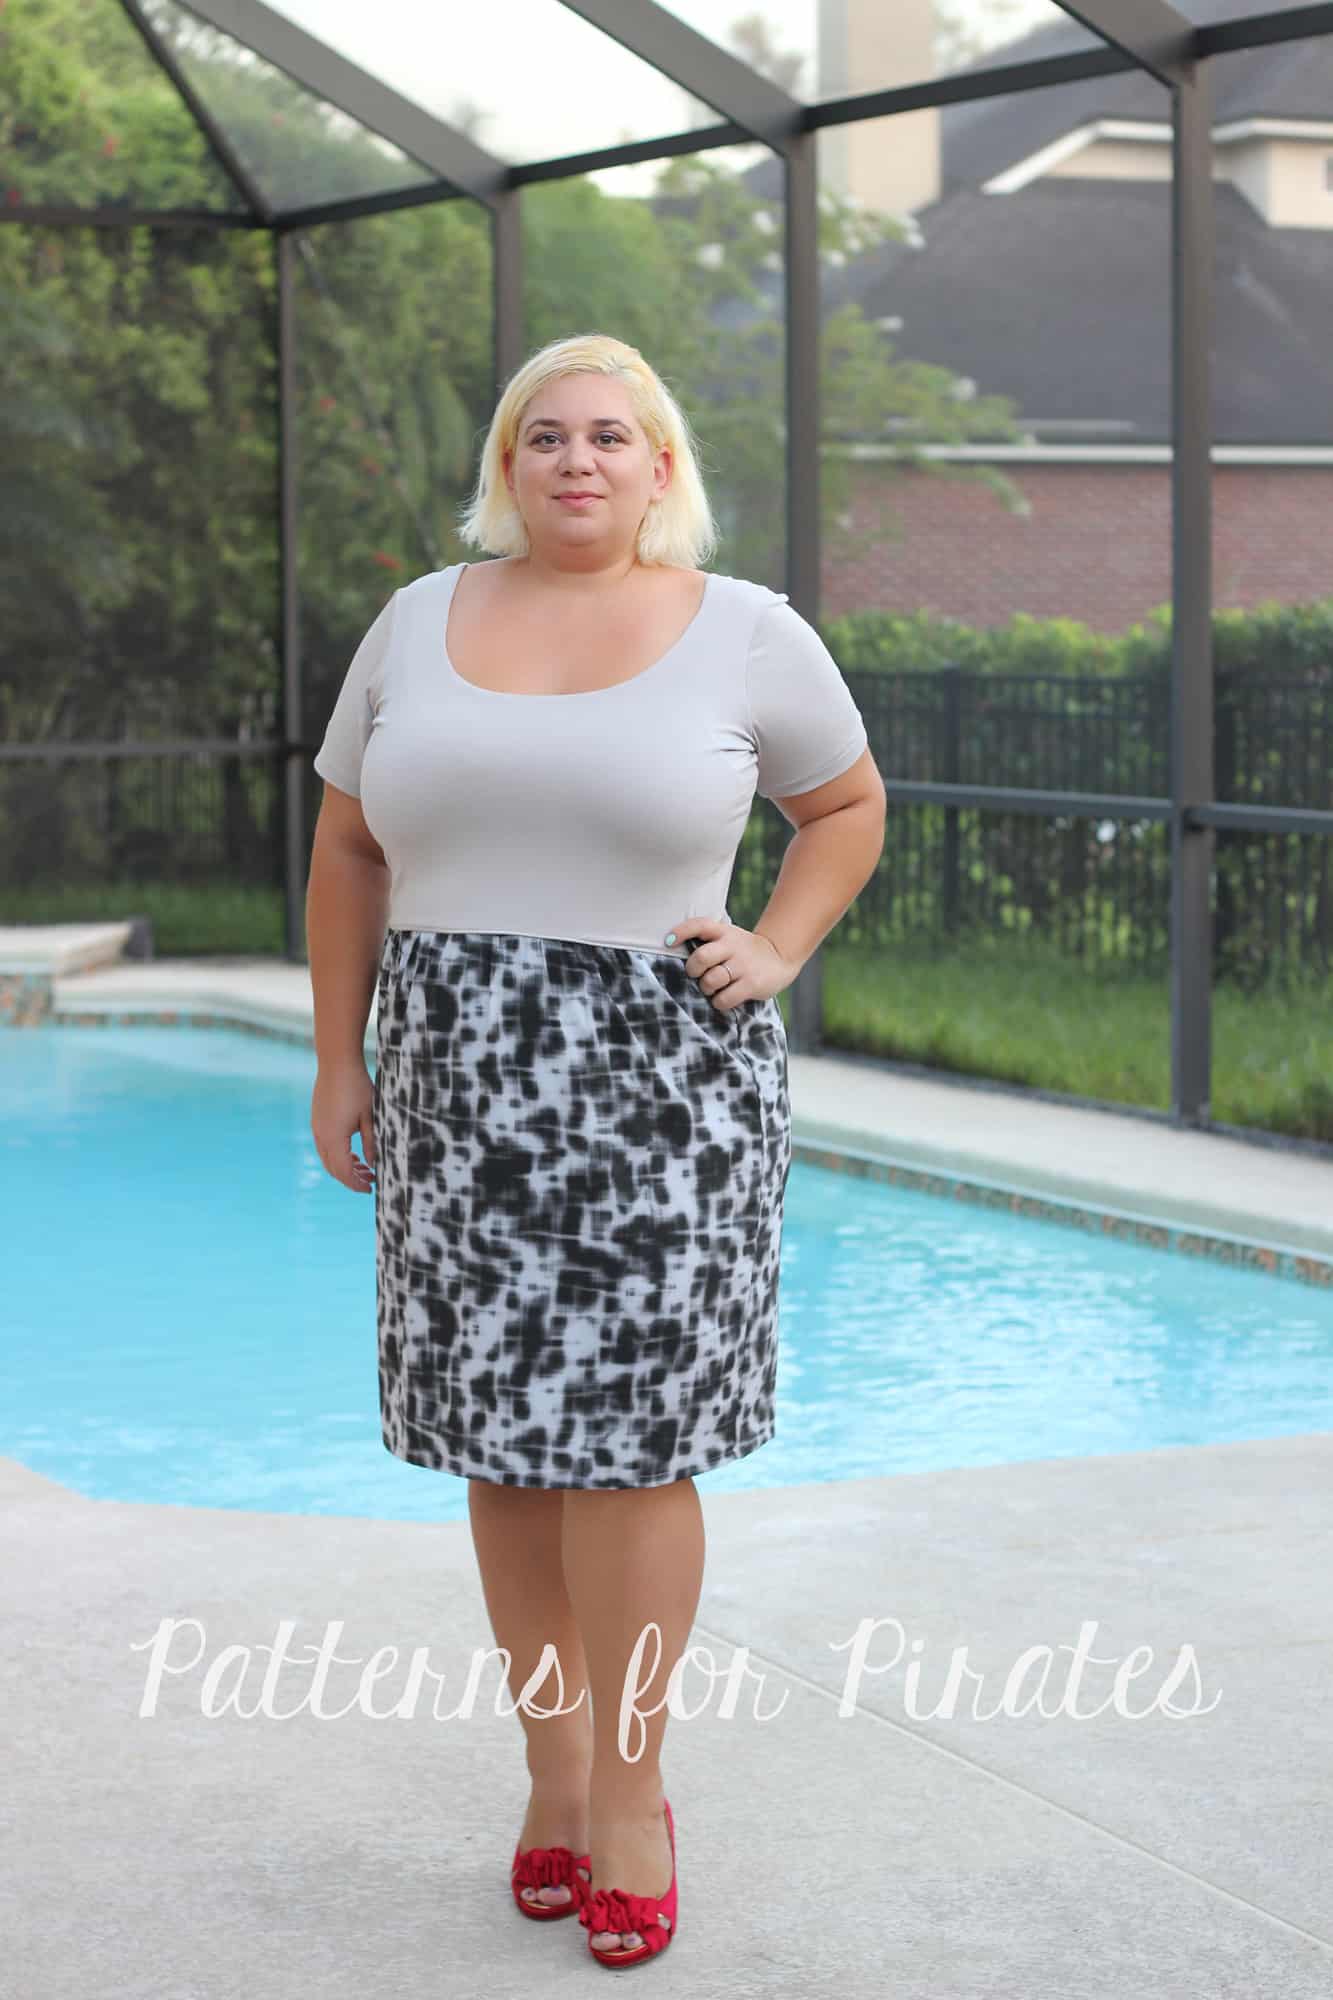
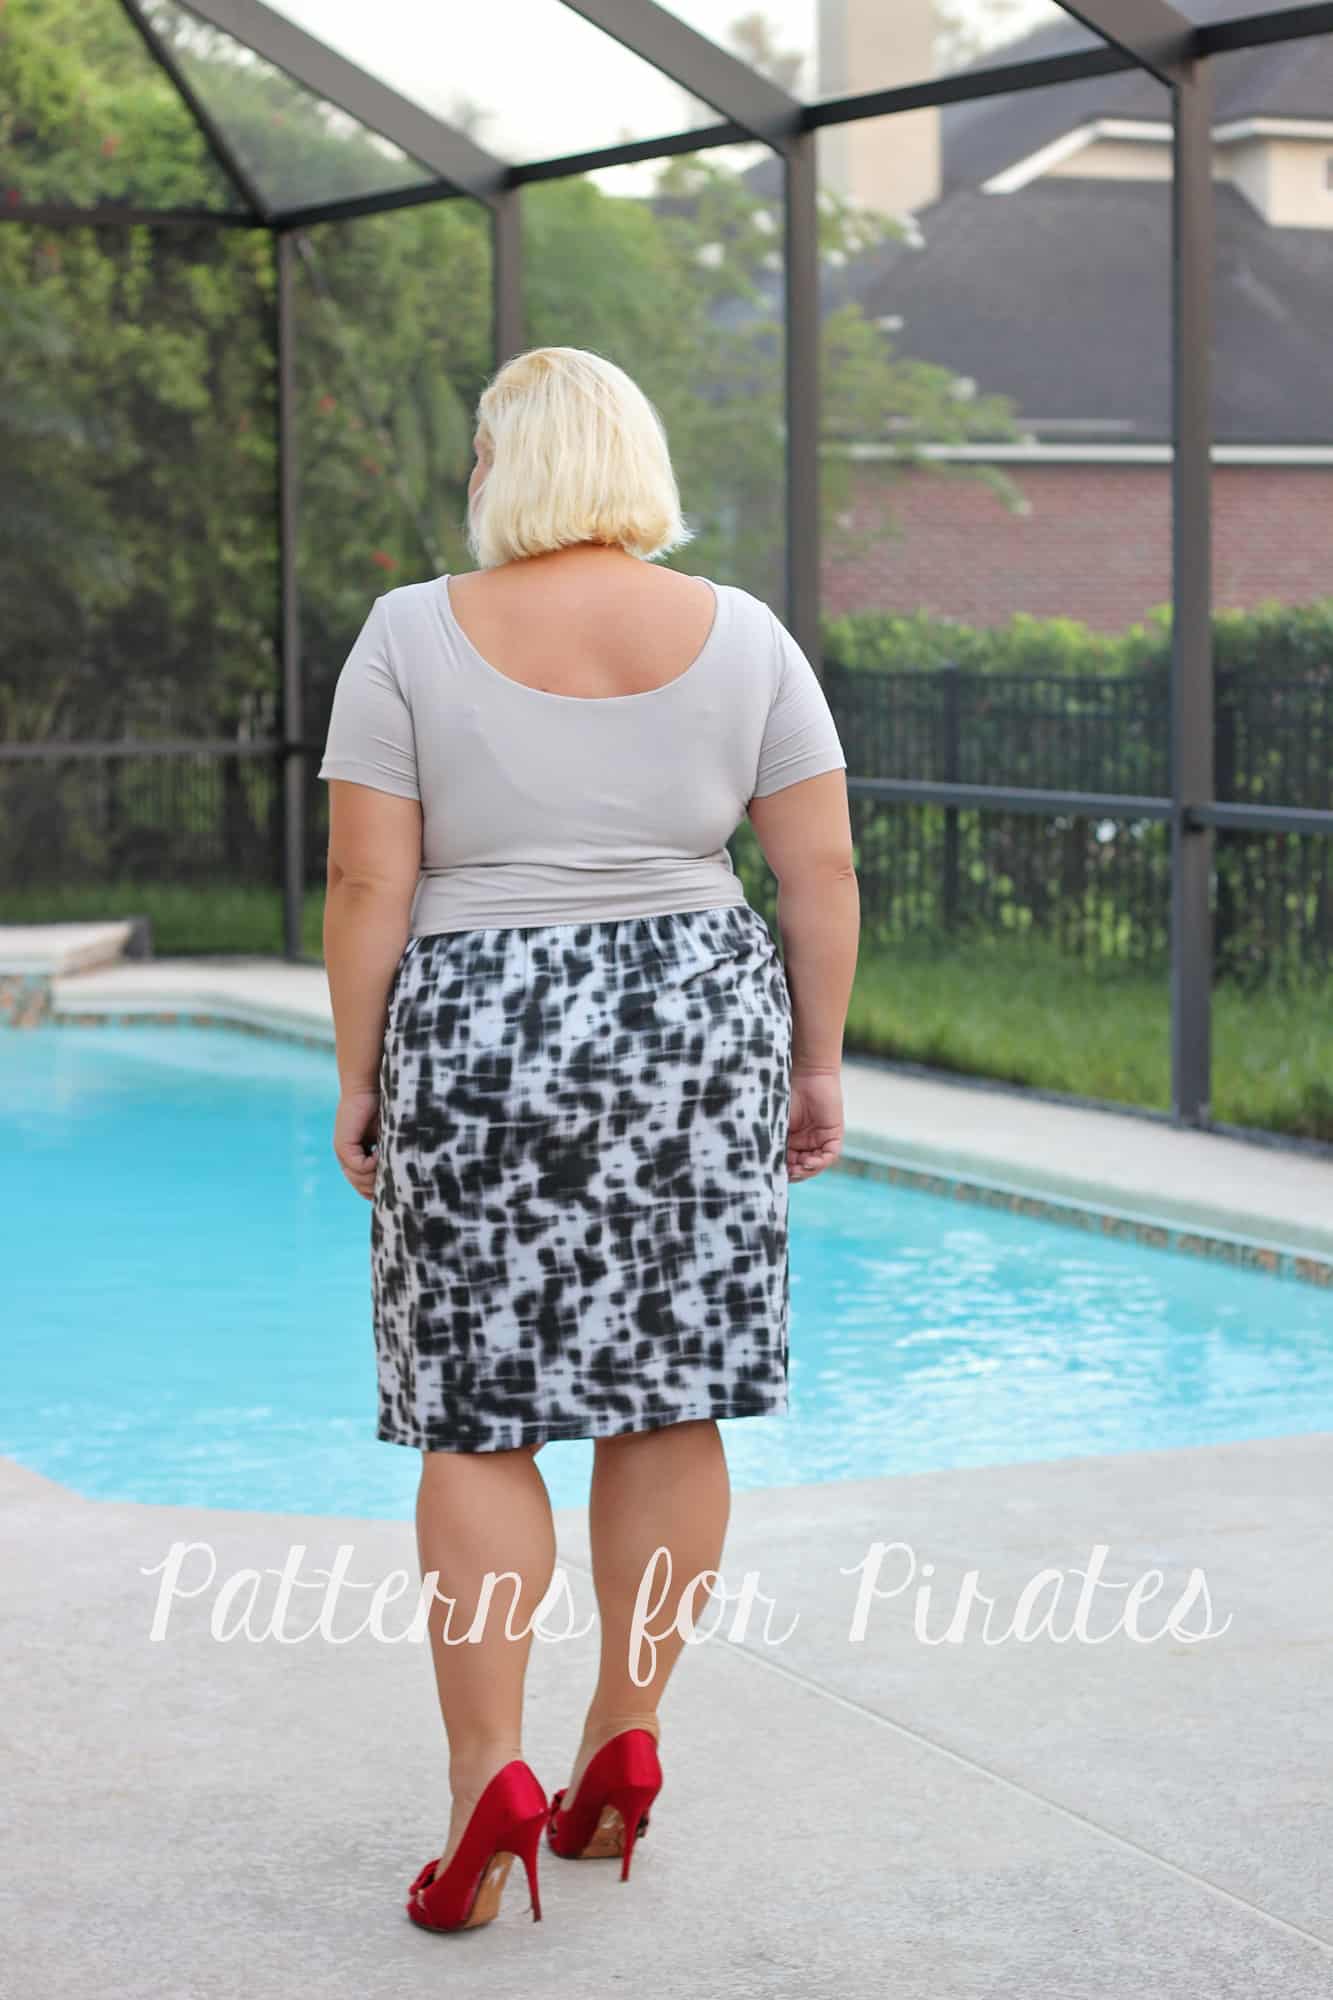
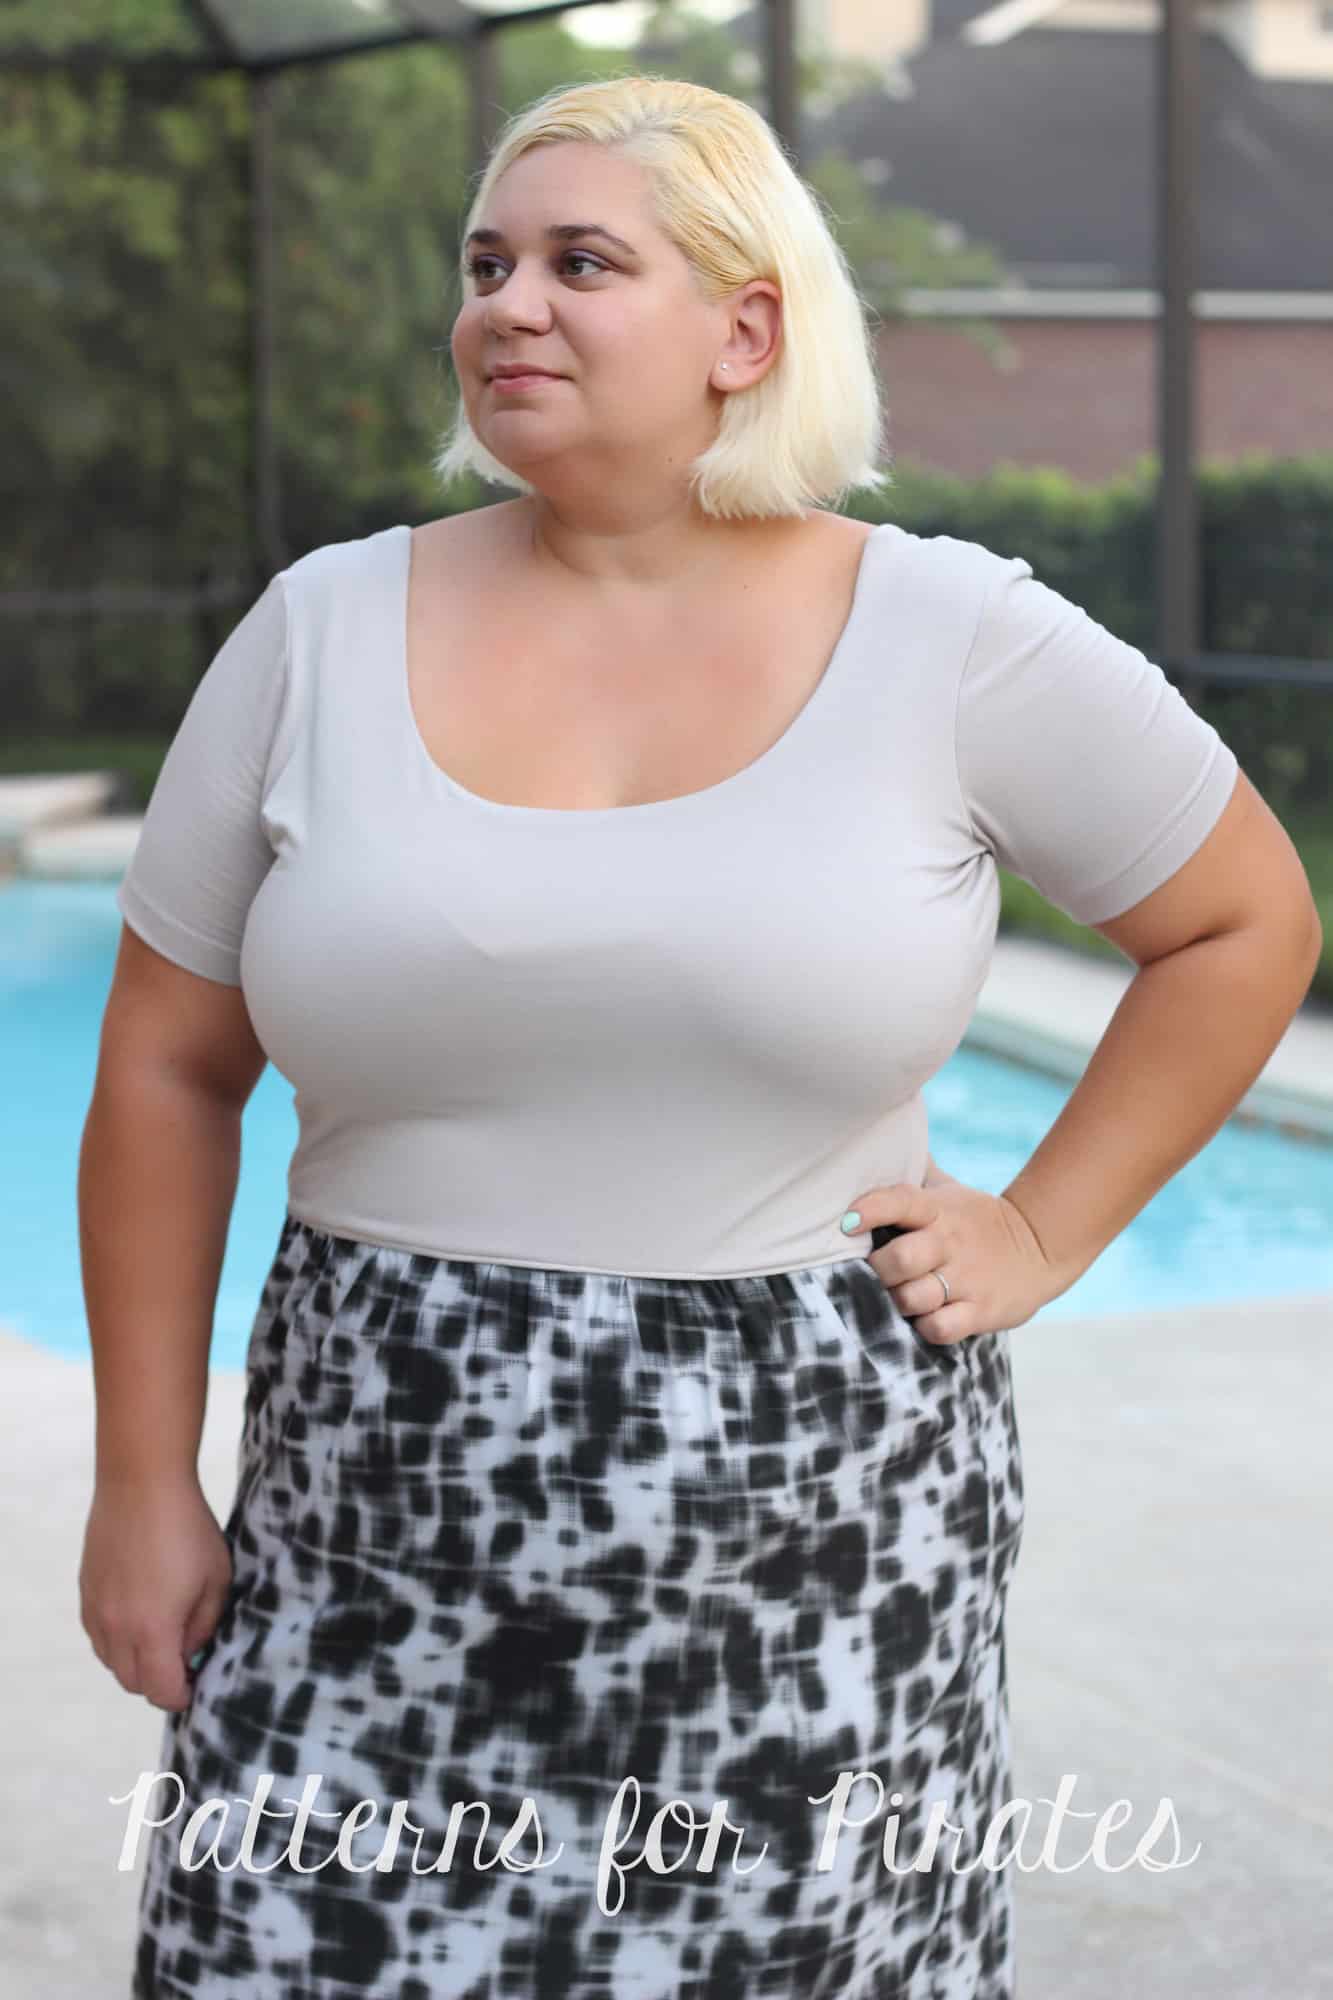
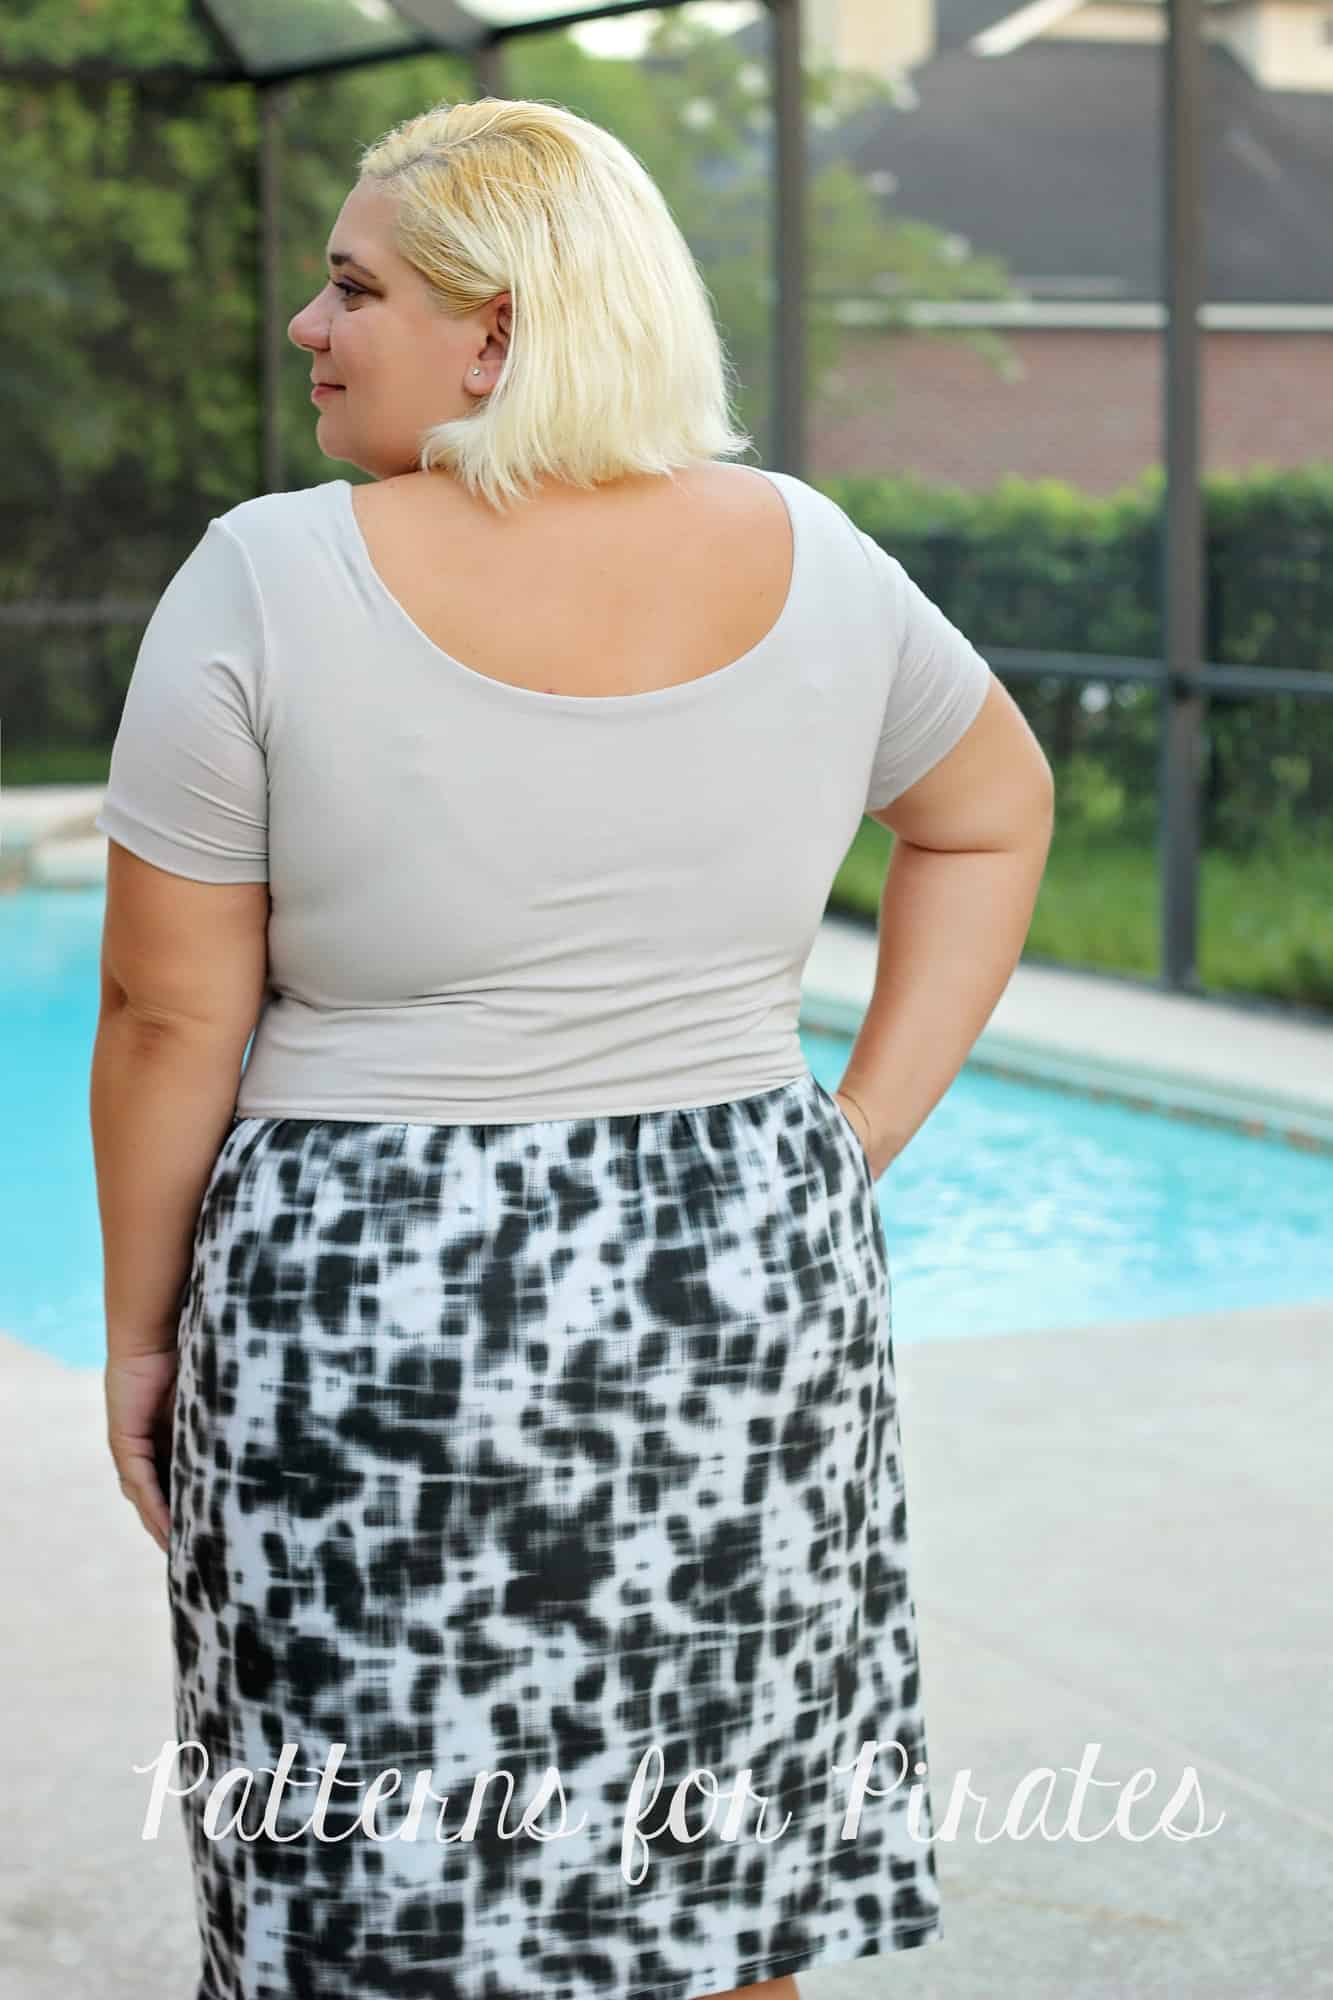
Ahoy, pirates! The Summer of Wovens is in full swing so I wanted to show you how easy it is to add a gathered woven skirt to a knit bodice. You can use this technique to the Boundless dress, like I have, or the Sunshine dress. If you love the bodice of the Sweetheart dress as much as I do you can use it and hack it with a woven gathered skirt too.

The most important thing to keep in mind when adding a woven skirt is CHOOSING THE RIGHT WOVEN fabric. Make sure to use a light weight fabric with great drape. I used a Nicole Miller chiffon and it worked beautifully. You can also use rayon, rayon challis  or crepe georgette. Avoid quilters cotton, it will look stiff and add visual width which we don’t want. Am I right, ladies? 😉

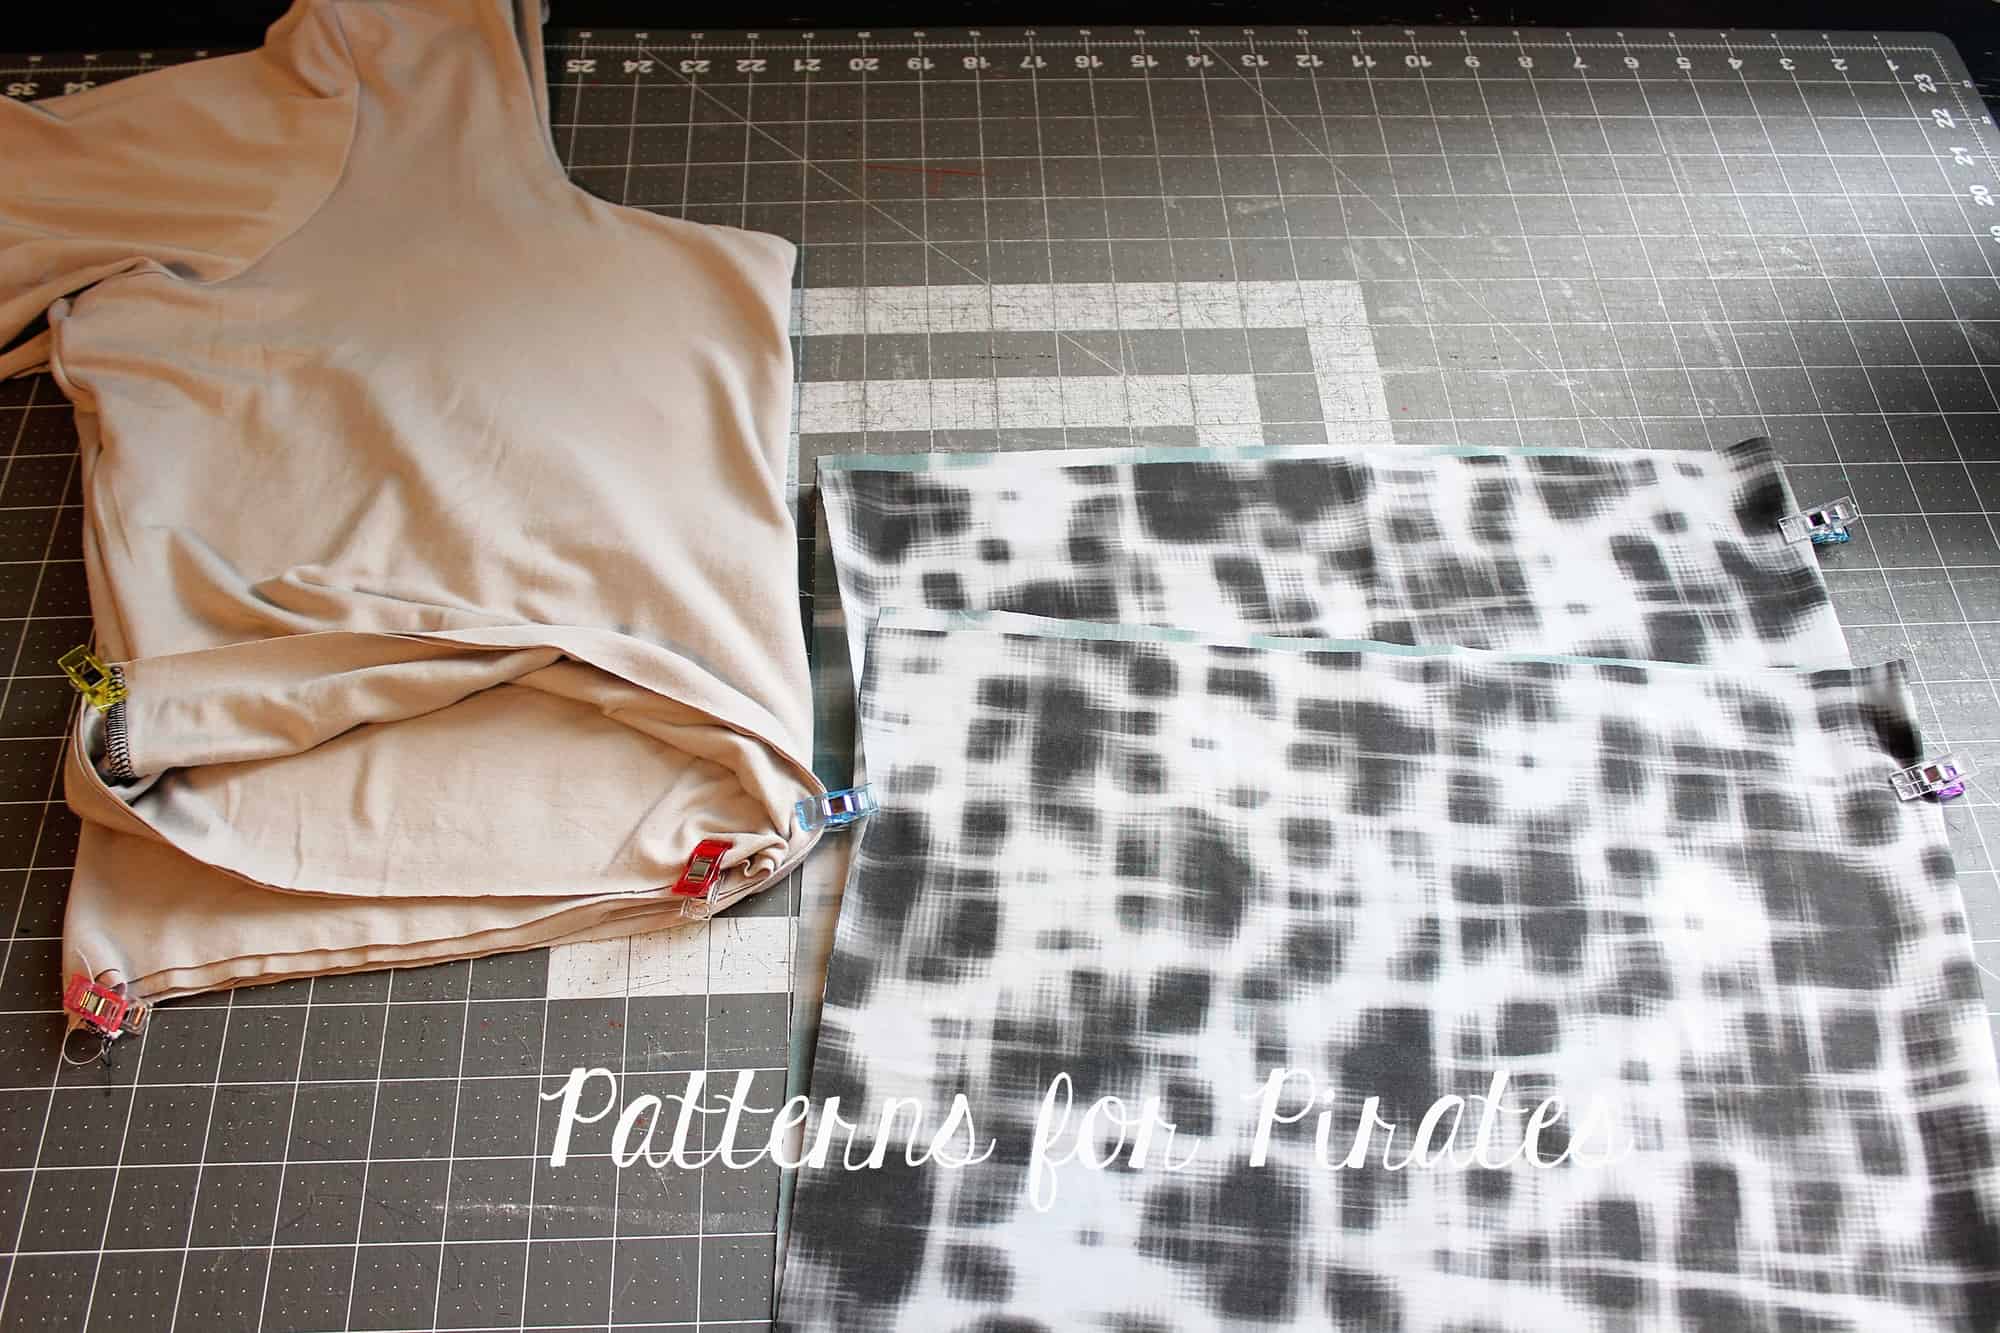
Cut the pieces as per the pattern. You do not need to size up or down, just be sure to measure yourself and choose the size based on that. I do recommend adding some width to the skirt for more comfortable wear. I did not add it to mine but you can certainly increase width by a couple of inches. You can see how to take your measurements here.

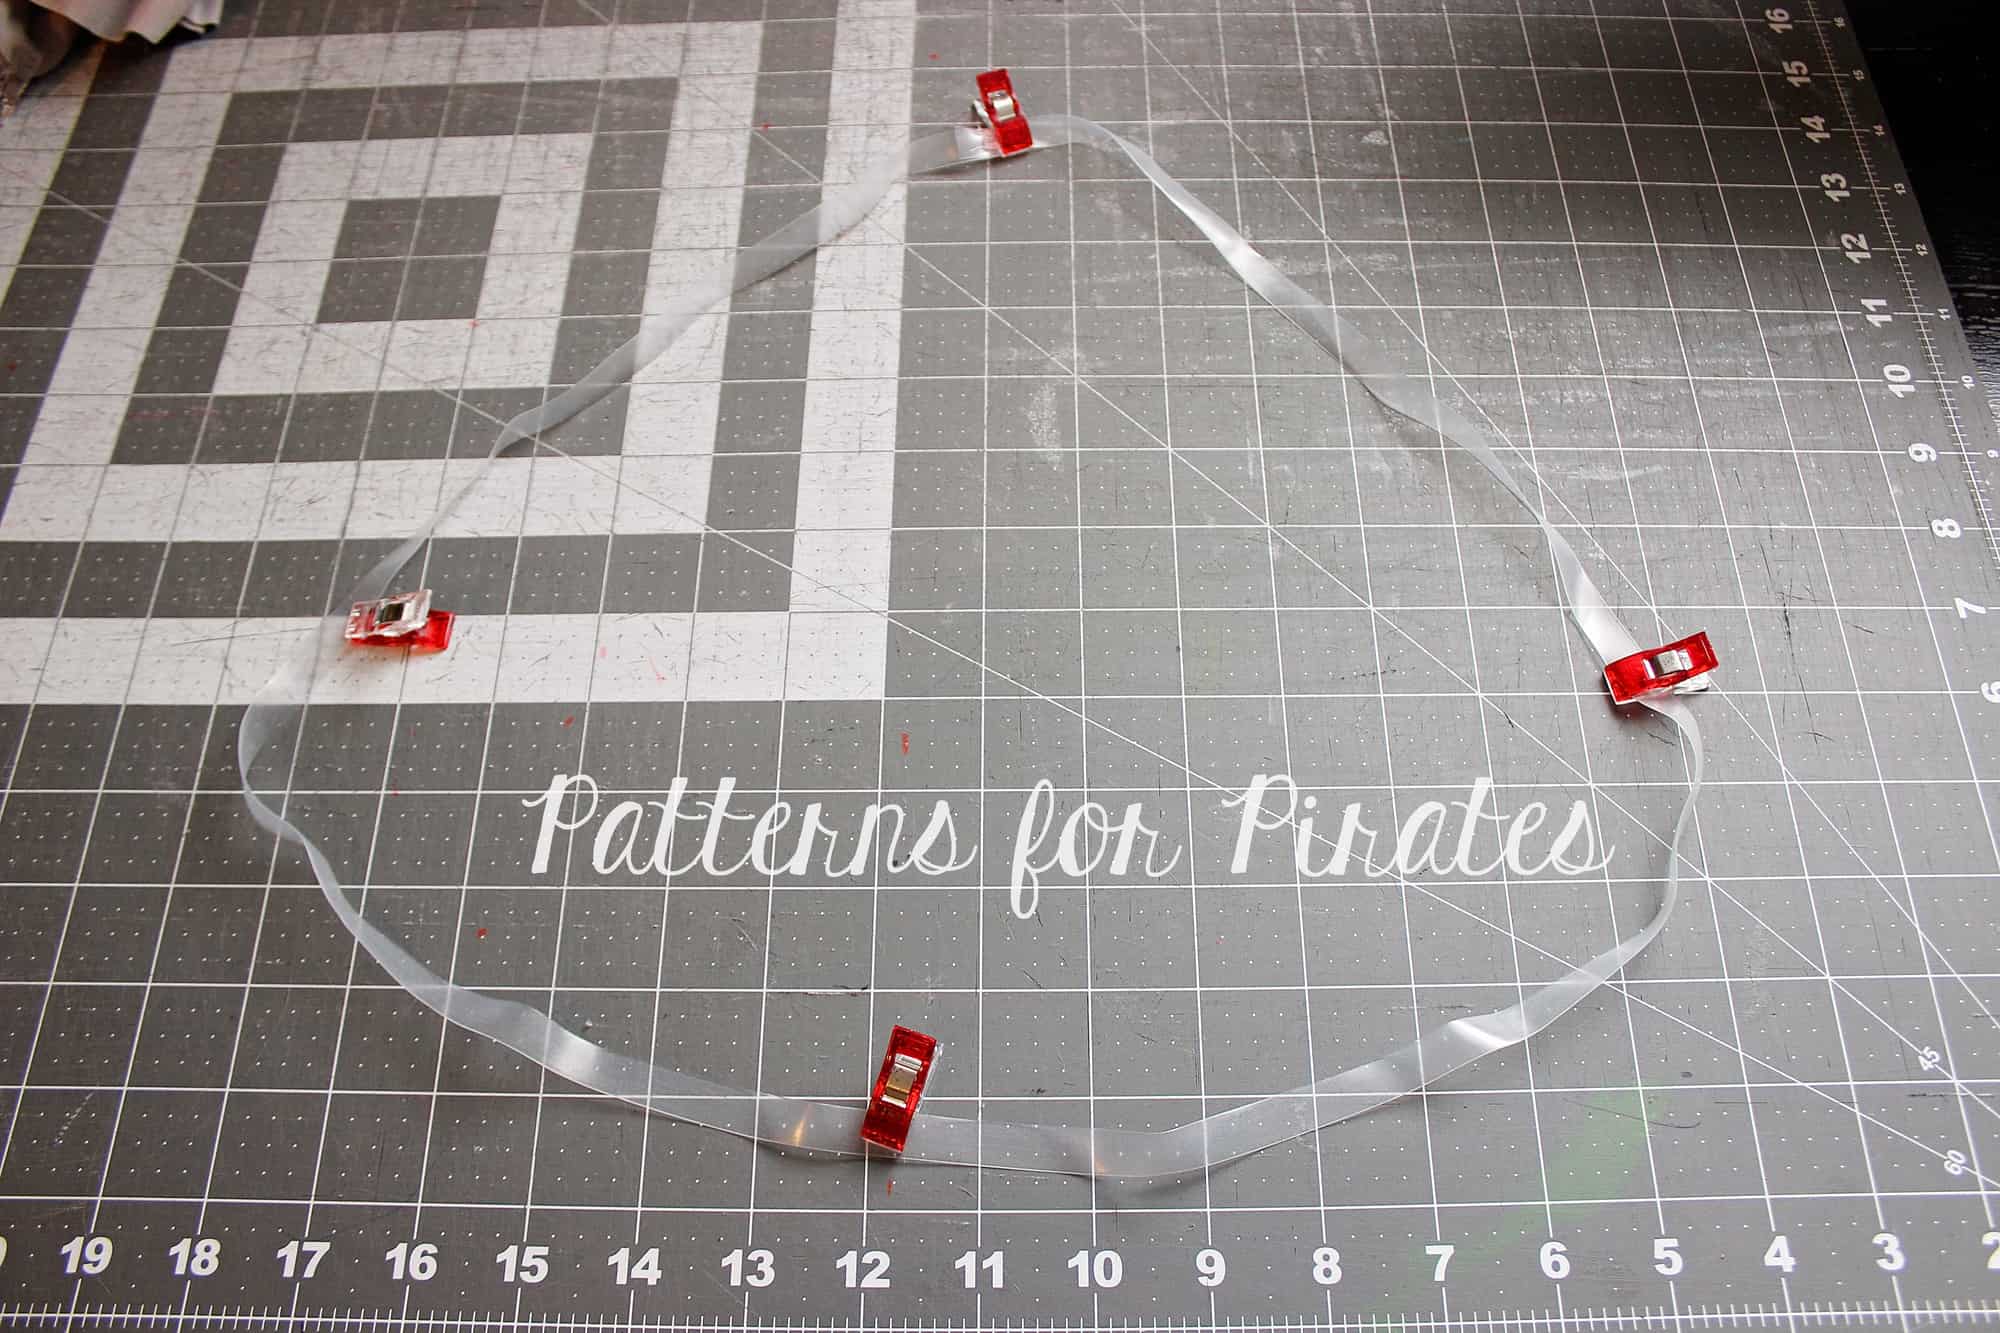
Sew the bodice as per the pattern tutorial. I marked the center of the front skirt piece and the back. I like to use clear elastic when I attach the skirt to the bodice. I do that for two reasons, the clear elastic will add stability to the seam and it will help you gather your skirt evenly. Simply cut a piece of elastic that matches the bodice bottom. Don’t forget to add seam allowance! I prefer to cut just one piece and match the elastic seam to the center back but if you prefer to cut two pieces and match the seams to the sides you’re welcome to do that as well.

Mark the quarters of the clear elastic. Mark the side seams and center back and front of the skirt. Remember to mark the to of the skirt if you’re using a fabric with a directional print 🙂

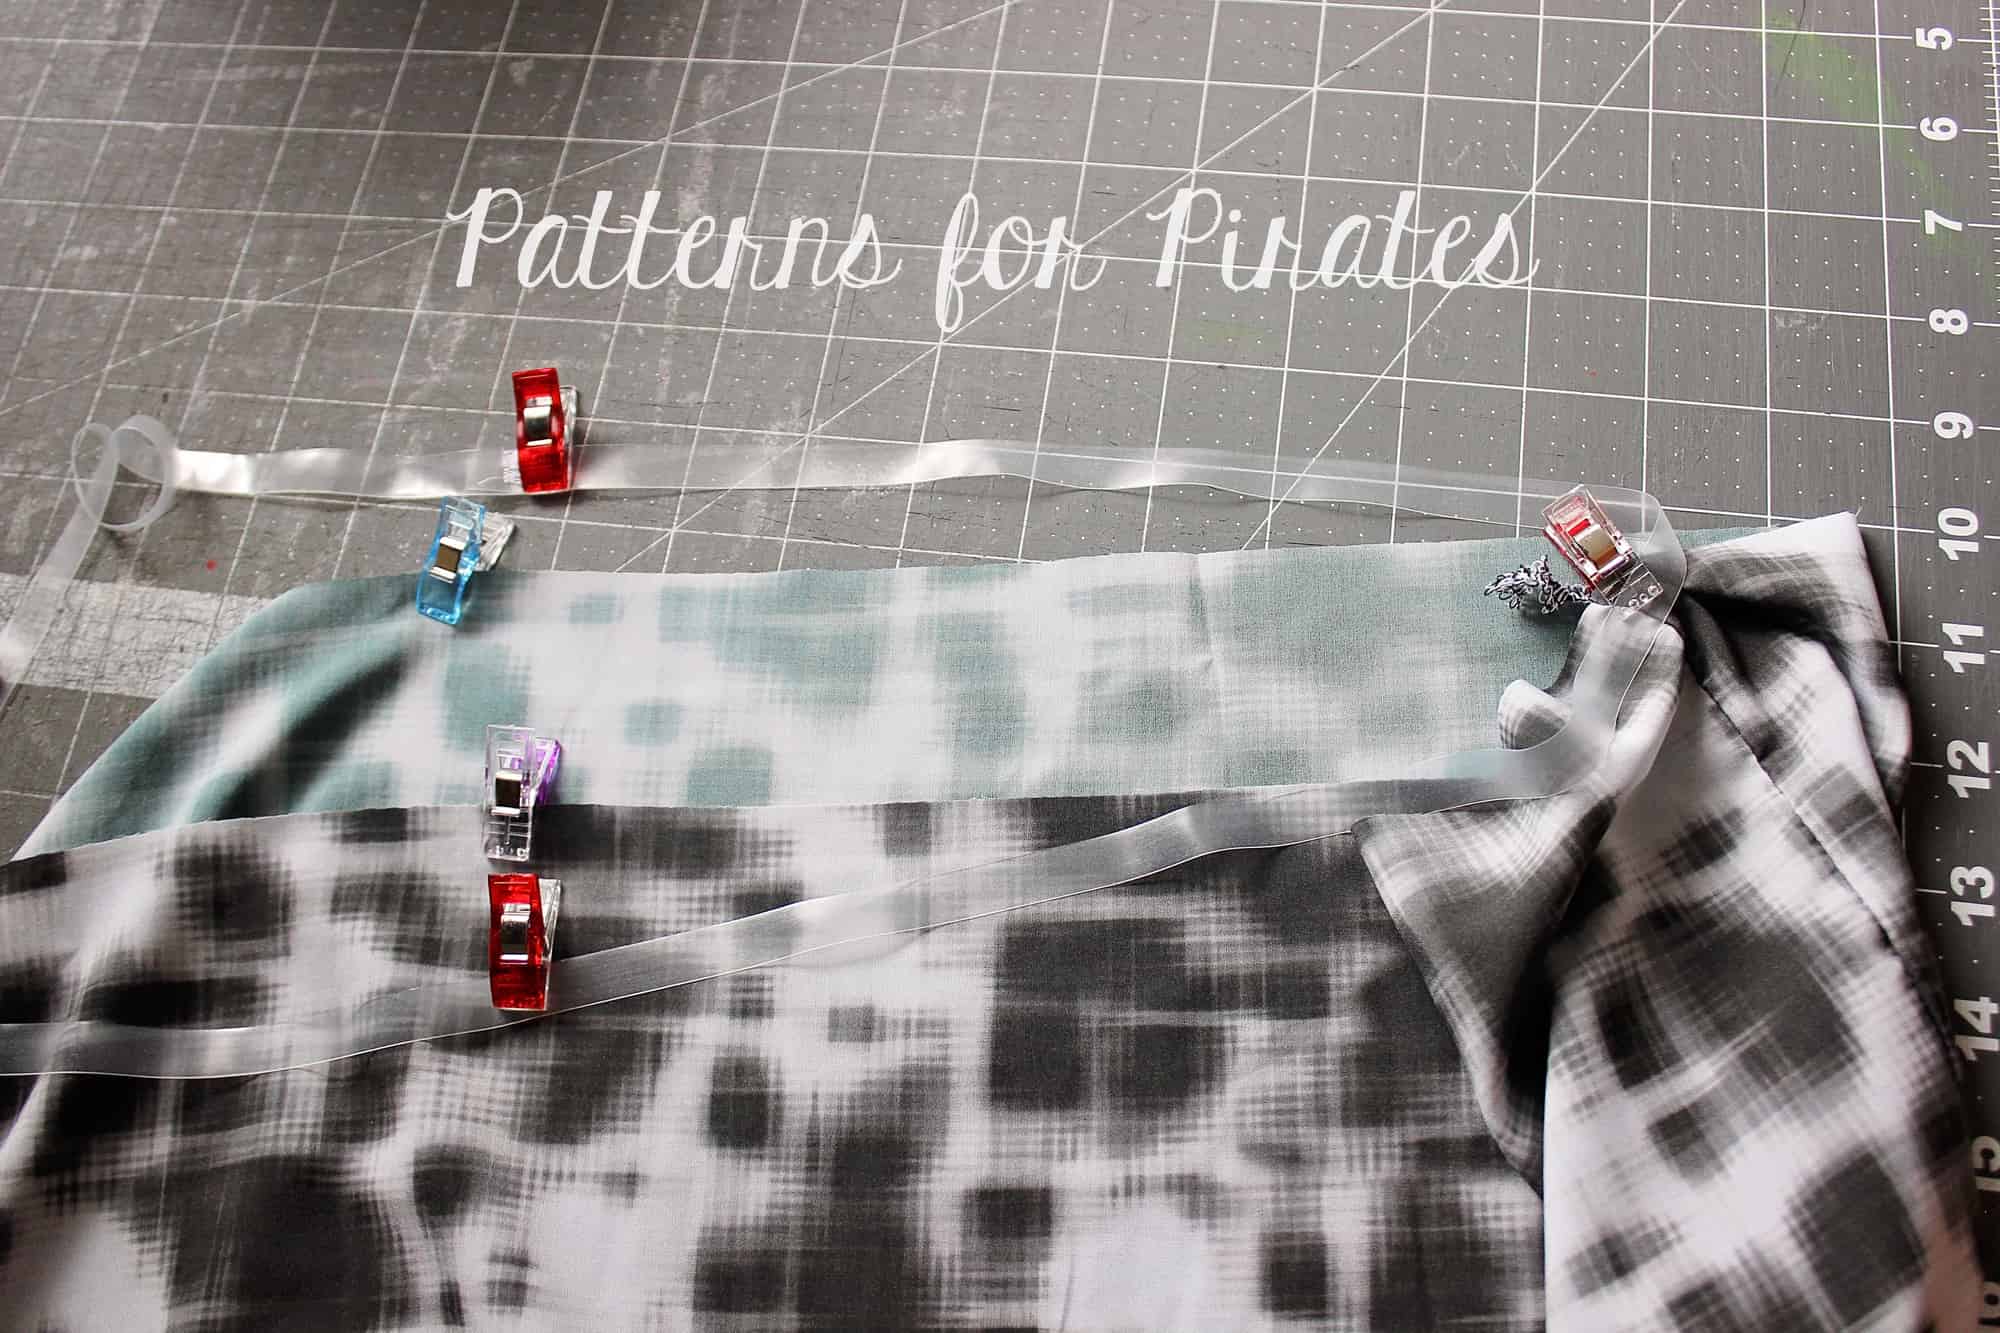
Match the quarters of the skirt to the quarters of the elastic.

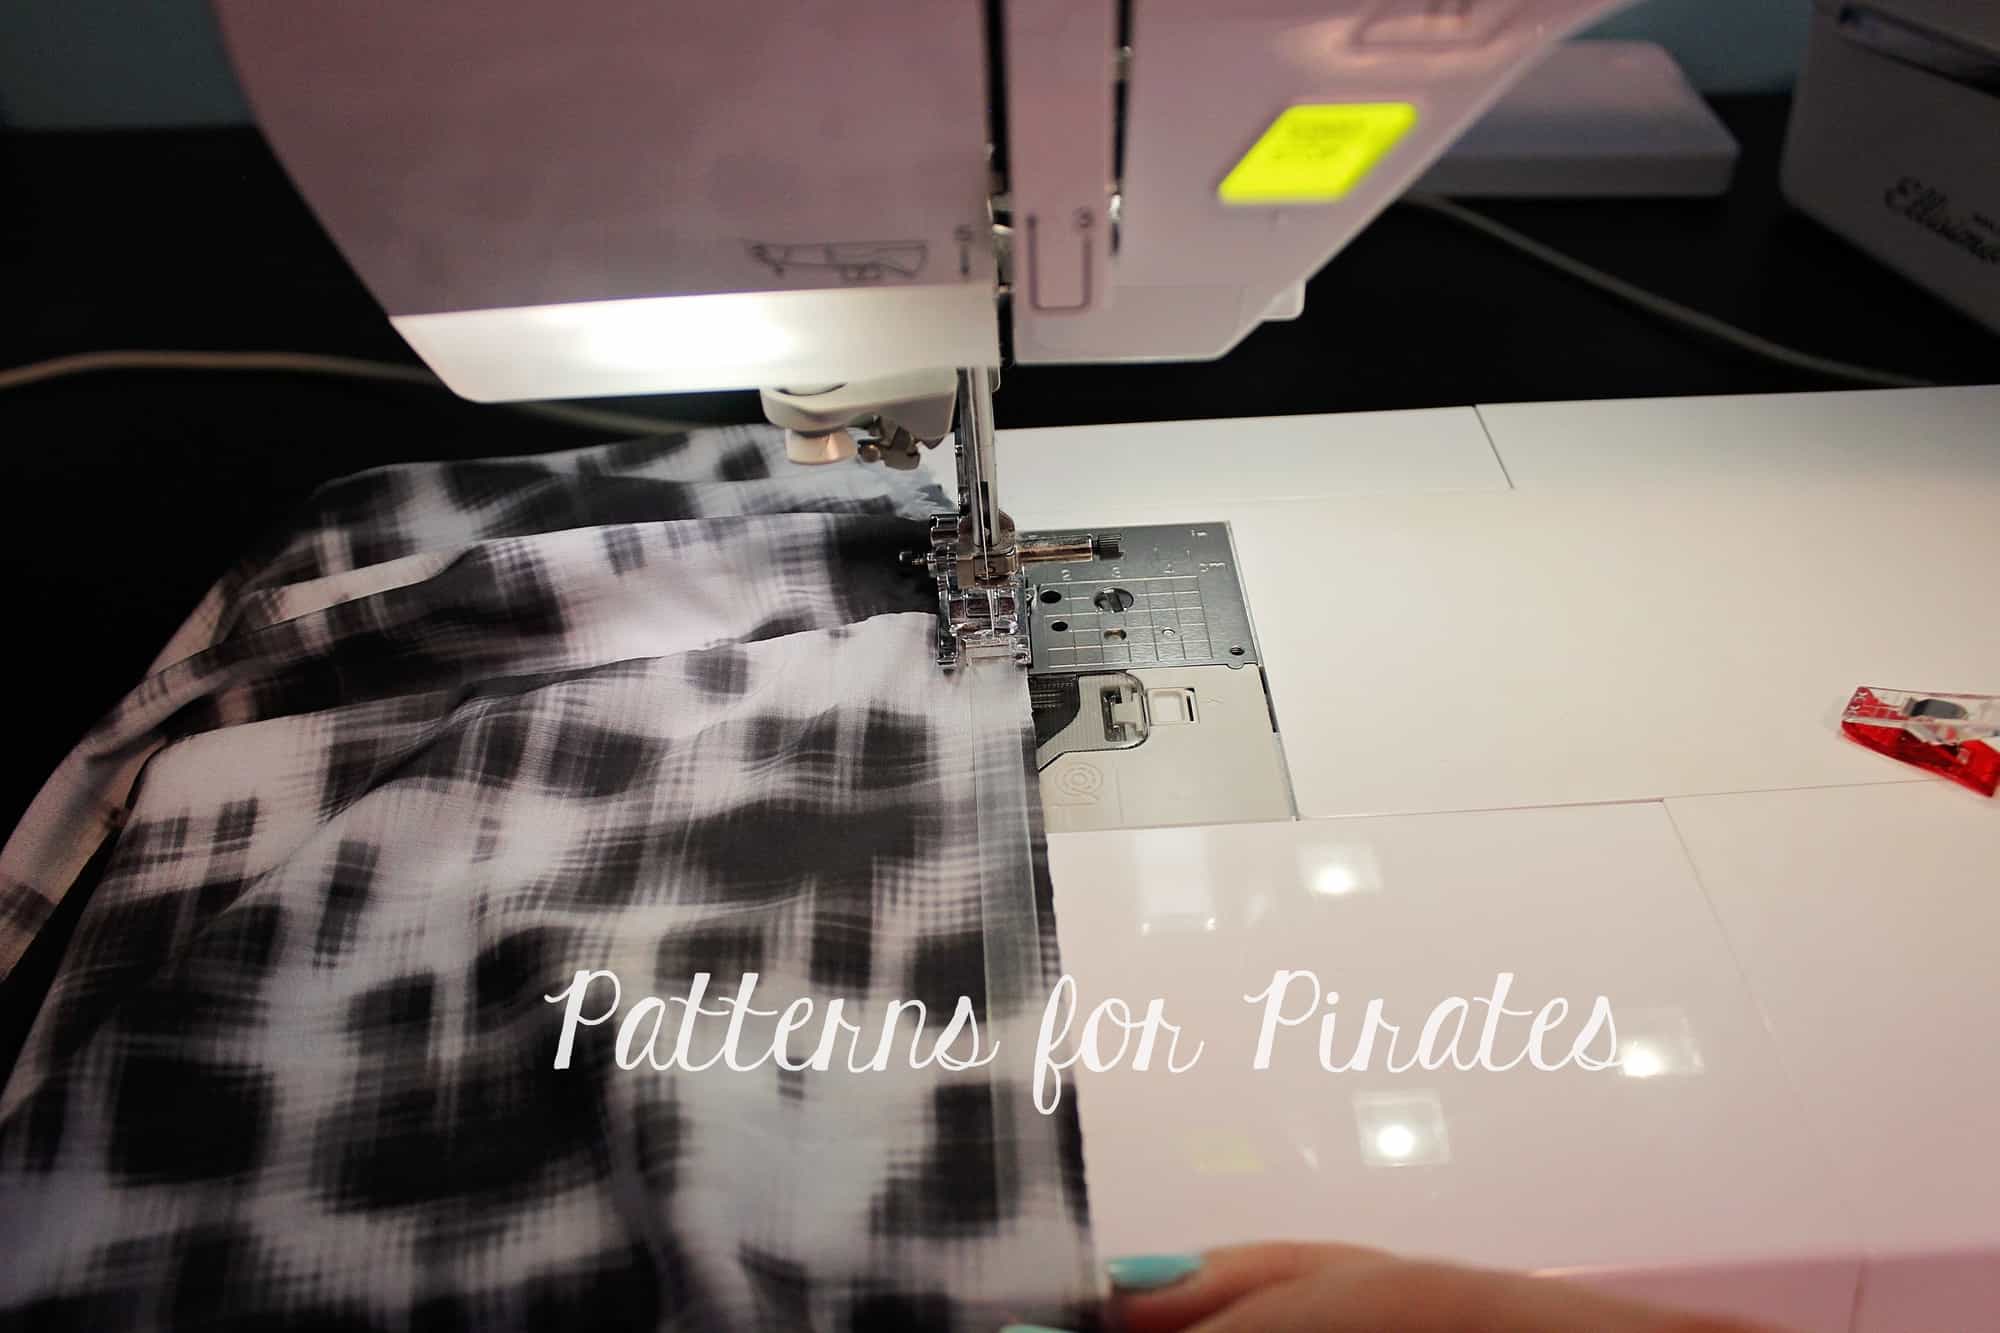
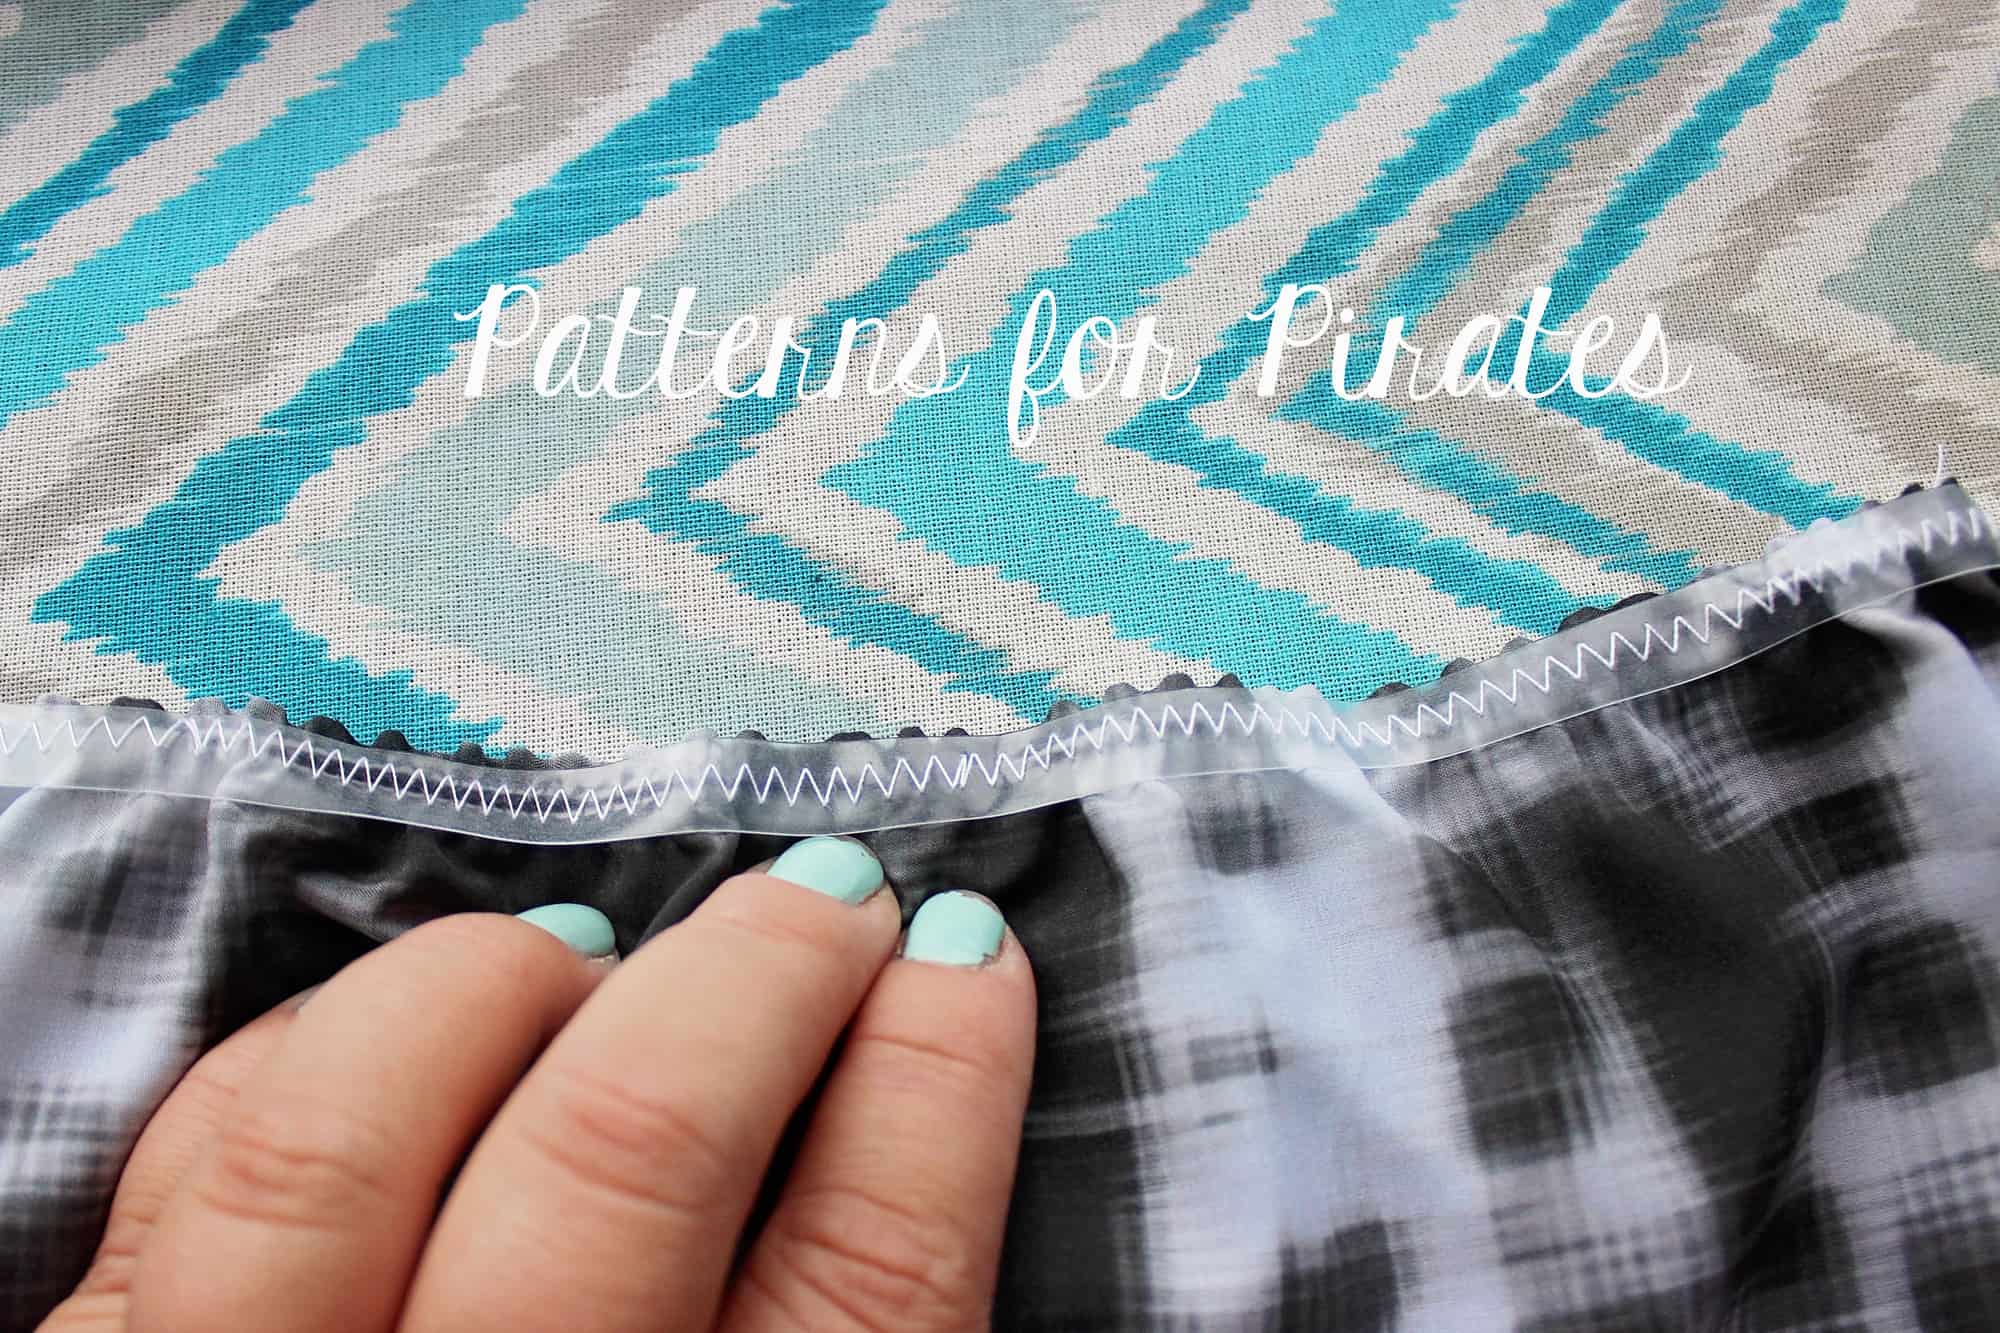
Sew the clear elastic to the top of the skirt. Use a zig zag stitch and adjust the tension and width to better fit the type of fabric you are using. Stretch the elastic as you sew. If you use a 1/2″ clear elastic simply align the edge of the elastic to the edge of the skirt. I use 3/8″ clear elastic so I put it a little lower than the edge to accommodate the 1/2″ seam allowance that is followed in this pattern.

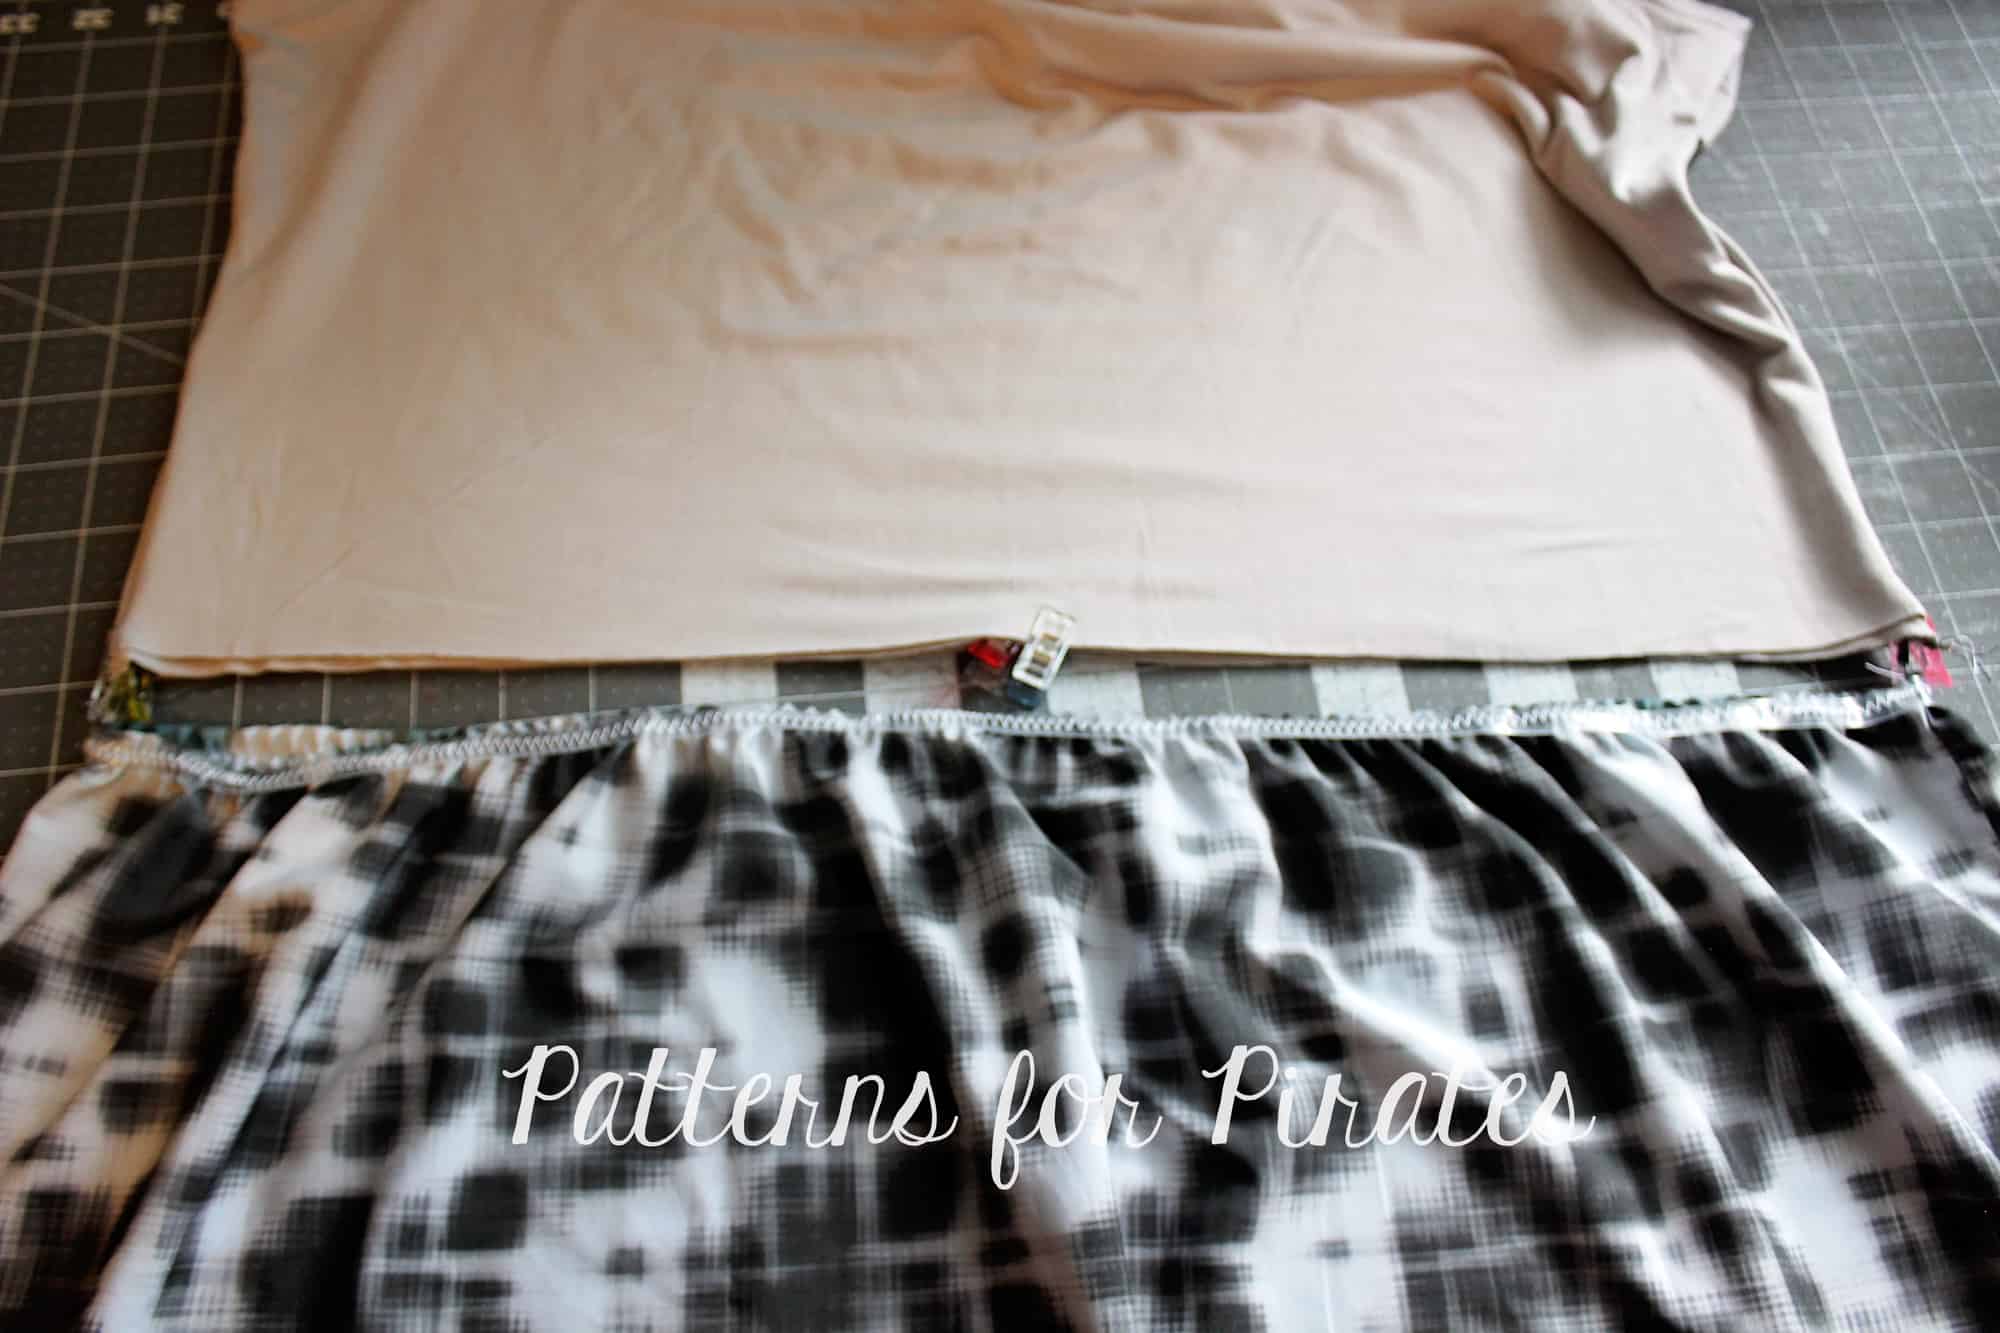
All you have to do now is attach the skirt to the bodice. The bottom of the bodice and the top of the skirt will be the same circumference. Match the side seams and the center backs and fronts, pin right sides together and sew.

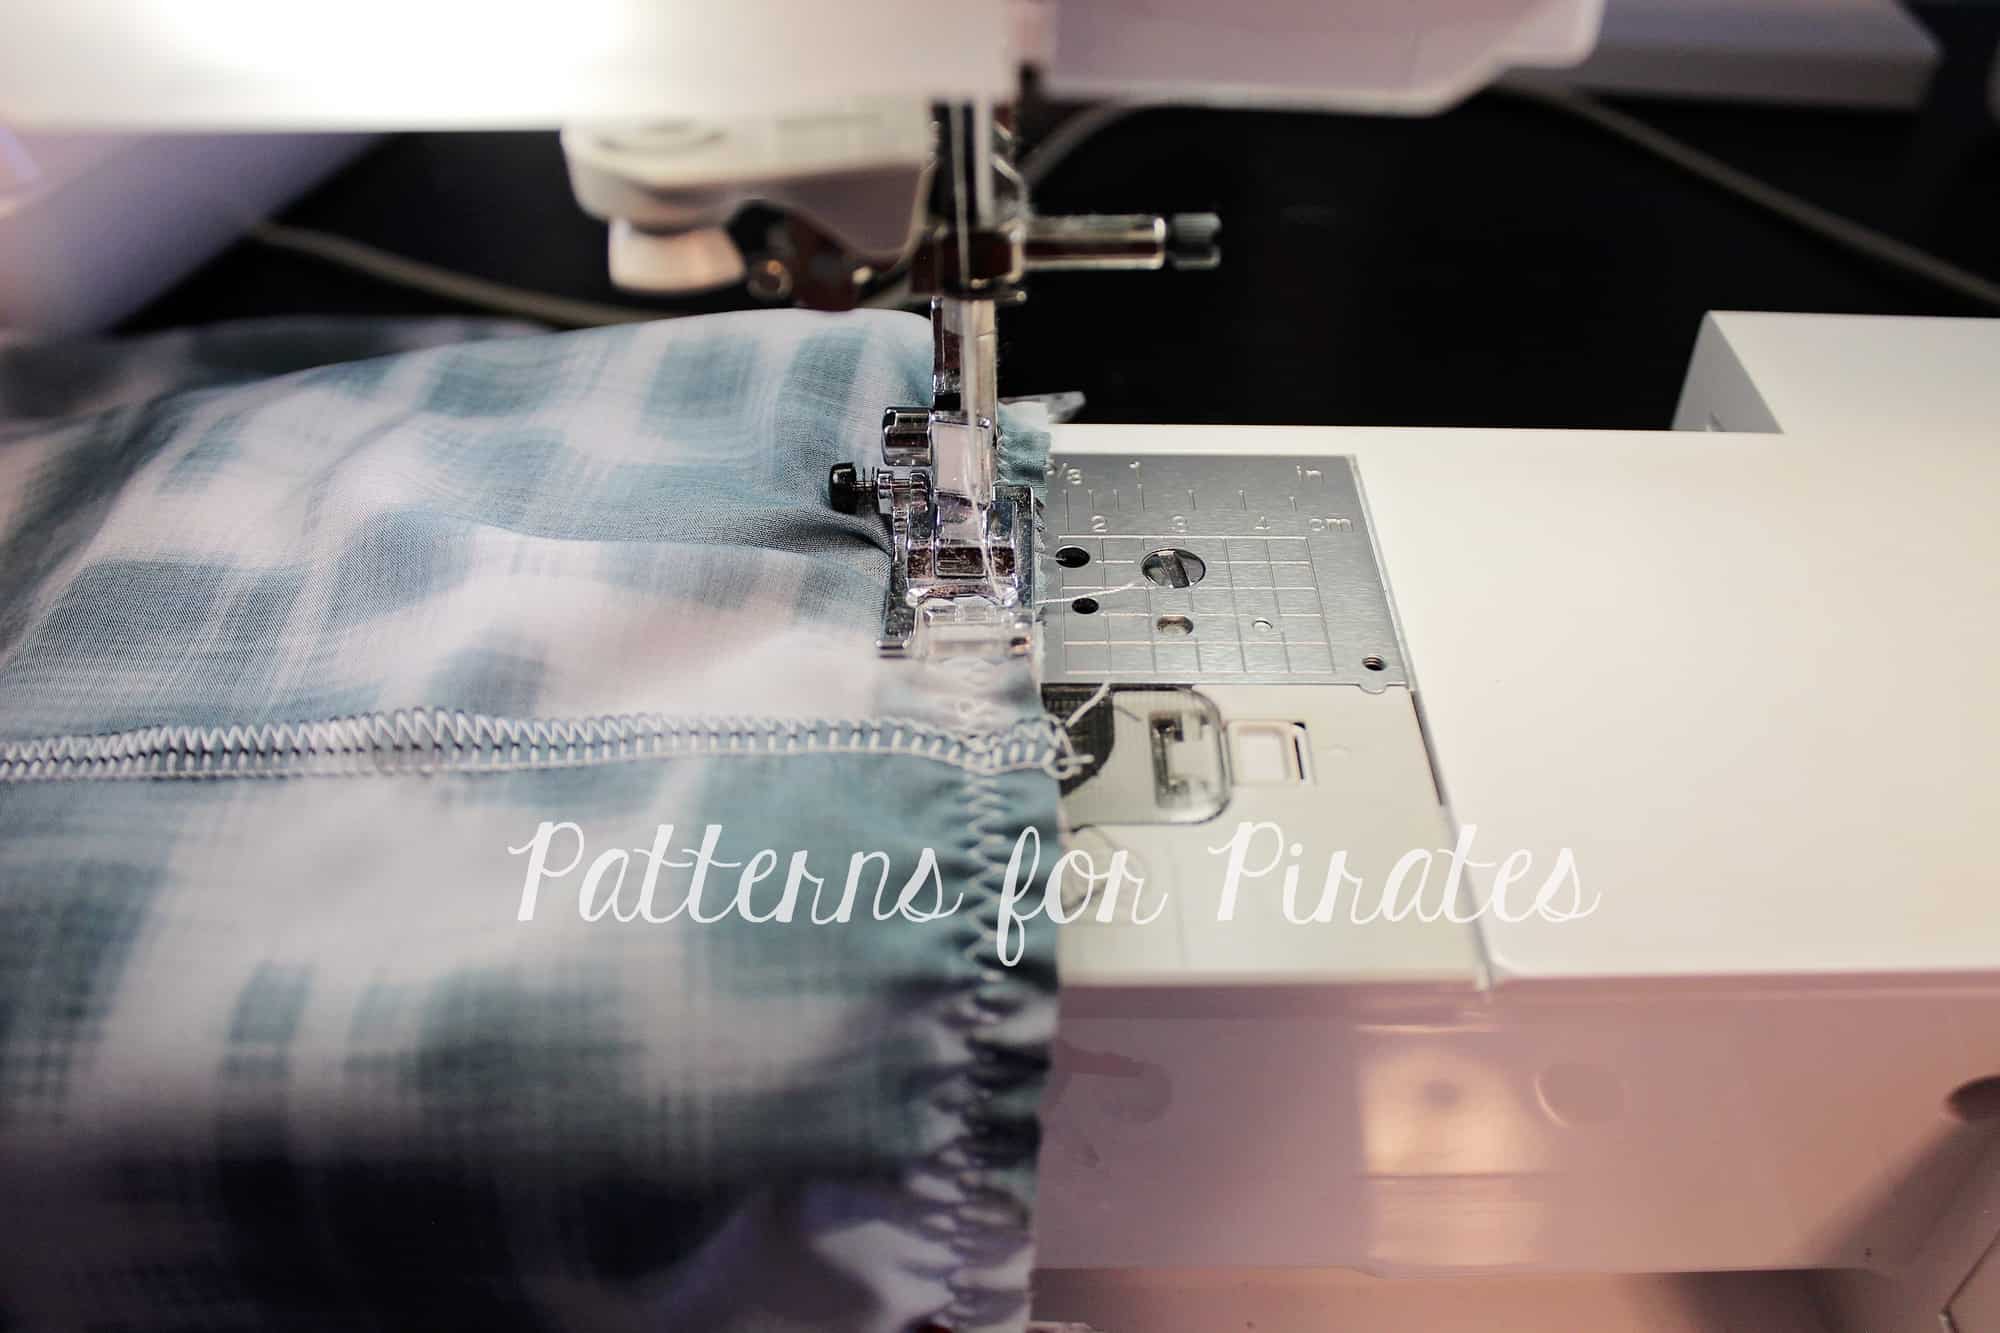
I like to attach the skirt to the bodice using a zig zag stitch but you can also use a triple stretch stitch.

Optional: top stitch the seam allowance up towards the bodice.

Tadah! You’re all set to rock your new woven skirt Boundless (or Sunshine) dress! I can’t wait to see your take on this easy hack so be sure to post it in the P4P group too!

Filed Under: Frequently Asked Questions, Pattern Hacks, Uncategorized 7 Comments

How to Print P4P A0 Copy Shop File with Blue Prints Printing

August 8, 2017

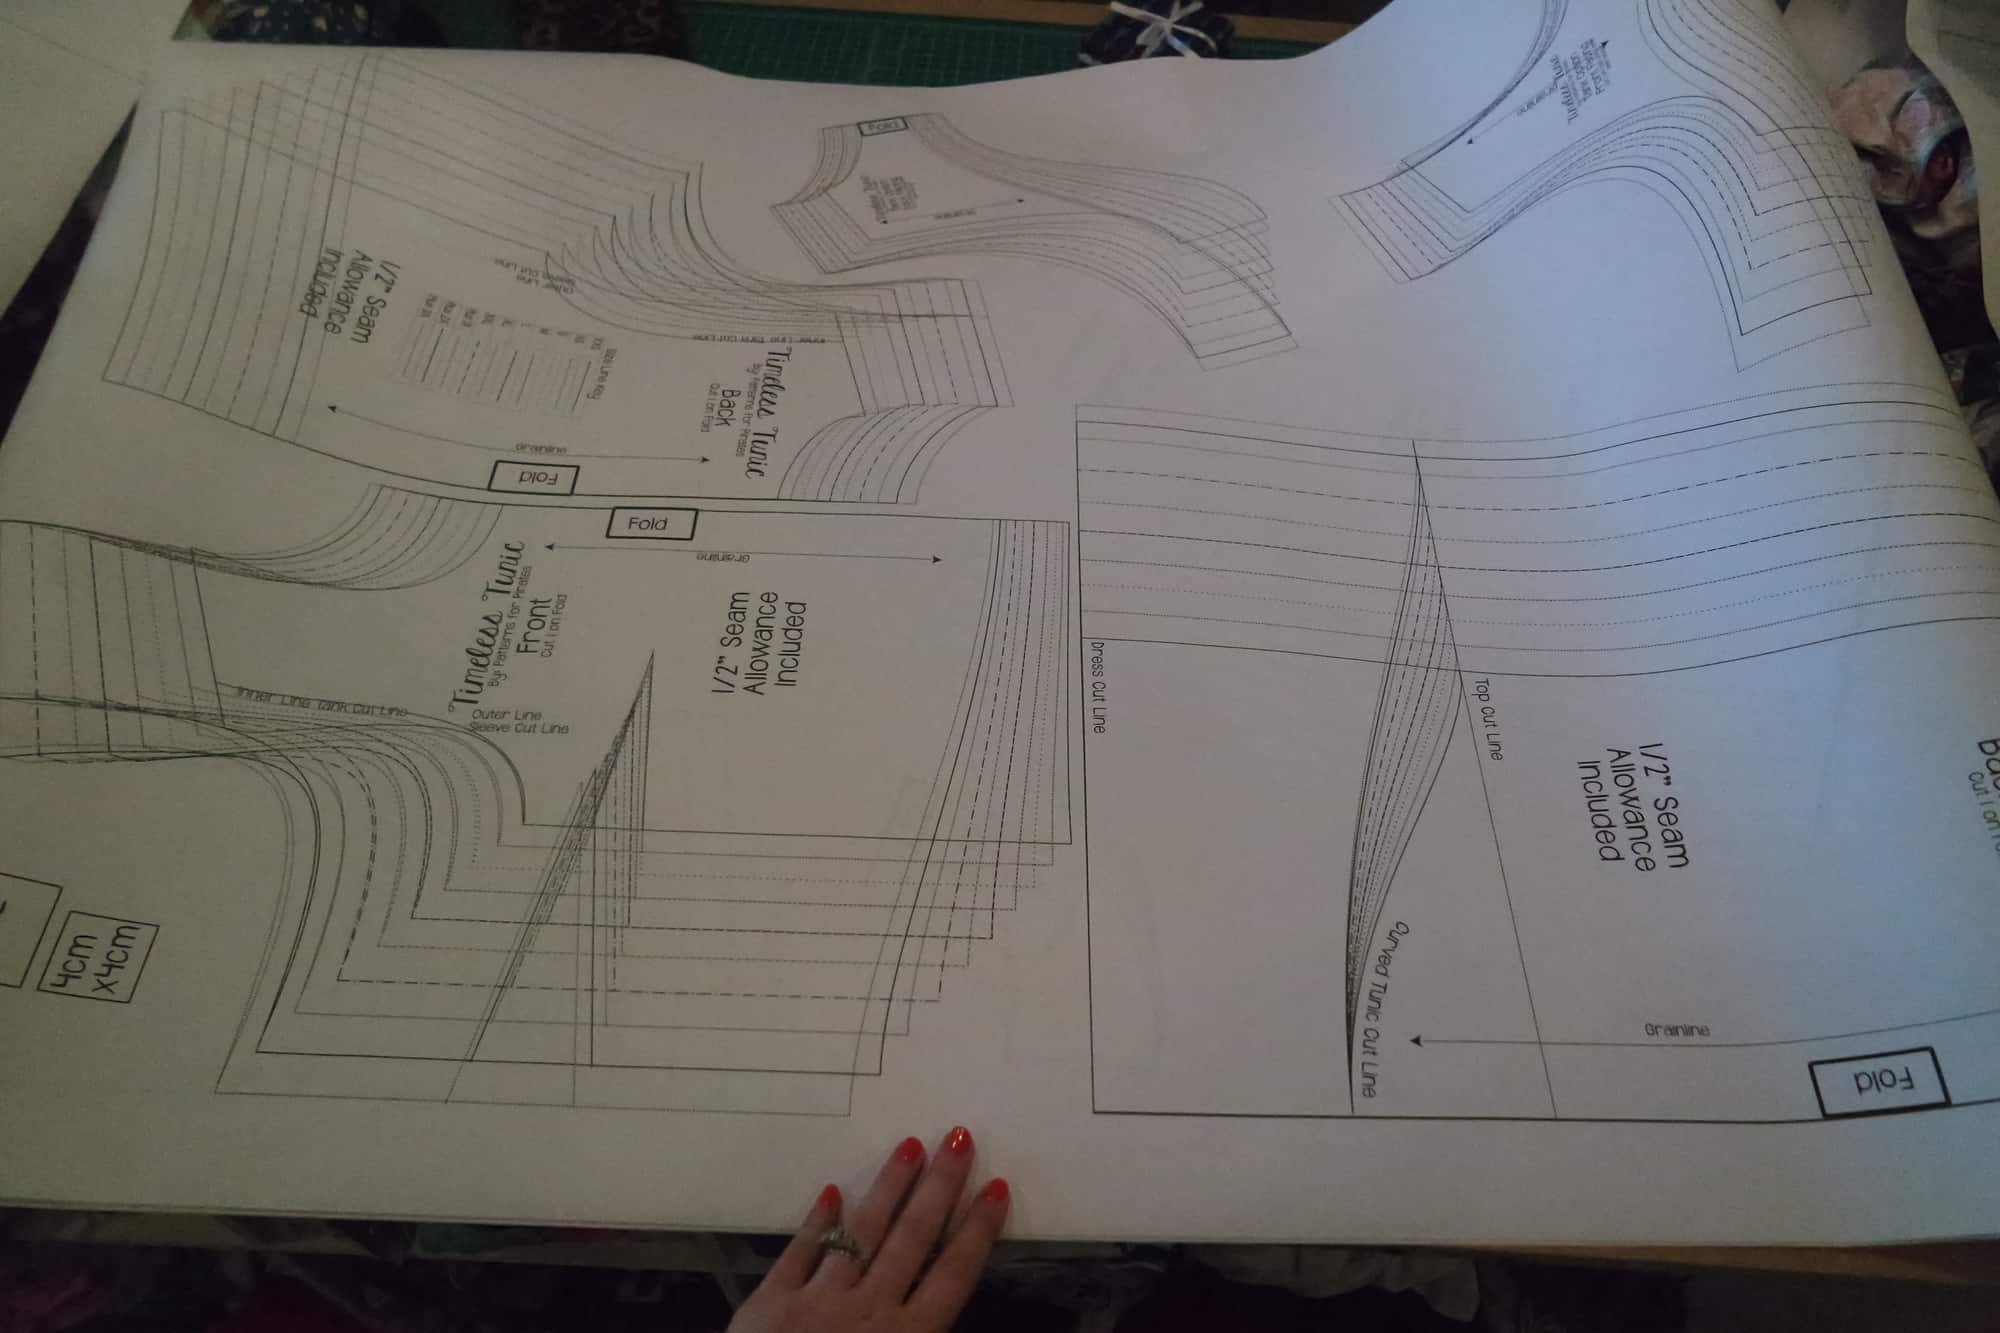
We now offer the A0 Copy Shop File with all our newer patterns for an added convenience.  The A0 Copy Shop File is meant to be printed on a large printer on larger size paper (A0 size paper that is ;)).  It is about the size of an engineer’s print.

Most of our patterns fit on one to two of the A0 size papers.  This means you don’t need to tape together the smaller paper to tile together your larger pieces.  Very few pieces cannot fit onto that size and still need to be pieced (very long pieces usually- like Essential Tank Maxi which spans from shoulder to floor), but that’s 2 pieces rather than 50!  Here is an example of a pattern printed on an A0 size sheet:

We get asked a lot about where to print them!  And now we have a great suggestion for you.  We had  Blue Prints Printing reach out to us wanting to help make the process smooth and easy for everyone trying to print PDF sewing patterns! Most PDF plotting companies are based around printing engineer blueprints/plans.  So the process can seem confusing to upload and understand what you need for a PDF sewing pattern instead.  Not only did they ask all about the sewing patterns and what P4P seamstresses are looking for, they actually created a page and a great tool on their site for merging all the patterns into an order for a great experience JUST FOR US! <3  *They also set up an affiliate program for the P4P blog- accounts made through the P4P blog links will be affiliate links. *

They worked hard to make the process simple.  They have clickable step by step instructions on how to upload your patterns and order with suggestions on paper size, paper type, etc. to make the ordering process easy for a PDF sewing pattern. They also gave us an exclusive P4P discount code for the kick off: p4p-intro15 which will give you 15% off on print orders of $40.00 or more.  This comes out to $1.12 per page, which is the lowest we’ve found online anywhere.  They have incredibly fast shipping too!

But just to make sure, I’ve made a quick video all about how to get your A0 Copy Shop File from your account here on the P4P site, uploaded to their site and receive that big box of patterns all ready for you to create without taping or gluing sheets together.

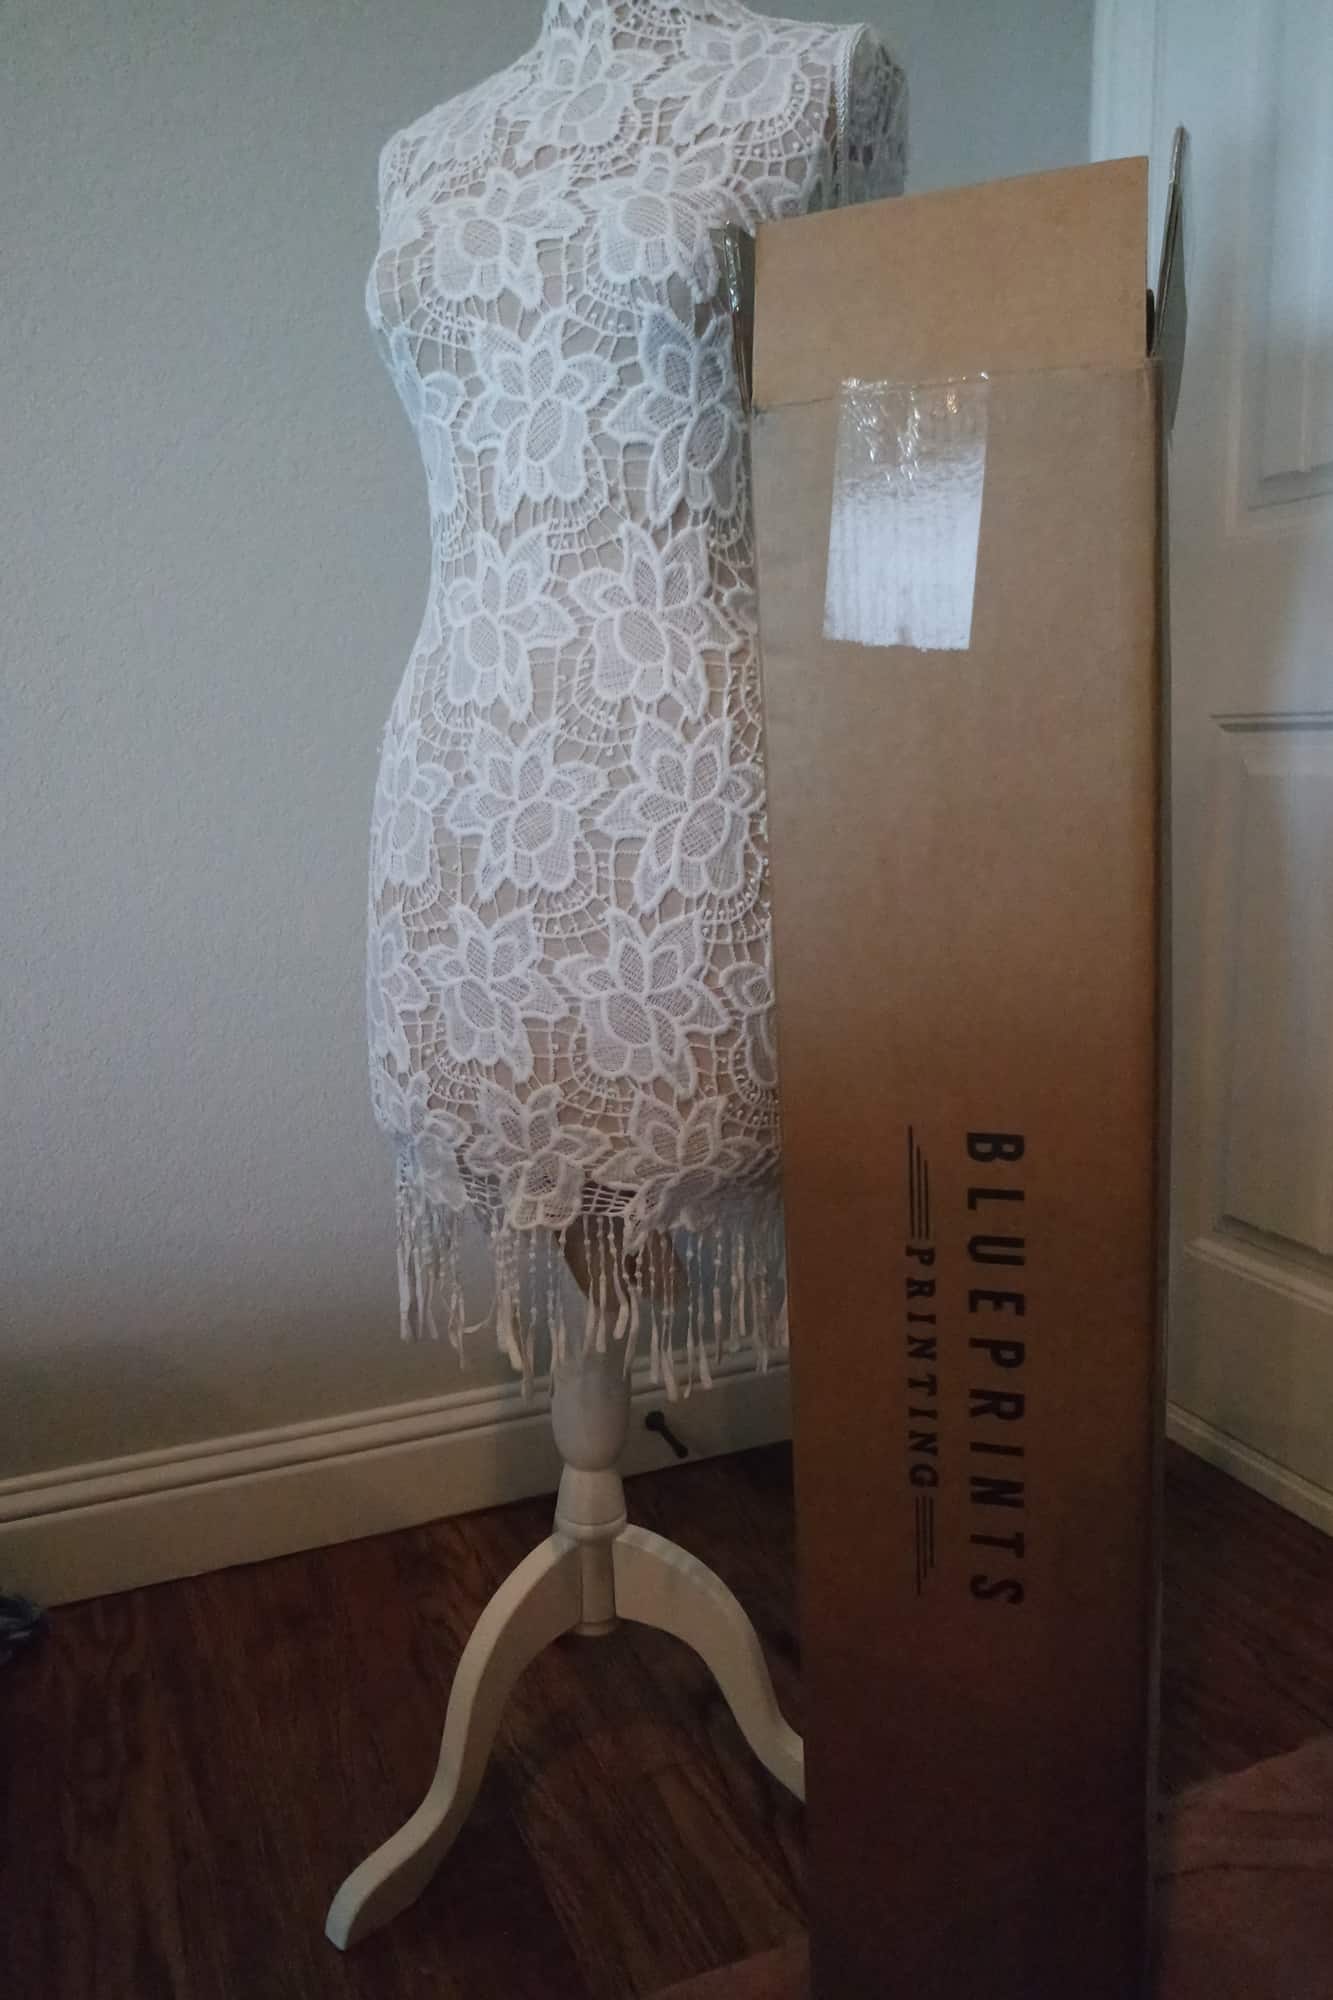
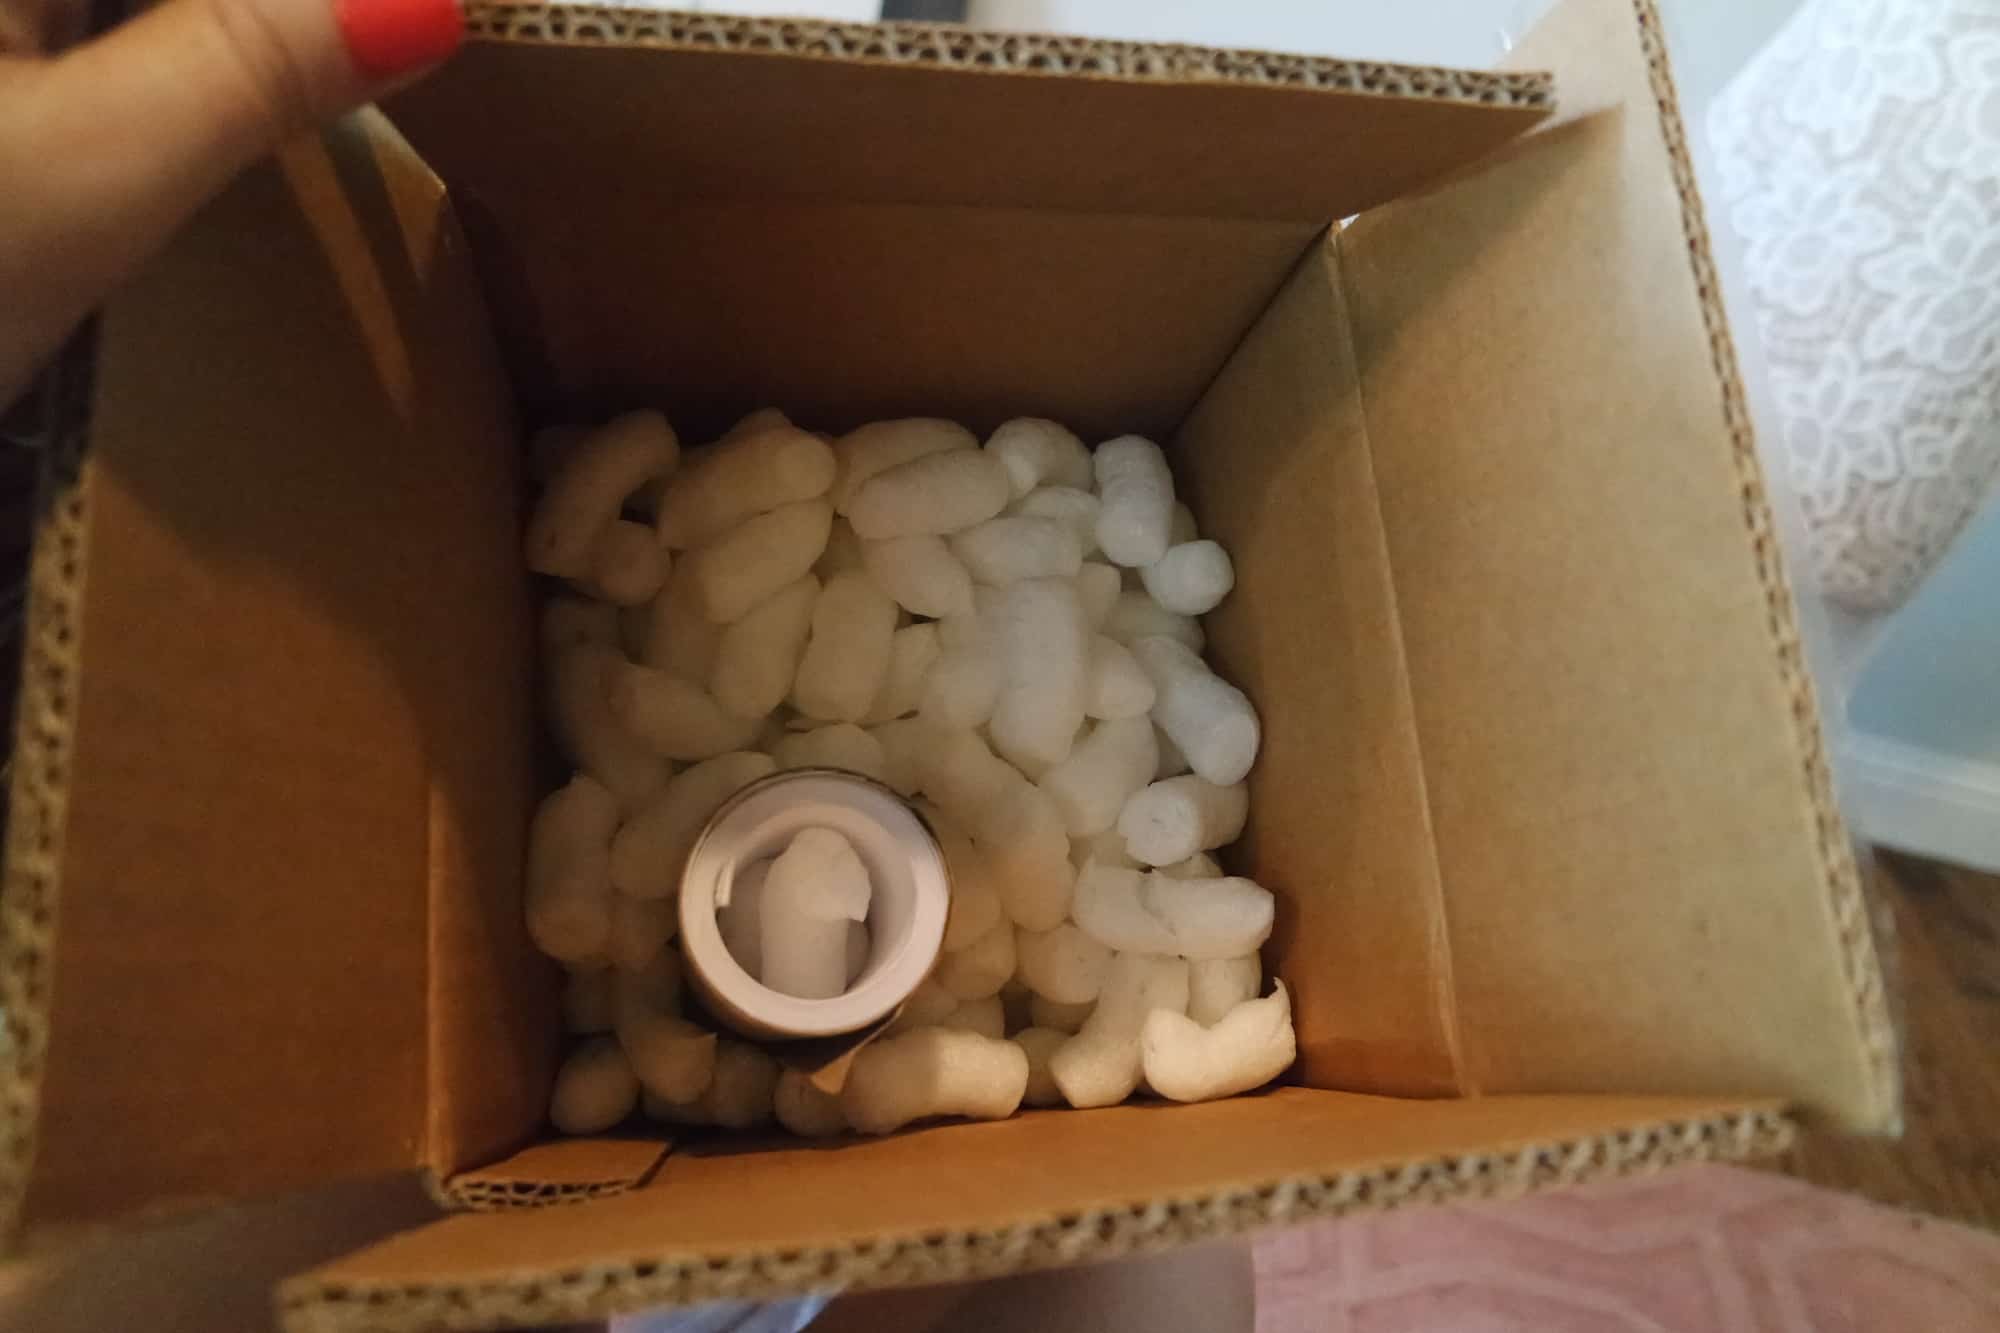
They package very nicely so that your patterns come very smooth and protected as well!   You do pay shipping for this box, so it makes most sense to order as many together as possible in a “bundle” to save on shipping 🙂

They are welcoming the Pirates over with huge open arms and if you have any trouble they will be more than happy to help with your question or concern 24/7 at: service@blueprintsprinting.com or you can call from 9am-5pm, M-F Mountain Time/ leave voicemail other times at:  888-507-1002.

I hope this helps all you seamstresses out there that love PDF patterns, but don’t love taping them together!

Judy

Filed Under: Announcement, Frequently Asked Questions 19 Comments

Sewing Needles 101

July 7, 2017

One of the most important steps to follow when sewing is choosing the right needle for your project. A wrong needle can leave holes in the fabric, snag it or skip stitches so let’s answer the two most common questions regarding sewing needles.

What does that number mean?

Let’s start by understanding the numbers on the packaging or needles. You will notice most sewing machine needles have two numbers on them. The numbers from 60 to 110 reflect the European metric system while the numbers from 8 to 18 represent the American needle sizing. For example, an universal needle 90/14 means it’s Euro size 90 and US size 14. As a general rule, the lower the number, the finer the needle and the higher the number, the bigger the needle.


8-10 (60 – 70) – great for very fine weight (like fine silk, chiffon, organza)

11-12 (75 – 80) – use these sizes for light weight fabrics ( cotton spandex, cotton voile)

14 (90)  – perfect for medium weight fabrics ( cotton woven, linen, jersey, fleece)

16 (100) –  this size is great for heavy fabric (denim, duck, corduroy )

18 (110) – use these needles when sewing very heavy fabric ( heavy denim, upholstery)

20 (120) – very, very heavy fabric


Note: some automatic threader sewing machines may not be able to thread lower number needles so you will have to manually thread it.


What are the most common types of needles and what fabric do I use them with?


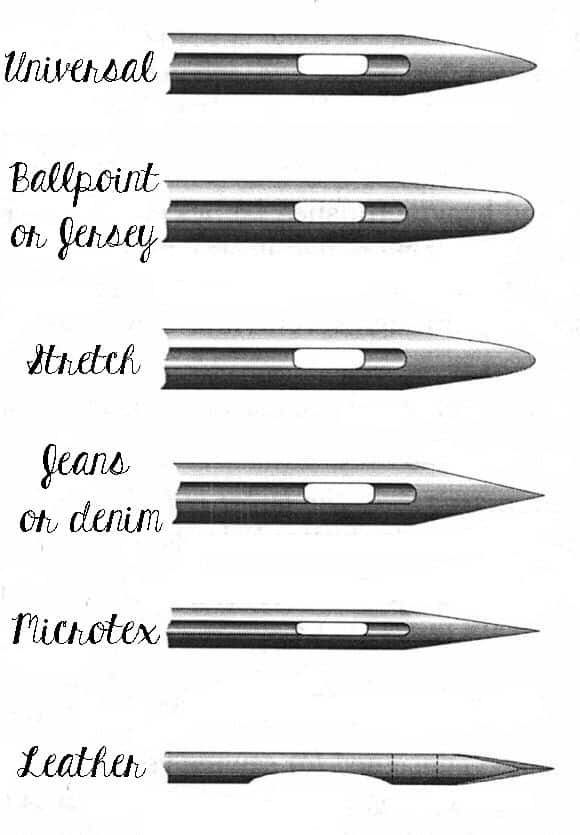
Universal needles: These needles are the most common used ones.. They pierce through the fibers. These needles are great for woven fabrics and stable knits.

Ball point or jersey needles: They have a round tip and they go around the fibers or in between the fibers of the fabric, keeping its integrity. They are best suited for knit materials.

Stretch needles: These needles are sharper than ball point needles but follow the same concept as them. They do not pierce the fibers but go in between them. These ones are perfect for very stretchy fabric like performance knits or swimwear and elasic.

Jeans or Denim needles: This style needle is very thick and sharp. It goes through the fabric and it’s best used with denim or heavier fabric like outdoor wovens and duck.

Microtex needles: The tip of microtex needles is very sharp and thin. It is ideal for thin, delicate fabrics like chiffon or crepe.

Leather needles: The chisel point will make it easy for this needle to penetrate thick fabrics like leather and some thick vinyls. Do not use on ultra suede.

Some other type of needles you will see in the notions section are: quilting , embroidery, top stitching, metalfil, self threader, twin needles or triple needles.

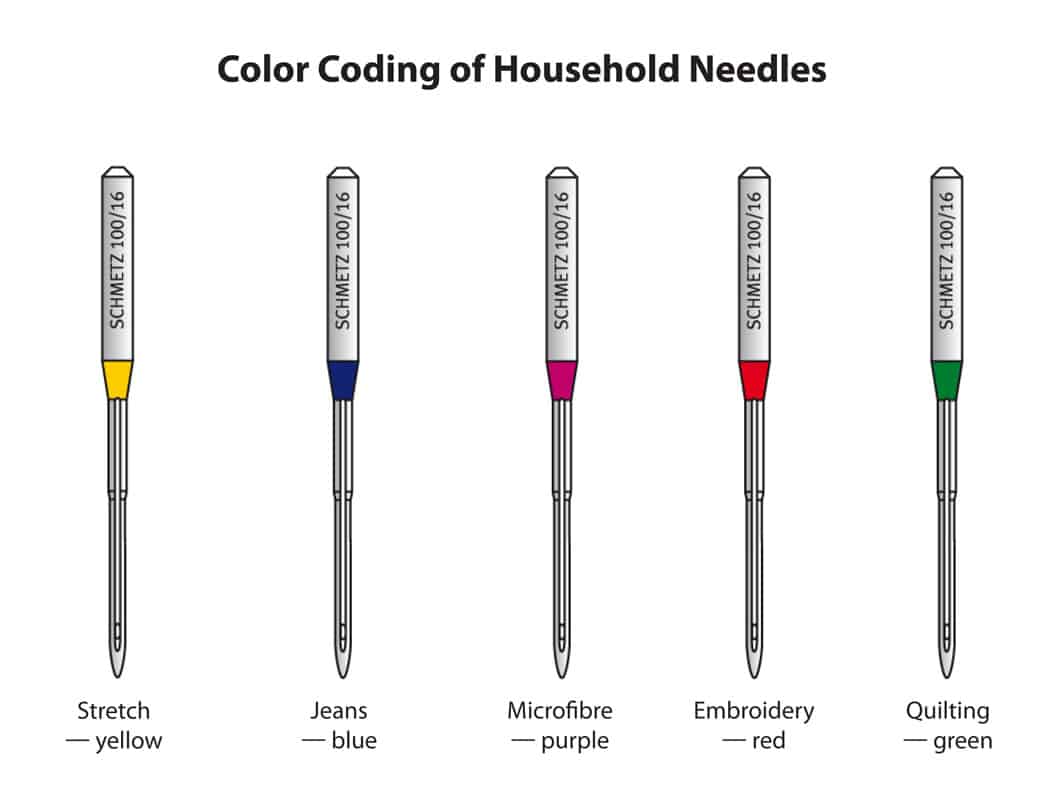
You may notice colors that accompany the various styles of needles. Some needle manufacturers have started adding colors to their products so it make it easier to distinguish the type.

For the best results don’t forget to change your sewing machine or serger needles after each project. They tend to get dull rather easily and a dull needle will snag your fabric. Now that you have your perfect needle for your perfect fabric, grab that P4P pattern and don’t forget to share your creations in the group!

Filed Under: Frequently Asked Questions 3 Comments

5 tips for adding neckbands

June 6, 2017

So you spent an hour picking the perfect fabric, perfect coordinates and matching thread. You’ve sewn your favorite P4P shirt and you only have one step left…the dreaded neckband. That’s when you start panicking and getting nervous about attaching the neckband and finishing your outfit. Fear no more!

Today on the blog I will give you 5 tips that will help you achieve that perfect neckband you are striving for all the time.

1. Choose the right fabric for your neckband!

Neckbands will be stretched when you attach them, they will be stretched when you put on or take off the shirt, so it is very important that fabric you use for the neckband has great stretch and great recovery. My favorite type of materials for neckbands are cotton spandex, rayon spandex, ribbing and rib knit. You can get away with using some brushed poly as long as the recovery is good. Avoid, scuba, french terry and 2 way poly blends.


2. Always cut the neckband cross-grain!

Never cut your neckbands along the grain. Even if your fabric has 4 way stretch (which it should) the vertical stretch is not going to be as much as the horizontal one. If you don’t have enough of the main fabric to cut the neckband is best to use a coordinating fabric than cutting the neckband along the grain.


3. Mark the quarters of your neckband and neck opening!

It’s very important that you find and pin (or clip) the quarter points of the neckband and neck opening. After you have sewn the neckband RTS at the ends so you have a loop, fold it length wise and mark where the seam is. This will be the back of your neck band.  The center front of the neckband will be on the opposite side. Now fold it in half bringing the center front and back markings together. The fold will mark your two quarters.

To find the front and back  neck opening centers, bring the shoulder seams wrong side together. Where centers will be where the folds are. Mark them with a pin, a clip or a small snip. With the fabric still laying flat, bring the center front and back together. Your quarter marks will be at the folds. Mark them as well. You will see that the side neck opening quarter marks are NOT at the shoulder seam. The front opening is larger than the back opening.

For all you visual learners, here is a video of the process.


4. Use the right stitches!

Avoid using a straight stitch when attaching the neckband. As I mentioned earlier, the neckband will be stretched and pulled so you want to make sure the stitches are up to the job. If you are using only your sewing machine, attach the neckband with either a stretch stitch or a narrow zig zag stitch. I prefer to use my serger for this step but it is not mandatory. Once you attached the neckband, press the seam allowance towards the shirt. You will now be top stitching it down with your coverstitch machine or your sewing machine. You can top stitch with a wide zig zag stitch, a stretch stitch or twin needles. Be sure to check out our Twin Needles tips and tricks blog too.

You can see how I attached the neckbands here:


5. Press, press, and steam some more!

If you’ve followed the tips I gave you and notice a slight waviness, don’t panic. It’s normal when sewing knits especially if they are on the bias (as is part of the neck opening). Go back to your ironing board and give the neckline a good hefty steam press. Most of the times my neckbands are cotton spandex based and I crank up my ironing machine all the way to the “linen” setting. Make sure you test the heat of your iron on a scrap fabric first. If your shirt is poly based you will need a lower ironing temperature, you do not want to melt your fabric 🙂

There you have it! 5 easy to follow steps to achieve a perfect neckband all the time!

Happy sewing, pirates!

Filed Under: Frequently Asked Questions, P4P University, Sewing Techniques, Sewing with Stretch, Knit Fabrics 11 Comments

P4P University:: Knit Binding 101

May 18, 2017

With our recent release of the Cross my Heart and Heart Breaker Cami patterns, we’ve had some questions and hesitation about the straps… because, well, they look scary!  They may look intimidating but they truly are not as bad as they appear.  We’re going to show you a few different ways to do knit binding and hopefully help ease those fears.

What is Knit Binding?

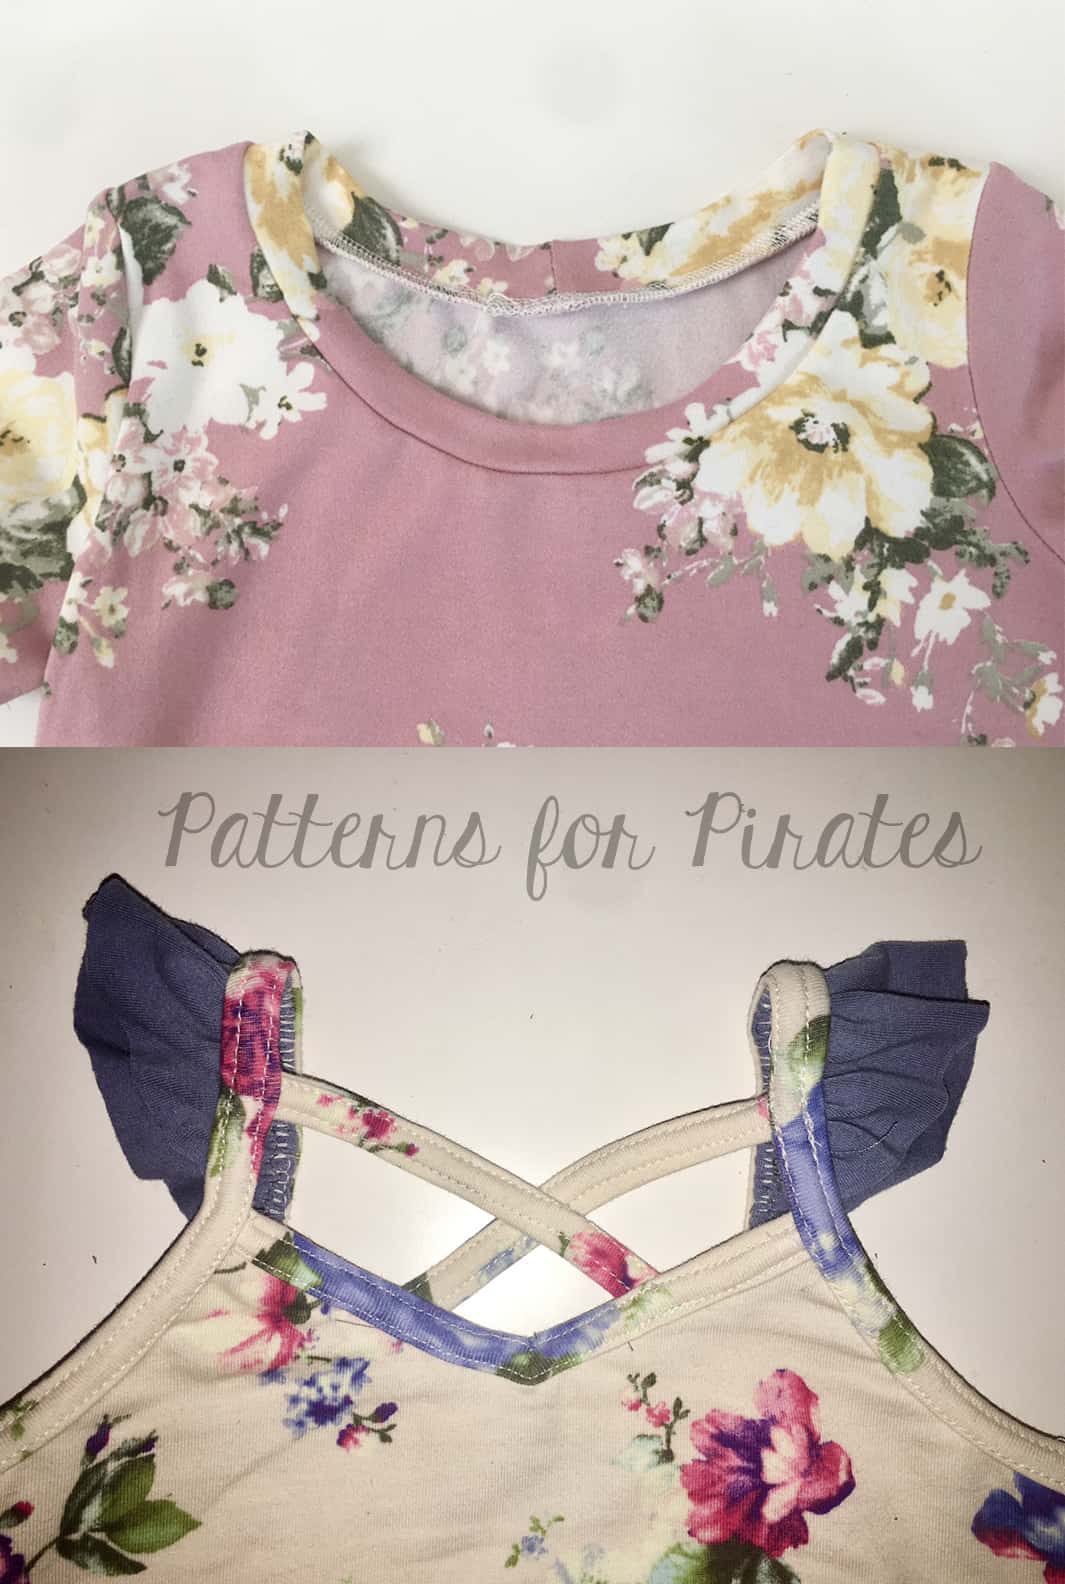
  • There are two main methods to finish a neckline or armhole.  Knit bands are an extension of the neckline and probably the most recognizable finishing method for a traditional T-Shirt (rose floral shown below). We’ll dive in to bands on another post ;).  Knit binding is done similar to bias tape binding, which is typically used on woven fabrics and encloses the raw edge of the neckline but does not extend above and away from it (ivory floral shown below).

Tools to create successful knit binding:

  • Use fabric with spandex.  You will yield better results with fabric that has great stretch and recovery.  Not sure what fabrics to use? Check out our Knit Fabric Cheat Sheet.
  • Steam iron:  One of the best tips to create even and professional looking binding is to press, press and press again.  Throughout the entire process of binding your garment, hitting your binding with some steam will help it bounce back to shape and keep a clean, crisp fold which is easier to turn and top-stitch.
  • Ball Point or Stretch Needles:  Whenever using knit fabric, stretch or ball point needles are always recommended.  The needle tip slips between the knit fibers and does not break or damage them while sewing.  Stretch needles are mostly used with fabrics that have a higher percentage of stretch (think swimwear or athletic fabrics) but most prefer to use them for all types of knits.
  • Pins or clips: Pinning or clipping your binding, especially when you get to the later steps to turn and top-stitch is a life-saver.  Once you become more comfortable with binding, you may not need as many but it’s always best to clip more now than regret it later.
  • Optional: Blind Hem Foot – this helps keep an even straight line along the edge of your binding when top-stitching.

Both the cami patterns, the Sweetheart and Me Hearties Dress, and Essential Tank use knit binding to finish the necklines, armholes or sleeves but you can apply this method to other tops and skirts in lieu of bands or hemming.  Just be sure to take in to account your seam allowances and band heights as they will finish lower or higher if no adjustments are made.

Methods to do knit binding:

  • Serger: (this method is used in the Cross my Heart and Heart Breaker Cami).  Using a 1/4″ seam allowance, the binding is serged to the neckline or armhole with the right side of the binding to the wrong side of the main fabric.  The seam allowance is pressed up with binding folded up and over the serged edge and then top-stitched.

  • Sewing Machine: (this method is used as an option in the Sweetheart and Me Hearties Dress and Essential Tank).  The binding is pre-pressed in quarters (double folds).  Using a stretch stitch (narrow zigzag, lightening bolt, or triple stretch stitch), with right side of the binding to the wrong side of the main fabric, the binding is stitched along the crease. The seam allowance is pressed up with binding folded up and over the raw edge and then top-stitched.

  • Serger or Sewing Machine: Using a 1/4″ to 3/8″ seam allowance the binding is stitched with right sides of the binding to the right side of the main fabric.  The seam allowance is pressed up and binding folded over the edge to the wrong side of the fabric and then top-stitched.  The excess binding is trimmed at the seam-line.


There are multiple options for Top-stitching binding.  Here are few of our favorites:

  • Twin Needle: Double straight stitch on front and zig-zag on back.  (Elisabeth walked us through using a twin needle a few posts back and is a great resource for top-stitching the knit binding using a regular sewing machine.  In case you missed it, be sure to check it out HERE!)
  • Coverstitch: single or double needle: straight stitch on the front with a stretch zig-zag stitch on the back.
  • Narrow Zig-Zag: Gives the appearance of a straight stitch but still has some stretch.
  • Triple Step Zig-Zag:  This is great for swimwear or high stretch areas.


Need more help?  Here’s a video of the binding options described above 🙂


Hopefully this answered your questions about knit binding and eased some of your fears.  Just remember, press and go slow!  As with any new skill, it takes time to master, so keep practicing and you’ll have added another finishing method to your sewing arsenal.

Finished a project using knit binding? Be sure to share in our Facebook Group! We’d love to see it.


Filed Under: Frequently Asked Questions, P4P University, Sewing Techniques, Sewing with Stretch, Knit Fabrics, Uncategorized 2 Comments

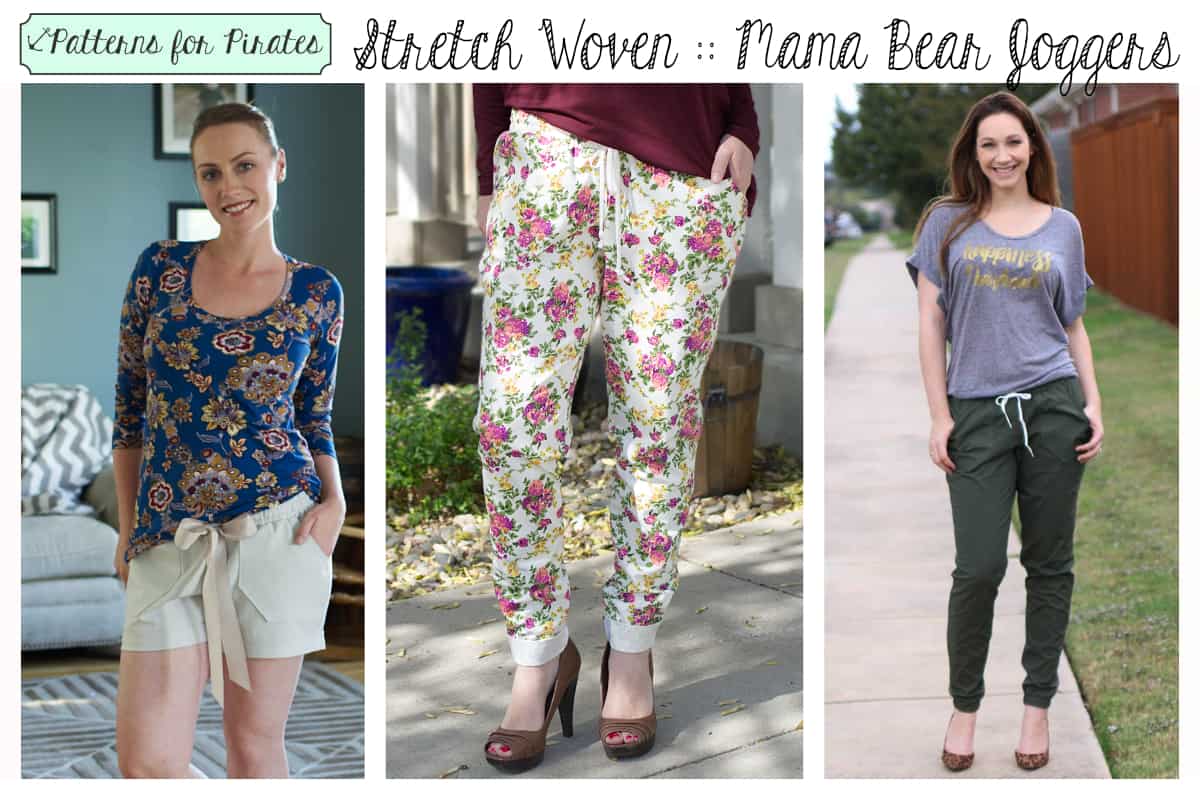
Mama Bear Joggers :: Stretch Woven

May 9, 2017


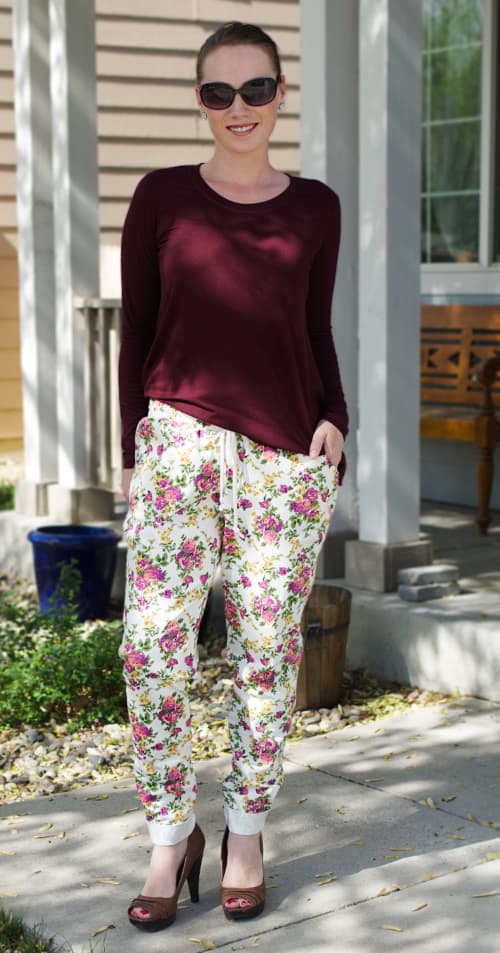
Joggers have been a really popular trend lately. A big reason, aside from the pure comfort, is because they can be dressed down with a pair of sandals or they can be dressed up with some heels for a day out in the city. But did you know? The Patterns for Pirates Mama Bear Joggers (as well as Papa and baby of course) only require 20% stretch! This leaves SO many options to choose from when deciding on fabric to sew your own. Inspired by Judy’s olive poplin version (below), I sewed up a couple joggers for myself in some other fabric options.

While rummaging around for something to use, I discovered some stretch denim that was hiding away in my fabric stash. I just knew it would be perfect! This denim is about 25% stretch and wears incredibly comfortably. I wear these joggers around the house or I like to style them with a pair of heels and a blousey, loose or fitted tank top for a day out. The denim definitely adds some structure to the pants but certainly does not take away from the comfort.

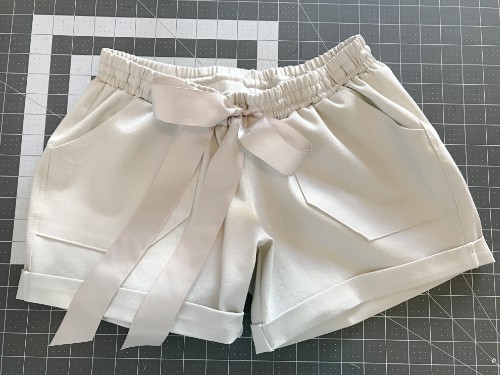
I also found some stretch twill in my stash and knew I HAD to whip up a pair of summer shorts with it! I used the Mama Bear pattern in shorts length, but added about 2.5″ to the bottom hem line in order to do the roll-up hem instead. I love the look of it over the traditional version for this purpose. Some ribbon in my stash was used for the drawstring and really finished off the look. These are just seriously cute and comfortable!

So next time you’re at the fabric store or digging around in your stash at home, break out your stretch ruler (you can find one in Judy’s cheat sheet) and then use those stretch wovens!

::: Written by Kelly Bailey – P4P Blog Contributor :::

Read more about sewing joggers for the entire family here!

Read some easy Bear Jogger hacks here!

[Read more…]

Filed Under: Frequently Asked Questions, Uncategorized 2 Comments

Peg Legs SAL: Day 2 – Printing and measuring

April 27, 2017

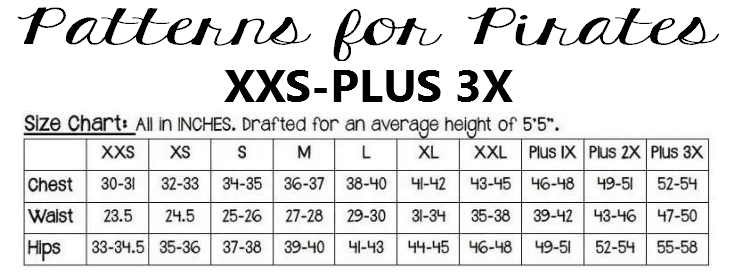
Today we will be printing the pattern in the size needed. In order to do that it is very important that you take your most accurate measurements. You will need your waist, hips and inseam measurements in order to choose the correct Peg Legs size. P4P has an amazing blog that gives you tip for accurately taking your measurements. You can read all about it here.

If you are like me you may need to grade between sizes. My hips put me in a larger size than my waist….or maybe I should say my waist puts me in a smaller size than my hips? 🙂 Worry not! We have a blog post for easy grading too!


Two things are very important  to remember when grading the pattern.

  1. Smooth transitions between sizes! 
  2. Grade both the front and the back of the legs.

Now that we established which size(s) we need it’s time to print the pattern. Did you see that the new updated Peg Legs and Add On pack feature layers now? How amazing is that? Save that ink and print just what you need. Haven’t used layers before? Check out this blog before you do so. If you need to grade between sizes you just need to select the sizes needed when you print. Easy peasy.

Day two will not require you to post any pictures in the Peg Leg SAL event. See you all back here tomorrow!


Thank you to our sponsors!

Filed Under: Free Pattern, Frequently Asked Questions, Sew-A-Long, Uncategorized 1 Comment

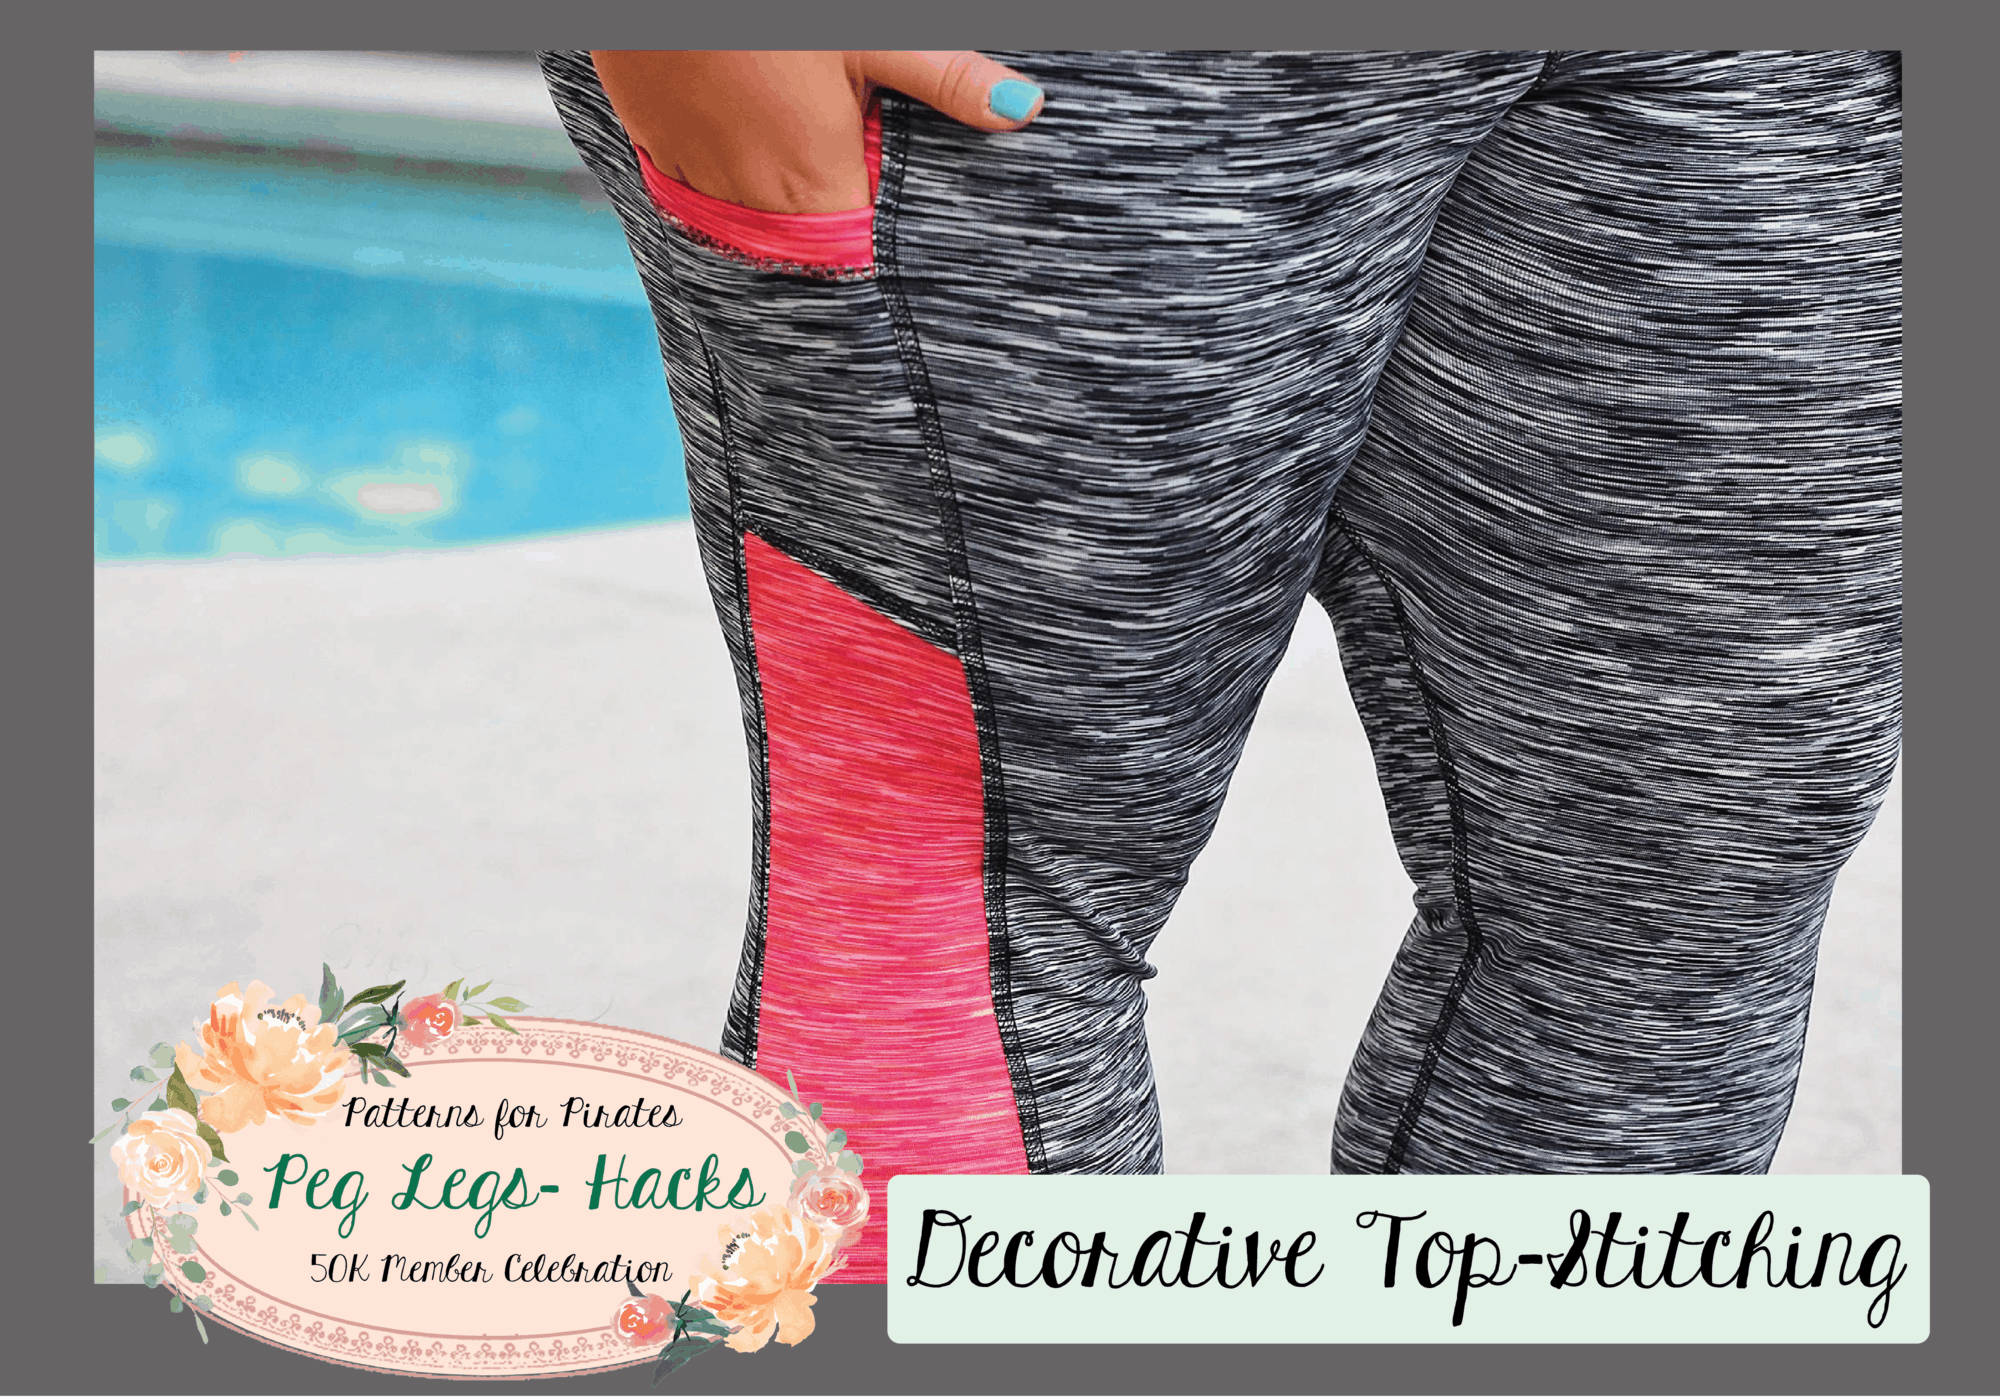
50K Fan Celebration :: Decorative Topstitching PegLegs Hack

April 20, 2017

IMG_6783

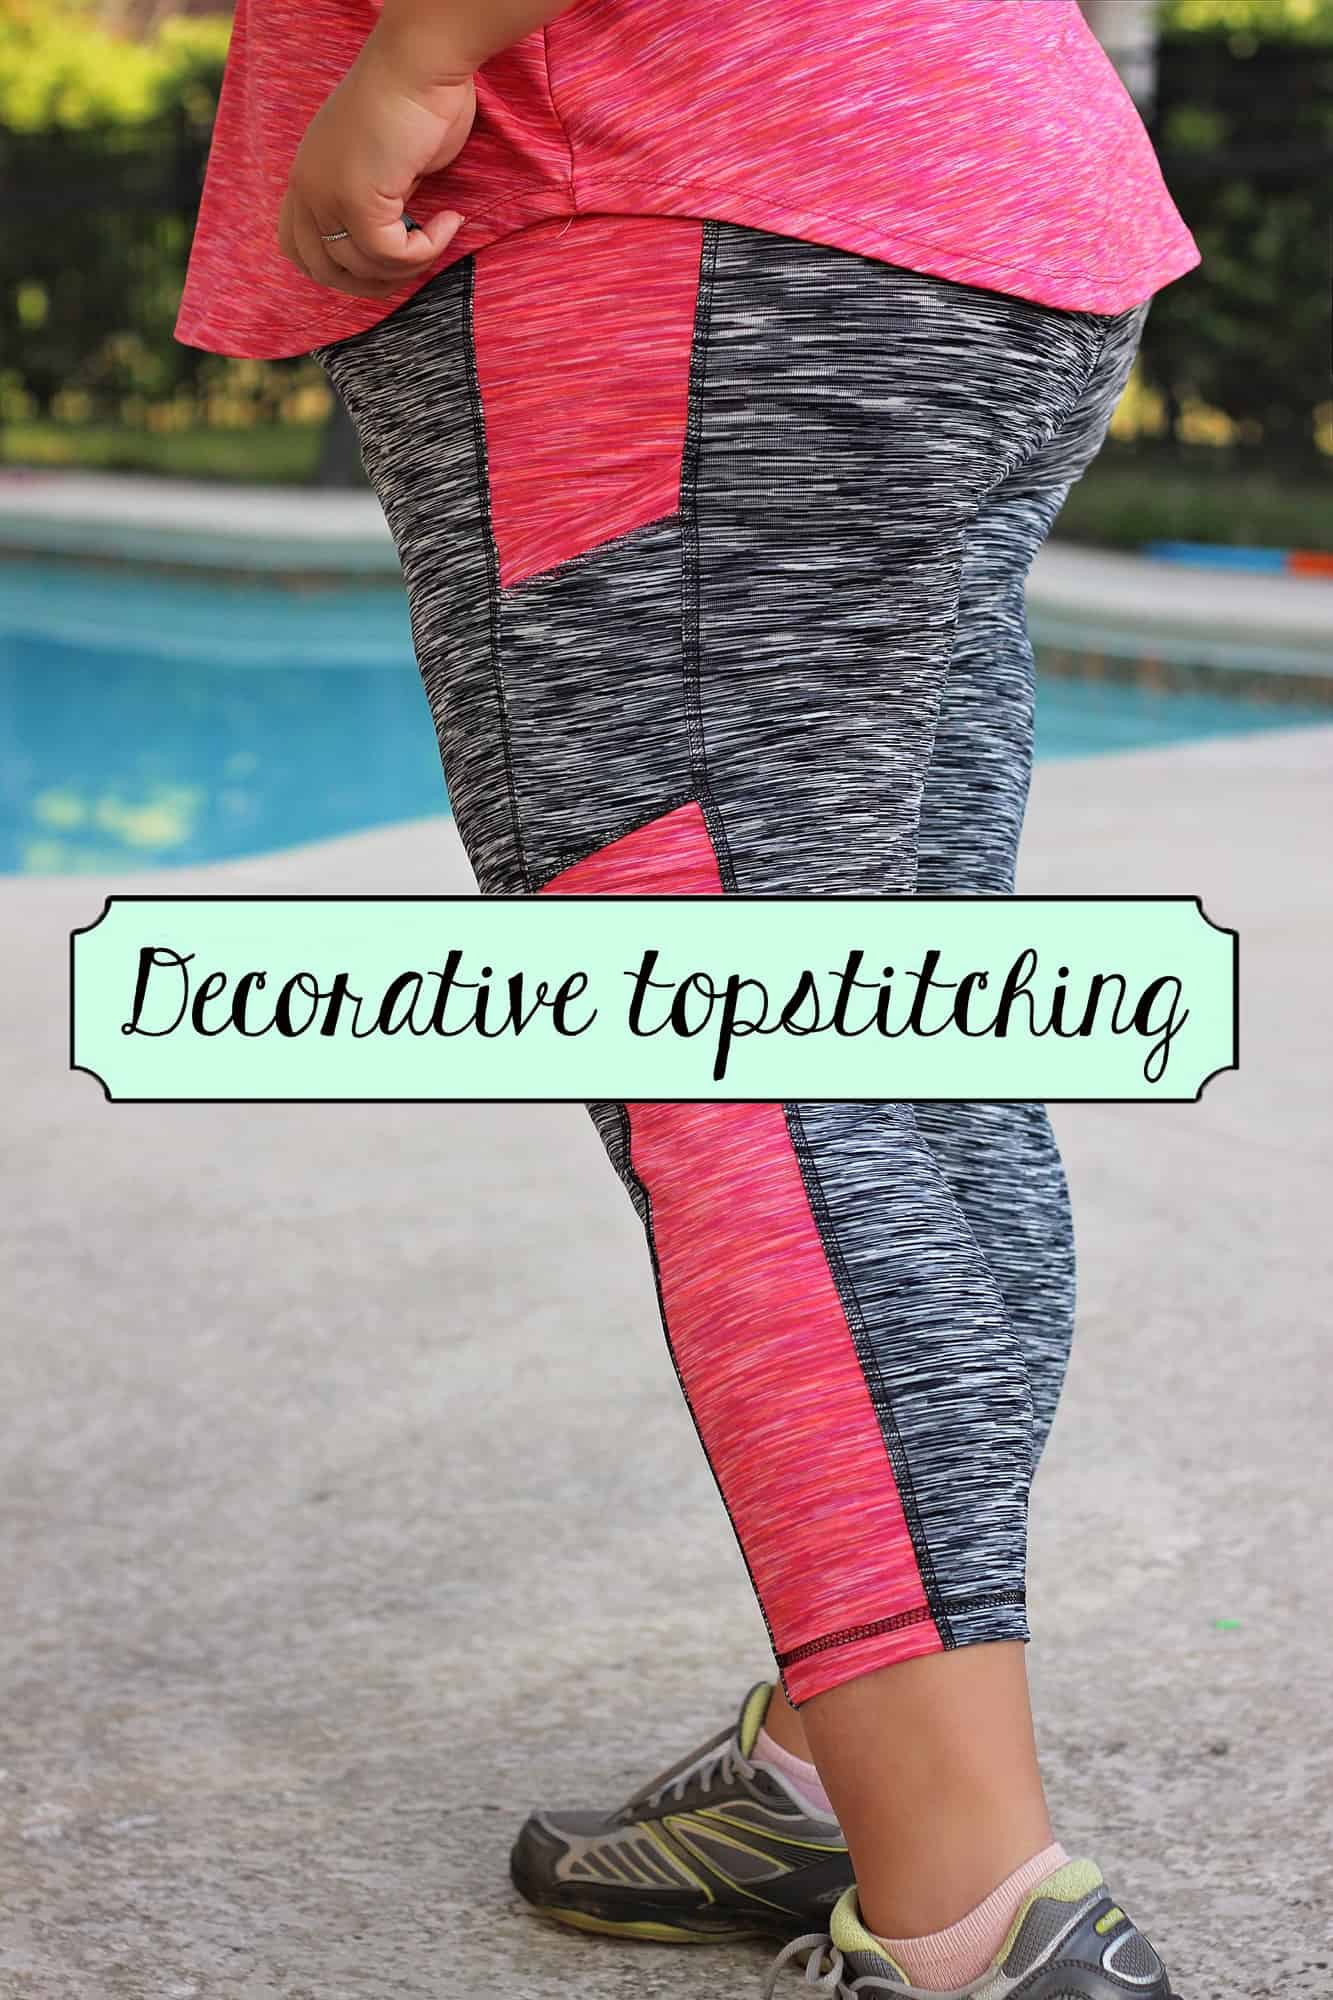
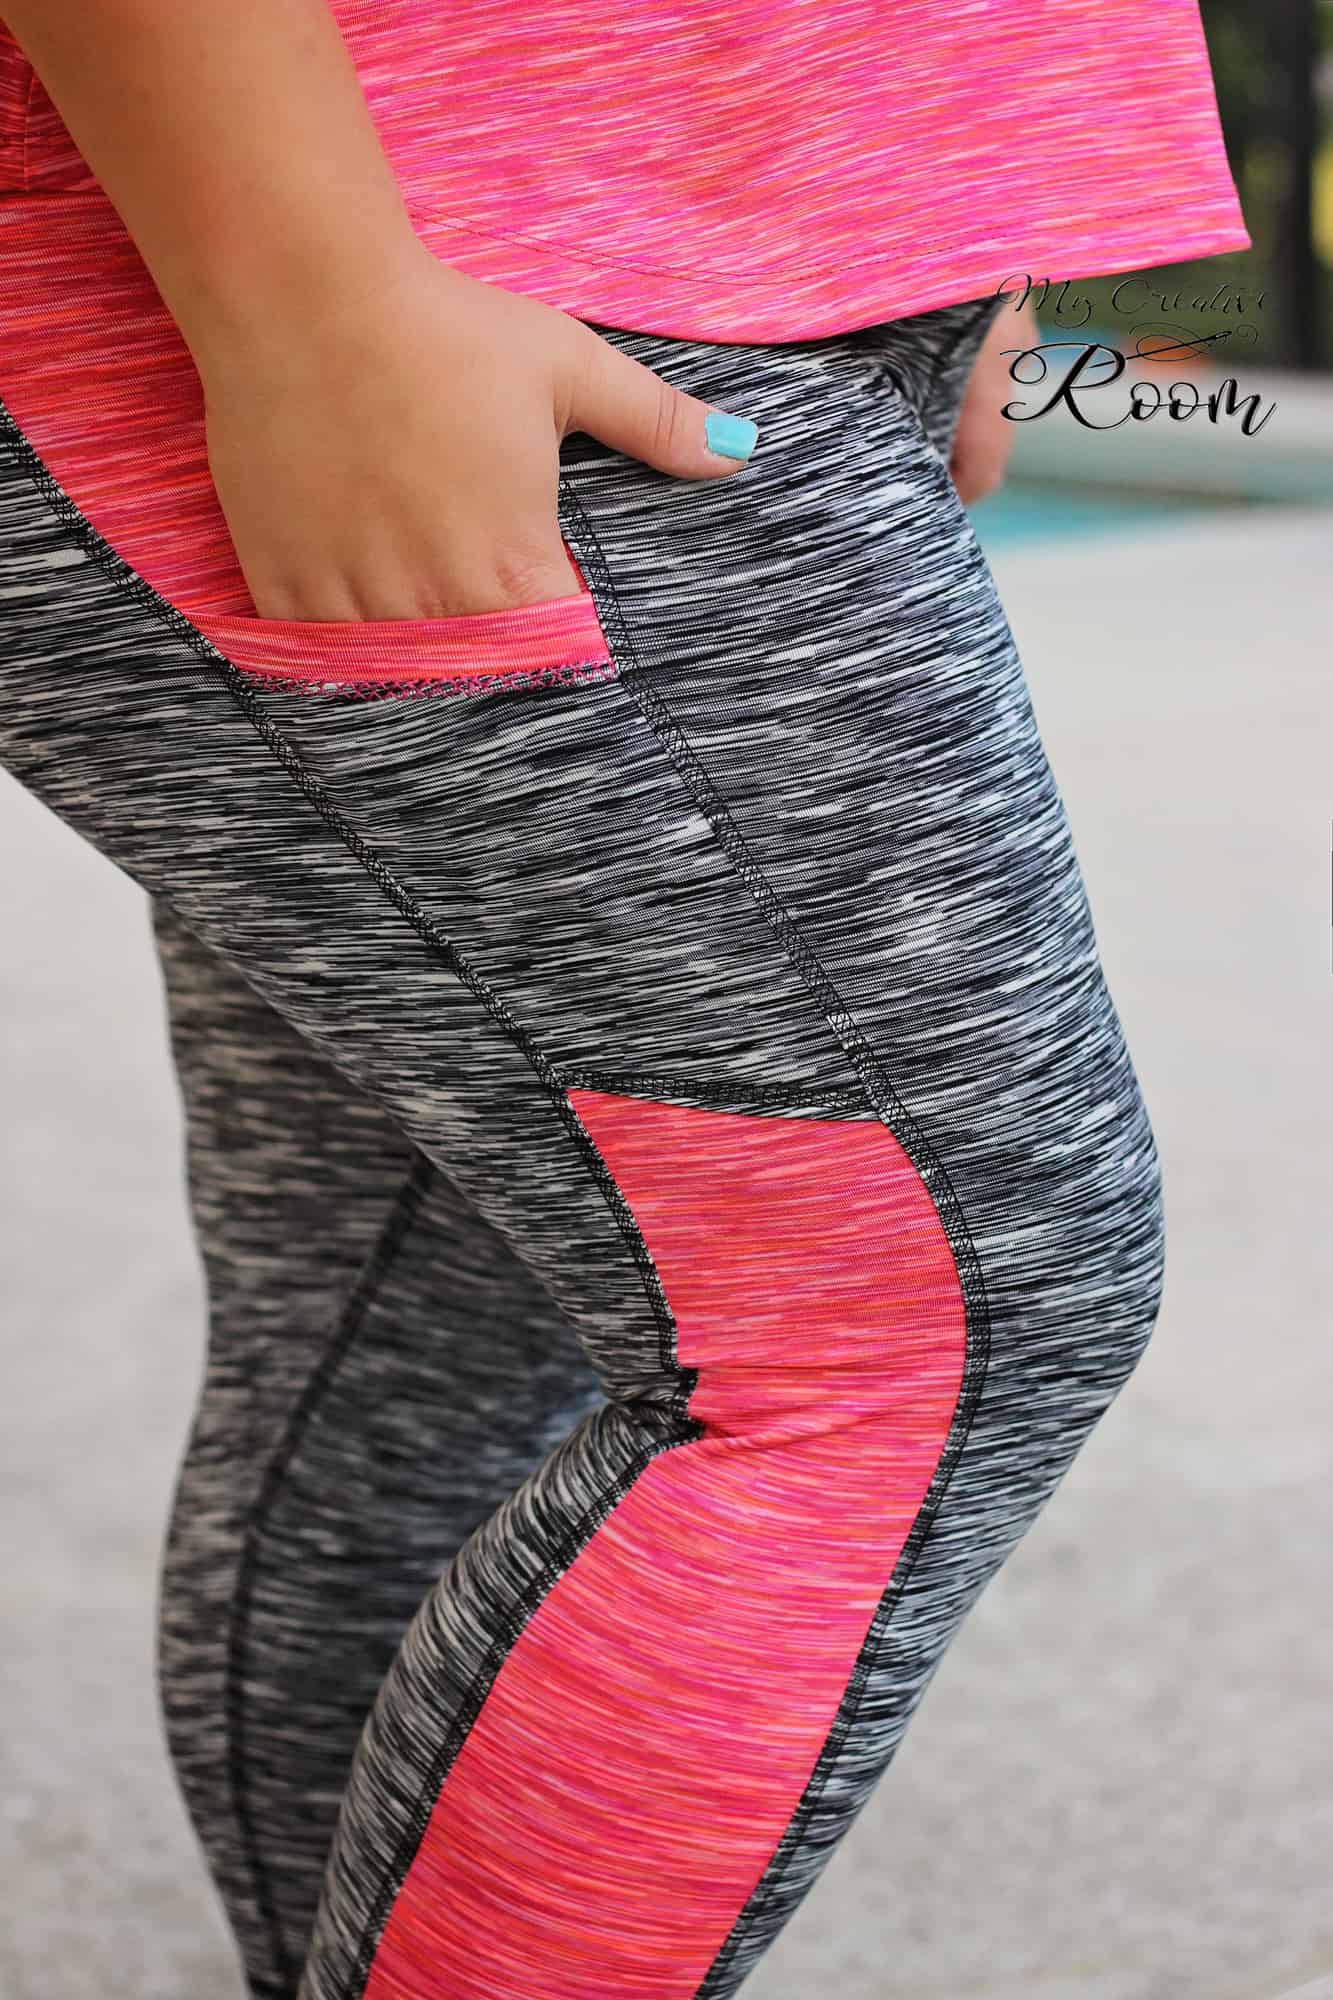
Are you guys loving this 50K celebration as much as we are? How many Peg Legs have you sewn already? Today on the blog I will show you how to take your Peg Legs up a notch with some decorative stitching. I will show you how to achieve the RTW look using your sewing machine, serger or coverstitch machine.

SEWING MACHINE

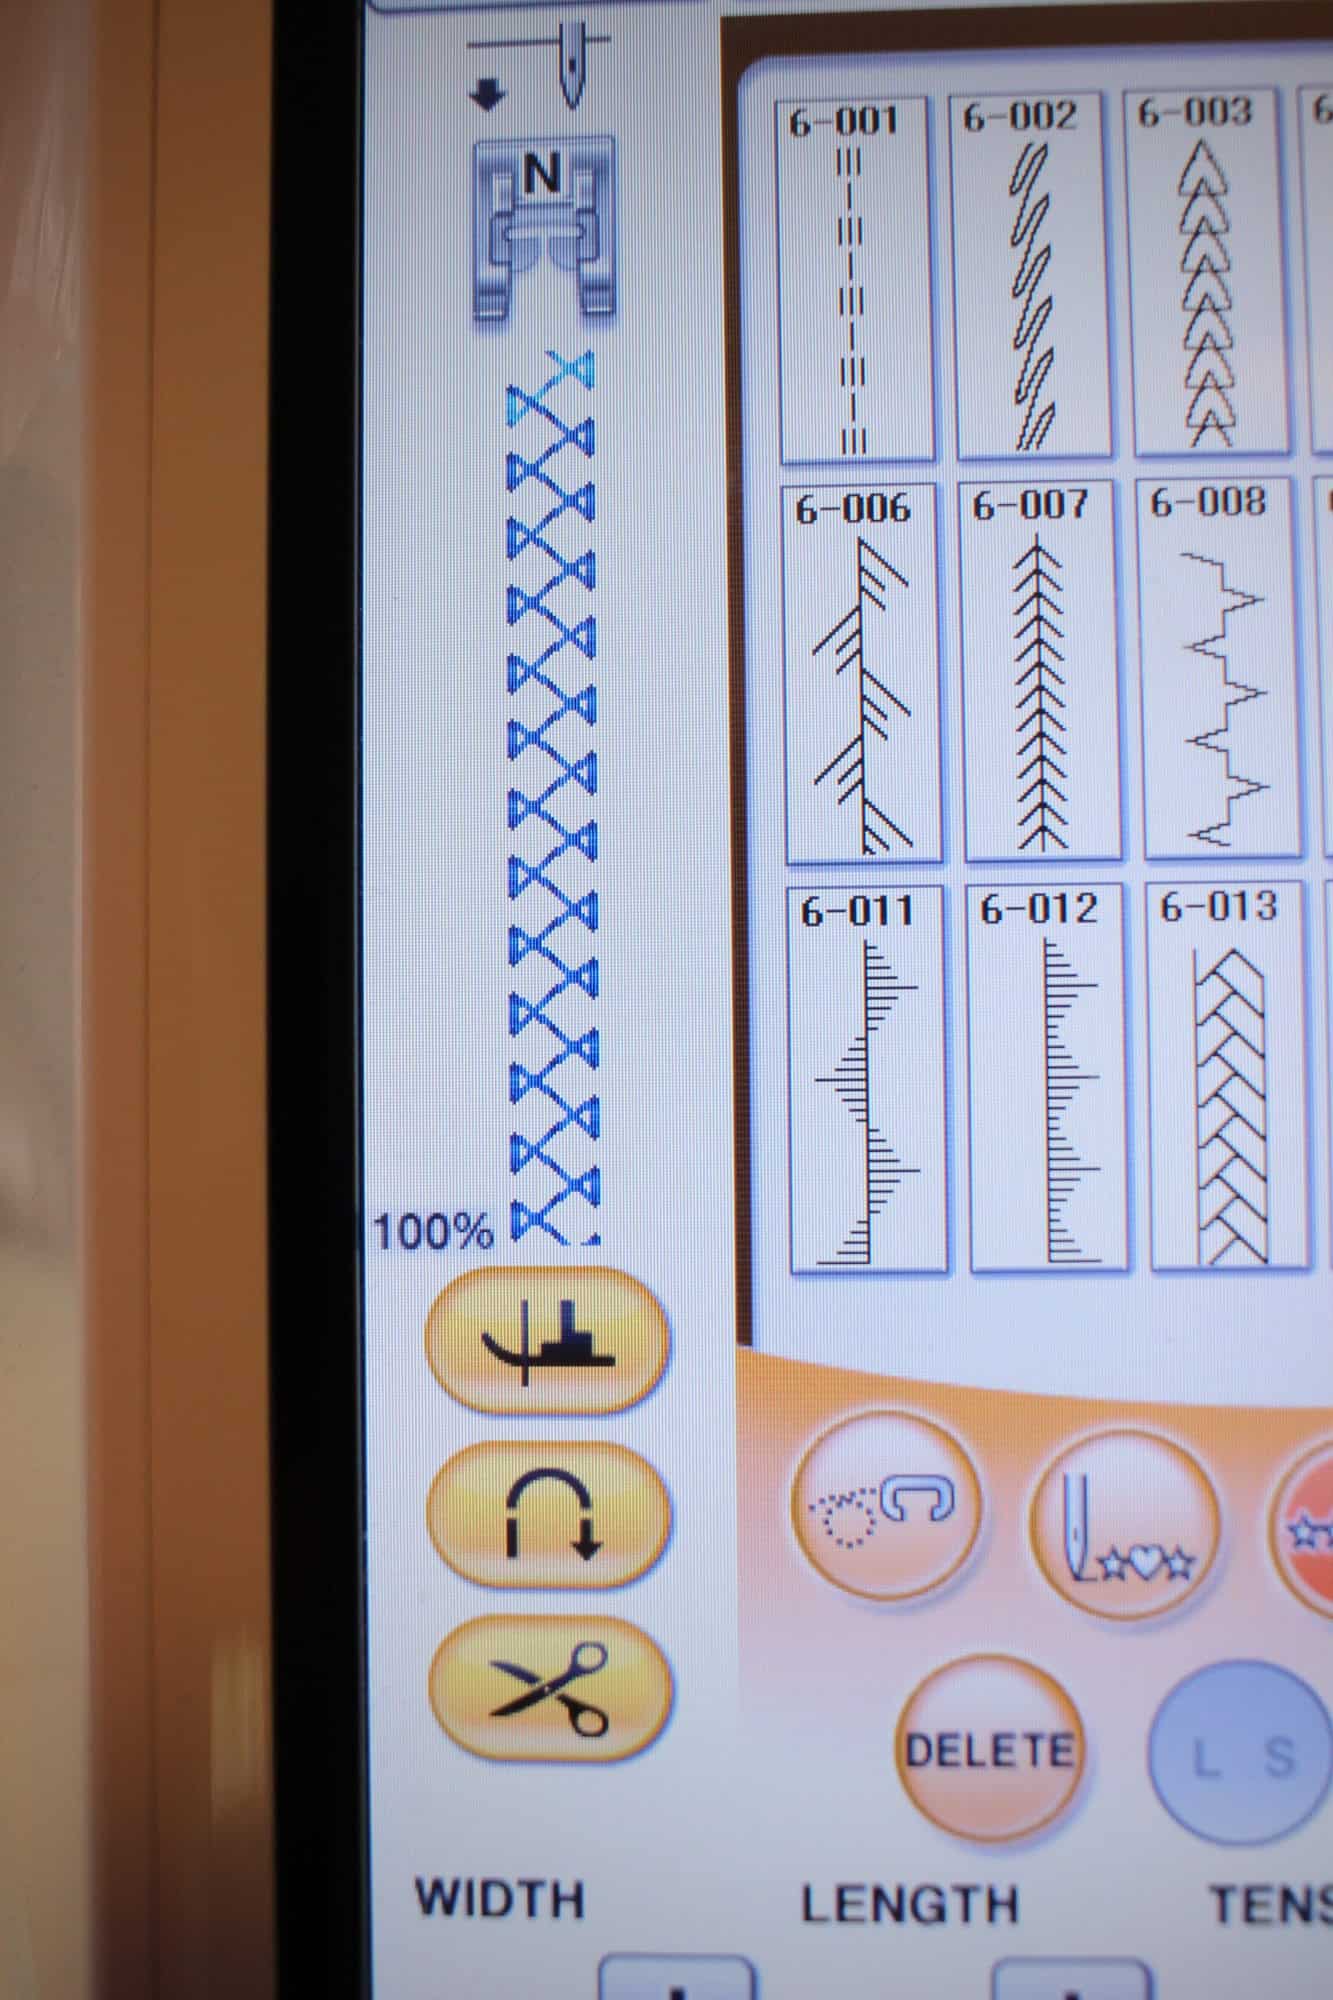
One way to add top stitching is by using your sewing machine and those stitches you never try 🙂 Most machines have at least a few decorative style stitches included. When you chose your favorite style, make sure that the density of the stitch is not too high and always lower the tension a bit. I used two different decorative stitches on the pockets so you can see how it would look.

IMG_6746

IMG_6748

I highly recommend placing a little bit of water soluble stabilizer between the back of the fabric and the dog feed. It will help prevent any fabric from being “eaten” by the machine.

IMG_6751

IMG_6753

Once you finished stitching simply tear away the stabilizer. Any residual will just disappear at the first contact with water.

COVERSTITCH MACHINE

My favorite way to add decorative stitching to athletic wear is by using a 3 needle reverse coverstitch. If you have a coverstitch machine that only has 2 needles you can certainly do that too. If you have wooly nylon or bulky nylon thread, use it in your looper!

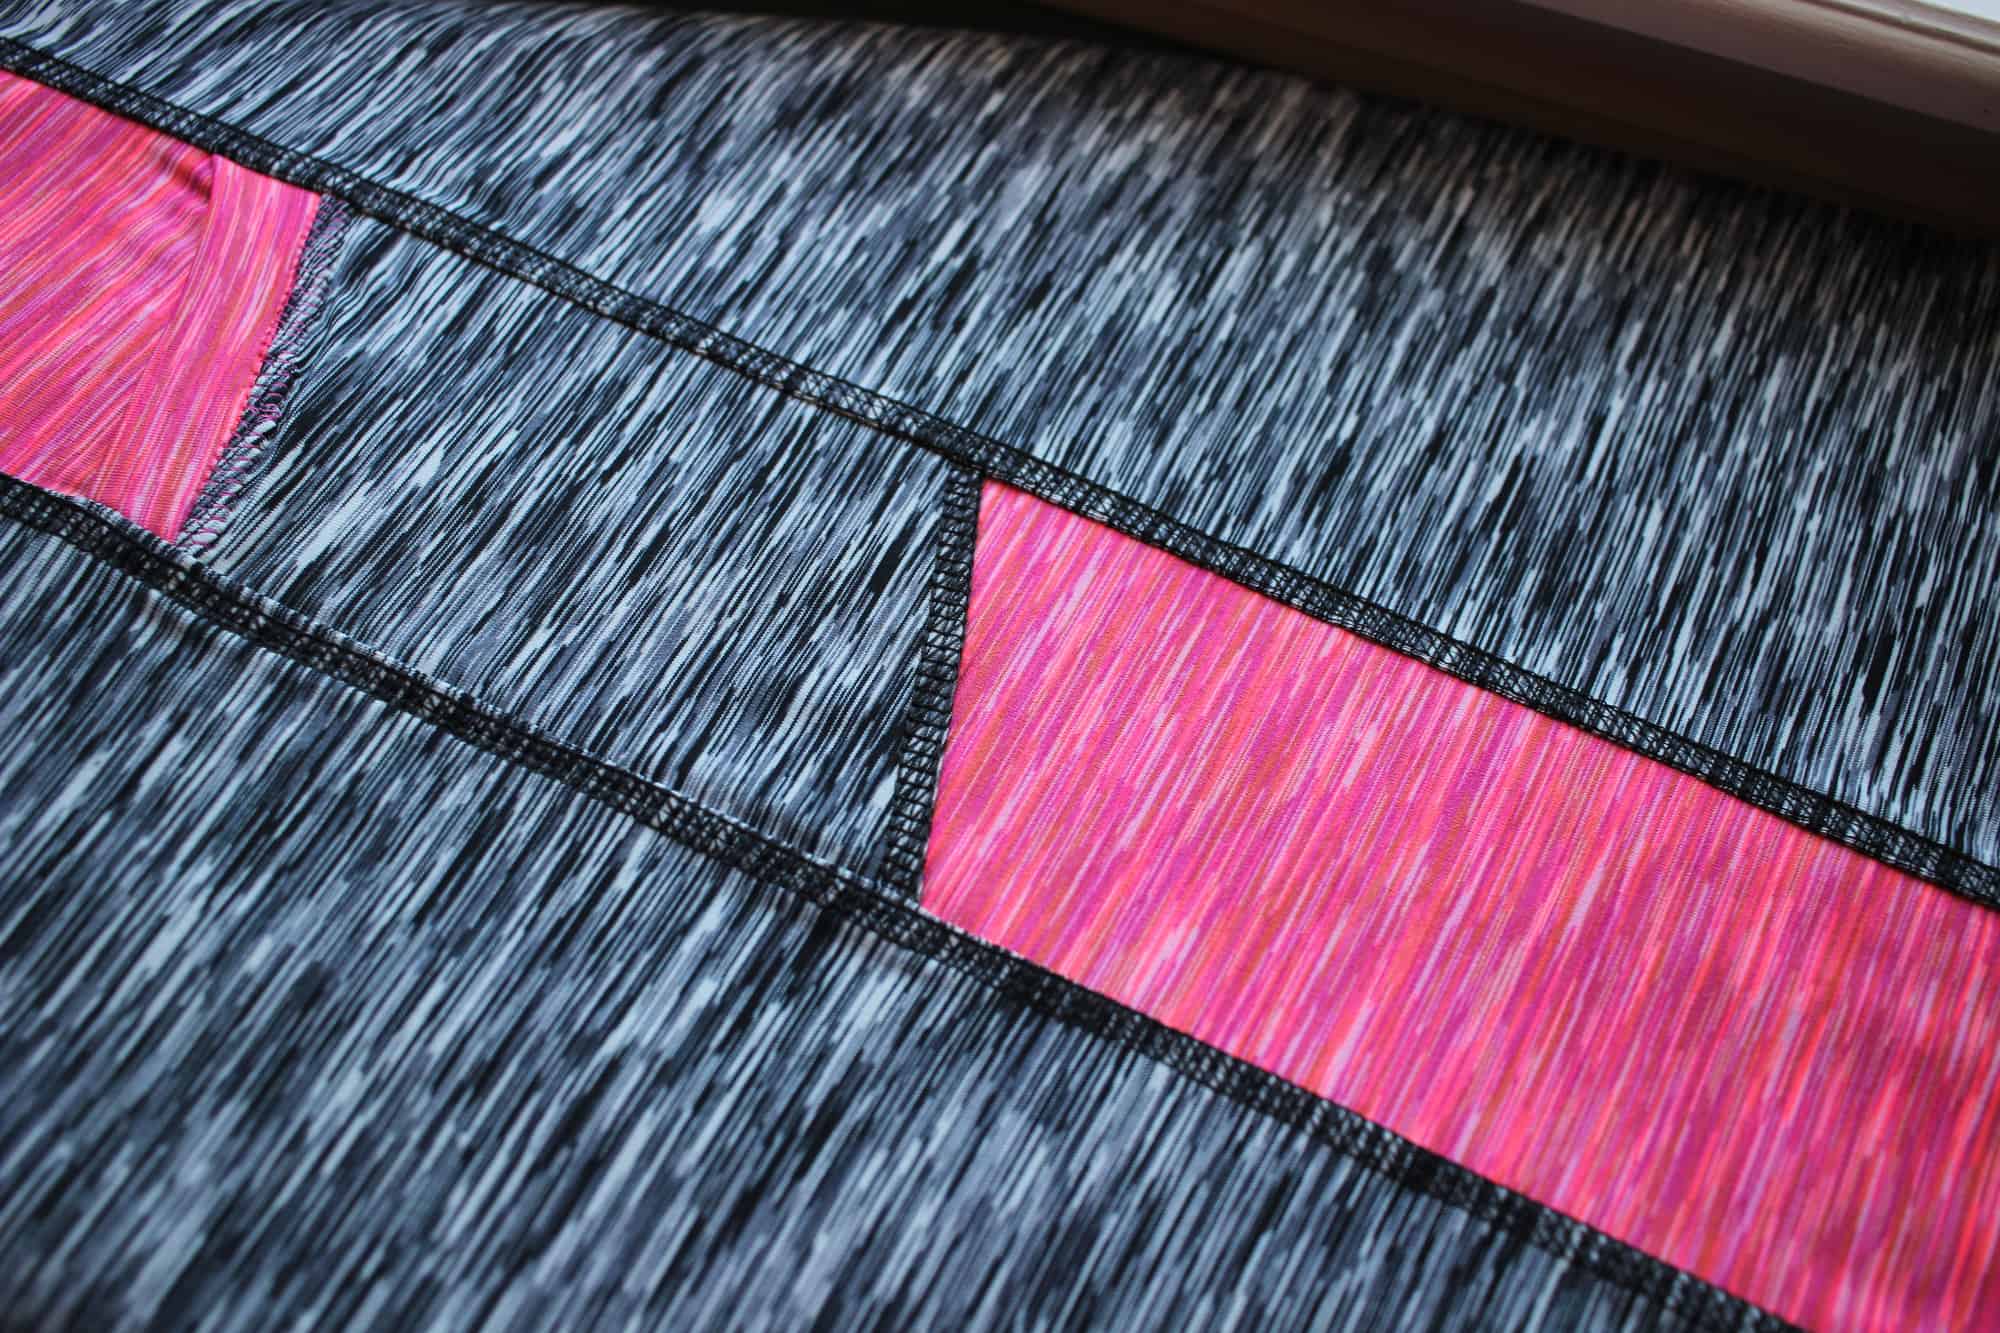
Start by pressing and steaming your seams towards the outside of your middle colorblock. DO NOT SKIP this step! Pressing the seam before coverstitching AND after will yield the best looking decorative stitch.

IMG_6755

In order to achieve the athletic wear topstitching you’ve seen in stores, place your fabric in the coverstich with the wrong side up. The right needle should be right in the ditch. Stitch slowly! If your coverstitch machine has a speed dial now is the best time to use it.

IMG_6757

When you finish stitching give all your seams a good steam! Yes, I’ve said it before 🙂 but look how pretty it looks when you do.

IMG_6760

IMG_6780

SERGER

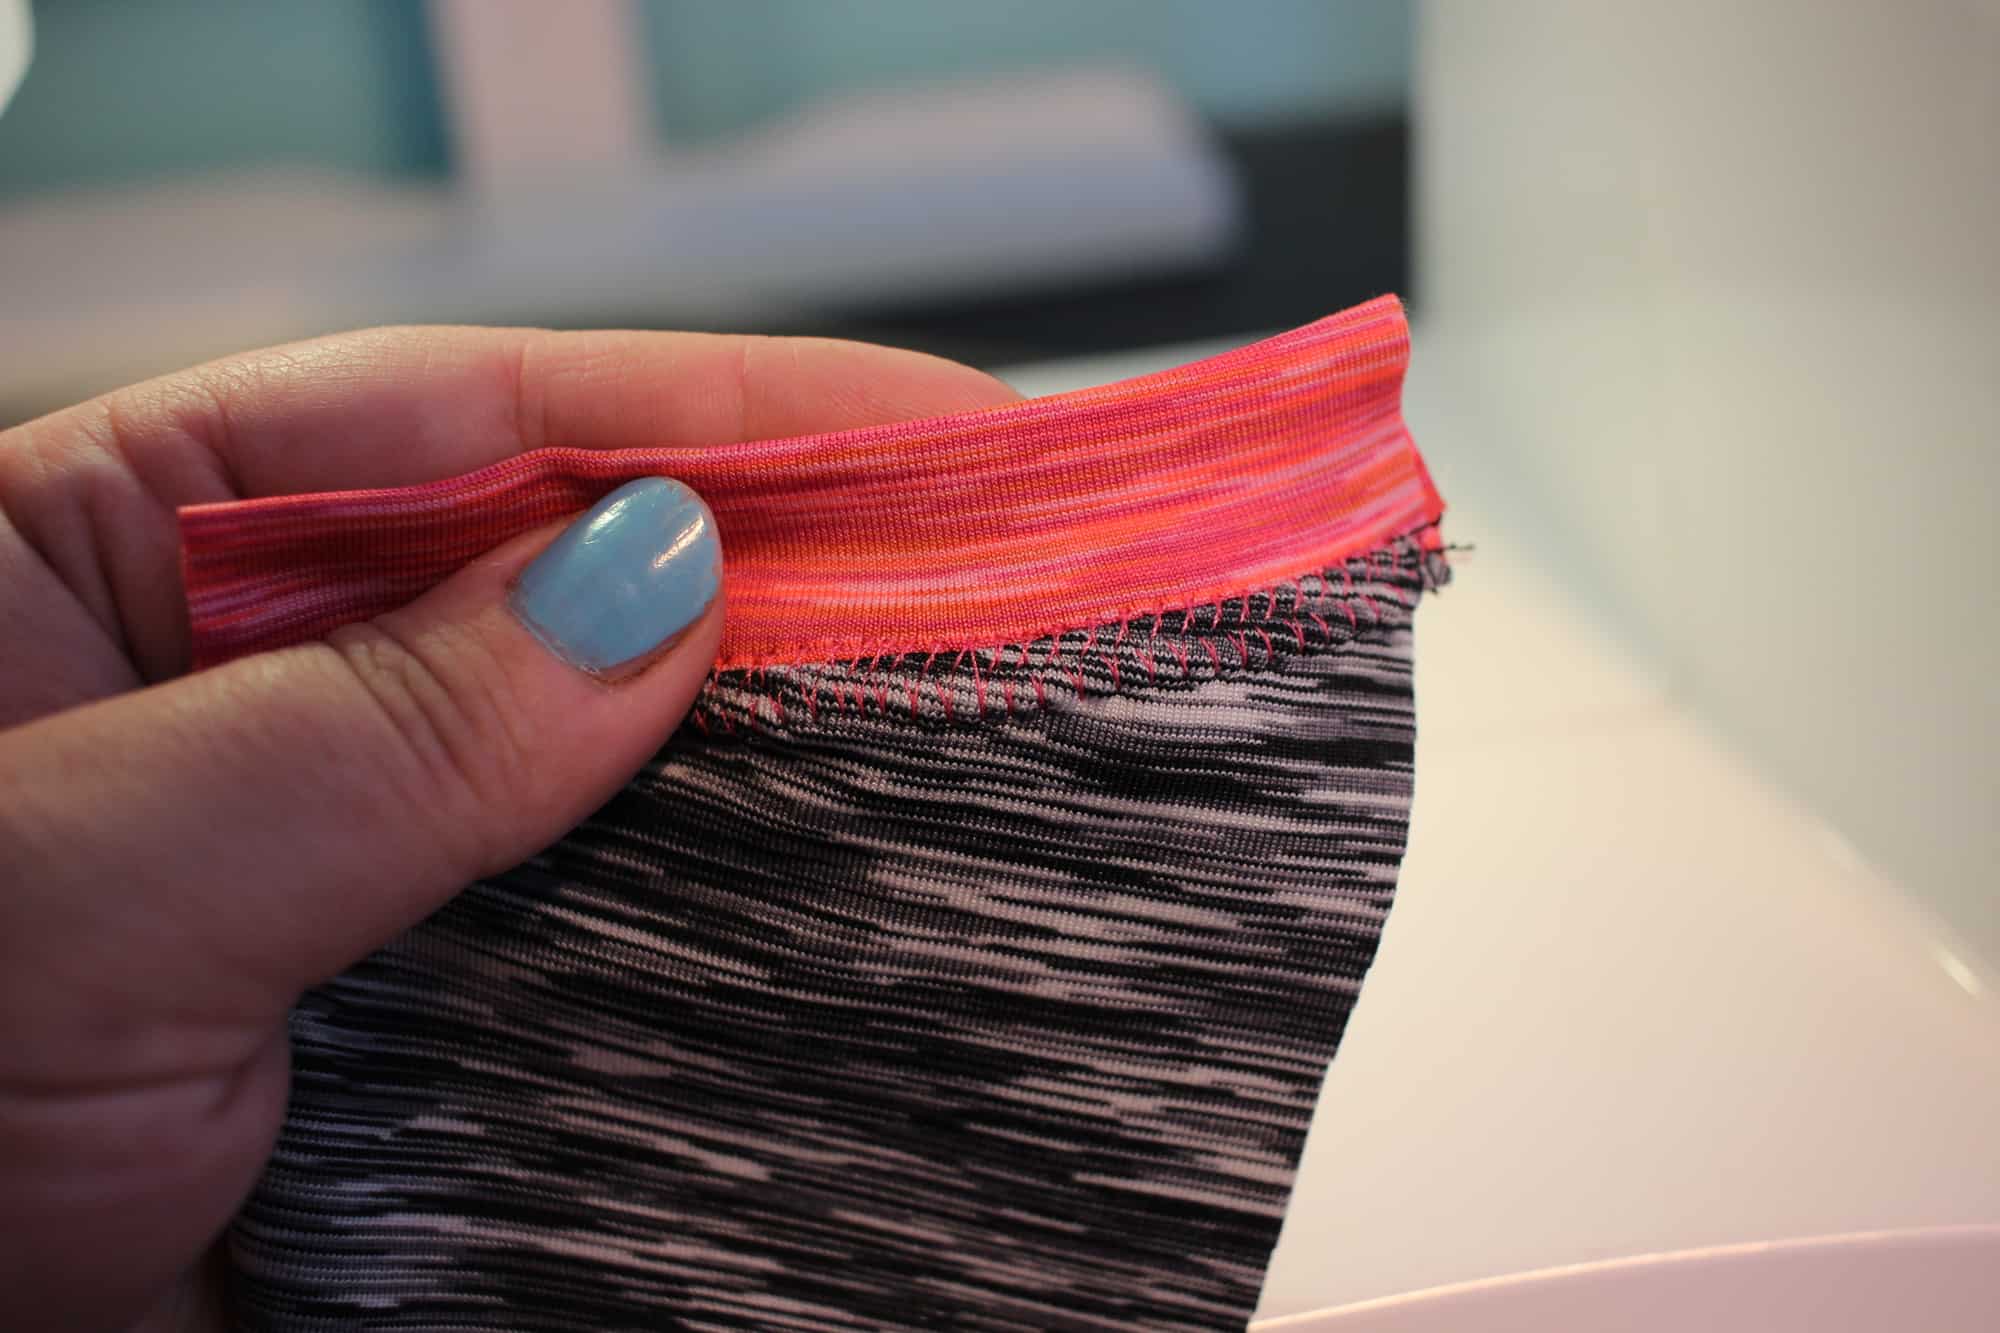
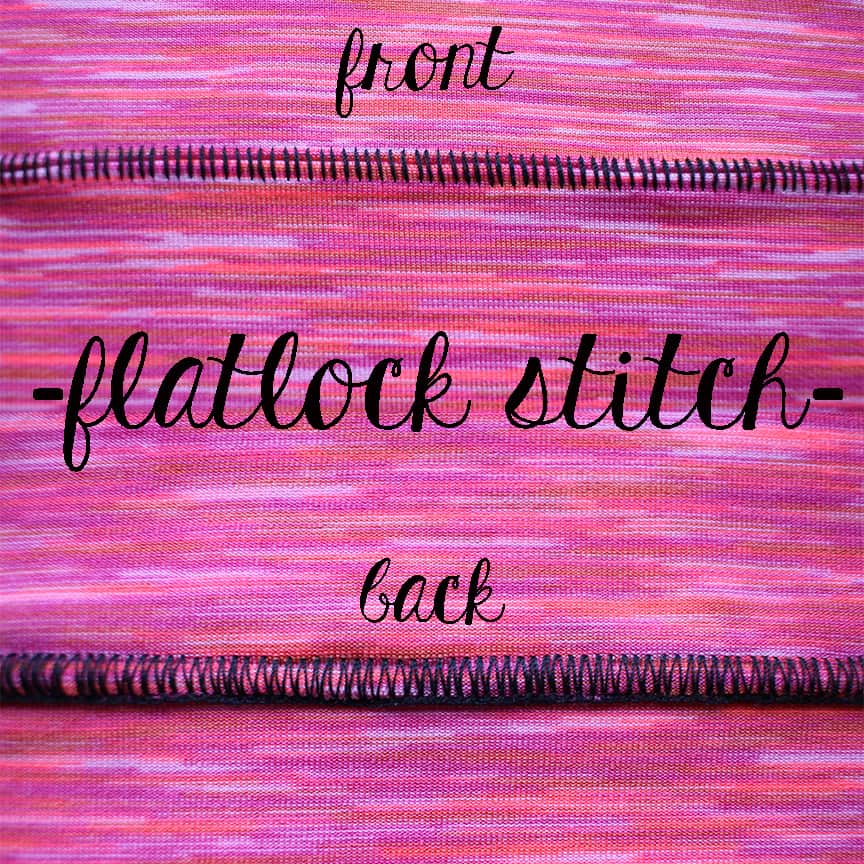
A third way to add decorative stitching is to use a flatlock stitch on your serger. I used a flat lock stitch to attach the waistband. Doing so not only makes the pegs look more like RTW ones but it also makes them feel nicer. As per its name the flat lock seam is flat so no bulky seam at the waistband.

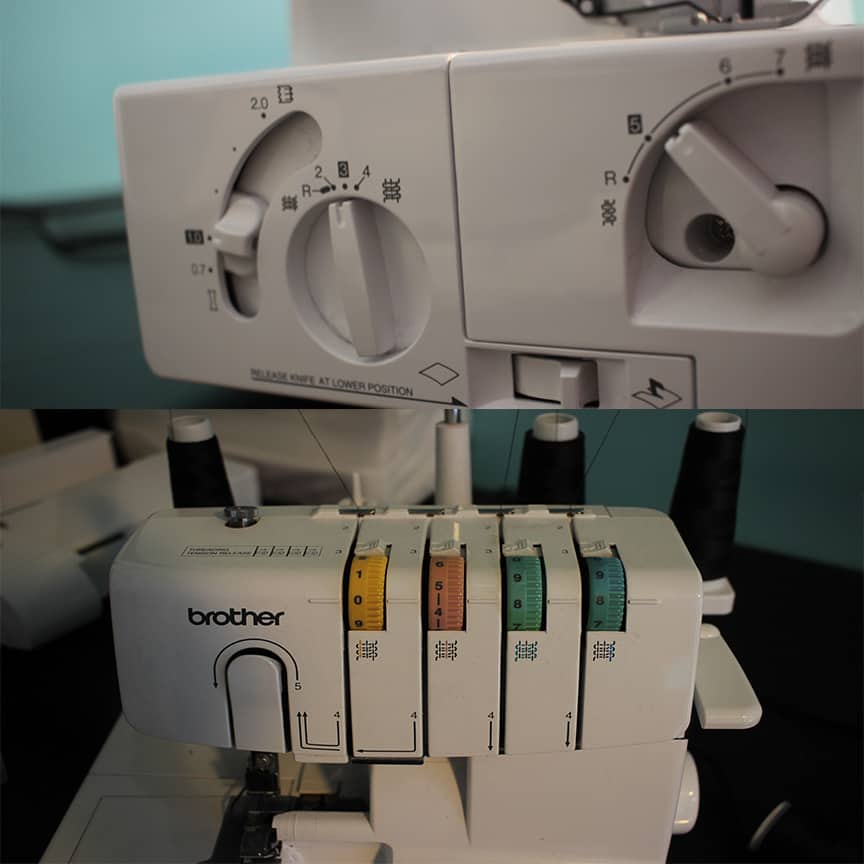
settings

Start by setting up your serger for a flat lock stitch. Make sure to read your manual because all machines are different. You will only be using your left needle. These are the settings I use but please make sure to always test out your machine with similar fabric as the one you’ll be using in your main project. The tension and stitch length will vary from fabric to fabric.

If you’d like to attach the waistband using this style stitch you can can put the waistband inside the pants this way the “back” will be showing or you can place the waistband outside the pants so the front will be showing.

pinkexample

IMG_6764

I placed my waistband inside because I wanted the ladder stitch to show on the inside and the “zig zag” look on the outside.

IMG_6796

There you have it..3 ways to add decorative stitching using your regular sewing machine or your serger or your coverstitch machine! I can’t wait to see your fabulous Peg Legs so be sure to post your creations in the group!

IMG_6798

IMG_6807

IMG_6778

IMG_6812


We are celebrating reaching 50K fans in our Facebook group!  To make it a party, our beloved PegLegs pattern just got an update AND some new add-ons.  Before you go running to your machine to sew up your own leggings, make sure to read our PegLegs 101 blog post.  This way, you’ll have all the the information you’ll need to make the perfect pair before you even cut into your gorgeous fabric.

But wait, there’s more!  After any good party is an after-party.  We are taking it one step further and sharing some easy hacks that’ll bring even more flavor to your favorite leggings pattern!  We hope you check them out, make your new favorite pair of leggings, and know that we appreciate every single one of you amazing sewing guys and gals!

Here are our hacks / tutorials / latest tricks:

Lace Waistband Alternative | Drawstring Waistband Tutorial
Exposed Elastic Waistband | Stirrup Pant Hack
Ruched Ankles Adjustment | Decorative Topstitching Tutorial
Ruched Side Panel Hack

Filed Under: Free Pattern, Frequently Asked Questions, Pattern Release, Uncategorized 4 Comments

  • « Previous Page
  • 1
  • …
  • 13
  • 14
  • 15
  • 16
  • 17
  • Next Page »

connect with me

  • Email
  • Facebook
  • Instagram
  • Pinterest
  • YouTube
Privacy & Cookies: This site uses cookies. By continuing to use this website, you agree to their use.

To find out more, including how to control cookies, see here: Cookie Policy
  • Privacy Policy
  • Refund Policy
  • Contact Us
  • About

Copyright © 2026 Patterns for Pirates

Copyright © 2026 · Genesis Framework · WordPress · Log in