Patterns for Pirates

P4P stylish, modern, wearable patterns

  • Home
  • Blog
    • Frequently Asked Questions
    • Pattern Releases
      • Free Patterns
    • P4P University
      • Fitting
      • Sewing with Stretch, Knit Fabrics
      • Sewing with Woven Fabrics
      • Sewing Machines
    • Sew-A-Longs
    • Fabric for Pirates
    • Pattern Hacks
    • Announcement
      • Blog Tours
      • Contest/Giveaway
  • Shop
  • Bundle Discounts
  • Flash Friday
  • Gift Cards
  • My Account
  • Cart

Gone Batty Top :: A Halloween Freebie!

October 17, 2017

Halloween is my favorite holiday ever.  EVER.  It’s so fun and kitchy and full of creativity.  All the best things, right?

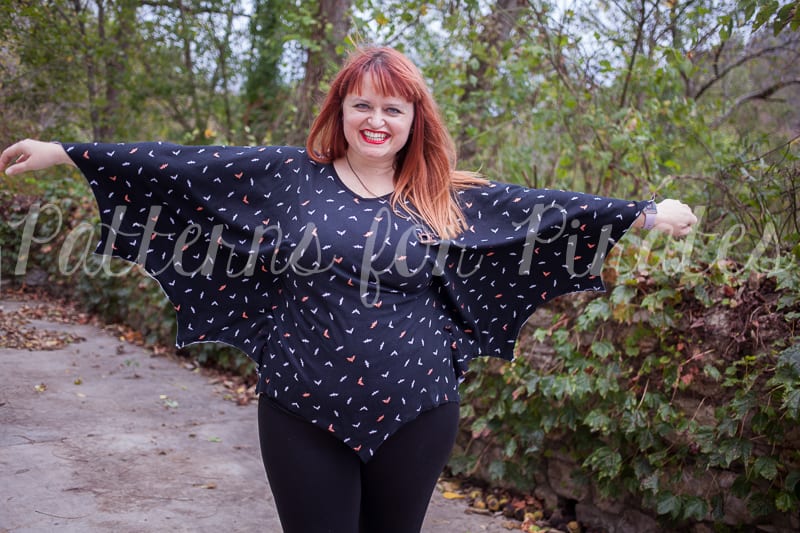
I’ve been seeing ads for these batwing shirts floating around and I NEEDED one.  And since we love to give our P4P family fun freebies, we thought this would be the perfect thing to help you create this Halloween.  It’s totally wearable as just a fun, festive top.  Or you could use it as a last minute costume idea.  Either way, I hope you love it!
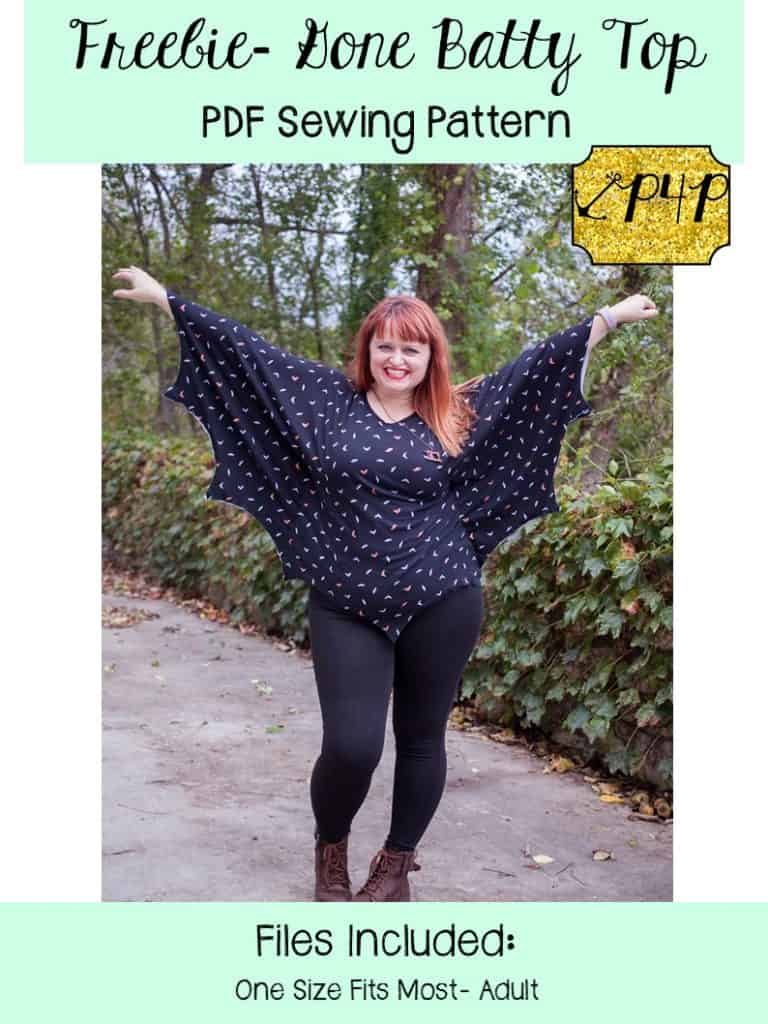
Want to make this top for yourself?

Go grab yourself a copy of the Gone Batty Top (for FREE!!) and then come back and learn how to make your own.
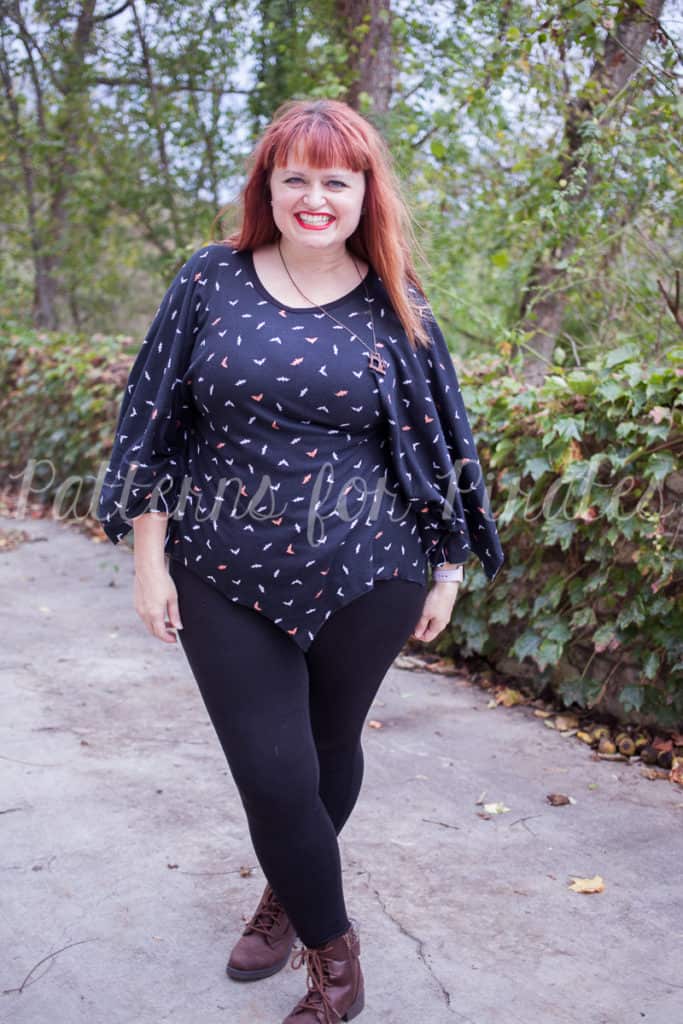
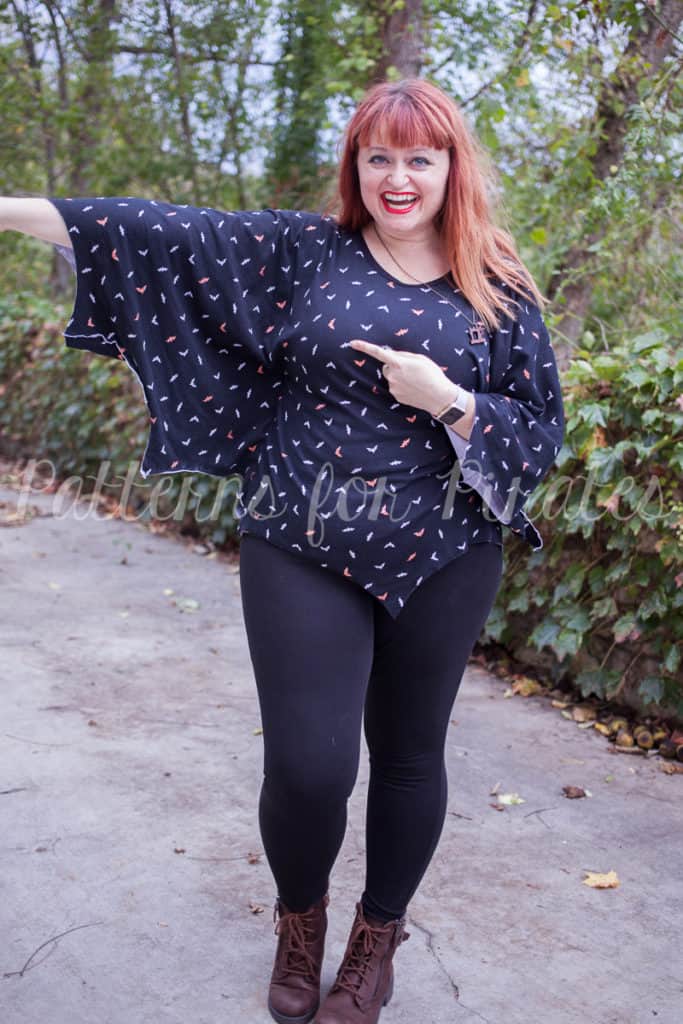
This pattern is a “one size fits most” adult pattern.  It’s a circle top with some added details and the measurements are based upon your high hip.

**Want to learn more about how to measure yourself for this pattern?  We’ve got you covered with an in-depth blog HERE.  And in case you’re new to Patterns for Pirates and PDF patterns in general, we have a great blog full of new user tips HERE to help you get started!  And, as with all of our current releases and updates, the pdfs can be found in Letter, A4 and A0 sizes.

Recommended fabrics: Practically any knit fabric with at least a 20% stretch will do!  Cotton lycra, poly/rayon blends, dbp, ity, etc.
Note: Due to the style of the curved “bat wings”, I’ve left the edges raw and unhemmed.  You’re welcome to hem if you’d like, I simply chose not to with this top style.


Supplies needed:

Main Fabric: 1-5/8 yard
Neckband: cut piece 2″L x 19″W (pattern piece also provided)

Step 1: Cut out the bodice piece.  You will be cutting on a double fold.  First, folding selvedge edge to selvedge edge.  And then folding down lengthwise.
**If you’re wanting to skip printing all of the pages, print only page 8 and use the cut-out pieces provided.
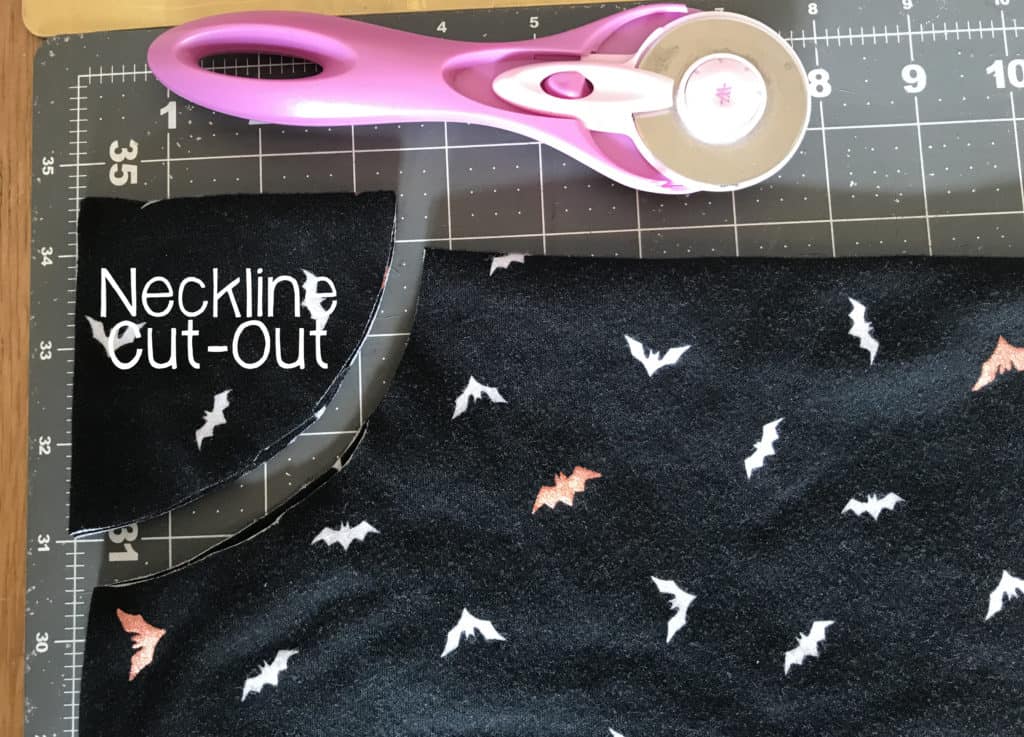
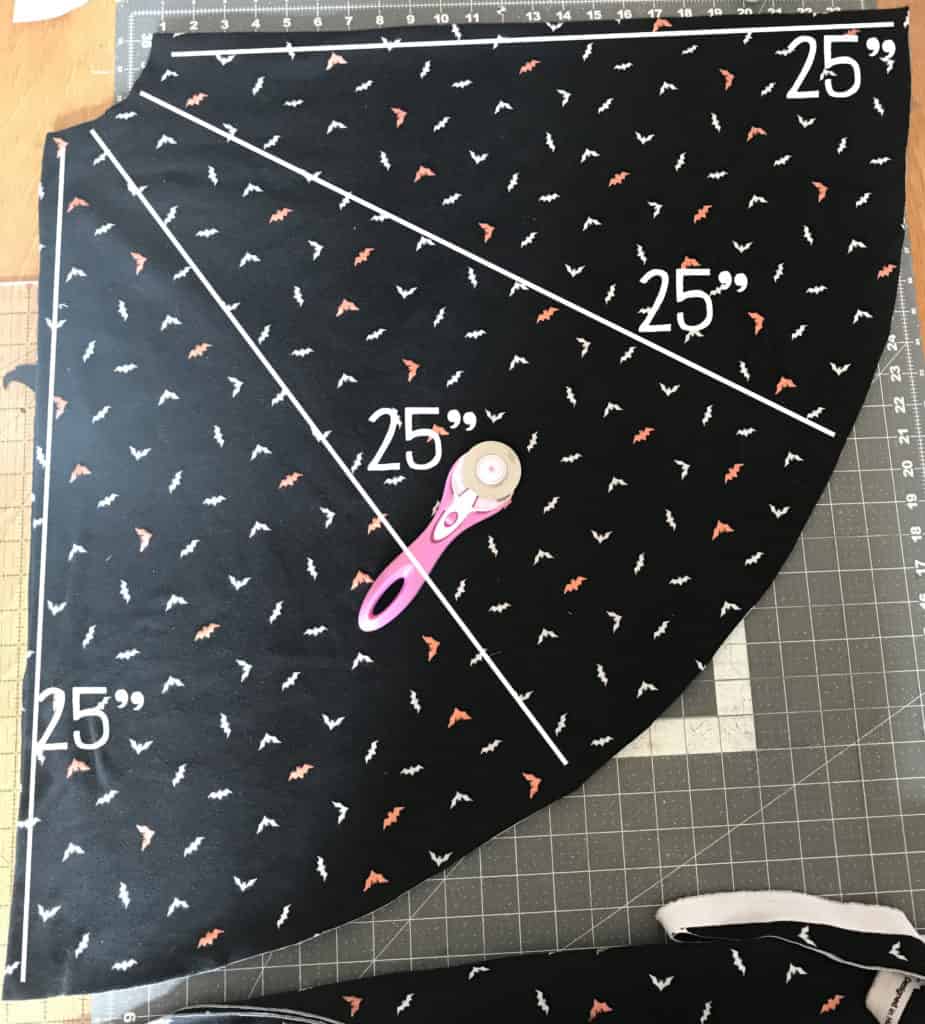
When using the cut-out pieces, measure 25″ from the neckline cutout.
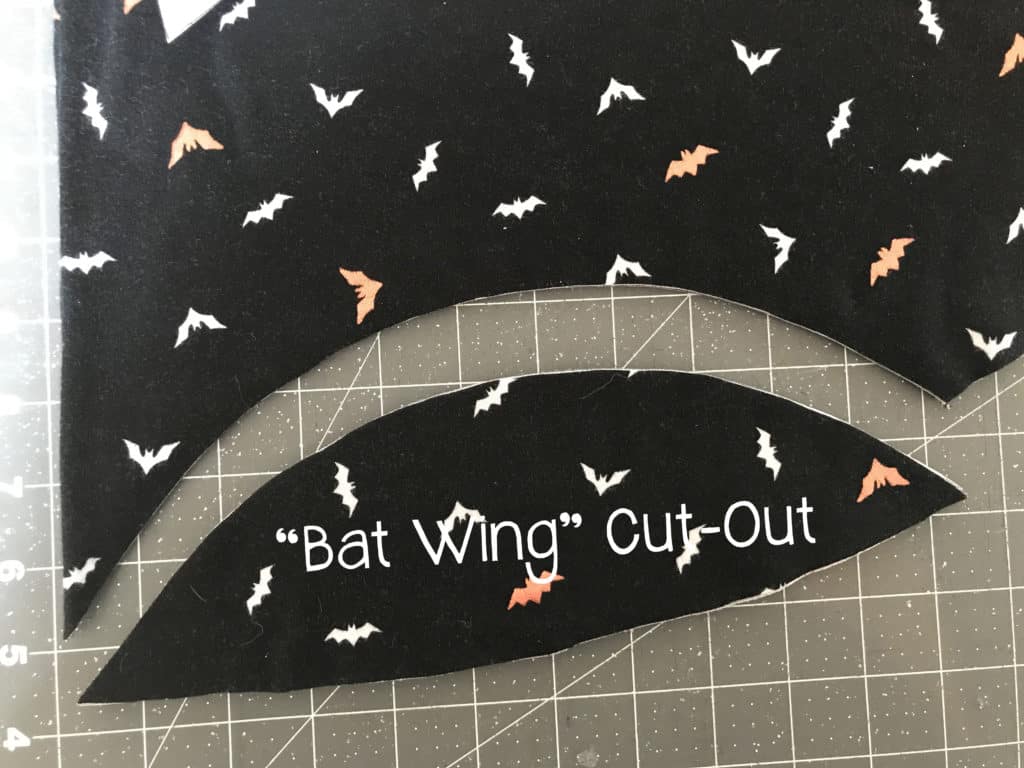
Keeping your bodice piece folded, take the “Bat Wing” cut-out and remove the shape from the bottom hem four times, beginning with the bottom corner and working your way toward the second folded edge.
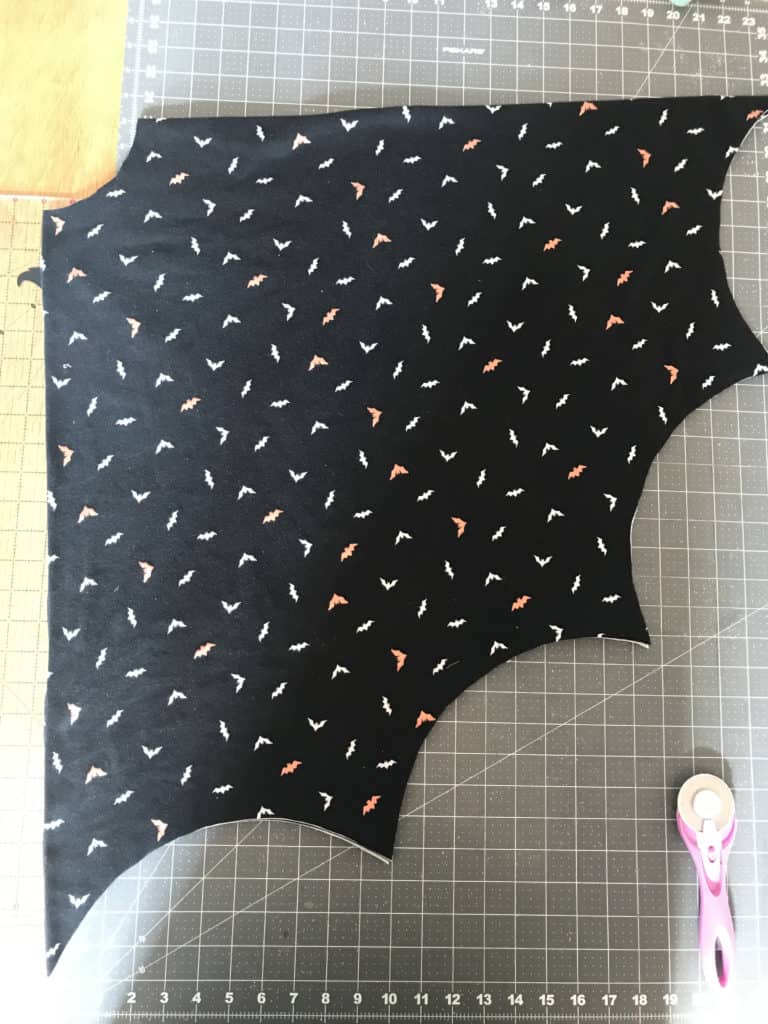
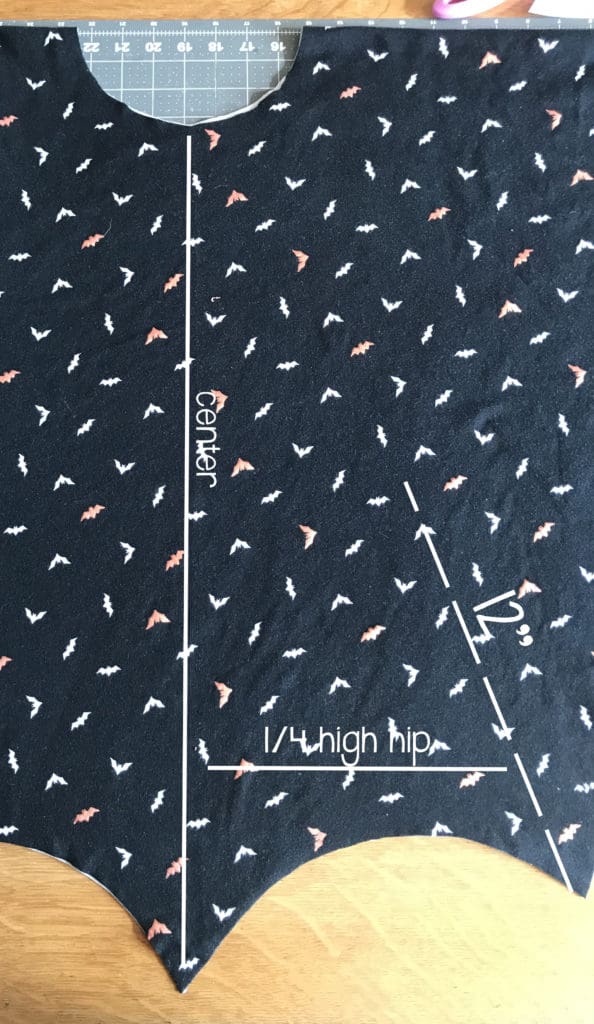
Step 2: Sew your side seam.

— Take your “high hip measurement” and divide by 4.
— Open up your top, so the stretch is going width-wise but it remains folded at the top.
— Find your center line, and measure your high-hip/4 measurement.
— Using a stretch stitch: sew a 12″ line, slightly angled toward the neck opening.  Repeat for the opposite side.
Step 3: Stitch your “bat wings”.
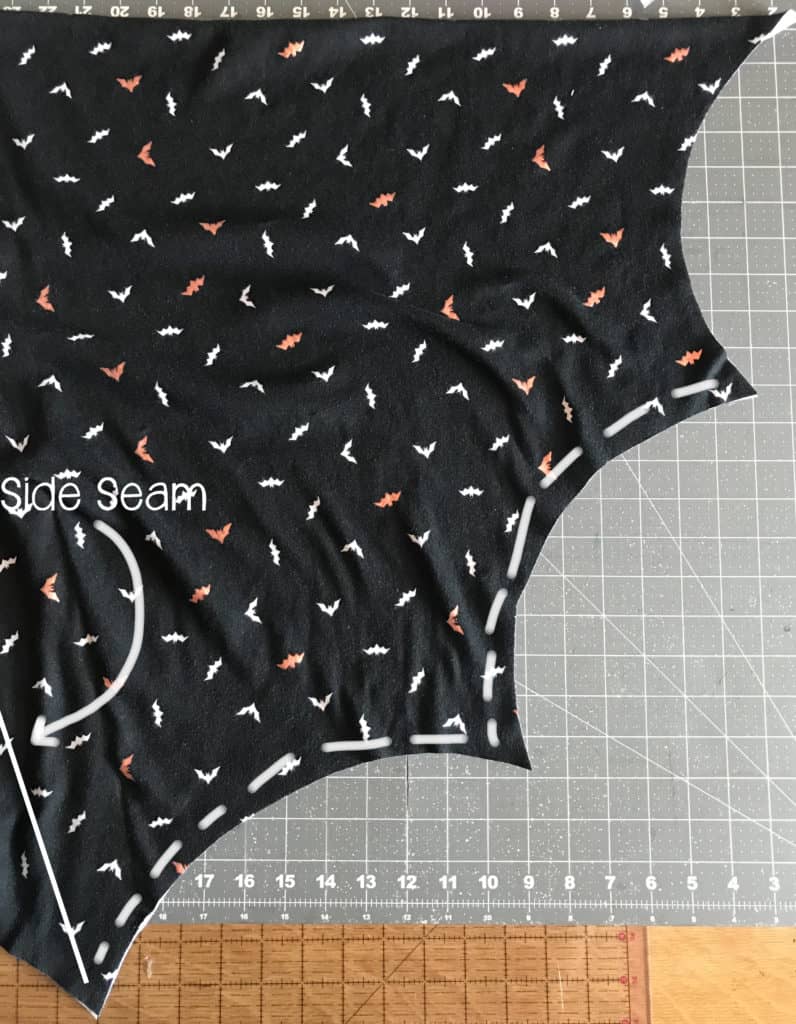
This step is totally optional, but highly recommended.  It allows for your “wings” to stay together nicely.

Starting at your side seam, edge stitch the “bat wings” together, ending at the second to last point.  Repeat for the other side.
Step 4: Add the neckband.  (If you struggle with neckband installation, here’s a super helpful blog with videos!)

— Fold your neckband piece, right sides together, meeting the short ends together.
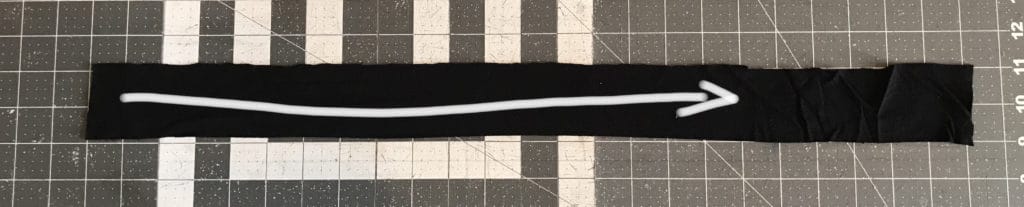
— Using 1/2″ seam allowance, stitch short ends.
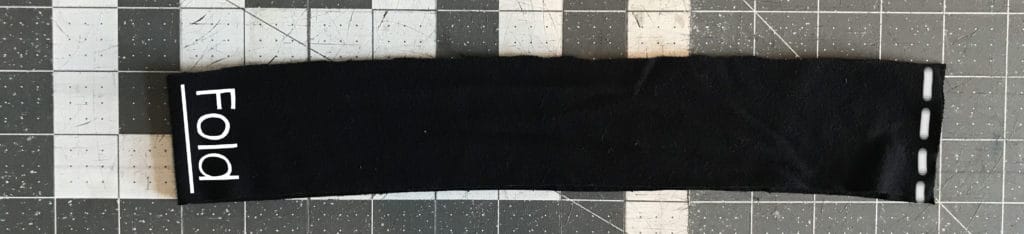
— With wrong sides together, fold the raw edges together to meet each other.  Mark 1/4 points of raw edges.
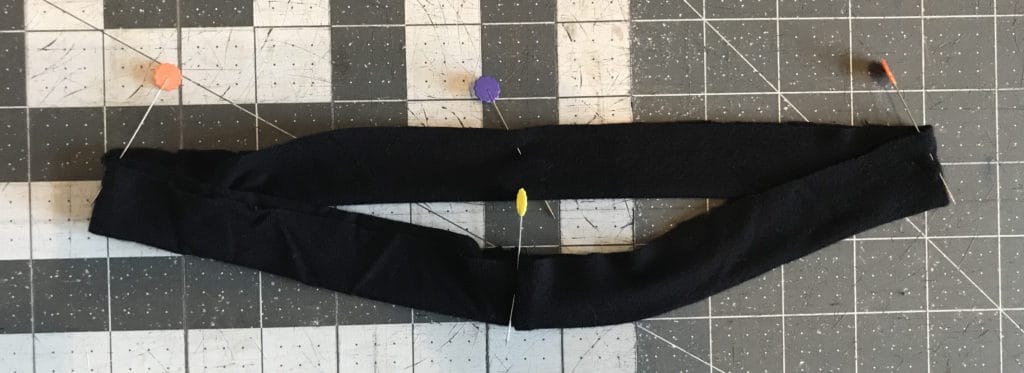
— Mark the 1/4 points on the bodice piece.
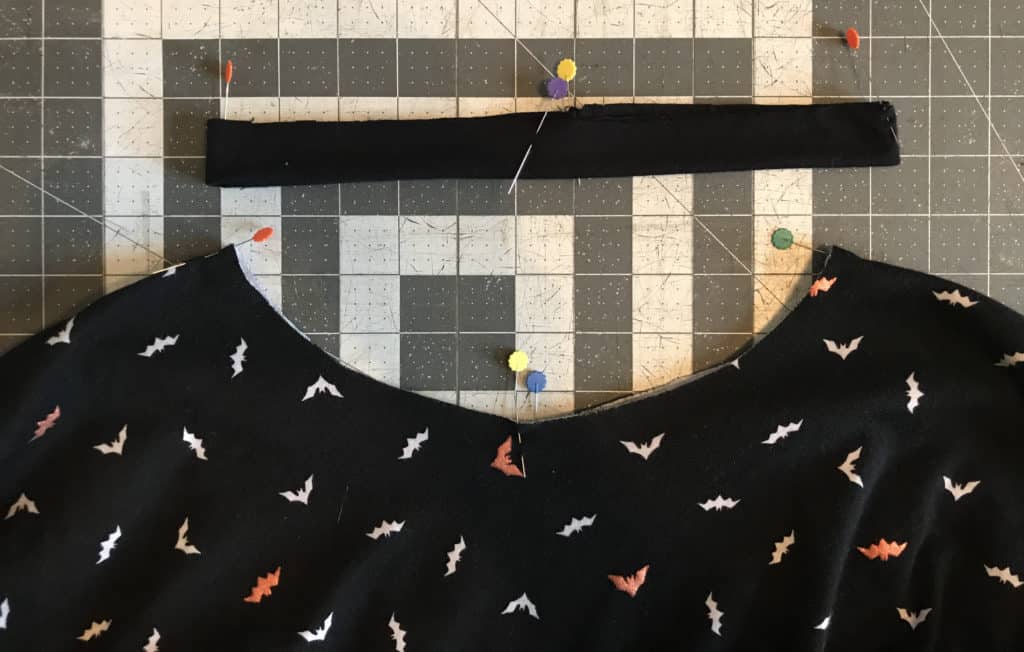
—  Slide the neckband over the bodice, aligning the raw edges and matching the quarter-marked points.  Note: The neckband is slightly smaller than the bodice.  Stitch, using 1/2″ seam allowance.
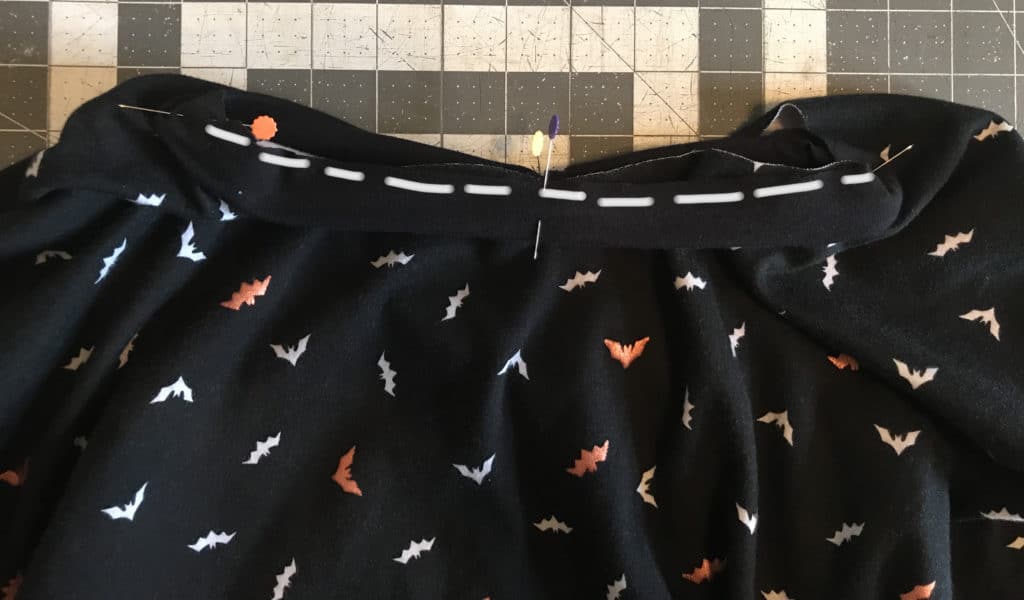
— Flip neckband up and enjoy your new batty top!

As always, we love when you share what you’ve made with us.  Head over to the Patterns for Pirates Facebook group and show us how bat shirt crazy you’ve become with our Gone Batty Top!
 

Filed Under: Free Pattern, Pattern Release 17 Comments

Goodbye Summer, Hello Fall

September 27, 2017

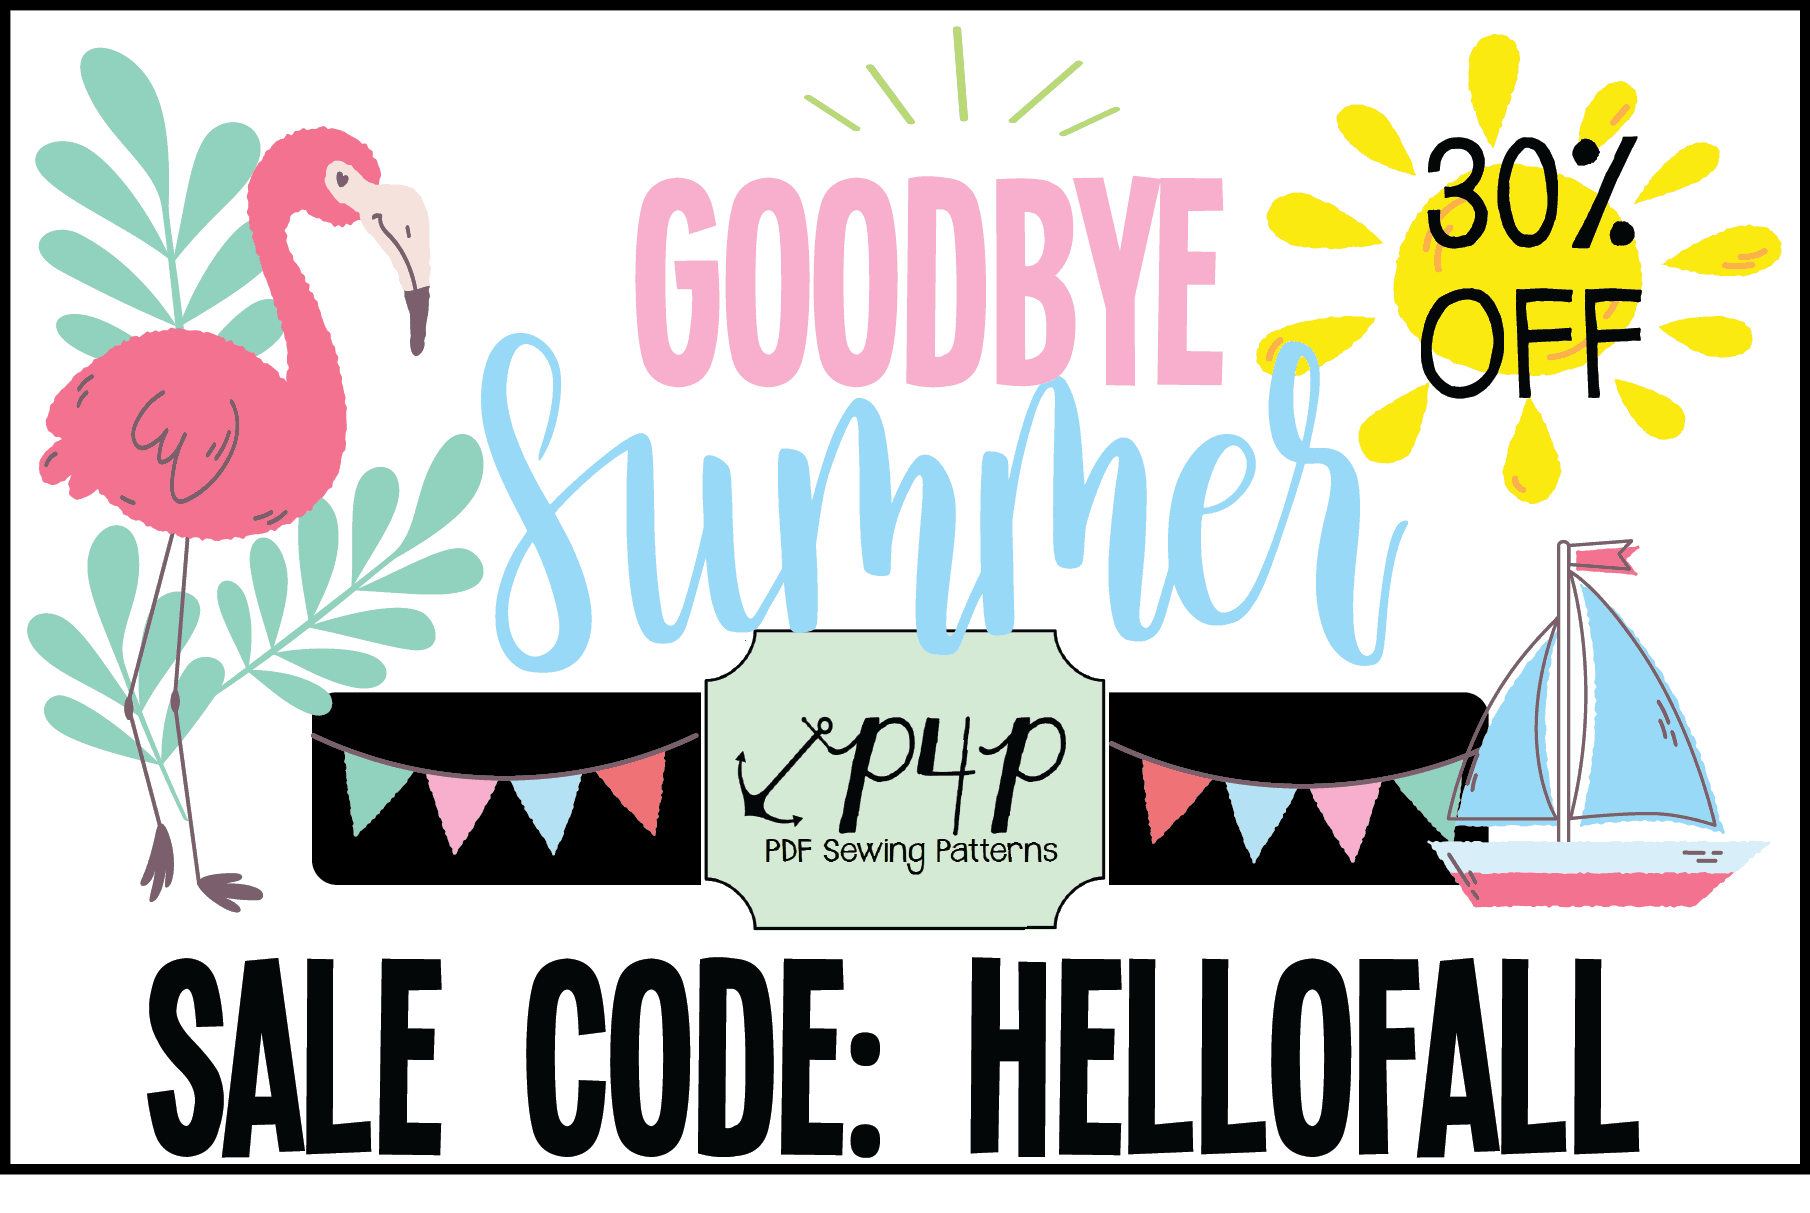
With the first day of fall come and gone it’s time for us to say goodbye to summer, and the Summer of Wovens here at P4P.  It has brought us many blogs, patterns, updates all for you woven lovers.

It brought you a few new woven releases:

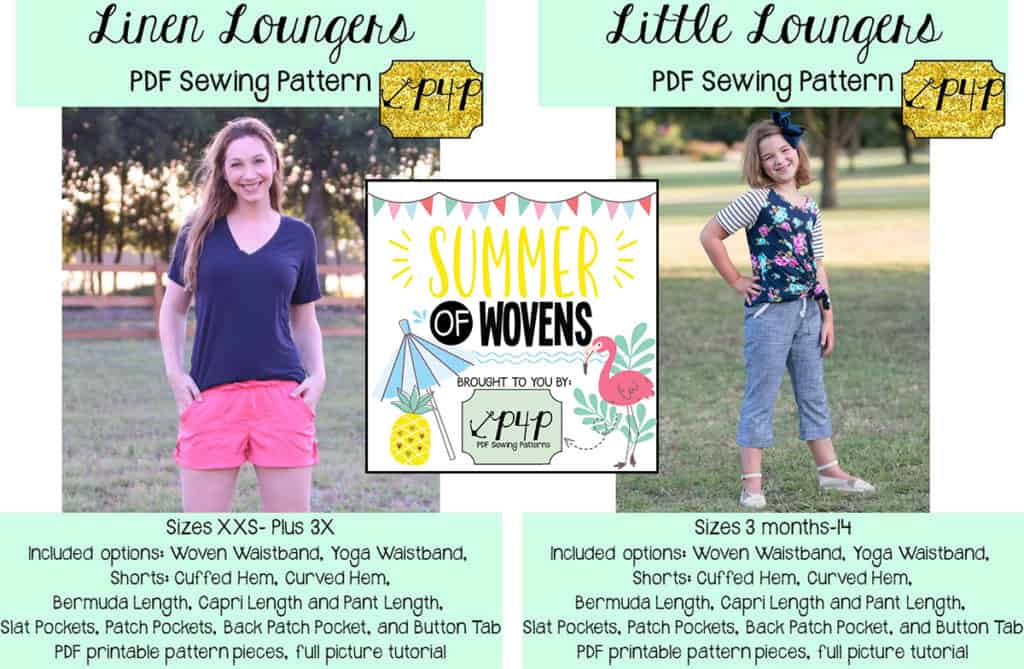
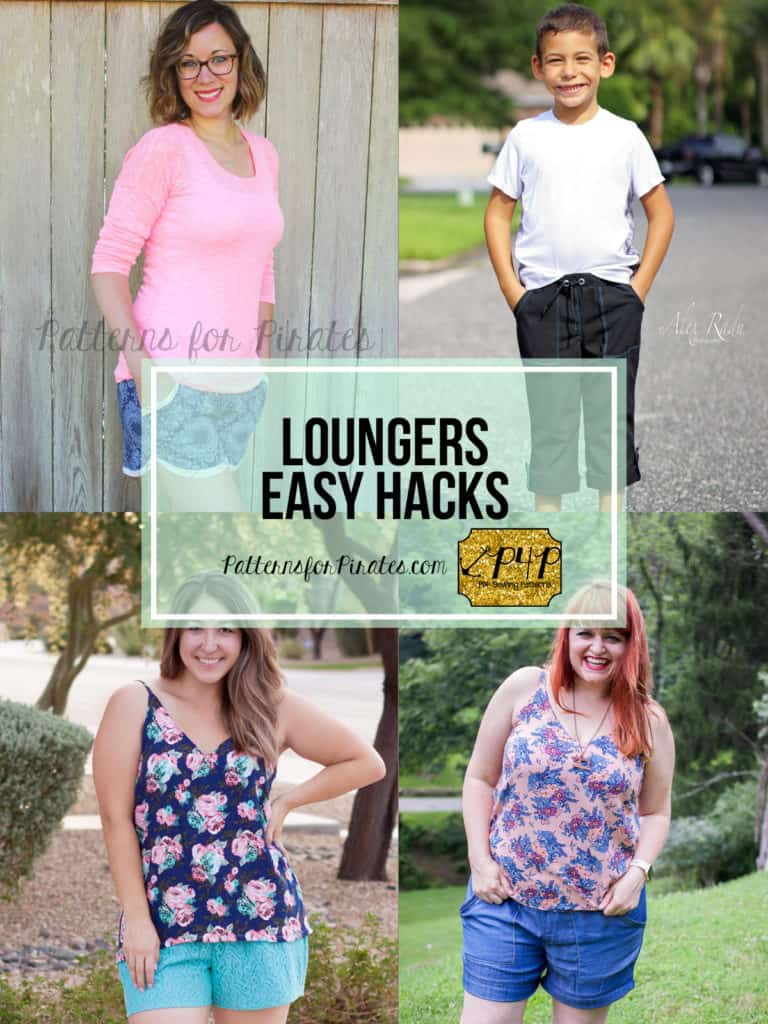
Linen Loungers | Little Loungers | Loungers Bundle

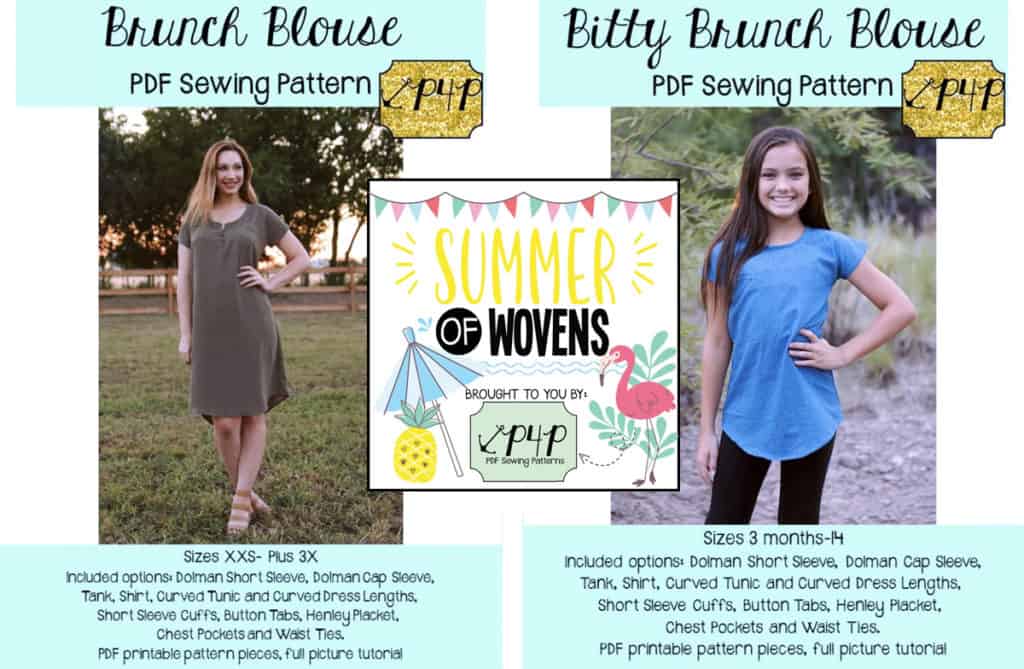
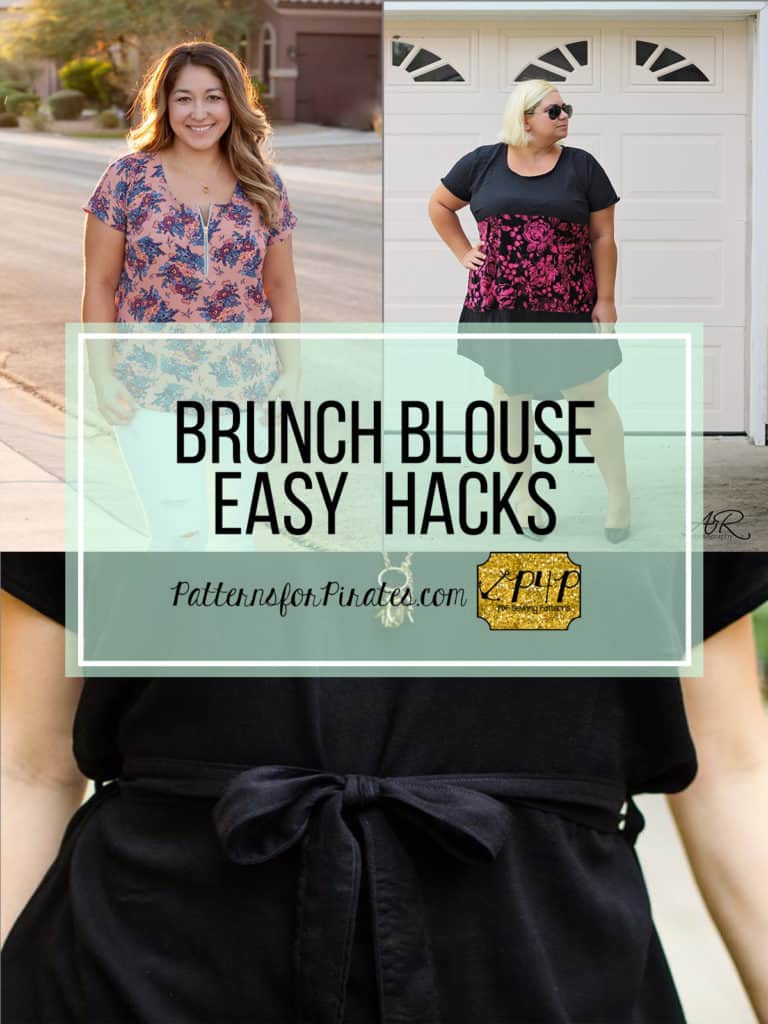
Brunch Blouse | Bitty Brunch Blouse | Brunch Blouse Bundle

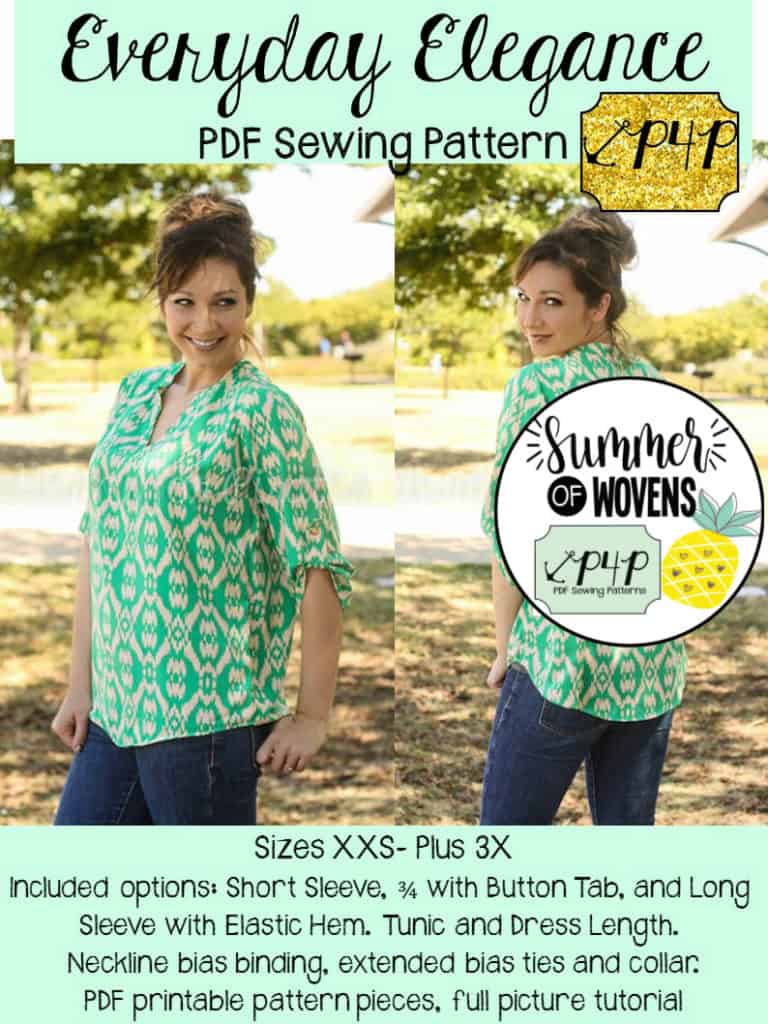
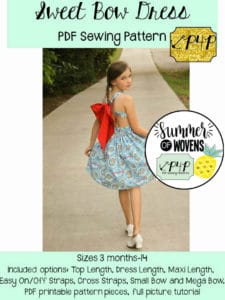
We took the time to update a few woven patterns that were already in our collection.  The Everyday Elegance and Sweet Bow dress had their size ranges updated, the layer features added, and also included the A0 copy shop print size as part of the PDF pattern package.


Everyday Elegance | Sweet Bow Dress

We also geared our blog tips, tricks and posts all about sewing with woven fabrics! If you missed them here are the blogs we did through the summer of wovens (click on picture to go read that blog!):


But we’re ending with MORE!

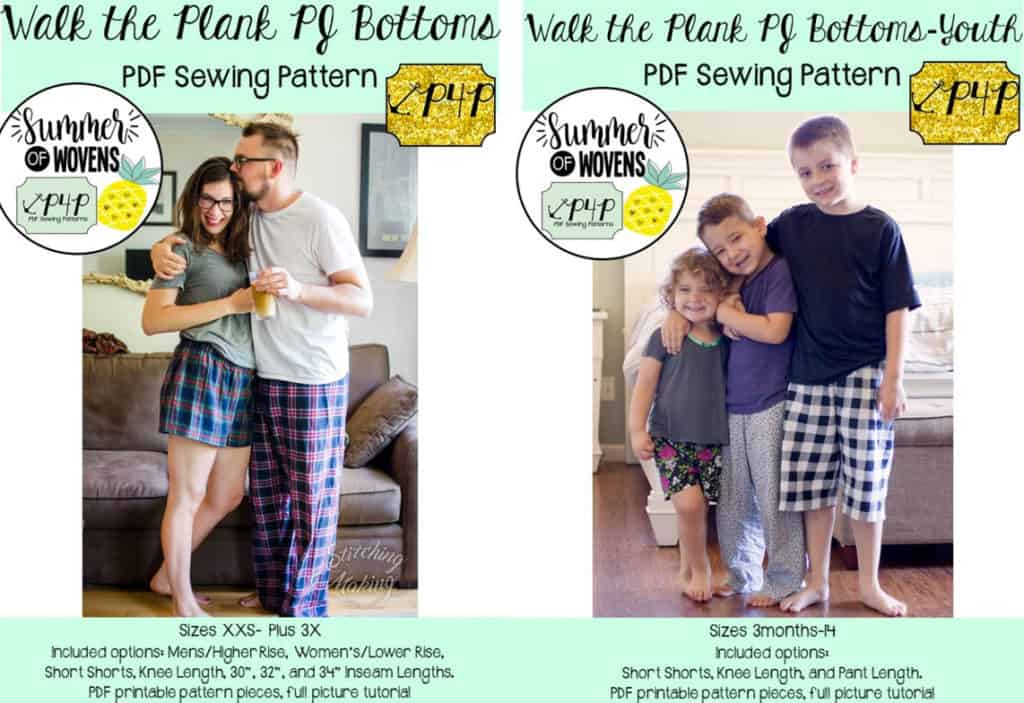
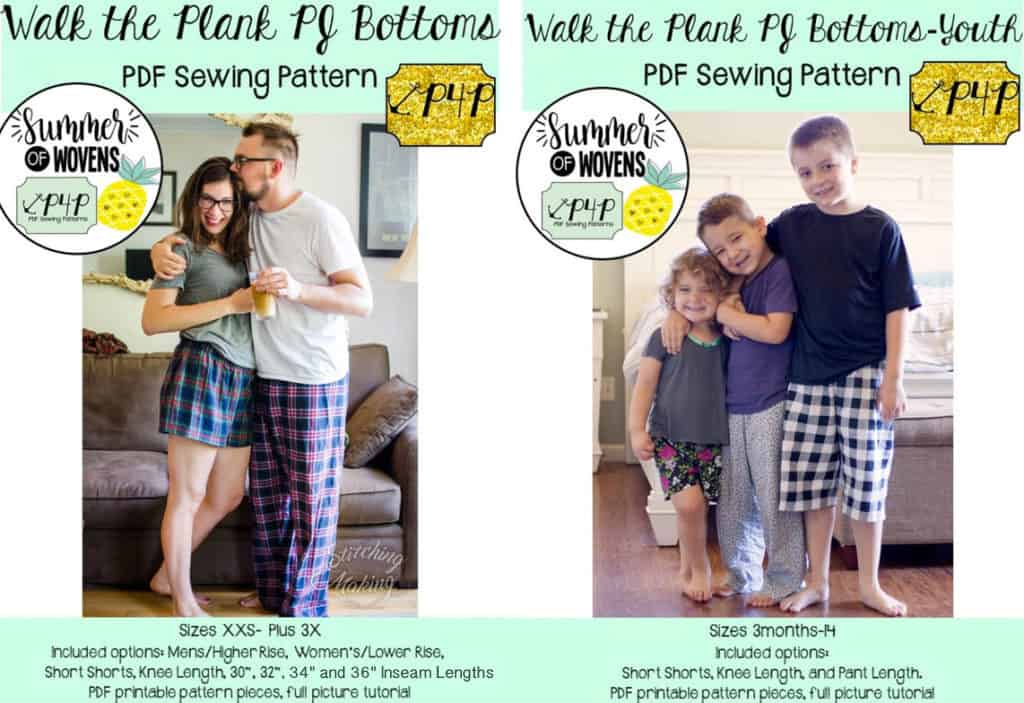
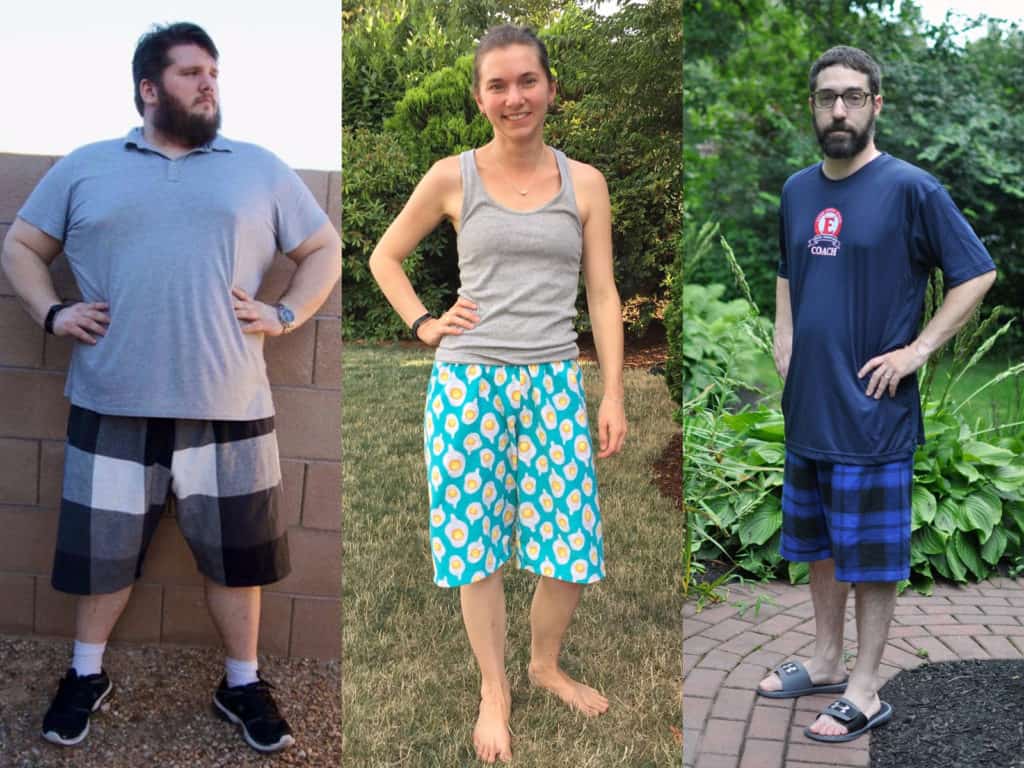
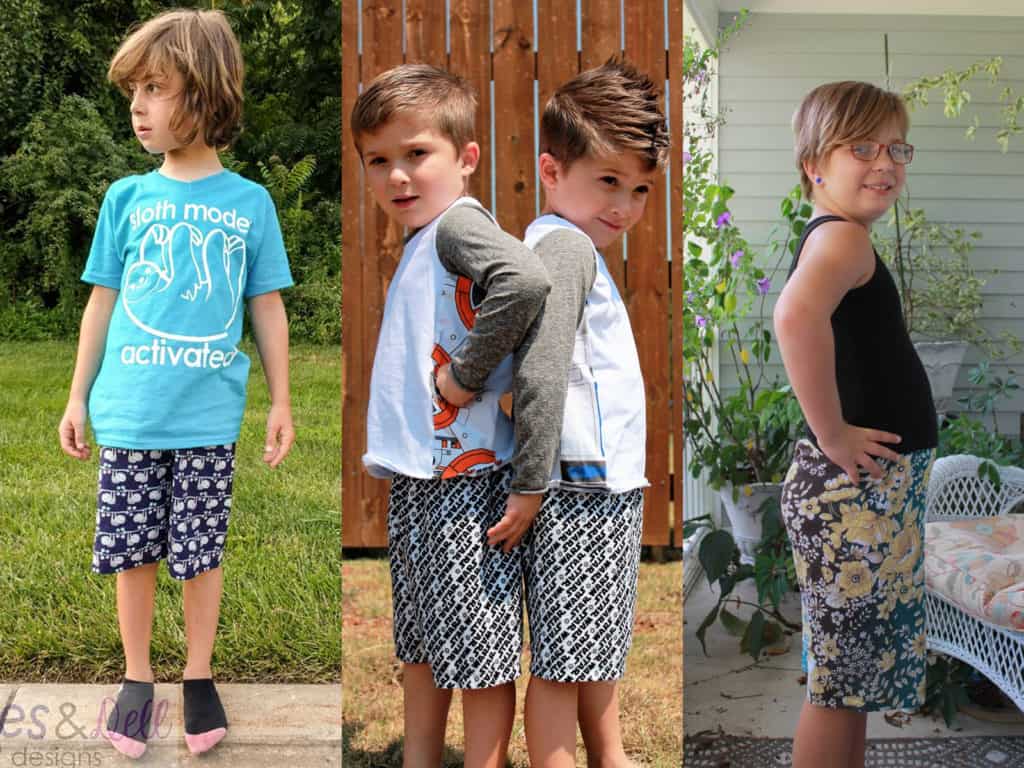
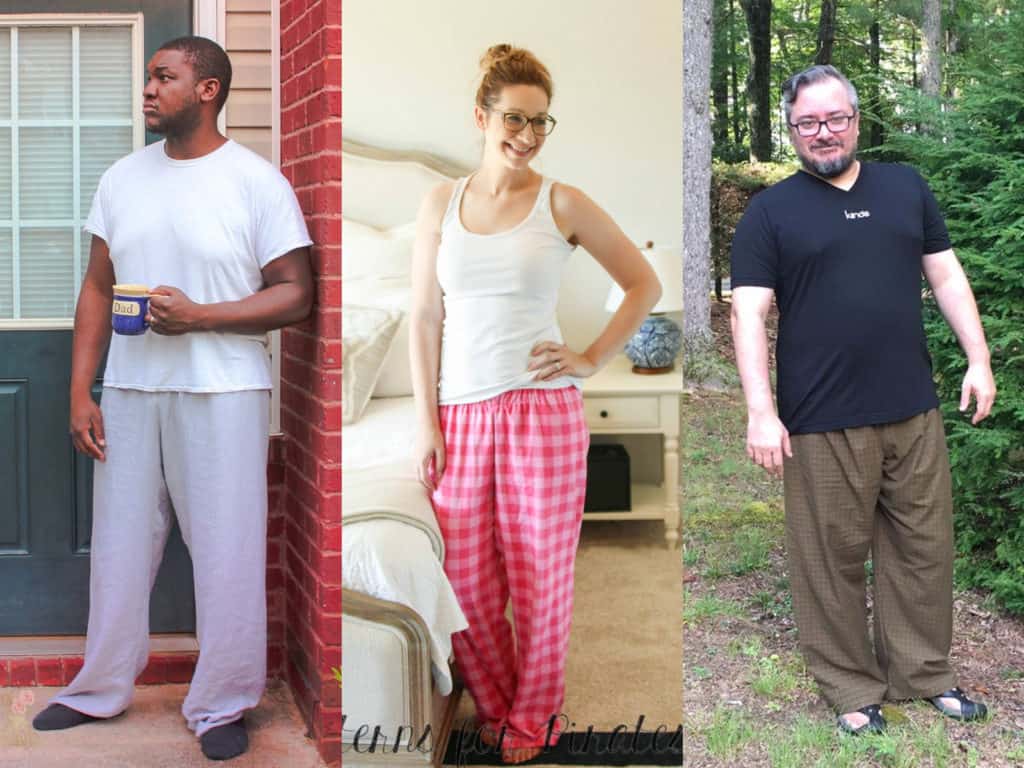
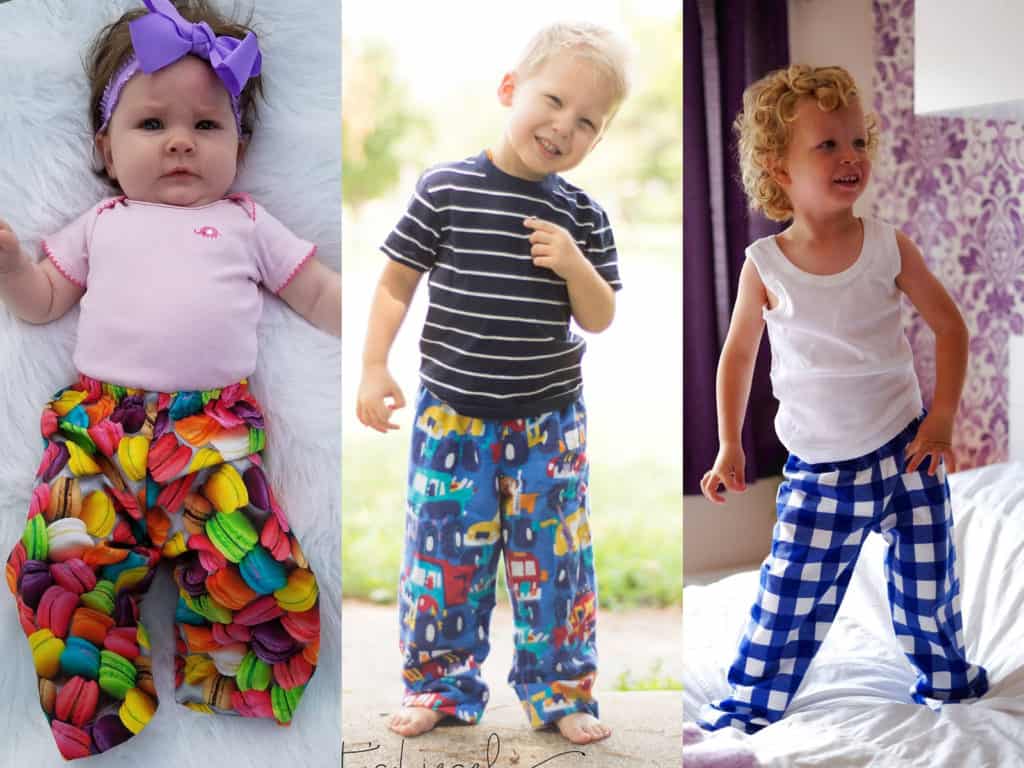
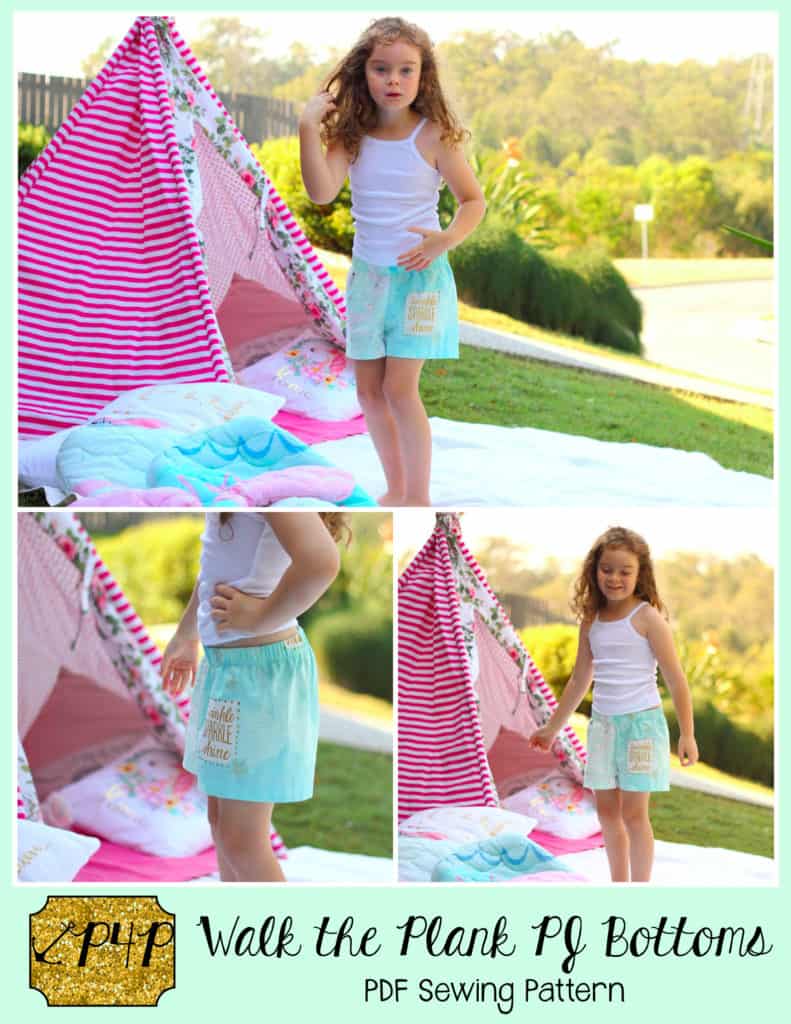
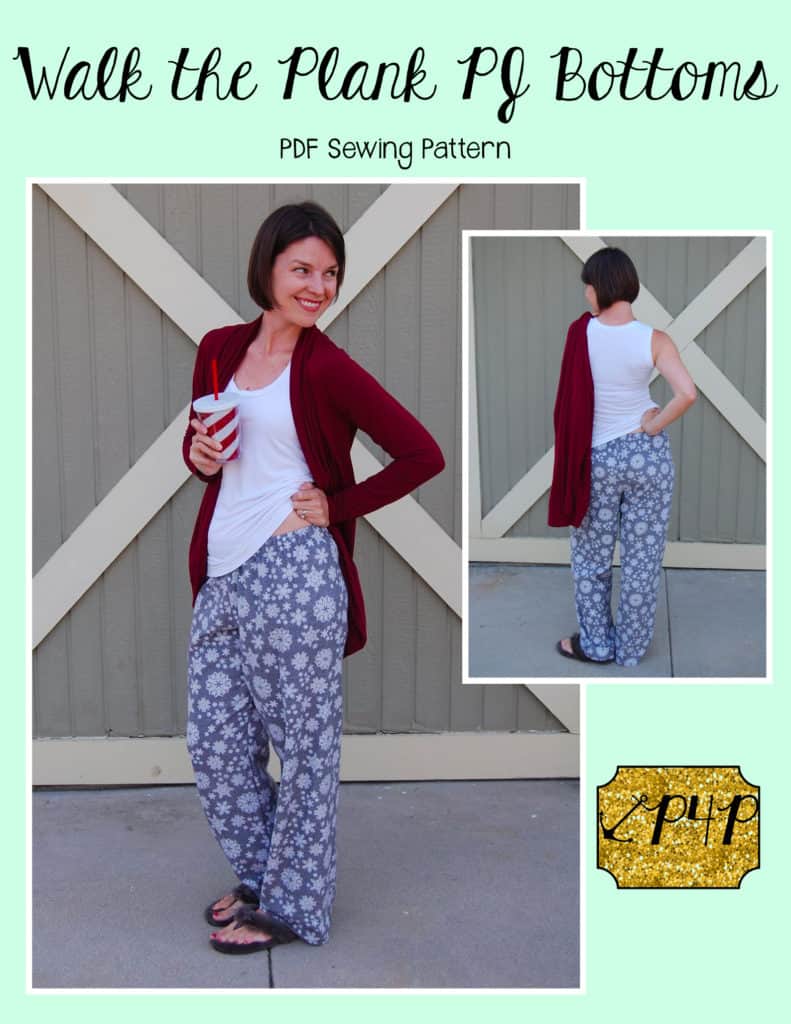
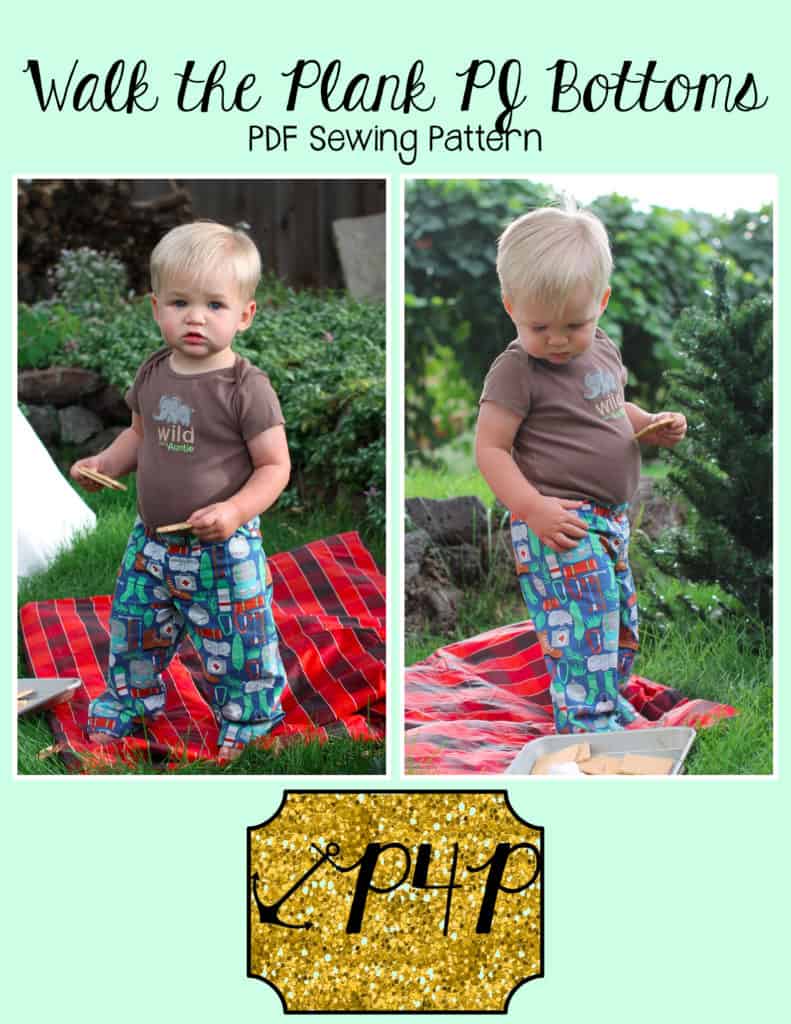
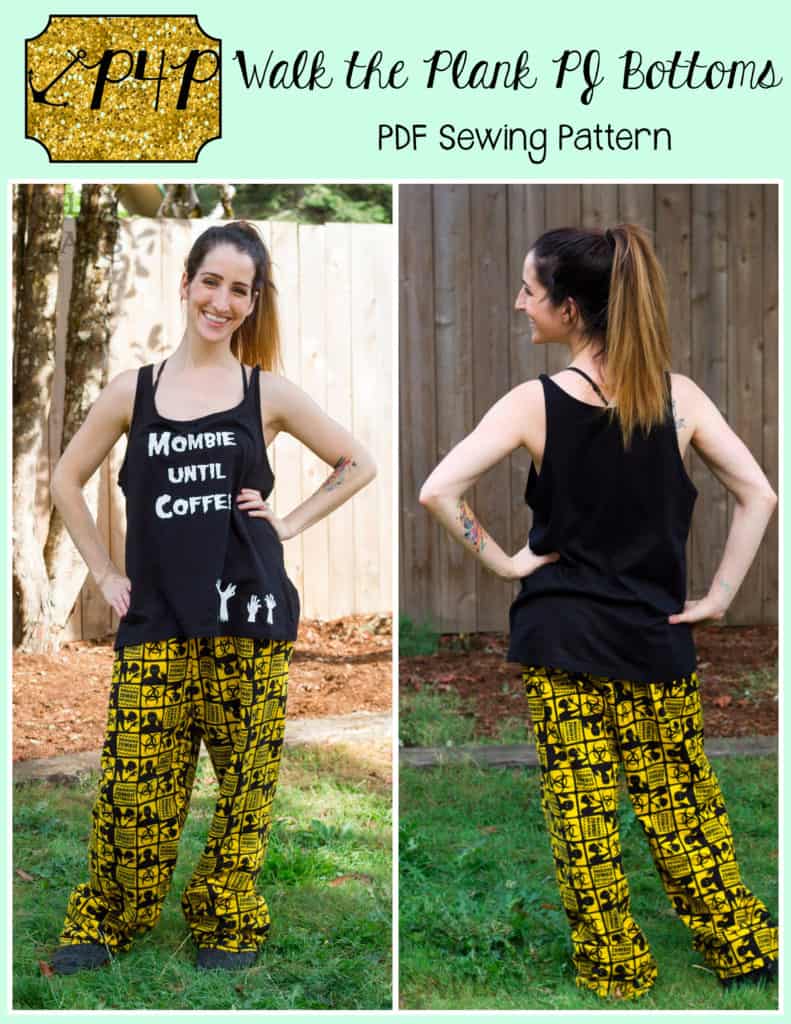
We have a new freebie to add to your collection.  The Walk the Plank unisex PJ Bottoms will be perfect for all that flannel and cotton you have that you have in your stash! These are the QUICKEST, easiest pj pant which will help you to whip out a whole stack for any season and have it checked off the to-do list in no time at all!  No side seams + no waistband piece = no extra time. They are a loose fit for growing room and extra comfort. Walk the Plank PJ Bottoms are a wider leg pj pant with three lengths: shorts, knee, and pant. The unisex adult pattern comes with a few inseam lengths and a mens/higher rise and women’s lower rise option. Both adult and the youth come with short shorts, knee length and pant length options to cover you for all seasons of PJ needs. You can check out our album full of pictures and our roundup blog post with more details too!


We are also celebrating wrapping up a great Summer of Wovens and start to Fall by having our last SITE WIDE SALE this year! The sale will end October 4th. (Sale times are based on US Central time zone) Get 30% off your total purchase with code: HELLOFALL

We hope you loved exploring sewing with wovens this summer as much as we did.  It was a challenge to step out of the “knit only” comfort zone for some but we loved seeing what everyone was able to create along with us!

Filed Under: Announcement, Pattern Release 2 Comments

Walk the Plank PJ Bottoms :: New Pattern Release!

September 27, 2017

Oh man.  Not only is today a release day, but it’s also a day that I get to make a fun announcement.  Or rather, TWO fun announcements!  Are you ready for this?

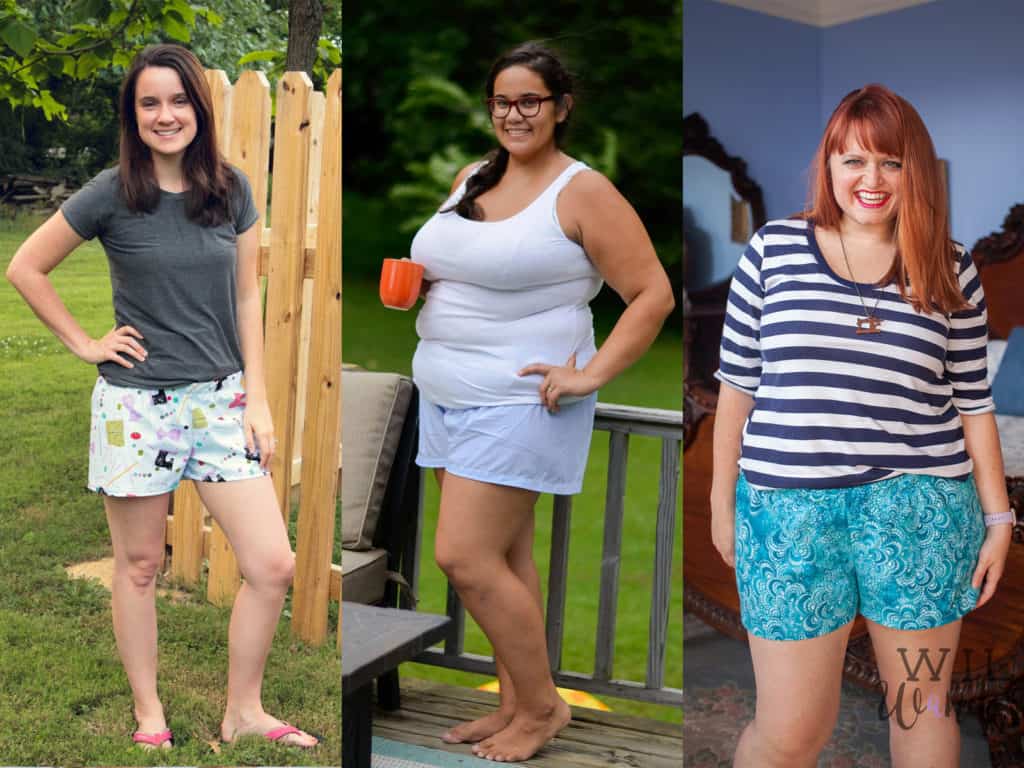
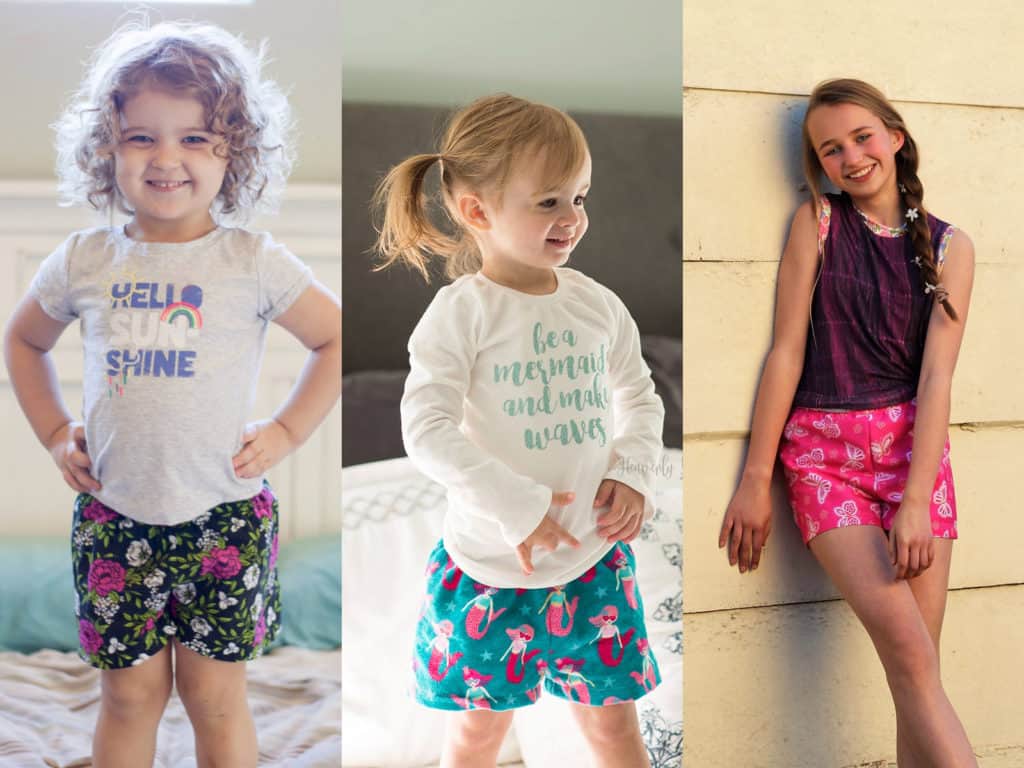
First, let’s talk about our newest pattern, and the final pattern in the P4P Summer of Wovens.  The Walk the Plank PJ bottoms are super easy to make, even easier to wear, pajama bottoms that are a unisex pattern and available in sizes 3M – adult Plus 3X.  Both the adult and youth patterns include three lengths (short shorts, knee length, and pant length).  The adult sizes have a differing mens and womens rise, as well as varying inseams (30″ / 32″ / 34″ / 36″ ).

The Walk the Plank pant truly is a quick sew!  All sizes were drafted to fit on a 44″ wide fabric, so you can easily use your favorite flannel or quilting cotton.  The patterns feature no side seam, and no waistband piece, as well as a quick elastic installation.  **Plus 3X were drafted with an extra side seam, so those sizes can use 44″ fabric as well.

Here’s a quick peek at the lengths:

SHORT SHORTS

KNEE LENGTH

PANT LENGTH

We have been running a contest over the last week.  You can read up on P4P’s Next Top Tester HERE if you’re interested in the process.  We had 650 (give or take) applicants that we invited into our Top Tester group.  These ladies went through some work for us!  They didn’t know what they were signing up for, but we had them all test the Walk the Plank PJ Bottoms for us!  Everyone did amazing, even amidst all of the chaos that testing in a group that size can bring.  And guess what?  We have a winner!

Well, we have four winners.  These testers did an incredible job, on all levels of testing.  It’s not just about taking pretty pictures.  It’s about providing feedback, supporting fellow testers, being around to ask/answer questions, and help with marketing.  We are so happy to have them on board with us!

Congratulations to our first ever Patterns for Pirates’ Next Top Tester: Amber Jones Zelenay 🎉🎉🎉
Our Second Place winner is: Karen Grimshaw
AND congratulations to the Runners Up: Bethany Tolman and Michelle Tobey


Want to know the best part about this pattern?  It’s FREE!!  We wanted to have a little end-of-summer celebration and thought this would be a fun way to party with you all.  Plus, it’s perfect timing with the holidays right around the corner.  Family Jammies Photo Op?  I think so!

Grab your copy of the Walk the Plank PJ Bottoms in UNISEX ADULT or UNISEX YOUTH today!

**Want to learn more about how to measure yourself for this pattern?  We’ve got you covered with an in-depth blog HERE.  And in case you’re new to Patterns for Pirates and PDF patterns in general, we have a great blog full of new user tips HERE to help you get started!  And, as with all of our current releases and updates, the pdfs now include our layers feature and can be found in Letter, A4 and A0 sizes.

If you’re still needing more inspiration, be sure to head over to the Patterns for Pirates Facebook Group Albums for the Walk the Plank PJ Bottoms to see what our amazing testers have sewn for themselves.  Don’t forget to tag us on Instagram (@patternsforpirates | #patternsforpirates) and to share your finished items over in our Facebook group!  We love to see what you make!
Happy sewing, friends!

Filed Under: Announcement, Contest/Giveaway, Free Pattern, Pattern Release 23 Comments

P4P University- Ease

September 23, 2017

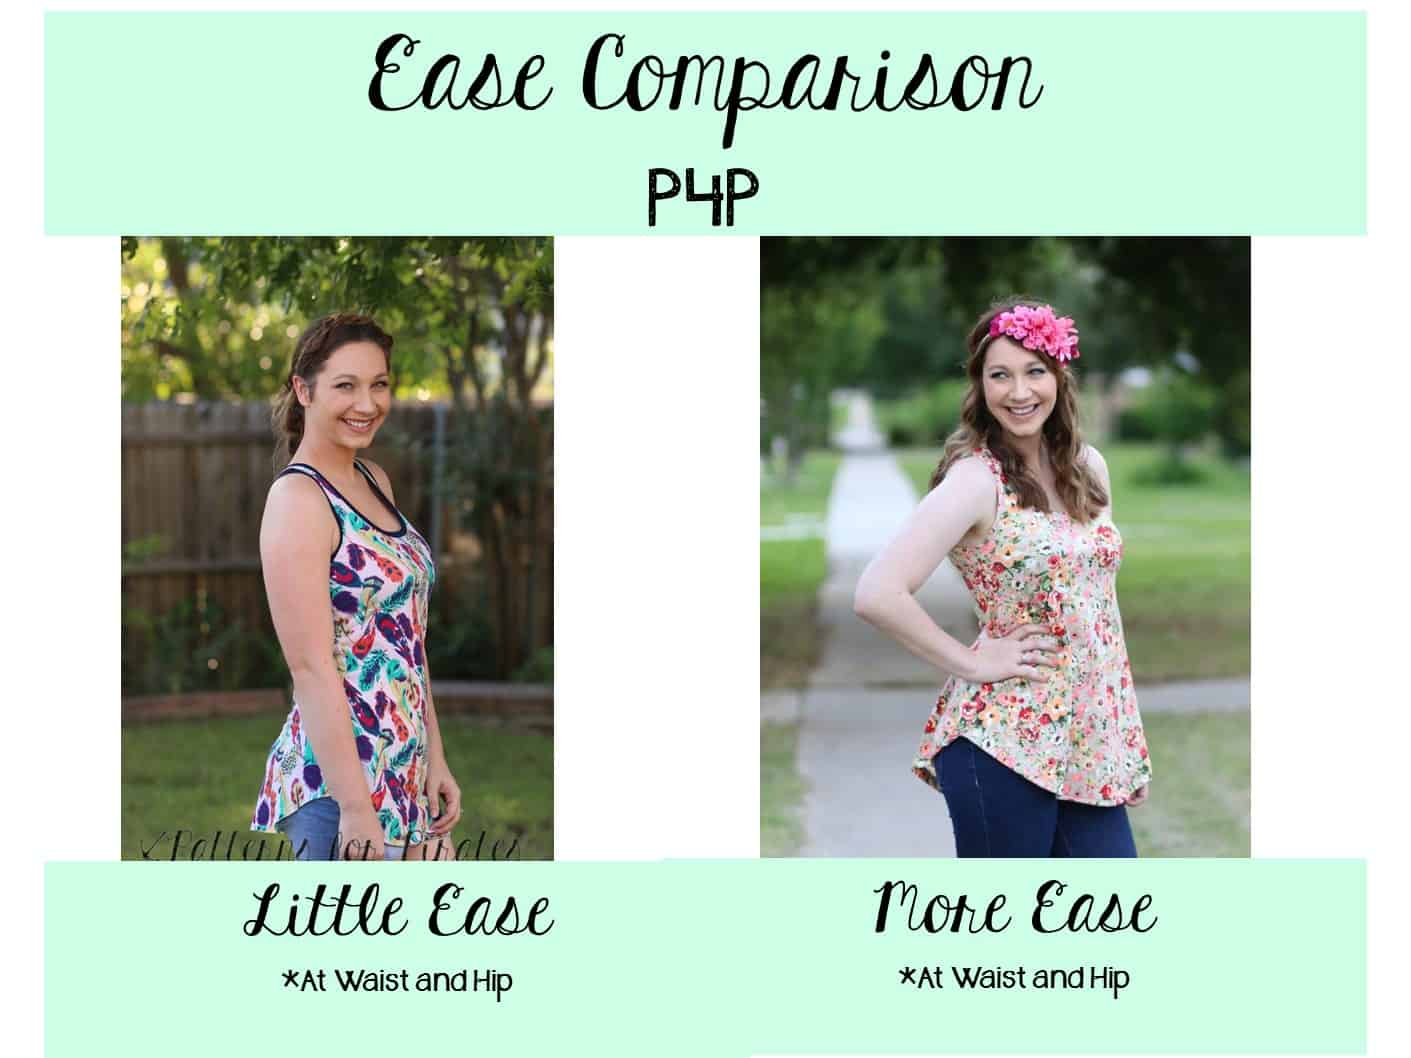
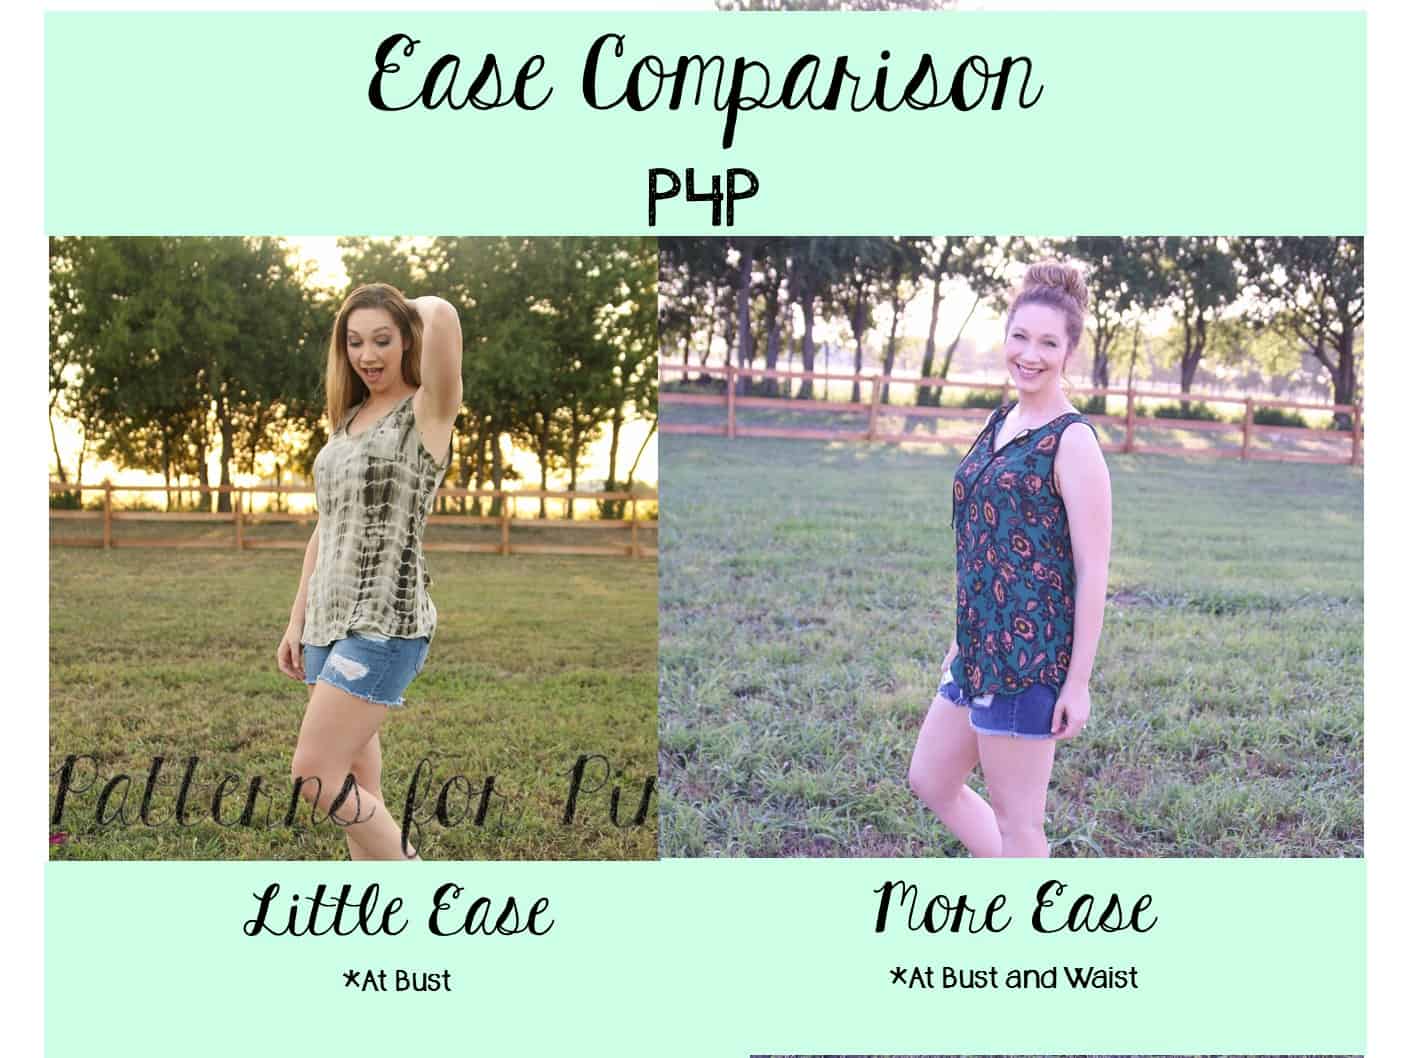
Ease is a term using to describe how much extra fabric there is around your body after the garment is sewn up. In sewing and pattern groups you often see the question, “Does this run big/small/true to size?”  And most the time the same pattern and size will have an array of answers! Confusing right?  The truth is the pattern is designed with a certain amount of ease the designer has picked based on the size chart.

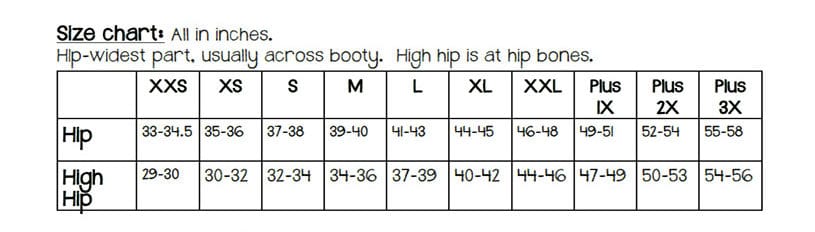
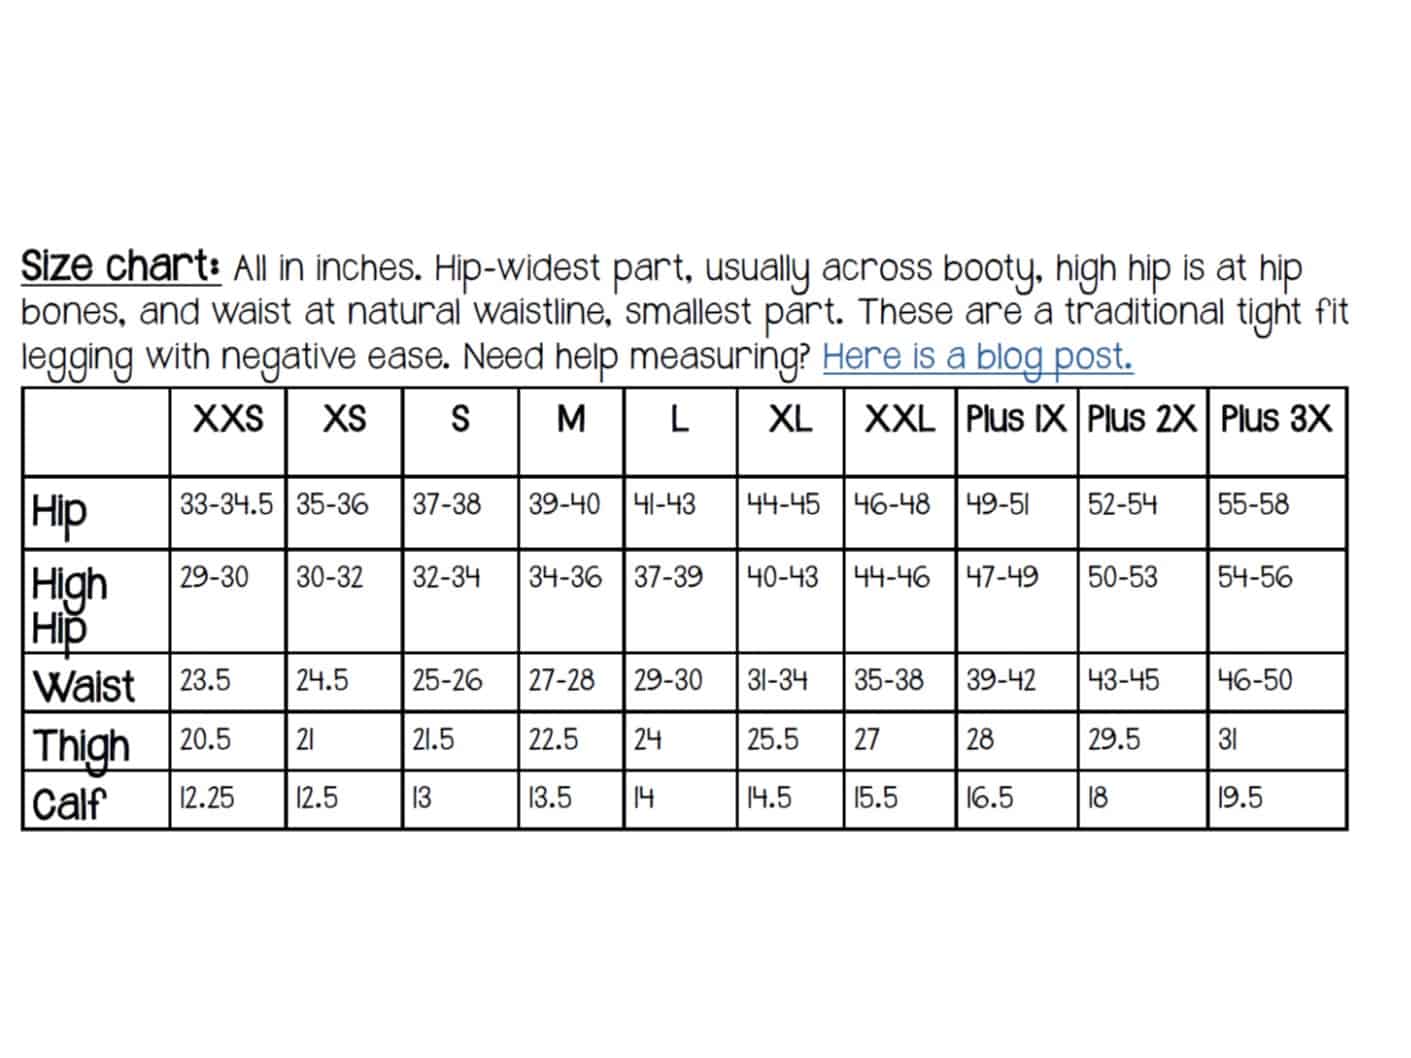
So, when the designer like me drafts a pattern they decide how much ease they want for the intended fit.  They use not only the listed body measurements, but an entire book of standard/average measurements for each part of the body to give the pattern a certain amount of ease everywhere along the body.  I try to give the most important measurements in the measurement chart and finished measurements to help you pick the perfect size for your preference of fit.  I usually have more measurements in the tutorial than on the listing pictures so that when you’re ready to pick a size for that certain garment you can see if you need to modify, grade between sizes on that particular pattern. Here is the size chart within the tutorial for the Peg Legs:

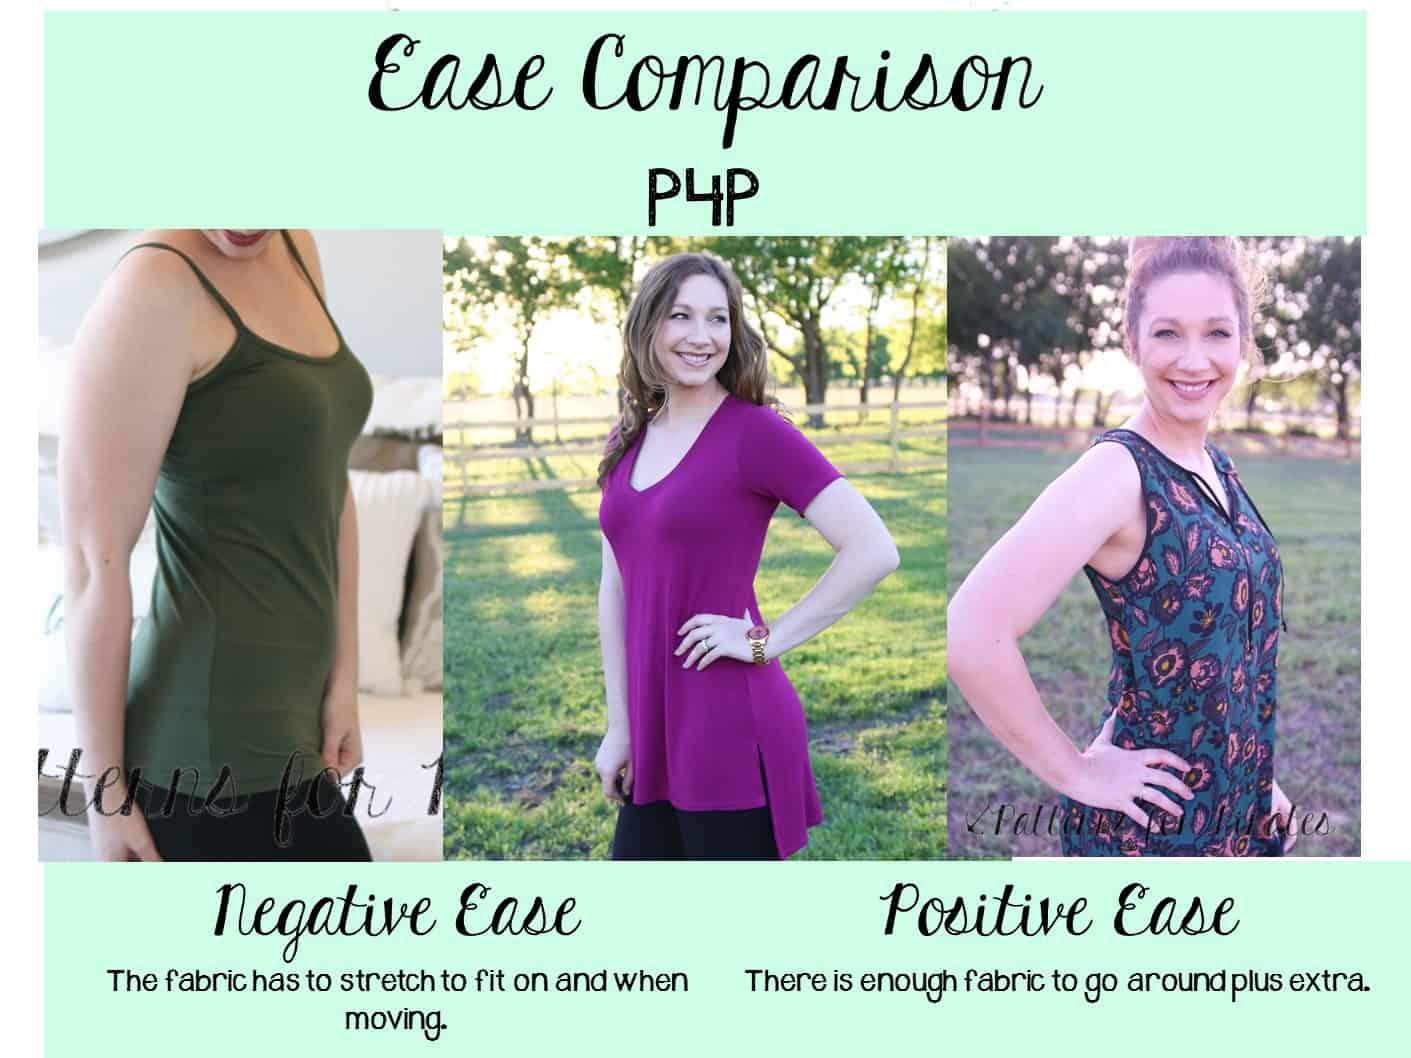
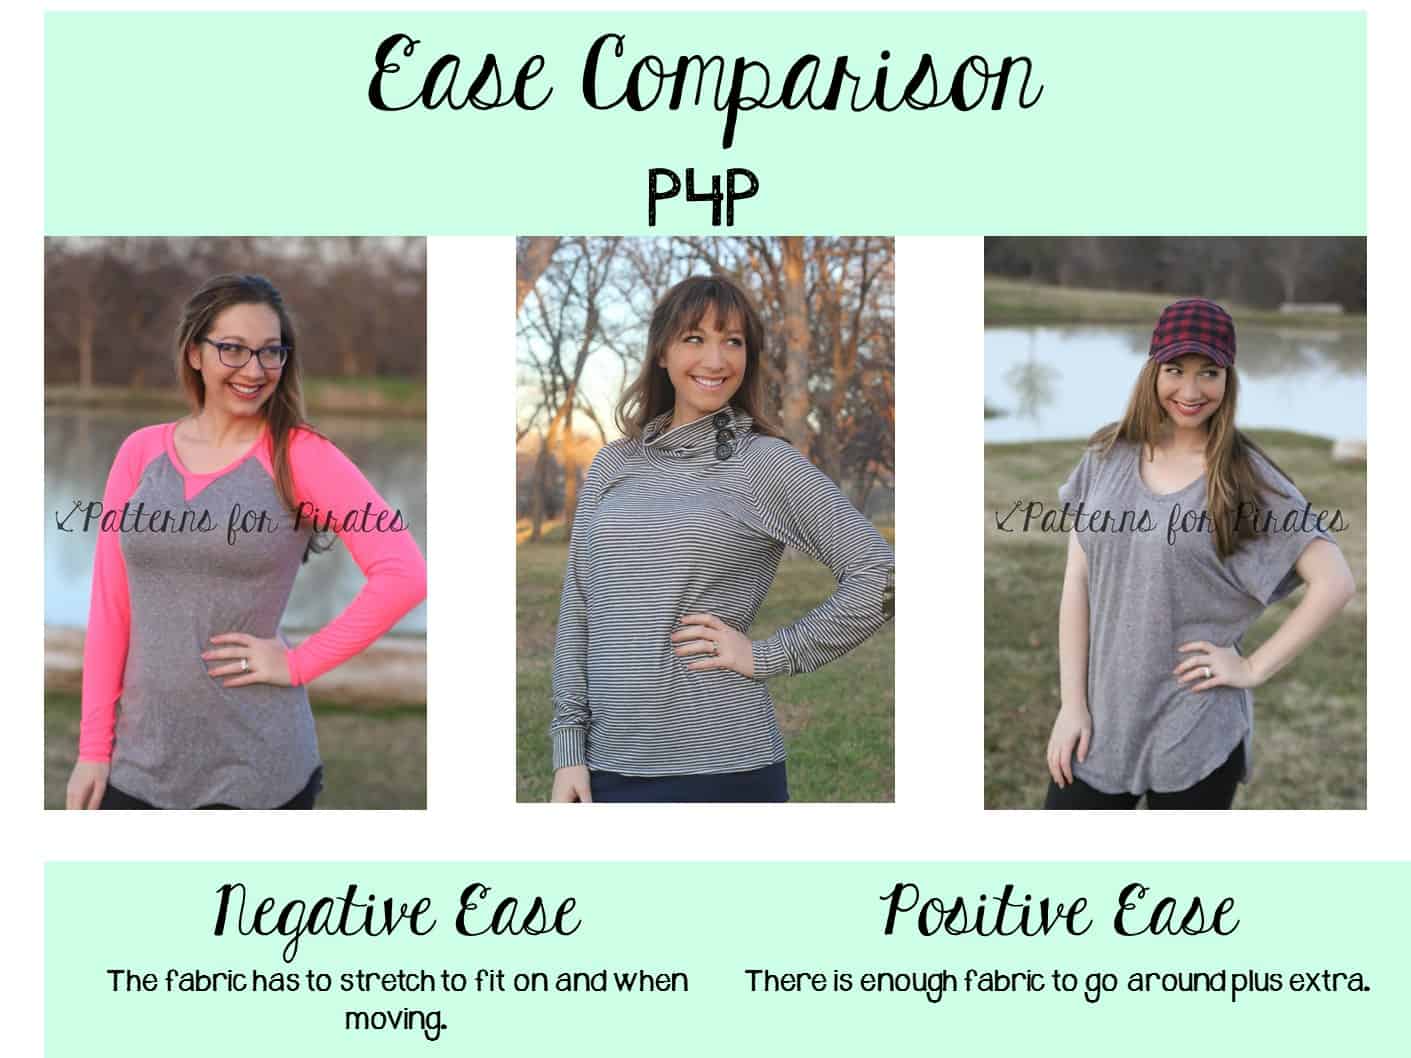
Some ease is needed for certain garments.  Woven/non-stretch fabrics require much more ease since they don’t stretch.  A body requires ease to move, bend, breathe, etc comfortably.  Designers use the recommended amount in general for guidelines and can add more if they want a looser fit.  Knit garments can, and often do have negative ease.  Negative ease means the garment finishes smaller than your body and much stretch to fit on to your body as well as when you move.

There is a very wide span of “what fits” within a single garment.  For a knit shirt using a stretchy fabric- lets pick cotton spandex with about 75% stretch) you can have up to about 50% negative ease and still move and breath, this would be what most would call “skin tight”.   You can also have a few inches of ease for a looser fit, what most would call relaxed or baggy. And within that range, everything technically “fits” because you have enough ease for movement.  The rest is up to the designer to create the design ease they have in mind.  When the question is asked, “Is it true to size?” it really can’t be answered.  It is true to the designer’s intended fit with the amount of ease they drafted into the garment.  Whether it is how much ease you prefer personally for that garment depends on if your personal preference is the same as the intended fit.  I’m always surprised to see someone post in our FB group “this is huge” or “it’s too tight”, I try very hard to show intended fit through listing pictures, use the best describing words in the listing and give a good description in the tutorial along with the measurements.  But, what one person with the exact same measurements and fabric choice finds “too snug” another might describe as “huge”.  It’s all personal preference!

Lets think about what a big range that is… I’m going to go down to 30% negative ease since this is a pretty tight standard athletic/swim amount of ease, most clothes wont be tighter unless we’re going to add in compression fit/slimming undergarments.  I will do hips at 40 (top end of the medium).  So you could easily have a well drafted pant pattern with a finished full hip measurement of anywhere from 28″ all the way to 45″ depending on the intended fit and suggested fabrics.  Most knit pants can easily range from 28″-42″ depending on the kind of knit they’re drafted for.

Woven pants don’t have quite the range, since you take away the option of having negative ease and using stretch for the movement ease needed.  But, A woven pant for a 40″ full hip can still range from about 42″ up to 46″ depending on the intended look of the design.  We very often get the question if you can sew a knit pattern with a woven non stretch fabric.  The answer is mostly no.  Most knit patterns depend on the stretch of the fabric to give some, if not all, of that movement ease you HAVE to have for your body to comfortably move, bend, breathe, get the garment on and off, etc.  If you would like to know how much wearing ease you need to get the slimmest possible woven garment there are ways to measure that.  For your full hip you can place the measuring tape around your full hip-mine is about 40″.  Keep the tape carefully in place, but loosen your grip at the front.  Very slowly sit down, or bend/squat.  You will notice that the tape will pull and need more room.  This is called your “sitting spread”.  Lovely name right 😉 , but it is how much you “spread” when you sit/squat.  You need this much ease or extra fabric around your hip in any woven garment to be able to move comfortably.  There are tighter dresses out there with less ease there, but you aren’t sitting cross legged on the floor in that tight woven pencil skirt.  You probably aren’t even sitting comfortably in it.  The hip is the easiest measurement to check your ease need.  But, the same concept can be a check for bust, arms, thighs, etc. putting the tape measurer around and moving and breathing, letting the tape slide to the biggest range you use while moving.  If you check this sitting/moving measurement against the finished measurements of the pattern you will know if you can use a non-stretch fabric and still move comfortably.

I did a quick video about measuring your needed “wearing ease” here:

A designer’s job is to choose how much ease they want for a certain intended fit and look.  Lets take one of my patterns The Pumpkin Spice Dolman.  It is a looser cut with a quite a lot of ease through the bust and about 0 ease at the full hip.  I intended it to be a loose, slouchy fit and works best with fabric that has a soft drape.  Some might find the design ease I added too much if they don’t like the loose, slouchy look.  It doesn’t mean the pattern “runs big” since that is exactly the amount of ease intended for the look I was after.  It just means you prefer a tighter fit that intended.

A slimmer cut shirt like the Slim Fit Raglan or Layer Me Up has negative ease at the best and less ease through the body.  Again, this doesn’t mean the pattern “runs small” it is meant to be smaller and tighter as designed.

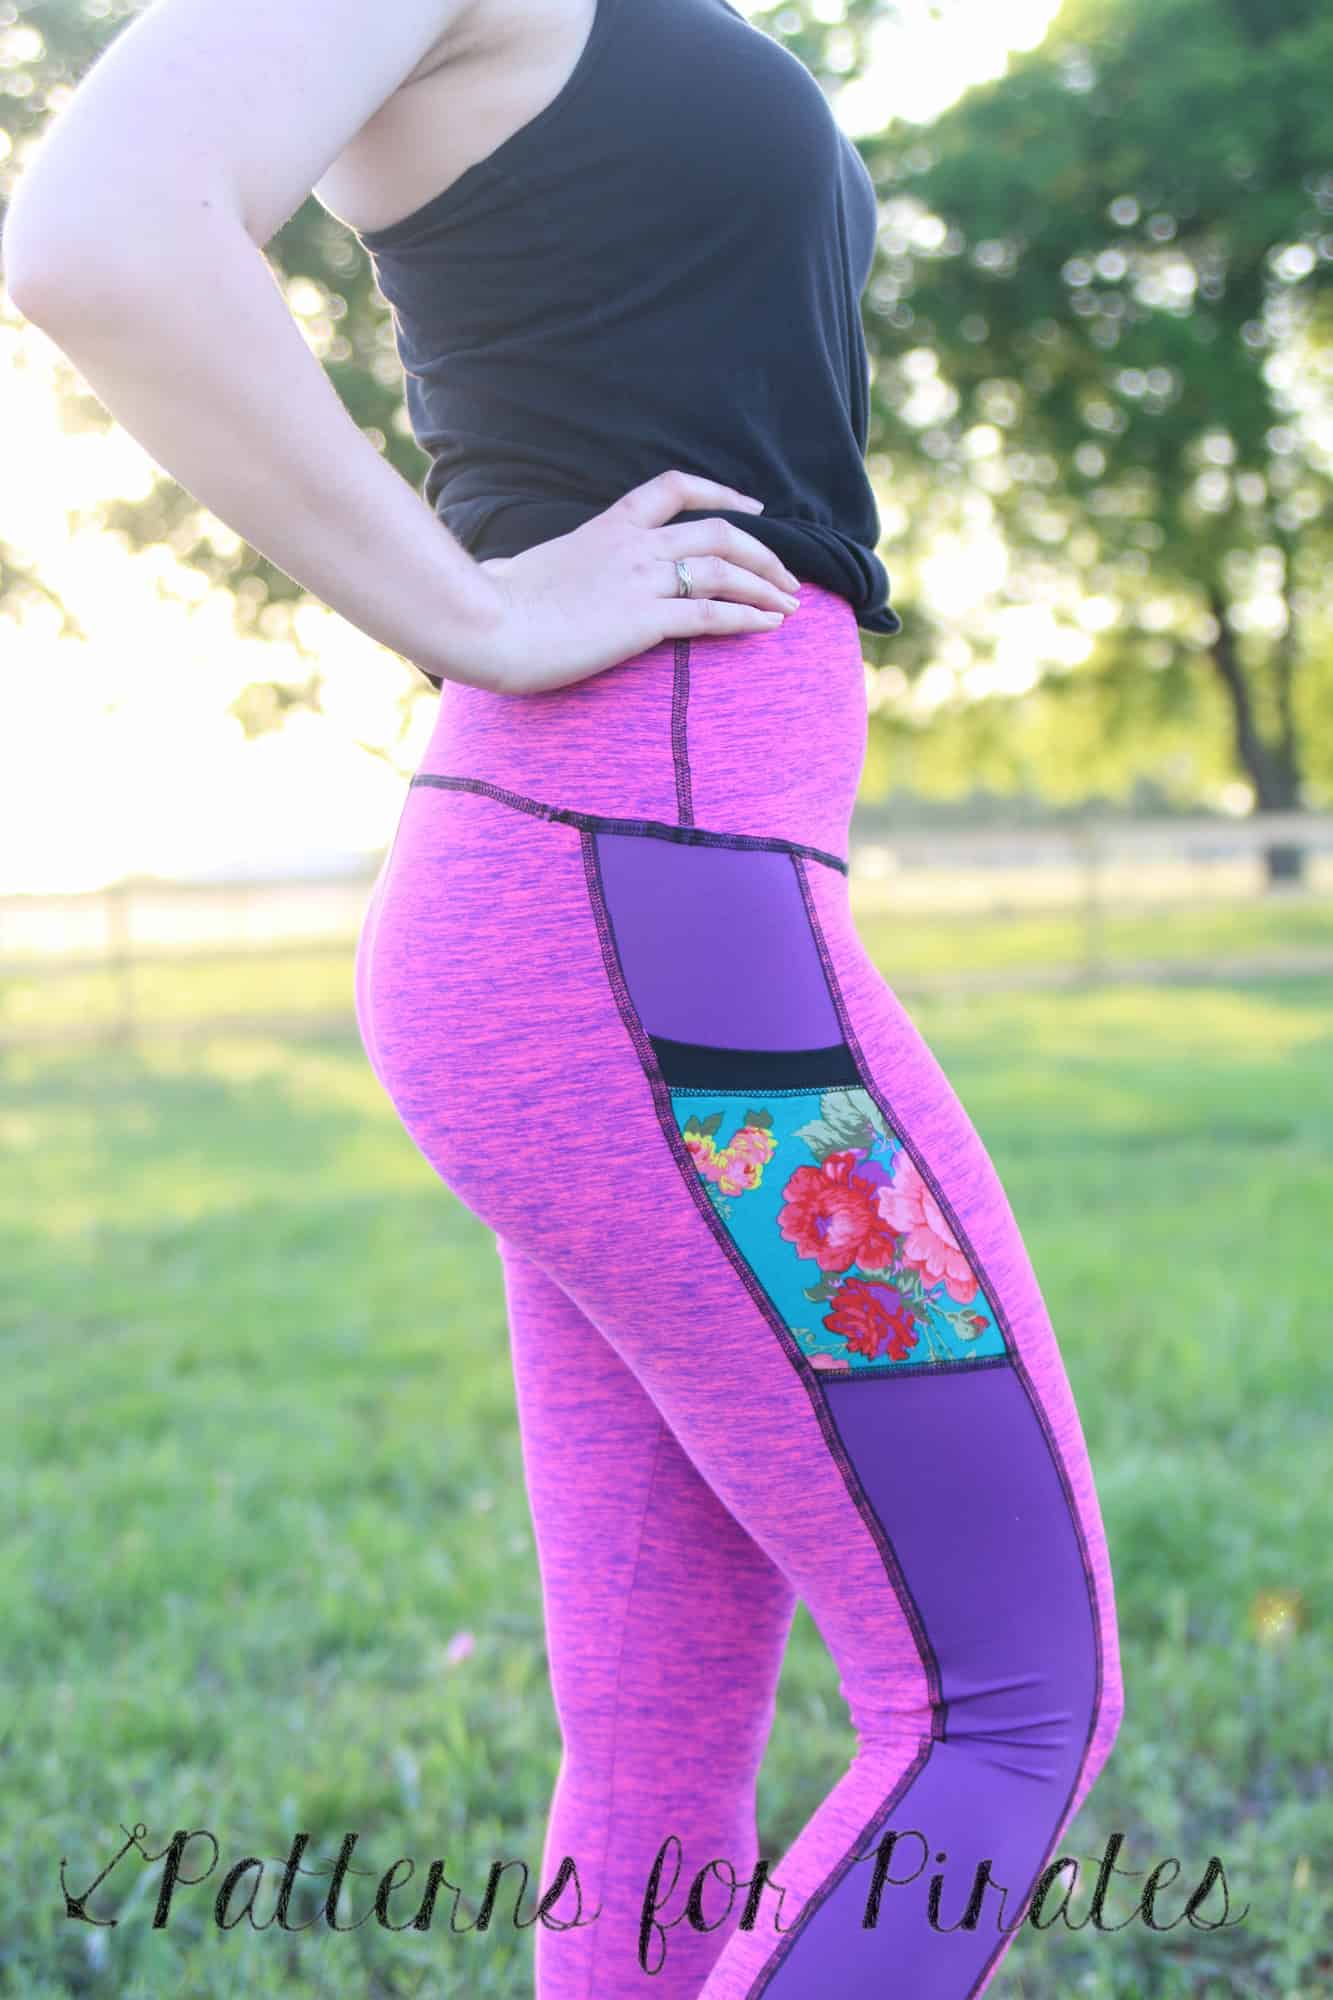
Lets take another pattern, this time a fitted one, the Peg Legs.  The Pegs are a traditional tight fit legging with negative ease.  The standard ease used in athletic wear is usually 20-30%.  The Pegs are right in the middle through legs and up at the higher end at 30% at full hip and high hip.  Since they do not have elastic I preferred the tighter end of normal to help them from inching down.  We’ve seen them compared to others with less negative ease and neither are wrong, just a different preference on how fitted the designer had in mind.

Now lets talk about how you can use this knowledge to your advantage in sewing for yourself!  Once you understand ease and fabric choices you can essentially make the perfect garment fit you every time before even cutting! WHAT? I know, amazing right?  Now, this doesn’t happen overnight.  It’s something you will come to learn about your preferences over time and experimenting.  But, the more you pay attention to both your fabric choices and the design ease the faster you will get there!

Take all the clothes you love and look at them, study them! For that matter take the ones that you think are a little tight or loose too.  How much ease does it have to your body? On the bust, waist, hip?  What fabric is it made out of (this doesn’t have to be exact, but “thin and drapey or thick and stable categories work well).  Now you can apply this to your sewing choices.  You will learn if you like a looser fit with those thinner drapey knits- or a tighter fit with those.  Maybe you tend to always love thicker stable knits with you do have a more fitted garment.  Whatever you find in your “research” try to apply that to your pattern, fabric, size choices.  If you know you tend to like at least 2″ of ease at your waist you can know if you want to grade in or out at a waist on any t-shirt pattern.  Maybe you only like knit pants with some negative ease on the booty… When you open up a new knit pant pattern you can pick your size off that finished measurement chart and know for certain you’ll like the fit on the booty.  If you are just beginning it’s something you will want to make an effort to pay attention to.  Eventually it will become second nature 🙂 You’ll be able to open up a new pattern and know just how to use it to create YOUR OWN intended fit if you happen to not love the designer’s intended fit.

Filed Under: Fitting, Frequently Asked Questions, P4P University 8 Comments

Woven Apparel Fabrics

September 22, 2017

Since we did the blog post about Knit Fabrics and included a printable cheat sheet for those diving into the world of garment sewing- we’ve been asked to do a Woven Apparel Fabrics one as well! As part of our Summer of Wovens I’d like to present

I worked hard on a Woven Fabric Cheat Sheet that you can download and look through when trying to pick the perfect fabric to pair with your woven patterns.

I also did a show and tell with the woven apparel fabrics I had in my stash in our Facebook Group. But you can watch it here as well:

I hope this helps you pick the perfect fabric for the P4P patterns drafted for woven fabrics!

Filed Under: Frequently Asked Questions, P4P University, Sewing with Woven Fabrics Leave a Comment

P4P University – plackets

September 13, 2017


Ohhh….plackets! Why are you so scary? Today on the blog I’m hoping to change that perceptions of them and help you face this fear.

What are plackets?

Plackets are basically just a slit or an opening in the fabric that allows for garments to be easily put on or taken off. Sometimes plackets are purely decorative. You can find them on sleeves, on pants, back of skirts and neckline. You can have a placket on the back of the neckline or on the front. The most common neckline front plackets are for Henley or Polo style shirts. On this blog I will be using the new Brunch Blouse placket but you can certainly utilize the same principles for a Yo Ho Henley or a Women or Men Henley shirt too.


Interfacing? Yay or nay?

My first tip/recommendation is to always use light weight interfacing for the placket piece. Simply fuse a piece of interfacing to the wrong side of the pattern piece. You can get away with not using any if you’re making a woven pattern but even so, the result will be so much better if you do add it. Interfacing will help stabilize your piece which in turn will make it a lot easier to sew. ALWAYS use interfacing for knit plackets!

Mark and press!

As you can see in the video above, I use a tailor chalk to mark the pressing and sewing lines on the back of the placket piece. You can use a soluble fabric pen or a fabric marker too.

If you have a tailor clapper now would be a good time to use it. It will defiantly come in handy and help keep those pressing marks firm. Spray starch will help too!

Sew slowly!

Make sure you pin a lot and catch any notches that need to be enclosed! This may be the most tedious part of adding a front neckline placket so it is well worth paying extra attention and sewing slowly.

Enjoy the fruits of your labor! 🙂

Now that you took the time to create the perfect placket, show it off! Be proud of your achievement and don’t let sewing techniques intimidate you! Speaking of showing off…don’t forget to brag about your Henleys and Brunch Blouses in the P4P group.


Filed Under: P4P University, Sewing Techniques, Uncategorized 4 Comments

Sweet Bow :: Pattern Release/Update!

September 7, 2017

Summer might be coming to an end, but we’ve still got some “Summer of Wovens” patterns up our sleeves!

Before we get to the fun: If you already own a copy of the original Sweet Bow, you will NOT need to re-purchase to get the updates.  If you bought here (PatternsforPirates.com) or on the Craftsy store, you will simply need to sign into your account and re-download the file.  If your purchase was via Etsy, email help@patternsforpirates.com (WITH PROOF OF PURCHASE) and you will get an updated file.  It’s as easy as that, we promise!

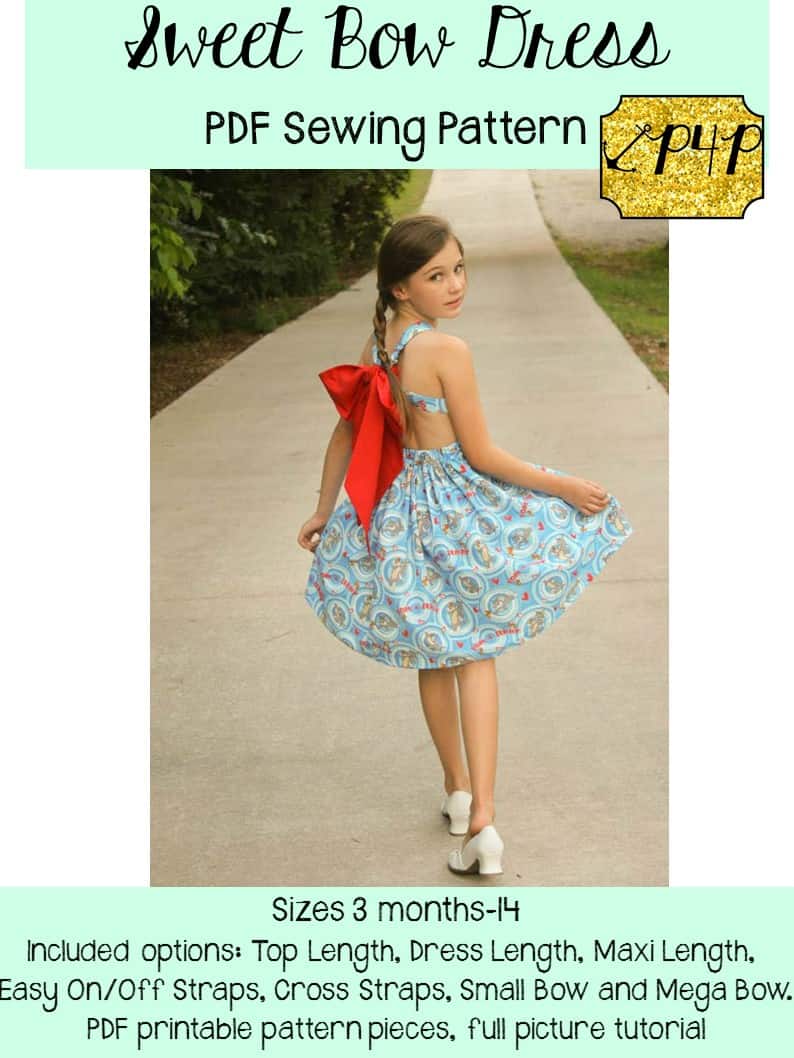
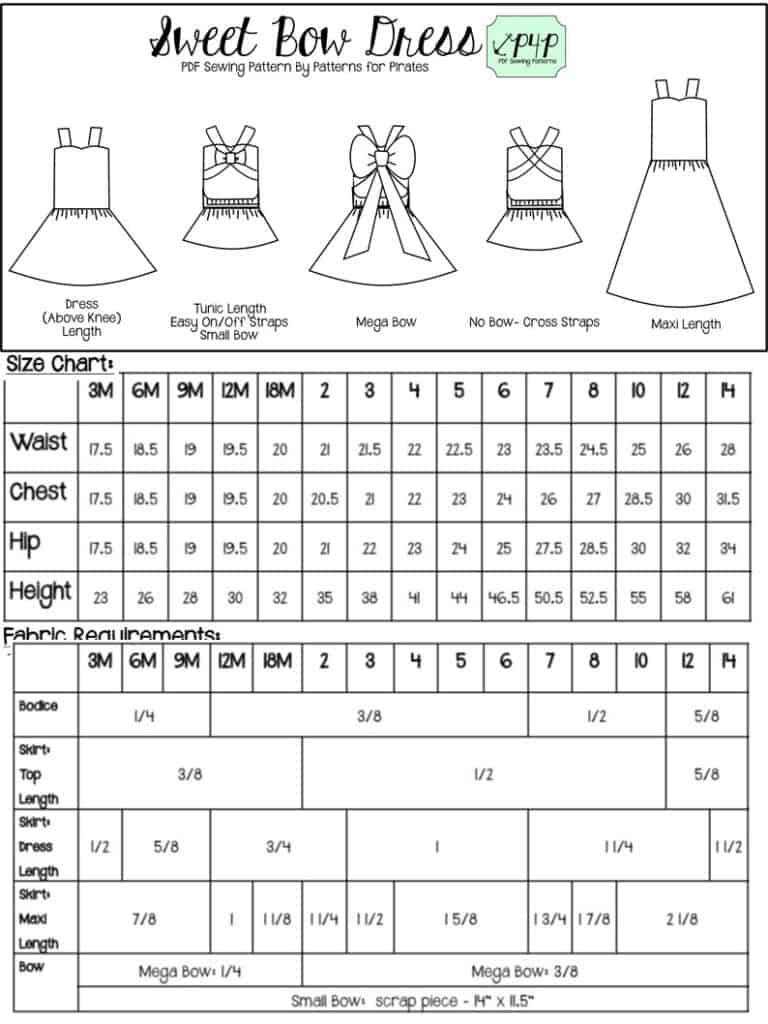
The Sweet Bow is a stylish pattern with a sweetheart neckline, a bodice that hits at the natural waistline, and features a very full and twirly skirt.

This was one of the earlier Patterns for Pirates patterns and we wanted to make sure to update it to the current P4P standards.  The pdfs now include our layers feature and can be found in letter and A4 (no A0- it is only 2-3 pages to print!).  We also tweaked the fit for the smallest sizes and added maxi length option for some extra glamour.

The Sweet Bow now features three hemlines (top, dress and maxi), two strap options (cross and easy on-off), and optional bow embellishments (small and mega bow).

**Want to learn more about how to measure for this pattern?  We’ve got you covered with an in-depth blog HERE.  In case you’re new to Patterns for Pirates and PDF patterns in general, we have a great blog full of new user tips HERE to help you get started!  And don’t miss out on the Measurement Chart printables, to help keep all of those crazy numbers in one easy-to-reference spot.

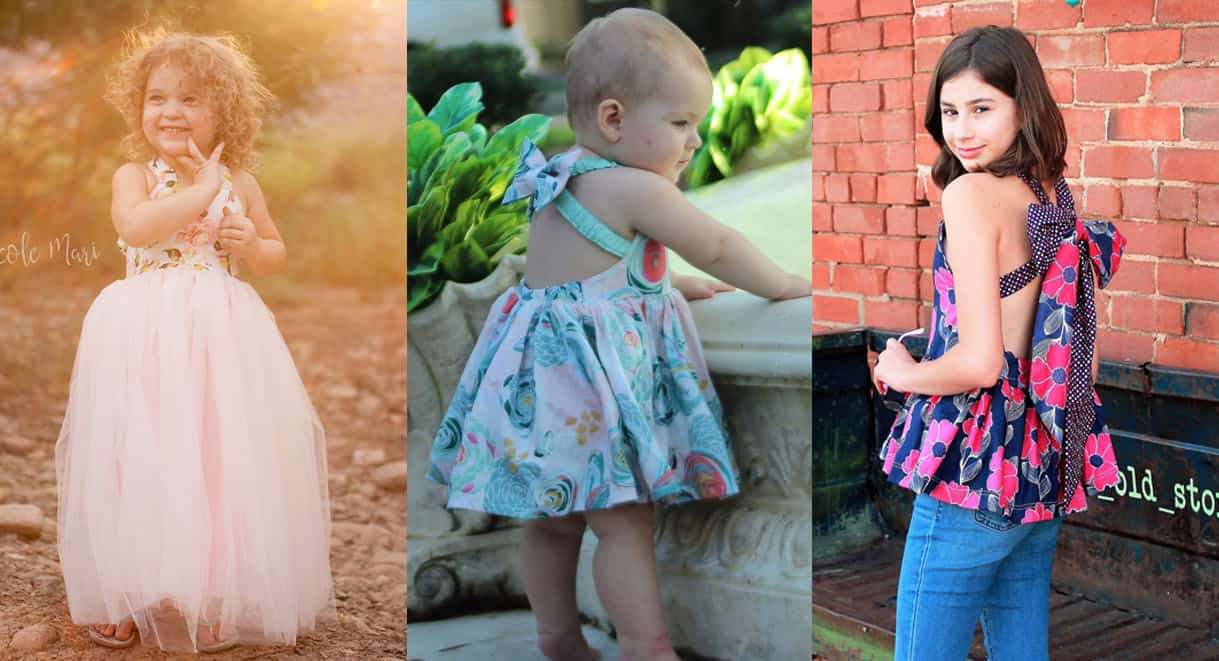
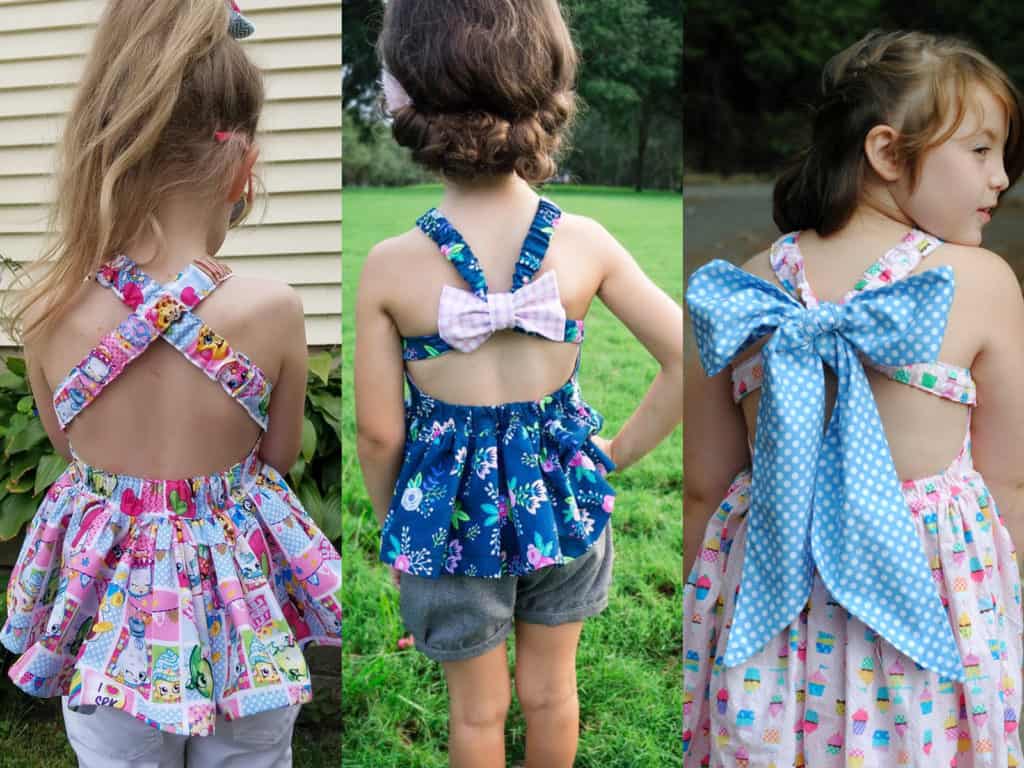
Here’s a quick rundown of the options:

Three Hem Lengths

Cross Straps, Small Bow + Mega Bow


Ready to purchase the Sweet Bow and get to sewing yourself?  Go grab your copy HERE!!  The pattern is on a re-release sale through Sunday, September 10, 2017.

If you’re still needing more inspiration, be sure to head over to the Patterns for Pirates Facebook Group Album to see everything our beautiful testers have sewn for their littles.  Don’t forget to tag us on Instagram (@patternsforpirates | #patternsforpirates) and to share your finished items over in our Facebook group!  We love to see what you make!

Happy sewing, friends!

Filed Under: Pattern Release 2 Comments

Harvey Relief

August 31, 2017

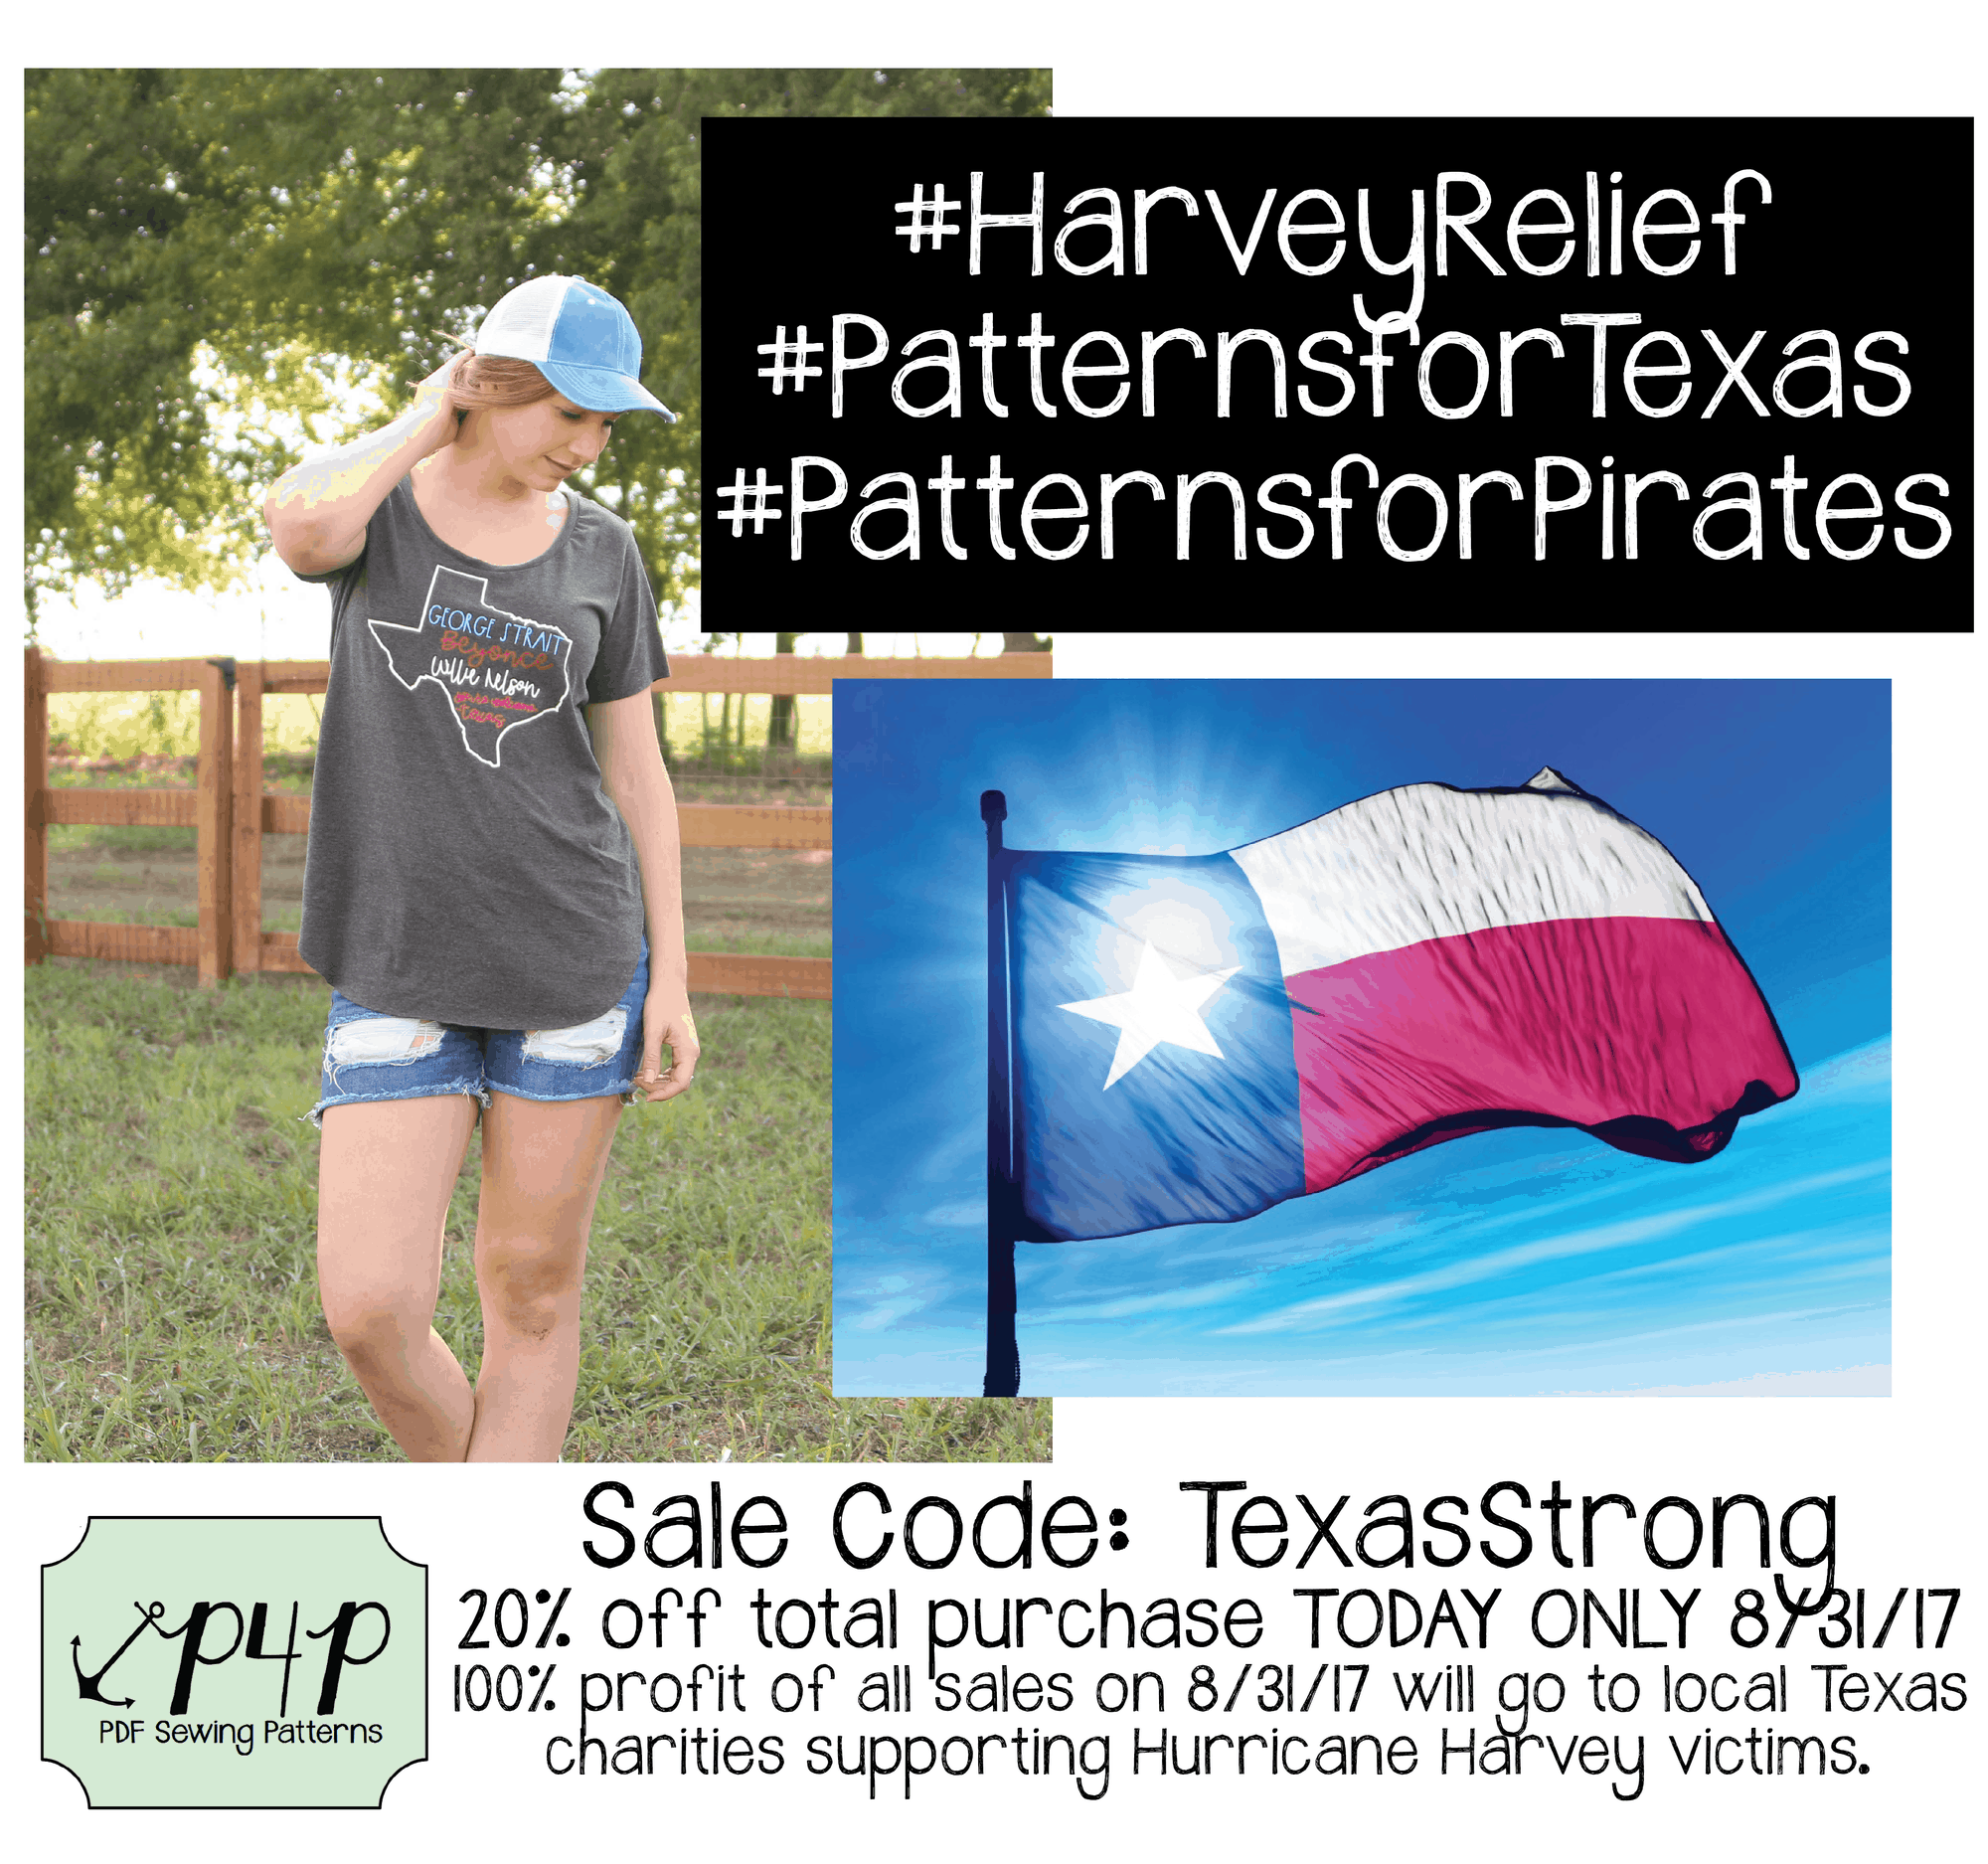
As most of you know, I’m a Texan.  The tragedy of Hurricane Harvey came so quick and devastated so many, it’s completely overwhelming.  We know so many friends and family who evacuated, are without their home, had to leave in the shortest notice with nothing but their children in tow, and so on.  There are so many heart-wrenching stories and those that were lucky are doing everything they can to help their neighbors, it’s inspiring.  I was at a loss of what I could do with P4P to help, but I’m hoping together we can raise some funds to send down to my fellow Texans in need.


I will be donating 100% profit of all sales made TODAY (August 31, 2017) on the P4P site.  And to try to boost that number I will be doing a site wide sale code (we usually only do site wide sales 2-3 times per year!) Use code: TEXASSTRONG for 20% off your total purchase today only- August 31st, 2017.  To help give the most we can, I’m asking kindly to share without affiliate links today- this will help get every penny to those who are is desperate need.

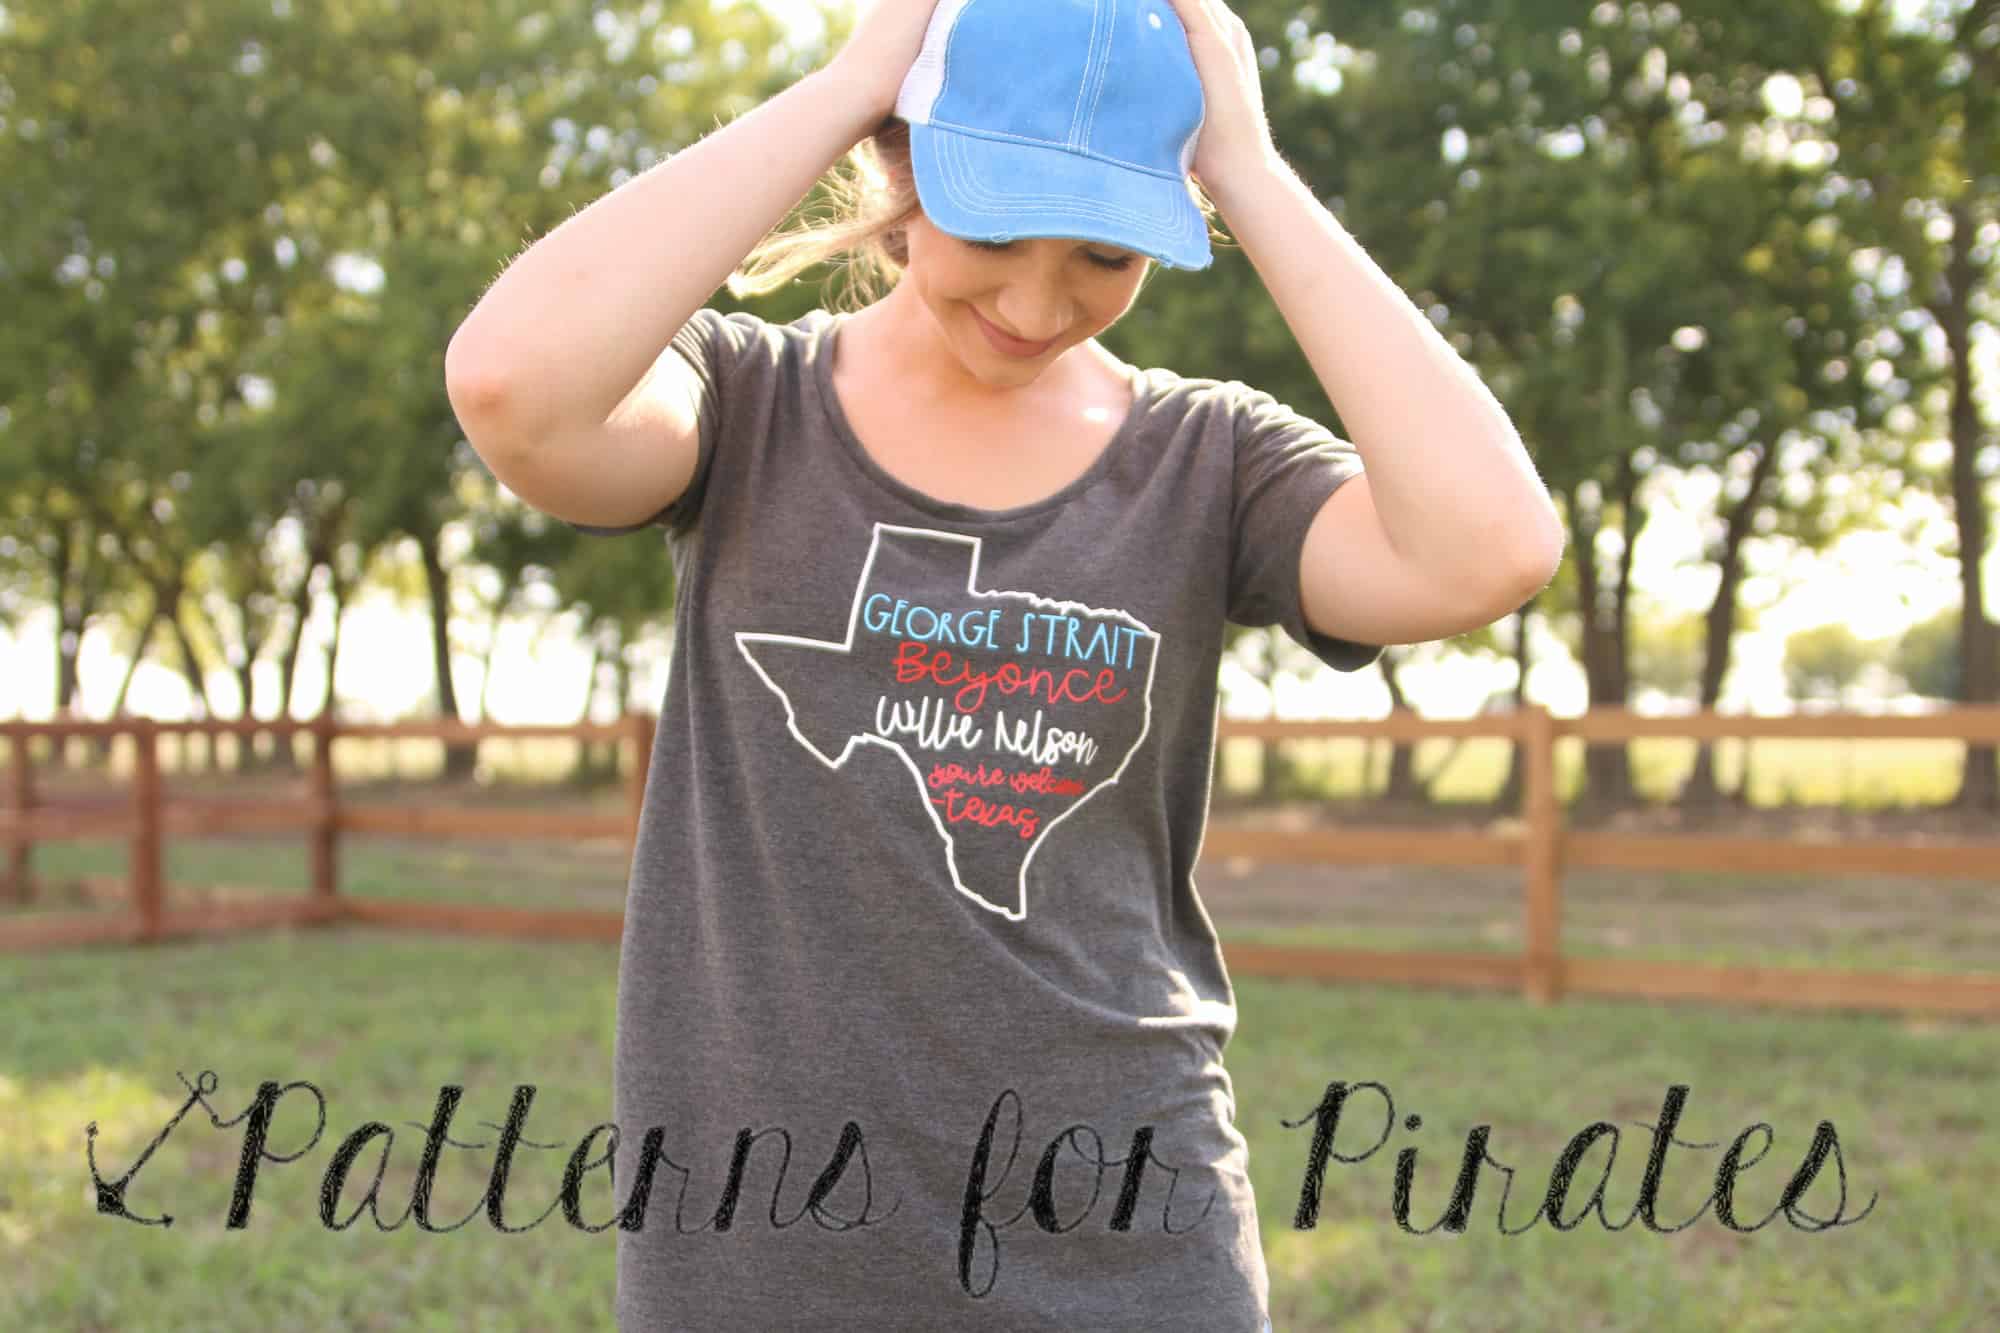
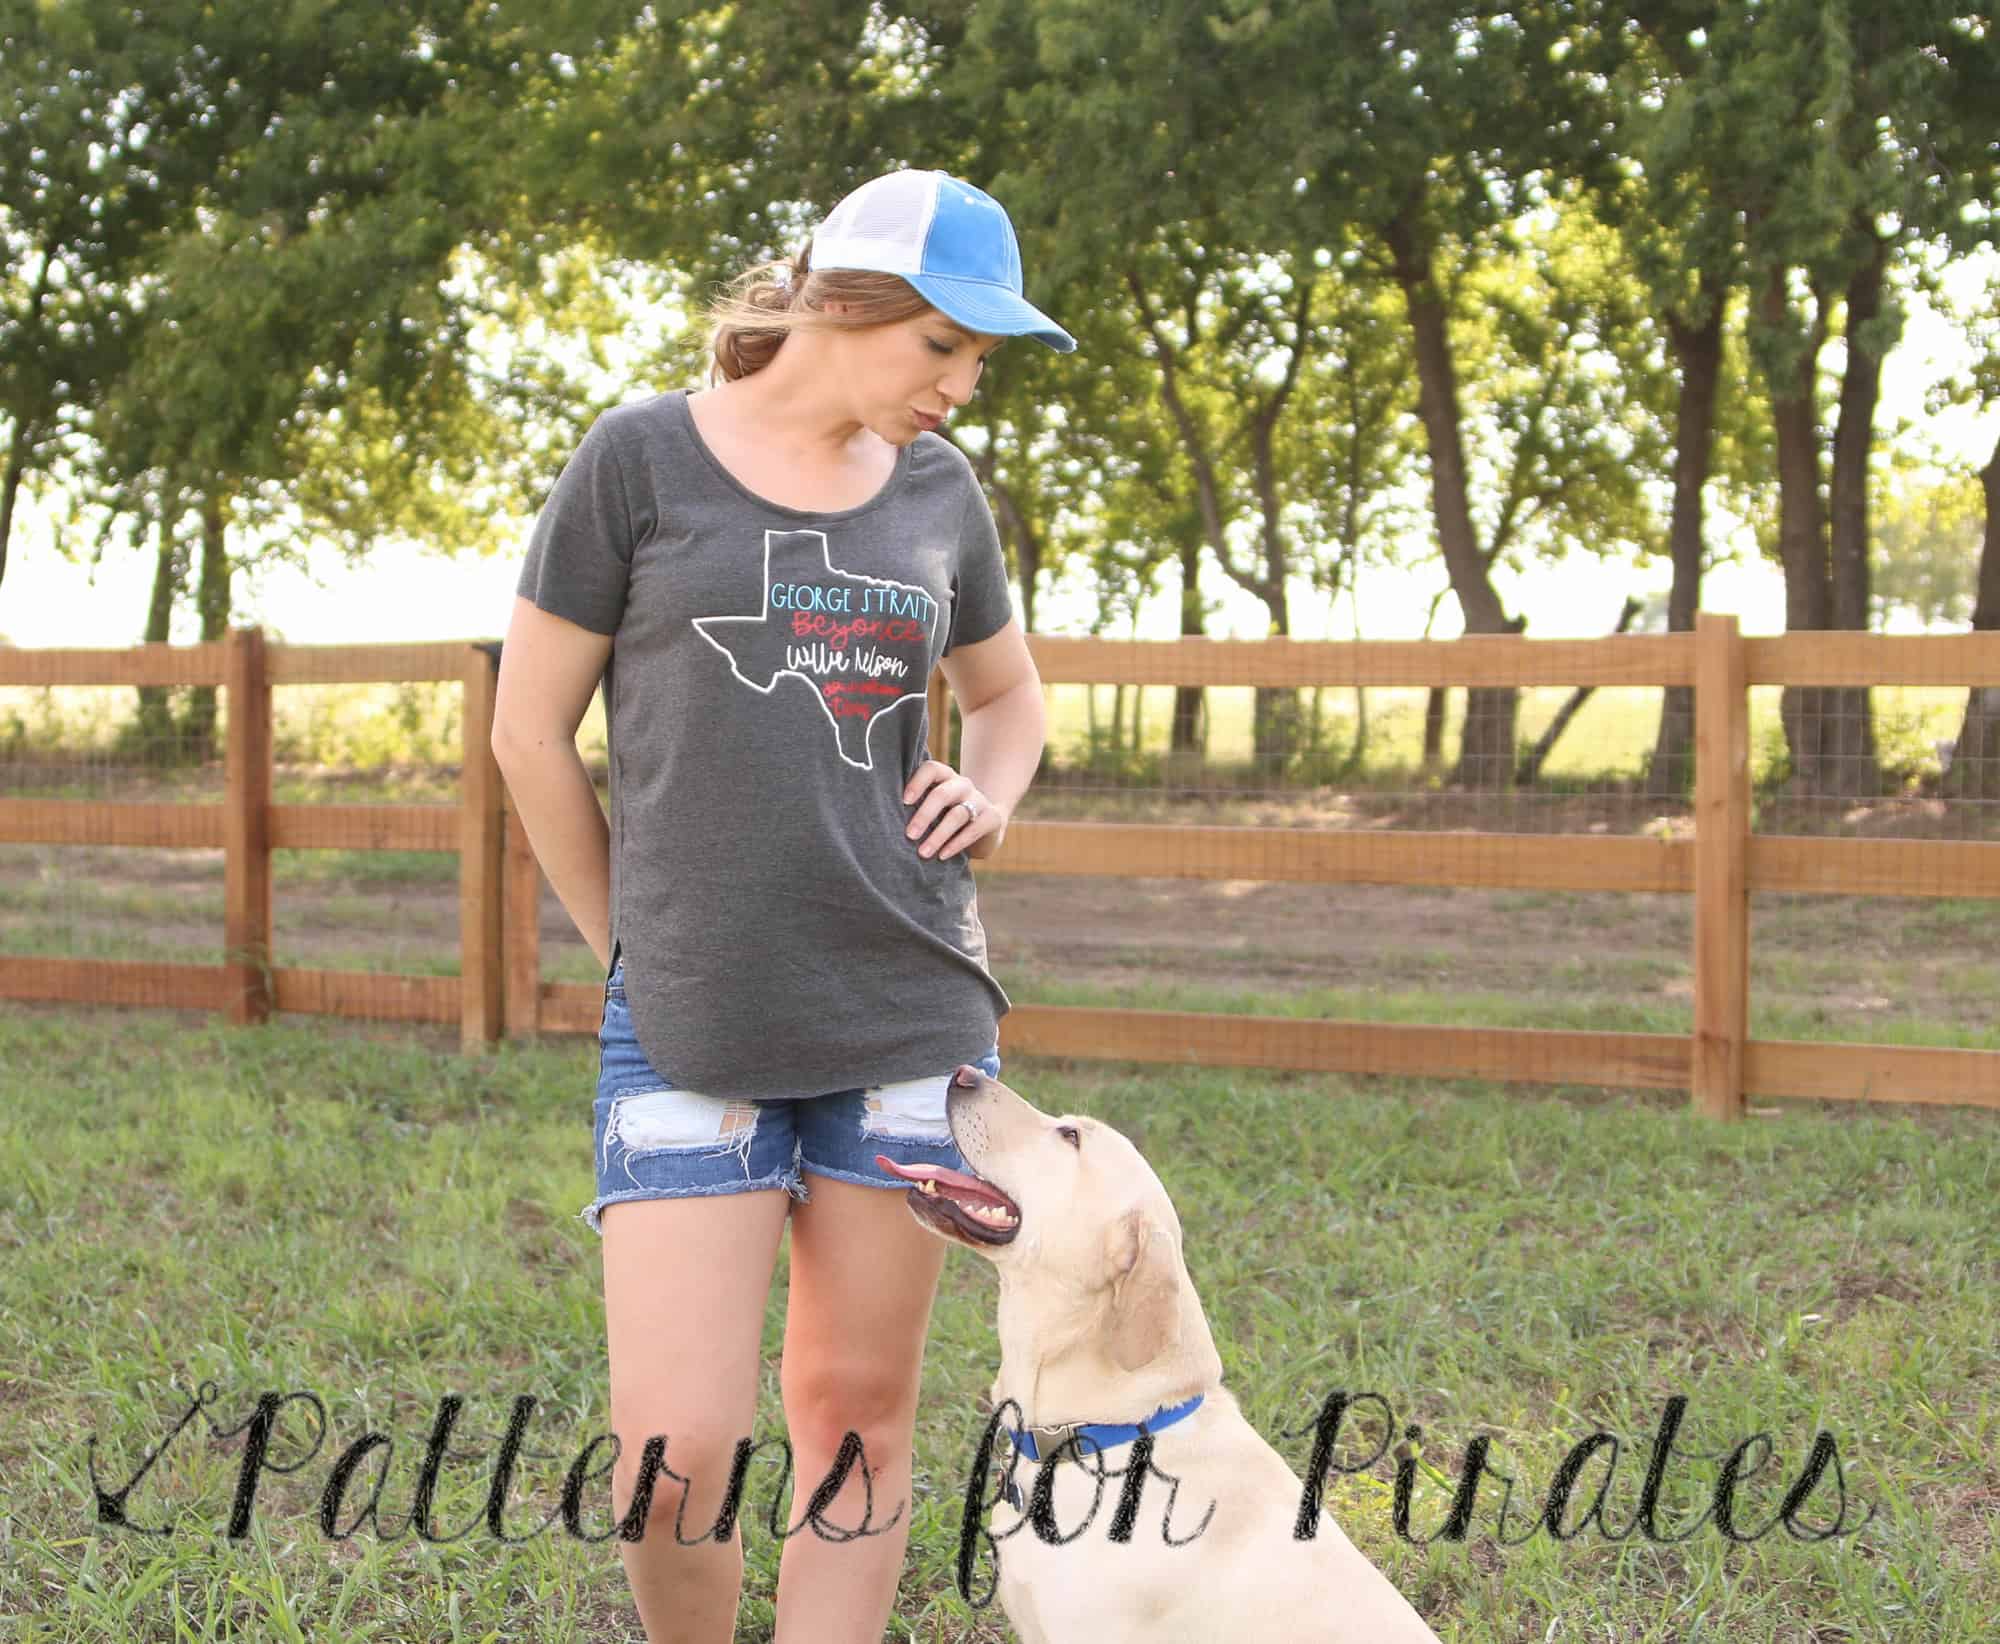
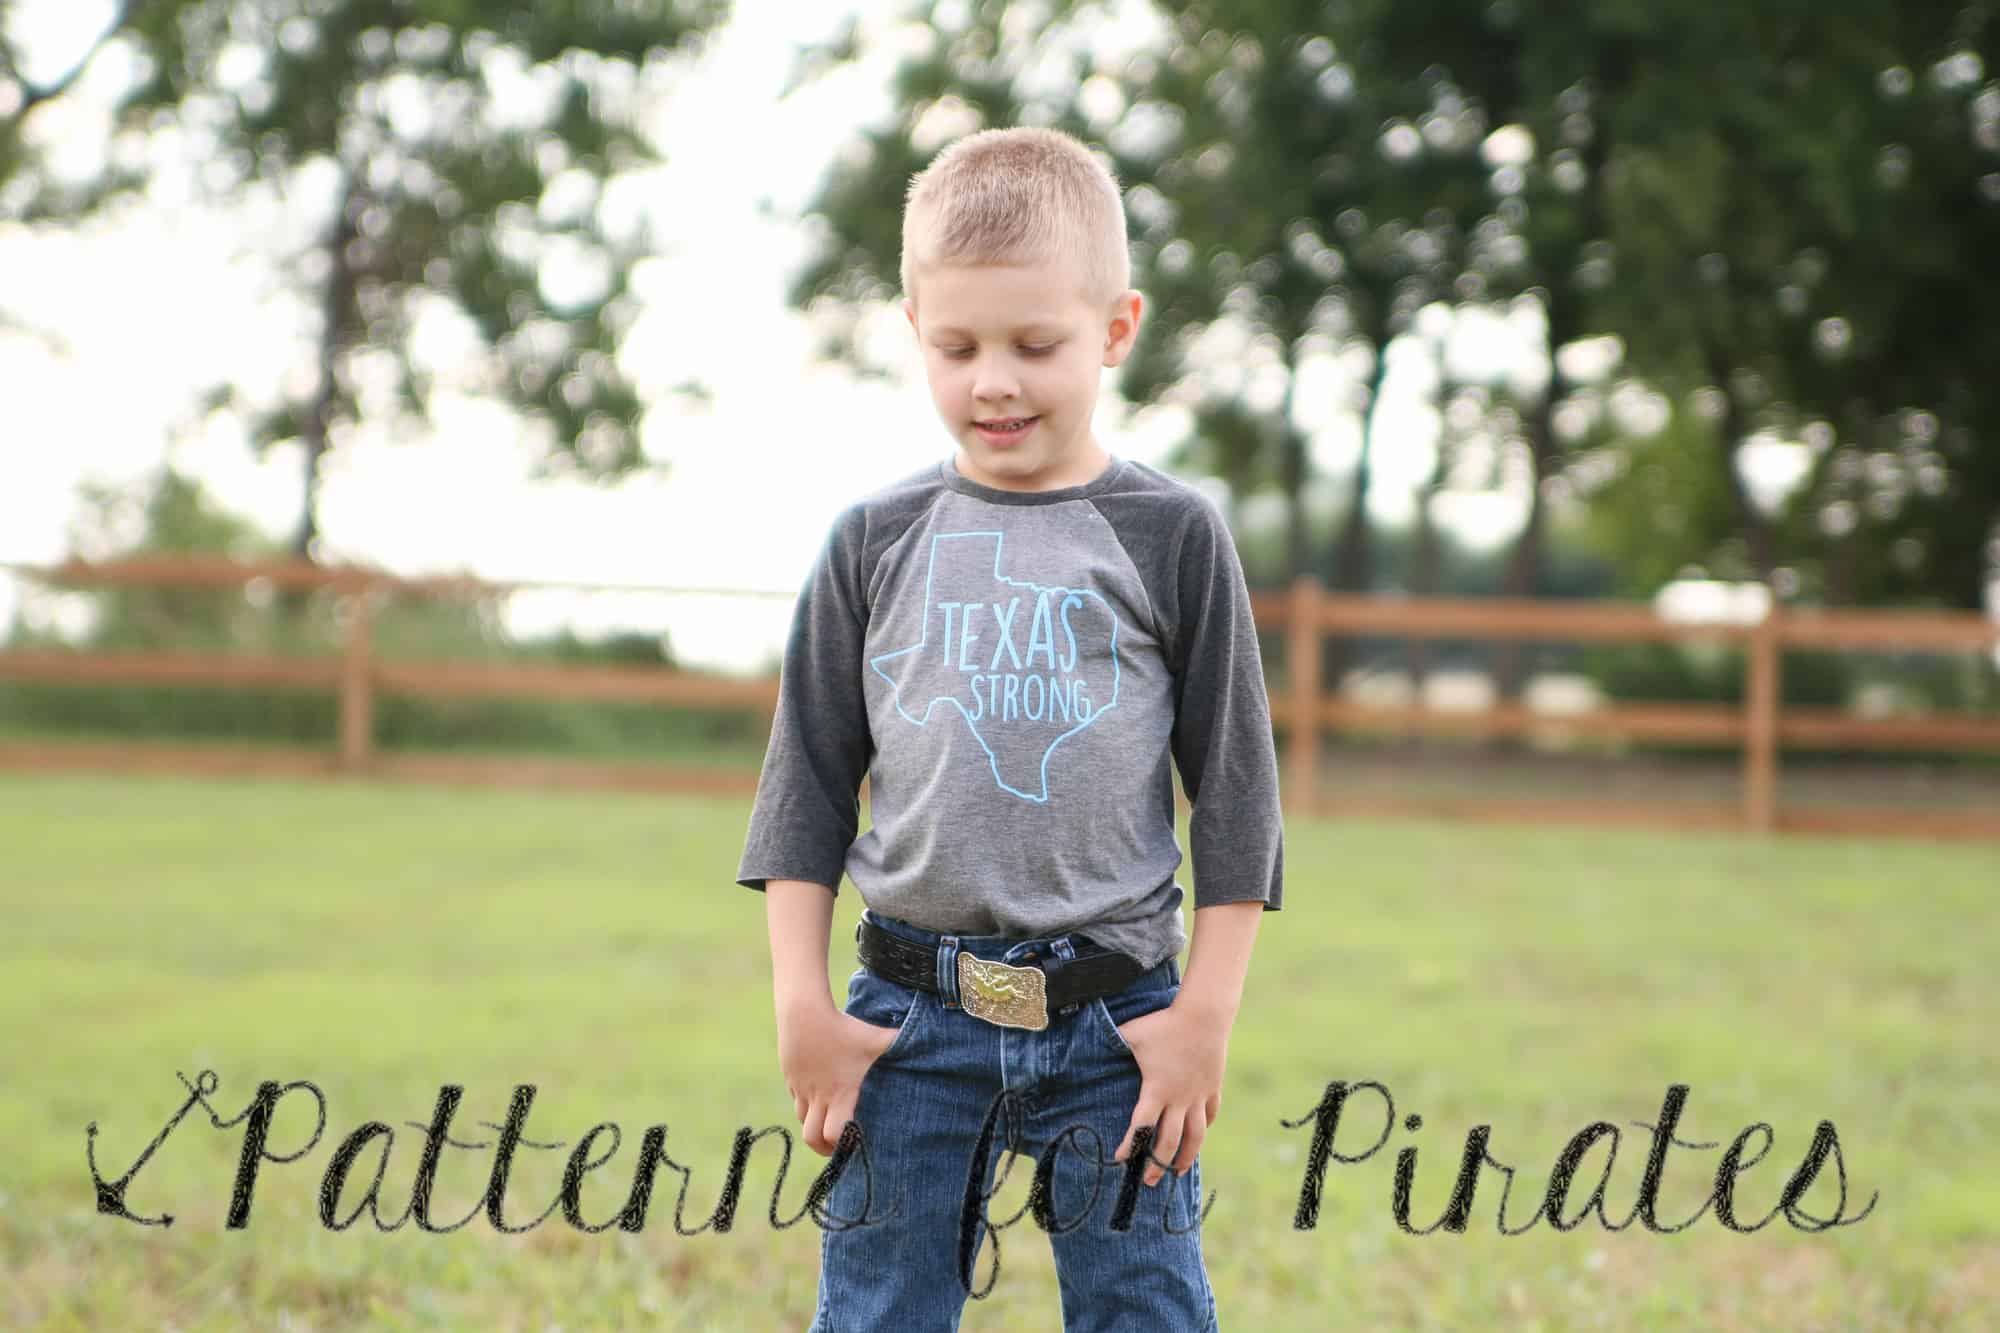
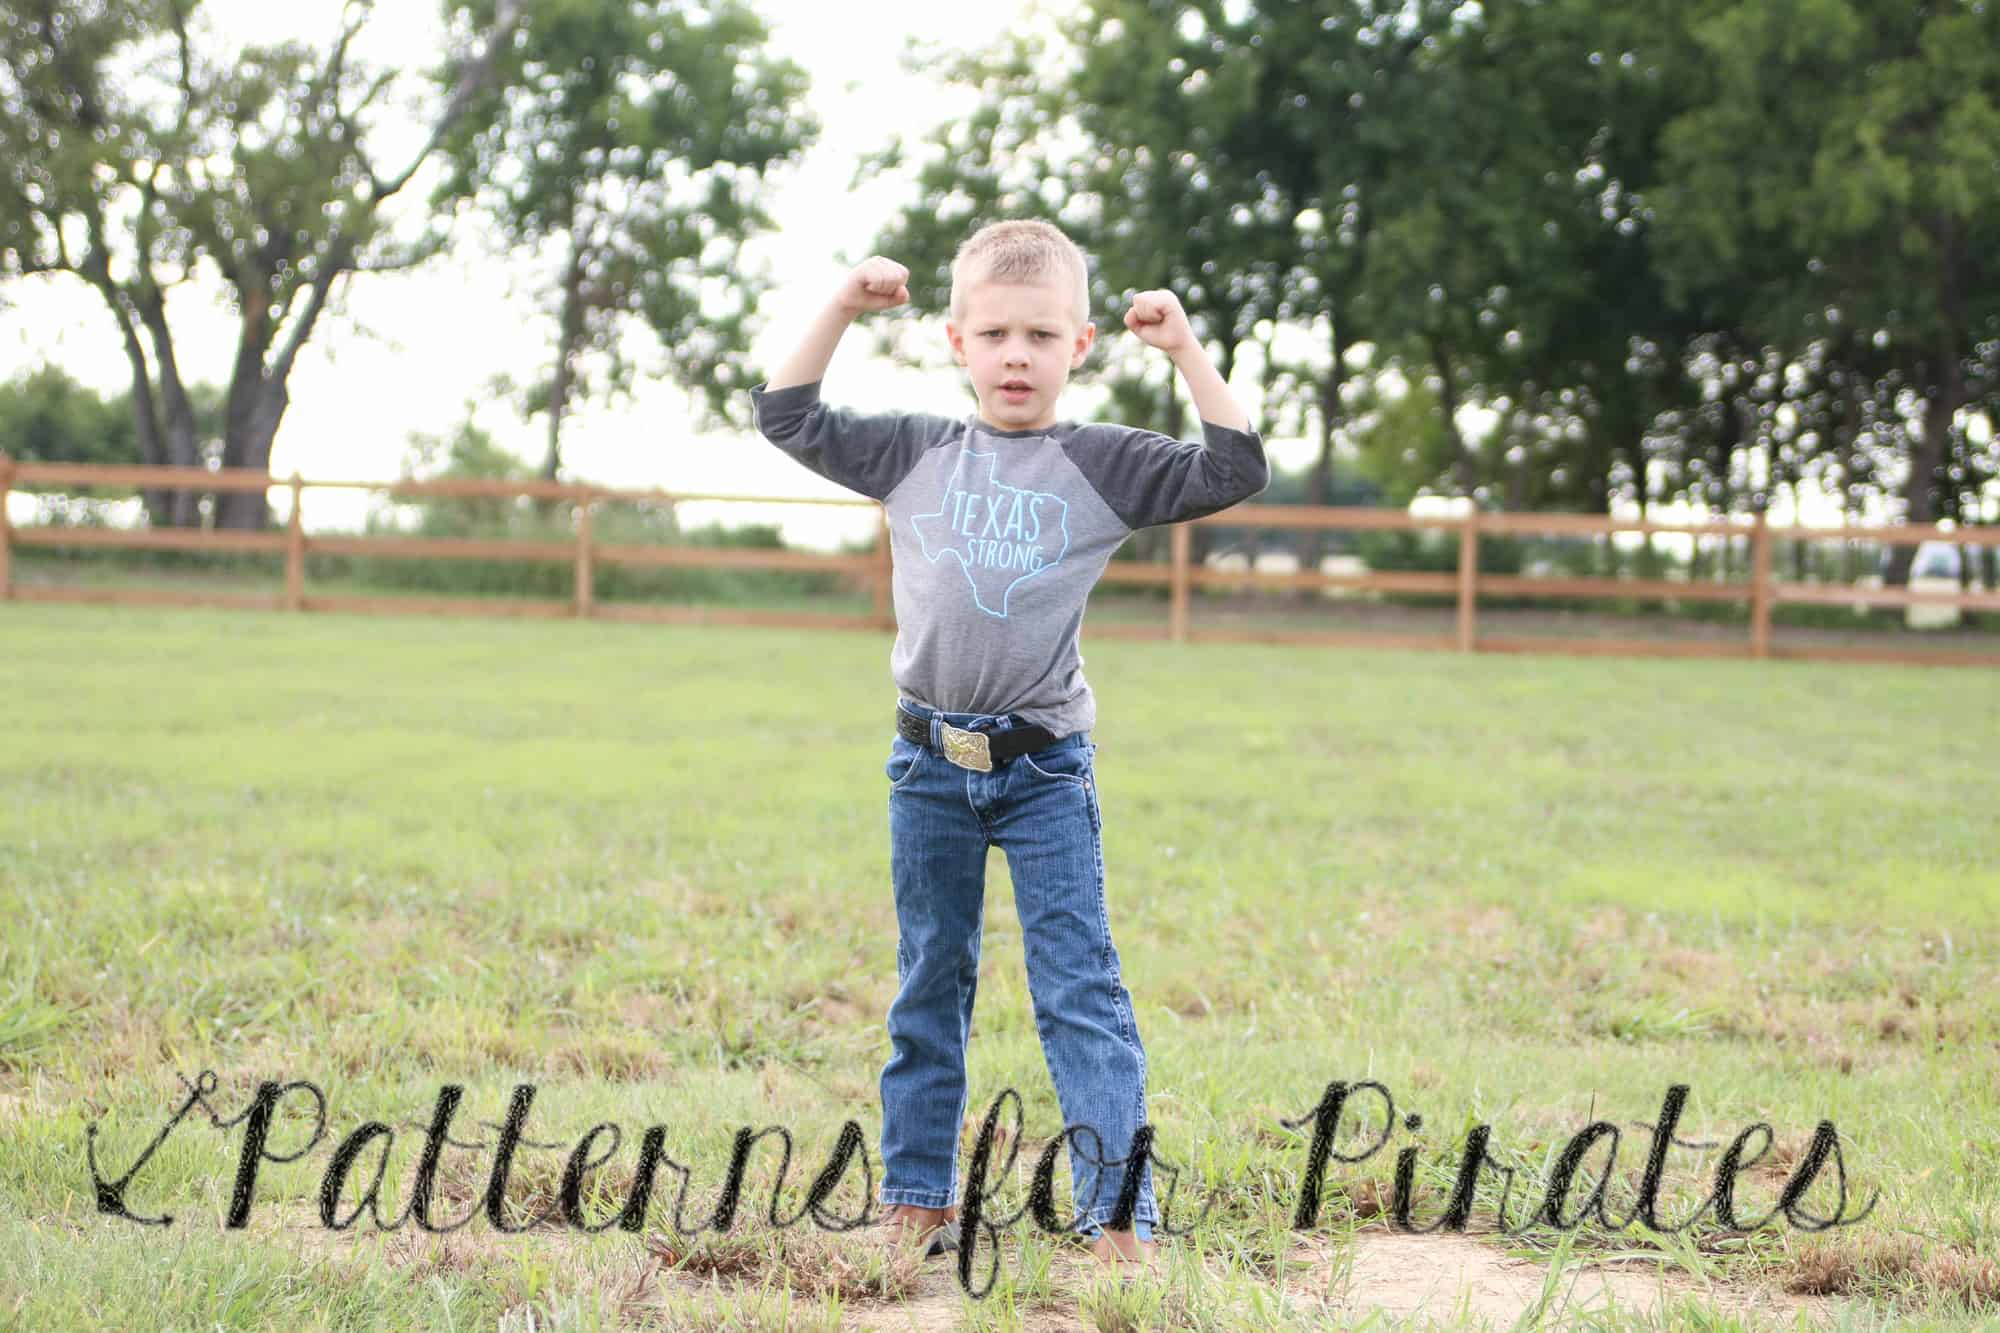
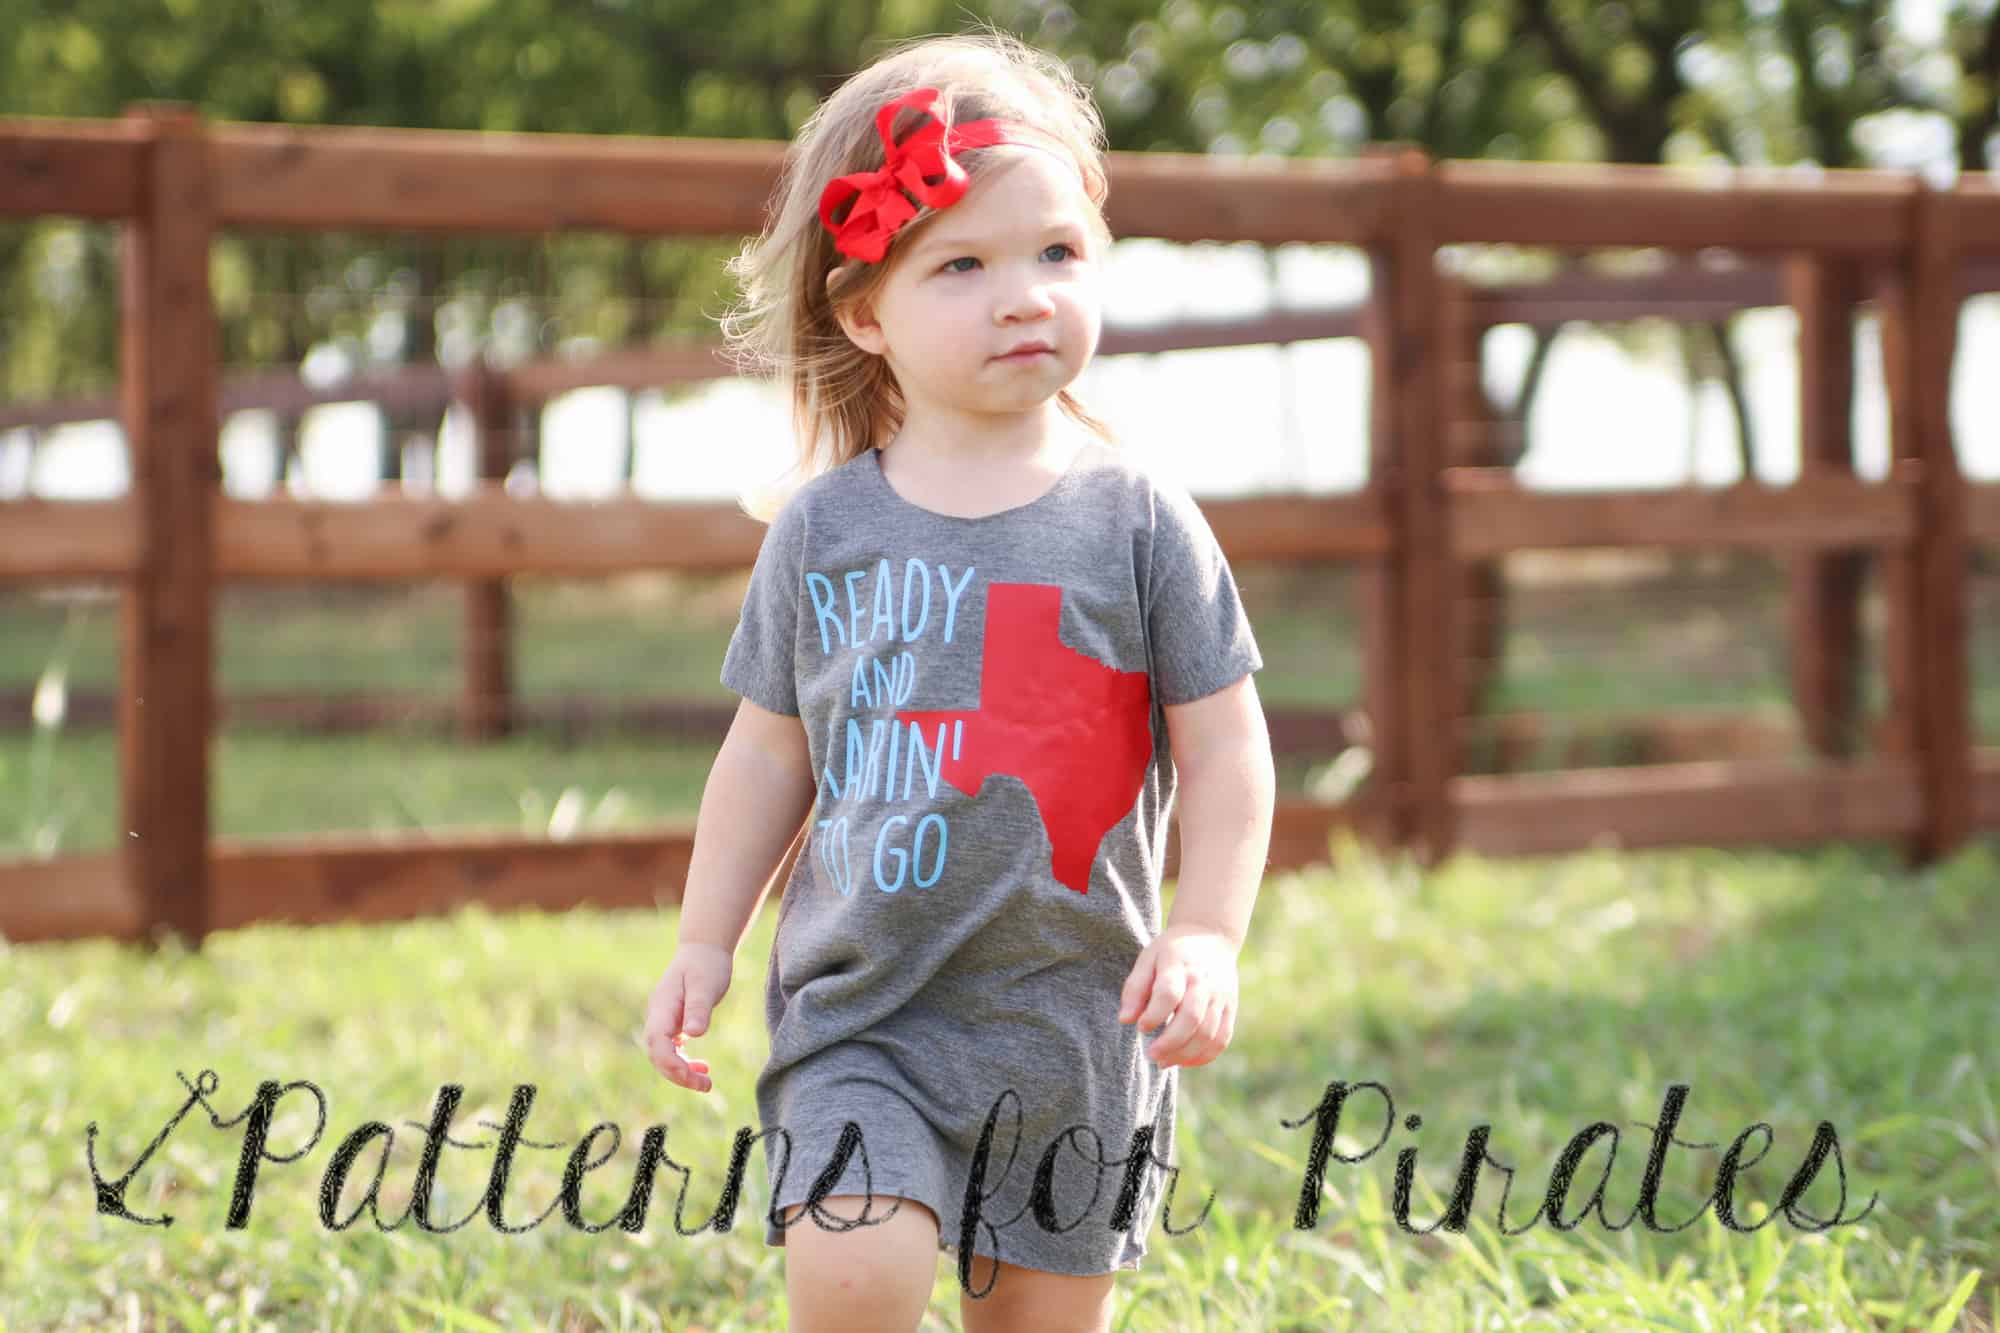
Turns out I’m not the only PDF Sewing pattern designer thinking of those on the Texas coast either.  My sister, who has huge ties to the southern coast, immediately set down and designed some wonderful Texas Pride cut files and is giving 100% profit of all sold to the Harvey Relief.  You can get them bundled all together here or buy few individually as well.

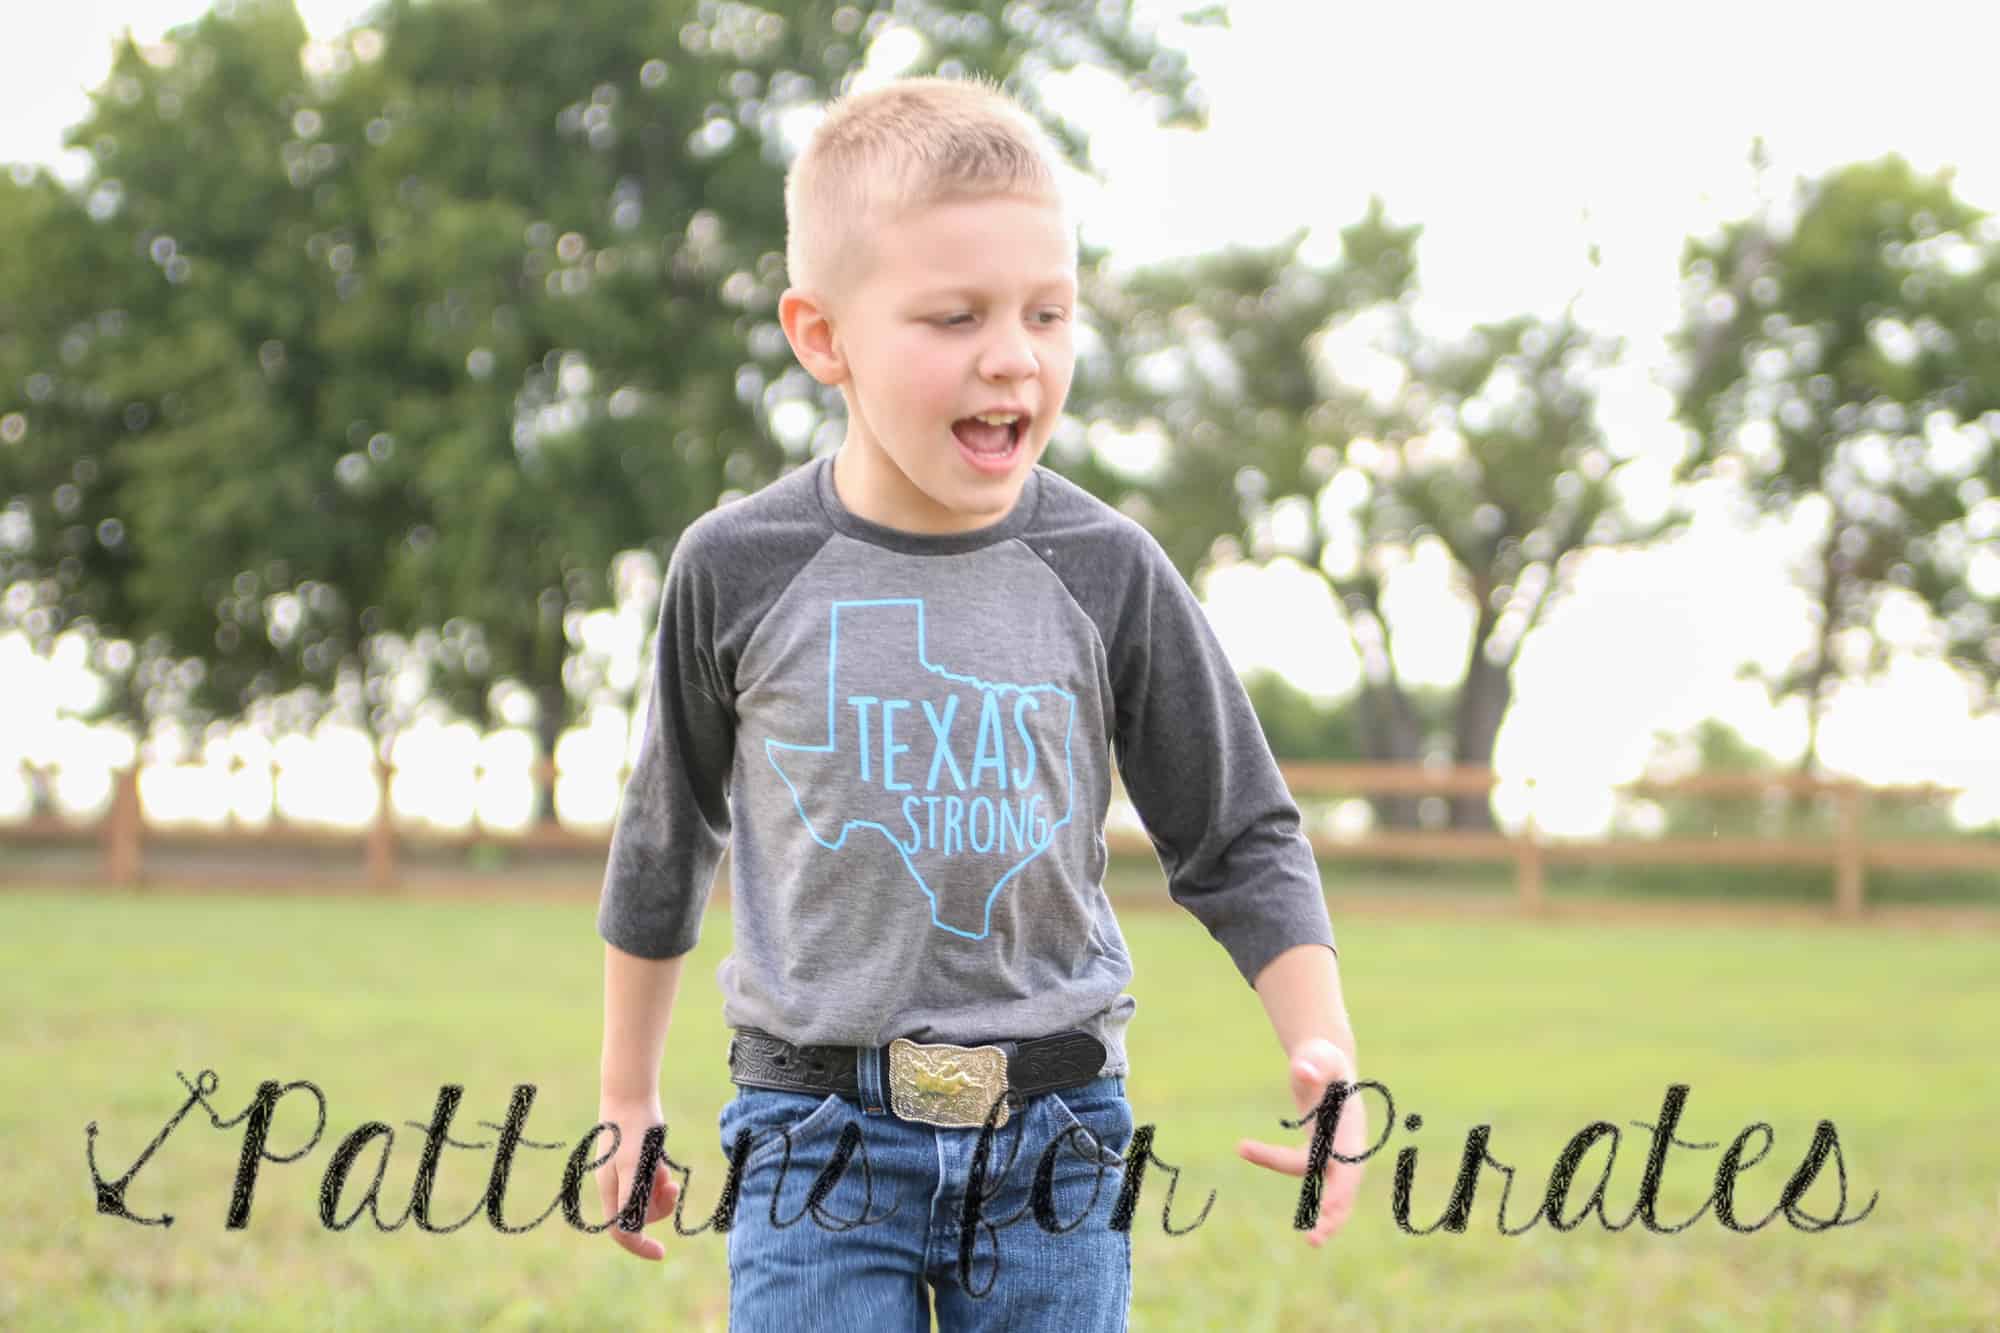
I loved them so much- I purchased them and made one for each member of my family.  Even my husband asked for one, although I haven’t grabbed his pictures just yet.  My son isn’t quite old enough to understand the situation, but he knew the shirts meant people in Texas needed help and we were going to try to help so he was ready to pose for me unlike he usually does.

I think Megan might have made this saying just for my Baby Girl 😉 She’s always Rarin’ to GO! So many parents with younger kids are now without diapers, formula, bottles, let alone their pacifiers, blankies, lovies…any comfort we can provide those little babies will make my heart lift up.  So many found themselves carrying their small children above the flood waters.

We’re not the only ones that have joined in trying to send funds for the Harvey Relief. A ton of PDF Sewing pattern designers are looking to help and many have set up their own sale codes in their groups! I’m so grateful to be in an industry that is so kind and willing to work together to help others.  I urge you to go take a look at each designer here and make any purchases today while they are giving some proceeds to a Harvey Relief charity.

The Harvey Relief sale codes are only valid TODAY- August 31st, 2017 so please let everyone know that might be interested in PDF Sewing patterns! We will be posting in the P4P Facebook Group where you can tag any friends/members.  Again, if you are an affiliate with P4P or these other designers please remember not to use affiliate links when sharing today so we can give everything we can to the charities.

Thank you, together we can help!

-Judy

Filed Under: Announcement 5 Comments

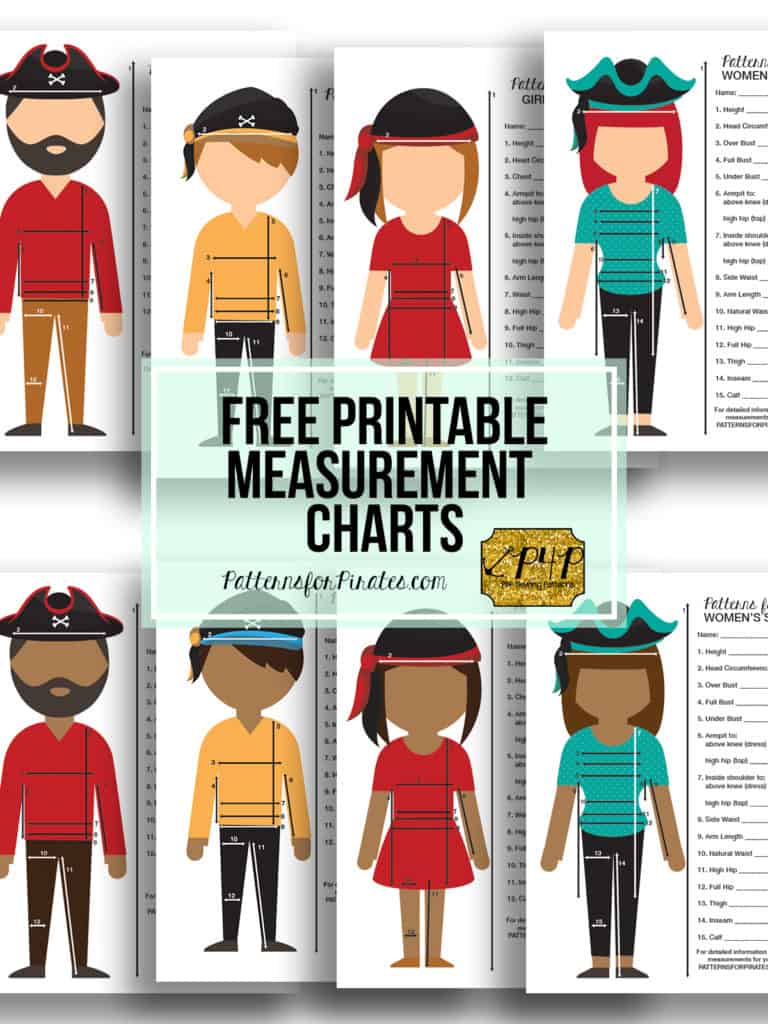
FREE Printable Measurement Charts

August 14, 2017


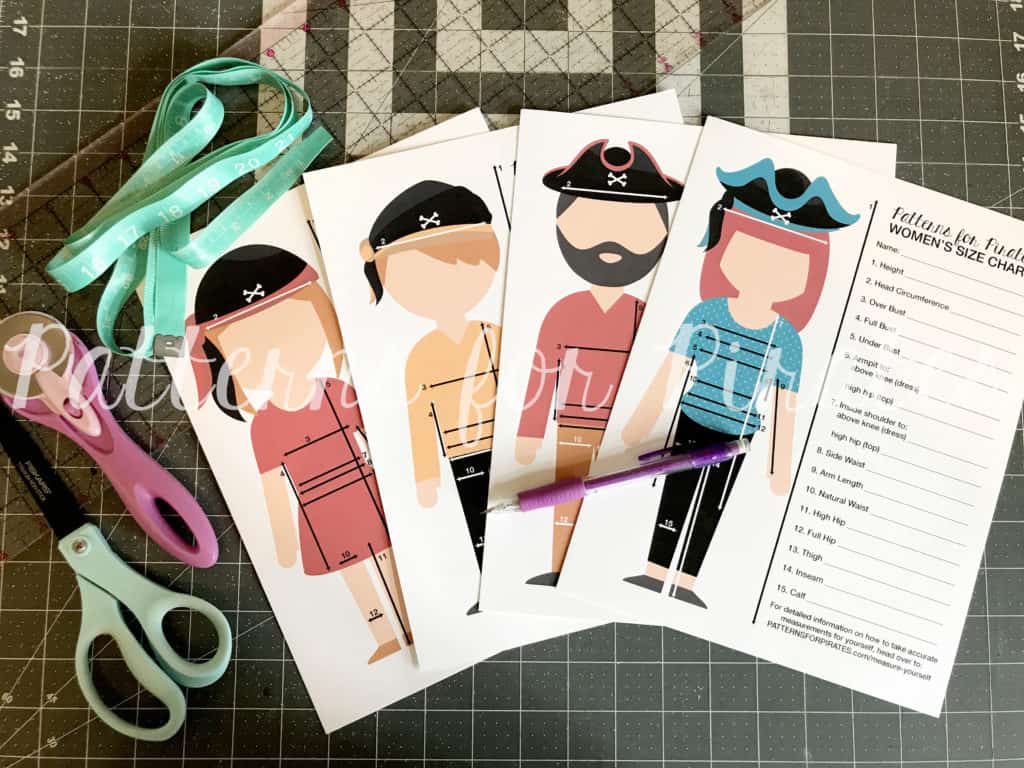
I am excited to be sharing this new FREEBIE with you today!  The biggest/best part of sewing for yourself or your family is being able to create custom clothing for exactly the unique size and shape that you are.  But that’s a lot of numbers to remember.  So we are here to make it a little easier on you by sharing these measurement charts.

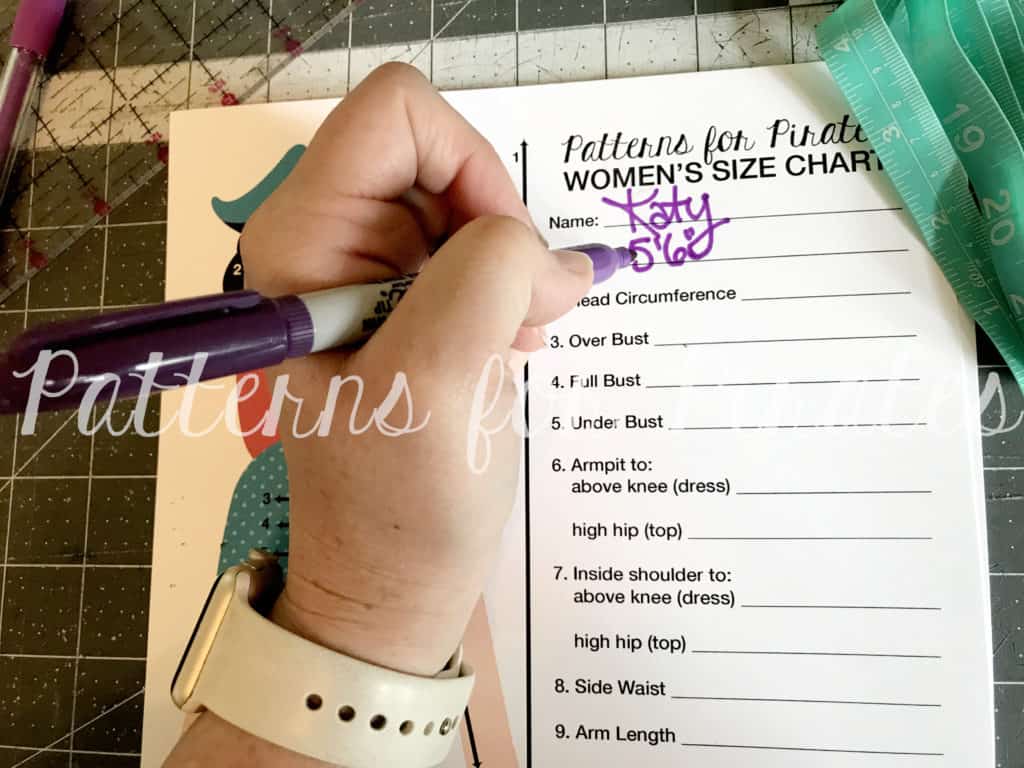
There is a fill-in chart for each member of your family.  Simply print, measure, write it down, and get to sewing!

Need help figuring out some of these measurements?  We’ve already got you covered!  Head over to Judy’s post about “How To Measure Yourself” to see where to place the measuring tape and how to get the most accurate numbers.

What are you waiting for?  Go grab a copy of these PDFs and make life a little easier on yourself!
FREE PRINTABLE MEASUREMENT CHARTS

Happy sewing, friends!

Filed Under: Free Pattern 7 Comments

Everyday Elegance – easy hacks

July 13, 2017

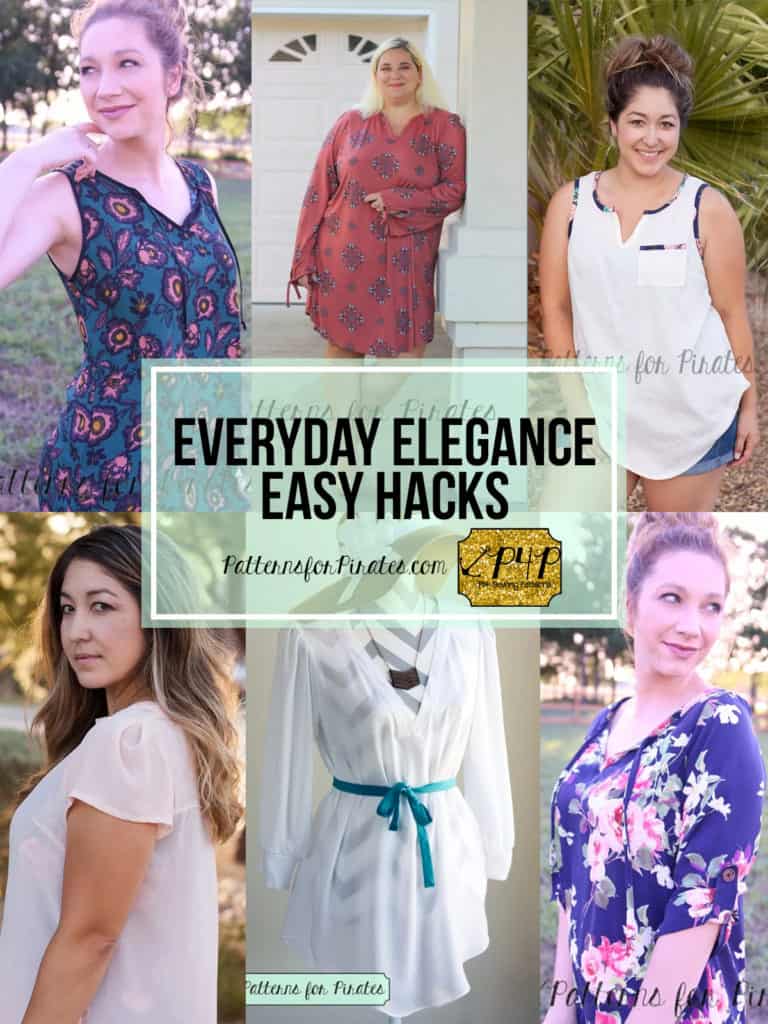
The Everyday Elegance recently received an update and and we added more options. (Read more about it the re-release here). We could not let this event pass by without showing you some easy hacks that can take your beloved EE to the next level.

[Read more…]

Filed Under: Pattern Hacks, Uncategorized 1 Comment

  • « Previous Page
  • 1
  • …
  • 11
  • 12
  • 13
  • 14
  • 15
  • …
  • 19
  • Next Page »

connect with me

  • Email
  • Facebook
  • Instagram
  • Pinterest
  • YouTube
Privacy & Cookies: This site uses cookies. By continuing to use this website, you agree to their use.

To find out more, including how to control cookies, see here: Cookie Policy
  • Privacy Policy
  • Refund Policy
  • Contact Us
  • About

Copyright © 2026 Patterns for Pirates

Copyright © 2026 · Genesis Framework · WordPress · Log in