Patterns for Pirates

P4P stylish, modern, wearable patterns

  • Home
  • Blog
    • Frequently Asked Questions
    • Pattern Releases
      • Free Patterns
    • P4P University
      • Fitting
      • Sewing with Stretch, Knit Fabrics
      • Sewing with Woven Fabrics
      • Sewing Machines
    • Sew-A-Longs
    • Fabric for Pirates
    • Pattern Hacks
    • Announcement
      • Blog Tours
      • Contest/Giveaway
  • Shop
  • Bundle Discounts
  • Flash Friday
  • Gift Cards
  • My Account
  • Cart

Sewing Needles 101

July 7, 2017

One of the most important steps to follow when sewing is choosing the right needle for your project. A wrong needle can leave holes in the fabric, snag it or skip stitches so let’s answer the two most common questions regarding sewing needles.

What does that number mean?

Let’s start by understanding the numbers on the packaging or needles. You will notice most sewing machine needles have two numbers on them. The numbers from 60 to 110 reflect the European metric system while the numbers from 8 to 18 represent the American needle sizing. For example, an universal needle 90/14 means it’s Euro size 90 and US size 14. As a general rule, the lower the number, the finer the needle and the higher the number, the bigger the needle.


8-10 (60 – 70) – great for very fine weight (like fine silk, chiffon, organza)

11-12 (75 – 80) – use these sizes for light weight fabrics ( cotton spandex, cotton voile)

14 (90)  – perfect for medium weight fabrics ( cotton woven, linen, jersey, fleece)

16 (100) –  this size is great for heavy fabric (denim, duck, corduroy )

18 (110) – use these needles when sewing very heavy fabric ( heavy denim, upholstery)

20 (120) – very, very heavy fabric


Note: some automatic threader sewing machines may not be able to thread lower number needles so you will have to manually thread it.


What are the most common types of needles and what fabric do I use them with?


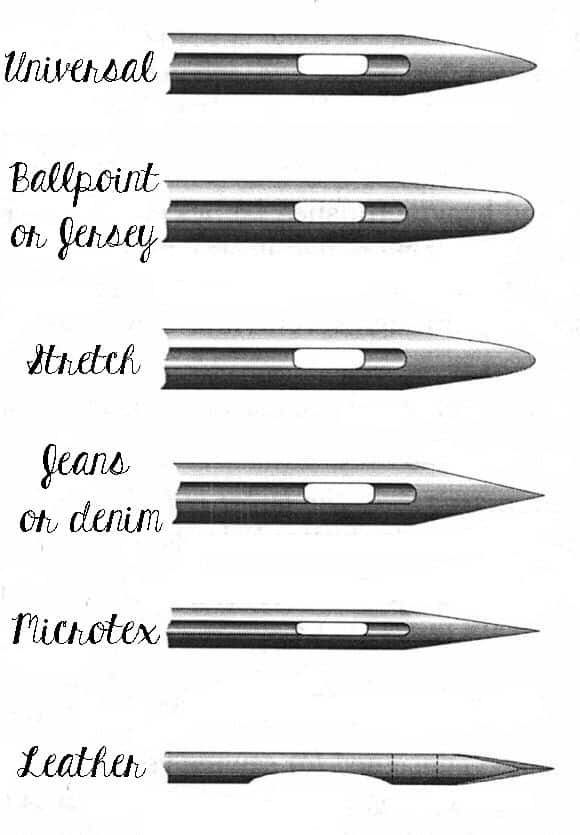
Universal needles: These needles are the most common used ones.. They pierce through the fibers. These needles are great for woven fabrics and stable knits.

Ball point or jersey needles: They have a round tip and they go around the fibers or in between the fibers of the fabric, keeping its integrity. They are best suited for knit materials.

Stretch needles: These needles are sharper than ball point needles but follow the same concept as them. They do not pierce the fibers but go in between them. These ones are perfect for very stretchy fabric like performance knits or swimwear and elasic.

Jeans or Denim needles: This style needle is very thick and sharp. It goes through the fabric and it’s best used with denim or heavier fabric like outdoor wovens and duck.

Microtex needles: The tip of microtex needles is very sharp and thin. It is ideal for thin, delicate fabrics like chiffon or crepe.

Leather needles: The chisel point will make it easy for this needle to penetrate thick fabrics like leather and some thick vinyls. Do not use on ultra suede.
Some other type of needles you will see in the notions section are: quilting , embroidery, top stitching, metalfil, self threader, twin needles or triple needles.

You may notice colors that accompany the various styles of needles. Some needle manufacturers have started adding colors to their products so it make it easier to distinguish the type.
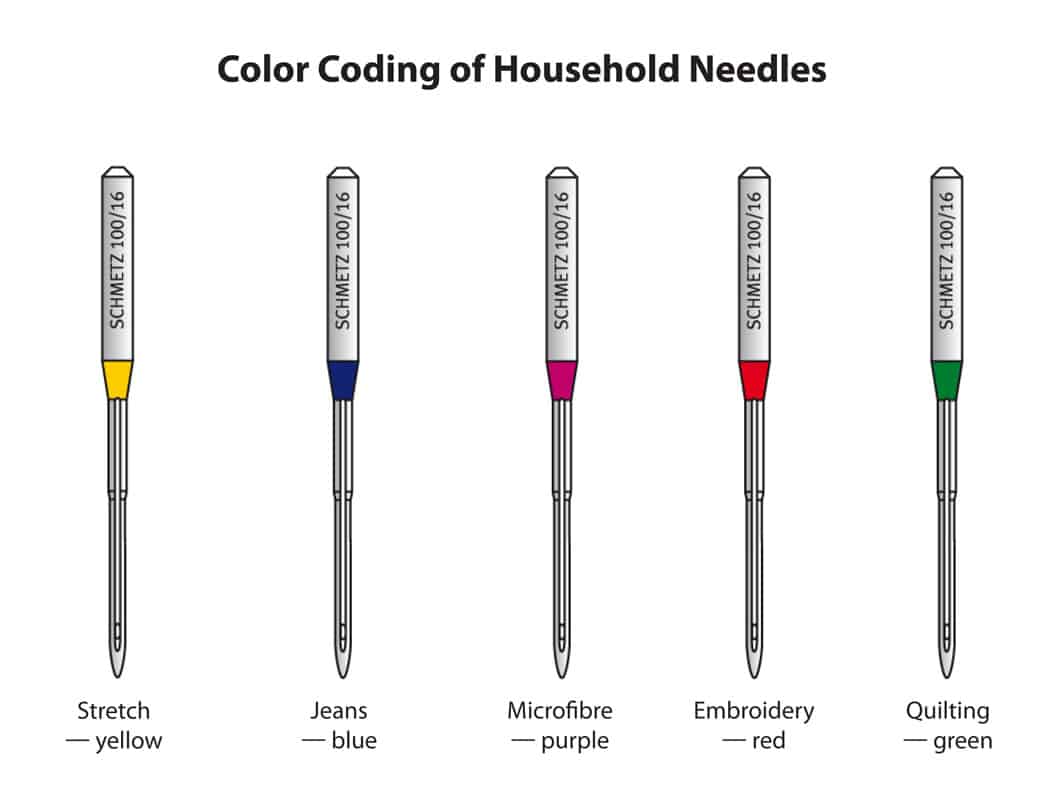
For the best results don’t forget to change your sewing machine or serger needles after each project. They tend to get dull rather easily and a dull needle will snag your fabric. Now that you have your perfect needle for your perfect fabric, grab that P4P pattern and don’t forget to share your creations in the group!

Filed Under: Frequently Asked Questions 3 Comments

P4P Presents the Summer of Wovens!

June 21, 2017

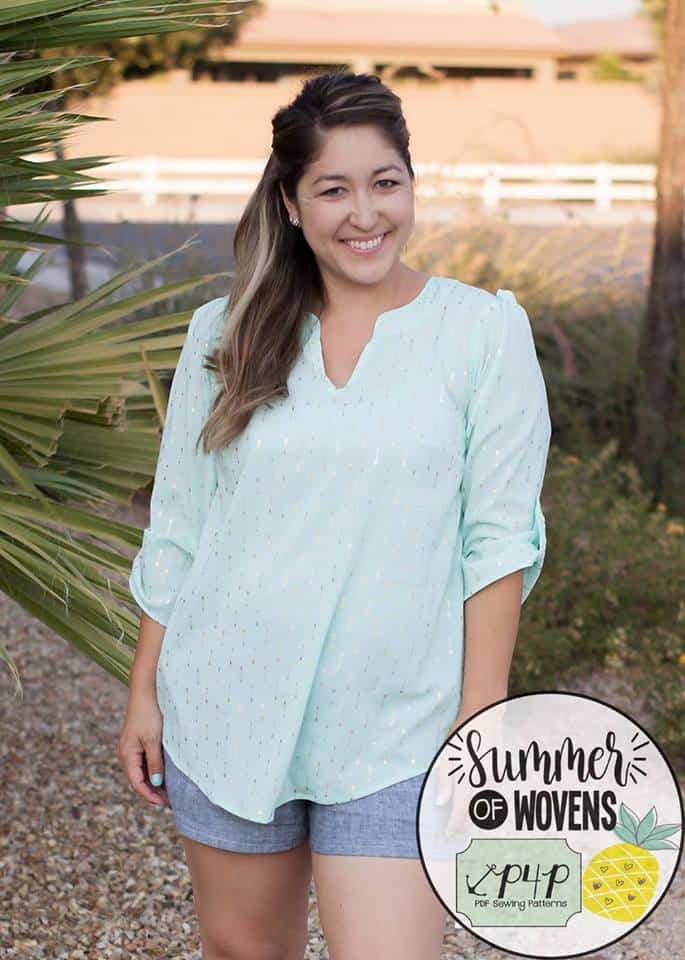
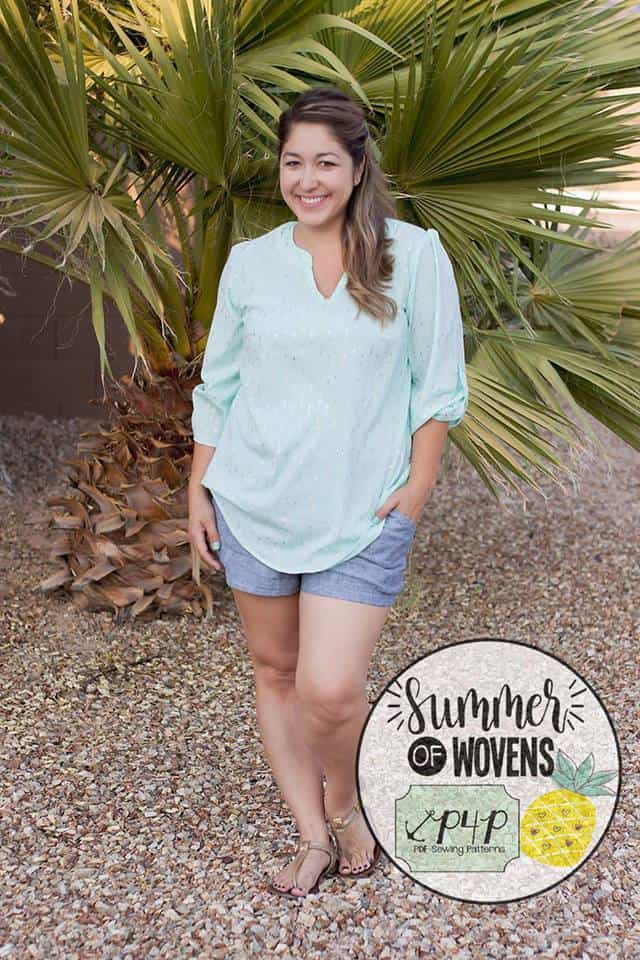
As many of you already know, I am a lover of knit fabrics.  I love how quickly they can be sewn up, and how comfortable the different types of knits are to wear.  BUT, we’ve seen in our Facebook Group that there is a desire for patterns that use woven and non-stretch fabrics.  We hear you and are about to make your woven pattern dreams come true!

To help kick off the first official day of summer, our P4P Team is announcing our “Summer of Wovens”!

What does a “Summer of Wovens” entail, exactly?

— Our pattern releases throughout the summer will ONLY be for woven fabrics.  Was there something you were hoping to see from us?  Of course we’d love to hear!

— Before we can get to the new goodies, we are making sure to update our older woven patterns to feature our layers format, including the A0 copy shop printing formats.  We will also be extending the sizing into the full range that we use now.  Our very first woven pattern for women was The Everyday Elegance  and we have been working behind the scenes on updates for this, as well as perhaps including a few new options for the pattern itself.  Here is our gorgeous Nicole modeling her newest EE:

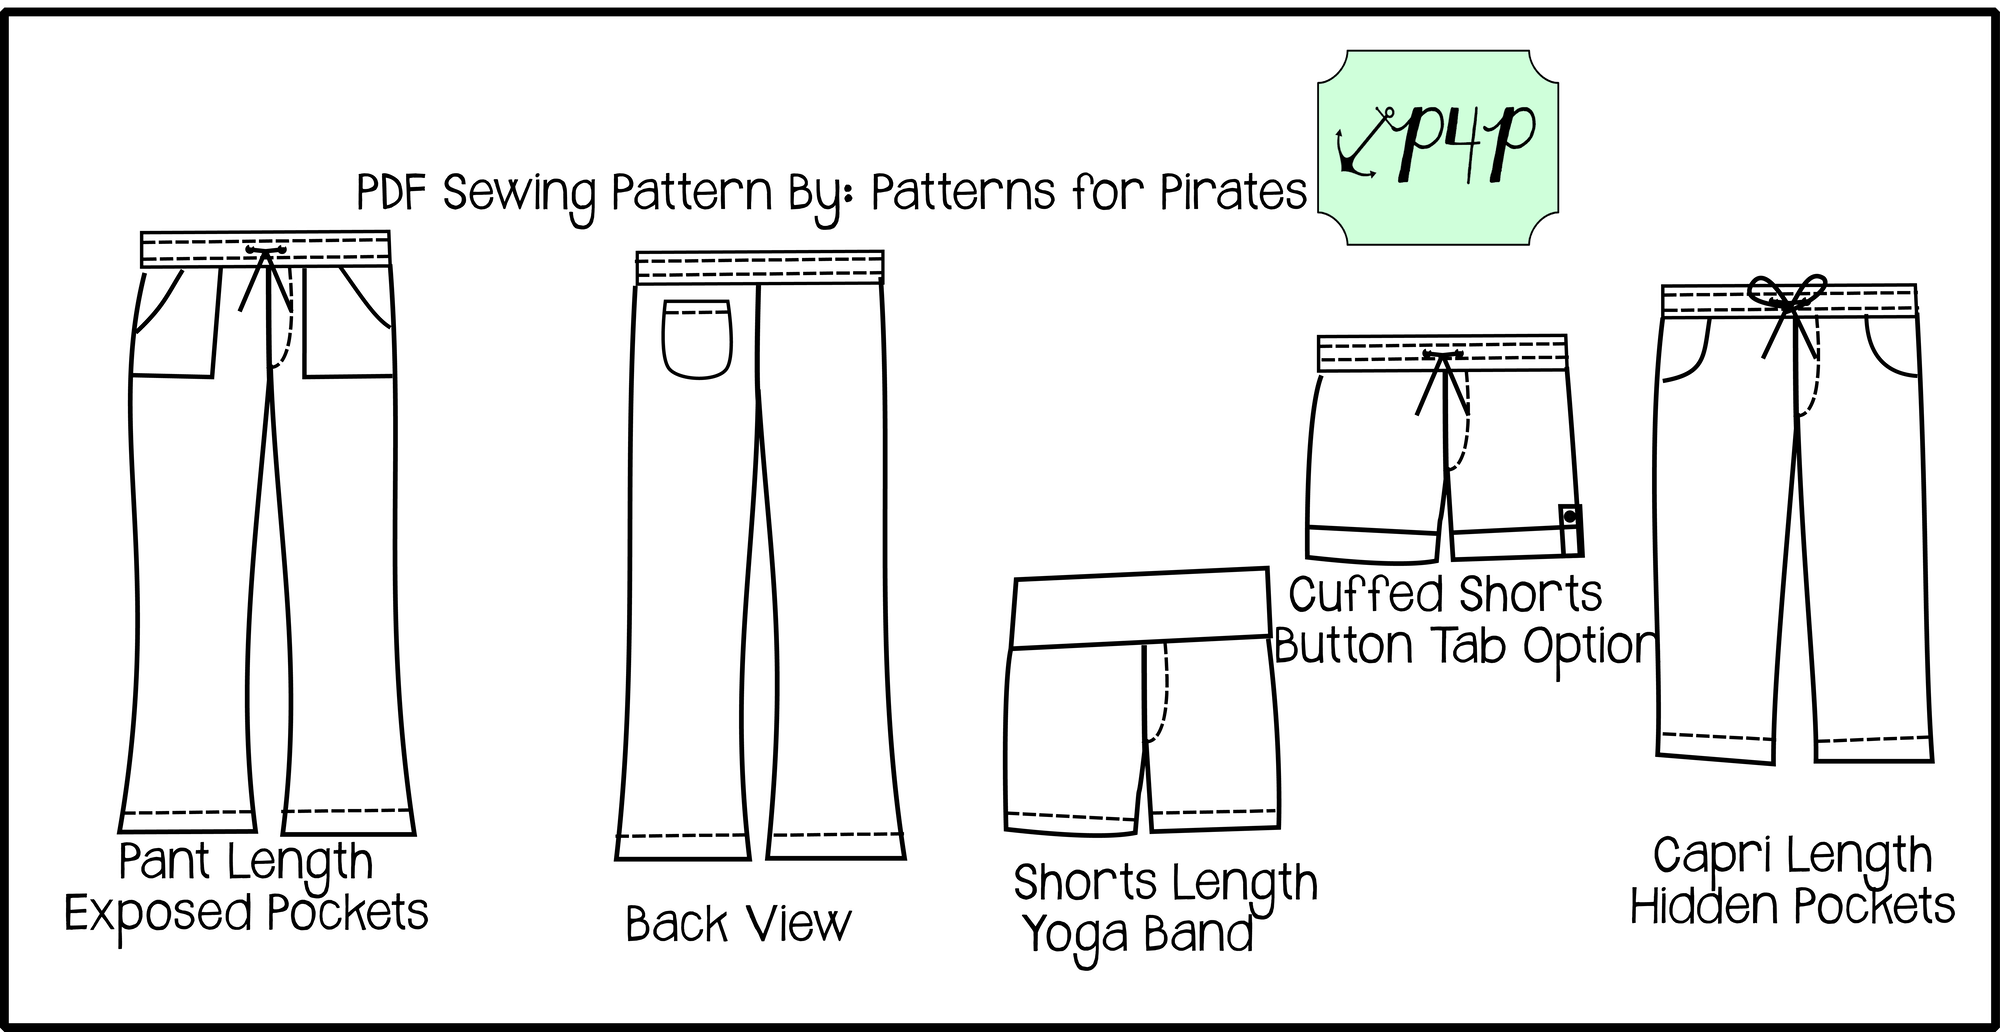
— Of course we have new patterns already in the works!  Along with her EE, Nicole is sporting a sneak peek of the first *new* pattern, which is already in pre-testing! Perfect for a lightweight fabric for a comfortable and casual summer days/nights, these bottoms are a pull-on woven pant filled with options.  Since we are in pre-testing now, we still haven’t found the perfect name for these pants.  And, I always reserve my right to change my mind on the options we will offer on the final pattern! (I fully admit that I’m a girl who likes to exercise her right to change her mind! Lol.)  So things might change but this is the basic idea of what we are working on at the moment.

— Lastly, we will dedicate the blog to tips, tricks, and posts all about sewing with woven apparel fabrics.  A lot of seamstresses think of quilting cotton when they see the term woven, but we will be focusing on woven fabrics that are specifically made for apparel.  After all, they will be used for apparel patterns!  There is a large variety of available woven fabrics and it will be our mission to help you understand what works best for the project you’re about to tackle.  Let us know the questions you have about sewing apparel in woven/non-stretch fabrics and we will try to answer as many as we can.  We would really love to help you better understand this new type of fabric!

We hope everyone is excited to see what else we have coming this summer and can use up some of that woven fabric you’ve got hiding in your stash!

Filed Under: Announcement 33 Comments

Sew What Do I Wear on Vacation

June 16, 2017

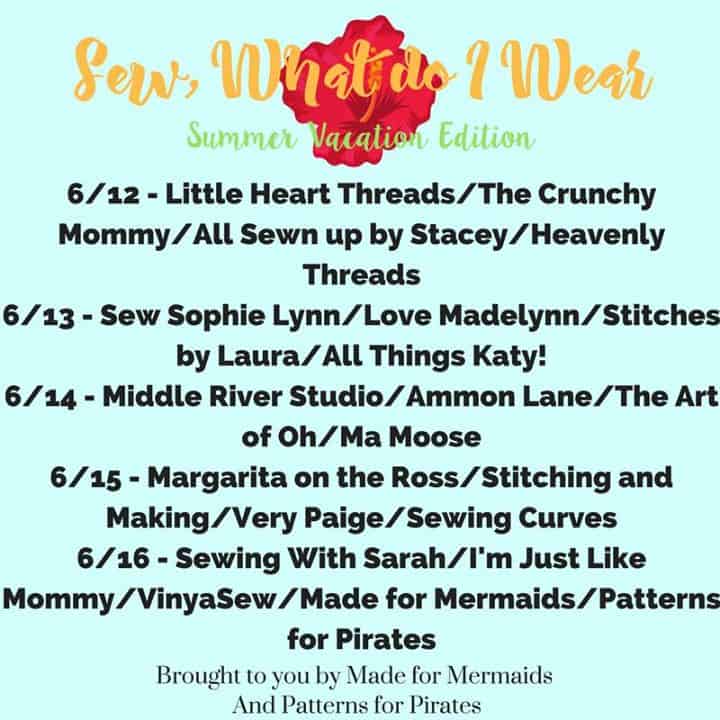
Once again, Patterns for Pirates teamed up with Made for Mermaids  to bring some amazing vacation outfits inspiration. This blog tour is full of outfits that would be perfect for any destination.

Whether I pack for a quick getaway weekend or a week long trip, I always make sure to bring clothes that do not wrinkle easily and do not take a lot of space in my luggage. With two boys to keep up with I also need my outfits to be super comfortable.

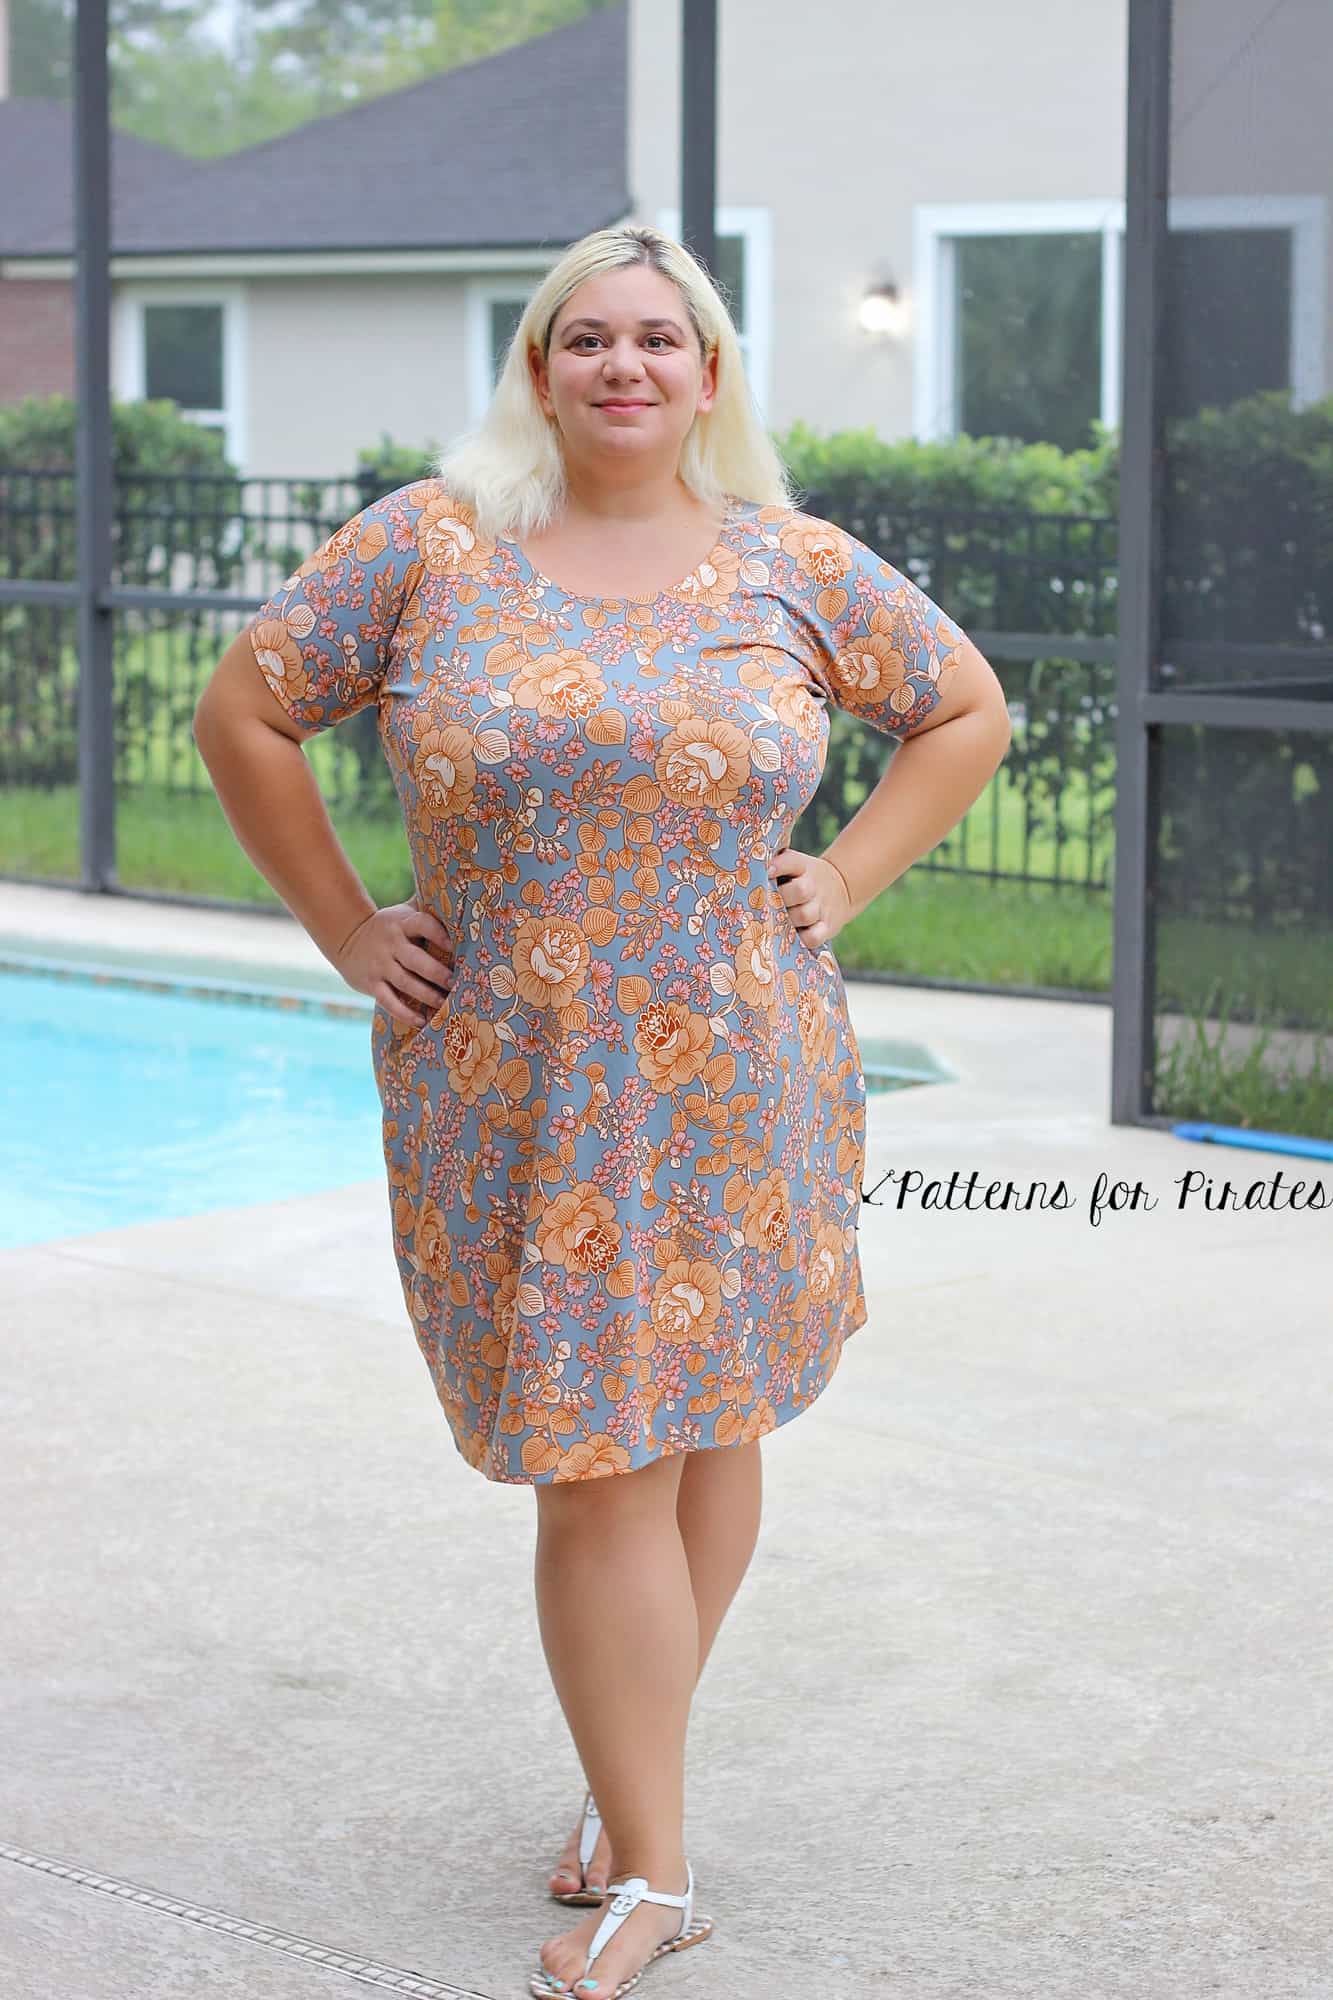
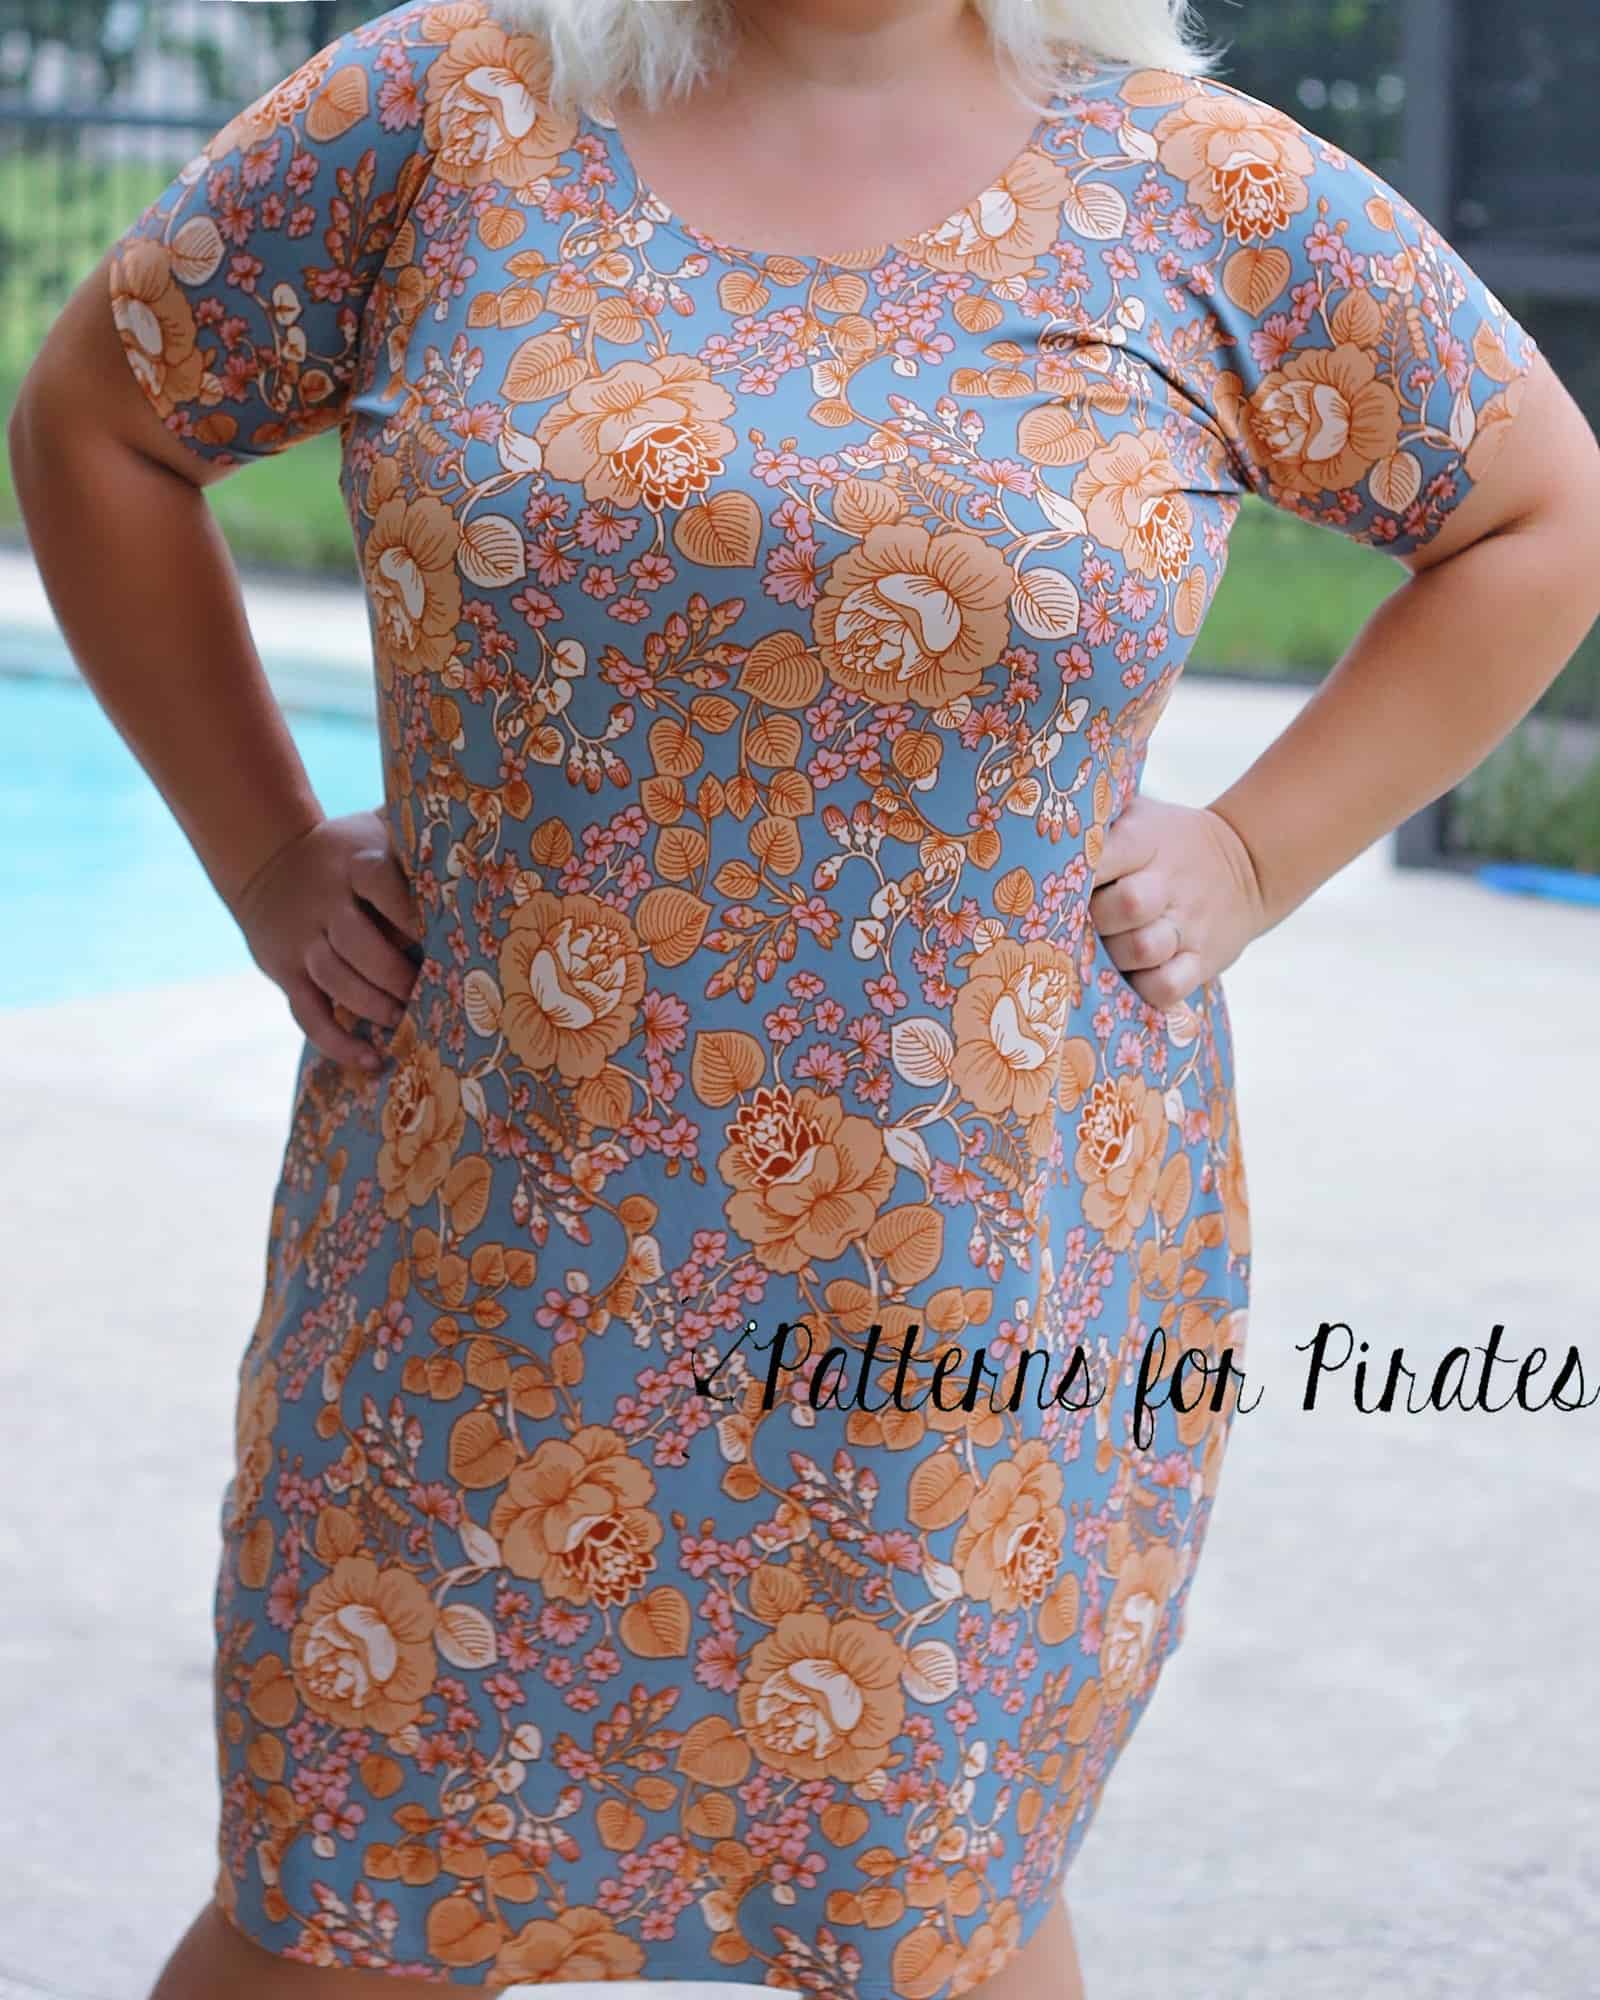
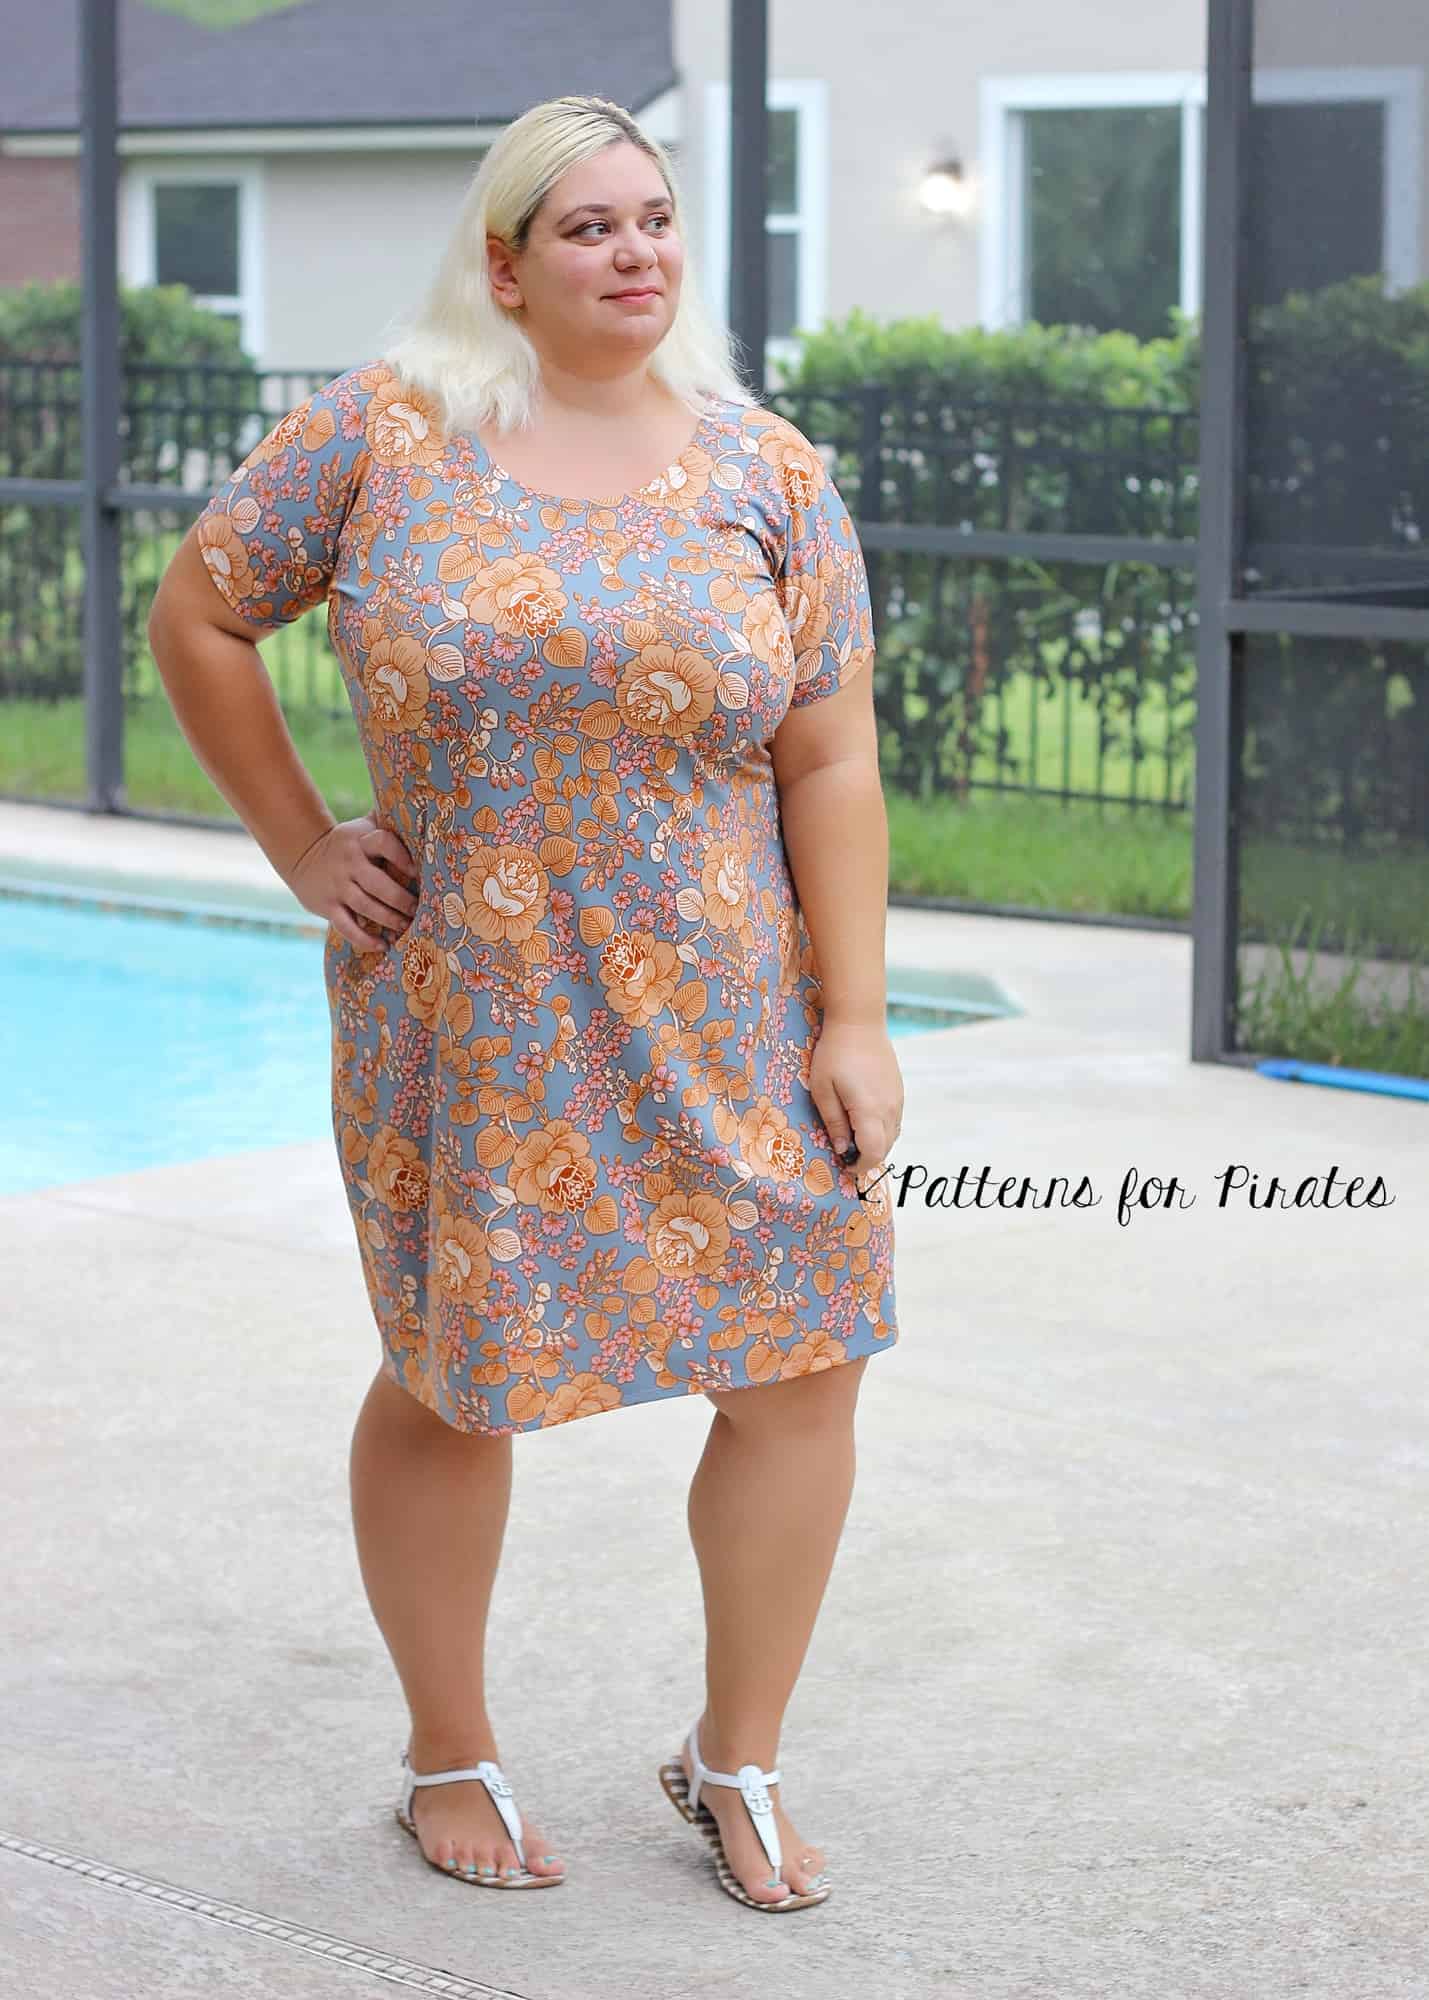
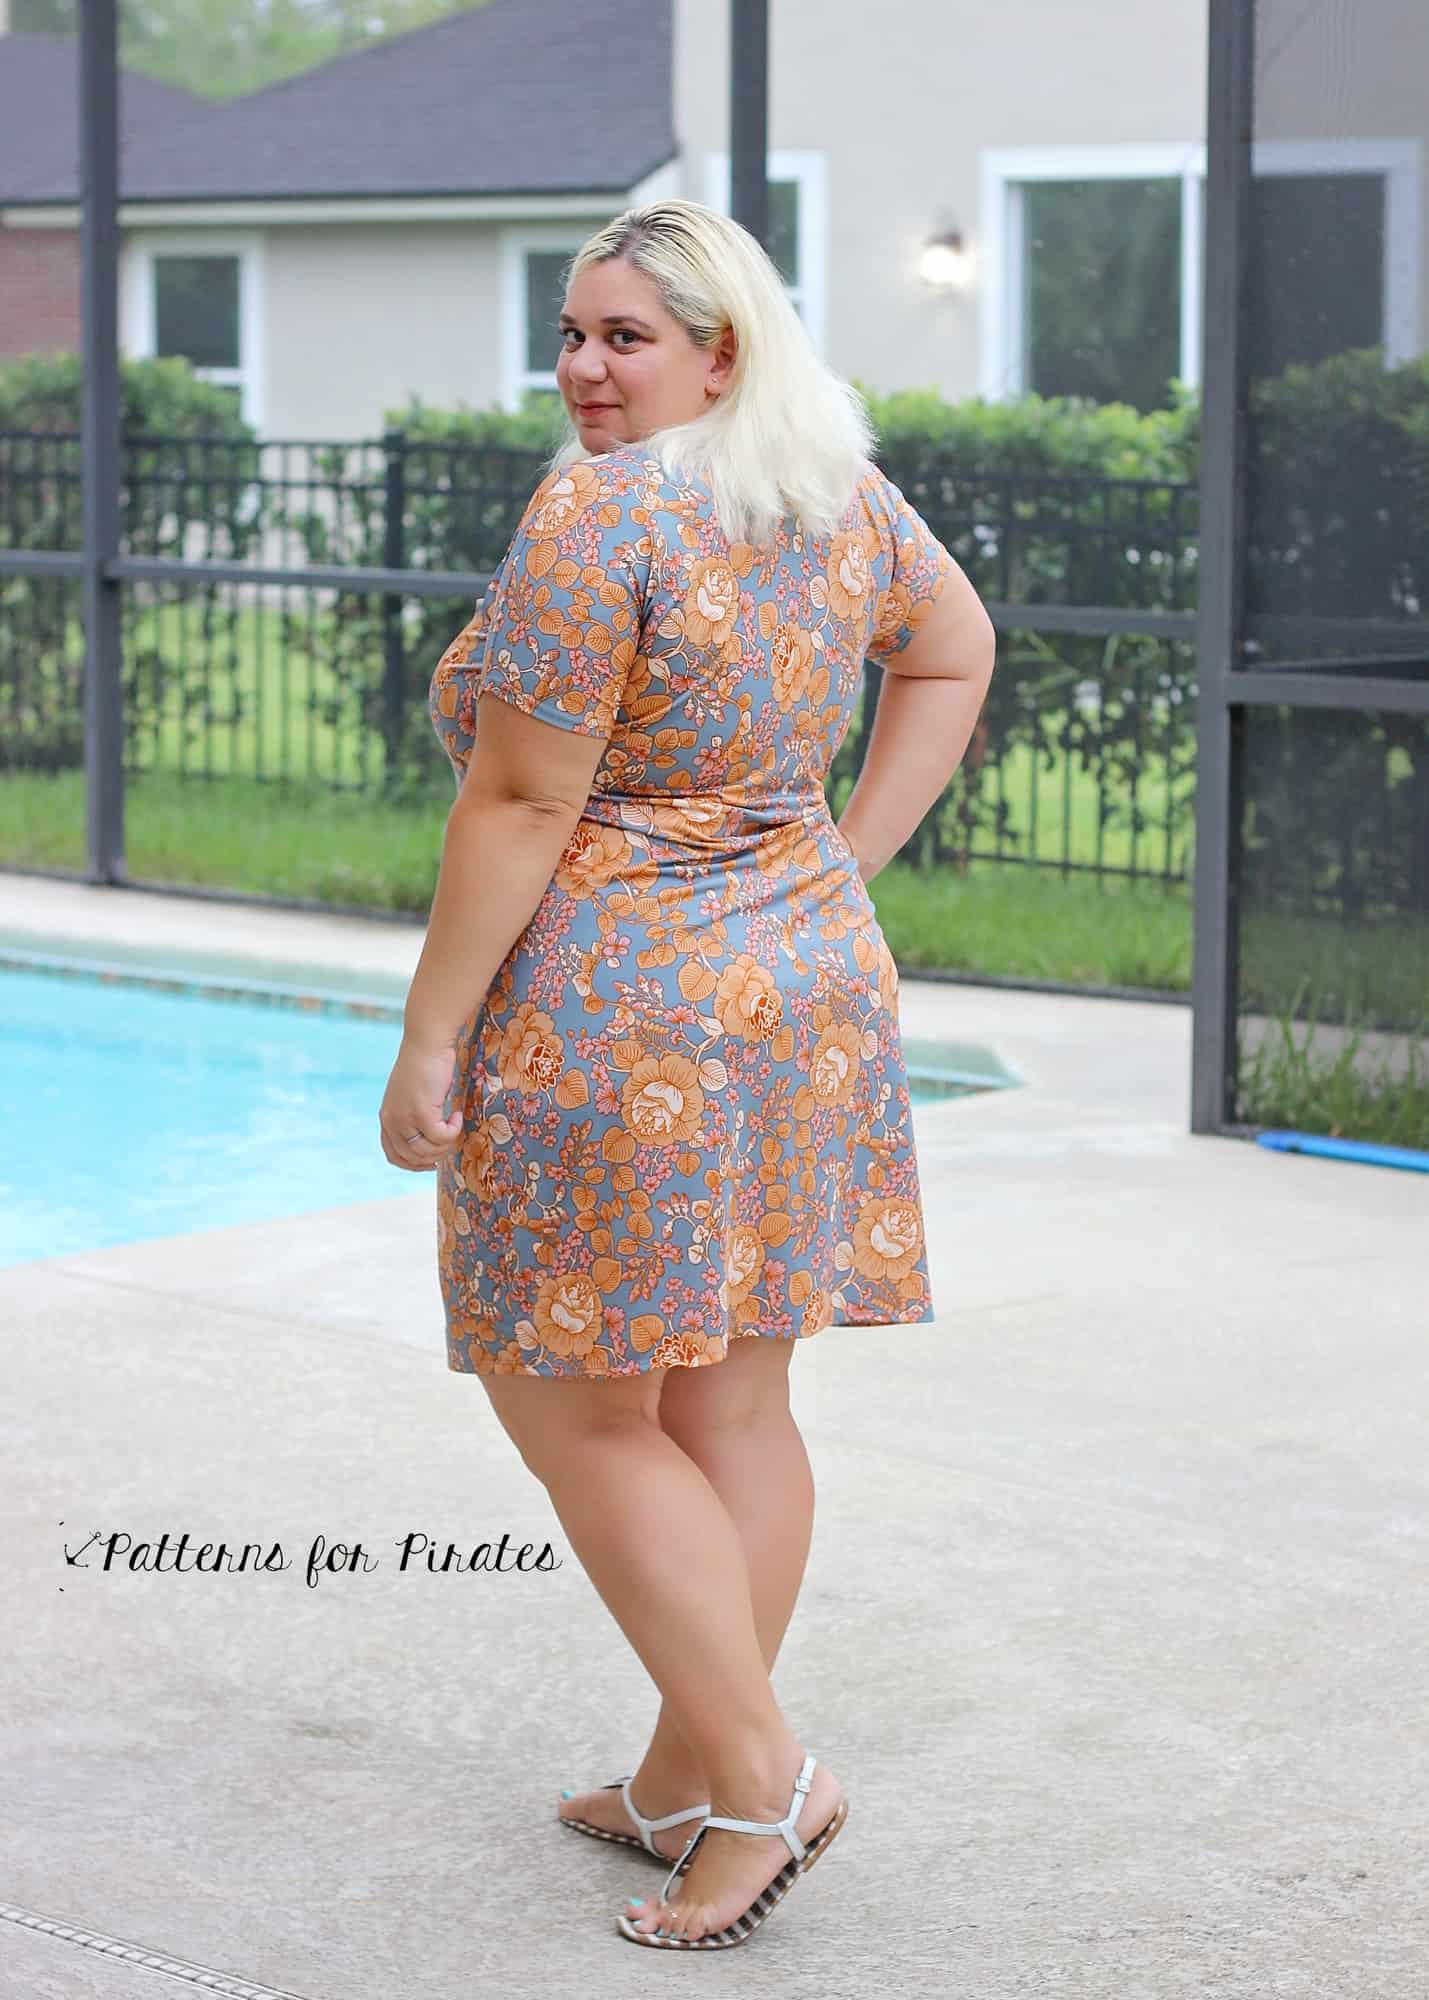
My next vacay suitcase will certainly include a few Favorite Tee dresses since I have sewn at least ten of them since the pattern launched. I am all about tshirt dresses this summer, comfortable and stylish. My favorite ones are rayon spandex, since they hardly ever wrinkle when packed and they feel great in high temperatures.

It is no secret that my closet is full of Sweet Tee dresses so they will definitely be a staple in my vacation wardrobe. They are such a quick sew and a very flattering silhouette. I do lengthen my Sweet Tee dresses about 3.5 inches, but that is just a personal preference. You can rock your flirty shorter pattern version for sure!

The Sweet Tee pattern includes a banded short sleeve option and a neckband finishing of the neckline. To make it an ever faster sew I hem my sleeves by folding 1/2 ” and topstitching with my coverstitch. You can very well use a zig zag stitch or a twin needle too.

I like to use the same technique to the neckline as well. I simply fold it 1/2″ wrong sides together and clip it in place…use a lot of clips (or pins) and press it well. all you have to do now is top stitch it the same way you did your sleeves.

Tadah! A super quick 30 minutes sew, comfy and elegant….perfect for vacation. I love that the Sweet Tee can be dressed up or dressed done, wear it with heels for an evening out or with flats for a fun day of vacation activities.

Don’t forget to check out the other blogs in this tour! The ladies really delivered!

June 12:  Little Heart Threads , The Crunchy Mommy , All_Sewn_Up_By_Stacey , Heavenly Threads Blog

June 13 : SewSophieLynn , Love Madelynn , Stitches by Laura  ,  All Things Katy!

June 14: Middle River Studio, Ammon Lane , The Art of Oh, Ma Moose

June 15: Sewing Curves, Margarita on the Ross, Stitching and Making, Very Paige,

June 16: Sewing with Sarah, I’m Just Like Mommy, Vinya Sew,

Made for Mermaids, Patterns for Pirates

Filed Under: Blog Tours 3 Comments

Take the Plunge Swimsuit :: New Pattern Release!

June 15, 2017

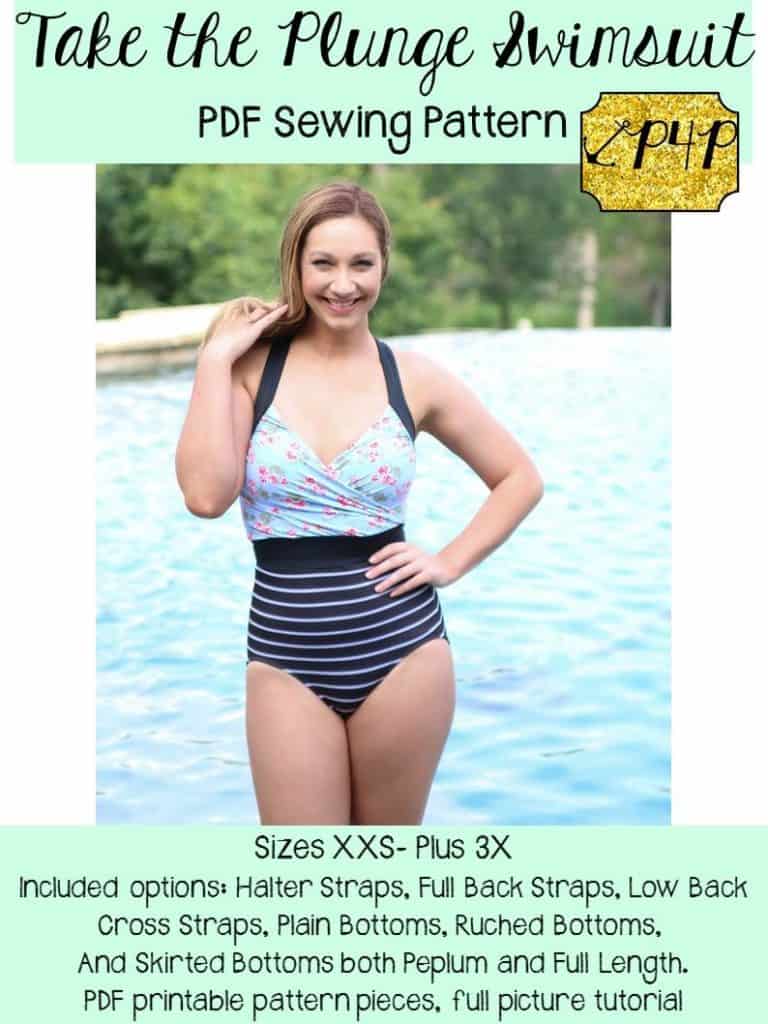
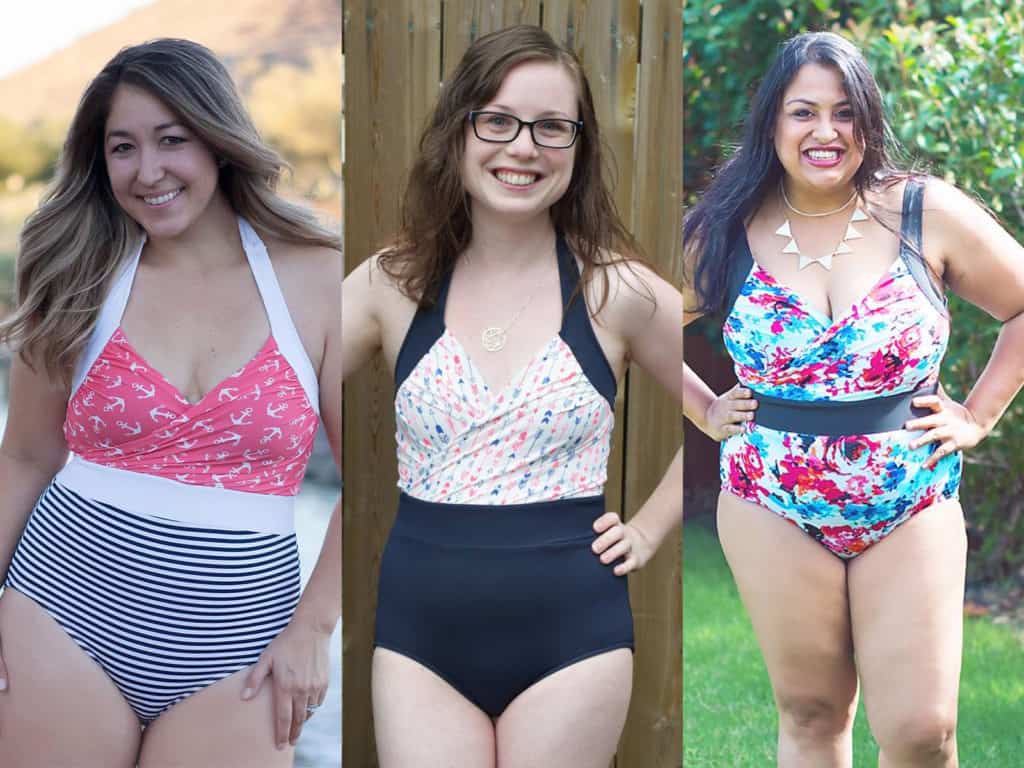
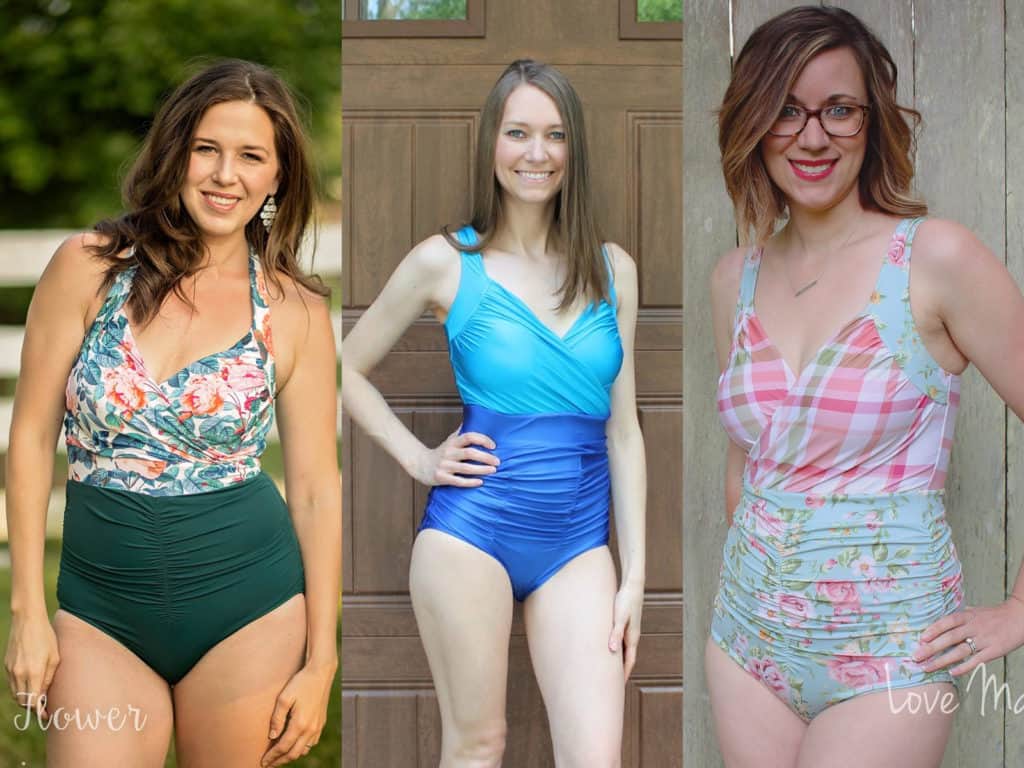
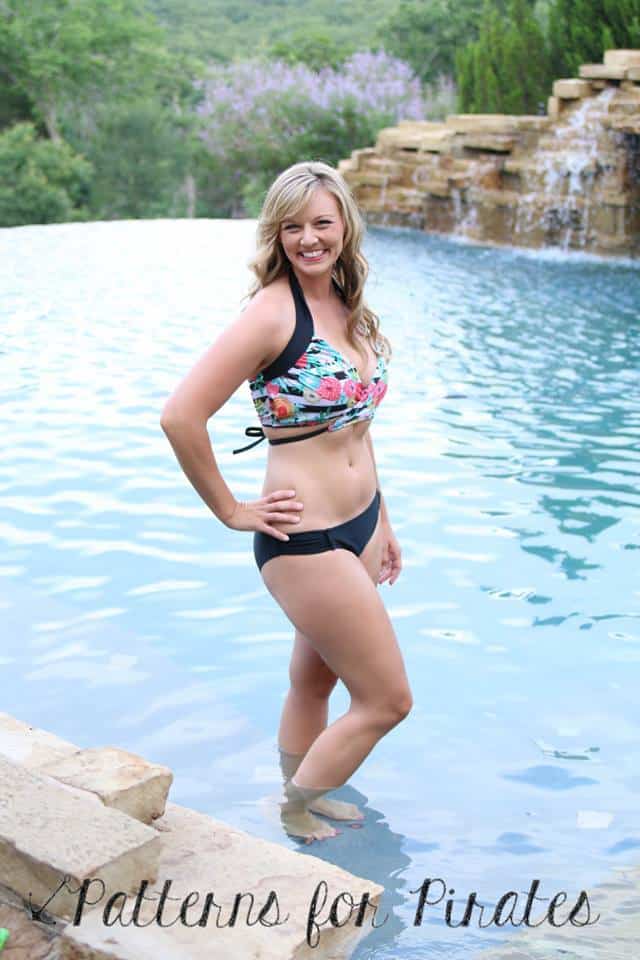
Just about this time last year, we released our first ever swim patterns.  The Siren Swim Top and Hello Sailor Bottoms have received a lot of love, but we still had a lot of requests for a one-piece suit.  Your wishes are being fulfilled today, with the brand spankin’ new release of the Take the Plunge Swimsuit!

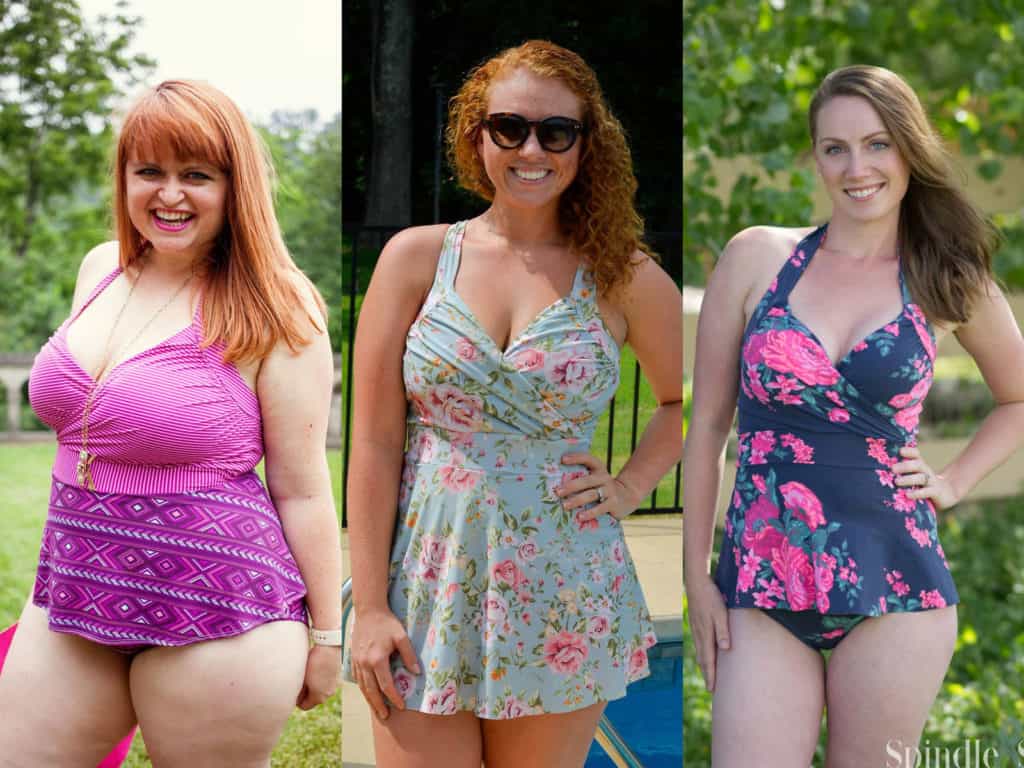
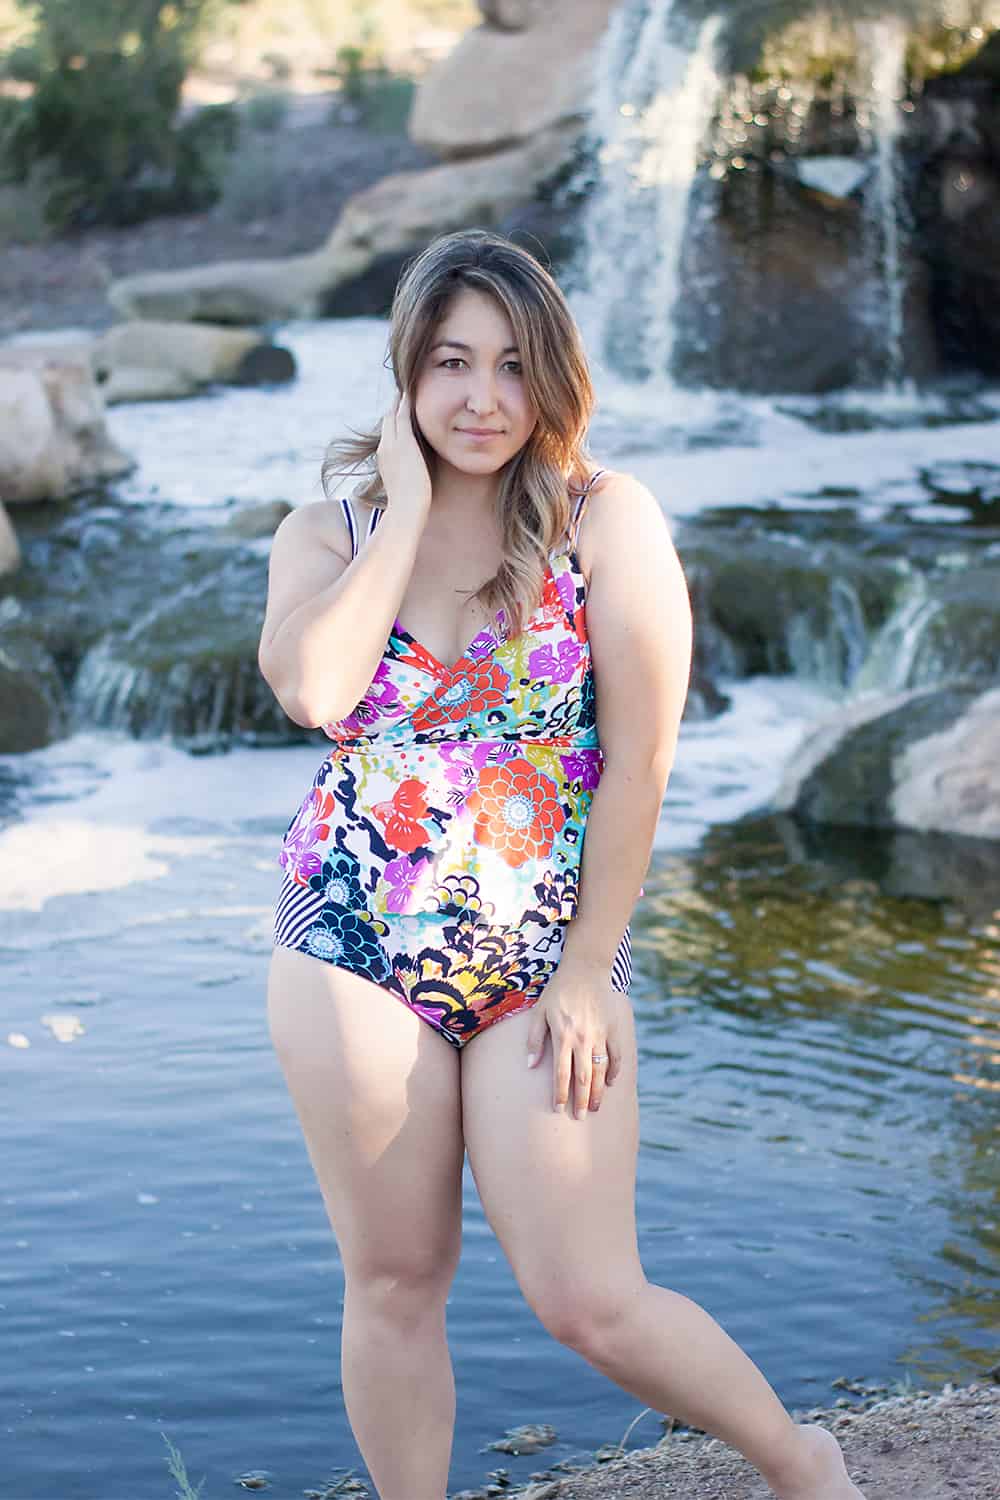
Take the Plunge will make you want to swim all summer long.  We’ve done all we can to pack it full of options and to make it flattering for ALL body types, sizes XXS – Plus 3X.

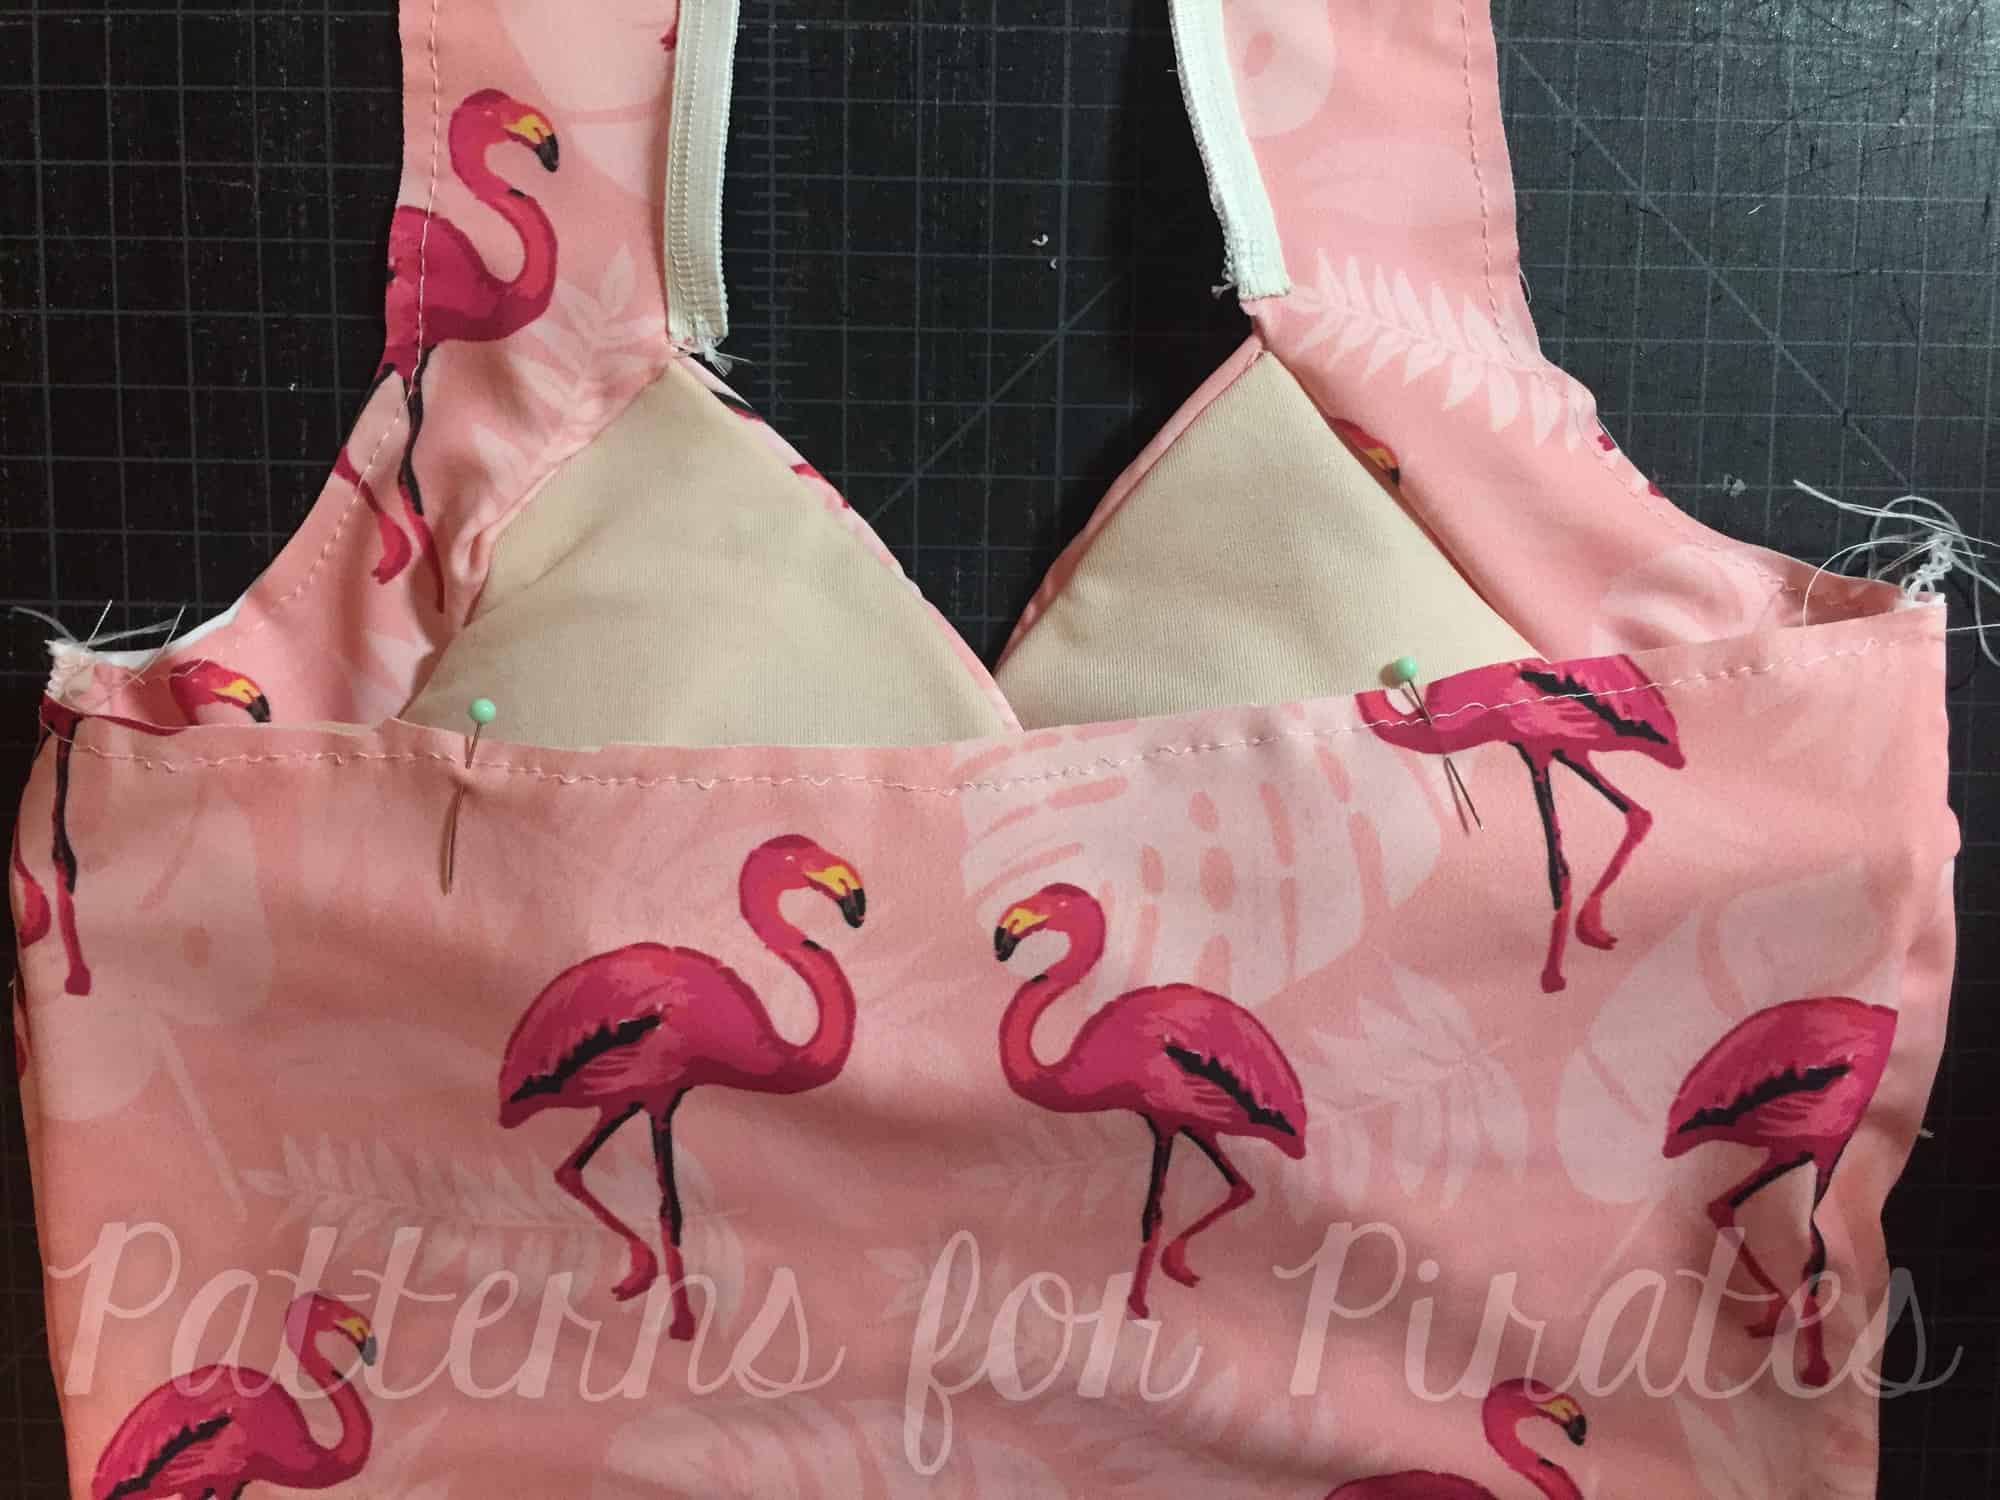
This is an intermediate knit pattern, and fits in a traditional, body hugging, one-piece swimwear style.  The suit is fully lined and includes directions to add bust support (swim cups / power mesh / under bust elastic).  All of your seams are enclosed for that professional finish, and the edges are all finished with elastic so you will be completely secure in your suit while taking a dip in the pool.

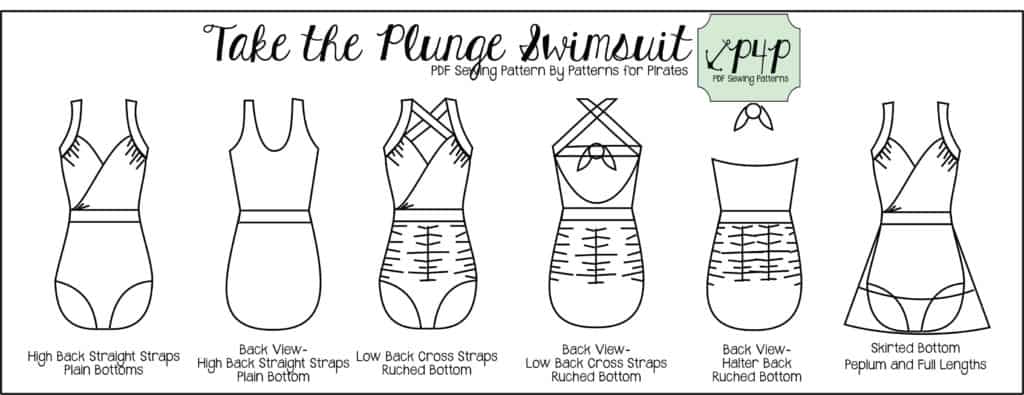
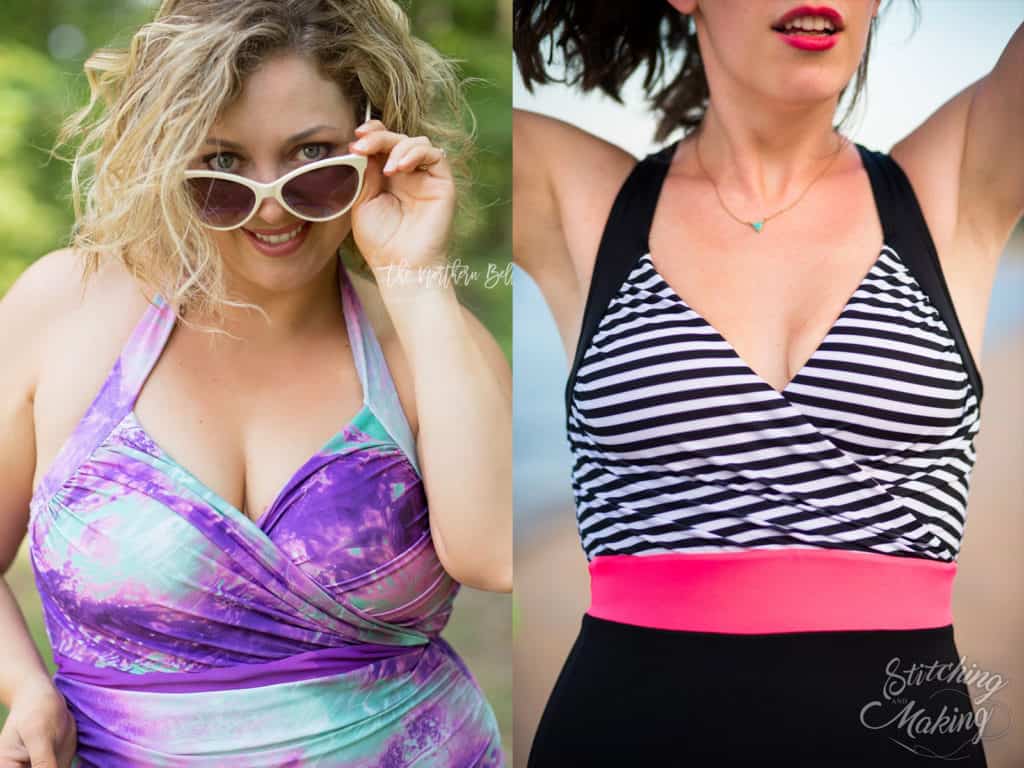
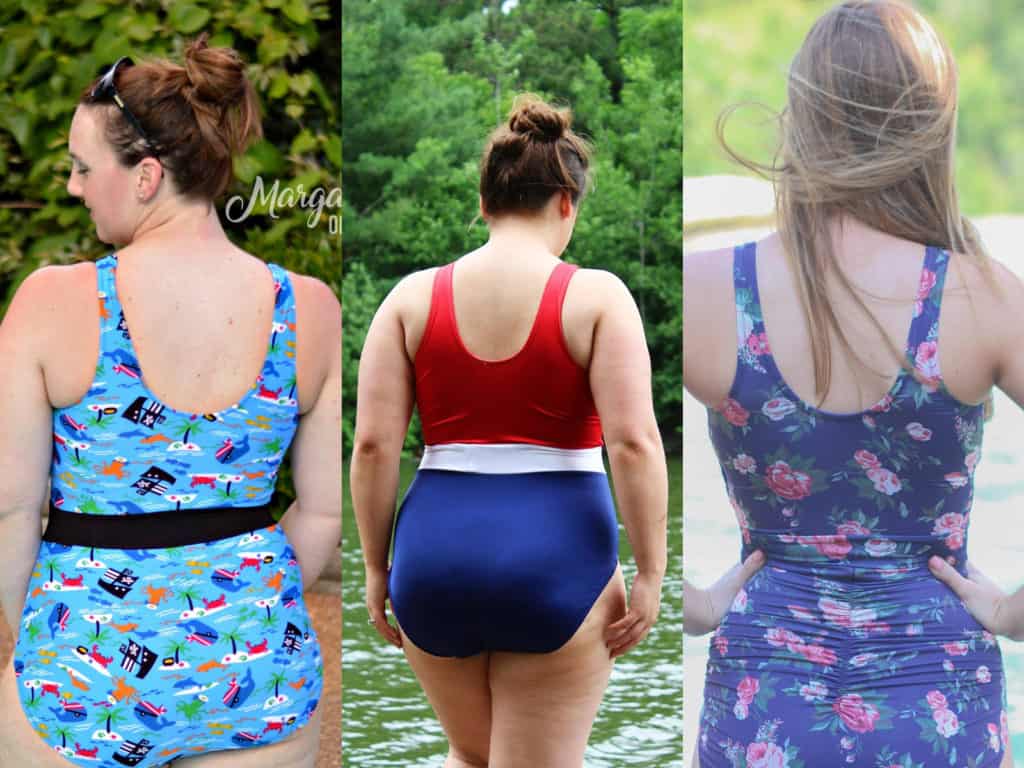
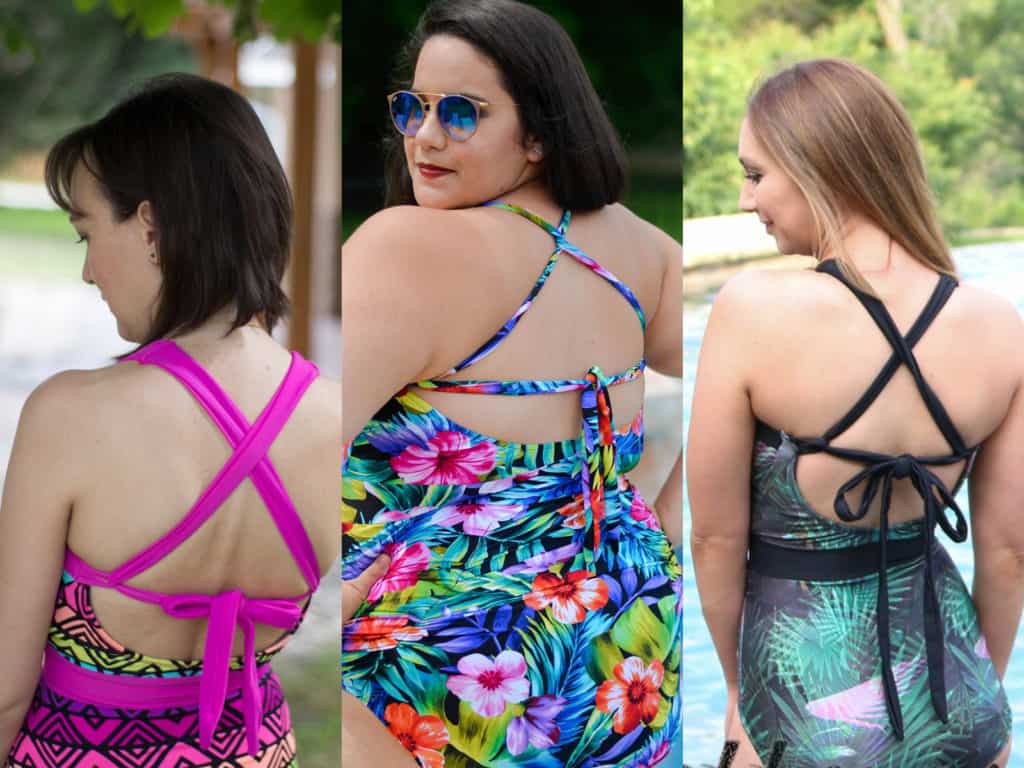
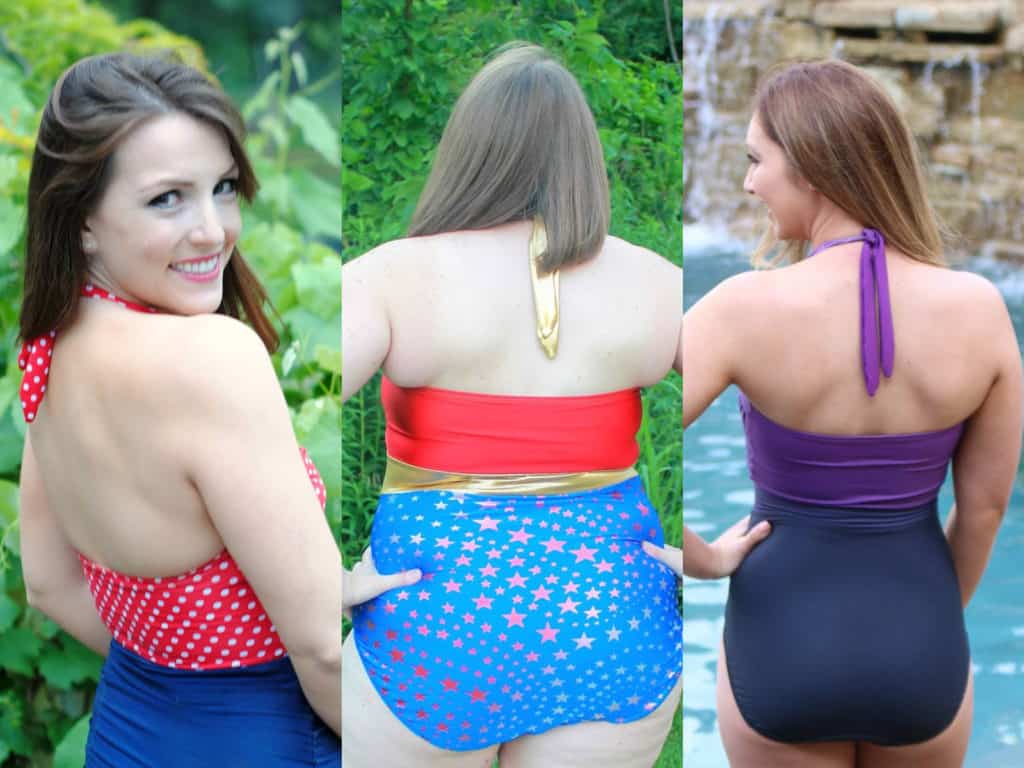
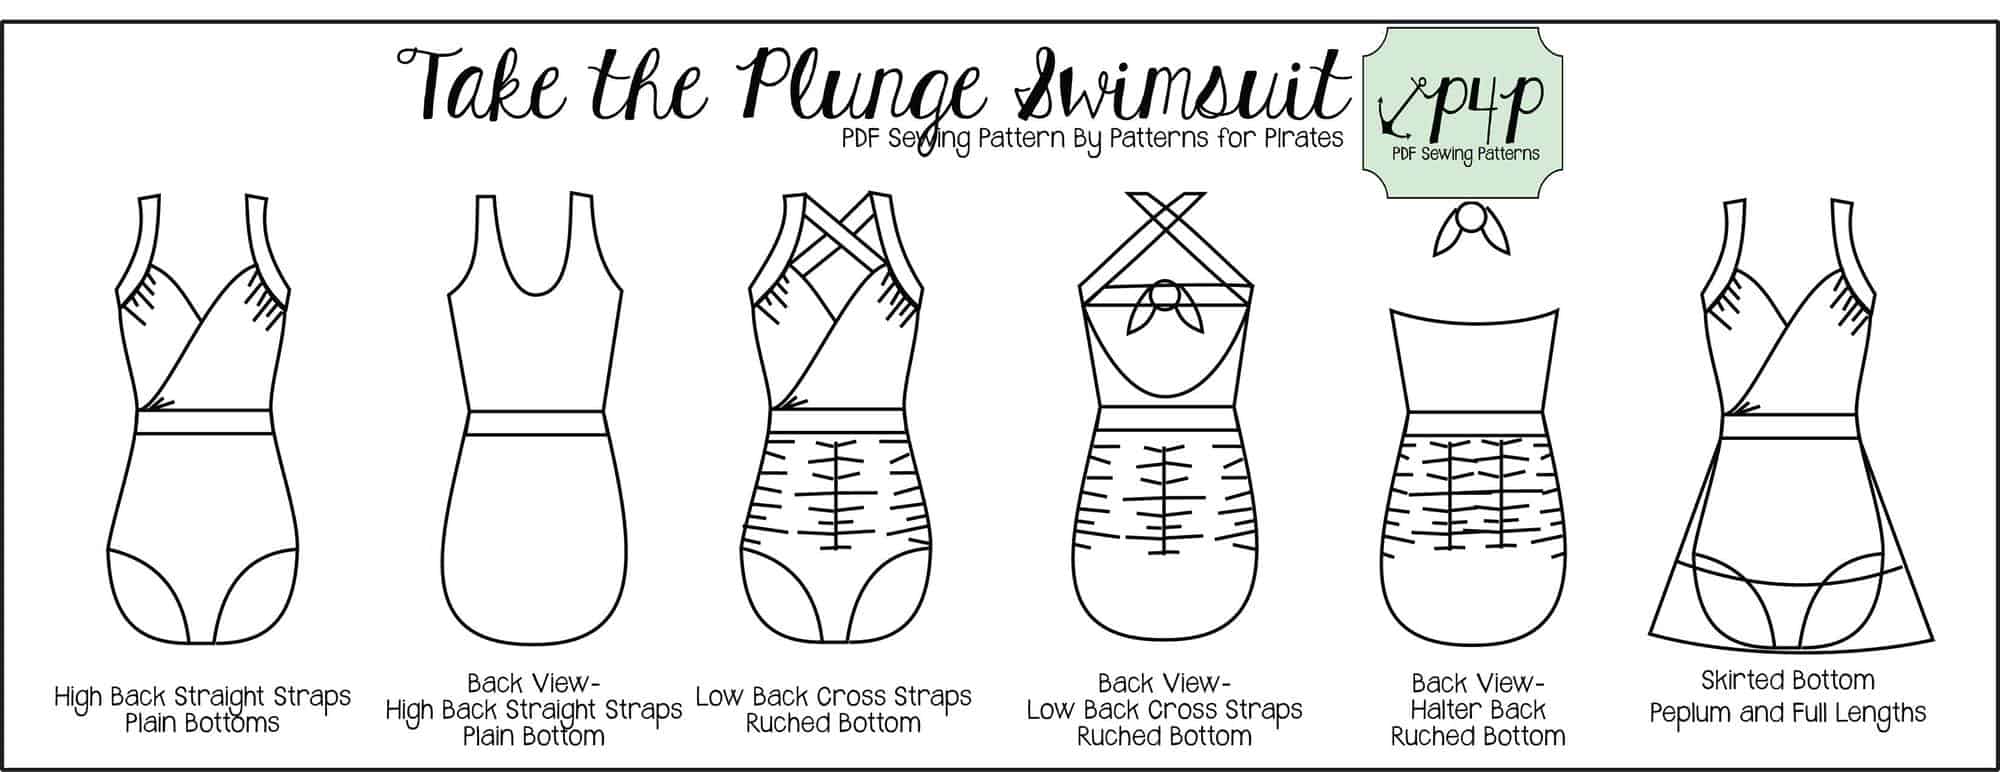
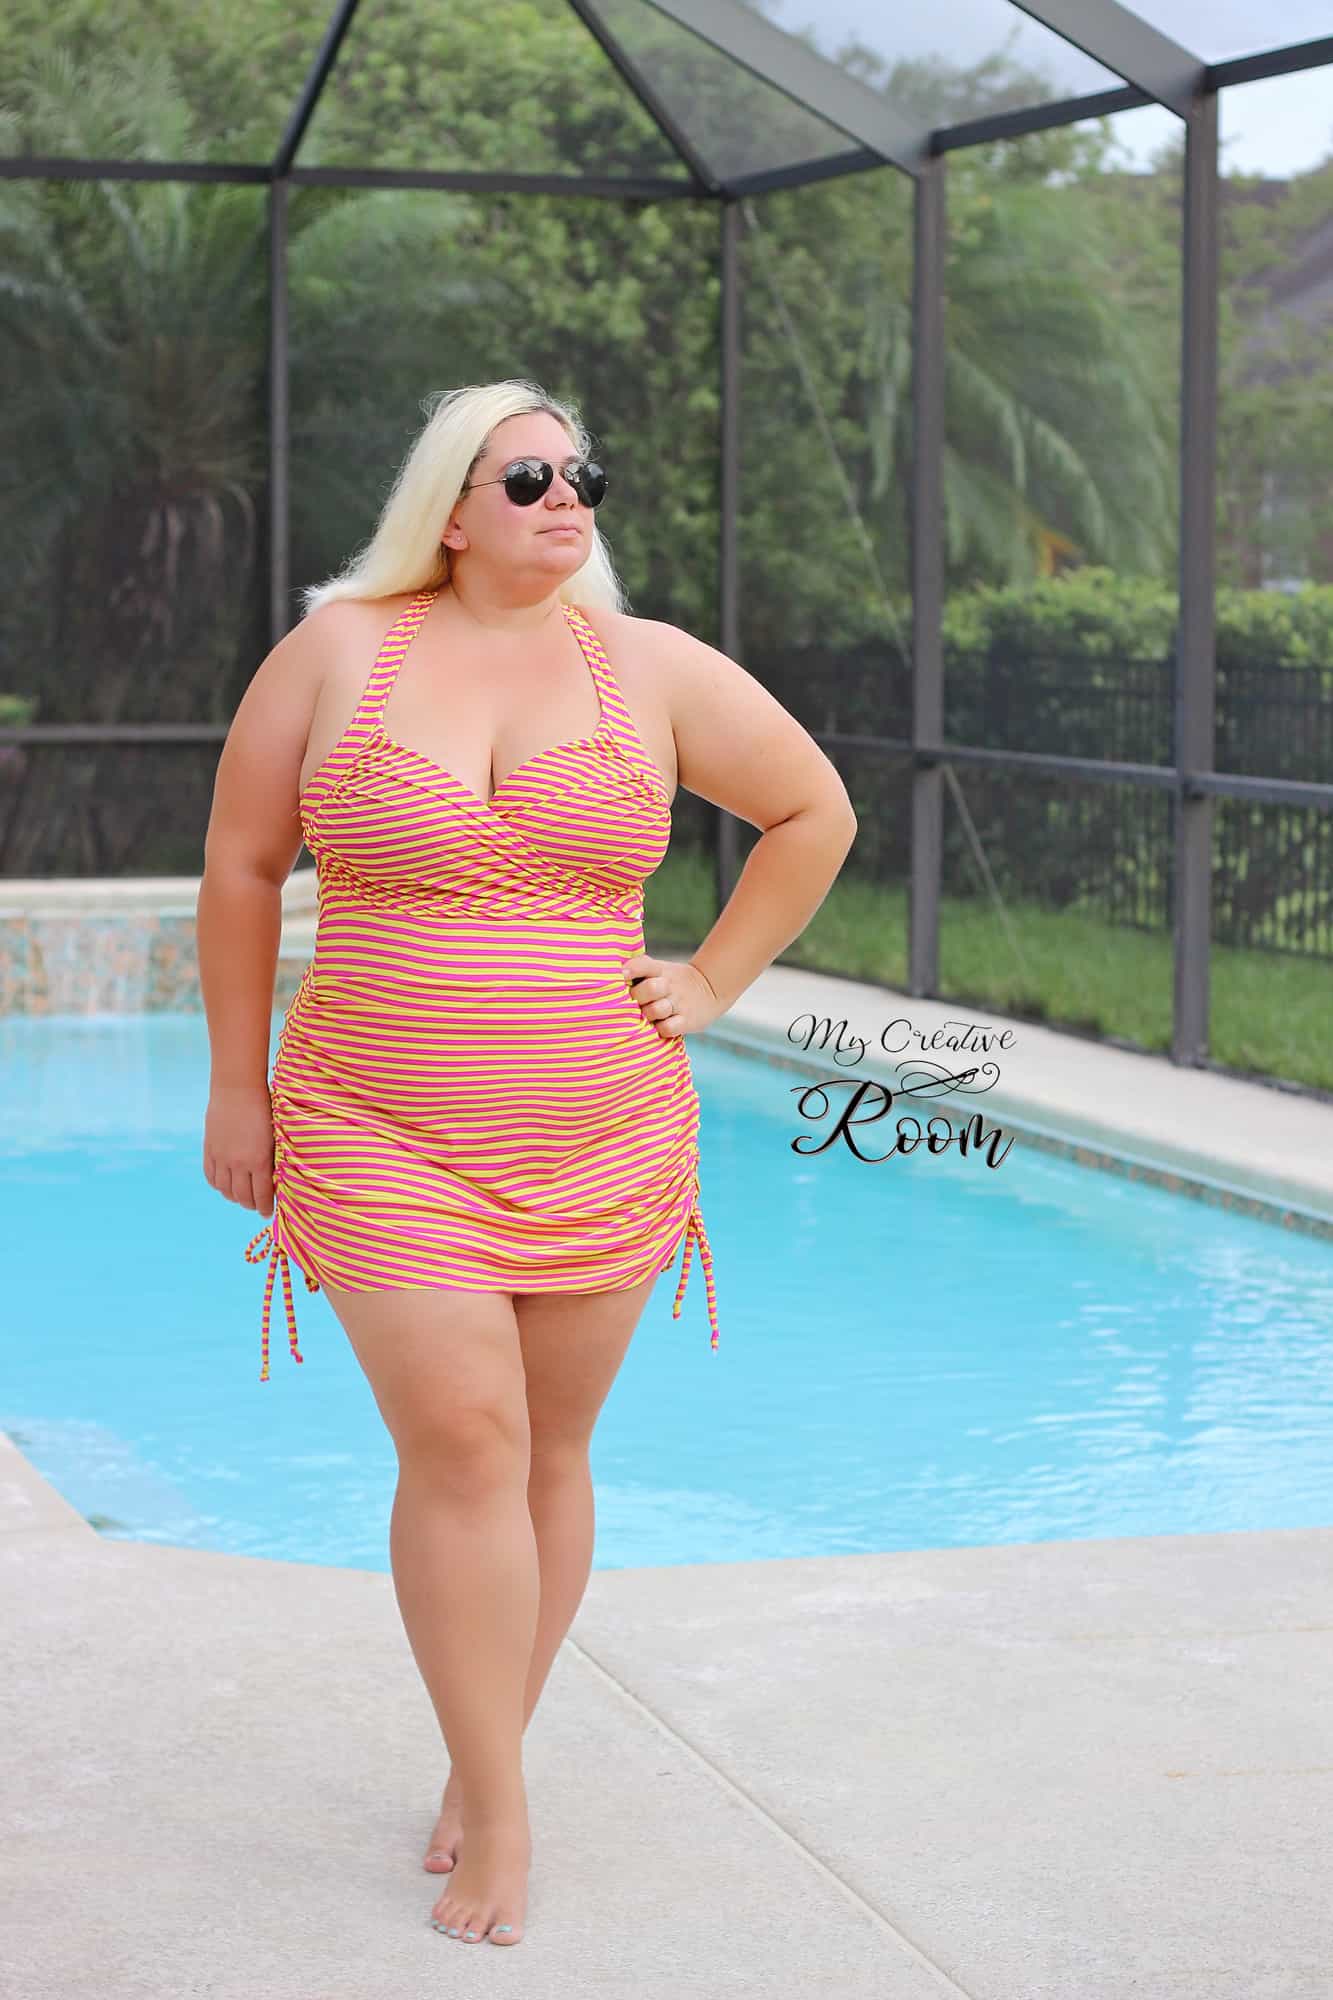
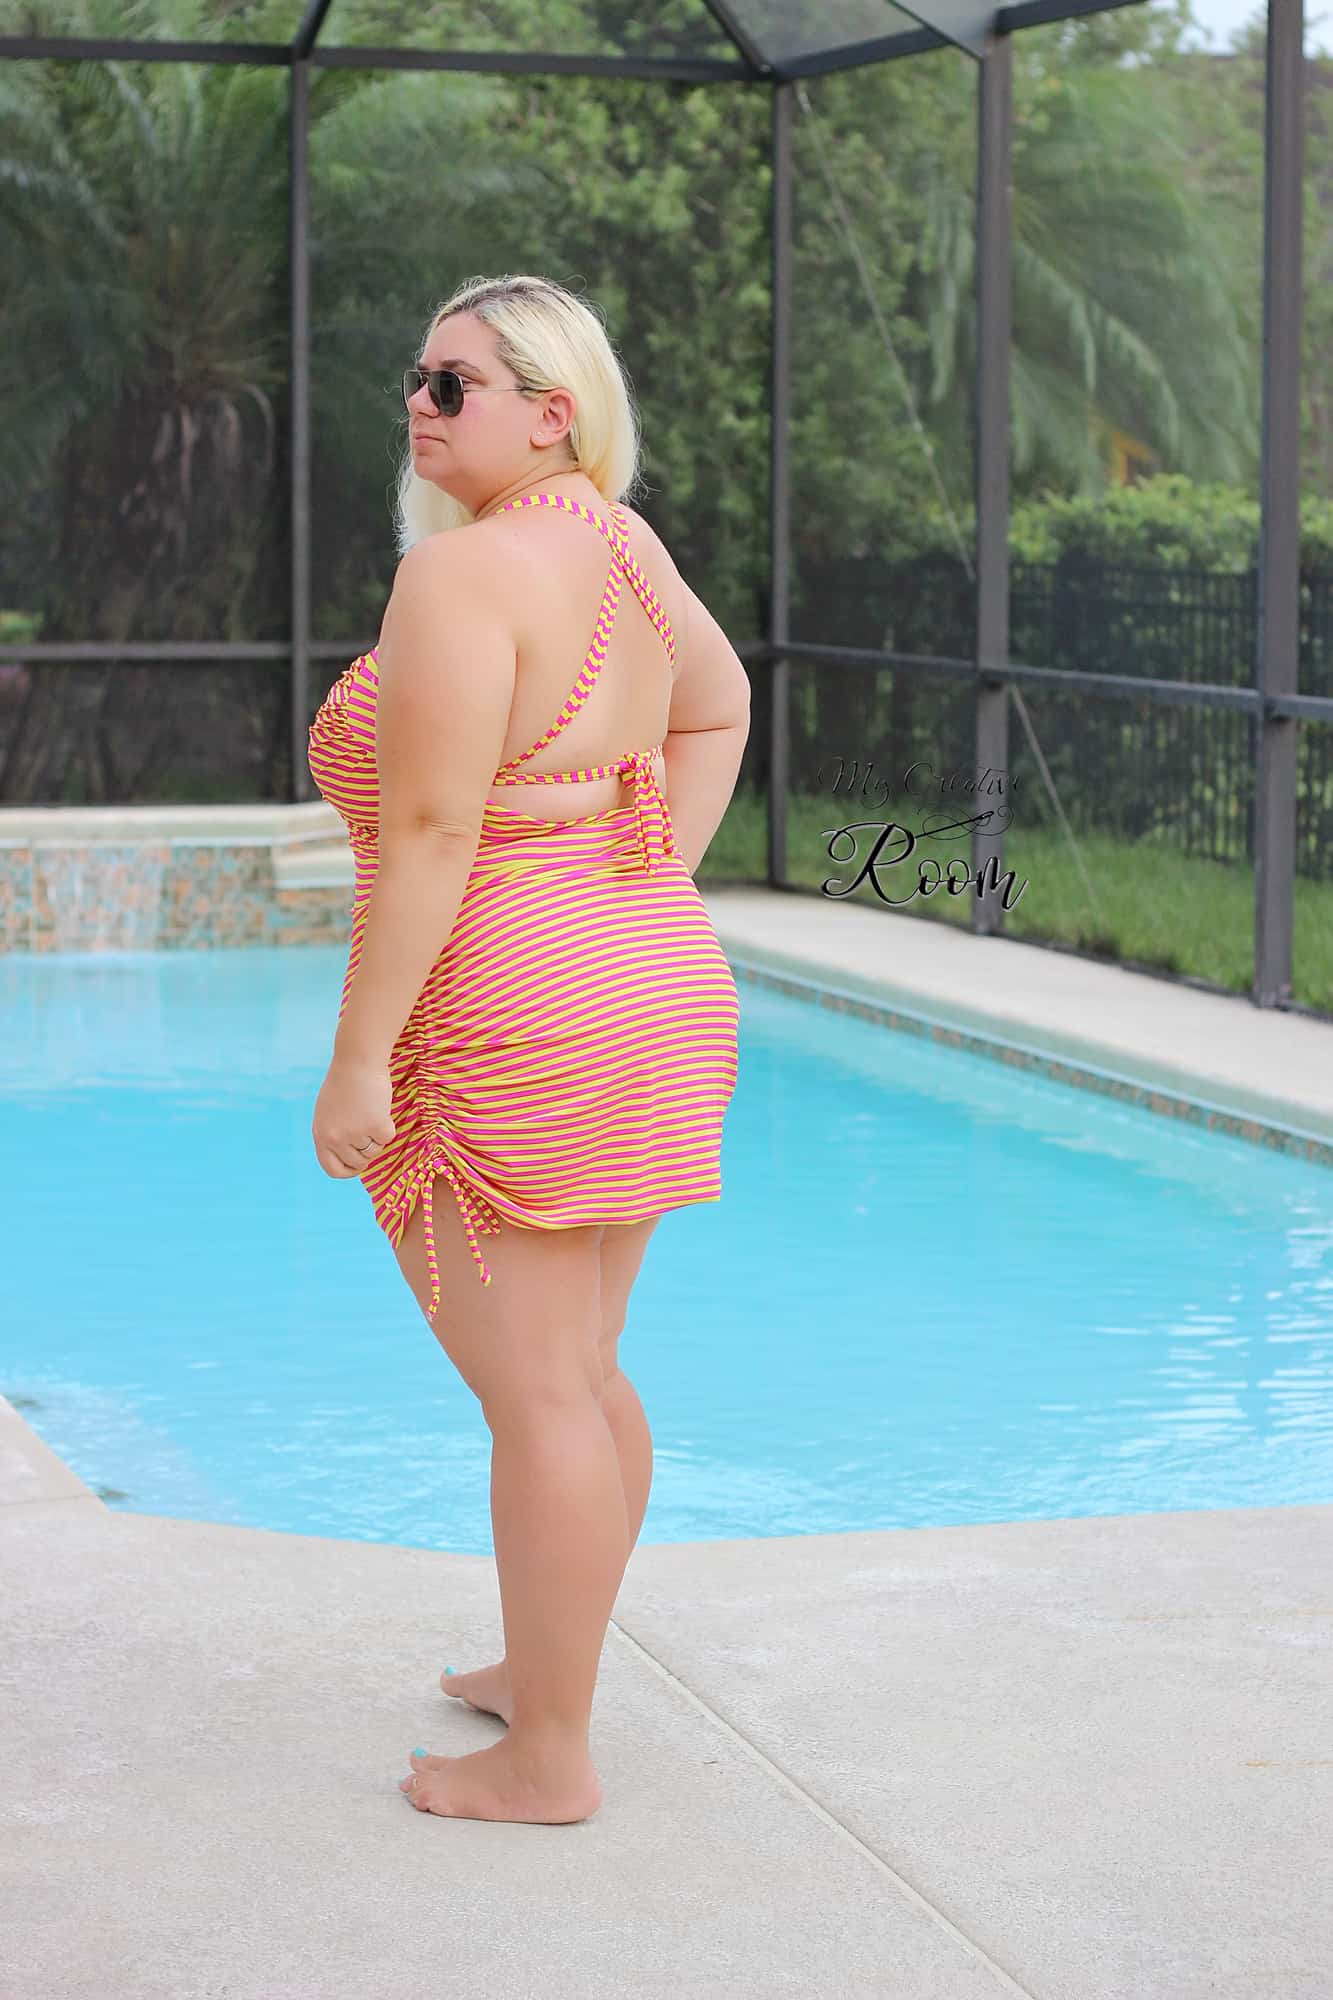
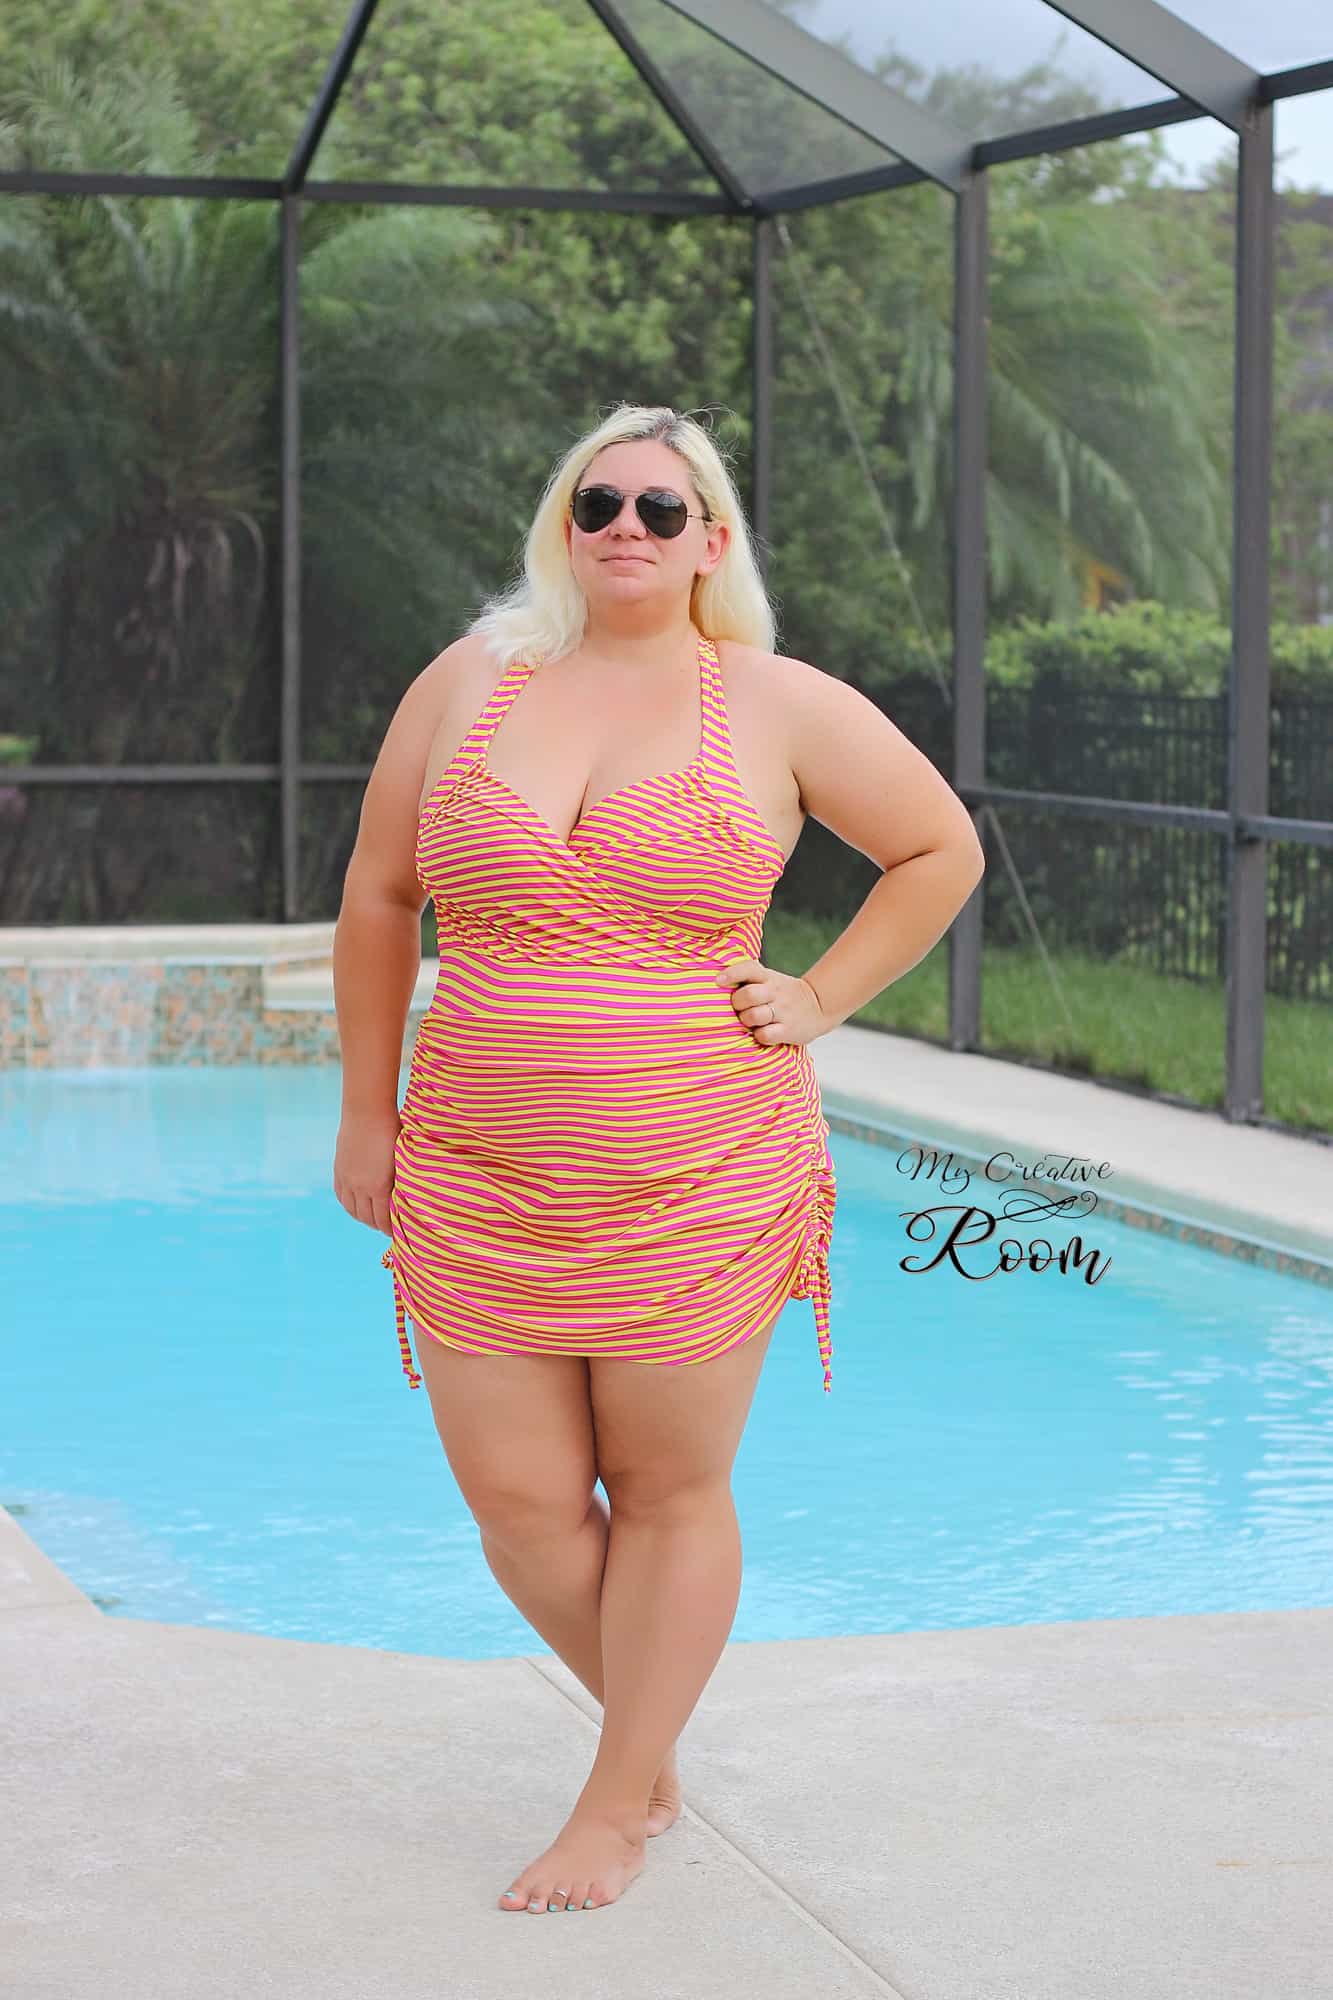
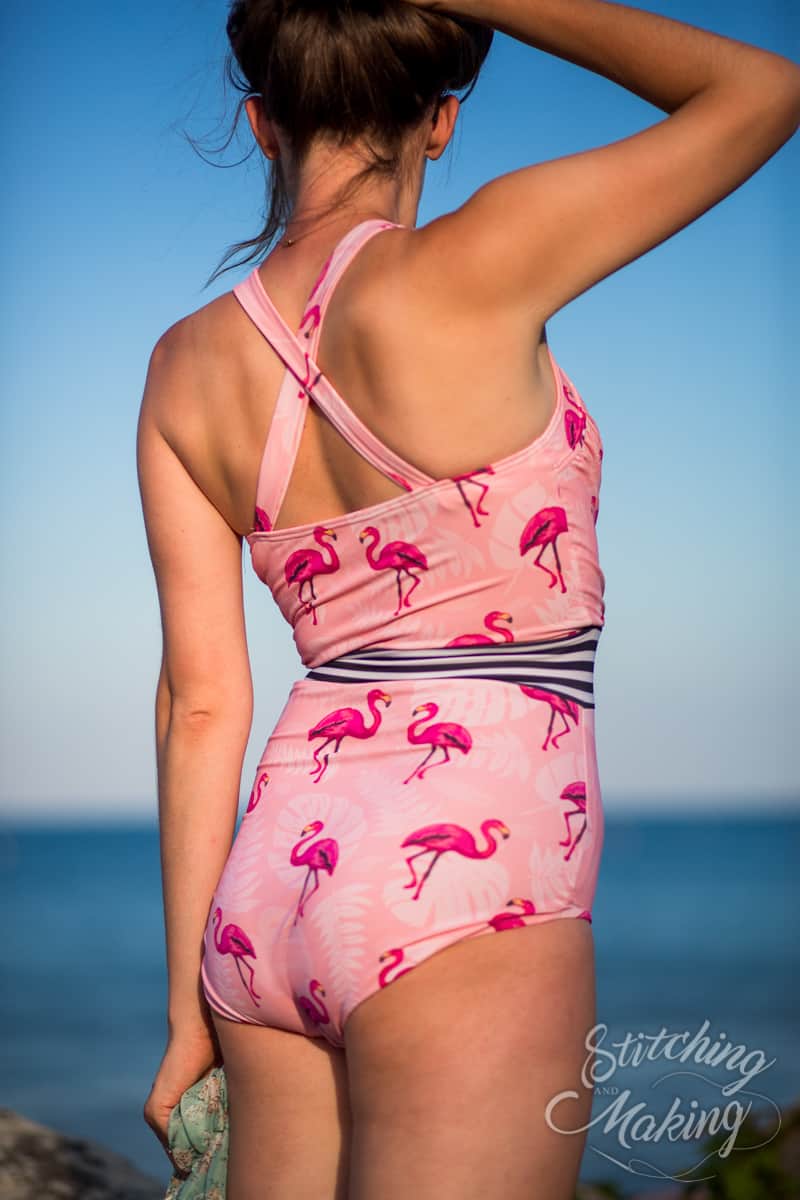
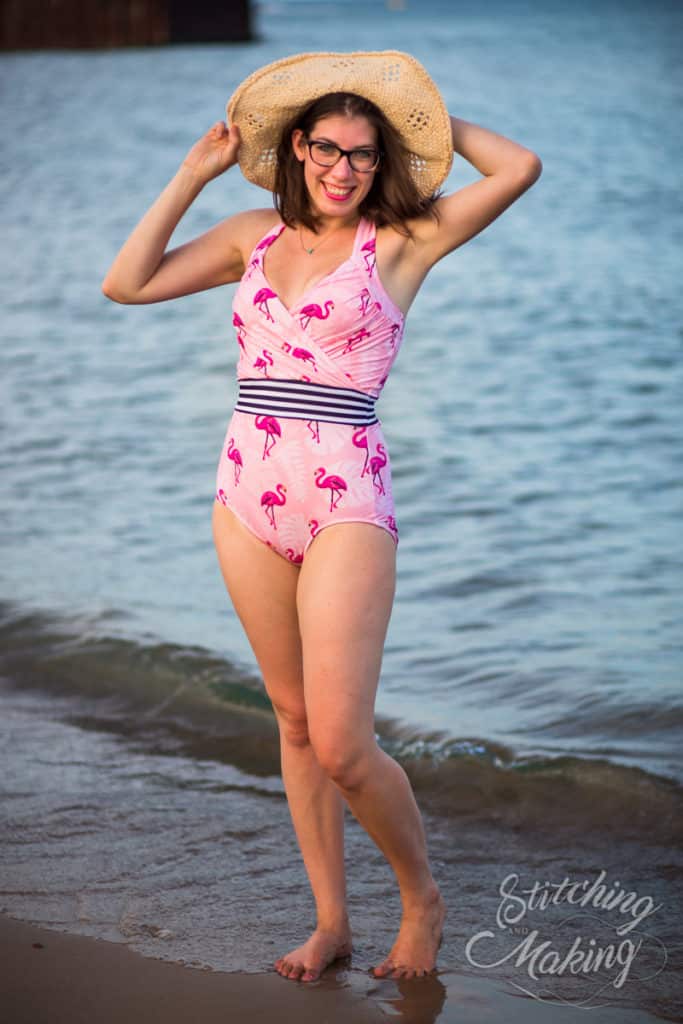
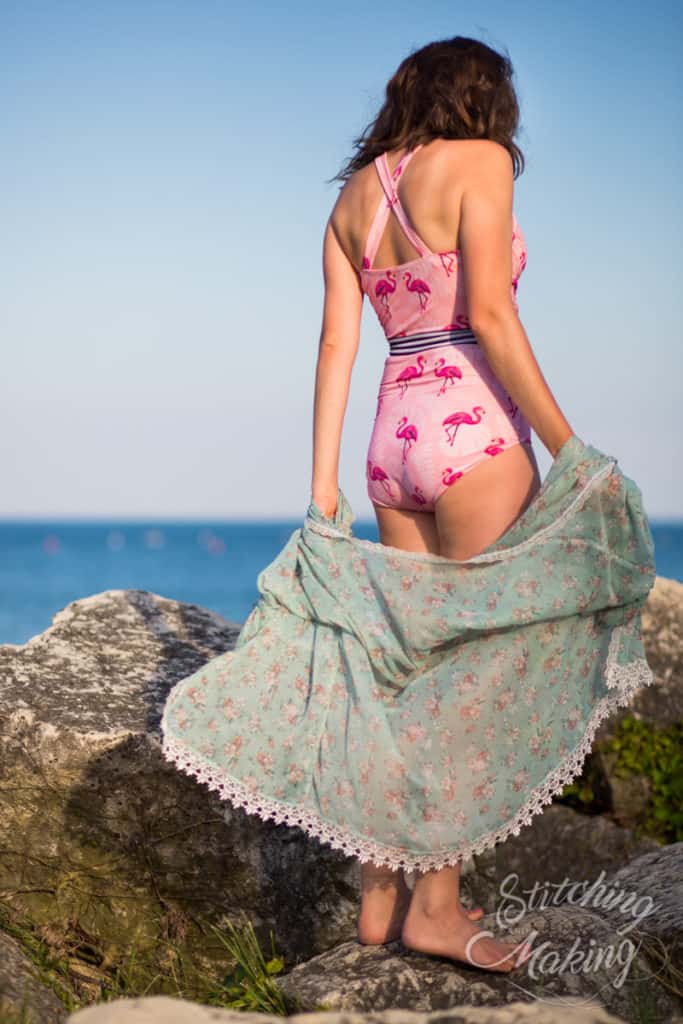
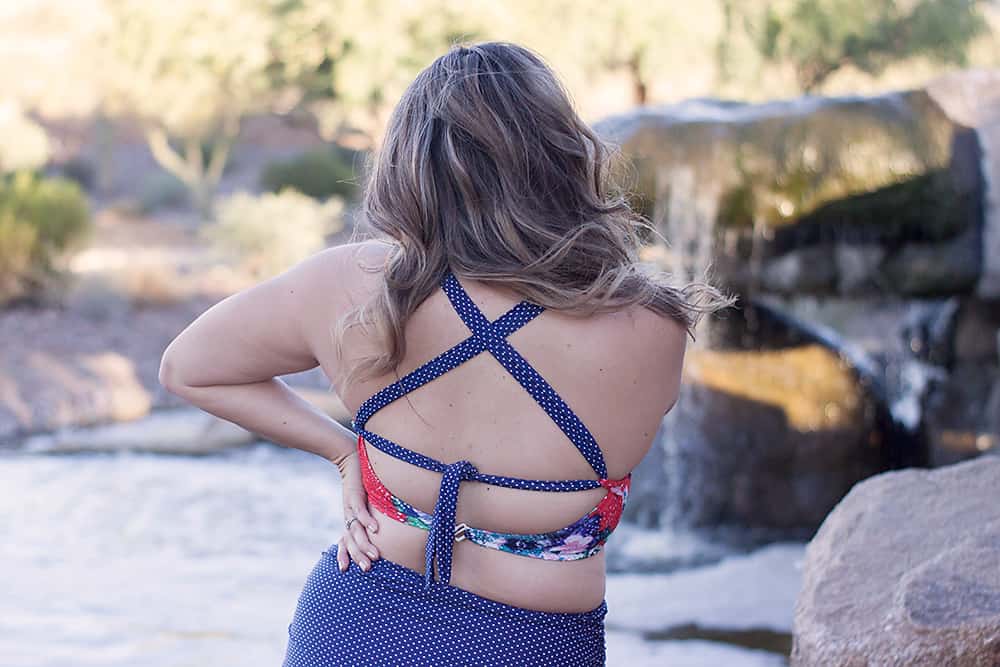
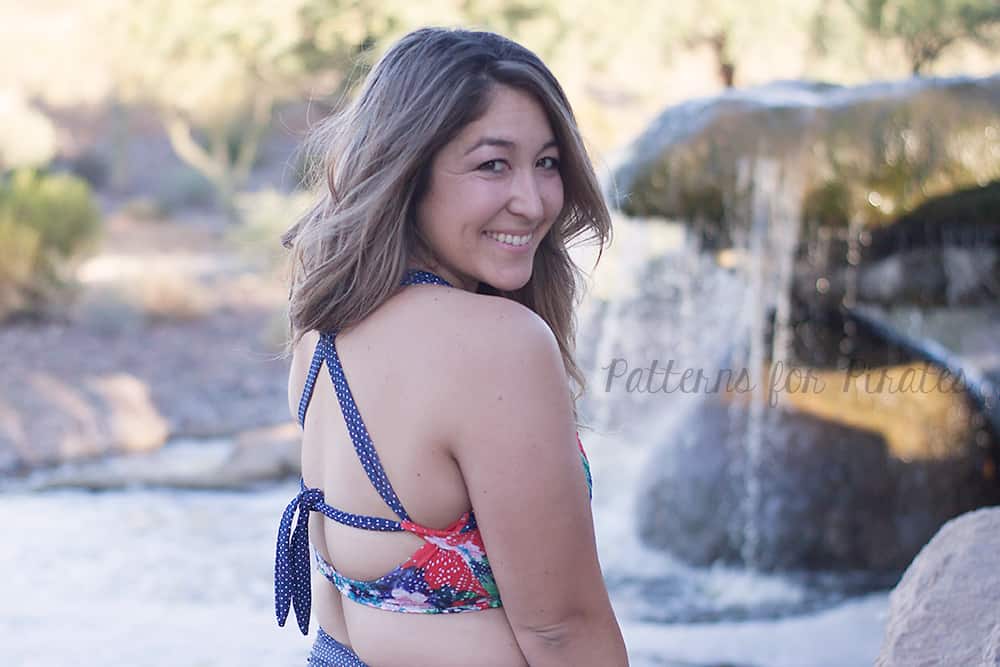
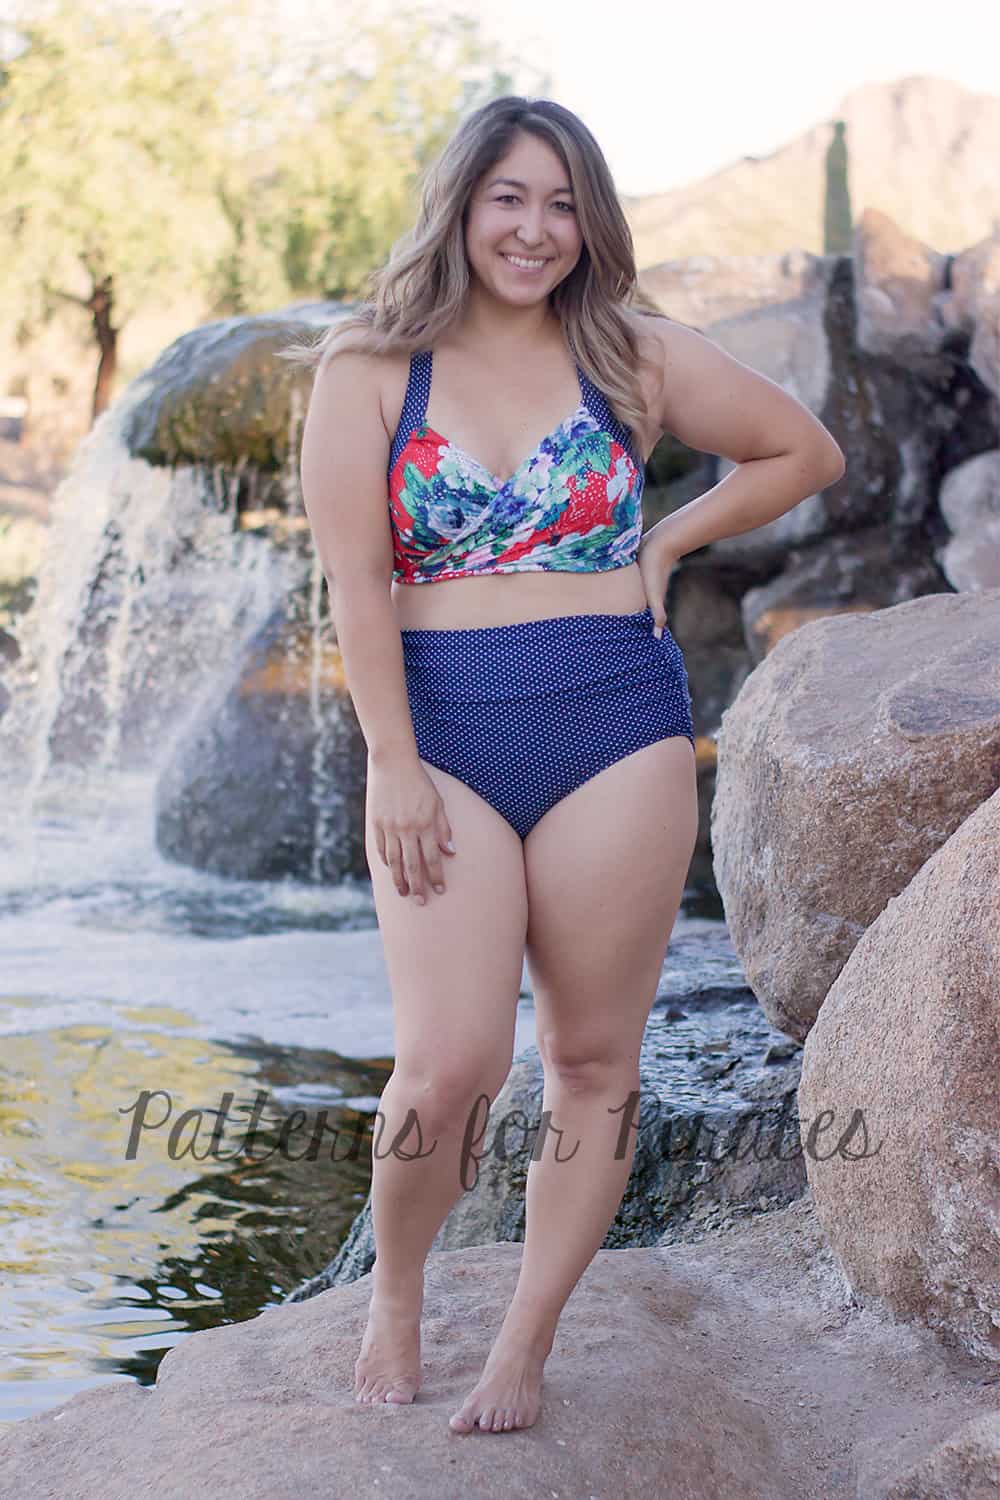
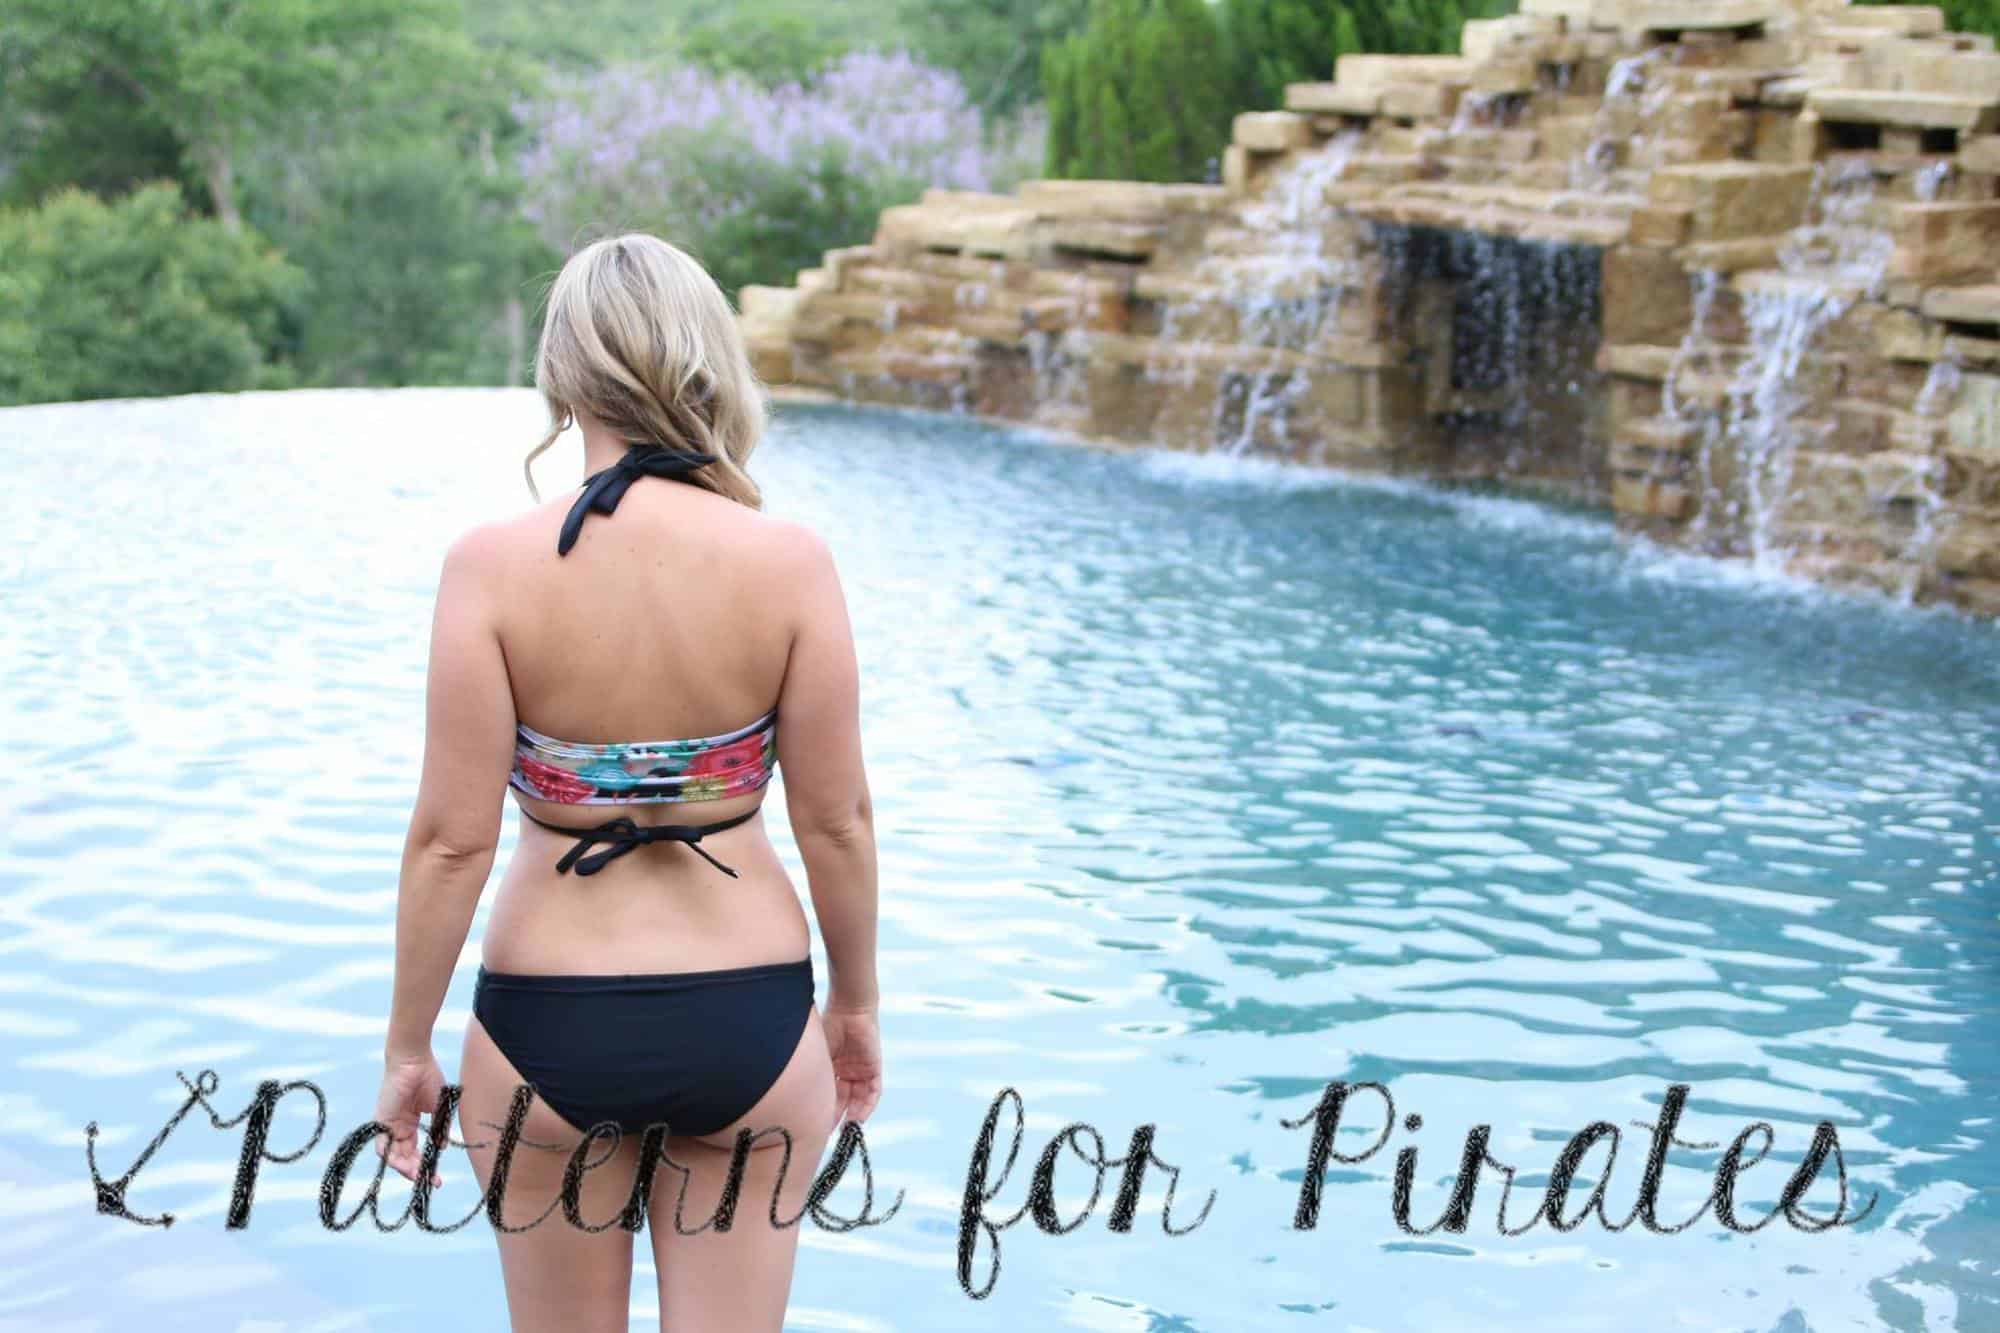
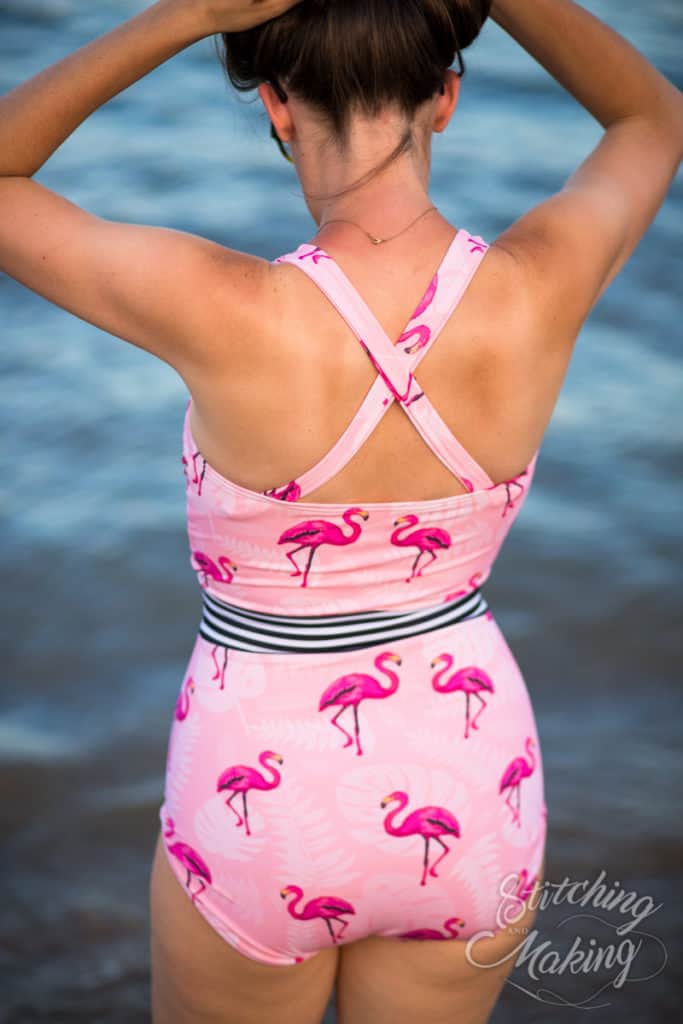
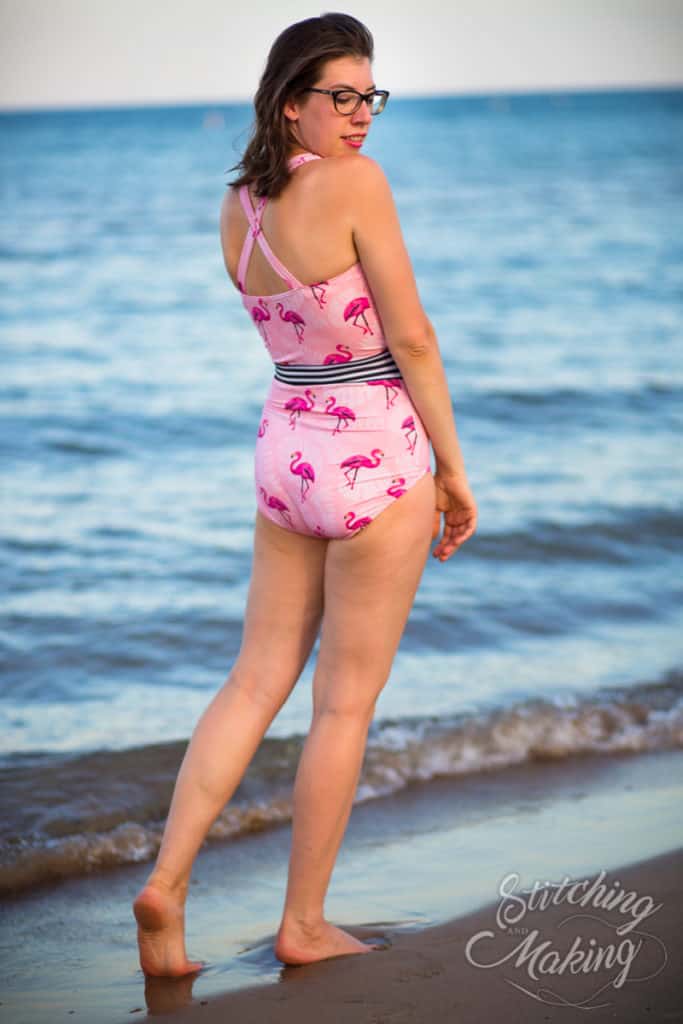
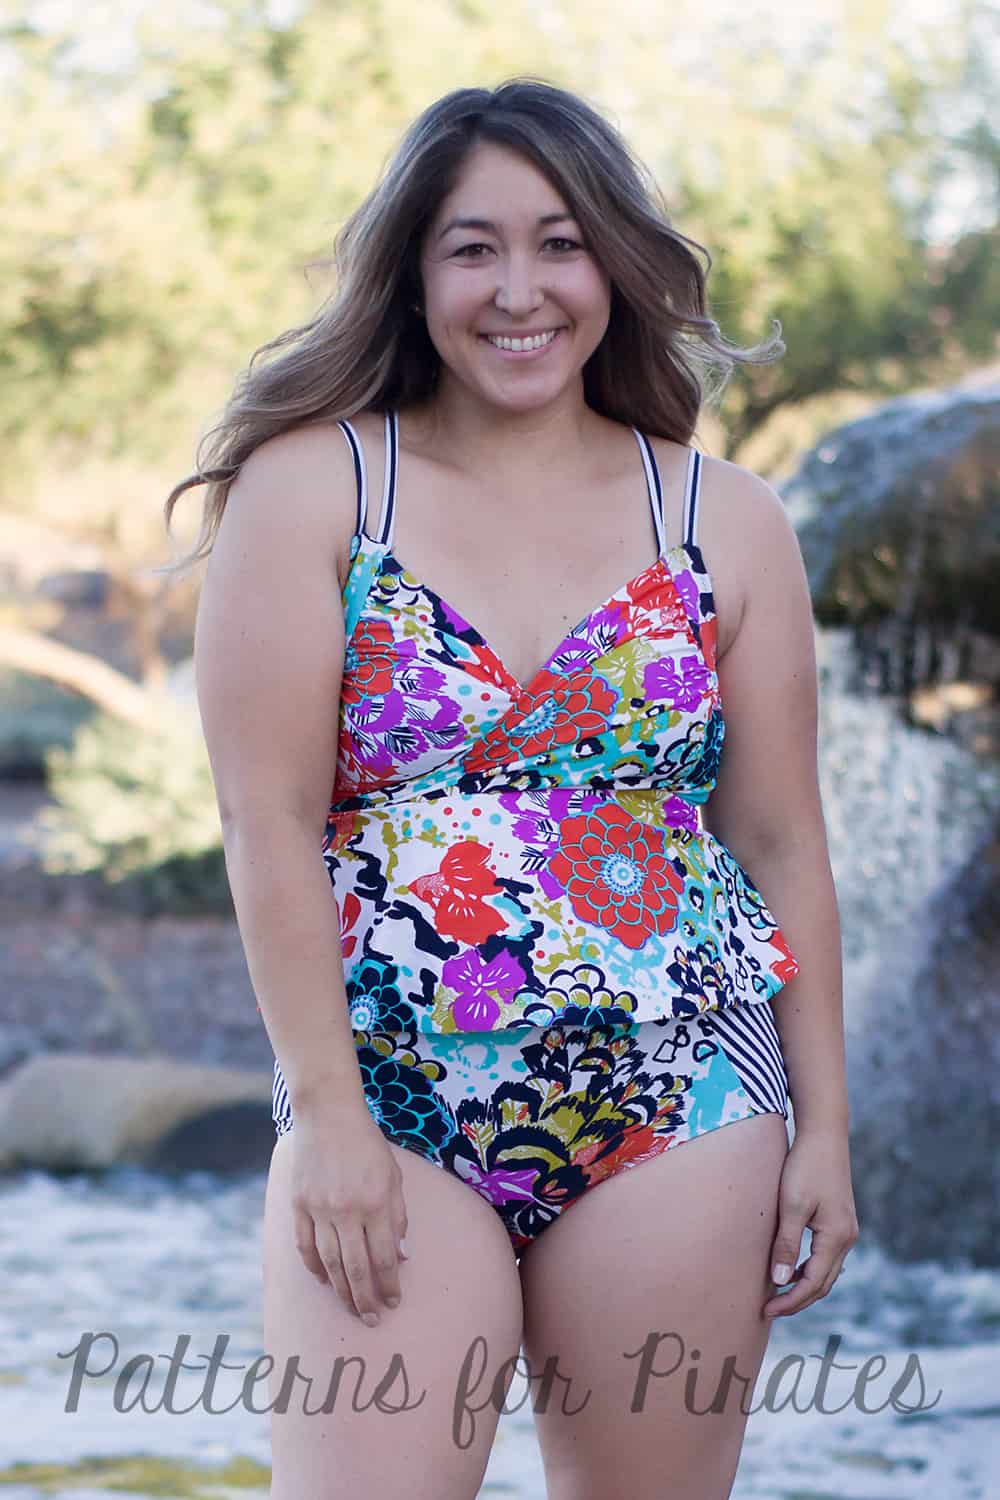
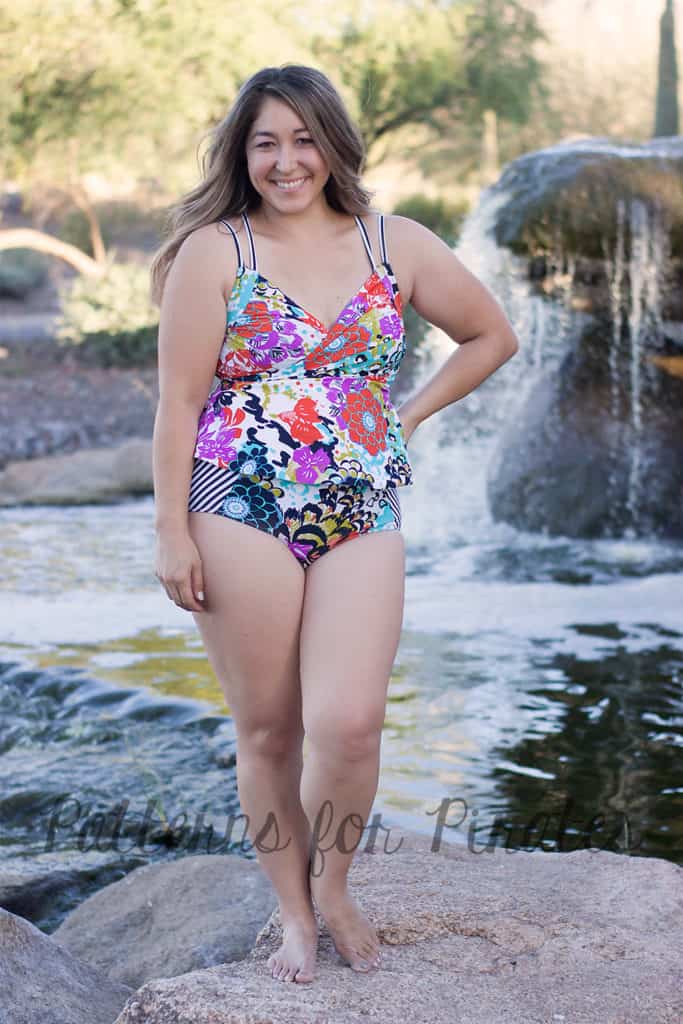
The pattern features a cross-over front bodice that plunges a little lower for a sexy look, while still keeping you contained, covered, and secure.  The waistband hits at and slightly above the natural waistline, to create an extra slimming silhouette, and is also great for color blocking.  And the leg openings come up a little higher in the front for a longer, leaner look.  There are three band-back options (high back with straight straps / low back with cross straps / halter back), two bottom types (plain / ruched) and an additional option for a skirted bottom in two lengths (peplum / full).

The retro vibe of the Take the Plunge Swimsuit will be a classic for years to come and can be paired with so many different fabric prints for unlimited looks!

**Want to learn more about how to measure yourself for this pattern?  We’ve got you covered with an in-depth blog HERE.

And now let’s see some suits!

FRONT CROSS-OVER BODICE

HIGH BACK, with straight straps

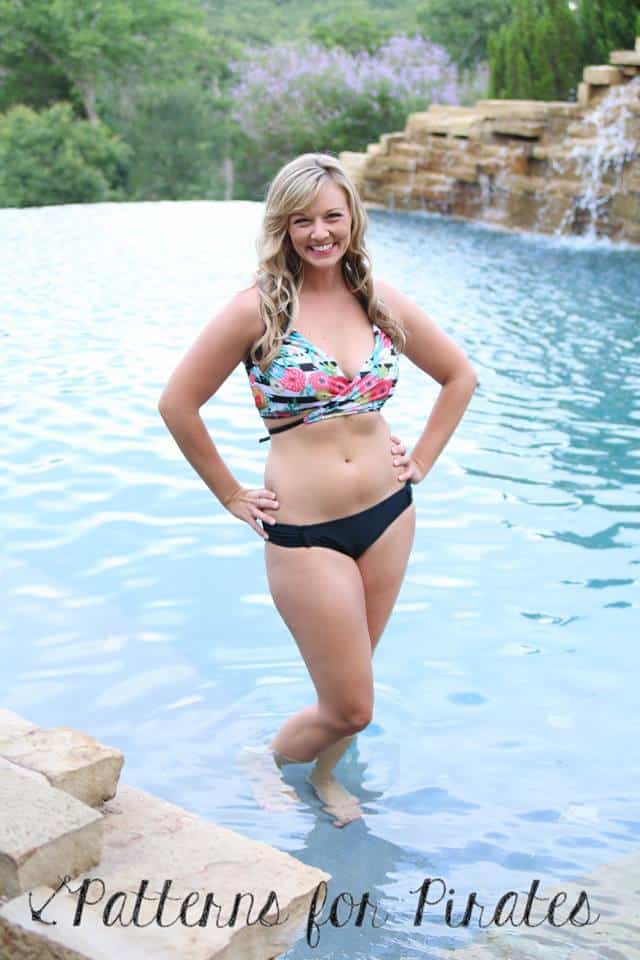
LOW BACK, with cross straps

HALTER BACK

PLAIN BOTTOMS

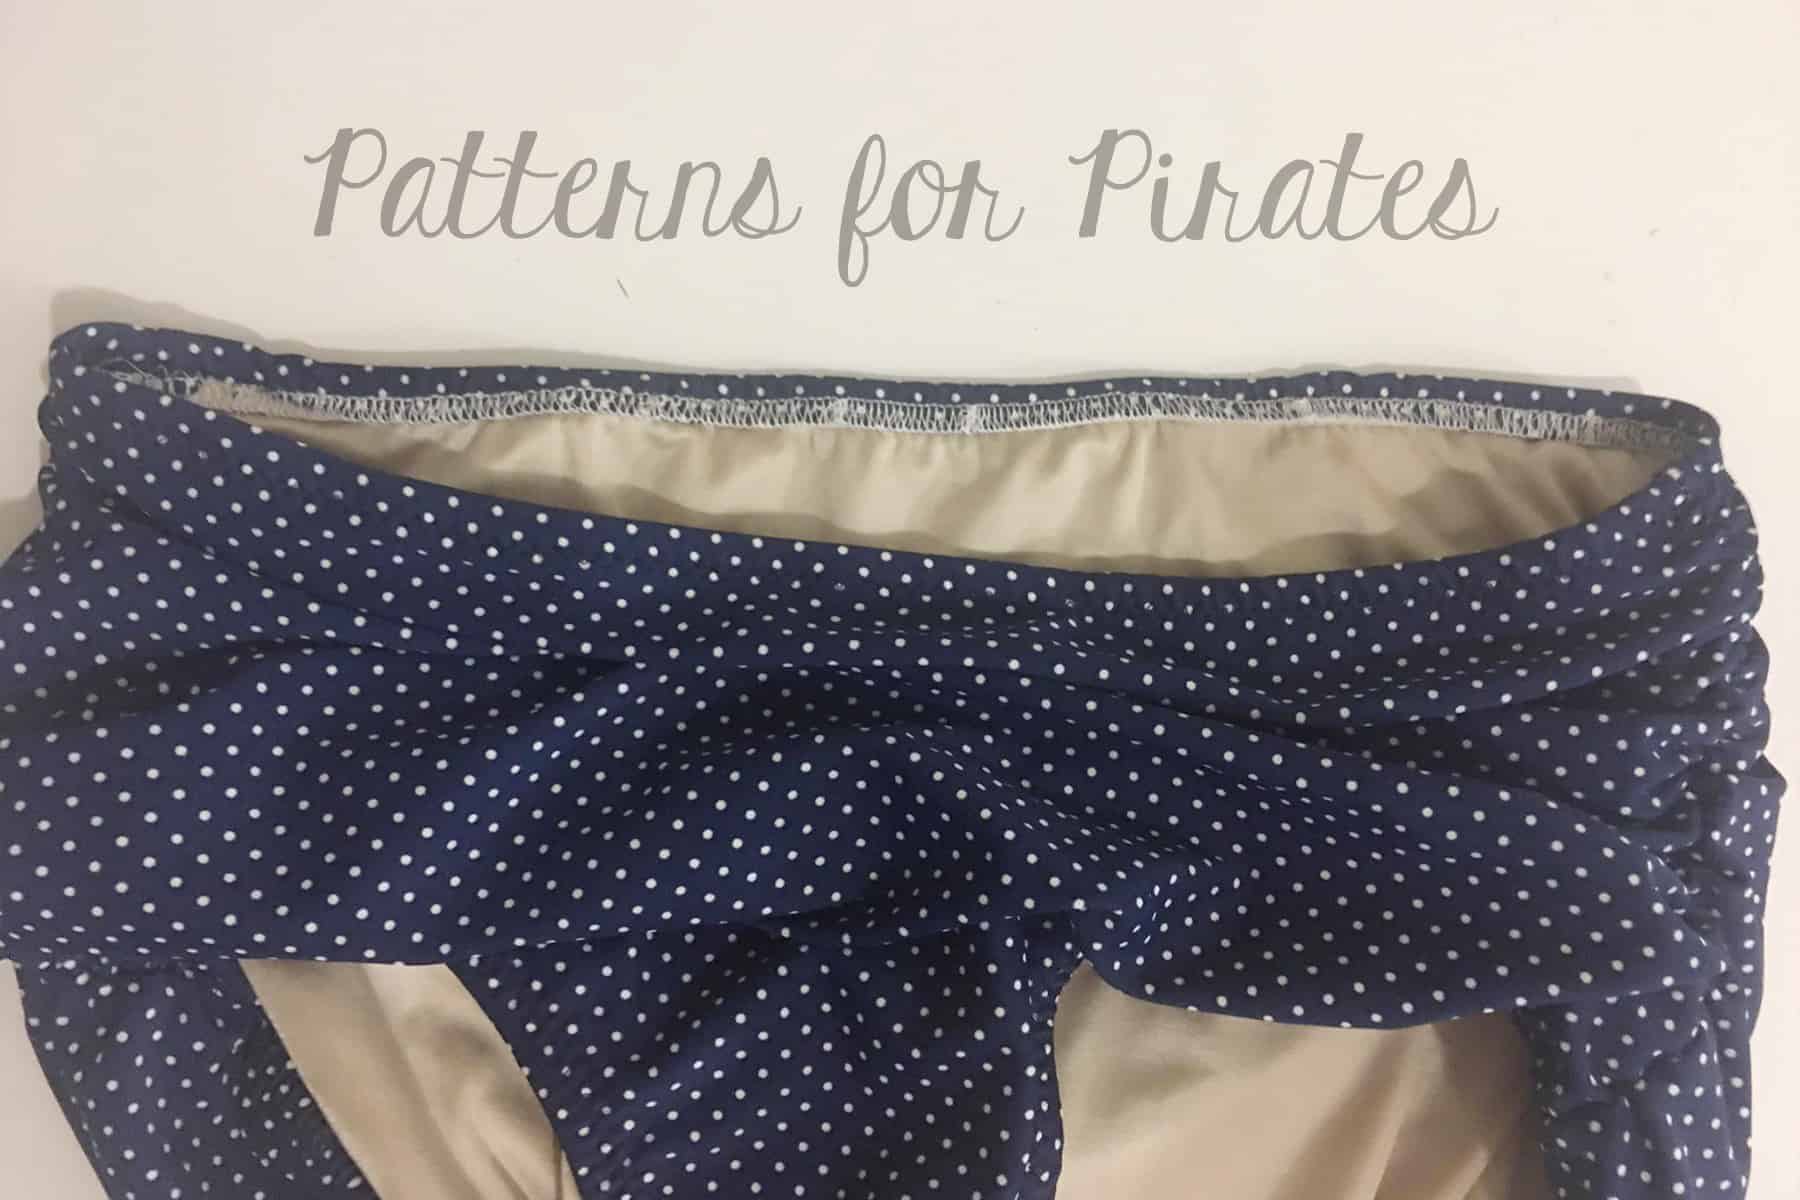
RUCHED BOTTOMS

OPTIONAL SKIRTED BOTTOMS

Feeling inspired to go buy all the swim knits now and sew a million suits for yourself?  Before you do, don’t forget to snag the Take the Plunge Swimsuit pattern HERE.

And don’t think we’d leave you with only the original pattern.  We’ve explored the extra potential of Take the Plunge and have an entire set of pattern SWIM HACKS and even a DRESS + PEPLUM HACK.

Needing more inspiration?  Head over to our Facebook Group Album, where are gorgeous testers of every shape and size have shared their versions!  Happy Sewing, friends!

Filed Under: Pattern Release Leave a Comment

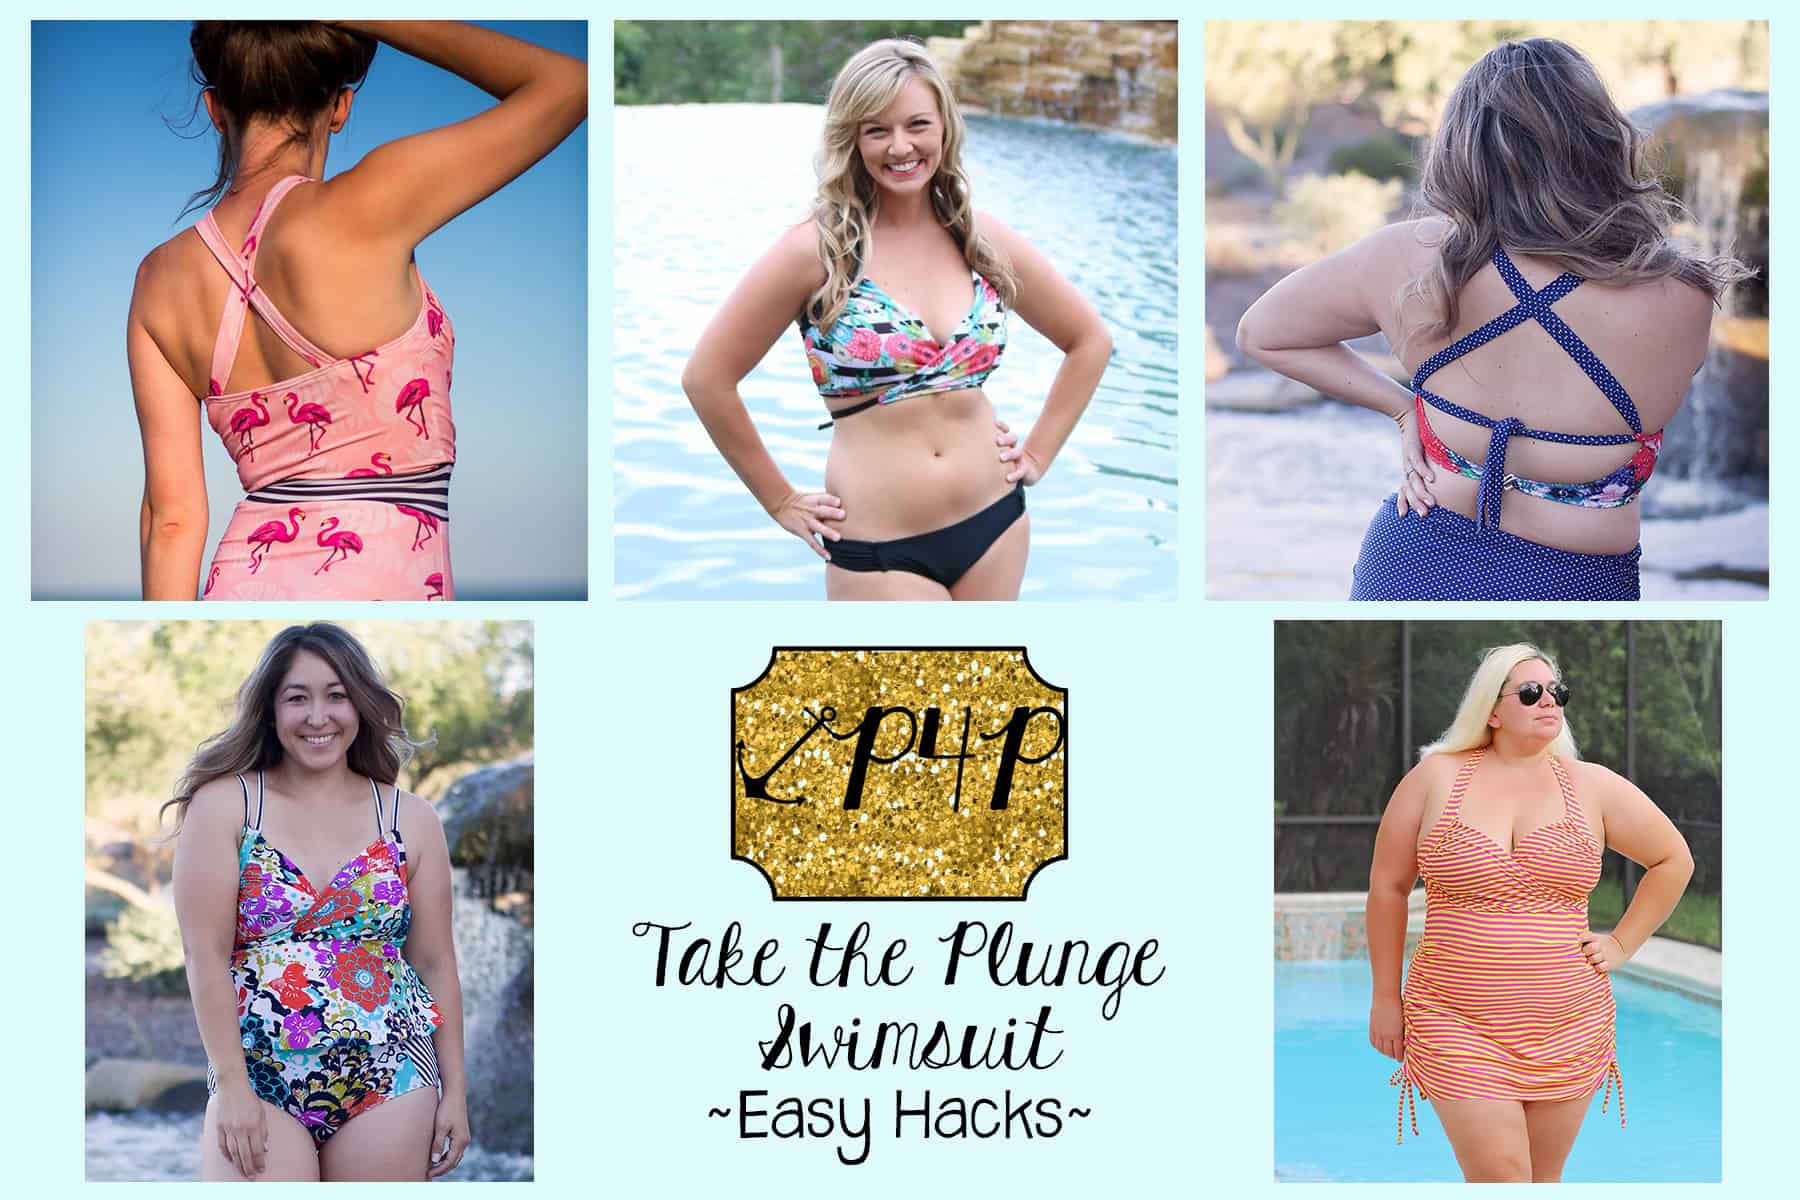
Take the Plunge Swim :: Easy Hacks

June 15, 2017

The ultimate one piece swimsuit is here and it’s packed with so many options. Mix and match the halter, low back or high back with any of the bottoms styles for a unique look every time but in true P4P fashion we could not have released this pattern without some easy hacks to get you even more looks out of your Take the Plunge Swimsuit.

First on the hack line up is a super easy swicharoo! 🙂 Simply switch the half circle skirt included in the Take the Plunge swimsuit with the rushed skirt of the Hello Sailor  Swim Bottoms.

This “retro” look is so easy to achieve when using the ties option of the Hello Sailor Swim Bottoms. If you prefer to use the elastic rushing option included in the tutorial  you can certainly do that too.

I used the low back option of the Take the Plunge swimsuit but either one of the other tops would look amazing with the skirted bottoms. Make yourself a high back option and you’ll be ready to chase your little ones at the beach this summer. 🙂

There was no alteration needed to make to the pattern.  Follow the tutorial for the Take the Plunge swimsuit and replace the skirt included with the Hello Sailor Swim Bottoms skirt. Easy peasy!

Alex

—

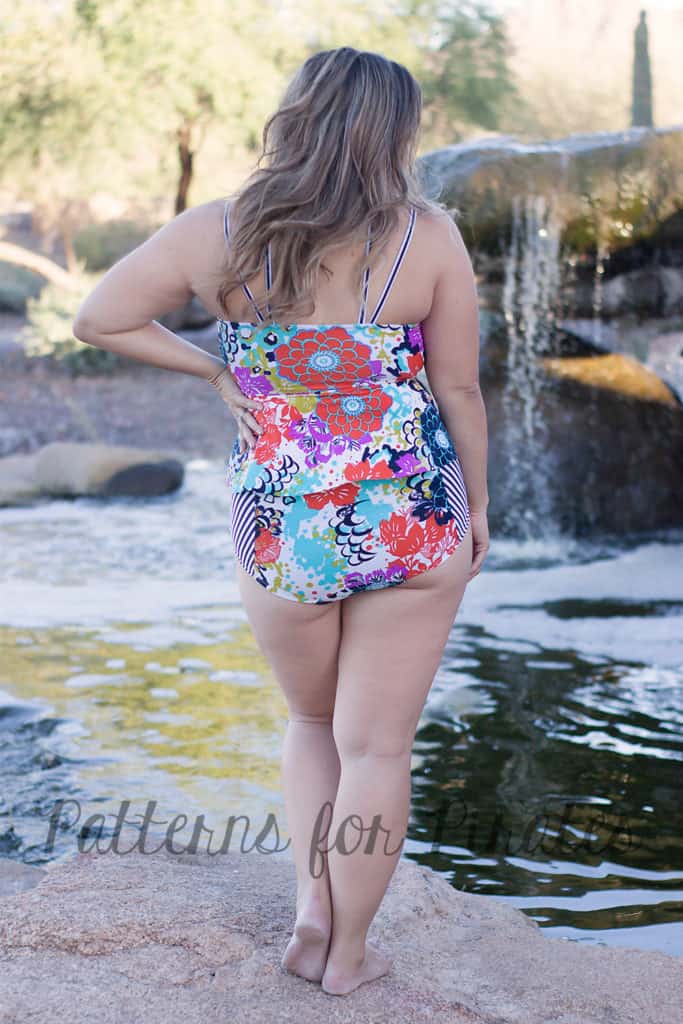
For another quick and easy way to mix up this pattern, try modifying the straps!  In this example, I’ll show you how to hack the halter back and straps into a trendy criss-cross.


1. When cutting out your halter straps, you don’t need to cut the pointed tip.  Just straight across is easier.  For me, the length worked as-is, but if you are extra tall (I am 5’8″), you may want to cut a couple extra inches just to be safe.

2. Assemble the pattern as the instructions direct, until you get to the step for adding the elastic in the back.

3. After you’ve added the elastic, on each side, mark the middle point between the center back and the side seams. (I happened to take this picture before I added the elastic, don’t be confused by that part!)

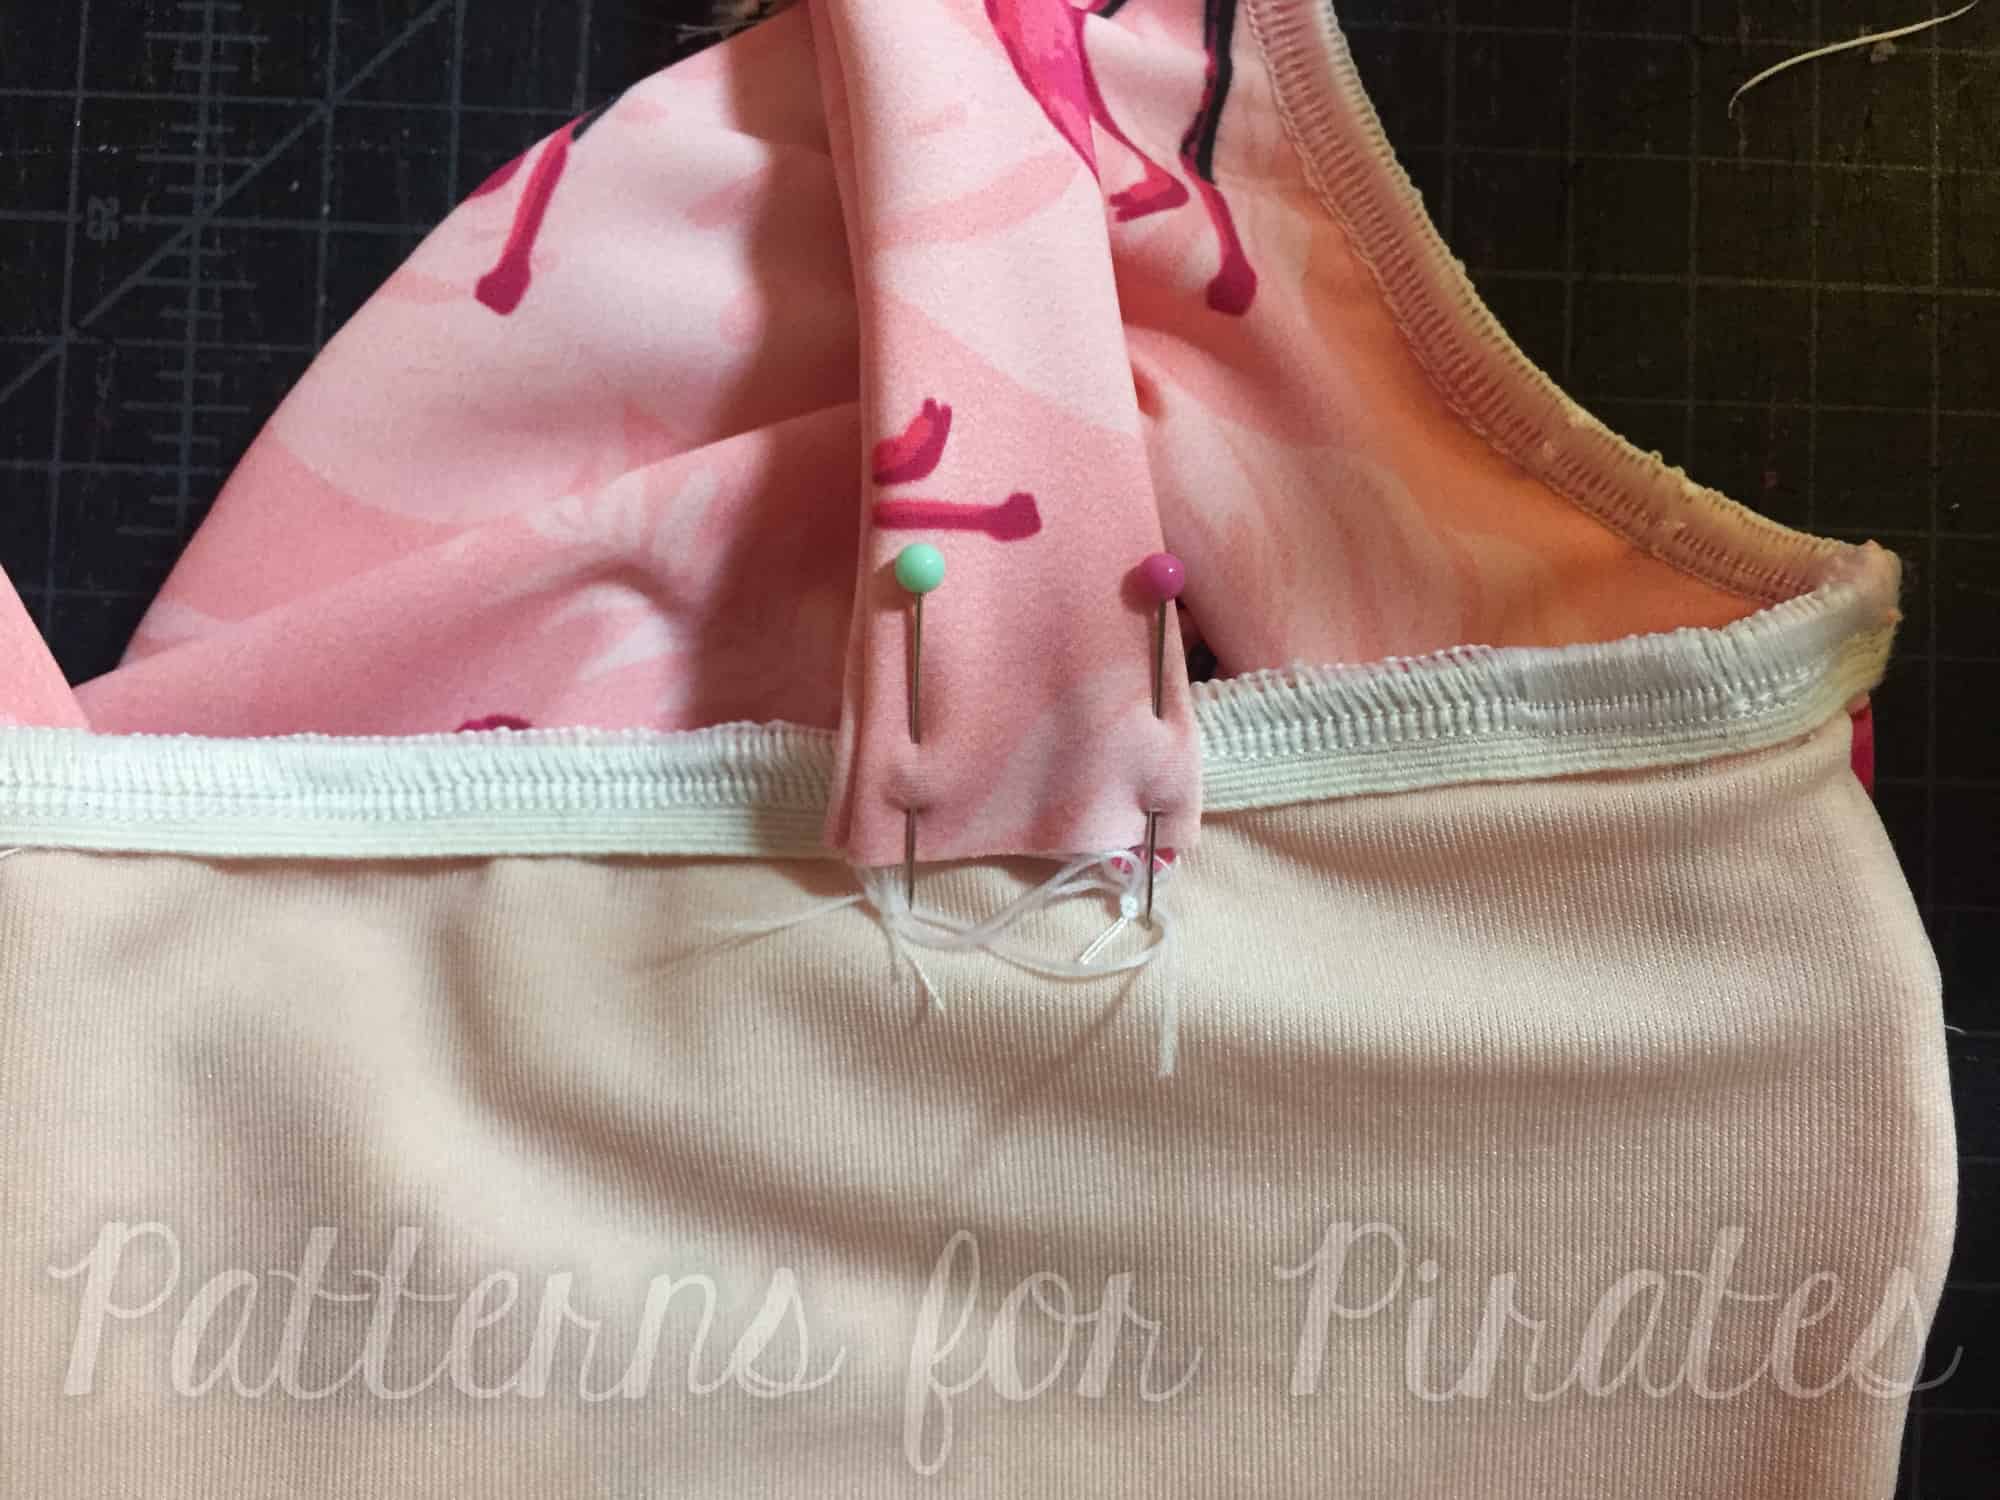
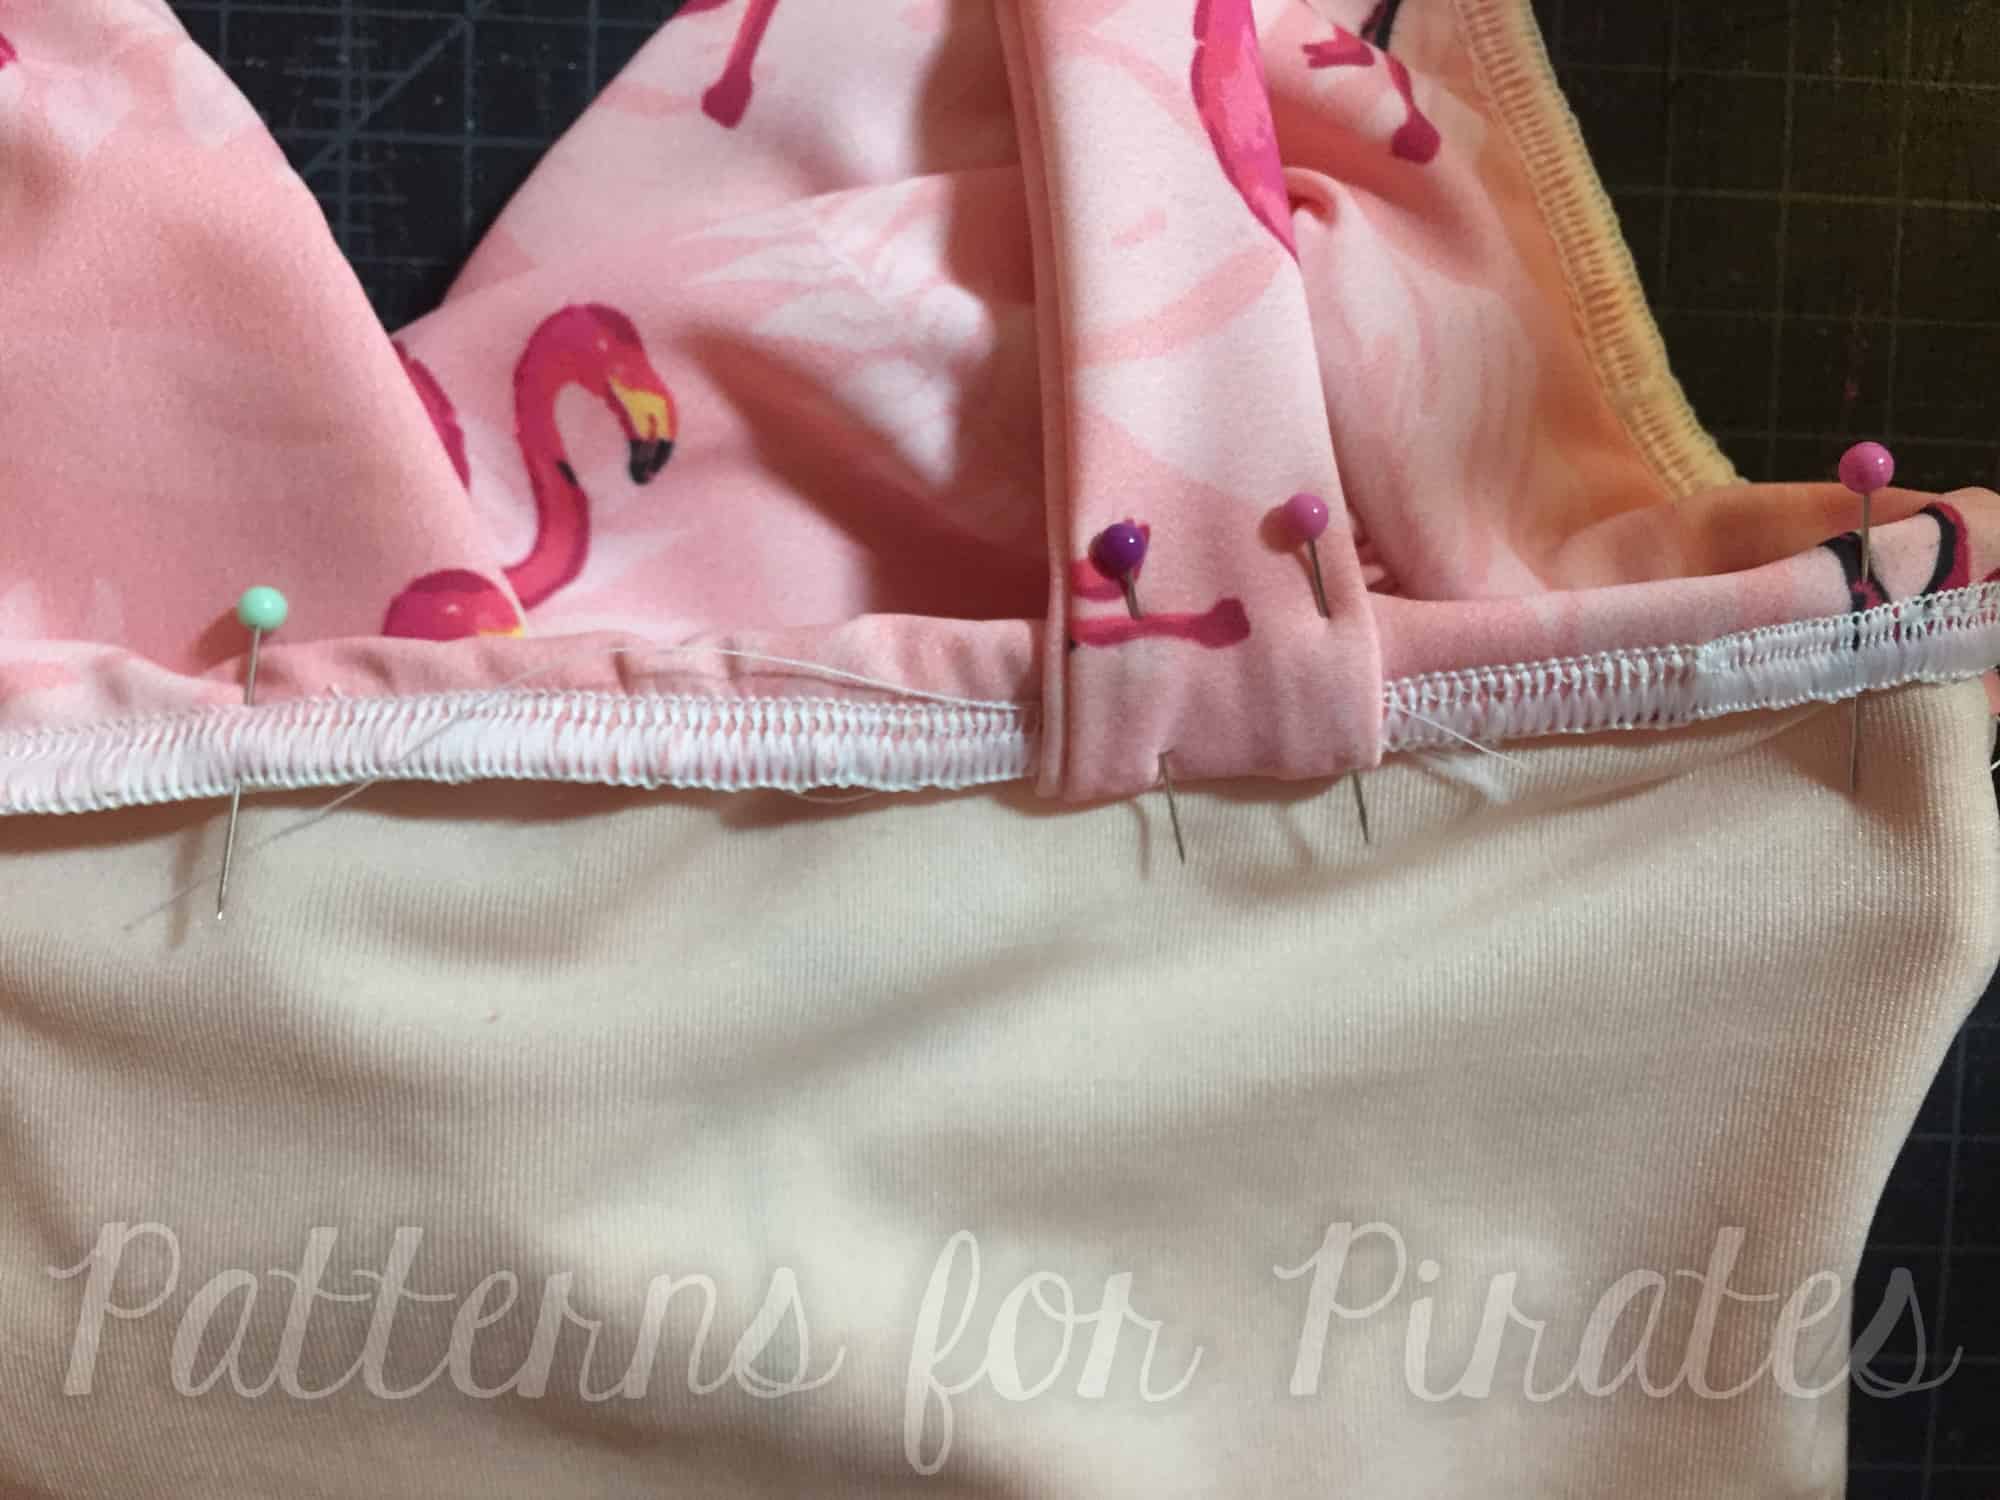
4. Pin/clip (or baste) the straps in place where you’ve marked – make sure to cross them and that they aren’t crooked.  You’ll want to try it on at this point to make sure the strap lengths are comfortable.  I found that I needed to attach the straps about 1.5″ from the end.

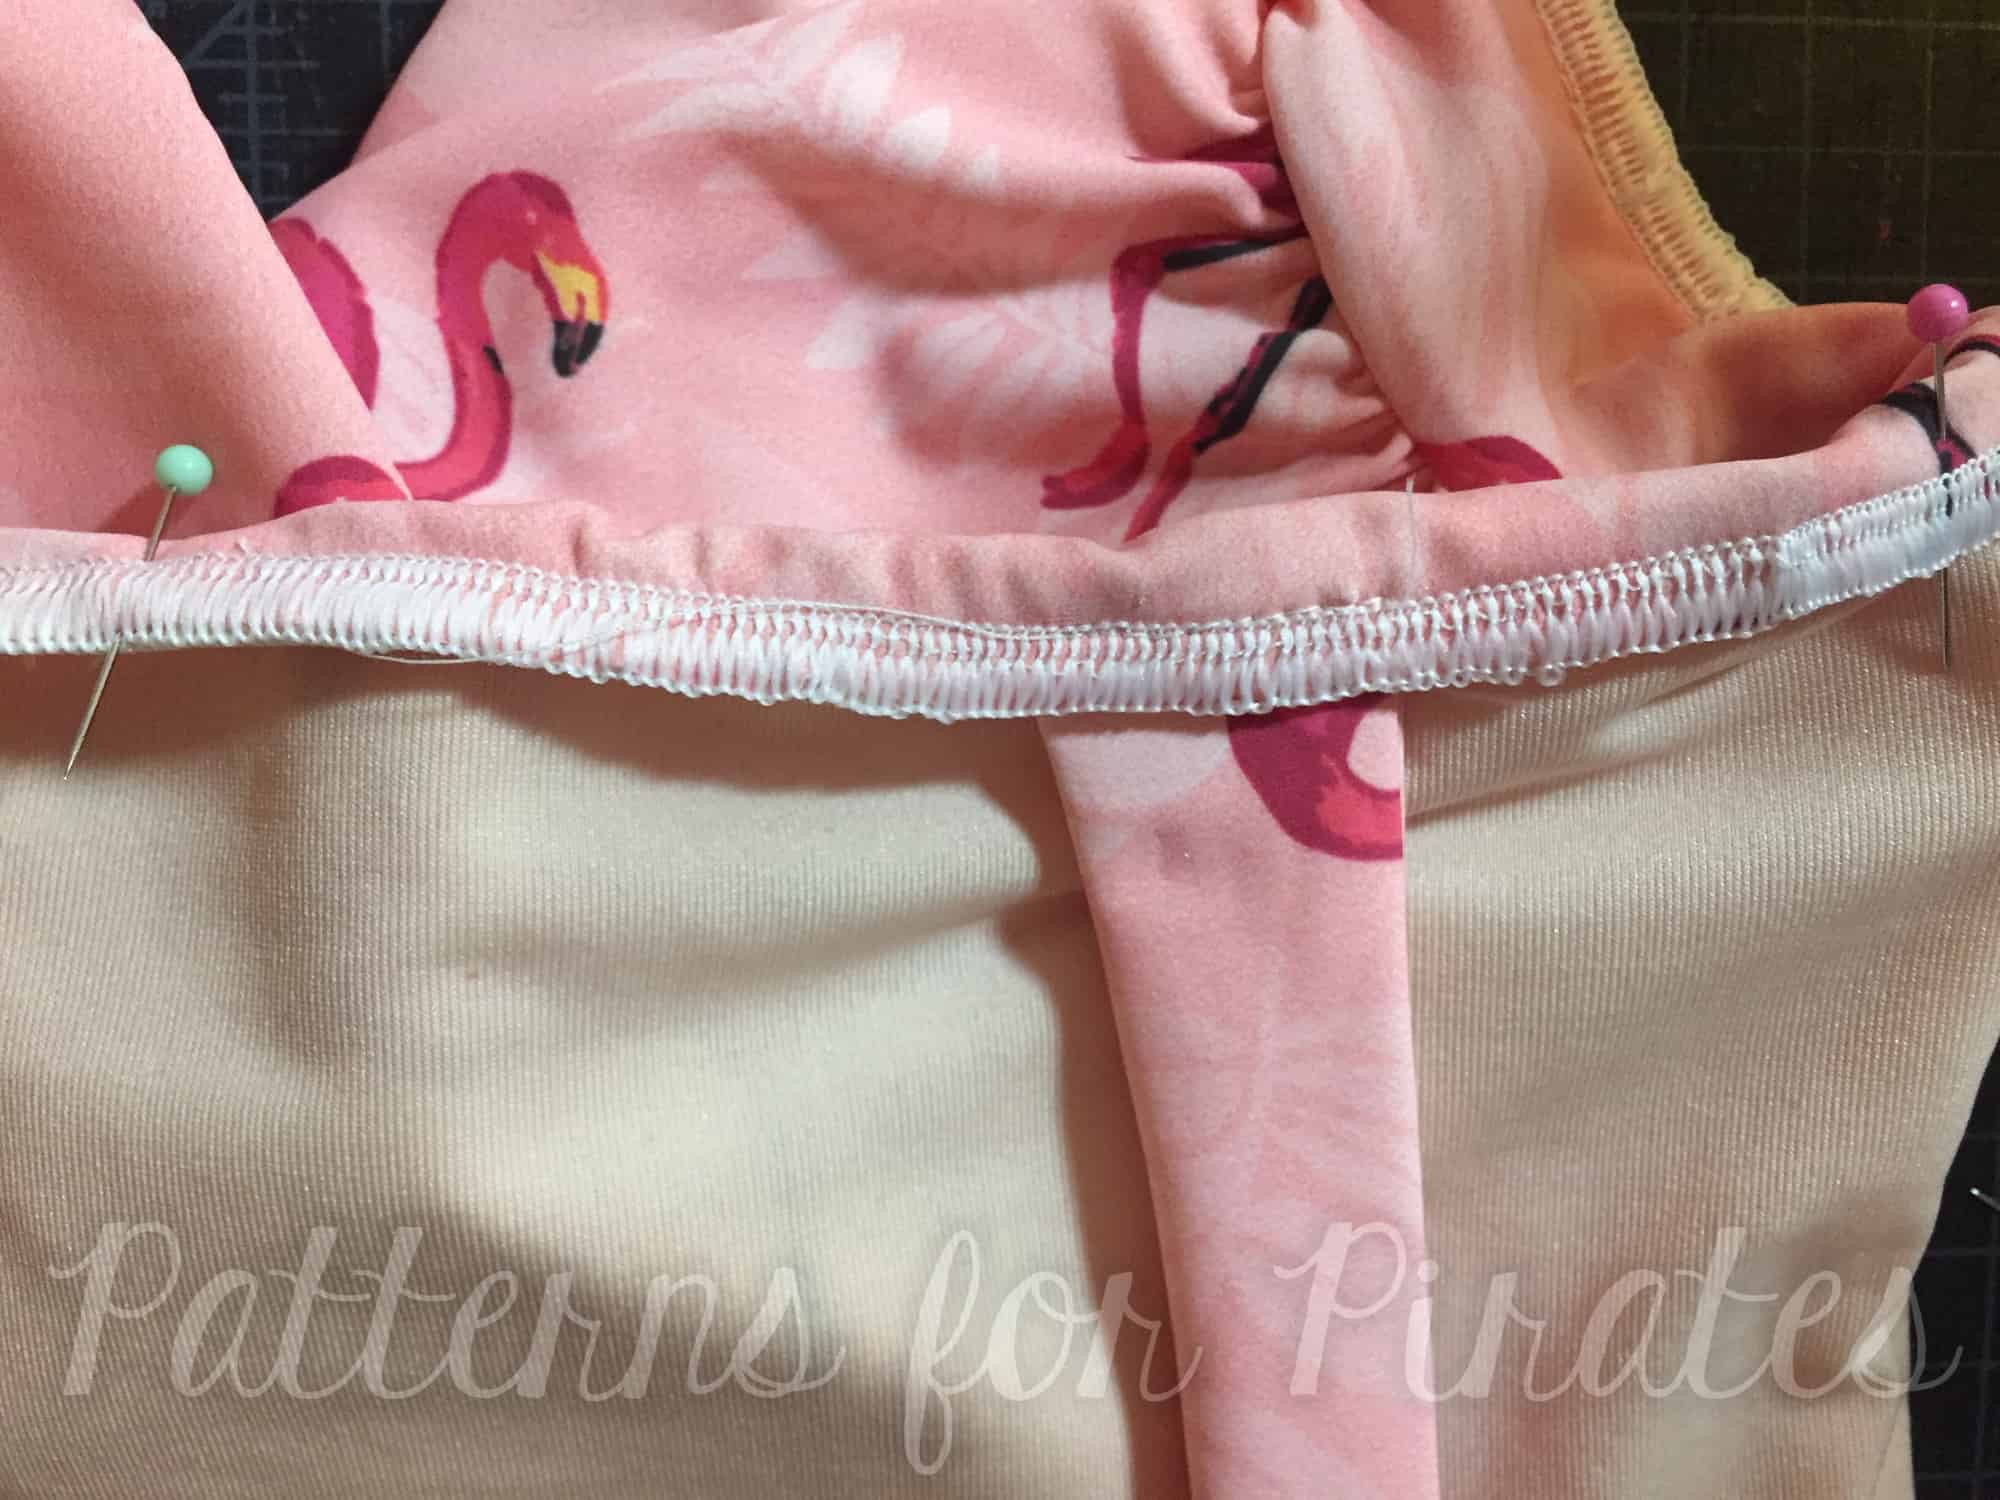
5. Once you know exactly where you want the straps placed, now you’re ready to sew them down.  There’s multiple ways you could do this, but I found this method reduced bulk the most.

6. With your strap facing up, sew it through the elastic on the back.  This area will receive a lot of stress so make sure to use a good stitch – I like the triple stretch stitch or zigzag.

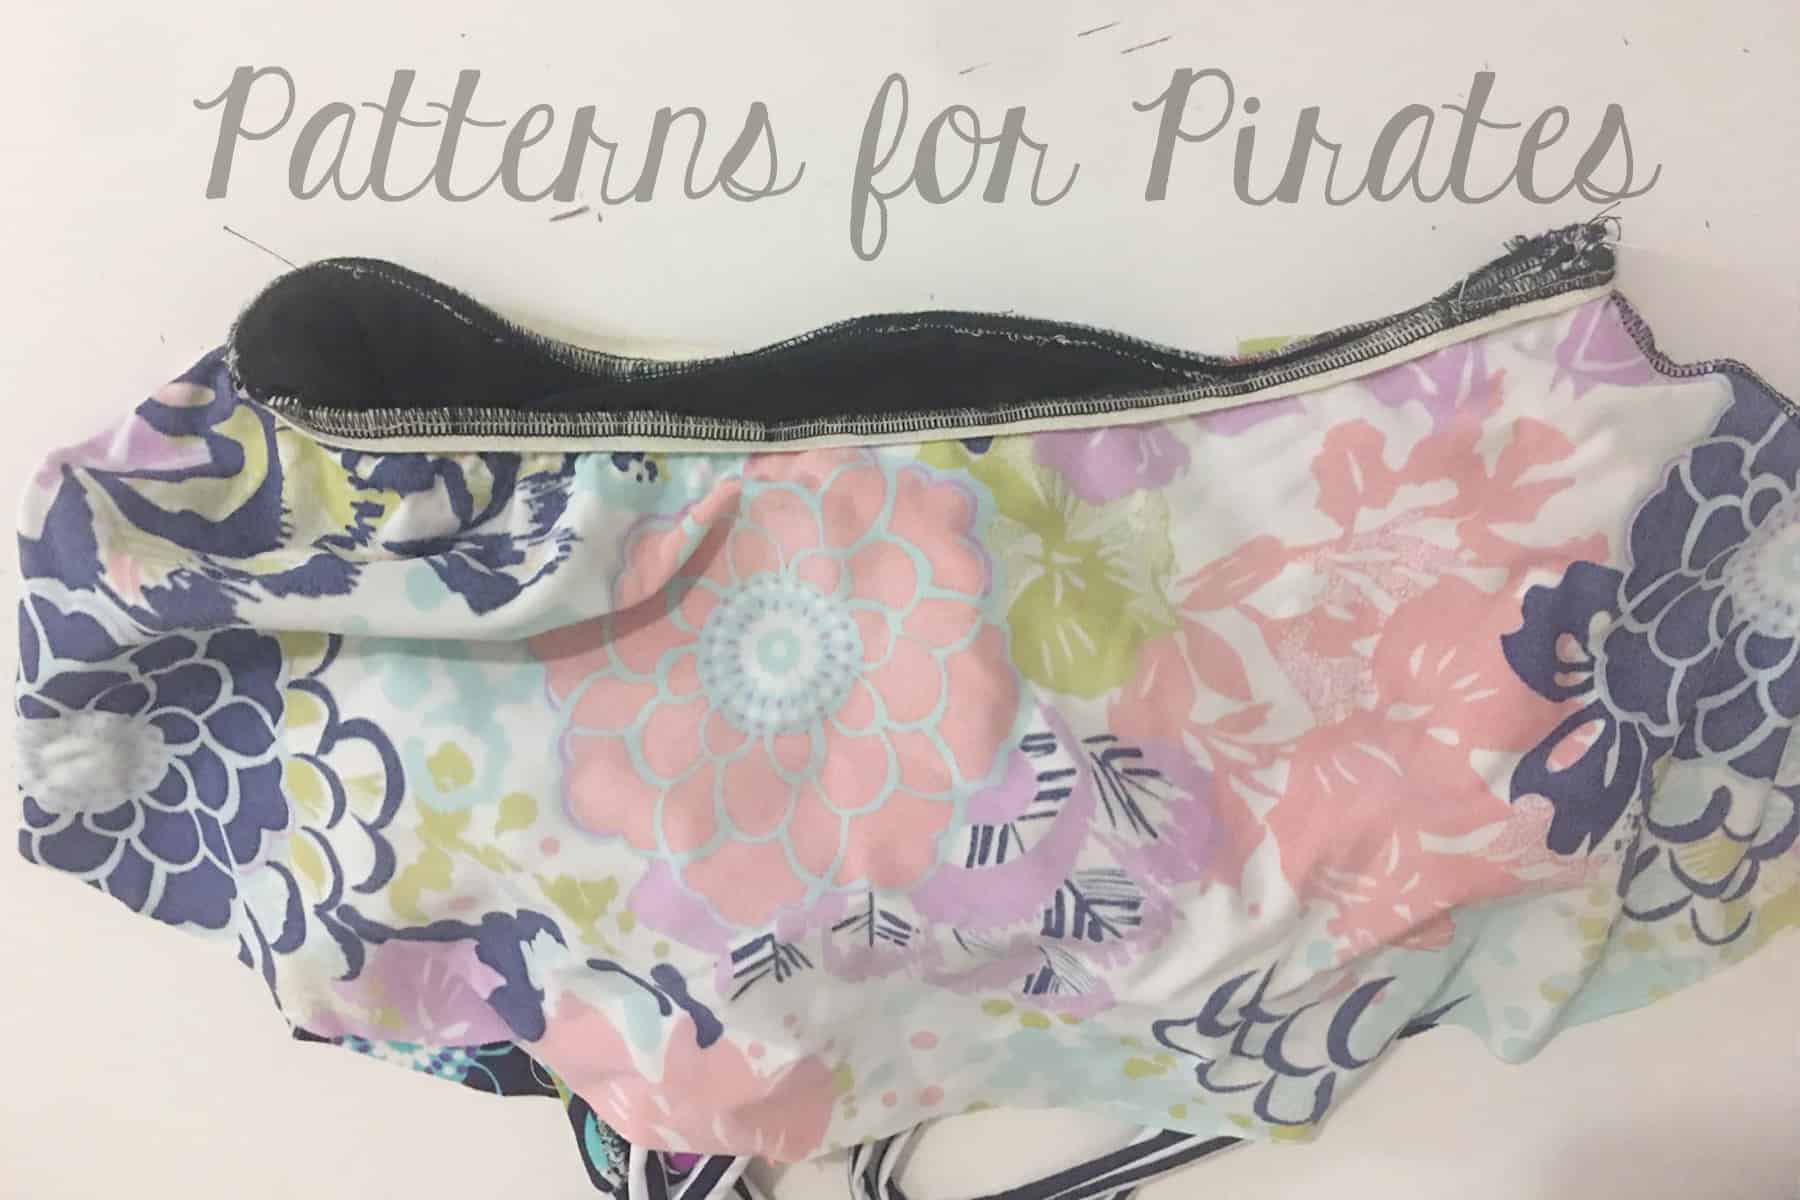
7. Now turn your elastic edge down to get ready to top-stitch along the edge as the pattern instruction indicate.

8. Before you top-stitch, pull the straps upwards again.  Now, you’ll also catch the strap as you top-stitch along the back of the suit.

9. That’s it!  Now finish the suit as usual.


Have fun experimenting different ways to change up these straps.  You could try using the low back option instead of the halter,  double or even triple straps on each side, or even weave them together for a completely different look!

– Elisabeth

—

Not really a one piece kind of girl?  Whether you like to rock a bikini or prefer a little more coverage of a tankini,  with a few minor changes you can Take the Plunge to new depths (or looks 😉 )

First up, the Peplum Tankini.  I also had some fun and played with the straps a little and might blog those later but for now we will focus on the peplum.

Instead of attaching the skirt to the bottom portion of the waistband as directed in the pattern, you will attach it the to the bottom edge of the bodice.  Using a 1:1 ratio, add 3/8″ elastic and stitch together!  This will give you some extra stability and help keep the top in place. I wanted the skirt to hit just about my high hip so shortened the peplum length in the pattern by 1″.  You can choose any length of your preference though.  I paired this with the Hello Sailor Swim Bottoms, however you could easily use the bottoms in the Take the Plunge Swimsuit (I’ll show those later too!)


Now for the Bikini option…  Not one, but two!!

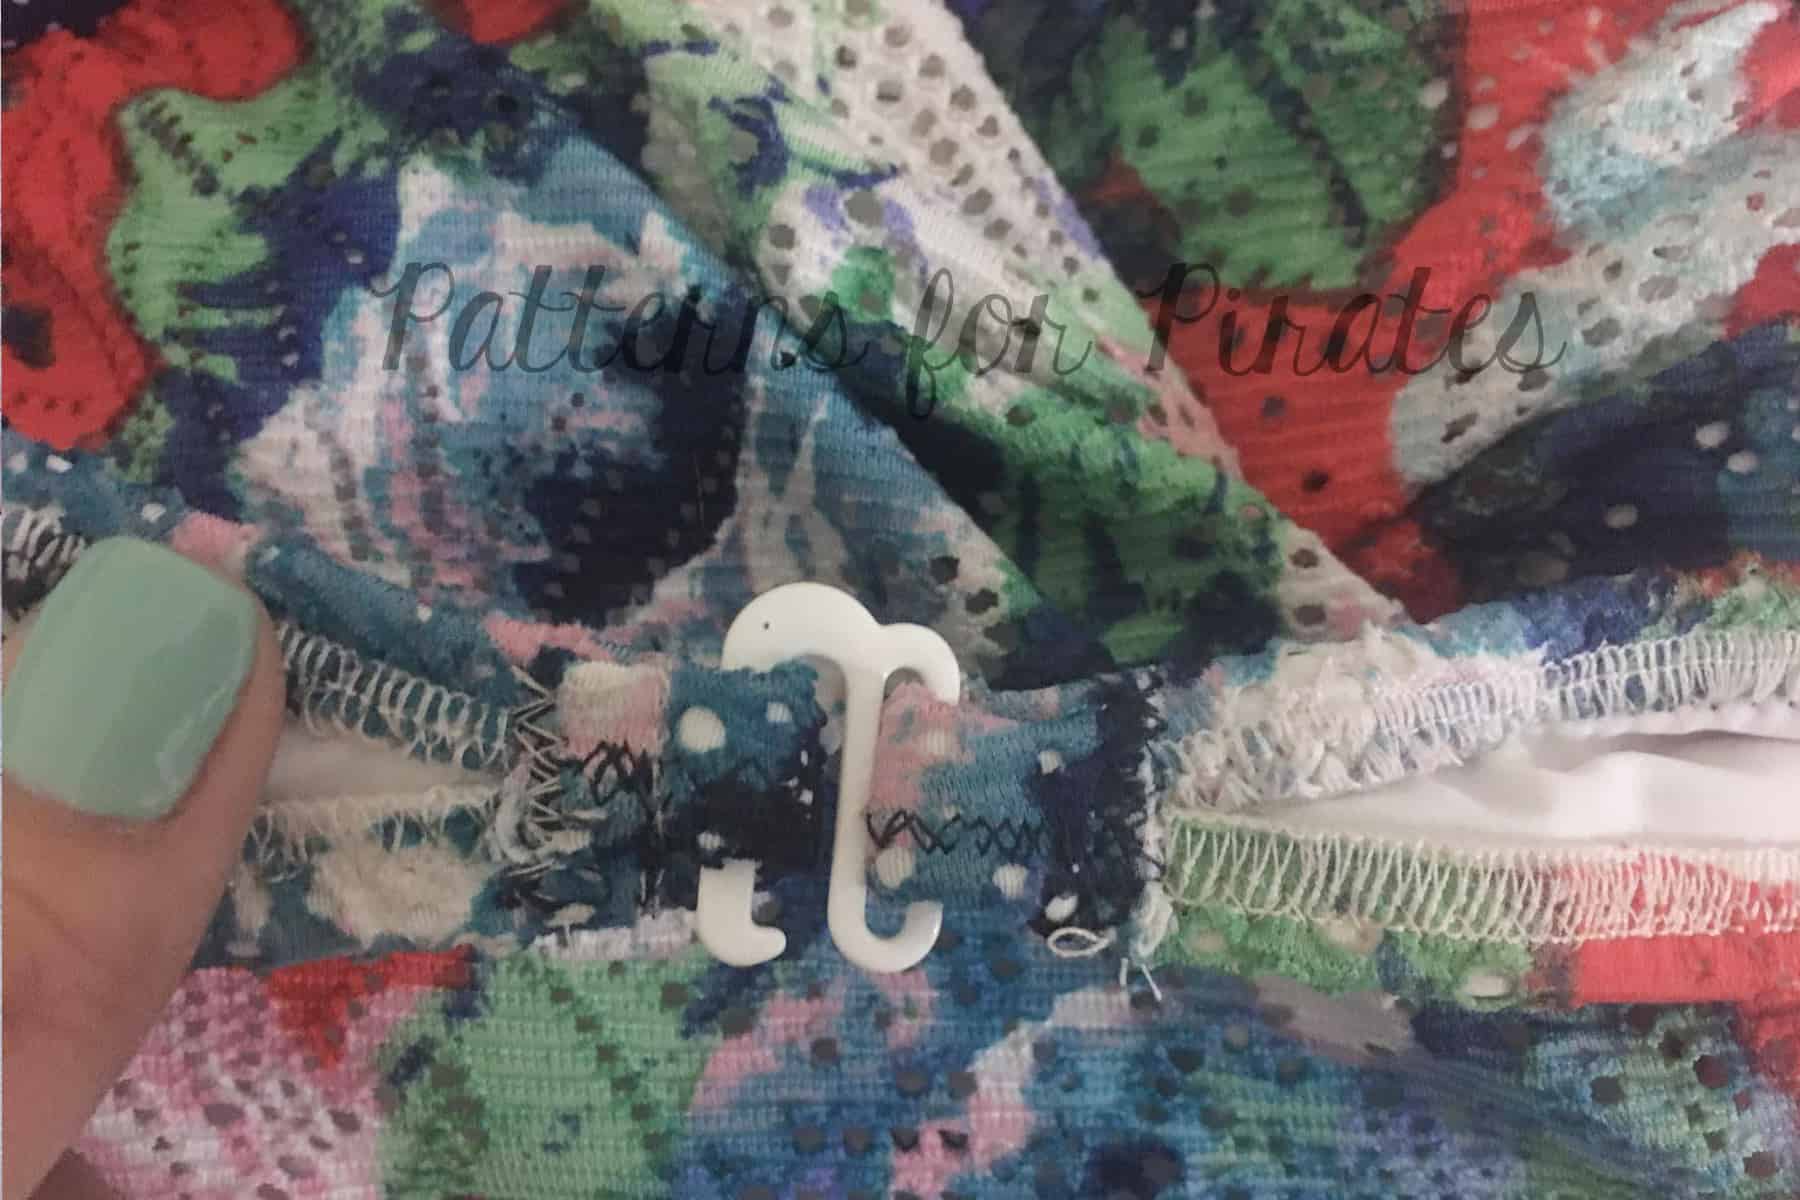
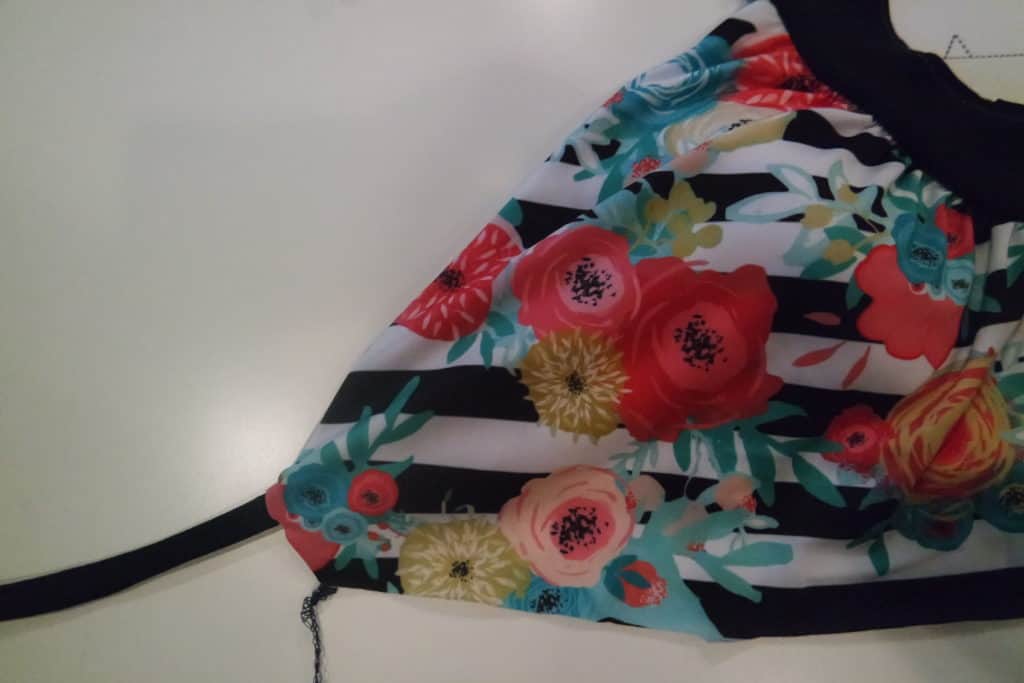
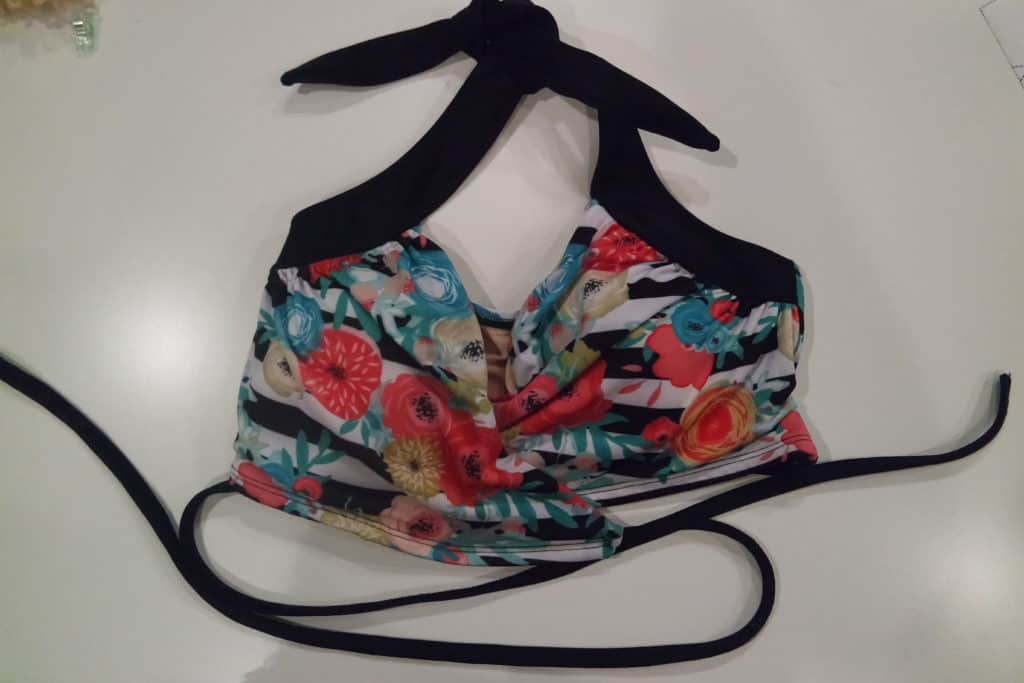
For this version, you will construct your top exactly as the pattern instructs and need to choose the low back crossover version.  You will also need a 3/4″ swim bra hook.

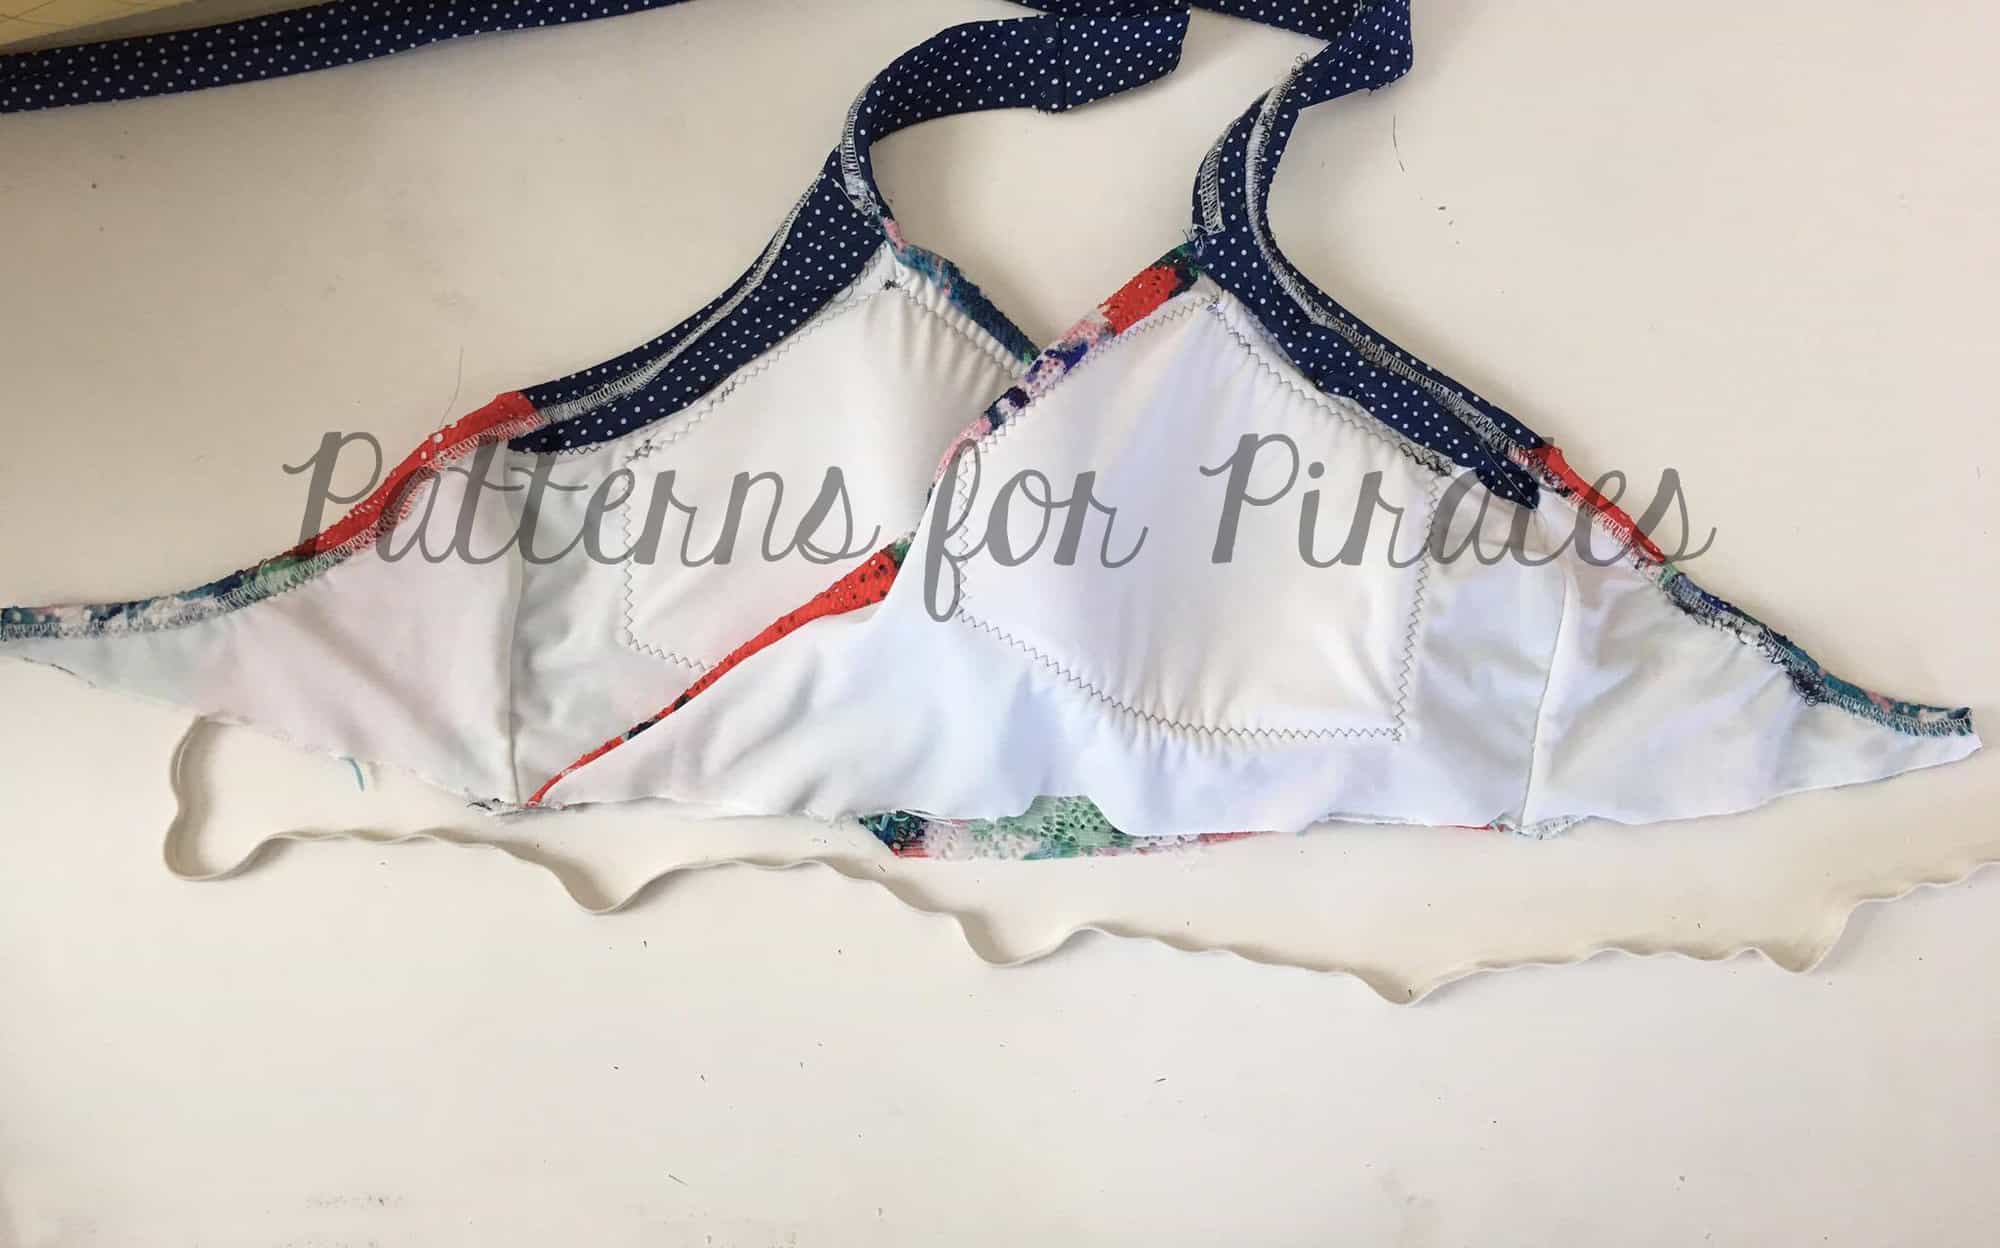
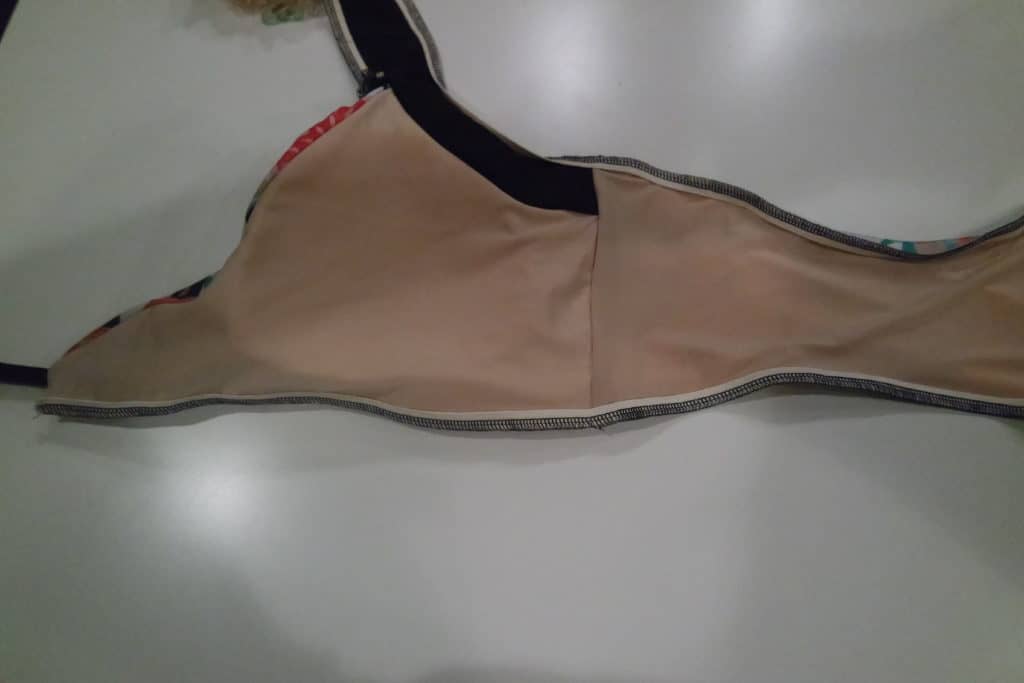
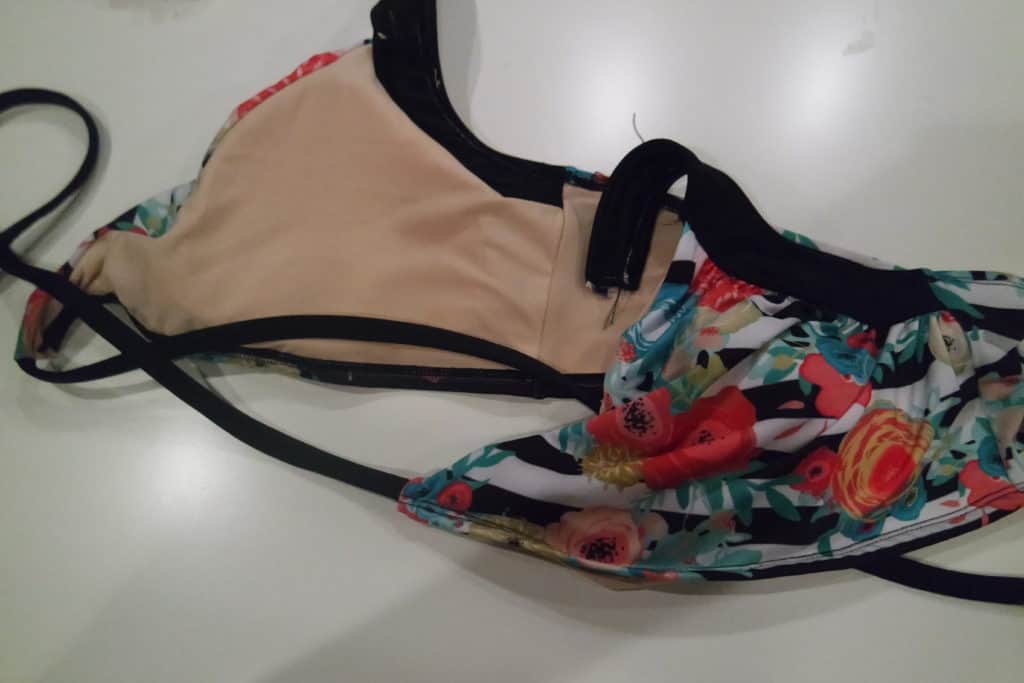
Construct your top exactly as you would in the pattern.  Once you have completed your top, find the center back and clip.  Be sure to baste the bottom edge of your bodice to ensure it is aligned correctly at the center notch and side seams. (Note: bottom edge has not been basted in this pic)

Using a 1:1 ratio, stitch elastic to the lining side along the bottom of the bodice edge.  Flip up and top-stitch.

Slide one end in to the swim bra hook and stitch.  Fold over opposite end and stitch, creating a hole for the hook to go through.

To create the separate Take the Plunge bottoms, construct as the pattern indicates.  Using a 1:1 ratio, stitch 3/8″ elastic to the lining side of the top edge of the bottoms.  Flip down and top-stitch.  I used the ruched version here with only the side elastic and omitted the front and back elastic ruching.


Our second bikini hack is super cute and ties around the back.  You will want to use the Halter back (or even the full back) option for this version.

 First, create your bikini straps.  Cut a 1.5″ x 15″ strip.  You can adjust the length to your preference depending on how long you would like your ties.

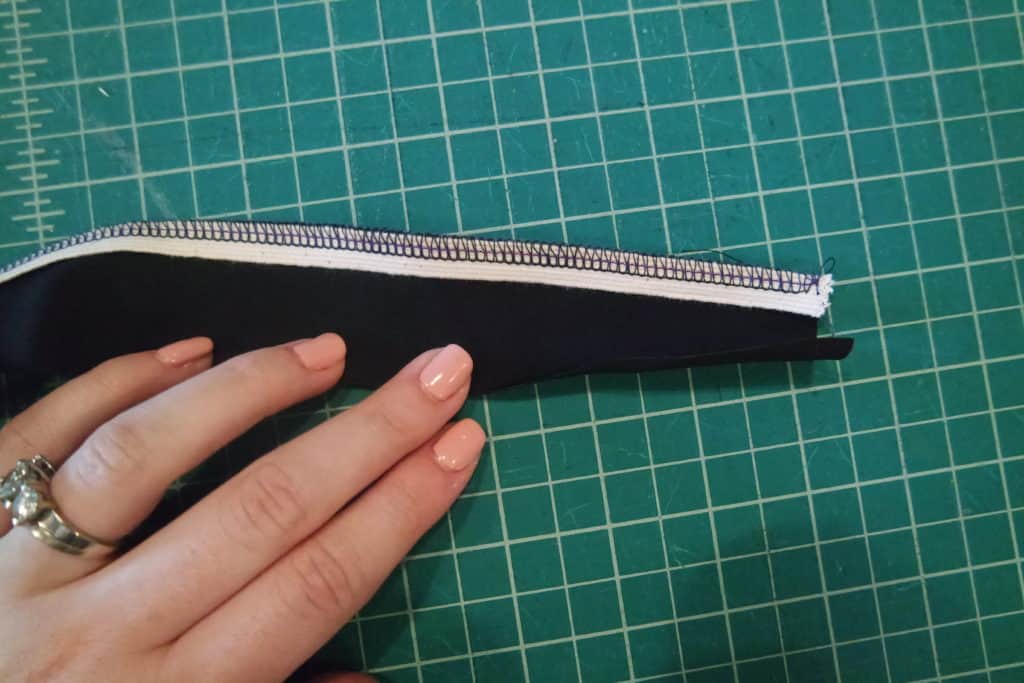
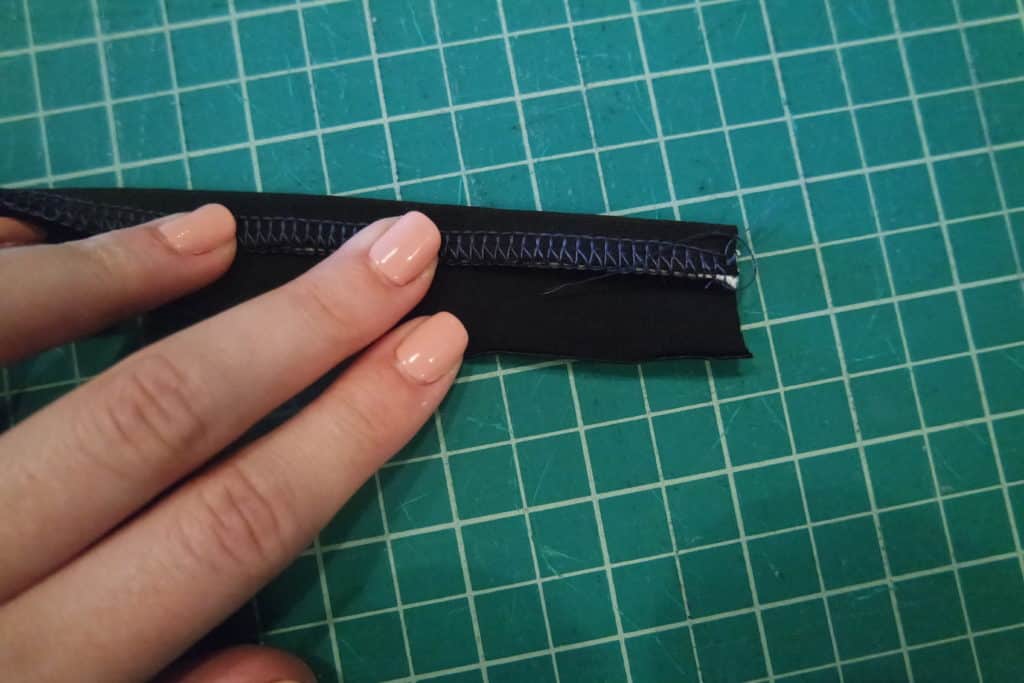
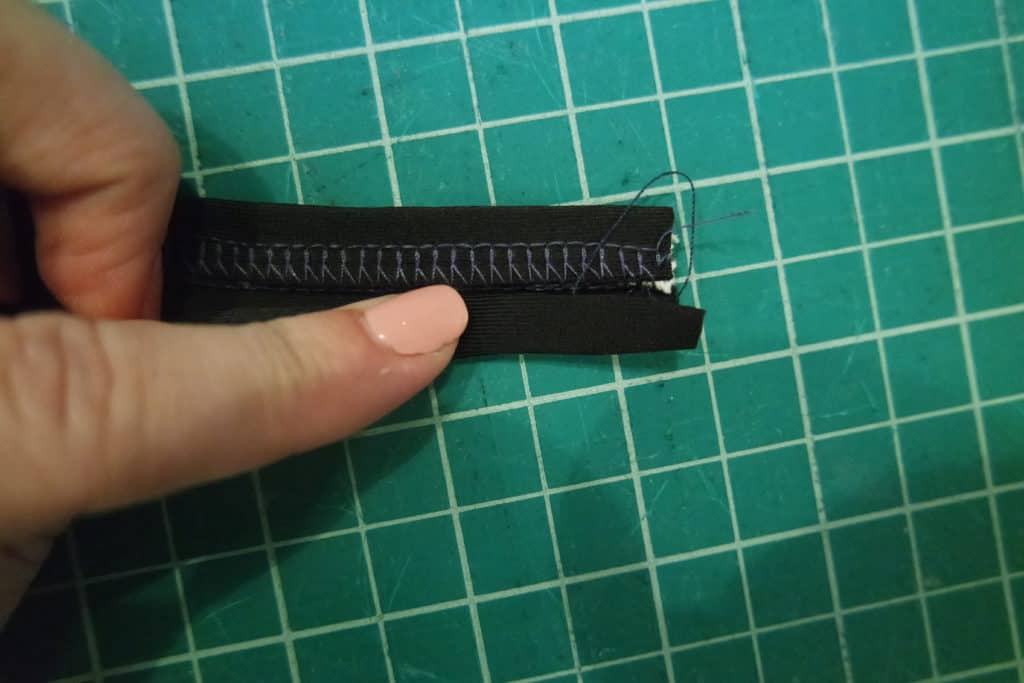
Stitch 3/8″ elastic to one raw edge.
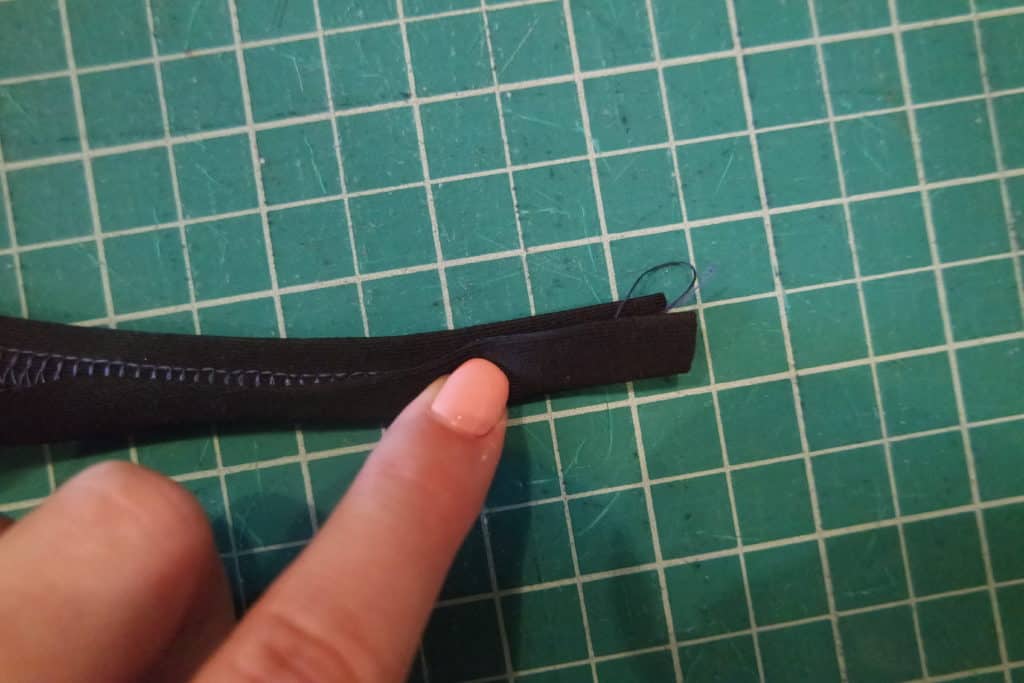
Fold elastic to wrong side of fabric.

Fold opposite raw edge toward the elastic to the wrong side of fabric.
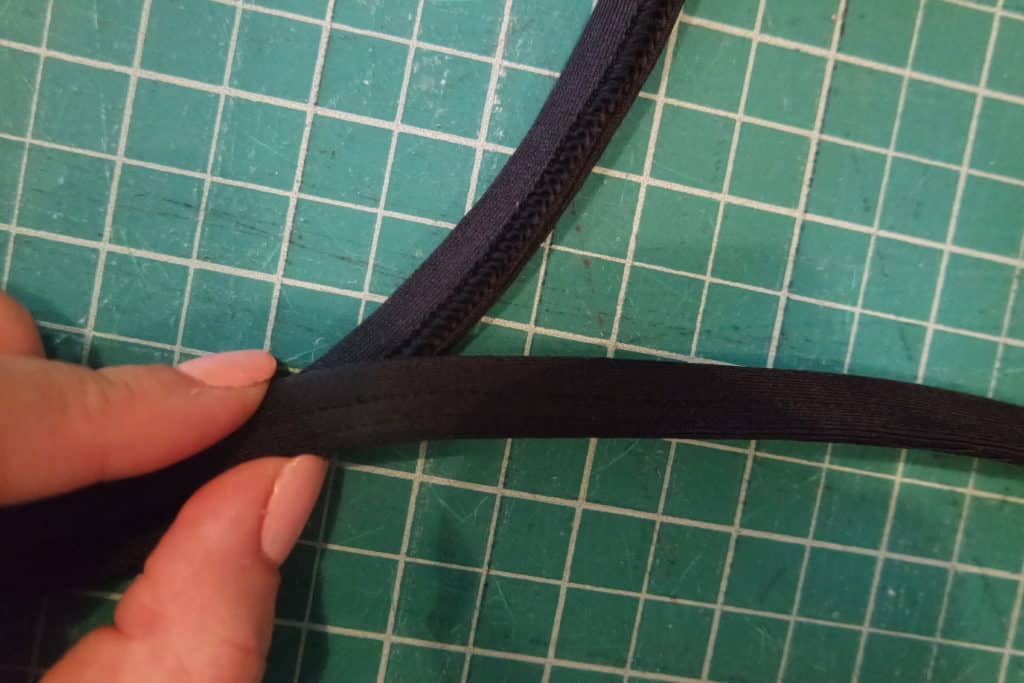
Fold again, encasing the raw edge and elastic.

Top-stitch.

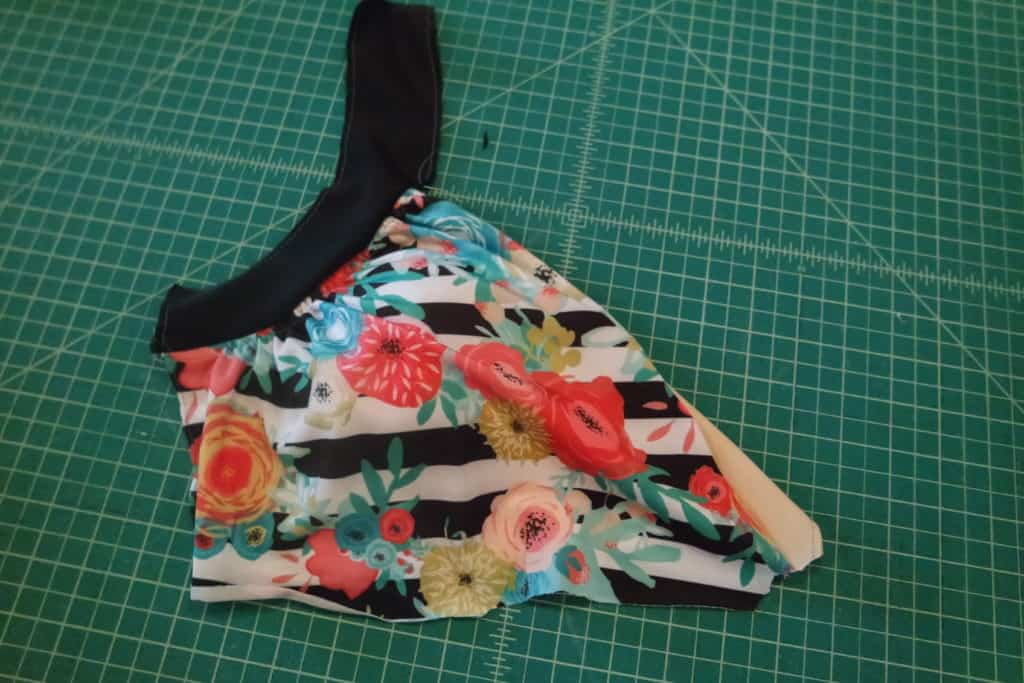
Now, on to the bodice. I trimmed the bottom 1″ off the bodice before beginning.

Construct your bodice as instructed in the pattern.
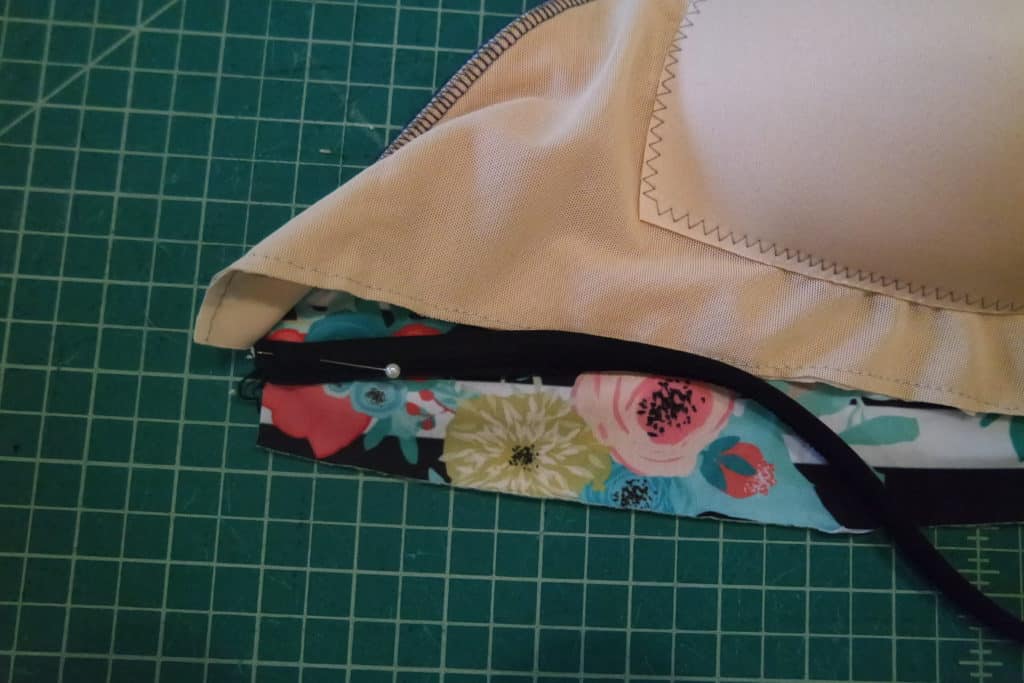
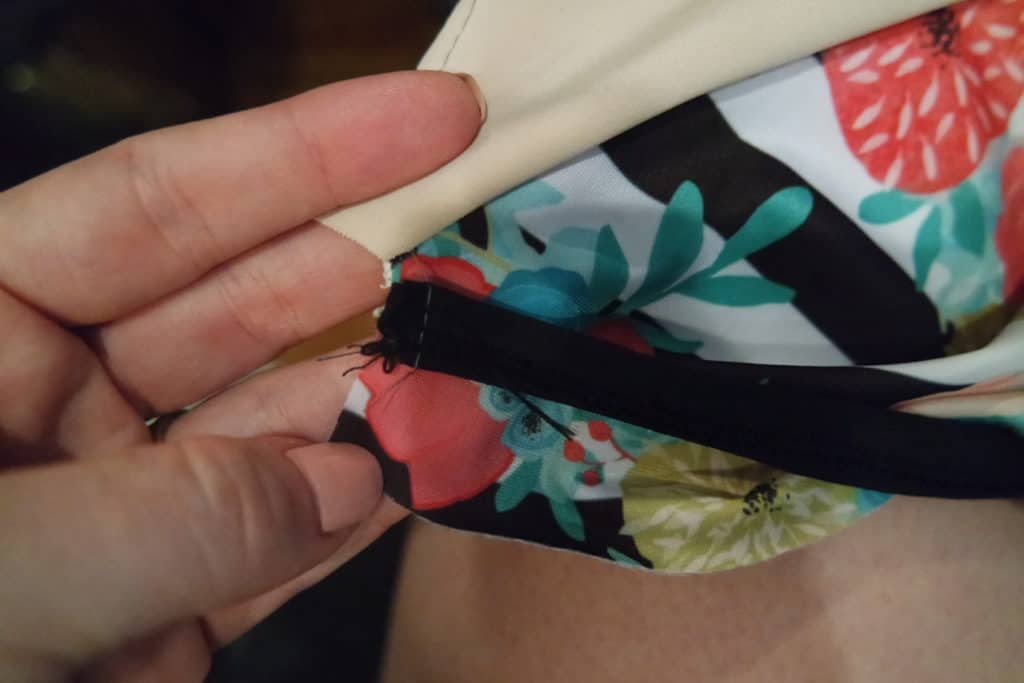
Turn bodice inside out. With right side of strap to the right side of the main front, pin or clip in place.

Baste.
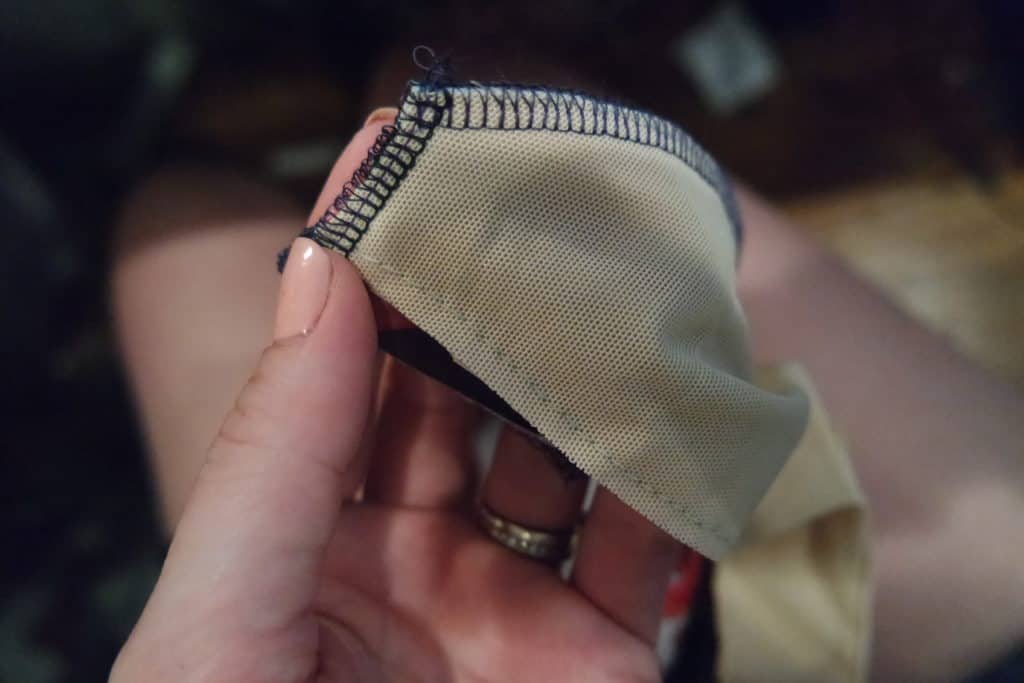
With right side of lining and main fabric together, stitch seam.

Turn bodice right side out and baste along the bottom raw edge.
Using a 1:1 ratio, stitch 3/8″ elastic to bottom raw edge of the lining side of the bodice. You will stitch through both the main and lining fabrics.

Fold elastic towards lining and top-stitch.
All done!


Looking for more inspiration?  Be sure to check out our Facebook album with all the lovely tester pics and how to take the pattern one step further and turn it in to a gorgeous top or dress HERE!


Filed Under: Pattern Hacks, Pattern Release 2 Comments

50K Fan Celebration :: Exposed Elastic PegLegs Hack

April 24, 2017

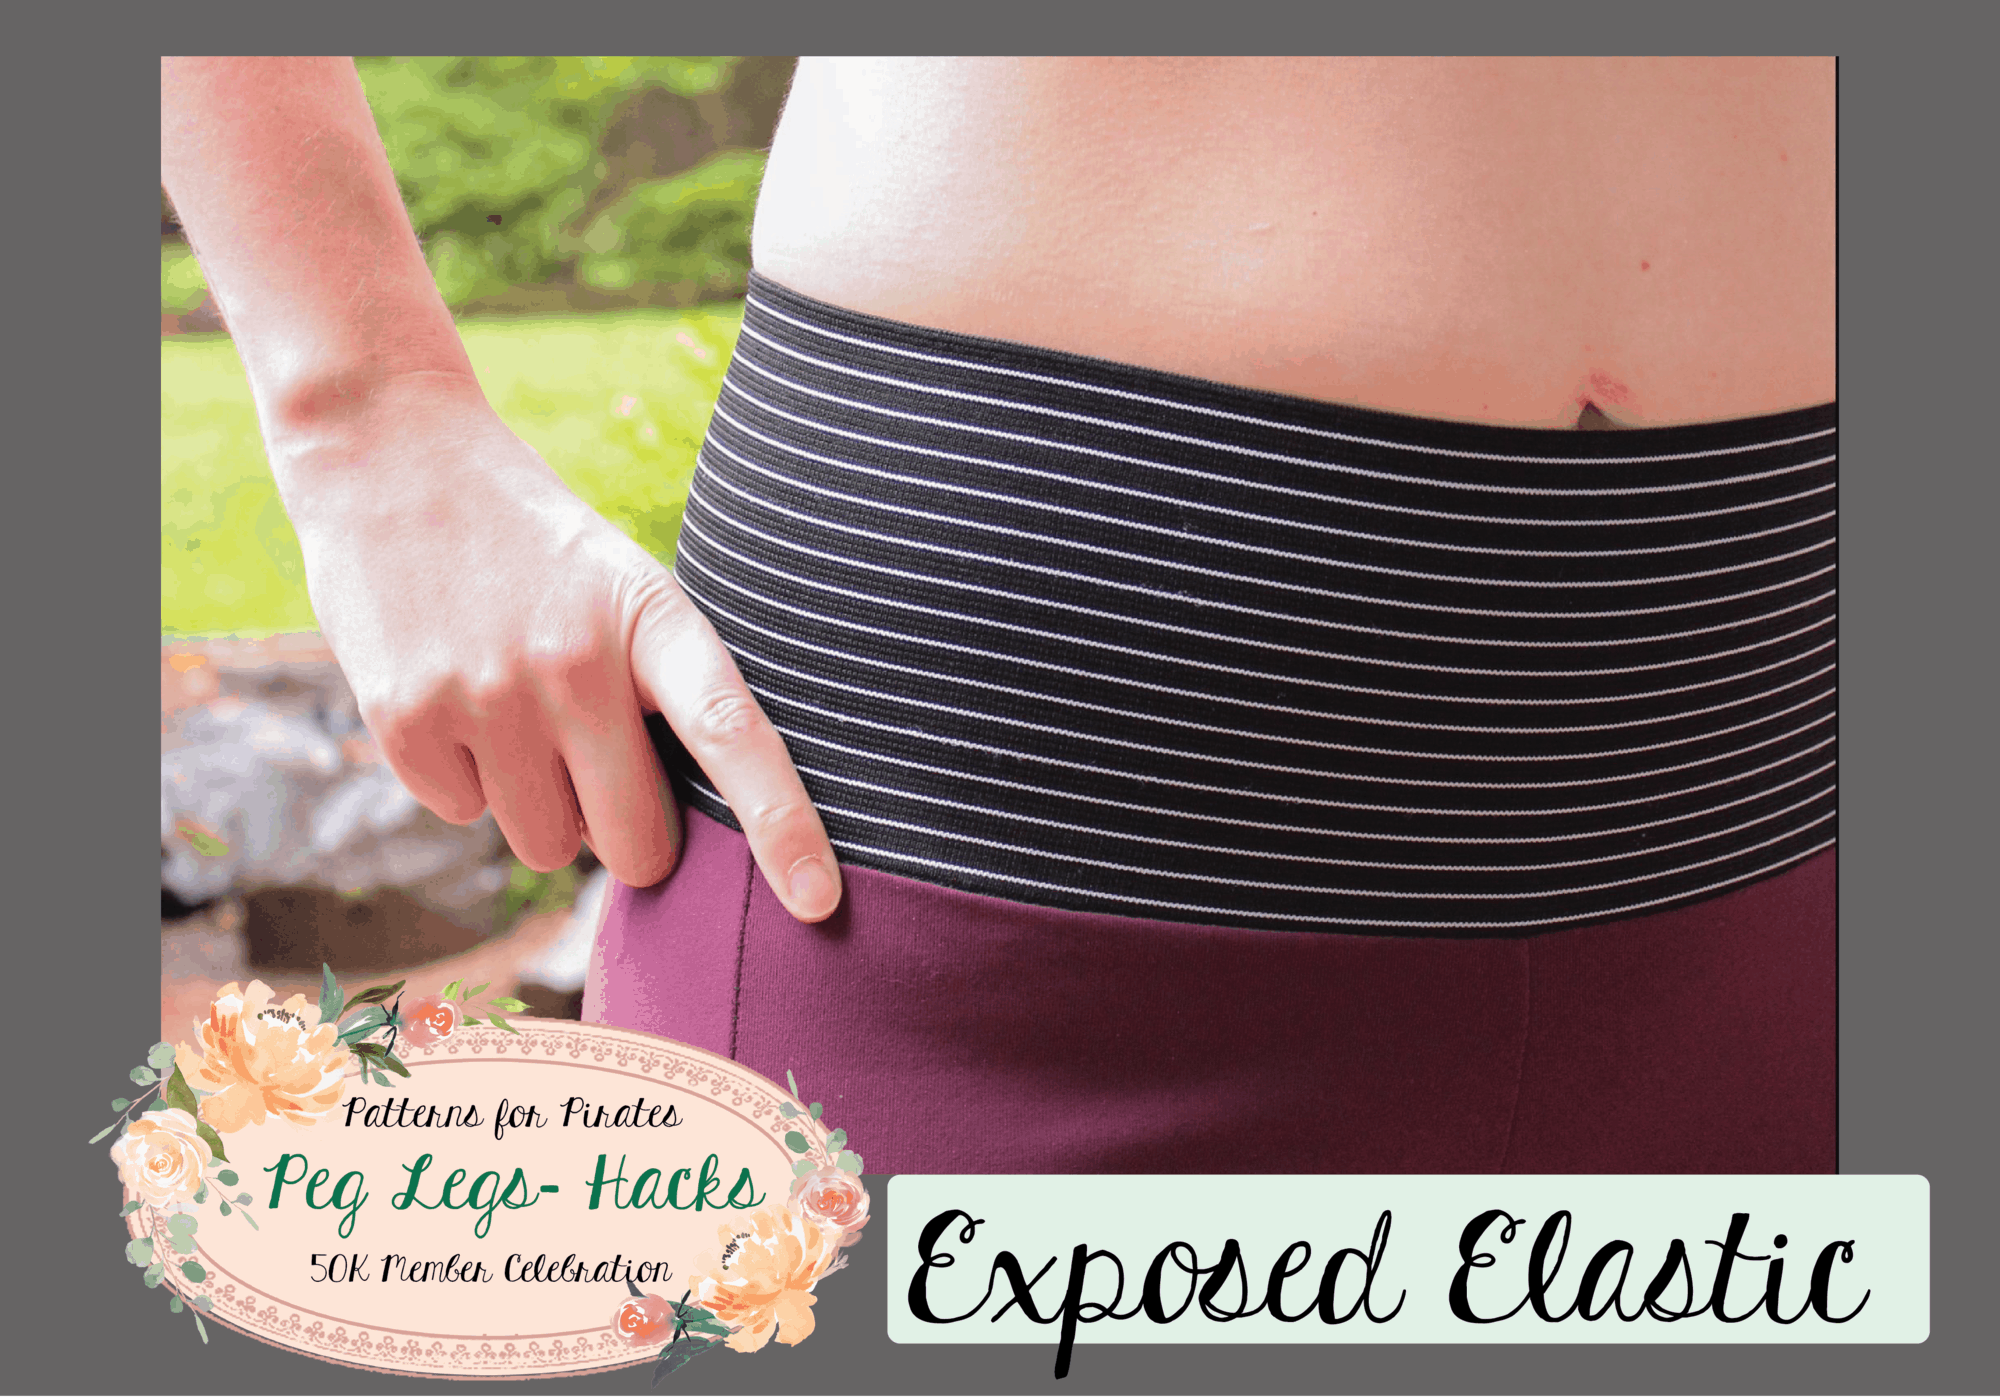
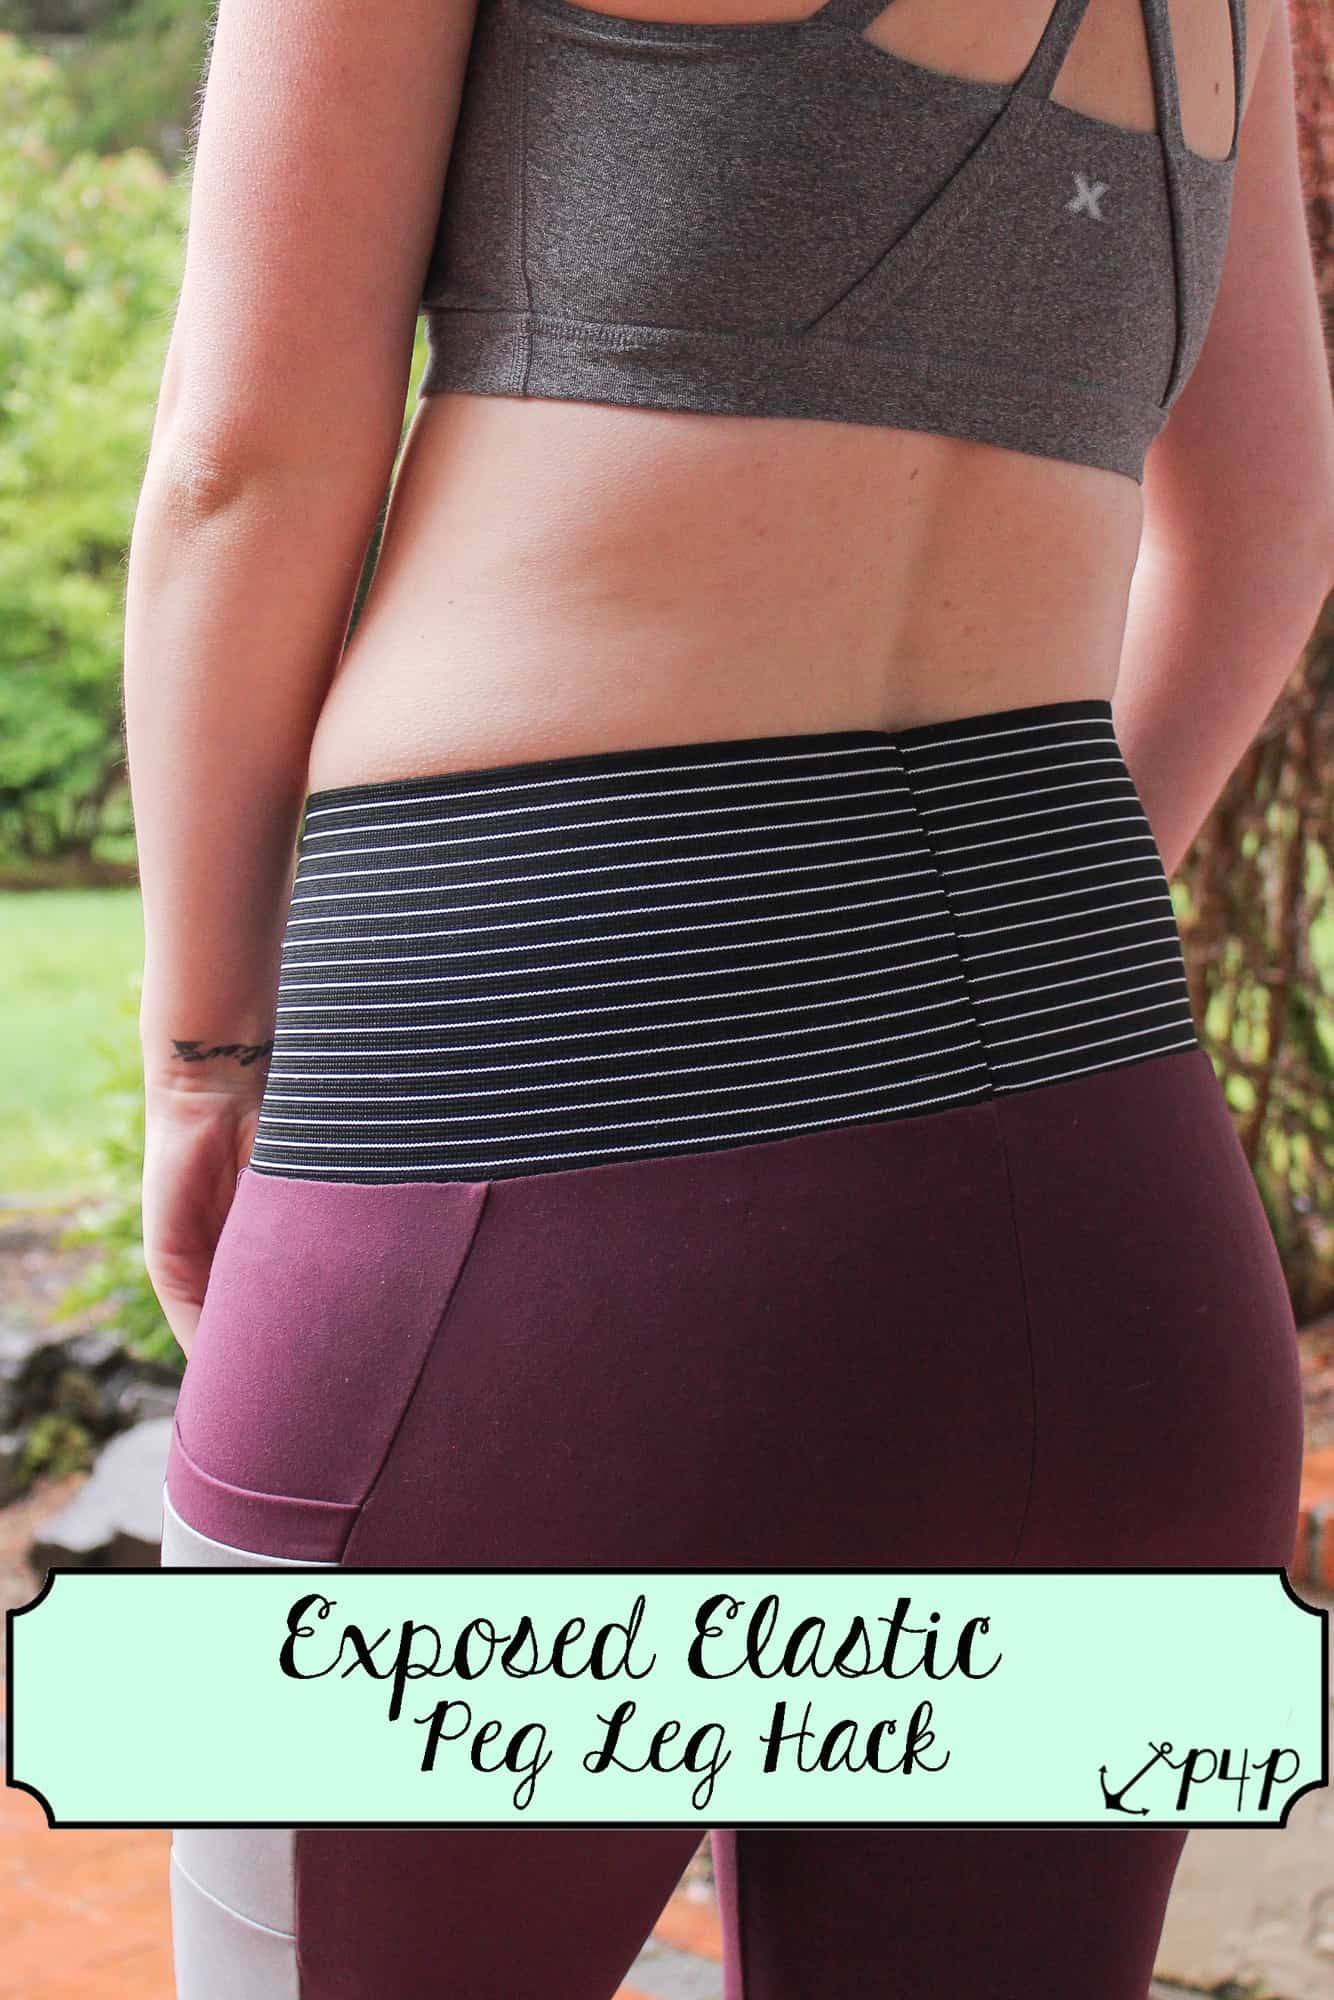
Want to make your Peg Legs even easier? How about skipping the band? Today we have an easy hack for you- adding an exposed elastic band.

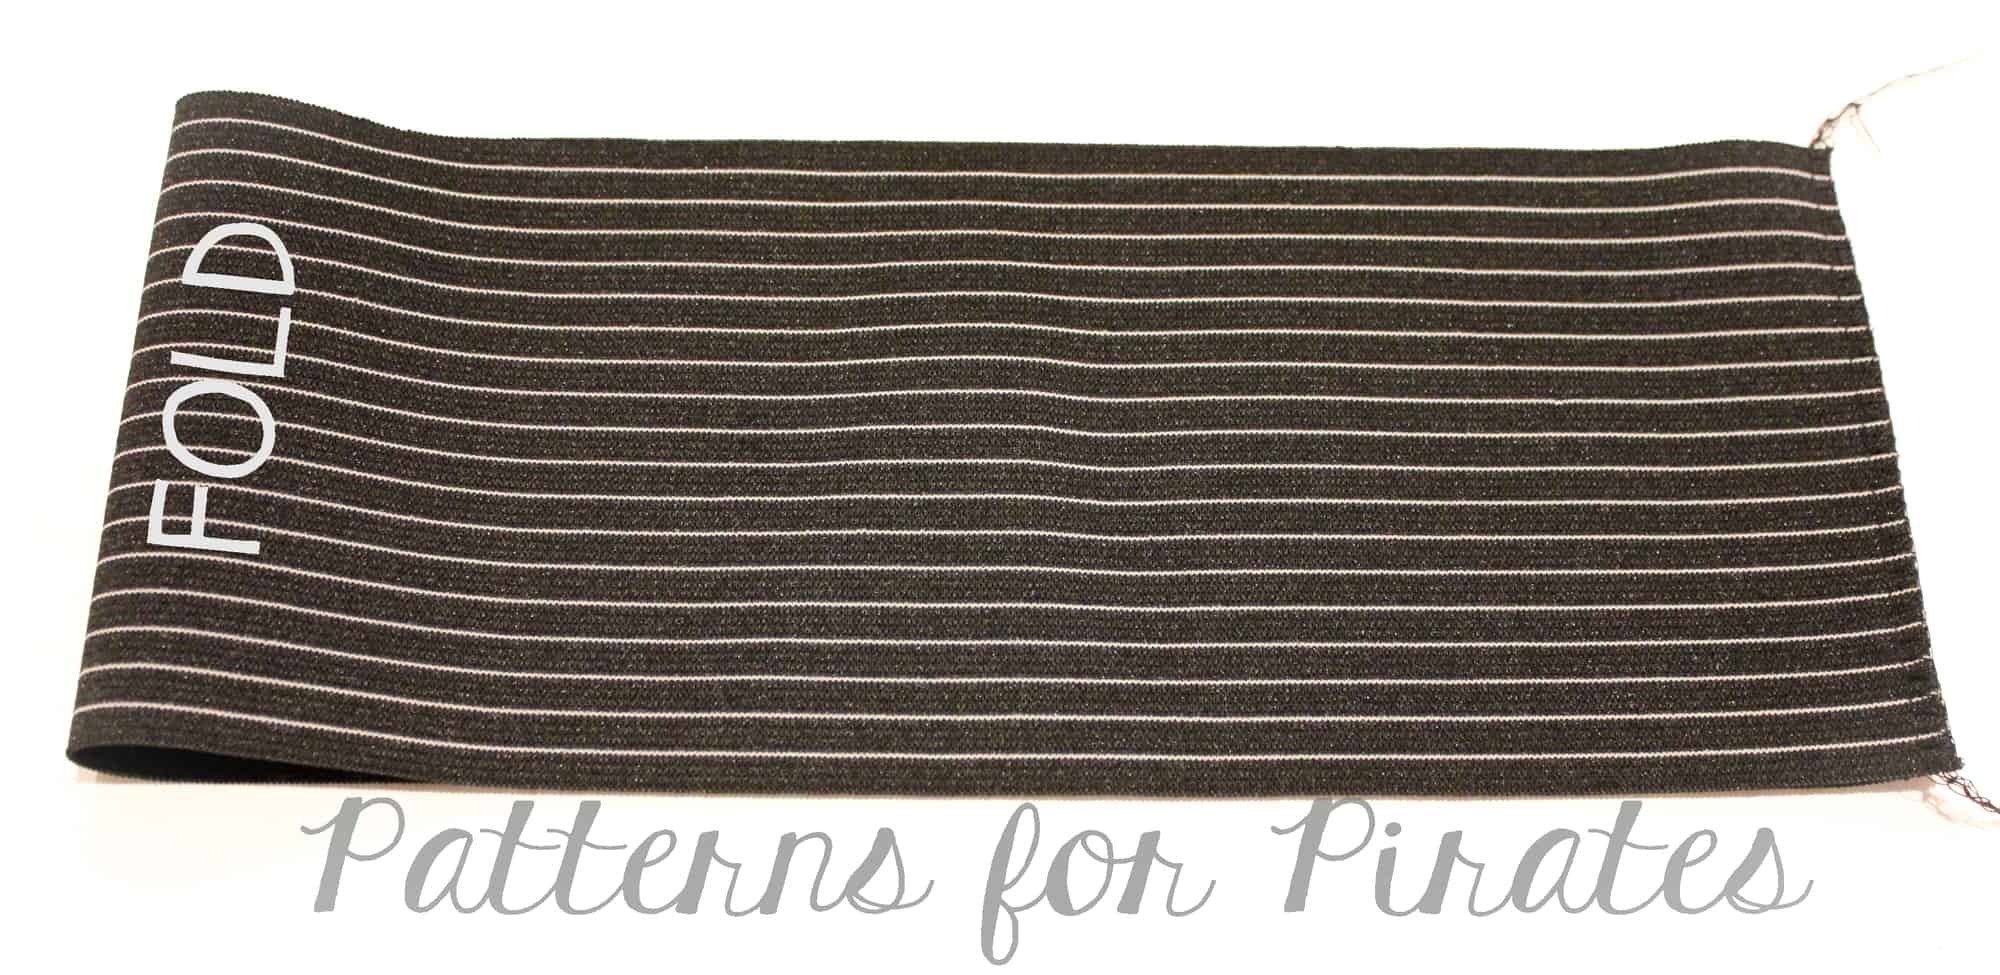
There are so many types of elastic available in a variety of colors and designs, as well as a multiple widths. For this hack, you will want to first determine how high you would like your band to come. When I was looking for mine, I searched online for “boxer elastic”  knowing that I wanted a large band and this gave me the biggest variety. I finally decided on one that was 5″ tall.

I chose to cut my Pegs as a low rise since the elastic I chose will add quite a bit of height. You can determine which rise is best for you, keeping in mind how tall your elastic is. You will then want to assembly your Peg Legs as per the tutorial until you reach the step of attaching the band.

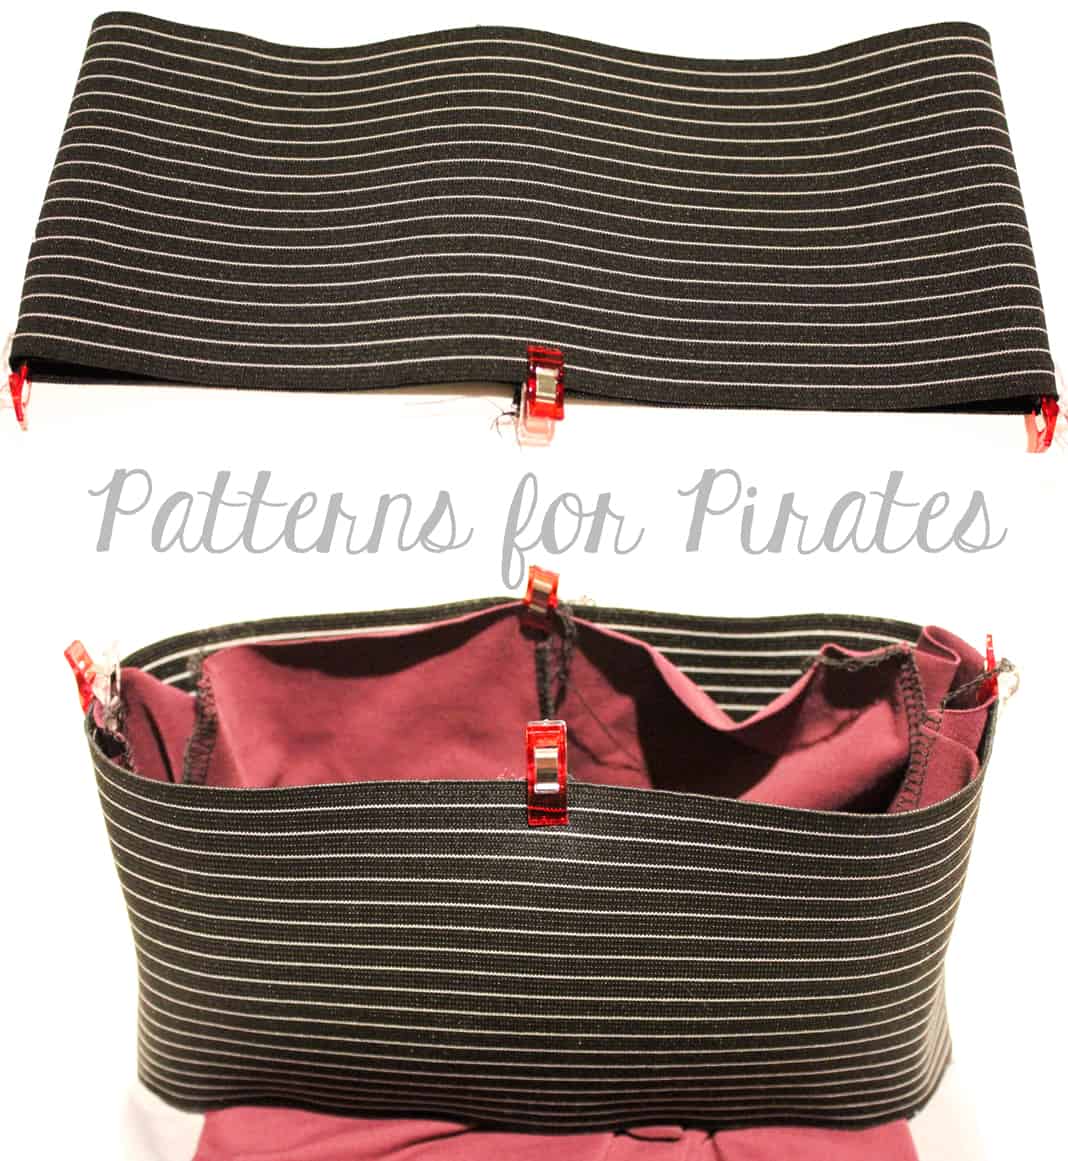
For the width of my band, I used the cut chart as a guide. I added 2″ to this, as my elastic did not have the same amount of stretch as a fabric band would have had (you can always take more off if you need to, should your band be too large when attaching). Fold band in half width-wise, with wrong sides together, and stitch to create an elastic circle.

Mark both your elastic band and Pegs into even quarters, then slip band around waist of Peg (with right sides together), aligning quarter points. You will want to make sure that you will have to slightly stretch the band, not the waist of the Pegs. If you do not have to stretch, unpin and remove a small amount from the waistband. It is important to have the band stretch slightly to help hold the Pegs up!

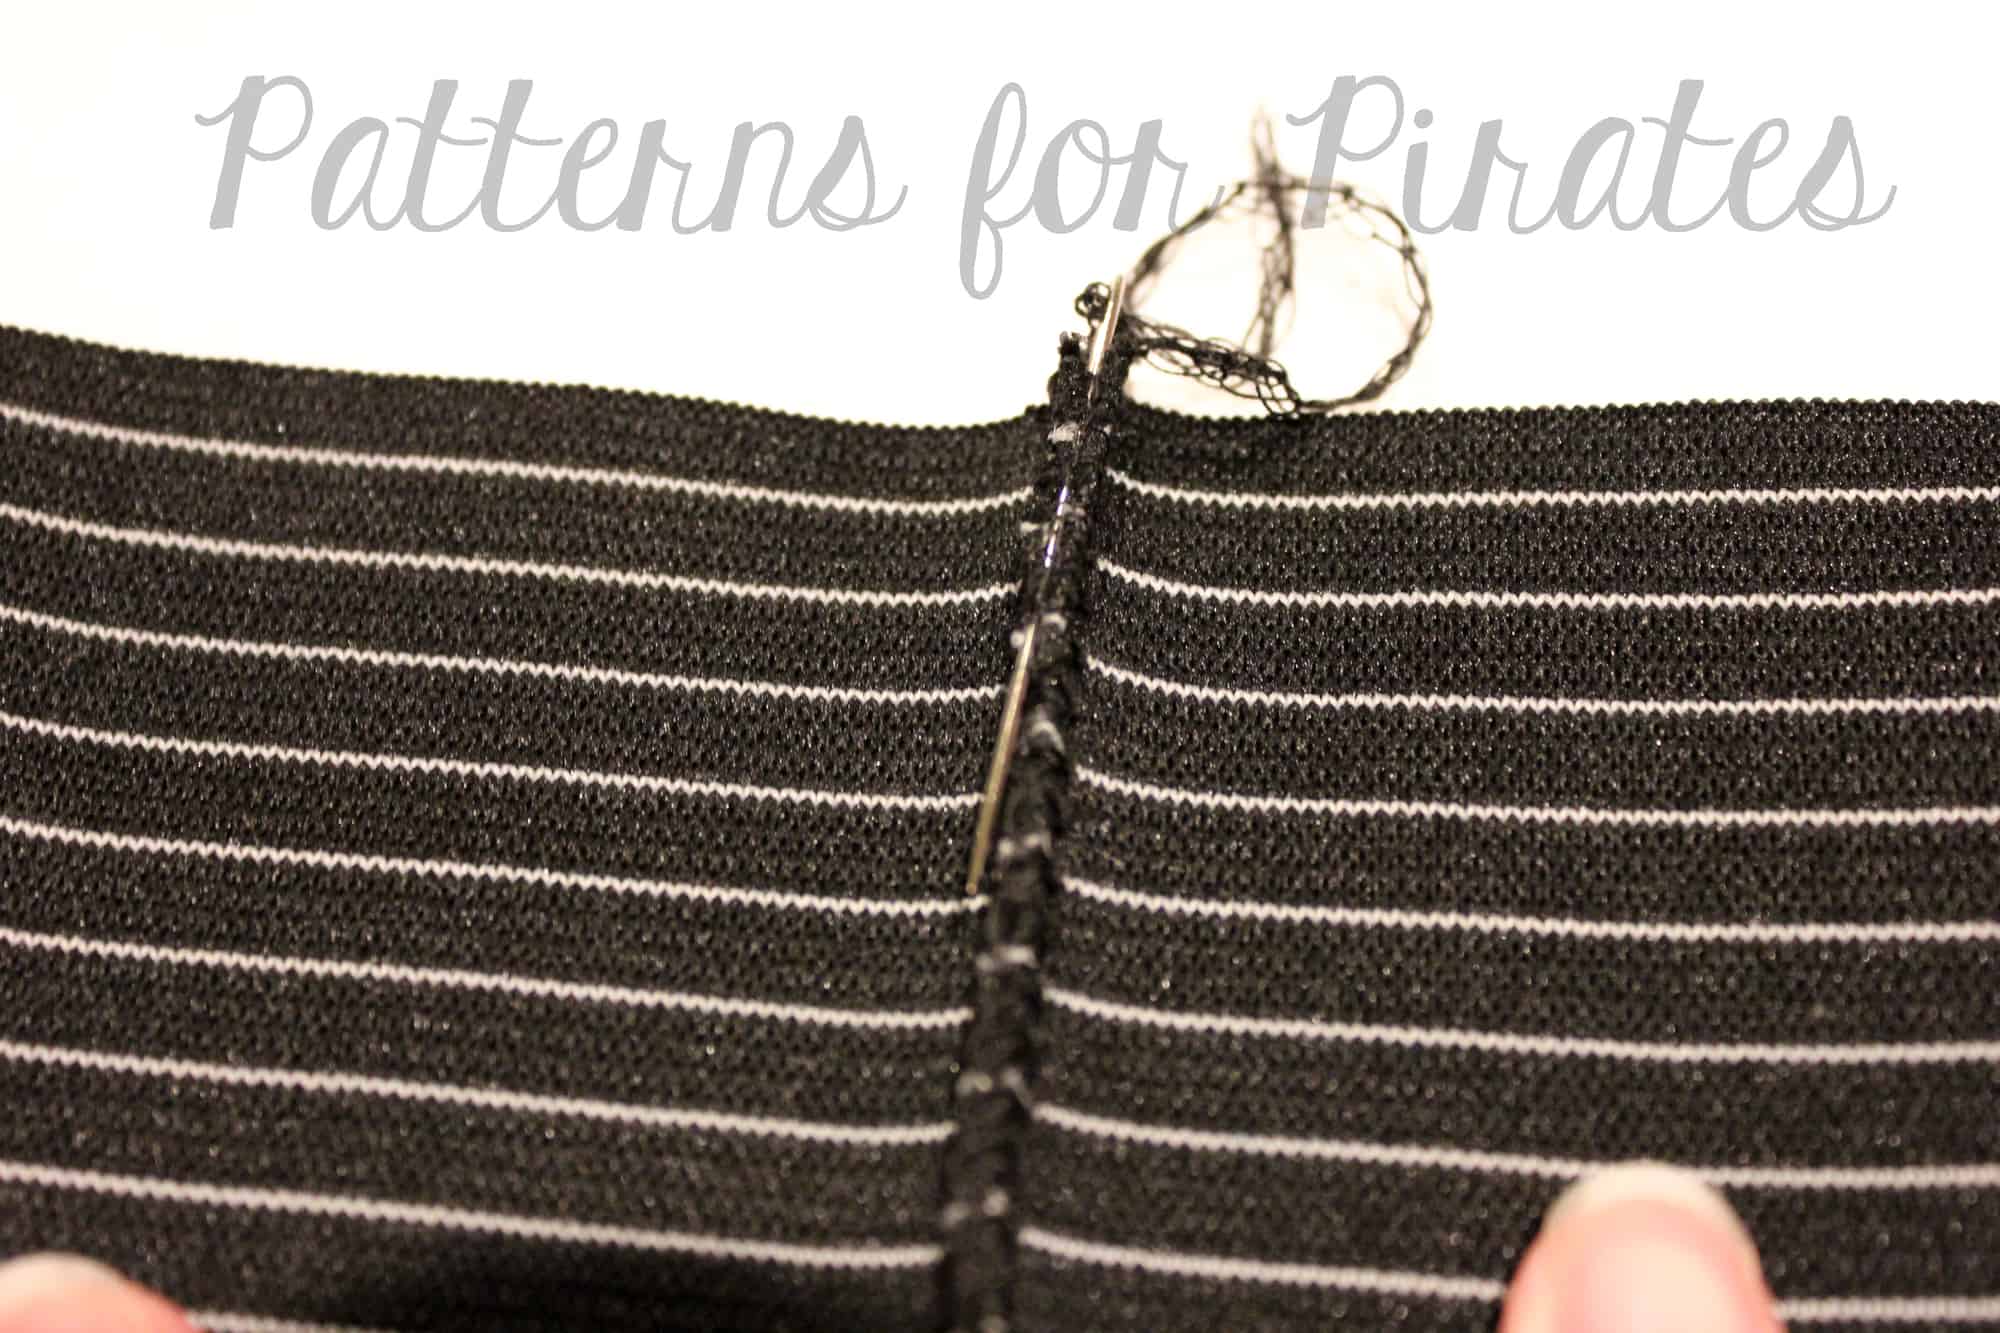
Once you have the elastic waistband and Pegs clipped/pinned together, serge or sew around the waist as you would when attaching a fabric band using a 0.5″ seam allowance. Once attached, if you serged the elastic together in the first step, you will need to finish your seam. I prefer to weave my thread back through using a large needle, however you can also use one of the methods Alex described here. The last step is to hem your Pegs according to the tutorial directions and you’re all finished! Enjoy! ~Erinn


We are celebrating reaching 50K fans in our Facebook group!  To make it a party, our beloved PegLegs pattern just got an update AND some new add-ons.  Before you go running to your machine to sew up your own leggings, make sure to read our PegLegs 101 blog post.  This way, you’ll have all the the information you’ll need to make the perfect pair before you even cut into your gorgeous fabric.
But wait, there’s more!  After any good party is an after-party.  We are taking it one step further and sharing some easy hacks that’ll bring even more flavor to your favorite leggings pattern!  We hope you check them out, make your new favorite pair of leggings, and know that we appreciate every single one of you amazing sewing guys and gals!

Here are our hacks / tutorials / latest tricks:

Lace Waistband Alternative | Drawstring Waistband Tutorial
Exposed Elastic Waistband | Stirrup Pant Hack
Ruched Ankles Adjustment | Decorative Topstitching Tutorial
Ruched Side Panel Hack

Filed Under: Pattern Hacks, Uncategorized Leave a Comment

50K Fan Celebration :: Ruched Ankles PegLegs Hack

April 23, 2017

Ahoy Pirates!

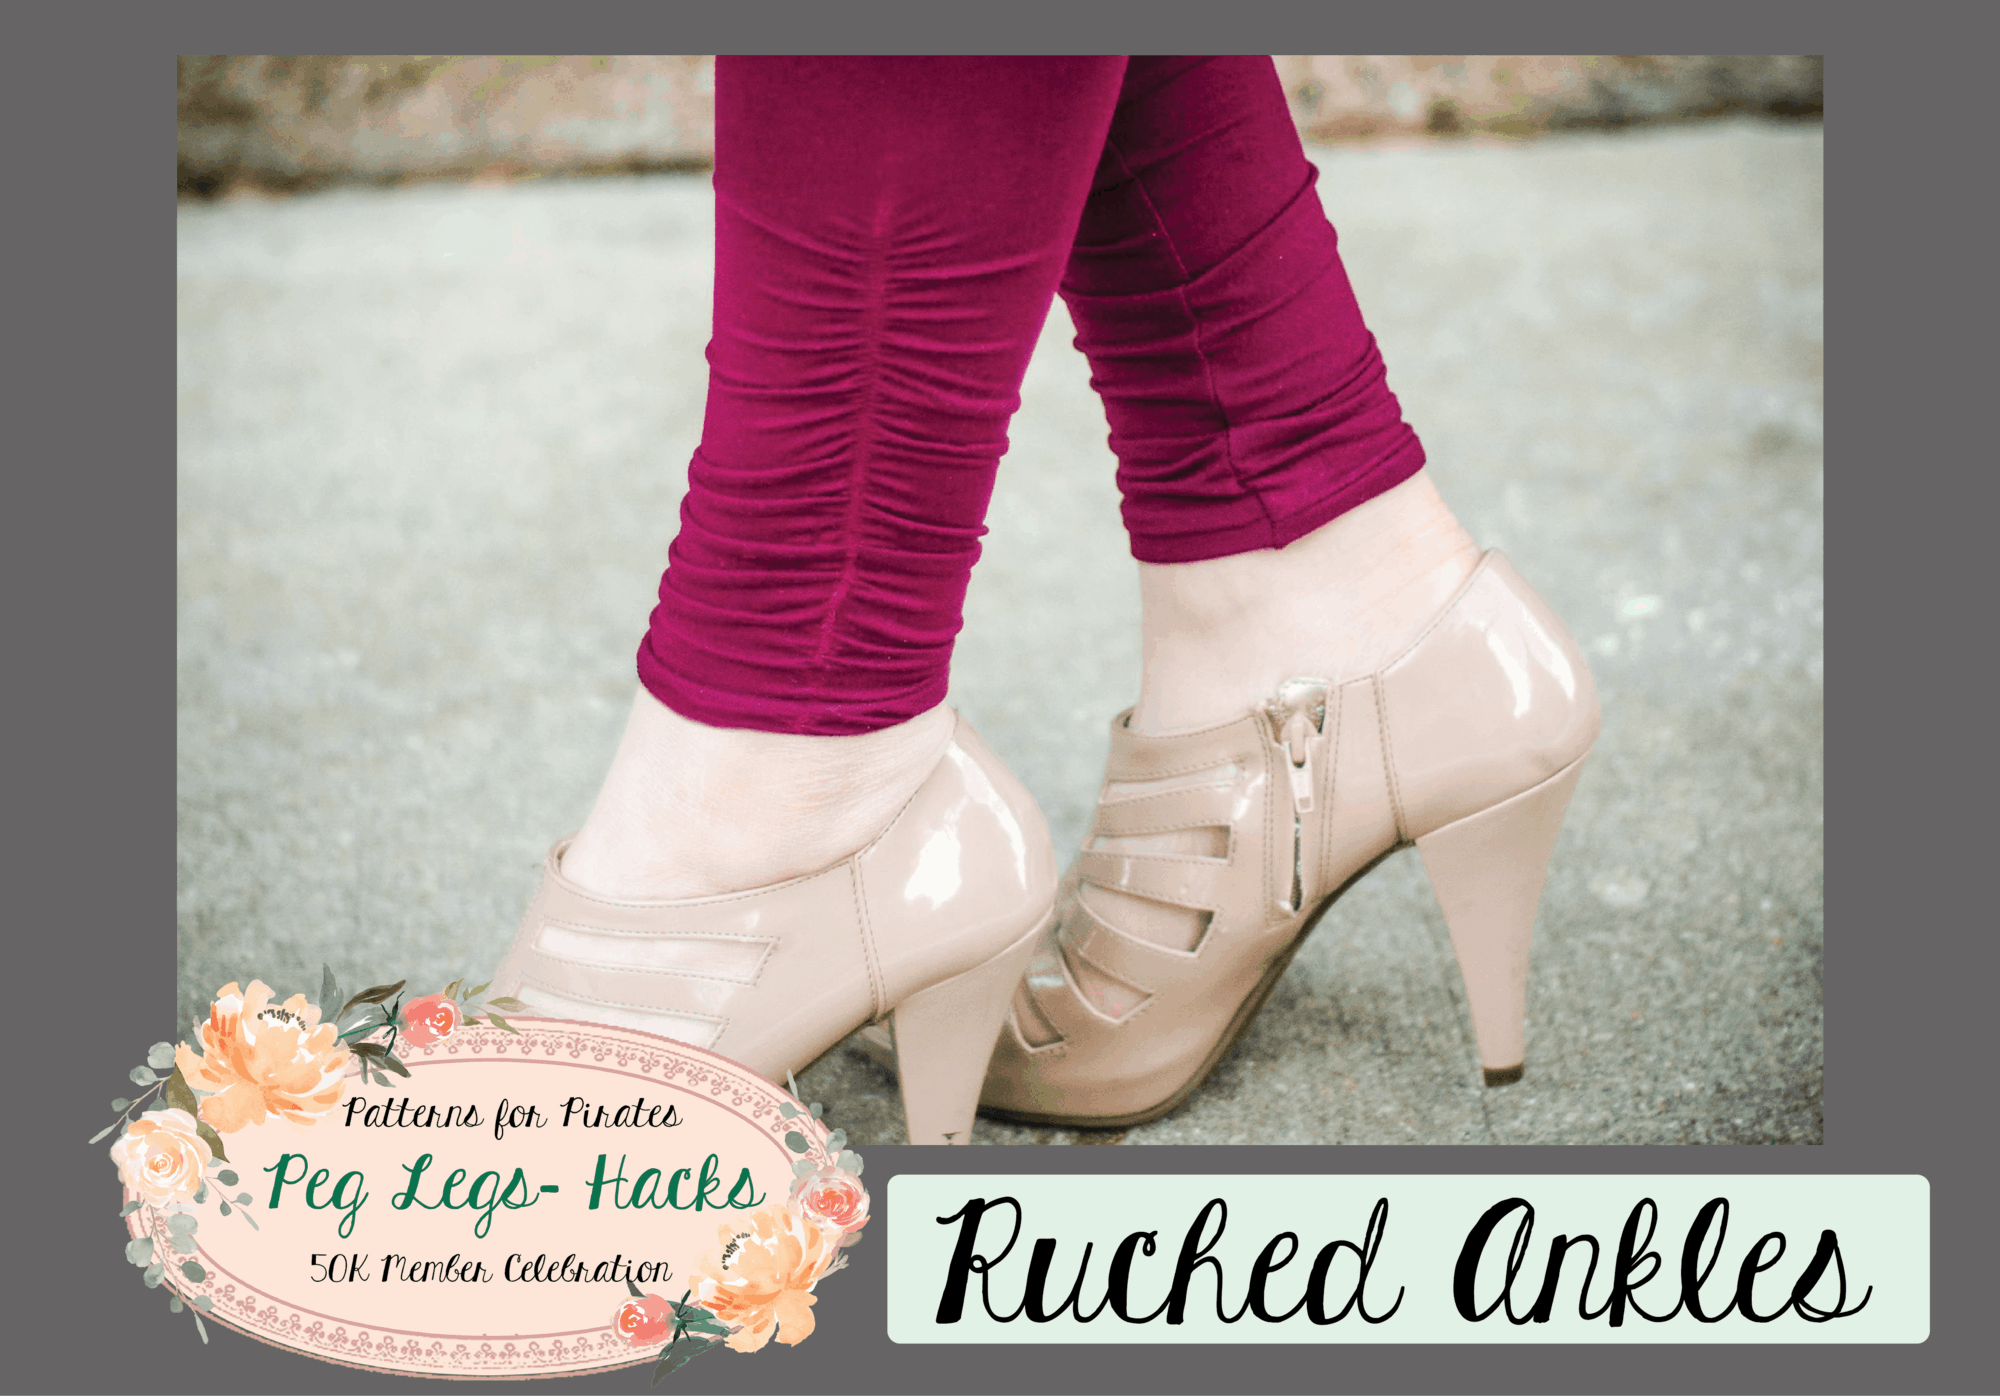
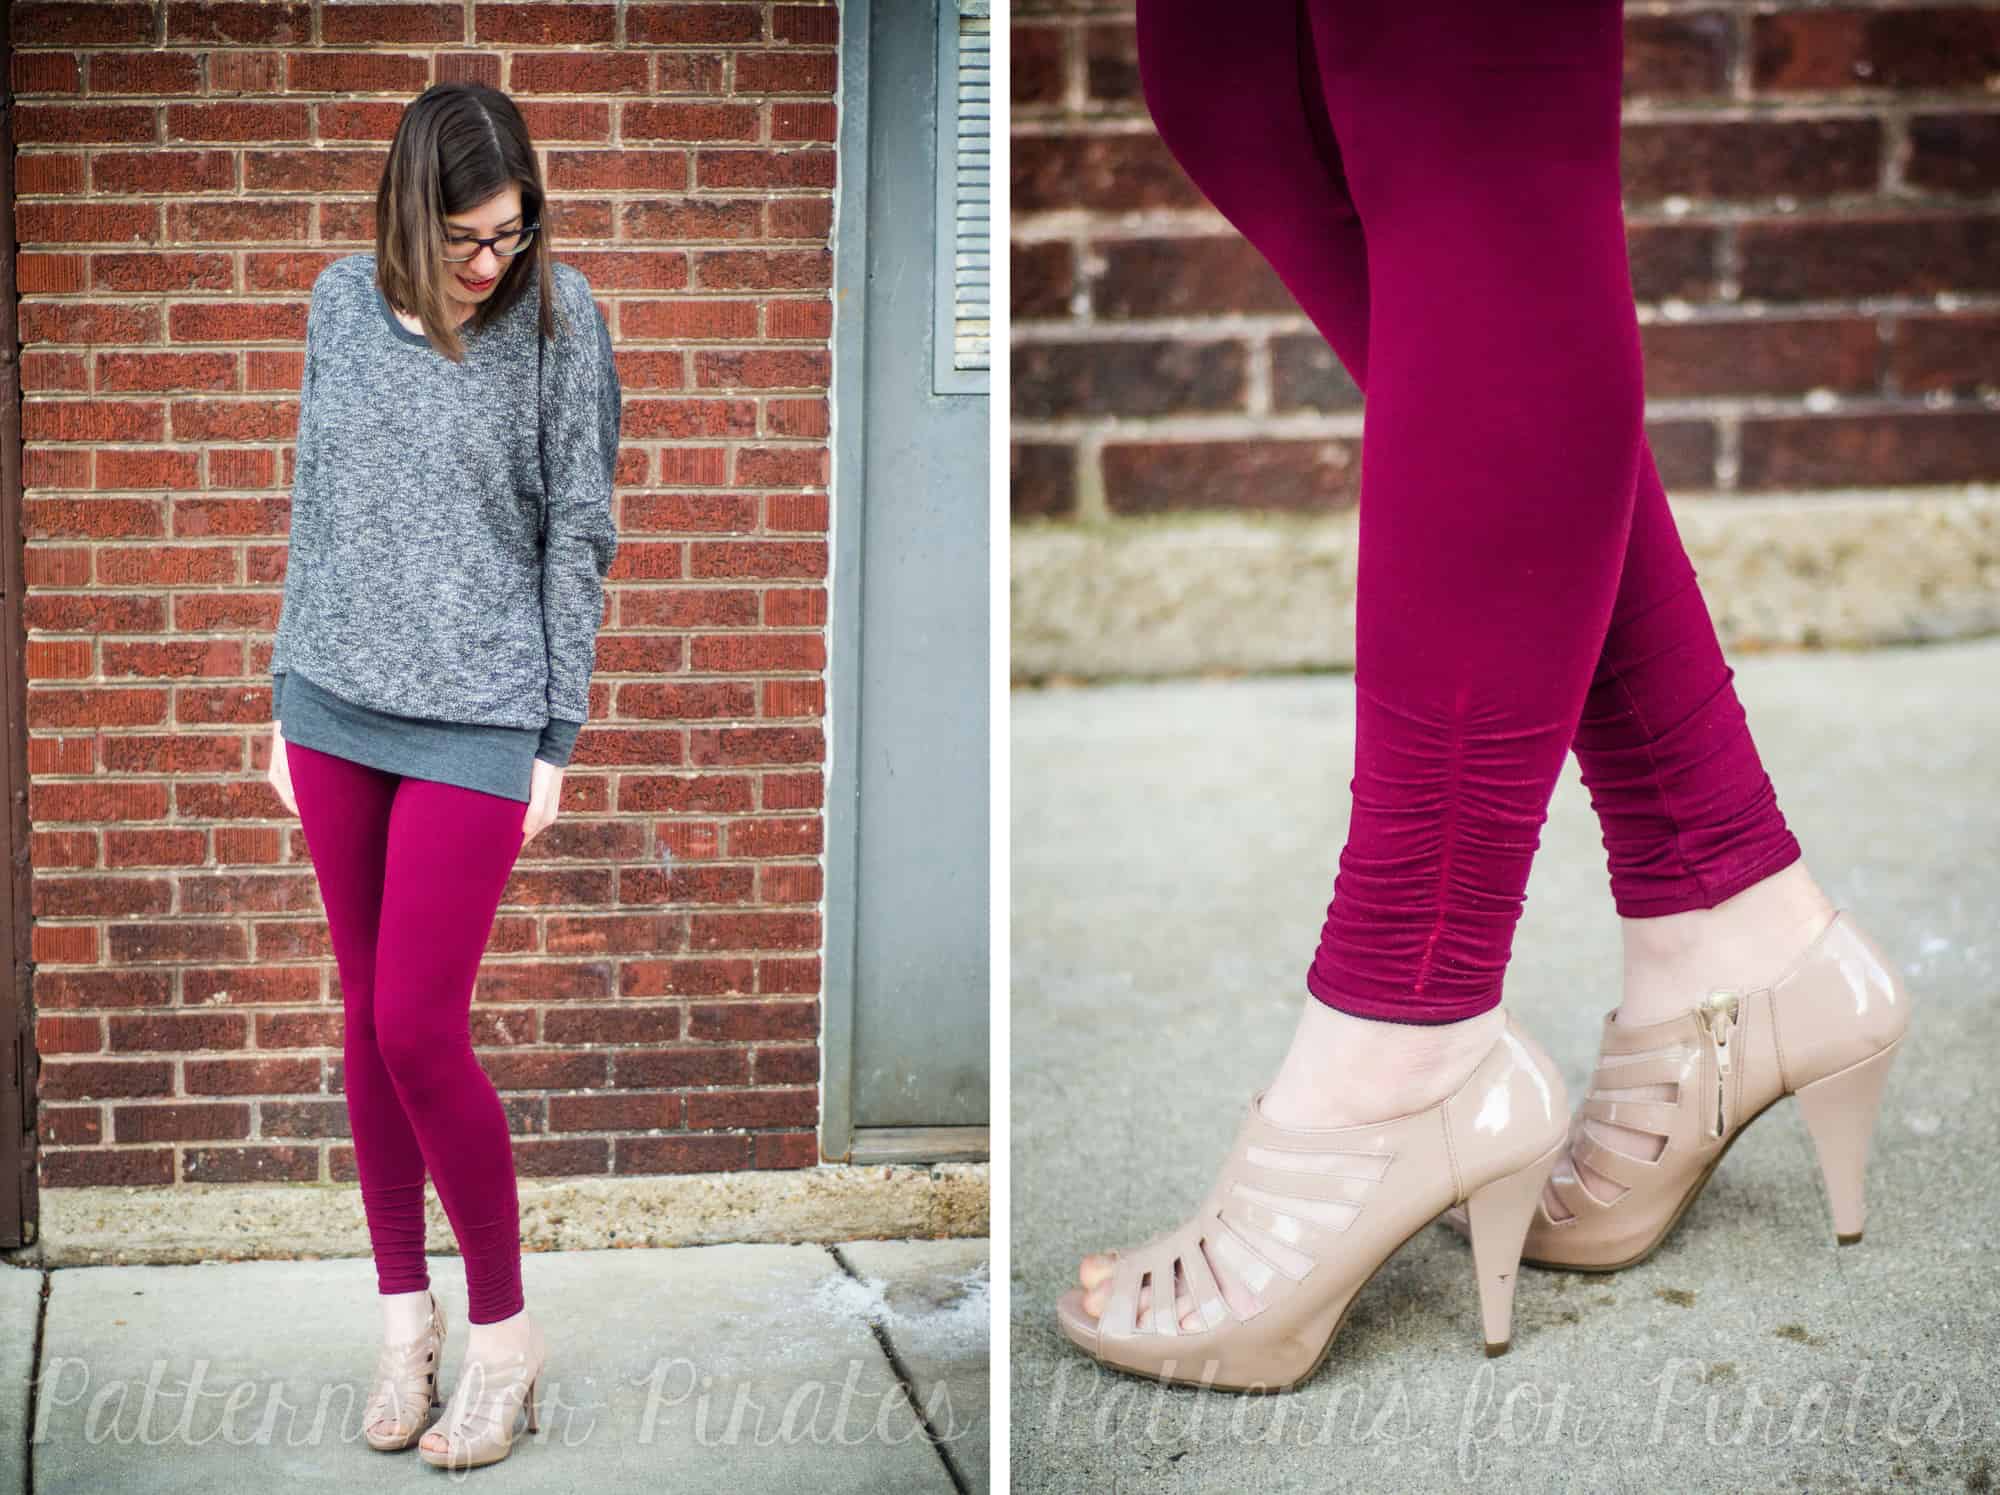
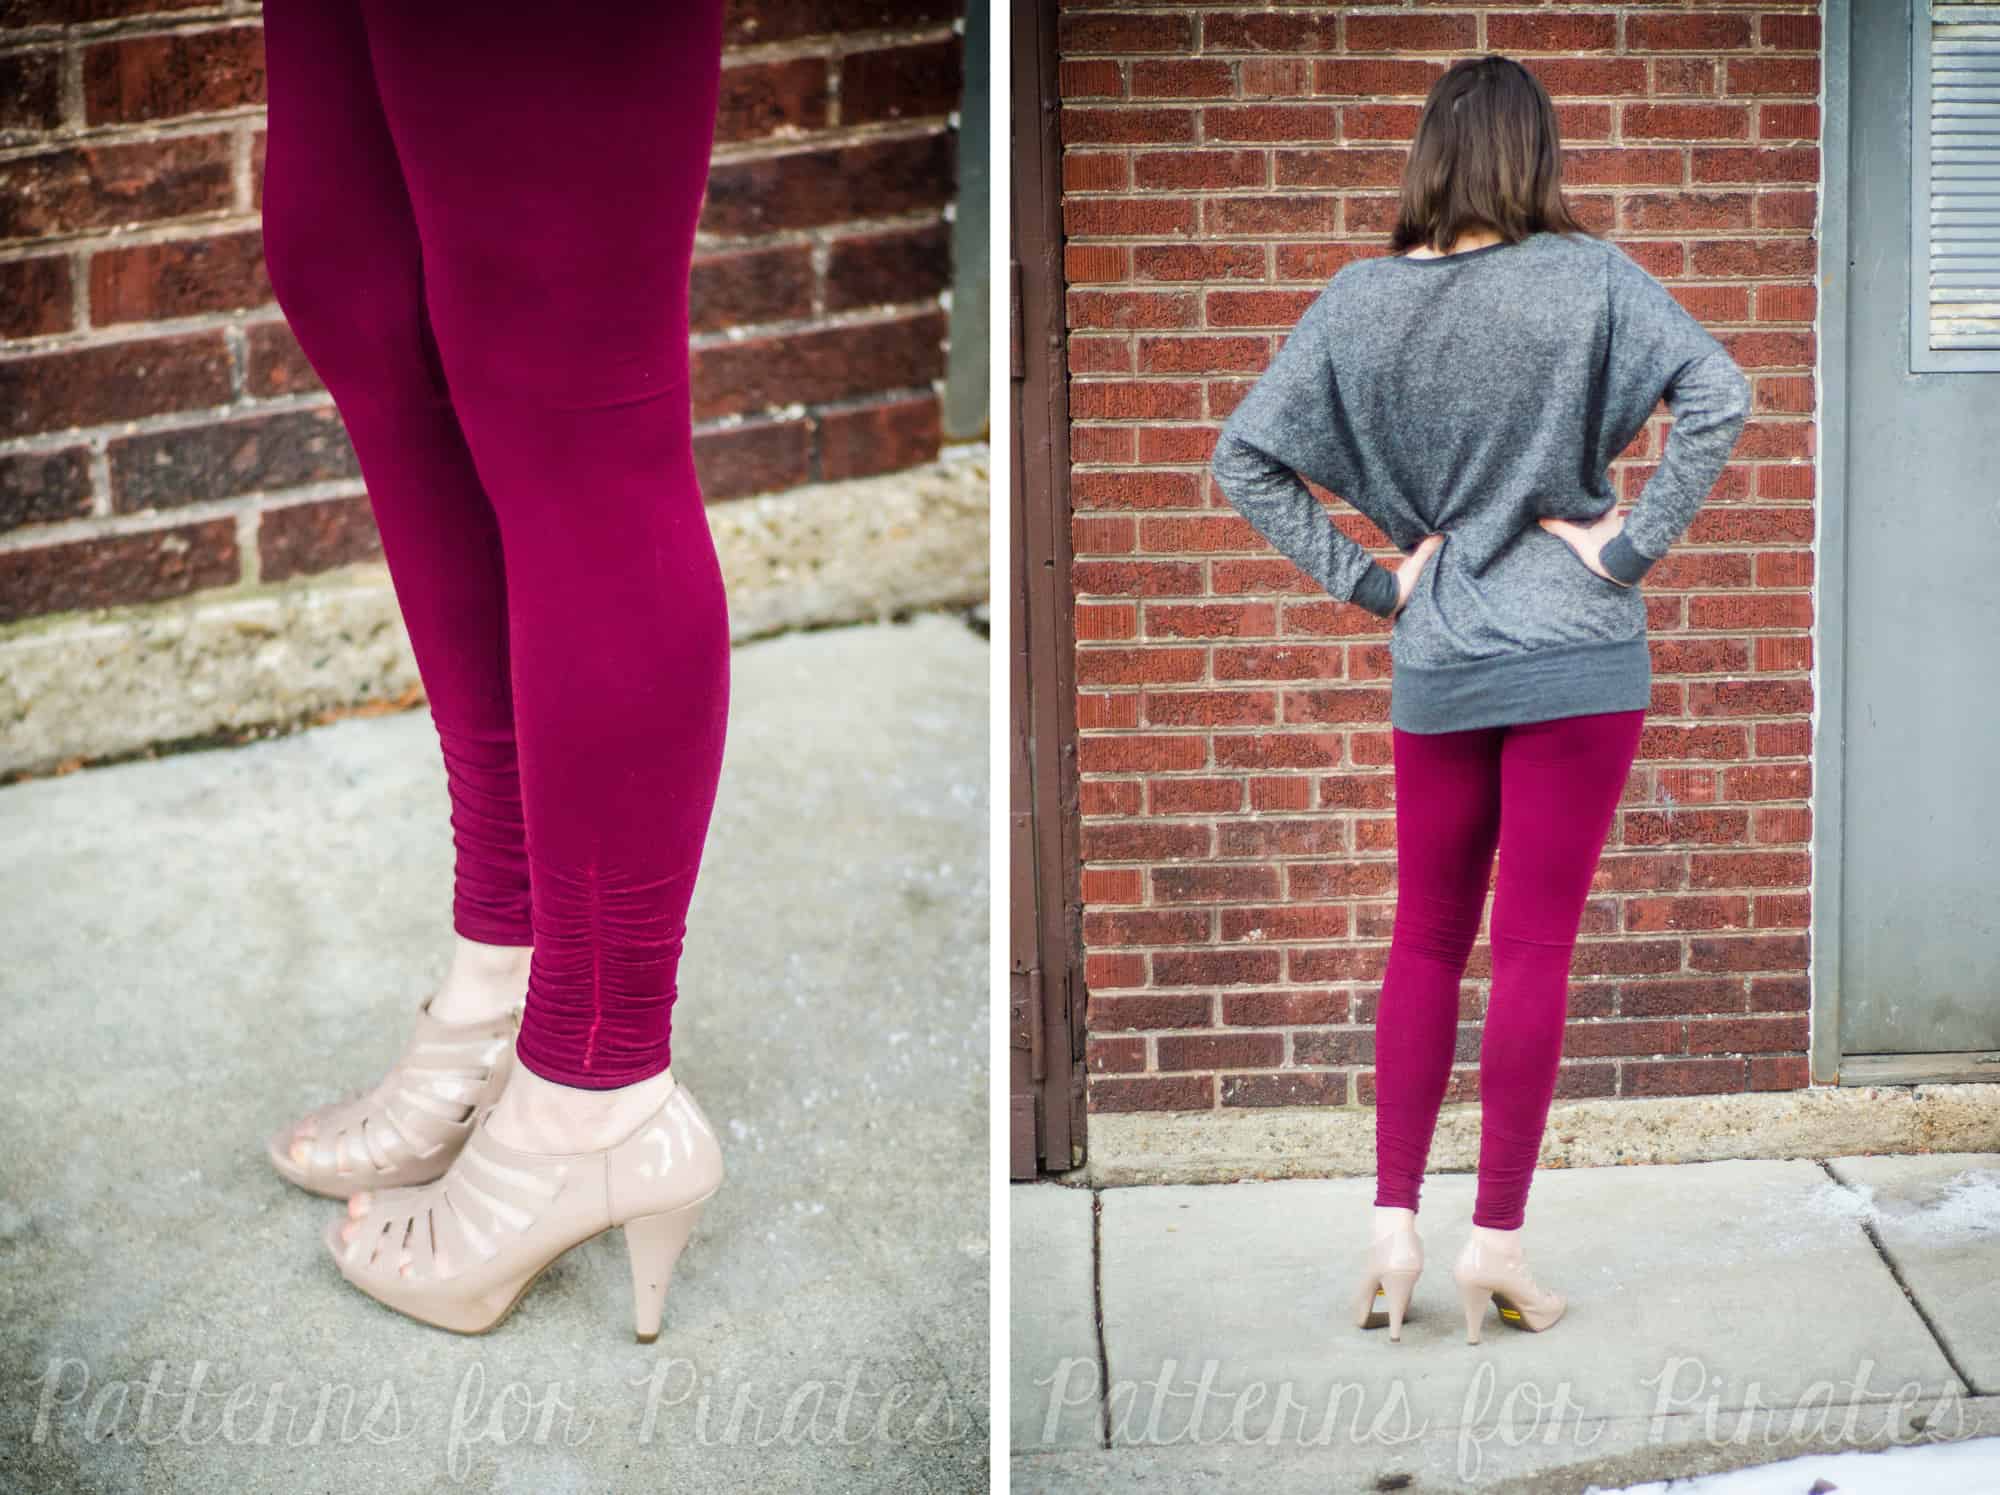
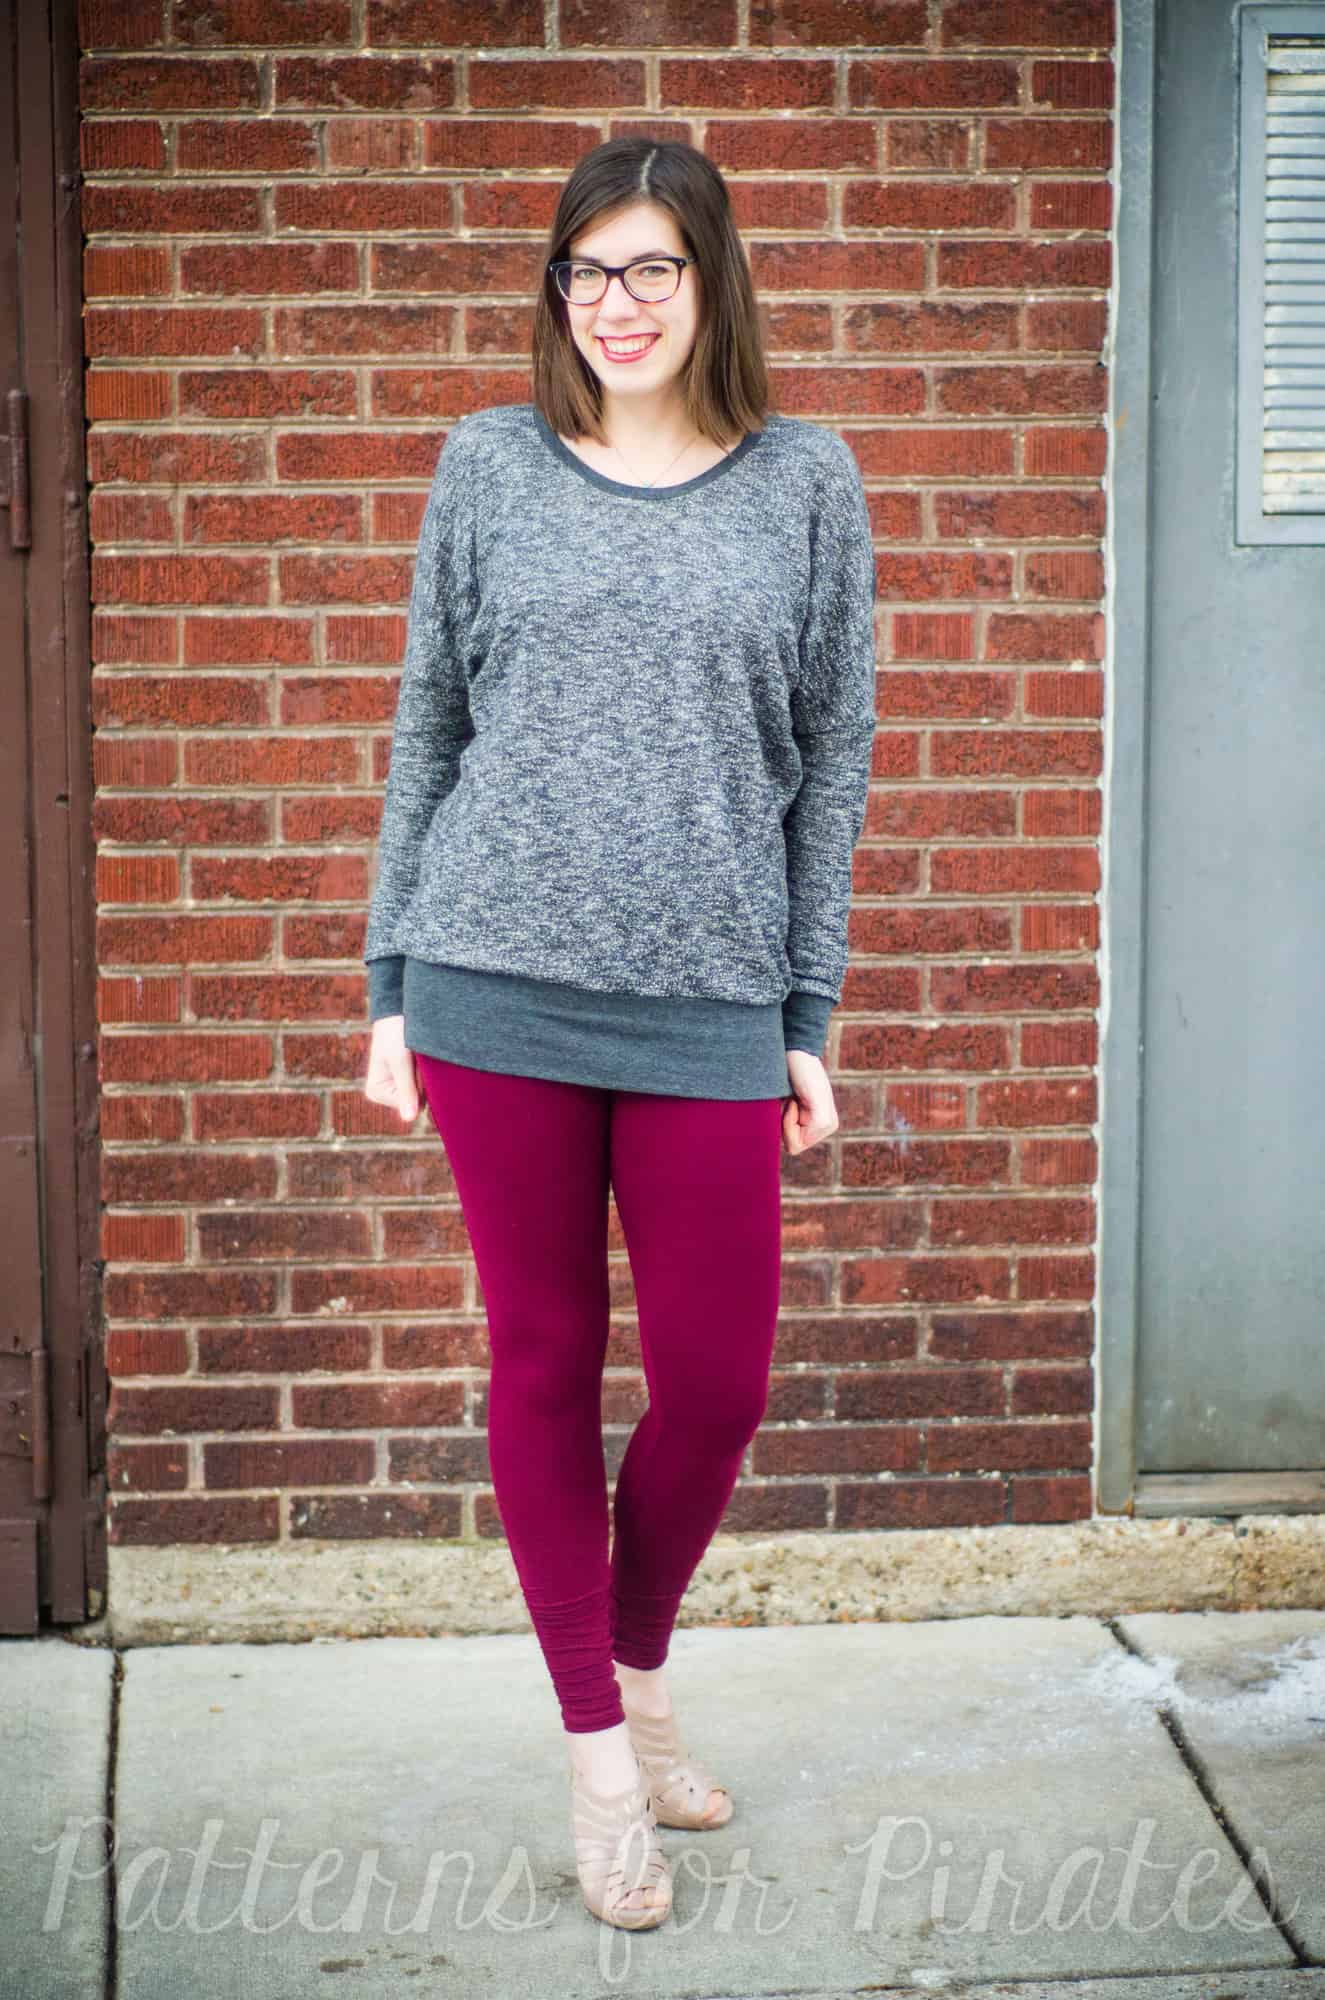
Today I’m going to show you how to add some ruching to the ankles of your PegLegs.  This is a super easy way to amp up their cuteness factor and take them to the next level.

For this hack, I’ll be ruching using elastic.  Depending on your preferences, you’ll need about 12″ of braided (non-roll) elastic.  I used 1/2″, though you can also use 1/8″, if you’d prefer.  You will also need matching thread.

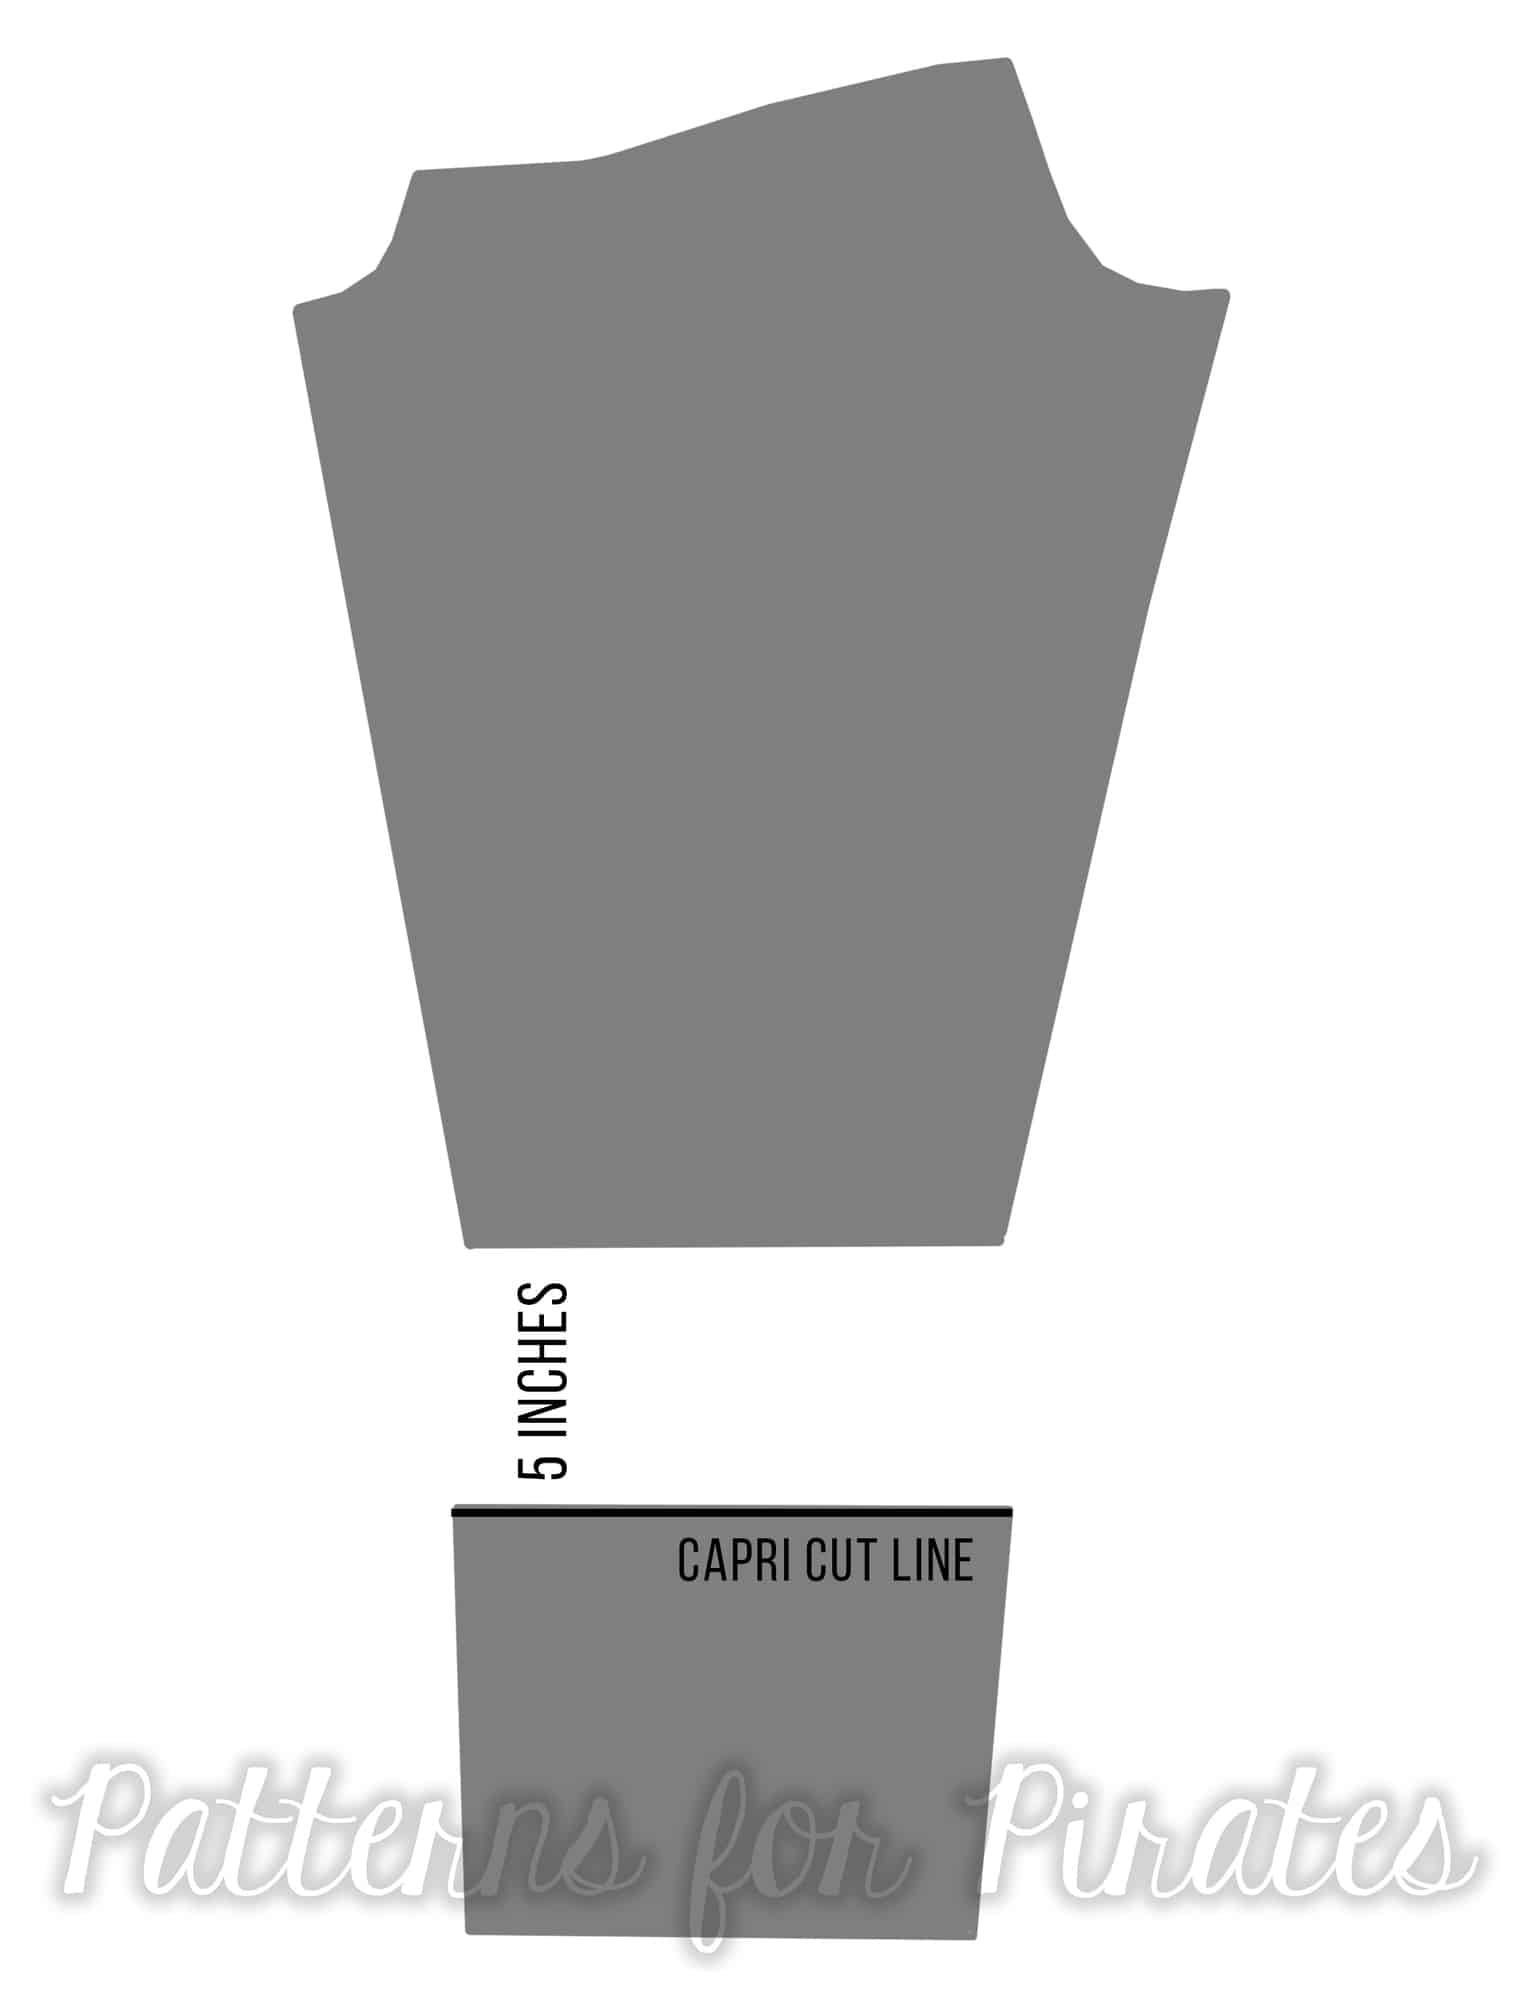
1. The first thing you need to do is decide how long you want your line of ruching to be.  For mine, I chose 5″.

2. You’ll need to add length to the pattern to accommodate the fabric the ruching will take up; you’ll add the same number you originally chose.  So for me, the length to add was also 5″.  And now the total ruched amount will be 10″.

3.  Add the extra length at the capri cut line.  To do this, cut your pattern on the capri line, add however many inches you chose earlier.  I added 5″.  Then cut out your leg pieces with this added length, and your choice of waistband.  Your leggings will look crazy long – this is good!

4. I highly suggest hemming the bottom edge now, before ruching.  It will be so much easier this way; I chose to do a faux blind hem with my serger.  Or, let’s be real…if you’re not planning on hemming, then this doesn’t apply to you! 😉

5. Cut your elastic pieces.  To determine the length, add 1″ to your original measurement.  So I cut mine 6″.

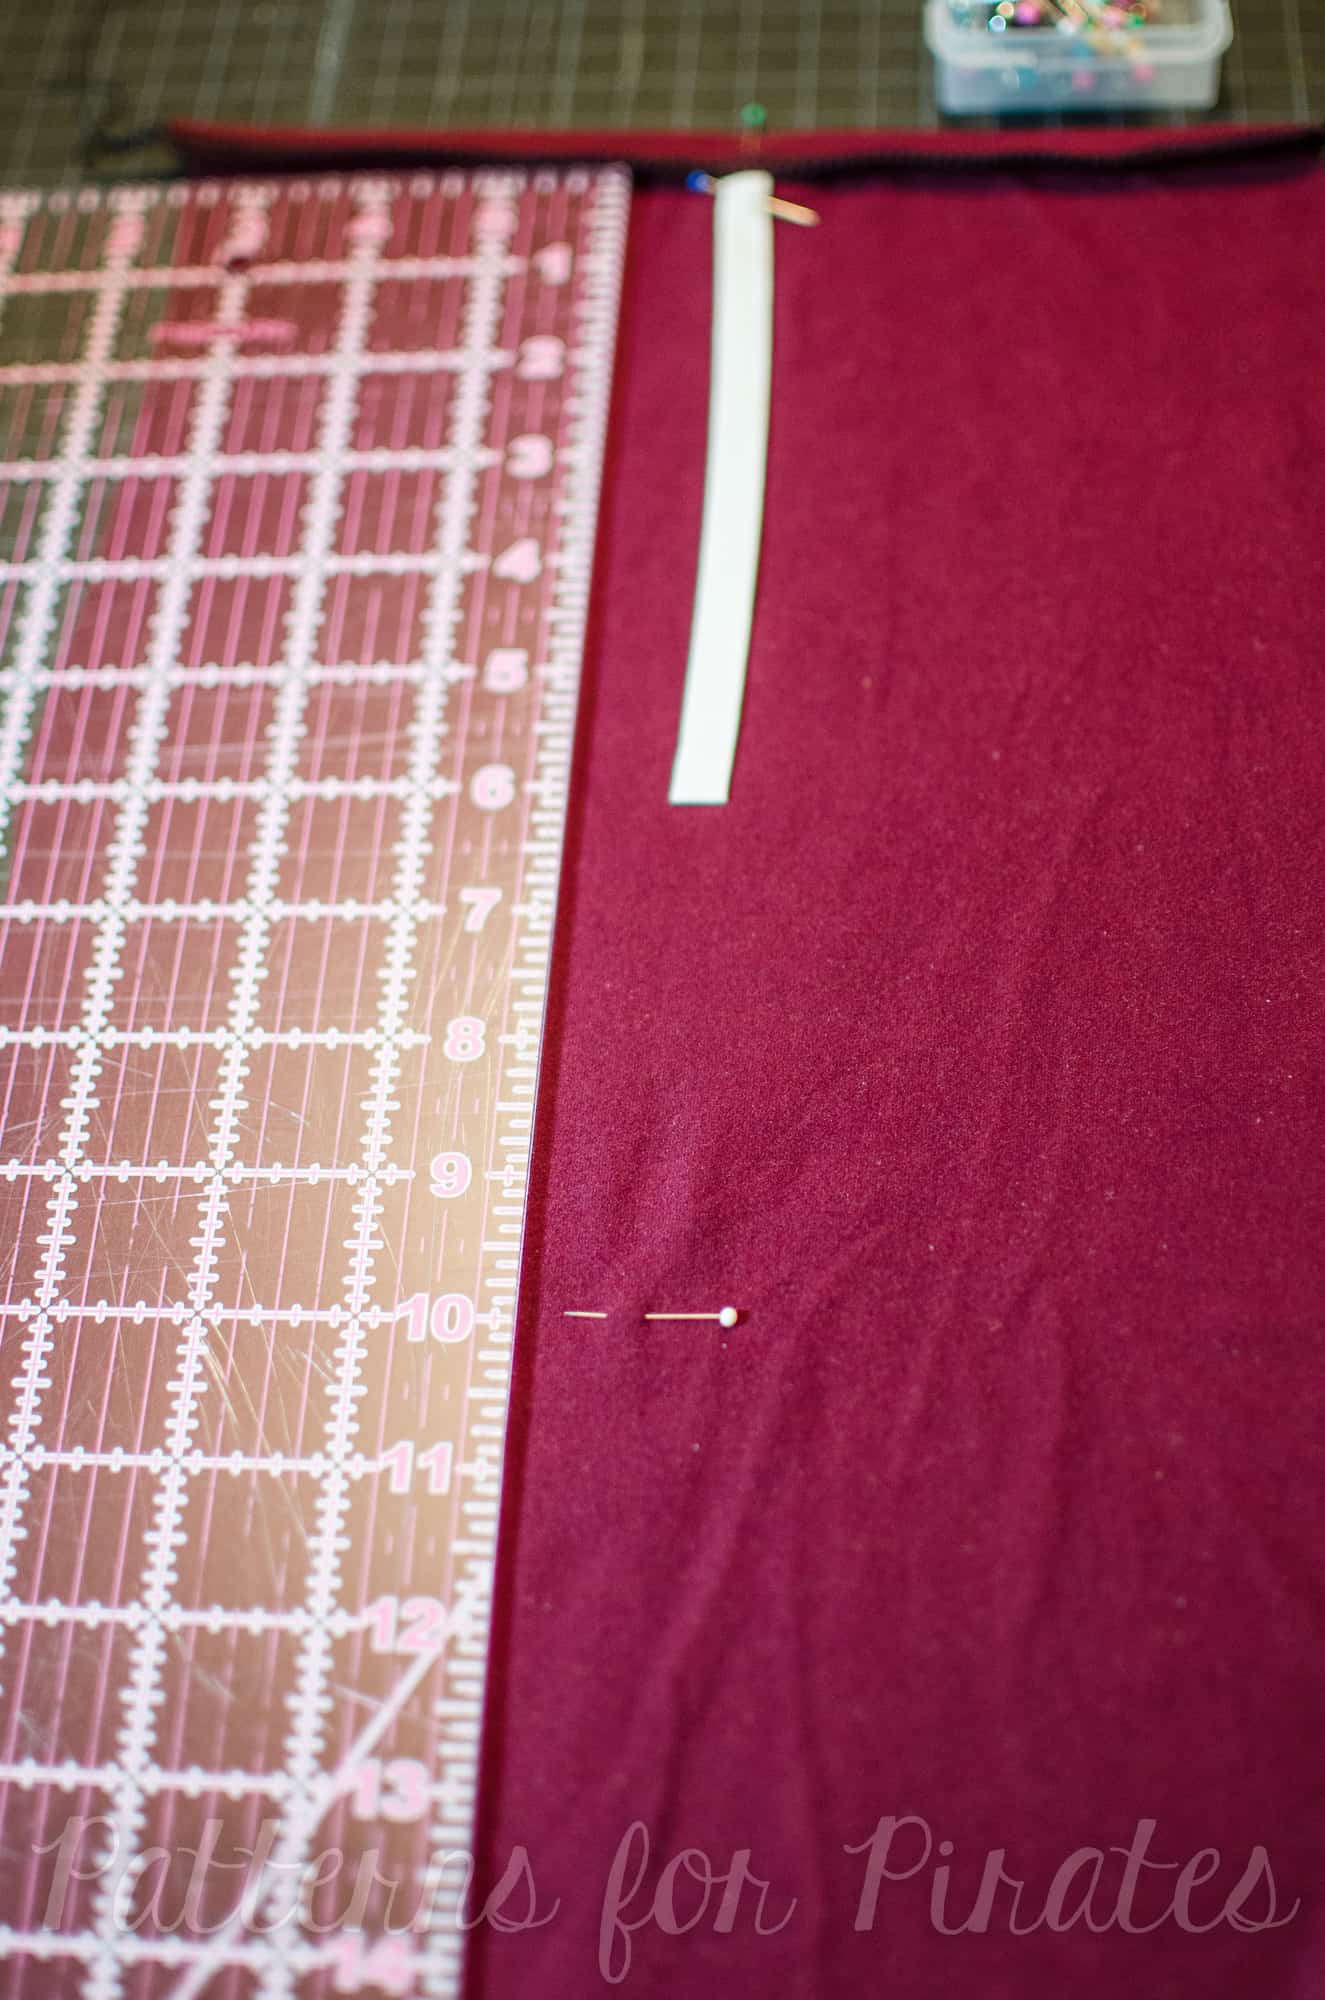
6. Now, before you sew up the side seams, find the middle of the piece on the end, and mark it.  Pin/clip your elastic in place in this place, right above your hem.


7.  From the marked spot, measure up your total ruched amount, determined in step 2.  My ruched amount was 10″, so I measured 10″ above my marked spot.  Add a pin to this spot as well.


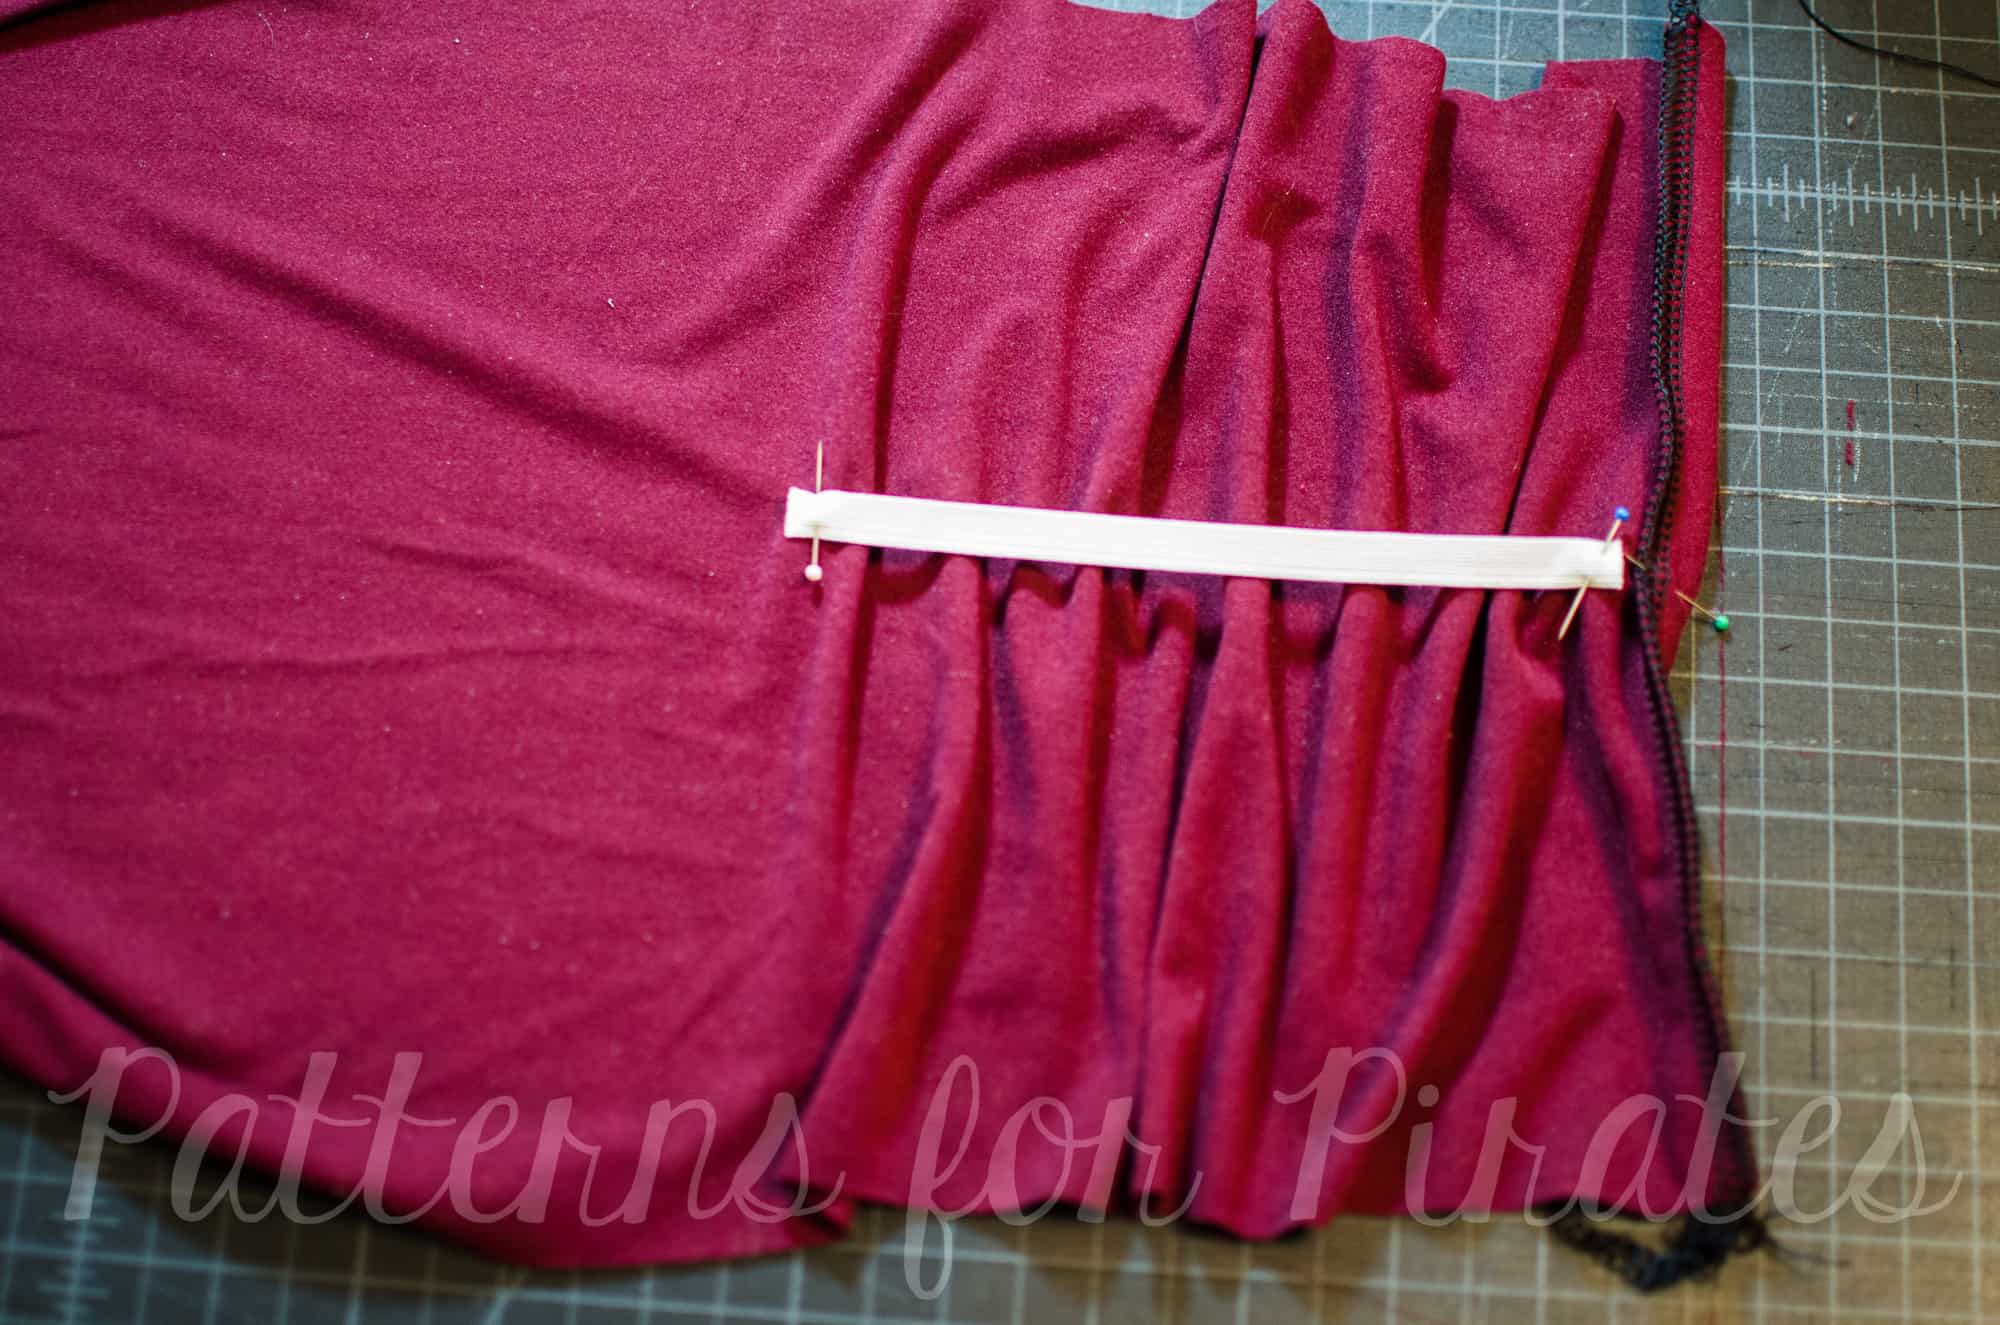
8. Now bring the other end of the elastic to the pin and pin it to the fabric.  This is the spot which will be ruched.


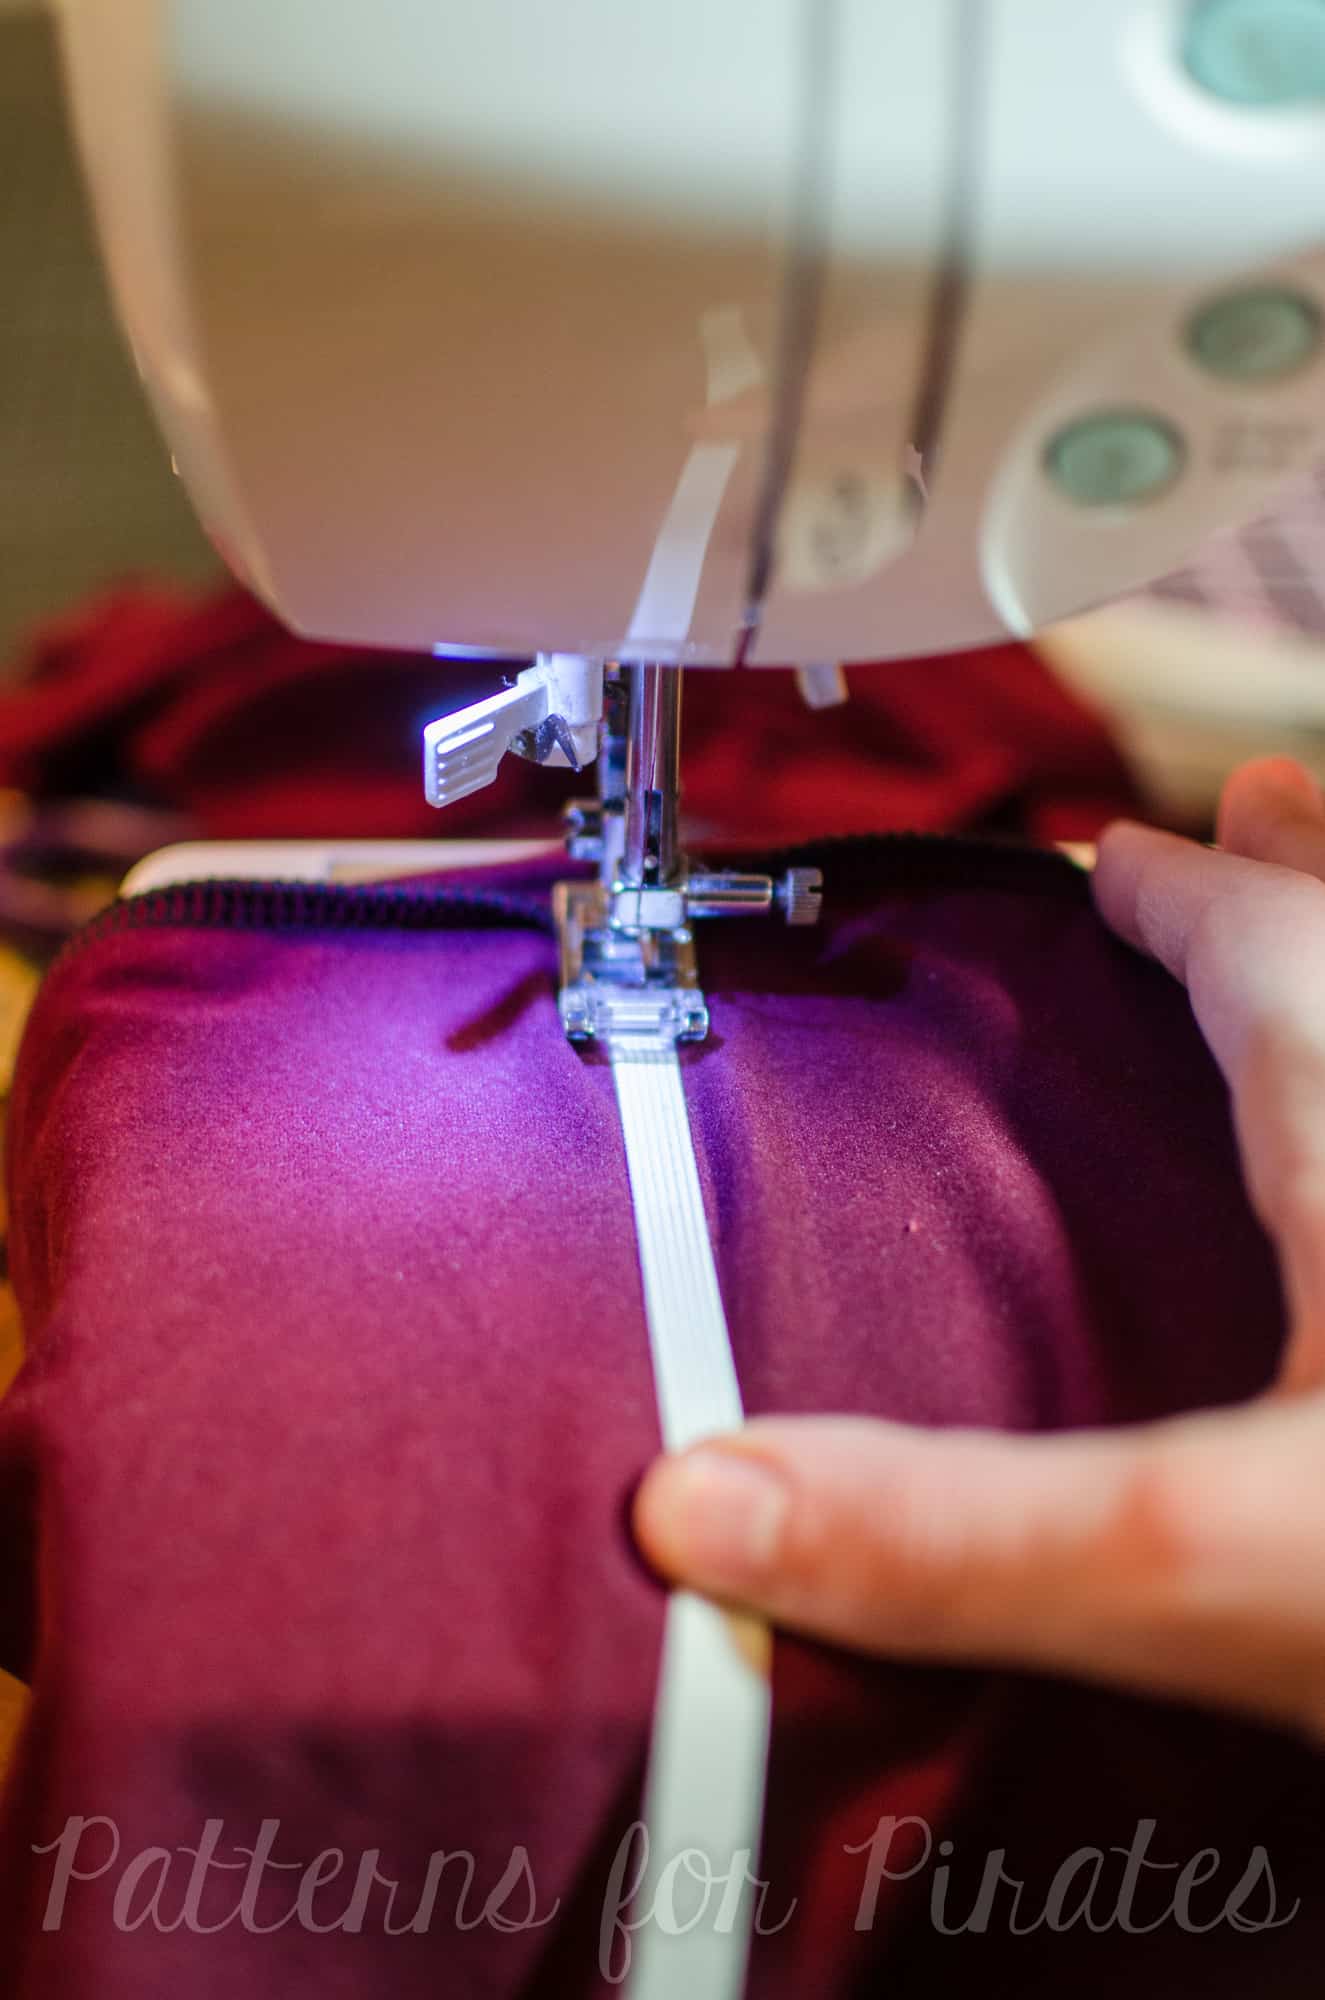
9. You’ll be sewing the elastic to the fabric now, stretching as you sew.  This can be a little tricky, so I advise you test this out on a scrap before sewing your actual ruched piece.

10. Using a slightly shorter zigzag stitch (my length was 1.8, you may also need to reduce the width as well, I used 2.5), start sewing at the end of your elastic.  Don’t worry about pulling the elastic until you can grab the end of it from behind the presser foot.  This should be about 1/2″ of stitching until you can grab it.


11. The trick now is to hold the elastic from the back while you also pull it from the front, as you are sewing (I couldn’t show this while also holding the camera to take this picture). 😉  This way, you can control it pretty well.  I find it helpful to stretch the elastic before sewing, and then pin the middle part to the fabric.  Now you can pull from the pin to the presser foot instead of from the very end.  Once you get to the pin, then pull from end to end until you are finished sewing.  Be sure to backstitch carefully.  Don’t worry about making it absolutely perfect, because the ruching will bunch up quite a bit.


12. Now, assemble your PegLegs as usual…sewing the side seams, the waistband, etc.  Good news is you’ve already hemmed!  Or chosen not to…

That’s it – you’re done!  Feel free to play around with different lengths of ruching as well, you may prefer more or less than me.  Also, you can also ruche using elastic thread hand-wound in your bobbin.  With this method, you’d also lengthen your pattern, and then sew a straight line however many inches you added.  I don’t mind using elastic though, since I always have it on hand (not the case with elastic thread!).

Be sure to post your ruching hacks in our Facebook group so we can have all the “heart eyes” for your creations! 😍

~Elisabeth


We are celebrating reaching 50K fans in our Facebook group!  To make it a party, our beloved PegLegs pattern just got an update AND some new add-ons.  Before you go running to your machine to sew up your own leggings, make sure to read our PegLegs 101 blog post.  This way, you’ll have all the the information you’ll need to make the perfect pair before you even cut into your gorgeous fabric.
But wait, there’s more!  After any good party is an after-party.  We are taking it one step further and sharing some easy hacks that’ll bring even more flavor to your favorite leggings pattern!  We hope you check them out, make your new favorite pair of leggings, and know that we appreciate every single one of you amazing sewing guys and gals!

Here are our hacks / tutorials / latest tricks:

Lace Waistband Alternative | Drawstring Waistband Tutorial
Exposed Elastic Waistband | Stirrup Pant Hack
Ruched Ankles Adjustment | Decorative Topstitching Tutorial
Ruched Side Panel Hack

Filed Under: Pattern Hacks 1 Comment

50K Fan Celebration :: Drawstring Waistband PegLegs Hack

April 21, 2017

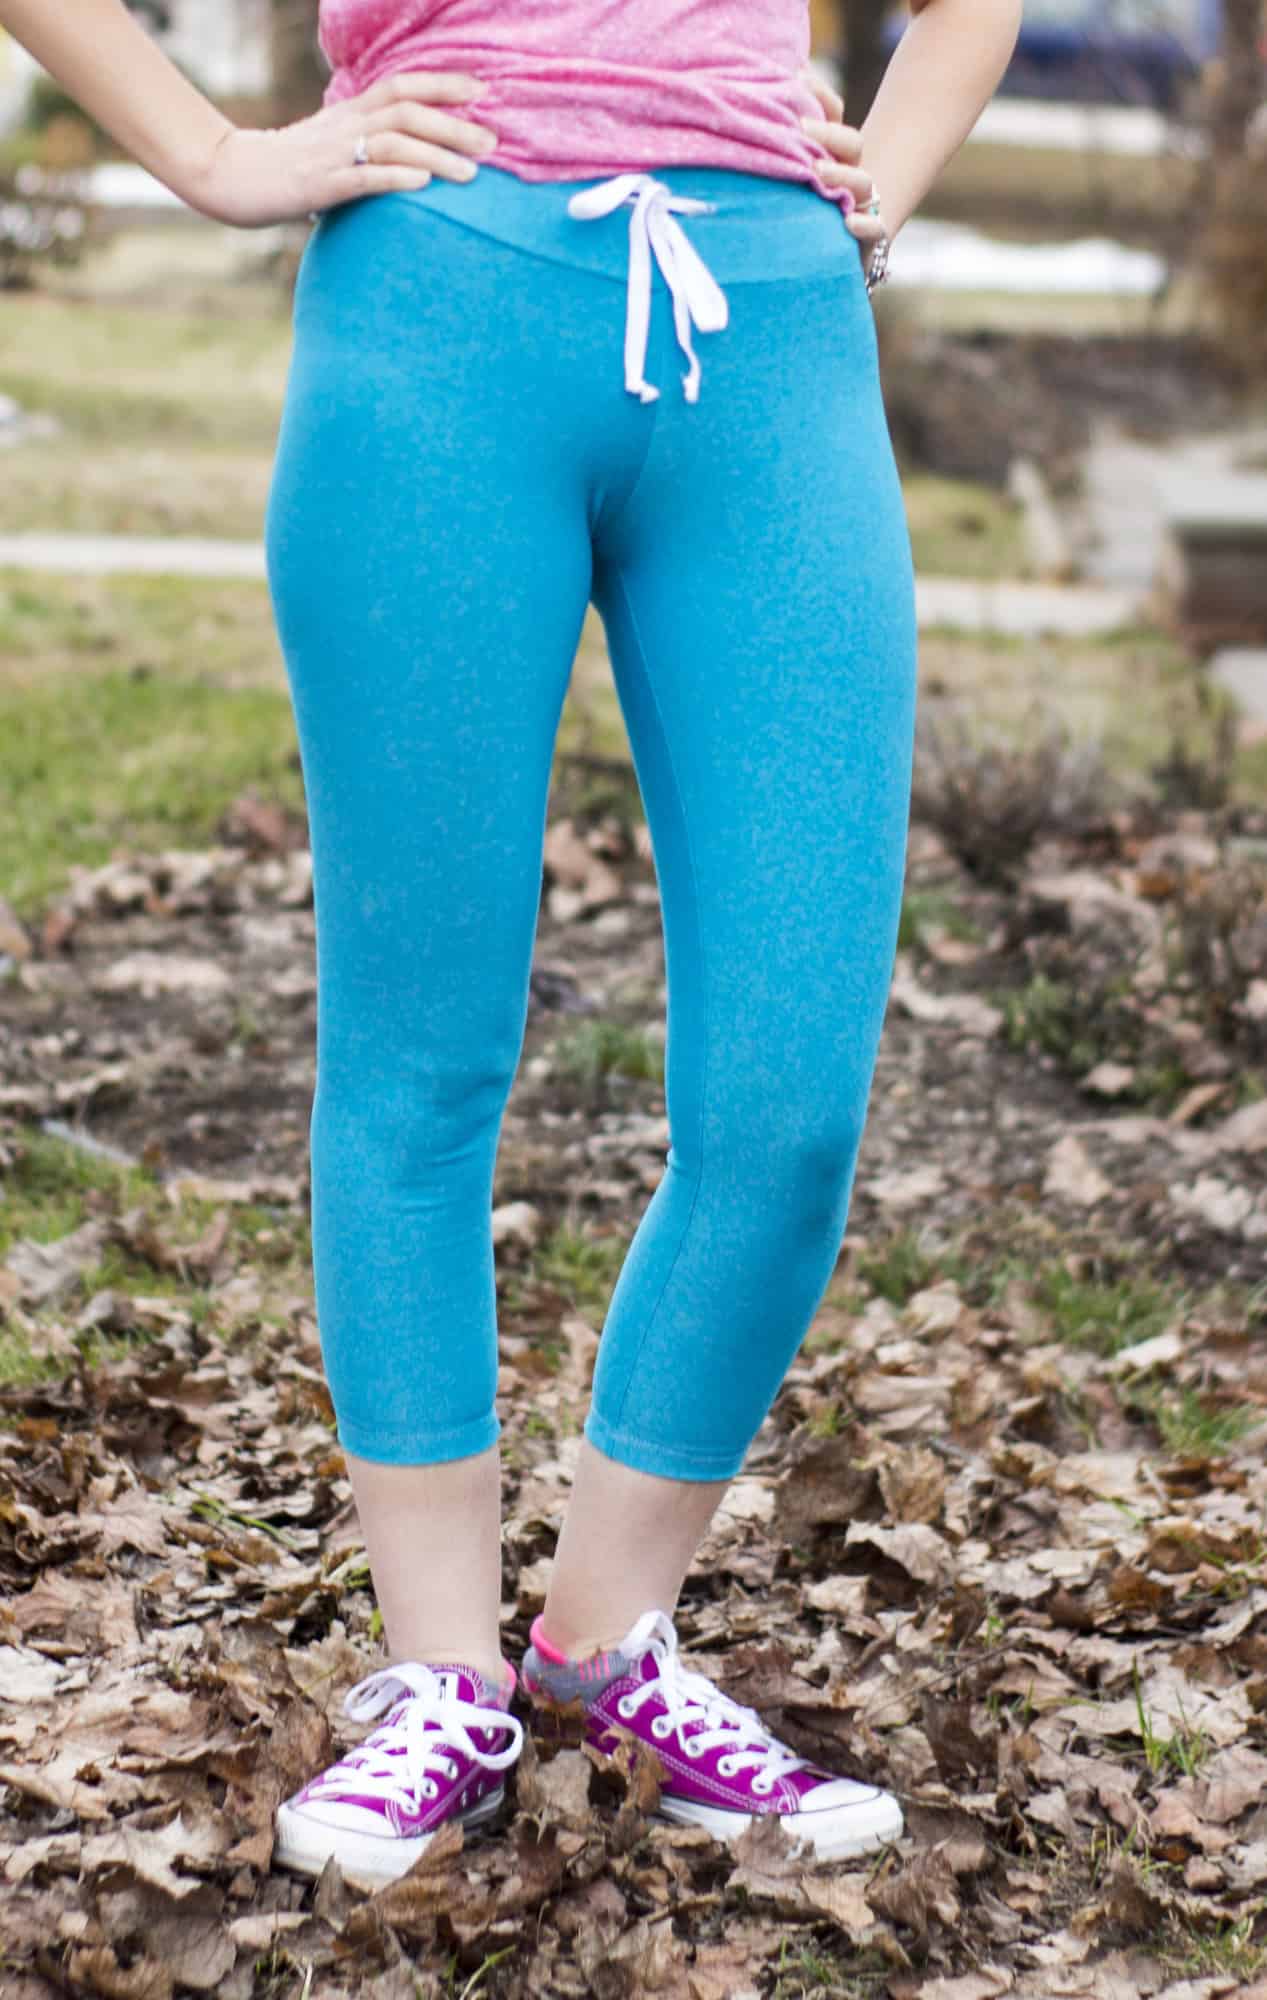
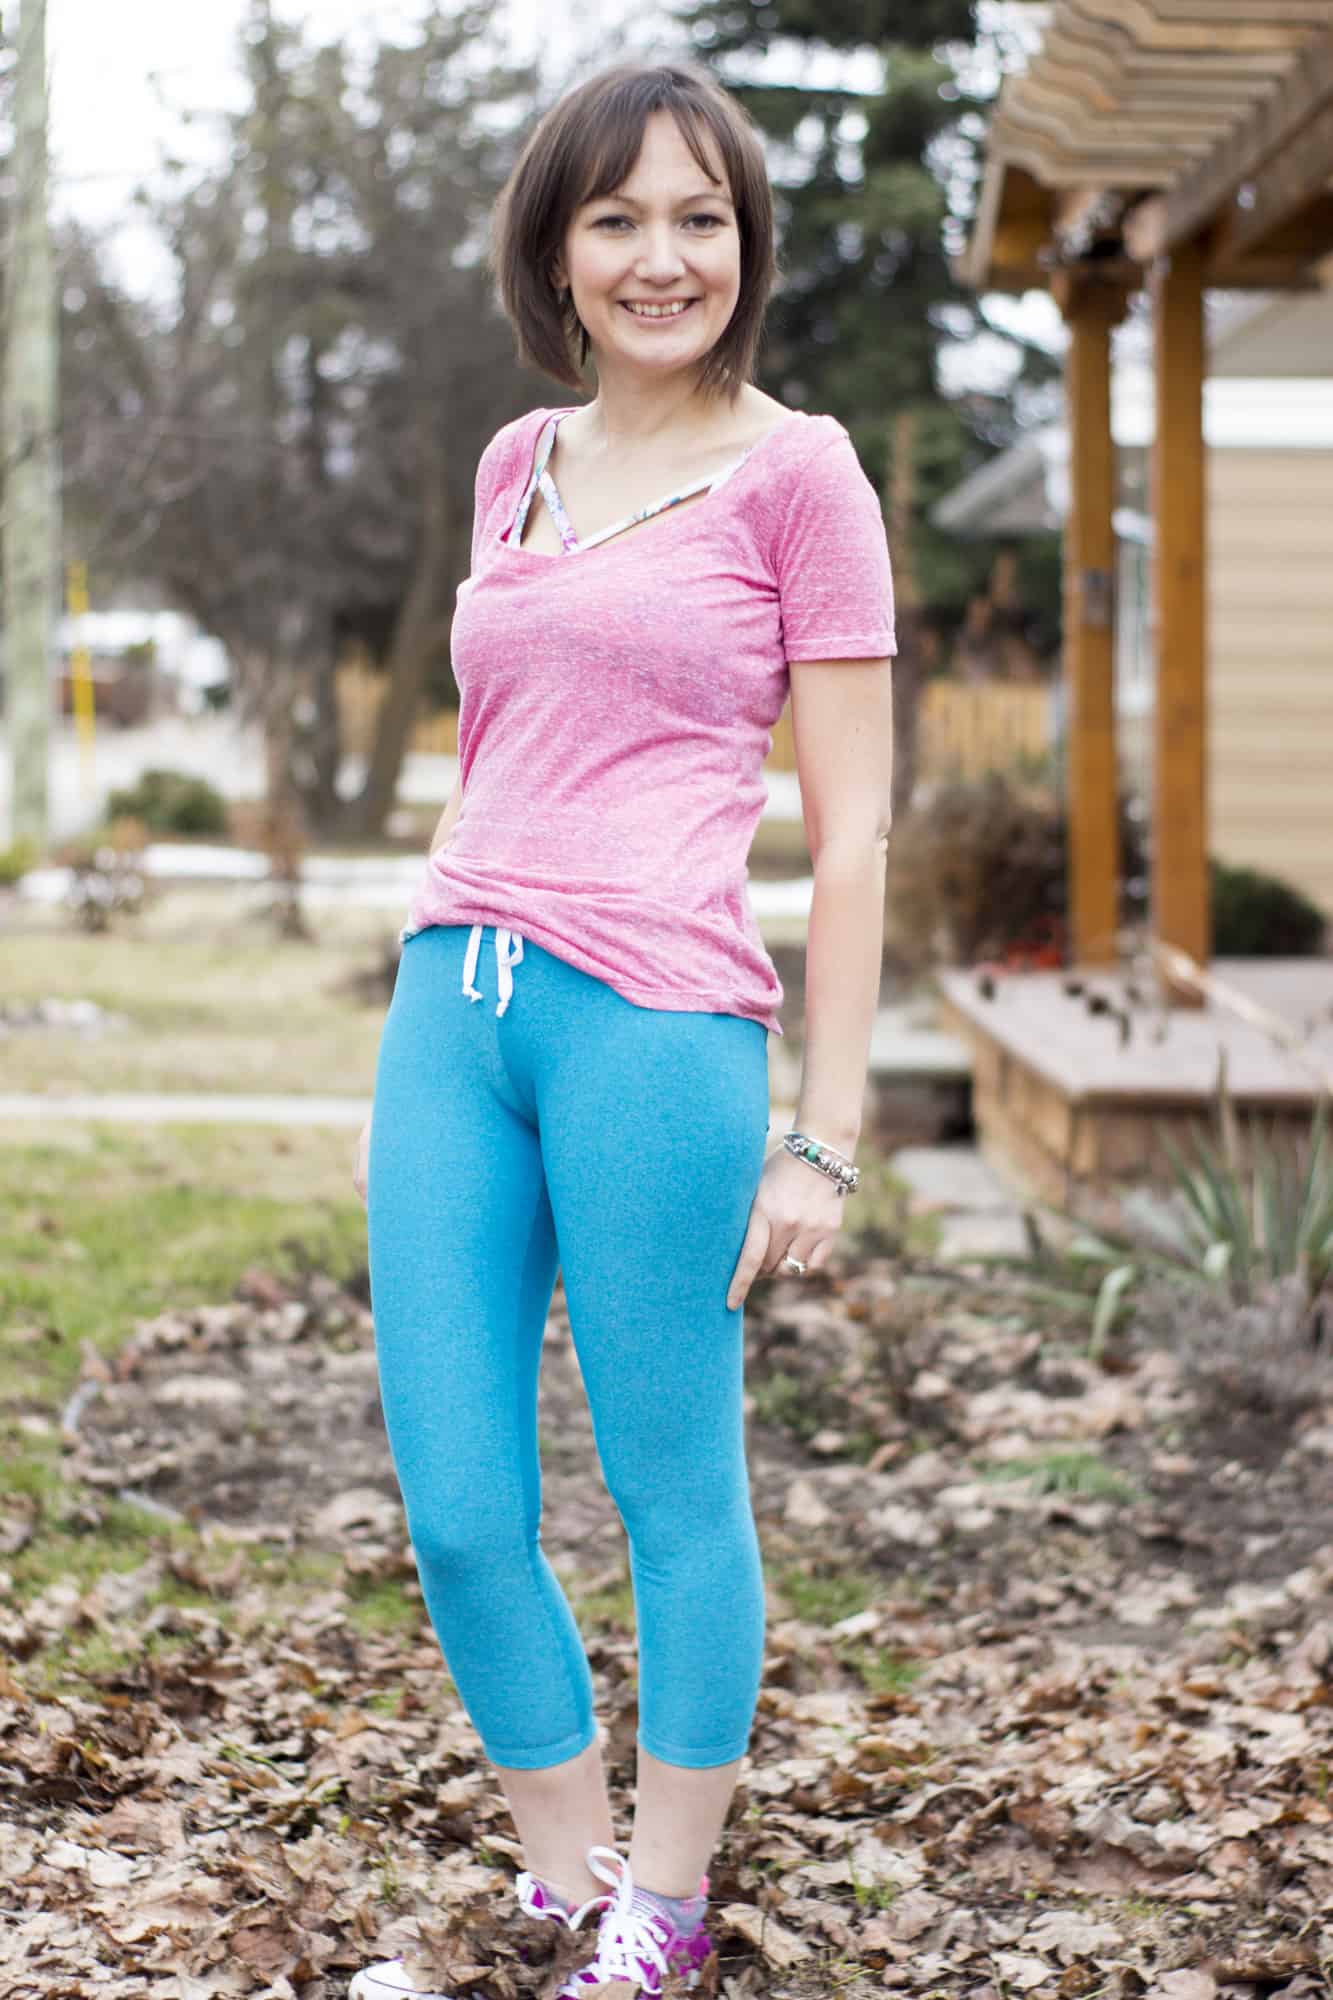
Today I’m sharing a quick cute hack to your peg legs to add a drawstring to your waistband.  I wear peglegs all year round and the drawstring changes up the look just a bit.  Let’s get started.

  1. First you sew your legs together as per the pattern.
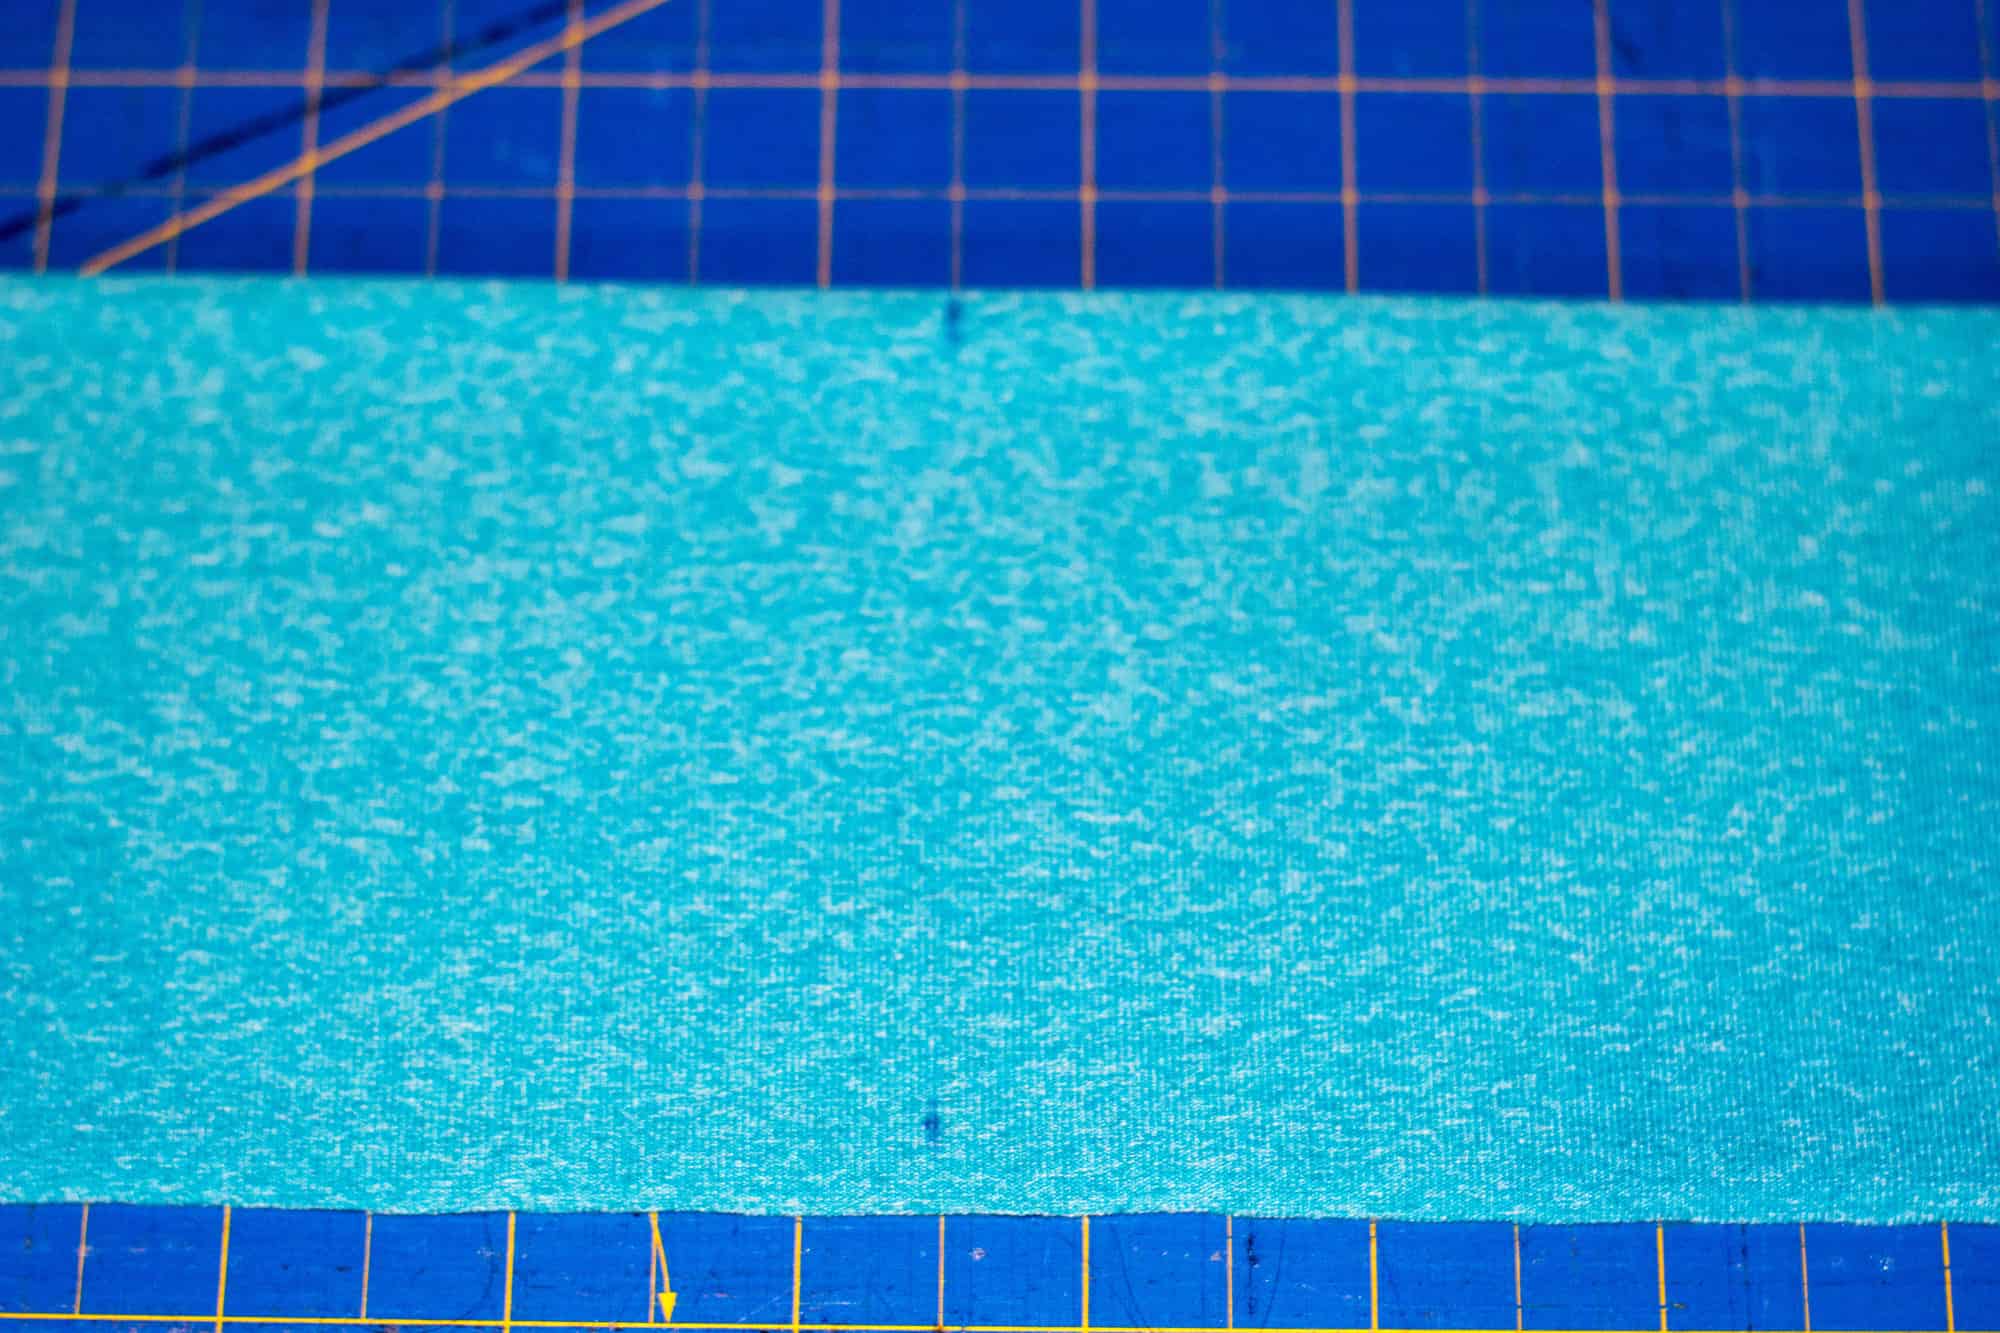
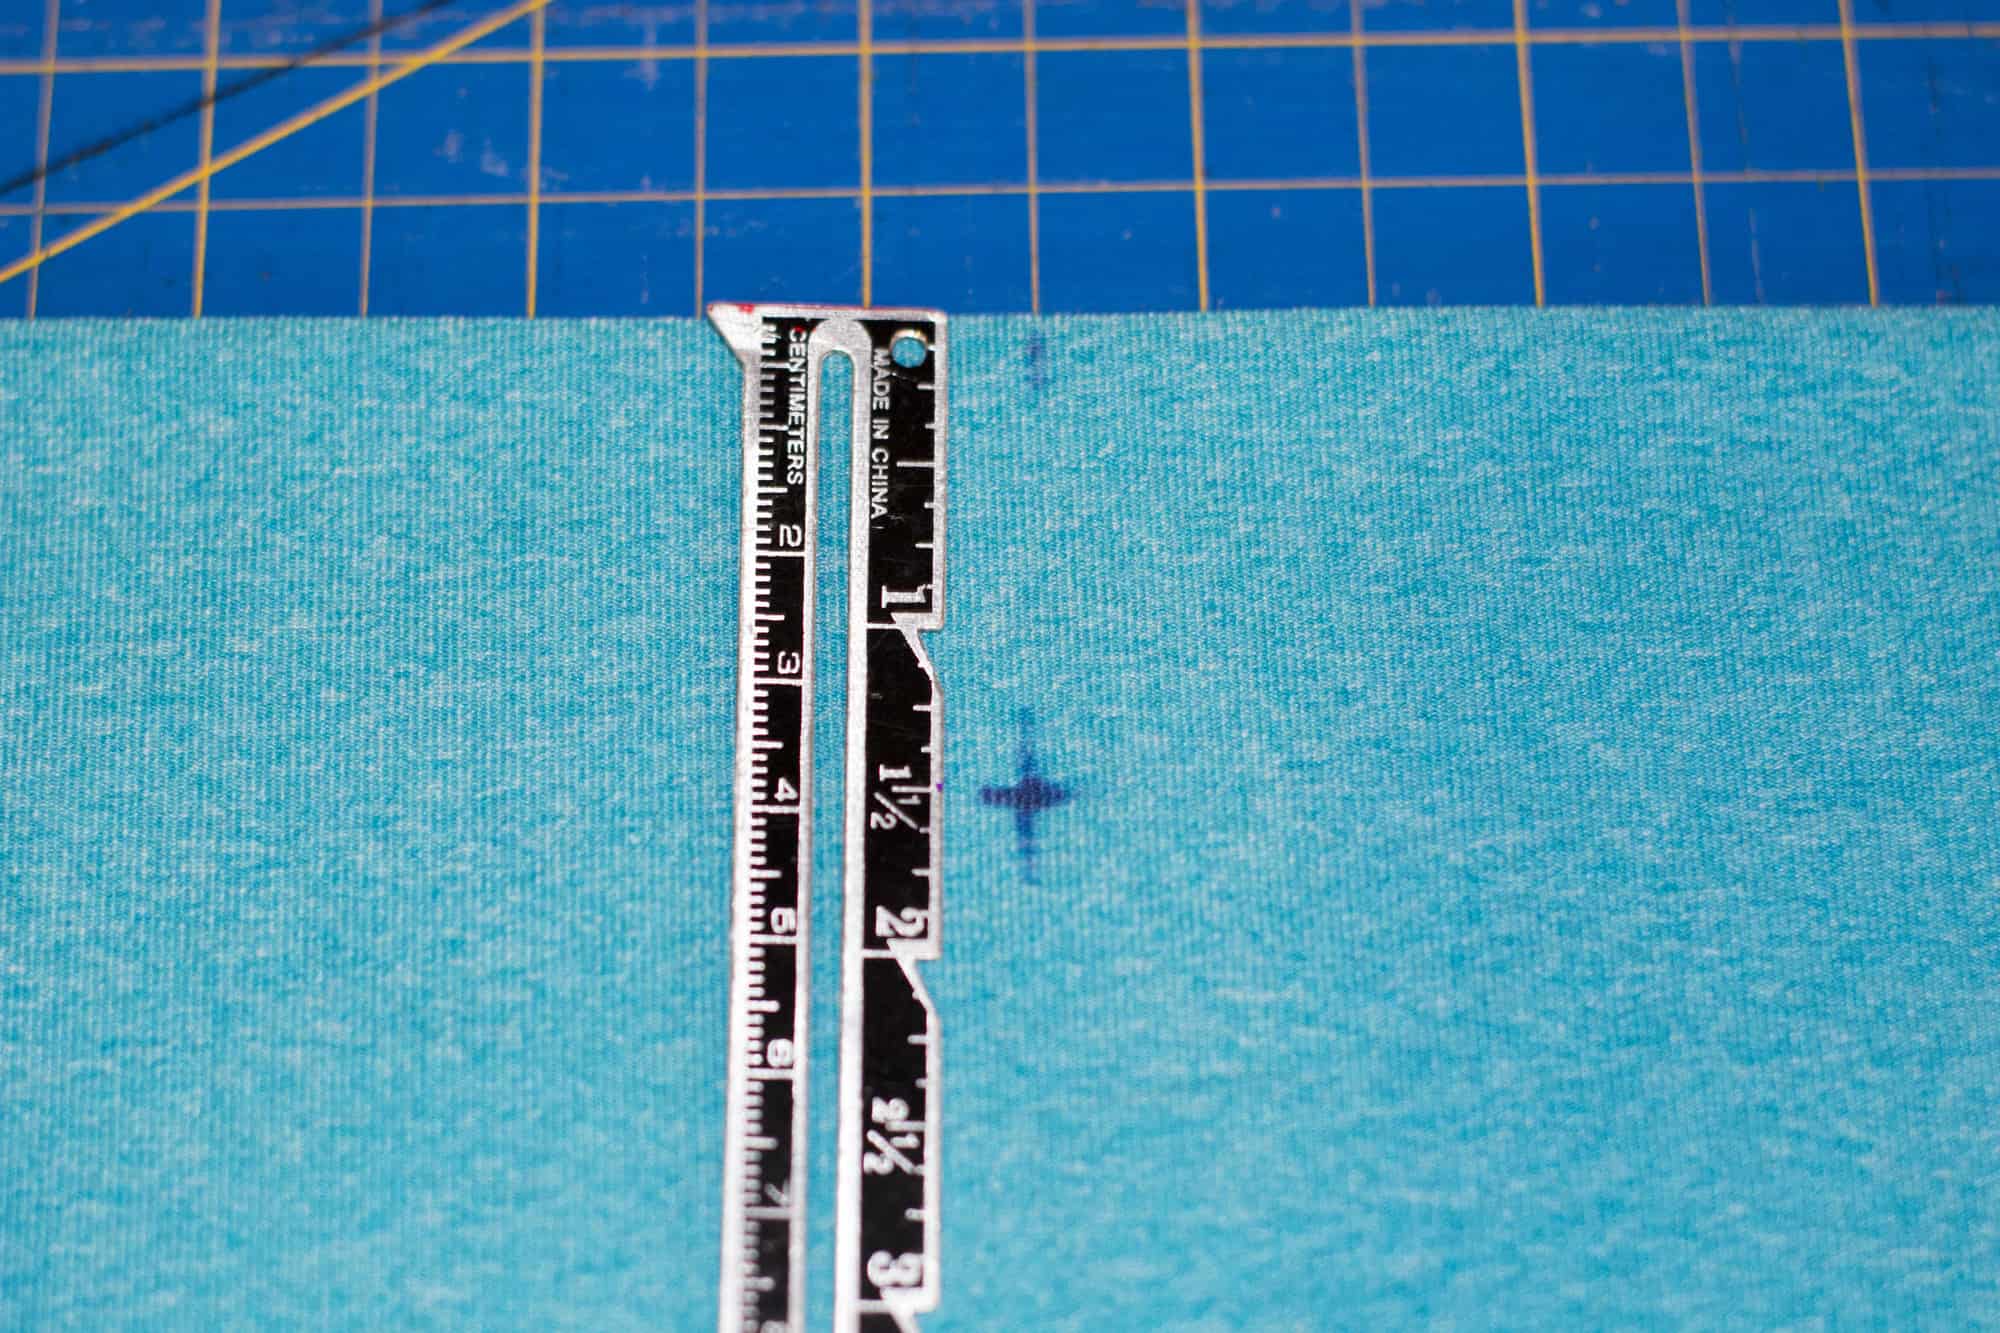
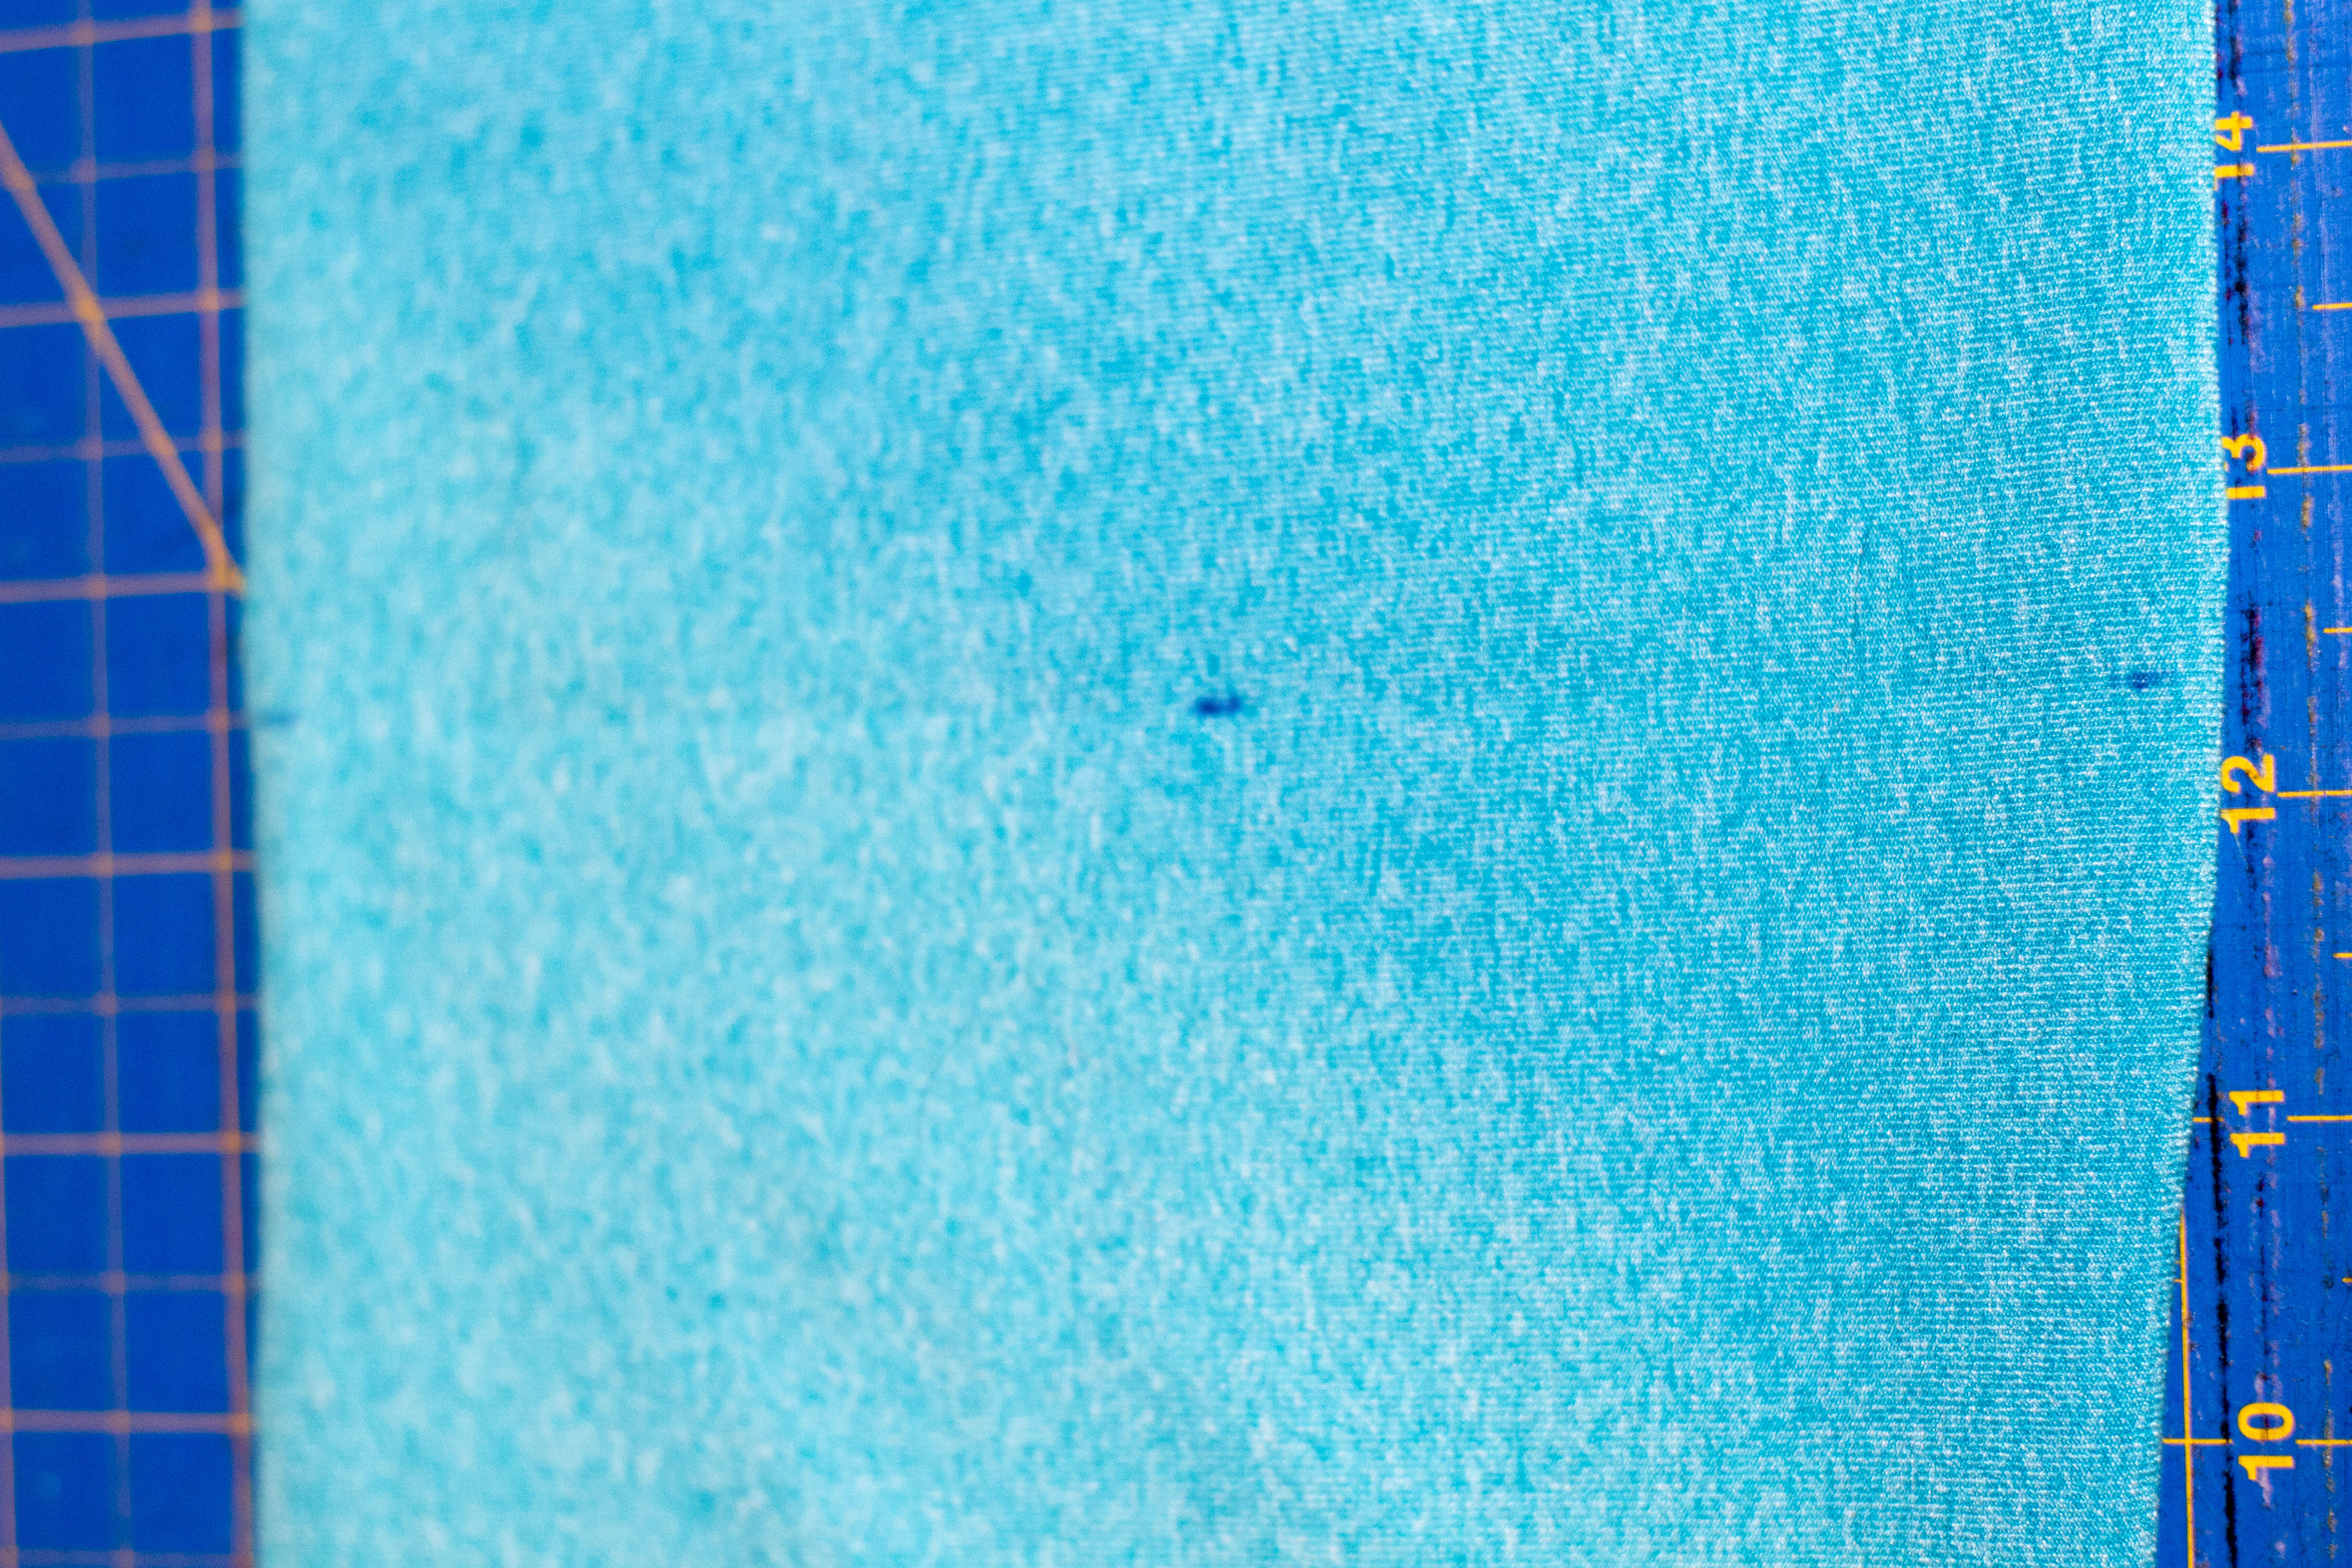
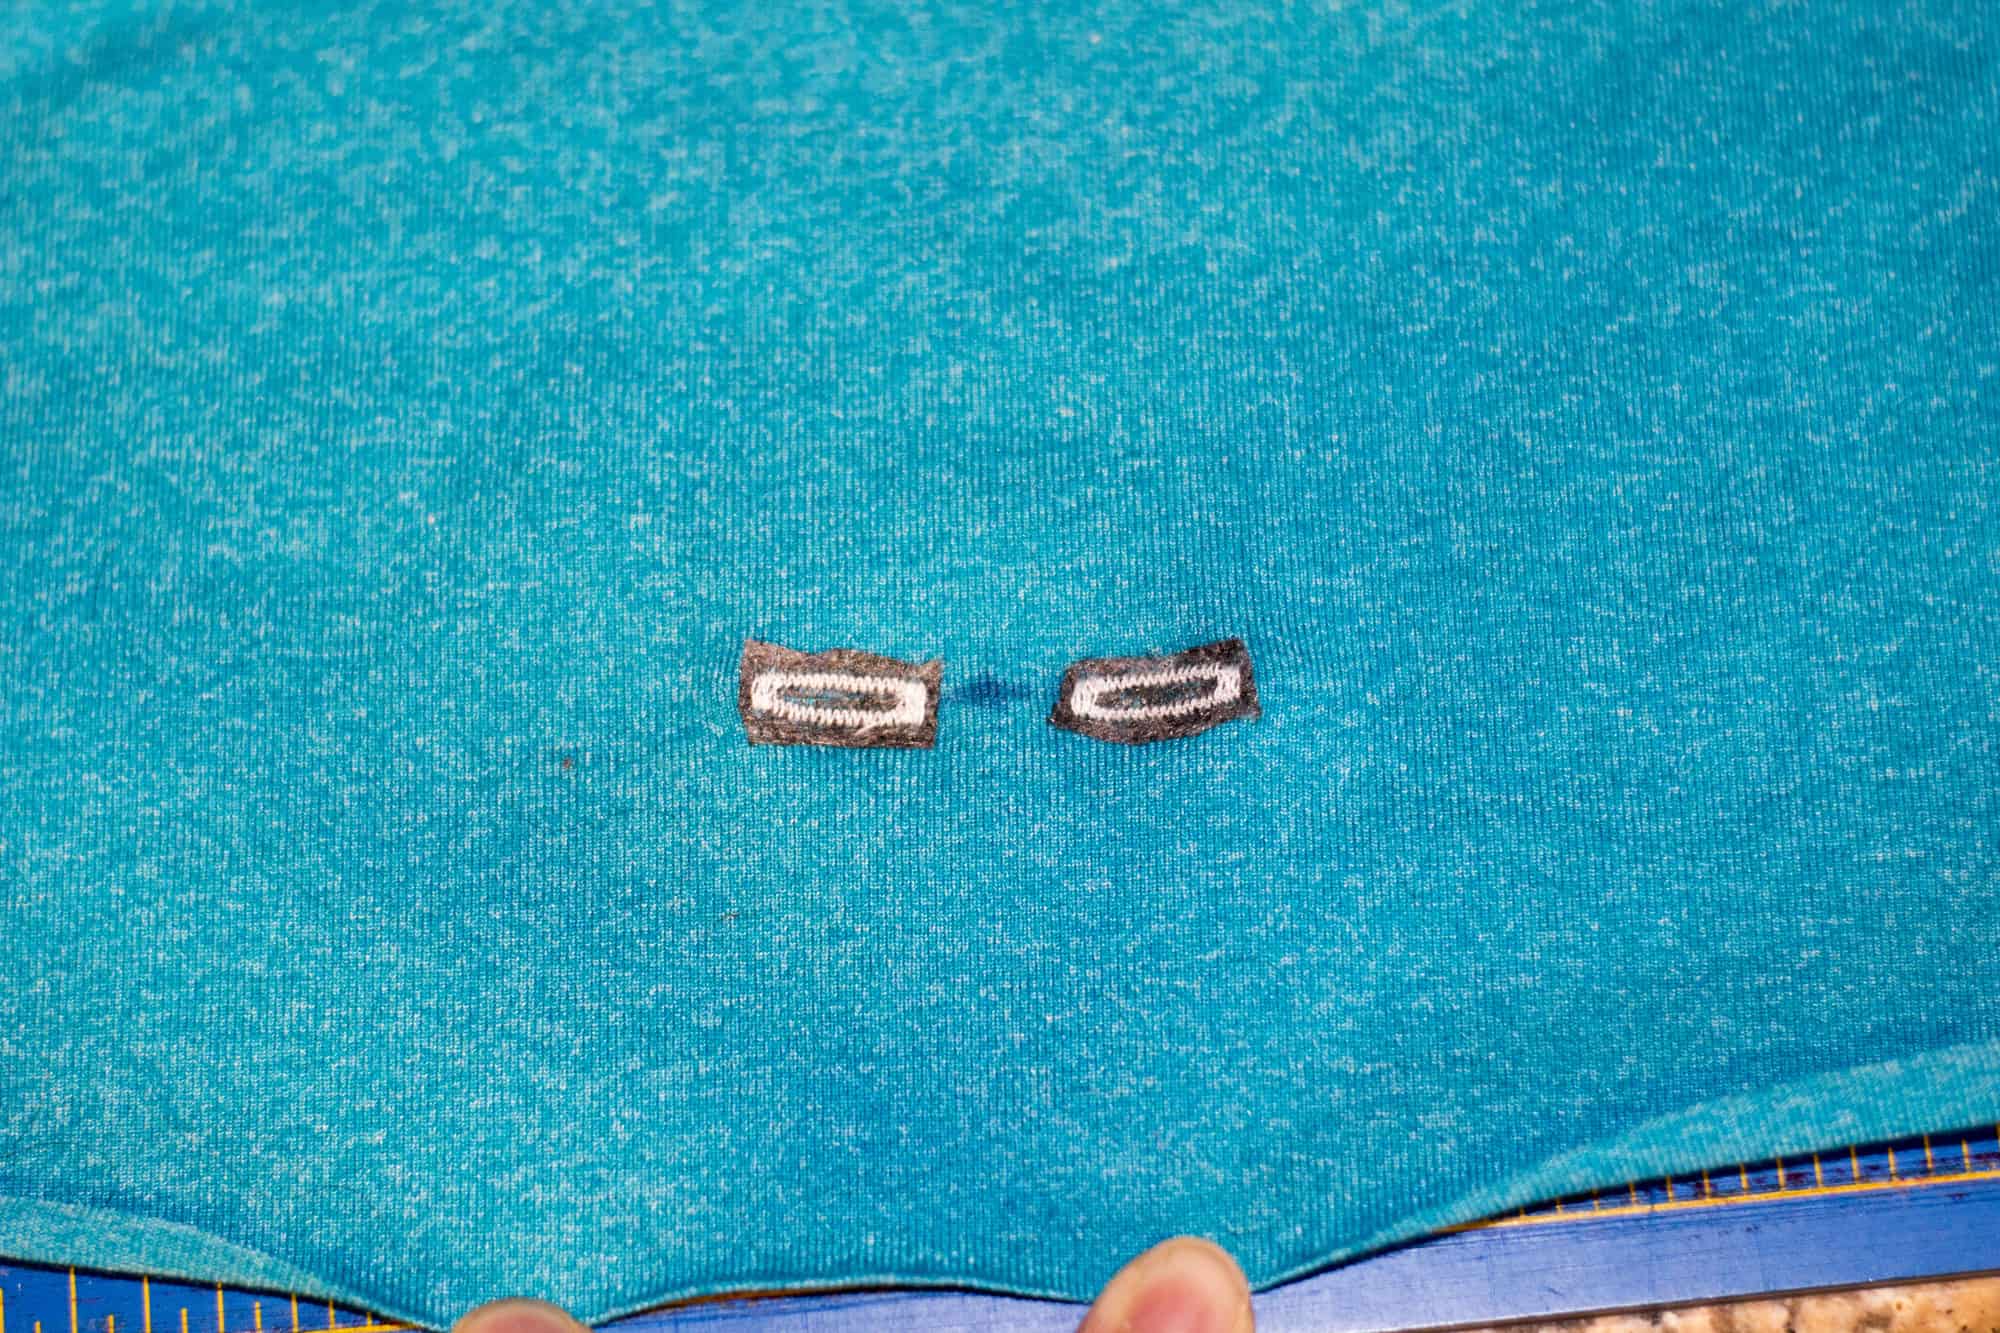
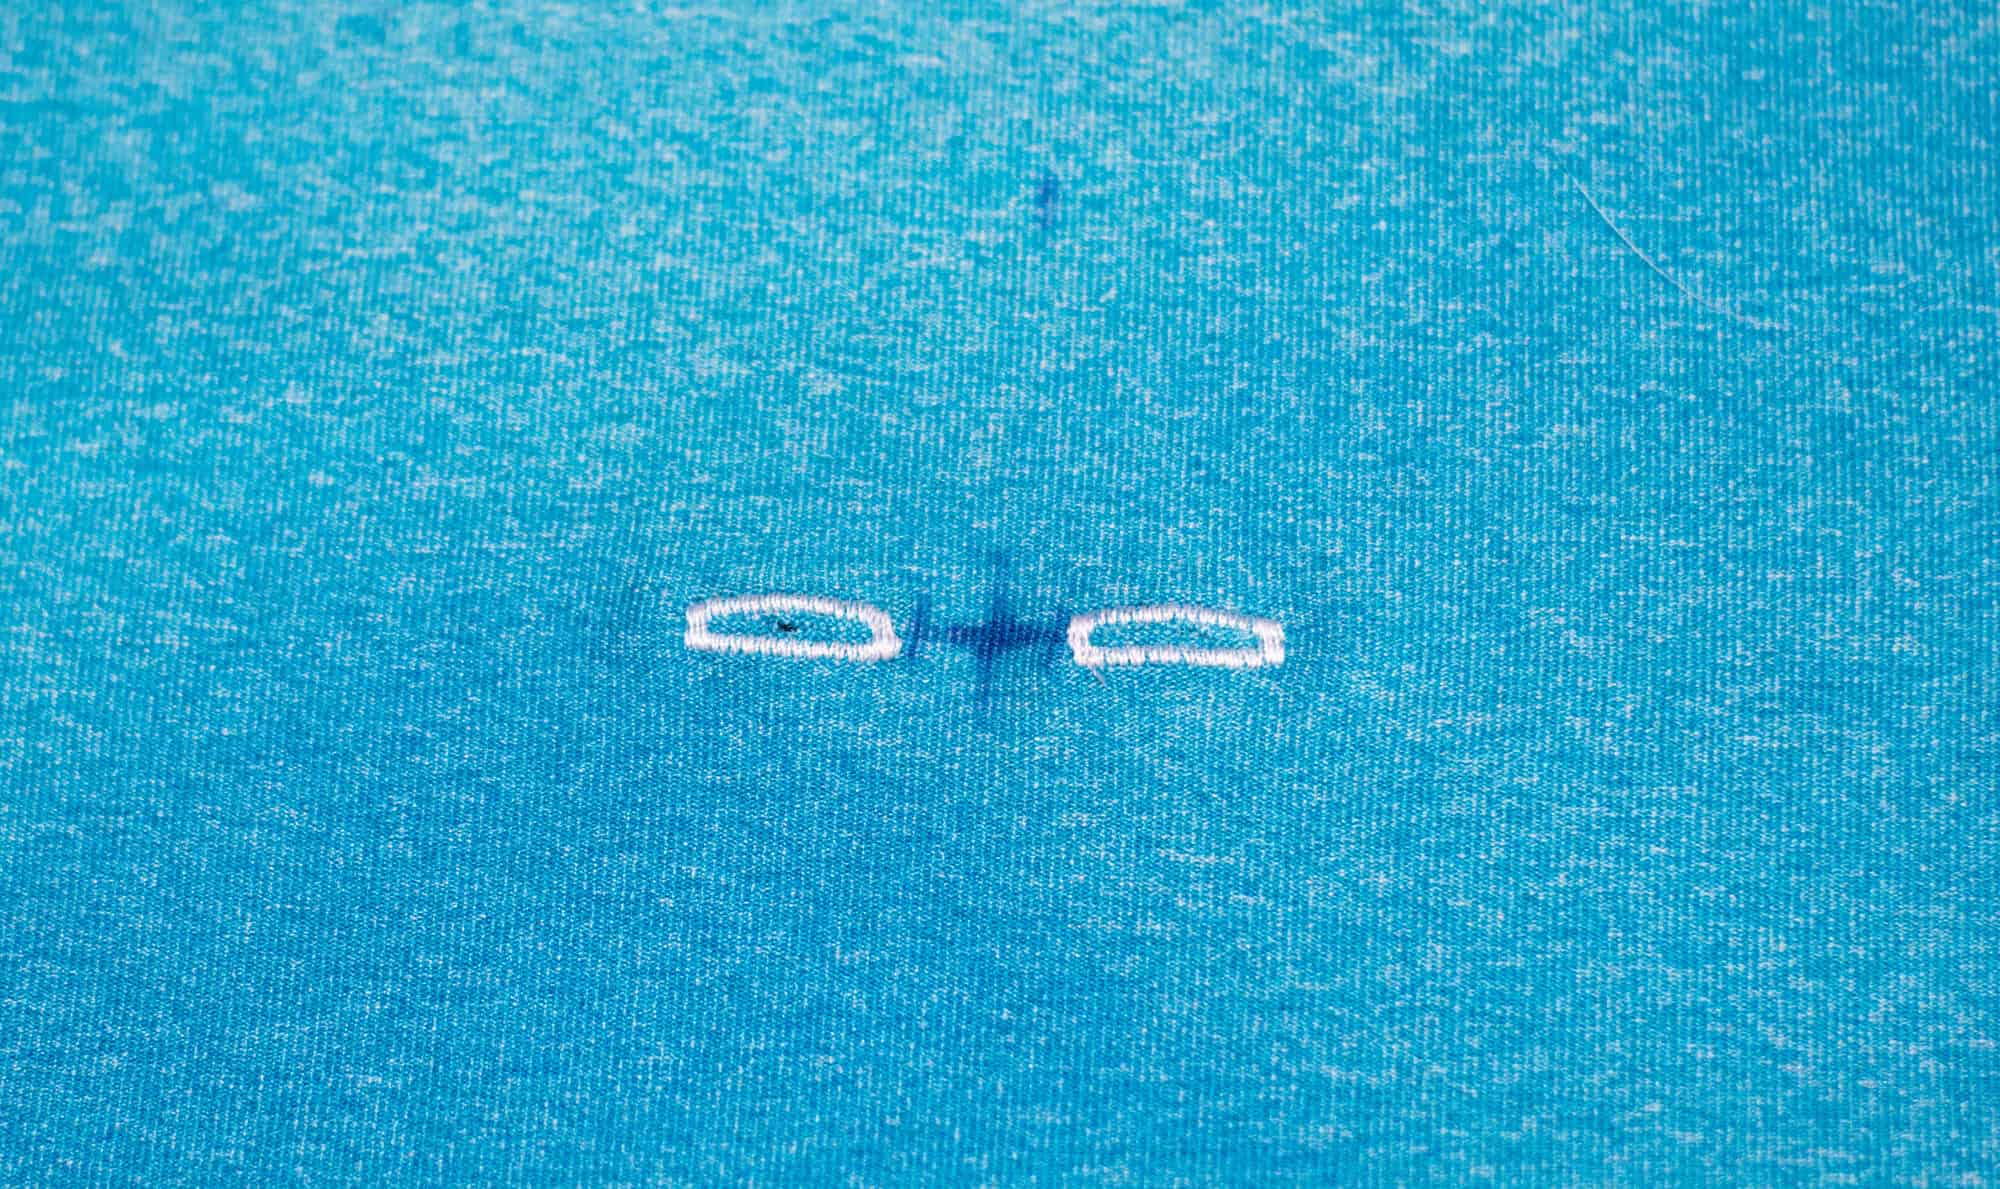
  2. Before we start the waistband we are going to make some markings.  I am using a disappearing ink pen from my fabric store to mark mine.  I folded my waistband in half to find the center and marked the center with my pen in a few spots.  Next I found folded the fabric long sides together to mark where I wanted my buttonholes.  I wanted my buttonholes in the middle of my waistband. Your waistband is 7 inchs wide so folded it is 3.5 inchs but the bottom .5 inch is your seam allowance therefore I measured 1.5 inchs down from the top fold and marked that as being the center right across the other mark that I had made.  Now I have a little cross right marked.

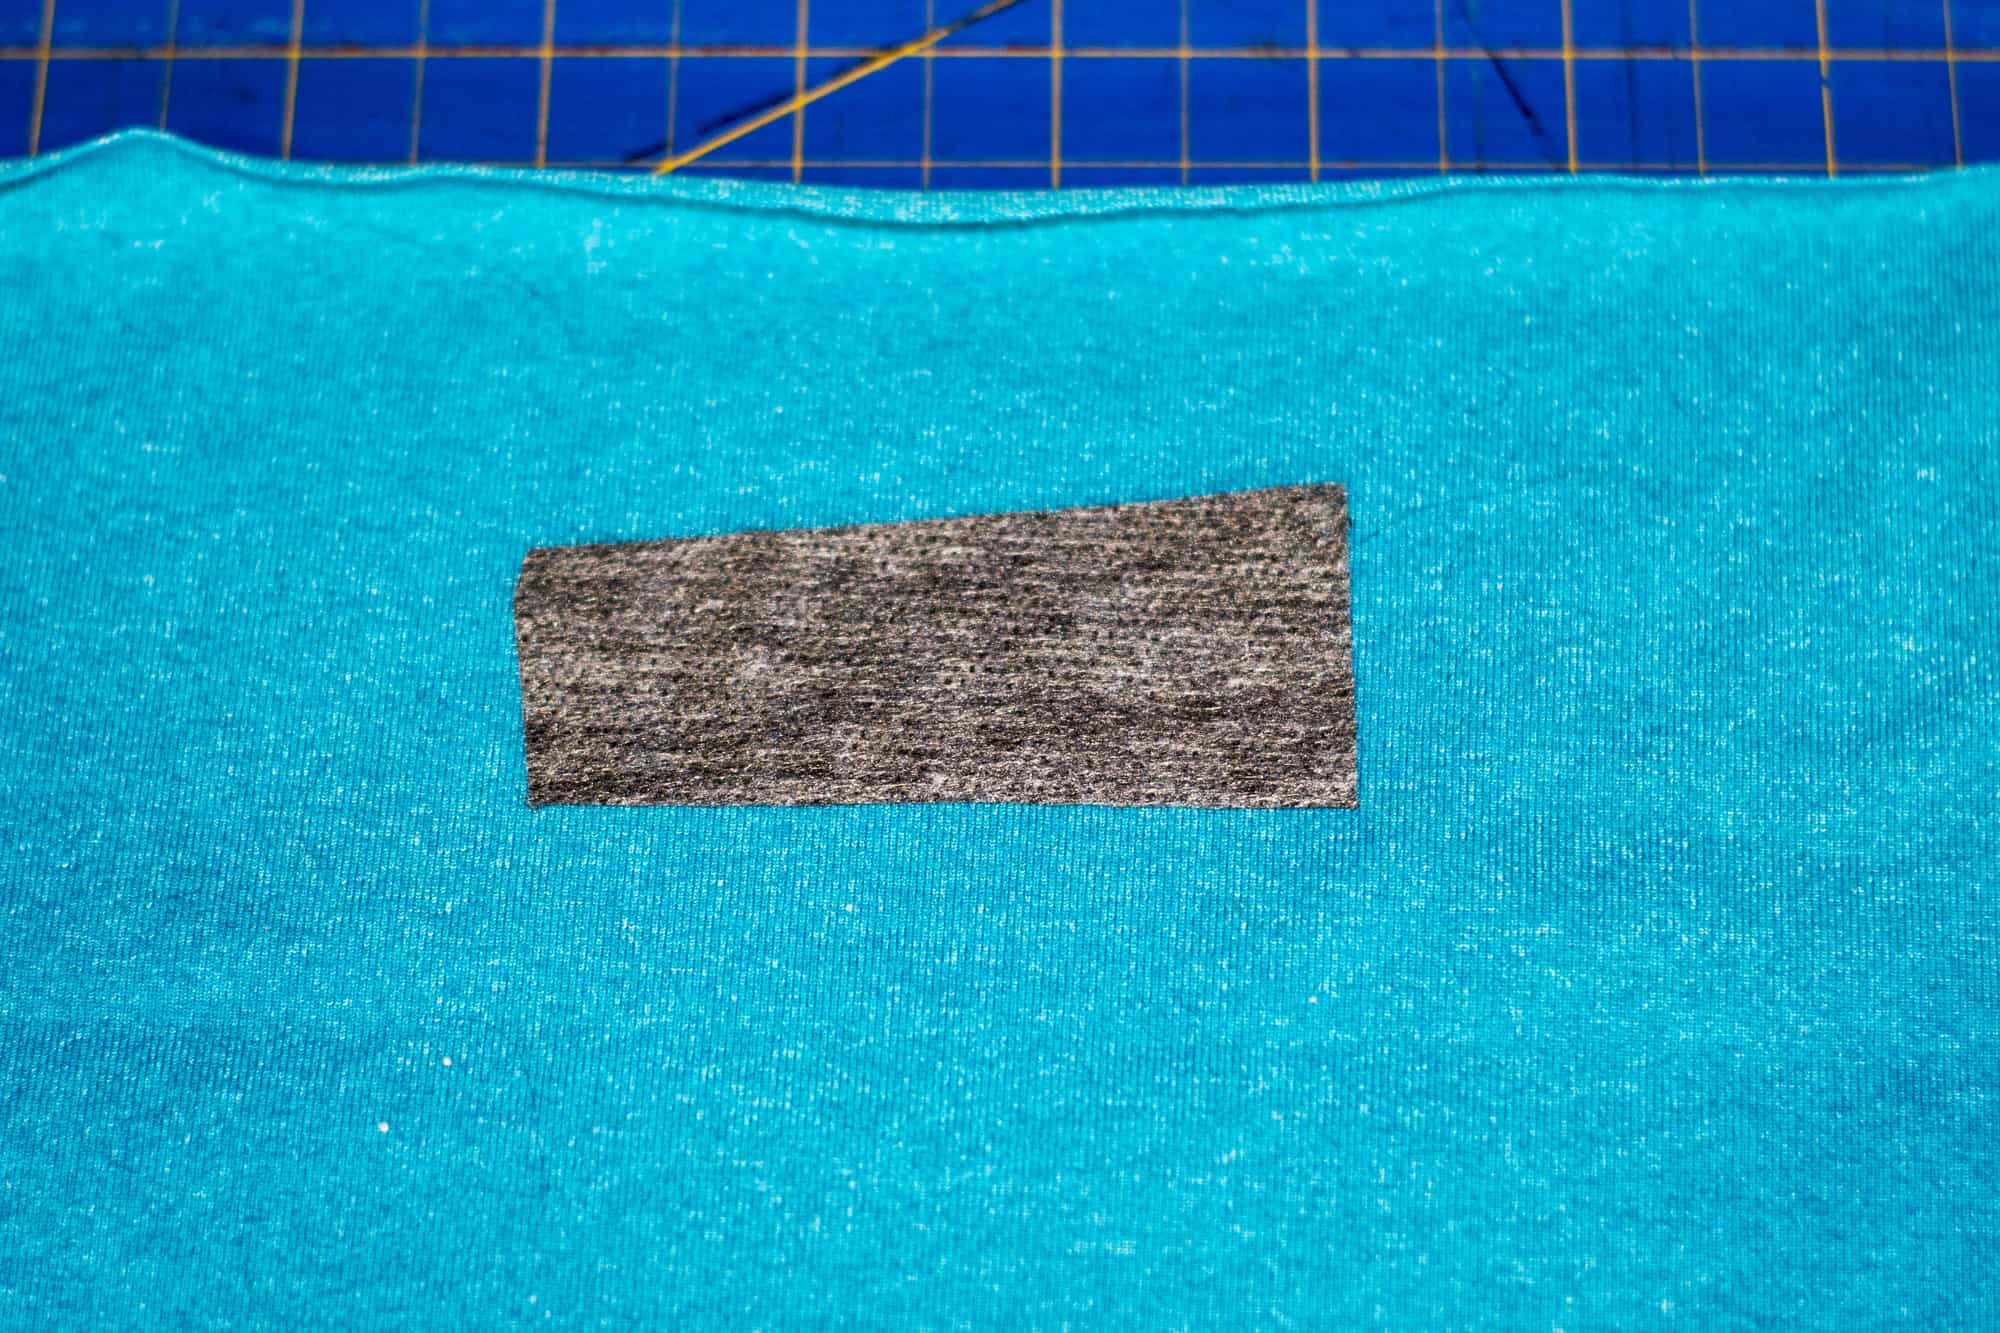
3. Buttonholes can be a bit of a pain on knits so I added a little piece of interfacing on the back, I didn’t actually iron it on to my fabric I just wanted something to give it a bit of stability, a tear away stabilizer would also do the trick or you can iron on a piece of knit interfacing.  I happened to have a bit of regular interfacing sitting here so that is what I used. I sewed the buttonholes on either side of my cross .25 inch from the center. I just did a really small buttonhole, it doesn’t need to be big cause you are just threading through some drawstring.  Now for all those people that hate sewing buttonholes not to worry knits don’t fray so you can always just cut some little slits in the waistband if that is the option you choose make sure to iron on some knit interfacing thou, it would prevent the knit from stretching out while wearing them.


4. Once you have the buttonholes are done we are going to create a casing for your drawstring.  First you are going to match the short sides of your waistband as the pattern directs and sew them together, fold the waist band in half and then your going to sew all the way around about .25 of an inch above the waistband and below the waistband. Now you can mark your lines here that you are going to sew but I’m a rebel and just went for it by sewing 1.25 inchs from my fold, for the second row of stitching I sewed .5 down from the first line I made.  Once your casing is all done just attach the waistband to your legs as normal.

5. Now you just need to add your drawstring.  I used 50 inchs of drawstring on the xxs size and I just tied off each end but you could certainly fold the ends over and hem the edges of your drawstring.  I like to just put the drawstring around me and leave long tails and then insert it into my casing try it them on and you can always cut the drawstring shorter so start with a long piece and then cut them the length you like best.  Remember you have to leave your drawstring fairly loose or you won’t be able to pull your leggings on! I figured this out while trying mine on! Another simple solution to use elastic for most of your drawstring, I would use 1/4 inch or 3/8 inch elastic.  You could cut your elastic slightly shorter then your drawstring and then sew drawstring onto each end of your elastic and thread it through your casing, it would give you just a bit more give when pulling them on and off.


I hope you try adding some drawstring in your peglegs and don’t forget to show them off in our Facebook group! – Angela

We are celebrating reaching 50K fans in our Facebook group!  To make it a party, our beloved PegLegs pattern just got an update AND some new add-ons.  Before you go running to your machine to sew up your own leggings, make sure to read our PegLegs 101 blog post.  This way, you’ll have all the the information you’ll need to make the perfect pair before you even cut into your gorgeous fabric.
But wait, there’s more!  After any good party is an after-party.  We are taking it one step further and sharing some easy hacks that’ll bring even more flavor to your favorite leggings pattern!  We hope you check them out, make your new favorite pair of leggings, and know that we appreciate every single one of you amazing sewing guys and gals!

Here are our hacks / tutorials / latest tricks:

Lace Waistband Alternative | Drawstring Waistband Tutorial
Exposed Elastic Waistband | Stirrup Pant Hack
Ruched Ankles Adjustment | Decorative Topstitching Tutorial
Ruched Side Panel Hack

Filed Under: Free Pattern, Pattern Hacks, Uncategorized 1 Comment

50K Fan Celebration :: PegLegs Update + Re-Release!

April 17, 2017


We are celebrating reaching 50K fans in our Facebook group!  To say the least, it is unbelievable that I have added so many ladies into the tiny group it started from.  I’m so honored to help each and every member learn a little more about sewing.  It makes my heart so happy to see posts about first time sews and the community answering questions with nothing but a kind heart.  I love the P4P group so much! So, we tried to think of something AMAZING to say thank you for supporting us!  To make it a party, our beloved PegLegs pattern just got an update AND some new add-ons.
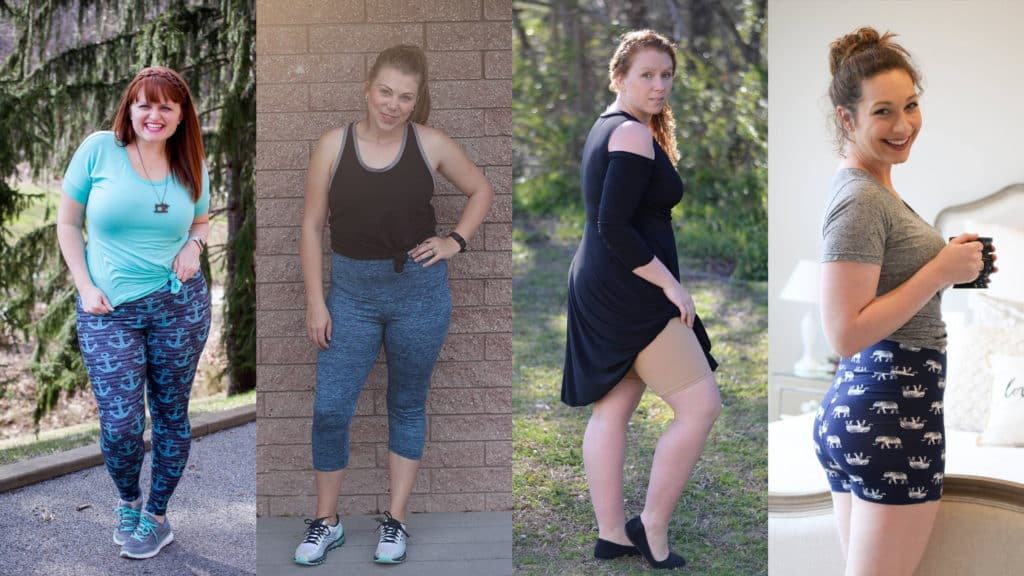
The Peg Legs original pattern has  gotten more reviews and feedback than any other P4P pattern hands down!  So, naturally we took that feedback and tweaked them slightly.  We also updated them to include the newest features P4P offers: layers feature, as well as A0 and International print options.  Just like before, we have four different length options (ankle, capri, bike and shortie).  *If you already have the Peg Legs in your account you will simple need to redownload them to have the new updated files.

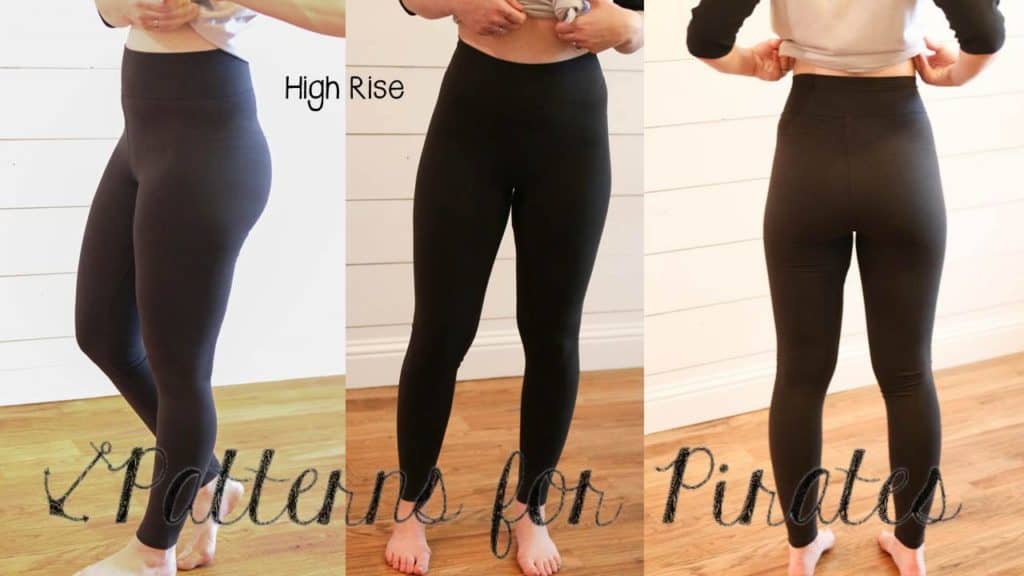
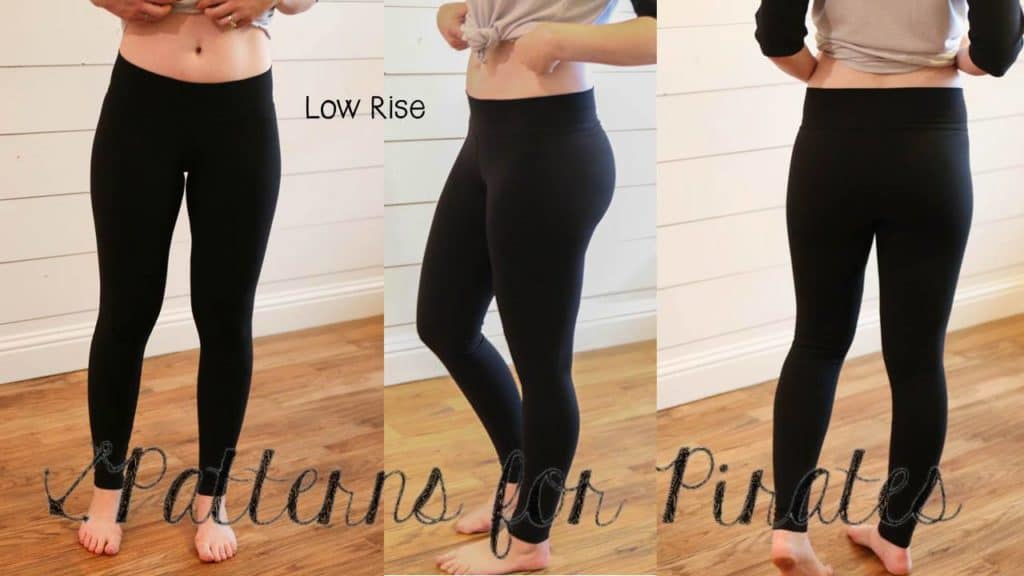
We’ve also added a different rise option, for those of you who like a little higher waist.  You can choose from high AND low/mid rises for your perfect leggings fit. The low/mid rise is the same as the original peg legs.

Now to really bring the celebration up a notch– the Add Ons! But what do the add-ons include?  So many things!
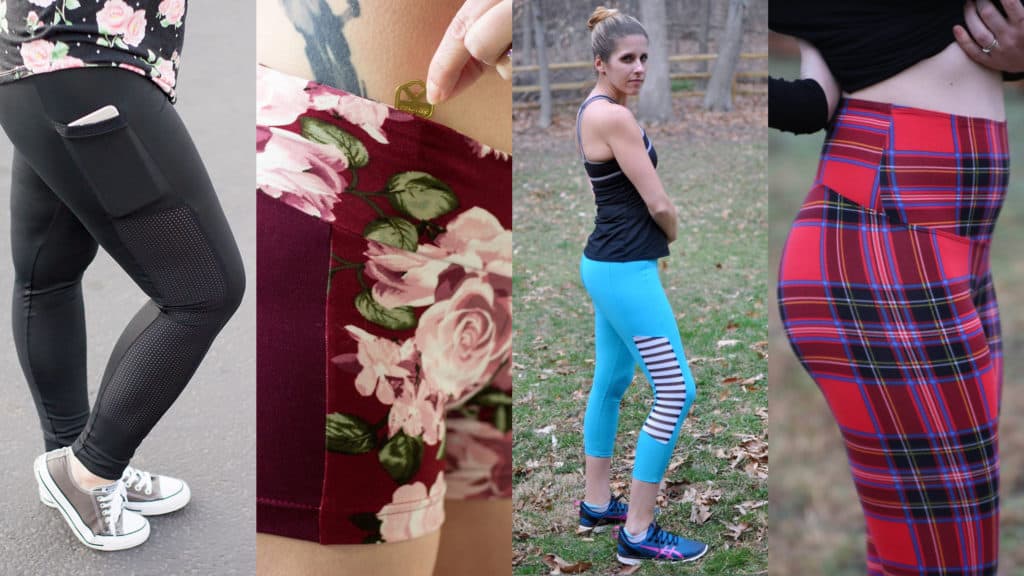
We are giving you color blocking options, pockets (in the waistband AND along the side panel), a contoured high waistband, and a gusset.  All extra options that you can mix-match to your heart’s content.

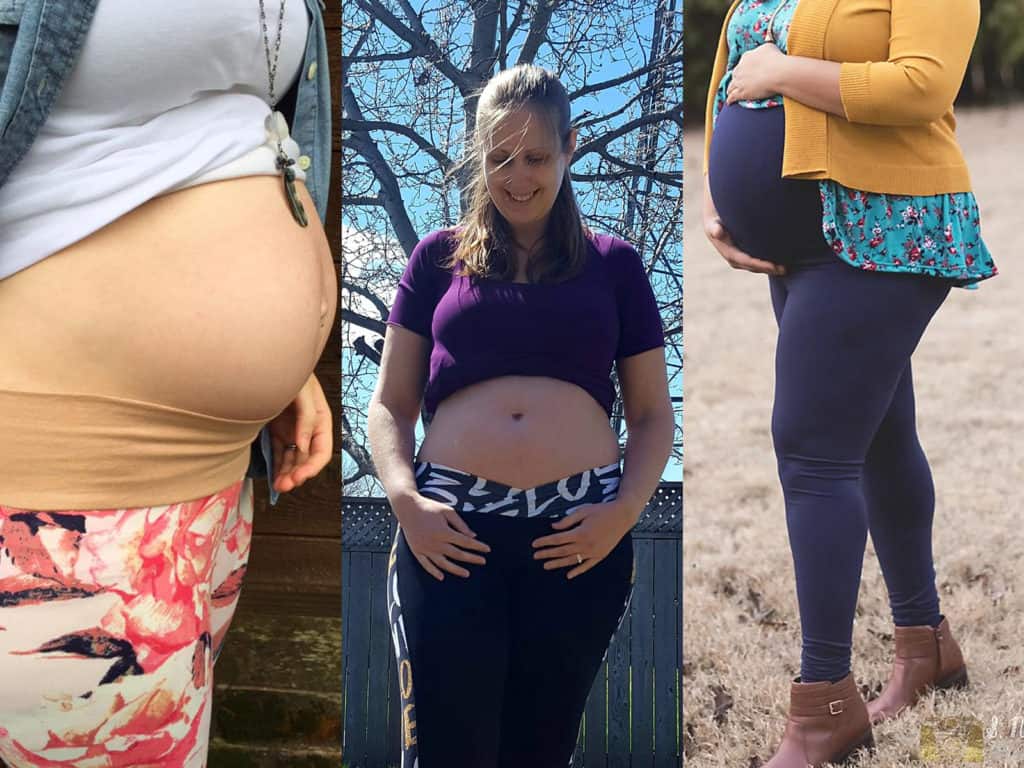
And, for all of you gorgeous pregnant mommas: a maternity add-on!  You can take the basic Peg Legs pattern and add an under belly, under belly v, or an over belly waistband for your new favorite maternity wear.

We also updated all the Freebies to NO CODES NEEDED.  We loved having everyone join the FB group and amazing community it has built, but we want them to be easy for everyone to get their hands on too! So, we hope everyone will still join the support group as well as enjoy the ease of grabbing the freebies with no codes 🙂

Before you go running to your machine to sew up your own leggings, make sure to read our PegLegs 101 blog post.  This way, you’ll have all the the information you’ll need to make the perfect pair before you even cut into your gorgeous fabric.

But wait, there’s more!  After any good party is an after-party.  We are taking it one step further and sharing some easy hacks that’ll bring even more flavor to your favorite leggings pattern!

We hope you check them out, make your new favorite pair of leggings, and know that we appreciate every single one of you amazing sewing guys and gals!

Here are our hacks / tutorials / latest tricks:

*****These will be made live as we post them throughout the next week! *****

Lace Waistband Alternative | Drawstring Waistband Tutorial
Exposed Elastic Waistband | Stirrup Pant Hack
Ruched Ankles Adjustment | Decorative Topstitching Tutorial
Ruched Side Panel Hack

Still want more?!?! Join us for our Peg Legs Sew-A-Long!

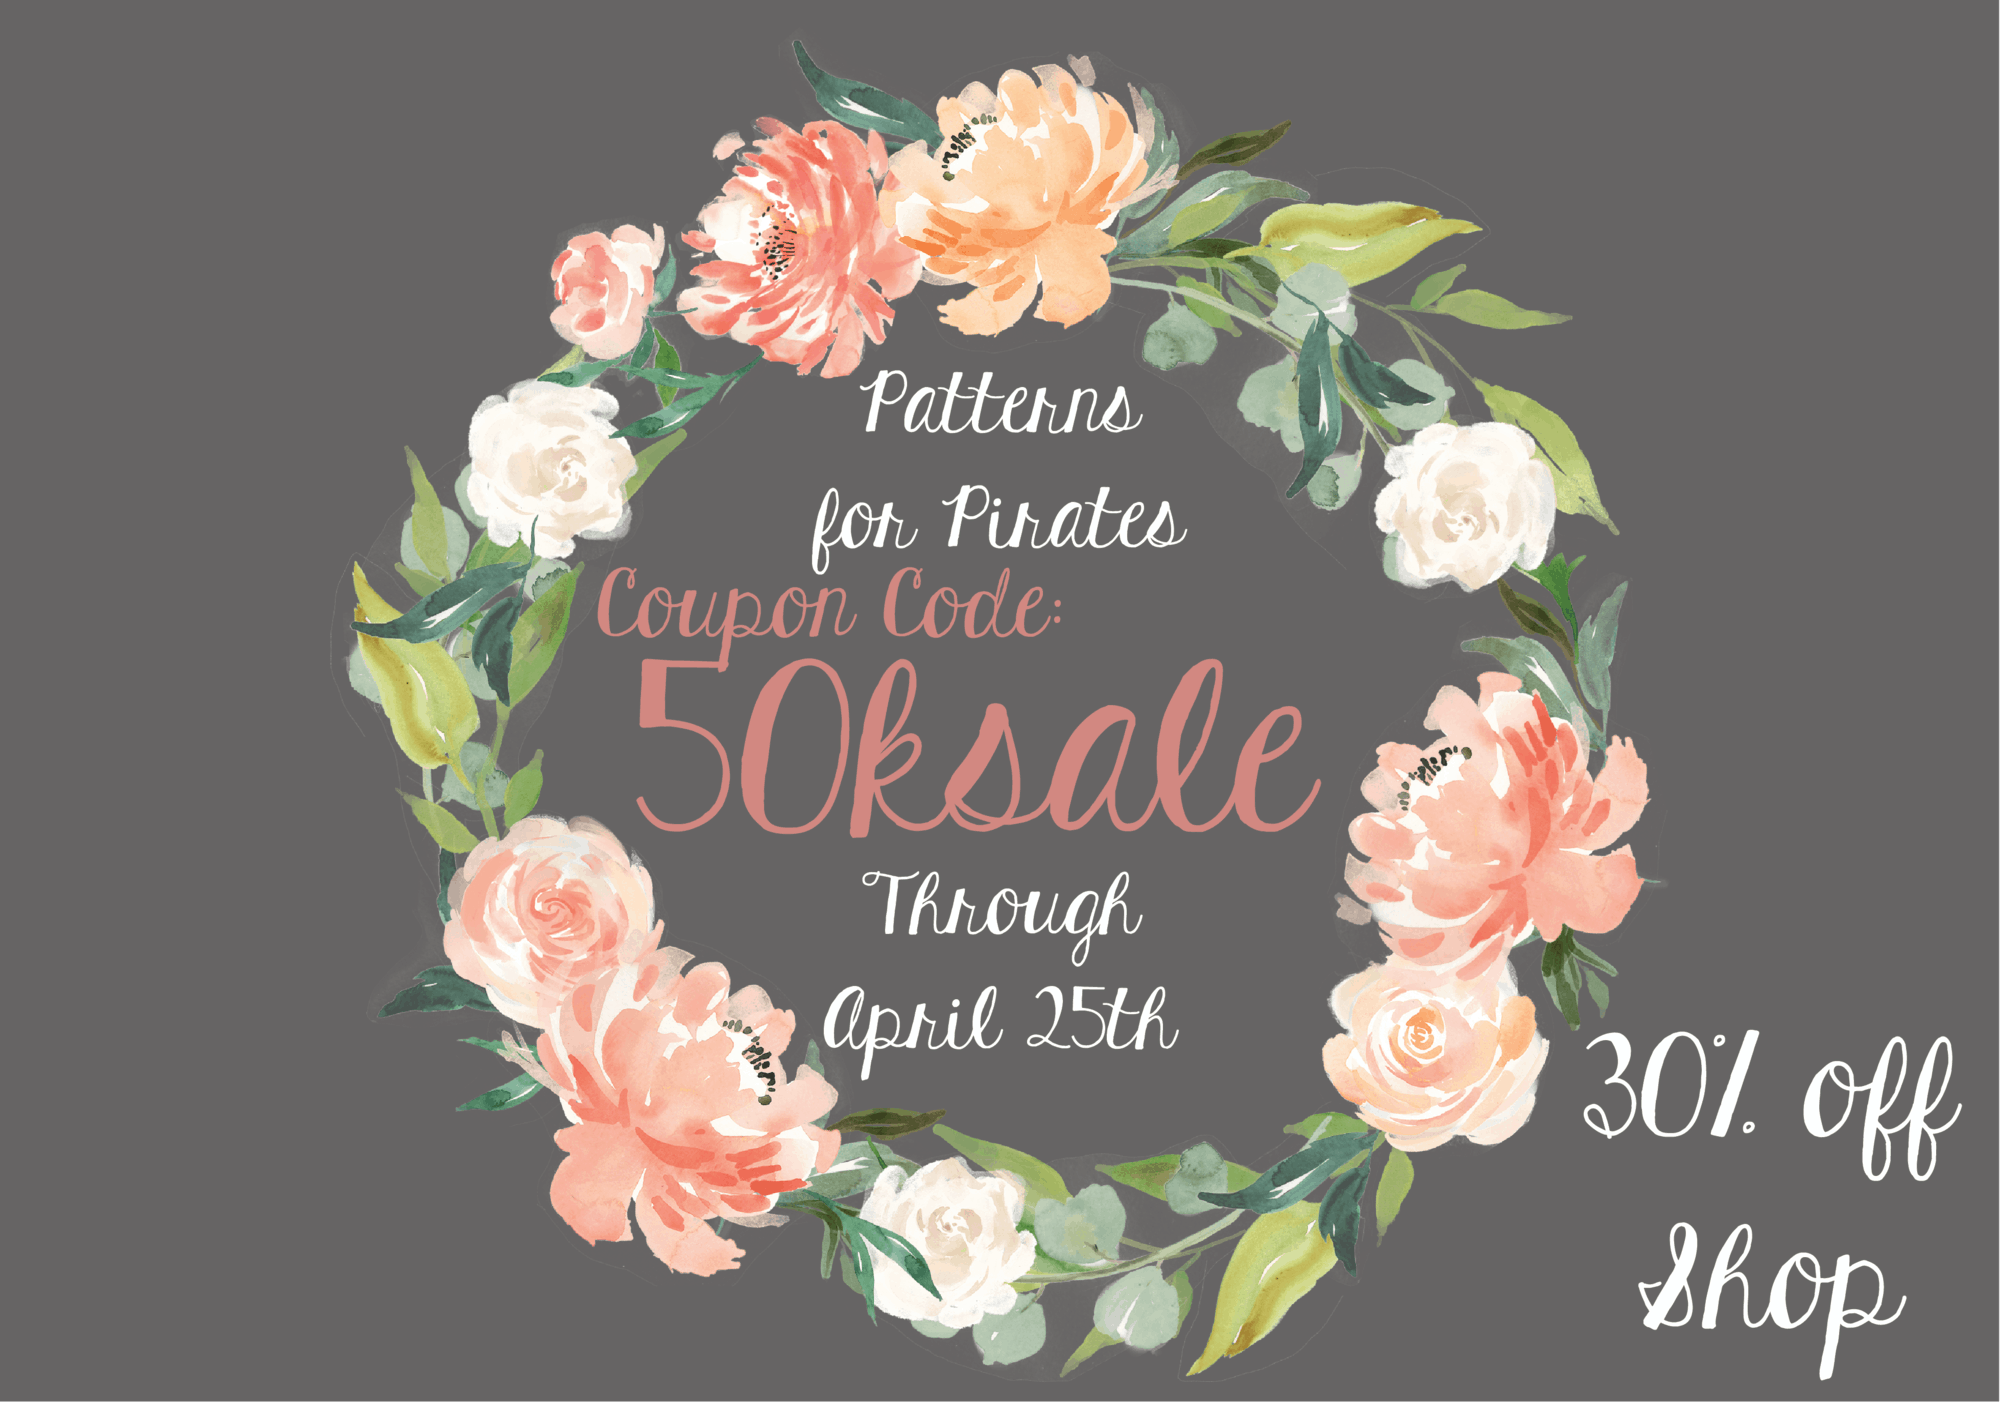
And of course one LAST thing to celebrate reaching 50.000 FB members is a SITE WIDE SALE! Enjoy 30%off your total purchase with coupon code: “50ksale” now through April 25th (ends 11:59PM the night of the 25th US Central Time Zone). *Bundle Discounts will not work with site wide sale code.

Thank you for giving this little work from home mama the chance to do what she loves! I hope each and everyone of you enjoys the updated pattern, the add ons, the hacks, the sew-a-long and the site wide sale 🙂

<3 Judy

Filed Under: Announcement, Free Pattern, Pattern Release, Sew-A-Long 18 Comments

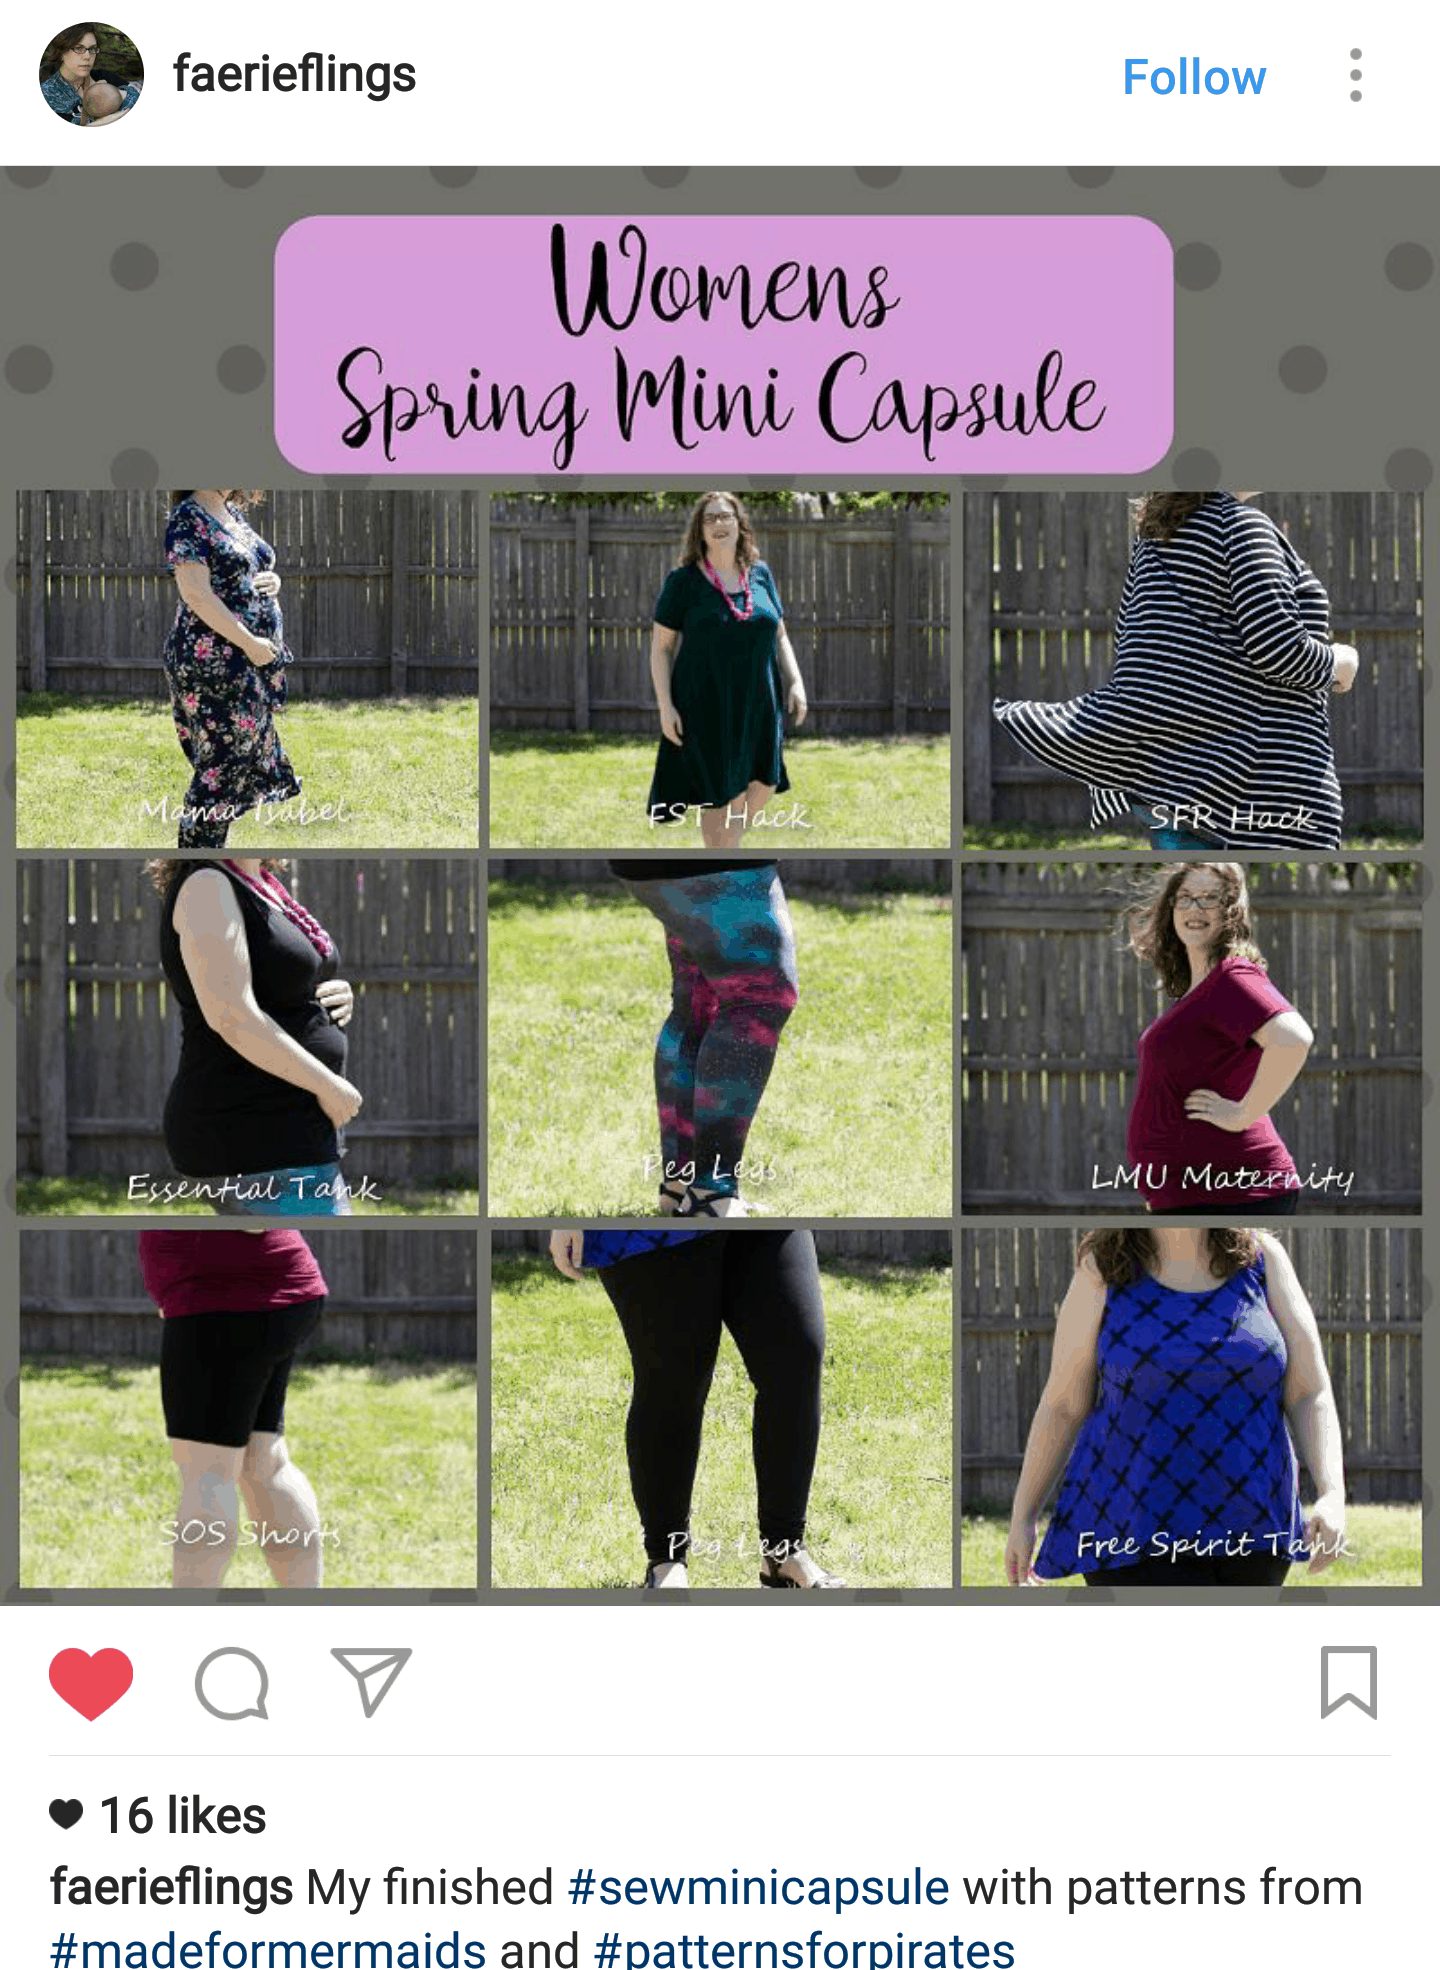
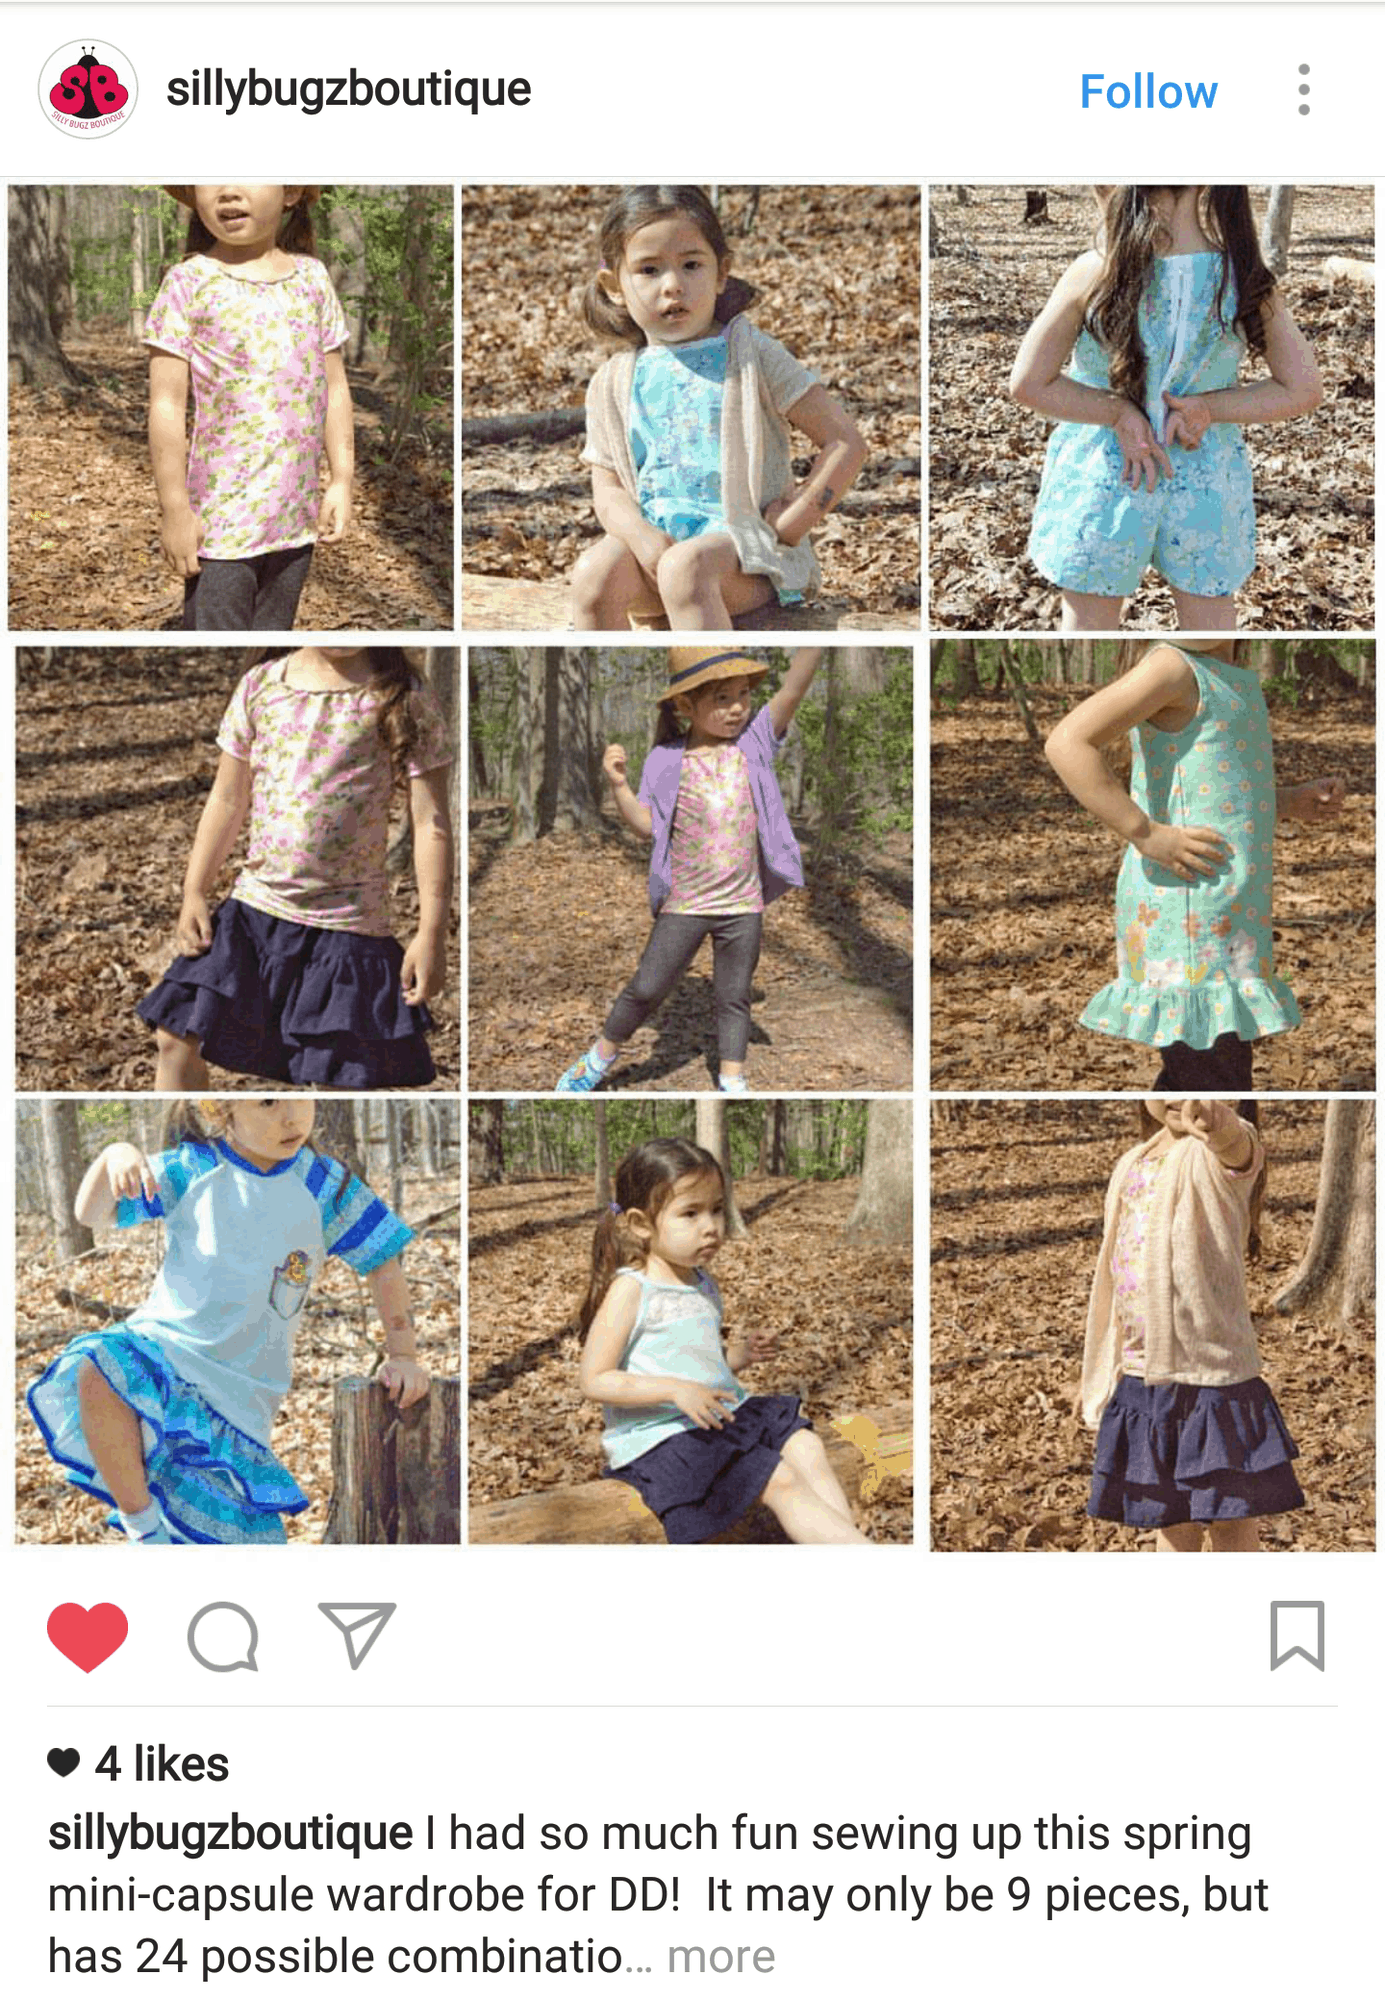
Spring Mini Capsule Winners

April 11, 2017

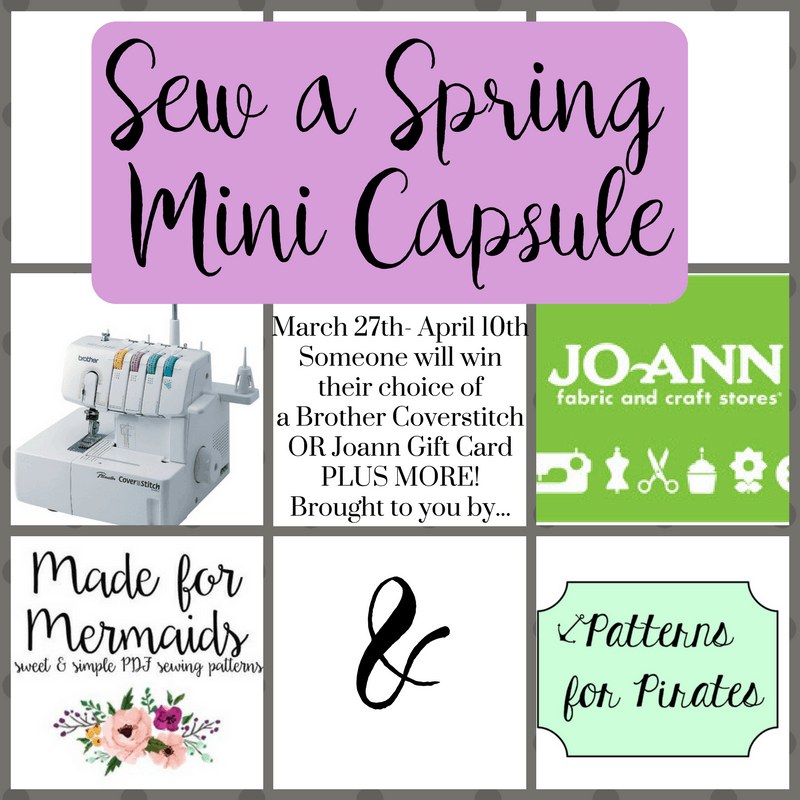
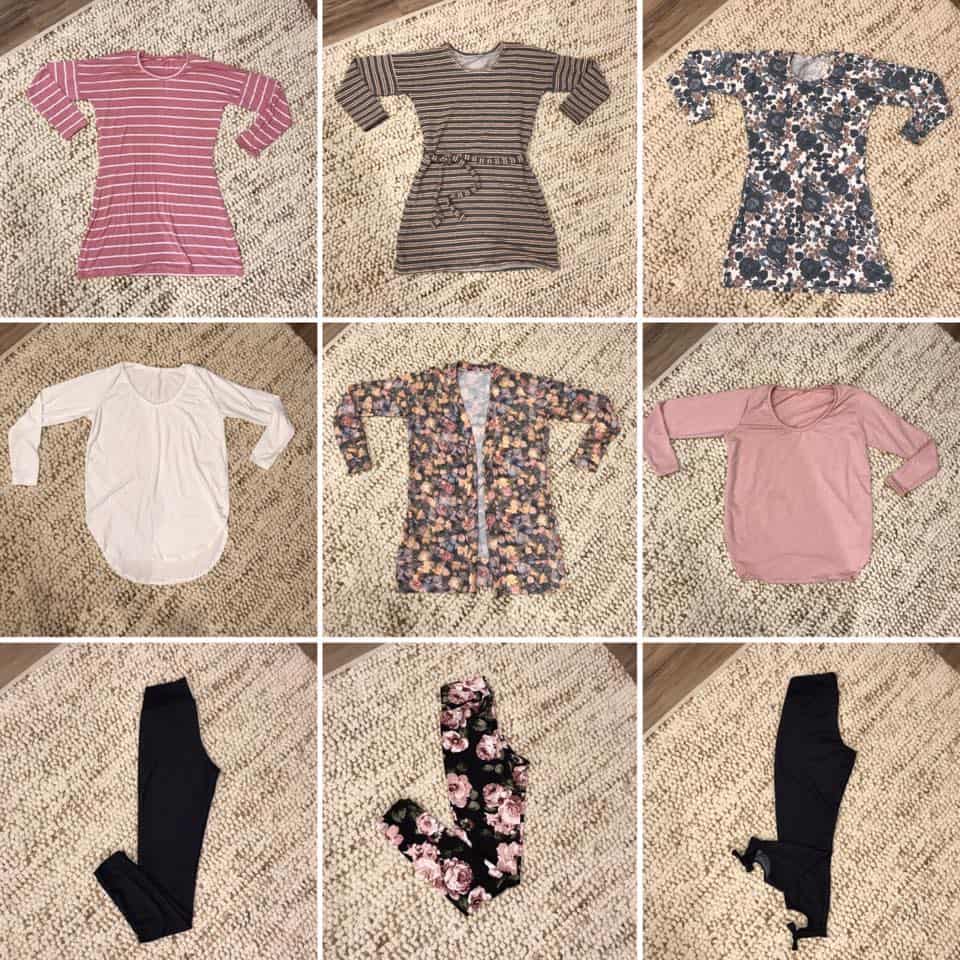
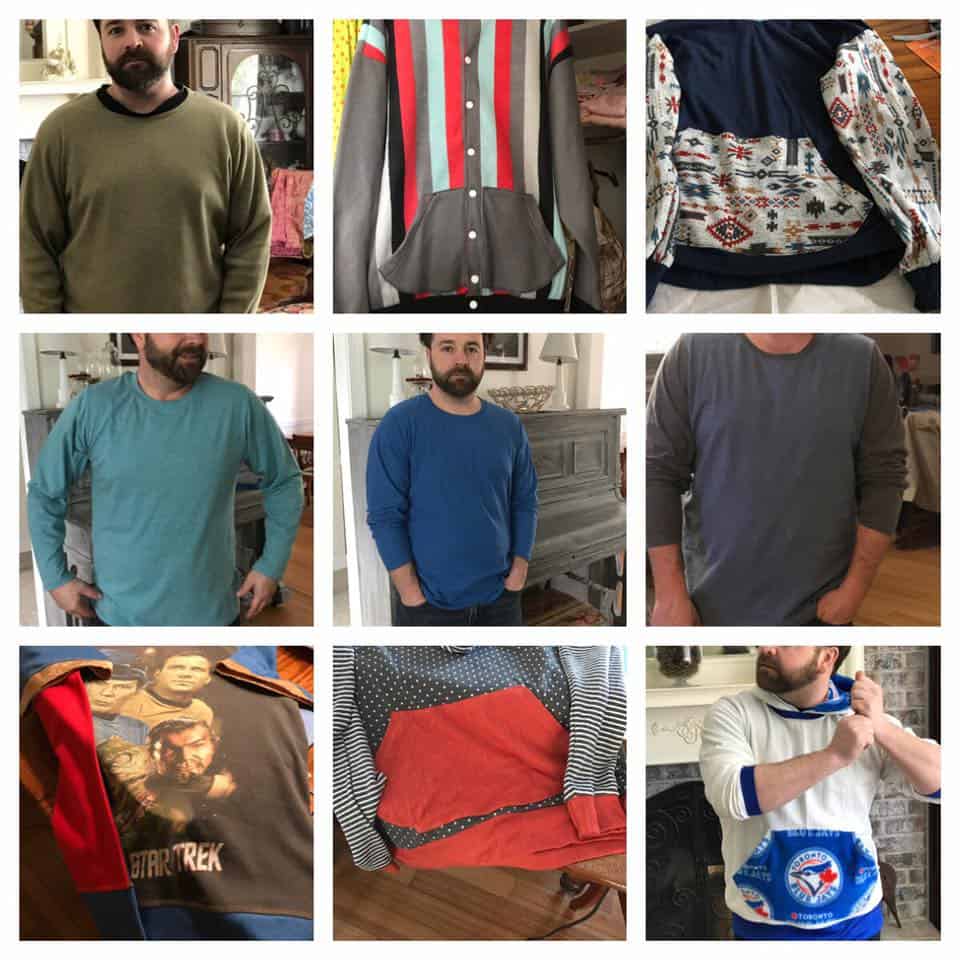
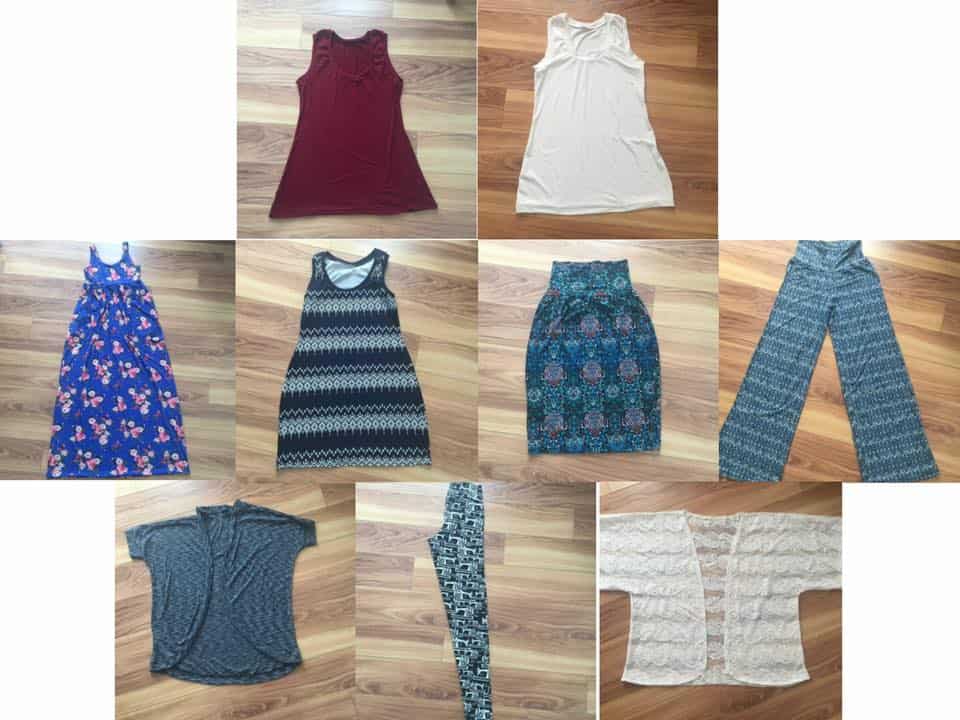
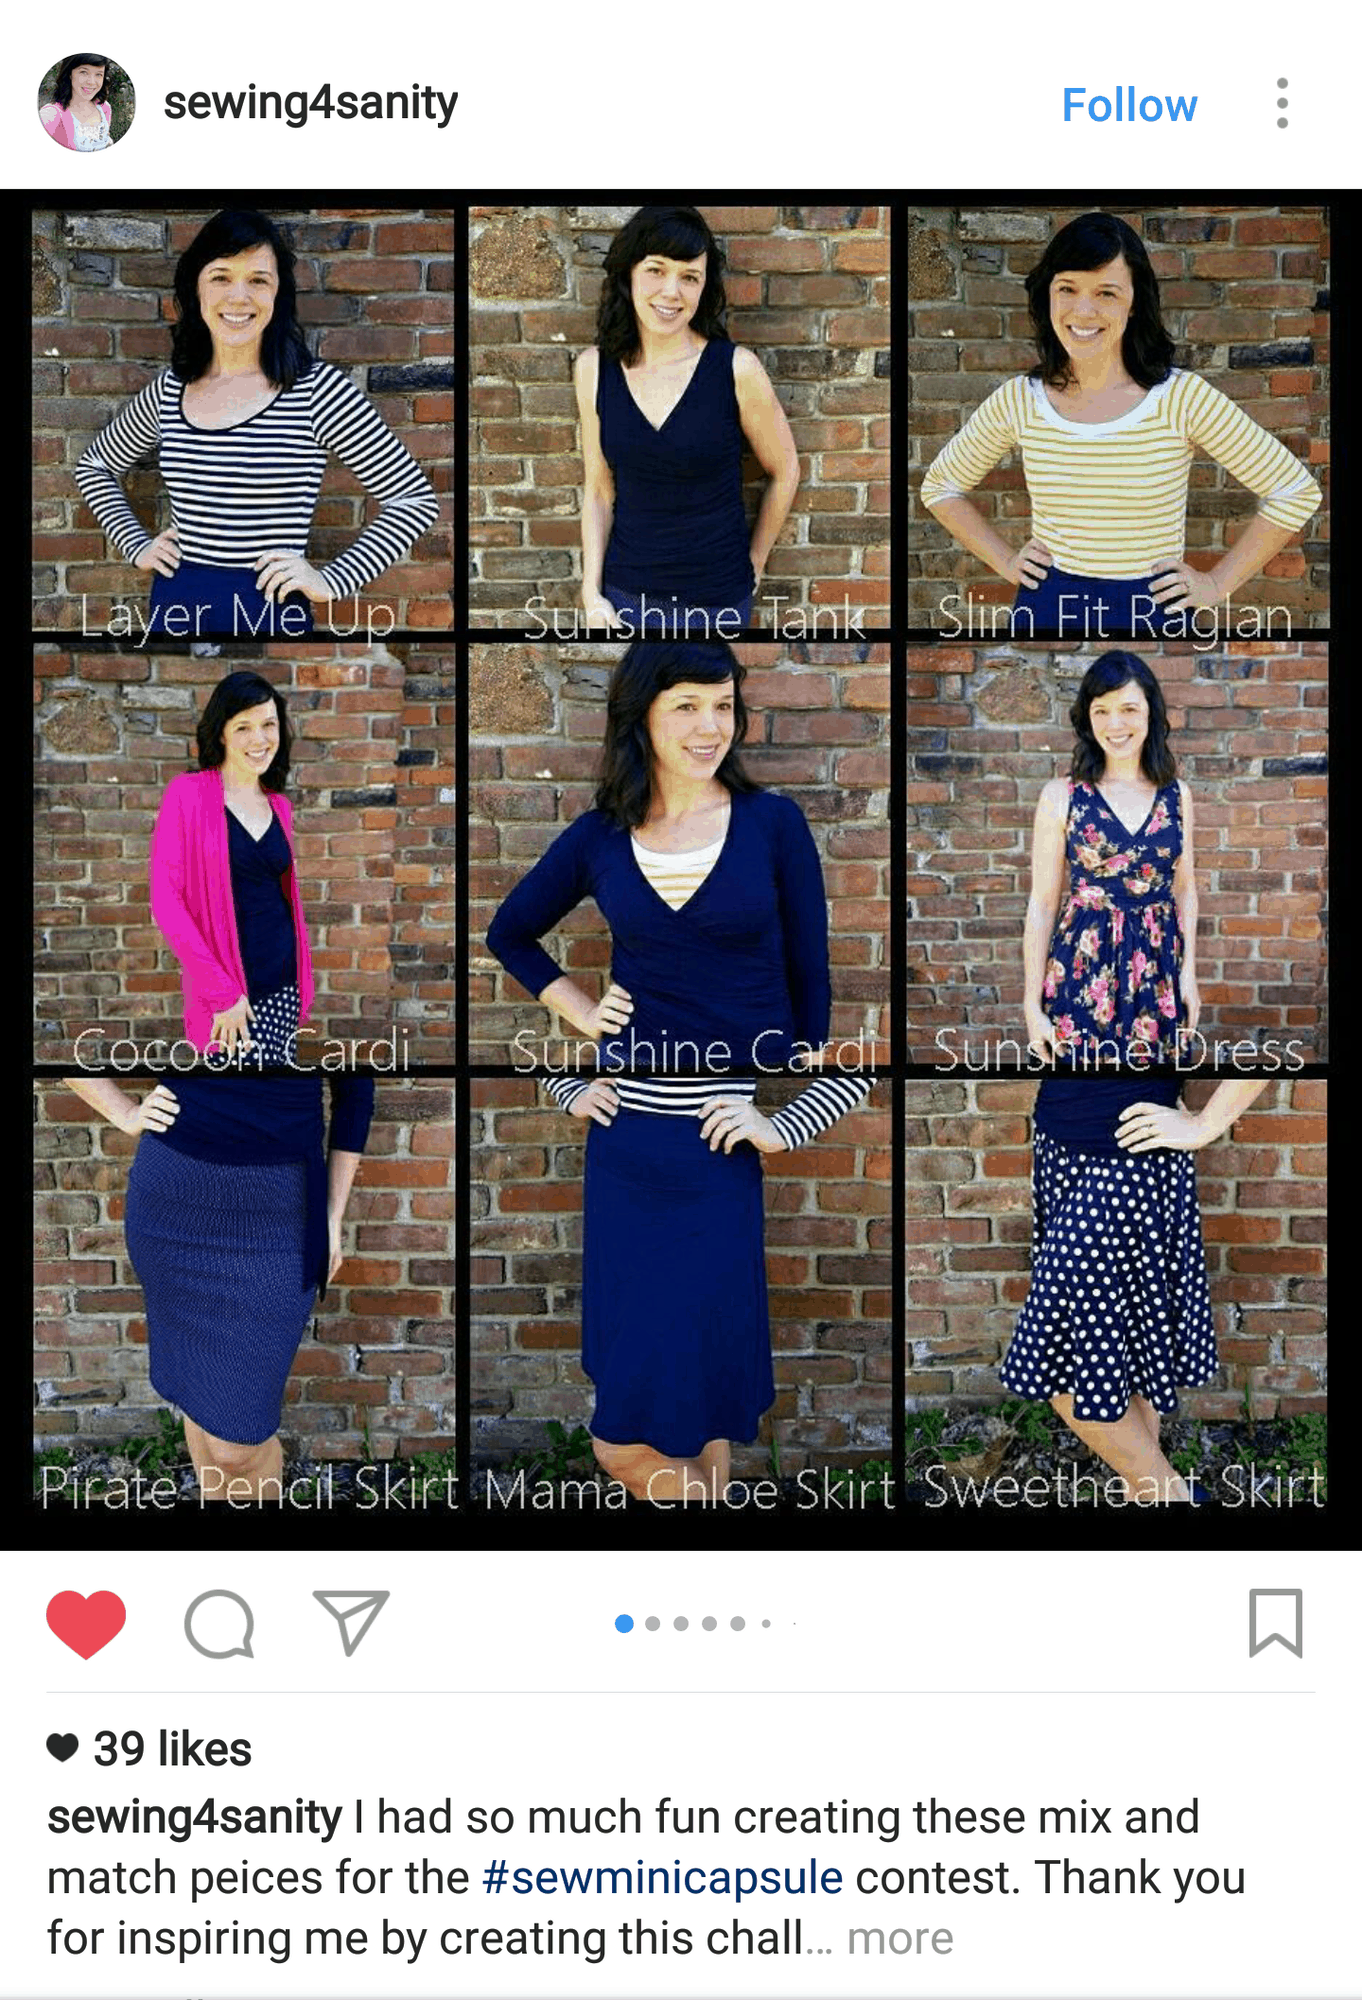
Wow, we have LOVED seeing everyone’s mini capsules they made during the contest! It was amazing to see so many wonderful outfits. Plus doesn’t it feel great being ready for Spring?? If you haven’t finished your mini capsule yet, please continue to work on it and post when you can. We would still love to see what you create 🙂 We enjoyed it so much, we will be hosting another capsule contest in the Fall. Now on to the winners! Winners will be tagged on Instagram and/or Facebook and simply need to email patternsforpirates@gmail.com AND madeformermaids@live.com for their pattern prizes. Fabric and grand prizes just email M4M. Drumroll please…

5 Winners each get to choose 1 pattern of choice from EACH M4M & P4P:

Alicia Zylstra from our FB groups.

@faerieflings from Instagram.

Debbie Brennan‎‎ from our FB groups.

@sillybugzboutique from Instagram.


Sara Marie from our FB groups.


3 Winners each get to choose 3 patterns from EACH P4P & M4M:

@sewing4sanity on Instagram.

Alyssa Arthur from our FB groups.

Amanda Massicotte Jones from our FB groups.

1 Winner for a $50 store credit to Sincerely Rylee ‎‎Fabric Shop:

@songofgrace on Instagram.

1 Winner for a $50 store credit to Pretty Posh Prints:

Cherie Williamson from our FB groups.‎

1 Winner for a $100 store credit to Knitpop:

Abby Mercer Eason from our FB groups.

GRAND PRIZE WINNER with their choice of a Brother Coverstitch Machine or $100 Joann Fabric Gift Card:

Nicole Joyce from our FB groups. 

CONGRATS to all the winners!! Thank you so much again to our sponsors and everyone who participated! If you blogged about your capsule sewing, please leave a link in the comment section below so we can check it out.

Filed Under: Contest/Giveaway 1 Comment

  • « Previous Page
  • 1
  • …
  • 12
  • 13
  • 14
  • 15
  • 16
  • …
  • 19
  • Next Page »

connect with me

  • Email
  • Facebook
  • Instagram
  • Pinterest
  • YouTube
Privacy & Cookies: This site uses cookies. By continuing to use this website, you agree to their use.

To find out more, including how to control cookies, see here: Cookie Policy
  • Privacy Policy
  • Refund Policy
  • Contact Us
  • About

Copyright © 2026 Patterns for Pirates

Copyright © 2026 · Genesis Framework · WordPress · Log in