Patterns for Pirates

P4P stylish, modern, wearable patterns

  • Home
  • Blog
    • Frequently Asked Questions
    • Pattern Releases
      • Free Patterns
    • P4P University
      • Fitting
      • Sewing with Stretch, Knit Fabrics
      • Sewing with Woven Fabrics
      • Sewing Machines
    • Sew-A-Longs
    • Fabric for Pirates
    • Pattern Hacks
    • Announcement
      • Blog Tours
      • Contest/Giveaway
  • Shop
  • Bundle Discounts
  • Flash Friday
  • Gift Cards
  • My Account
  • Cart

Butterfly Cardigan :: New Pattern Release!

January 17, 2017

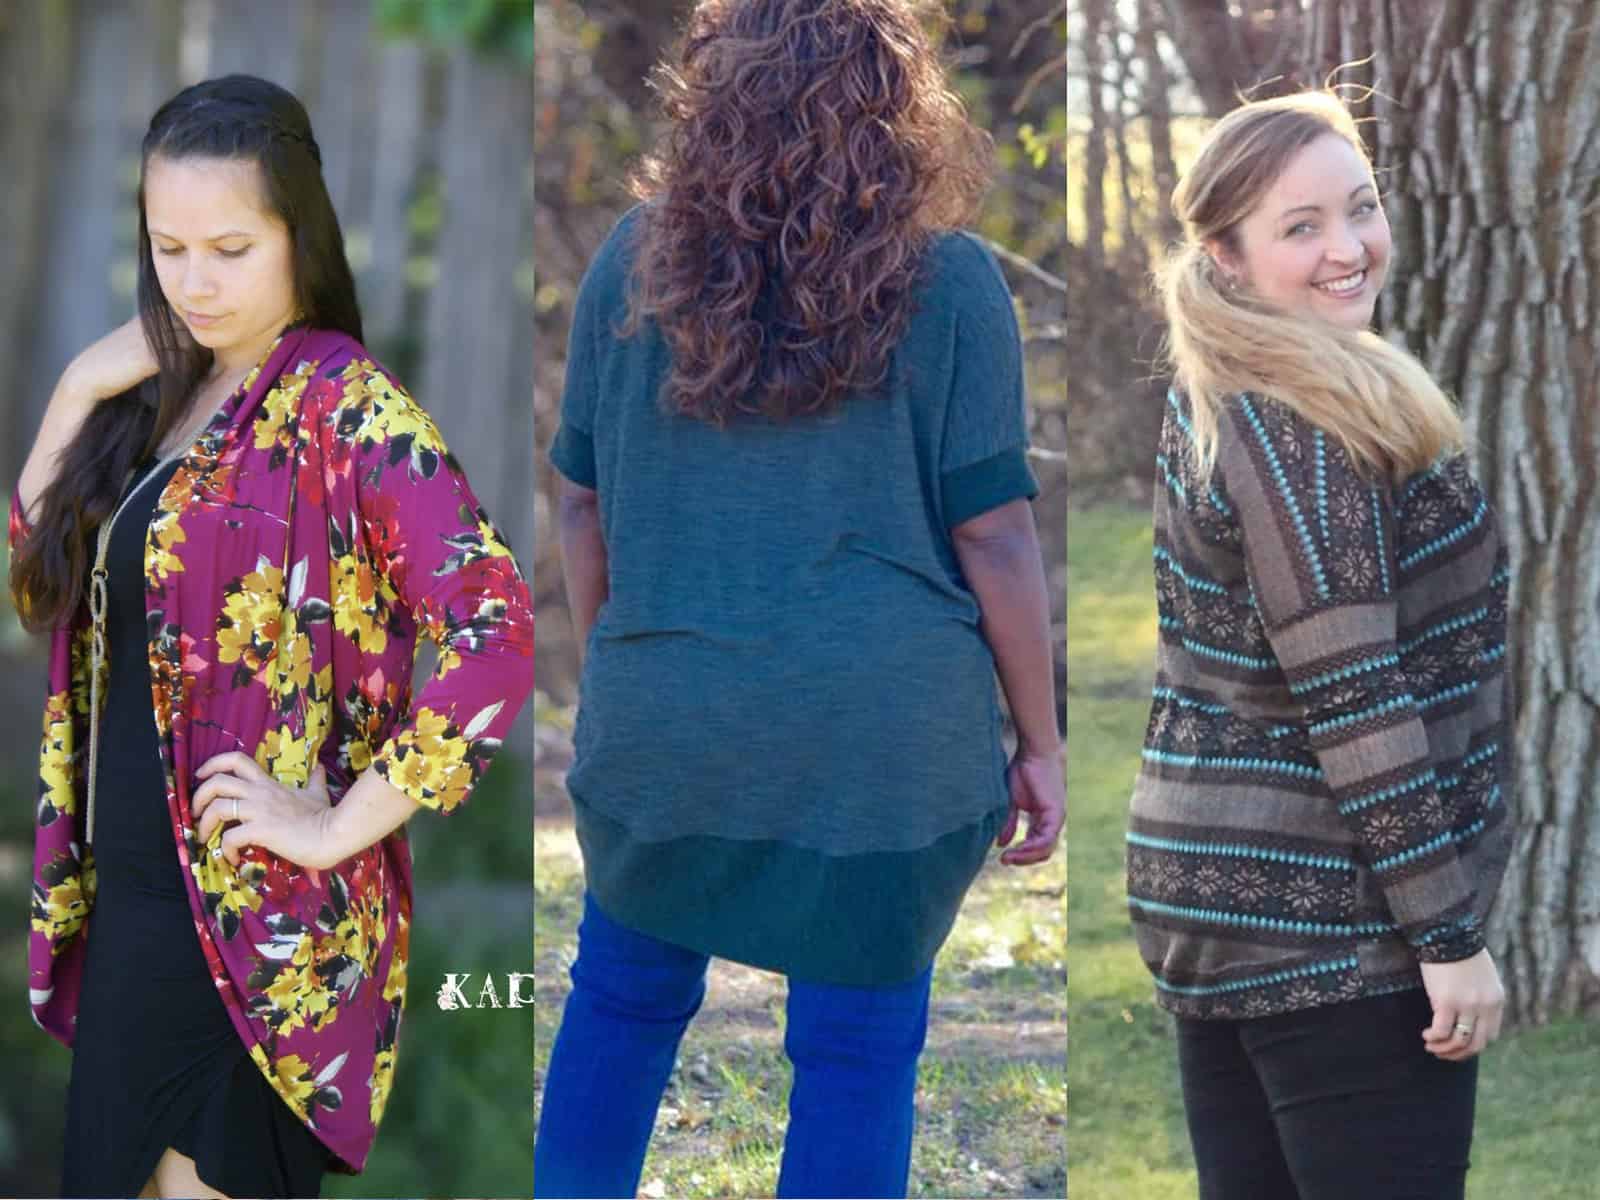
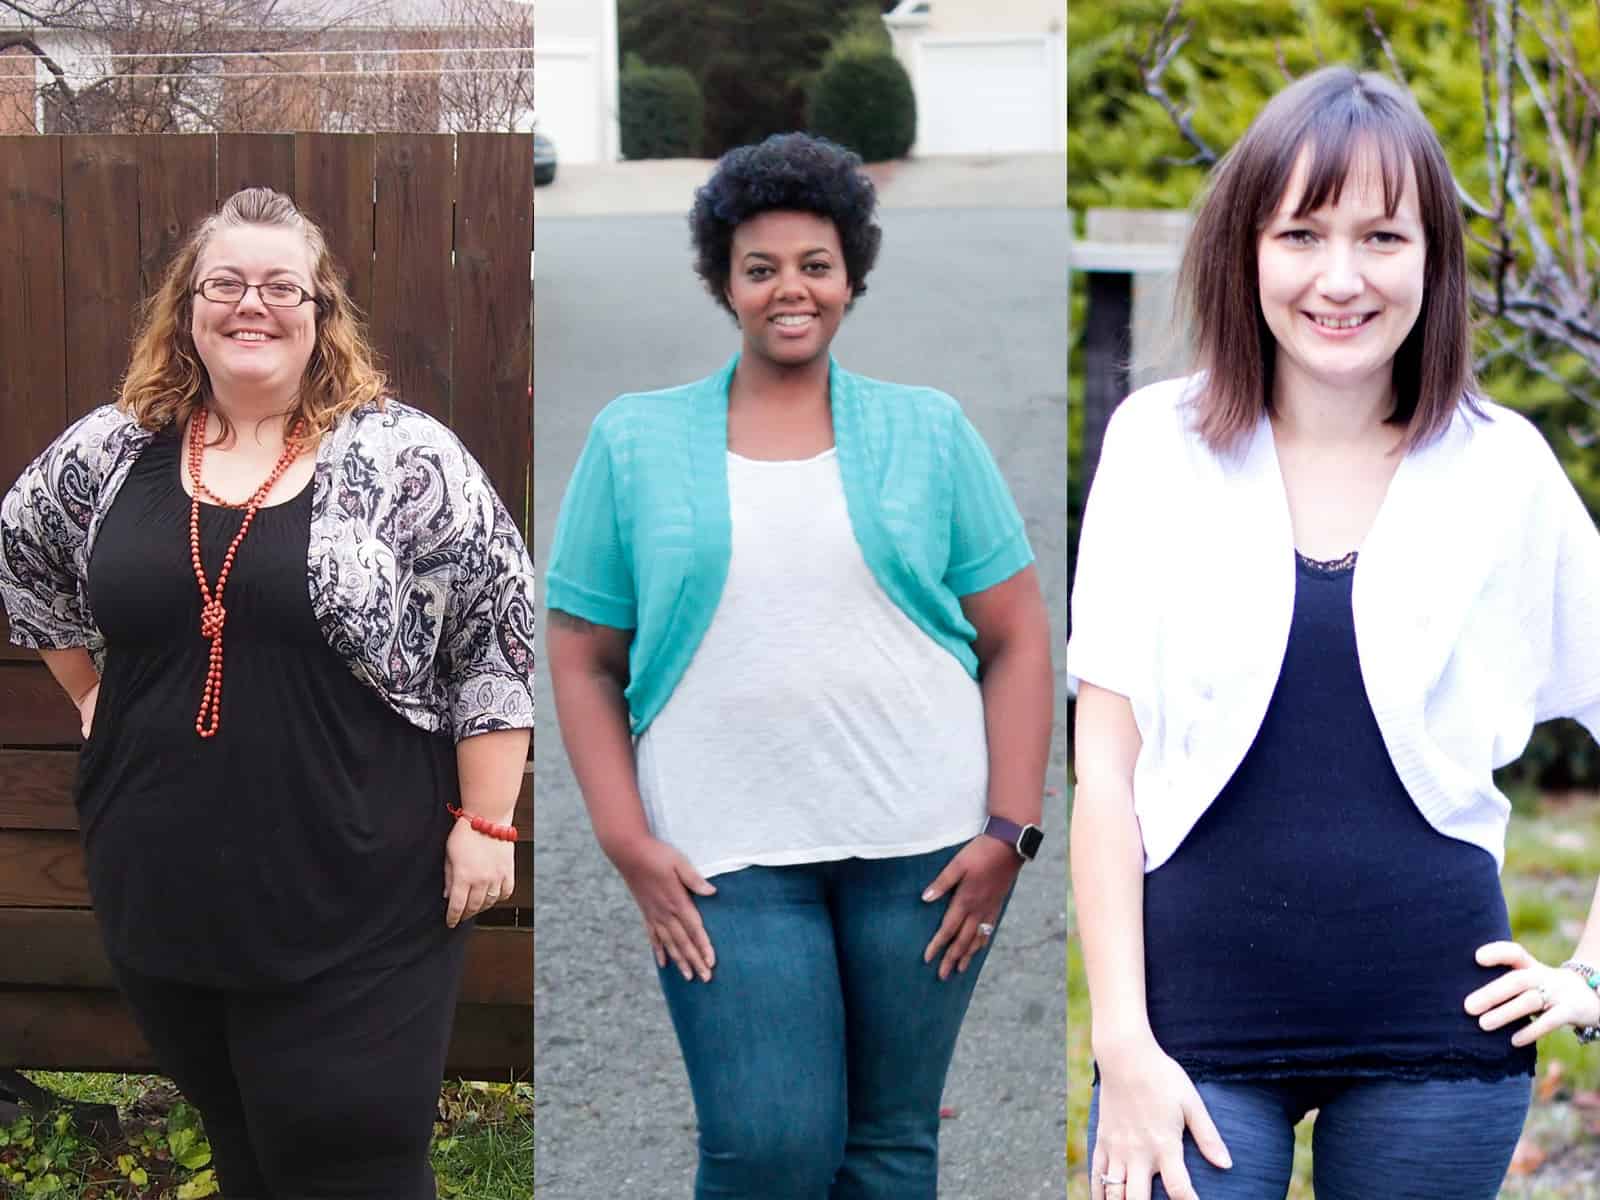
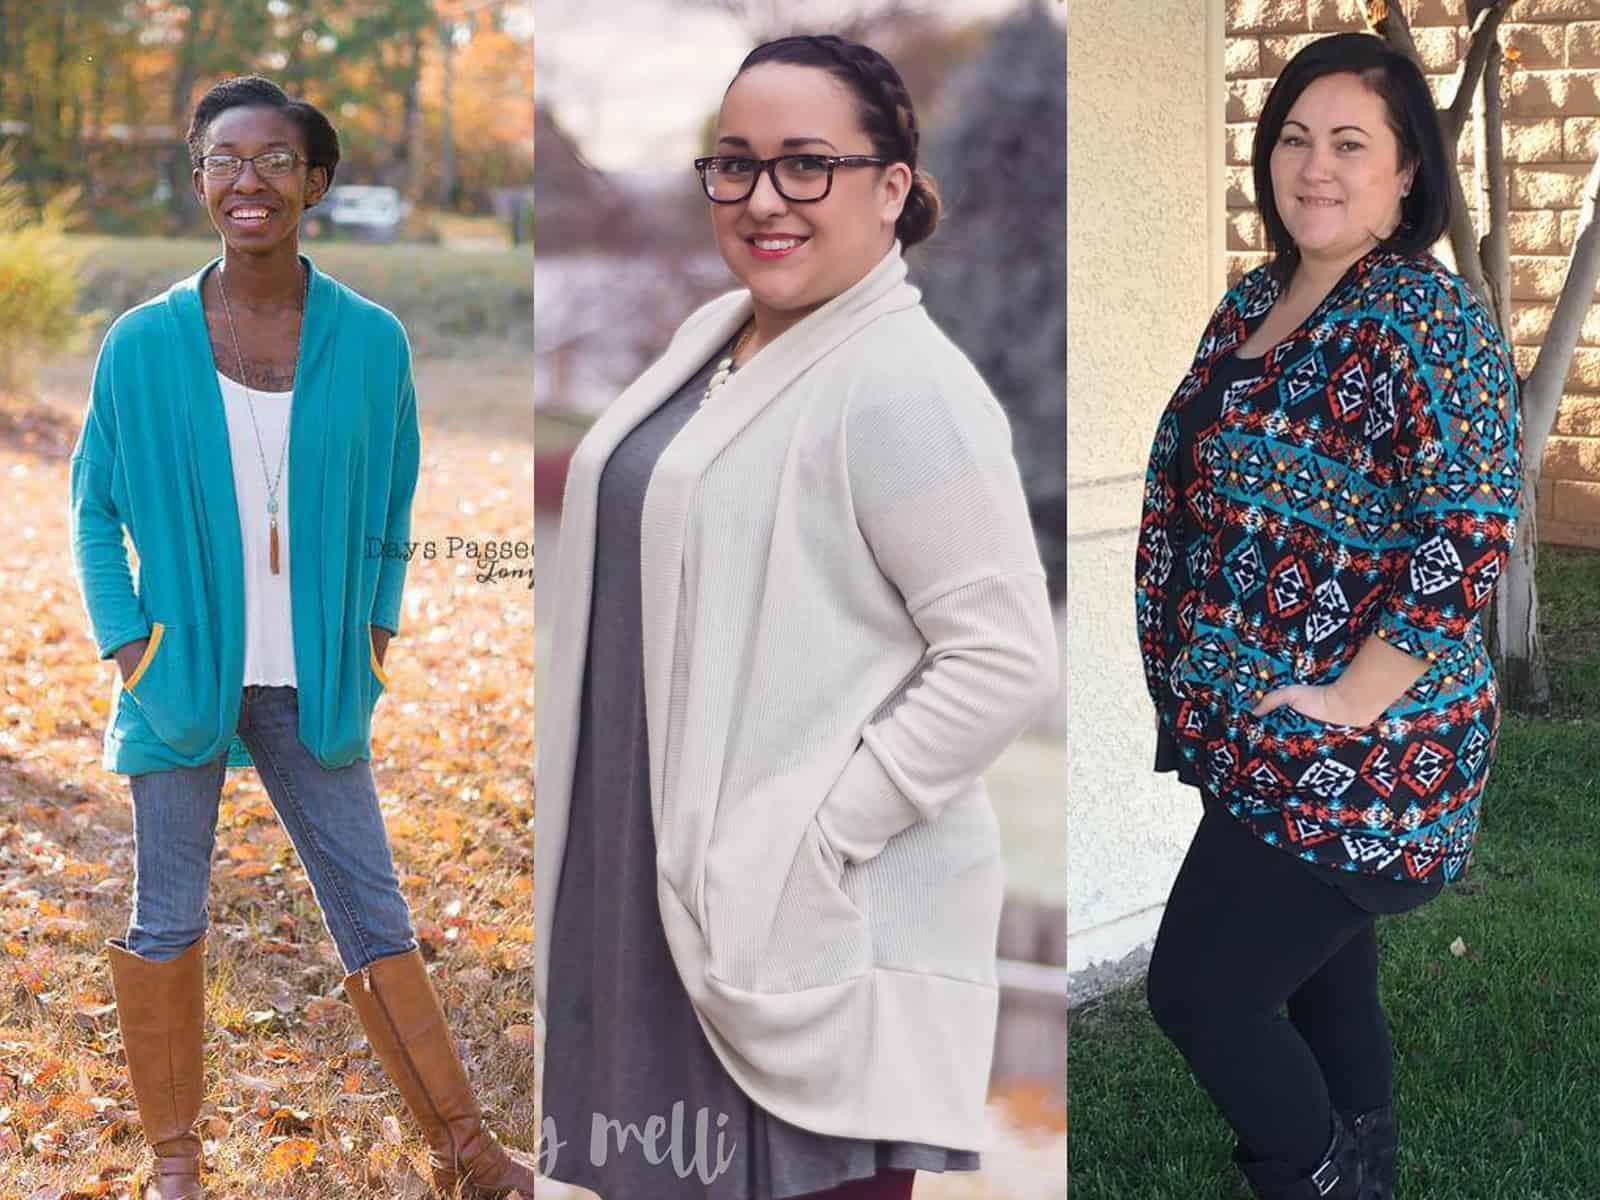
We are celebrating another pattern release day and you’re going to love it!  Remember the Cocoon Cardigan that we put out right before the holidays?  It’s in mini size now!  Meet the Butterfly Cardigan!
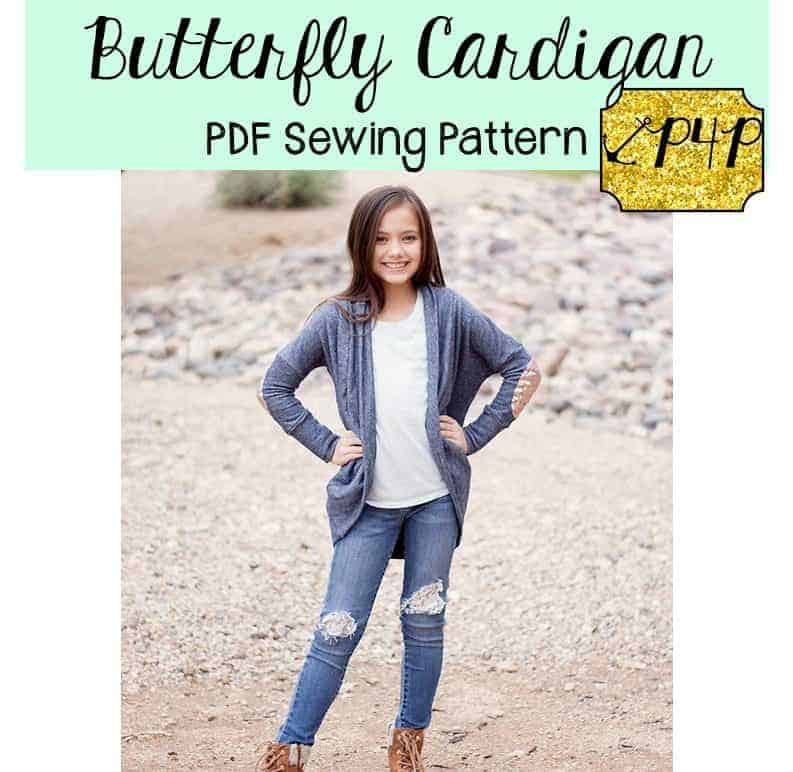
listing pictures youth

The pattern is drafted for girls sizes 3M – 14.  It’s a dolman style sleeve, so it’s got a looser fit and is quick to put together, just like other dolman style tops.  There are THREE sleeve lengths (short, 3/4 and long — each with multiple band options), TWO hem lengths (cropped or tunic length), TWO neckband options (short or tall), and optional pockets (patch or inseam)!  On top of all of that, we have also included a  PDF layers feature for printing.
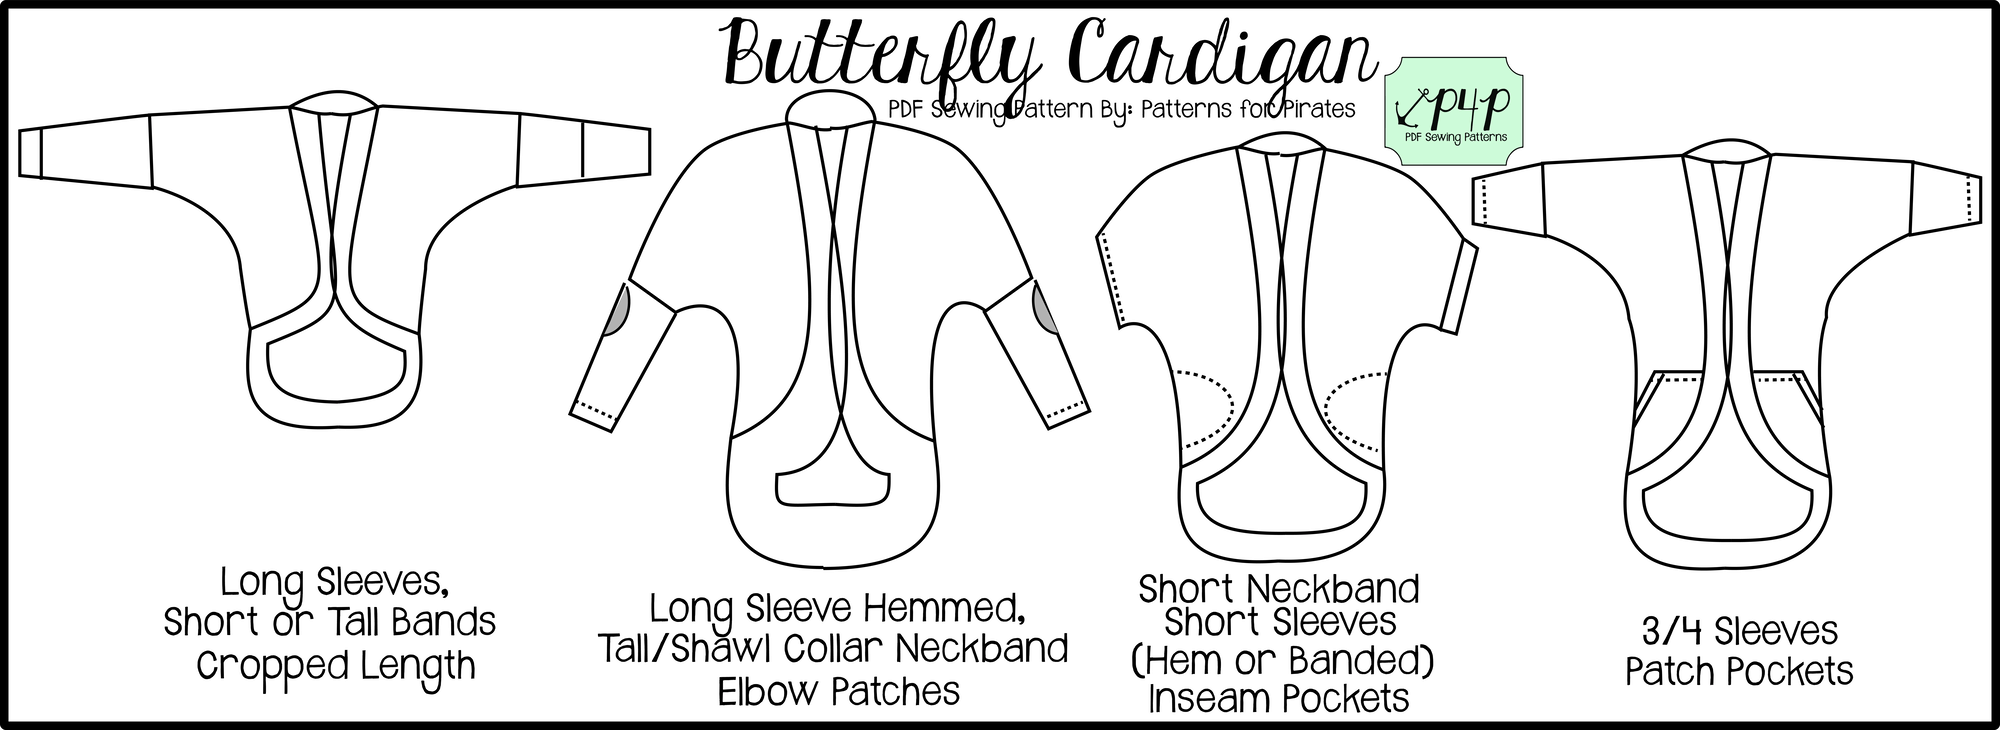
line drawing

The three different sleeve length options will take your littles from one season to the next.  Choose between short sleeve, 3/4 length, and long sleeves and your littles can easily transition between all four seasons.
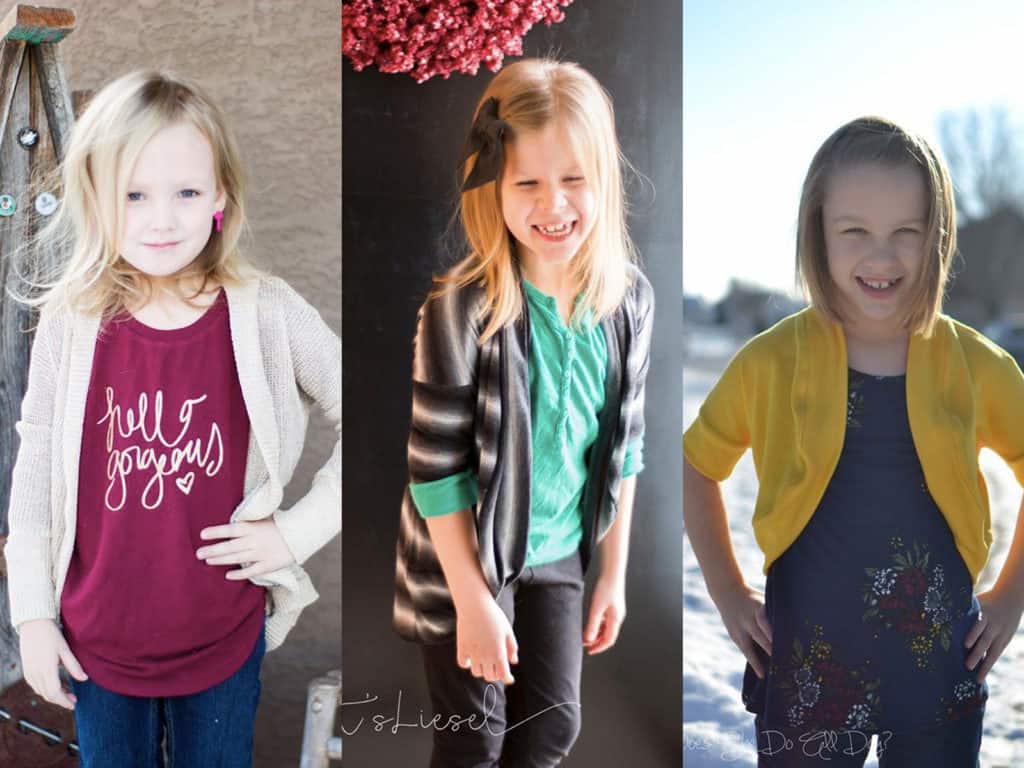
butterfly-sleeves

With two different hem lengths, you’ve got all of your bases covered.  Get more coverage with a longer-length tunic…
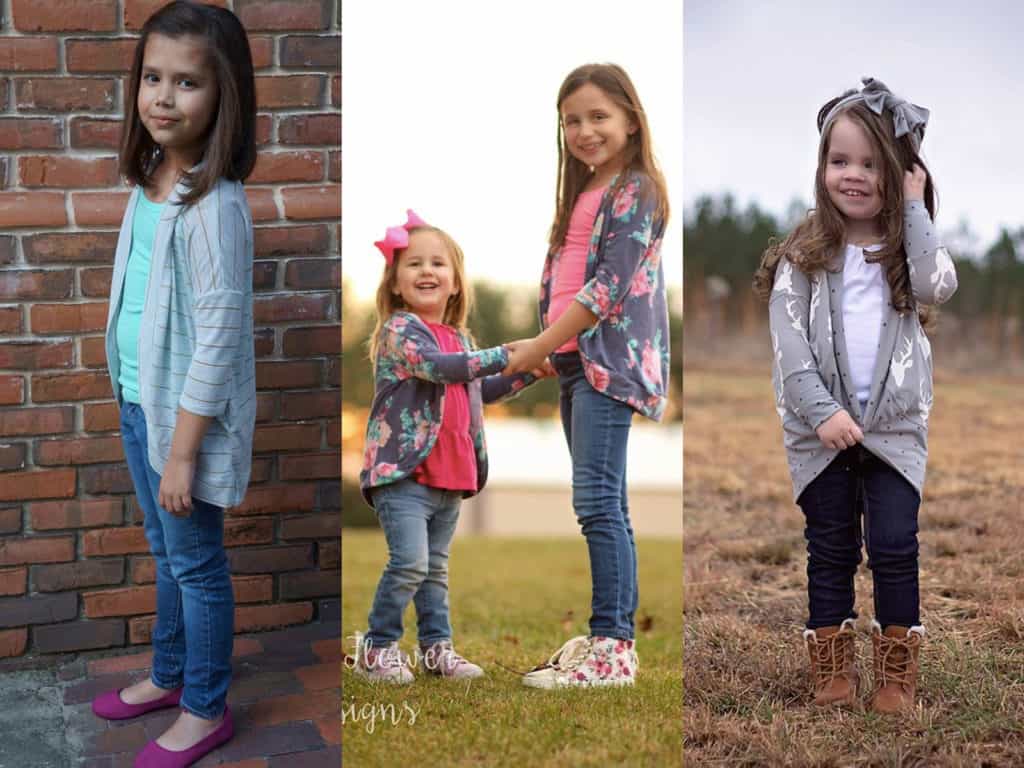
butterfly-tunic

…or make it in a short and sweet cropped length!
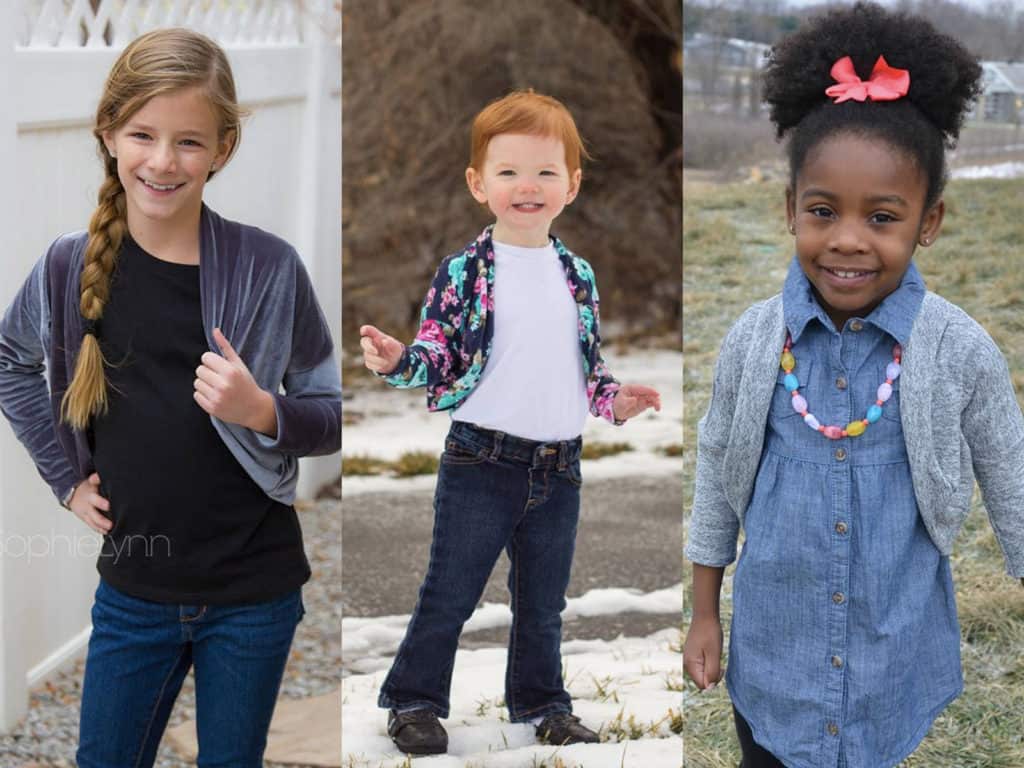
butterfly-cropped

Don’t worry, we made sure to include pockets (!!!) in the Butterfly Cardigan! Who doesn’t love pockets?
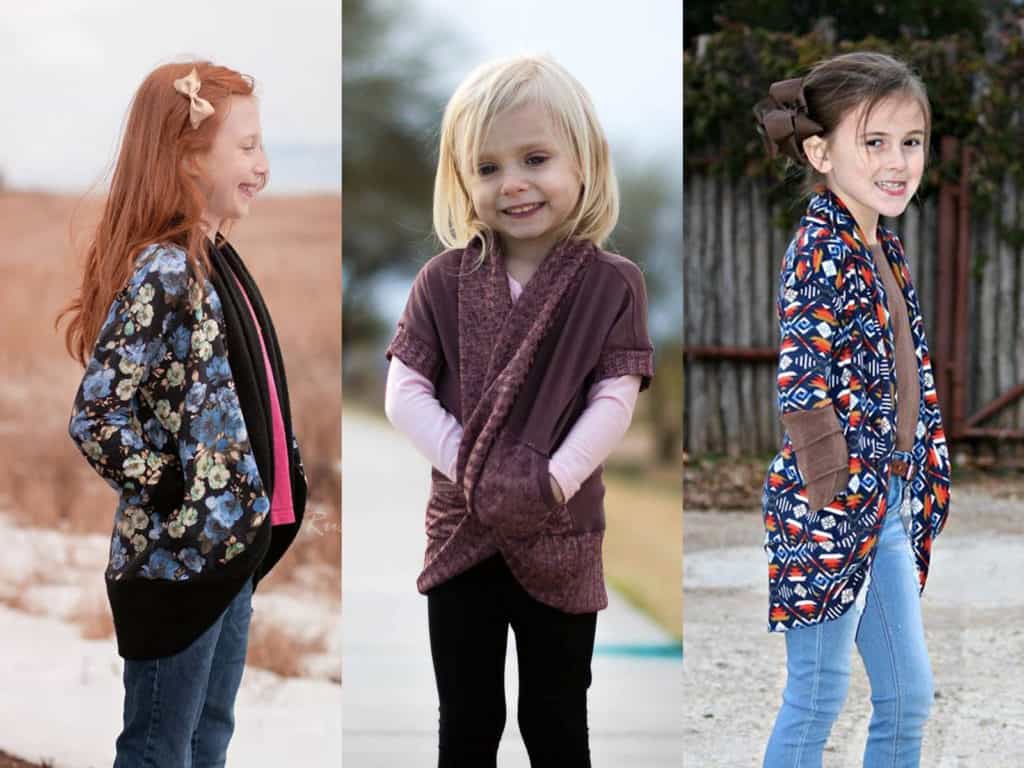
butterfly-pockets

Not quite convinced yet?  Go check out all of the rest of the adorable tester images in our Facebook group HERE and get inspired!

Can’t take it any  longer and need the pattern right now?!  Go grab your very own copy of the Butterfly Cardigan and get to sewing!  Don’t have the Mama version of the Cocoon Cardigan yet?

Go grab a special bundle pricing for the Butterfly + Cocoon Cardigans HERE.  Butterfly and bundle will be on sale (no code needed) through Monday January 23,2017.

And don’t forget to share your gorgeous makes with us over in the Patterns for Pirates Facebook group!
Filed Under: Pattern Release Leave a Comment

How to lower or raise a neckline

January 6, 2017

img_4108

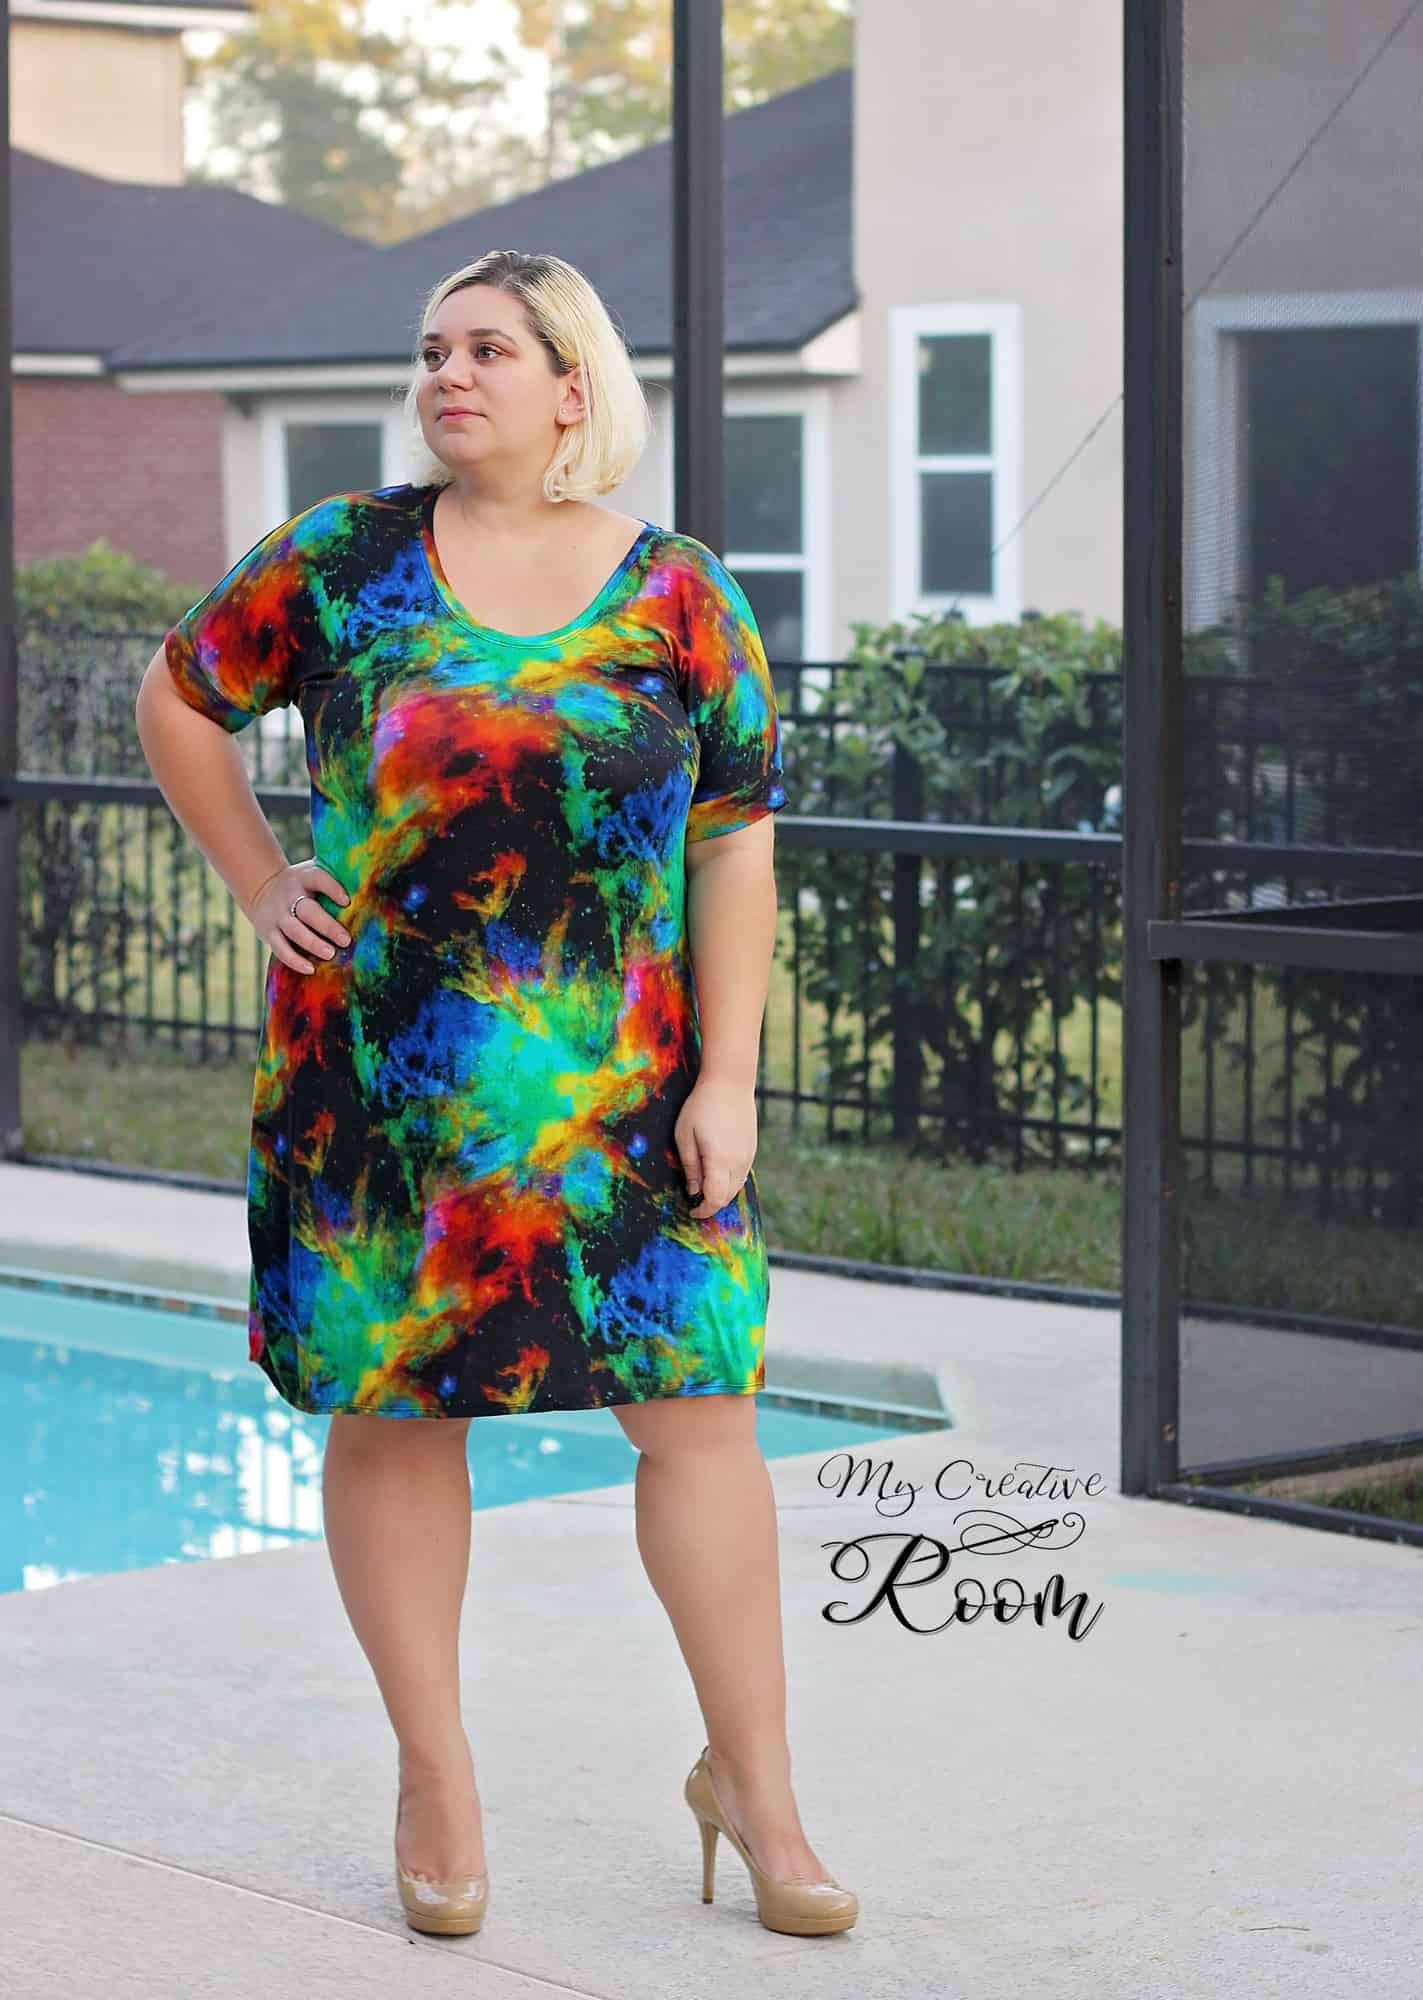
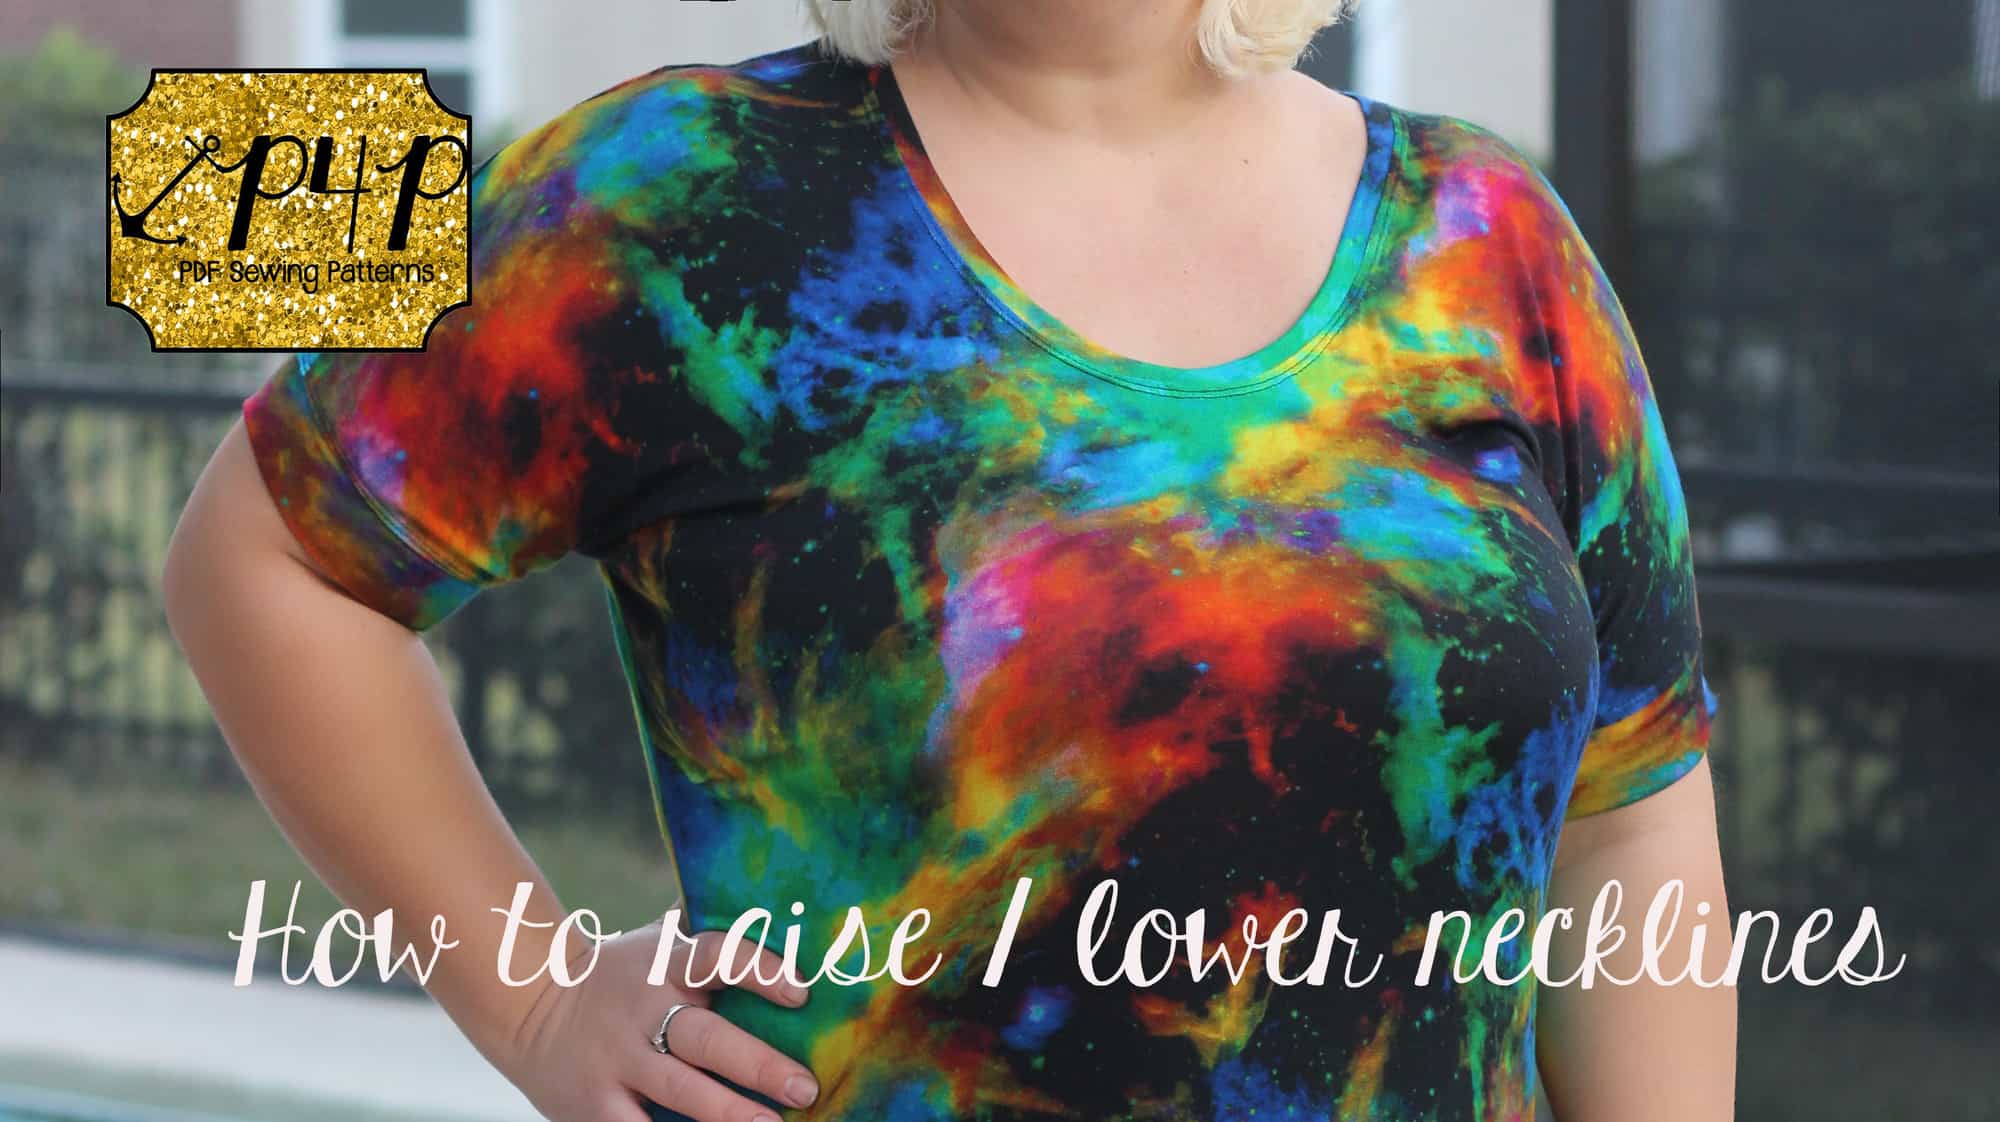
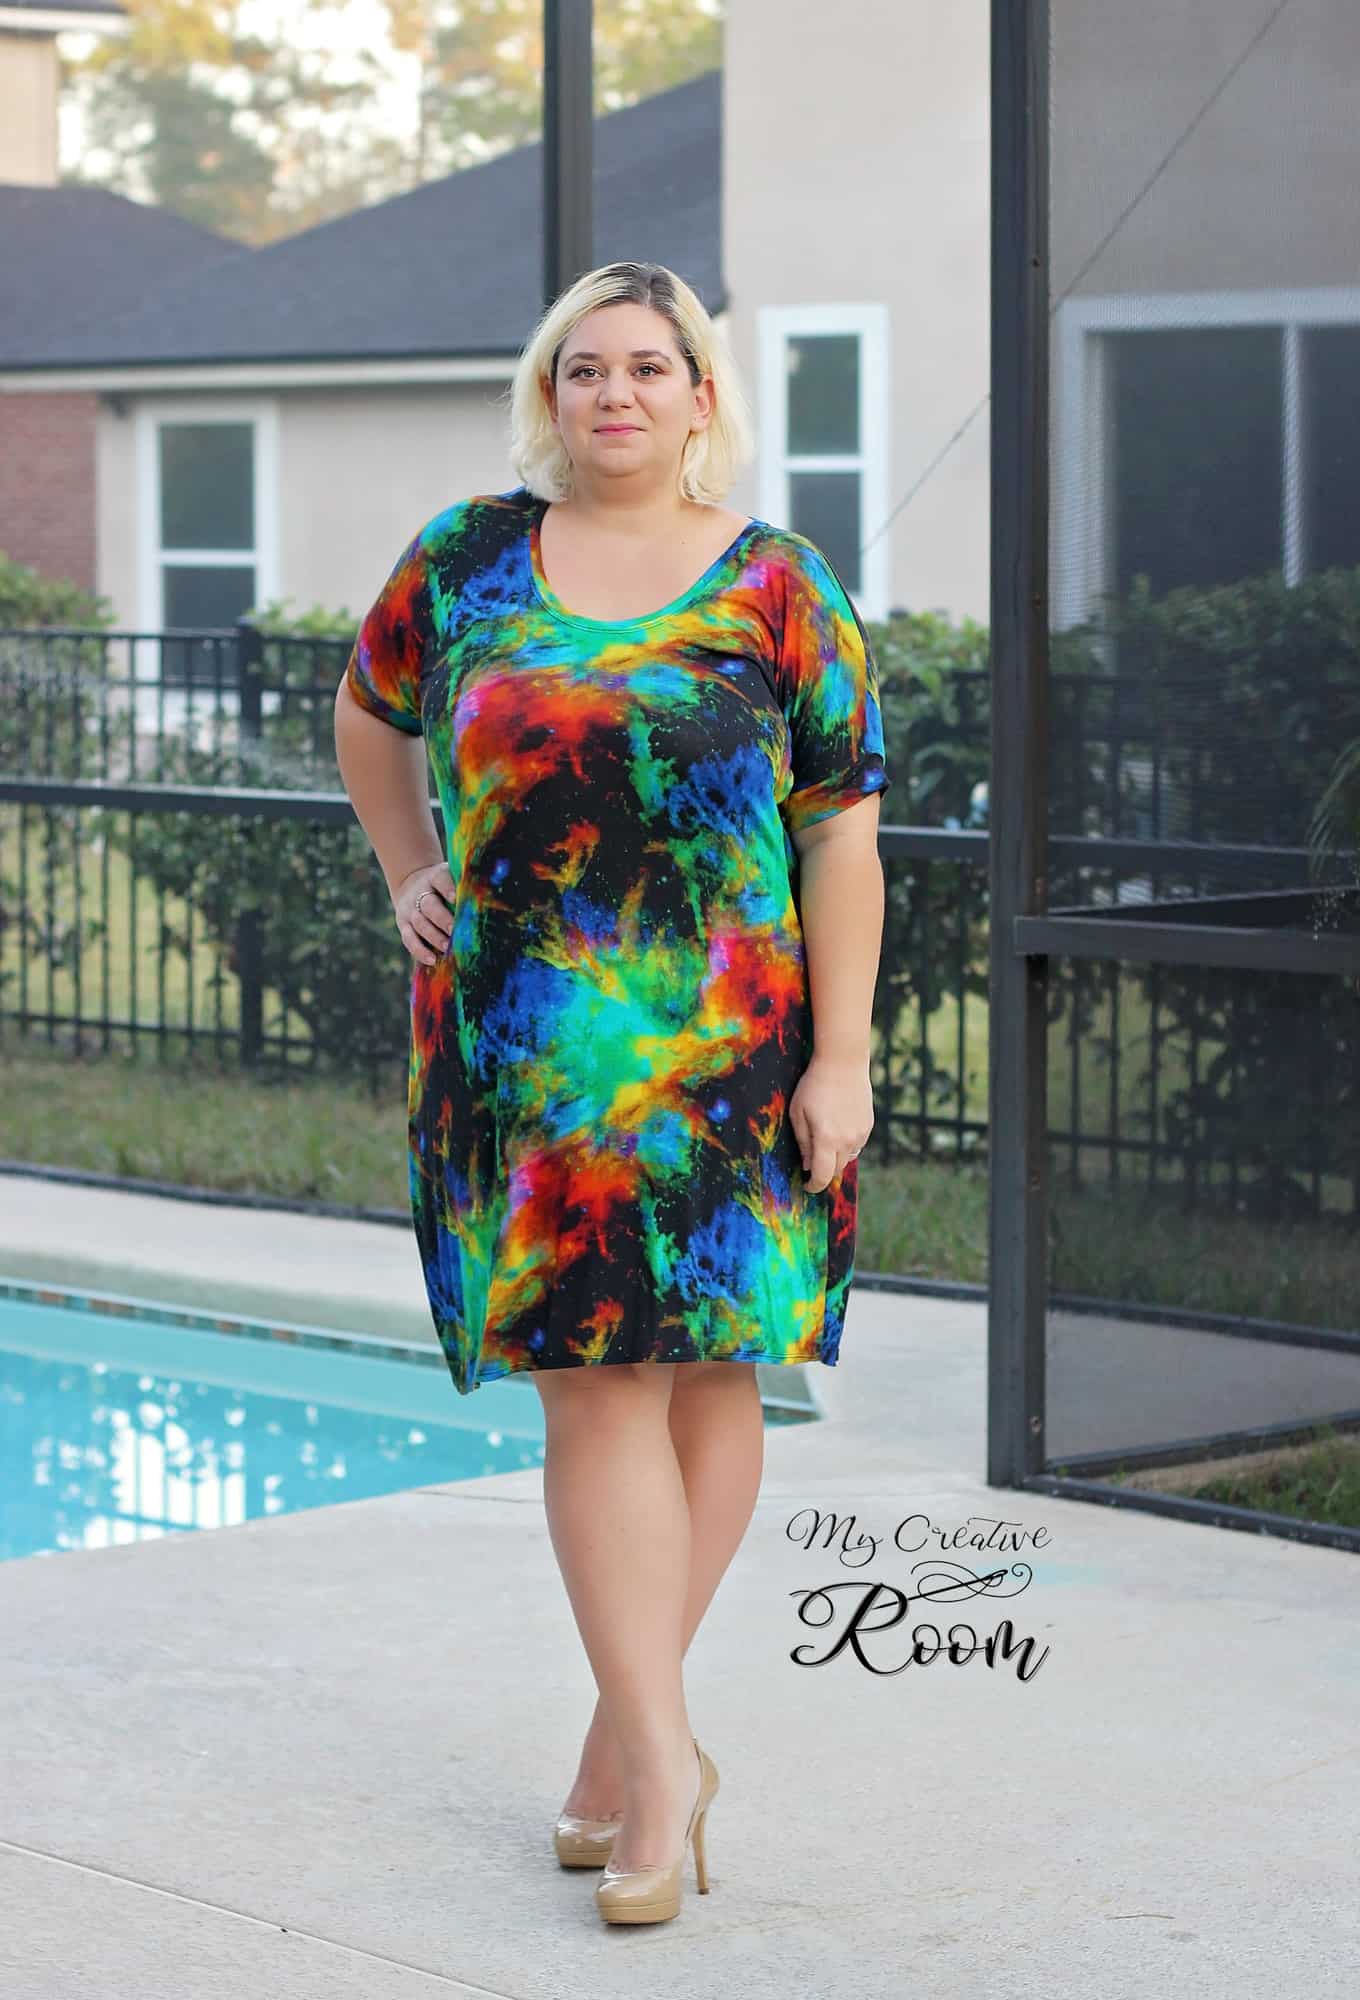
We have seen a lot questions about raising or lowering the neckline of various P4P shirts or dresses. On the blog today I show you how easy it is to alter the neckline to achieve the look you want. For this tutorial I will use the Sweet Tee pattern in a beautiful viscose rayon (dress option lengthen 3.5″) but you can apply this technique to either one of the shirt patterns.

img_4118

Start by printing and cutting your pattern in the size needed. The only piece we will be altering will be the front of the shirt (or bodice).

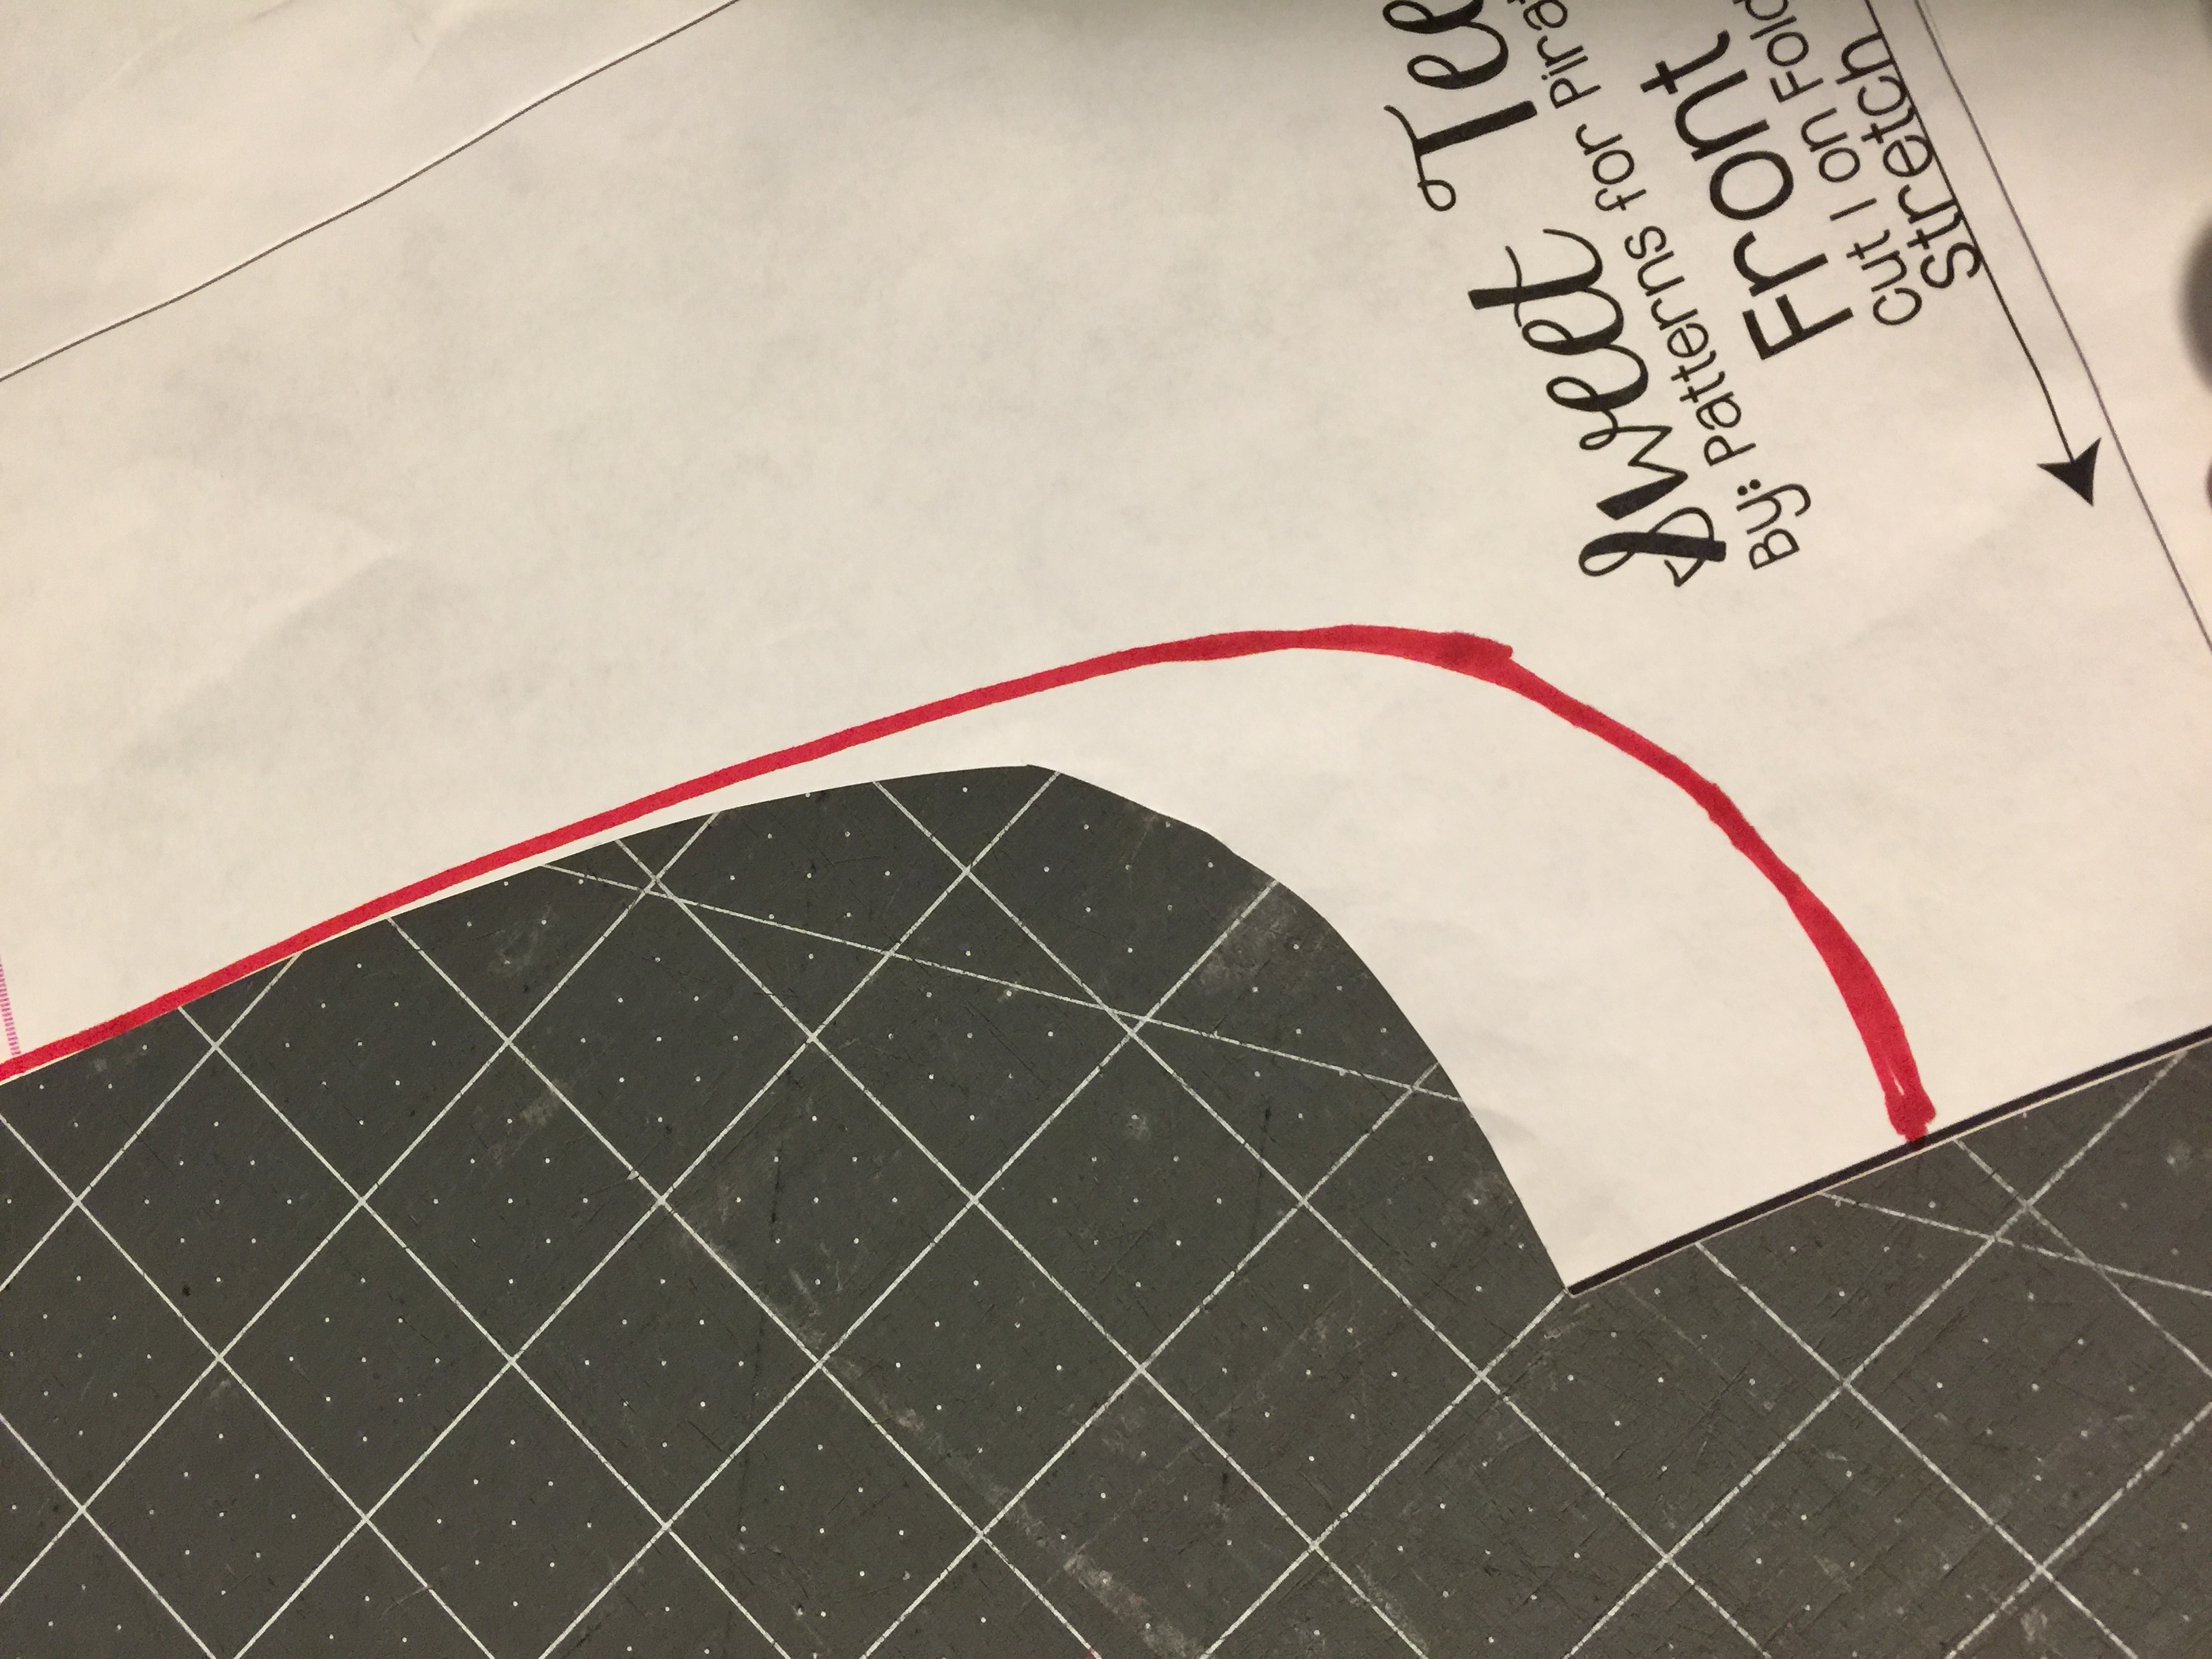
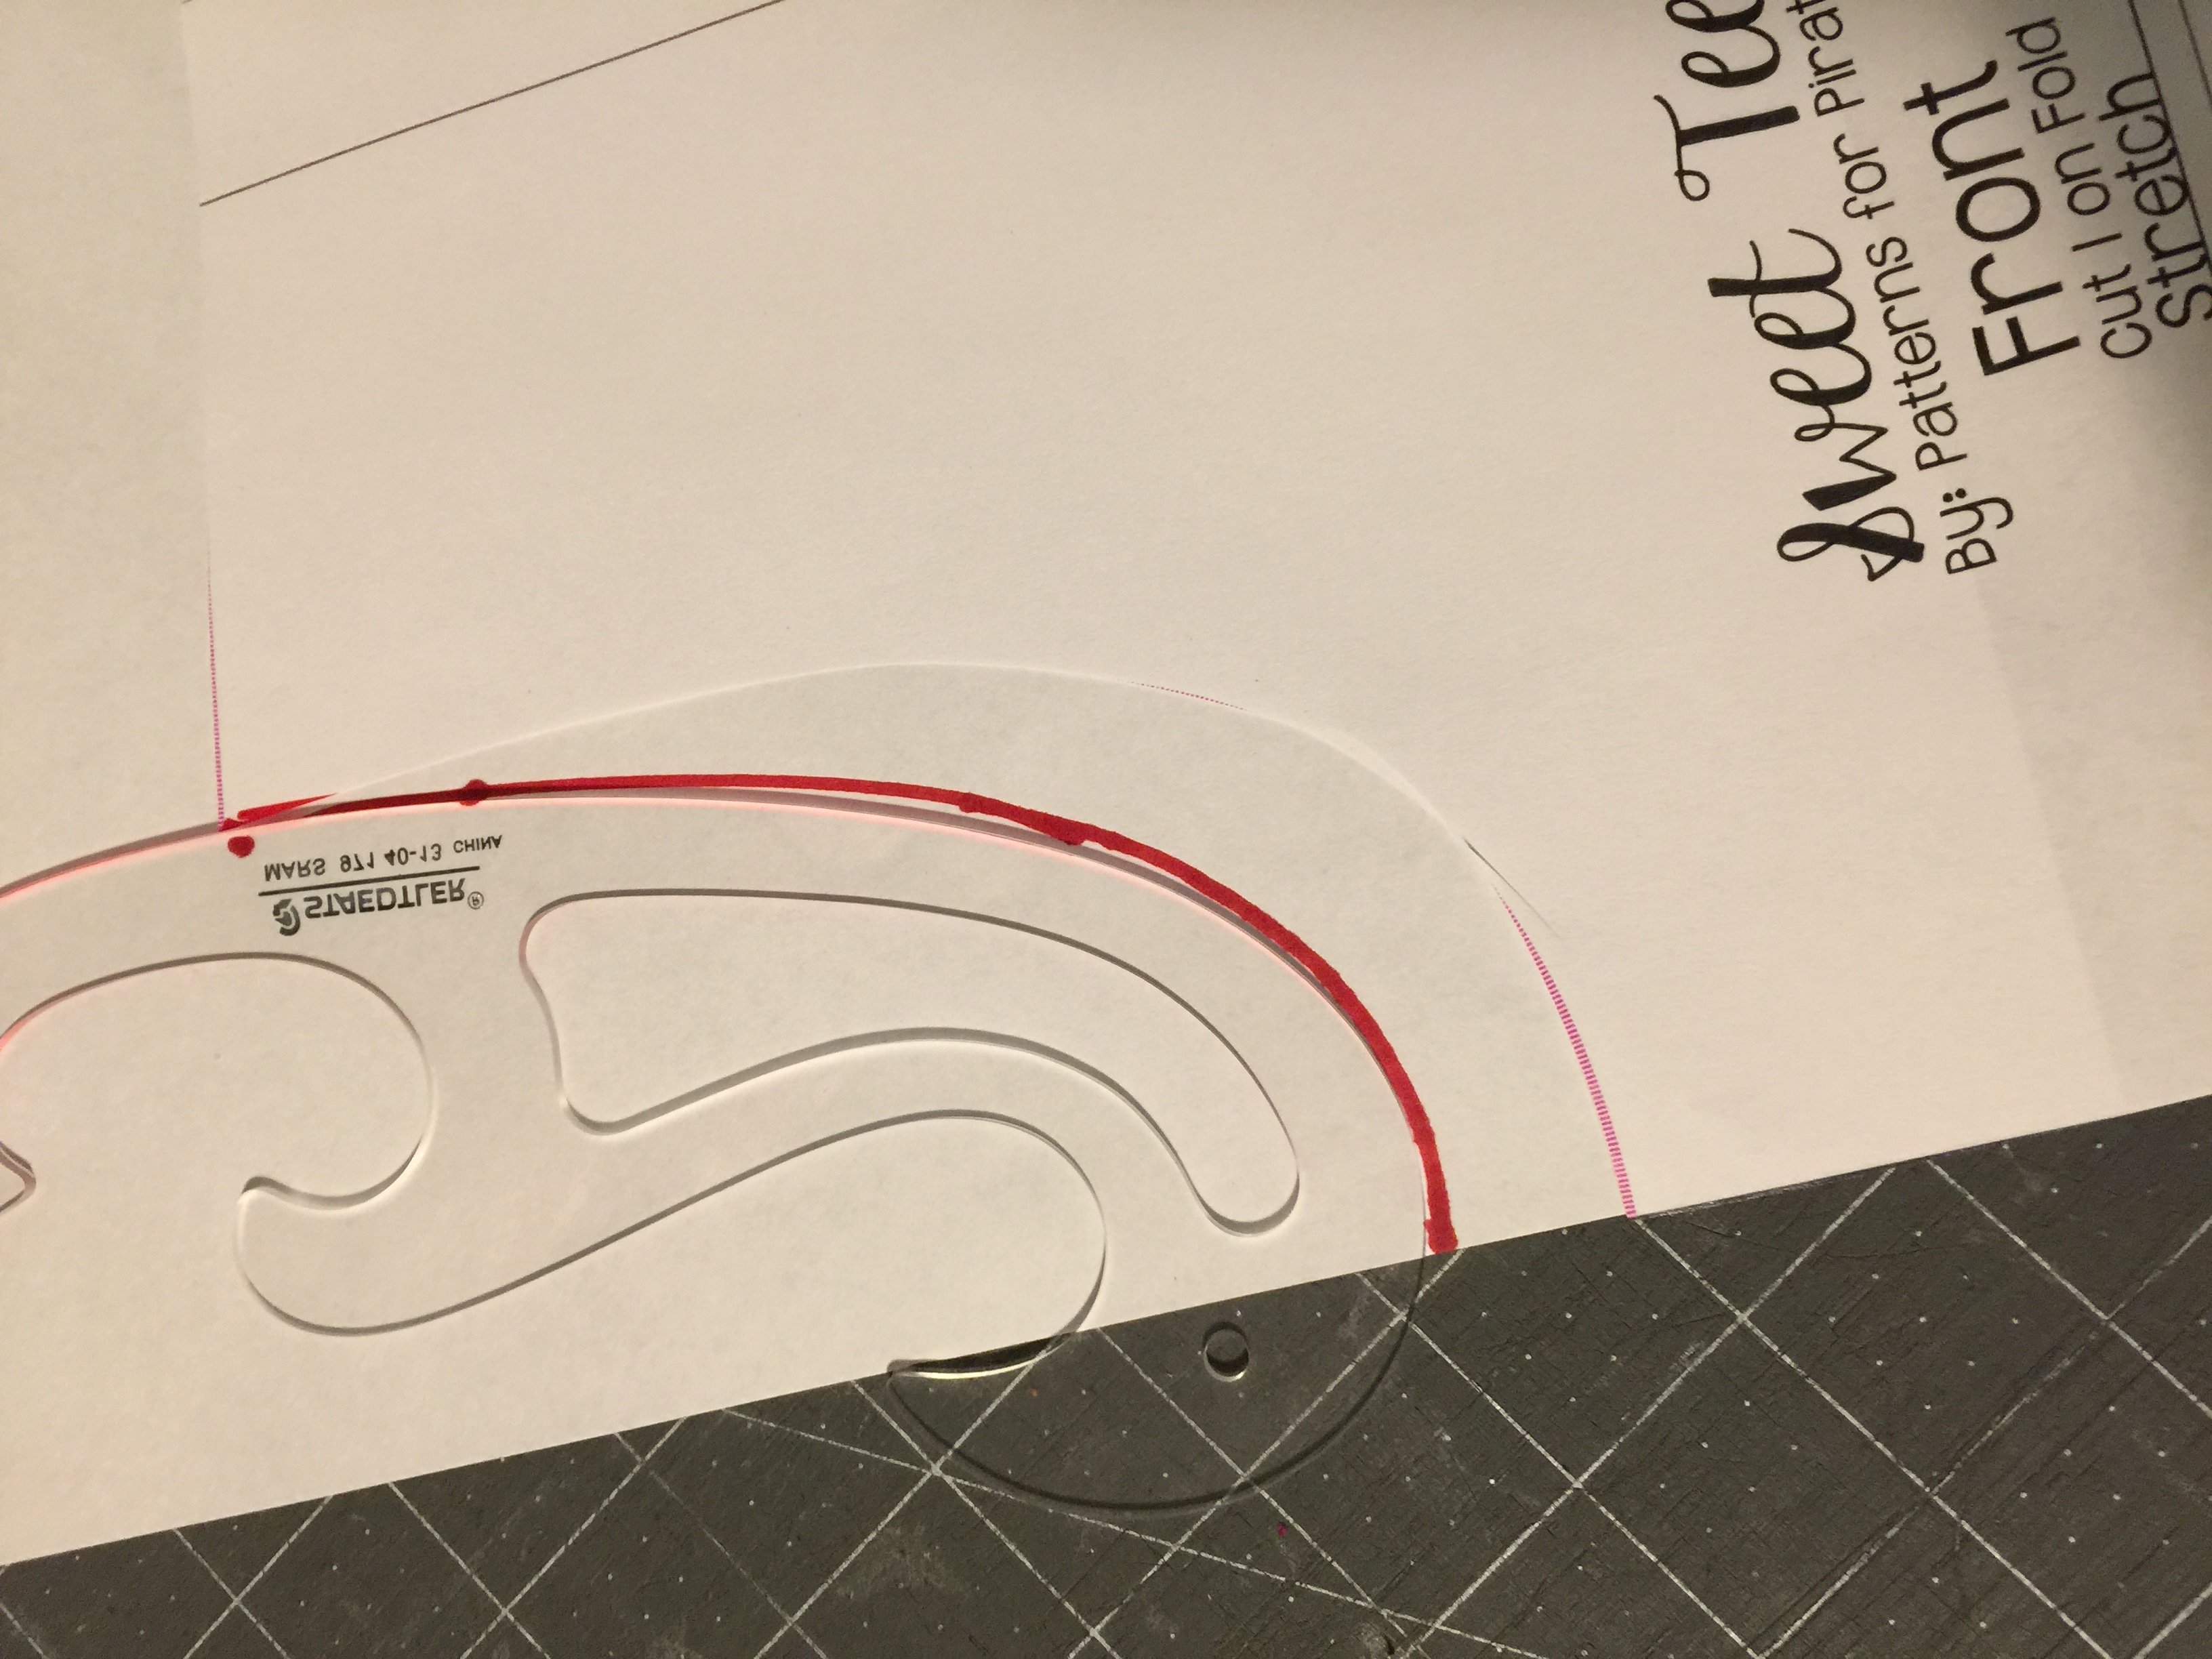
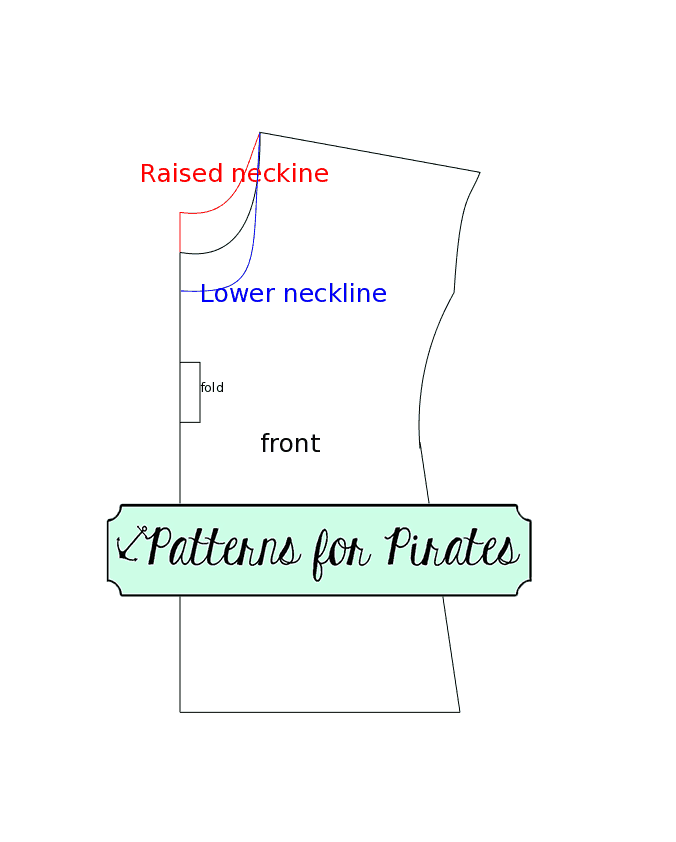
For lowering the neckline you will need to mark on the center fold where you would like the new neckline to be. I usually lower my Sweet Tee neckline 1.5 inches. Using a French Curve (or going slowly) draw a curve similar to the original one from your mark to the inner shoulder point.

raiselowerneckline

img_4502

Cut your fabric using the new front pattern piece. The rest of the pattern pieces will remain the same. The only other change you will need to make is the length of the neckband or binding.

To raise the neckline you will need to grab your front bodice piece and a blank piece of paper. Align the center fold of the front pattern piece  with the side of your paper and glue them together.

Mark a point 1-2 inches above the original top center depending on how high you’d like the neckline. Using the French Curve draw a curve from the center point to the inner shoulder point. Cut the new front using this modified pattern piece and the rest of the pieces as in the original pattern.

img_4503

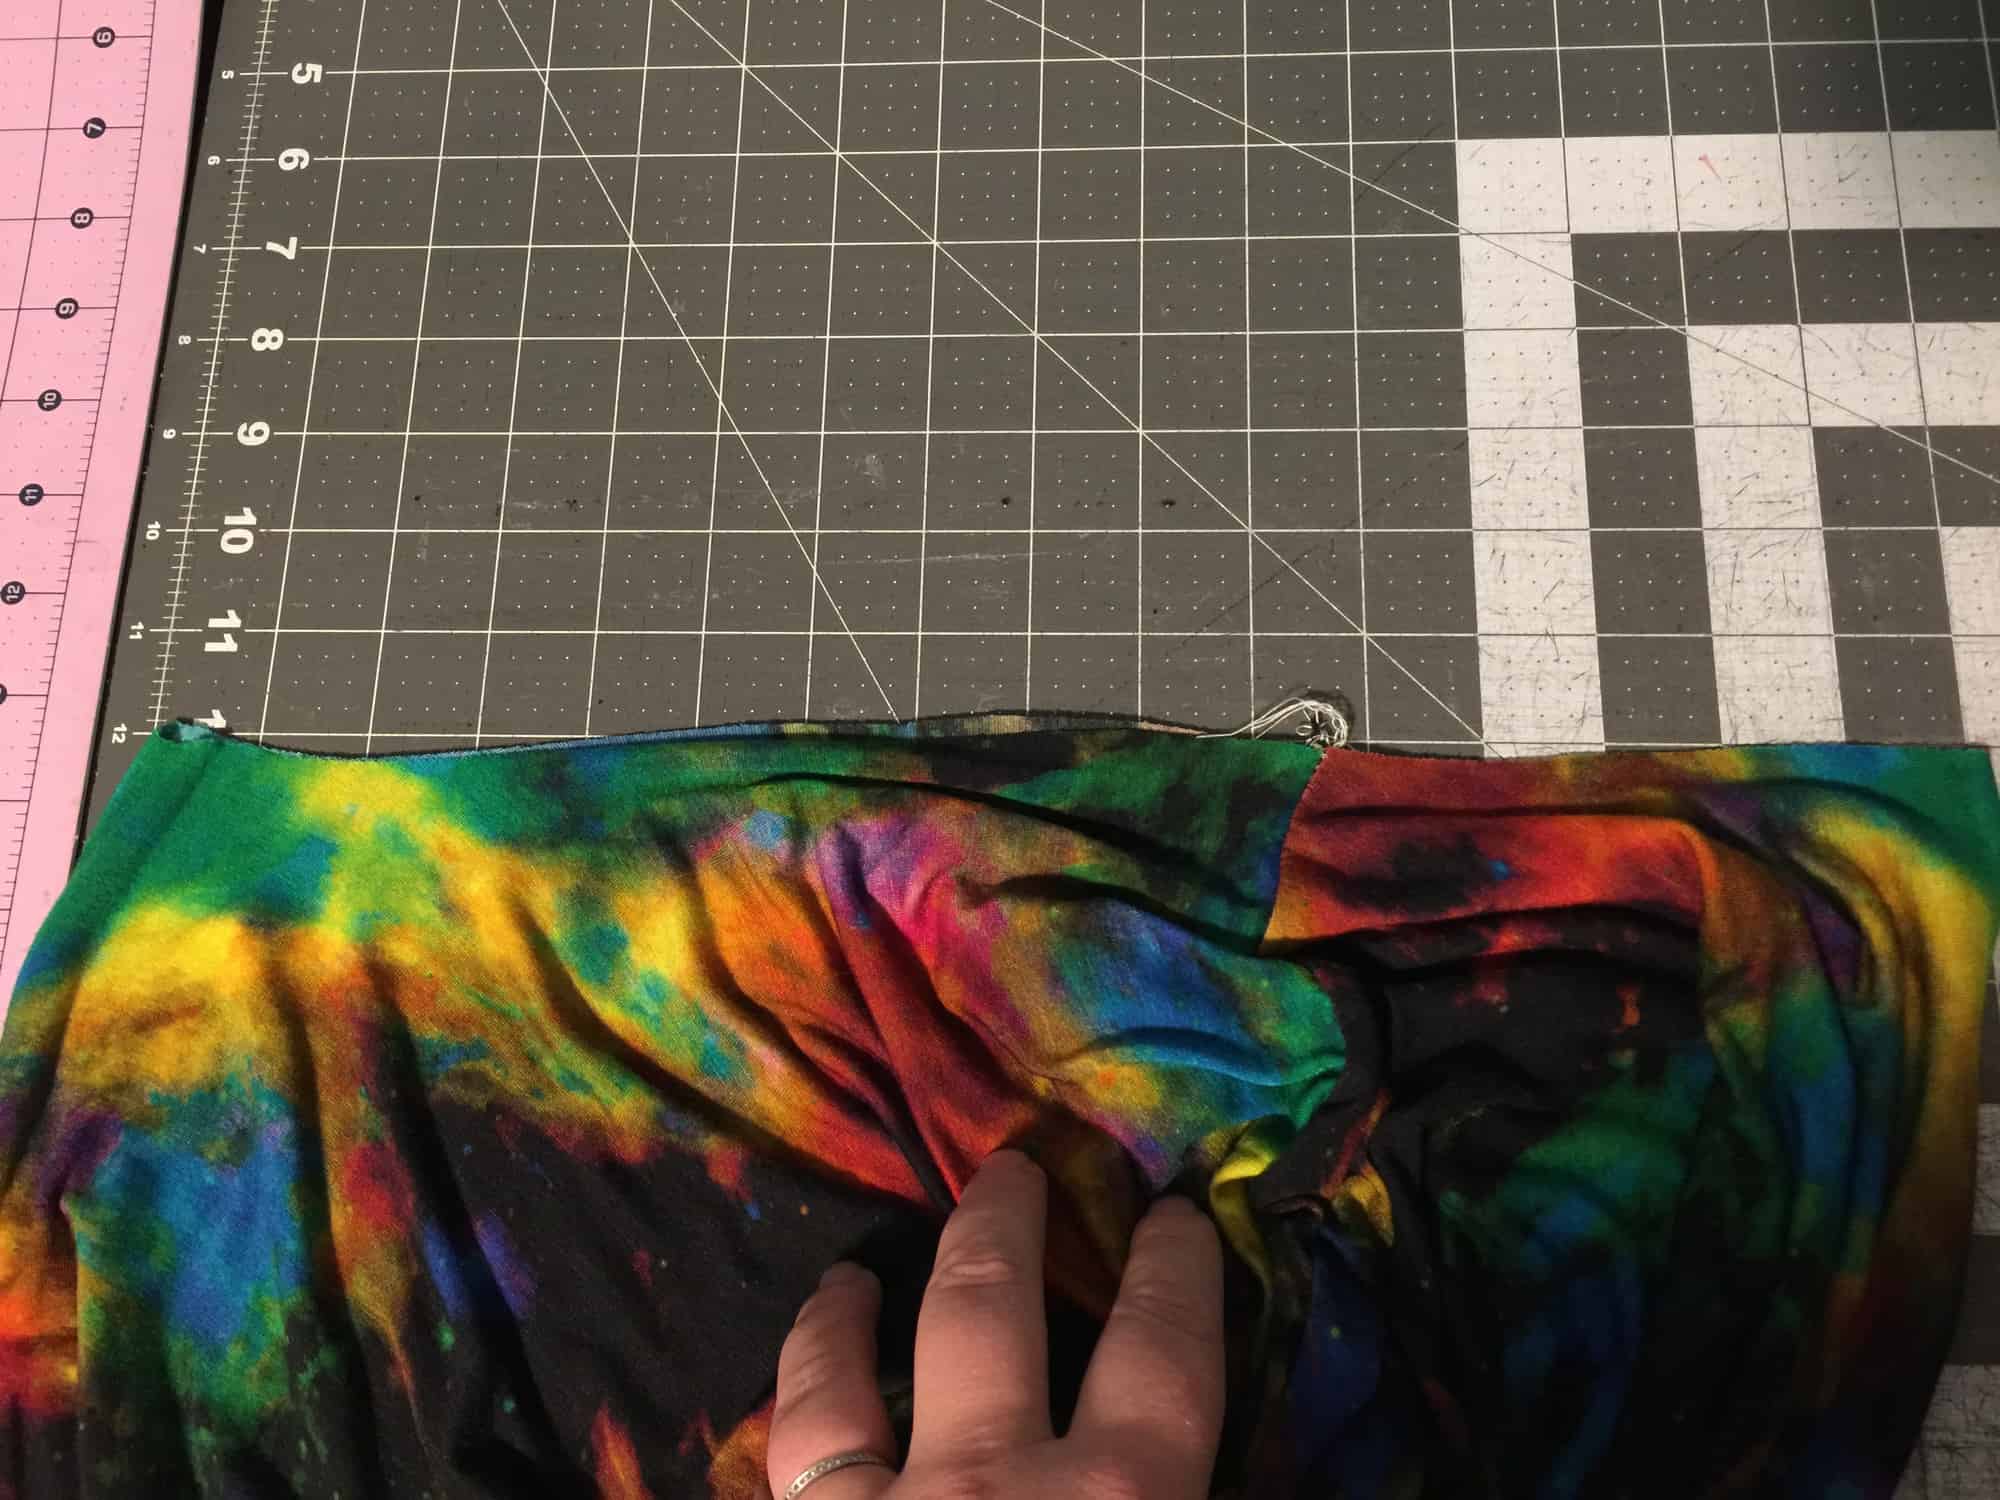
The only additional modification you will need  to make is to adjust the neckband or binding length. You will need to make it longer or shorter depending on the new neckline. I like to calculate the new neckband length after I sew the front and back pieces together at the shoulder. To find out the new neckline circumference lay the neck opening along a ruler and multiple it by 2.

img_4505

Your new neckband length will be 85% of this circumference plus 1 inch to accommodate the seam allowance. (C * 0.85 +1 ). Cut the new neckband/binding using the new length but keeping the width suggests in the pattern. All you have left to do now is sew the shirt or dress according to the tutorial and you have just made yourself a custom outfit. Easy peasy…right? 🙂

I can’t wait to see your creations in the Pattern for Pirates group.

img_4115

img_4113

Happy sewing, pirates!

Filed Under: Frequently Asked Questions, Pattern Hacks, Uncategorized 6 Comments

2016 Holiday Freebies: Fleece Mittens Pattern!

December 8, 2016

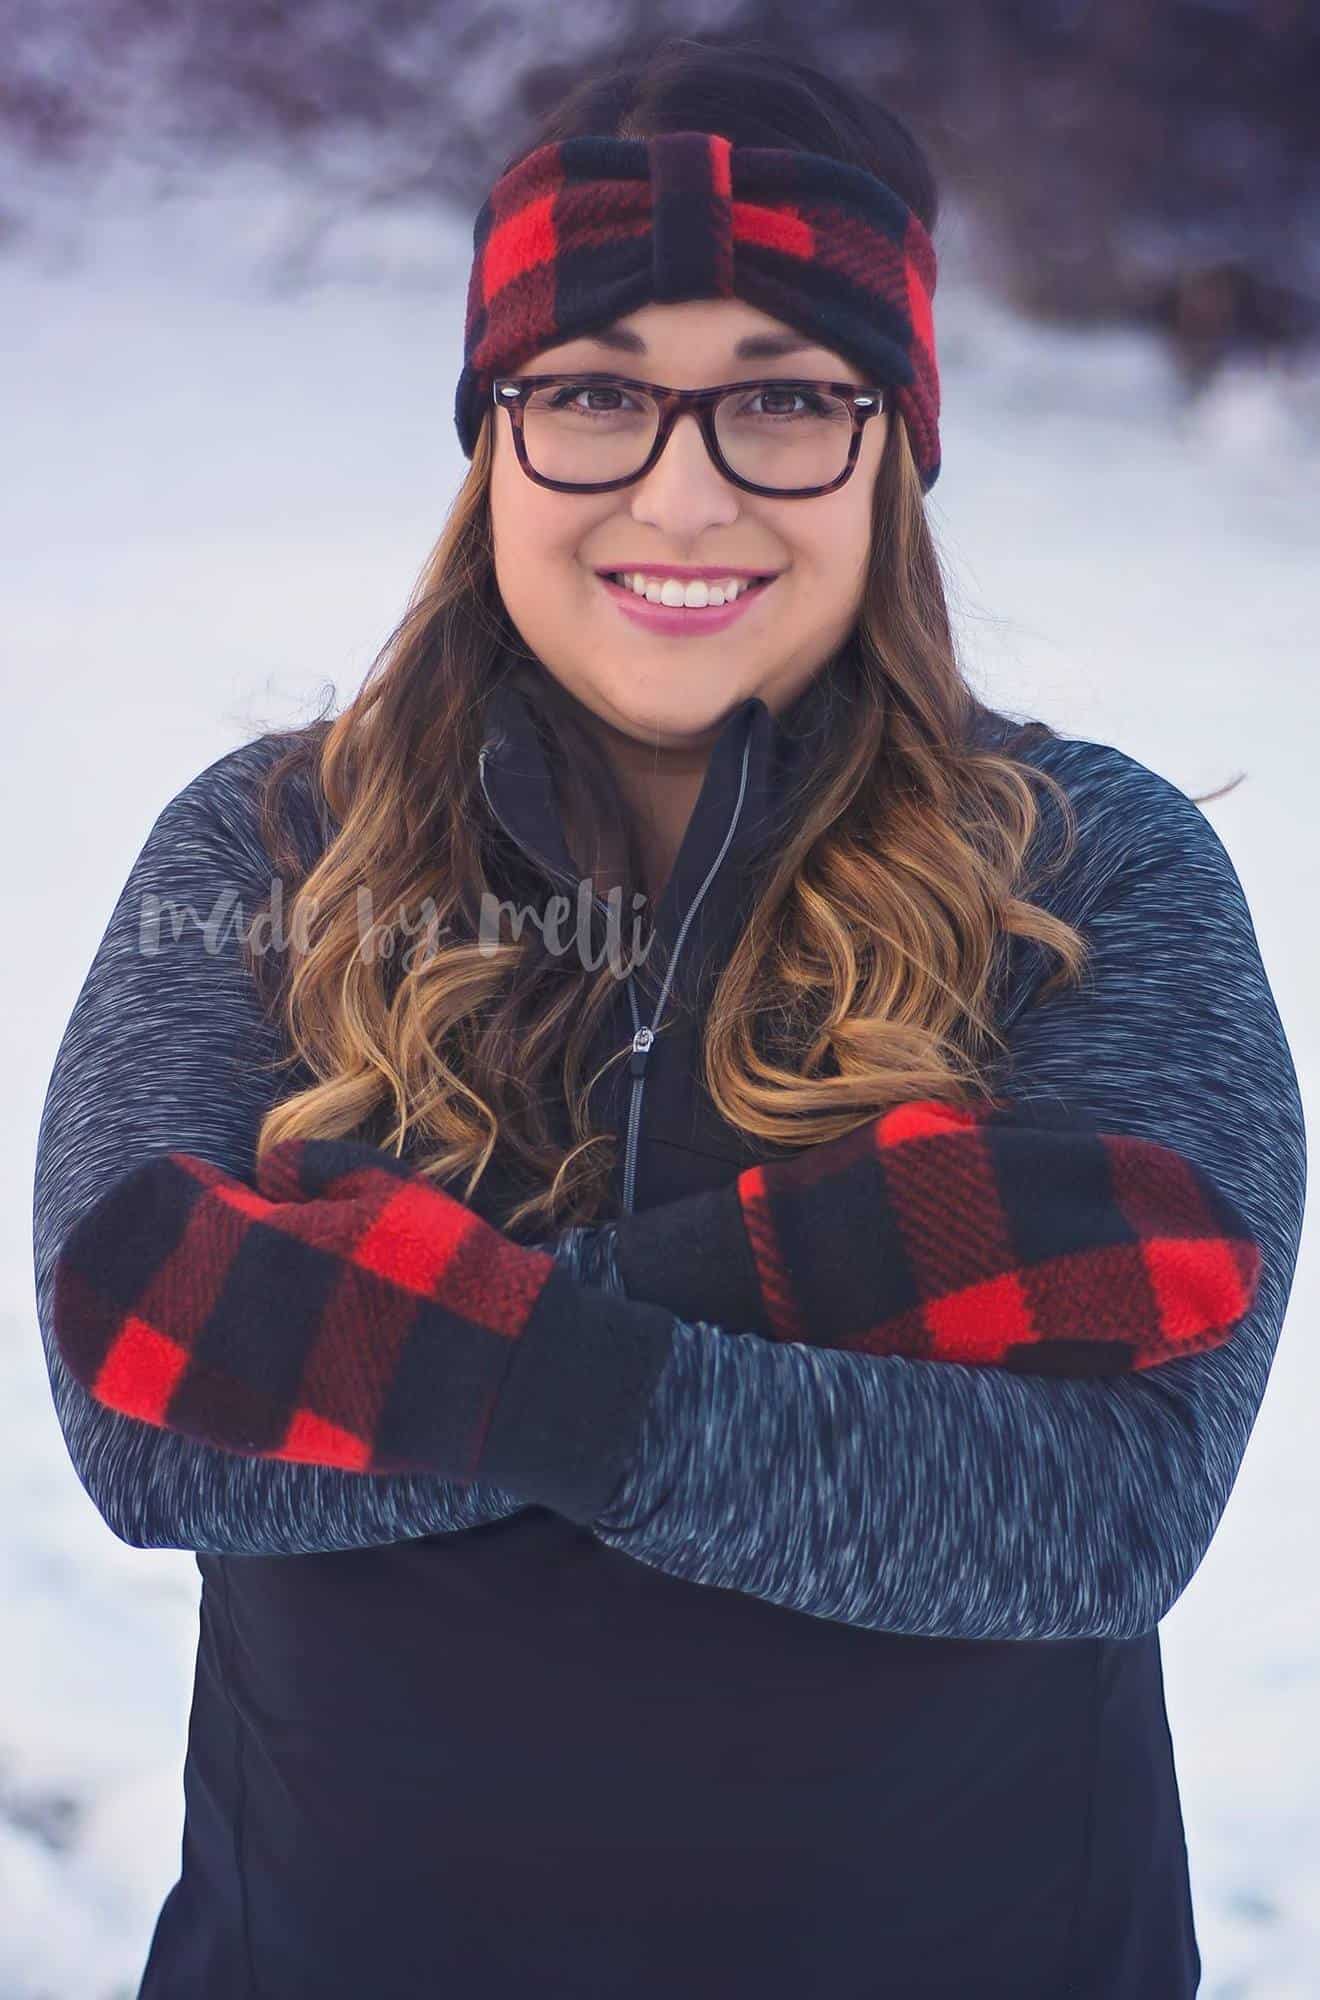
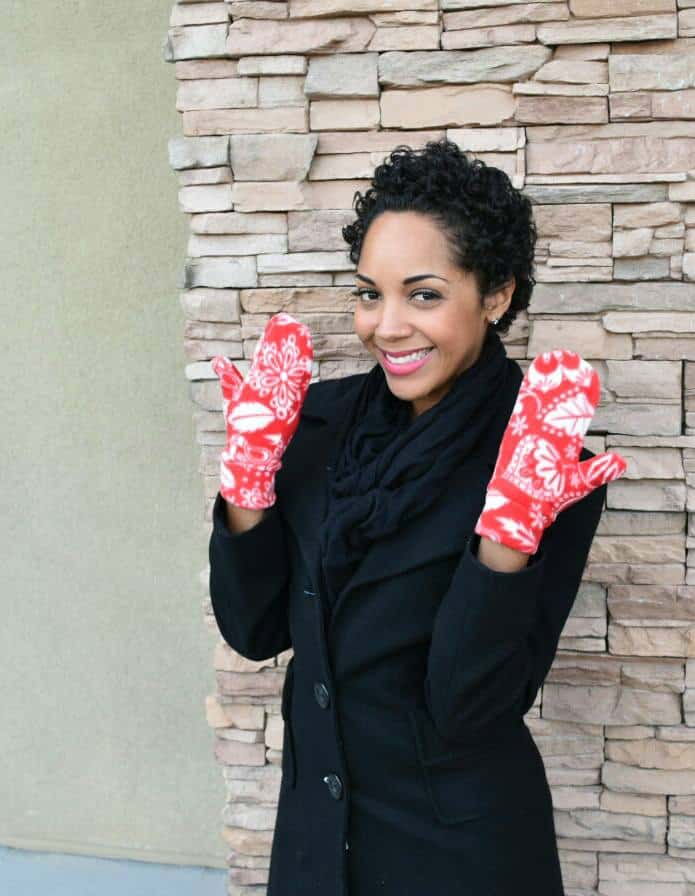
The Pirate Crew is here to bring a little more “yo ho ho” into your holiday with some freebies!  Today is the first of three patterns we are releasing, for FREE!  In case you were stumped on Christmas sewing ideas, here is the first of our scrap-busting, super quick, free patterns.

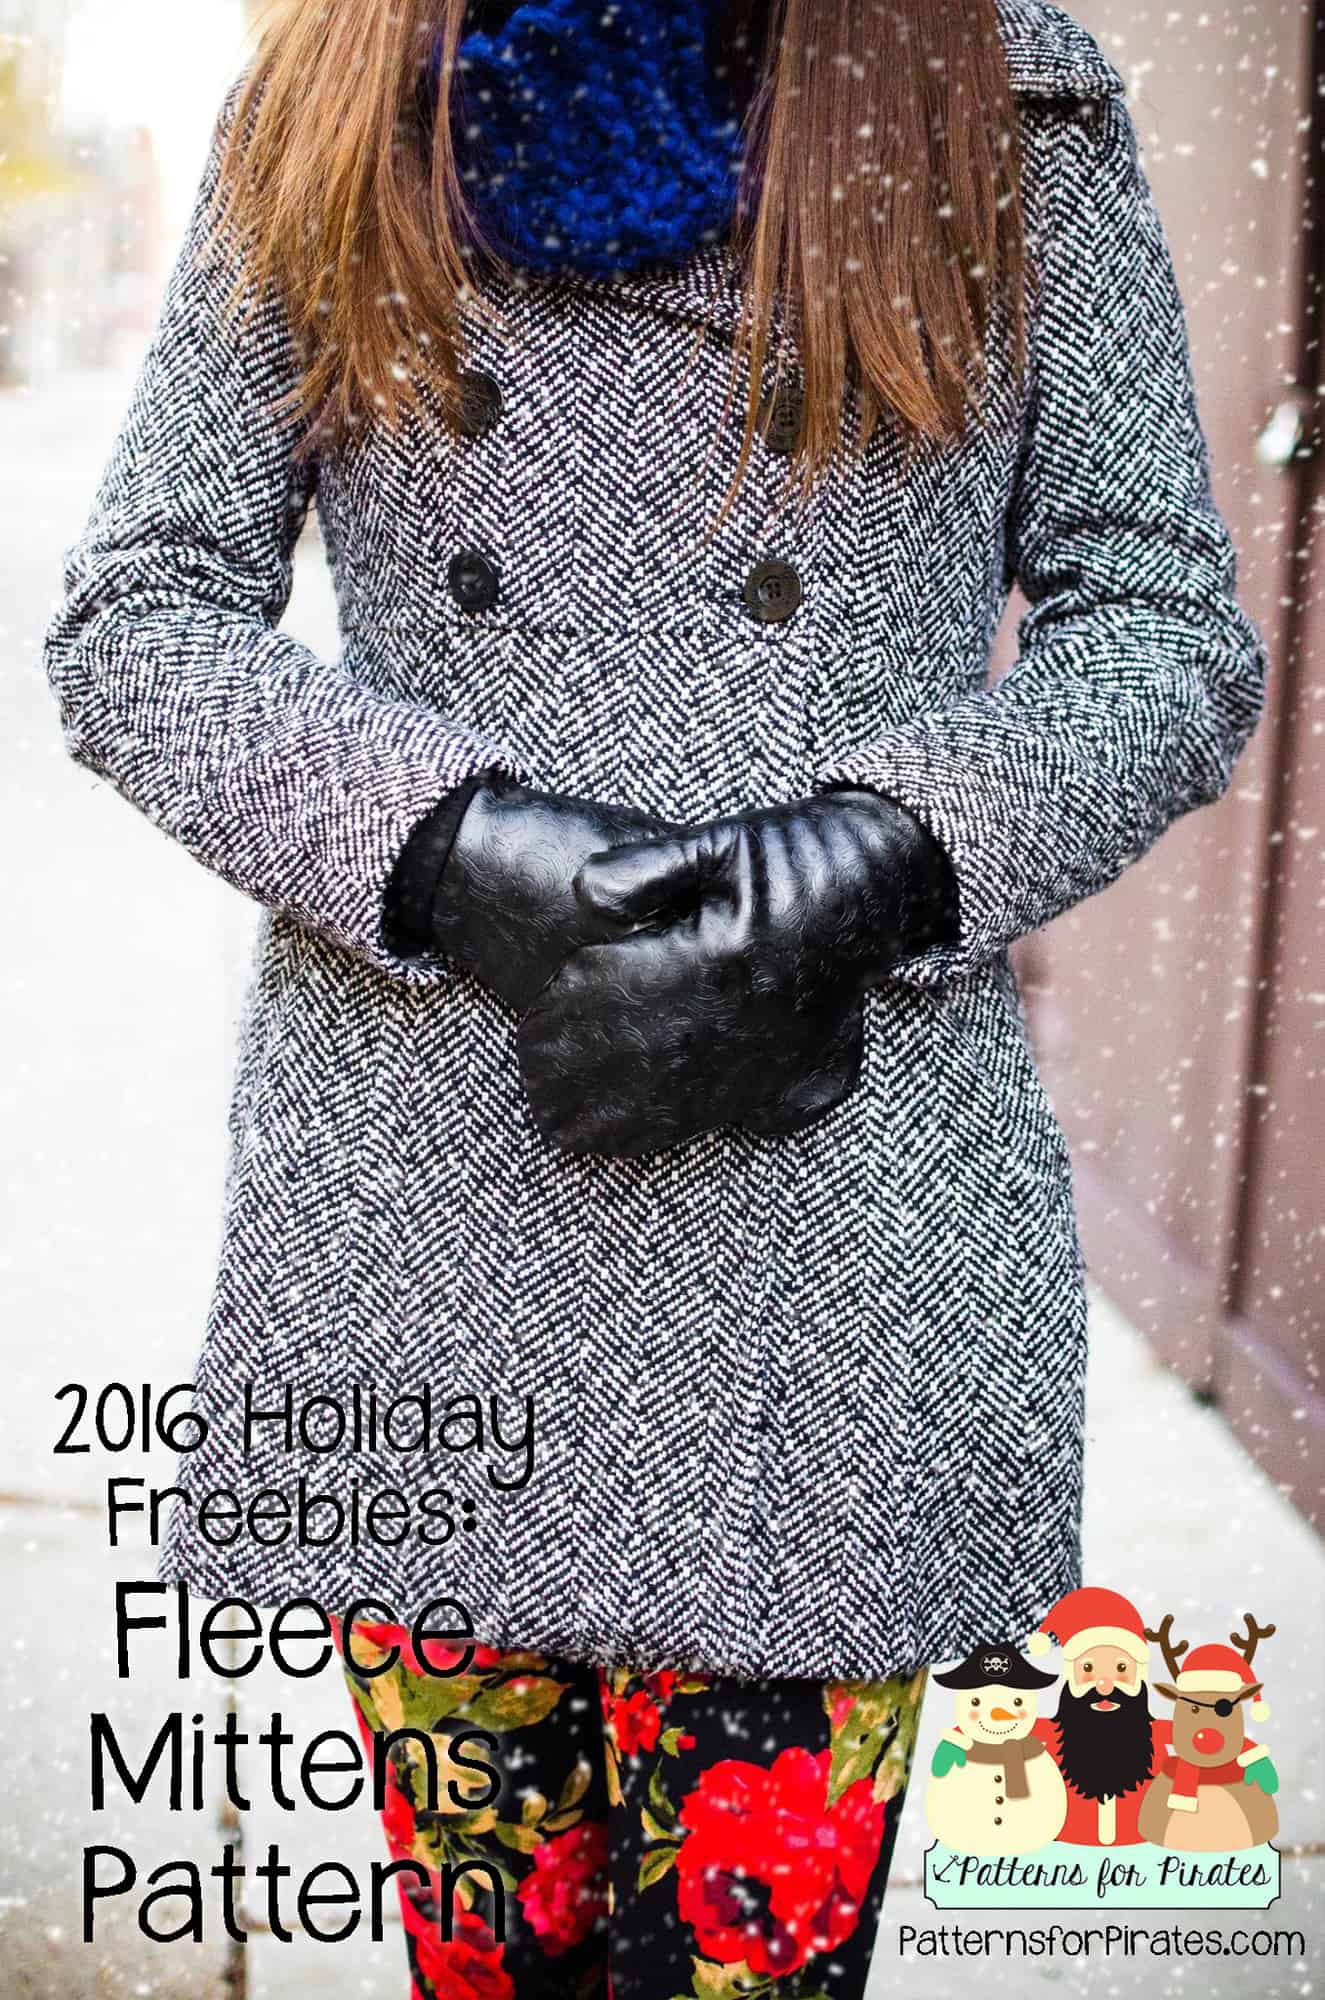
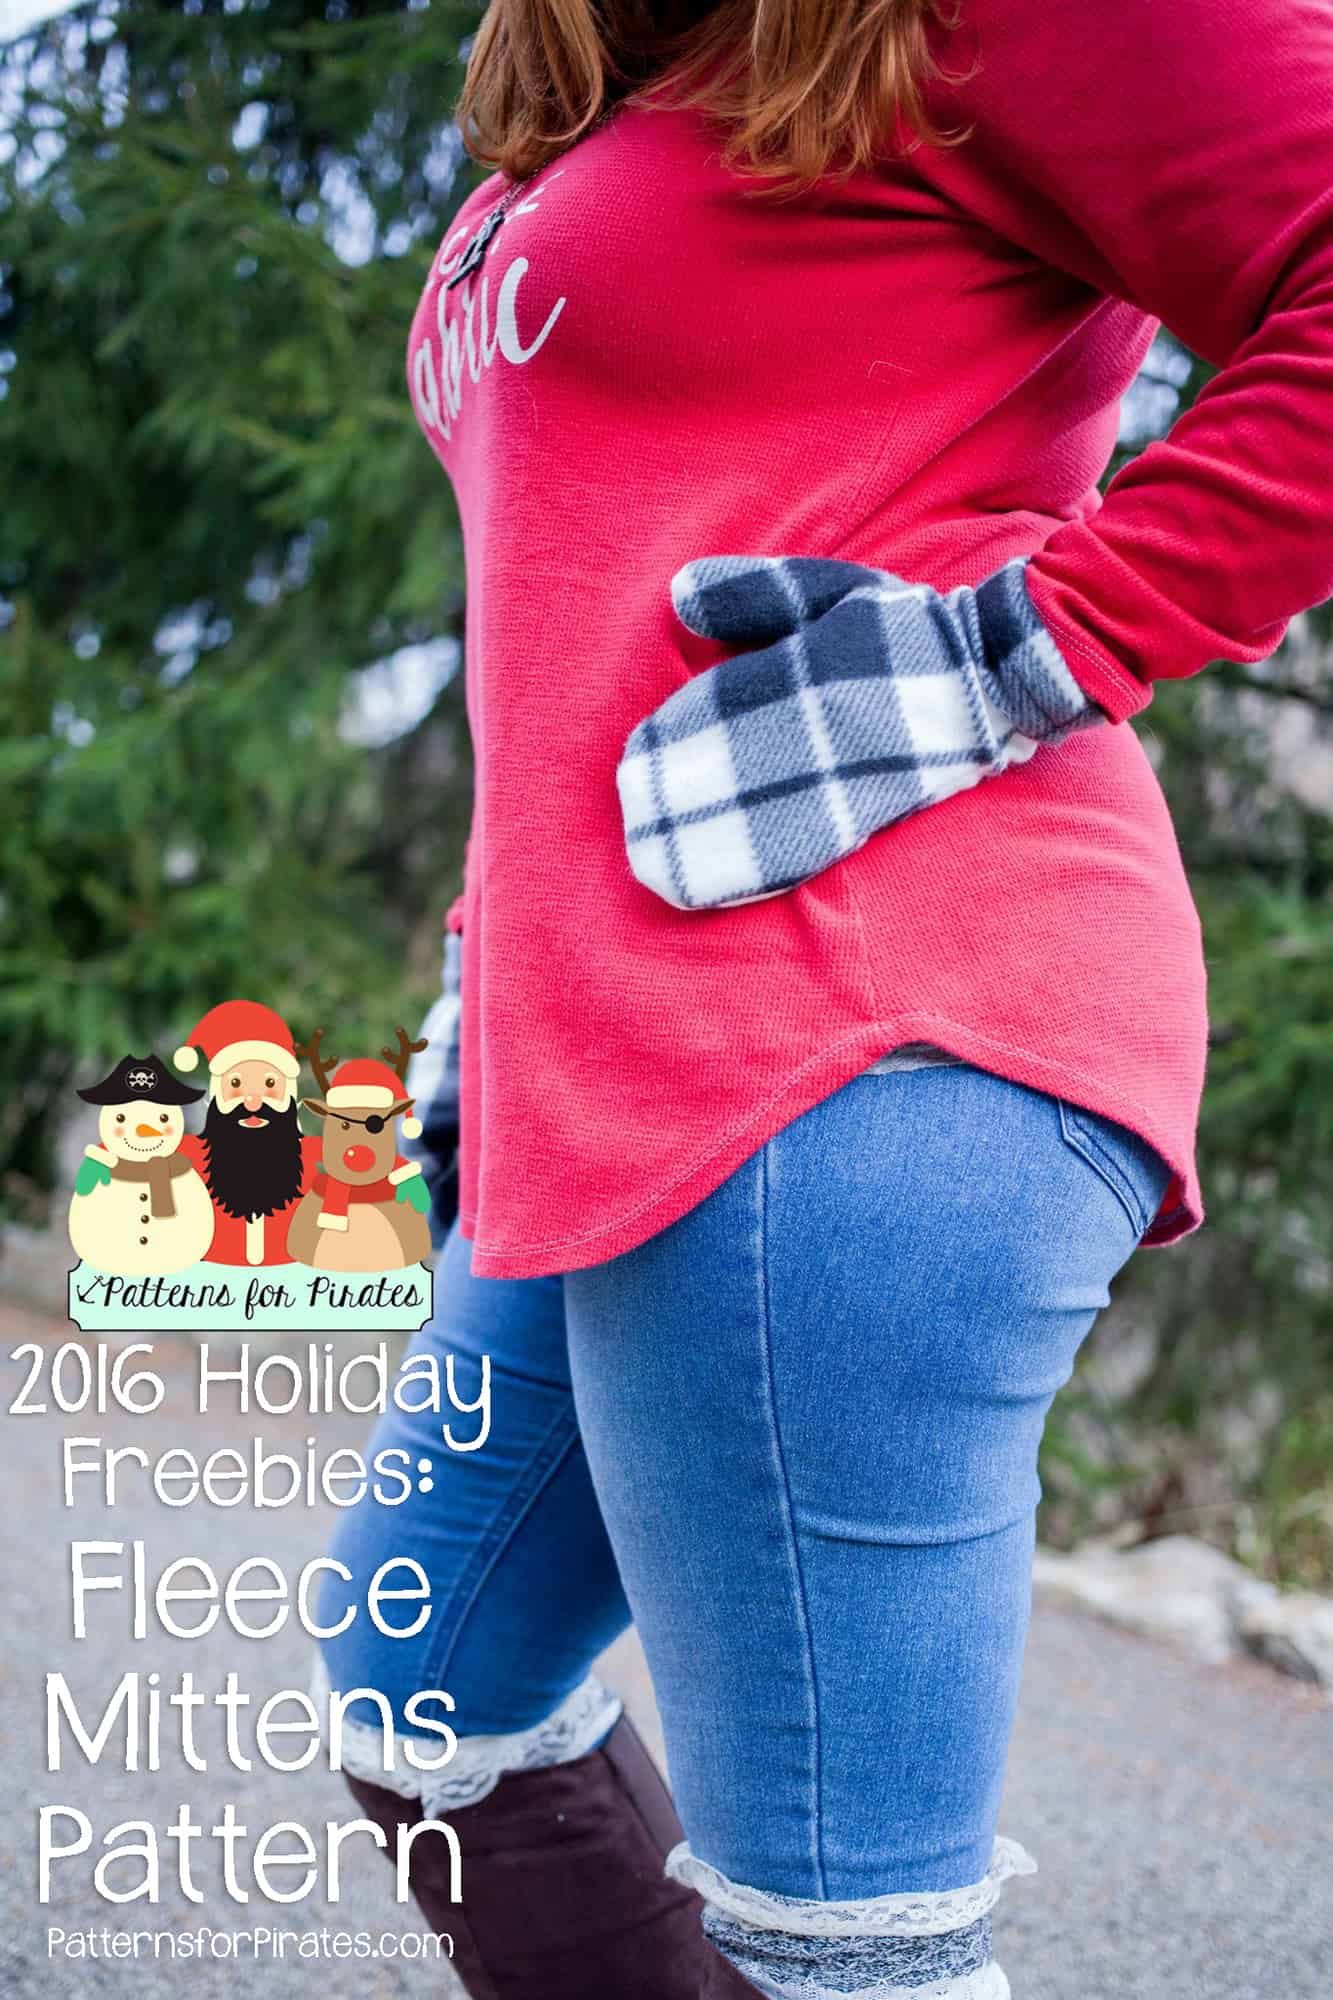
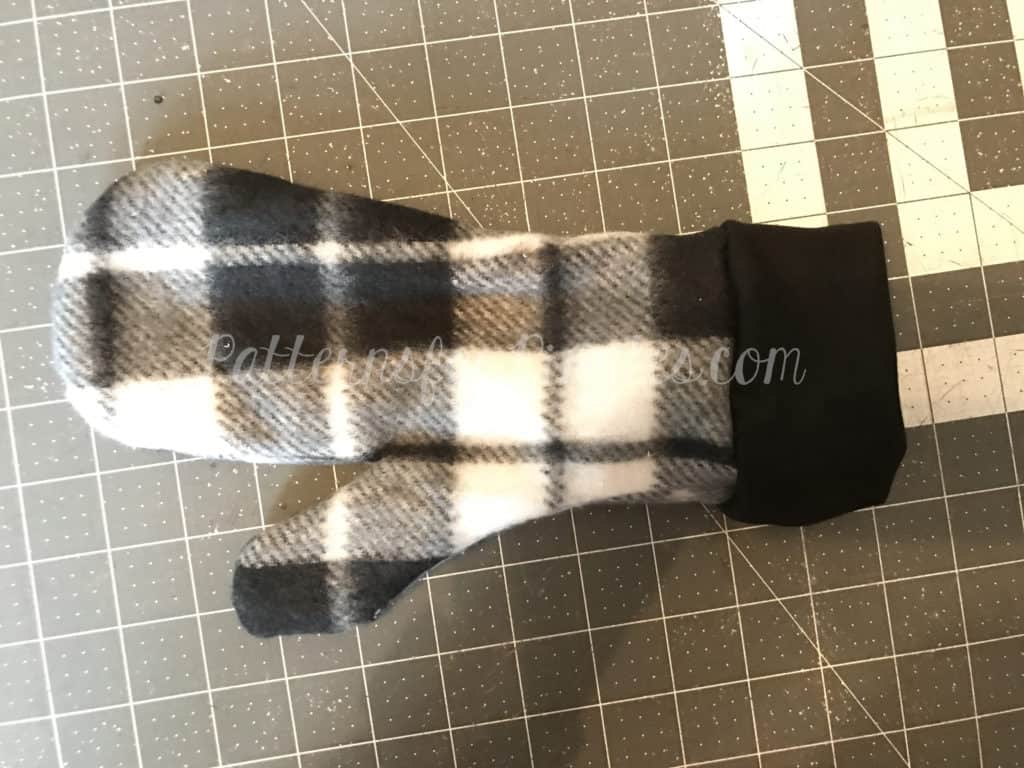
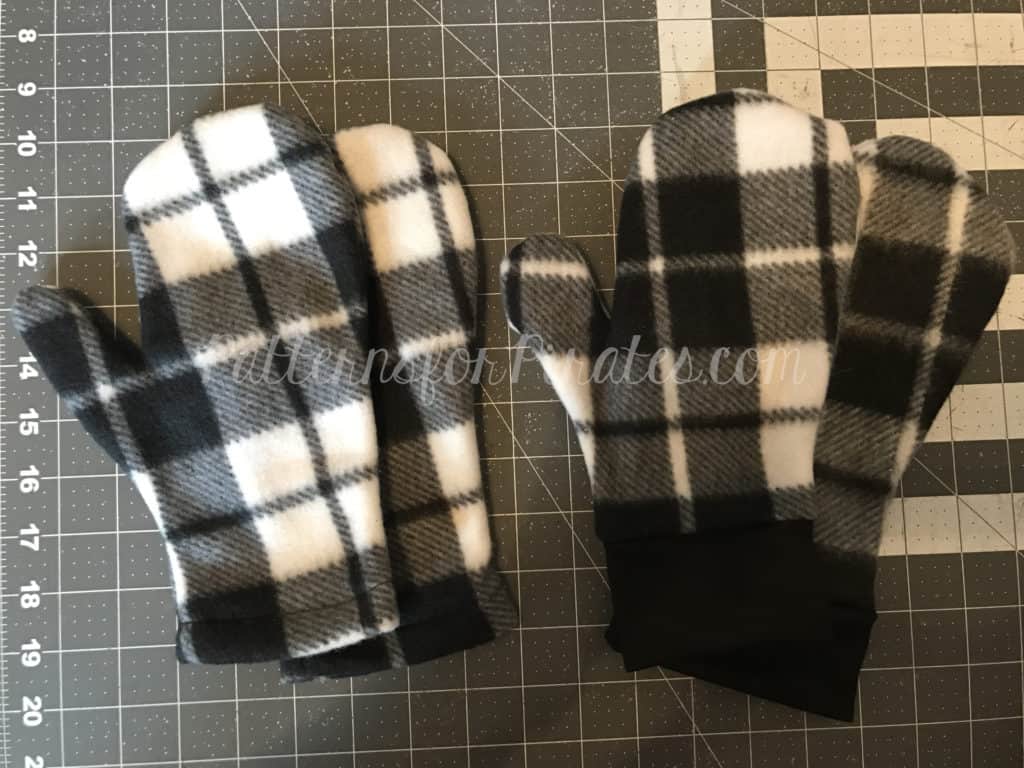
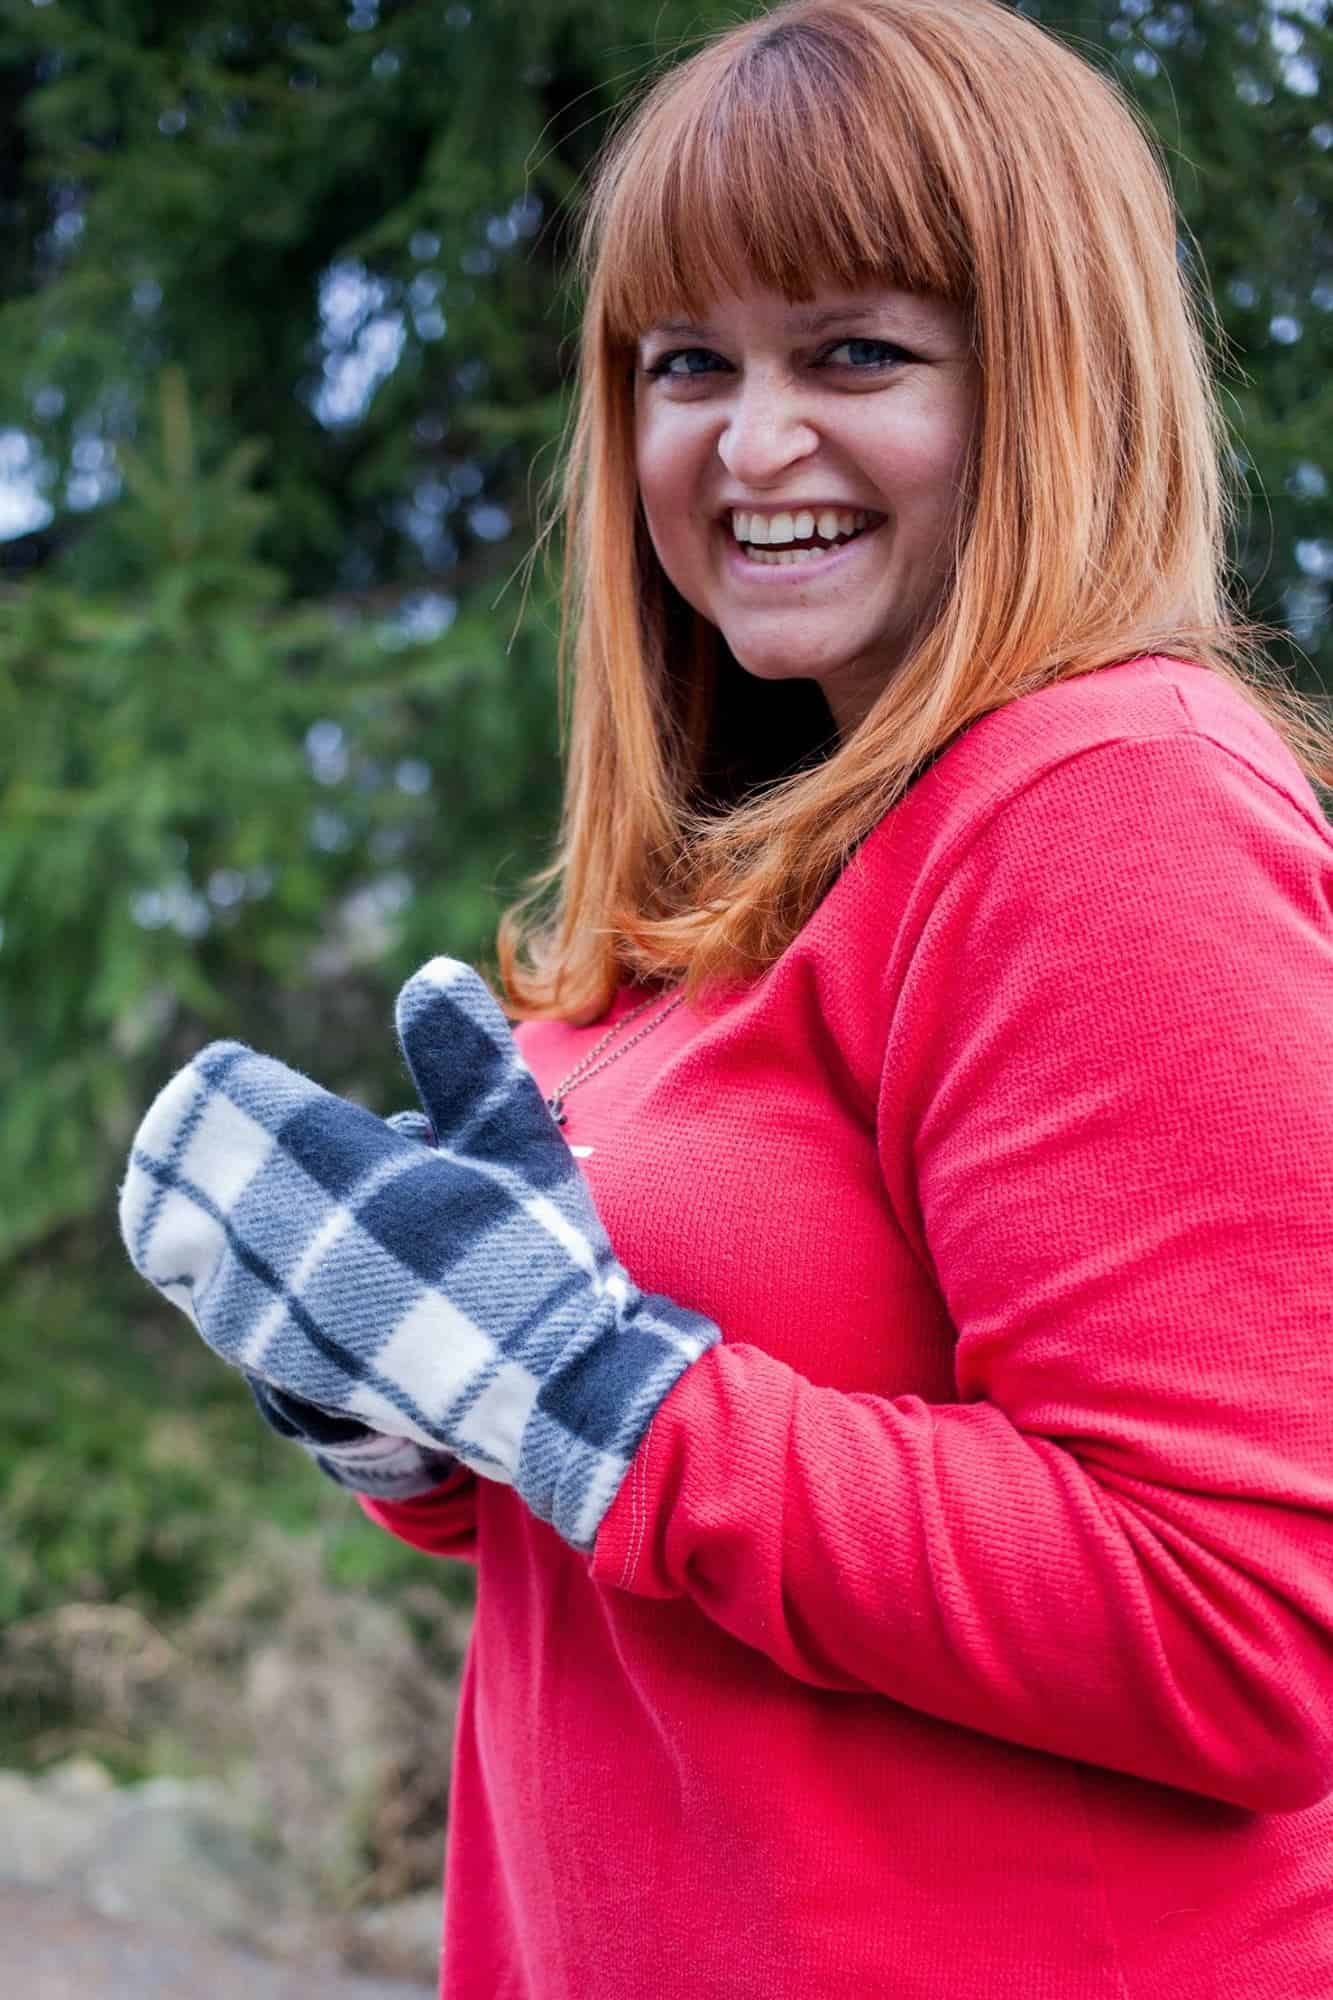
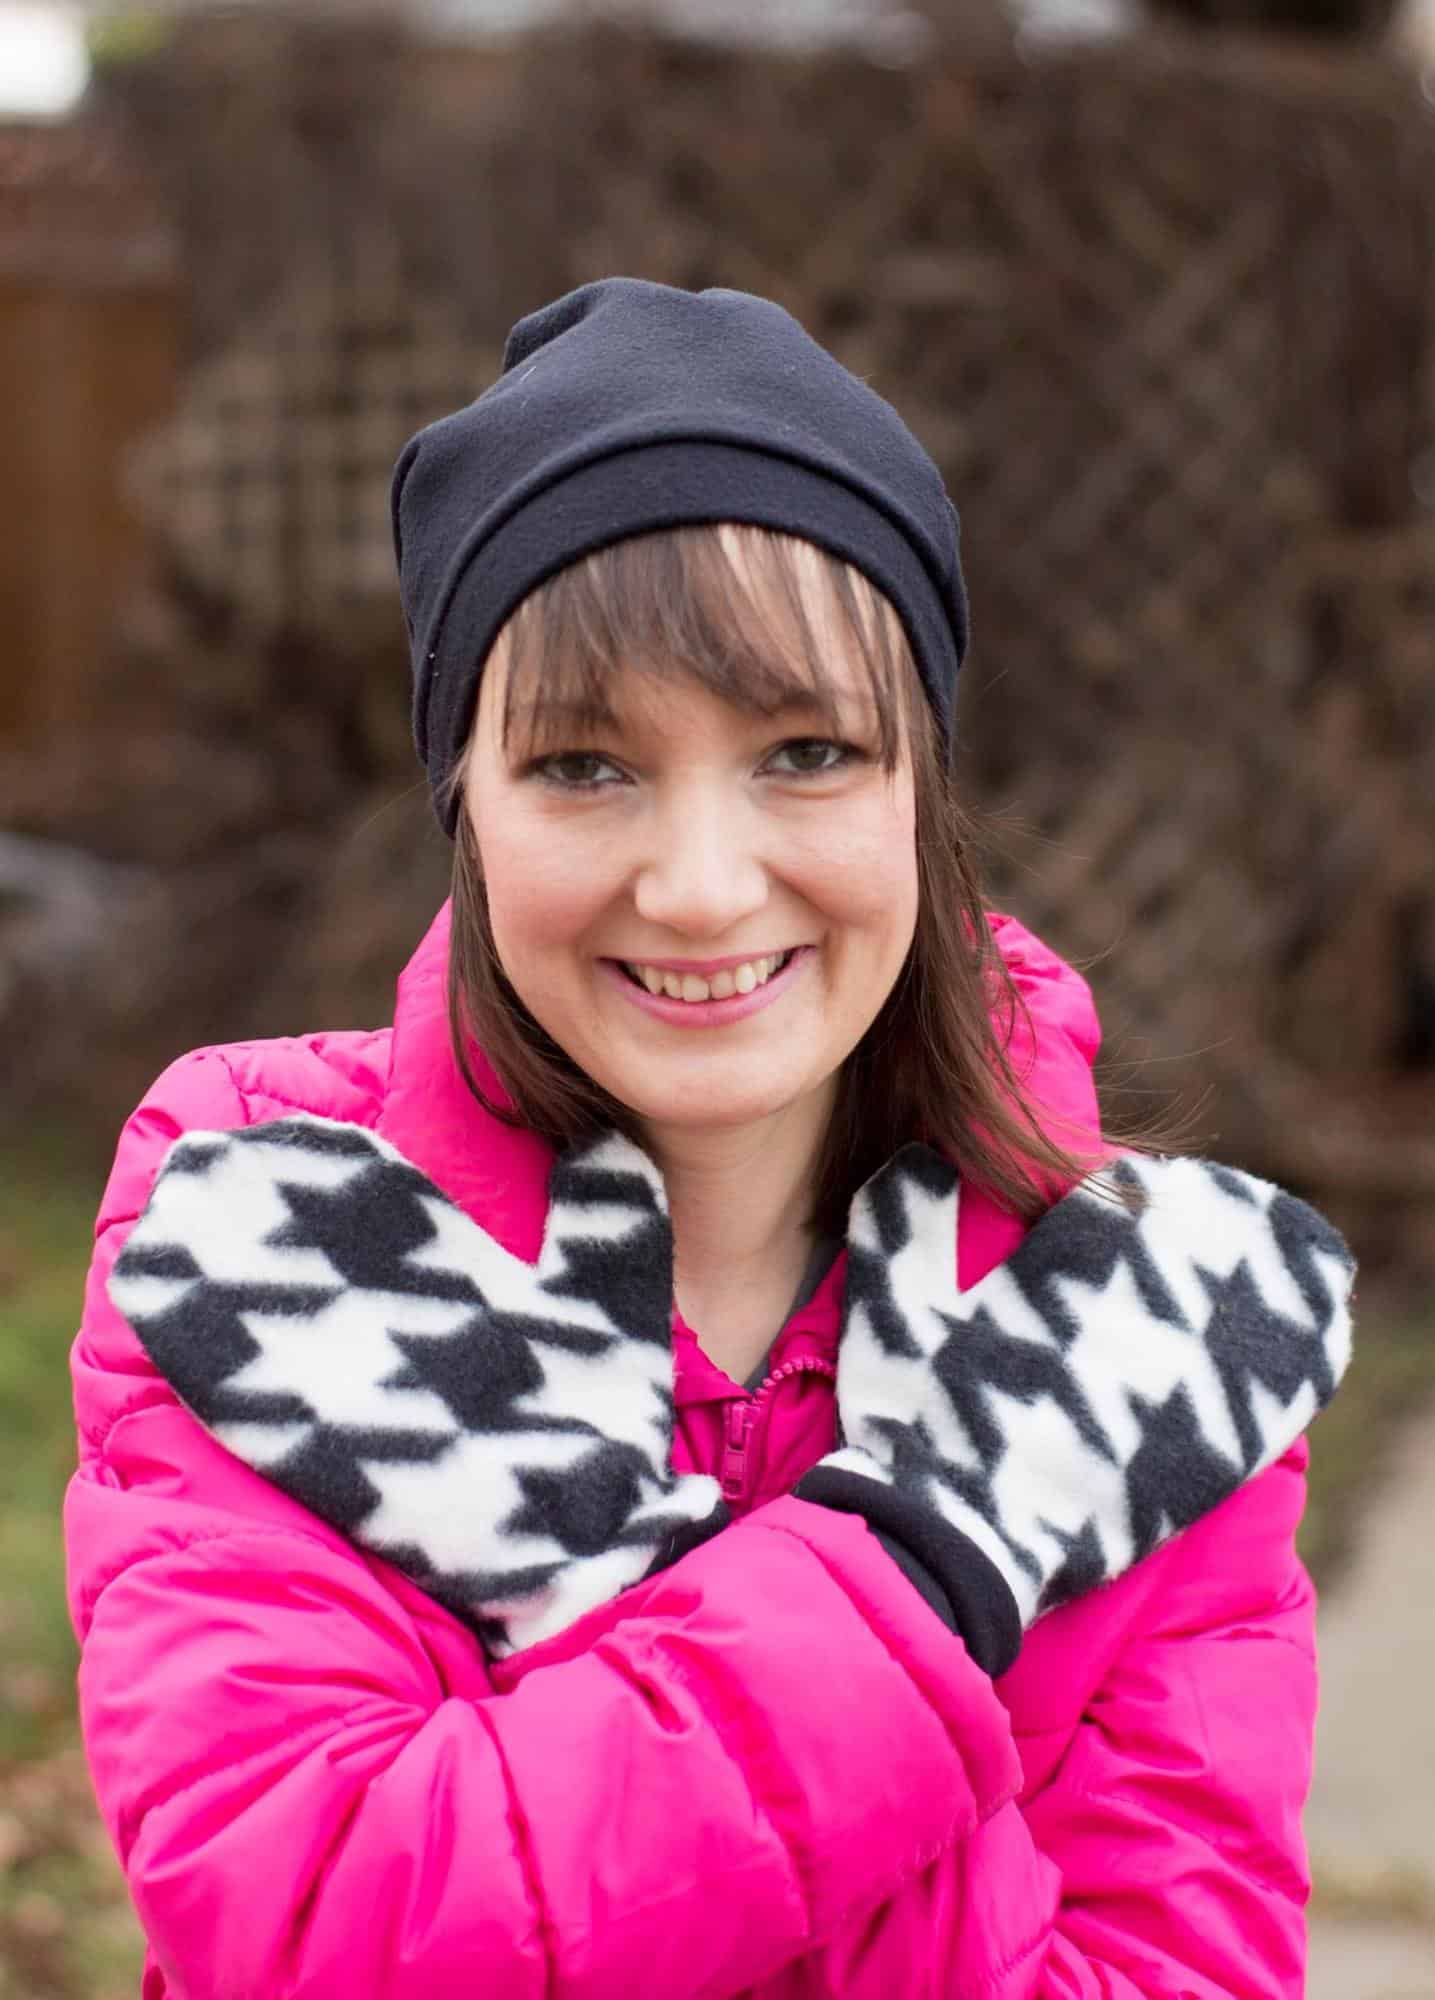
p4p-fleece-mittensp4p-fleece-mittens2 p4p-fleece-mittens3

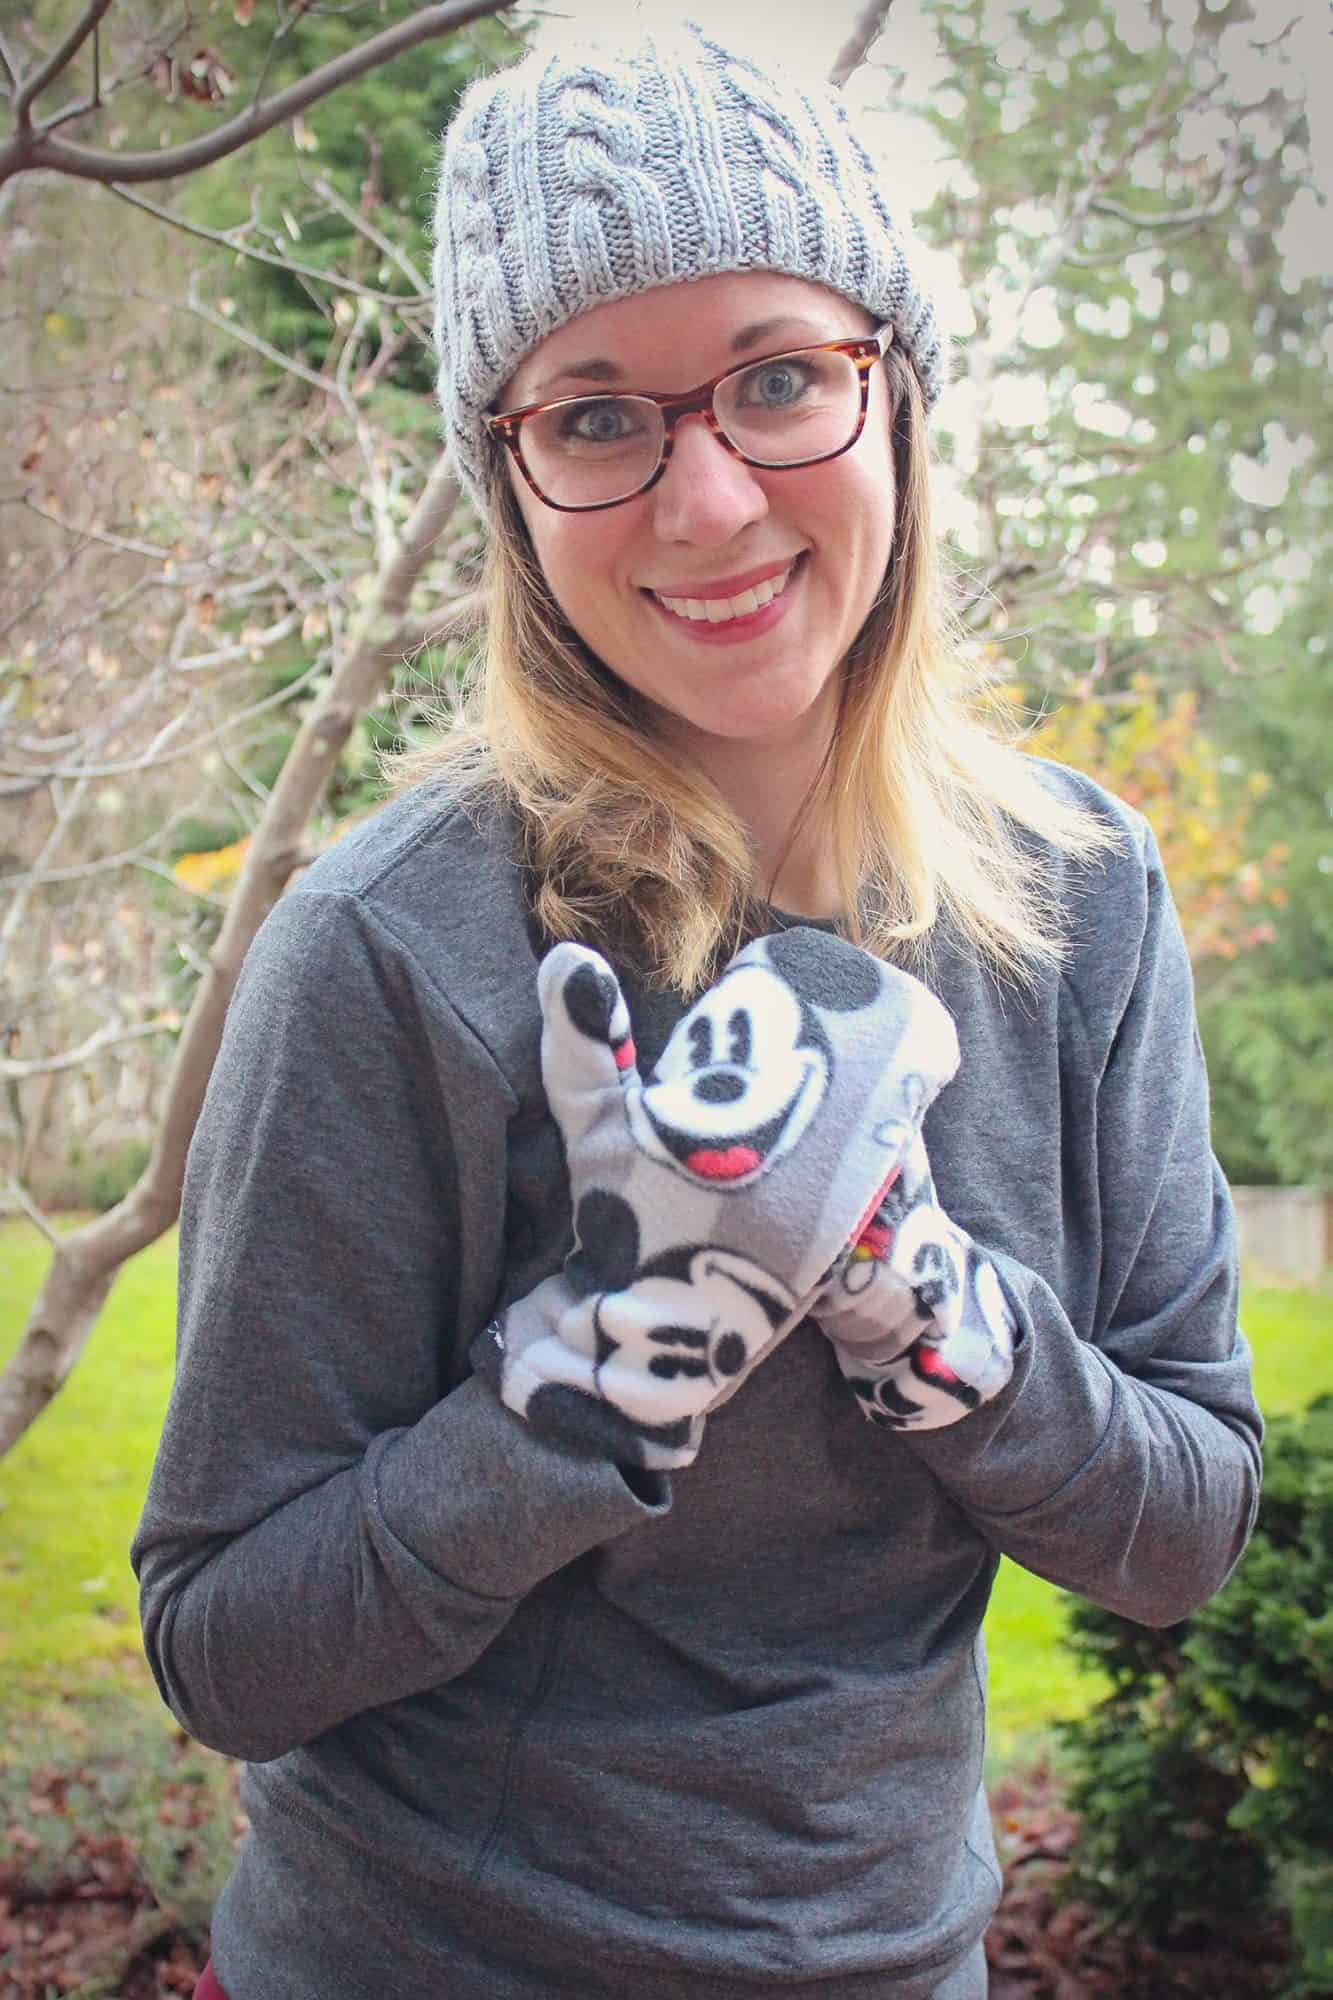
These mittens are a one-size fits most.  We’ve also provided a cuff and a non-cuff version, so you can mix other fabrics into these easily if you’d like.  The pattern is written for a basic fleece fabric, though some of our testers have had success with sweater knits and other various fabrics.

Grab your free pattern pieces here. If you need help putting the pattern together, pop over to the First Time Users Tips page or ask in our facebook group .

Note: I use my sewing machine for the construction of the mitten body, because the thumb area can be really tricky if you’re using a serger.   When using fleece, it helps to use a walking foot in your machine to help reduce pulling.  It also makes feeding the fleece through your machine a more even process.

Recommended fabrics: Fleece, cuddle/minky, sweatshirt fleece, upcycled sweaters, etc. I suggest washing your fabric before you begin to pre-shrink & help prevent color bleeding in the future.
(Optional cuff) Any knits with at least a 20% stretch.


Supplies needed:

1/3 yard Fleece fabric
(optional cuff) less than 1/4 yard required

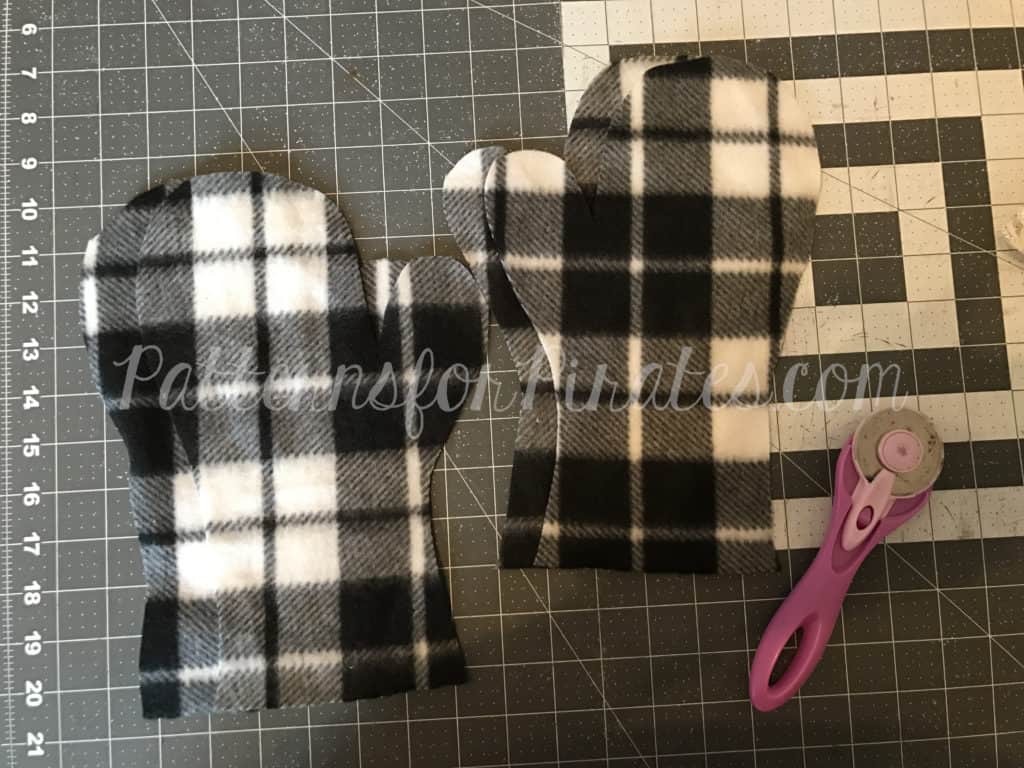
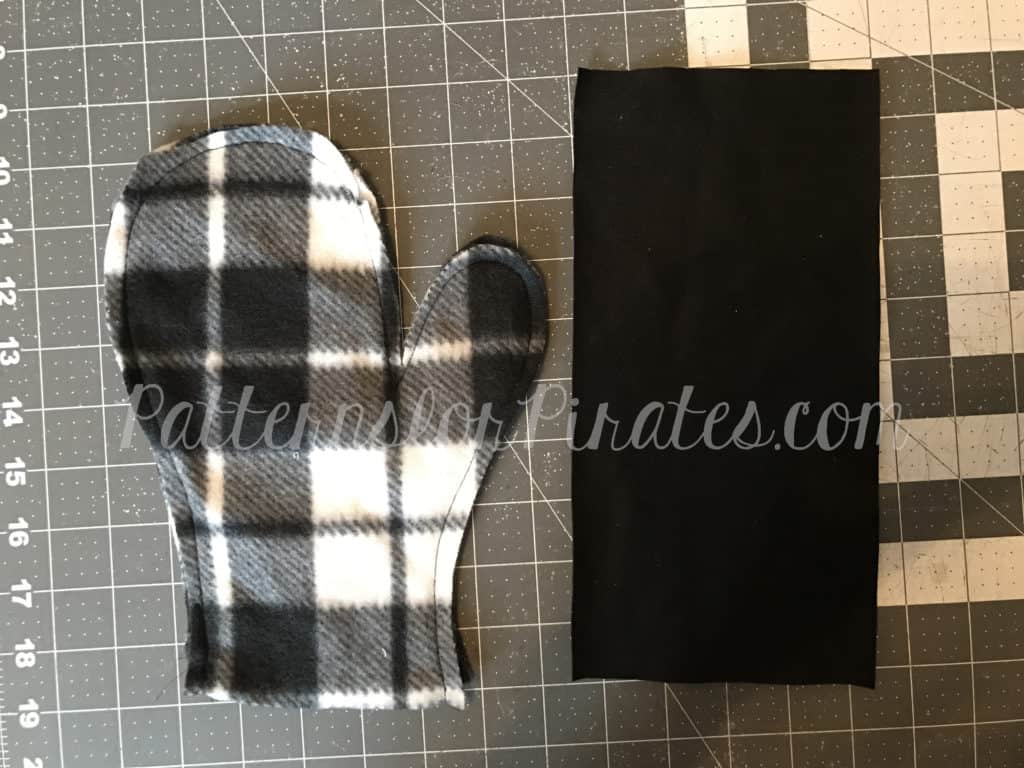
Step 1: Assemble your pattern and cut your pieces out.  You will need two sets of mirror images of the main body pieces.

mitten1

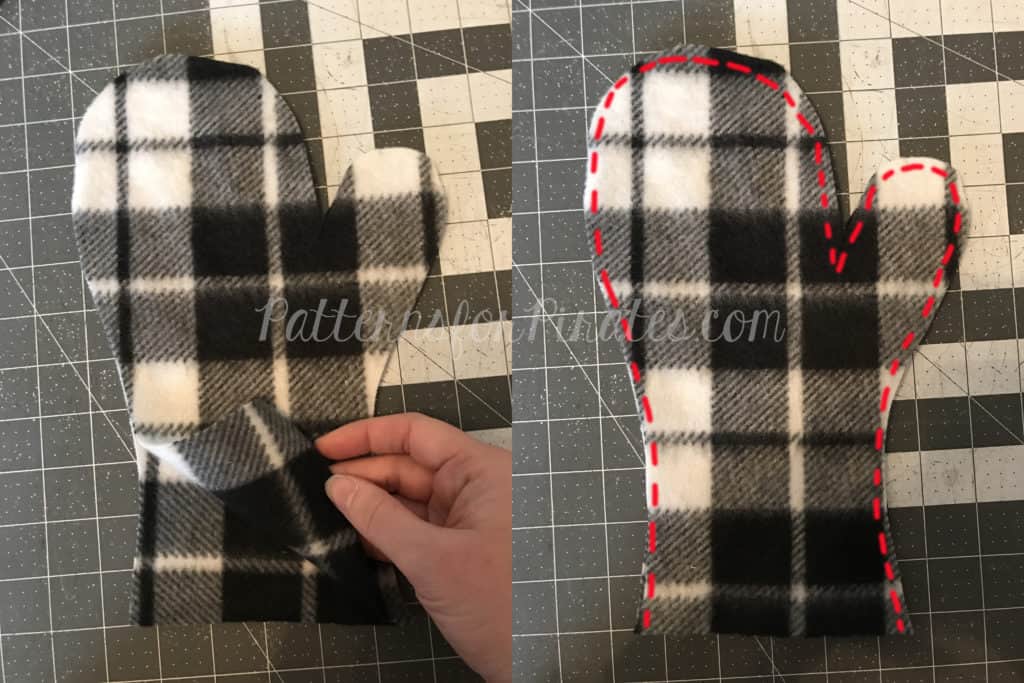
Step 2: Lay two mirror images, right sides together.  Using 1/2″ seam allowance, sew around the entire outside of the mitten body.  Make sure to leave the bottom open.

mitten2

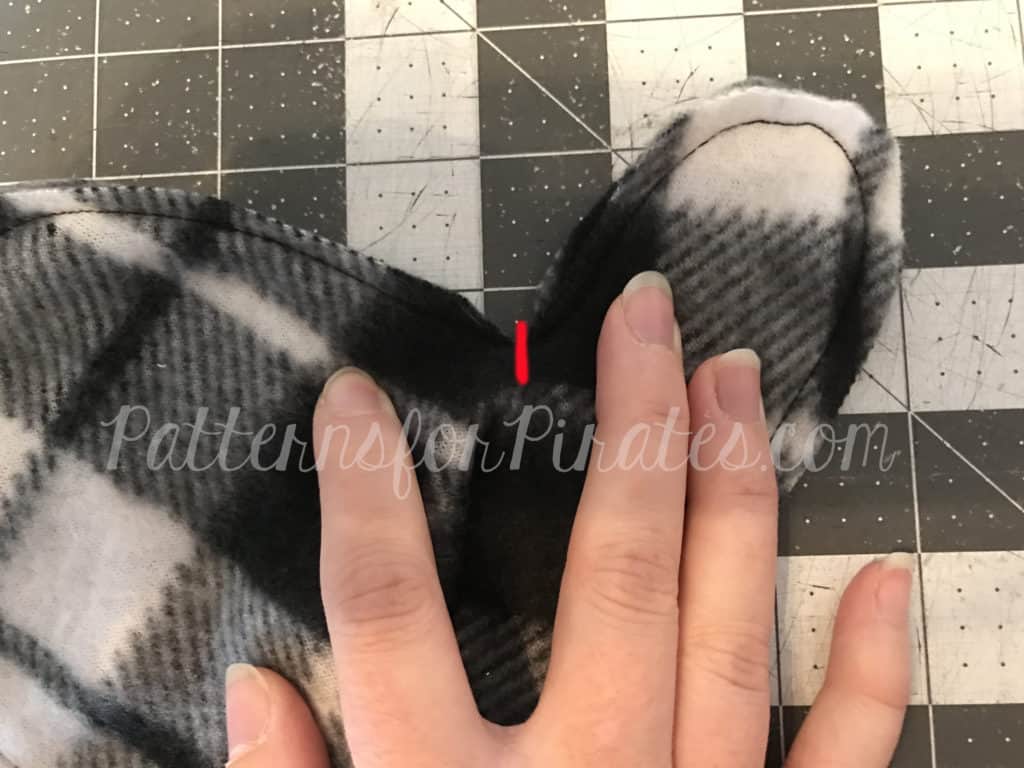
Step 3: Clip the corner between the thumb and fingers, making sure not to cut into your stitching, but getting as close as you can to it.  This step is super important, otherwise the mitten will fit really strange in the thumb and it’ll be super uncomfortable.

mitten3

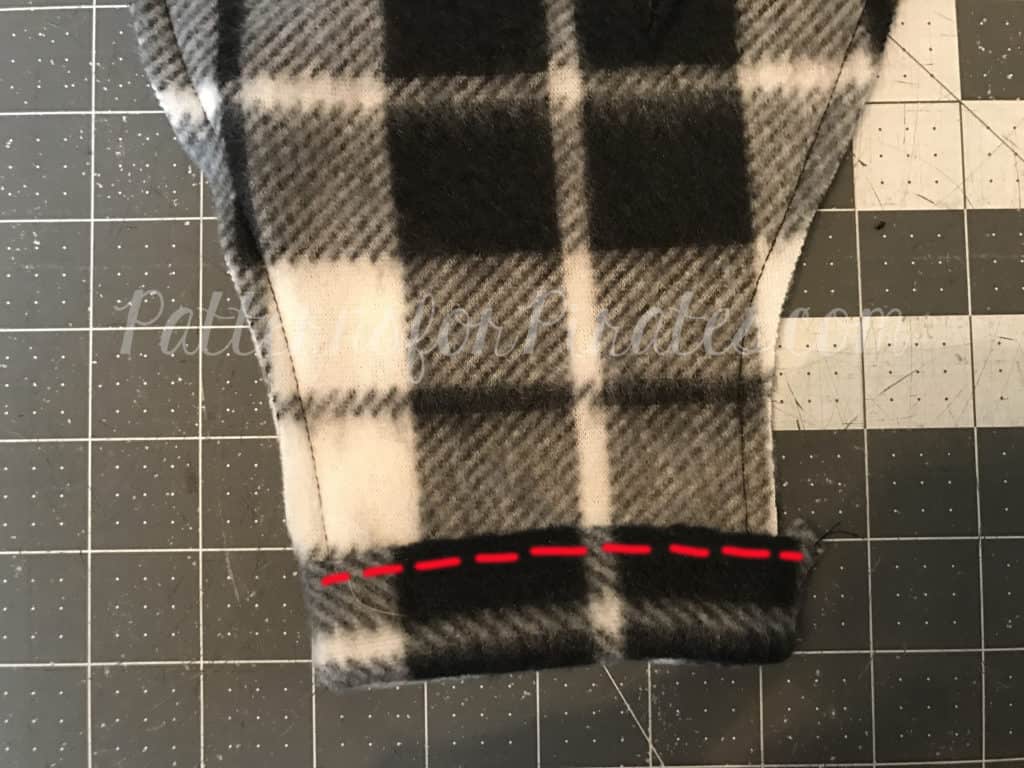
Step 4: [If doing the cuff version, skip to step 6] Turn the opening up 1″ and hem.  (Optional: turn 1/2″ and then another 1/2″ to enclose raw edge.)

mitten4

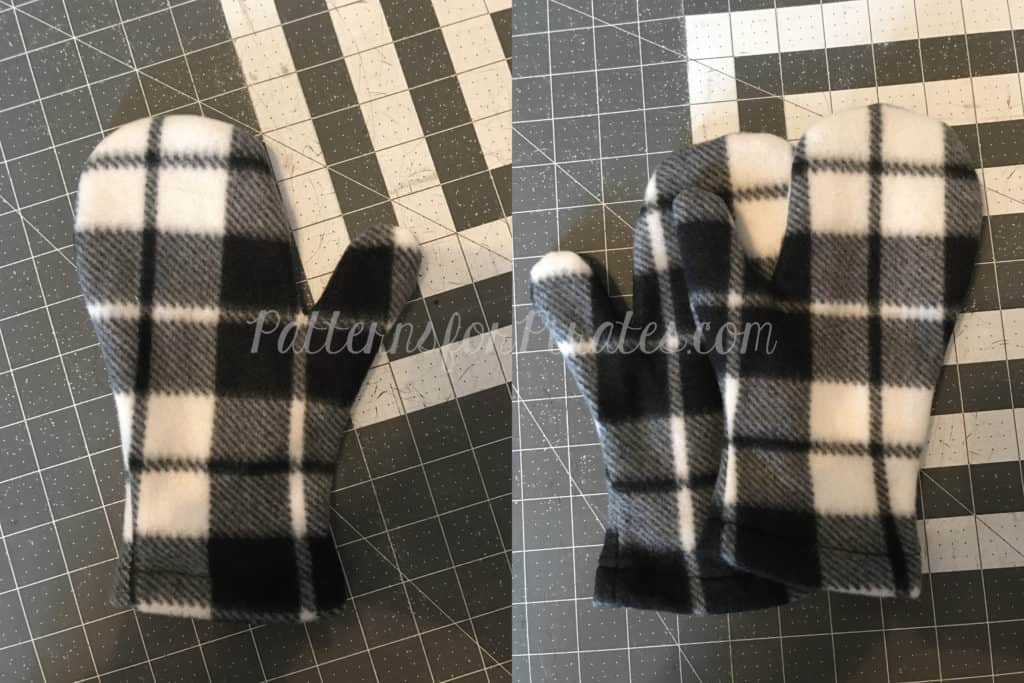
Step 5: Turn mitten right-side-out.  Repeat with second mitten.

mitten5

Step 6: CUFF VERSION ONLY Complete steps 1-3.  Also cut 2 cuff pieces, one for each mitten.

mitten6

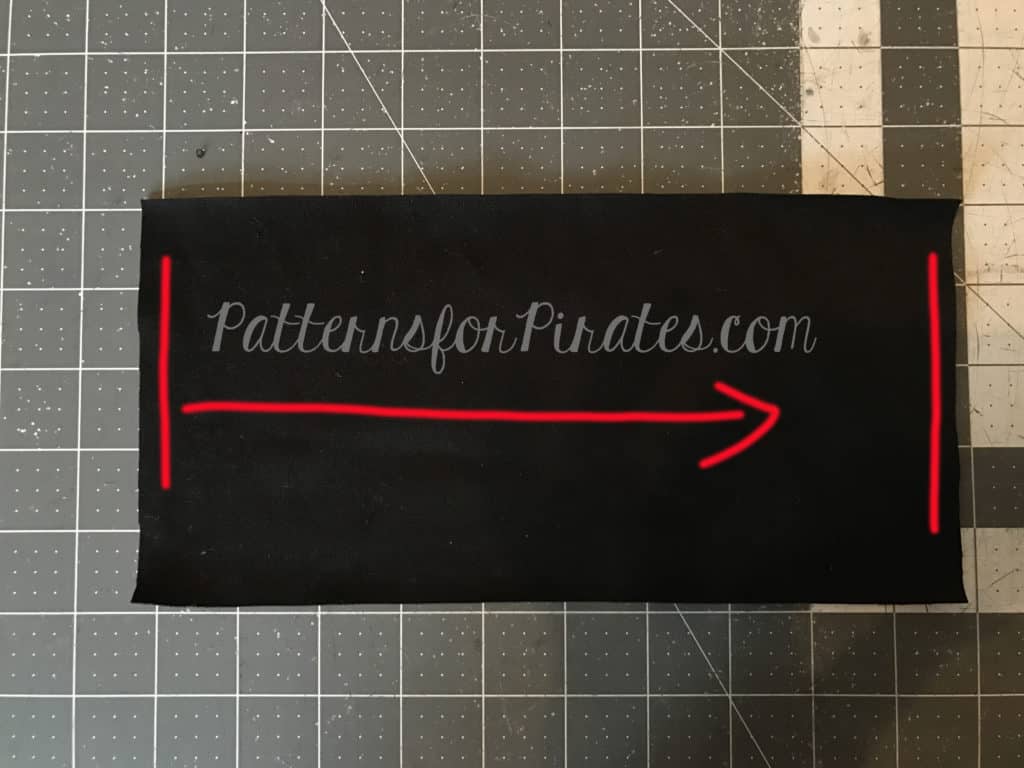
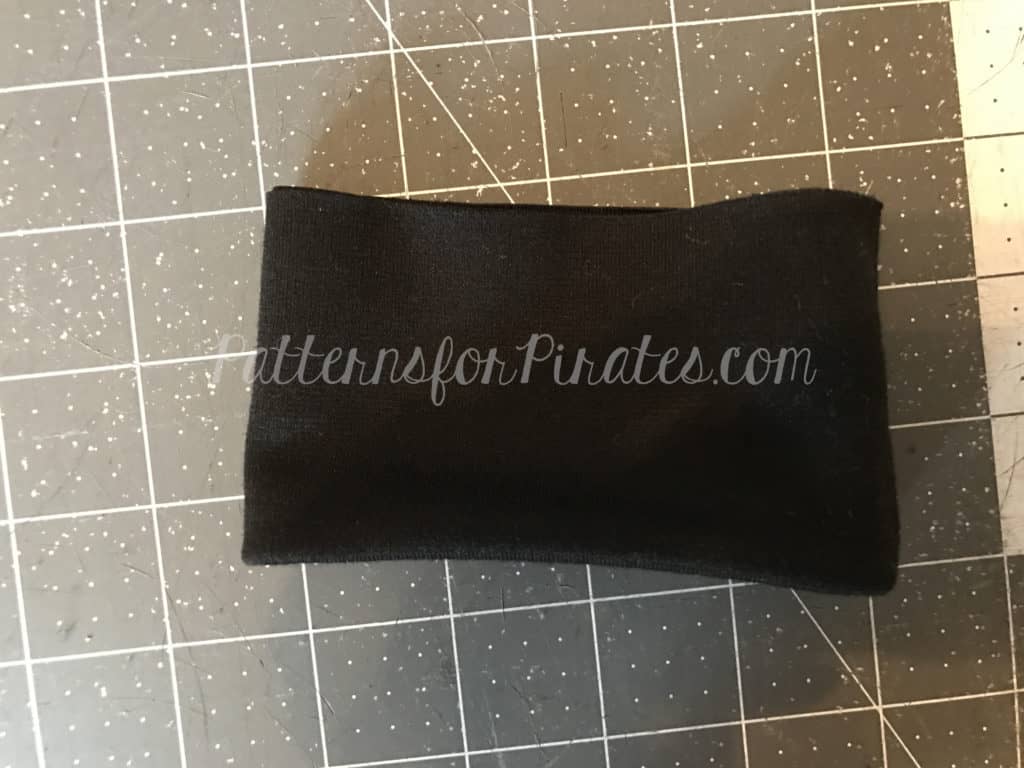
Step 7: Fold your cuff piece, right sides together, meeting the shorter ends together.

mitten7

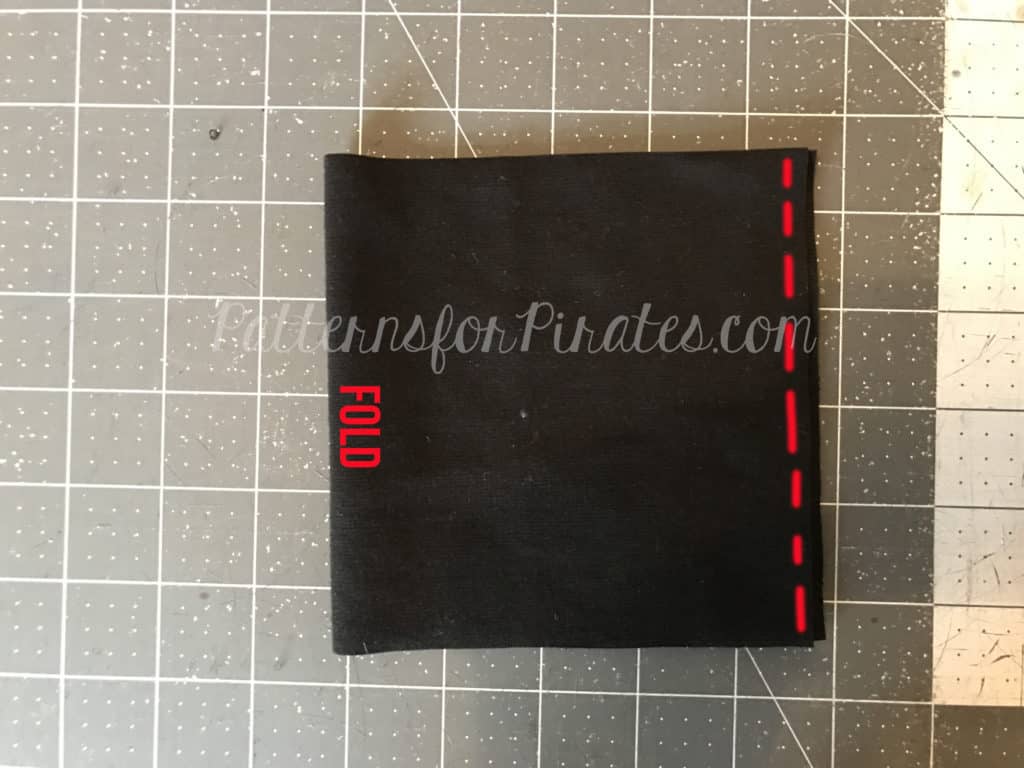
Step 8: Stitch (using 1/2″ seam allowance) short ends together.

mitten8

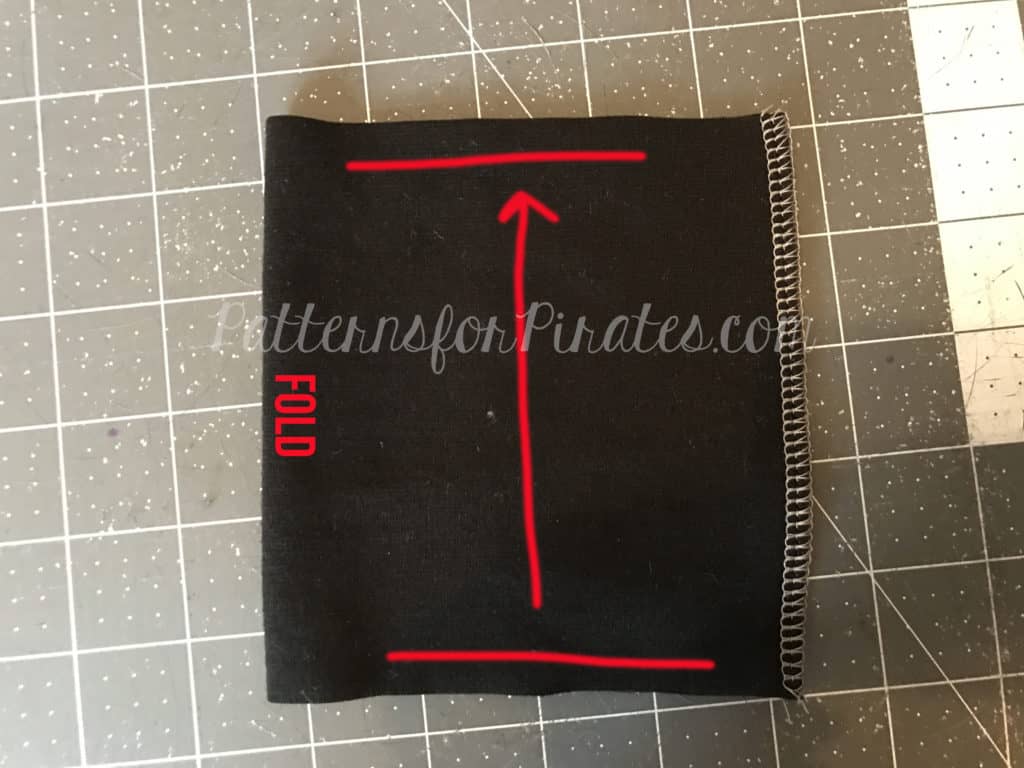
Step 9: With wrong sides together, fold the raw edges together to meet each other.

mitten9mitten10

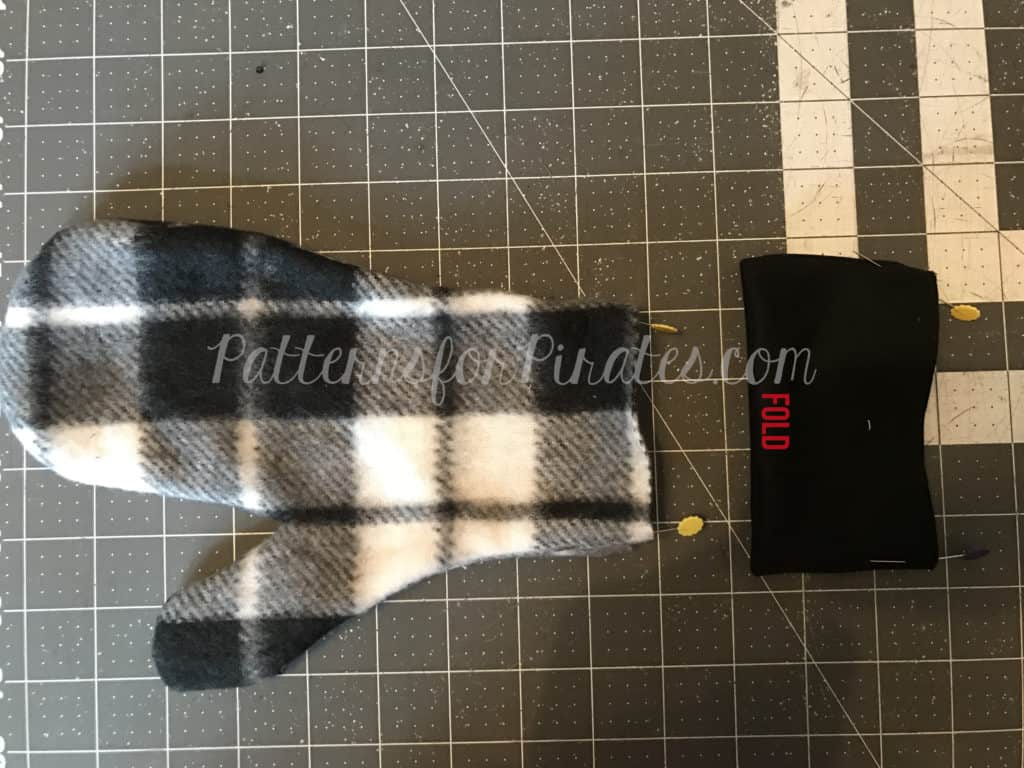
Step 10: On both your mitten body and cuff pieces, mark raw edges into halves.  (The mitten body will be the two seams.  The cuff will be one seam and the halfway point on the opposite side.)

mitten11

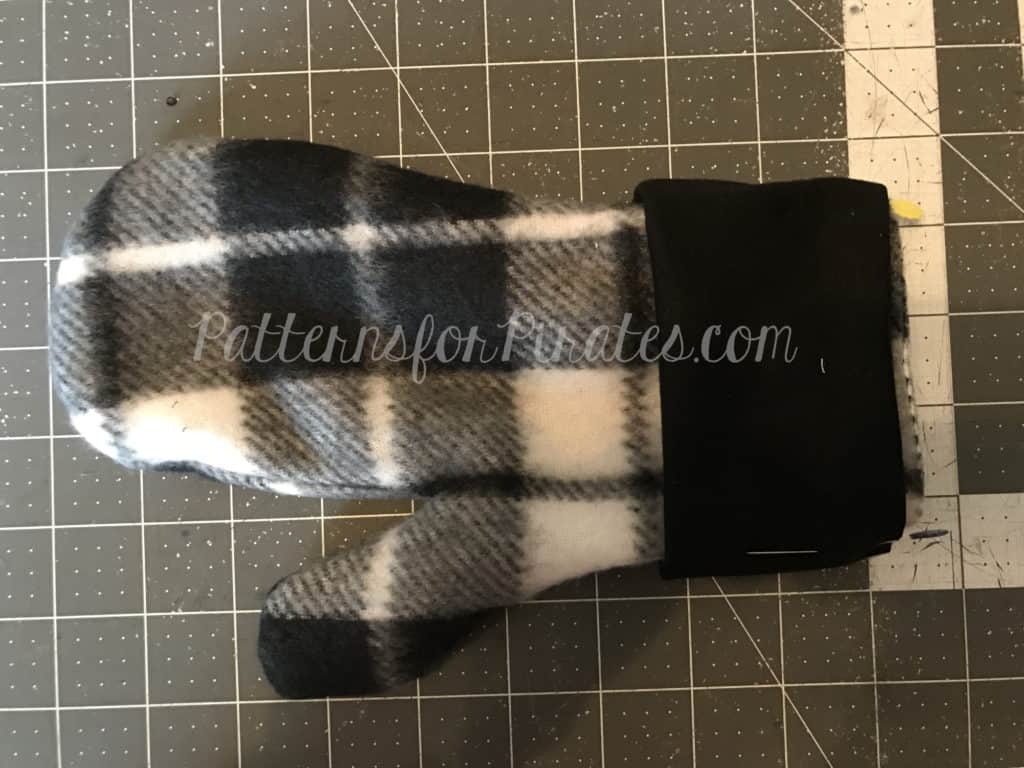
Step 11: Slide the cuff over the mitten body, aligning the raw edges and matching the half-marked points.  Note: The cuff is slightly smaller than the mitten body.

mitten12

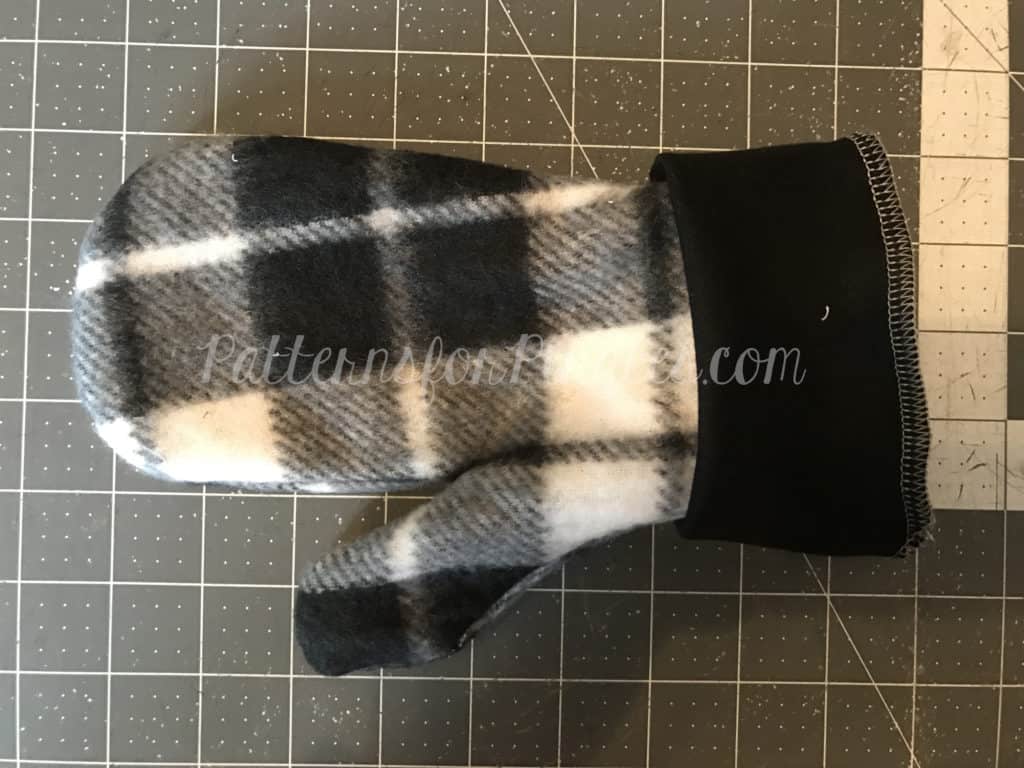
Step 12: Stretching the cuff only, stitch through all three layers of raw edges.

mitten13

Step 13: Flip cuffs down.  Repeat with other mitten.

mitten14

Step 14: Sit back long enough to admire your handiwork, and then go sew a million more pairs of these comfy mittens!

mitten15


Check out the adorable mittens that our gorgeous testers made!  (And check back with us next week, because we’ve got more freebies coming your way!)


As always, we love when you share what you’ve made with us.  Head over to the Patterns for Pirates Facebook group and show off the fabulous mittens you’ve managed to make from our freebie pattern!

Filed Under: Free Pattern 2 Comments

Cocoon Cardigan :: New Pattern Release!

December 1, 2016

Lately, we seem to tease you a lot with patterns in-the-making.  Tease.  It’s what we do.  The Cocoon Cardigan was a long, drawn out tease, with multiple appearances in our Instagram feed.  But guess what?  It’s here!  The wait is over!  No more teasing, we promise.

15304627_10103072937769963_6207666889718635781_o

Oh boy, you are going to LOVE this cardigan.  It’s like wearing a hug.  A hug that is full of customizable options, that is!

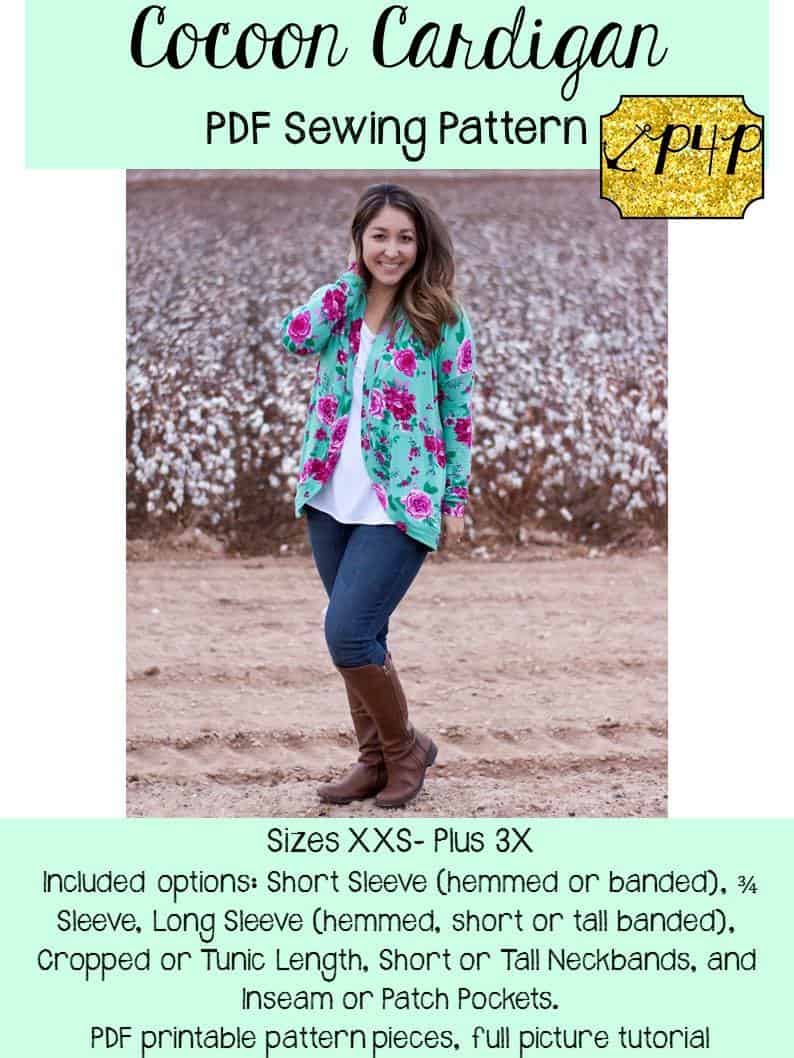
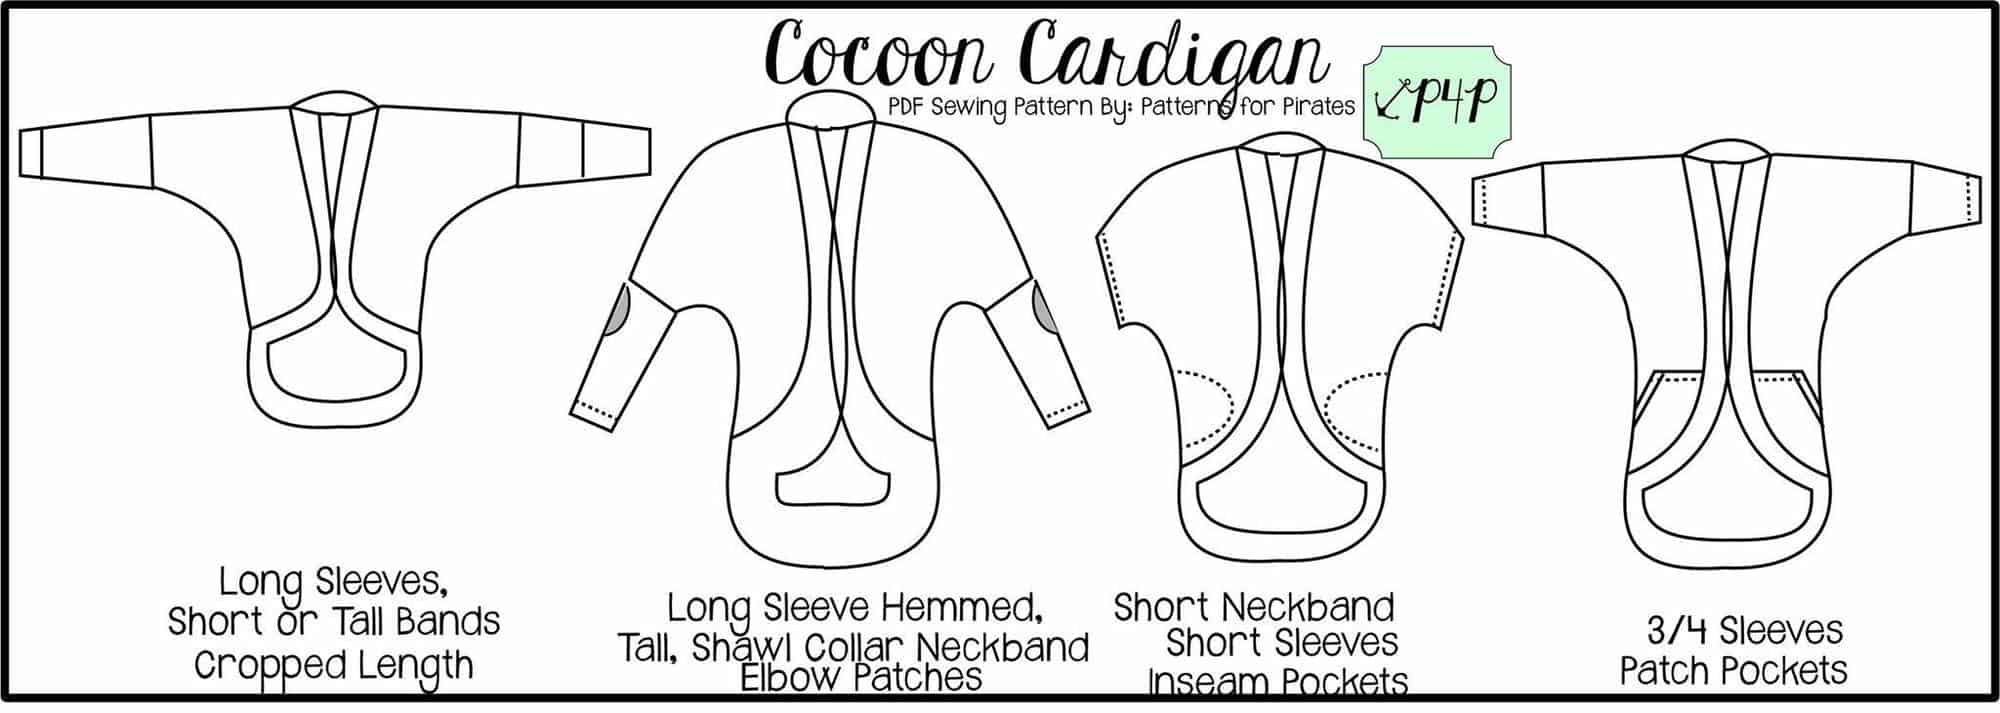
The pattern is drafted for sizes XXS – Plus 3X.  It’s a dolman style sleeve, so it’s looser fitted and insanely fast to put together.  There are THREE sleeve lengths (short, 3/4 and long — each with multiple band options), TWO hem lengths (cropped or tunic length), TWO neckband options (short or tall), and optional pockets (patch or inseam)!  On top of all of that, we have also included a  PDF layers feature for printing.

**Want to learn more about how to measure yourself for this pattern?  We’ve got you covered with an in-depth blog HERE.

15137489_10154721002299666_8899097620736985124_o

The three different sleeve length options will take you from one season to the next.  Choose between short sleeve, 3/4 length, and long sleeves and transition between all four seasons.

cocoon-sleeves

With two different hem lengths, you’ve got all of your bases covered.  Get more coverage with a booty-covering tunic…

cocoon-tunic-length

…or take it a little shorter and a whole lot sassier with a cropped length!

cocoon-cropped-length

And ladies.  Have we talked pockets yets?  POCKETS!  Doesn’t that make literally every outfit better?  We have included both in-seam and patch options.  So you can go wild!  (As wild as one could go with pockets on a cardigan, haha.)

cocoon-pockets

Were you wondering if the Cocoon Cardigan would work for maternity wear?  Yes, yes, a million times yes!  It’s perfect, no alterations required!

cocoon-maternity

Not quite convinced yet?  Go check out all of the rest of the gorgeous tester images in our Facebook group HERE and get inspired!

Can’t take it any  longer and need the pattern right now?!  Go grab your very own copy of the Cocoon Cardigan and get to sewing!


Filed Under: Pattern Release 9 Comments

Sew, what do I wear? Holiday Edition

November 19, 2016

swdiwlogo

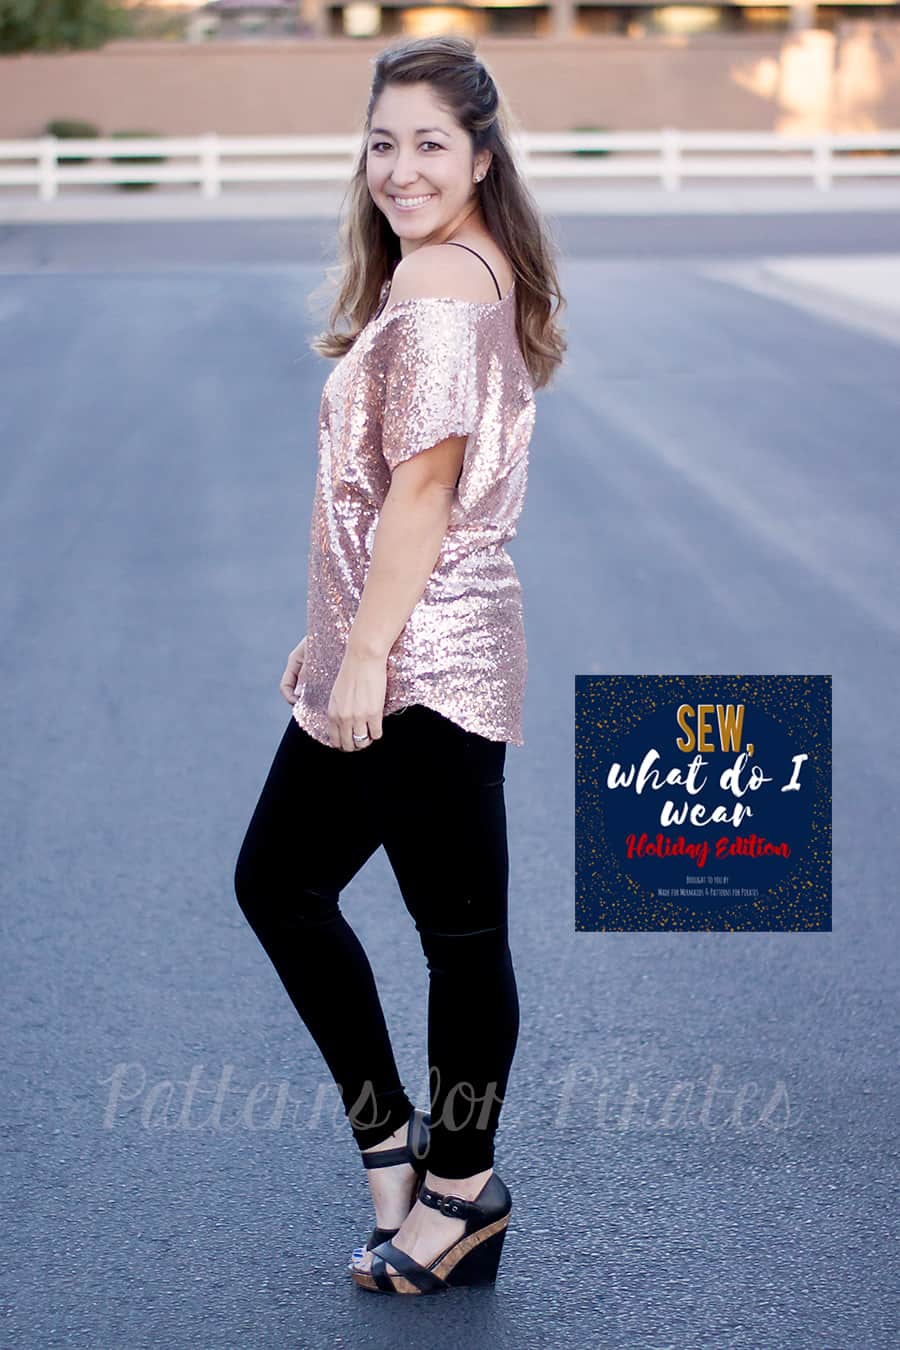
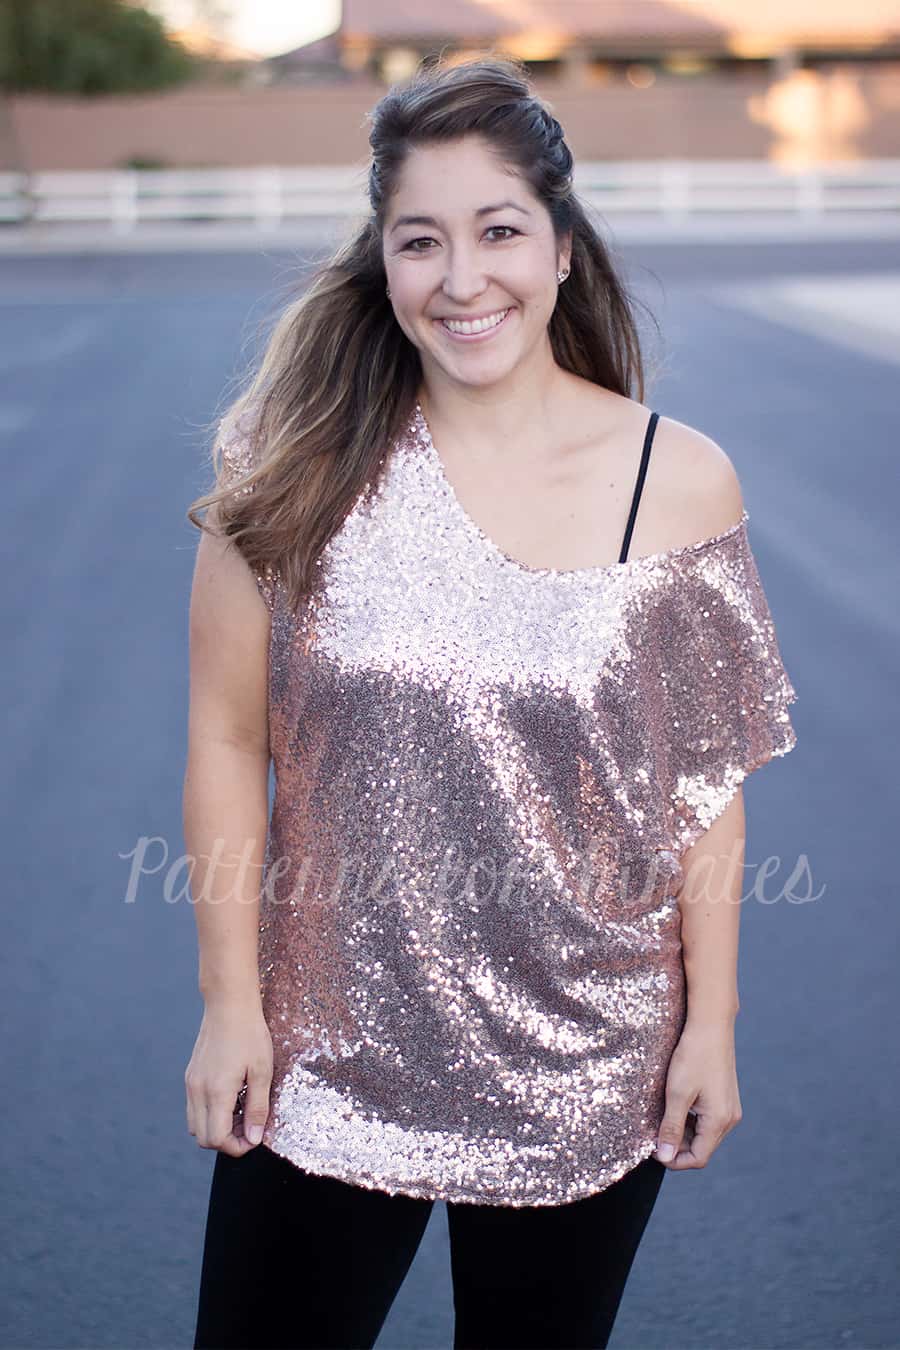
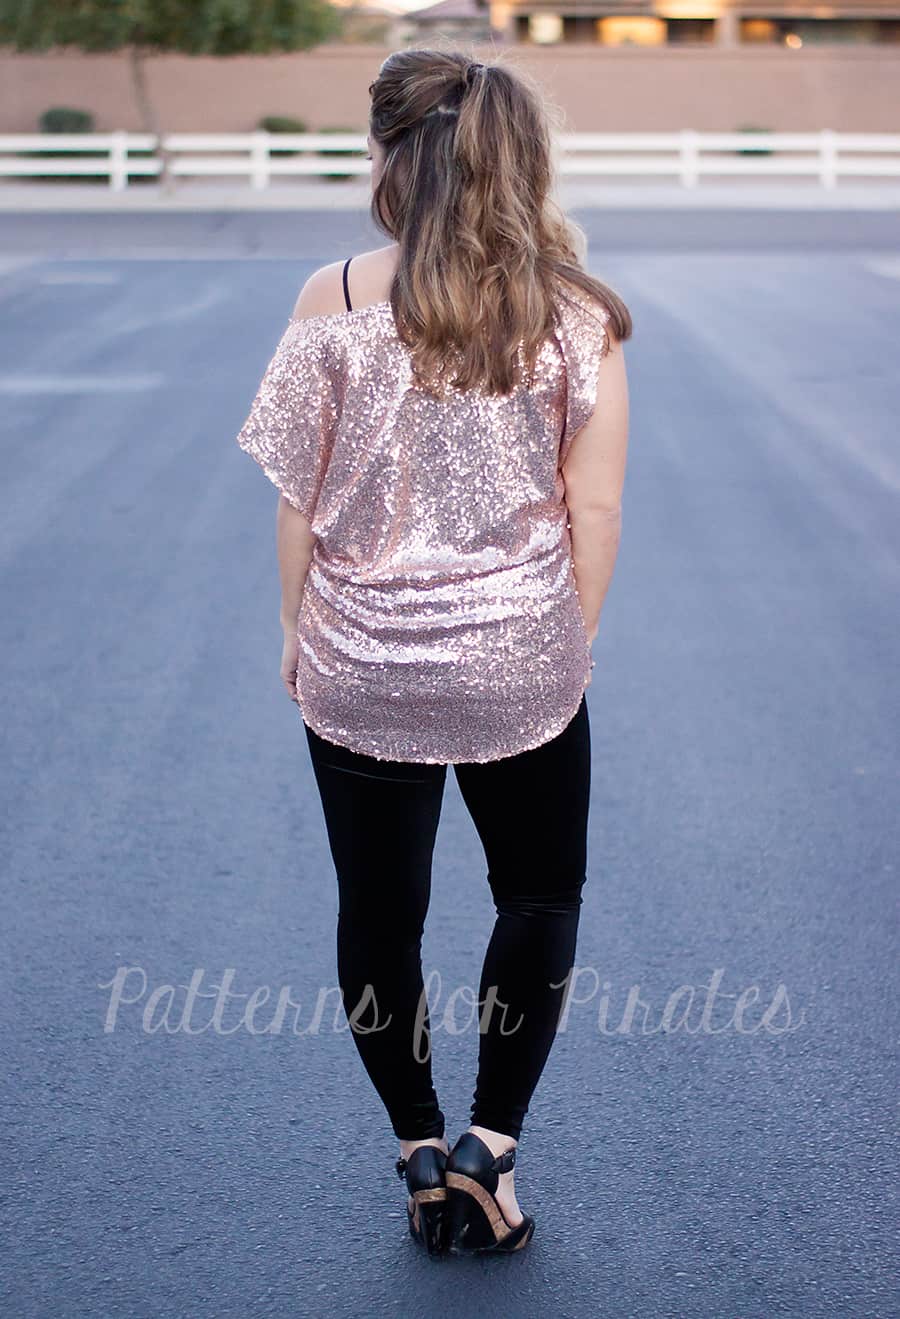
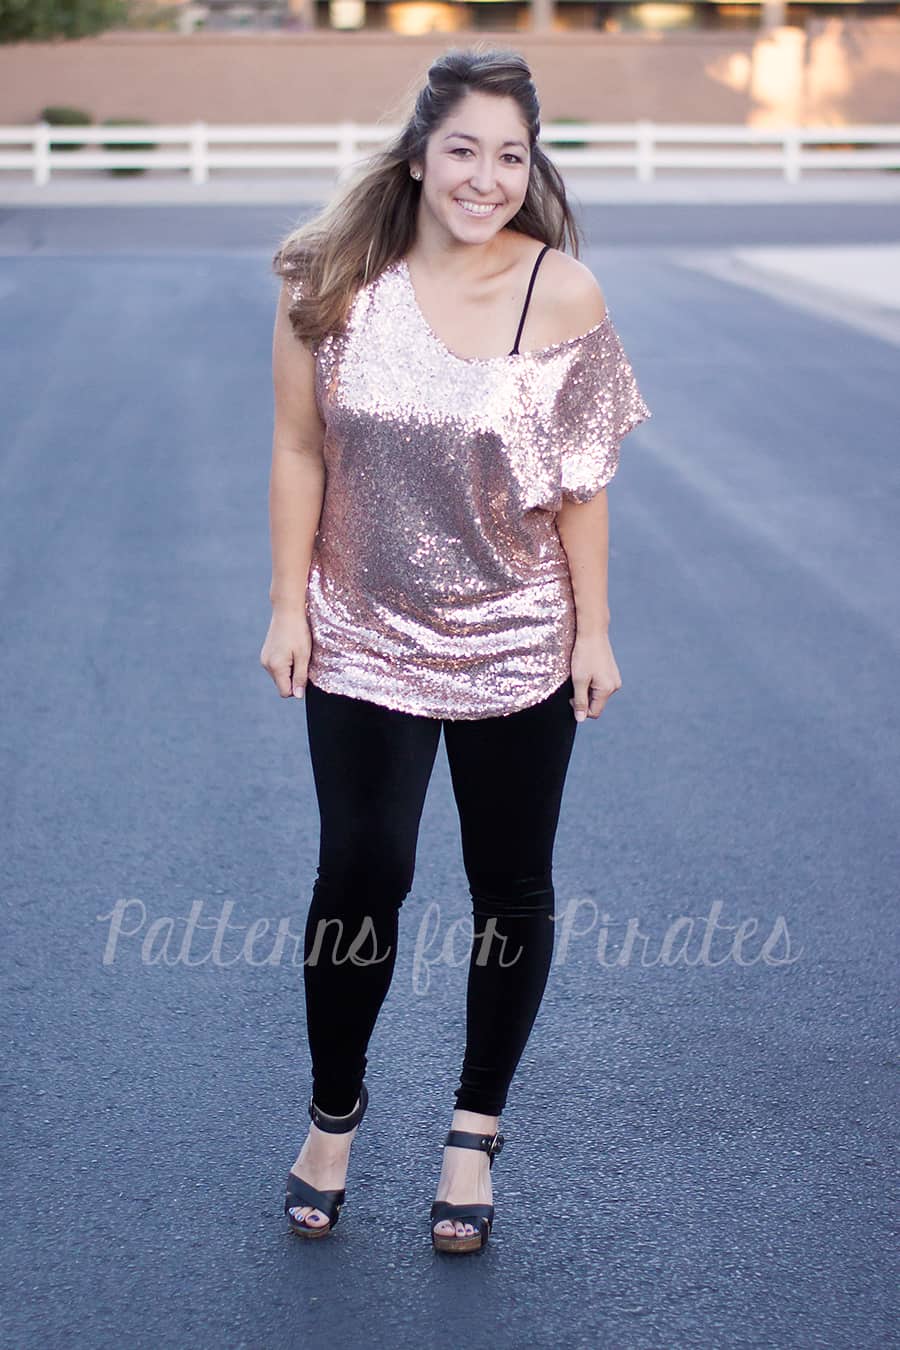
We teamed up with the Made for Mermaids ladies and have been sharing some great inspiration pieces to add to your holiday wardrobe; whether it be for family photos, dinners, or parties.   You can usually find me in some SOS Pants and a Sweet Tee or Mama Bear Joggers and a Boyfriend Tee but we have some fun holiday parties and a trip to Las Vegas coming up so decided to go all out and use some sparkly and luxurious fabrics.  My three little ones keep me pretty busy and if you’re anything like me, I tend to wait until the very last minute to sew up my items and am left running out the door, trimming my last thread.  So, with that, here’s my take on our ever famous Peg Legs  and Pumpkin Spice Dolman, two of the quickest and most beginner friendly patterns, to make them party worthy.

img_7674-2

First, let’s talk about Peg Legs.  If you haven’t heard what Pegs legs are…Check out this blog post: Peg Leg 101.   My drawer is full of basic pegs, but I didn’t want just any old pair so I decided to use stretch velvet.  While the fabric does meet the minimum stretch requirements, I opted to take a slightly smaller seam allowance just to ensure that they wouldn’t end up a little sheer at the booty and looking more like tights. I also used supplex for my waistband since I wasn’t sure if the velvet would cause the waistband to slip too much.   Changing the type and texture of the fabric took my “mom-iform” pants to luxurious!

Now on to my top.  I’ve recently made a few Off -the-Shoulder Raglans using our raglan hack from a few weeks ago and am really liking the look so I thought it would be a perfect addition to the Pumpkin Spice Dolman to take it up a notch. I was also limited on my fabric and ended up using two front pattern pieces so I could use it for both the front and back.  The back pattern piece of the PSD is wider since naturally our curves (our booty and shoulders) need the extra ease but I was ok with slightly slimmer fit through the hip that I would end up with by using the same pattern piece for the front and back.

Peg Legs & Pumpkin Spice Dolman Holiday

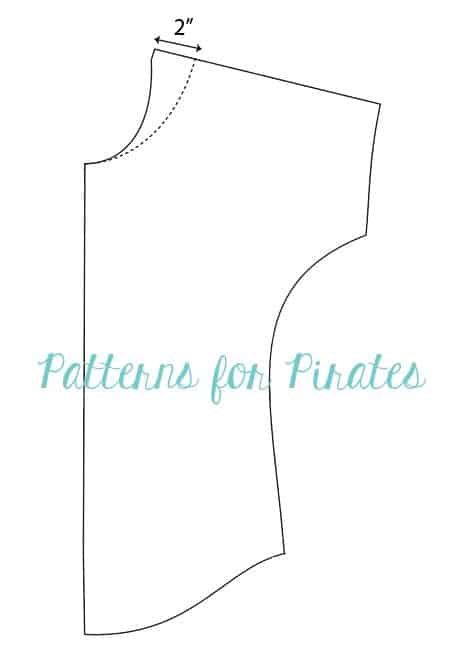
To create the off the shoulder look, I widened the neckline at the shoulder seam by removing 2″.  I also turned the edge 1/4″ and hemmed it rather than adding a neckband.

off-the-shoulder-psd

I hemmed the bottom and sleeves as well.   To be honest, my serger hated the sequins and I ended up having to do most of the construction on my sewing machine. The blade was able to handle them, but with the combination of the speed, my needles kept breaking.  So just as a cautionary tale, if you decide to use sequins, go slow!  Even with my serger issues though, I was still able to complete my entire outfit in just over an hour…yes, you read that right; an hour! Now, run and grab all the sparkly fabric you can find and shine straight into the New Year!

Peg Legs & Pumpkin Spice Dolman Holiday  Peg Legs & Pumpkin Spice Dolman Holiday

Don’t forget to check out all the amazing ladies and their makes, if you haven’t already!  There is sure to be something that inspires  you!  Have you joined in on the fun and made a P4P or M4M holiday outfit?  Join the Facebook Group and share away.  We’d love to your creations.

Nov 14 – Wild & Wanderful/ What Does She Do All Day?/ My Creative Room
Nov 15 – Sew A Piece of Joy / Red Stitch Blue Stitch/ Sewn Of A Stitch
Nov 16 – MaMoose / Rebel & Malice / On Wednesdays We Sew
Nov 17 – It’s Liesel / Stitching and Making / The Kisses Co
Nov 18 – SewSophieLynn/ I’m Just Like Mommy/ Lady and the Gents / The Crunchy Mommy


Filed Under: Blog Tours, Pattern Hacks 2 Comments

P4P Professional Looks

November 18, 2016

“How can I make this look more professional?” “Is this okay to wear for an interview?” These are just a few of the questions that we see asked all the time about P4P patterns. Well, Angela and I are here to help give you some ways of how you can make and wear Patterns for Pirates a part of your professional wardrobe- and trust us, it’s possible.  Angela works in the insurance world and I am a teacher and both of us admit to wearing P4P almost everyday! So here are a few tips and tricks from to help make you the envy of your office!

Fabric Content Choice
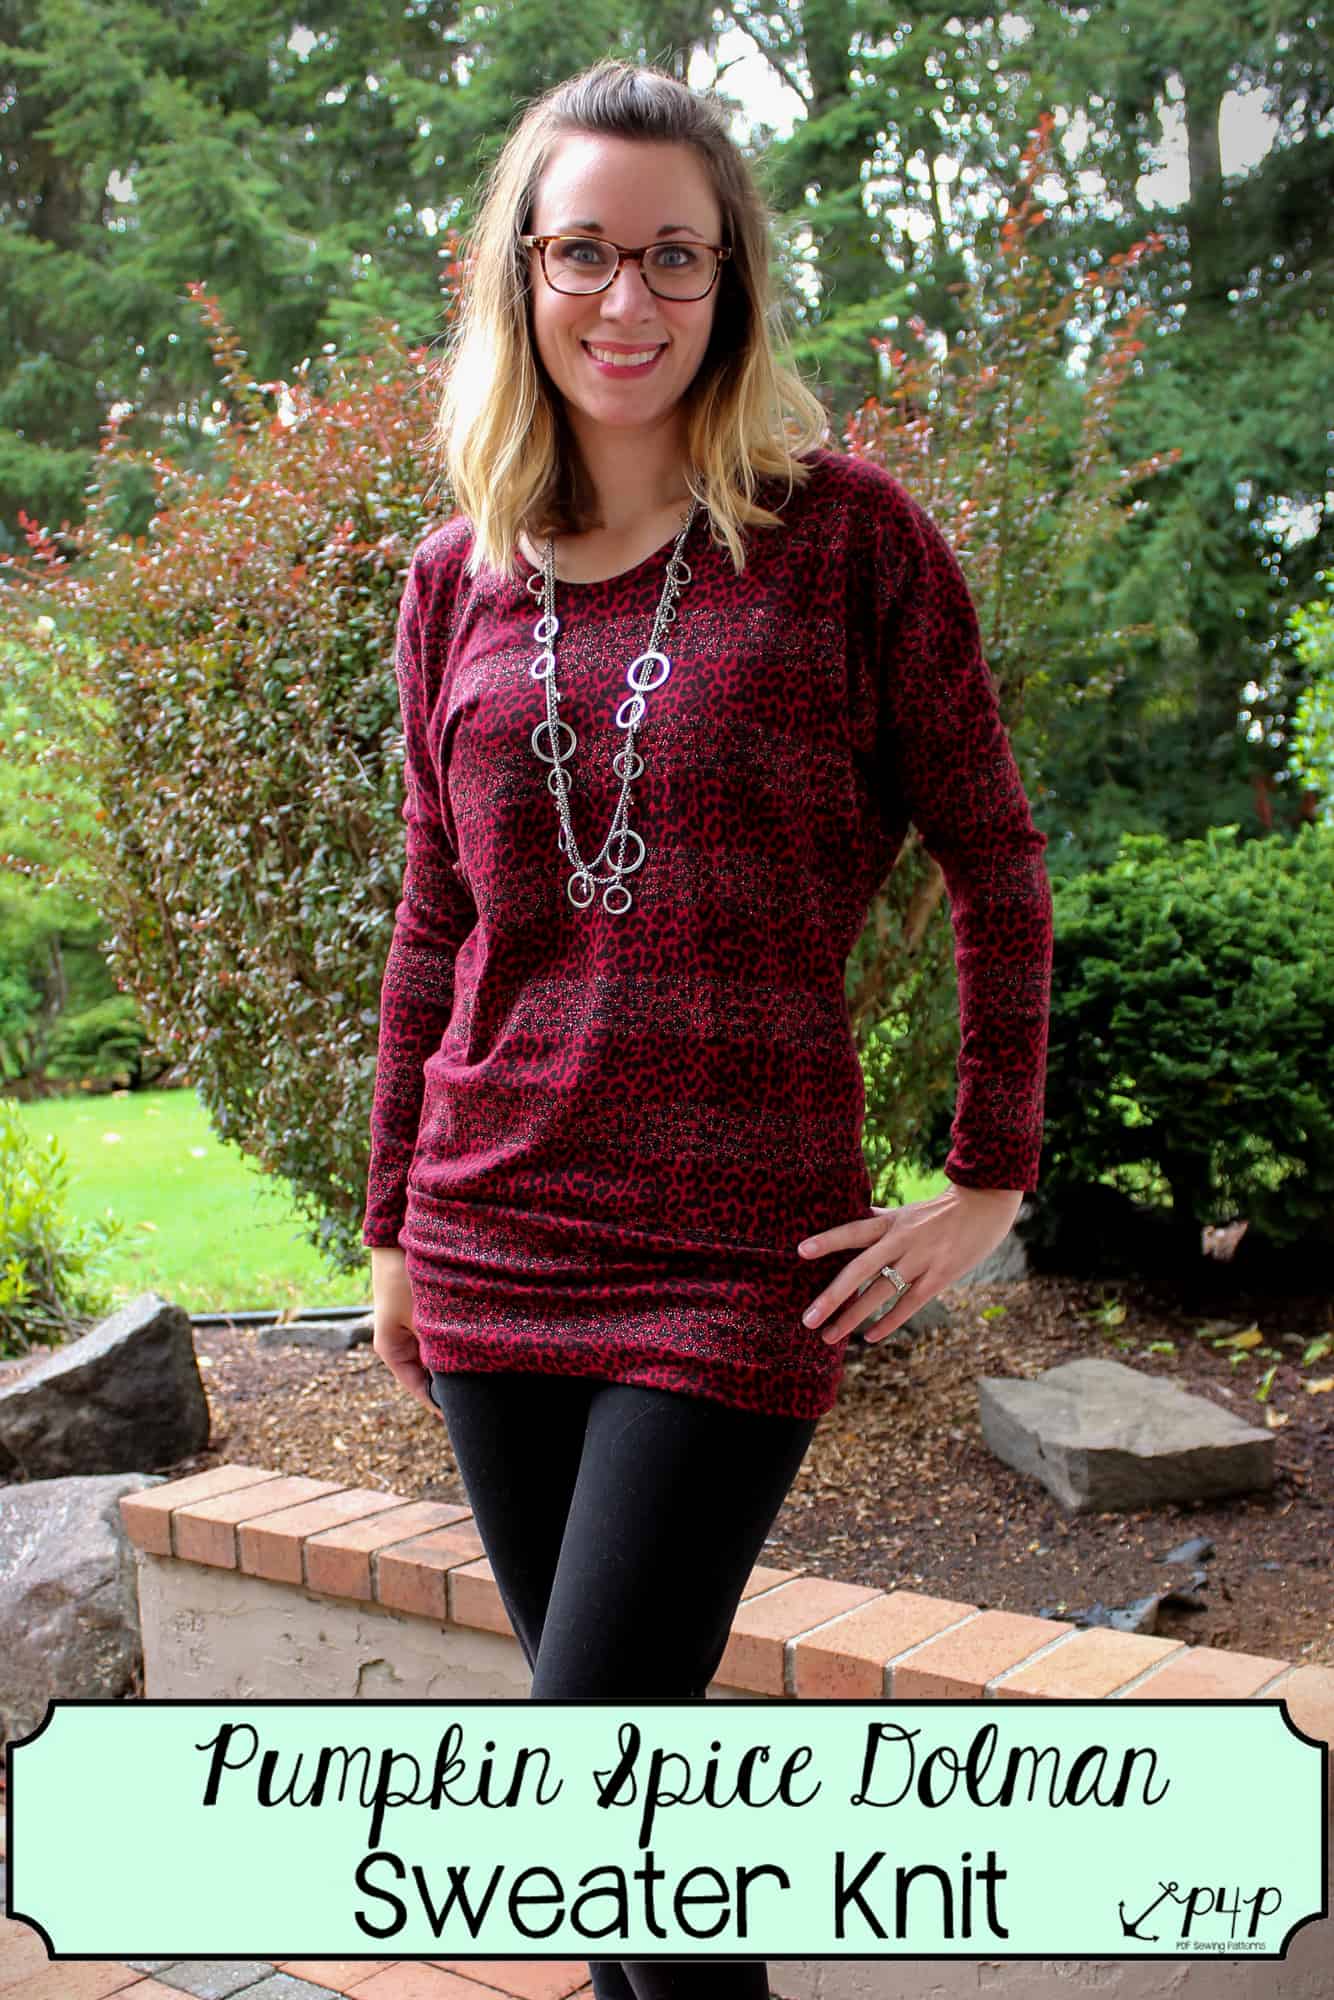
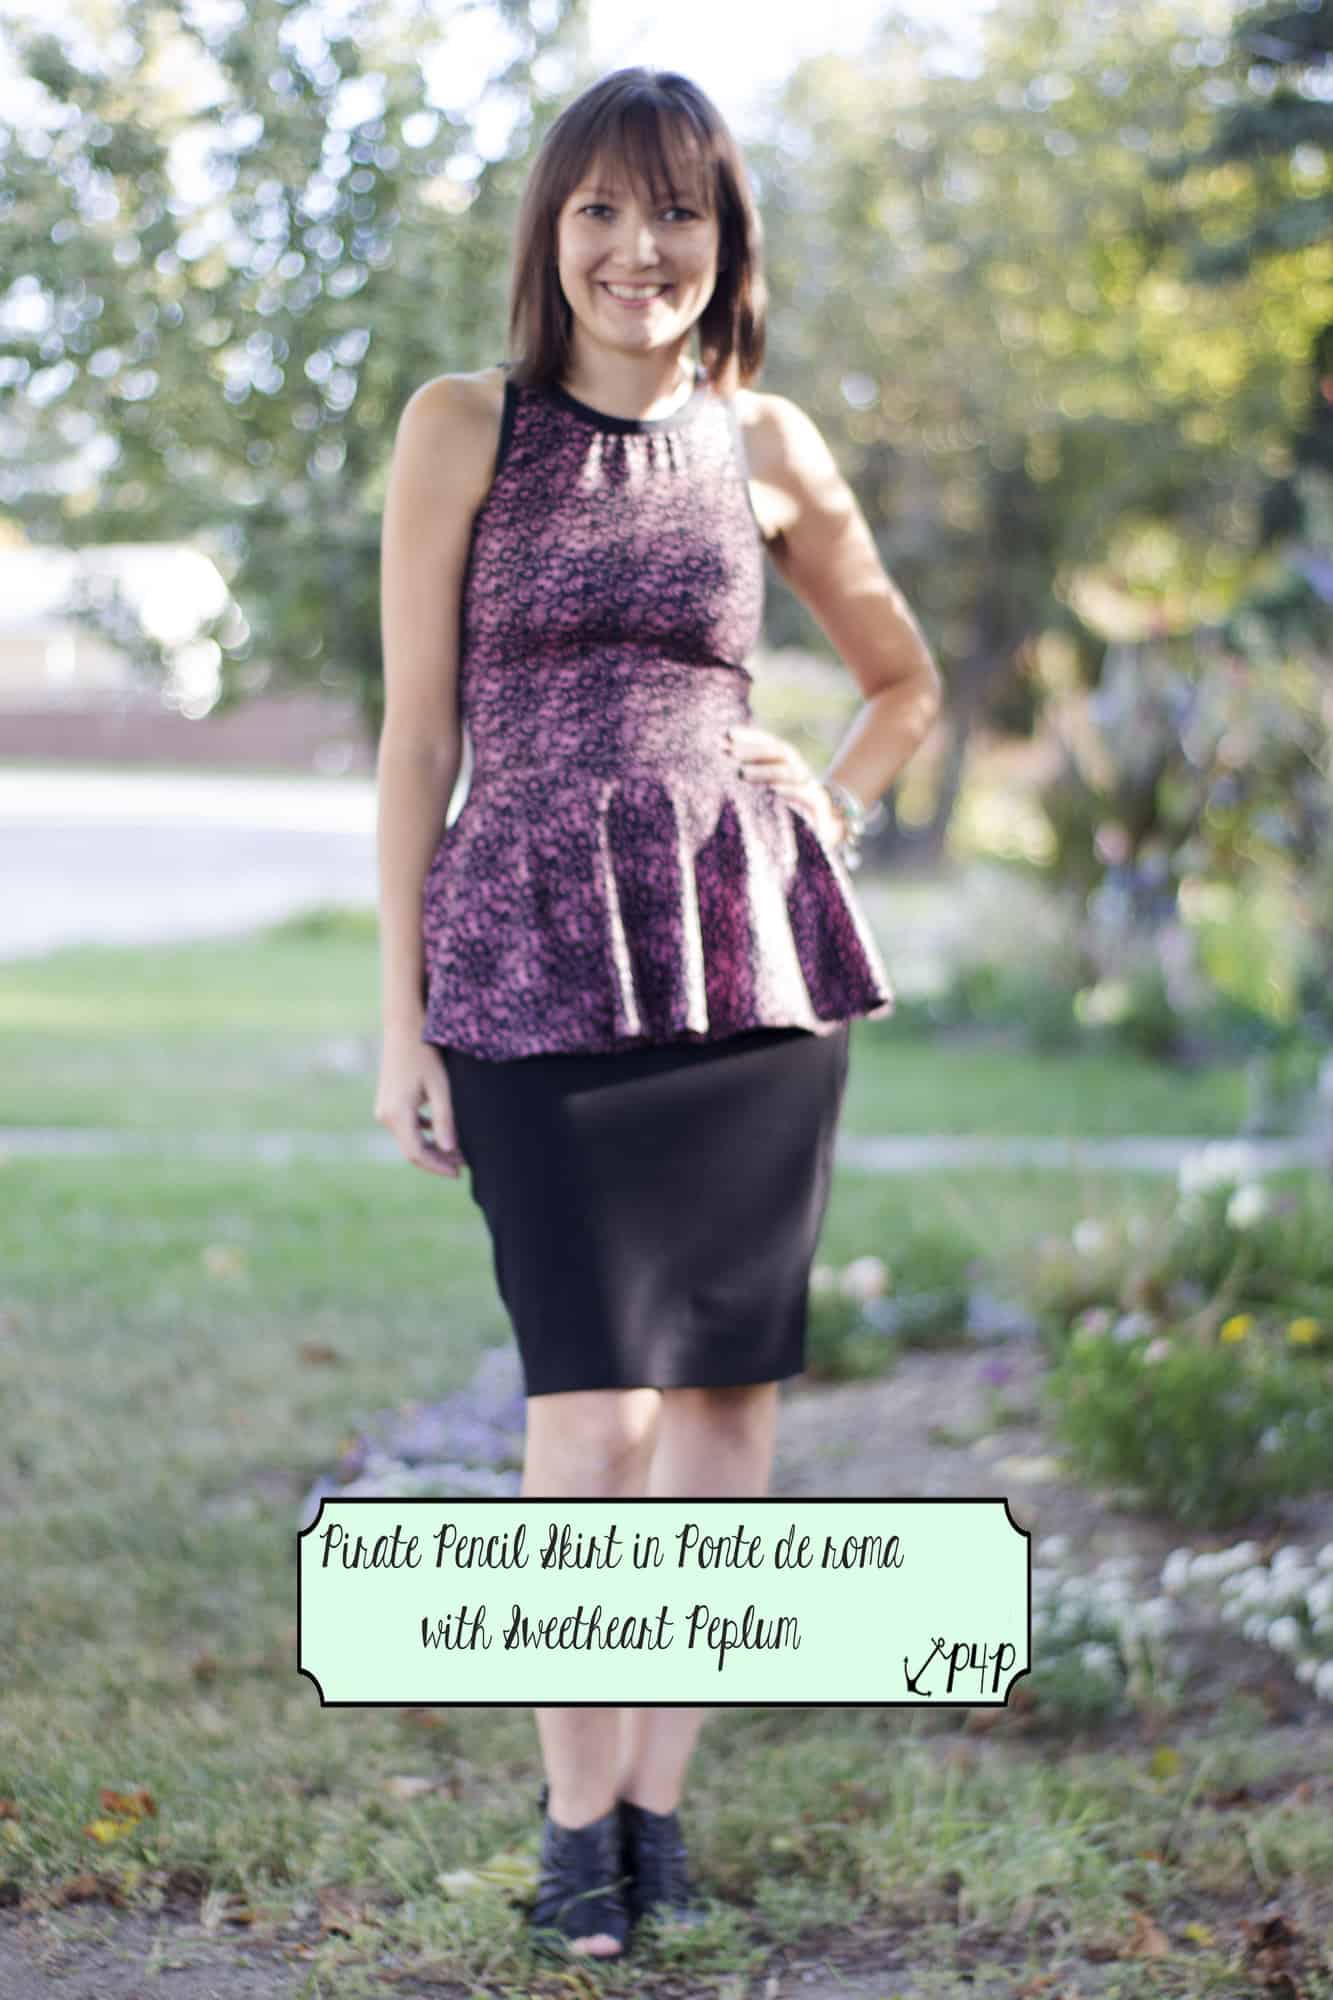
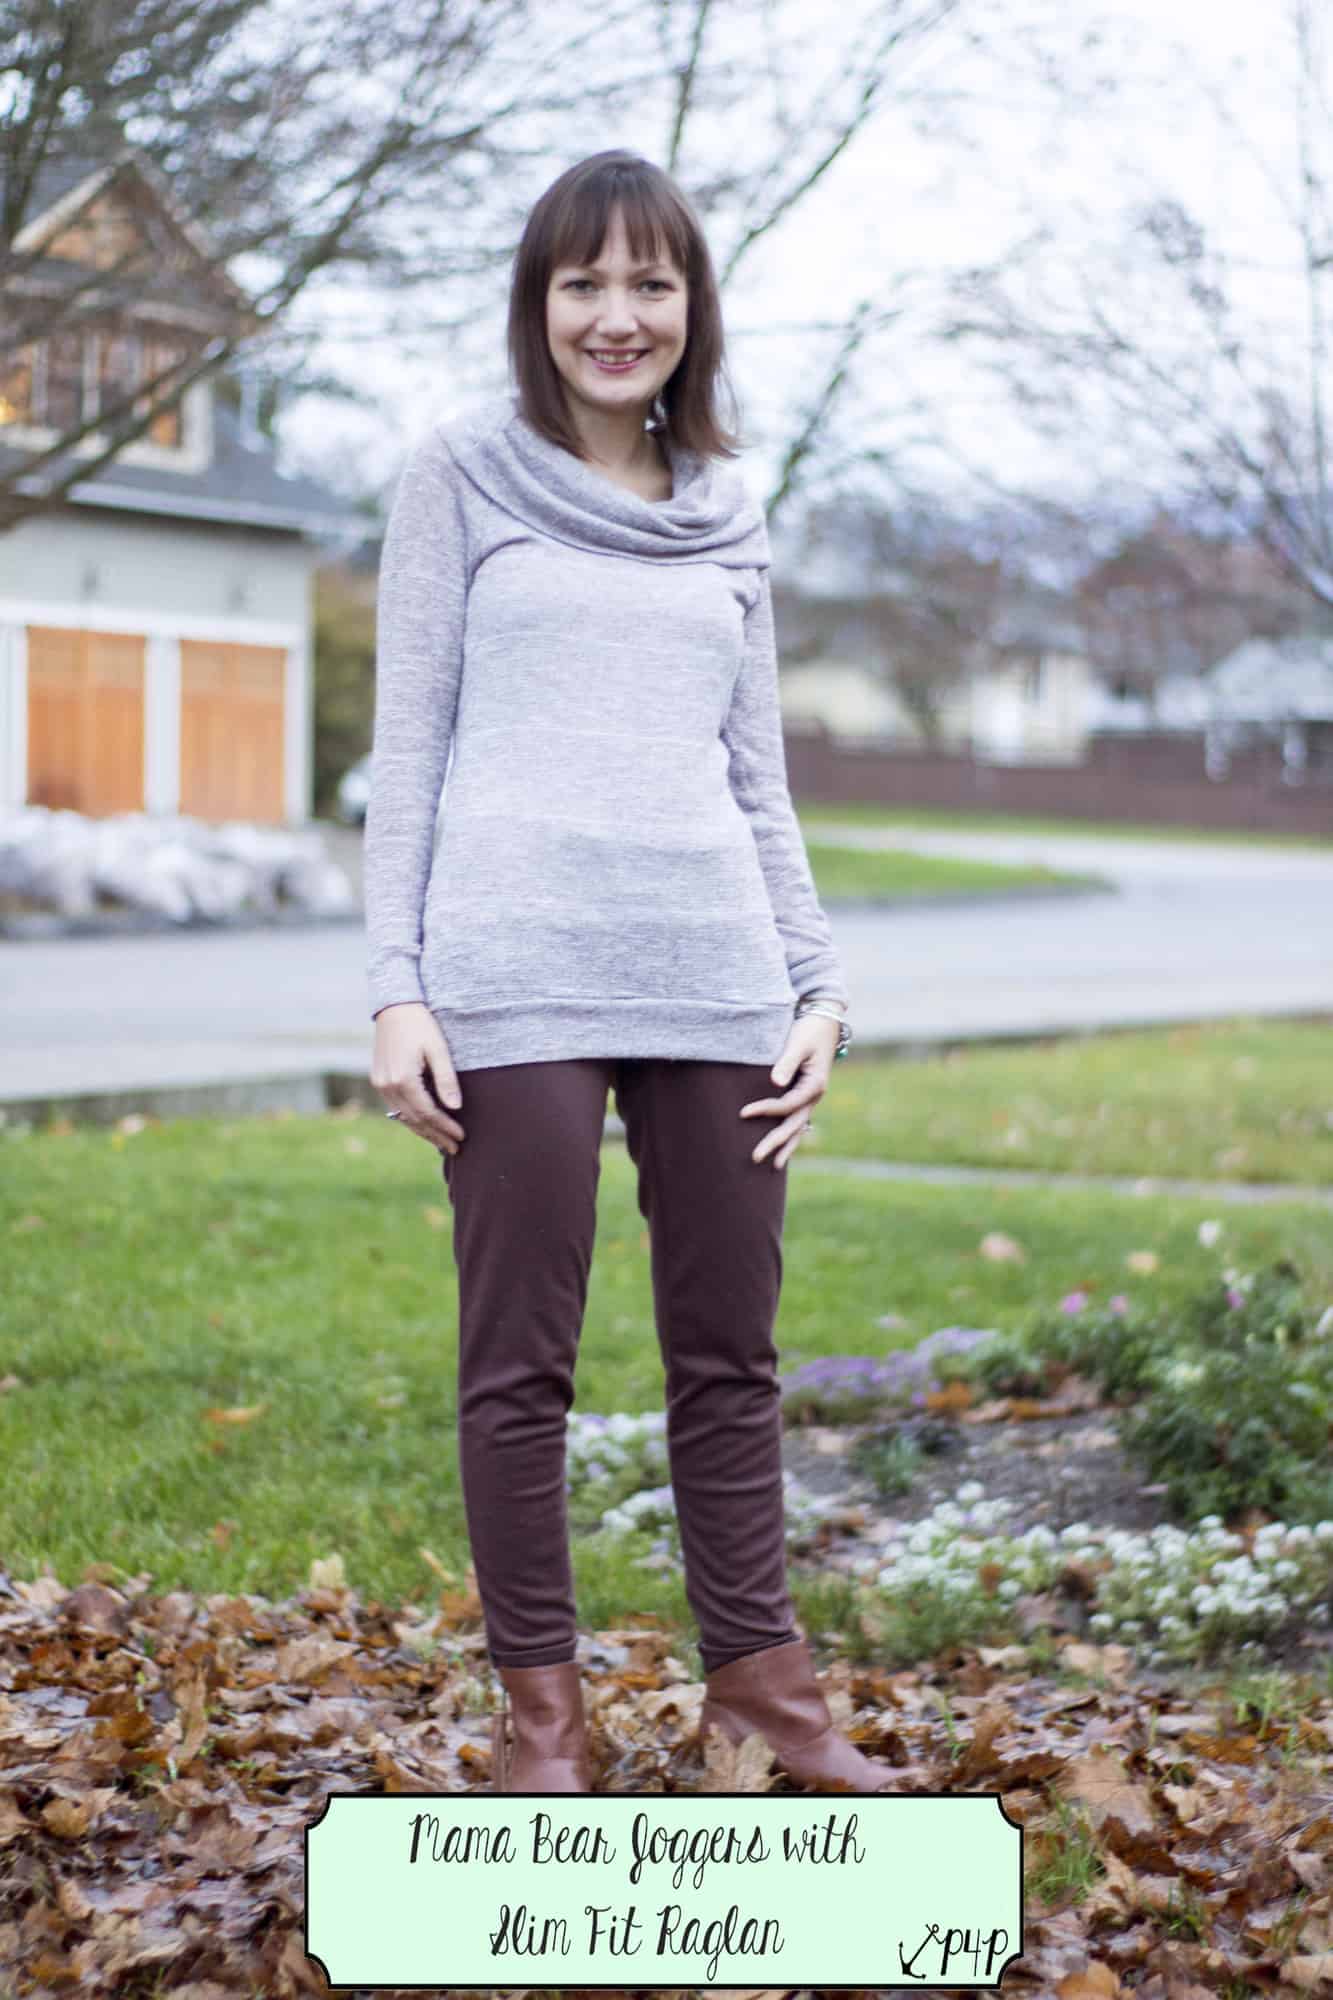
Every pattern will have a different look depending on which type of fabric you use. Some of our favorite contents for workwear are liverpool, ity, sweater knit, ponte de roma and brushed poly. It is important to be aware of the pattern you are using, as each fabric has a different drape and some are more suitable for different patterns. Liverpool is a more structured, textured fabric with great stretch. It is wonderful for patterns such as the Sweetheart, Sweet Tee, and SOS Knit Pants. Ity fabric is a very soft fabric with amazing drape and a smooth, soft texture. It comes in a variety of patterns and is great for making tops look more “dressy” and its a great choice for dresses like the Boundless Dress. Sweater knit is a very easy way to make patterns such as the Pumpkin Spice Dolman and the Grandpa Cardigan look professional for work. It can be found in a variety of weaves (loose to tight), textures, and weight. Another great option is ponte de roma, it is a nice weight and again is more structured so works well for the Pirate Pencil Skirt and bottoms like the SOS Knit Pants, Palazzo Pants and it really dresses up the Mama Bear Jogger shown below with a sweater knit Slim Fit Raglan with the cowl from the Add on Pack.  Another great fabric that seems to be popping up everywhere is brushed poly and it can be used for so much more than peglegs!  Brushed poly comes in various weights and can be single or double brushed and it has a great drape to it so it works well for tops and dresses.  Rayon spandex and bamboo spandex blends are another great choice for tops and dresses.

img_4825_edited-2img_57861img_60961


Fabric Pattern Choice
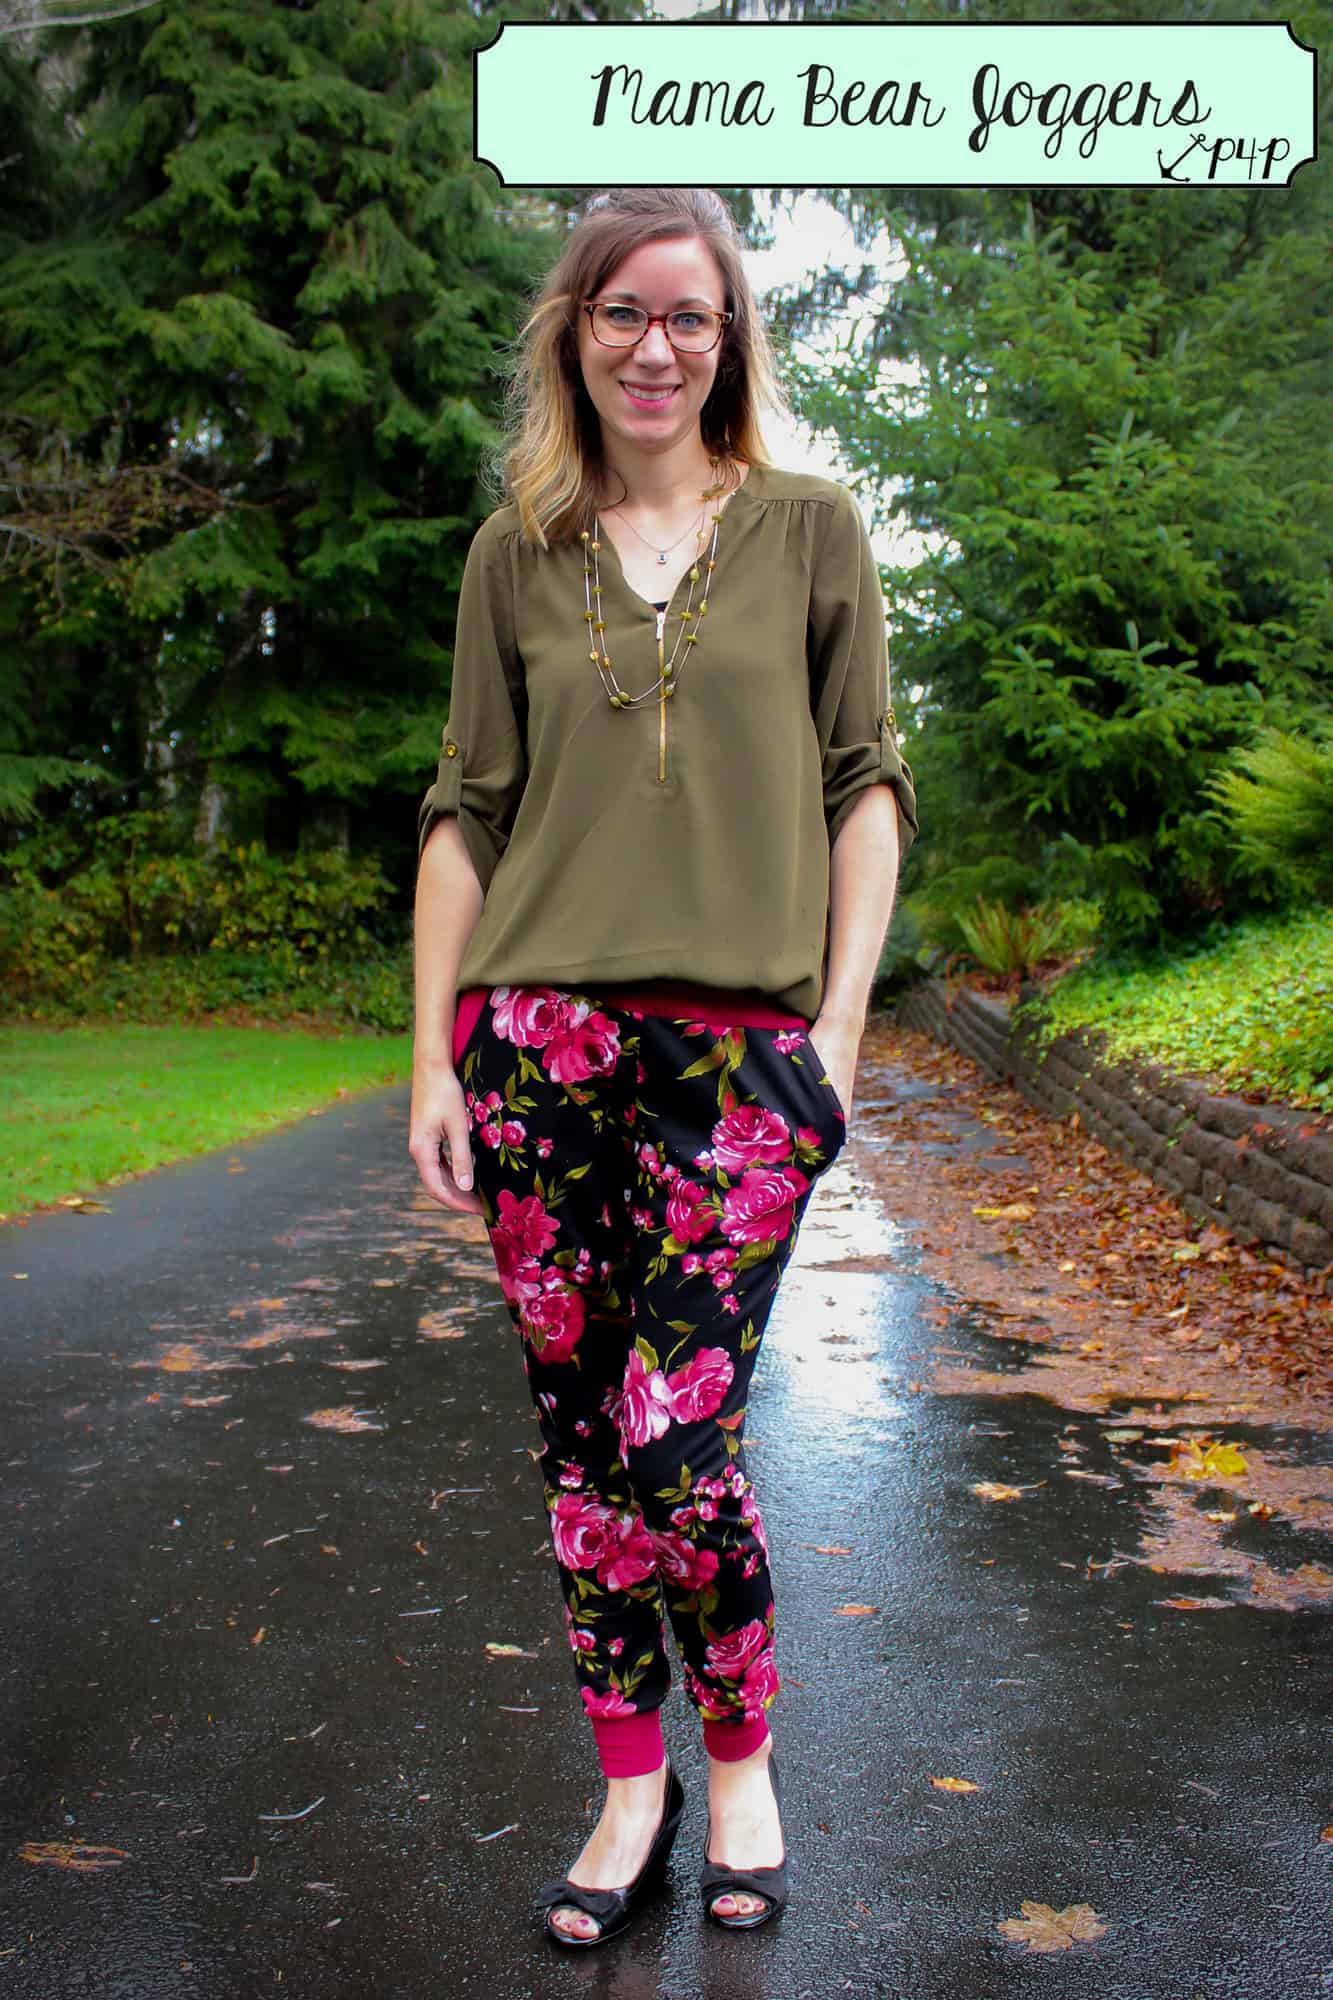
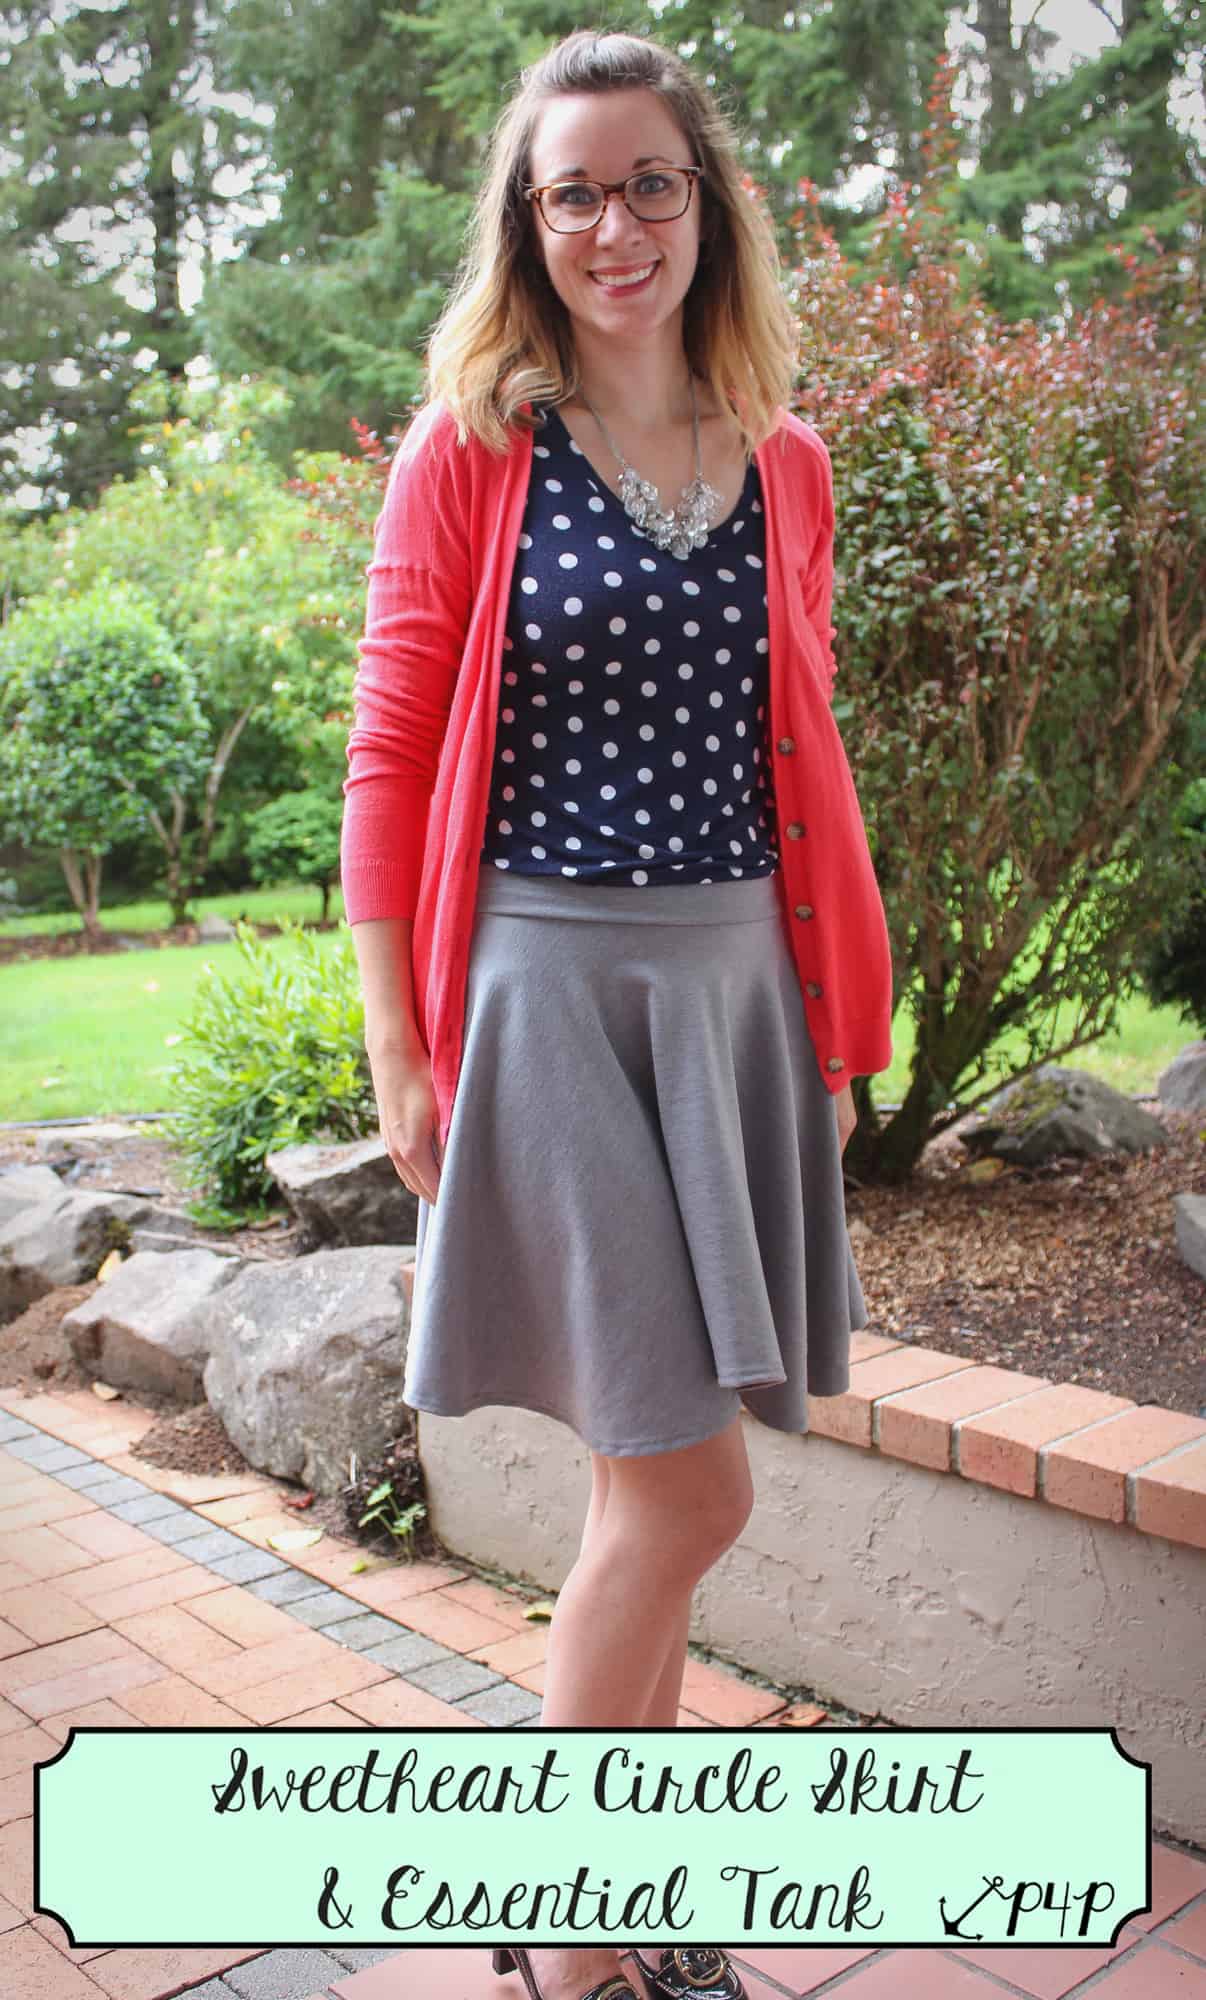
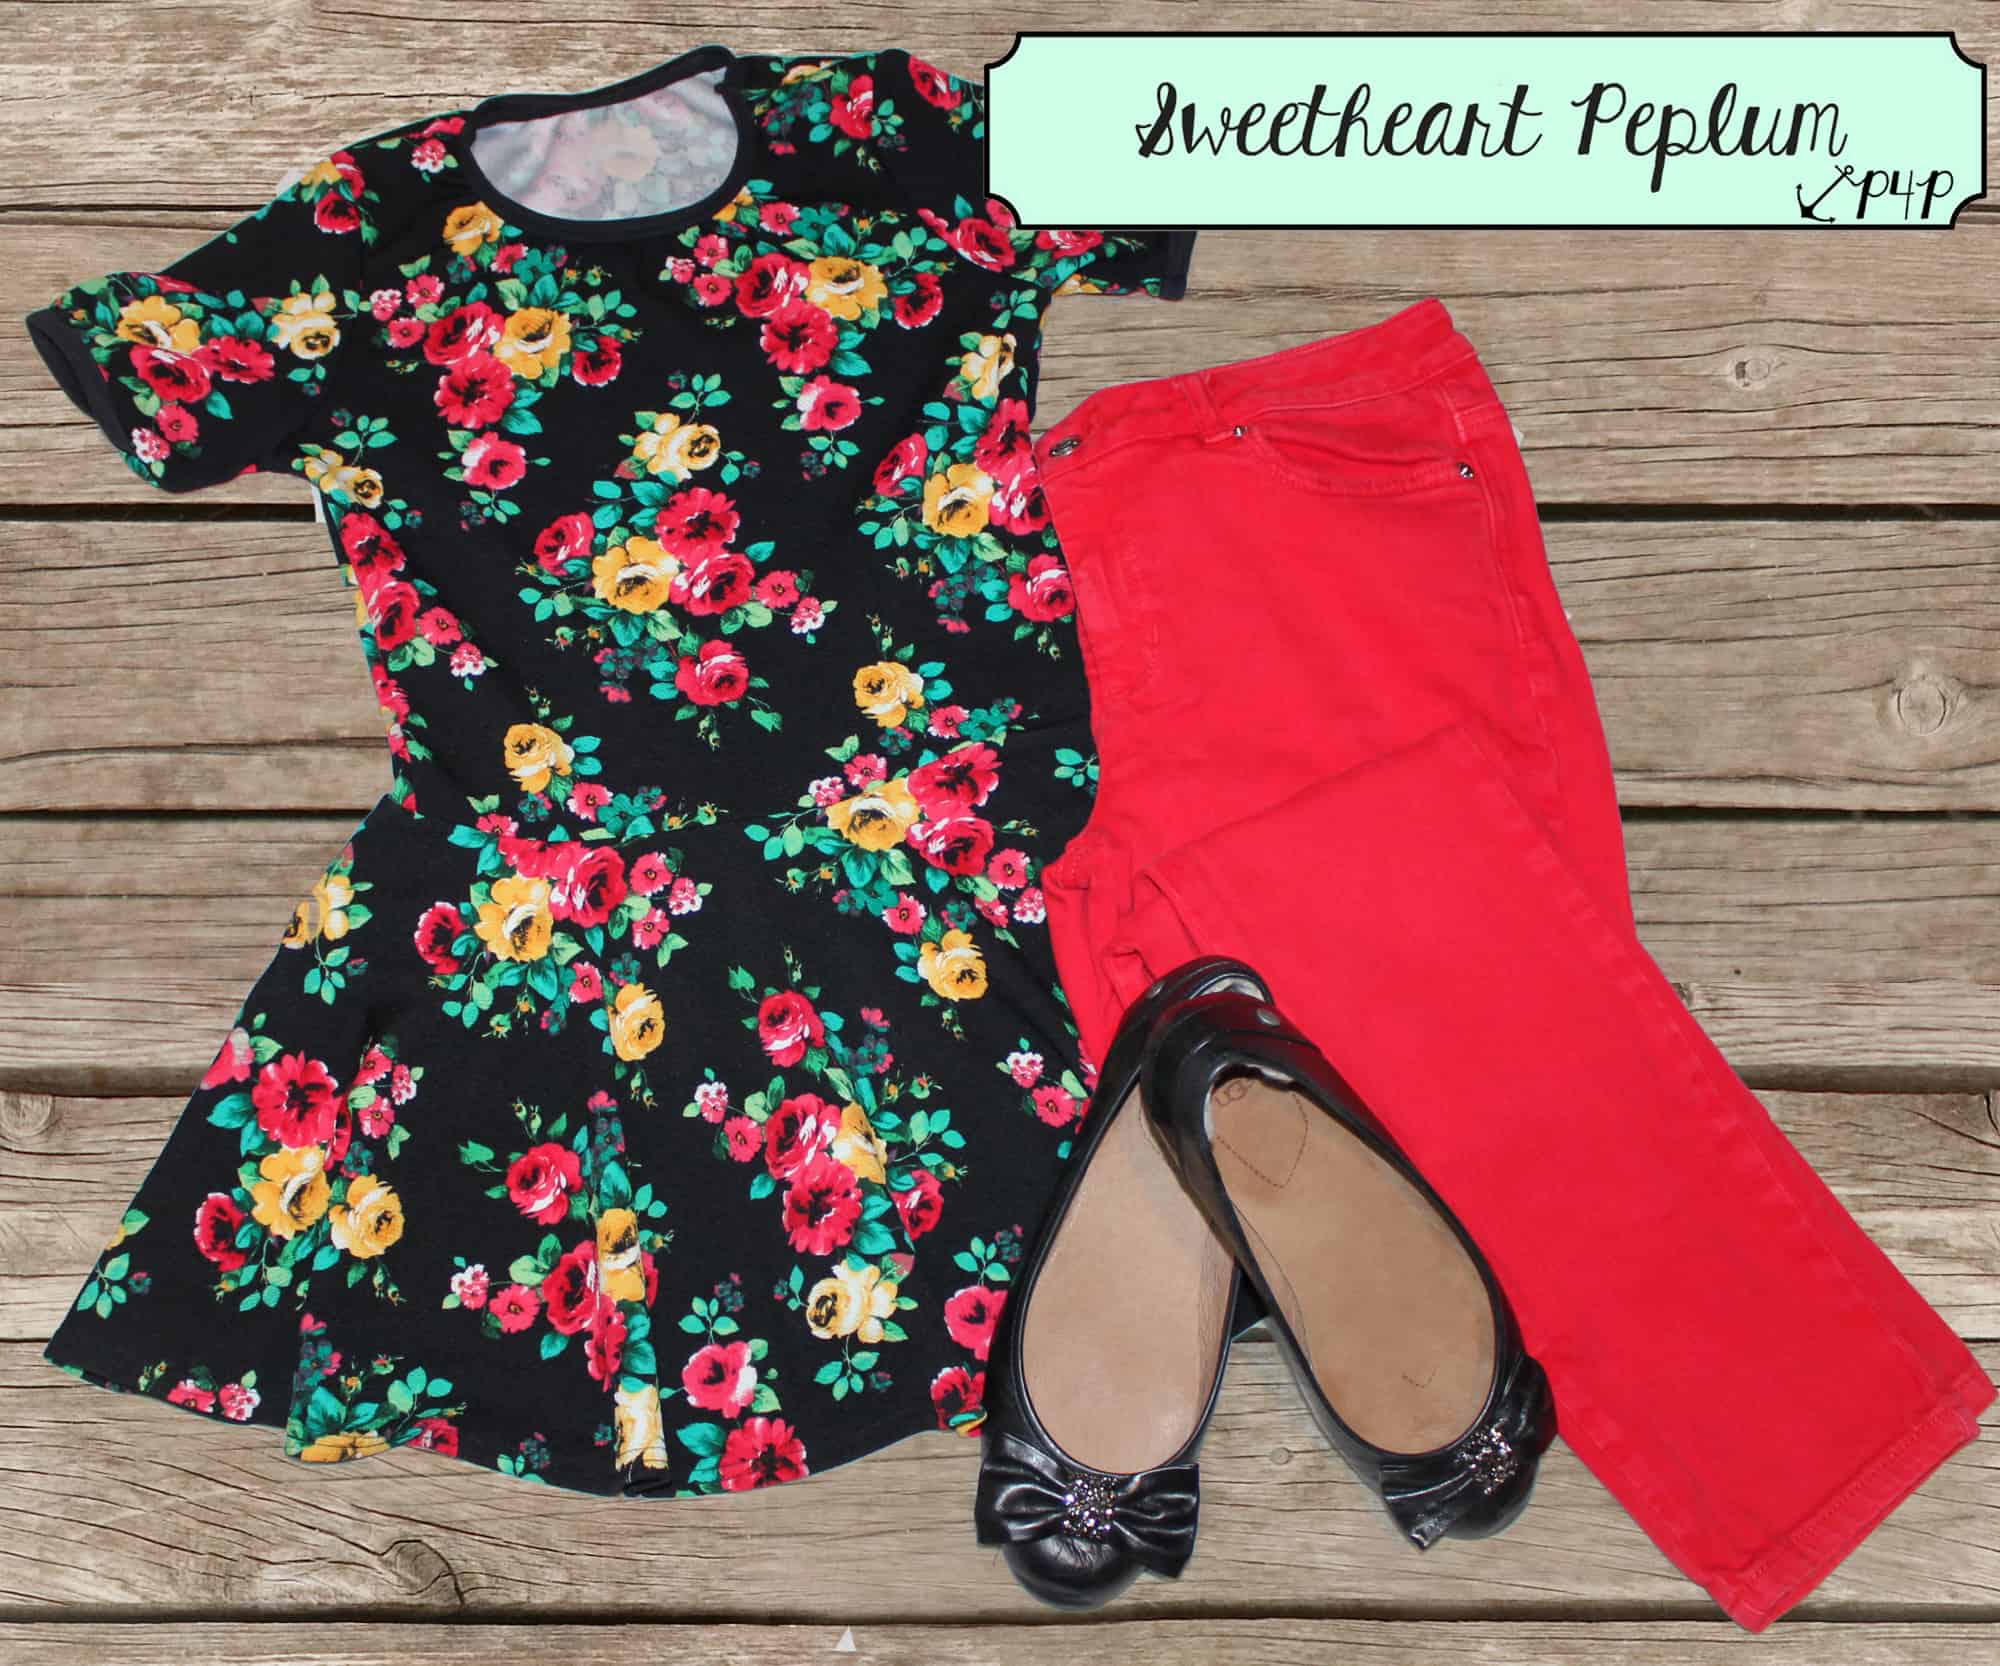
In the professional world, it is very easy to play it safe with neutral colors. Neutral colors can be a great base for any outfit- as you can see with most of ours. We both tend to have a solid color somewhere in an outfit and then will pair this with something more bold. For example, I used the Sweetheart skirt hack to create a circle skirt in a solid gray. I then paired this with a polka dot Essential Tank and a cardi. I have also paired the Mama Bear Joggers in a floral french terry with a solid top. And Angela has paired a solid black ponte de roma Pirate Pencil Skirt with a patterned brush poly Sweetheart Peplum.


img_5158_edited-1img_4816_edited-1img_61002

Adding Details
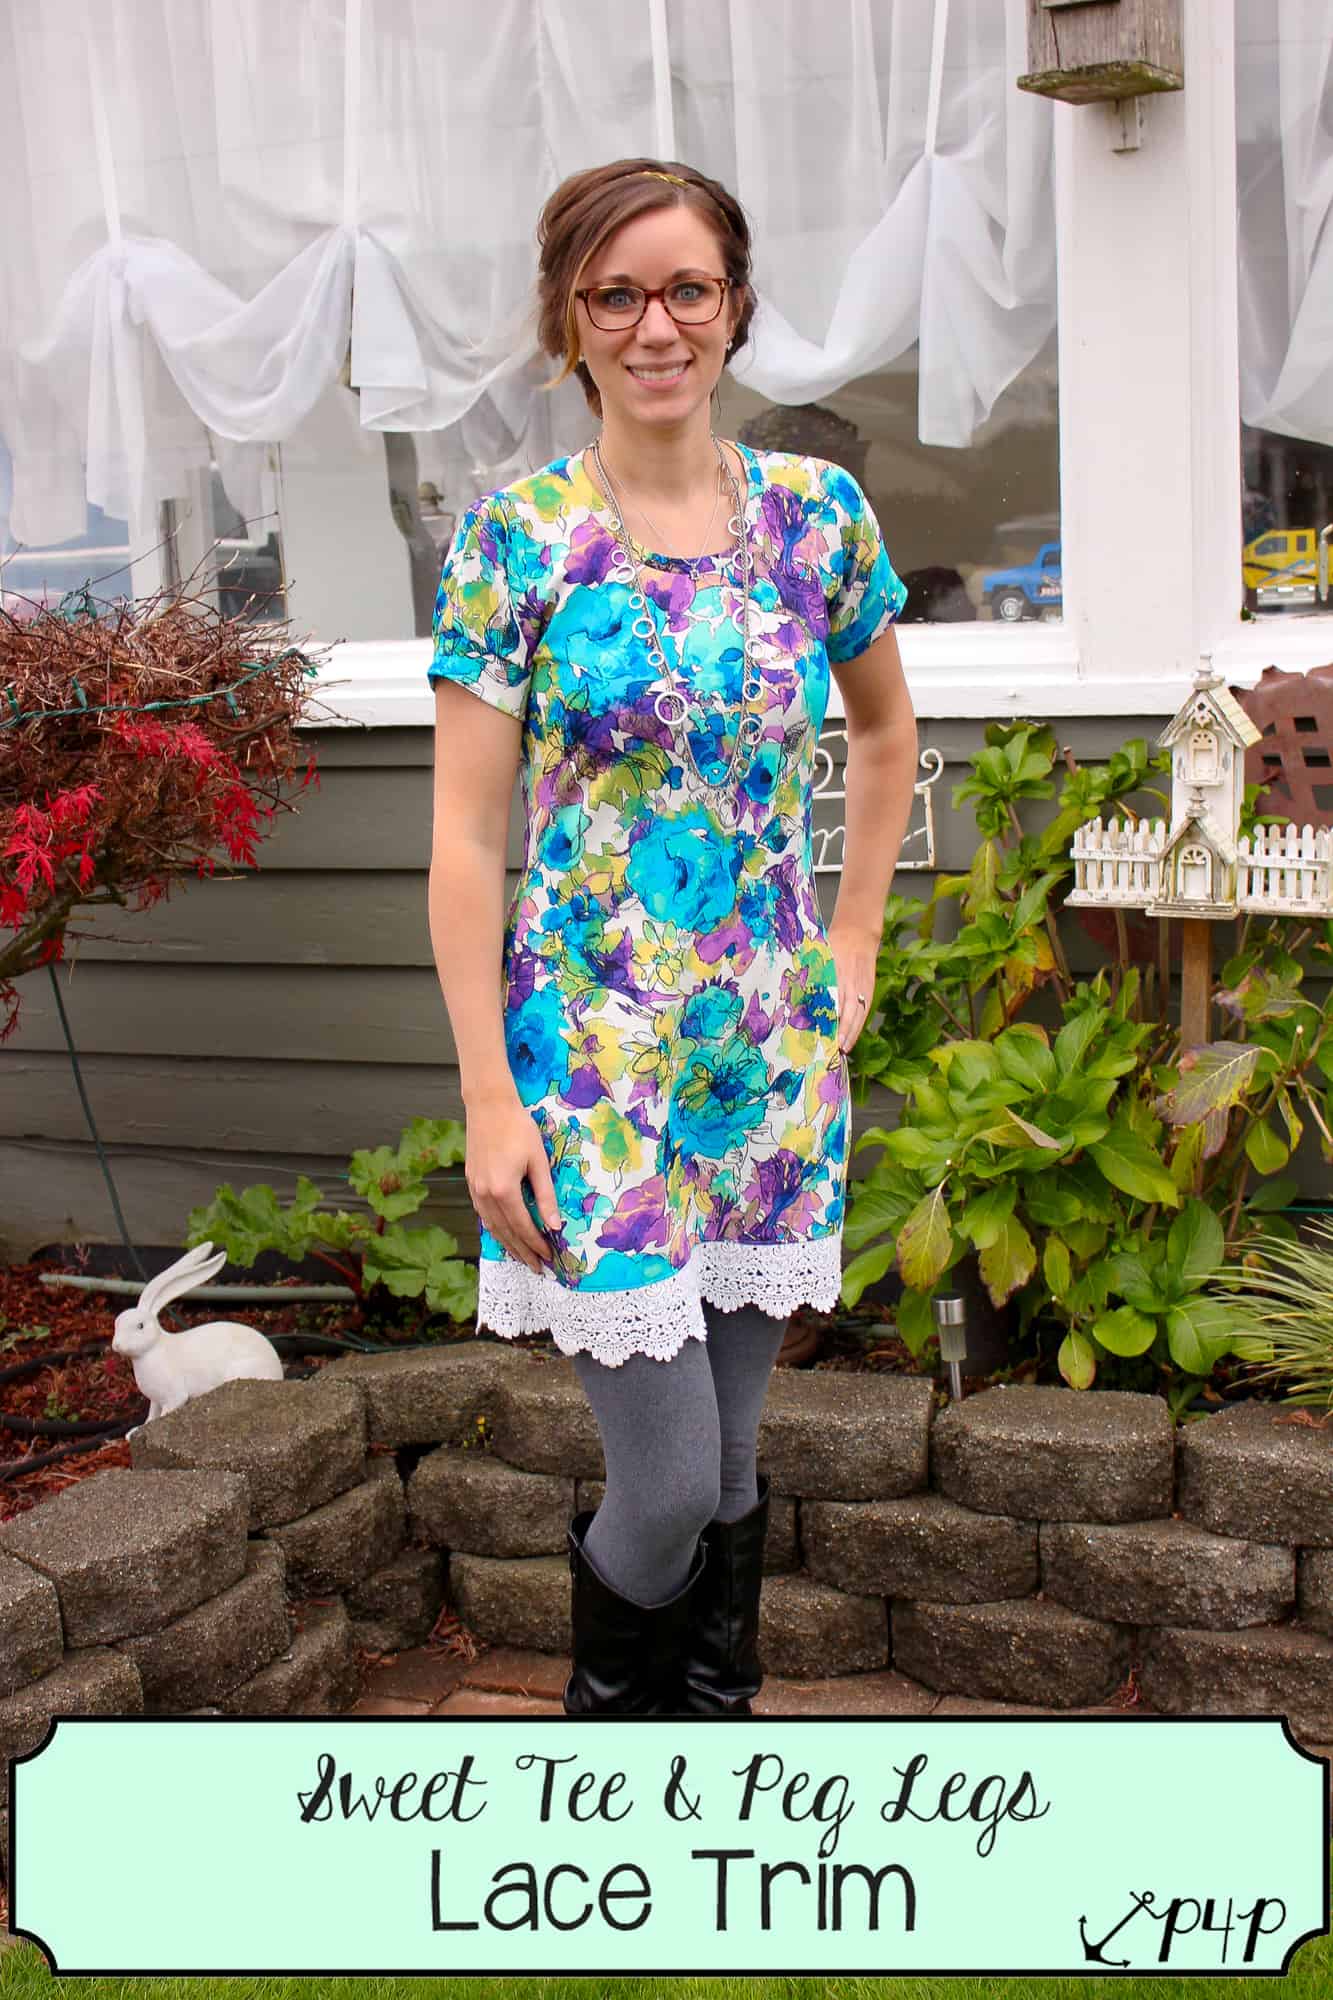
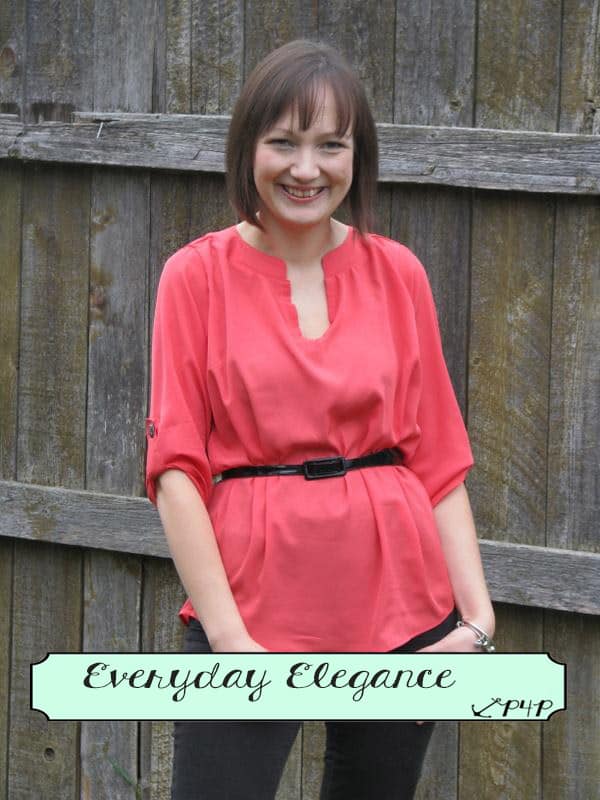
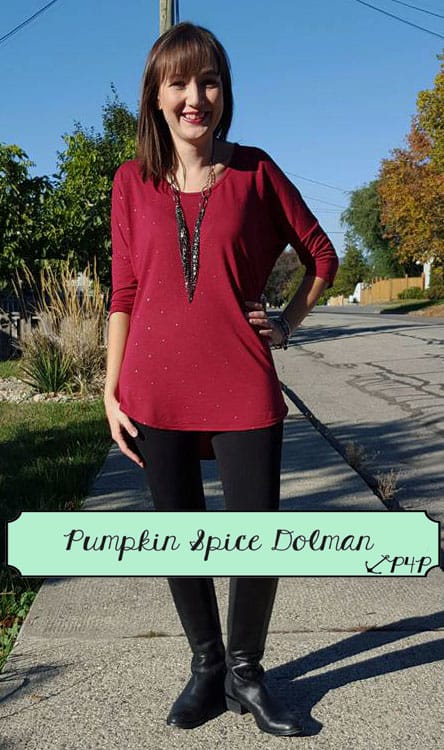
Adding details such as lace, trims, even a belt can help elevate a pattern to the next level. Lace is one of my favorite things to add to make an outfit look more professional. As you can see below, I used the Sweet Tee in the dress length, however added a lace trim to the hem. Angela added a belt to the Everyday Elegance to dress it up a bit. Or even just adding some jewelry like a necklace on a Pumpkin Spice Dolman. What shoes or boots your wear also can make such a difference on making your outfit look casual or office appropriate.

img_5273ee12105747_10153206085671033_1156641344939810881_n

Every office is going to be a bit different in what they allow and don’t allow. Some office will allow Peg Legs where as other office won’t allow any type of leggings, some won’t allow a skinny pant where as others will.  Patterns for Pirates have all your bases covered. Both Erinn and I get away with peg legs at the office but you will notice in pictures you see of us in our work attire we stick to solids for leggings. A lot of these looks would also pair nicely with a blazer for a more corporate look or try adding a Grandpa or Carefree Cardigan if your office is cold.  I know both of us have plans to sew a lot of the new Cocoon Cardigans for work as well.

And now that you’ve read some of the basics for becoming a “Professional Pirate”, here are a few more pictures for some inspiration!  And you know getting photo’s of your office attire isn’t easy so I’ve included some bathroom selfies cause I know that you all love seeing bathroom selfies 😉 Happy sewing and make sure to share your professional looks in the P4P Facebook group! ~ Erinn and Angela

img_46072img_4821_edited-1img_3606 14939622_10154070693911033_1112729001056391089_o10353639_10153256696556033_8649728710252151176_nimg_55351flatlay-sweetheartpepluem

Filed Under: Blog Tours, Uncategorized Leave a Comment

P4P Halloween Costume Contest: The Winners!

November 3, 2016

Halloween costume sewing is basically my (Katy) favorite type of sewing.  It’s allowed to be over-the-top, silly, and super creative.  And I feel like it pushes sewists out of their usual comfort zones.  We held a costume contest in a thread on the Patterns for Pirates Facebook group!  If you were curious about all of the costumes shared, head HERE to find all of the amazing sews.
costume-contest

I have a hard time choosing just one winner.  So I decided to let my husband and son pick their favorites too this time around!  Here are our picks!

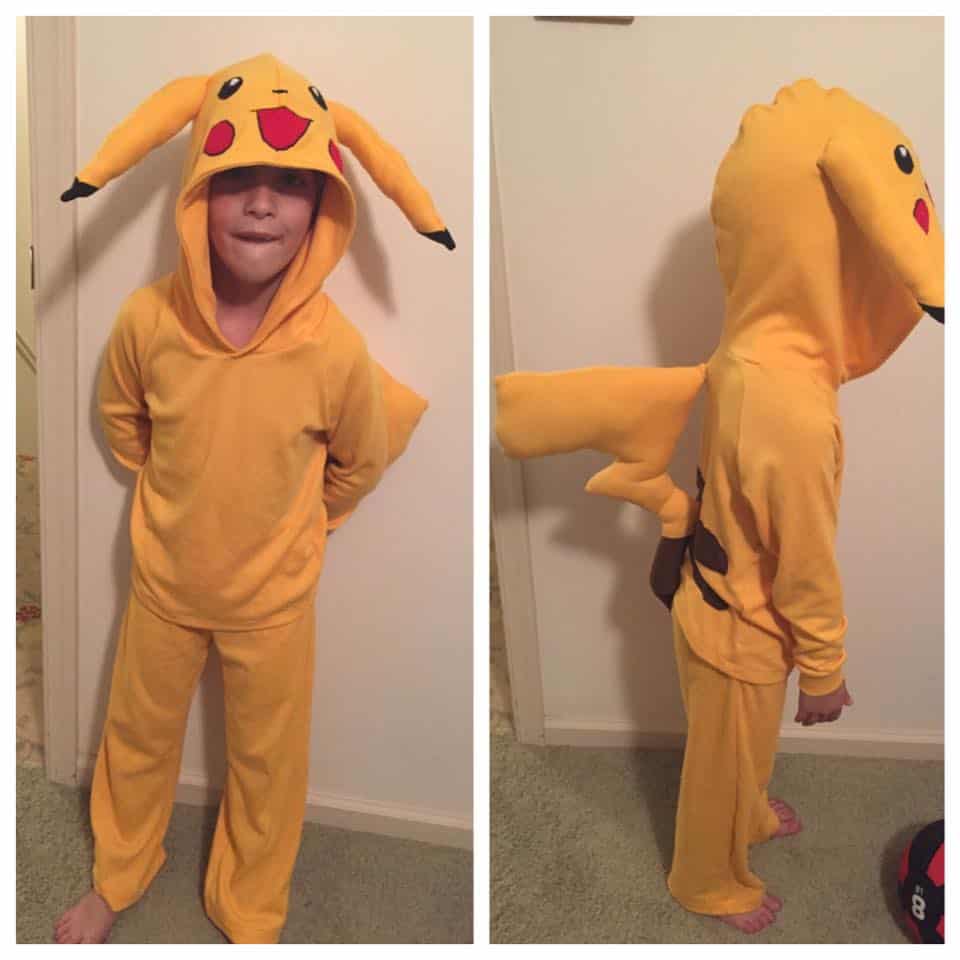
Louis’ Favorite (in the least surprising choice…from my Pokemon obsessed 6-year old): Jennifer Rowe with her Pikachu, made from the P4P Jolly Roger Raglan + Add-Ons, and the Pirate Playground Pants!

14695579_10211083149336893_9114943008414542237_n

Bennett’s Favorite (another non-surprise from my Star Wars nerdy husband): Jennifer Richardson with her Darth Vader / Rebel Pilot dresses using the Me Hearties Peplum/Dress pattern.

14902904_1120397181411499_9071670995202499178_o

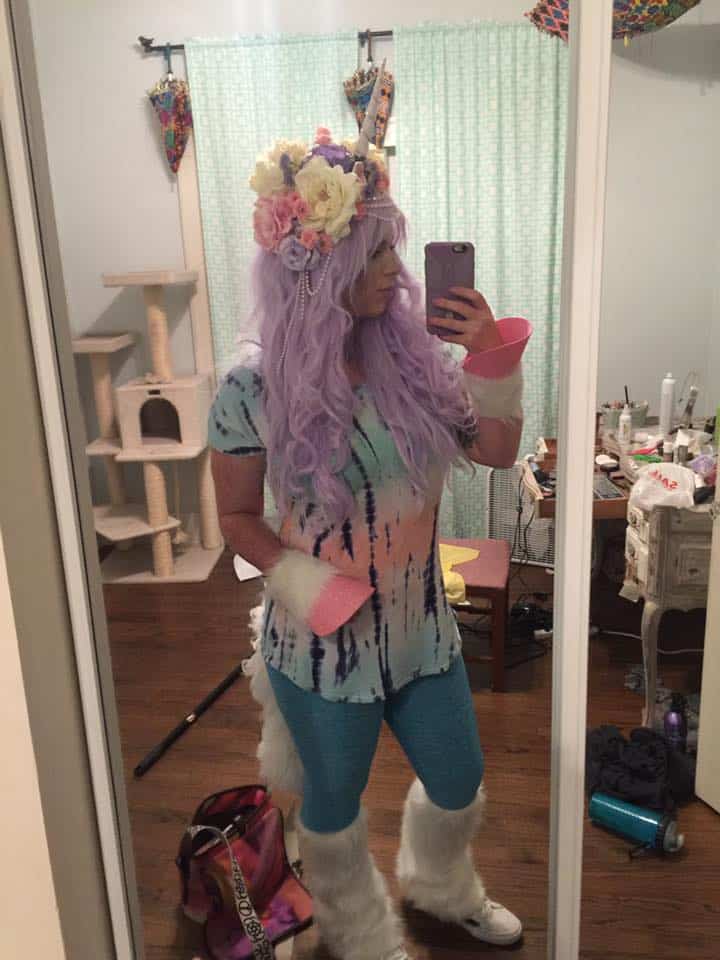
Katy’s Favorite (I couldn’t help but die a little bit over this unicorn.  I think the hooves sold me.): Jamie Grey with her Unicorn made from the Sweet Tee and Peg Legs.

14900463_10209583853211881_6198337319903692706_n

Congratulations to the winners!  I’ll be contacting you about your winnings!

And thank you so much to everyone who shared their amazing creations.  I’ve now got a lot of new ideas for next year’s costume sewing extravaganza!

Filed Under: Contest/Giveaway Leave a Comment

Pattern Storage- Sew it, Win it, Build it- from P4P

October 22, 2016

We see the question, “How do you store your printed patterns?” all the time in the P4P FB Group! So, as we’re celebrating hitting 30k members in the group with our “Sew it, Win it, Build it” Giveaway we’re hoping to answer that question today!
pattern-storage

We’ve been discussing all about planning, building and organizing your sewing room this week as one lucky member will win a Sewing Room Make-Over Grand Prize! Pattern storage is one that has been really tricky for me as I am planning my new sewing room! I’ve changed my mind a few times and I’m still not 100% certain with what I’ll have in there!

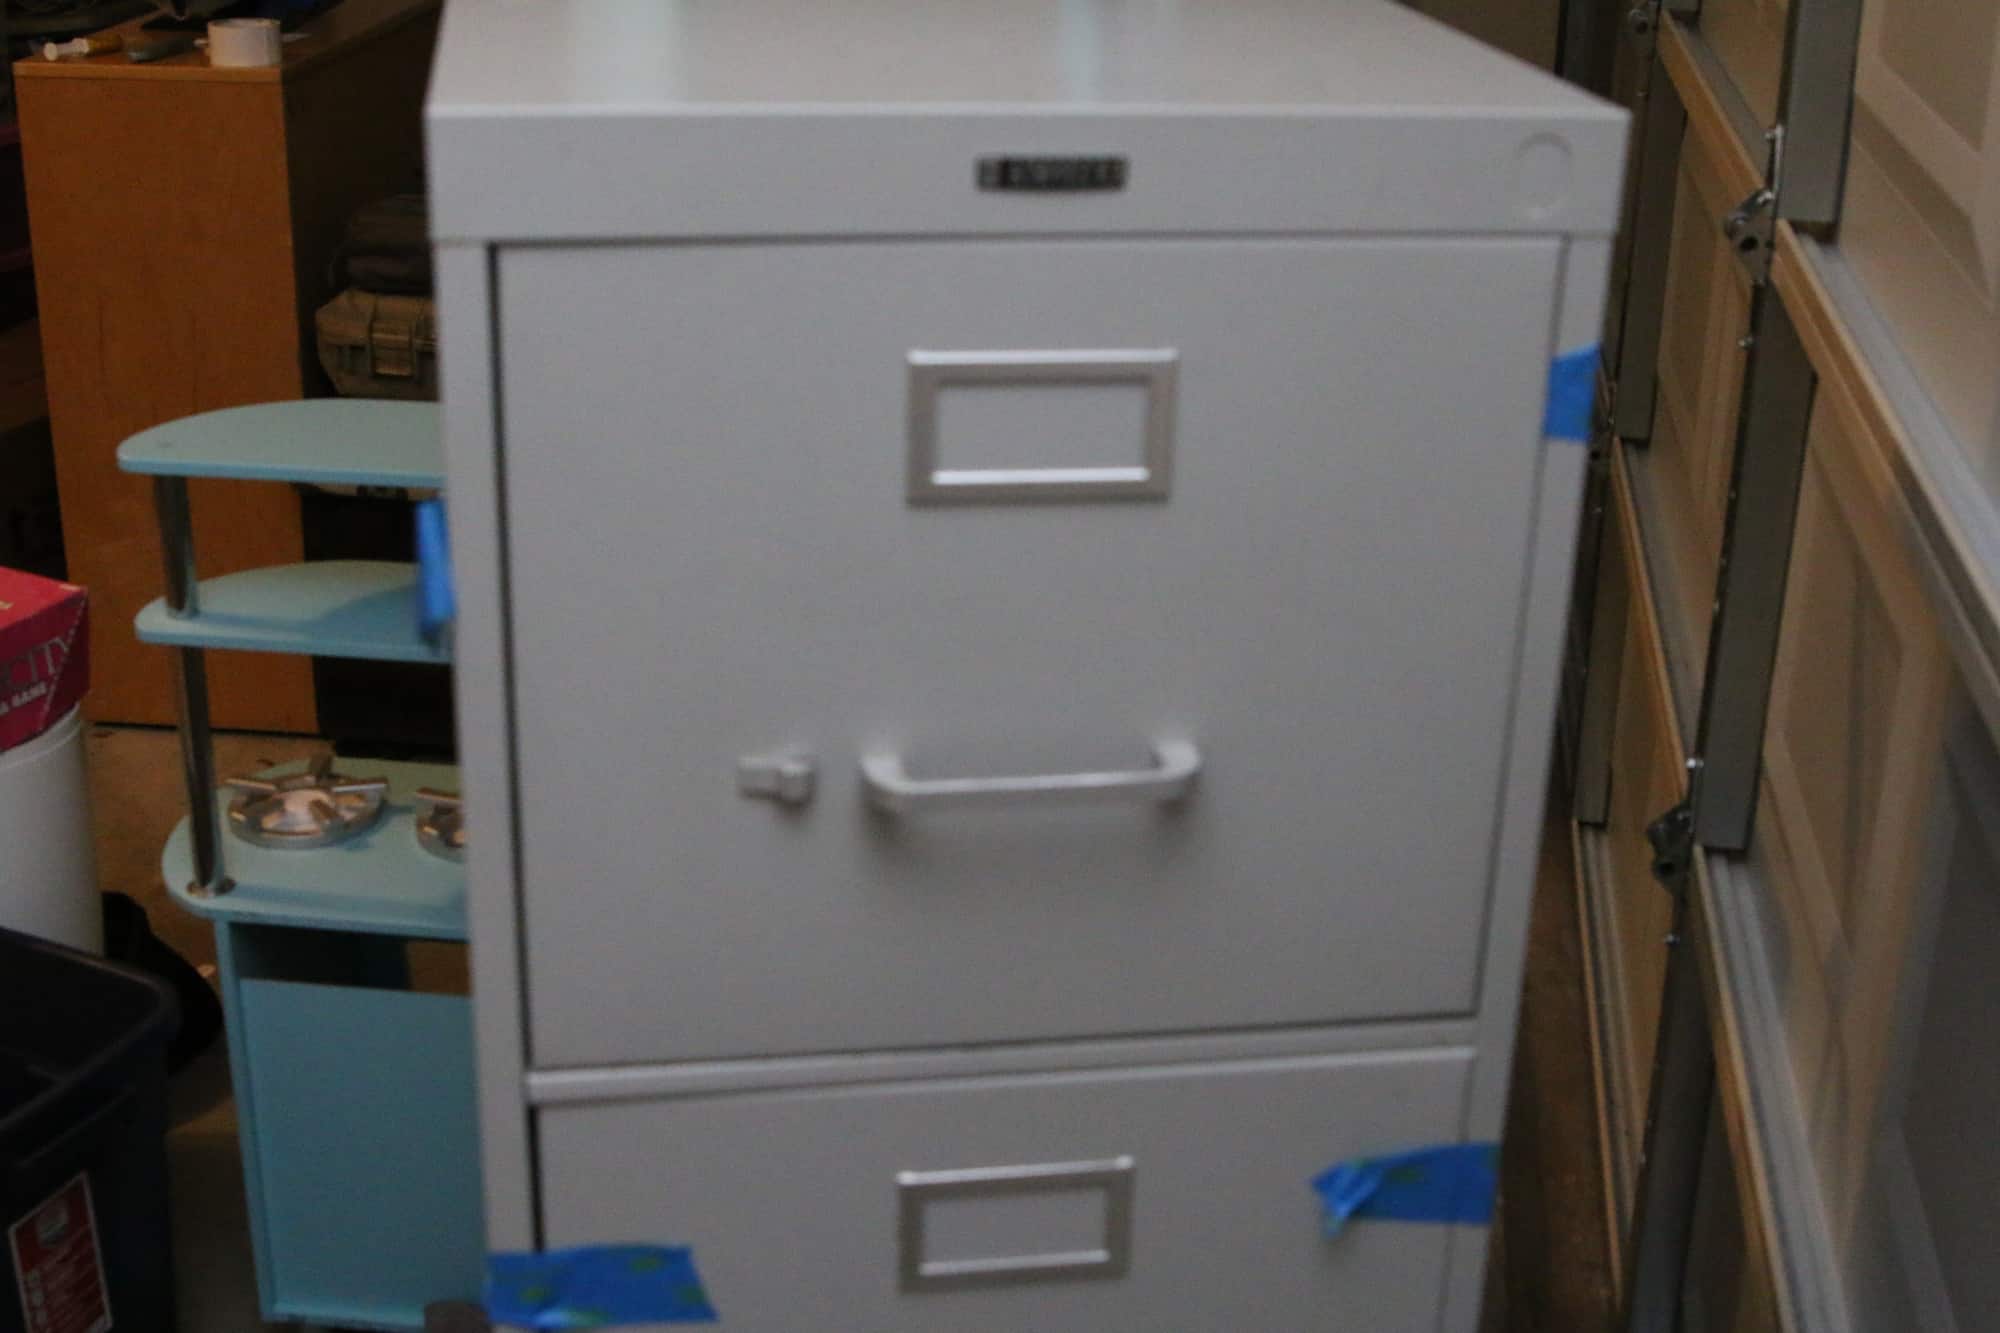
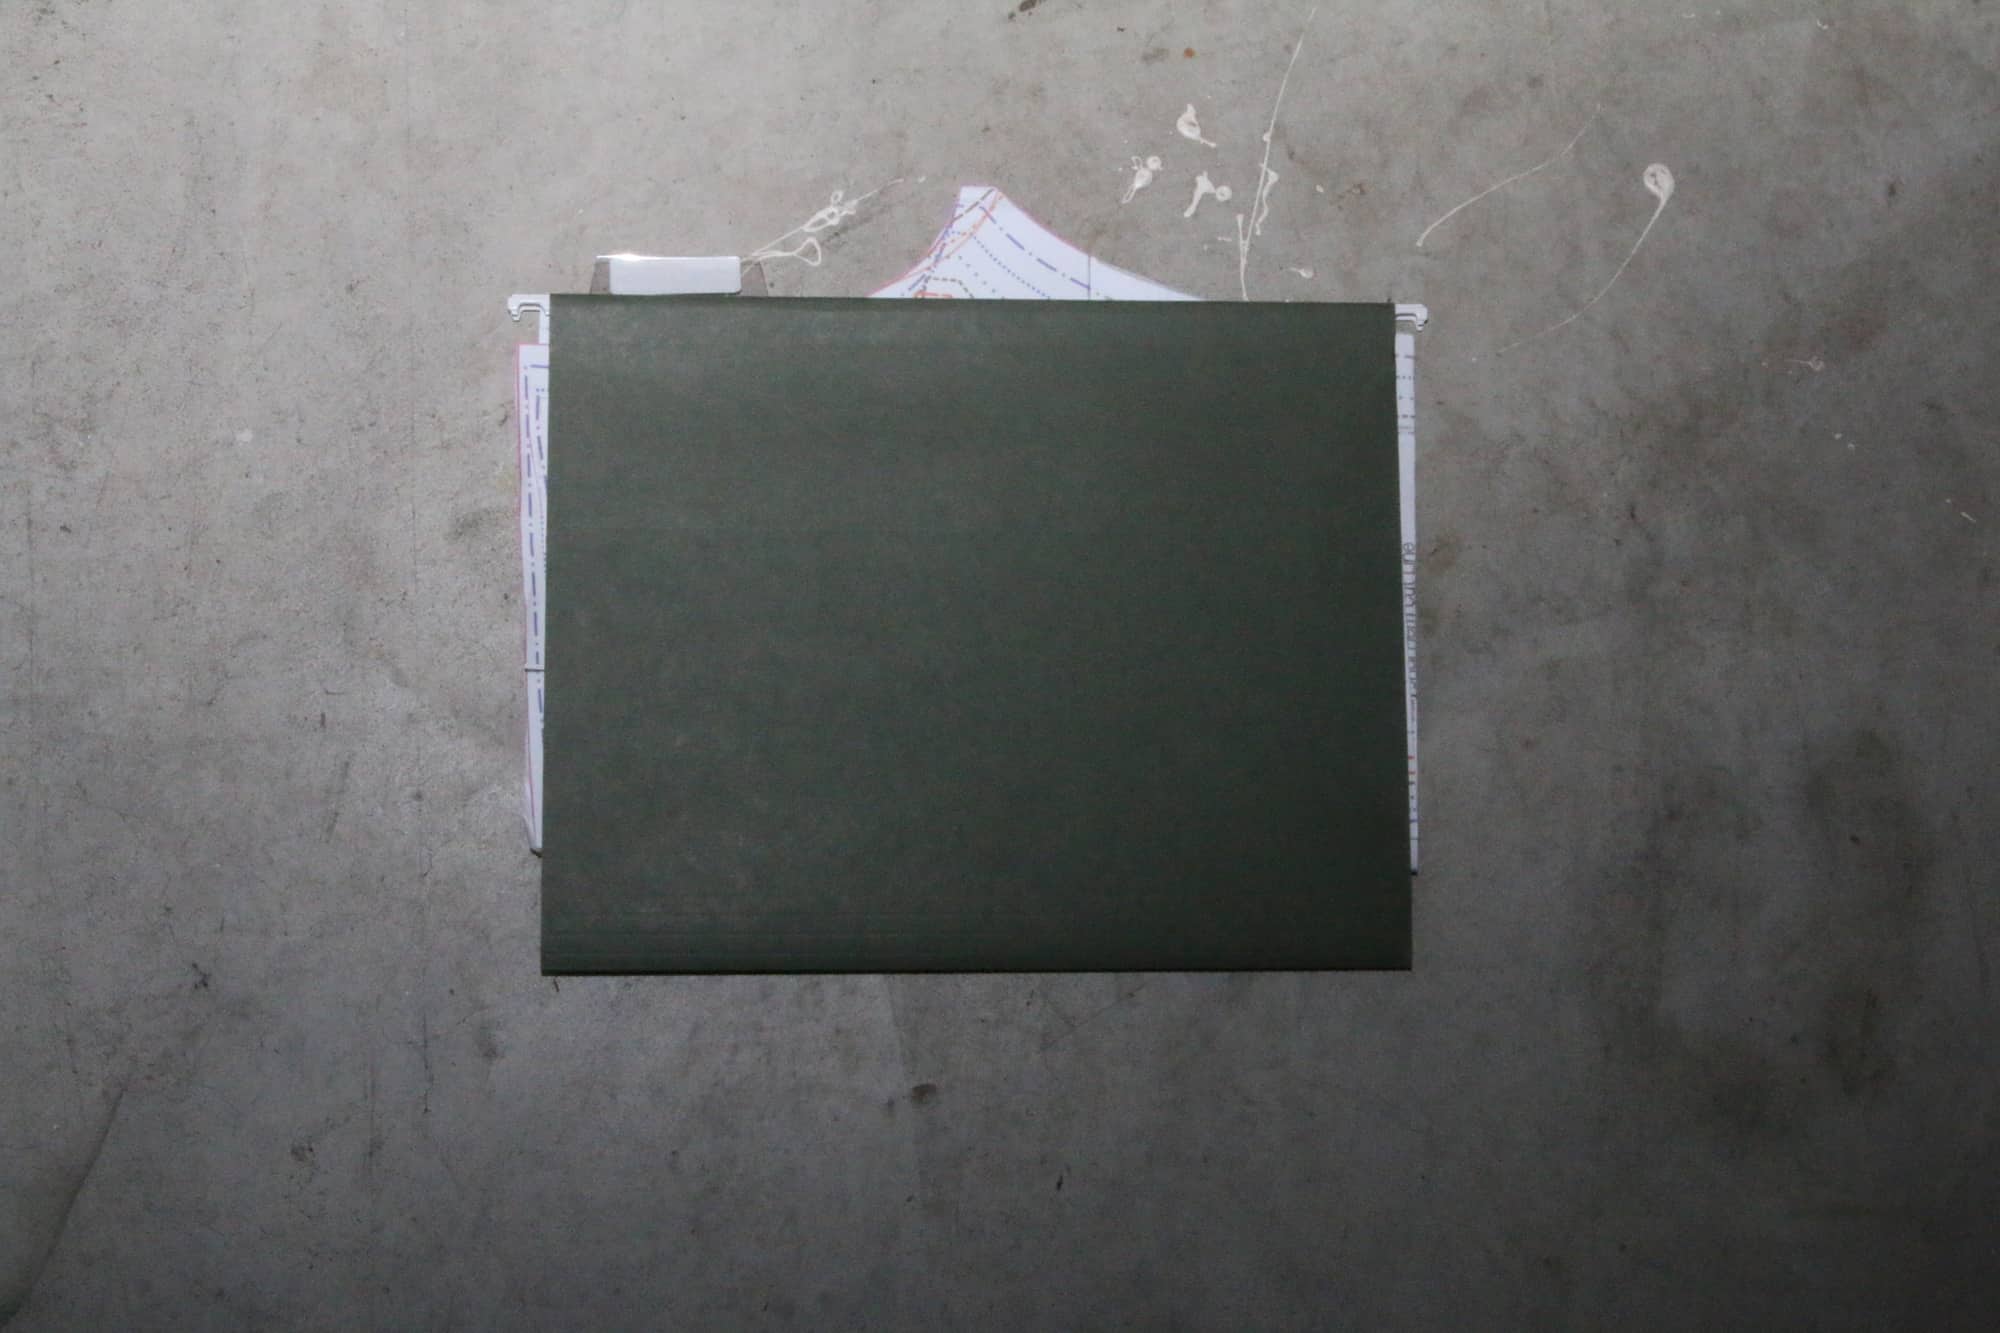
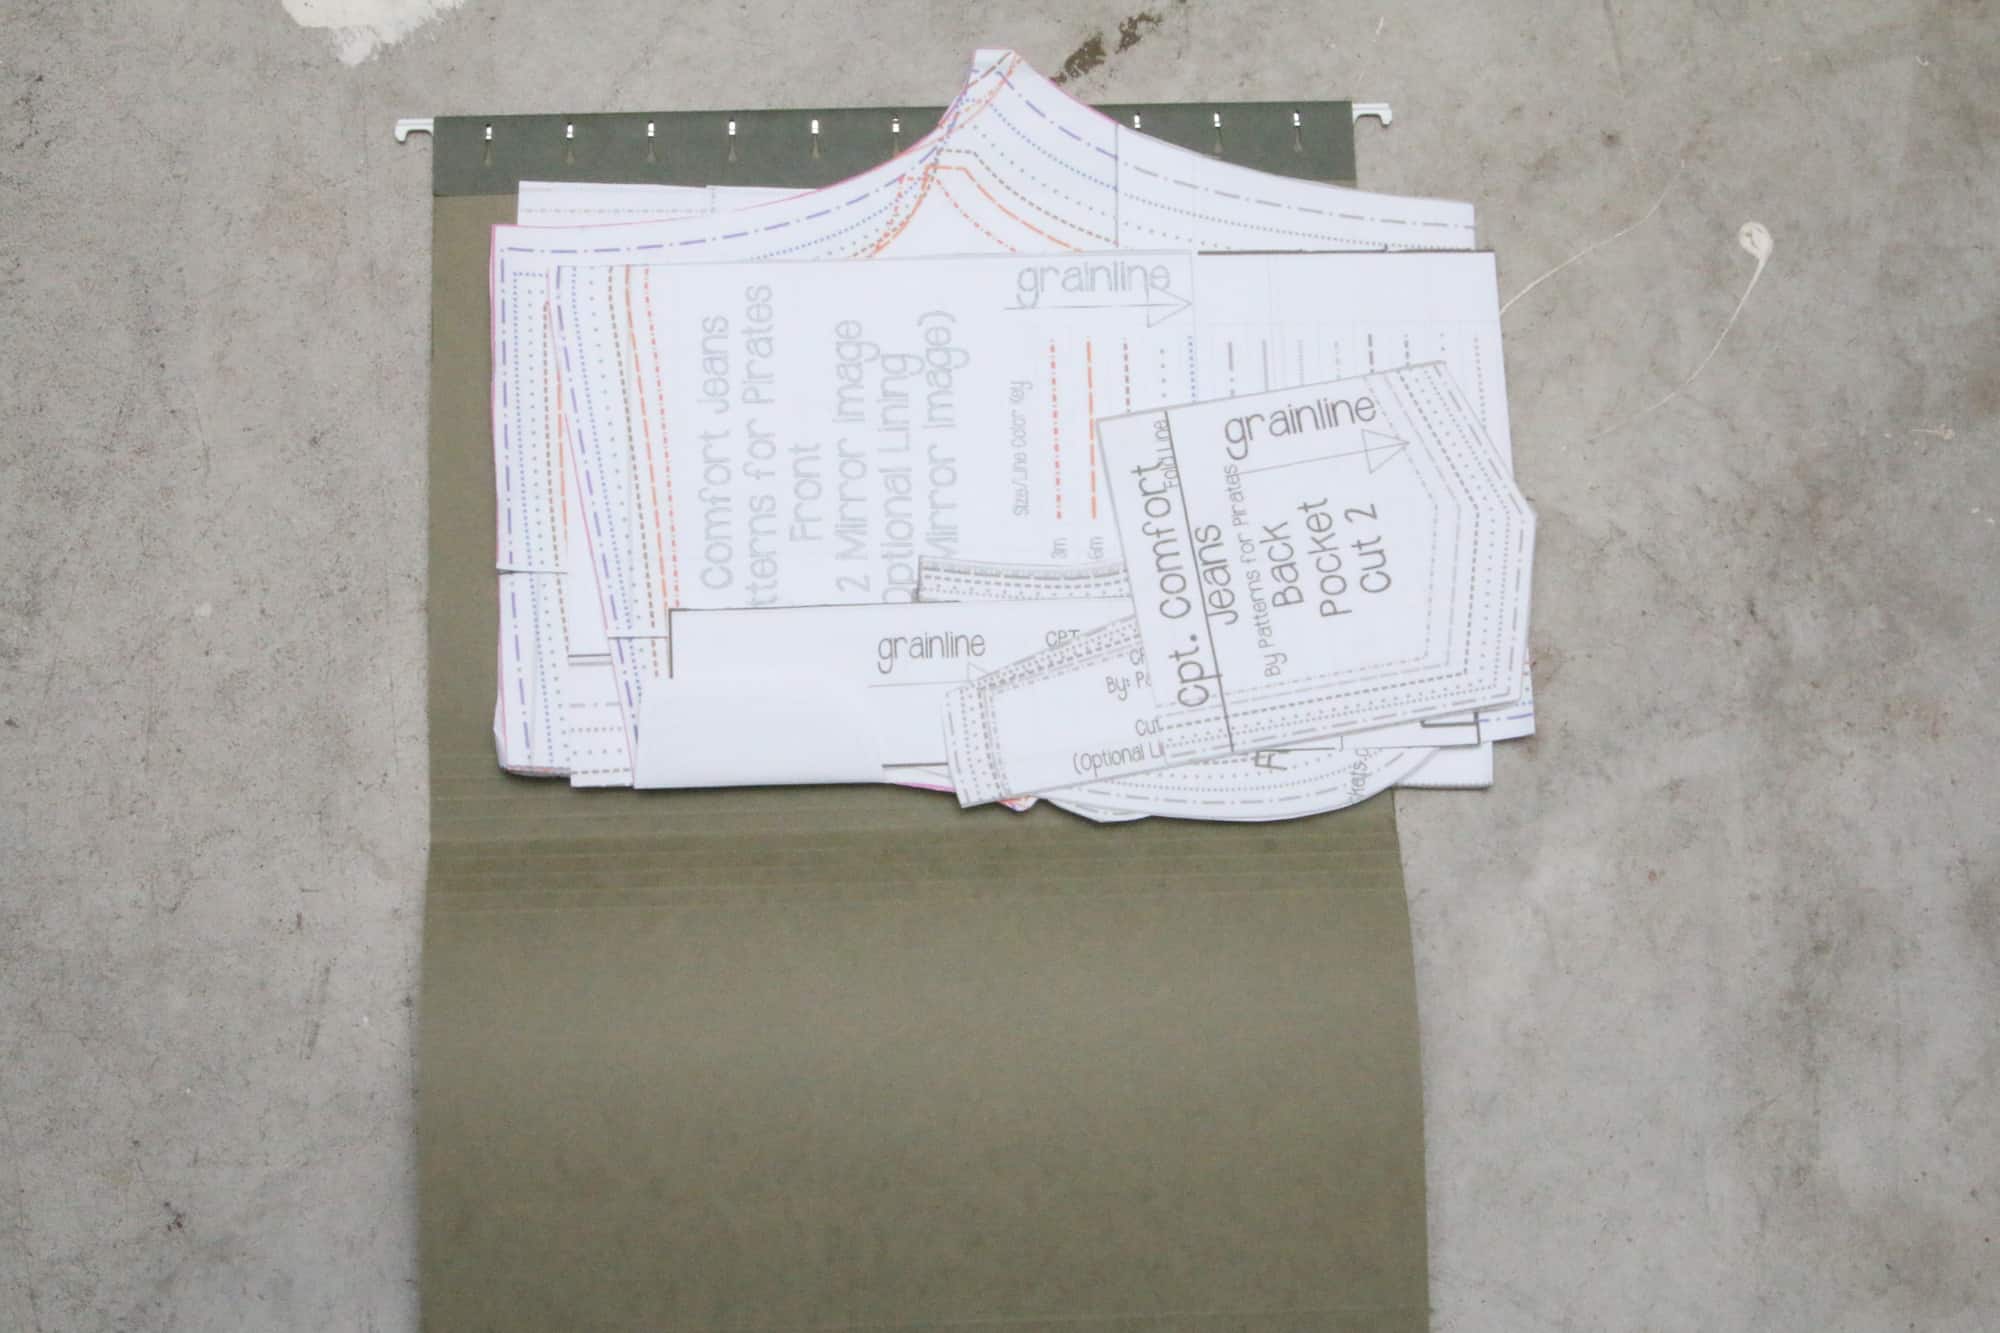
Currently, I use a file folder and standard filing cabinet.  It works very well for youth size patterns.  I usually only have to fold them a bit to fit nicely into a file folder and I have each drawer labeled as boys, girls, ladies, mens, ect. So, they’re very easy to find, throw back in, and keep fairly tidy.  My only complaint is that my adult patterns do get folded quite a bit and I often have to re-tape and work at flattening them back out when I pull out and go to cut.

It’s currently in our garage since we packed up our house to show/sale, so excuse the packing tape and packed garage behind it 😉

img_0974 img_0980 img_0983

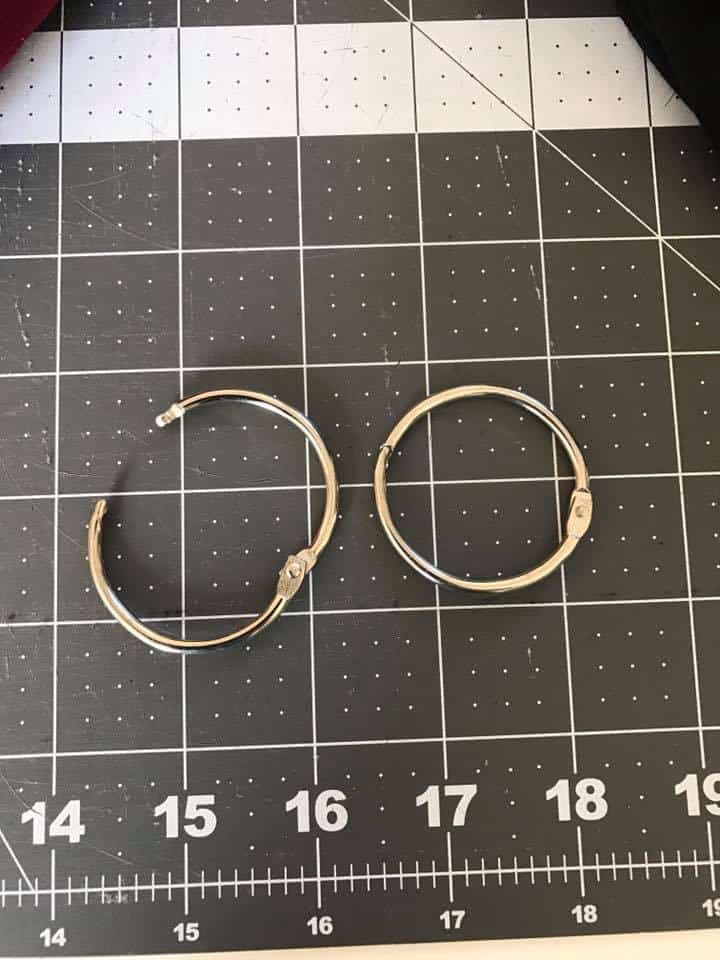
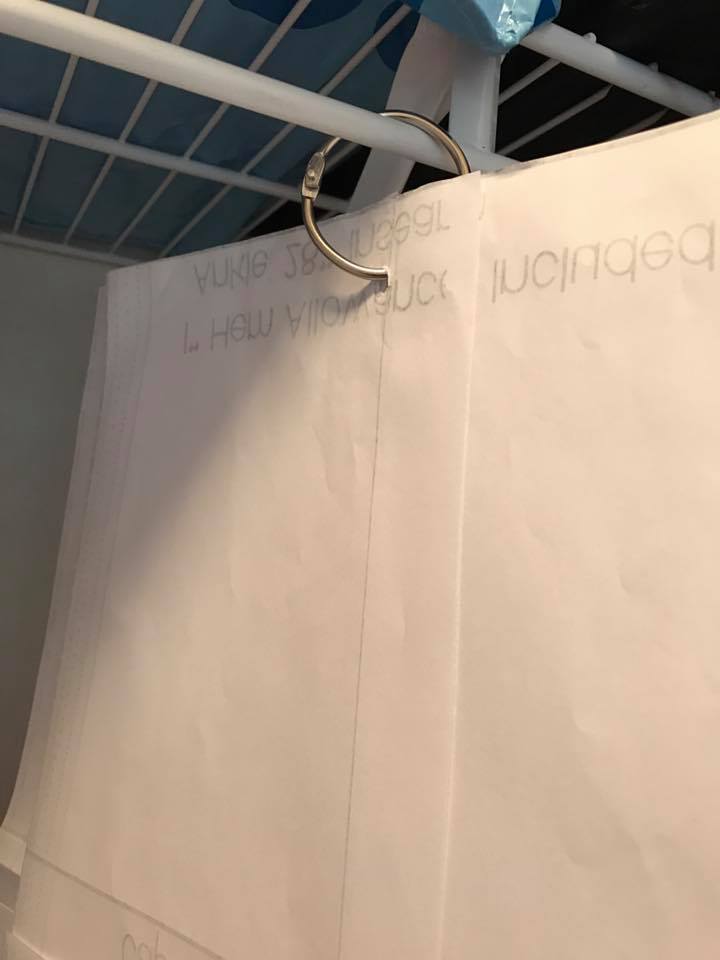
So, I was wanting something that I didn’t need to fold- at least not as much- on my bigger adult patterns.  Kelly hangs her with a little hole punch and ring:

14495485_10207035349153691_3528280069790468435_n 14572972_10207035348553676_1197854114462994751_n 14666188_10207035348433673_2841991569532413090_n

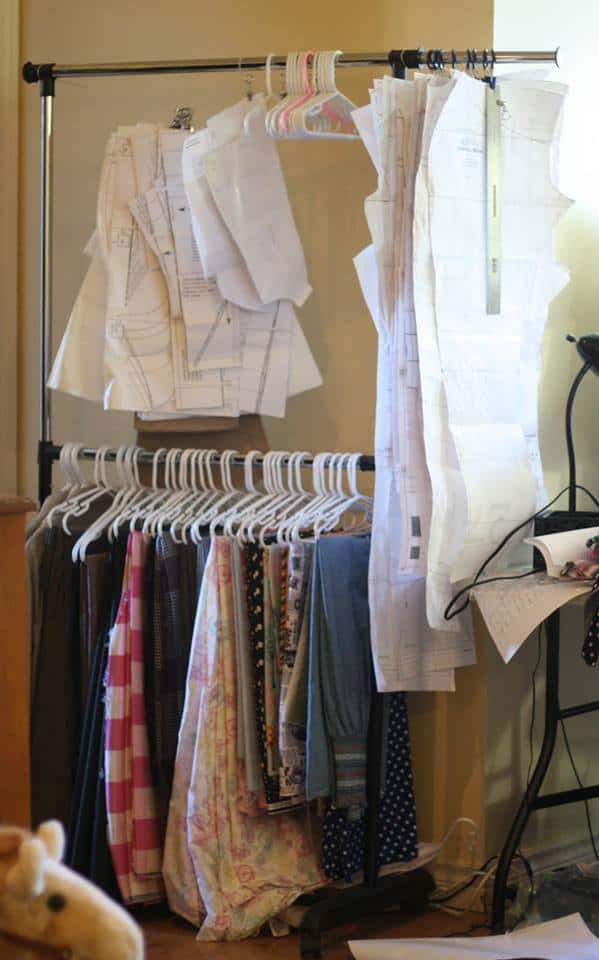
This is a good solution for not having to fold, but I don’t have any closet space in the new room.  So, I’d have to either do a curtain rod, wardrobe or something like this to use this method.  I’ve been on the hunt for a beautiful antique wardrobe to hang them in, but they’re hard to come by! And I don’t have too much time to spend hunting, but maybe one will fall into my lap! I can hope, right? Patty hangs hers with clips onto a mobile wardrobe hanger.

14517387_10157644317920790_2152977761045174009_n

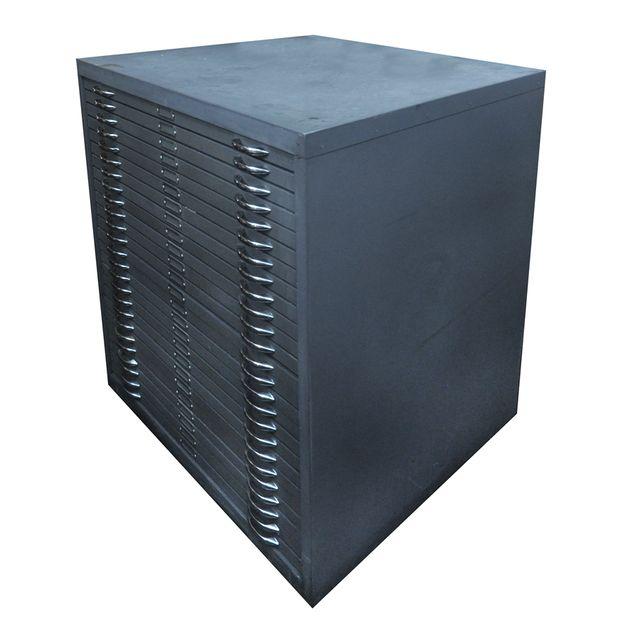
Another option is big shallow drawers.  I’ve found a few horizontal file cabinets for engineers or photographers that are pretty big that would work pretty well.  The only pull back to this is how many drawers can it have? Not enough for each pattern to have a drawer that’s for sure 😉 So, I would have to think of a way to keep them organized even within the shallow drawers, which could be difficult!  Plus, the couple I have found have been very high priced!

e97c2a5b-2aa2-4f3e-99cf-47580546da15

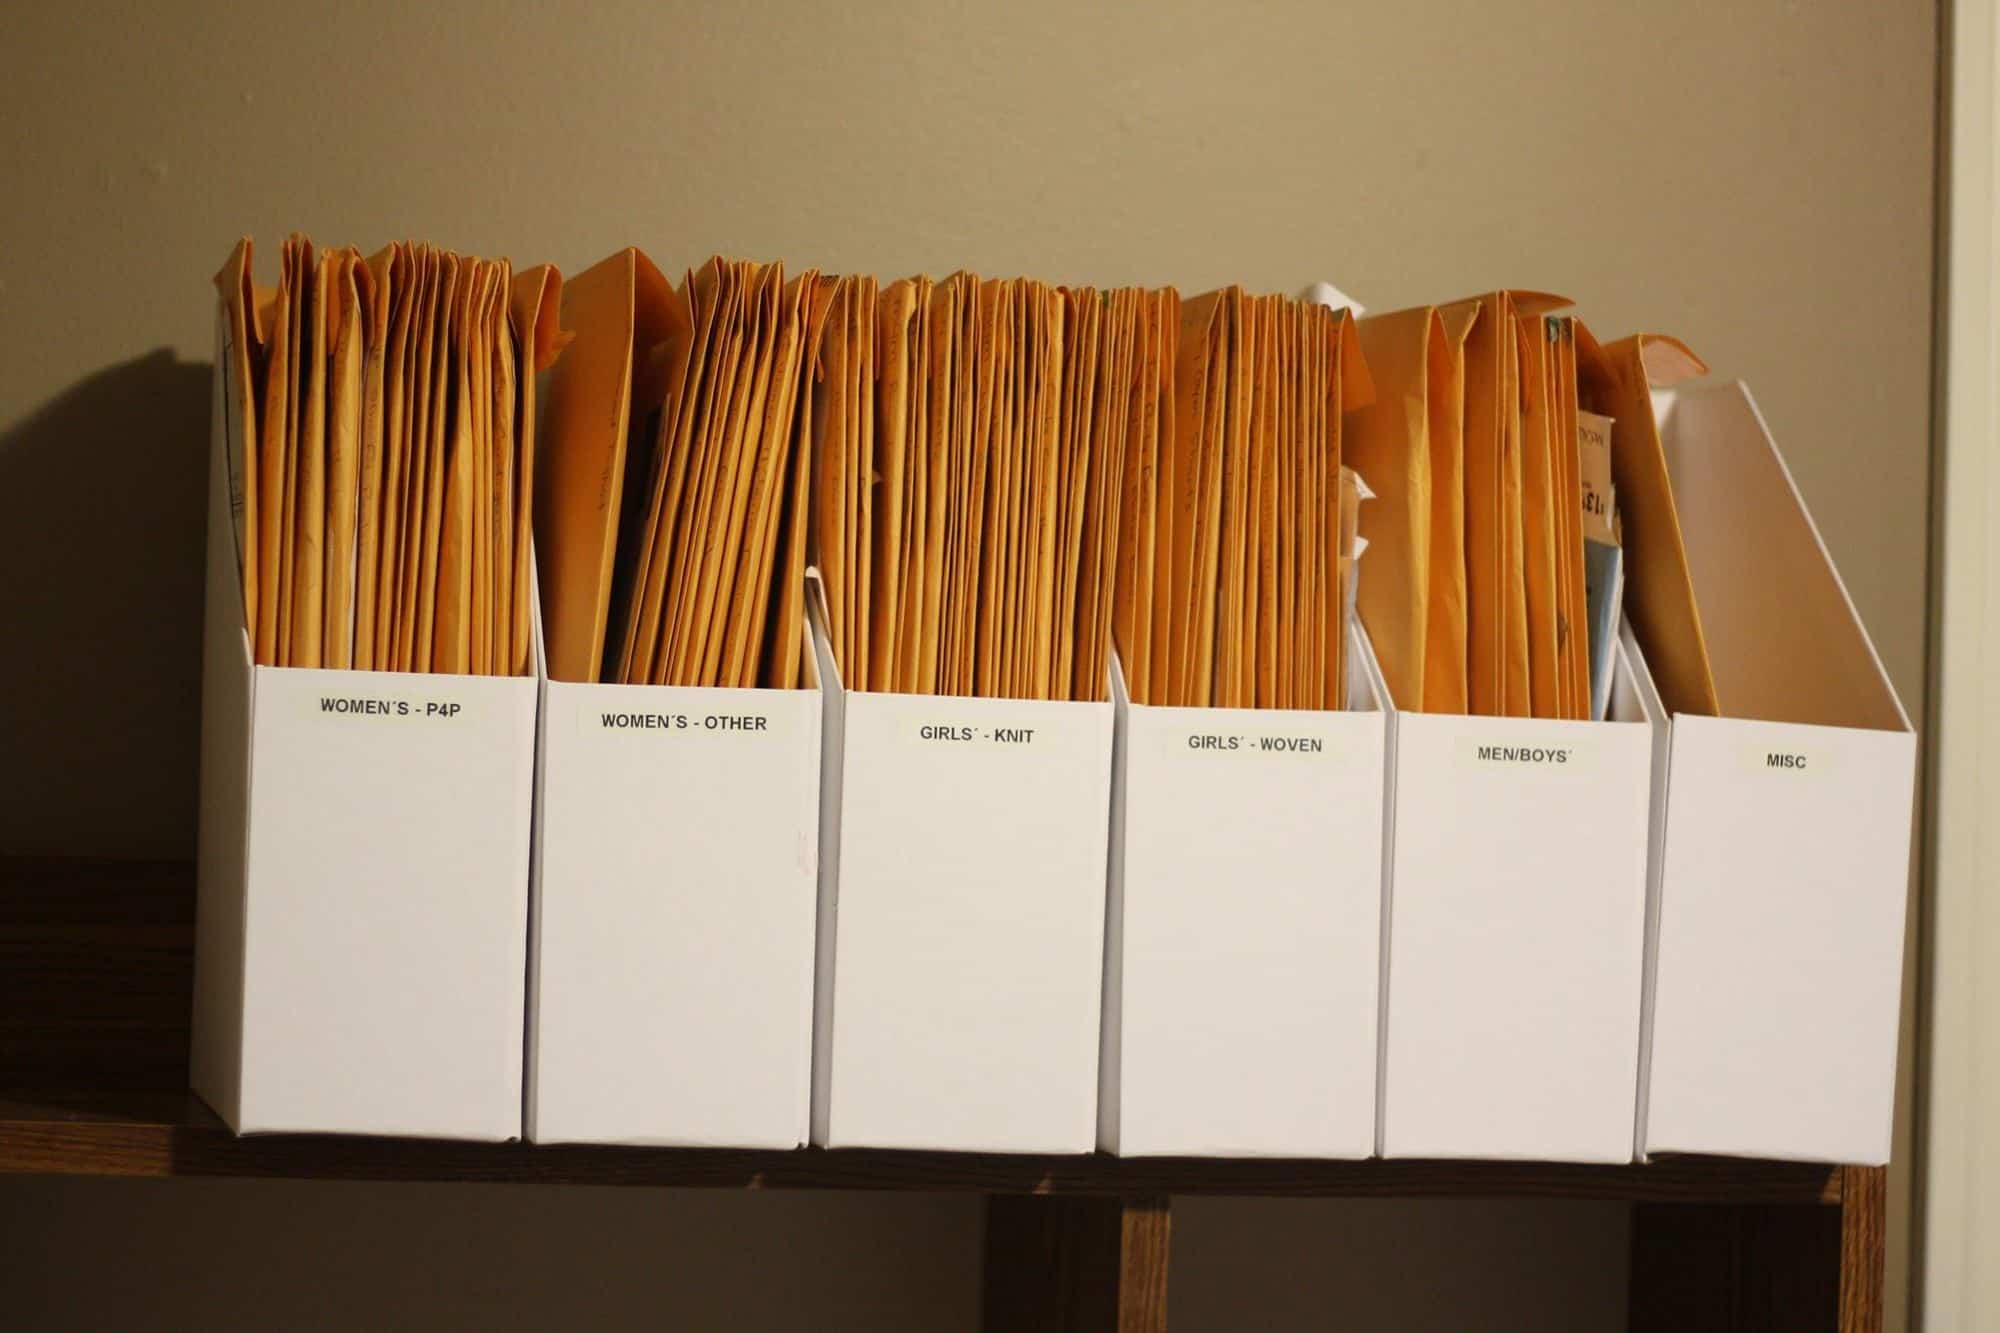
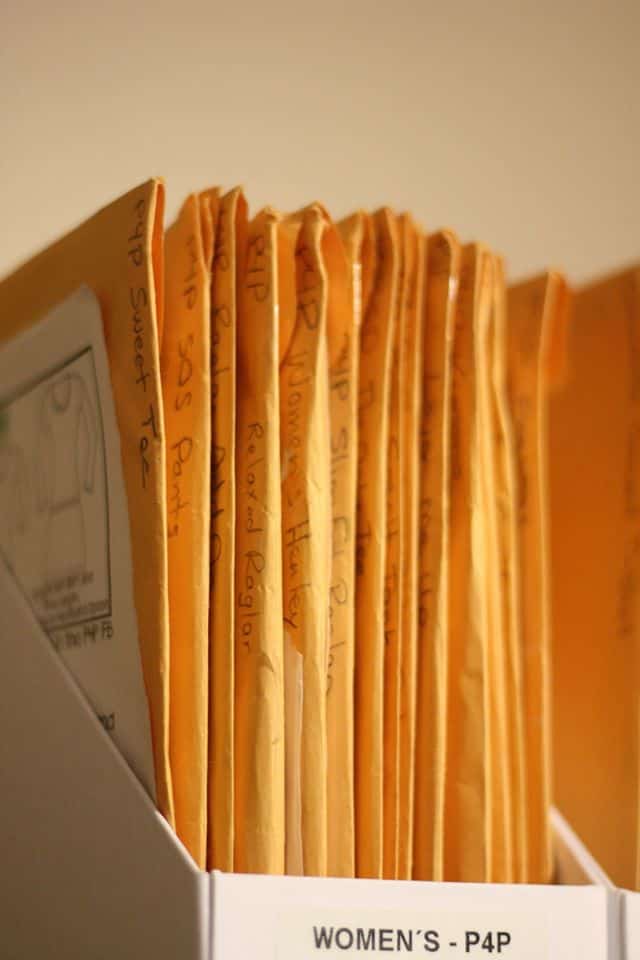
A lot of ladies use big envelopes to store their patterns.  Patty has them with the pattern cover on the front and fabric requirements on the back.  Then she has them sorted by categories in magazine holders.

14682176_10157644206125790_7054669831281777607_o 14566380_10157644215015790_6647628875910690010_o

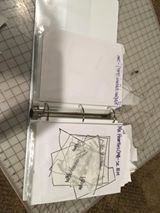
Erinn stores her traced pattern pieces in binders.  She has the pieces in a clear paper protector with the pattern and size labeled. She also keeps the bigger master copy just on the very top of her bookshelf if she needs to retrace a new size.

14568001_10210812366016355_4324082962279001726_n

We’ve heard members rolling their patterns and slipping them into toilet paper/paper towel cardboard to store!  Some use milk crates to keep slip each pattern into and hold it in place too, seems like a great way to keep the big master copies!

My sister only keeps her very favorite patterns she uses over and over.  For those she makes a giant “file folder” from poster boards and labels them, slips the pattern pieces inside!  And if you’re super cute like my sister you can even decorate them with hearts <3!

14570216_10154040686733214_141346676775991634_n14568228_10154040687963214_8343696638290494937_n

We saw a great share in the P4P Facebook Group that she likes to roll her big printed copies up and labels them with paper towel or toilet paper rolls!


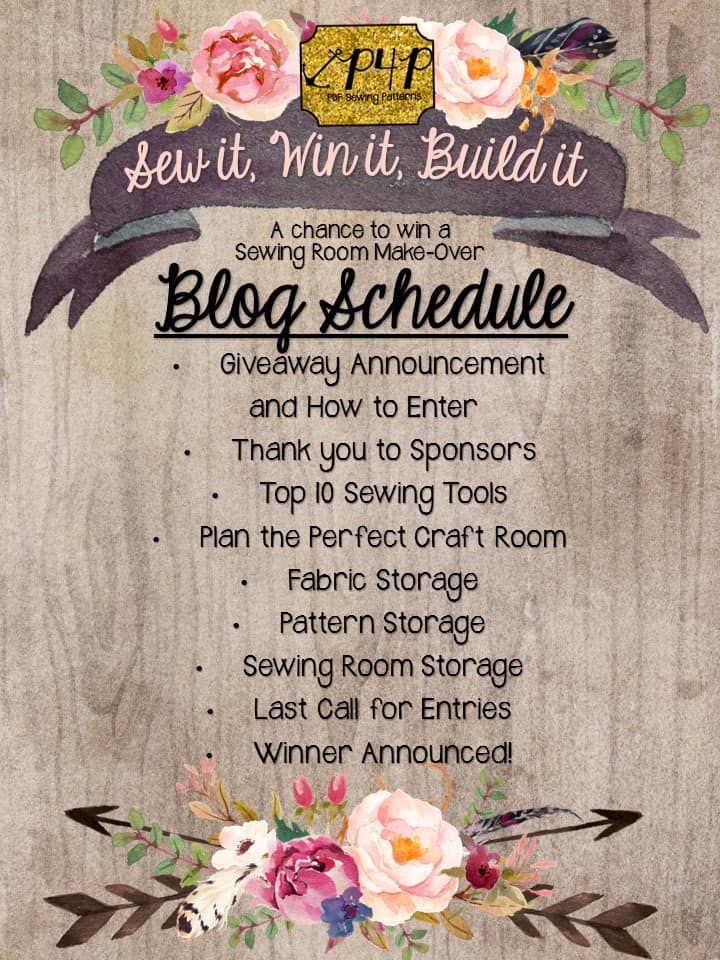
I hope seeing all these option for storing your sewing patterns helps you find the perfect solution for your craft room! Don’t miss out on the rest of our posts this week and to enter into our “Sew it, Win it, Build it” Giveaway! 

schedule

Filed Under: Contest/Giveaway Leave a Comment

Fabric Storage Ideas – “Sew it, Win it, Build it” from P4P

October 21, 2016

We’re talking all about Sewing Rooms this week with our awesome “Sew it, Win it, Build it” giveaway!   Today we’re going to continue talking about sewing rooms and how you can store all those supplies you need/stock/hoard? 😉

slide1

We hear a lot of questions in the P4P Facebook Group asking how to store things in sewing spaces.  So, here is a little list to help you see the options you have out there.  Today we’ll just be doing fabric storage, but we will also cover pattern storage as well as other sewing supplies later this week! *(This post contains affiliate links)*

fabric-storage

The big one right? How in the world do you store all your fabric so that you can see and get to it easily when you’re trying to find that perfect coordinate, where it takes up minimal space, and where you can fit a lot?  Or is that just something I worry about?

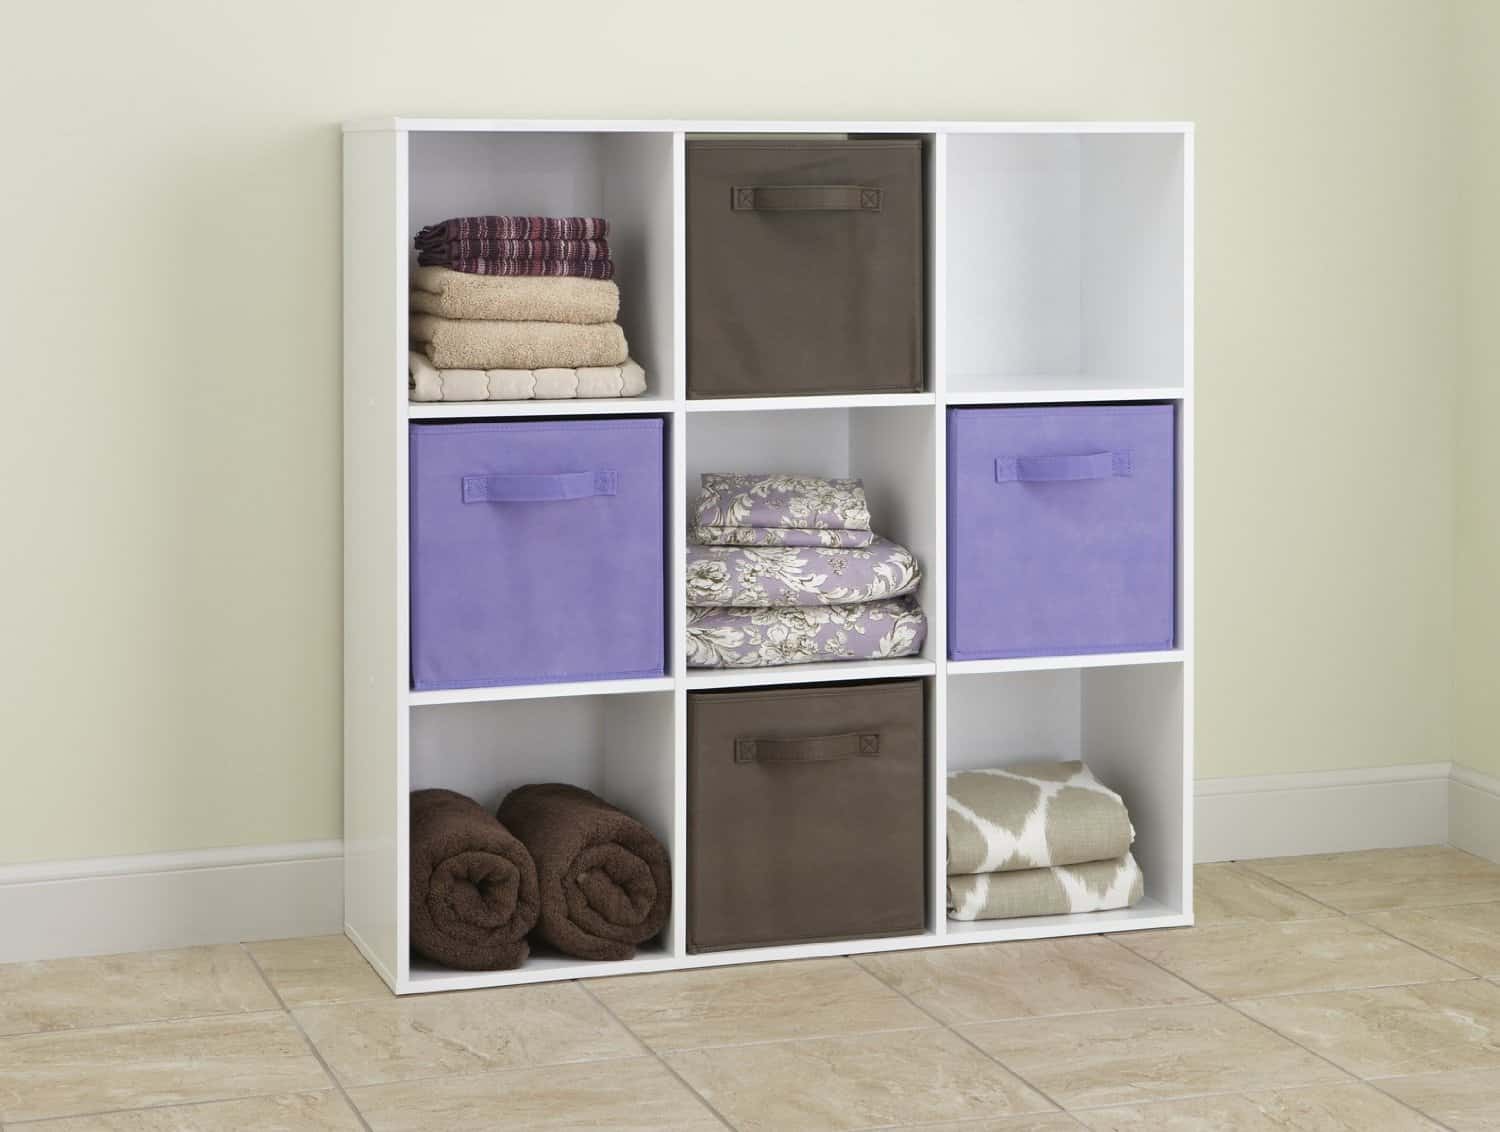
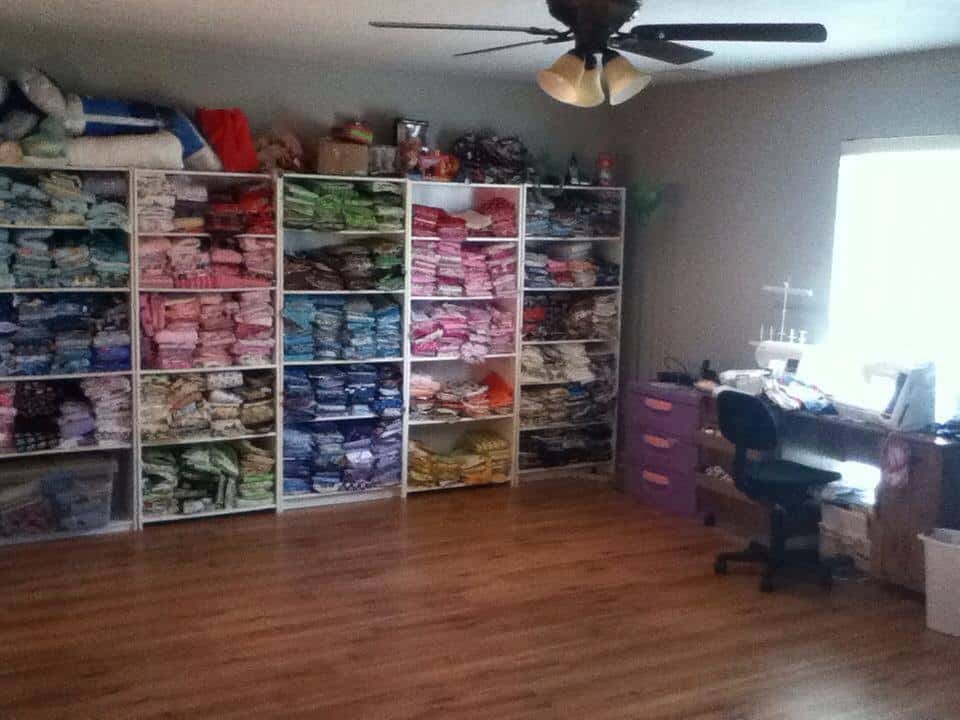
I store my fabric in open shelving.  I like to be able to see my fabrics really easily so that I don’t end up pulling them ALL out to color match or see my options. (Although sometimes I still do this a bit!)  I use cube shelving.  I like that each cube isn’t too wide that the fabric gets lost under others.  I’ve folded mine and rolled mine.  I like the idea of rolling better, I can see it more clearly when that shelf is getting really packed full, but I’ll be honest and say I didn’t have much success getting myself to keep up the rolling! When I would get it out to color match or decide between a few choices I would find myself not wanting to roll it back up! So, back to folding I went 😉   I also will use the little bins for scraps as well, I have one for knit and one for woven scraps. (Yes, one… I’m not a scrap hoarder!  When I get too full I go through it very quickly and give my nieces any that I take out for them to practice with.)
611pgl8p0sl-_sl1500_ 71dbwrb7q7l-_sl1500_
Maybe you happen to be a scrap lover…hoarder…like my dear sister Nicole 😉 She keeps everything! She sorts her scraps by color into bins:

14573036_10154036155823214_7449223298133569048_n


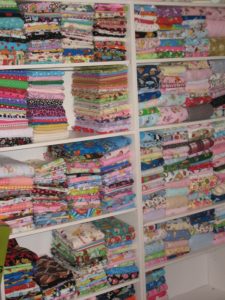
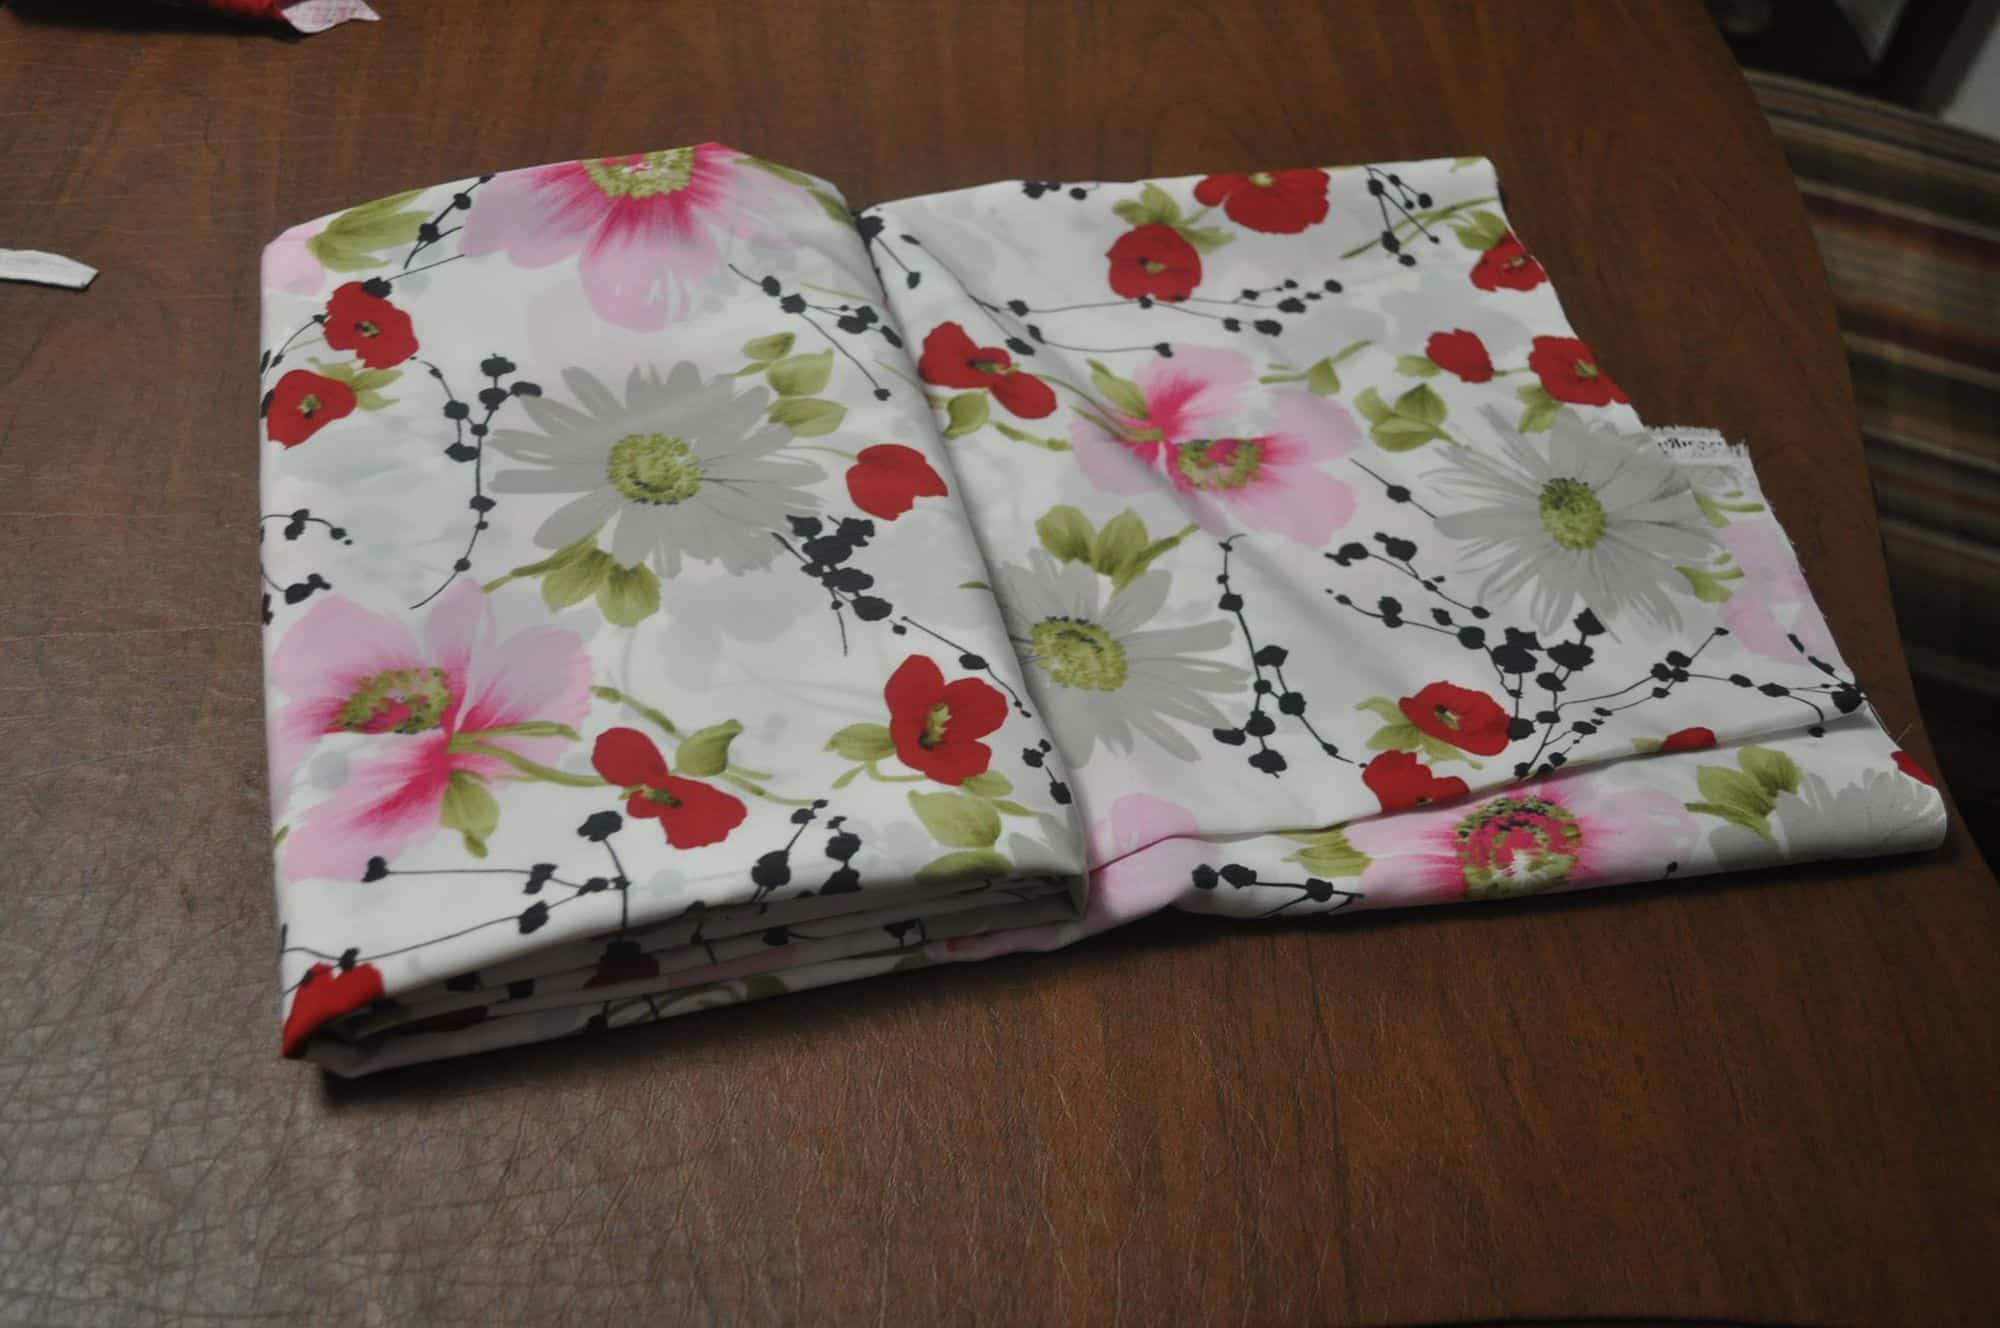
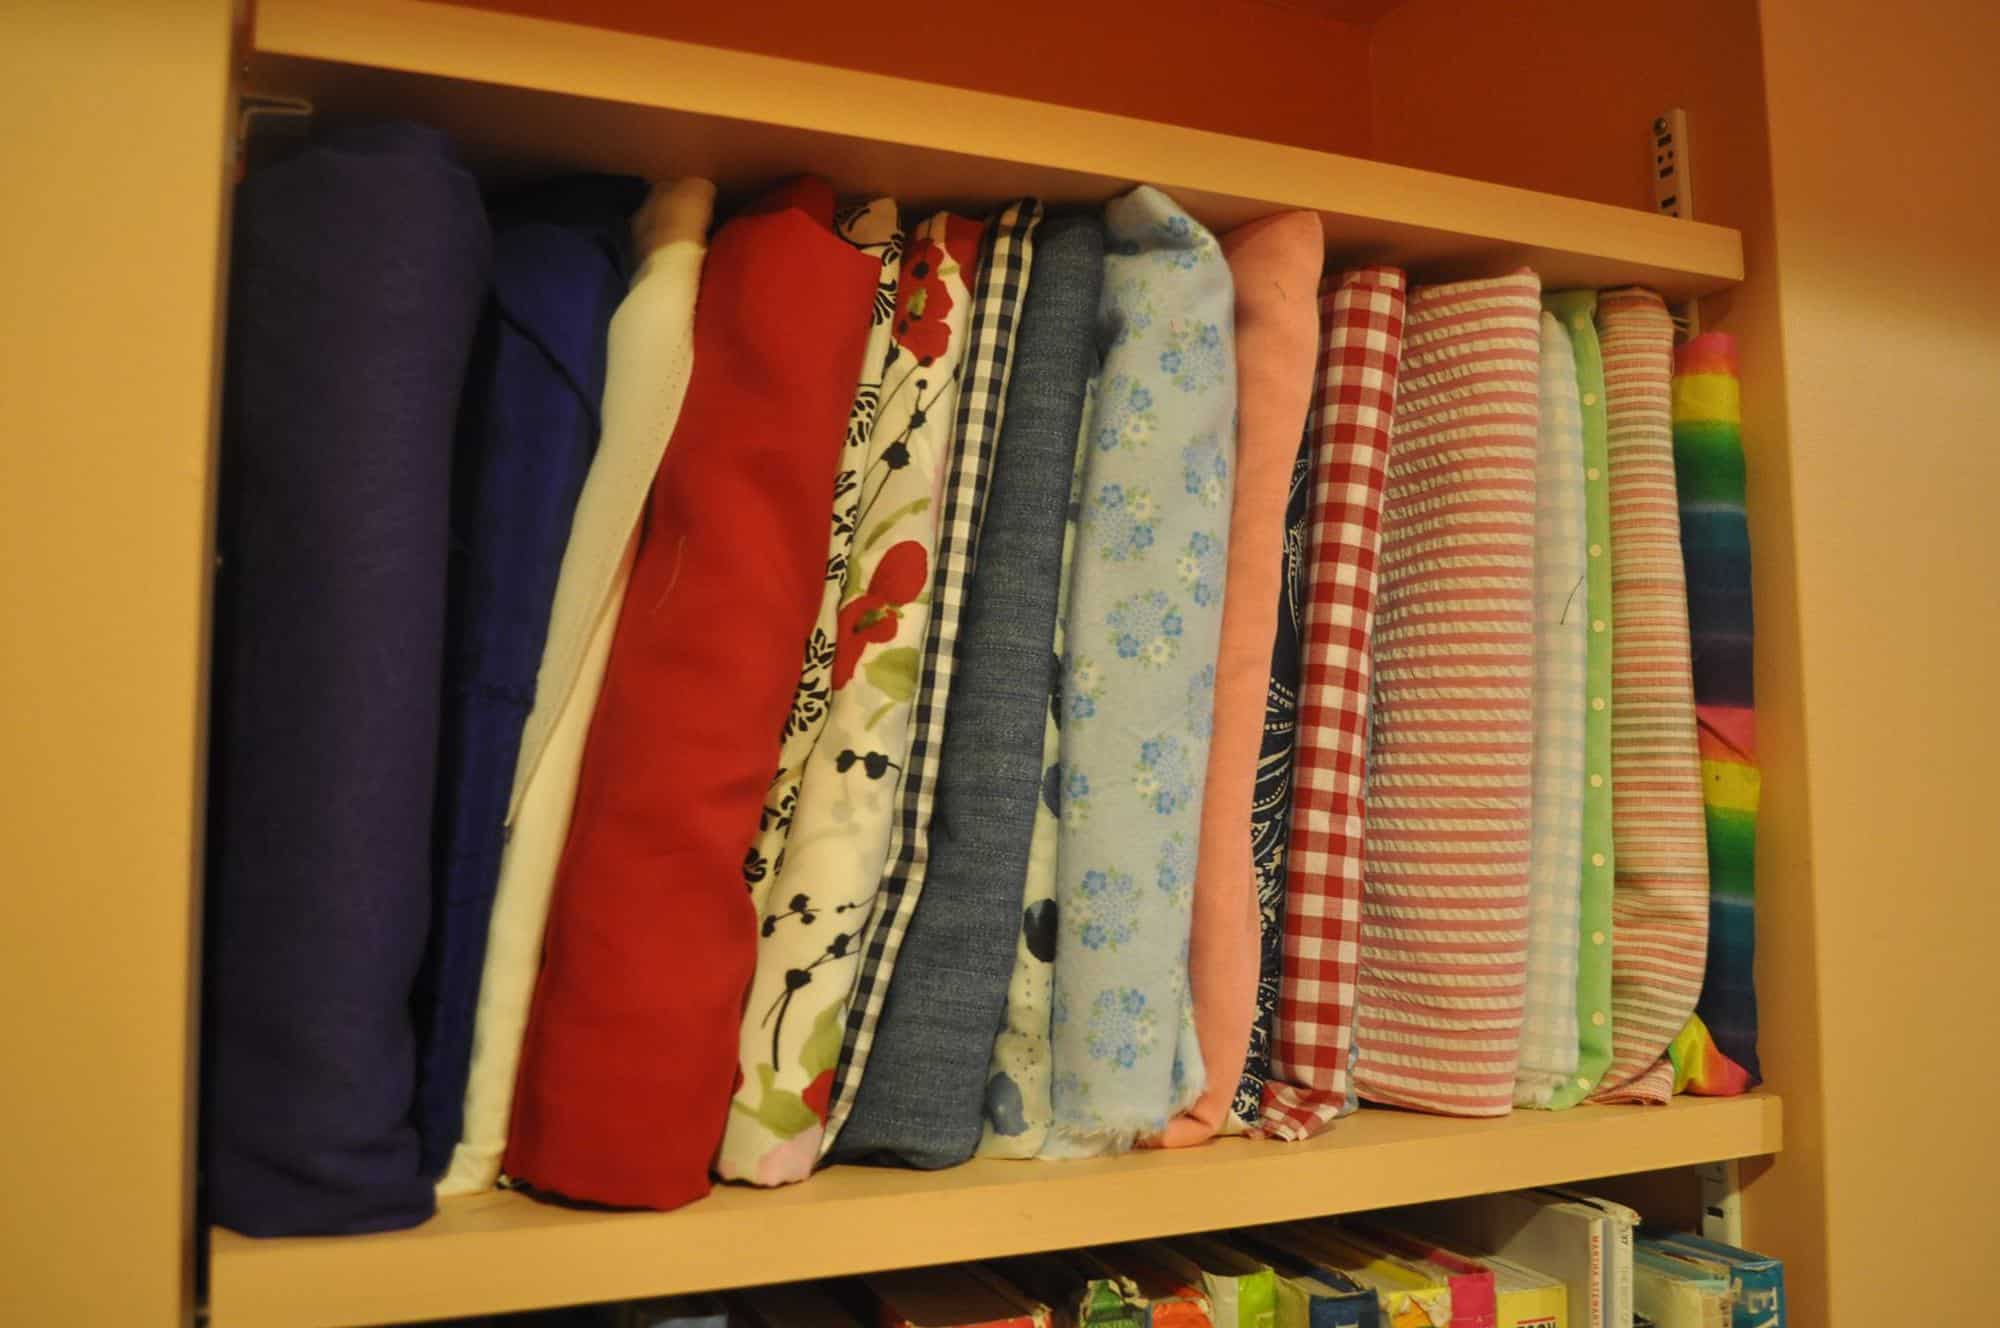
There is the “ruler folding method” for storing on bookshelves.  Which just helps you keep each cut folded at the same width so it fits nice and tidy on the shelves.  I’m just always in too much of a rush to be this neat and tidy! Maybe one day 🙂 The jist is to use your quilters ruler as a guide to fold your fabric cuts.  Here is a helpful blog post from my sister’s blog explaining how in detail.

m_foldfabric-008 m_foldfabric-001
Another way I’ve seen is to use comic book boards to fold your fabric around.  It’s like having tiny bolt of fabric on your shelves!  Roberta uses this method and it gives you such a nice and tidy look as well.  She has done it for a while and can count the number of layers around the board to get a good estimate on yardage without unwrapping and measuring! Great little trick!

14525245_10207496757918976_6692690070939439067_o 14608891_10207496756598943_7453680850056838816_o
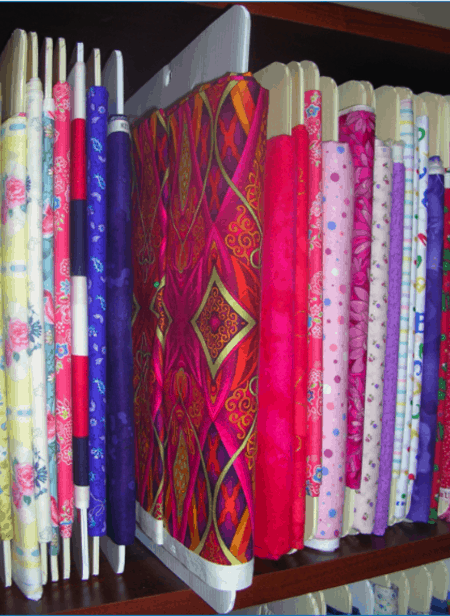
You can also buy these fabric organizers made exactly for this use too.  They have little grips to slide/tuck your fabric into.

9c37a618f26aa3d4e5fee30187f18834

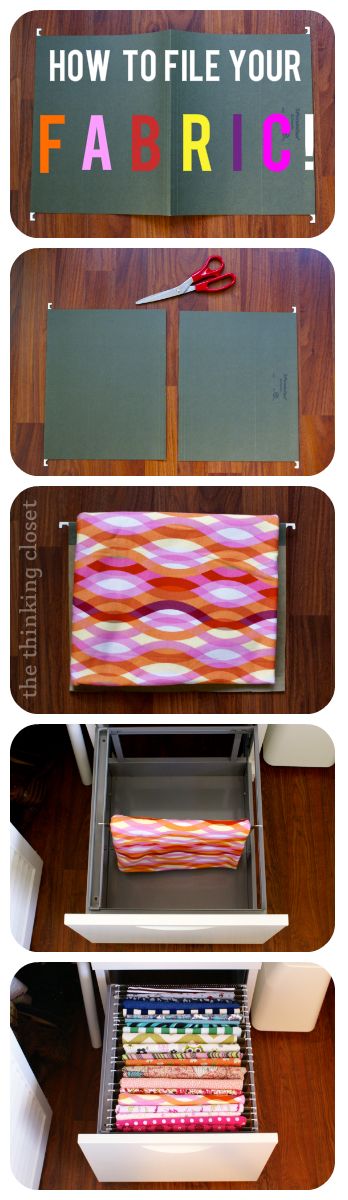
Another way I’ve seen around is to use filing cabinets. You can hang your fabrics on the file folders and sift through them.  Again, I think this really only works for smaller cuts of fabric.  You could fill up a cabinet way too quick with adult size cuts of french terry! I’ve never stored my fabric this way, but here is a blog post I found explaining how she does it.

e7105bf6885549a5d669de91daaac0a8

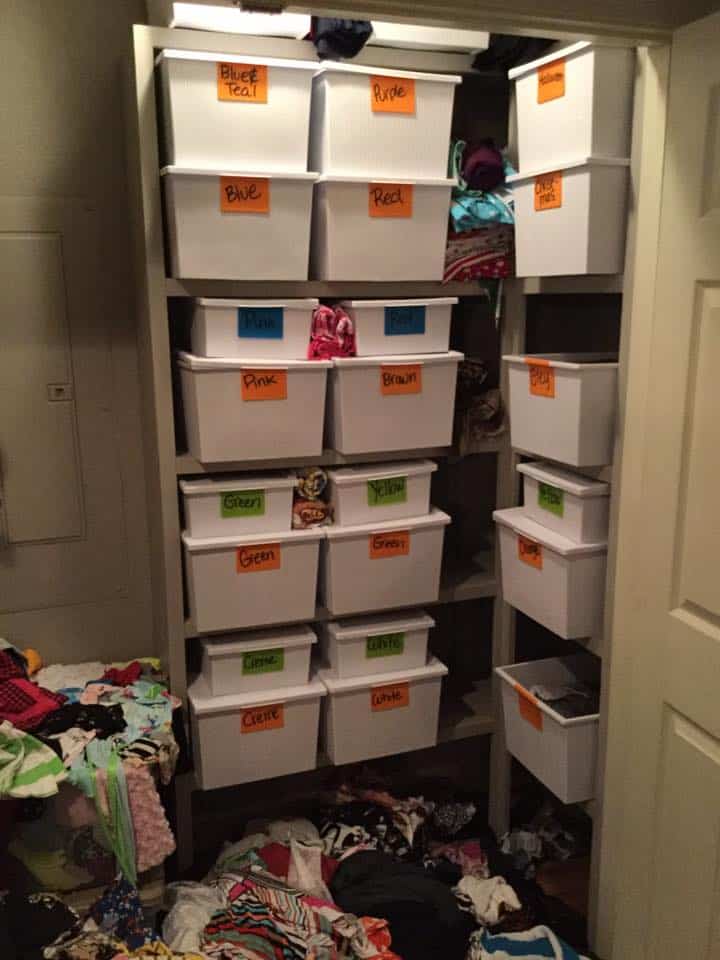
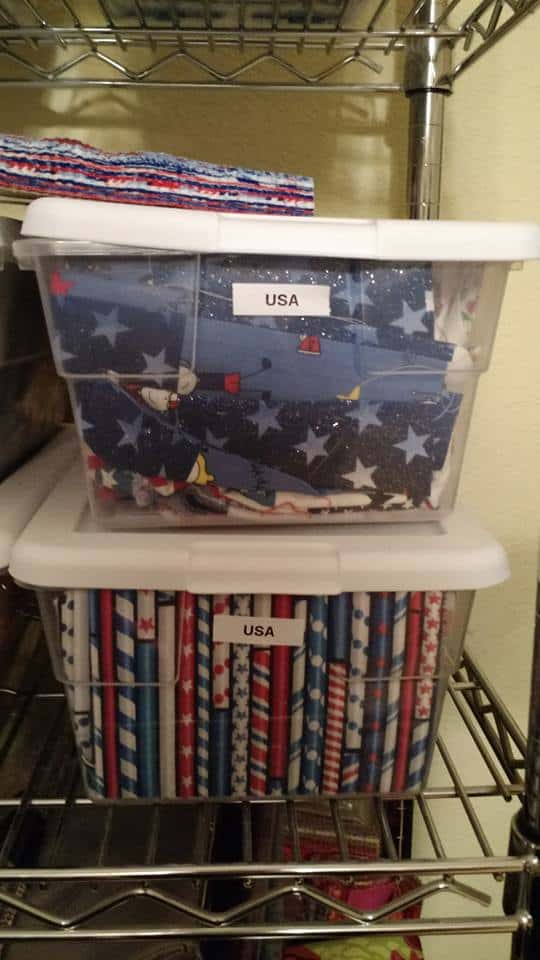
Another one I see often is in tubs.  I currently have all my fabric in tubs because we had to pack up my sewing room to show and sell our house.  But, I hate it!  Personally I sew way too often to have to dig out fabric from tubs every time.  I end up making a huge mess pulling it all out trying to find something! But, it would keep it out of eyesight if you don’t want your fabric on display.

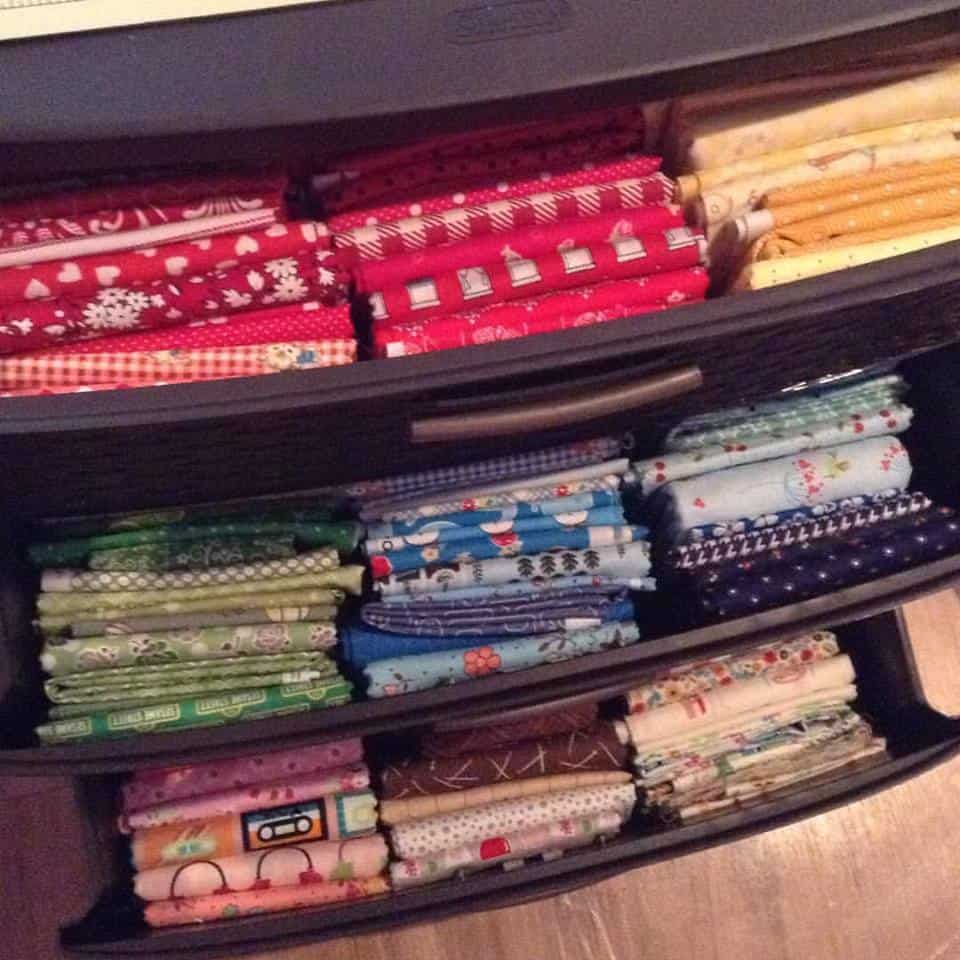
When we helped organize my mothers quilting fabric, which is so different than apparel fabrics since it’s a lot of smaller pieces rather than larger cuts.  We folded them and stored them into drawers and small bins vertically.  That way she could open the drawer or bin, and see all her fabric in that one at once.  she could easily pull pieces in and out without disrupting the others.  This is a view with drawers open and looking down into the drawers:

14570353_10154040633003214_3080425248963051391_n

The last way I’ve seen is to hang.  On curtain rods, a wardrobe system, or if you happen to have a closet in your craft room. You can use a hanger and fold the fabric over the bottom like Patty does here:

14517387_10157644317920790_2152977761045174009_n

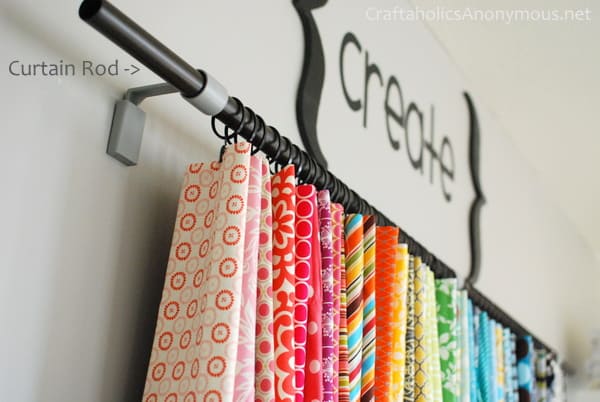
Or you can use curtain rings and clip them. Here is an example of this from Crafterholics blog:

candle-gift-tag-014-1

Now that you’ve decided what you’ll be storing your fabric with you can move on to thinking about how you organize it within that unit.  I like to keep my fabric organized by type.  Meaning I have all my french terry together, rayon spandex, sweater knits, ect.  Some of my very favorite types I split into more– solids, prints… I also keep most of my “t-shirt weight knits” together and sort my solids, stripes, prints.  So– it might looked haphazard to someone just looking at it.  But, when I go to look for a certain project it’s perfect for me! I can look for the weight/blend that I’m needing for that project and then move into what print/color/ect. from there.

My mom also organizes her quilting stash in types.  But, obviously not fabric type since it’s all quilting cottons.  She uses the type of quilt it’s for… meaning- low volume goes together, a quilt set from a certain designer, brights, holiday prints, I spy quilt fabrics, ect.  So that when she’s ready to sew up a low volume quilt she can go to that drawer, pull it open and pick from there.  We also did her blenders all together in a rainbow sort.  So if she needs a blender in a certain color she can quickly get to it as well.

14570372_10209242052120414_5099504970576963411_n

My oldest sister Nicole organizes her fabrics in 2 big categories- she does both apparel and quilting sewing a lot. So, she has… a lot of fabric… a lot… lol… She has all her knits together and then sorted by rainbow colors.  Then her cotton wovens together sorted again by rainbow colors.  It does look pretty in there all rainbowed out!

14639575_10154040631643214_6321923127233648177_n

My sister Megan organizes by type like me- she also has a separate place for fabric for her son and then for her daughter.  It helps when they’re ready to pick something out!

Whew… Well, I hope that helps show you a few ways you can store your fabric!

Stay tuned for some more ways to organize your sewing/craft room this week including pattern storage and other supplies!

schedule


Filed Under: Contest/Giveaway 2 Comments

How to Plan the Perfect Craft/Sewing Room- Sew it, Win it, Build it- from P4P

October 18, 2016

When my husband was trying to sweet talk me into building a new house his biggest selling point was a bigger sewing space… eventually he won me over and I’ve been planning that sewing room since!! I’ve had a lot of fun researching and planning it, so much, that we’re giving away the chance for someone else to get a new sewing room!  If you haven’t read our “Sew it, Win it, Build it” Giveaway post make sure you stop by and read how to enter for your chance to win! 

slide6

Flooring-

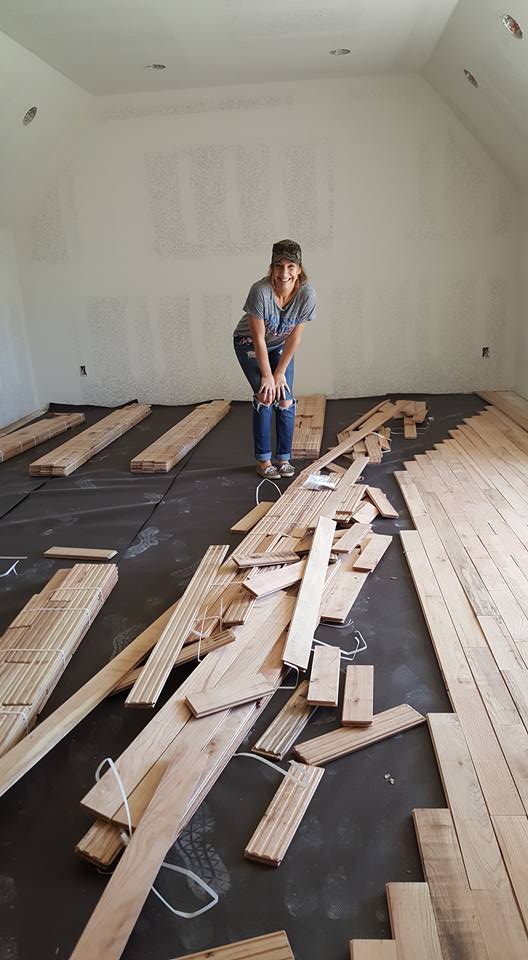
I started with the basics first. I wanted NO carpet.  And ladies, this first decision was a biggie, because it’s an expensive choice! But, after years of killing vacuums I was getting some floors that weren’t carpet! It took me months of persuading my husband, but as you can see…. I got my way! 😉 I was so excited to see those floors going in that day!!!

14469697_10102930910234283_7101480442136359089_n

I looked into A LOT of flooring options (besides carpet).  There is laminate wood, vinyl, tile, and hardwoods to name the most popular.  I even looked into much crazier kinds, but none were very price effective that I found (like rubber, cork, ect.).

Furniture Arrangement-

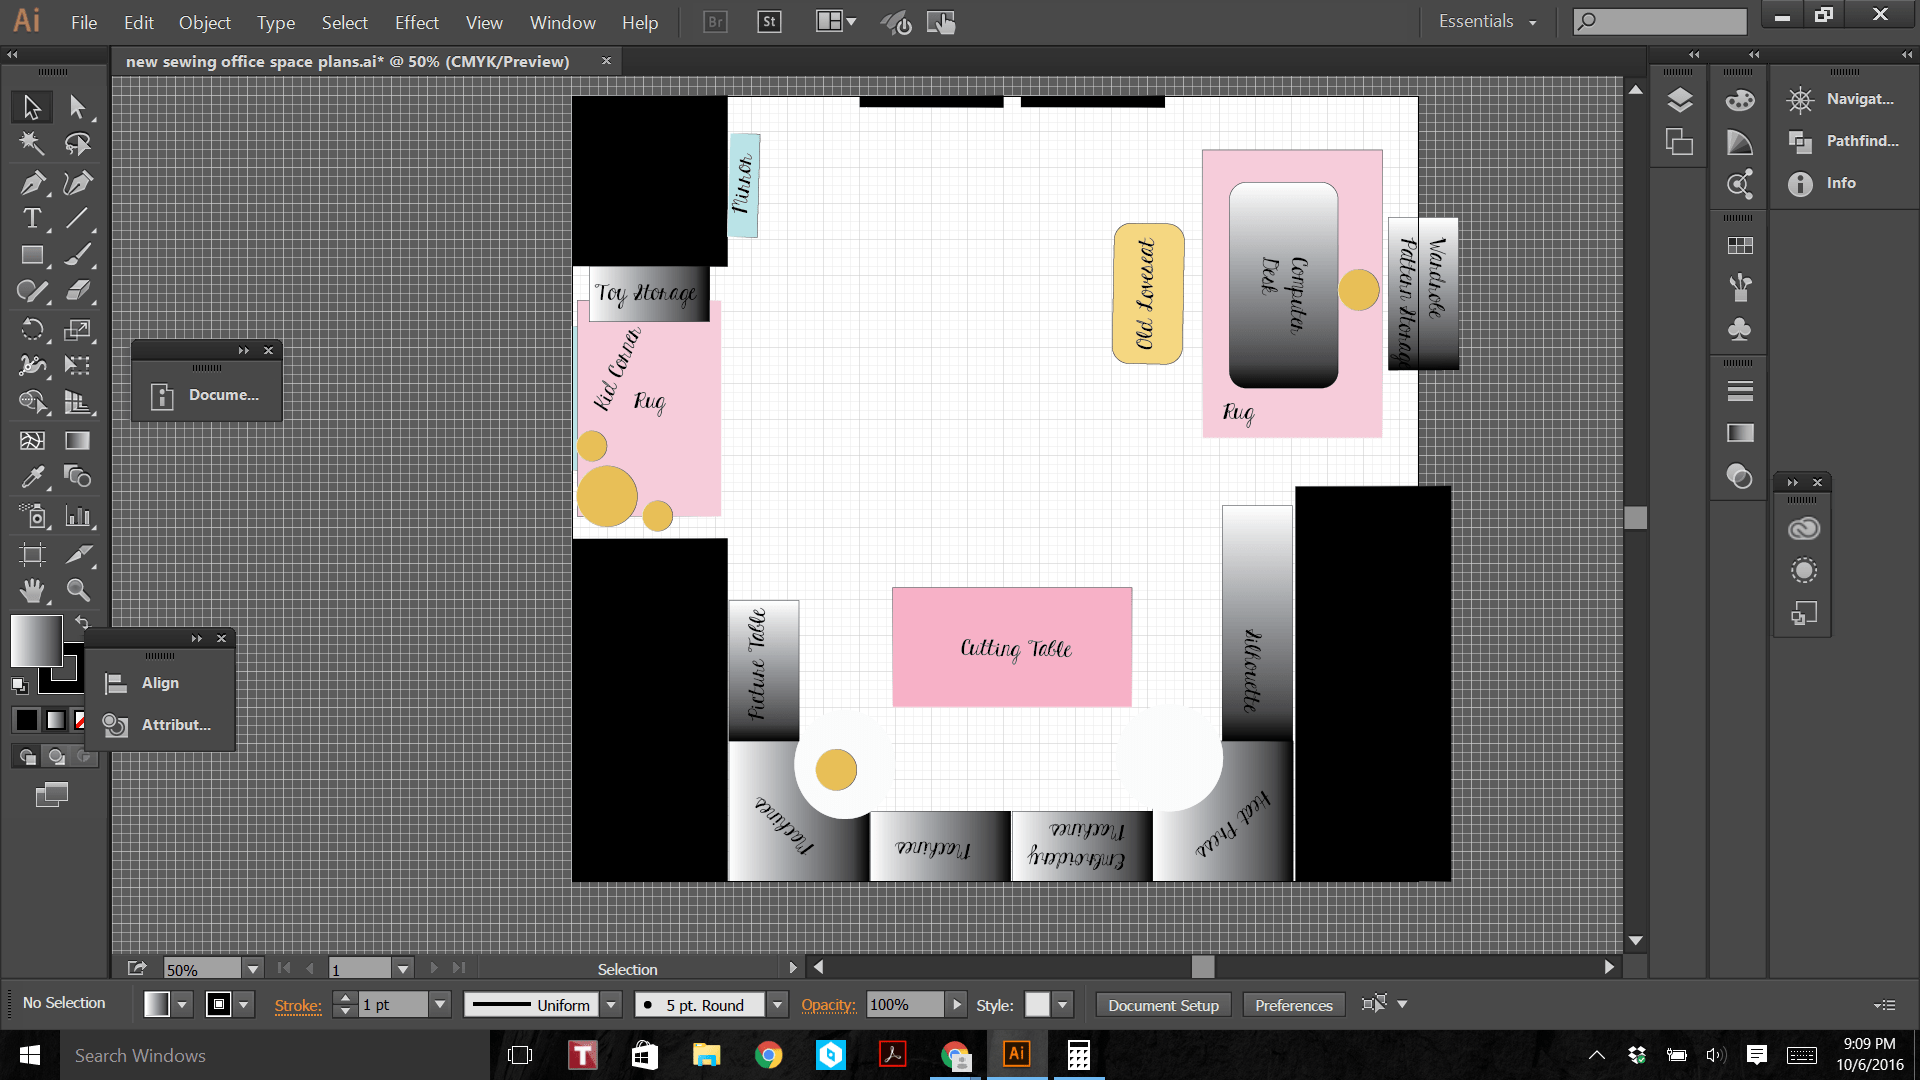
I really love this little trick to plan a room!  I use Adobe Illustrator, but you could use any drawing program, or just a piece of grid paper would work perfectly as well to draw my room out with it all proportioned correctly on a smaller scale.  I prefer the digital program since you can easily change and move things around as you plan.

I drew the basic shape of my room using one inch as one foot.  Then, I added the furniture I was planning on putting in there all to scale.  This took time! But, I know the furniture I want will fit in nicely, what size cutting table I can fit in there with enough walking space around it (average is usually about 3 feet between furniture pieces), and where I needed my lighting! In the end it’s so much easier to take the time to create a template than to be measuring the actual room and furniture and trying to imagine if it will fit okay, if it will feel cramped, if you can make if even with this and that across the room, ect.  I highly recommend this little step to planning your craft room!

You also want to keep in mind what you use most, as well as what you use together.  Meaning, I use my sewing machines, iron/iron board together while I’m constructing.  So, I want those two “stations” close together in my room.  It’s almost like a kitchen where you typically have a triangle between sink, oven, fridge… but you have sewing machine, ironing board, cutting table!

screenshot-2016-10-06-21-09-22

Lighting-

I only had one window in my sewing space. I tried my best to add windows, but the way the house was set up it just wasn’t possible.  If you have the option to have more windows… the more the merrier in my eyes! I love a lot of light when I’m sewing!


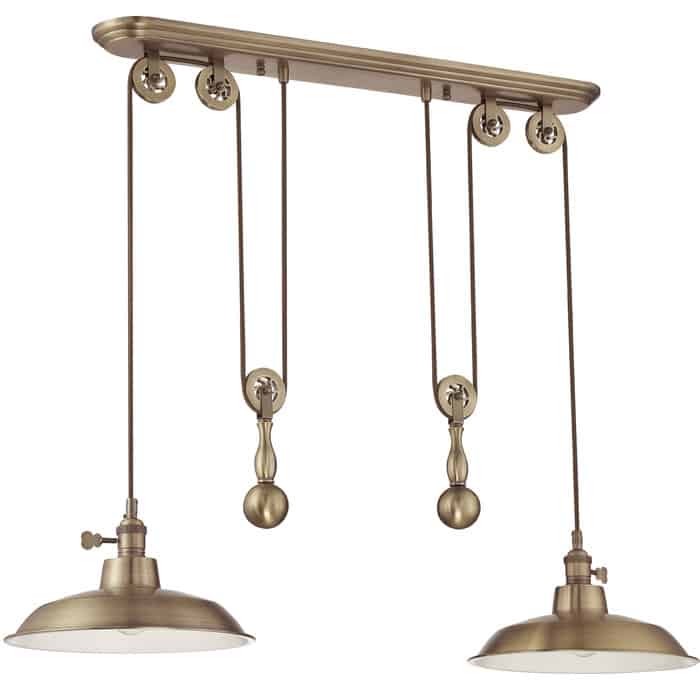
I put pot lights all along the U shape desks where my machine are going so I could see well while sewing.  I also put a pot light above my computer desk because I read a lot there. Last I placed a hanging fixture above my cutting table in the center of the room.  And let me tell you, I had GRAND plans of doing a dramatic lighting fixture like a chandelier, but I”ll save you the heart-ache of planning that because in a craft room you really need good lighting and something fancy like that isn’t great.  They’re gorgeous and stunning and I wanted it so bad! But, in the end they gave off terrible light with rainbows and shadows everywhere 🙁 So… after realizing that I needed functional lighting I went with a pendant.  Since I had a single fixture in my mind and had it wired for that I choose this one that meant I didn’t need to have it re-wired for another fixture, but still got 2 pendants for better lighting along my big cutting table!

b2610b3297a44043506bc5605490c5ea

Outlets-

When we did our electrical walk I added quite a few electrical outlets to my sewing room.  Why not right? So now instead of having to have a bunch of giant cords running everywhere I’ll have an electrical outlet where I plan on having my machines.

I also added a floor outlet right where I plan on having my desk.  You really only need this if you don’t want your desk along a wall.  For whatever reason I was dead set on not looking at a wall while I work! I wanted to look towards the window!  So, I again used my drawing of my room to scale to plop in my computer desk where I wanted it and then told the builders exactly where so I wouldn’t have to run my computer cords to the wall.  (My husband thought this was great and used it in his office too!)

14183971_10102883630937373_5359873050865180300_n

Furniture-

I’m not going to get TOO much into furniture today, because we have a separate post with our favorite sewing storage coming up!  But, for my desks I plan on getting very simple desks with nothing under the table tops.  I want to be able to move my legs freely  and roll from machine to machine as easily and quickly as possible.  And even though you want a lot of storage in a craft room function has to be number one! So, I will find storage other placed besides under my machines!
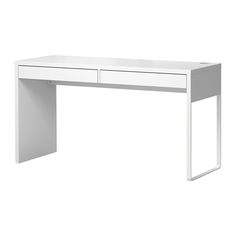
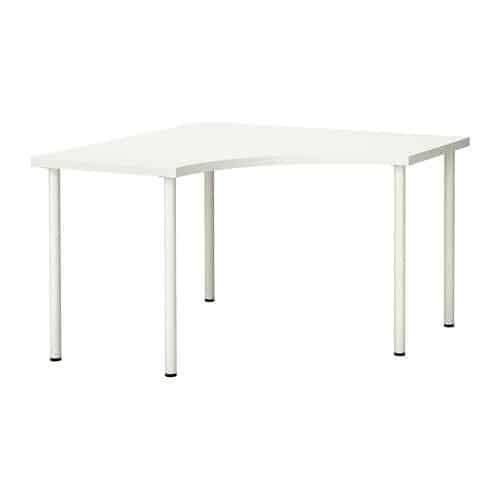
I plan on getting an Ikea “system” so that I can mix and match open desks for under my machines with some desks with storage drawers or shelving under others.  So under my silhouette machine and heat press I will use that under storage space.  Here are 2 desks systems I’ve been eyeing at Ikea: the Micke and the Linnmon.

If you only have 1 or 2 machines a system isn’t that important.  I have enough machines that I really needed that corner unit! I use my sewing machine, serger and coverstitch together on a garment quite often.  So I wanted them close enough to swivel between, but not so close I couldn’t fit my arms/garments between while working.  I also wanted a little growing room 😉 just in case another machine finds it way into that room down the road… you know what I mean ladies!!

7c108480edf0dbd7200bdc1766fdea75 68399f12c144fec4842eefc7067ec188

Decor-

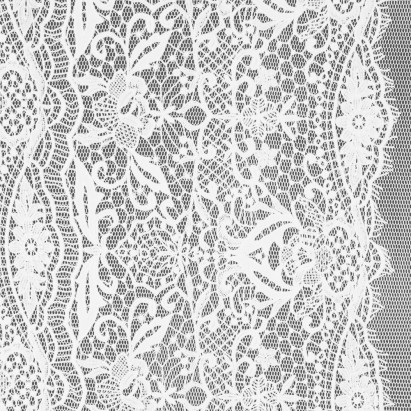
This is of course a huge personal preference.  But, I will say a sewing/craft room if it is JUST yours go all out!  Don’t worry about doing what’s on trend, what your partner likes, what is kid friendly… if it is just for you and your hobbies then making it your little slice of decorating heaven! I plan on going full on GIRLY! Pastels, gold, antiques, lace, florals, you name it! Anything I want that I usually get a, “no way”, “are you kidding me”, “too girly” reaction to… that’s what I”ll be putting in my room! So have fun and celebrate a space that’s just for you!

bdaa8c44c70a5d6786a0e7688cb5ddbf goldsequin 311621

Next up we’ll be talking about our favorite storage pieces in a craft/sewing room to finish planning it out! Don’t miss out on our other great posts all about sewing craft rooms!

schedule


Filed Under: Contest/Giveaway 5 Comments

  • « Previous Page
  • 1
  • …
  • 14
  • 15
  • 16
  • 17
  • 18
  • 19
  • Next Page »

connect with me

  • Email
  • Facebook
  • Instagram
  • Pinterest
  • YouTube
Privacy & Cookies: This site uses cookies. By continuing to use this website, you agree to their use.

To find out more, including how to control cookies, see here: Cookie Policy
  • Privacy Policy
  • Refund Policy
  • Contact Us
  • About

Copyright © 2026 Patterns for Pirates

Copyright © 2026 · Genesis Framework · WordPress · Log in