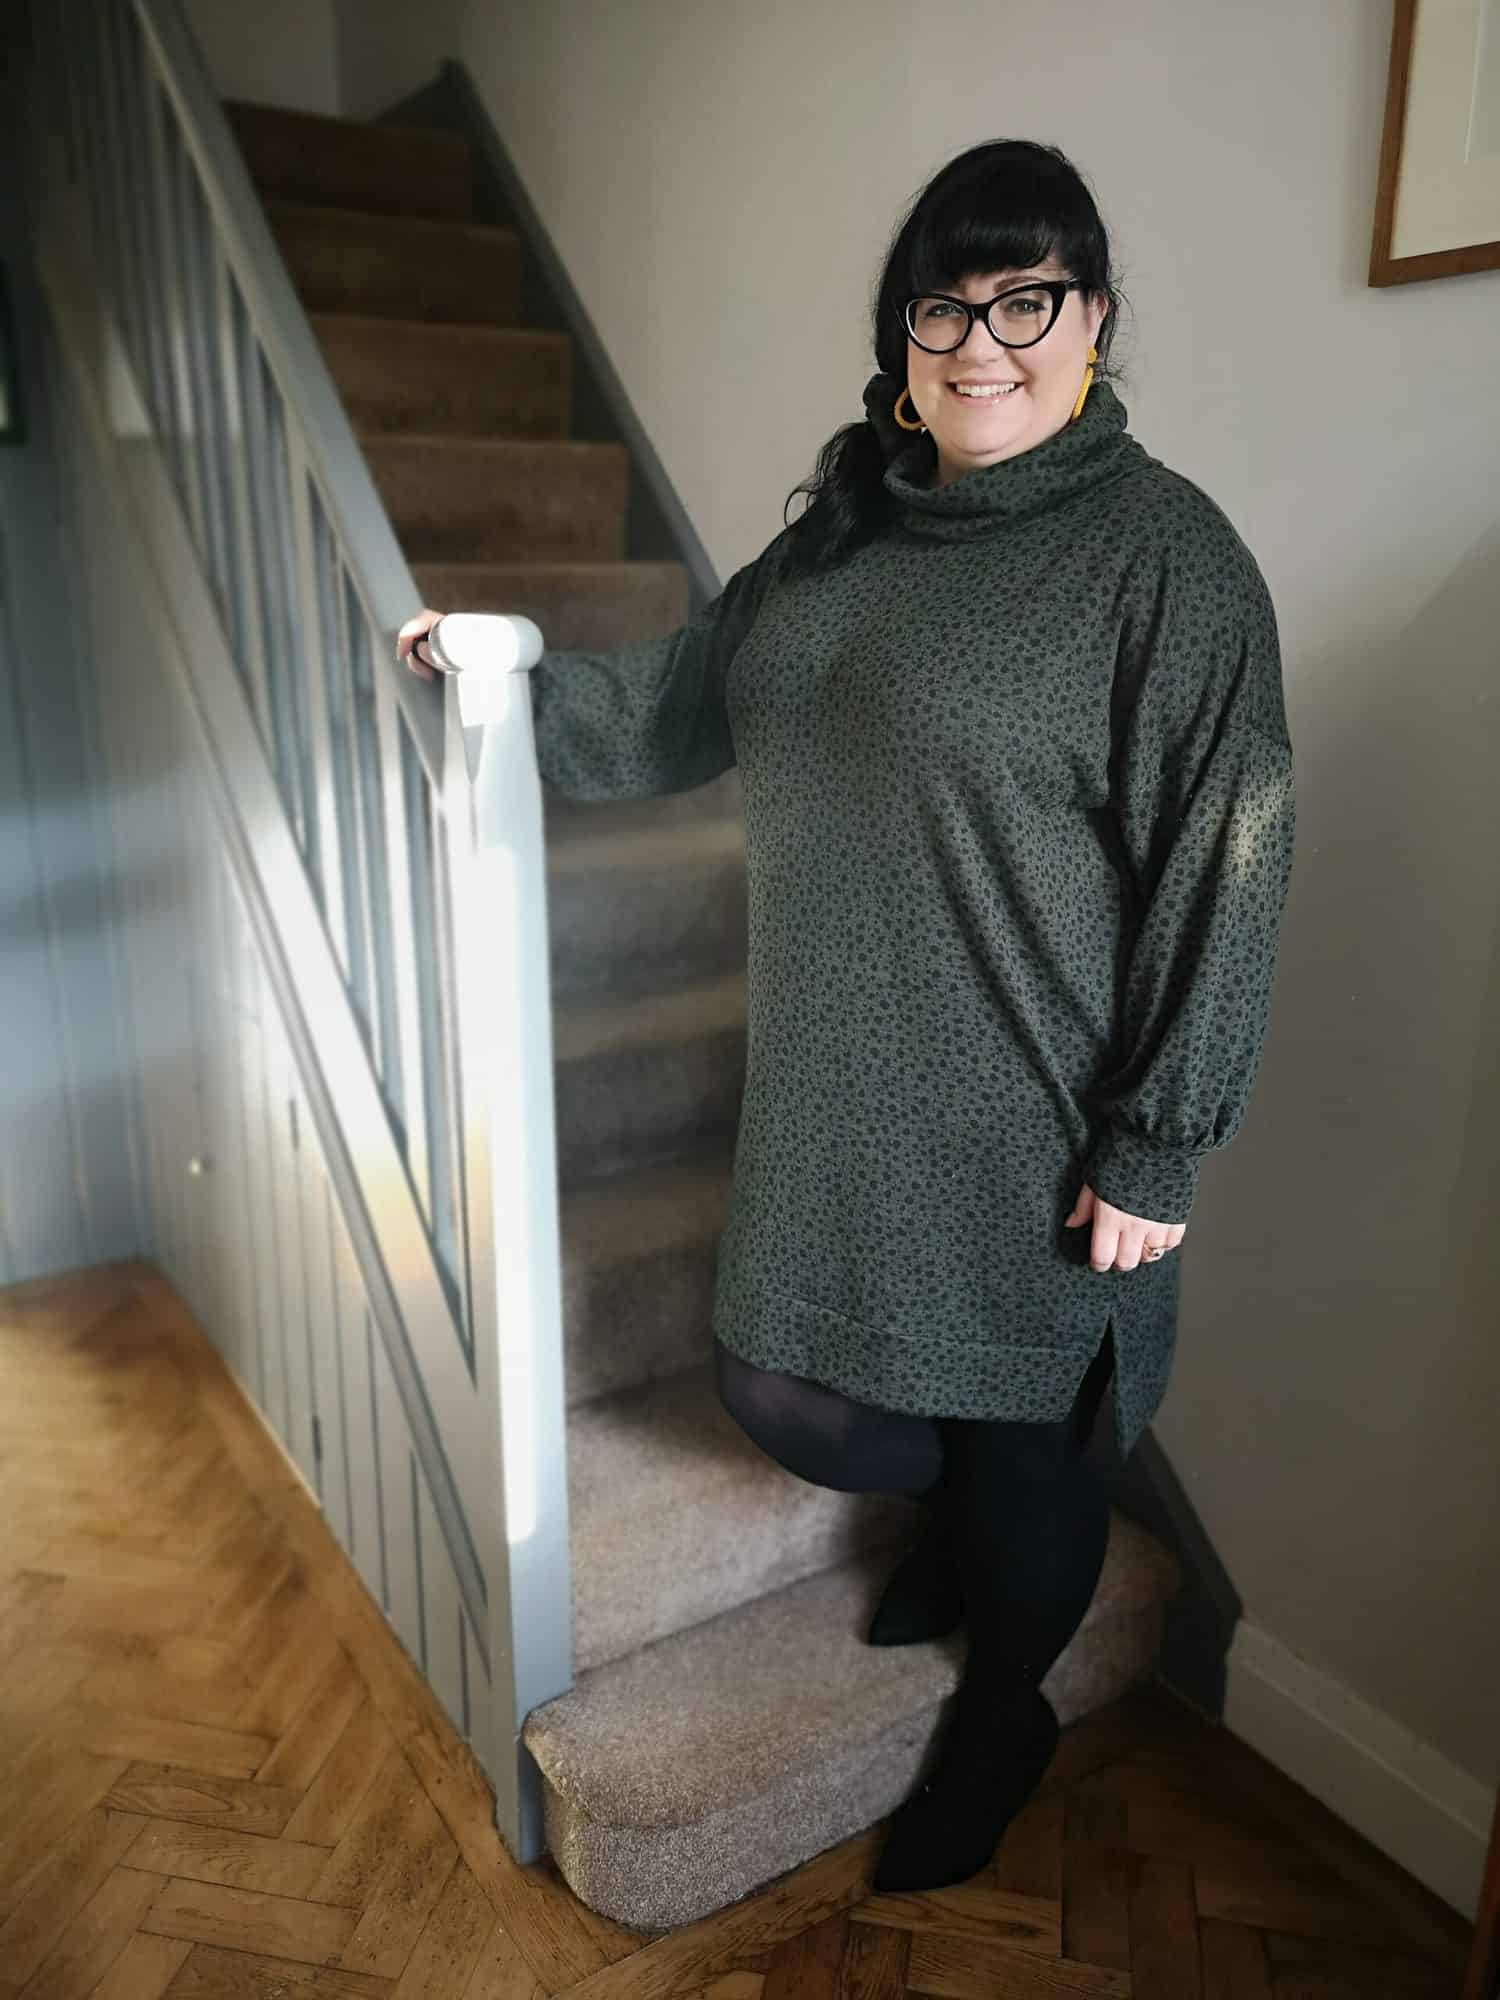
The wait is over! I’m here to announce the two winners of our Cozy Wrap Sew Along so let’s get to it.
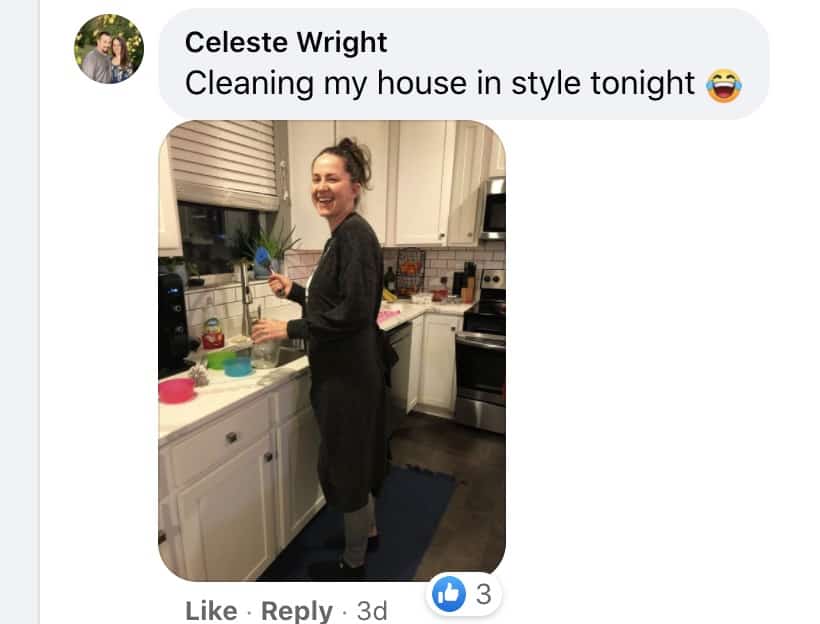
Congratulations Celeste Wright! You are our first winner! Celeste won a $20 gift certificate to Patterns For Pirates and a January Fabric For Pirates Box (fabric and swag).
Our second winner is Debra Moyer! Congratulations! Debra won a $20 gift card to Made for Mermaids and a January Fabric for Pirates box (fabric and swag).

Thank you so much for joining me last week! I throughly enjoyed sewing the Cozy Wrap along side you. Big thank you to Judy for providing the Fabric 4 Pirates prizes too. If you haven’t checked out the subscription, do that here! It’s so fun!

Up next, the Mermaids are taking over the SAL group. See you back here in March!
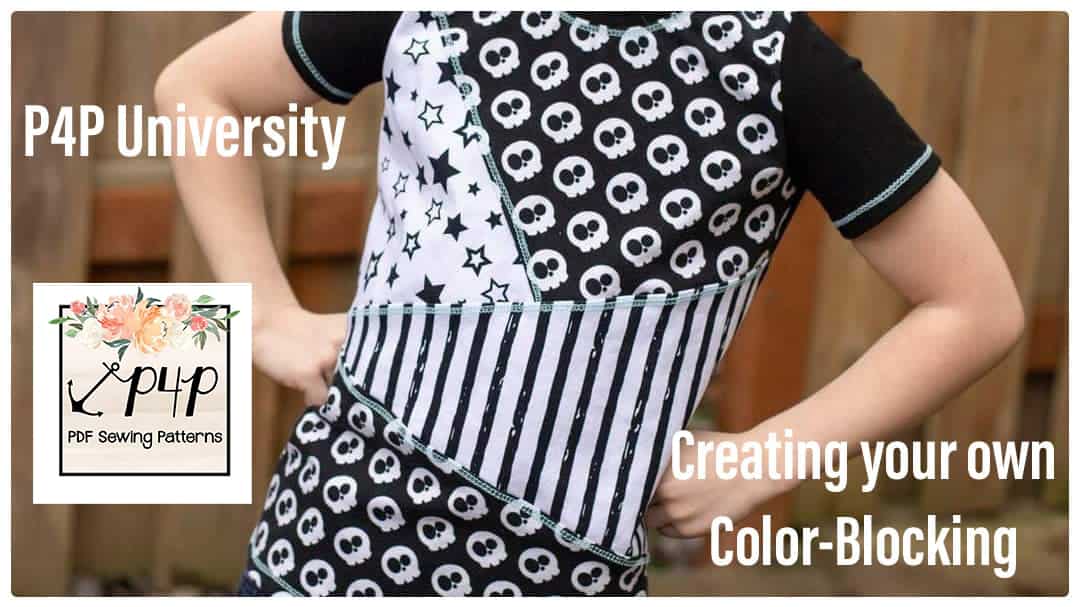
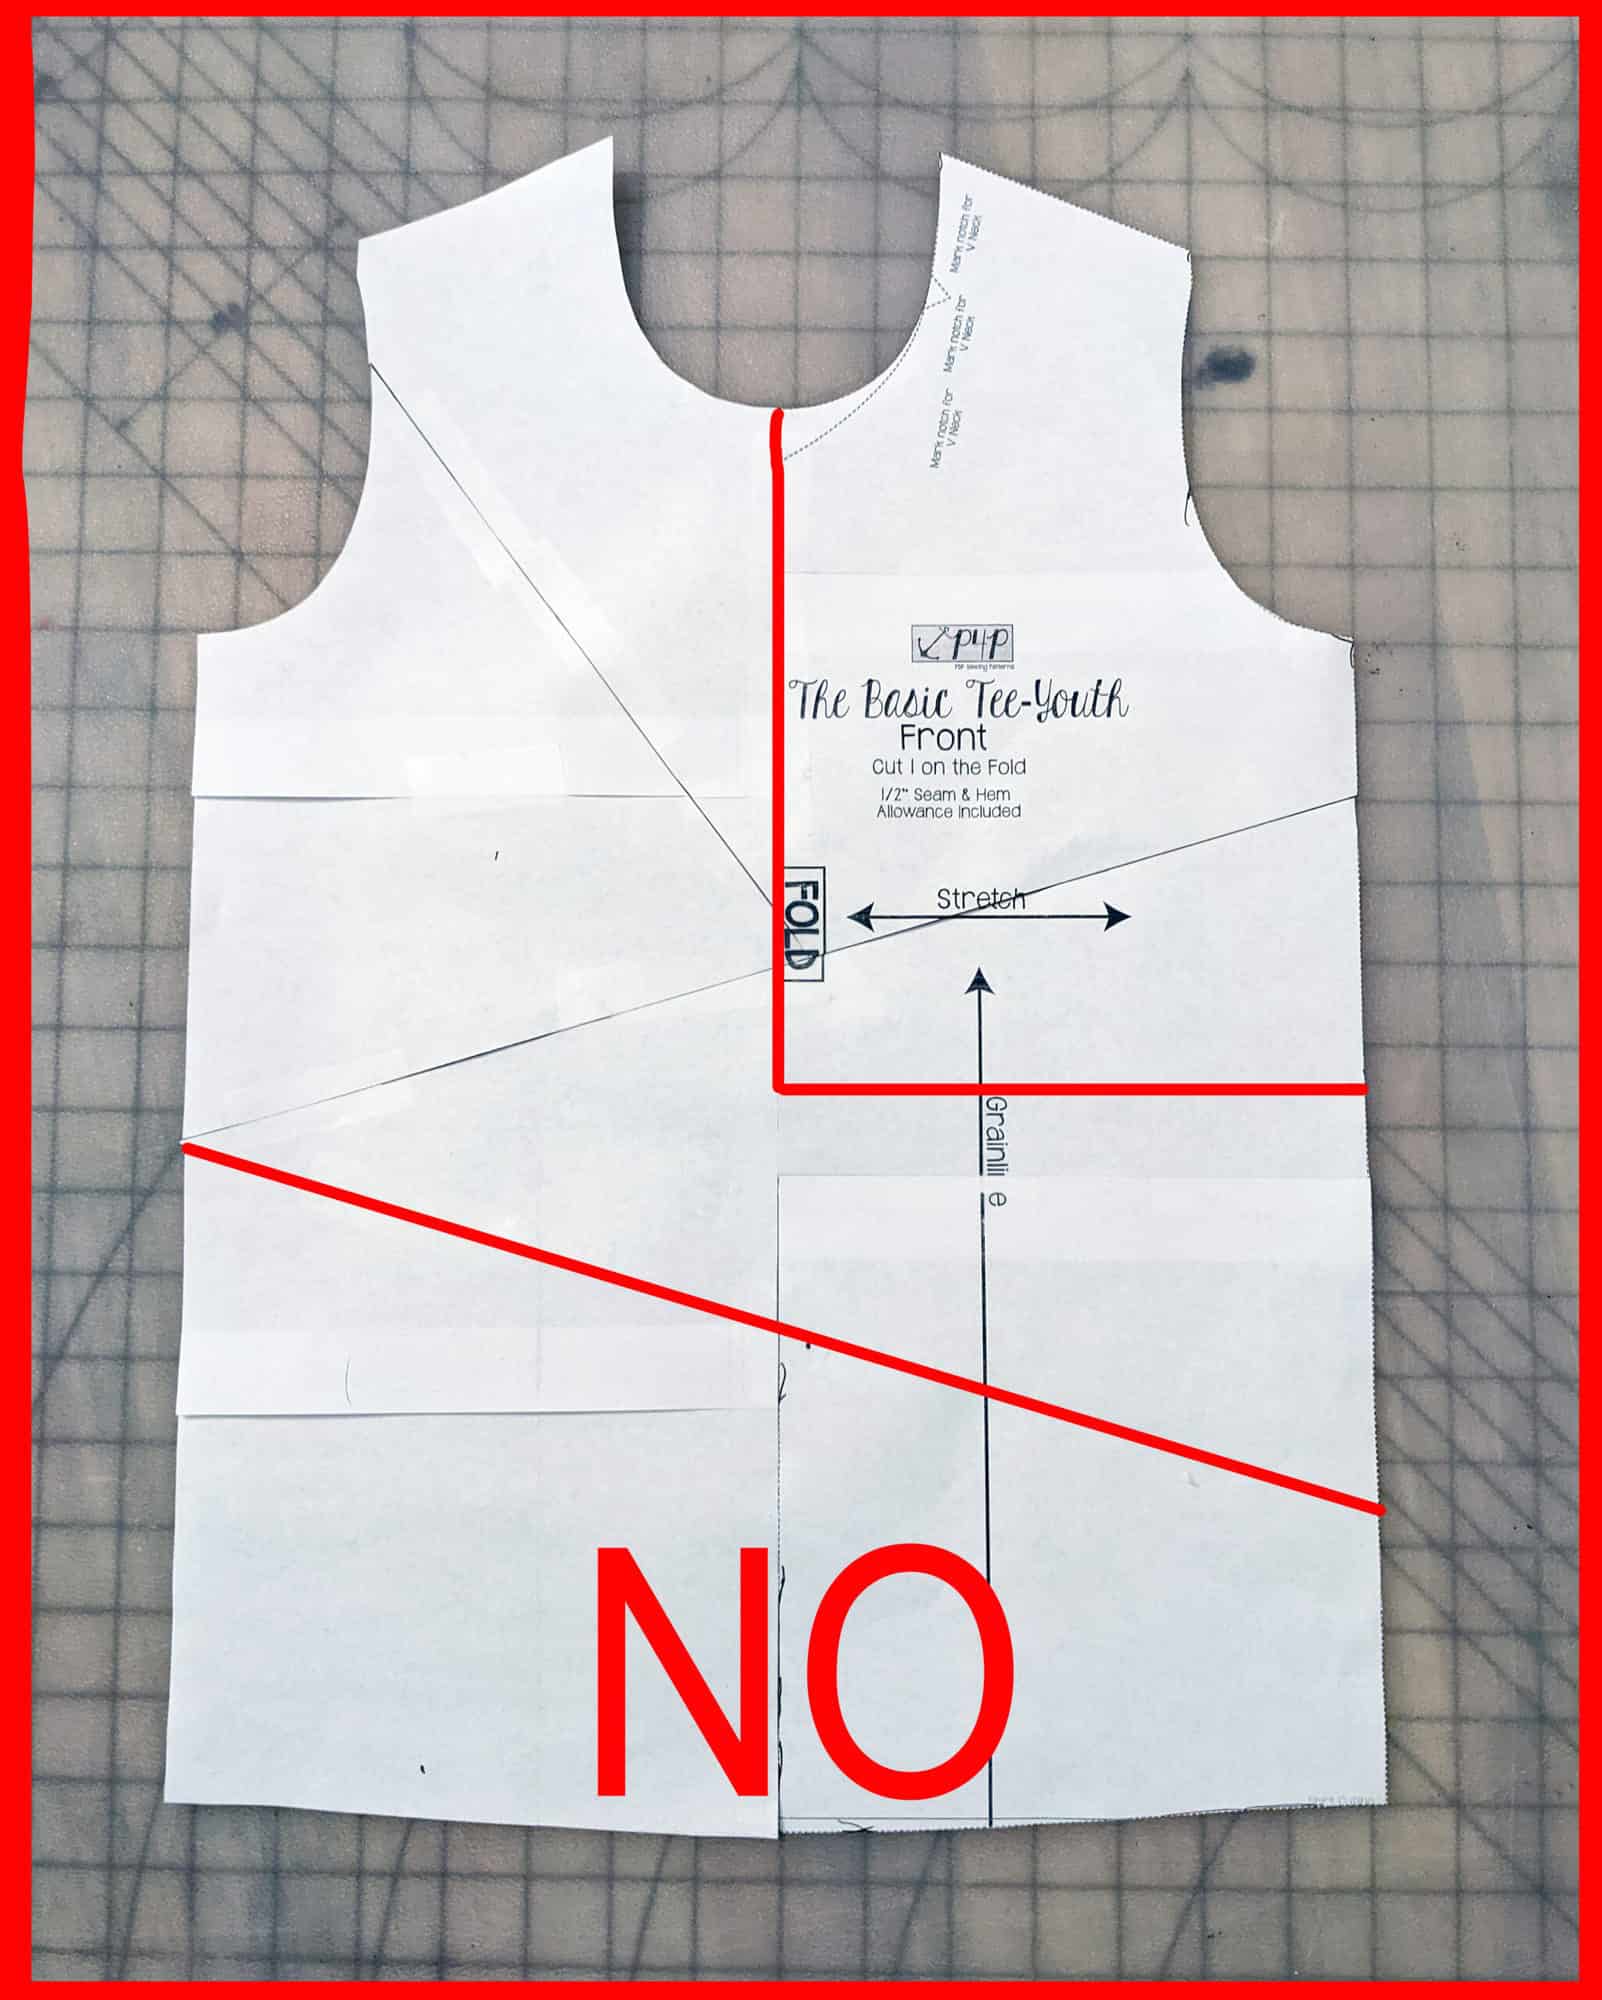
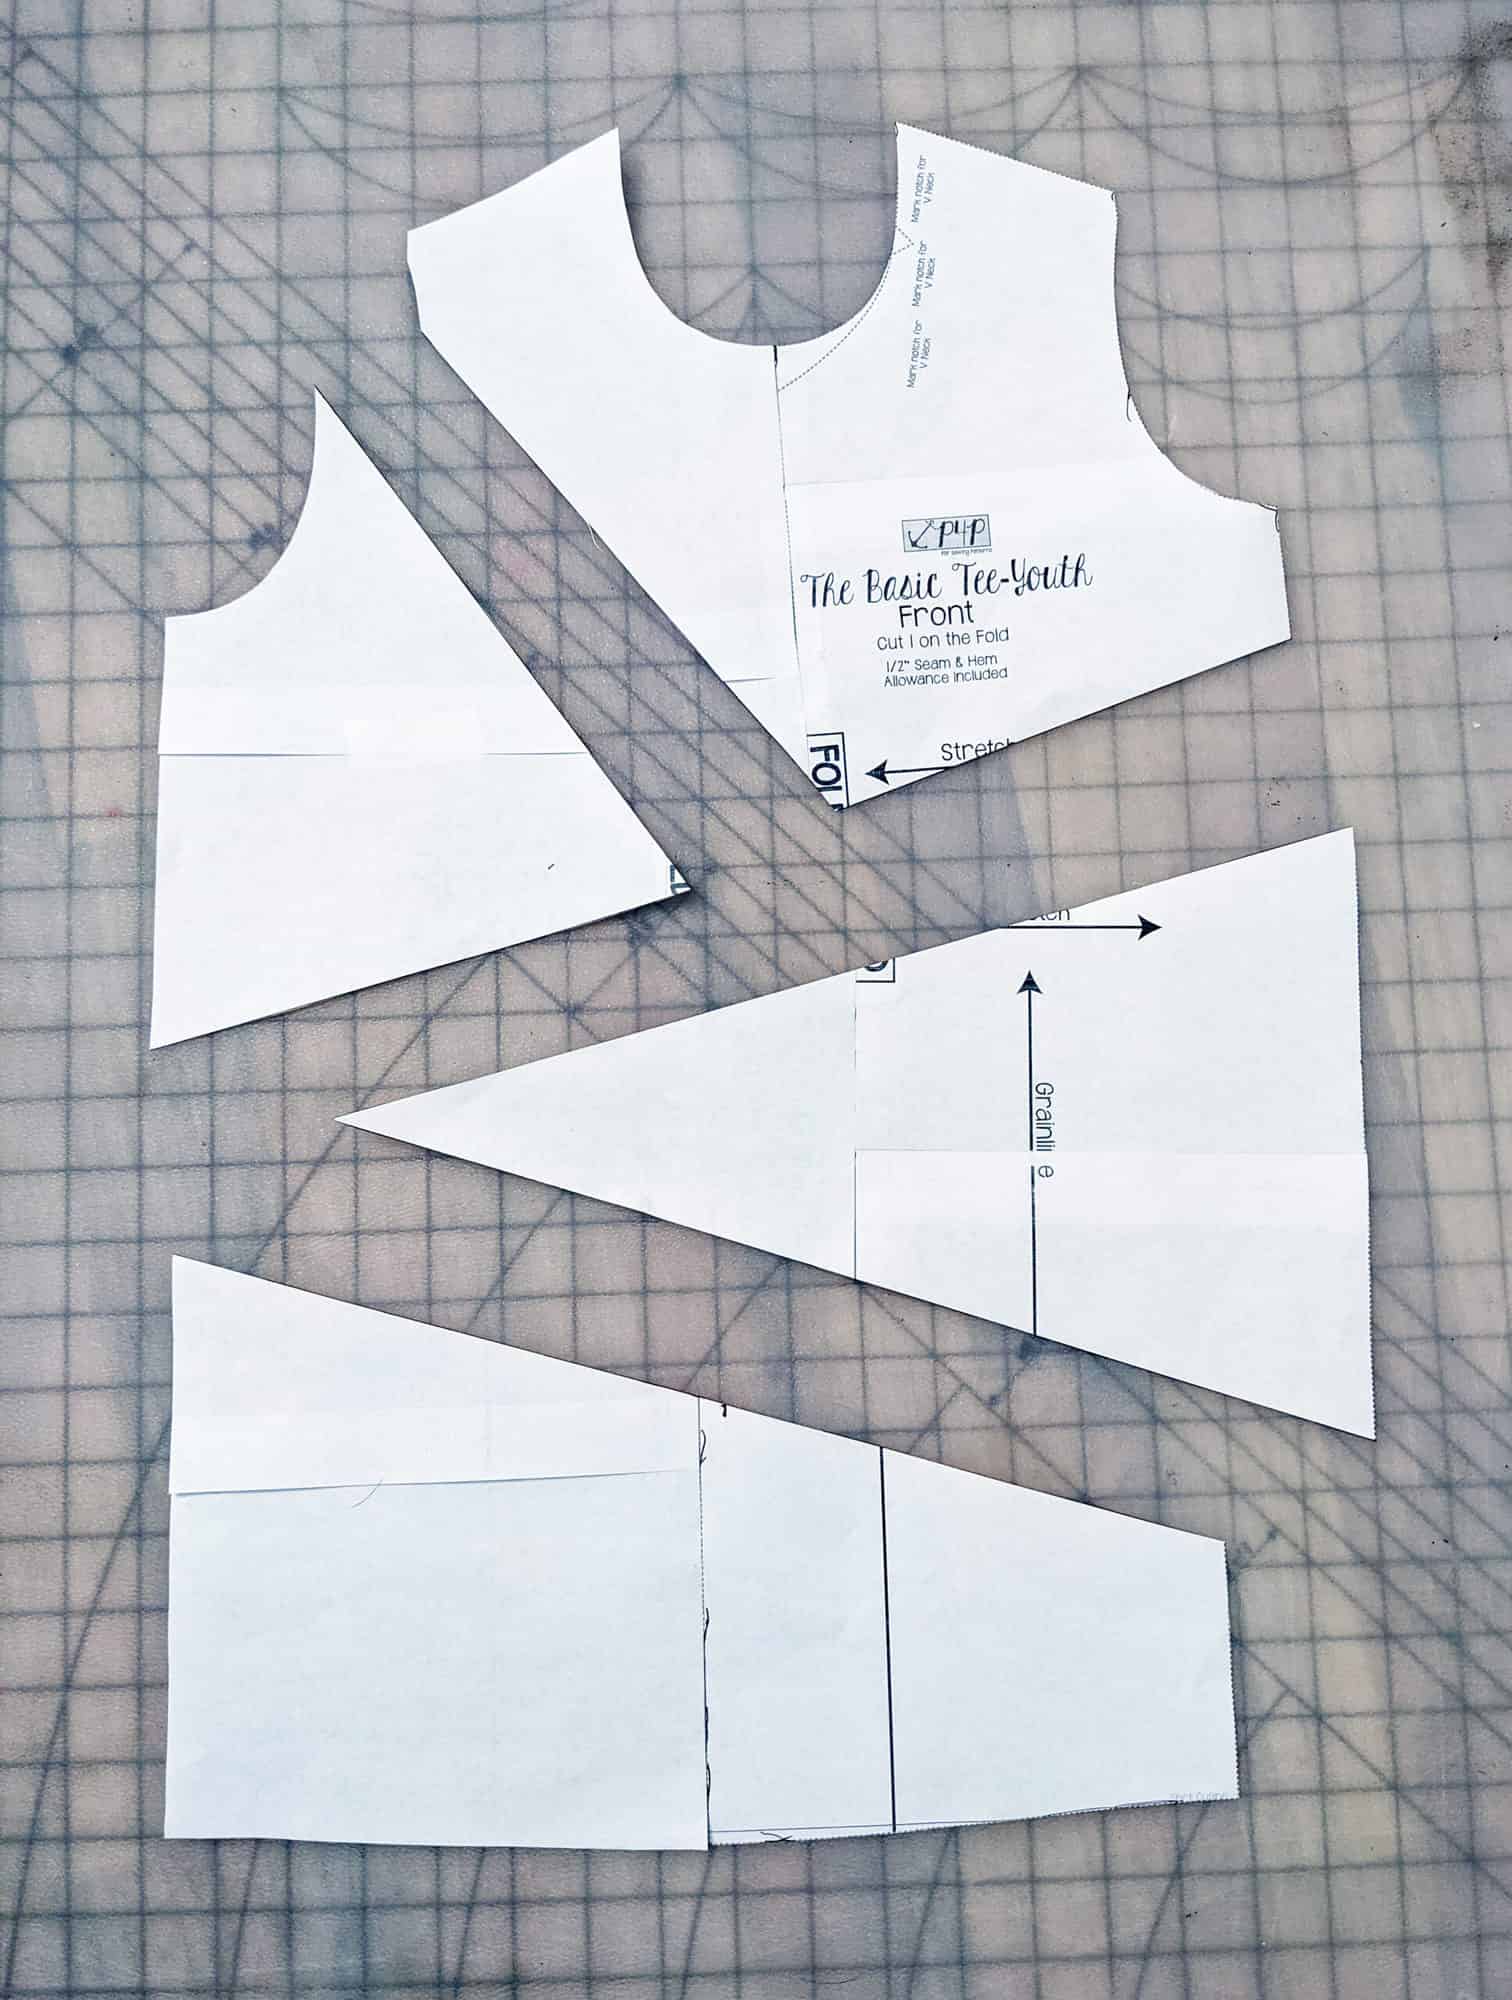
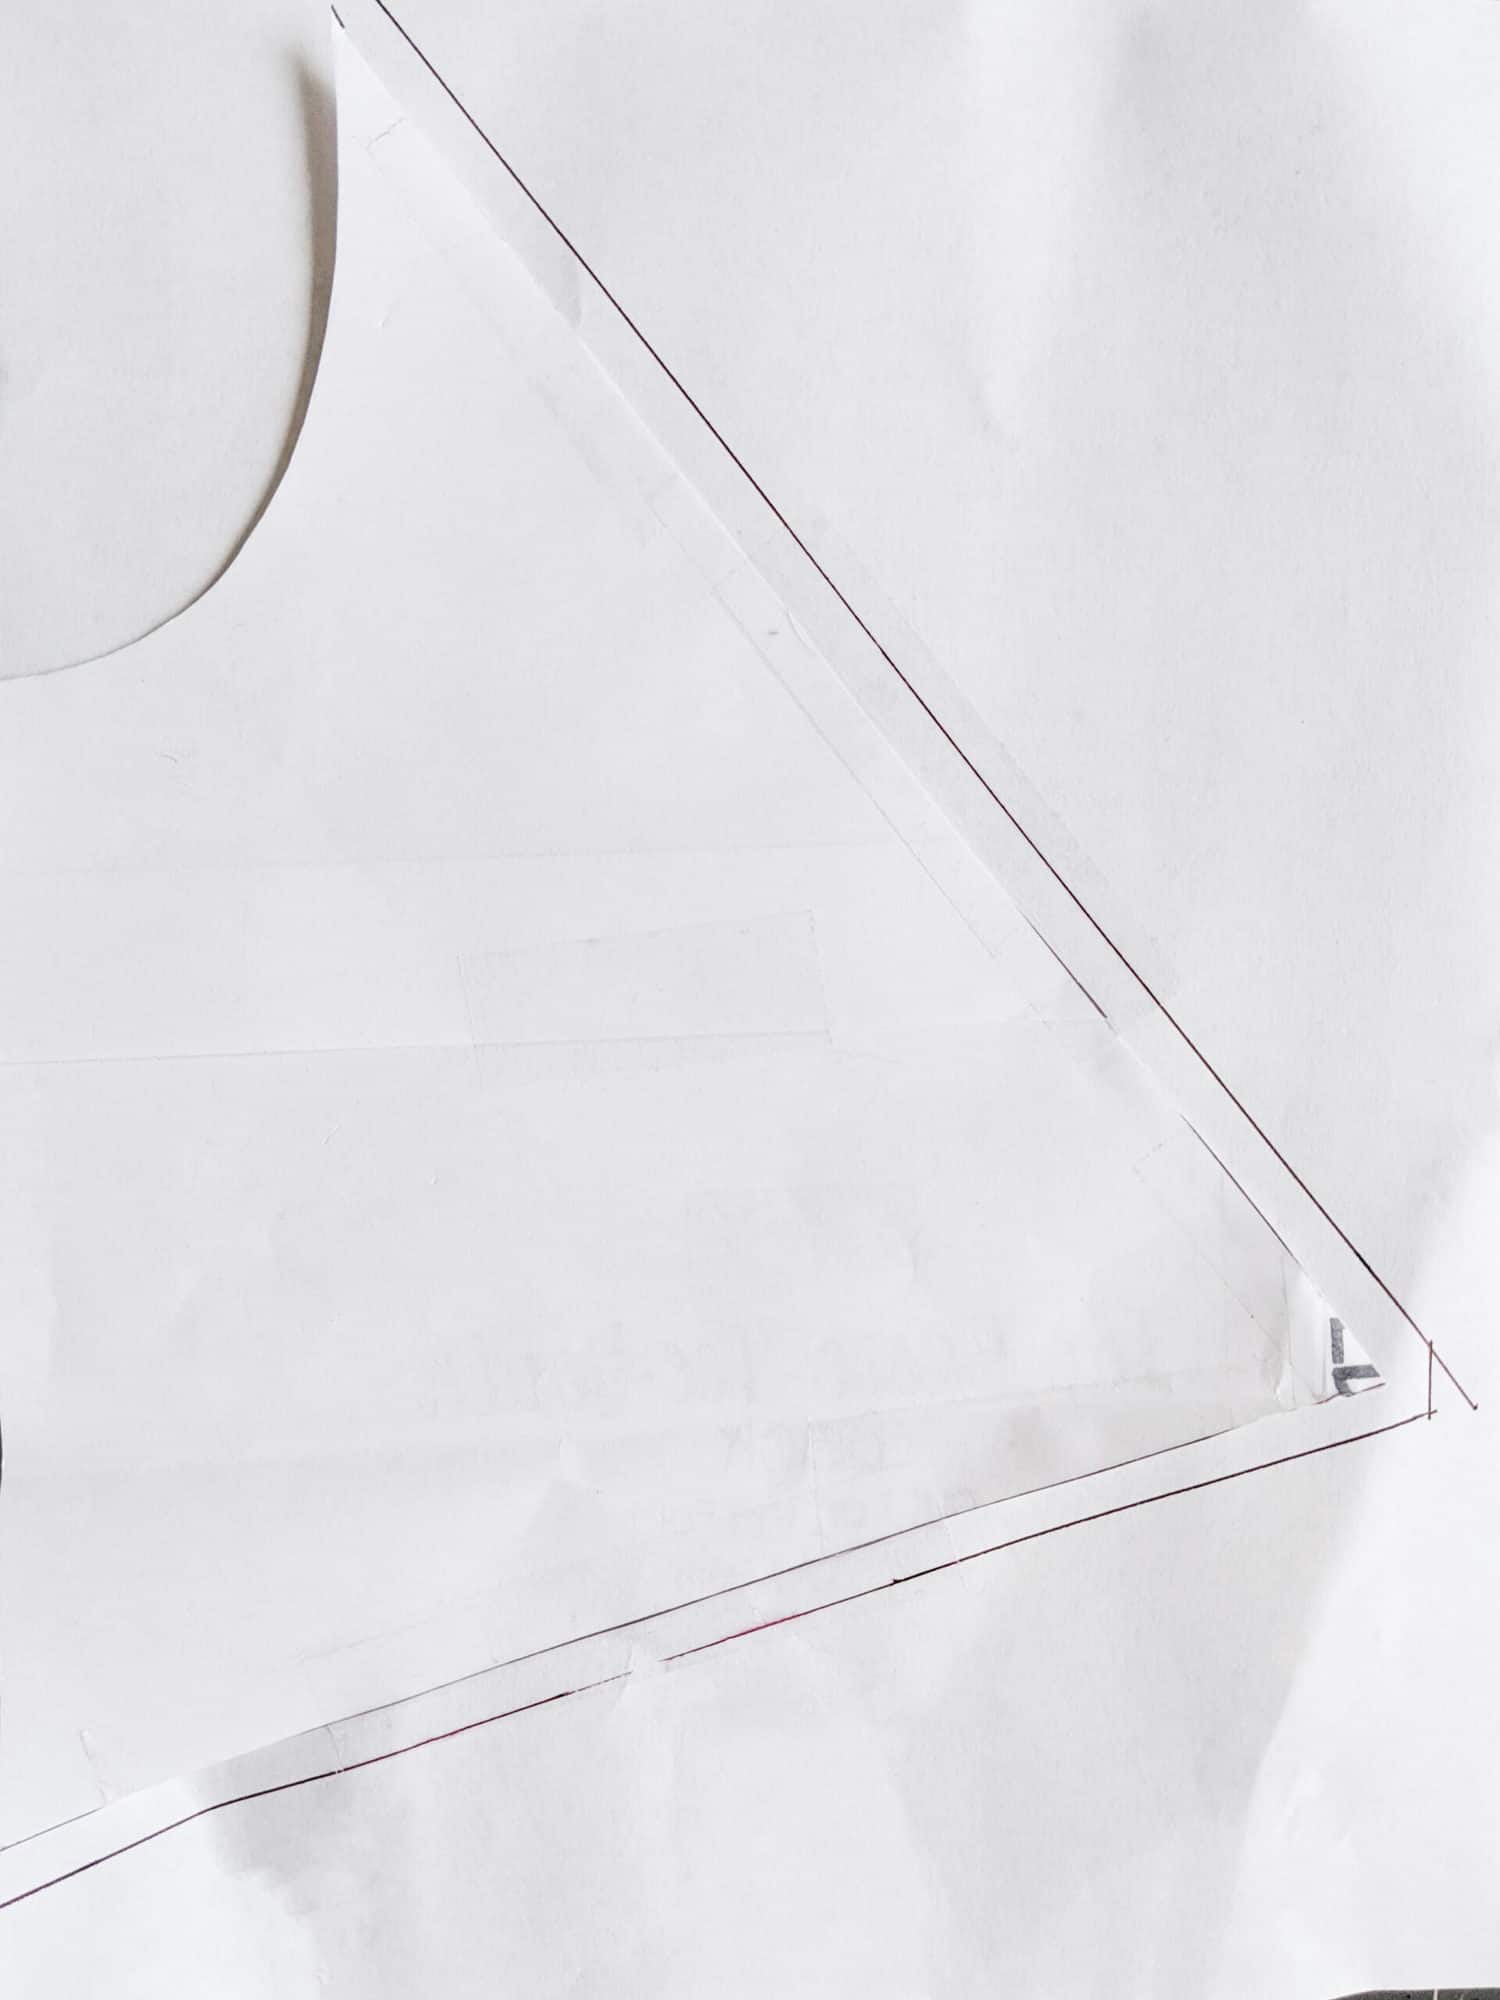
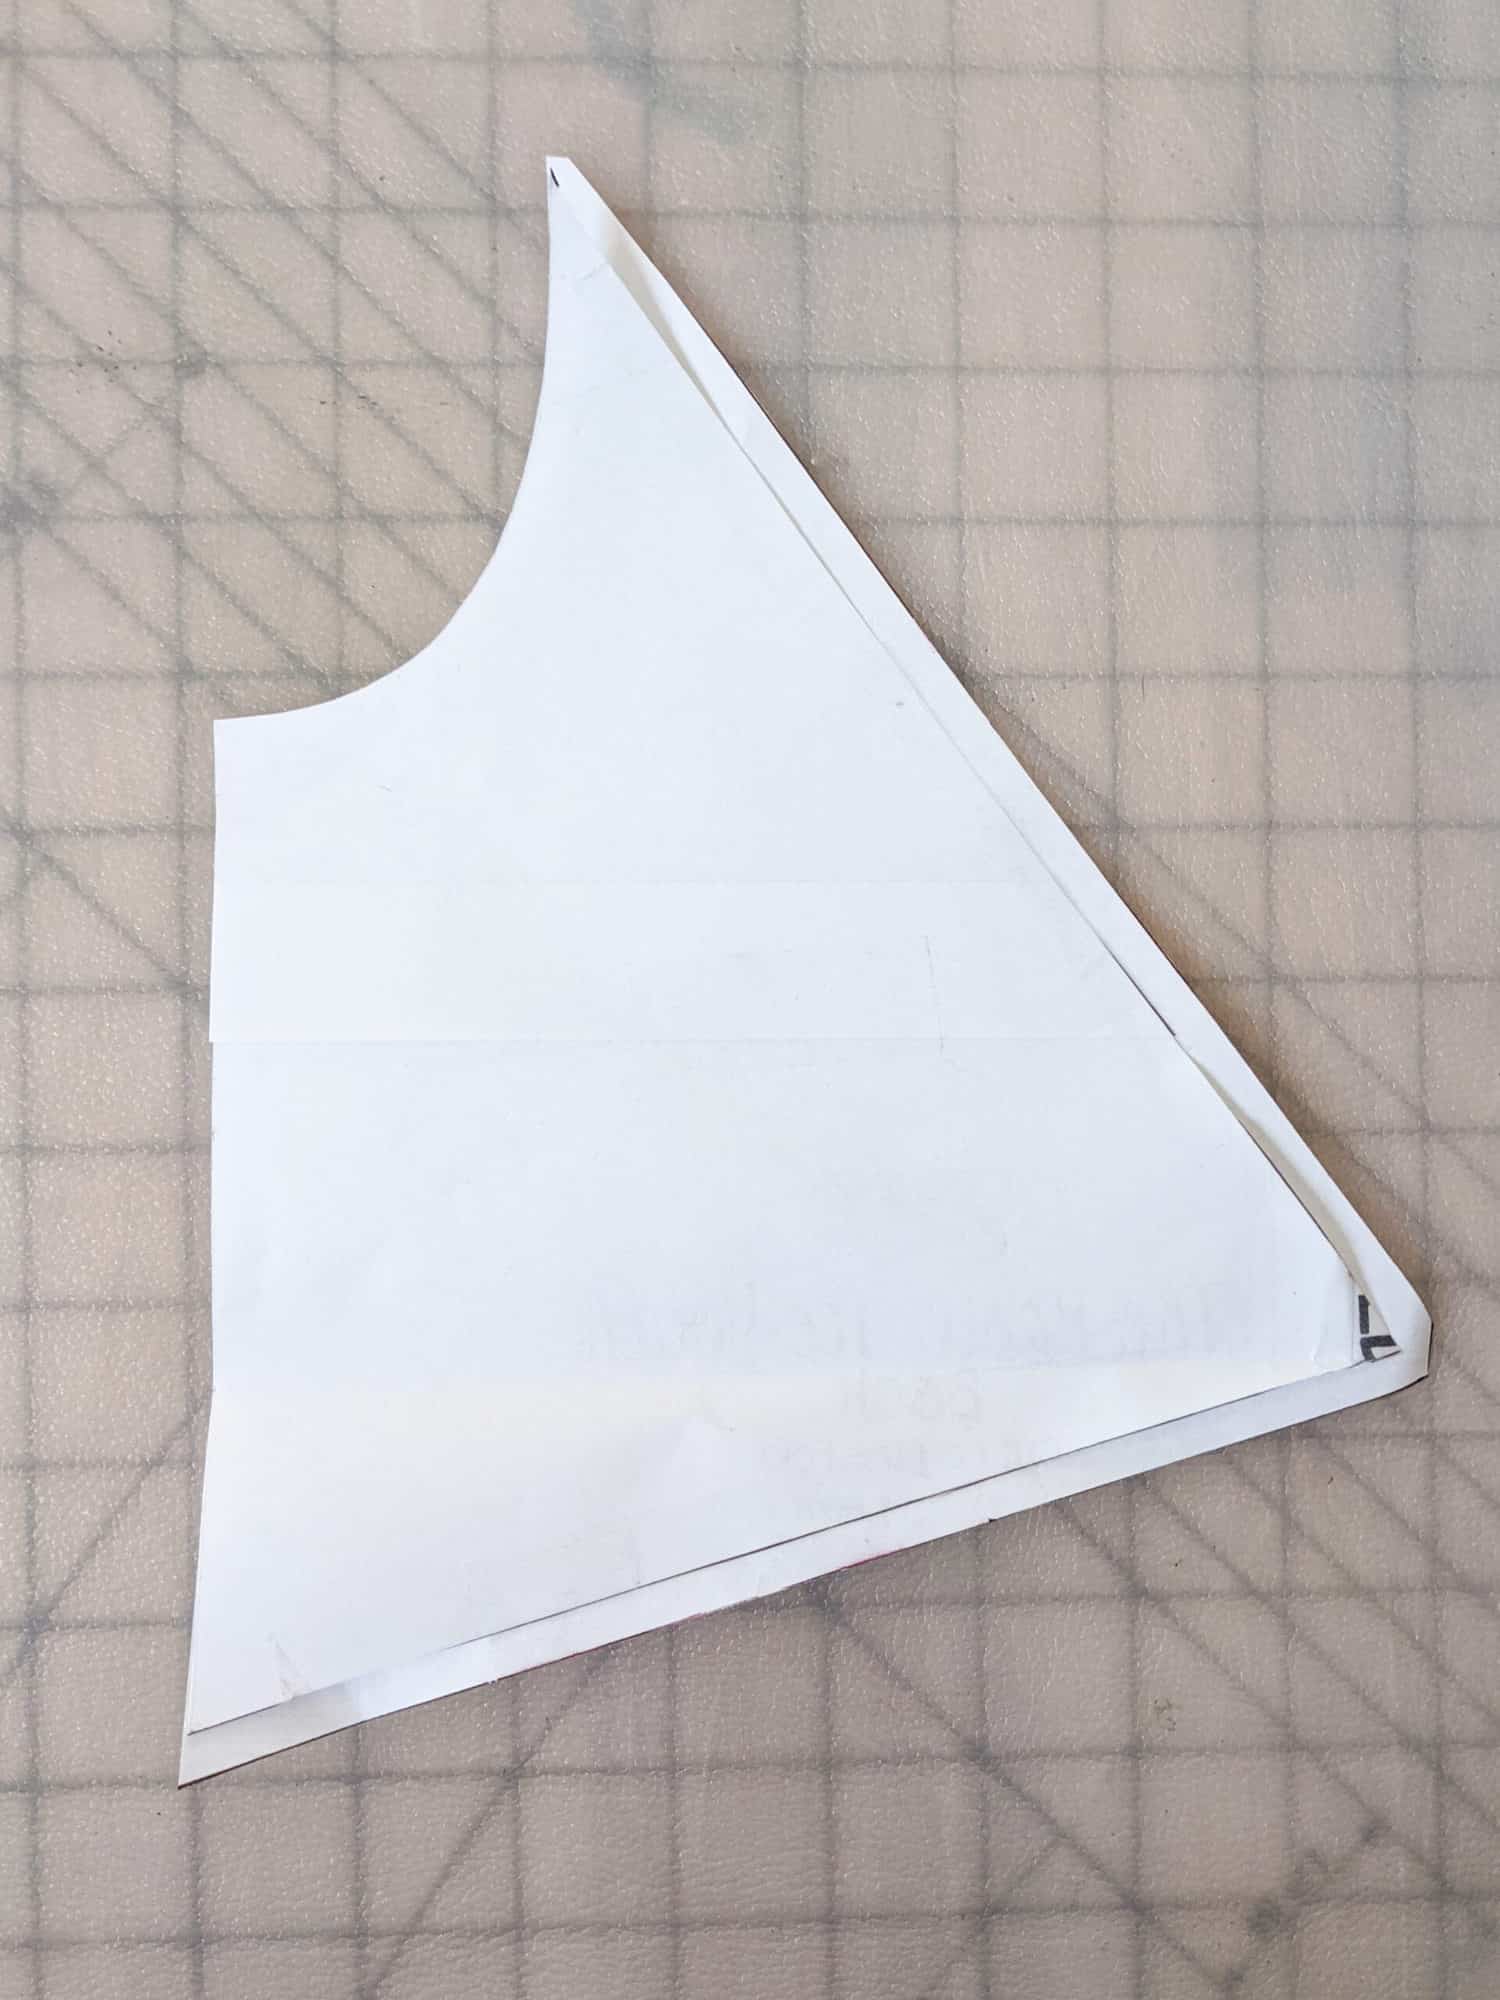
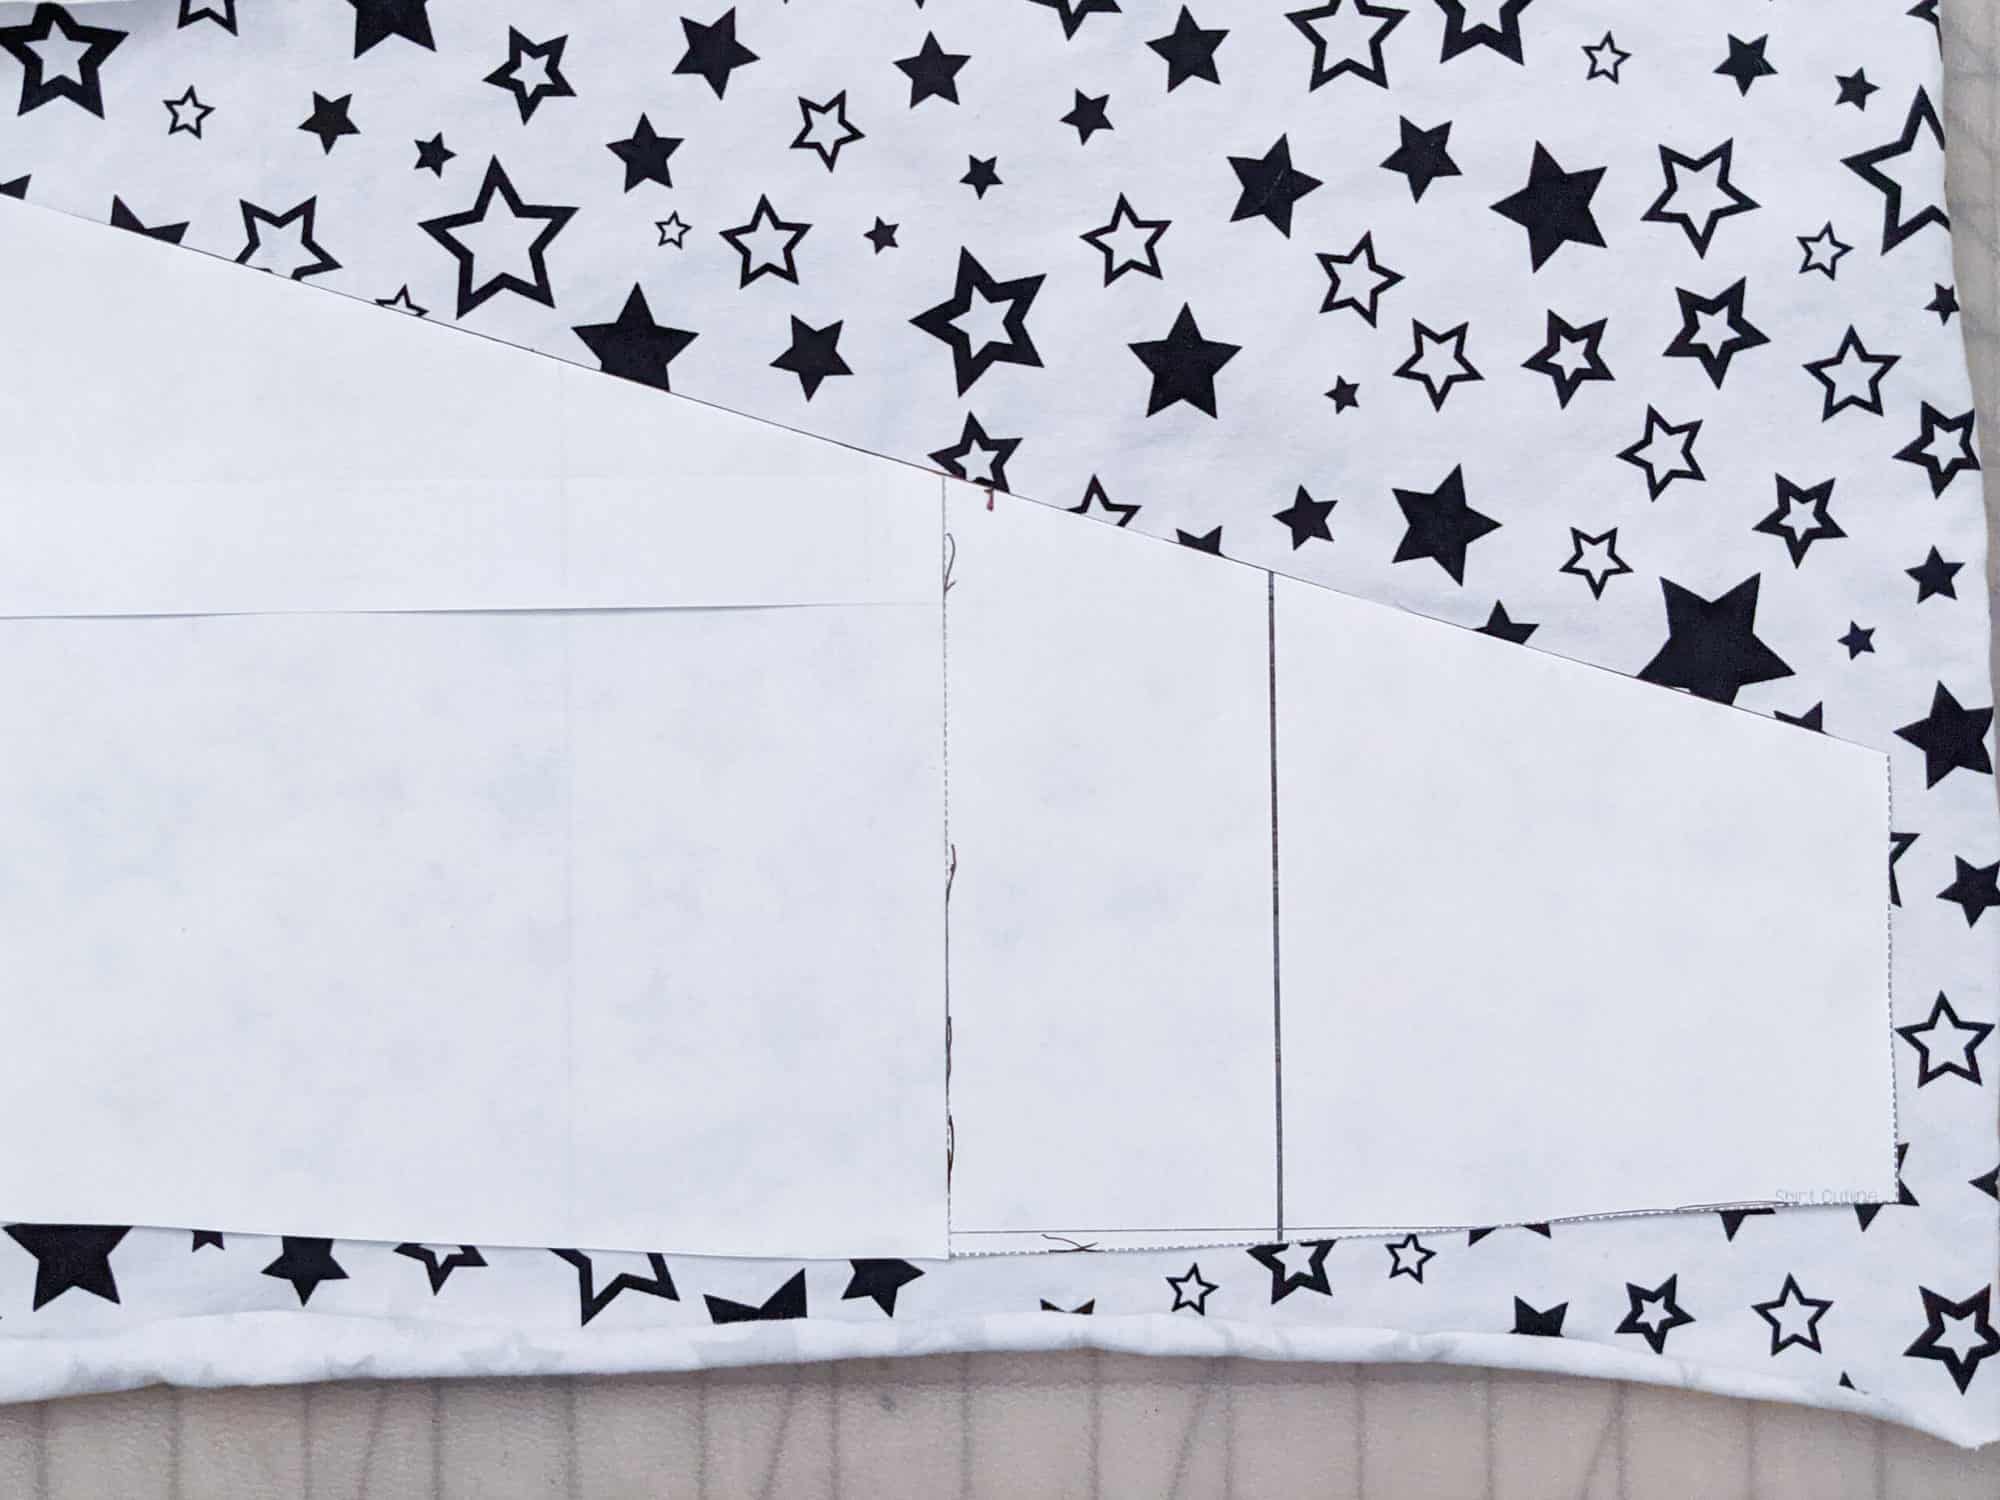
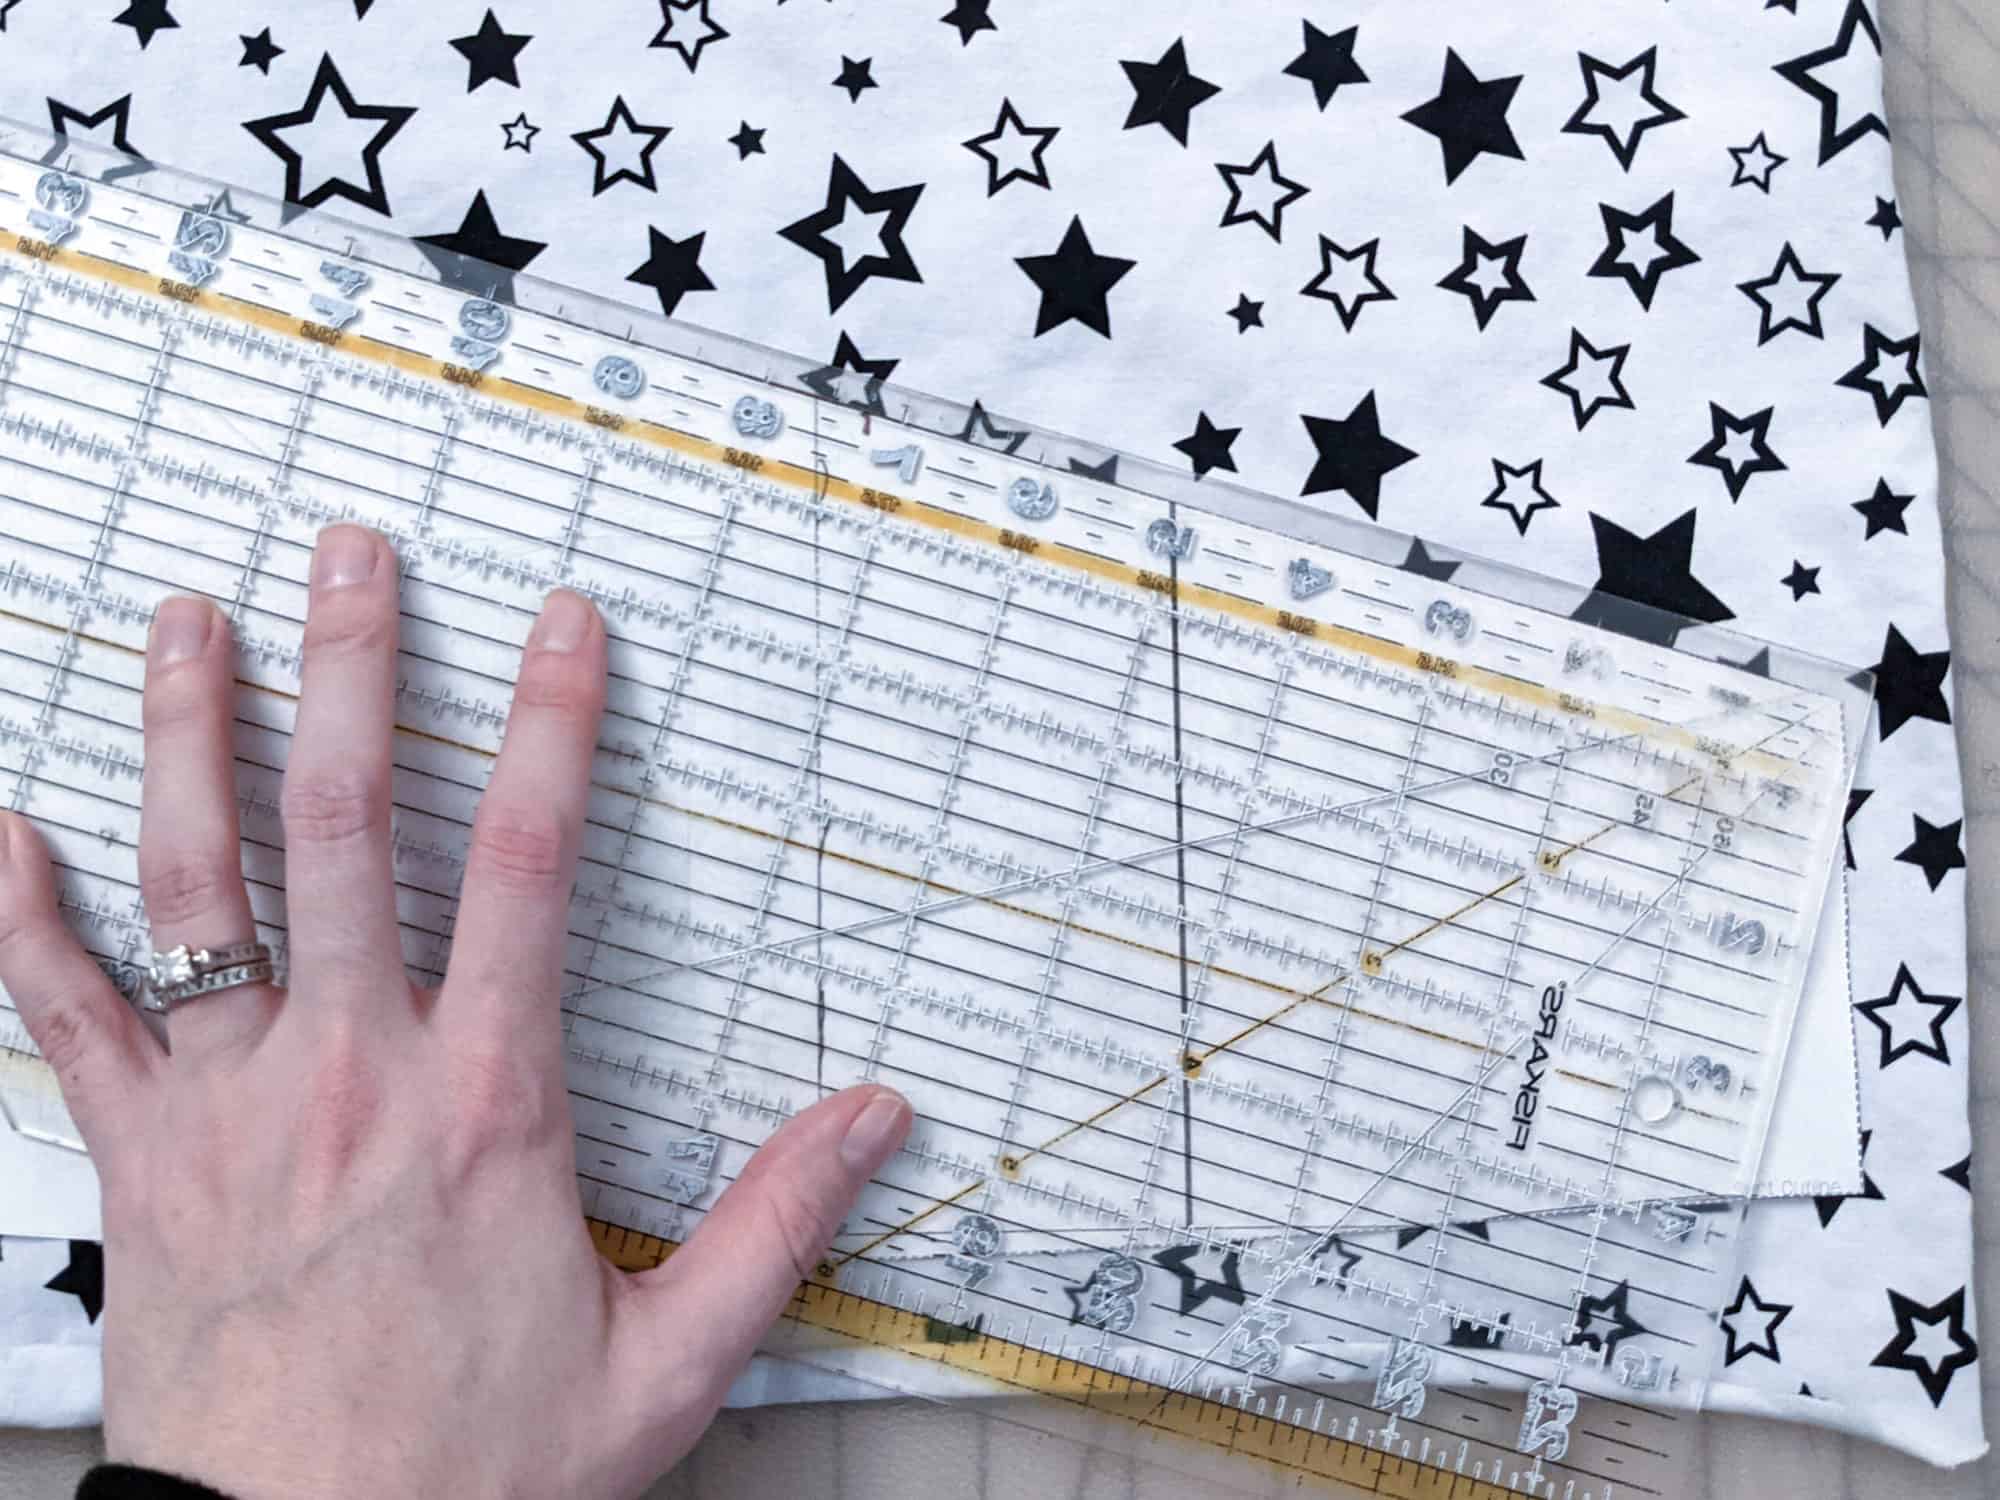
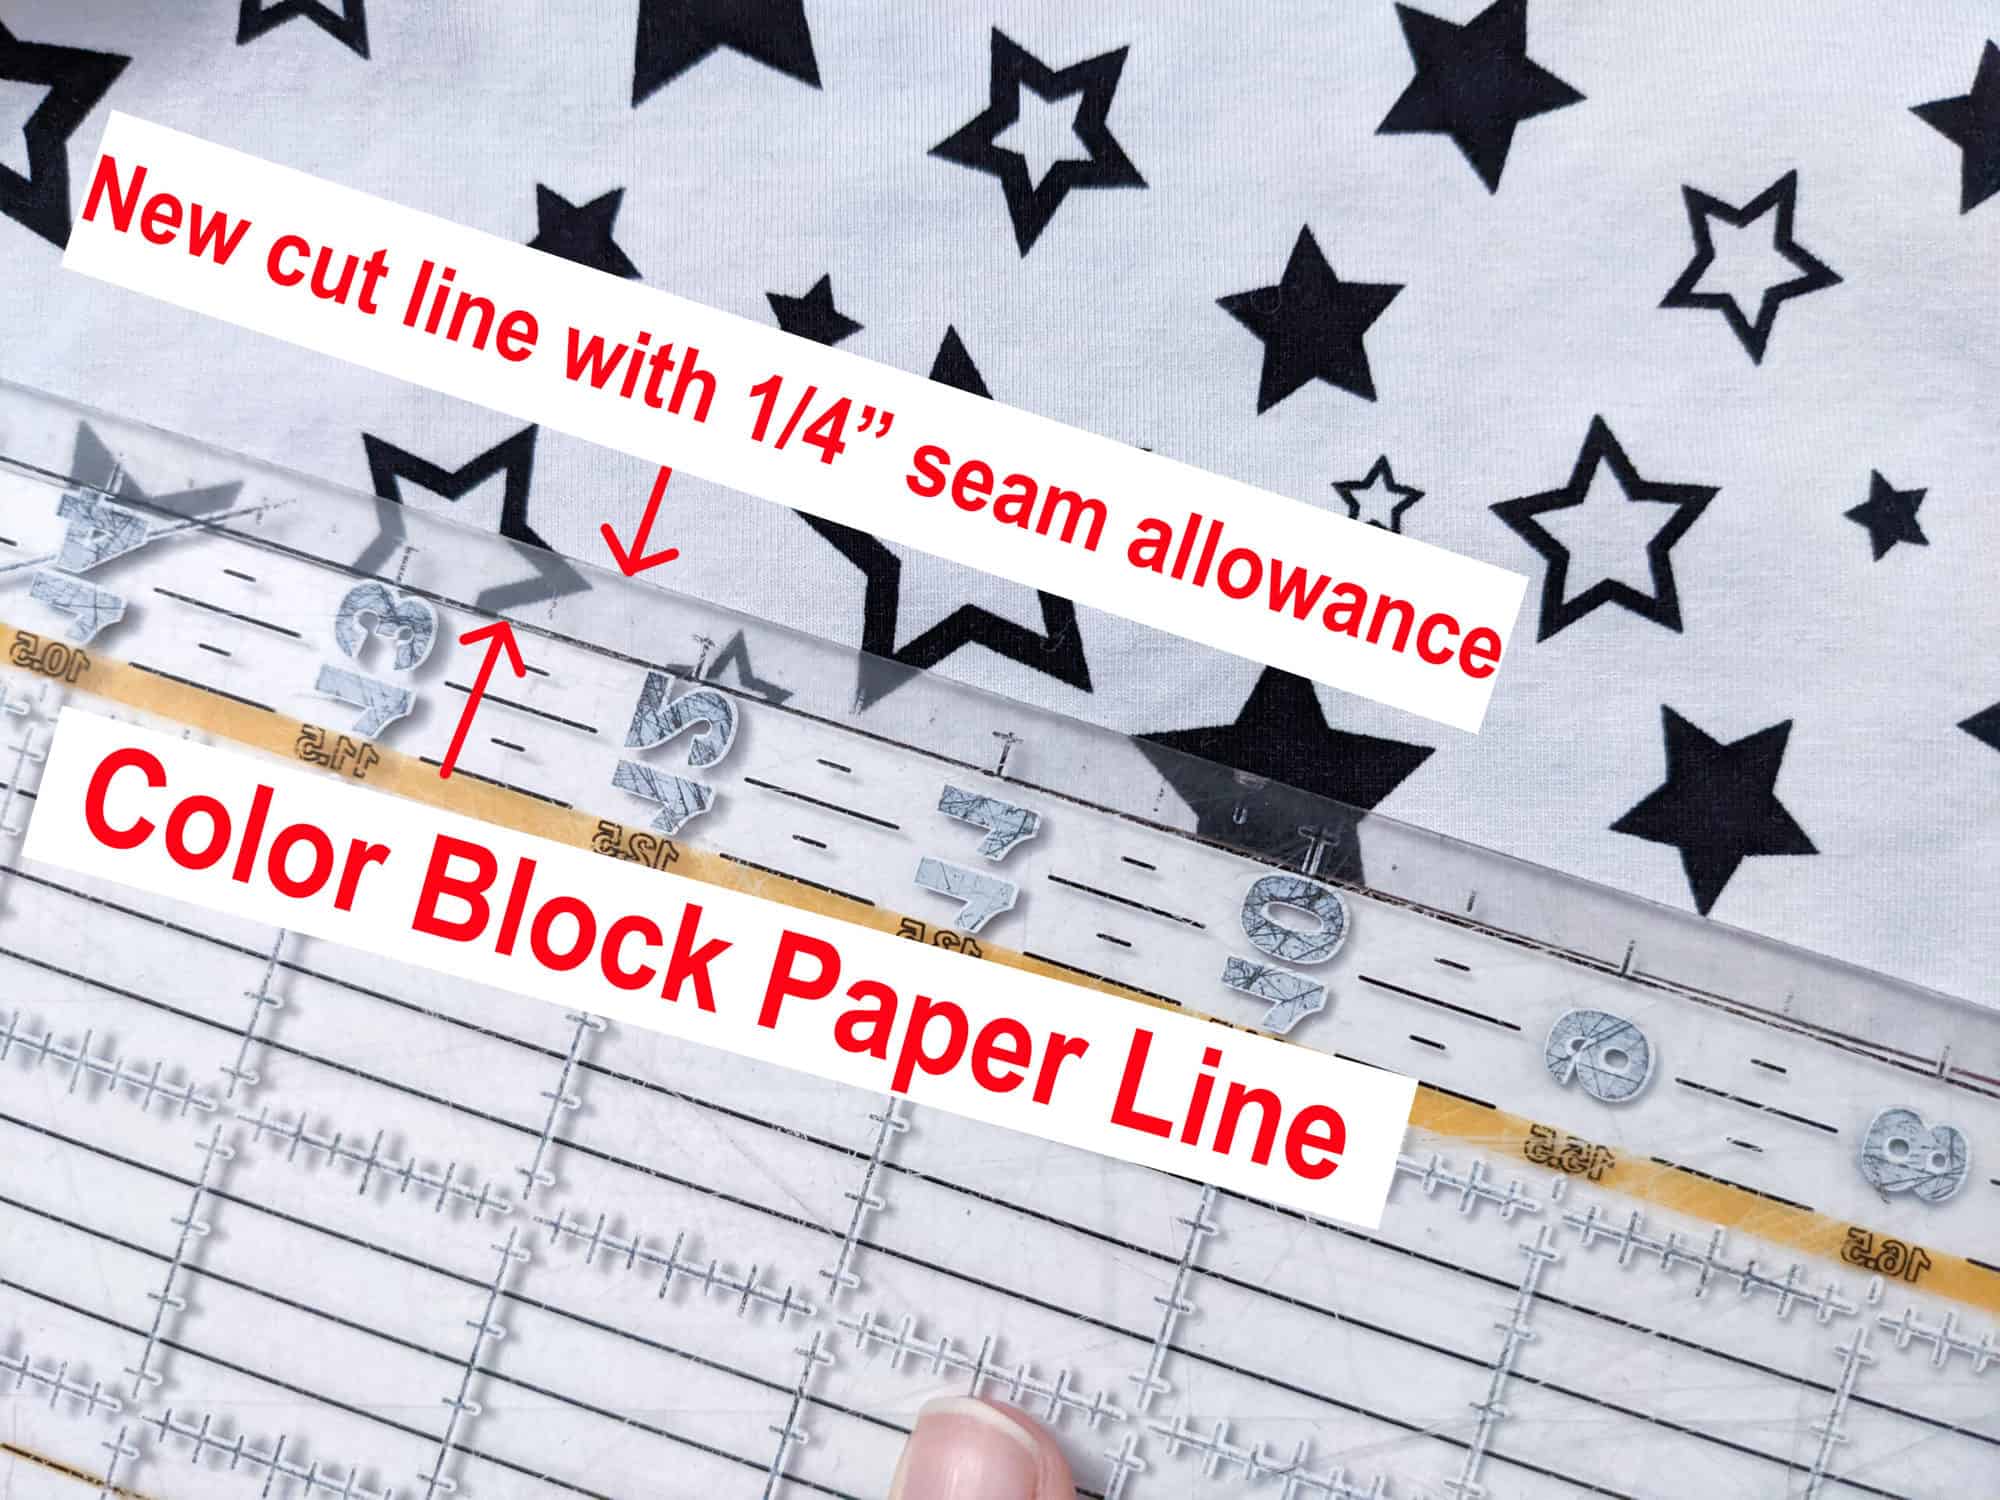
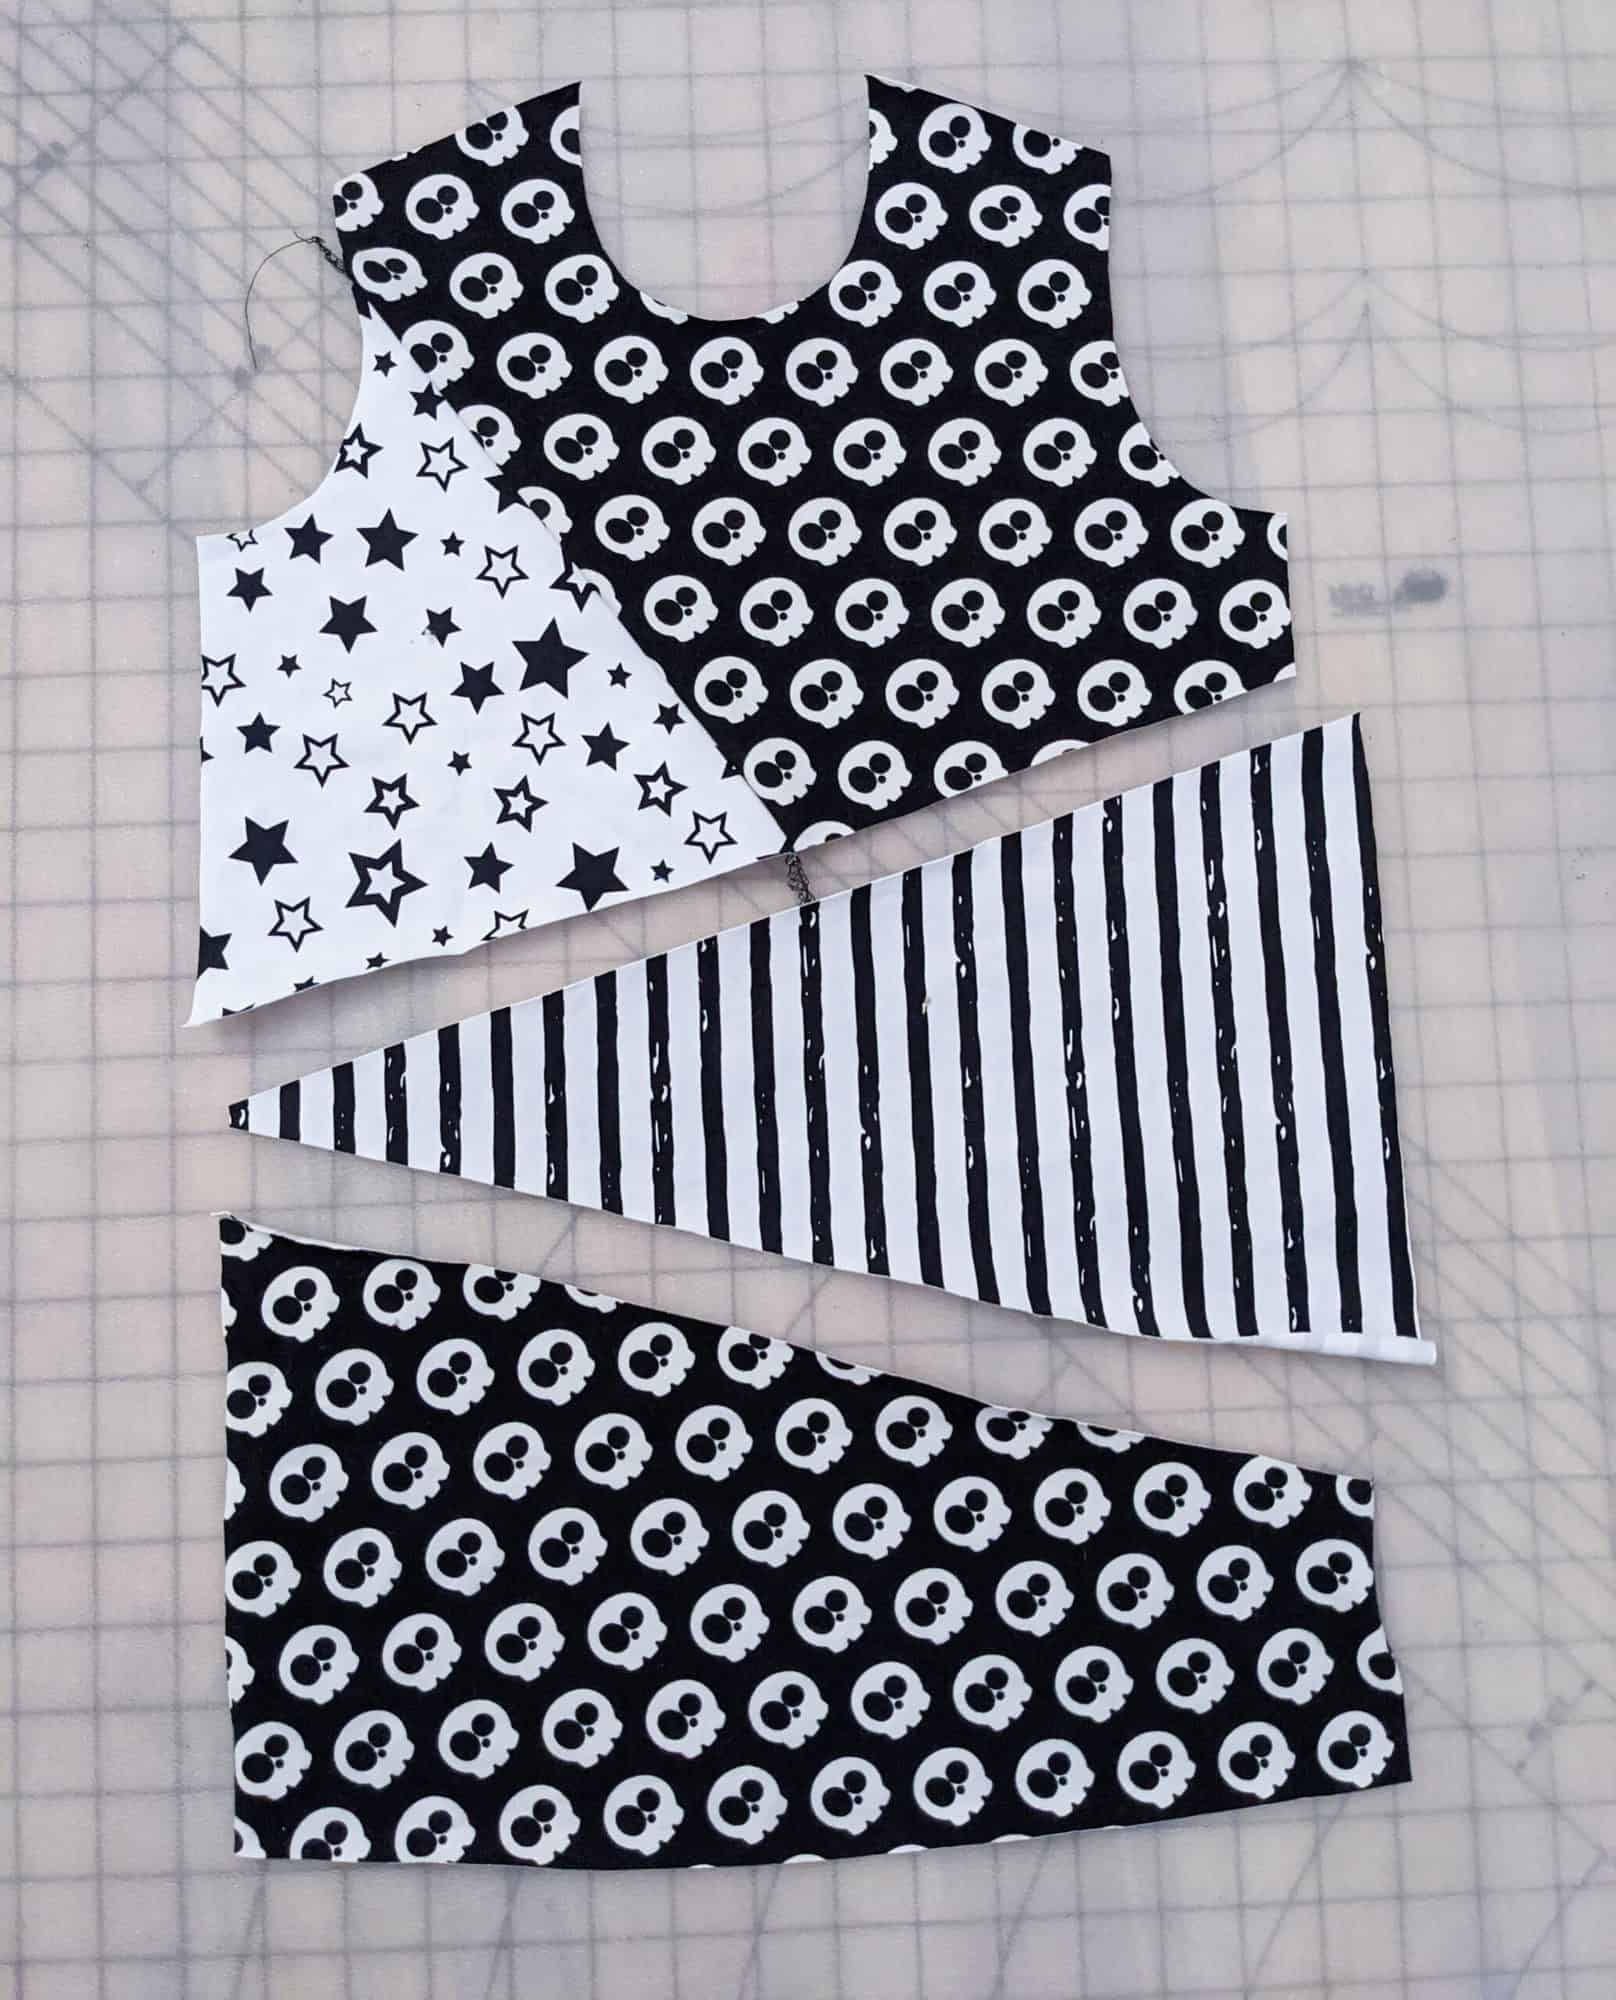
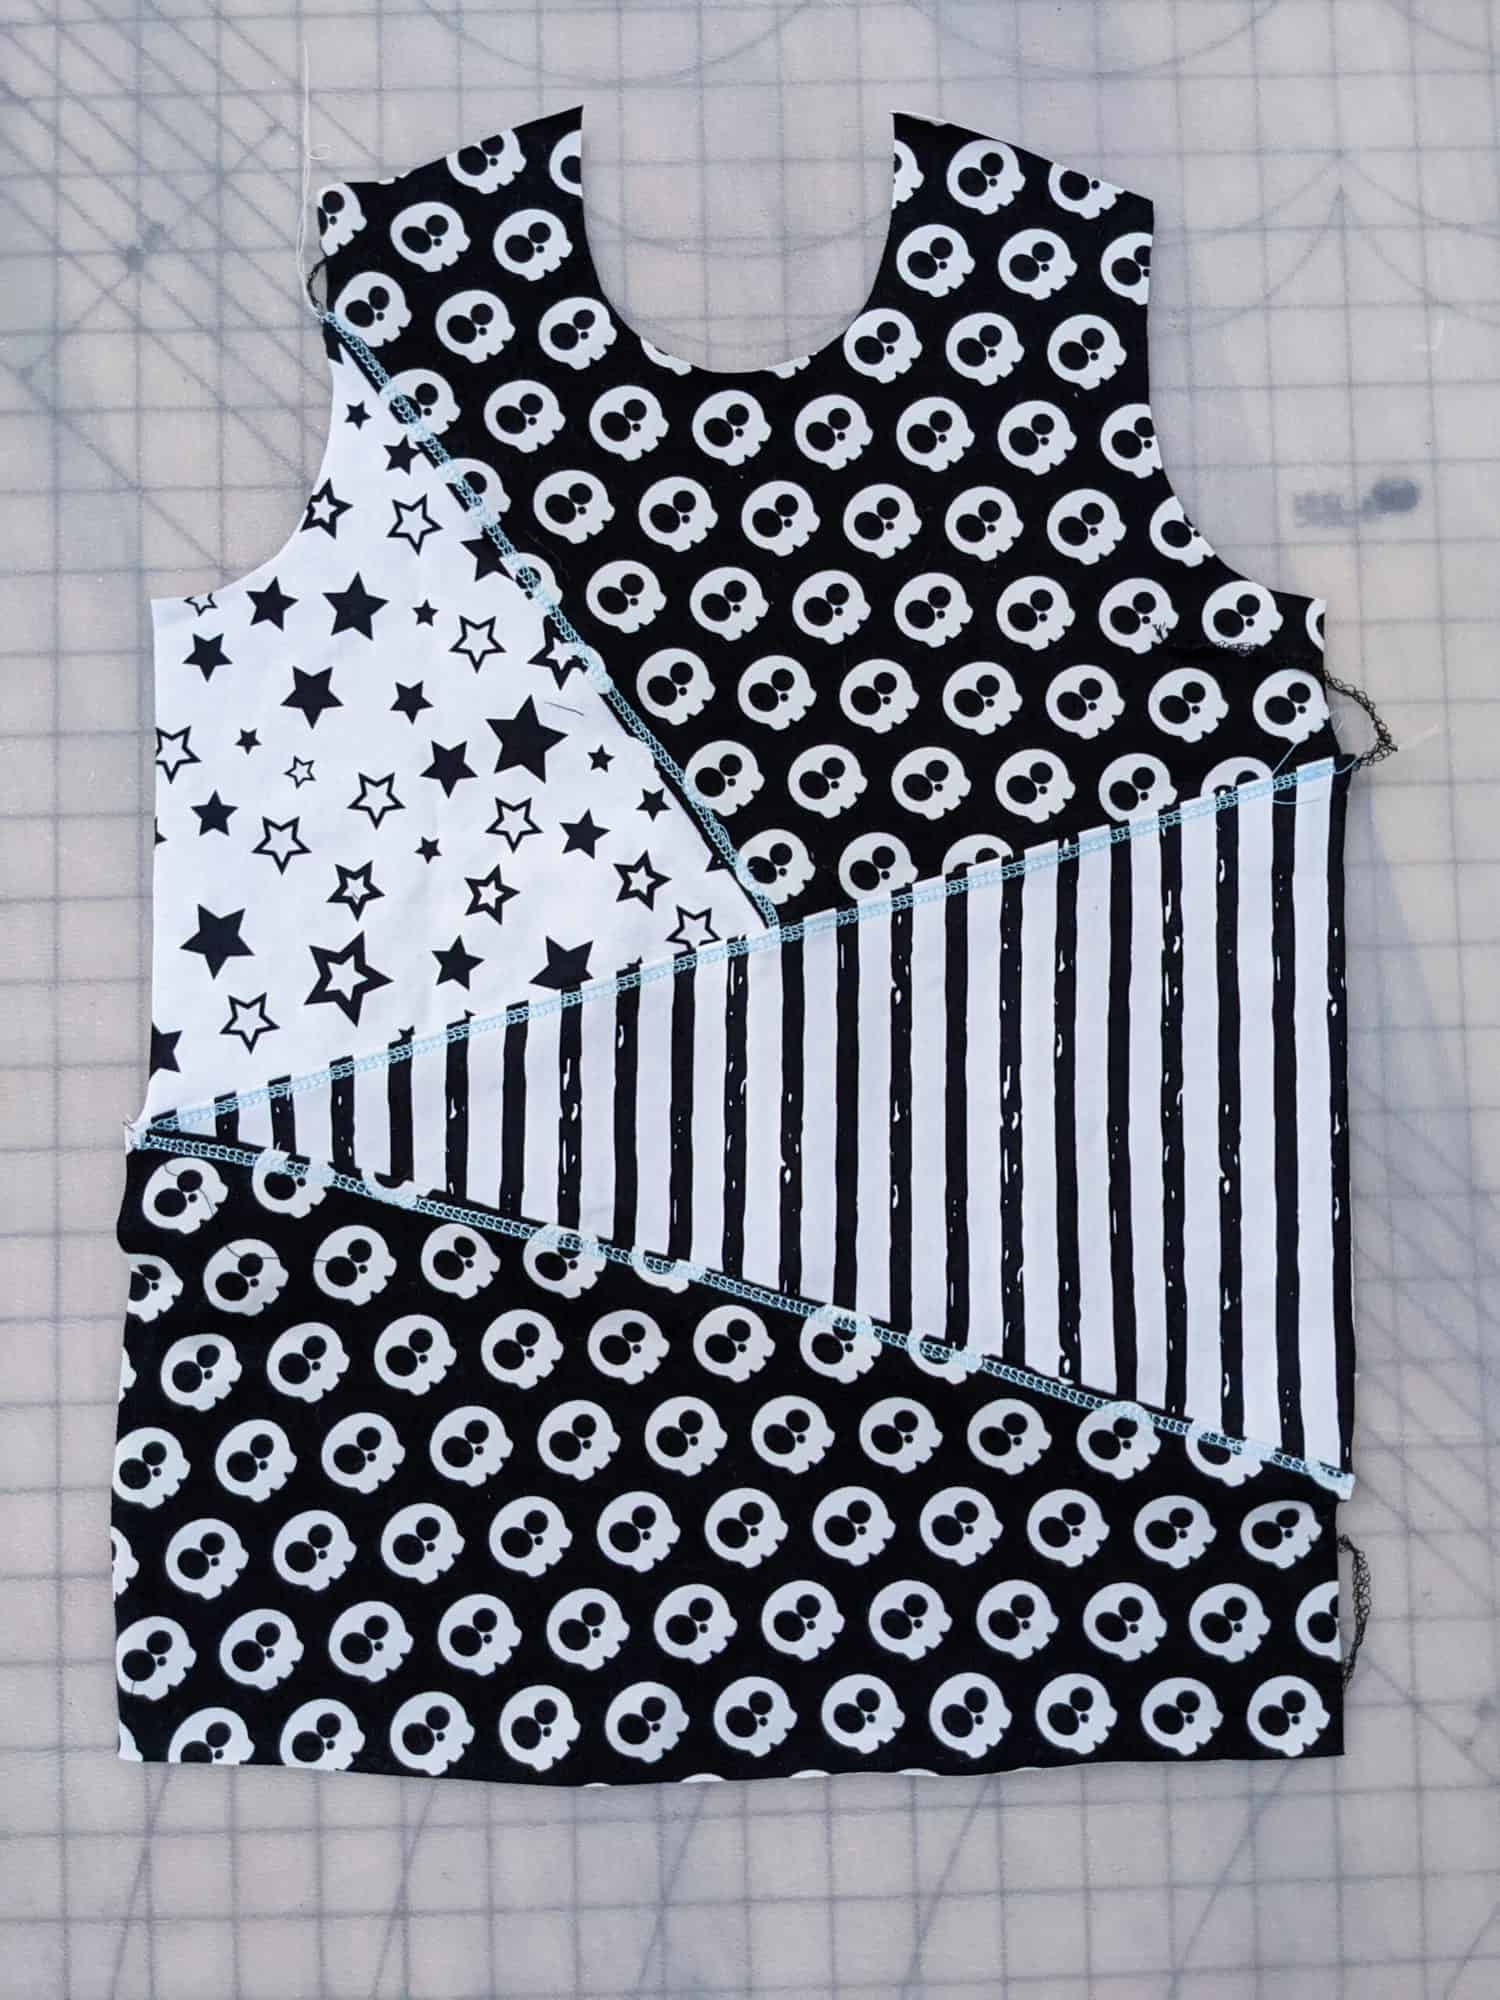
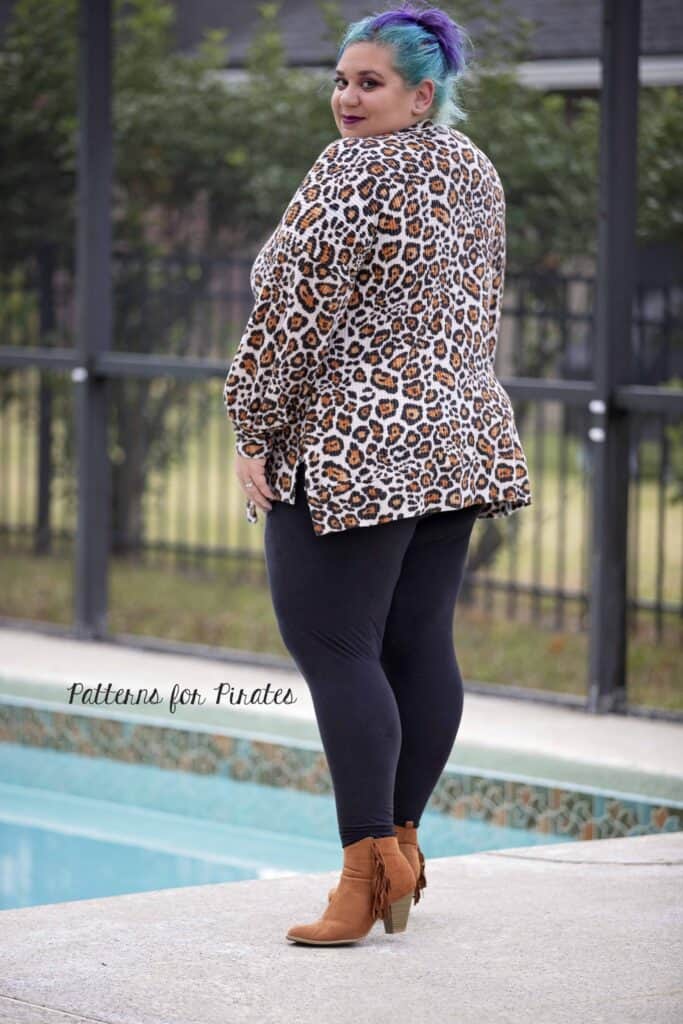
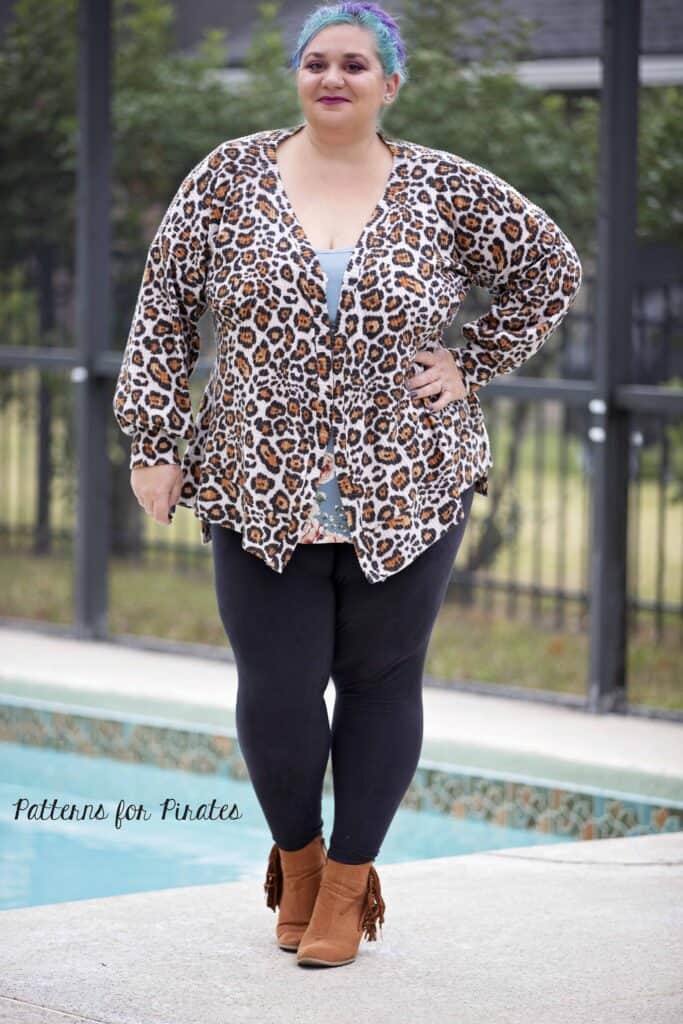
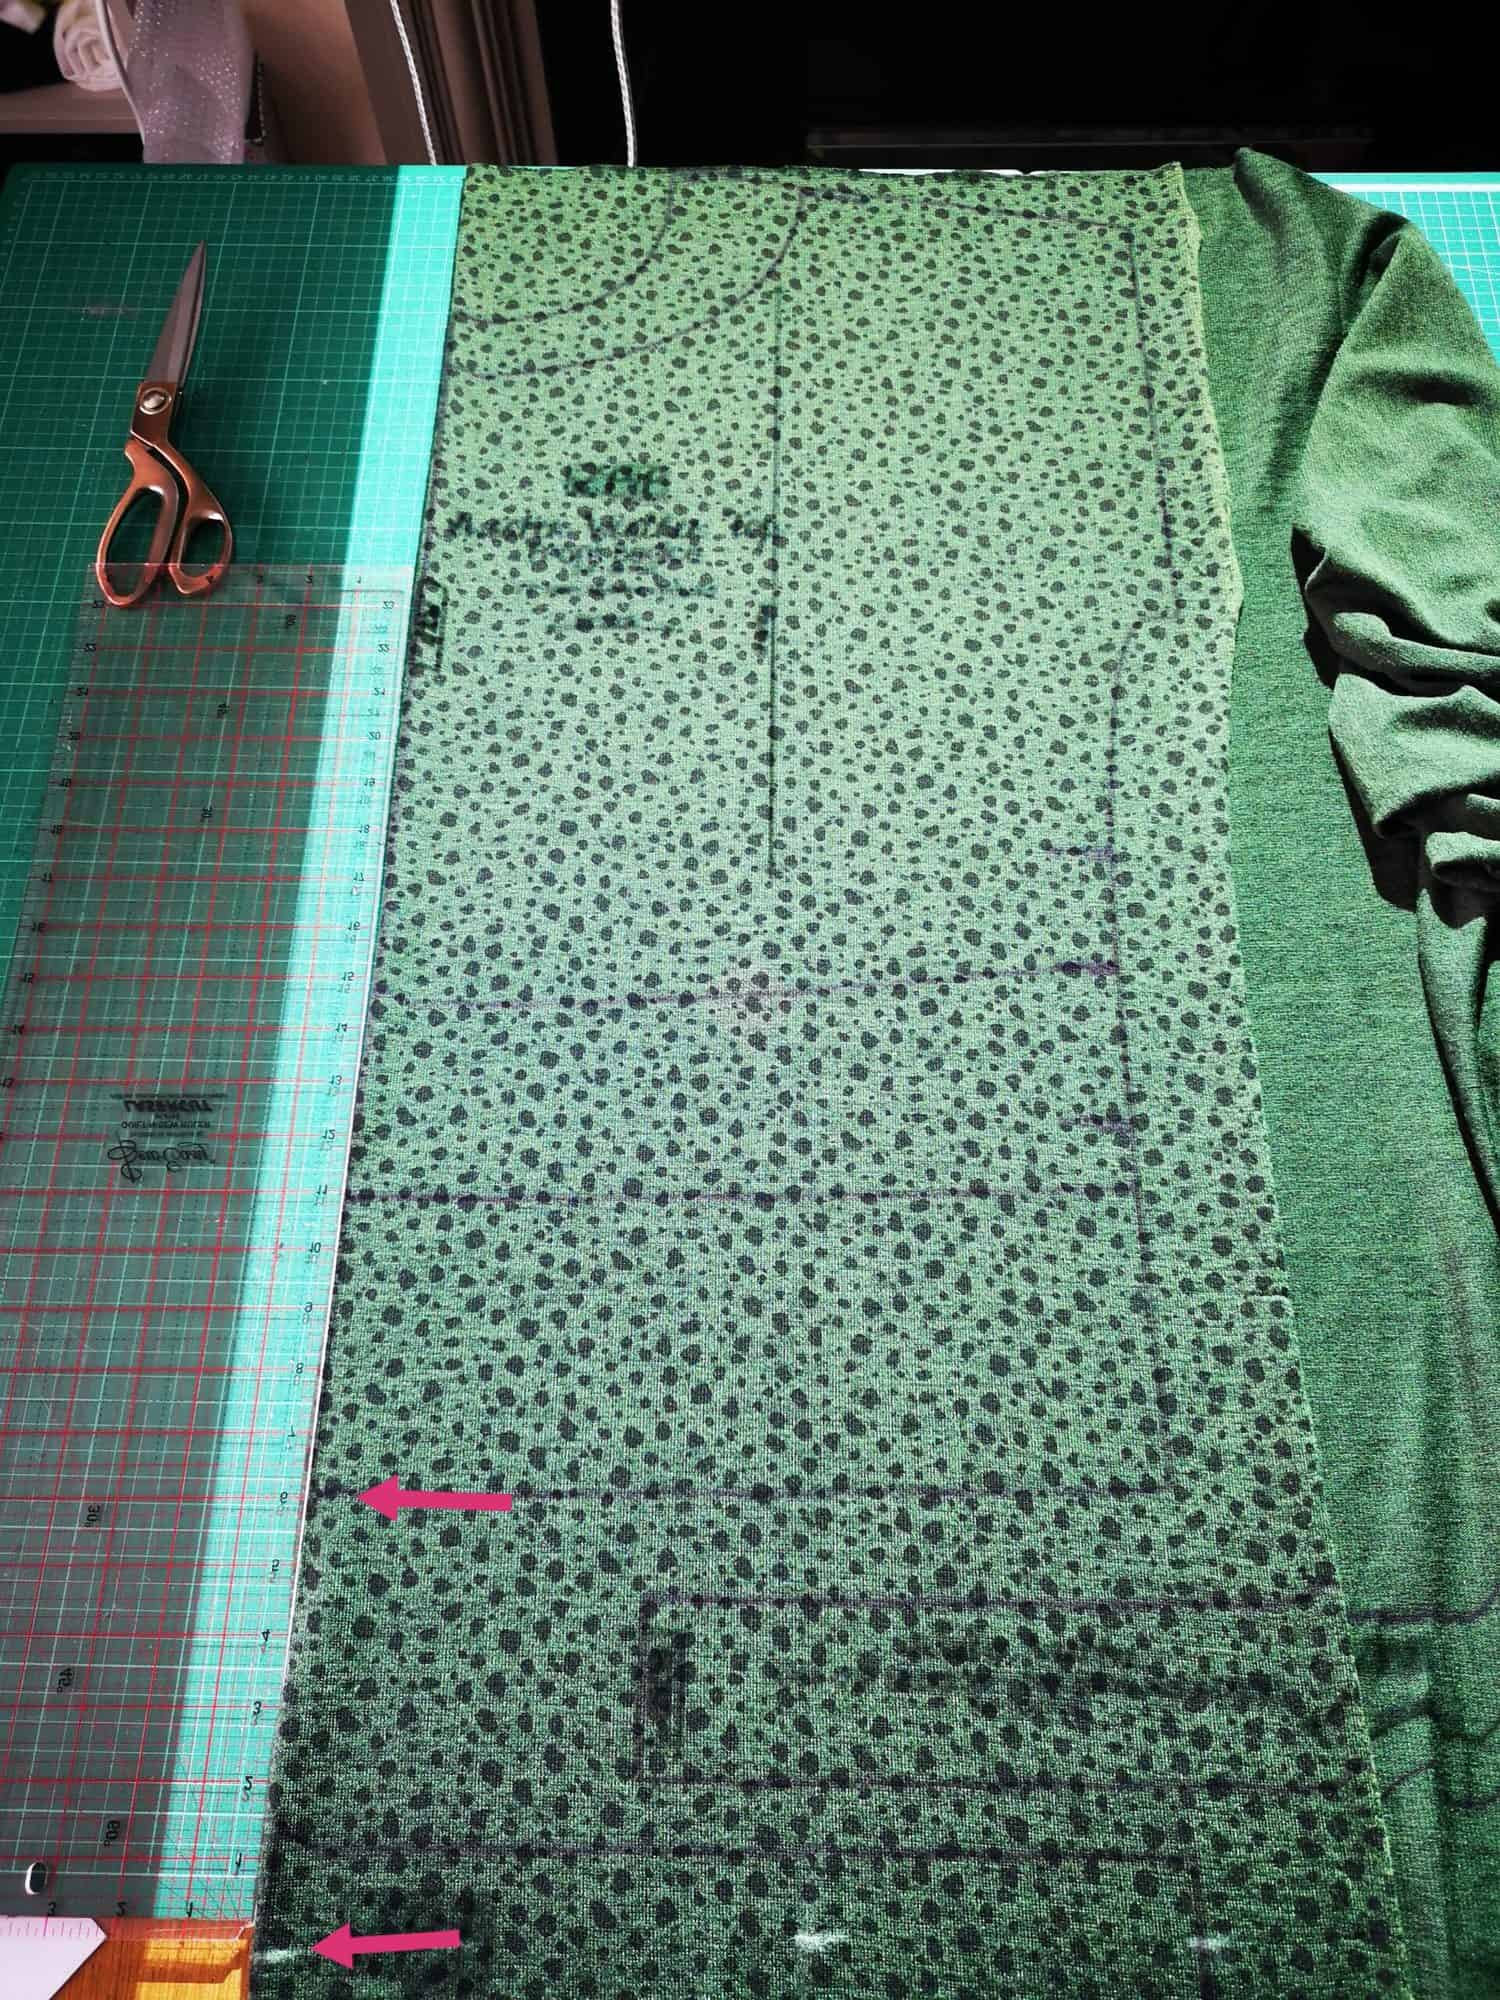
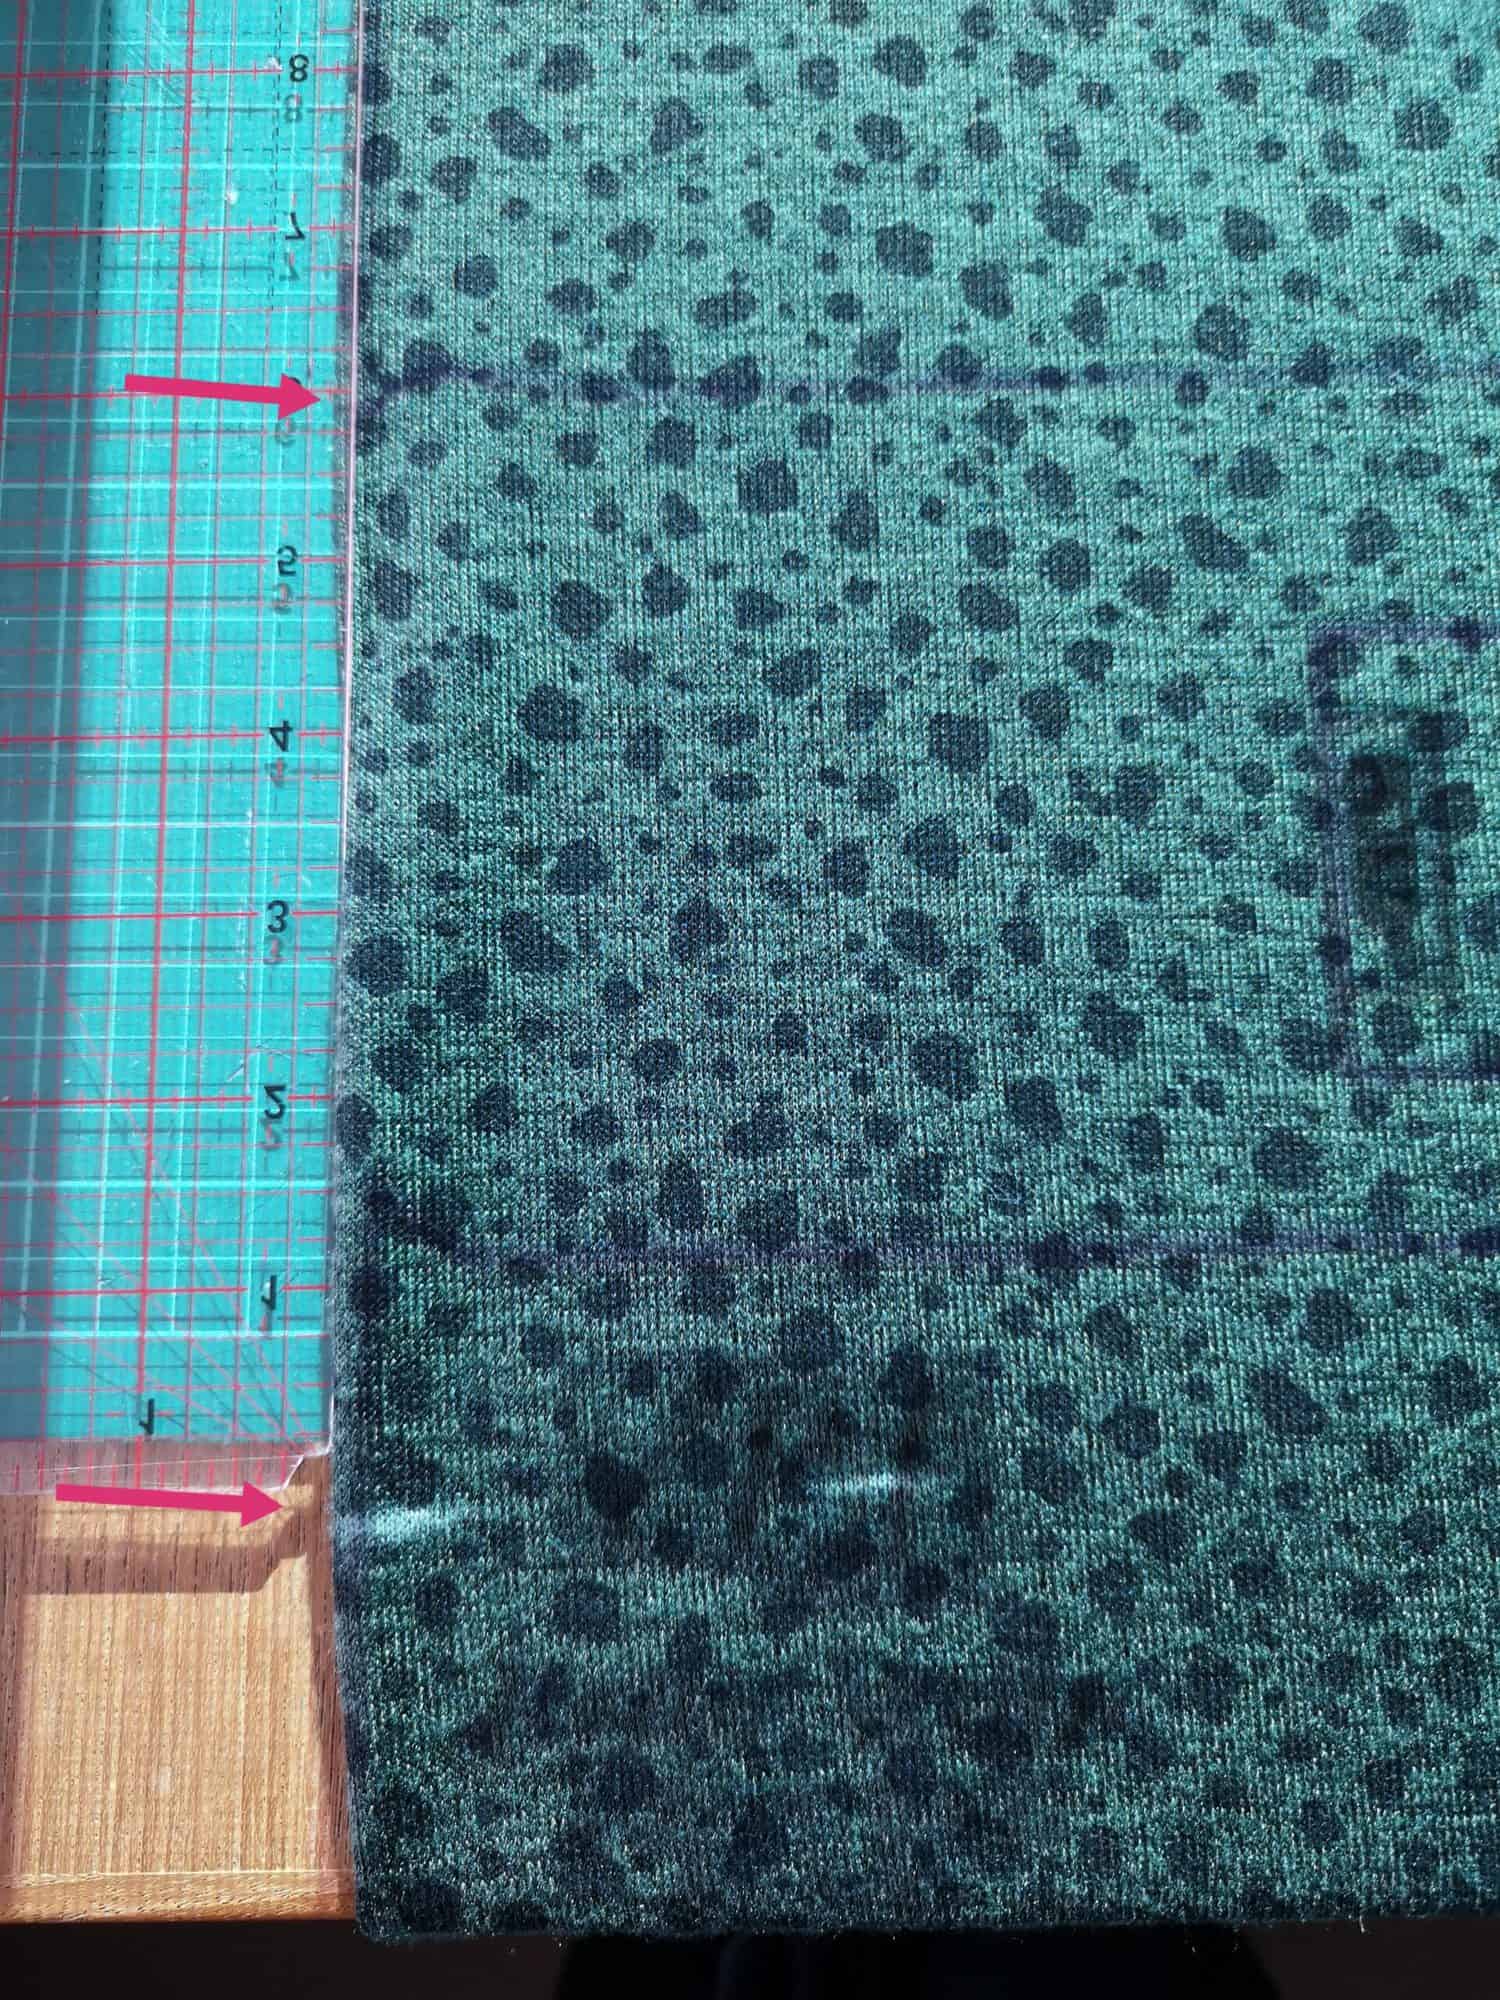
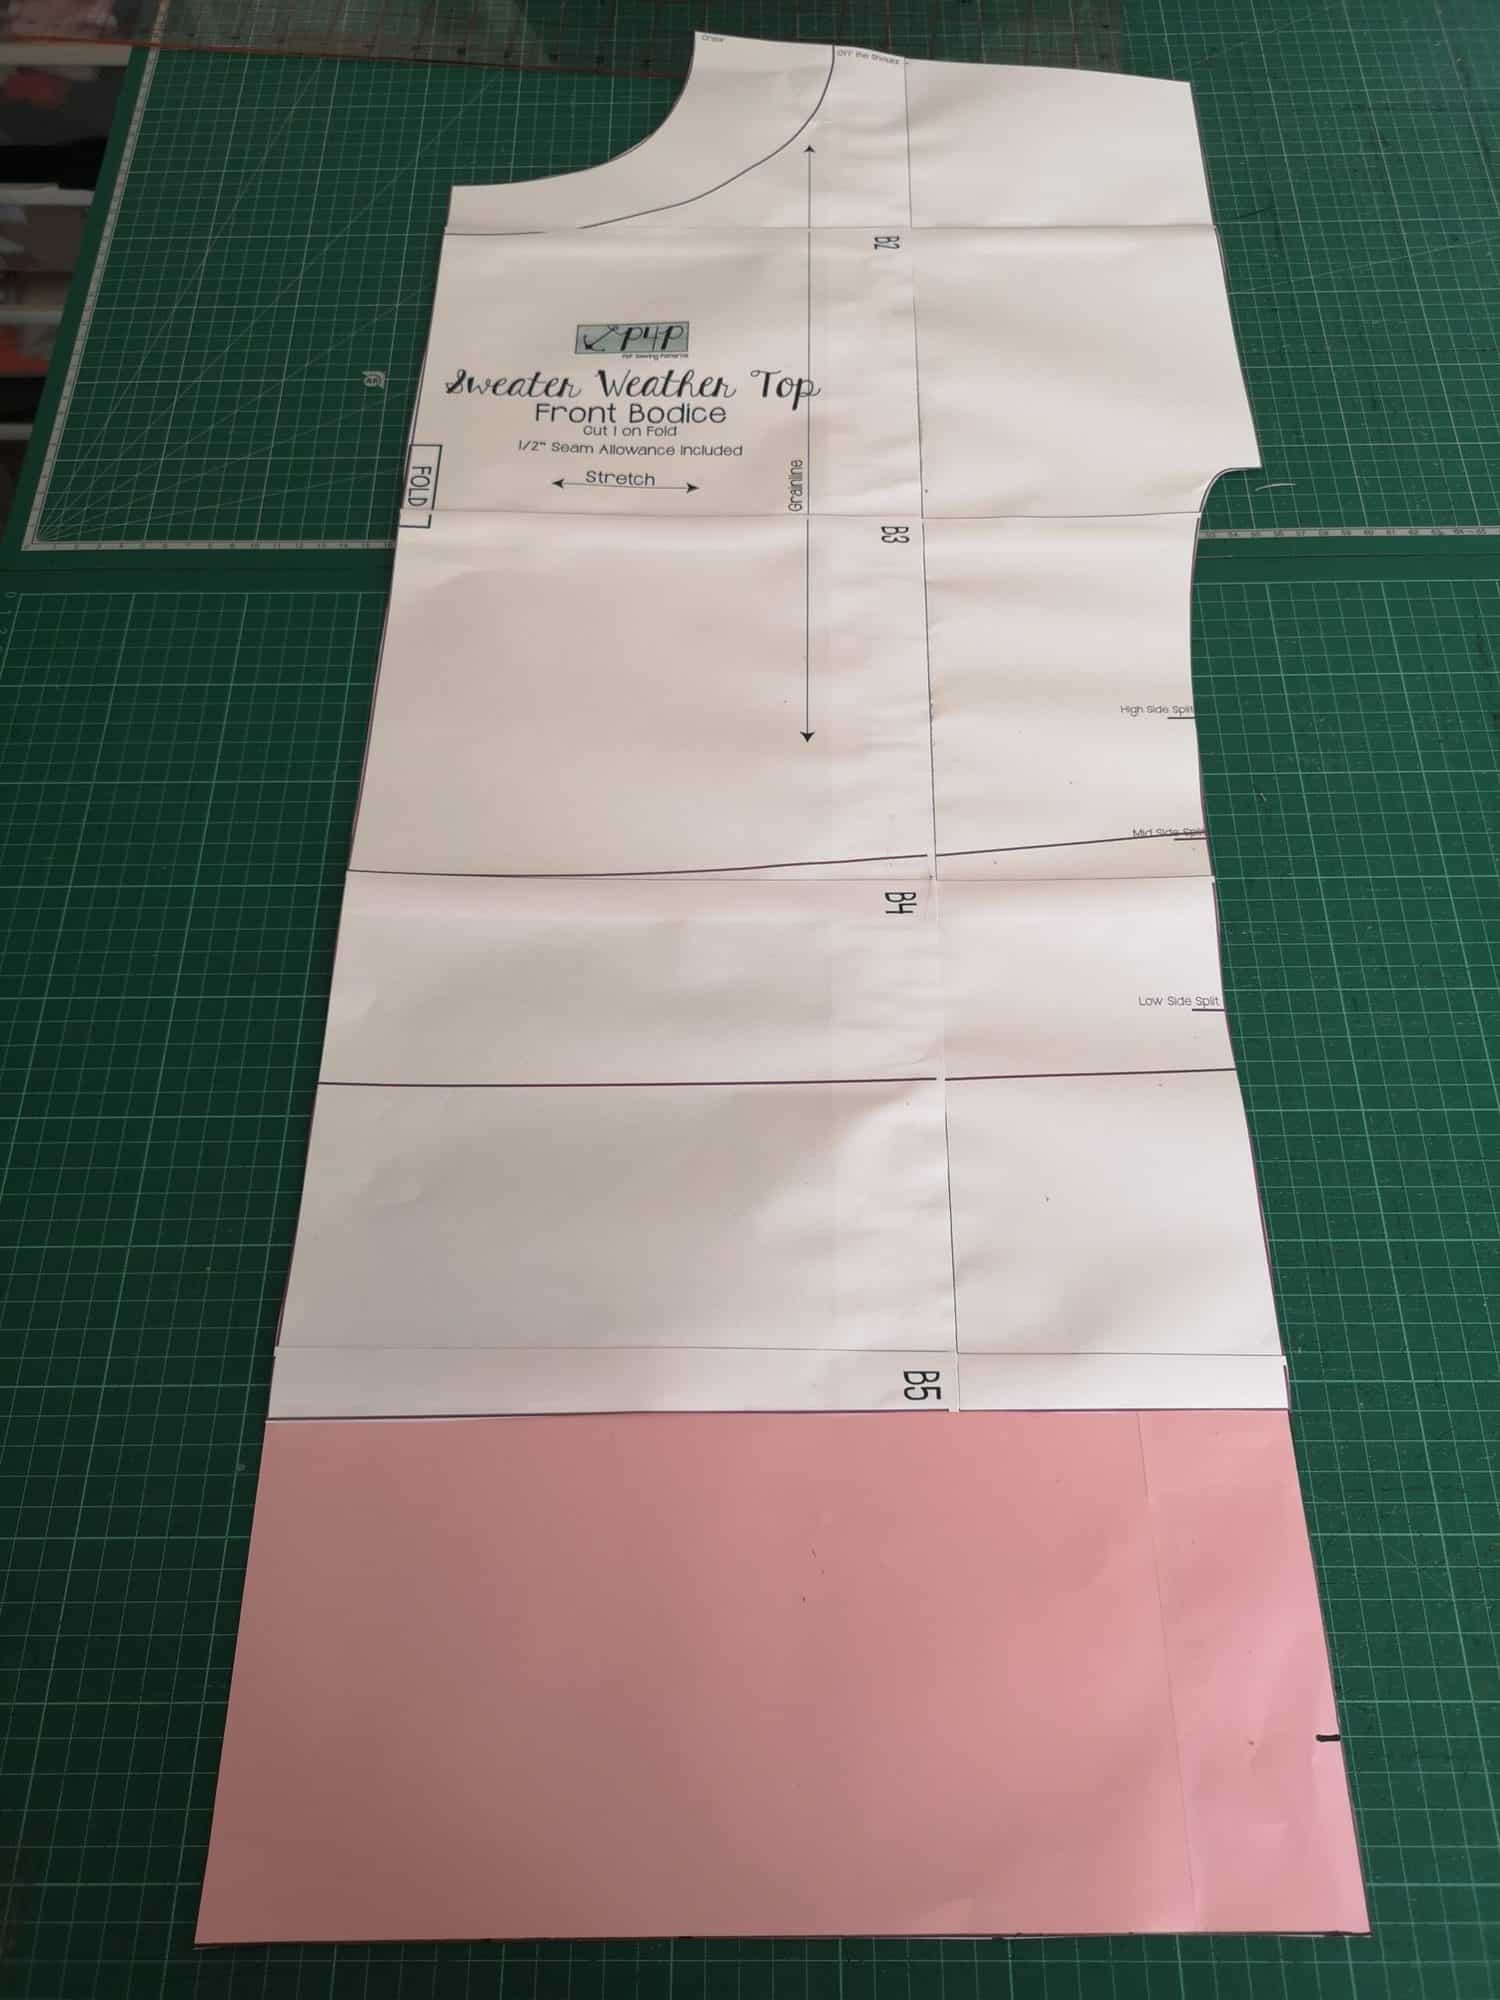
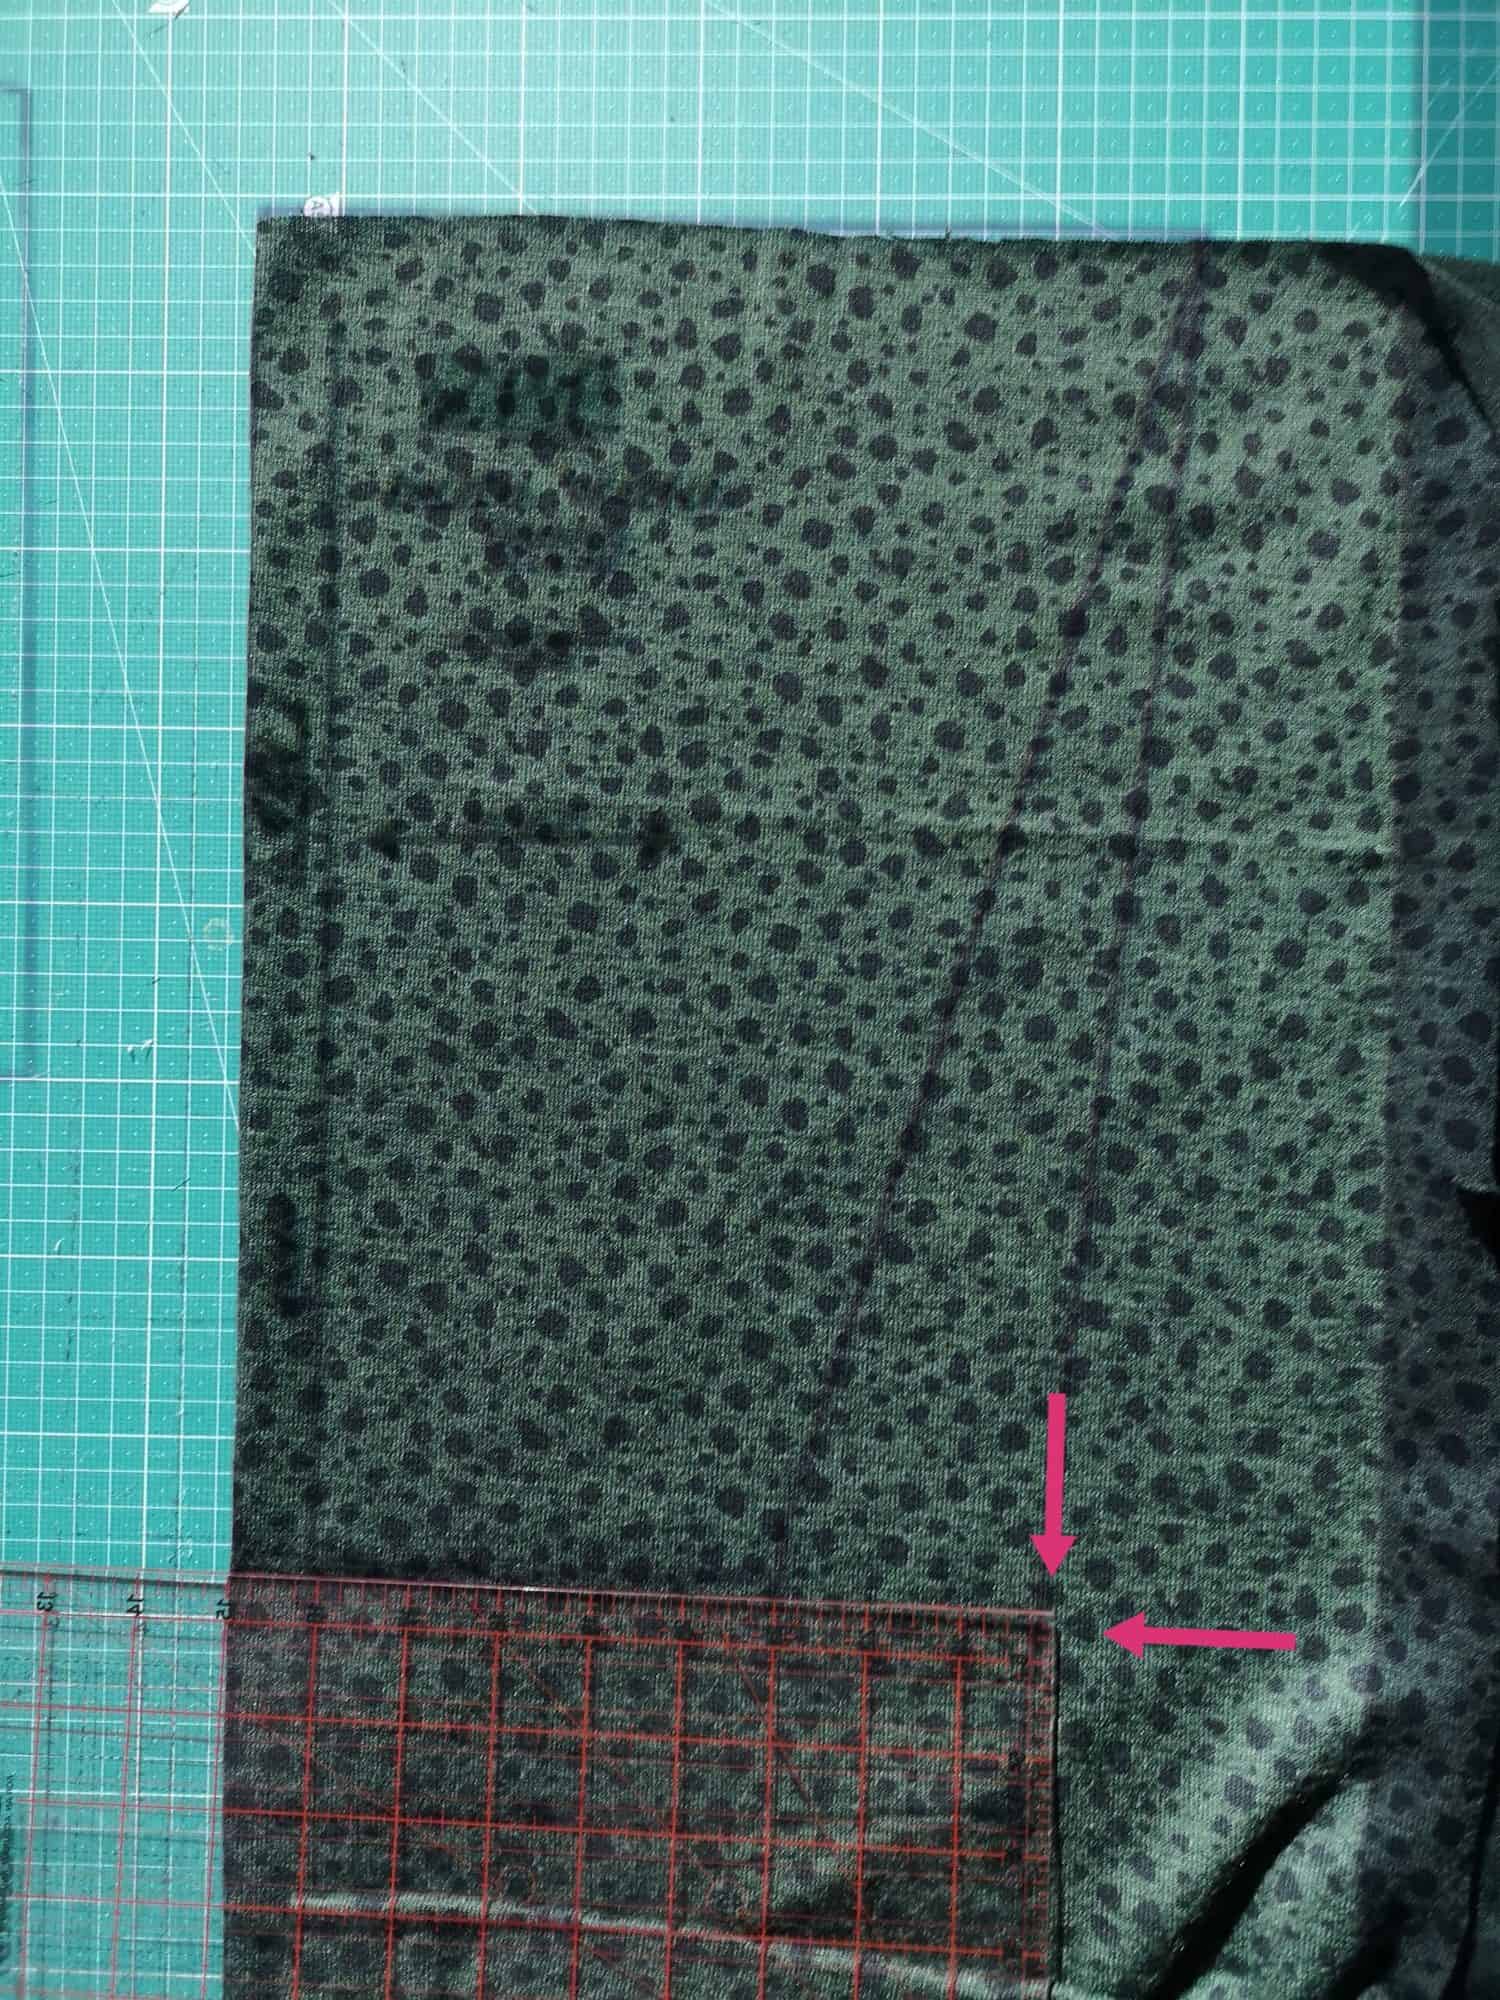
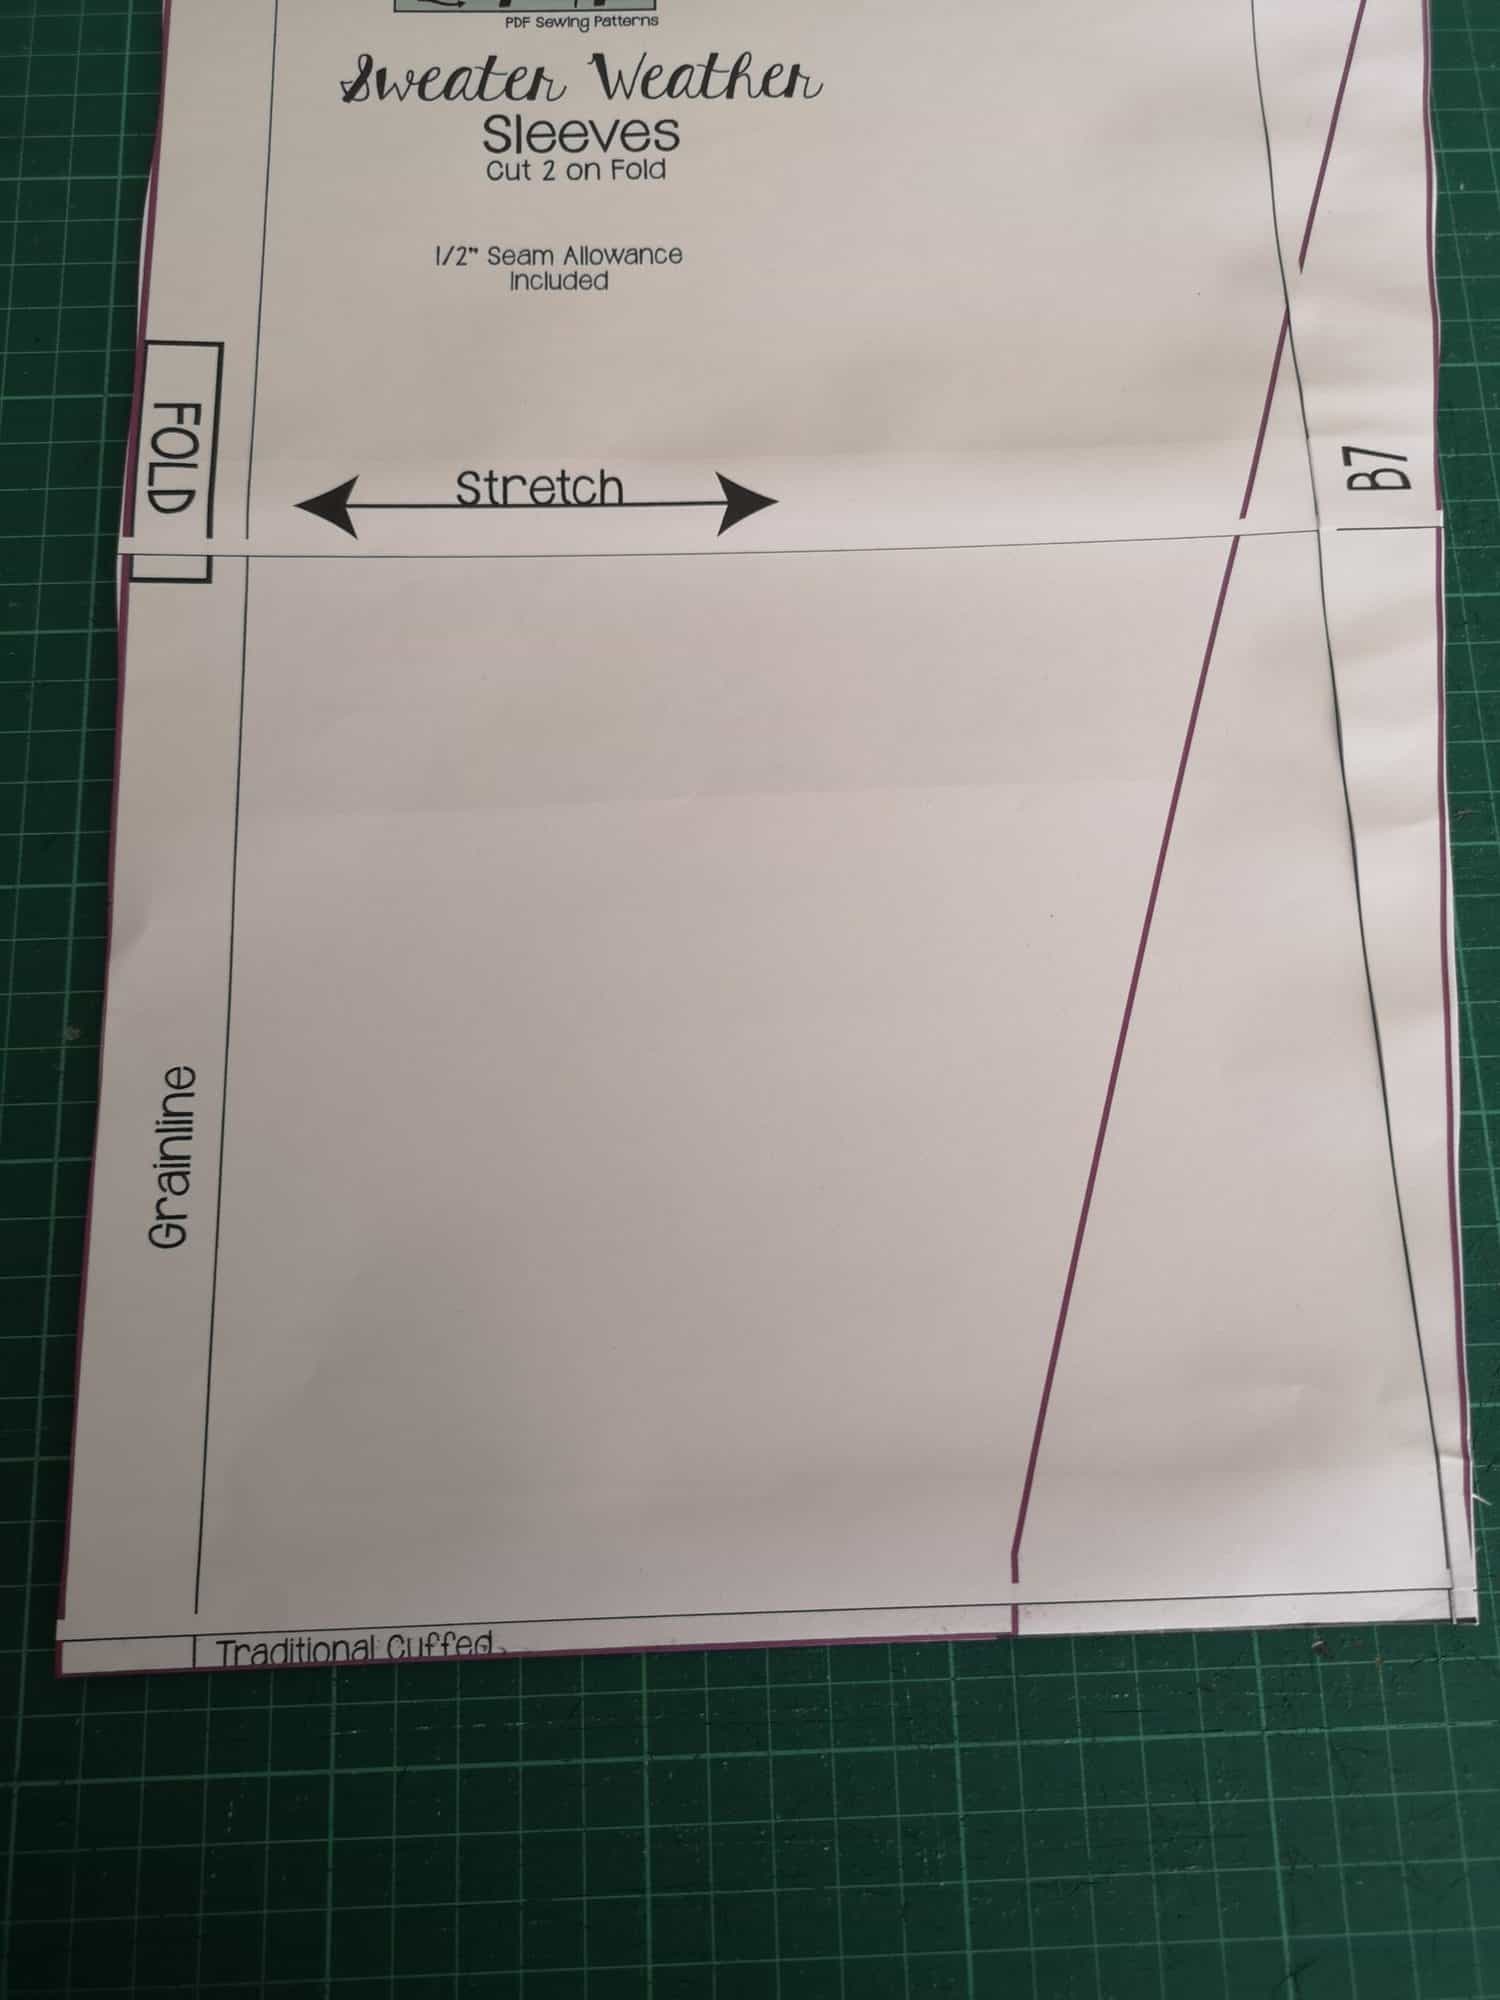
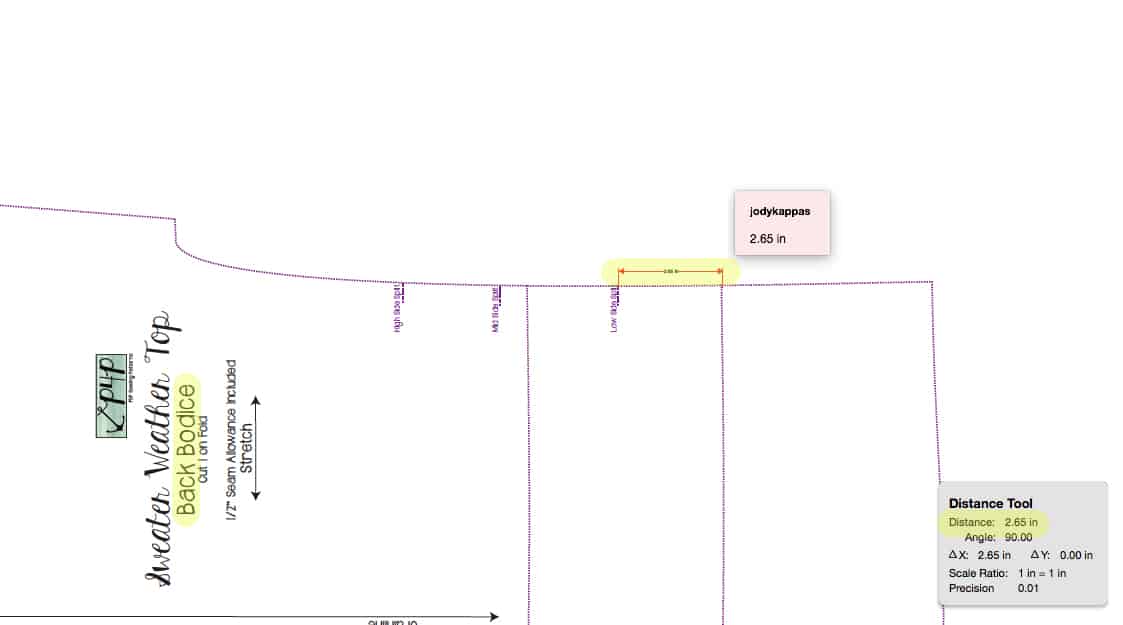
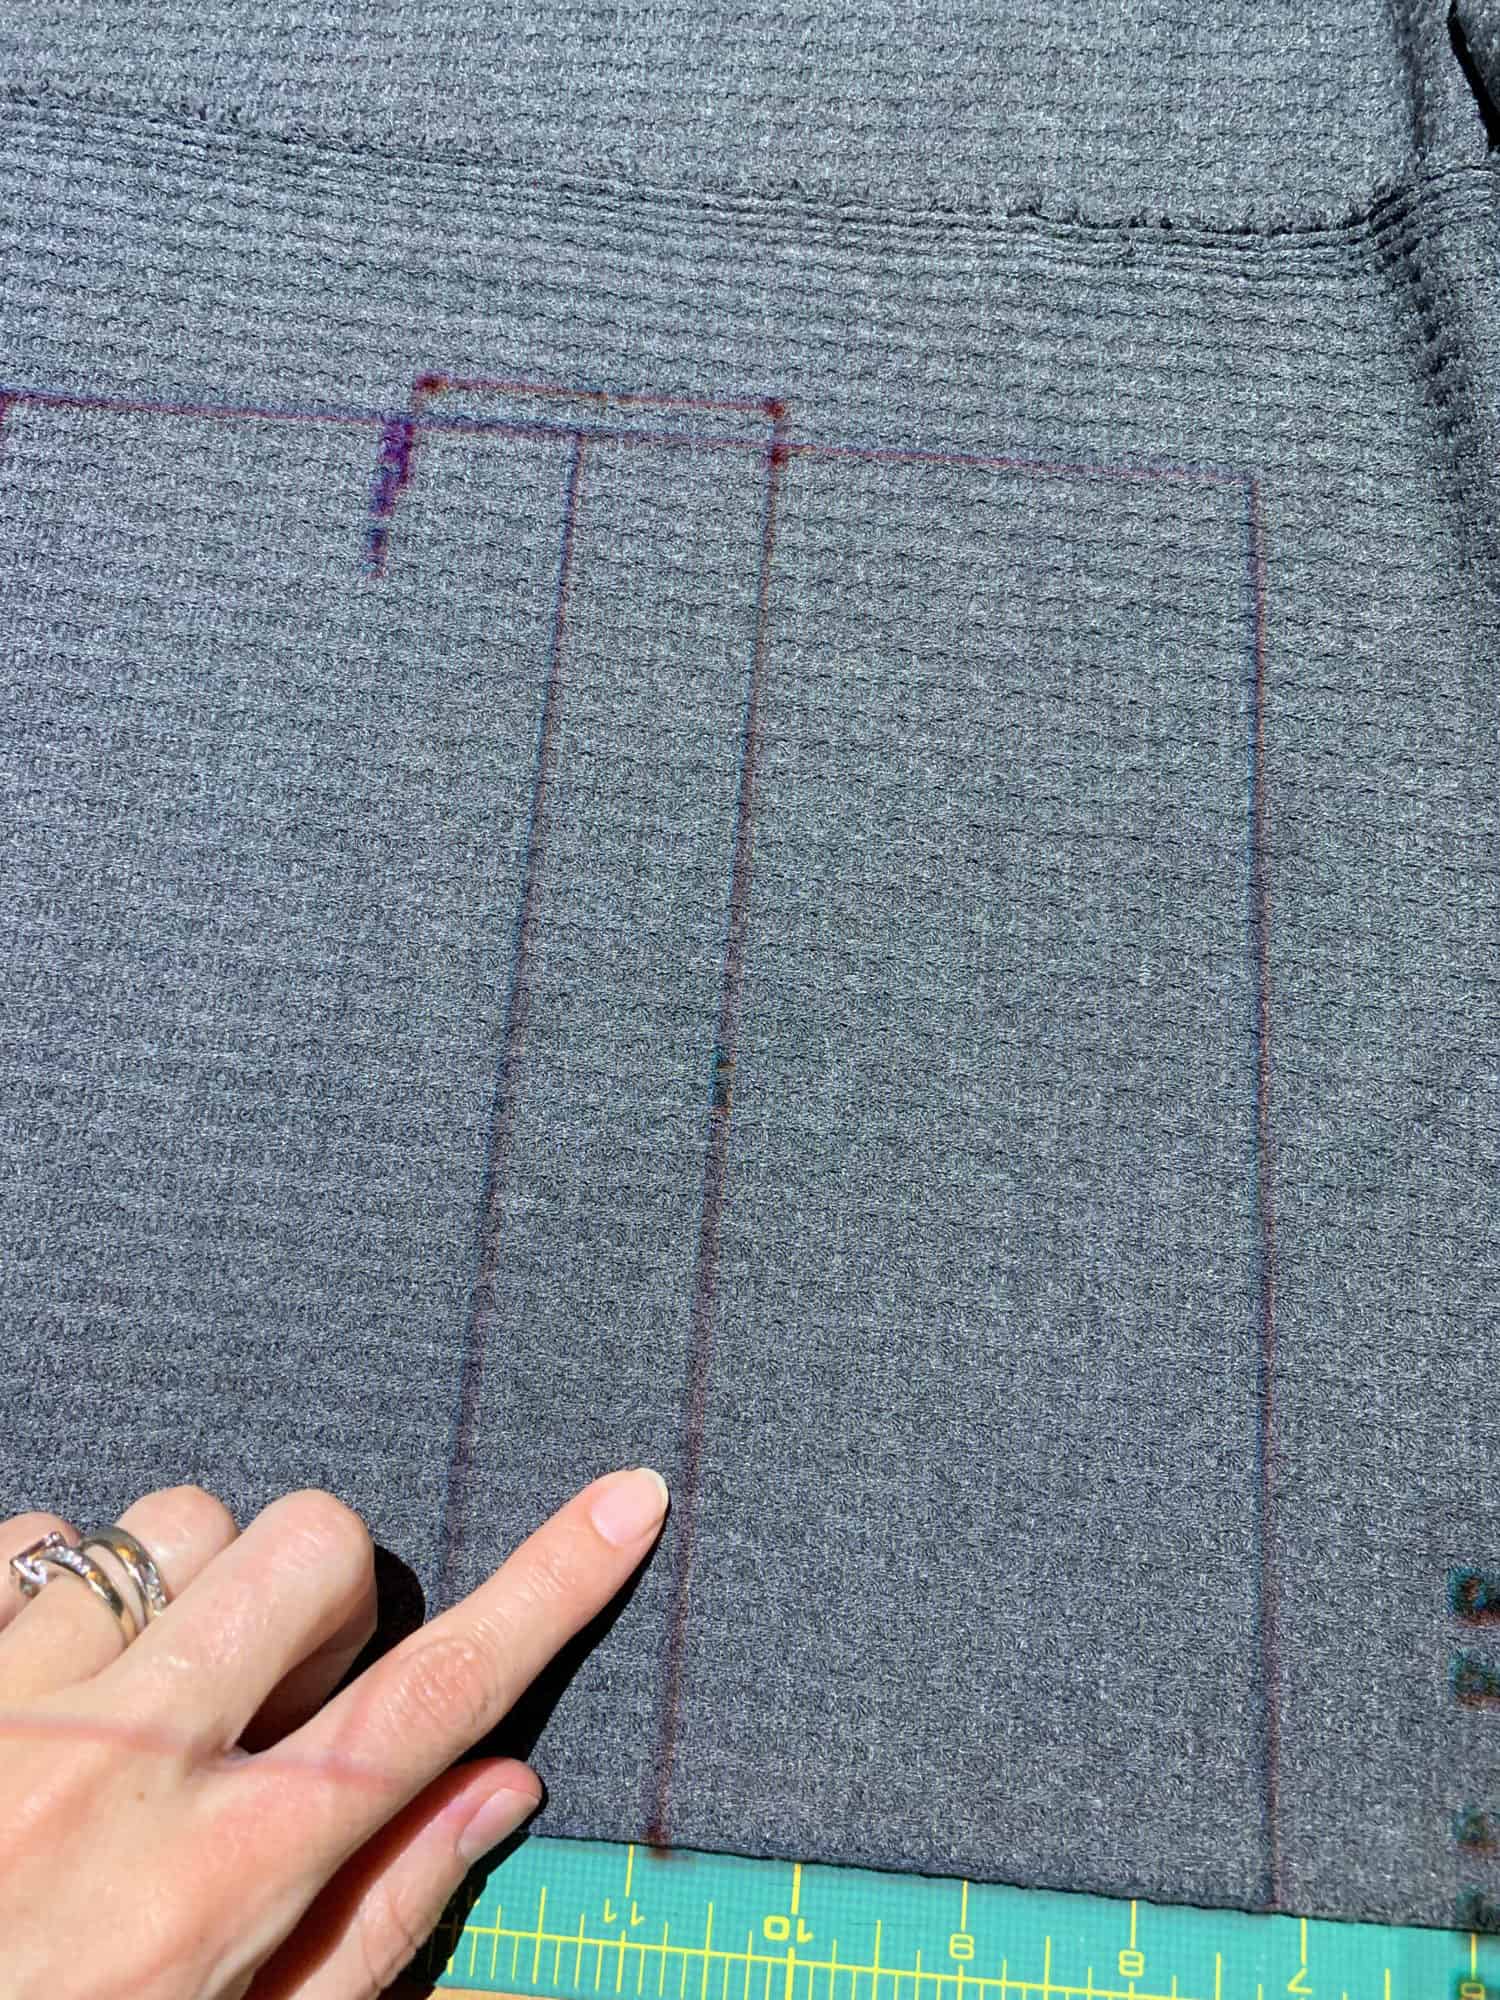
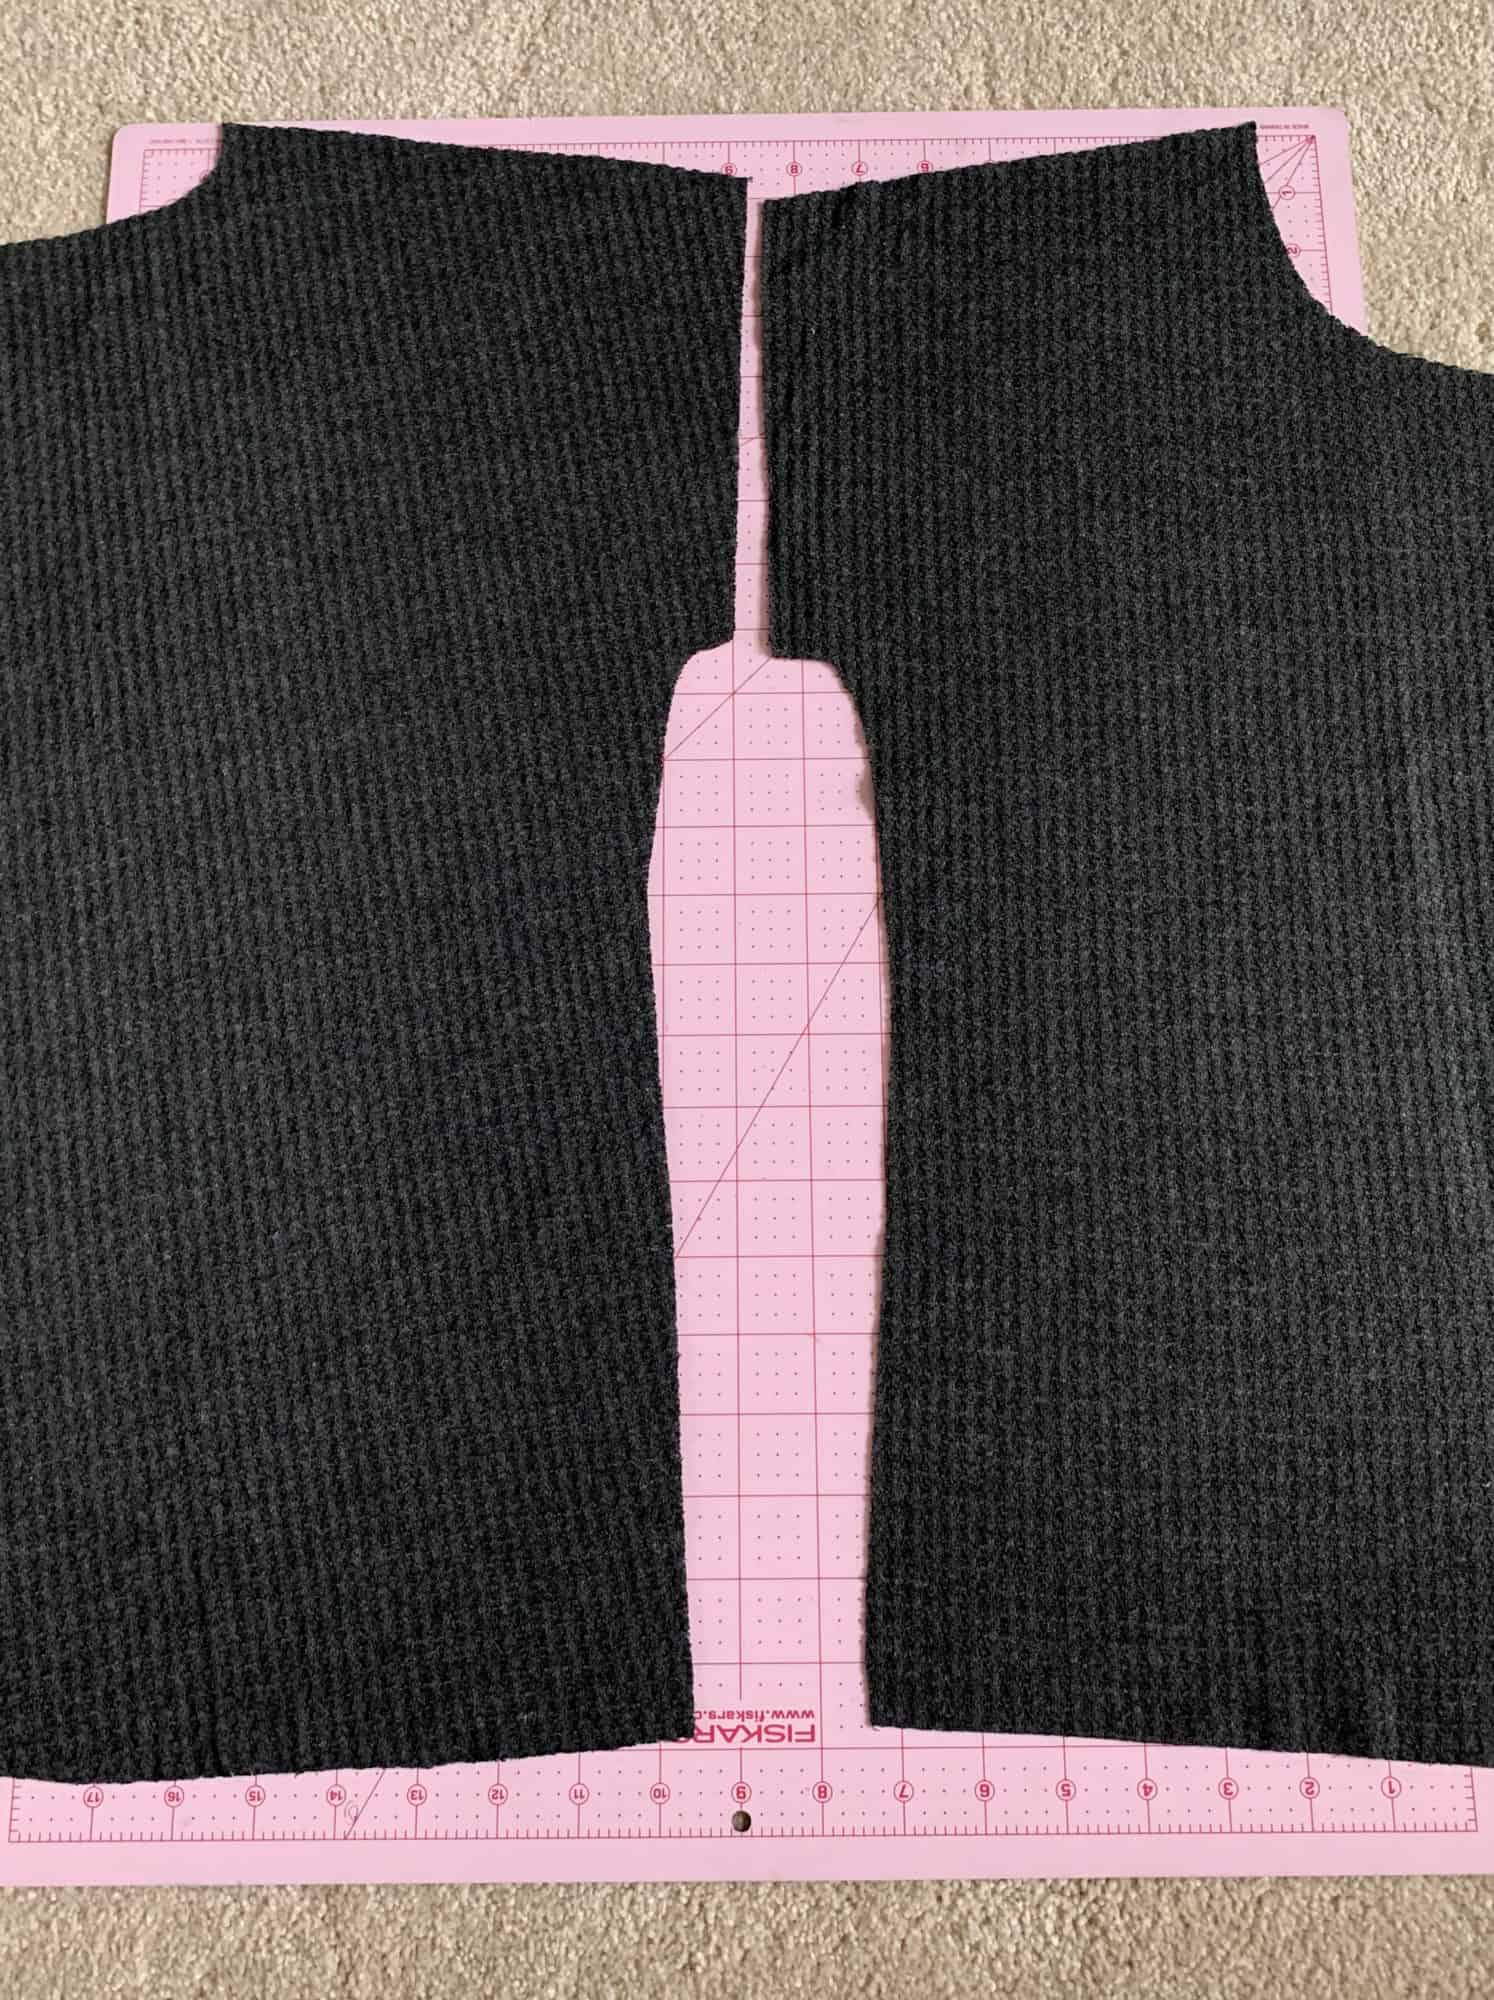
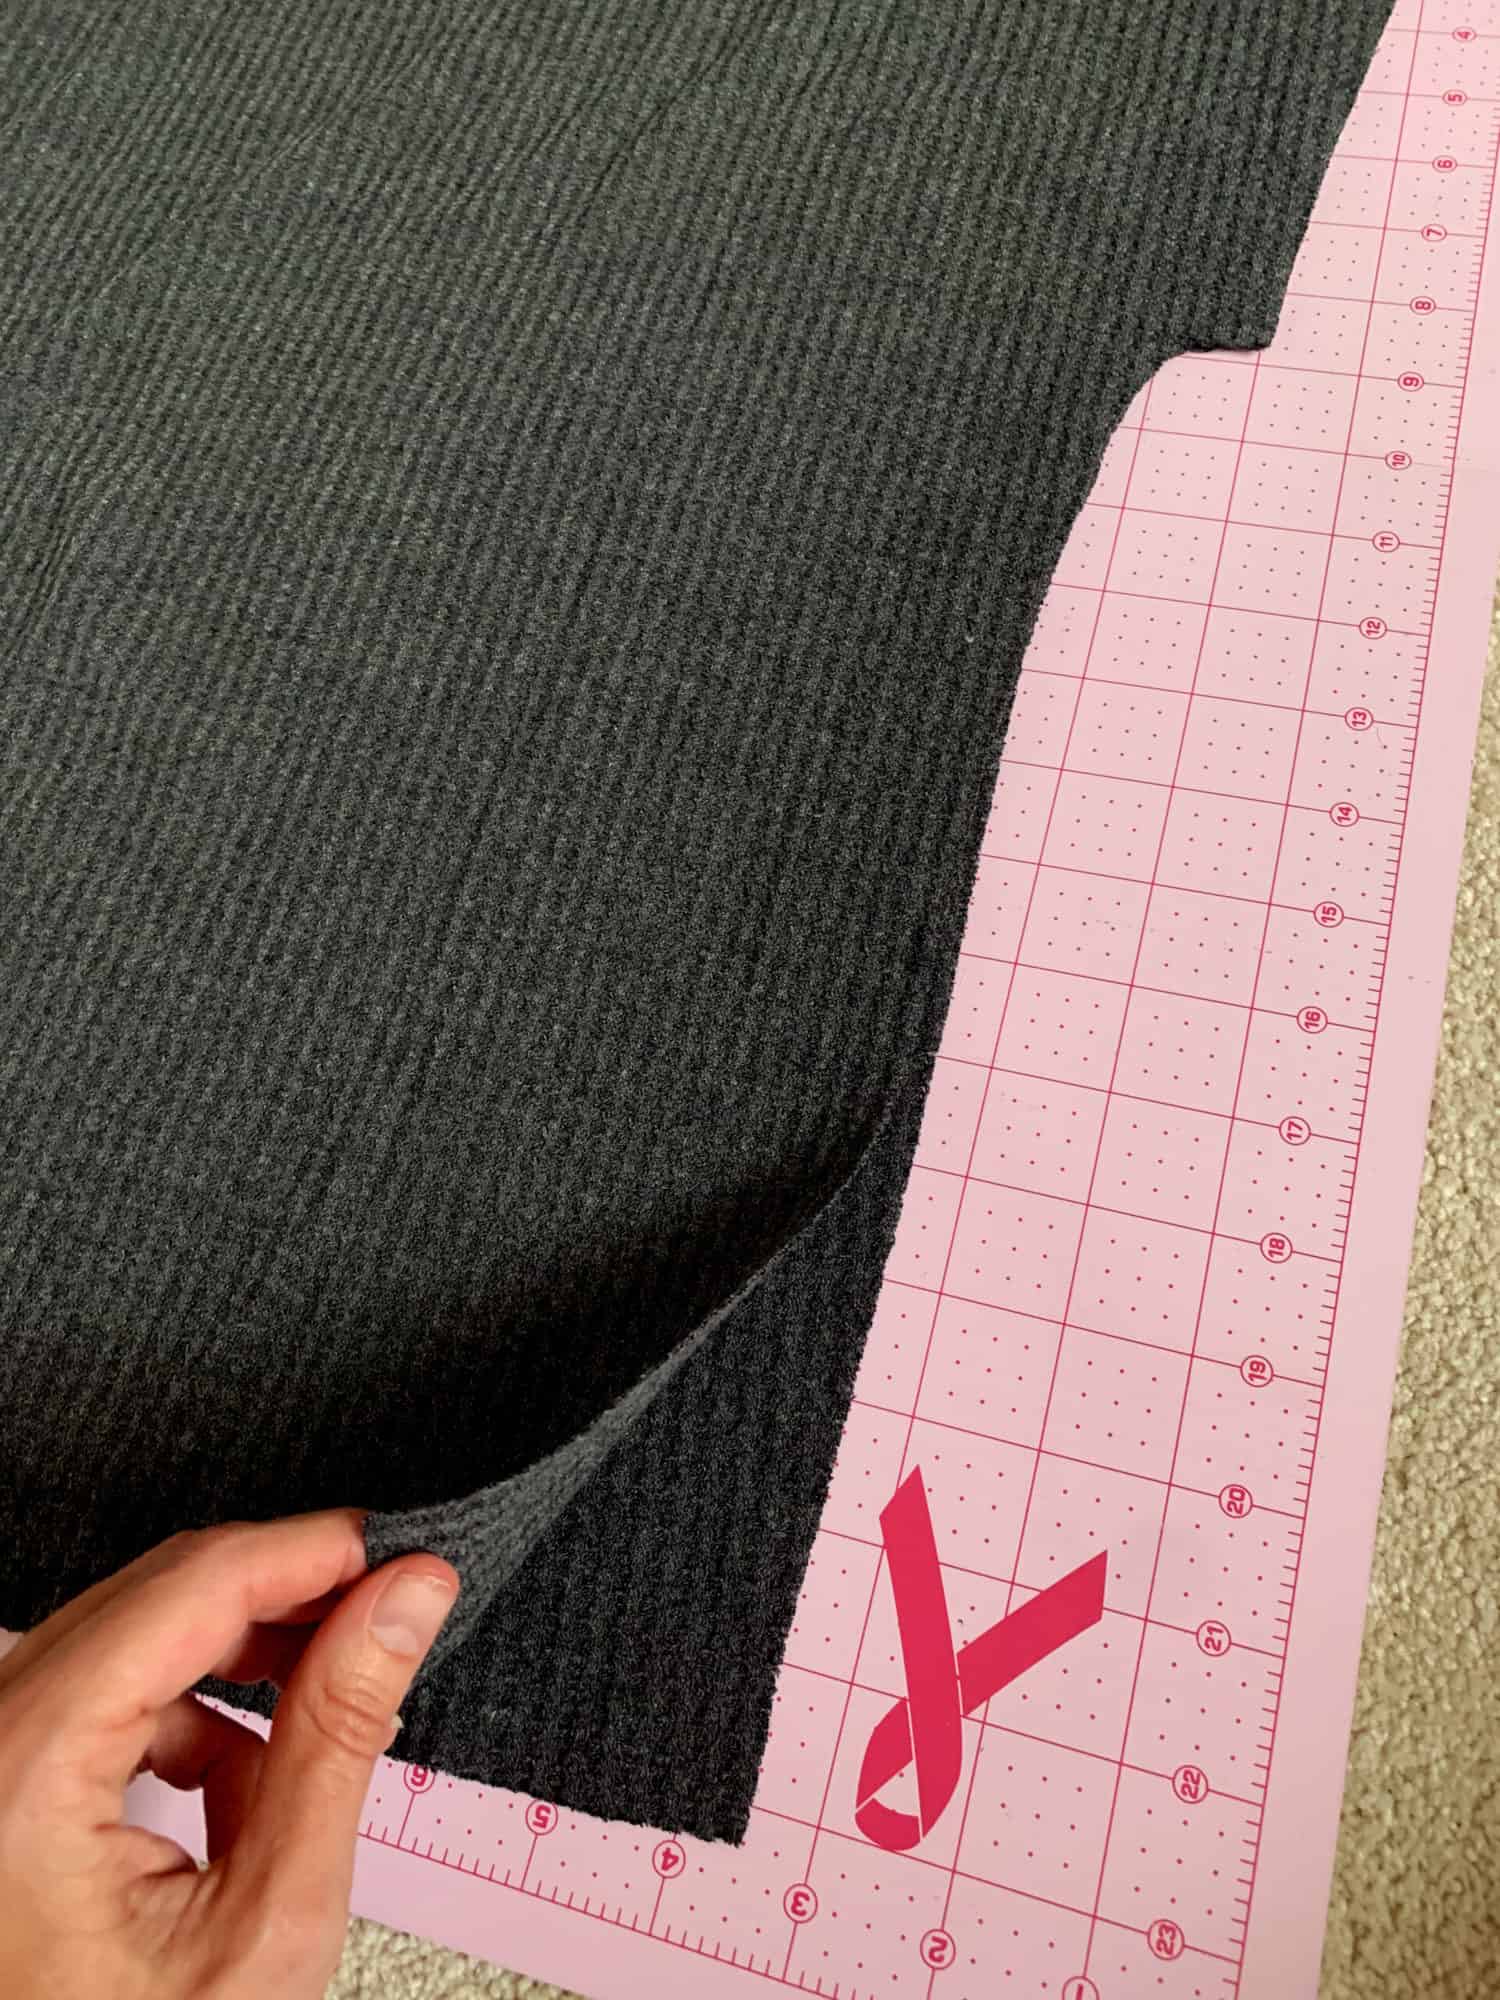
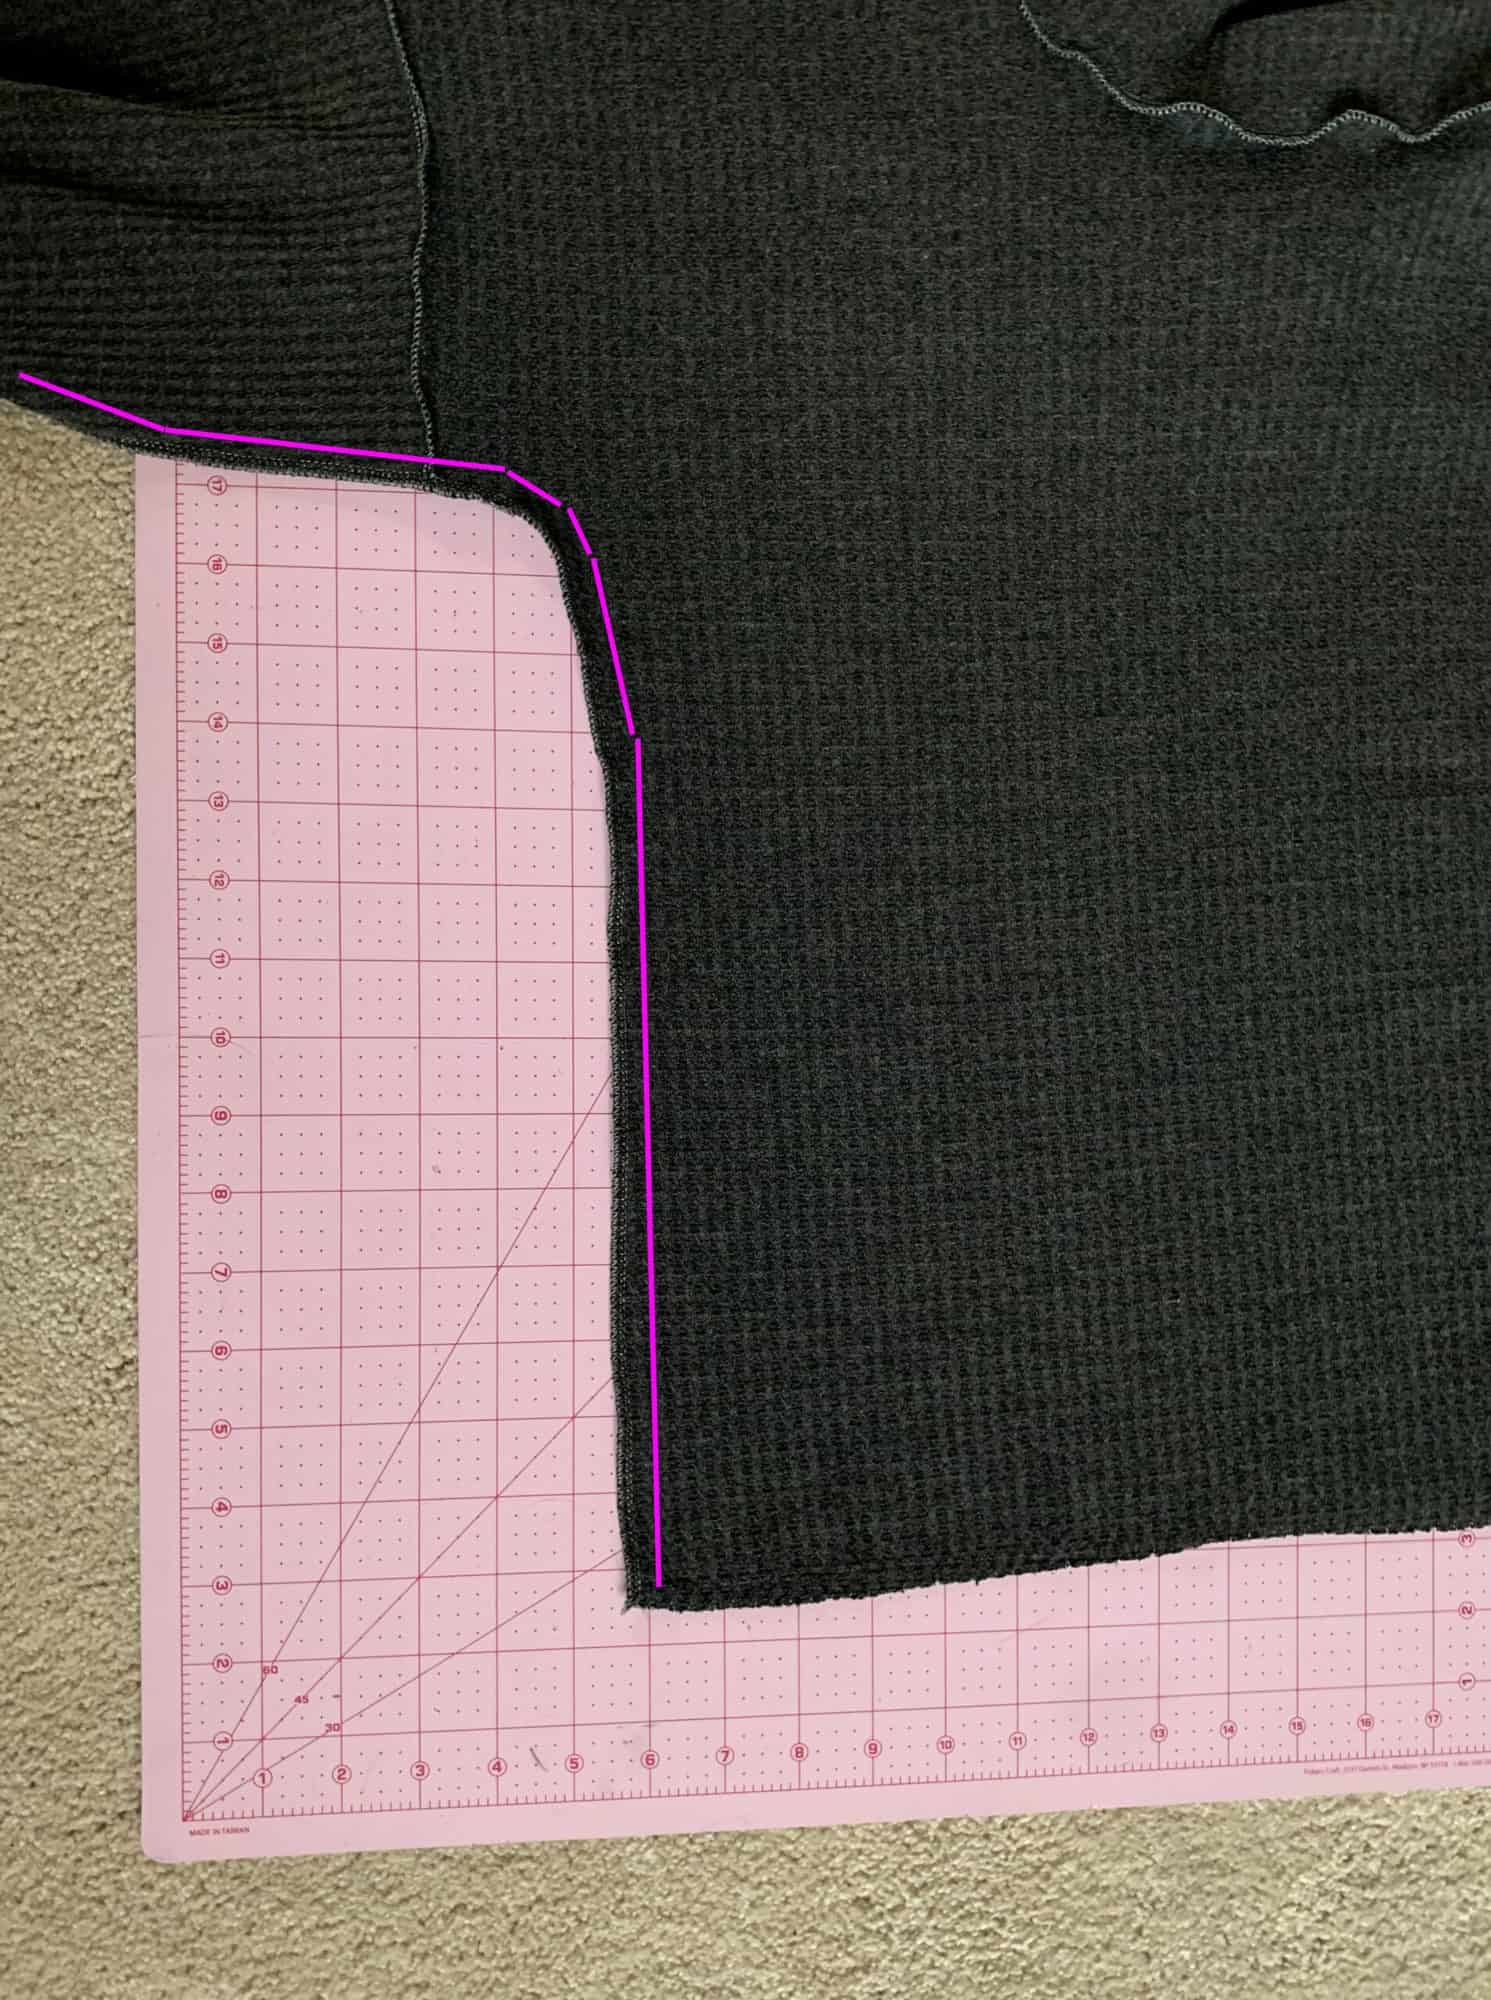
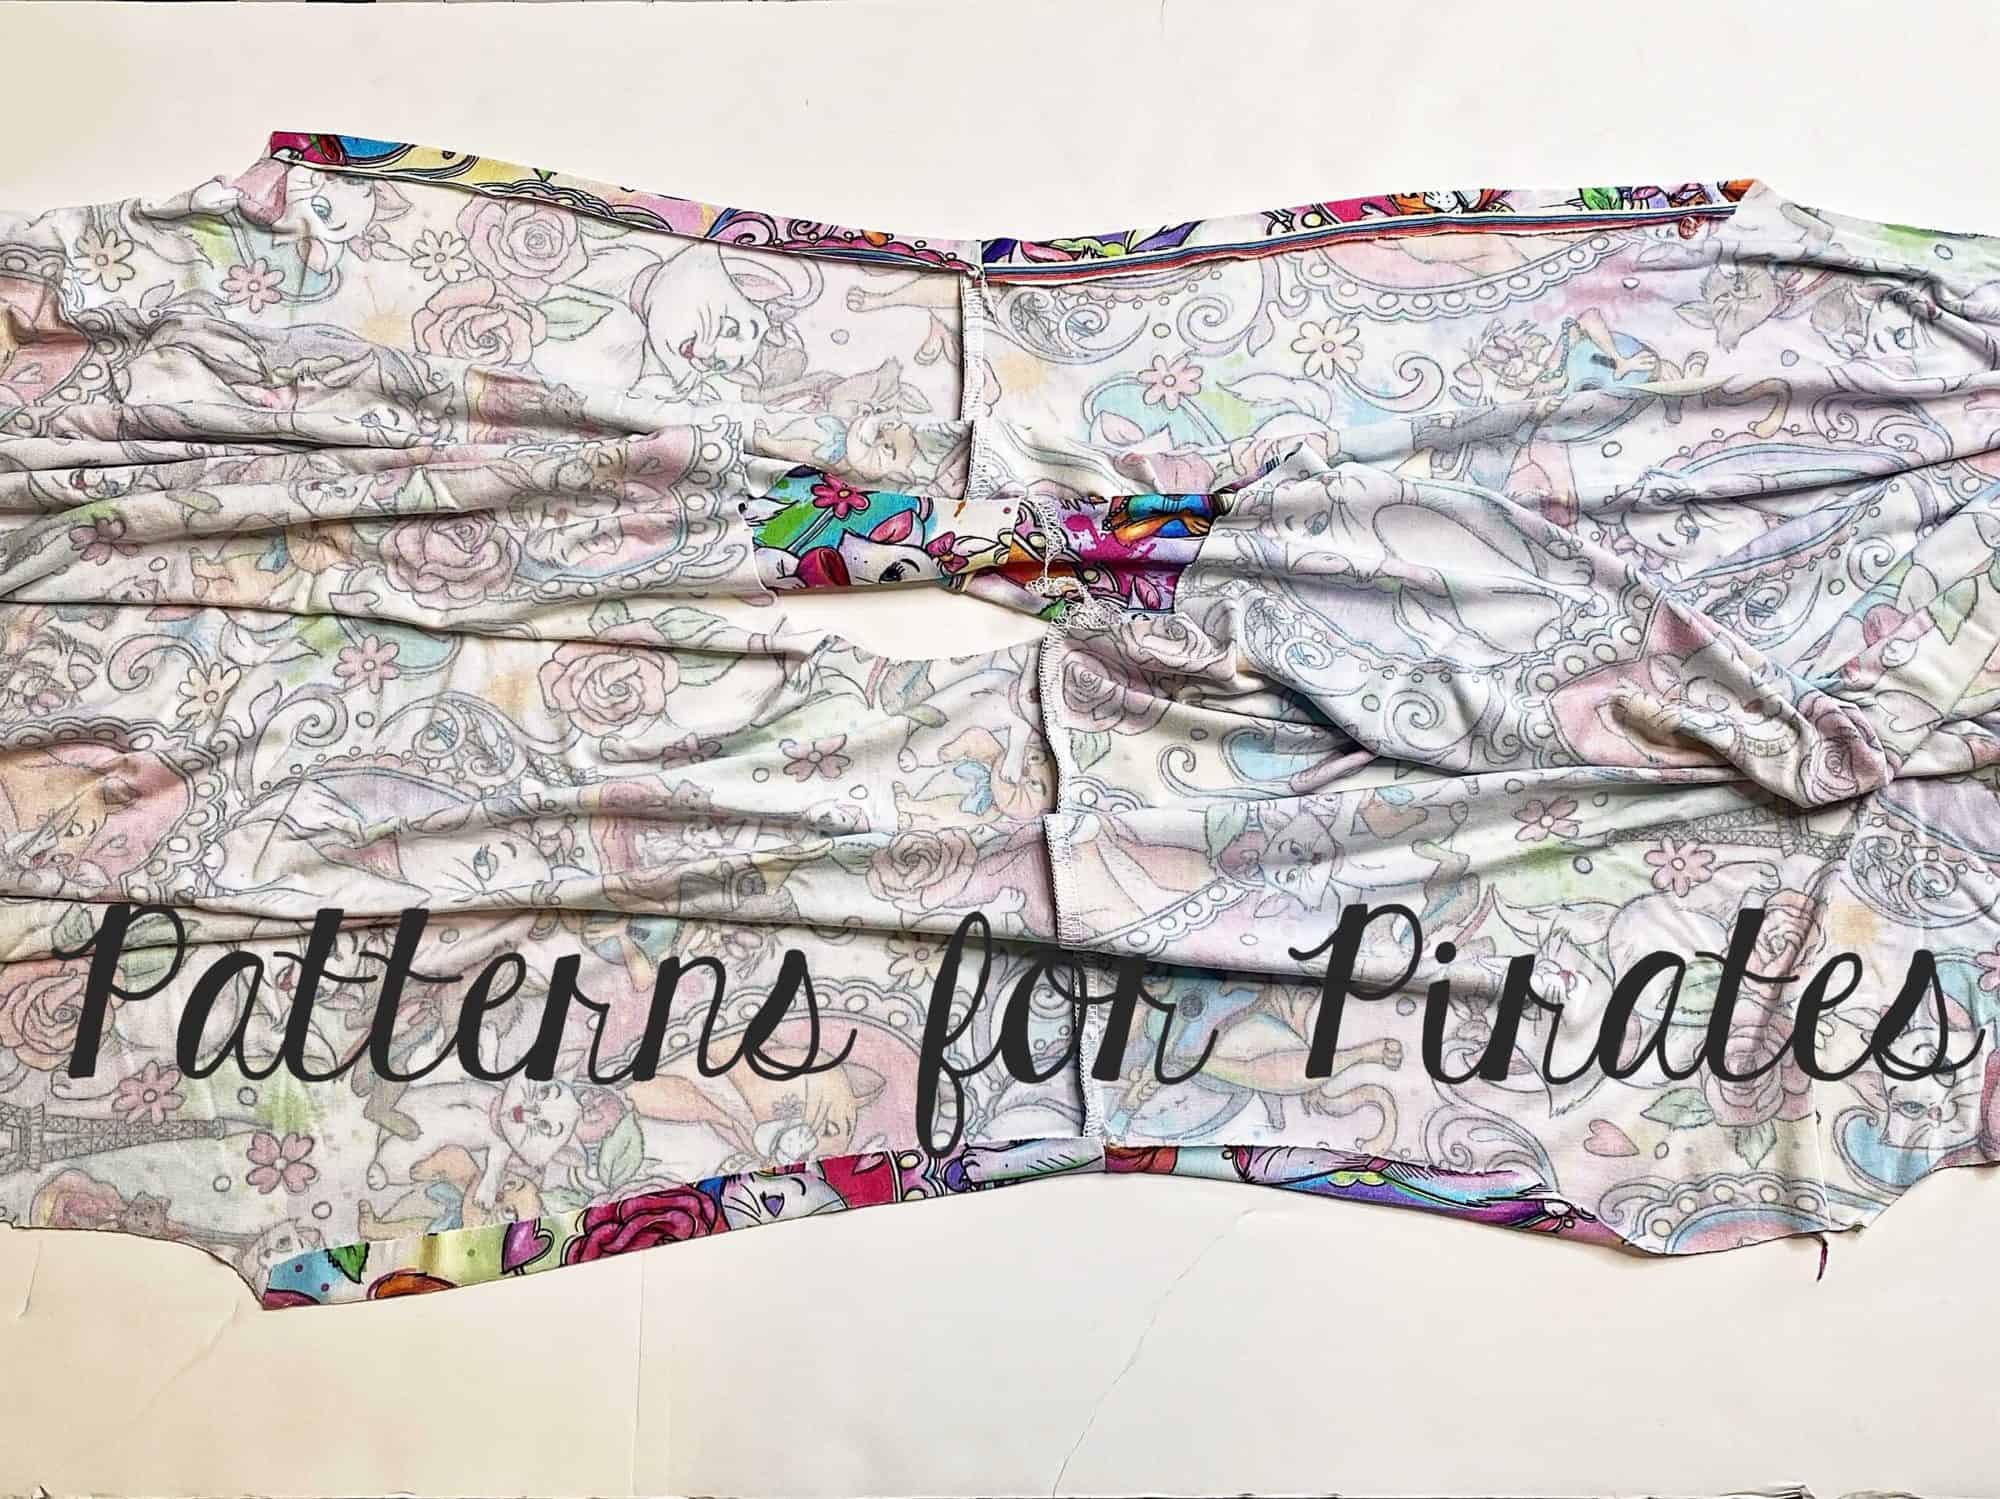
Cozy Wrap SAL day 1 | Cut fabric
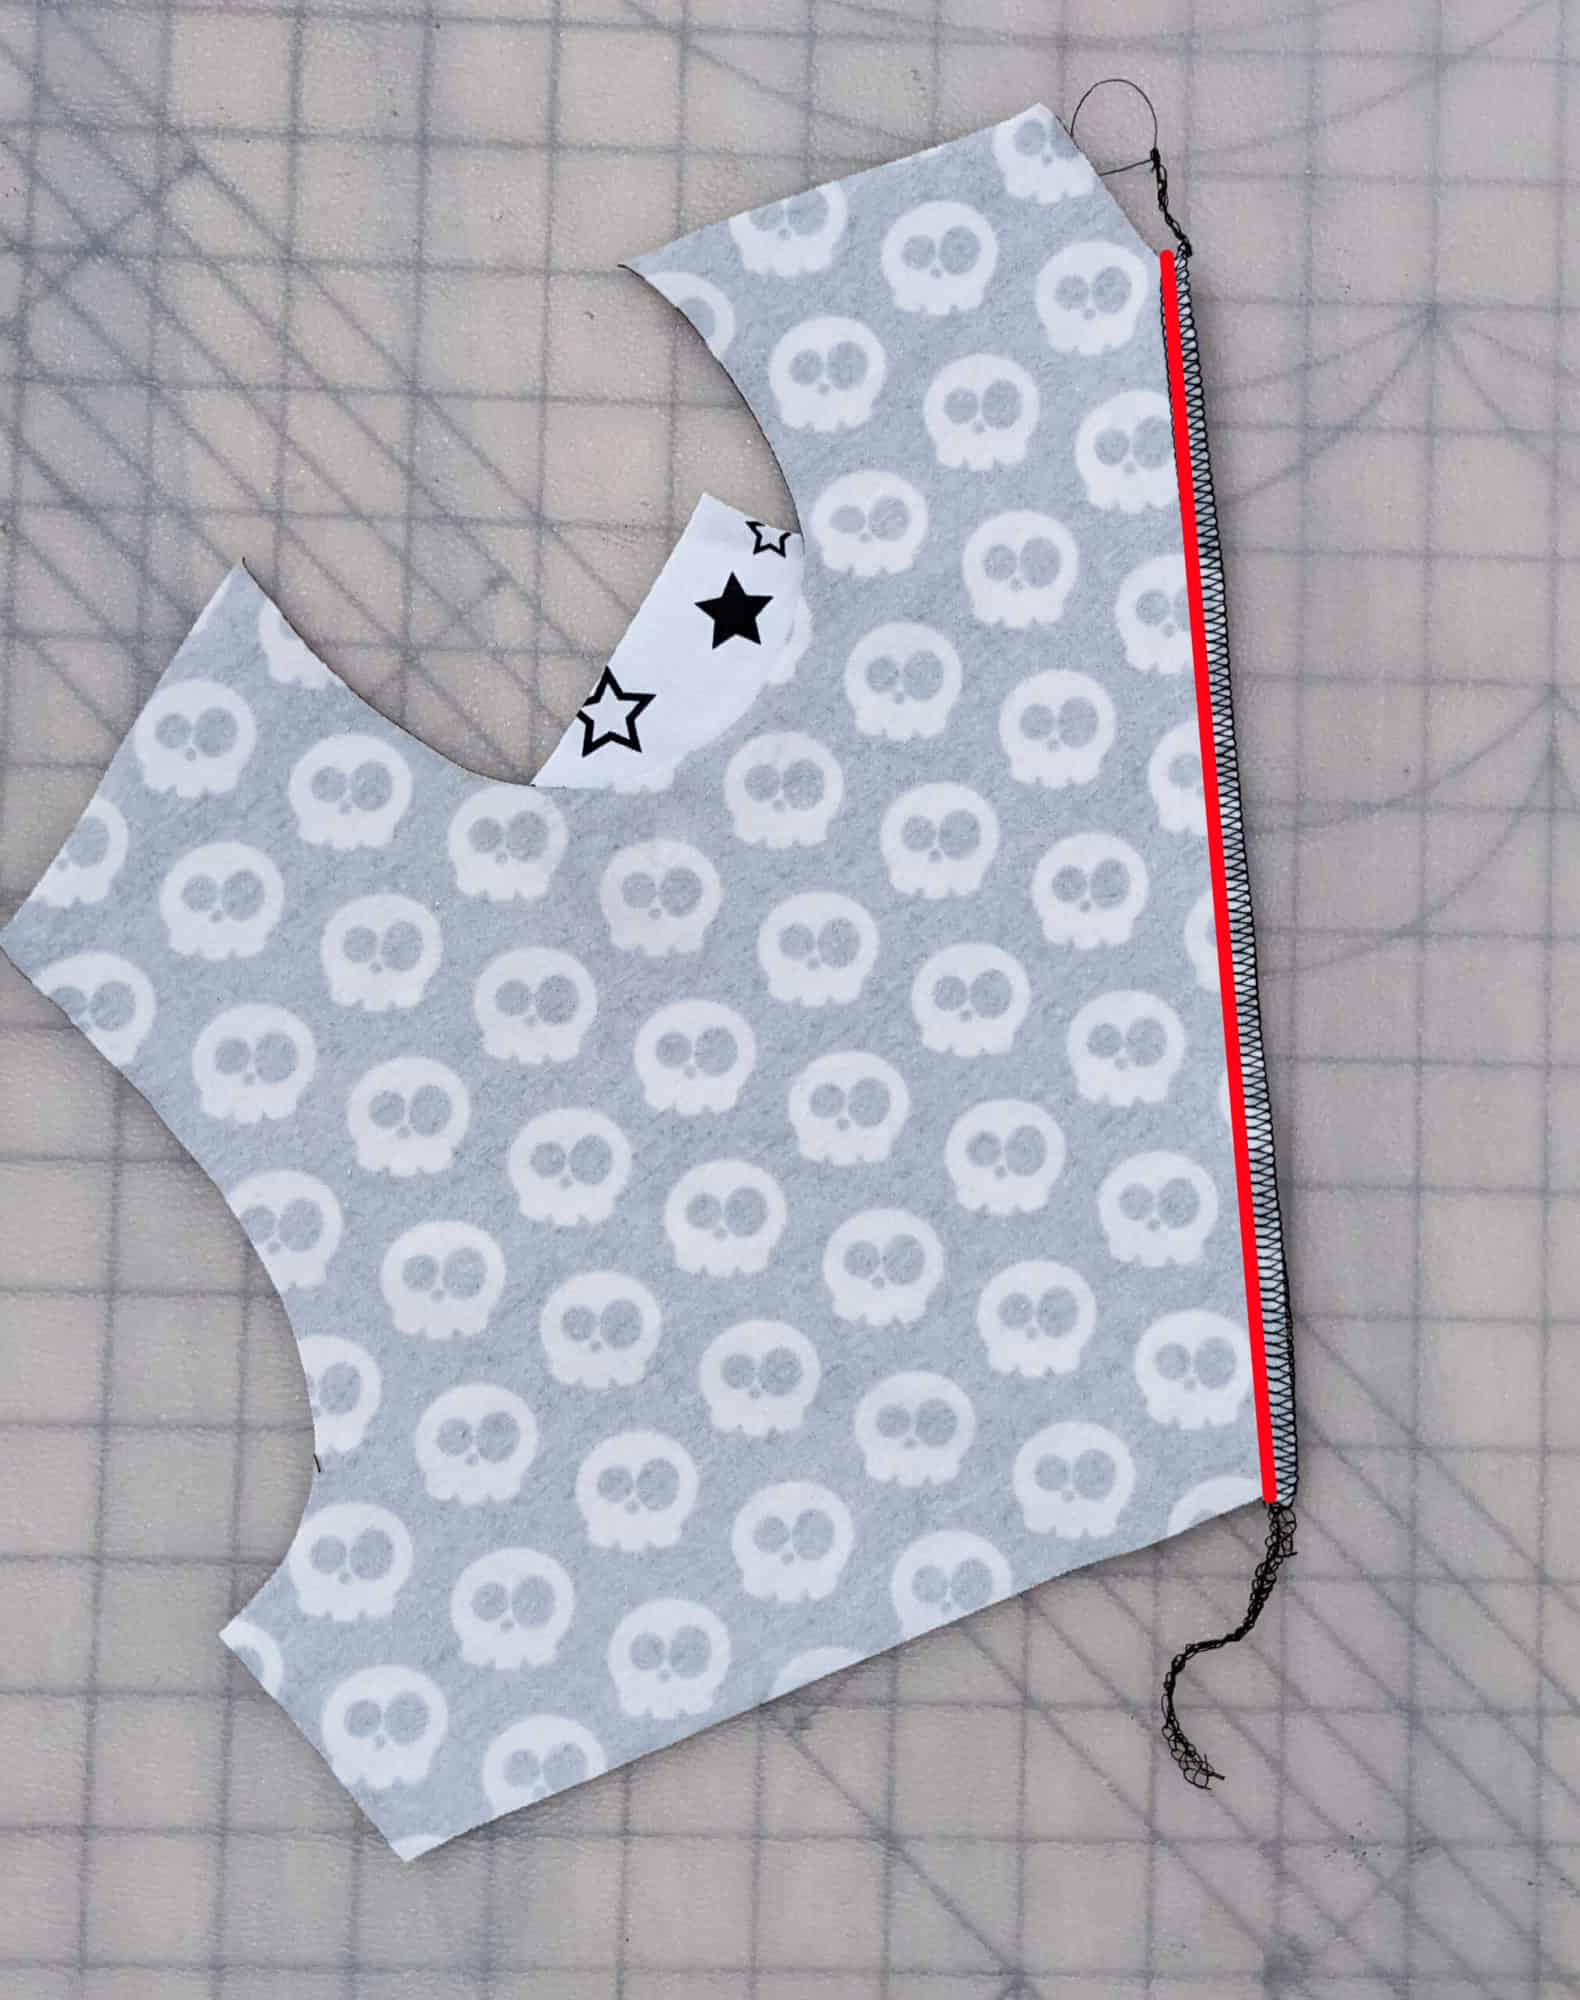
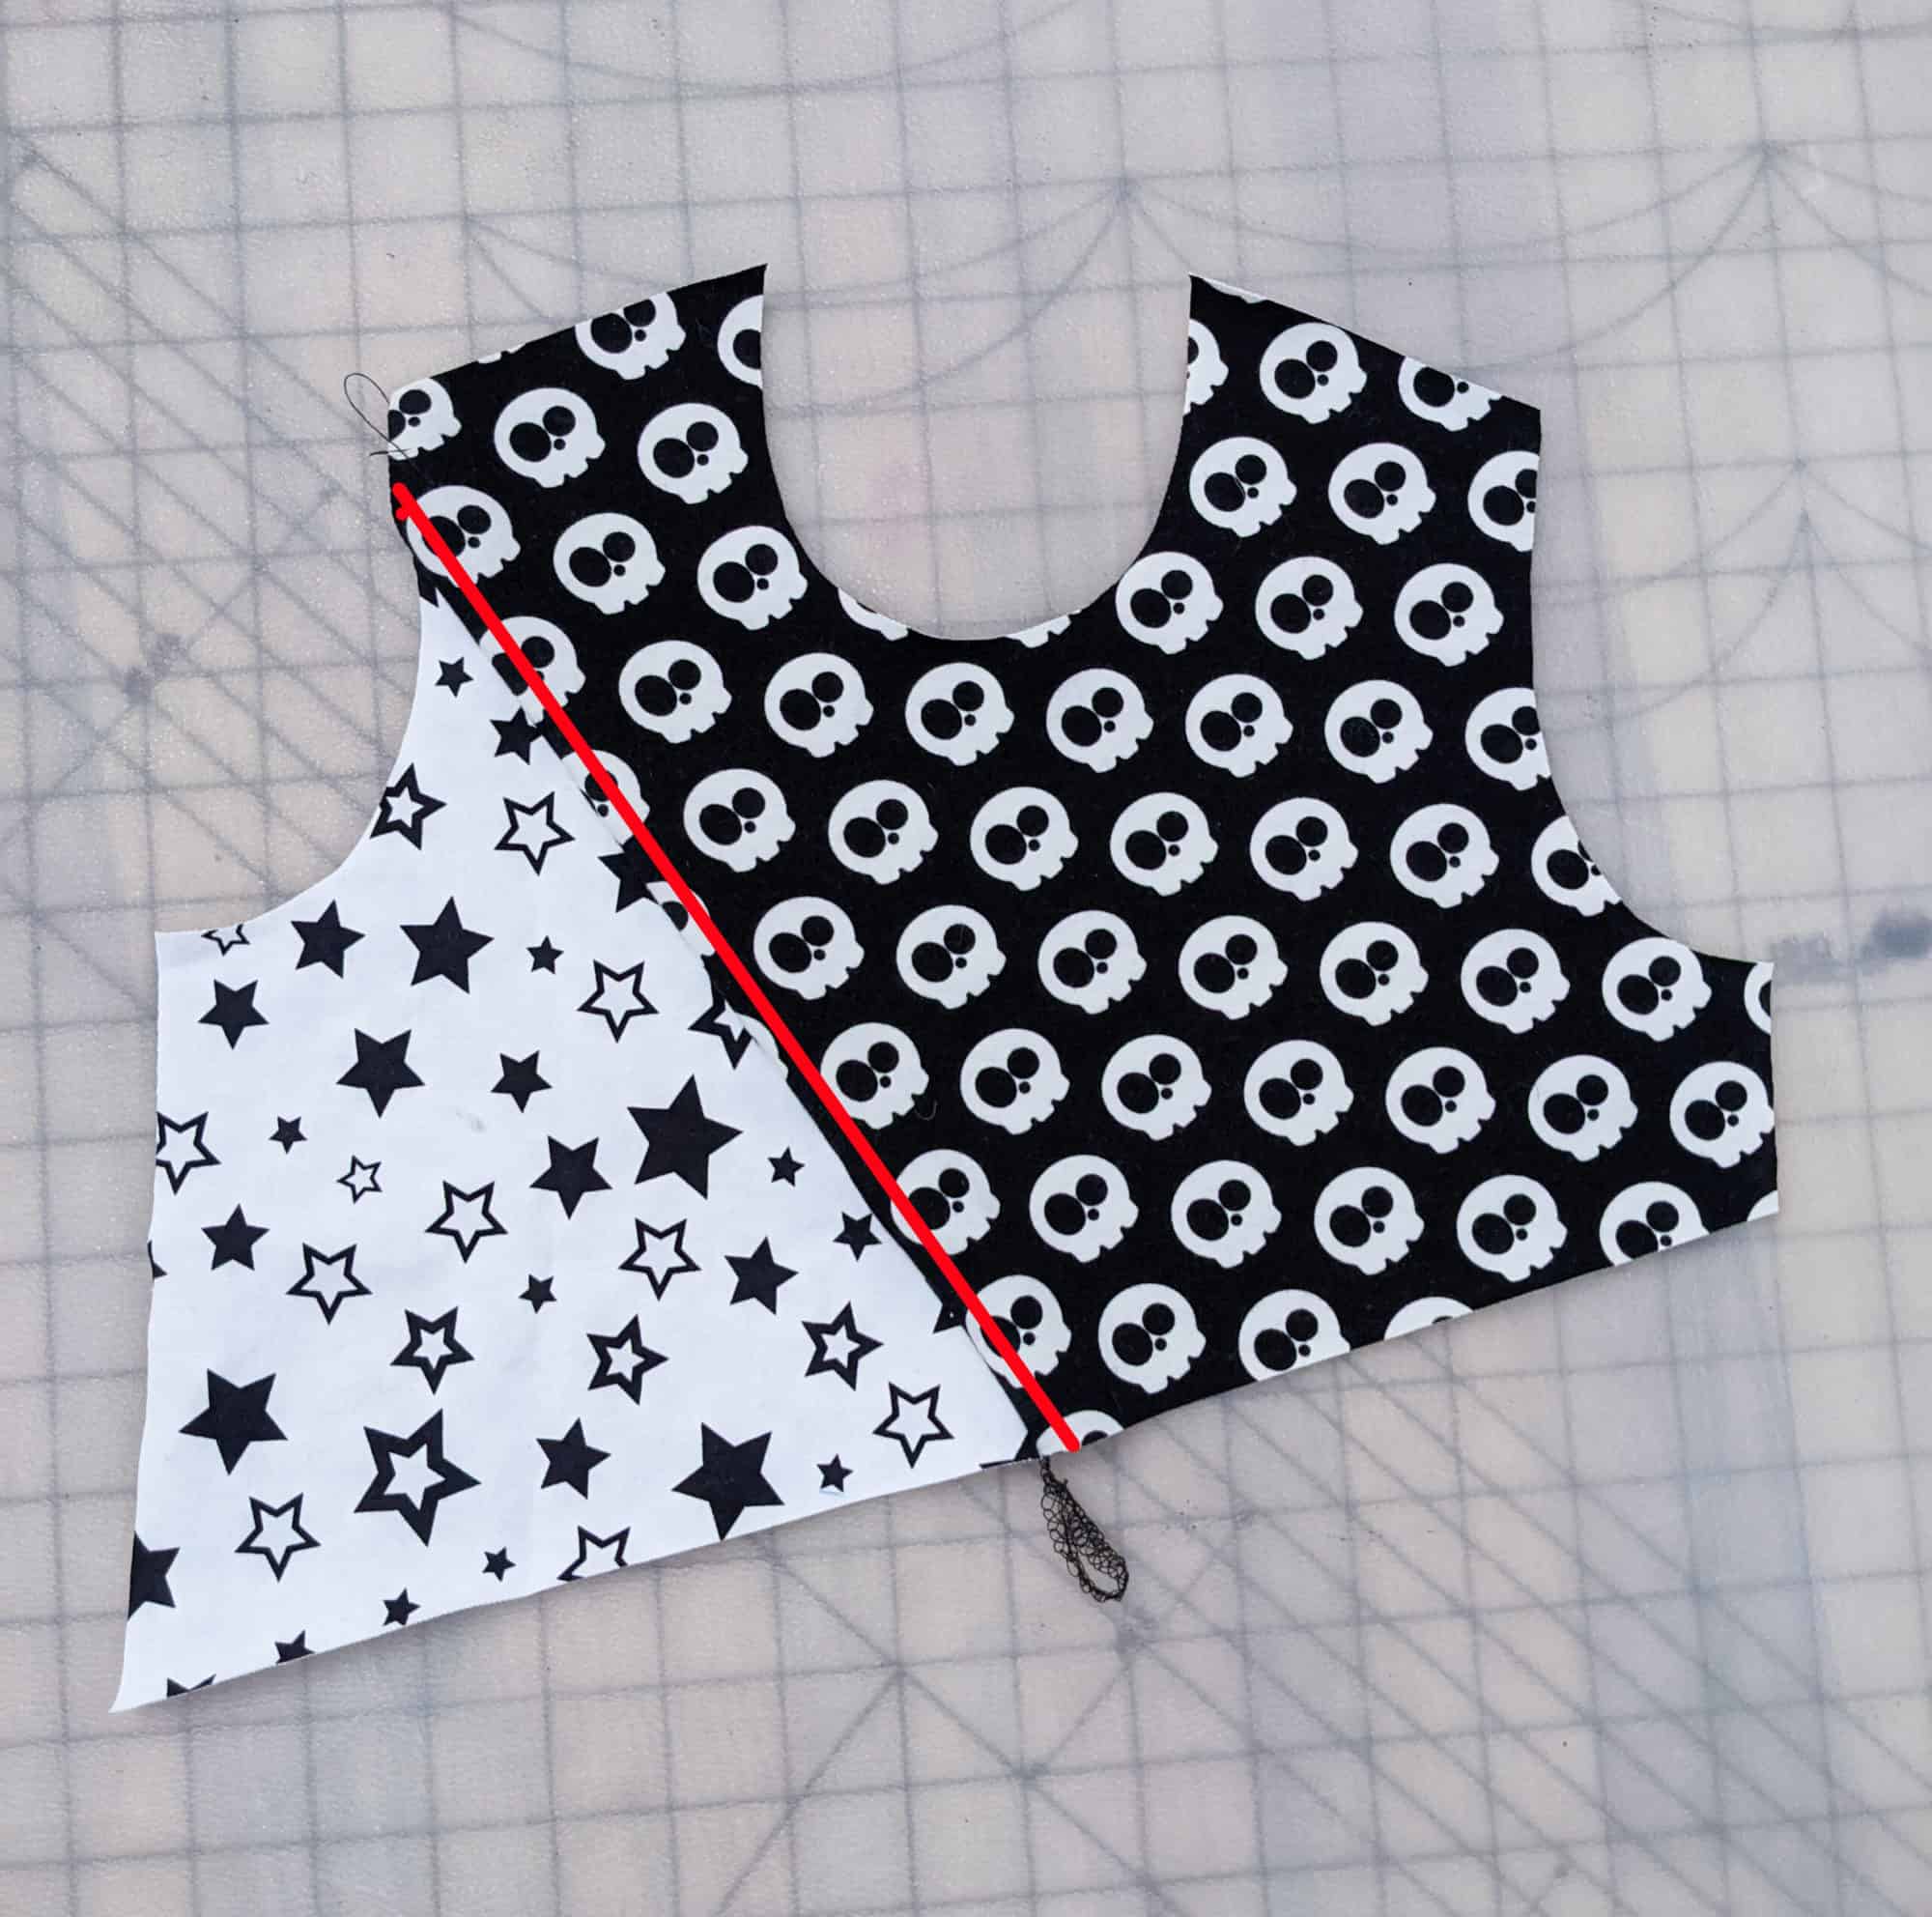
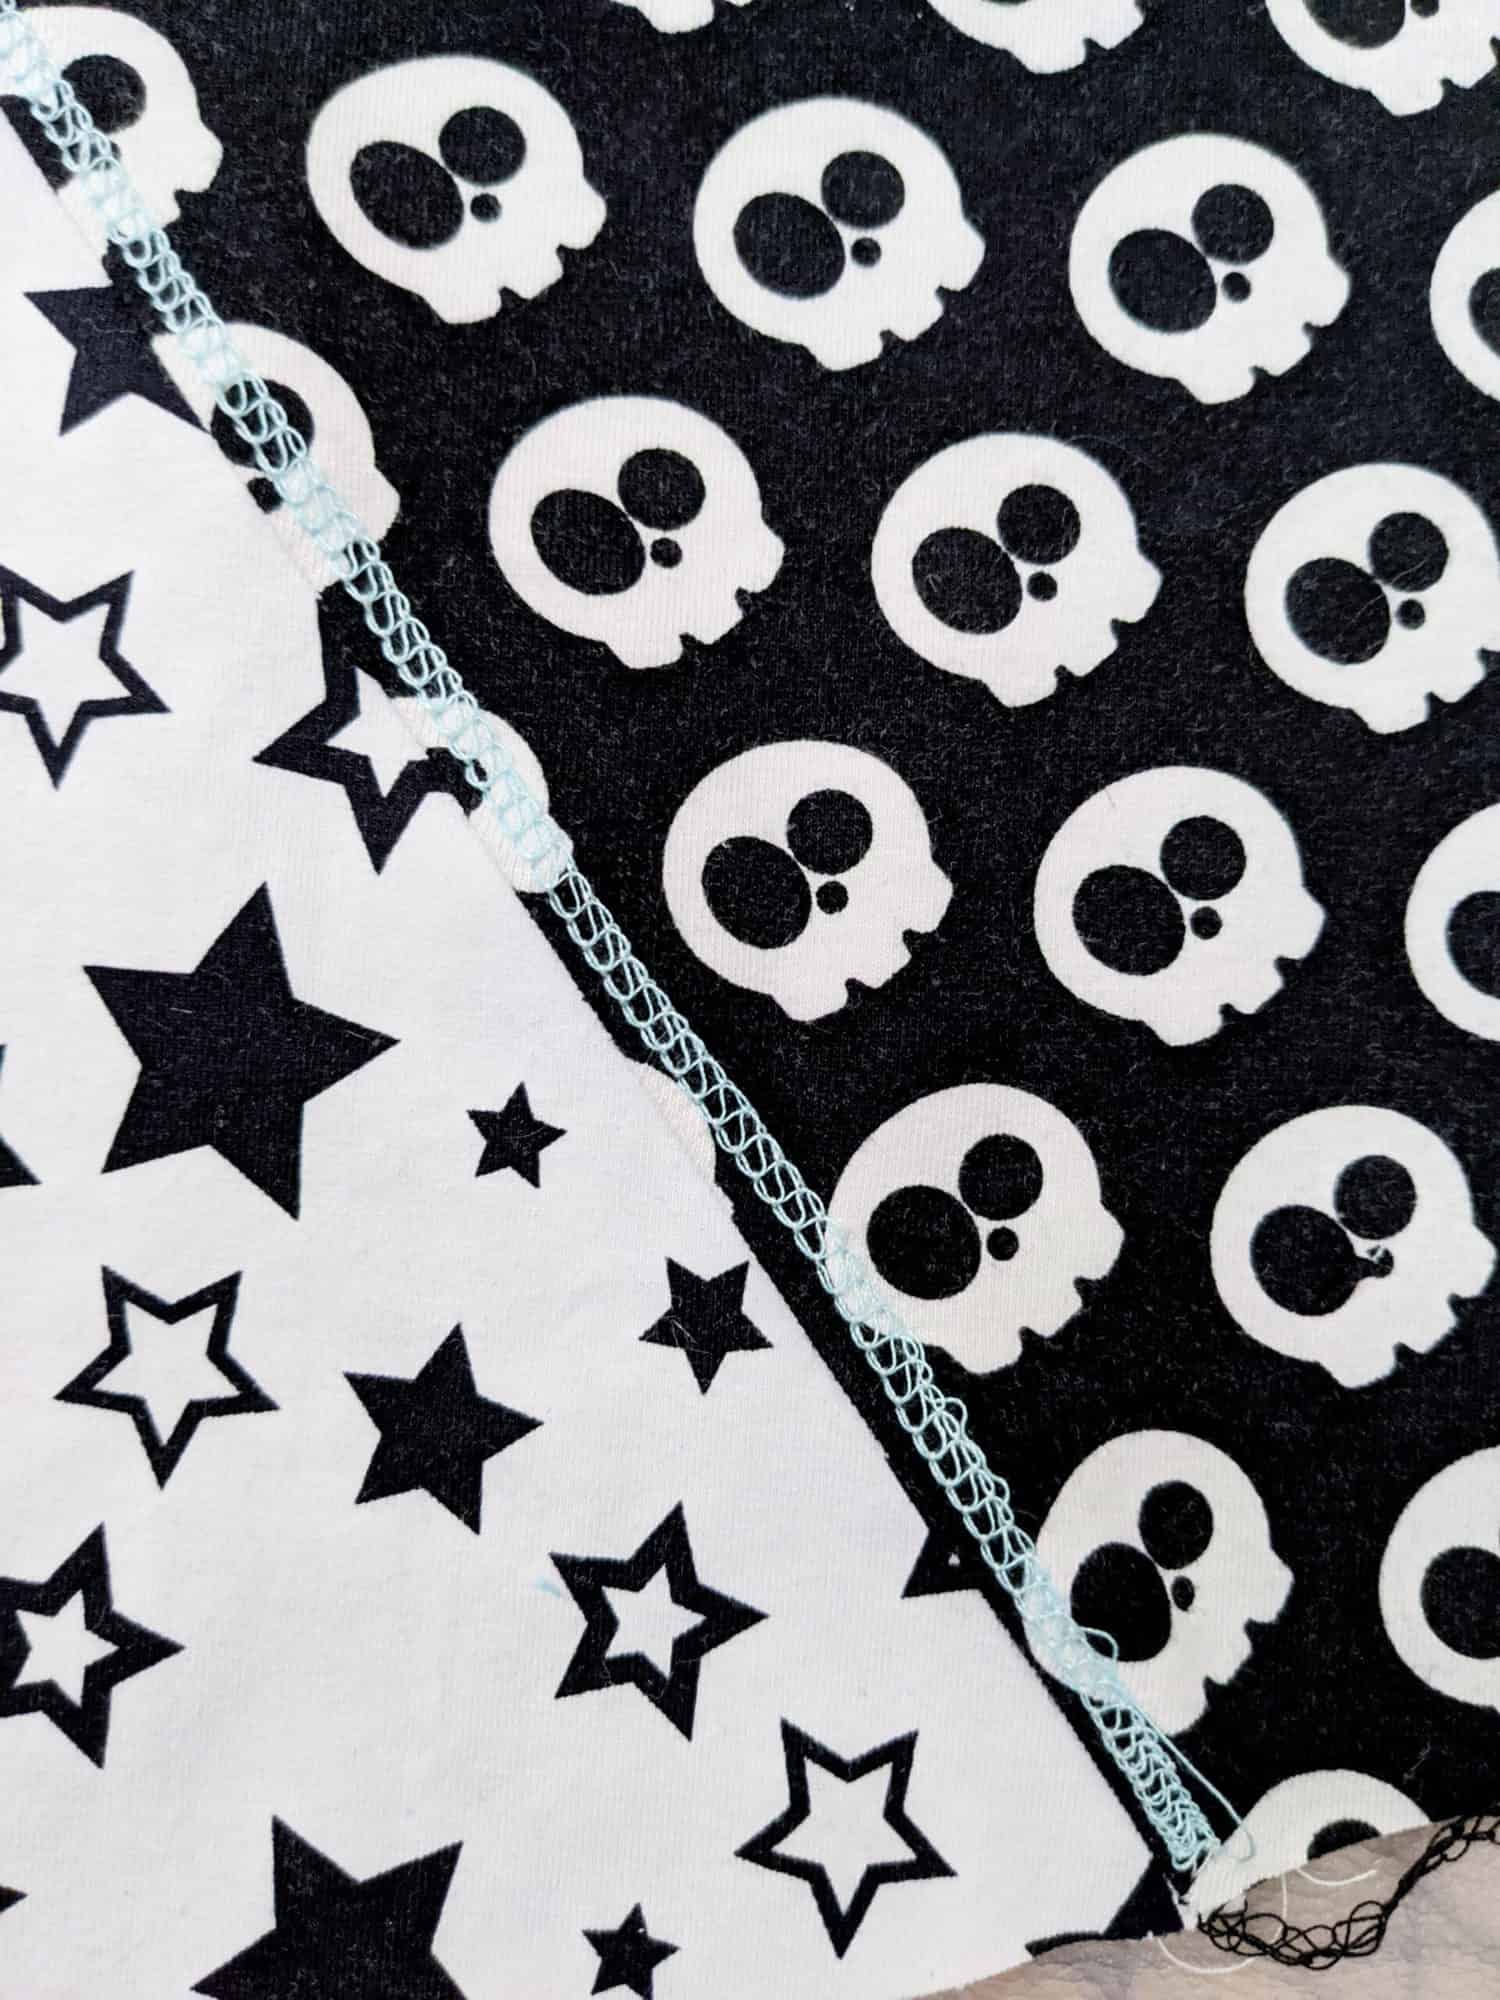
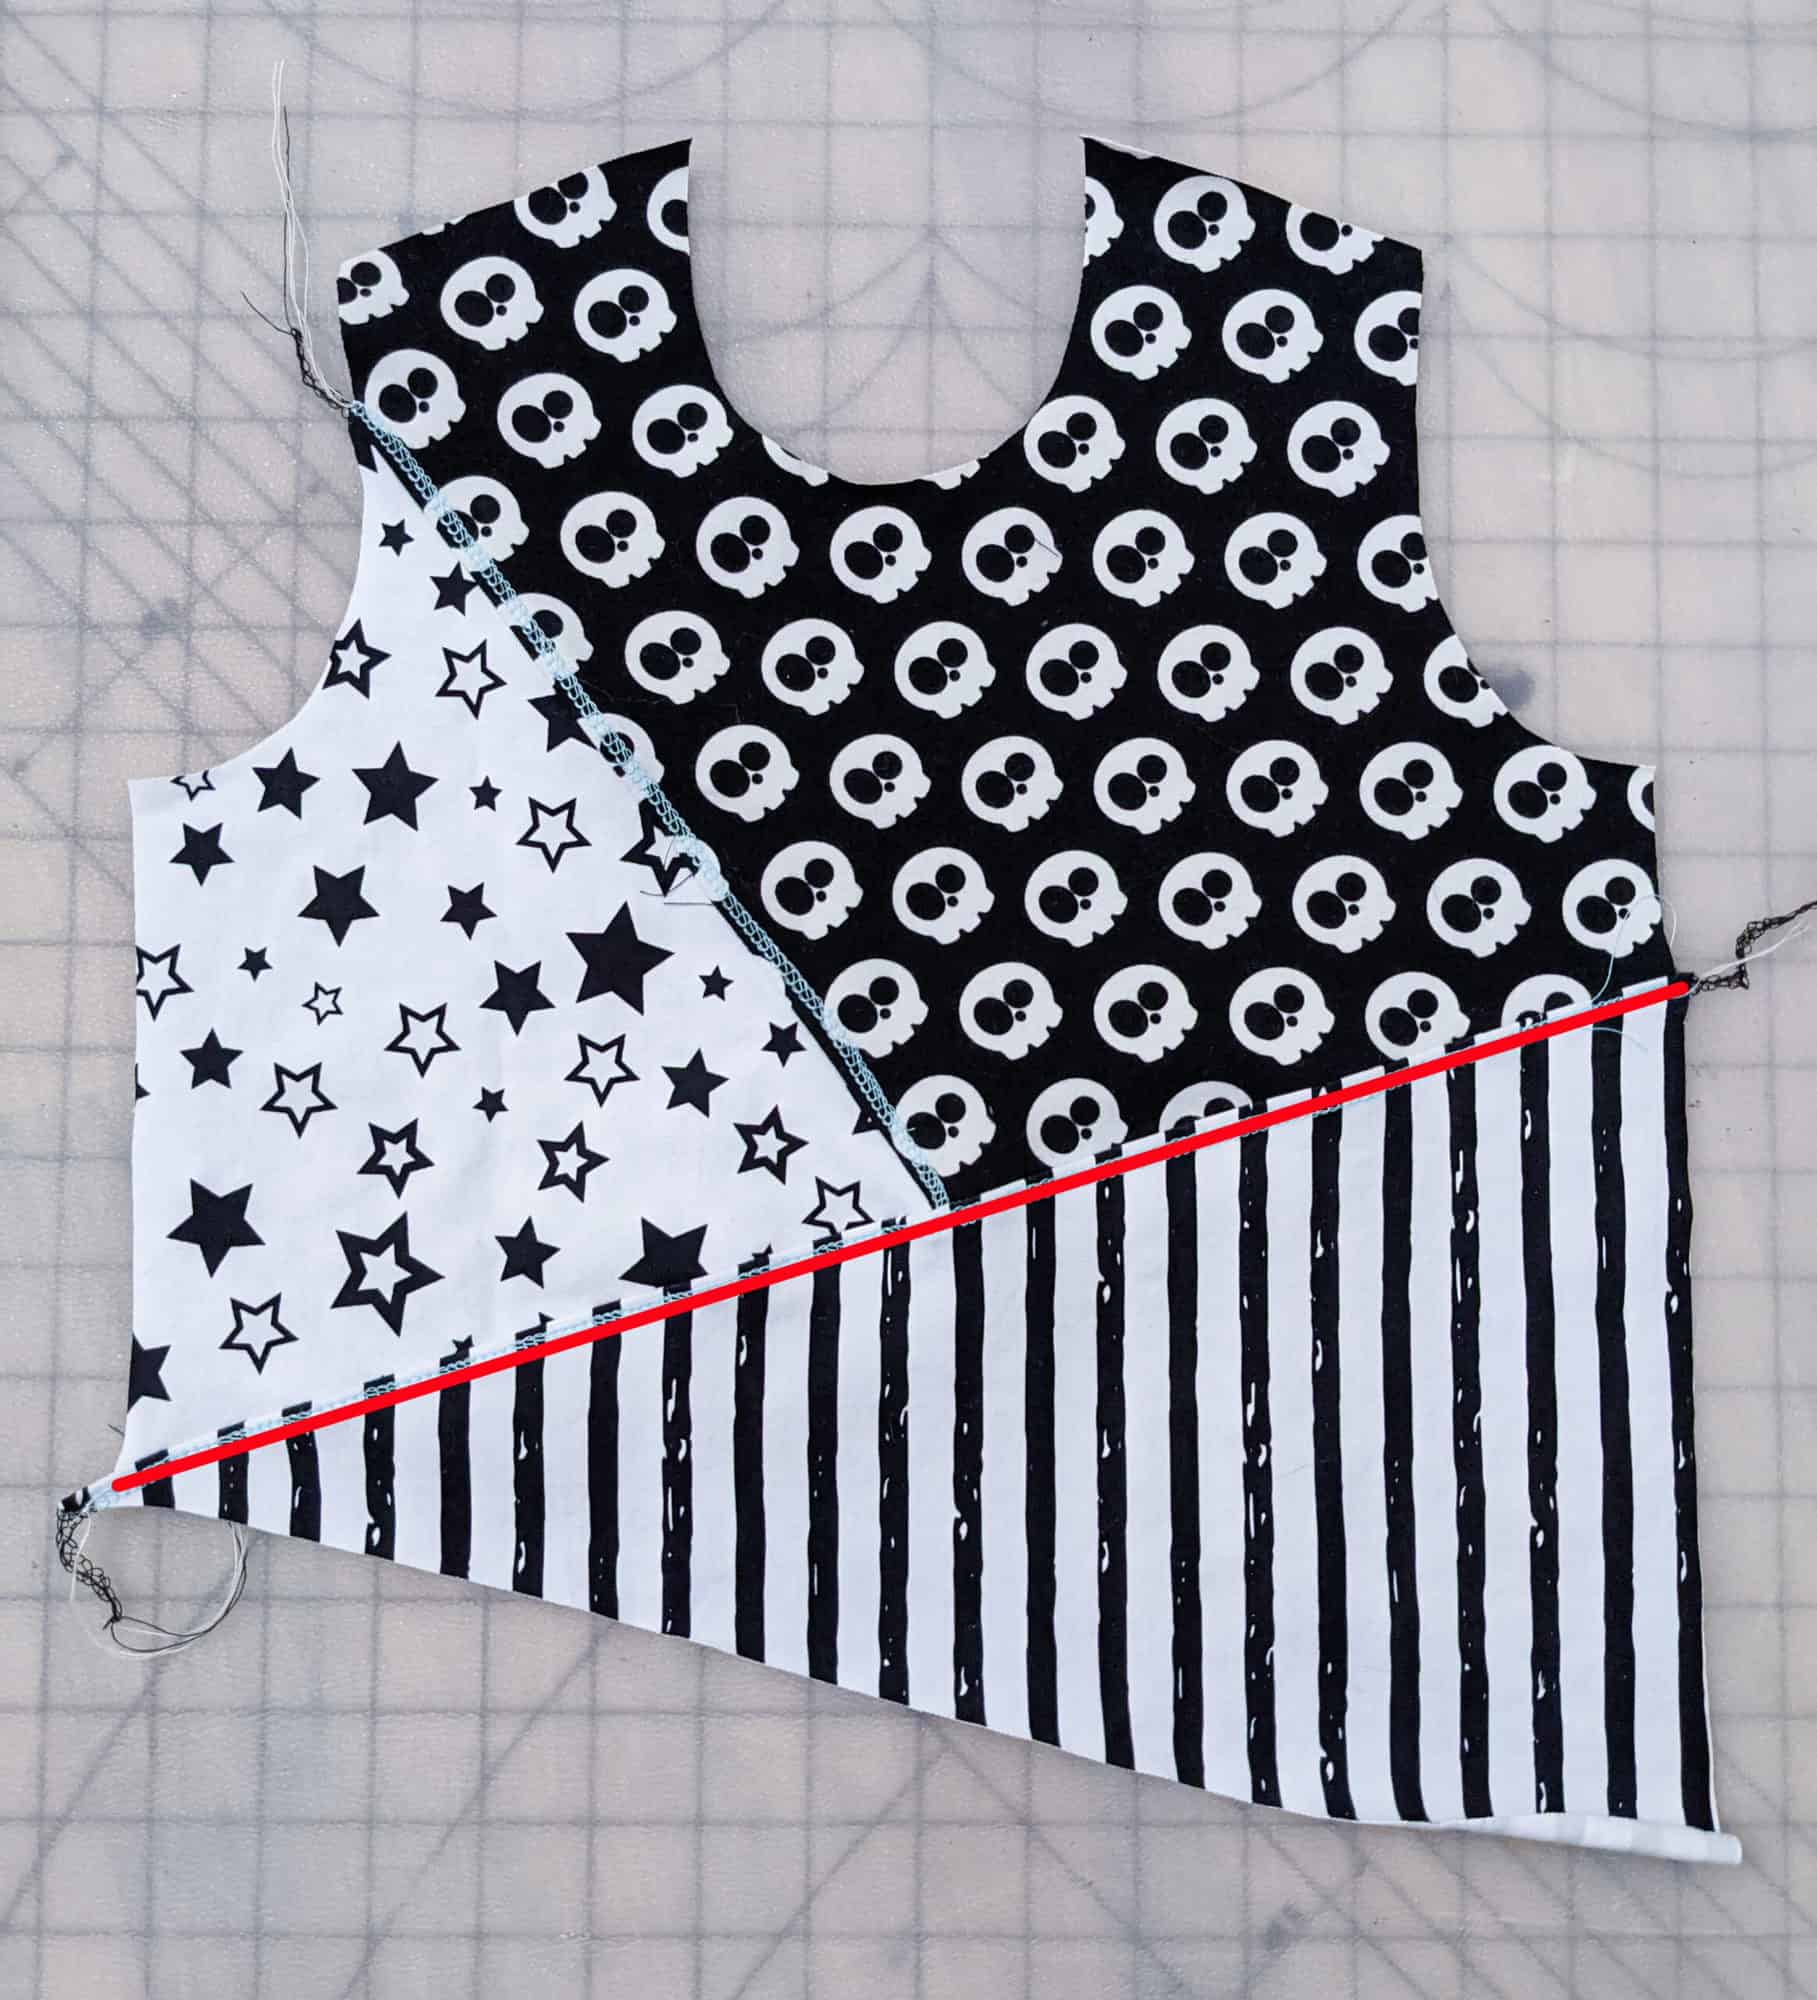
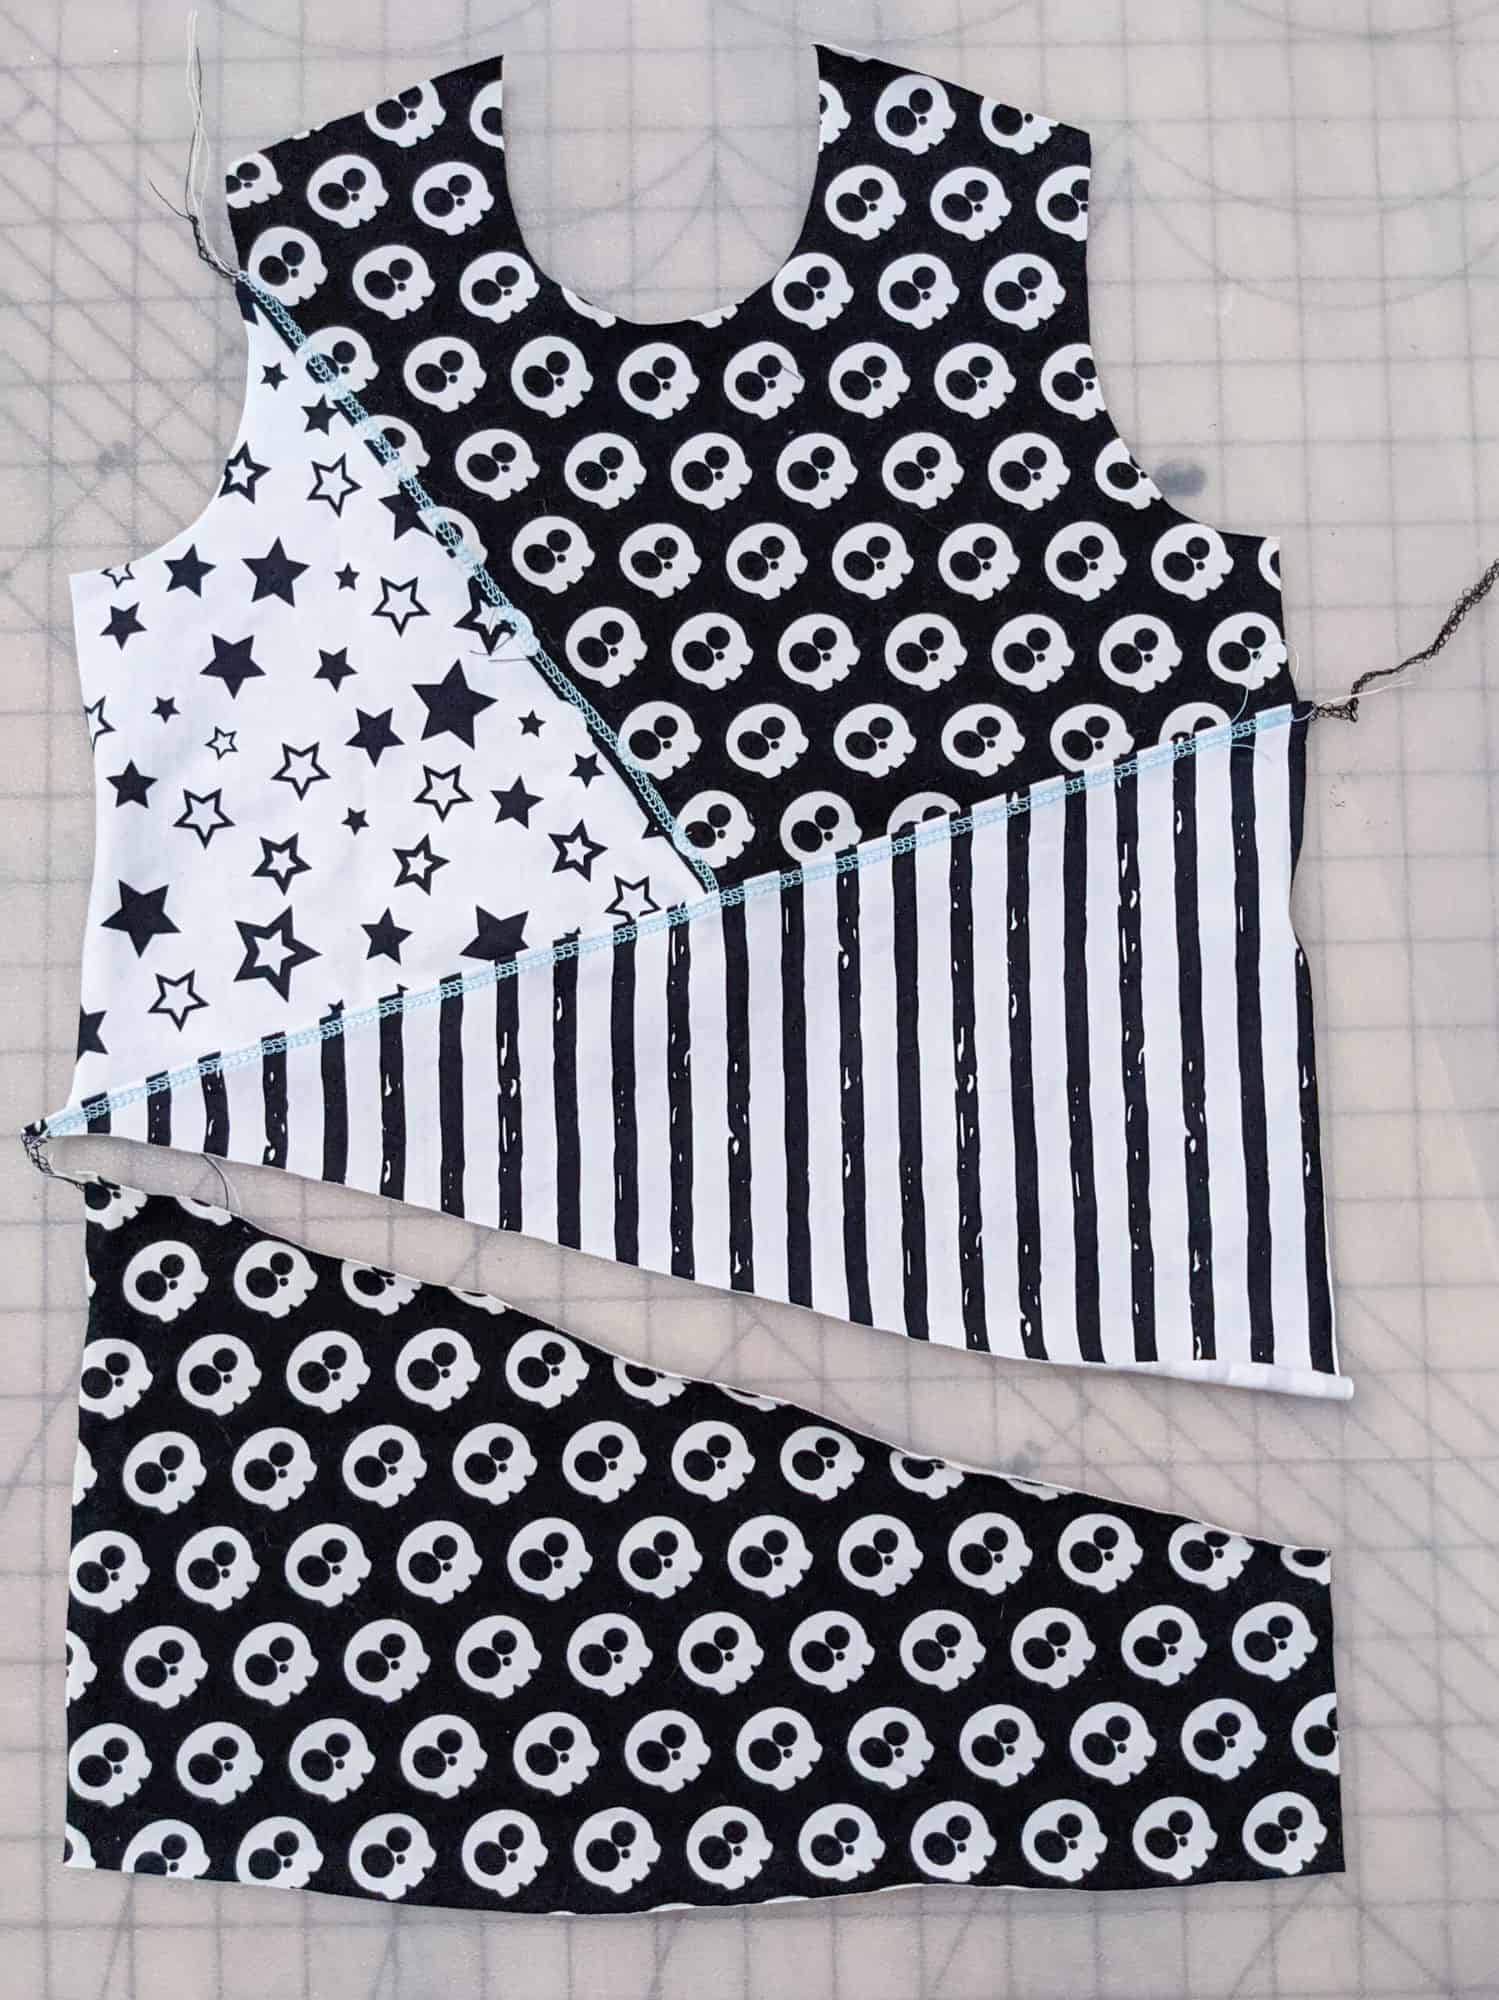
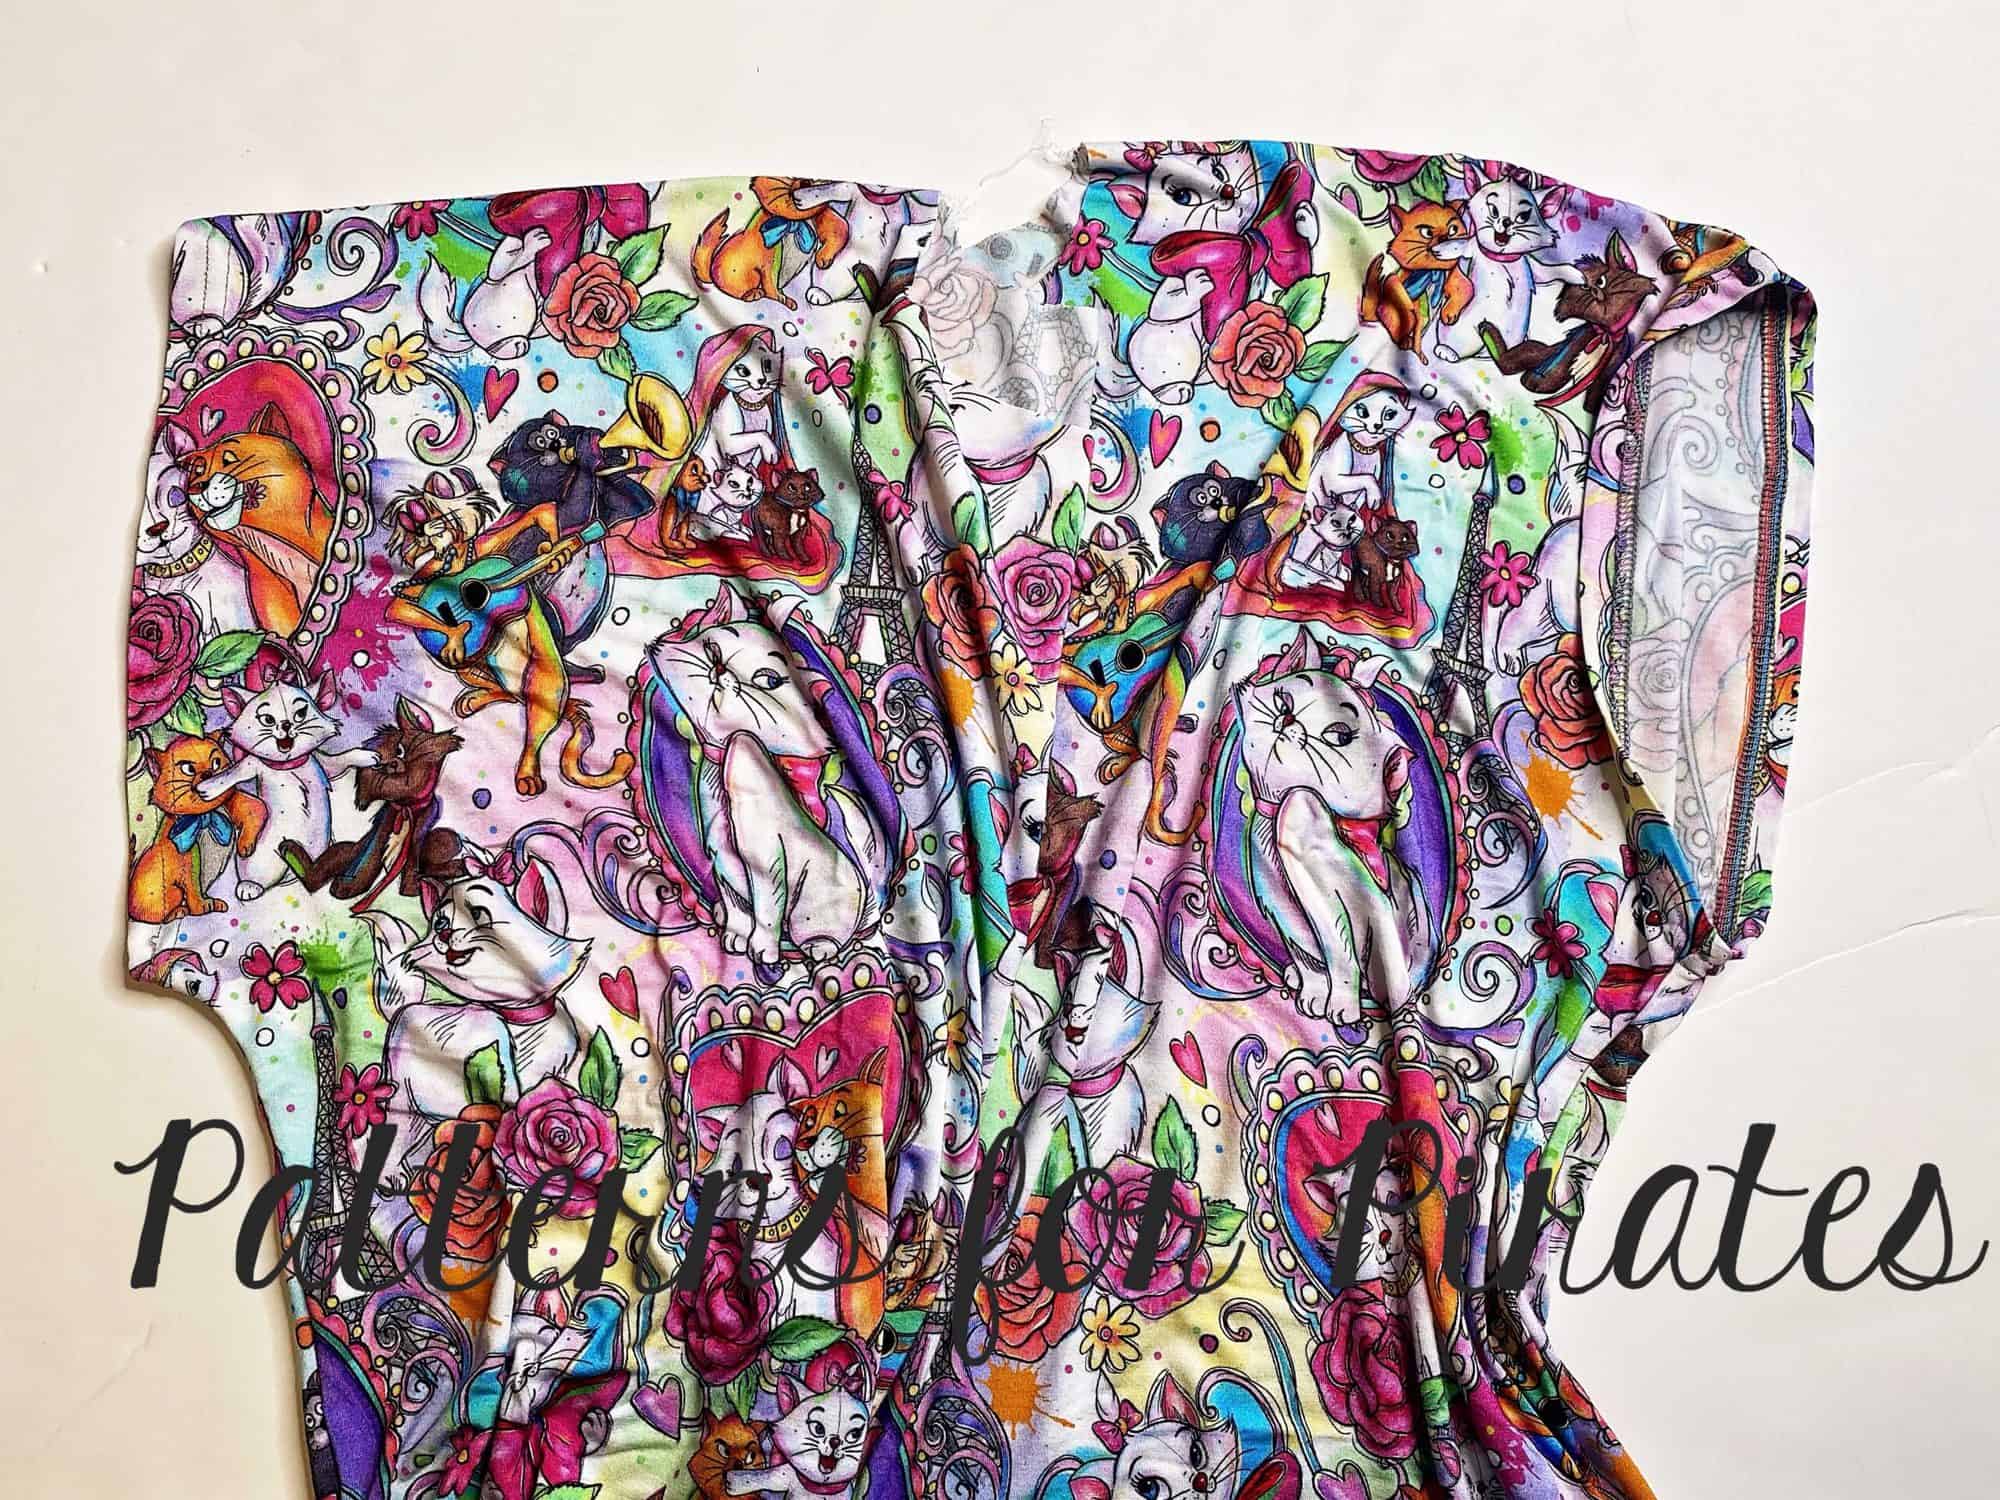
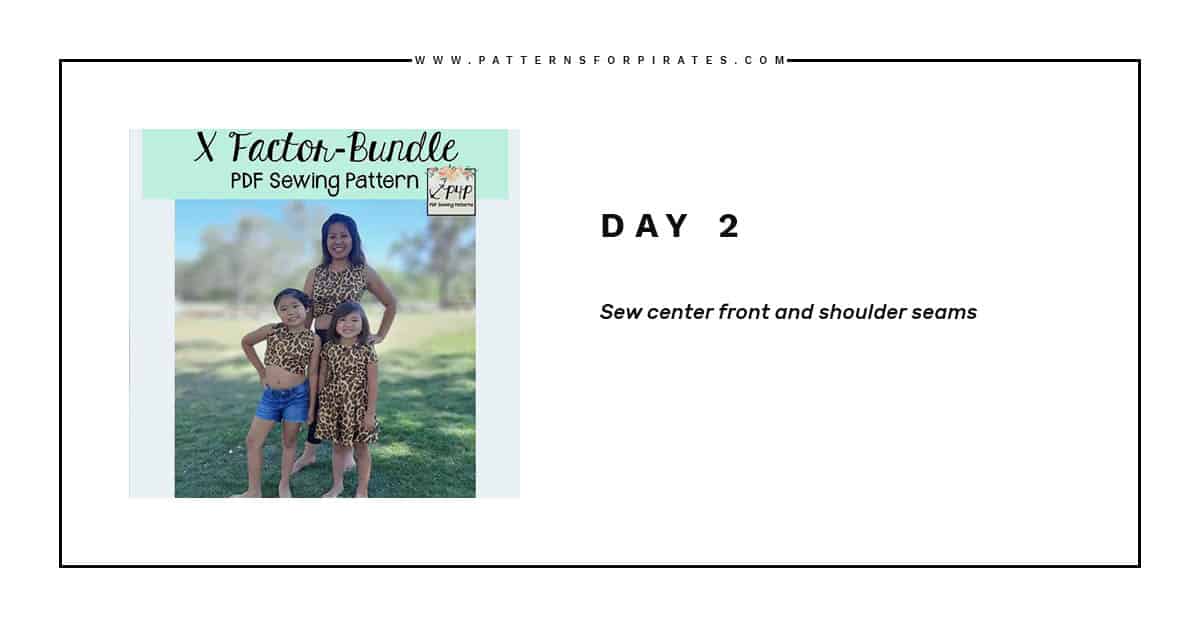
Cozy Wrap SAL day 2 | Sew shoulder and side seams
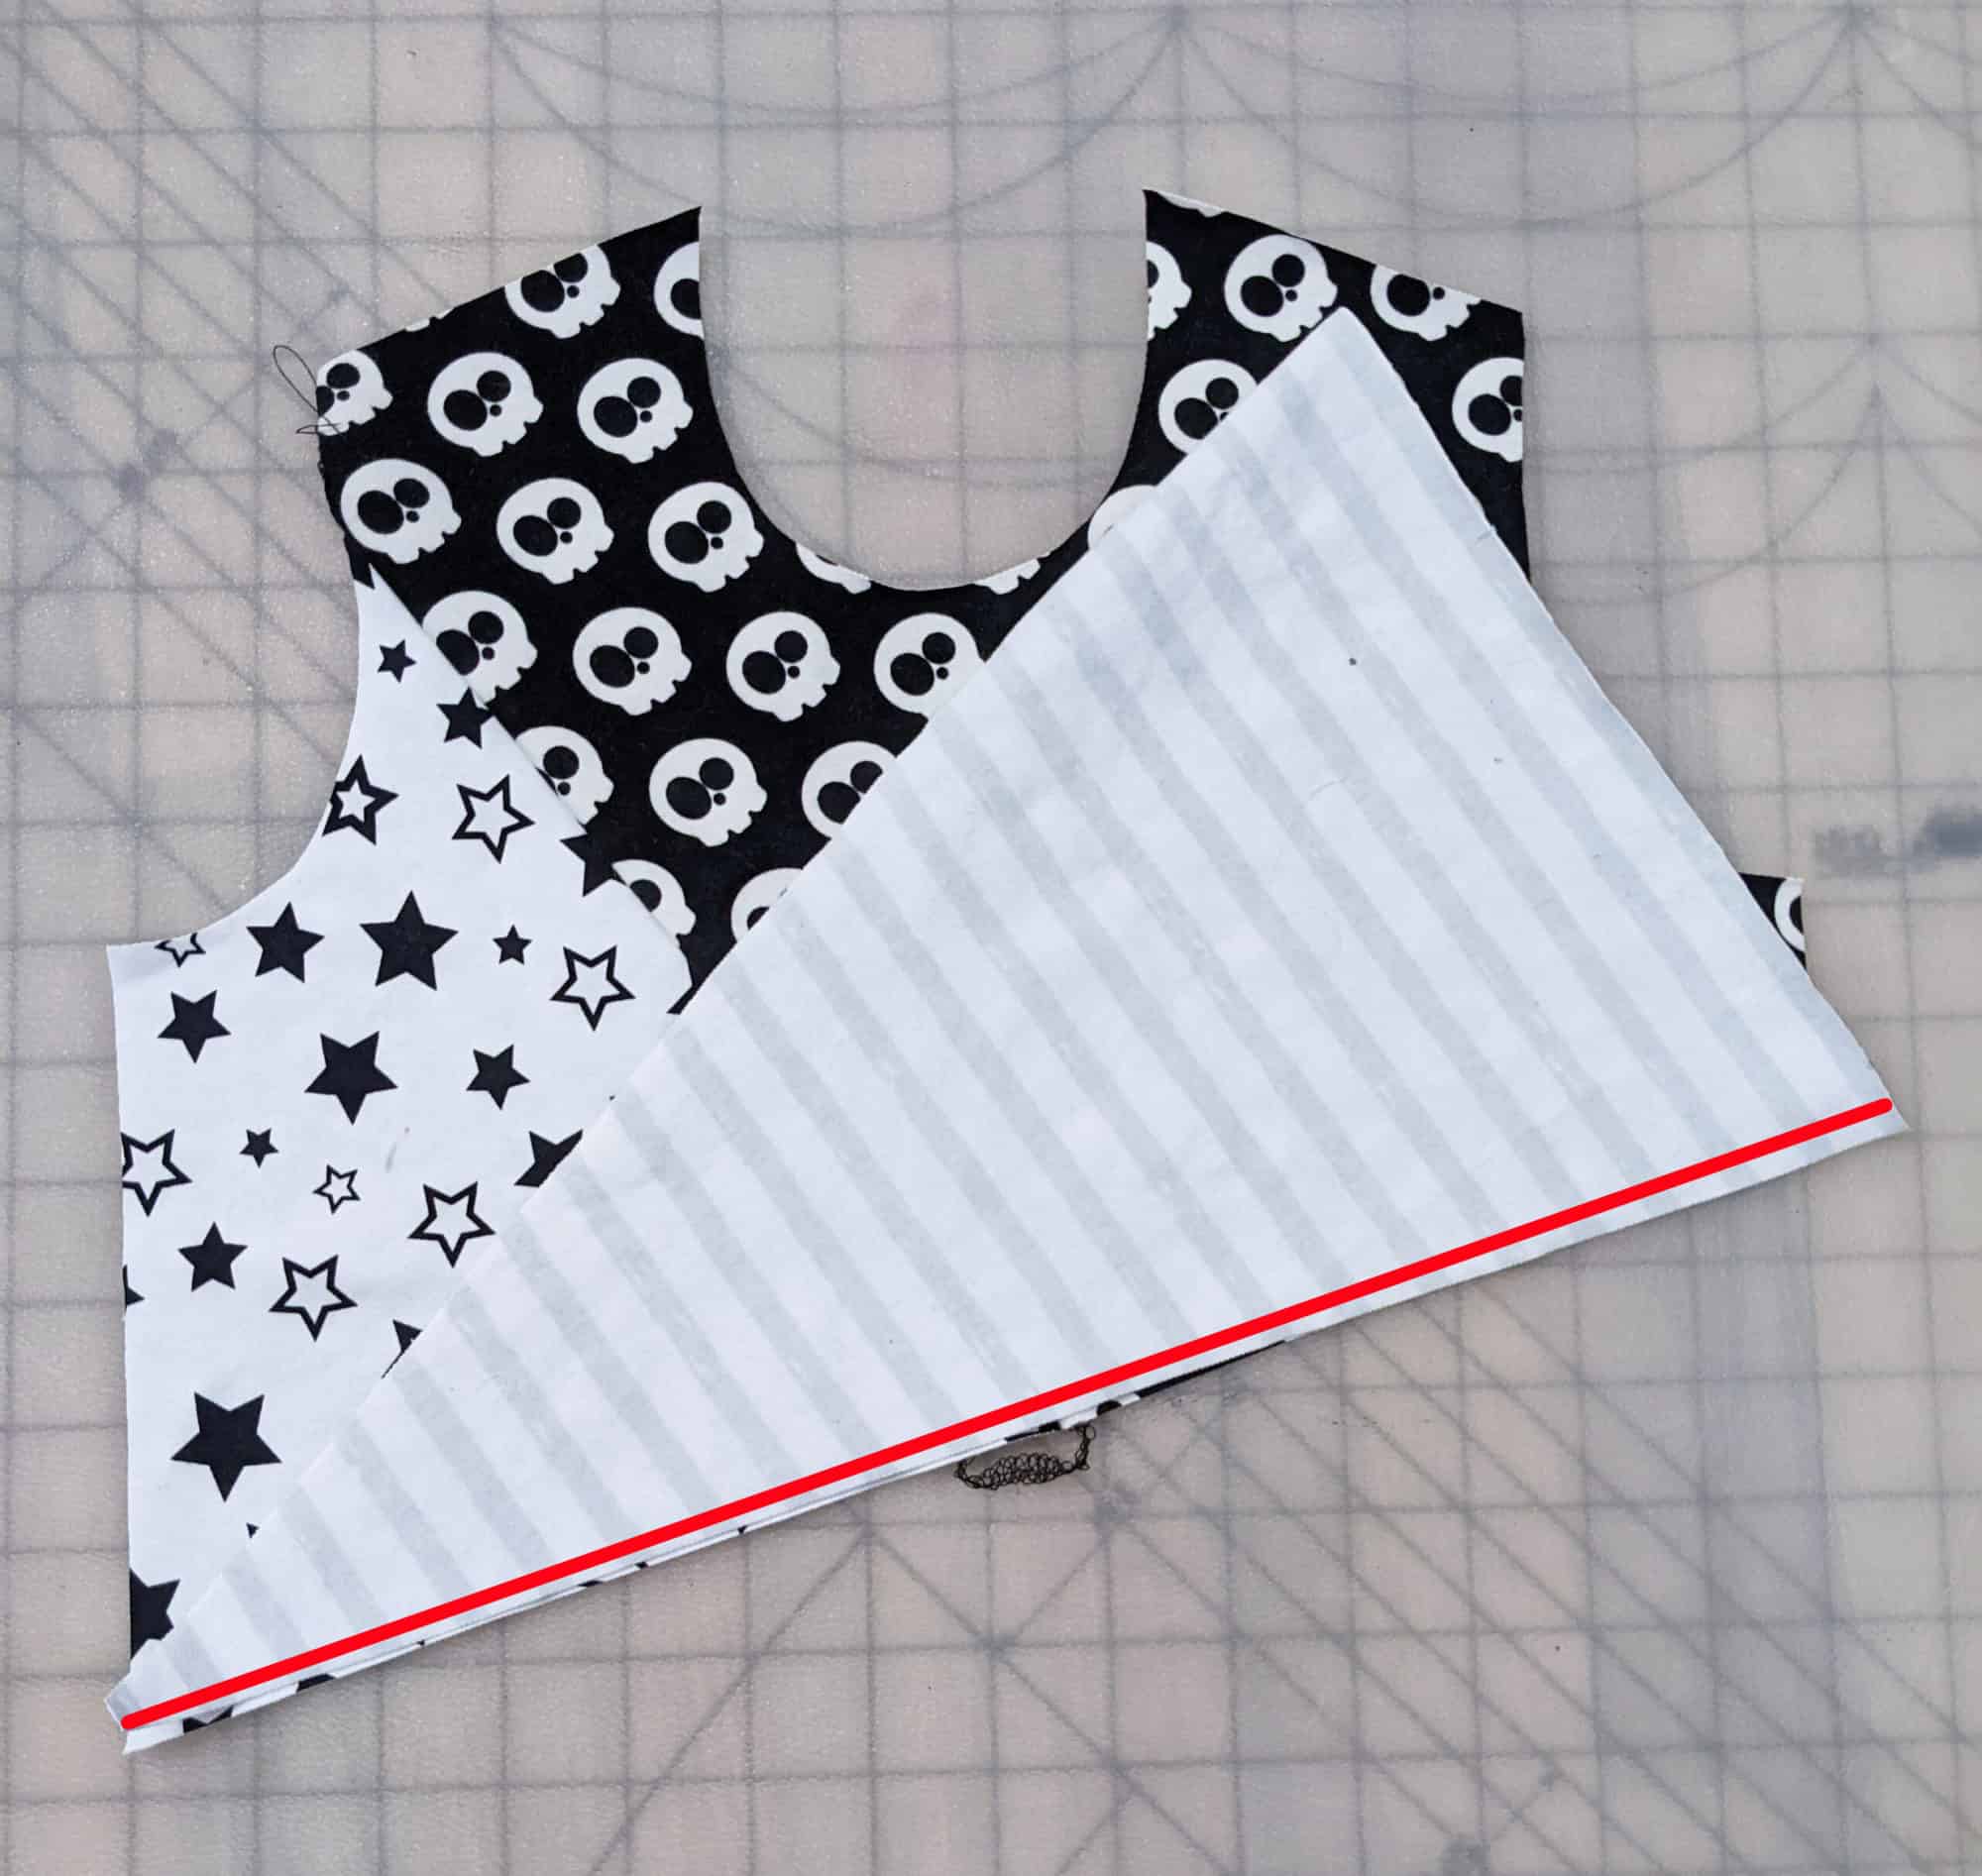
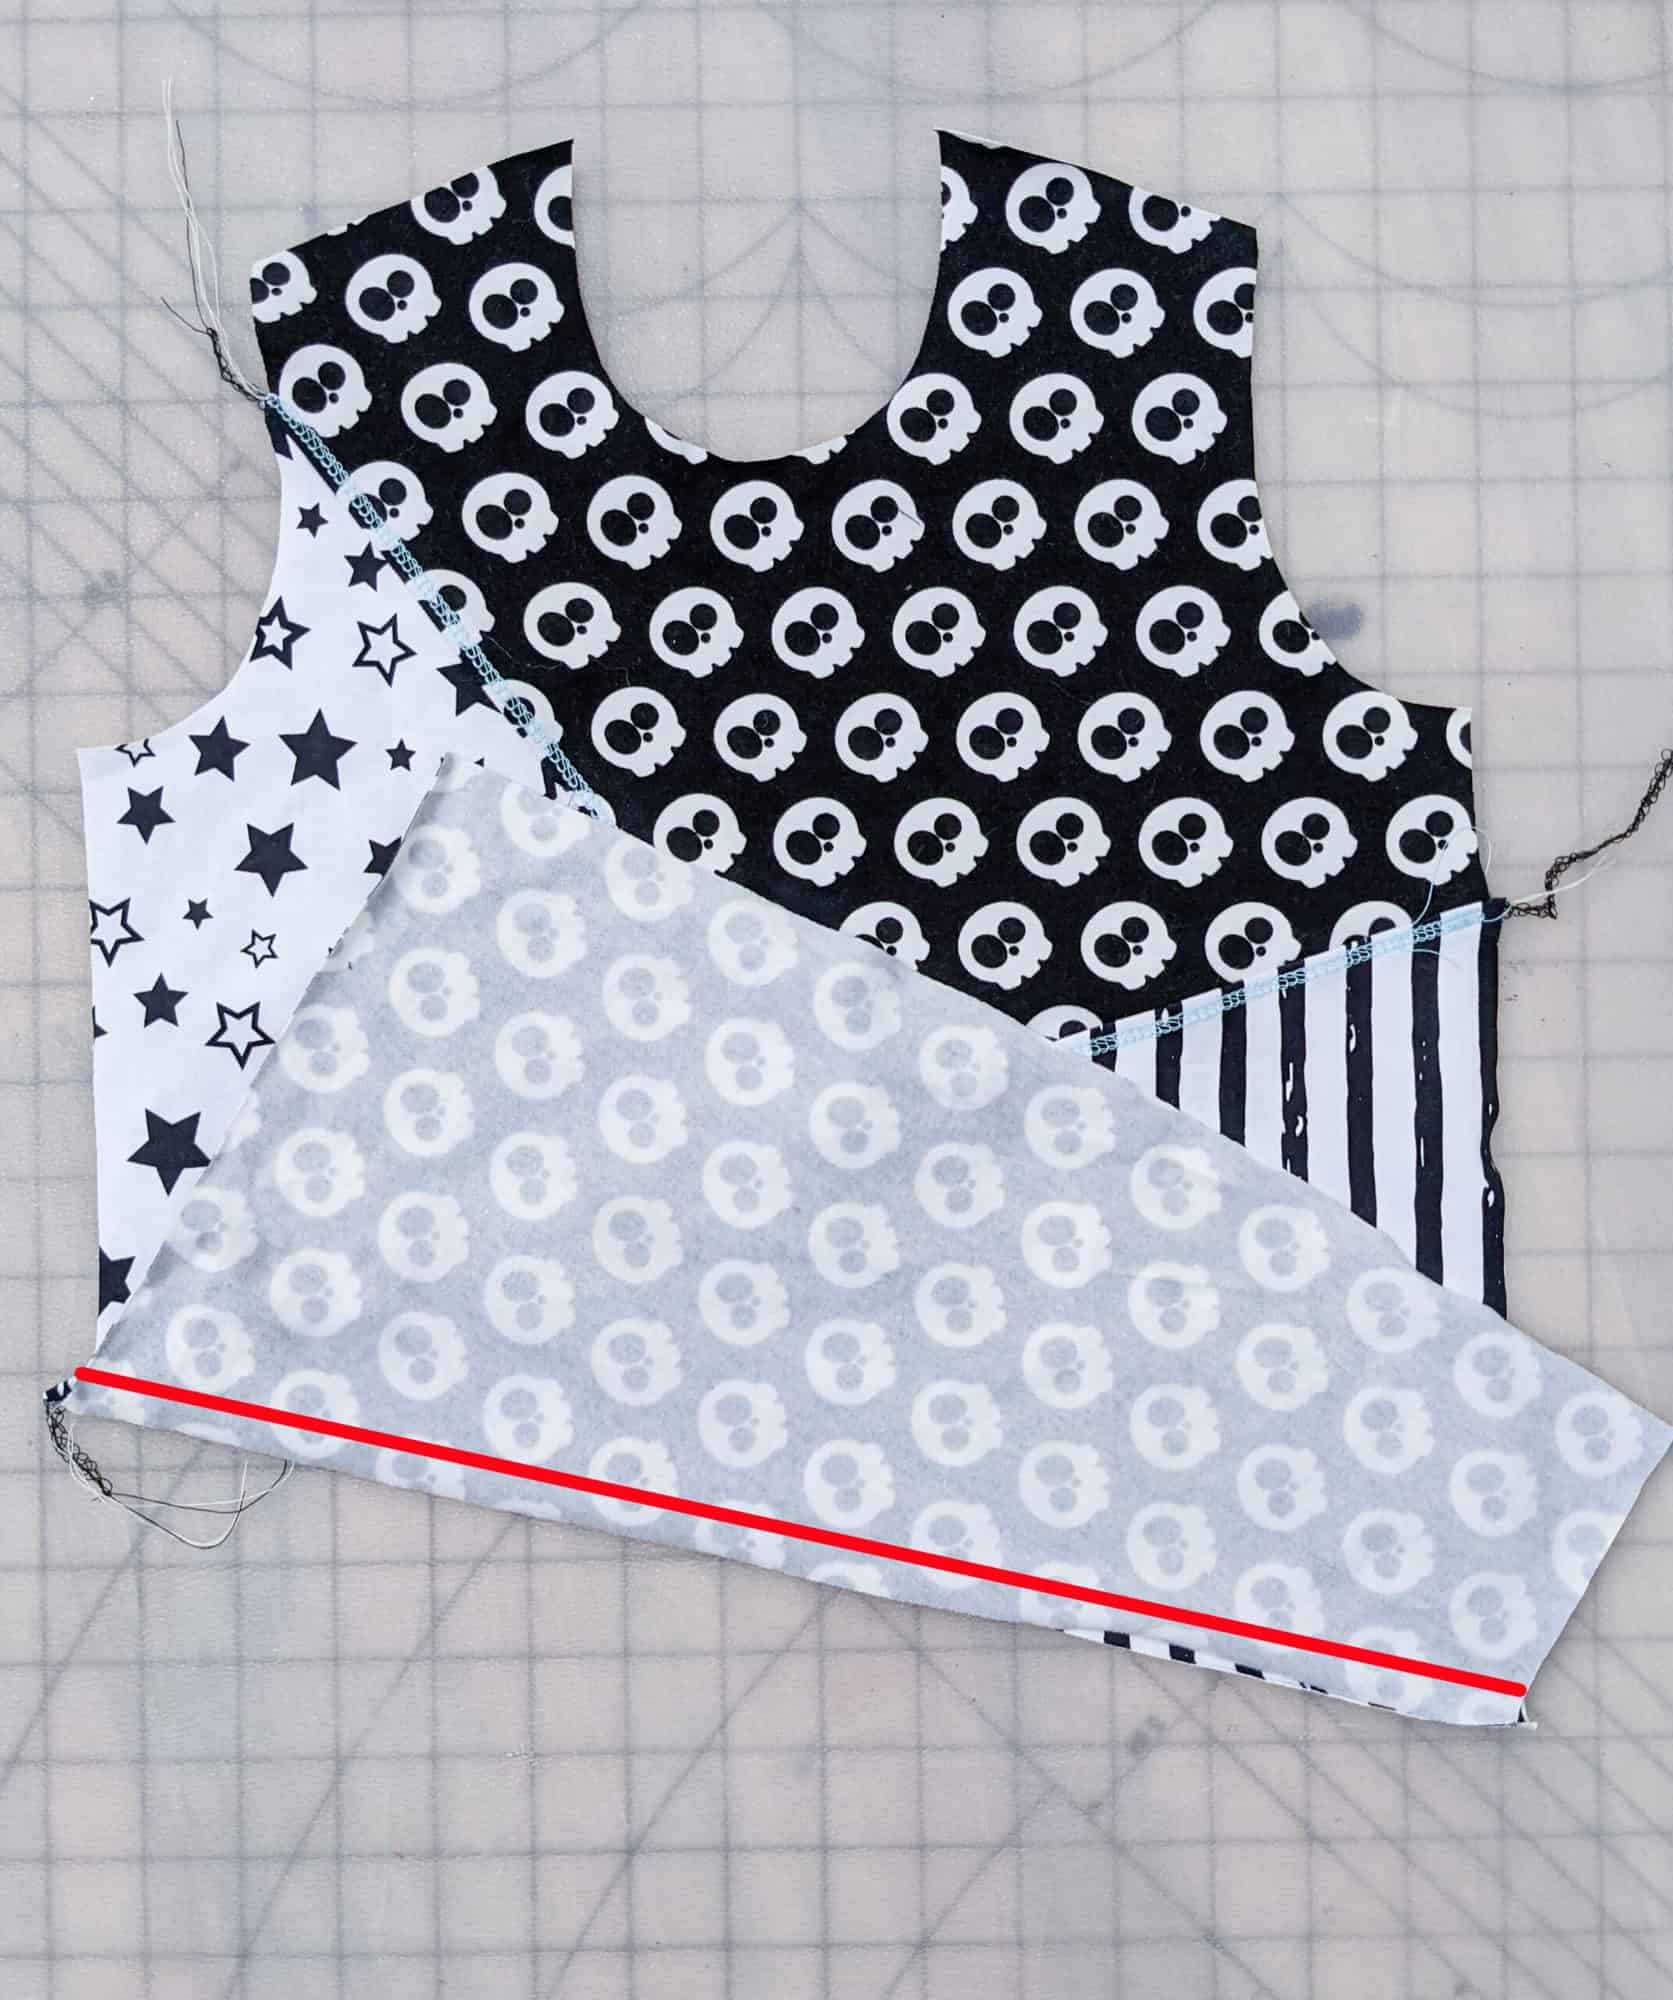
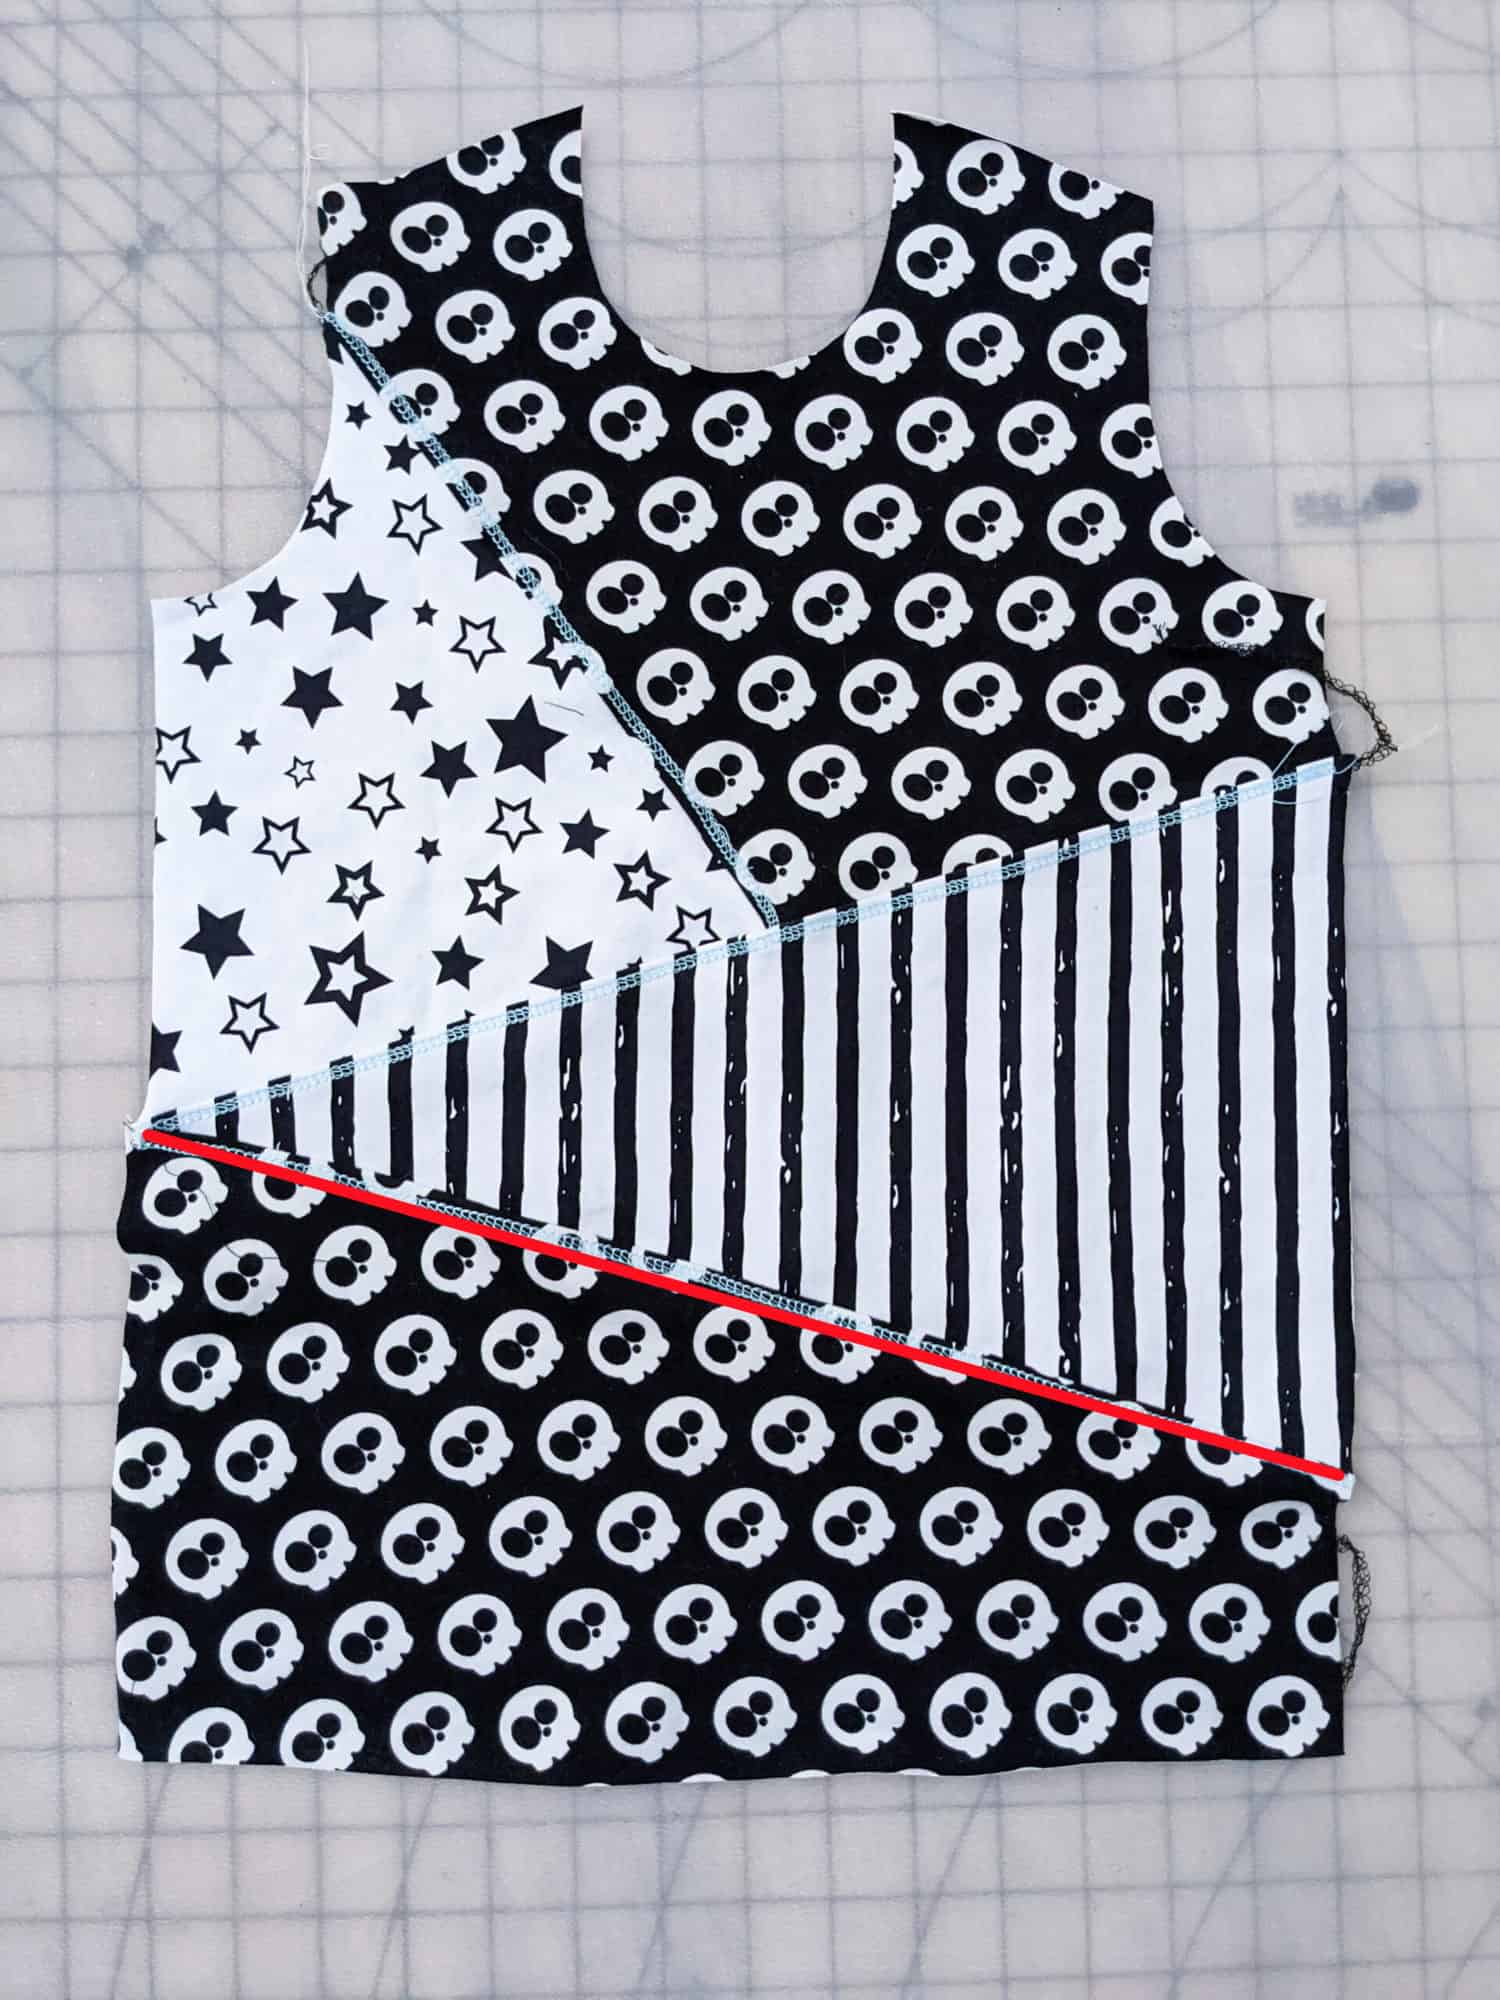
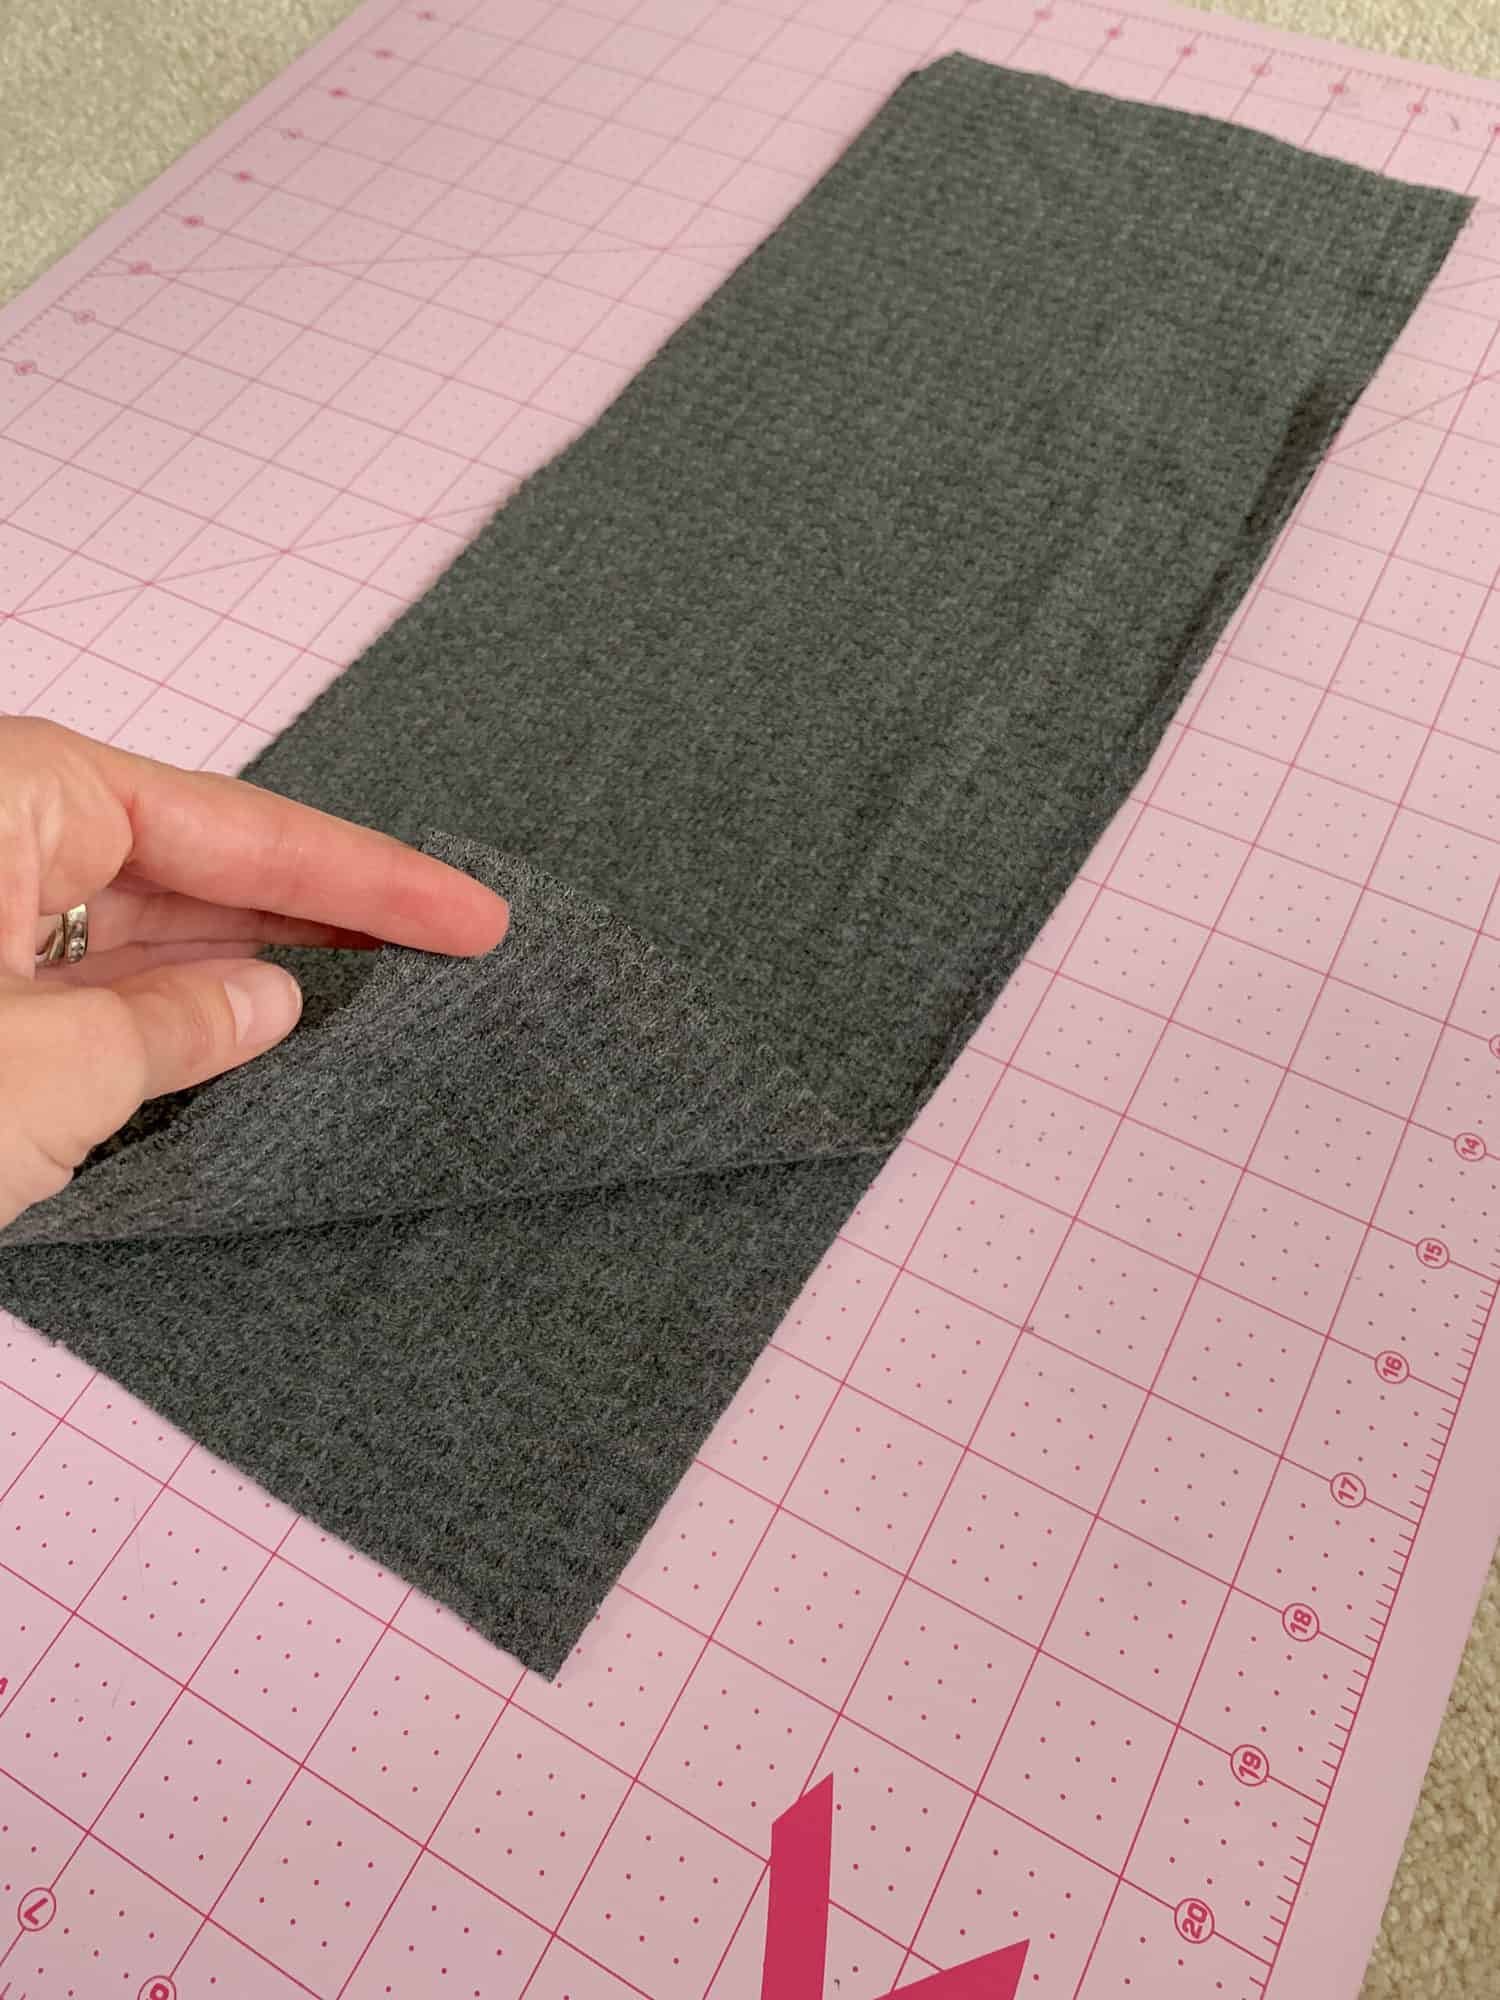
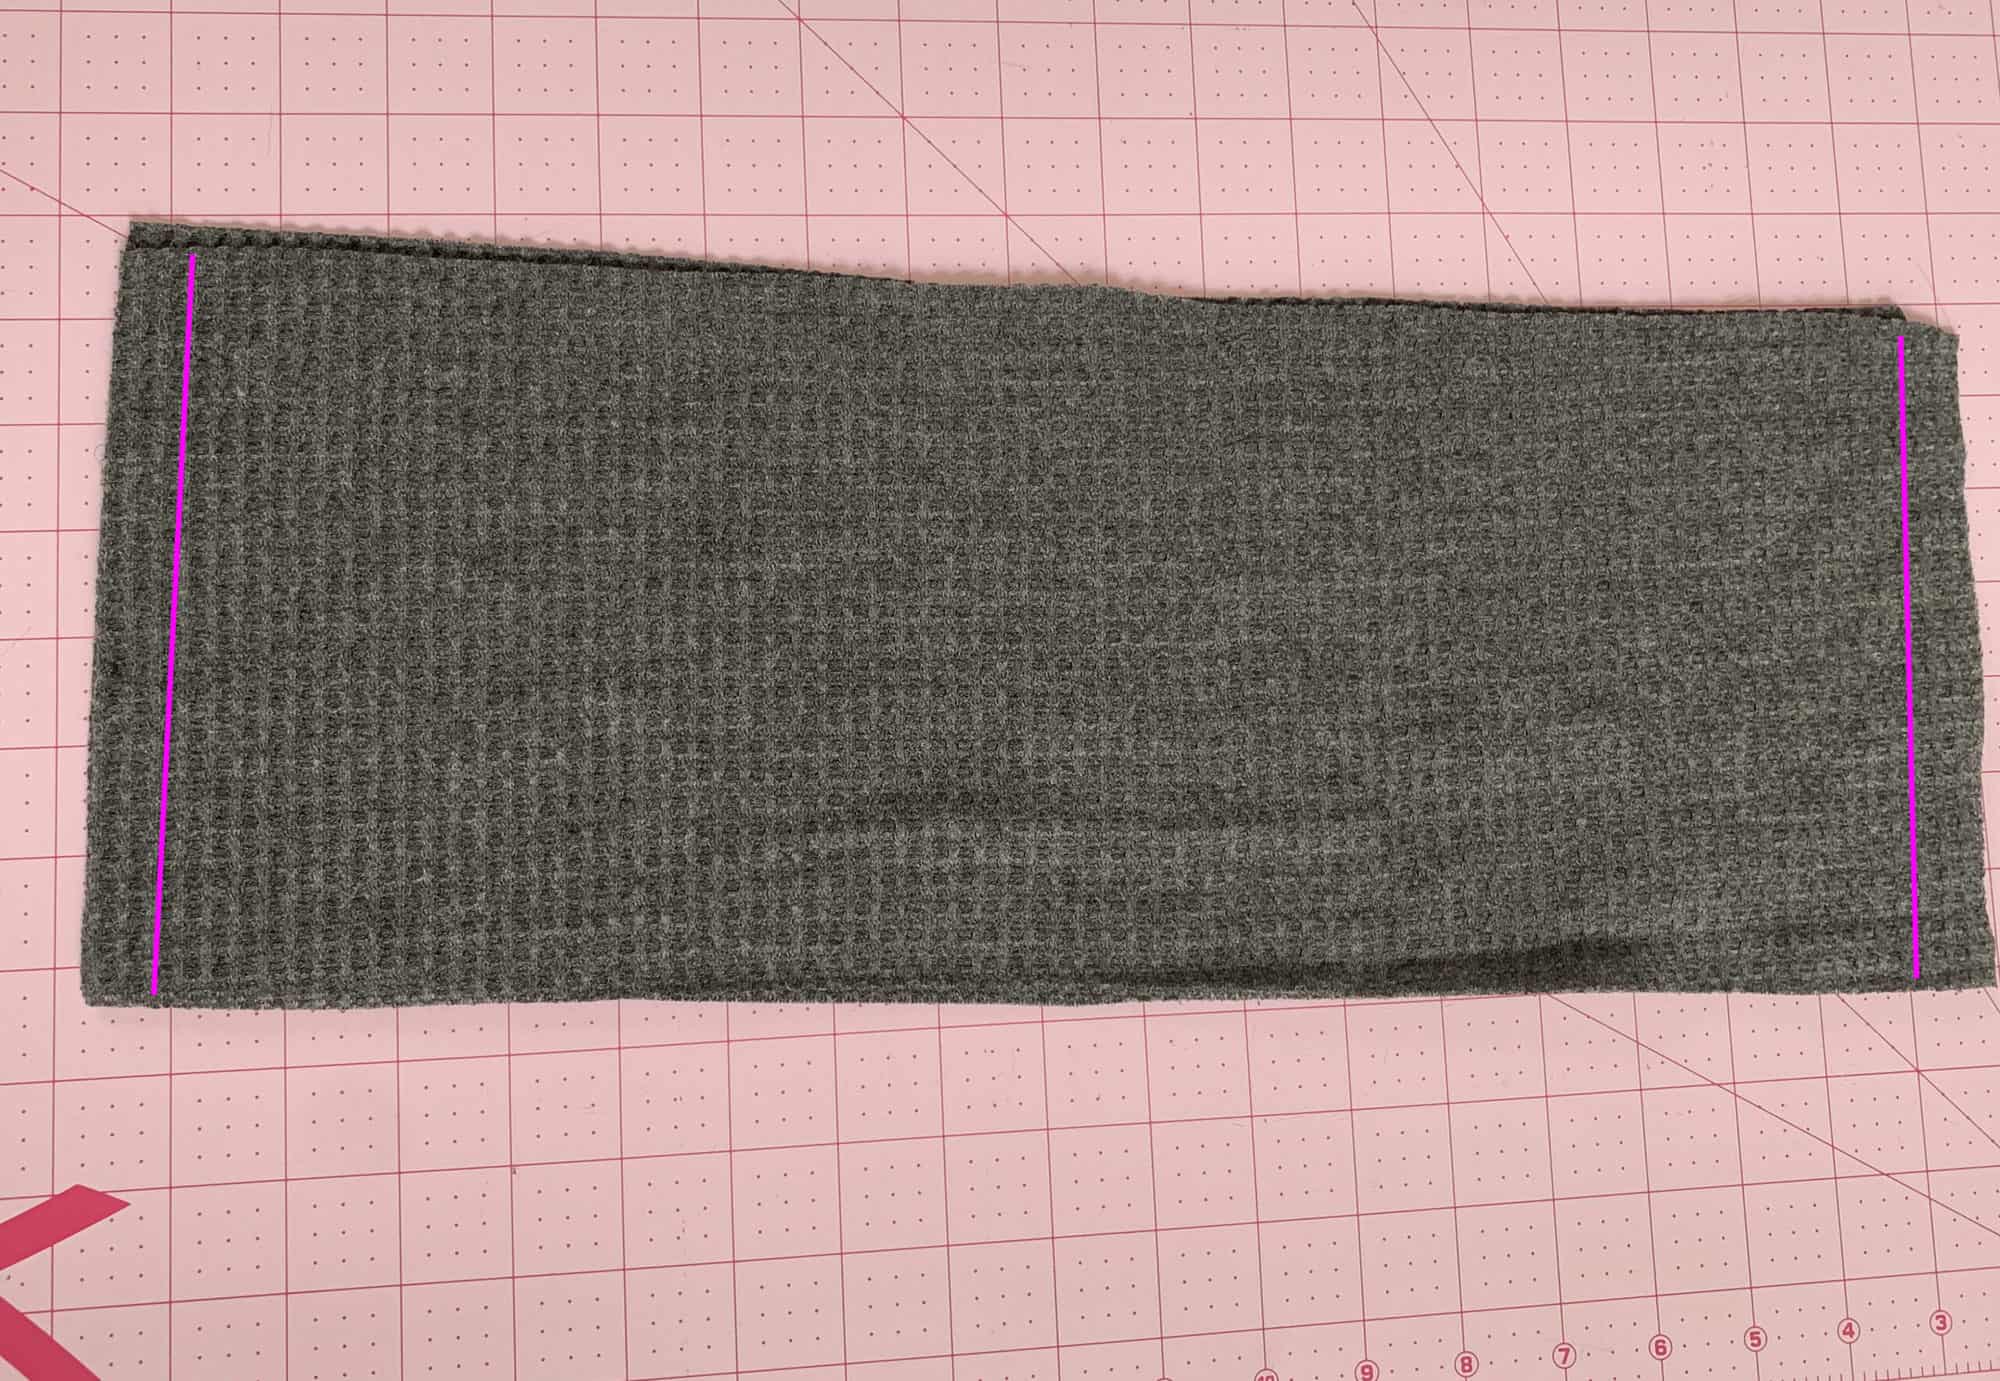
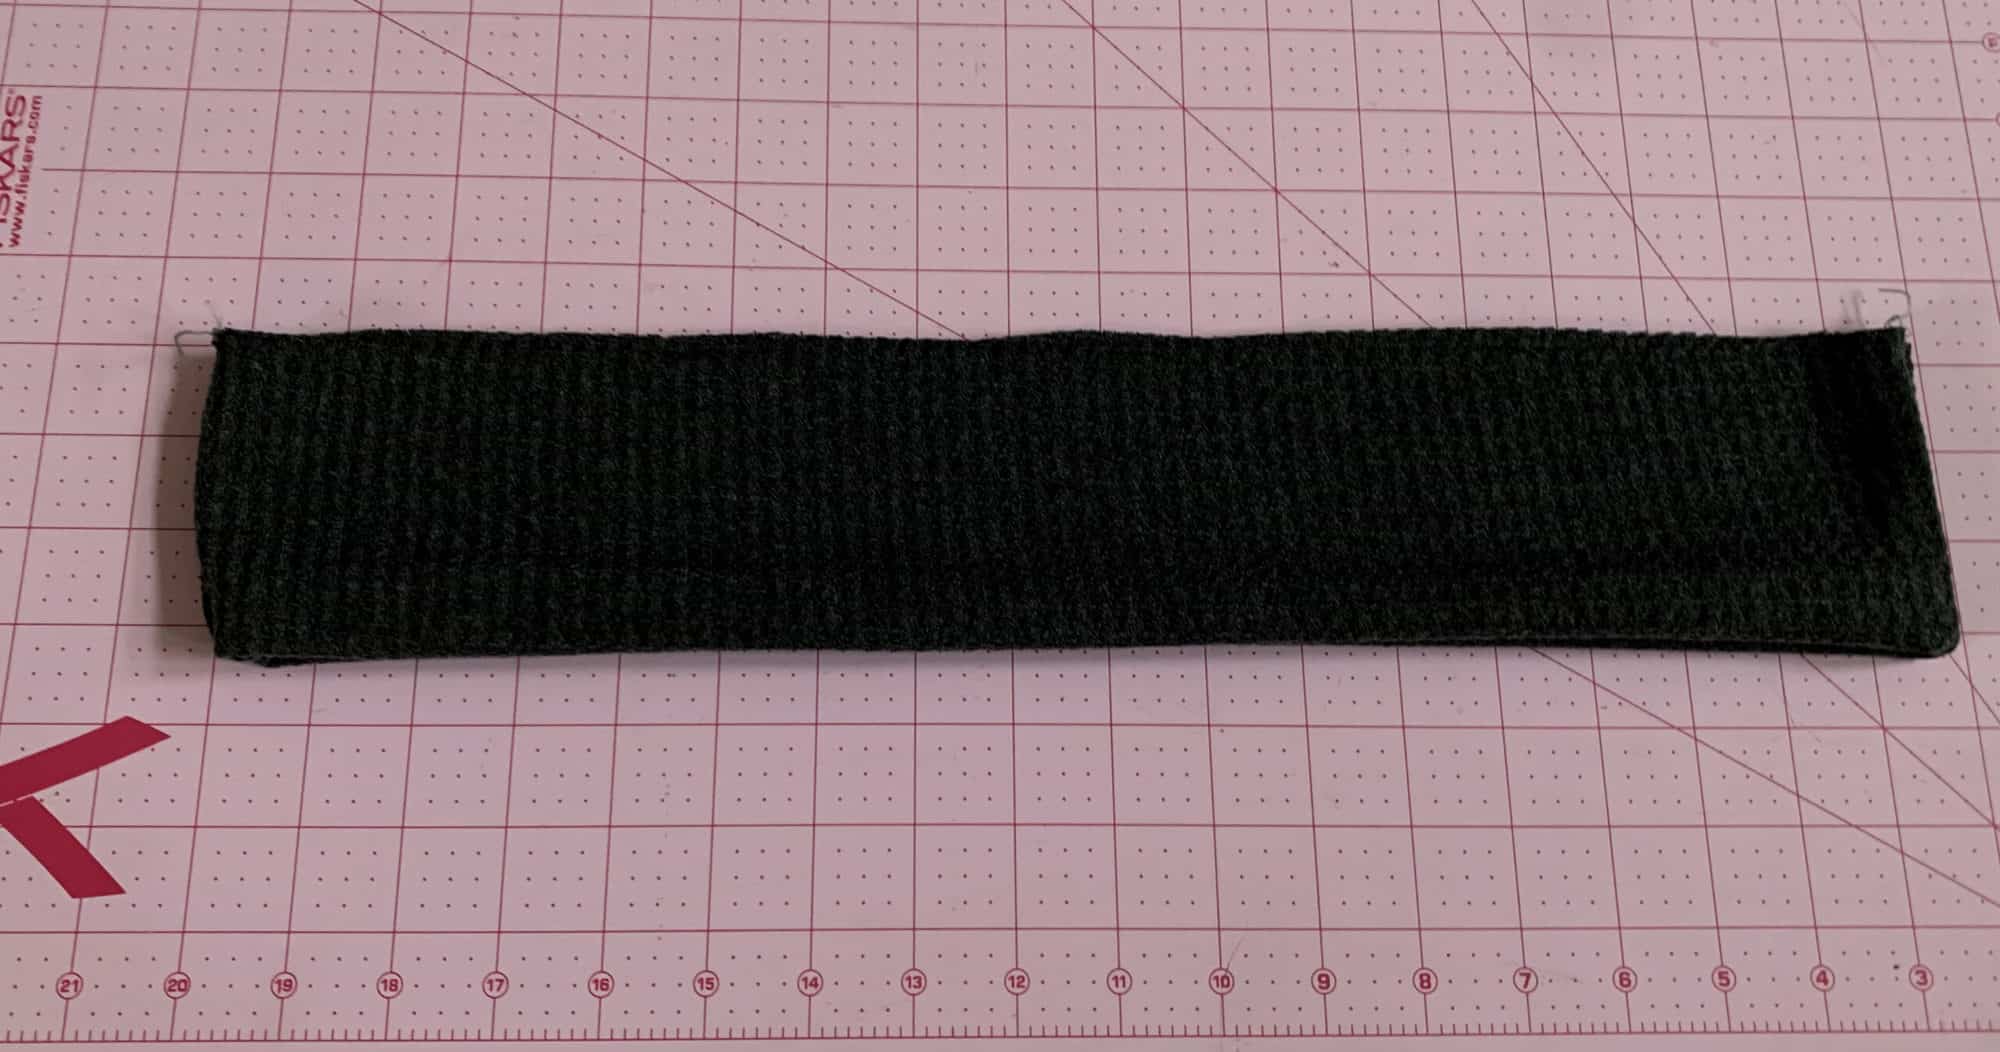
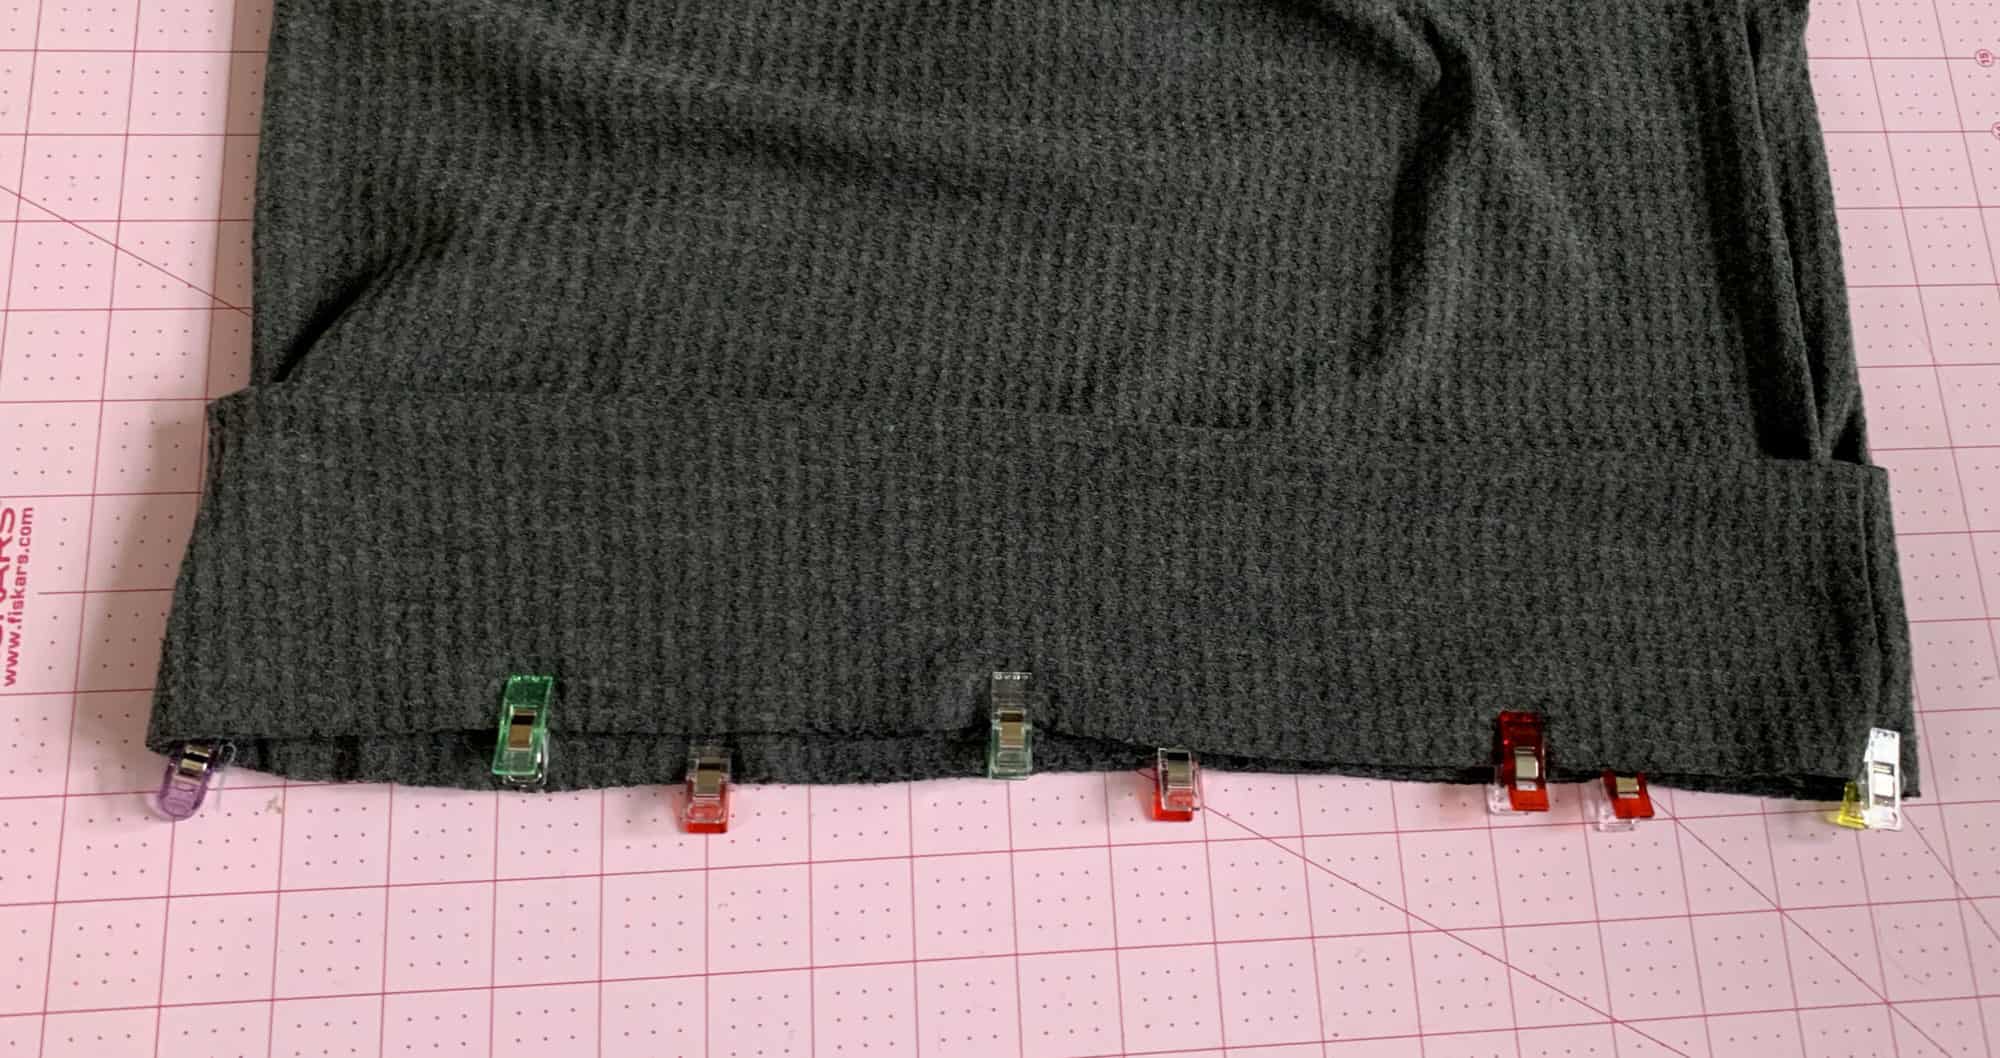
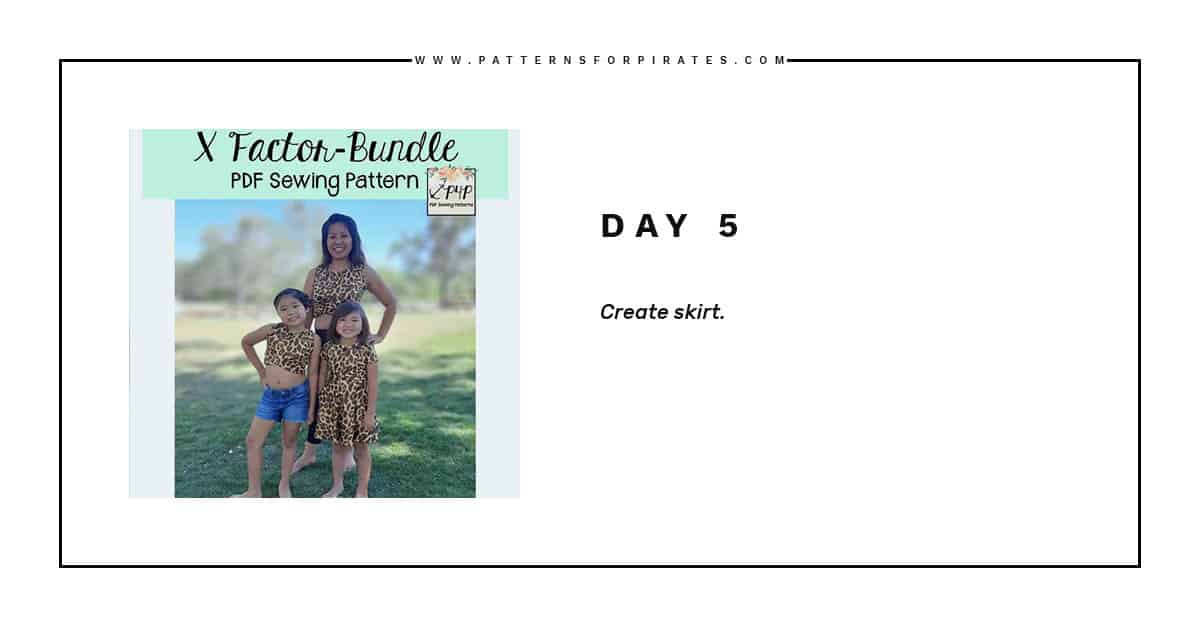
Cozy Wrap SAL day 3 | Add bottom bands
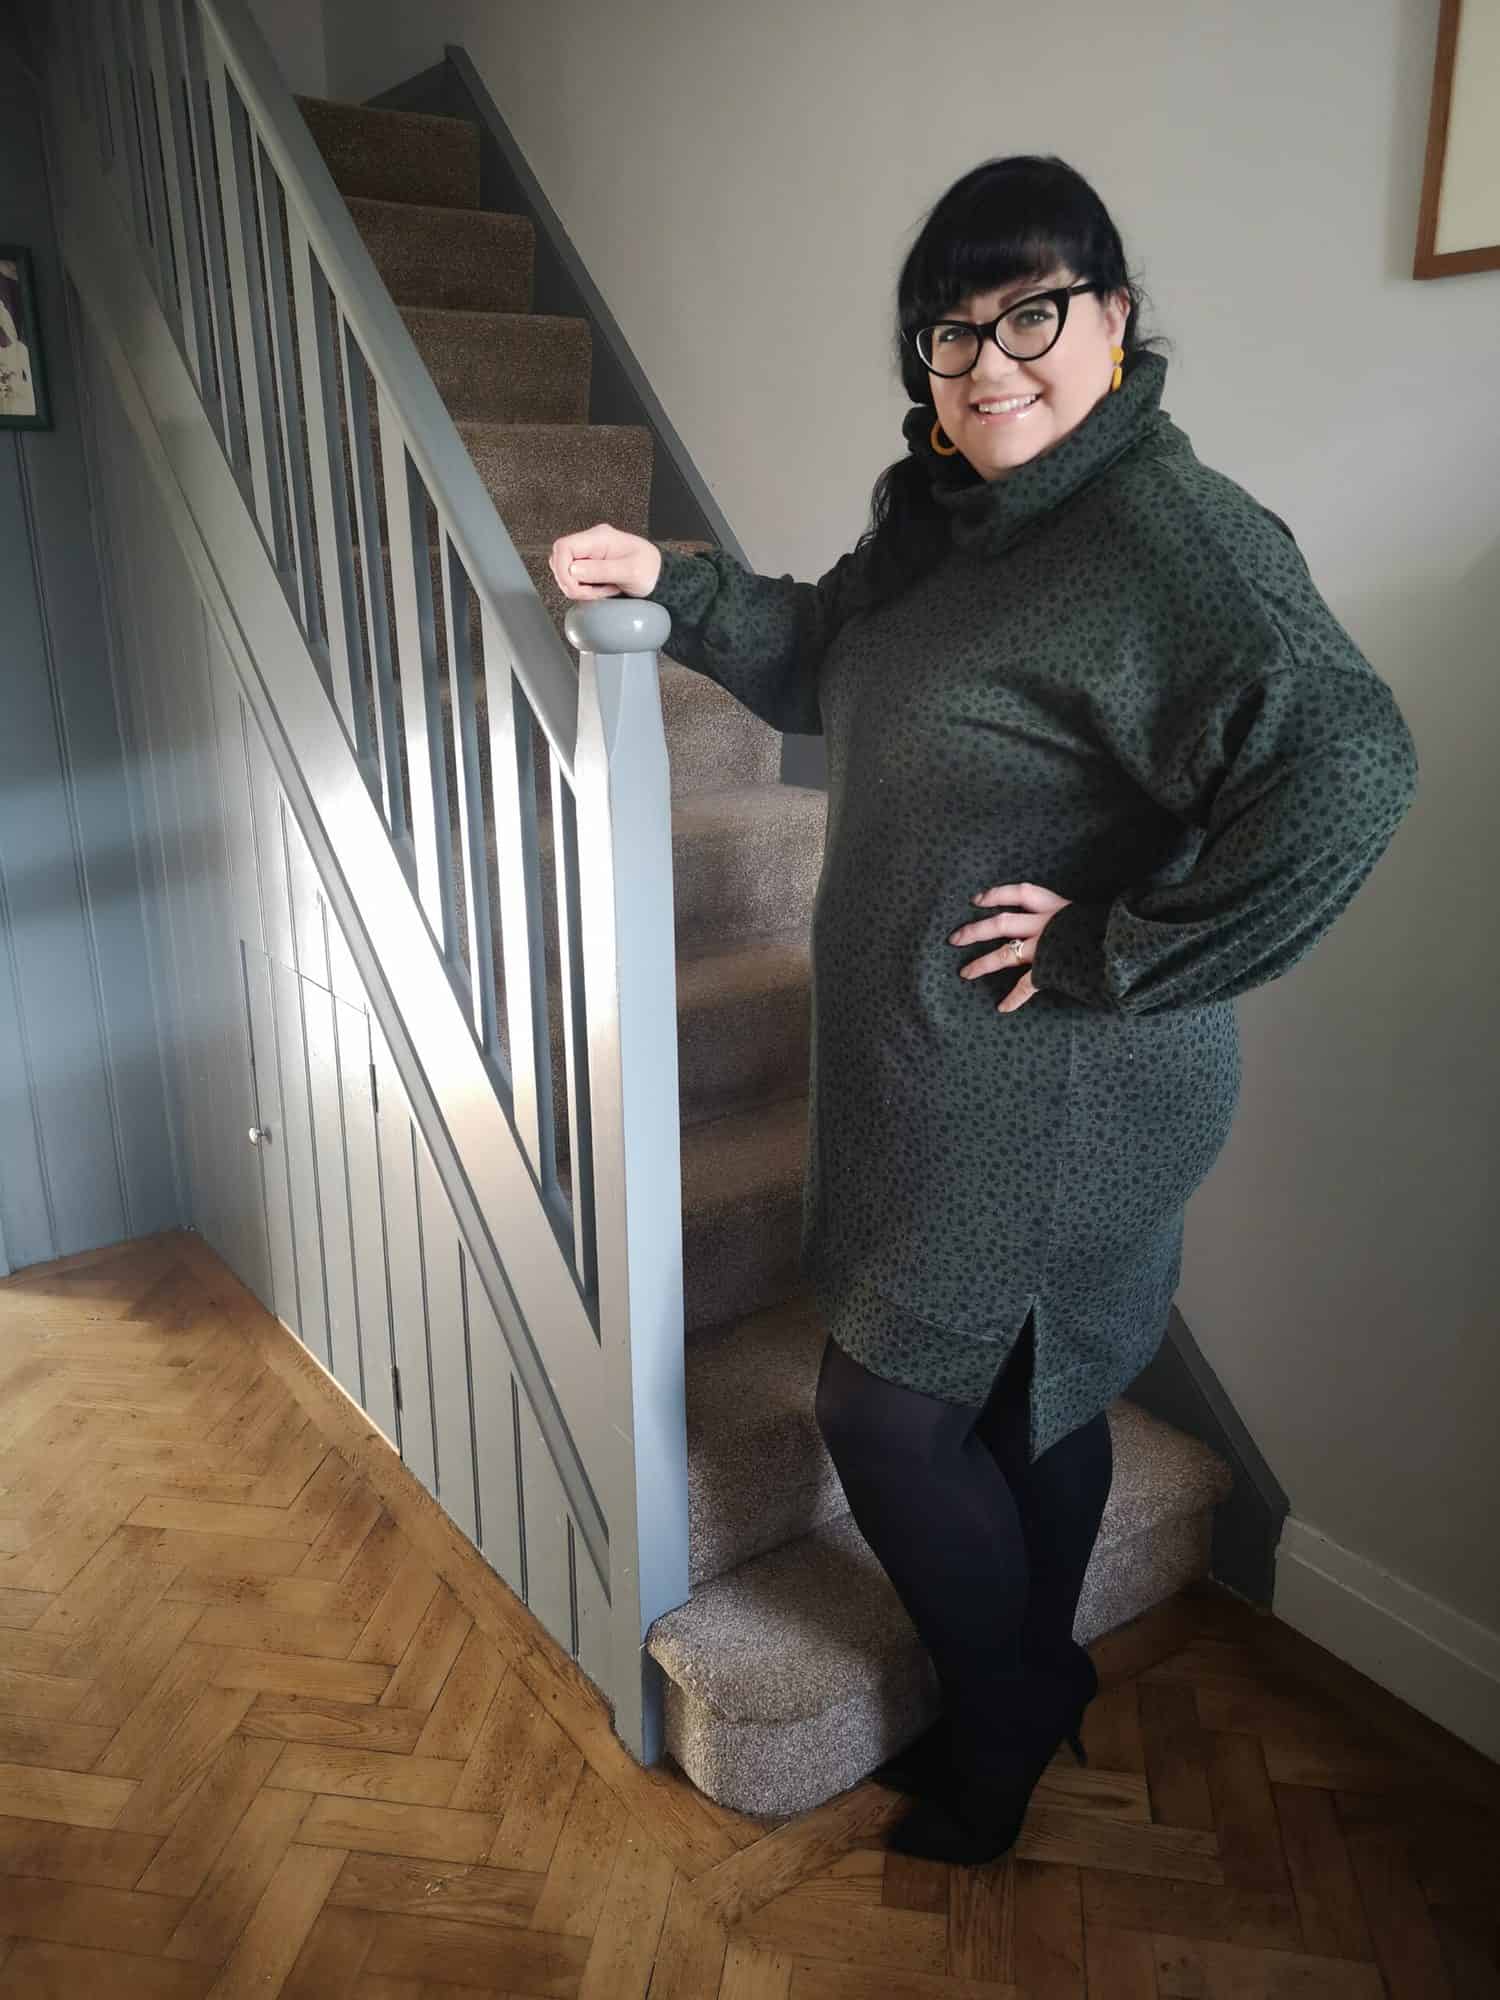
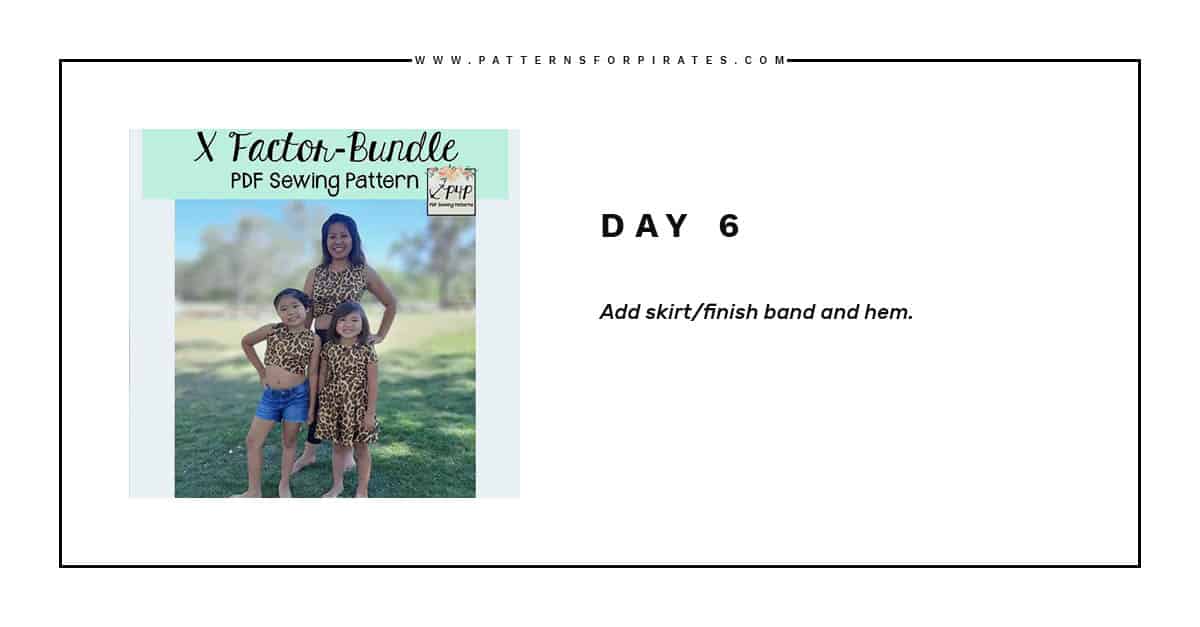
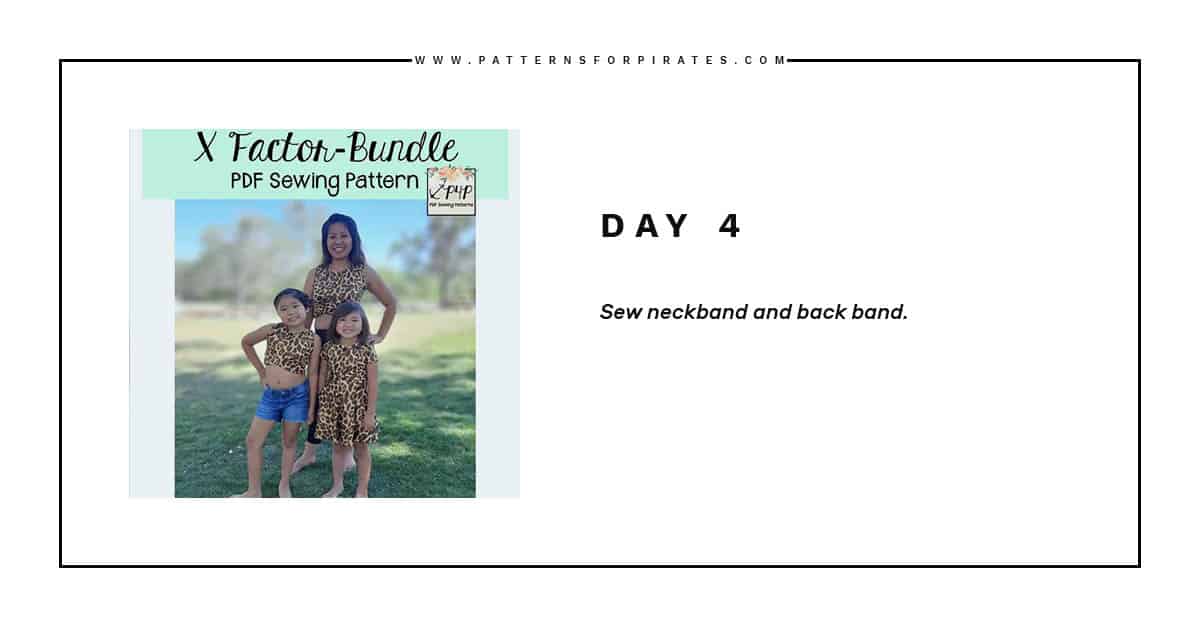
Cozy Wrap SAL day 4 | Add neckband
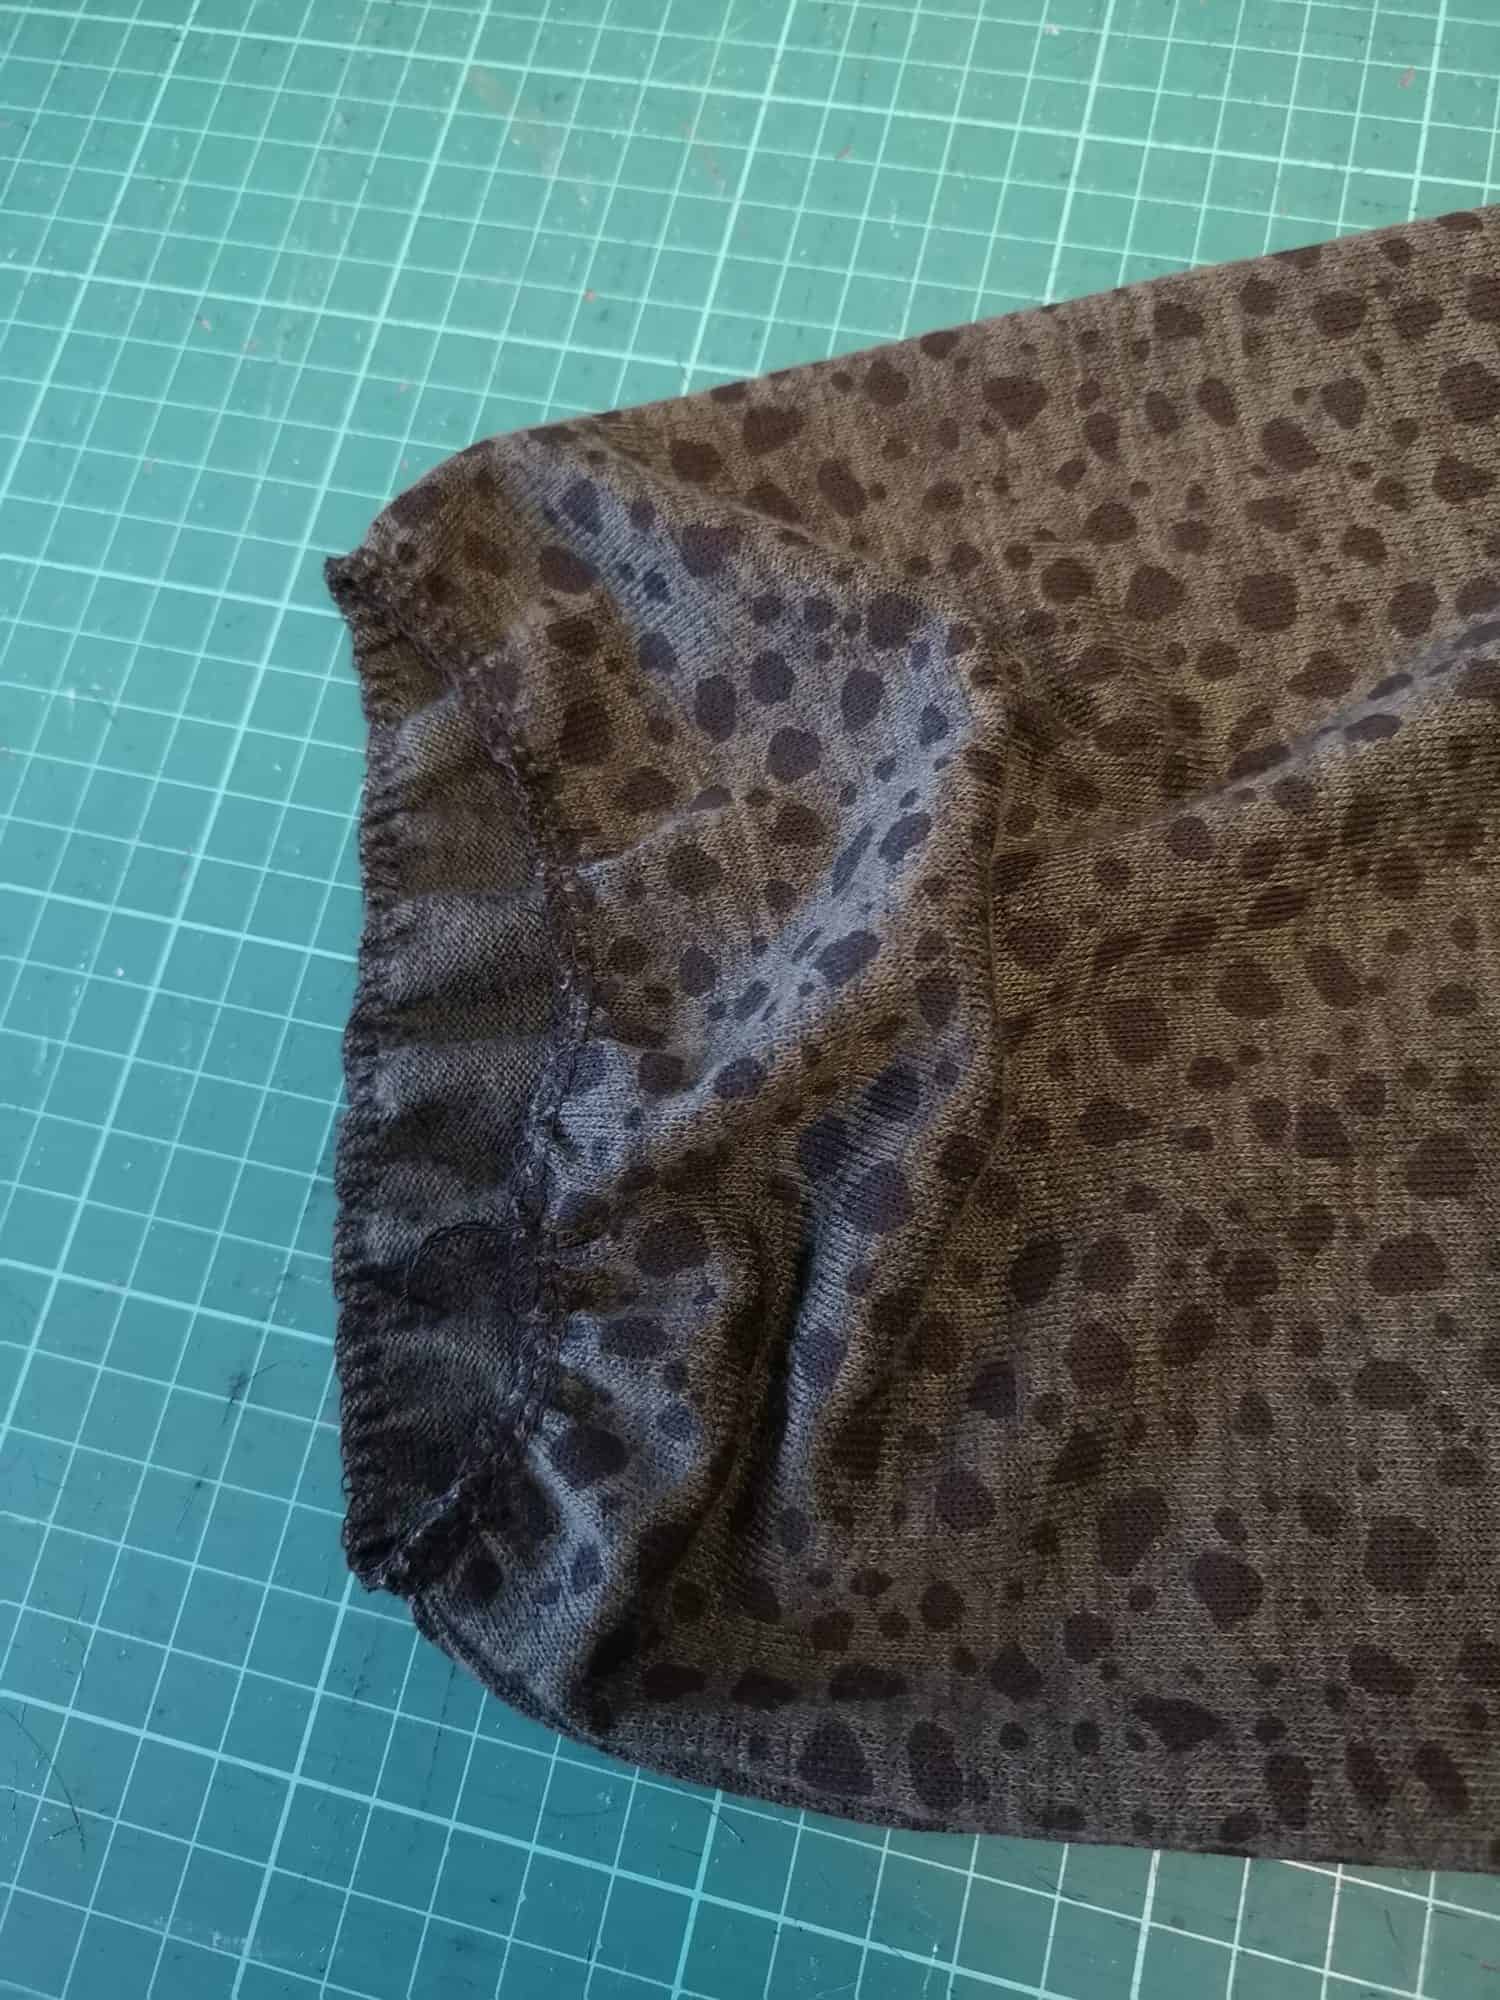
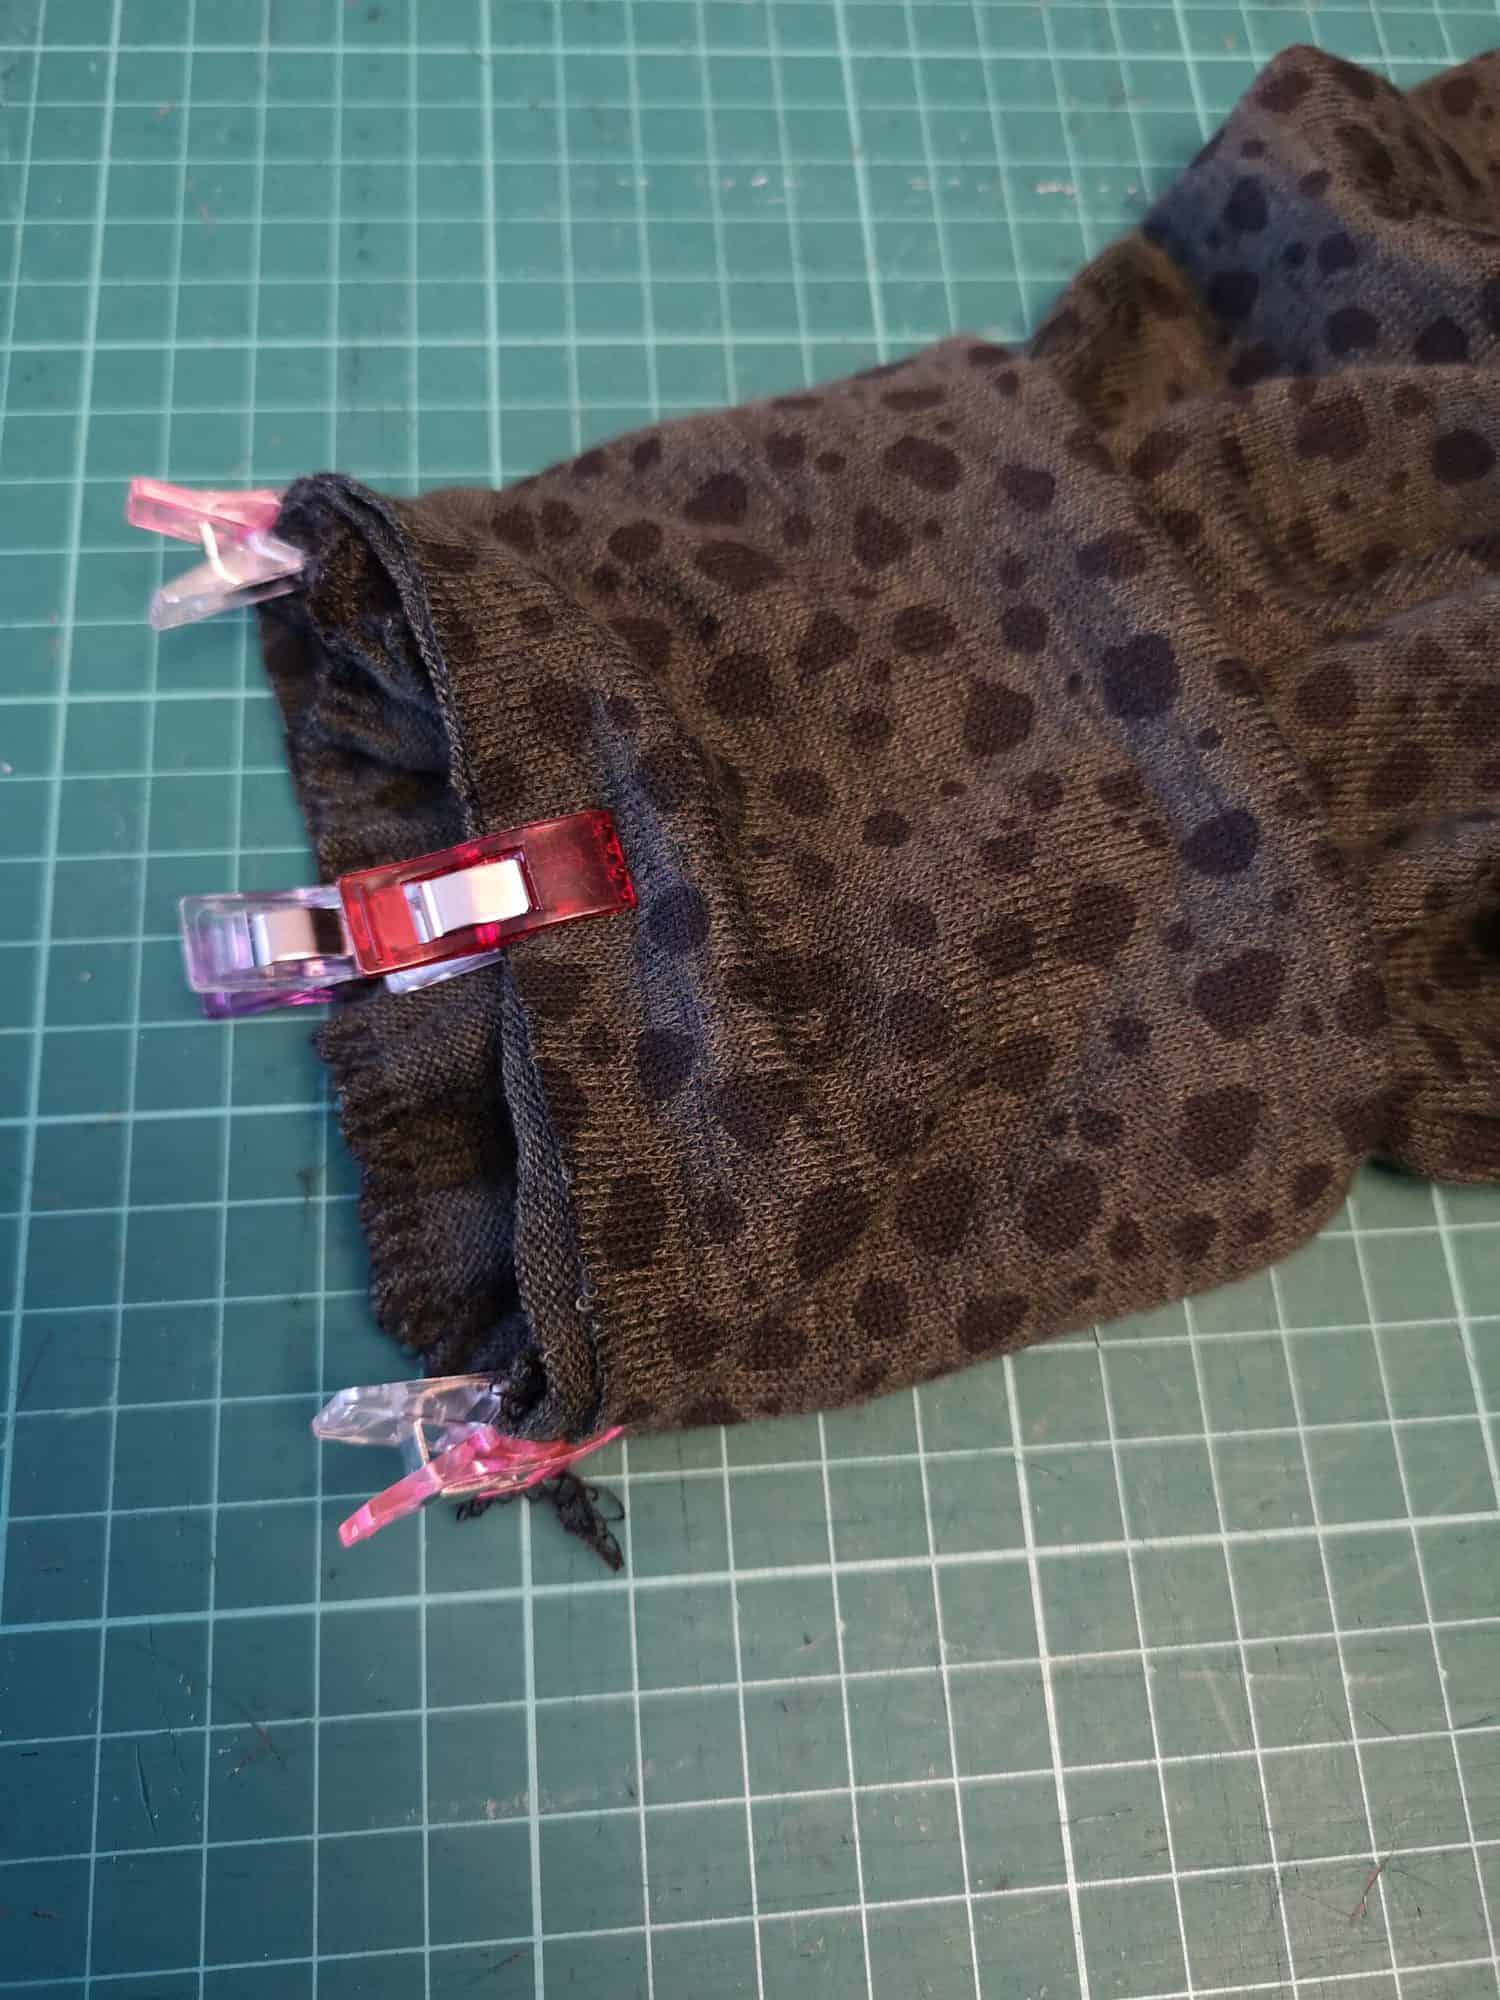
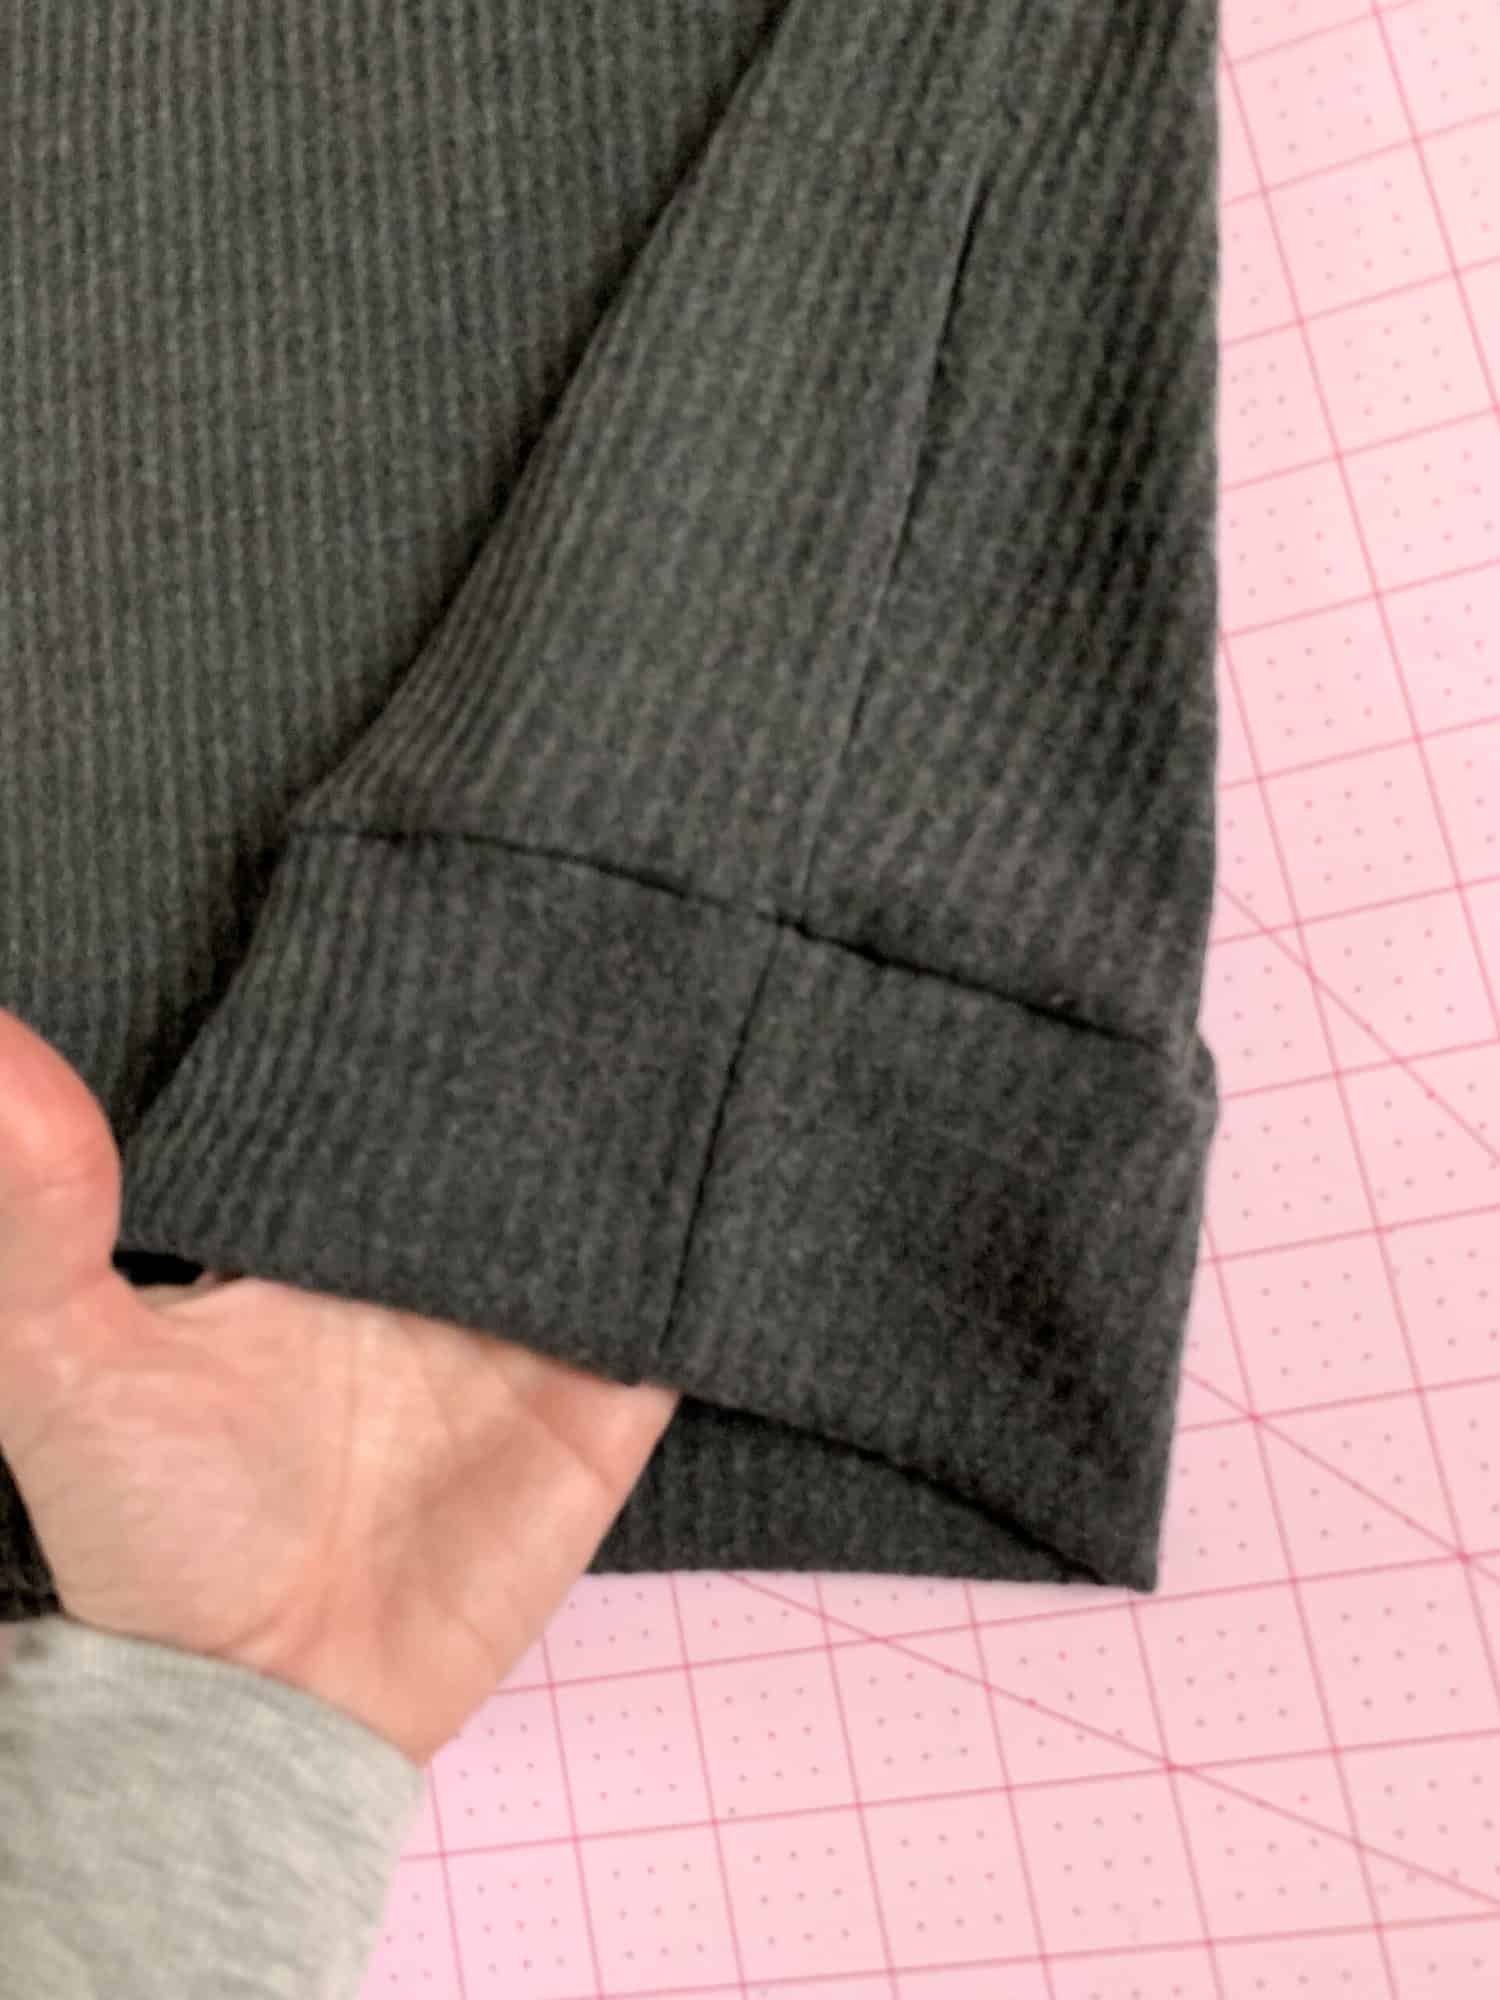
Cozy Wrap SAL day 5 | Add sleeves
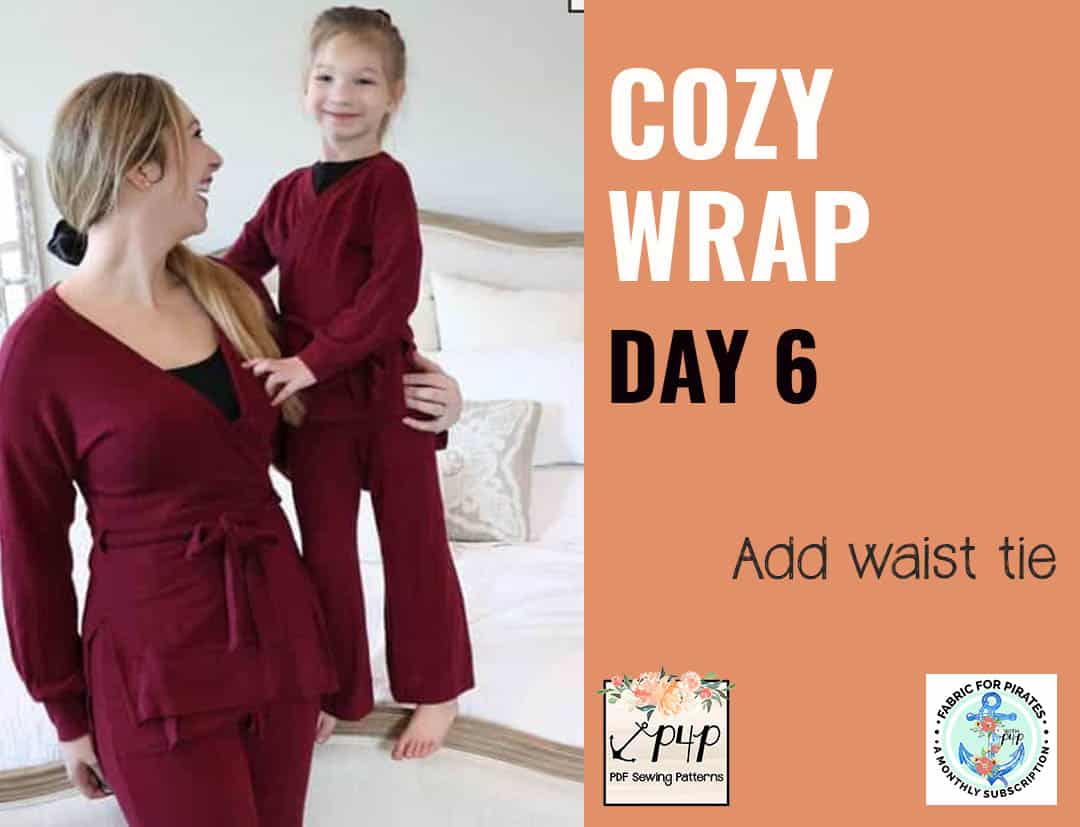
Cozy Wrap SAL day 6 | Add waist tie
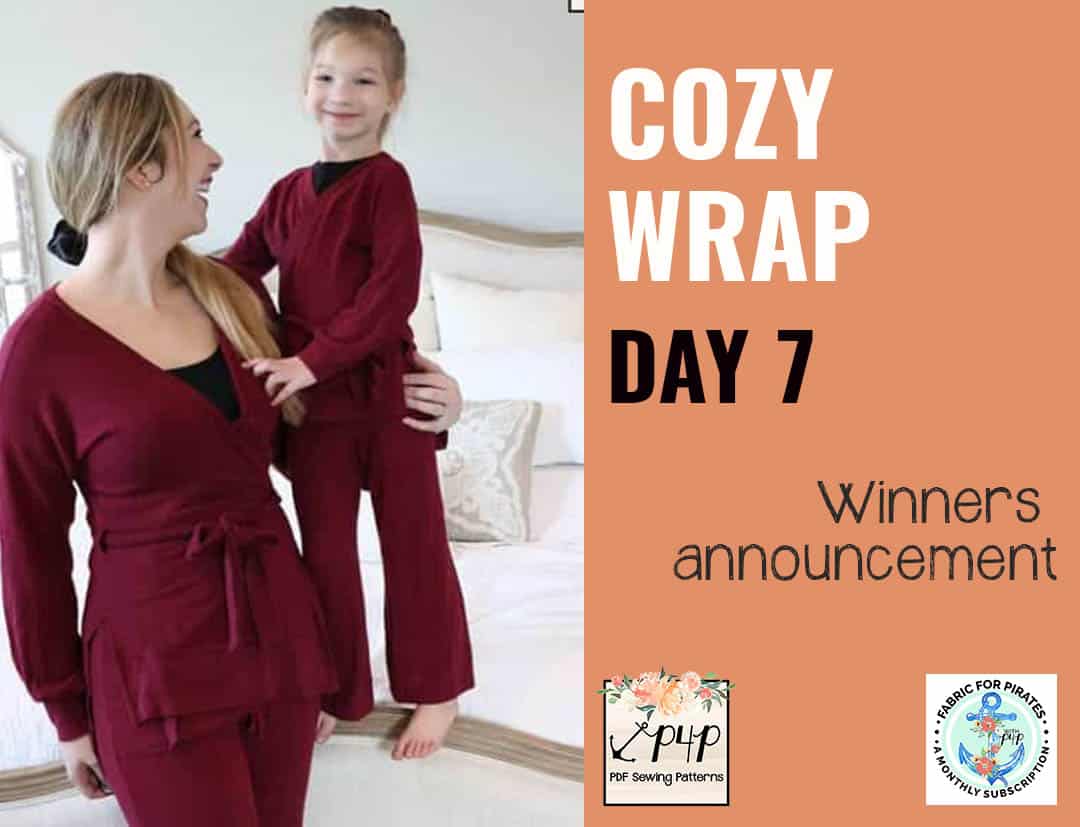
Cozy Wrap SAL day 7 | Winners announcement