Patterns for Pirates

P4P stylish, modern, wearable patterns

  • Home
  • Blog
    • Frequently Asked Questions
    • Pattern Releases
      • Free Patterns
    • P4P University
      • Fitting
      • Sewing with Stretch, Knit Fabrics
      • Sewing with Woven Fabrics
      • Sewing Machines
    • Sew-A-Longs
    • Fabric for Pirates
    • Pattern Hacks
    • Announcement
      • Blog Tours
      • Contest/Giveaway
  • Shop
  • Bundle Discounts
  • Flash Friday
  • Gift Cards
  • My Account
  • Cart

X Factor Sew Along – day 1

August 24, 2020


Welcome to the X Factor Crop and Dress sew along! 

In the next 6 days we will be sewing together the newest P4P pattern. Join us for a chance to win some fabric and pattern money and have fun alongside our community! If you have not purchased your copy yet, you can buy the adult X Factor here, the youth one here, or you can get the bundle and save. If you are still undecided which style to make, our Round Up blog will give you a glance at all options included, from sleeve lengths to necklines. You can also use the Easy Hacks blog for added options.

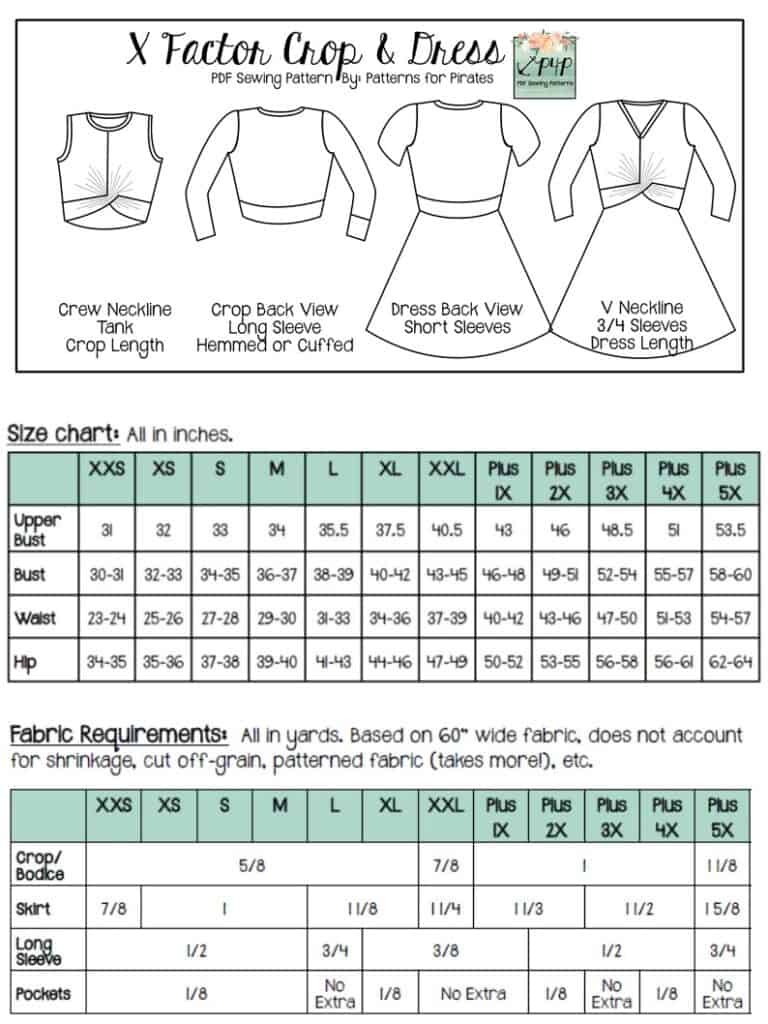
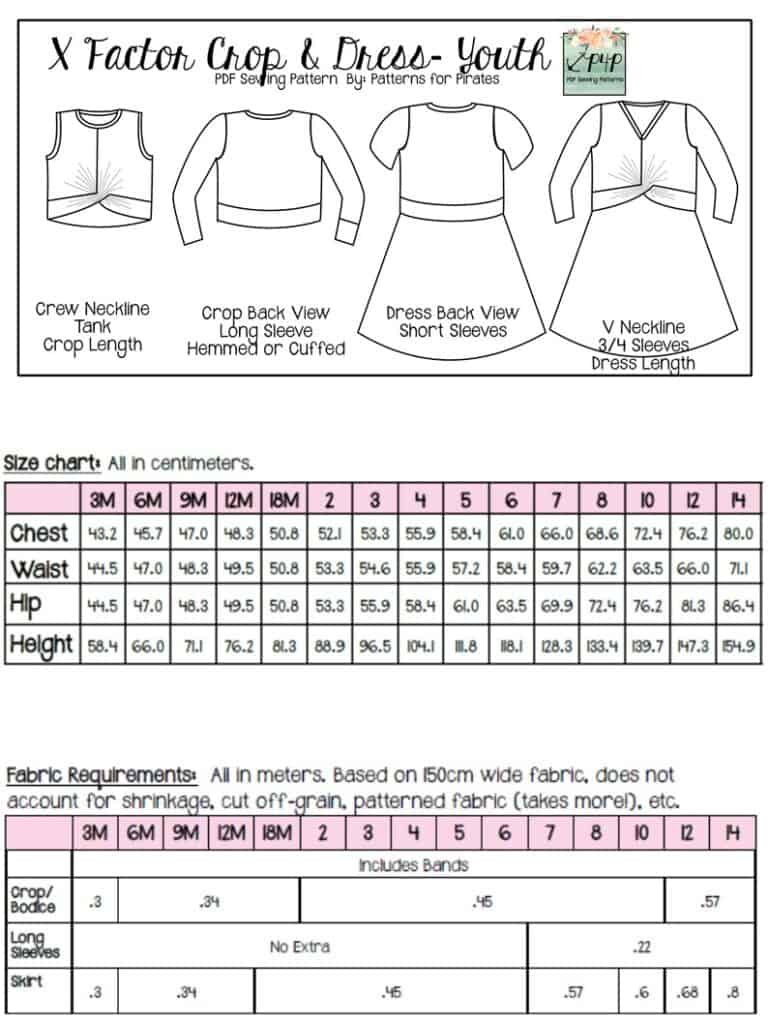
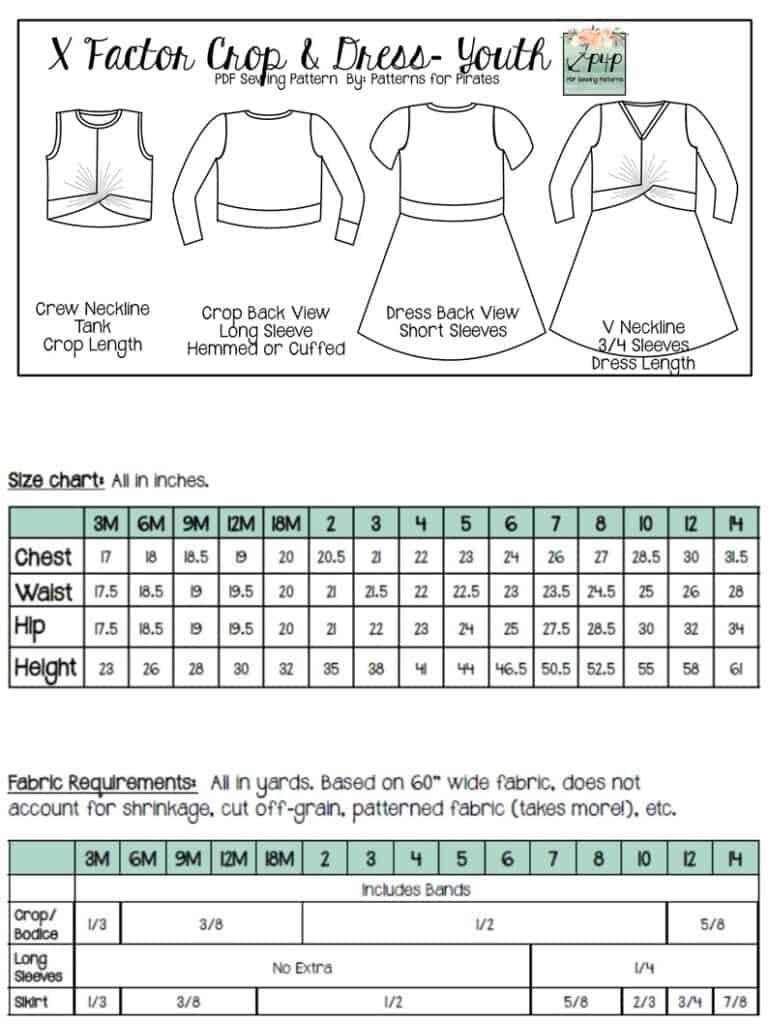
Let’s start by taking the measurements needed for the best fit. P4P has an amazing blog that gives you tips for accurately taking your measurements. You can read all about it here. If your measurements put you in a different size for chest/waist/hips be sure to check out our P4P University blog and grade to achieve the perfect fit. The X Factor patterns include videos as well. On page 3 you will notice an active button that will take you to the video about adding or removing length. Please refer to it if you are taller or shorter than 5’5″. 
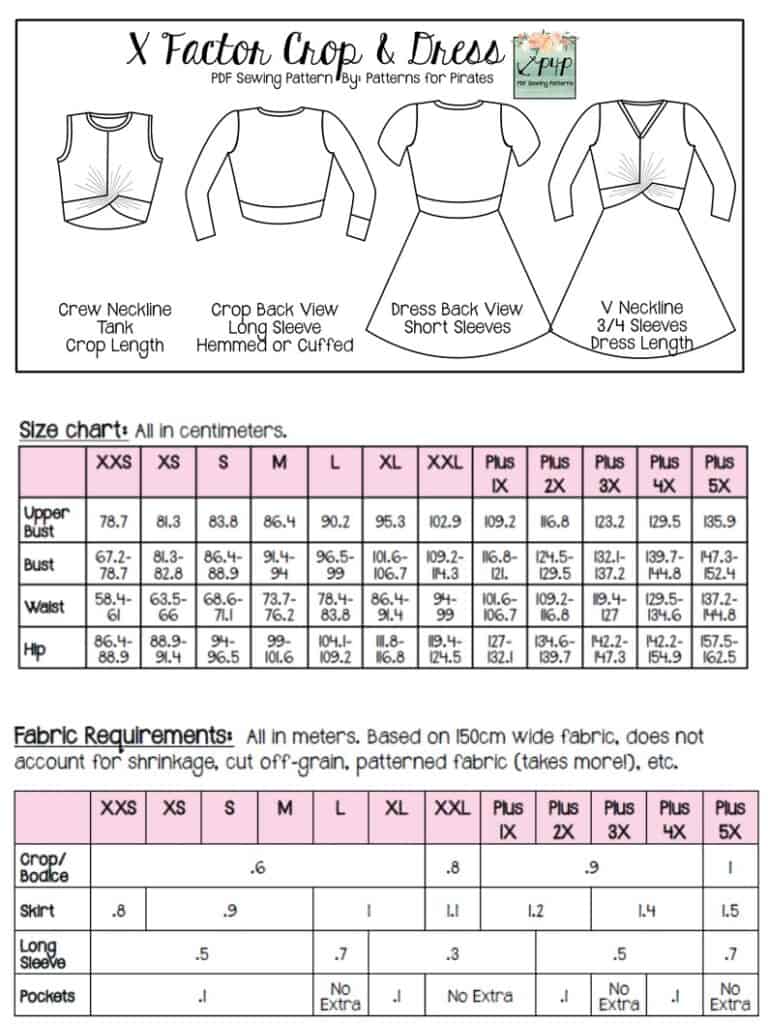


Unsure about which knit type will work best for your desired look? Take a look over our P4P University Knit Types blog. We also included a cheat sheet that you can print. If you are like me and sometime are just keen on using a specific print for a specific pattern, read our Different fabric, different fit blog post before you cut your fabric. 

The P4P team has started adding Projector Files to our new patterns. If you are looking to skip printing, buying rims of paper and ink, this new innovative way of cutting your patterns may be the option for you. I am using a mix of printed and projected pattern pieces for my dress. 

The X Factor is drafted for high and 4 way stretch knit fabric. My personal recommendations are rayon spandex, bamboo lycra, ITY, Cupro and double brushed poly. You can also use athletic knit and certain sweater knits. During this sew along I will be making the V neck dress style using a stunning Mily Mae Fabrics burgundy bamboo spandex. MMF is also this sew along’s sponsor so two lucky winners will receive gift certificates to their shopping website. 

You can see the first video below, including how I use my projector file for the bodice. Once you cut the fabric, post a picture of your pretty pile in the comments of DAY 1 photo of the X Factor album in the M4M & P4P Sew Along Group. 


X Factor SAL | day 1

X Factor SAL | day 2

X Factor SAL | day 3

X Factor SAL | day 4

X Factor SAL | day 5

X Factor SAL | day 6

X Factor SAL | day 7

Filed Under: Frequently Asked Questions, Sew-A-Long, Uncategorized Leave a Comment

New Pattern Release :: Sailor Gaiter FREEBIE (5 Sizes Included!)

July 30, 2020

2020 has been a rough year for a lot of people, and so we’re popping in with an unscheduled freebie to hopefully make your day today!

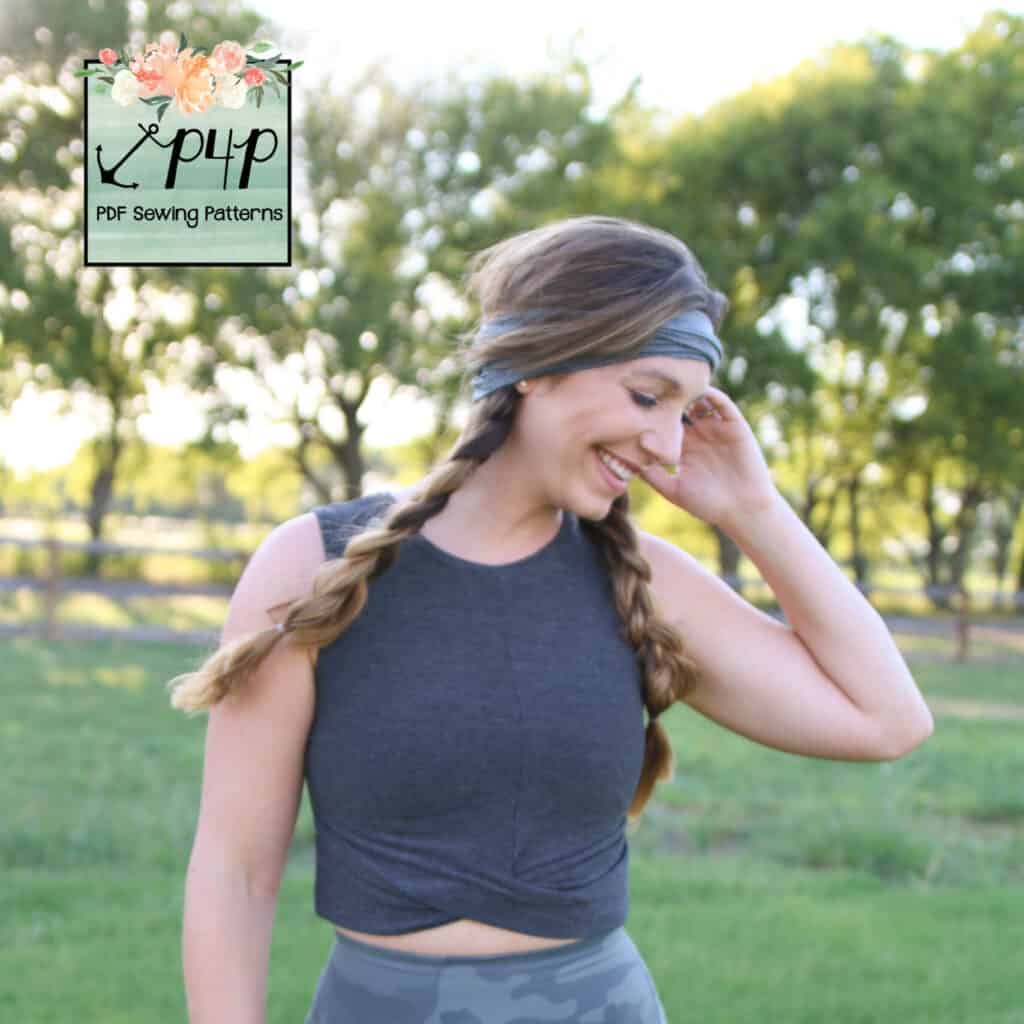
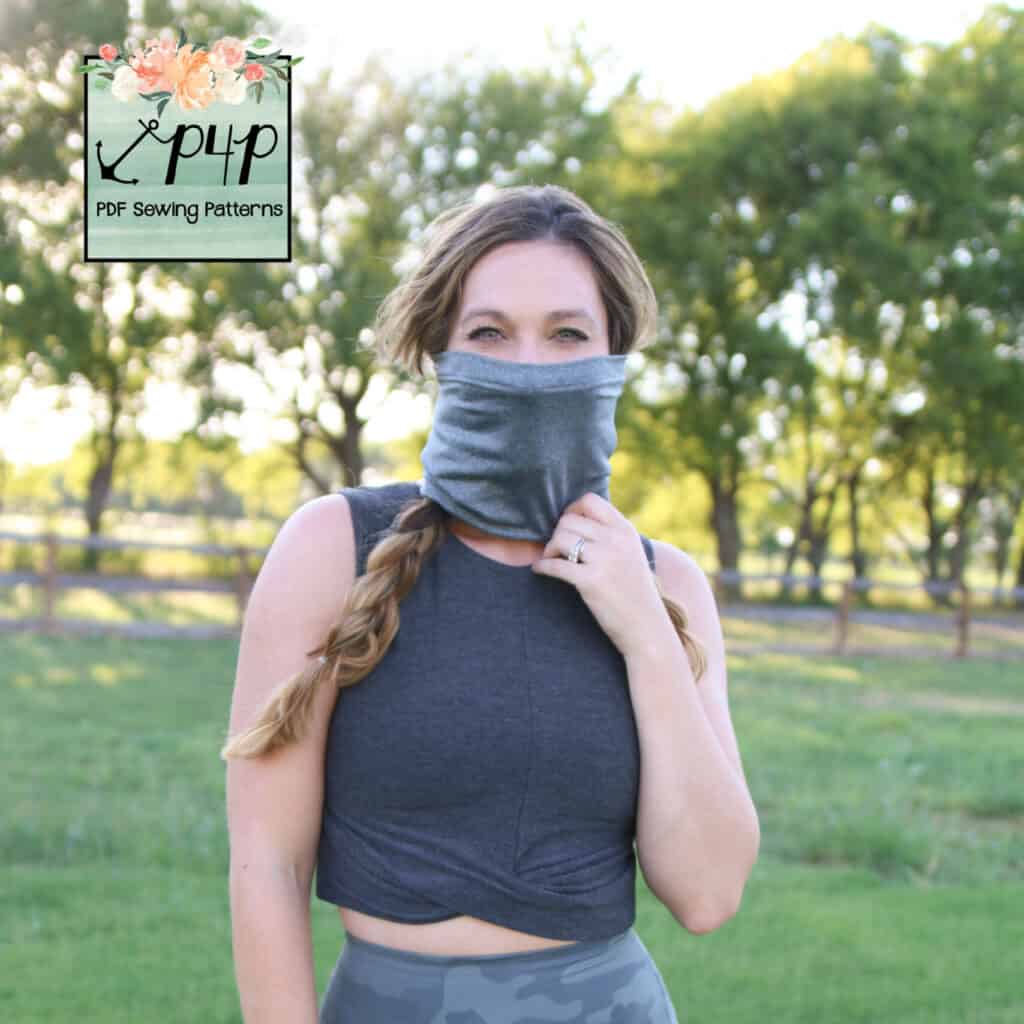
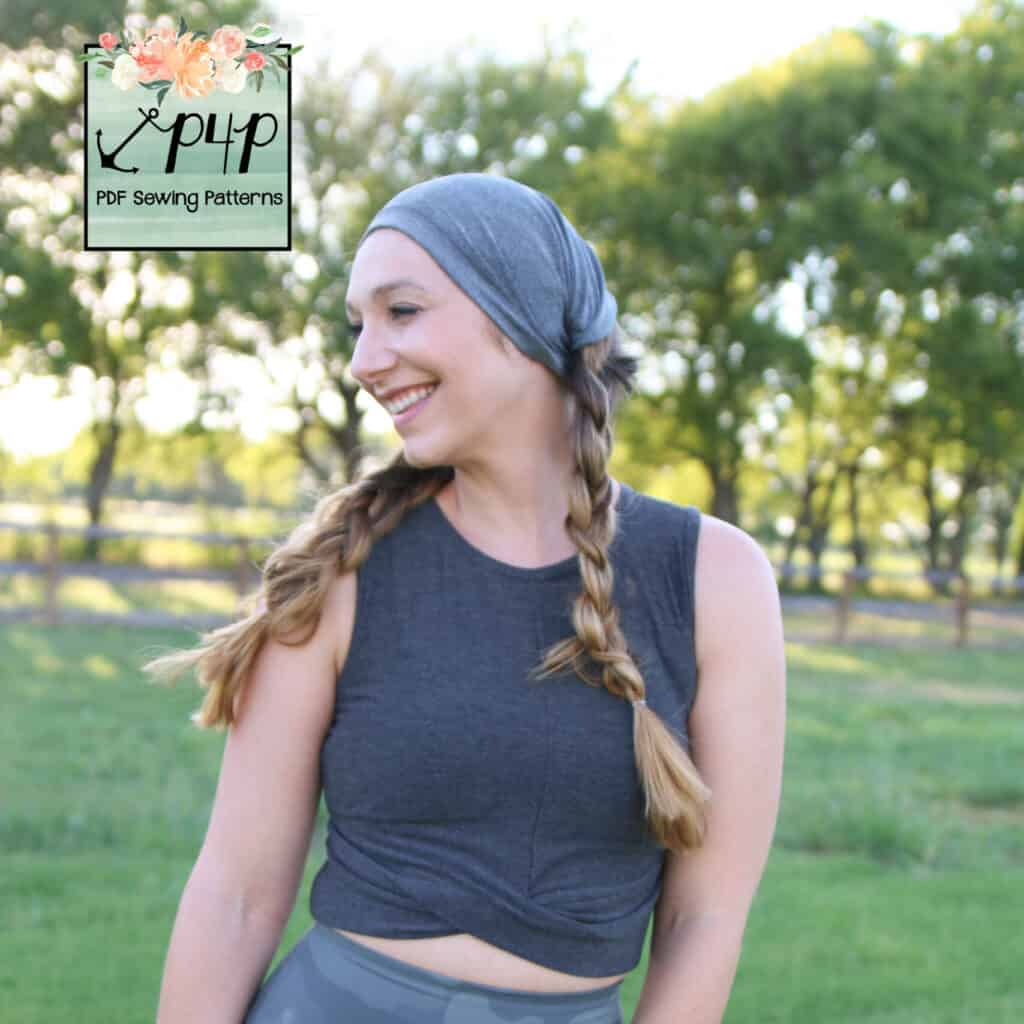
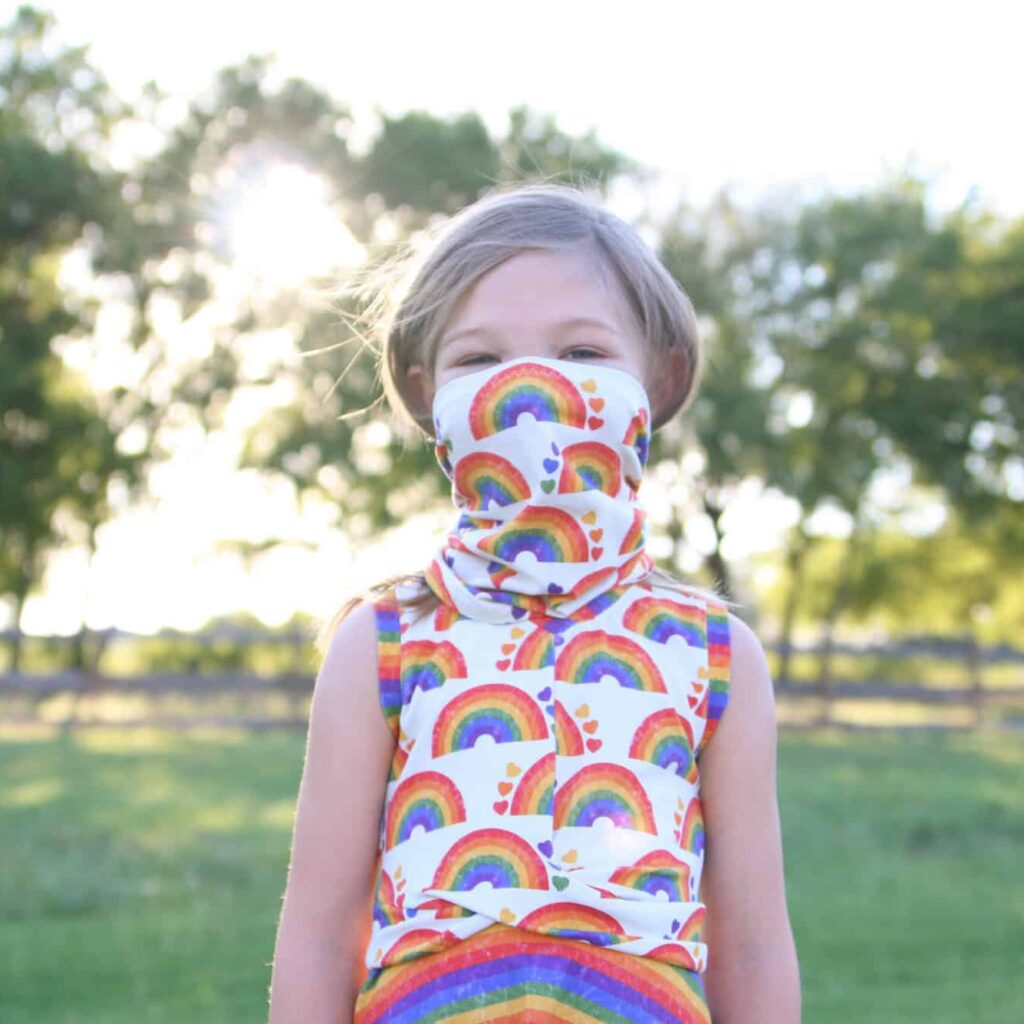
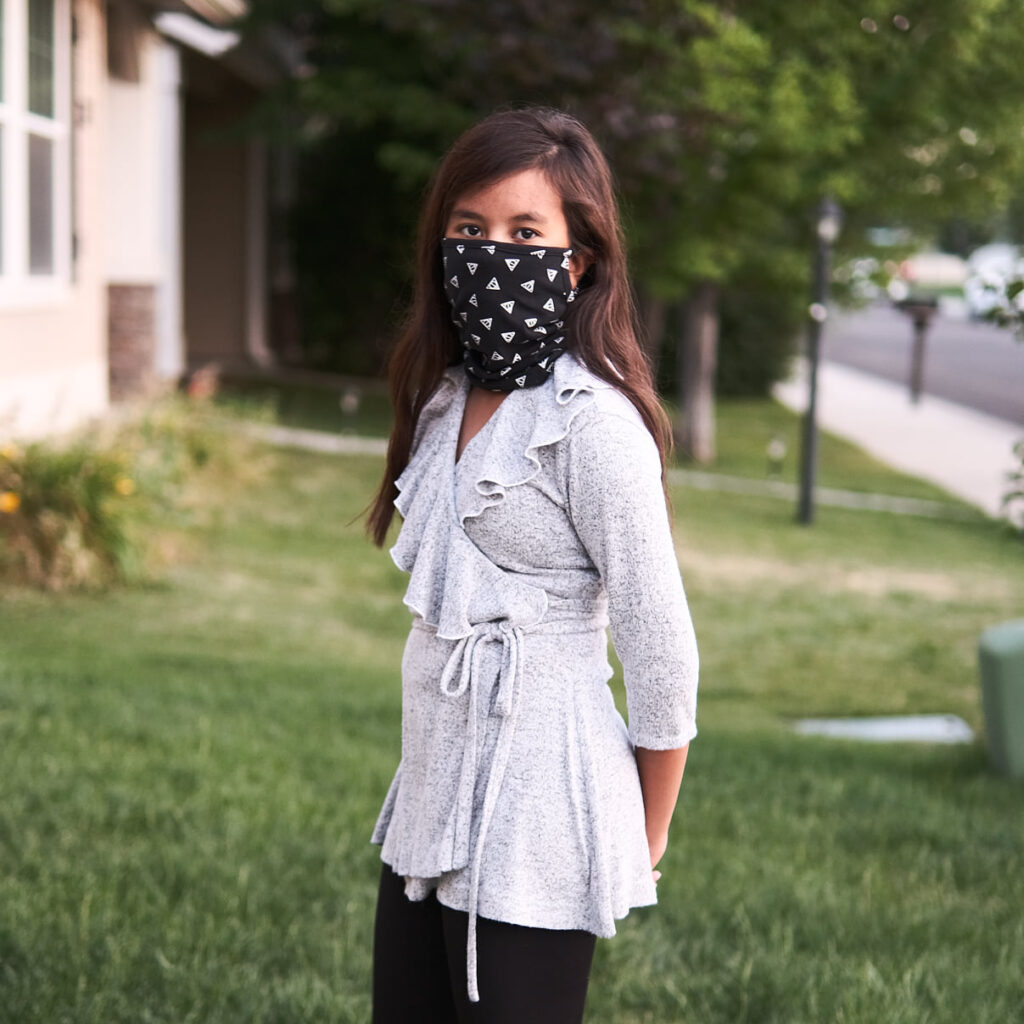
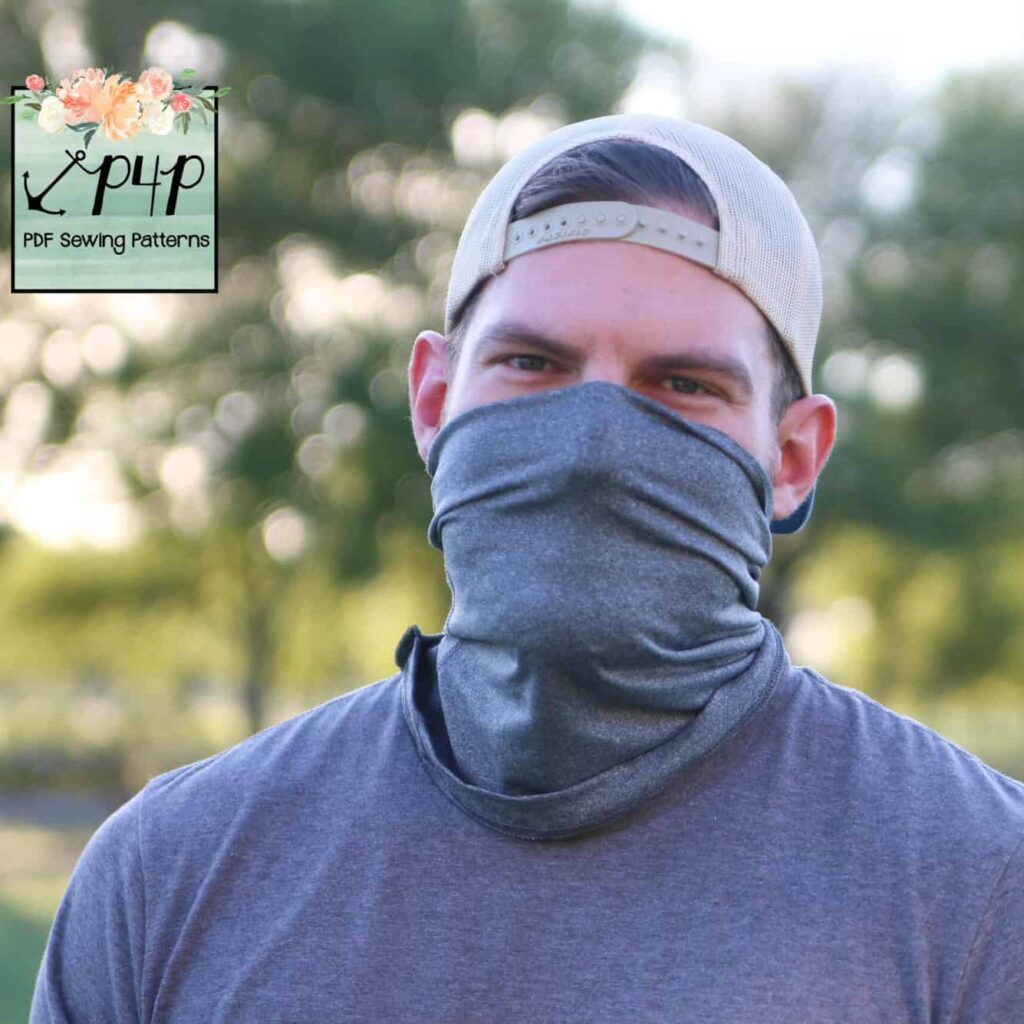
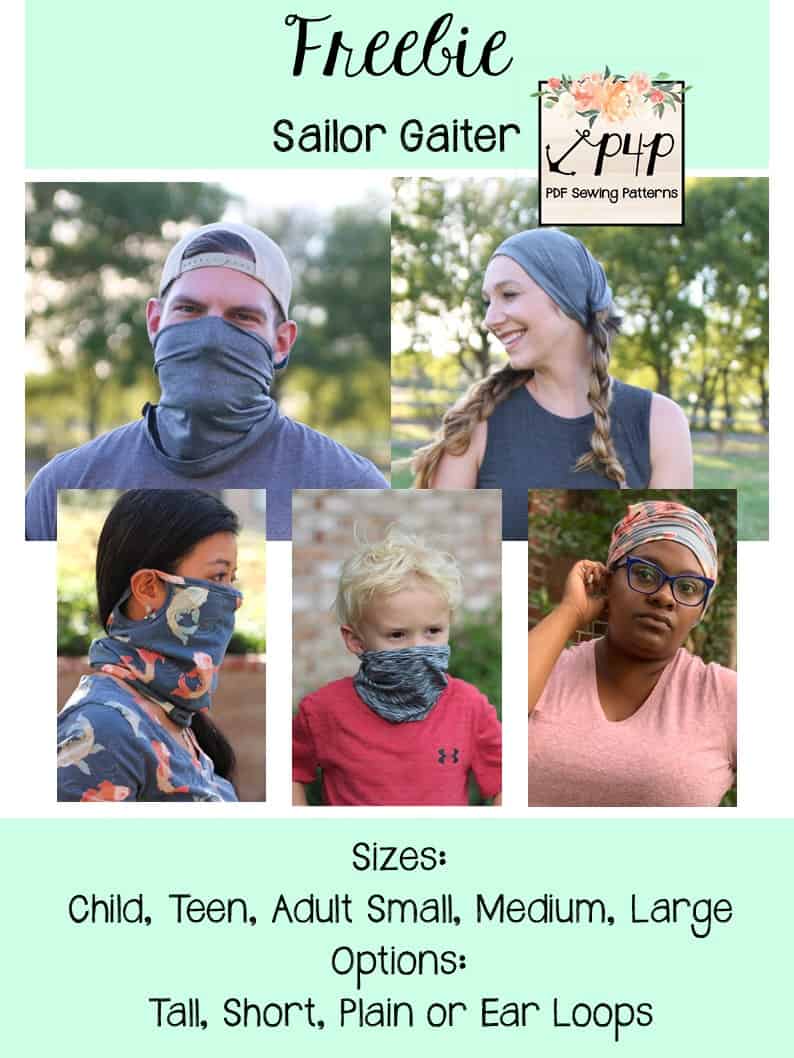
The Sailor Gaiter is a classic knit, stretch neck gaiter.  It is super useful for everyday situations (think: bicycling, working out, general accessorizing, etc.)!

**If you’re planning on using this as a face covering, per your local mandated requirements, please review the guidelines provided by the CDC. This face covering is intended for general public use only and is not intended as a replacement for medical grade PPE.

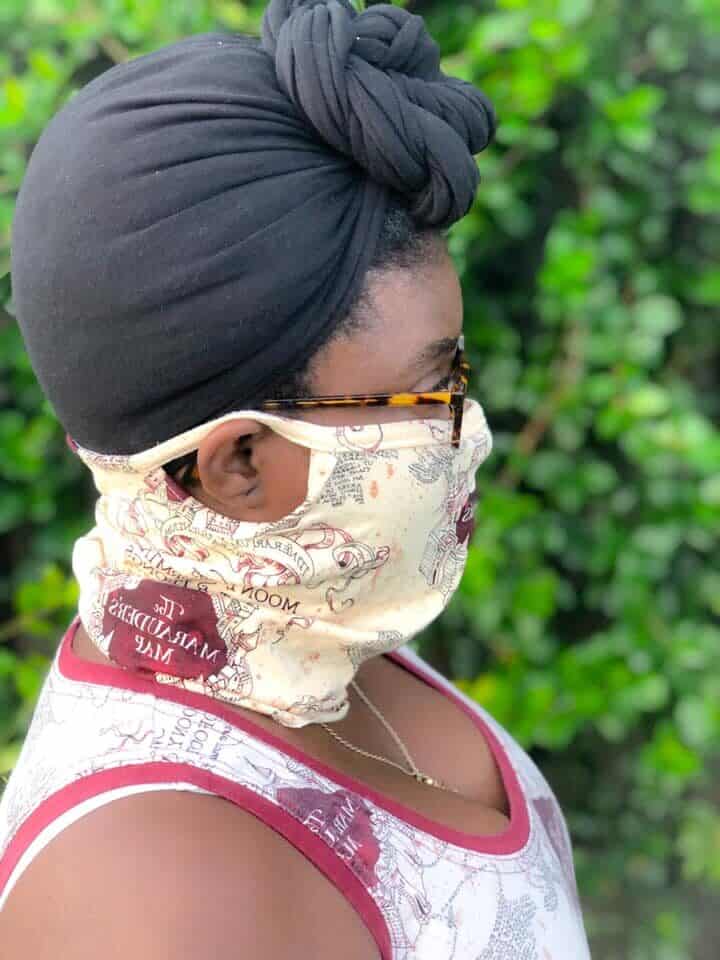
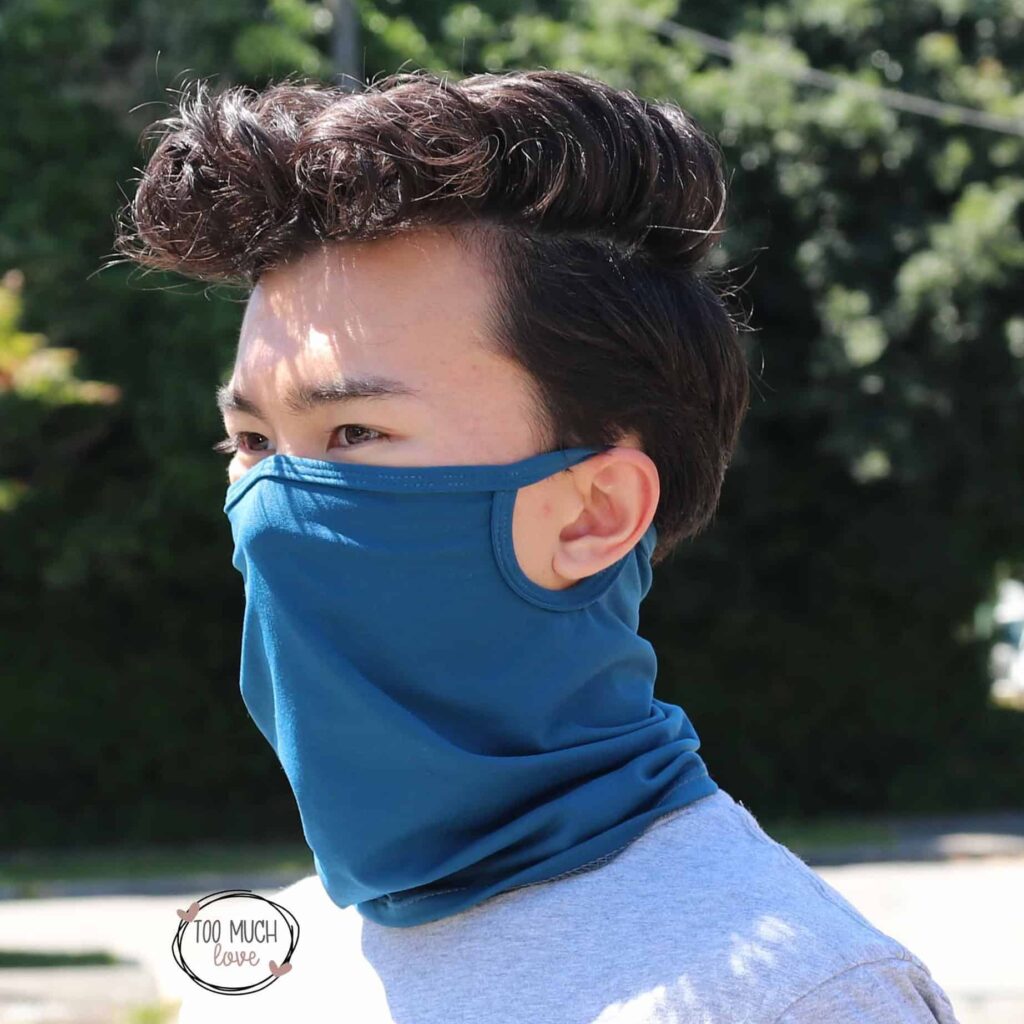
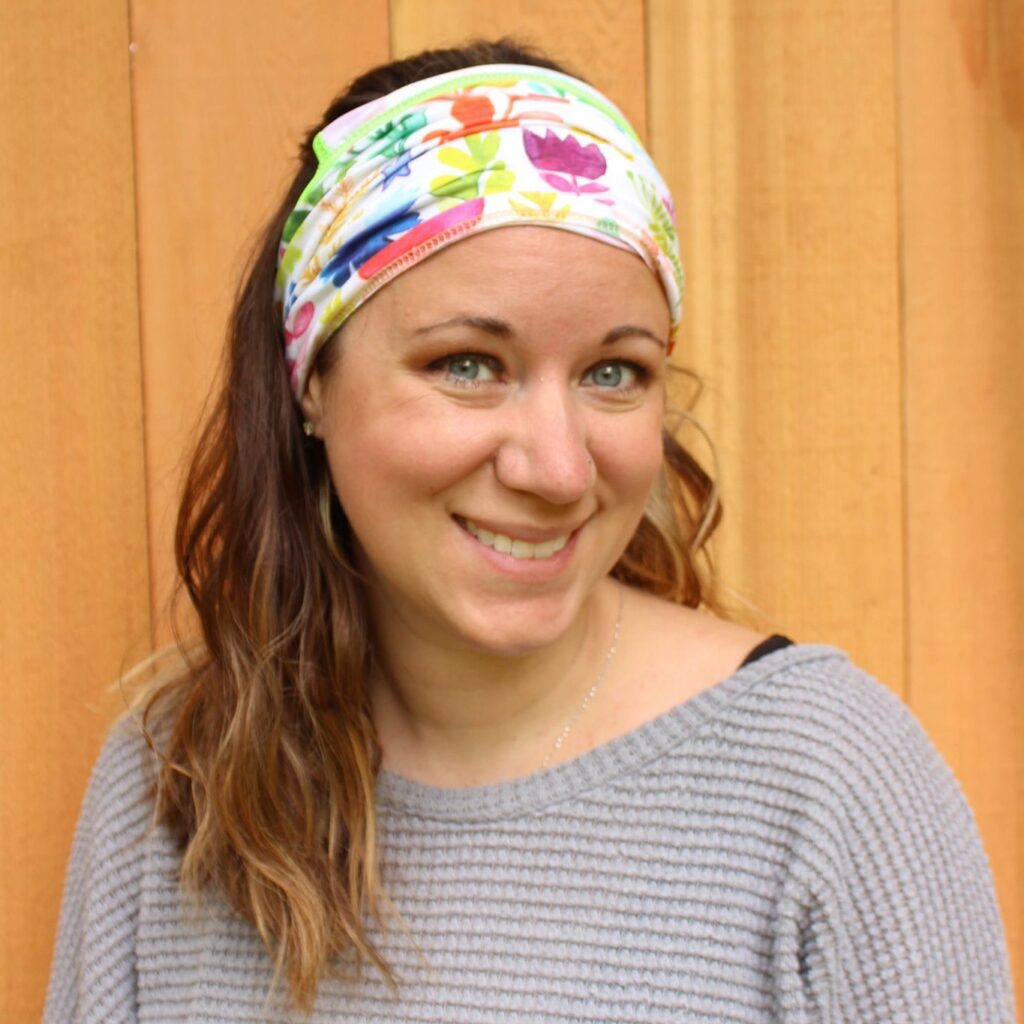
You can wear it a ton of different ways for your own style and whatever you’re doing at the time.  Some of the most popular ways are as a face covering, headband, around your neck,  (the tall option) hat/beanie, and more.


We also added a ear loop option to help keep it on and up for those doing activities moving around a lot.

You can line it for a 2 layer option or just use 1 layer and hem the edges.
**If you choose the double layered option, you might want to consider sizing up, as it can start to get a bit tight with those extra layers!

The Sailor Gaiter is a perfect scrap buster!  It takes very little fabric, and very little time to put together!  All you need is some high stretch knit and you’ll be on your way. Our favorite fabric types for the gaiters were cotton lycra/spandex and athletic knits.

With five sizes in this quick and easy pattern, you can create a Sailor Gaiter for everyone from child to large adult.

What are you waiting for?  Go grab the pattern now!  SAILOR GAITER FREE PATTERN  And then be sure to head over to our Facebook Group, or to tag us on Instagram so we can see what you made!


We hope this freebie helps make 2020 just a little smoother for you and yours.

Filed Under: Free Pattern, Pattern Release 2 Comments

New Pattern Releases :: XFactor Crop + Dress!

July 29, 2020

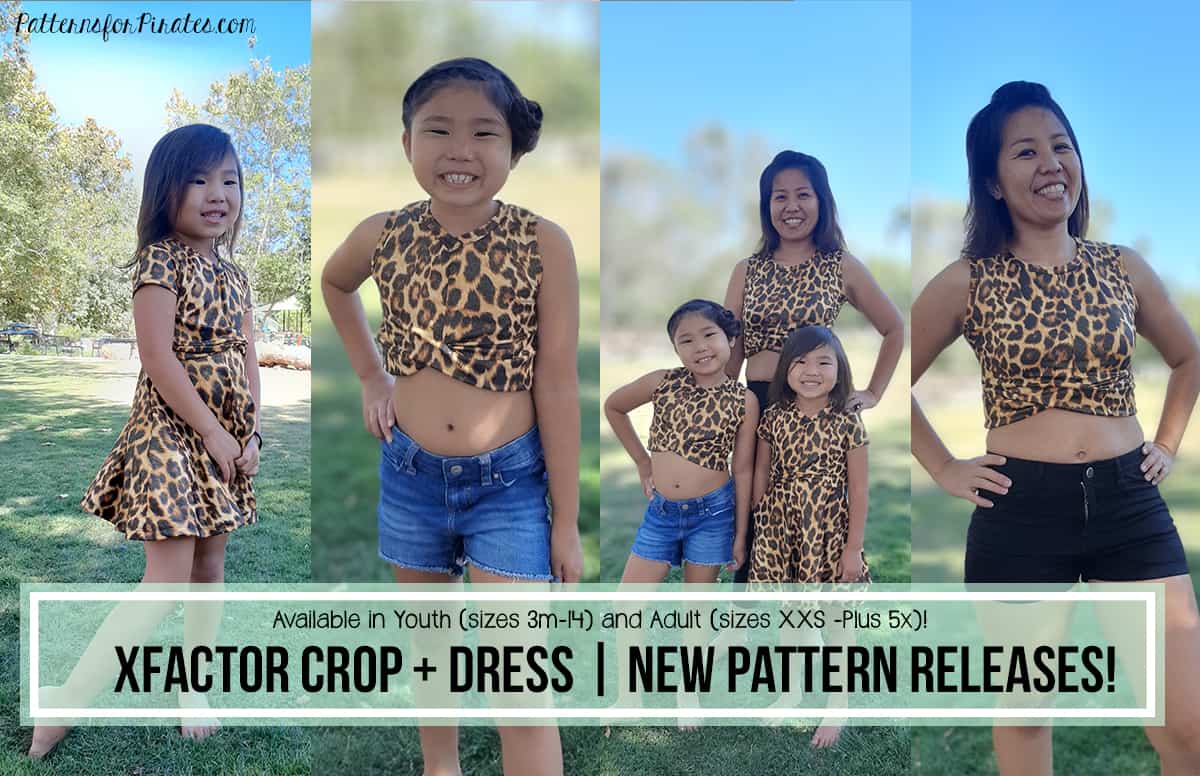
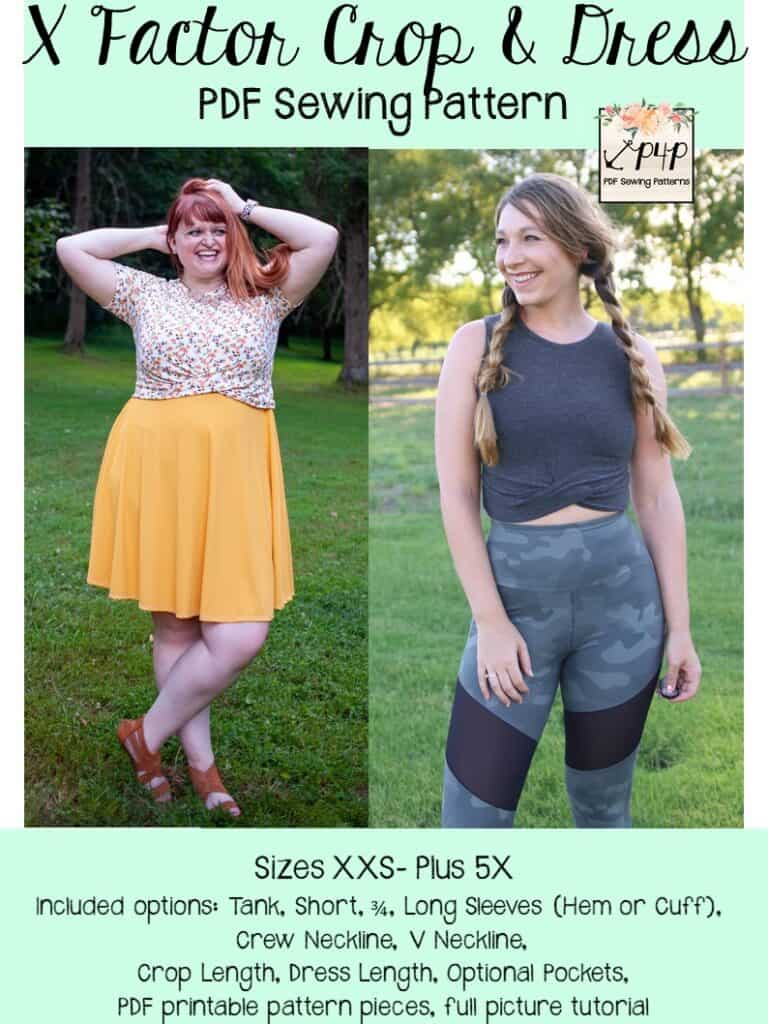
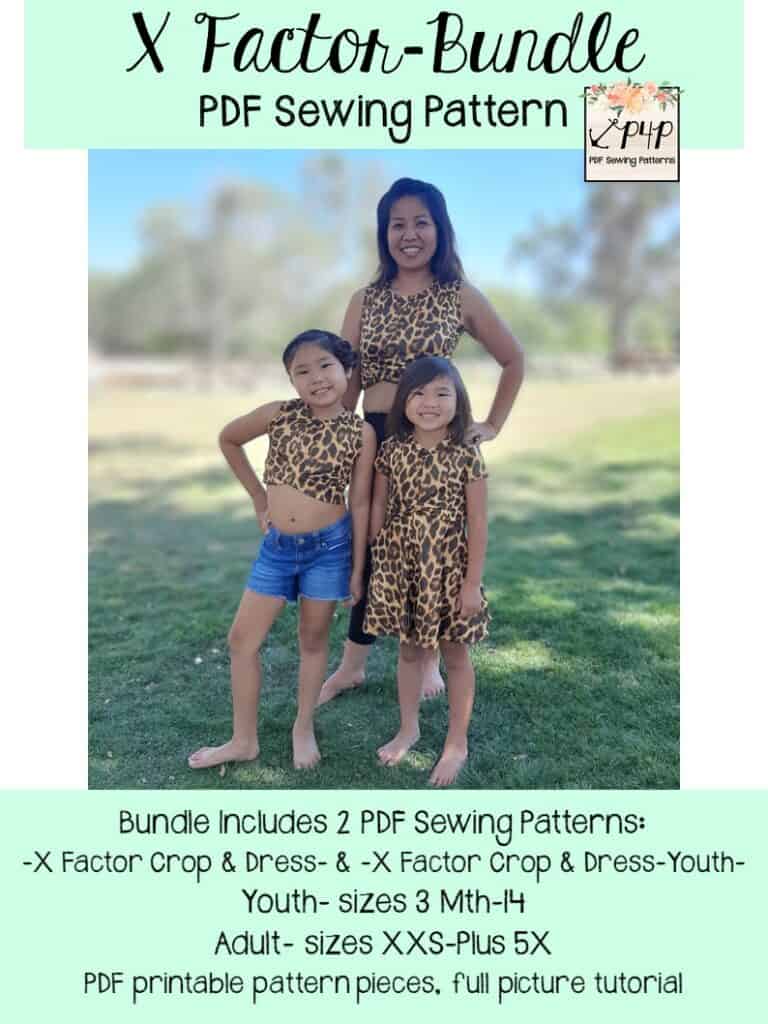
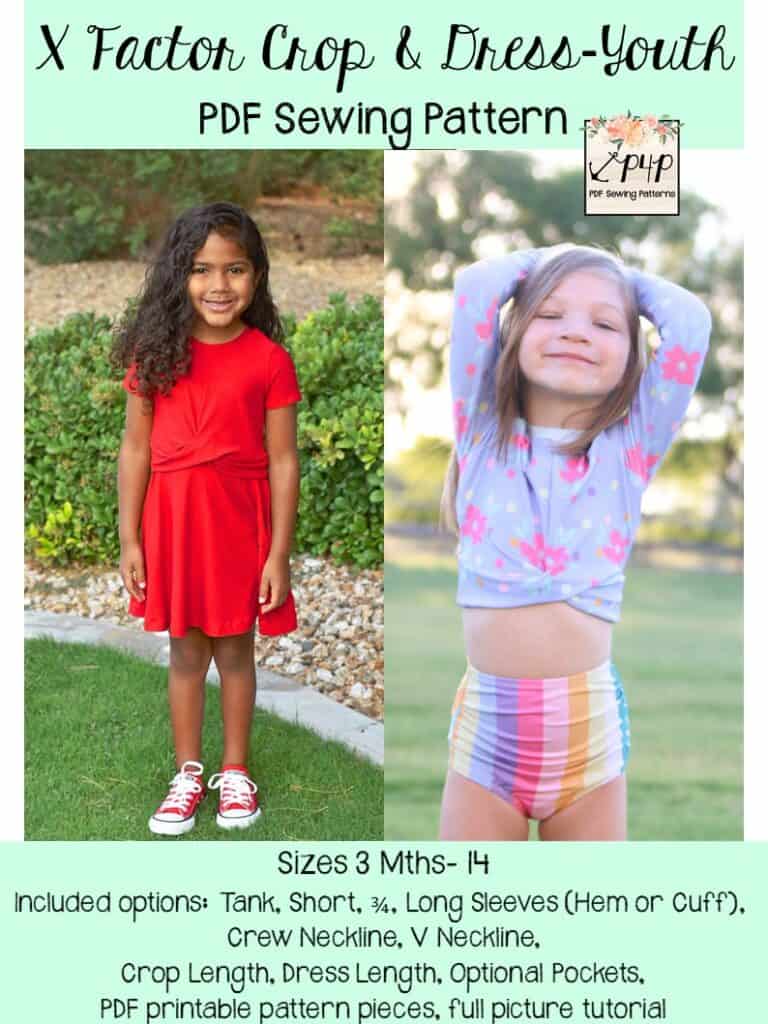
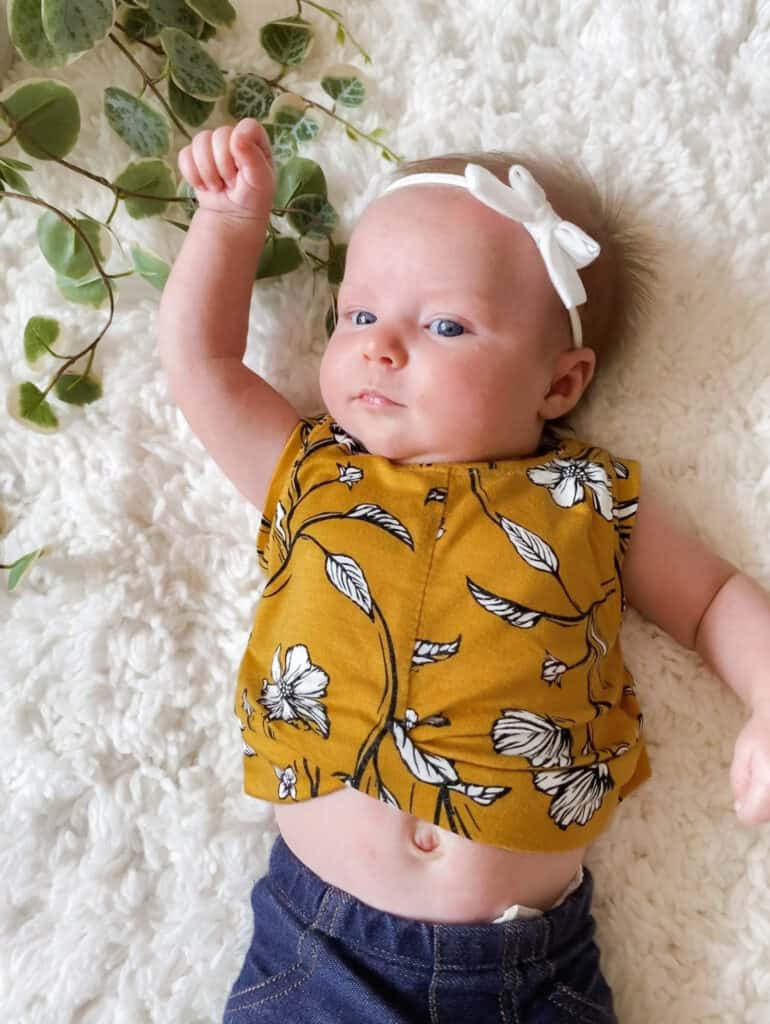
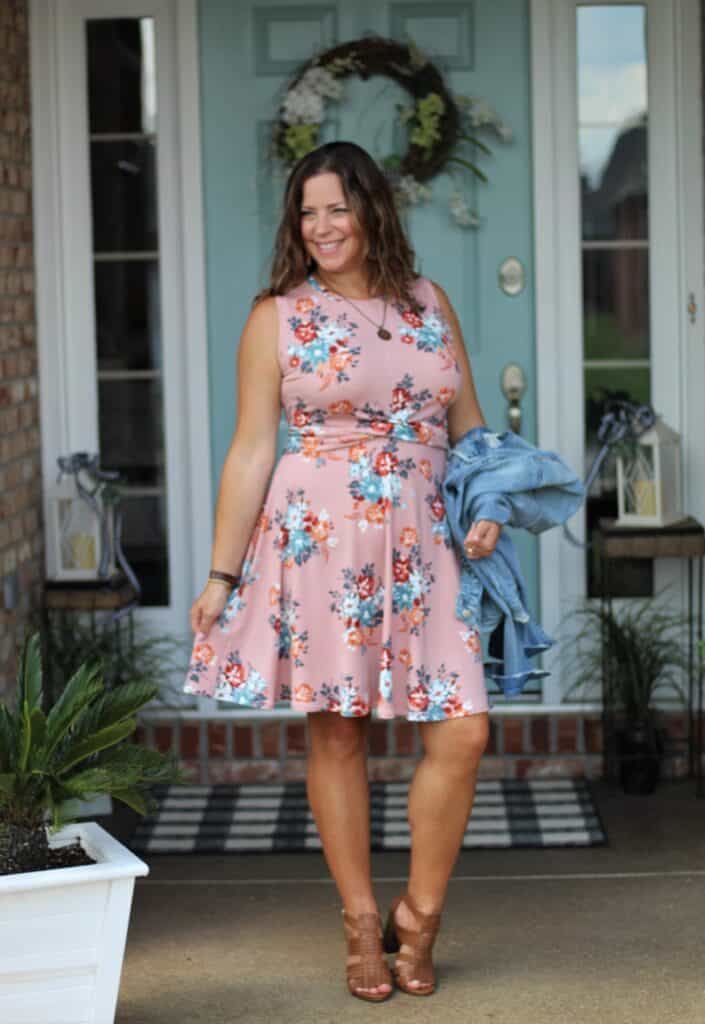
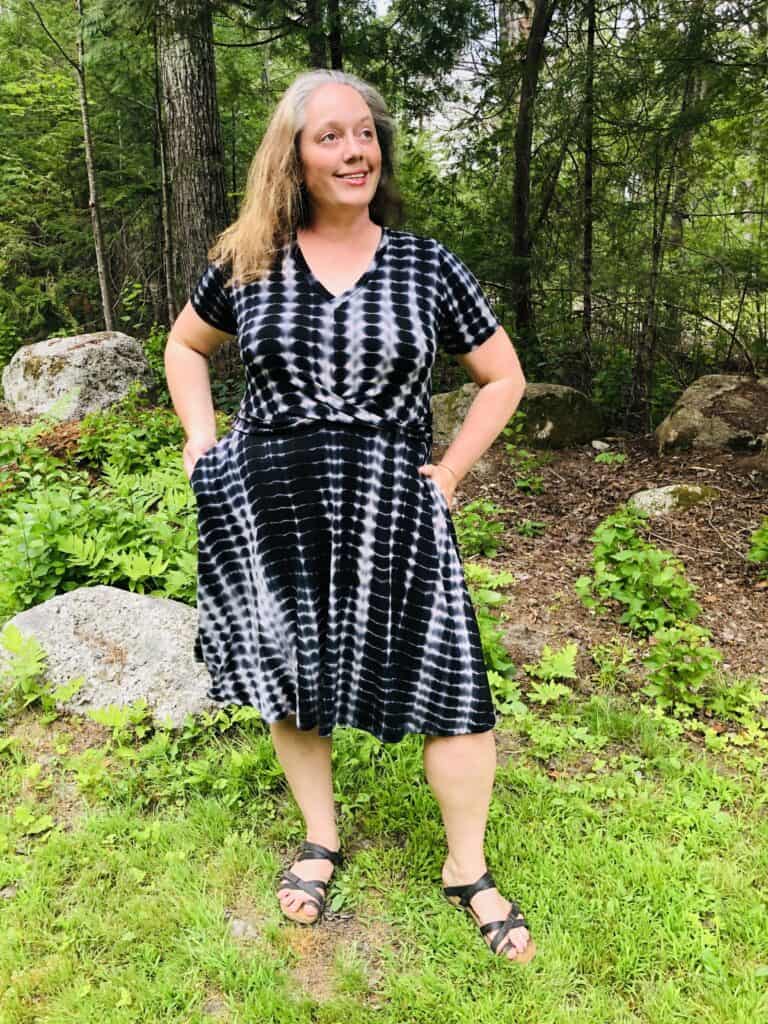
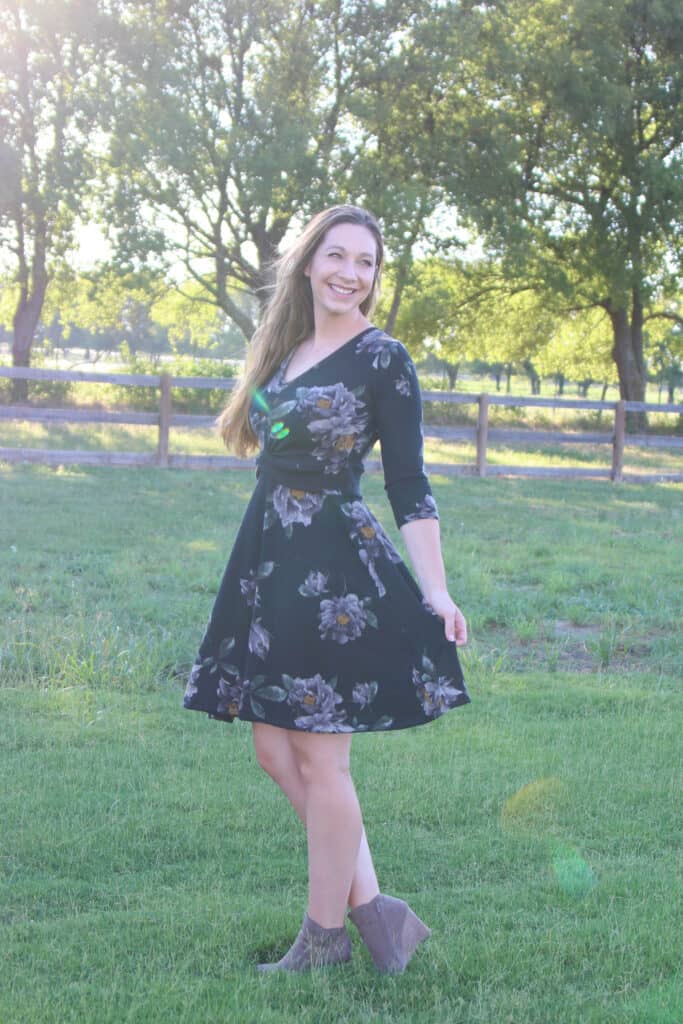
We’re so eXcited!  Why?  Because the newest pattern from P4P just dropped today and it’s eXcellent!  The XFactor Crop + Dress, for us Pirates, is one of those “x marks the spot” kind of deals.  We are just in love with it and think you will be too.  For both of these patterns, the youth sizes range from 3m – 14.  And the adult sizes are for the full, newer size chart, extending from XXS – Plus 5X!  If you haven’t sewn with us in a while, please make sure to check the size charts, as there were slight adjustments made to accommodate the new size range for adults.


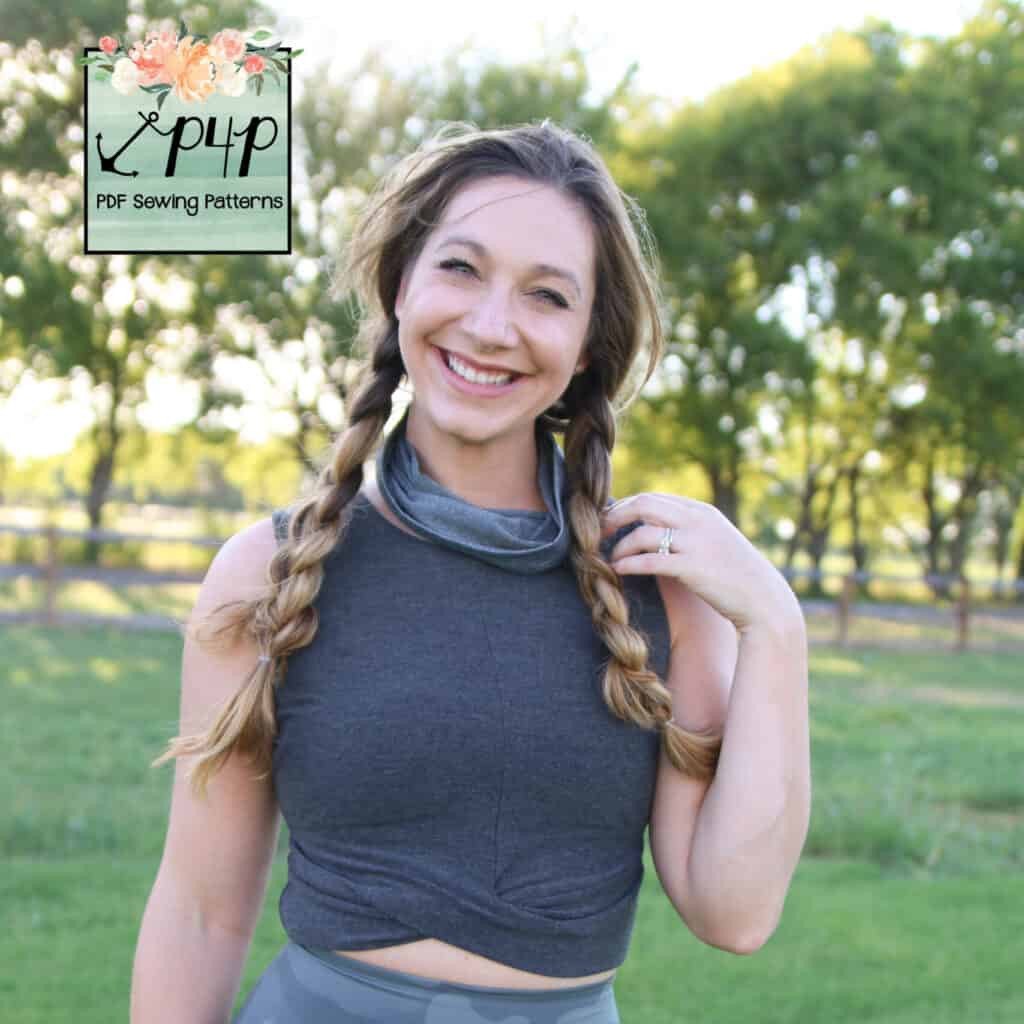
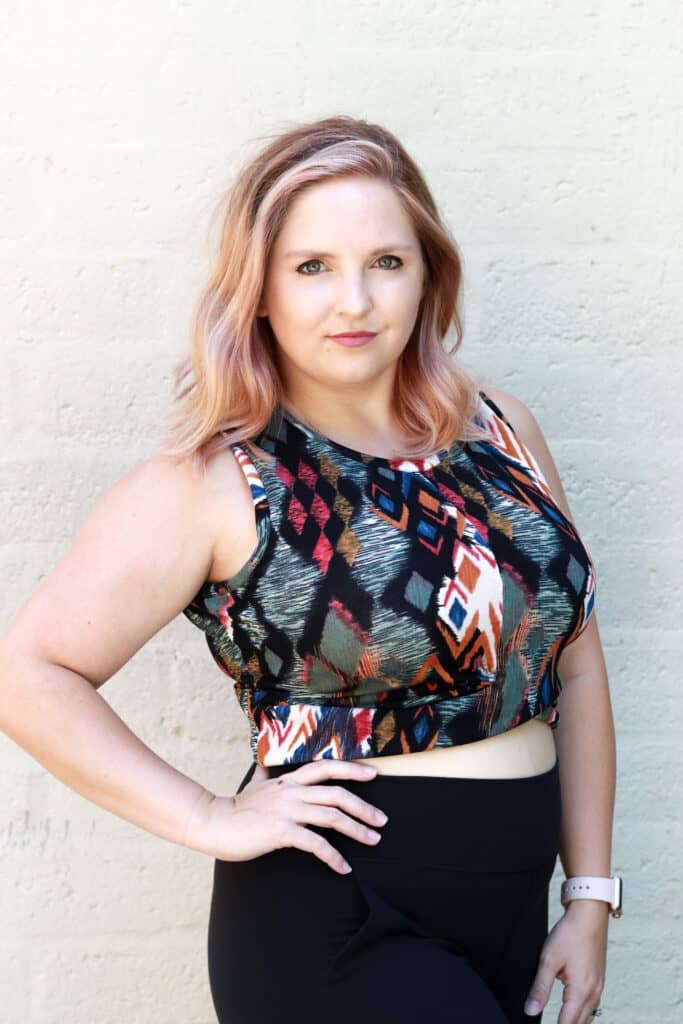
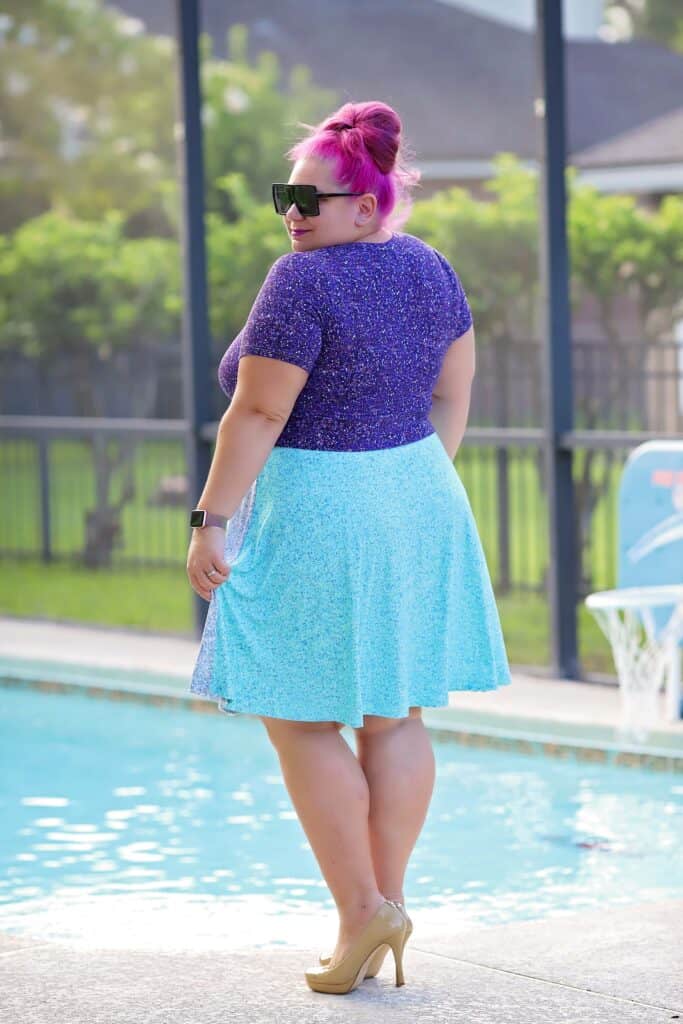
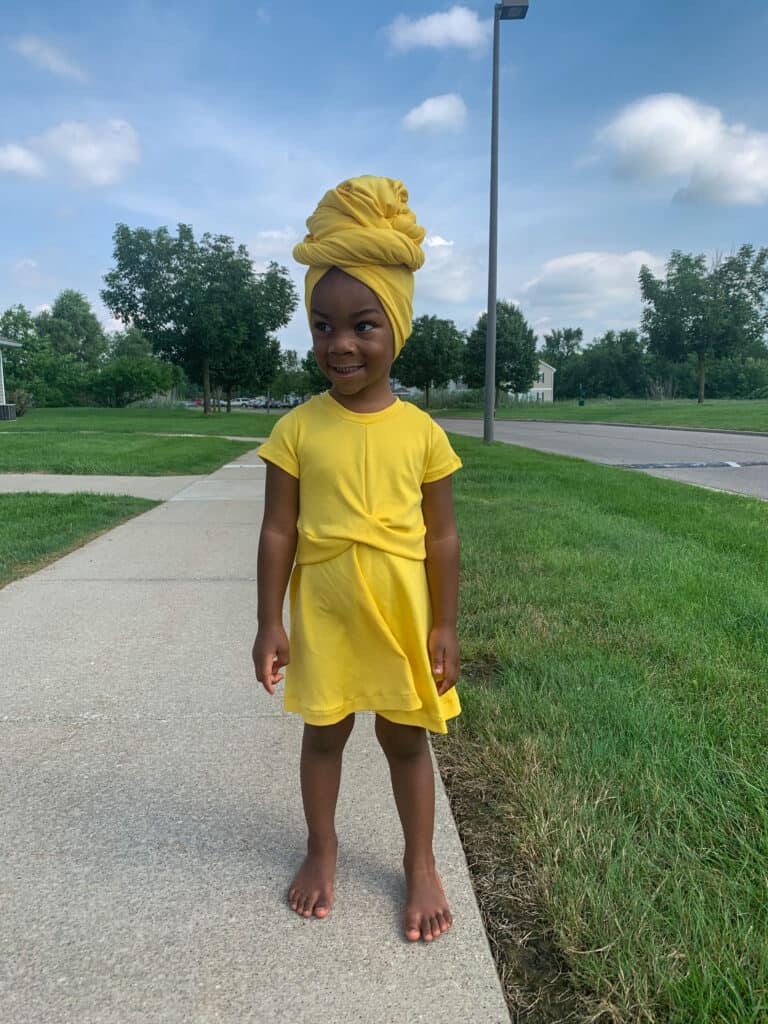
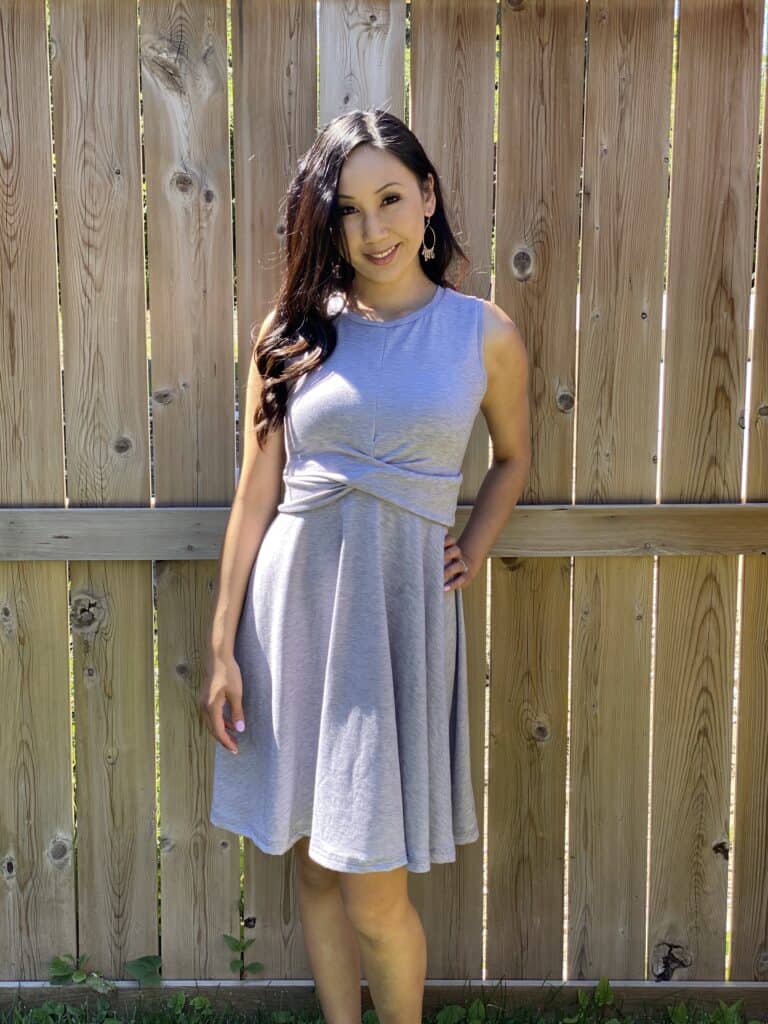
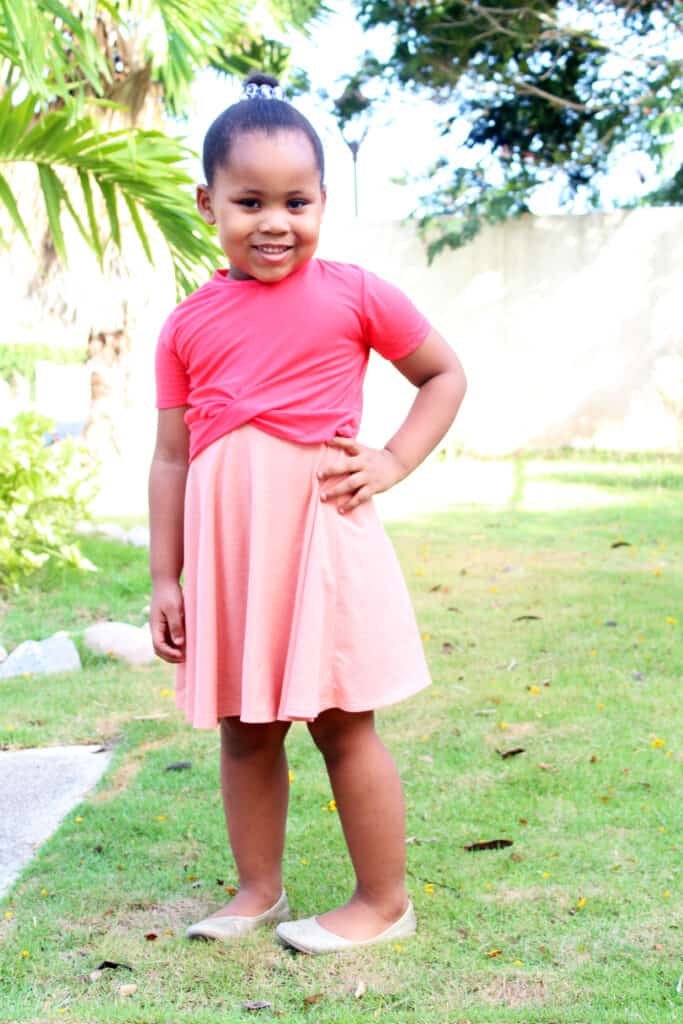
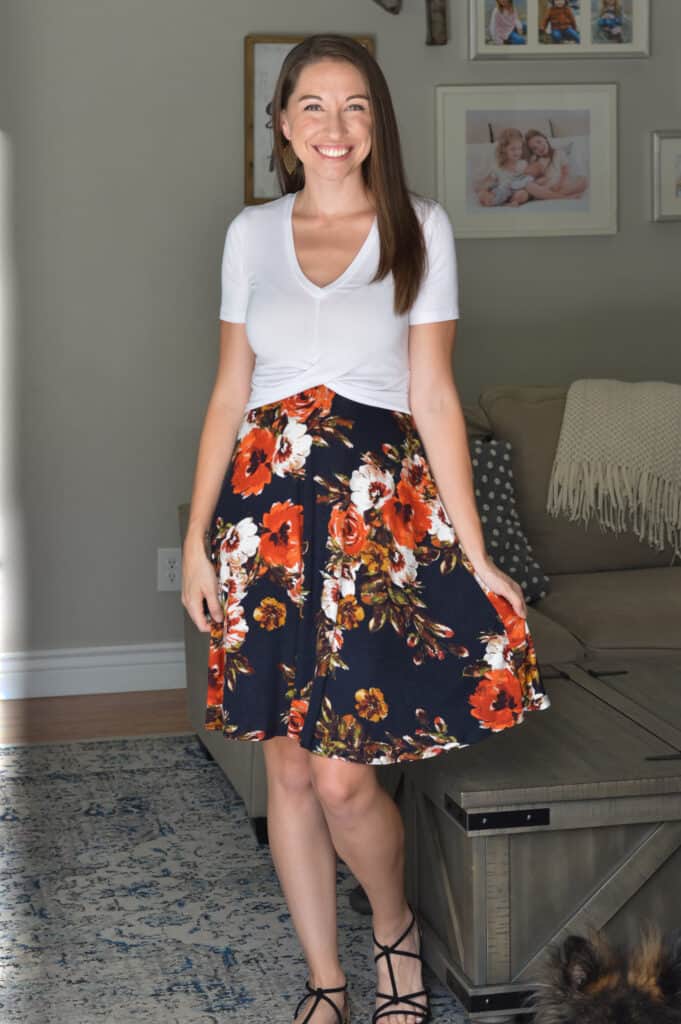
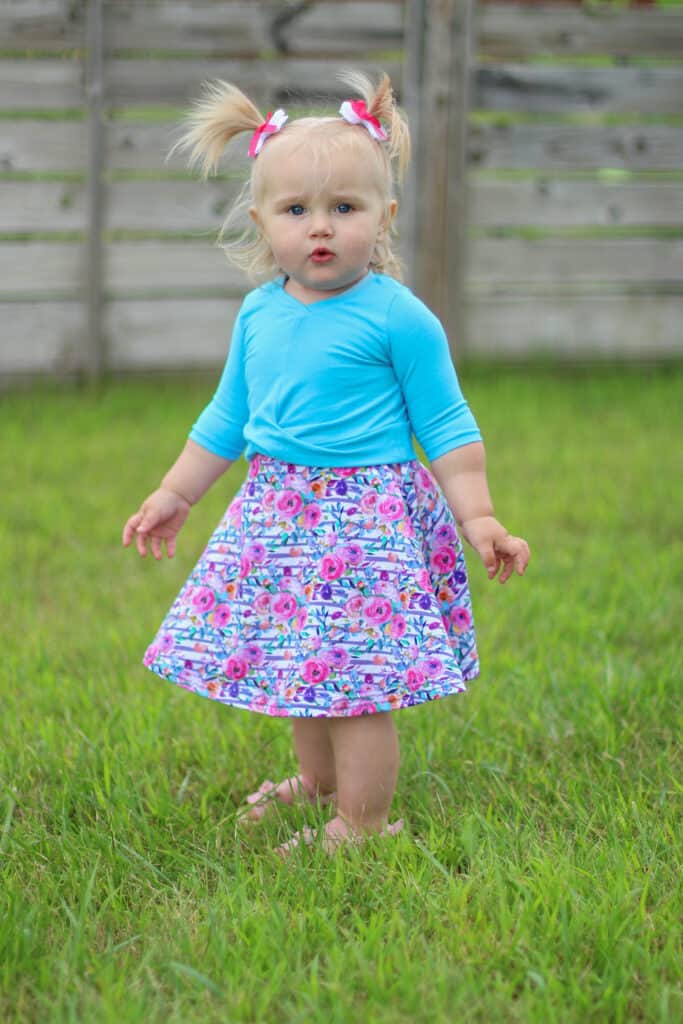
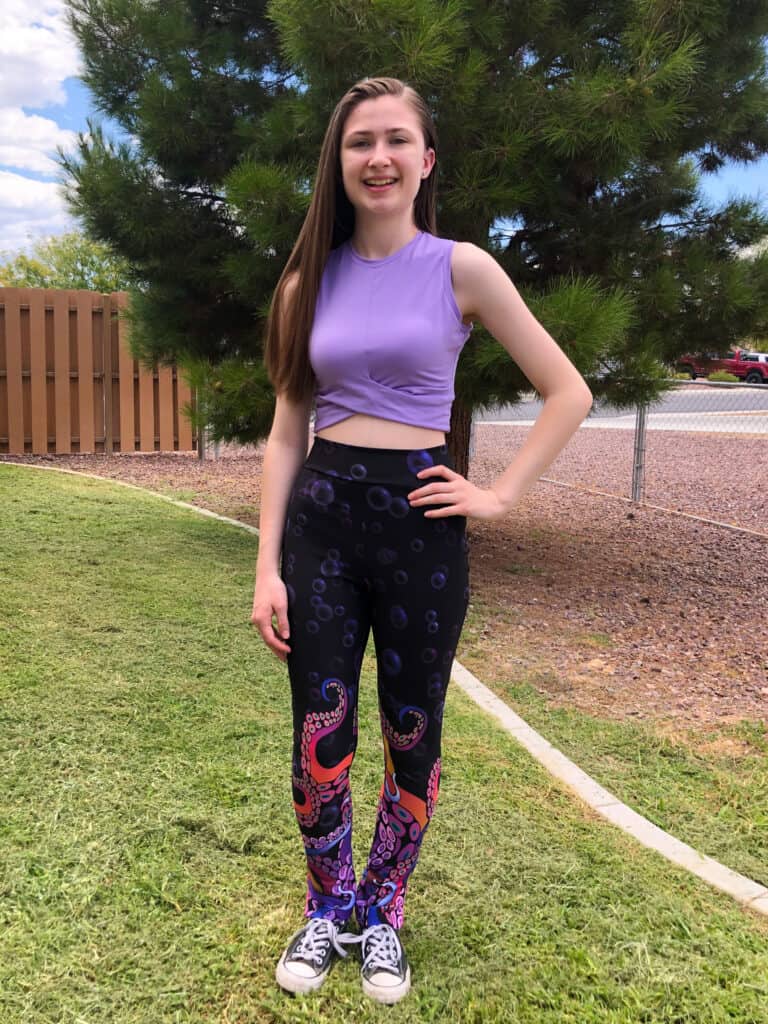
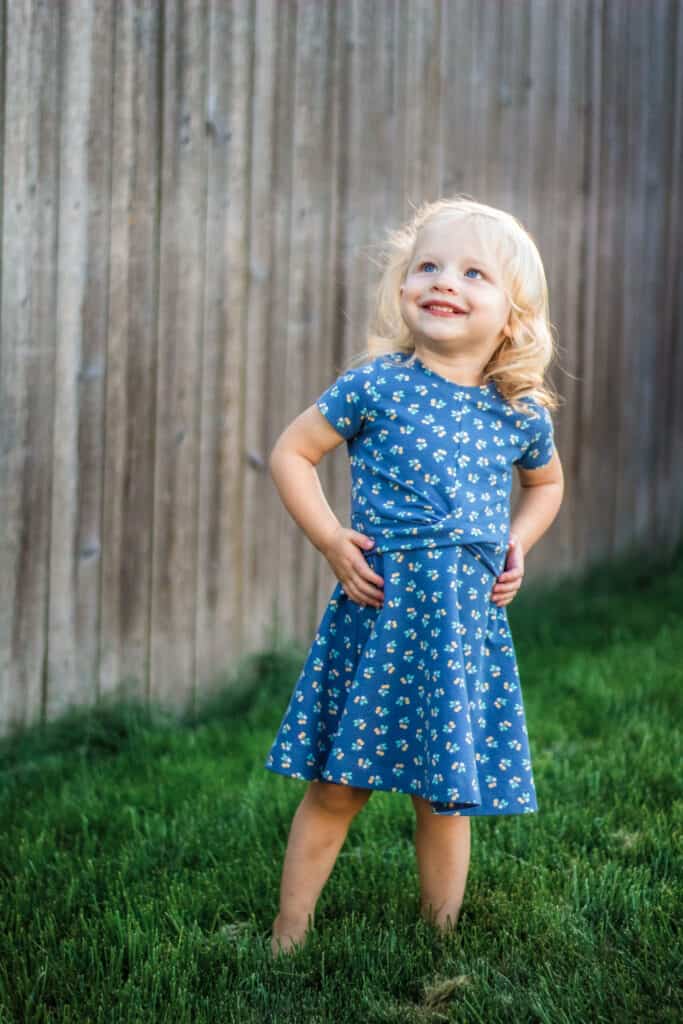
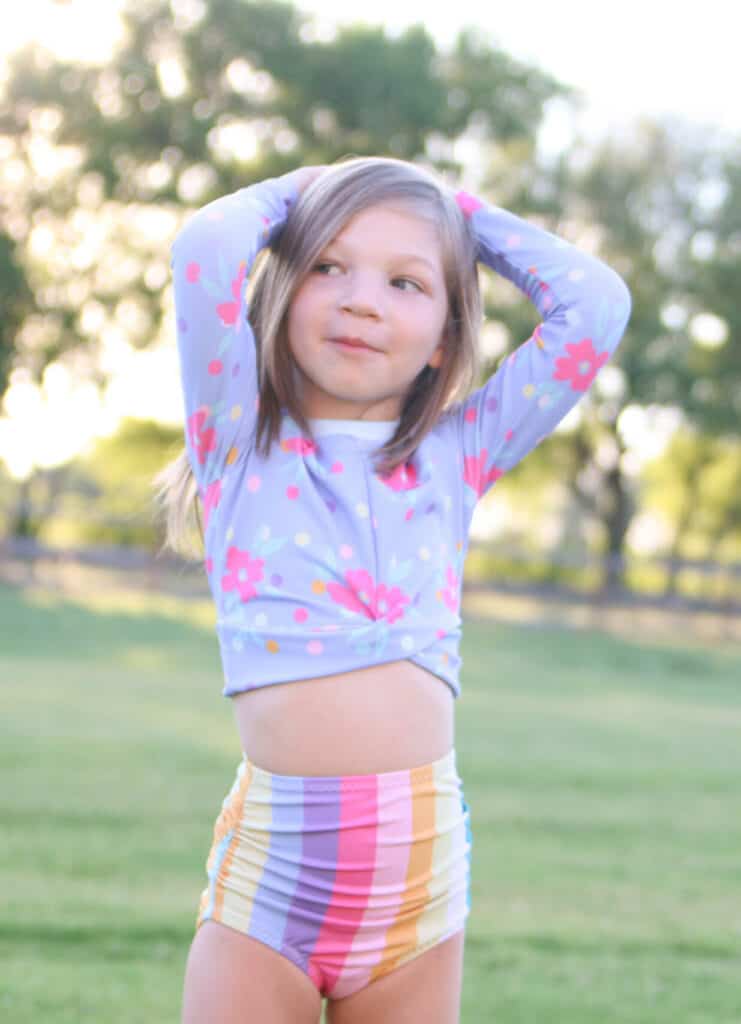
The X Factor Crop & Dress is an adorable pattern that gives you drastically different garments depending on the options you choose. You can create a cute, trendy workout crop or rash gaurd. Or you make a fit and flare dress that is comfortable and flattering.

Options include: crop / dress length, vneck / crew neck, short / three-quarter / long (hemmed or cuffed) sleeves, or tank top.

Also enjoy several videos throughout the tutorial, including a complete sew-up of the pattern.


**Want to learn more about how to measure yourself for this pattern?  We’ve got you covered with an in-depth blog HERE.  And in case you’re new to Patterns for Pirates and PDF patterns in general, we have a great blog full of new-user tips HERE to help you get started!  As with all of our current releases and updates, the pdfs now include our layers feature and can be found in Letter, A4, A0 and projector sizes.  And for even more helpful fun, we have a *free* printable that you can use to help record your measurements as you take them.

Let’s take a quick look at the different options and features!

CROP + DRESS LENGTH


CREW + V NECKLINE


SLEEVE LENGTH OPTIONS


What are you waiting for?  Head on over and grab yourself a copy of this eXtra fun new pattern!  The Xfactor patterns are available on sale (no code needed) through 11:59pm CST, August 4, 2020.

XFACTOR CROP + DRESS | XFACTOR CROP + DRESS – YOUTH | XFACTOR CROP + DRESS – BUNDLE

Maybe hoping for a little more inspiration before you make the purchase?  Head over to our Facebook group where you can see tester albums full of amazing images!  Adult Album / Youth Album

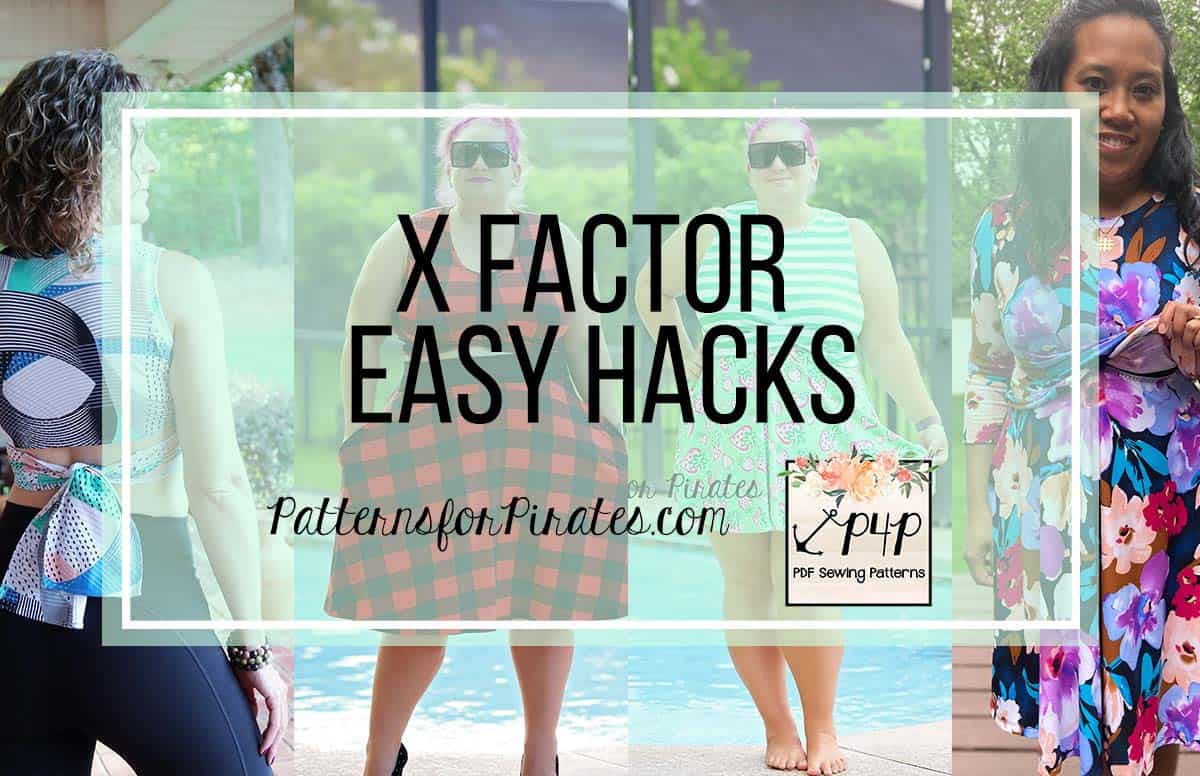
If you’re looking for even more options, we show you a few more ways you can use this pattern in our XFactor Easy Hacks post.

Filed Under: Pattern Release Leave a Comment

New Pattern Releases :: Sunflower Swim Top + Busy Bee Swim Bottoms!

June 27, 2020

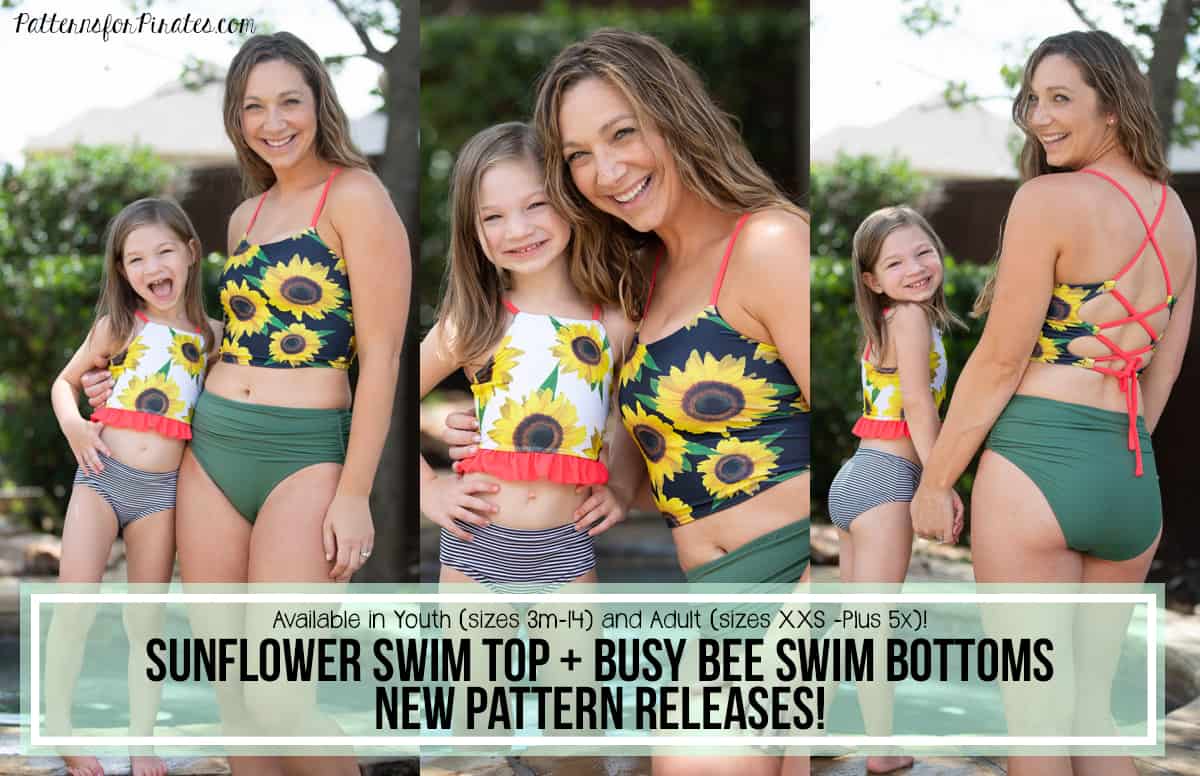
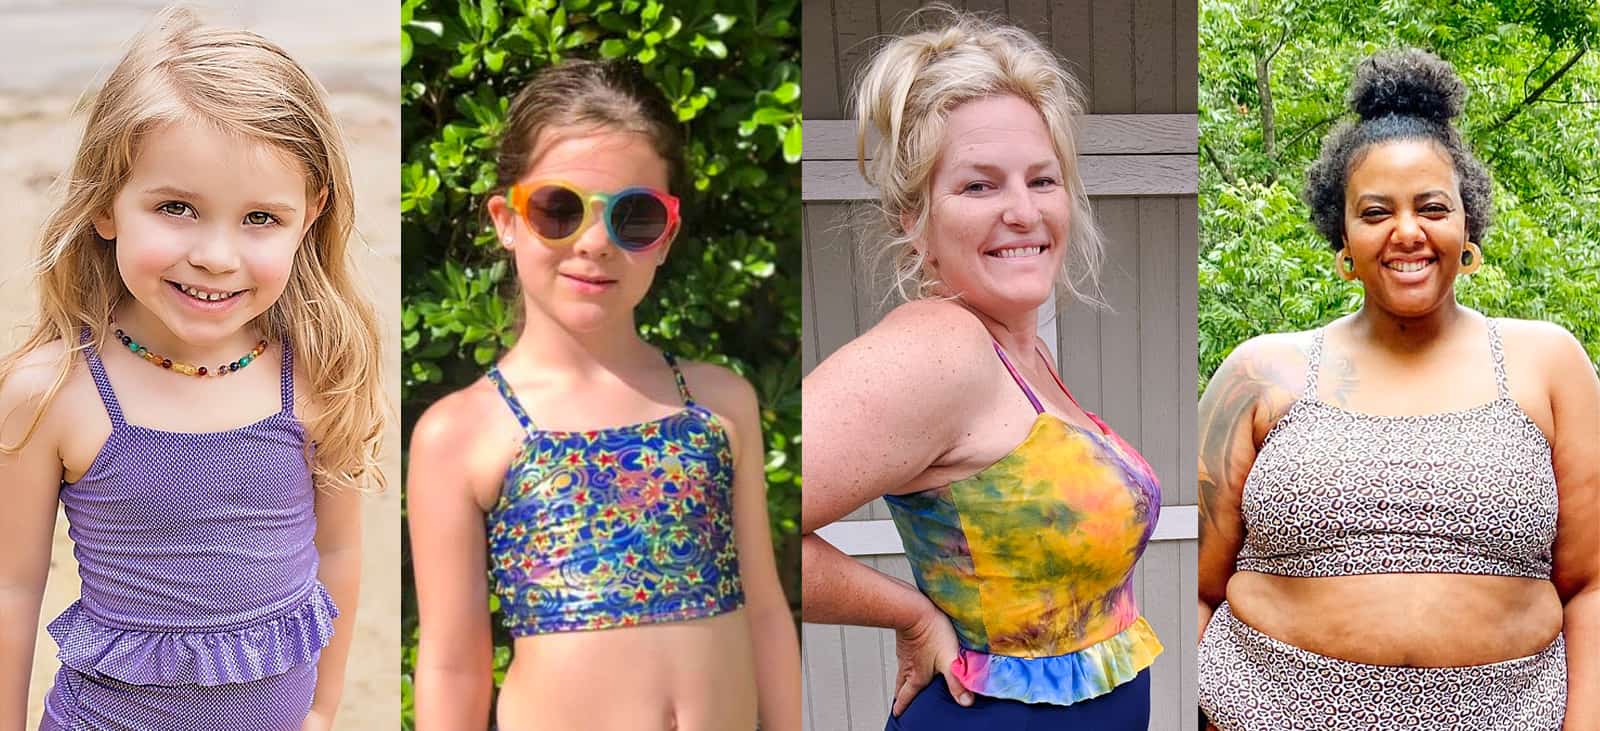
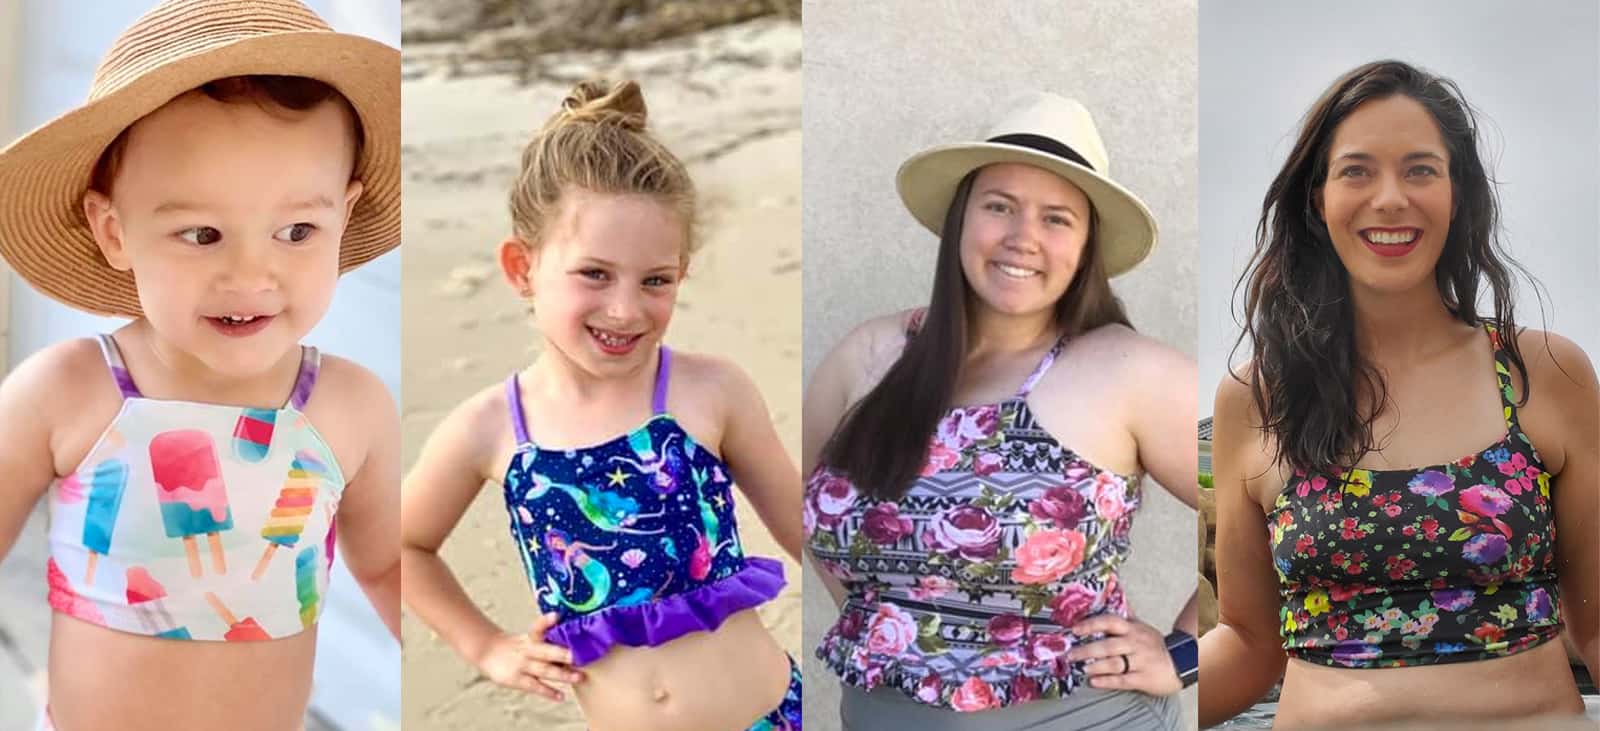
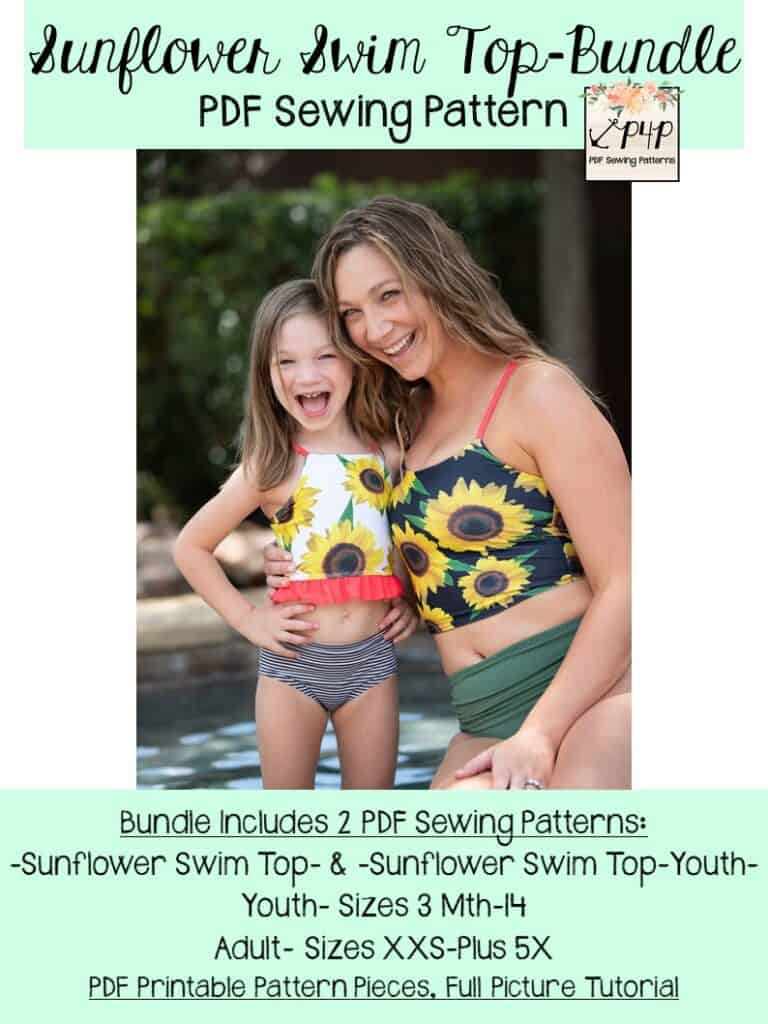
To help your summer go swimmingly well (ba-dum-ching!) we are bringing you a brand new set of swimwear tops and bottoms!  And we couldn’t be more excited about sharing them with you all.  In both adult and youth sizes, we are happy to introduce you to the Sunflower Swim Top and the Busy Bee Swim Bottoms!  For both of these patterns, the youth sizes range from 3m – 14.  And the adult sizes are for the full, newer size chart, extending from XXS – Plus 5X!  If you haven’t sewn with us in a while, please make sure to check the size charts, as there were slight adjustments made to accommodate the new size range for adults.

Okay, now that we’ve got that out of the way, let’s start first by telling you all about the Sunflower Swim Top, shall we?


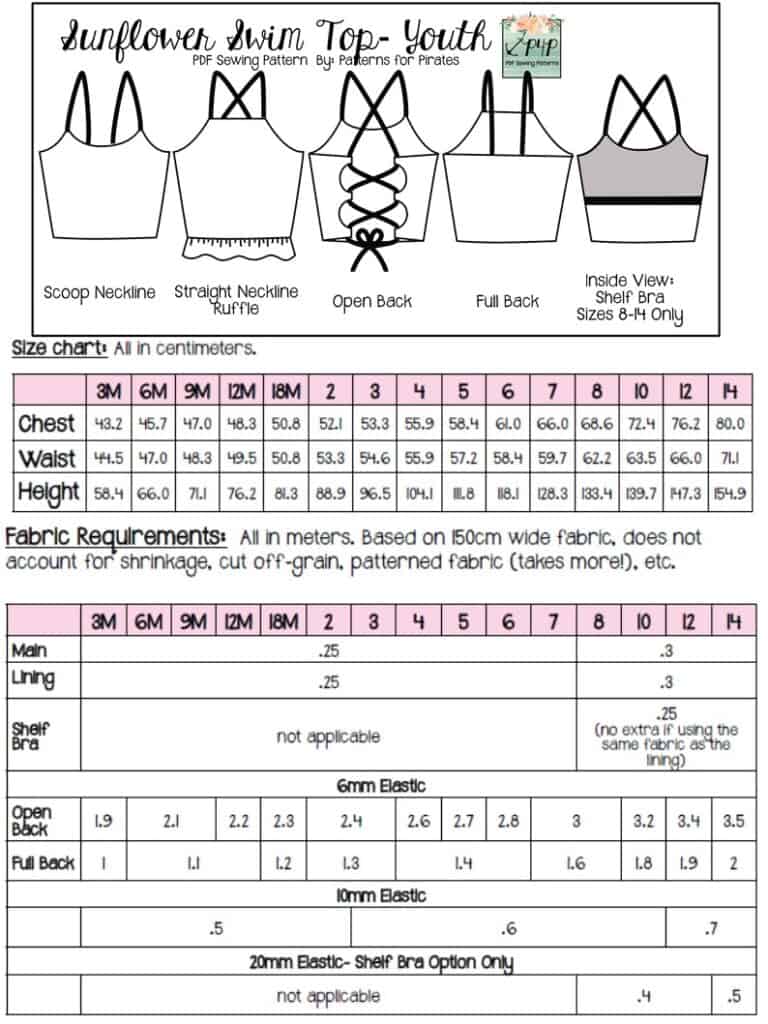
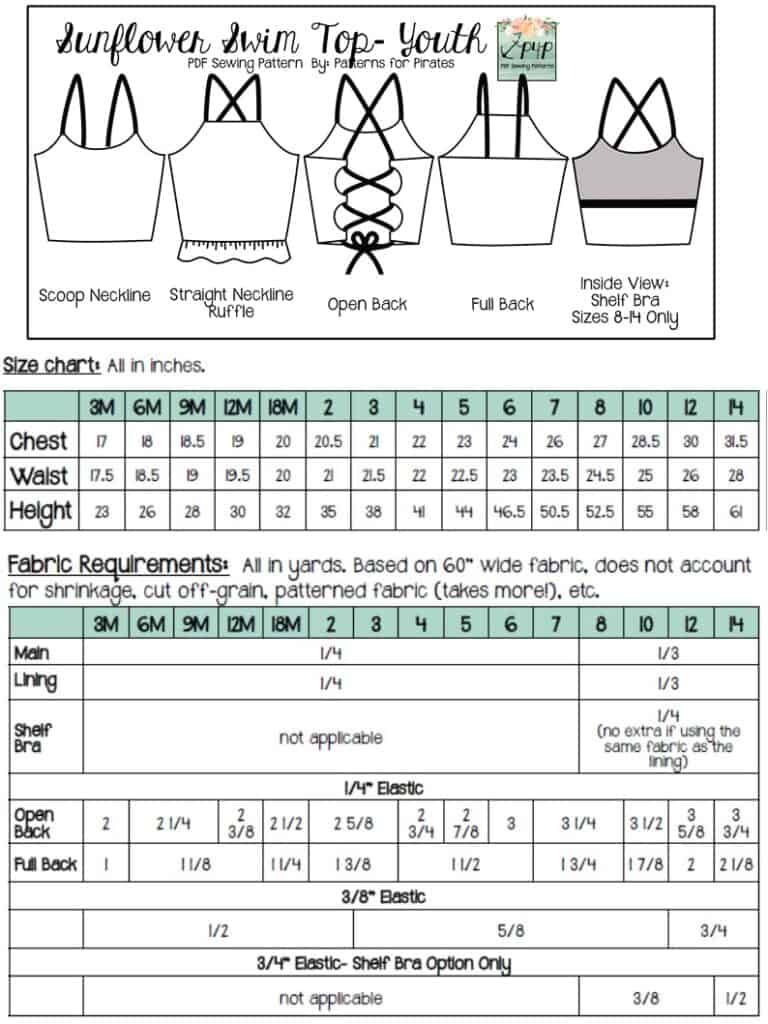
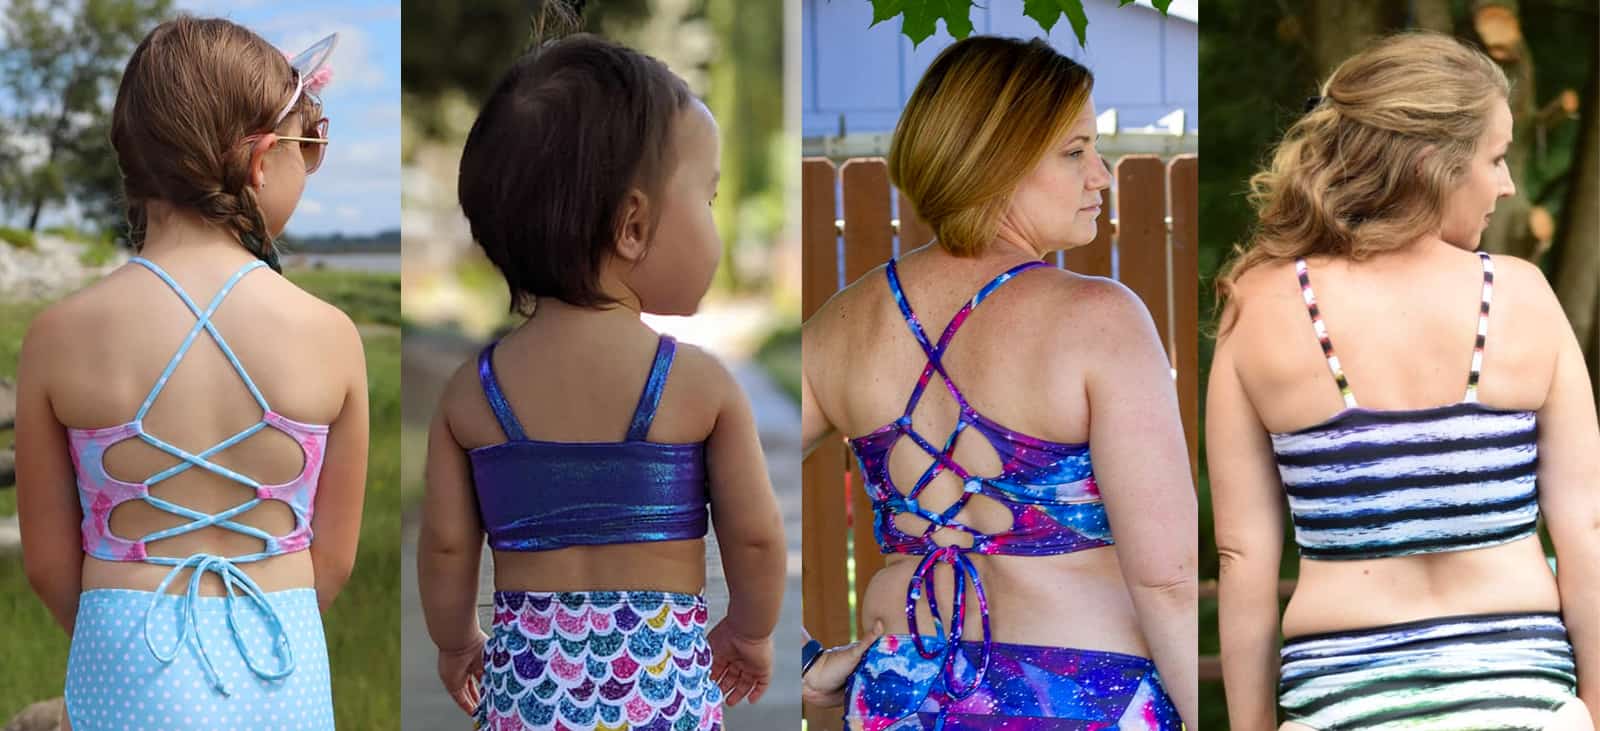
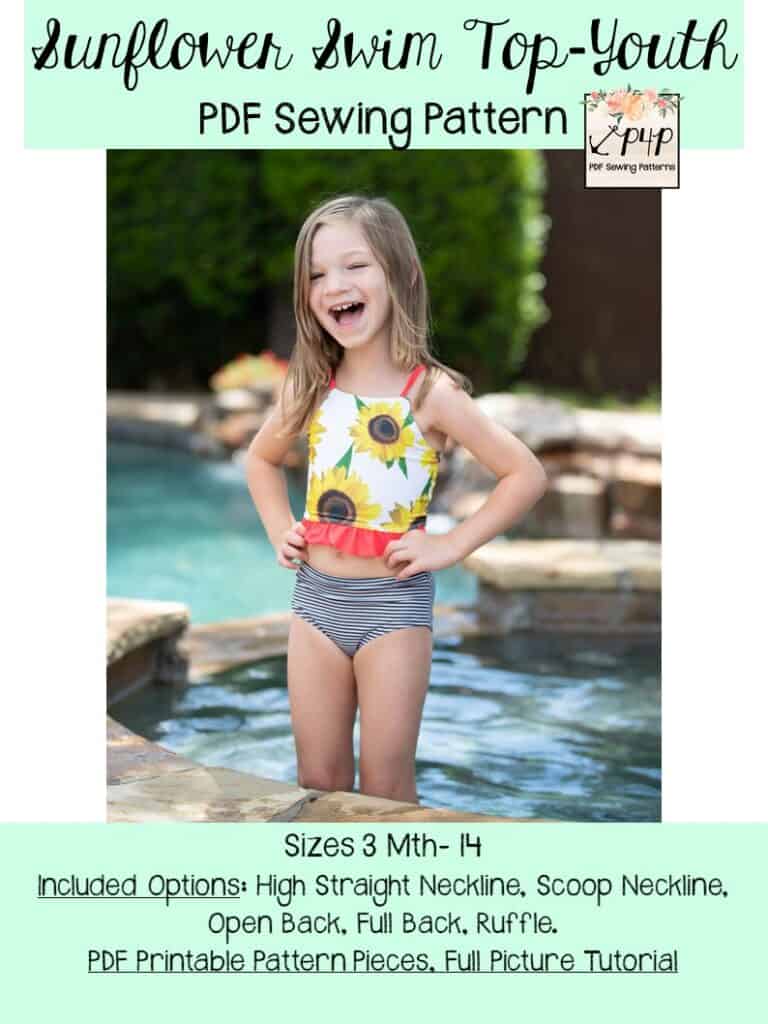
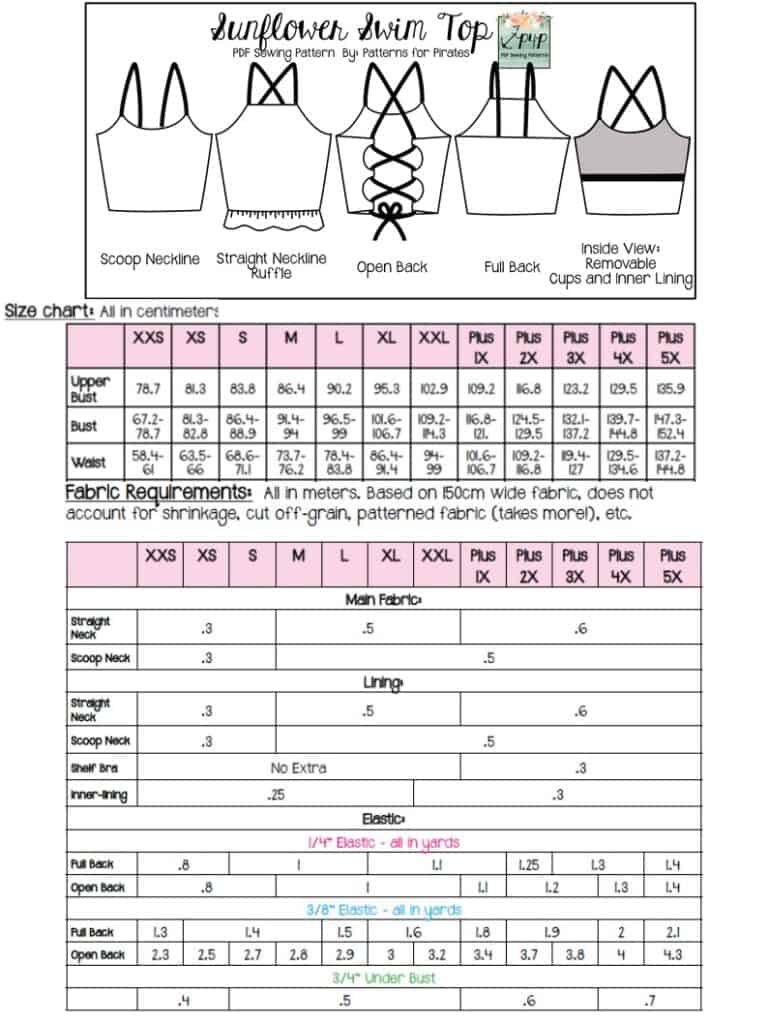
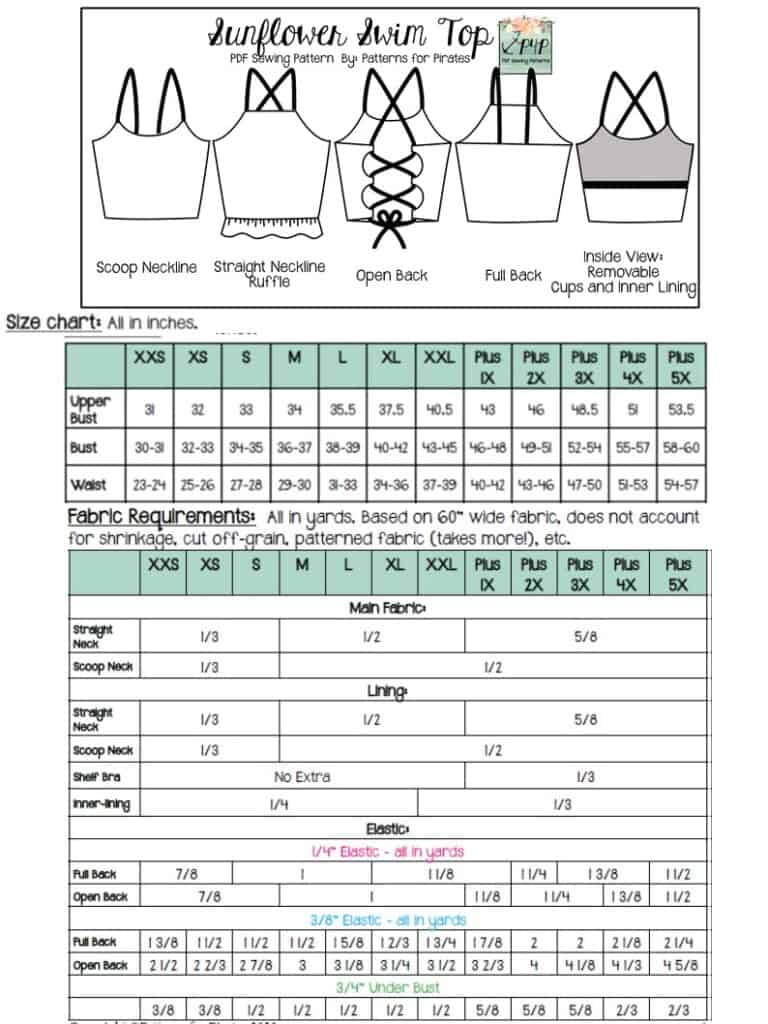
The Sunflower Swim Top is a great beginner swim top to try out if you’re wanting to start sewing swim for adults! The open back is very forgiving in fit since you can tie it a bit tighter or looser to get your perfect preferred fit. You can pick your bust coverage with a higher straight neckline or the lower scoop neckline. The full back is a very quick and easy sew that you can sew up for a simple and quick top. The flattering fit ends right at your smallest point to show off your natural waistline. But if you want a little more coverage you can add the optional ruffle. The top is fully lined and has the optional shelf bra. You can also add innerlining and removable cups to the shelf bra for even more support.

Options include: high straight neckline, scoop neckline, full back, open back, shelf bra, removable cups, and ruffle.

Enjoy several videos throughout the tutorial like complete sew ups of 2 different tops which cover all the options.

SUNFLOWER SWIM TOP | SUNFLOWER SWIM TOP – YOUTH | SUNFLOWER SWIM TOP – BUNDLE


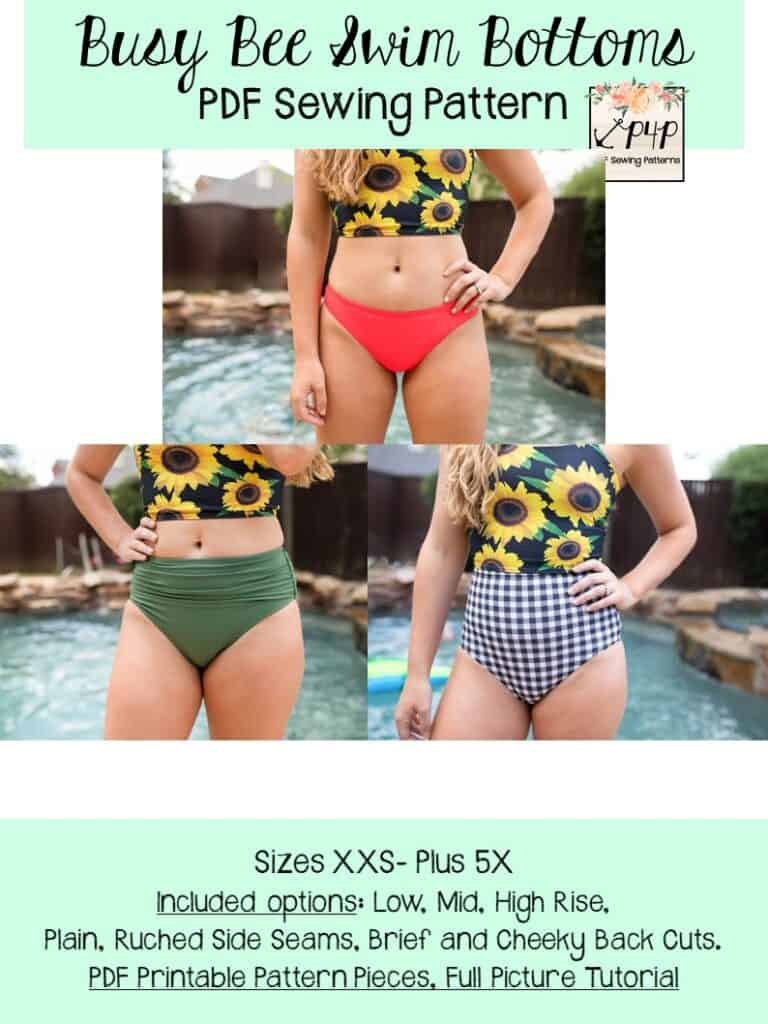
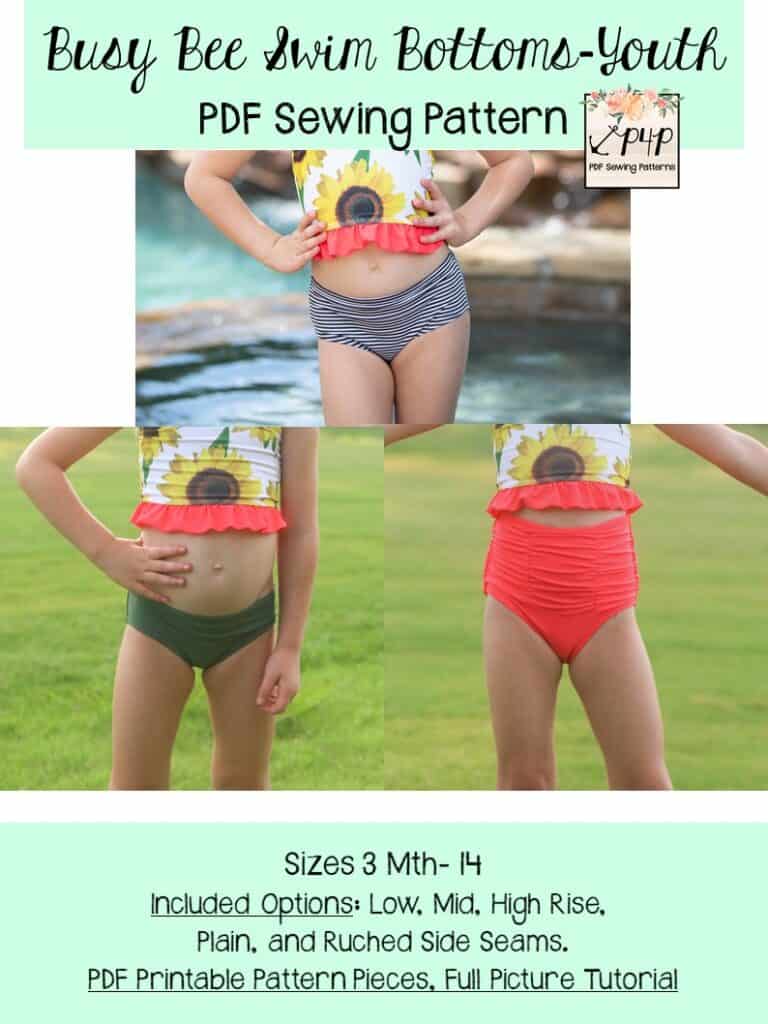
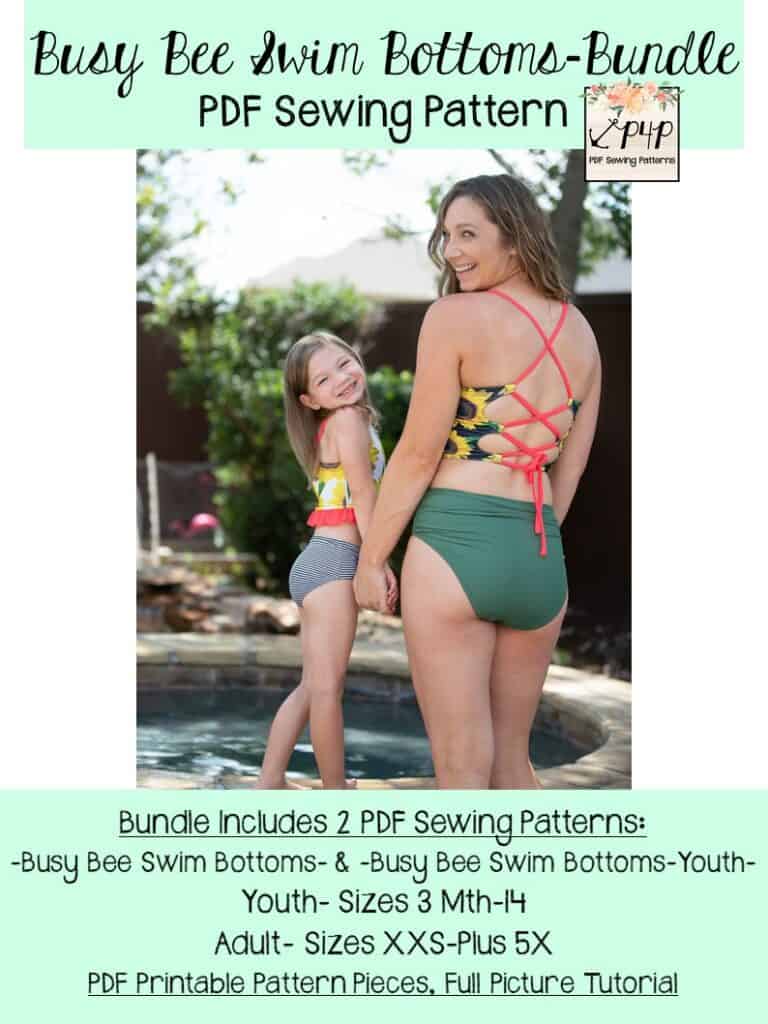
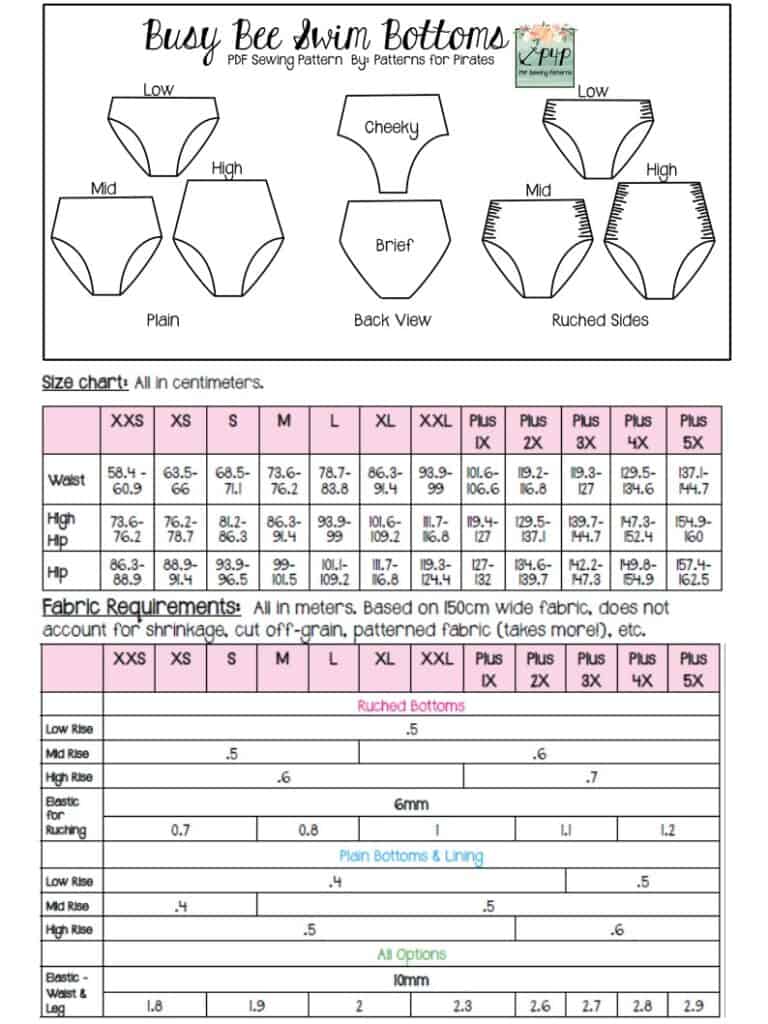
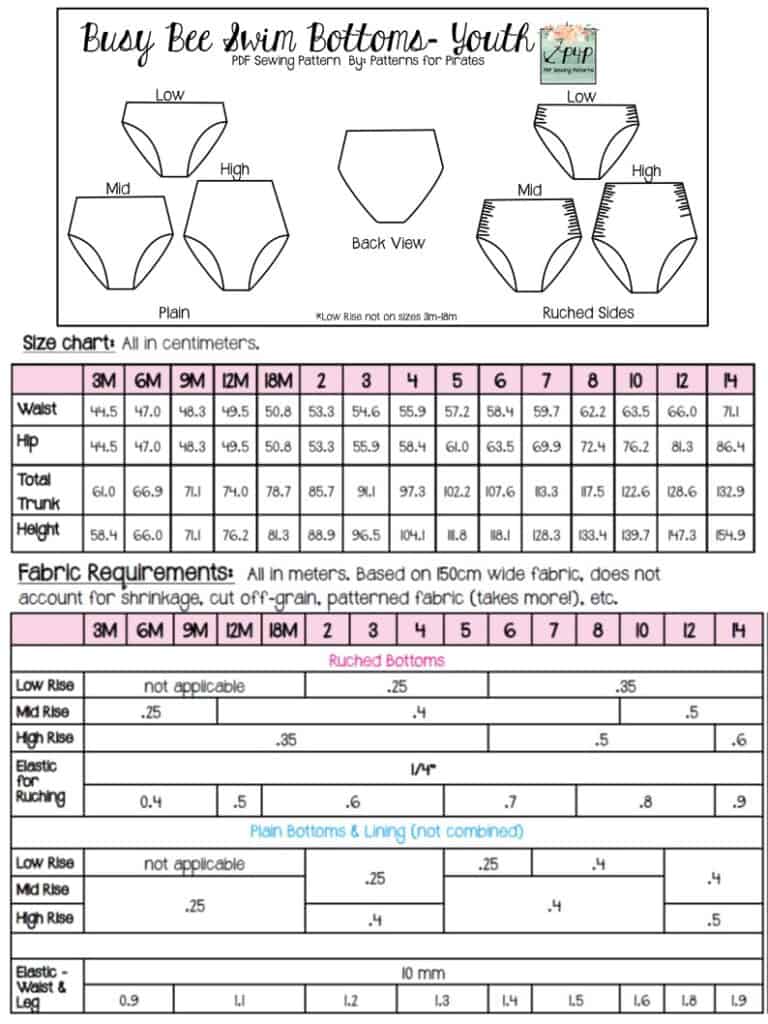
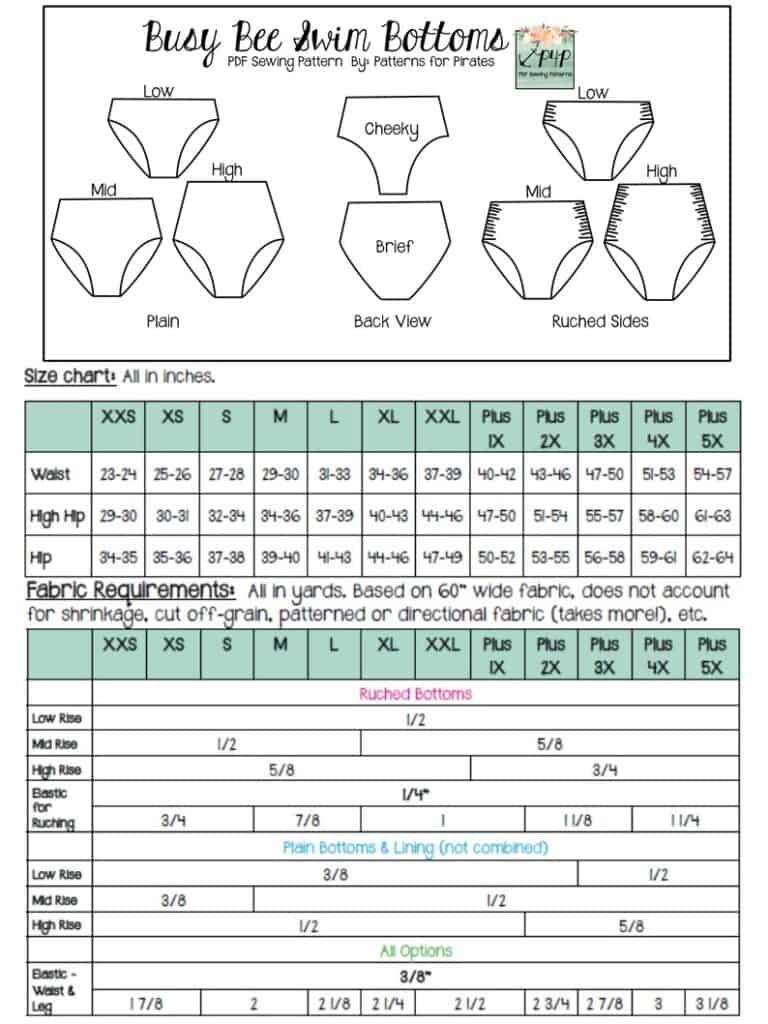
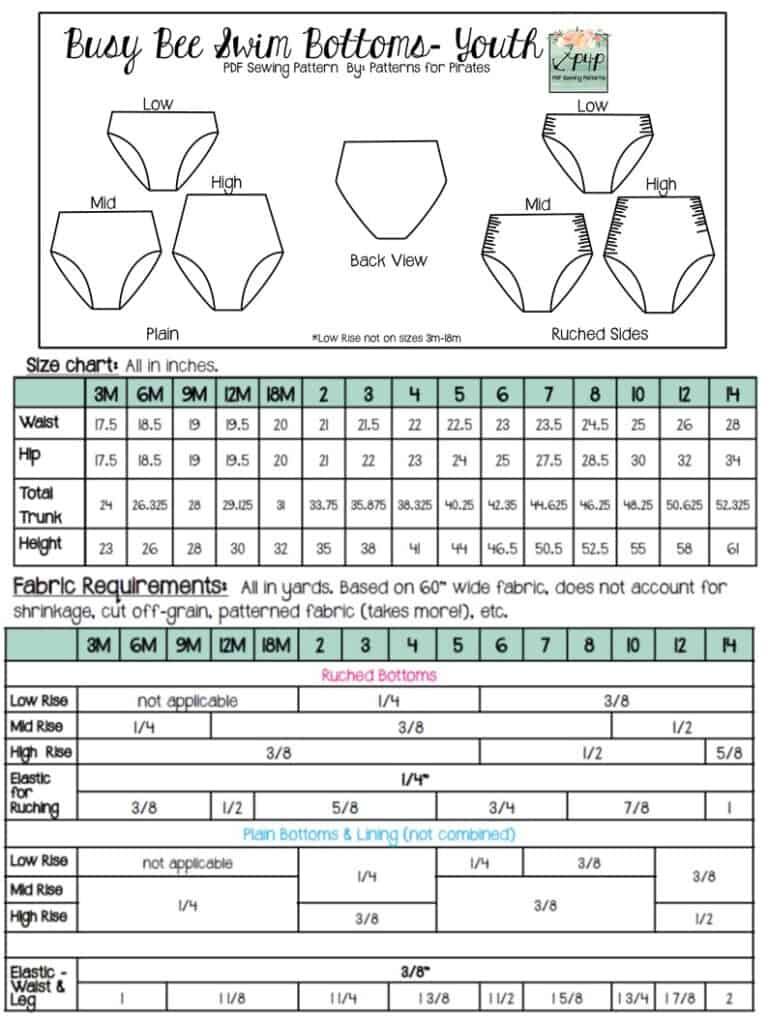
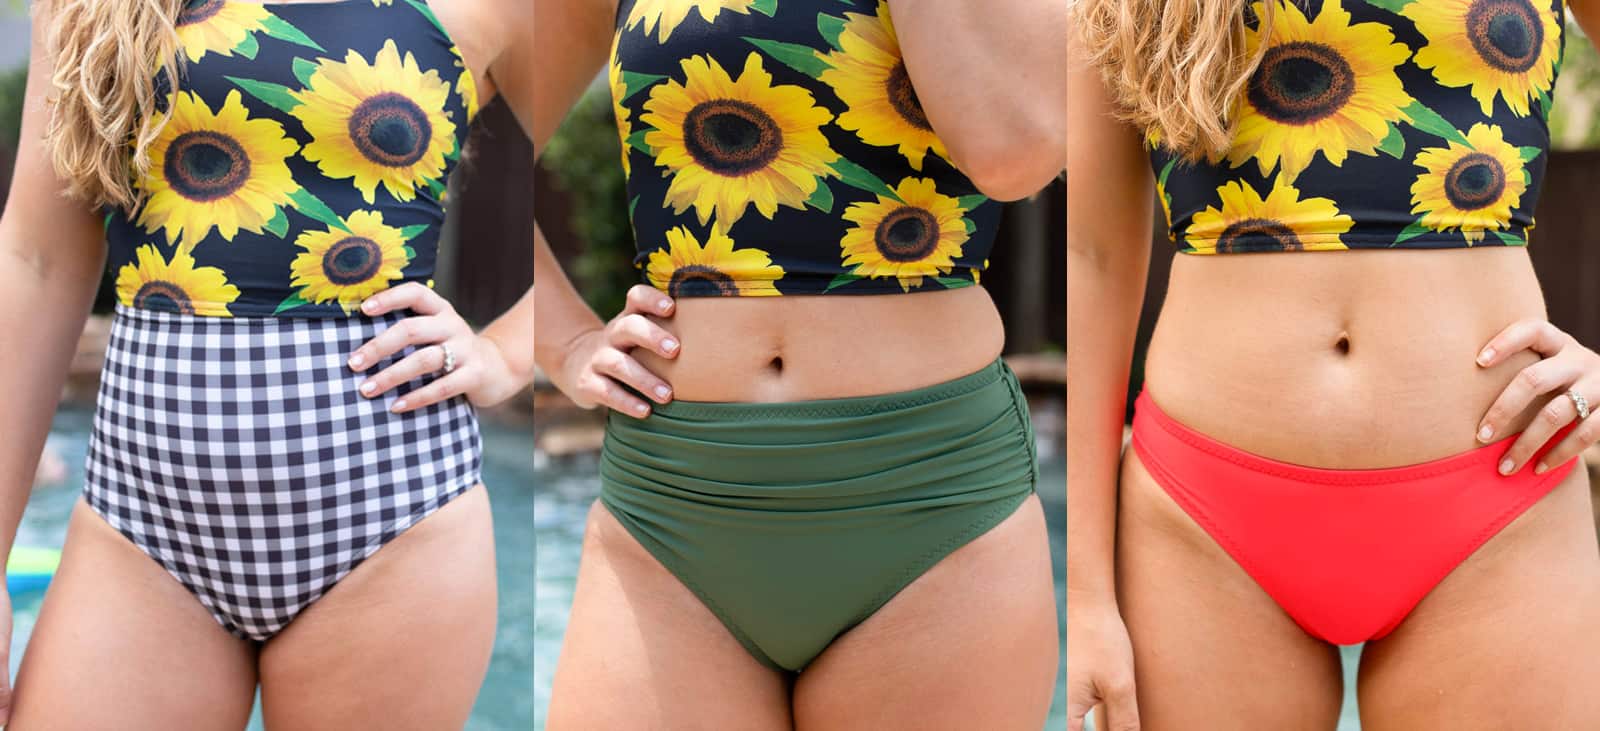
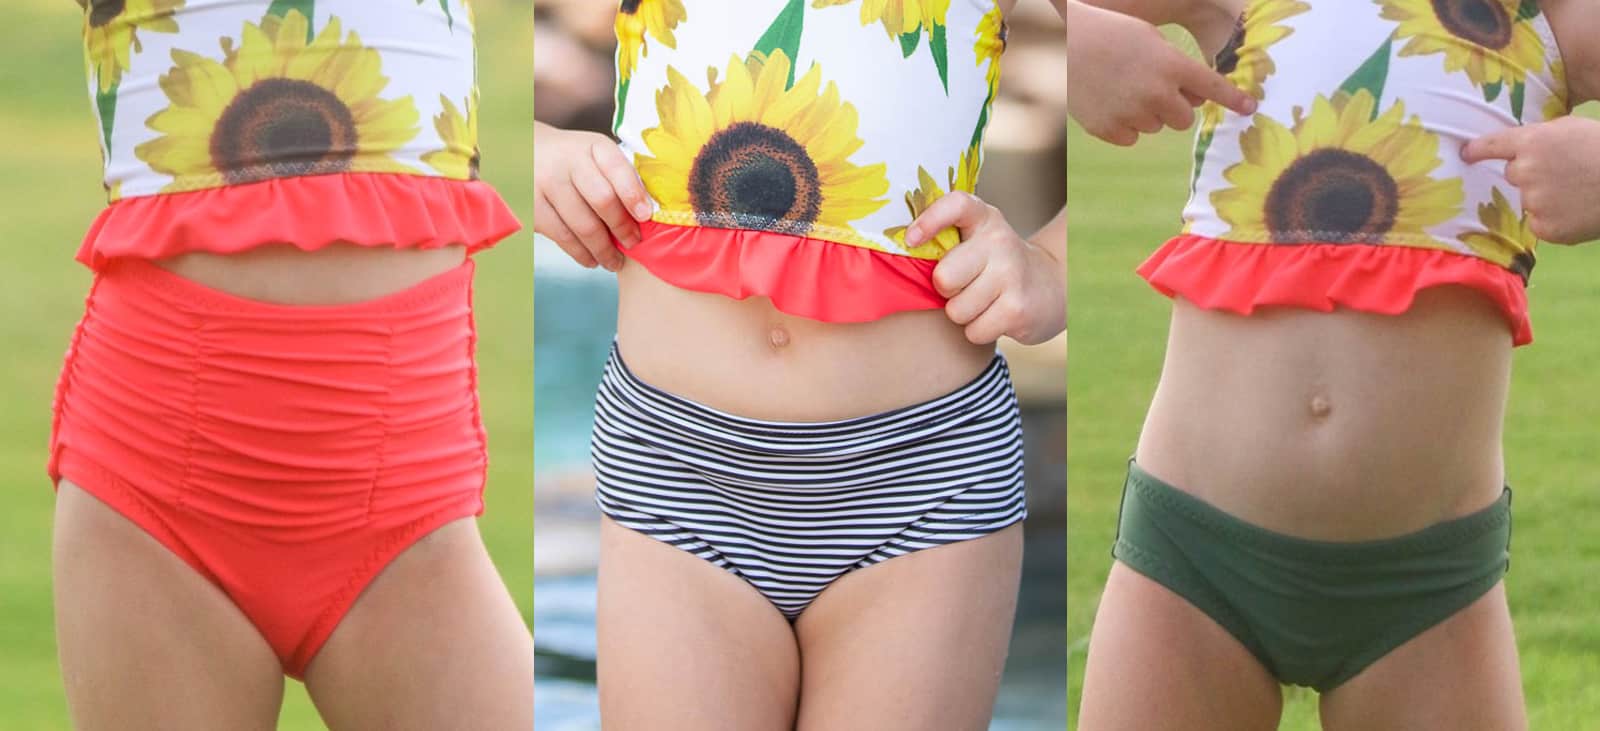
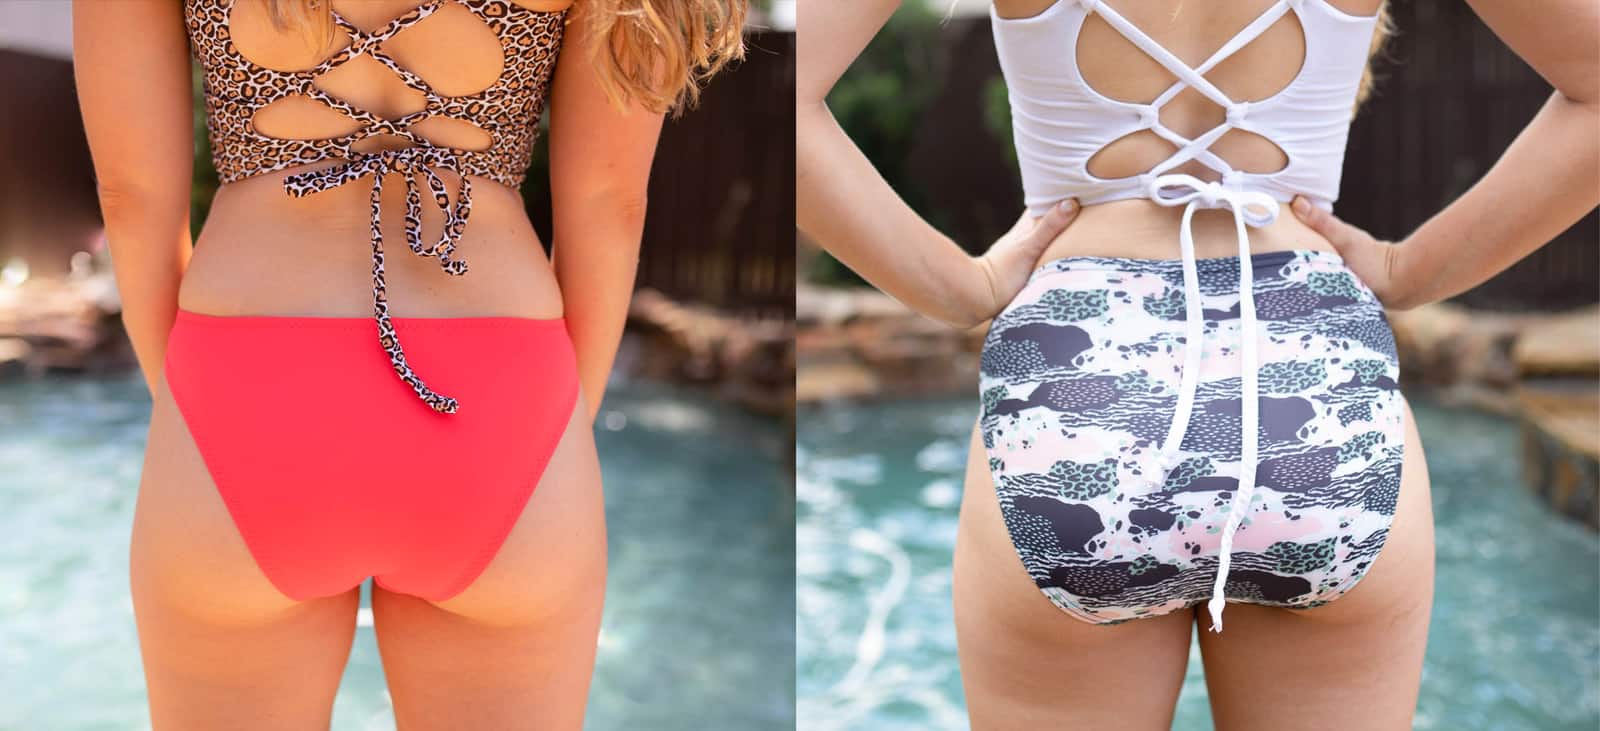
The Busy Bee Swim Bottoms will have your swimsuit drawer full in no time with a variety of looks! You can mix and match with your tops easily, depending on your mood or where and who you’re going swimming with!  In case you’re feeling like you want more coverage, you can grab the high rise and brief options.  But in the event that you’re feeling like baring it all for less obtrusive tan lanes…go for the cheeky and low rise. Or you can pick between those two with a mid-rise, which hits just below the belly button.  Mix in some ruching at the side seams for a fun detail. These bottoms are very simple and quick to make with the waistline and leglines hemmed under with swim elastic. You can also choose to partially line or fully line.

Options include: low rise, mid rise, high rise, cheeky booty cutline (adult only), brief booty cutline, ruched side seams, partially lined or fully lined.

Enjoy several videos throughout the tutorial like adding/removing length, complete sew ups of ruched, plain, partially and fully lined bottoms.

BUSY BEE SWIM BOTTOMS | BUSY BEE SWIM BOTTOMS – YOUTH | BUSY BEE SWIM BOTTOMS – BUNDLE


**Want to learn more about how to measure yourself for this pattern?  We’ve got you covered with an in-depth blog HERE.  And in case you’re new to Patterns for Pirates and PDF patterns in general, we have a great blog full of new-user tips HERE to help you get started!  As with all of our current releases and updates, the pdfs now include our layers feature and can be found in Letter, A4 and A0 sizes.  And for even more helpful fun, we have a *free* printable that you can use to help record your measurements as you take them.

Let’s take a quick look at the different options and features!

SUNFLOWER BACK FINISHES

SUNFLOWER TOP HEMS

SUNFLOWER NECKLINES

BUSY BEE RISES

BUSY BEE LEG LINES (ADULT ONLY)

What are you waiting for?  Head on over and grab yourself a copy of these swim separates!  The Sunflower Swim Top and Busy Bee Swim Bottoms will be on sale (no code needed) through 11:59pm CST, July 5, 2020.

Don’t see the perfect bundle for the patterns you’d like to buy? Don’t forget you can always make your own bundle!

SUNFLOWER SWIM TOP | SUNFLOWER SWIM TOP – YOUTH | SUNFLOWER SWIM TOP – BUNDLE
BUSY BEE SWIM BOTTOMS | BUSY BEE SWIM BOTTOMS – YOUTH | BUSY BEE SWIM BOTTOMS – BUNDLE

Maybe hoping for a little more inspiration before you make the purchase?  Head over to our Facebook group where you can see tester albums full of amazing images!

Sunflower Swim Album | Busy Bee Swim Album | Sunflower Swim Youth Album | Busy Bee Youth Album

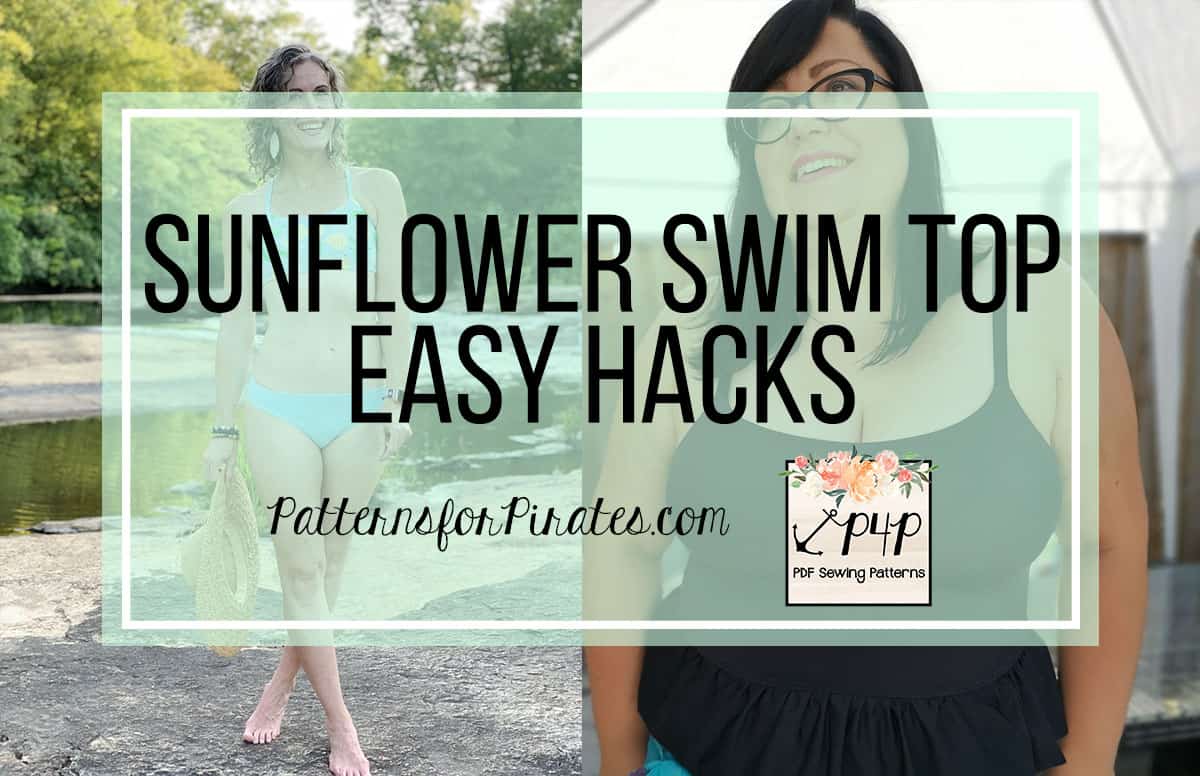
If you’re looking for even more options, we show you a few more ways you can use this pattern in our Sunflower Swim Top Easy Hacks Blog Post!

Filed Under: Pattern Release Leave a Comment

Flutter Wrap SAL day 7

April 28, 2020

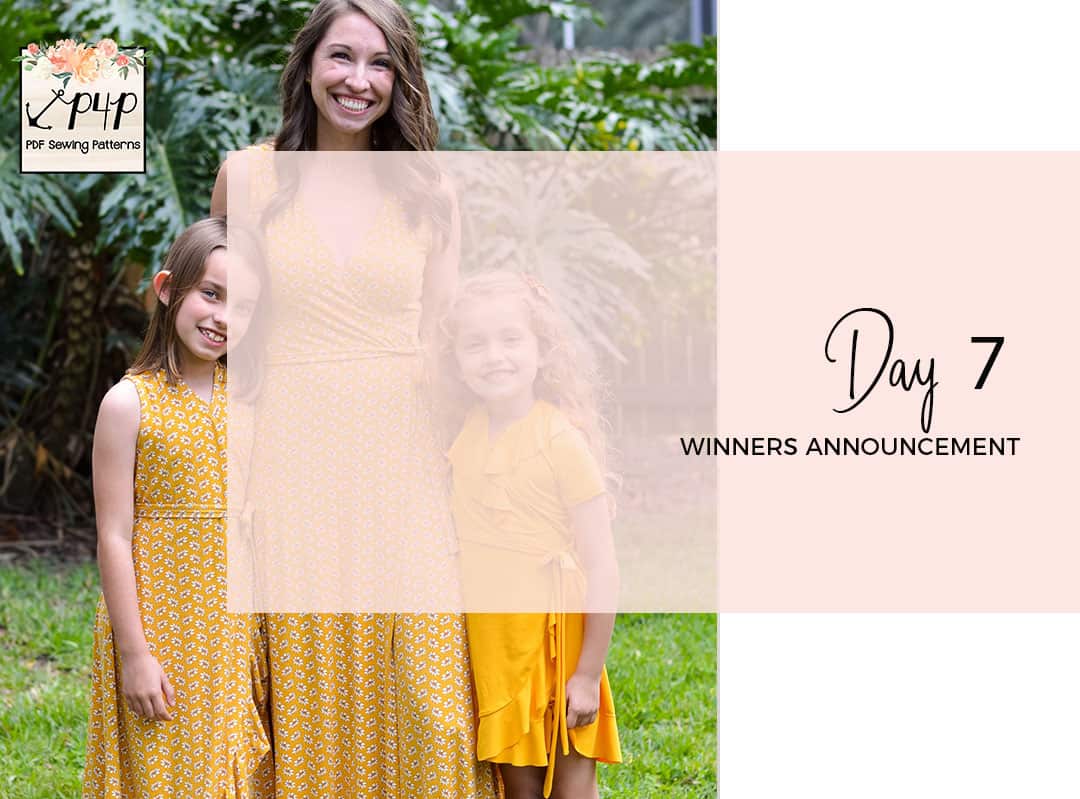
What a fantastic week! Thank you so much for joining me in the Flutter Wrap sew along. The time has come to announce our winners and let me tell you… The mermaids/pirates team had a hard time picking!

Congratulations Gaelle Davila! As our first winner, Gaelle will receive a $20 Patterns for Pirates gift card and a $50 Oh So Pretty Custom Fabrics one.


We were also mesmerized by Tiffany Ottoson‘s dress! Tiffany is our second prize winner, a $20 gift card to Made for Mermaids and a $25 Oh So Pretty Custom Fabrics one.


A big THANK YOU to Oh So Pretty Custom Fabrics, our Sew Along sponsor, who also provided the bamboo lycra fabric for the videos.


Team Mermaids will be taking over the SAL group in May. Stay tuned for their pattern choice announcement!


Flutter Wrap SAL day 1 | Print and cut pattern

Flutter Wrap SAL day 2 | Cut fabric

Flutter Wrap SAL day 3 | Sew back, shoulder and side seams

Flutter Wrap SAL day 4 | Sew sleeves or tank binding

Flutter Wrap SAL day 5 | Add neckline binding and waist ties

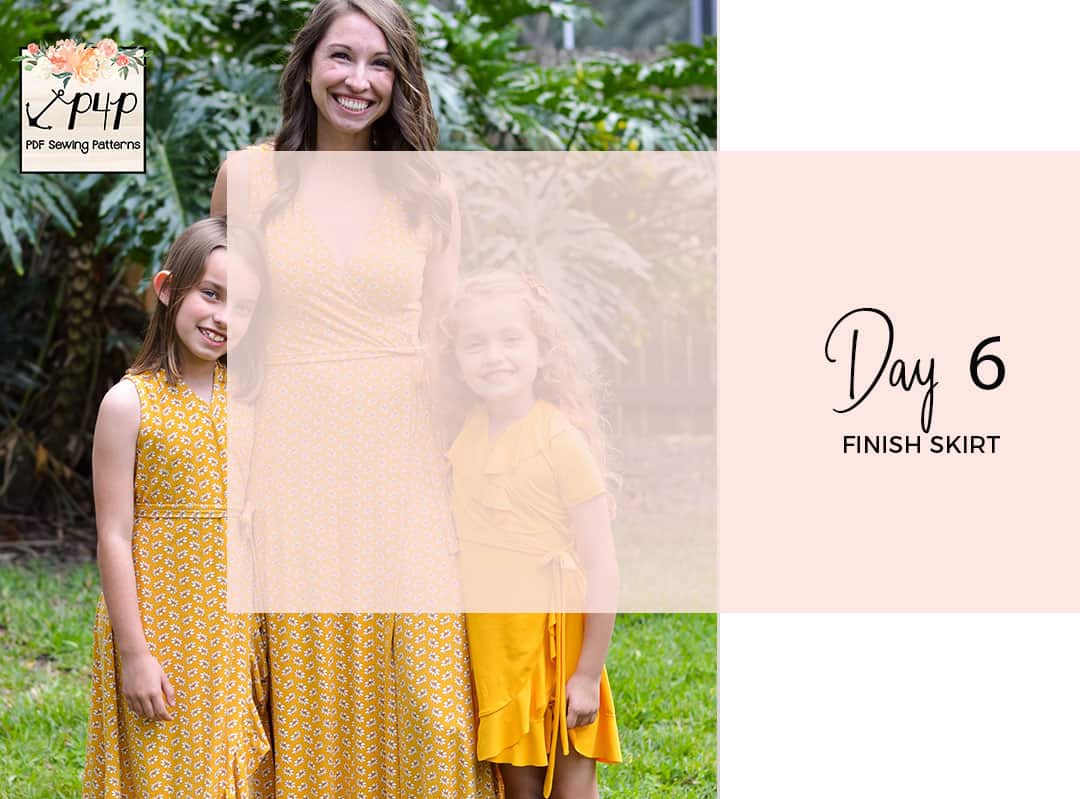
Flutter Wrap SAL day 6 | Finish skirt

Flutter Wrap SAL day 7 | Winners announcement

Filed Under: Frequently Asked Questions, Sew-A-Long, Uncategorized 2 Comments

Flutter Wrap SAL day 6

April 25, 2020

Welcome to the last sewing day of the sew along! What a fun week! Today we add the bottom flounce flounce or hem the dress/shirt.

If you opted for the no flounce style, start by hemming the vertical raw edge first. Fold it 1/2″ and stitch it down with a zig zag stitch, a  coverstitch or twin needles.  Before you start, take a look over our Hemming blog because we have a few tips for easy and successful hemming. If you are finishing the bottom hem using twin needles, a good refresher blog is the P4P University Twin Needles Tips.

For my dress, I went with the flounce hem. Start by creating the very long flounce by sewing the pieces together as instructed in the pattern. If you added the neckline flounce yesterday, you will be doing a very similar process today. Once the flounce is created you will add it to the raw hem, right sided together. The ratio is 1:1 so you will not be stretching the dress or the flounce.

All done! All you have left to do is enjoy your gorgeous creation and show it off…you know… “I made it!” 😉


You can see today’s video below! Once you finish your dress or shirt snap a photo of it (modeled or not) and post it in the comments of day 6 photo of the Flutter Wrap Sew Along album in the SAL FB group. We will be choosing the two winners from the photos in the comments! Once you do your check in, please do share your work in the main Patterns for Pirates FB group too.
 

Flutter Wrap SAL day 1 | Print and cut pattern

Flutter Wrap SAL day 2 | Cut fabric

Flutter Wrap SAL day 3 | Sew back, shoulder and side seams

Flutter Wrap SAL day 4 | Sew sleeves or tank binding

Flutter Wrap SAL day 5 | Add neckline binding and waist ties

Flutter Wrap SAL day 6 | Finish skirt

Flutter Wrap SAL day 7 | Winners announcement

Filed Under: Frequently Asked Questions, Sew-A-Long, Uncategorized 3 Comments

Flutter Wrap SAL day 5

April 24, 2020

Ahoy, pirates! Today’s steps will be adding the neckline binding and creating & attaching the ties. Pretty easy! Start by pressing the binding 1/4″ inch along one of the long edges. Set that aside if you are adding the neck flounce.

Create the long neckline flounce by sewing the pieces right sides together as instructed in the pattern. Make sure you attach the flounce 1/2″ away from the ends. Once this step is completed, add the neckline binding right sides together with a 1/4″ seam allowance. Remember, the binding is not visible on the outside of the dress. 

Last thing we need to do today is to create the two ties. Take the long tie and fold it in half, lengthwise, right sides together. Sew along one of the short ends and the long one, turn inside out. It is very important that you attach the long tie to the side where you have the side opening.

Day 5 video is posted below, take a look. When you finished today’s steps post a picture of your progress in the comments of day 5 photo of the Flutter Wrap sal album in the M4M/P4P Sew Along group on Facebook.


Flutter Wrap SAL day 1 | Print and cut pattern

Flutter Wrap SAL day 2 | Cut fabric

Flutter Wrap SAL day 3 | Sew back, shoulder and side seams

Flutter Wrap SAL day 4 | Sew sleeves or tank binding

Flutter Wrap SAL day 5 | Add neckline binding and waist ties

Flutter Wrap SAL day 6 | Finish skirt

Flutter Wrap SAL day 7 | Winners announcement

Filed Under: Frequently Asked Questions, Sew-A-Long, Uncategorized Leave a Comment

Flutter Wrap SAL day 4

April 23, 2020

Welcome to day four of the Flutter Wrap sew along! Today we add the sleeves or, if you selected the tank option, add the arm bindings. For my dress I decided to go with the flutter style. All sleeves will be added in the round.

  • For the short, 3/4 and long sleeves start by pressing a memory a 1/2 hem. Fold the sleeve right side together and sew the raw edges with a stretch stitch or you serger. Hem the sleeve…see how easy it is to stitch now that you have a memory hem done? 😉
  • If you opted for the tank style, start by pressing the binding 1/4″ along one of the long ends. This step will make it so “hassle free” when you fold the binding inside the arm opening.
  • The flutter style sleeve will not be hemmed. You will need to finish the serger thread tail. You can read about some of my favorite ways to finish the serger stitch here.

My flutter sleeves process in the video below. As always, once you complete today’s steps, post a picture of the shirt/dress in the comments of day 4 photo of the Flutter Wrap SAL album.


Flutter Wrap SAL day 1 | Print and cut pattern

Flutter Wrap SAL day 2 | Cut fabric

Flutter Wrap SAL day 3 | Sew back, shoulder and side seams

Flutter Wrap SAL day 4 | Sew sleeves or tank binding

Flutter Wrap SAL day 5 | Add neckline binding and waist ties

Flutter Wrap SAL day 6 | Finish skirt

Flutter Wrap SAL day 7 | Winners announcement

Filed Under: Frequently Asked Questions, Sew-A-Long, Uncategorized Leave a Comment

Flutter Wrap SAL day 3

April 22, 2020

Day 3 is here! Today we start sewing. We are going to start by stitching the back pieces together at the center seam with a 1/2″ seam allowance. Once you have your back sewn, stitch the front pieces right sided together at the shoulder seam.

Tip: Add clear elastic to the shoulder seams to strengthen them and make sure the shoulders don’t stretch throughout the day. 

The Flutter Wrap pattern features set in sleeves but this time they are sewn in the round. That means that we will sew the side seams prior to adding the sleeves. Don’t forget to leave the opening for the wait tie. That will be on the wearer’s right.

You can see my progress below. Once you sew the back, shoulder and side seams post a picture of the shirt or dress in the comments of DAY 3 photo of the Flutter Wrap album in the SAL group.


Flutter Wrap SAL day 1 | Print and cut pattern

Flutter Wrap SAL day 2 | Cut fabric

Flutter Wrap SAL day 3 | Sew back, shoulder and side seams

Flutter Wrap SAL day 4 | Sew sleeves or tank binding

Flutter Wrap SAL day 5 | Add neckline binding and waist ties

Flutter Wrap SAL day 6 | Finish skirt

Flutter Wrap SAL day 7 | Winners announcement

Filed Under: Frequently Asked Questions, Sew-A-Long, Uncategorized Leave a Comment

Flutter Wrap SAL day 2

April 21, 2020

Welcome to the second day of the Flutter Wrap sew along. Today we choose and cut the fabric. This is probably the “longest” day, depending on the style you chose but it’s a pretty easy one. The pattern is drafted for knit fabric with at least 30% stretch. Fabrics with soft drape will make the best flounces. My personal recommendations are rayon spandex, bamboo lycra, ITY, Cupro and double brushed poly. If you are looking for various fabric looks, check out the Flutter Wrap Round Up Blog where Judy show cases various materials that can be used.

For my dress I am using a stunning  Oh So Pretty bamboo lycra which has beautiful drape and a soft feel. Bamboo is my favorite fabric base ever so it was only natural that I picked this base. Oh So Pretty Custom Fabric is this sew along’s sponsor as well so our two lucky winners will be receiving gift card to treat themself to their custom prints (must be a member in the OSP Facebook group to qualify)


If you are unsure about which knit type will work best for your desired look, take a look over our P4P University Knit Types blog. We also included a cheat sheet that you can print. If you are like me and sometime are just keen on using a specific print for a specific pattern, read our Different fabric, different fit blog post before you cut your fabric.

The Day 2 video is posted below. Check it out and once you are done cutting your fabric post a picture of your pretty pile in the comments of the Day 2 photo of the Flutter Wrap SAL album in the M4M & P4P Sew Along group.
 

Flutter Wrap SAL day 1 | Print and cut pattern

Flutter Wrap SAL day 2 | Cut fabric

Flutter Wrap SAL day 3 | Sew back, shoulder and side seams

Flutter Wrap SAL day 4 | Sew sleeves or tank binding

Flutter Wrap SAL day 5 | Add neckline binding and waist ties

Flutter Wrap SAL day 6 | Finish skirt

Flutter Wrap SAL day 7 | Winners announcement

Filed Under: Frequently Asked Questions, Sew-A-Long, Uncategorized Leave a Comment

  • « Previous Page
  • 1
  • 2
  • 3
  • 4
  • 5
  • 6
  • …
  • 19
  • Next Page »

connect with me

  • Email
  • Facebook
  • Instagram
  • Pinterest
  • YouTube
Privacy & Cookies: This site uses cookies. By continuing to use this website, you agree to their use.
To find out more, including how to control cookies, see here: Cookie Policy
  • Privacy Policy
  • Refund Policy
  • Contact Us
  • About

Copyright © 2026 Patterns for Pirates

Copyright © 2026 · Genesis Framework · WordPress · Log in