Patterns for Pirates

P4P stylish, modern, wearable patterns

  • Home
  • Blog
    • Frequently Asked Questions
    • Pattern Releases
      • Free Patterns
    • P4P University
      • Fitting
      • Sewing with Stretch, Knit Fabrics
      • Sewing with Woven Fabrics
      • Sewing Machines
    • Sew-A-Longs
    • Fabric for Pirates
    • Pattern Hacks
    • Announcement
      • Blog Tours
      • Contest/Giveaway
  • Shop
  • Bundle Discounts
  • Flash Friday
  • Gift Cards
  • My Account
  • Cart

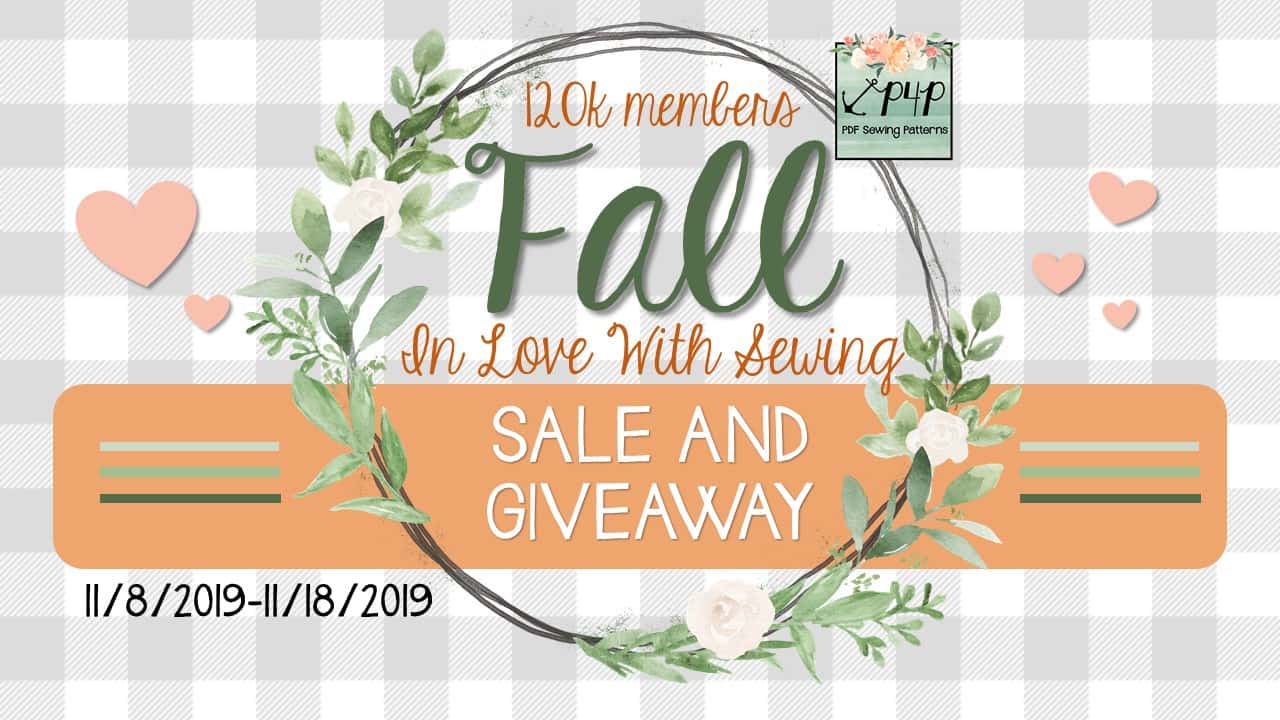
Fall in Love with Sewing :: 120K member Saleabration and Giveaway :: Admin Love Cont’

November 15, 2019

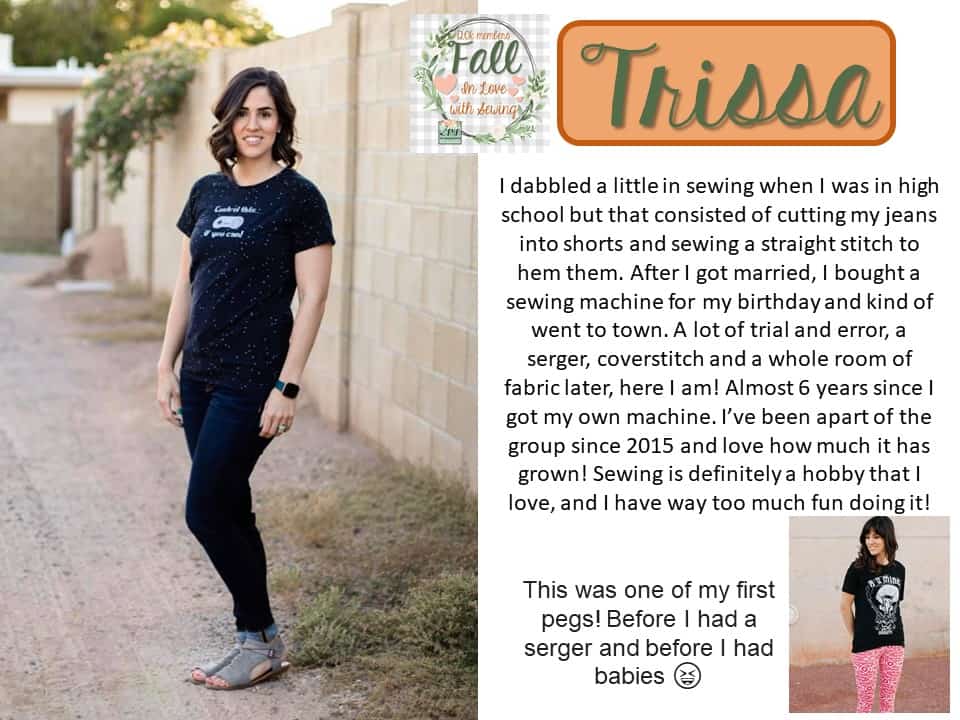
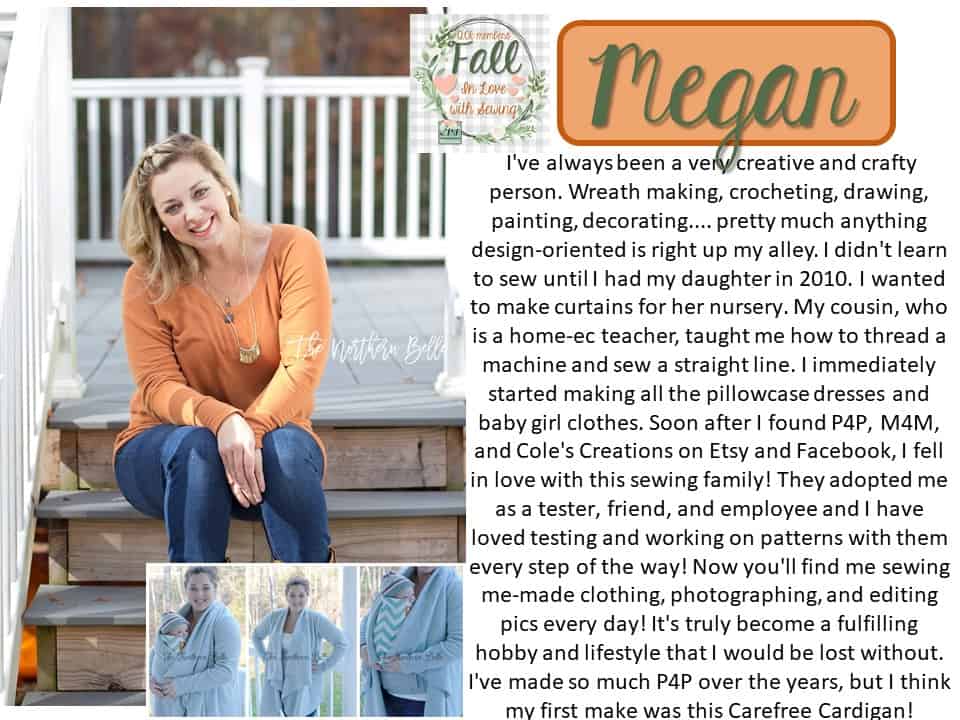
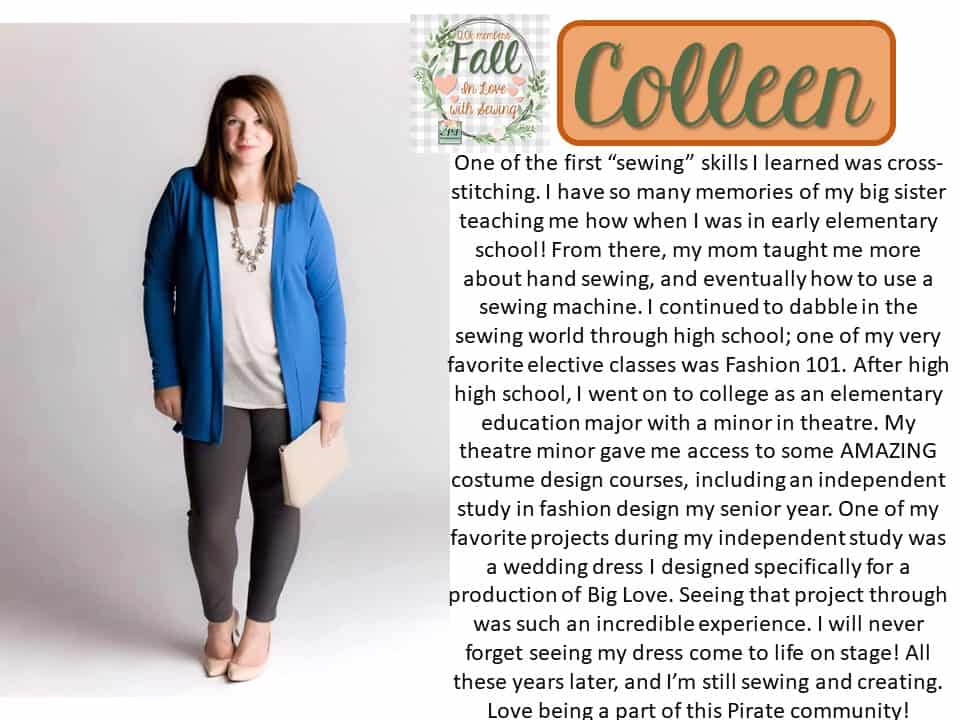
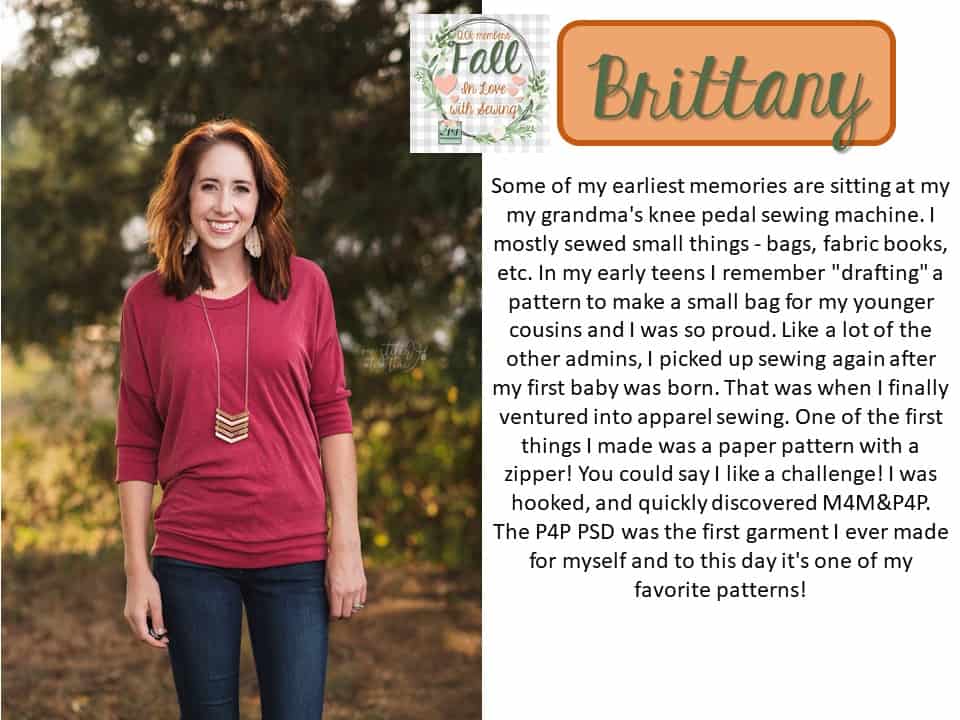
We’re continuing to show off our wonderful admin/moderators along with their pick for the Admin Love Bundle that is part of the Grand Prize in our Fall in Love with Sewing Giveaway and a little bit about how they fell in love with sewing!
Today is our last day of showing off all our lovely admins, their picks for the Admin Love Bundle included in the Grand Prize for our Fall in Love with Sewing Giveaway, and how they fell in love with sewing shares.  I hope you enjoyed them as much as I did!


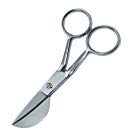
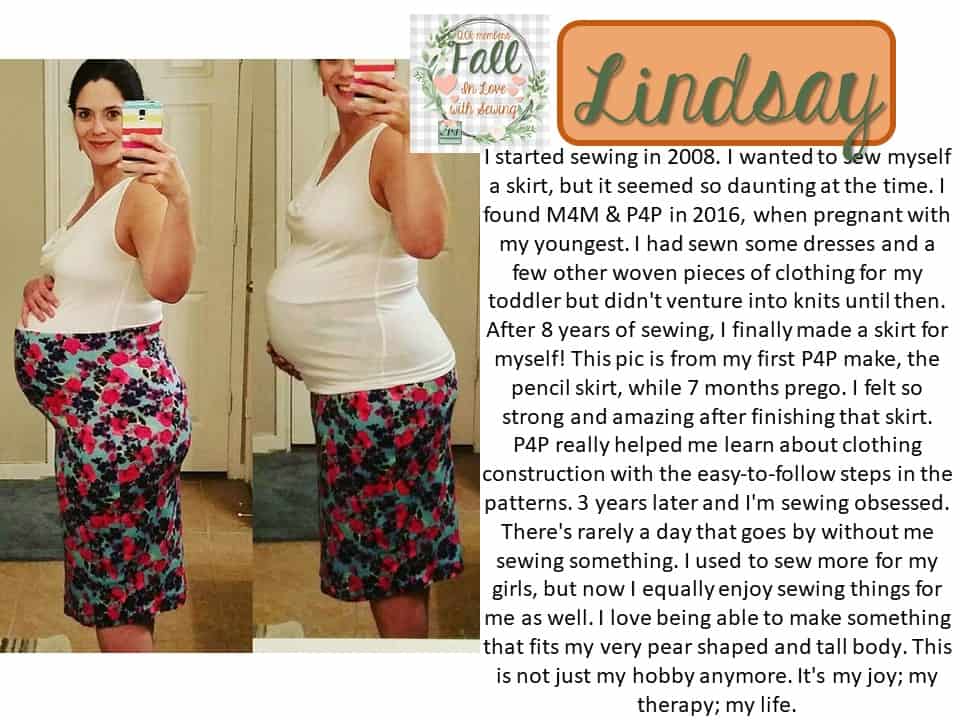
Lindsay’s pick for the Admin Love Bundle was a pair of mini duck scissors.  Once again, something I don’t happen to use! I usually use small embroidery scissors, but I might need to pick some of these up and see if I prefer them!
   

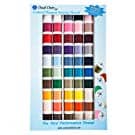
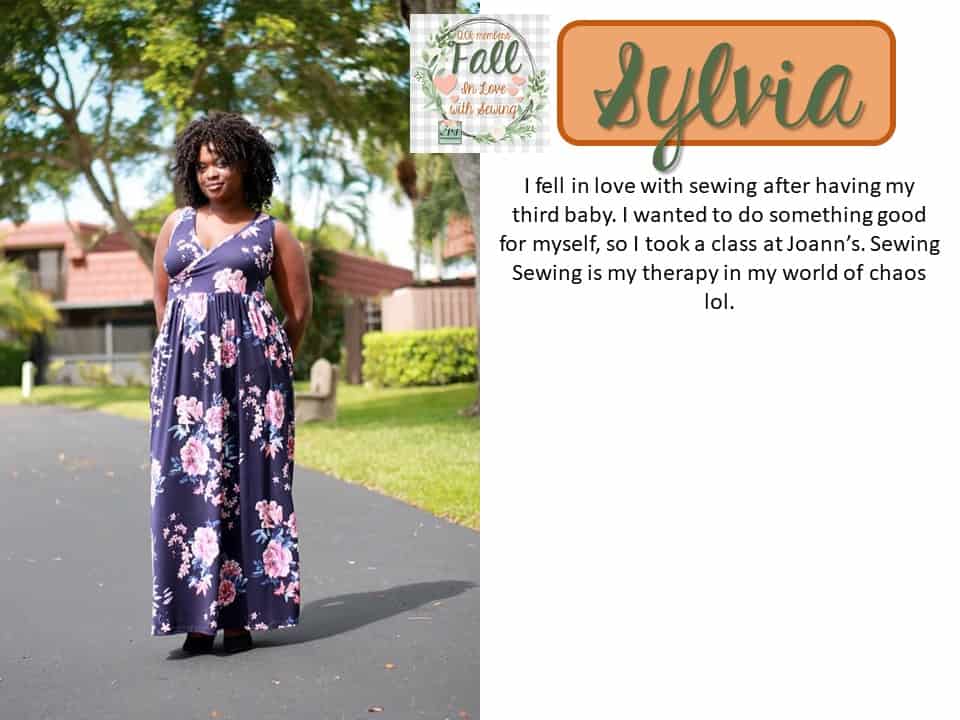
Sylvia loves a good thread bundle! It’s nice to have a match for whatever project you start up without a trip to the store to grab a matching thread color.
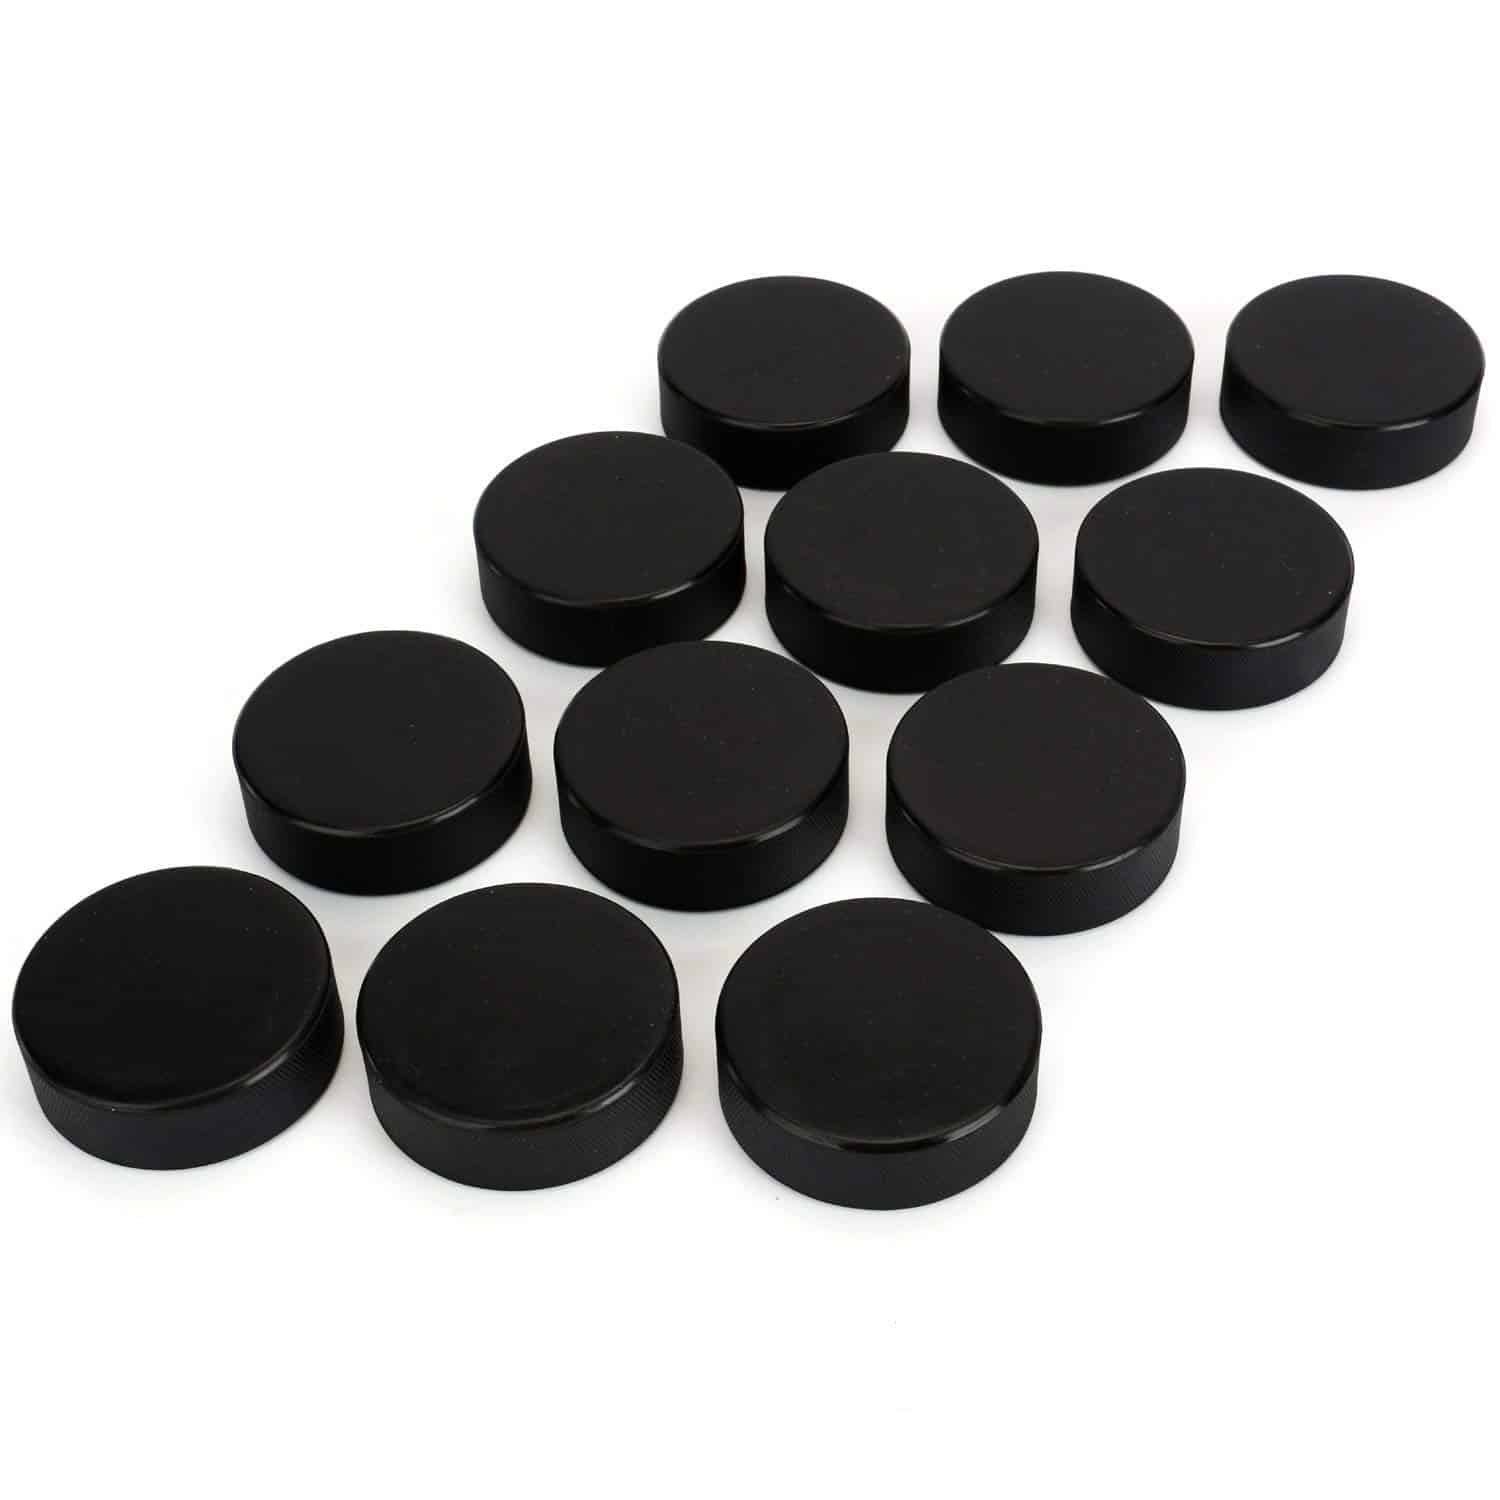
Amy suggested pattern weights.  And I couldn’t find exactly what I would think of pattern weights available on Amazon very easily and Angela suggested hockey pucks! That is what she uses and loves! So here are some hockey pucks that would work fabulously for pattern weights! Pattern weights are so nice for knit and delicate fabrics that you don’t stretch or puncture the fabric.
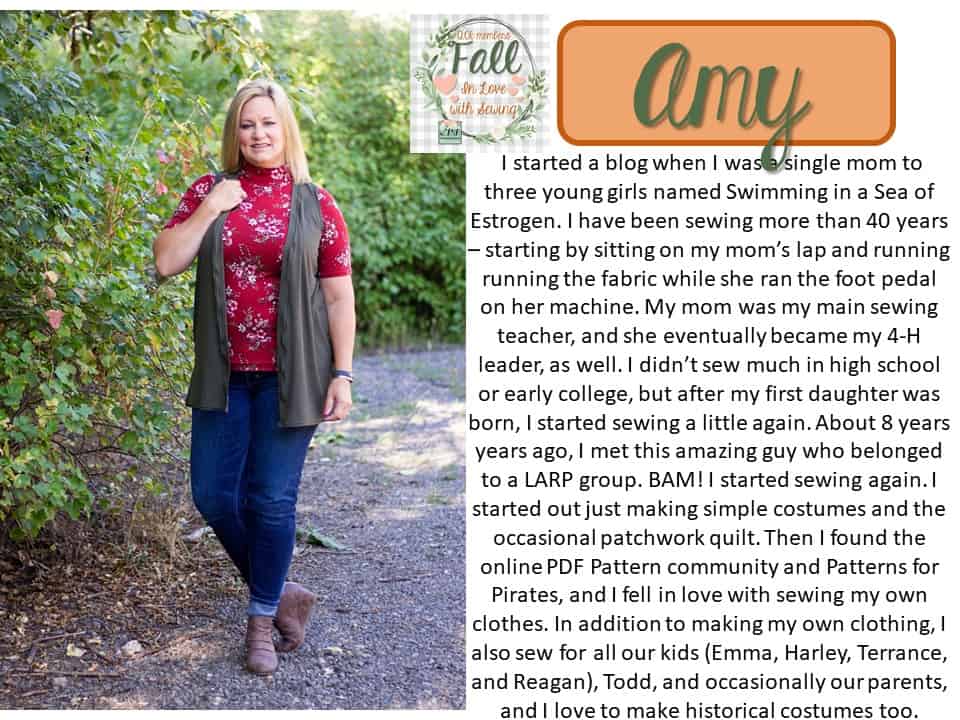
 

Bekah and Amy above suggested a bundle of measuring tapes! It’s always nice to have on within reach and a back up in case a little one decides they’re on a measuring mission that day 😉
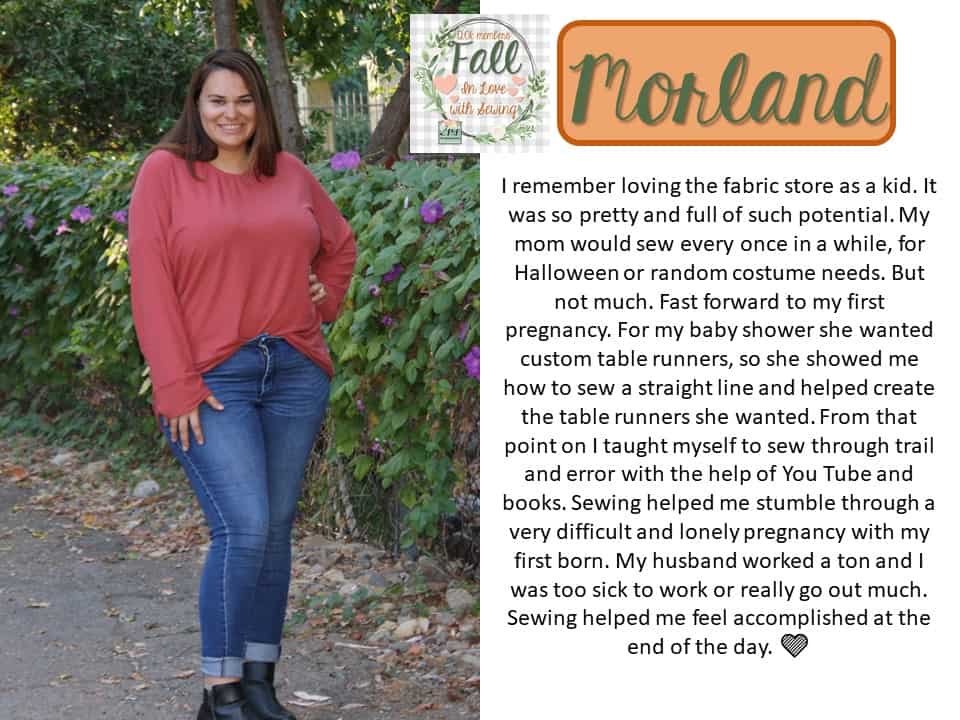
Morland brought on some great stretch needles for her pick! Using a stretch needle with knits makes a huge huge difference! I even love a stretch needle much more then a ballpoint for almost all knits.  Stretch are better for spandex blends, which are most common these days.  Ballpoint does work for interlocks and sweater knits though.
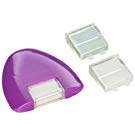
Jody went with a chalk marking wheel.  This is so quick and easy to mark and take off your pieces.  I use one all the time, especially on darker fabrics or fabrics that can’t handle heat (I love using frixon pens, but you need heat to remove the marking).
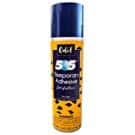
Teri loves to have a can of 505 temporary basting spray handy in her sewing space! It’s great to temporarily hold anything in place while you stitch it.
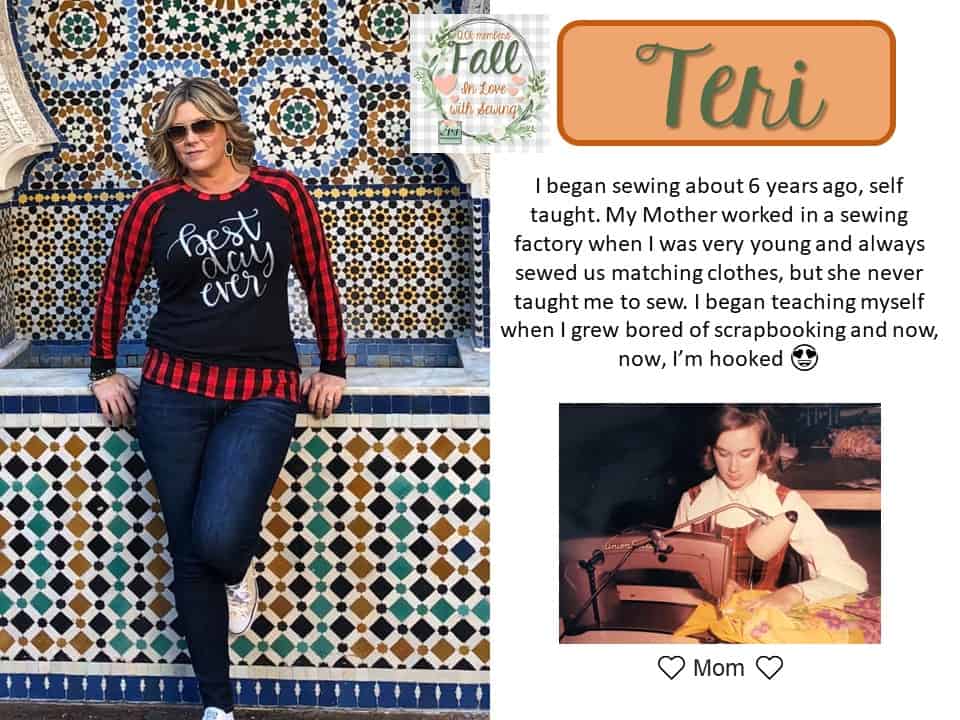


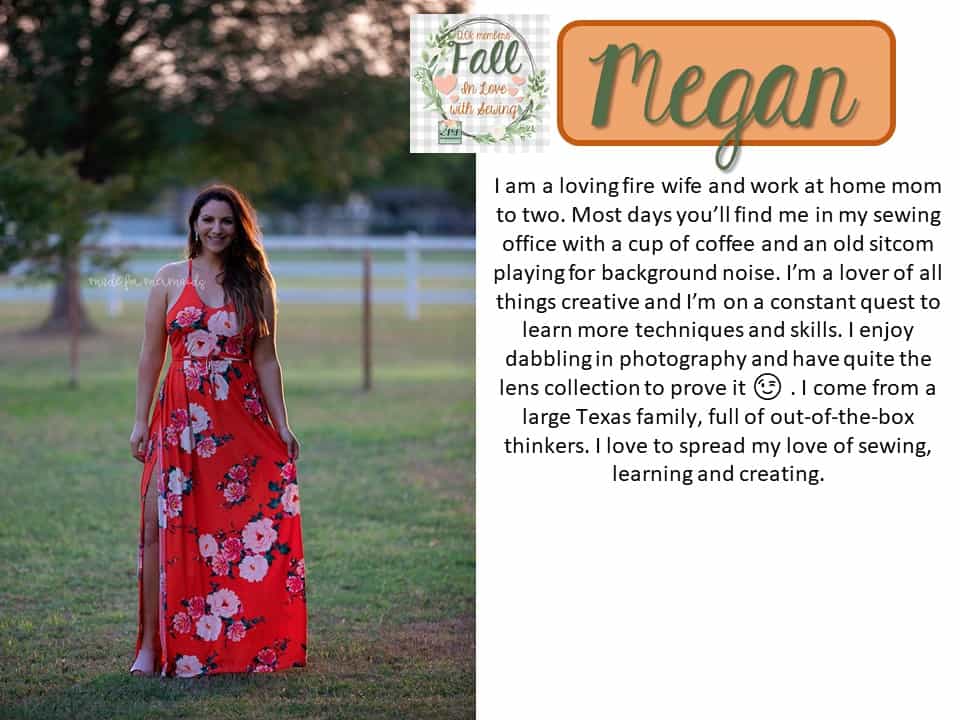
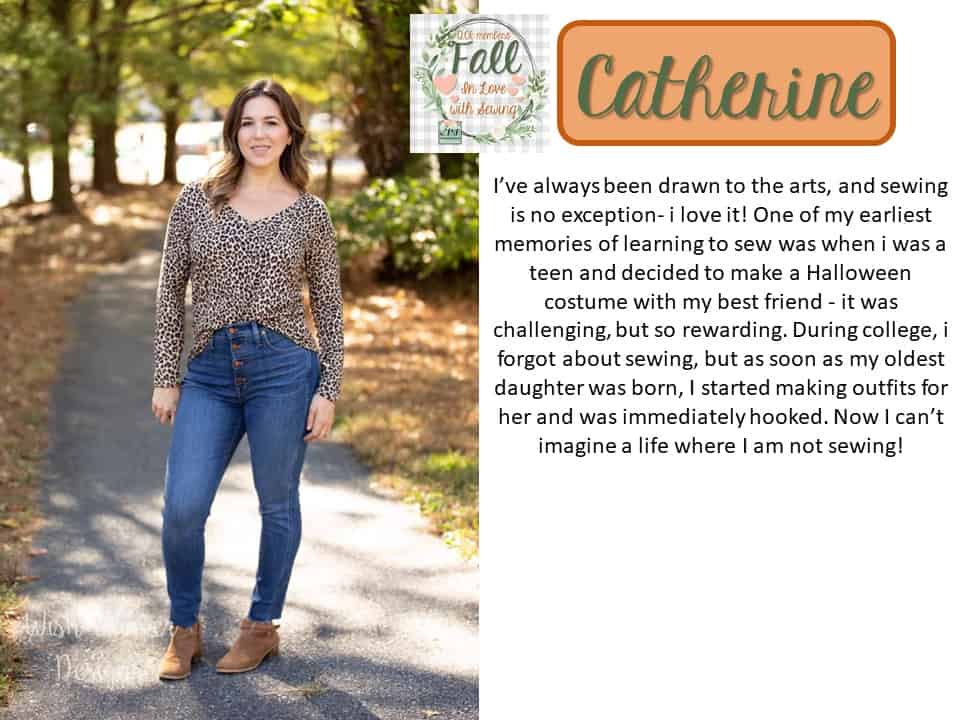
Up next we have the Made for Mermaids team.  Megan is my sister <3 And they help out admining and monitoring the group when they aren’t busy handling their own group!
Tomorrow we will be highlighting our fabric sponsors that generously donated to our fabric bundle included in the prizes! Don’t forget to enter the contest and take advantage of our huge site wide sale! It’s the last sale of the year!


Filed Under: Announcement, Contest/Giveaway Leave a Comment

Fall in Love with Sewing :: 120K Member Saleabration and Giveaway

November 8, 2019

I’m so excited to announce that we’ve hit another milestone in our P4P Facebook Group of 120,000 members!  I’ve always been blown away with how the group keeps growing!


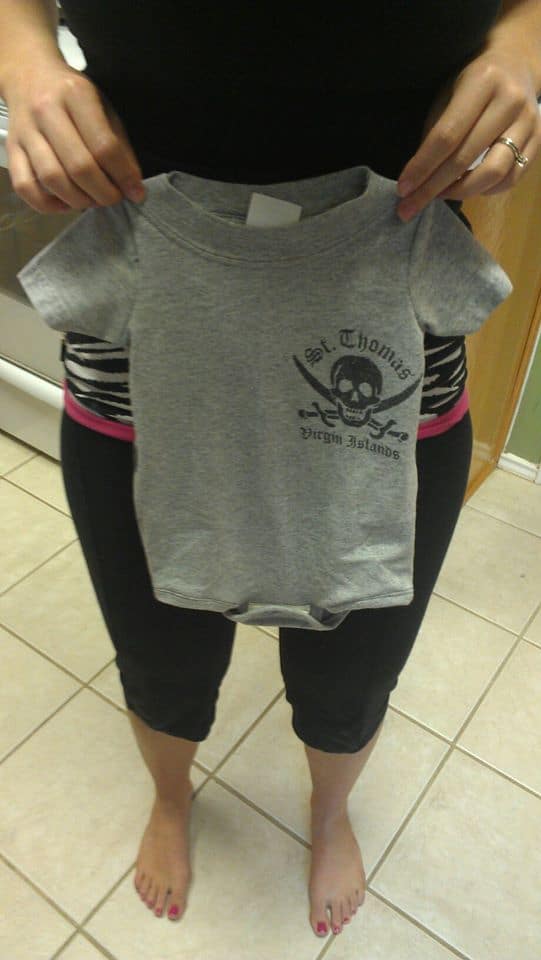
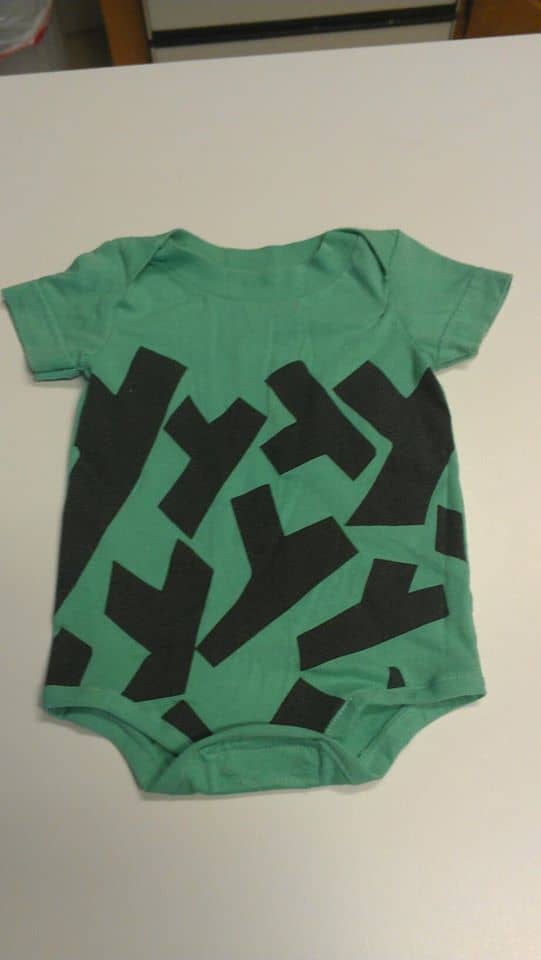
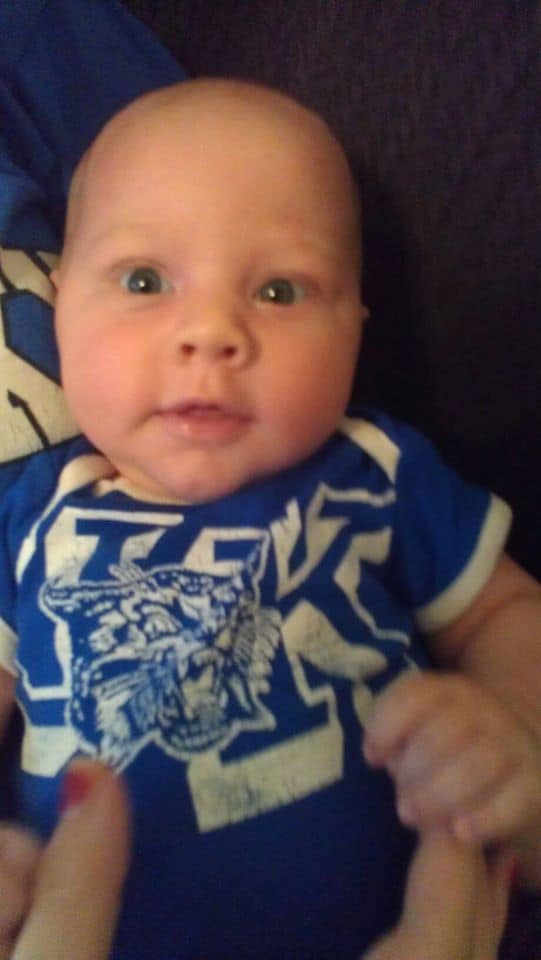
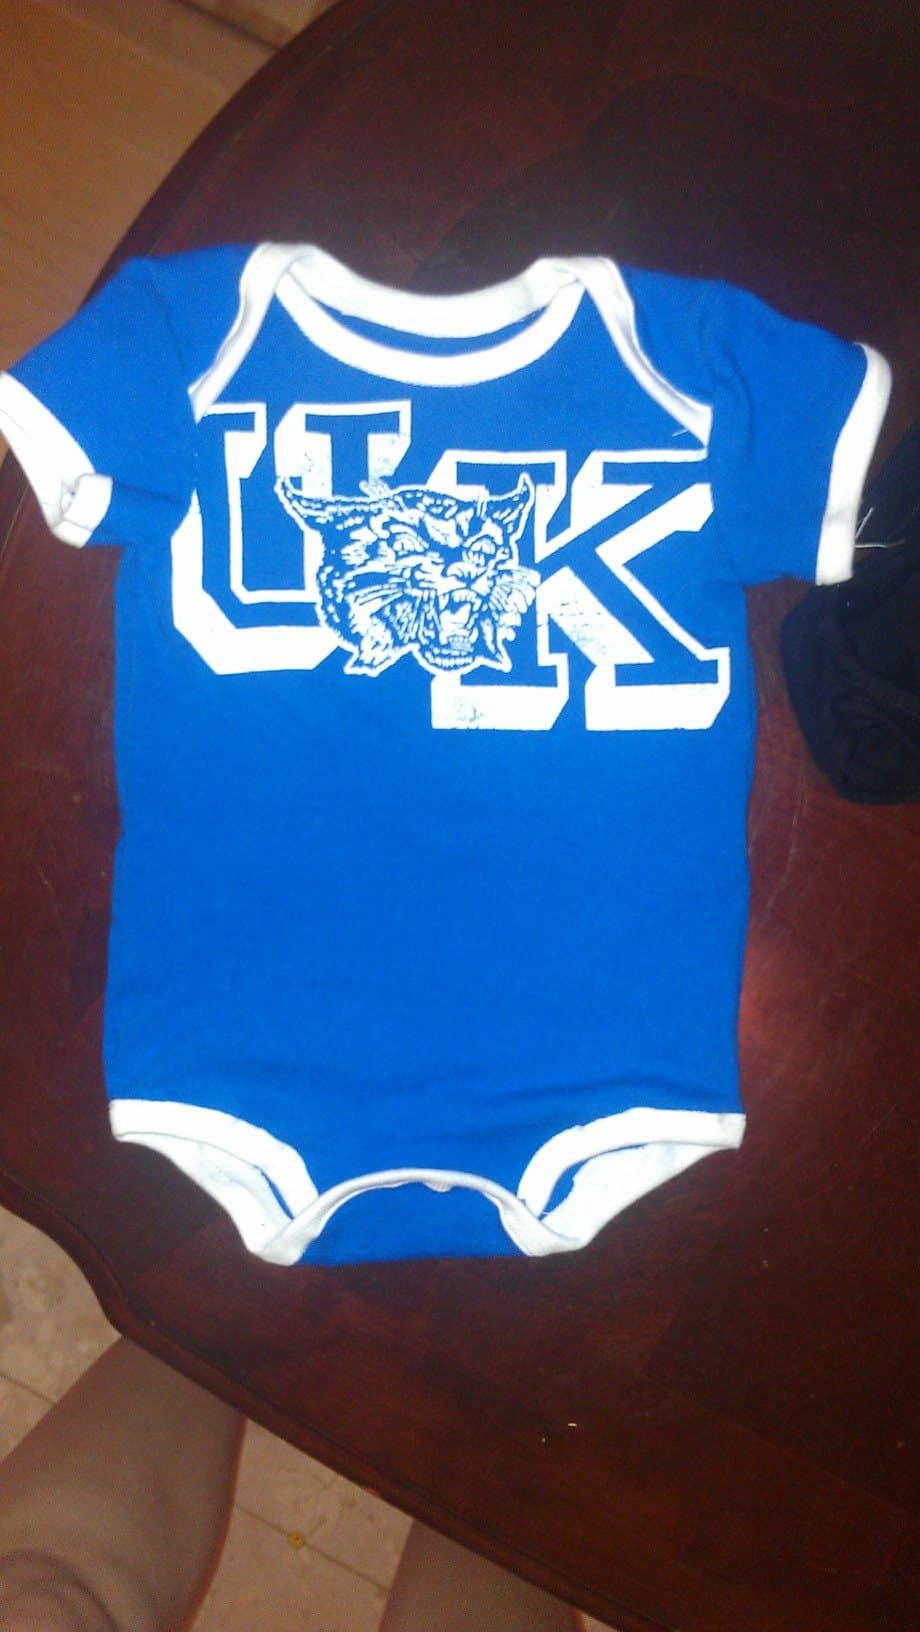
My favorite part of my job is seeing beginners grow with the group’s help! Seeing questions being answered, encouragement being given and then the proud first make being posted is the absolute best! Sewing has always been a huge part of my life… but there was a time when I wouldn’t have said I was a sewist! Even though my mom sewed my whole life and taught me growing up, I didn’t consider it my own hobby or love until I was older.  I fell in love with sewing when I was in college and even more so when I was pregnant with my Little Guy.  Here are some little onsies I made for him out of my t-shirts!


All these years later and I STILL LOVE THOSE! My second Baby Boy wore them just this past year <3 Thinking back to those really proud moments of “firsts” always gets me smiling and feeling the love of sewing again. I wanted this giveaway to be all about that. So, we will have some shares about how we fell in love with sewing, what tools help us stay in love with sewing, a runner up prize and a grand prize that will hopefully help others fall even more in love with sewing, and as always we do a big site wide sale to help get the patterns you’ve been wanting into your sewing space being used and loved!

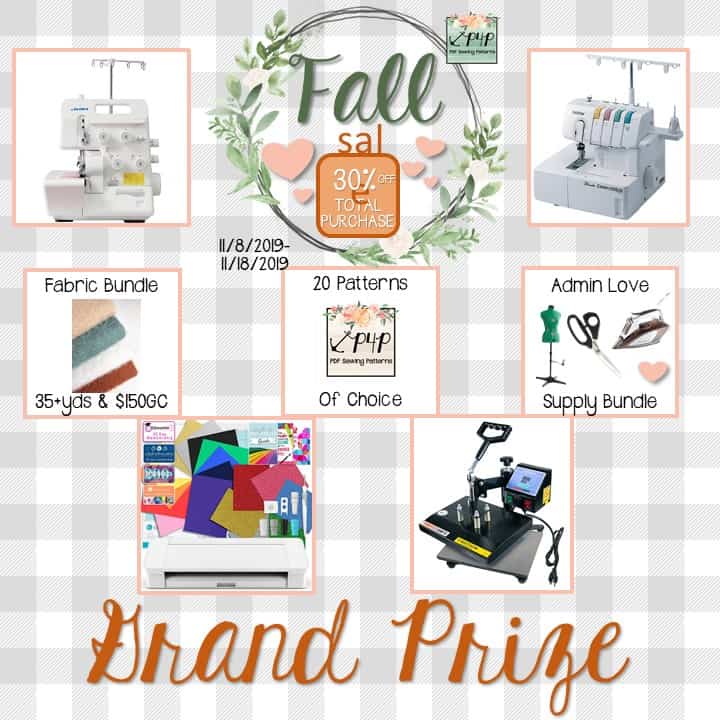
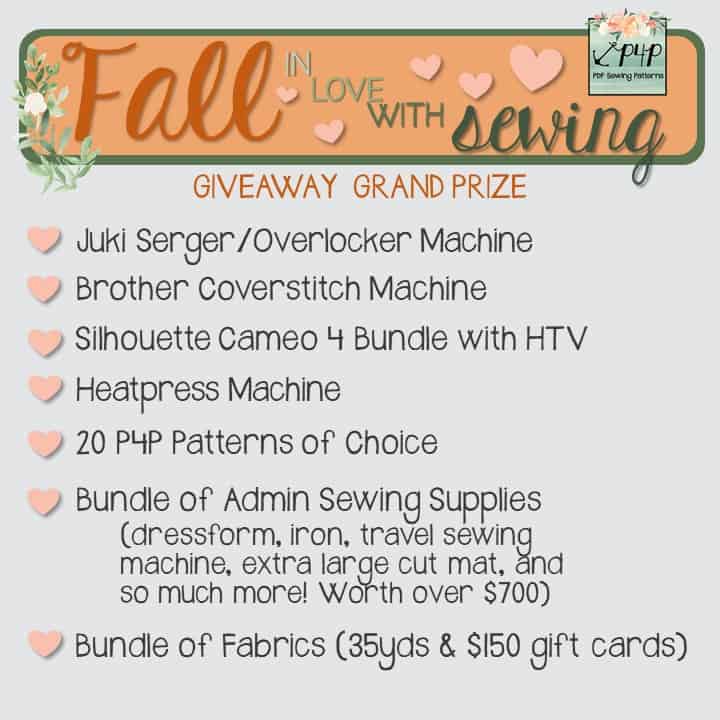
The GRAND PRIZE for the giveaway was inspired by things in my own sewing room that make me really love sewing more and more.  Now, the serger is the model I’m hoping to get! I’ve heard great things about it and can’t wait to hopefully call one mine soon! The others are things that I do have and love!


(Note- I’m using affiliate links here if you happen to purchase any from these links.)

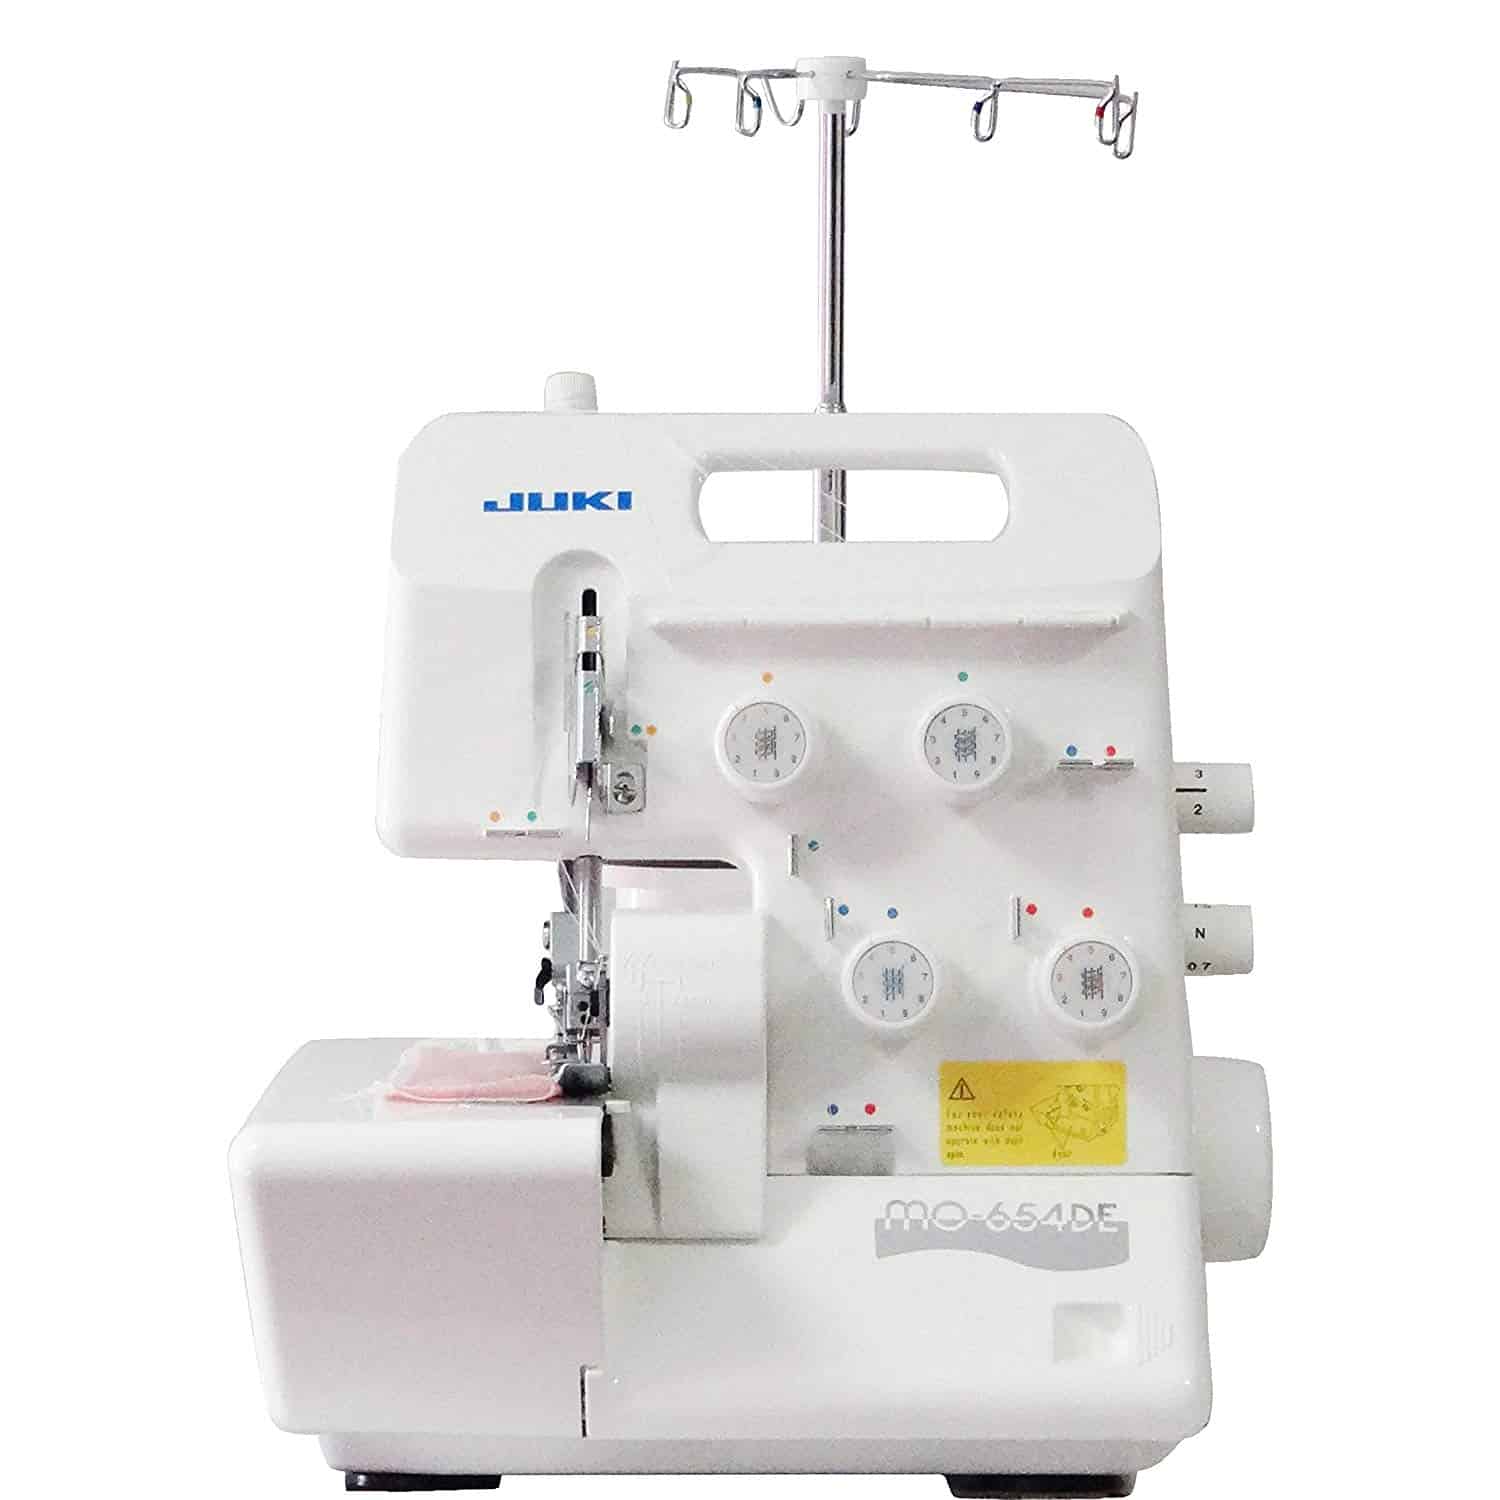
There is the JUKI SERGER/OVERLOCKER , which I’m lusting over currently.  It’s a bit of an upgrade from the most affordable model sergers and every sewist I know that has this model loves it and recommends it!

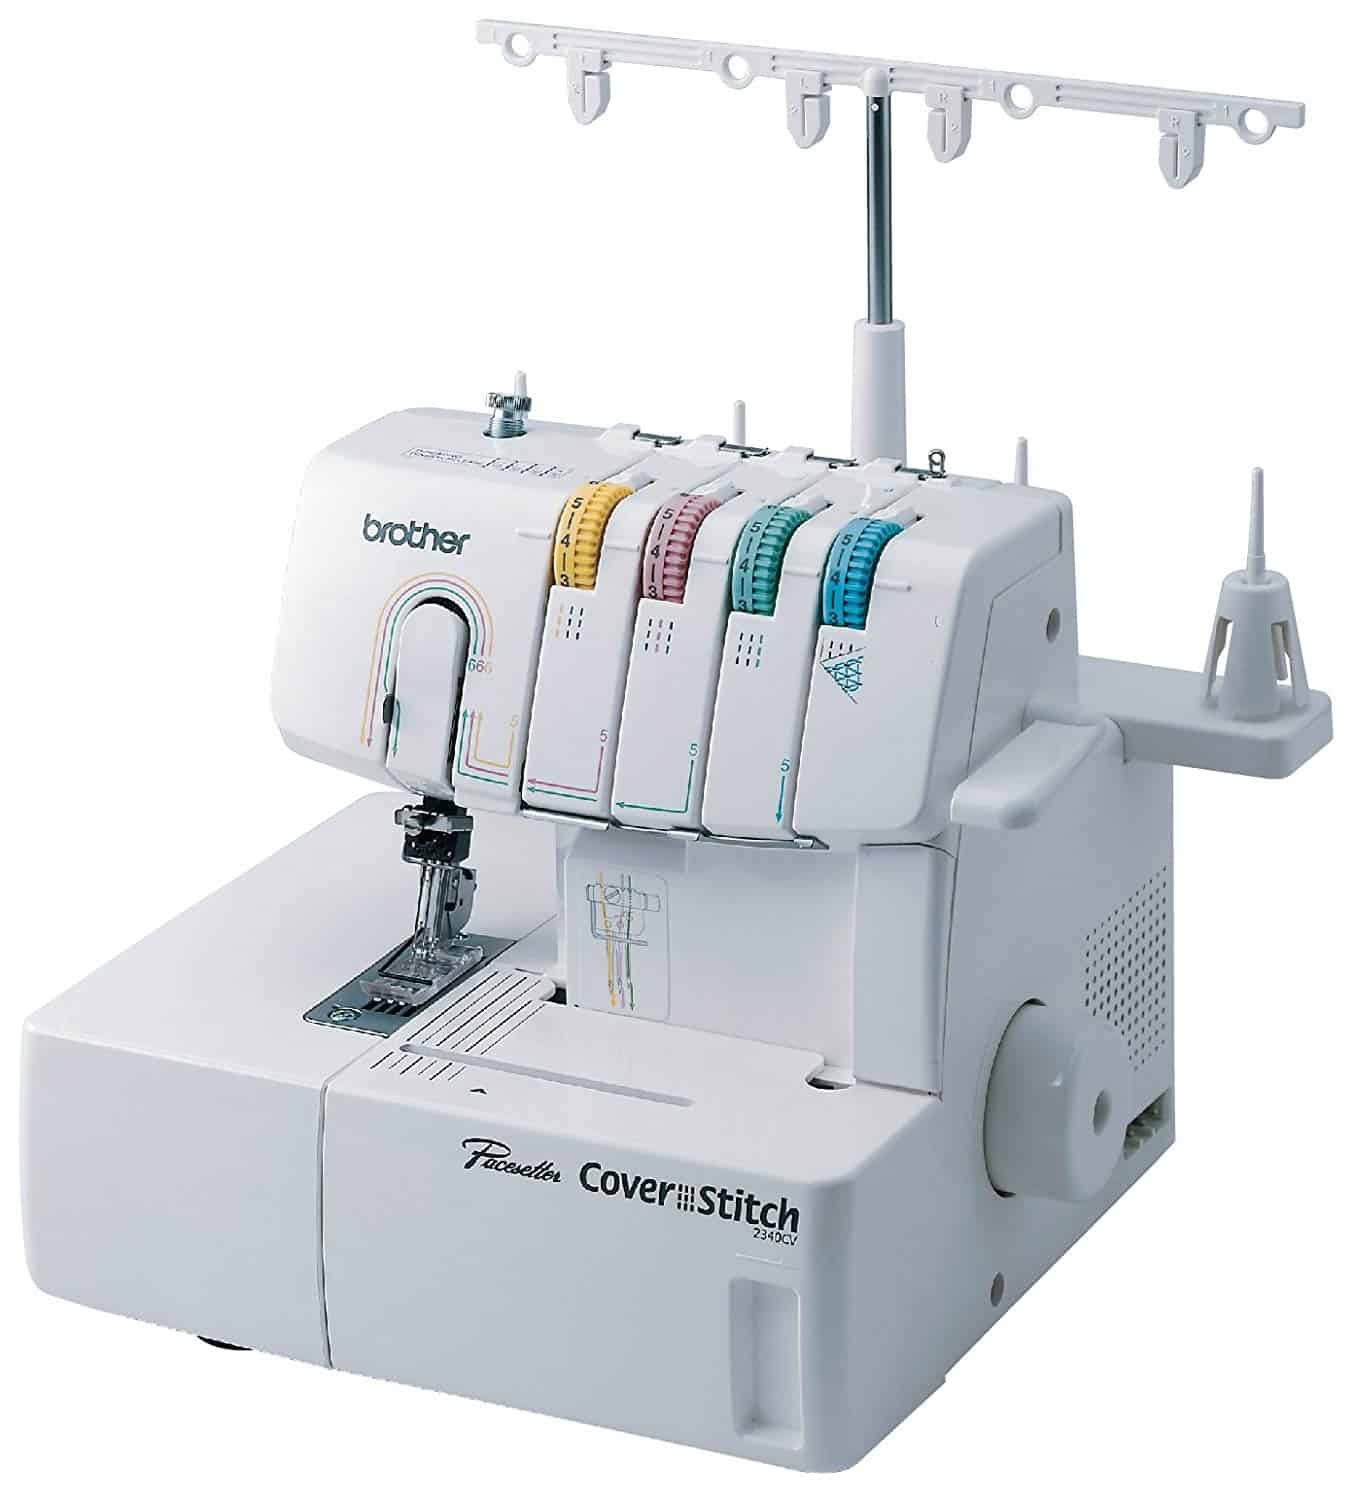
The BROTHER COVERSTITCH is something I waited for many years to purchase because I knew it was a luxury and not a necessity…but I do love having it! It’s so nice for hemming knits and making it much easier and stretching finished hem.


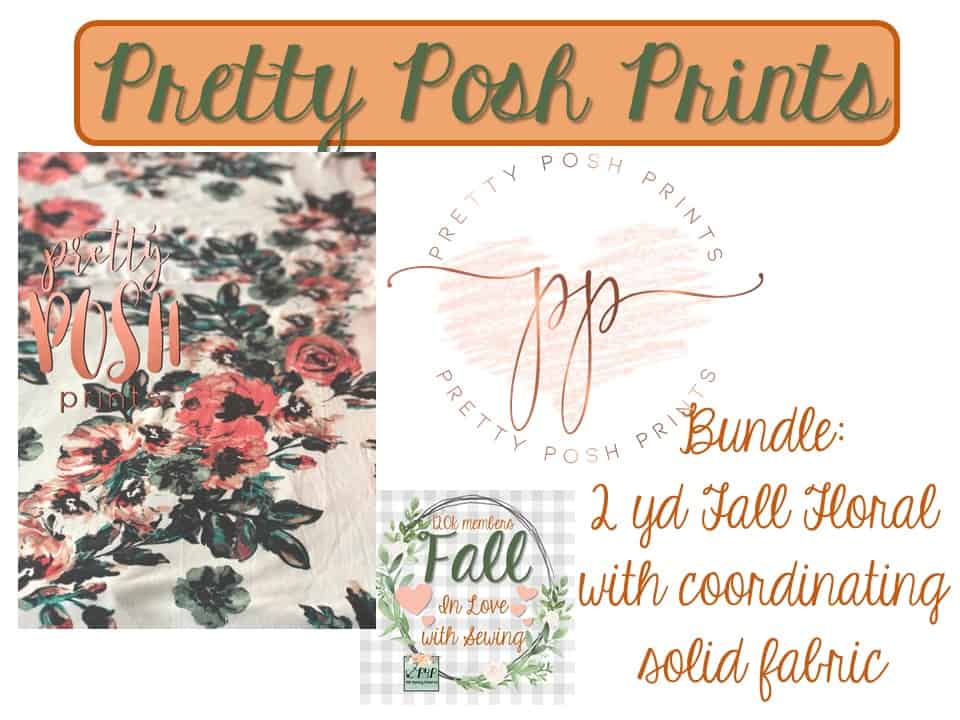
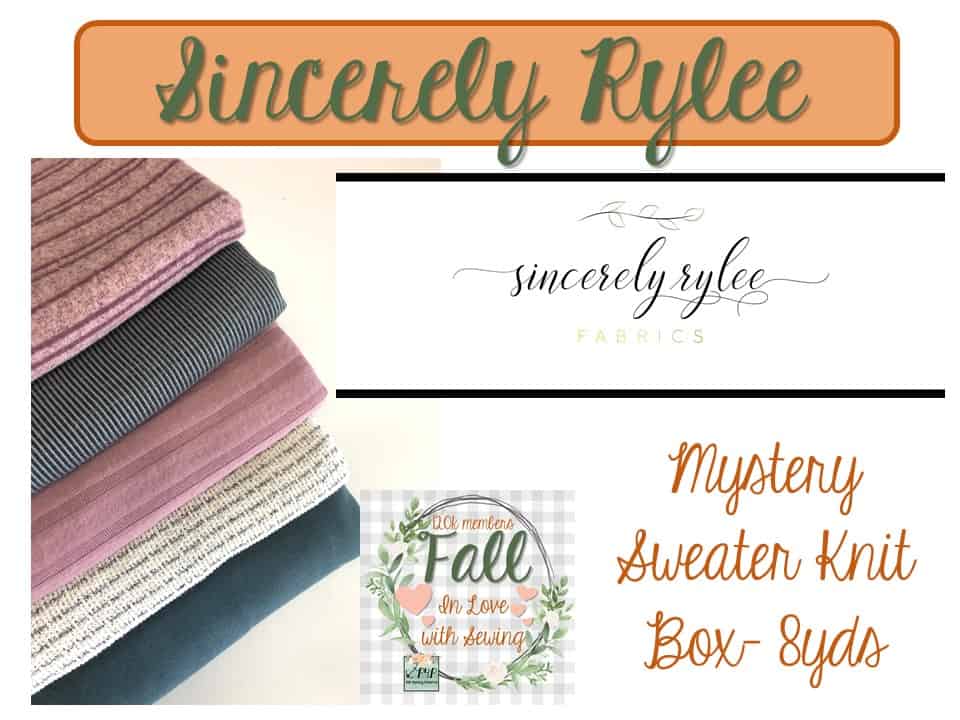
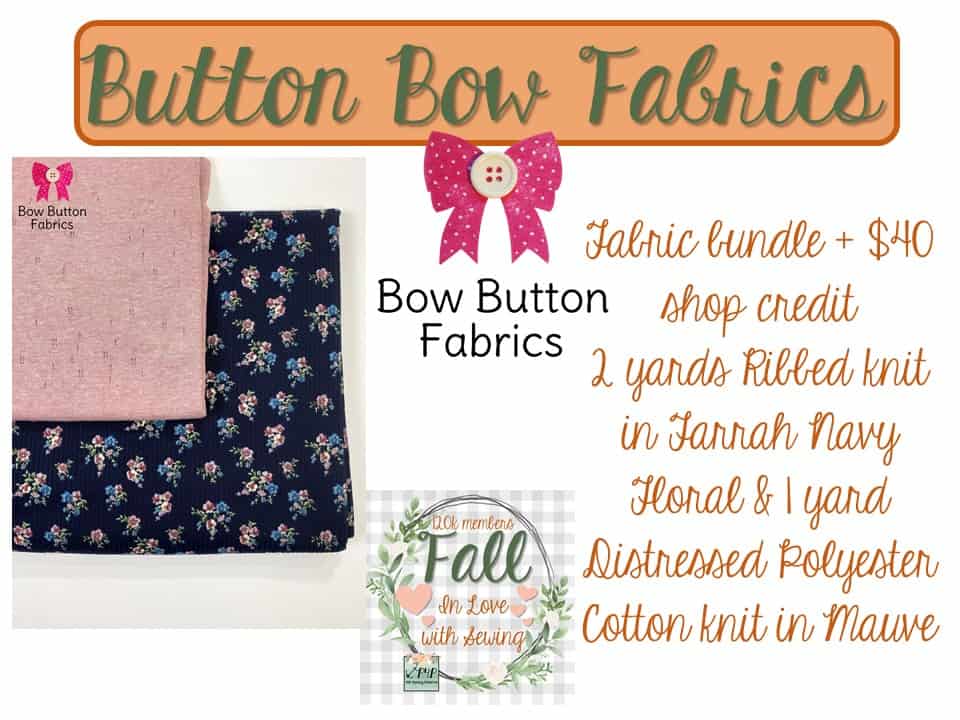
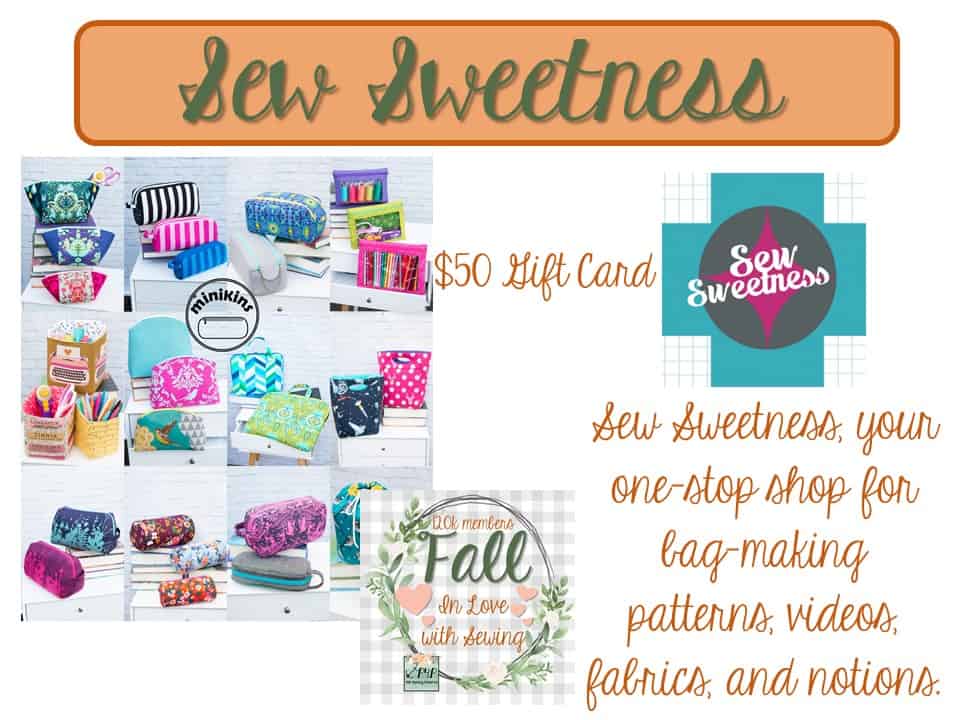
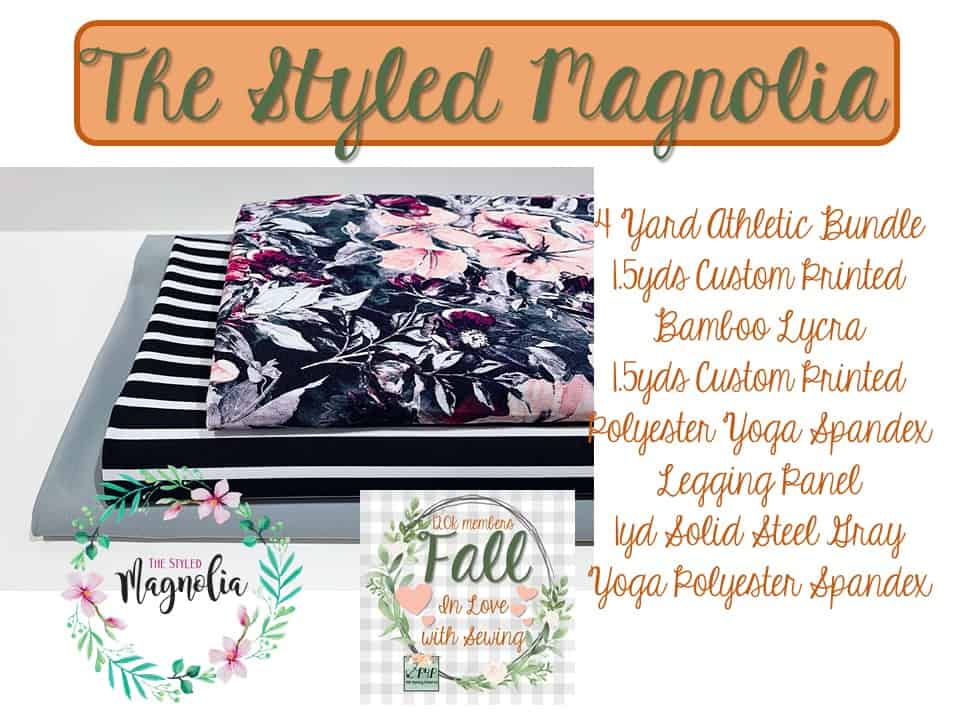
The FABRIC BUNDLE is something every sewist would love. We have some great sponsors that are donating both fabric bundles and gift cards so you can really stock your stash!!  I will be highlighting each sponsor and showing off their bundle in the next few days so keep an eye out for that blog post!

The 20 P4P PATTERNS OF CHOICE is my way of making sure you have every pattern you want from the shop! Having a pattern for just what you’re wanting to sew up makes sewing so much faster and more enjoyable then hoping and guessing on things!

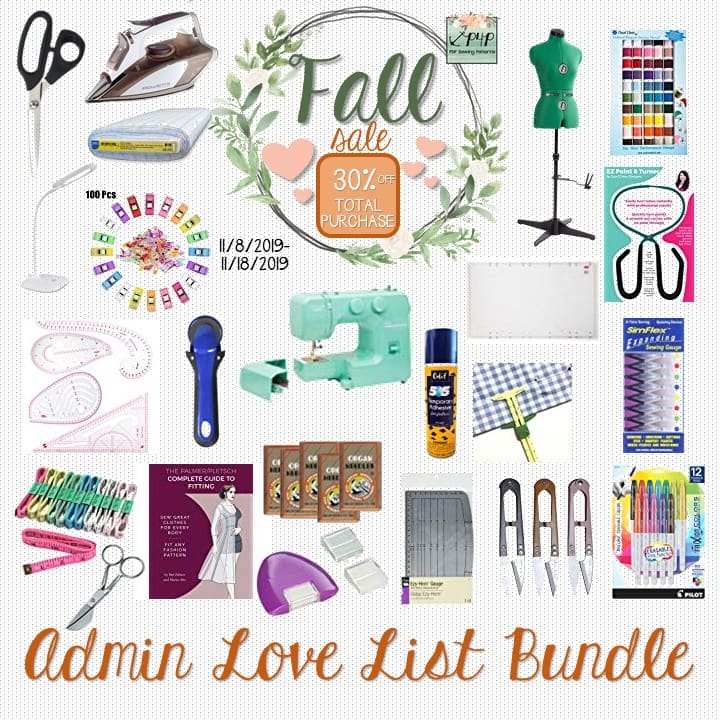
The ADMIN LOVE BUNDLE is amazing! I asked all my FB Group Admins/Moderators what helps them love sewing in their sewing space.  And these are the answers I received! It was fun to see what everyone values and uses a lot in their own space… and also tempted a lot of us to purchase each others 😉 lol!  I will have several blog post highlighting our admins, their picks and how they fell in love with sewing coming the next few days, so stay tuned!


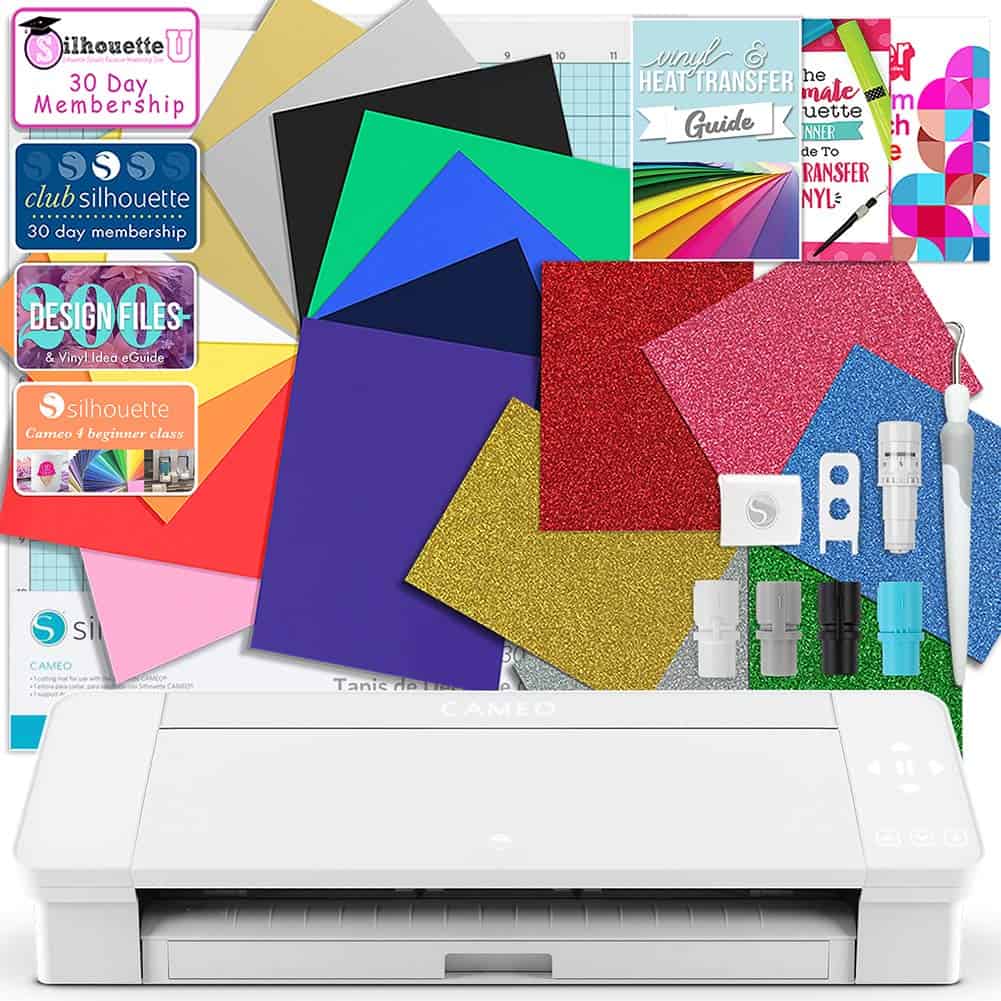
The SILHOUETTE BUNDLE cutting machine is so fun for anyone crafty! I use it all the time to add some HTV (heat transfer vinyl) to items I made.  It’s such a quick way to add something personal and unique to your makes.

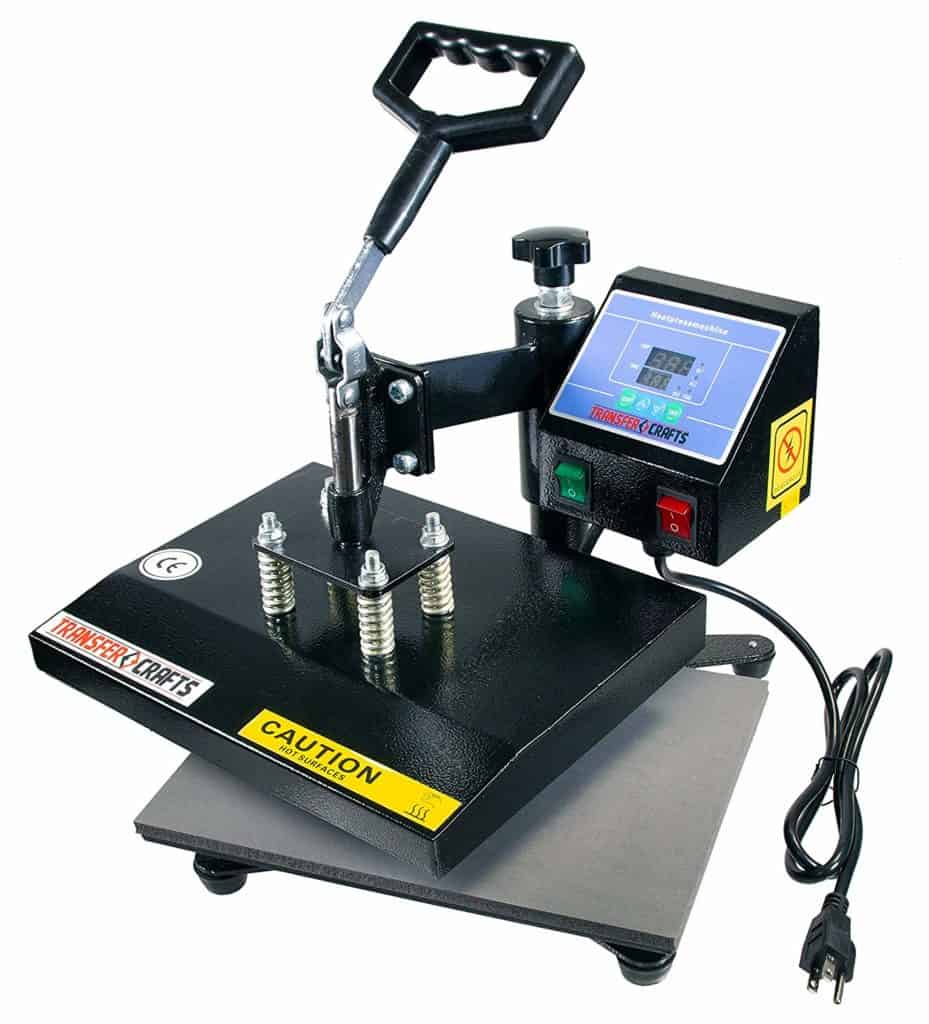
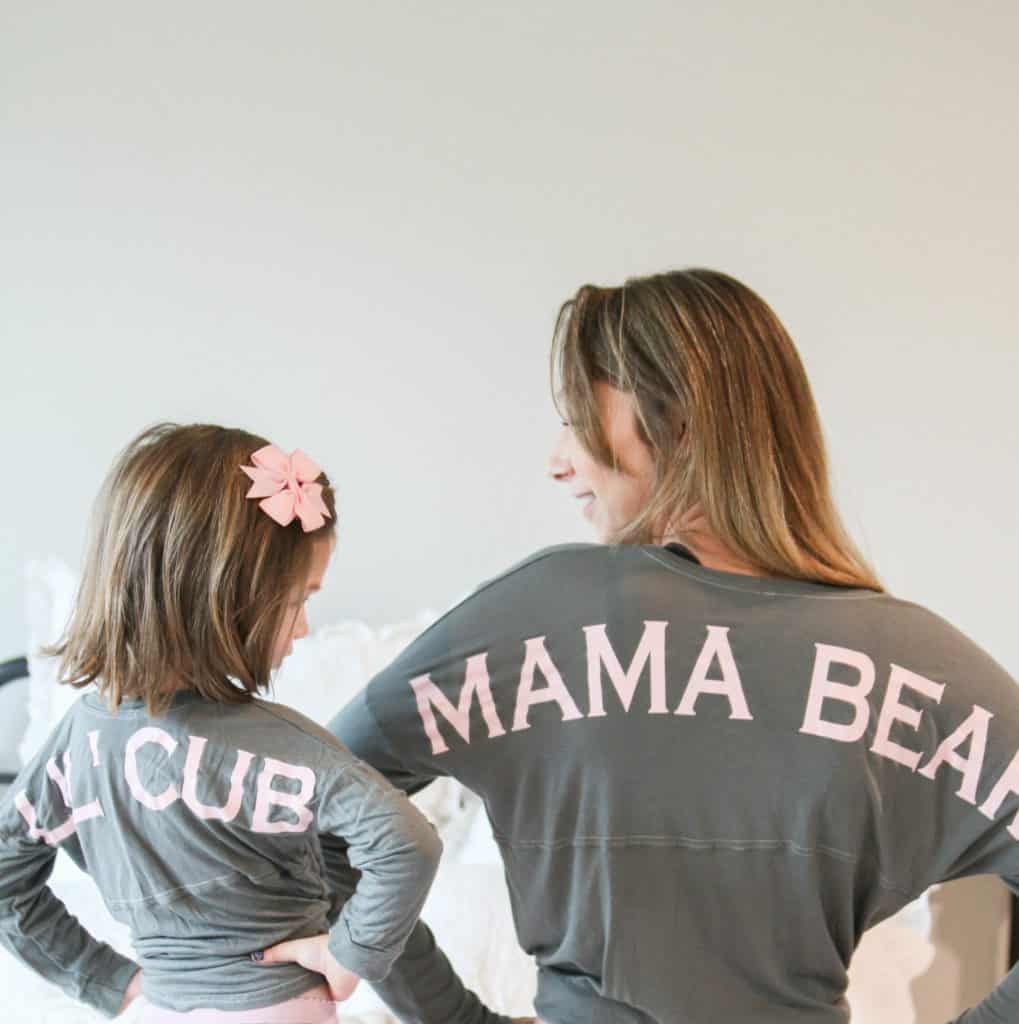
The HEAT PRESS is also for adding the HTV.  I used an iron for a while, but I just wasn’t really strong enough to add the even pressure needed to get a really good attachment.  This heats up quickly, is super easy to use and makes the HTV added last and look much better then I could get with my iron. I love having it!  Here is an example of HTV I added to personalize some Sporty Pikos for myself and Baby Girl!


****Note**** With a prize this large, P4P will need a W9 filled out by winner prior to prizes being sent. Winner must claim prize on taxes per US law.

International winner will have to remit up to a 30% tax withholding of prize winnings and subject to US tax/treaty agreements.

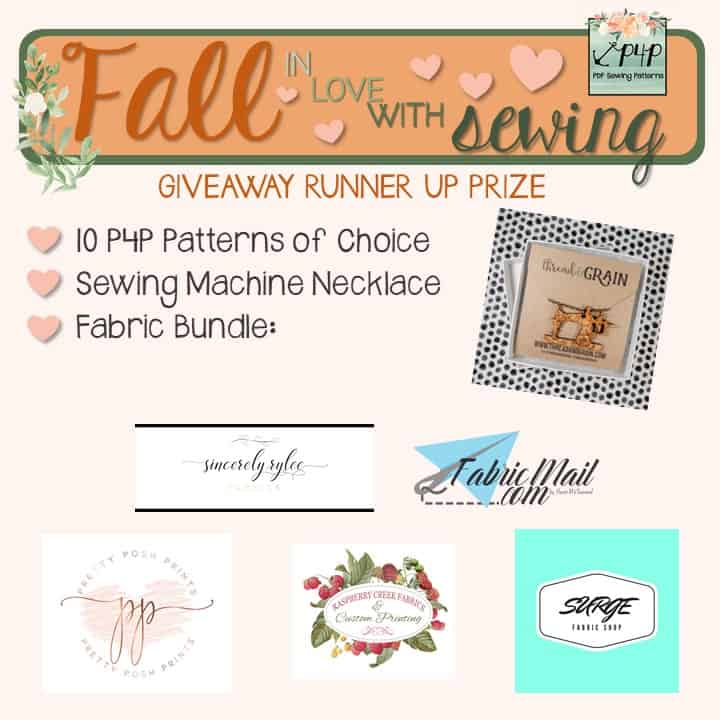
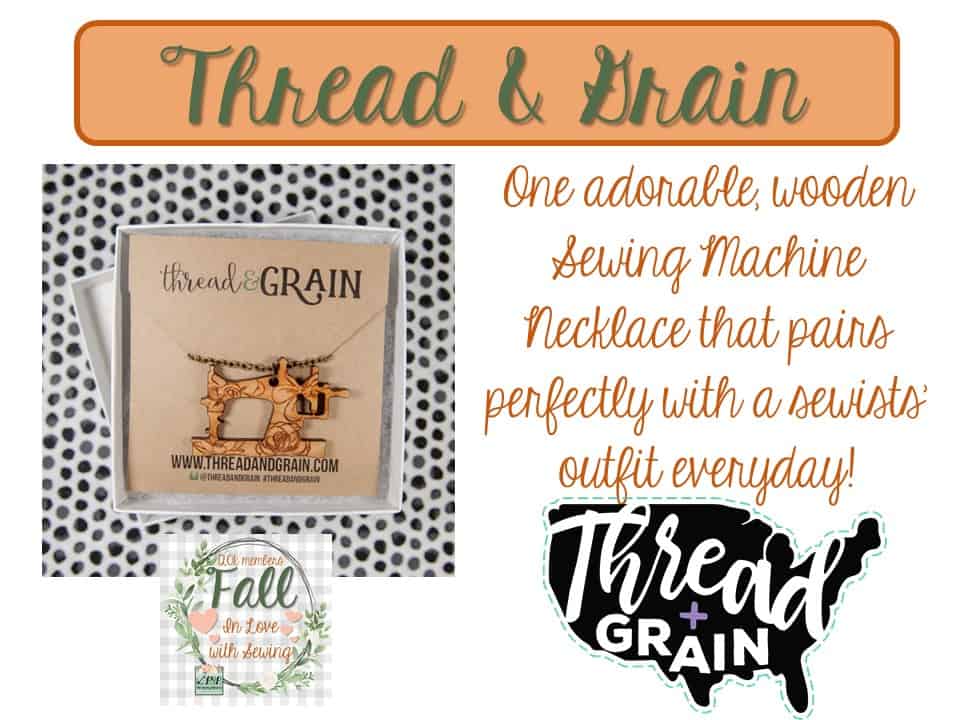
We will also have one RUNNER UP WINNER!  They will win 10 P4P patterns of choice, 20+ yards of fabric, $25 gift card for fabric, and the cutest sewing machine necklace ever!


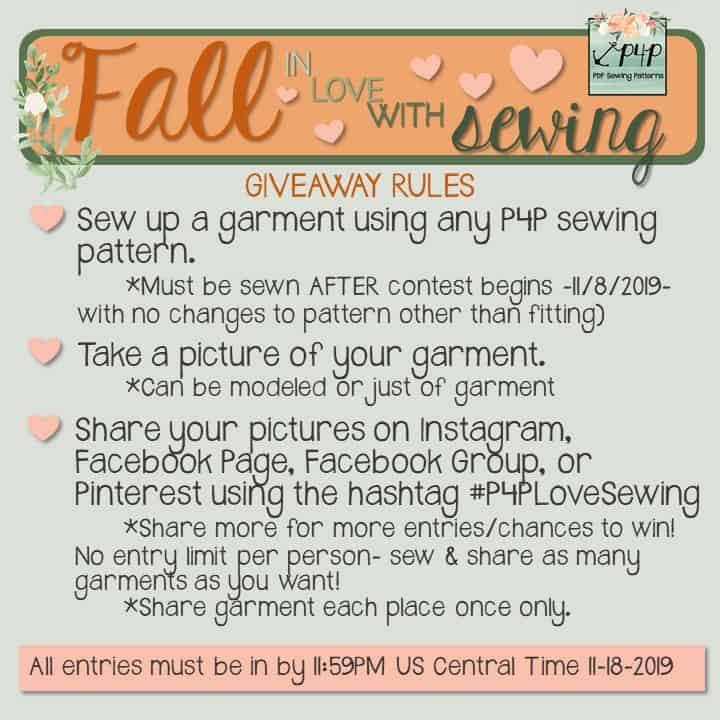
SO, ARE YOU READY TO ENTER?! Here is how you can enter to win:

A few more details:

  • The item sewn up and shared must be a P4P pattern that creates a piece of clothing (shirt, pants jacket, etc.  This means no accessories like hats, scarfs,etc.)  You can use a free pattern as long as it is clothing like the Tulip Tee or Peg Legs.
    • You need to sew it up as is, with only fit changes (so no hacks or modifications).  Adding embellishments is great, just no major changes, pattern mashes, etc.
  • Share your pictures on one or all of the social media networks for more chances to win with hashtag #P4PLoveSewing — it must be EXACT to come up in our search for the winner!
  • Let us know what P4P pattern you sewed up and what you’re most looking forward to winning or tell us a bit about how you fell in love with sewing, what you love most about sewing, etc!
  • You can share as many sews as you can for more chances to win–but ALL items/images shared must be sewn AFTER the giveaway starts 11/8/2019! Any older sews will be disqualified from winning either prizes. Last entries accepted will be 11/18/2019 at 11:59PM US Central Time.
  • Winner will be random lottery winner! So everyone has a chance from a beginner who might be sewing their first P4P to a seasoned apparel sewist!

Since you might need to grab a new pattern to get motivated we have a SITE WIDE SALE through the end of the giveaway!

  • This will be the last site wide sale this year so grab them up while you can!!
  • Sale ends at the same time as giveaway entries: 11/18/2019 11:59PM at Midnight US Central Time. 
  • There is a coupon code: Fall120k but it will automatically pop up at checkout and you just need to click to apply the discount! 


I can’t wait to see everyone’s entries! I’m so excited to share the love of sewing!!! 

Filed Under: Announcement, Contest/Giveaway 23 Comments

Fall in Love with Sewing :: 120K Member Saleabration and Giveaway :: Fabric Sponsors

November 8, 2019

We’re still sharing the love of sewing with our Fall in Love with Sewing 120k member Saleabration and Giveaway!  I hope you have had a chance to enter something and have some more planned!


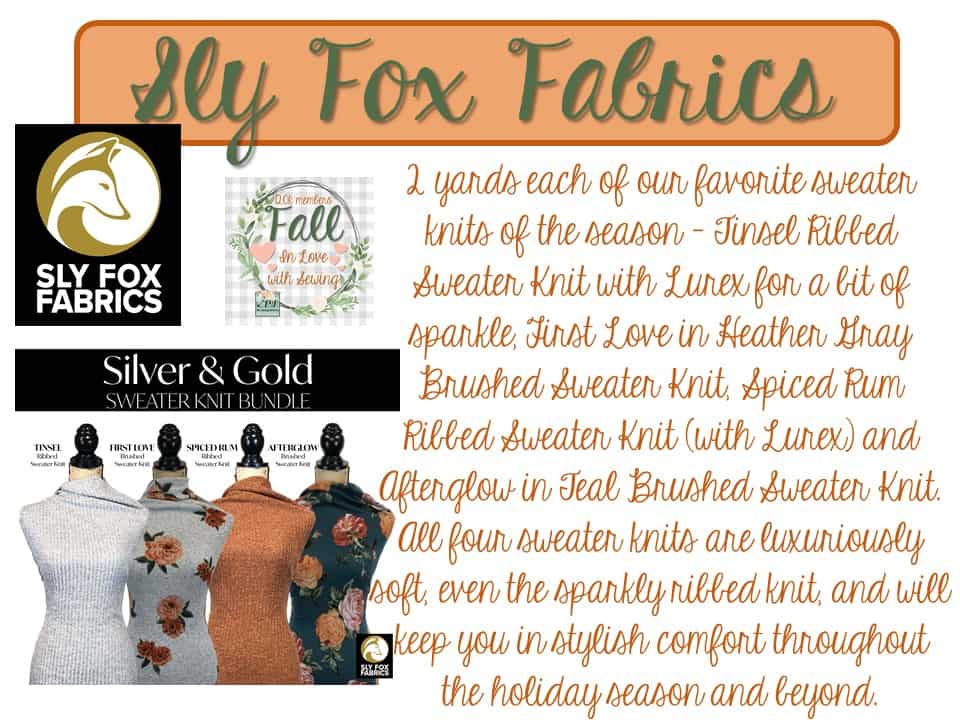
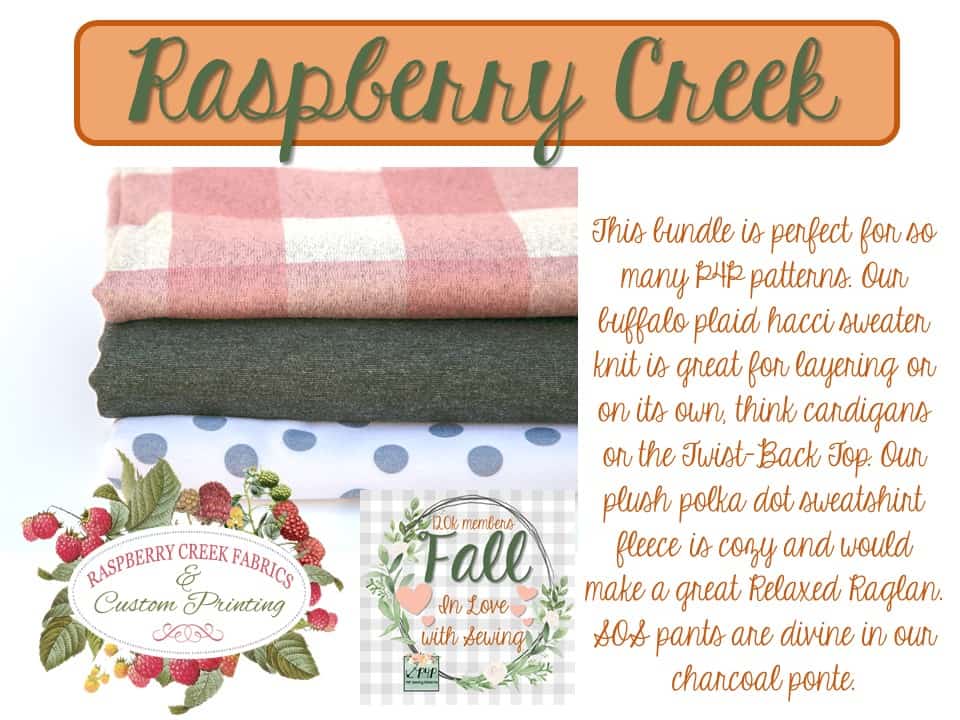
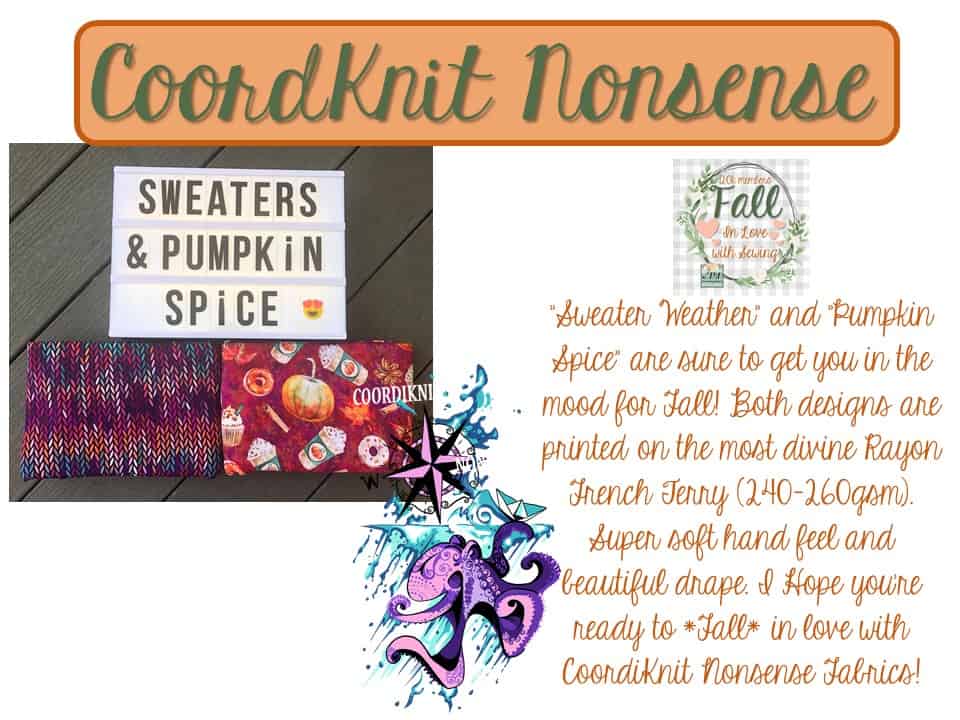
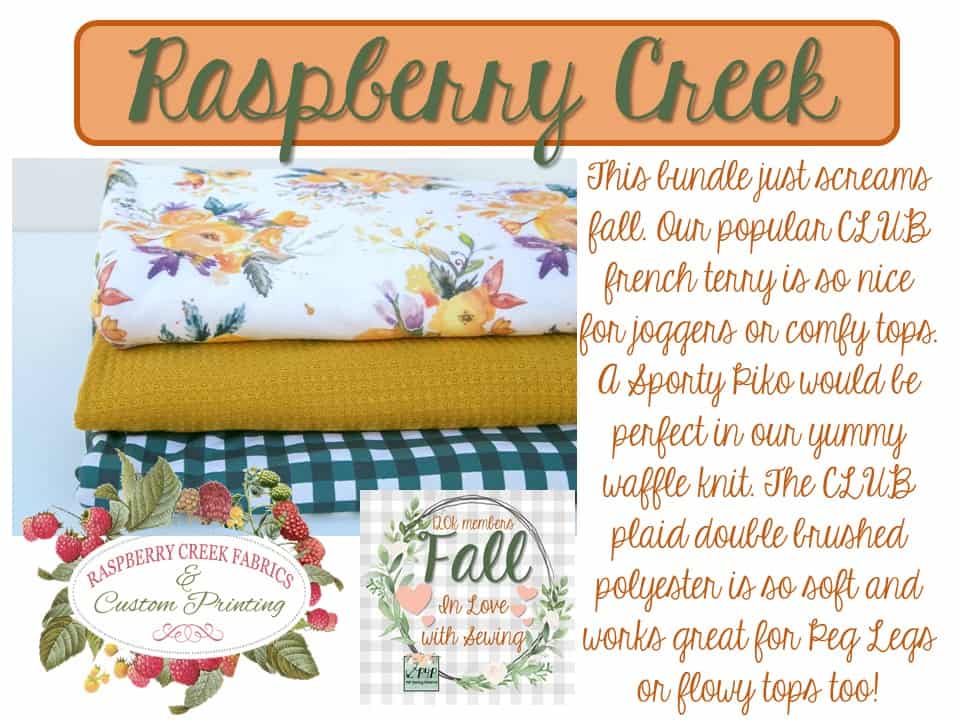
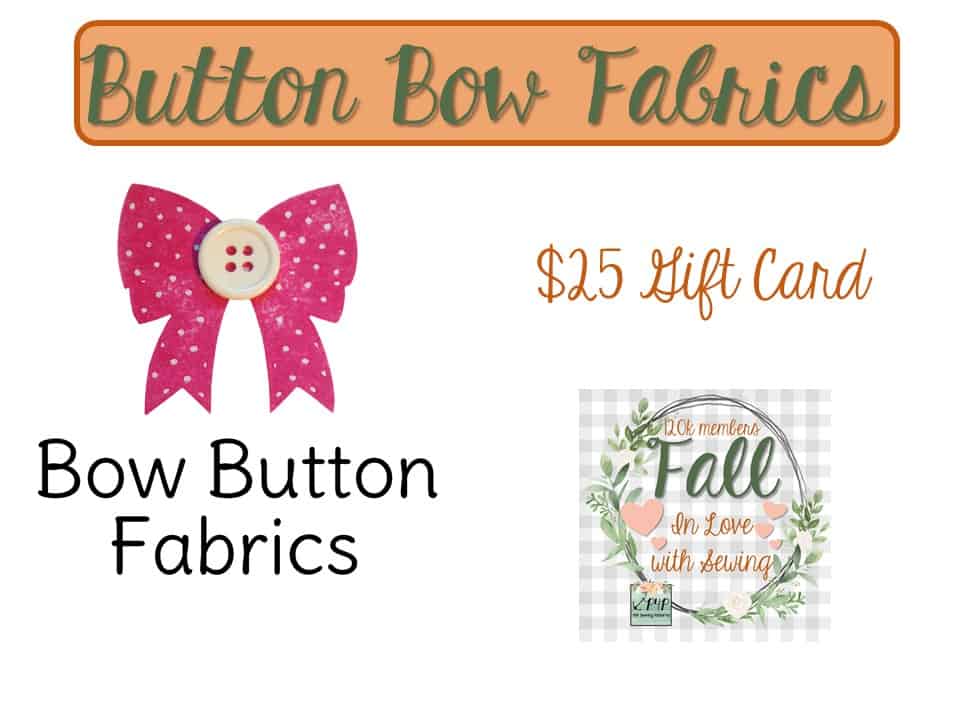
We have highlighted all of our Admin Love Bundle and how they fell in love with sewing in Day 1, Day 2 and Day 3 posts! So now it is time to show off our awesome Fabric Bundle Sponsors!


GRAND PRIZE SPONSORS:


RUNNER UP PRIZE SPONSORS:


What sewist wouldn’t love to get all this fabric fun?!? Wishing everyone luck as they get in their last entries!! You can turn in entries until November 18th 11:59PM US Central Time Zone! If you need a refresh on rules here is the blog post!

Good Luck! <3

Filed Under: Announcement, Contest/Giveaway Leave a Comment

Fall in Love with Sewing :: 120k member Saleabration and Giveaway :: Admin Love Bundle Cont’

November 7, 2019

We’re continuing to show off our wonderful admin/moderators with a little bit about how they fell in love with sewing,  along with their pick for the Admin Love Bundle that is part of the Grand Prize for our Fall in Love with Sewing Giveaway .

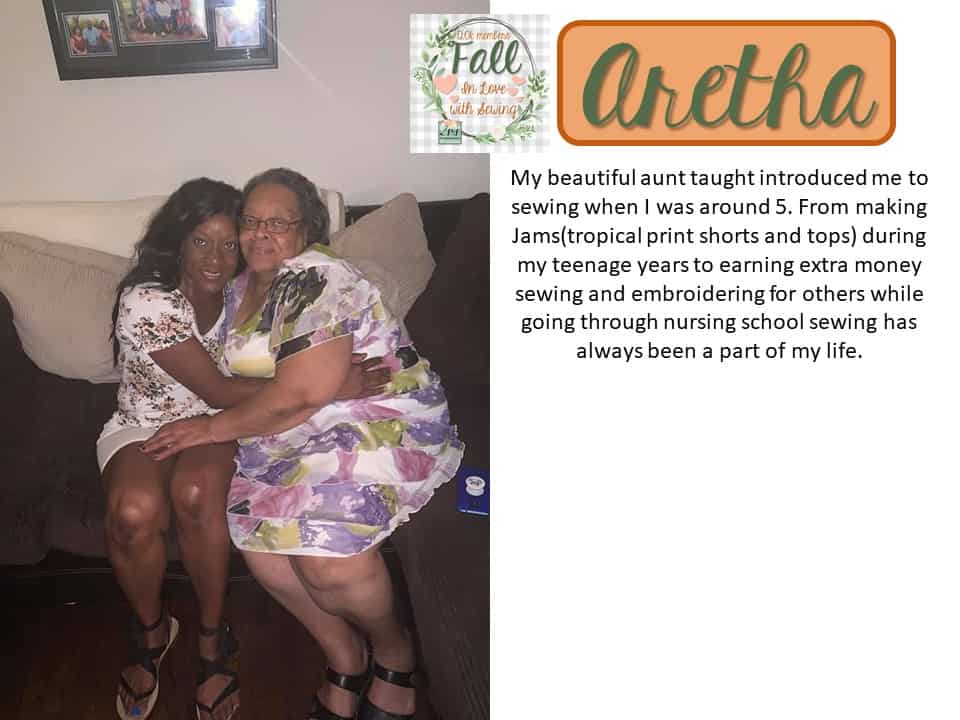
First up today is the lovely Aretha! She picked a pack of needles.  It’s so nice to not have to worry about breaking one, needing a sharper, newer one mid project! This pack is an assortment of different needles so any project you decide hopefully this pack will have you covered!

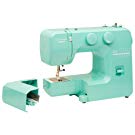
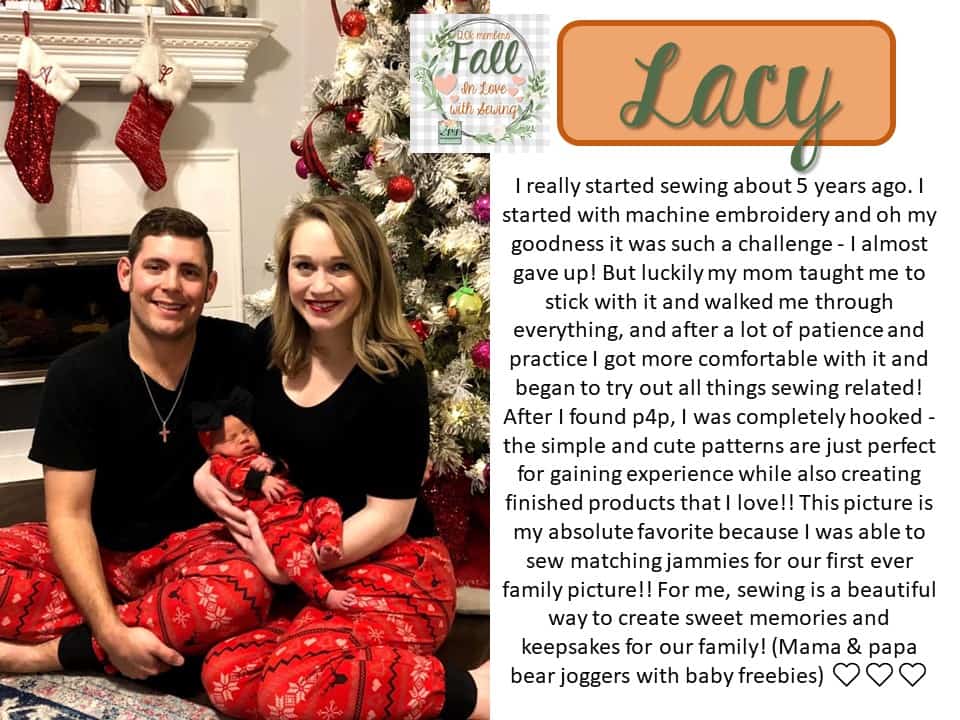
Lacy said she absolutely loved having a travel sewing machine! Now, this is something I do not have personally! She has this smaller Janome  sewing machine she can travel easier with and can sew while she’s gone!

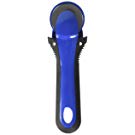
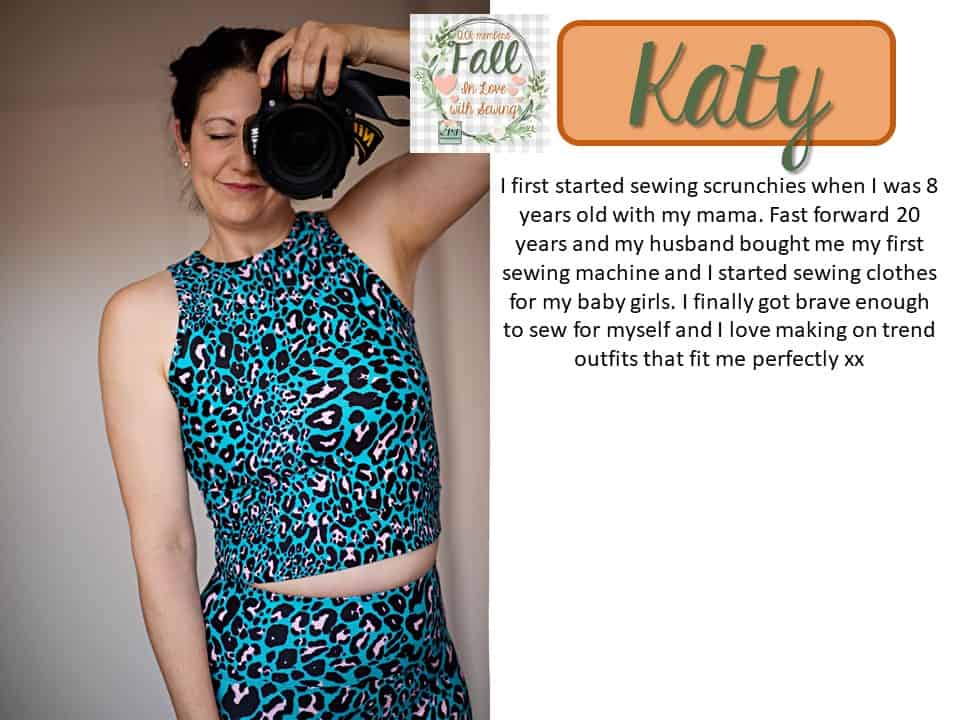
Katy added a nice rotary blade.  I have to agree whole heartedly! I love having a nice rotary blade to cut out my pattern pieces, especially a rectangle piece with a quilters ruler! This is a Kai brand that is my personal favorite! There isn’t a safety button though so you must be careful if you have little ones around!

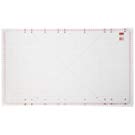
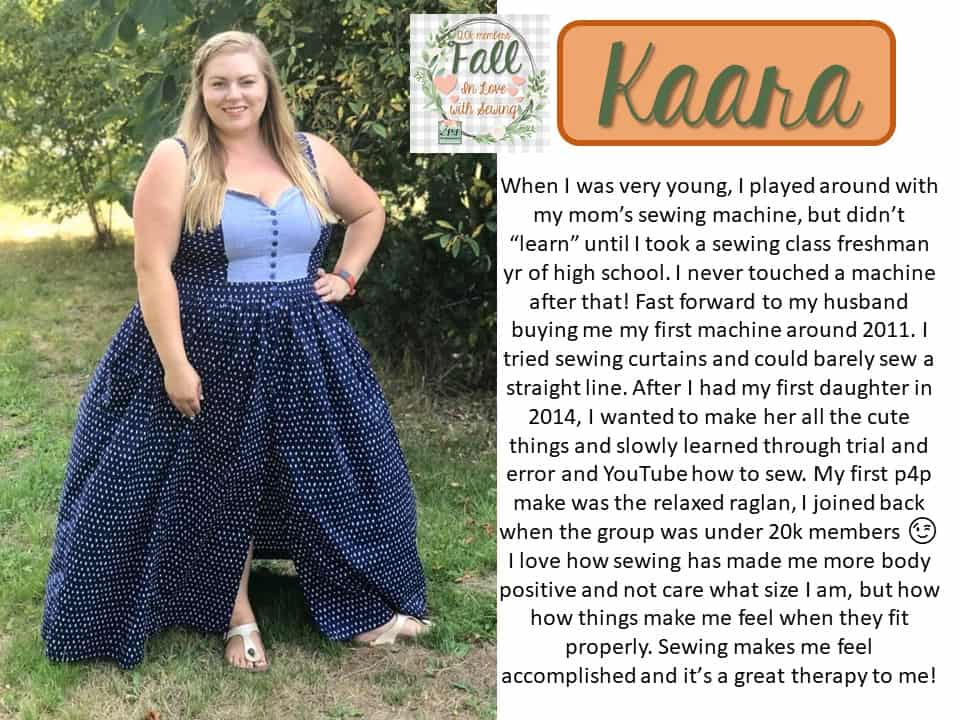
Kaara suggested a big cut mat.  Oh yesssss! I loved when I could finally afford a really large cut mat! When you’re cutting out larger adult size pattern pieces the larger the cut mat the better!!

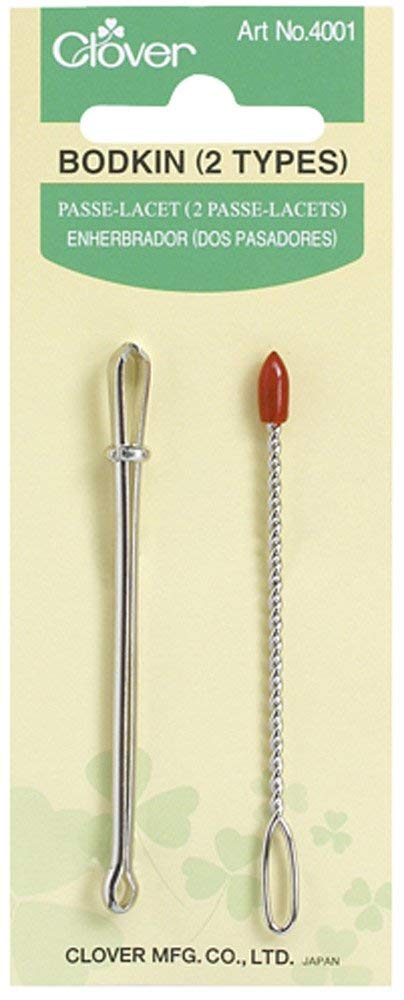
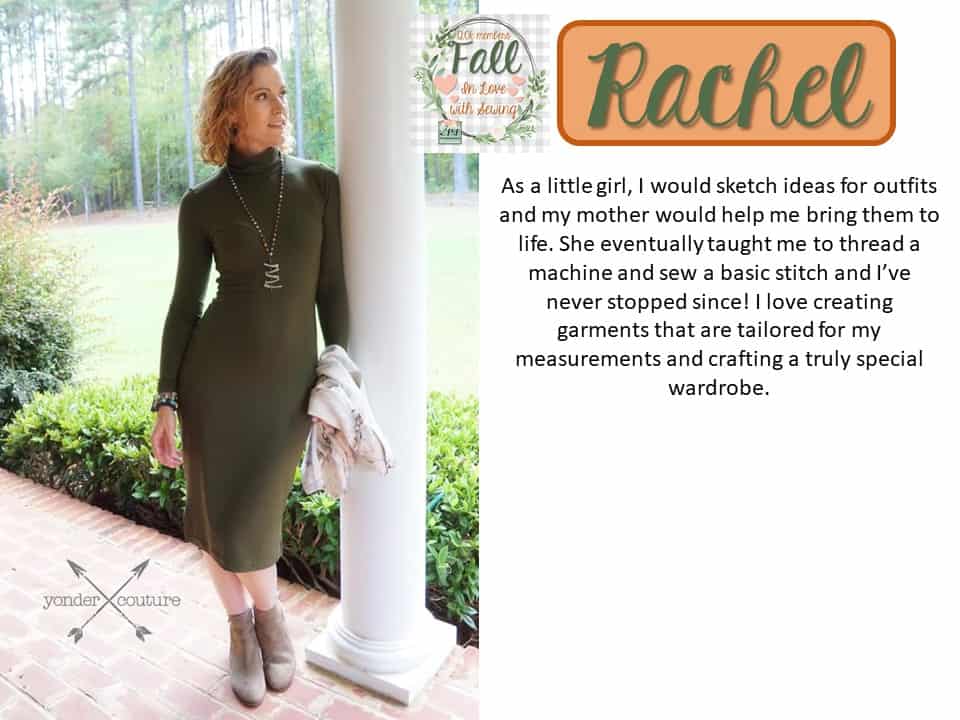
Rachel wanted to add a bodkin.  A bodkin is another that I must confess I don’t have in my own sewing space, but maybe I will grab one and try it out 🙂

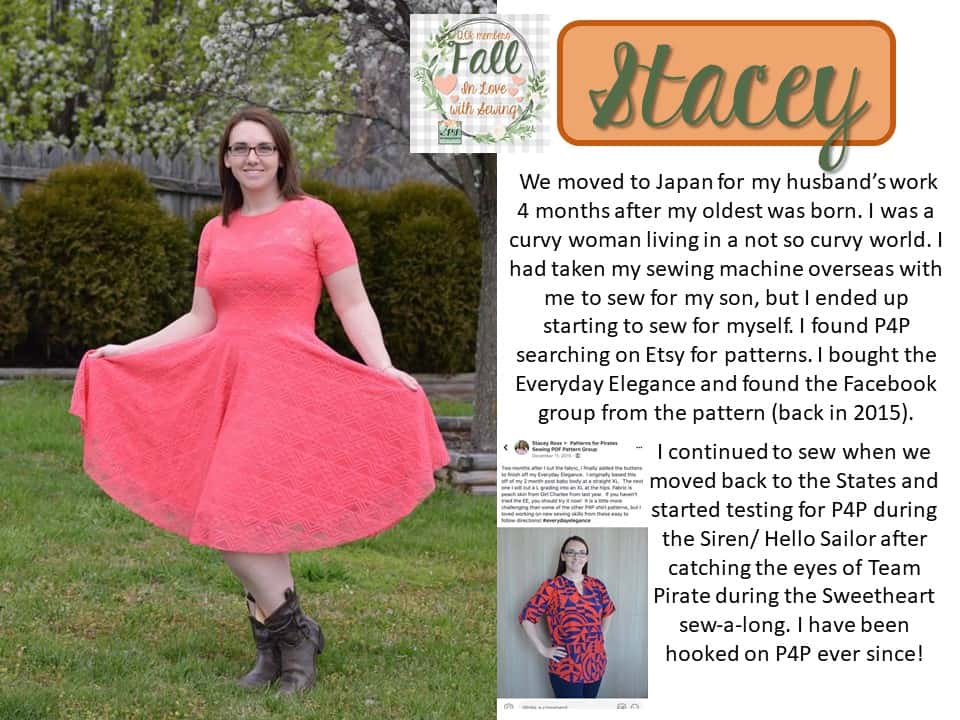
Stacey went with a bodkin as well! It must be worth grabbing and trying there were several admins that suggested this for the bundle!

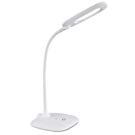
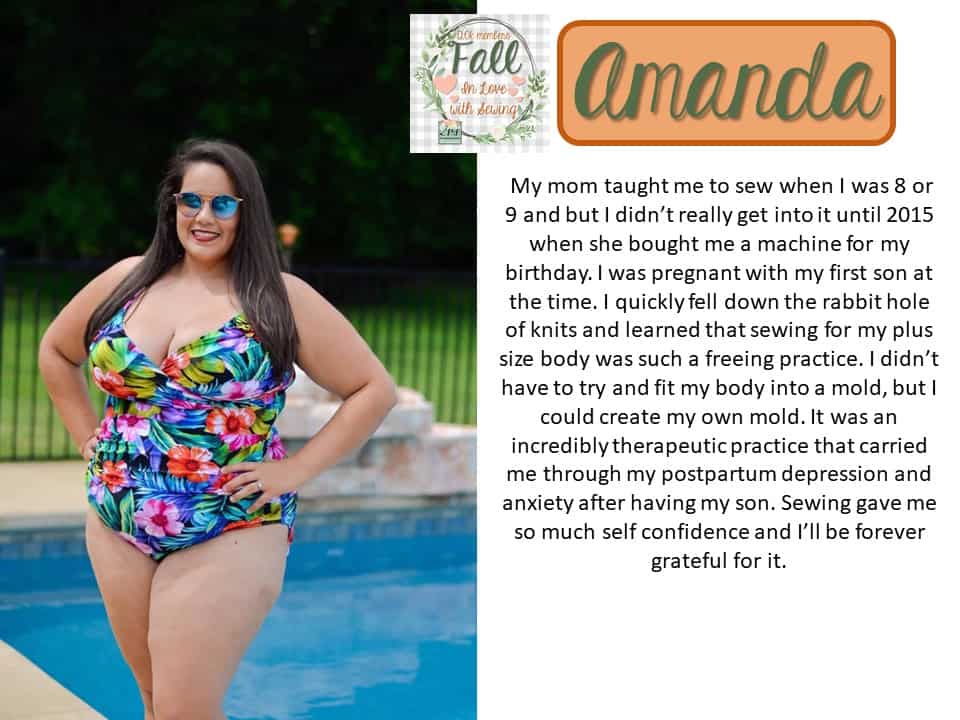
Amanda suggested yet another thing I’m missing out on currently!! An Ottlite LED Lamp.  She has one and loves it! I’m currently hoping Santa hears my call for one! 😉

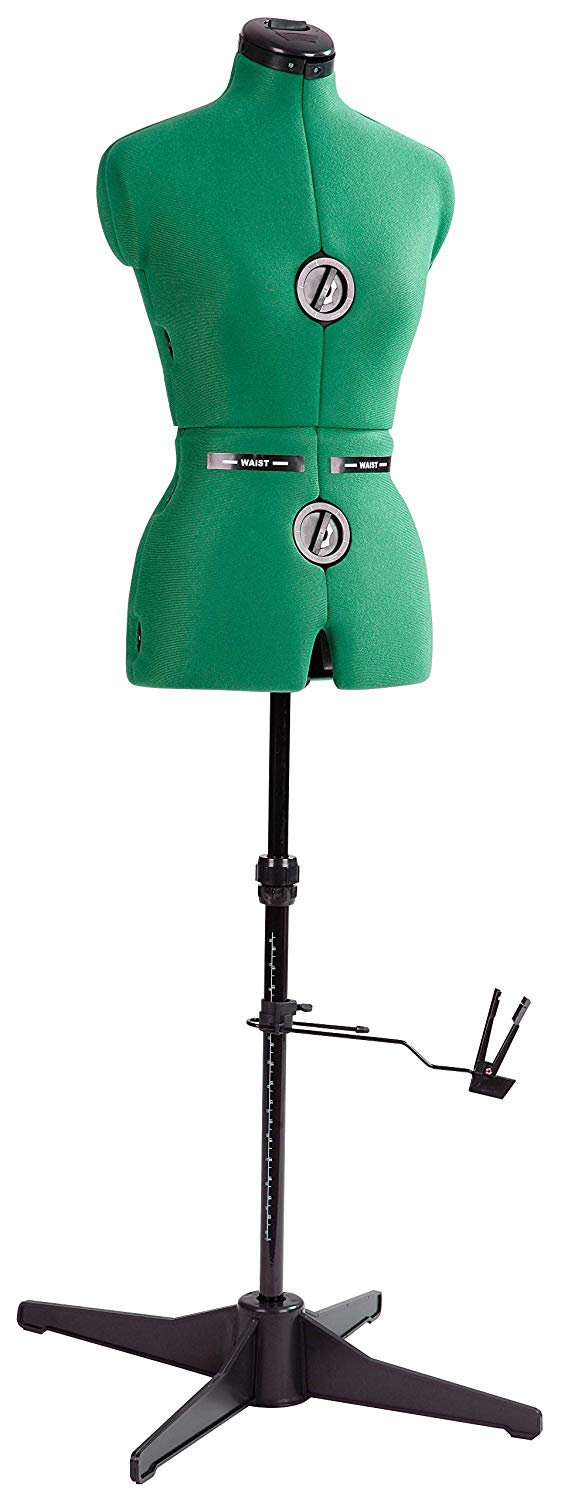
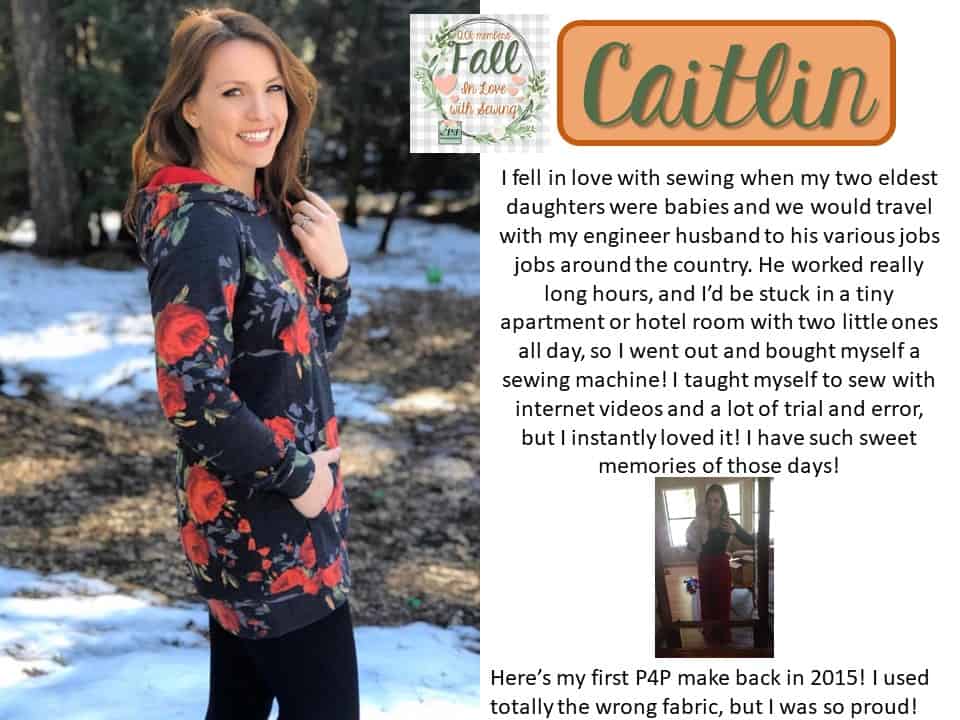
Caitlin wanted to share a dressform! I’ve never used a dress form much other then to look cute in my sewing space and snap a picture on every now and then.  I could find a small size (Bust: 33-40″Waist: 26-33″Hips: 35-42″ ), medium (Bust: 39-46″Waist: 32-40″Hips: 41-47″), large (Bust: 44-50″ Waist: 37-43″ Hips: 46-52″), full figure (Bust: 48-54″ Waist: 41-47″ Hips: 51-57″), petite (Bust: 30-36″ Waist: 22-28″Hips: 31-37″), and child  that you can pick which suits your sewing best!

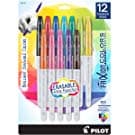
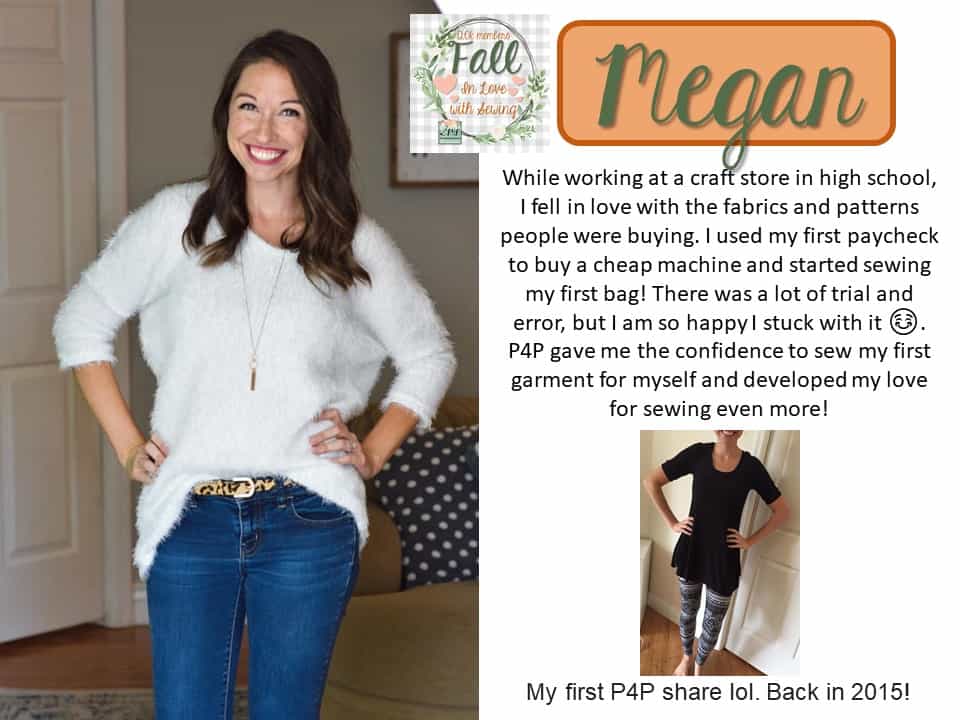
Megan went with one of my favorite things in my own sewing space: Frixon pens. They’re so great for marking pattern pieces quickly and then the ink dissapears with a little heat.  You can use your iron or throw it in the dryer to remove the markings.

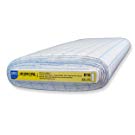
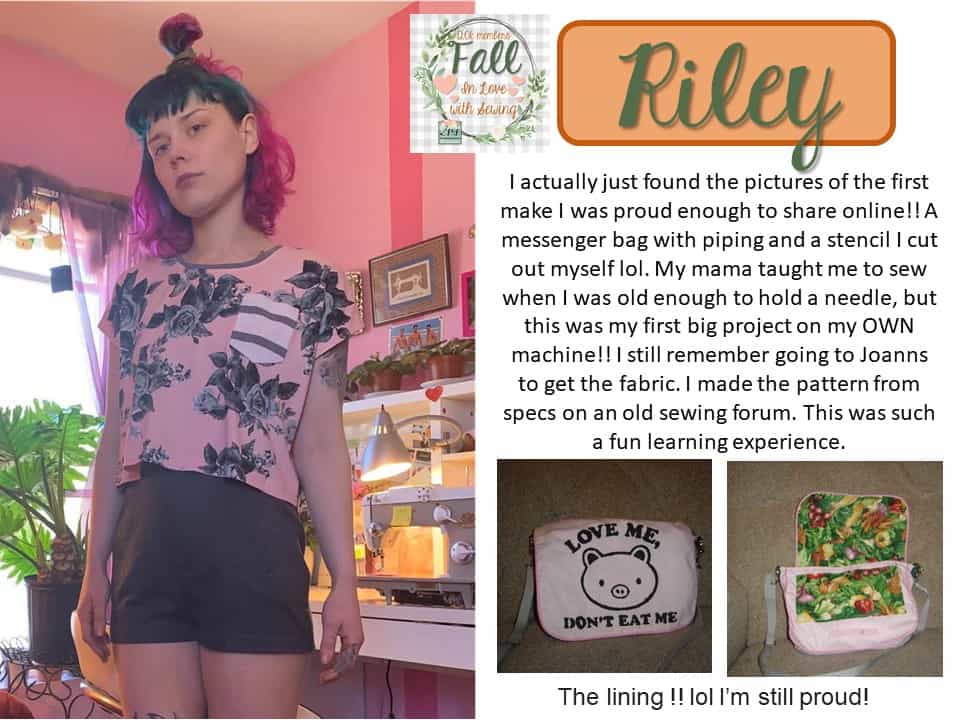
Riley suggested a roll of Pellon 810.  This is great to use for tracing off patterns.  It’s almost cloth-like, but sheer and has a grid which makes it great for pattern tracing.

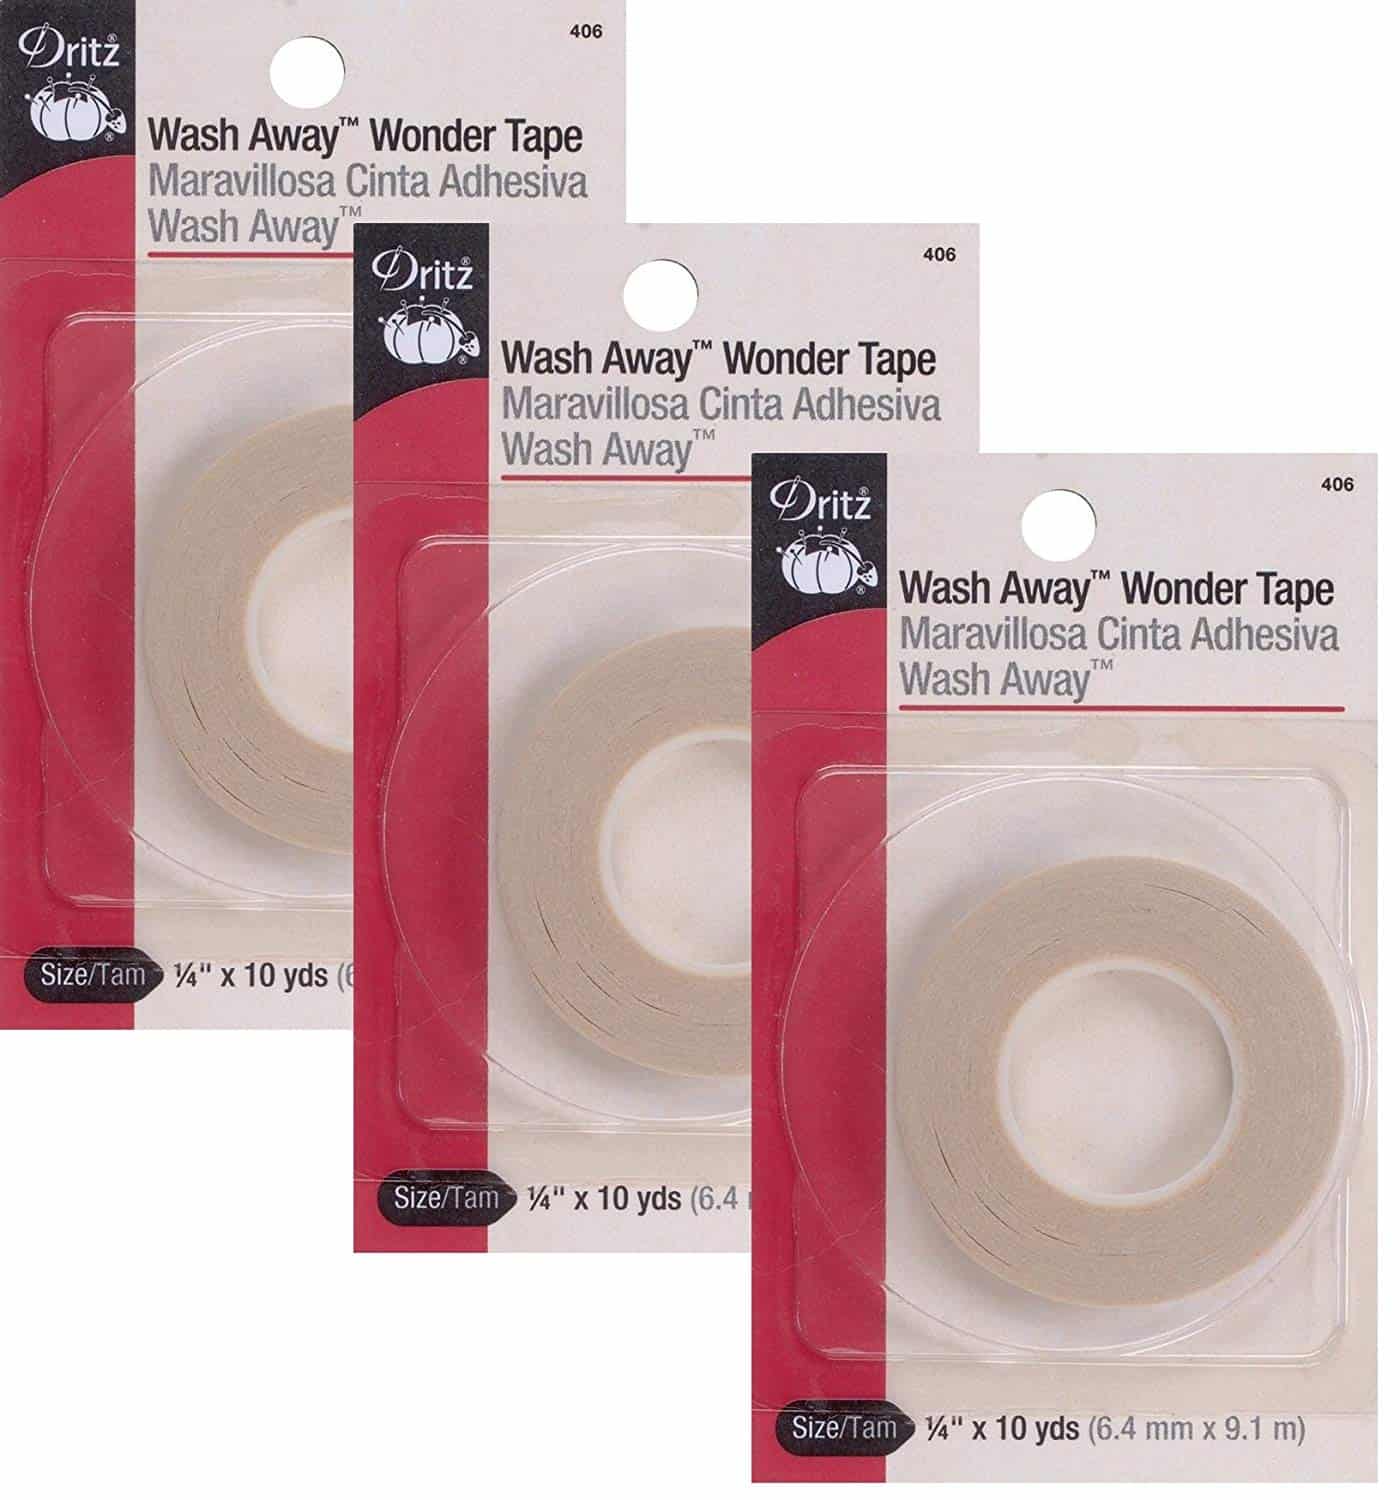
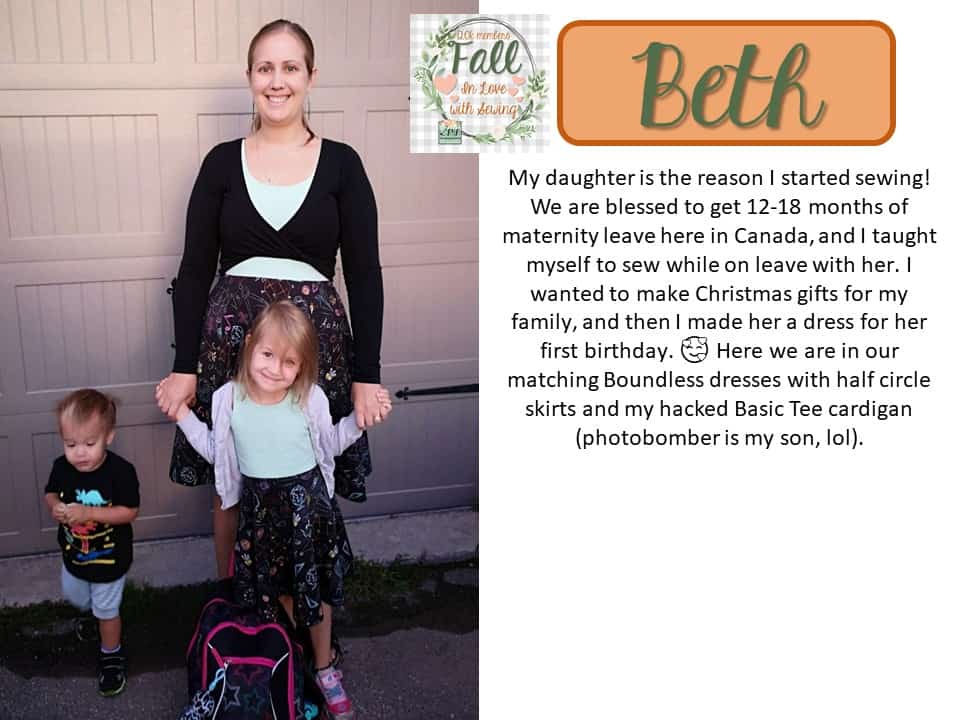
Beth suggested adding Wash Away Hem Tape.  This is something I used constantly before I had a coverstitch machine.  It really helps stabilize a knit while hemming on a machine so you don’t get waves from the machine slightly stretching the knit fabric as it pulls it through the feed dogs. It is also handy just to temporarily hold something in place perfectly while you sew!

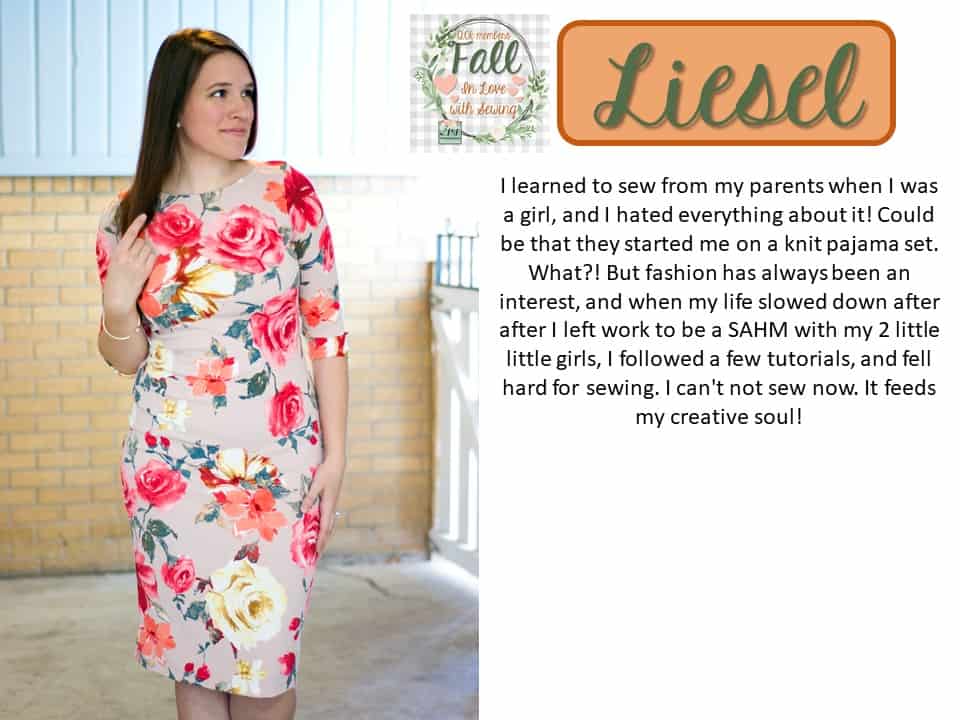
Liesel was one of the first to find her bundle item and we were all in awe of it! It is a small rope light you can stick to your sewing machine to give you more light right were you need it! Genius! I have to put that on my wish list for sure!

We have another fun batch of admins tomorrow as well! If you missed it here is the first day of admin love bundle!

Don’t forget to enter the contest and take advantage of our huge site wide sale! It’s the last sale of the year! Code: fall120k for 30% off your total cart.
 

Filed Under: Announcement, Contest/Giveaway Leave a Comment

Fall in Love with Sewing :: 120k member Saleabration and Giveaway :: Admin Love Bundle

November 7, 2019

As the Patterns for Pirates FB Group has grown over the years, we’ve added more and more admins/moderators to help keep the group moving! Now as we’re hitting 120k members, we have a pretty large group of wonderful people that help me approve new members and posts, answer questions, go live in the group with sewing topics, and more to keep the group inspiring and helpful for everyone!

I thought it would be really fun to highlight each one with their item they picked for the Admin Love Bundle that the Grand Prize Winner wins for the Fall in Love with Sewing Giveaway we’re doing this week!

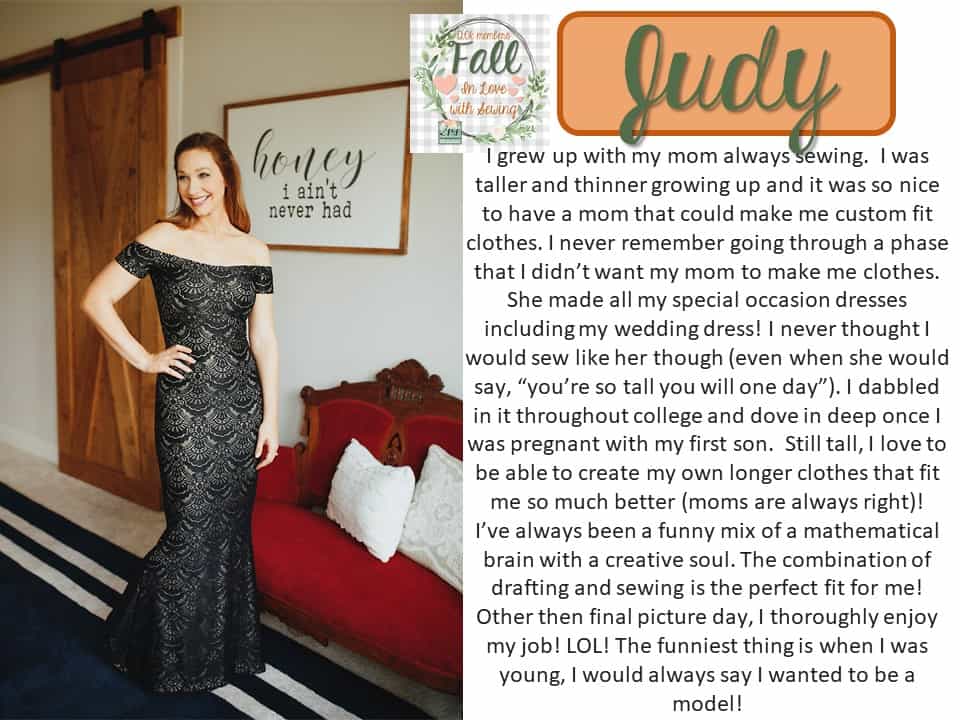
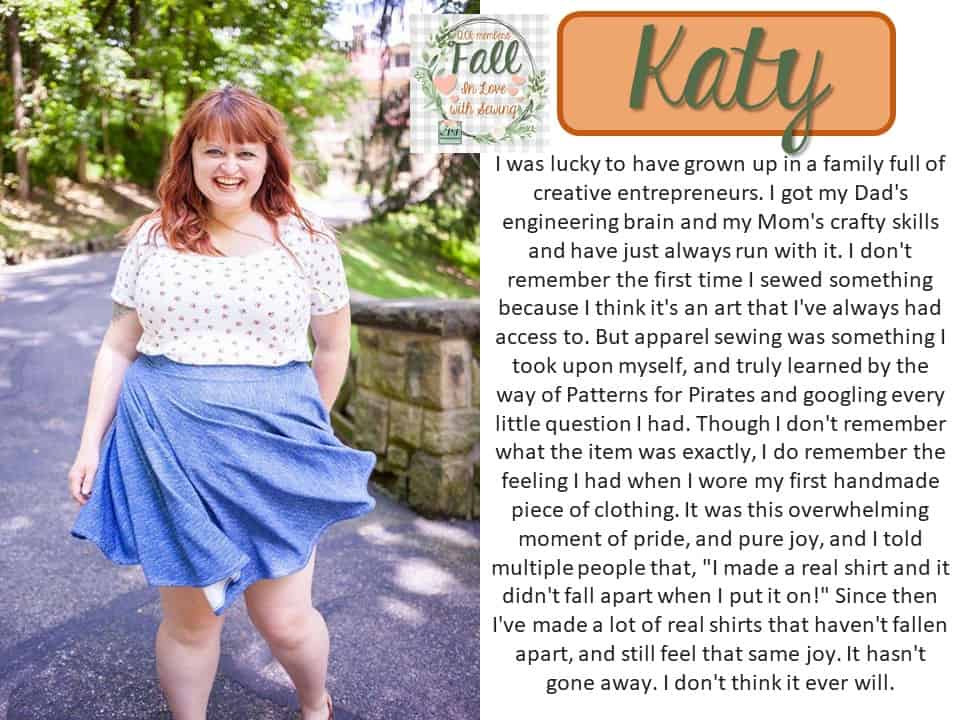
I also asked them to tell us a little something about how they fell in love with sewing.  I always love to hear how people started their journey into sewing!!  I loved reading all of them and I hope you do too!  We have so many I’m going to split them up into 3 days. So here are the first bunch to enjoy:

Since I got to pick out the Grand Prize I didn’t pick out an item for the Admin Love Bundle!

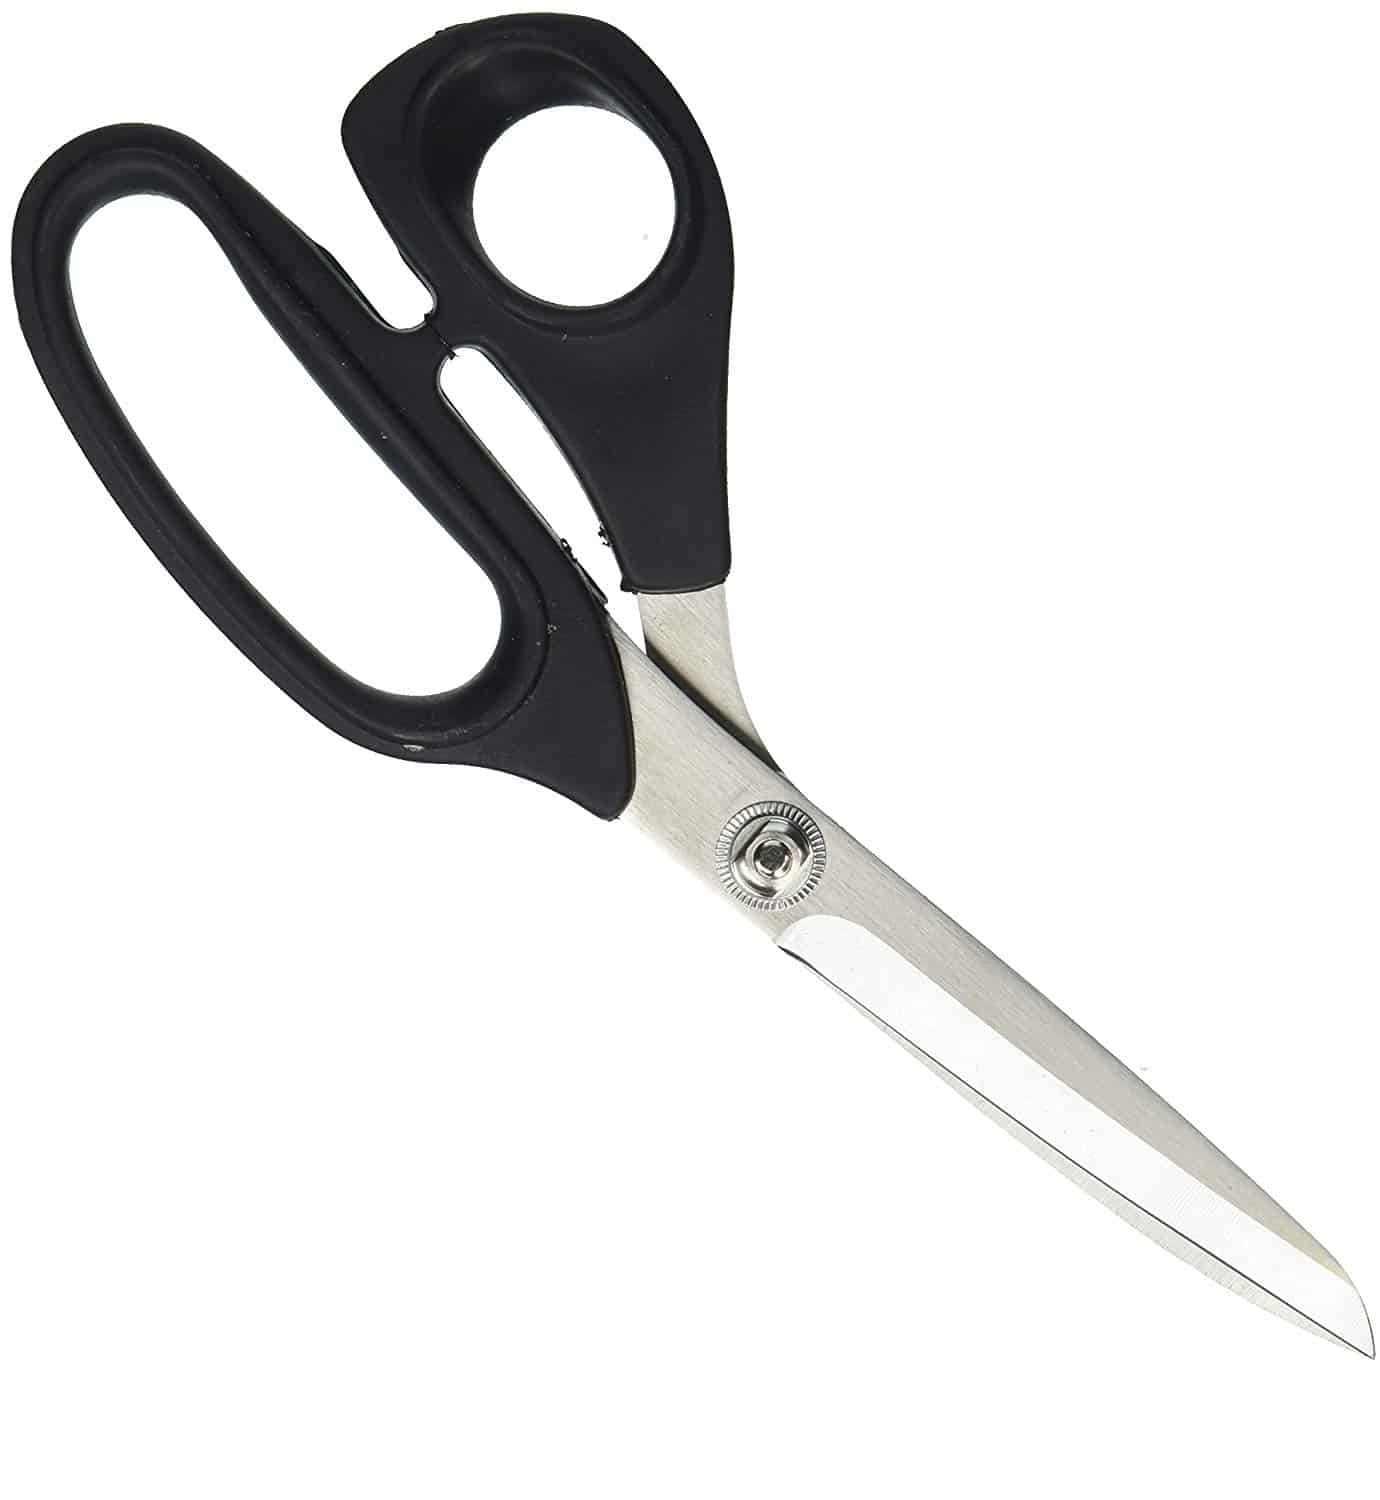
Katy picked out a pair of Kai scissors (which also happen to be my very favorite sewing scissors!).  They are so sharp and comfortable to use without breaking the bank!

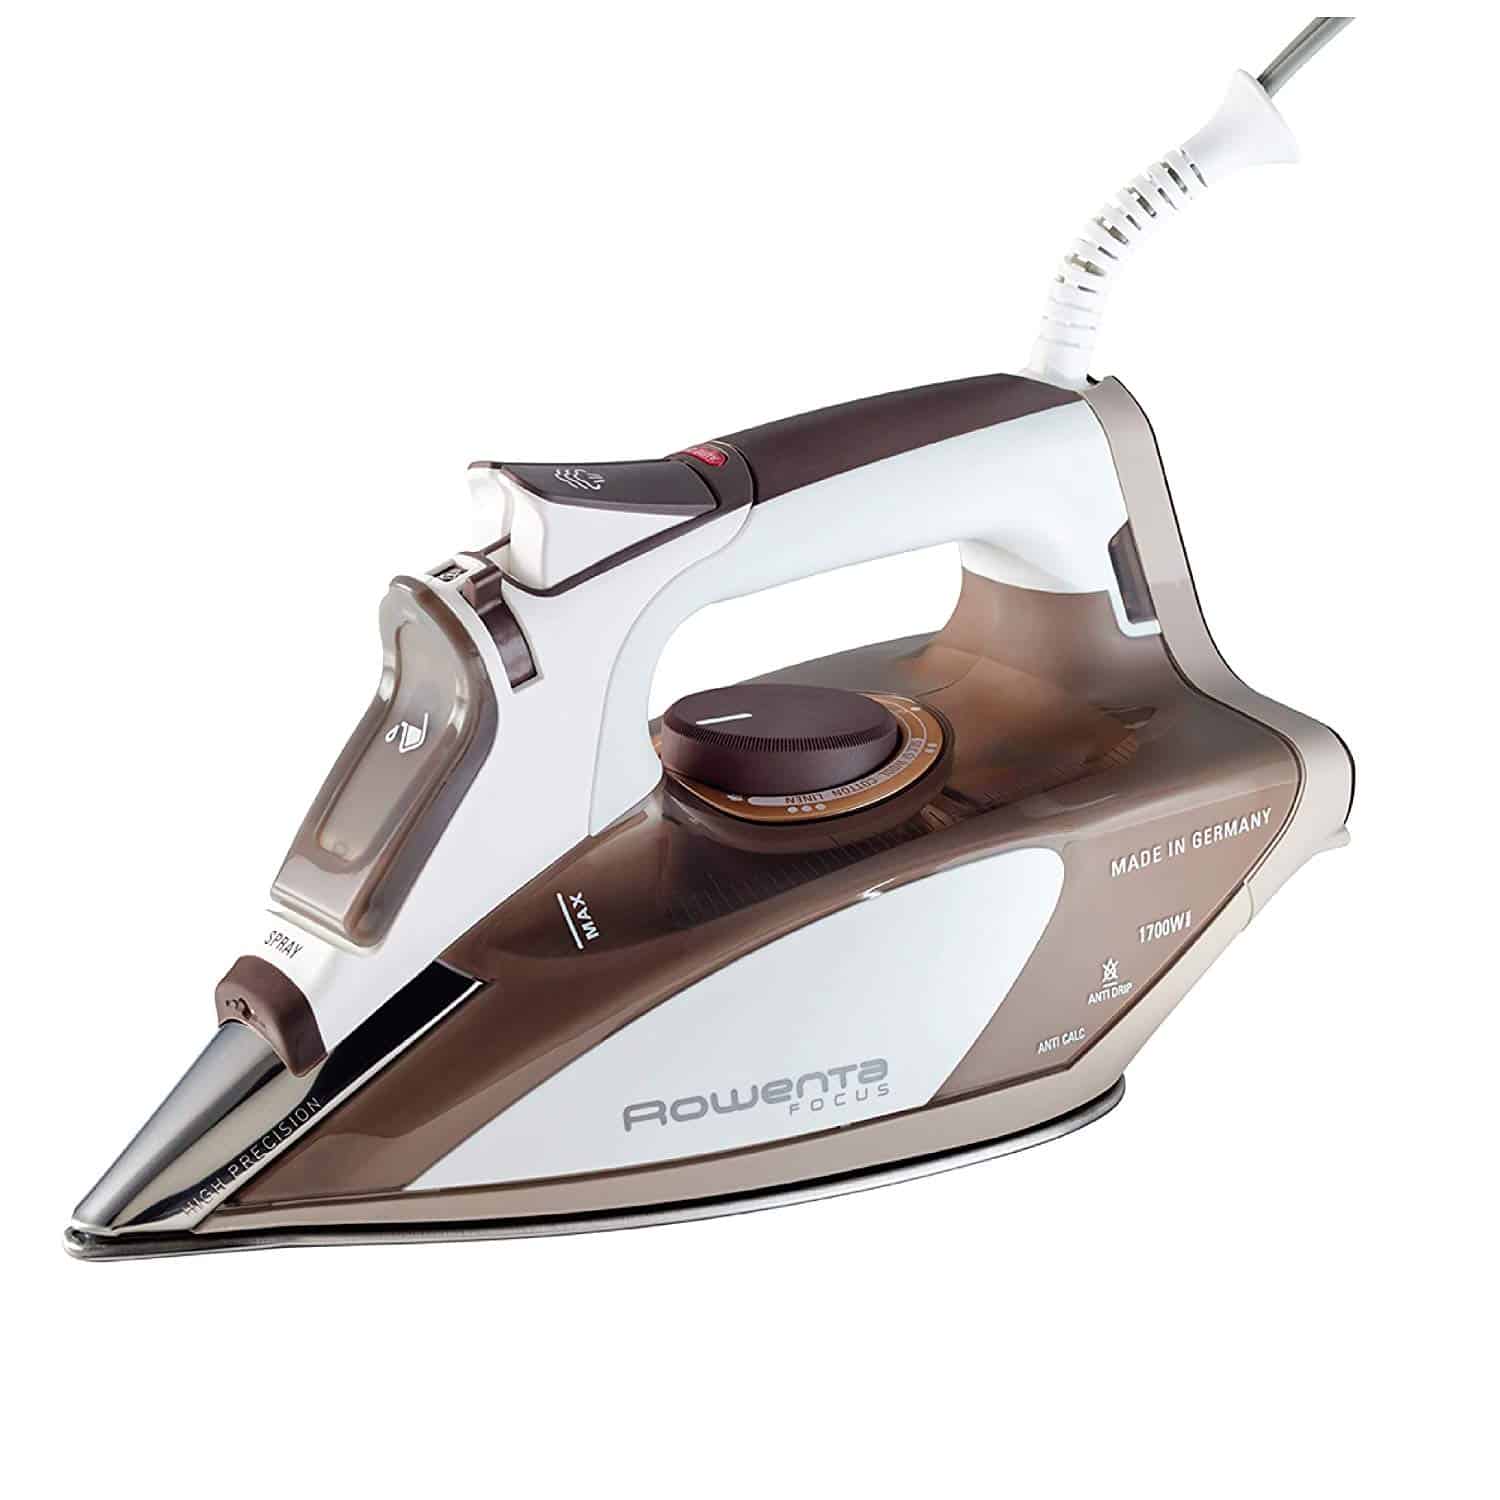
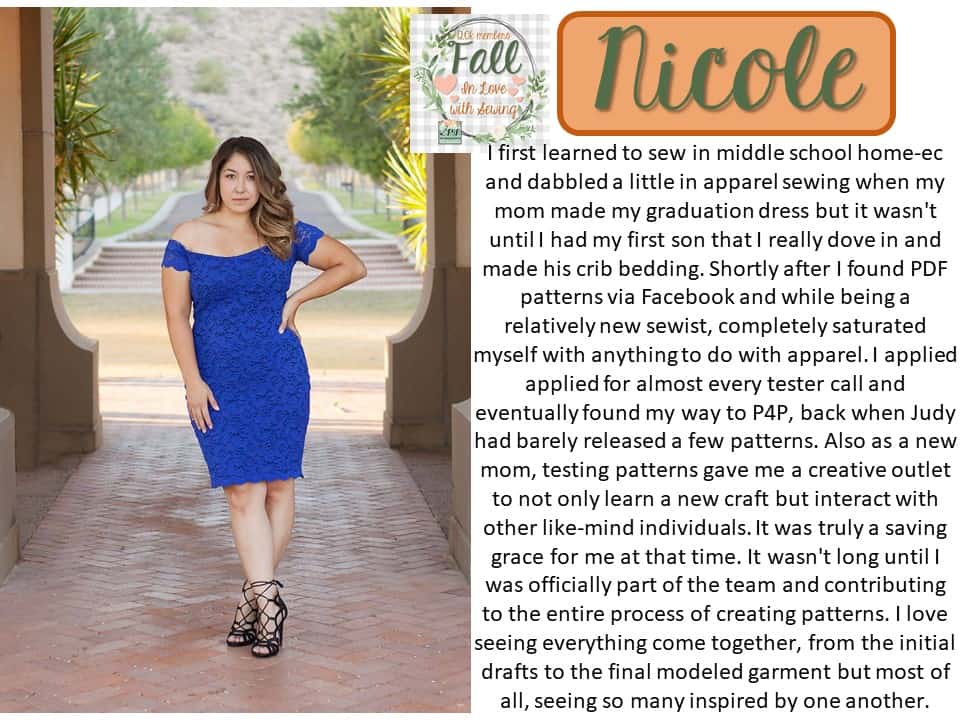
For Nicole her pick was a nice iron! I LOVE that! Pressing can absolutely make a sewing task so much easier and your end product looks vastly better! This is the iron I have personally and love it!

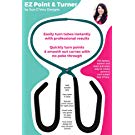
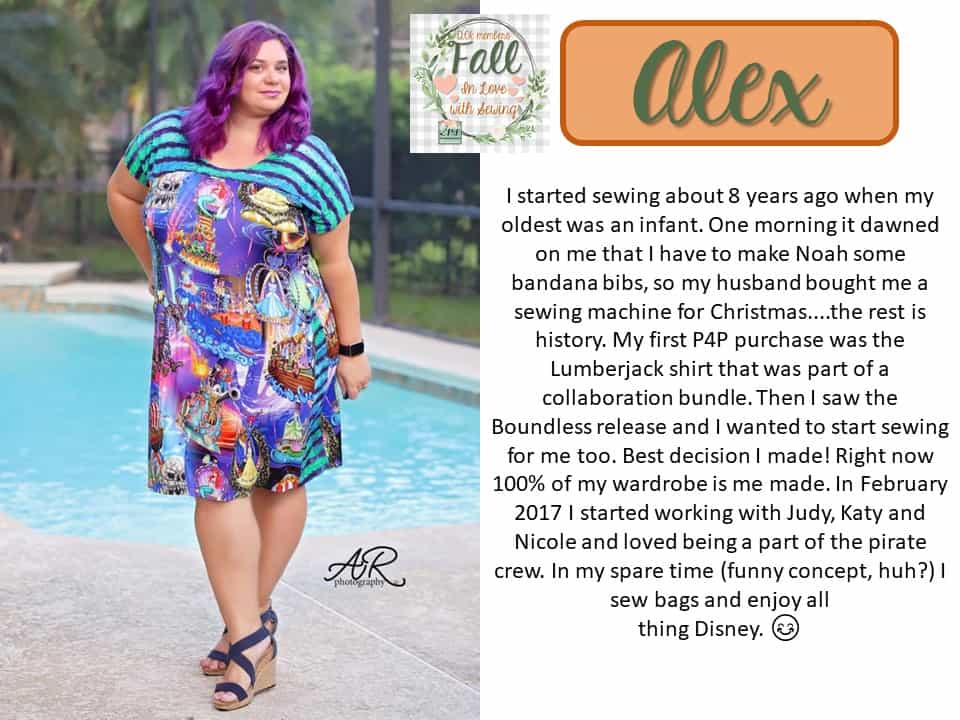
For Alex’s pick she went with a point and tube turner.  I love this too! This is the tool my mom used and so I always had one as well.   They were quite difficult to find for a while, but seem to have made a come back recently! I think they make turning a tube so quick and easy.

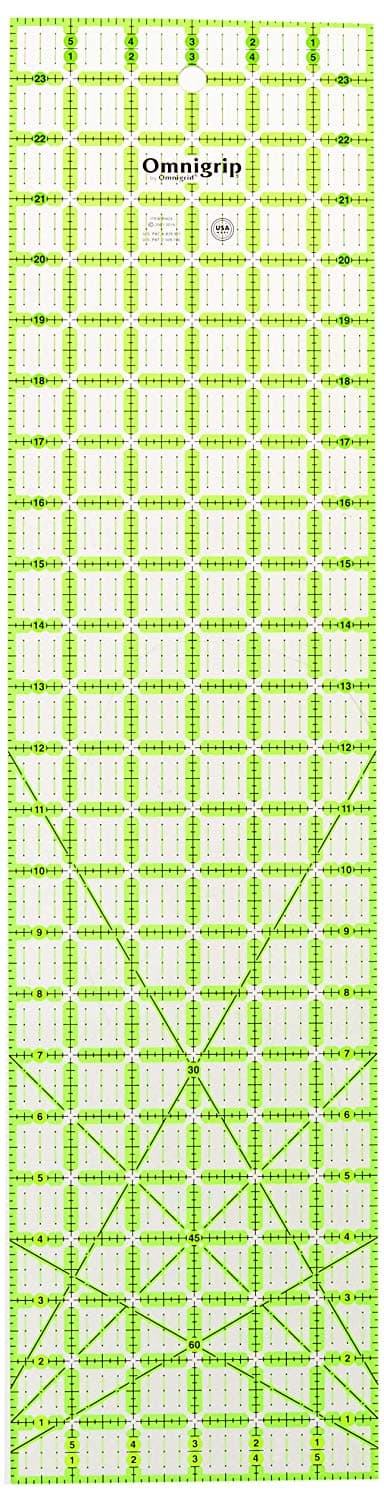
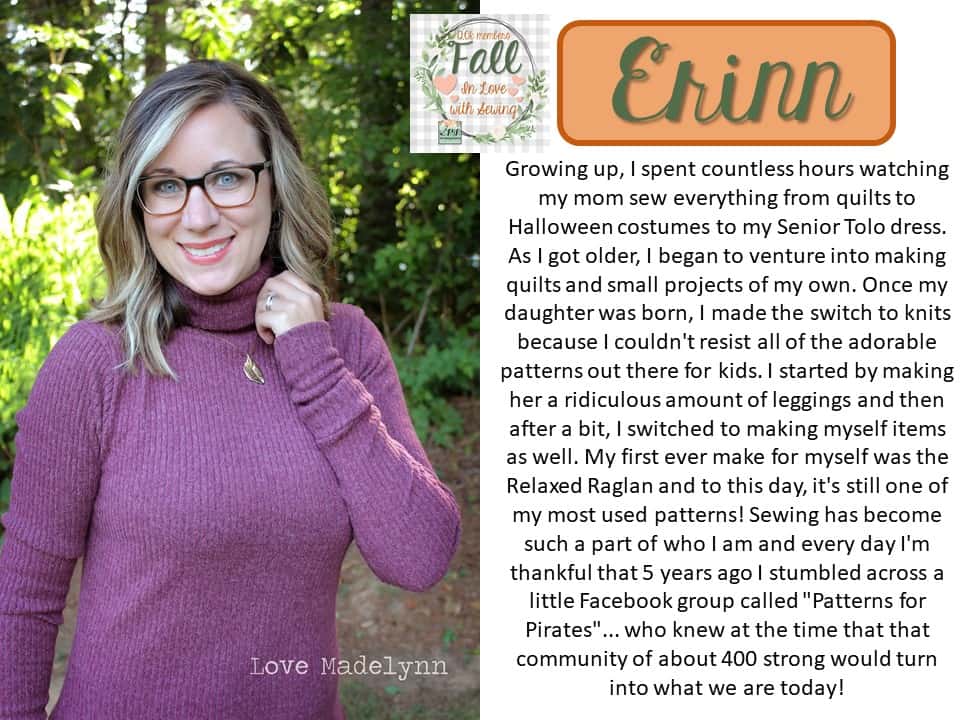
Erinn picked a quilters’ ruler for her sewing supply she loved! It makes cutting rectangles much easier and quicker for sure! I always grab mine with cutting neckbands, cuffs, ect even if there is a pattern piece! I find it much more accurate and straight then just using the piece on it’s own.

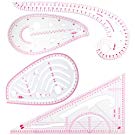
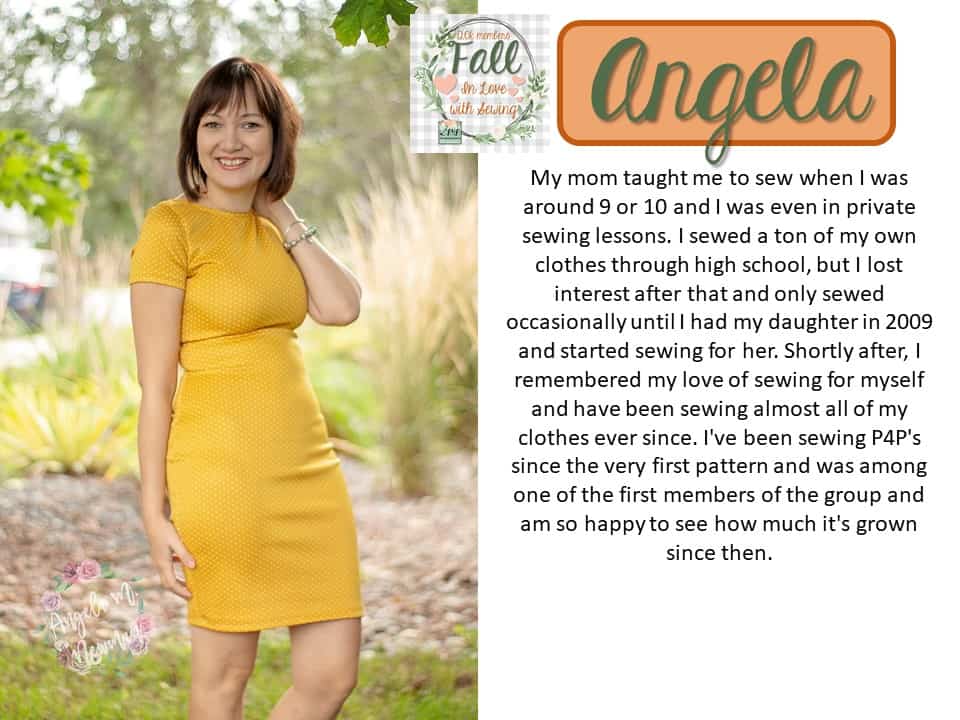
Up next is Angela who wanted to share her love for a french curve ruler set! I have recommend grabbing a french curve in many blog posts and videos 🙂 It is something that is so nice to have when adjusting patterns. 


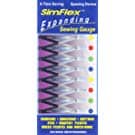
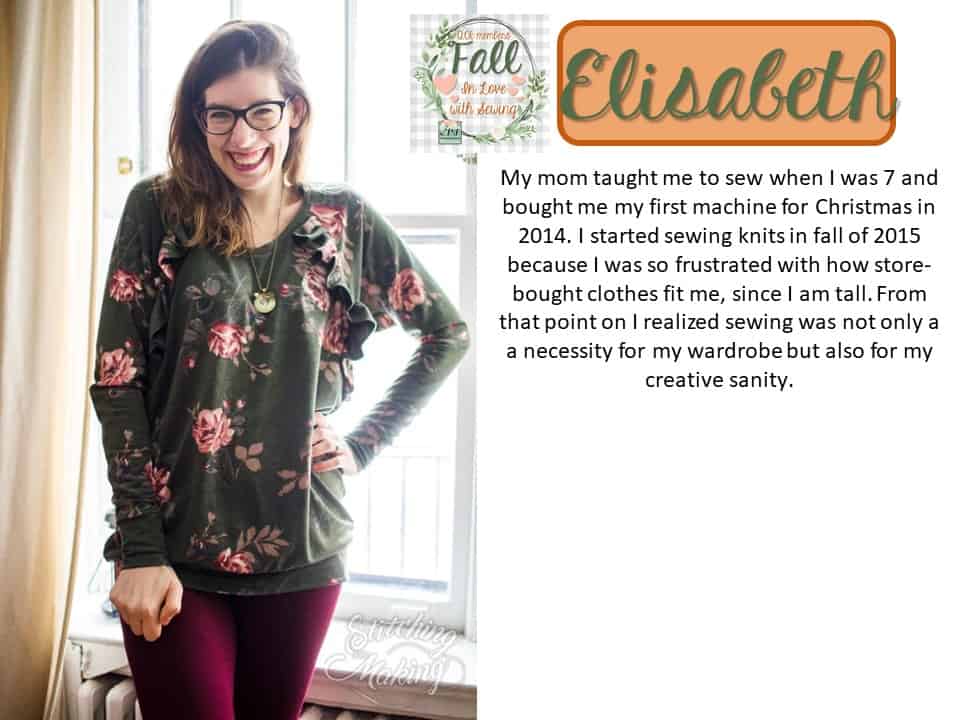
Elisabeth’s pick was a SemiFlex Sewing Guage.  This is so handy when you’re trying to evenly space things like buttons, button holes, etc.  You can skip the math! I always grab mine with I’m adding buttons, button holes, snaps, etc.  You can just decide how many you’re wanting and spread the guage to the top and bottom and it will even space your marking points for you in seconds!

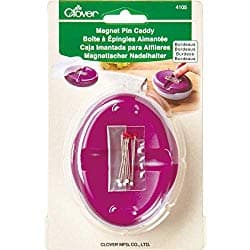
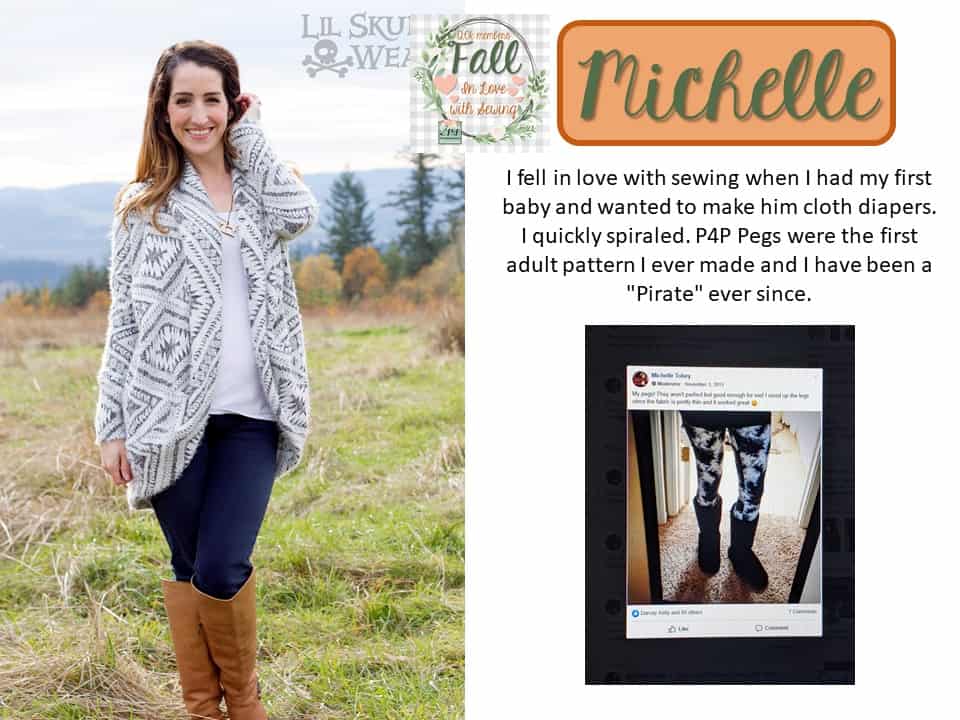
Michelle recommended a magnetic pin holder.  No more loosing your pins! and if you happen to drop a few you can use this to find and pick them up easily.

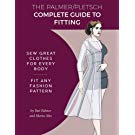
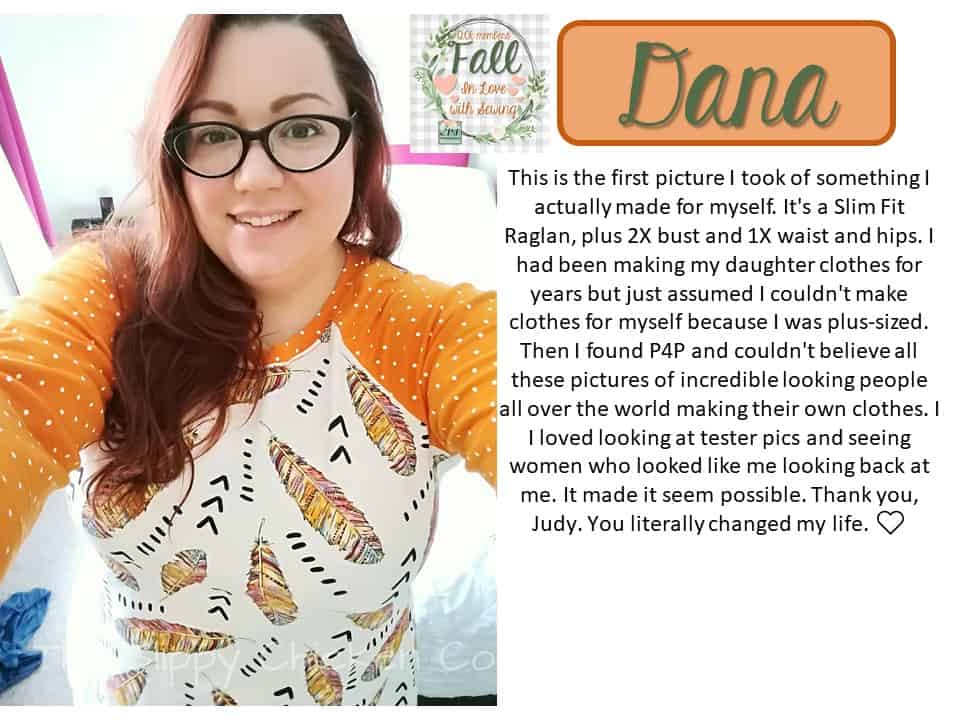
Dana wanted to share one of her favorite fitting books: The Palmer Pletsch Complete Guide to Fitting: Sew Great Clothes for Every Body. Fit Any Fashion Pattern (Sewing for Real People series) This happens to be a book I also love and have recommended in past blogs as well! It’s a great fitting guide book for anyone wanting to learn how to better adjust patterns to fit their body (or anyone else they’re sewing clothing for).  Learning your body and the personal adjustment it needs can be so amazing! Having clothes that fit you perfectly or even just much better then you can pick up at a store is absolutely something that will make you love sewing even more in my eyes!

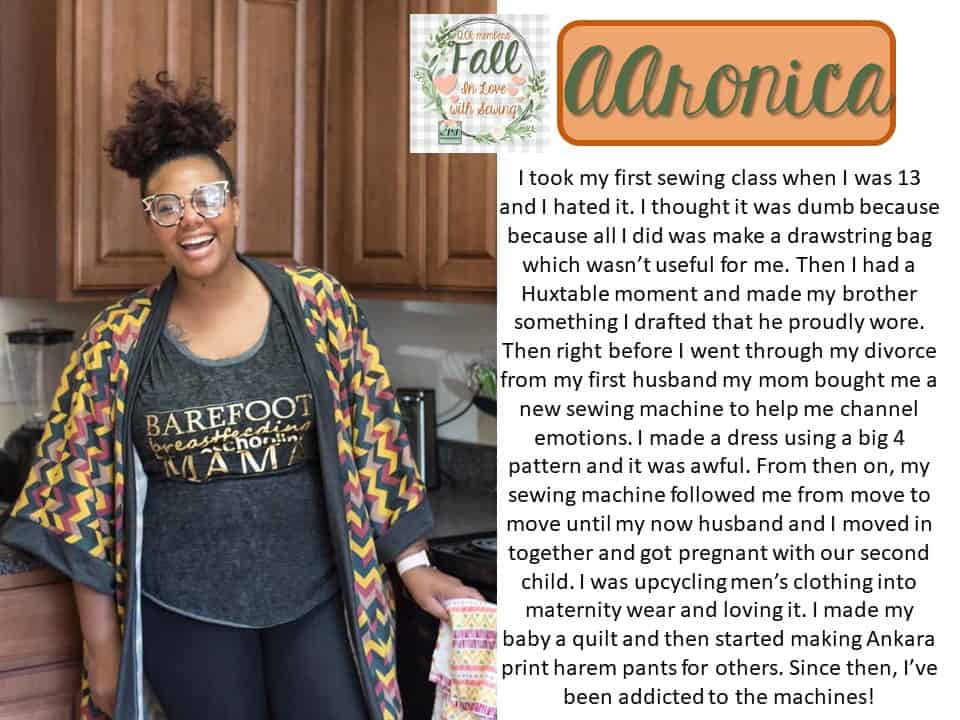
Aaronica recommended a hem gauge.  There are many kinds of hem gauges (and we had a couple different kinds recommended for this bundle even)! This one is great to use for hemming.  You can fold the fabric to the line you need and press with your iron right on top.

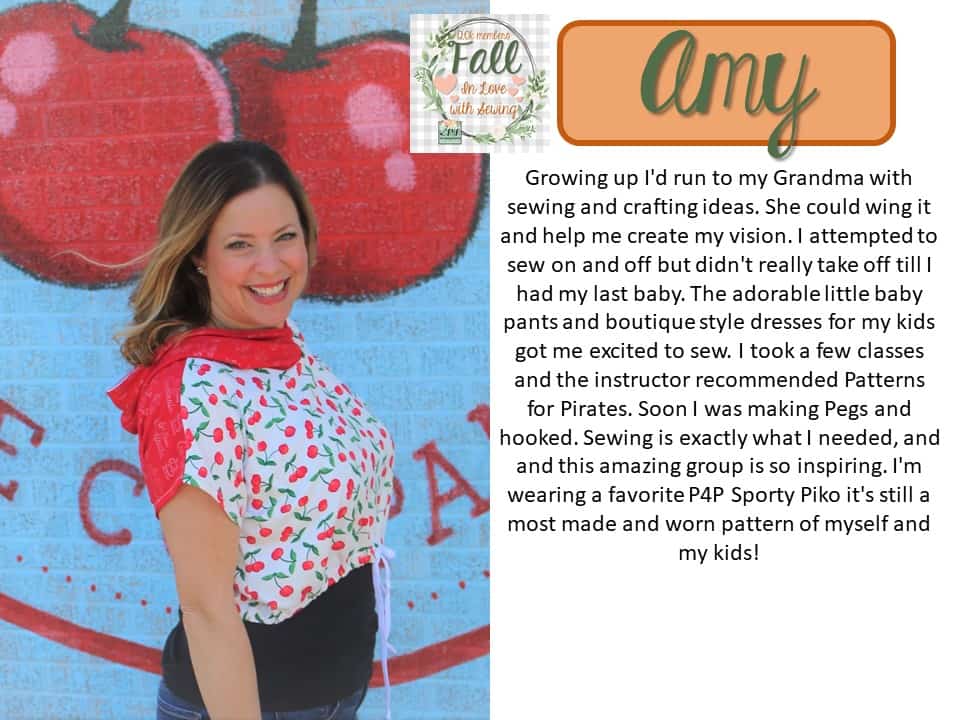
Amy suggested clips.  These are used like pins to hold fabric or pieces together.  A lot of sewists prefer clips for most projects.  I love to have both clips and pins at my desk and pick the one that works best for that certain time every time!

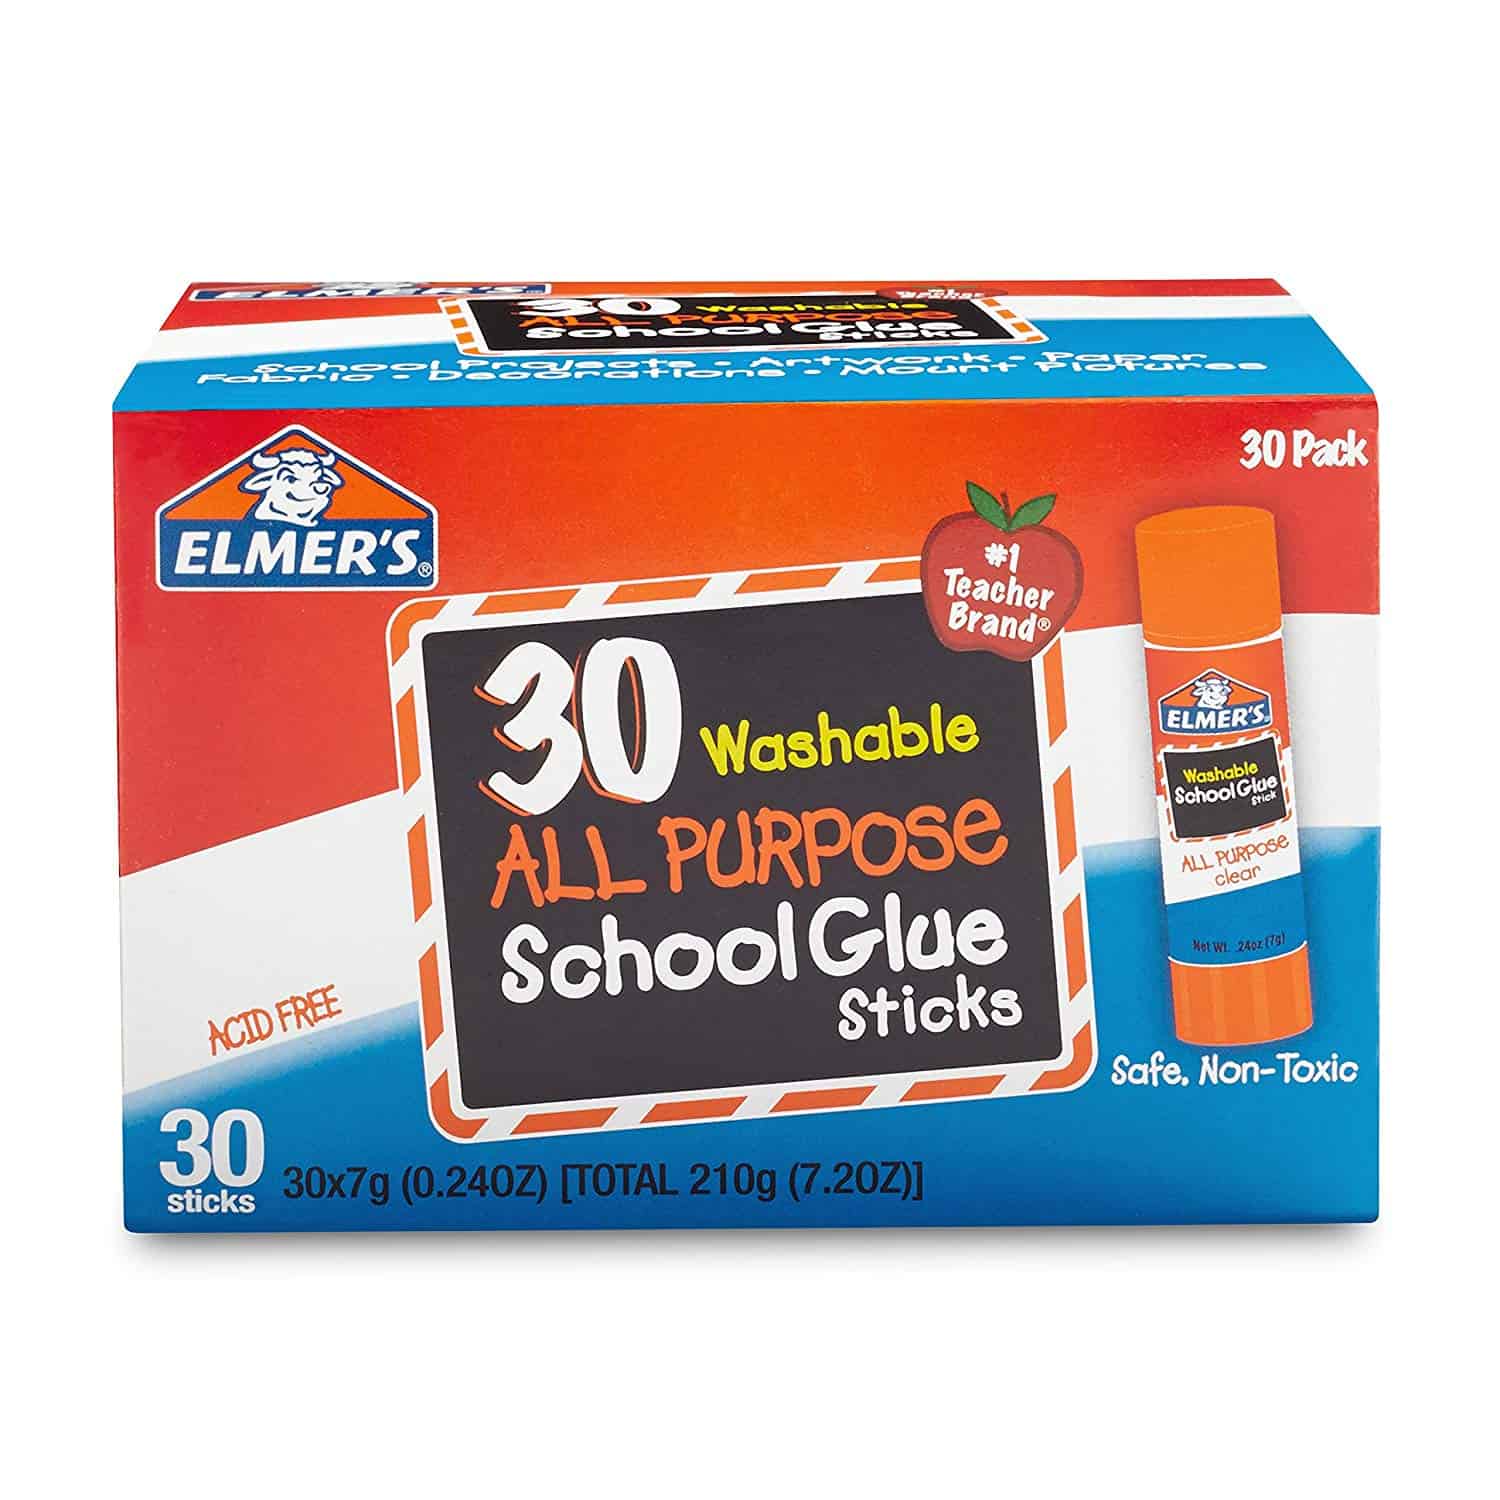
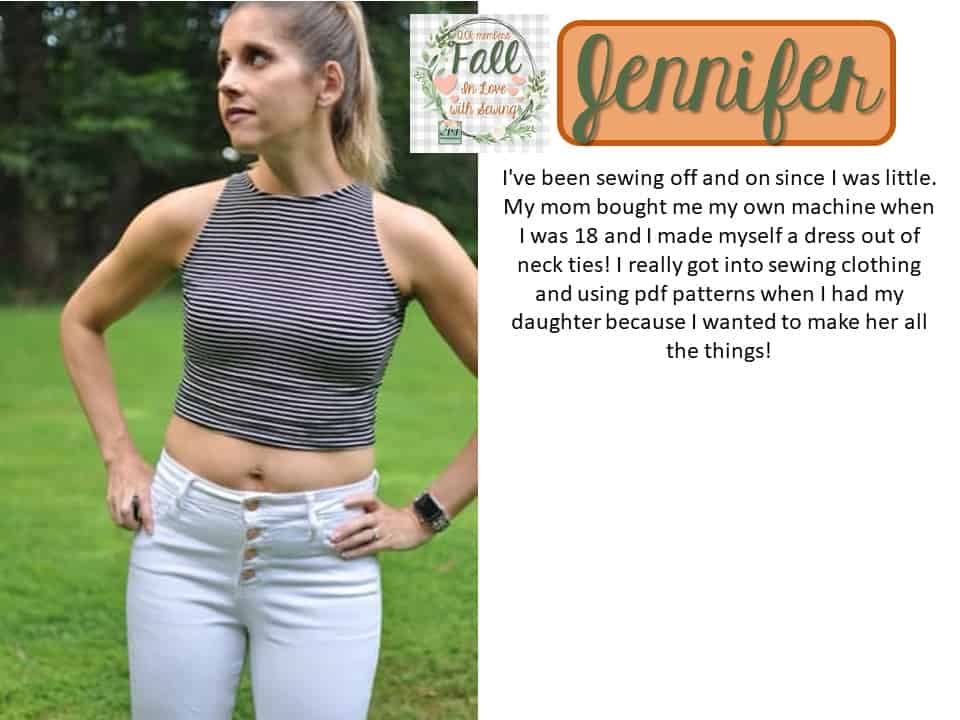
Jennifer wanted to add a box of glue sticks! They’re quick and easy to stick your PDF trimless pattern pieces together!

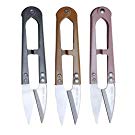
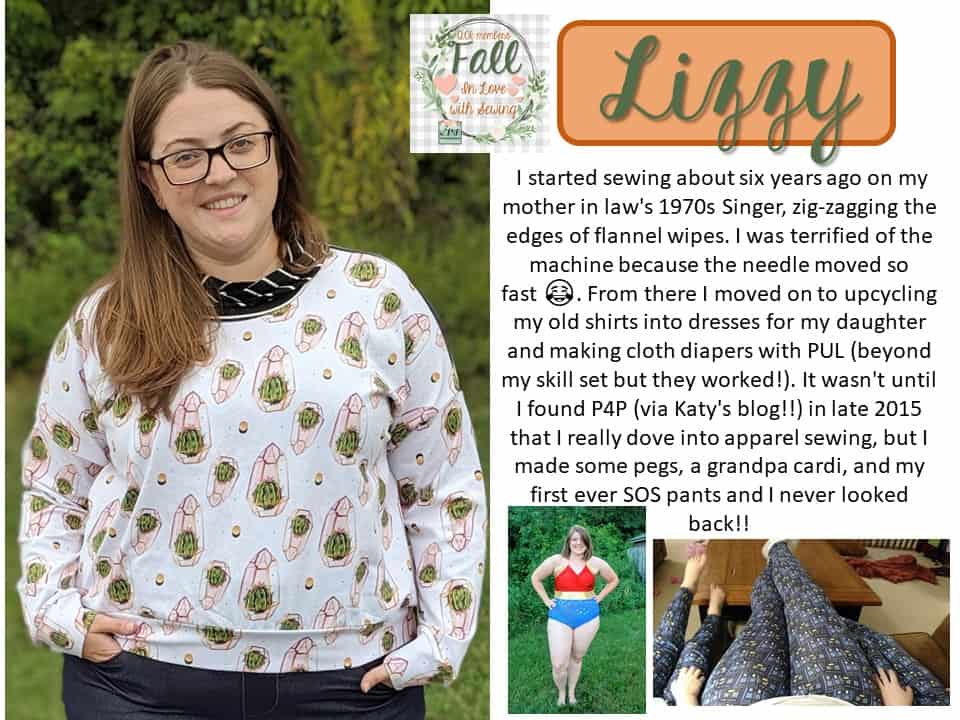
Lizzy picked a little set of small snip scissors.  These are so nice to have right next to your machine (and a pair by each machine if you’re lucky enough to have multiple). They’re quick and easy to snip off threads as you finish your seams.

I hope you enjoyed getting to know a few of our admins a bit better and look forward to a couple more days! Don’t forget to enter the contest and take advantage of our huge site wide sale! It’s the last sale of the year!
 

Filed Under: Contest/Giveaway 2 Comments

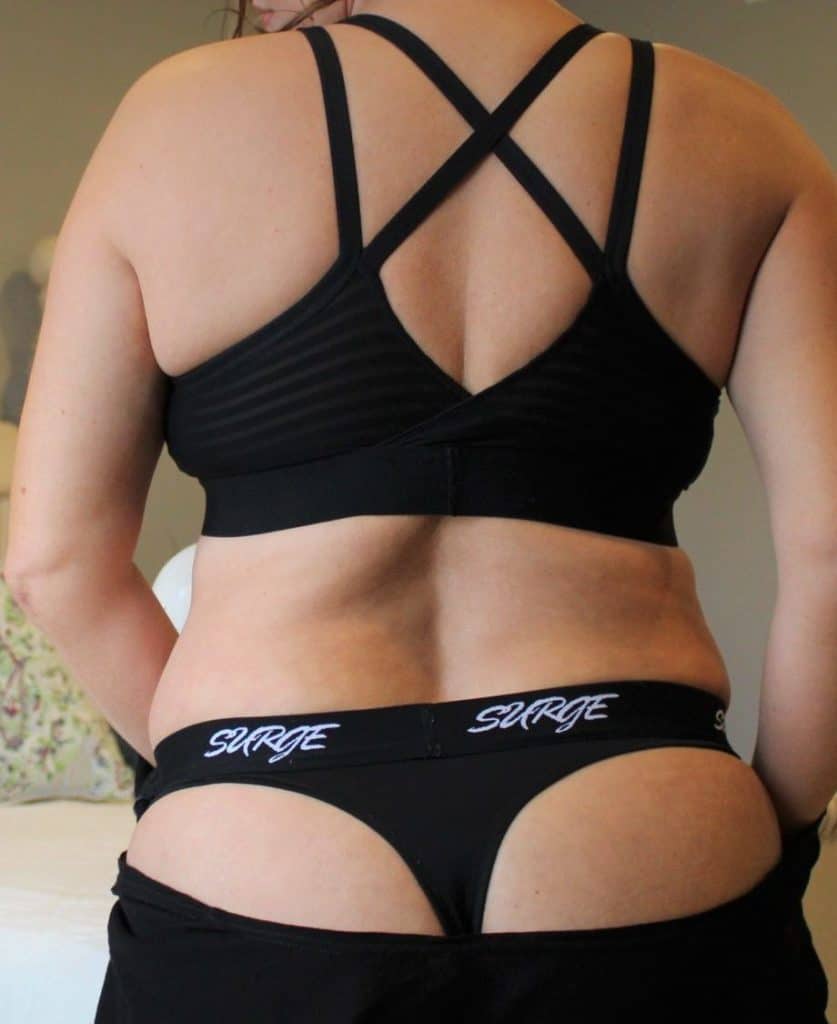
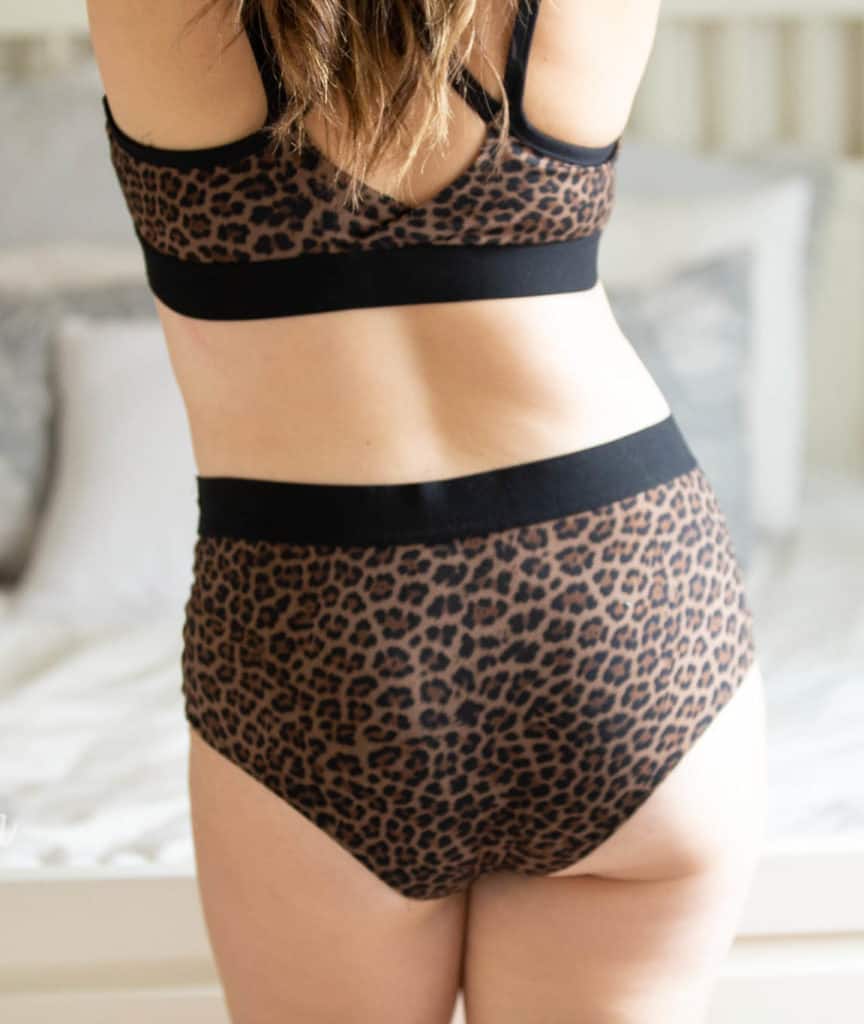
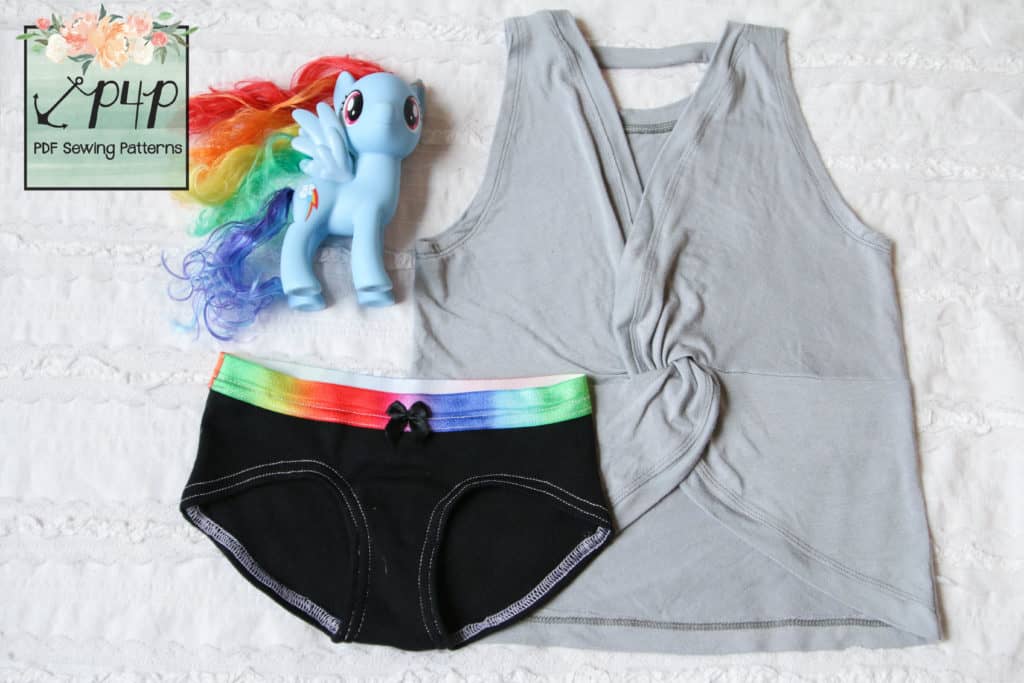
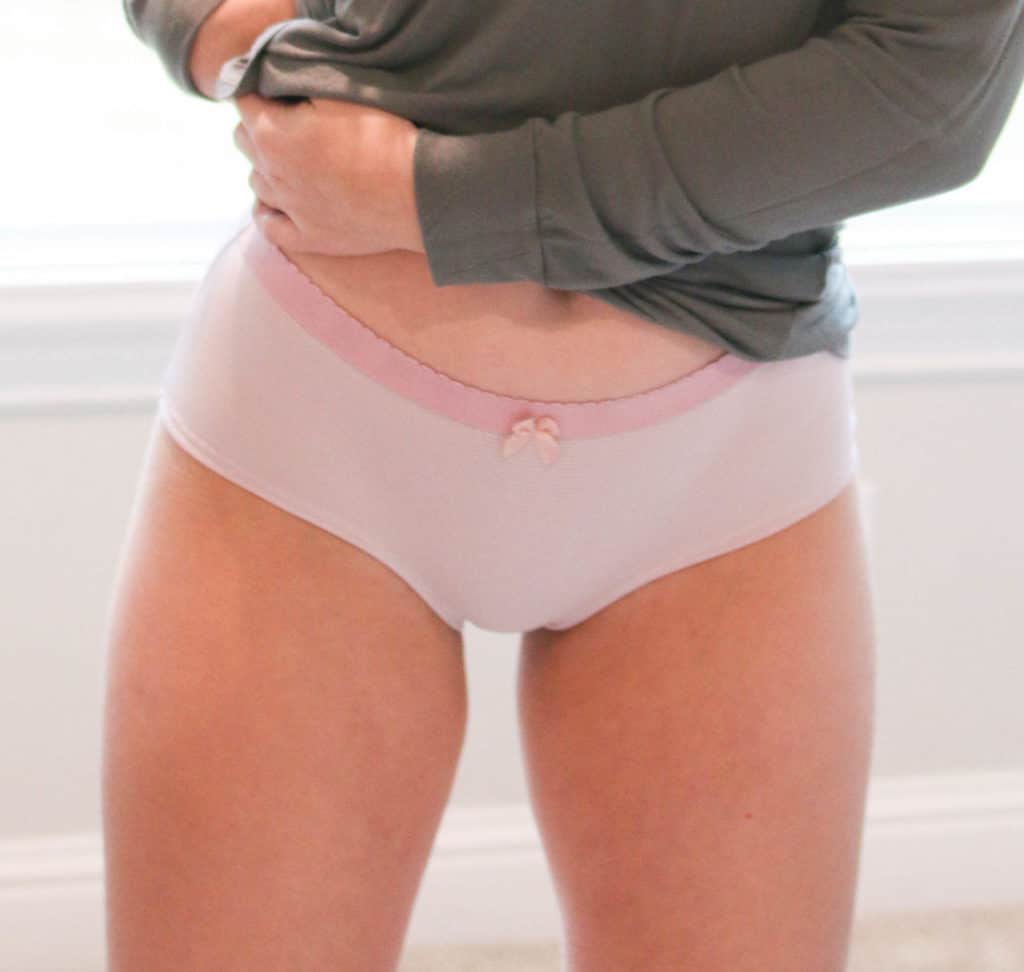
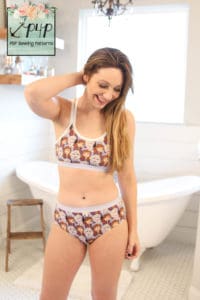
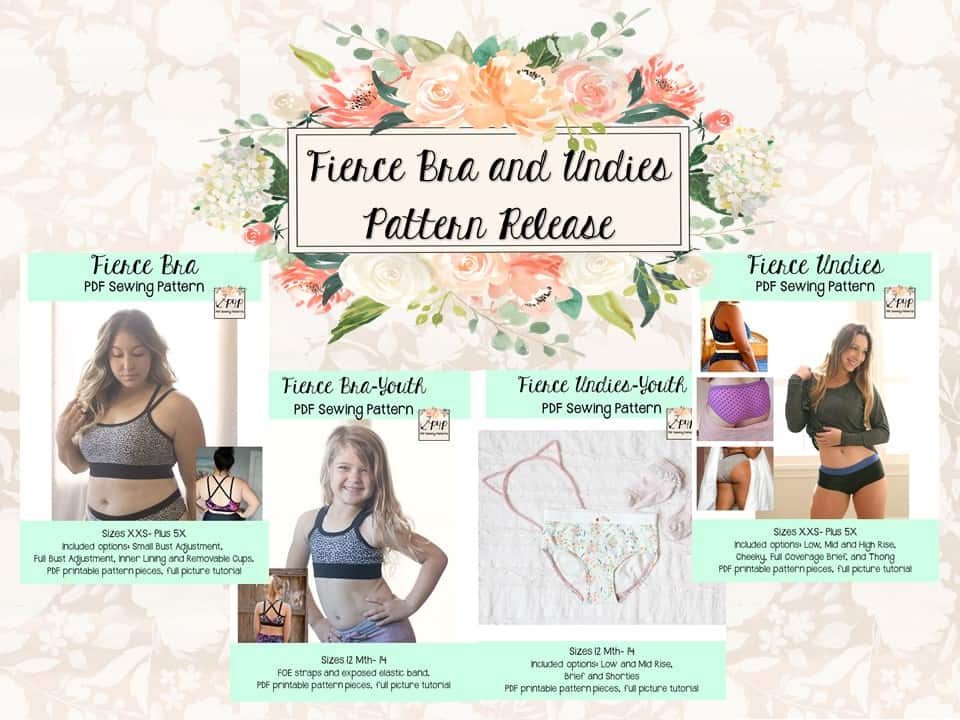
Fierce Bra & Undies :: New Pattern Release!

November 2, 2019

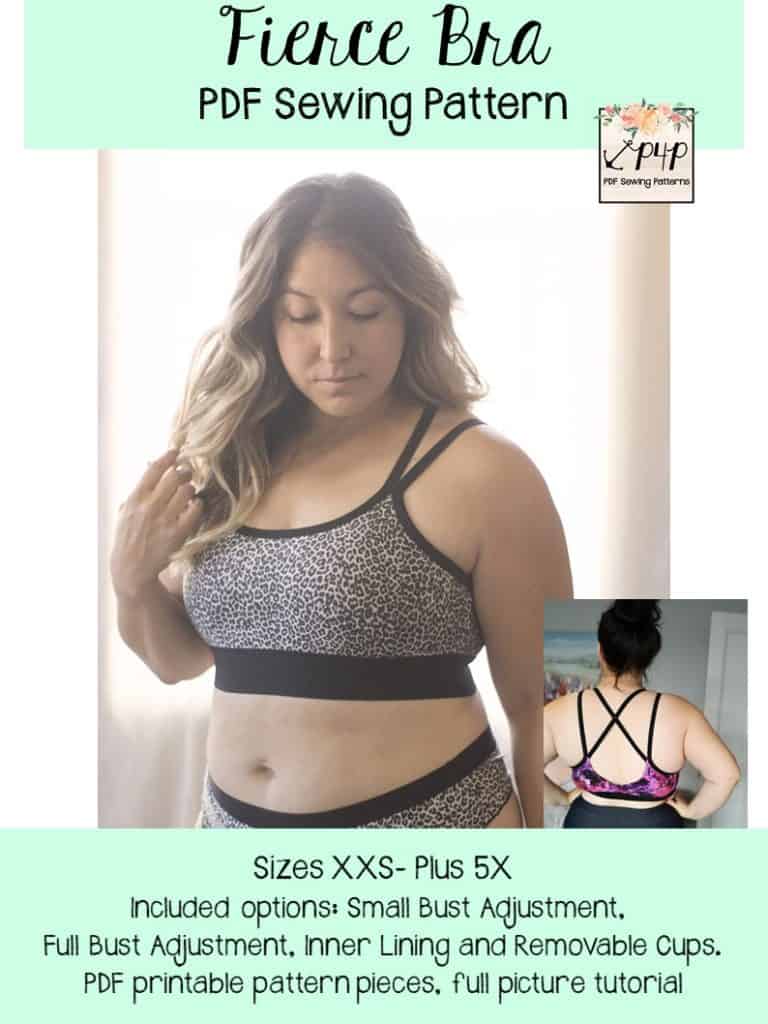
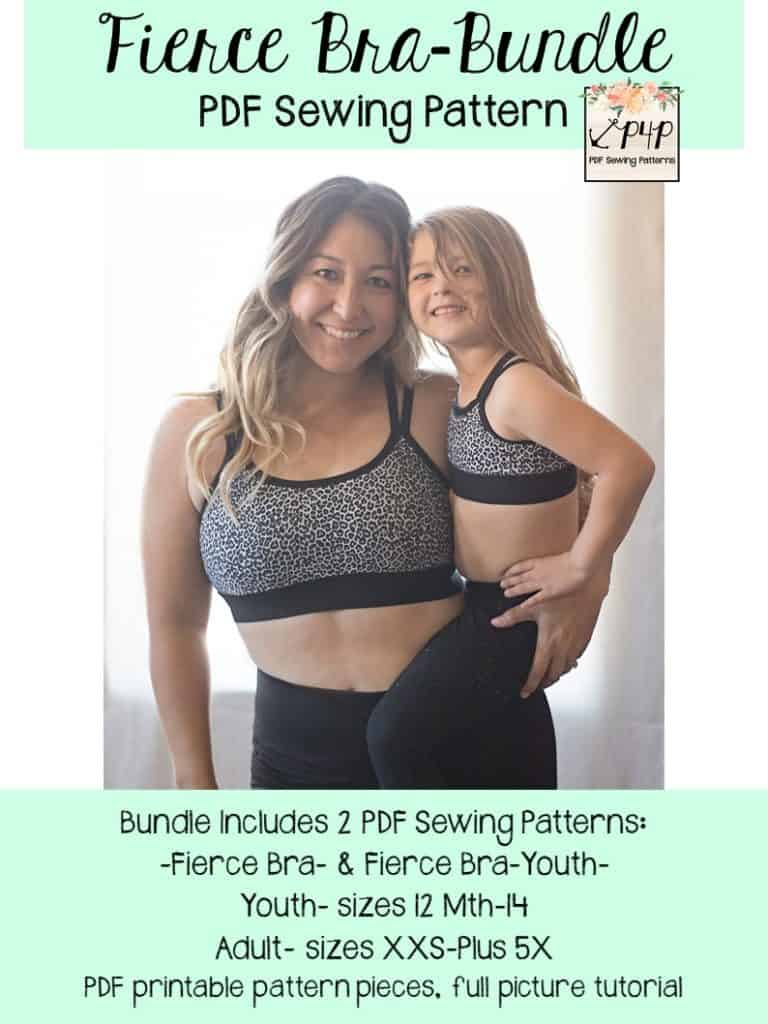
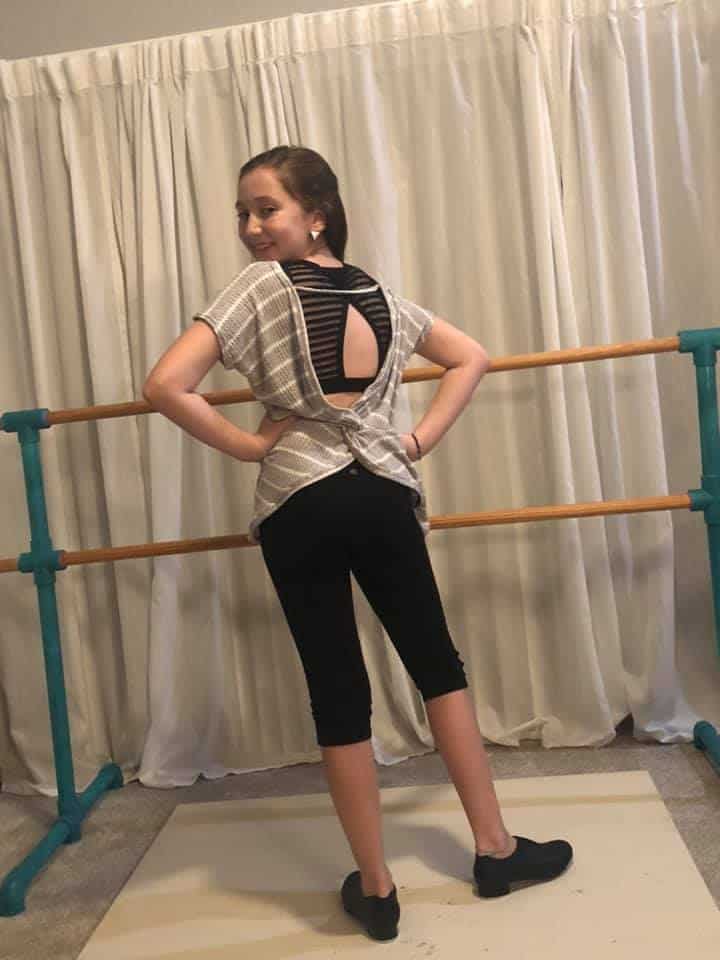
Hey there Pirates!  Today was a day I thought would never come… a bra and undies pattern release! I never had my sites set on doing undergarments, but my strong desire to have a soft knit bra that fit was too much to deny any longer!  The Twist Back Top was such an adorable open back pattern that begged for a cute strappy bra under… so the Fierce Bra was born!

Adult Sizing- Fierce Bra PDF Sewing Pattern by Patterns for Pirates
Bundle Adult and Youth Sizing- Fierce Bra PDF Sewing Pattern by Patterns for Pirates
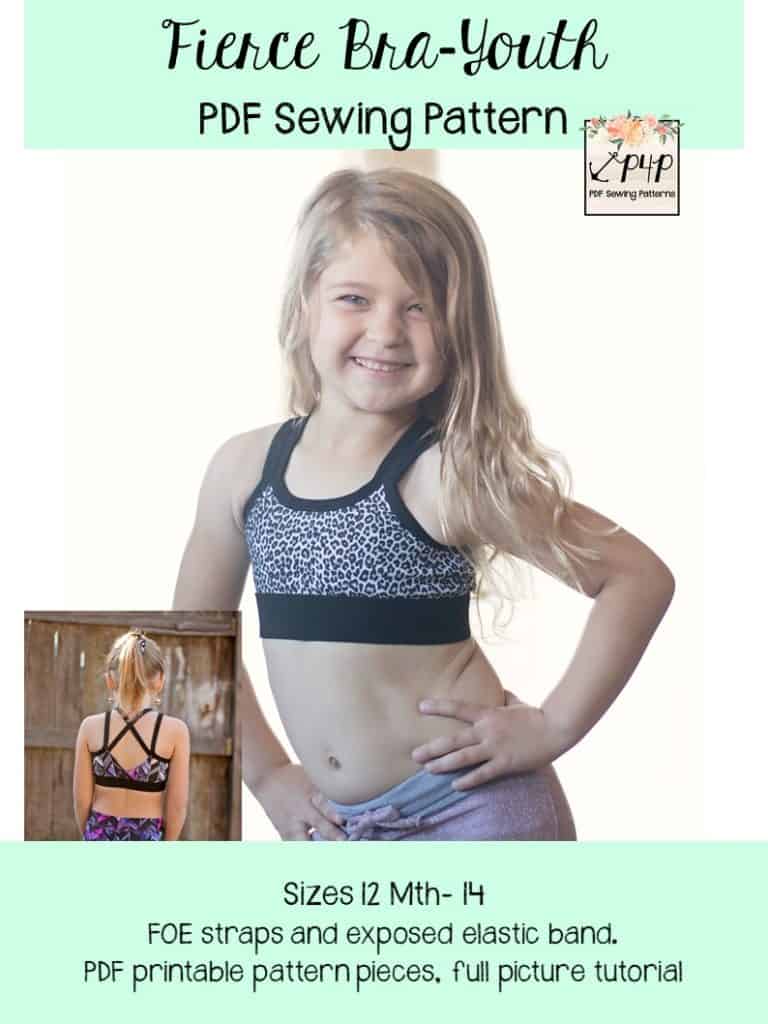
Youth Sizing- Fierce Bra- PDF Sewing Pattern by Patterns for Pirates

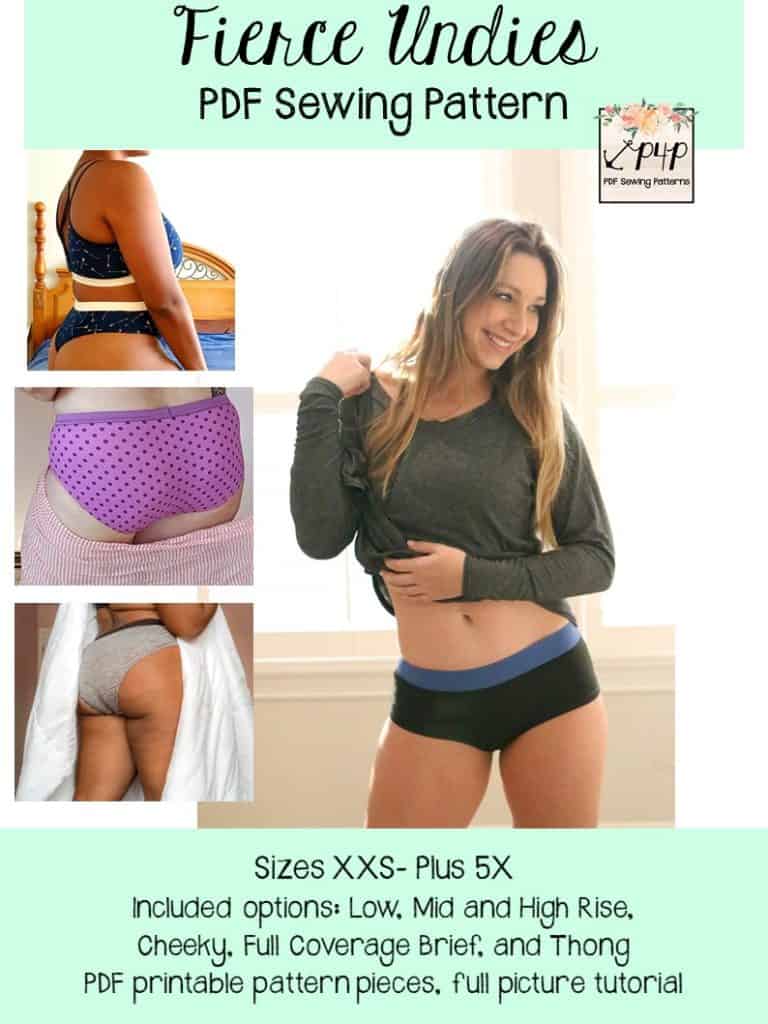
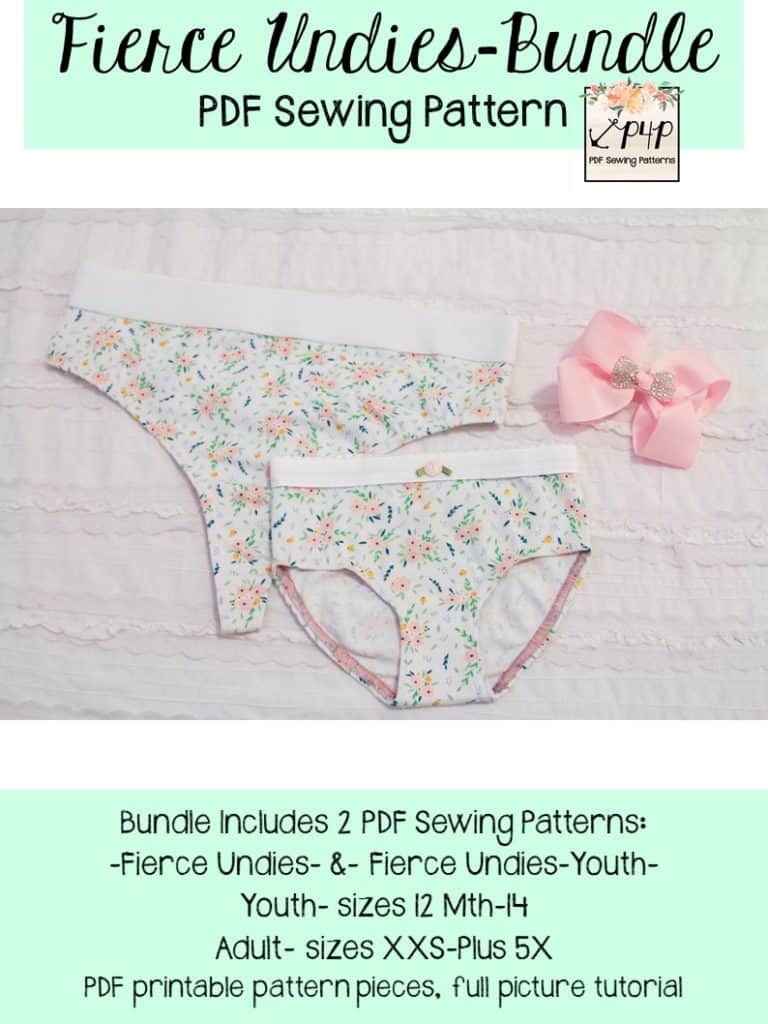
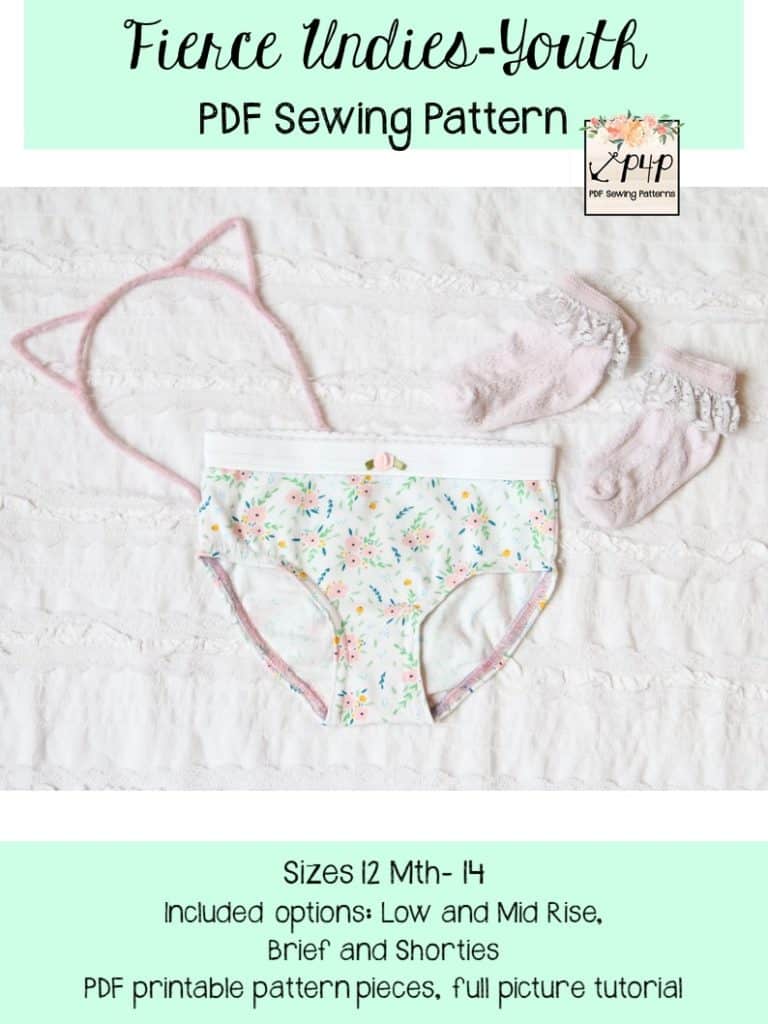
Then who could resist some matching undies to the bra right?! The Fierce Undies came right along as well 🙂 Both Adult and Youth can feel fierce in their undergarments now!

Fierce Undies- Adult Sizing- PDF Sewing Pattern by Patterns for Pirates
Fierce Undies- Bundle Adult and Youth Sizing- PDF Sewing Pattern by Patterns for Pirates
Fierce Undies- PDF Sewing Pattern by Patterns for Pirates

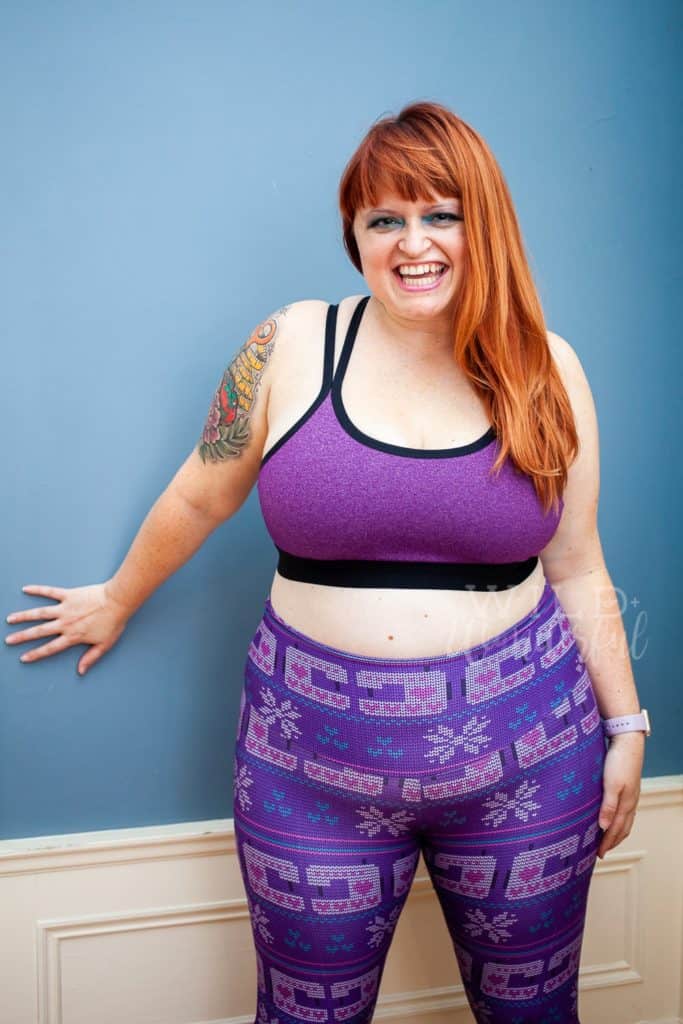
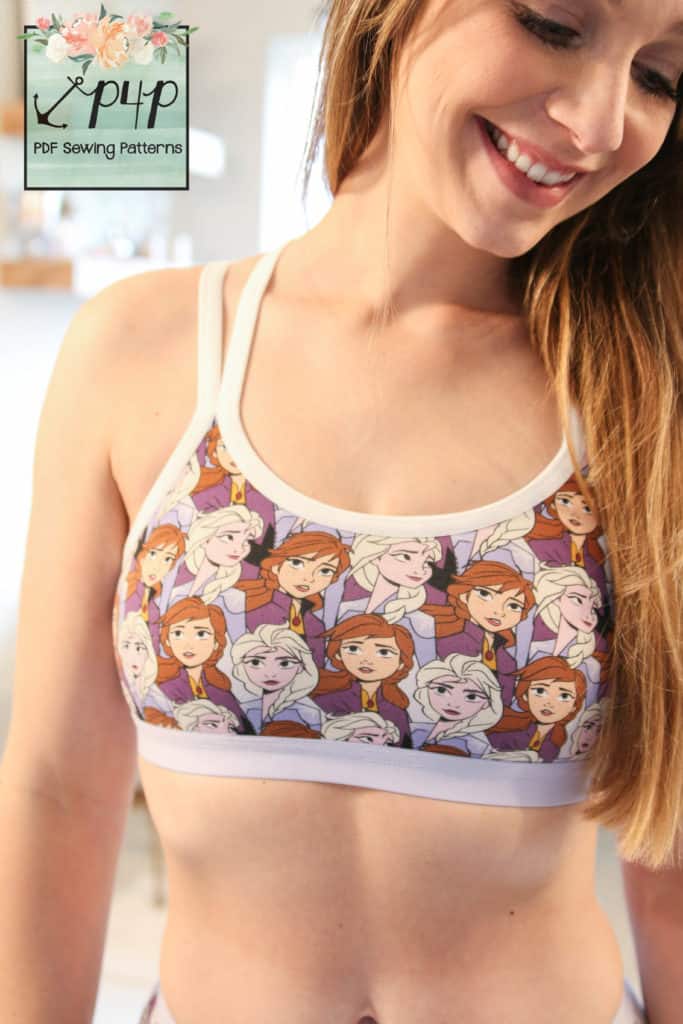
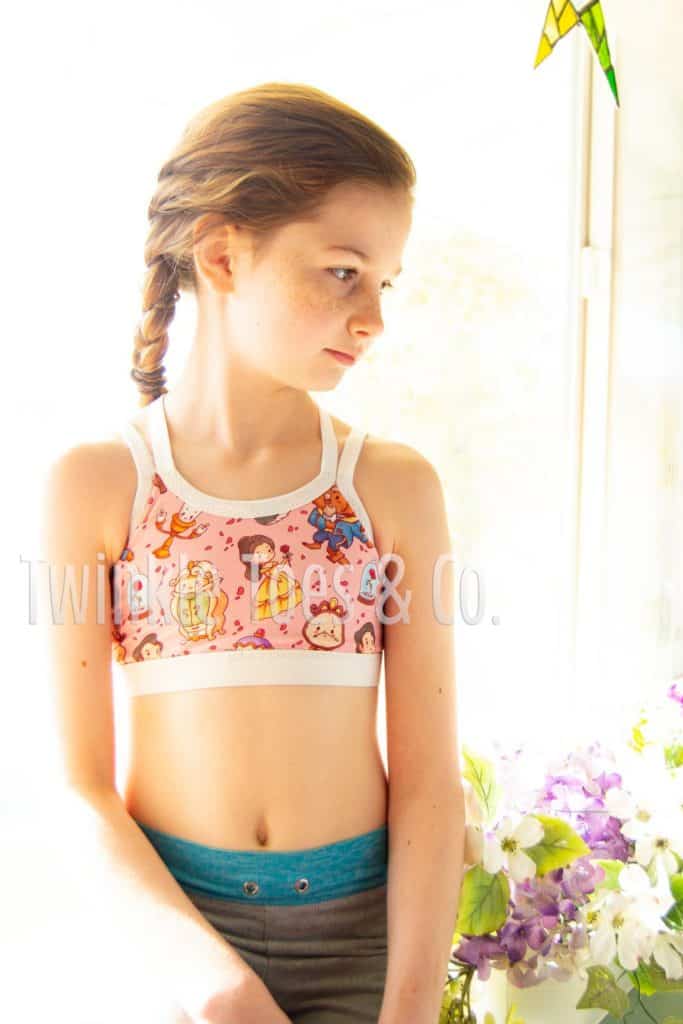
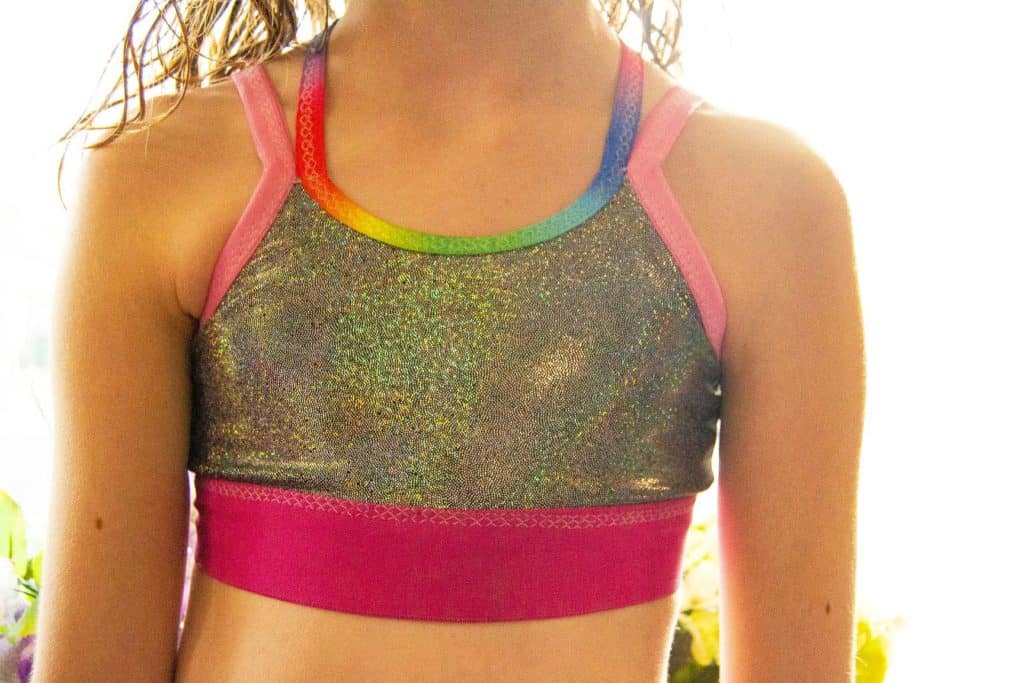
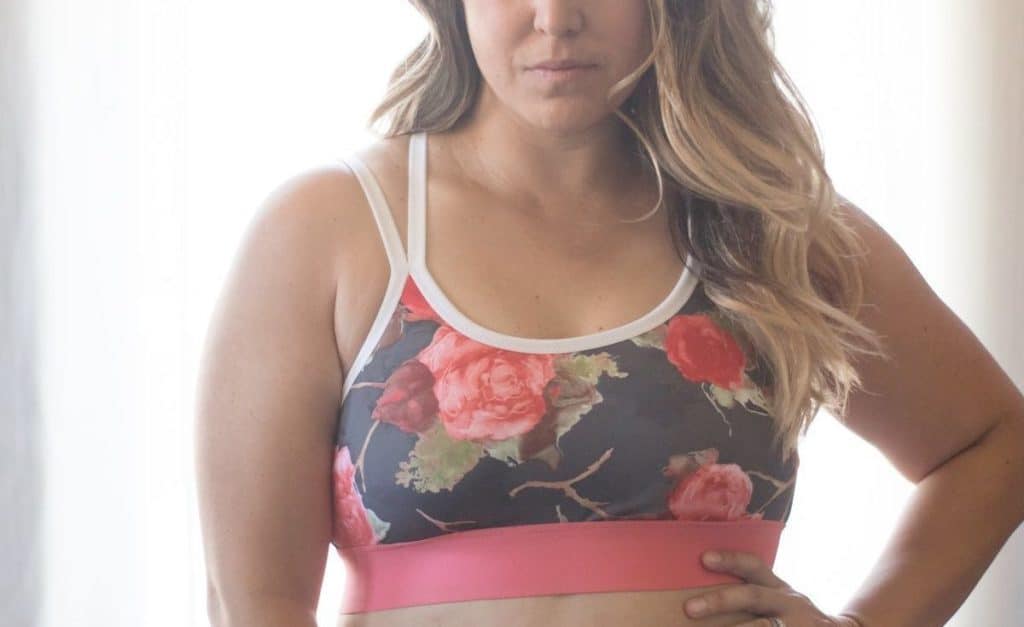
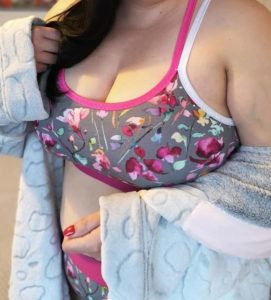
Lets talk Fierce Bra first! This pattern is a great first bra for any sewist to try their hand and get sizing and adjustments down for more involved bras.  It is drafted to be a light to medium impact sports bra… what exactly does that mean? It would give enough support for a walk, yoga, or other light to medium exercising.  It’s not a high impact- which would include running, jumping, burpees, ect.  Depending on fabric and options you choice you can essentially create a lounge bra with minimal support (and lots of comfort ;)) or a more medium support.

Fierce Bra- Youth- Athletic Fabrics
Fierce Bra- Adult- Athletic Fabrics
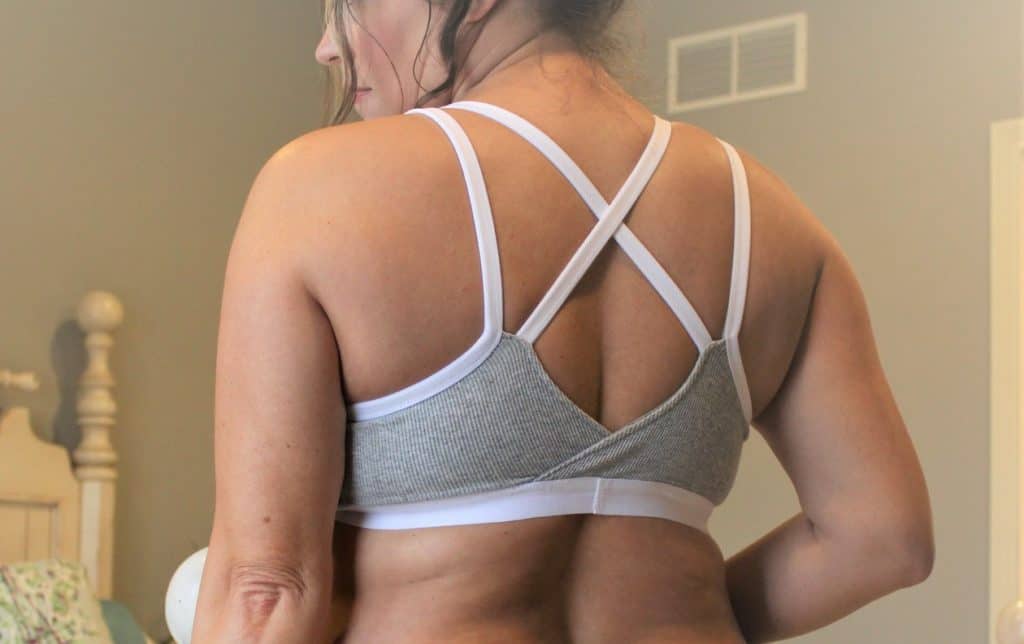
Fierce Bra- Adult- Lounge Fabrics
Fierce Bra- Youth- Lounge Fabrics

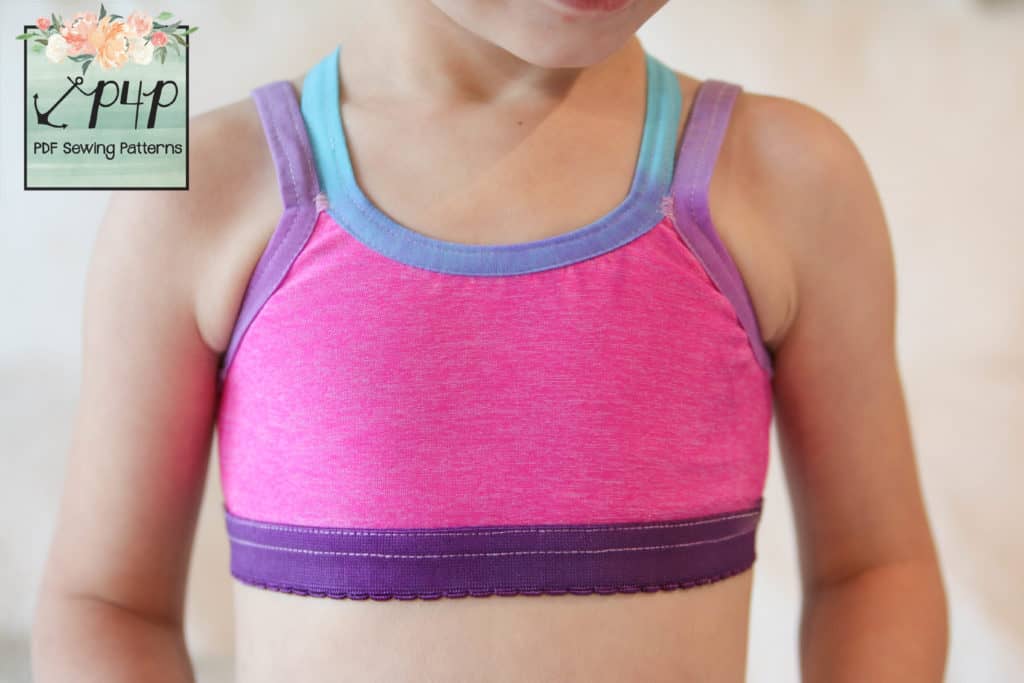
The straps are created with 1″ FOE (Fold Over Elastic) which is a super simple and quick method.  The exposed elastic band at the bottom gives it a unique detail and options to use different width elastics that you may find and fall in love with!

Thicker Bottom Band Elastic- Fierce Bra- Youth
Thinner Bottom Band Elastic- Fierce Bra- Adult
Thicker Bottom Band Elastic- Fierce Bra- Adult


The youth pattern covers a size range from 12M – 14.  Adult covers XXS-Plus 5X plus it includes a SBA (Small Bust Adjustment) and FBA (Full Bust Adjustment) pieces if your upper and full bust don’t fall into the same size on our chart.  Sound complicated? Don’t worry, we have a video in there to explain it all <3

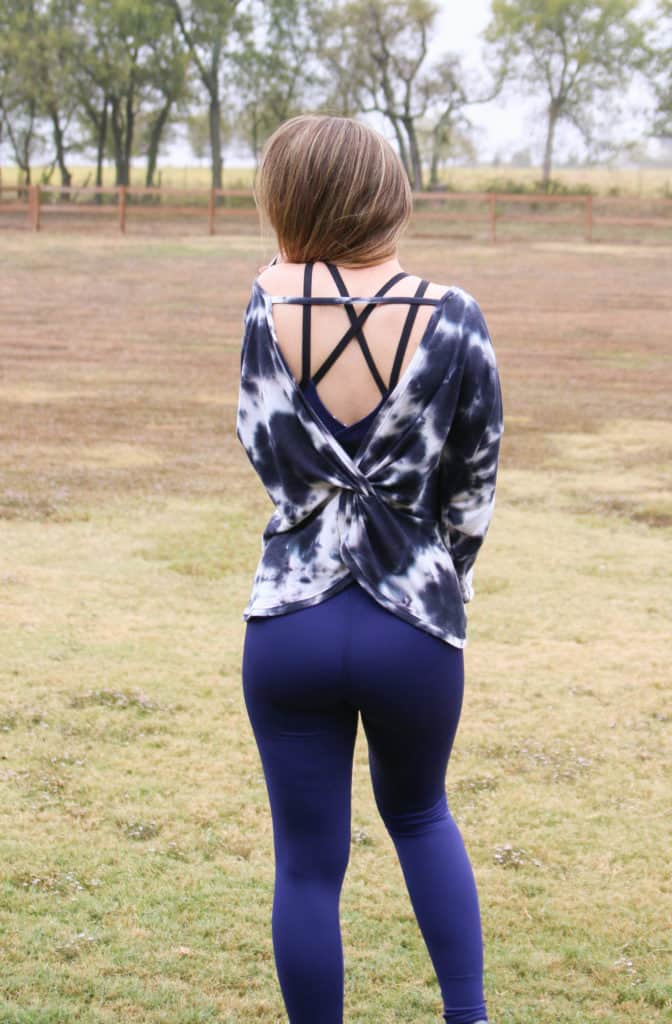
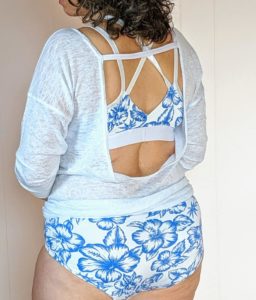
Don’t forget that super adorable strappy back! Not only does it look cute, but the straps also provide support both criss cross and traditional straight straps which allows the pressure of the straps to be distributed a few more spots on your shoulders and back…meaning… more comfortable! It’s just a bonus that it looks great with open back tops!

Fierce Bra Paired with Ragdoll Raglan
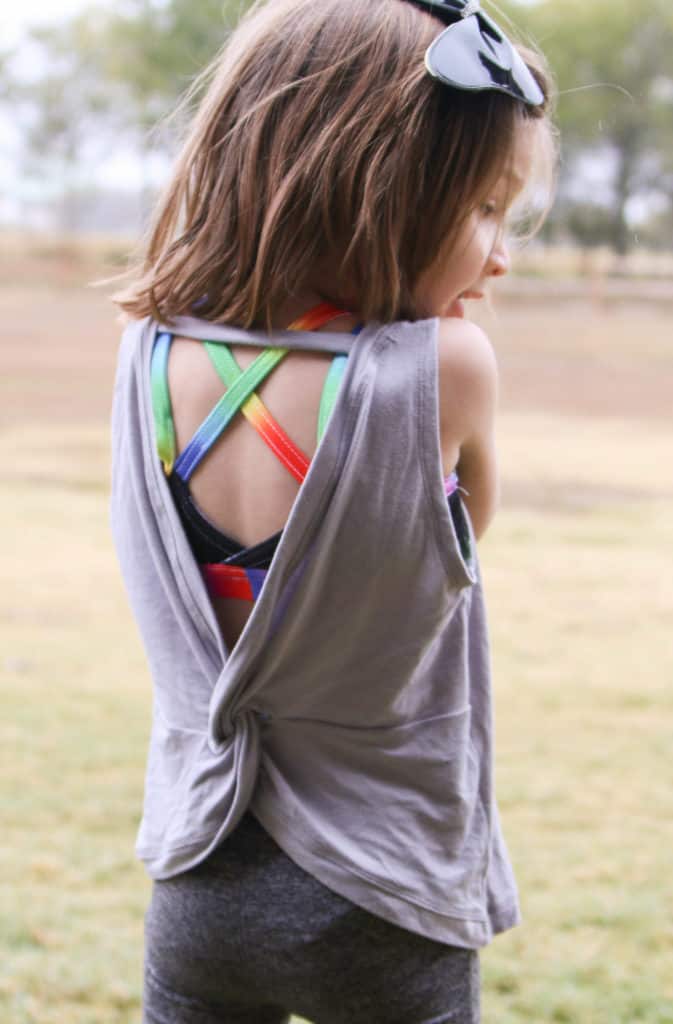
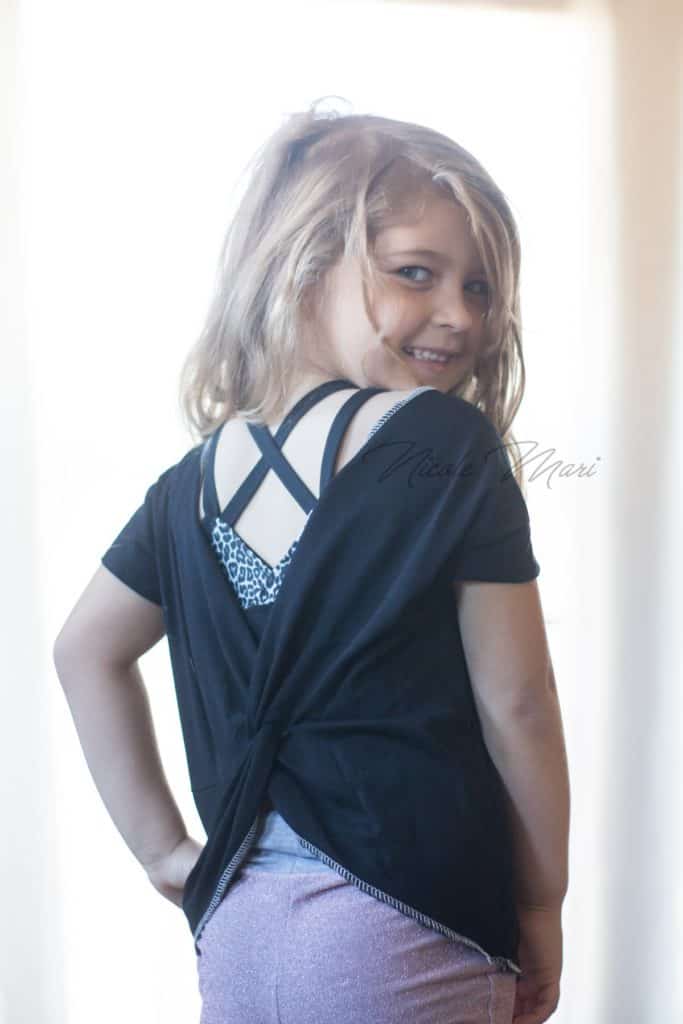
Fierce Bra Paired with Twist Back Top
Fierce Bra-Youth Paired with Twist Back Top- Youth

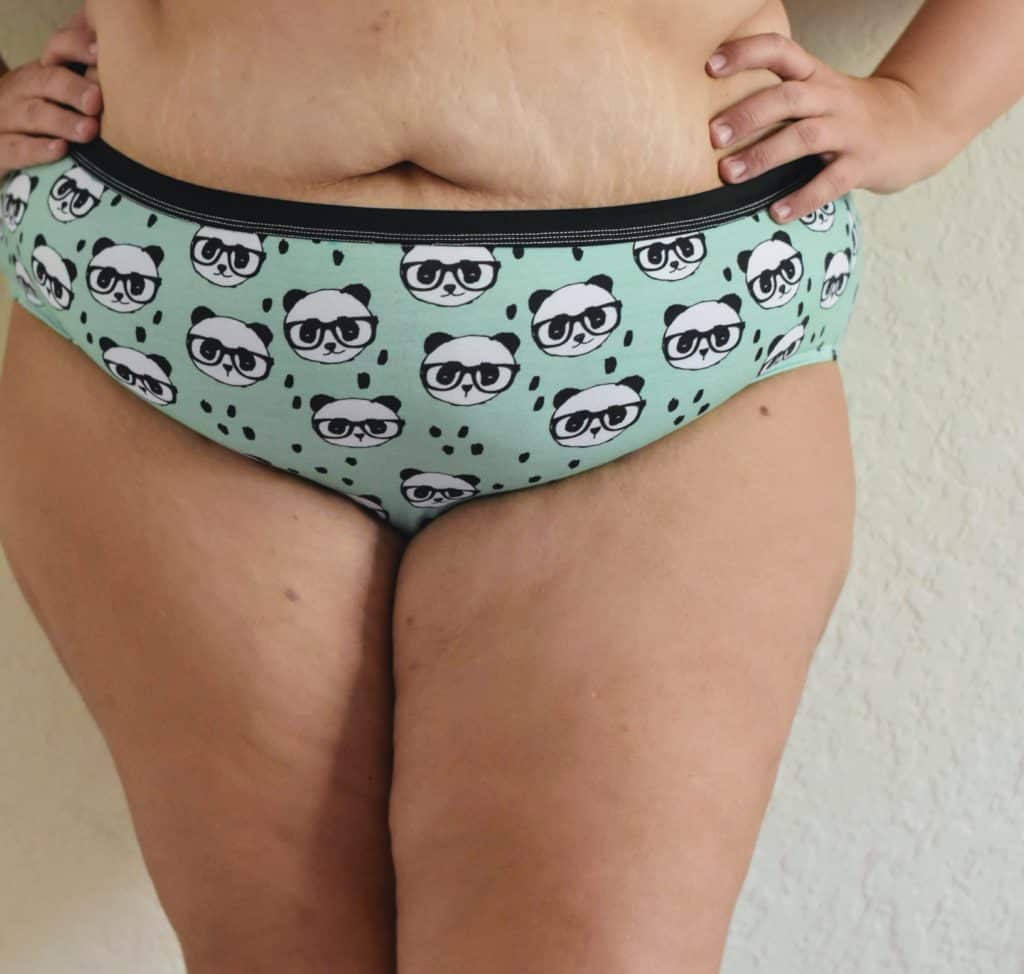
Okay… now lets chat about the matching Fierce Undies!! Underwear can be so fun to sew up.  It takes just scraps of fabrics and are so quick to make!  Bonus, you can have extra freedom choosing fun prints and fill up your drawers with something super practical at the same time!

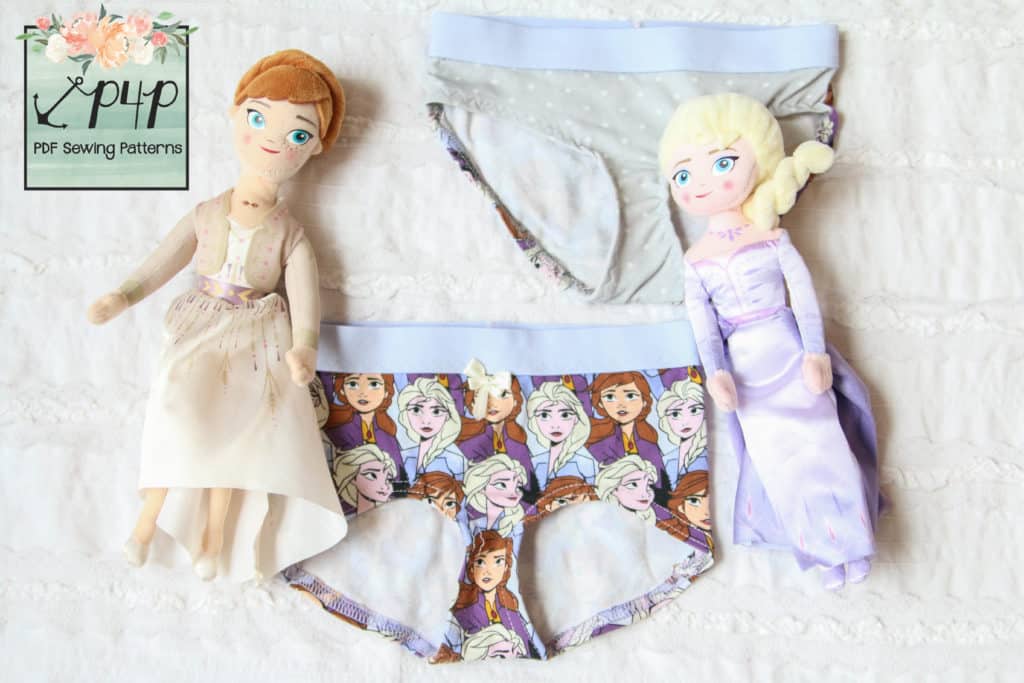
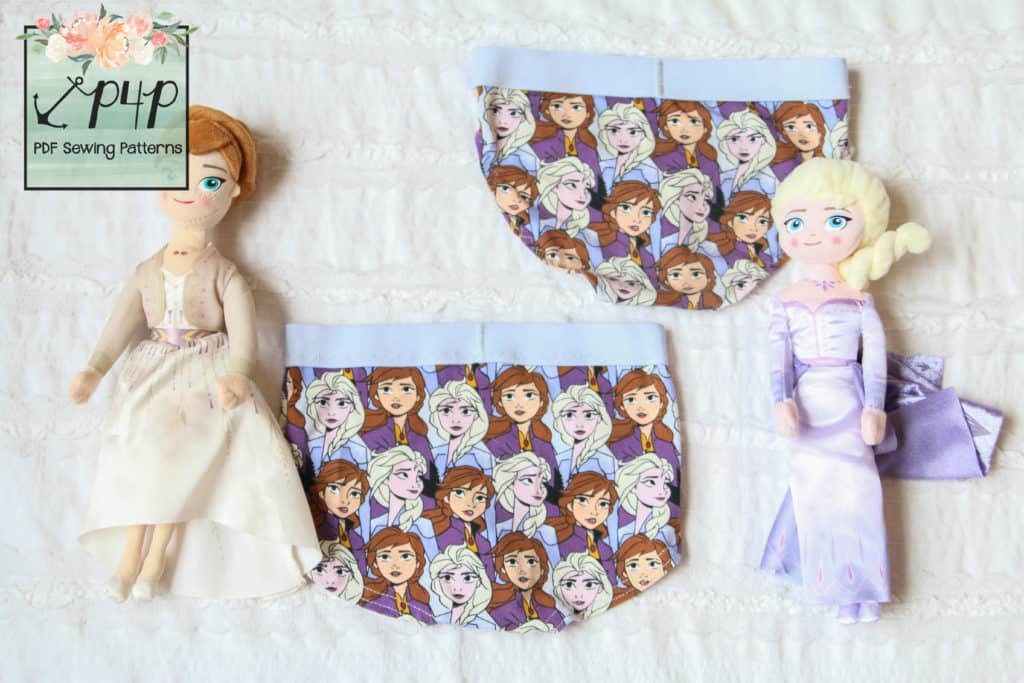
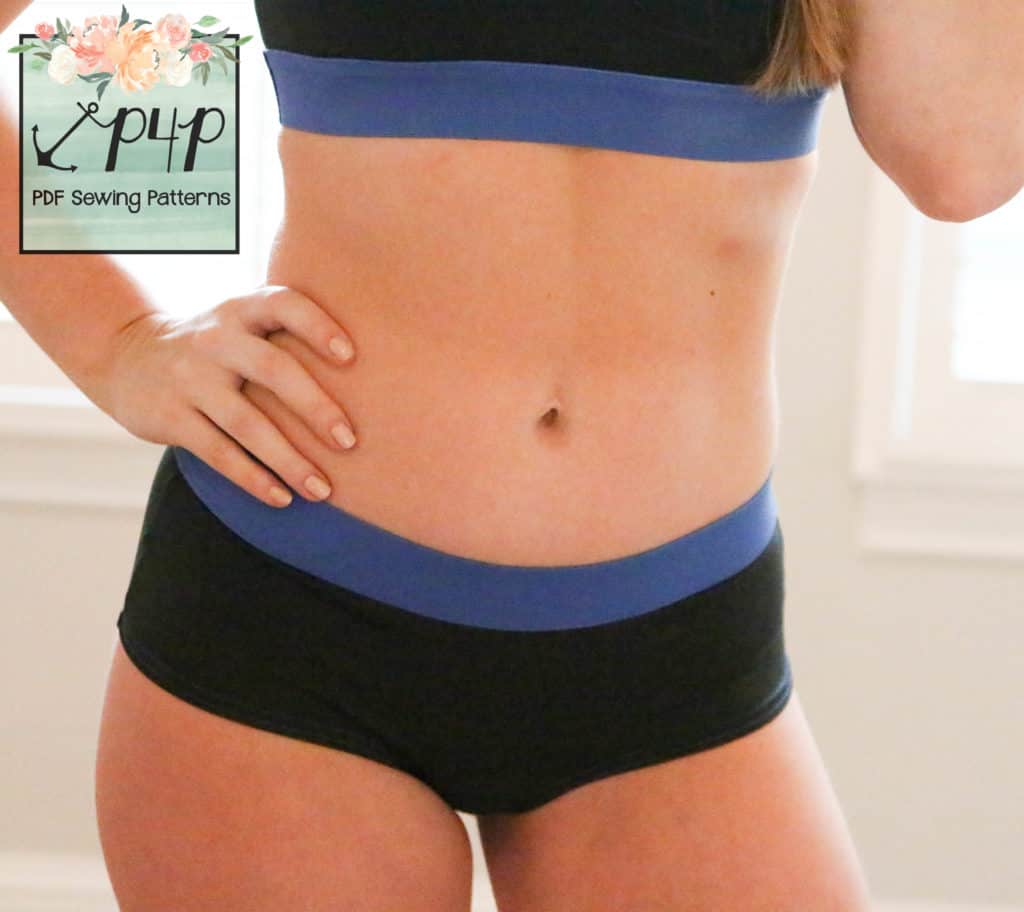
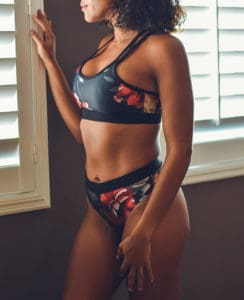
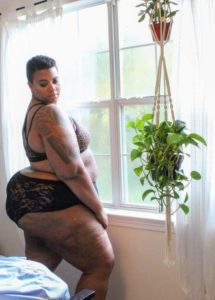
The Fierce Undies are a sportier looking underwear pattern with an exposed elastic waistband that matches the Fierce Bra.

INCLUDED STYLES: Youth Includes a brief and shorties options.

Fierce Undies- Youth- Brief Above, Shorties Below

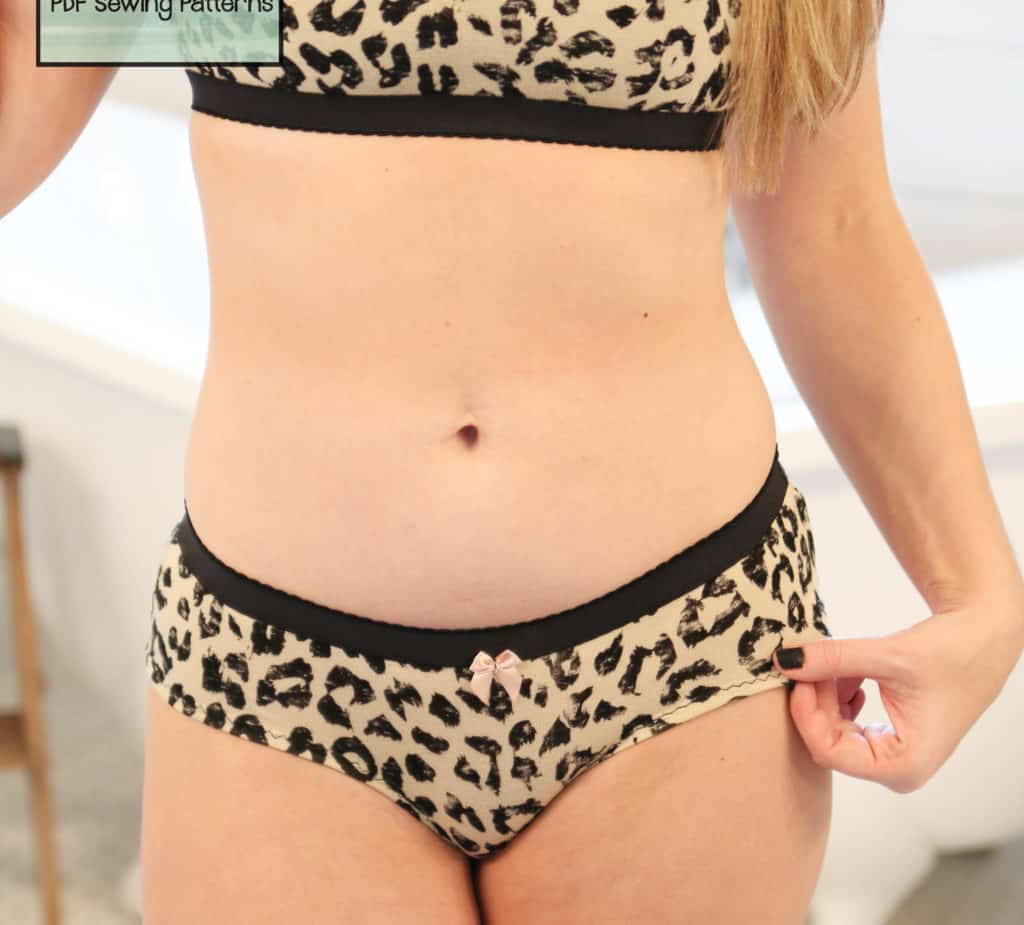
Adult includes a thong, full coverage brief, and cheeky options.

Thong Option-Fierce Undies- PDF Sewing Pattern By Patterns for Pirates
Brief Option-Fierce Undies- PDF Sewing Pattern By Patterns for Pirates
Cheeky Option-Fierce Undies- PDF Sewing Pattern By Patterns for Pirates

INCLUDED RISE OPTIONS:

We also included a few different rises to choose from.  Youth includes low rise and mid rise.

Low Rise Option- Fierce Undies- PDF Sewing Pattern by Patterns for PIrates
Mid Rise Option- Fierce Undies- Youth- PDF Sewing Pattern by Patterns for Pirates

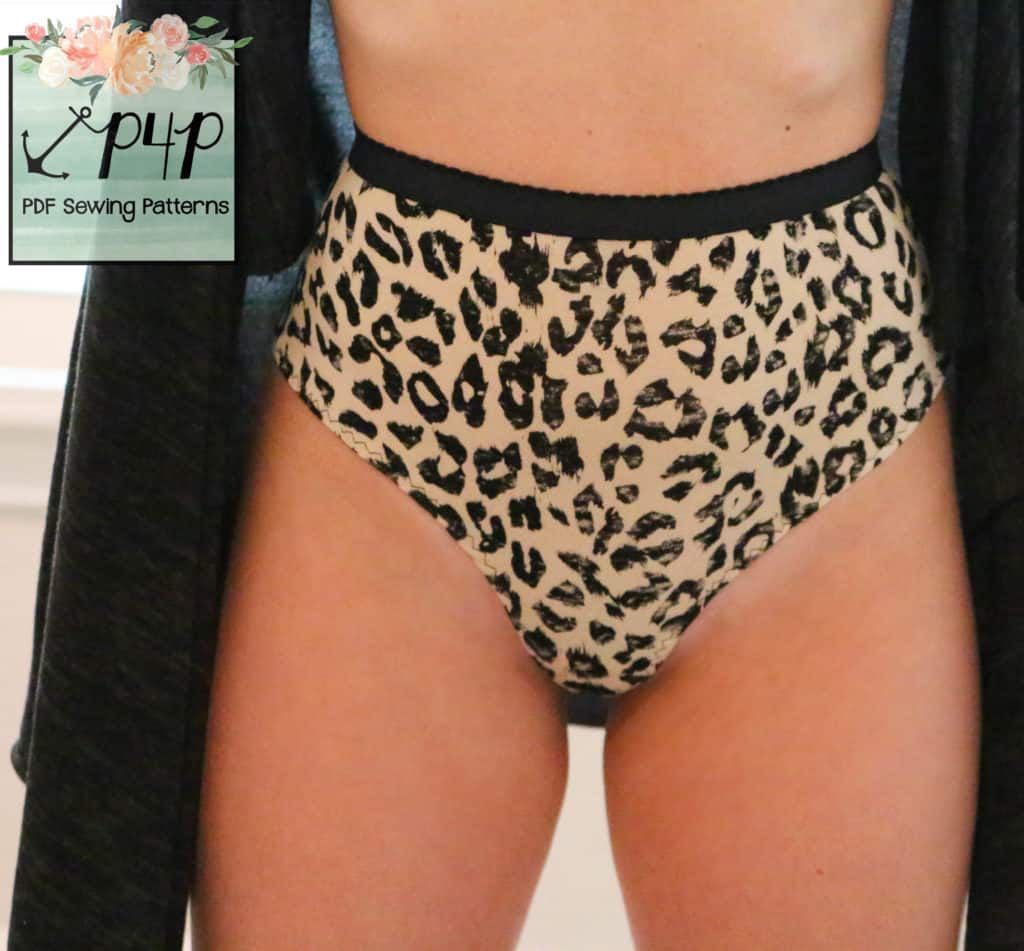
The Adult Fierce Undies includes low rise, mid rise and high rise options.

Low Rise Option- Fierce Undies- PDF Sewing Pattern by Patterns for Pirates
Mid Rise Option- Fierce Undies- PDF Sewing Pattern by Patterns for Pirates
High Rise Option- Fierce Undies- PDF Sewing Pattern by Patterns for Pirates

You can even customize your waistband by what thickness your elastic is… the thicker the elastic the bit higher the rise will be!

3/4″ Elastic Low Rise
1.5″ Elastic Low Rise

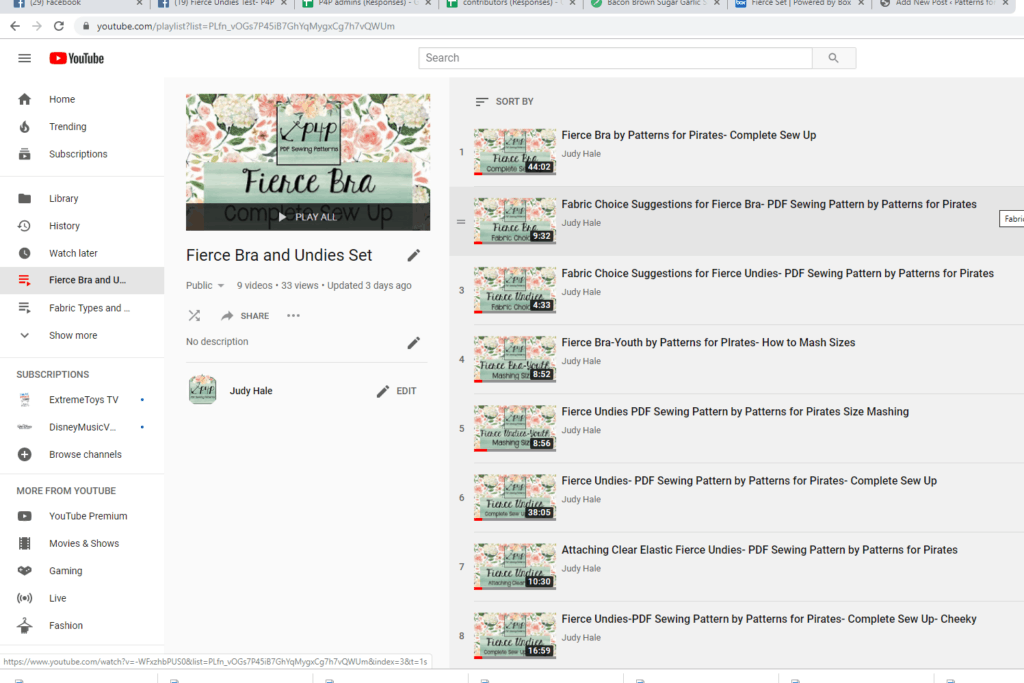
VIDEOS! Don’t be worried if you’ve never ventured into undergarments before… I included several videos in both tutorial about supplies, sizing, and a video of a complete bra and undies sew up!


**Want to learn more about how to measure yourself for this patterns?  We’ve got you covered with an in-depth blog HERE.  And in case you’re new to Patterns for Pirates and PDF patterns in general, we have a great blog full of new-user tips HERE to help you get started!  As with all of our current releases and updates, the pdfs now include our layers feature and can be found in Letter, A4 and A0 sizes.  And for even more helpful fun, we have a *free* printable that you can use to help record your measurements as you take them.

Make your cute matching sets as cute or spicy as you want!

Fierce Bra and Undies- PDF Sewing Pattern by Patterns for Pirates

Ready to fill your drawers with practical pieces and plow through that scrap bin?  Go grab the patterns now!

FIERCE BRA | FIERCE BRA – YOUTH | FIERCE BRA BUNDLE

FIERCE UNDIES | FIERCE UNDIES – YOUTH | FIERCE UNDIES BUNDLE


Hoping for a little inspiration before you get to sewing?  Just take a look at this pattern on all of the amazing shapes and sizes of our testers, and get a look at more examples of all the options in our albums in the P4P Facebook group!

Fierce Bra Album | Fierce Bra – Youth Album

Fierce Undies Album | Fierce Undies – Youth Album

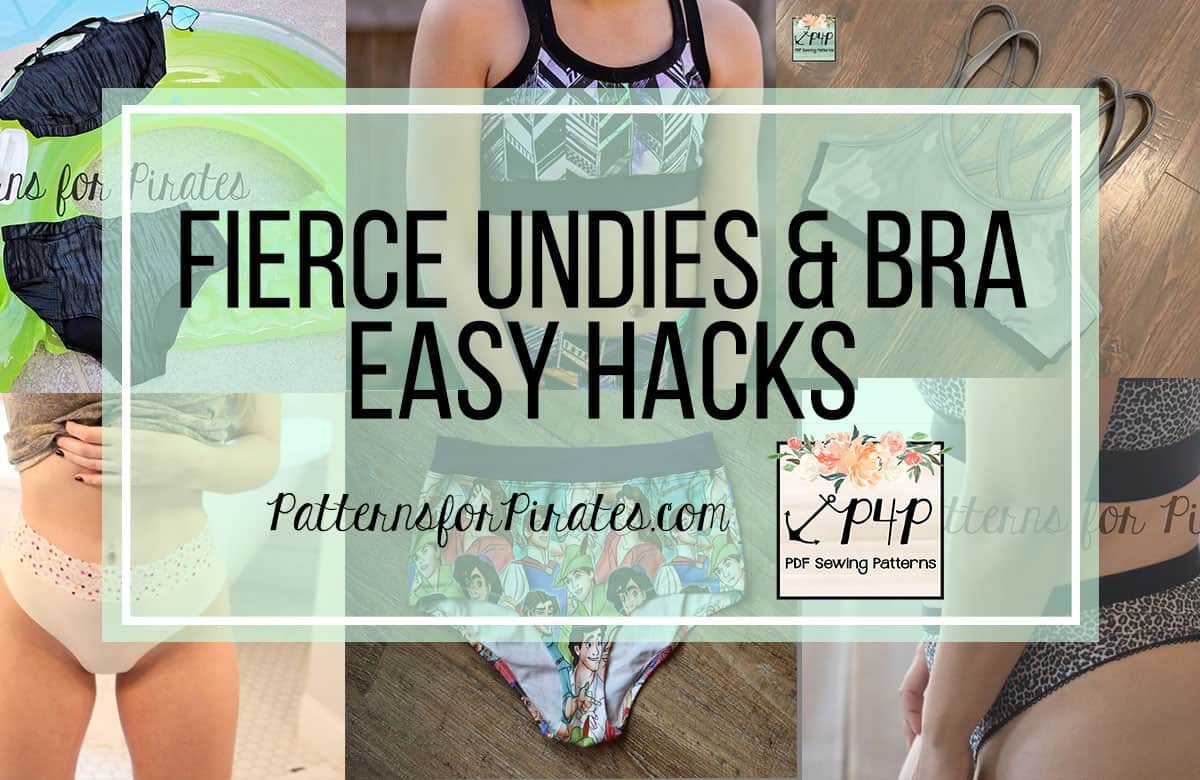
And if our pattern alone doesn’t provide enough options for you, we’ve also included a blog post that will help take the Fierce patterns to the next level!  Go check out our Easy Hacks Post to see how to make some slight alterations to the original pattern, to customize it even further!


The release sale (no code needed) will be through Thursday 7th (11:59PM US Central Time Zone).

Happy Sewing, Pirates!

Filed Under: Uncategorized 2 Comments

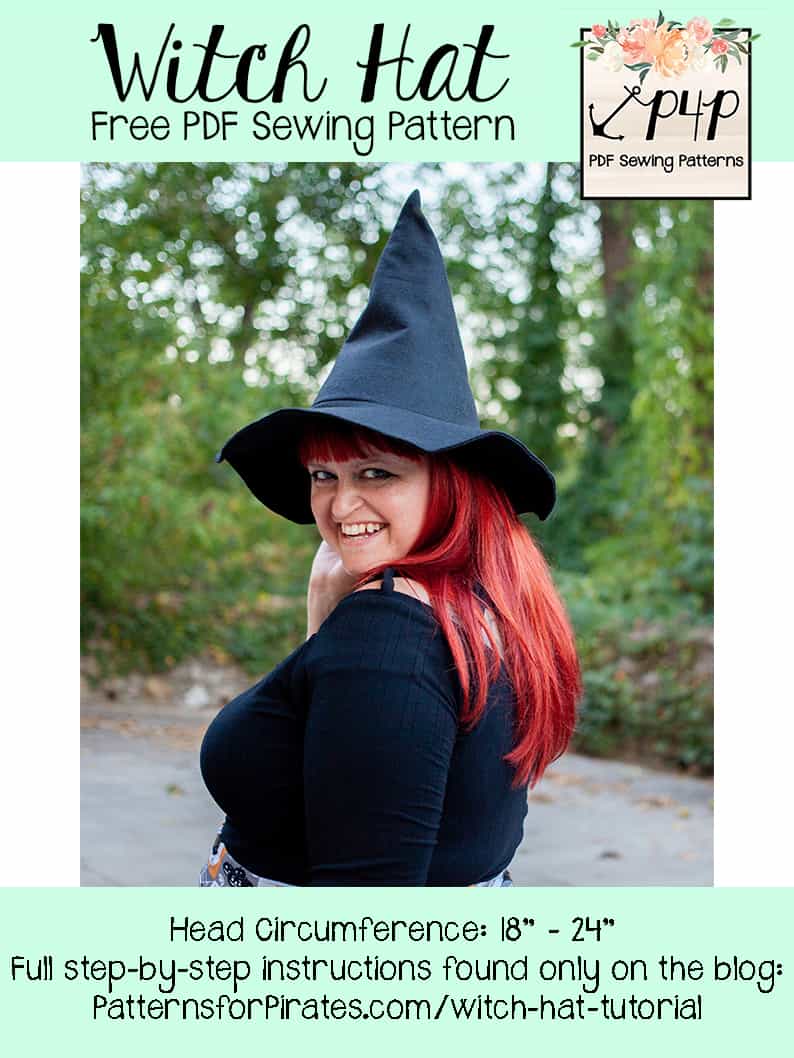
Witch Hat :: Free Sewing Pattern + Tutorial!

October 8, 2019

Something wicked this way comes!

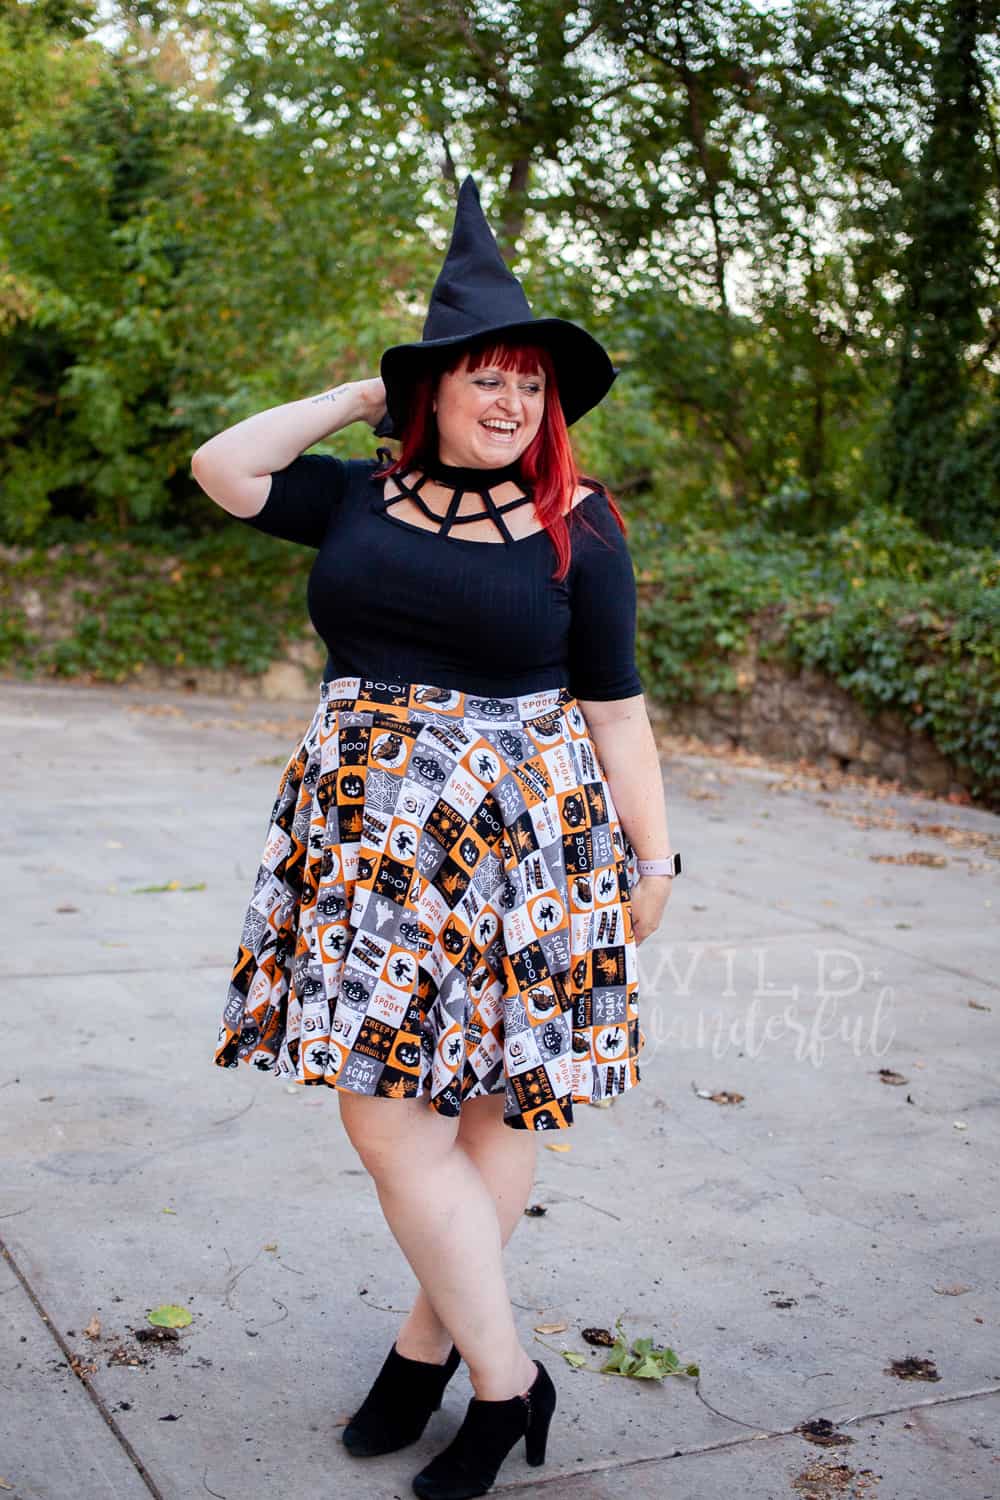
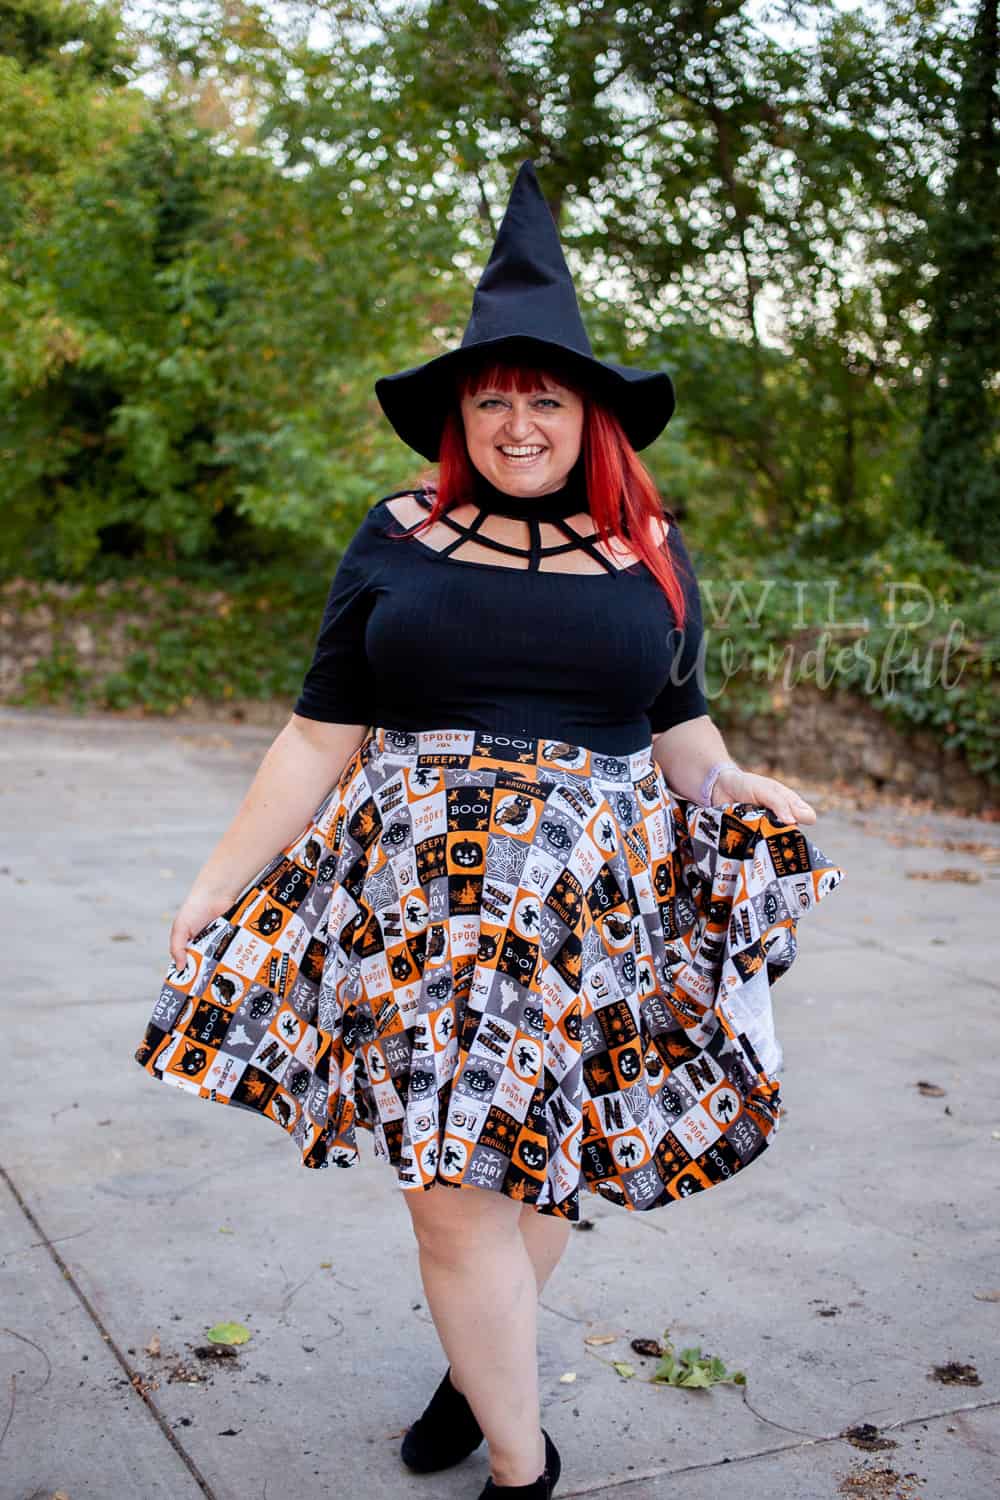
It’s officially October, which means the kickoff of my favorite holiday ever.  The candy, the pumpkin everything, the creative costumes, the decorations…..I love it all!  We wanted to help you with your costume making this year, with a super quick and easy pattern for the witches, wizards and warlocks in need of some new headgear.  And the best part about this pattern?  It’s FREE!  Our Halloween treat for you!

Before we get started, here are some things you’ll need:

  • Free Witch Hat Pattern Pieces (found in the store HERE)
  • 2/3 yard Premium Felt

**I highly recommend the thickest felt you can find, to get the ultimate stiff point and brim on your hat!  I found mine on a 72″ wide bolt at JoAnn Fabrics, which left me a lot of extra fabric to make even more hats!

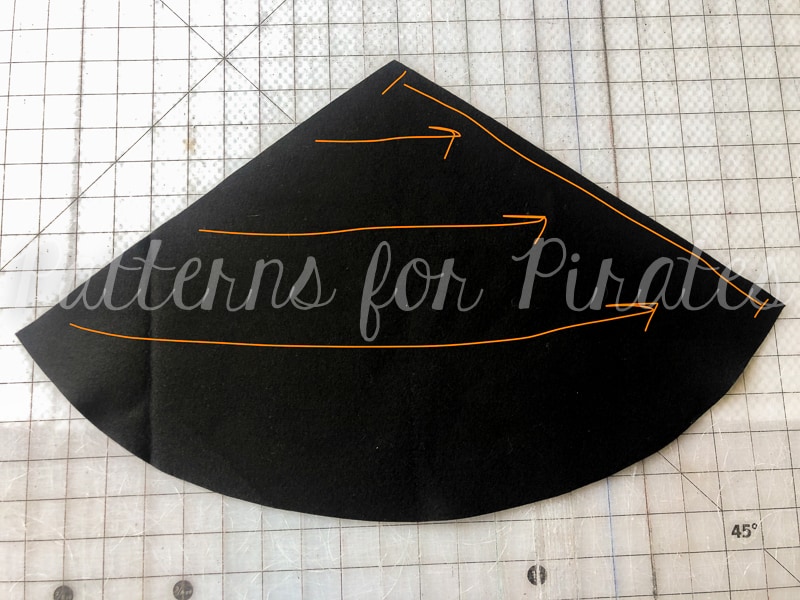
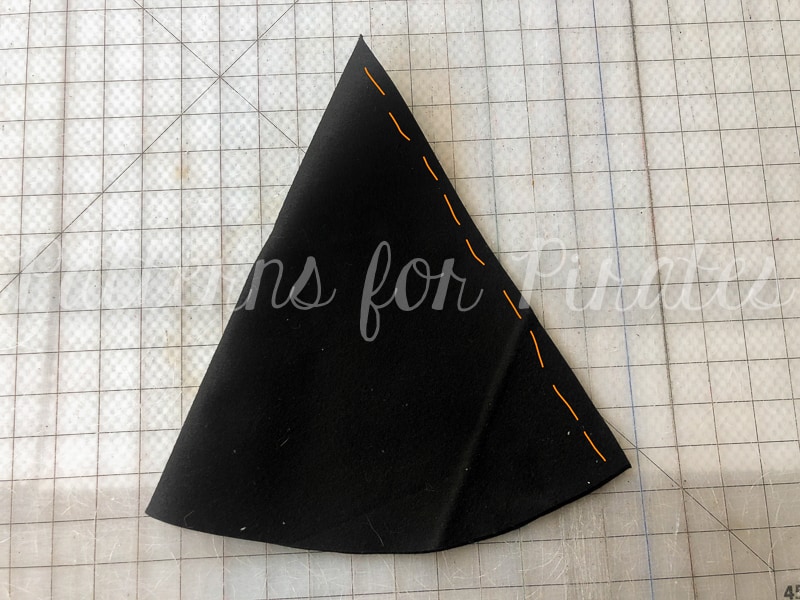
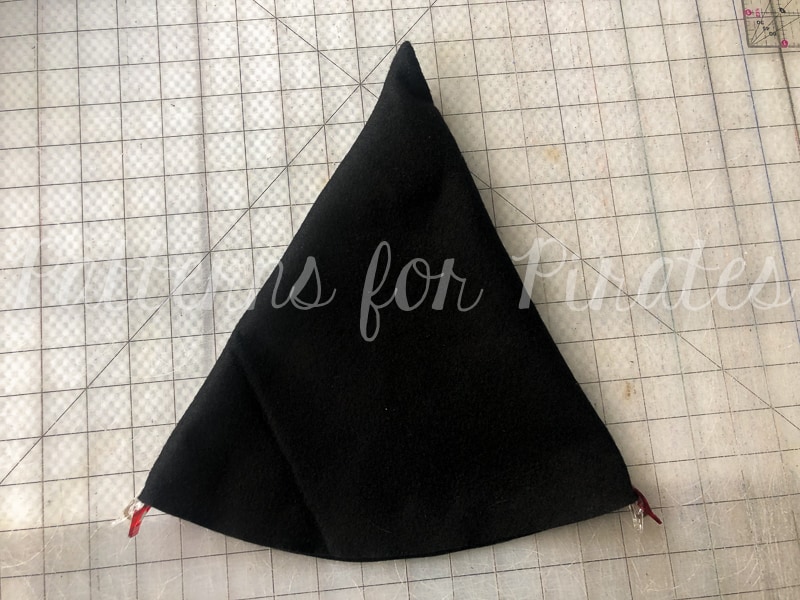
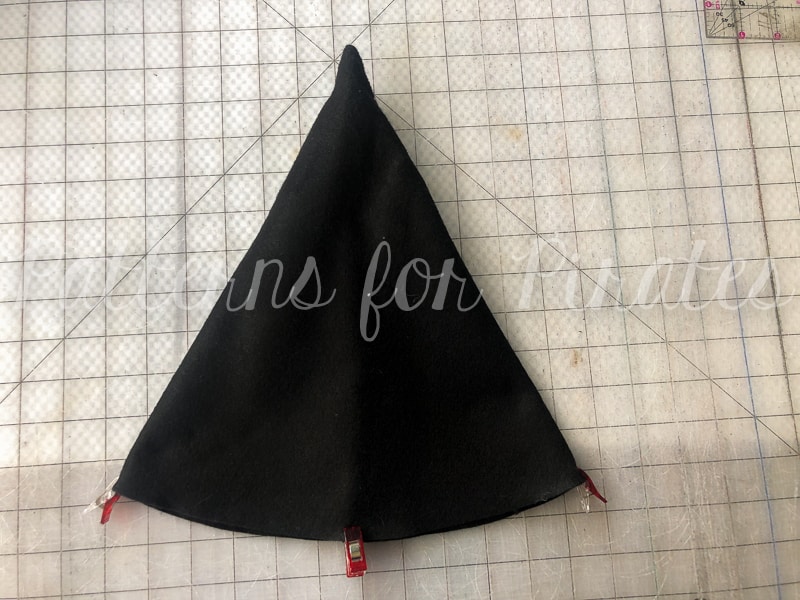
Step 1: With right sides together, fold the cone piece in half — aligning along the long, straight edges.  Using 1/4″ seam allowance, sew along long edge.

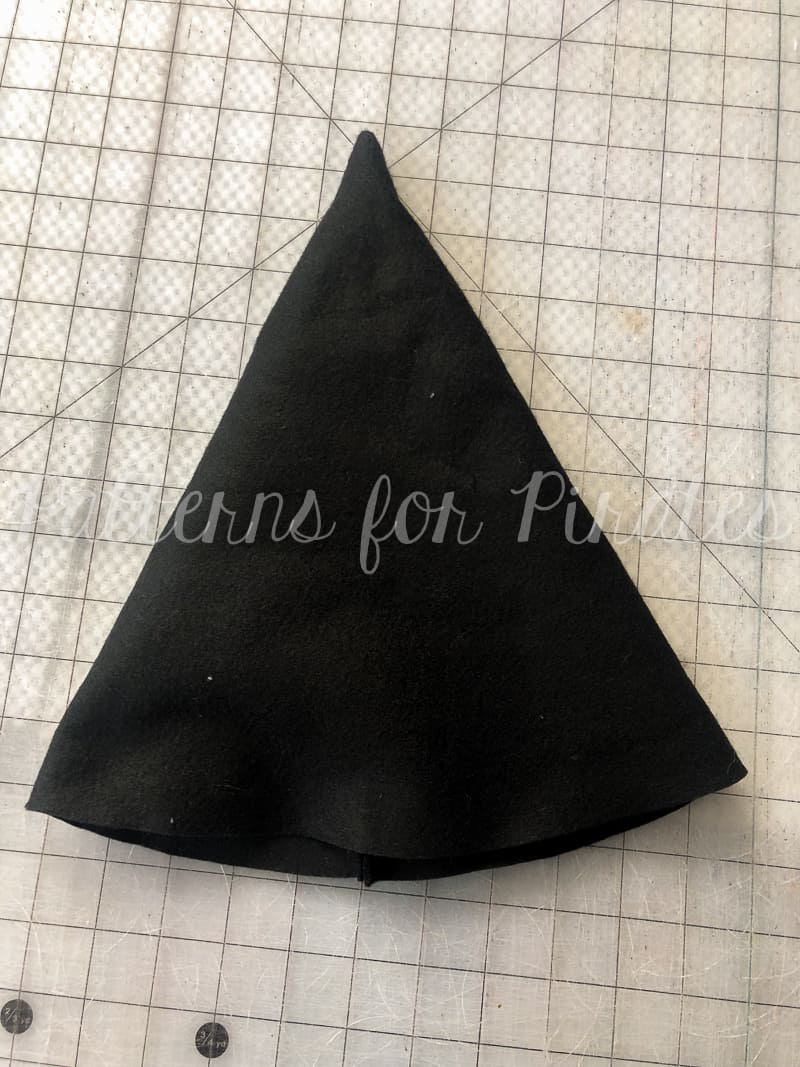
Step 2: Turn cone piece right side out and set aside.

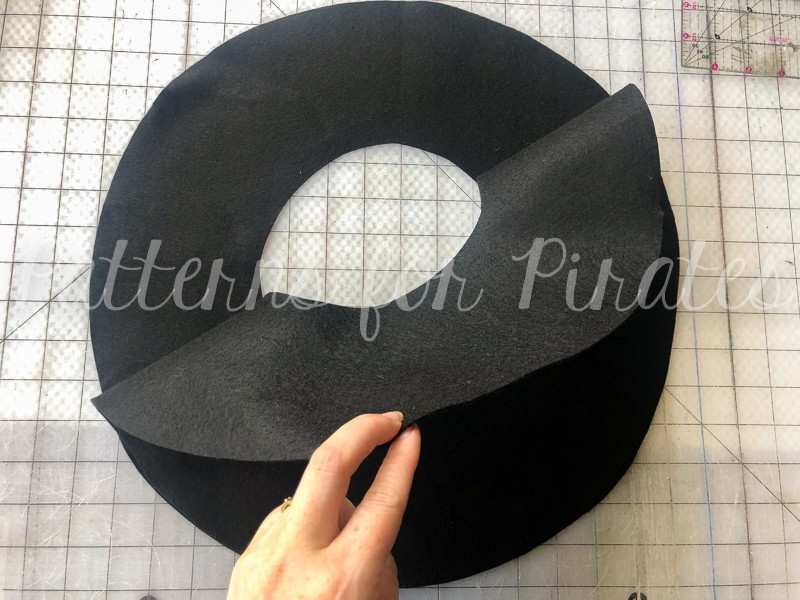
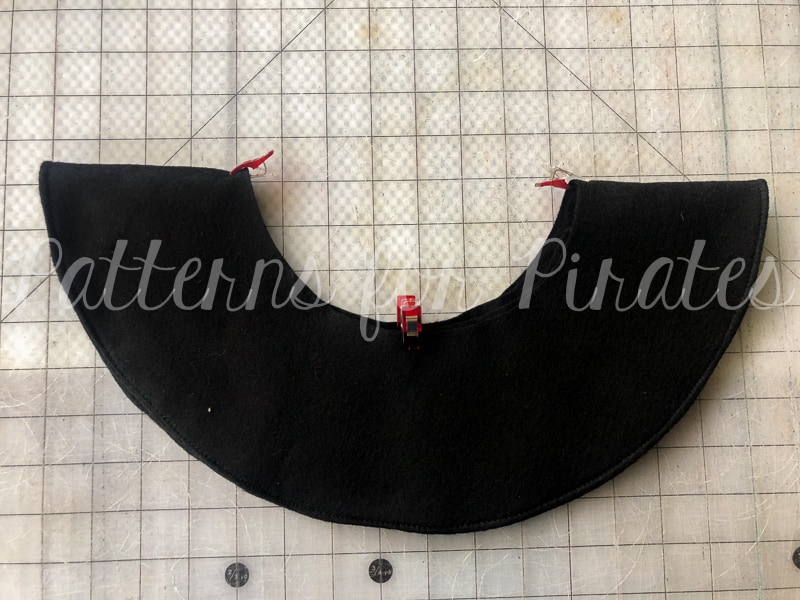
Step 3: With right sides together, align brim pieces on top of each other.

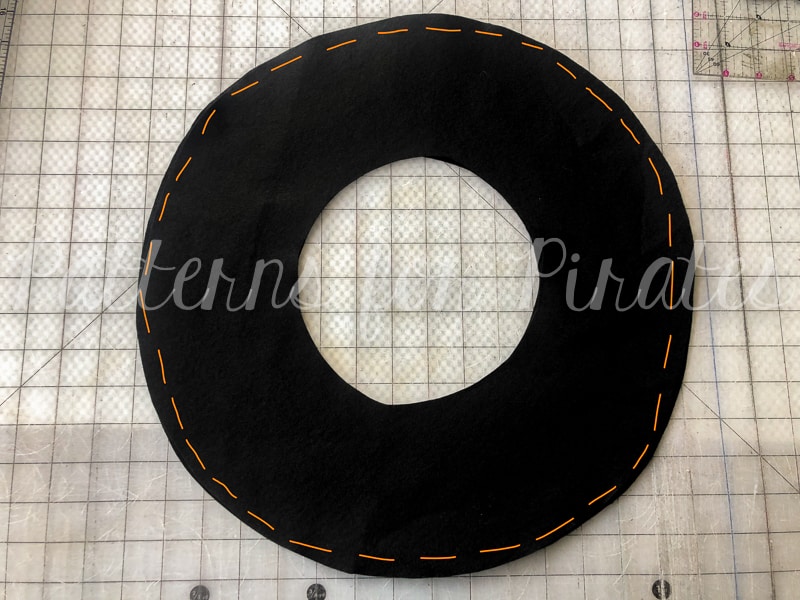
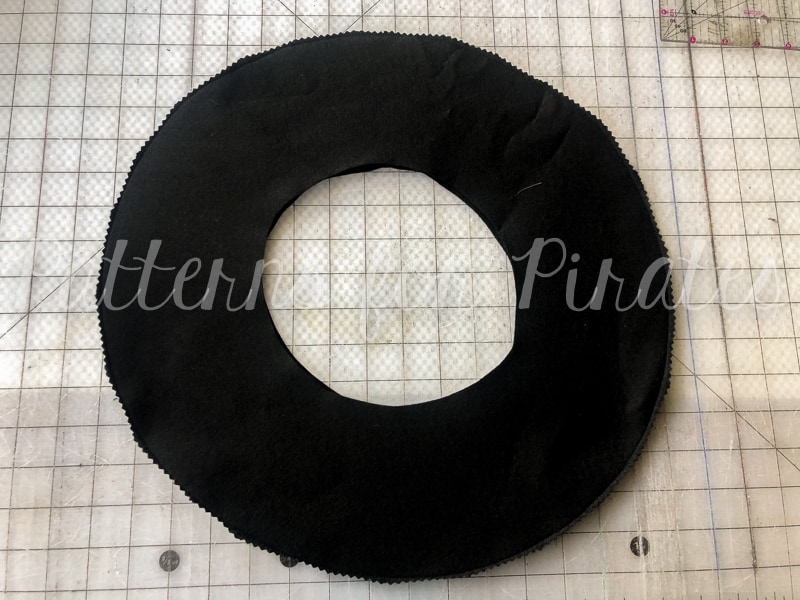
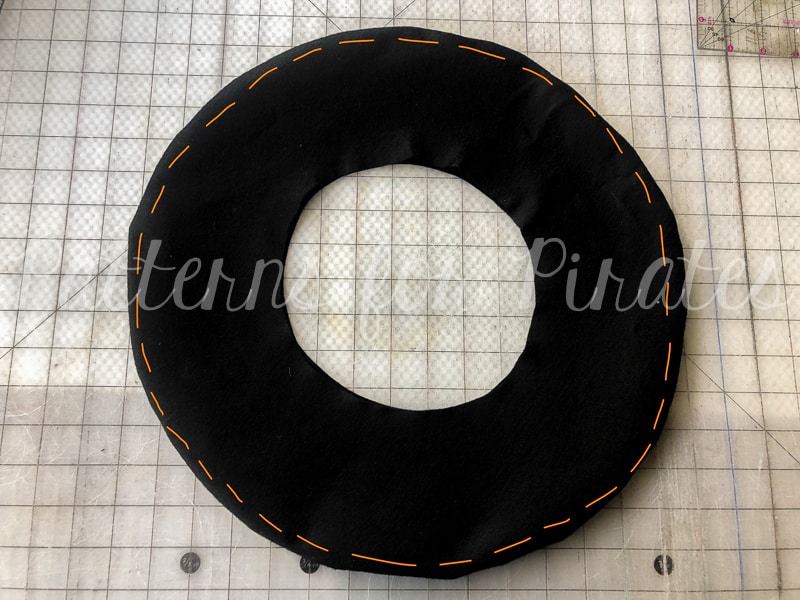
Step 4: Sew around outer edge, using 1/4″ seam allowance.

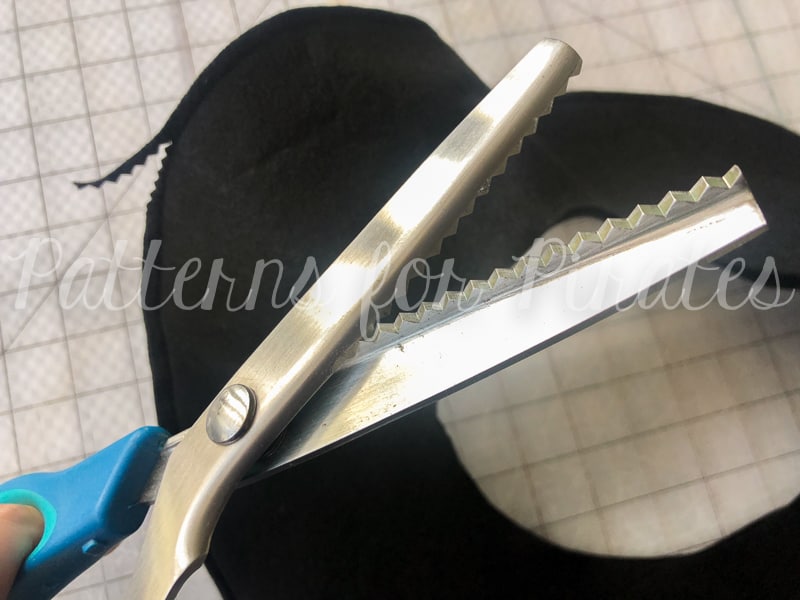
Step 5: For cleaner curved edges, use pinking shears trim excess fabric (making sure to not cut through your stitches).

Step 6: Turn brim right sides out.  Press.  If desired, top stitch along outer brim edge.

Step 7: Fold brim piece to mark quarter points along inner, raw circle.

Step 8: Repeat with cone piece.

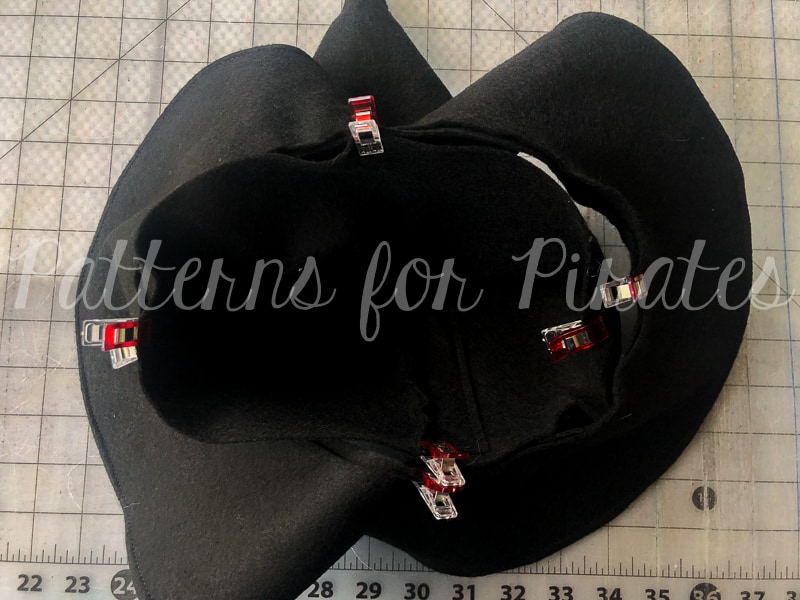
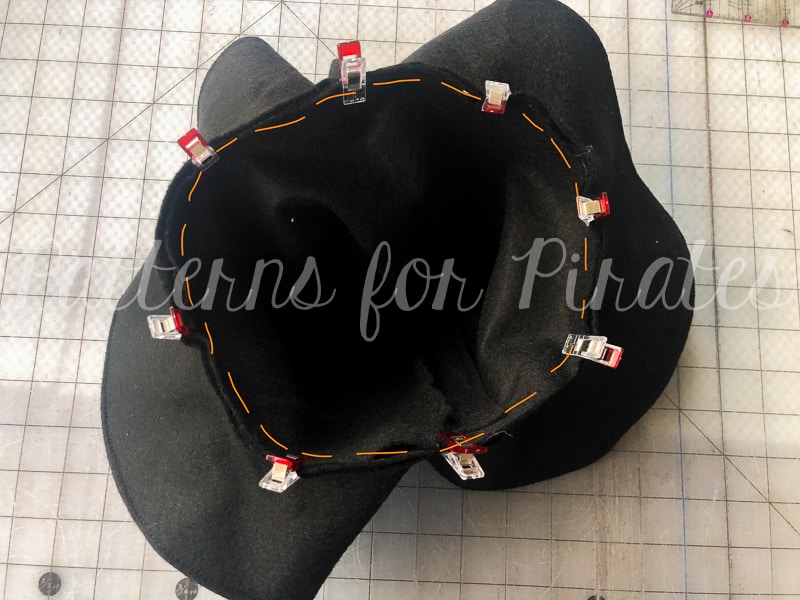
Step 9: With right sides together, match the quarter points on your brim and cone pieces.

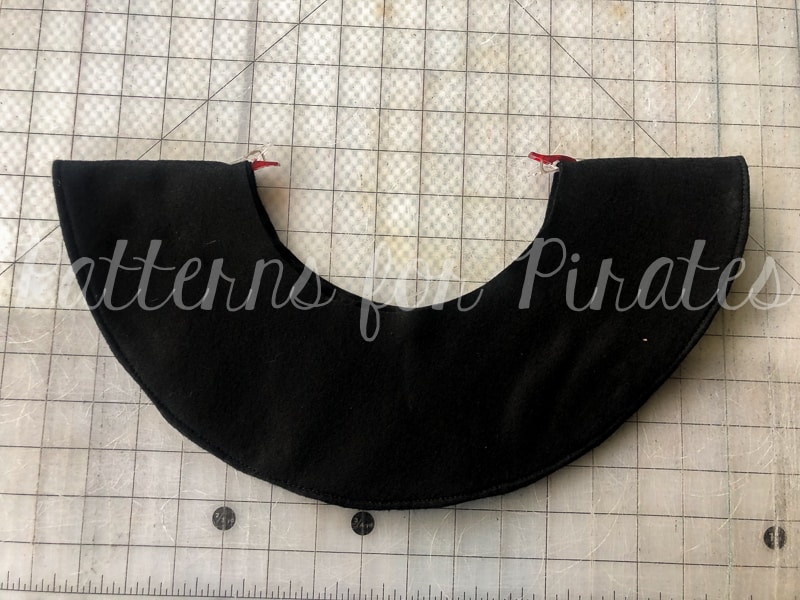
Step 10: Ease the remainder of the raw edges together, and secure with pins/clips.  Sew using 1/4″ seam allowance.

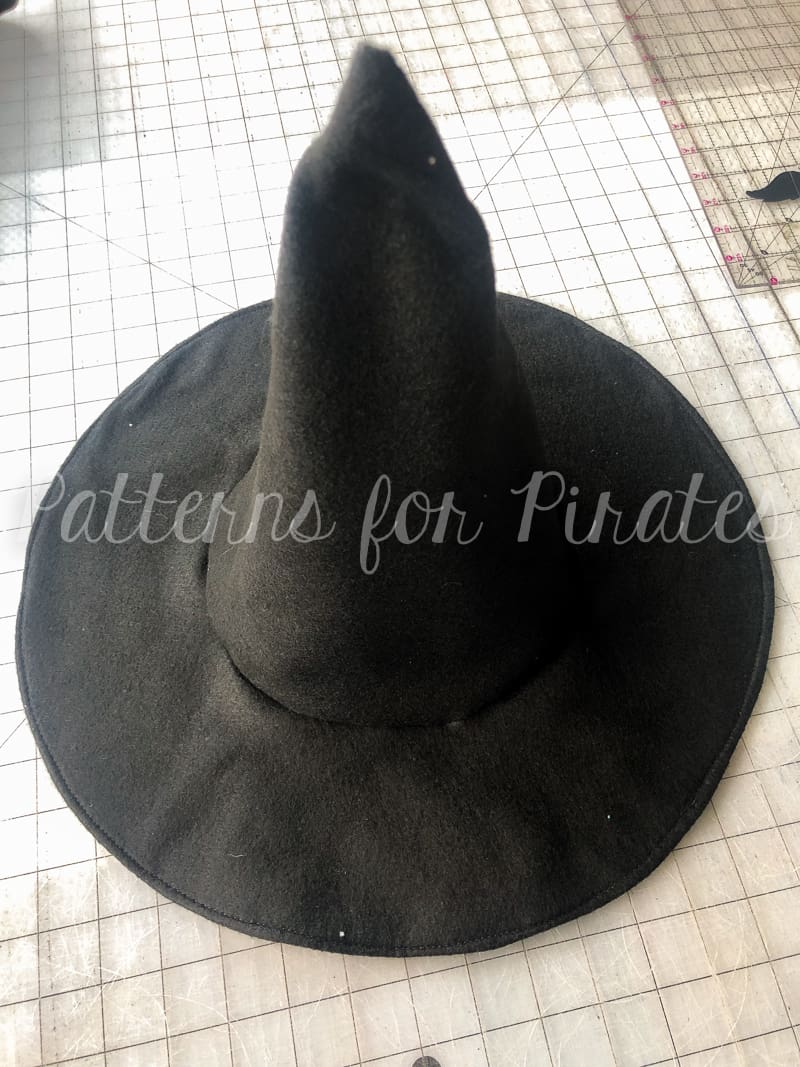
Step 11: Flip the brim down, press if needed, and enjoy your wicked new hat!

As always, we love when you share what you’ve made with us.  Head over to the Patterns for Pirates Facebook group and show off the amazing pointy hats that you’ve managed to make from our free pattern!

Happy Halloween, Pirate Friends!

Filed Under: Free Pattern, Pattern Release 11 Comments

Twist Back Top :: New Pattern Release!

September 24, 2019

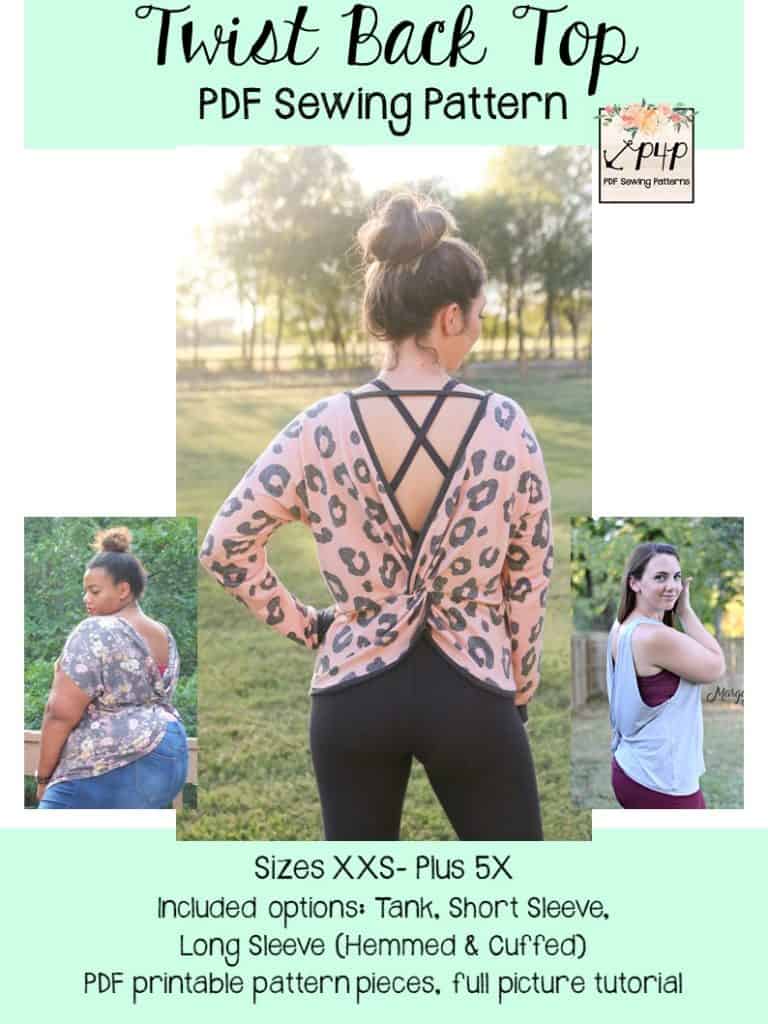
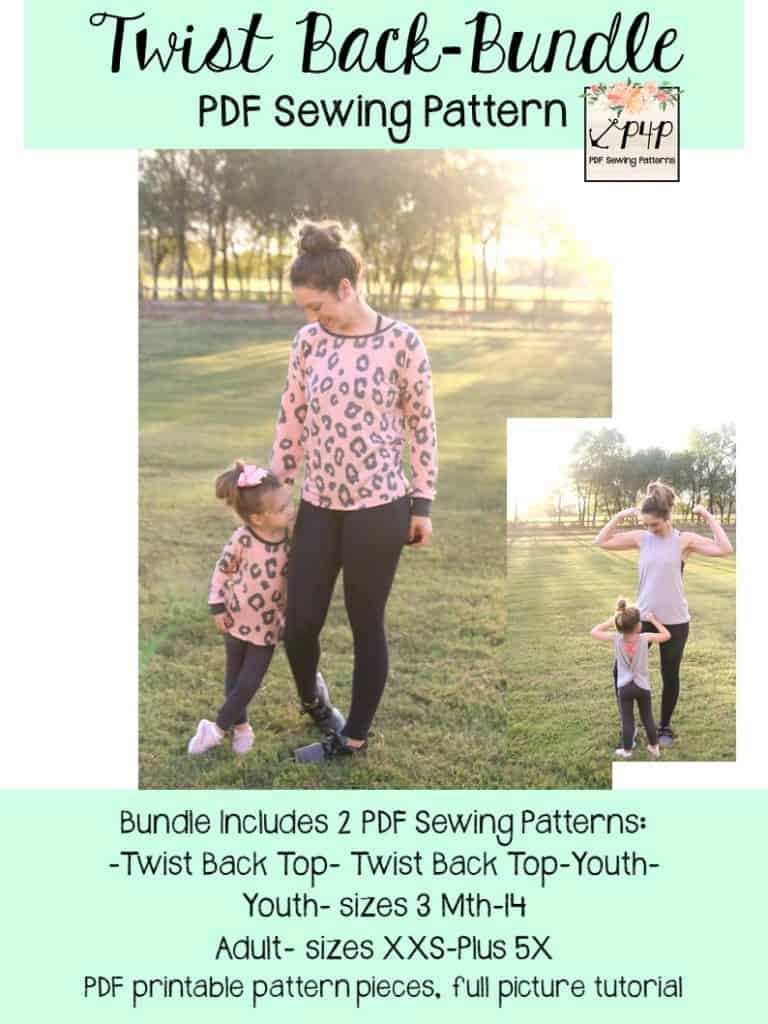
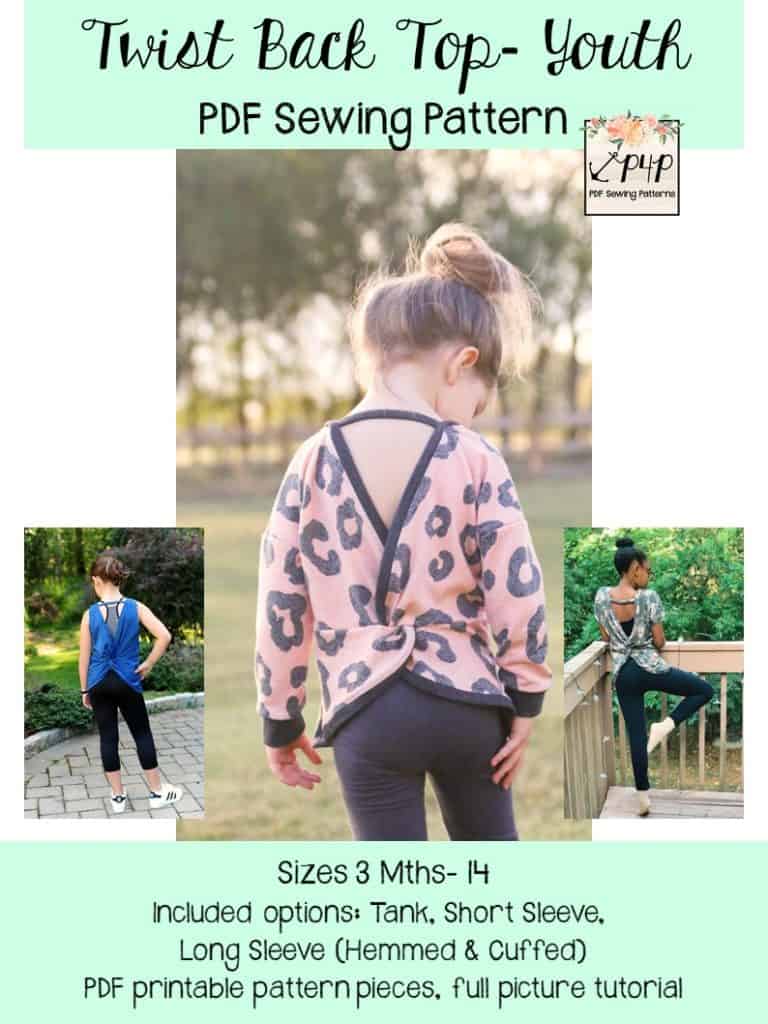
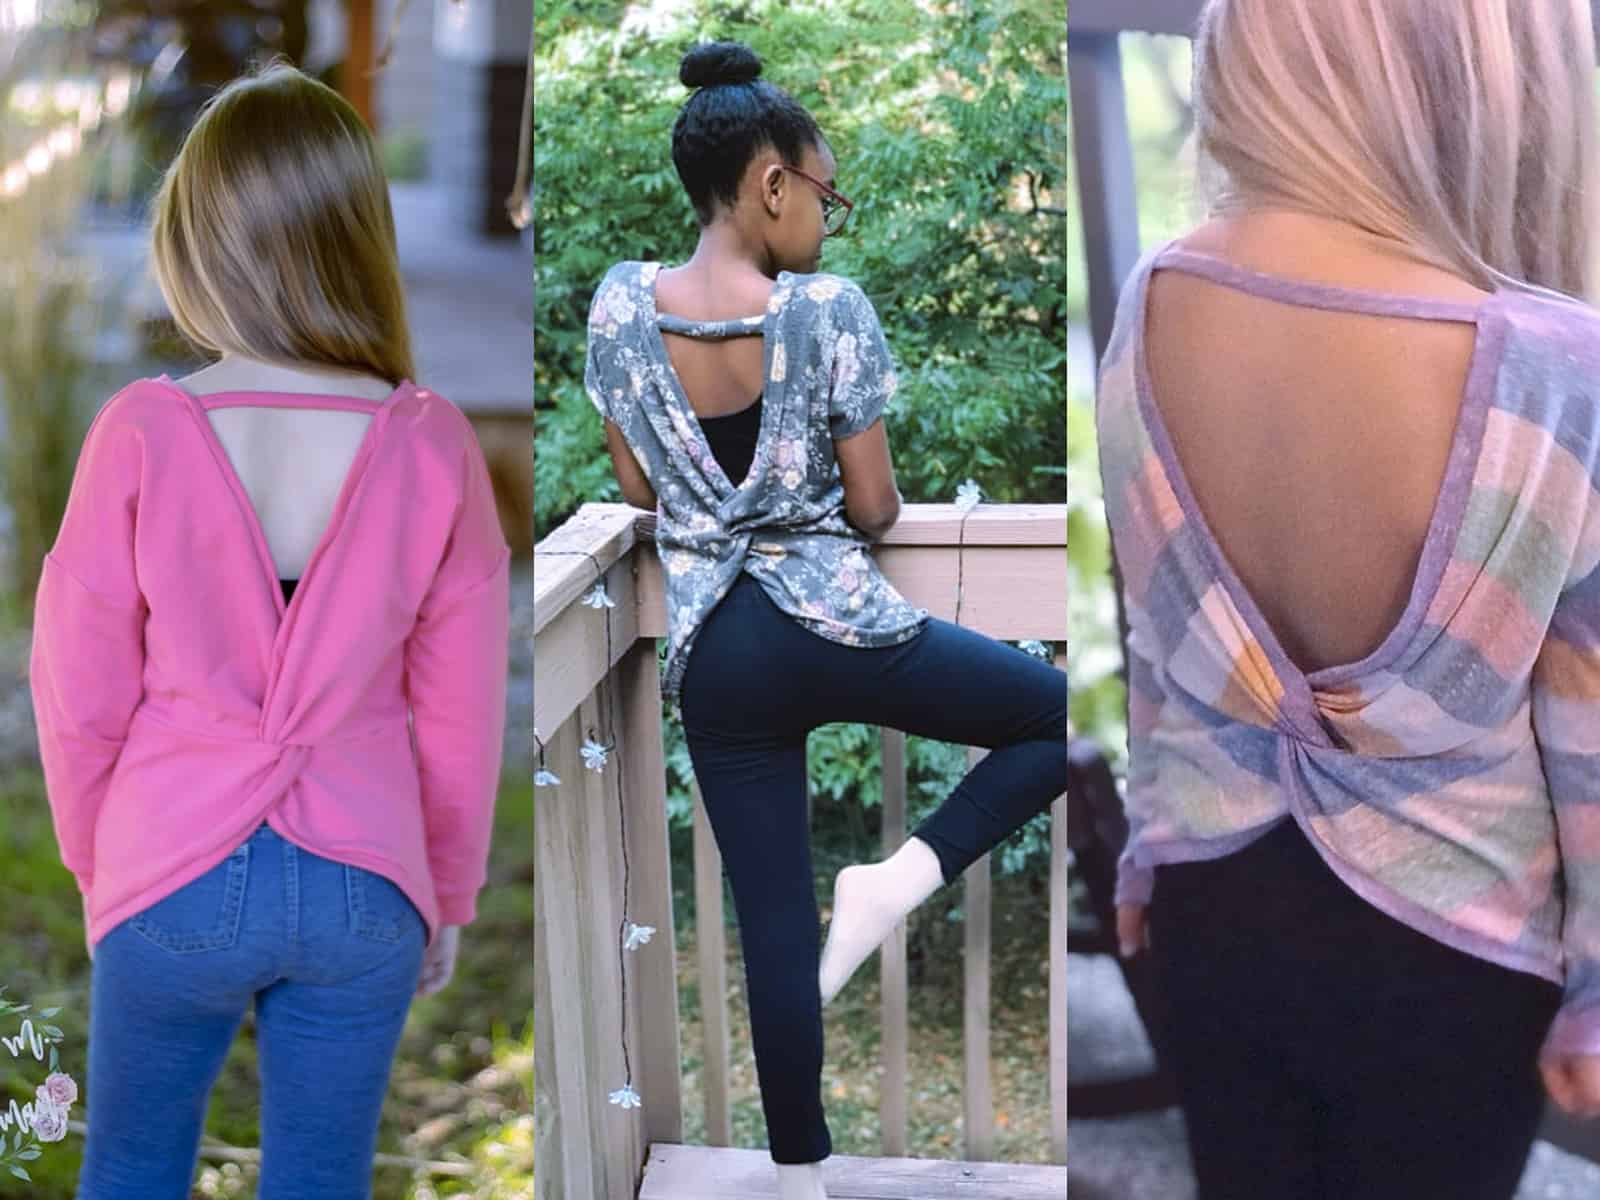
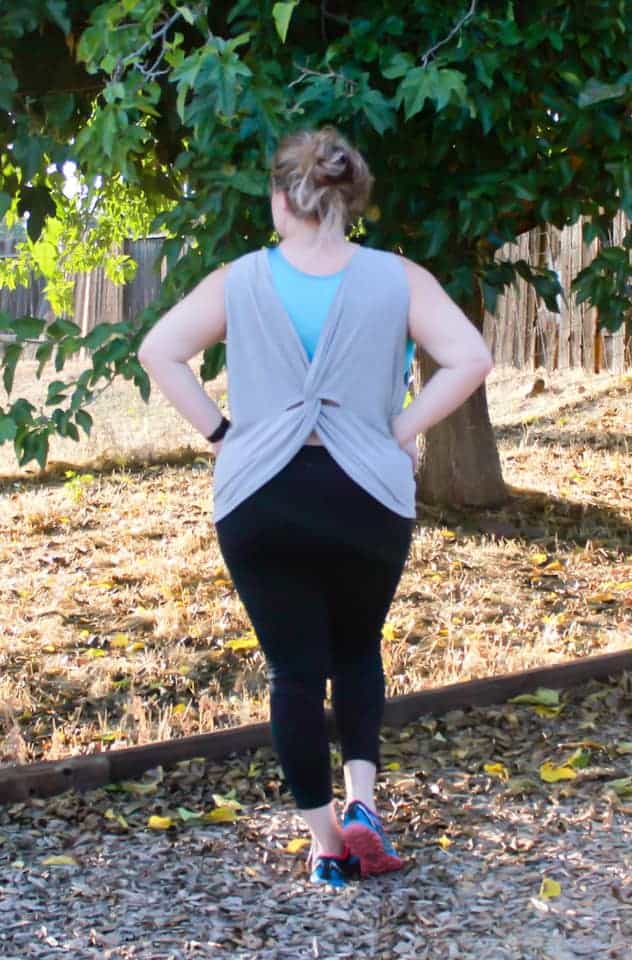
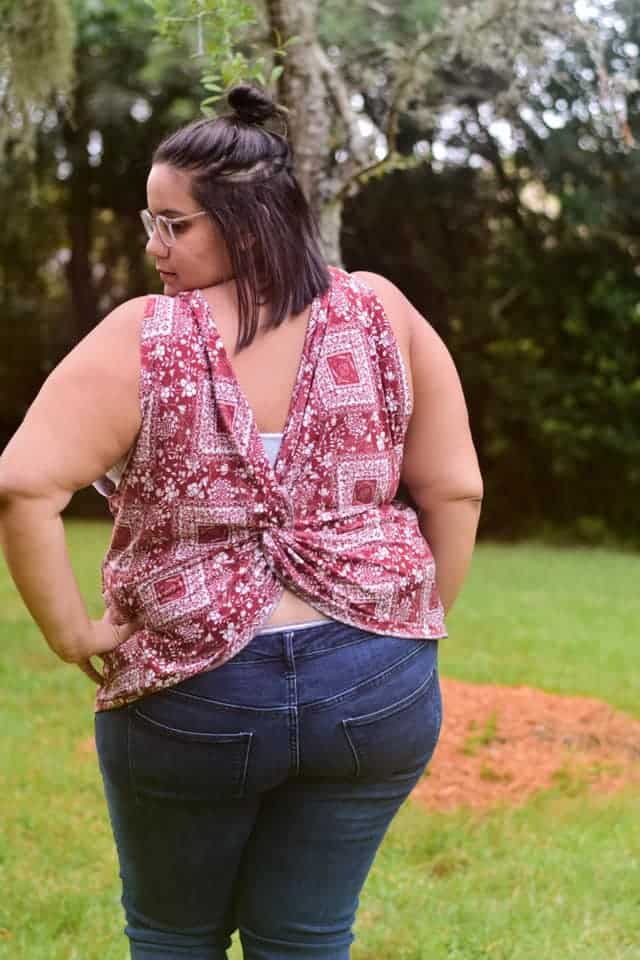
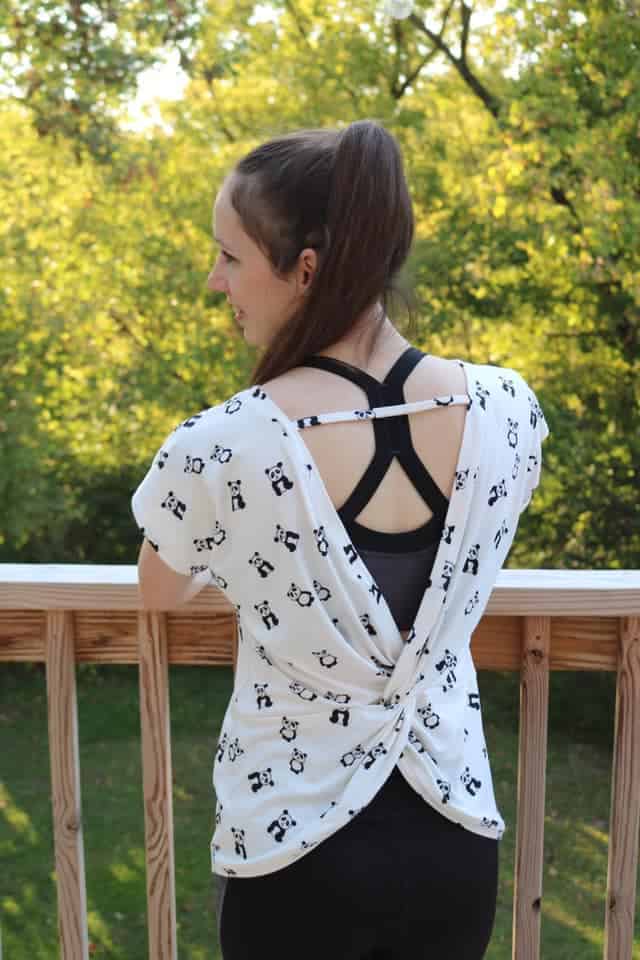
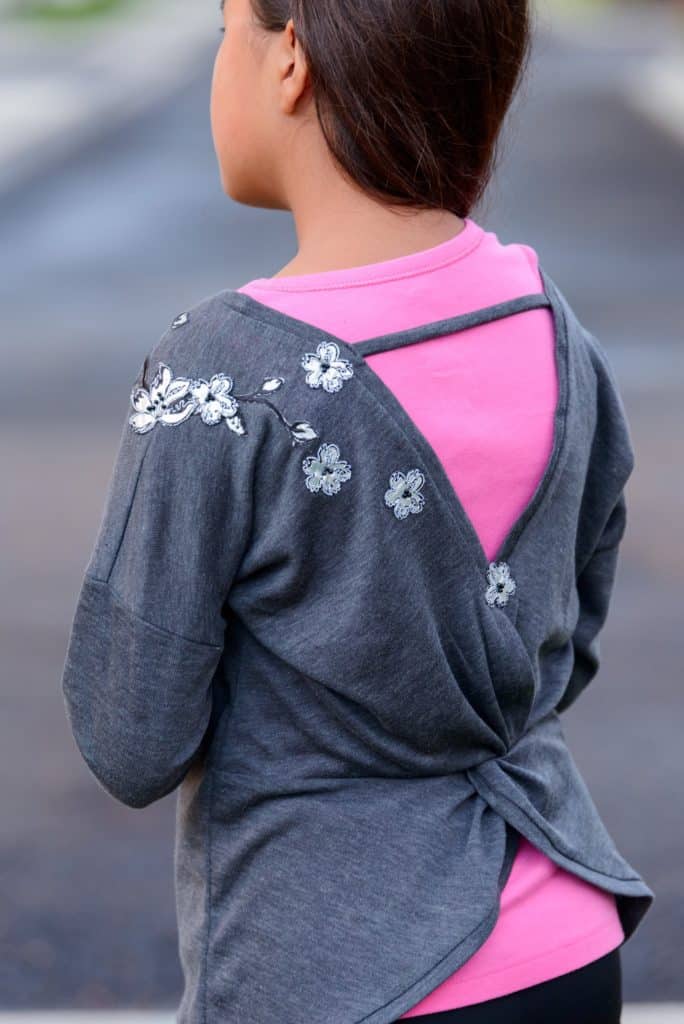
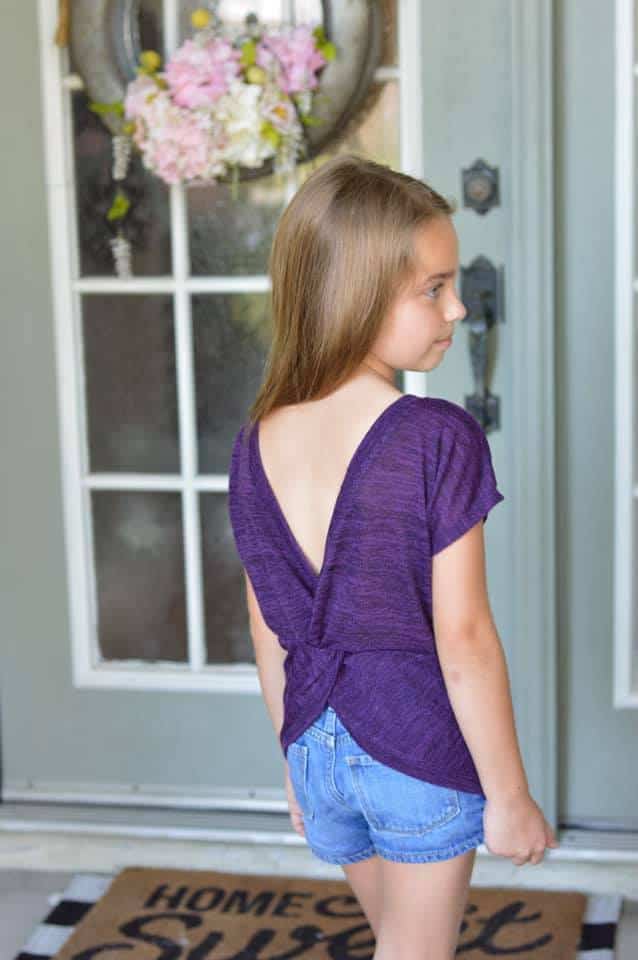
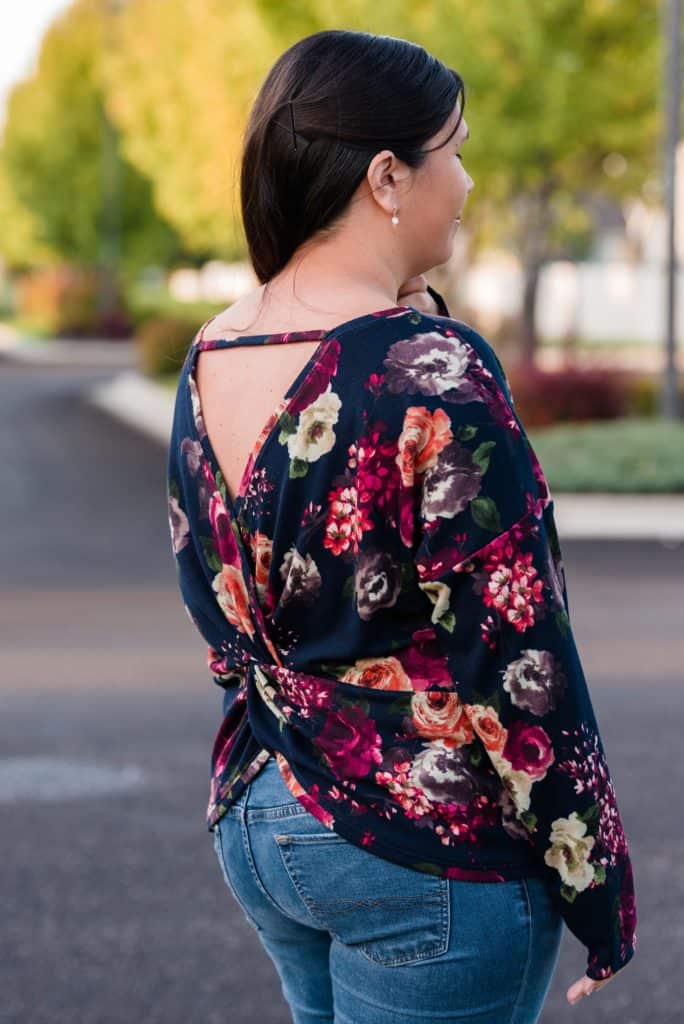
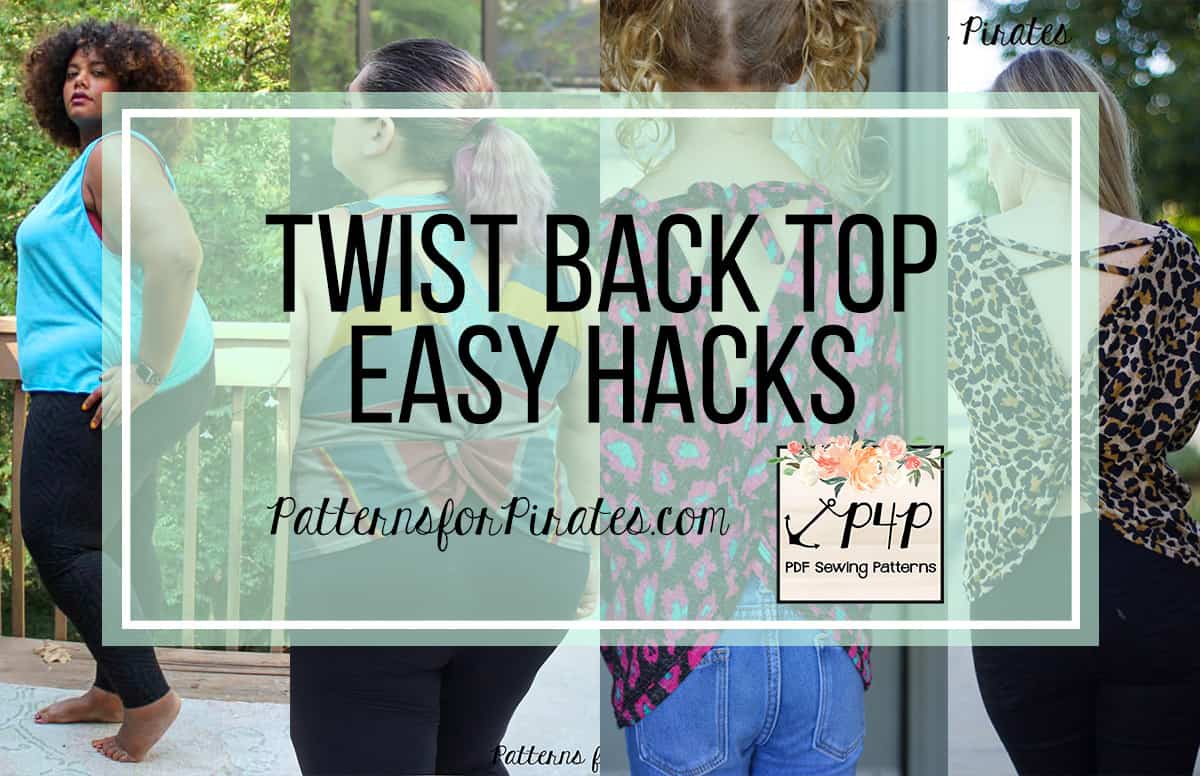
Hey there Pirates!  Have we got something incredibly fun in store for you today or what??  It’s a pattern release day and we are bringing you TWO brand new patterns that you’re just going to love.  I promise.  Let’s meet the Twist Back Tops, in both adult and youth sizes!


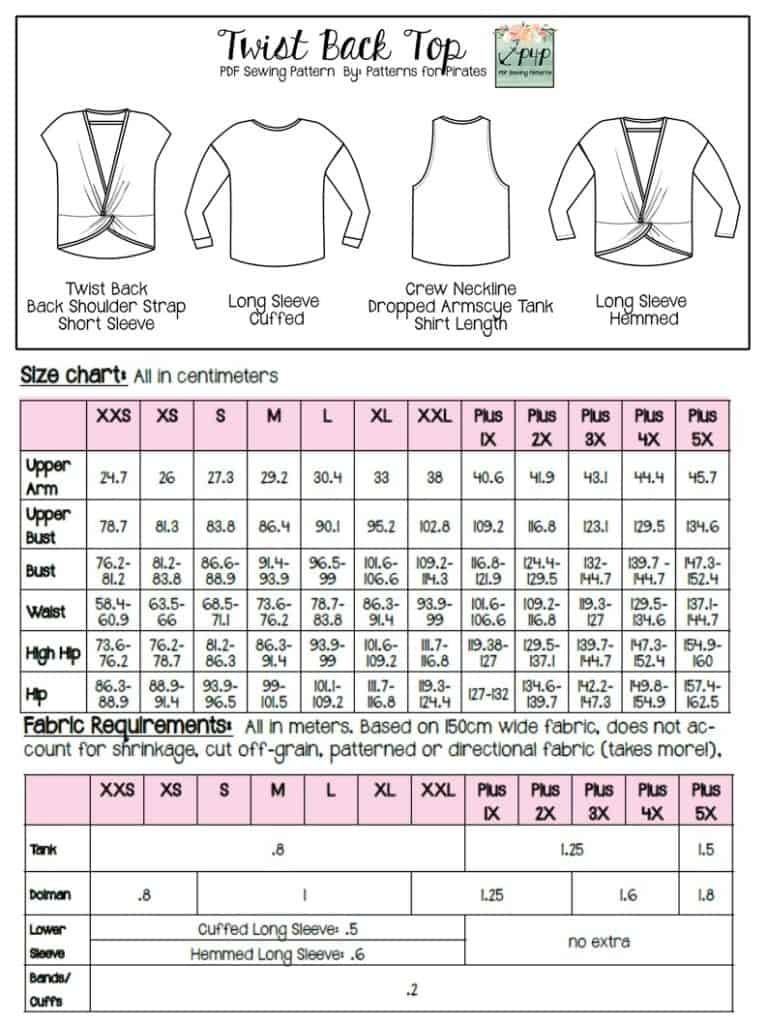
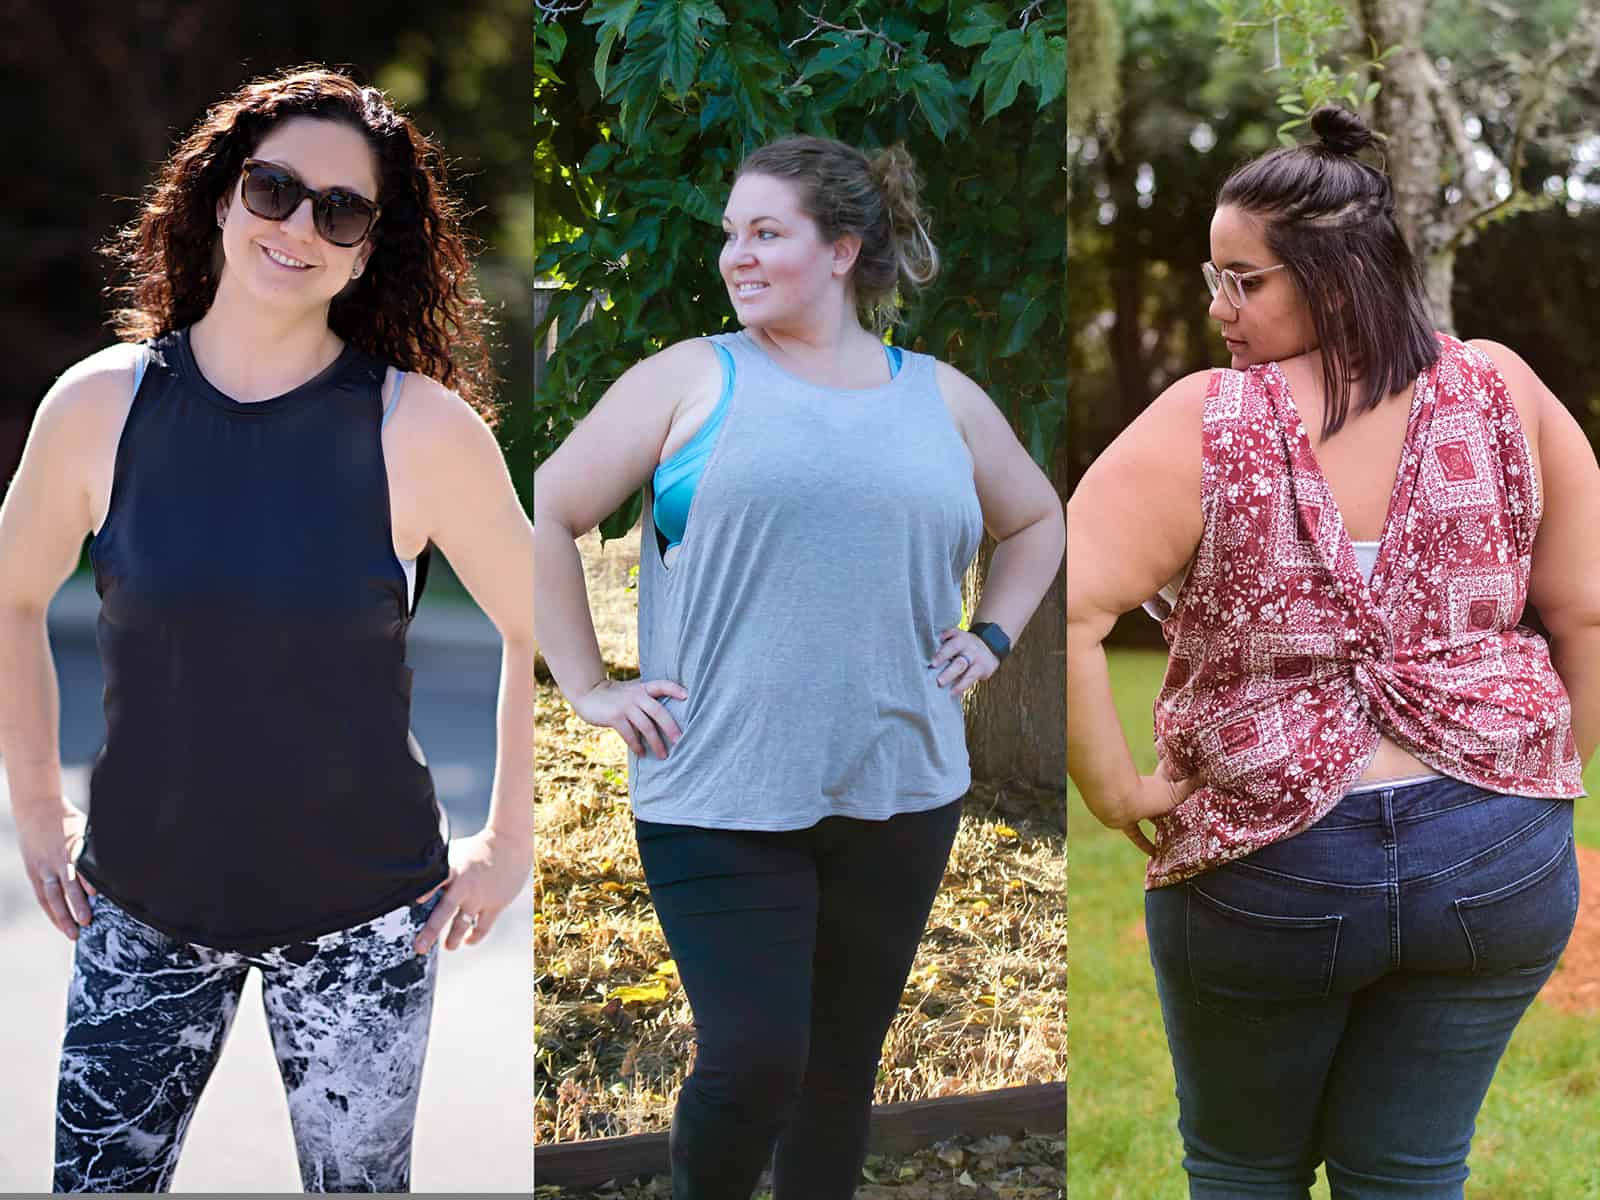
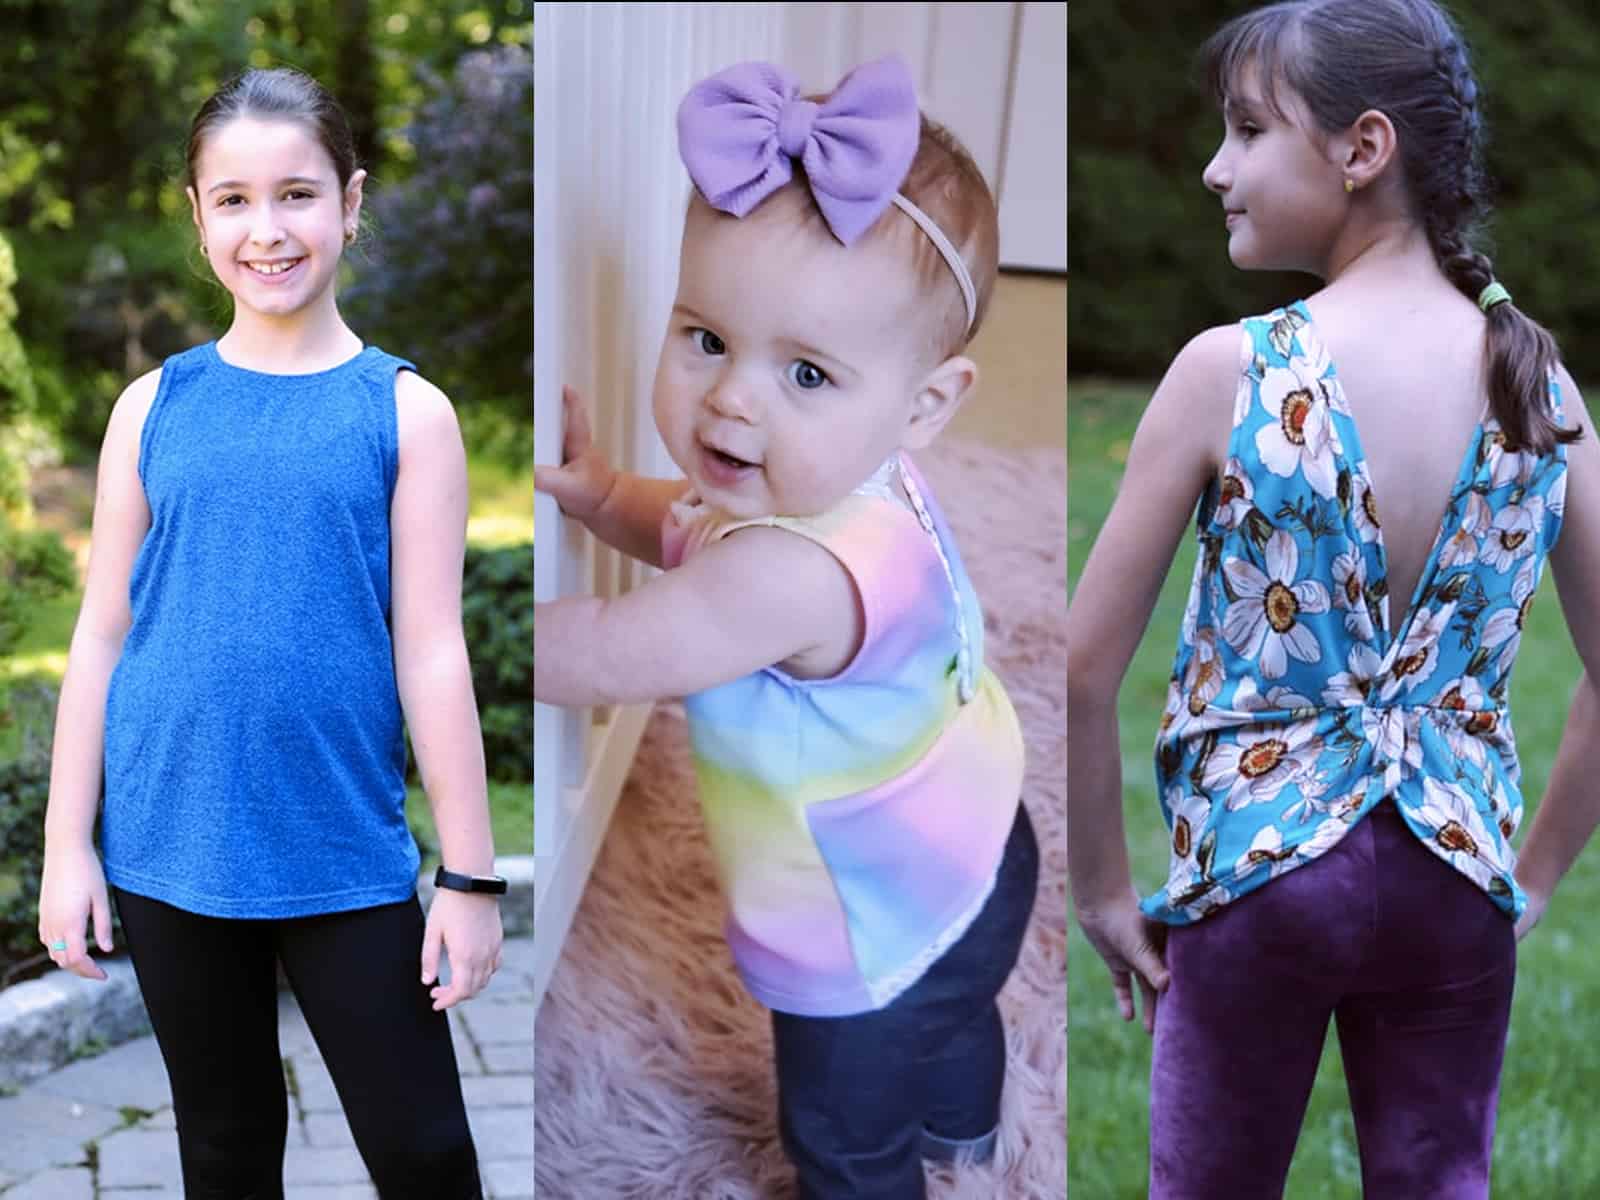
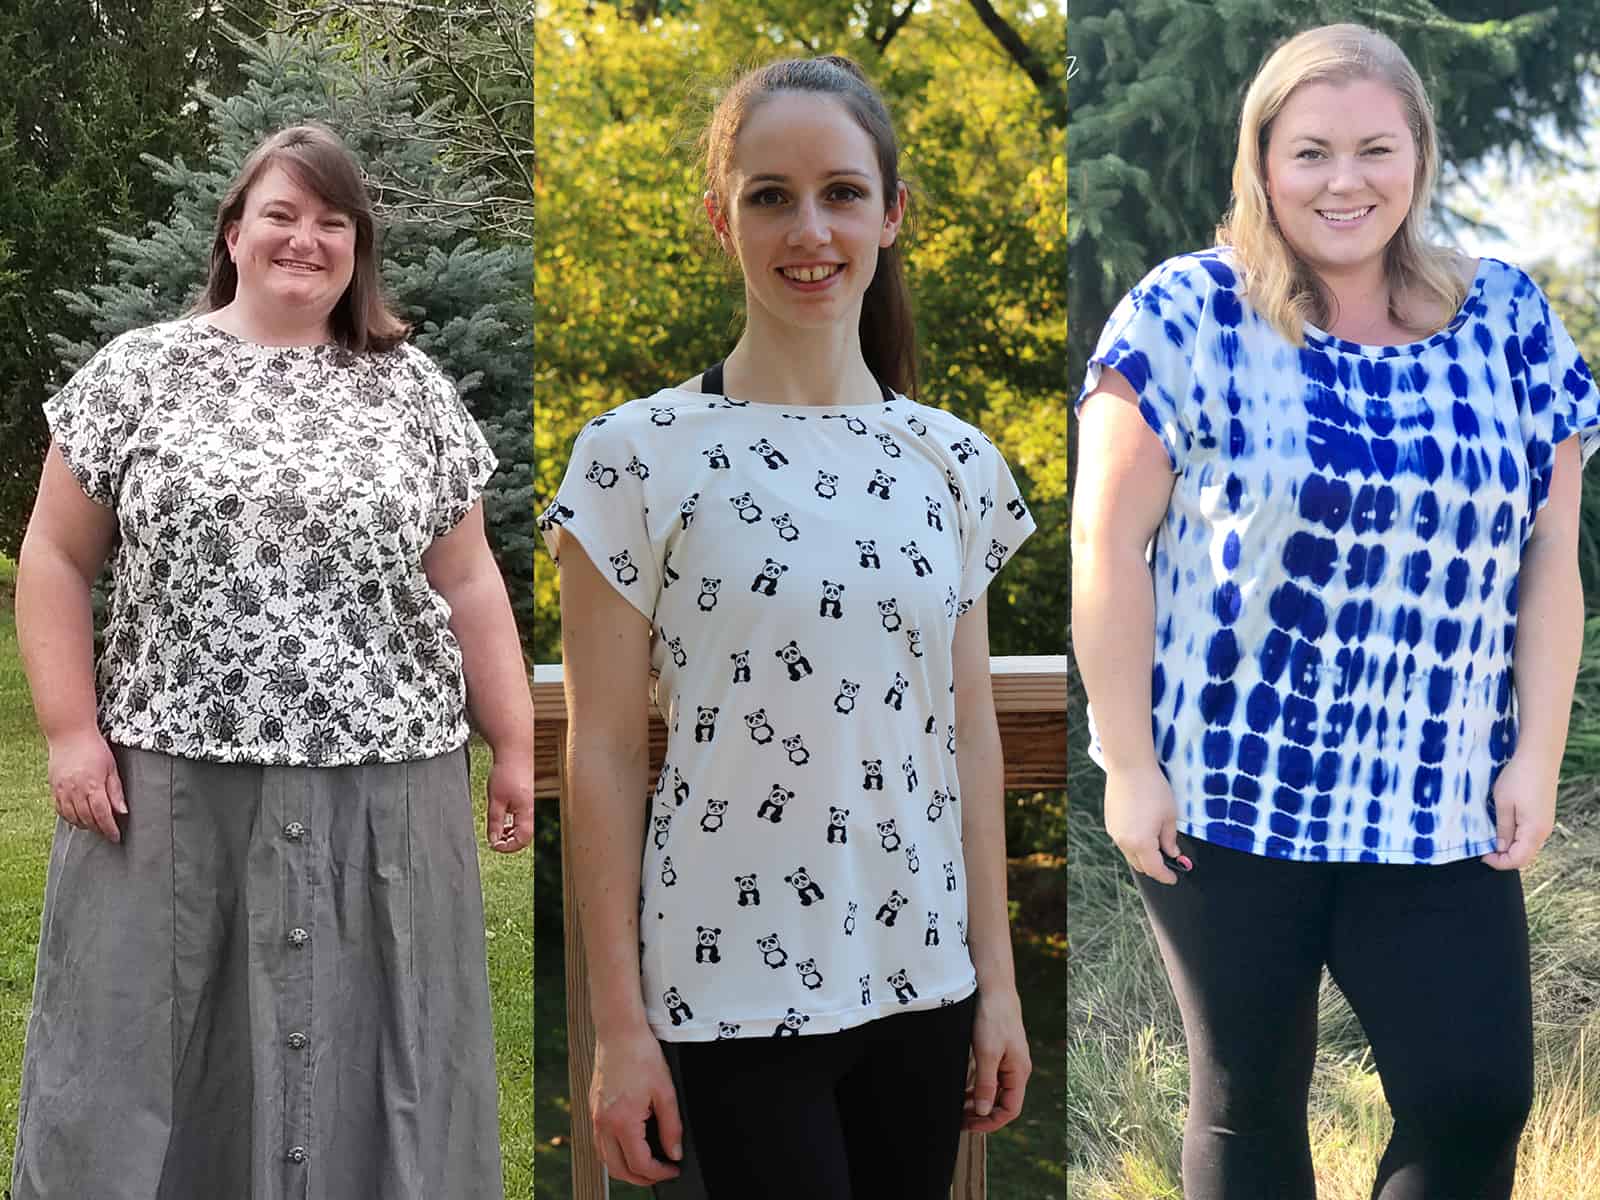
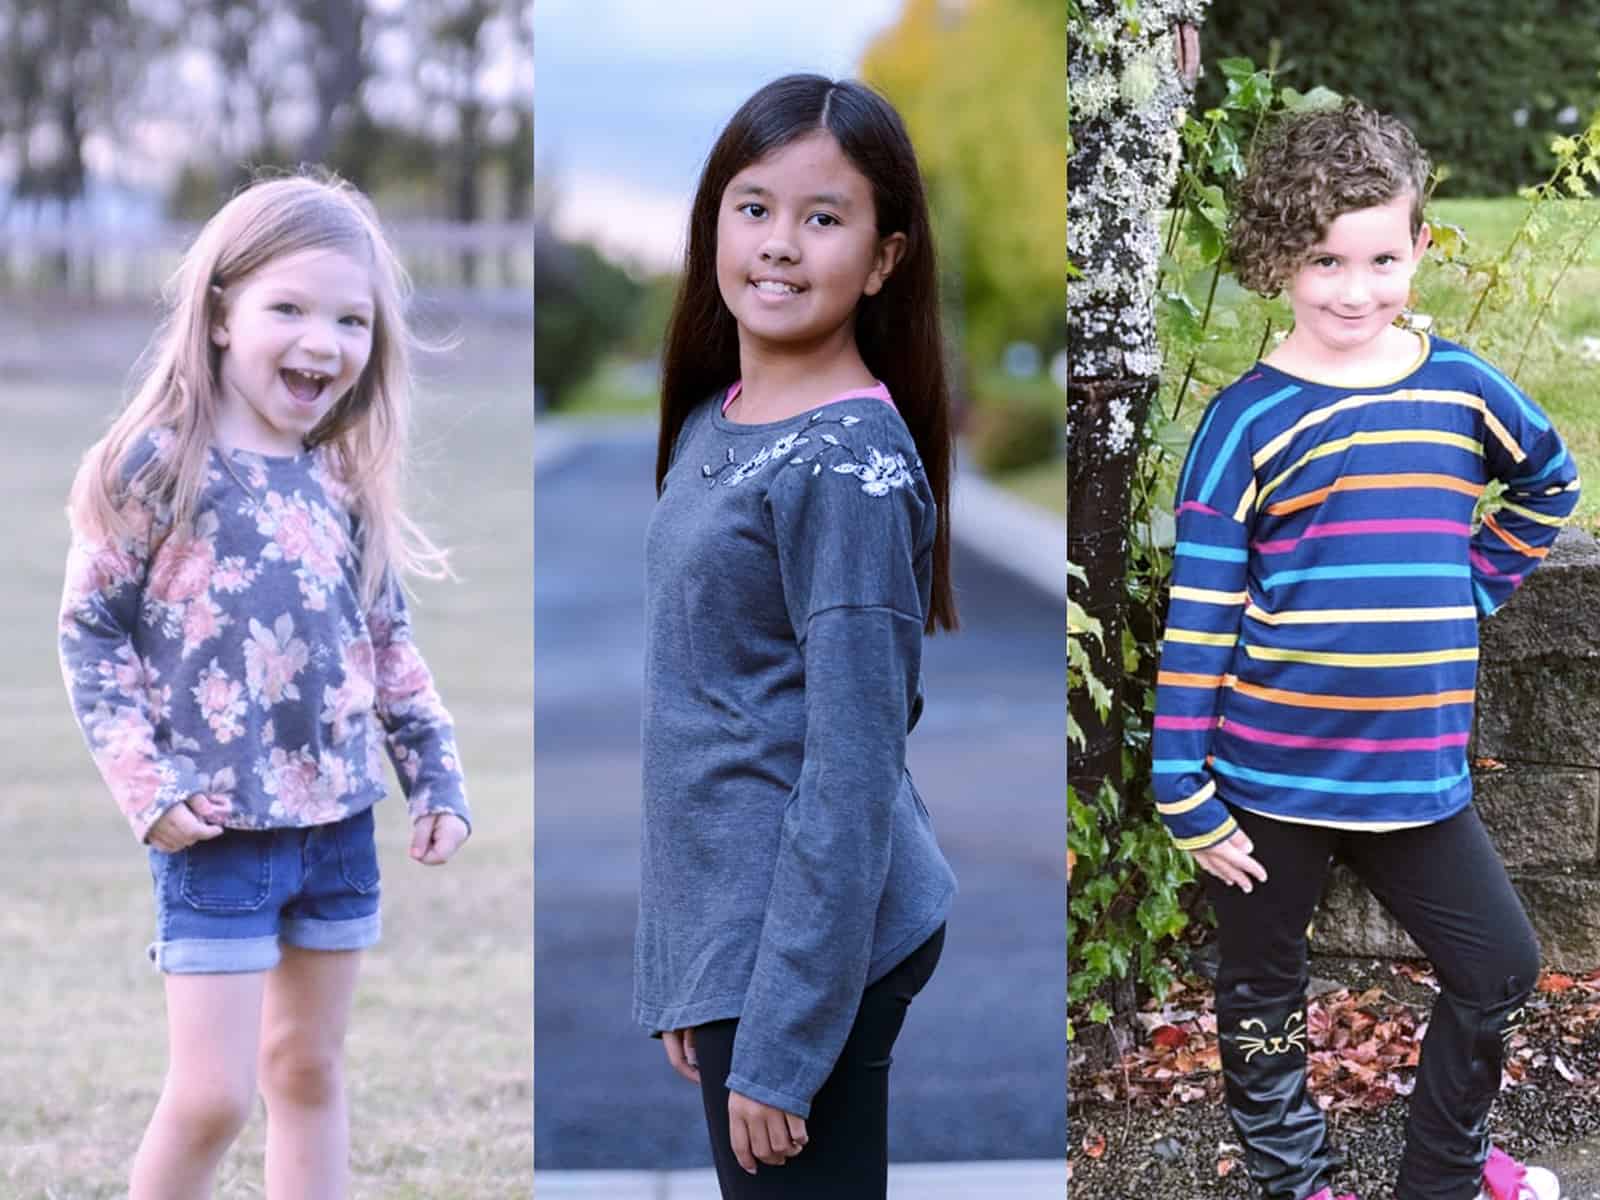
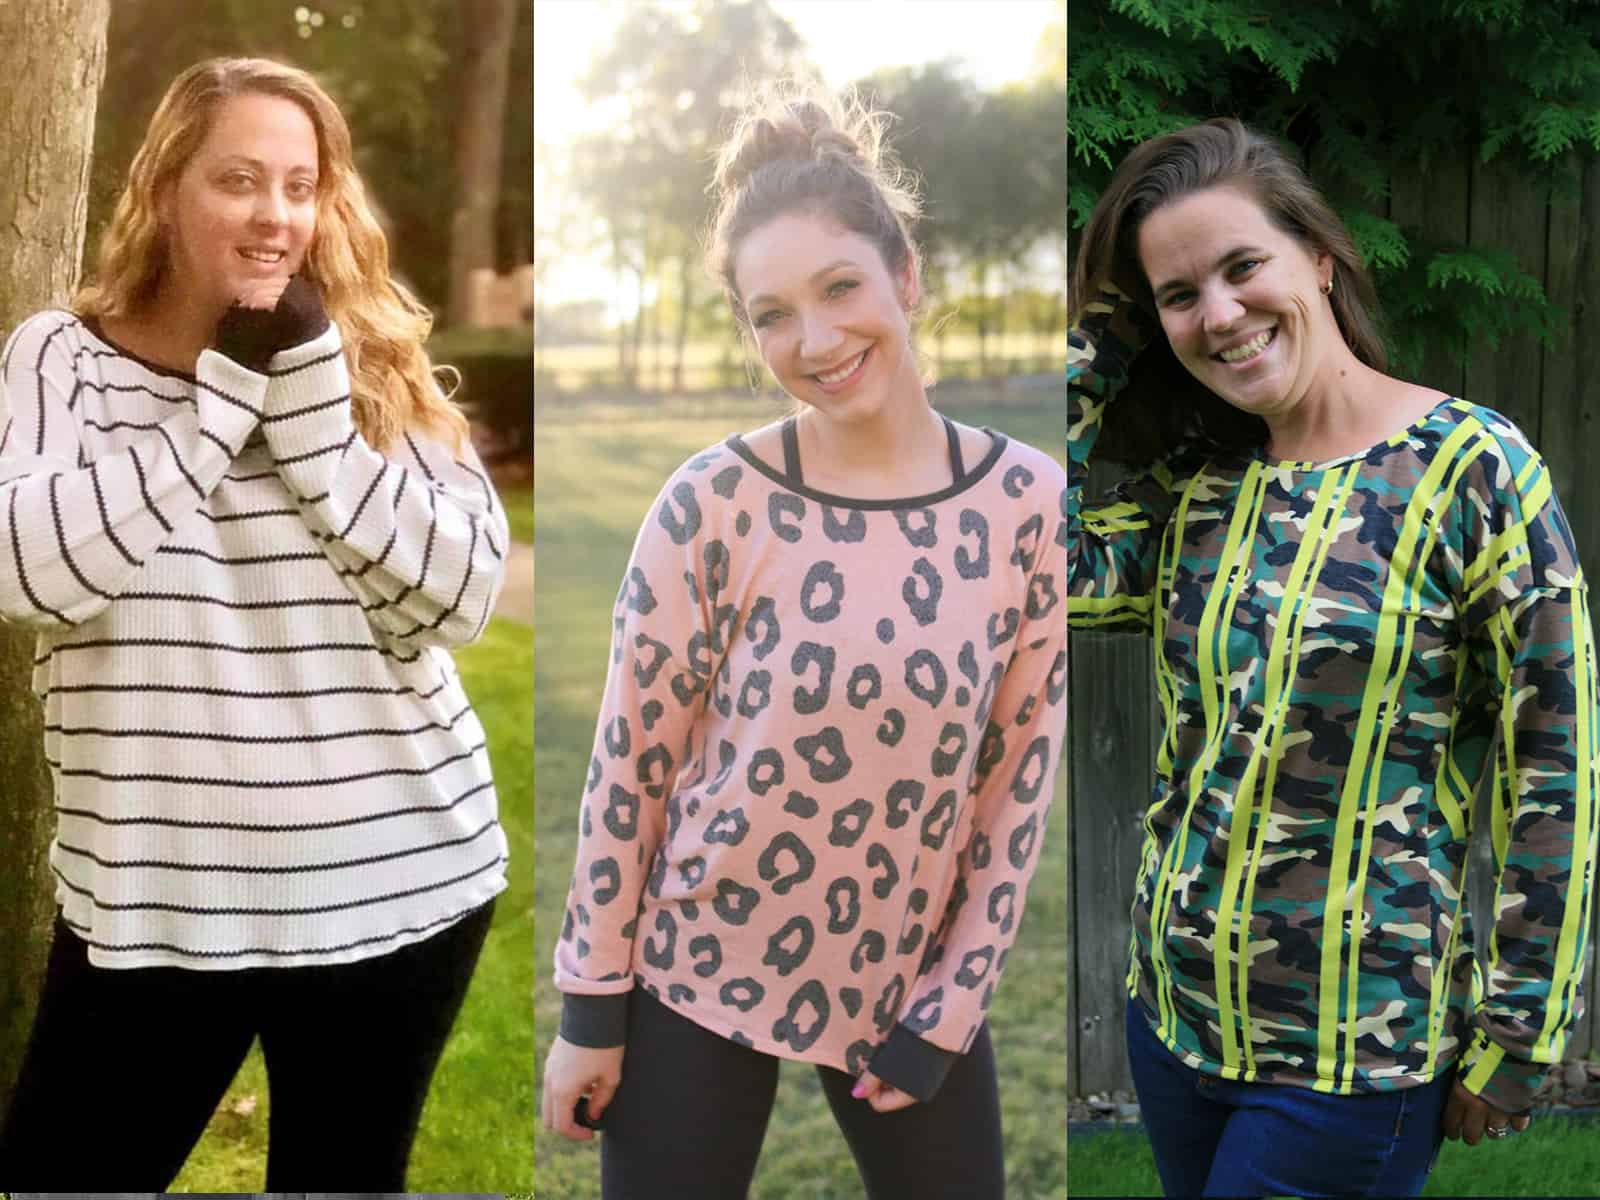
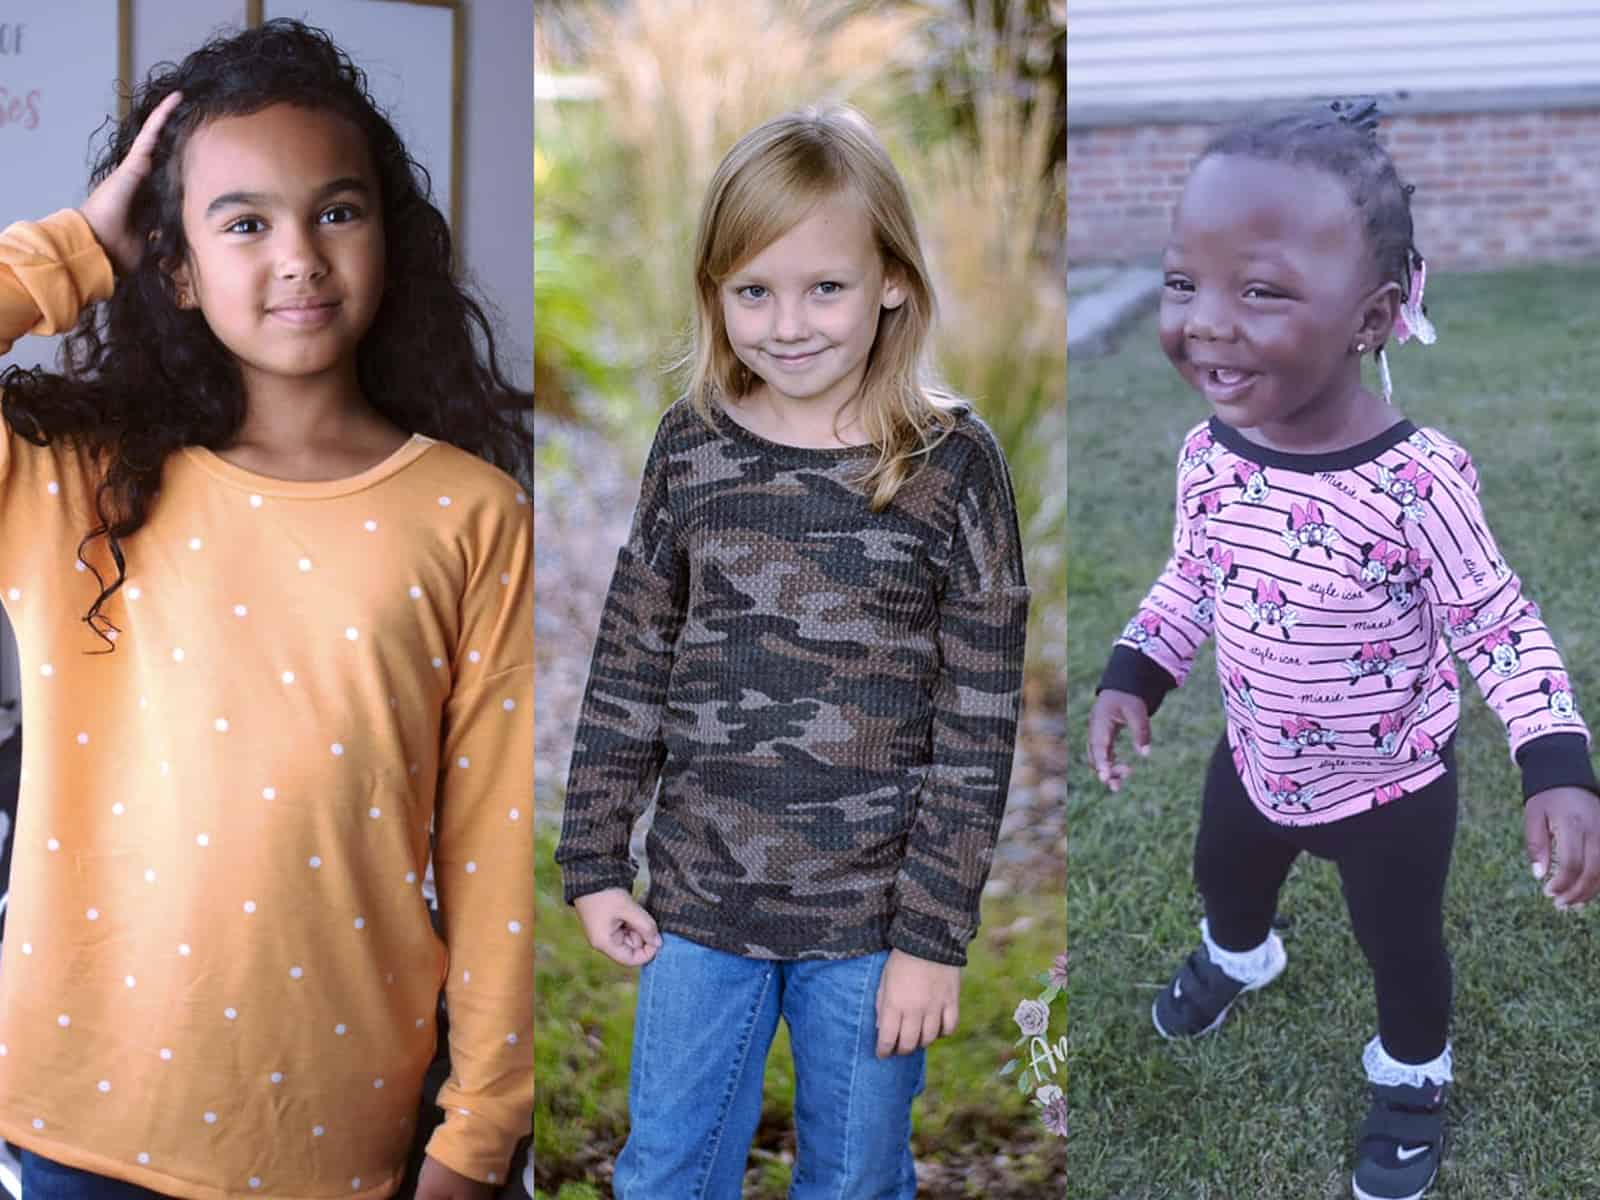
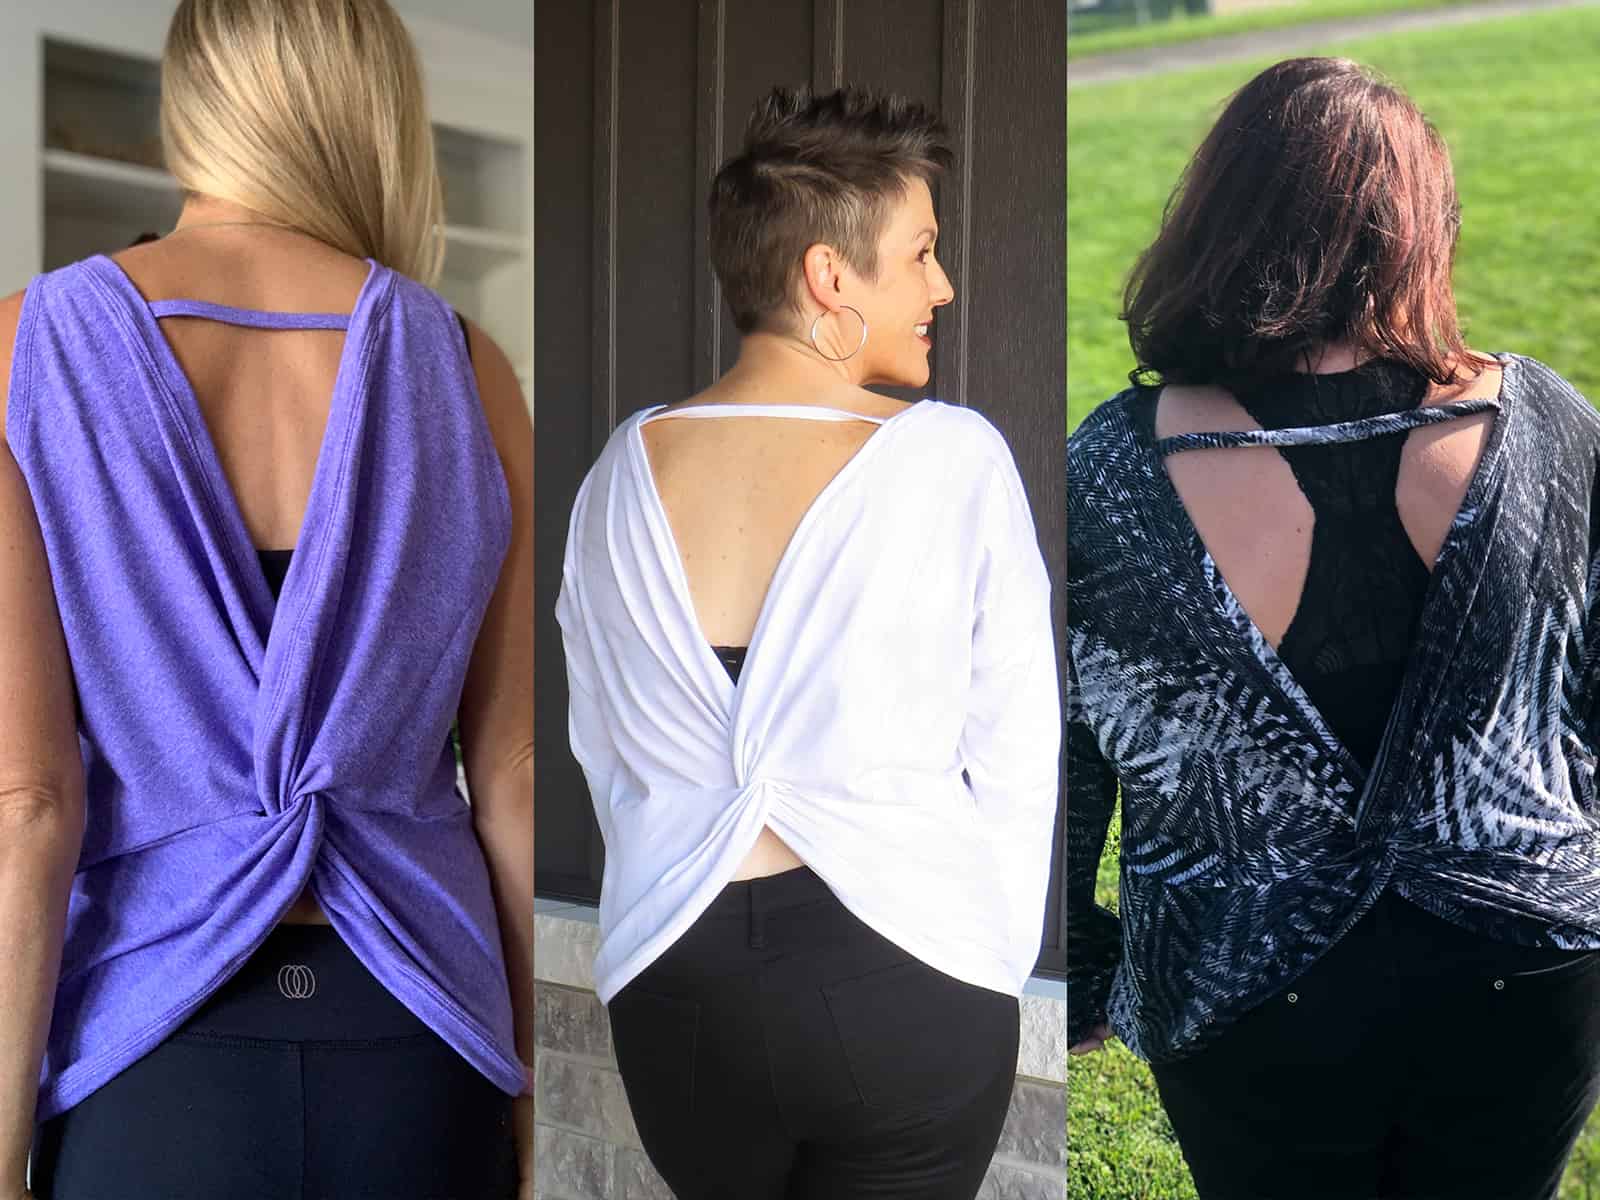
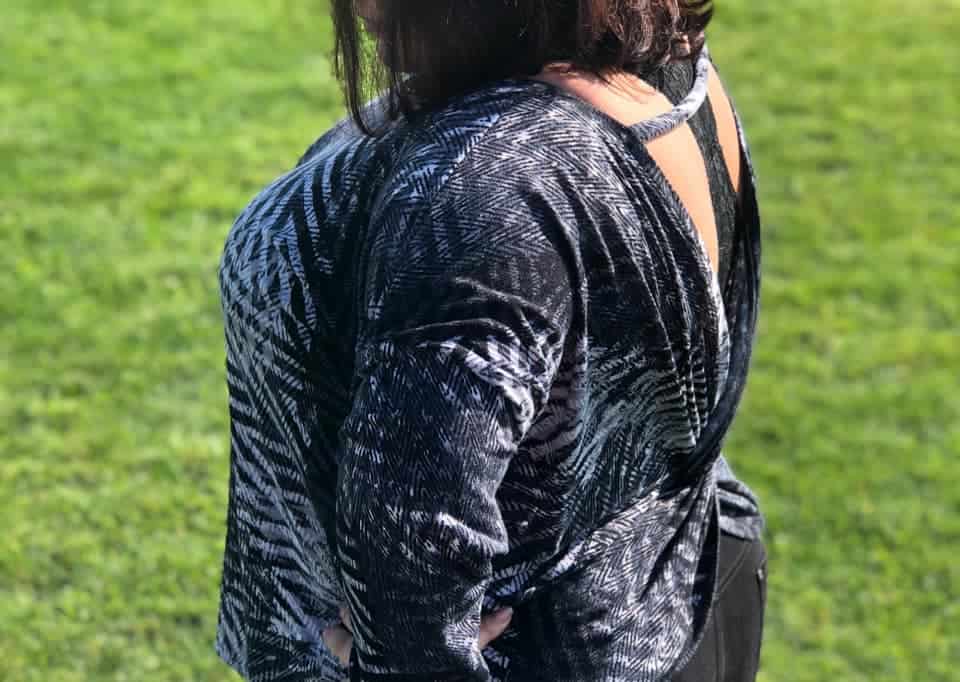
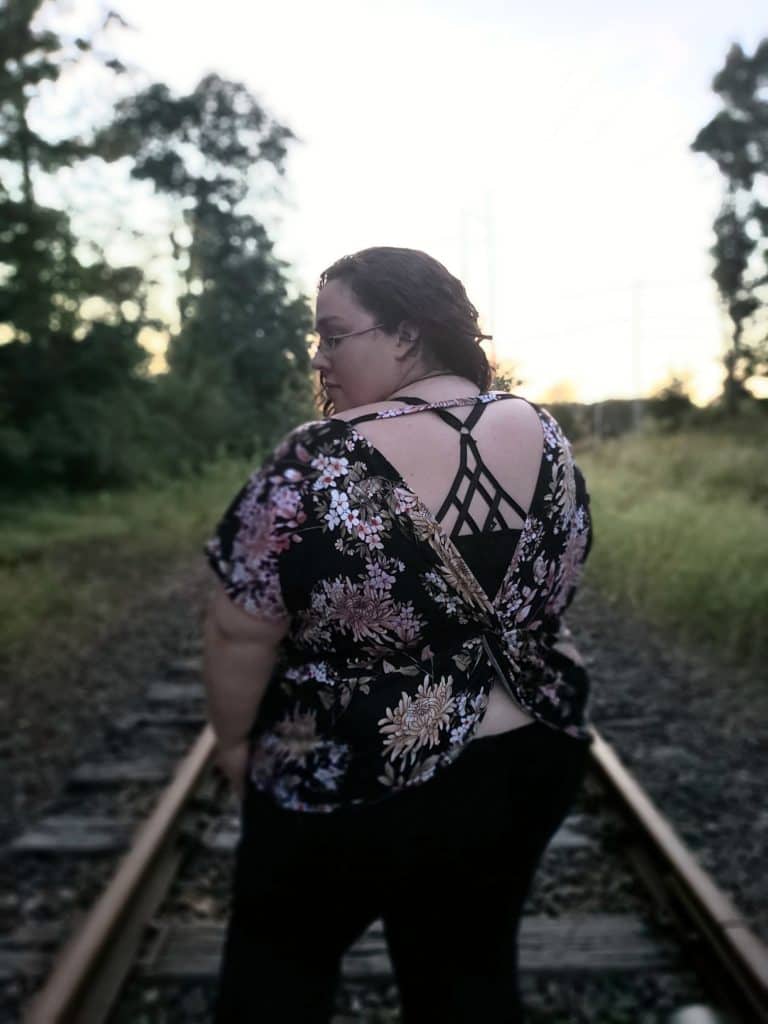
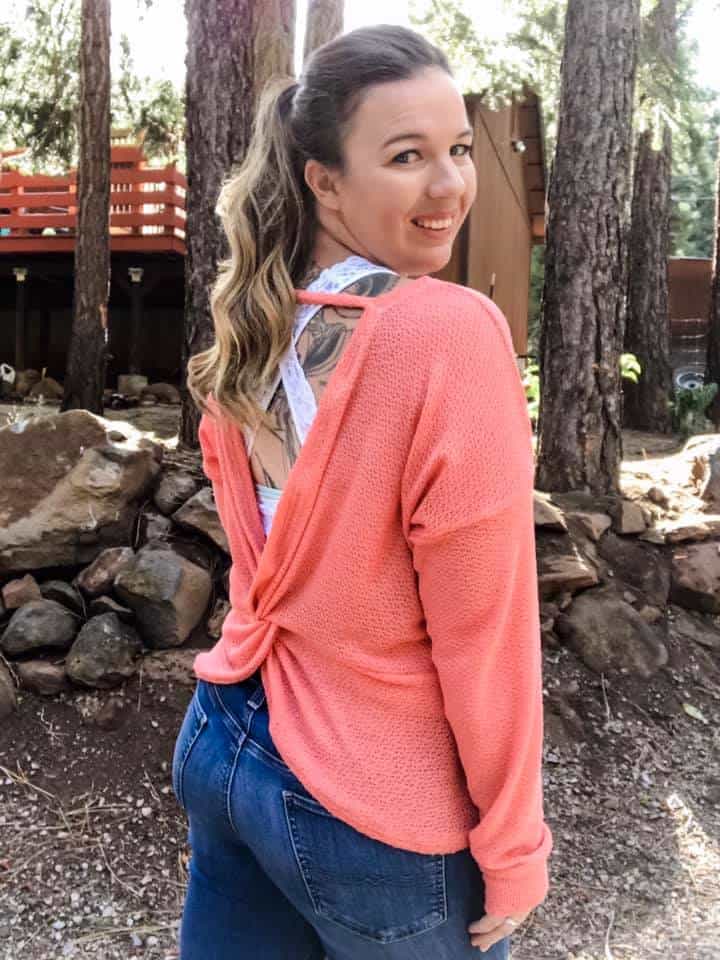
This pattern is quick and simple sew that will impress! It has a dropped dolman sleeve style with a loose, slouchy fit throughout the sleeves and body. It is semi-fitted through high hip. The tank option makes for a great work out or summery top. The Twist Back Top also includes a short sleeve dolman sleeve you can add a bit more coverage, but still keep cool in those warmer months. You can add long sleeves and create a super fun sweater or pull over for the colder months. The extra long sleeve length will make you feel like curling up and snuggling! The adult sizing has a tank neckline that is a classic crew and a wider neckline for the dolman sleeve options. This pattern includes a back shoulder strap to keep the shoulders where they should be, or you can leave it off and have an off the shoulder style with wider neckline on the sleeved options. The open back is perfect to throw on top a leotard, sports bra, or tank.

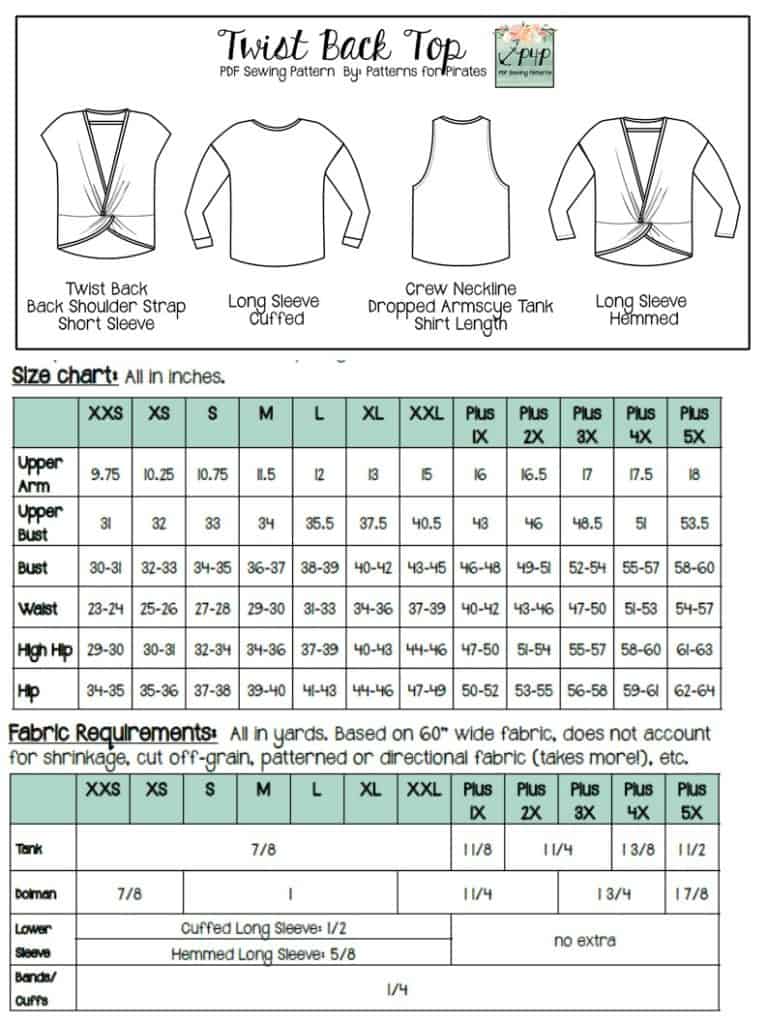
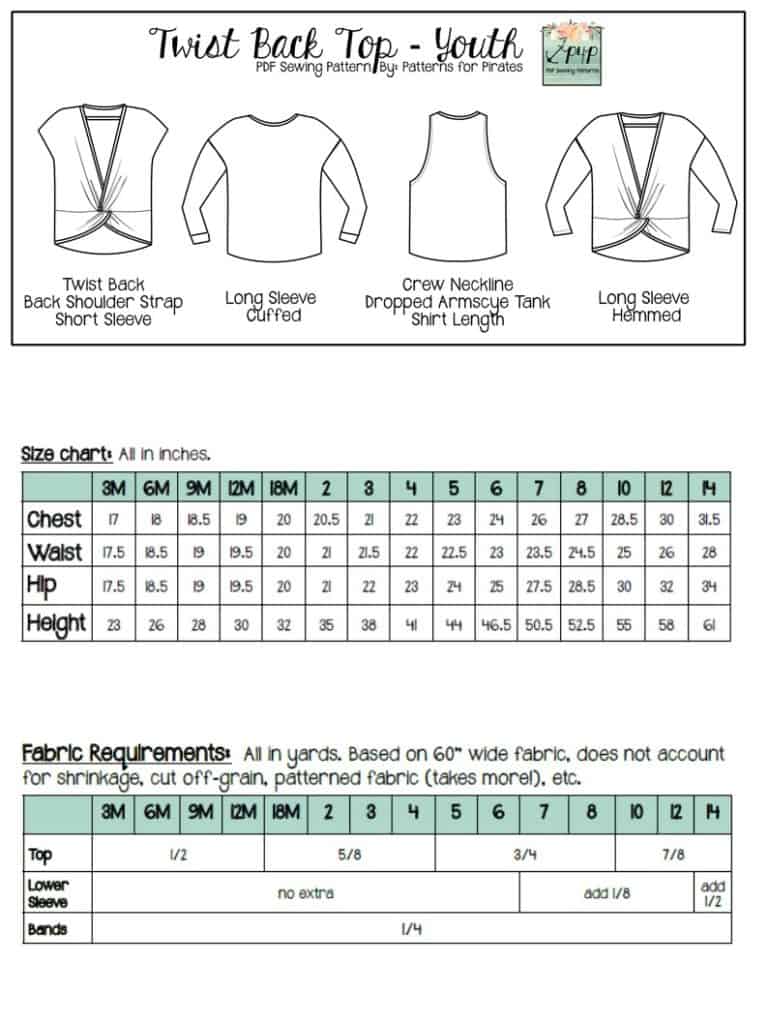
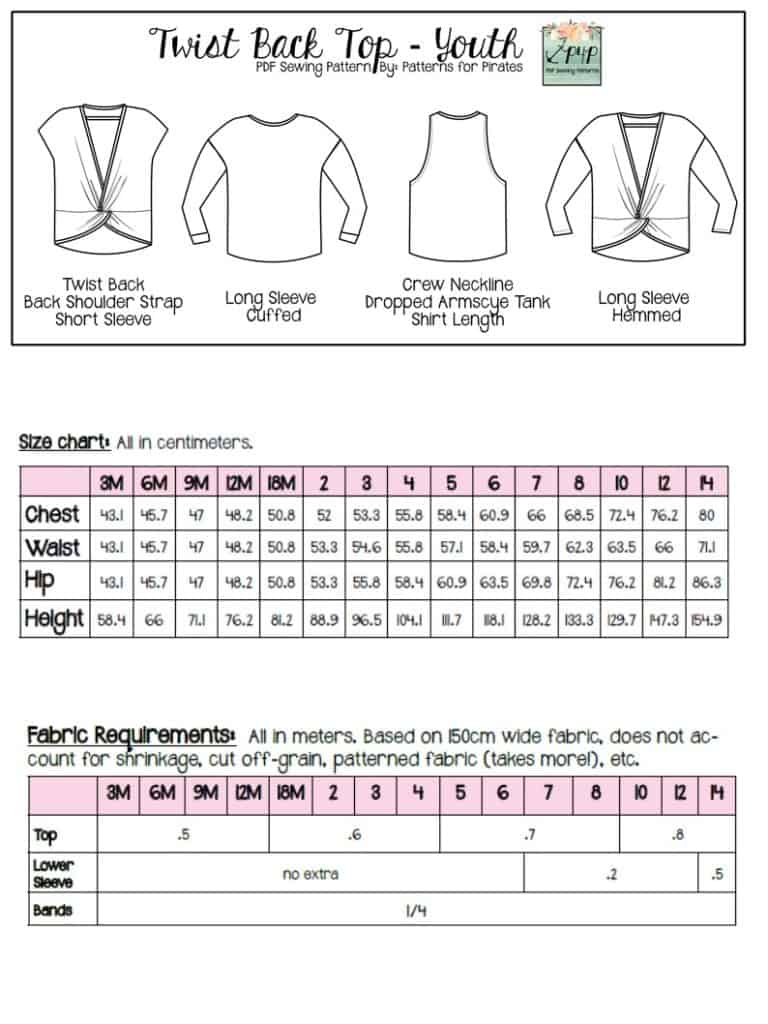
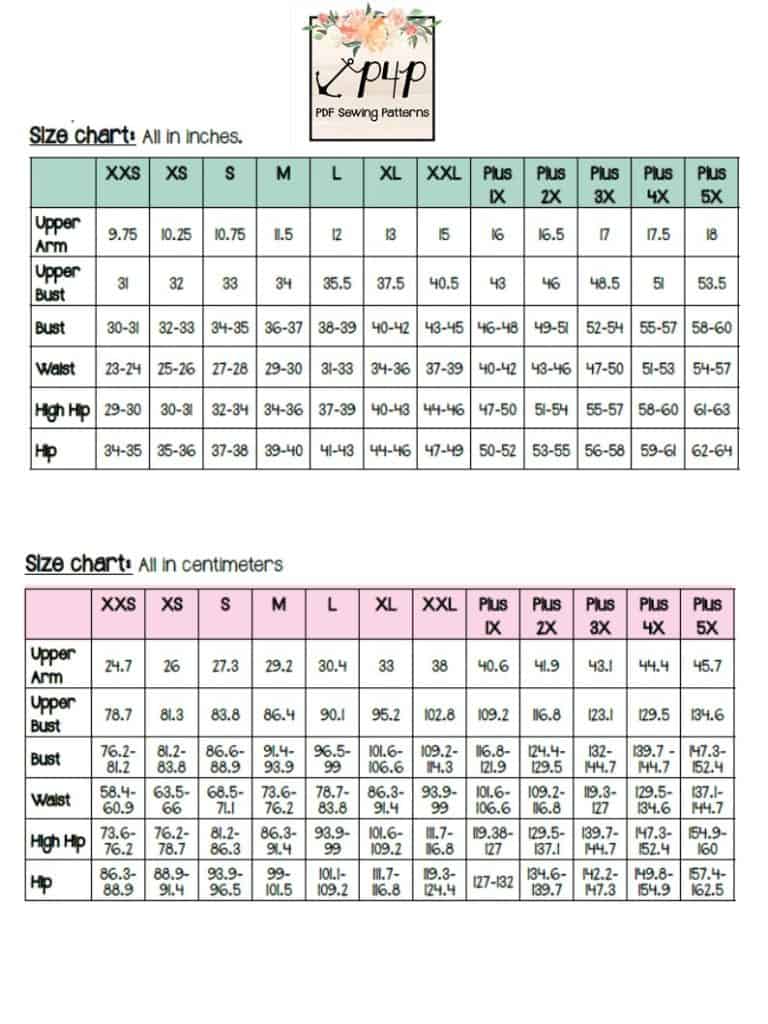
The youth pattern covers a size range from 3M – 14.  As for the adult version of the pattern?  We just extended our sizes even more!  You’ll find it drafted for XXS – Plus 5x now!  Please check the size charts, as there were slight adjustments made to accommodate the new size range.

Imperial
Metric

Imperial- Youth
Metric- Youth

**Want to learn more about how to measure yourself for this pattern?  We’ve got you covered with an in-depth blog HERE.  And in case you’re new to Patterns for Pirates and PDF patterns in general, we have a great blog full of new-user tips HERE to help you get started!  As with all of our current releases and updates, the pdfs now include our layers feature and can be found in Letter, A4 and A0 sizes.  And for even more helpful fun, we have a *free* printable that you can use to help record your measurements as you take them.

Let’s take a quick look at the different options!

TANK TOP

SHORT SLEEVE

LONG SLEEVE

LONG SLEEVE W/CUFFS

OPTIONAL BACK STRAP

Should we talk about fabric choices for the Twist Back Tops?  We recommend a fabric with a good drape to it.  While fabric bases like french terry and sweatshirt fleece will work, they’ll end up a bit more “boxier”.  So if you’re looking for that perfect slouchy, twisty top…we recommend fabrics like: Rayon Spandex, Double Brushed Polyester, and Sweater Knits.

RAYON SPANDEX


DOUBLE BRUSHED POLY


SWEATER KNIT


Another change you might notice on these new patterns is a little surprise for our overseas pirates who use metric measurements! We now will include BOTH imperial and metric measurements to help everyone understand the charts as quick and easily as possible! Yay!


Ready to dive right in and make your new favorite top?  Go grab the patterns now!

TWIST BACK TOP | TWIST BACK TOP – YOUTH | TWIST BACK TOP BUNDLE

Hoping for a little inspiration before you get to sewing?  Just take a look at this pattern on all of the amazing shapes and sizes of our testers, and get a look at more examples of all the options in our albums in the P4P Facebook group!

Twist Back Top Album | Twist Back Top – Youth Album

And if our pattern alone doesn’t provide enough options for you, we’ve also included a blog post that will help take the Twist Back Tops to the next level!  Go check out our Easy Hacks Post to see how to make some slight alterations to the original pattern, to customize it even further!

The release sale (no code needed) will be through Monday September 30th (11:59PM US Central Time Zone).

Happy Sewing, Pirates!

Filed Under: Pattern Release 2 Comments

Hepburn Top and Dress – Easy Hacks

August 13, 2019

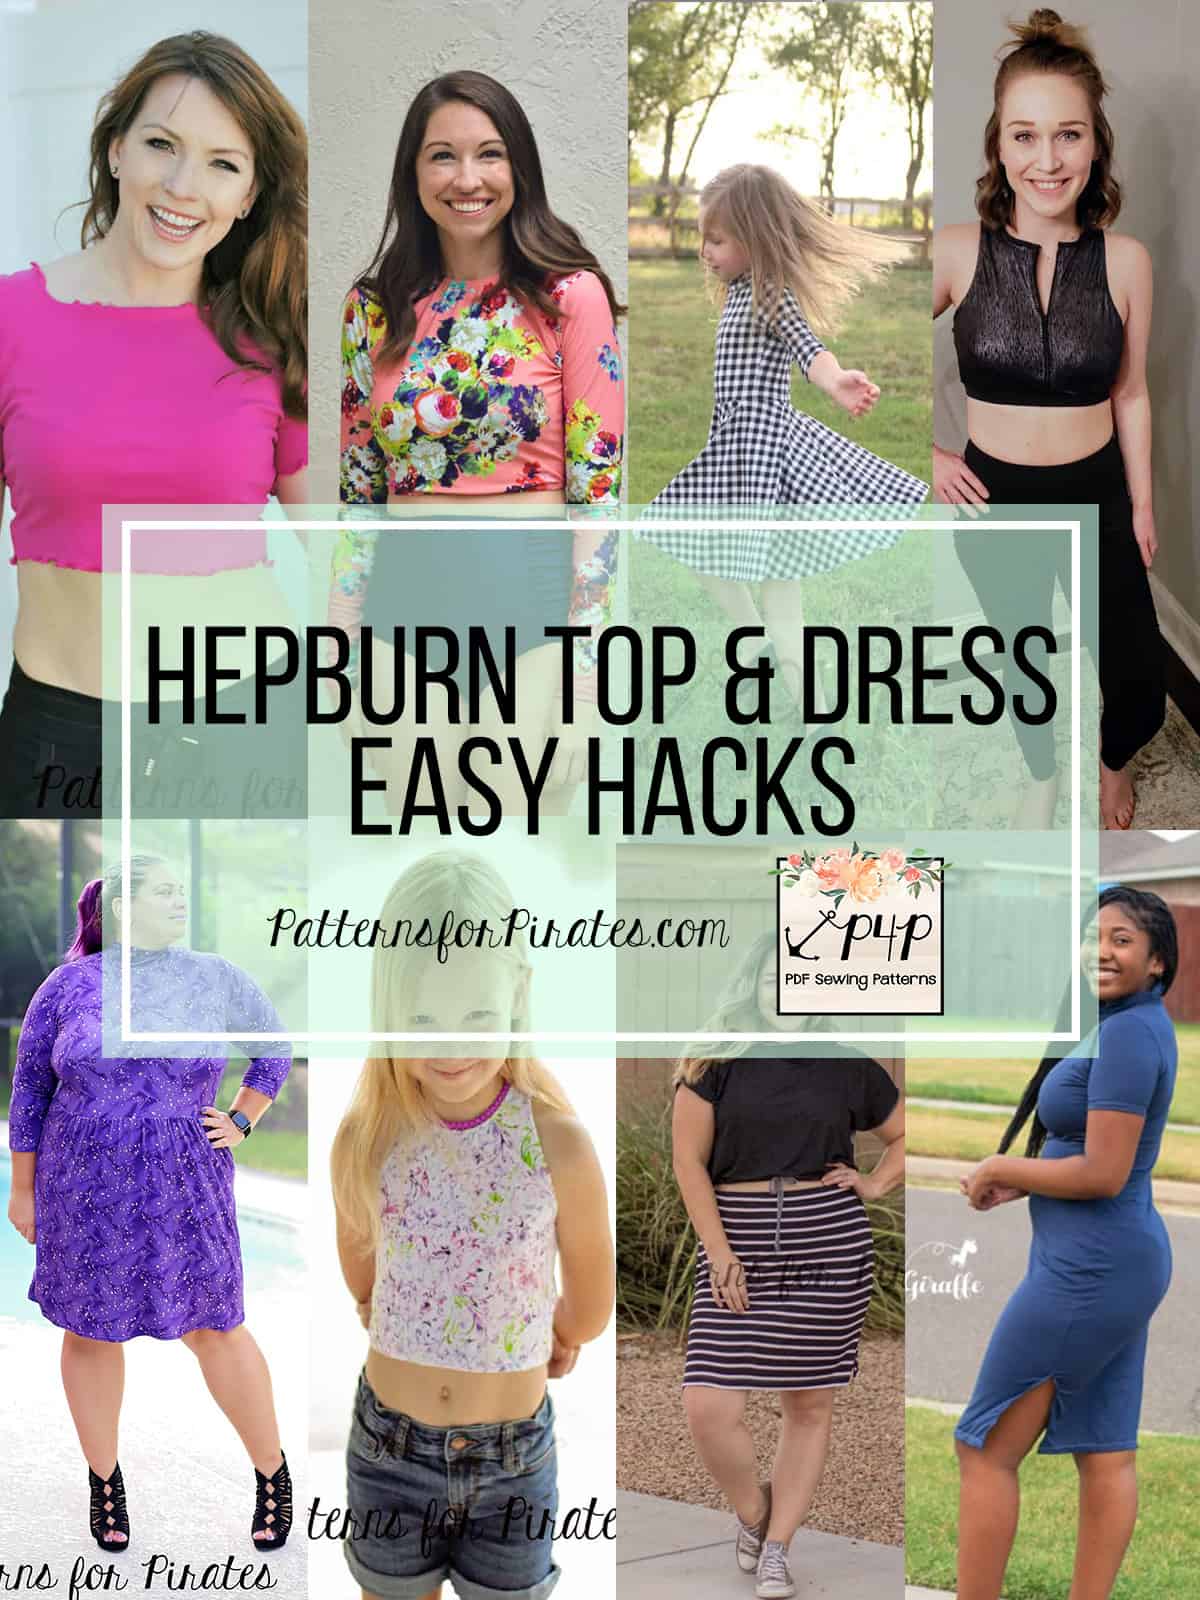
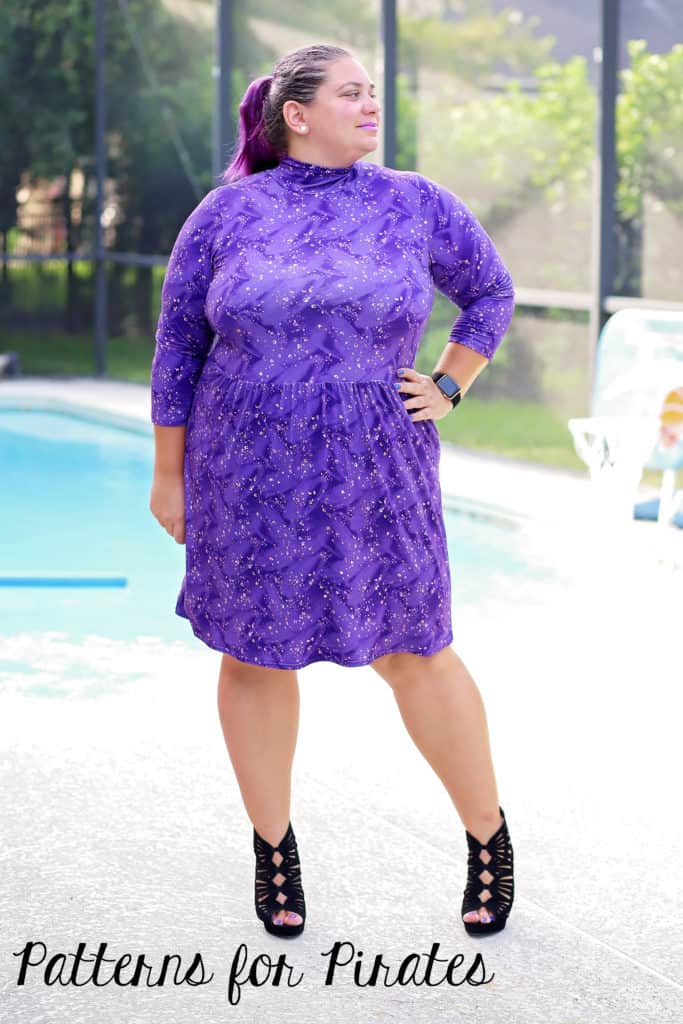
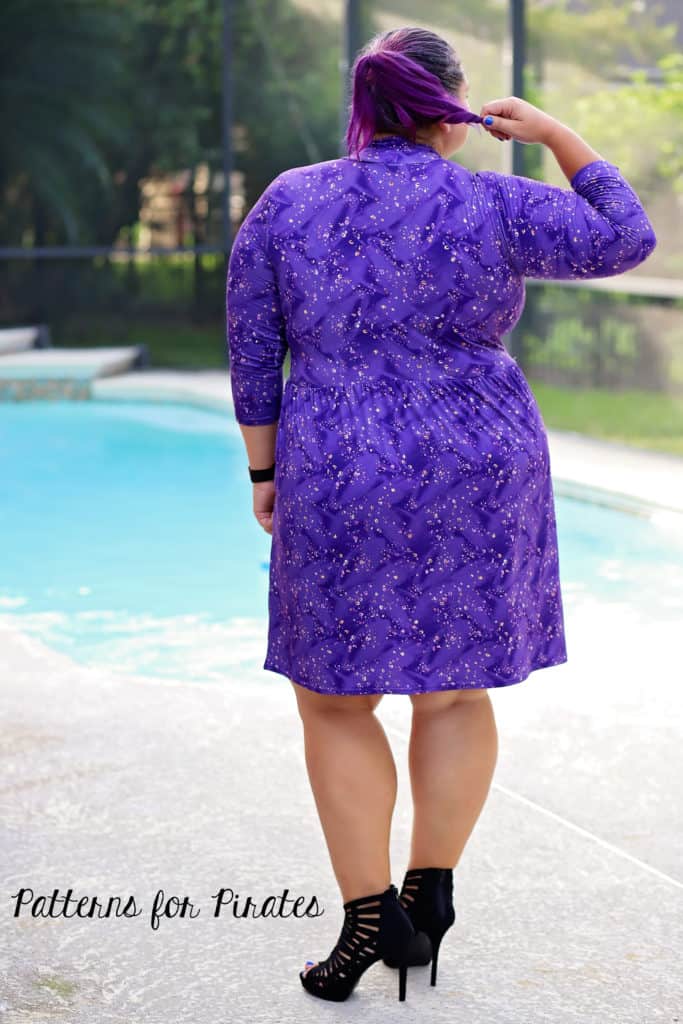
The Hepburn Top & Dress has released and it will surely become a staple in your year round wardrobe. Our amazing (and growing) team of blog contributors has some easy hacks for the new pattern. Take a look and get sewing!

…..

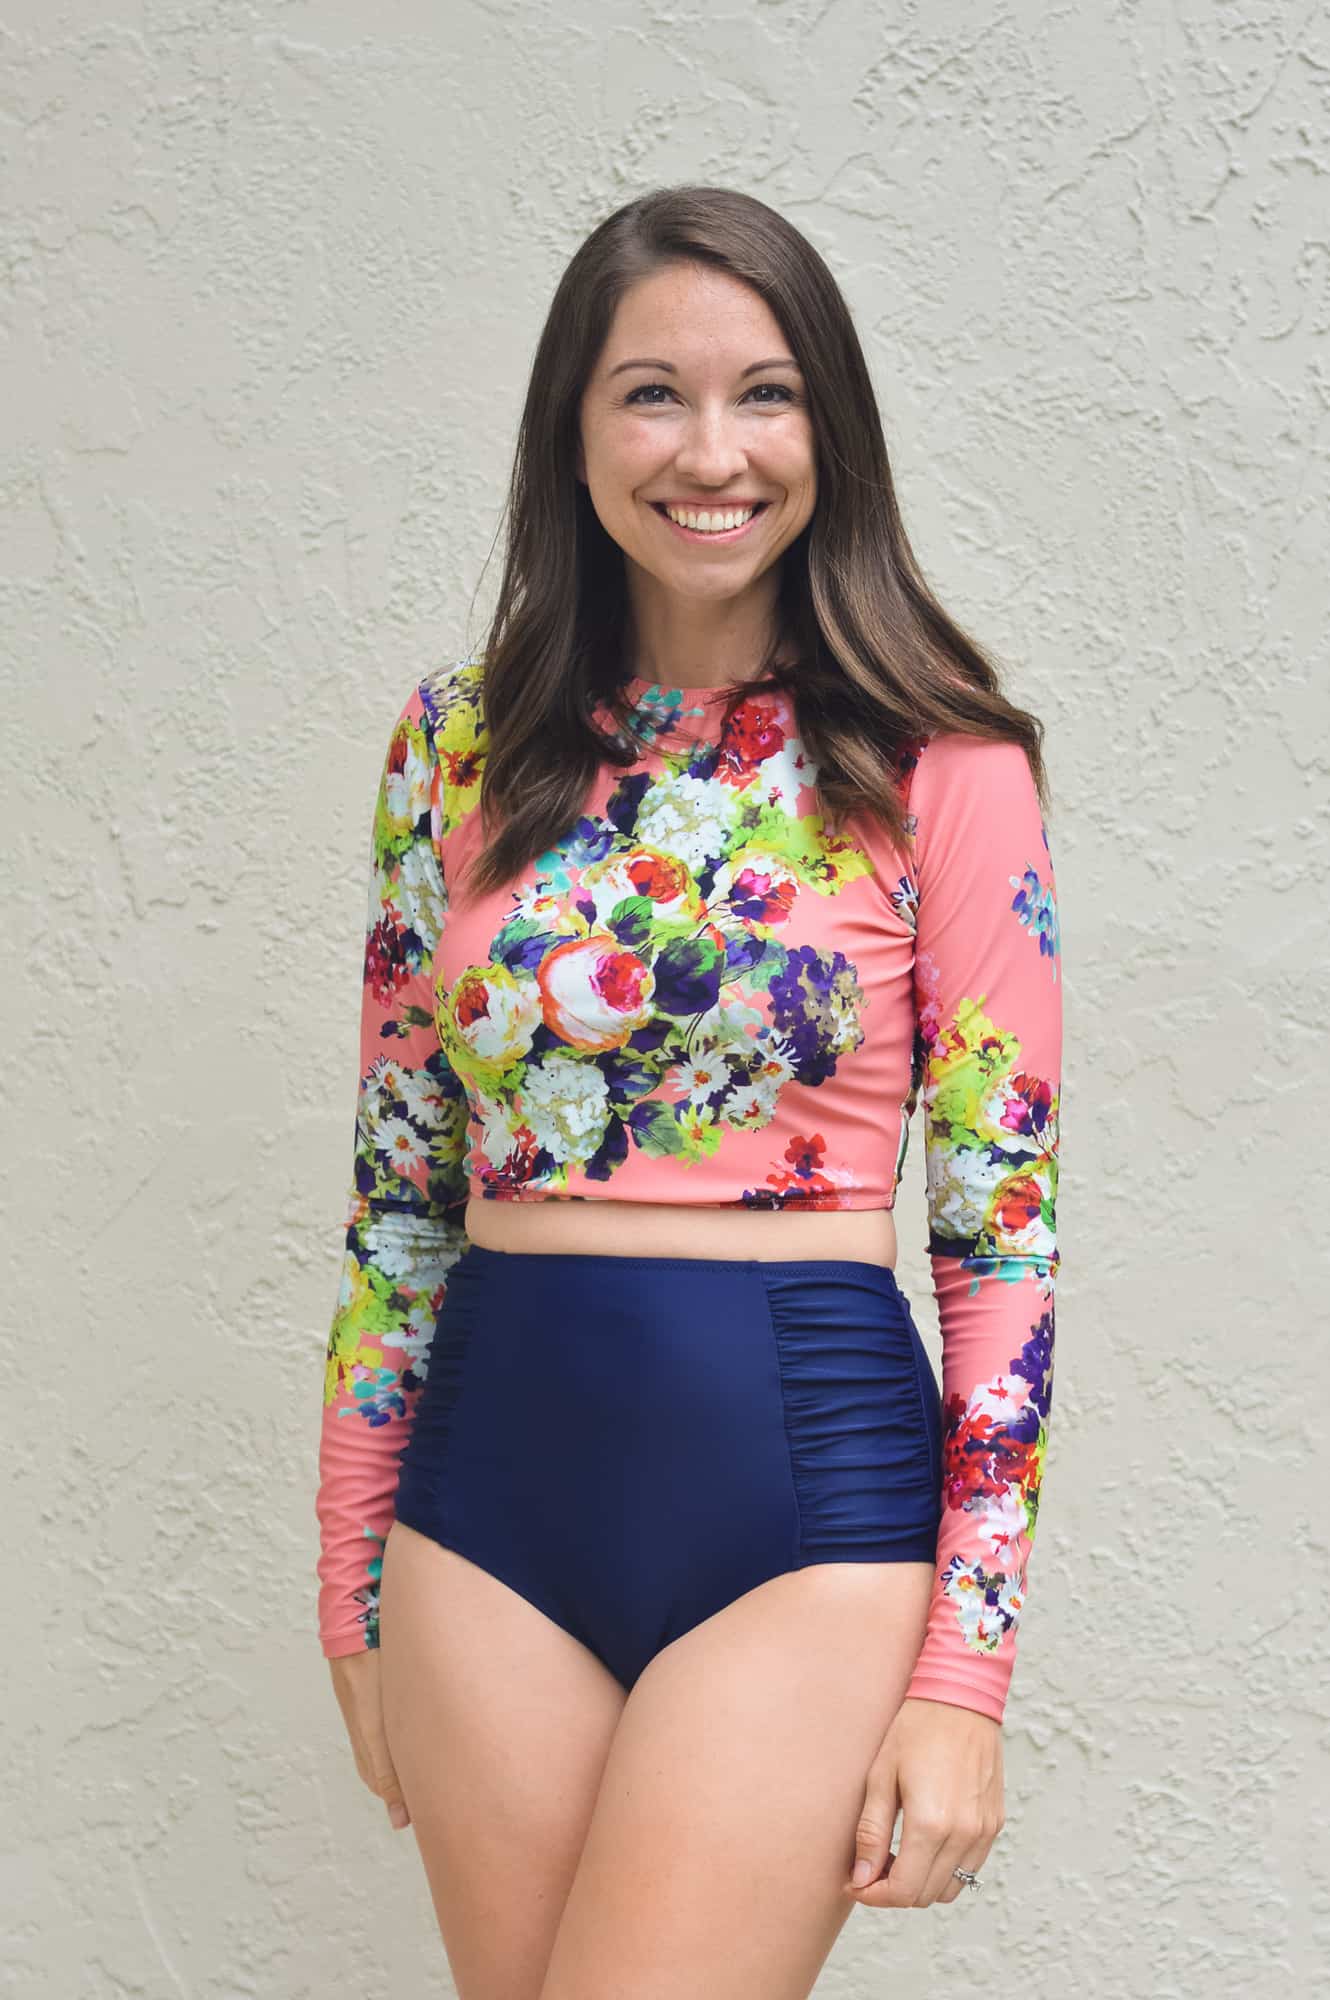
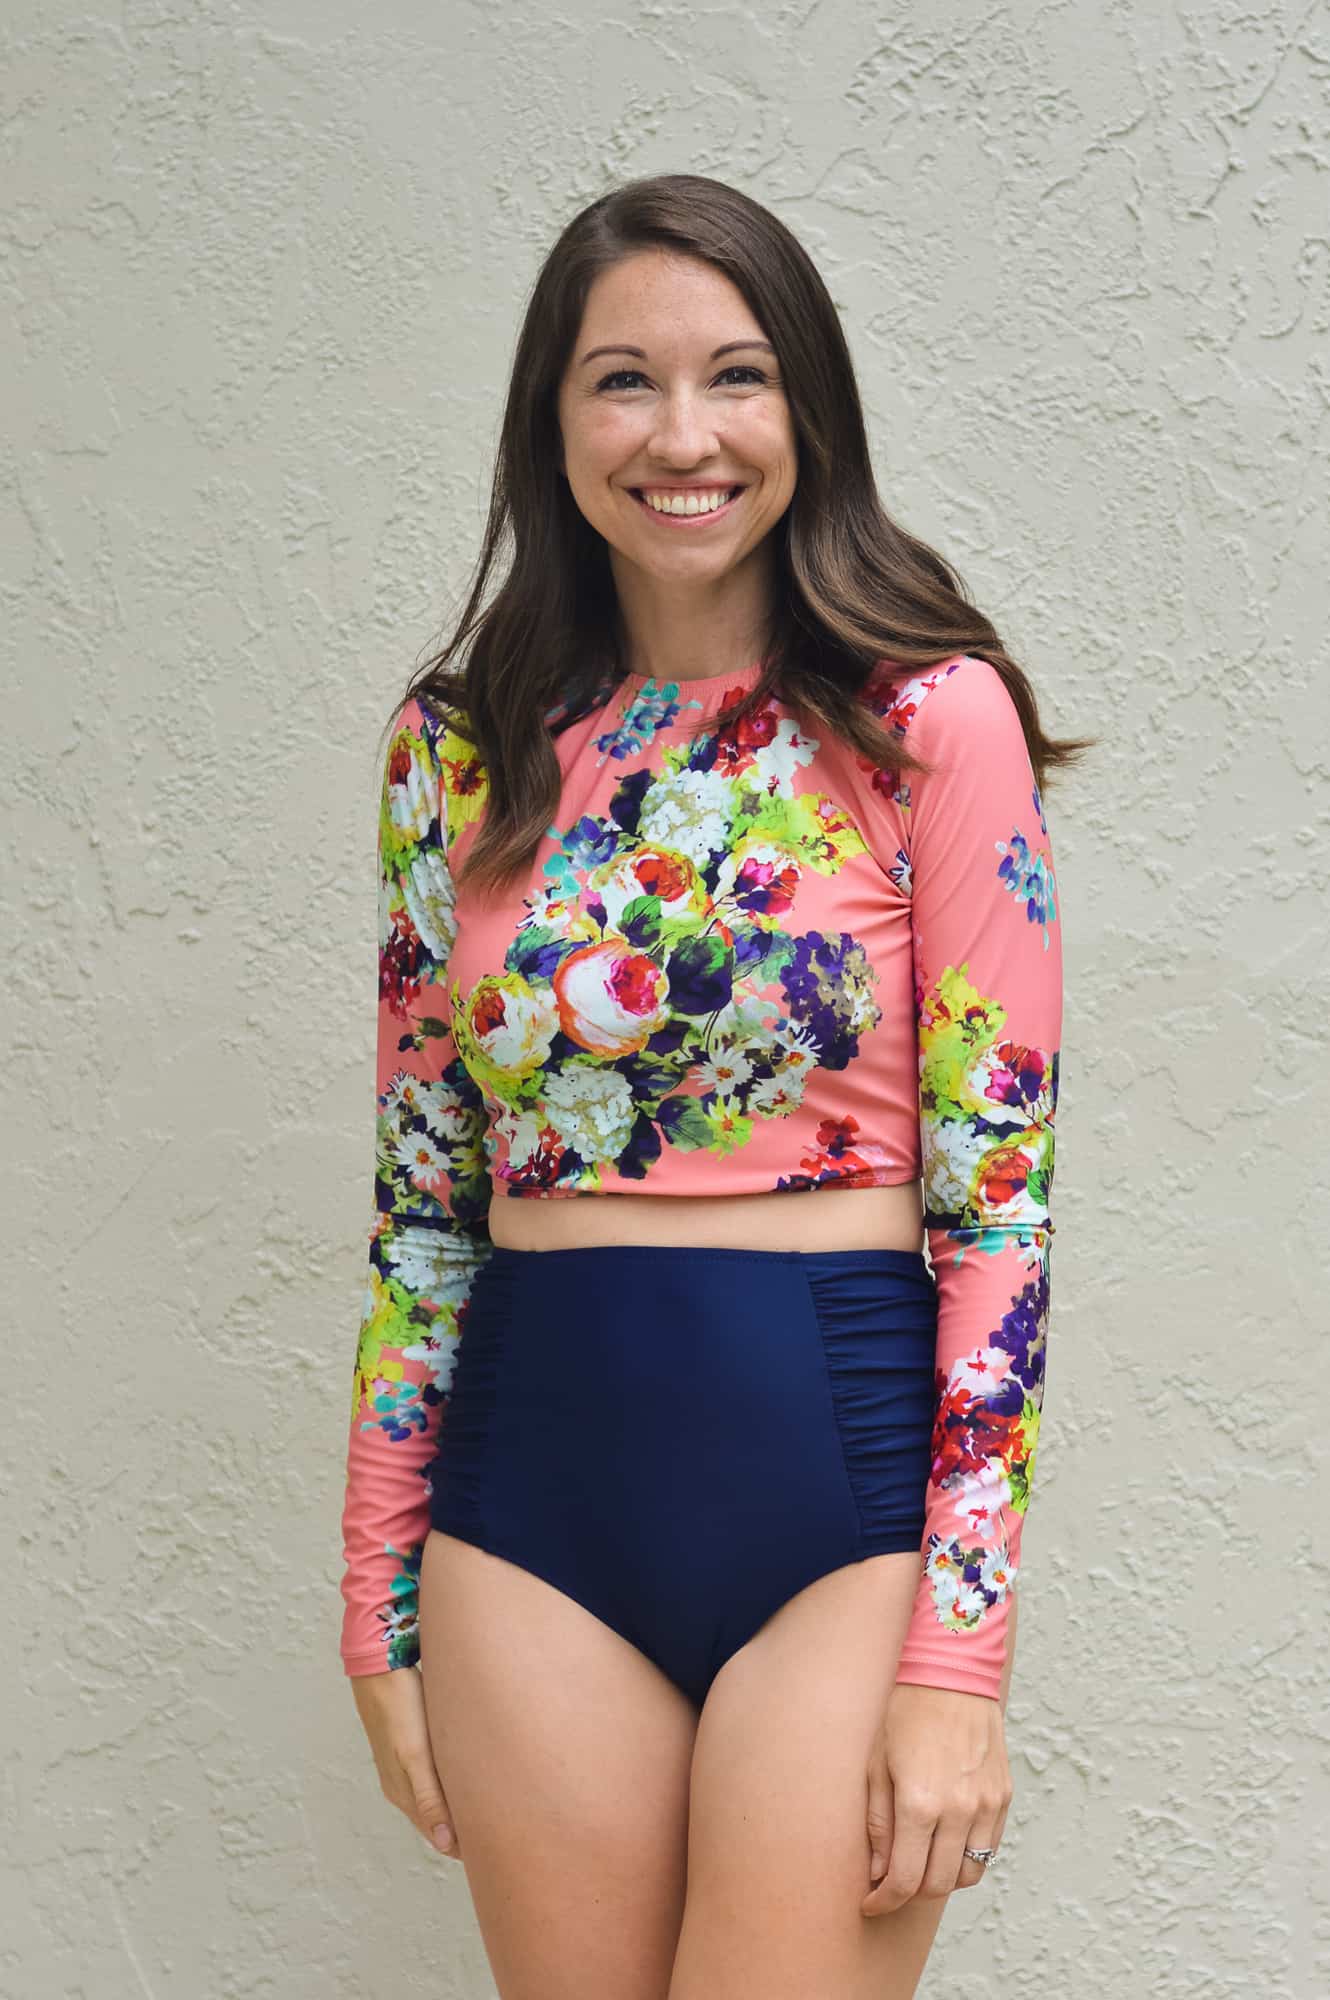
Swim top/rashguard

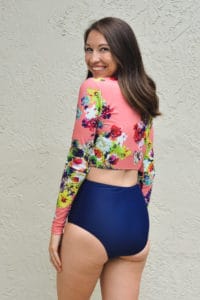
The fit of the Turtle Neck Dress is so fantastic that modifying it to be a a rashguard is very simple!

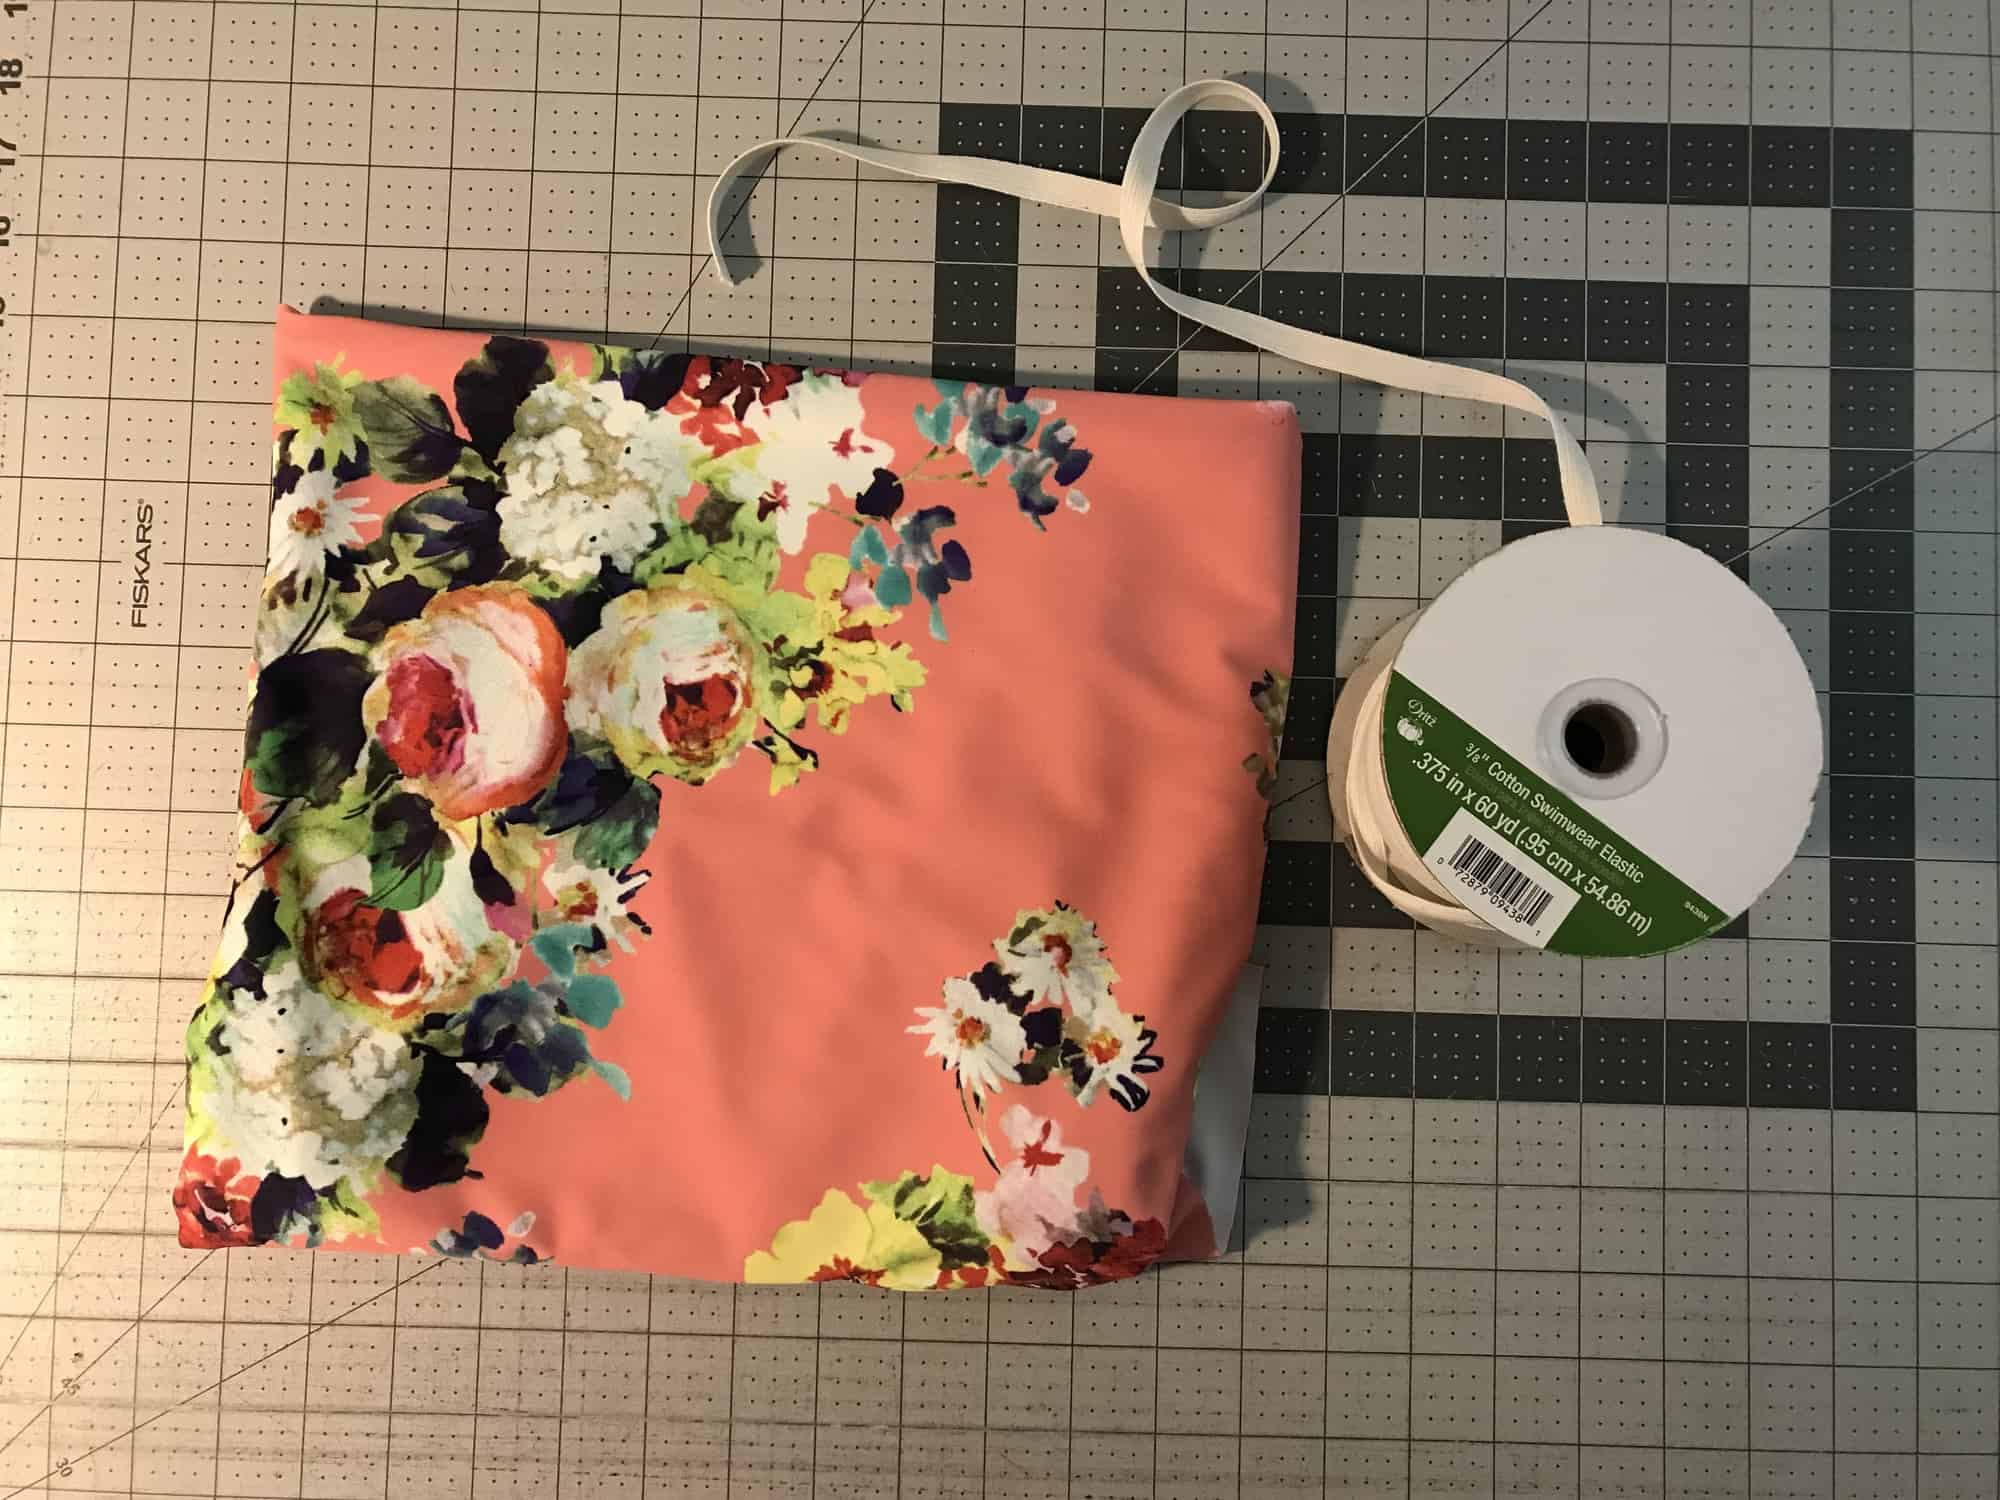
The first thing you need to do is decide which pattern options you would like to use and gather your supplies. Swap out your sweater knit for some swim knit, and your clear elastic for swim elastic.

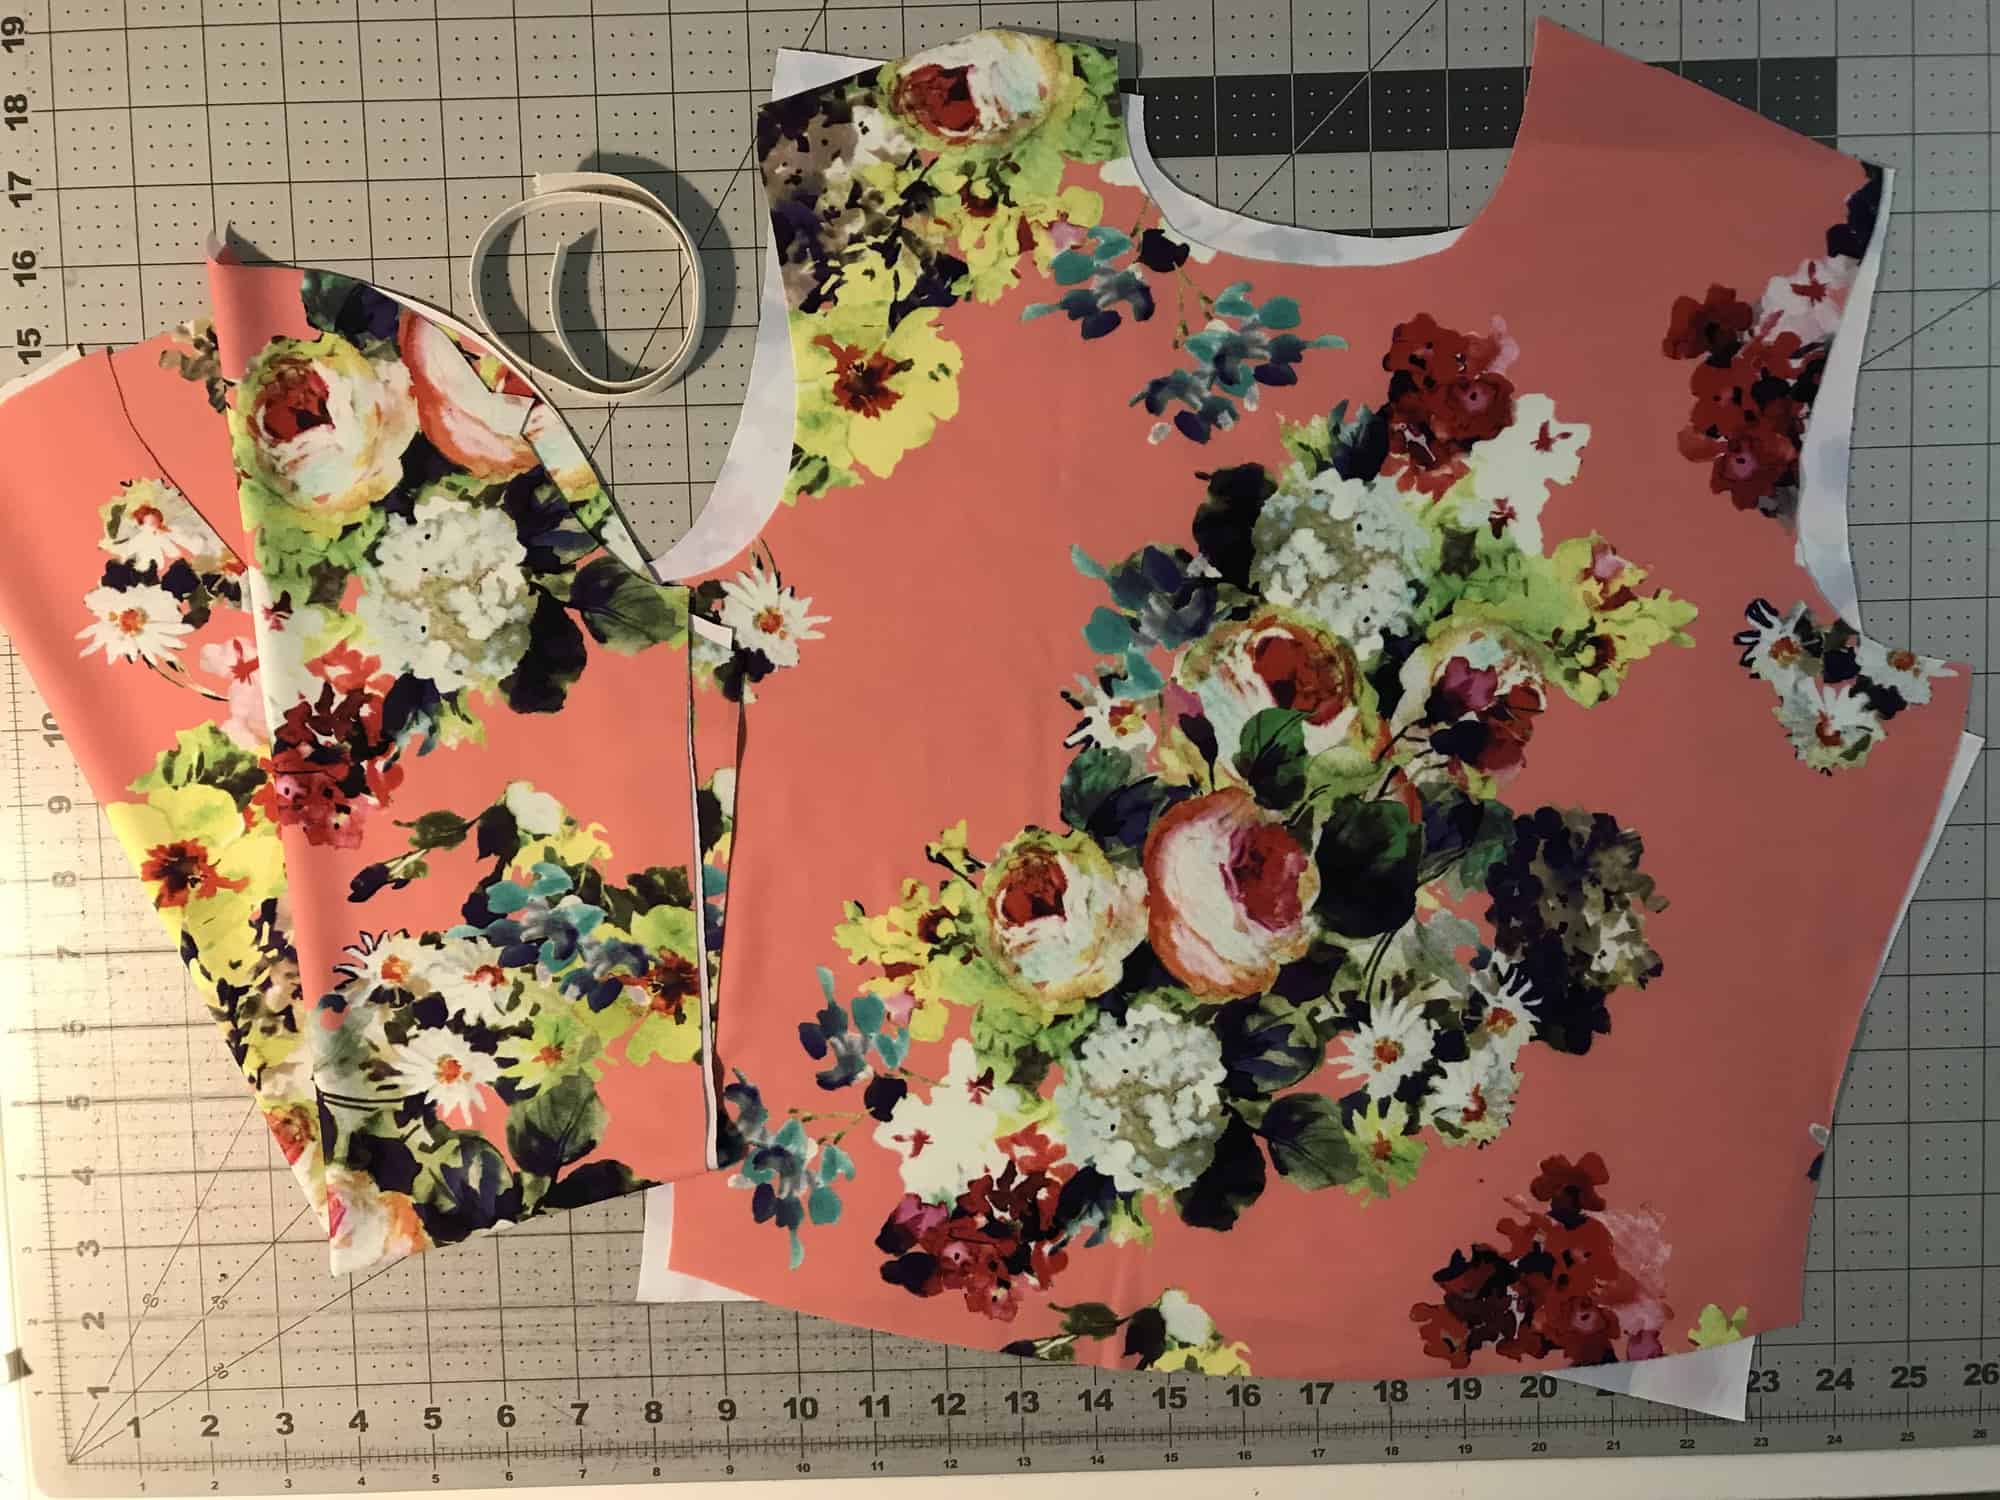
Cut out your pattern pieces and neckline elastic according to the tutorial. For all options, you will continue on following the tutorial until it is time to hem.
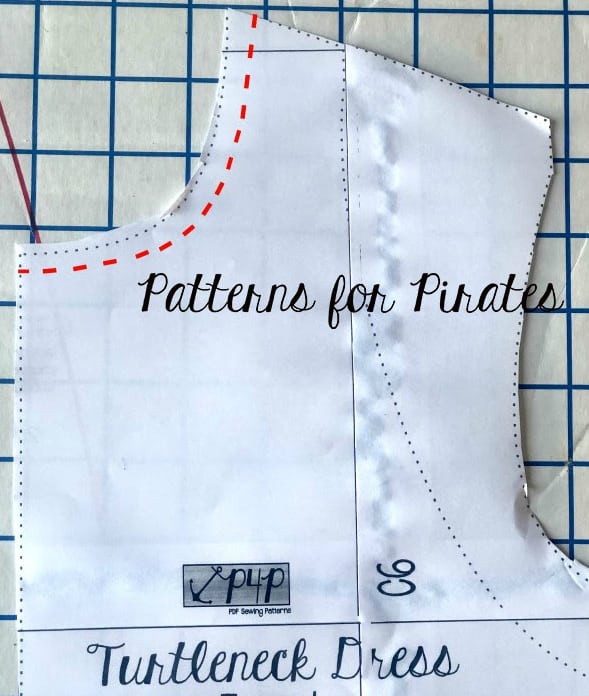
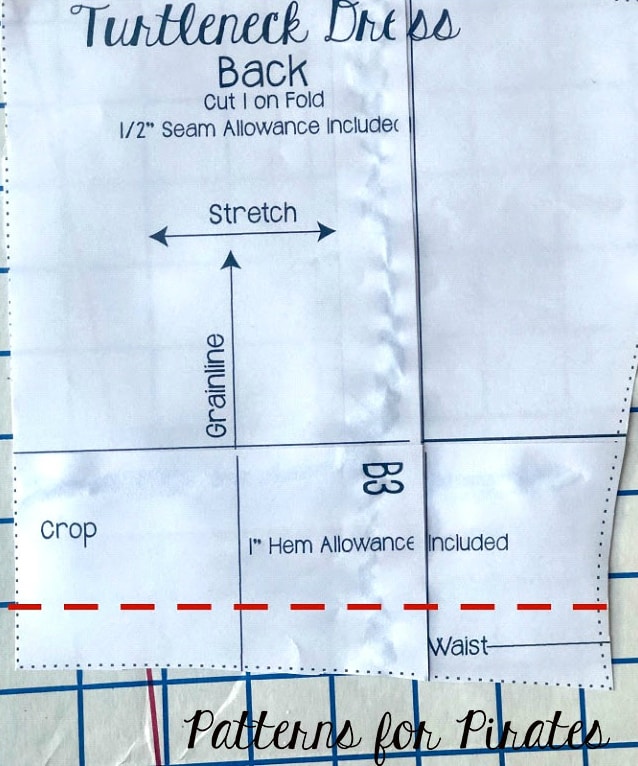
If you choose to make a cropped swim top, like I am, you may want additional swim elastic for the bottom hem. This will help keep the hem from rising up while swimming. For this option, you will want to trim half an inch from the bottom of the front and back bodice pieces.
 

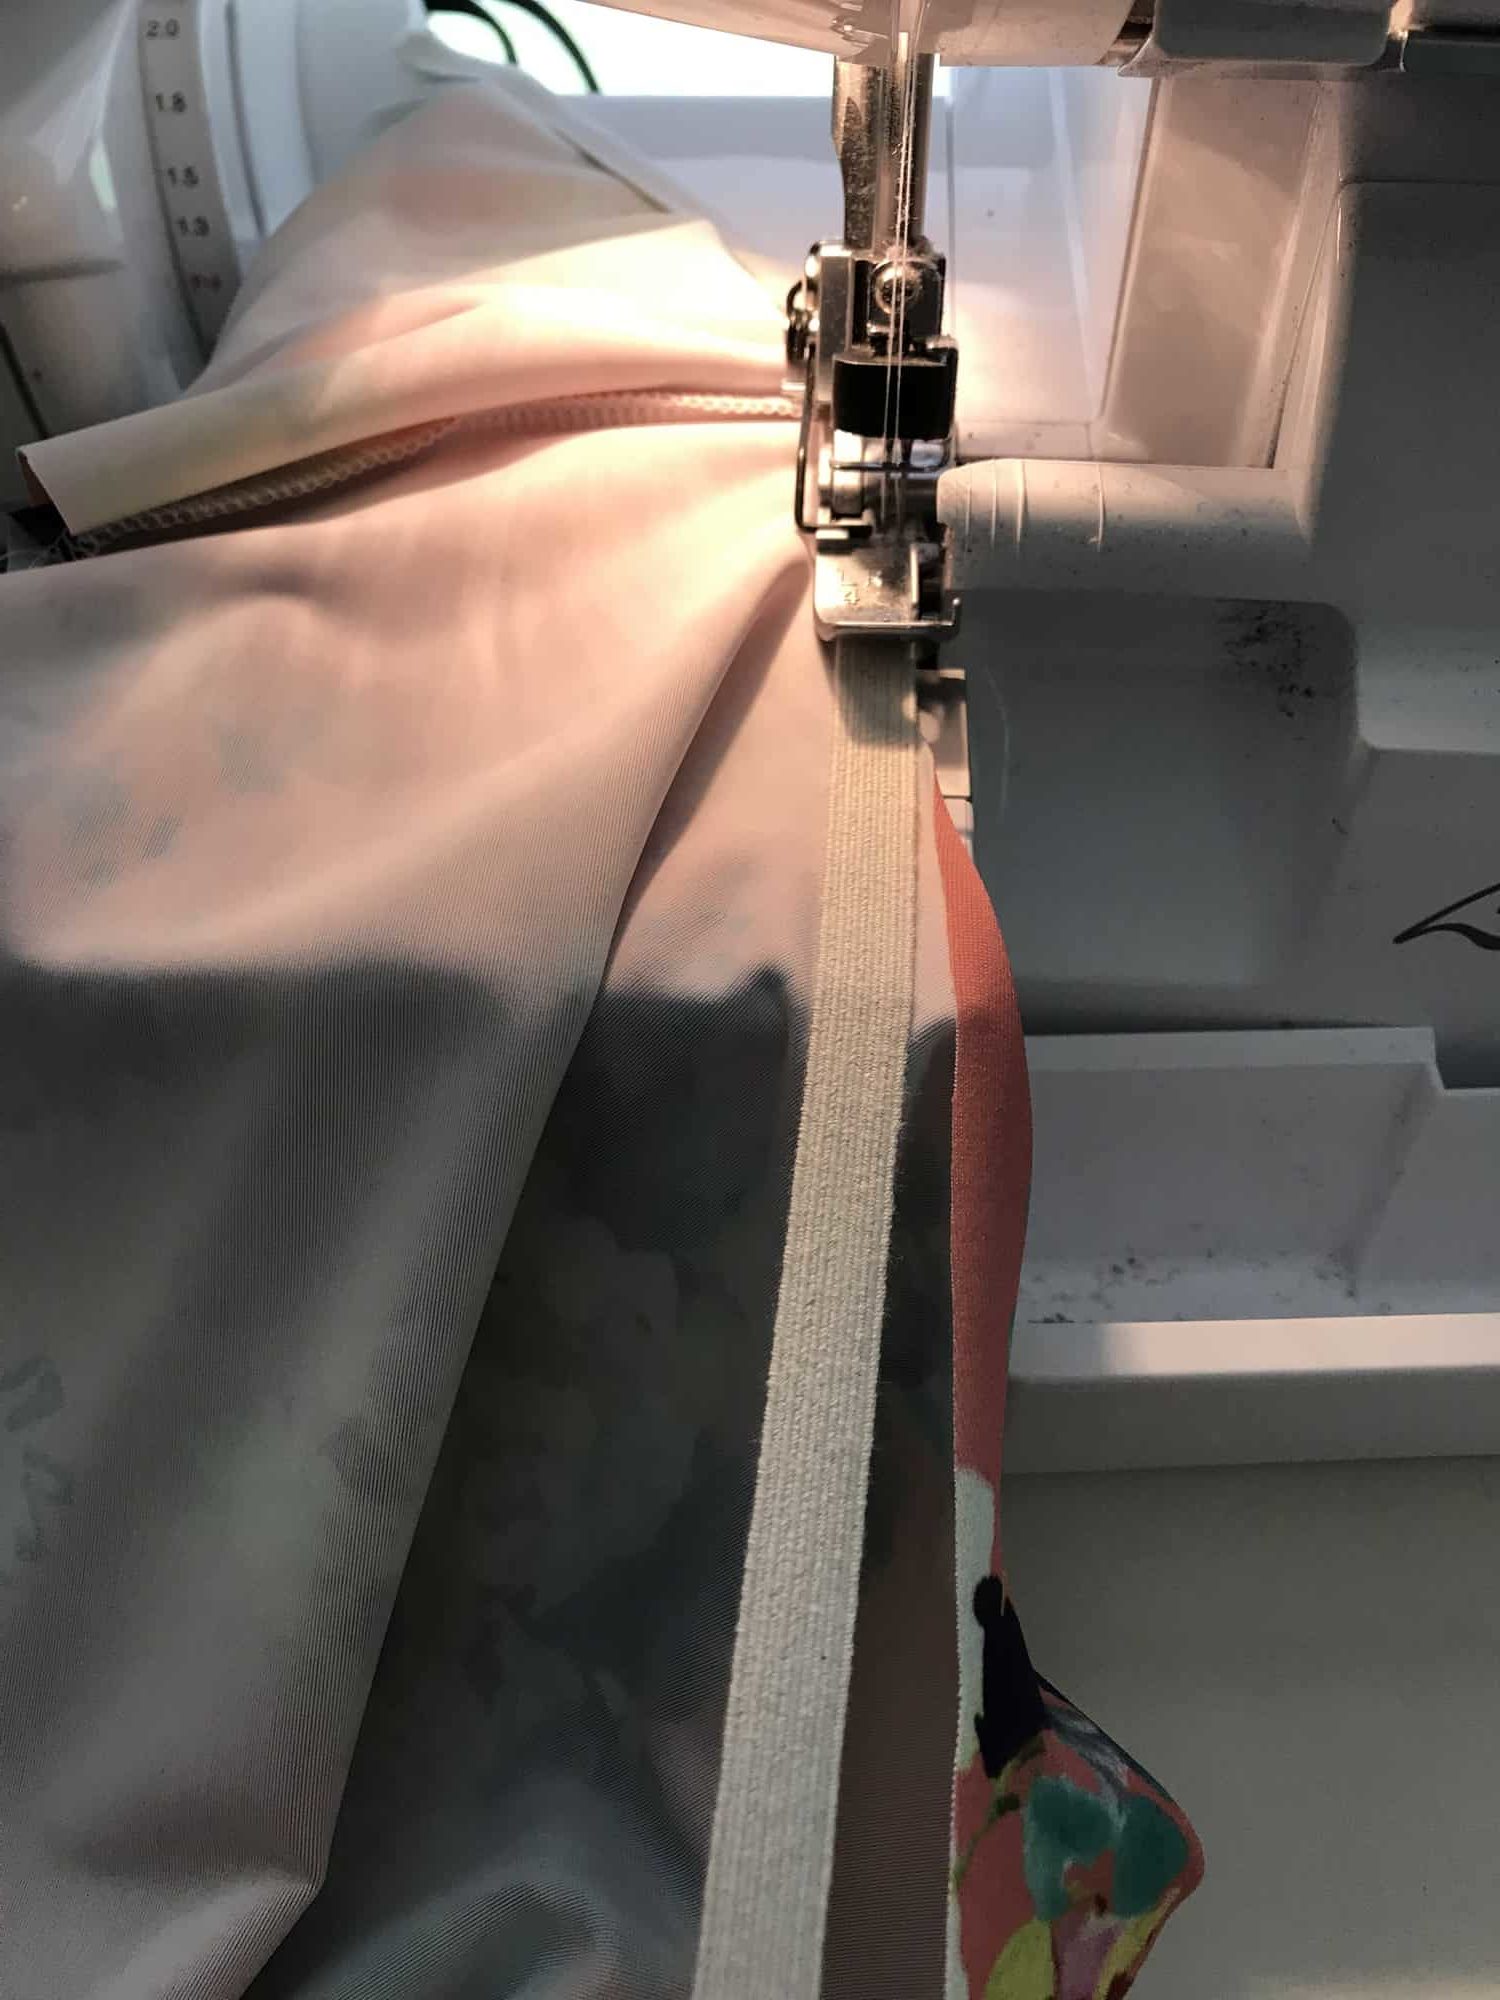
I simply wrapped the elastic around my waist and cut at a comfortable length. The elastic will be attached in the same way you attach the neckline elastic for the crew neck.

All other hemming options can follow the tutorial. Now you can enjoy your new swim top!


…..

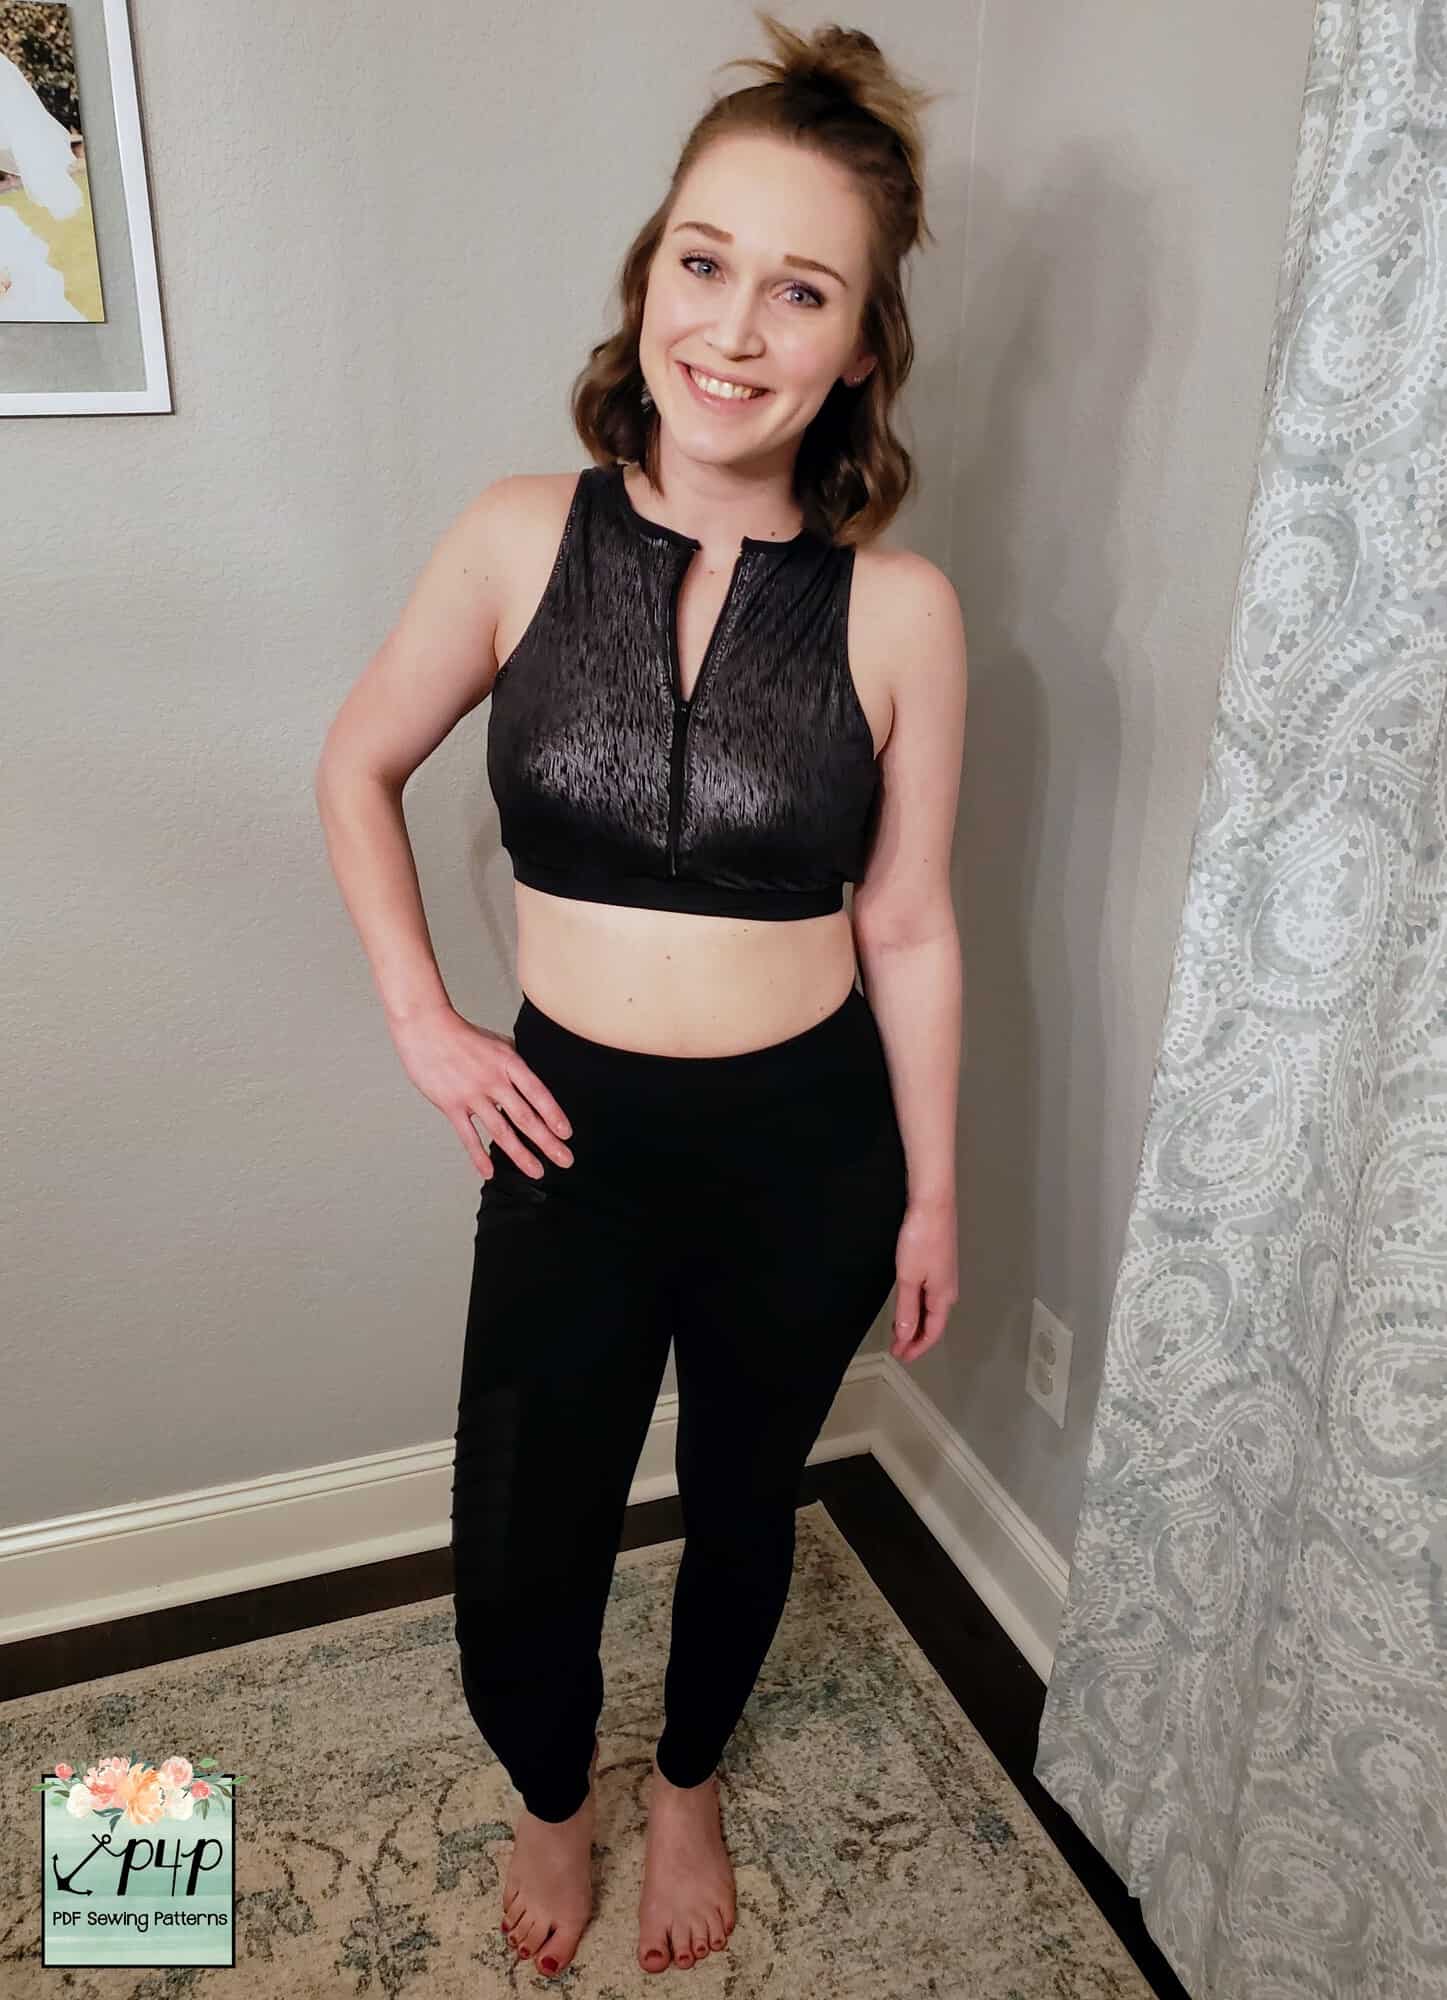
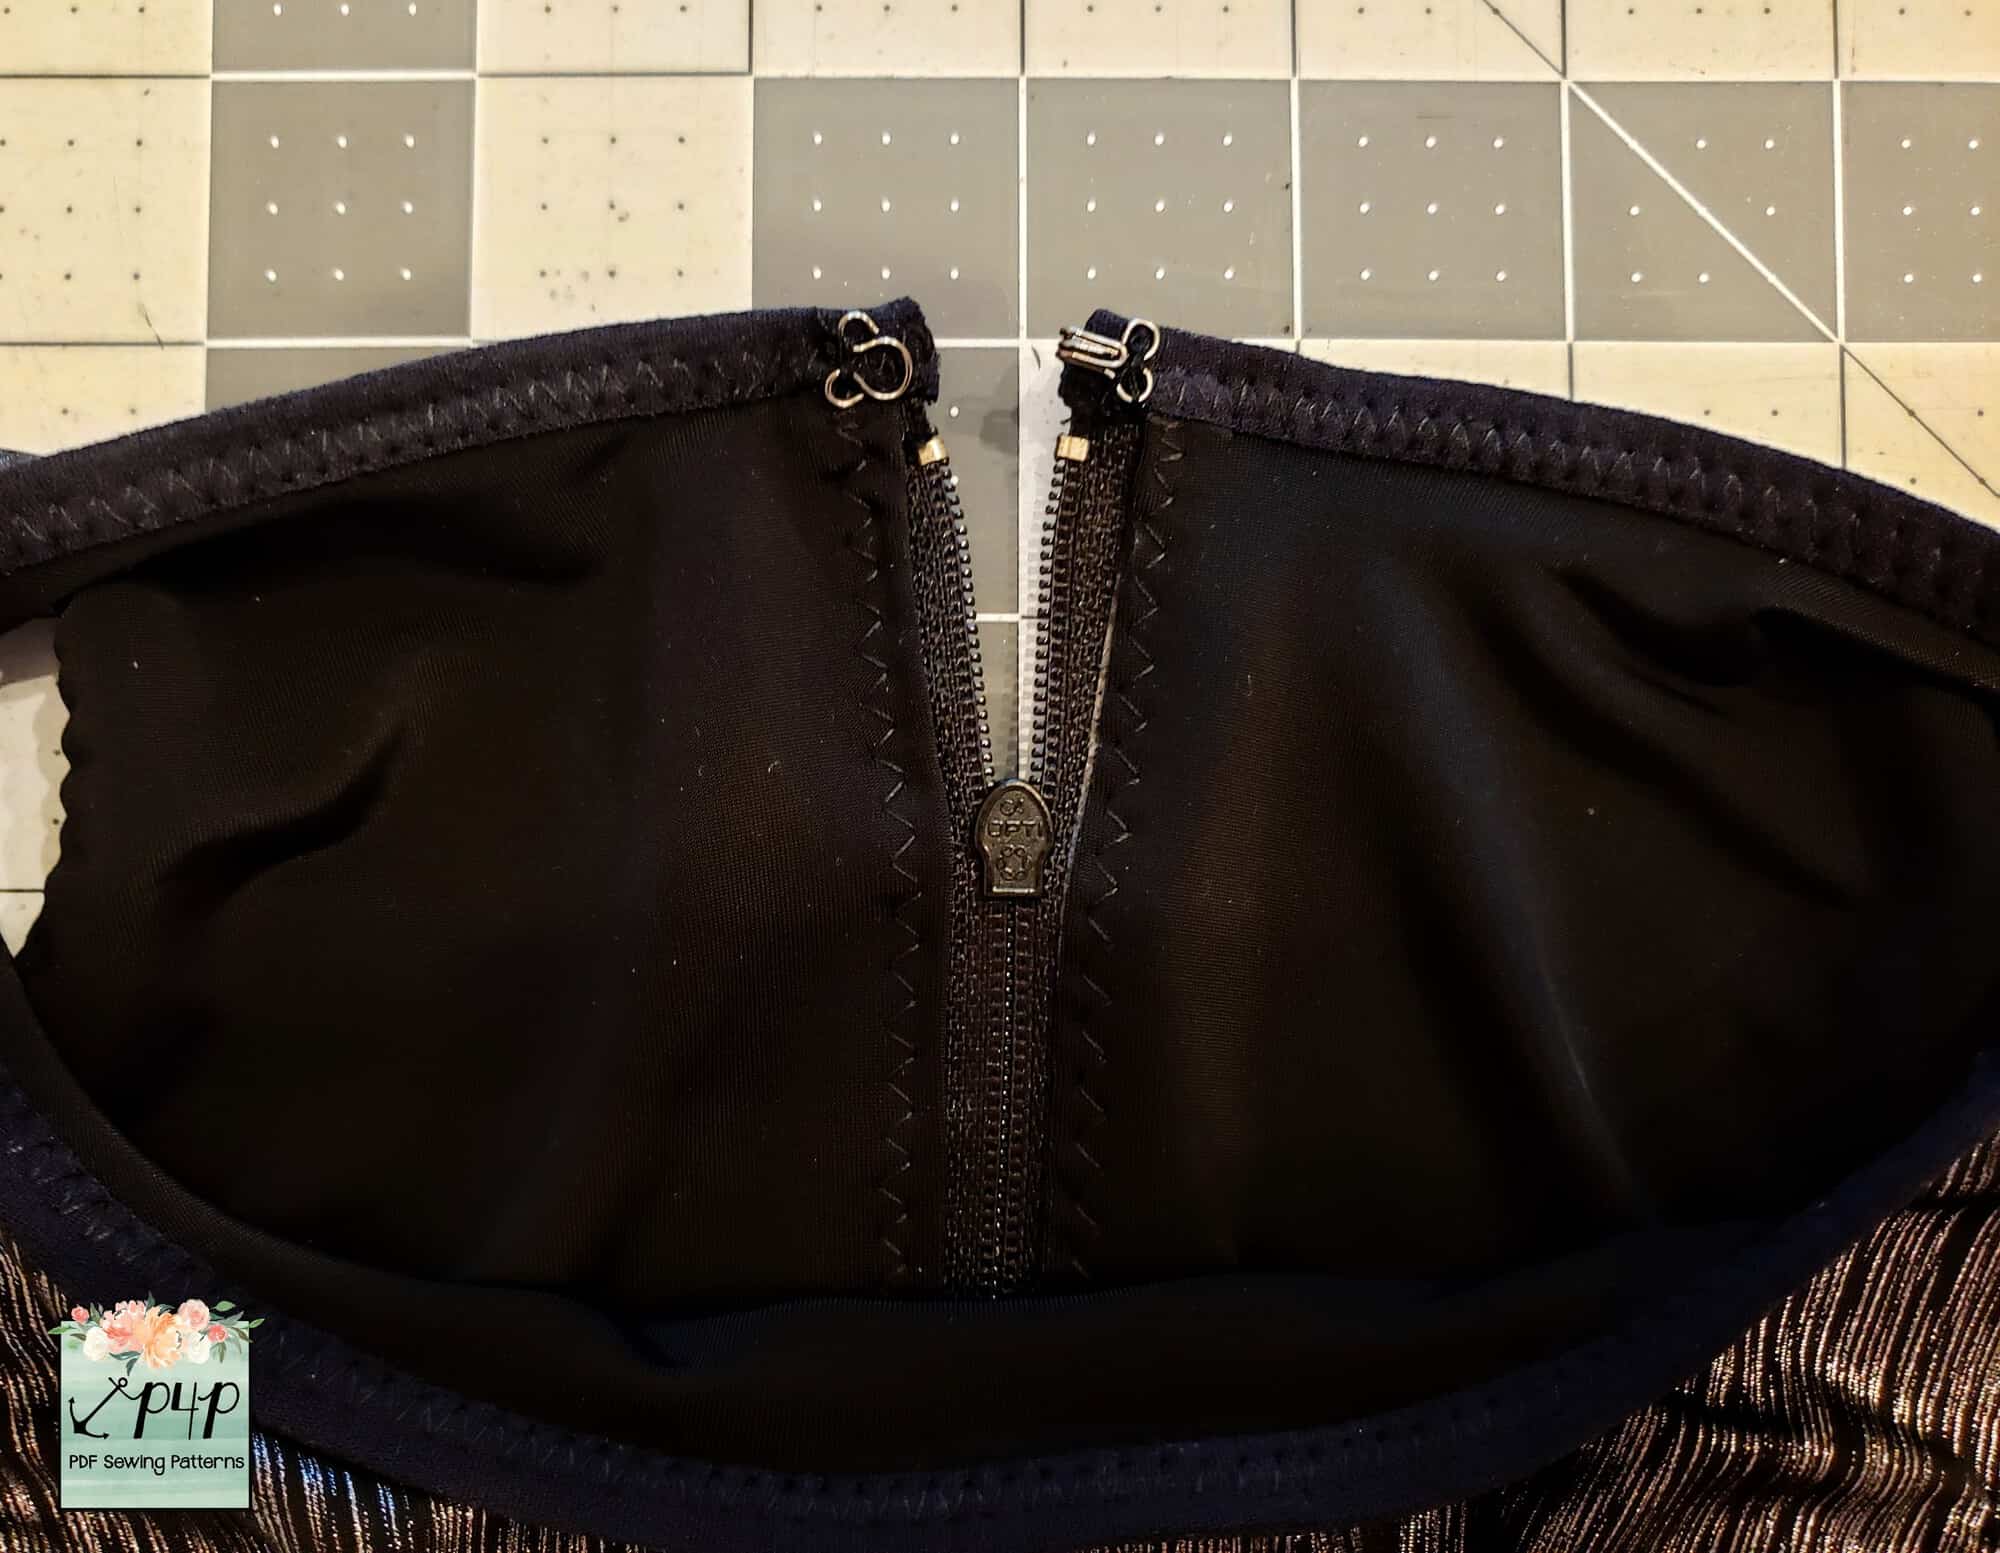
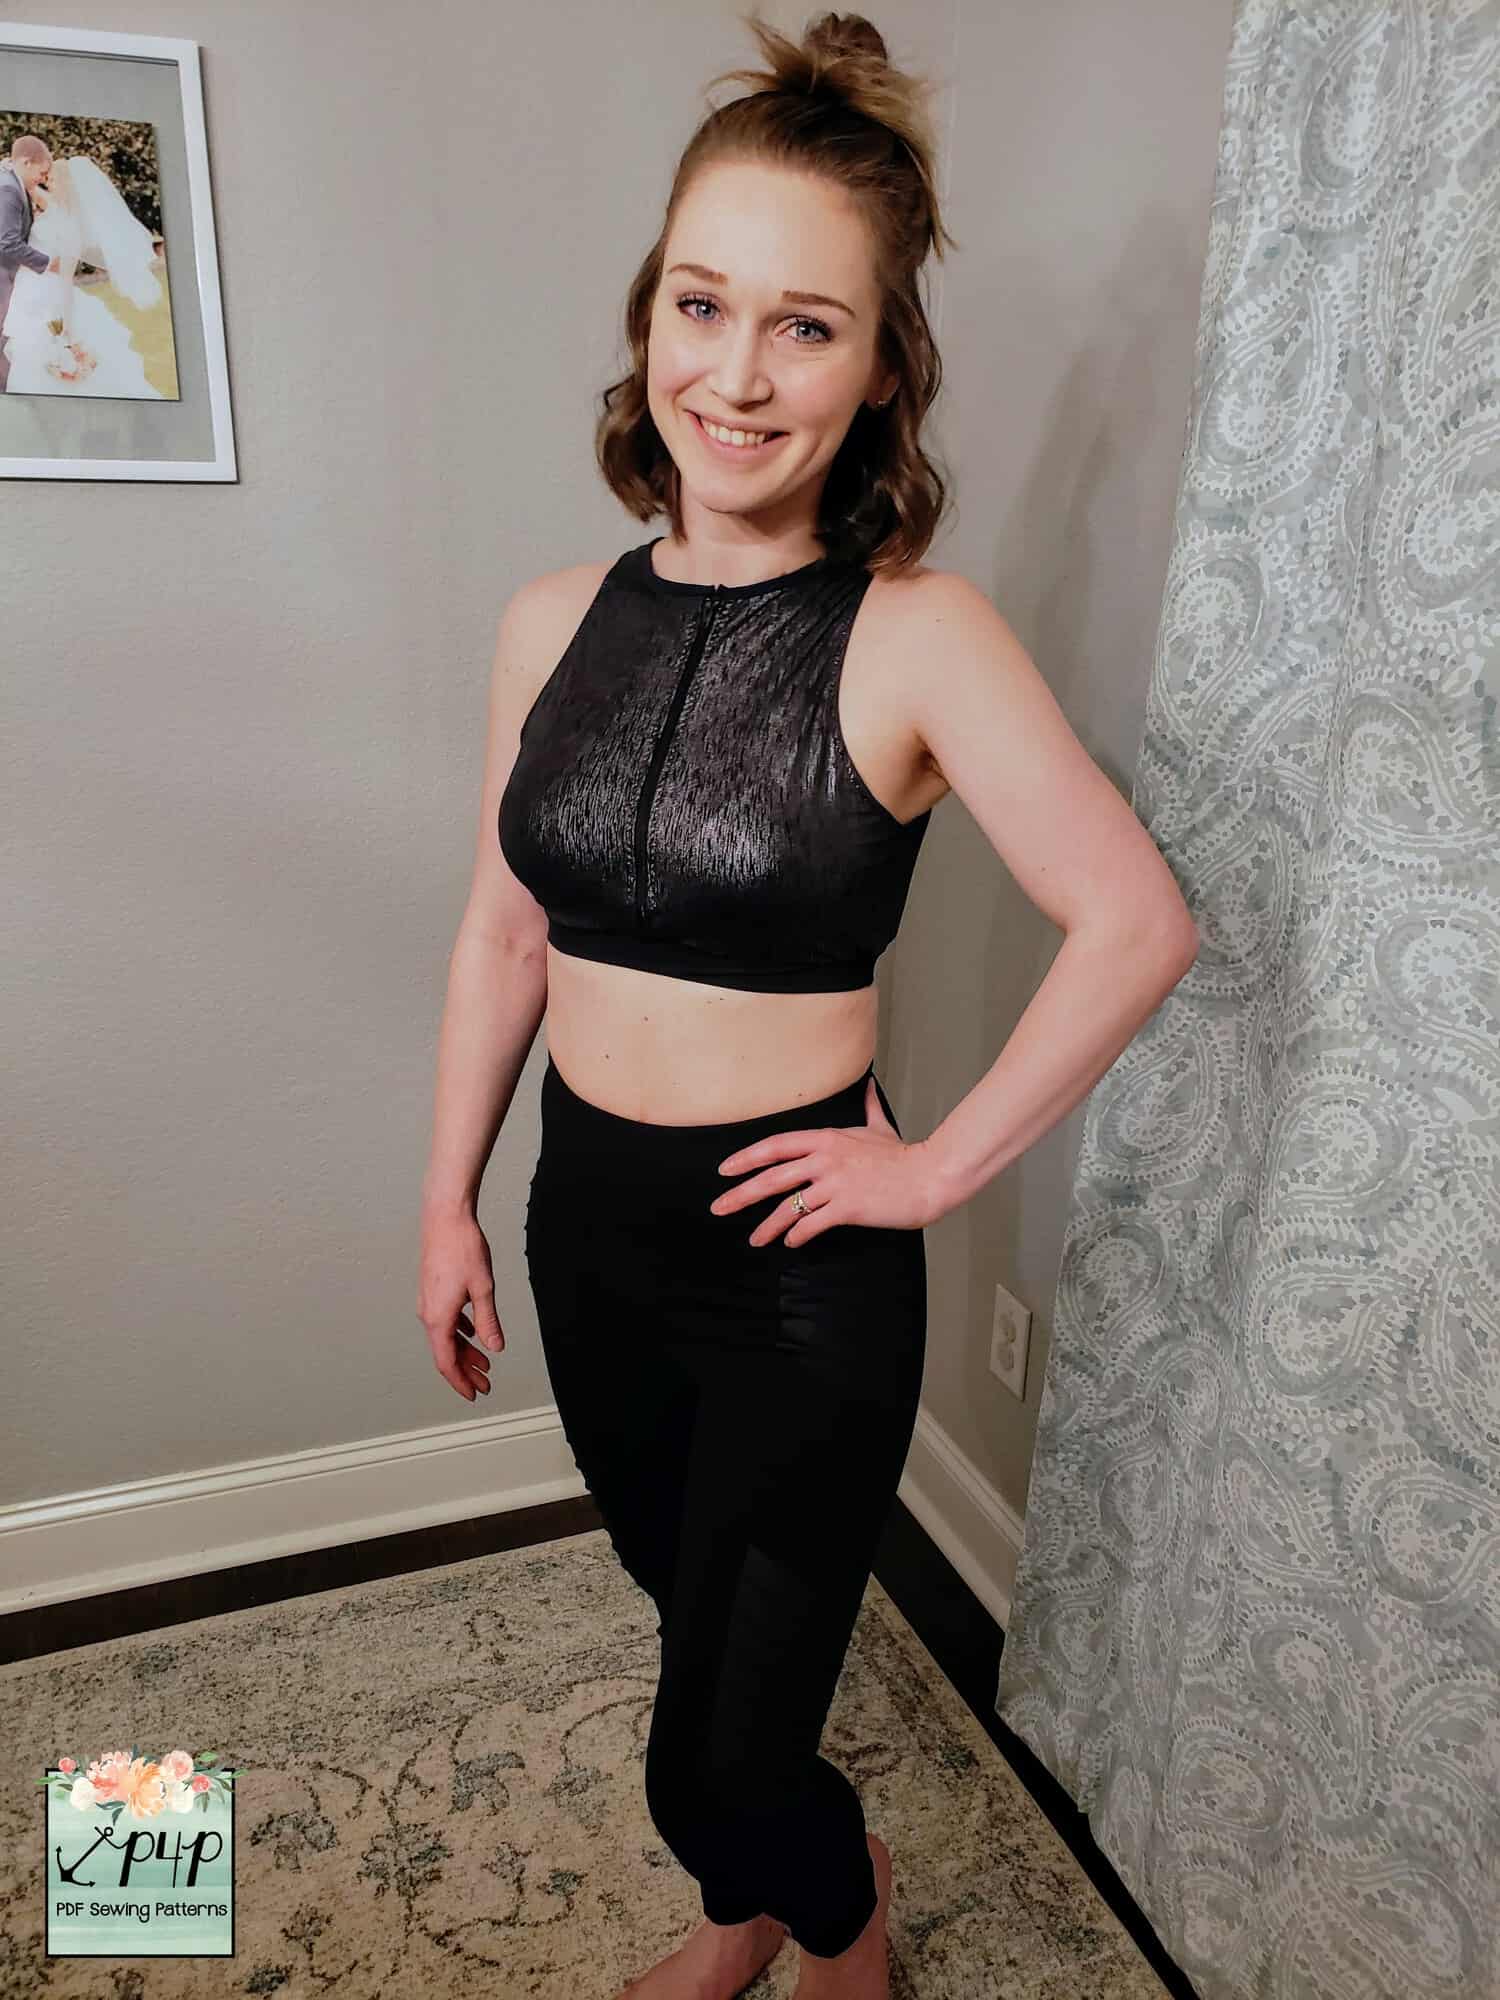
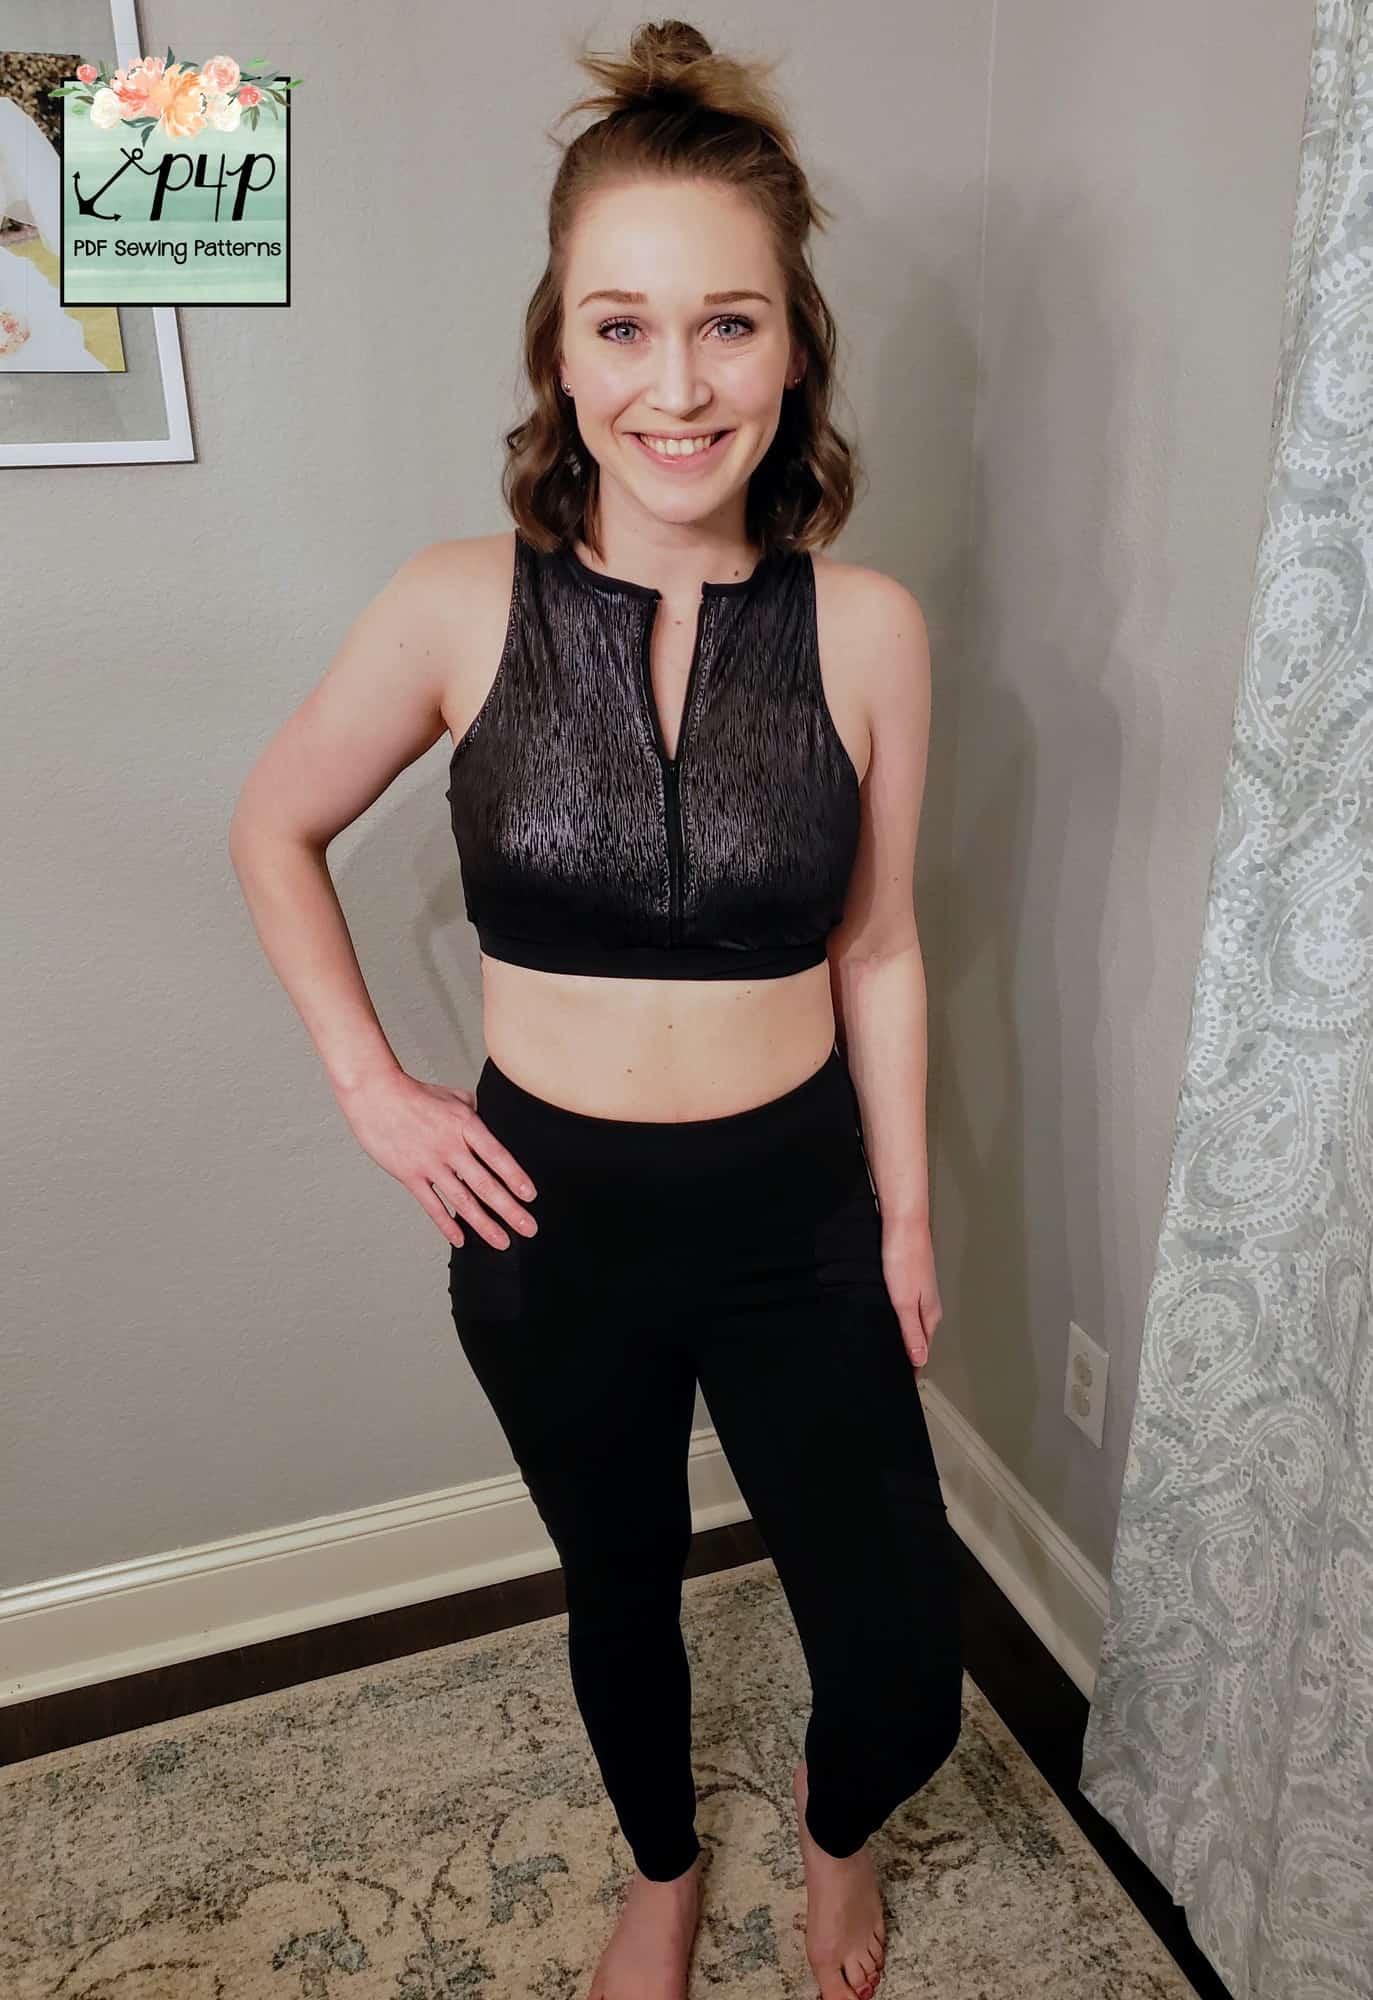
Zipper Workout Bra

For this hack, we will be working with the crew neck, crop, tank option. In addition to the materials listed in the pattern, you will also need: 

  • Fabric for the lining
  • Zipper that is slightly longer than the shortened crop bodice (detailed below)
  • Wash away wonder-tape (our new BFF!)
  • FOE/knit binding
  • 1” elastic
  • Soft bra cups
  • (Optional Hook & Eye Closure)

1. Assemble Bodice and Lining

Remove about 3.5 inches of length from bodice pattern pieces (adjust as needed). Then cut bodice pieces from main fabric and from lining fabric.
Add a strip of interfacing down the center of the wrong side of the front lining piece. Sew together bodice at shoulders, add elastic to armscyes as instructed in the pattern.
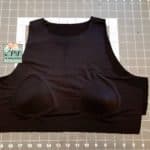
Sew together your lining pieces at shoulder seams and baste side seams. Slip lining on yourself and mark cup placement with chalk. Lay out your lining & use a ruler to align and adjust as needed.

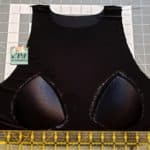
Pin cups in place, sew on cups with a long zigzag stitch to wrong side of lining. After trying on the lining again to ensure proper cup placement, carefully remove basting stitches at the side seams.
Match armscyes right sides together, stitch armscyes with ⅜” seam allowance (pull bodice layer taut while stitching).
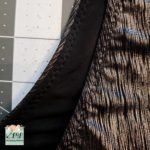
Flip right side out, press seam so elastic is flat and you cannot see lining. Topstitch while pulling slightly so elastic and fabric are taut.

Trim the extra lining that is now left over around the neckline.
Lay bodice with bottom edges together, hold together the two lining pieces at the bottom corner, and lift up bottom corners of outer bodice pieces to meet.
You should now be holding side seams with right sides together. Match corners and seams, stitch. Repeat with other side.

2. Attach Zipper with Wonder Tape!

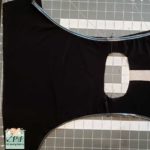
Find the center of the front neckline, cut straight down from top to bottom.

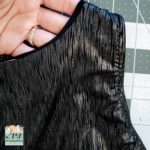
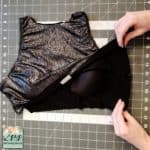
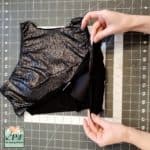
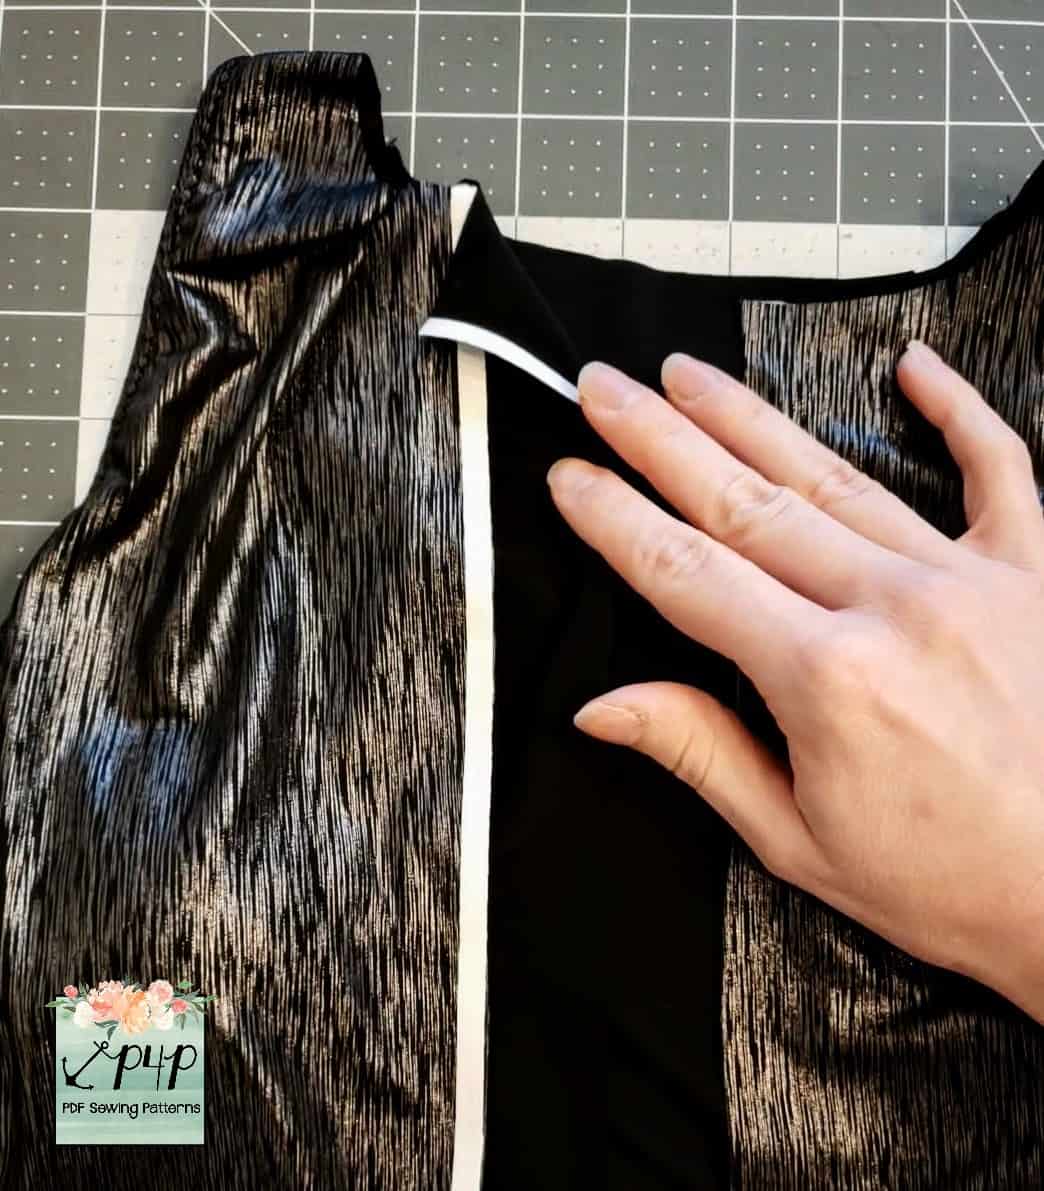
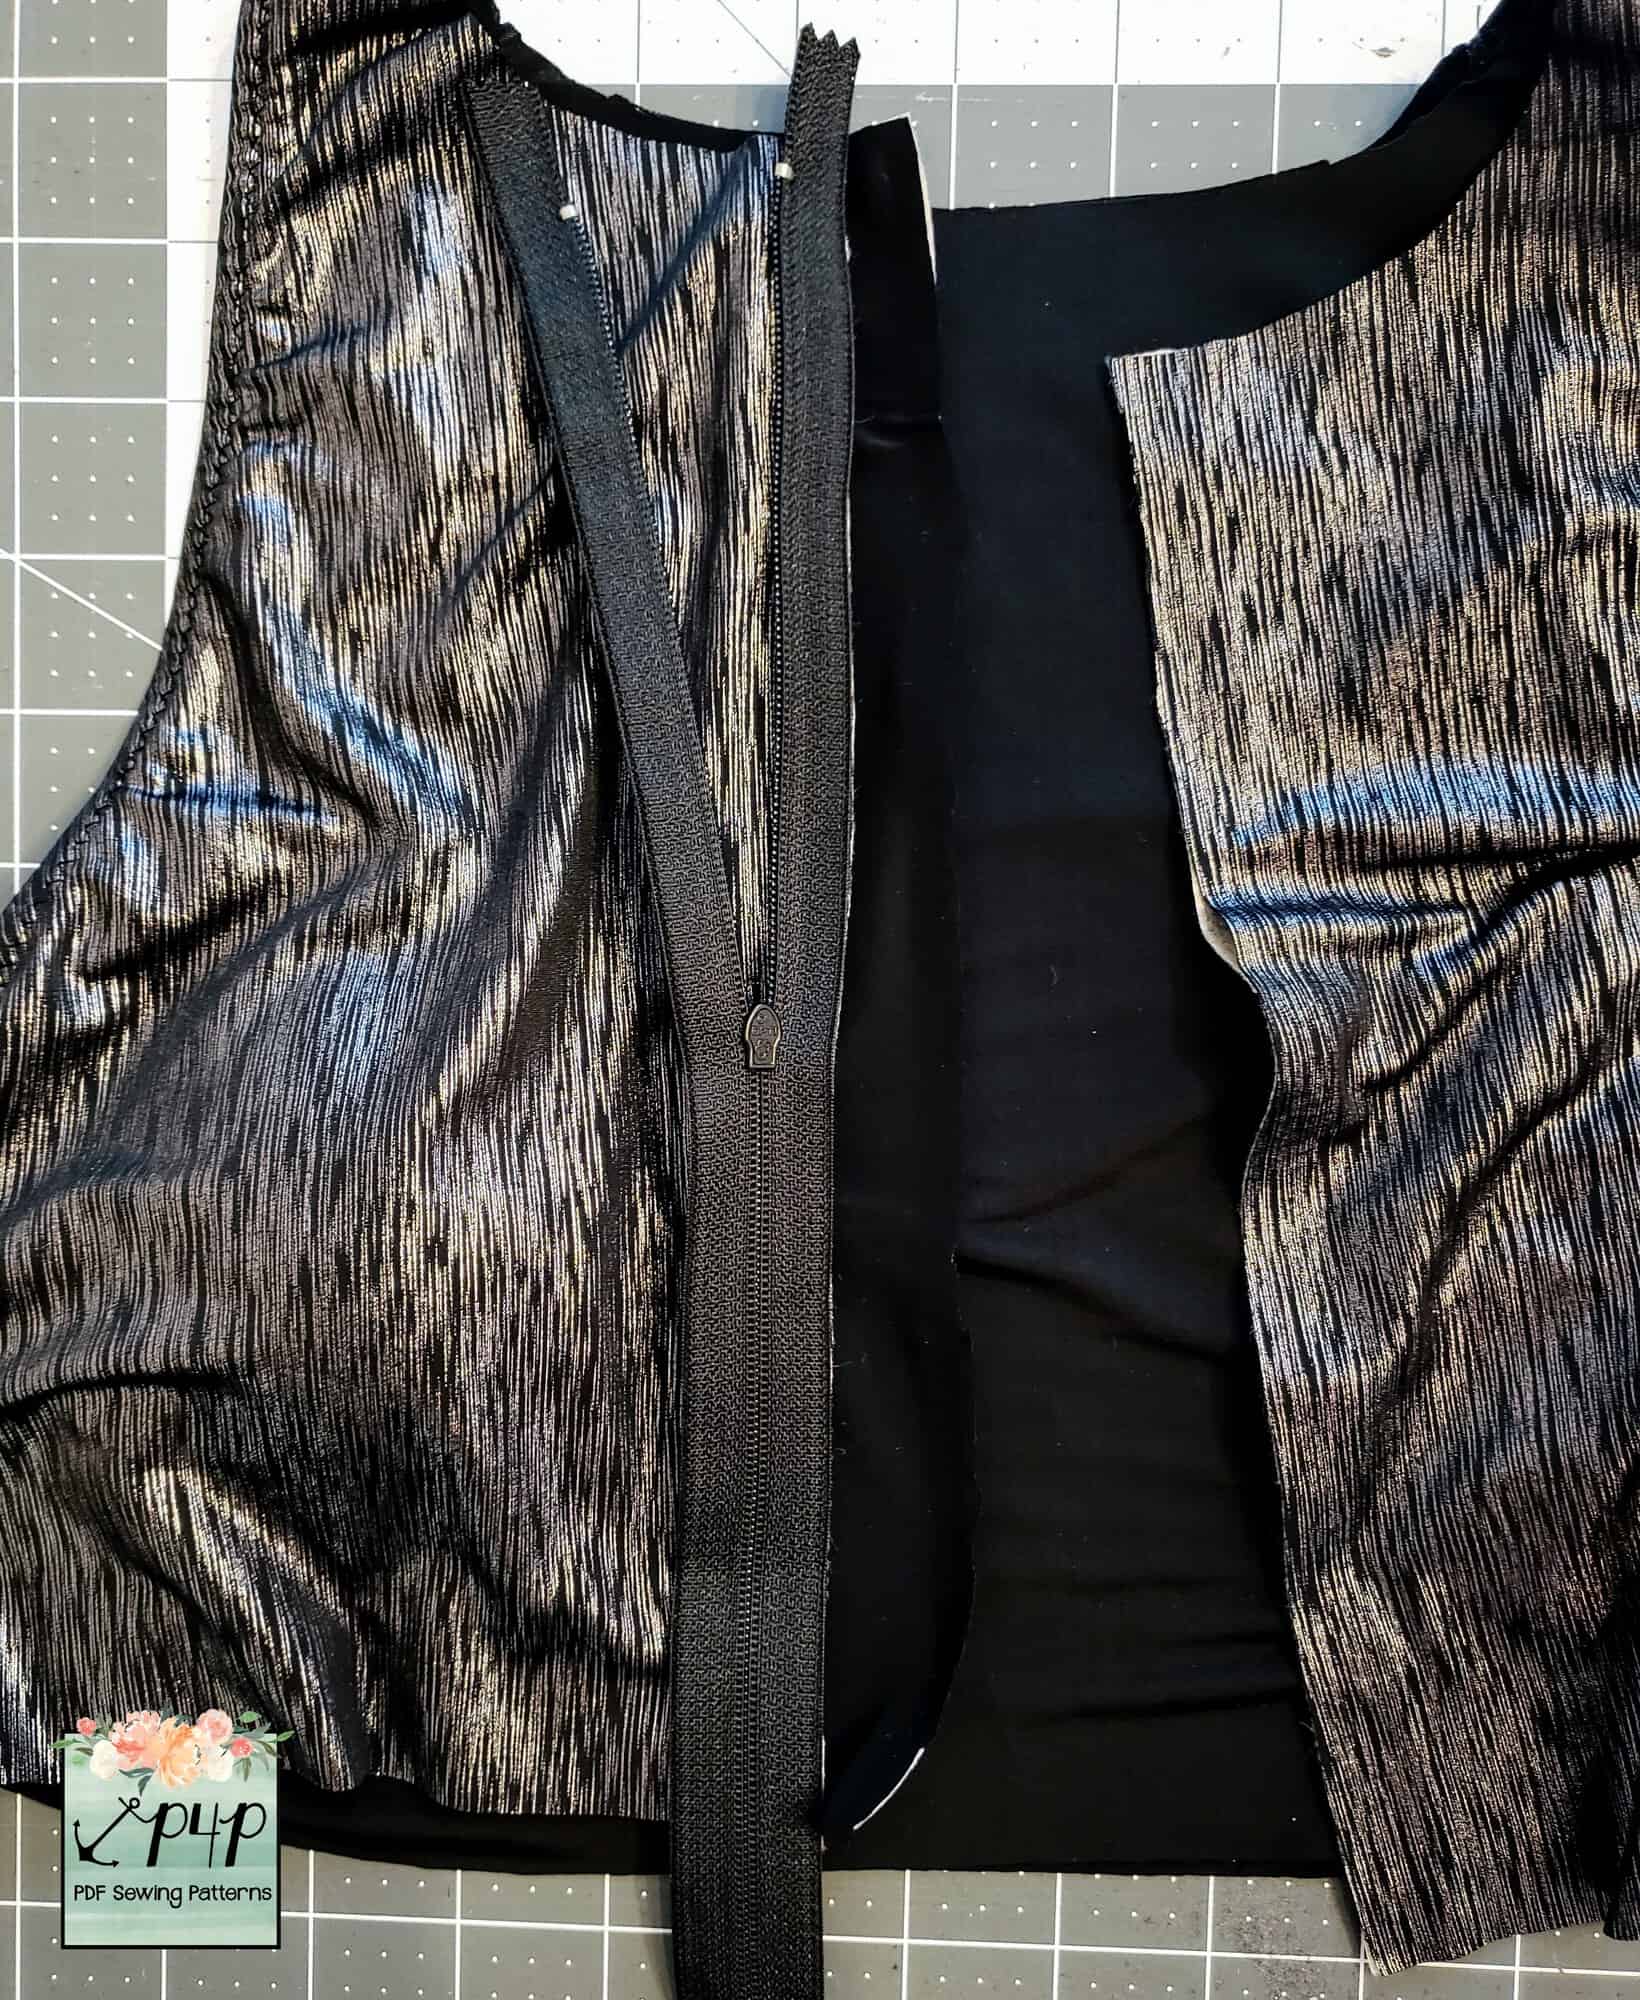
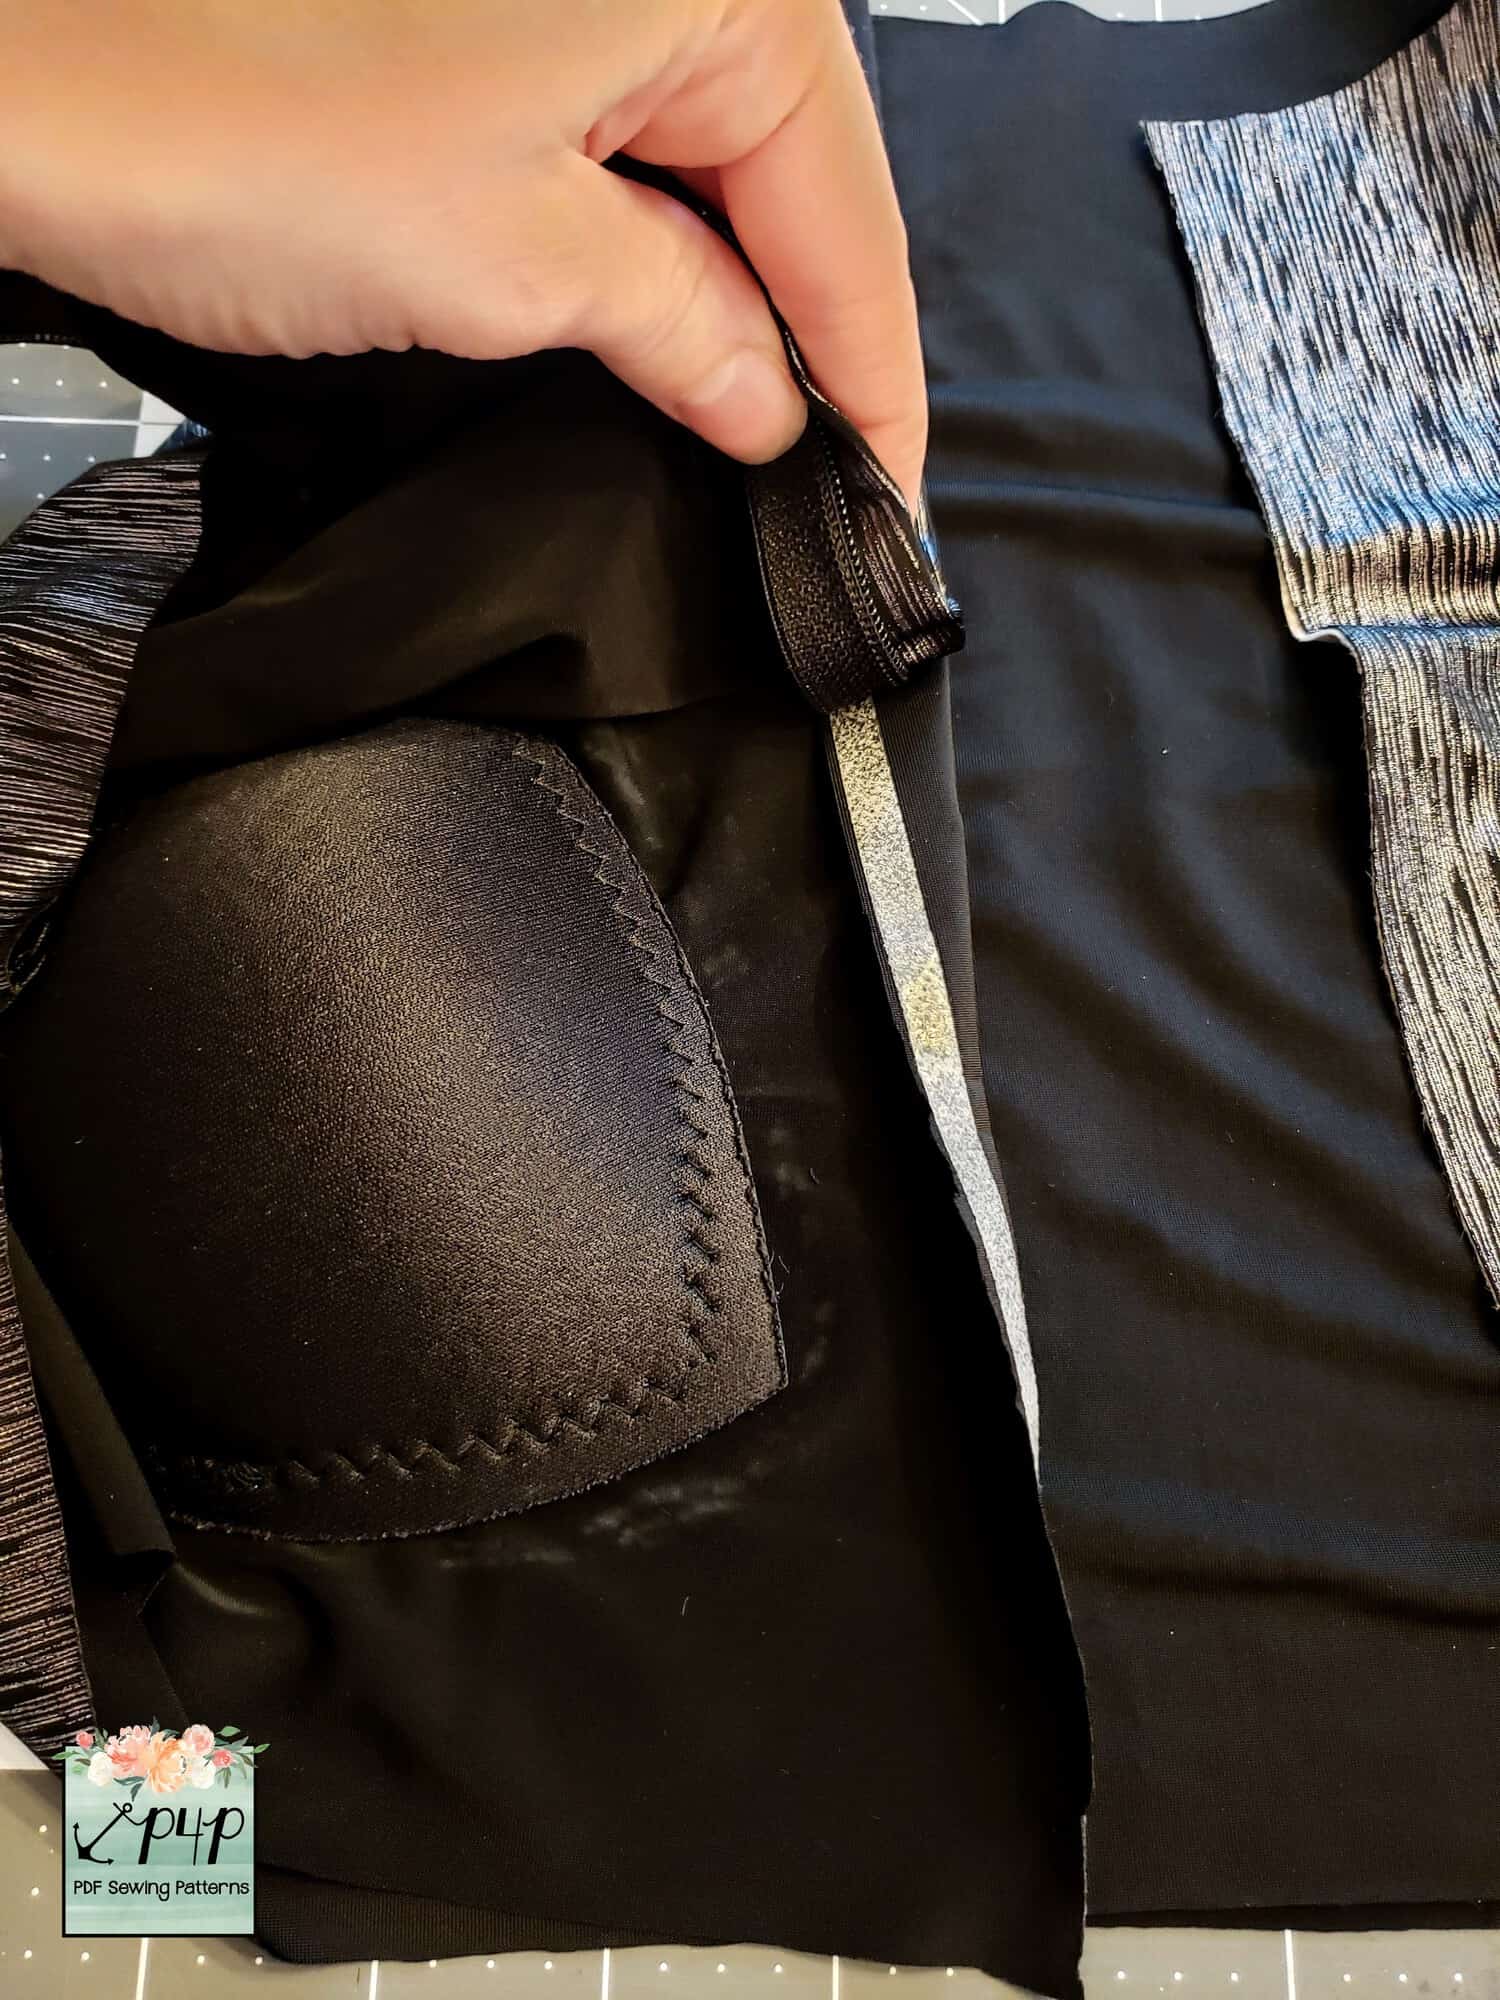
Place a strip of wonder tape from top to bottom along the edge of one half of the bodice. Do the same for the coordinating lining piece, peel off the paper strip.

With right sides together, place zipper along the edge of bodice.

Next, peel off paper strip on lining and place wrong side of zipper along right side of lining.

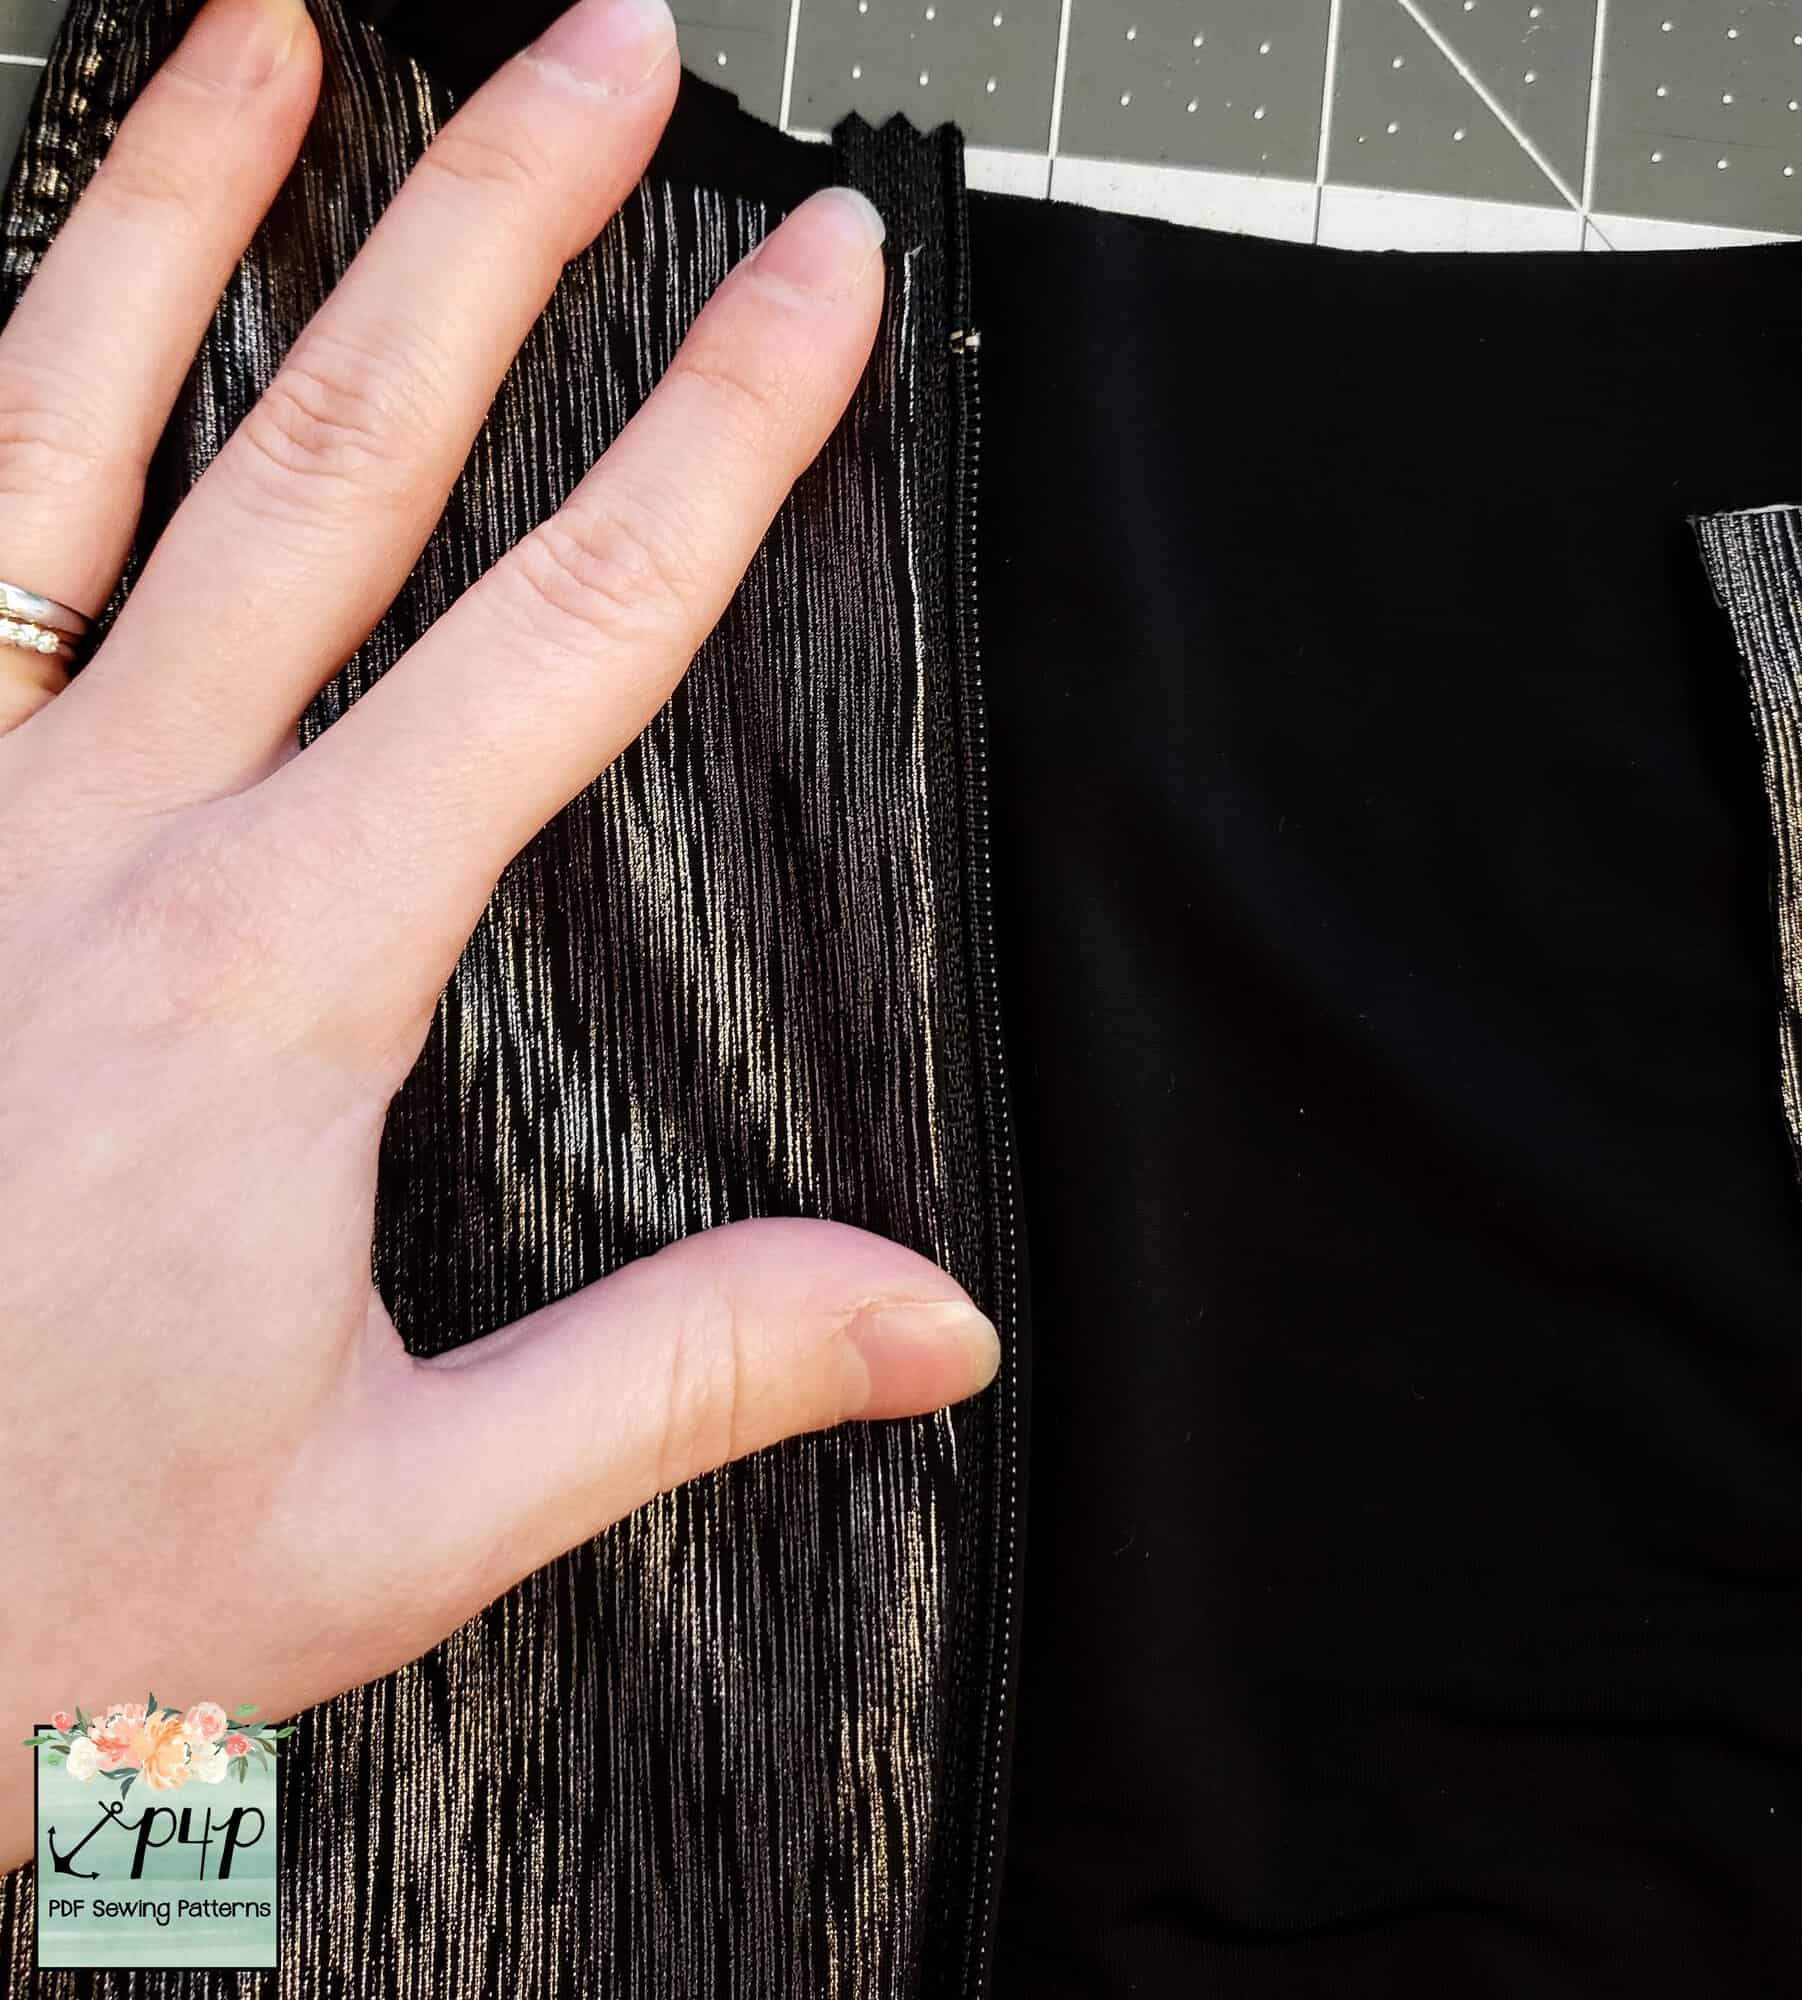
Check to be sure zipper is placed correctly, gently finger press in place. (Clip in place if needed).

Stitch 1/4’’ away from the zipper from top to bottom.

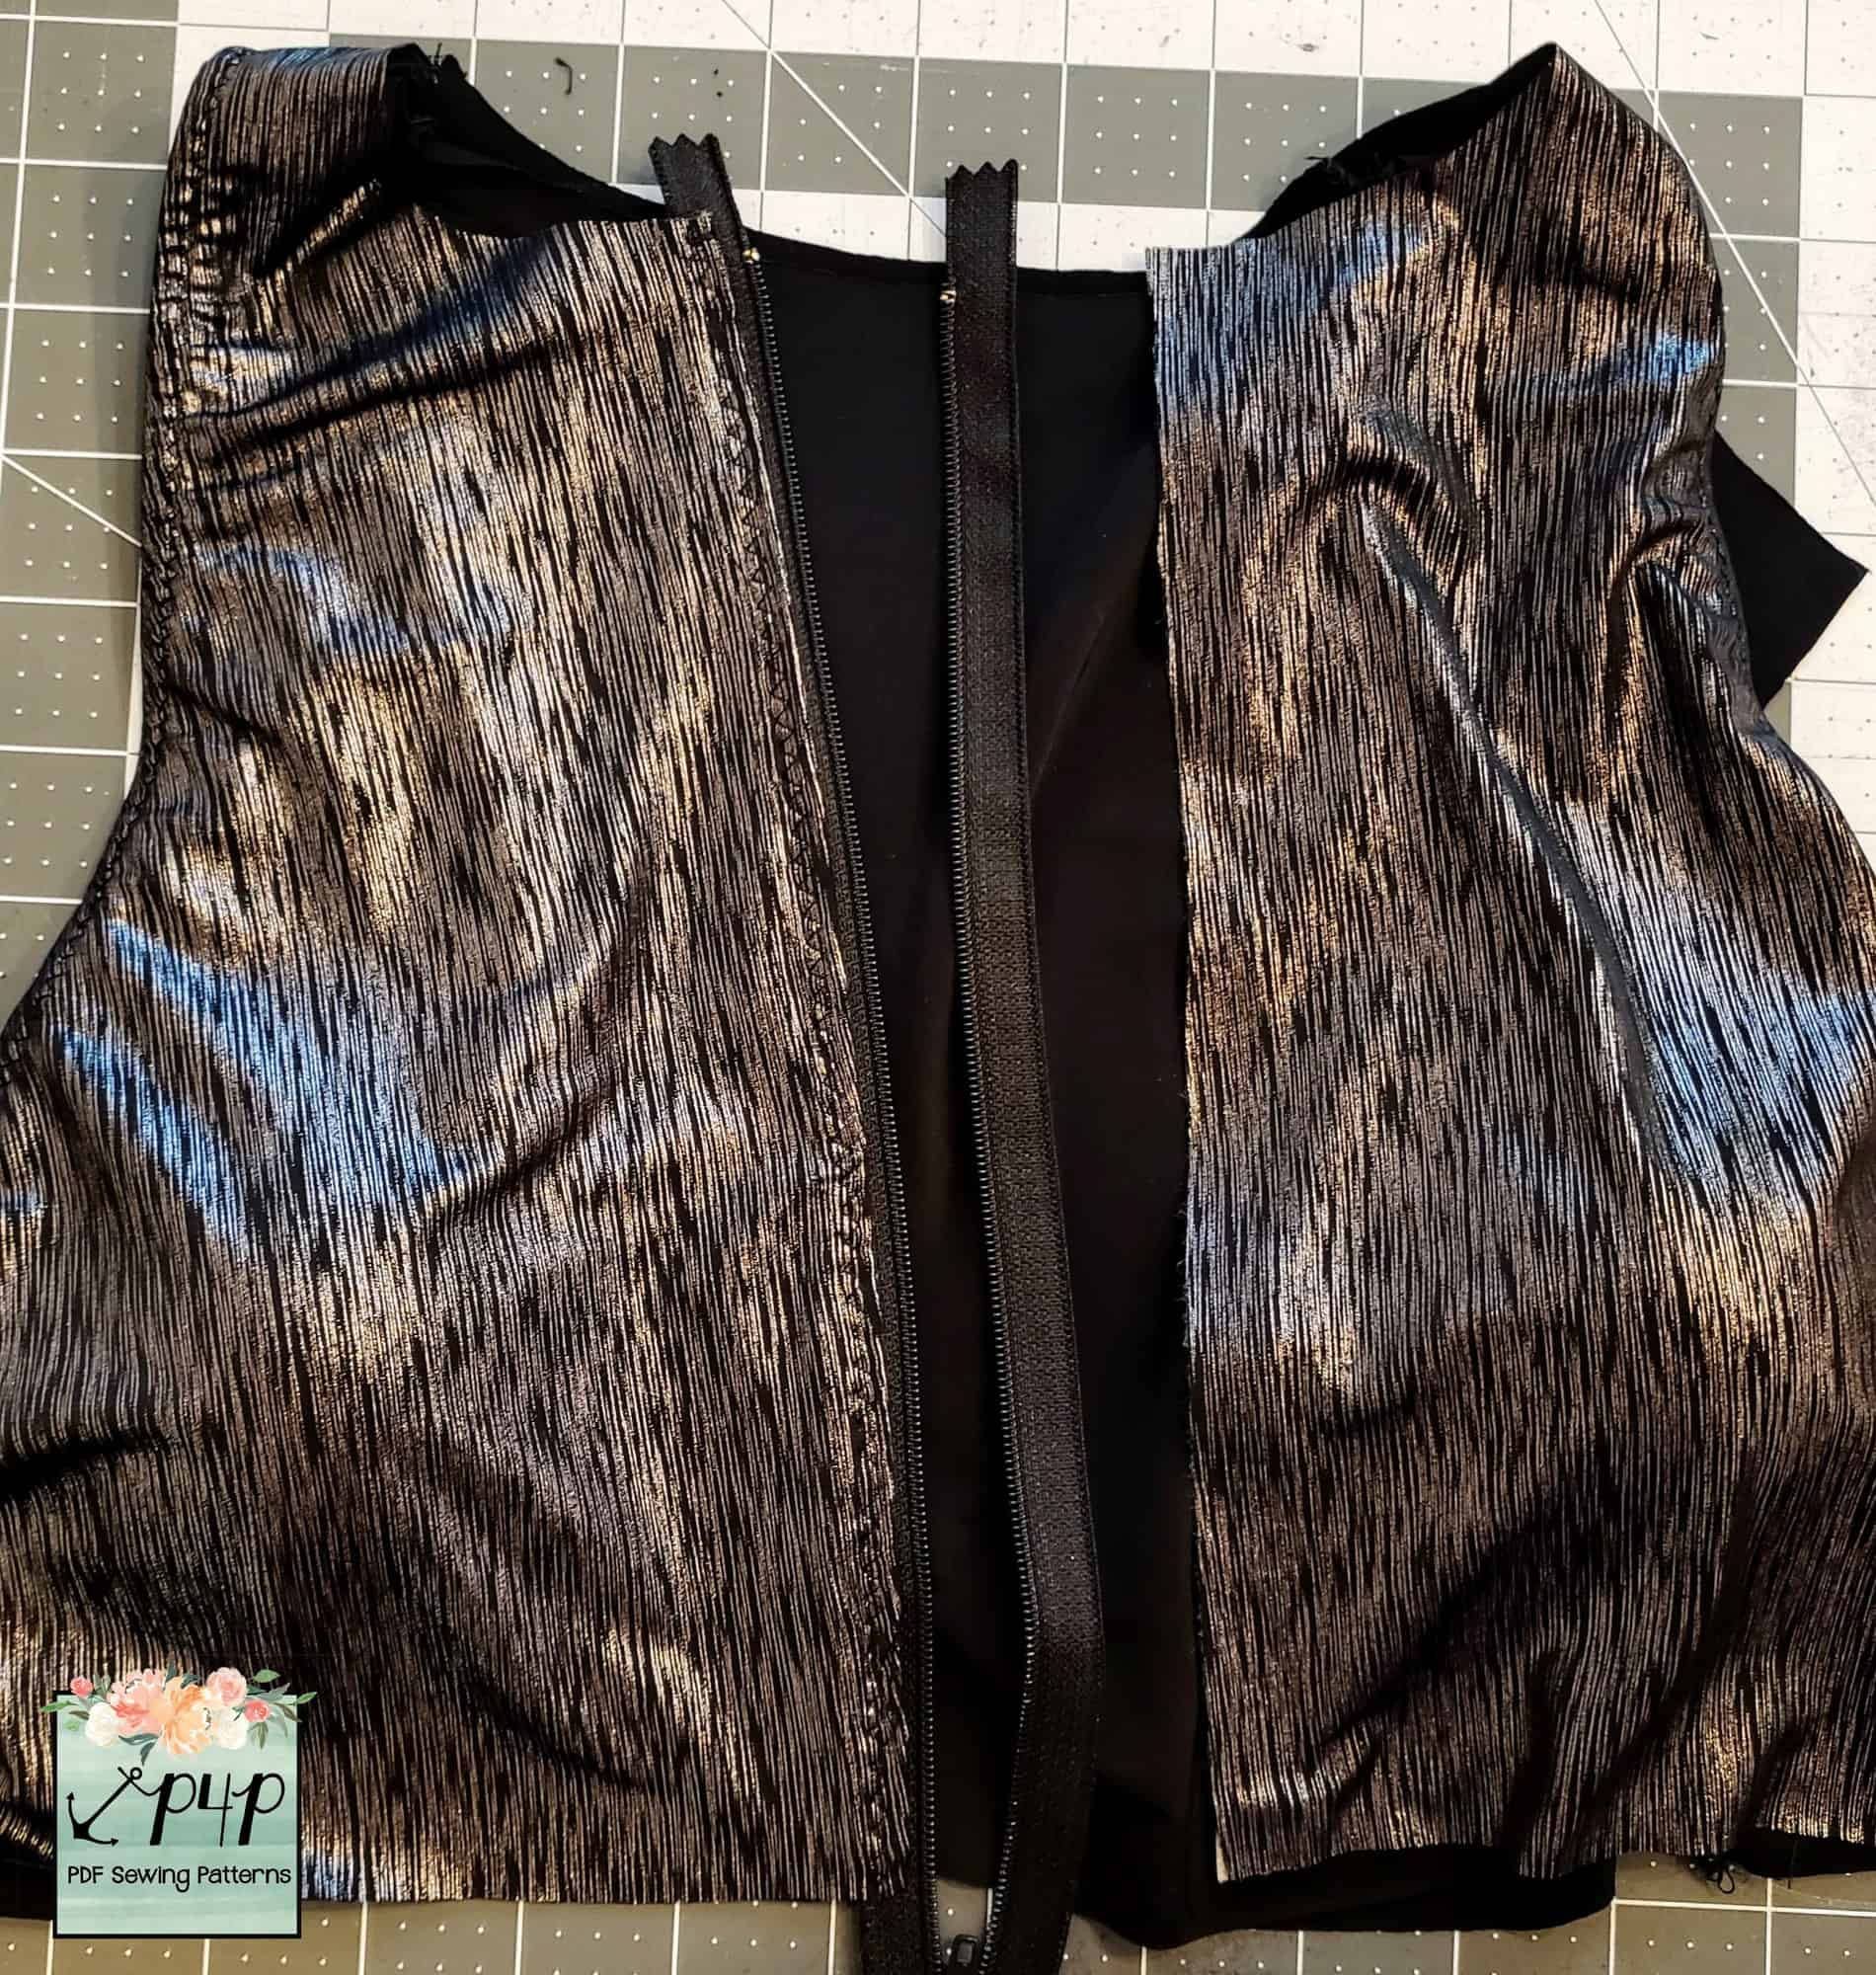
Repeat with other side. Your fully lined zipper is now attached with just two lines of stitching!! Zip up zipper, add reinforcement stitches across the bottom of the zipper, and trim the extra zipper fabric from off the top and bottom.

Finish neckline with your favorite finish. I used FOE, but you could also do a knit binding. Just be sure to fold the ends under so the edges are finished.

3. Add Bottom Band

Cut a band with the following formula (adjust length as needed): Length = 3.5” by Width = (75% of Underbust Measurement) + 1”

Fold width wise right sides together and stitch along short side.
Fold band lengthwise with wrong sides together. Cut strip of 1” elastic using the same length measurement as the band, sew together at short ends and slip into folded band.
Mark quarter points on band and on bodice. Match quartered points and stitch!

*Optional* Hand sew hook and eye closure at top of zipper.

And you are done!!!


…..

Picot trim

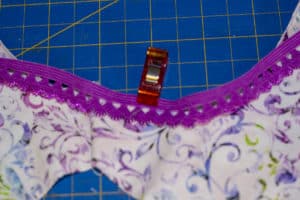
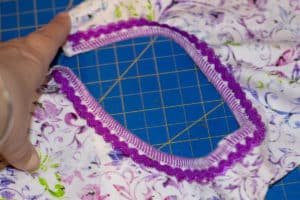
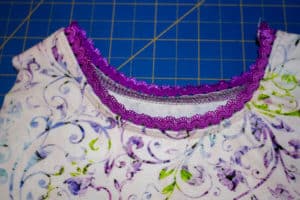
Anyone else buy tons of picot elastic thinking you are going to make all the bras and underwear? Well picot elastic can easily be used for other items and is a great finish for a necklines as well!  This is a quick easy hack and all you need that is different from the original requirements is picot elastic!

We are only going to make very minimal changes.  My picot elastic was 1/4 inch so I did not bother trimming the neckline down at all.  We are going to cut the picot the same length as what the pattern calls for for the clear elastic.

Pin or clip the center of the picot right sides together to the middle of the shirt. You can also mark quarter points if you choose but as the elastic is very close to the same length of the neckline I choose not too.
Sew or serge with a 1/2 inch seam allowance. If using a serger make sure to disable the knife so you don’t risk cutting your elastic.
Flip your picot out with your seam allowance down towards the shirt and sew your shoulder seam with 1/2 inch seam allowance.
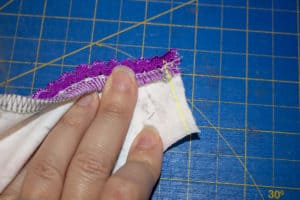
Flip your picot up, seam allowance down and pin in place.
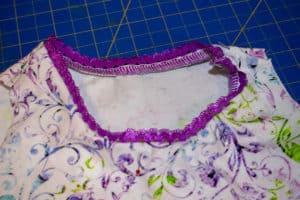
Top stitch in place, make sure that you are stitching a close to the edge of the seam allowance as you can, this prevents the picot from flipping out and showing your seam. I used my coverstitch but you can easily use your sewing machine with a zig zag or double needle as well.


Now press that top stitch cause pressing is the key to a really great finished product and finish the rest of your top as instructed.  You can also use this method for the armholes if you choose but sometimes picot can be scratchy, mine was super soft but I choose to just use it for the neckline.


…..

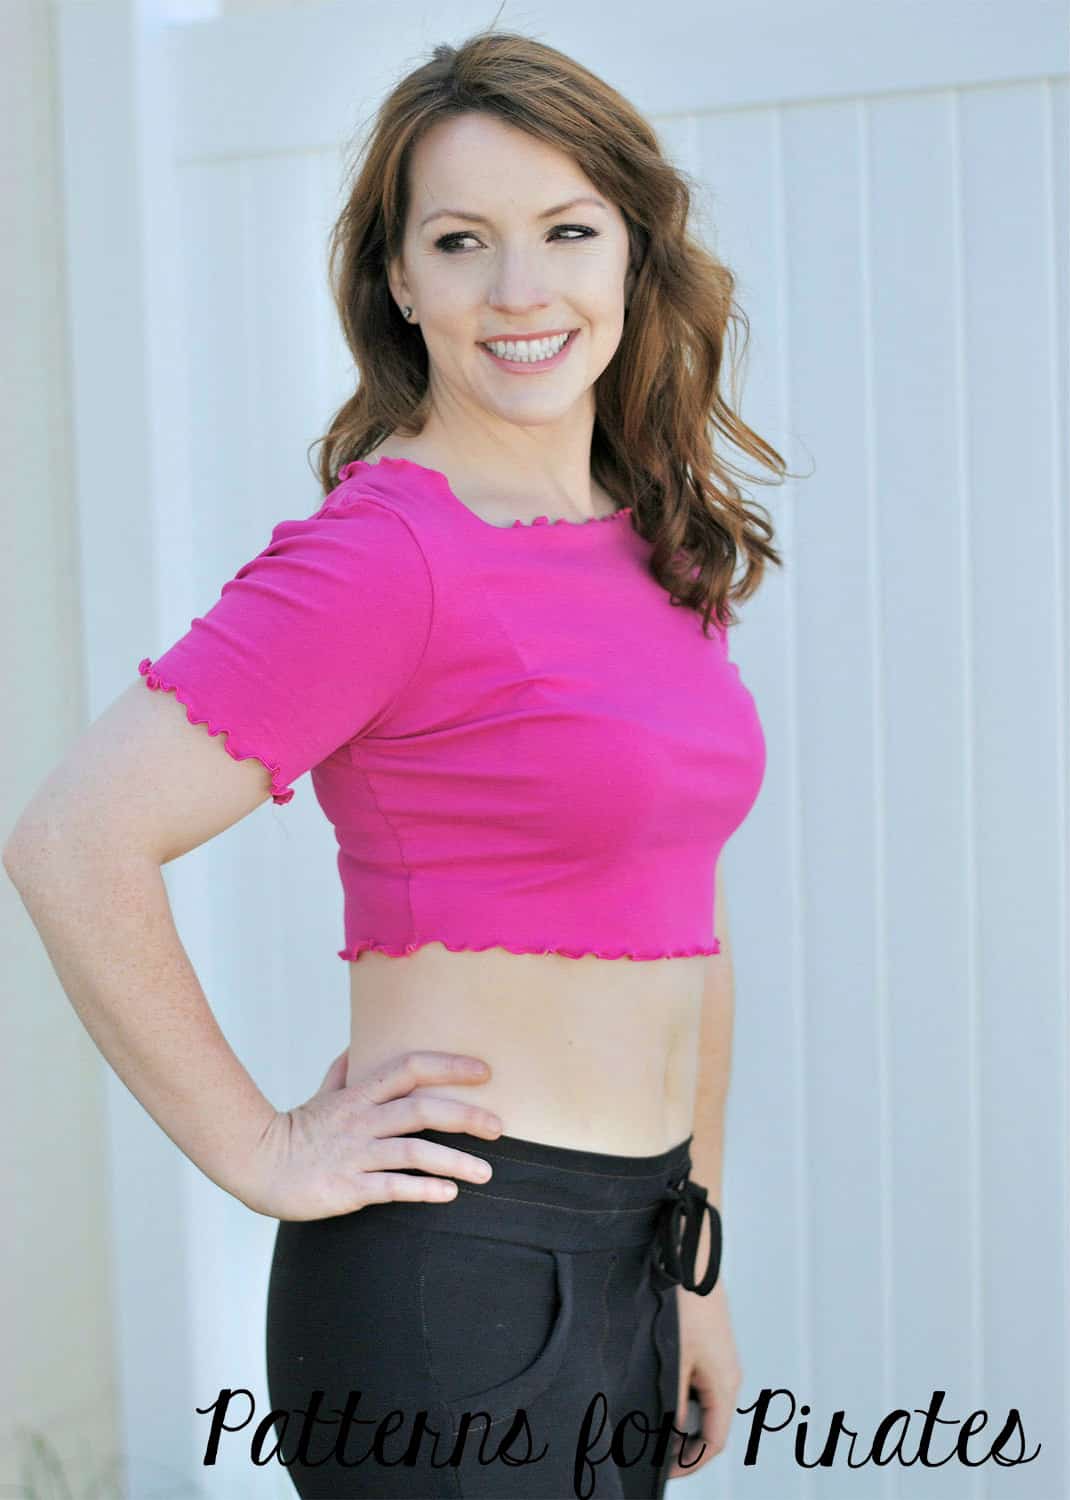
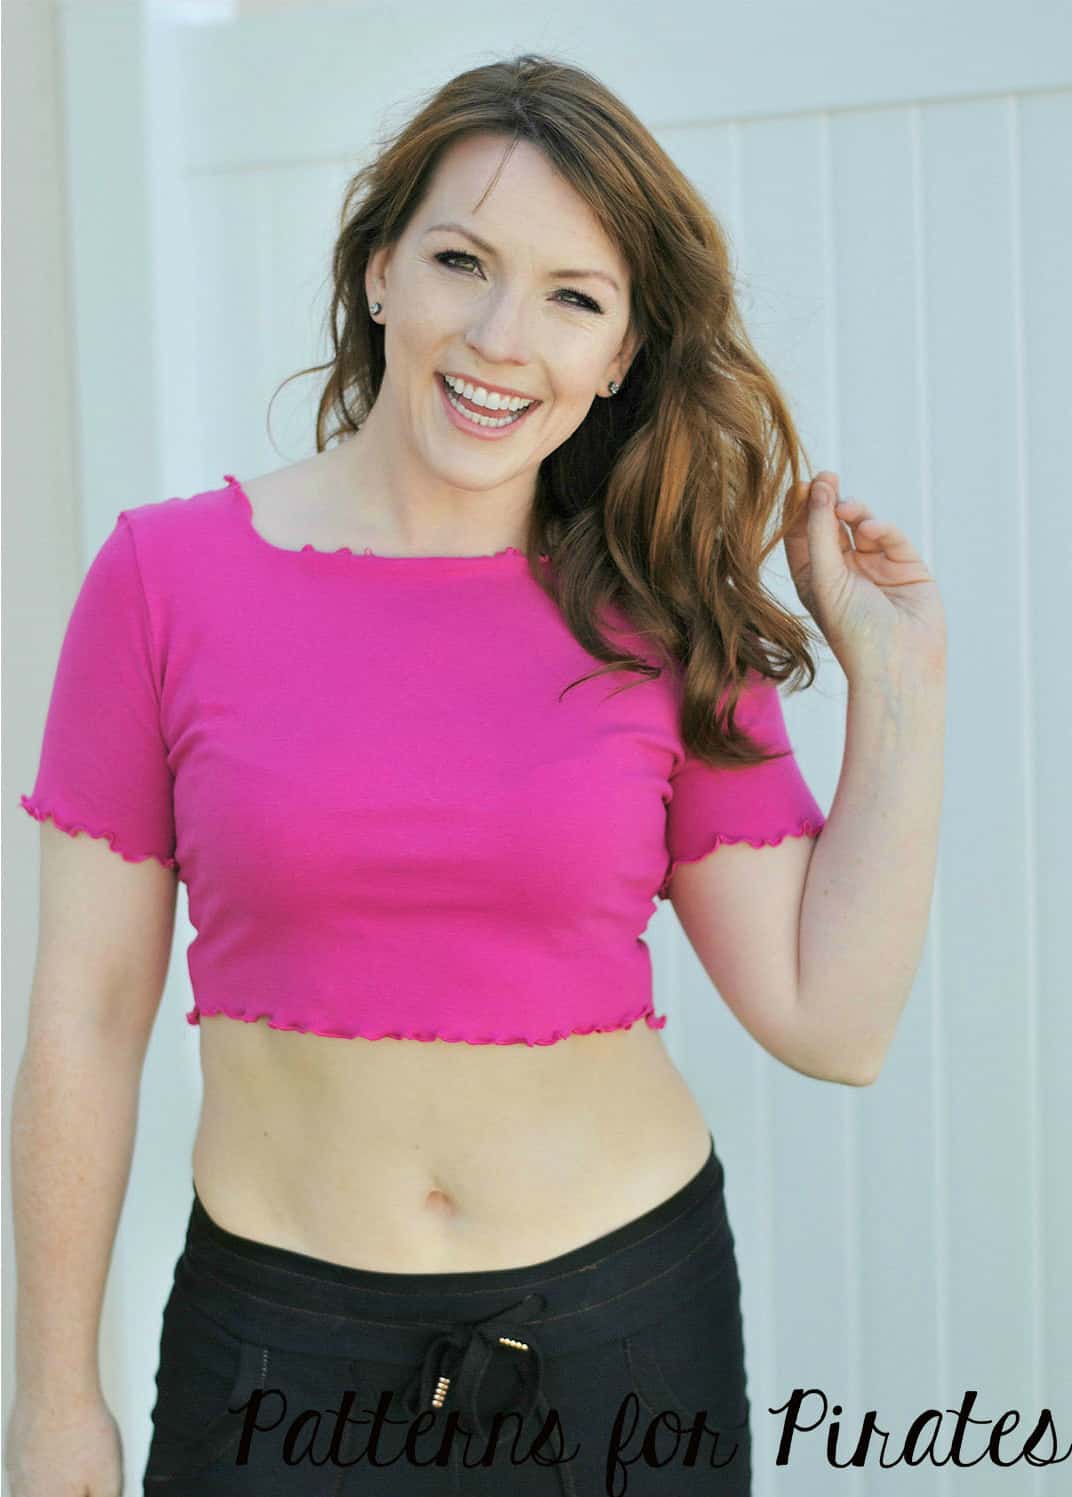
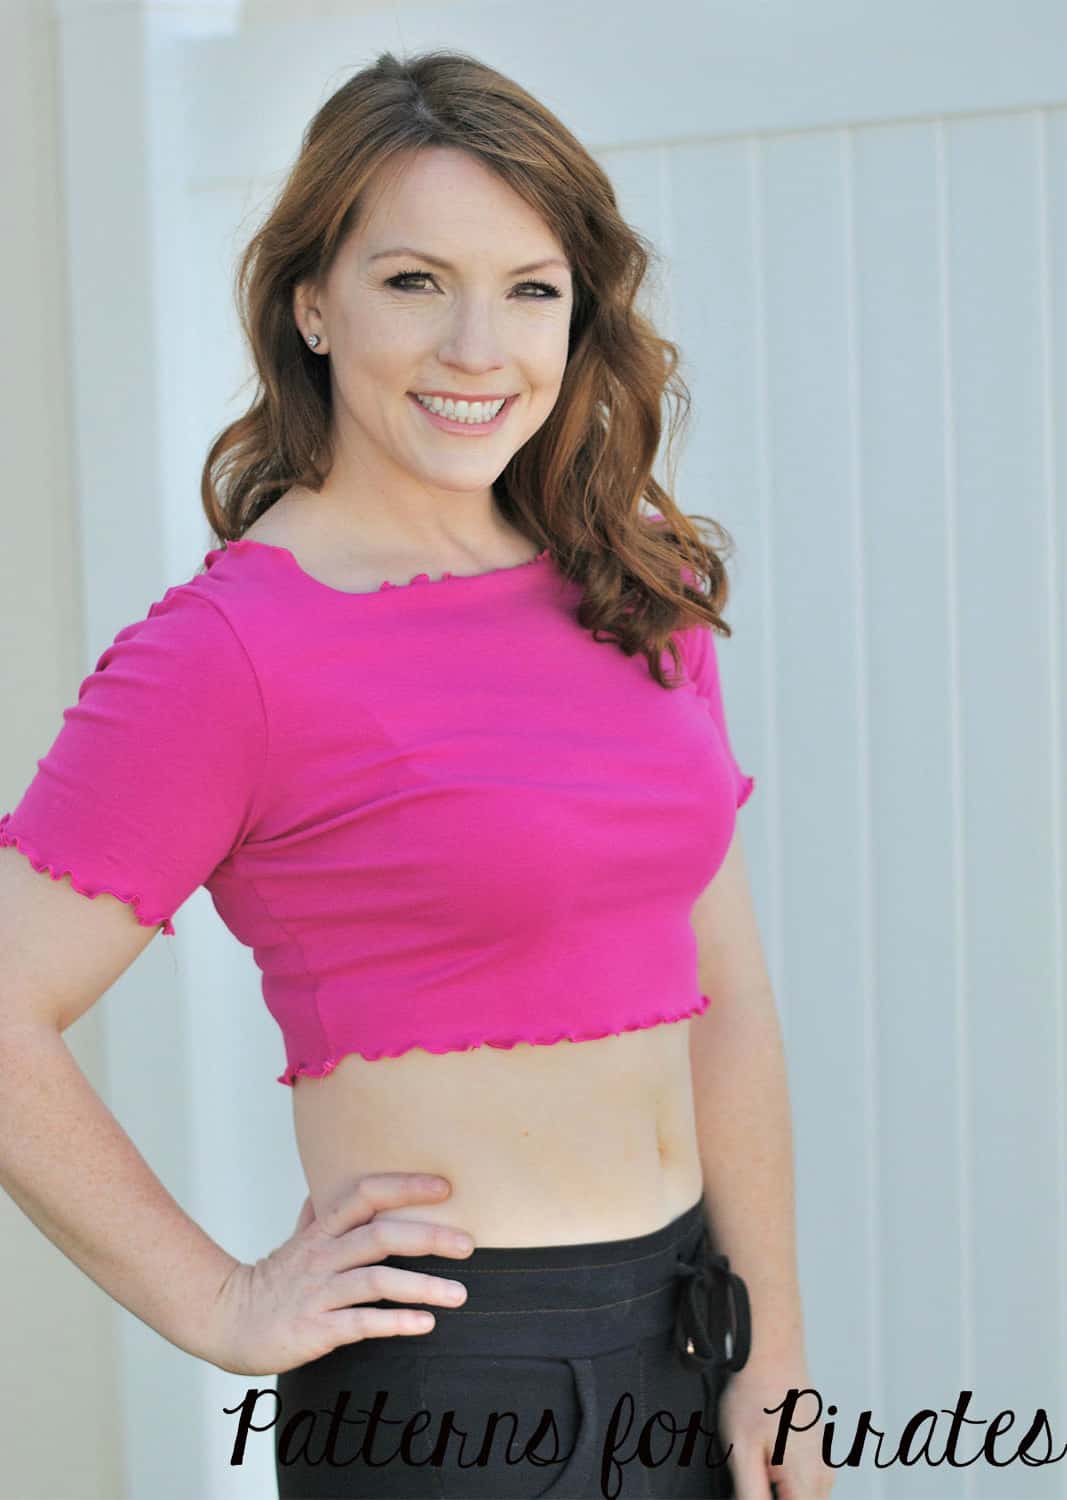
Lettuce hem

Next up we have the lettuce hem hack. This is an easy and fast way to finish your edges with a little added style!

First off, we need to trim the hem allowances at the neckline, sleeve edges, and bottoms of both front and back pieces of the pattern to account for not using a traditional hem on these edges.

Trim 3/8″ off of the neckline.

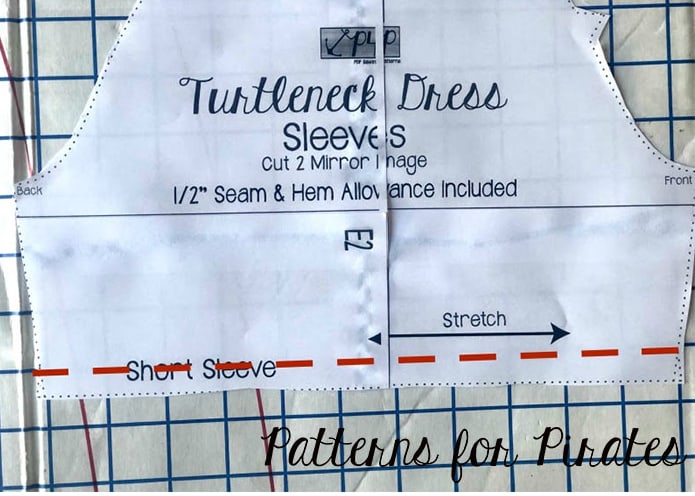
Trim 1/2″ from the sleeve edges.

And trim 1″ from the bottoms of both the front and back bodice pieces.

Now that we’ve got our pattern pieces properly modified, cut and sew up your top as usual, using the new trimmed pattern pieces.

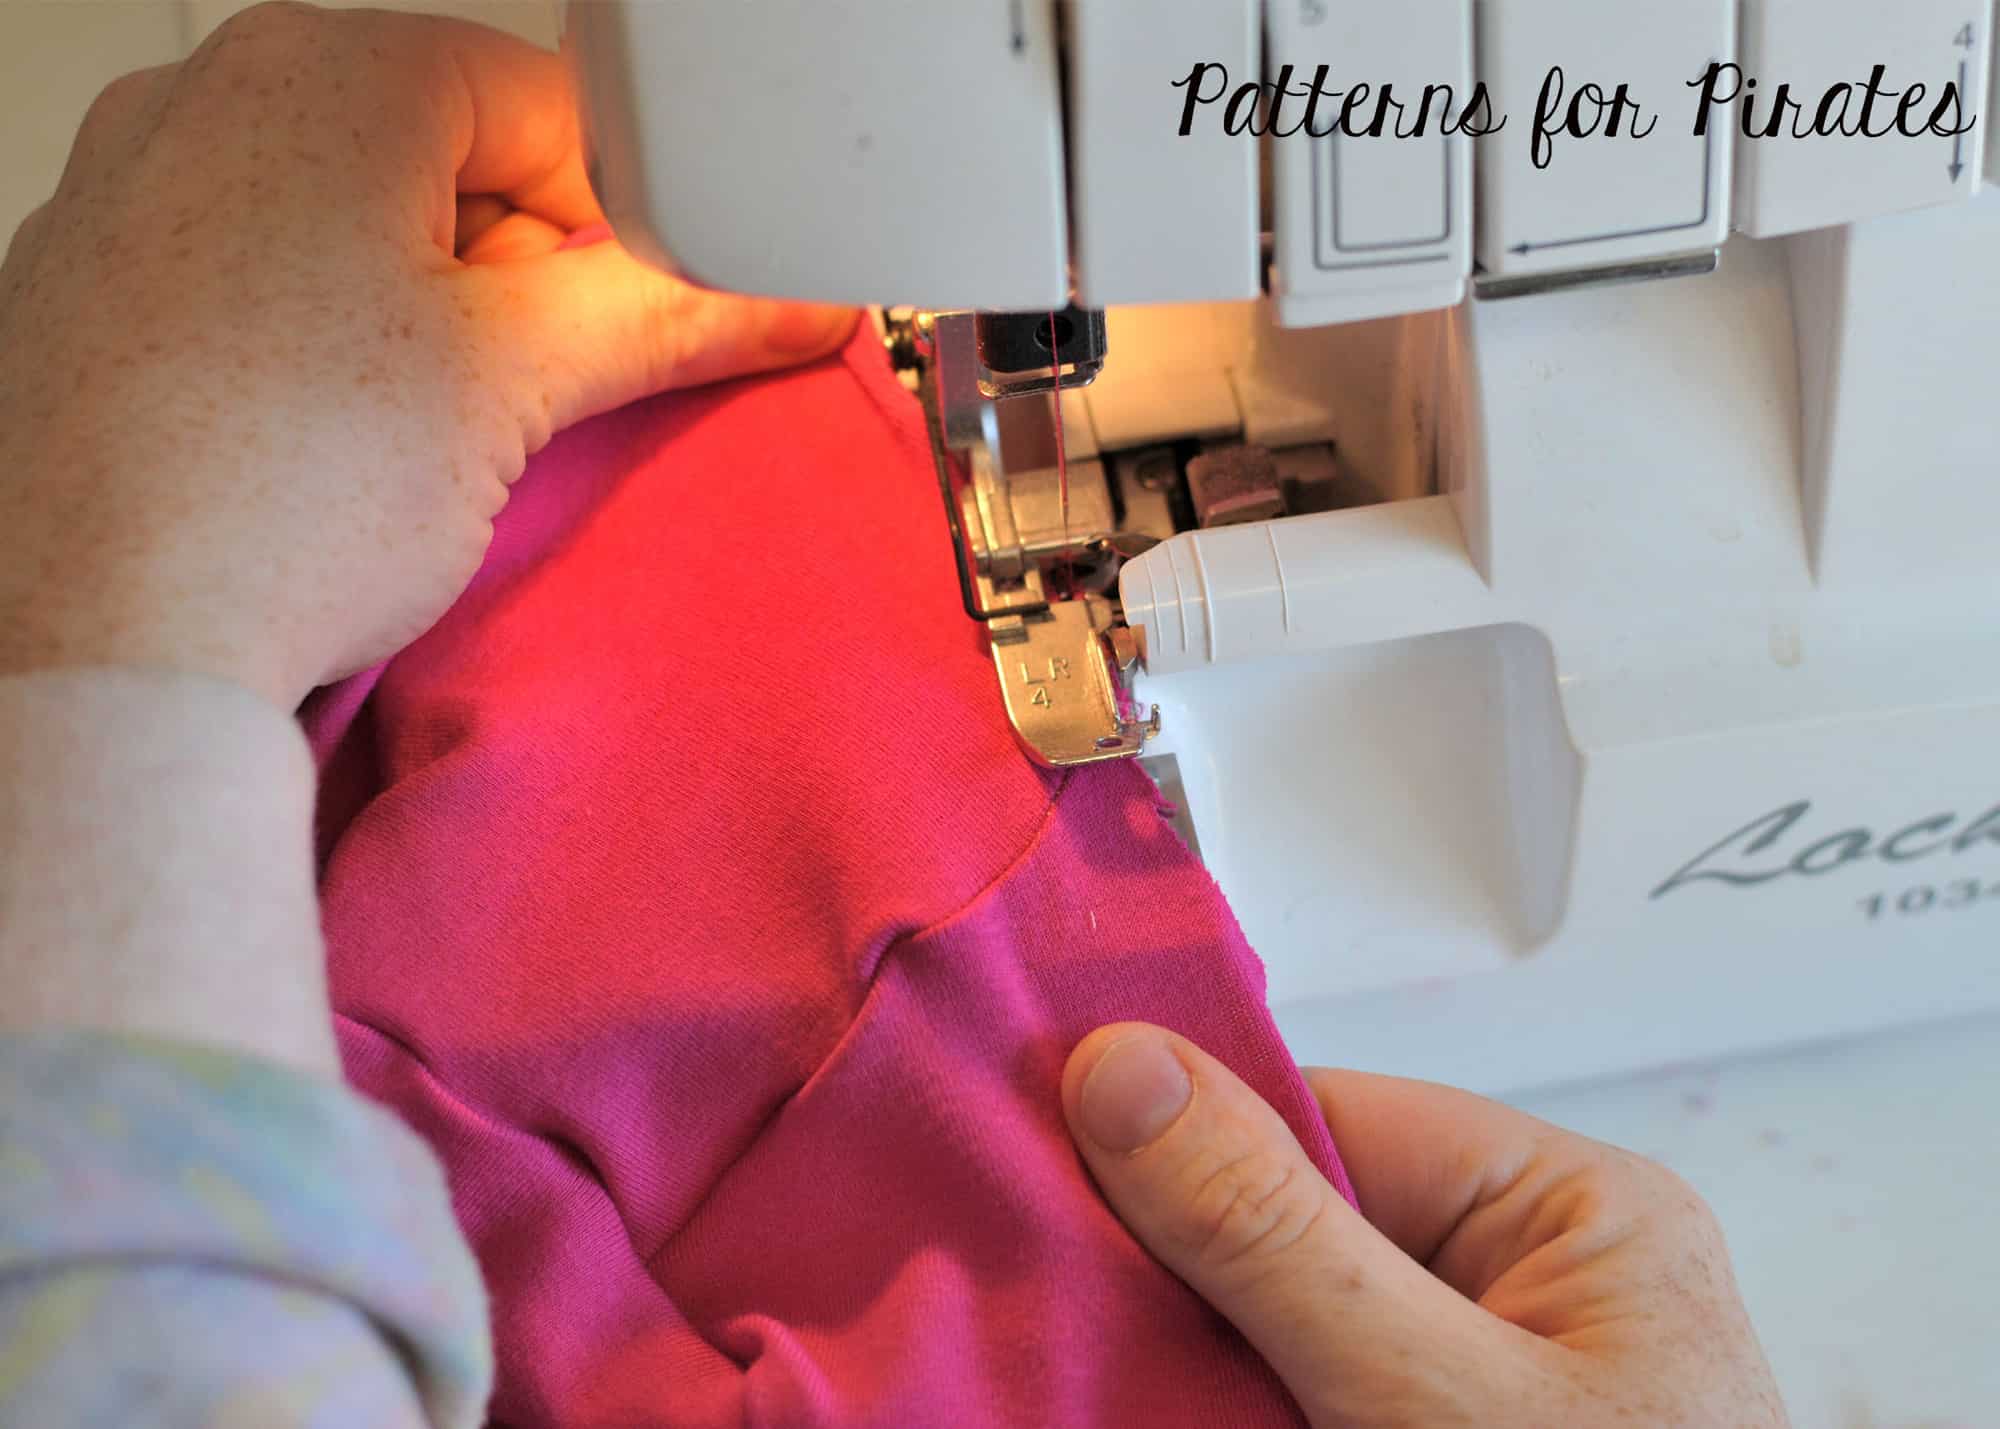
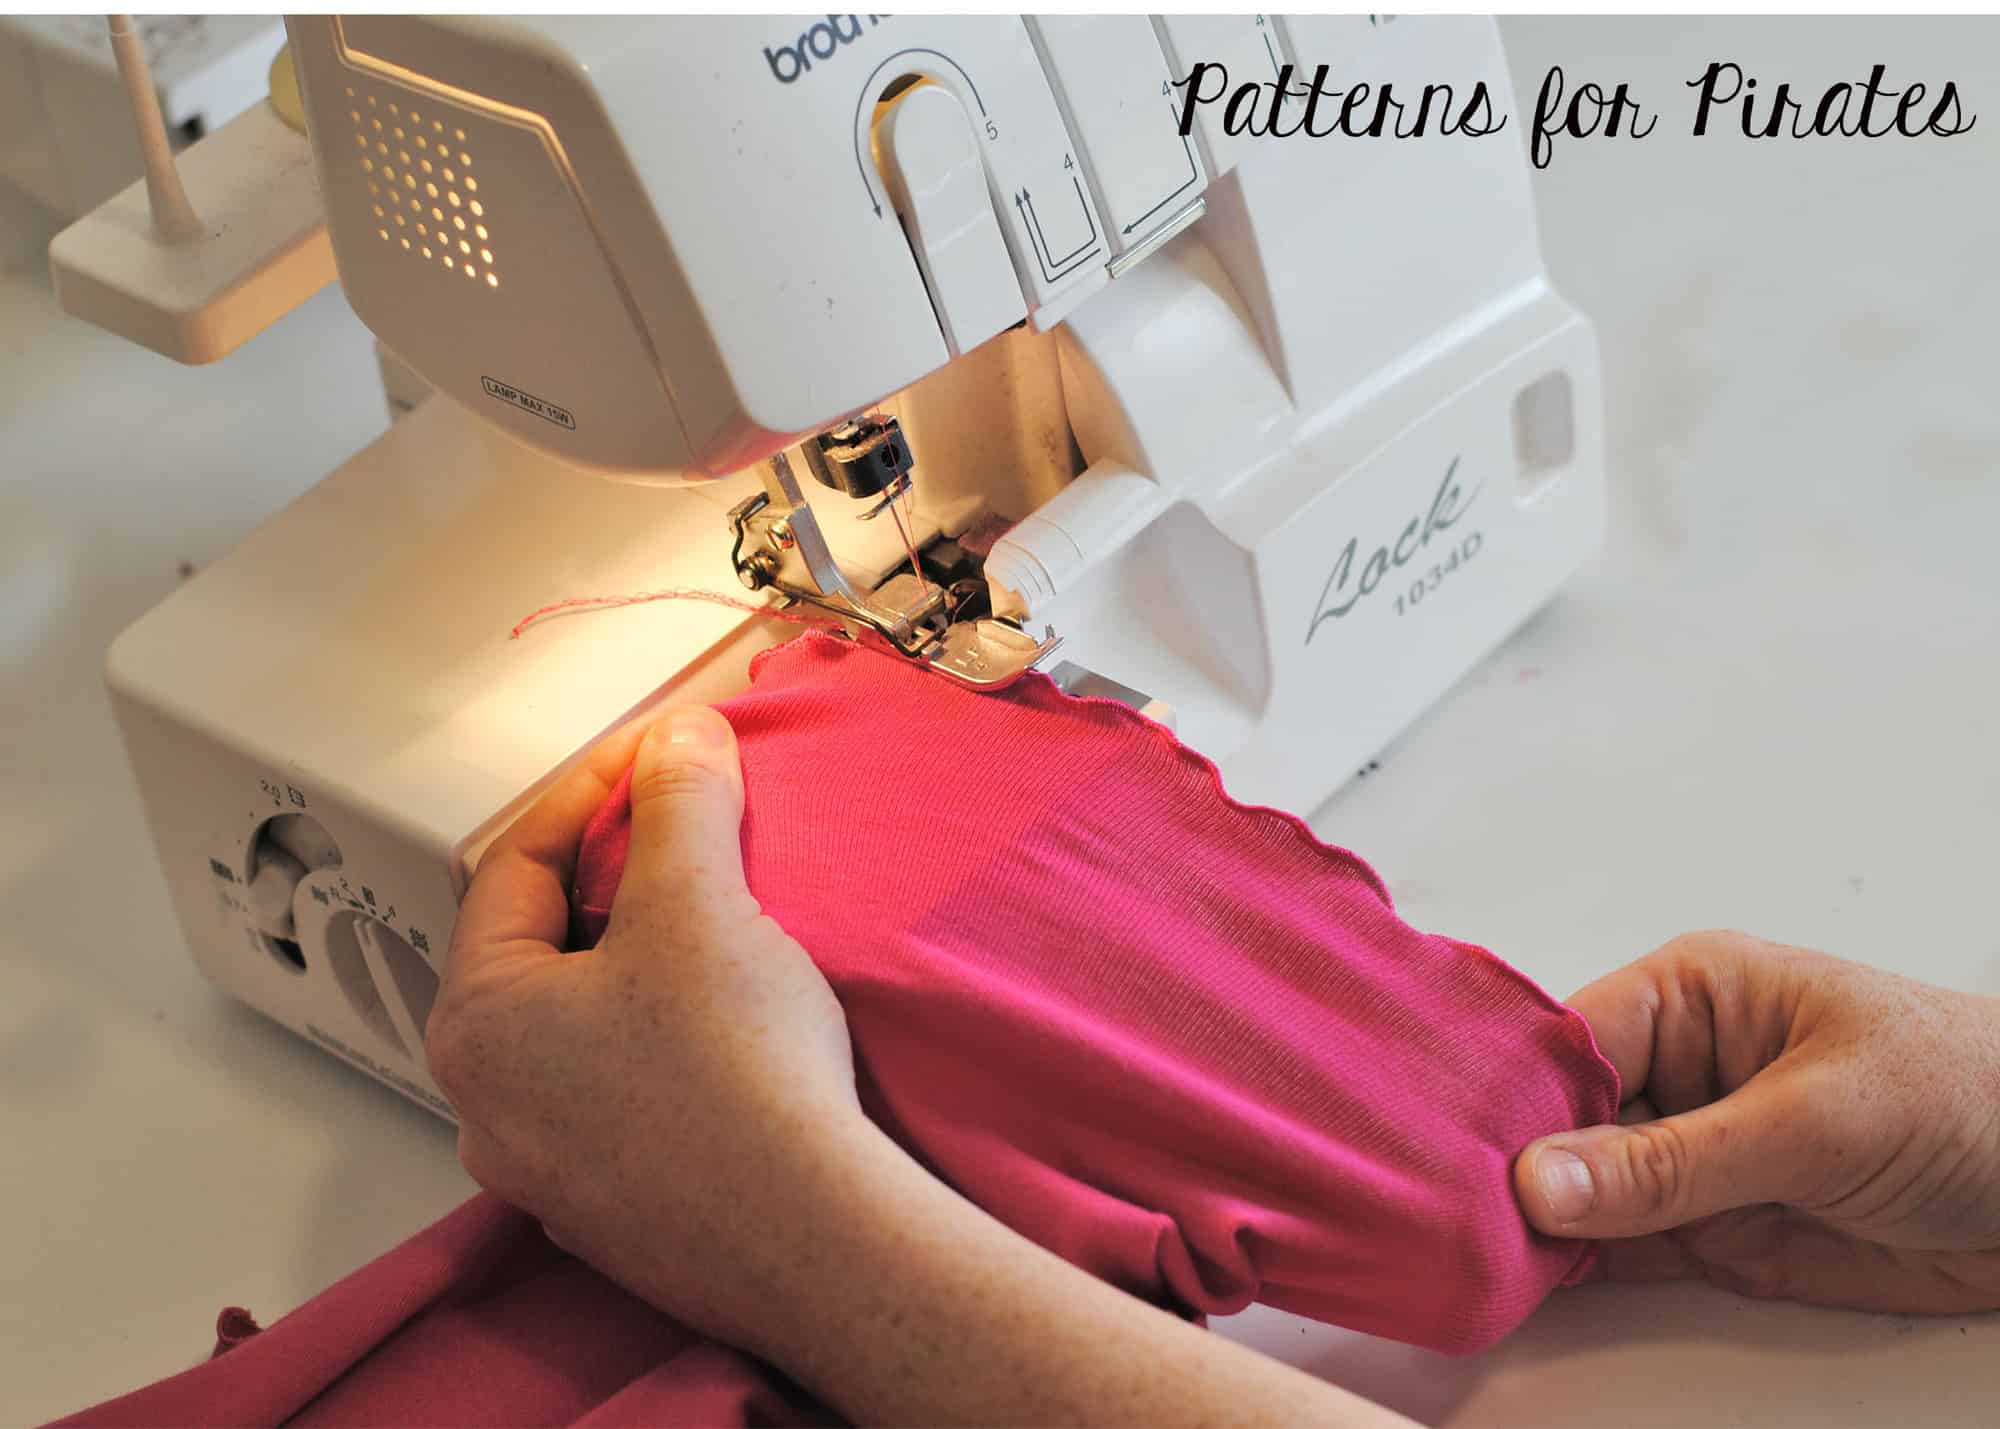
Next, set up your serger for a rolled hemline. Consult your serger’s manual for exactly how to do this on your machine, but in a nutshell, you will use only one needle, narrow the stitch width, decrease the length and increase the lower looper tension.

Begin with the neckline of the shirt. Sew the neckline as if you were finishing with a rolled hem, but stretch the fabric firmly before and after the presser foot. The tighter you pull, the more waves your lettuce hem will have!

Repeat on the raw edges of both sleeves and bottom hemline.

And that’s it! Now you have a beautifully finished tee with cute lettuce hems.


Caitlin

…..

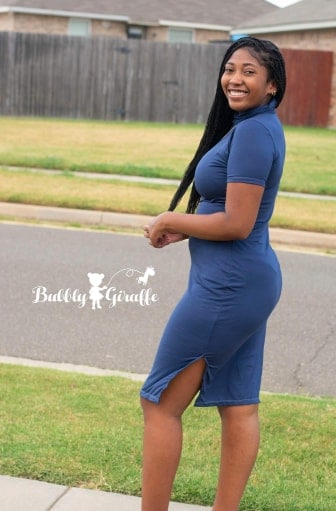
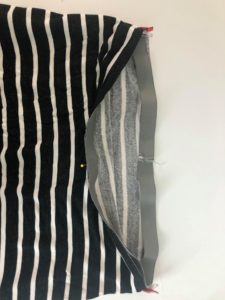
Higher side vents


Let give this dress a nice higher vent to add extra sexy to it!

 Here’s how I made this little hack.

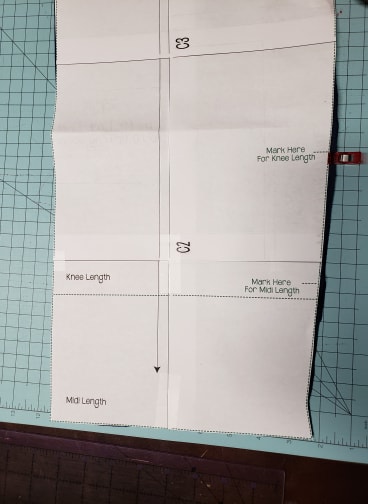
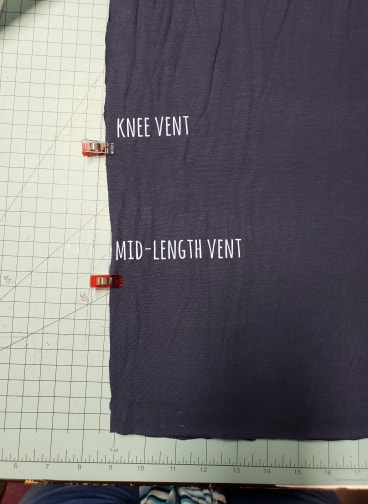
I started with cutting the mid-length version and marking the vent line for the knee length.

I continue sewing up the dress according to the instructions. 

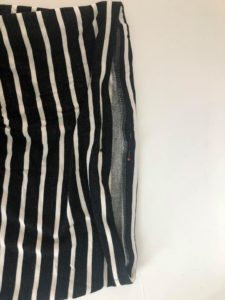
Here is a picture to show the different vent lines. I followed the directions for the vent except I used the knee length instead of the mid length marking. 

Hope you all love this hack!!

Andrea

….

Skirt

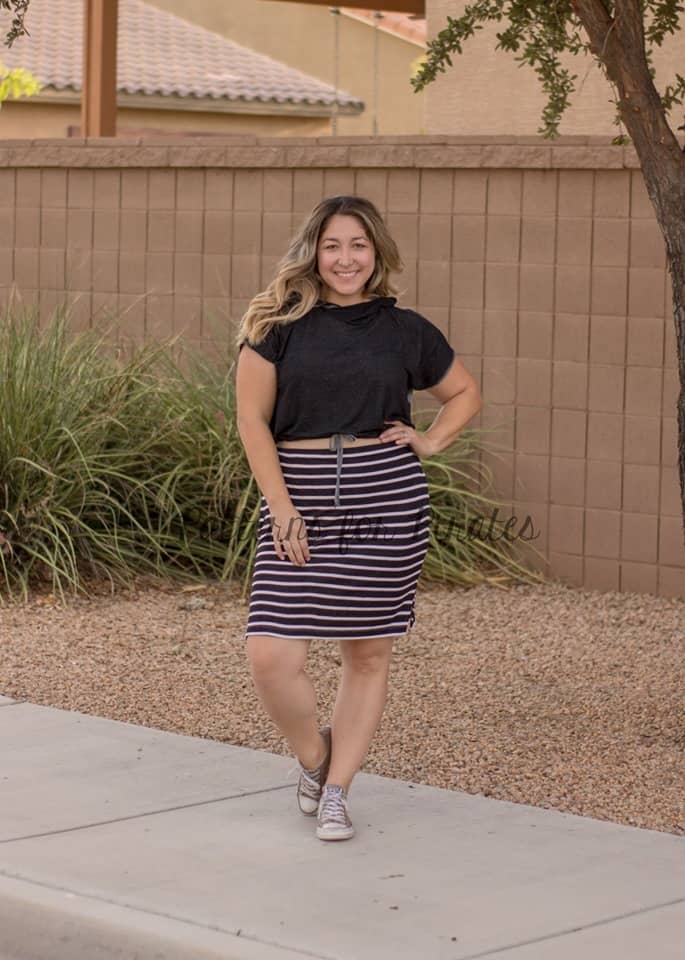
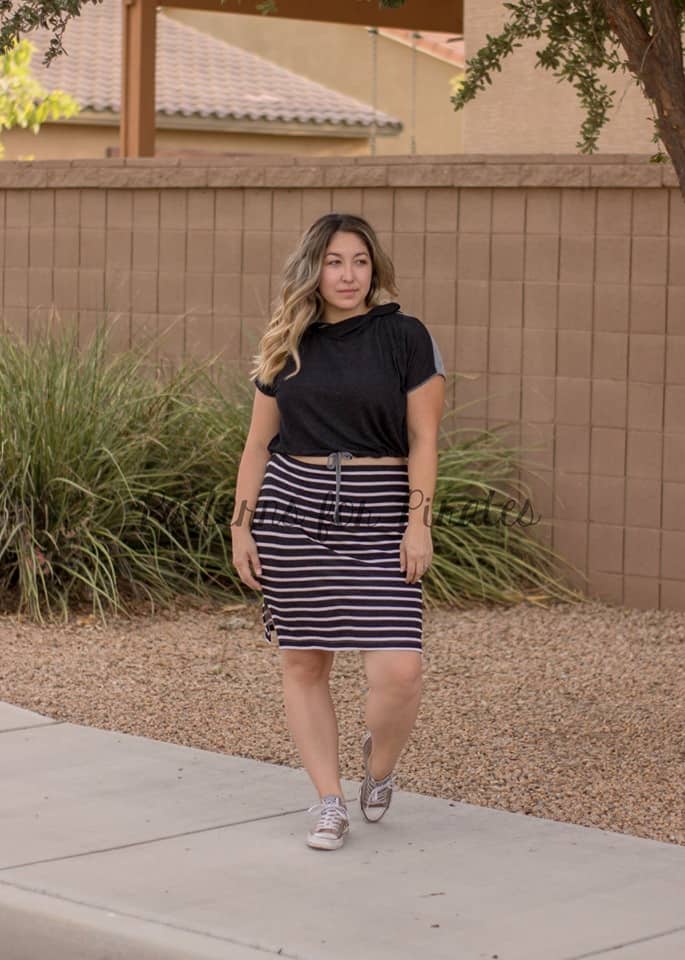
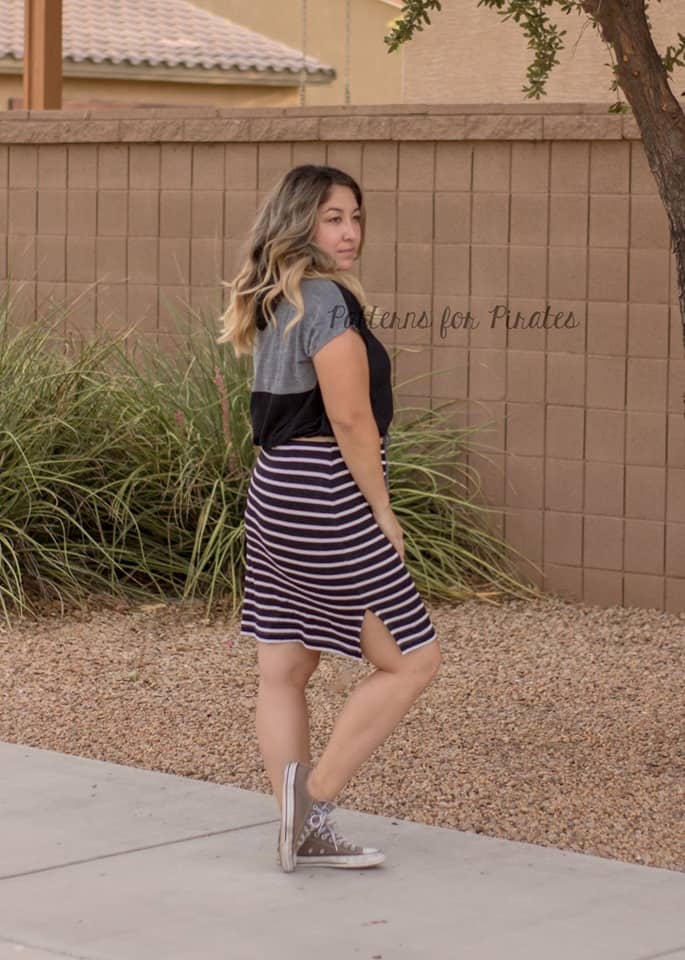
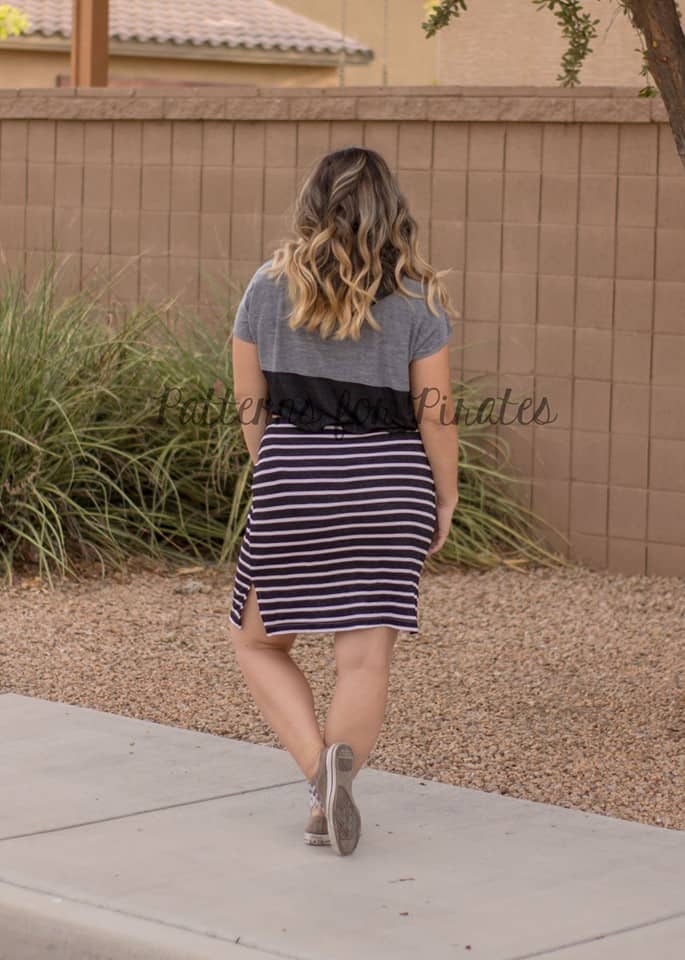
Next up we have a super easy, fun skirt hack. Nicole paired her skirt with the Sporty Piko crop but you can certainly wear it withe the cropped Hepburn top. Start by deciding where you would like the skirt to hit. Nicole is wearing a high waist style so she cut the pattern 1″ front and back pieces above the waist line. Now grab a 1″ knit elastic piece and stretch it around your waist (or high hip, depending on your skirt preference). Cut the elastic based on your waist and comfort. Sew the side seams and hem the bottom of the skirt following the tutorial instruction.

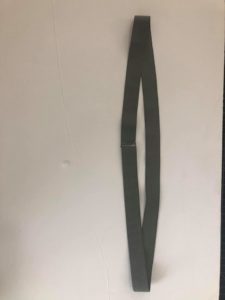
Sew the elastic in a loop.
Find the quarter point of both the elastic and skirt waist opening and match them.
Using your serger or a zig zag stitch attach the elastic to the waist.

Fold the elastic over and pin in place.
Use a zig sag stitch or a coverstitch to stitch in place.

That’s it! All you have left to do now is enjoy your new skirt.


…..

Hepburn / Boundless mash

My turn!! You know there’s nothing I like more than a good dress! So once I have sewn the dress included in the pattern I just had to try mashing it with the Boundless skirt. Here is what I did:

Cut the preferred Hepburn style (tank, sleeves, etc) CROP top. Now grab the Boundless pattern (or even the Sunshine) and cut the waist skirt (not the empire one).

Sew the Hepburn crop top as instructed in the tutorial. Now grab some 1/4″ elastic and measure the opening of the bottom hem. Cut the elastic the same size as the measurement you just took and sew it in a loop.

All you have to do now is attach the skirt to the Hepburn top following the Boundless (or Sunshine) tutorial. Boom! One top…so many new possibilities!


…..

Hepburn / Sweetheart or Me Hearties mash


We could not end this hacks series without showing you how beautiful a Hepburn / Me Hearties (or Sweetheart) mash can be. Here is what how to get the look.

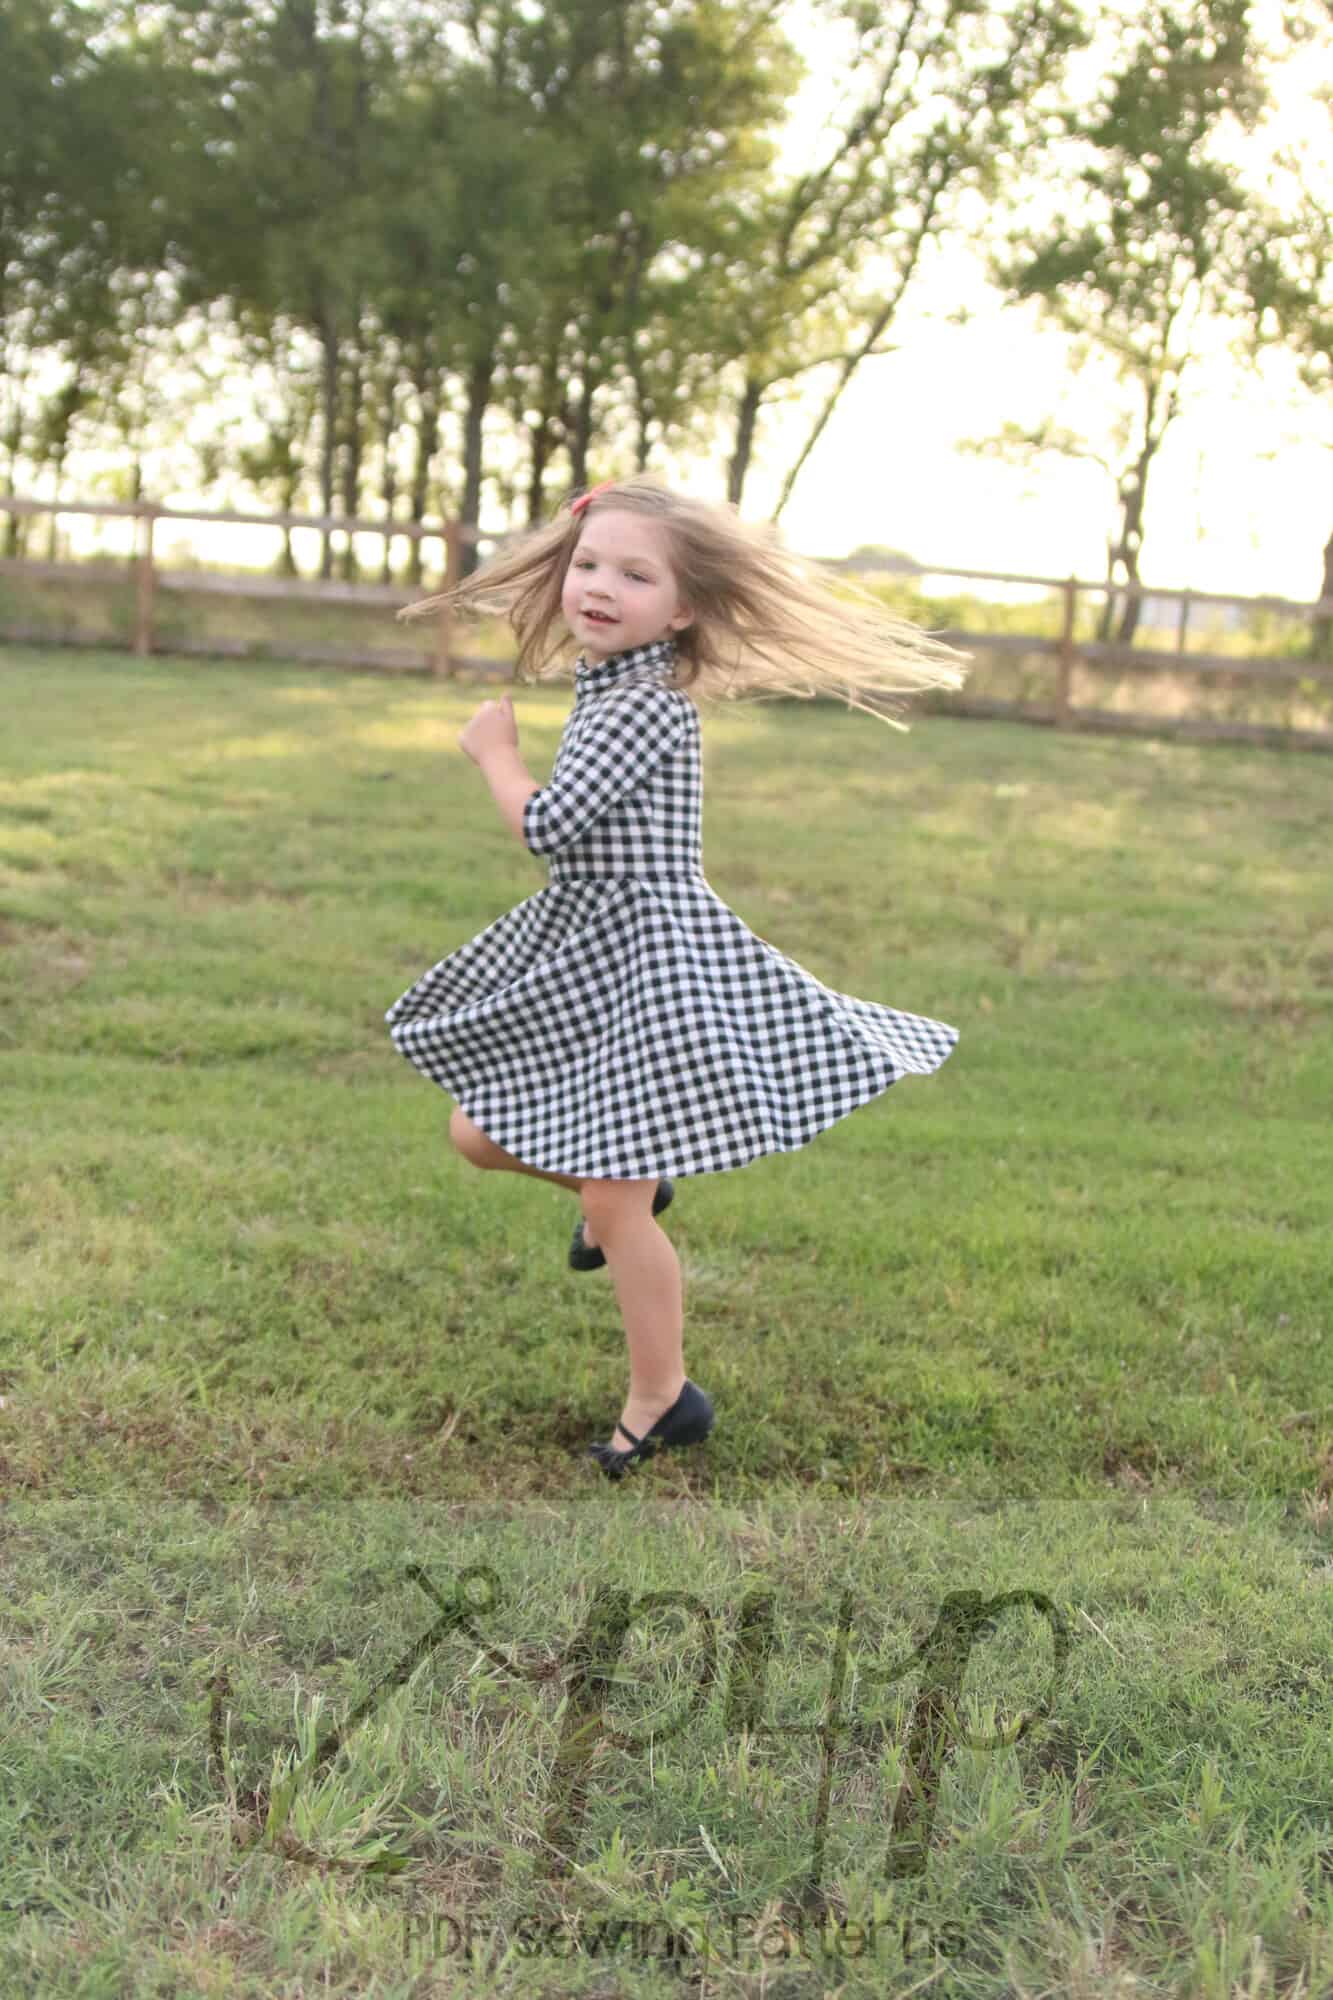
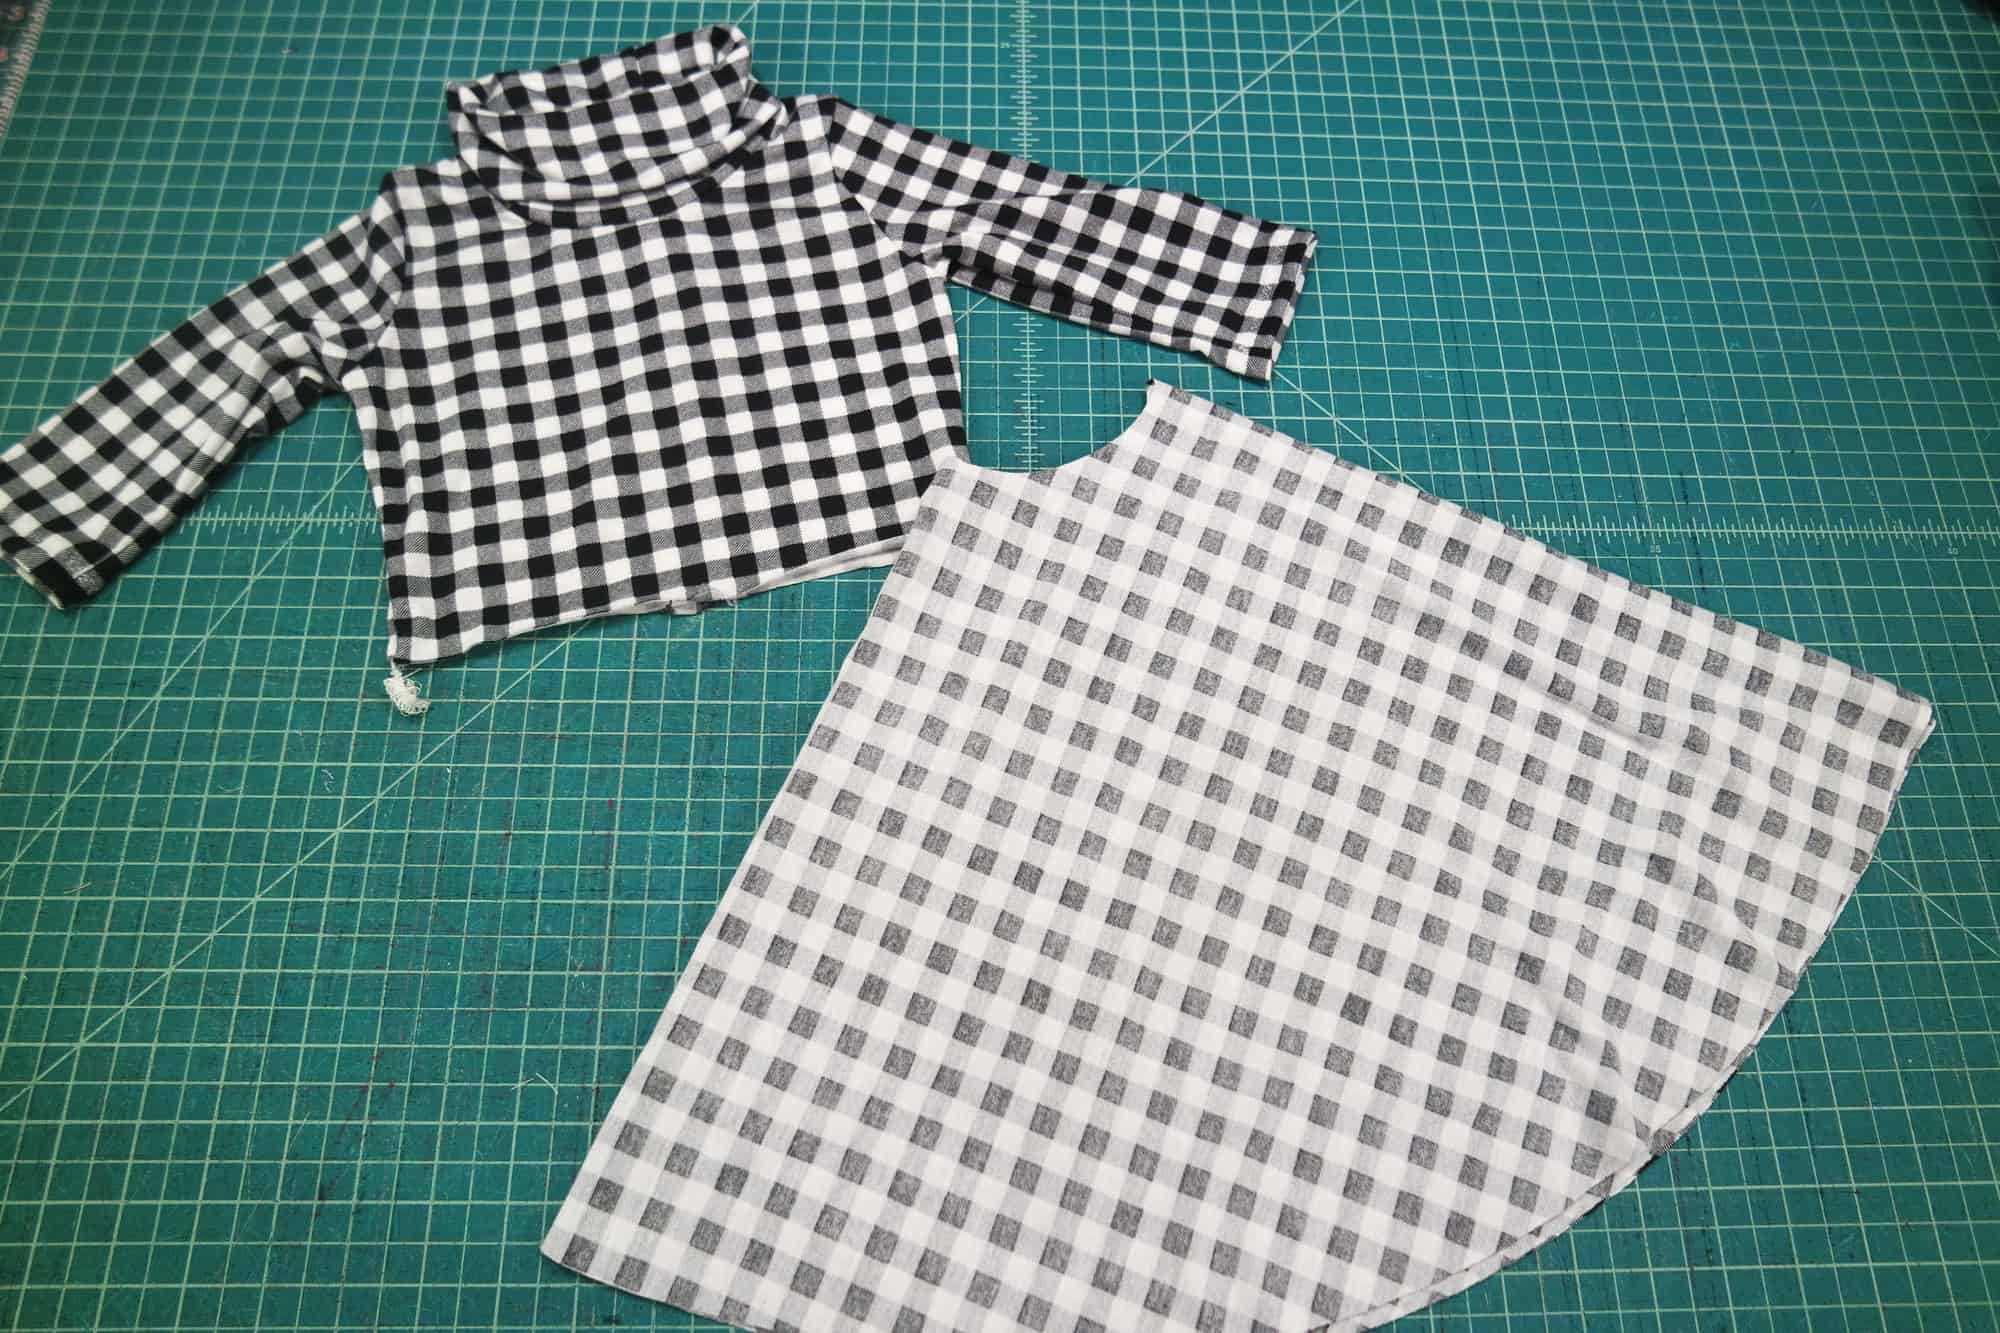
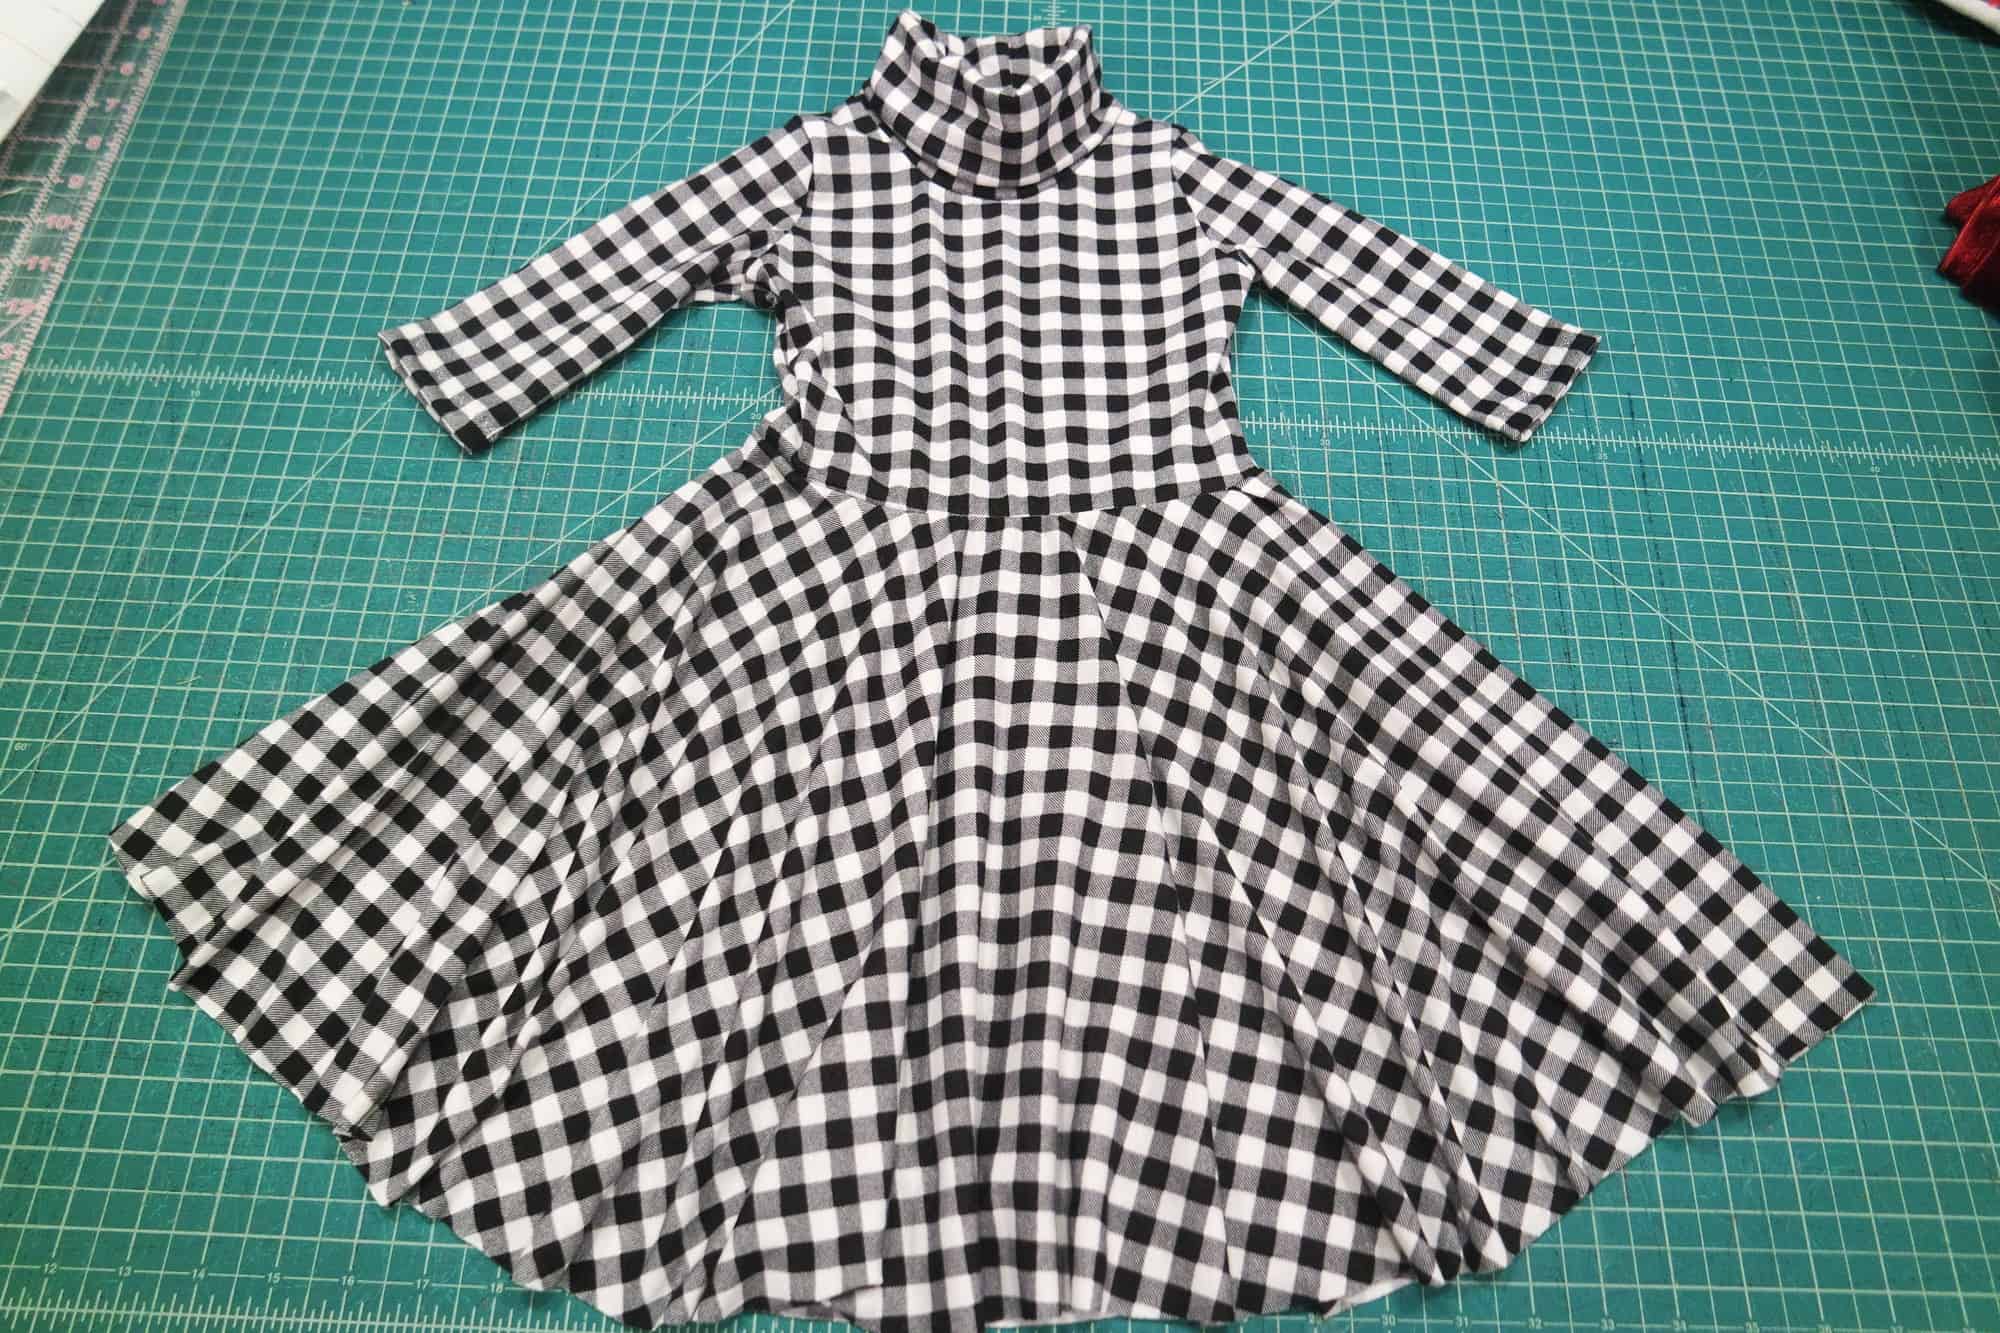
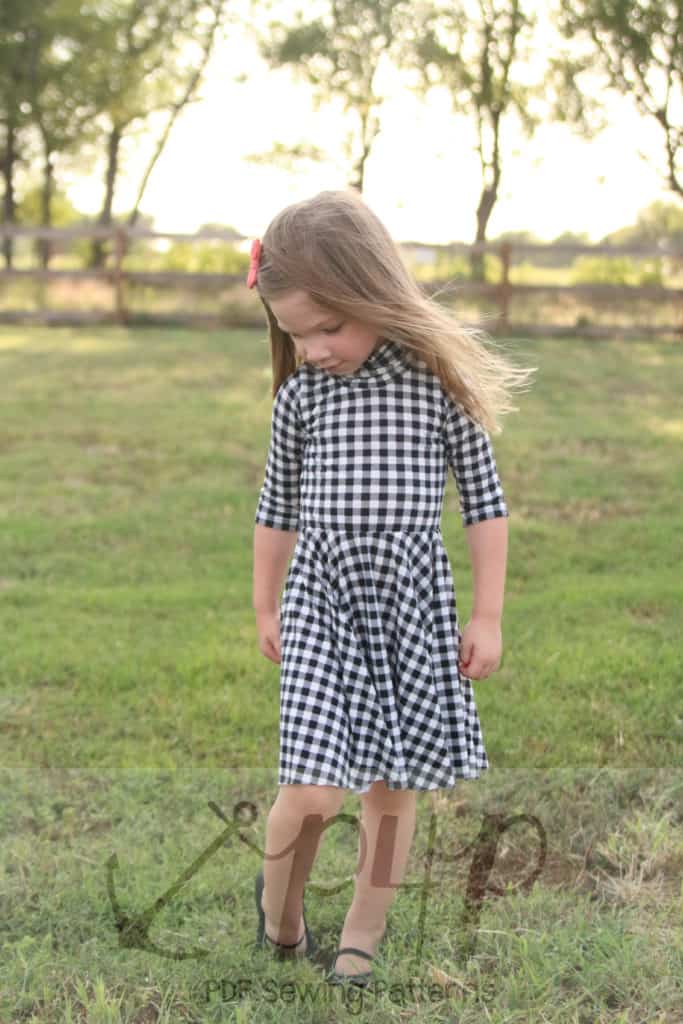
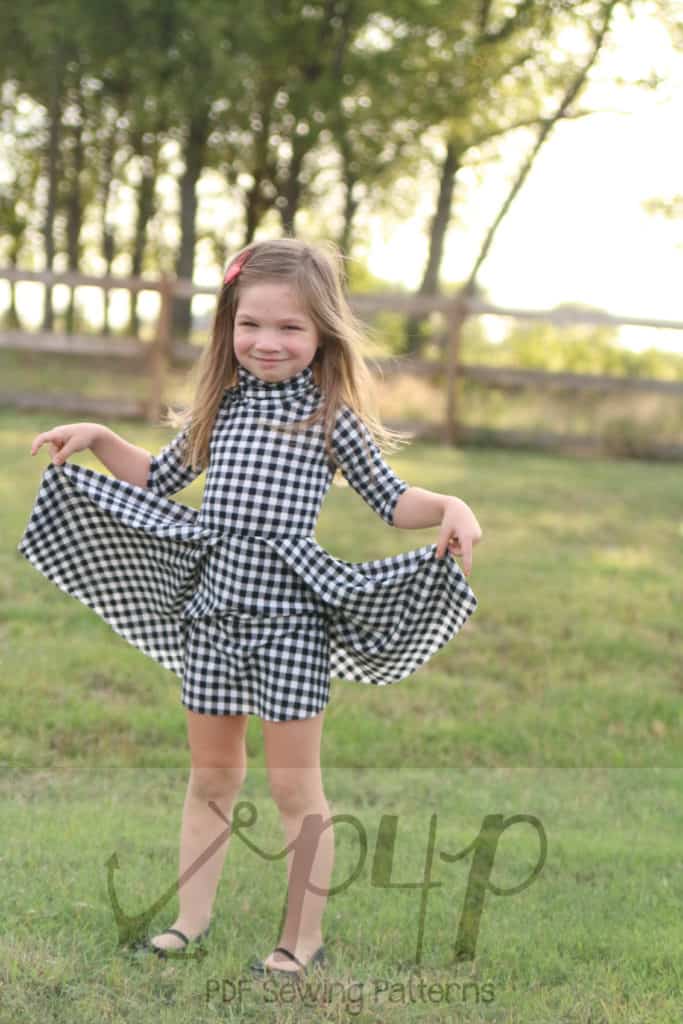
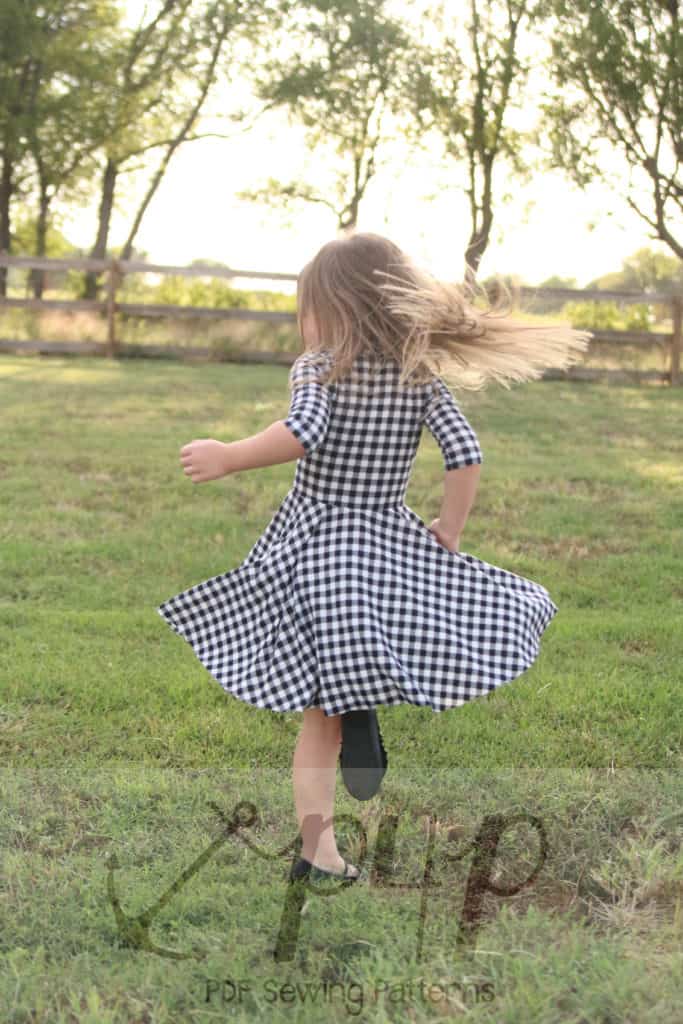
Judy has made he little star a 3/4″ sleeves, turtleneck crop top Hepburn and omitted hemming the bottom. Of course, you can choose any of the crop top styles included in the Hepburn pattern. Then she simply cut a Me Hearties circle skirt, sewed the side seams and hemmed the bottom.

All that left to do it attach the skirt to the top, following the Me Hearties instructions. Don’t forget the seam allowance is 1/2″.

Now tell me this cutie is not making you want to sew a Hepburn/Sweetheart mash for you too. I know that’s my next project!


Hope you enjoyed these easy hack as much as we enjoyed making them for you! Time to get sewing and remember to post your creations in the Patterns for Pirates Facebook group so we can all admire them.
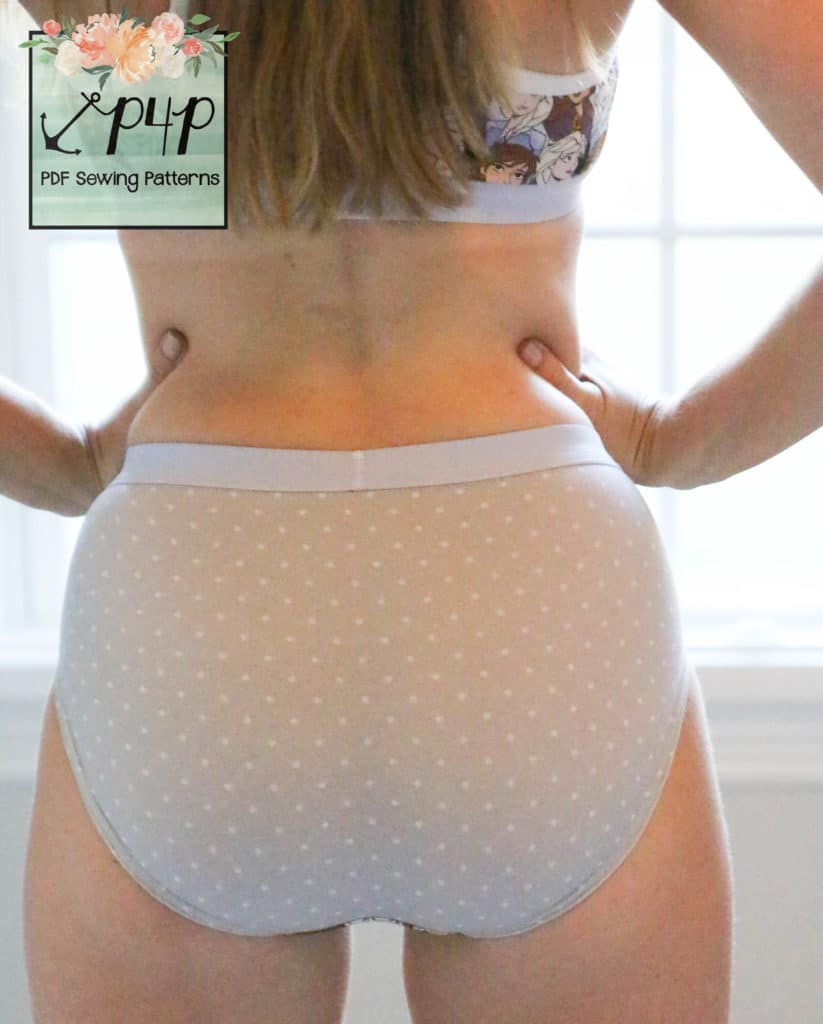
Filed Under: Pattern Hacks, Pattern Release, Uncategorized Leave a Comment

Just Write Skirt :: FREE Sewing Pattern + Tutorial!

July 31, 2019

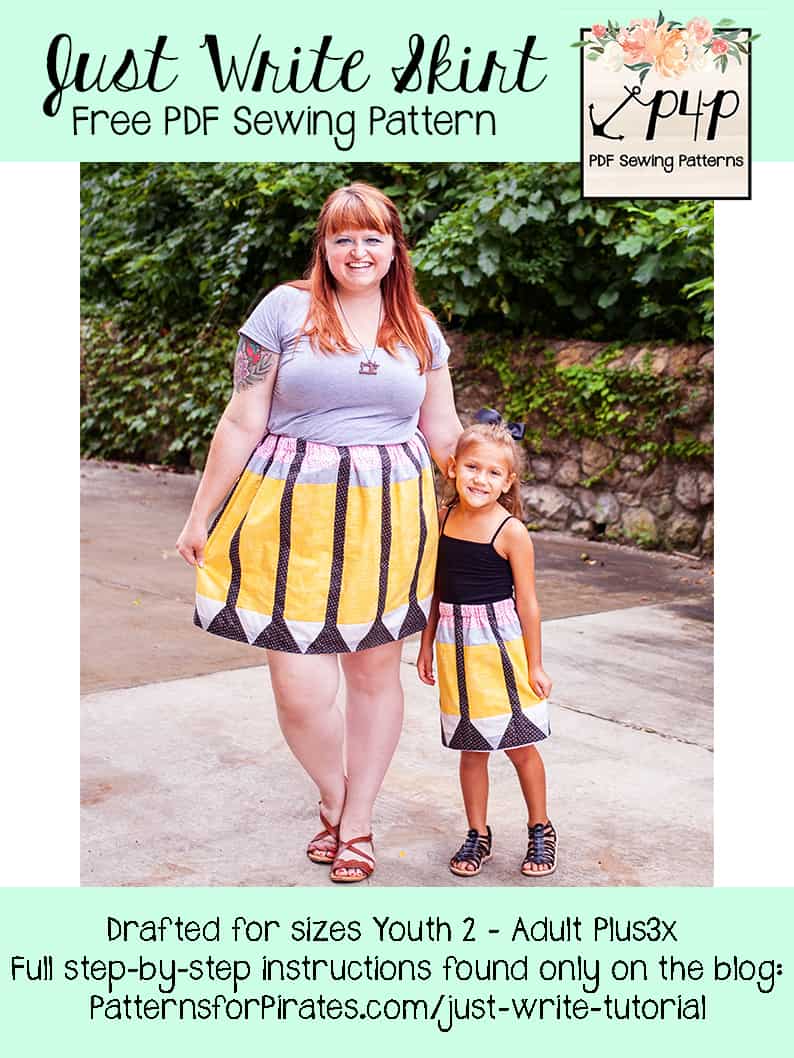
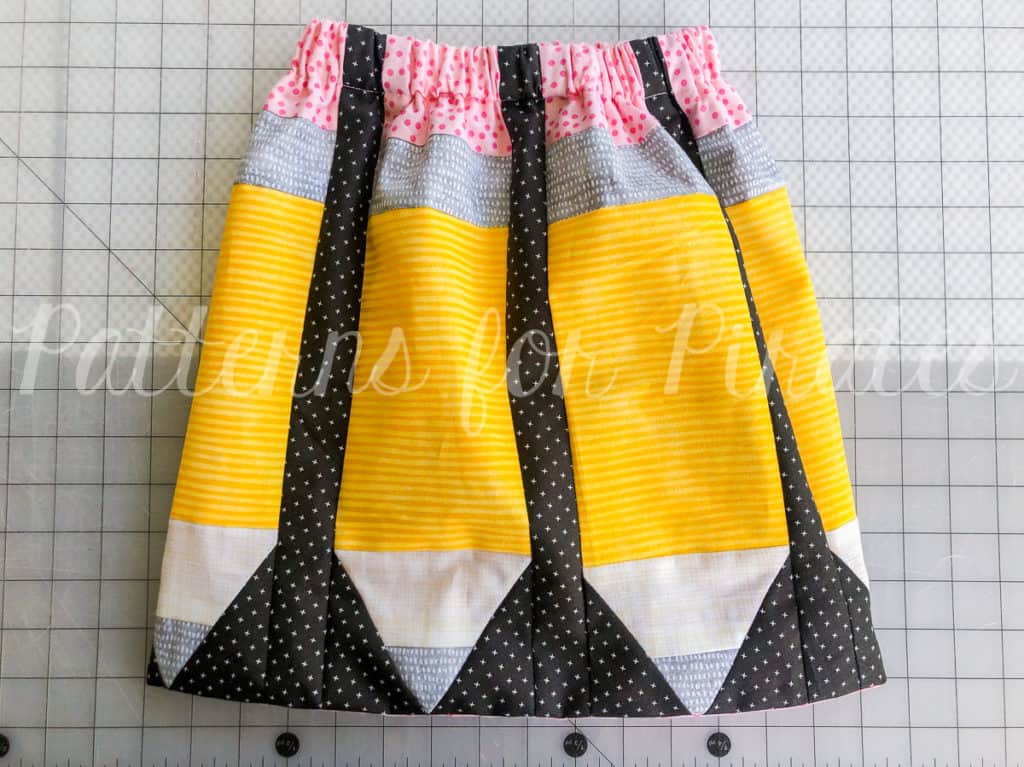
Unbelievably so, it’s time to start thinking about Back-to-School season.  Which means that stores are filled to the brim with tempting school supplies.  Is anyone else a pen / notebook / planner nerd like me?  I could spend hours in those aisles.  Life just got a little better for me because now I can really let people know about my undying love for school supplies by wearing it on my sleeve….er skirt!!  Pirate friends, meet the Just Write Skirt!
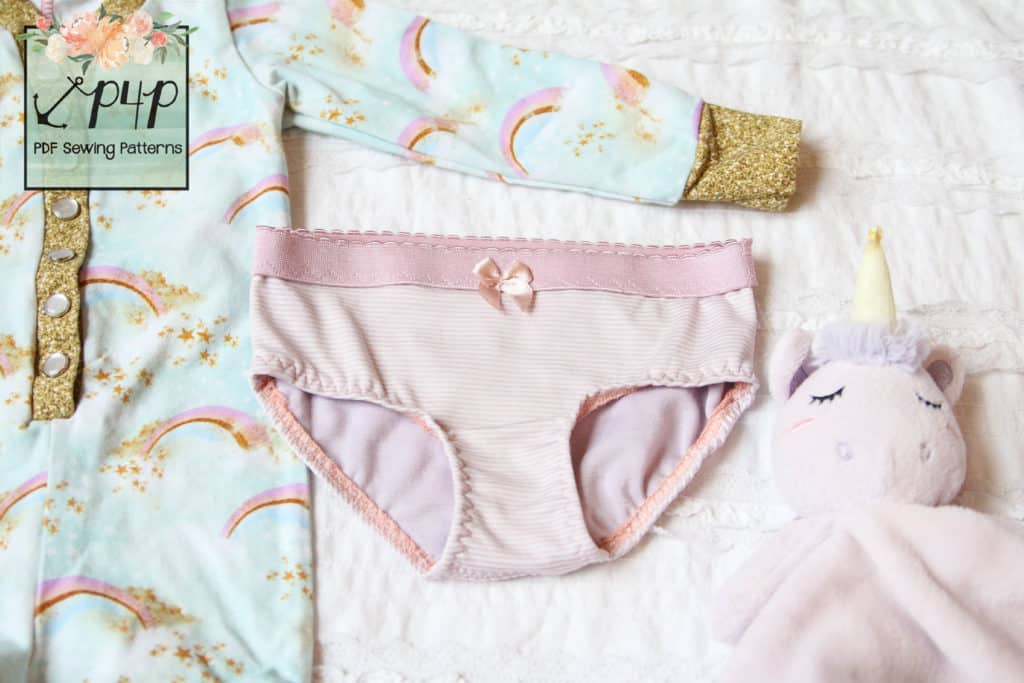
Before we get started, here are some things you’ll need:

  • Just Write Skirt free Pattern Pieces (found in the store HERE)
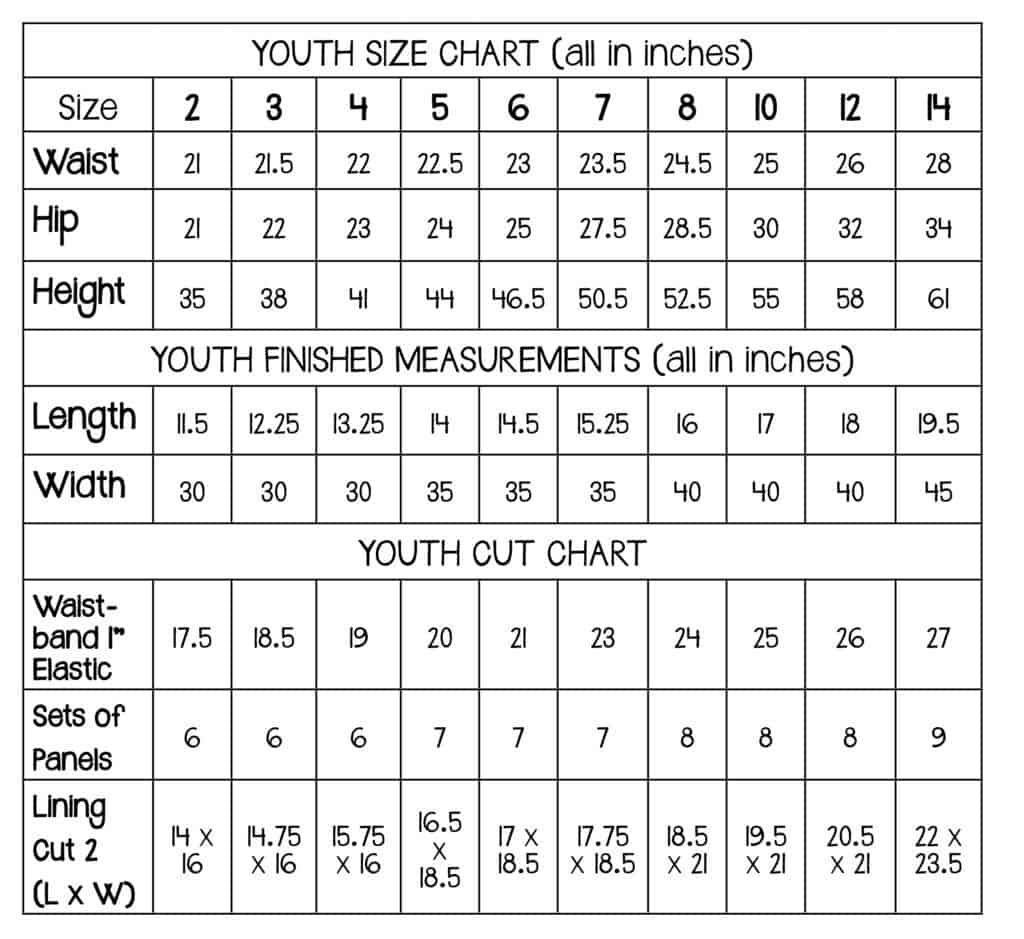
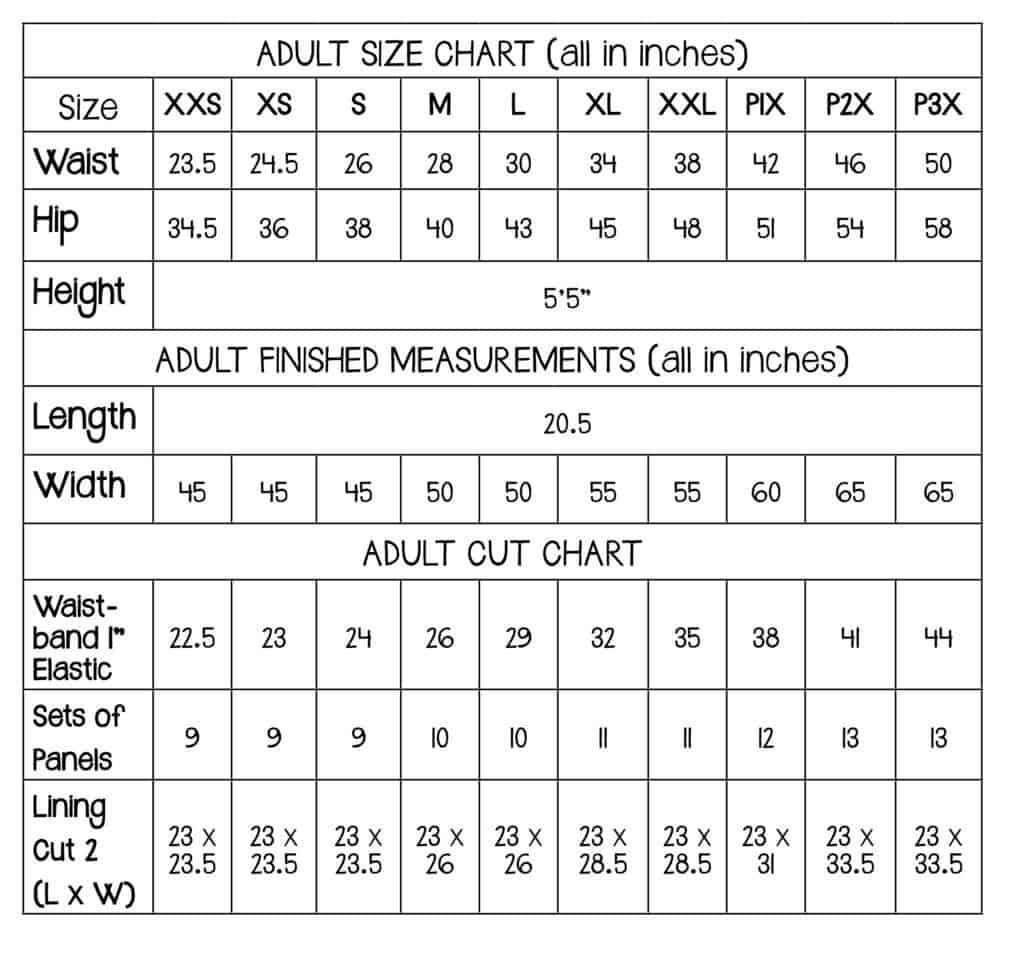
  • 1″ Waistband Elastic.  See cut chart for length needed.
  • YouTube Video Tutorial for assembling a pencil panel set (also found at the bottom of this tutorial)
Fabric Requirements (in Yards, rounded to nearest 1/8)
Sizes 2-7 8-12 14 XXS-P1X P2X-P3X
Lining 1/2 5/8 1-1/4 1-1/3 1-1/3
Pencil (yellow) 1/4 1/3 3/4 7/8 7/8
Accent Panel (black) 1/2 5/8 5/8 2/3 2/3
Point Accent (black) 1/4 1/4 1/4 1/4 1/3
Lead (grey) 1/8 1/8 1/8 1/8 1/4
Ferrule (grey) 1/8 1/8 1/4 1/4 1/4
Eraser (pink) 1/4 1/4 1/3 1/3 1/3
Pencil Wood (off-white) 1/8 1/4 1/4 1/4 1/4

**While the skirt is meant to sit at your natural waist, you will want to choose your size based upon your hip measurement.  Wanting a fuller skirt?  The more pencil panel sets you add, the fuller your skirt becomes.  Just keep in mind that each panel finishes at 5″, and you will need to adjust your lining fabric to account for any extra panels in your awesome skirt!

Sewing for a child who is a blend of sizes?  No sweat!  Just sew up the number of panel sets that is required for their waist/hip measurement, and use the pattern pieces for their height.

And now, onto the tutorial!
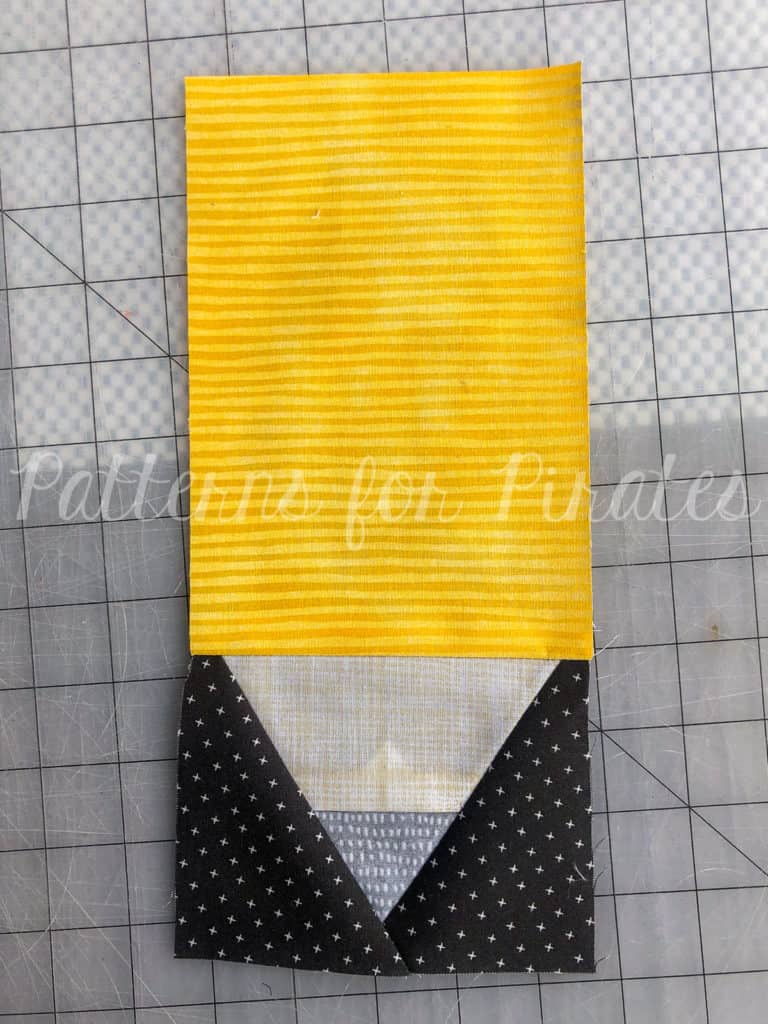
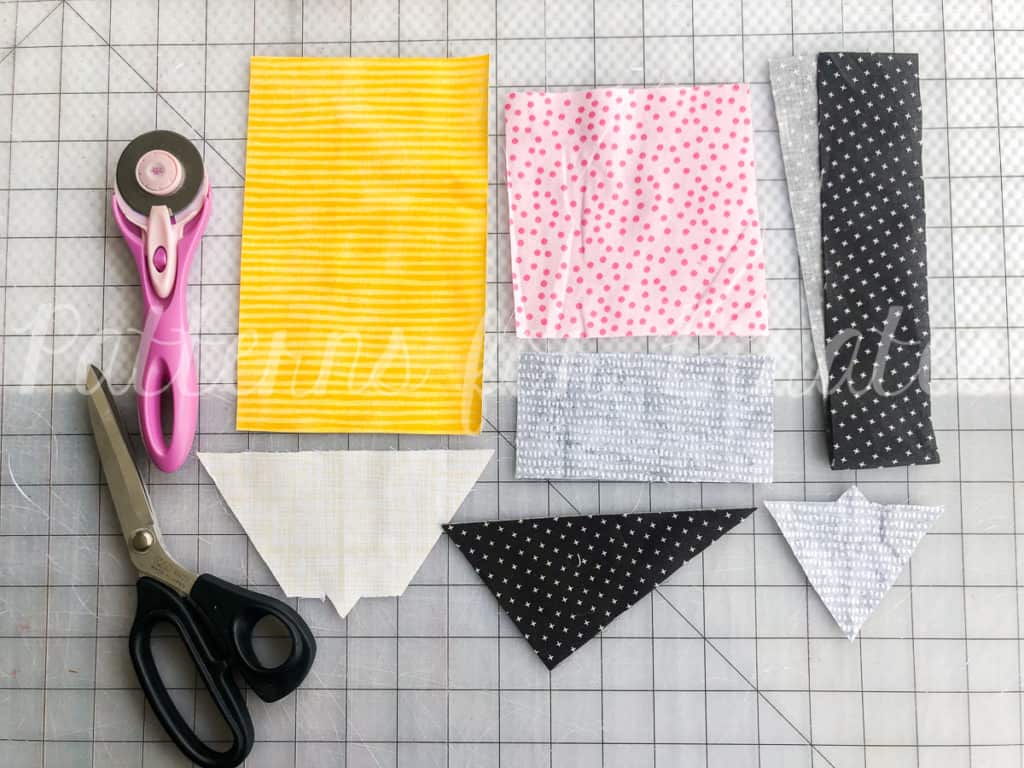
Step 1: For each pencil panel, you will need:
– 1 Ferrule piece (grey)
– 1 Eraser piece (pink)
– 1 Pencil body (yellow)
– 1 Pencil wood (off white)
– 1 Pencil lead (grey)
– 2 mirrored Point accents (black)
– 1 Accent panel (black)

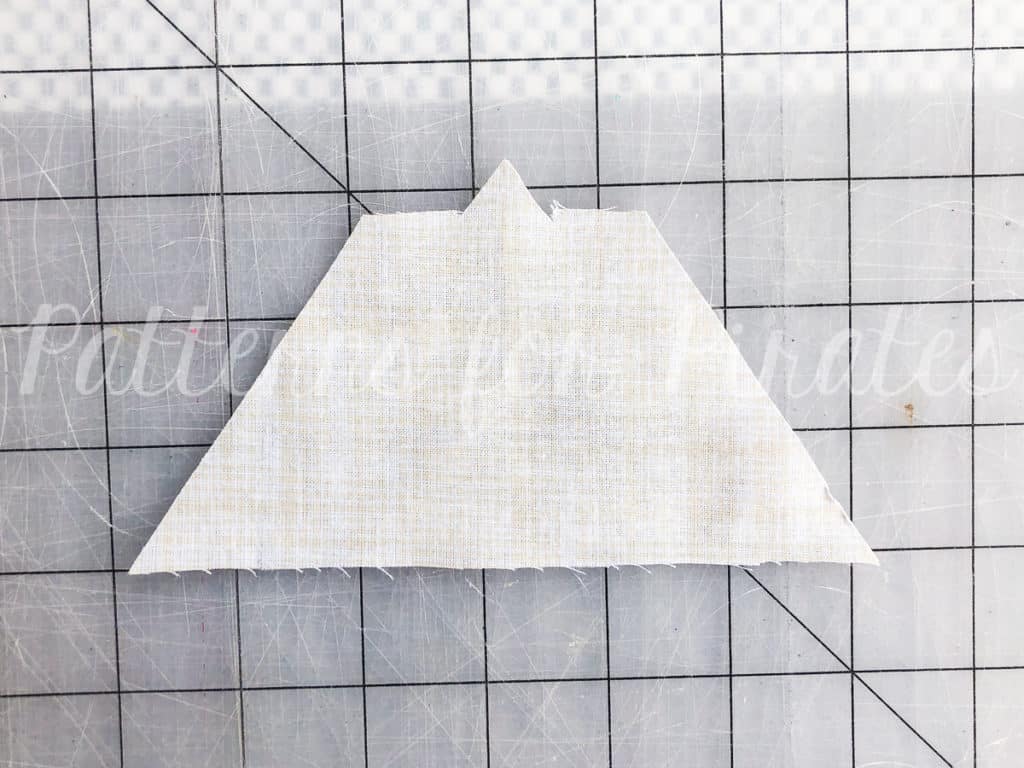
Step 2: Lay your “pencil wood” piece, right side up.

Step 3: Lay your “pencil lead” piece on top of your wood piece with right sides together, matching the notches. Sew with 1/2″ seam allowance.

Step 4: Open up the pieces and press.

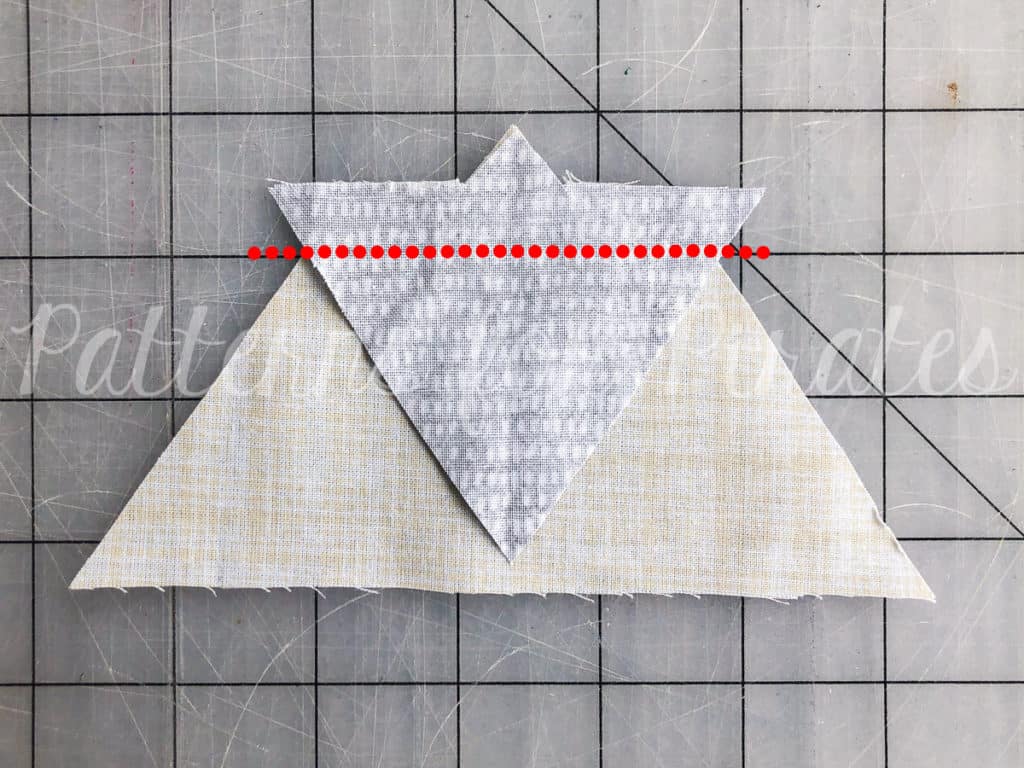
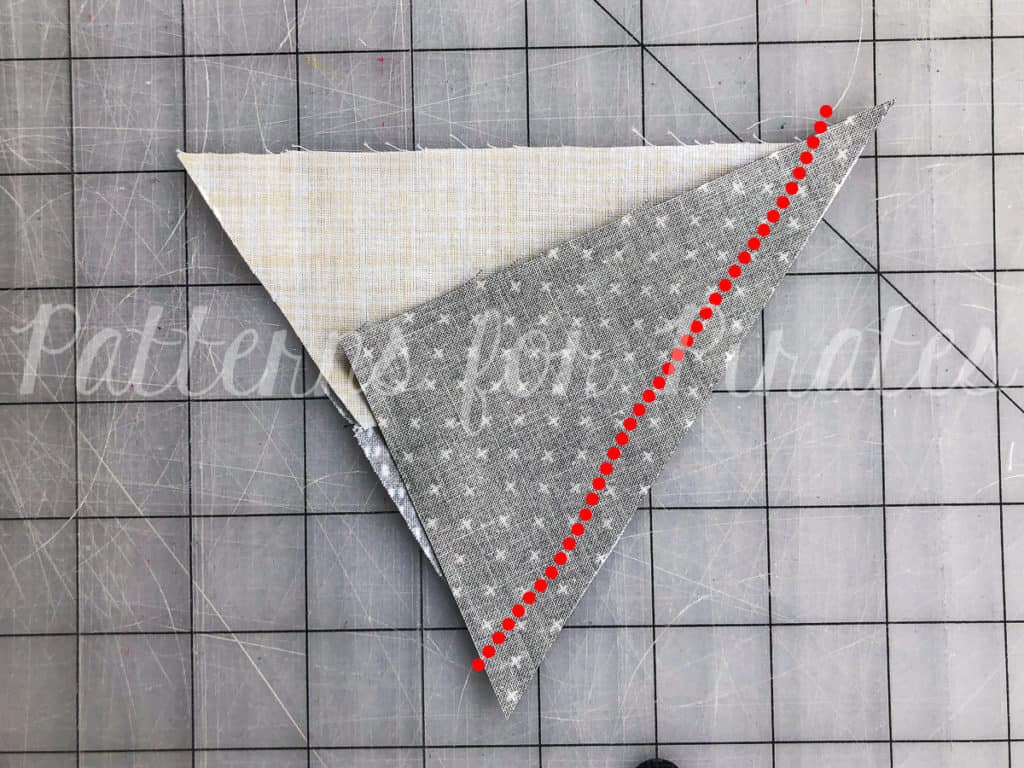
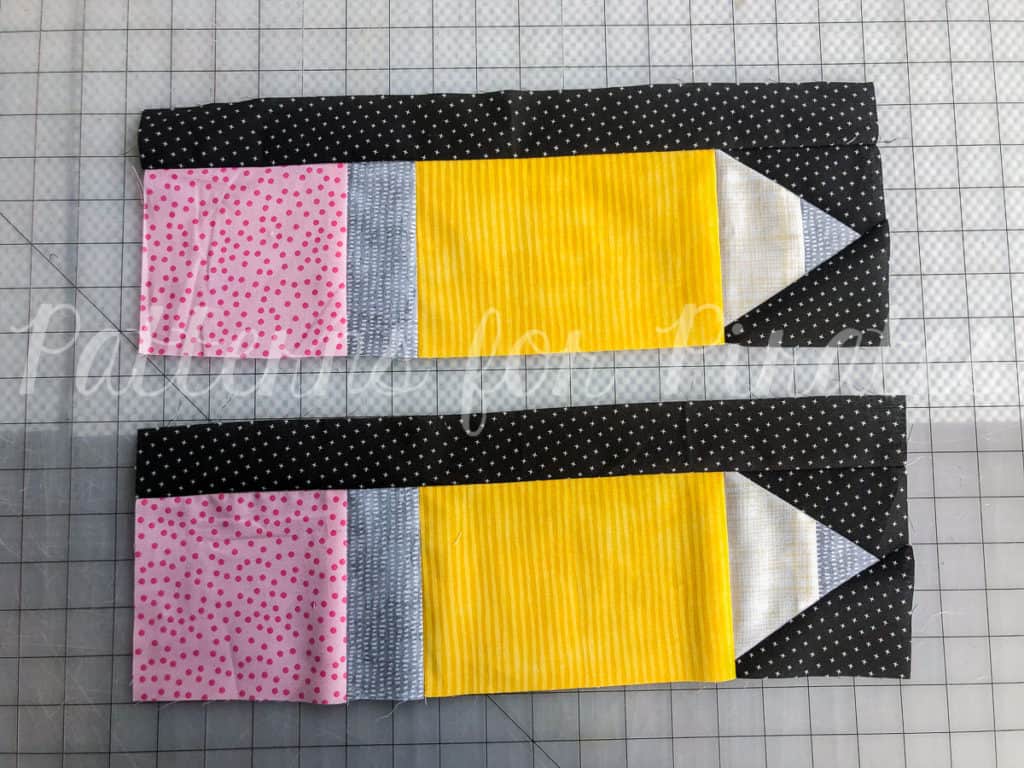
Step 5: Lay out your new pencil point, with one of “point accents” next to it.

Step 6: With right sides together, align the “point accent” along the long angled edge. Sew with 1/2″ seam allowance.

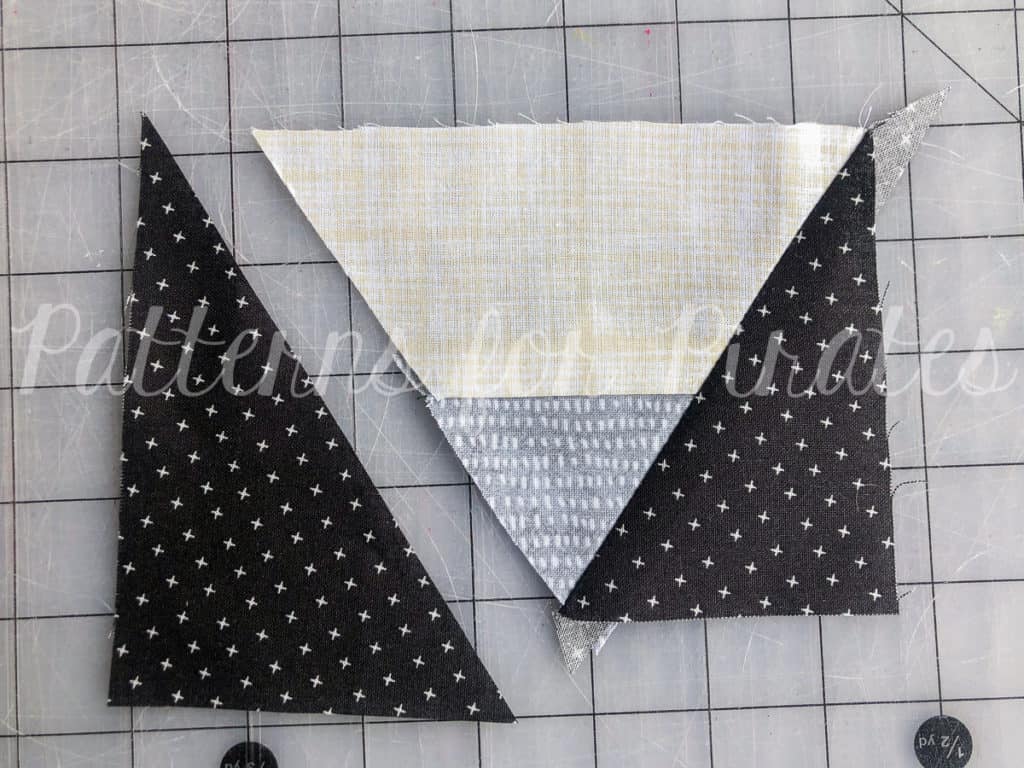
**Note, there will be around 1/2″ of overhang on the top and bottom of the “point accent” piece.

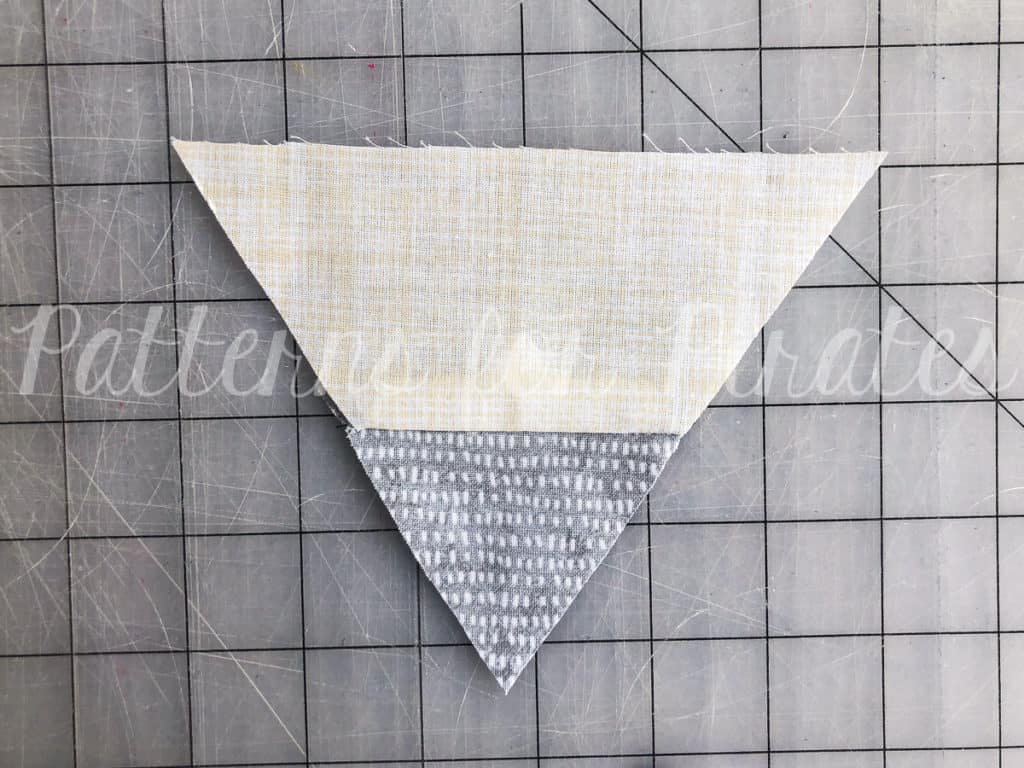
Step 7: Open up the pieces and press.

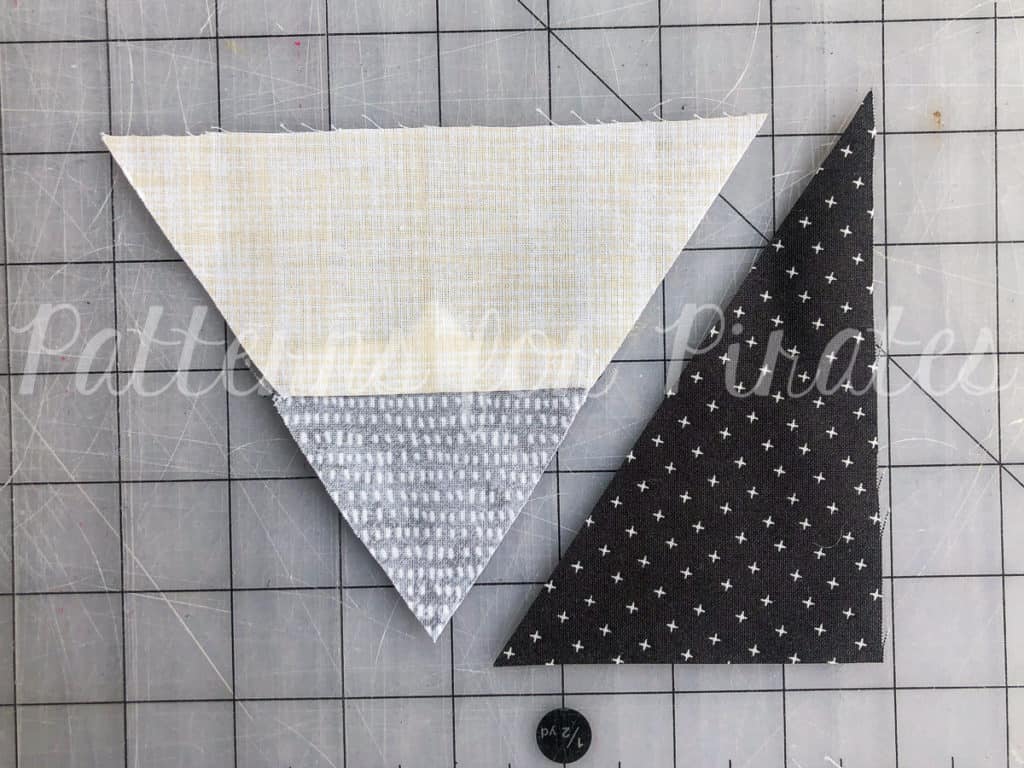
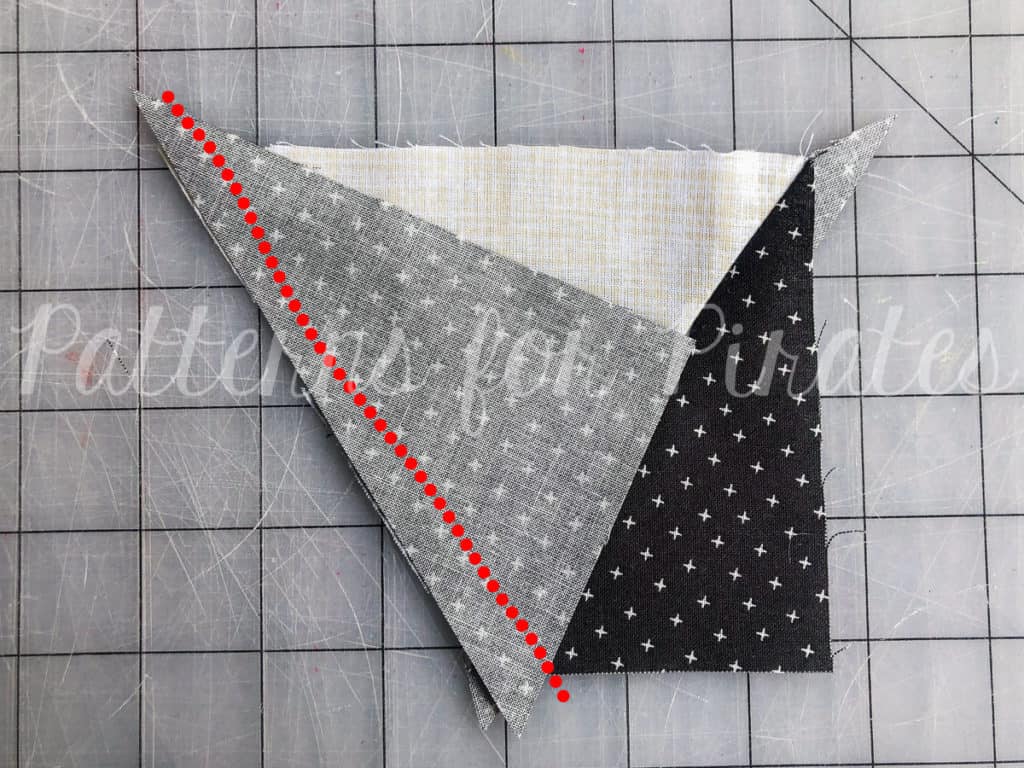
Step 8: Repeat with the other “point accent”.

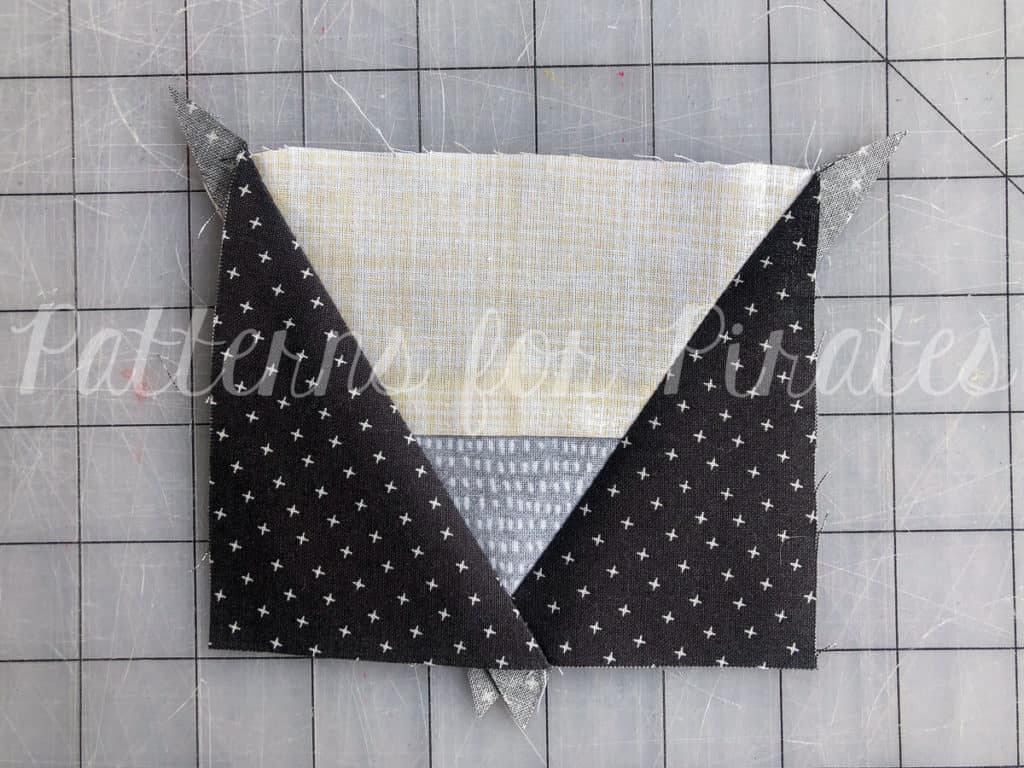
Step 9: Open up the pieces and press.

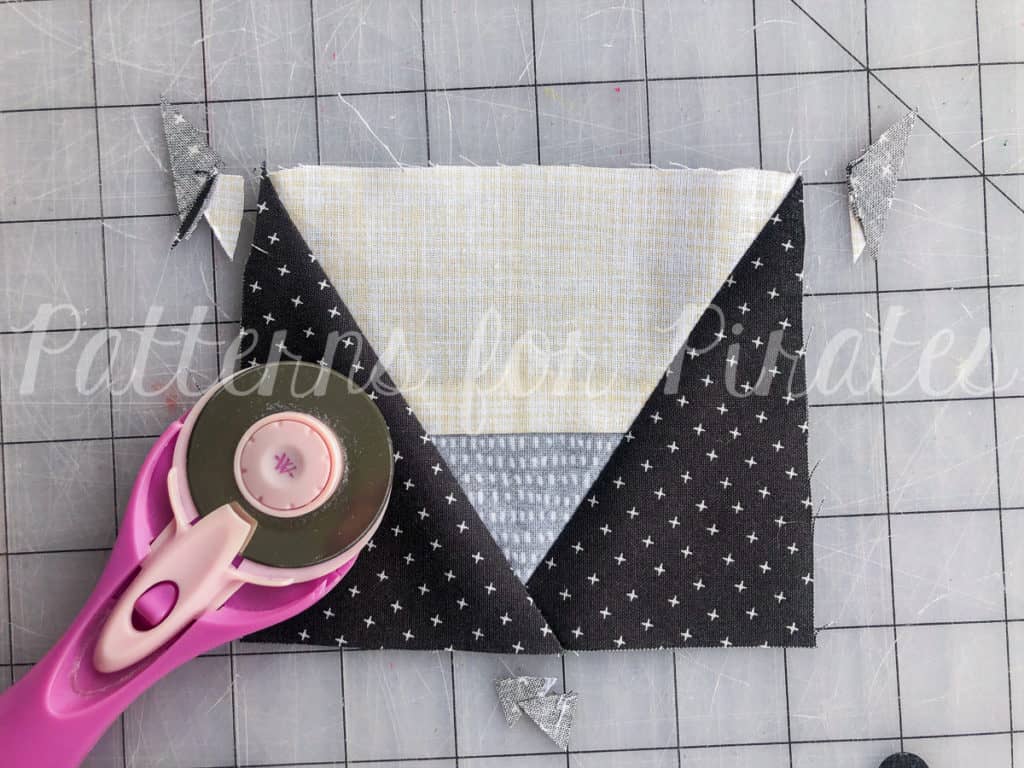
Step 10: Trim off the excess fabric.

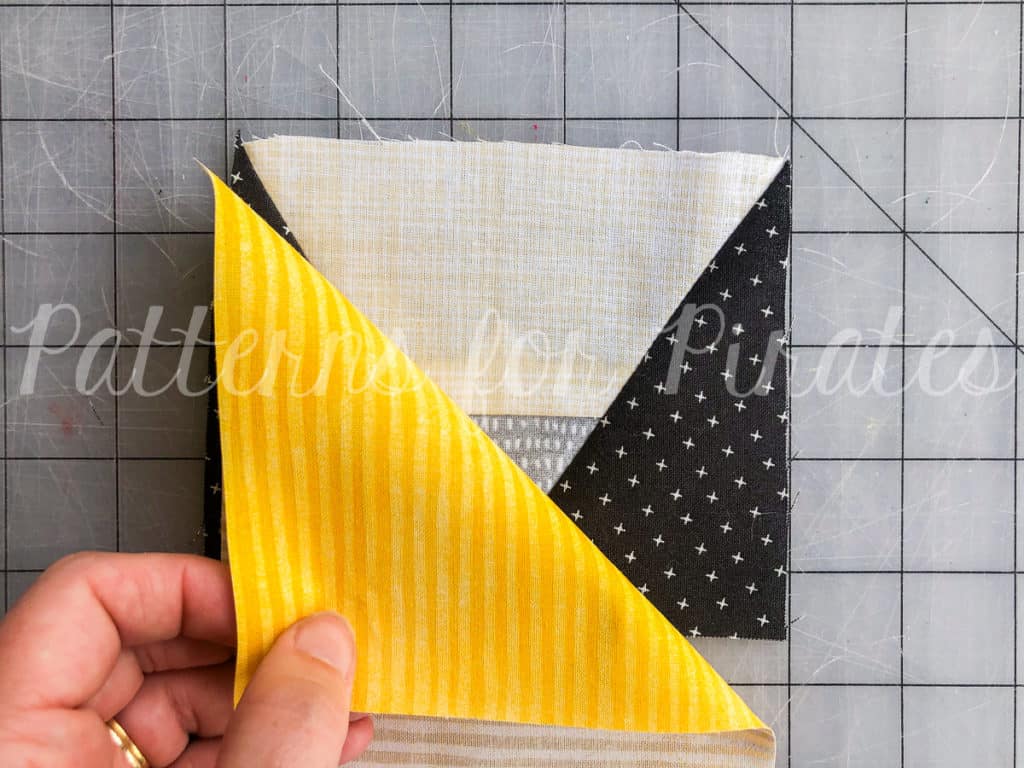
Step 11: Lay the piece right side up, and place the “pencil body” right sides together. Align the short edges.

Step 12: Stitch, using 1/2″ seam allowance.

Step 13: Open up pieces and press.

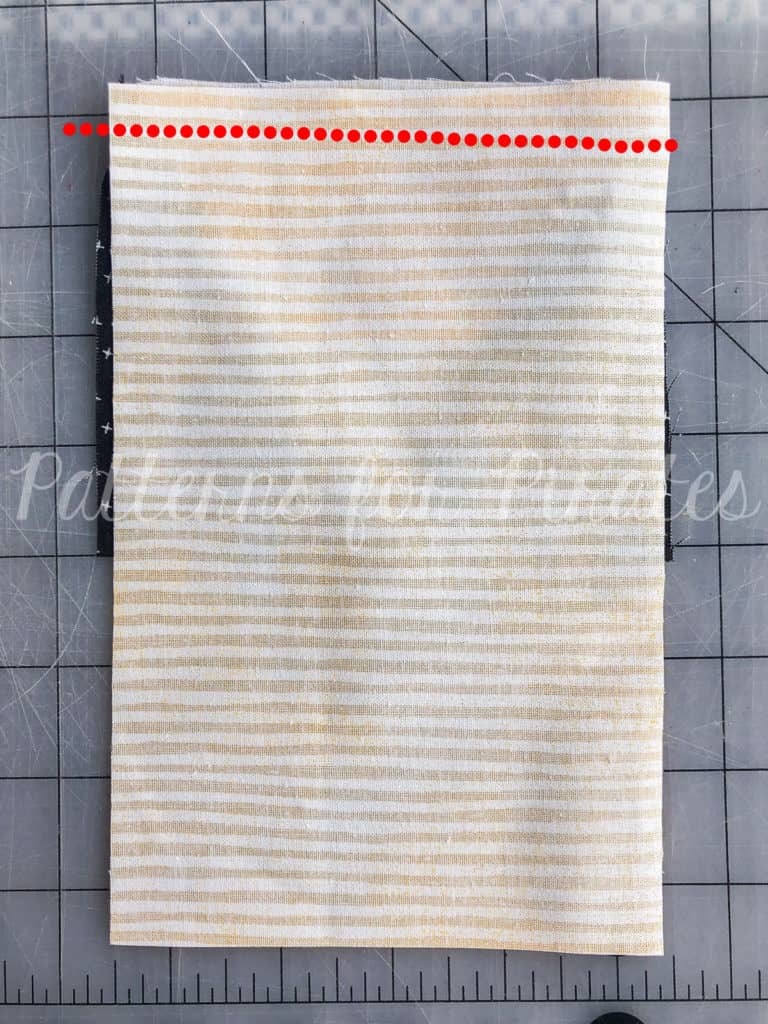
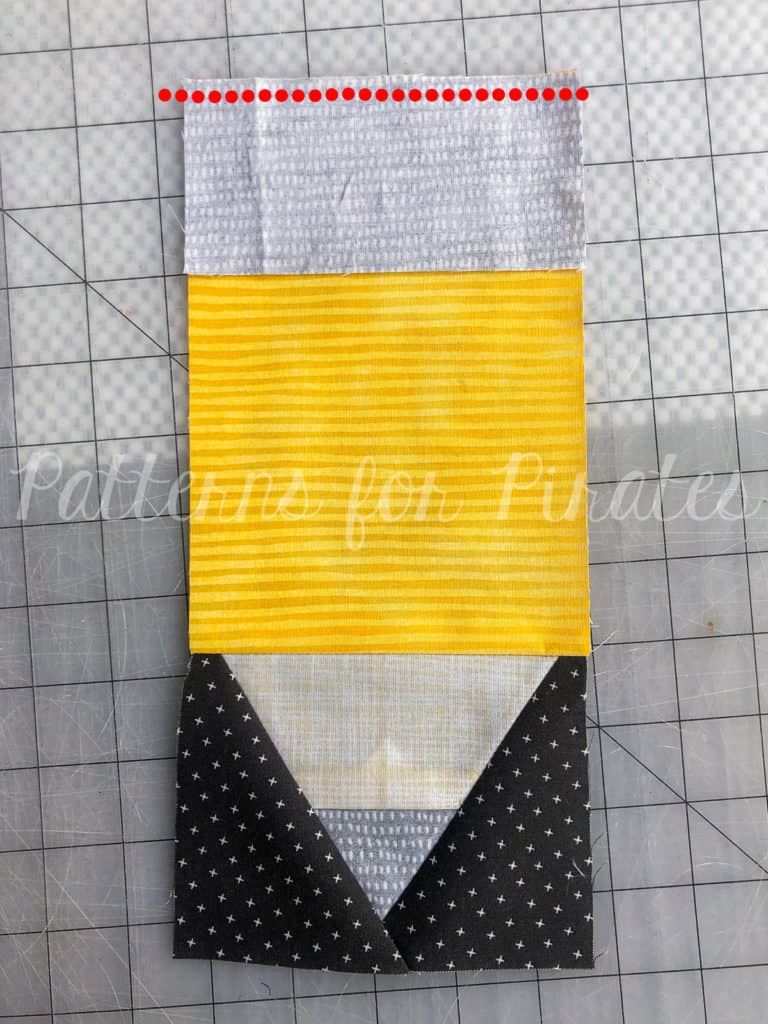
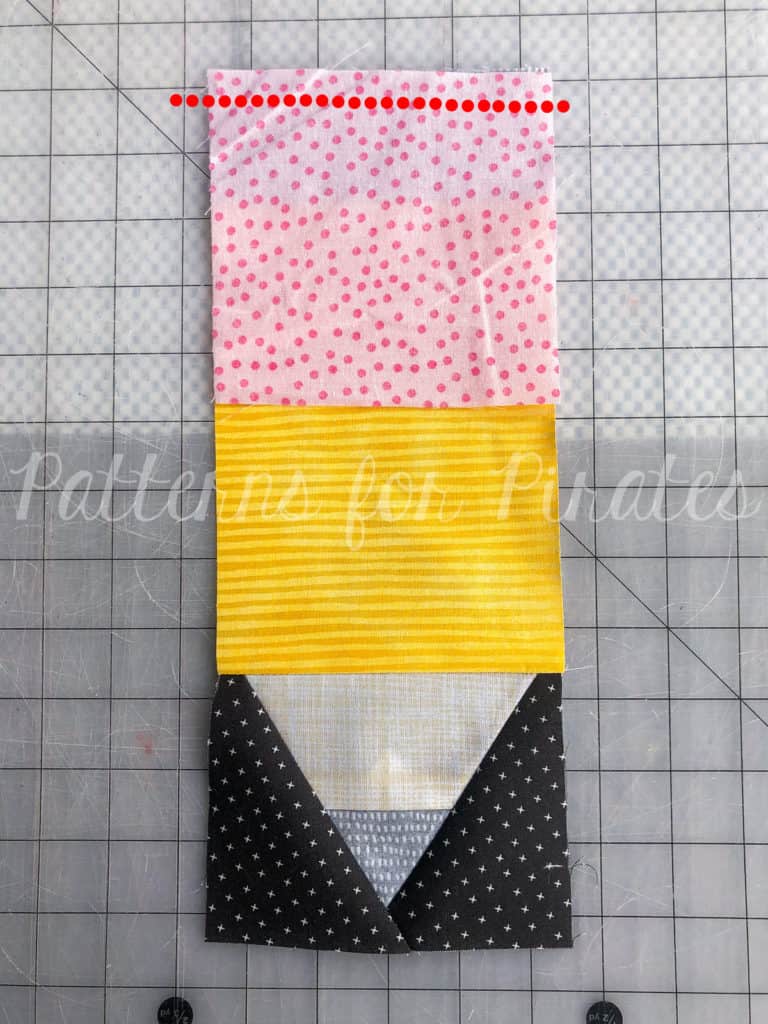
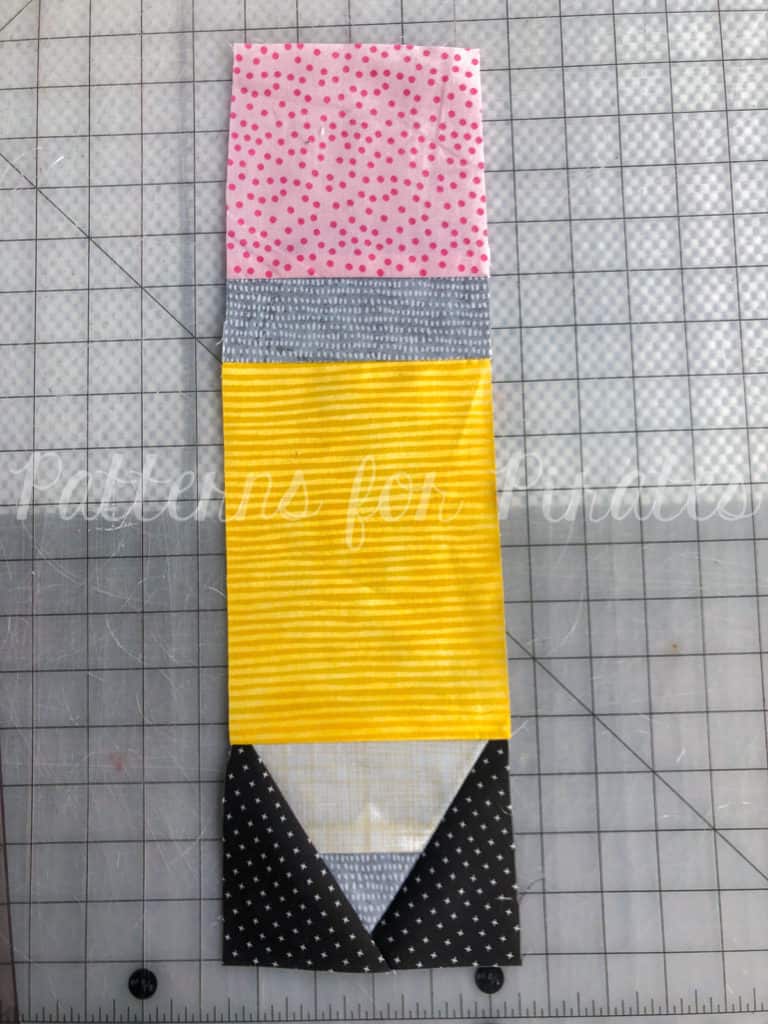
Step 14: Align the “ferrule” piece along the top, shorter edge, right sides together, and sew with 1/2″ seam allowance. Open up the pieces and press.

Step 15: Align the “eraser” piece along the top, shorter edge, right sides together, and sew with 1/2″ seam allowance.

Step 16: Open up the pieces and press.

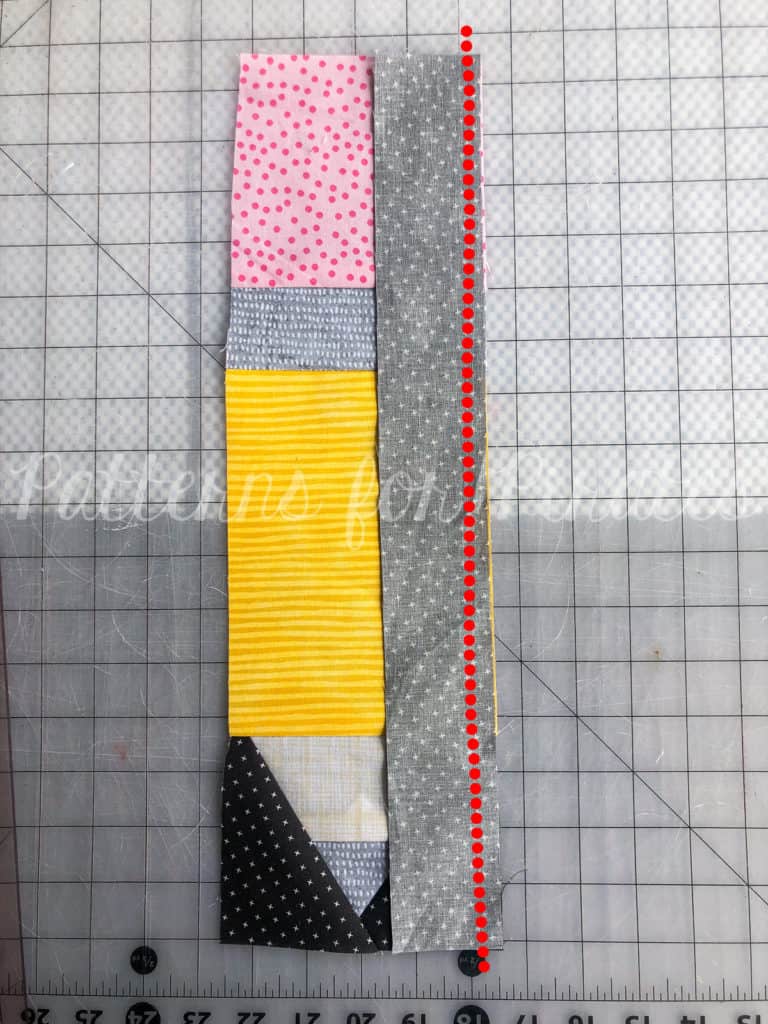
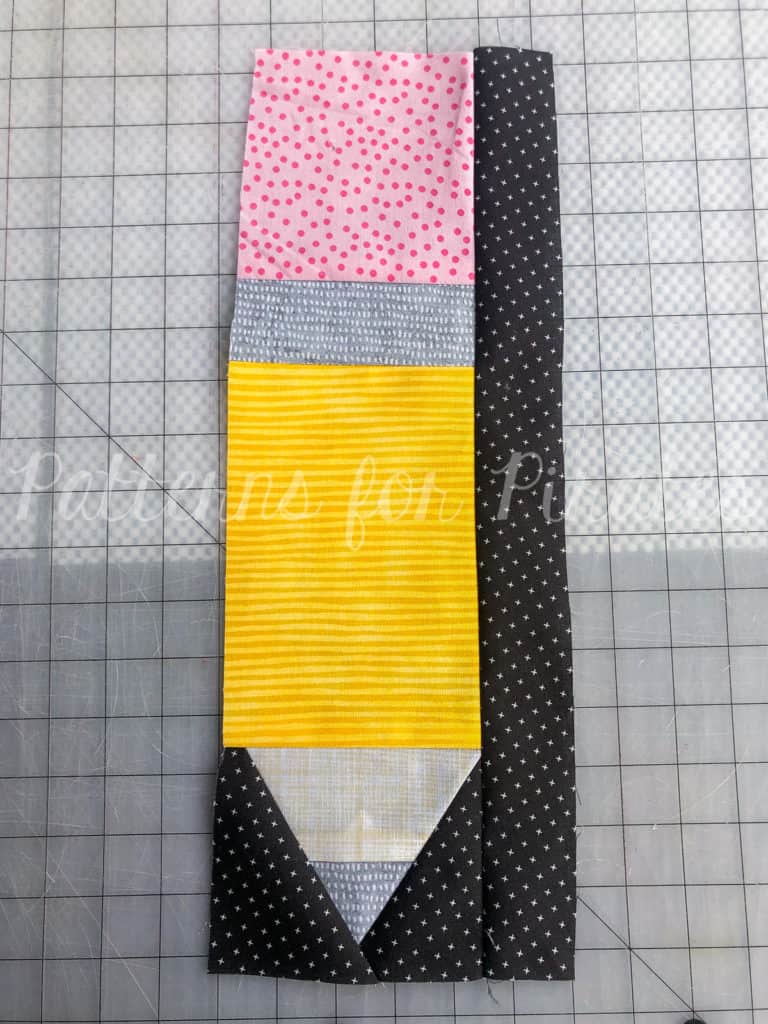
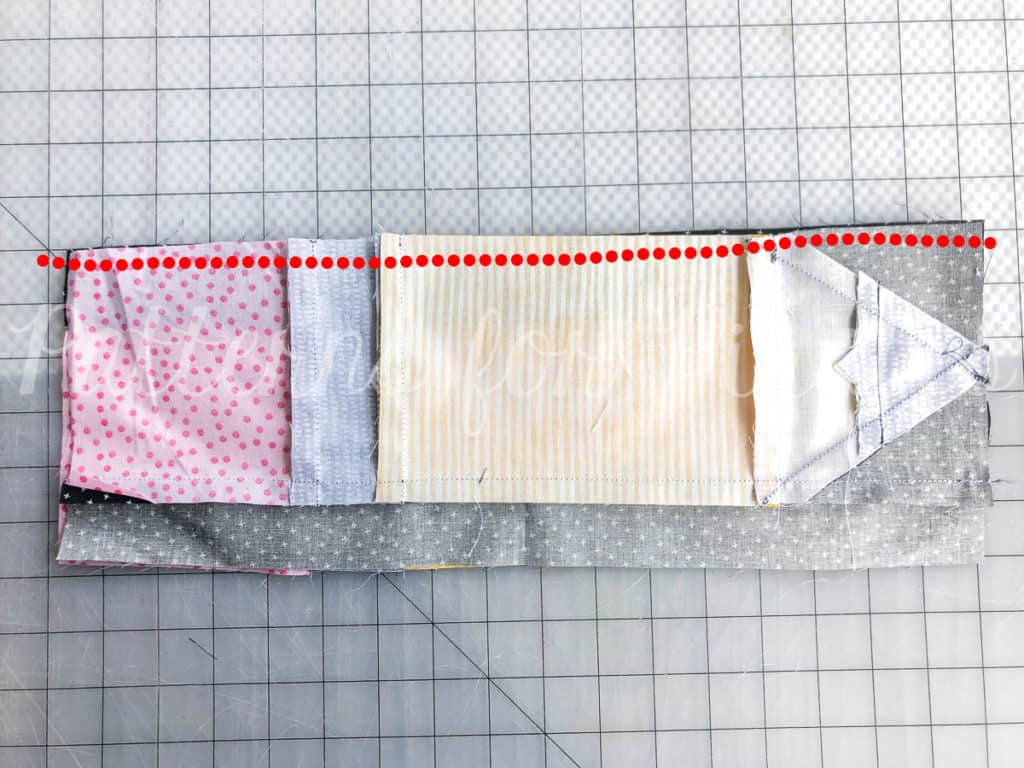
Step 17: Align the “accent panel” along the long edge of both pieces, right sides together. Sew using 1/2″ seam allowance.

Step 18: Open up pieces and press.

Repeat according to the number of “sets of panels” required for the size skirt being sewn.

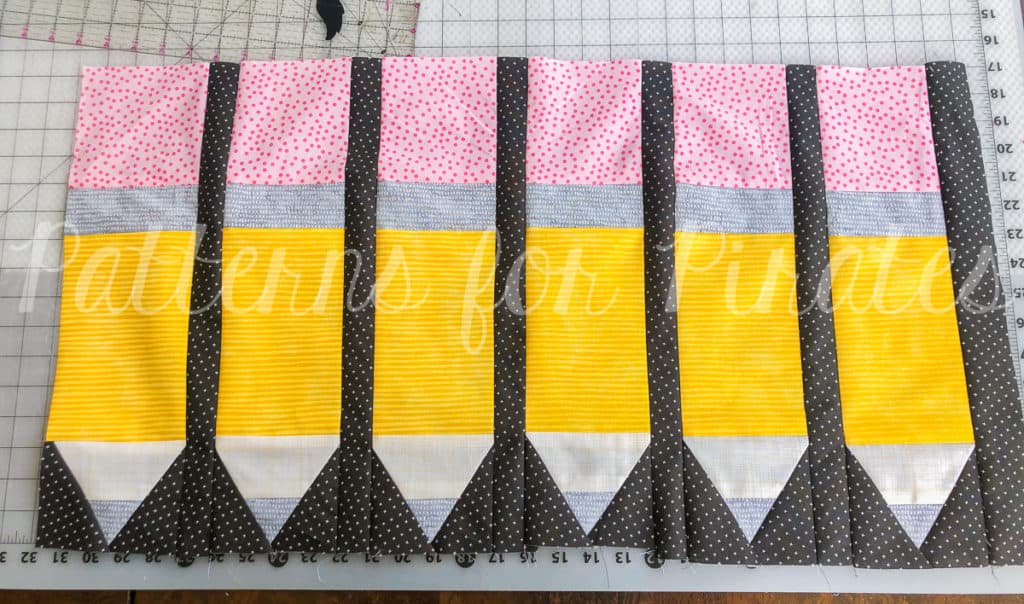
Step 19: Begin to join the panels to form a skirt.

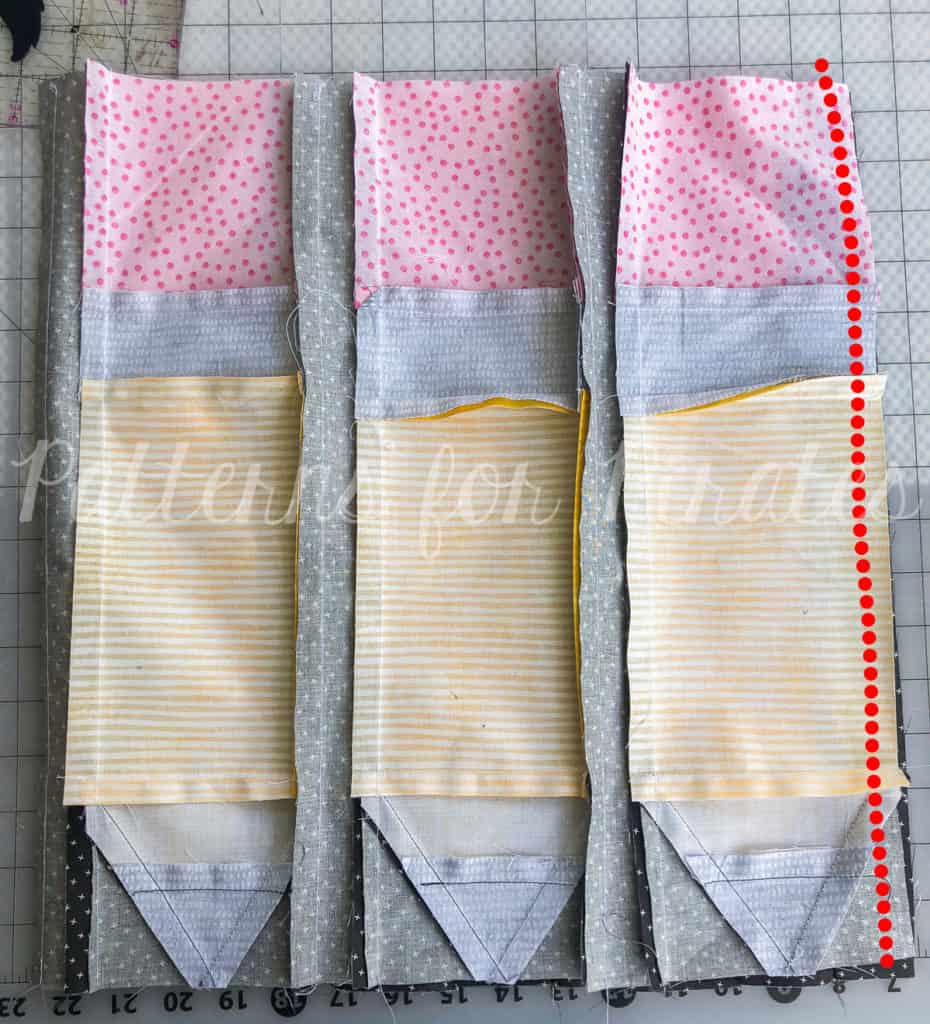
Step 20: With right sides together, align each panel along the long edge and sew using 1/2″ seam allowance.

Step 21: Continue until all of the panels are sewn together.

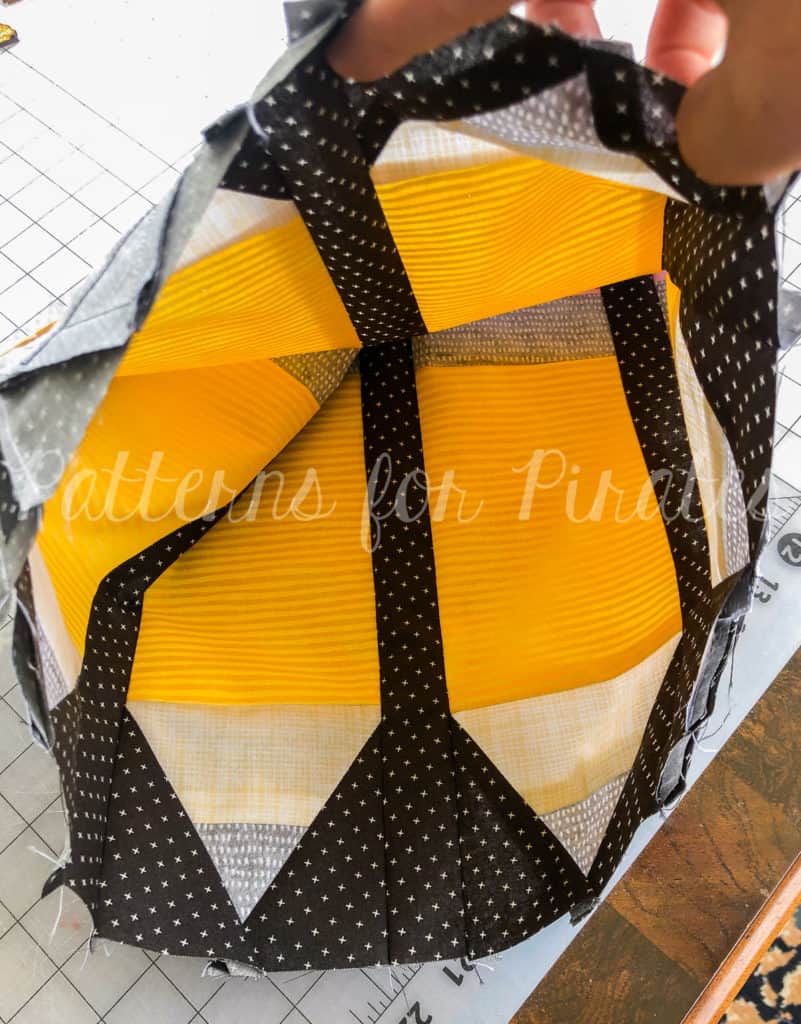
Step 22: Fold your set in half, right sides together, and sew to create a tube.

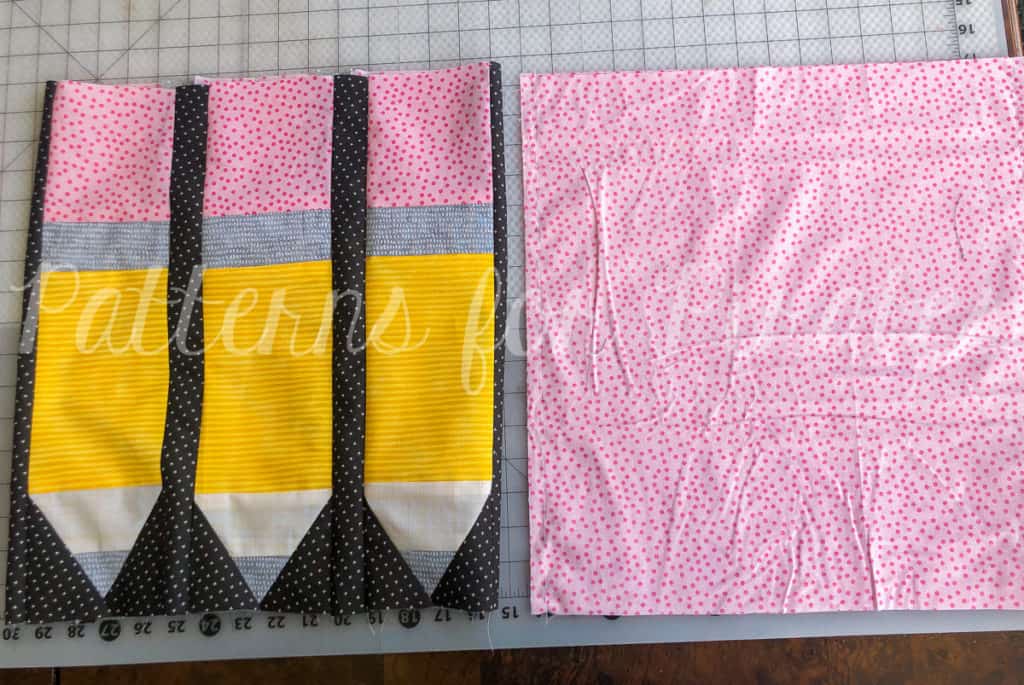
Step 23: You should now have a circle of pencils.

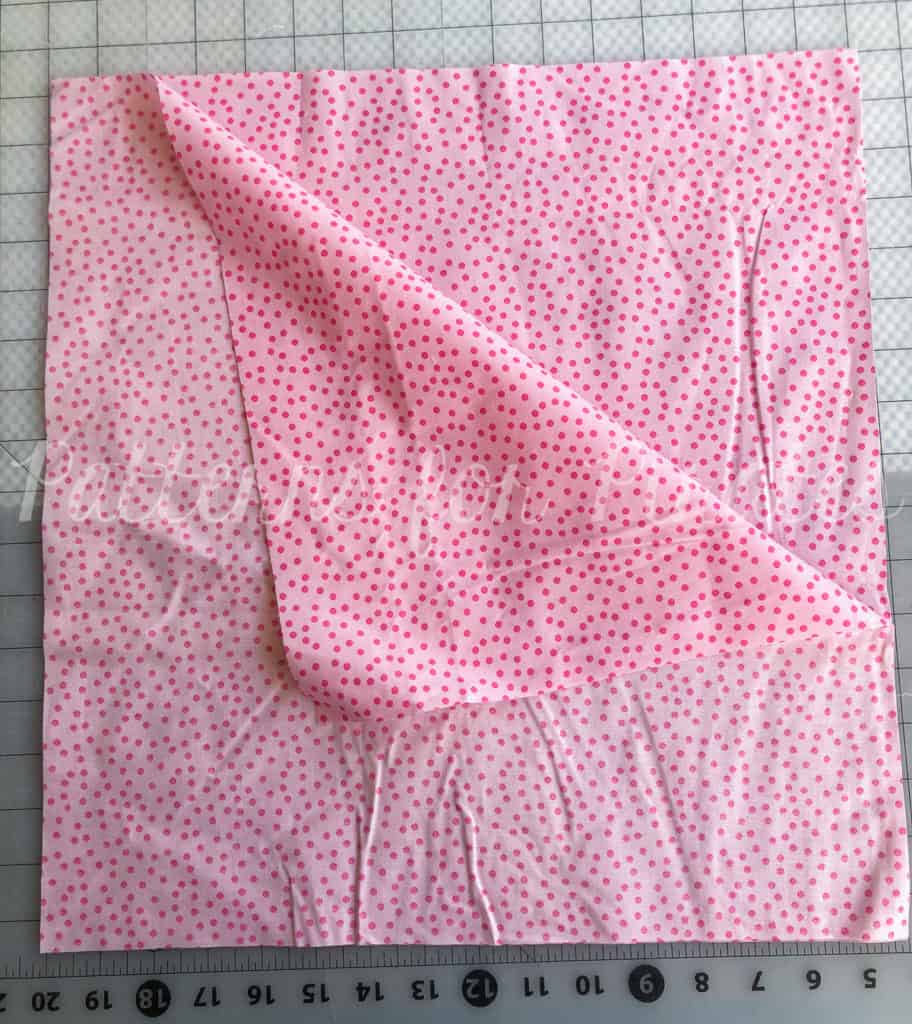
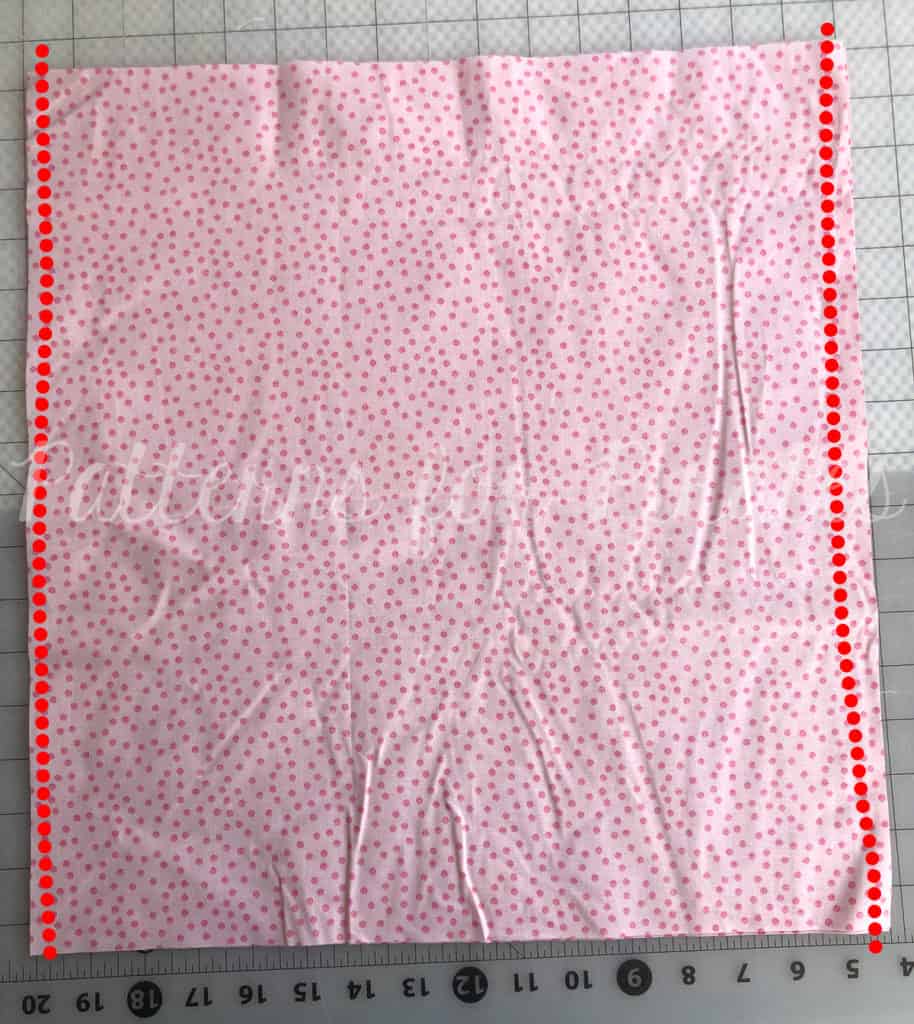
Step 24: Align your lining fabric with right sides together.

Step 25: Sew along both sides, using 1/2″ seam allowance.

Step 26: Turn your main skirt right sides facing outwards, and keep your lining fabric with the right sides facing in.

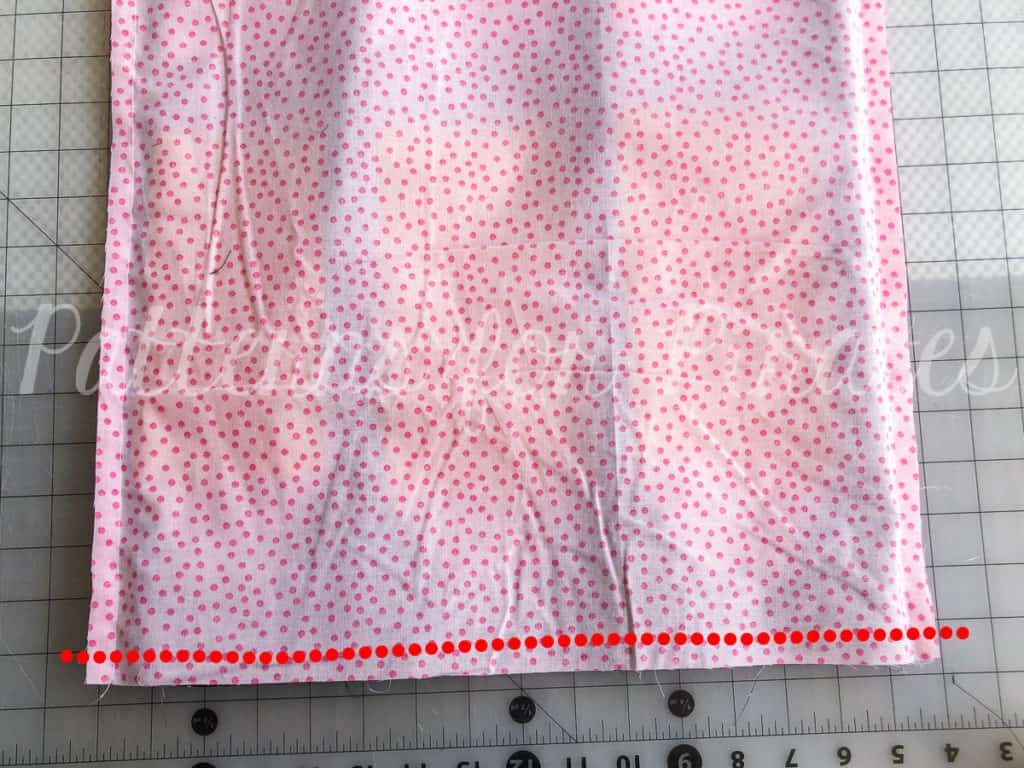
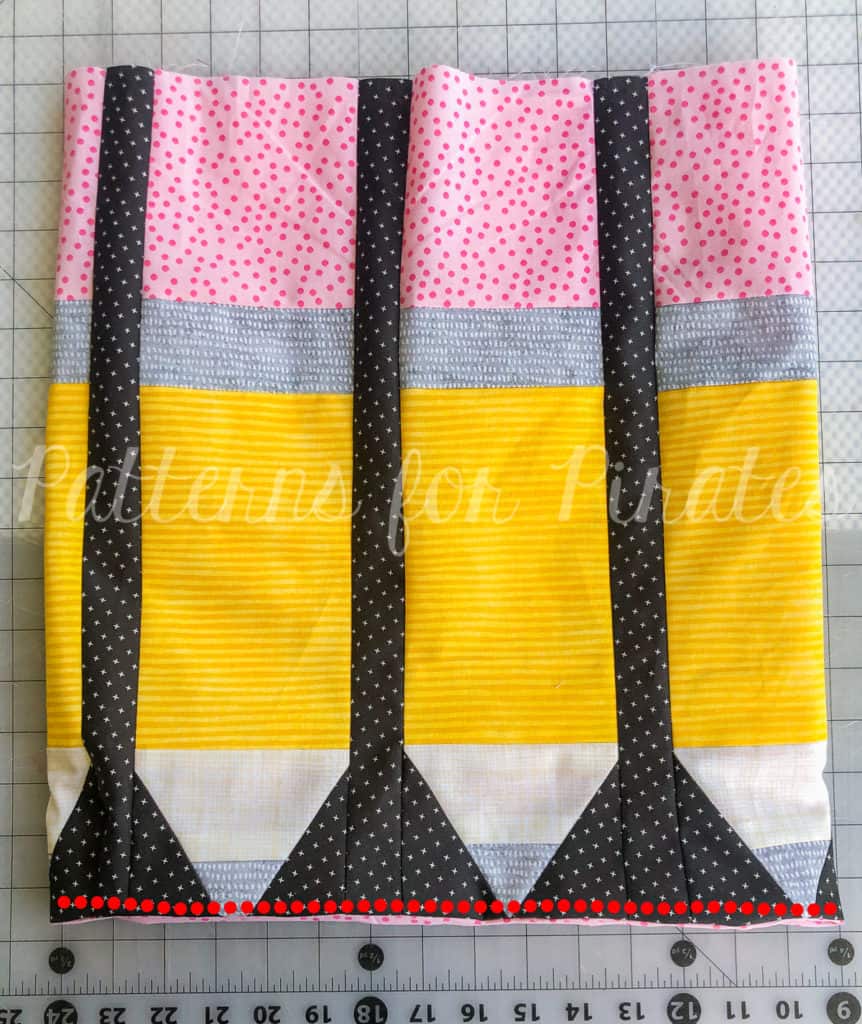
Step 27: Slide your main skirt inside of the lining, with the right sides together.

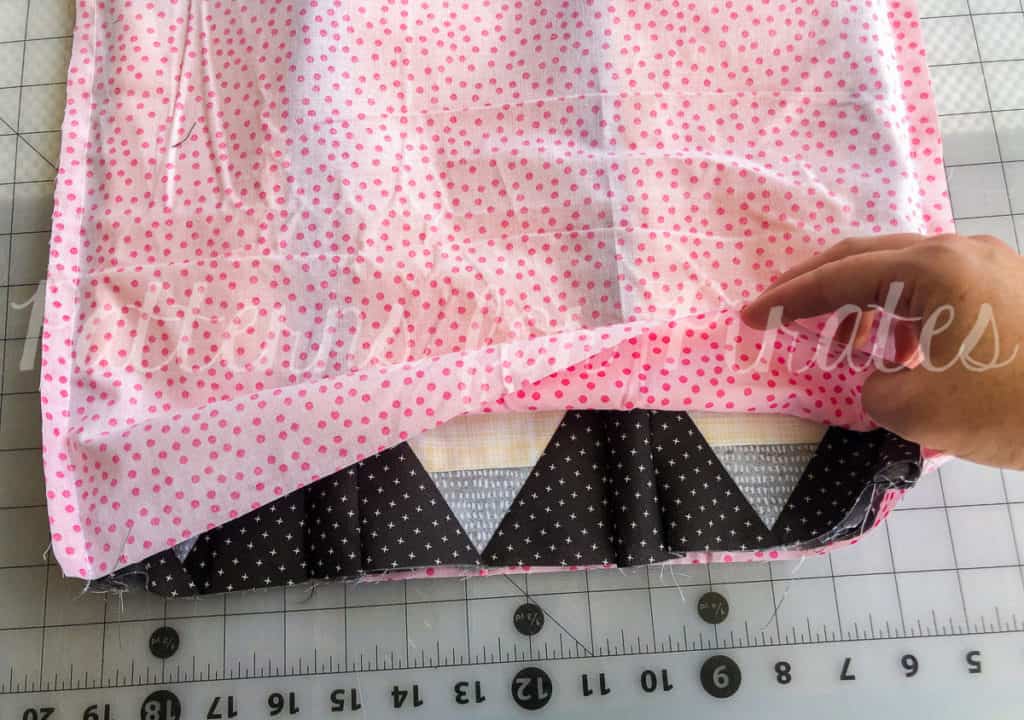
Step 28: Sew along the bottom edge opening, careful to sew only one layer of lining to one layer of the main skirt.

Step 29: Open up the pieces, so they are right sides out.

Step 30: Slide the lining inside of the main skirt, wrong sides together, completely enclosing all of your seams.

If desired, edge stitch along the bottom of the skirt.

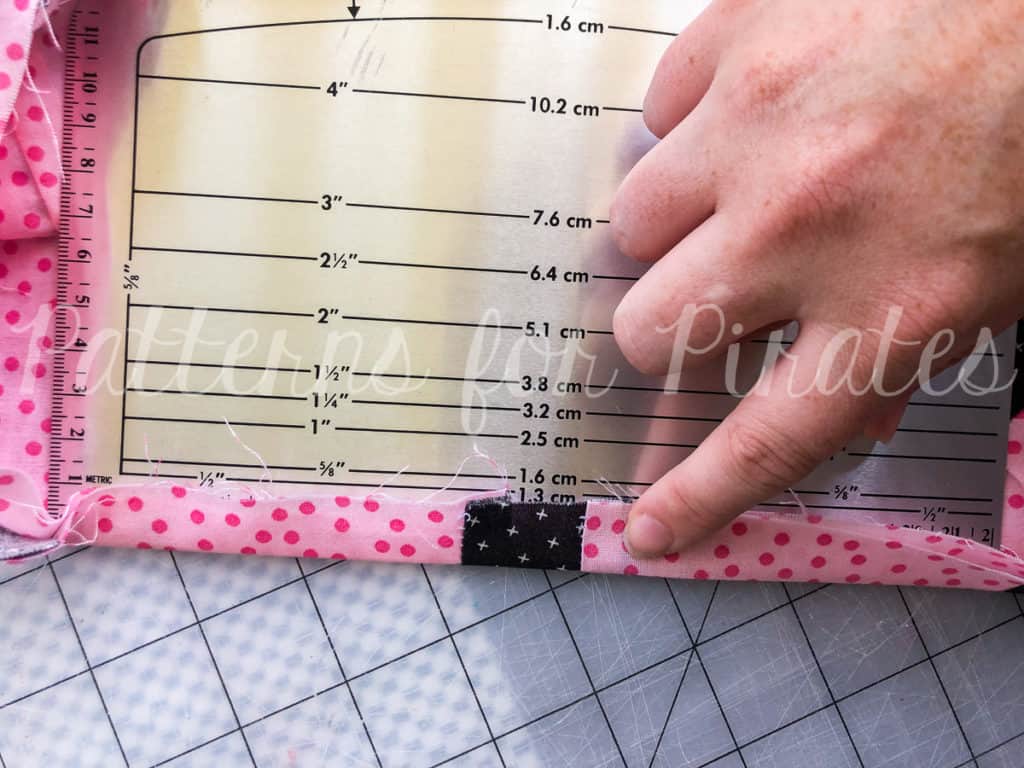
Step 31: Treating your main and lining fabrics as one, press 1/2″ along the entire top, raw edge, toward the lining side.

**Quick tip: You might find it easier to manage the double layers if you serge / zig-zag stitch around the top raw edge before folding and pressing.

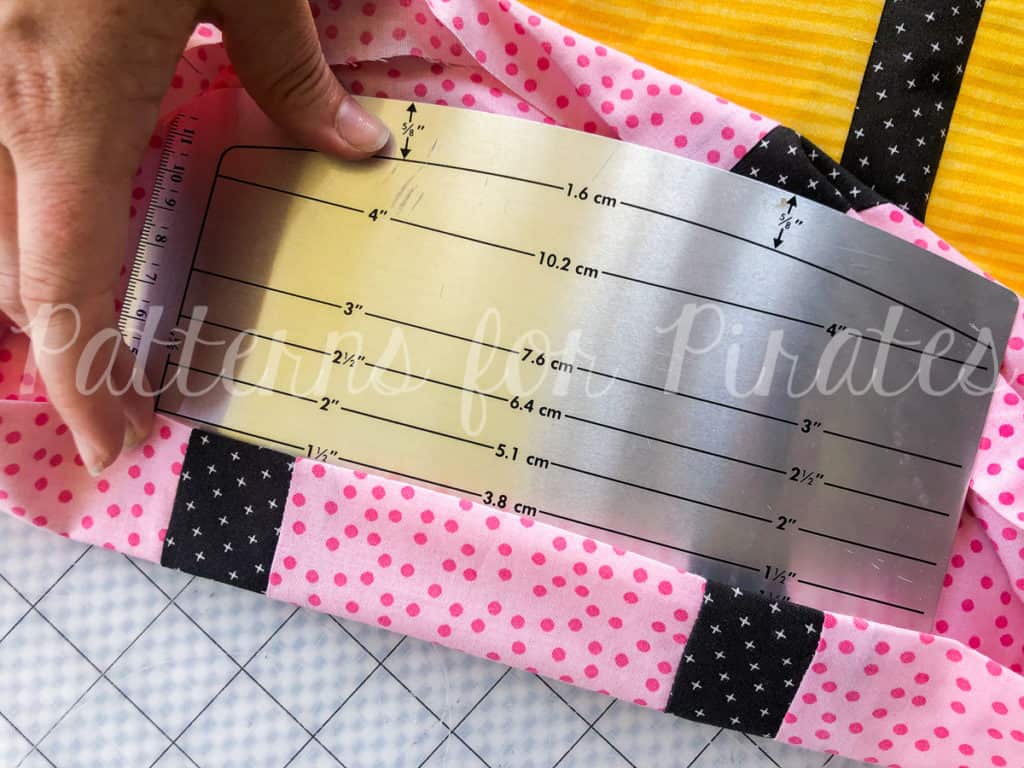
Step 32: Press an additional 1-1/2″, creating a casing.

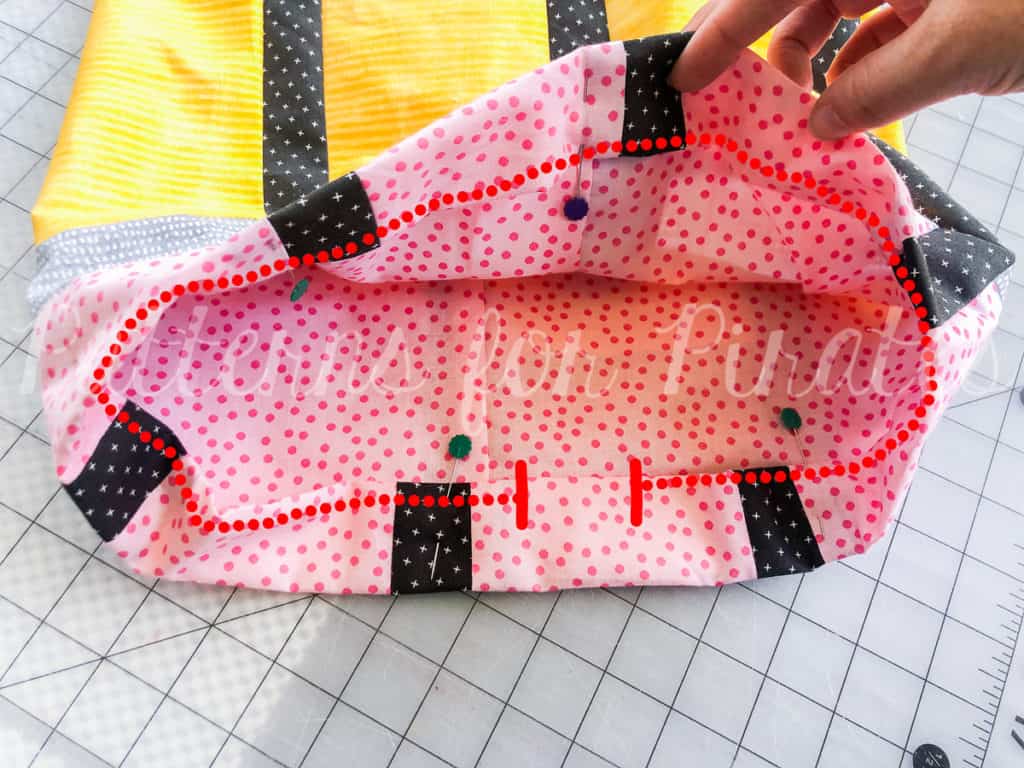
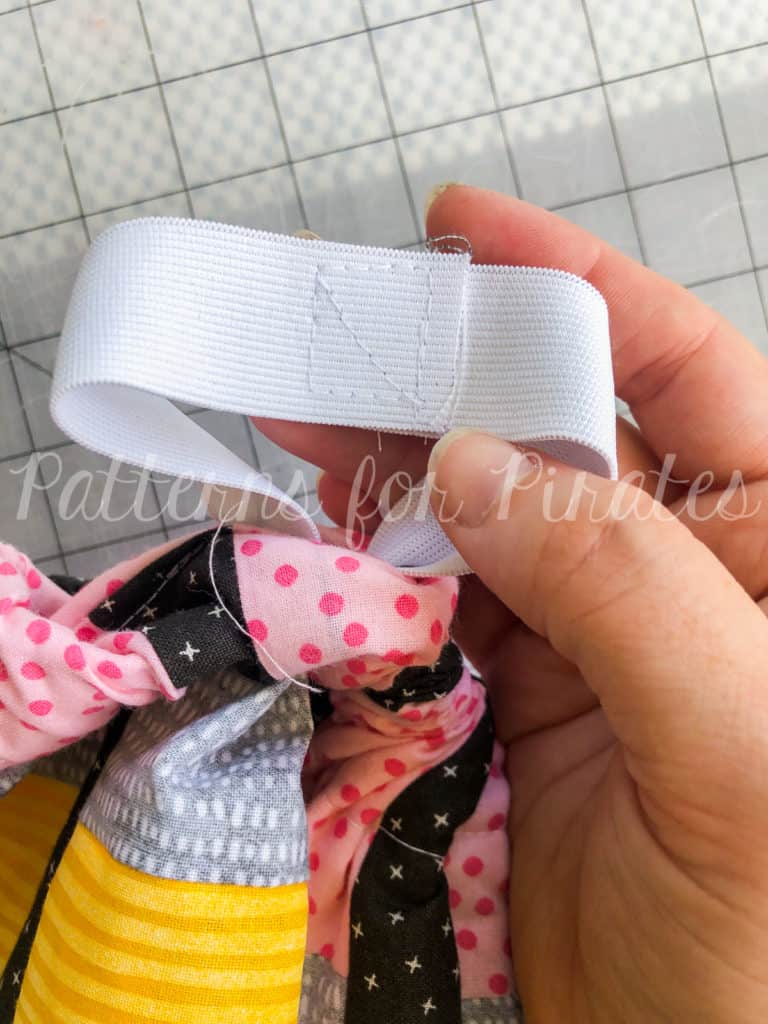
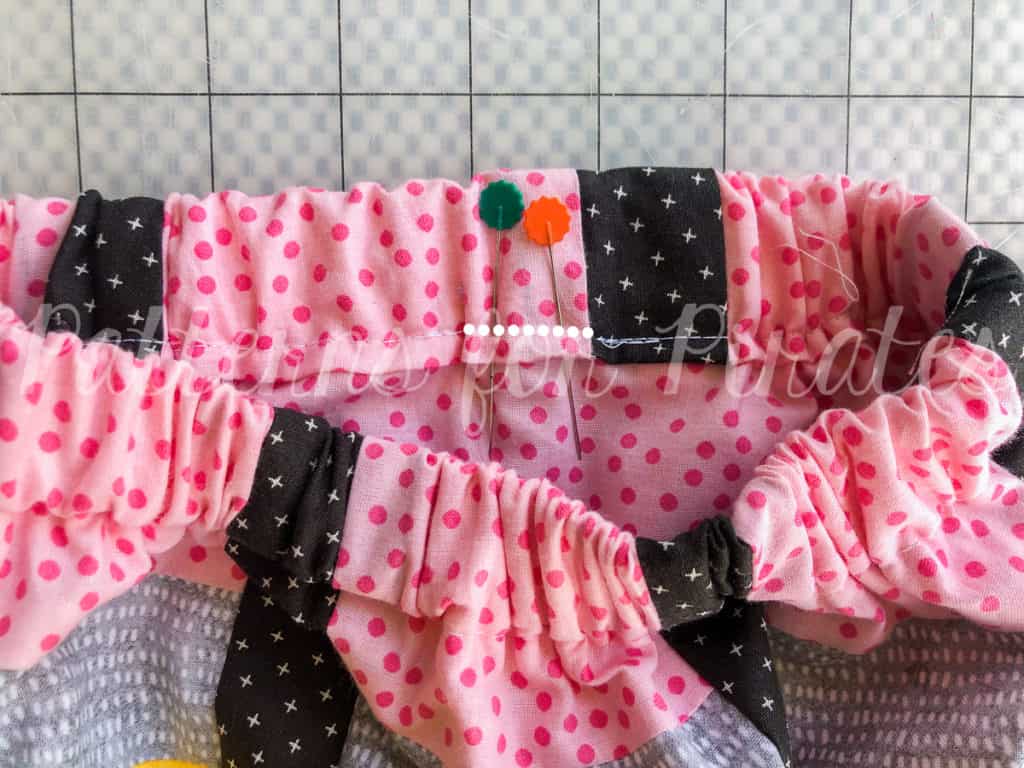
Step 33: Pin and sew along the entire skirt, edge stitching close to the fold in the casing. Leave a 2-3″ opening for elastic.

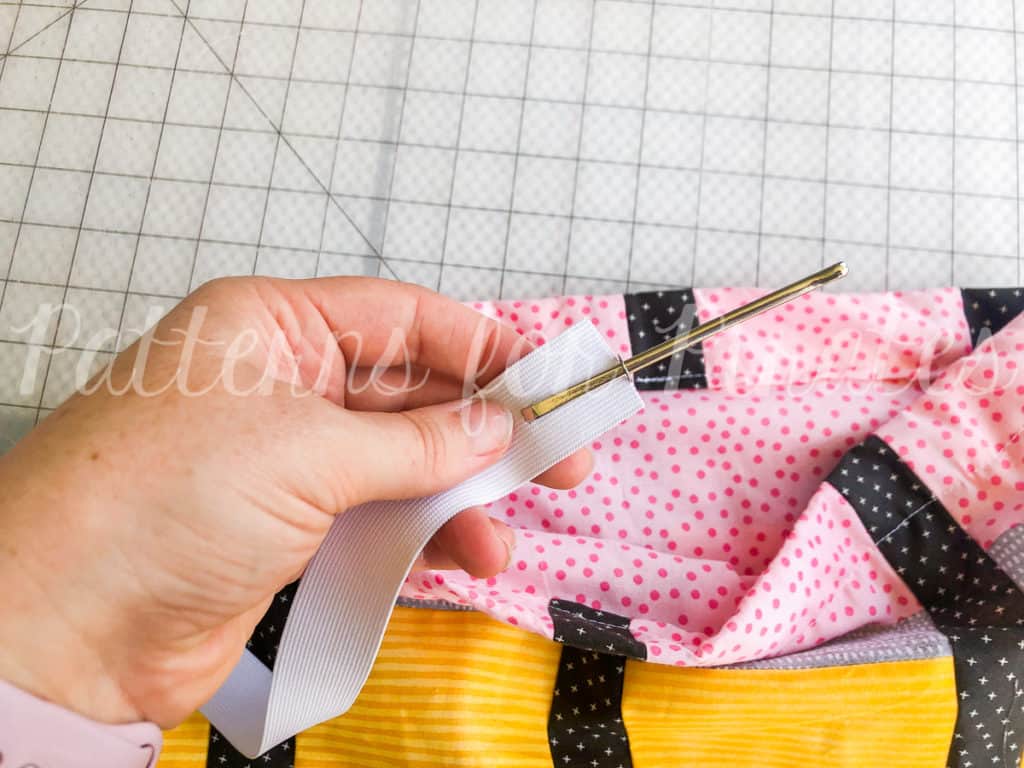
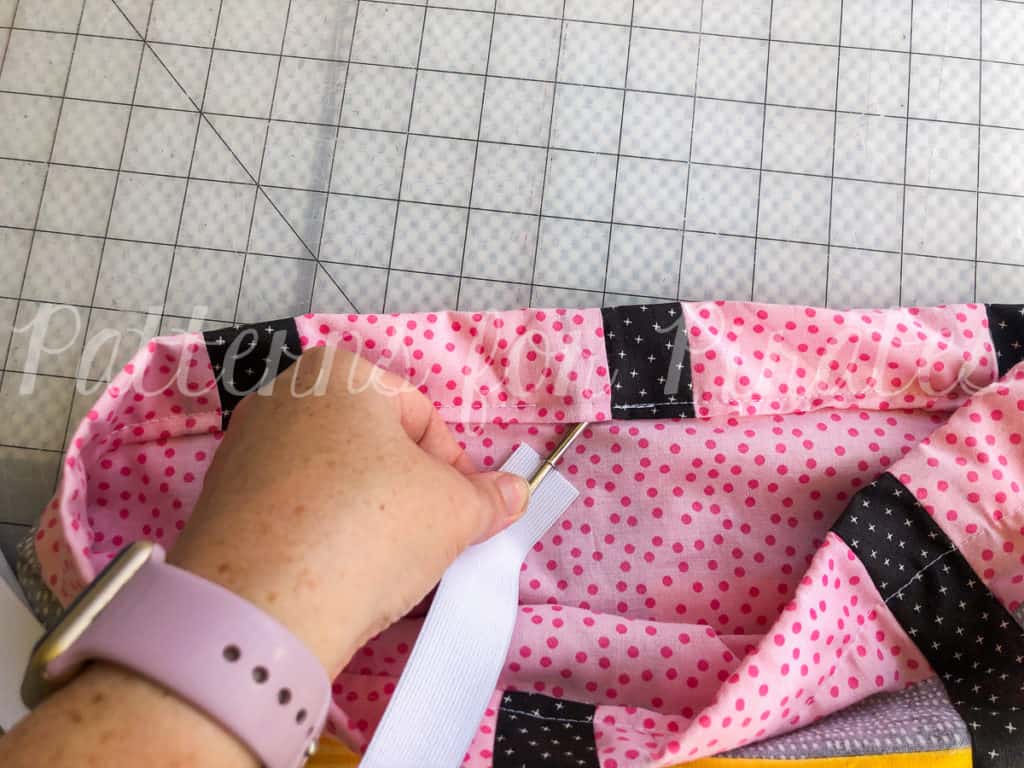
Step 34: Using a pin or bodkin, thread your elastic through the opening you left in the casing.

Be careful not to twist your elastic.

Step 35: Pull the elastic out the other side of your casing, overlap at 1″ and secure the ends together.

Step 36: Pin and stitch closed the opening in your casing.

Step 37: Press and admire your new “Just Write” skirt!
Are more of a “learn by watching” type?  If so, here’s a video to walk you through the steps of creating the pencil panels:

As always, we love when you share what you’ve made with us.  Head over to the Patterns for Pirates Facebook group and show off super awesome Just Write things that you’ve managed to make from our freebie pattern!

In case you were looking for a little inspiration on your own Just Write Skirt, check out our tester album and take a look at all of the gorgeous items our creative friends have made!

Happy Back-to-School season, Pirate Friends!

Filed Under: Free Pattern, Pattern Release 3 Comments

  • « Previous Page
  • 1
  • …
  • 5
  • 6
  • 7
  • 8
  • 9
  • …
  • 19
  • Next Page »

connect with me

  • Email
  • Facebook
  • Instagram
  • Pinterest
  • YouTube
Privacy & Cookies: This site uses cookies. By continuing to use this website, you agree to their use.

To find out more, including how to control cookies, see here: Cookie Policy
  • Privacy Policy
  • Refund Policy
  • Contact Us
  • About

Copyright © 2026 Patterns for Pirates

Copyright © 2026 · Genesis Framework · WordPress · Log in