Patterns for Pirates

P4P stylish, modern, wearable patterns

  • Home
  • Blog
    • Frequently Asked Questions
    • Pattern Releases
      • Free Patterns
    • P4P University
      • Fitting
      • Sewing with Stretch, Knit Fabrics
      • Sewing with Woven Fabrics
      • Sewing Machines
    • Sew-A-Longs
    • Fabric for Pirates
    • Pattern Hacks
    • Announcement
      • Blog Tours
      • Contest/Giveaway
  • Shop
  • Bundle Discounts
  • Flash Friday
  • Gift Cards
  • My Account
  • Cart

Runabout SAL – day 1 (print pattern and cut fabric)

June 22, 2020

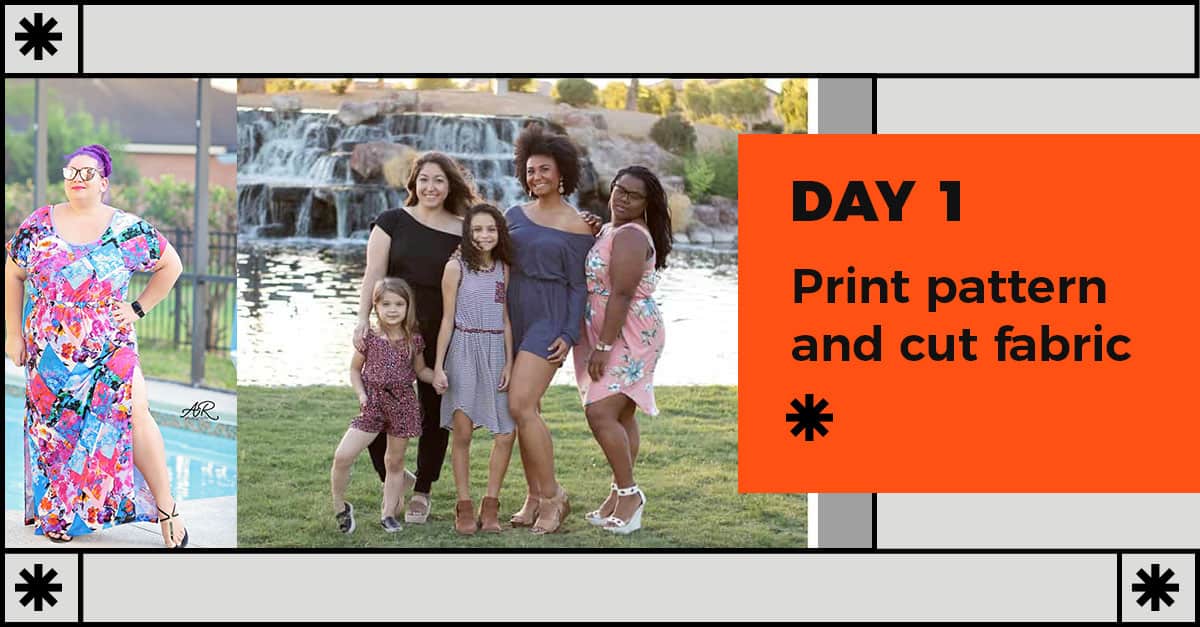
Welcome to our Runabout  Sew Along!

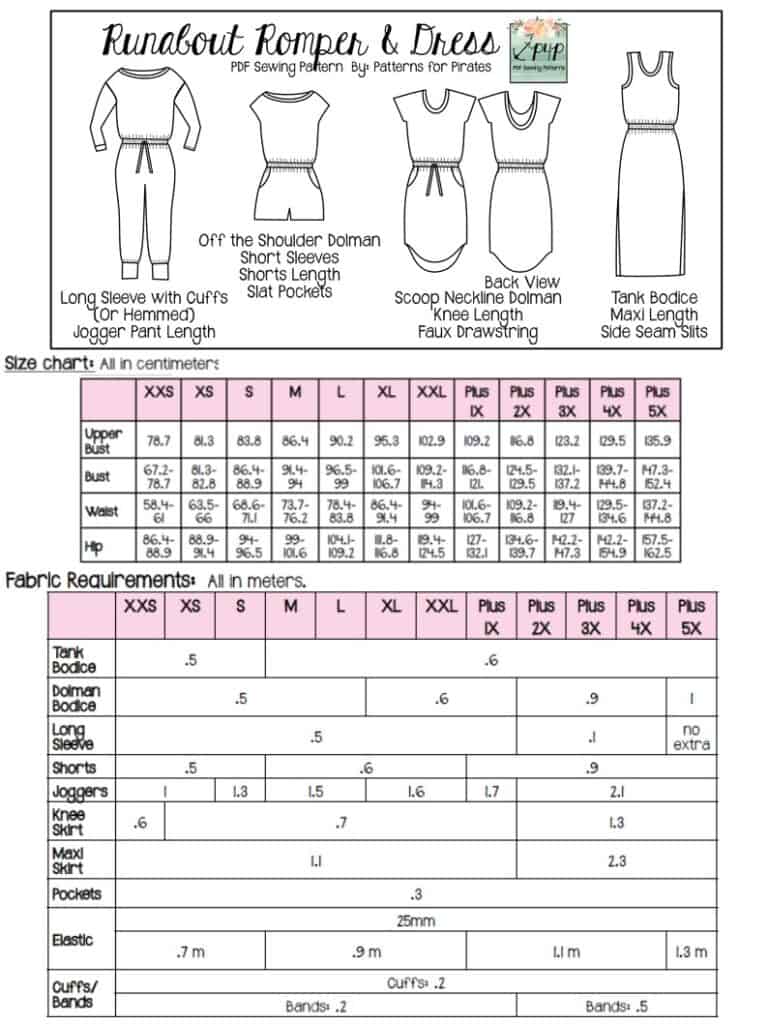
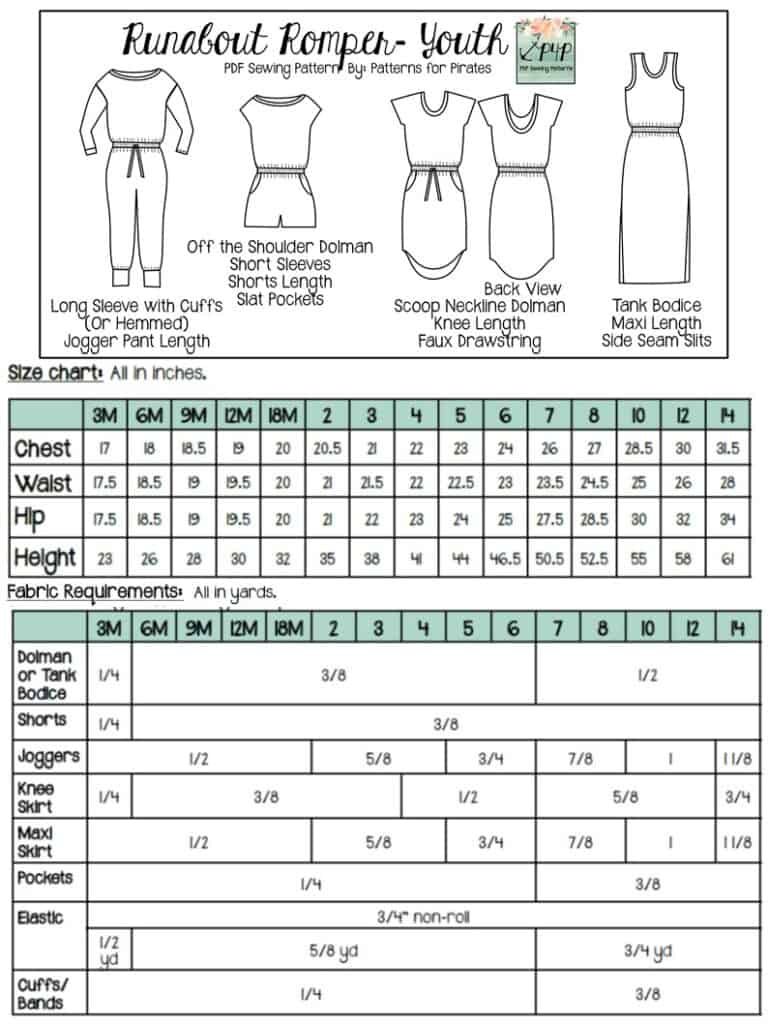
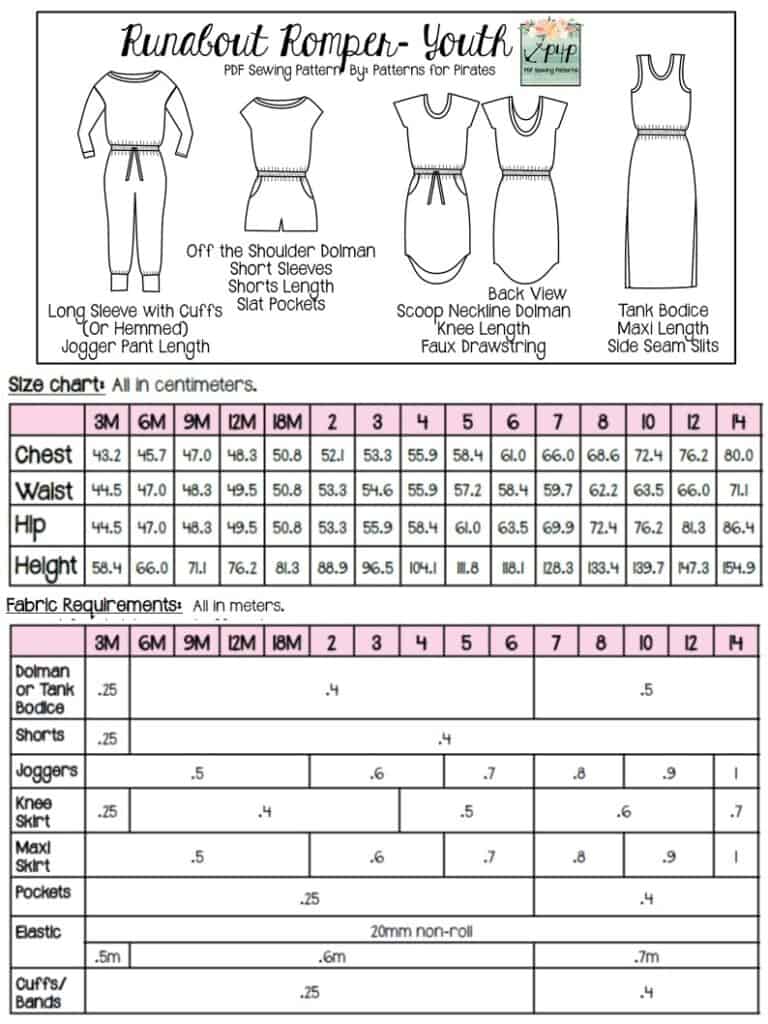
Day One is reserved to purchasing the pattern, printing and cutting the size(s) you need. If you plan on sewing for yourself you can get the Runabout Romper and Dress here, if you’re sewing for your little one, the RRD can be purchased here and if you’re sewing for both of you (just think of the mommy and me matching outfits!) you can get the bundle. If you can’t decide which one to make, our Round Up blog will give you a glance at all options included, from sleeve length to bottom styles. 

This sew along will be held in the the M4M & P4P Sew Along group so be sure to join the group not only for the exclusive discount code available for the Runabout patterns but also to post your daily progress this week. Don’t be shy about asking questions or suggestions, that’s what sew alongs are or, after all. 
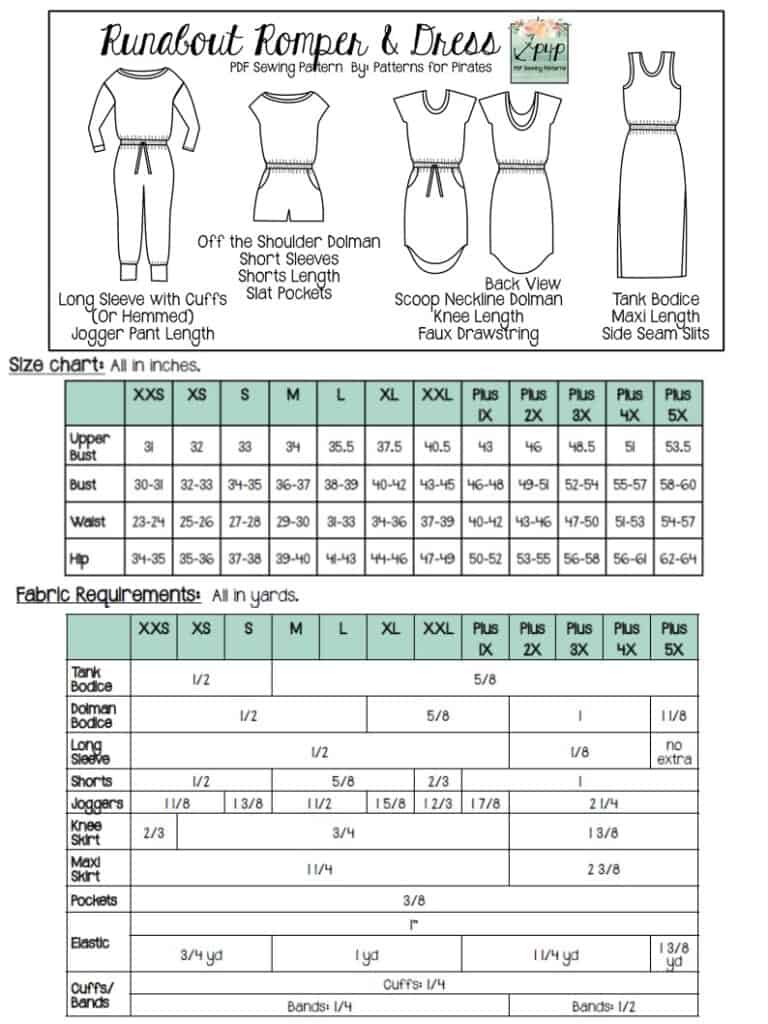


Now that you purchased the pattern(s), print the size needed. In order to do that it is very important that you take your most accurate measurements. You will need your waist, hips and chest measurements in order to choose the correct Runabout Romper or Dress size. P4P has an amazing blog that gives you tip for accurately taking your measurements. You can read all about it here. If your measurements put you in a different size for chest/waist/hips be sure to check out our P4P University blog and grade to achieve the perfect fit.

The P4P team has started adding Projector Files to the new patterns so I couldn’t miss the opportunity to use it for my own dress. You can see in today’s video how easy it is to utilize one instead of printing your pattern. 

The pattern is drafted for knit fabric with at least 30% stretch and soft drape. My personal recommendations are rayon spandex, bamboo lycra, ITY, Cupro and double brushed poly. All of these would make great rompers and dresses. 

For my dress I am using a gorgeous floral  CoordiKnit Nonsense Fabrics bamboo lycra which has beautiful drape and a soft feel. Bamboo is my favorite fabric base ever so it was only natural that I picked this base for my RRD dress…plus, it’s so, so pretty!! CoordiKnit is this sew along’s sponsor as well so our two lucky winners will be receiving prizes to treat themselves to their custom prints.

If you are unsure about which knit type will work best for your desired look, take a look over our P4P University Knit Types blog. We also included a cheat sheet that you can print. If you are like me and sometime are just keen on using a specific print for a specific pattern, read our Different fabric, different fit blog post before you cut your fabric.

You can see the first video below, including how I use my projector file. Once you cut the fabric, post a picture of your pretty pile in the comments of DAY 1 photo of the Runabout album in the M4M & P4P Sew Along Group. 


Runabout Romper & Dress SAL day 1 | Print pattern and cut fabric

Runabout Romper & Dress SAL day 2 | Add chest pocket, sew shoulder seams and add neckband

Runabout Romper & Dress SAL day 3 | Sew side seams and add tank armband/dolman sleeves

Runabout Romper & Dress SAL day 4 | Add pockets, side seam skirt or shorts/joggers and inseam

Runabout Romper & Dress SAL day 5 | Hem skirt/shorts or add cuffs to joggers

Runabout Romper & Dress SAL day 6 | Add waistband and show off your creations

Runabout Romper & Dress SAL day 7 | Winners announcements

Filed Under: Frequently Asked Questions, Sew-A-Long, Uncategorized 2 Comments

Baby Set with Nancy’s Notions

October 30, 2018

This post was created in partnership with Nancy’s Notions.  All opinions are my own.

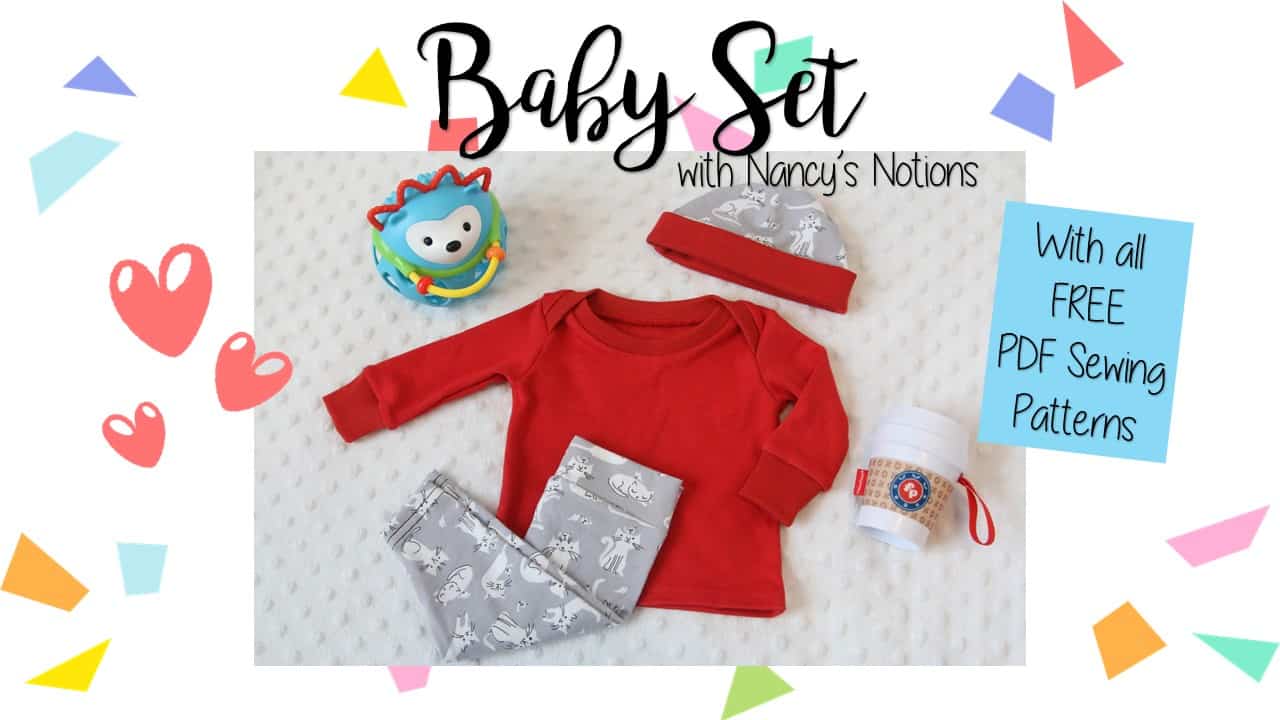
Today’s blog is a rare occasion here on the P4P site… Generally I don’t do a lot of sponsored posts, but when Nancy’s Notions contacted me to do a little show off for their 2018 holiday blogger gift program I just couldn’t resist. I grew up watching Nancy on PBS with my mom and was honored to hear from them <3

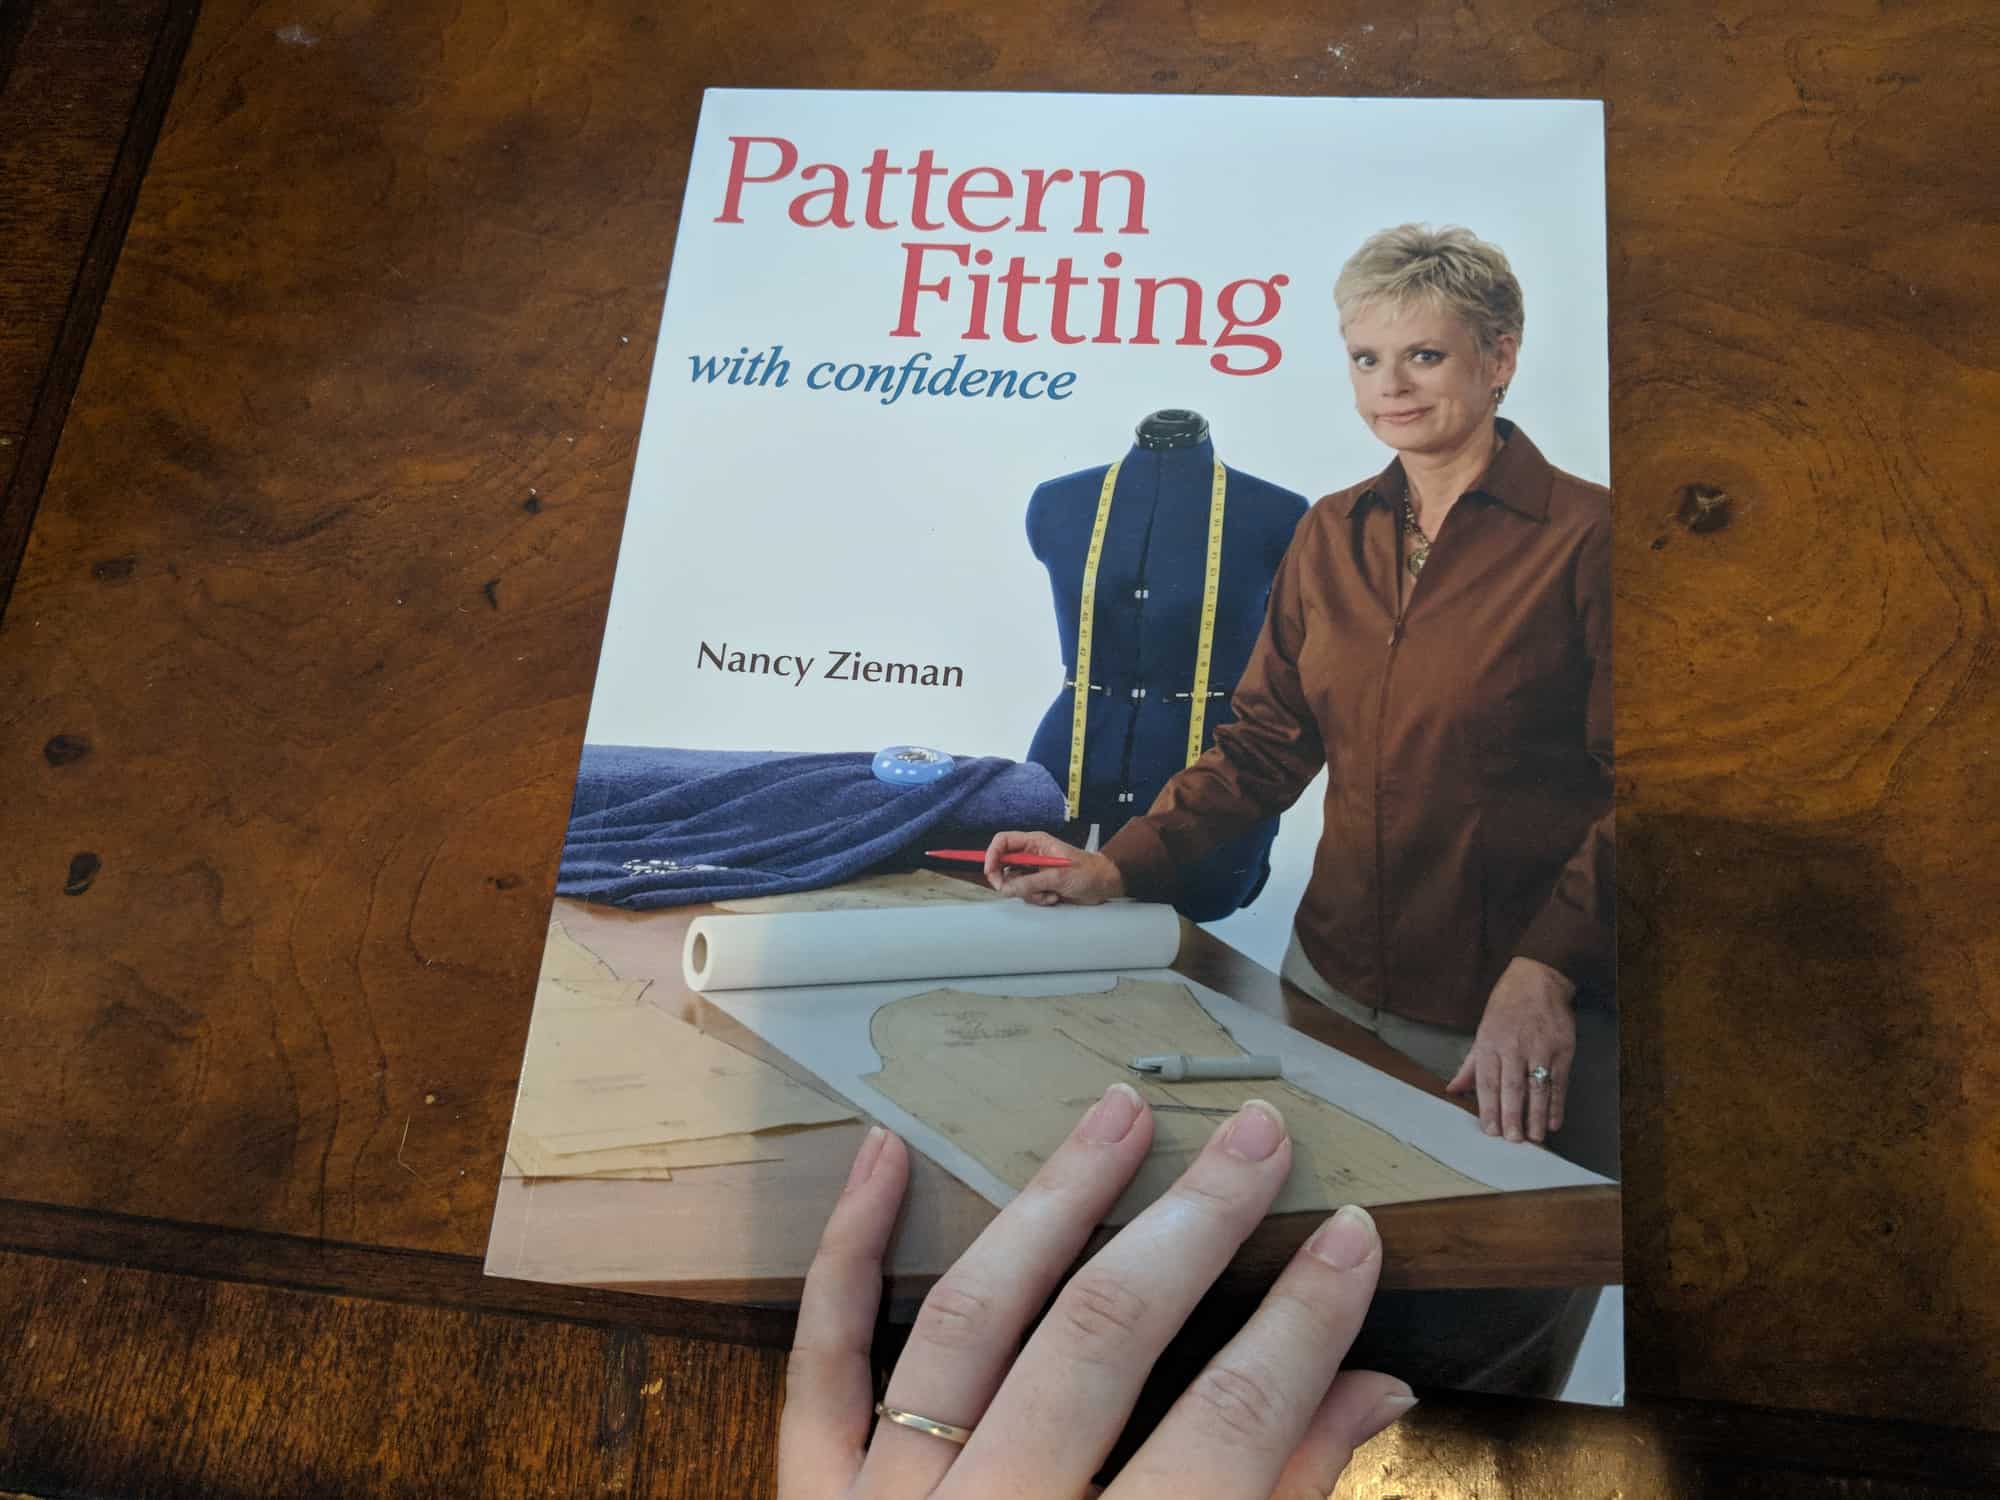
Nancy is absolutely a great sewing icon who taught so many so much! I still have her fitting book sitting right on my desk 🙂

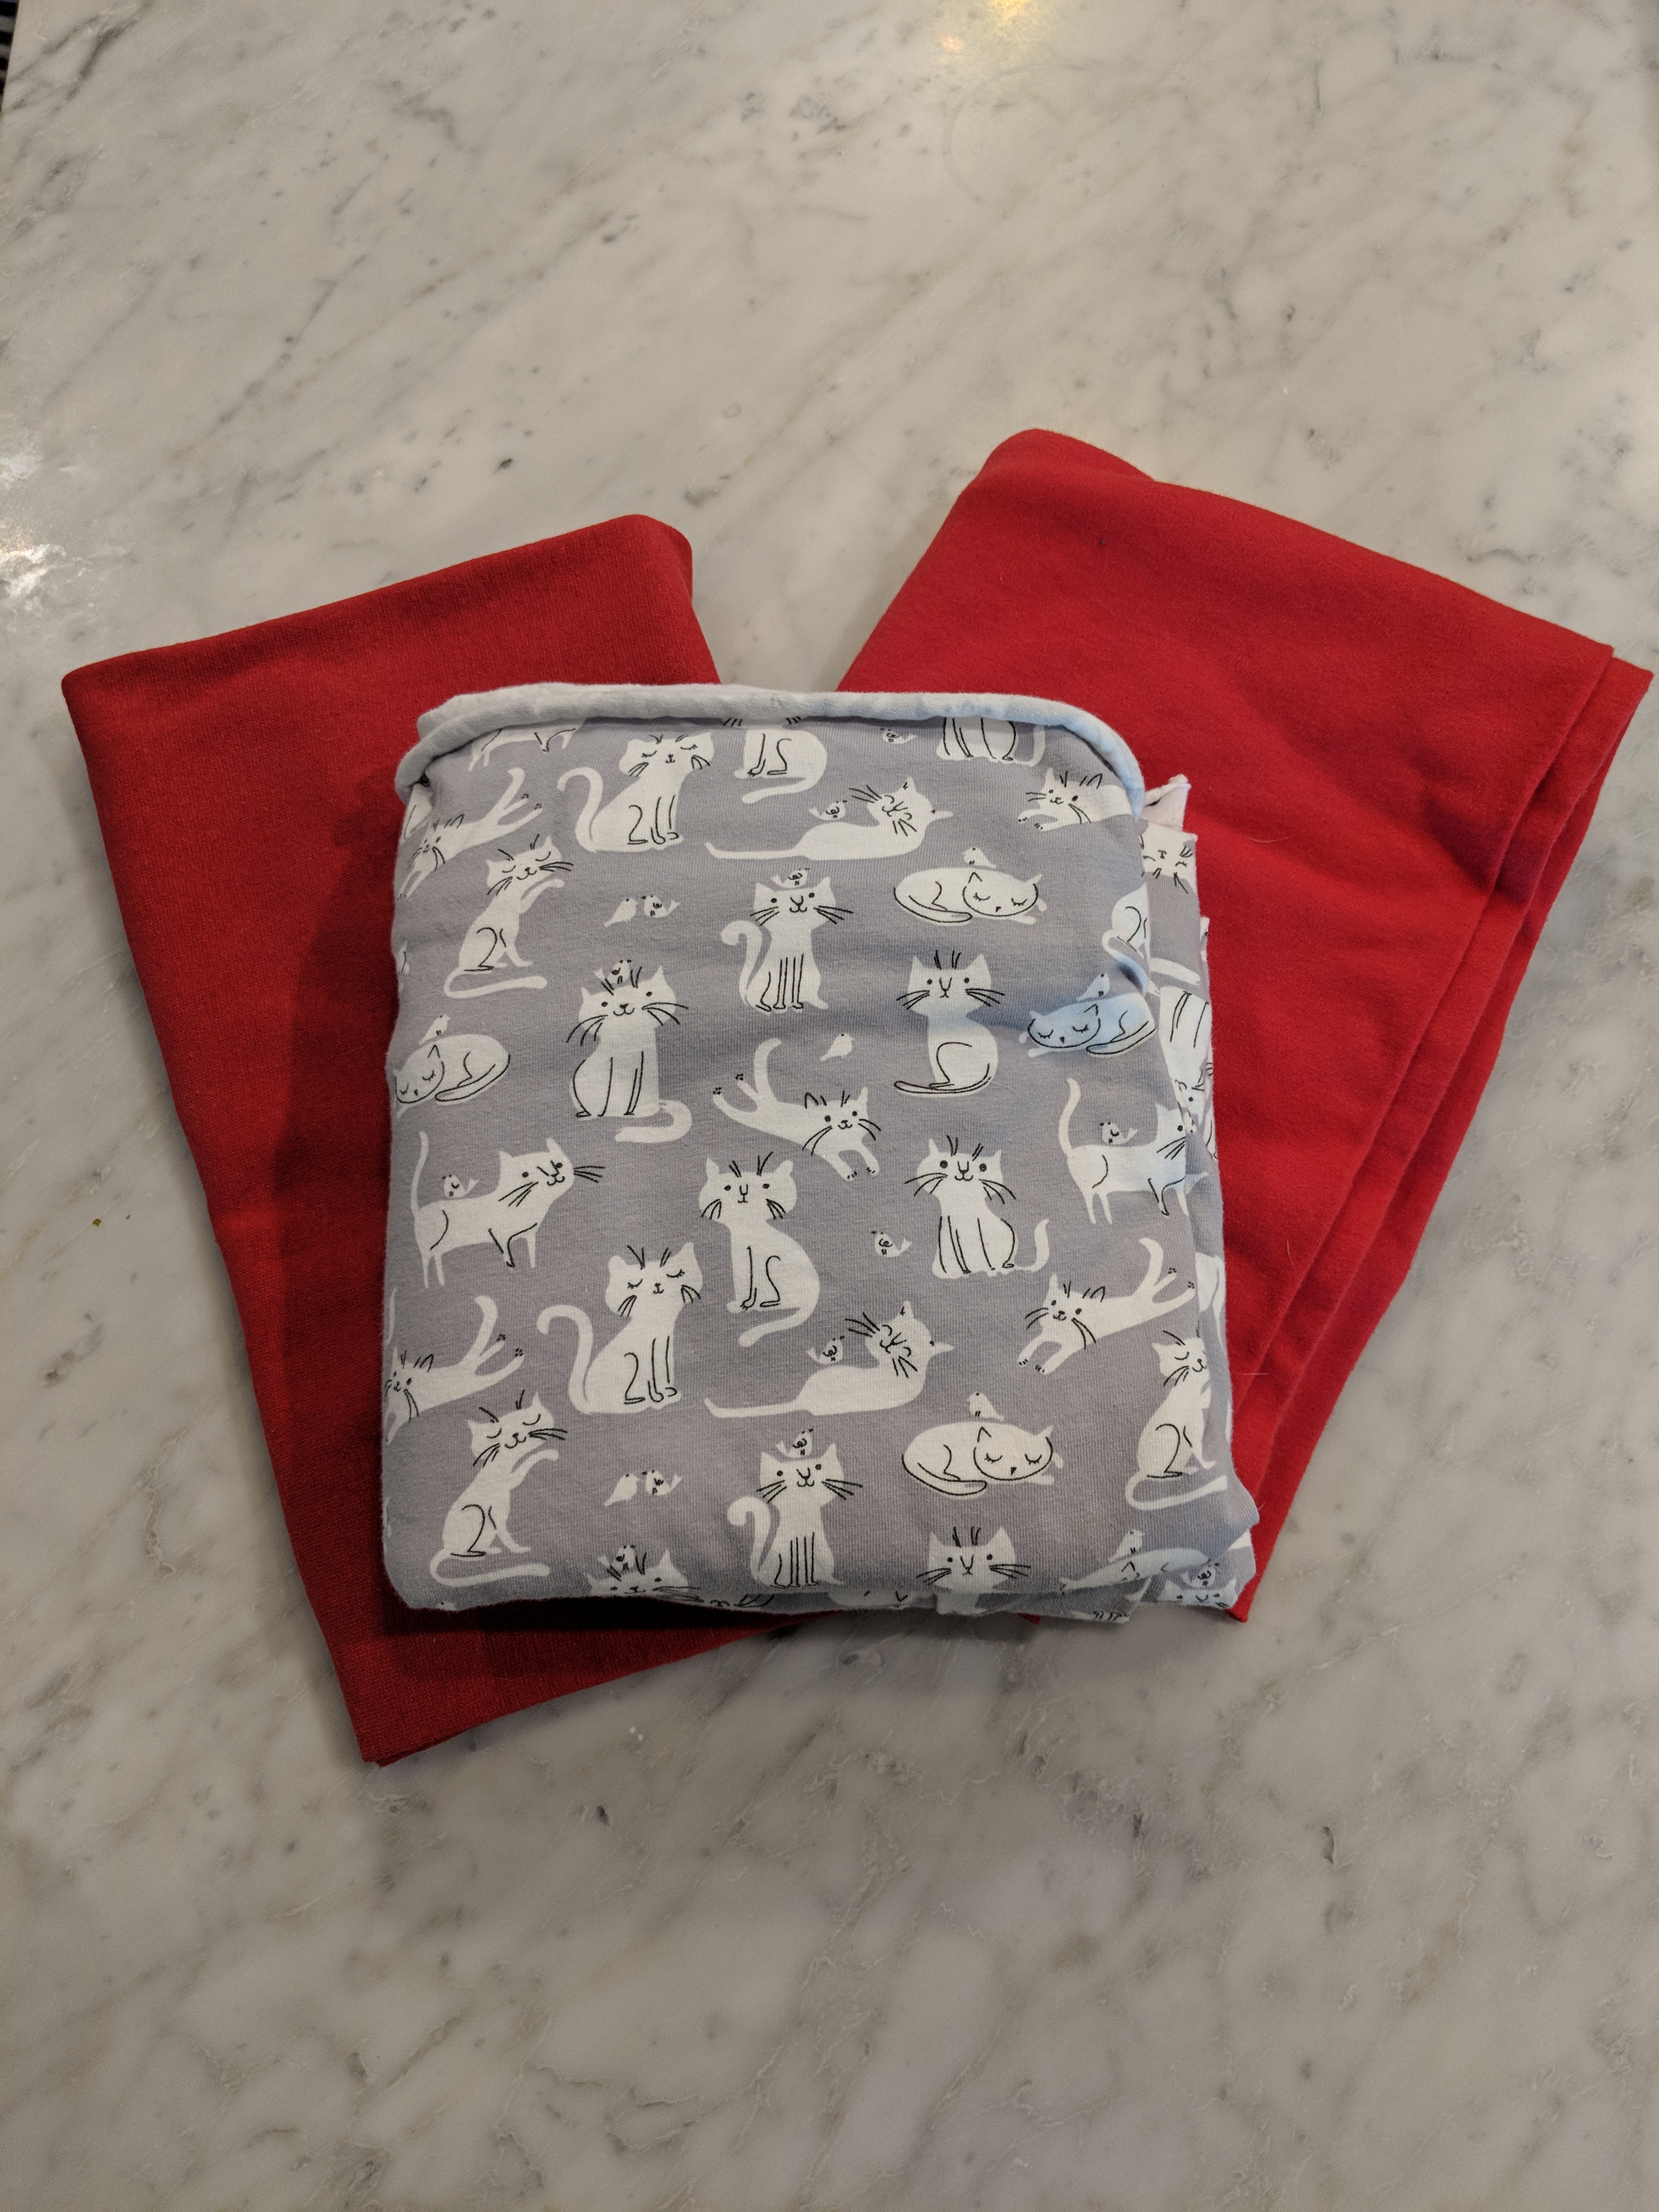
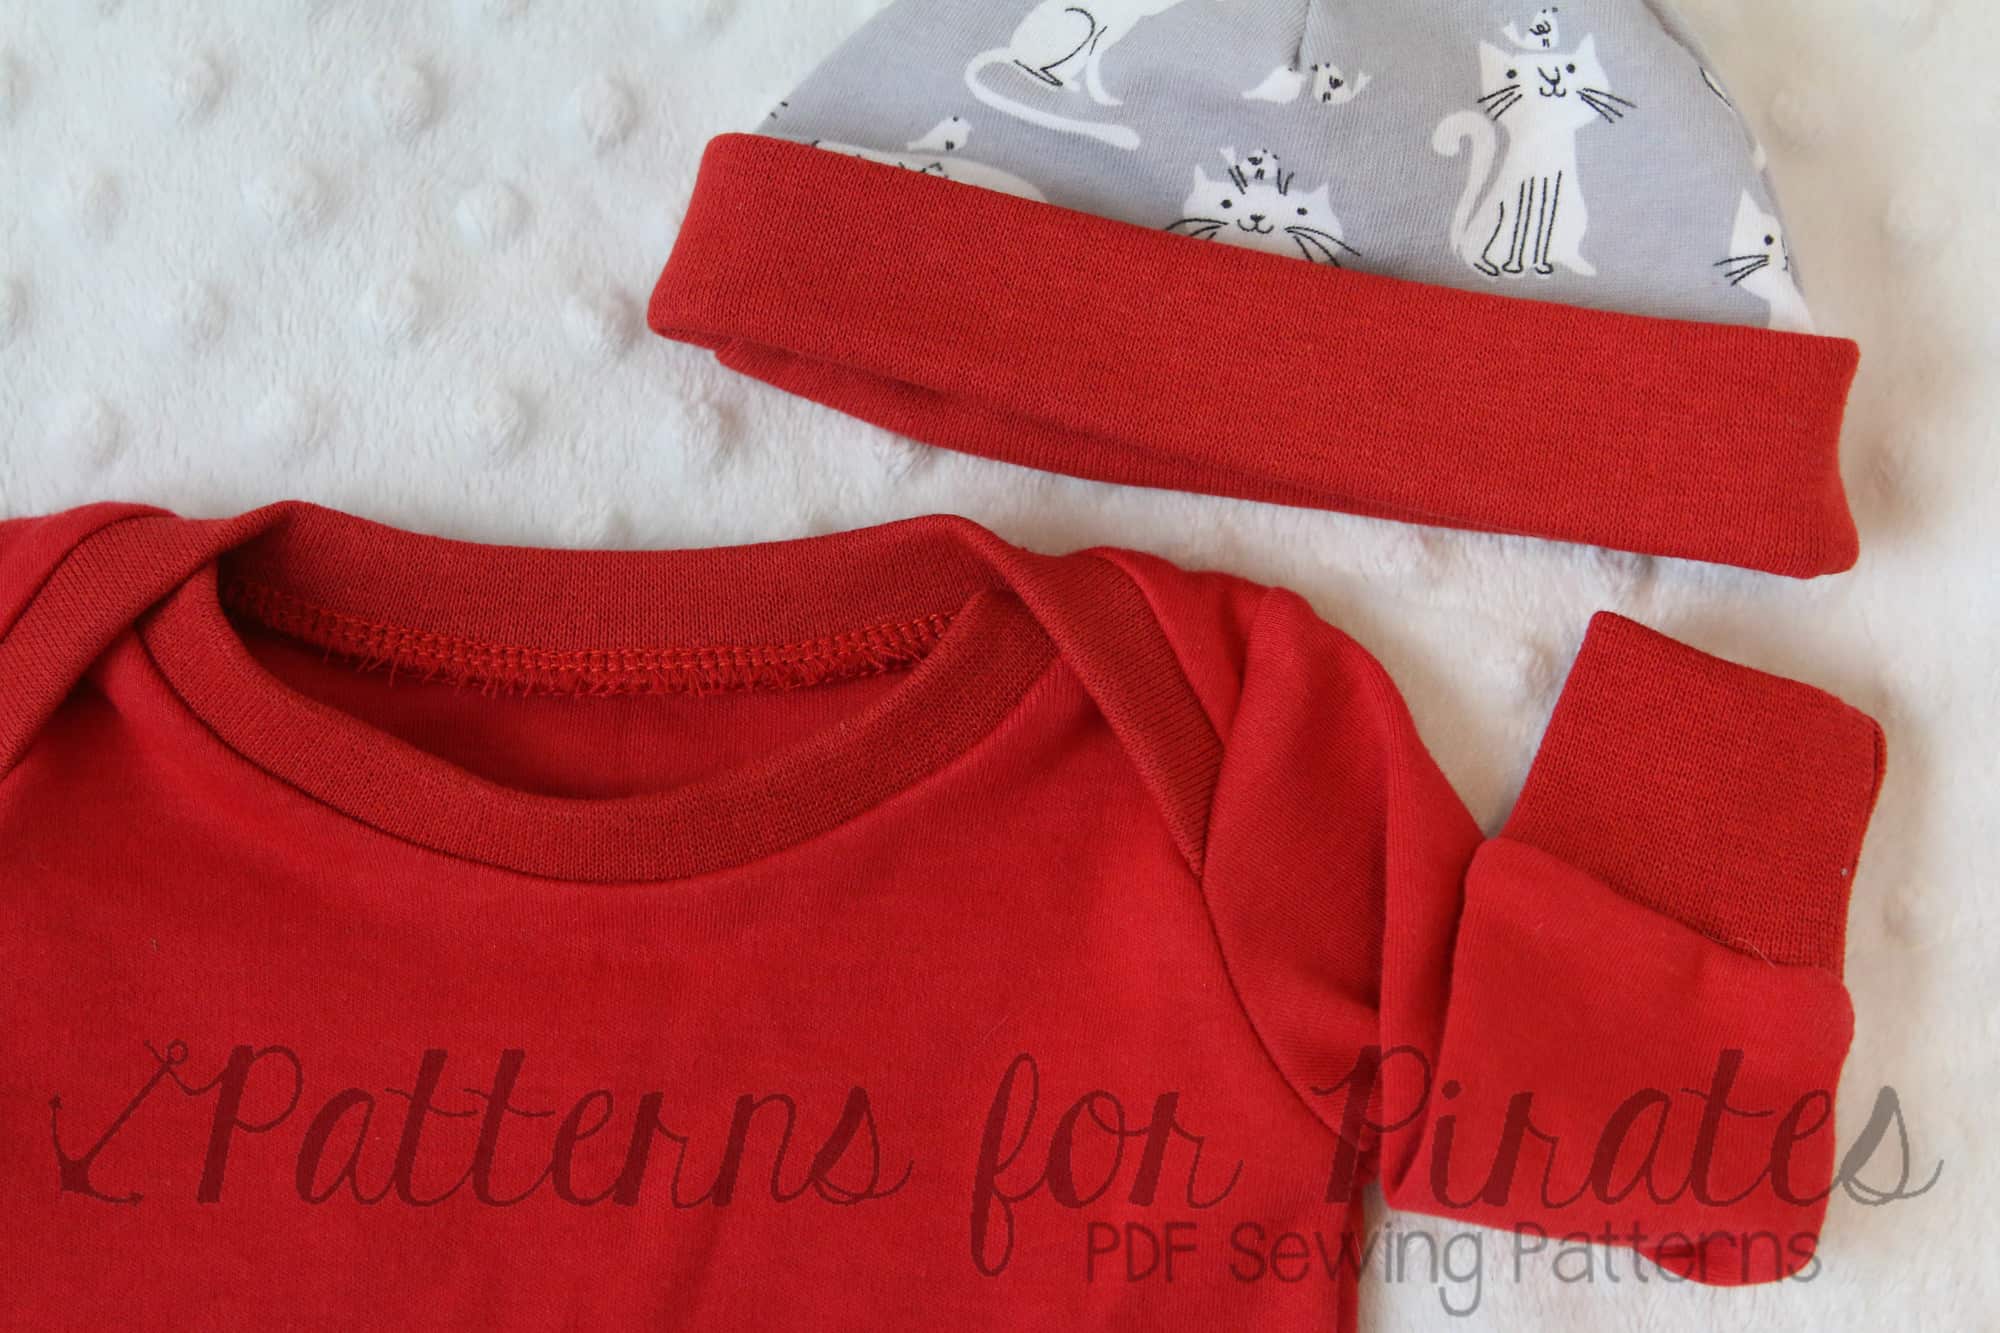
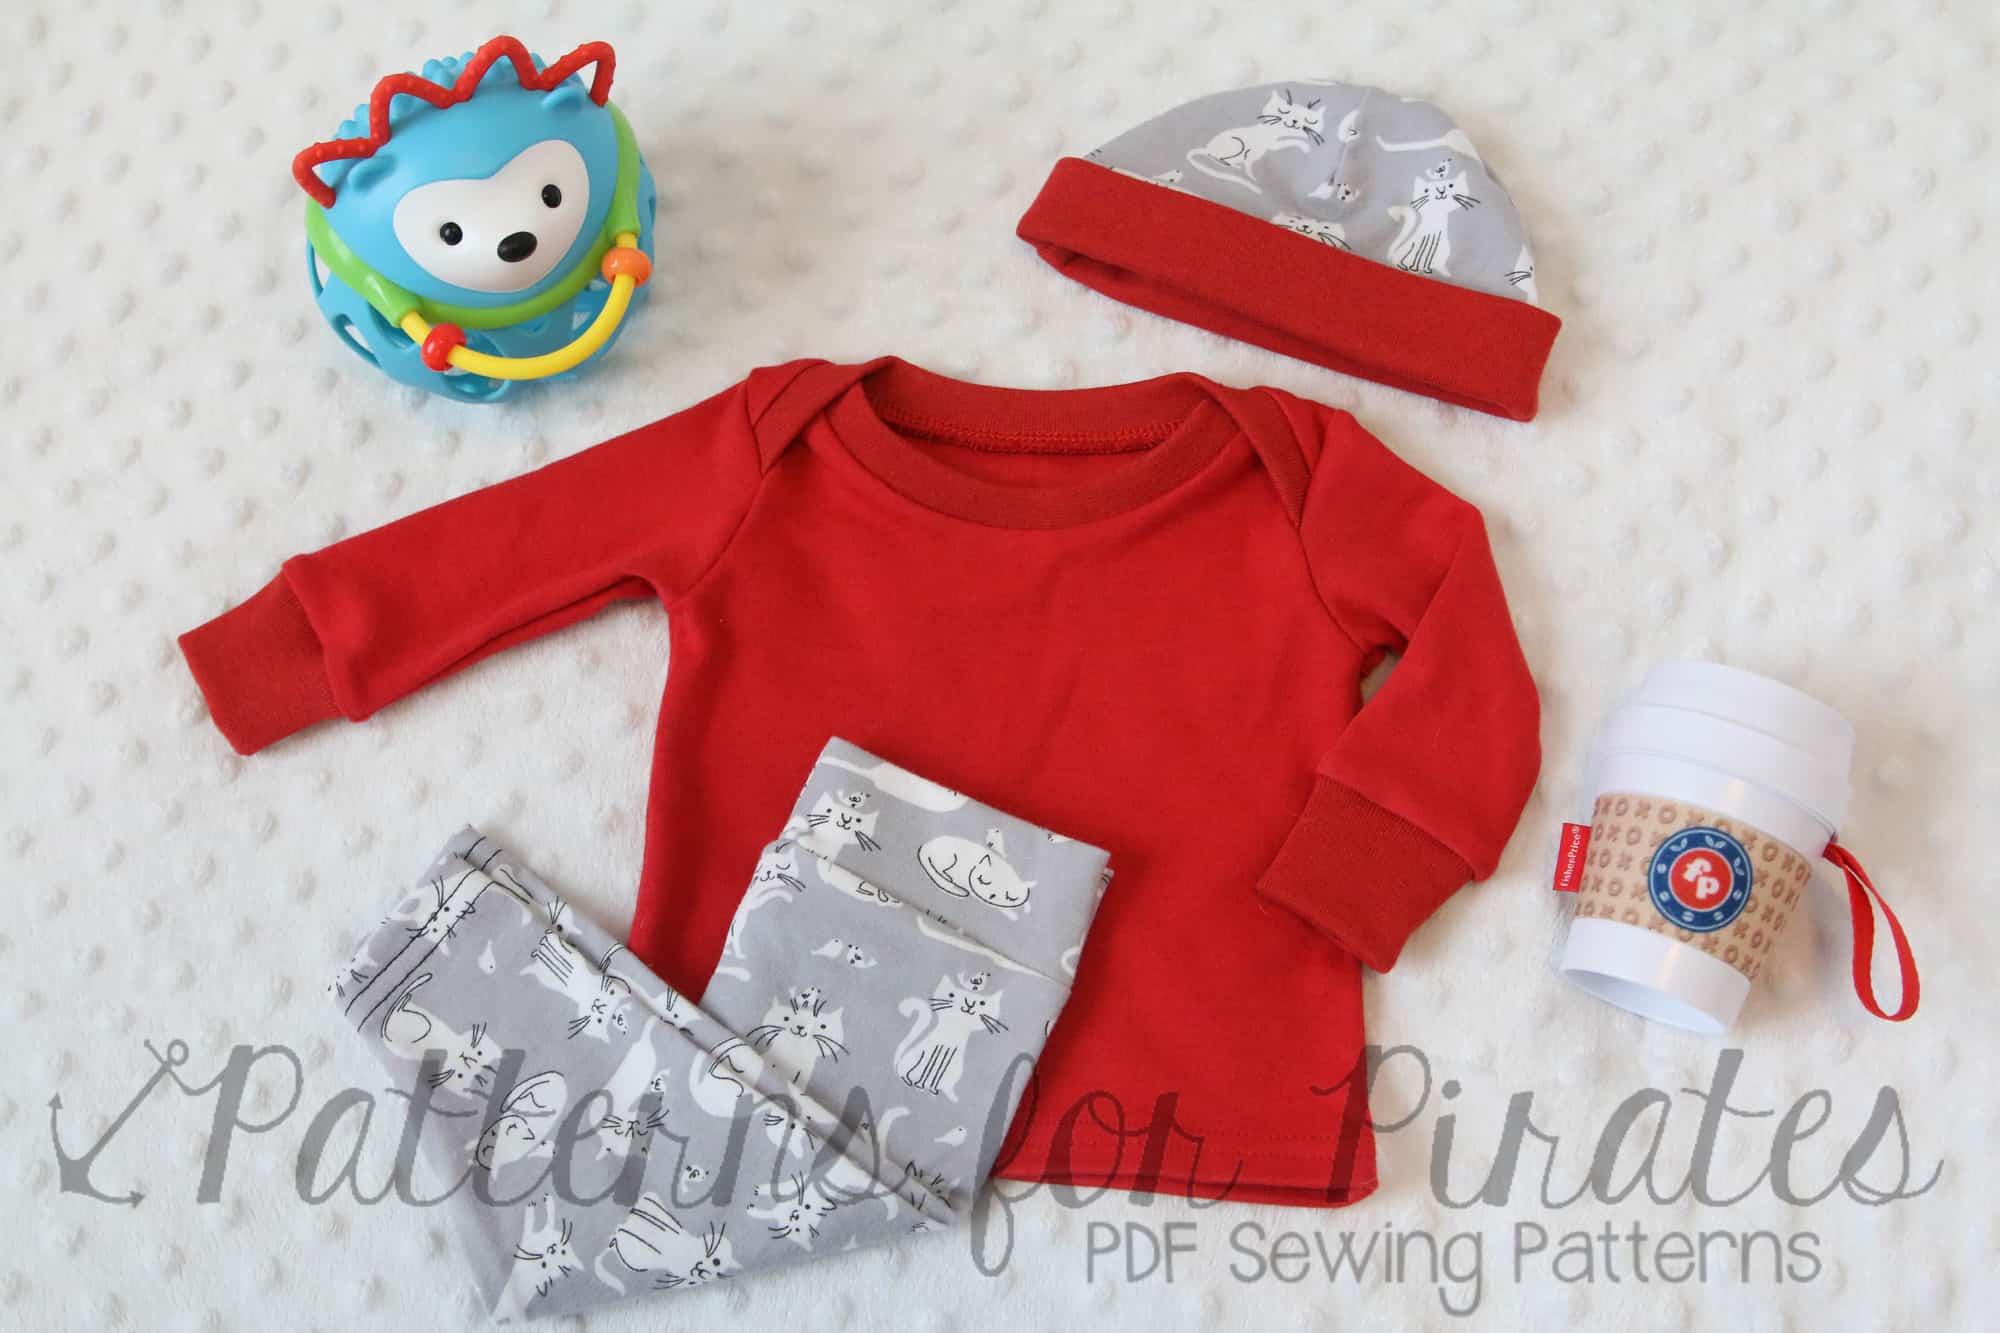
They sent me some adorable kitty fabric, red interlock and red ribbing to match.

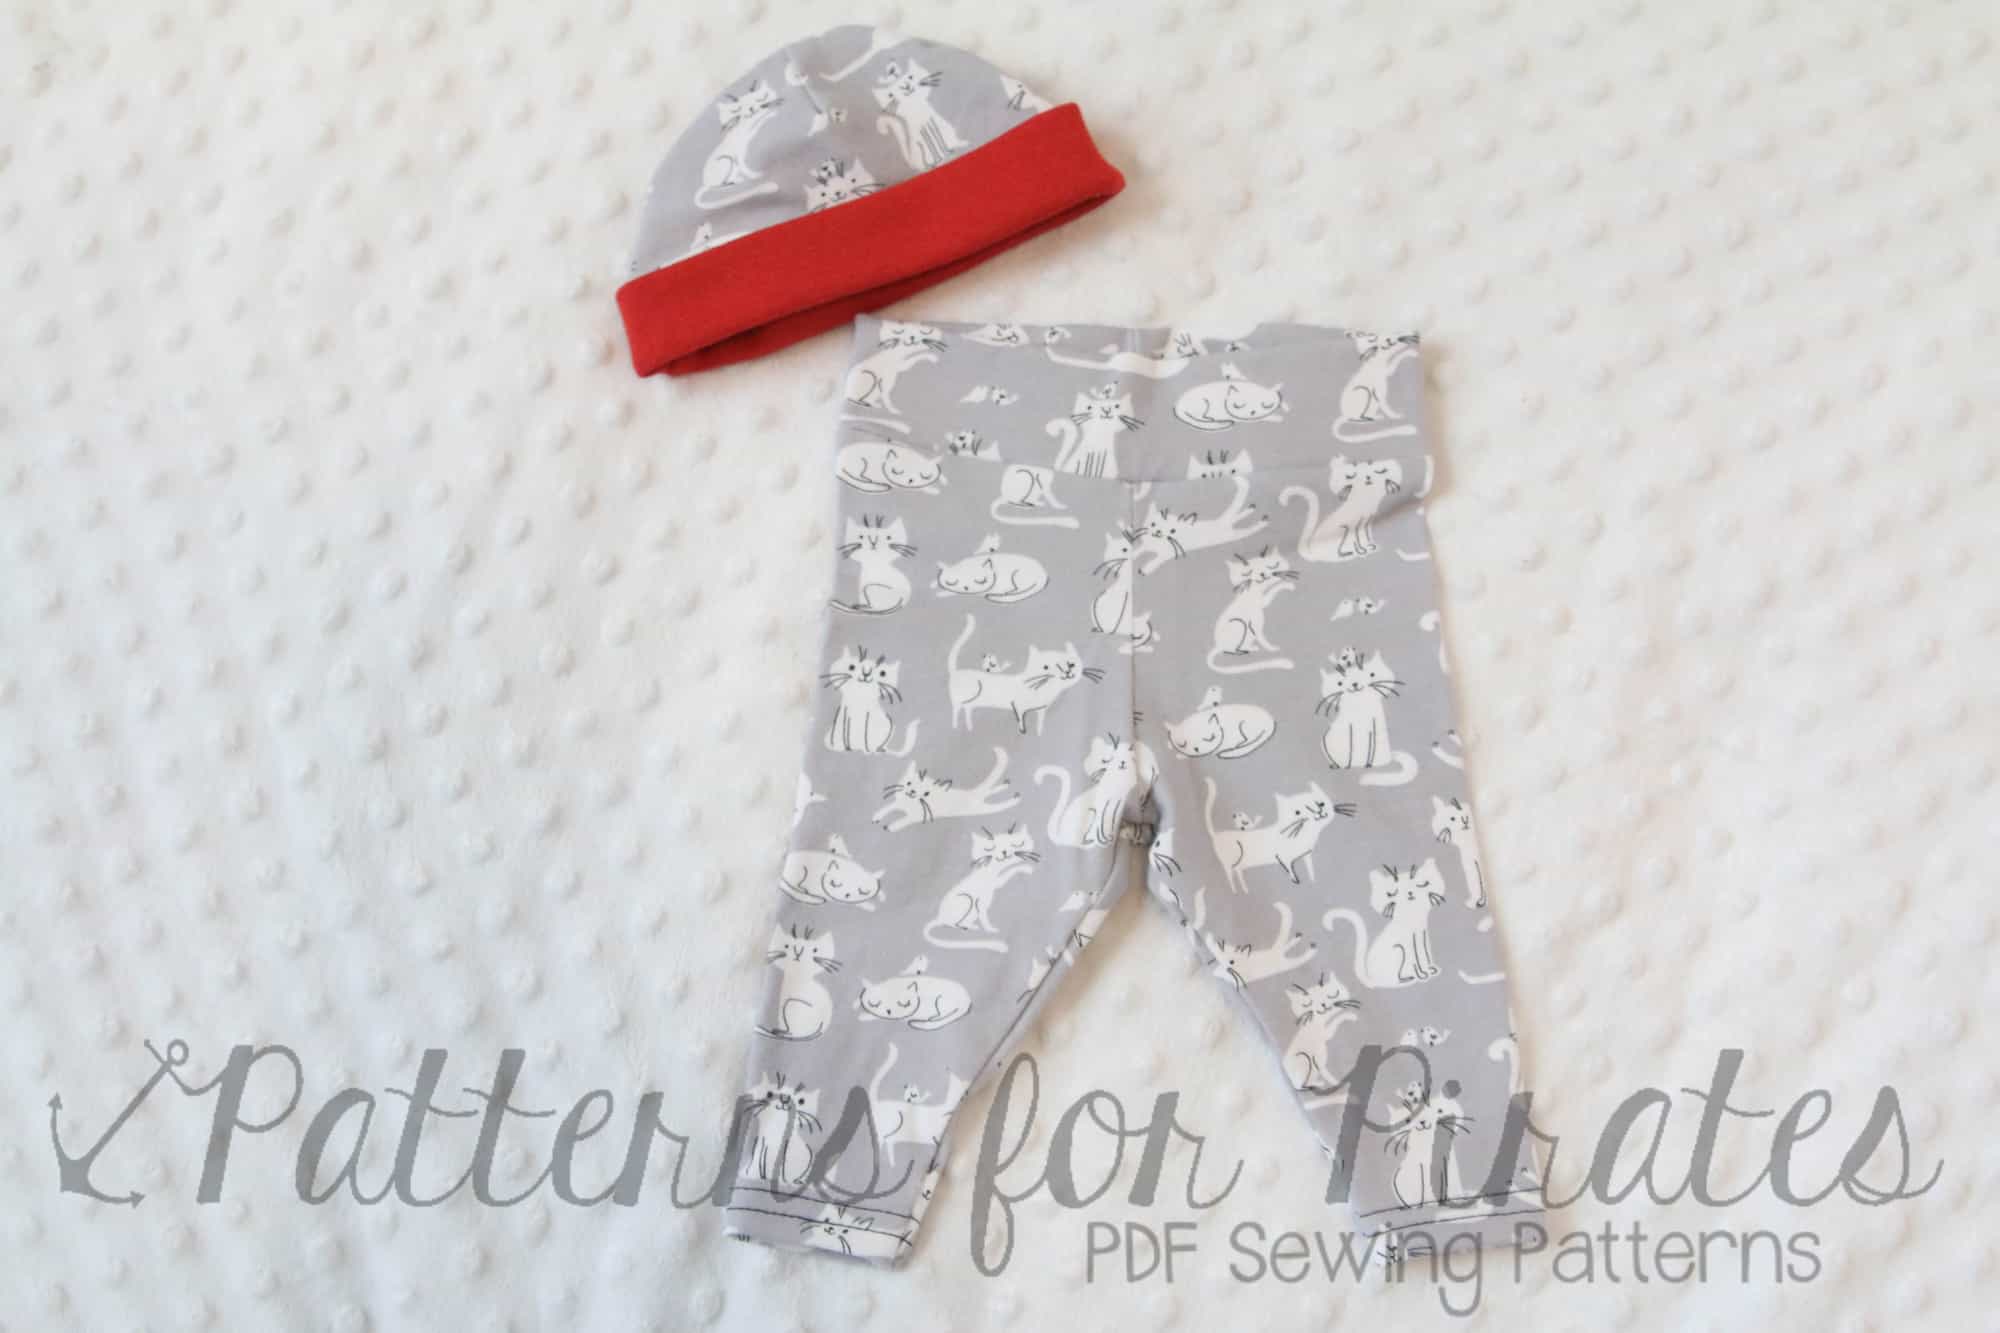
The kitty fabric is a cotton spandex – perfect for baby clothing since it’s natural fibers, soft and easy to get on and off with the high stretch.

I used it for the Petite Pegs and part of the Teeny Beanie.

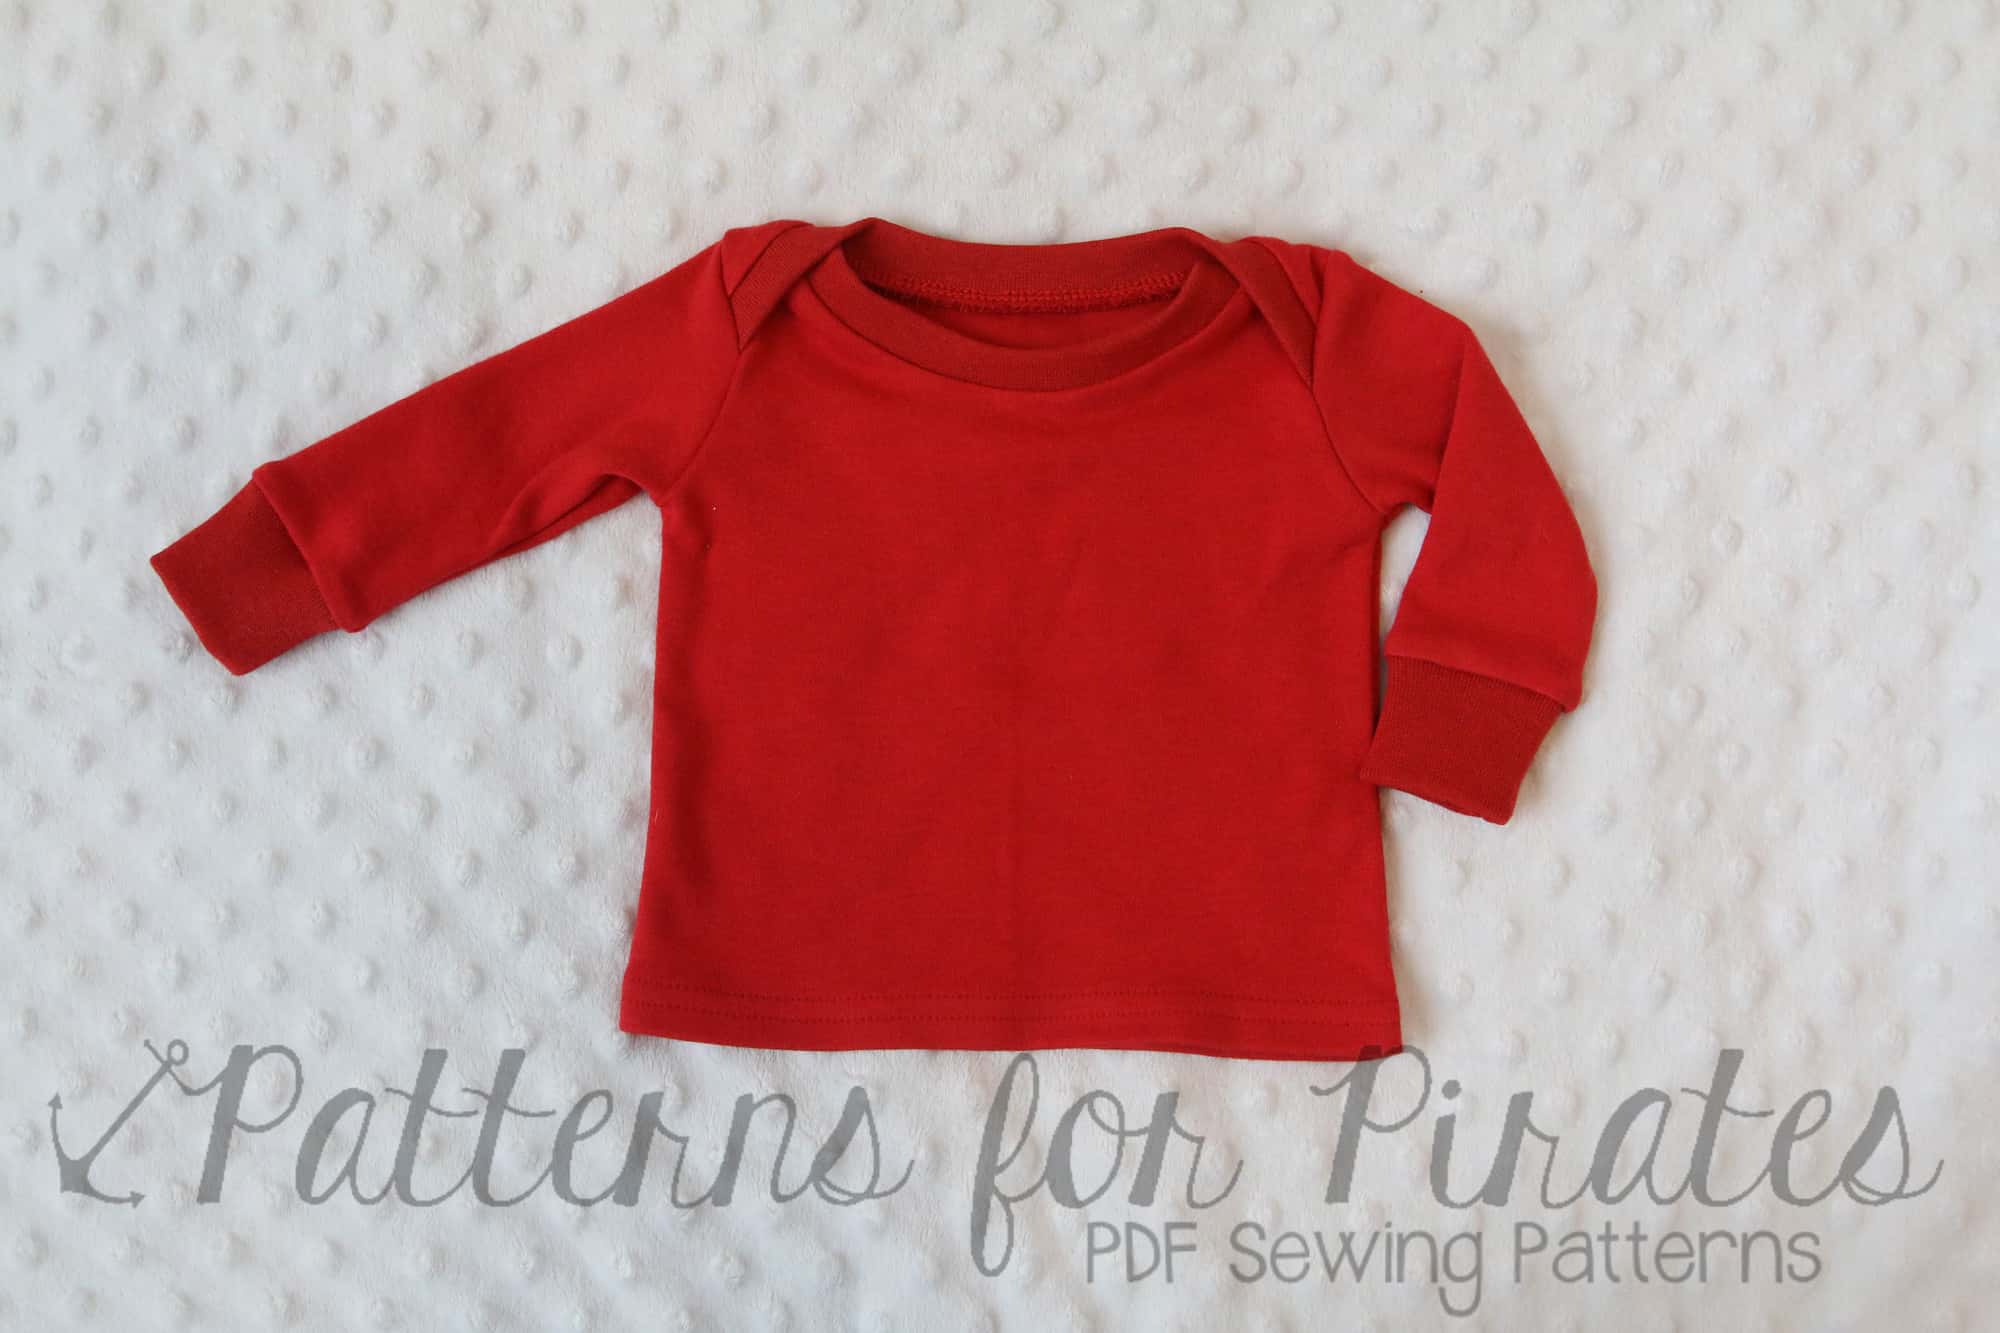
The red interlock I used for the main body of the Wee Lap Tee and the matching driving worked perfectly for the neckband, wristbands, and the band for the hat as well.

Although Nancy’s Notions has been a go to shop for quilters  they’re starting to carry more and more apparel items as well! So, if you’ve never checked them out or haven’t looked in their shop for apparel sewing in some time I’d click on over and check it out.  You can use this code for free shipping on orders $49 or more as well: 189501-1121 🙂

All the patterns I used for this baby set you can find in our freebie section here on the site! A great little gift for a baby shower or an easy and quick basic set to fill up baby’s wardrobe!

It’s part of Nancy’s Notion’s Holiday Blogger Gift Program 2018!

Filed Under: Blog Tours, Sewing Techniques, Uncategorized 3 Comments

P4P Maternity Wear :: Hack & Tips

August 16, 2018

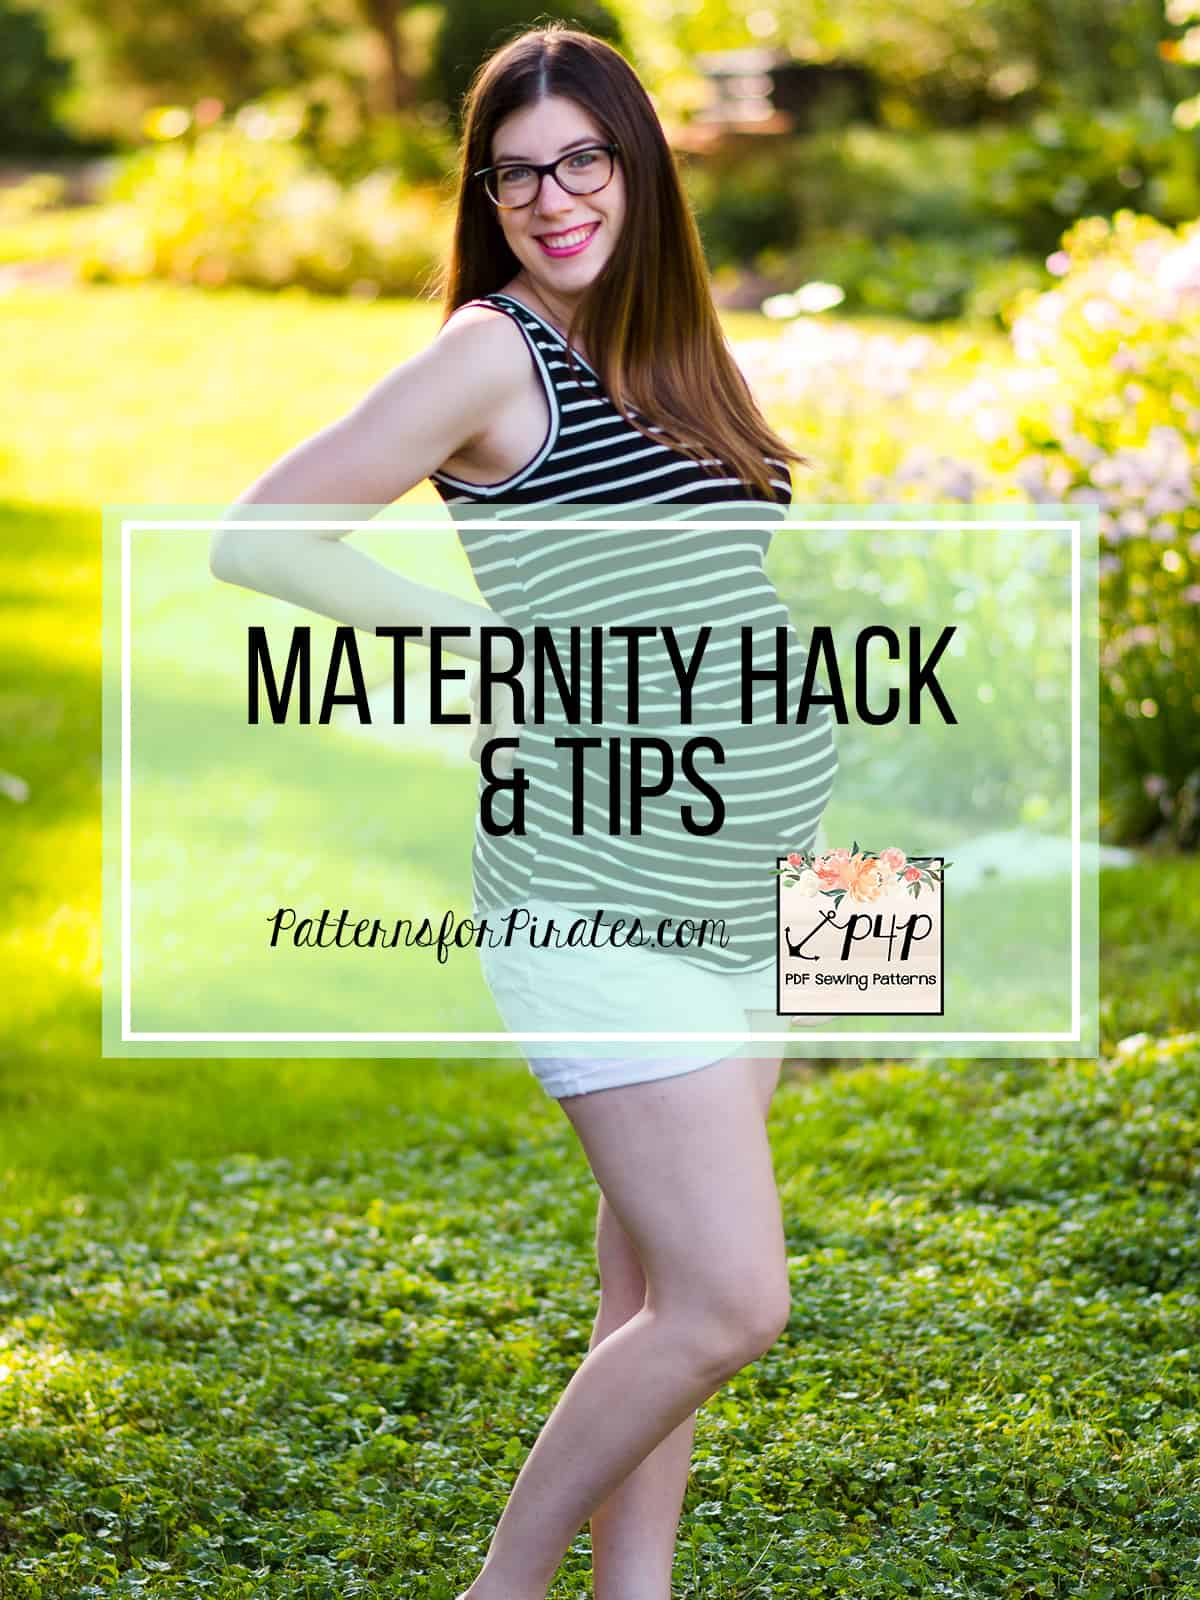
Today I’ll be talking about P4P patterns and maternity!  We got lots of questions in the Facebook group about what kinds of patterns can be used for maternity as-is and what kind of modifications or hacks can be done in order to make patterns maternity friendly.  I’ll go over a categorization for P4P patterns and which ones can be worn both pre, during, and post maternity and how to do a simple hack to make most other knit top/dress/swim patterns accommodate a bump.

For links to all patterns, check out the women’s section of the shop.

Pattern Breakdown

No Modifications Needed

These patterns should work for most women for a majority of pregnancy, if not the whole way.  Some women may prefer more ease than others.

  • Cocoon Cardigan
  • Free Spirit Tank
  • Grandpa Cardi
  • Pumpkin Spice Dolman
  • Relaxed Raglan
  • Summer Kimono
  • Carefree Cardigan
  • Boho Babydoll
  • RagDoll Raglan
  • Boundless Knit Dress
  • Peg Legs with Maternity Add-On
  • Siren Swim Top
  • Favorite Tee (earlier pregnancy)
  • Everyday Elegance Top (earlier pregnancy)
  • Go To Jacket (earlier pregnancy)
  • Pirate Pencil Skirt (earlier pregnancy)

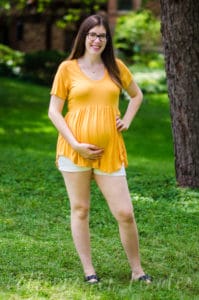
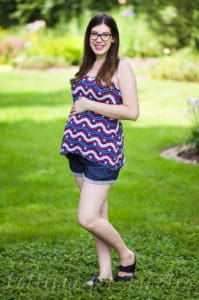
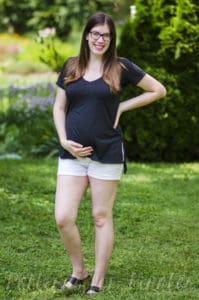
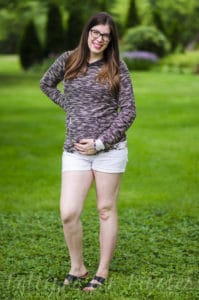
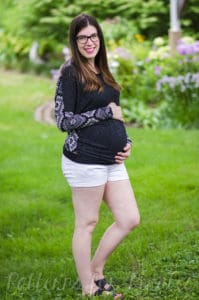
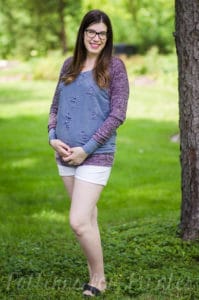
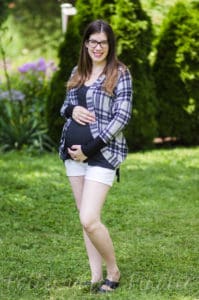
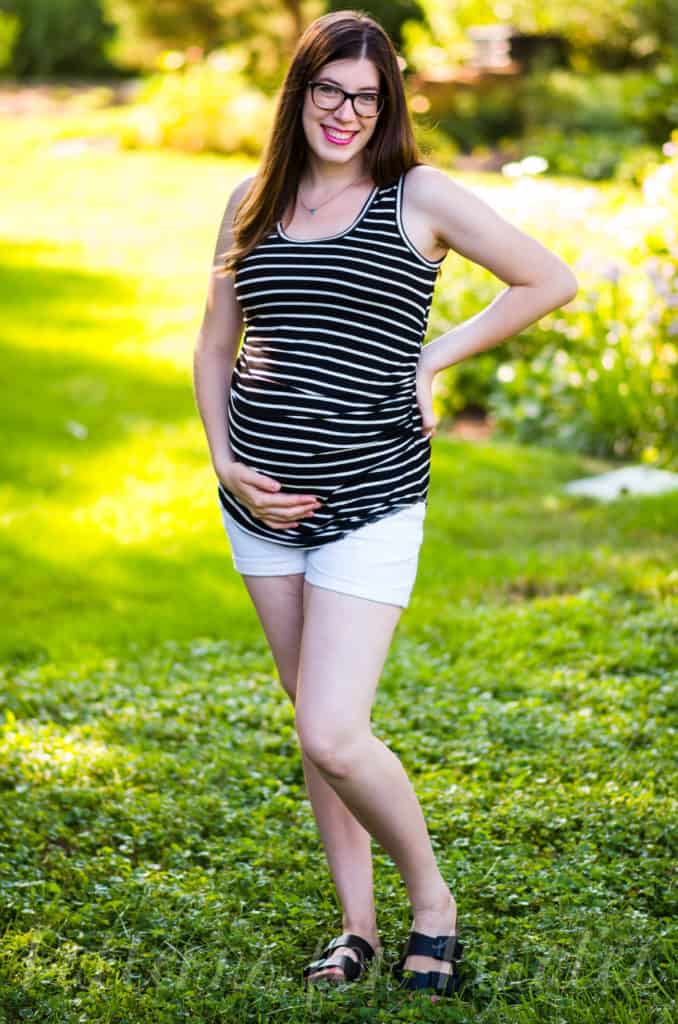
Here’s examples of how these some of these patterns fit with no mods on a 22 week bump!

Boho Babydoll
Free Spirit Tank
Favorite Tee
Relaxed Raglan

Pumpkin Spice Dolman
RagDoll Raglan
Cocoon Cardigan

Simple Hack Suggested

For most women, a simple hack I’ll show you below should make these patterns pregnancy-friendly.  Disclaimer: Some women have had success wearing some of these patterns without any mods during pregnancy, or towards the beginning of pregnancy.  Personal body shape, fabric choice and fit preference will play a large role in this.  I would suggest using the hack in general because they will likely fit better this way.

  • Essential Tank
  • Slim Fit Raglan
  • Sweet Tee
  • Layer Me Up Shirt
  • Favorite Tee
  • Wiggle Dress
  • Cross My Heart Cami
  • Women’s Henley
  • Boyfriend V-Neck

Not Suggested for Maternity Wear

  • Timeless Tunic
  • Brunch Blouse
  • Sweetheart Dress
  • Sunshine Dress
    • Could possibly work very early pregnancy.
  • Hello Sailor Swim Bottoms

Simple Maternity Hack

Before you cut into your fabric, you will want to double check your measurements because they will definitely be in flux during pregnancy.  To ensure the best fit, choose the size that you currently measure, not just your pre-pregnancy size.
Here’s what you will need:

  • Desired pattern to hack
  • Any required notions for pattern chosen
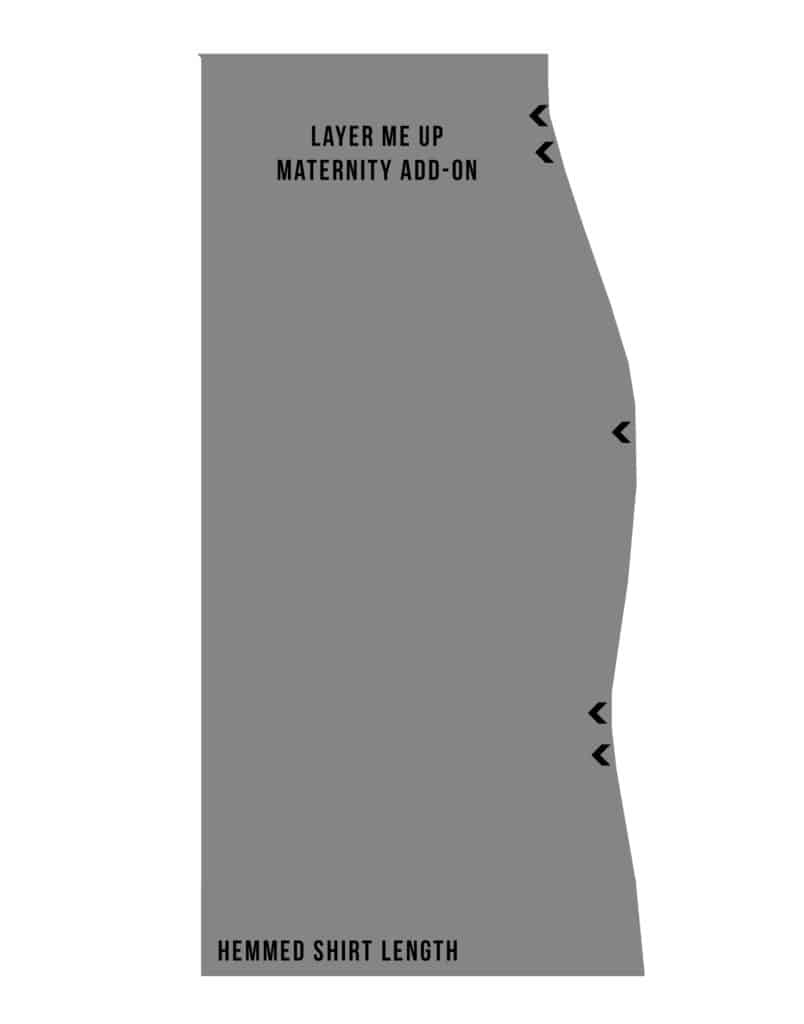
  • Layer Me Up Maternity Add-On
  • 1/4″ elastic

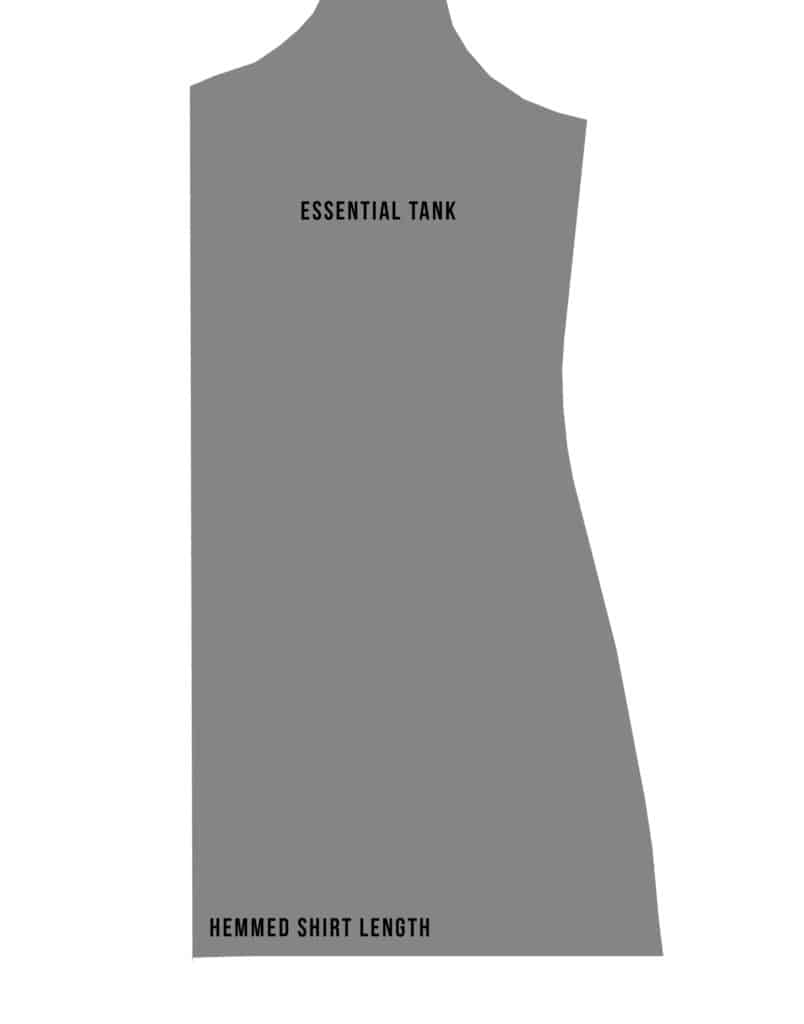
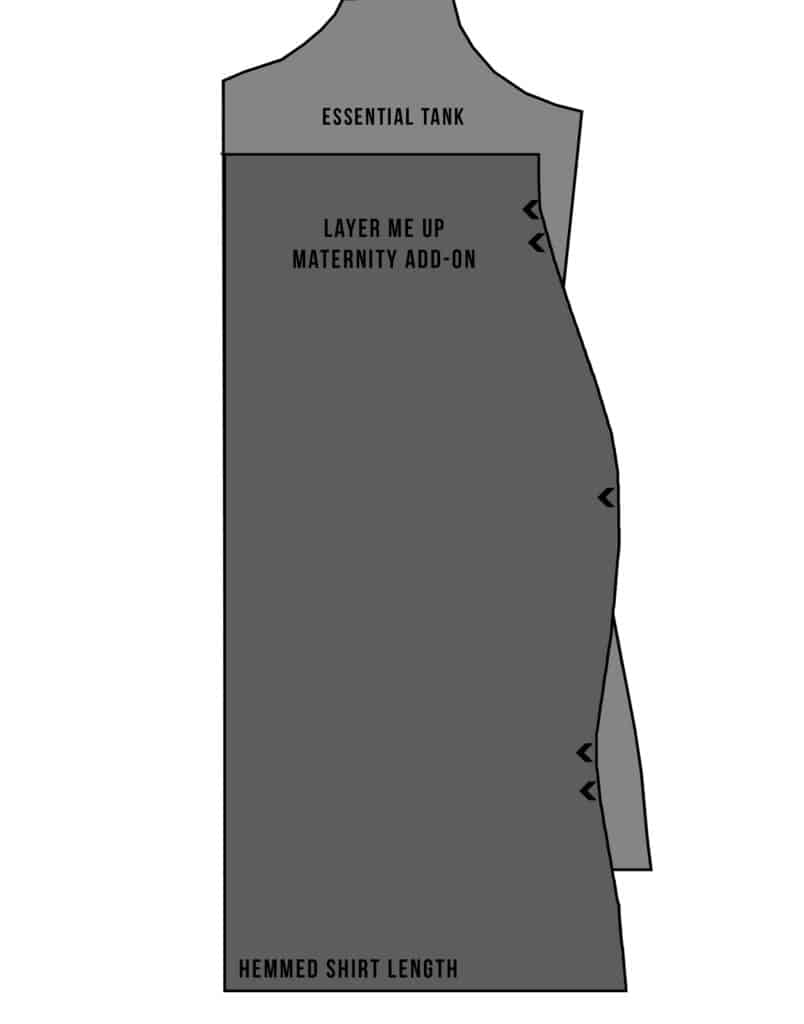
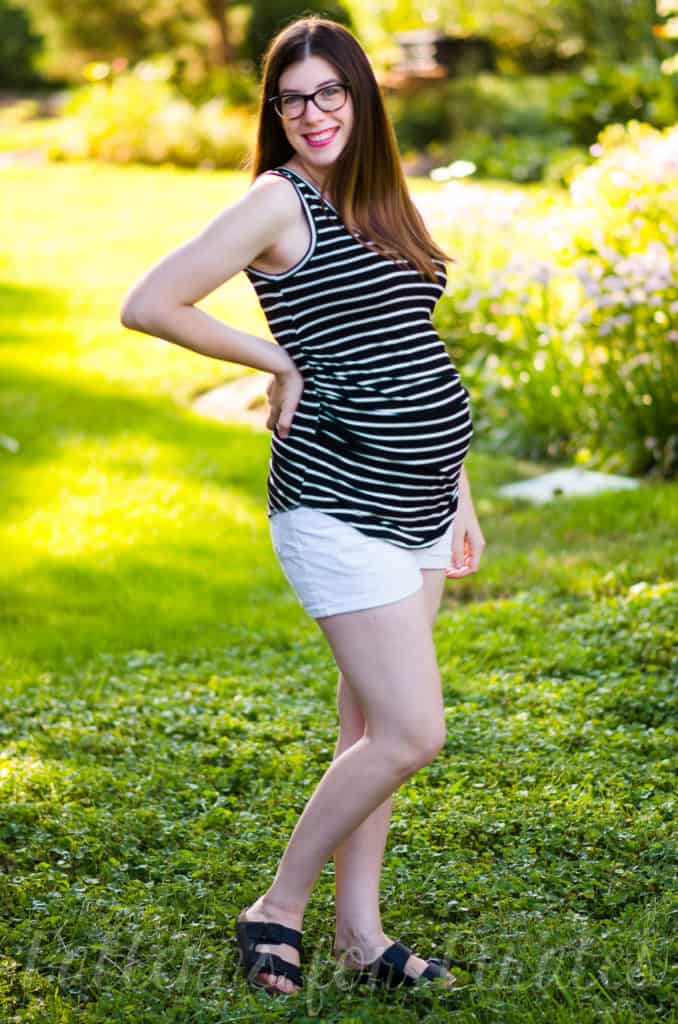
For this tutorial, I chose to show how to use the Layer Me Up Maternity Add-On with the Essential Tank.

1. Assemble your desired pattern. You will only need to alter the front piece.
2. Assemble the Layer Me Up Maternity Add-On

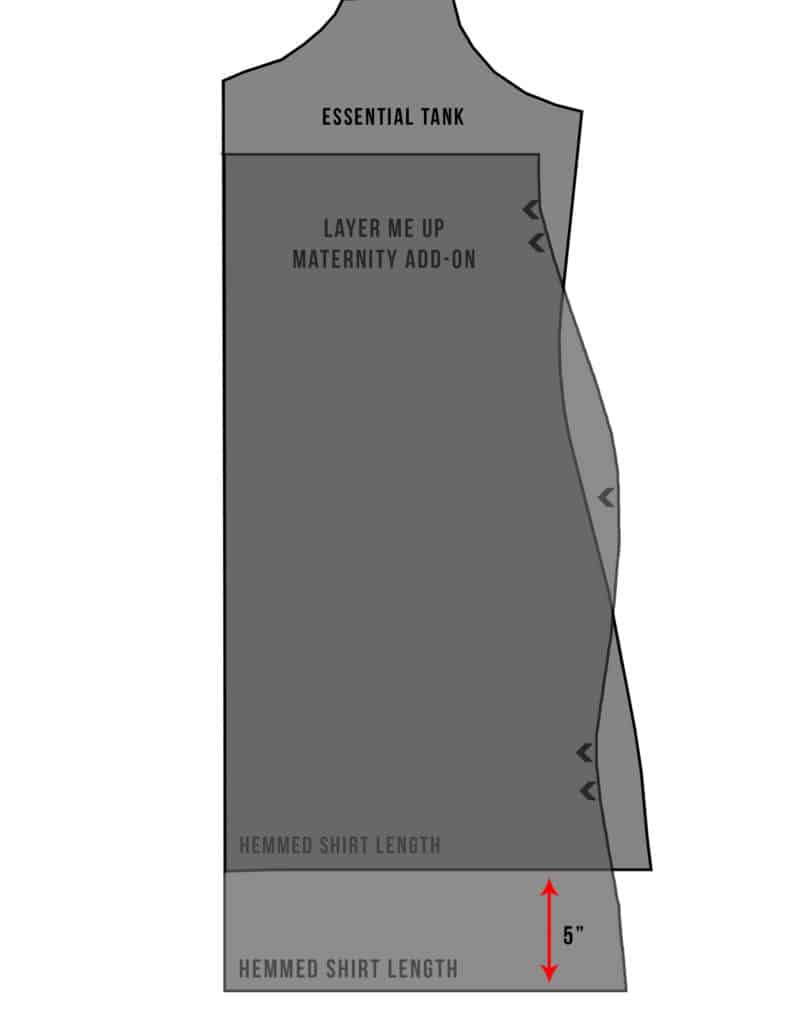
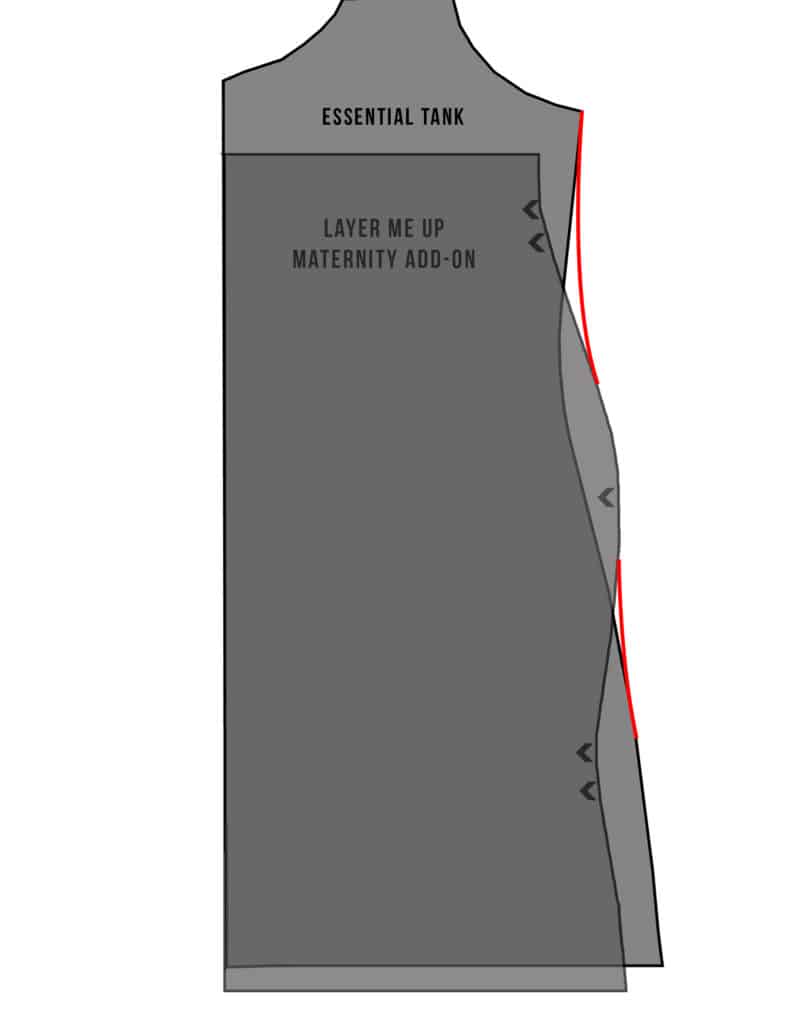
3. Lay the add-on on top of your pattern piece, roughly 1″-2″ below the armpit curve.
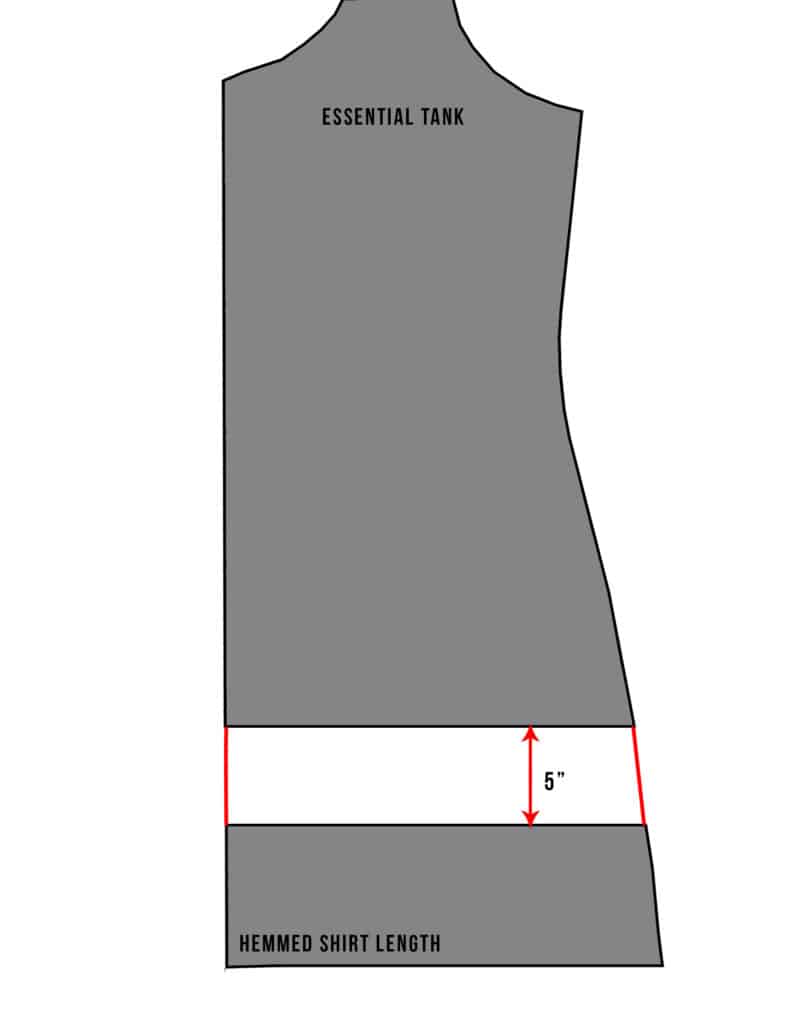
4. Note the difference between two of the same hem lengths on your pattern and the add-on. In this case, the difference was 5″ between hemmed shirt lengths.

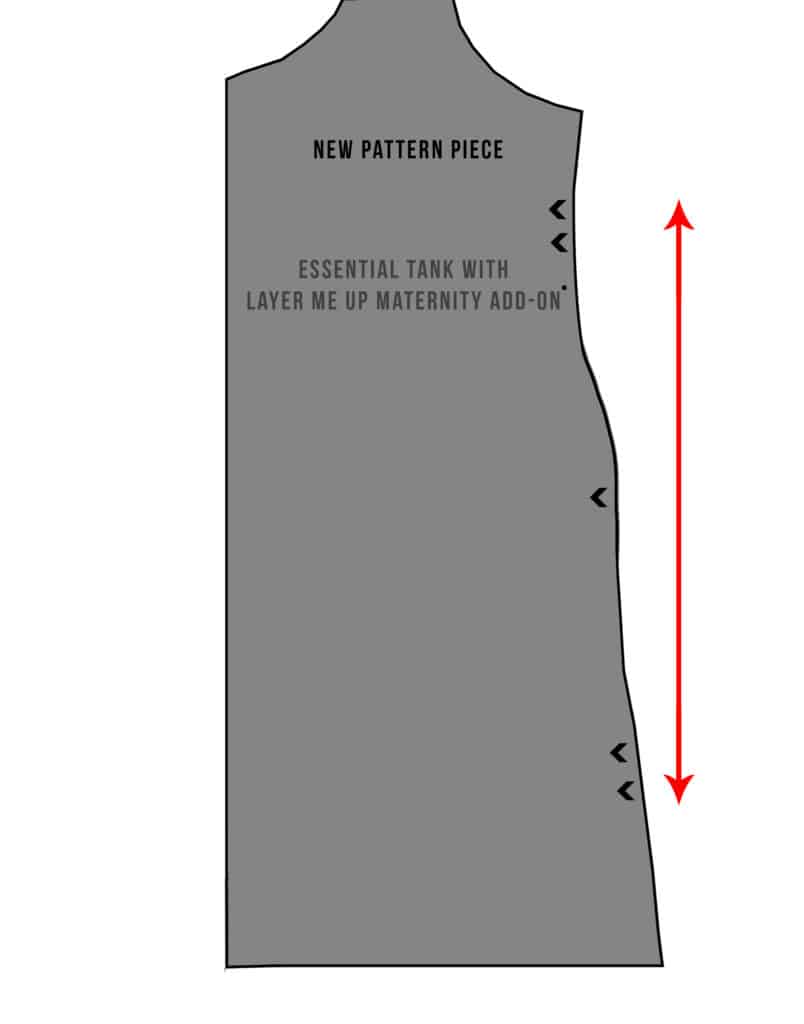
5. Add this difference in length to your pattern piece, just above the hem.
5. Grade between your piece and the add-on in the stomach area, making sure to keep your lines smooth.

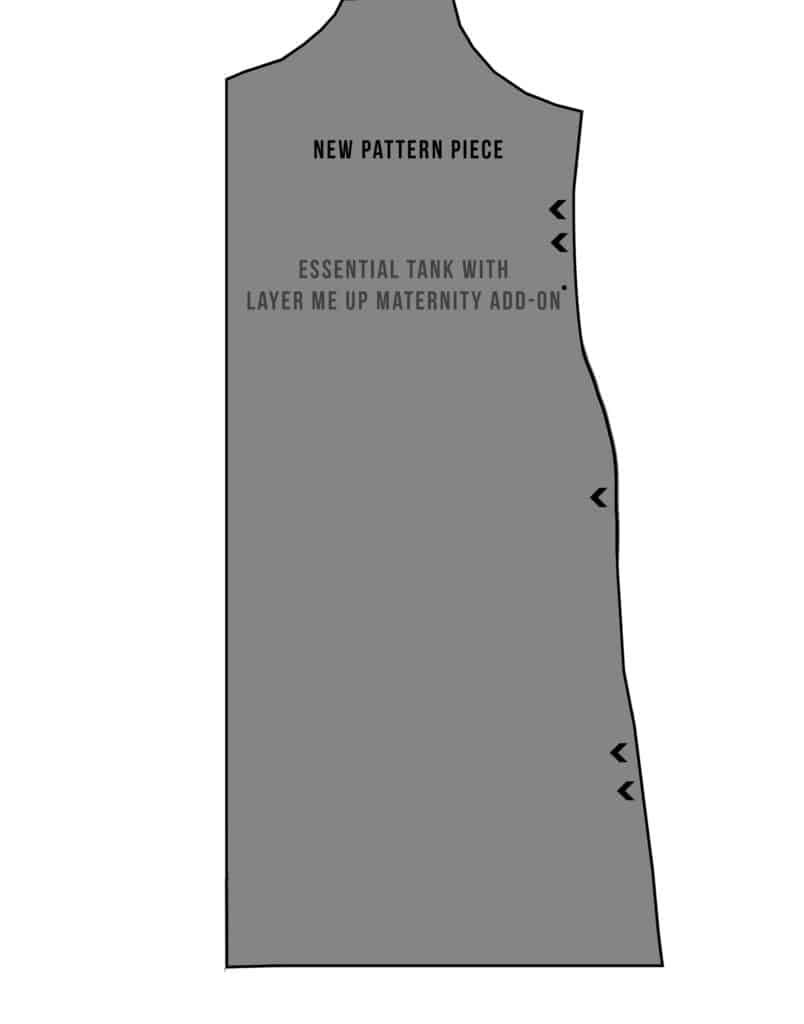
6. Trace your new pattern piece on to a new sheet of paper, to make things easier.
7. Make sure to transfer the notches from the add-on. Your elastic will be stretched here.

After you’re done making the changes to your pattern, add the elastic as shown in the Layer Me Up Add-On instructions.  Then, finish sewing up your desired pattern as per those instructions.  That’s it!  Use these same guidelines to combine the add-on with any of the patterns shown on the Simple Hack Suggested list above.


As a bonus, I’ll also point out that knit pants with an elastic waist can be easily adjusted for under-belly maternity wear by slightly decreasing the rise.  (See this post for more info on adjusting the rise.)  I lowered the rise about 1.5″ on the front of the Mama Bear Joggers to make these shorts maternity-friendly.

Feel free to try this out with any knit P4P shorts or pants.  You could try it with woven pants as well, if you are more adventurous as this may require more adjusting.  Don’t forget the Peg Legs have the Maternity Add-On as well, which works perfectly!

With just a little hacking, a lot of patterns can easily be made maternity friendly.  Happy sewing!


Filed Under: Pattern Hacks 3 Comments
Sister, Sister!

July 11, 2018

I don’t write much about myself personally here on the blog- but I get asked a lot about my sisters 🙂

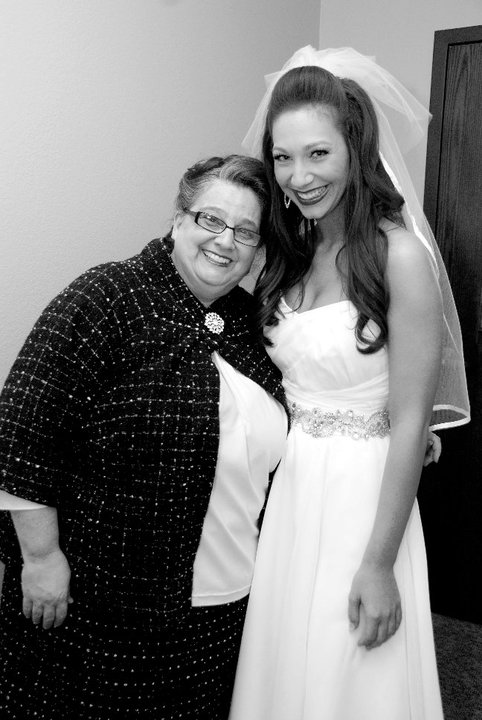
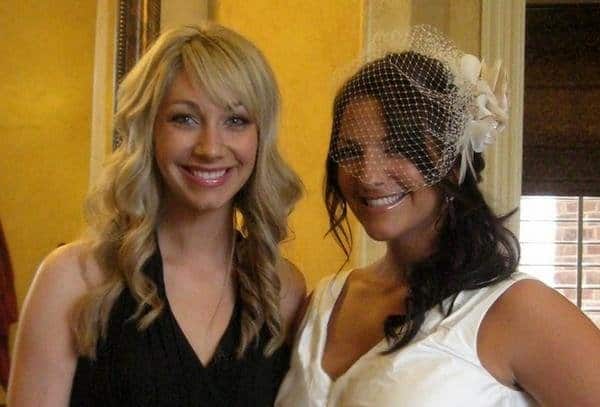
I have two sisters- Megan and Nicole.  Both of who have or still draft their own PDF Sewing Patterns just like me.  We all grew up sewing with my Mom, who was self taught through books, tv shows, online classes, etc… she is a life long learner who always wants more information! She definitely taught us you can always learn more if you’re willing.  She also taught us a lot about sewing! She made every kind of apparel including our prom dresses and wedding dresses.  Here is mine, which I adore.

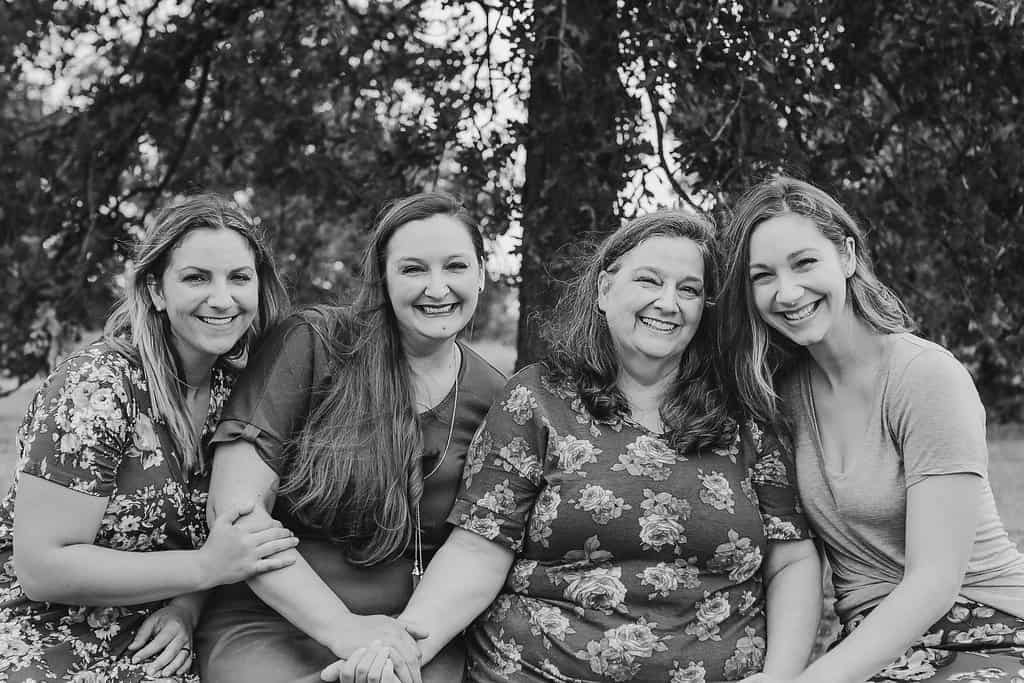
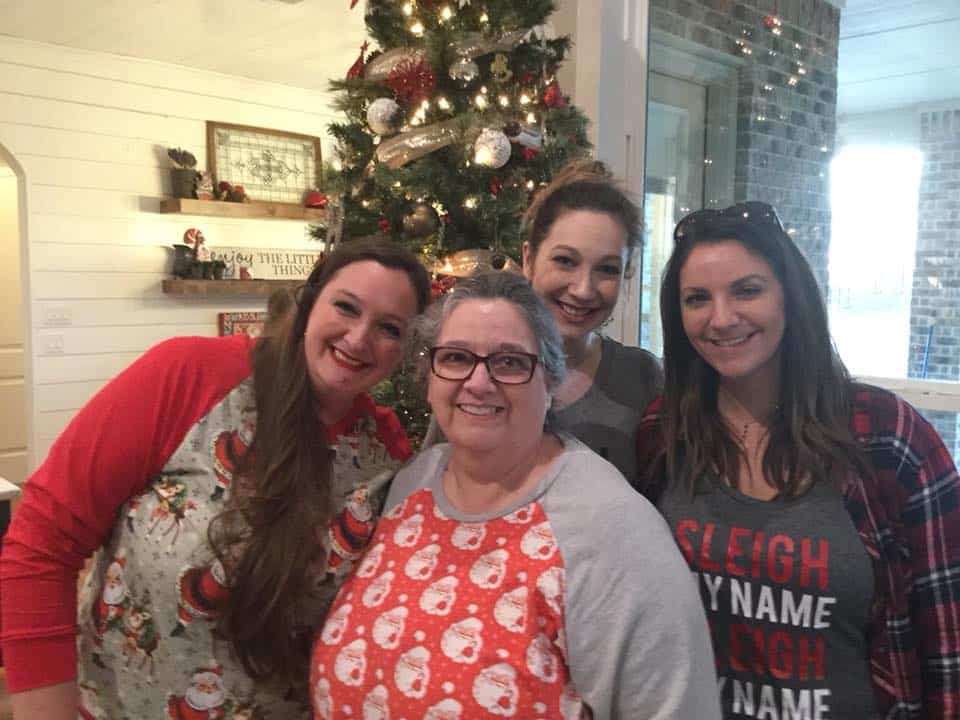
She taught us everything from sewing jargon, fabric types, ease, modifying and about drafting as well. Eventually we all ended up in the same business.  Nicole had Coles Creations, in which Mom actually helped her on the drafting side for some time.  Since, she has retired a bit from the game, but still enjoys sewing of course.  Here we are this past Christmas all in me-made shirts 😉

Megan is the owner of Made for Mermaids.  We’ve done a few promos and things together over the years from pattern bundles, sew a longs, giveaways, blog tours, etc.  We often get sited as “sister sites/companies”, but in actuality we keep our companies completely separate.  We are in fact SISTERS though 🙂

You’ll notice we have some similarities in our companies and some differences too.  We both have wide size ranges and our womens are drafted to the “curvy” women’s body type… because, well… we’re both curvy 😉  I draft for P4P exclusively- although I have some help with small adjustments during testing and help with some of the freebies being drafted by Nicole Lanzarotto and Katy McKinley.
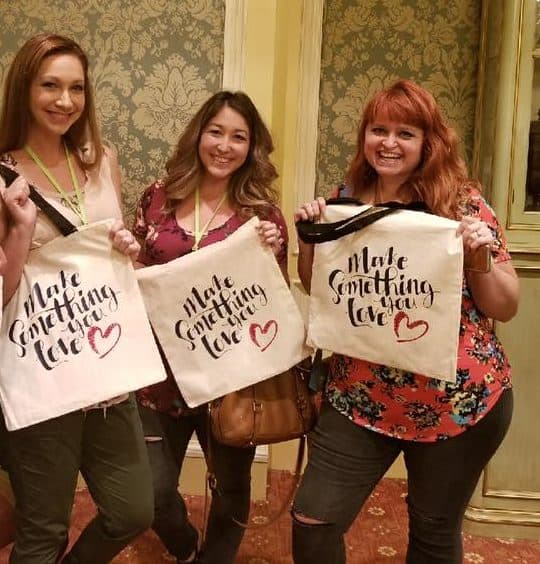
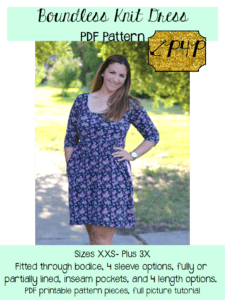
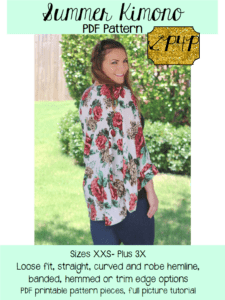
Megan drafts for her company and has two other designers that also draft their own patterns with M4M- Catherine Muzzati and Megan Thoman.  So, when questions are asked about M4M patterns vs P4P patterns the answer is often, “I don’t know!”  I do not have anything to do with M4M patterns from drafting, testing, releasing, etc other than seeing the sneak peeks like you usually! Sometimes Megan and I will talk more in detail about certain patterns: discussing and giving opinions on amount of ease we like best, length, etc.  Sometimes we will ask each other to test a pattern or to model a pattern for each other as well.  For example, Megan is the cover of my Boundless Knit Dress and Summer Kimono, both drafted and released while I was pregnant with my daughter 🙂 We used to do this much more when we lived closer, because it is much easier to take someone else’s picture than you’re own!! I’ve also used her daughter for covers several times, because I once didn’t have a daughter to model or had a little baby who was very hard to take a picture of 😉 I still will grab her for pictures when I can… she’s so much easier to take a photo of than my toddler, lol!!  Her husband is even the cover of our Men’s Henley because she happen to get a great shot for me.


But, most the time we have never seen the majority of the others patterns until we would like to sew one up one day.  So, most the time I honestly just don’t know if one of her shirts is more or less fitted than one of mine is.  We do try to not overlap our designs much since we don’t want to compete with each other on purpose, but as our catalogs grow we will most likely have some overlap and that’s okay too.

I hope this helps clarify how we are and are not connected 🙂 If you’re curious, we also have two brothers, but neither are into sewing…although John has modeled for me before (he appears on the cover of the men’s bball shorts).  We’re one big happy family who love and support each other through everything.

Filed Under: Announcement, Frequently Asked Questions, Uncategorized 4 Comments
P4P University- Ease

September 23, 2017

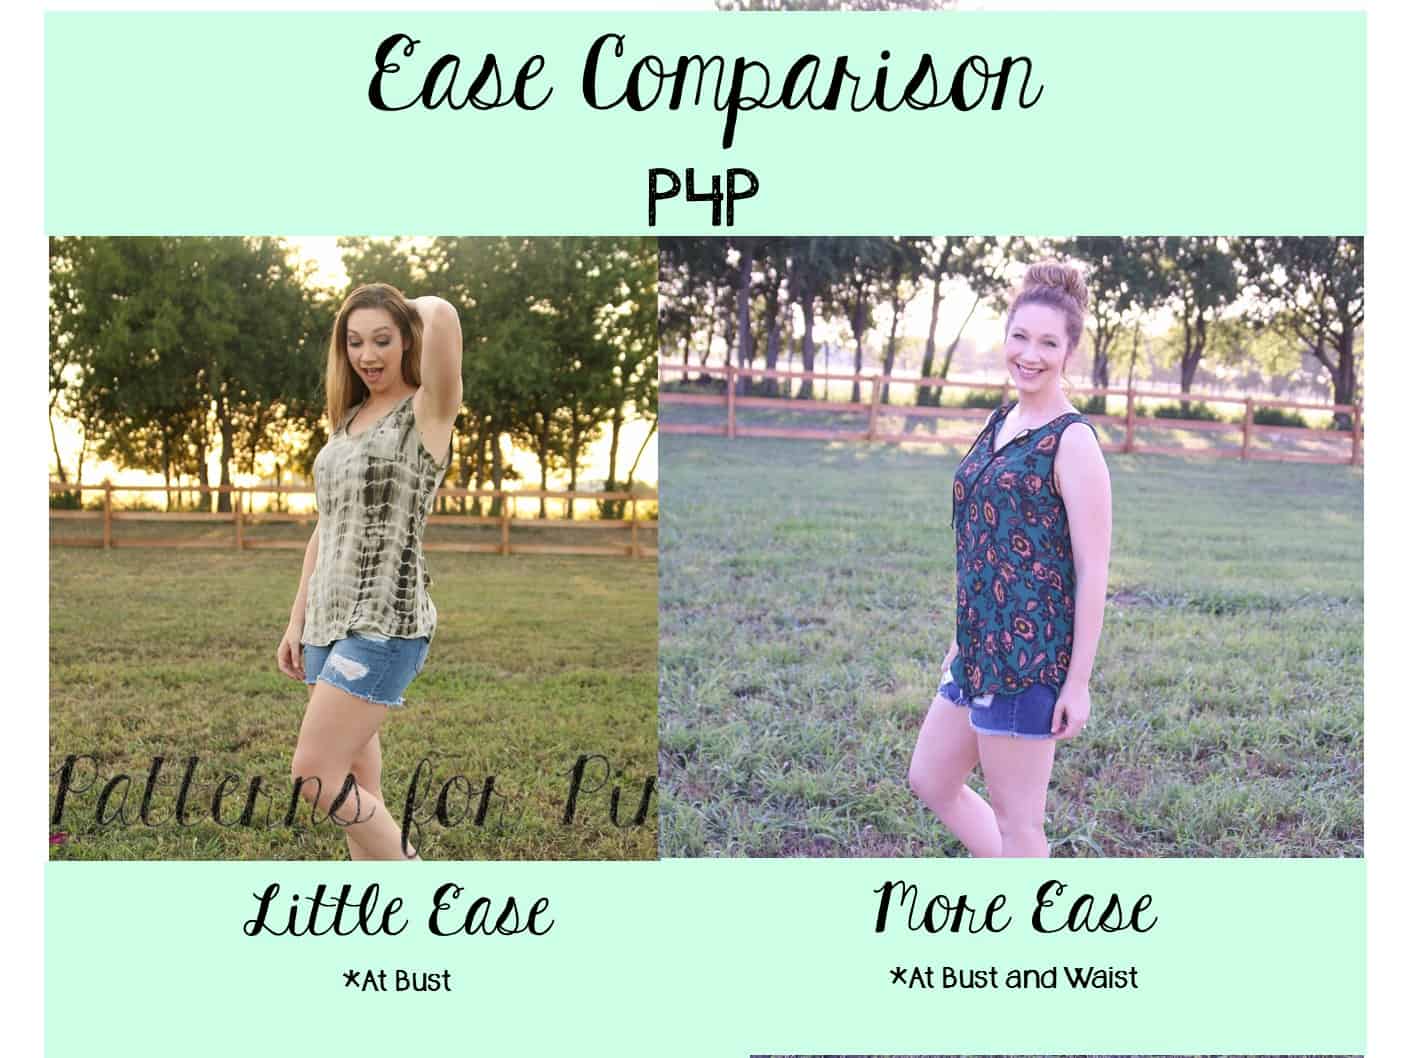
Ease is a term using to describe how much extra fabric there is around your body after the garment is sewn up. In sewing and pattern groups you often see the question, “Does this run big/small/true to size?”  And most the time the same pattern and size will have an array of answers! Confusing right?  The truth is the pattern is designed with a certain amount of ease the designer has picked based on the size chart.

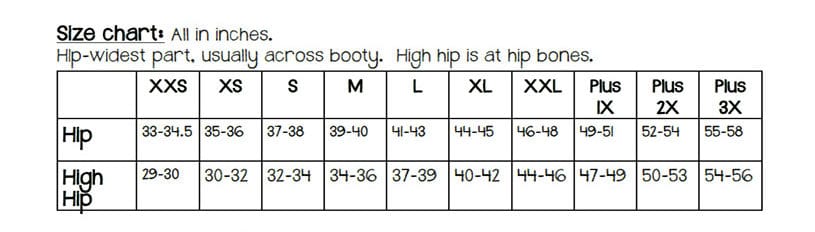
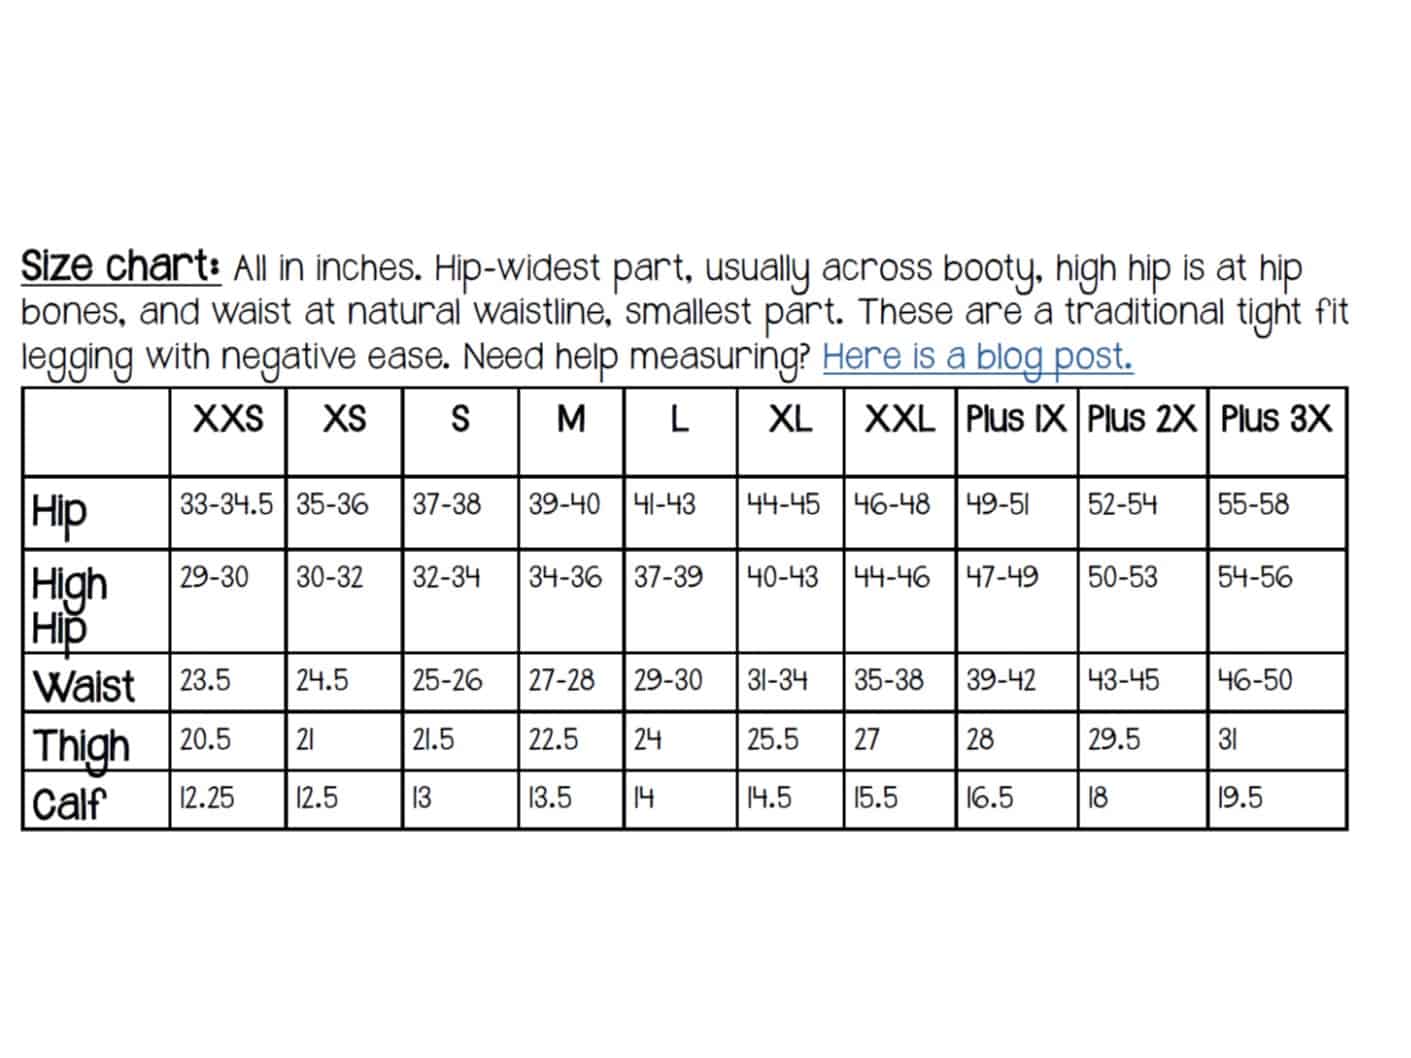
So, when the designer like me drafts a pattern they decide how much ease they want for the intended fit.  They use not only the listed body measurements, but an entire book of standard/average measurements for each part of the body to give the pattern a certain amount of ease everywhere along the body.  I try to give the most important measurements in the measurement chart and finished measurements to help you pick the perfect size for your preference of fit.  I usually have more measurements in the tutorial than on the listing pictures so that when you’re ready to pick a size for that certain garment you can see if you need to modify, grade between sizes on that particular pattern. Here is the size chart within the tutorial for the Peg Legs:
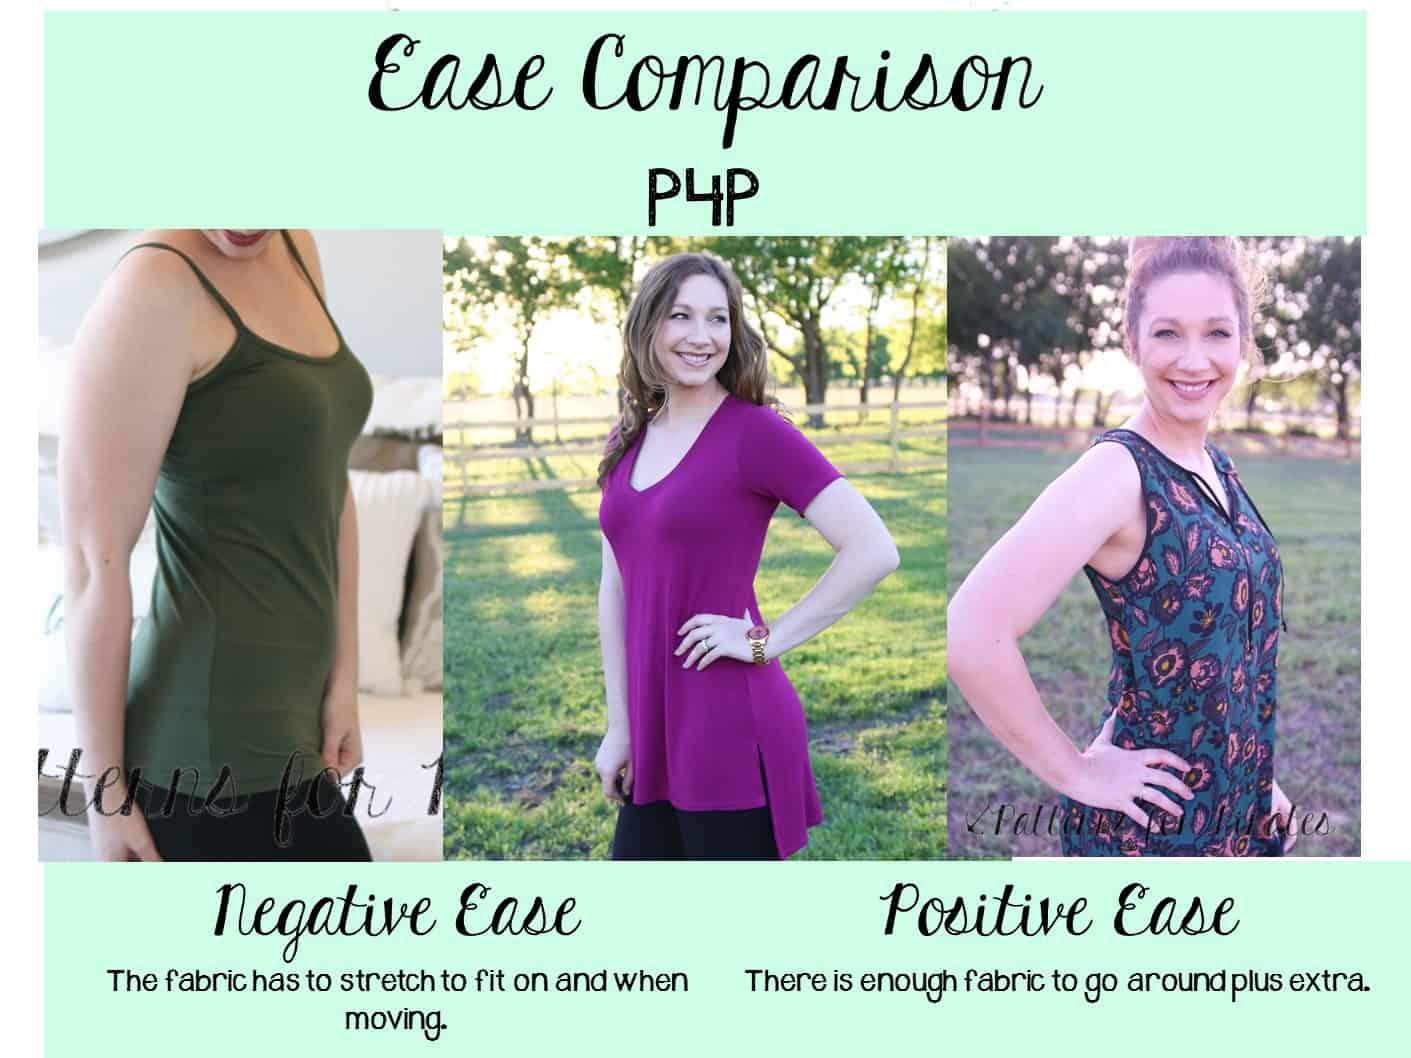
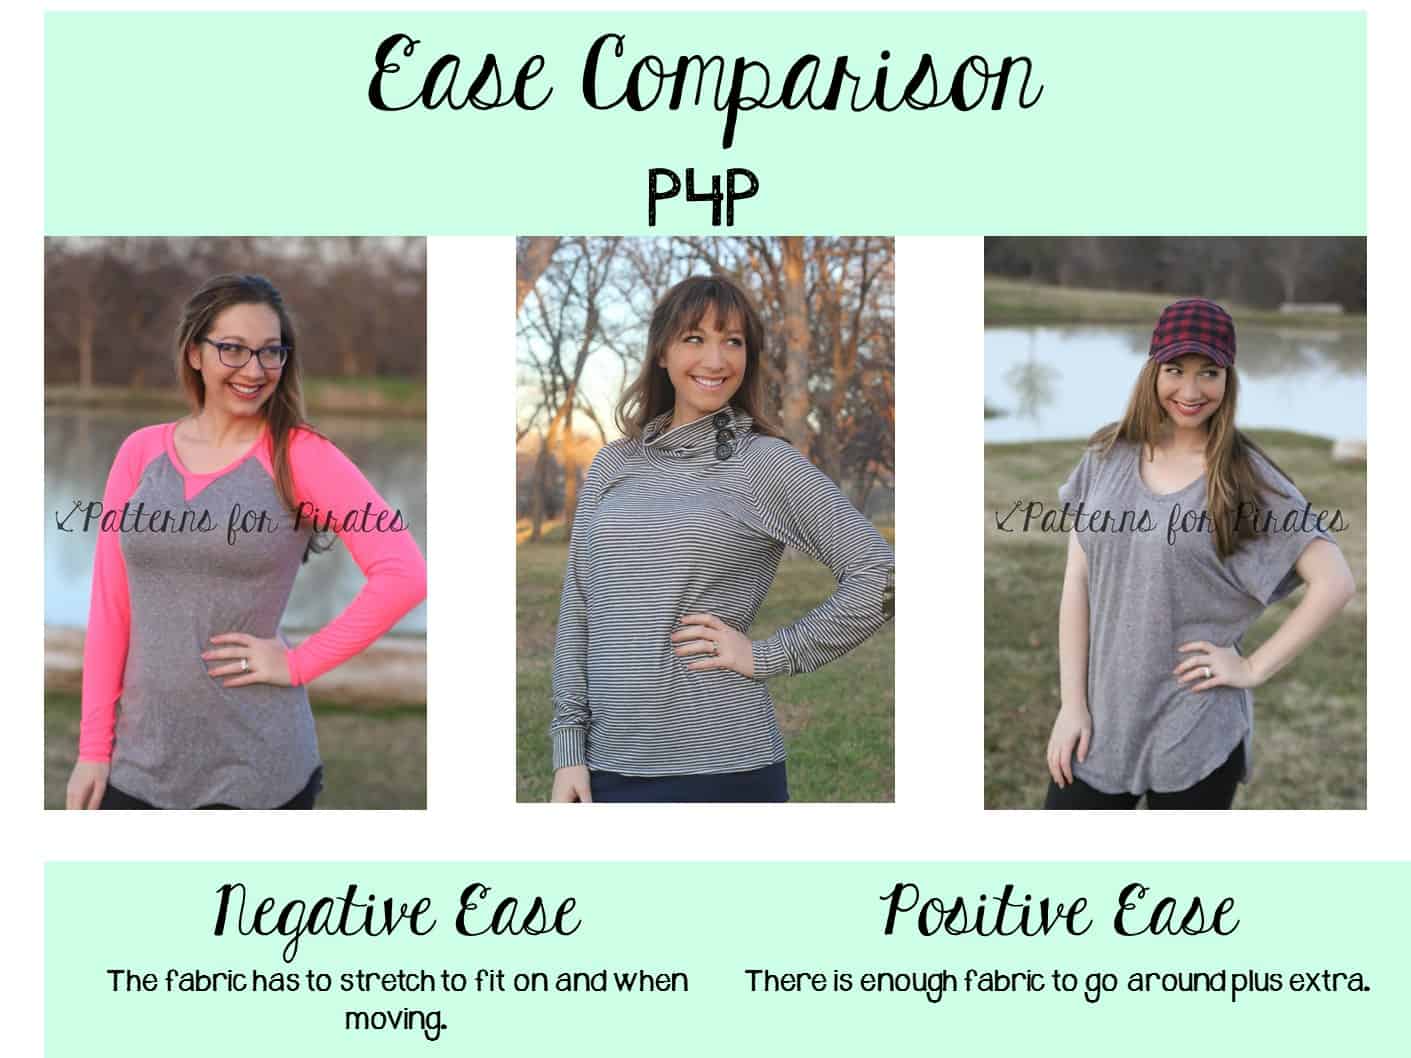
Some ease is needed for certain garments.  Woven/non-stretch fabrics require much more ease since they don’t stretch.  A body requires ease to move, bend, breathe, etc comfortably.  Designers use the recommended amount in general for guidelines and can add more if they want a looser fit.  Knit garments can, and often do have negative ease.  Negative ease means the garment finishes smaller than your body and much stretch to fit on to your body as well as when you move.
There is a very wide span of “what fits” within a single garment.  For a knit shirt using a stretchy fabric- lets pick cotton spandex with about 75% stretch) you can have up to about 50% negative ease and still move and breath, this would be what most would call “skin tight”.   You can also have a few inches of ease for a looser fit, what most would call relaxed or baggy. And within that range, everything technically “fits” because you have enough ease for movement.  The rest is up to the designer to create the design ease they have in mind.  When the question is asked, “Is it true to size?” it really can’t be answered.  It is true to the designer’s intended fit with the amount of ease they drafted into the garment.  Whether it is how much ease you prefer personally for that garment depends on if your personal preference is the same as the intended fit.  I’m always surprised to see someone post in our FB group “this is huge” or “it’s too tight”, I try very hard to show intended fit through listing pictures, use the best describing words in the listing and give a good description in the tutorial along with the measurements.  But, what one person with the exact same measurements and fabric choice finds “too snug” another might describe as “huge”.  It’s all personal preference!
Lets think about what a big range that is… I’m going to go down to 30% negative ease since this is a pretty tight standard athletic/swim amount of ease, most clothes wont be tighter unless we’re going to add in compression fit/slimming undergarments.  I will do hips at 40 (top end of the medium).  So you could easily have a well drafted pant pattern with a finished full hip measurement of anywhere from 28″ all the way to 45″ depending on the intended fit and suggested fabrics.  Most knit pants can easily range from 28″-42″ depending on the kind of knit they’re drafted for.

Woven pants don’t have quite the range, since you take away the option of having negative ease and using stretch for the movement ease needed.  But, A woven pant for a 40″ full hip can still range from about 42″ up to 46″ depending on the intended look of the design.  We very often get the question if you can sew a knit pattern with a woven non stretch fabric.  The answer is mostly no.  Most knit patterns depend on the stretch of the fabric to give some, if not all, of that movement ease you HAVE to have for your body to comfortably move, bend, breathe, get the garment on and off, etc.  If you would like to know how much wearing ease you need to get the slimmest possible woven garment there are ways to measure that.  For your full hip you can place the measuring tape around your full hip-mine is about 40″.  Keep the tape carefully in place, but loosen your grip at the front.  Very slowly sit down, or bend/squat.  You will notice that the tape will pull and need more room.  This is called your “sitting spread”.  Lovely name right 😉 , but it is how much you “spread” when you sit/squat.  You need this much ease or extra fabric around your hip in any woven garment to be able to move comfortably.  There are tighter dresses out there with less ease there, but you aren’t sitting cross legged on the floor in that tight woven pencil skirt.  You probably aren’t even sitting comfortably in it.  The hip is the easiest measurement to check your ease need.  But, the same concept can be a check for bust, arms, thighs, etc. putting the tape measurer around and moving and breathing, letting the tape slide to the biggest range you use while moving.  If you check this sitting/moving measurement against the finished measurements of the pattern you will know if you can use a non-stretch fabric and still move comfortably.

I did a quick video about measuring your needed “wearing ease” here:

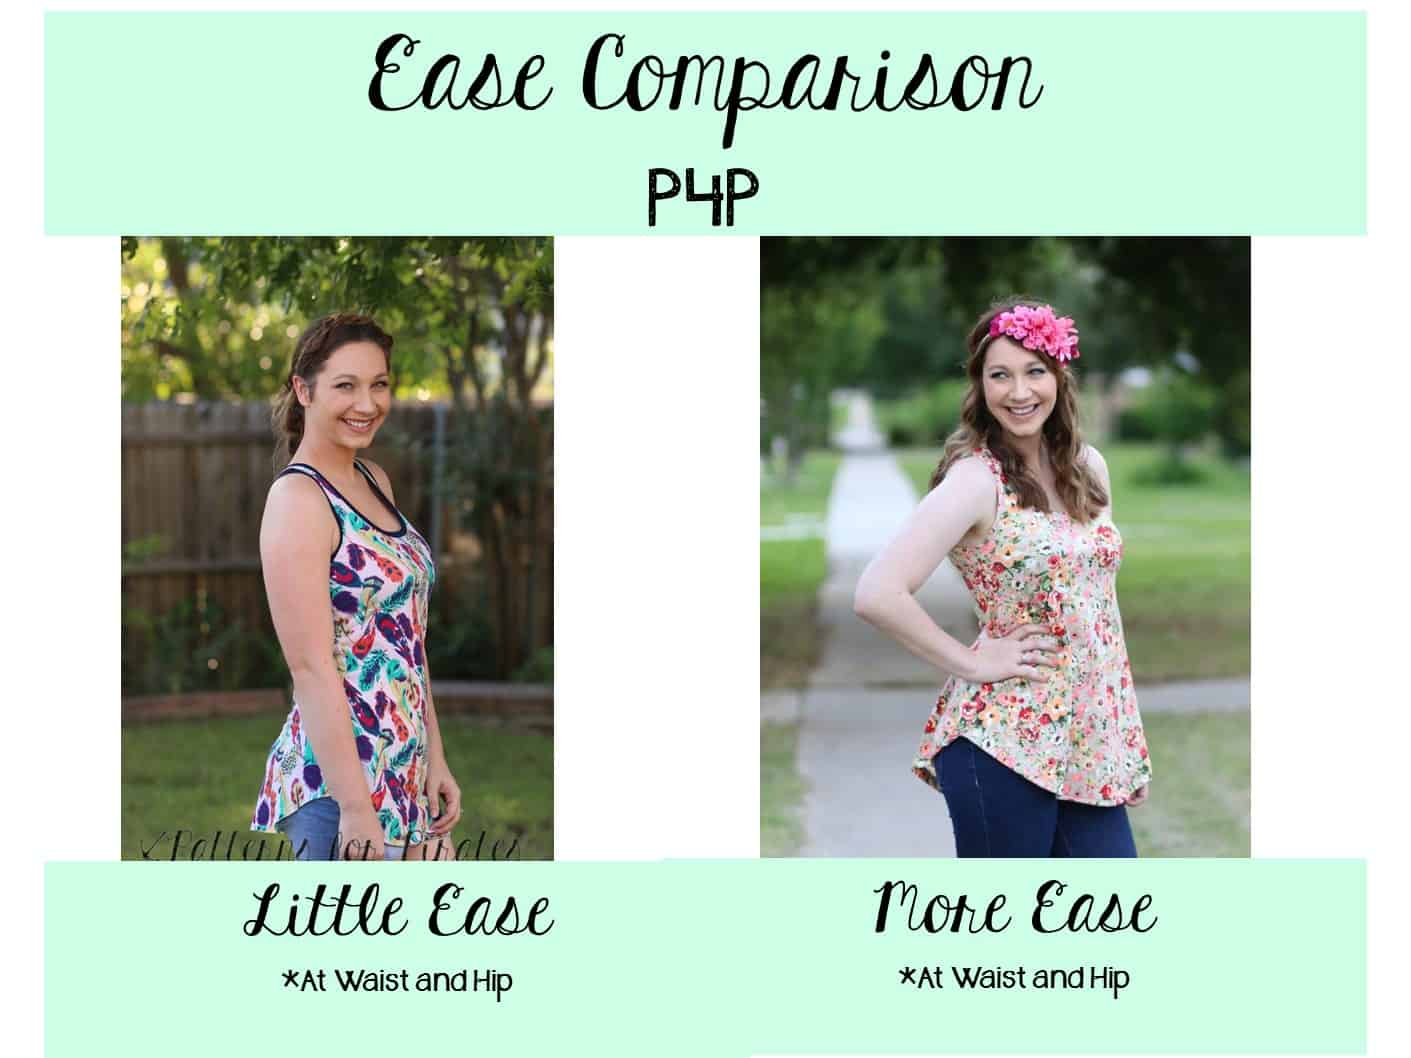
A designer’s job is to choose how much ease they want for a certain intended fit and look.  Lets take one of my patterns The Pumpkin Spice Dolman.  It is a looser cut with a quite a lot of ease through the bust and about 0 ease at the full hip.  I intended it to be a loose, slouchy fit and works best with fabric that has a soft drape.  Some might find the design ease I added too much if they don’t like the loose, slouchy look.  It doesn’t mean the pattern “runs big” since that is exactly the amount of ease intended for the look I was after.  It just means you prefer a tighter fit that intended.

A slimmer cut shirt like the Slim Fit Raglan or Layer Me Up has negative ease at the best and less ease through the body.  Again, this doesn’t mean the pattern “runs small” it is meant to be smaller and tighter as designed.

Lets take another pattern, this time a fitted one, the Peg Legs.  The Pegs are a traditional tight fit legging with negative ease.  The standard ease used in athletic wear is usually 20-30%.  The Pegs are right in the middle through legs and up at the higher end at 30% at full hip and high hip.  Since they do not have elastic I preferred the tighter end of normal to help them from inching down.  We’ve seen them compared to others with less negative ease and neither are wrong, just a different preference on how fitted the designer had in mind.

Now lets talk about how you can use this knowledge to your advantage in sewing for yourself!  Once you understand ease and fabric choices you can essentially make the perfect garment fit you every time before even cutting! WHAT? I know, amazing right?  Now, this doesn’t happen overnight.  It’s something you will come to learn about your preferences over time and experimenting.  But, the more you pay attention to both your fabric choices and the design ease the faster you will get there!

Take all the clothes you love and look at them, study them! For that matter take the ones that you think are a little tight or loose too.  How much ease does it have to your body? On the bust, waist, hip?  What fabric is it made out of (this doesn’t have to be exact, but “thin and drapey or thick and stable categories work well).  Now you can apply this to your sewing choices.  You will learn if you like a looser fit with those thinner drapey knits- or a tighter fit with those.  Maybe you tend to always love thicker stable knits with you do have a more fitted garment.  Whatever you find in your “research” try to apply that to your pattern, fabric, size choices.  If you know you tend to like at least 2″ of ease at your waist you can know if you want to grade in or out at a waist on any t-shirt pattern.  Maybe you only like knit pants with some negative ease on the booty… When you open up a new knit pant pattern you can pick your size off that finished measurement chart and know for certain you’ll like the fit on the booty.  If you are just beginning it’s something you will want to make an effort to pay attention to.  Eventually it will become second nature 🙂 You’ll be able to open up a new pattern and know just how to use it to create YOUR OWN intended fit if you happen to not love the designer’s intended fit.

Filed Under: Fitting, Frequently Asked Questions, P4P University 8 Comments

Sewing Needles 101

July 7, 2017

One of the most important steps to follow when sewing is choosing the right needle for your project. A wrong needle can leave holes in the fabric, snag it or skip stitches so let’s answer the two most common questions regarding sewing needles.

What does that number mean?

Let’s start by understanding the numbers on the packaging or needles. You will notice most sewing machine needles have two numbers on them. The numbers from 60 to 110 reflect the European metric system while the numbers from 8 to 18 represent the American needle sizing. For example, an universal needle 90/14 means it’s Euro size 90 and US size 14. As a general rule, the lower the number, the finer the needle and the higher the number, the bigger the needle.


8-10 (60 – 70) – great for very fine weight (like fine silk, chiffon, organza)

11-12 (75 – 80) – use these sizes for light weight fabrics ( cotton spandex, cotton voile)

14 (90)  – perfect for medium weight fabrics ( cotton woven, linen, jersey, fleece)

16 (100) –  this size is great for heavy fabric (denim, duck, corduroy )

18 (110) – use these needles when sewing very heavy fabric ( heavy denim, upholstery)

20 (120) – very, very heavy fabric


Note: some automatic threader sewing machines may not be able to thread lower number needles so you will have to manually thread it.


What are the most common types of needles and what fabric do I use them with?


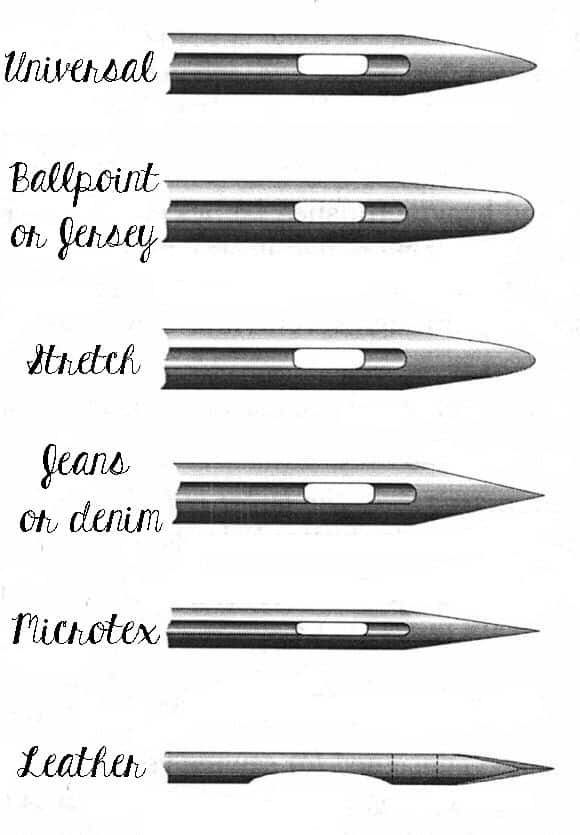
Universal needles: These needles are the most common used ones.. They pierce through the fibers. These needles are great for woven fabrics and stable knits.

Ball point or jersey needles: They have a round tip and they go around the fibers or in between the fibers of the fabric, keeping its integrity. They are best suited for knit materials.

Stretch needles: These needles are sharper than ball point needles but follow the same concept as them. They do not pierce the fibers but go in between them. These ones are perfect for very stretchy fabric like performance knits or swimwear and elasic.

Jeans or Denim needles: This style needle is very thick and sharp. It goes through the fabric and it’s best used with denim or heavier fabric like outdoor wovens and duck.

Microtex needles: The tip of microtex needles is very sharp and thin. It is ideal for thin, delicate fabrics like chiffon or crepe.

Leather needles: The chisel point will make it easy for this needle to penetrate thick fabrics like leather and some thick vinyls. Do not use on ultra suede.

Some other type of needles you will see in the notions section are: quilting , embroidery, top stitching, metalfil, self threader, twin needles or triple needles.

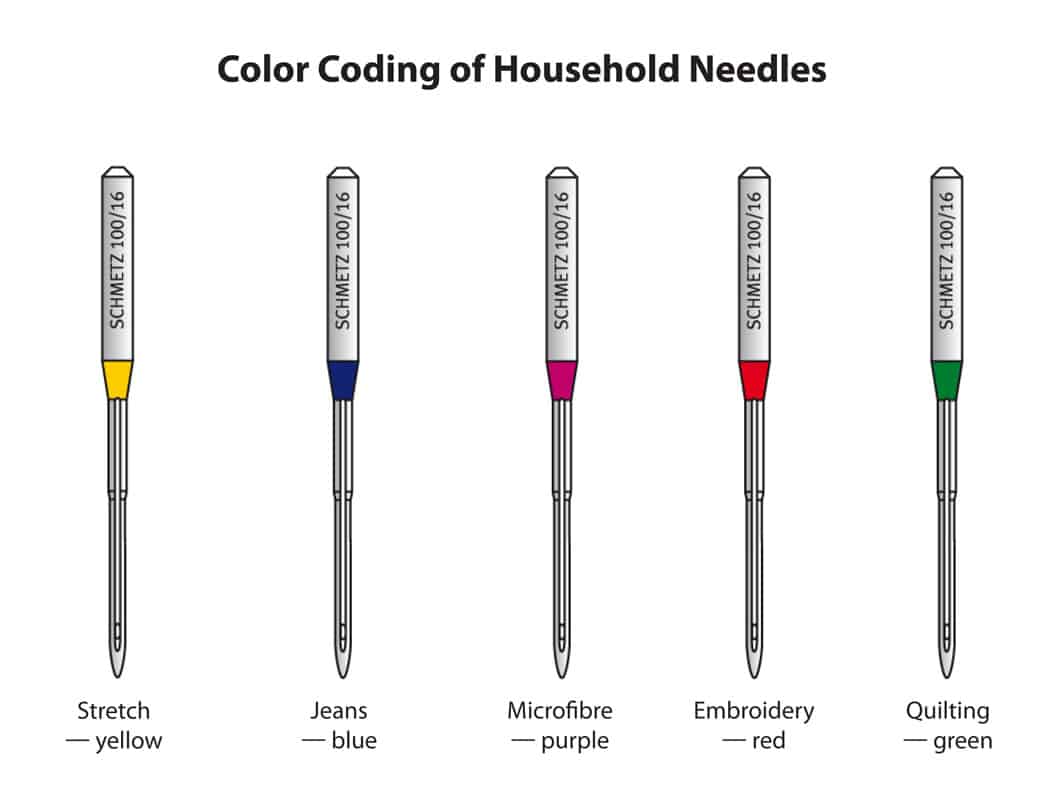
You may notice colors that accompany the various styles of needles. Some needle manufacturers have started adding colors to their products so it make it easier to distinguish the type.

For the best results don’t forget to change your sewing machine or serger needles after each project. They tend to get dull rather easily and a dull needle will snag your fabric. Now that you have your perfect needle for your perfect fabric, grab that P4P pattern and don’t forget to share your creations in the group!

Filed Under: Frequently Asked Questions 3 Comments

Take the Plunge Swimsuit :: New Pattern Release!

June 15, 2017

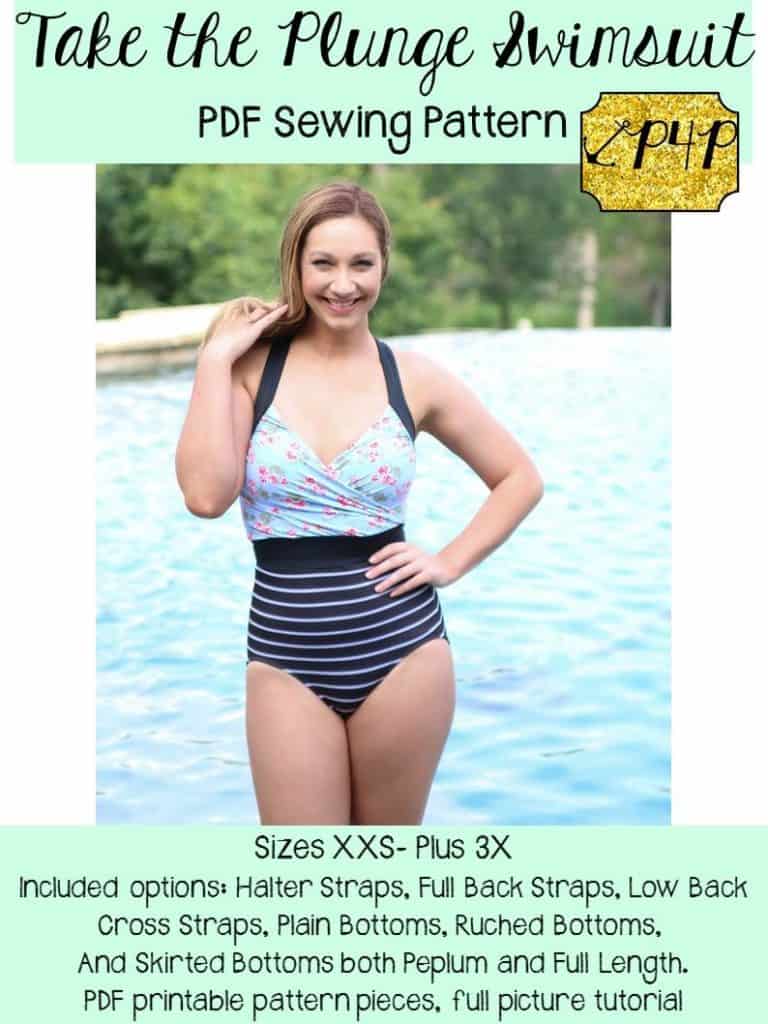
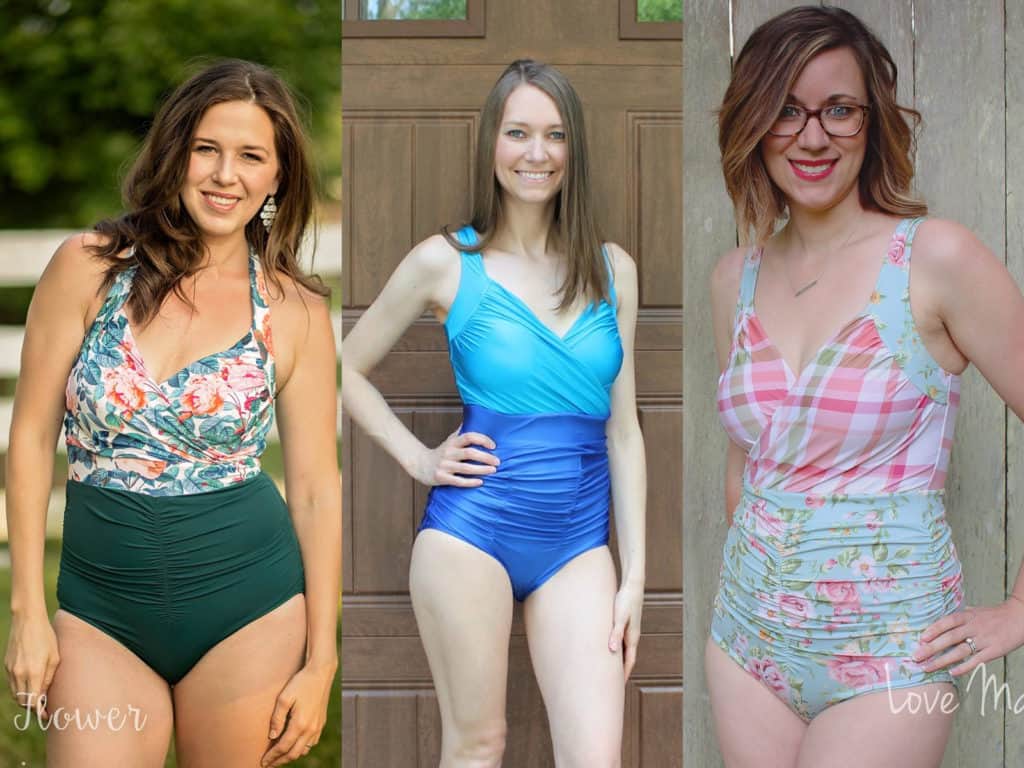
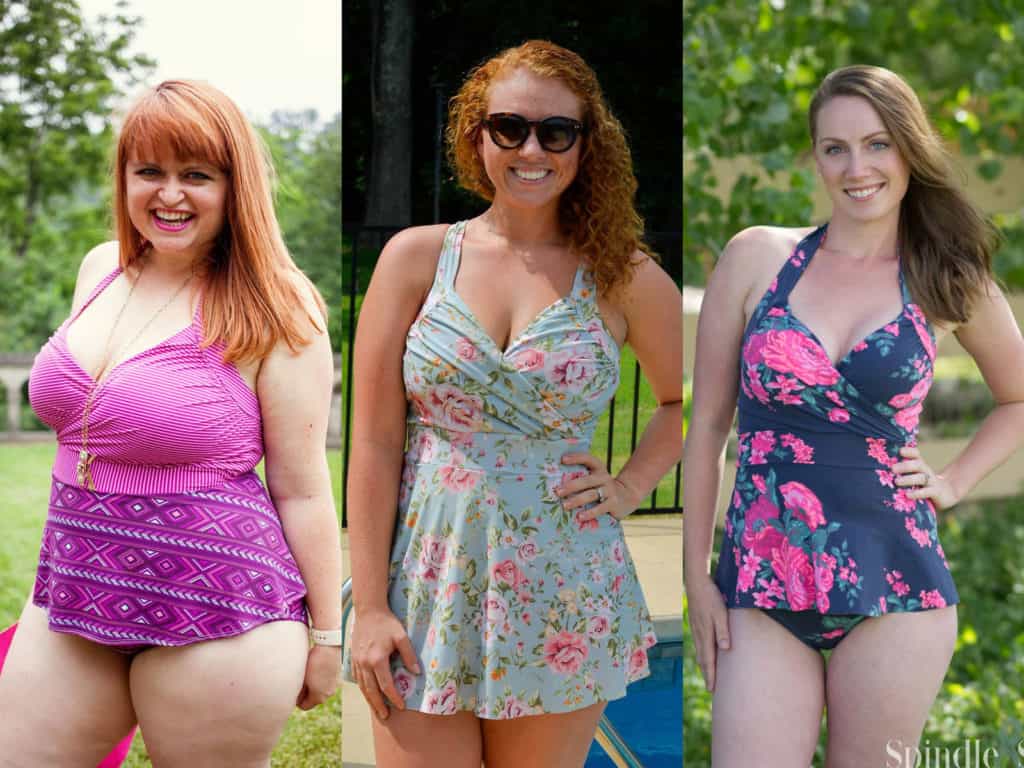
Just about this time last year, we released our first ever swim patterns.  The Siren Swim Top and Hello Sailor Bottoms have received a lot of love, but we still had a lot of requests for a one-piece suit.  Your wishes are being fulfilled today, with the brand spankin’ new release of the Take the Plunge Swimsuit!

Take the Plunge will make you want to swim all summer long.  We’ve done all we can to pack it full of options and to make it flattering for ALL body types, sizes XXS – Plus 3X.

This is an intermediate knit pattern, and fits in a traditional, body hugging, one-piece swimwear style.  The suit is fully lined and includes directions to add bust support (swim cups / power mesh / under bust elastic).  All of your seams are enclosed for that professional finish, and the edges are all finished with elastic so you will be completely secure in your suit while taking a dip in the pool.

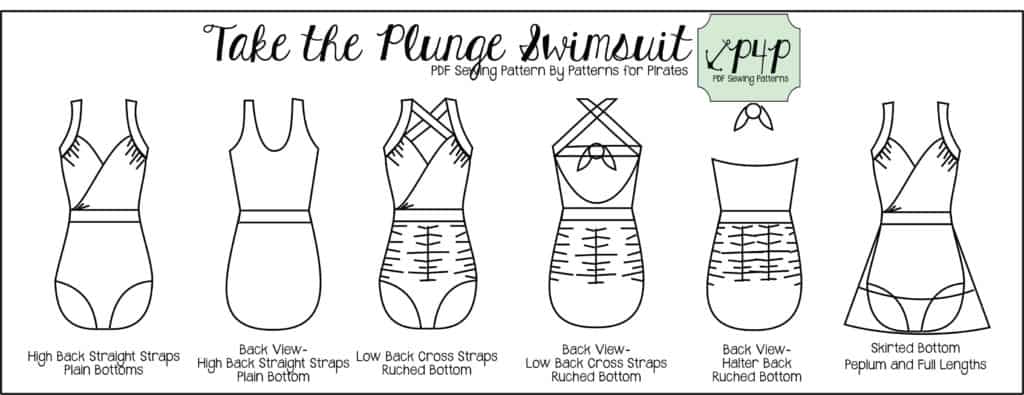
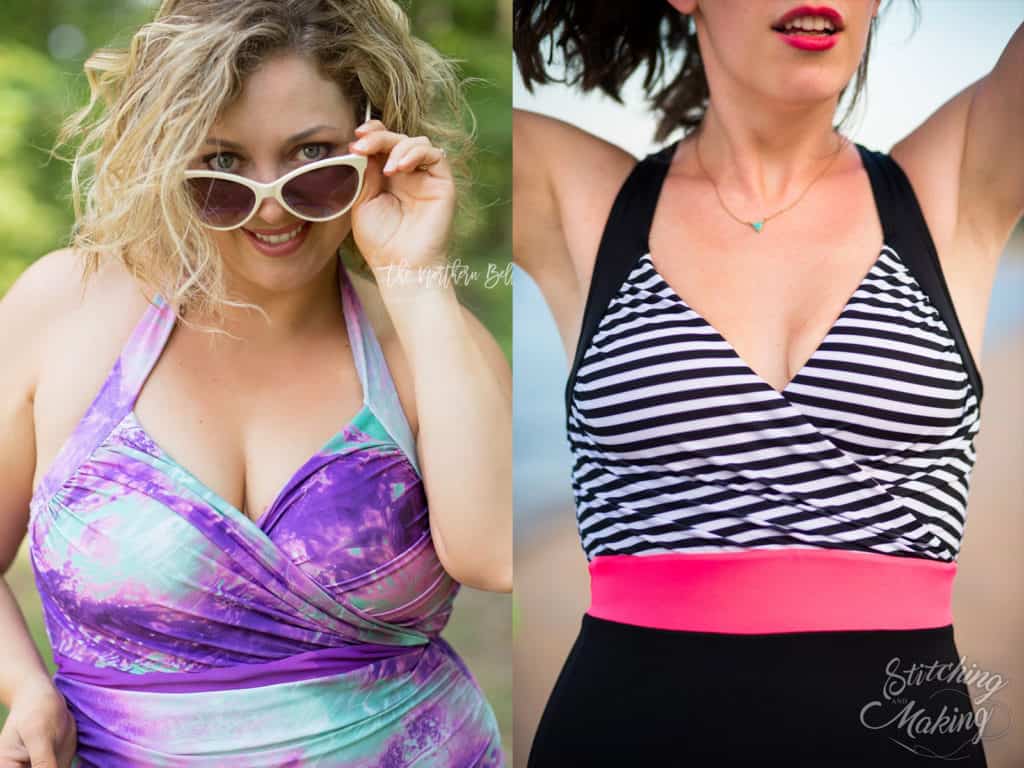
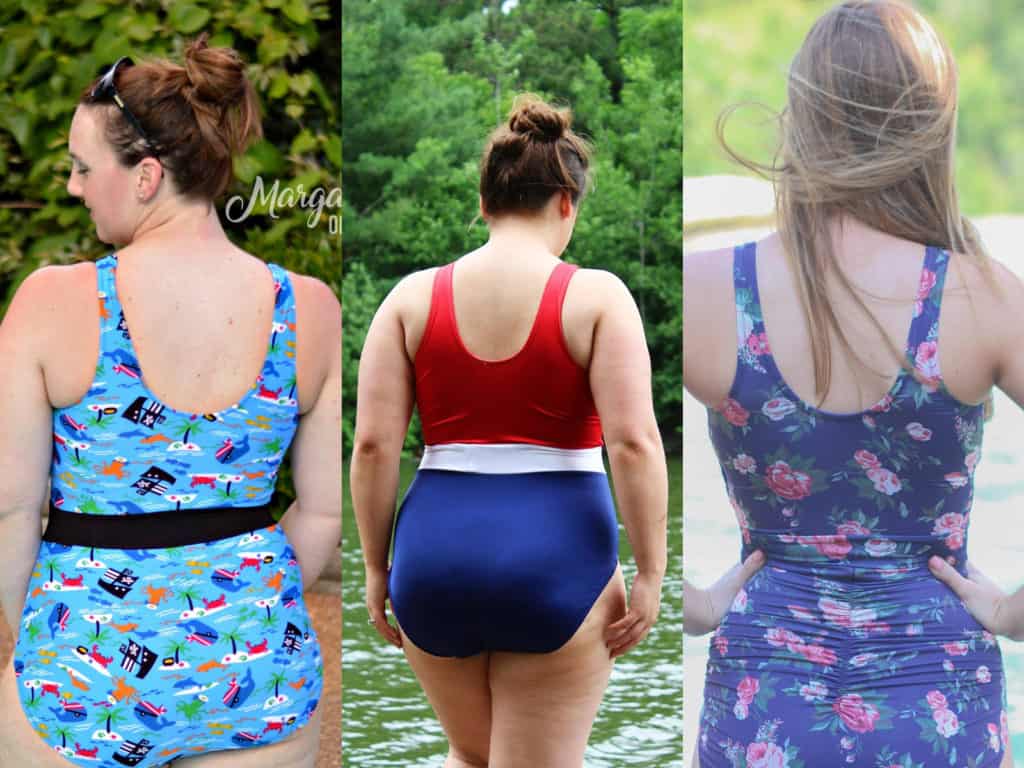
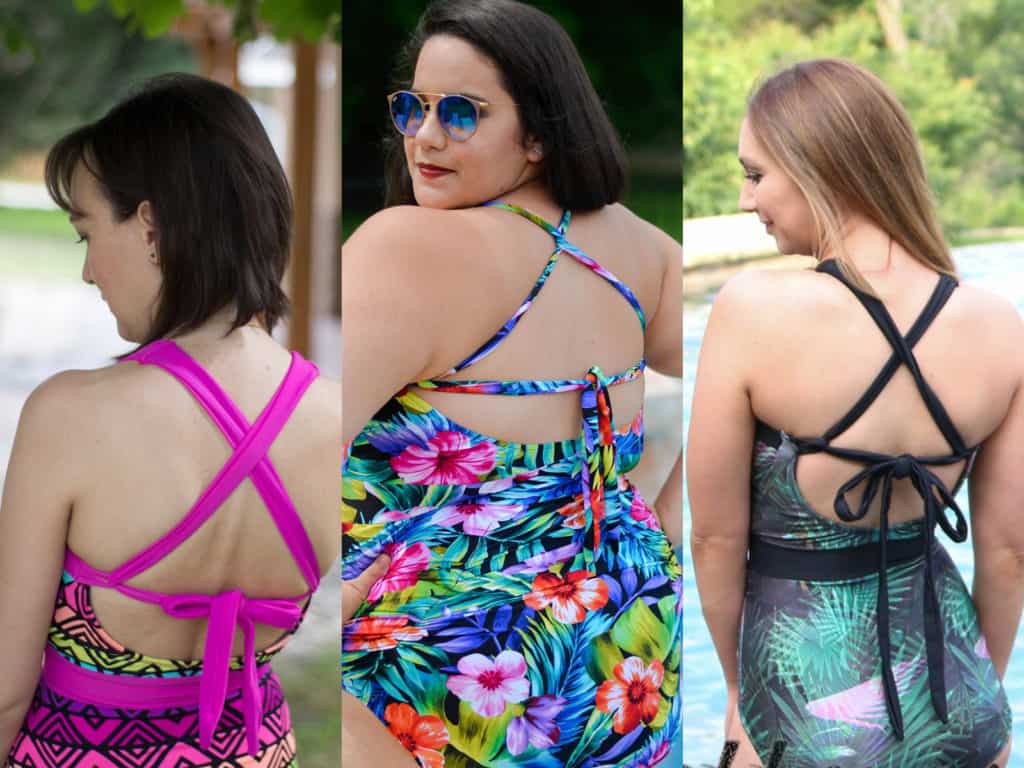
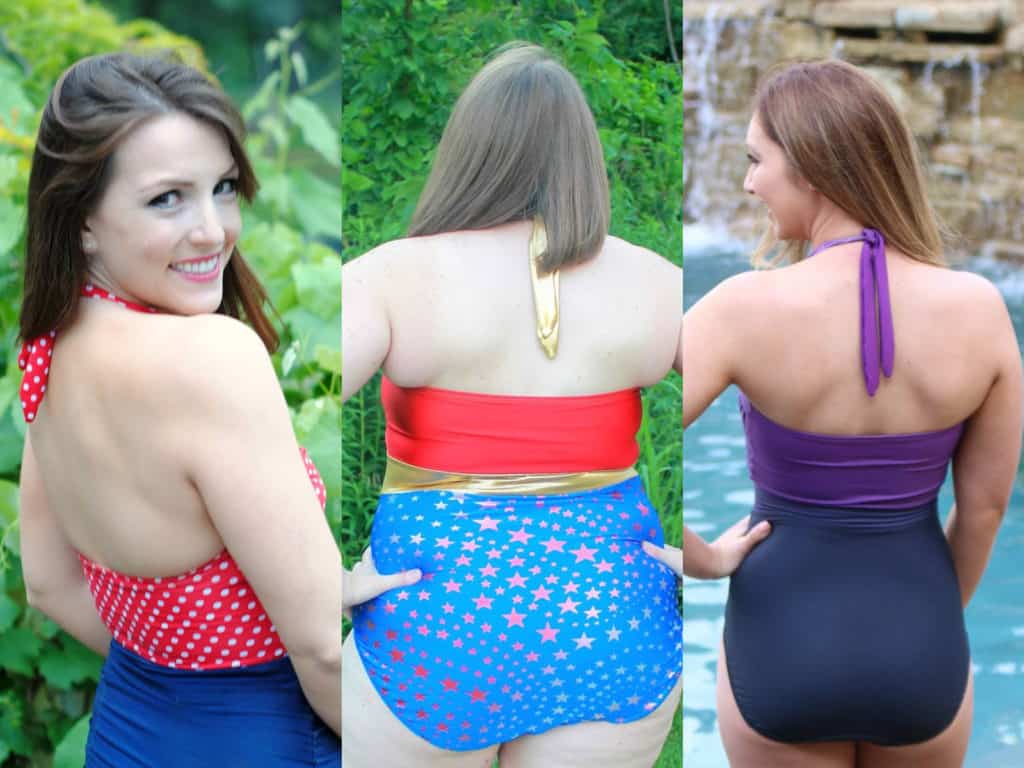
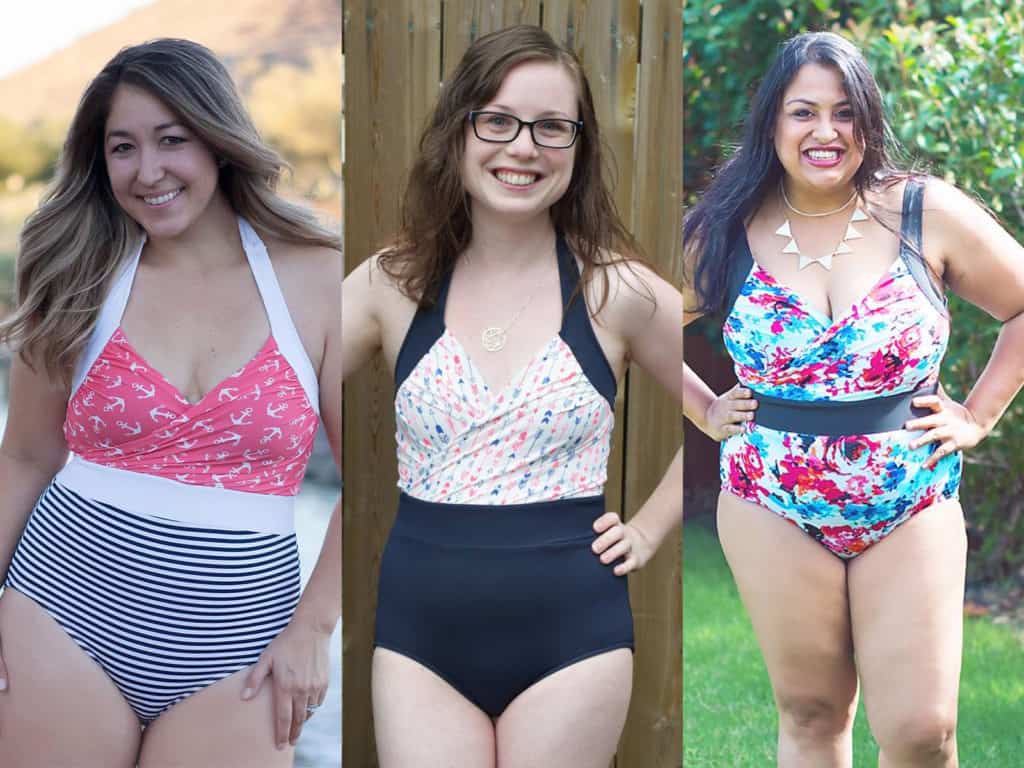
The pattern features a cross-over front bodice that plunges a little lower for a sexy look, while still keeping you contained, covered, and secure.  The waistband hits at and slightly above the natural waistline, to create an extra slimming silhouette, and is also great for color blocking.  And the leg openings come up a little higher in the front for a longer, leaner look.  There are three band-back options (high back with straight straps / low back with cross straps / halter back), two bottom types (plain / ruched) and an additional option for a skirted bottom in two lengths (peplum / full).

The retro vibe of the Take the Plunge Swimsuit will be a classic for years to come and can be paired with so many different fabric prints for unlimited looks!

**Want to learn more about how to measure yourself for this pattern?  We’ve got you covered with an in-depth blog HERE.

And now let’s see some suits!

FRONT CROSS-OVER BODICE

HIGH BACK, with straight straps

LOW BACK, with cross straps

HALTER BACK

PLAIN BOTTOMS

RUCHED BOTTOMS

OPTIONAL SKIRTED BOTTOMS

Feeling inspired to go buy all the swim knits now and sew a million suits for yourself?  Before you do, don’t forget to snag the Take the Plunge Swimsuit pattern HERE.

And don’t think we’d leave you with only the original pattern.  We’ve explored the extra potential of Take the Plunge and have an entire set of pattern SWIM HACKS and even a DRESS + PEPLUM HACK.

Needing more inspiration?  Head over to our Facebook Group Album, where are gorgeous testers of every shape and size have shared their versions!  Happy Sewing, friends!

Filed Under: Pattern Release Leave a Comment

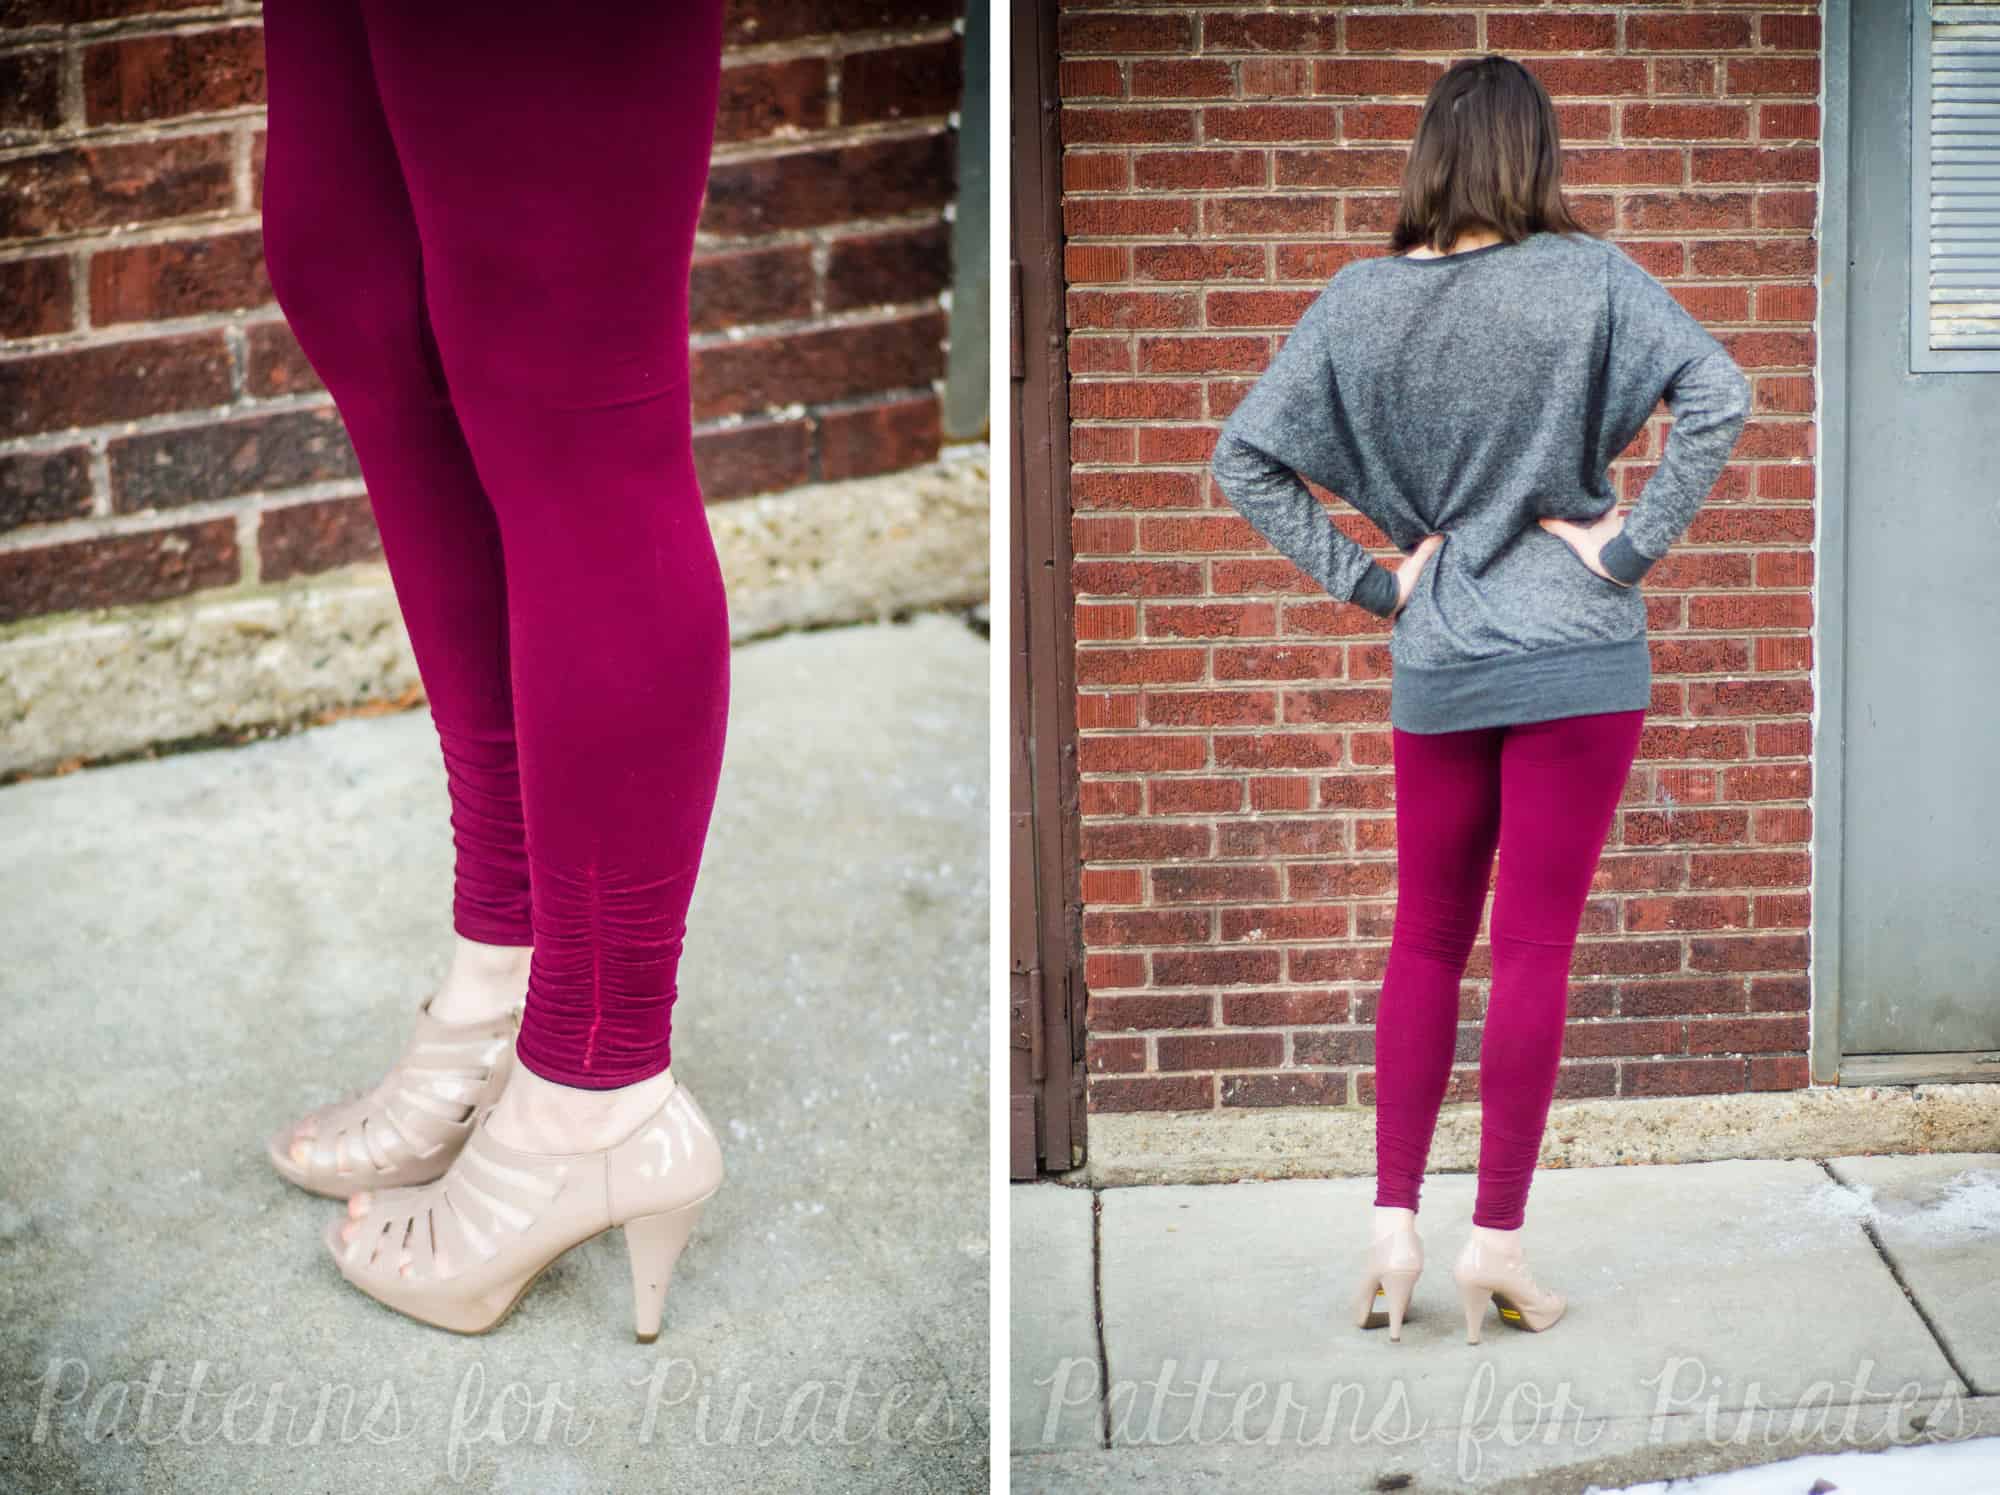
50K Fan Celebration :: Ruched Ankles PegLegs Hack

April 23, 2017

Ahoy Pirates!

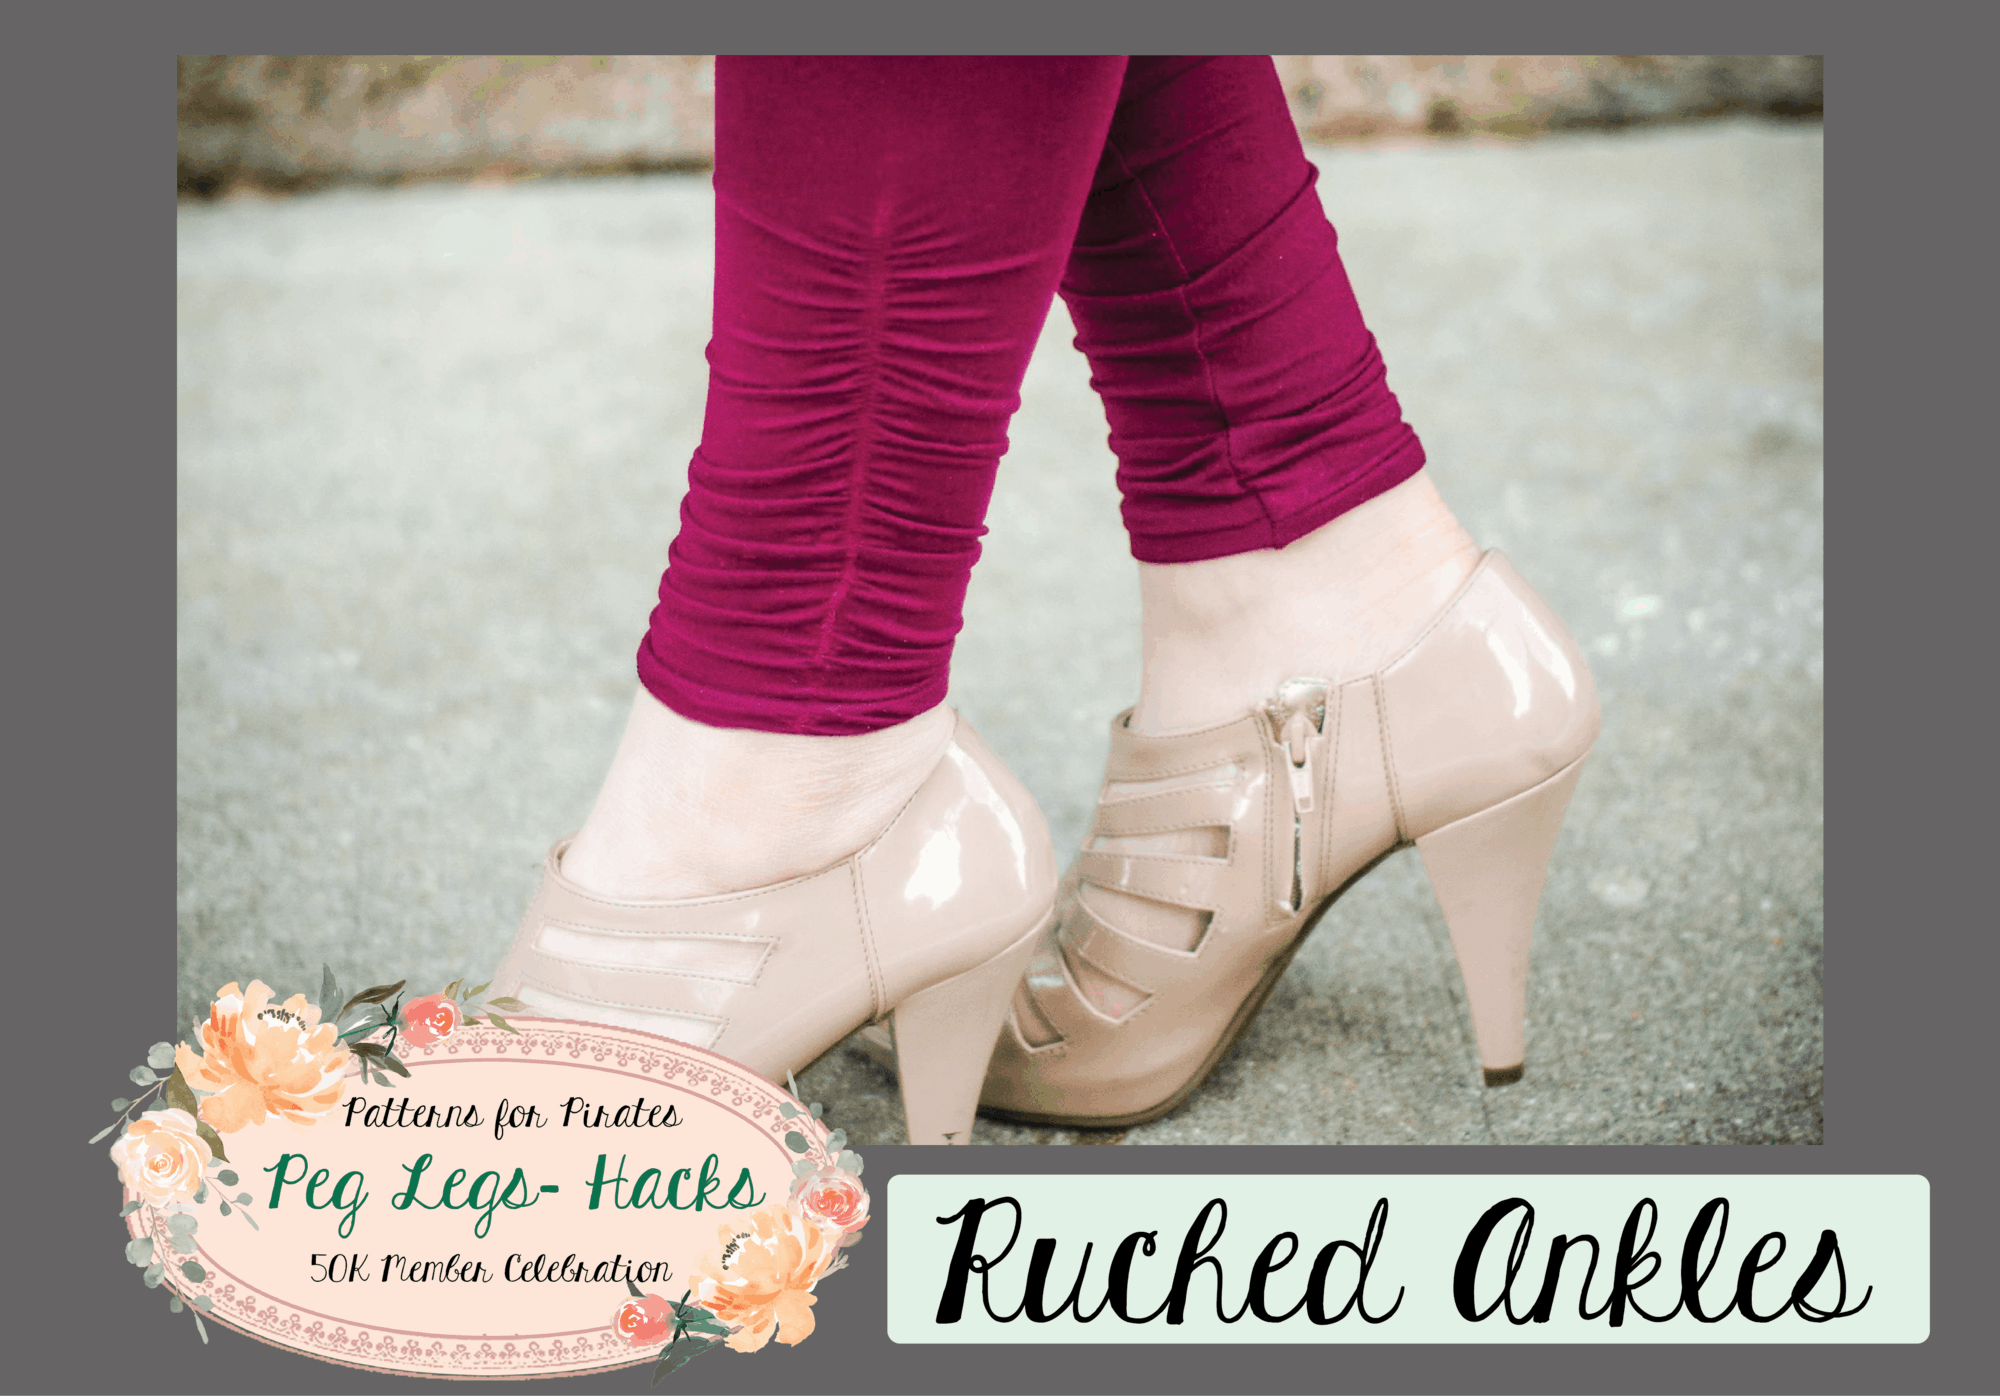
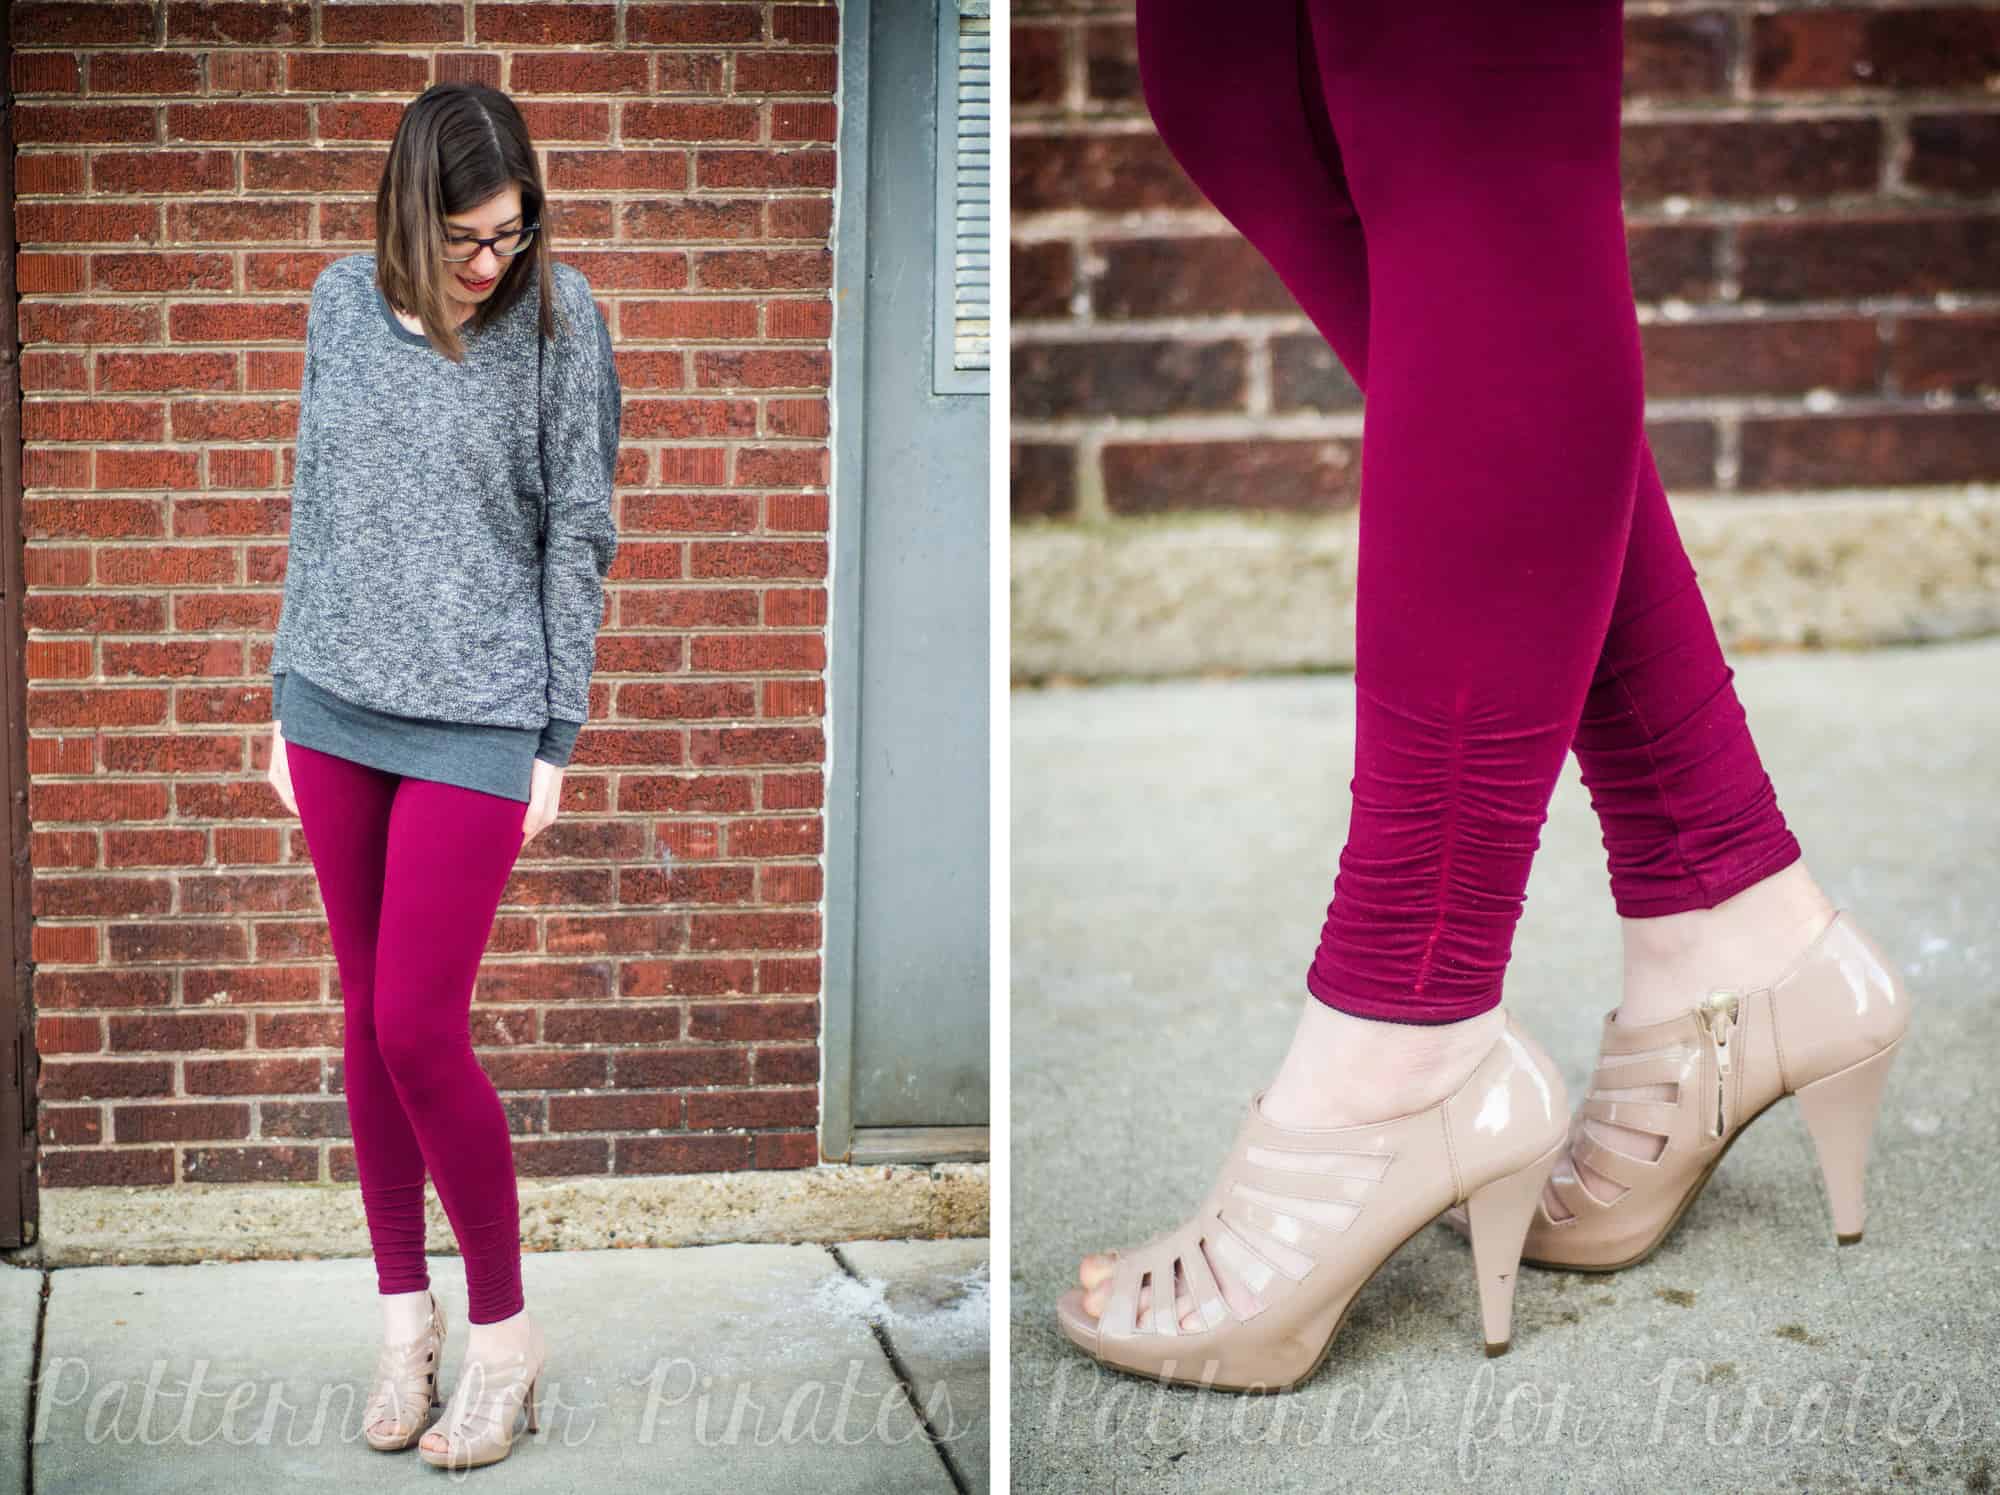
Today I’m going to show you how to add some ruching to the ankles of your PegLegs.  This is a super easy way to amp up their cuteness factor and take them to the next level.

For this hack, I’ll be ruching using elastic.  Depending on your preferences, you’ll need about 12″ of braided (non-roll) elastic.  I used 1/2″, though you can also use 1/8″, if you’d prefer.  You will also need matching thread.

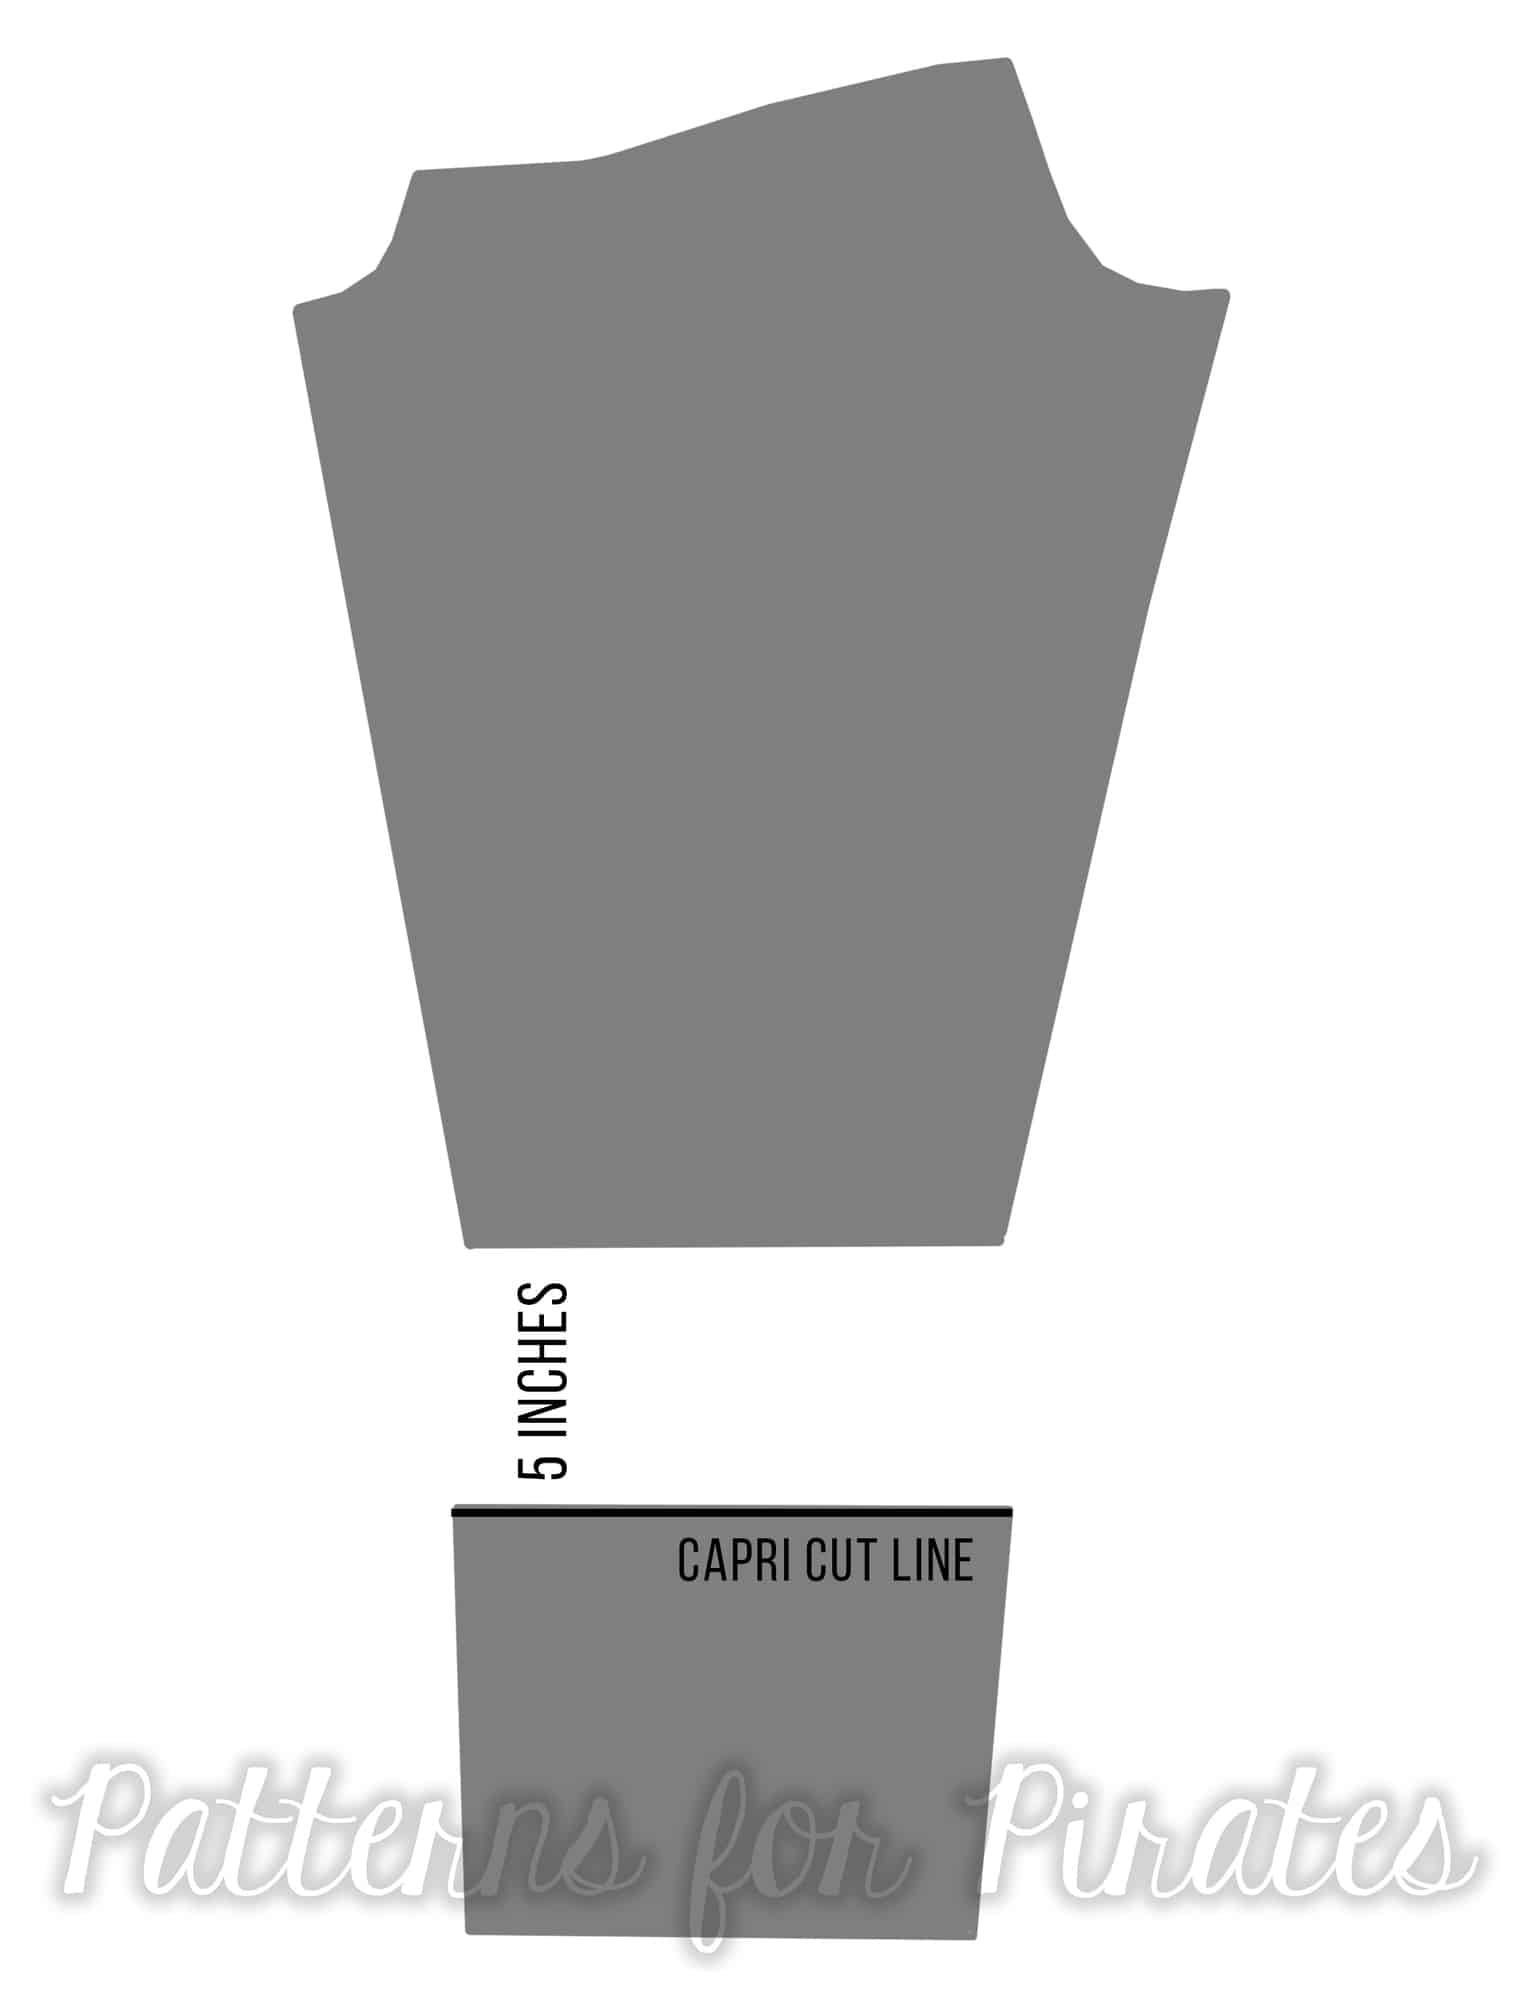
1. The first thing you need to do is decide how long you want your line of ruching to be.  For mine, I chose 5″.

2. You’ll need to add length to the pattern to accommodate the fabric the ruching will take up; you’ll add the same number you originally chose.  So for me, the length to add was also 5″.  And now the total ruched amount will be 10″.

3.  Add the extra length at the capri cut line.  To do this, cut your pattern on the capri line, add however many inches you chose earlier.  I added 5″.  Then cut out your leg pieces with this added length, and your choice of waistband.  Your leggings will look crazy long – this is good!

4. I highly suggest hemming the bottom edge now, before ruching.  It will be so much easier this way; I chose to do a faux blind hem with my serger.  Or, let’s be real…if you’re not planning on hemming, then this doesn’t apply to you! 😉

5. Cut your elastic pieces.  To determine the length, add 1″ to your original measurement.  So I cut mine 6″.

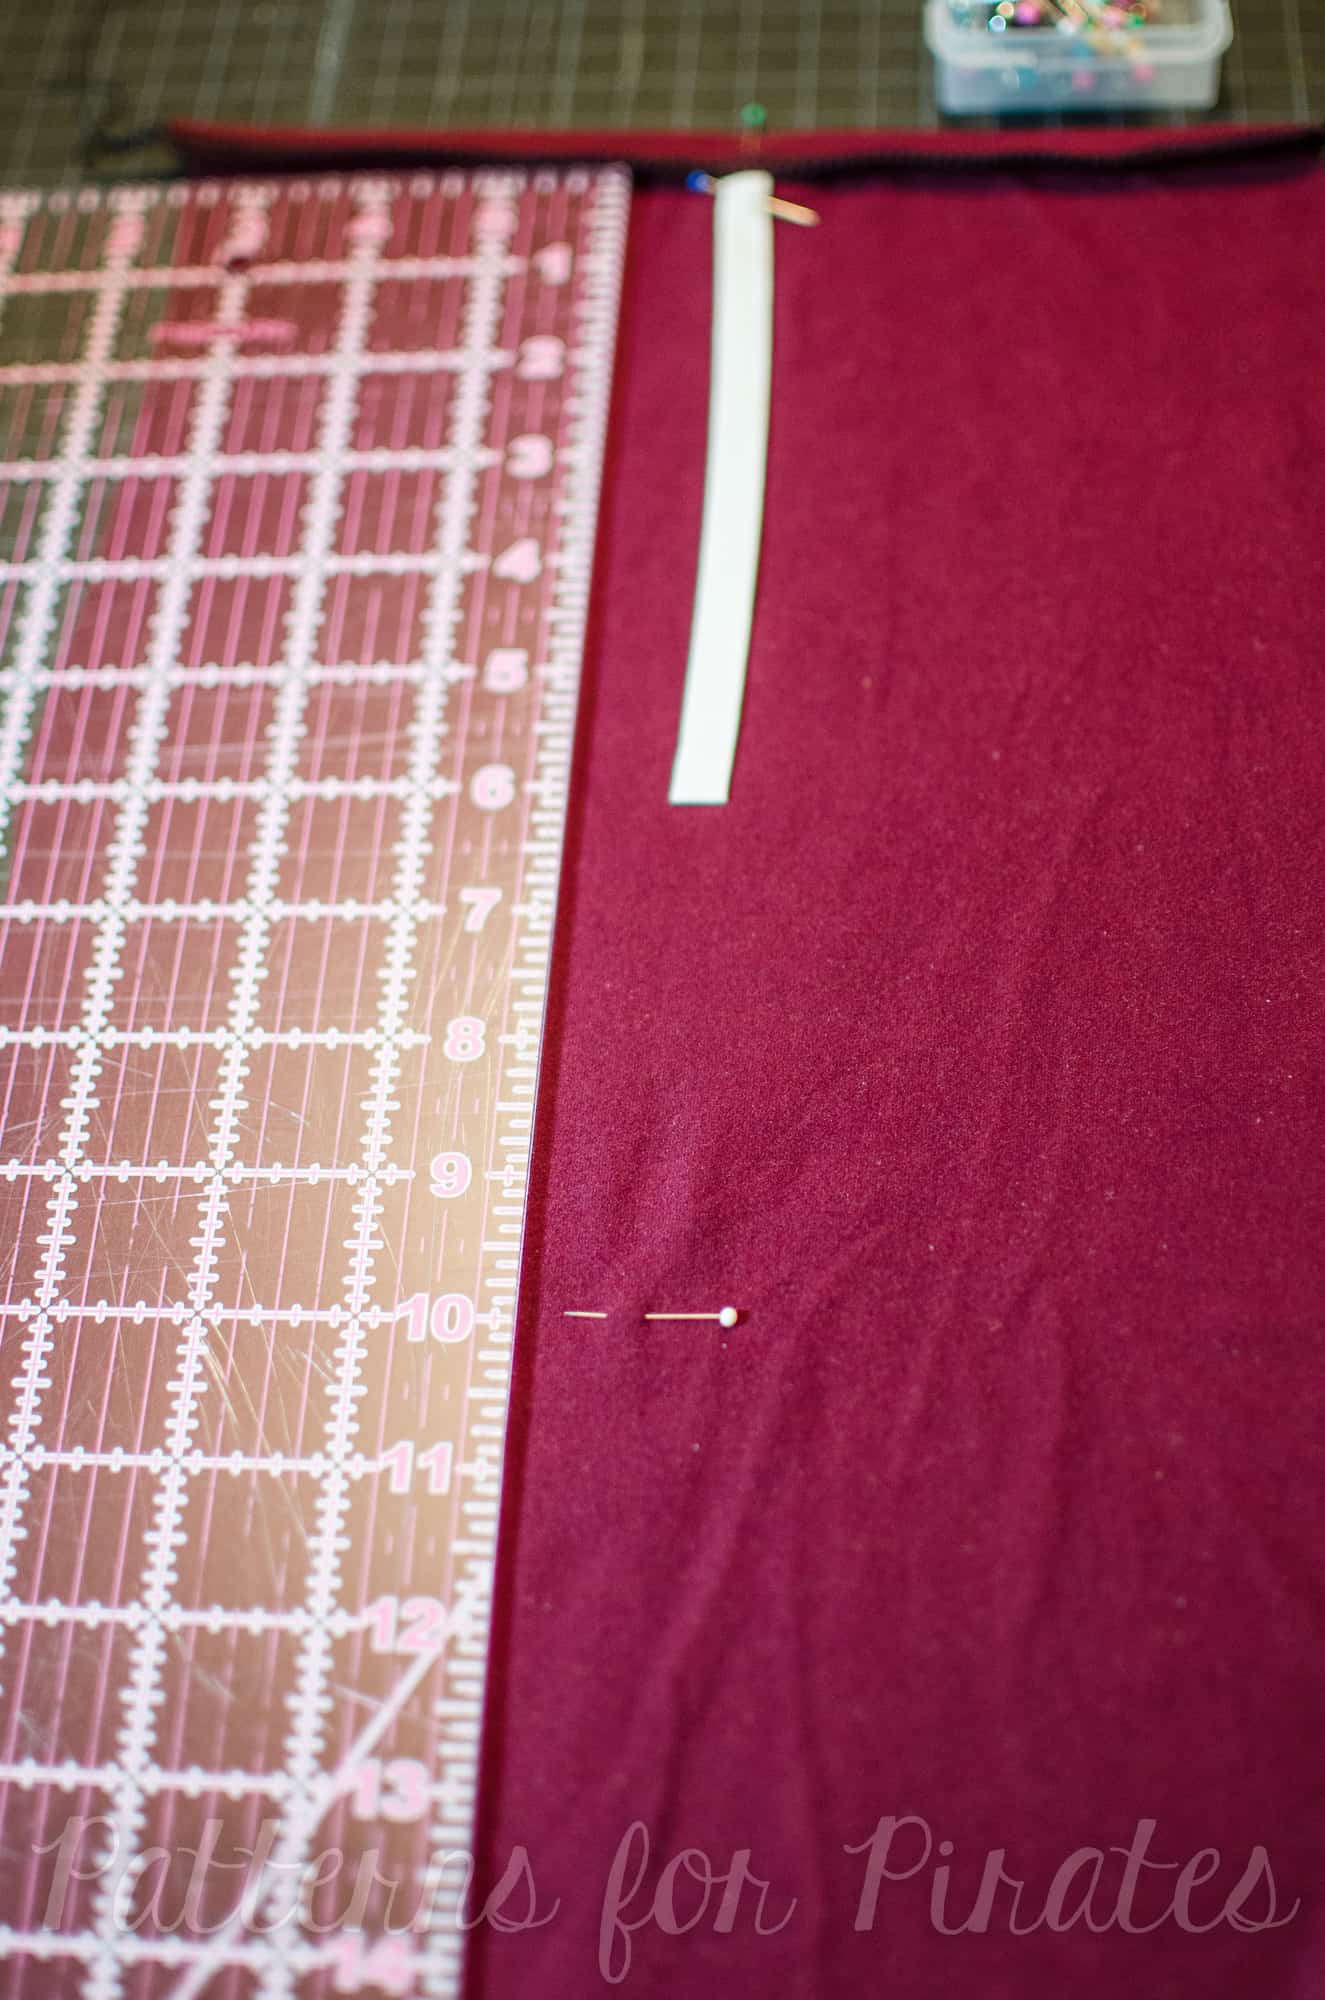
6. Now, before you sew up the side seams, find the middle of the piece on the end, and mark it.  Pin/clip your elastic in place in this place, right above your hem.


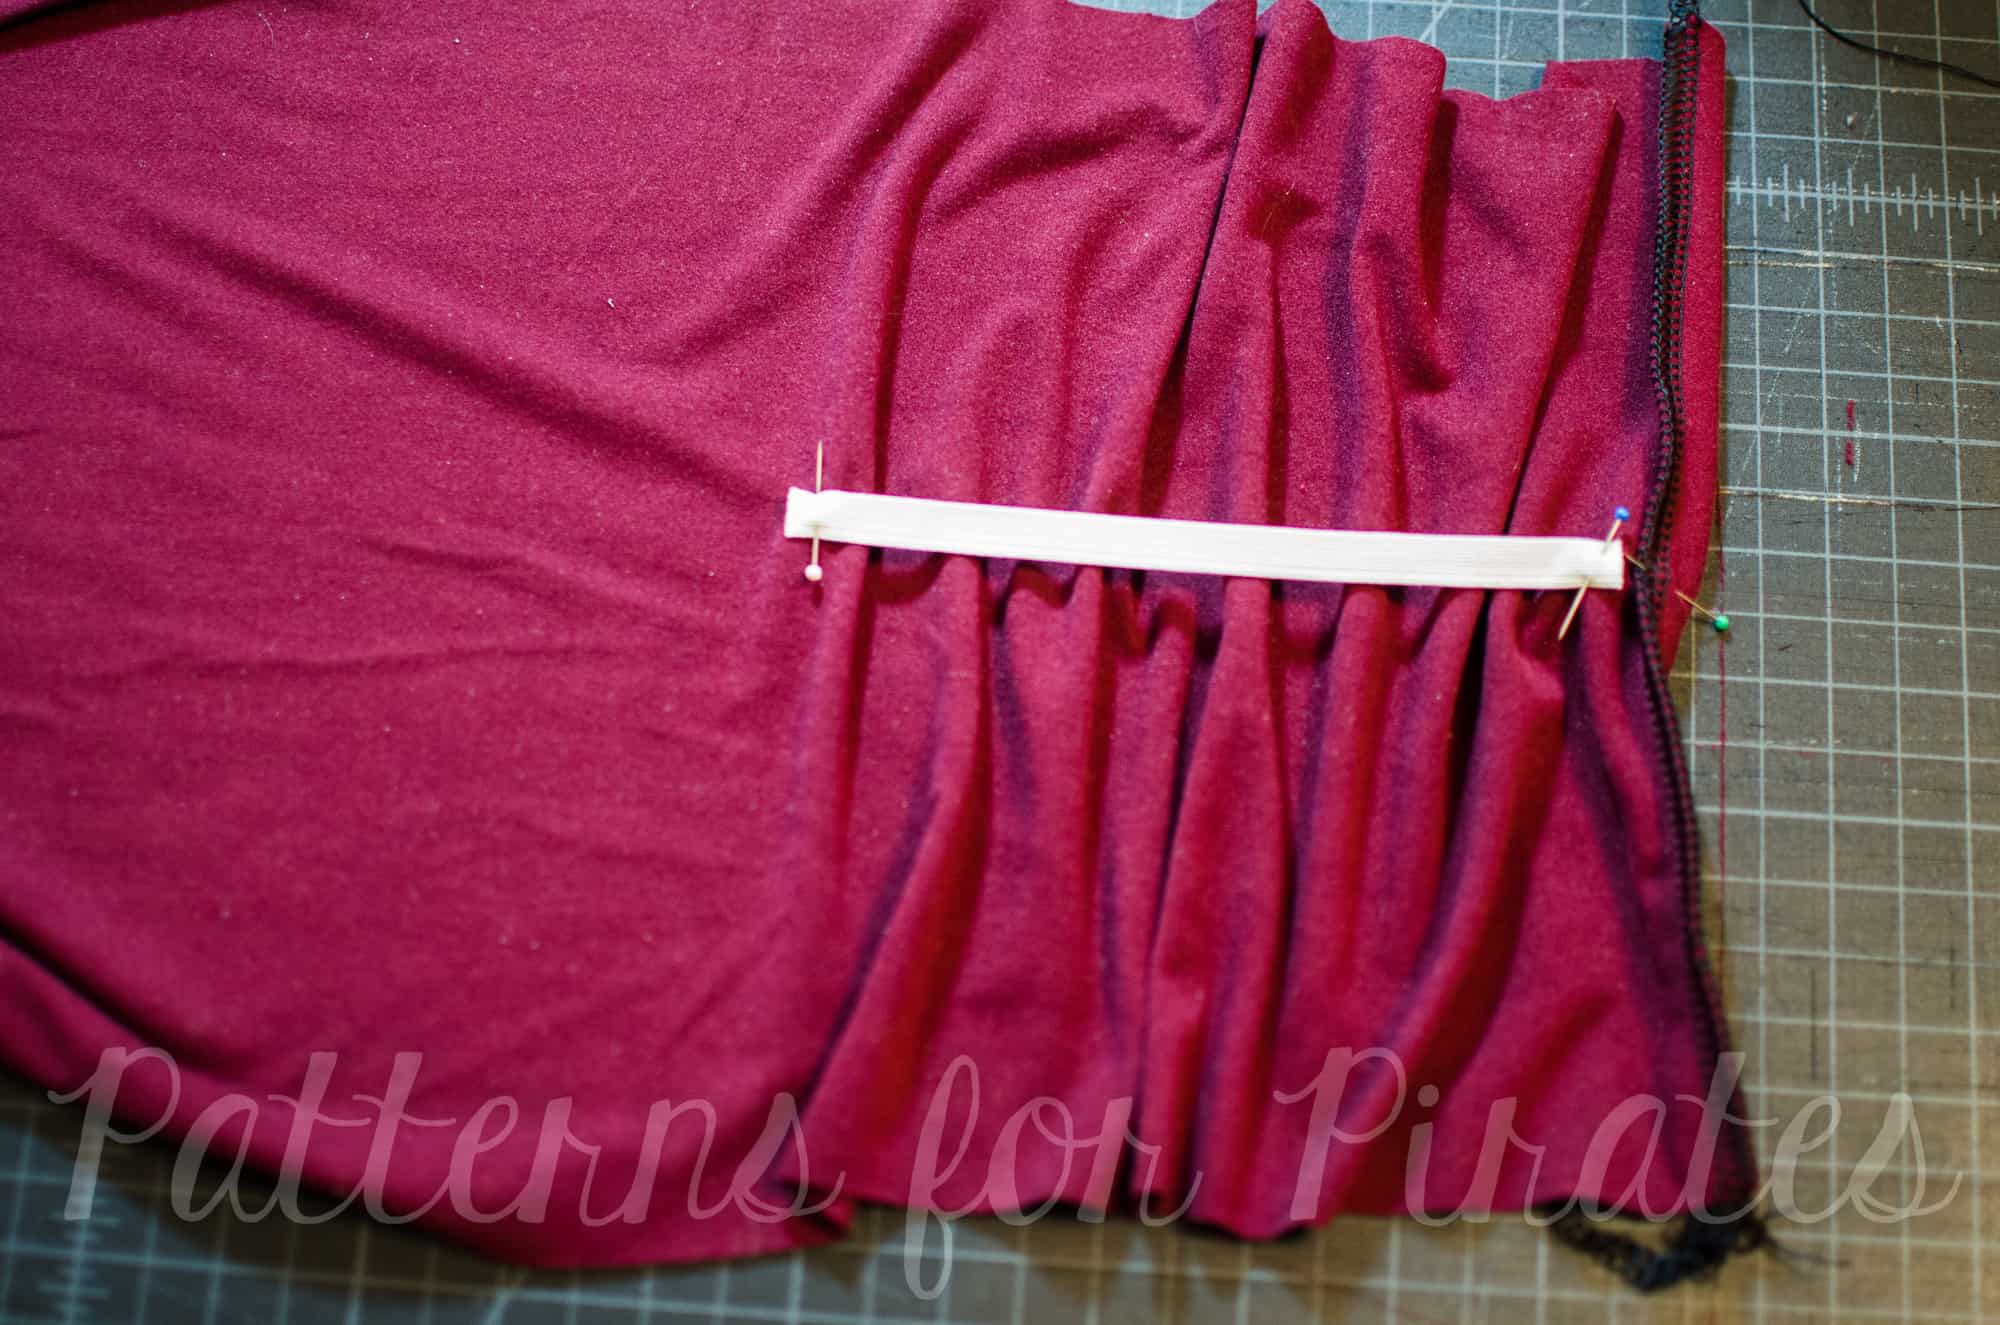
7.  From the marked spot, measure up your total ruched amount, determined in step 2.  My ruched amount was 10″, so I measured 10″ above my marked spot.  Add a pin to this spot as well.


8. Now bring the other end of the elastic to the pin and pin it to the fabric.  This is the spot which will be ruched.


9. You’ll be sewing the elastic to the fabric now, stretching as you sew.  This can be a little tricky, so I advise you test this out on a scrap before sewing your actual ruched piece.

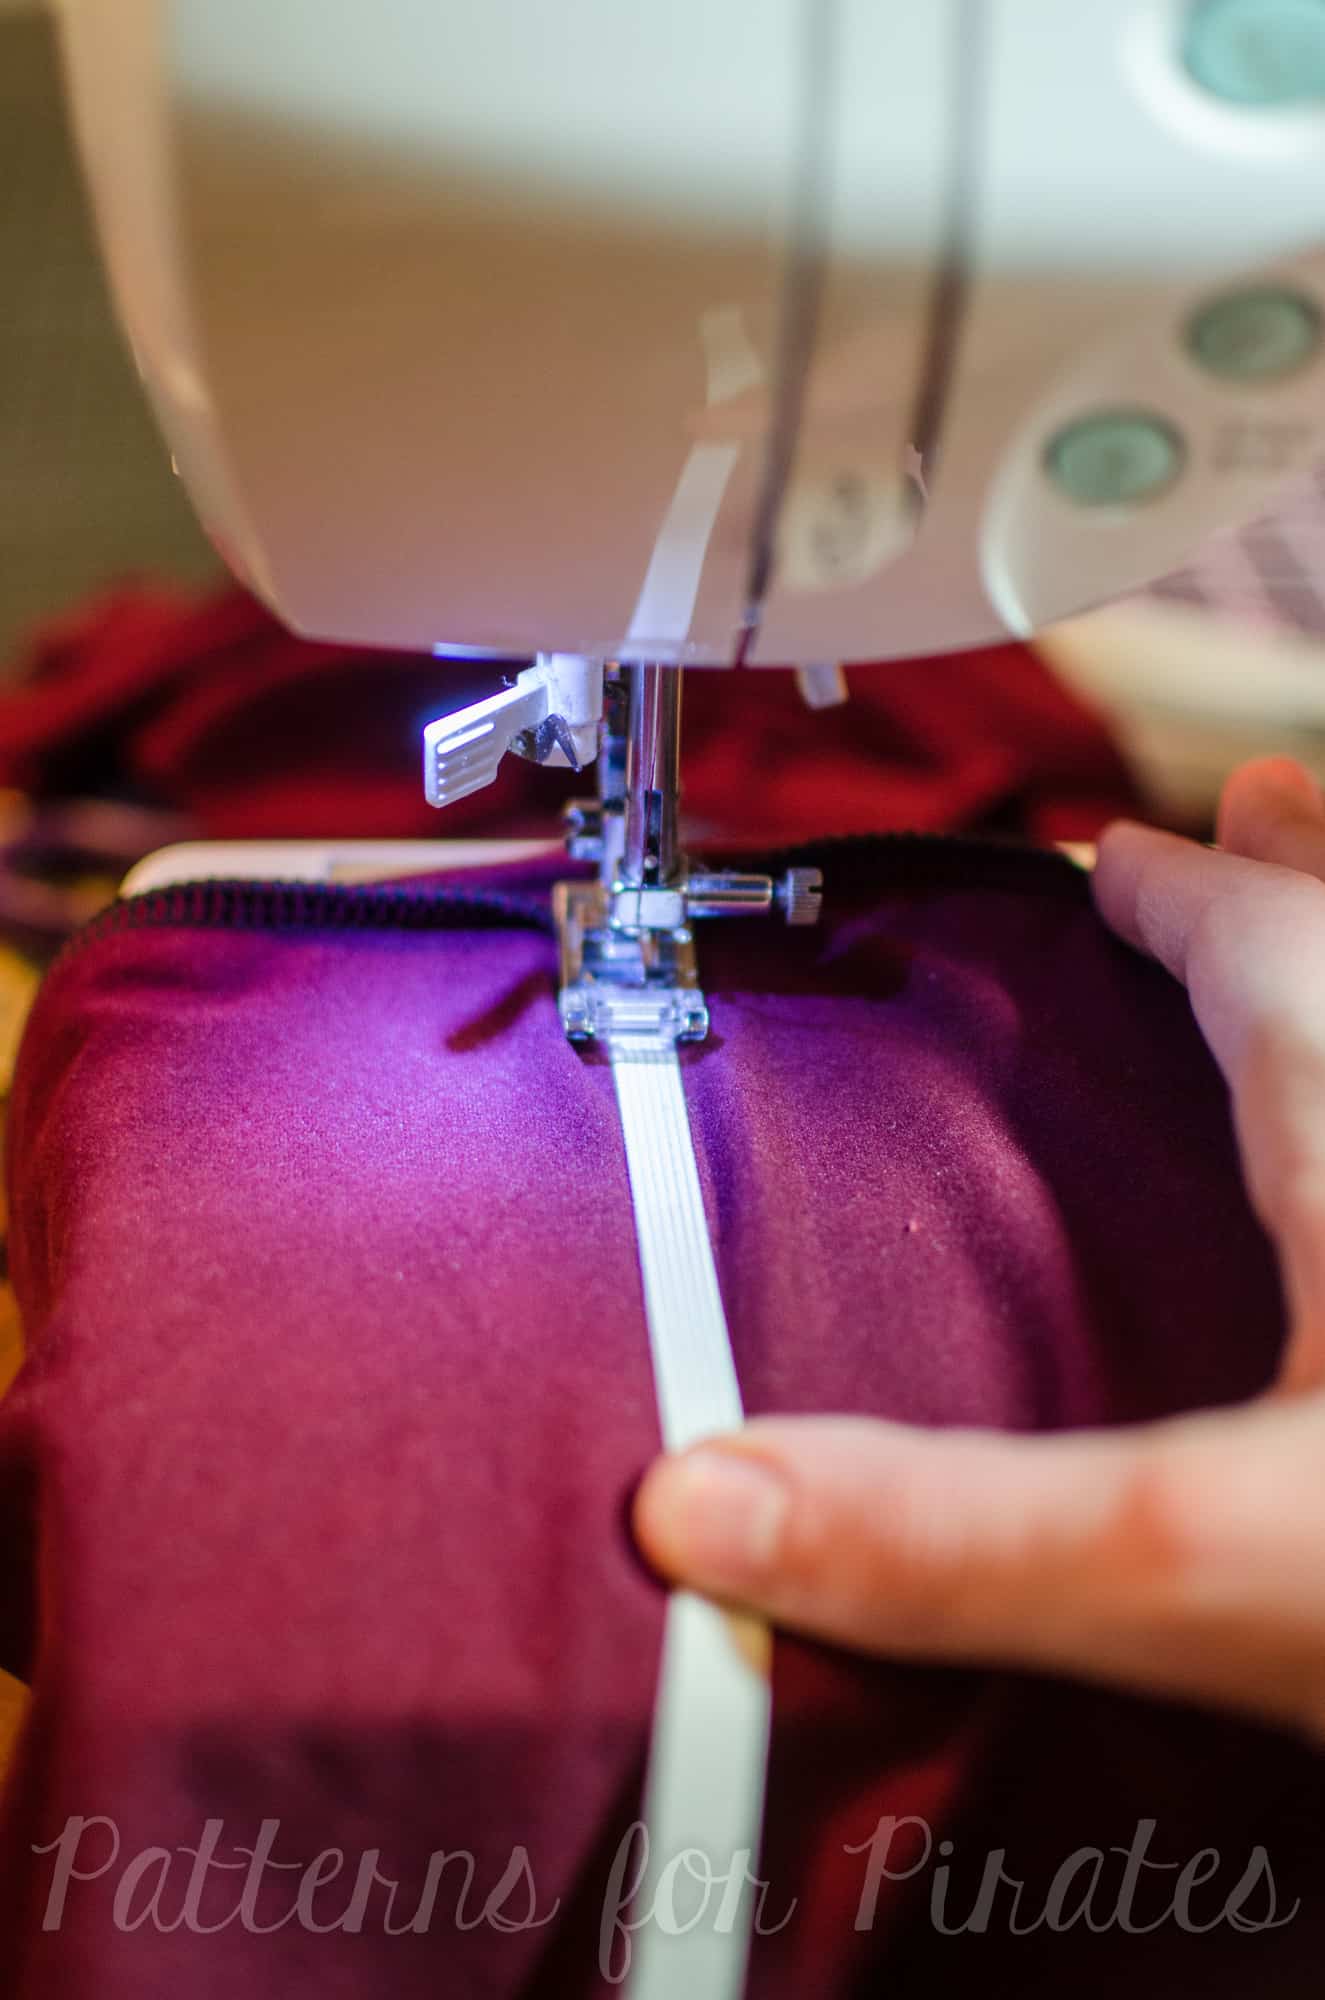
10. Using a slightly shorter zigzag stitch (my length was 1.8, you may also need to reduce the width as well, I used 2.5), start sewing at the end of your elastic.  Don’t worry about pulling the elastic until you can grab the end of it from behind the presser foot.  This should be about 1/2″ of stitching until you can grab it.


11. The trick now is to hold the elastic from the back while you also pull it from the front, as you are sewing (I couldn’t show this while also holding the camera to take this picture). 😉  This way, you can control it pretty well.  I find it helpful to stretch the elastic before sewing, and then pin the middle part to the fabric.  Now you can pull from the pin to the presser foot instead of from the very end.  Once you get to the pin, then pull from end to end until you are finished sewing.  Be sure to backstitch carefully.  Don’t worry about making it absolutely perfect, because the ruching will bunch up quite a bit.


12. Now, assemble your PegLegs as usual…sewing the side seams, the waistband, etc.  Good news is you’ve already hemmed!  Or chosen not to…

That’s it – you’re done!  Feel free to play around with different lengths of ruching as well, you may prefer more or less than me.  Also, you can also ruche using elastic thread hand-wound in your bobbin.  With this method, you’d also lengthen your pattern, and then sew a straight line however many inches you added.  I don’t mind using elastic though, since I always have it on hand (not the case with elastic thread!).

Be sure to post your ruching hacks in our Facebook group so we can have all the “heart eyes” for your creations! 😍

~Elisabeth


We are celebrating reaching 50K fans in our Facebook group!  To make it a party, our beloved PegLegs pattern just got an update AND some new add-ons.  Before you go running to your machine to sew up your own leggings, make sure to read our PegLegs 101 blog post.  This way, you’ll have all the the information you’ll need to make the perfect pair before you even cut into your gorgeous fabric.

But wait, there’s more!  After any good party is an after-party.  We are taking it one step further and sharing some easy hacks that’ll bring even more flavor to your favorite leggings pattern!  We hope you check them out, make your new favorite pair of leggings, and know that we appreciate every single one of you amazing sewing guys and gals!

Here are our hacks / tutorials / latest tricks:

Lace Waistband Alternative | Drawstring Waistband Tutorial
Exposed Elastic Waistband | Stirrup Pant Hack
Ruched Ankles Adjustment | Decorative Topstitching Tutorial
Ruched Side Panel Hack

Filed Under: Pattern Hacks 1 Comment

#allP4Ptoday winners

March 31, 2017

DECEMBER

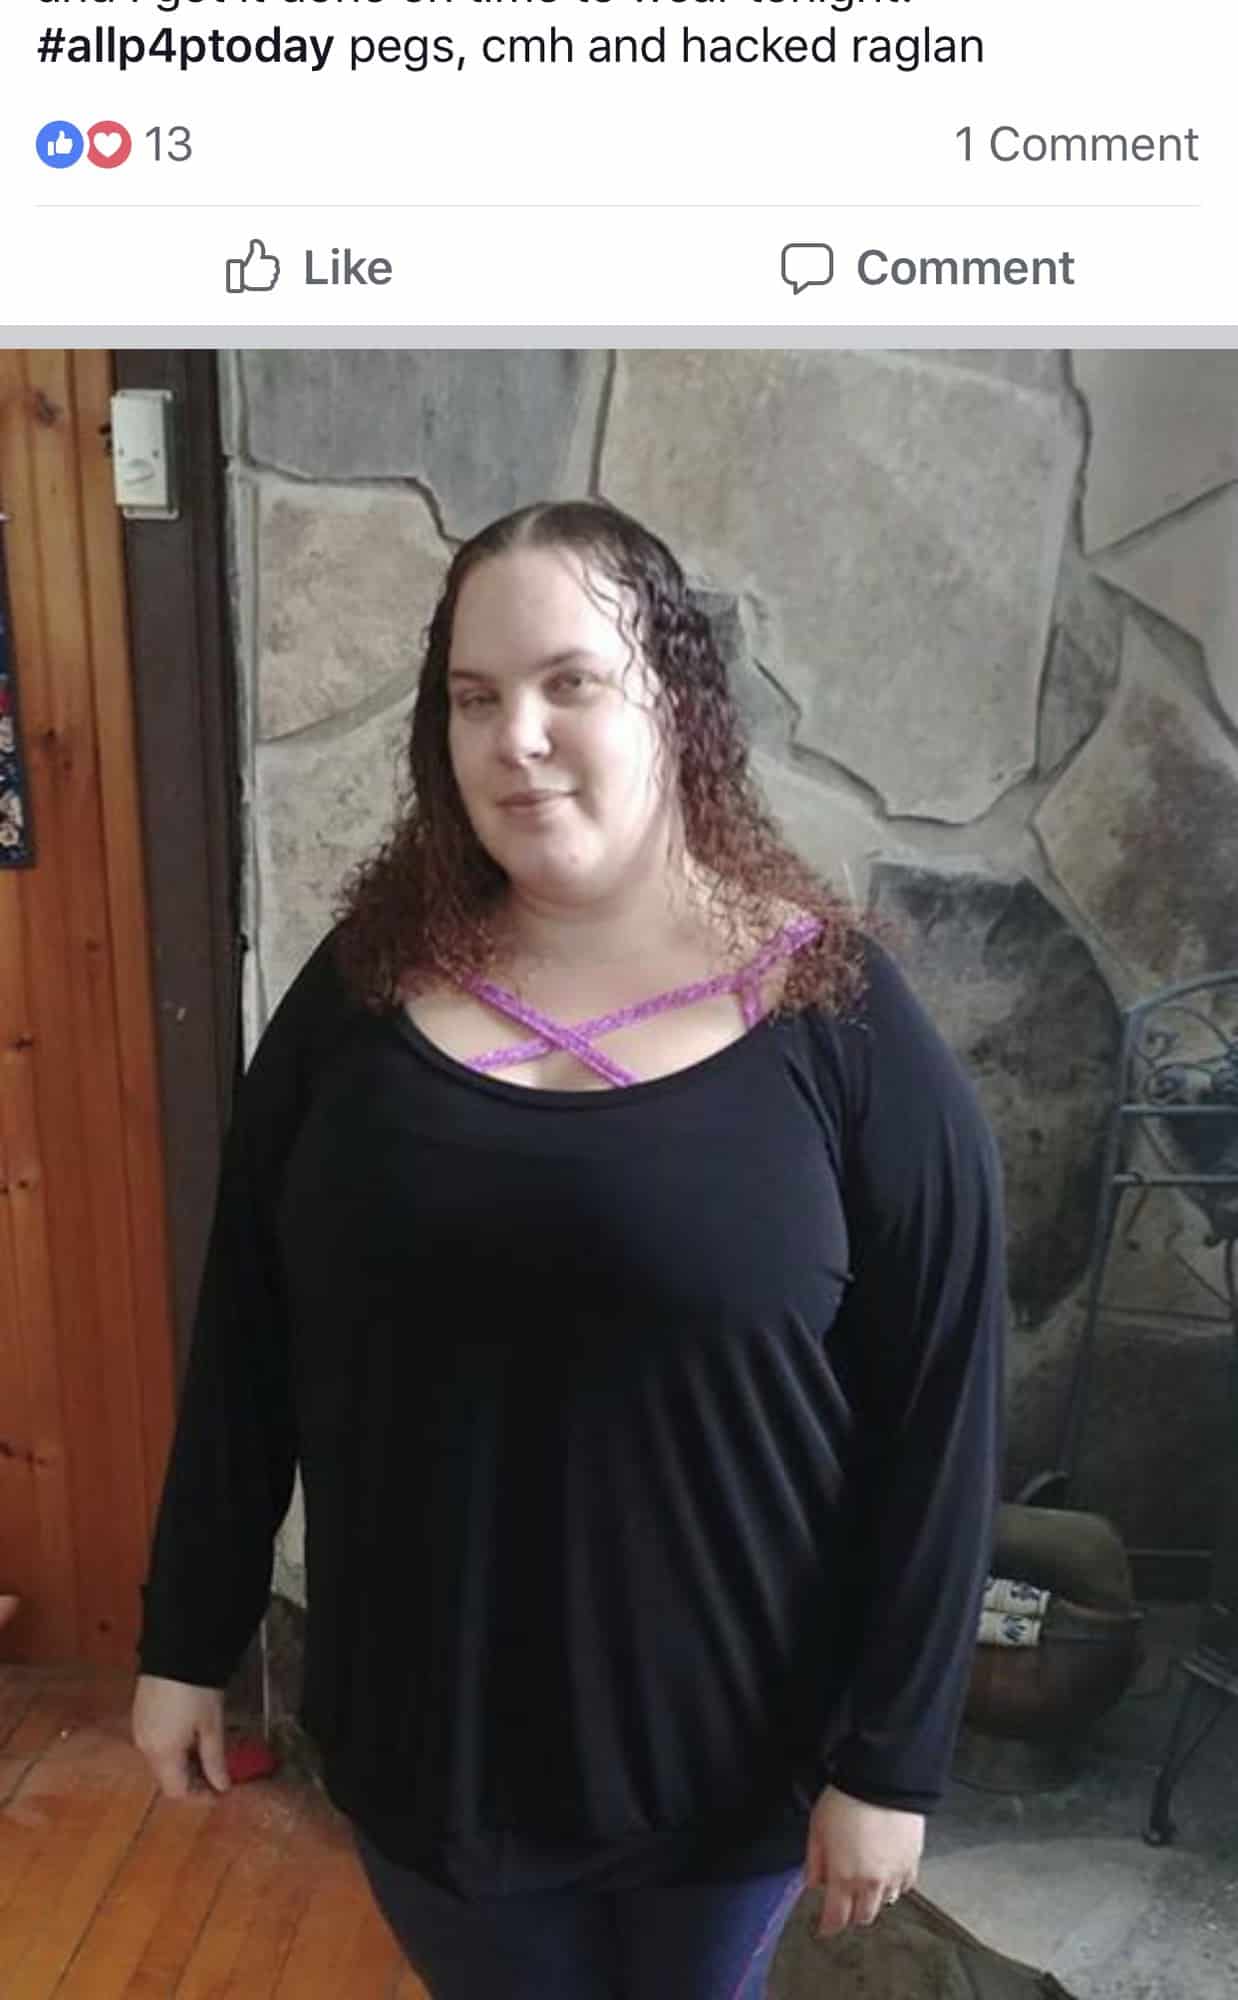
And just like that, a new year is almost here. Hope you all had a fantastic holiday season! We couldn’t end the year without announcing our last 2017 #allP4Ptoday winner!

So without further ado…our December winner is:

Laura Van Niejenhuis

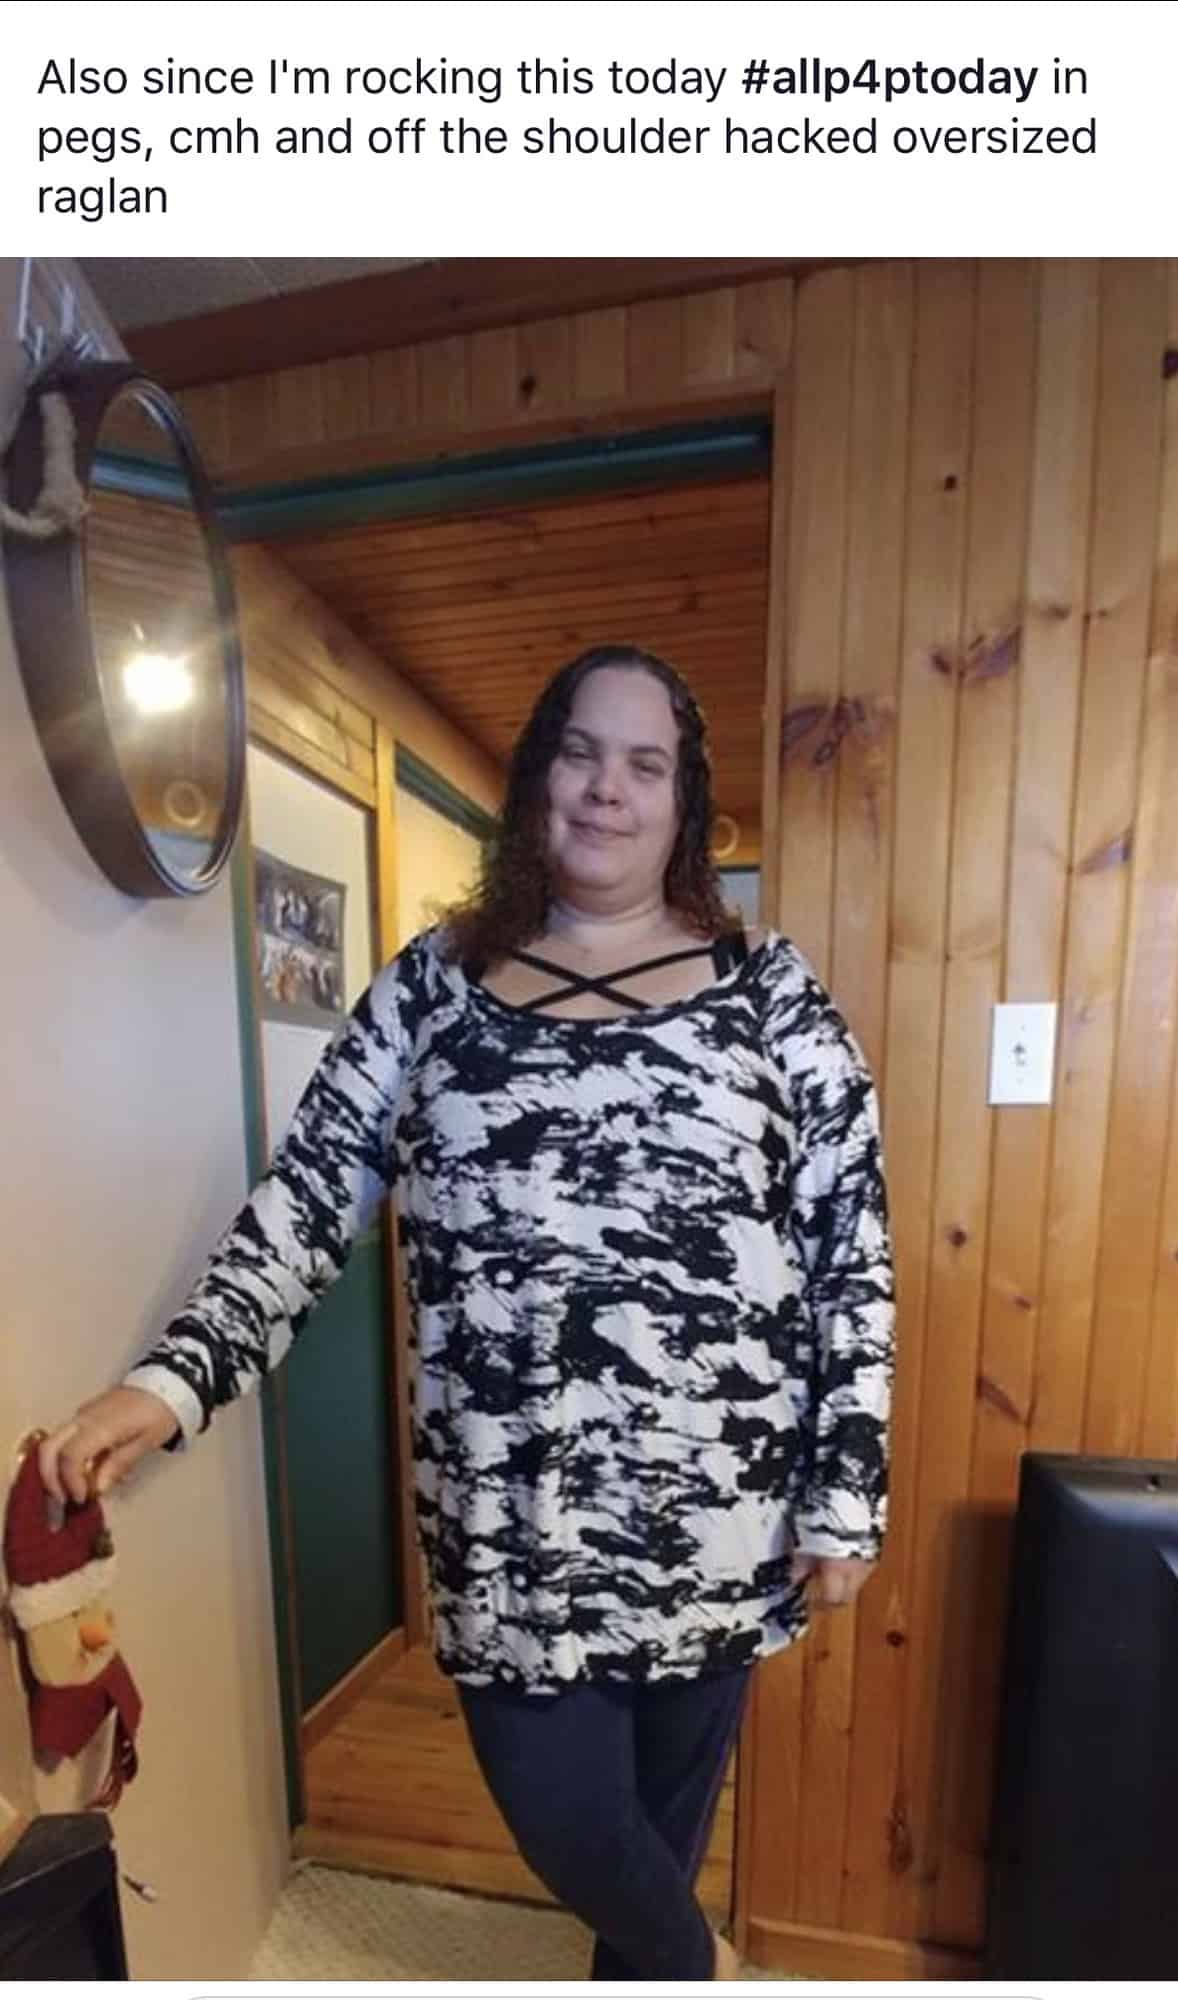
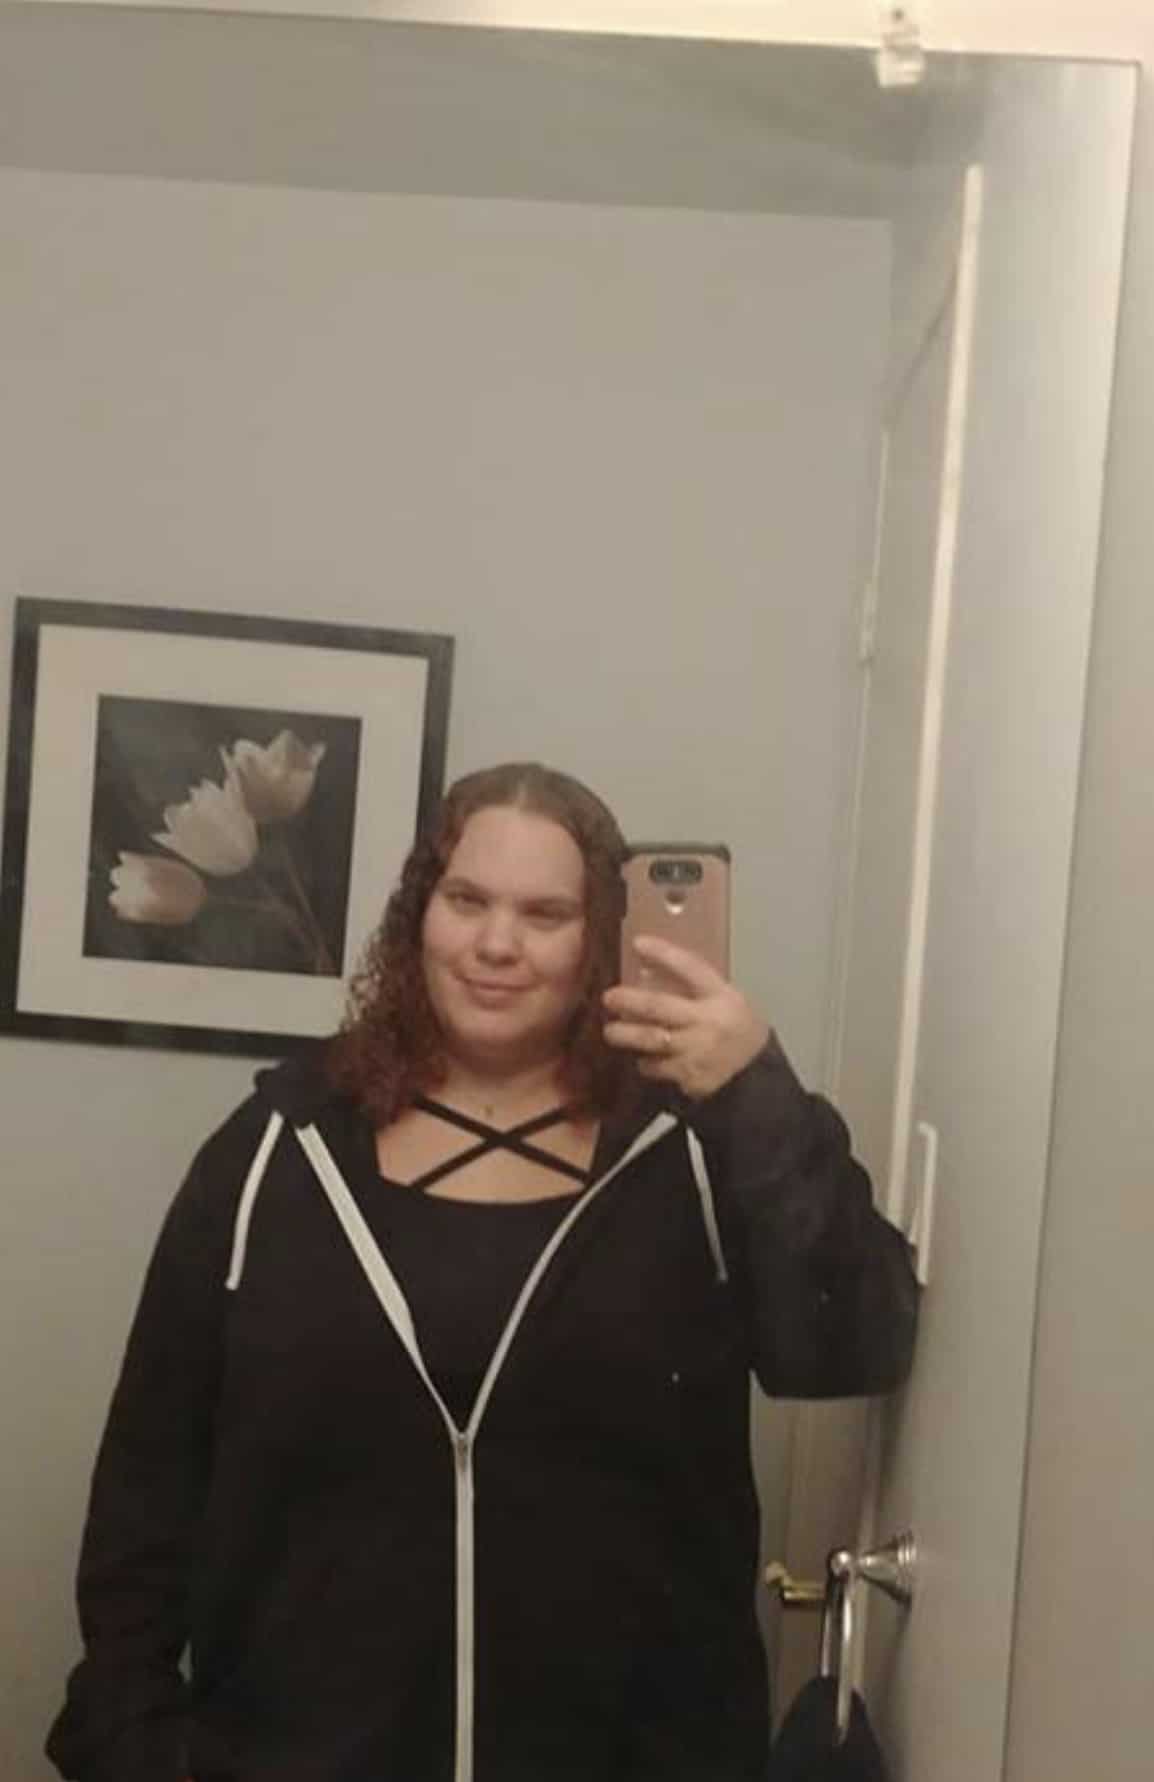
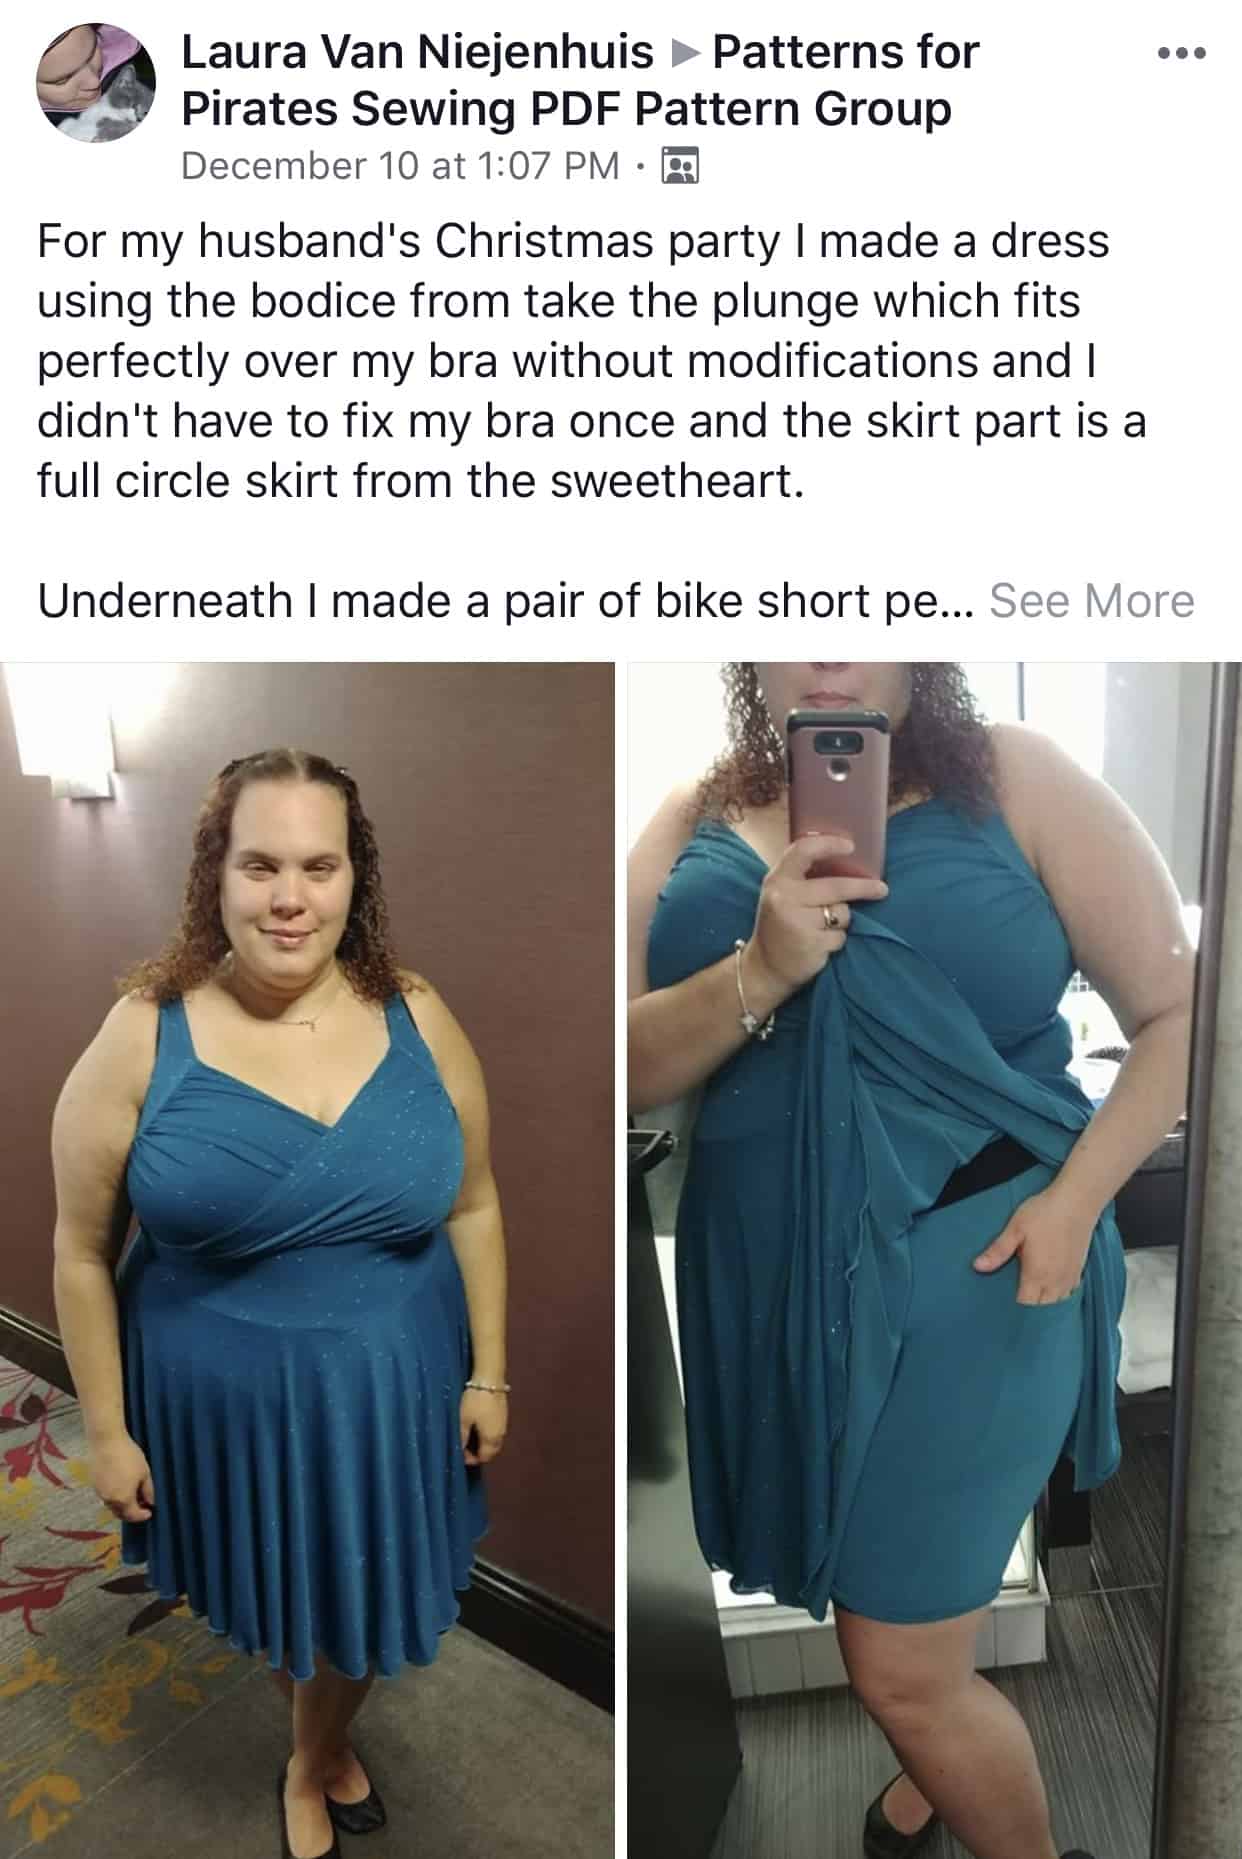
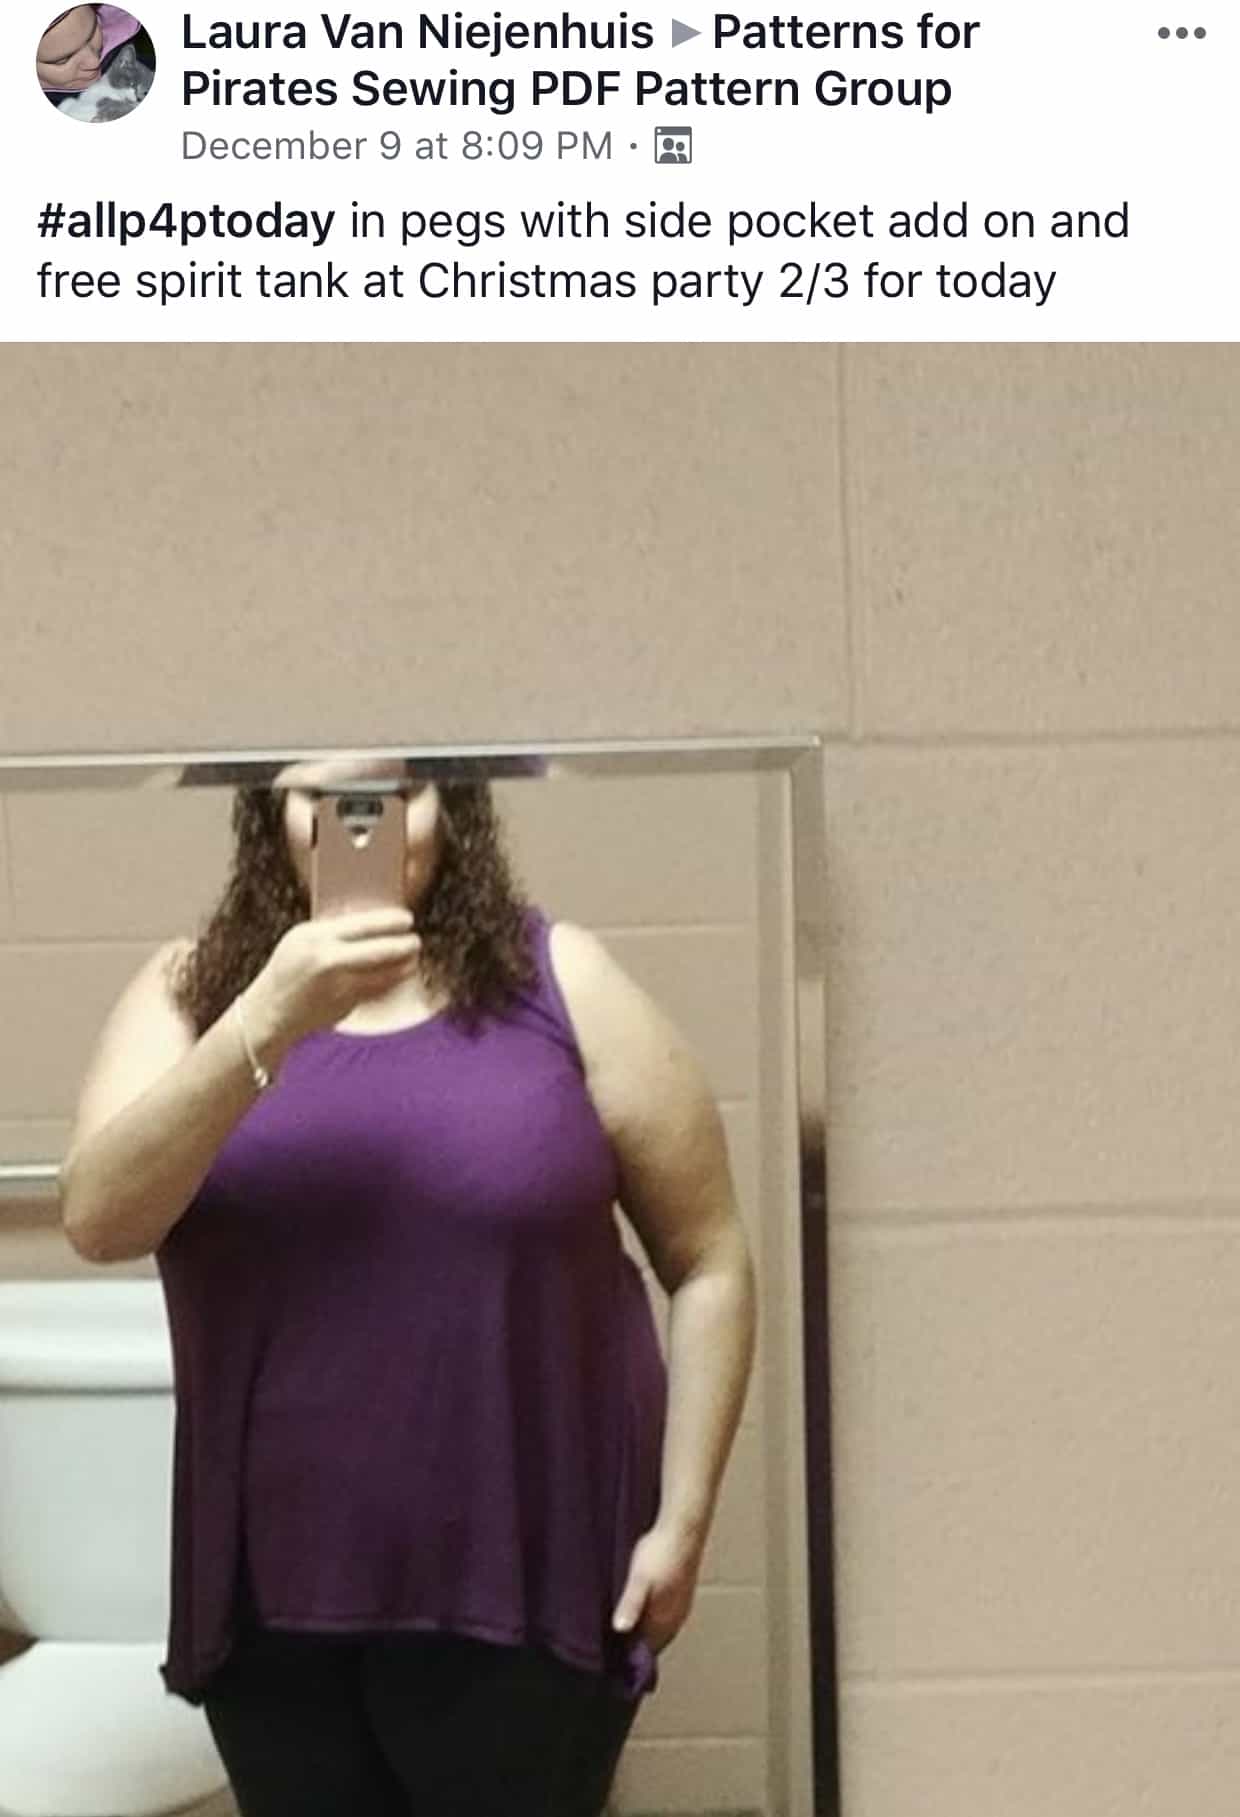
Laura has been rocking #allP4Ptoday every month since we started the contest. From casual to party attire, Laura has made them all and looks radiant in them.

Thank you all for a fantastic 2017!🎉 Keep posting your all P4P outfits next year too, we will be watching! 😉

NOVEMBER

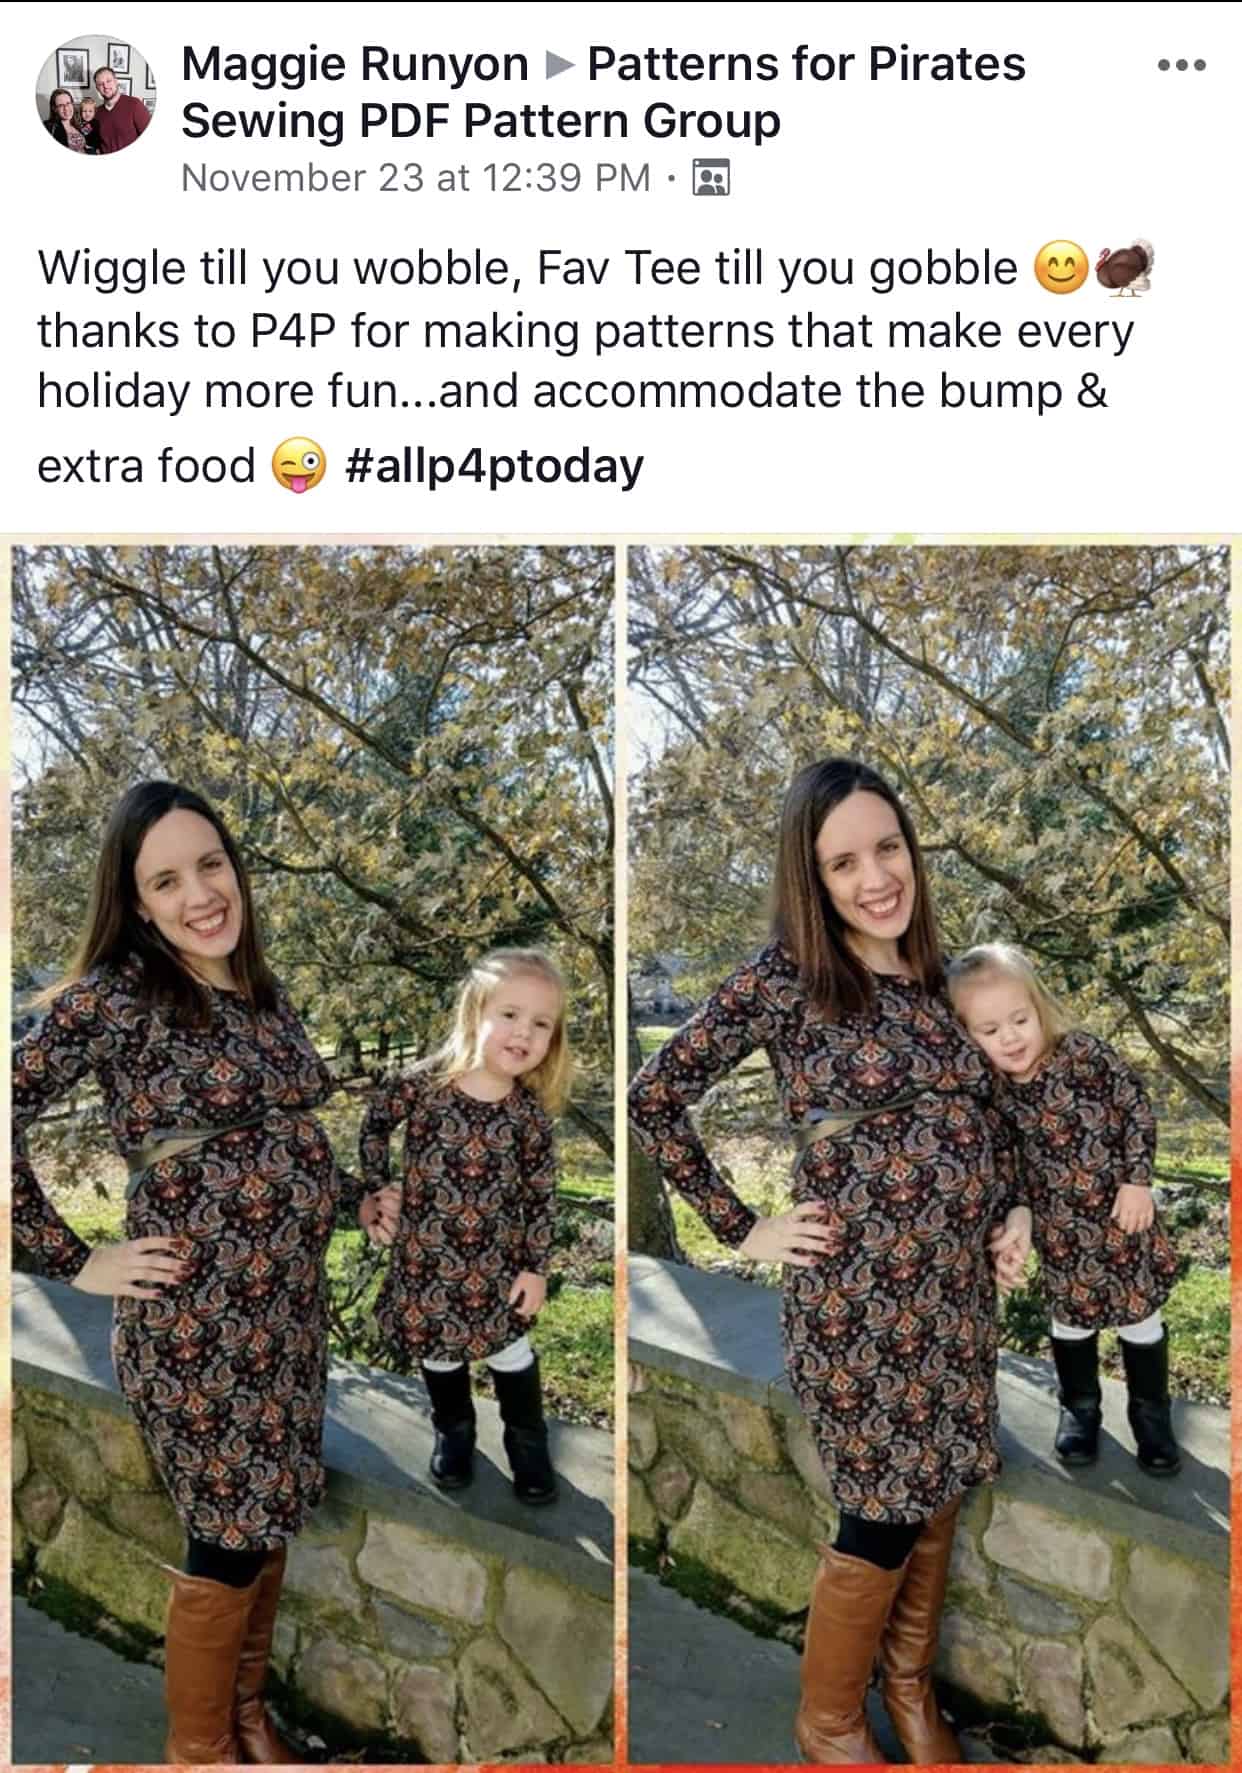
Ahoy, pirates! We hope you had a wobbly gobbly Thanksgiving celebration! We saw some awesome P4P outfits being shown off this month. As always choosing only one winner was super hard.

Drumroll…. our latest #allP4Pwinner is Maggie Runyon!

Maggie’s post brought a smile to all the team’s face so we just had to pick her as our November winner. She looks adorable in her Wiggle dress … but little miss stole the show in her Fav tee dress. Congratulations, Maggie!!

We can’t wait to see your holiday all P4P outfits! Use the hashtag #allP4Ptoday so we can spot you!

OCTOBER

Boo! The trick or treating month has come and gone! We absolutely loved seeing you rock the Gone Batty shirt and incorporating P4P in your fall sewing.

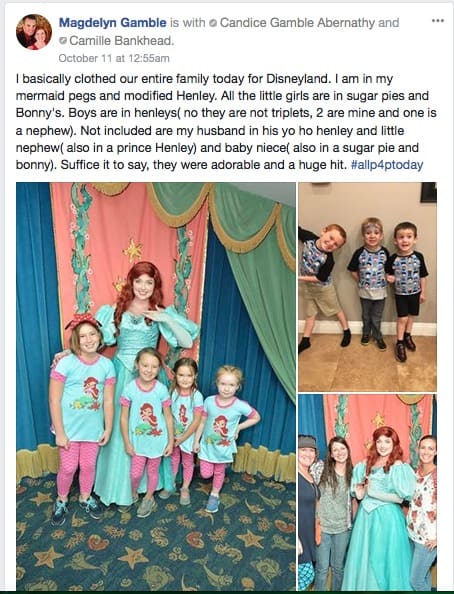
Our October #allP4Ptoday winner is…. MAGDELYN GAMBLE !

Magdelyn rocked those Disneyland family outfits! She is definitely an inspiration, she chose the perfect P4P patterns ( Henley, Peg Legs and Sugar Pie) so that everyone was comfortable for the long walks while still being “park ready” and cool.

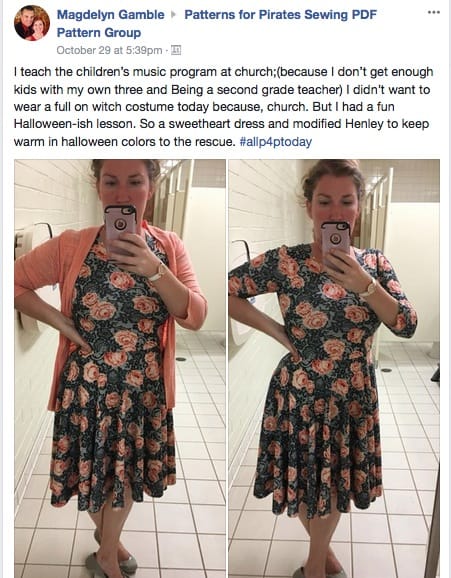
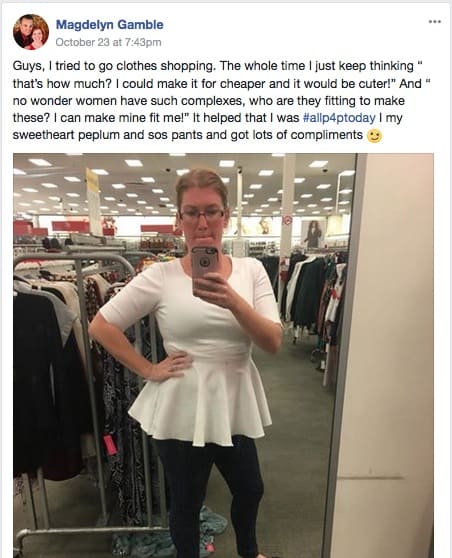
The Sweetheart  dress gets a lot of love from our October winner, she looks absolutley gorgeous in both the dress and the peplum top. Thank you, Magdelyn for sharing your creations with the P4P group.

I can’t wait to see your November entries and how you incorporate P4P in your Thanksgiving sewing. Don’t forget to add the #allP4Ptoday to your posts so we can see YOU when we search for our monthly winner.


SEPTEMBER

And just like that fall is here!!! I think most of you are just as excited as I am for some cooler weather and some pumpkin spice everything.

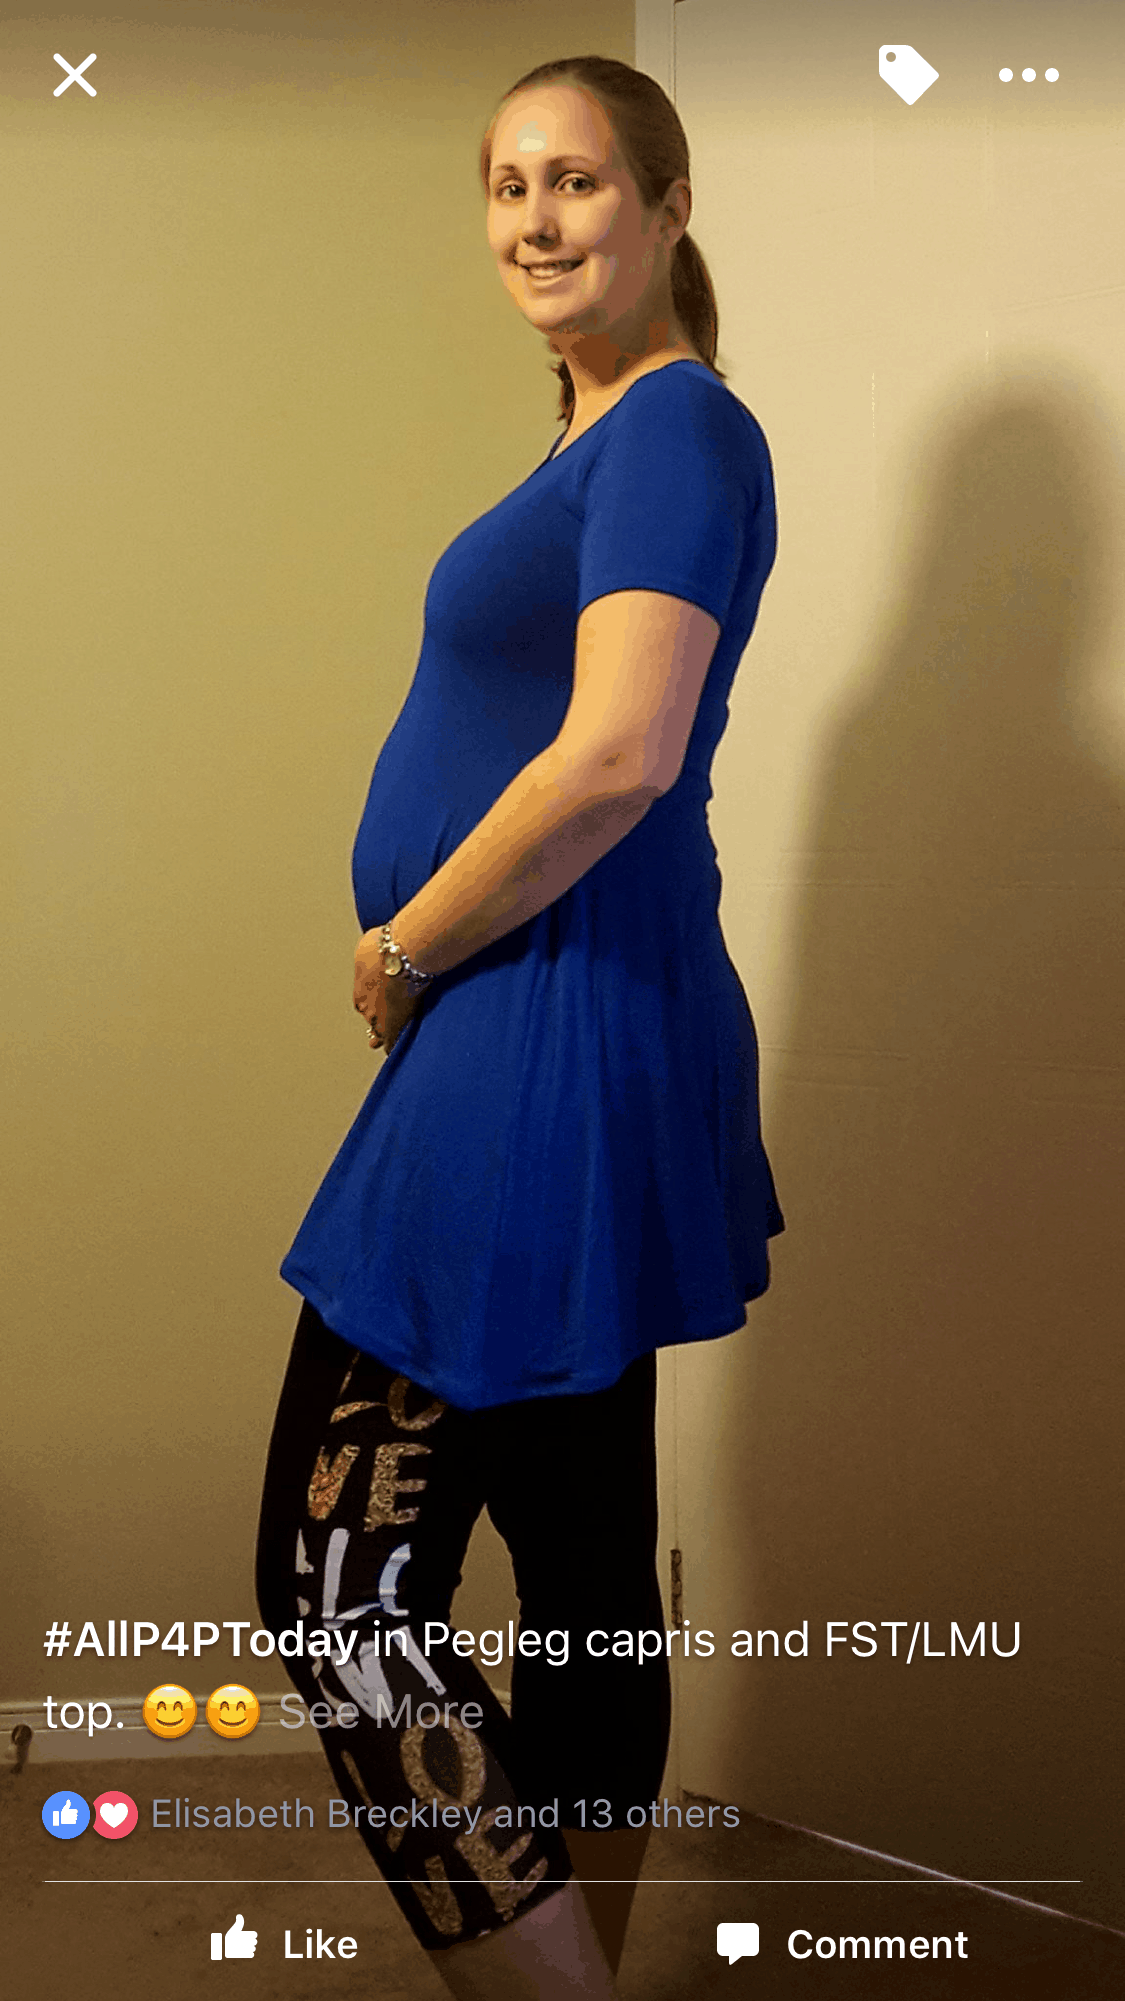
September P4P group wall was filled with amazing creations! We’ve seen lots of pegs, SOS and cocoons…clear sign of autumn’s arrival. So without further ado….our September #allP4Pwinner is…

JESSIE KILGER!

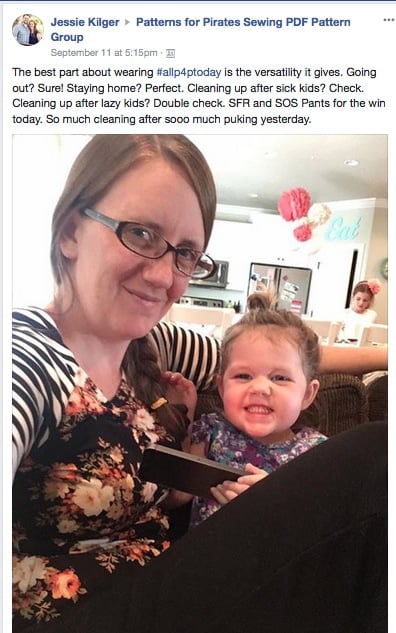
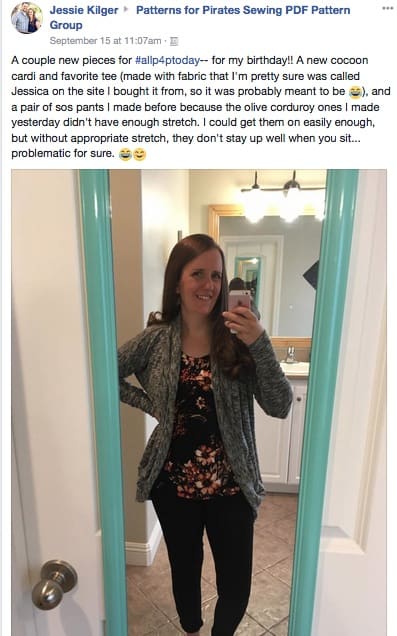
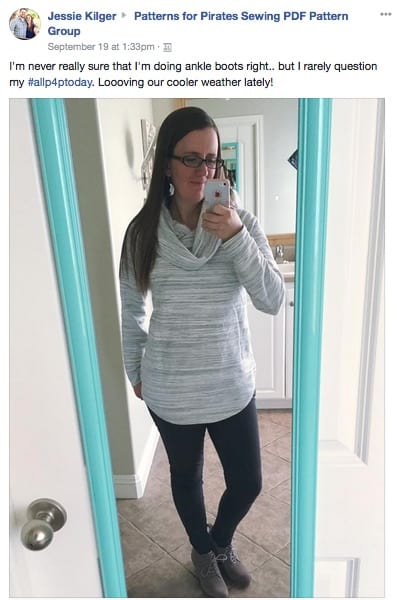
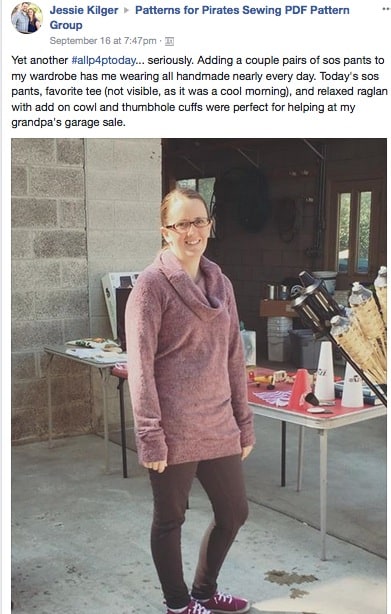
Jessie rocked her Pegs, SOS, Cocoon Cardigans and Favorite Tees like a boss! I loved how she shows the versatility of our patterns and look adorable doing it.

Keep posting those #allp4ptoday outfits in the P4P group! Maybe October’s winner will be YOU!


AUGUST

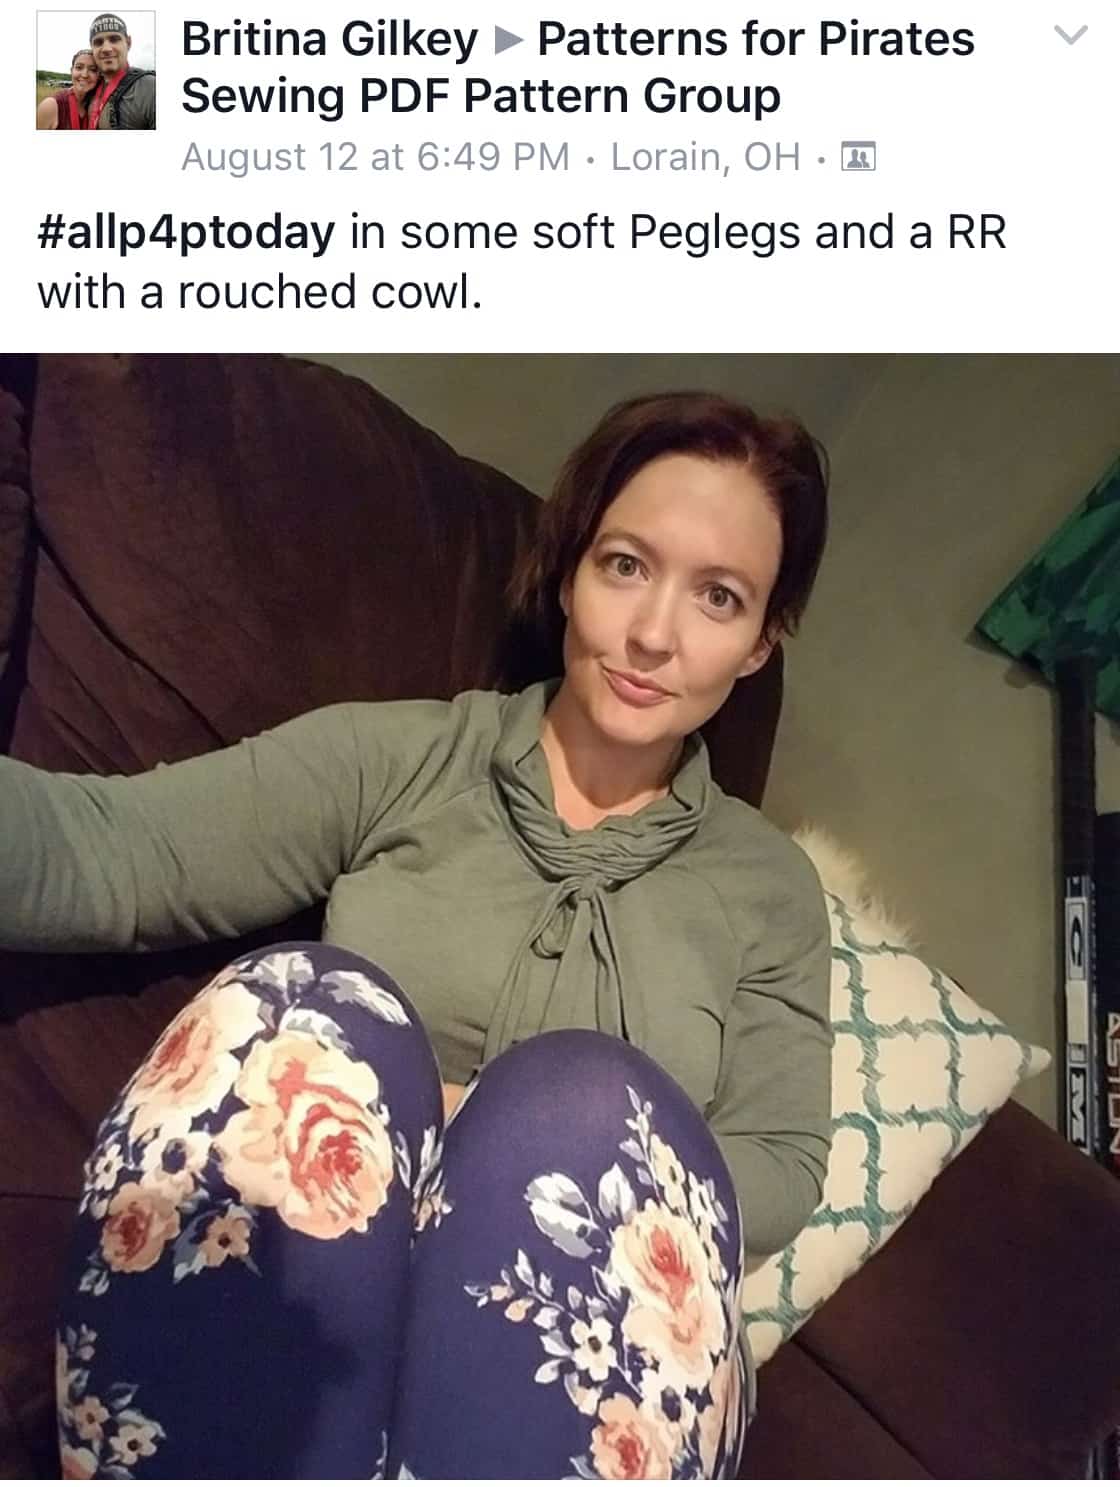
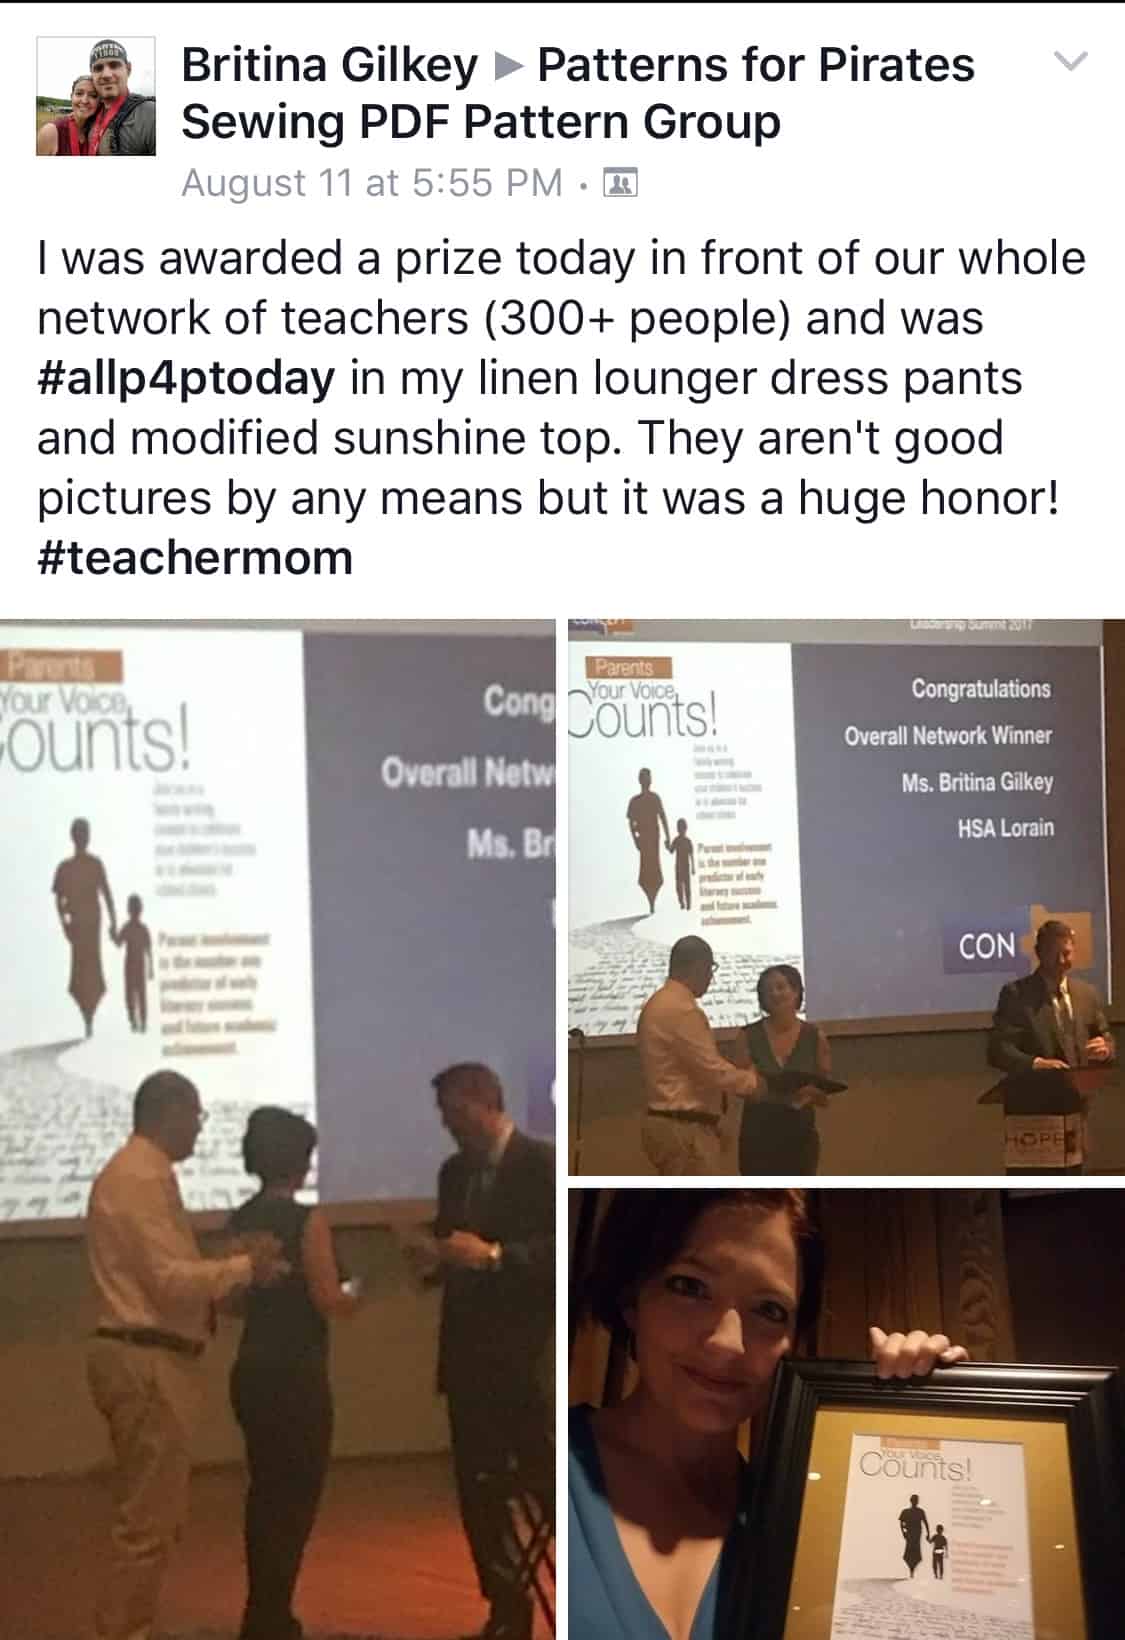
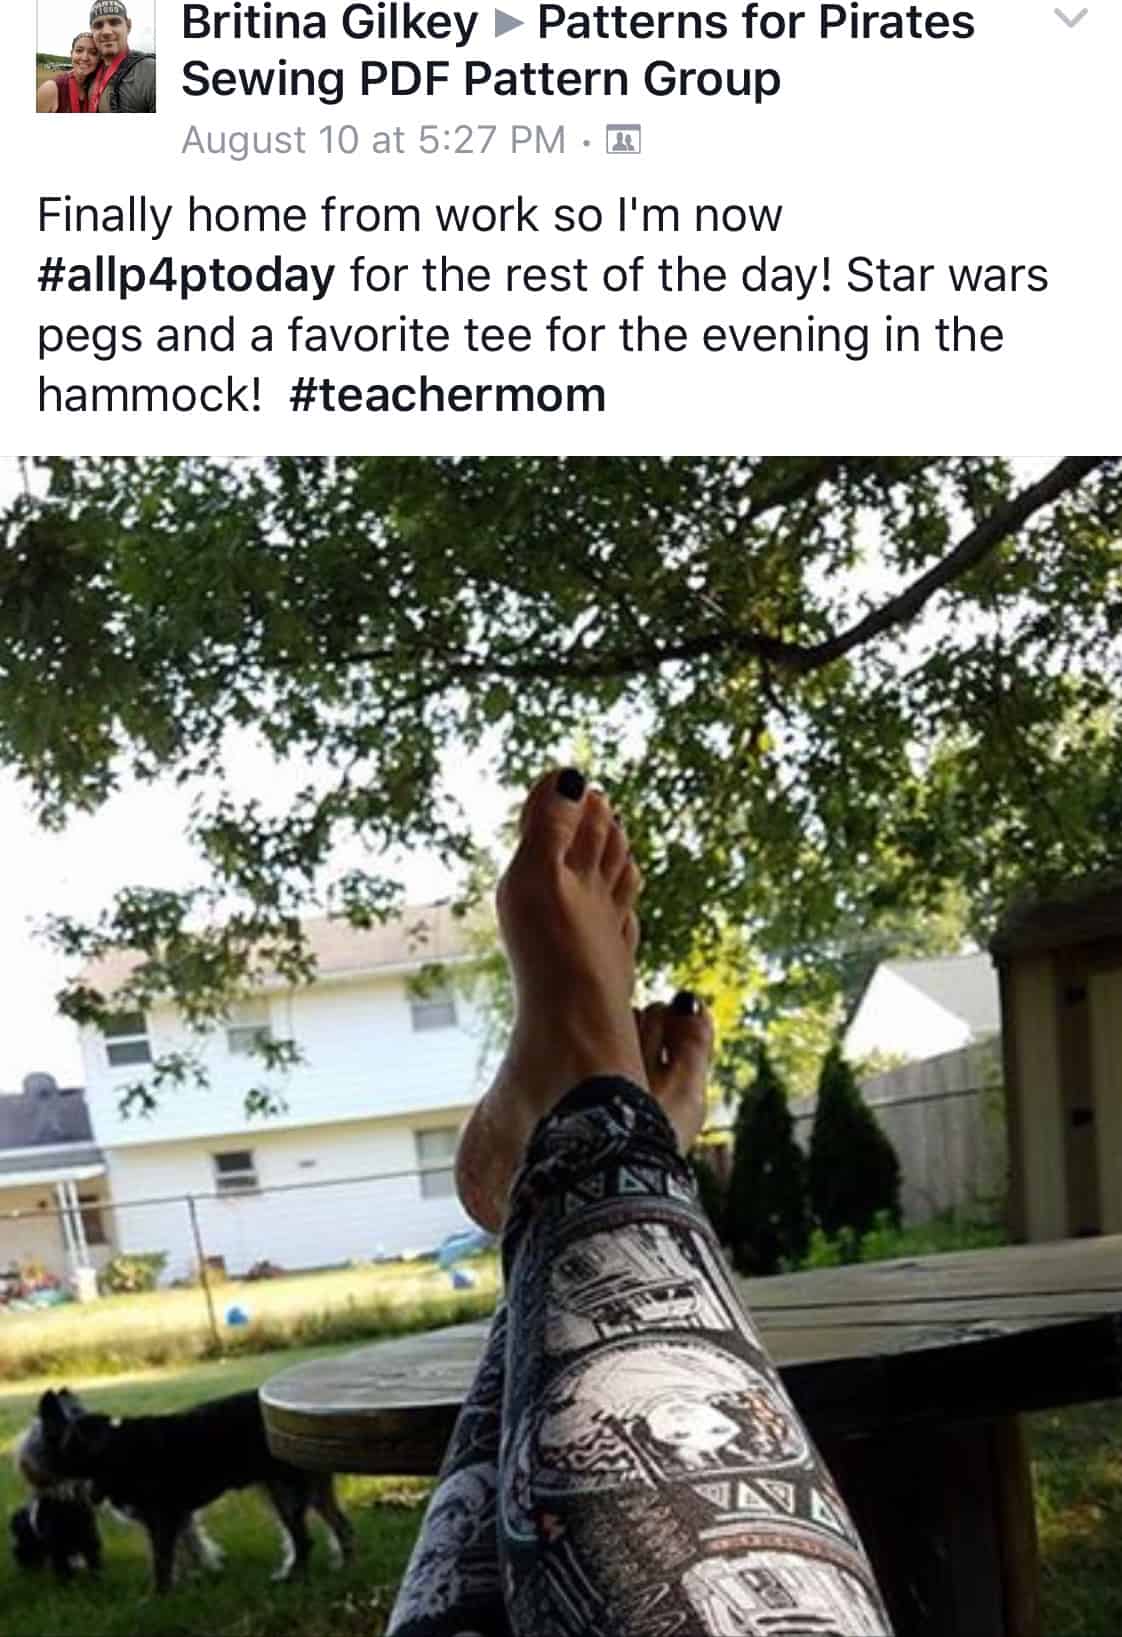
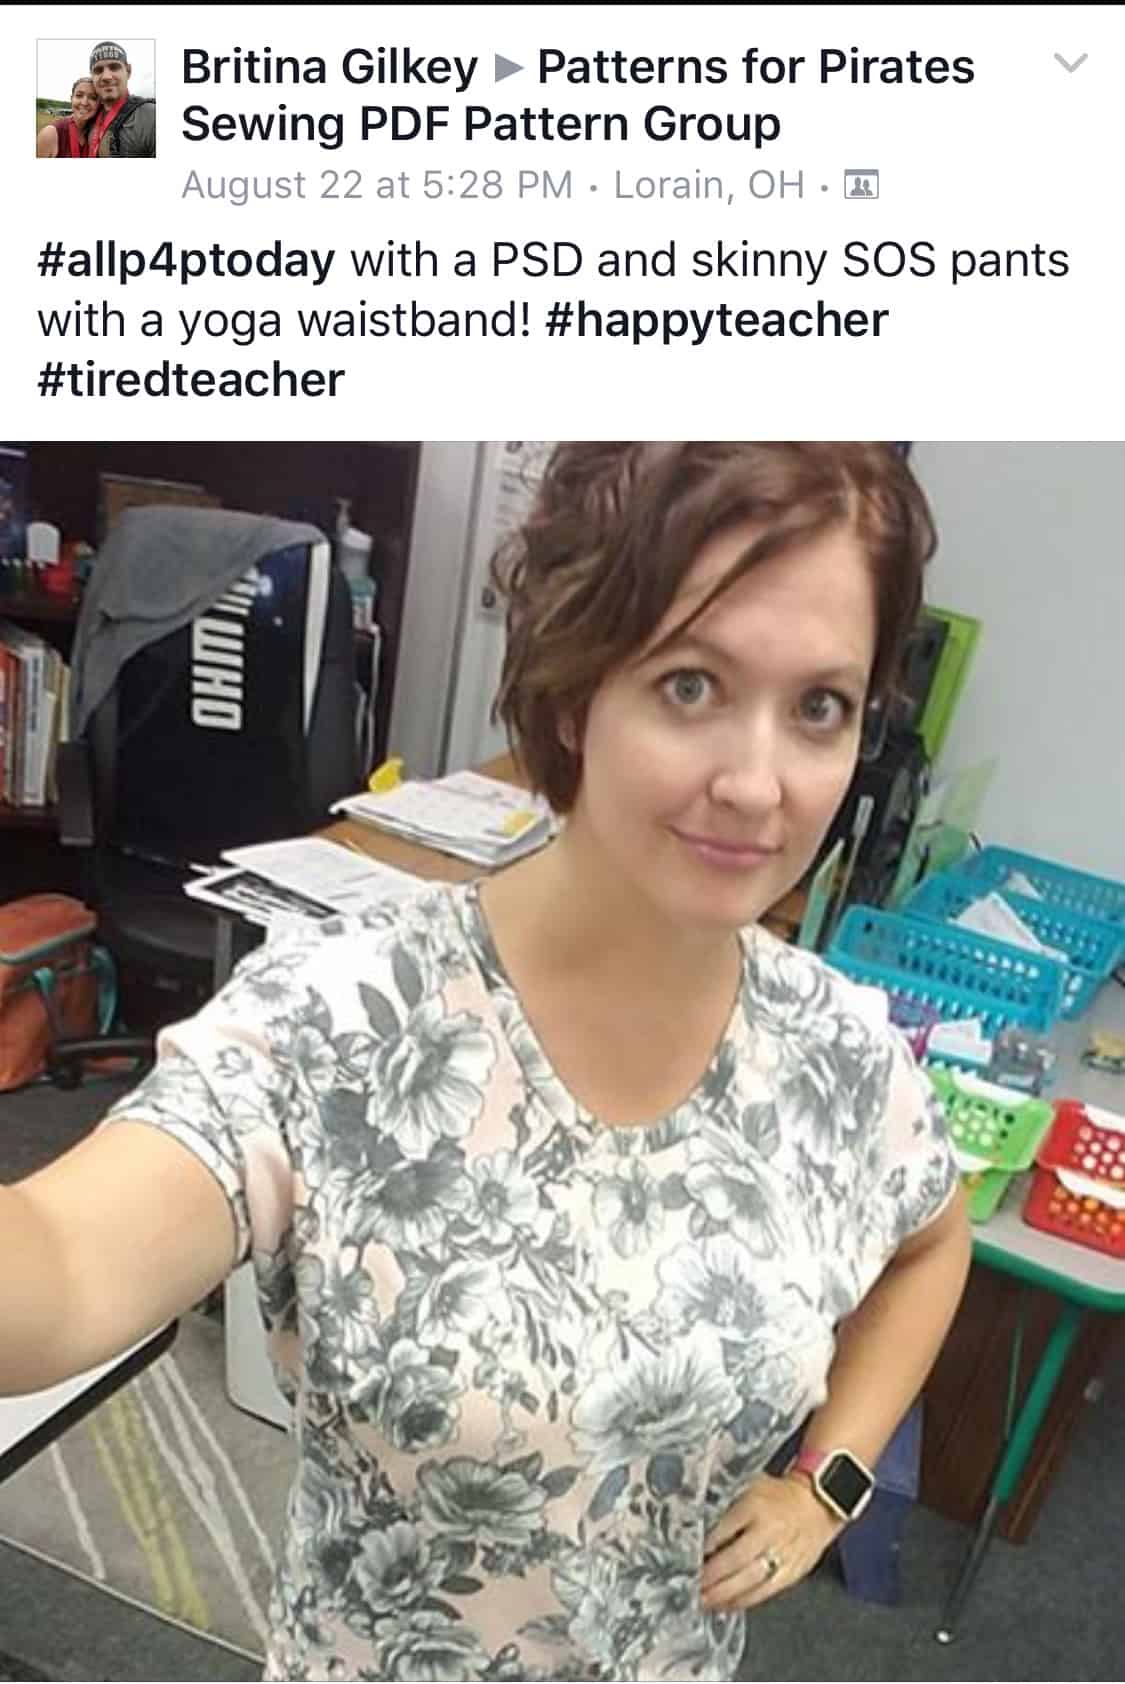
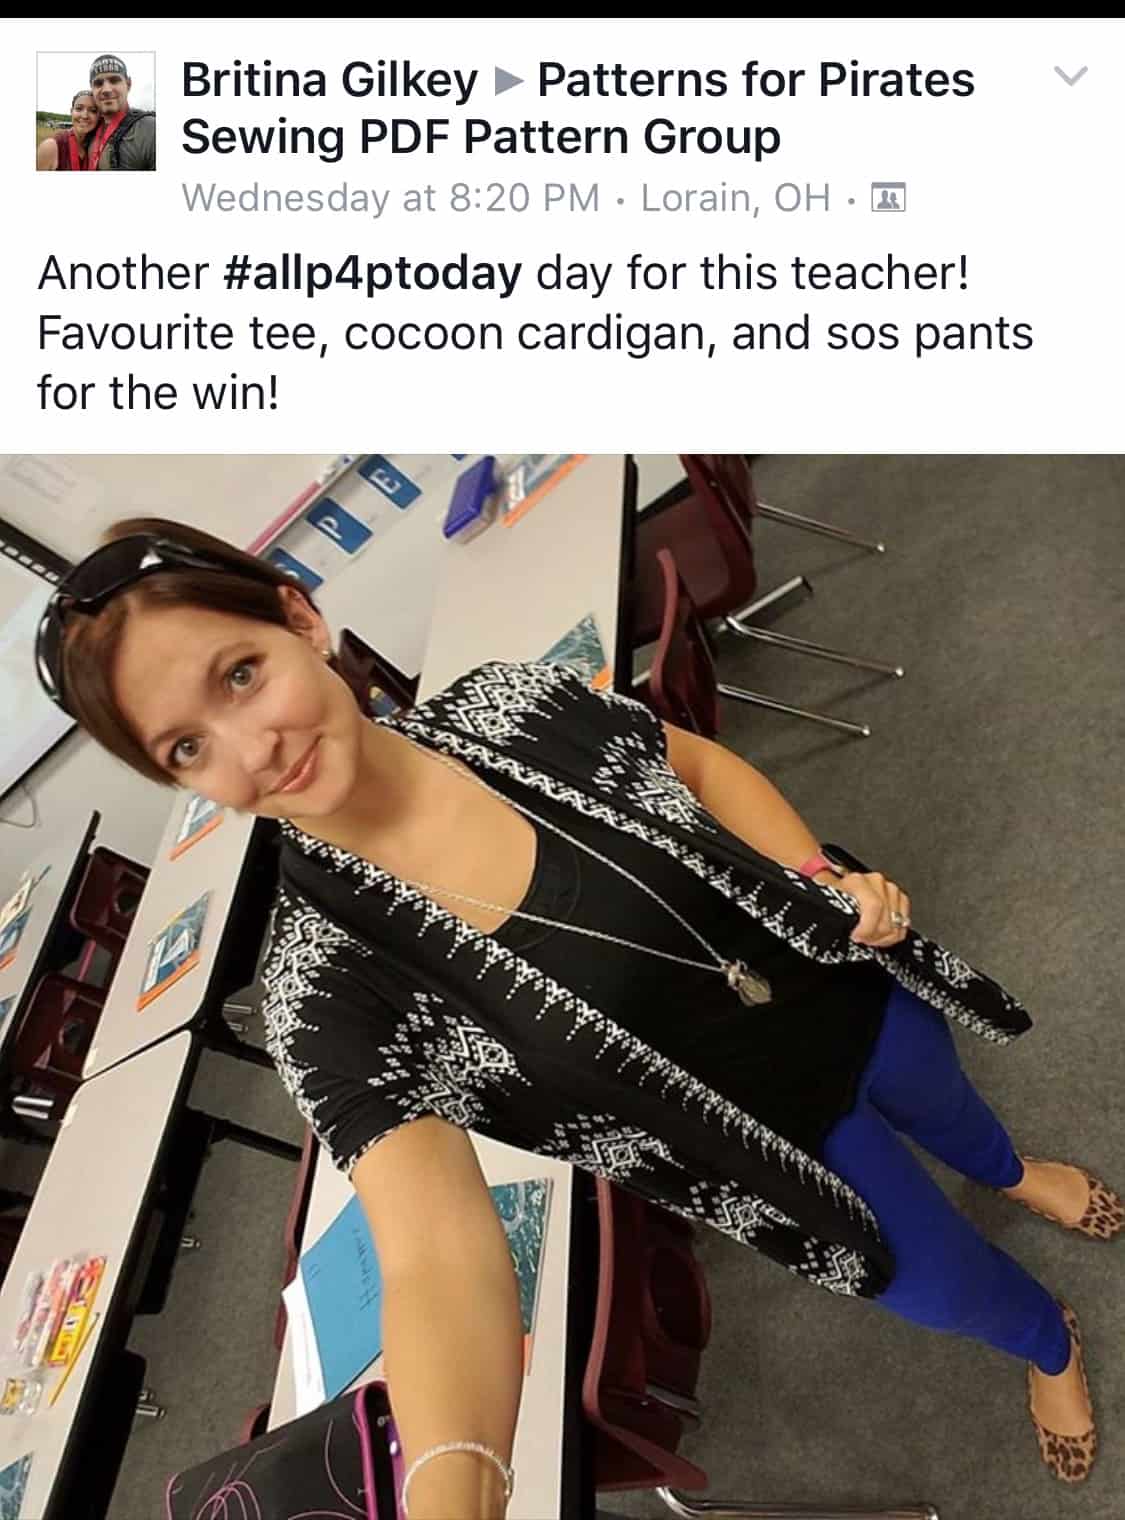
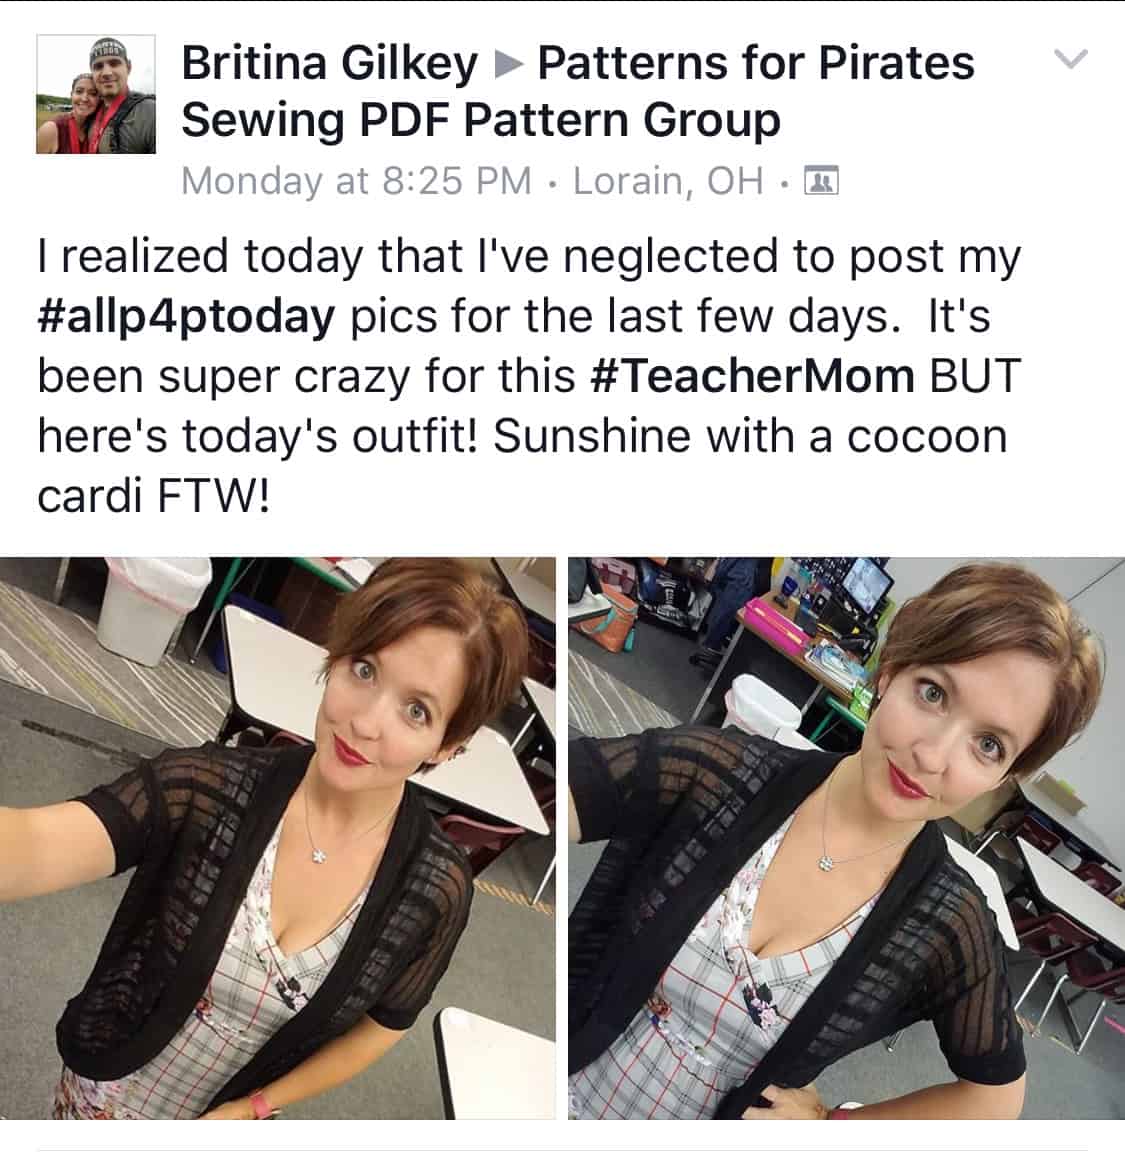
Ahoy, pirates! The month of August brought a lot of fantastic #allP4Ptoday outfits. We’ve seen kids going back to school and teachers ready for a brand new school year. One mom and teacher really stood out this month so let’s give a big “Congratulations!” to our August winner…

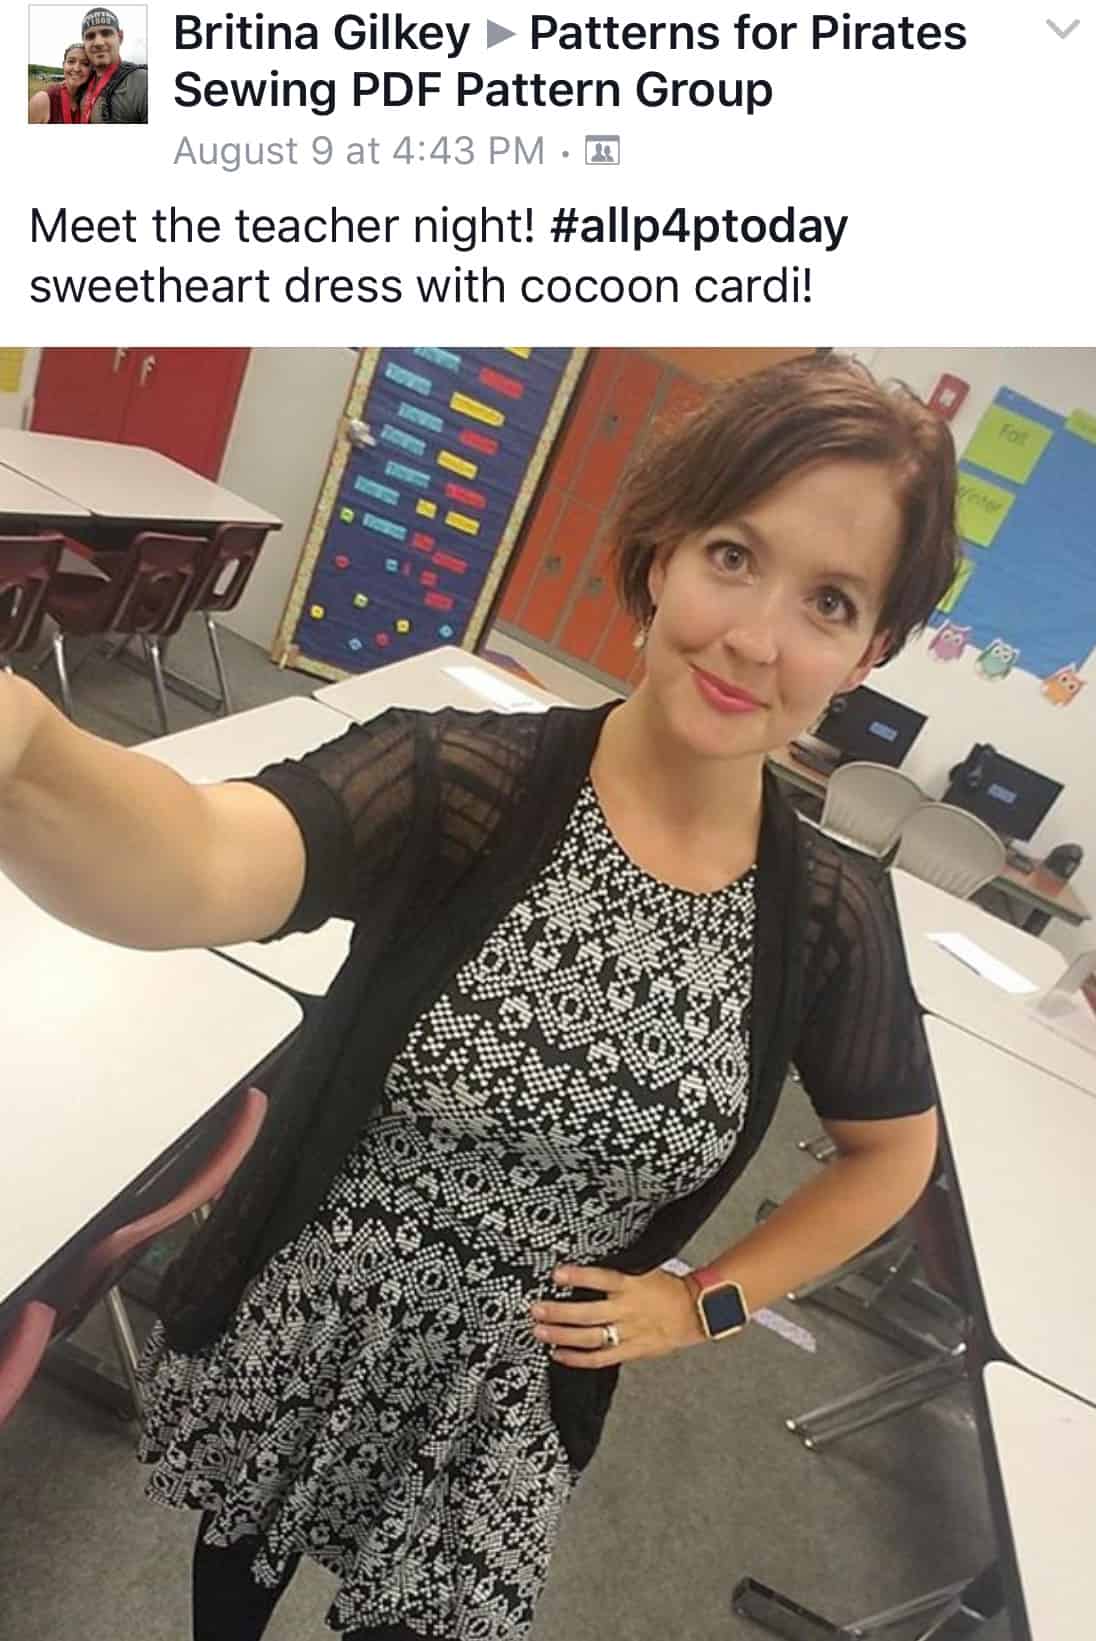
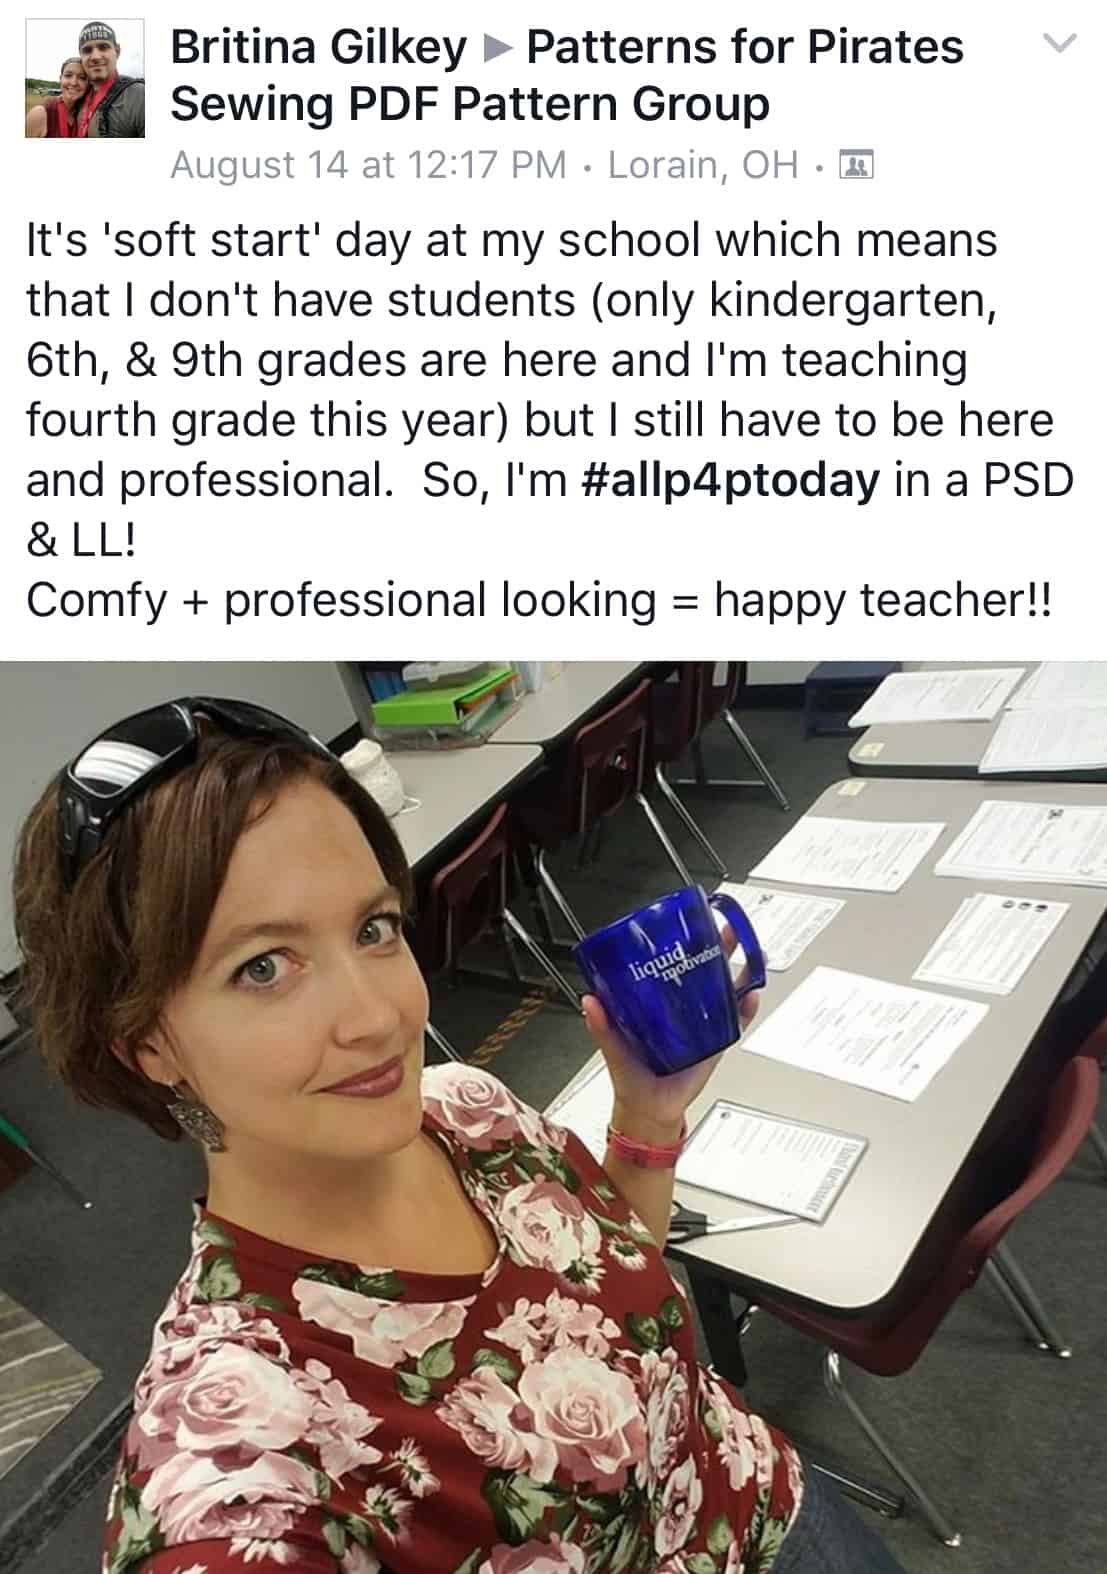
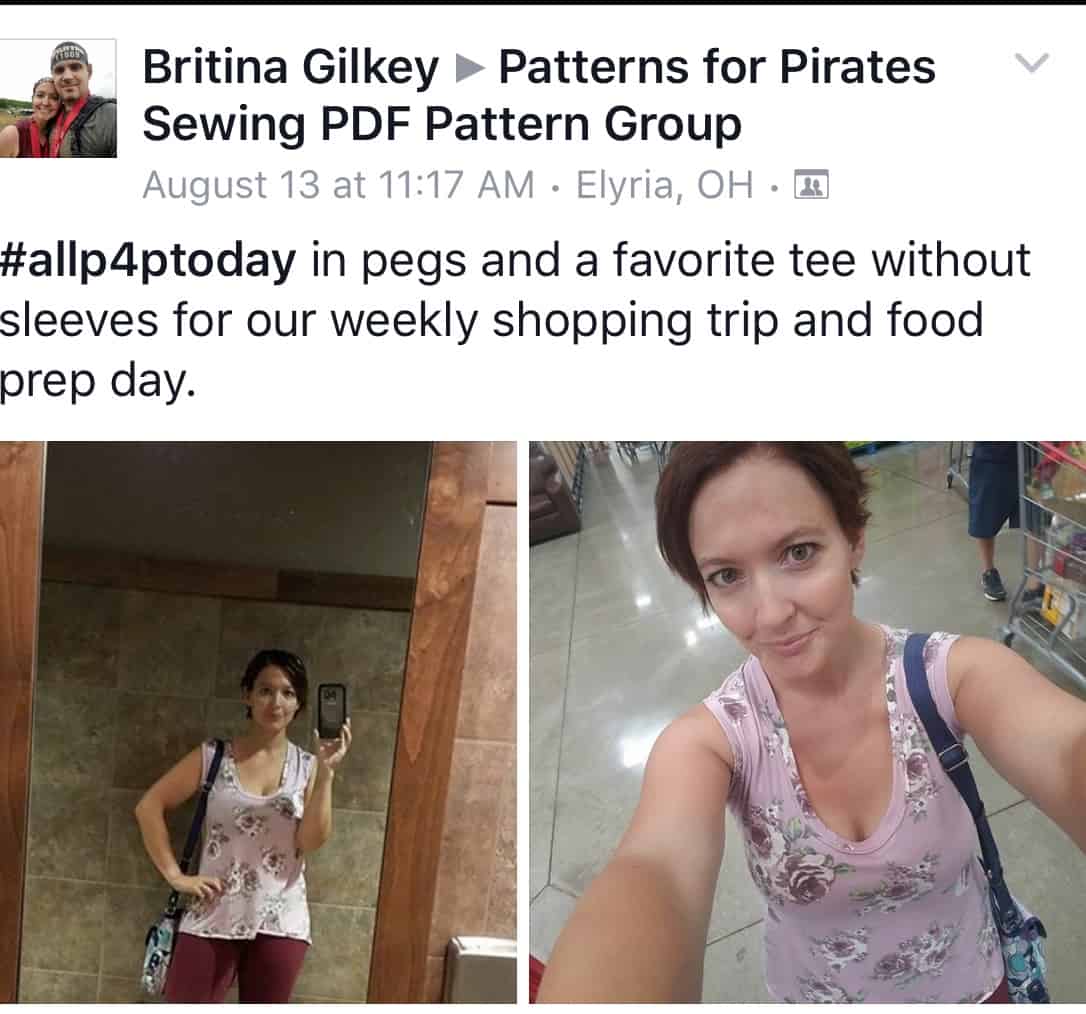
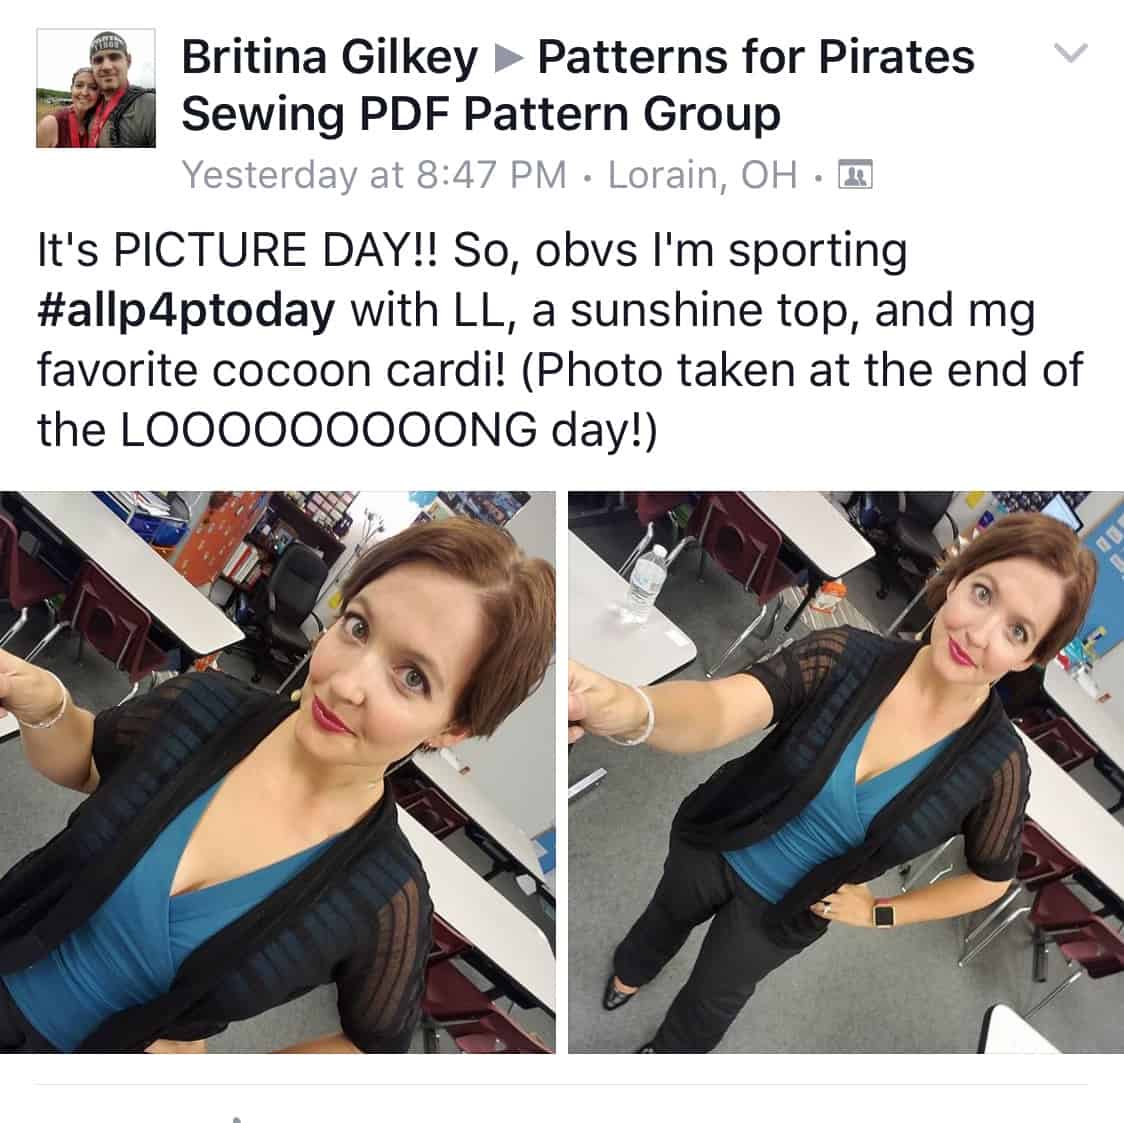
Britina Gilkey


Britina really brought her A game this past month…check out how many cool #allP4Poufits she posted!

From PSD to Peg legs, she’s done it all! We were just so happy to see all the great posts.

Happy sewing, pirates and remember to hash tag your #allP4Ptoday outfits.


JULY

Another summer month has come and gone. Have you guys started sewing for fall? Personally, I am not quite ready to give up on summer just yet…so when I was scrolling to all the amazing #allP4Ptoday photos one stood out for being what summer is all about.

Our July all P4P today winner is…..

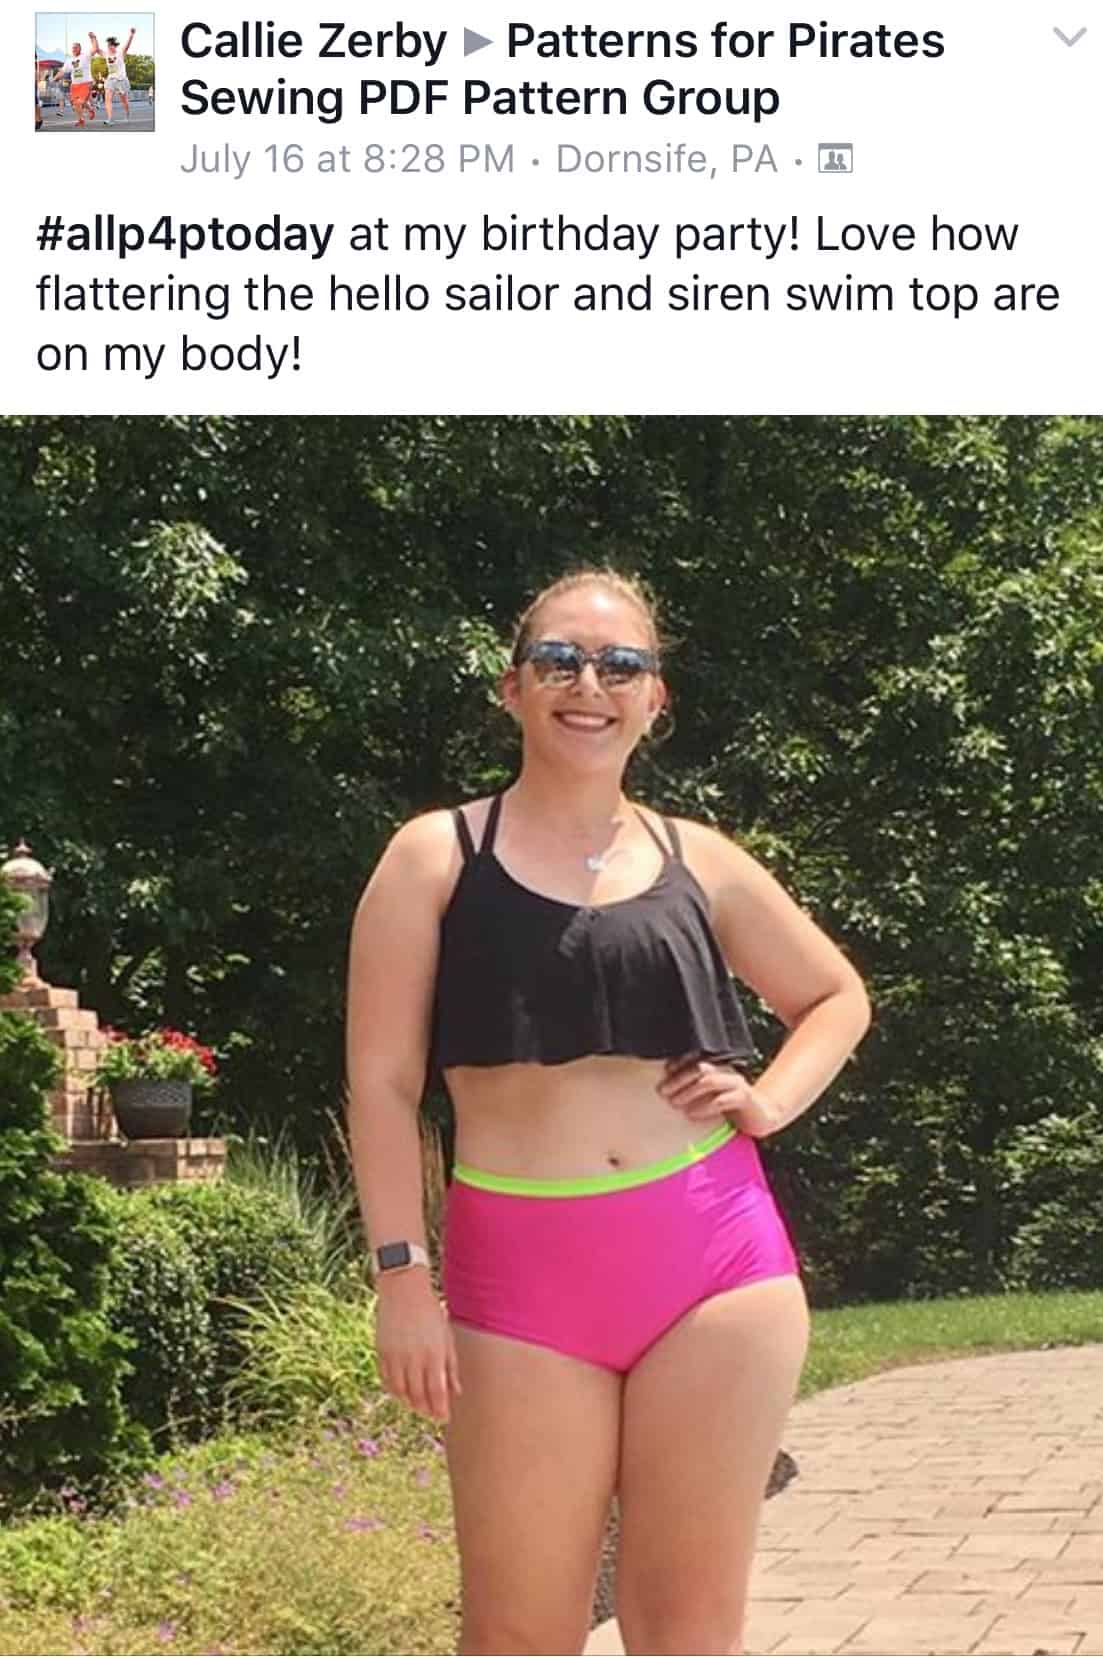
Callie Zerby

Doesn’t Callie look stunning in her Hello Sailor and Siren Swim Top ? We hope you had an amazing birthday party, Callie!

If you’re wearing all P4P, snap a pic, post it in the group and tag it #allP4Ptoday…you may be our next lucky winner!


JUNE

Summer is officially on and so are the #allP4Ptoday outfits! We loved seeing all the light and breezy creations you posted this month and the occasional layered look from our friends down under. You guys were really rocking your P4P this month and we couldn’t be more proud.

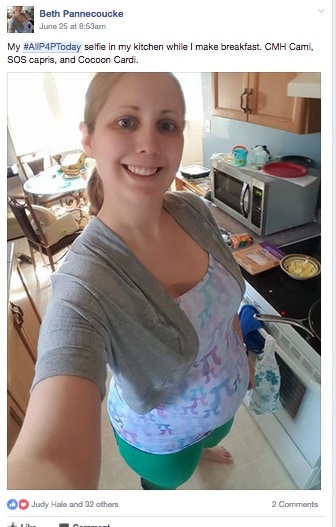
Without further ado…the June winner is:…Beth Pannecoucke !

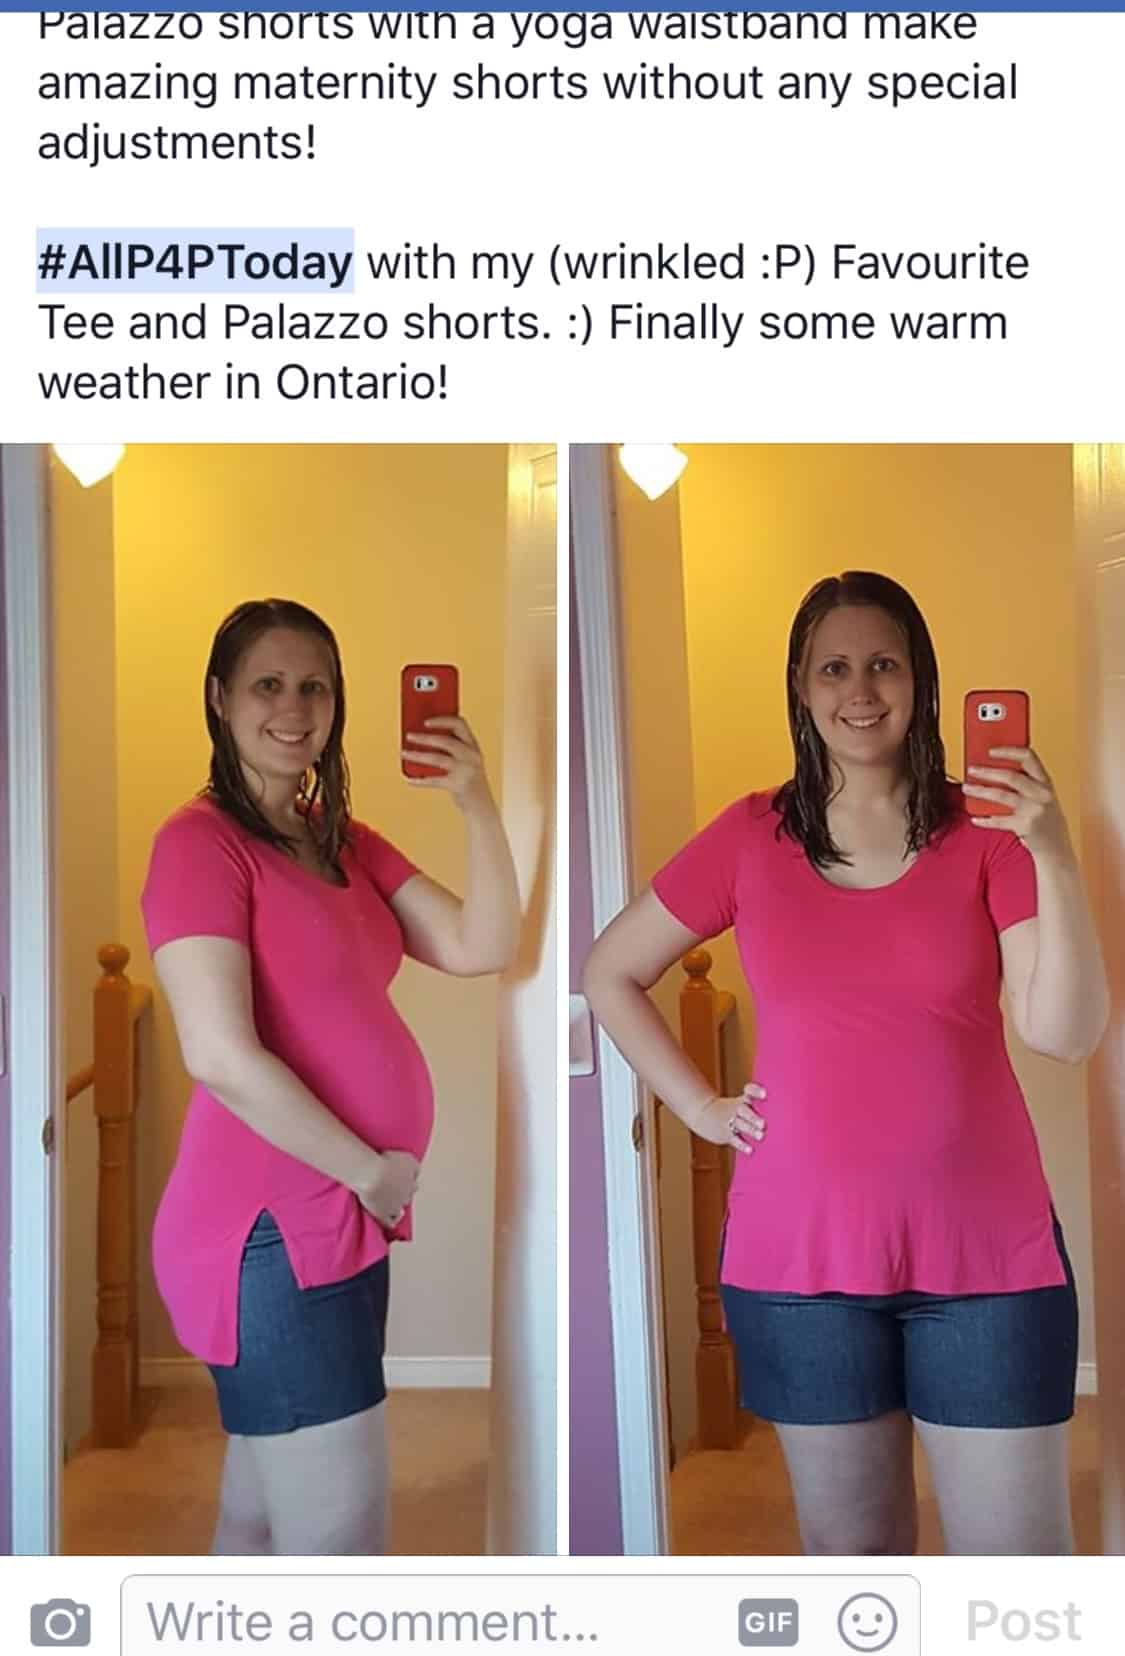
Beth has been showing off her baby bump comfy looks throughout the month so she caught the team’s eye. Just look how adorable she looks in her Favorite Tee and Palazzo short.

From the Cross my Heart Cami to FST and Cocoon Cardi, Beth has been rocking them all!

Don’t forget to hash tag your all P4P outfits post in August too. We look forward to seeing some of your Summer of Wovens creations too!


MAY

Can’t believe we are at the end of May already. Another month has passed and you have all outdone yourself. We’ve seen so many beautiful #allP4Ptoday outfits…you guys really like to make it hard on us to choose the monthly winner.

We’ve seen some spring outfits, some summer ones, even some special event ones. MeMadeMay was big in the Pirates land!

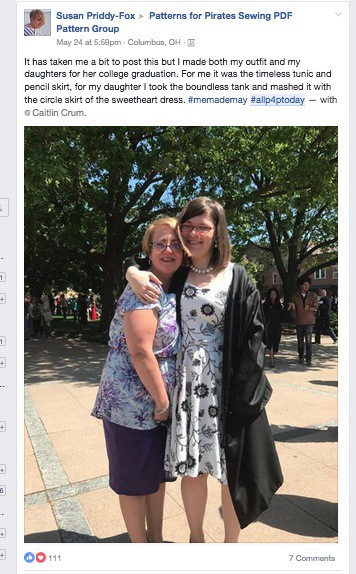
Drumroll….May’s winner is…. Susan Priddy – Fox! Susan has done a beautiful job making her and her daughter’s outfit for such a special event. Congratulations, Susan!

Don’t forget that the #allP4Ptoday contest is ongoing so keep those hashtags coming. You never know, next winner may be YOU!


APRIL

Once again you guys have not made our job easy, but that’s a good thing! We absolutely love seeing all of you rocking P4P outfits. April brought a lot of stunning Easter entries, I wish we could list them all.

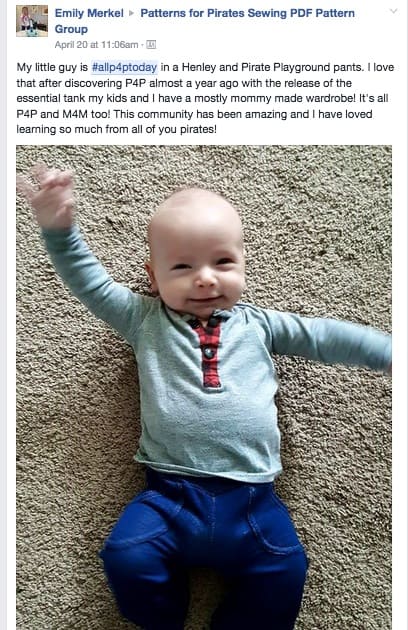
Ok, Ok…I won’t make you wait any longer. Our April winner is Emily Merkel! Just look at this cool dude and tell me you can resist his smile. I couldn’t. He is just the cutest showing off his #allP4Ptoday outfit.

Keep those hash tags coming as there will be a winner every month. Happy sewing, pirates!

MARCH

Ohh wow! You guys have not made it easy for us to choose a March winner. We loved seeing you all rocking #allP4Ptoday and everyday.

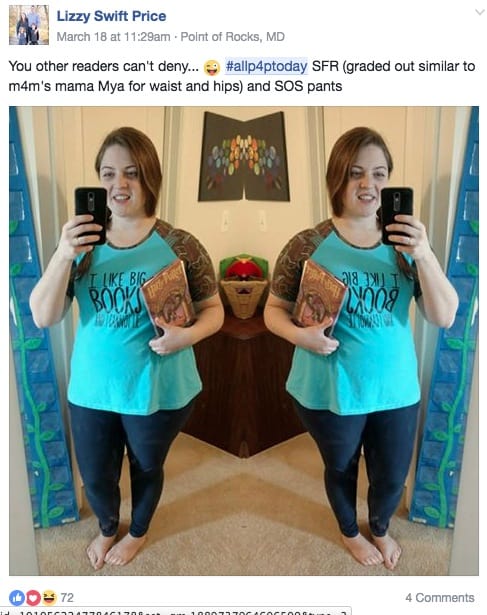
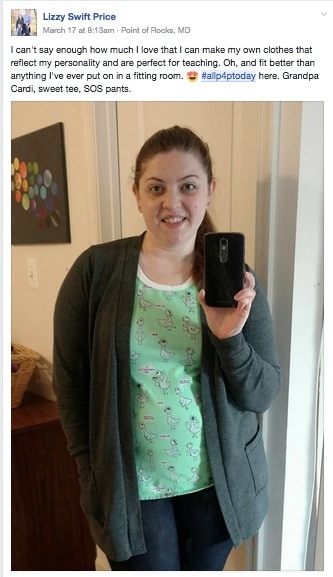
Without further ado….our March winner is….. Lizzy Price! Lizzy just shines in all her pictures and since I couldn’t choose just one of them, here are a few that stood out. I think she might just be our SOS pants queen 😉

Thank you all who posted during March and don’t forget to keep showing off those P4P outfits. Use hashtag #allP4Ptoday so we can find them and who knows? Maybe YOU will be our April winner. You can read the contest details here.

Filed Under: Contest/Giveaway, Uncategorized 1 Comment

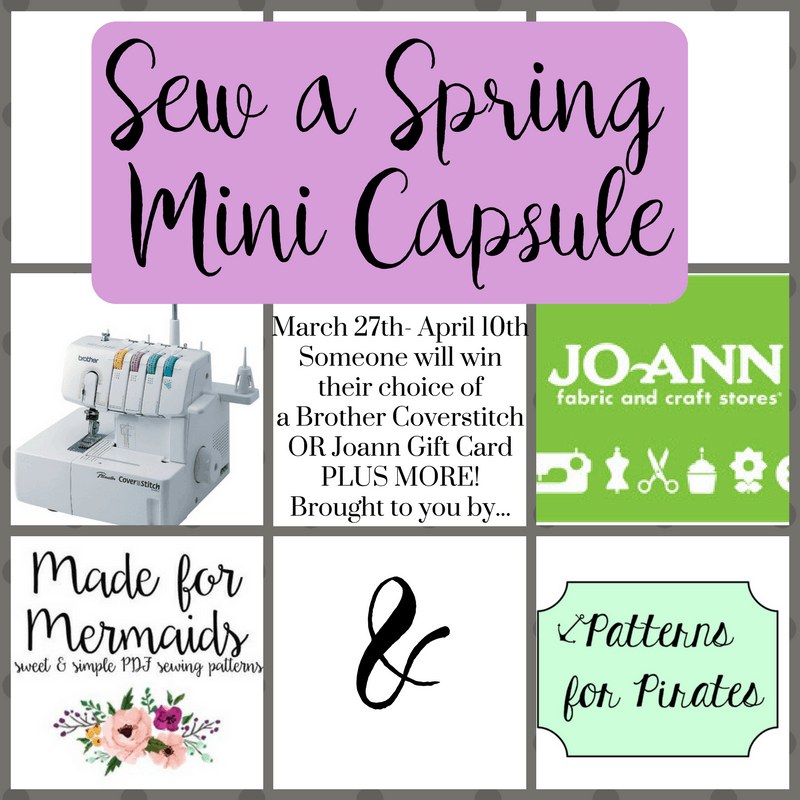
Spring Mini Capsule Sewing & Contest

March 27, 2017


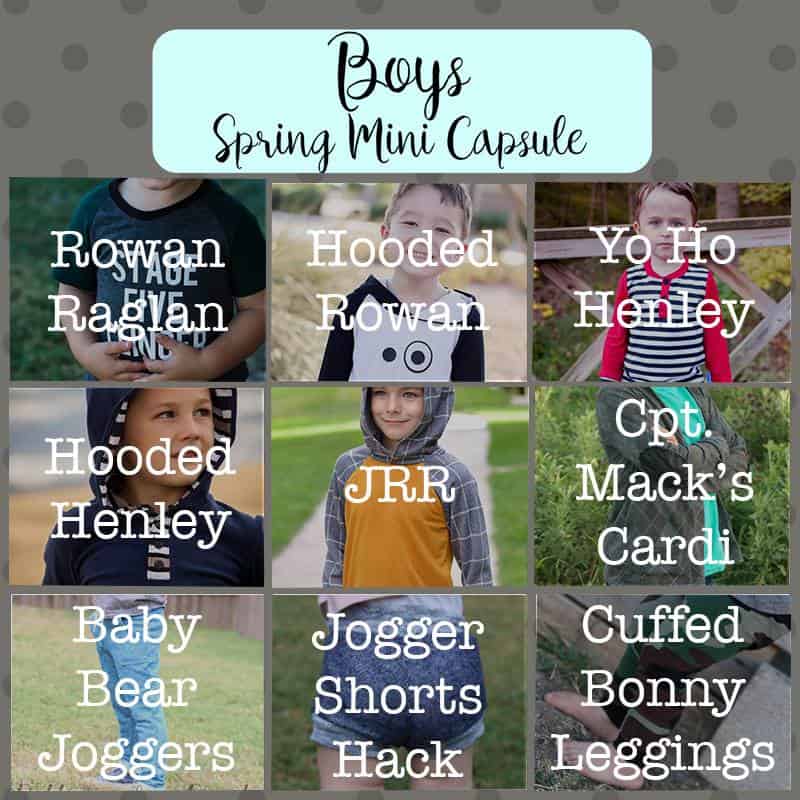
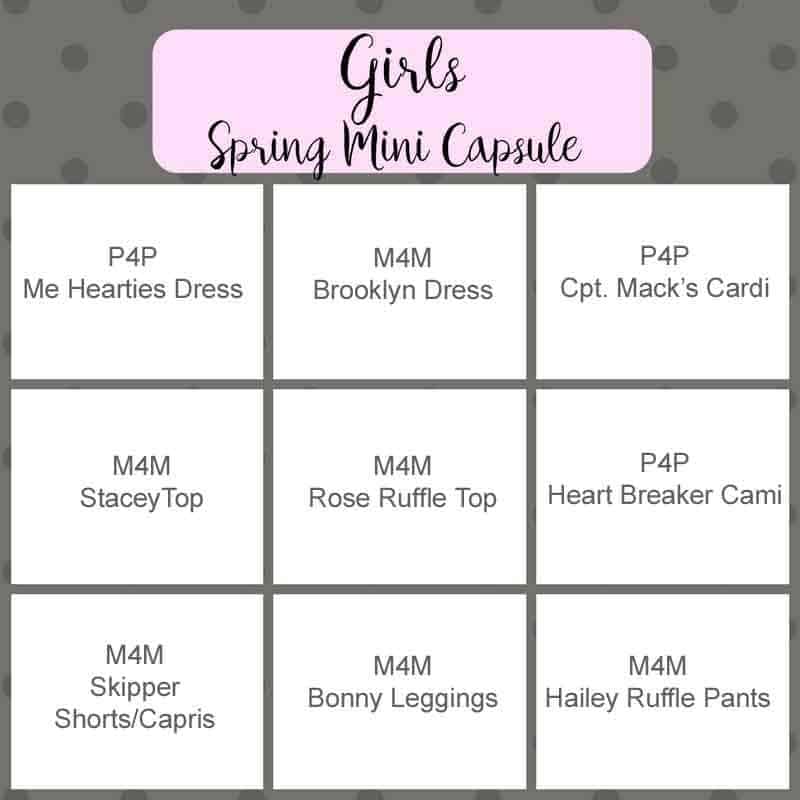
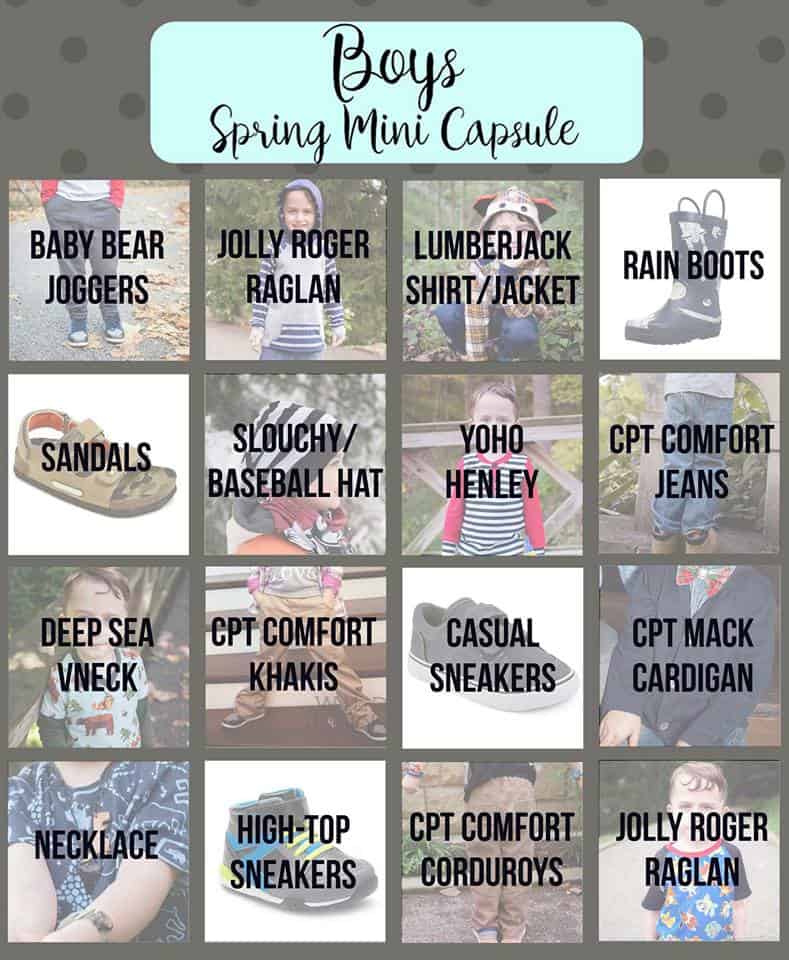
Hey ya’ll- Judy’s sister, Megan here from Made for Mermaids! Judy and I have been talking about how badly we needed to start sewing warm weather clothes. Our kids have simply outgrown all their Spring (aka Summer in Dallas 😉 ) clothes. While we are constantly sewing for new pattern releases, most the time we’re using prints to show in tutorial and testing photos. Many times pieces end up not making any sense in our wardrobe and I find myself wearing the same staple, simple tops I have in my closet over and over. We decided a mini capsule was the perfect solution!

What is a capsule wardrobe? 

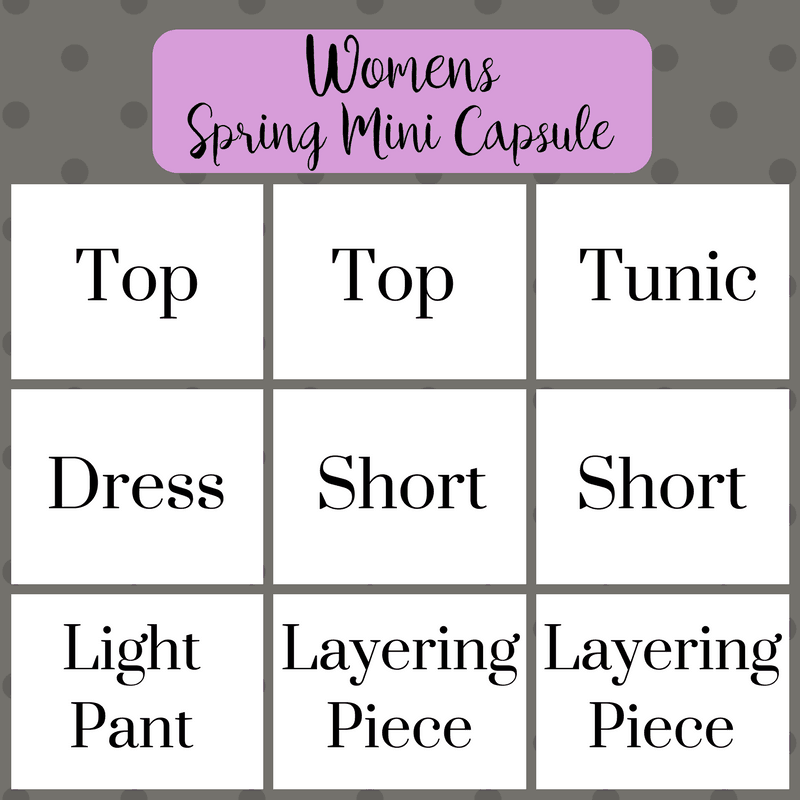
It’s a wardrobe made up of really versatile pieces that you completely LOVE to wear. Pieces that are simple; they can be mixed, mashed and worn several different ways. It’s about quickly and effortlessly being able to put an outfit together.  Now a full capsule wardrobe is made up of jewelry, shoes, accessories, everything you need to wear on a day to day basis. What we’re going to be doing is sewing 9 staple pieces for your closet. I’m trying to sew 3 mini capsules… I know I know, but we really need these so I’m hoping I can get them all done! One for myself, one for my daughter and one for  my son. 

How do you plan capsule sewing?

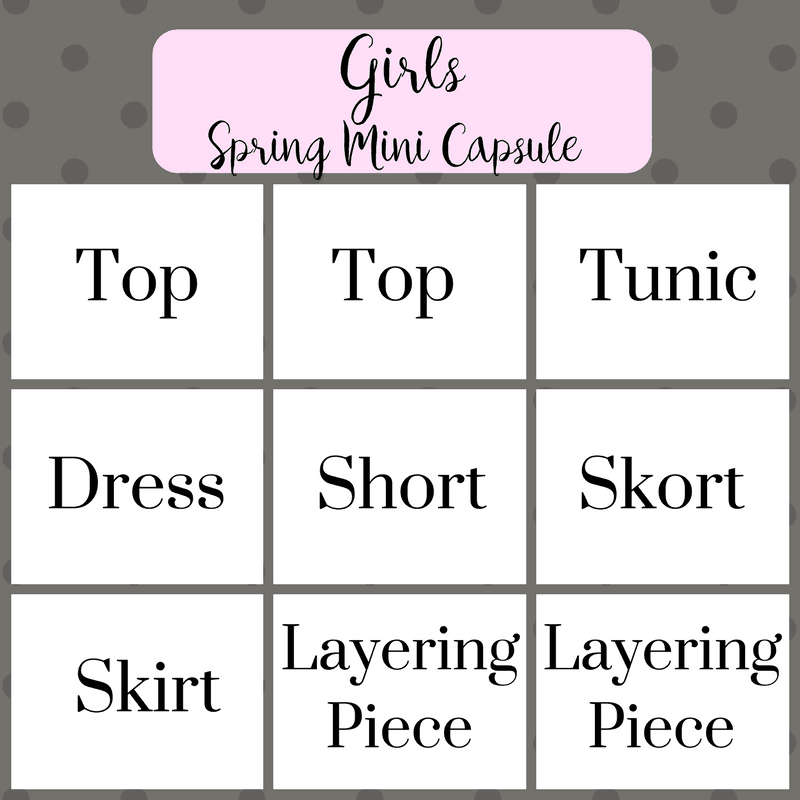
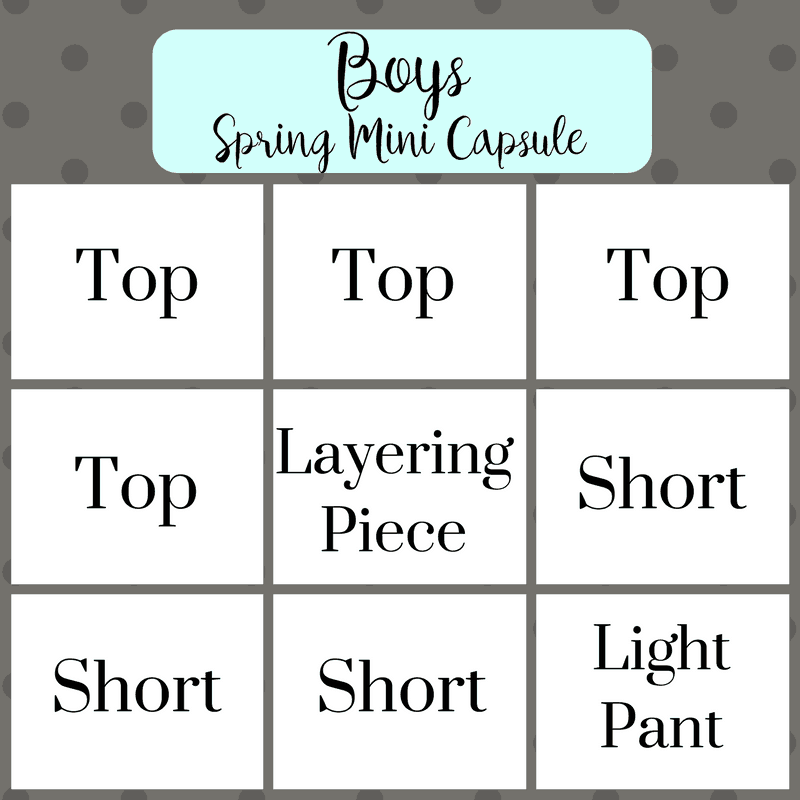
This will be different for everyone, depending on where you live, lifestyle and personal preferences. I can tell you how and what I have chose for our mini capsules. I love to have a board to help me plan. The visual really helps me be able to put it together exactly how I want. Don’t worry, I have FREE Photoshop templates if you’d like to make your own with photos or text. You can also use picmonkey or another editing/collage type site to help you. If you need directions on how to use the template, check the bottom of this post. Simply click each link below and they will download.

M4MWomensCapsuleTemplate

M4MGirlsCapsuleTemplate

M4MBoysCapsuleTemplate

First I decided what pieces I wanted to sew. I looked in my closet (and kid’s) and tried to see what was missing. Now I just typed these out, but you can do more of a suduko style where each row and column make an outfit, so you can REALLY make sure all your pieces can be worn together.

How do you choose patterns?

I choose patterns a few different ways.

1- What do I LOVE to wear and feel GOOD in? What do I find myself always pulling out of the dryer to wear again? Same for my kiddos. I find them asking to wear the same shirts and dresses all the time.

2- What is my wardrobe lacking? Do I need shorts, tanks, tees? We moved last Fall and my daughter’s new school dress code is much more strict than her last. She can’t wear any sleeveless tops or dresses, which throws out 90% of her Spring wardrobe from last year. I know I sound like a broken record…  but it’s HOT here in Dallas so I plan on making her a LIGHT cardi to be able to throw over tanks.

3- What will work with the warmer weather? Luckily for both M4M and P4P most our patterns have tons of options with different sleeve and hemlines that can be worn year-round 😉

How do you choose fabrics?

What makes capsules great is they are no fuss. So you don’t want to choose fabrics that clash, but rather coordinate and compliment each other. Think solid or solid-like fabric for most of your mini capsule. What am I talking about with “solid-like”?? A print that reads as a solid to blend the other fabrics together and something that coordinates with the focus fabrics. Think subtle: stripes, dots, heathered, burn-outs, etc. Also think about using different textures, so even if the fabric is solid or plain, it looks different against another piece. Choosing different types of fabrics will help your wardrobe not look or feel too bland. Remember to think about the weather and choose fabrics that won’t feel too warm. I know you know, by now that Dallas is HOT 😉 so I like to use ITY, rayon spandex, rayon challis, georgette, model, bamboo jersey, chiffon and light, open weave sweater knits when moving into warmer weather.

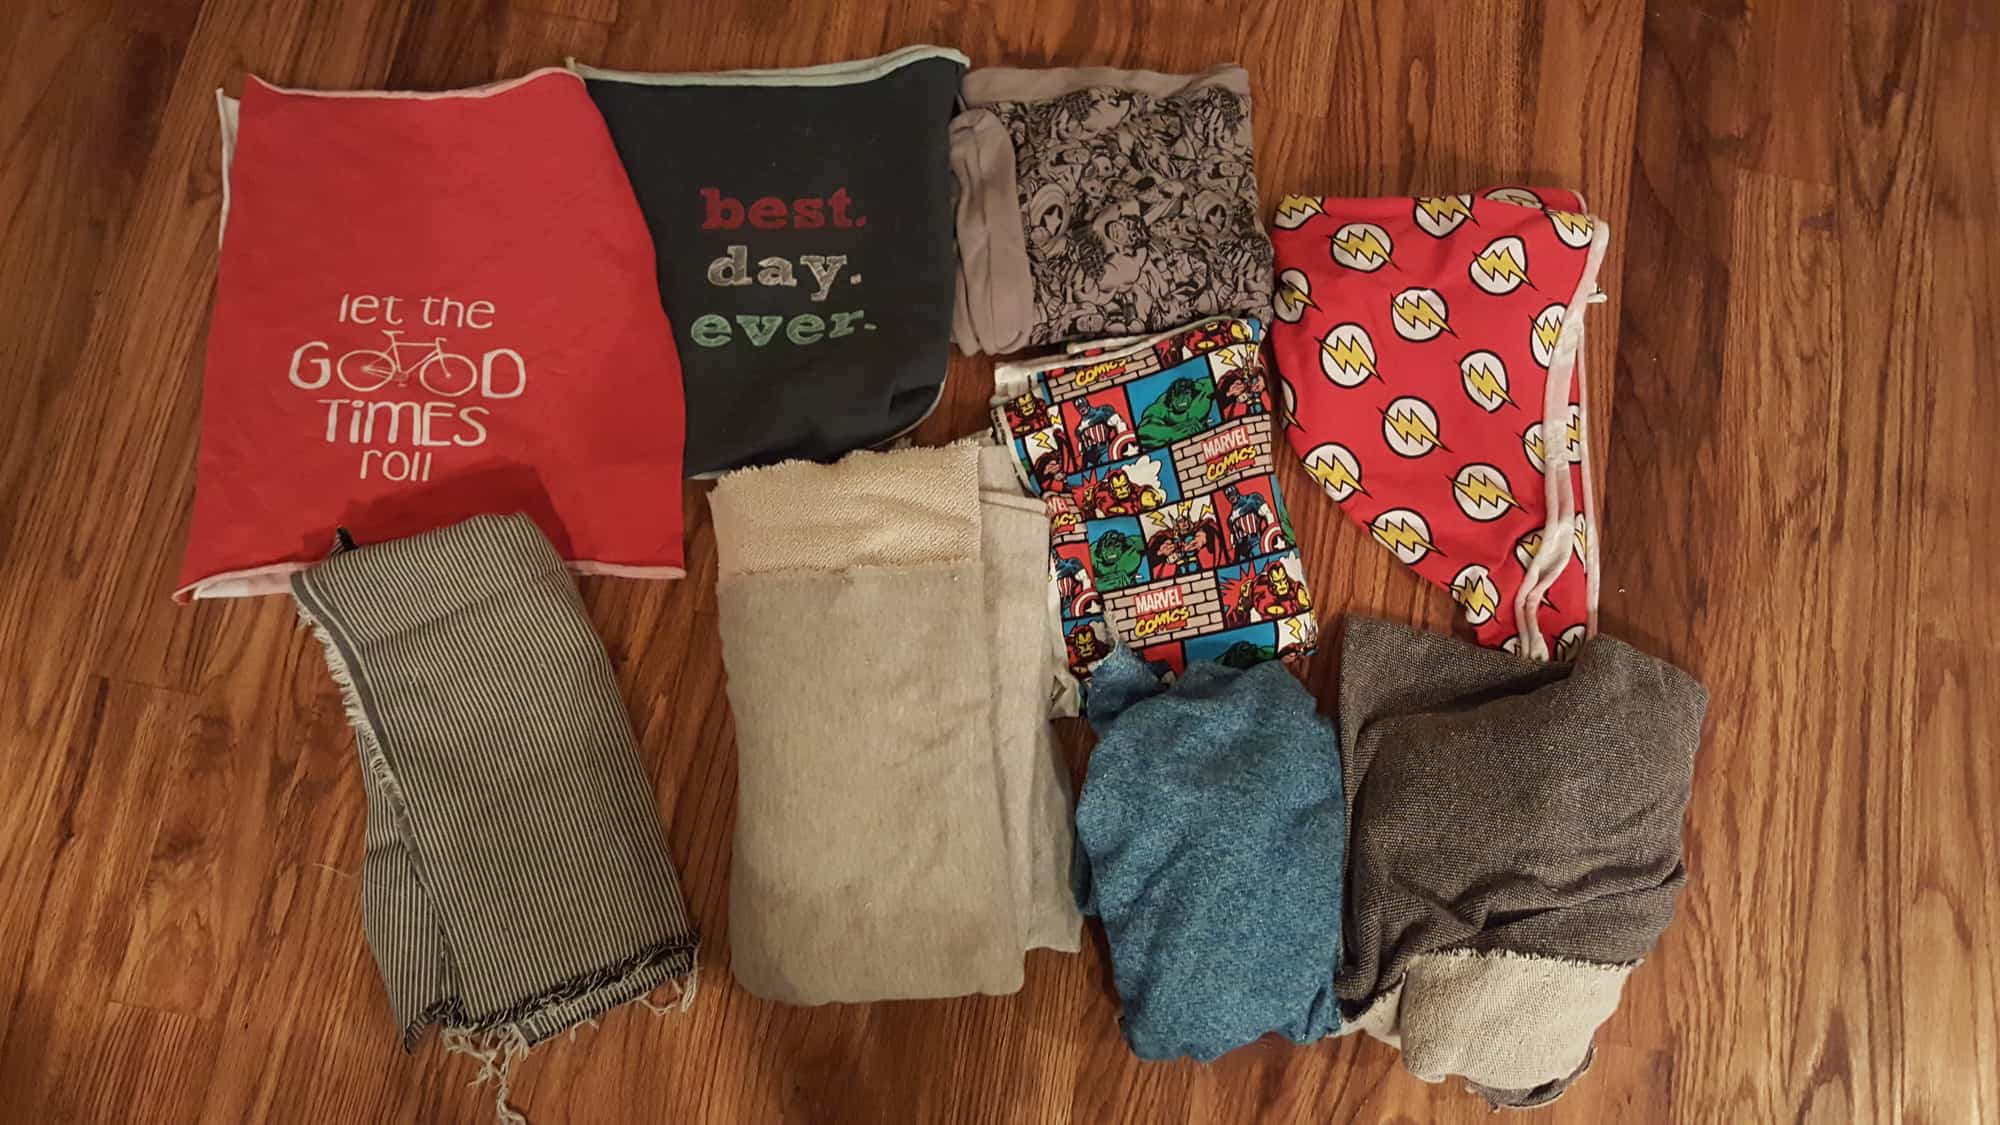
Here is Judy’s mini capsule fabric laid out for her Little Guy!  He’s old enough that he wanted to help pick! So, lots of superheros going on, which he considers a neutral 😉 She managed to keep in within a color scheme to help the tops and bottoms coordinate with each other.

How does the contest work?

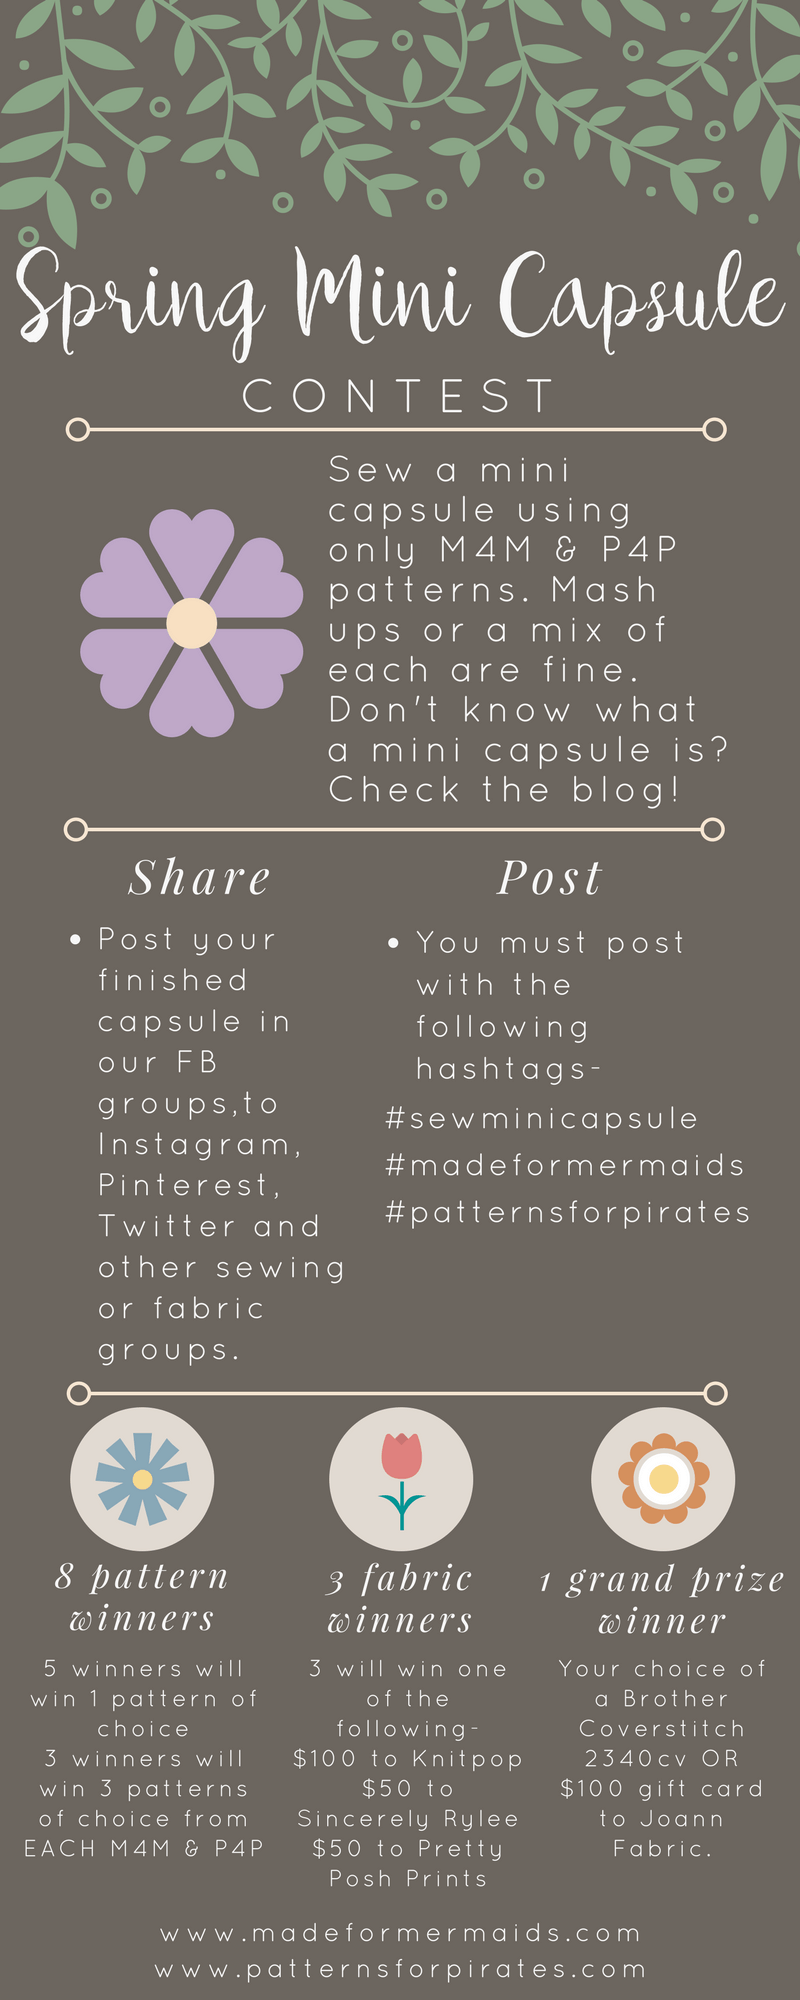
We have several random participant prizes for you! To enter, all you need to do is sew a 9 piece mini capsule using all M4M and/or P4P patterns…now if you already have a favorite, staple piece you’ve sewn from one of our patterns and MUST have it in your capsule, that’s ok. They can be mash ups or a combo of our patterns. Then post your final capsule in our FB groups (P4P and/or M4M). The final post must be in a collage format. You can also share on Instagram, Pinterest, Twitter or other sewing/fabric FB groups. You MUST use the hashtag #sewminicapsule and we would love if you would tag M4M and P4P, and use #madeformermaids and/or #patternsforpirates . If you don’t use the hashtag we won’t be able to find your entry! You can sew multiple capsules for yourself and little one/s for more than one entry. Contest ends April 10th. We will have 12 random winners, open to international friends. Are you ready for prizes??

5 winners will get 1 pattern of choice from EACH P4P and M4M.

3 winners will get 3 patterns of choice from EACH P4P and M4M.

1 winner will get a $50 store credit to Sincerely Rylee Fabric Shop.

1 winner will get a $50 store credit to Pretty Posh Prints.

1 winner will get a $100 store credit to Knitpop.

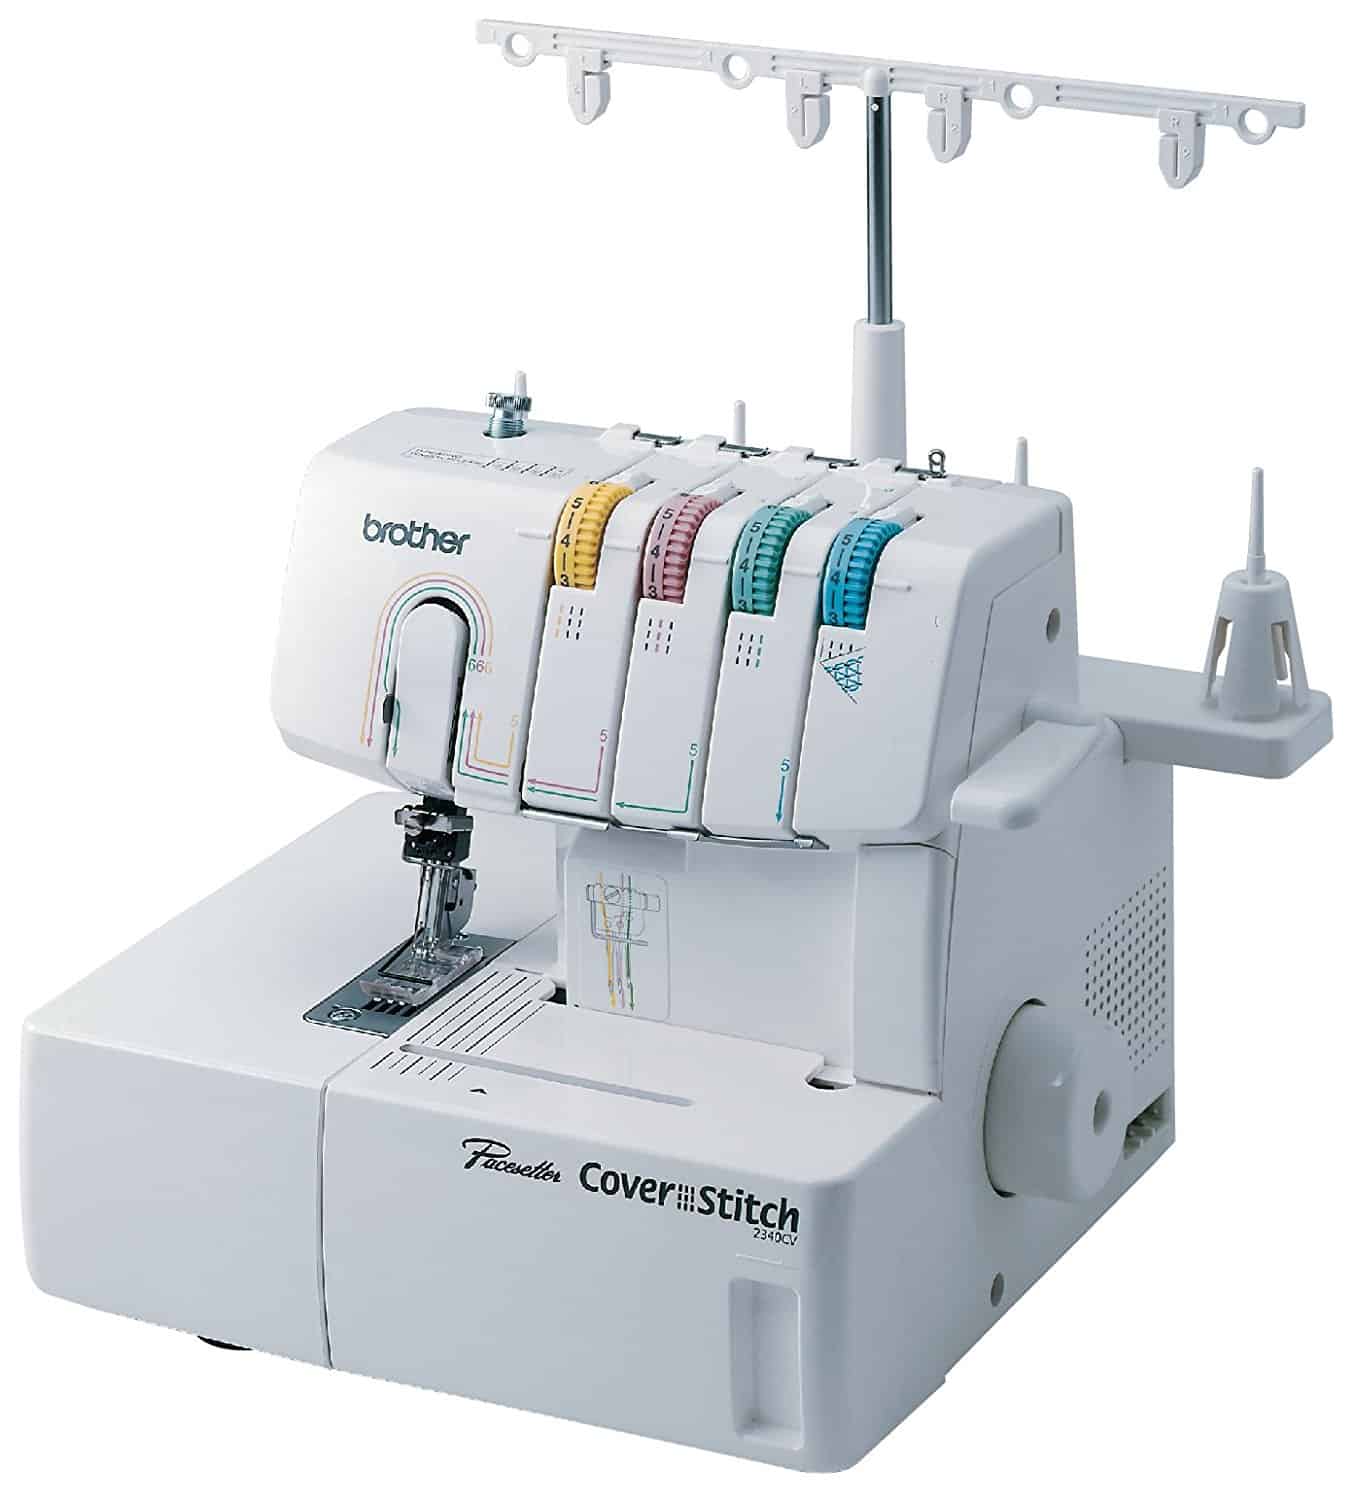
Our grand prize winner will get their choice of a Brother Coverstitch 2340cv OR $100 gift card to Joann Fabric!

We can NOT wait to see what you make! If you have questions, need advice, inspiration, make sure to post in our FB groups, (P4P or M4M) we would LOVE to see what you’re sewing for your capsule!!
How to use the Photoshop templates-

Open file in Photoshop. Download all the photos you may want to put on your board. Click on the layer that says ‘Place Photo Here’. Click “File”, “Place” and then choose the photo you’d like. You can resize the photo by holding Shift and dragging the corners. Repeat with each box. Then save as a photo file so you can share with us!

If you want to just add JUST text to the board, click on the layer that says ‘Place Photo Here’ then add your text there for each box.

If you want to add text on top your photo, add a new layer above the layer that says ‘Place Photo Here’. Then add your text there for each box.

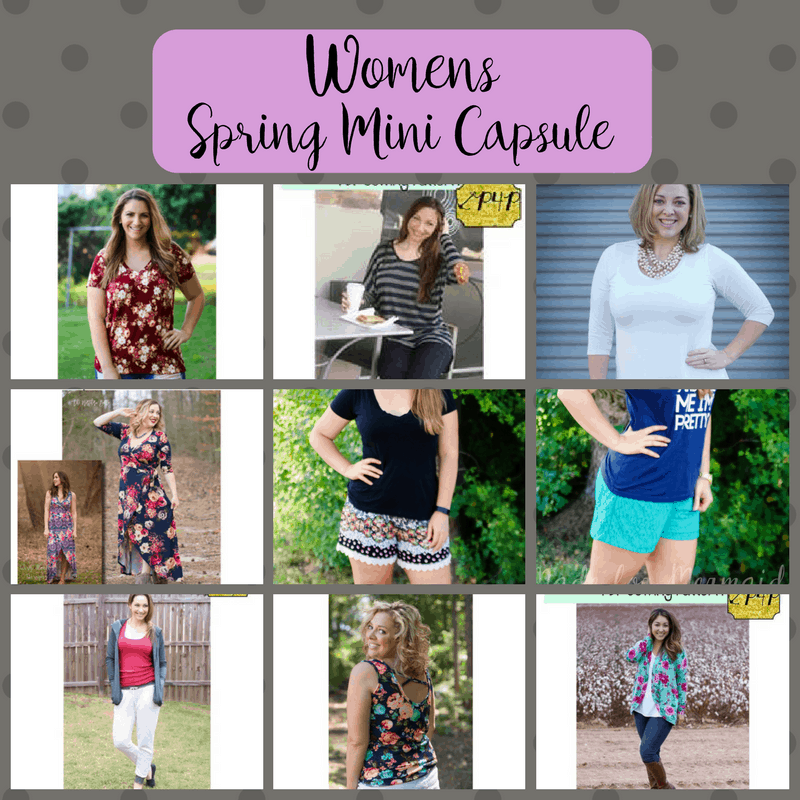
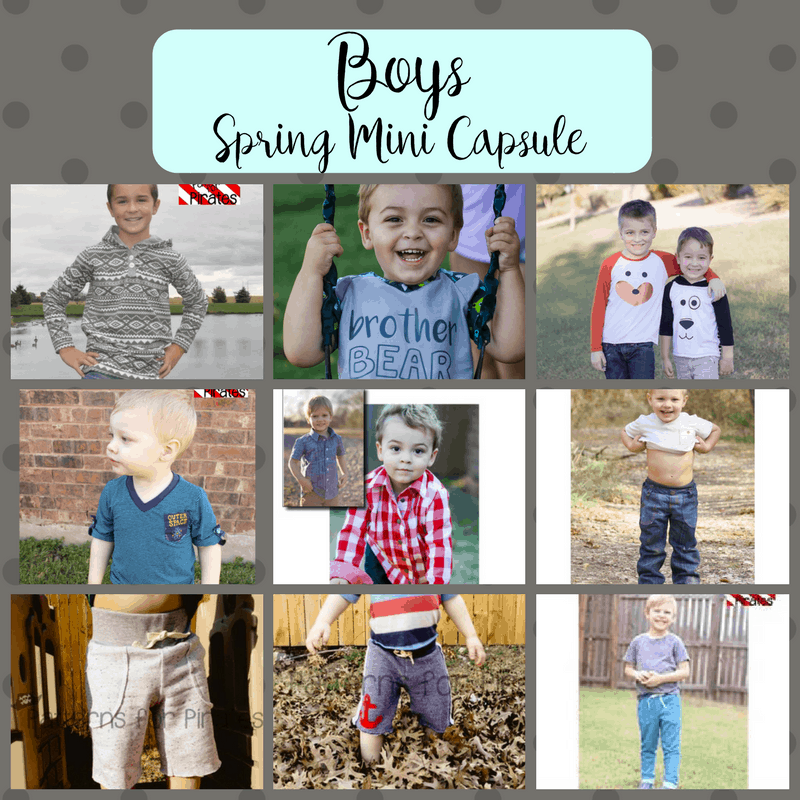
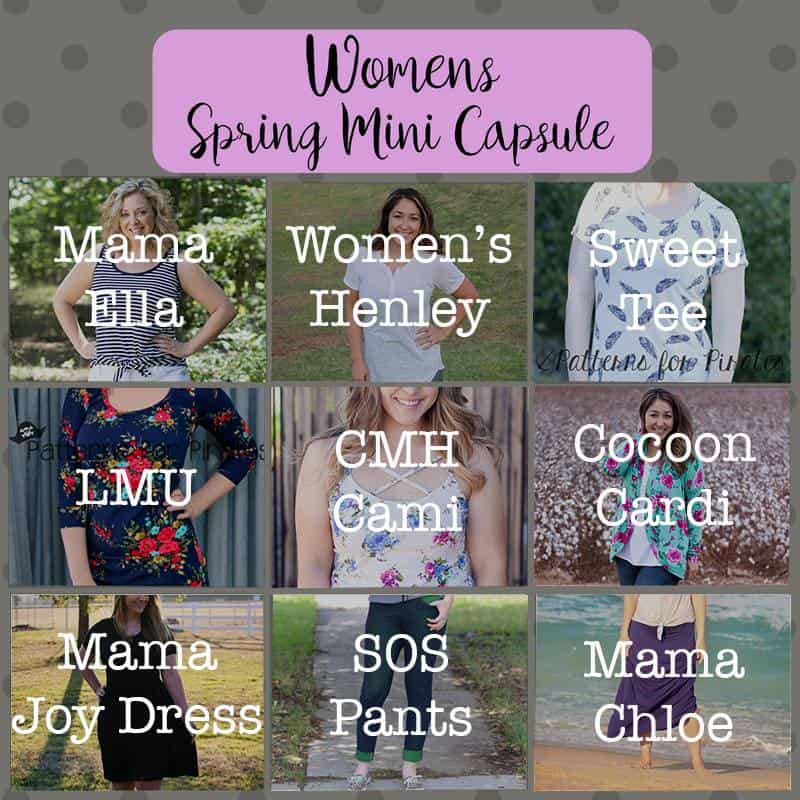
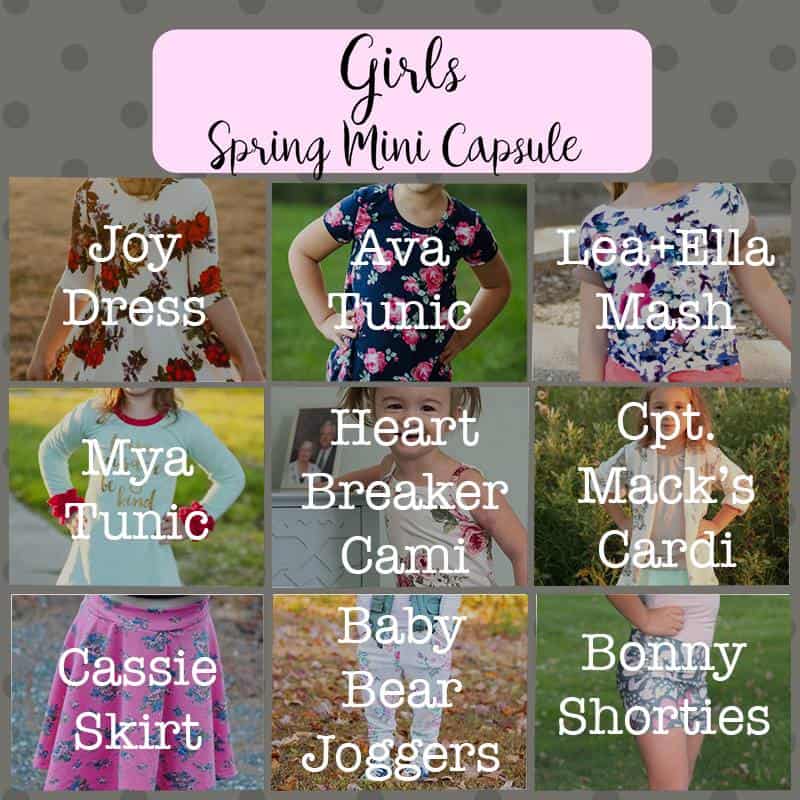
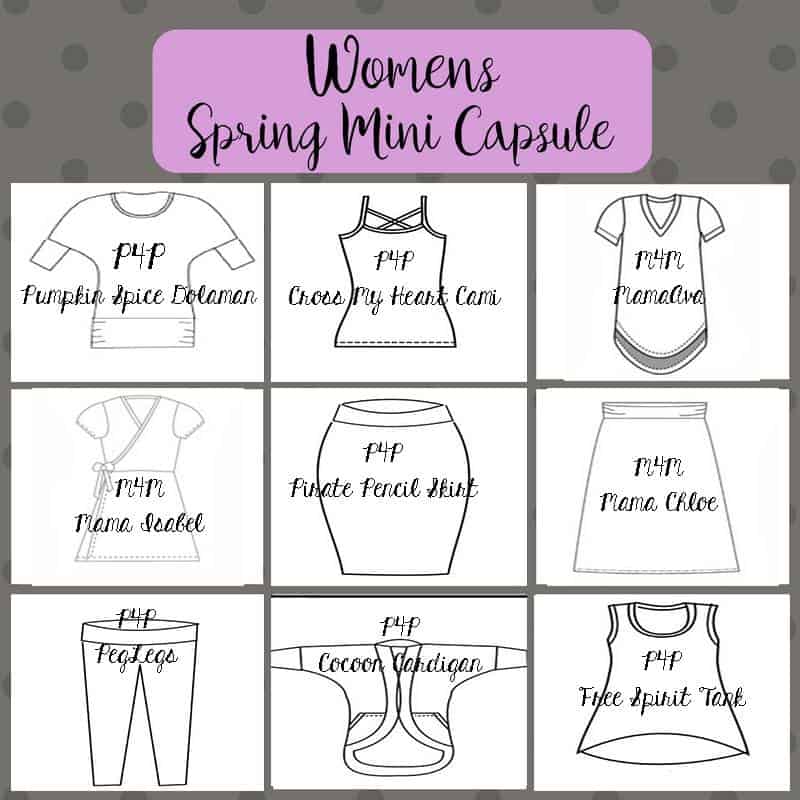
Want some inspiration?? Check out these boards from our team and/or blog contributors!


Filed Under: Contest/Giveaway 17 Comments

  • « Previous Page
  • 1
  • 2
  • 3
  • 4
  • Next Page »

connect with me

  • Email
  • Facebook
  • Instagram
  • Pinterest
  • YouTube
Privacy & Cookies: This site uses cookies. By continuing to use this website, you agree to their use.

To find out more, including how to control cookies, see here: Cookie Policy
  • Privacy Policy
  • Refund Policy
  • Contact Us
  • About

Copyright © 2026 Patterns for Pirates

Copyright © 2026 · Genesis Framework · WordPress · Log in