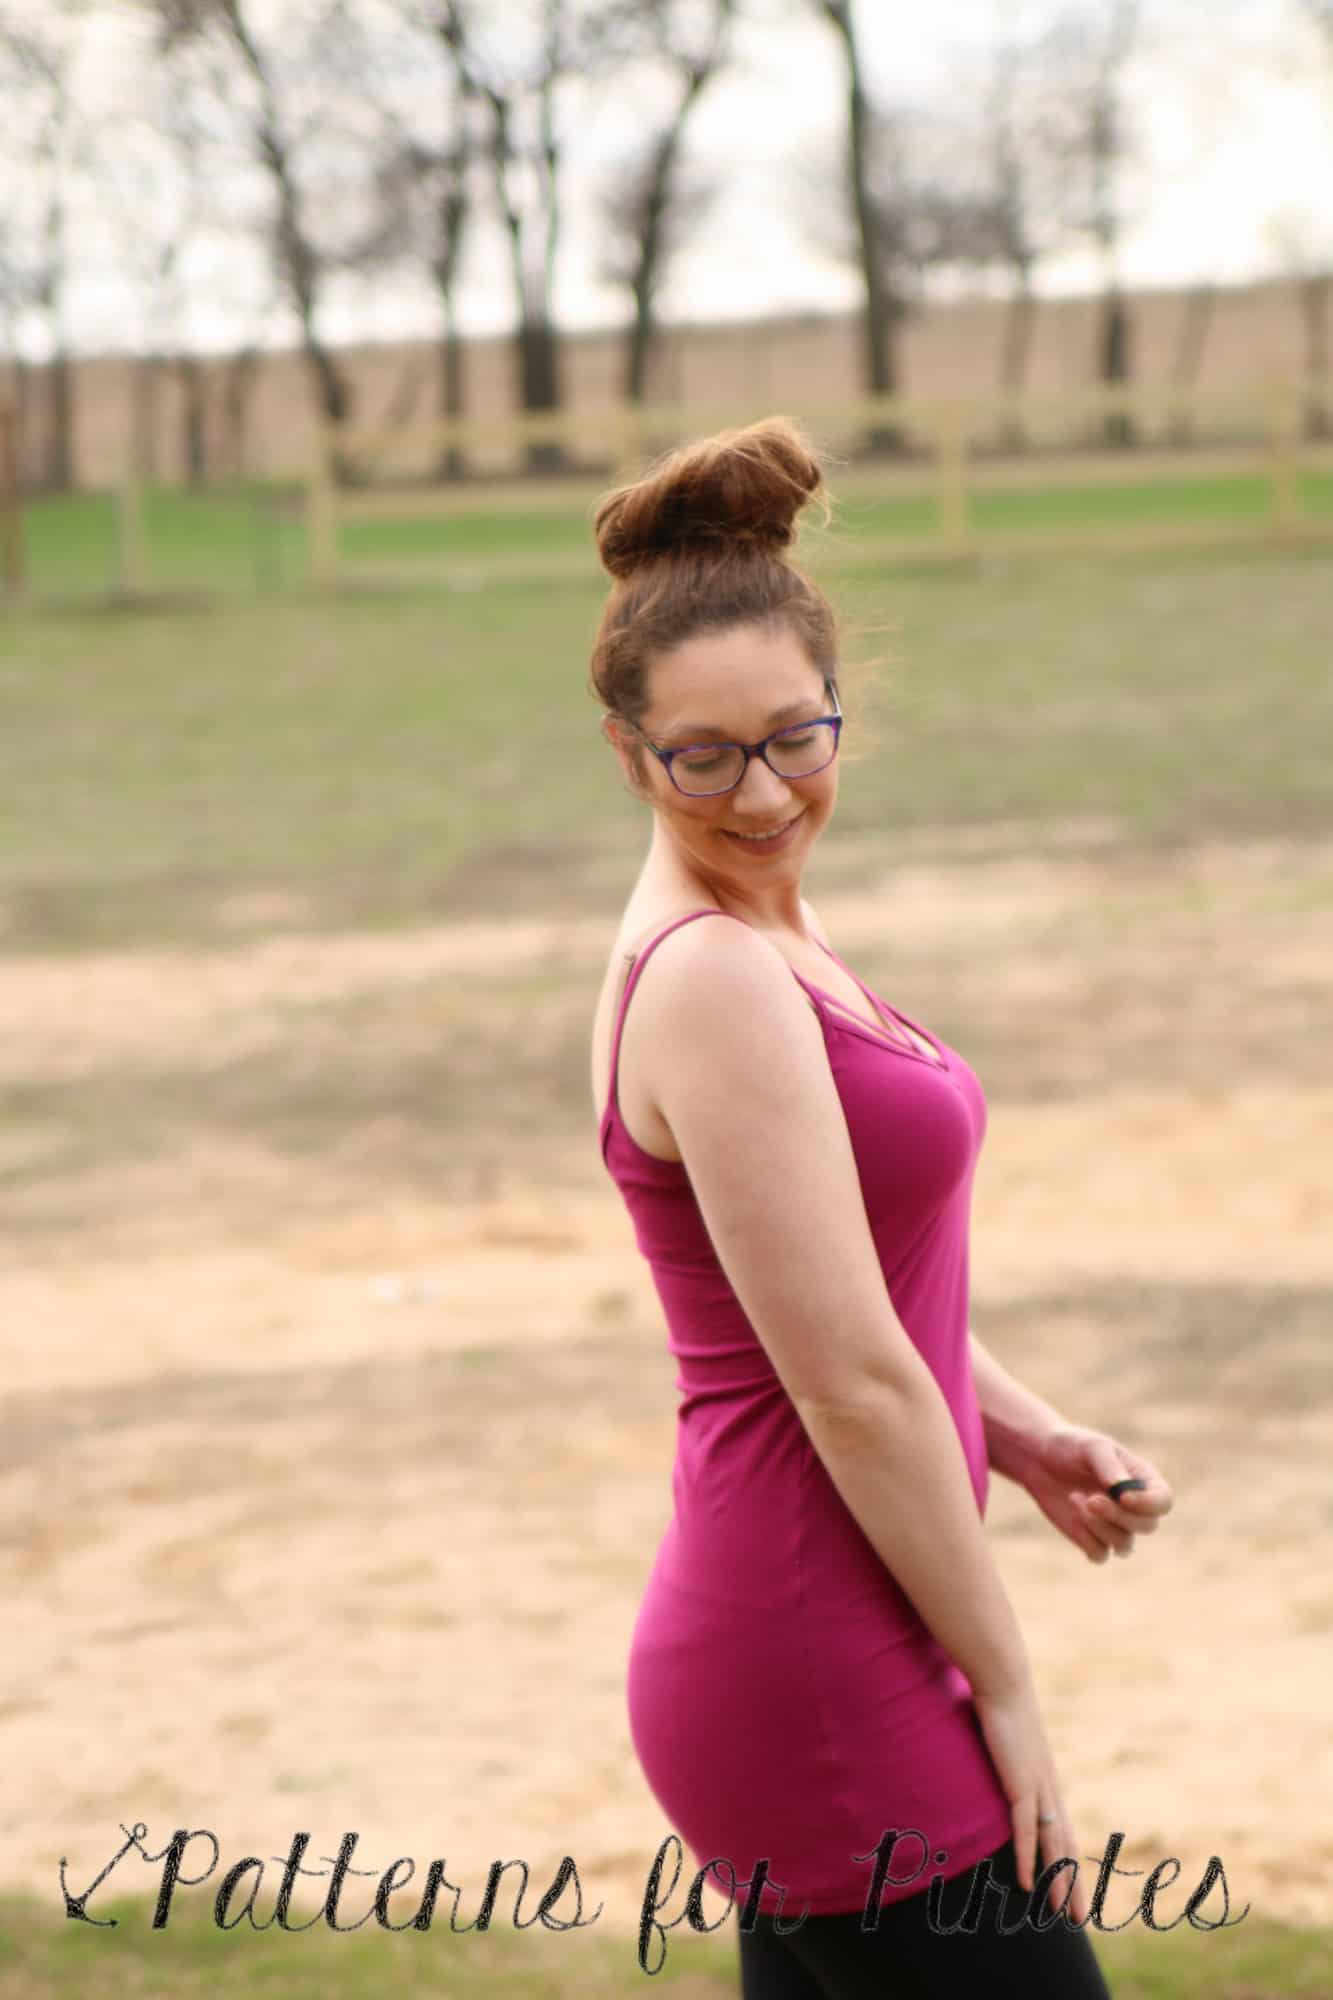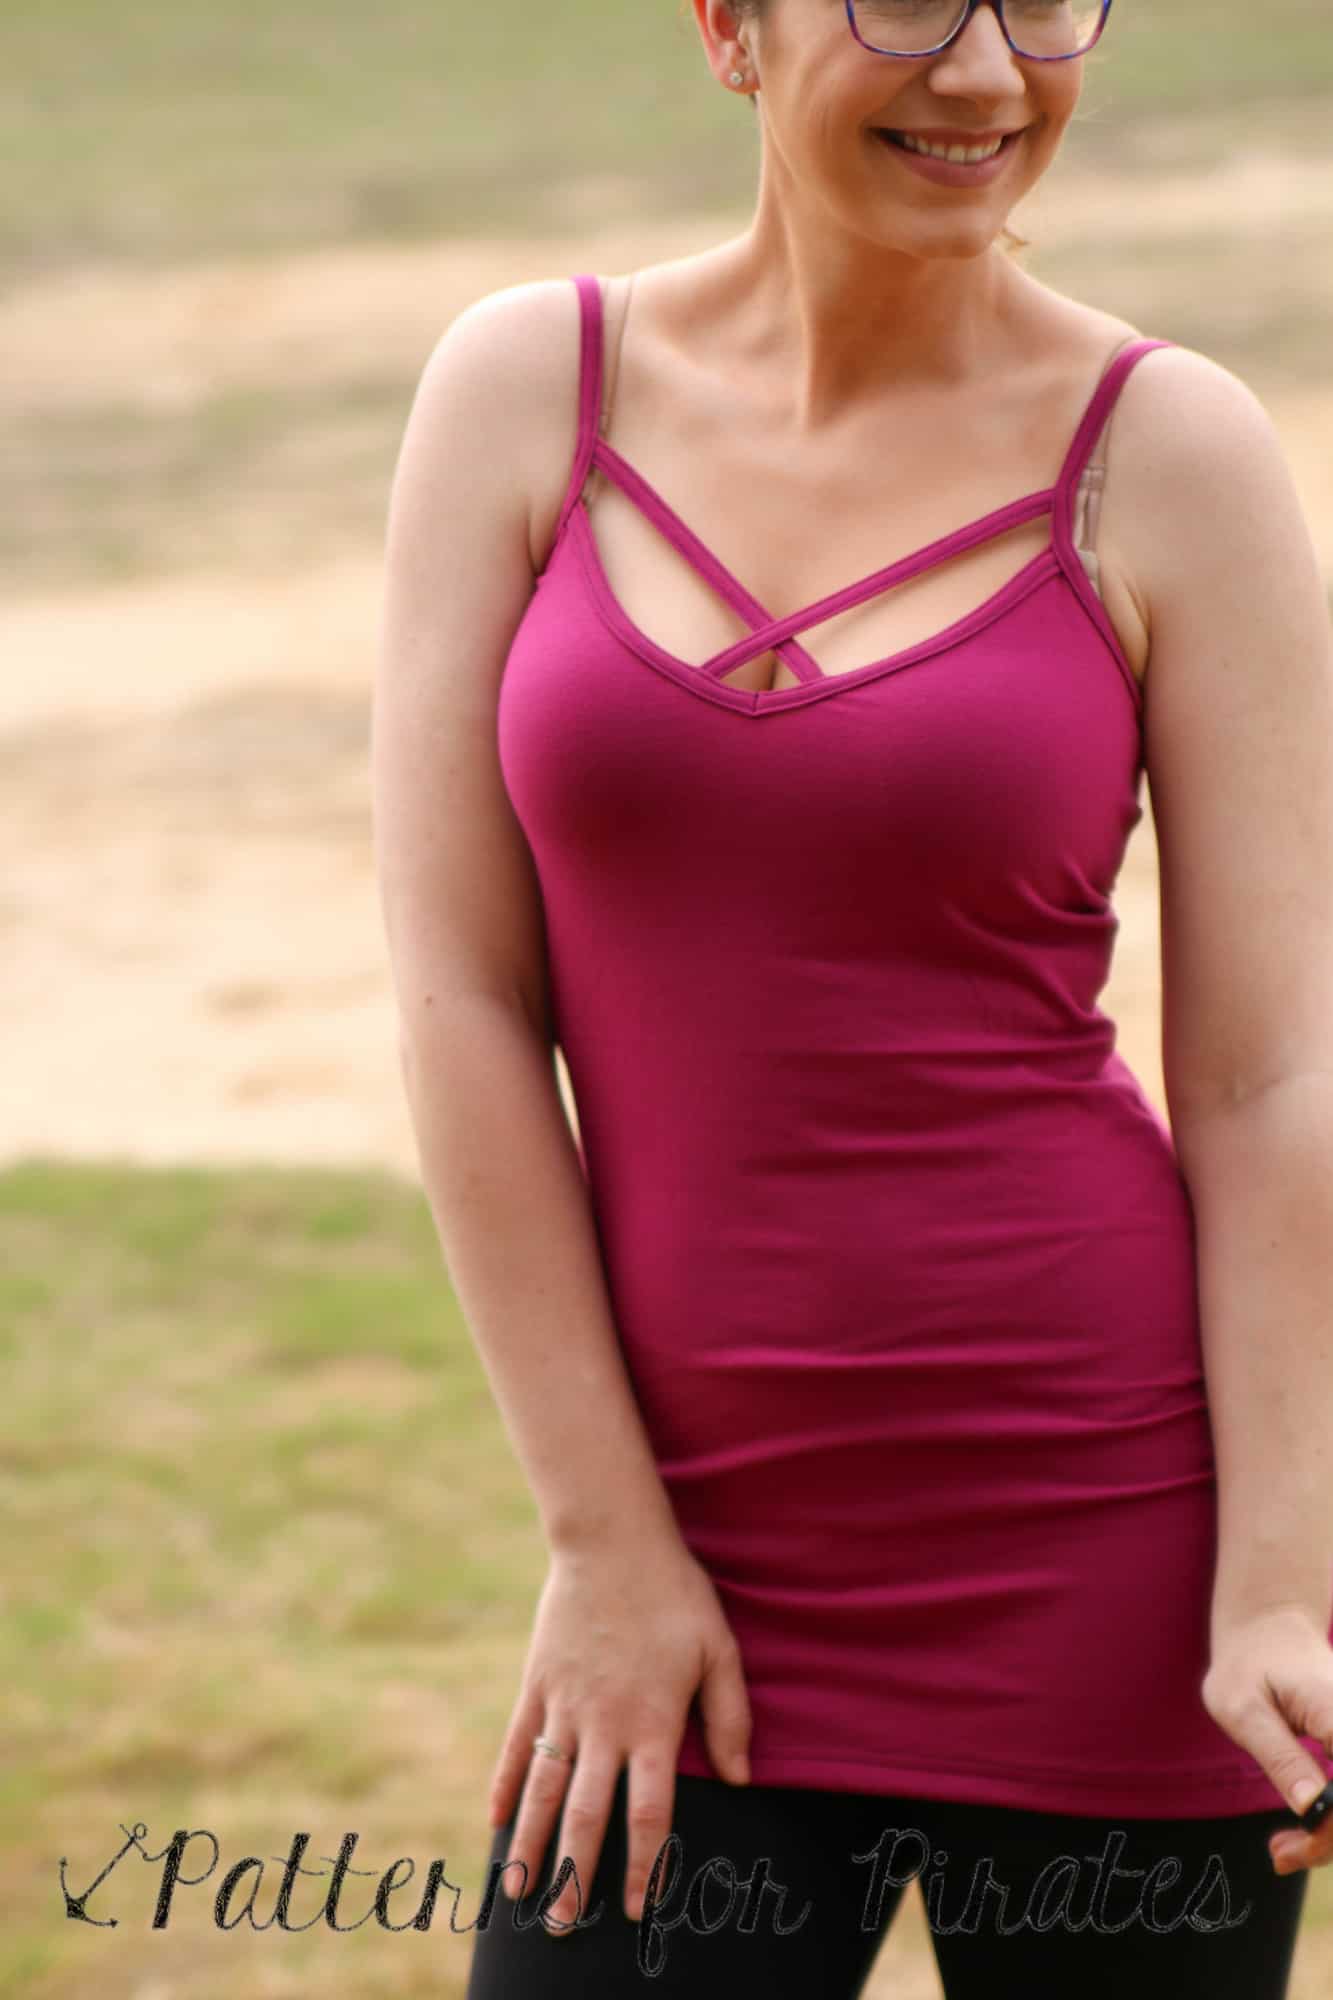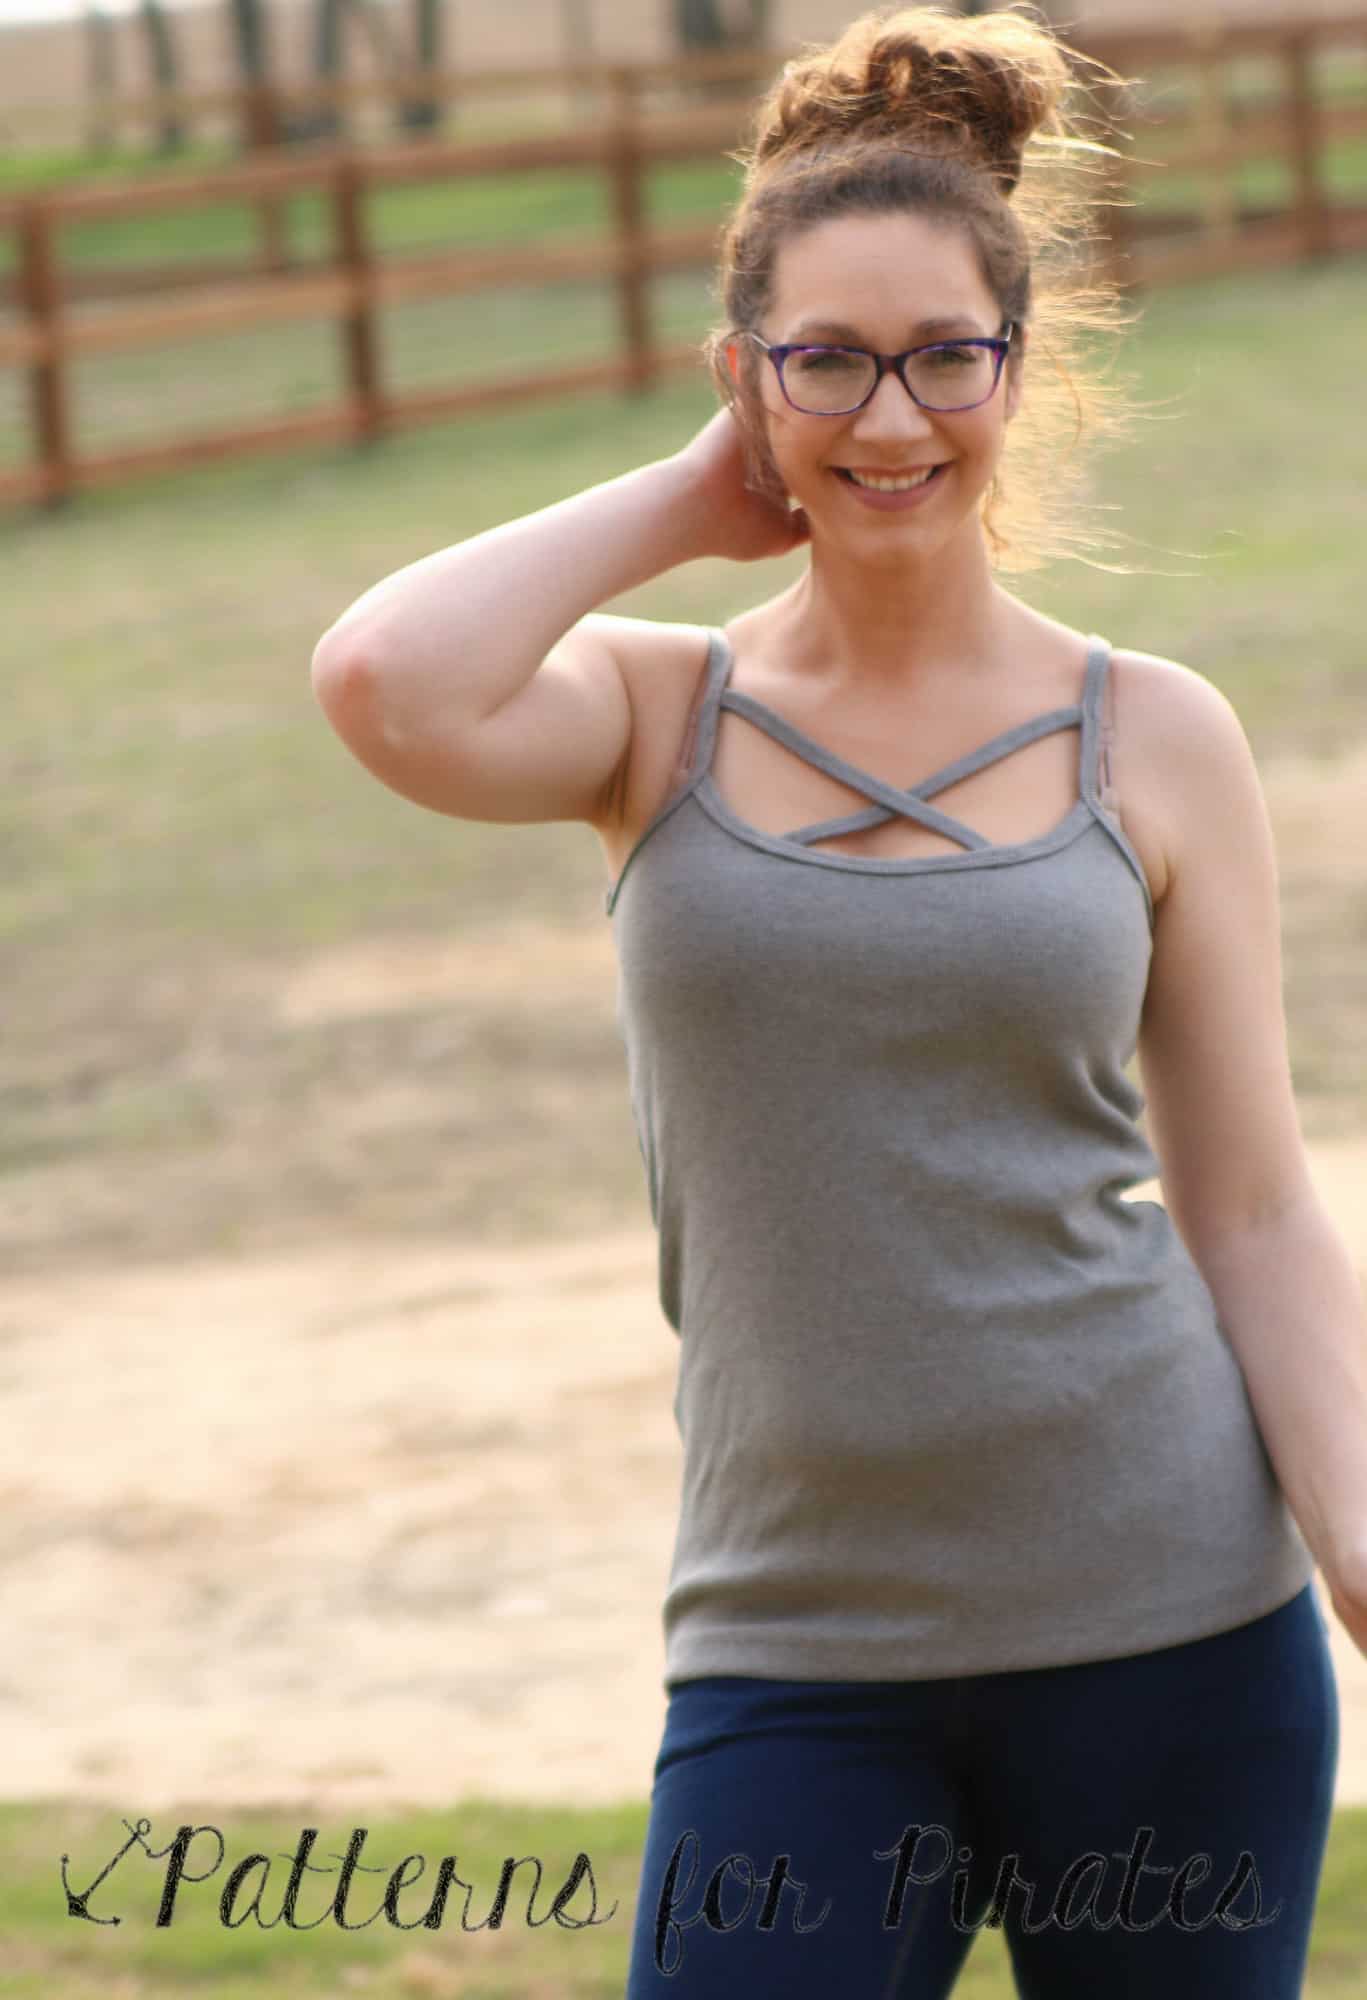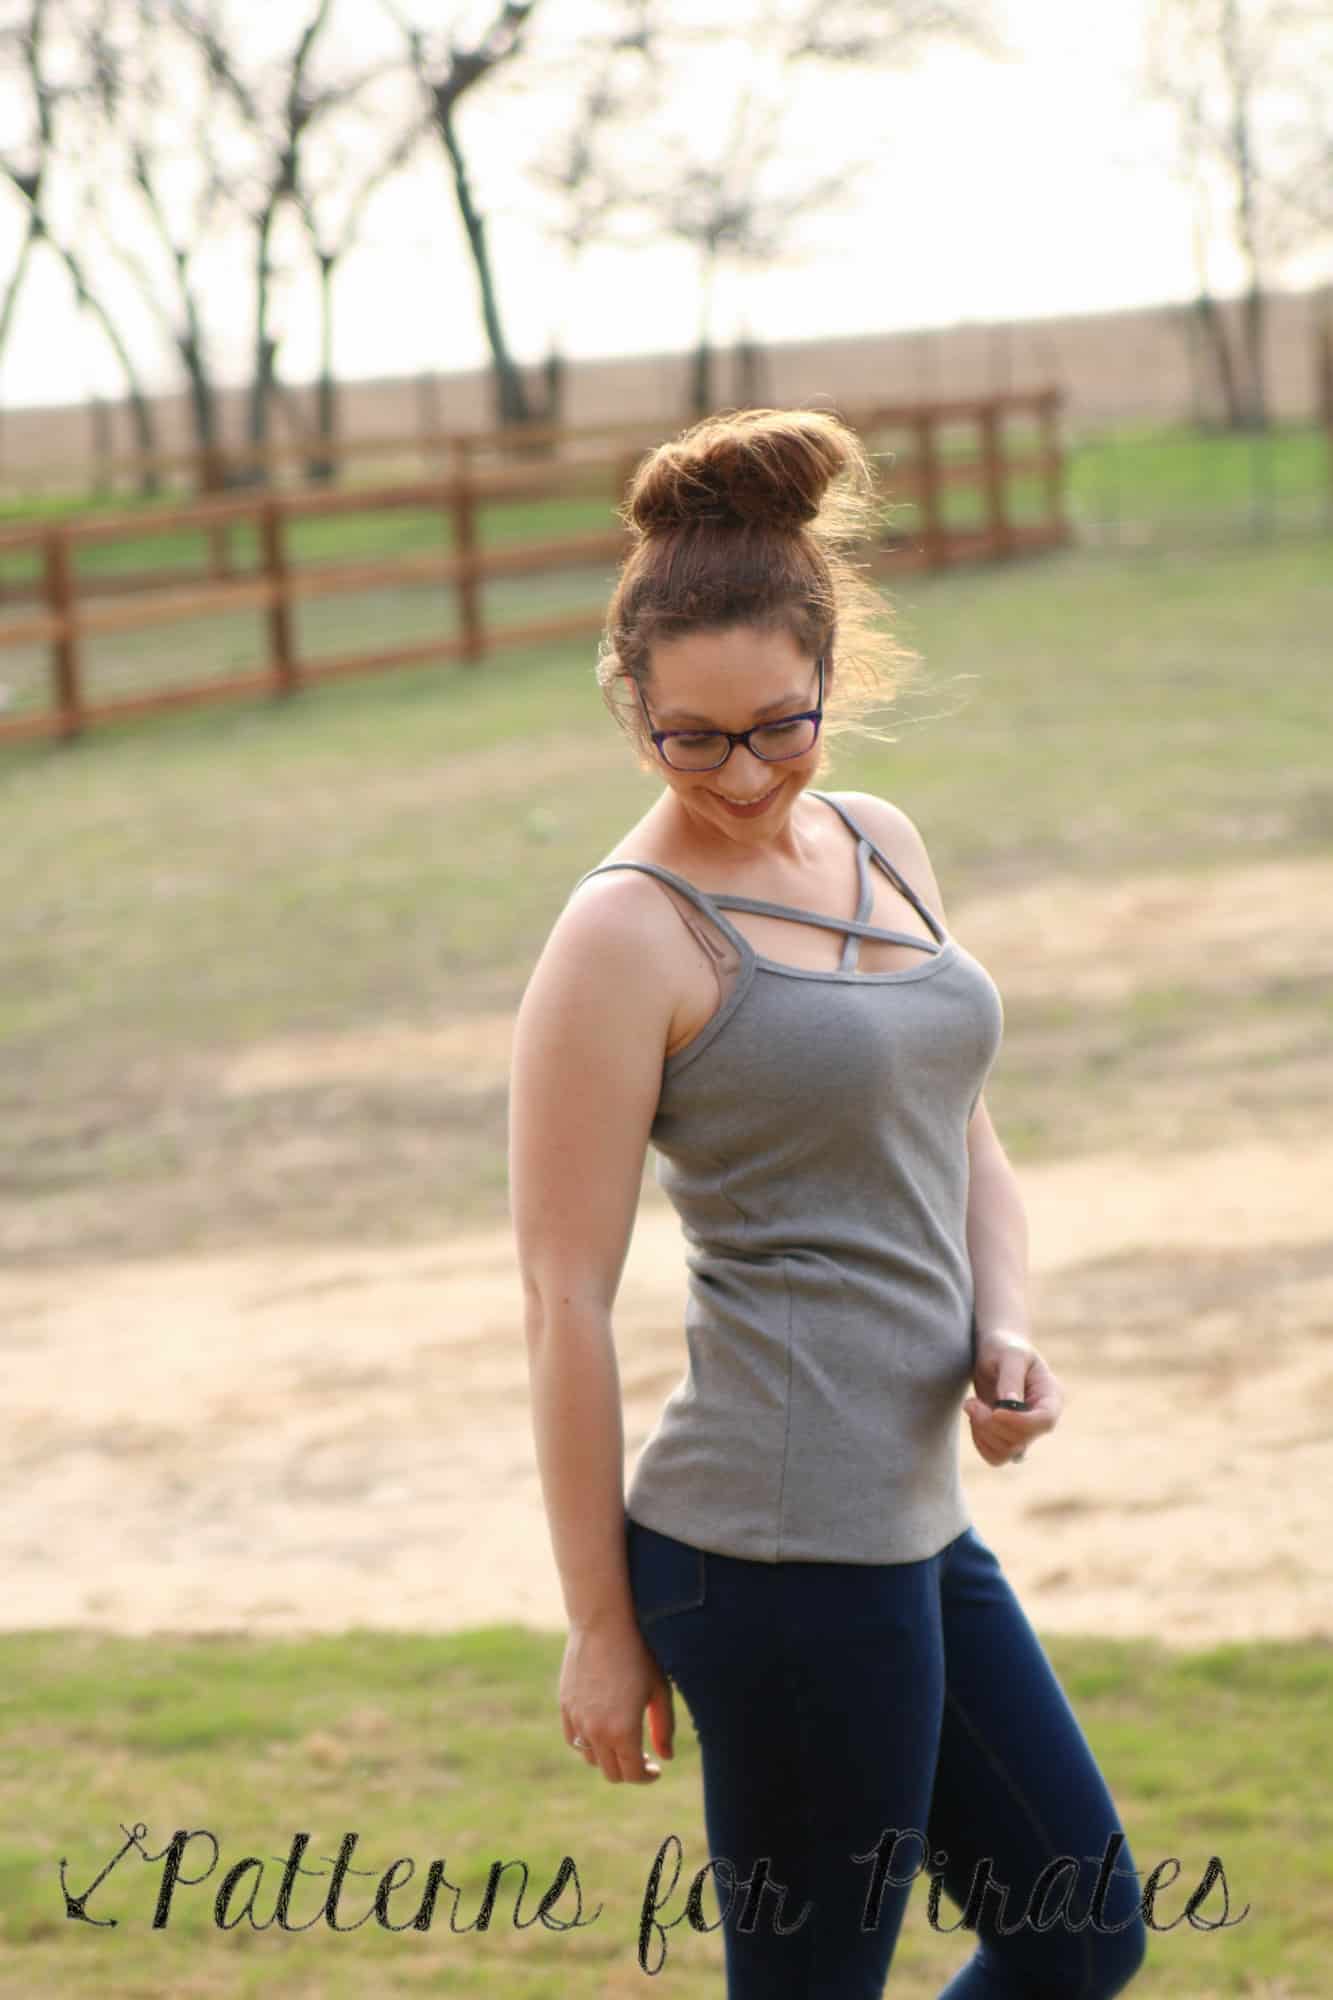
Patterns for Pirates

P4P stylish, modern, wearable patterns

  • Home
  • Blog
    • Frequently Asked Questions
    • Pattern Releases
      • Free Patterns
    • P4P University
      • Fitting
      • Sewing with Stretch, Knit Fabrics
      • Sewing with Woven Fabrics
      • Sewing Machines
    • Sew-A-Longs
    • Fabric for Pirates
    • Pattern Hacks
    • Announcement
      • Blog Tours
      • Contest/Giveaway
  • Shop
  • Bundle Discounts
  • Flash Friday
  • Gift Cards
  • My Account
  • Cart

P4P University :: Twin Needle Tips

March 16, 2017

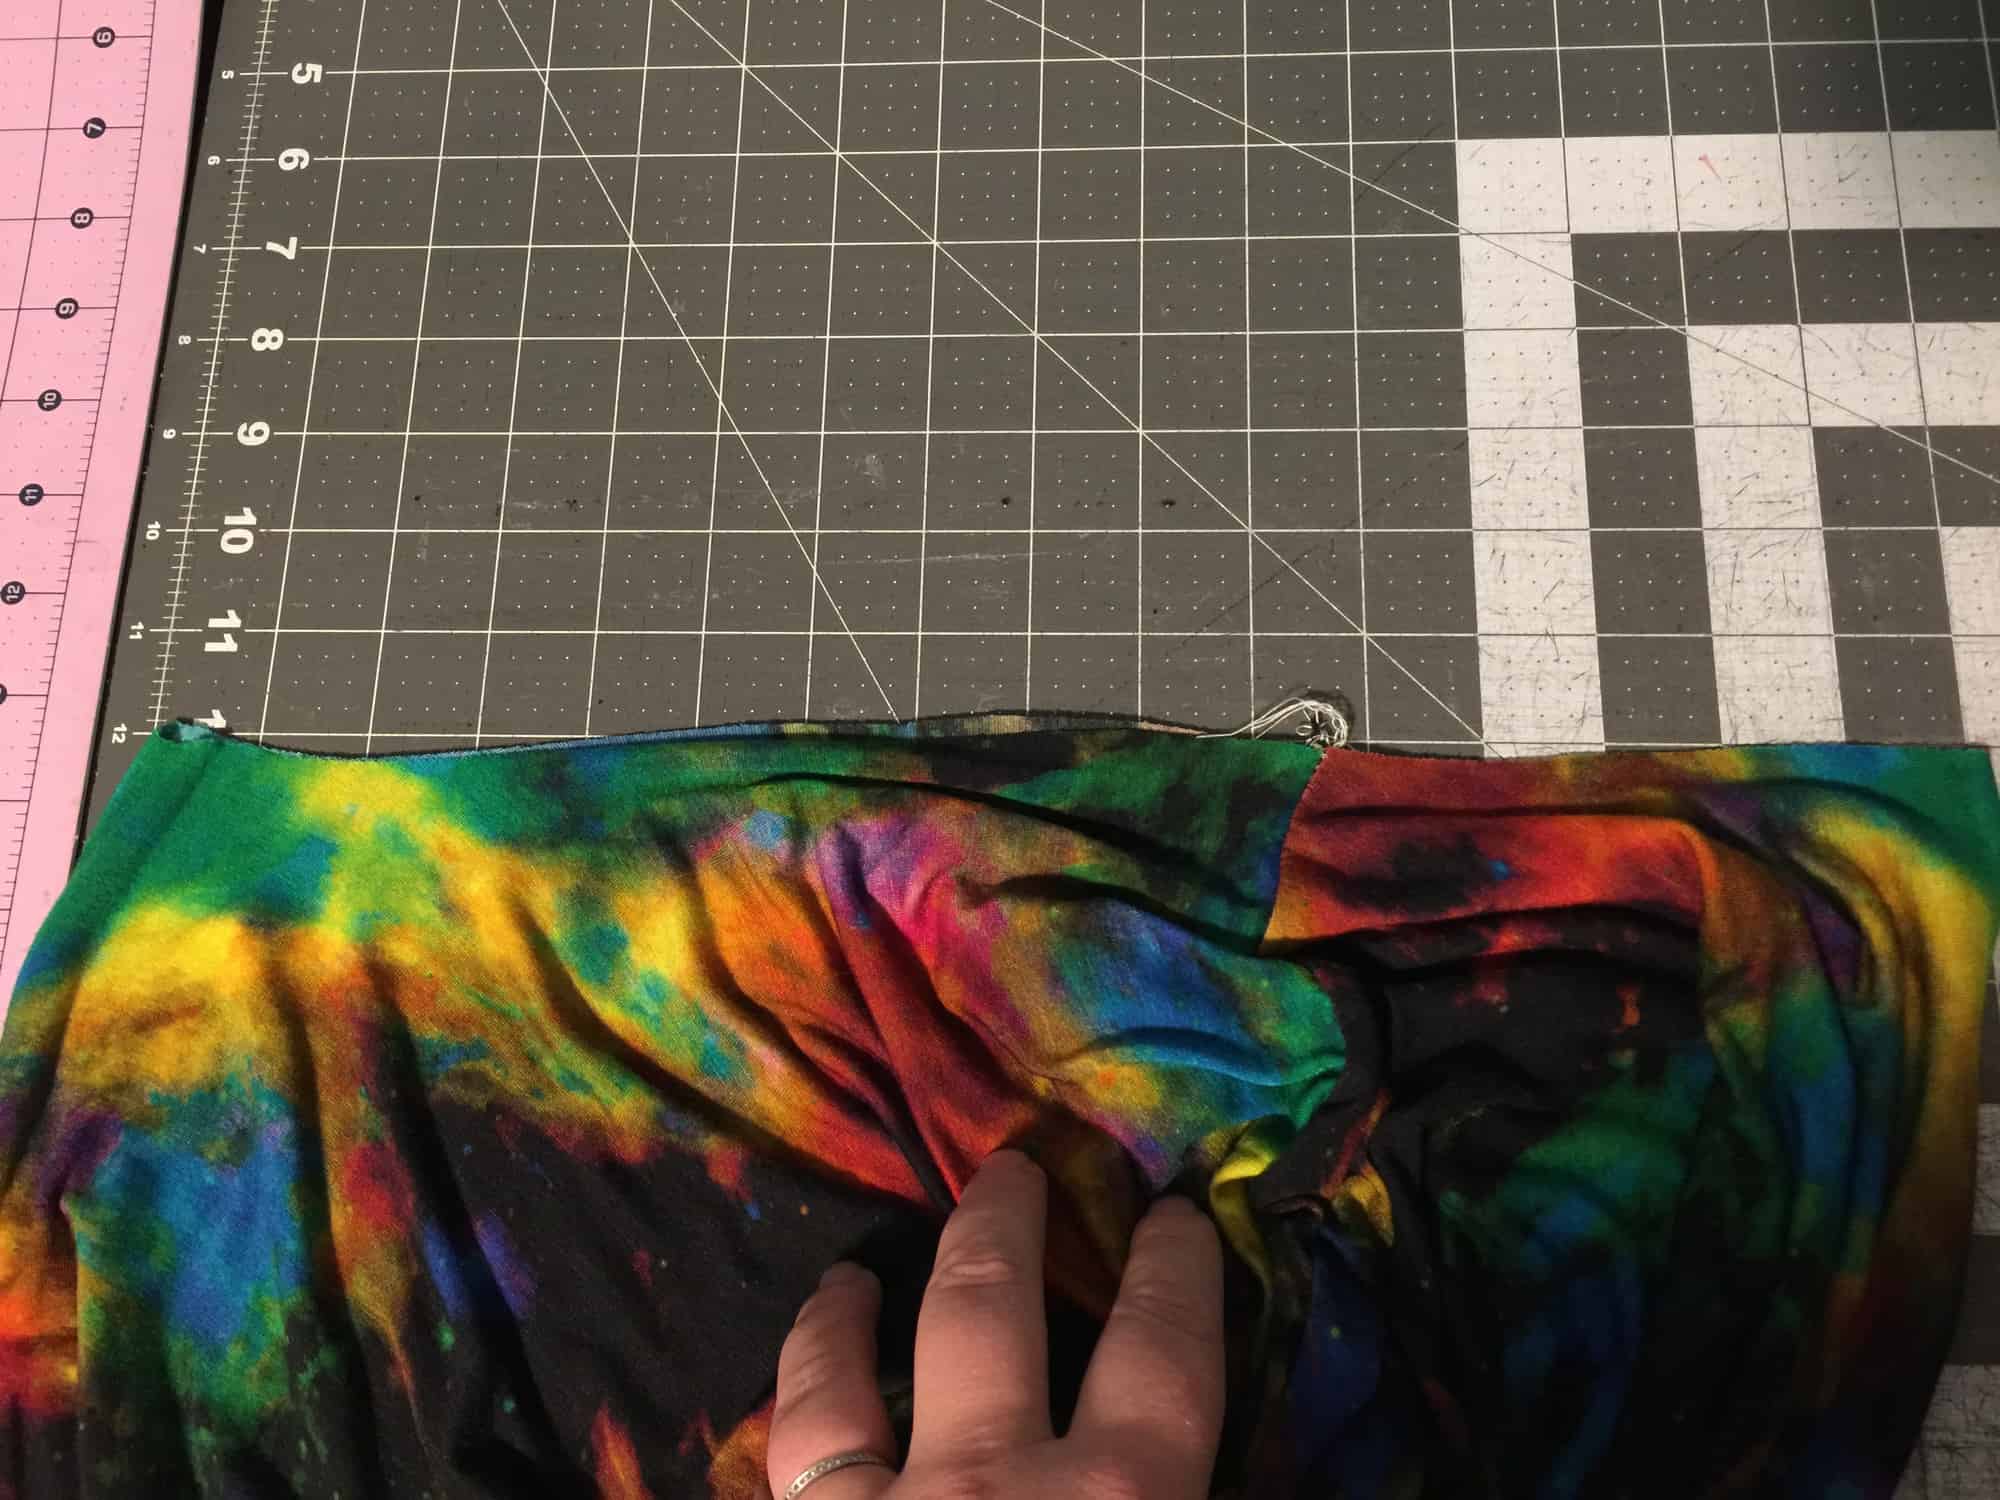
Hello Pirates!  Today I’ll be walking through some tips on using a twin needle for topstitching as an alternative to a coverstitch machine.  The end goal (of either twin needles or a coverstitch) is two lines of parallel stitching on the right side of the fabric, with the ability to stretch and not break threads when pulled.  This is usually used when hemming, but these tricks will especially come in handy when topstitching binding on our new cami pattern!
 

1. Stretch Needles

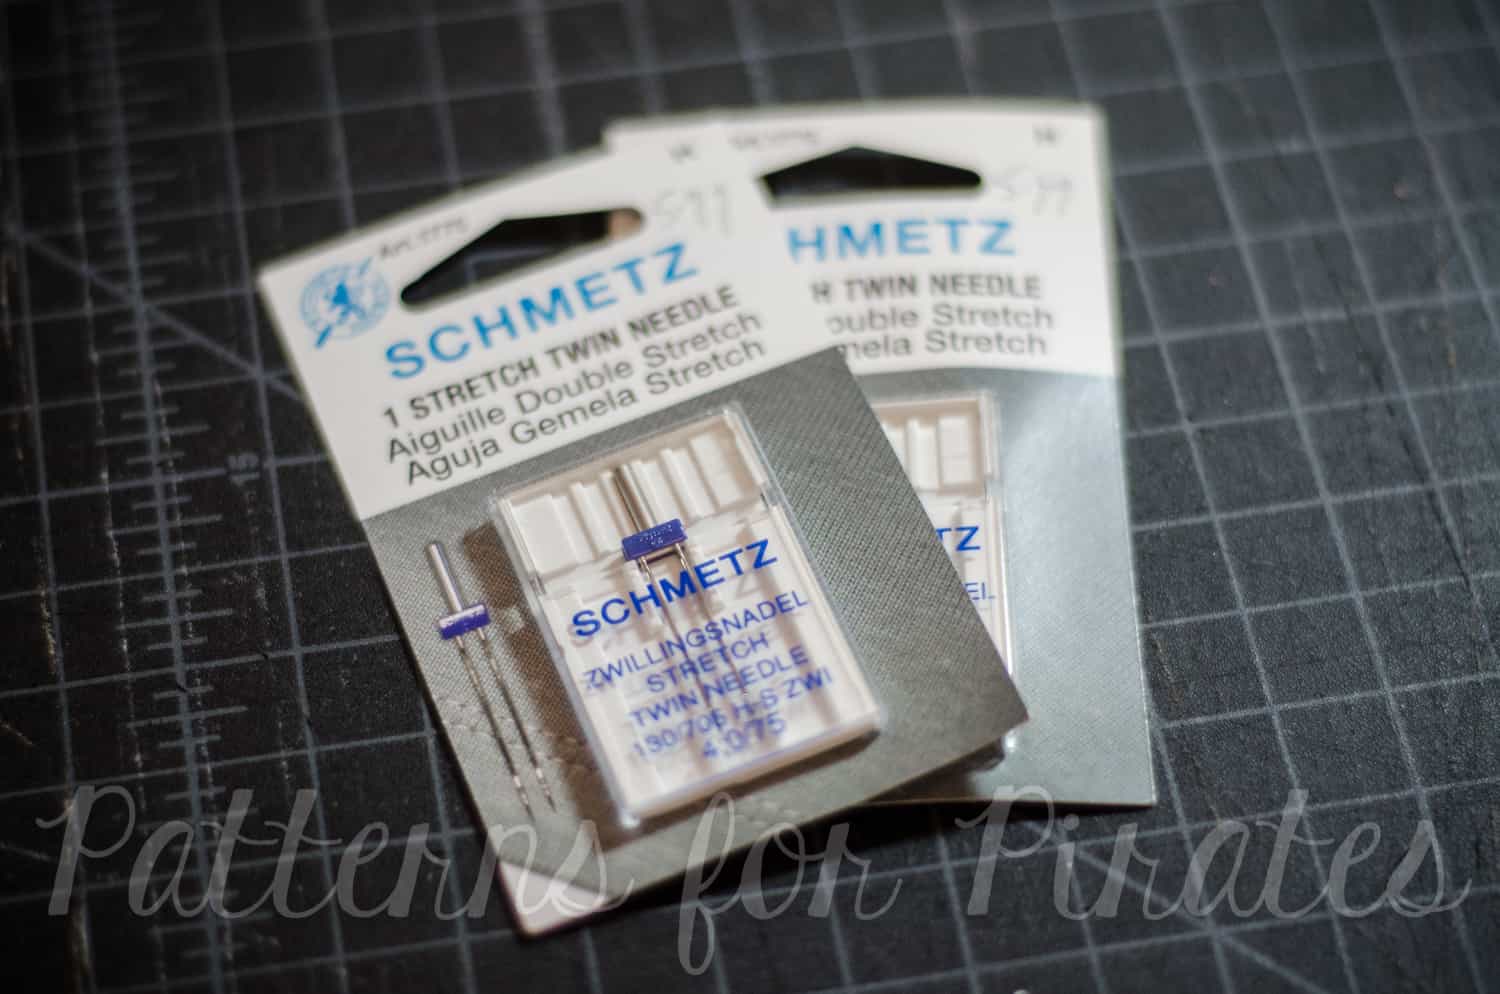
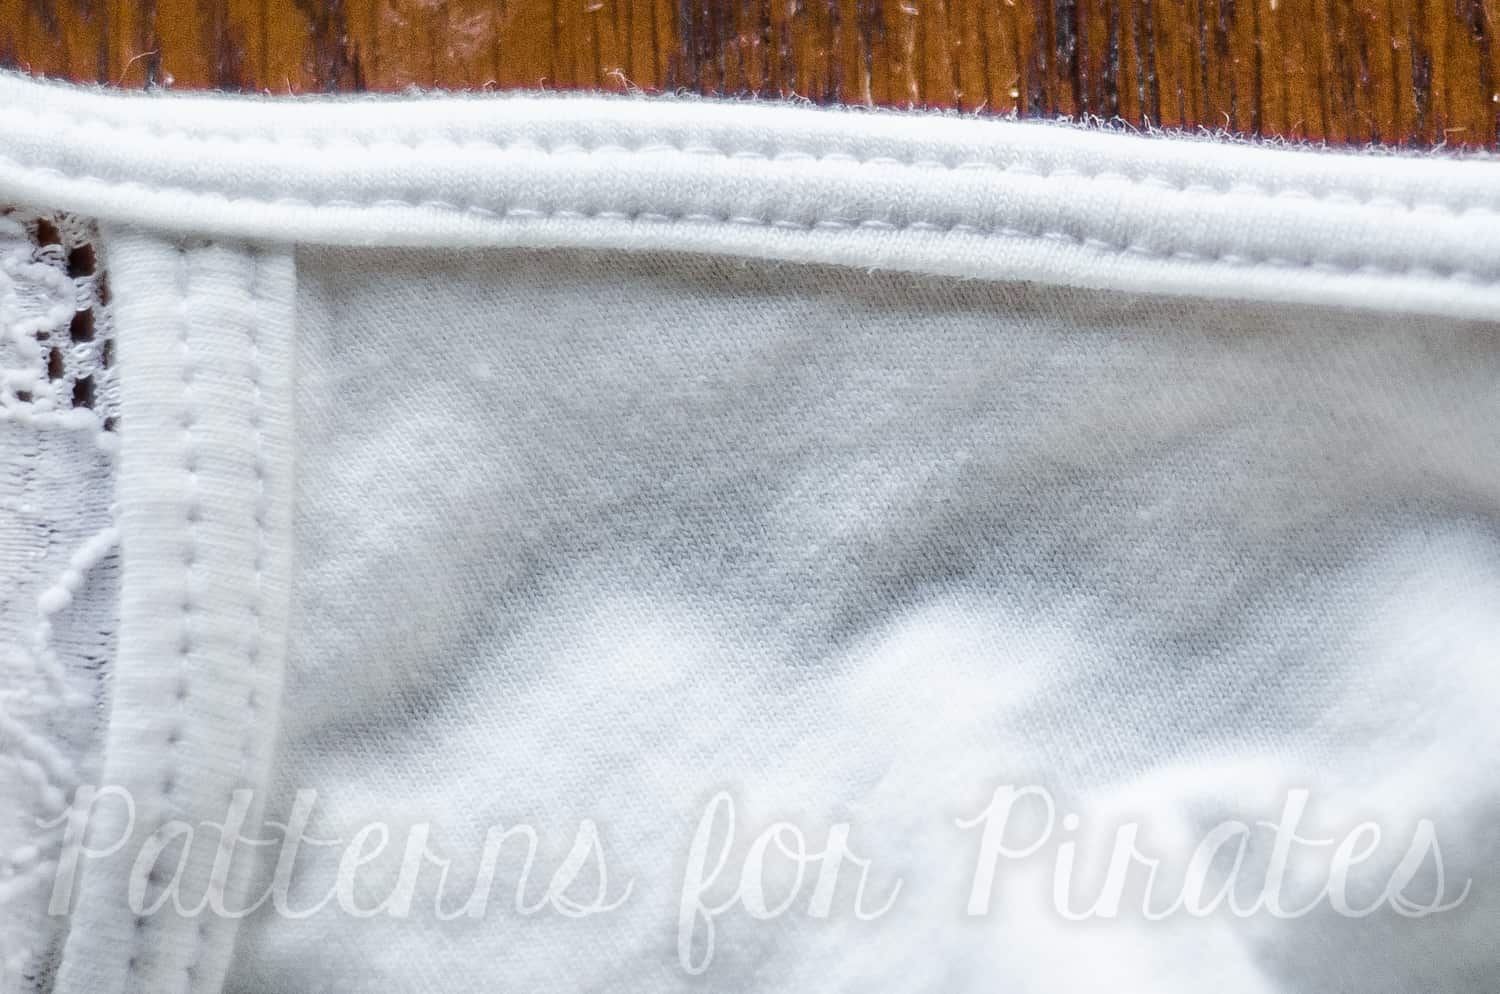
The most important point is to make sure you buy stretch needles.  Schmetz is the most common brand that people tend to use, they are available on Amazon.  I prefer the wider 4.0 width the best because it works better for me; it also comes in a 2.5 width.  These are both 75/11 needle size.
 

2. Threading

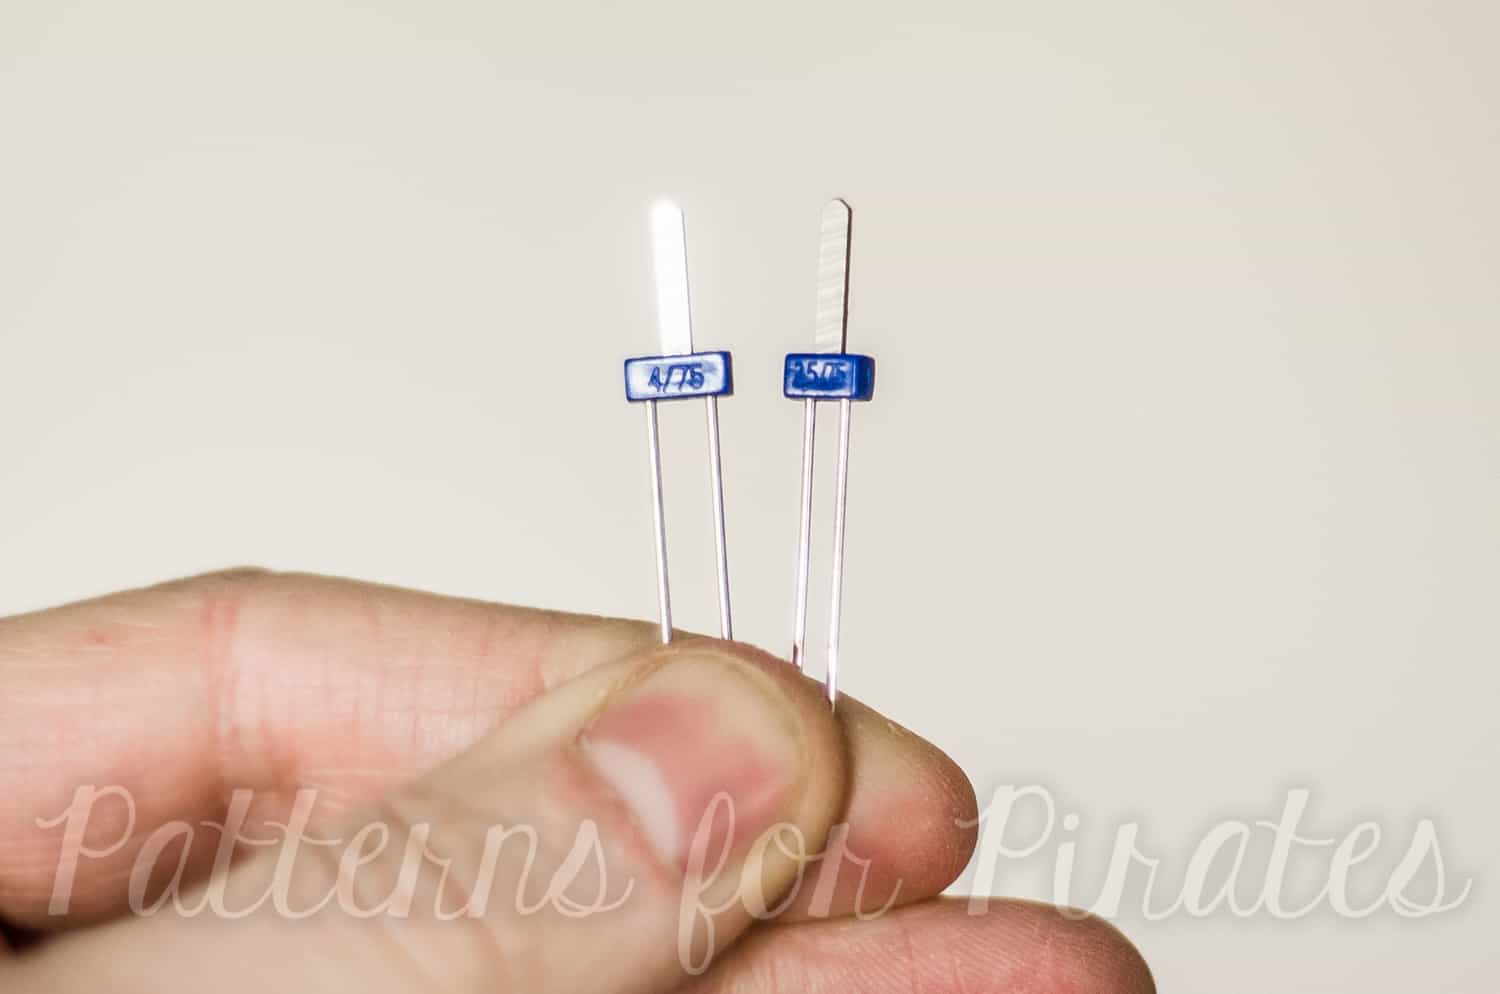
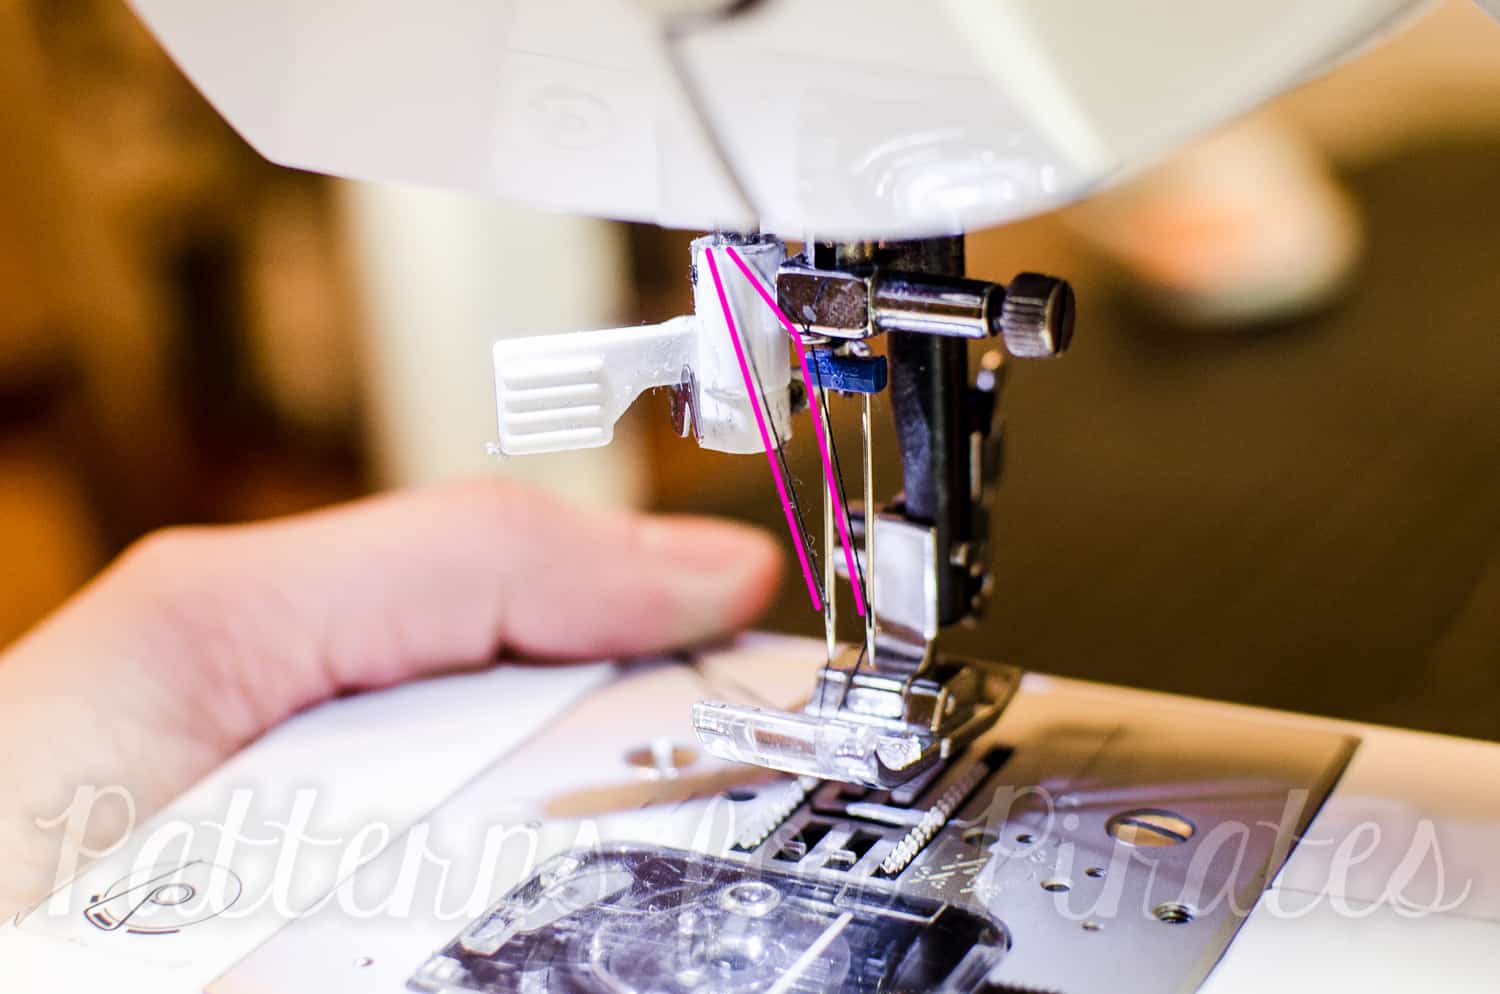
When threading, it helps to thread as shown in the below picture.  This helps stop the threads from twisting when sewing.  Also, make sure your threads are not caught on anything (or each other) at the top of your machine.
 

5. Stitch Type

Use a regular straight stitch for this; no need to use a triple stretch stitch (|||) or any other stretch stitch like that.


4. Tension

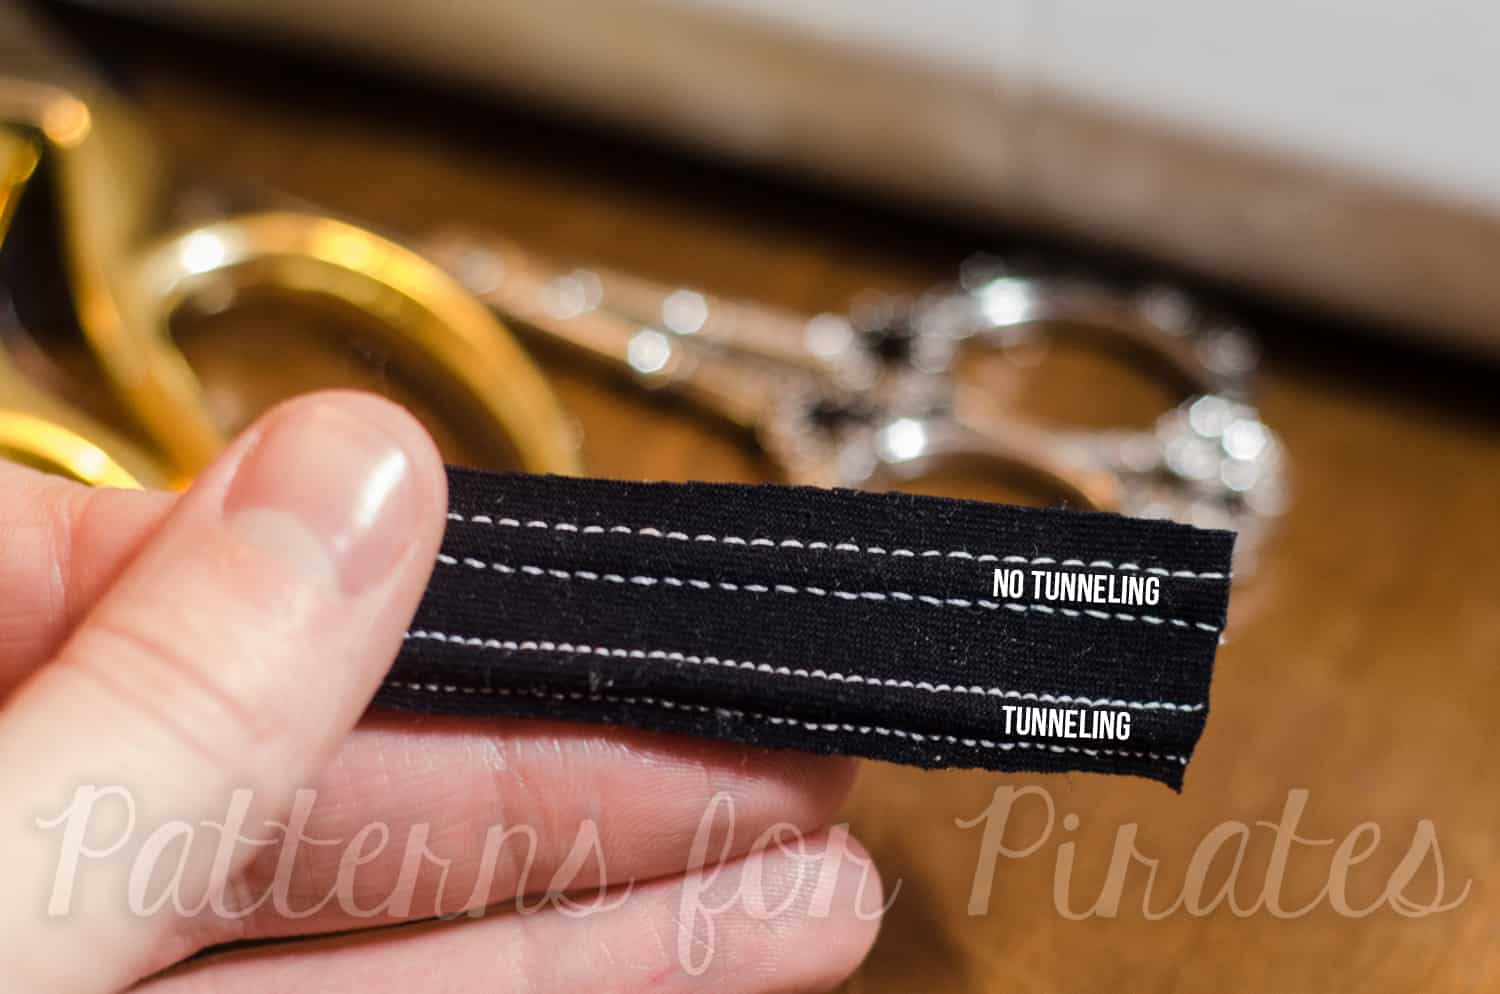
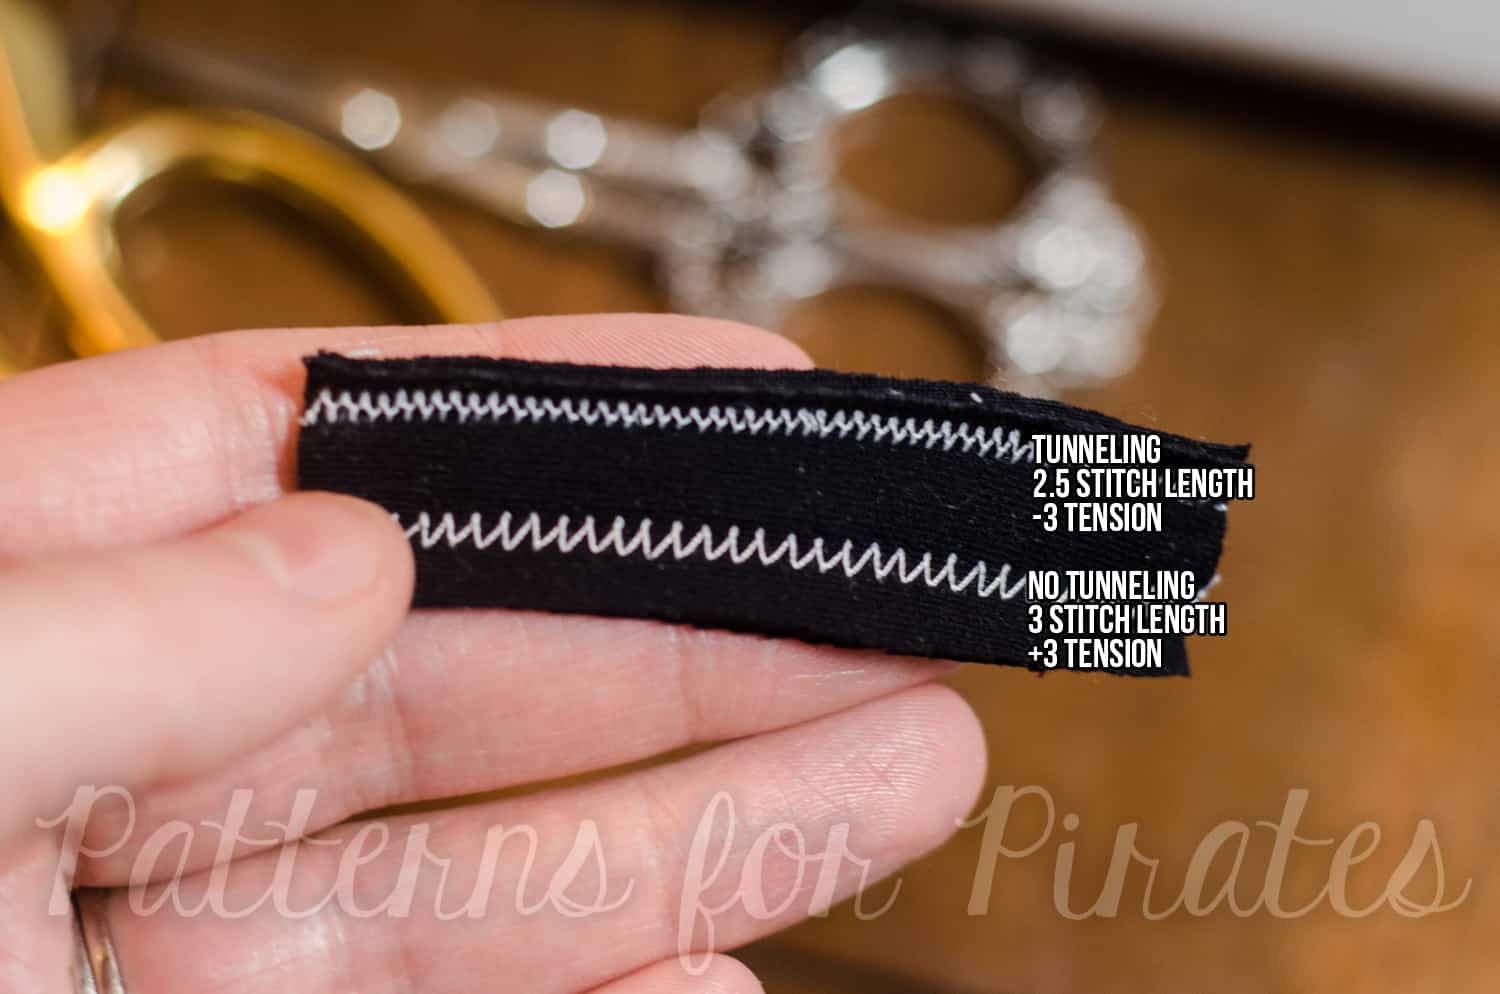
Tunneling is what happens when there is a large bump in between your two rows of stitching.  To avoid this, I’ve found it helps to increase your top thread tension.  Your machine may vary, but I usually set my tension to 3.  If possible, you should also decrease your bobbin tension as well.
 

5. Stitch Length

Increasing stitching length usually also helps with tunneling, especially on trickier, slipperier fabrics.  Your machine may also vary on this too, but I set mine between 3.0 – 4.0, depending on fabric.  The lower number will help things stretch more though, so you may need to find a happy medium.
 

6. Go Slowly!

This is a huge one.  It’s so tempting to go full steam ahead, especially if you using a twin needle to hem.  You’re almost done with your project, but don’t ruin it with a sloppy hemming job!  Going slowly can make all the difference between a wavy hem and a perfectly flat one.  If you encounter any thicker areas of fabric, it may also be a good idea to use the hand crank on your machine, turning it slowly to ensure no mistakes as you pass over the thicker area.


7. Don’t Stretch as You Sew

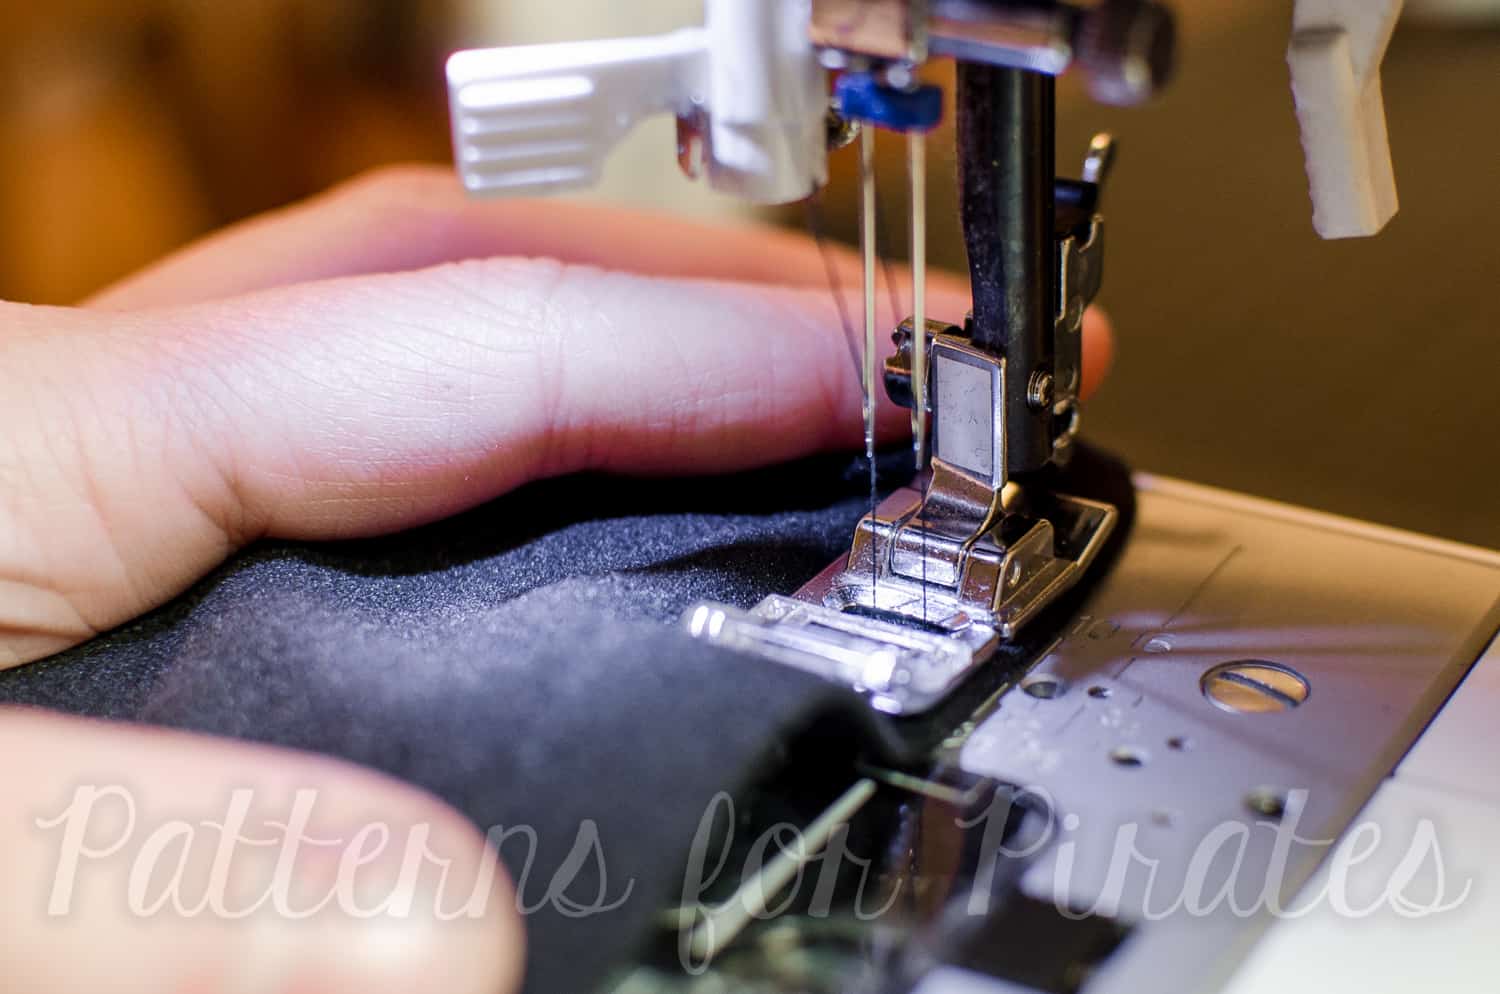
This applies to all knit fabric projects, but especially when using a twin needle.  Don’t pull or stretch the fabric as you feed it into the needle area.  I’ve found that even creating a little extra negative tension as you guide the fabric can help to avoid any pulling as you sew.
 

8. Top vs. Bottom

When everything is done correctly, you should have two parallel lines on the top of your fabric, and a perfect zigzag on the back.  The zigzag is what allows your fabric to stretch after it’s sewn, so if you have super tight or non-existent zigzags, then you likely need to adjust (likely increase – confusing, I know) your top thread tension.  Here’s how it should look, the underside of the fabric is at the top of the picture and the right side is on the bottom.  Note the zigzags!
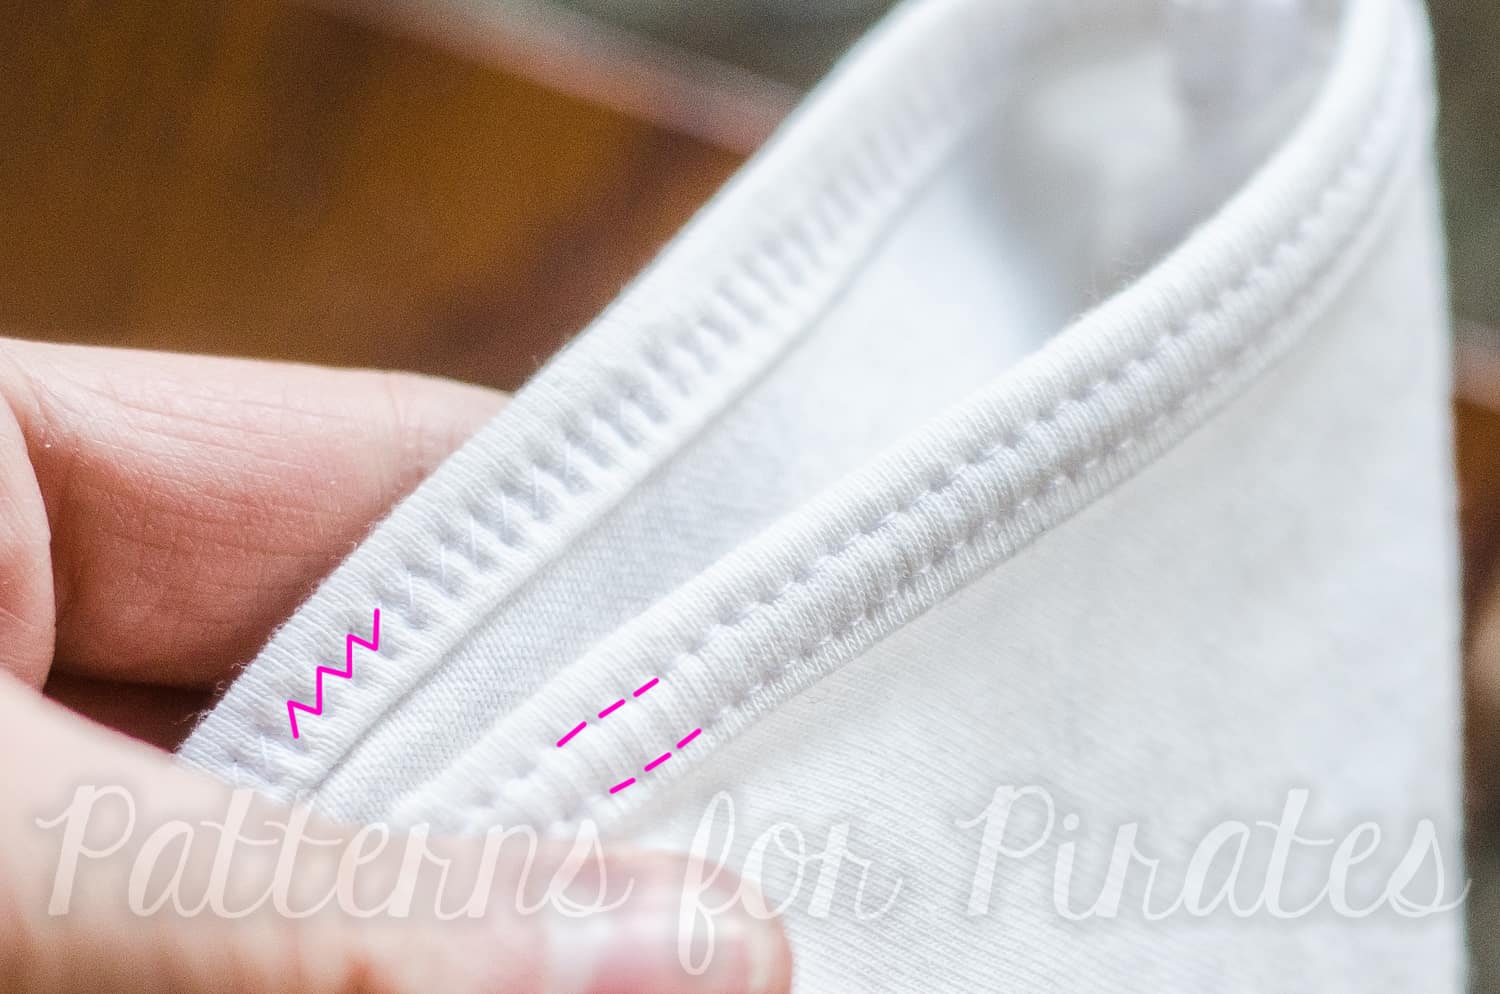
 

I hope these tips help you as you prepare to topstitch lots of fun binding or finish up a fancy new garment with a twin needle hem!  Let us know in our Facebook group or here in the comments if you have any questions about twin needles!

Elisabeth
Filed Under: Frequently Asked Questions 15 Comments

Cross My Heart Cami Hacks

March 14, 2017

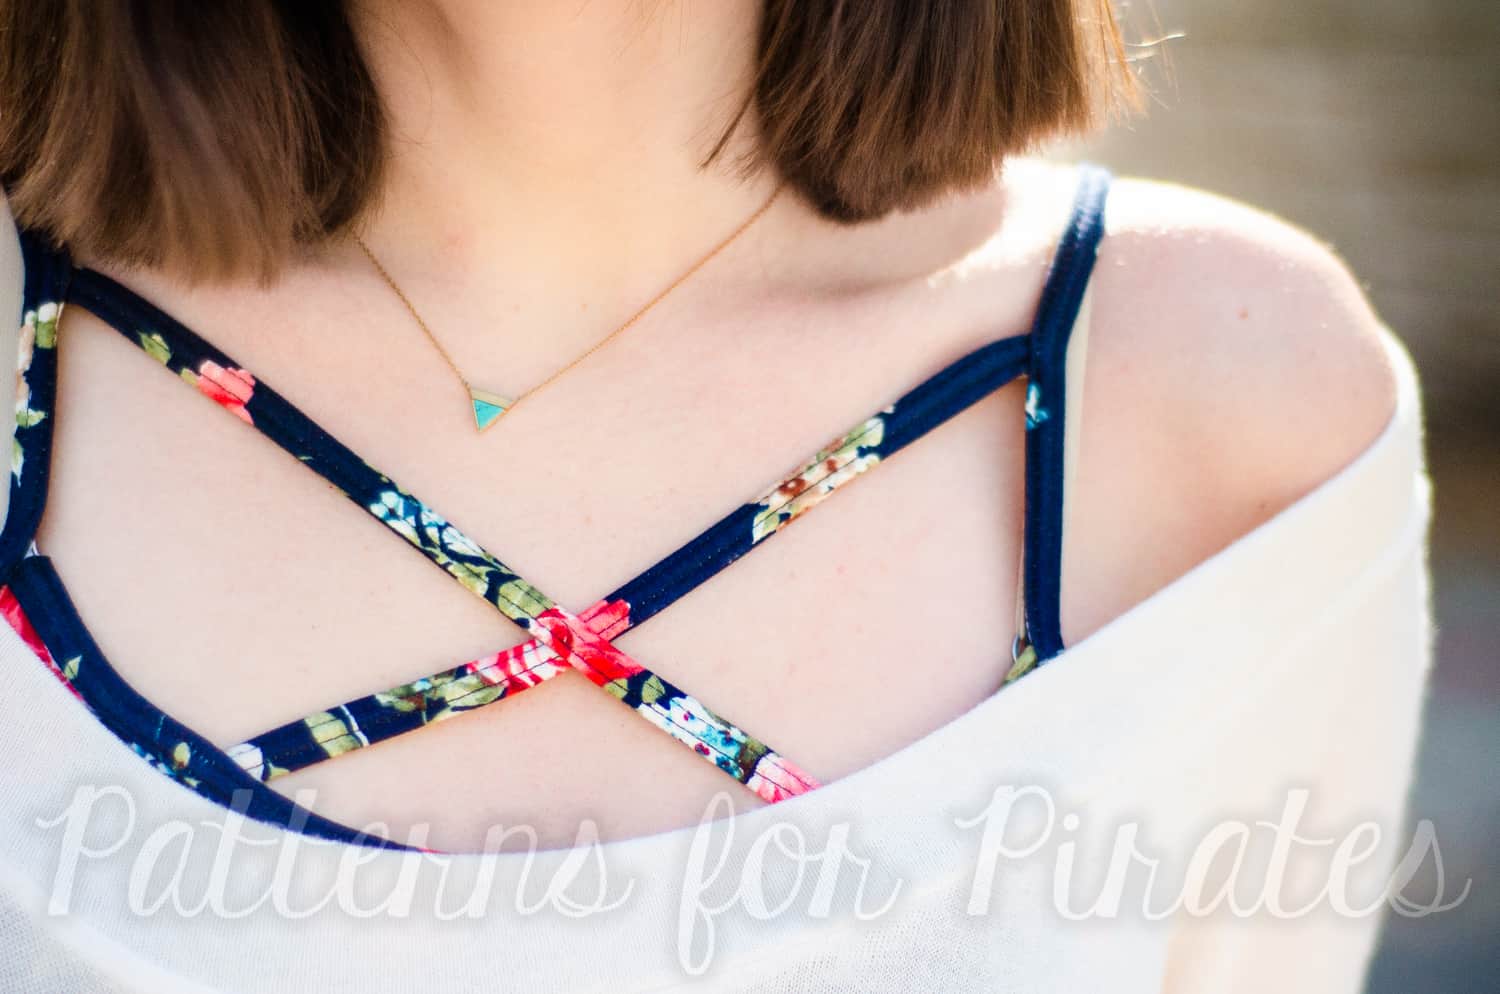
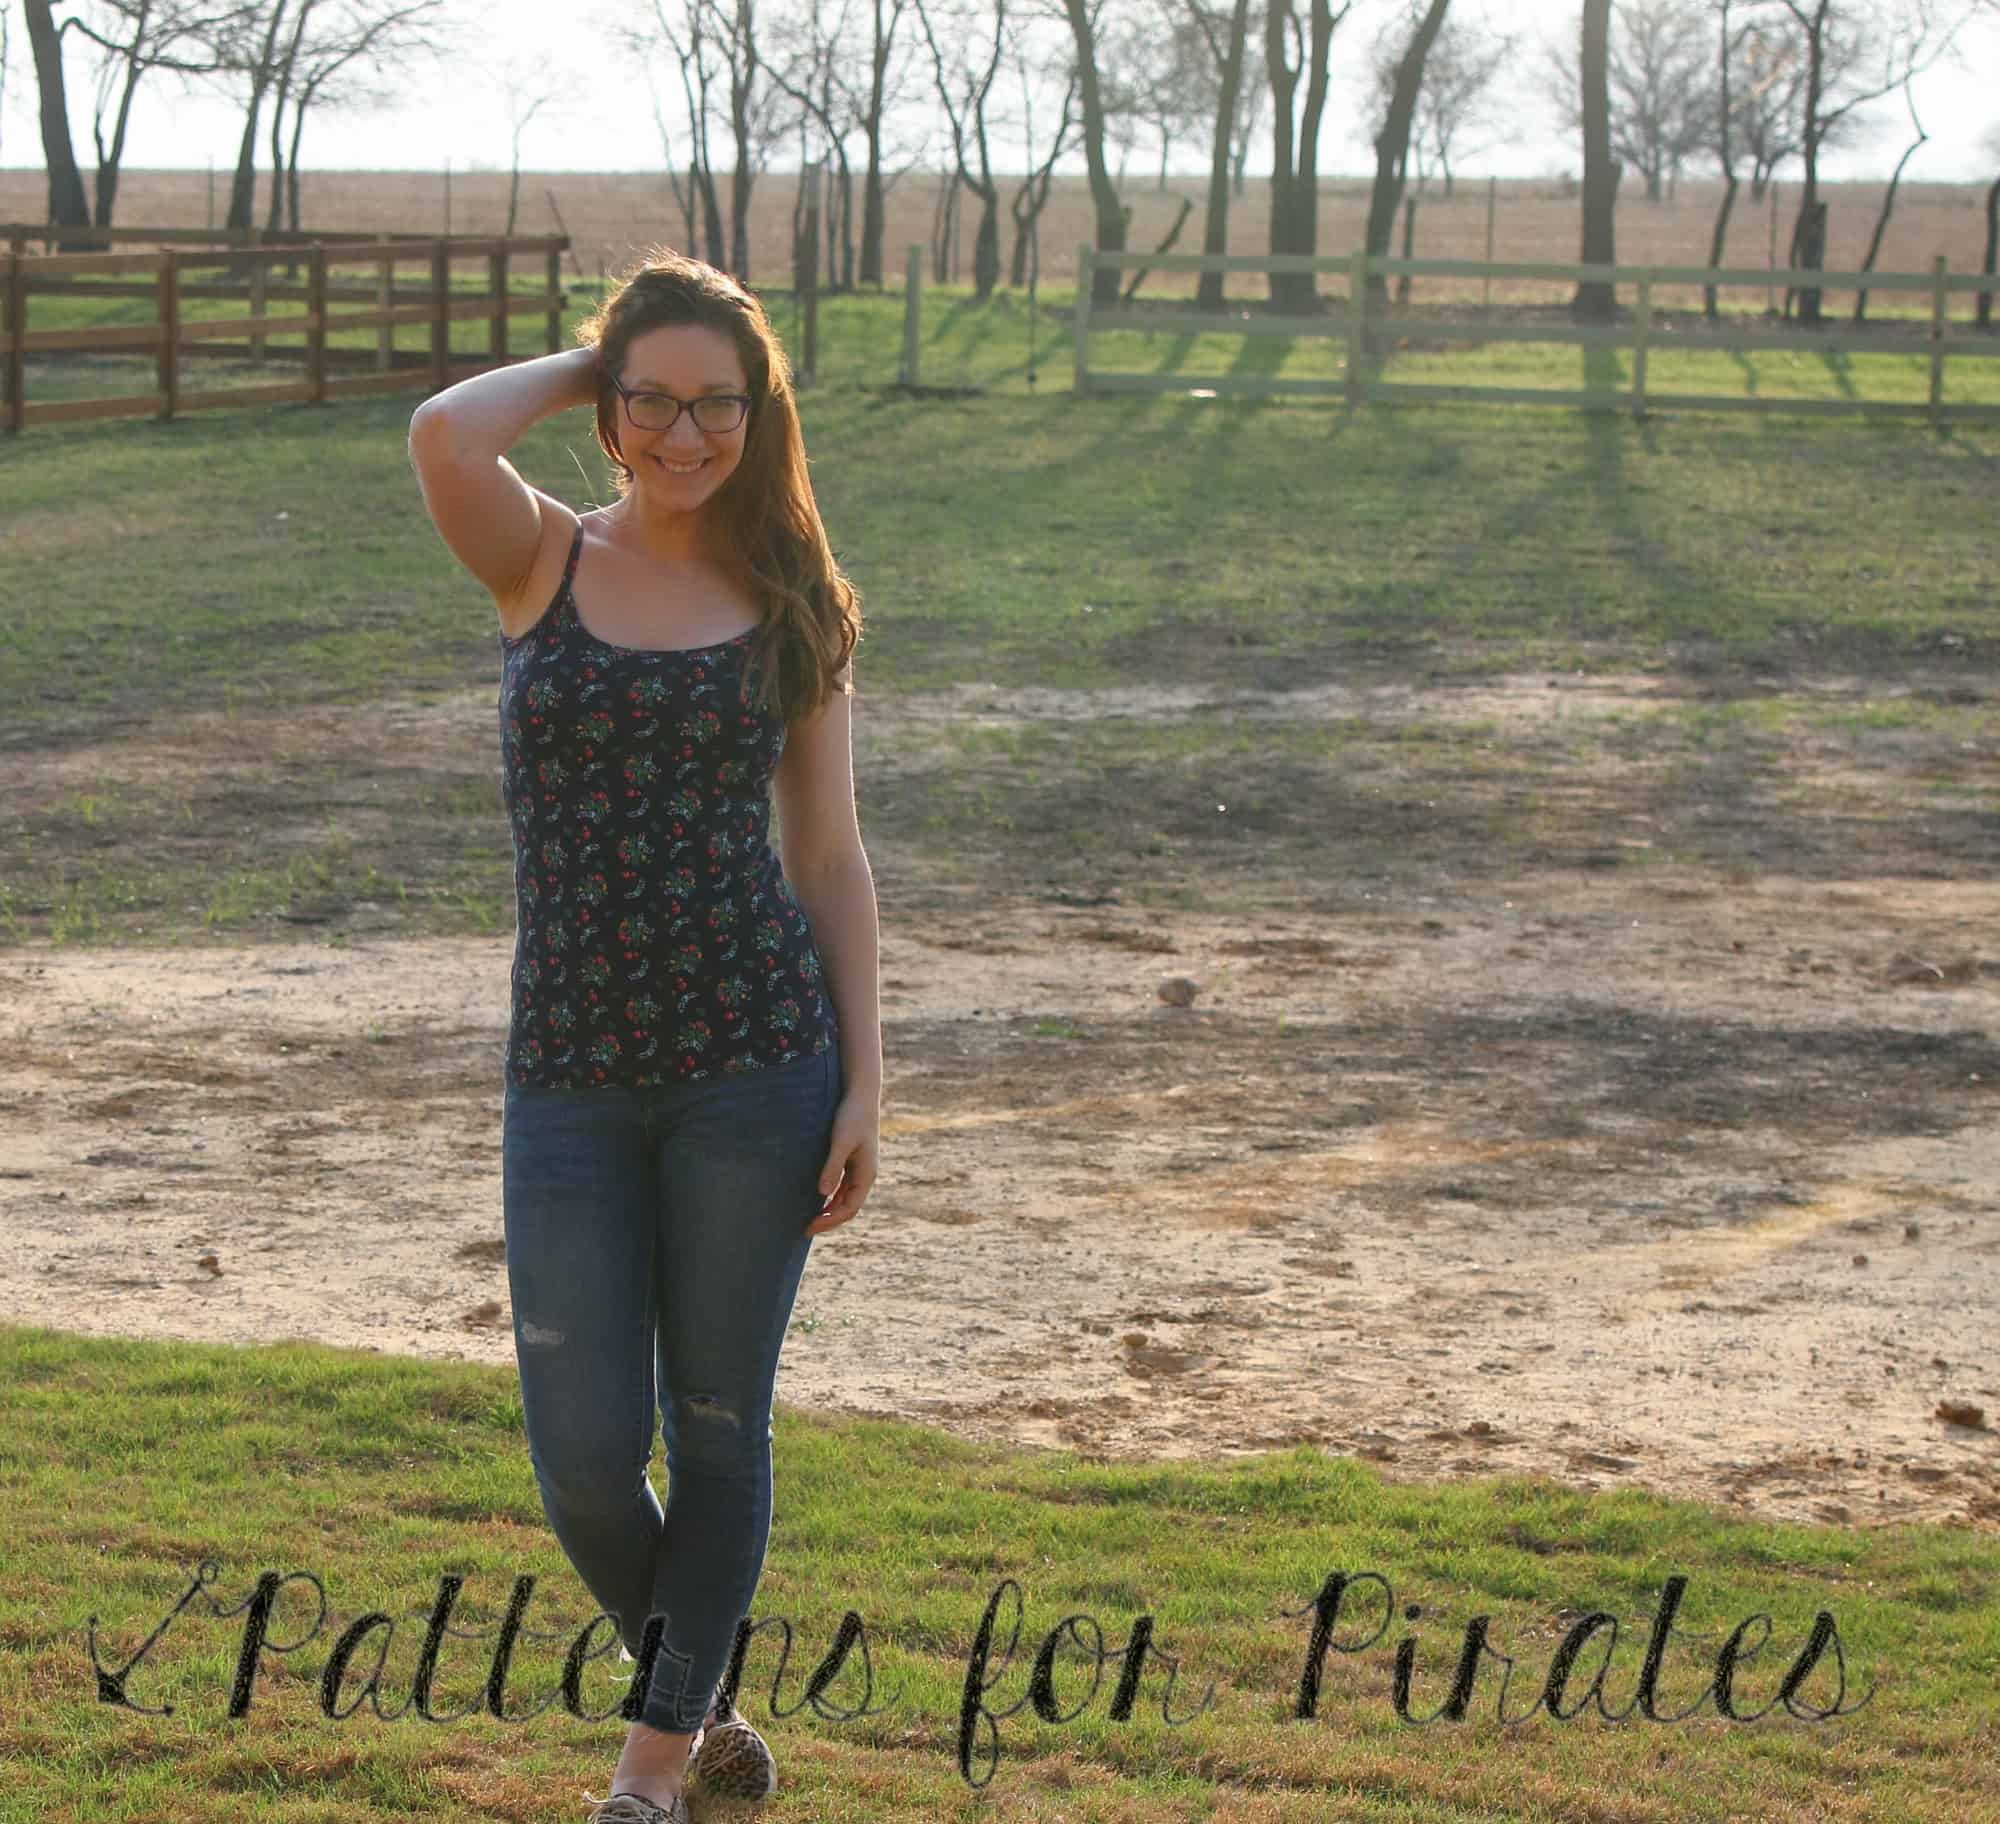
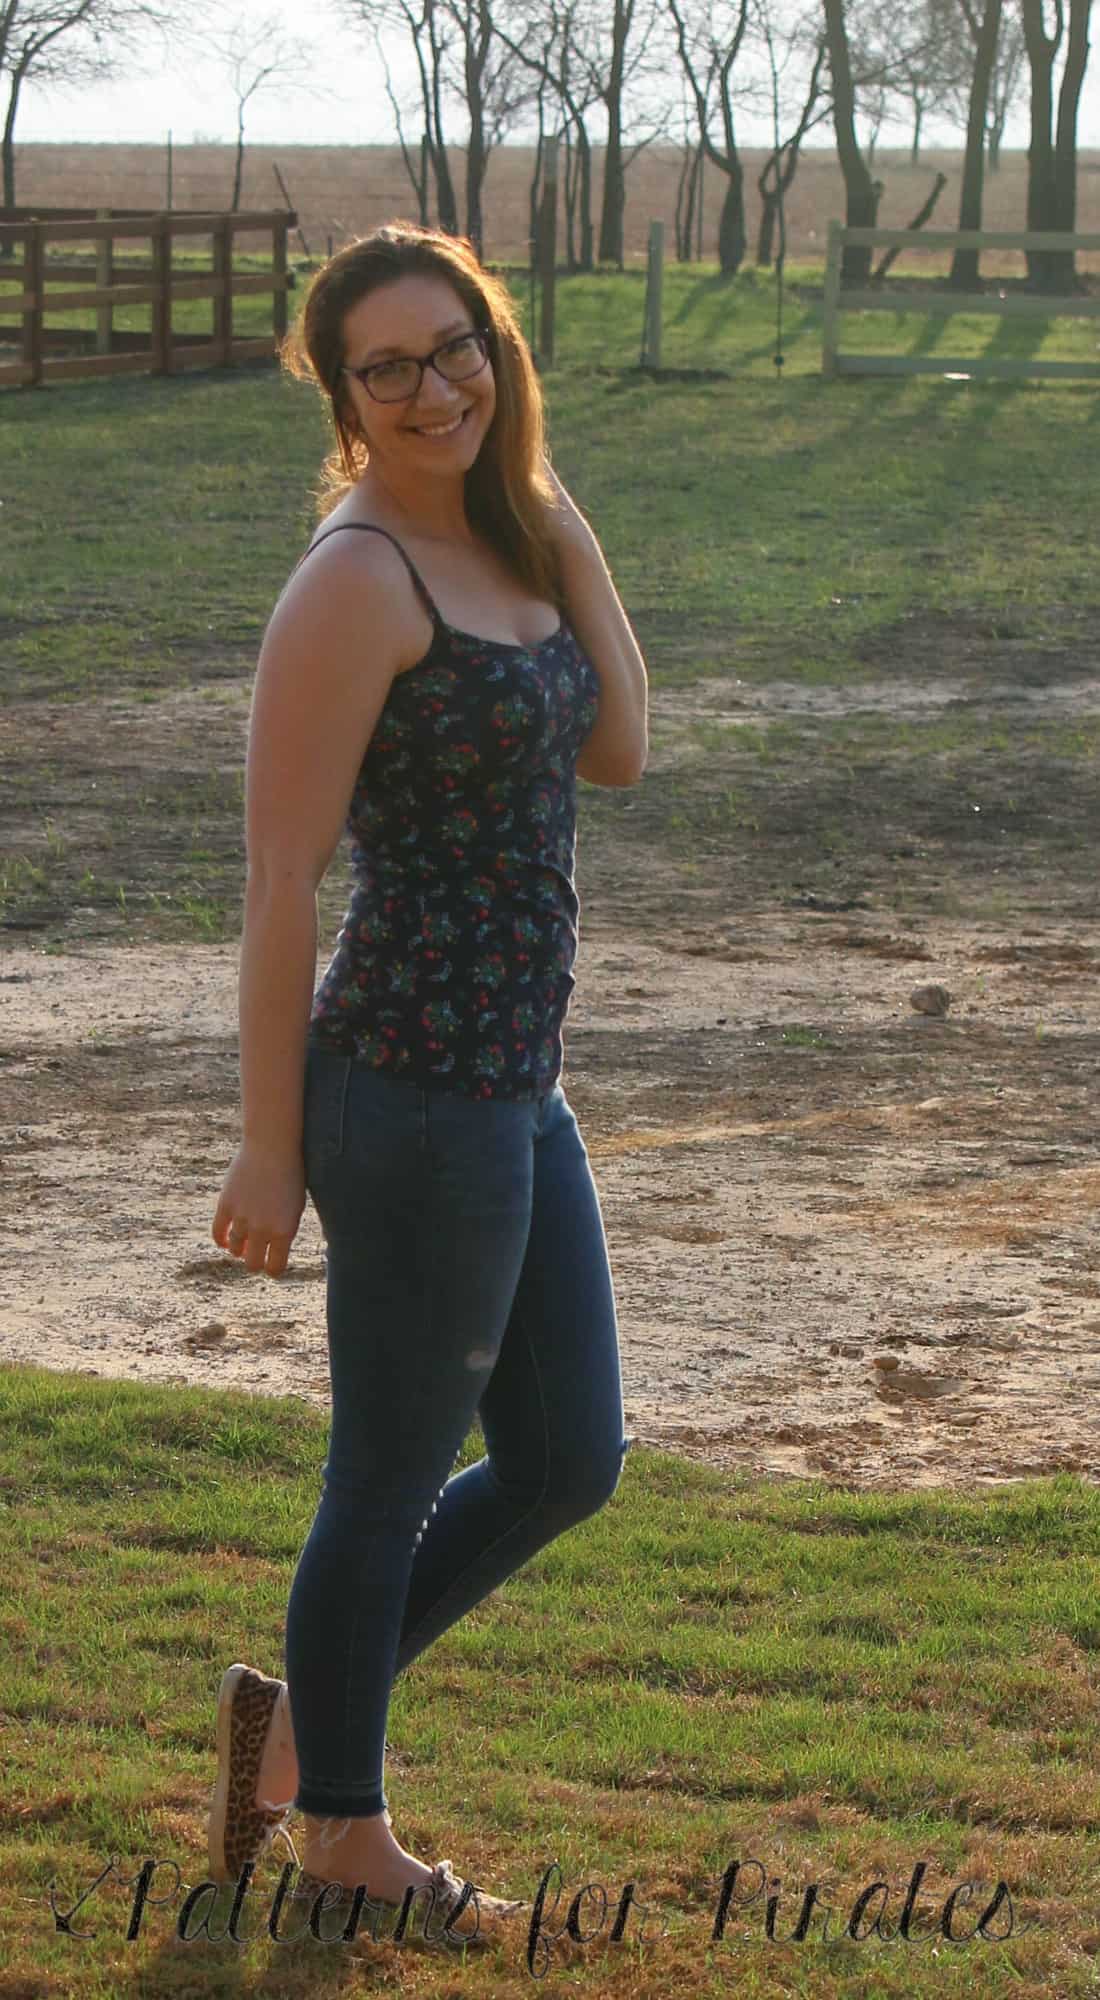
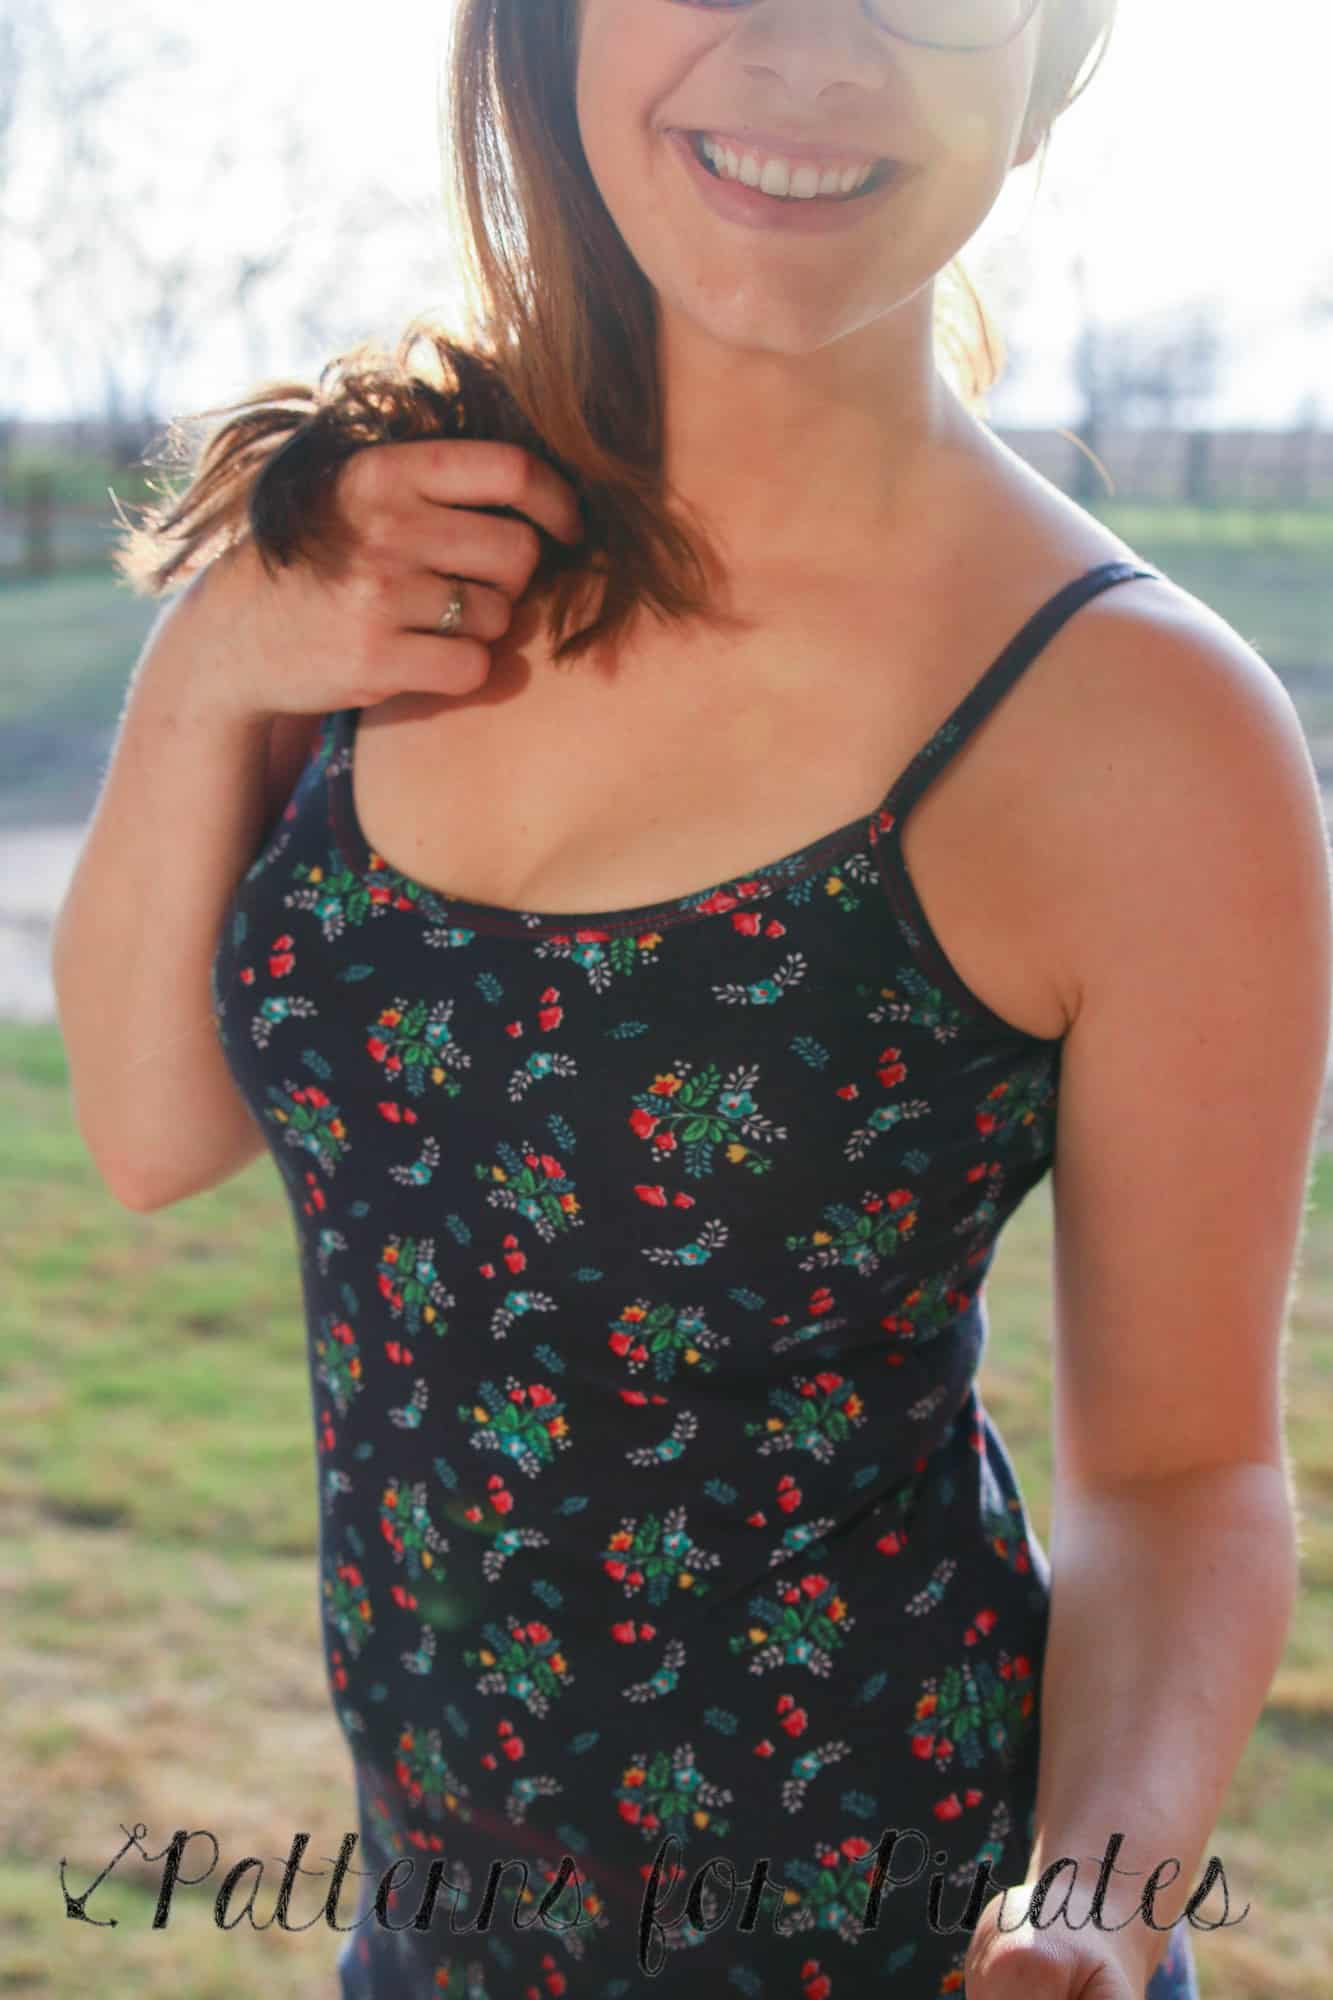
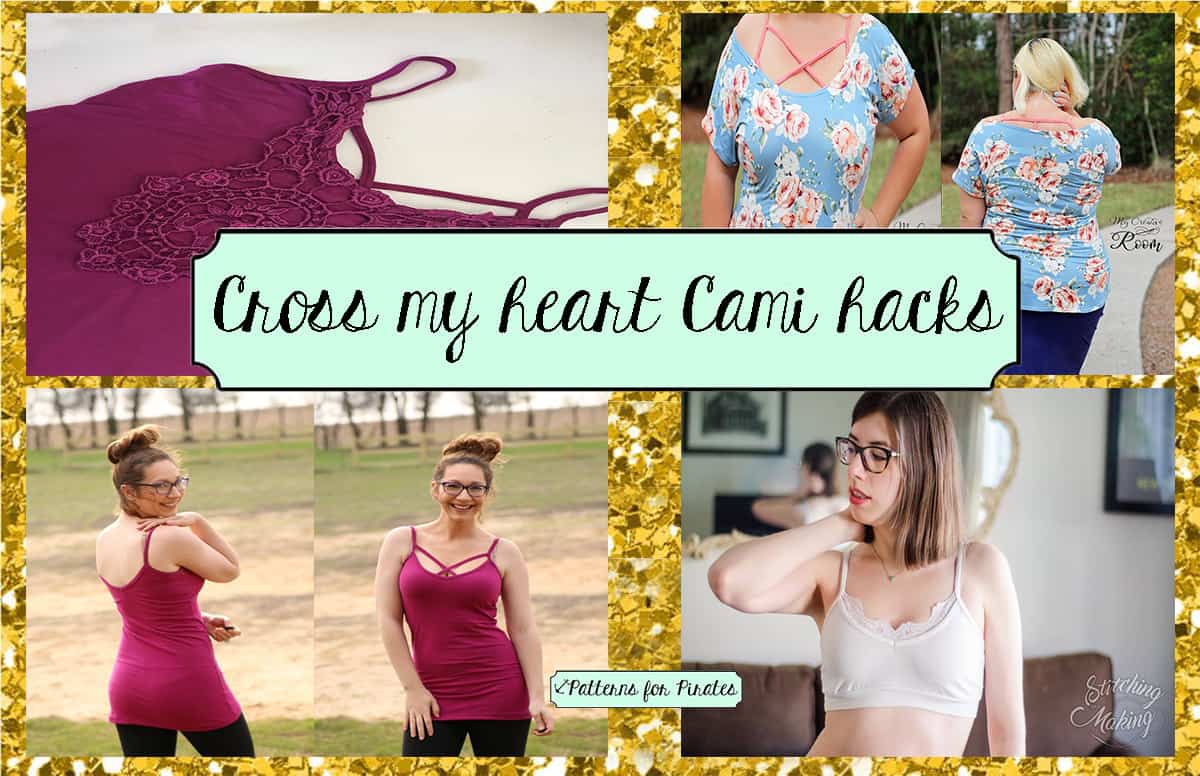
So you love the X option but you also love the T option of the Cross My Heart Cami and now you’re in a pickle…which one do I make? The answer is obvious, you make both! And if you’re anything like I am, you make both style in one cami! 🙂

IMG_6658

IMG_6671

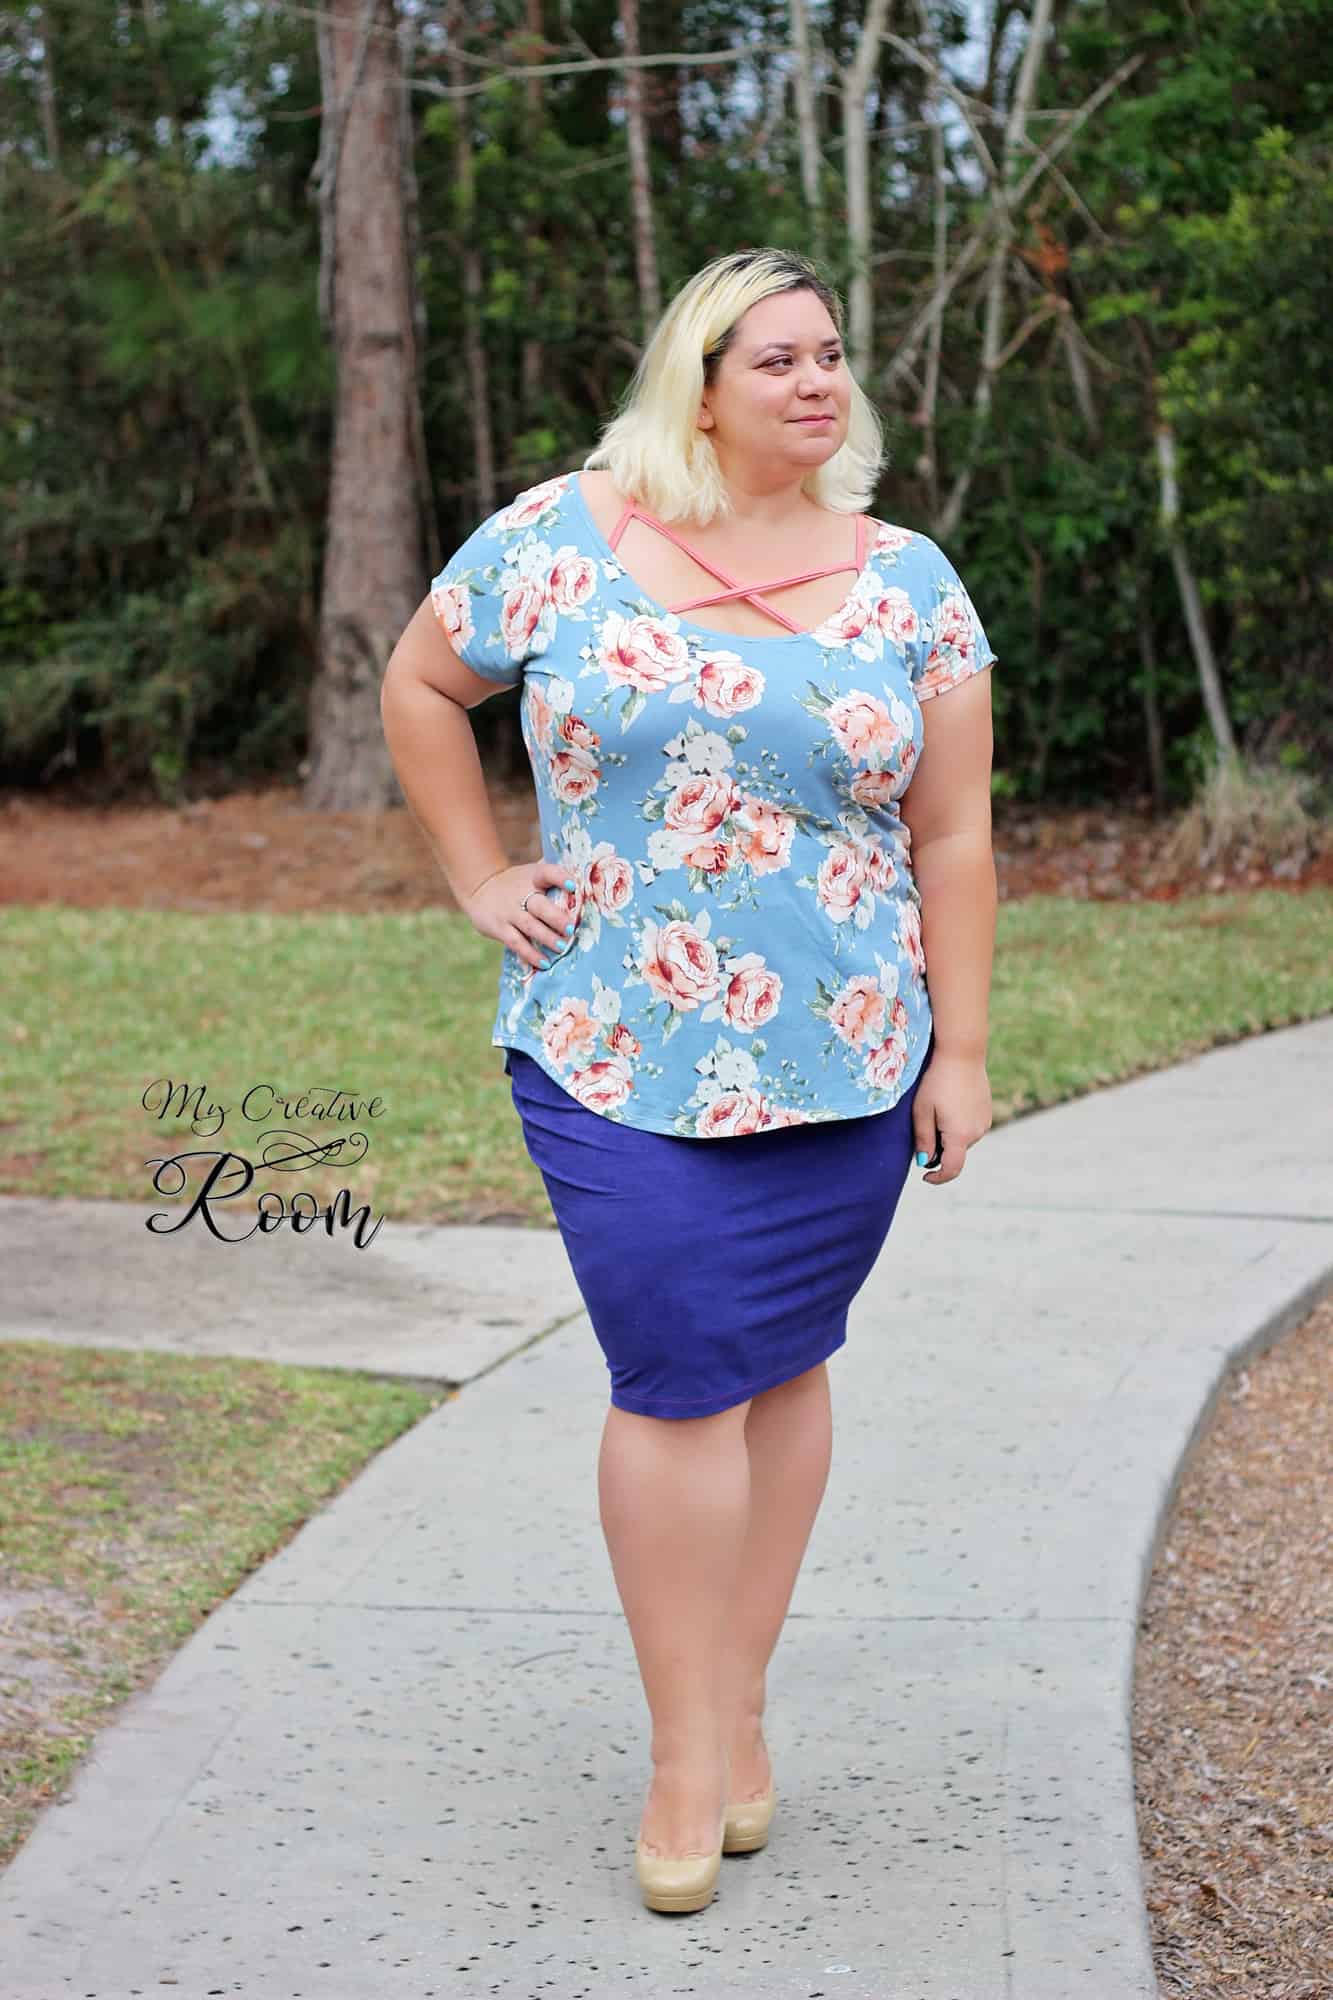
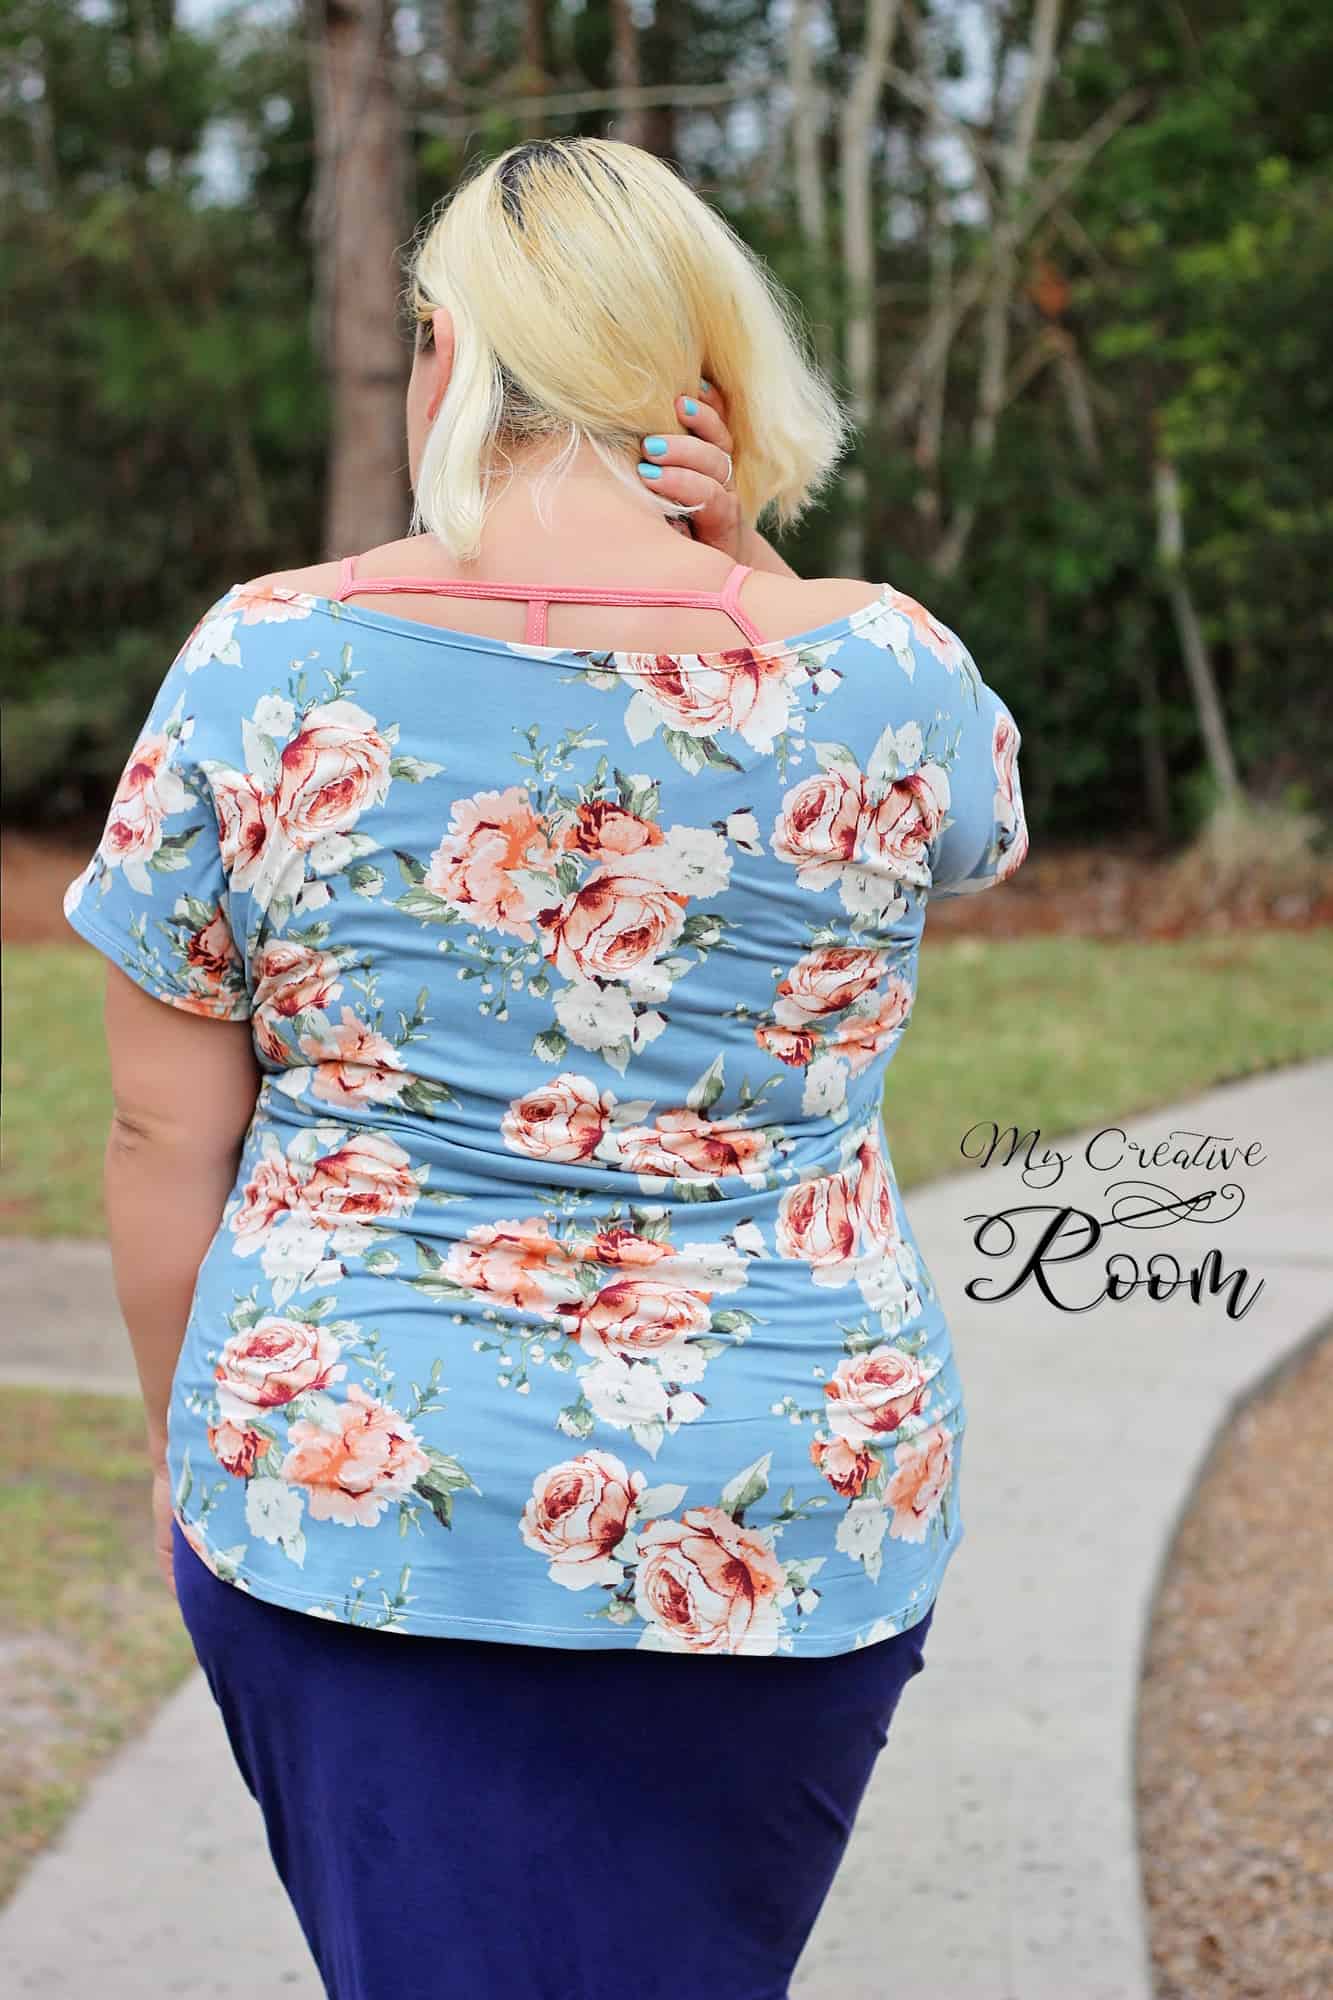
The beauty of the CMHC pattern is that you don’t even need to make any modifications to achieve this look. Simply cut two pieces of the front pattern and follow the directions for adding the T and the X details to the pieces. Finish the cami as per the tutorial and voila! You made yourself a brand new cami that can be worn both way. You can wear the X in the front and the T in the back like I did or you can wear the T in the front.

cami 2fronts

I paired this cami with a Pirate Pencil Skirt and a Sweet Tee with curved hem and an off the shoulder mod. Which styles will you be making first?

Judy made this one with two backs! Such a simple mode that can add so many more options to this pattern!

The V front and low x makes a sizzler! I mean, who doesn’t love to have that piece of clothing that you can pull out, slip on feel a little sexy every once in a while?

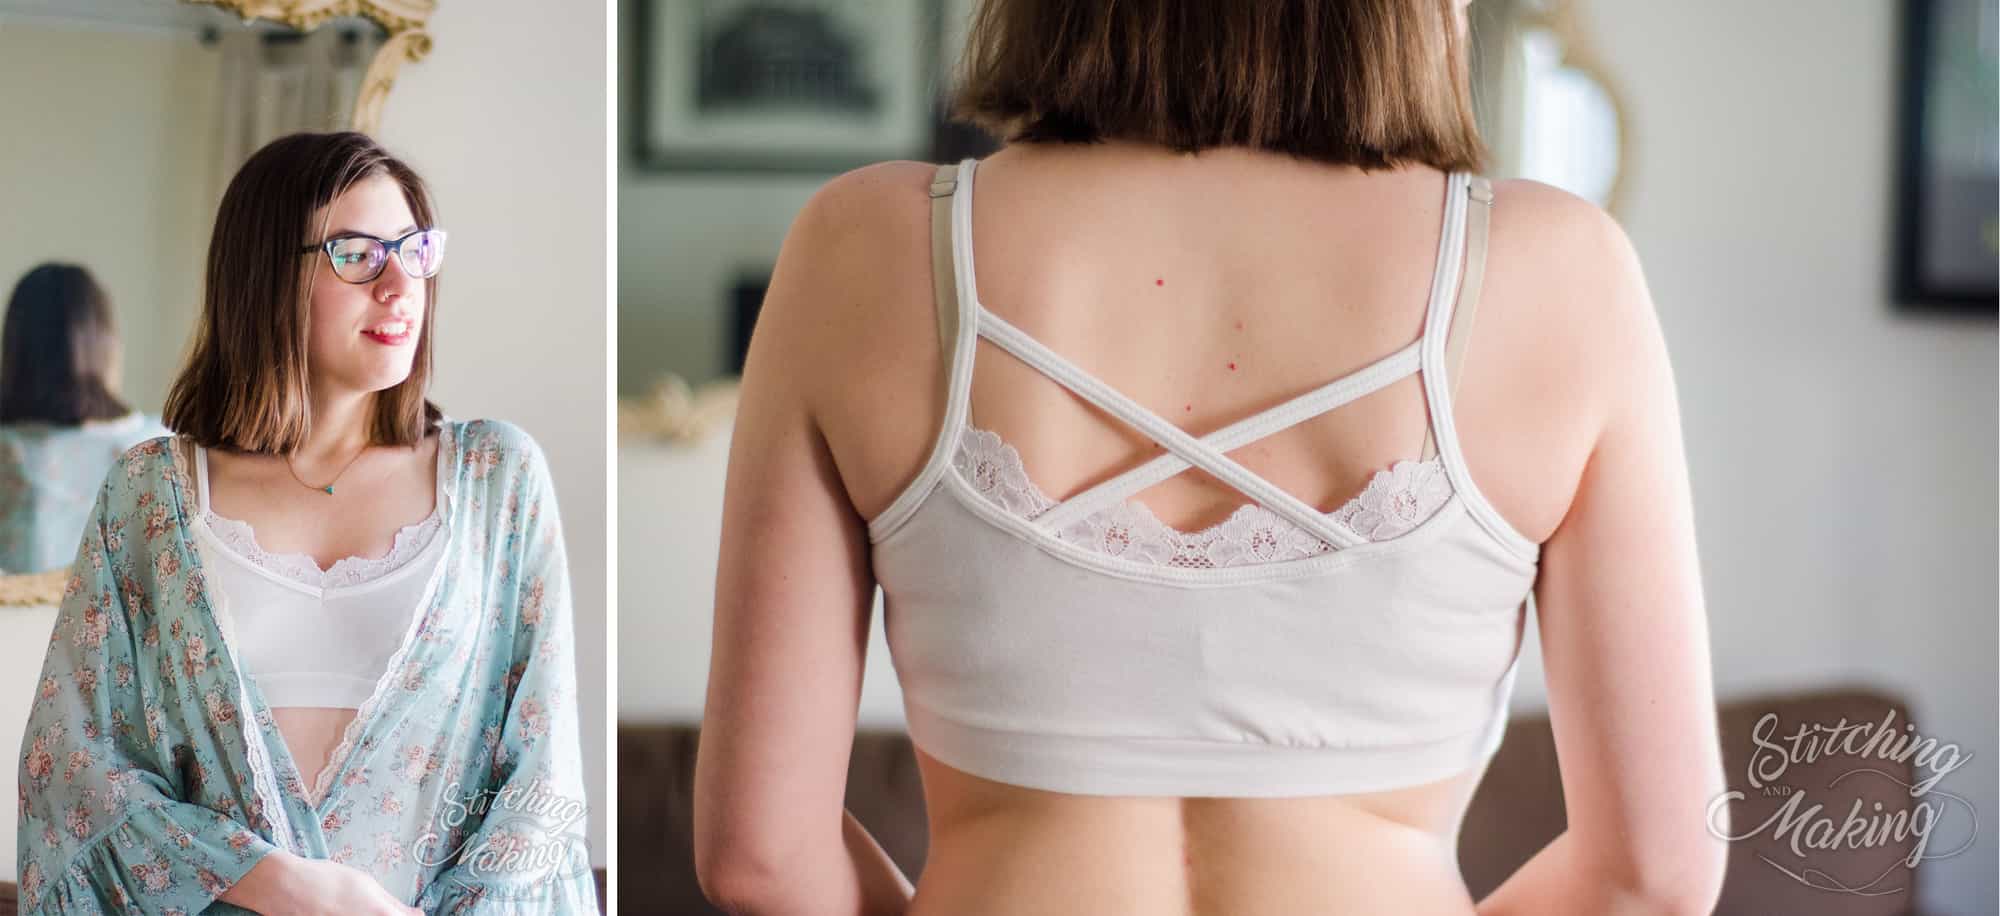
Are you looking for a more delicate, feminine feel?  Grab some stretch lace for an easy hack!

Here’s a simple how-to:

1. Cut the lace the same length as your binding pieces, for whichever neckline you are using.

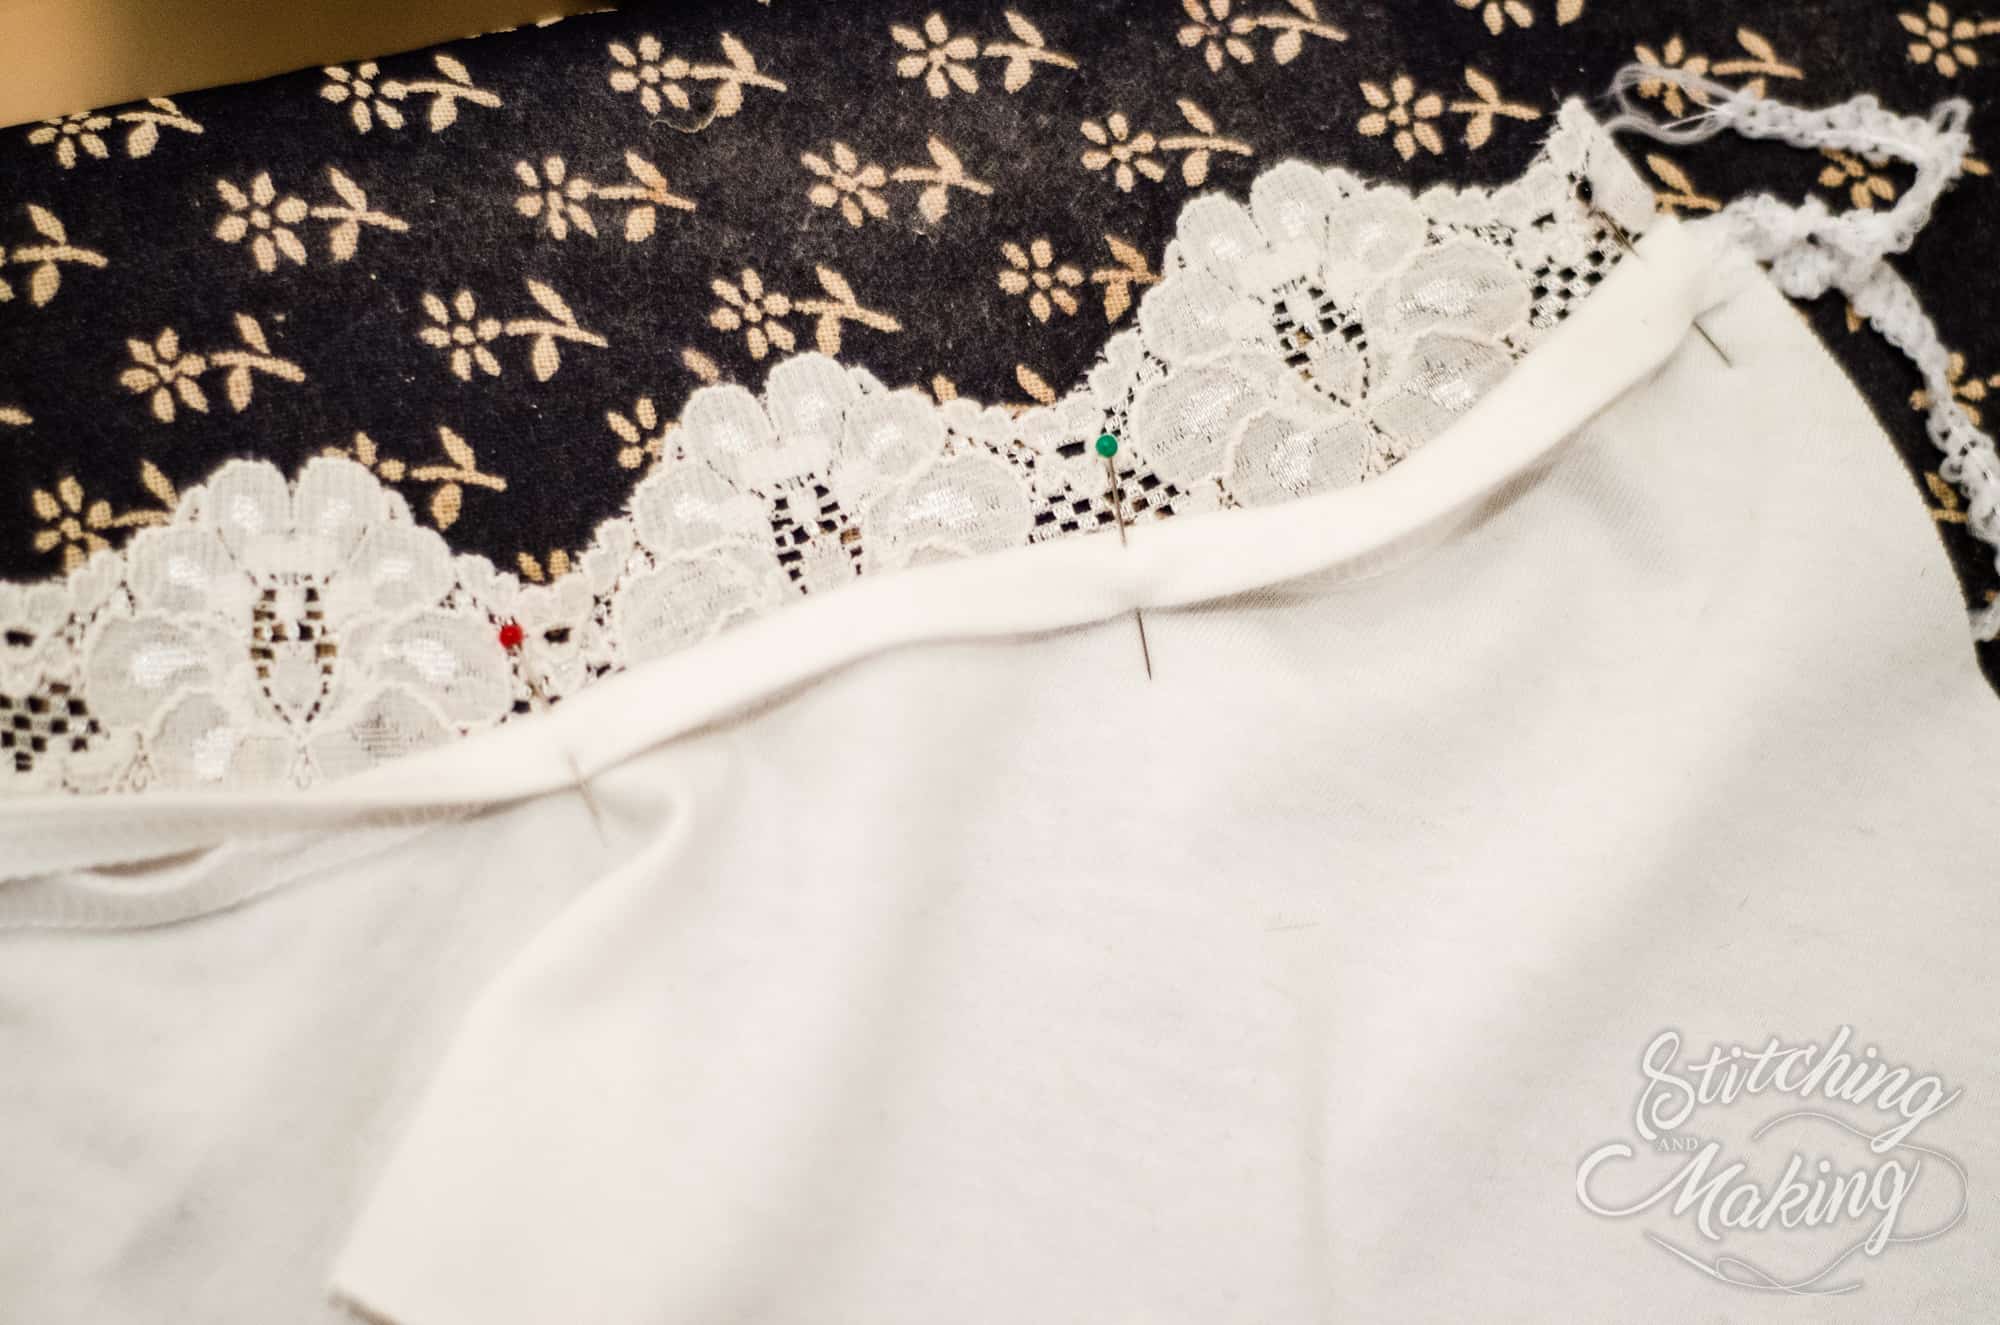
2. After you’ve attached and folded over the binding as directed in the tutorial, pin the right side of the lace to the wrong side of the neckline/binding. In the picture below, the fabric is right side up.


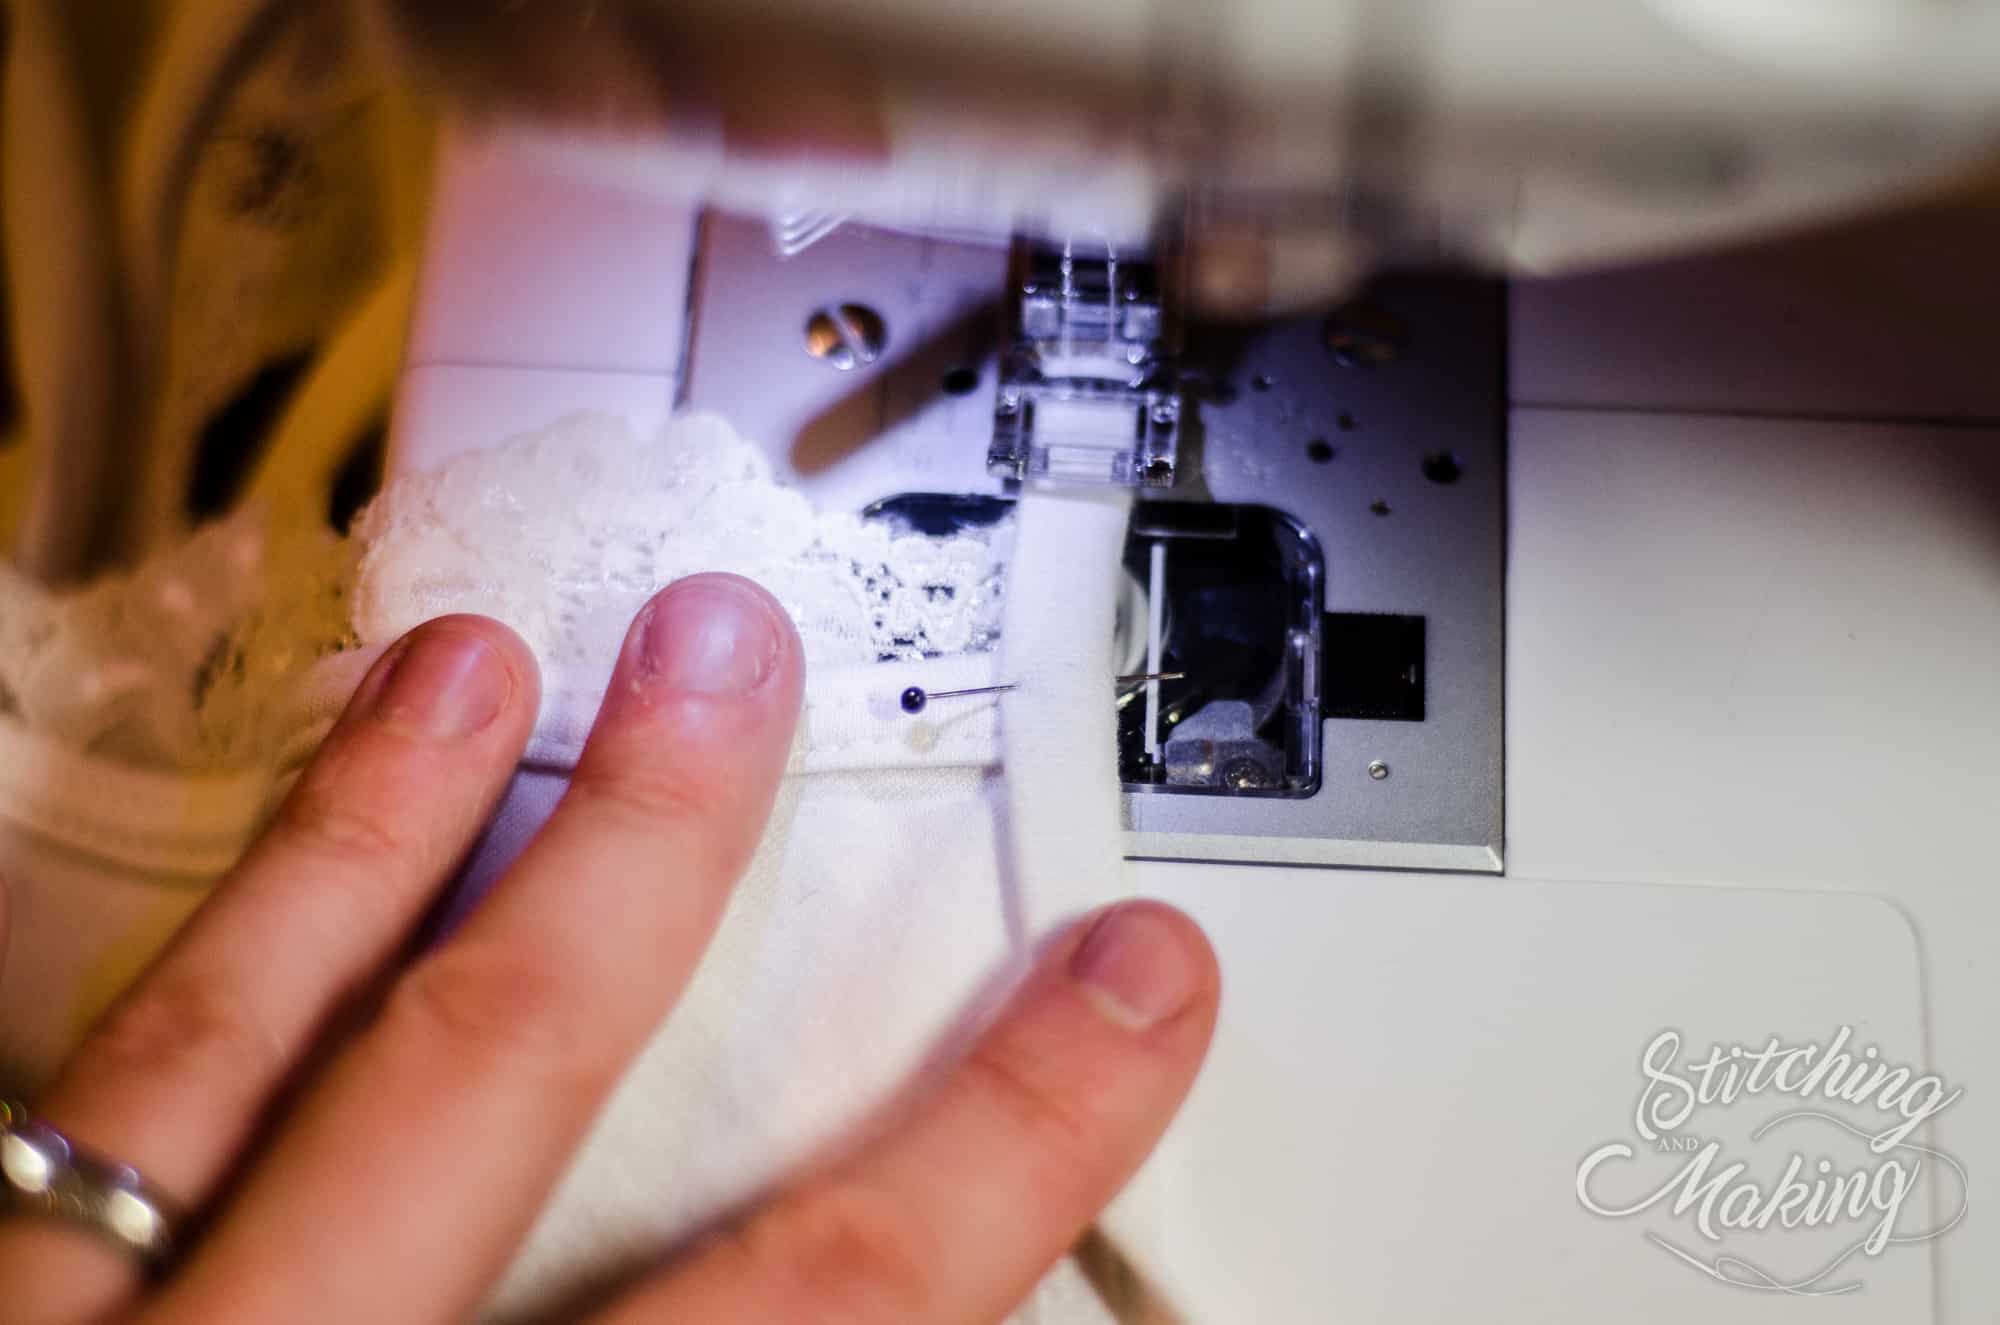
3. Repeat for the back as well, if you’d like.  Then, sew it on as you top-stitch the binding, per the pattern tutorial.  Here’s how it should look all said and done; wrong side up shown on the bottom of the picture, right side up shown at the top.


4. Be sure to catch the edge of the lace on the side of the shoulder binding as you attach it.


5. Finish the shirt as the pattern tutorial directs.  That’s it – easy peasy!

~ Elisabeth
 

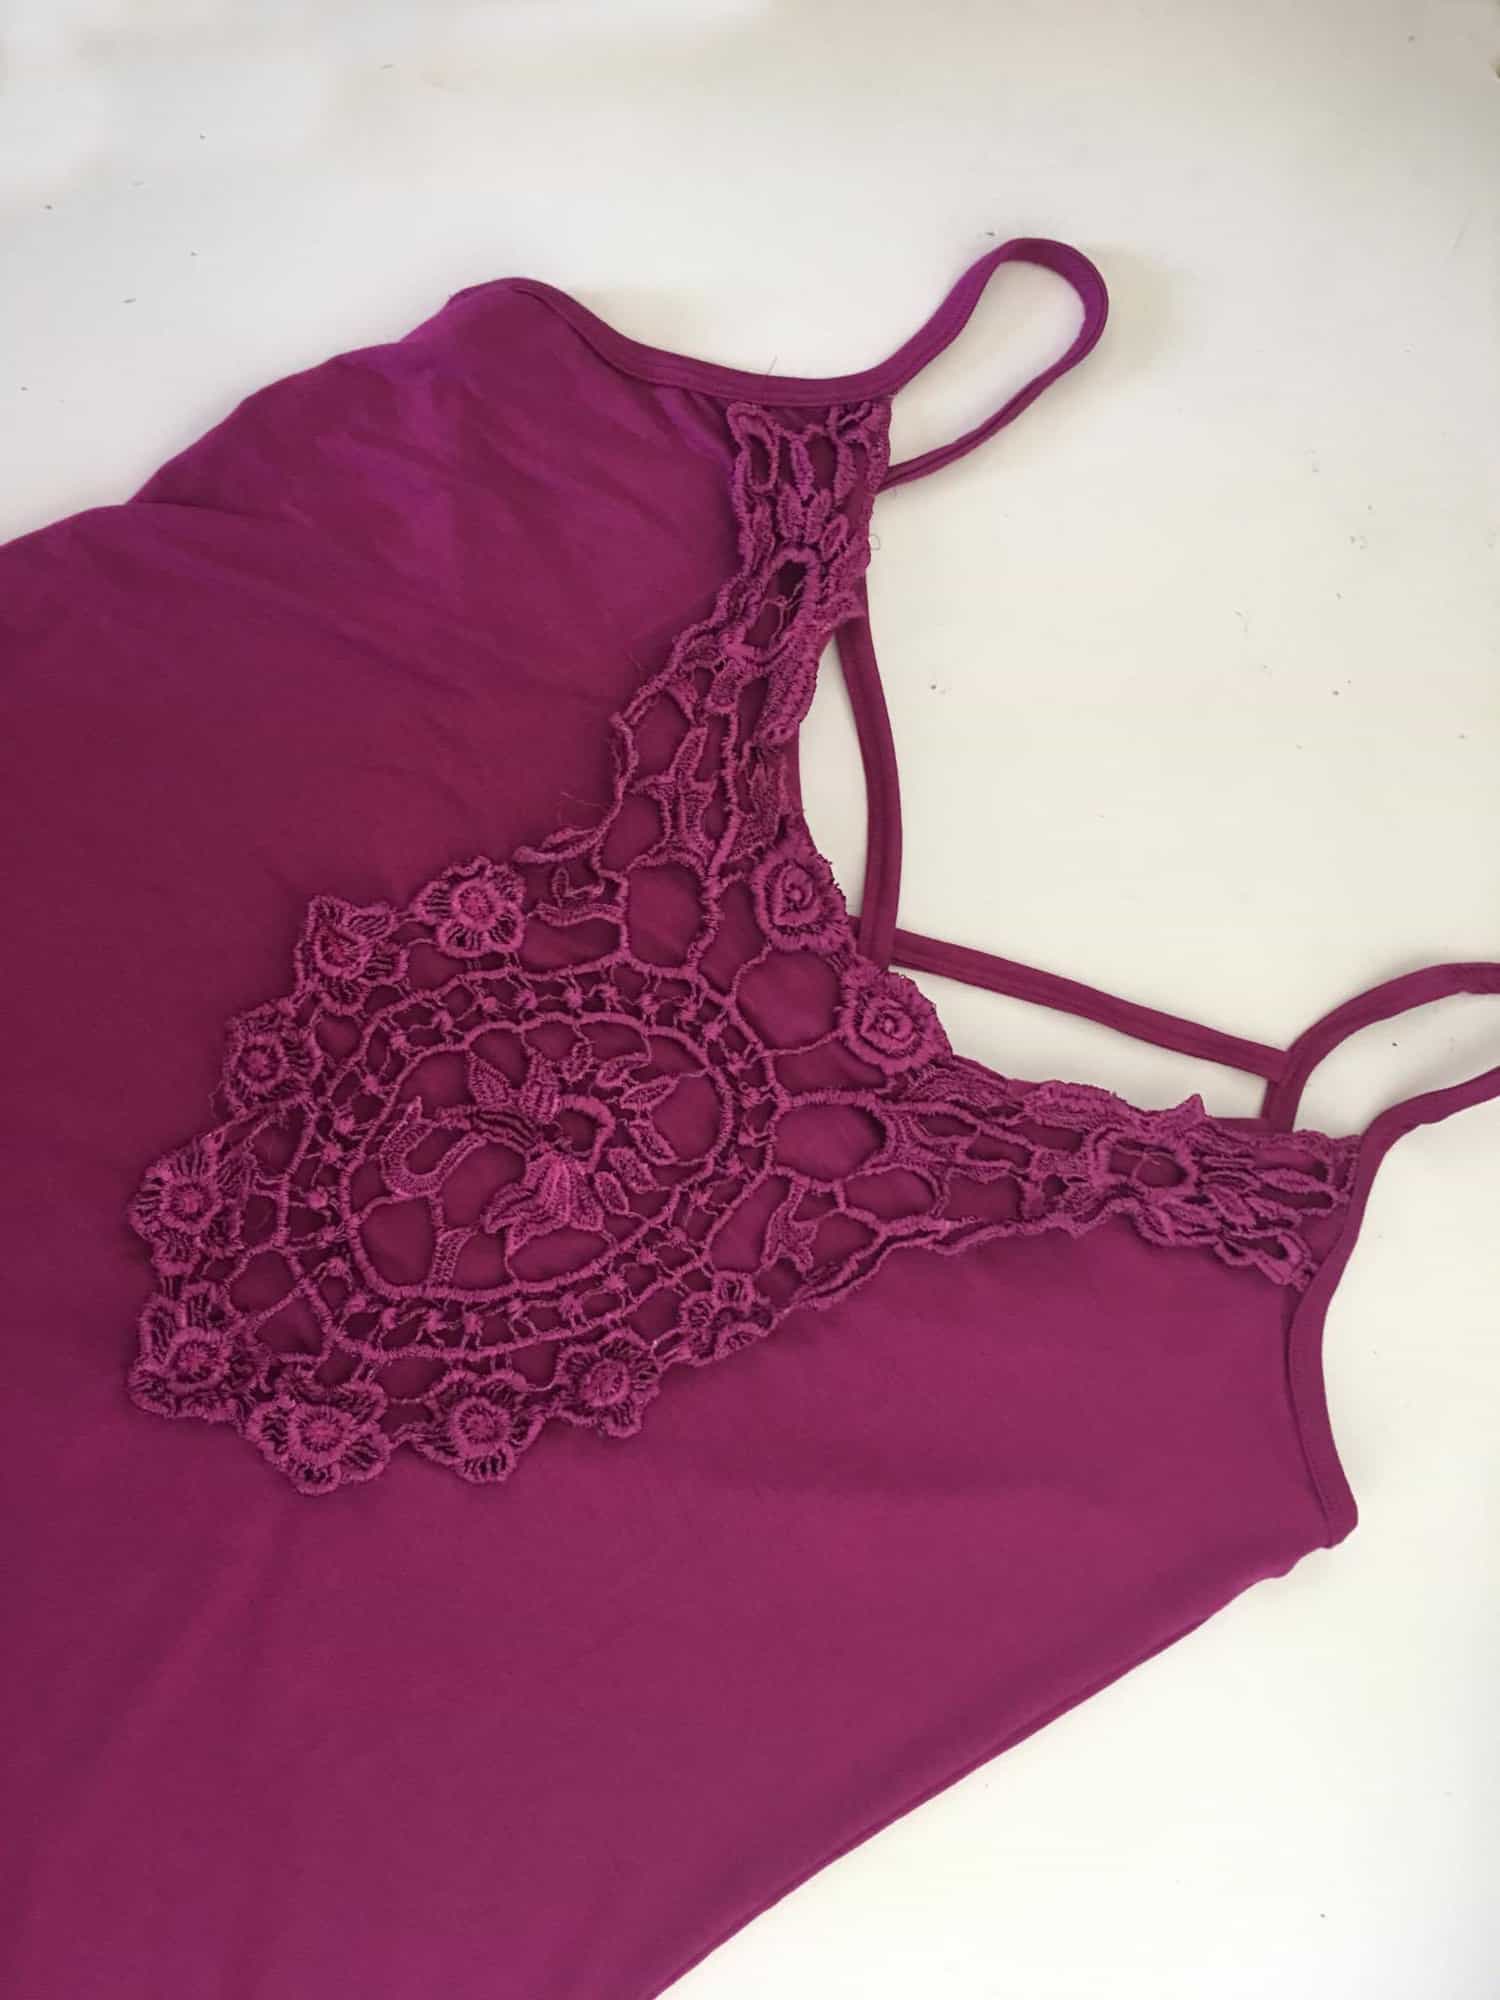
Not sure what to do with all those pretty lace appliques? Attach one to the front or back of the cami.  I happened to up-cycle one from an old shirt that didn’t fit anymore and have some knit on hand that matched perfectly!  I used to V back because of the shape of the applique.  I left the front neckline raw and stitched the lace just overlapping the top edge using a zigzag stitch.  (Knit does not unravel so no need to finish those edges).  Attach to the right side of the cami prior to doing the shoulder binding if your applique extends to the armholes.  For the main body of the applique, I chose to tack down in a few areas (center of the flowers) as the applique itself was pretty open throughout.  Easy Peasy!
 

Filed Under: Frequently Asked Questions, Pattern Release, Uncategorized 1 Comment

all p4p today

March 1, 2017

p4pcontest

One of our biggest joys is seeing you wear P4P outfits and feeling beautiful! From Slim Fit Raglans to SOS pants, from Timeless Tunics to Free Spirit tanks, we love them all!

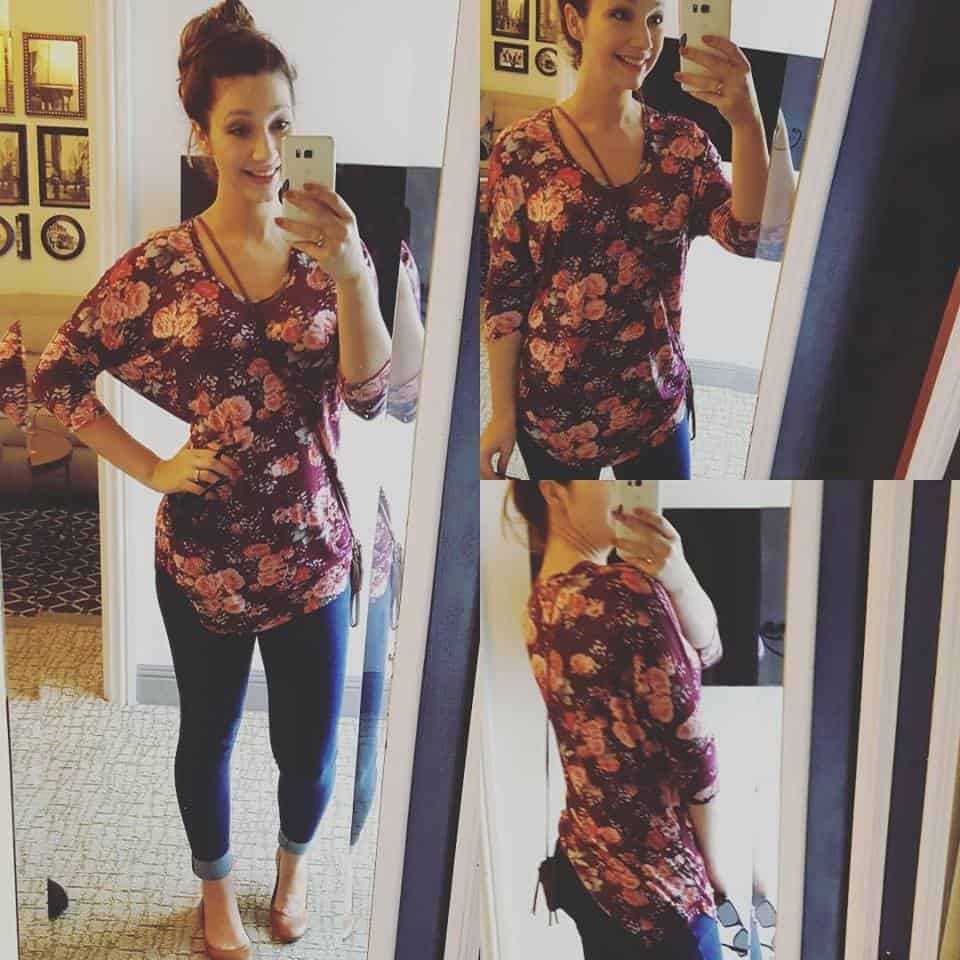
Are you wearing head to to P4P today? Will you be rocking a full Patterns for Pirates outfit tomorrow? Post a picture in the Facebook group or on Instagram of your outfit and hash tag it #allP4Ptoday. We will pick our favorite each month. In order to qualify for the contest, the photo must be taken when you’re wearing the outfit, whether it’s at home or out and about. Selfies in the mirror in your sewing room will not count. We want to see you wearing what you’re sewing and love it!😊 The lucky winner will be receiving a P4P pattern of their choice! Sounds fun?

Just in case you need some inspiration here is some of our “all P4P” looks that we rocked this past year.

judypsd

Pumpkin Spice Dolman and SOS Pants

katy 1

Sweetheart peplum and pirate Pencil skirt

Nicole3

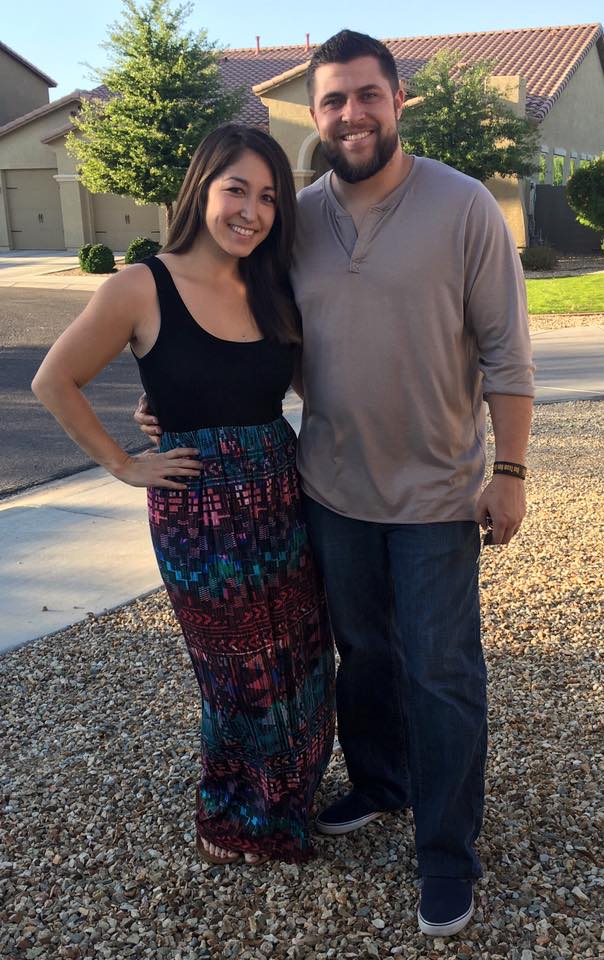
Boundless maxi dress and Men’s Henley

Nicole1

Essential Tank, Cocoon Cardigan and SOS Pants

Timeless Tunic and pirate Pencil Skirt

Timeless Tunic and pirate Pencil Skirt

Slim Fit Raglan

Slim Fit Raglan and SOS pants (adjusted for shorts)

Sunshine dress

Sunshine dress

Mama Bear Joggers and Women's Henley with faux layers

Mama Bear Joggers and Women’s Henley with faux layers

Essential Tank - dress length

Essential Tank – dress length

judy3

Free Spirit Tank dress with the LMU sleeves hack and the free scarf (available on the blog)

Nicole2

Relaxed Raglan and Peg legs

Sweet Tee dress and Cocoon cardi

Sweet Tee dress and Cocoon Cardigan


So get to sewing and show off your outfits, pirates! Don’t forget to hashtag #allP4Ptoday !

Alex

Filed Under: Contest/Giveaway, Uncategorized 8 Comments

How to lower or raise a neckline

January 6, 2017

img_4108

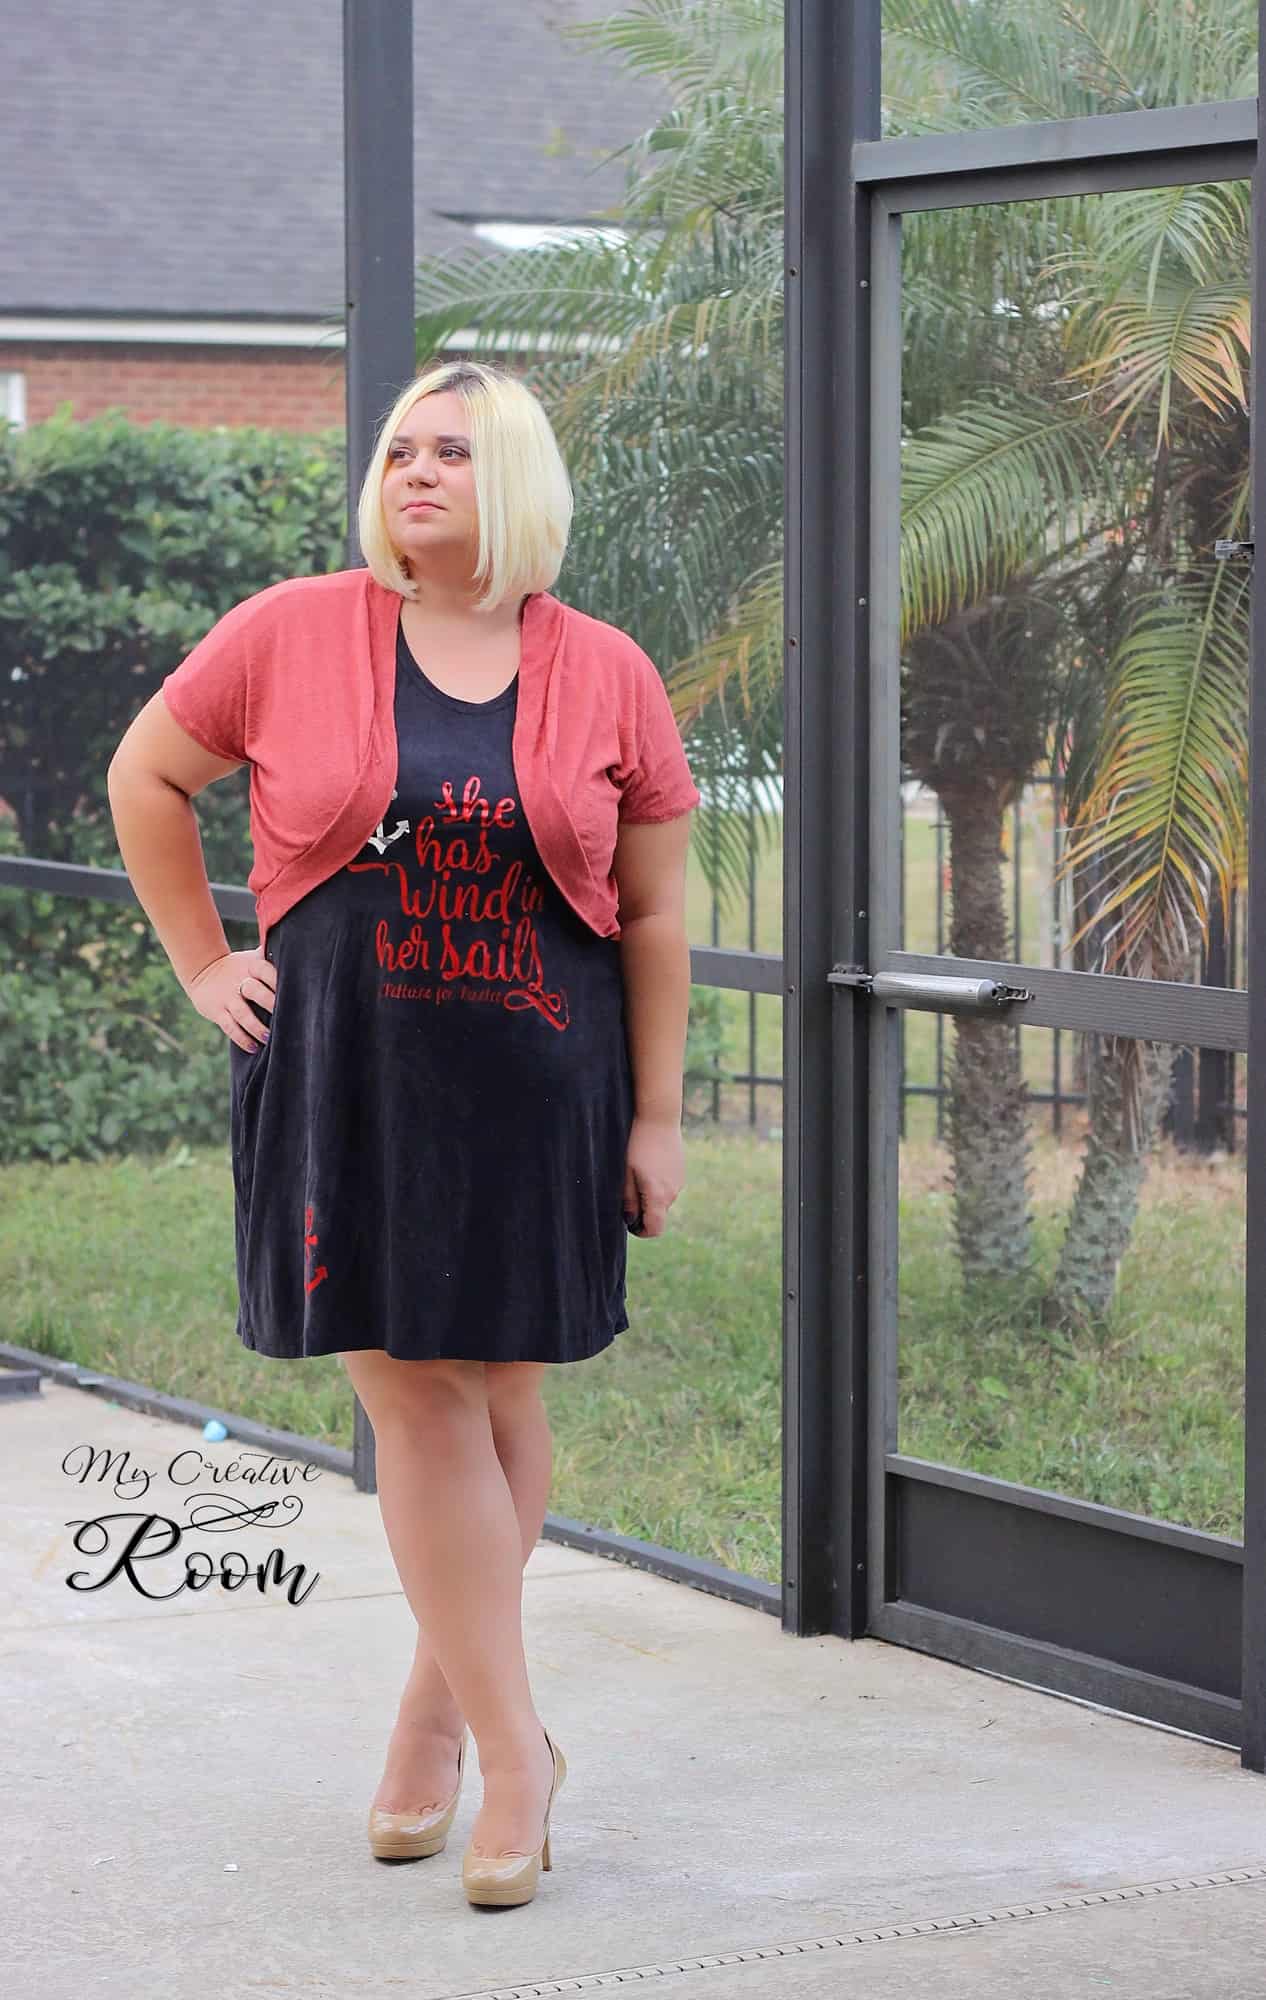
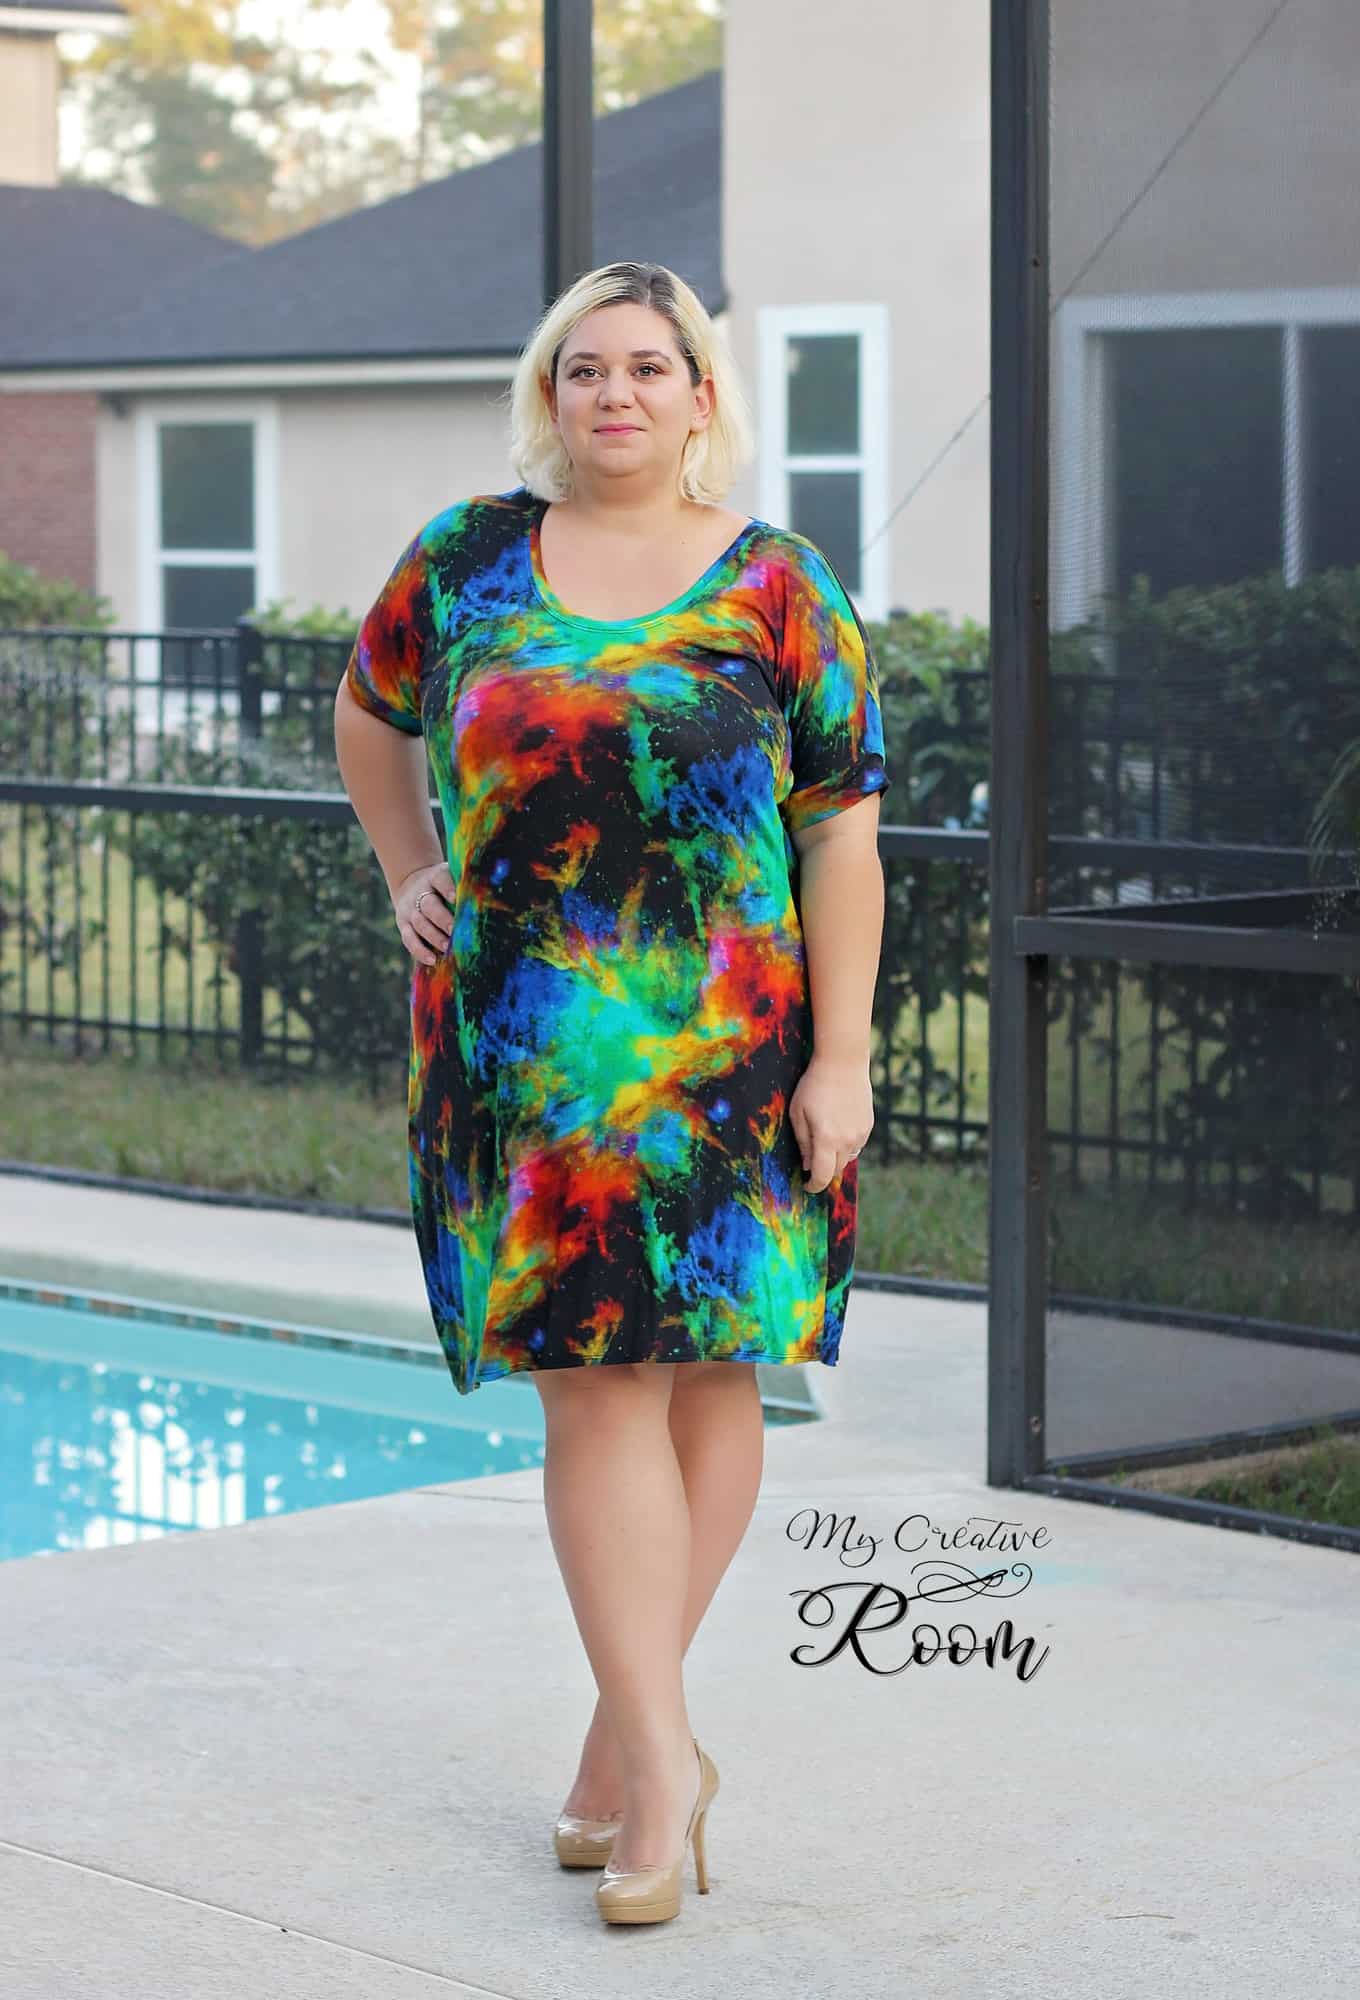
We have seen a lot questions about raising or lowering the neckline of various P4P shirts or dresses. On the blog today I show you how easy it is to alter the neckline to achieve the look you want. For this tutorial I will use the Sweet Tee pattern in a beautiful viscose rayon (dress option lengthen 3.5″) but you can apply this technique to either one of the shirt patterns.

img_4118

Start by printing and cutting your pattern in the size needed. The only piece we will be altering will be the front of the shirt (or bodice).

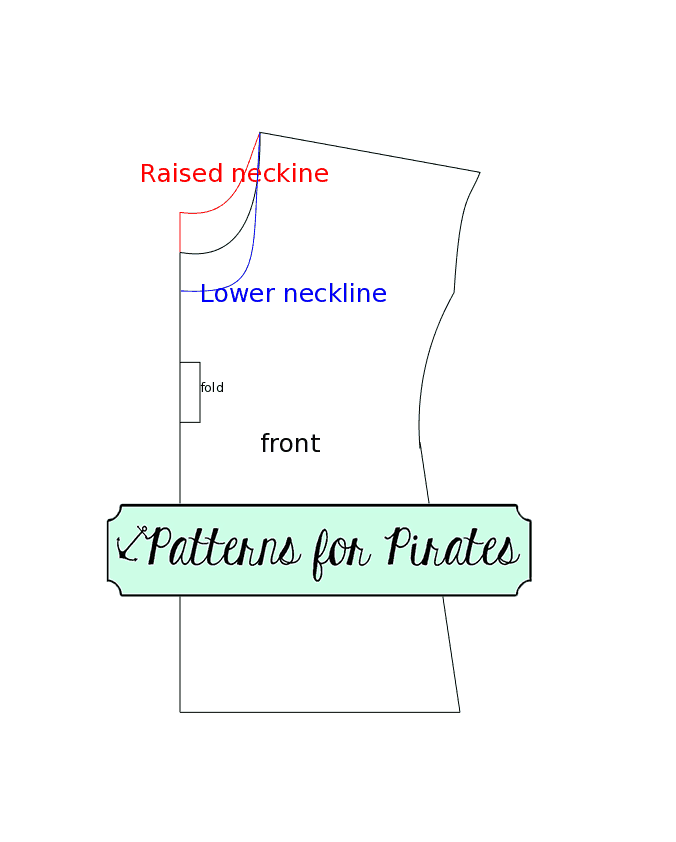
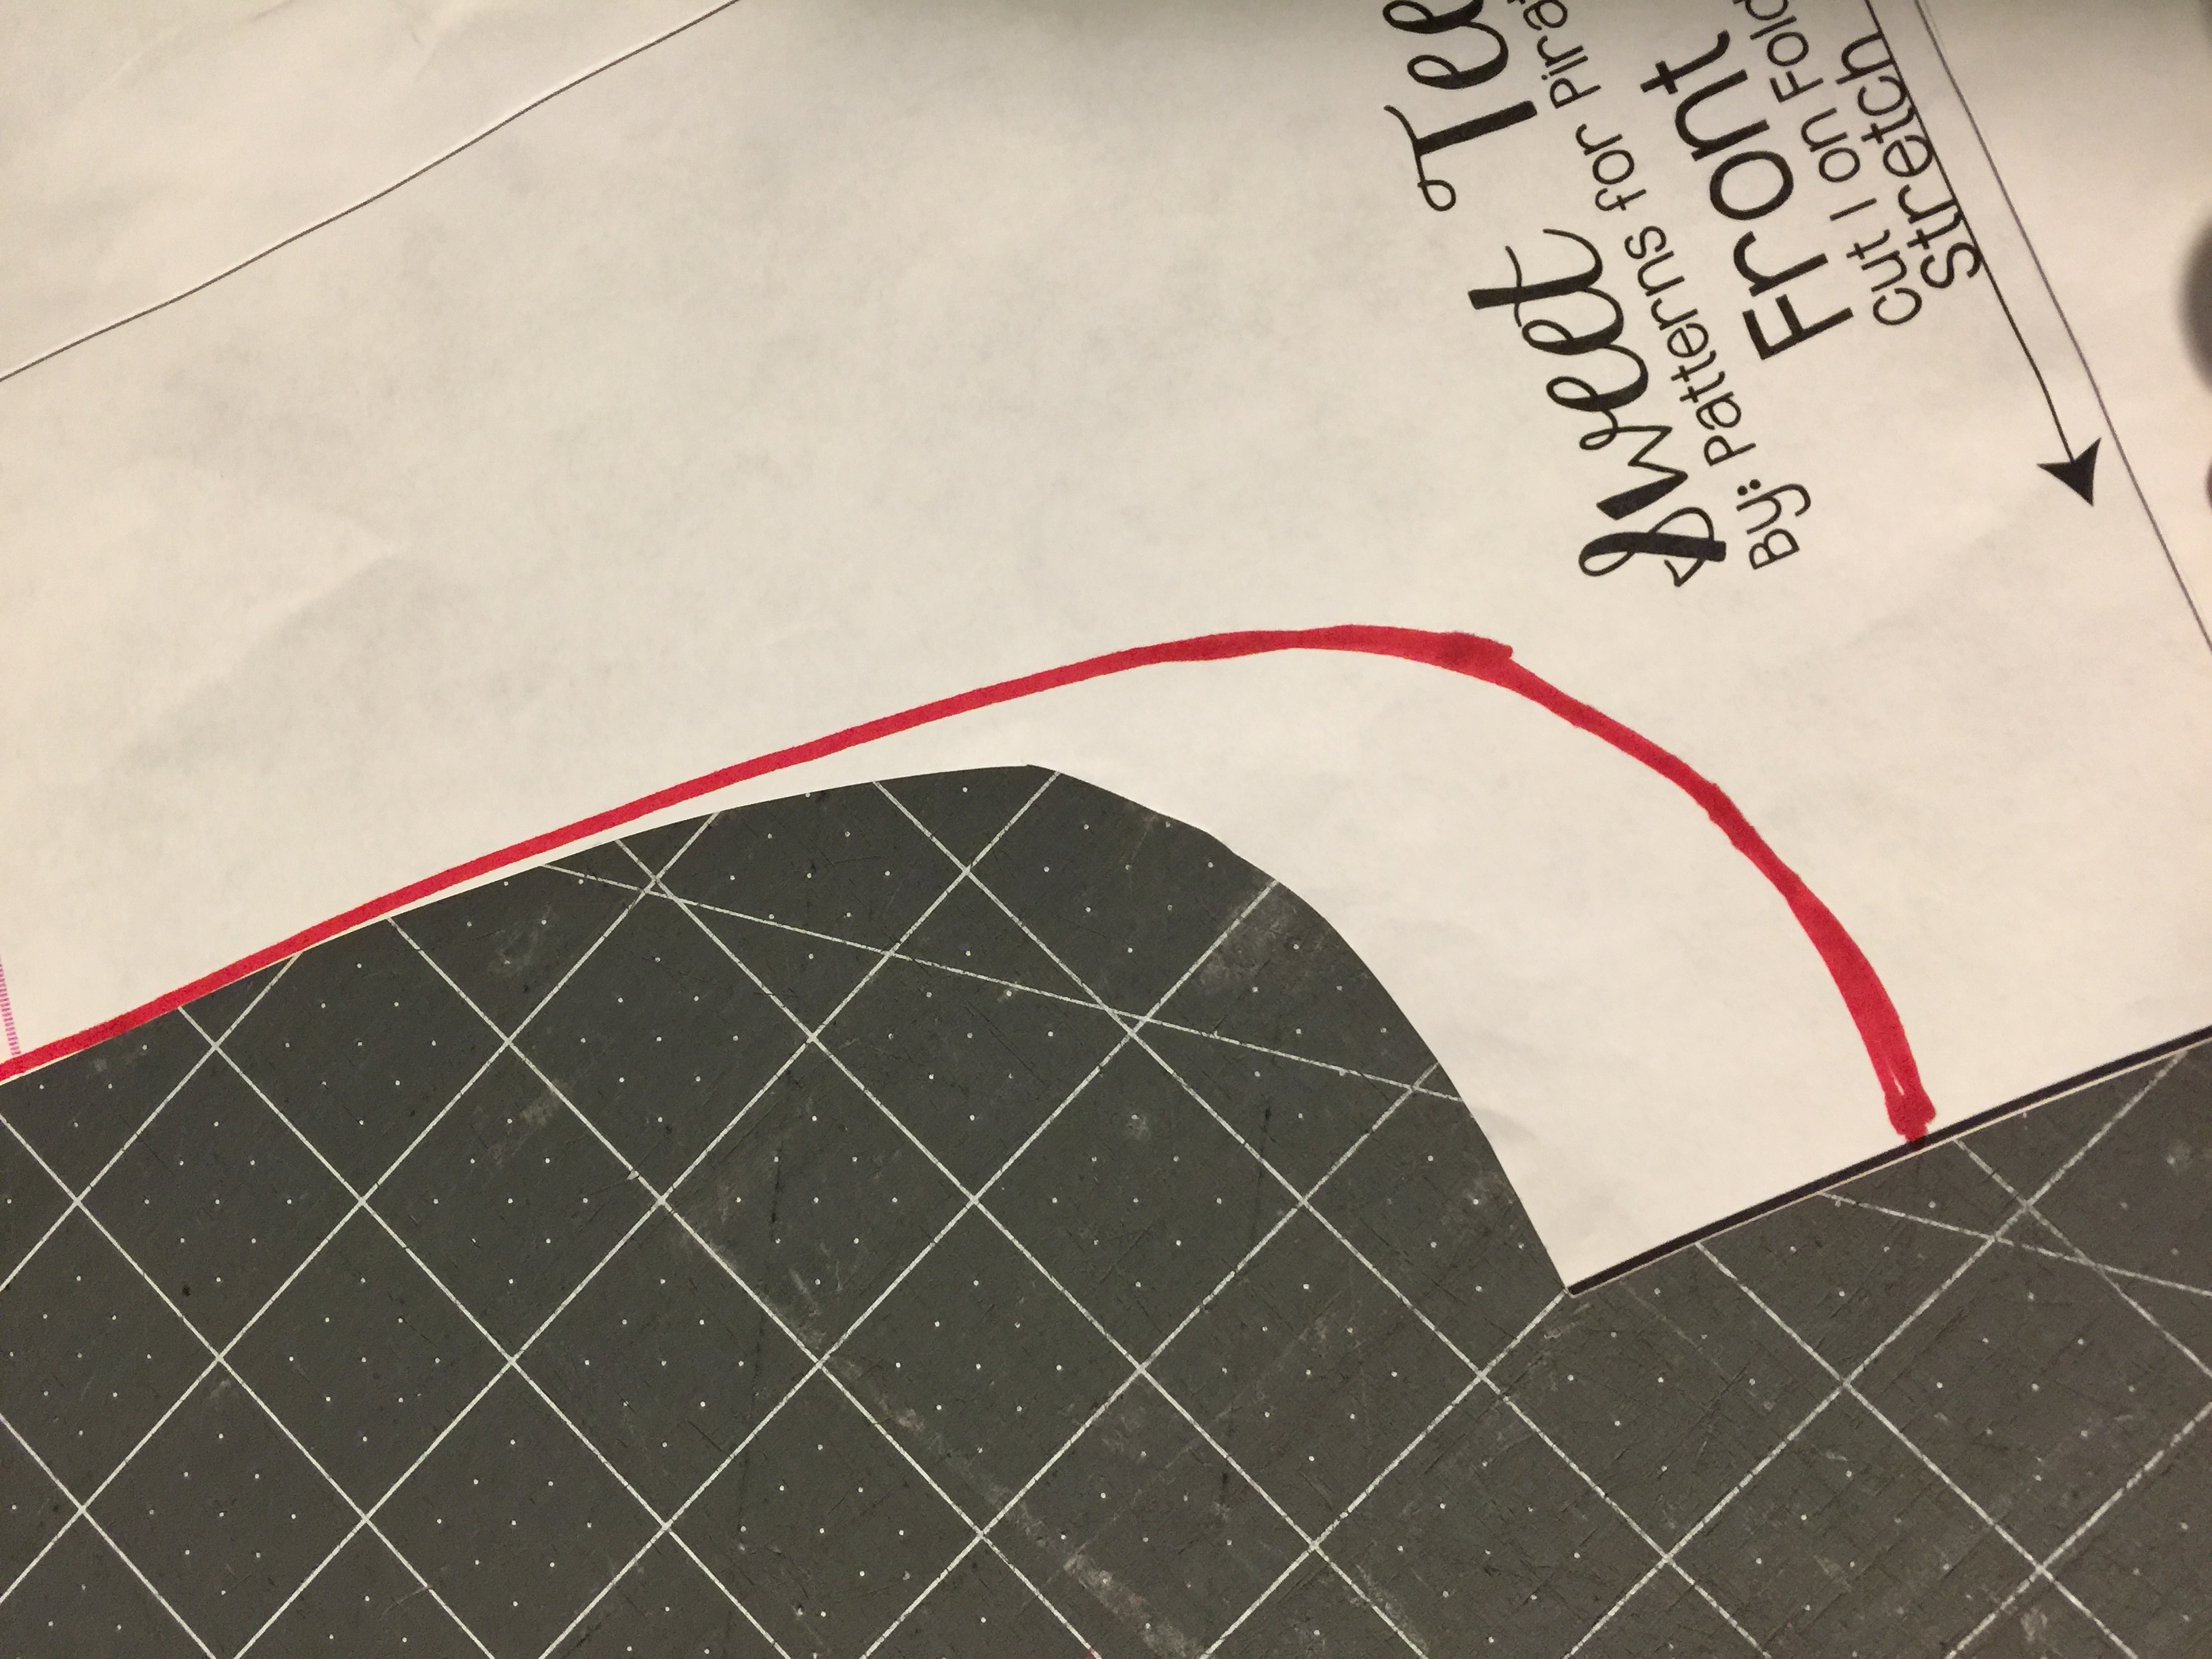
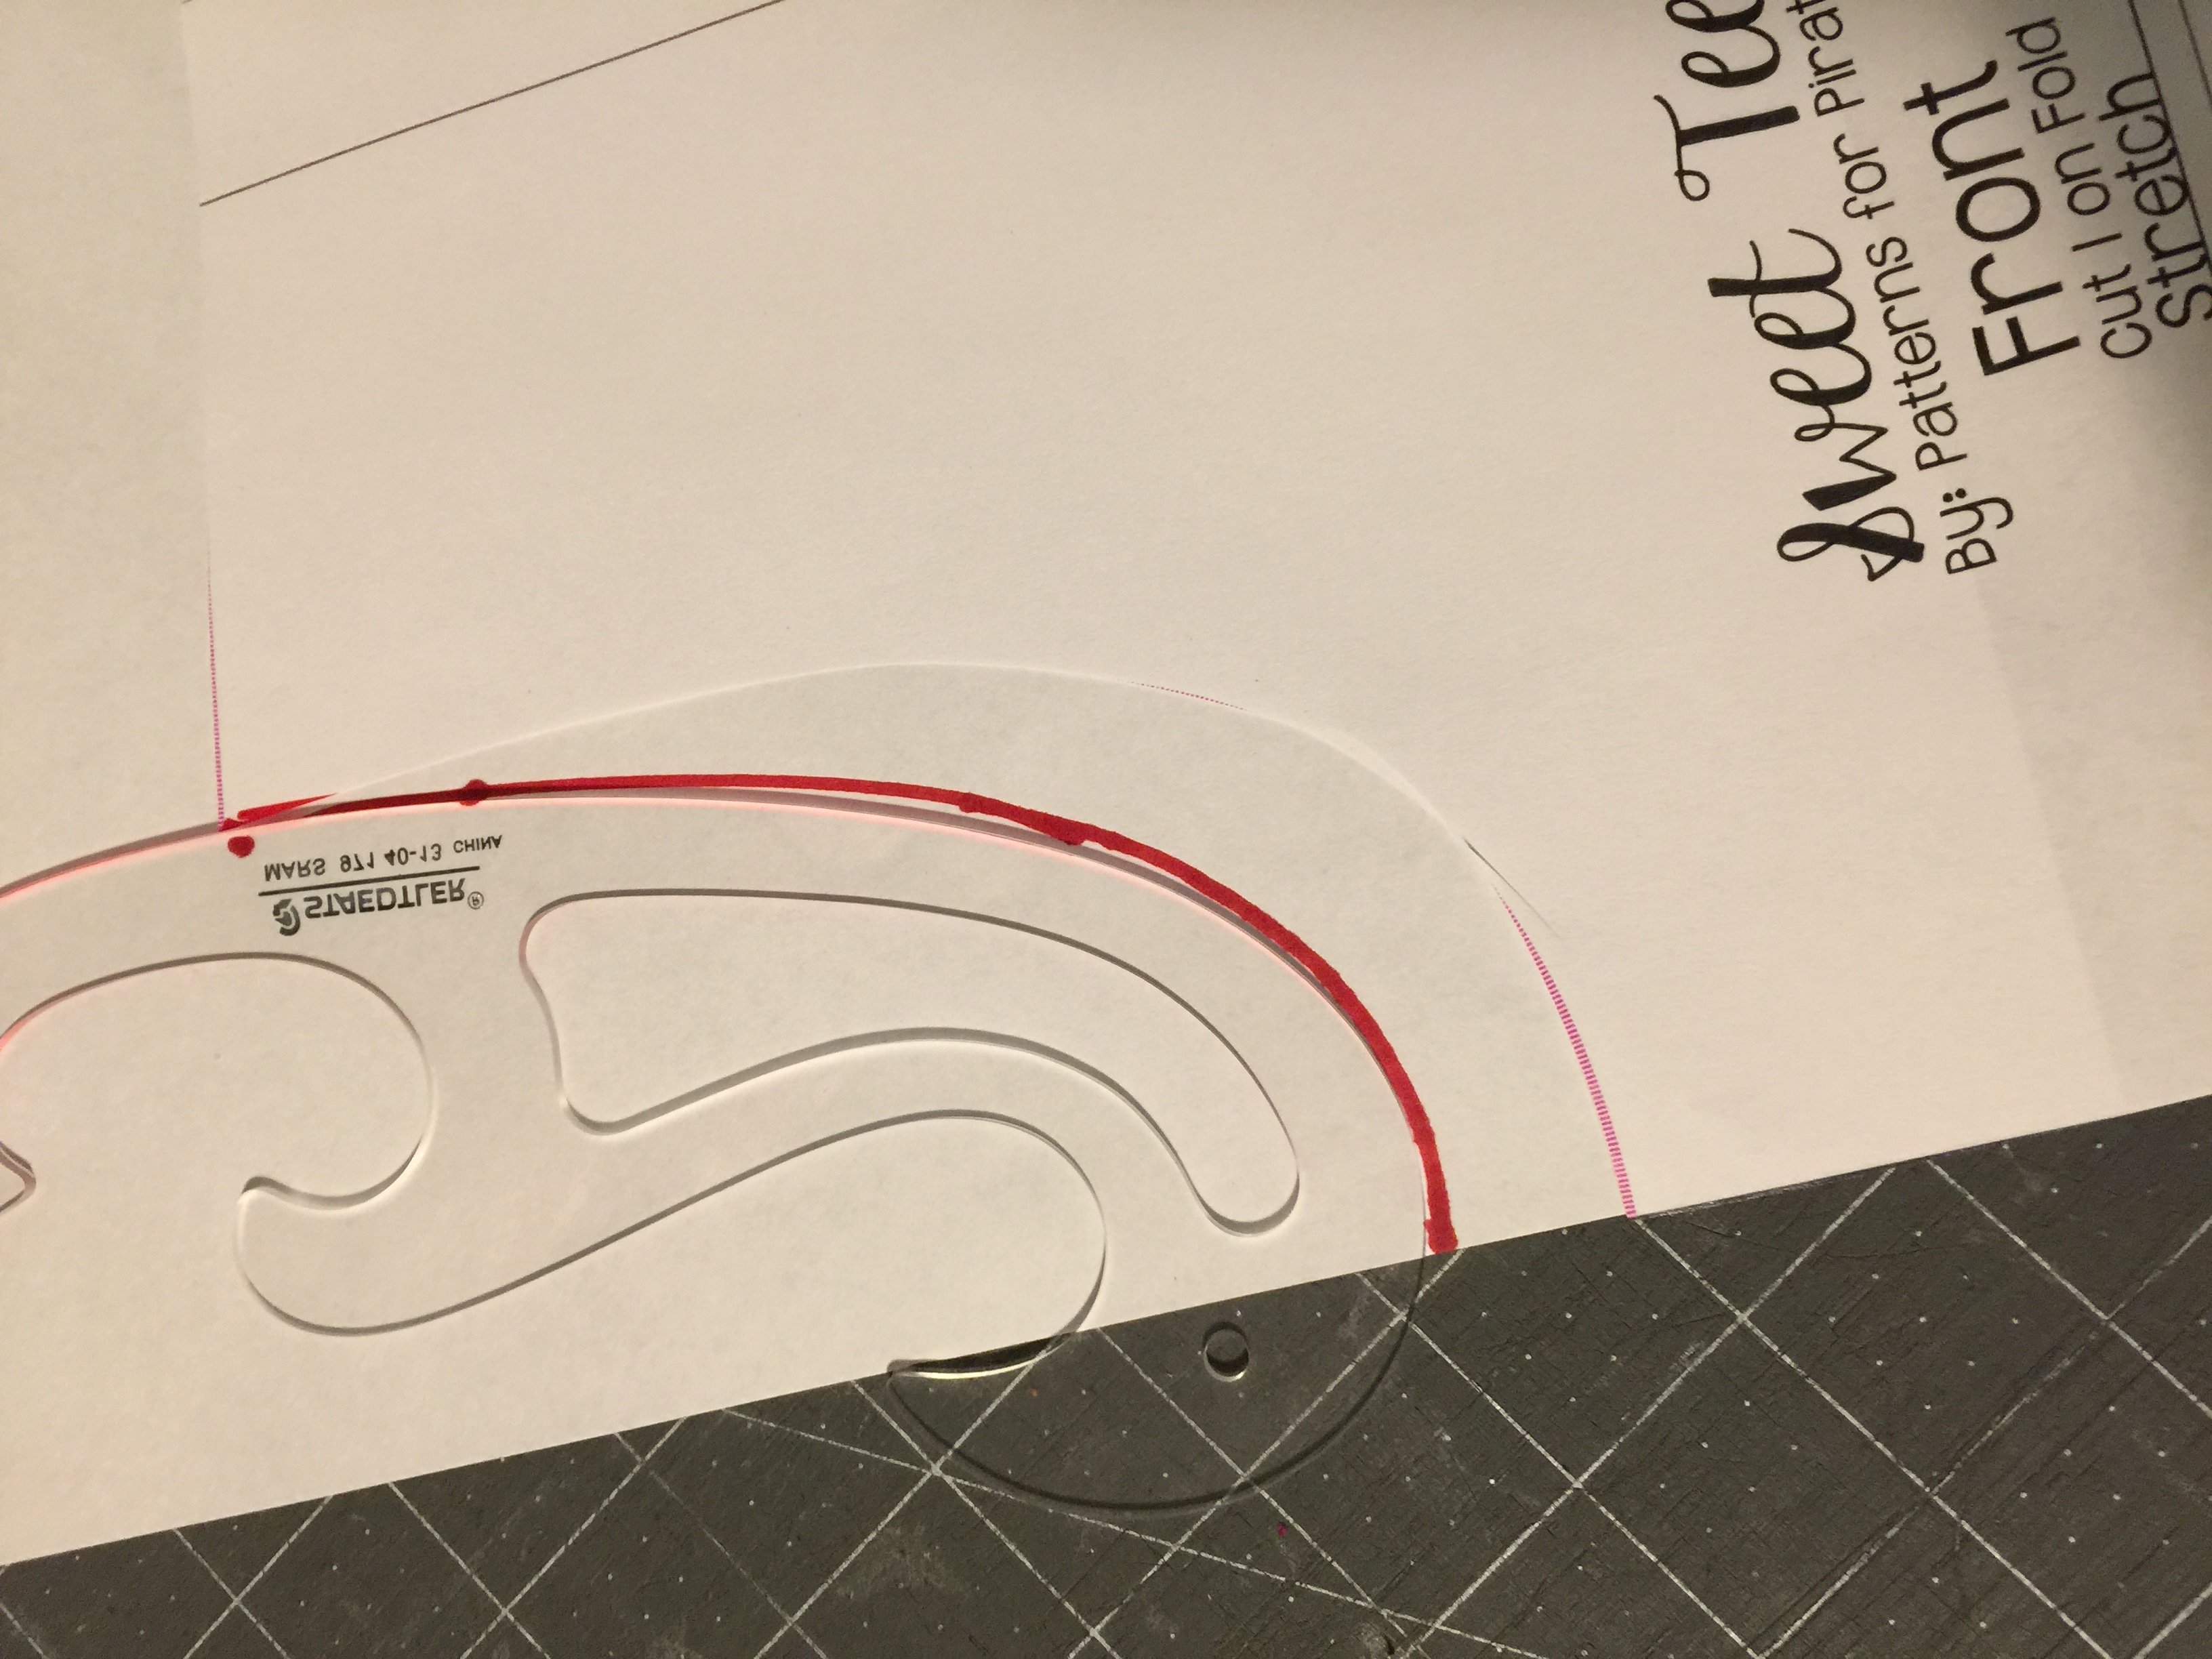
For lowering the neckline you will need to mark on the center fold where you would like the new neckline to be. I usually lower my Sweet Tee neckline 1.5 inches. Using a French Curve (or going slowly) draw a curve similar to the original one from your mark to the inner shoulder point.

raiselowerneckline

img_4502

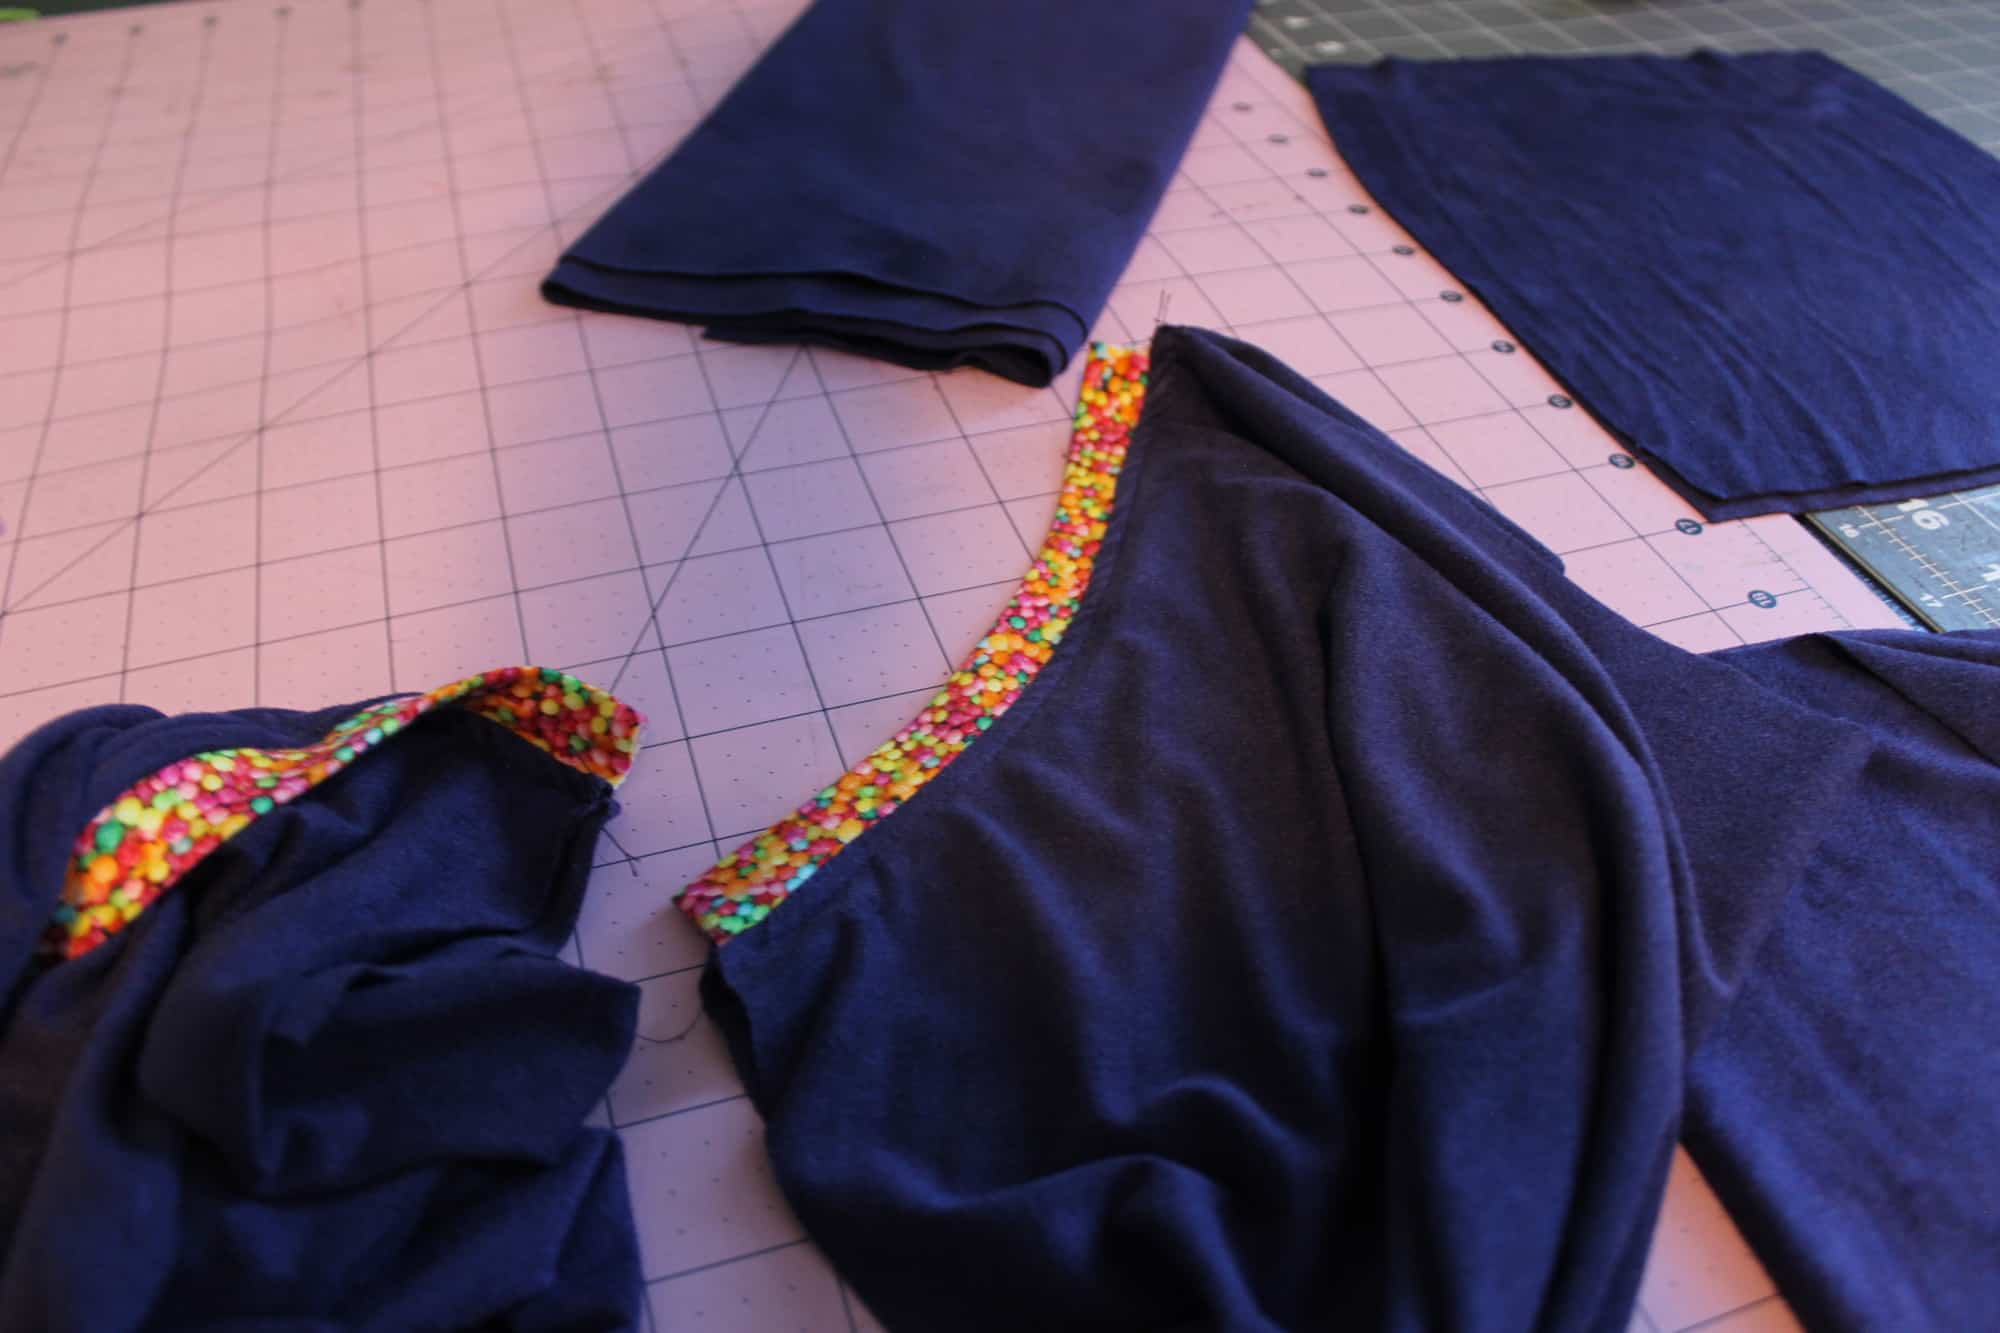
Cut your fabric using the new front pattern piece. The rest of the pattern pieces will remain the same. The only other change you will need to make is the length of the neckband or binding.

To raise the neckline you will need to grab your front bodice piece and a blank piece of paper. Align the center fold of the front pattern piece  with the side of your paper and glue them together.

Mark a point 1-2 inches above the original top center depending on how high you’d like the neckline. Using the French Curve draw a curve from the center point to the inner shoulder point. Cut the new front using this modified pattern piece and the rest of the pieces as in the original pattern.

img_4503

The only additional modification you will need  to make is to adjust the neckband or binding length. You will need to make it longer or shorter depending on the new neckline. I like to calculate the new neckband length after I sew the front and back pieces together at the shoulder. To find out the new neckline circumference lay the neck opening along a ruler and multiple it by 2.

img_4505

Your new neckband length will be 85% of this circumference plus 1 inch to accommodate the seam allowance. (C * 0.85 +1 ). Cut the new neckband/binding using the new length but keeping the width suggests in the pattern. All you have left to do now is sew the shirt or dress according to the tutorial and you have just made yourself a custom outfit. Easy peasy…right? 🙂

I can’t wait to see your creations in the Pattern for Pirates group.

img_4115

img_4113

Happy sewing, pirates!

Filed Under: Frequently Asked Questions, Pattern Hacks, Uncategorized 6 Comments

Easy Bear Jogger Hacks

November 11, 2016

img_3221

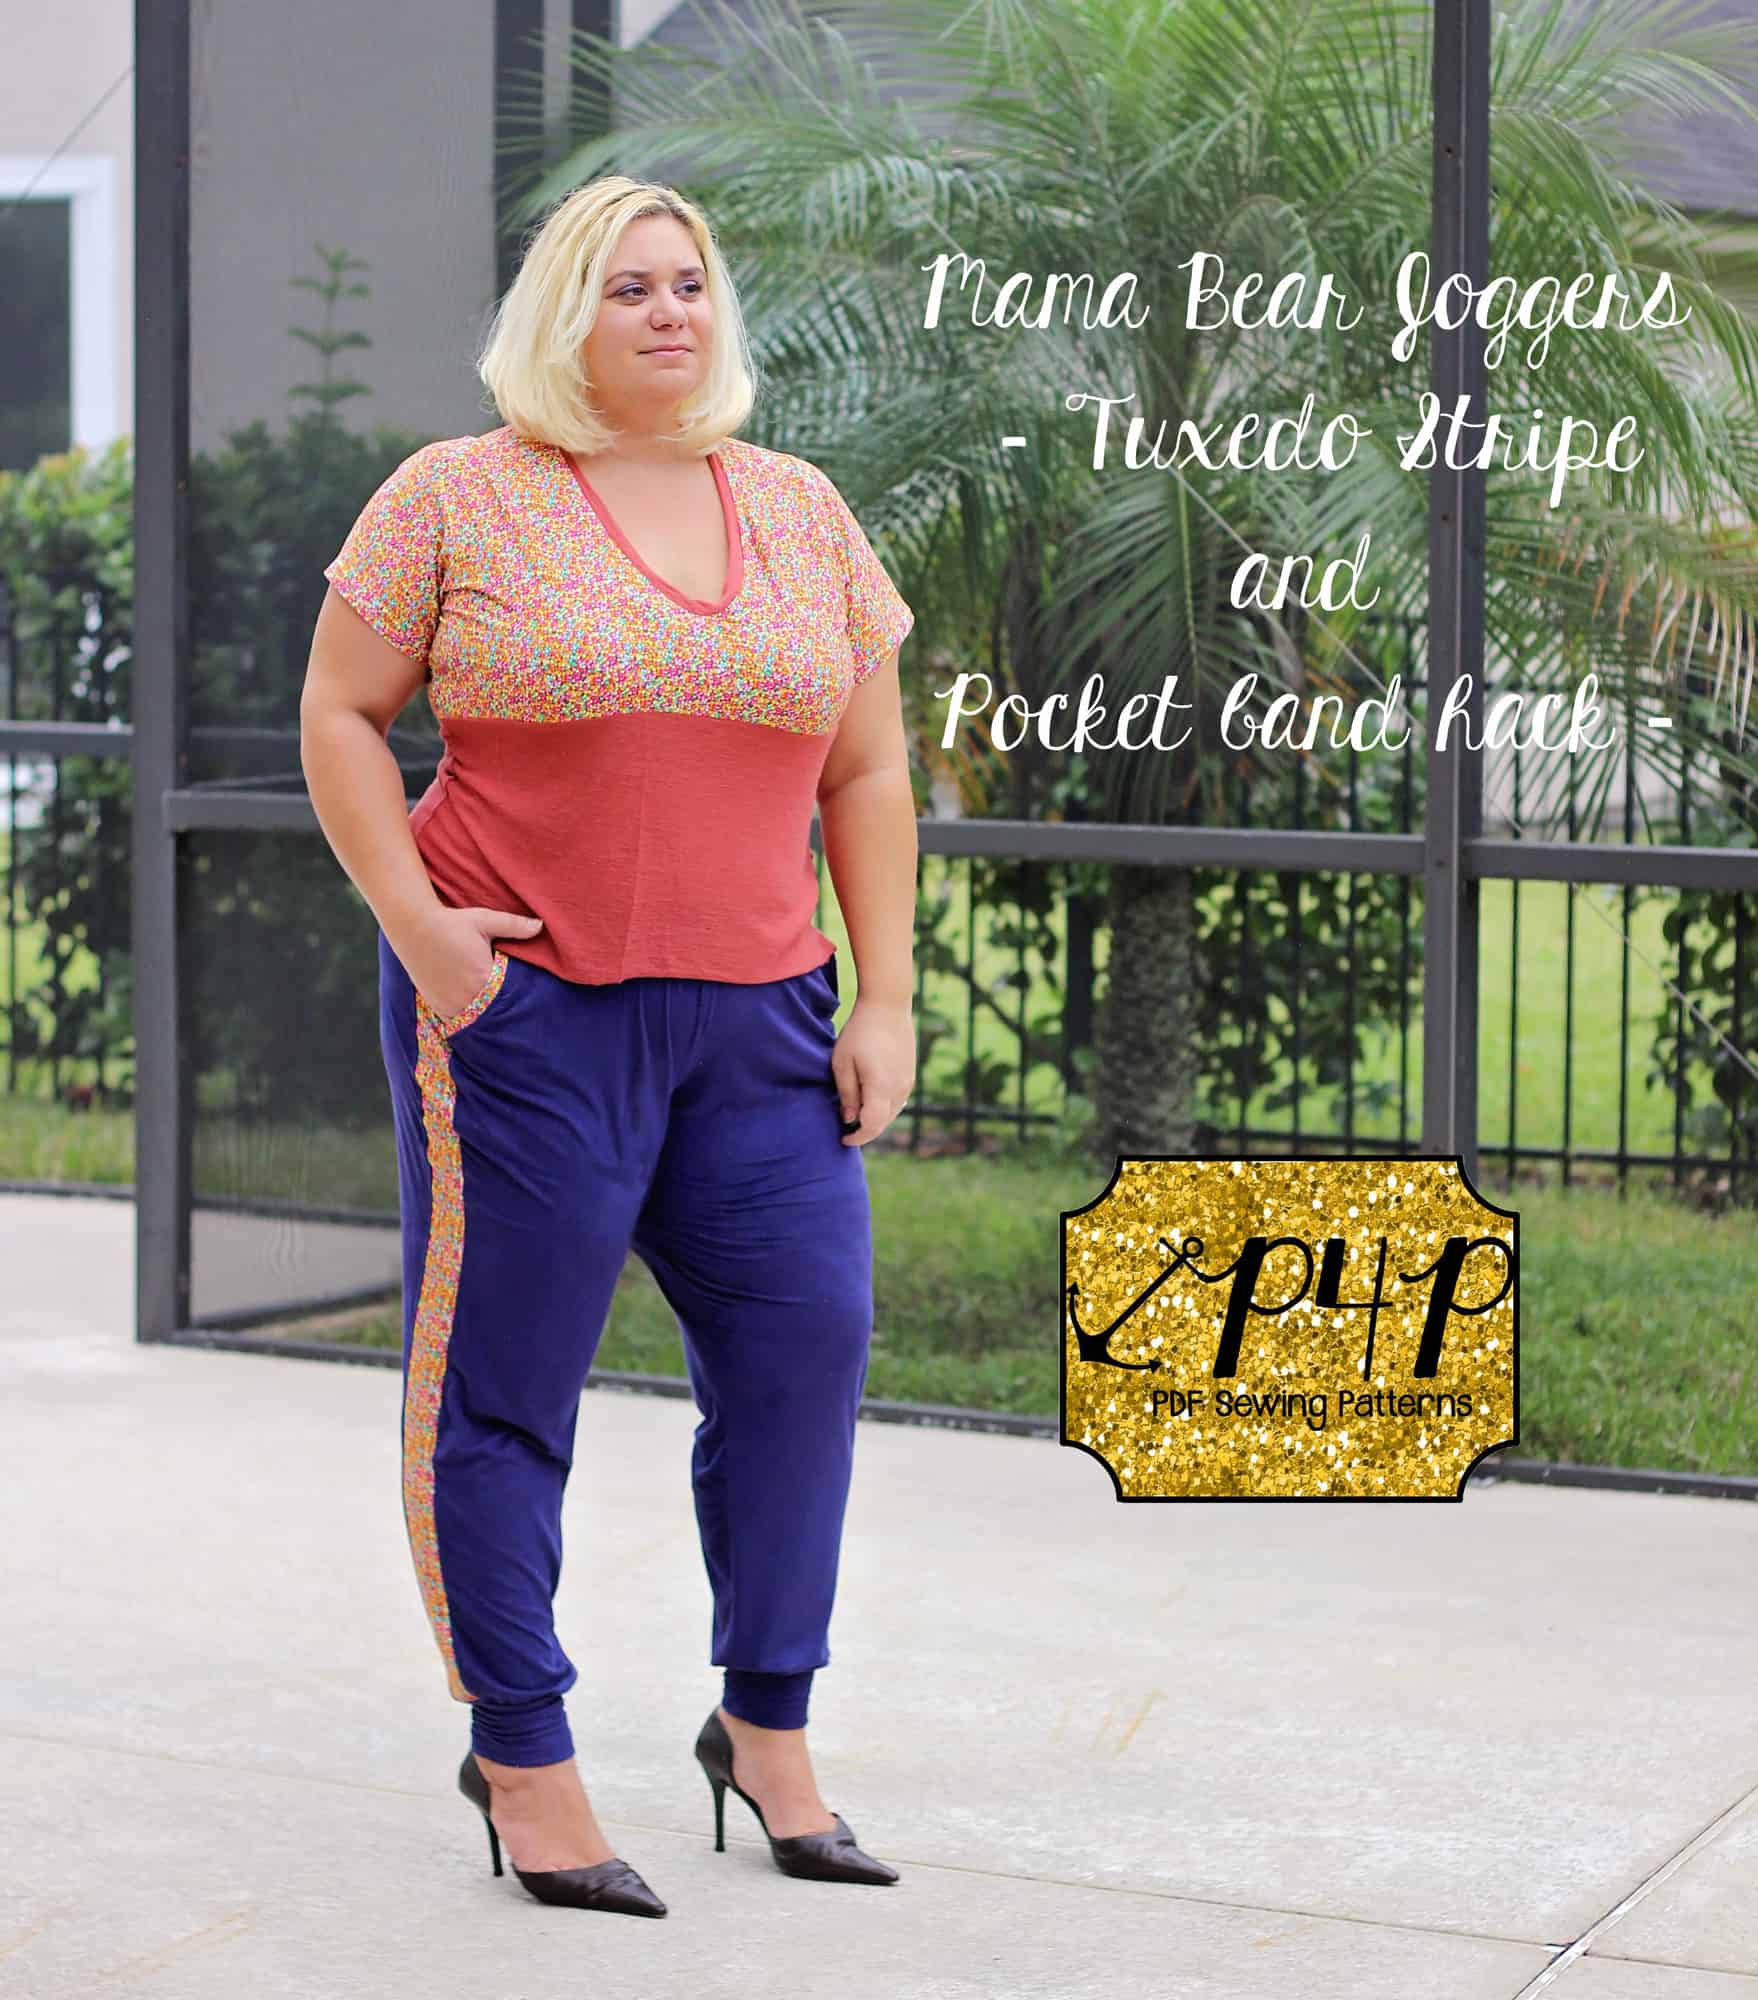
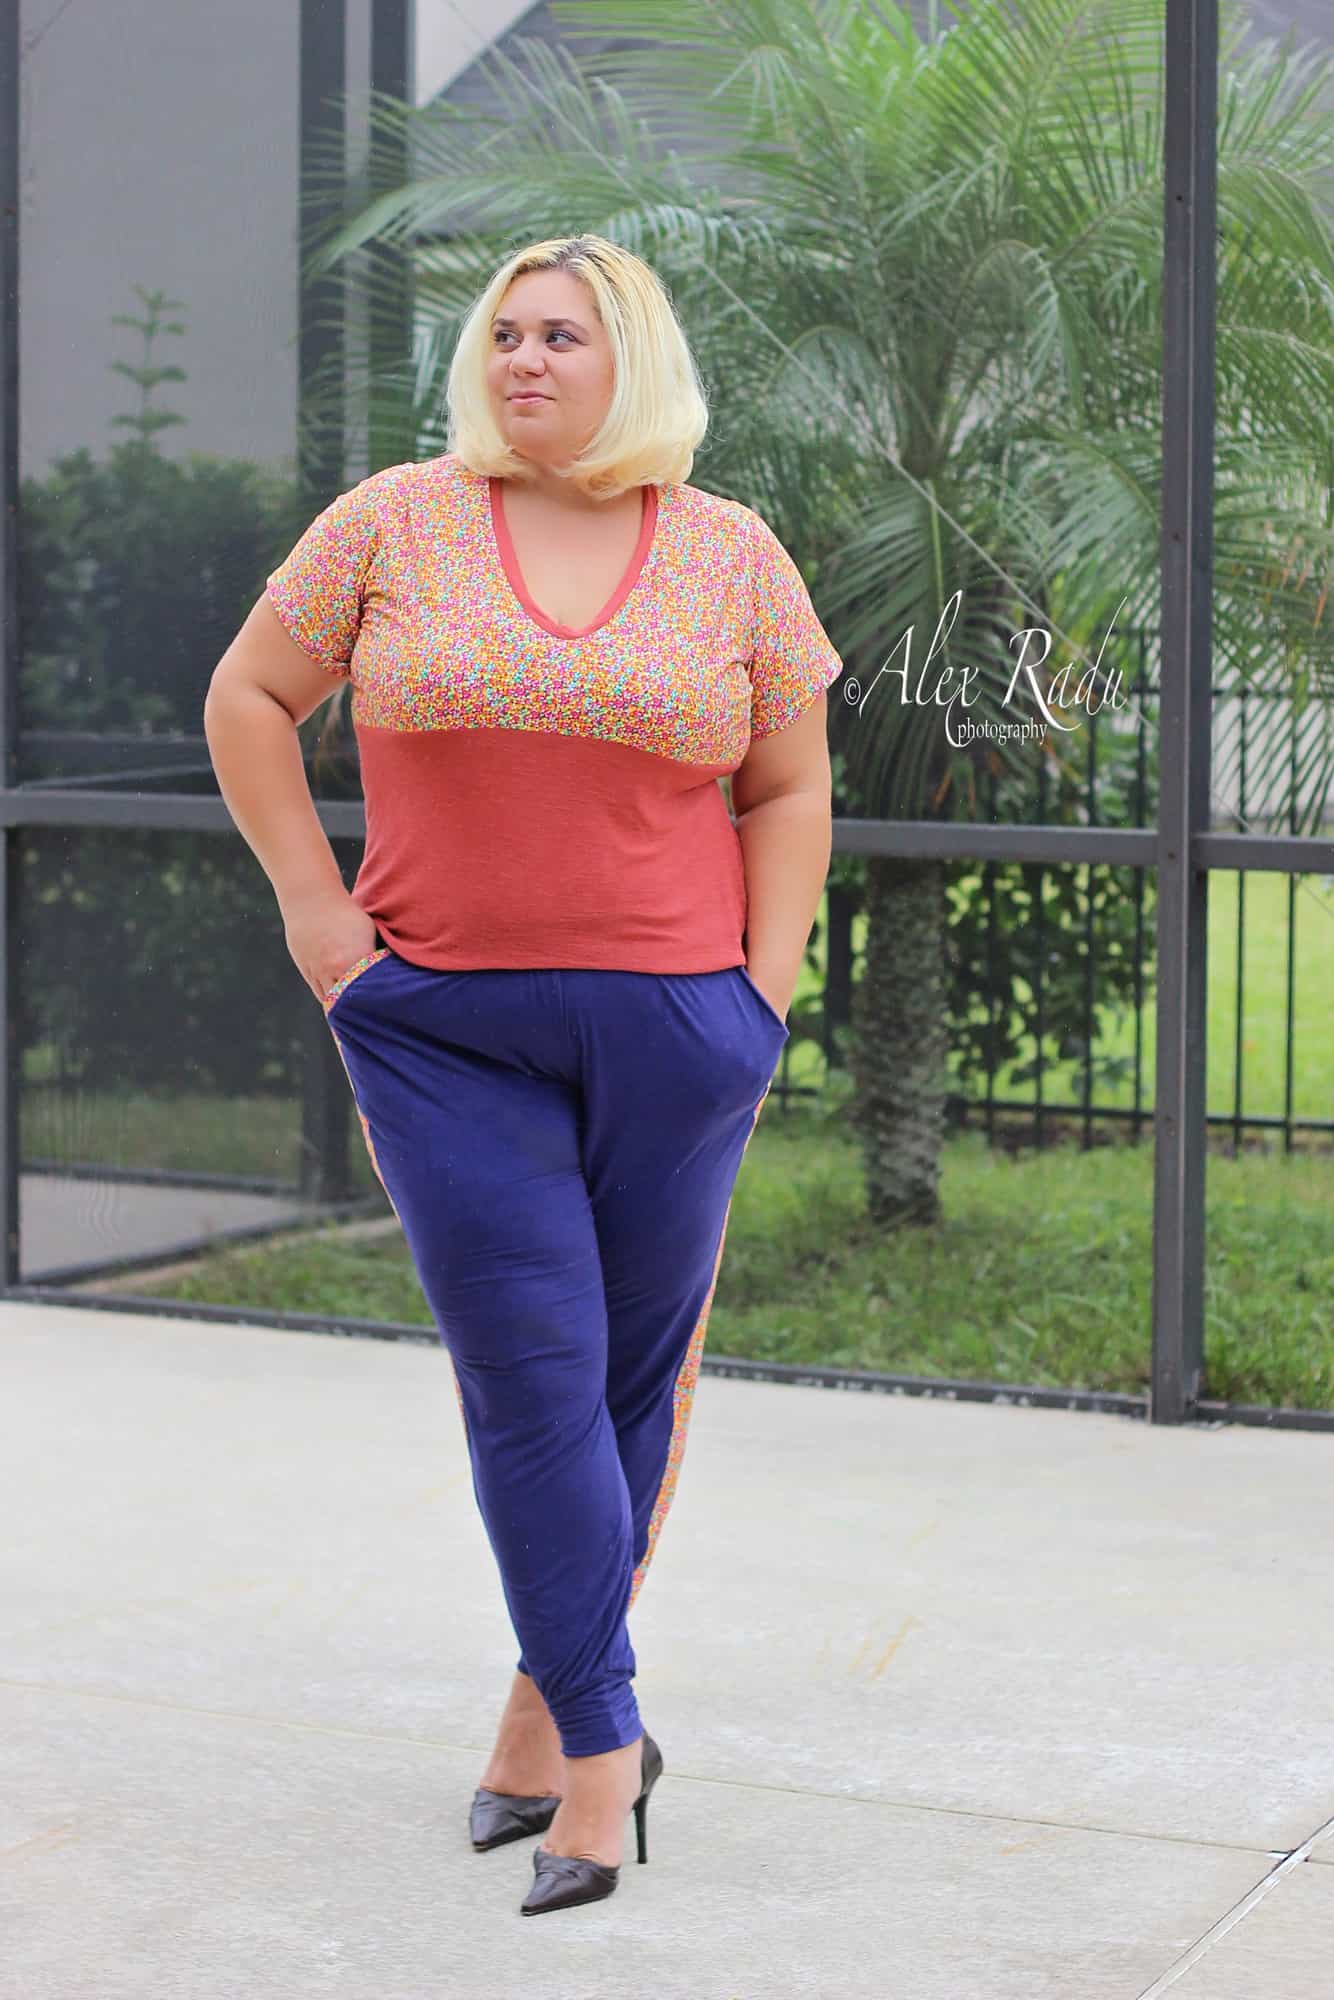
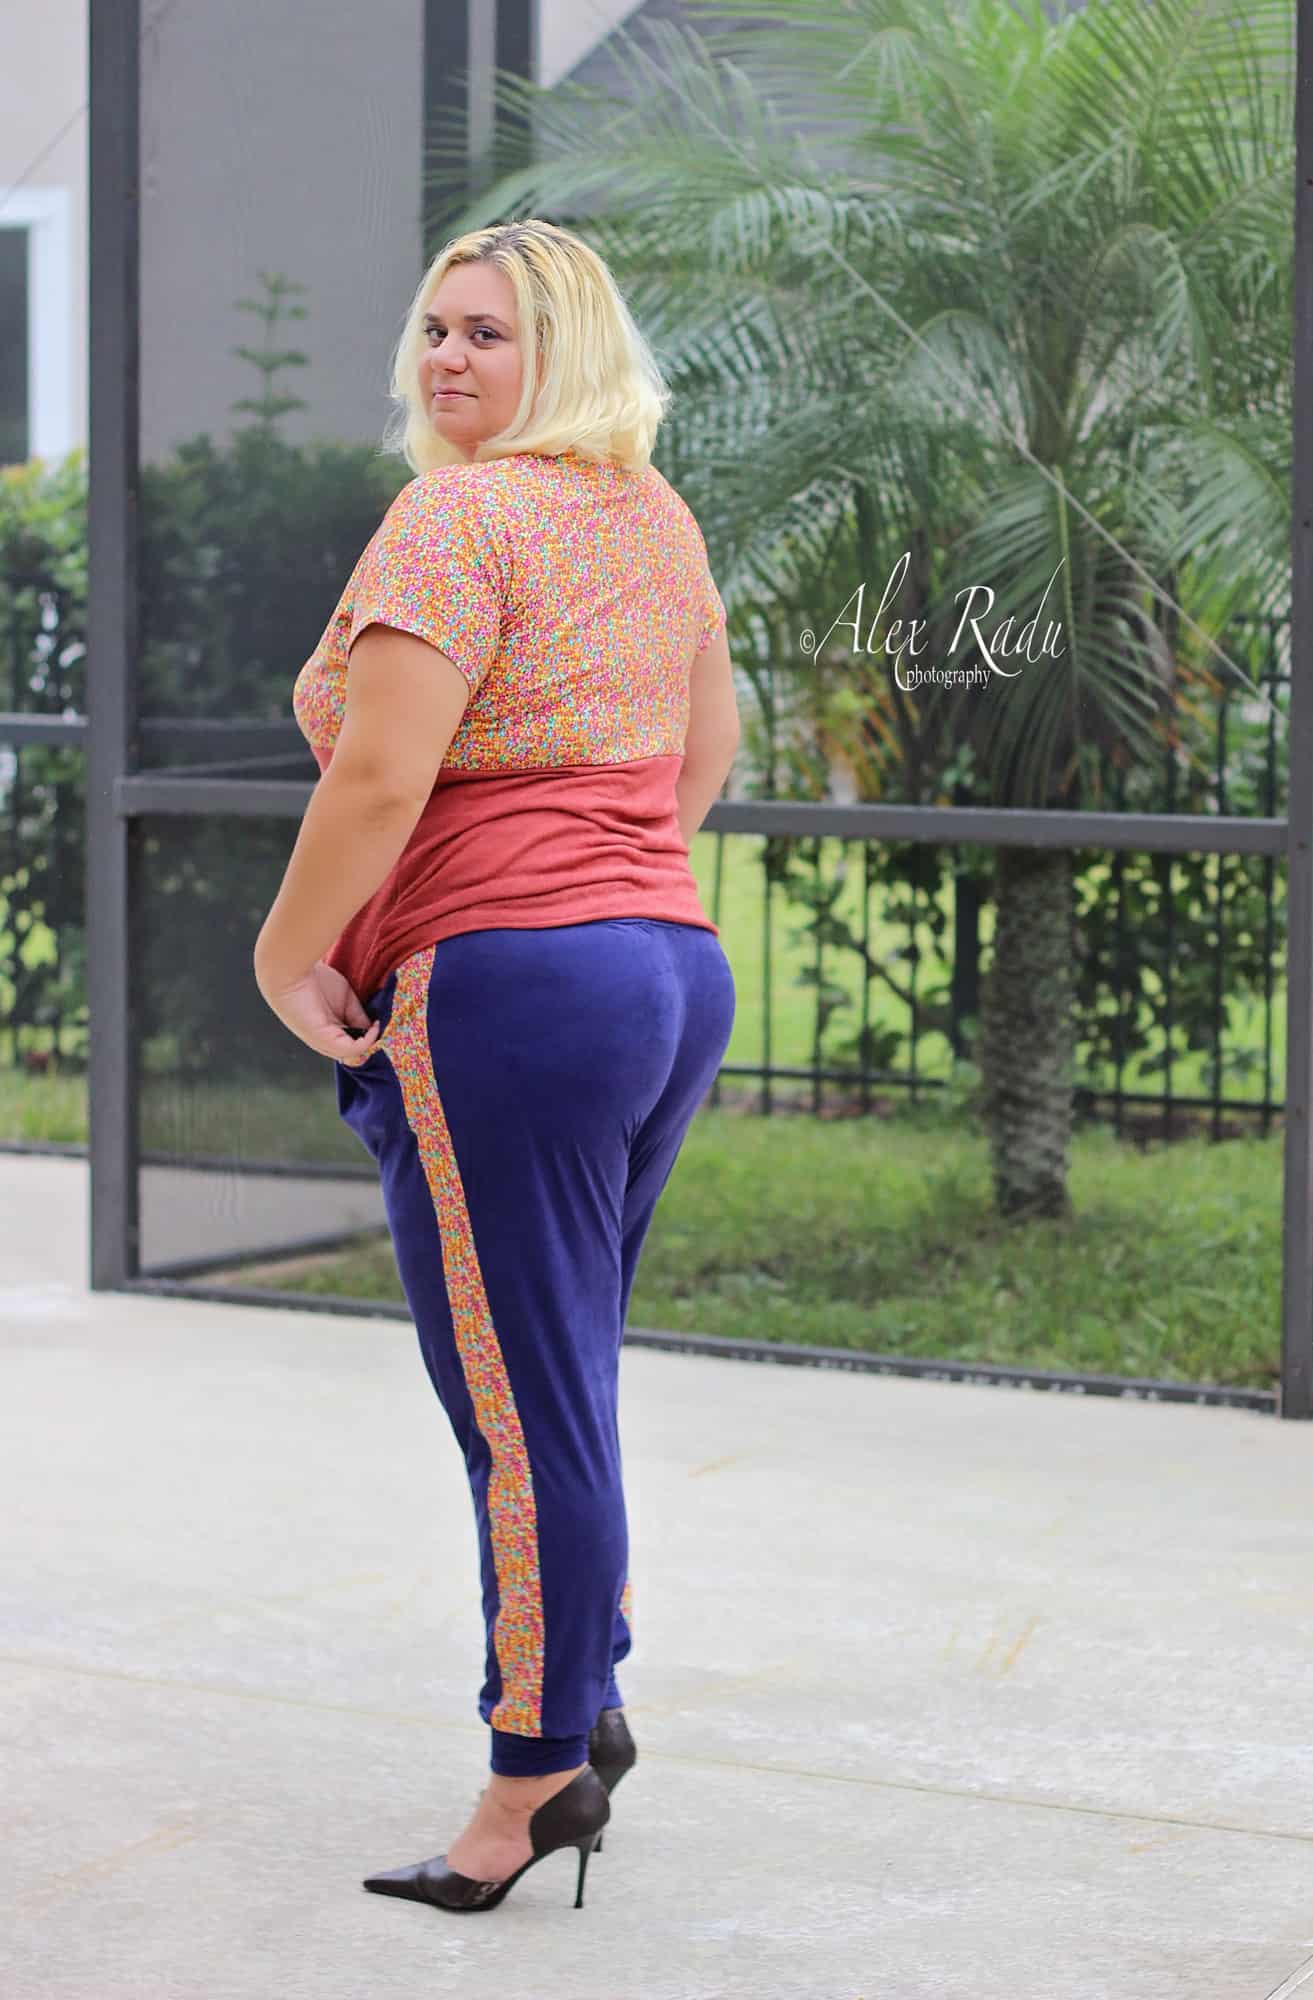
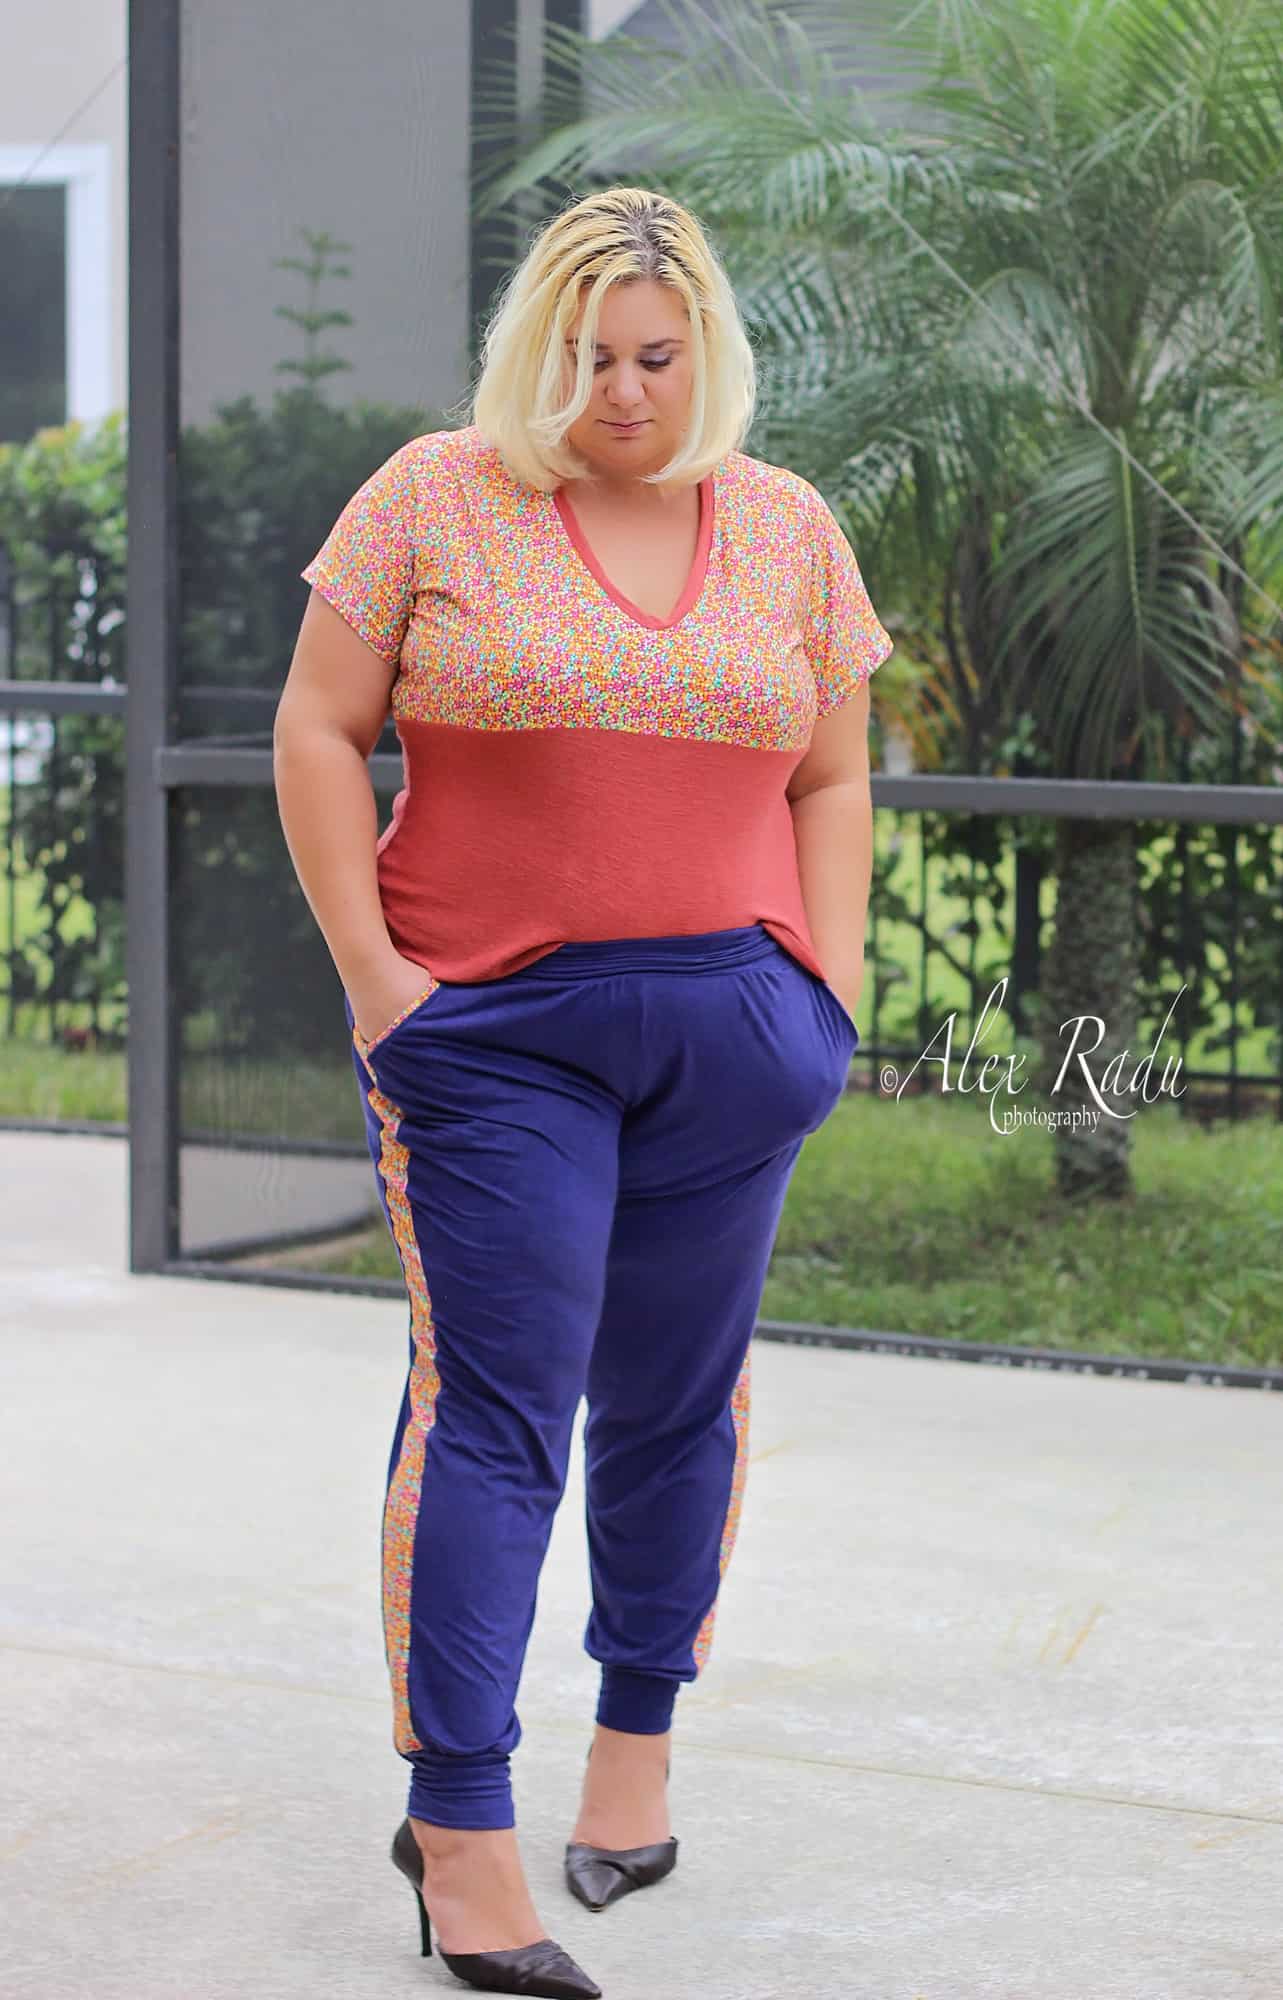
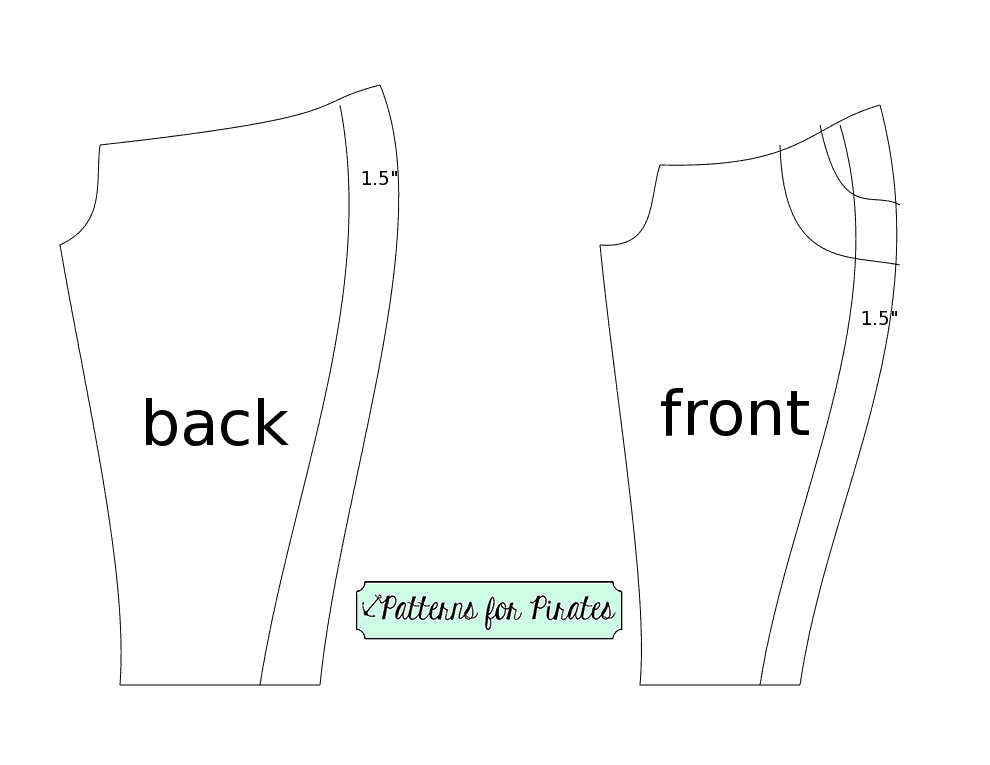
The Mama Bear Joggers were just released and are packed with options. I have already made myself a few pairs so I was browsing Pinterest for styling ideas (don’t we all?). I came across a cute pair of joggers that had a tuxedo stripe on the side so I just had to make myself a pair like that. In today’s blog I’ll show you how I did the tuxedo stripe and an accent slat pocket band.

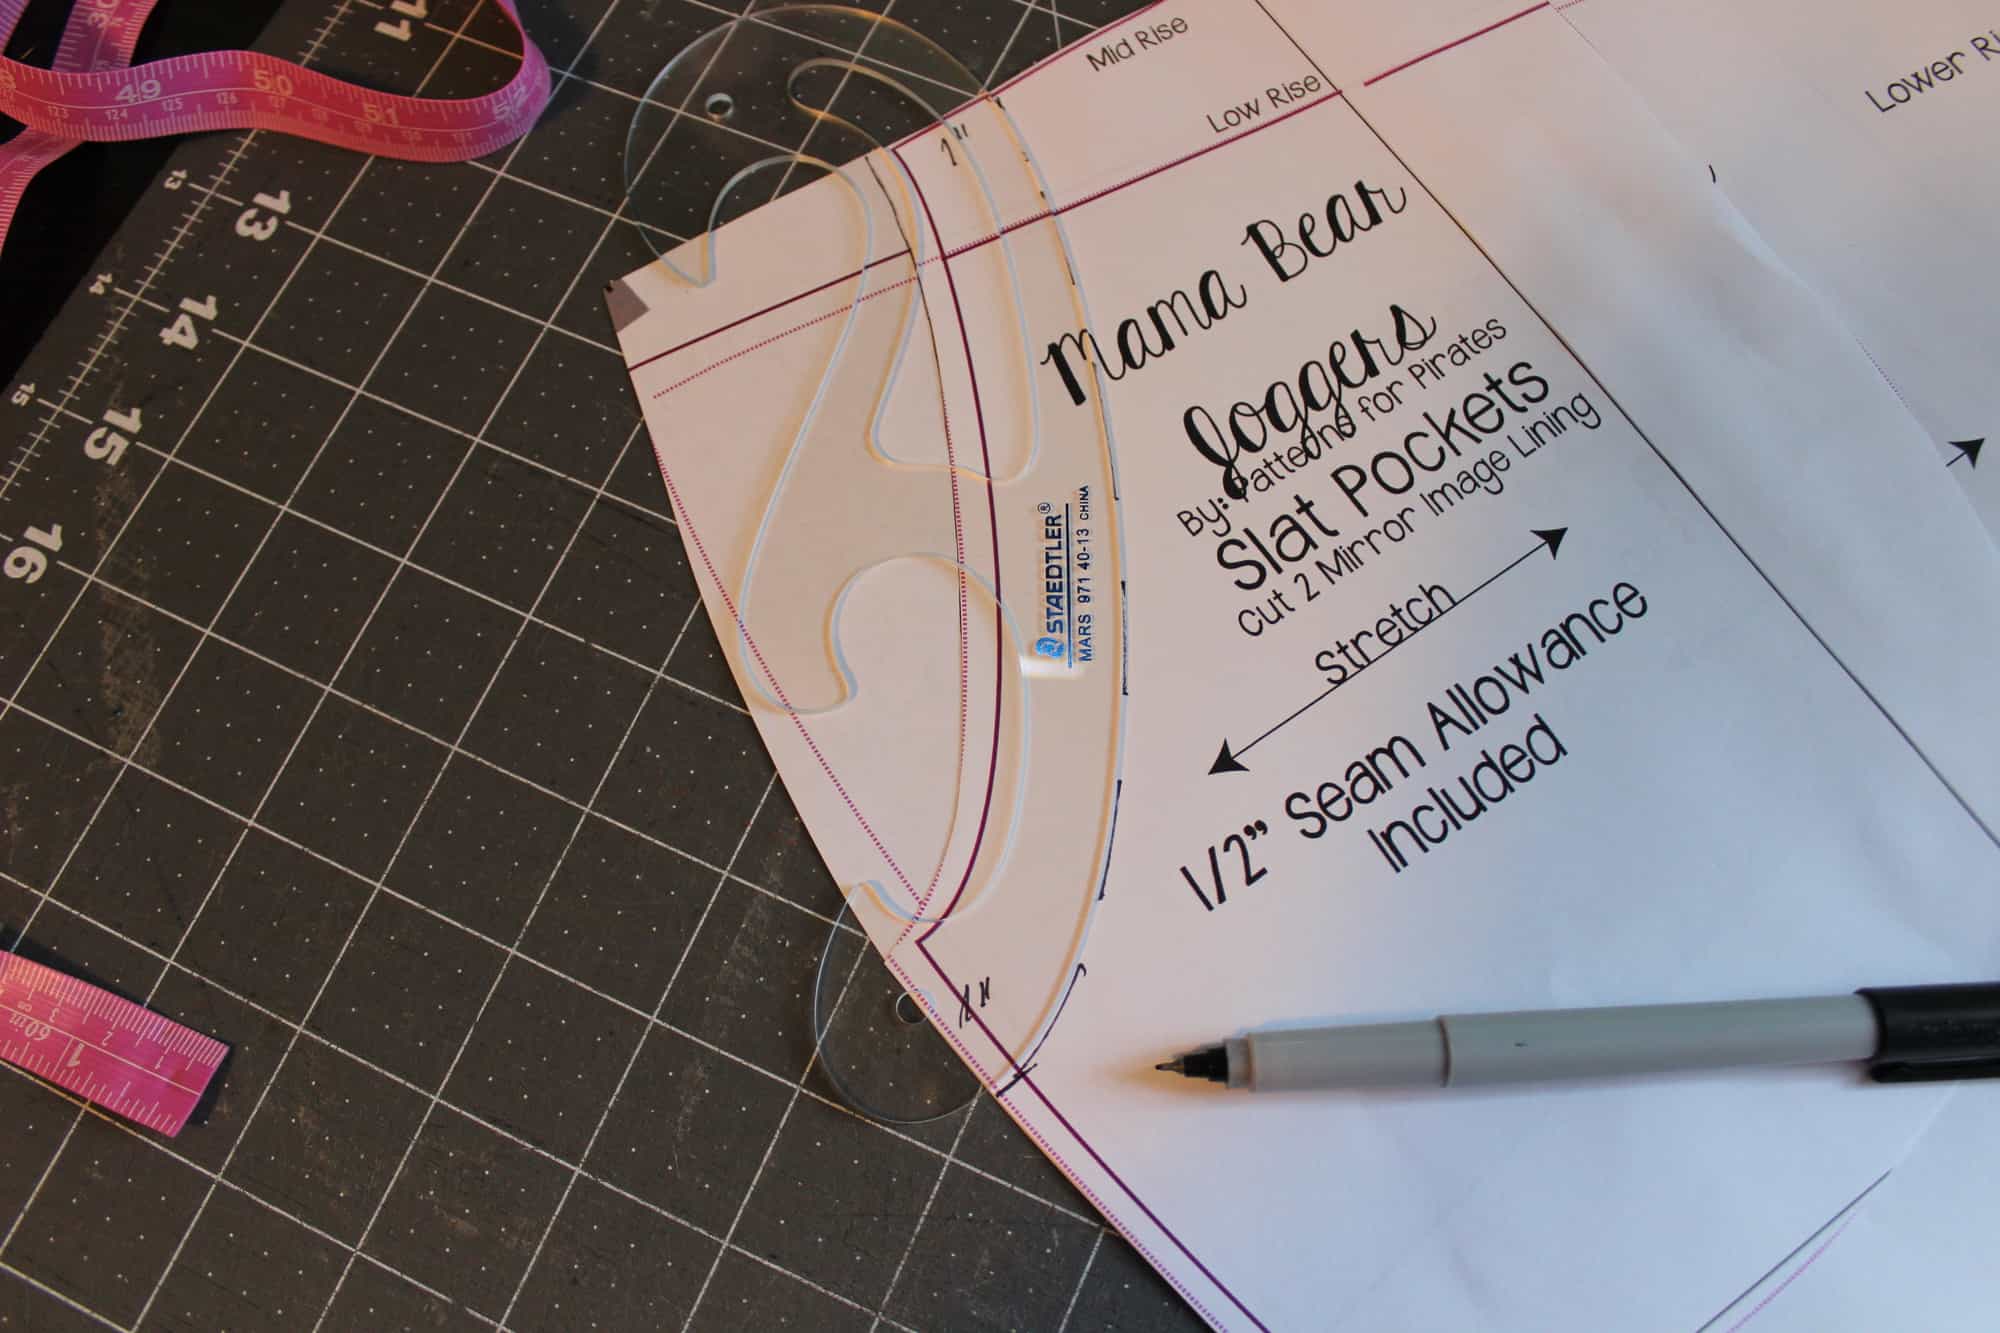
Start by printing and cutting the pattern in your size. (I grade mine in for the waist that’s why you’ll see two lines instead of one). Don’t cut the fabric just yet. If you’d like to do just the accent pocket band you’ll nee to place the pocket lining over your front piece and remove 1 inch from the curve. That can be done easily if using a French Curve.

img_3040

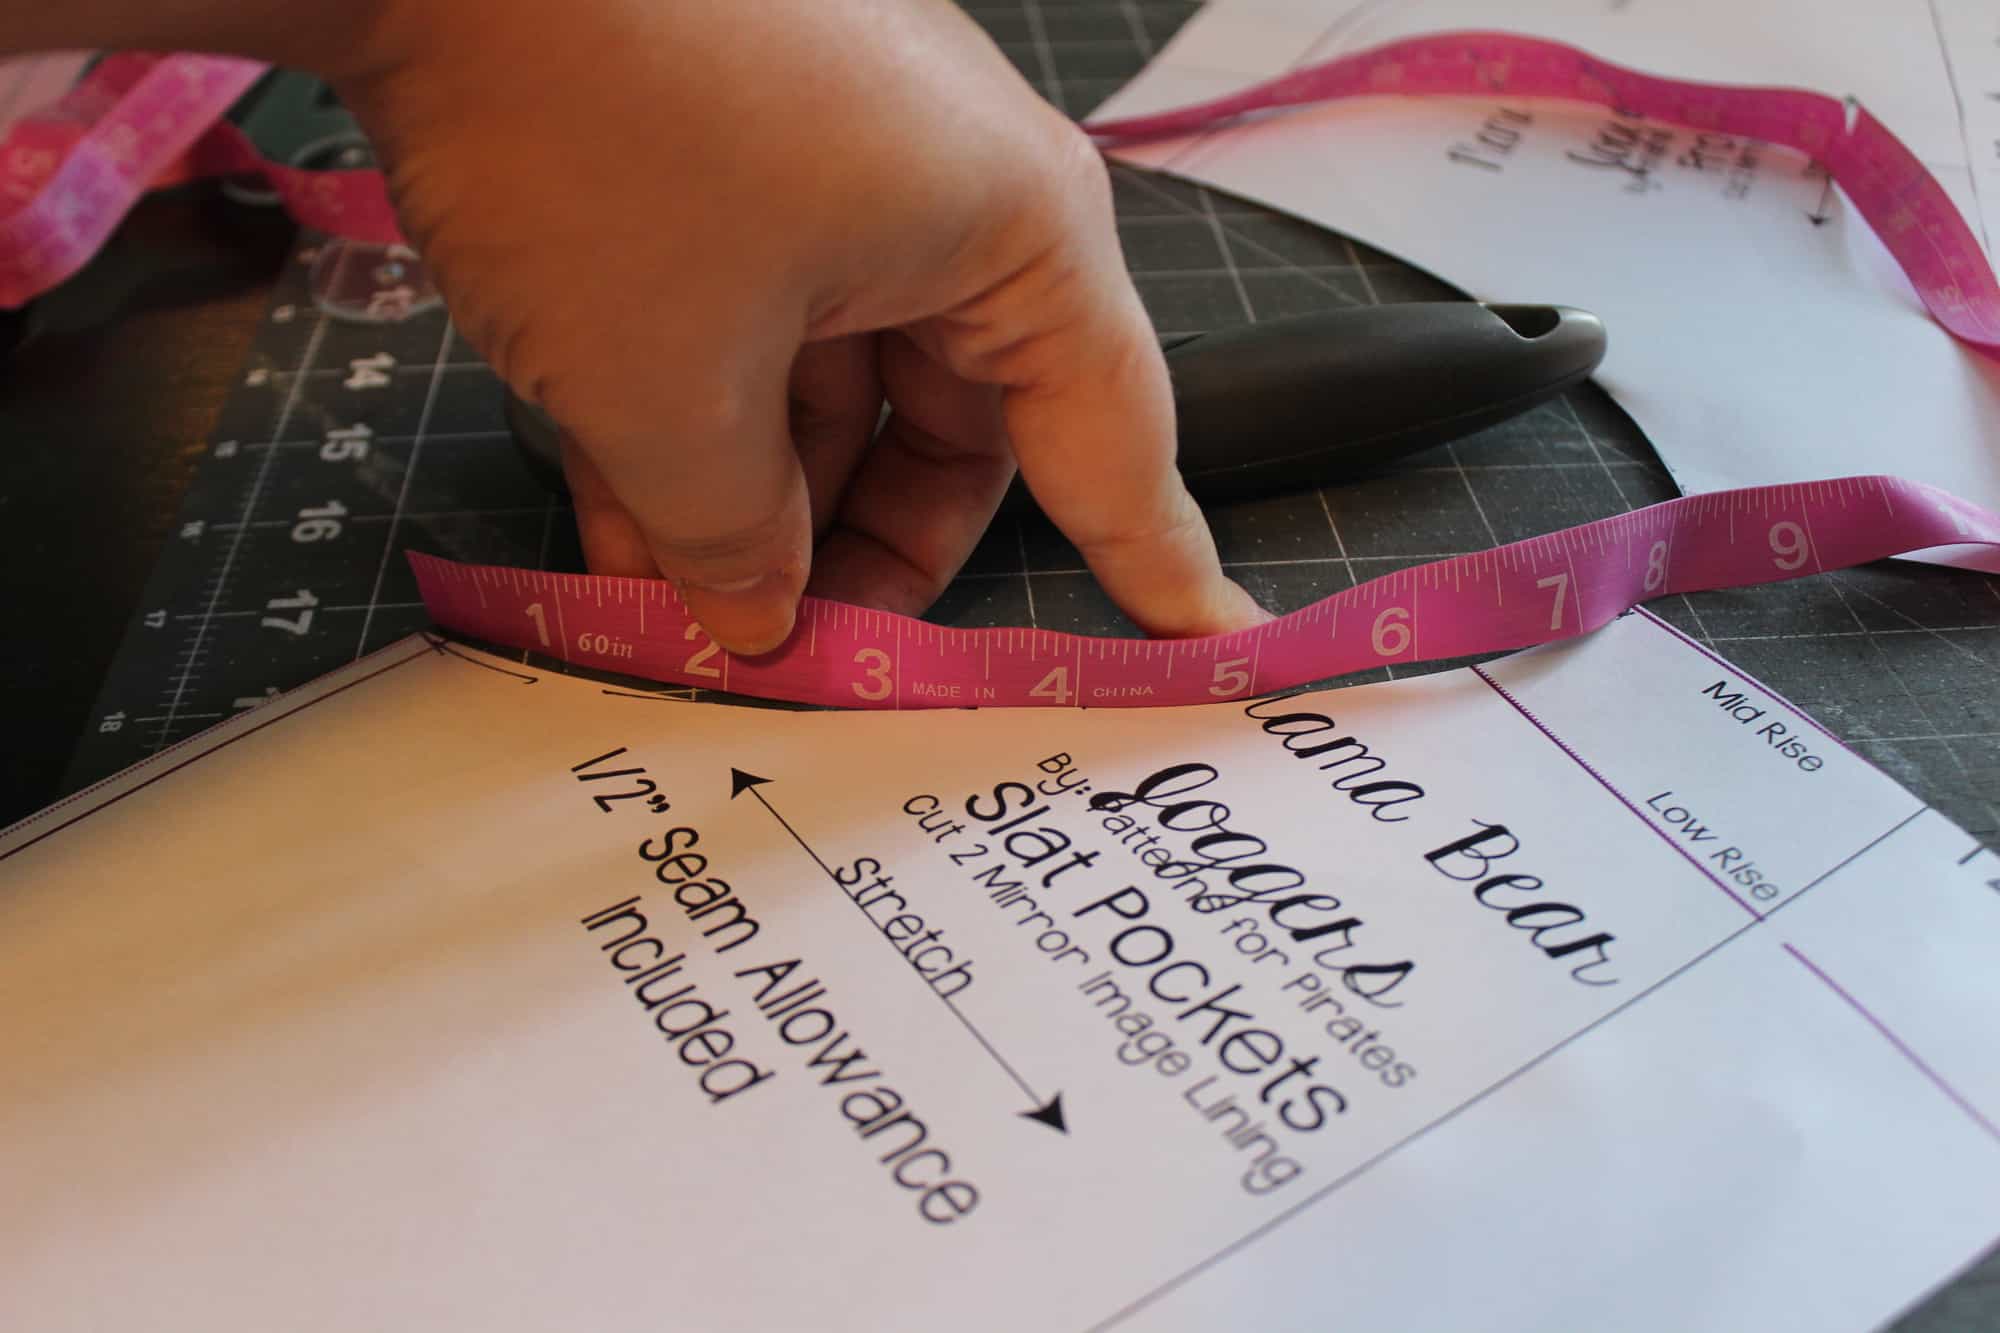
Now take your measuring tape and measure the new pocket opening. You will be cutting your accent band to be 2″ by 95% of the opening.

img_3043

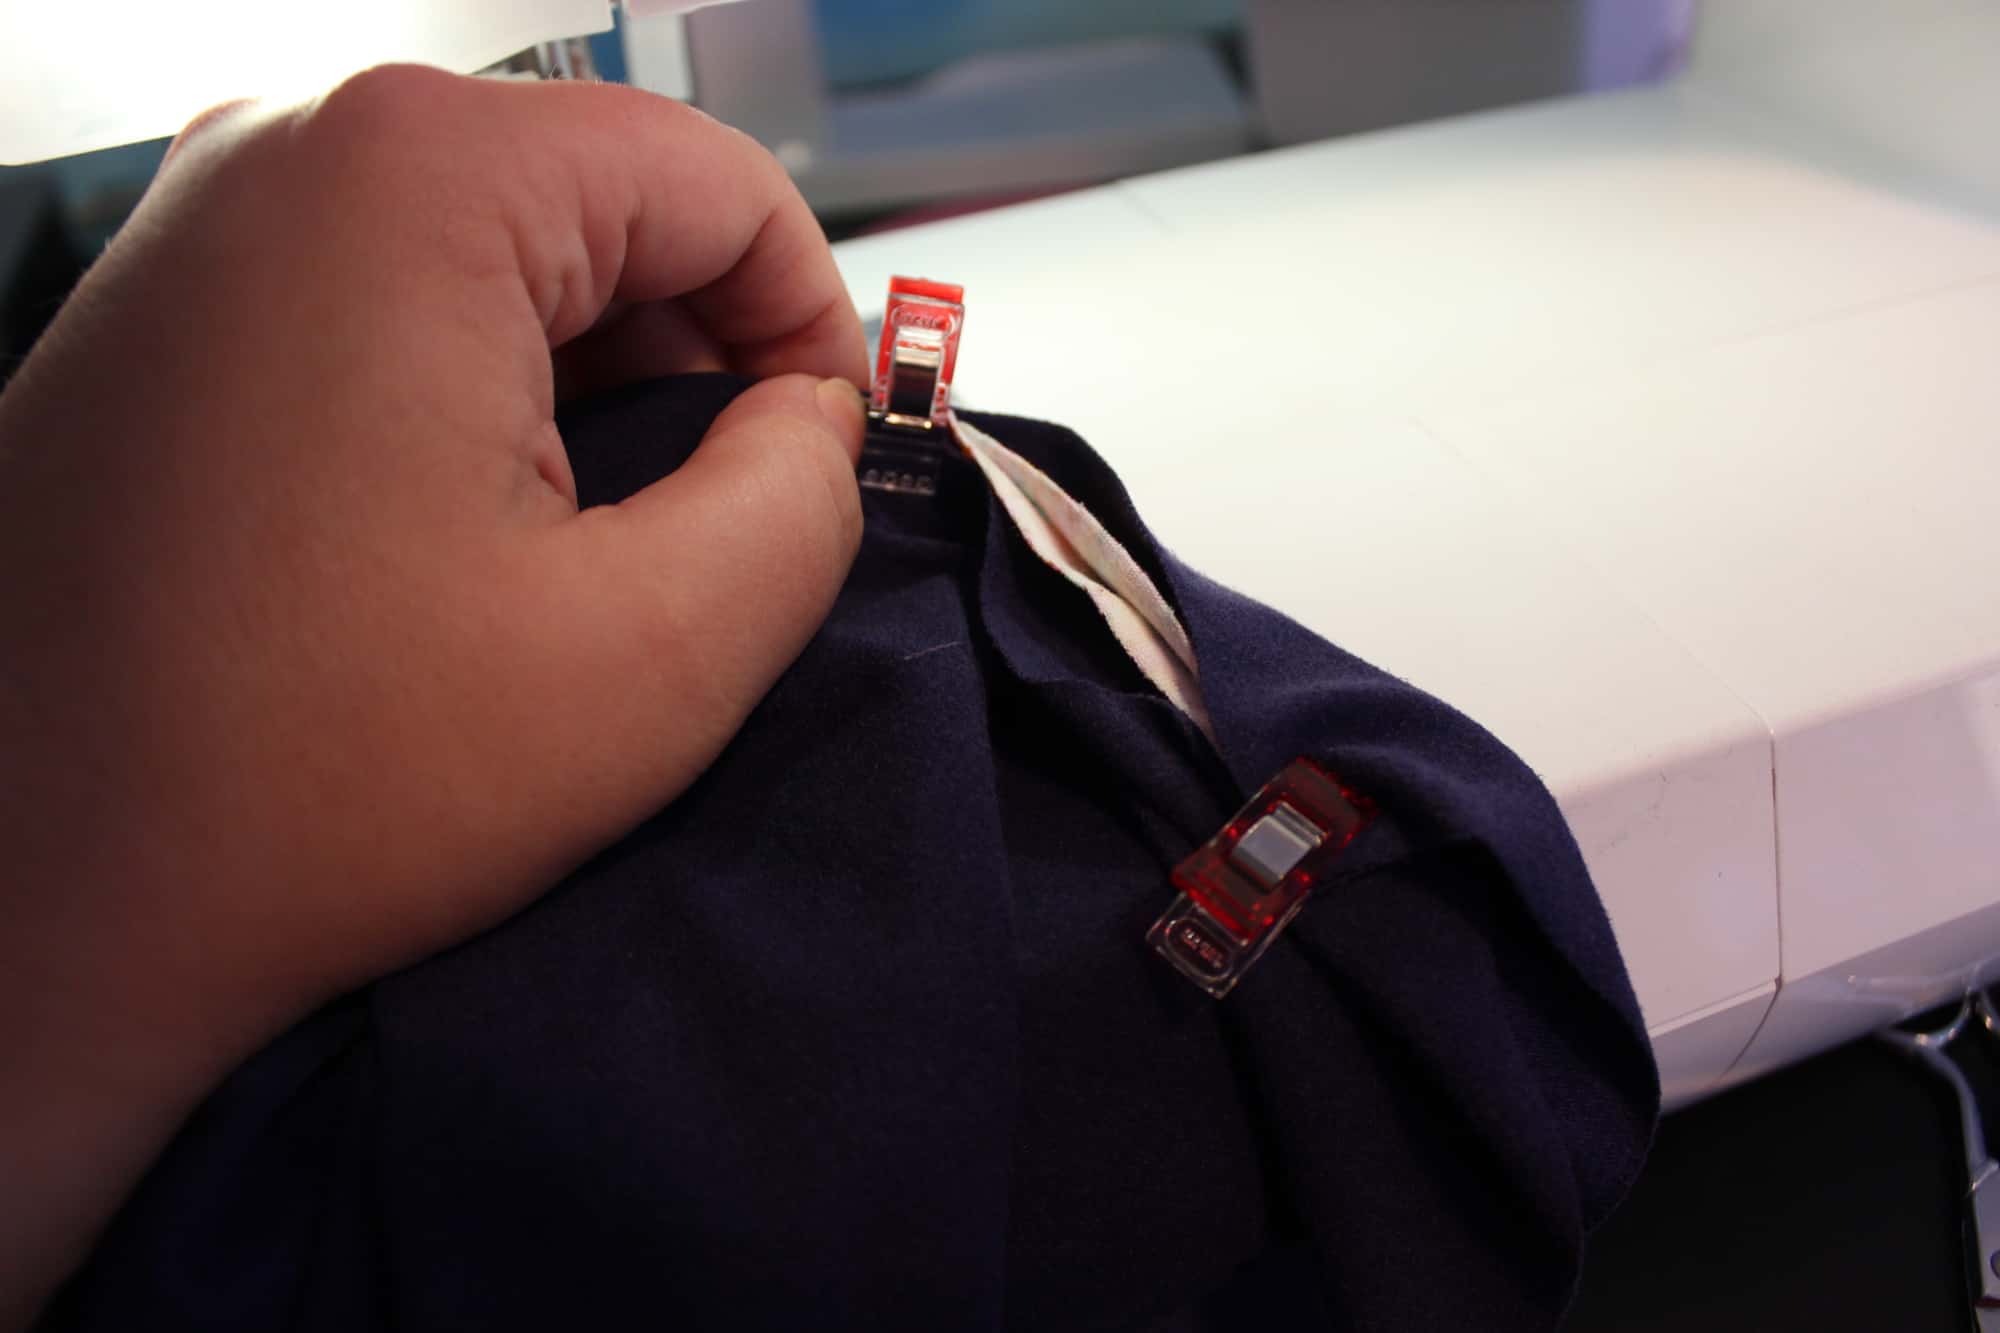
Fold the band wrong sides together and give it a good press. Sandwich the  folded band between the right side of the front of the pants and the right side of the pocket lining. You will be stretching JUST the band slightly. Sew the 4 layers together.

img_3050

Turn the pocket over so its wrong side is on the wrong side of the front leg. You can now top stitch along the curve. Tadah! You’ve added a decorative band to the slat pocket. If you do not add the side strip proceed with sewing the joggers according to the pattern tutorial.

img_3052

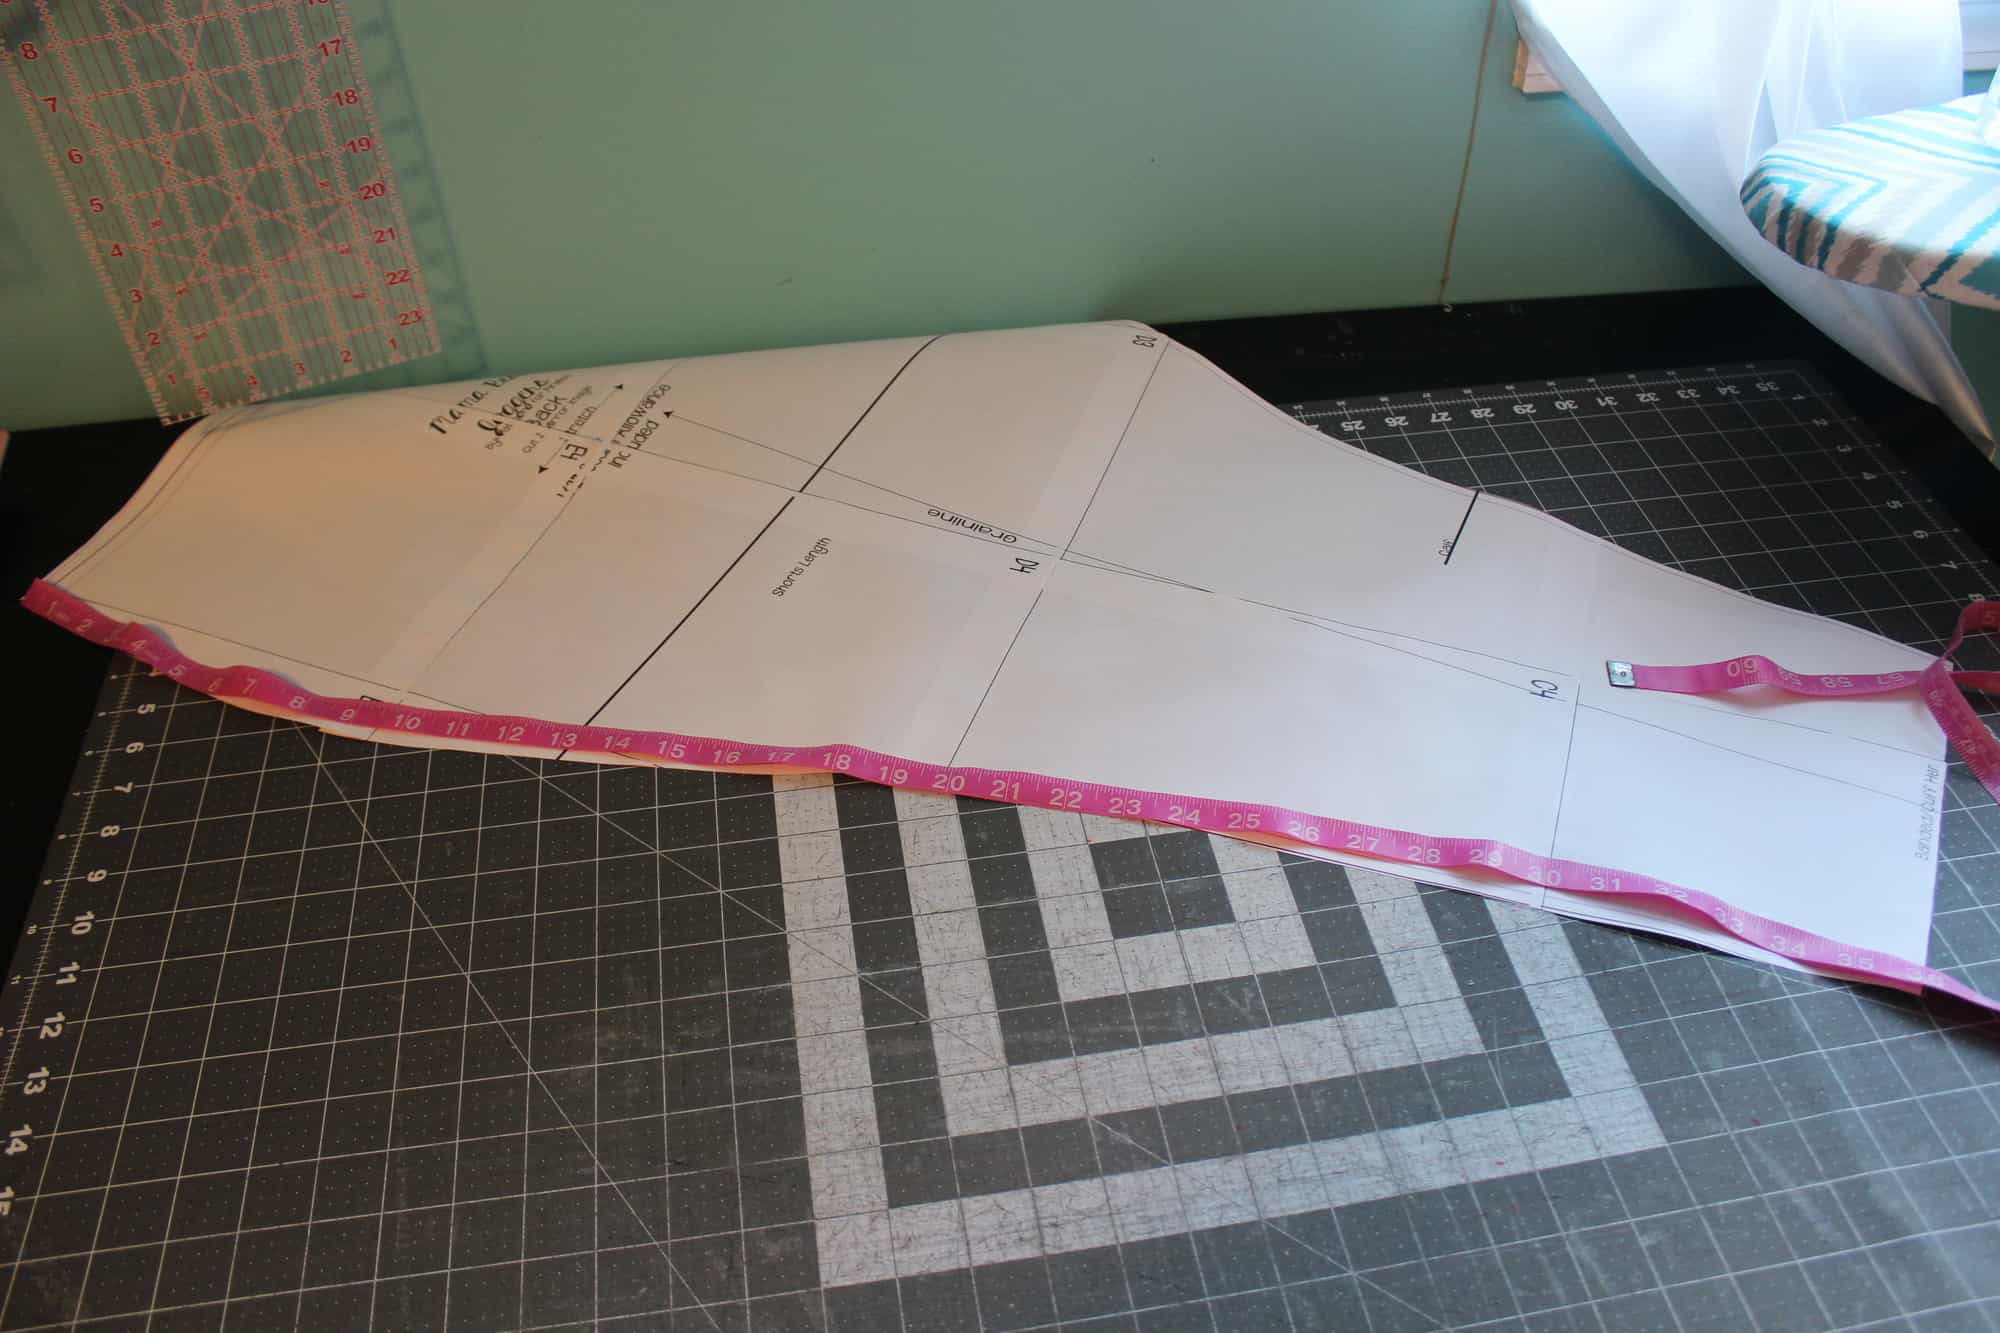
If you add the stripe, we will be making some pattern alteration prior to cutting the fabric. Place your pocket lining and back on top of the front of the pants matching the top and  side lines. We will be removing 1.5 inches from the side of the front of the pants. Following the side curve draw a line parallel to the side, 1.5″ away.joggersstripe

Cut along the new line. Now grab the back of your pants and repeat the process on the side. You now have 4 new pattern pieces, front and back, pocket and pocket lining. We will measure the new side length with a measuring tape because it’s flexible. The tuxedo stripe will be 3″ by the new measured side. See? That wasn’t so bad.

img_3038

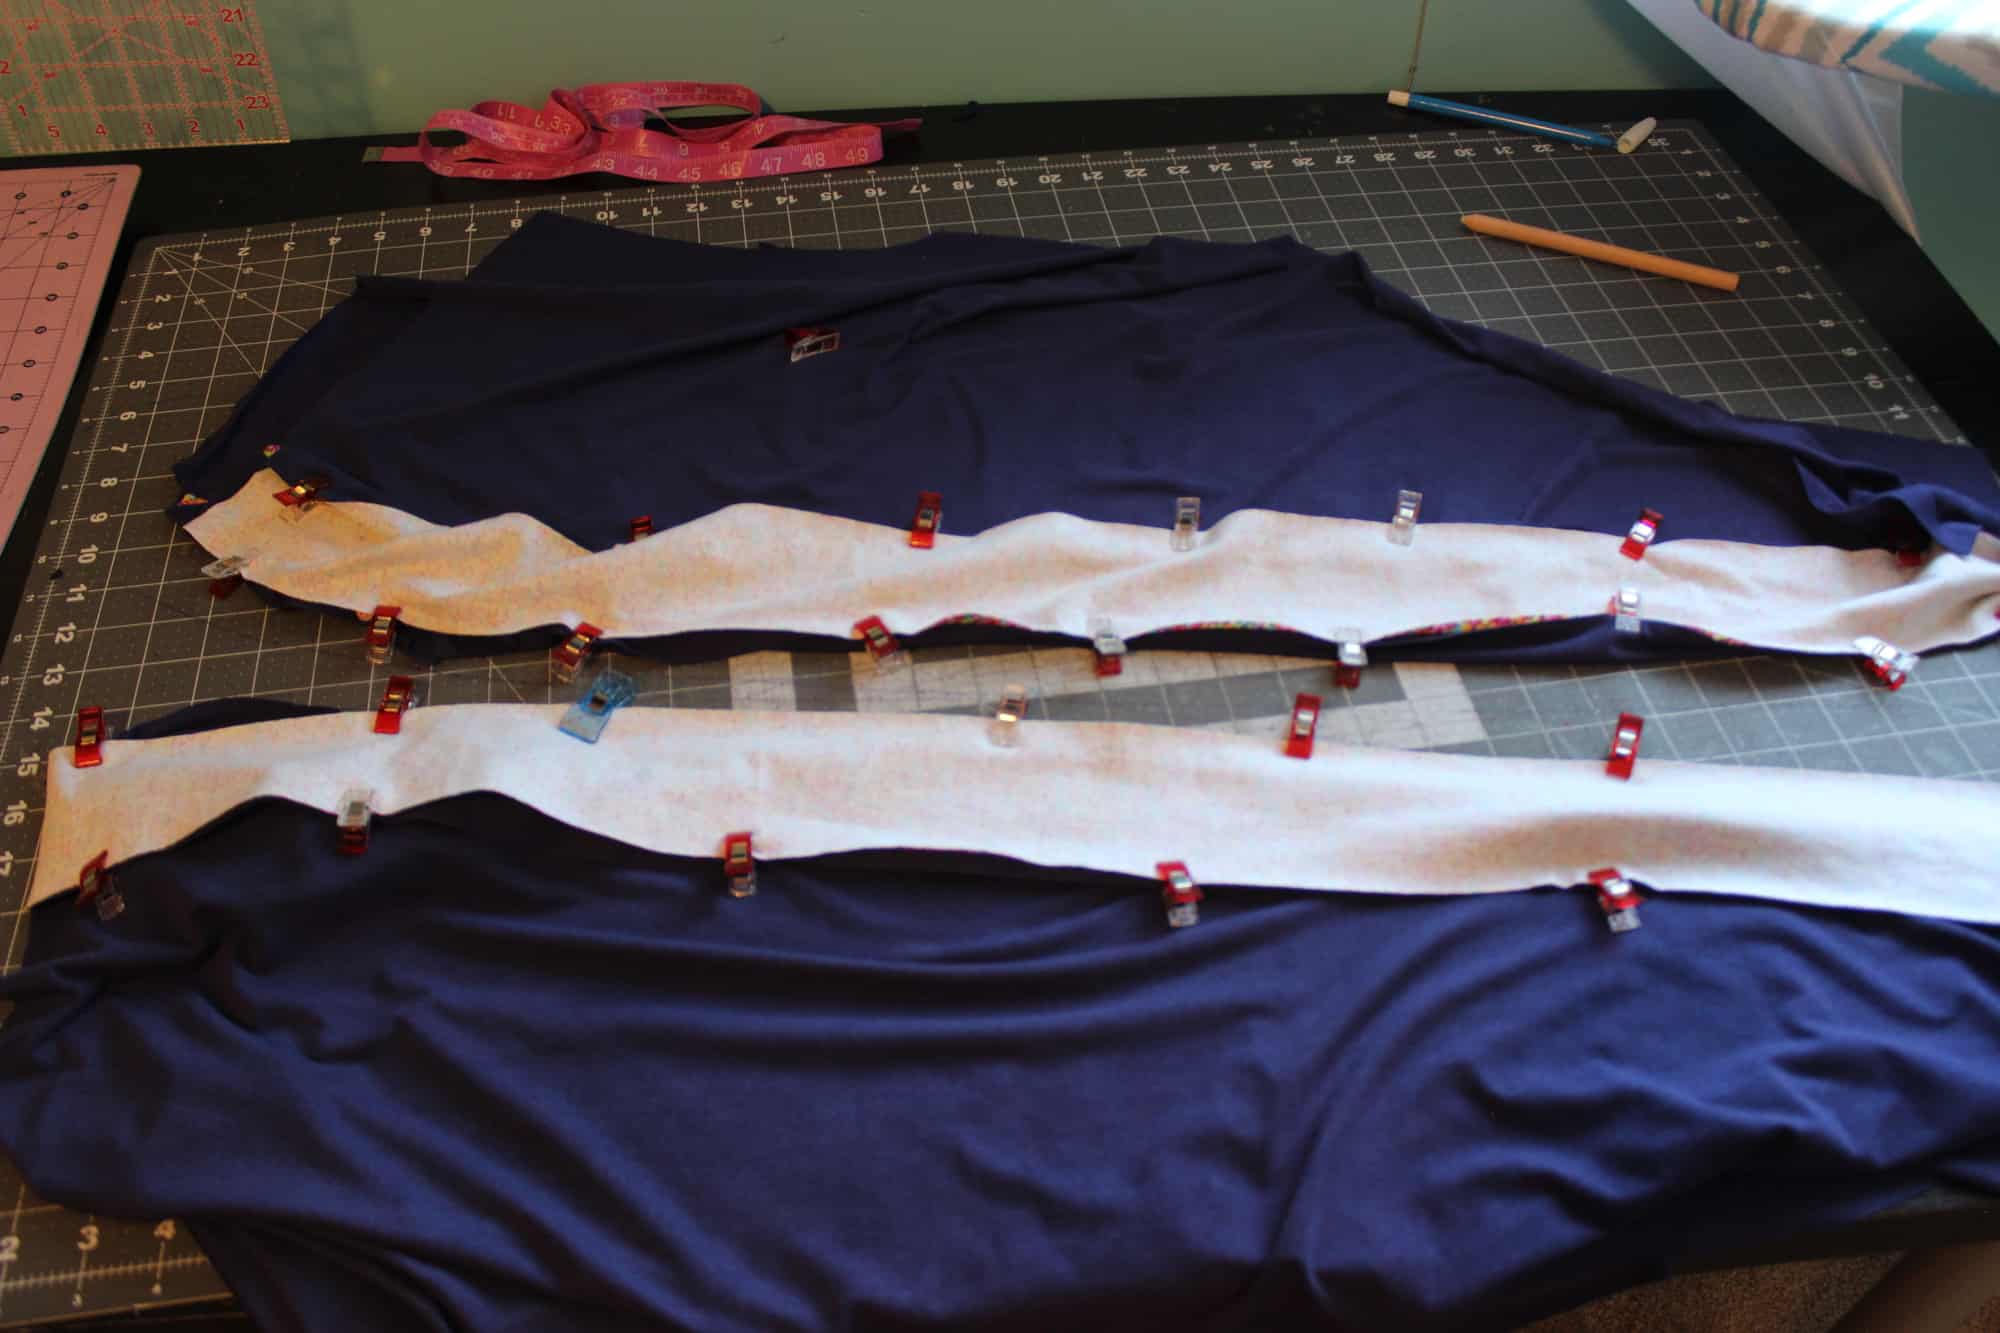
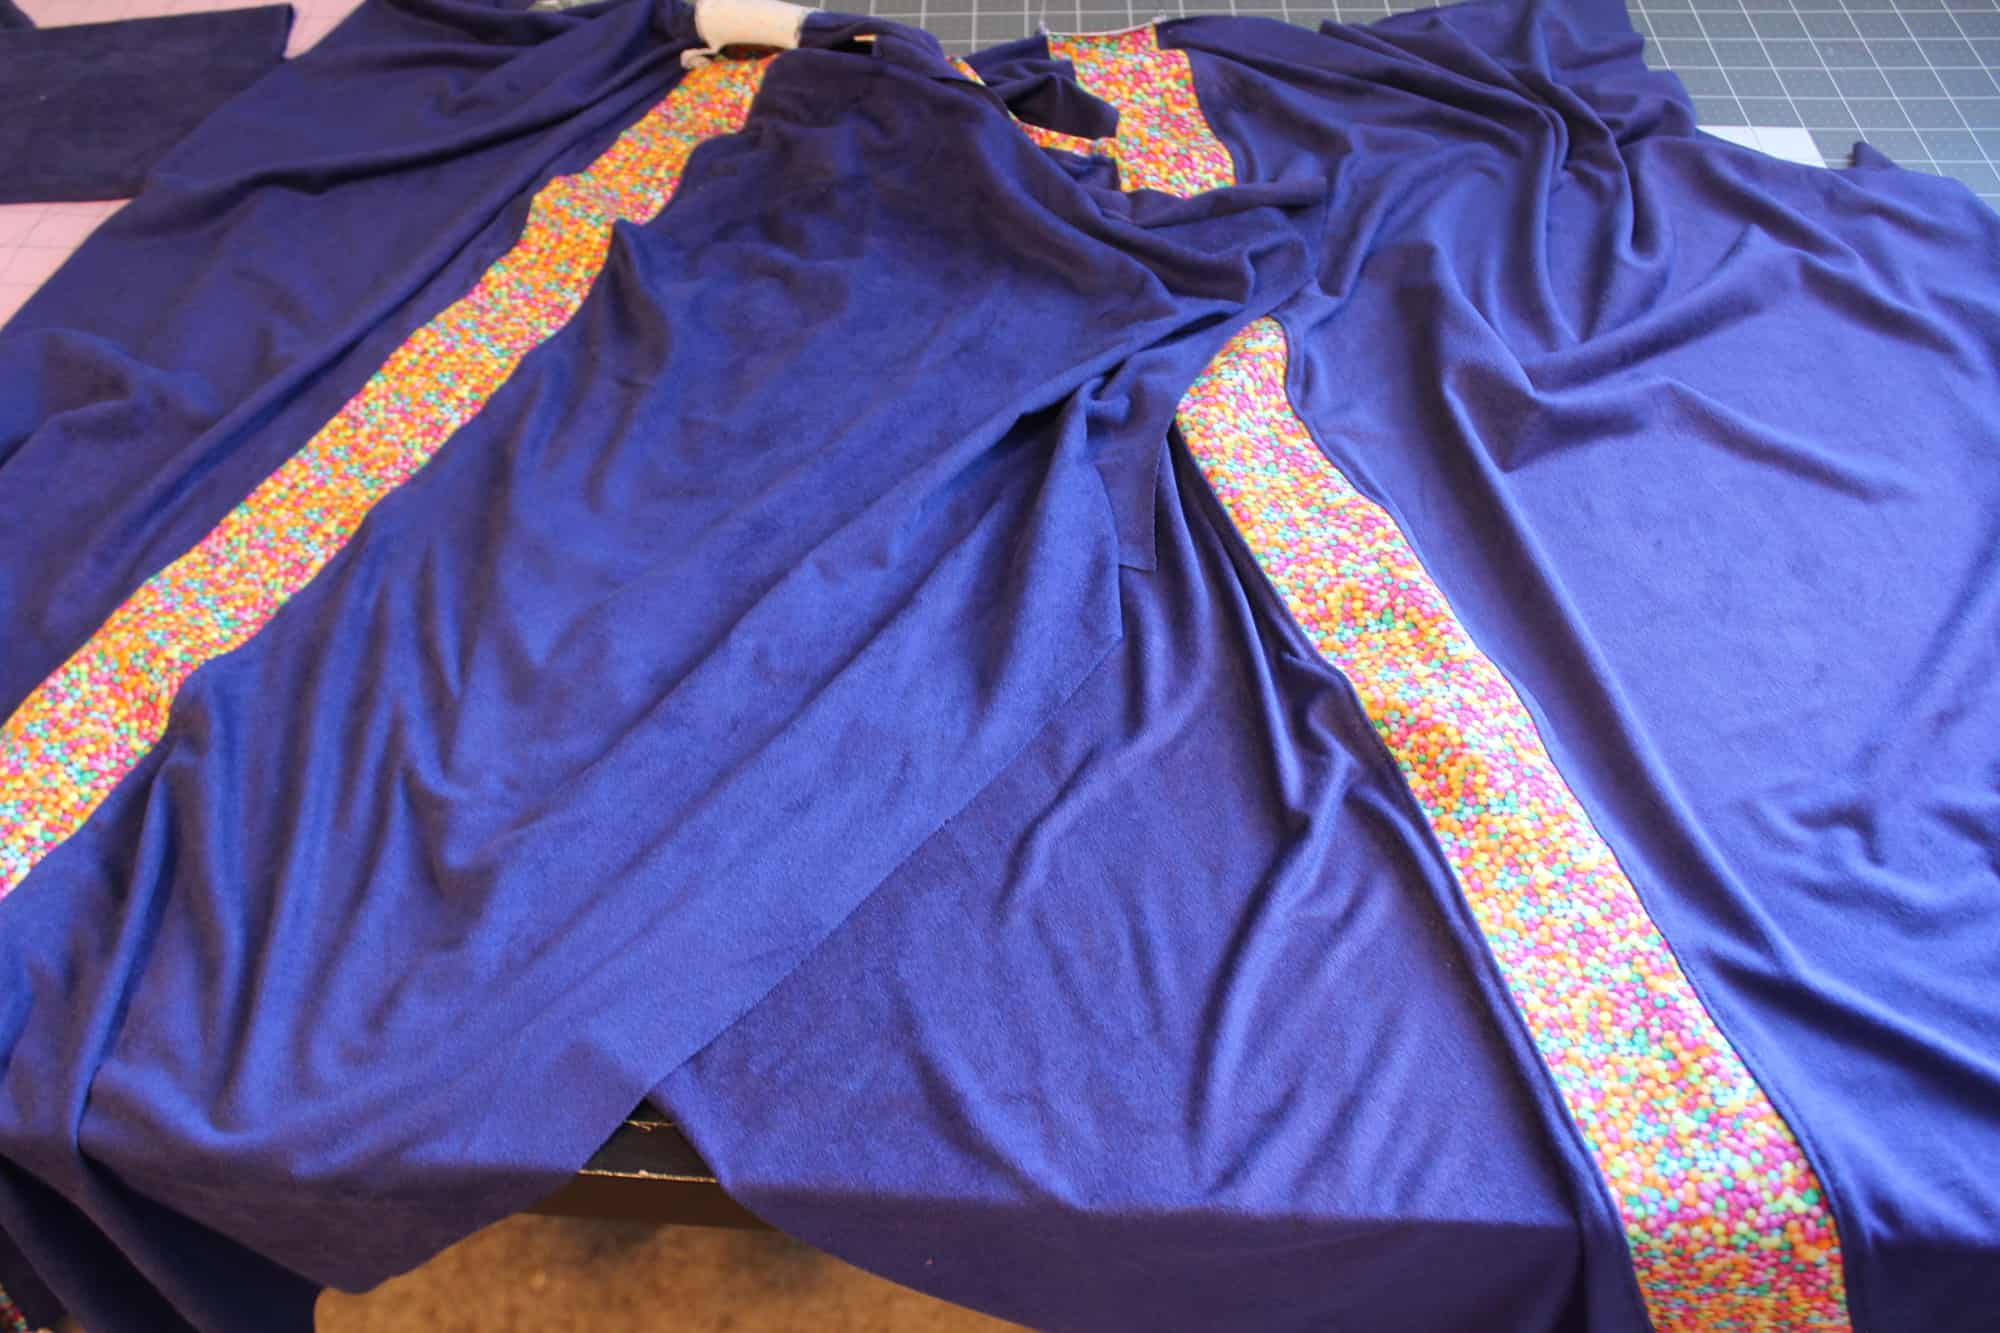
Add the pocket according to the tutorial. We will now sew RST the front piece with one side of the strip. Then attach the other side of the strip to the back of the leg, right sides together. Repeat with the the other leg.

img_3055

img_3056

That’s it! Those are the only changes we made to the pattern. You can now finish your joggers according to the tutorial. You can add the strip to either one of the leg options, cuffs, elastic or rolled.

img_3200img_3223

Get creative with all these joggers hacks and as always post your pretties in the group.

Alex

img_3225


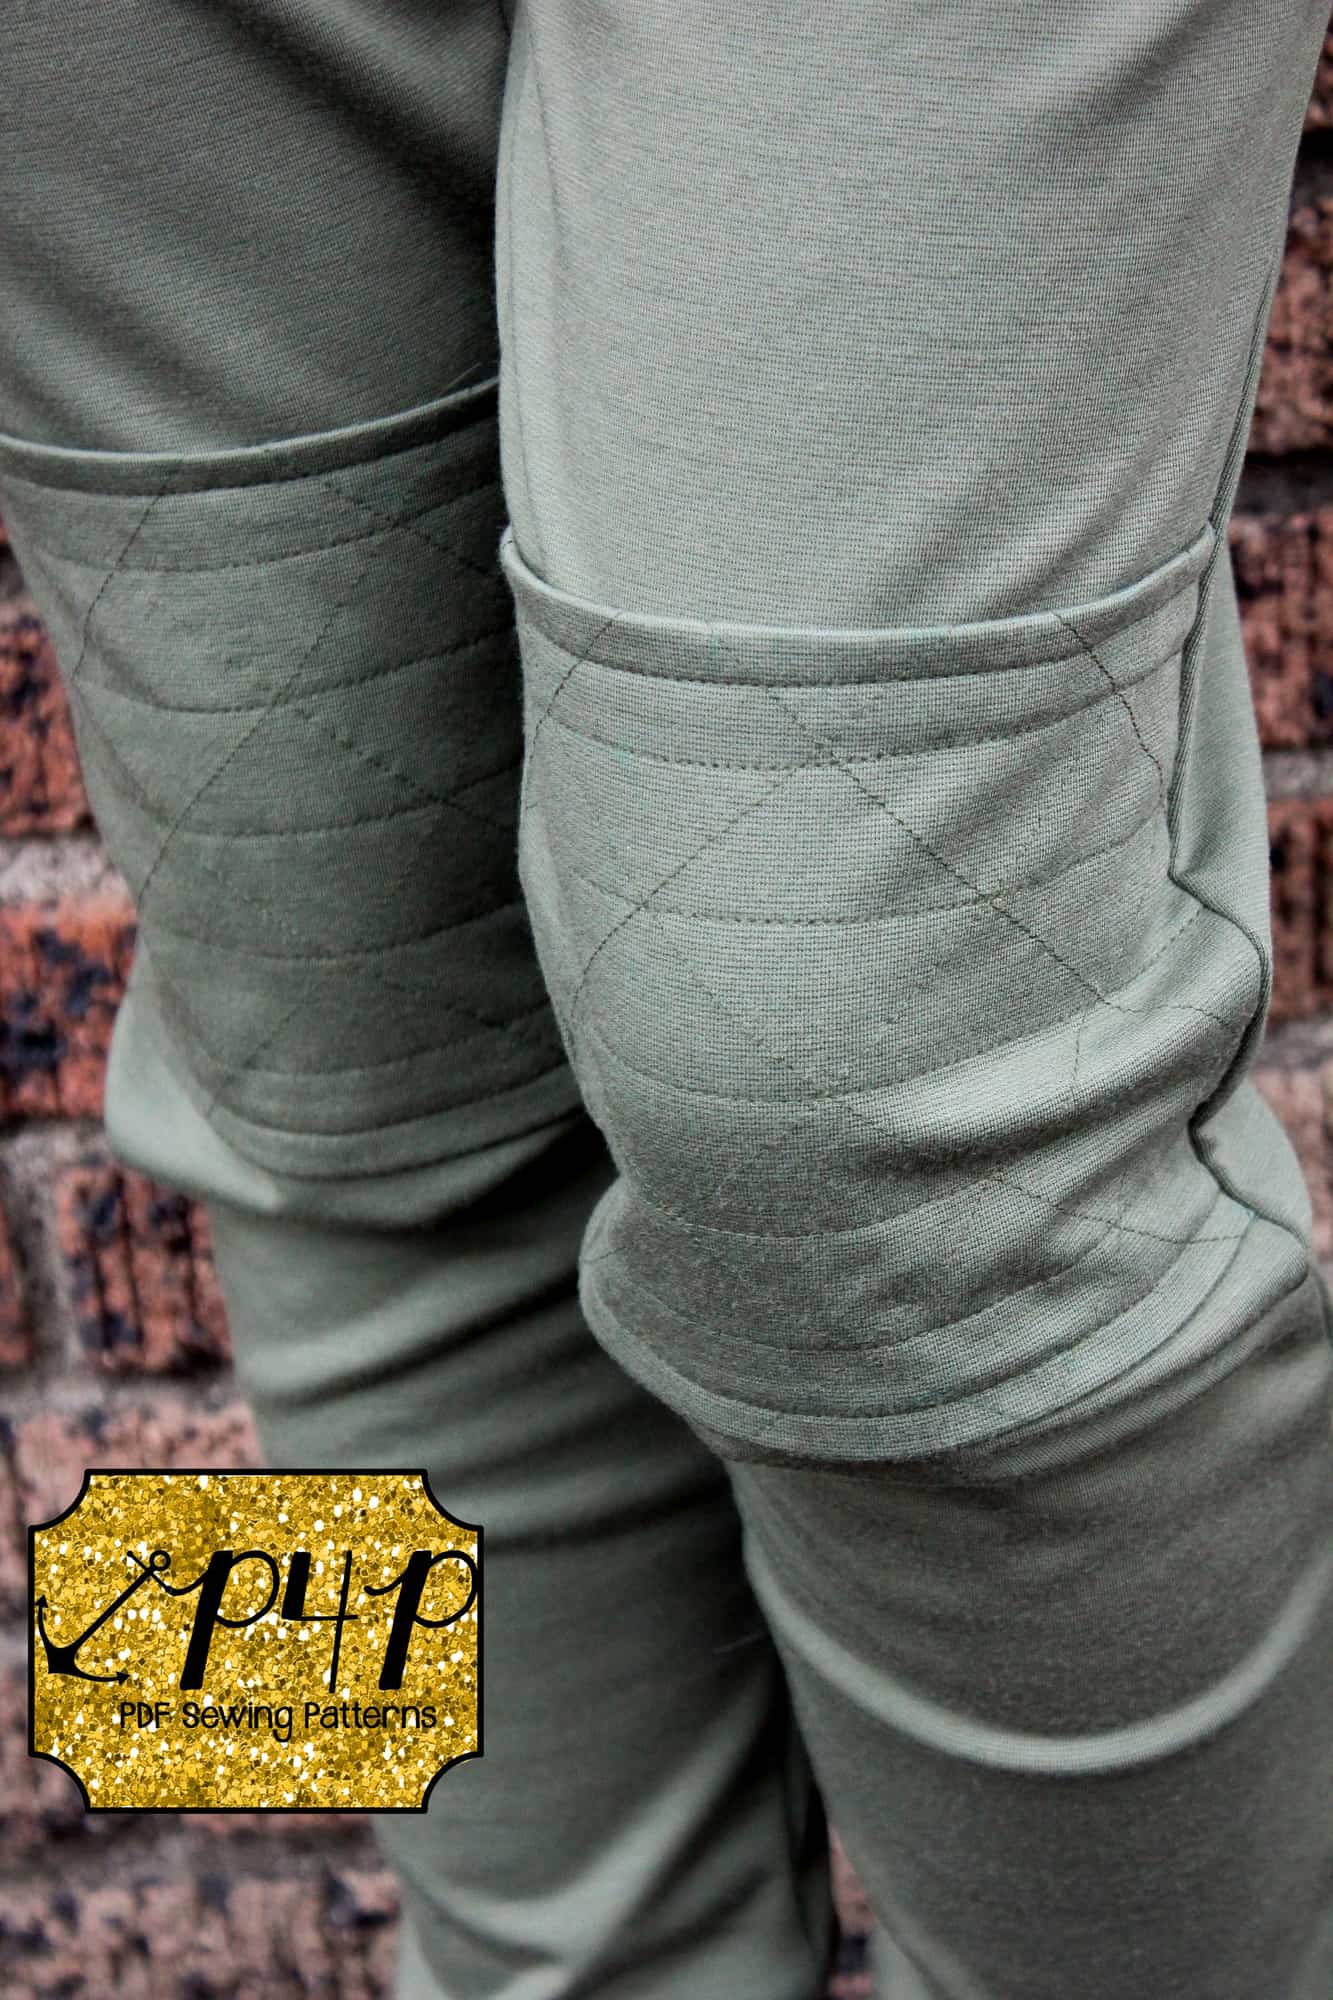
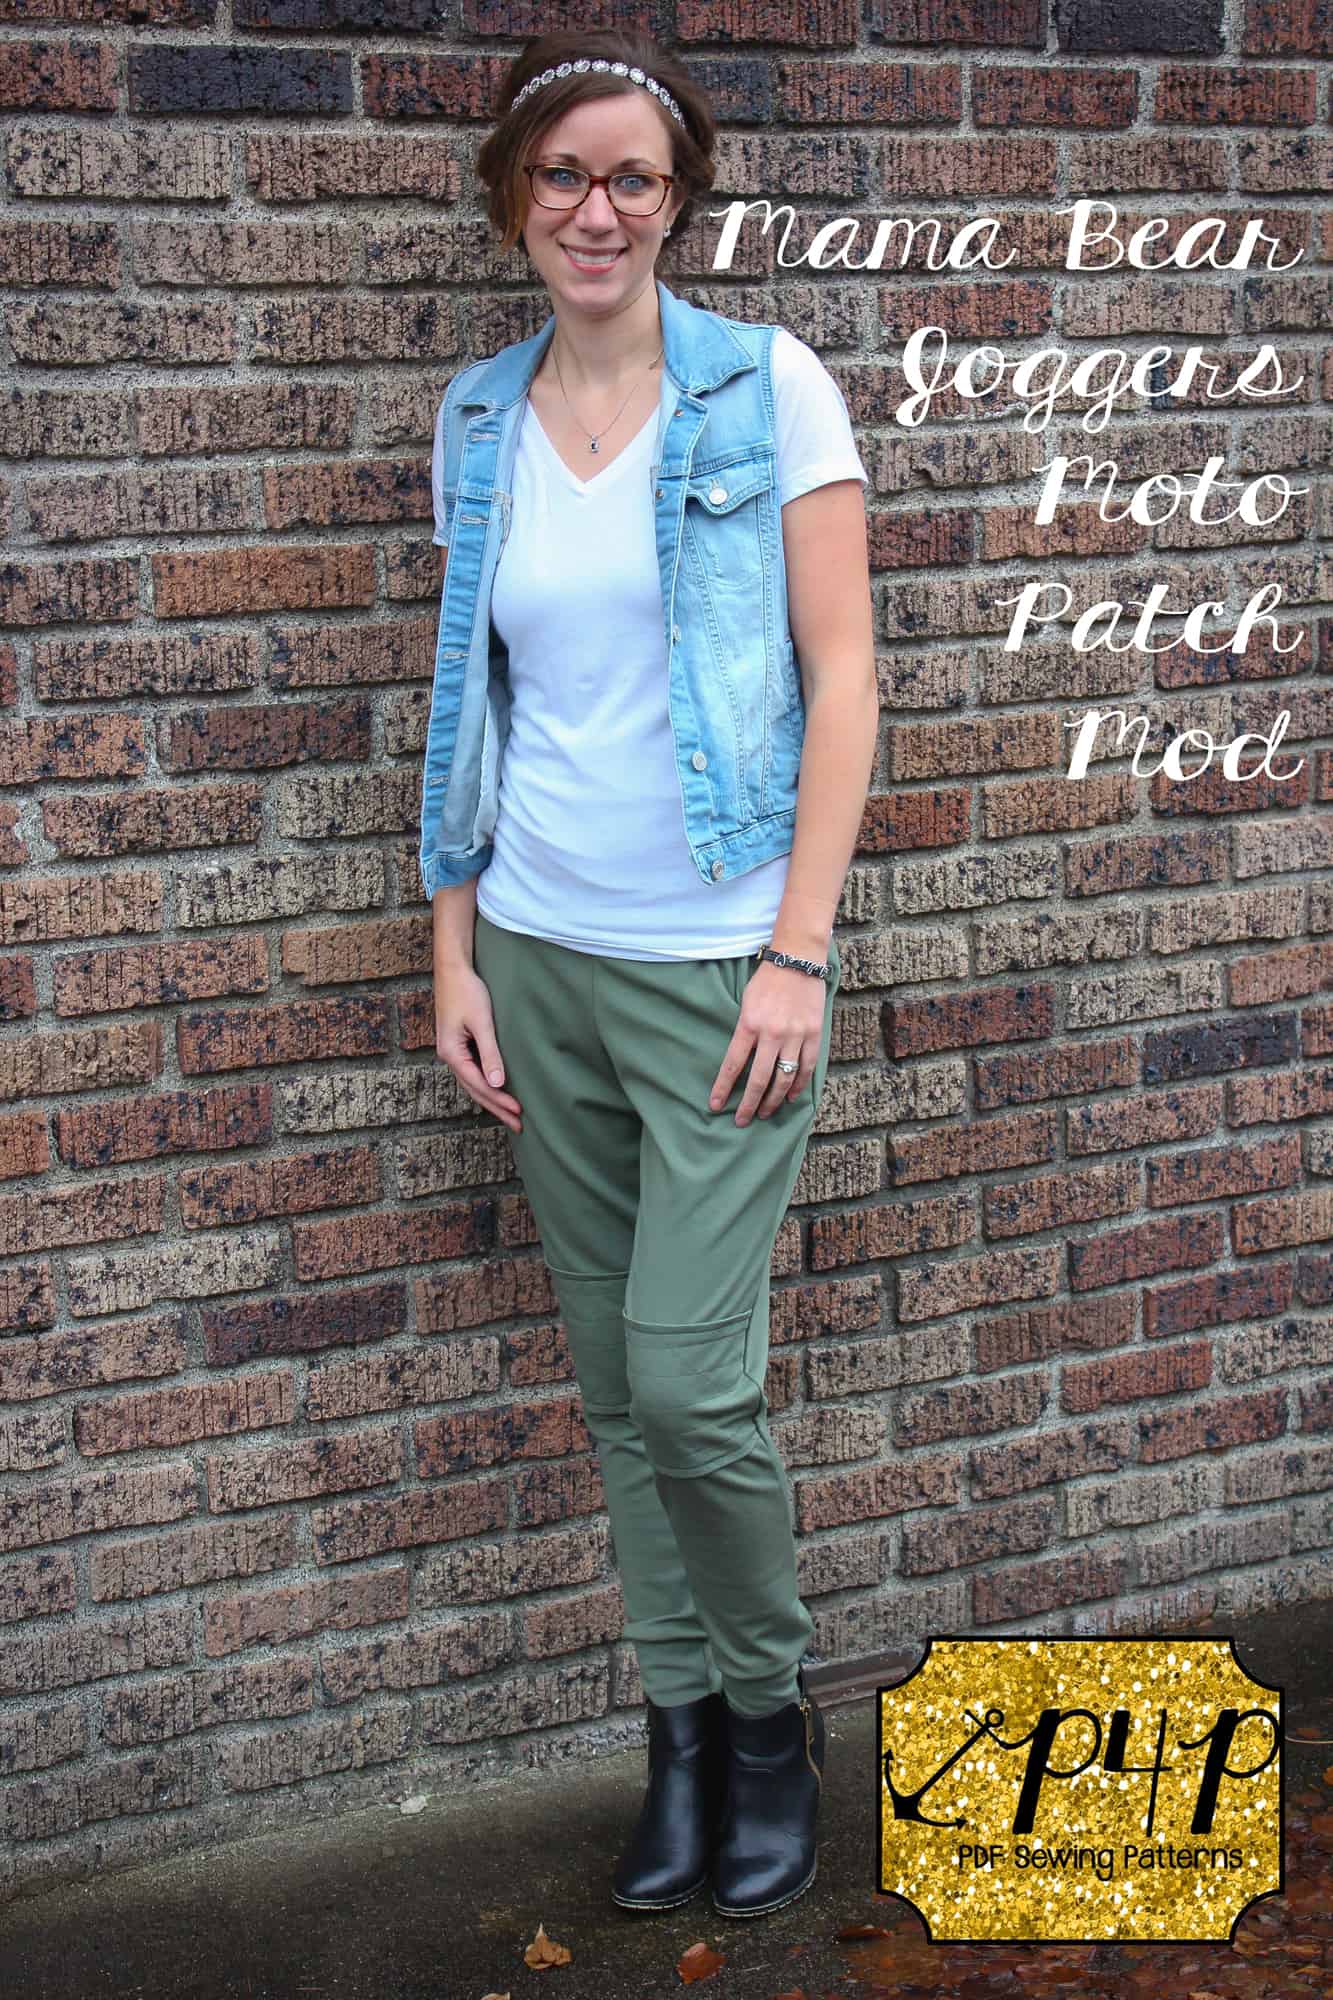
Let’s face it- everyone loves a jogger and the Patterns for Pirates Joggers are perfect! One of the things that I love about joggers is that there are so many different ways to style them. One of my favorite looks is the addition of a moto patch. This simple detail can add an extra bit of edge and flair to your joggers and help take an already awesome look to the next level! So let’s get started…

img_52302

Creating Patch Piece

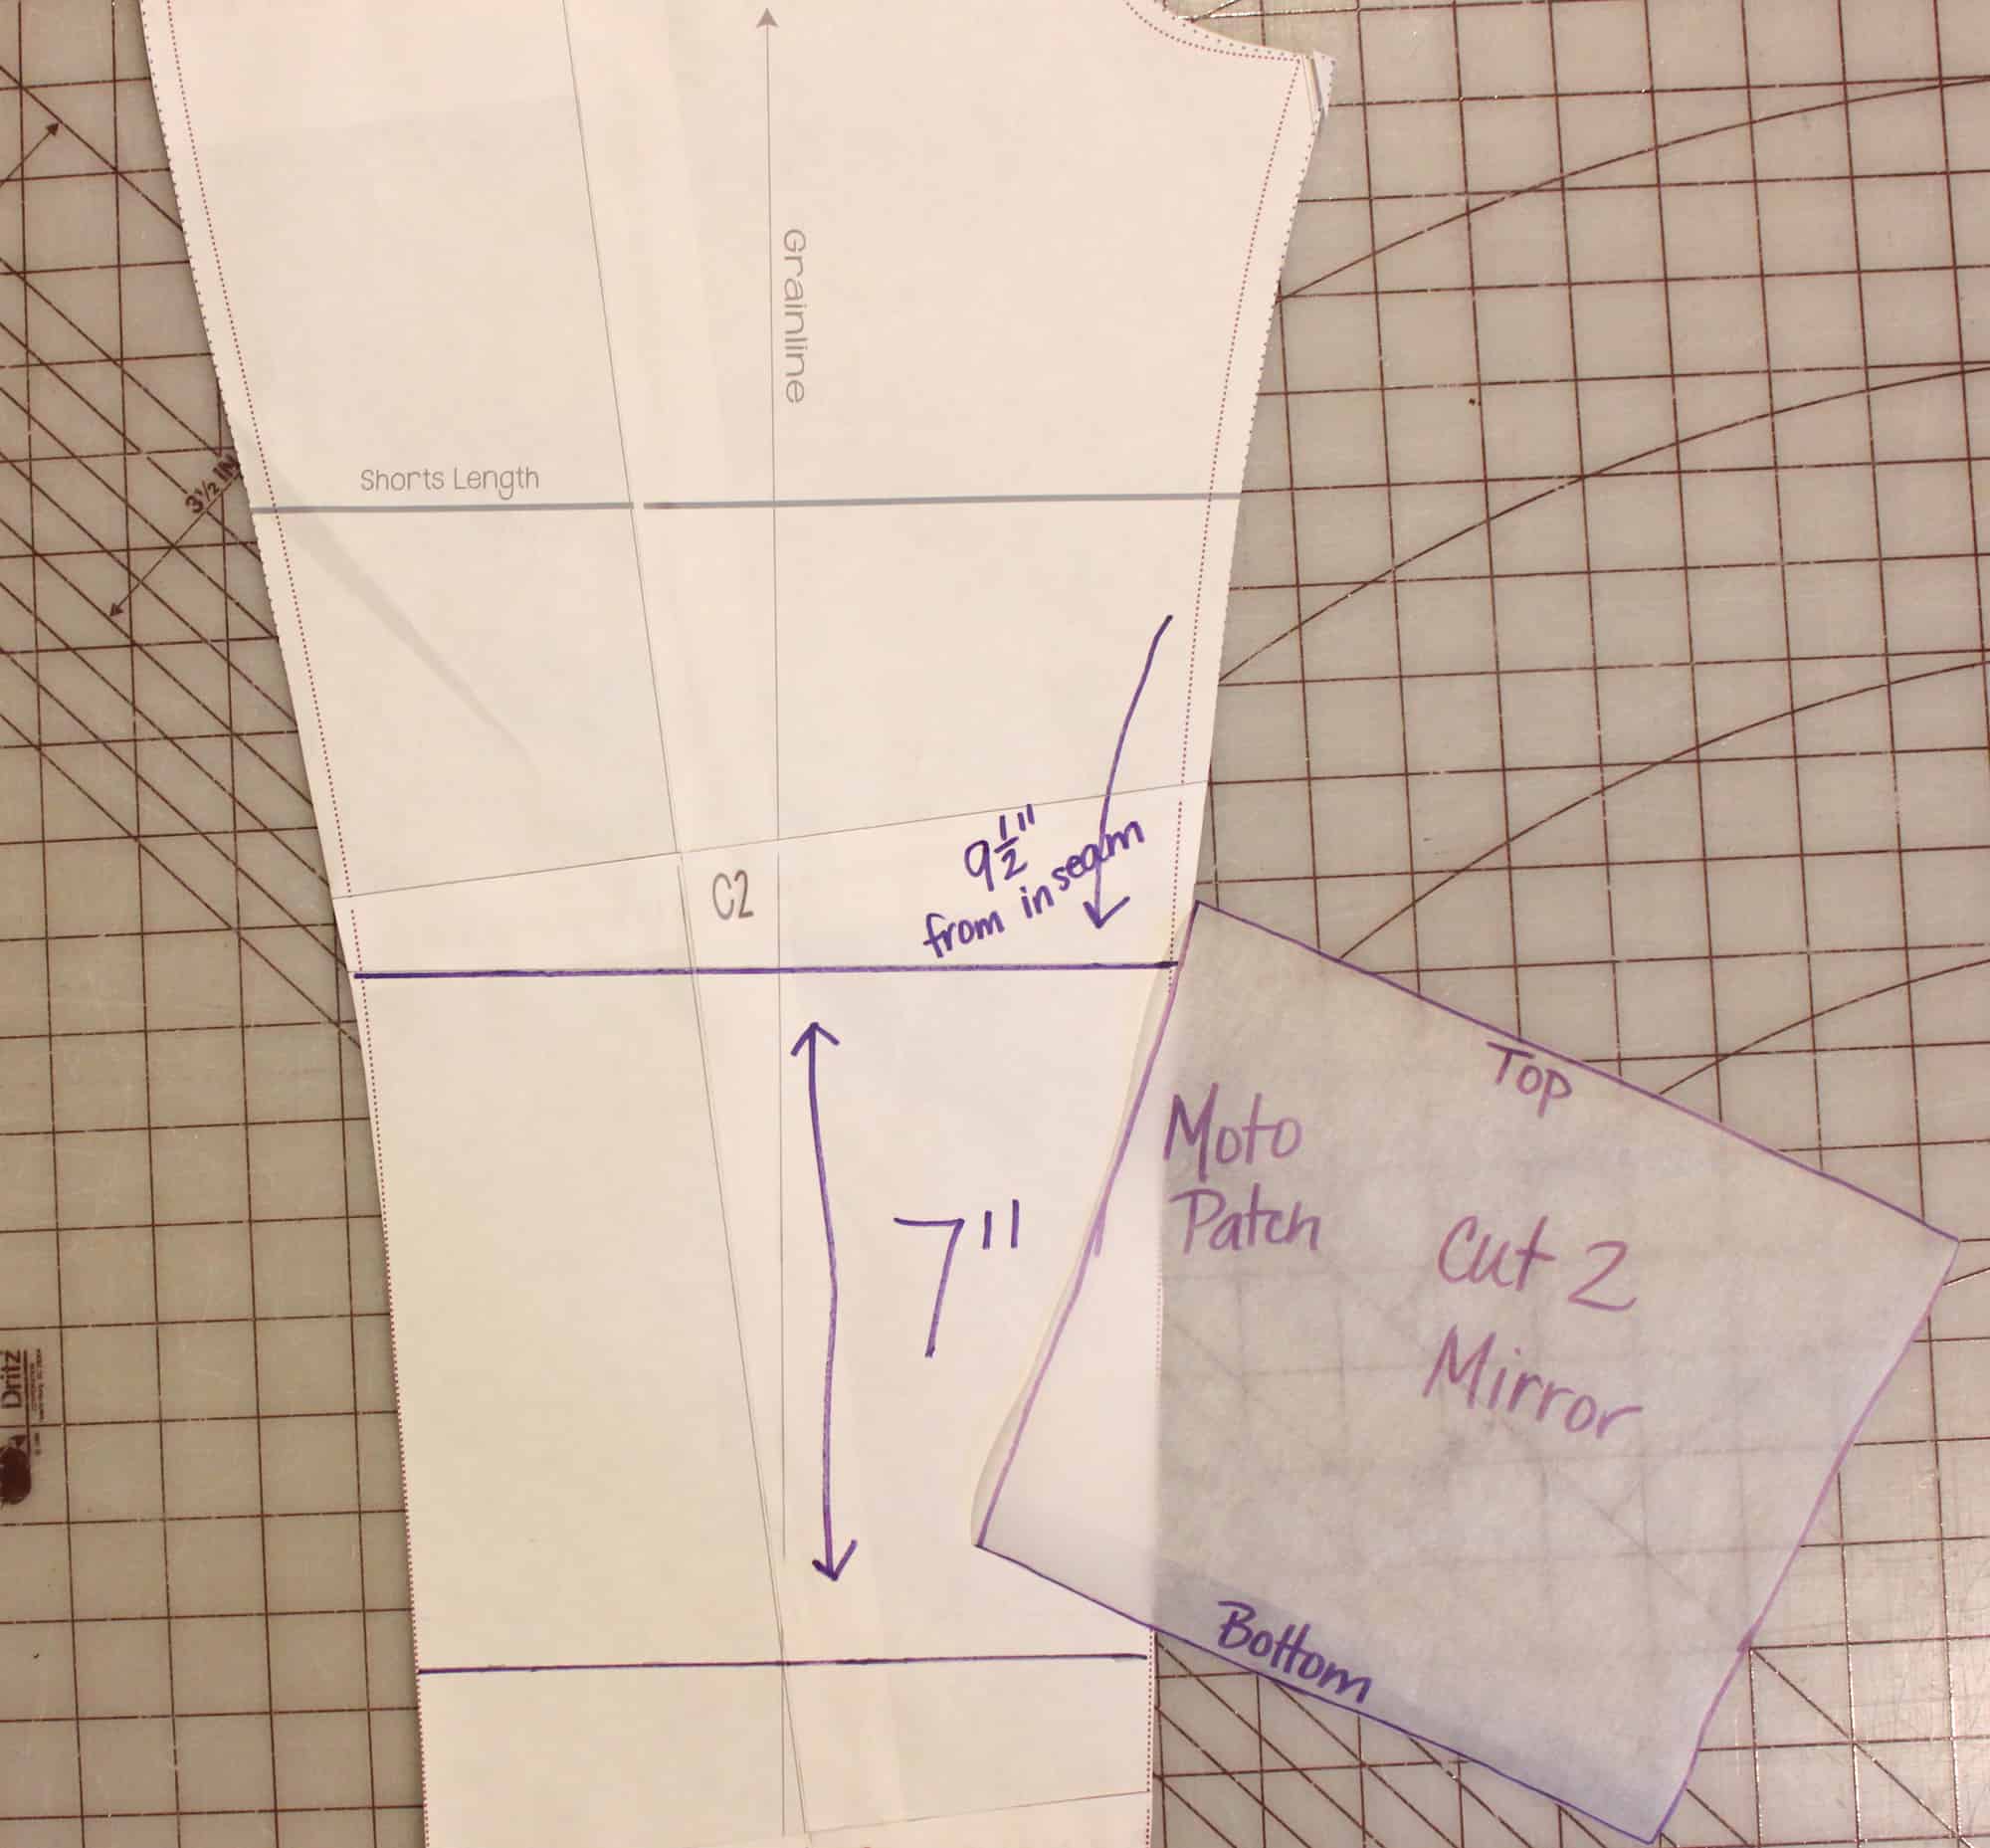
To start with, you will need to determine how far down to attach the patch. You will want to measure from your inseam to the top of where you want to attach the patch. As you can see in the picture below, mine measured 9.5″. Draw a line across your pattern piece at this measurement. Next, you will draw the bottom line for your patch- your next line should be 7″ down from this line (your finished patch will be at total of 6″). Using tracing paper, copy this section of your pattern to create your moto-patch.

img_5240

Quilting the Patch
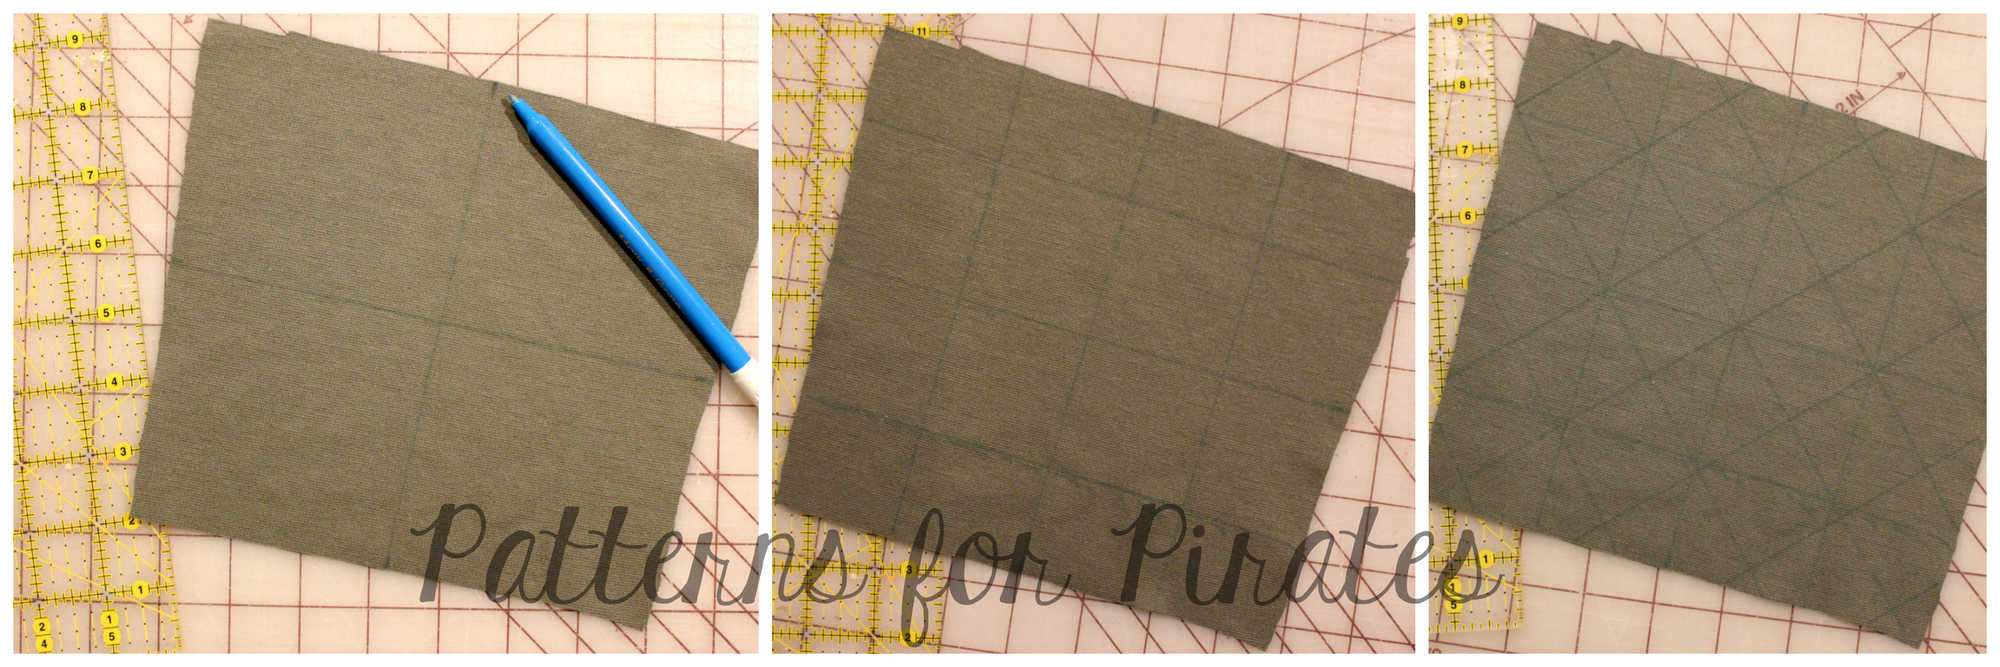
You will need to cut out two mirror image pieces. Next, you will trace your quilting lines on each piece (make sure to do mirror images!). Begin by marking both the horizontal and vertical centers of your piece (if you don’t have a quilters ruler- this mod is a GREAT excuse to go purchase one!!). After marking centers, draw lines every 2 inches in both directions. The final markings will be on the diagonals- connecting your squares. Repeat on the other patch.

picmonkey-collage

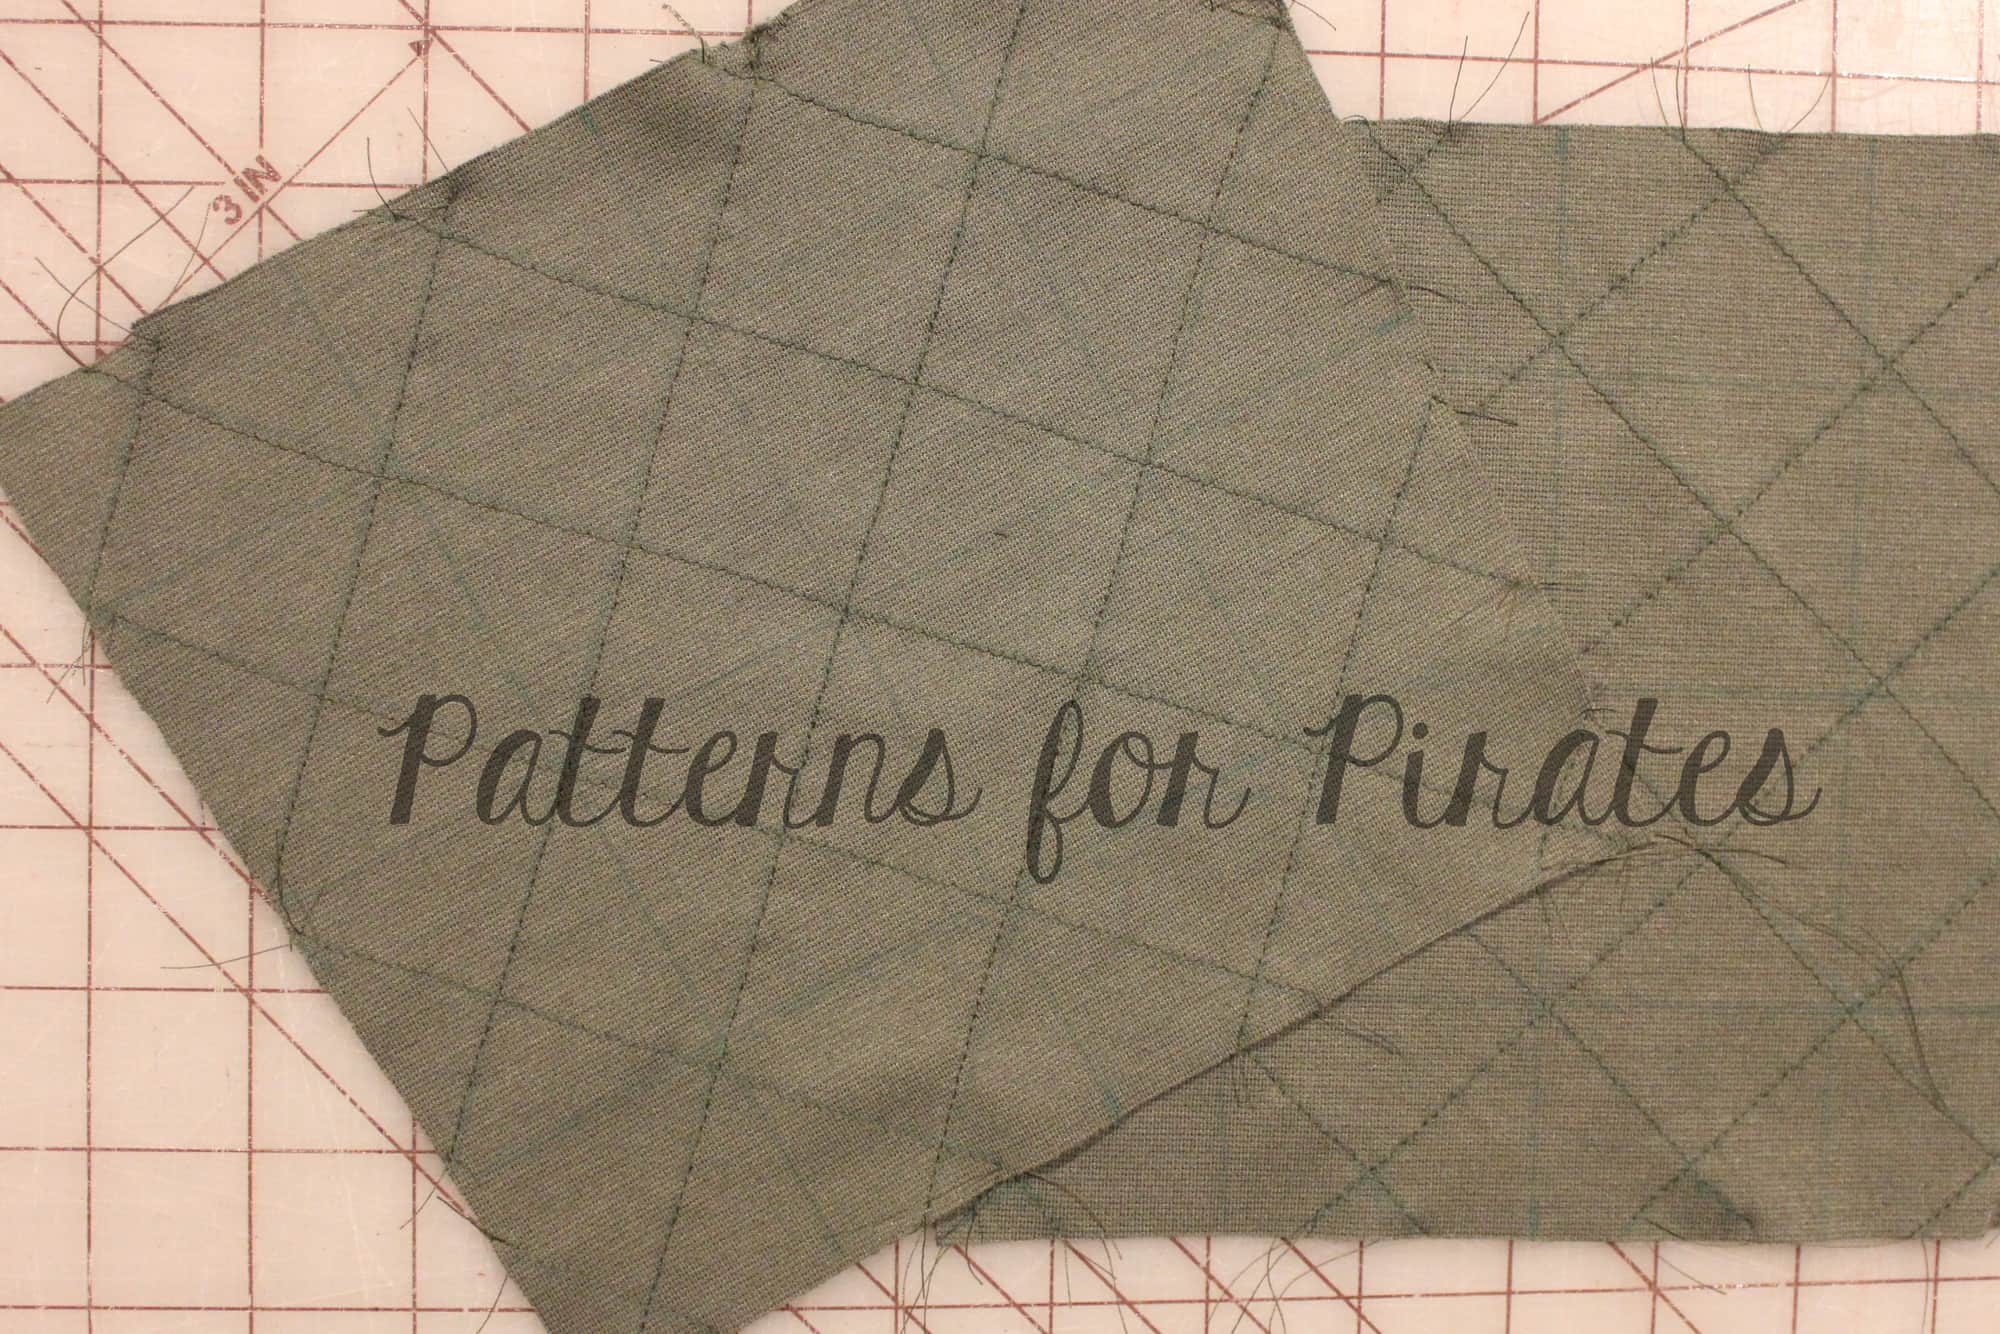
After completing your markings, stitch across all of the diagonal marks only. Then, take a few minutes and admire all of the hard work you just did— Ok! Moment over, because now you get to repeat all of that beautiful stitching on the other patch! img_5214

Finishing and Attaching Patch
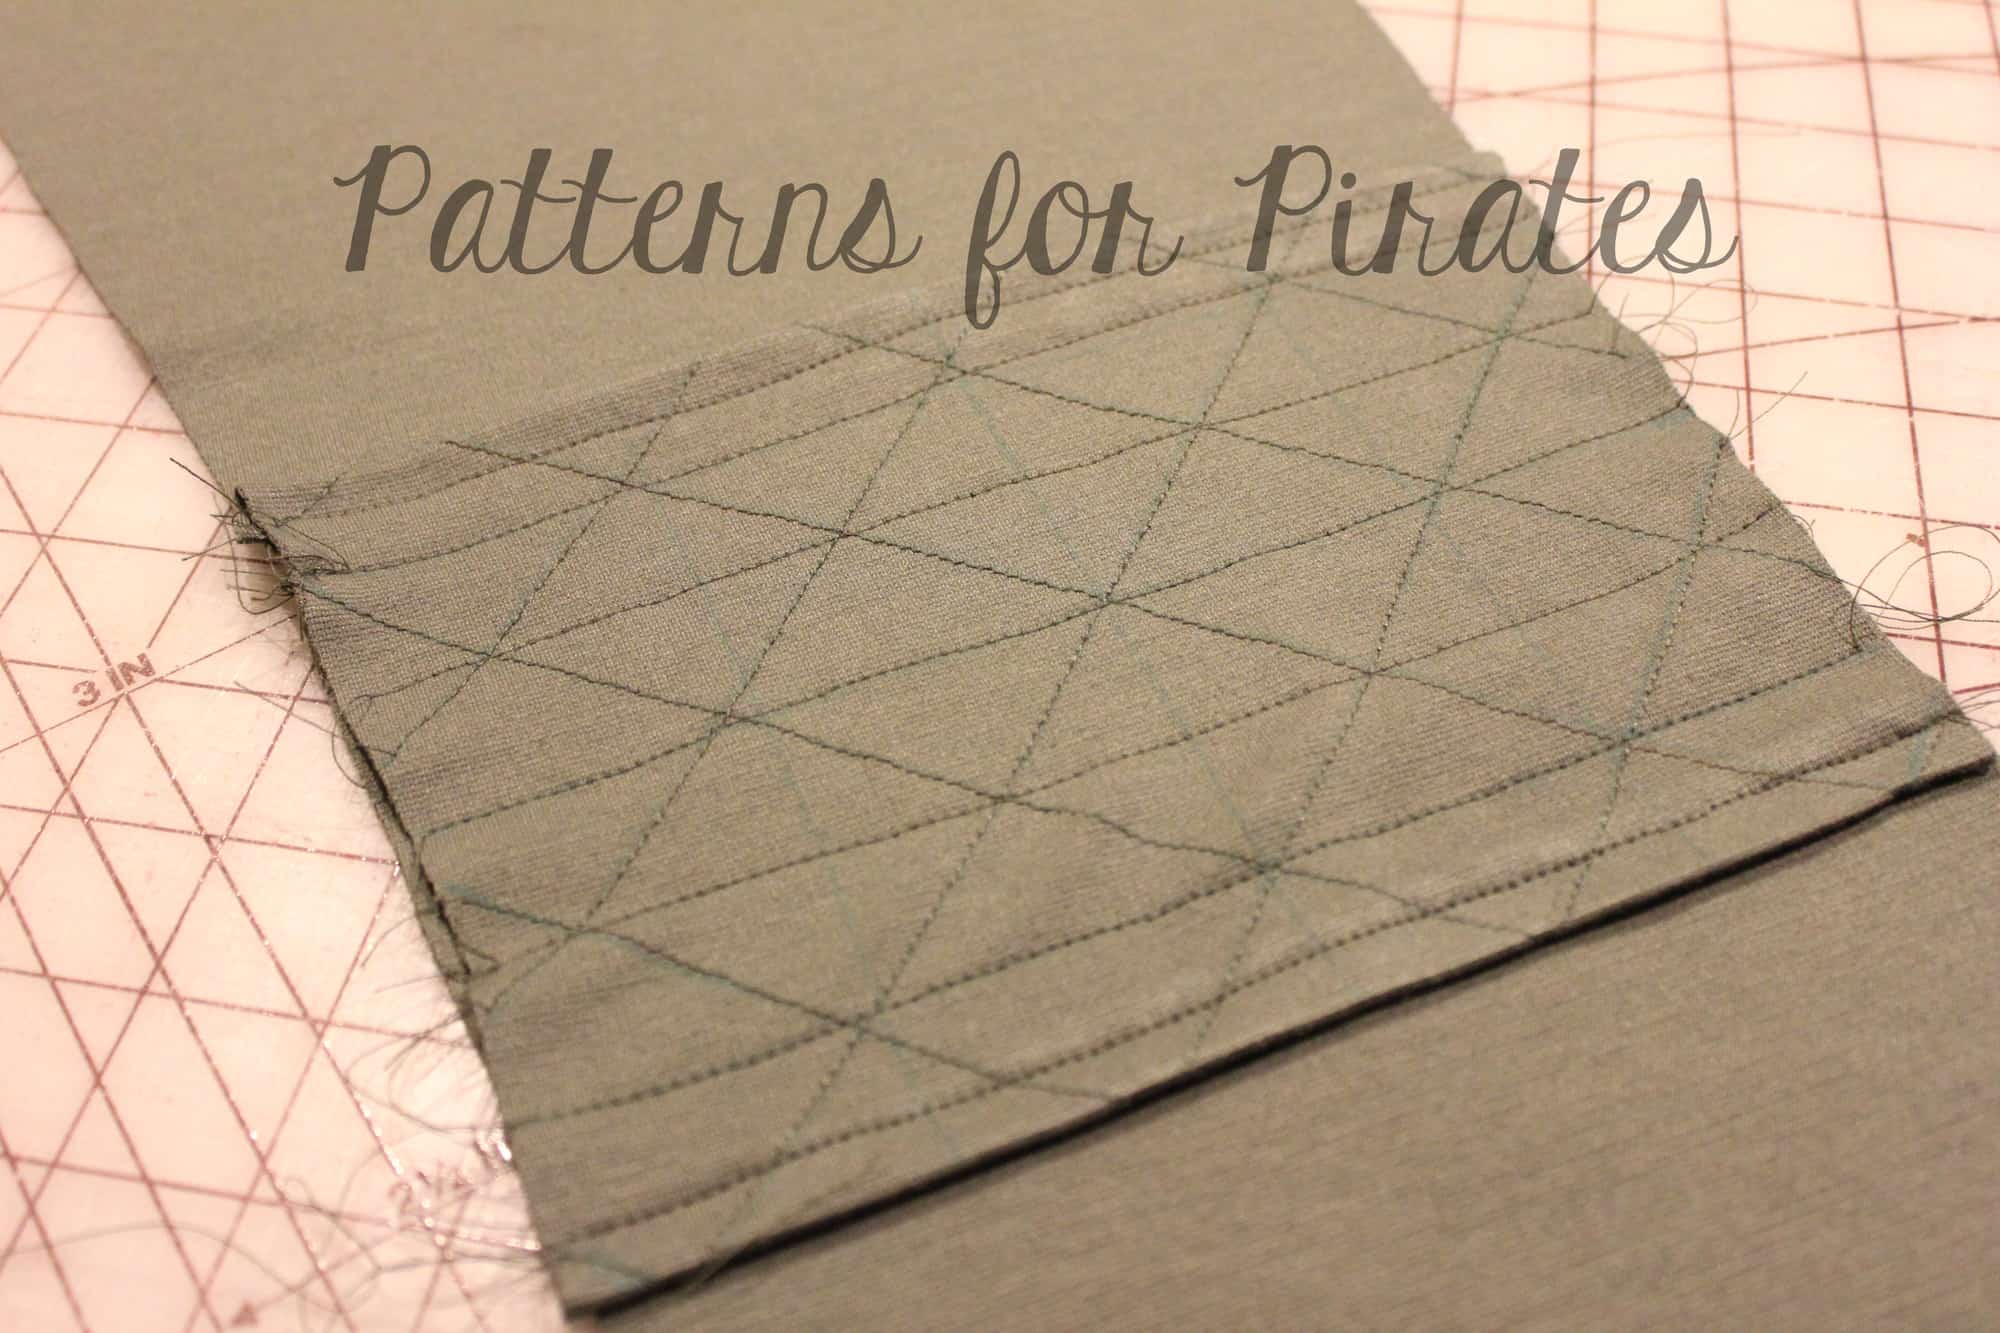
Press both the top and bottom of your patch, using a 0.5″ allowance to create a finished edge. Taking your front leg piece, place patch piece 0.5″ lower than original line (to account for your pressed seam… ex. Mine was at 9.5″ and I placed the patch at 10″ down) and pin in place.  img_5219
Using a 0.25″ seam allowance, stitch the top and bottom into place. Then stitch over the horizontal lines only to finish creating your quilted look. img_5222You can now complete your Joggers by following the pattern directions.

And if you needed a few other ideas for you patches, you could also…

  • Cut your patches at angles
  • Place patches on thighs
  • Mix and match fabric patterns
  • Use fabrics that are already quilted (Yes- They exist and would be a huge time saver for this!)

img_52363

I can’t wait to see how your patches (and joggers!) turn out. Make sure to share all of your creations on the P4P Facebook page!

~Erinn


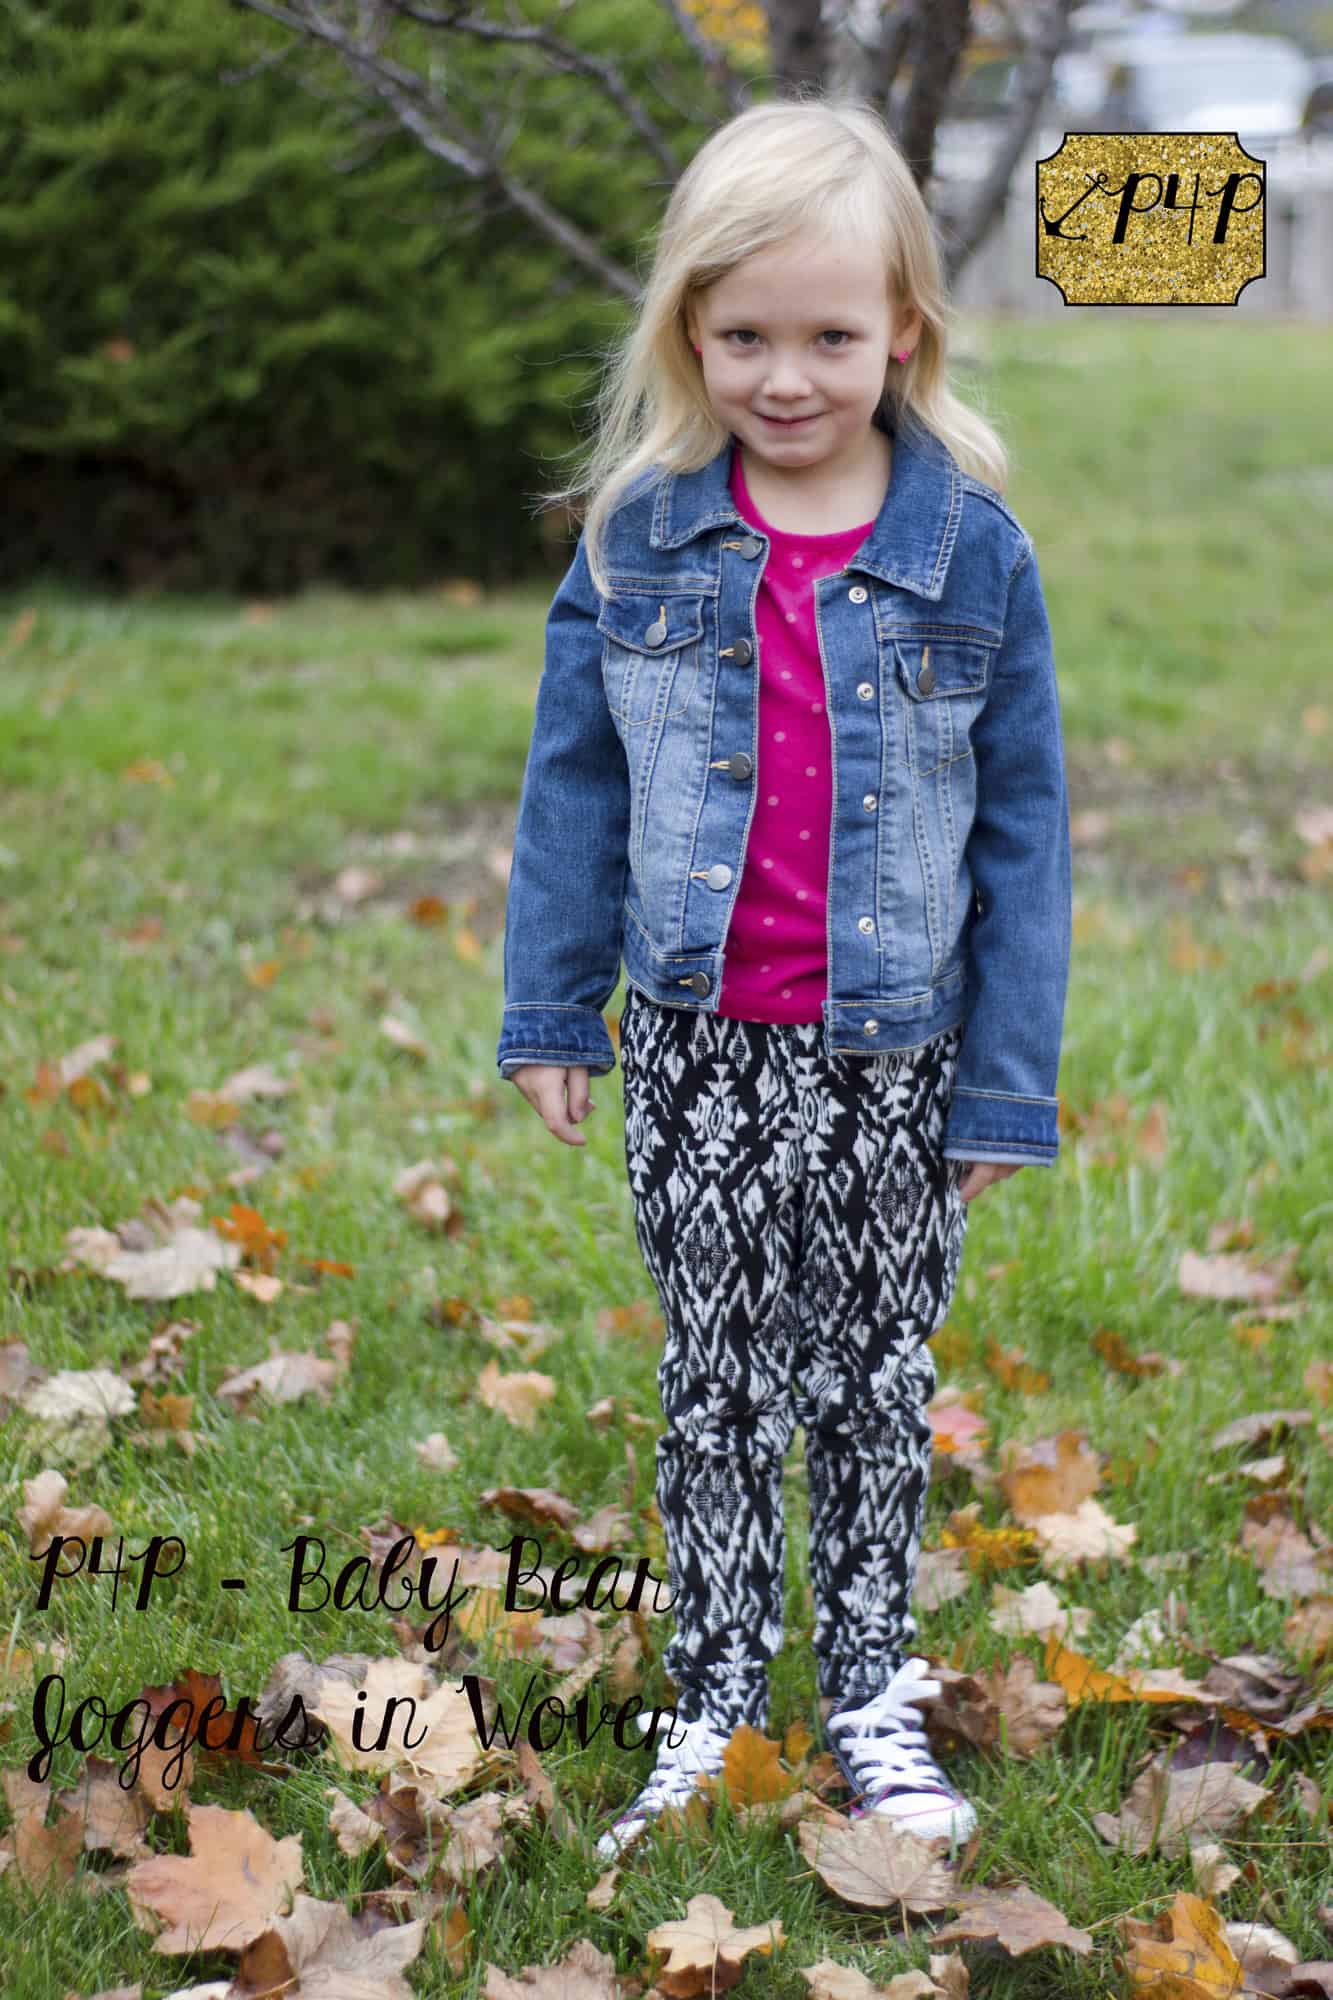
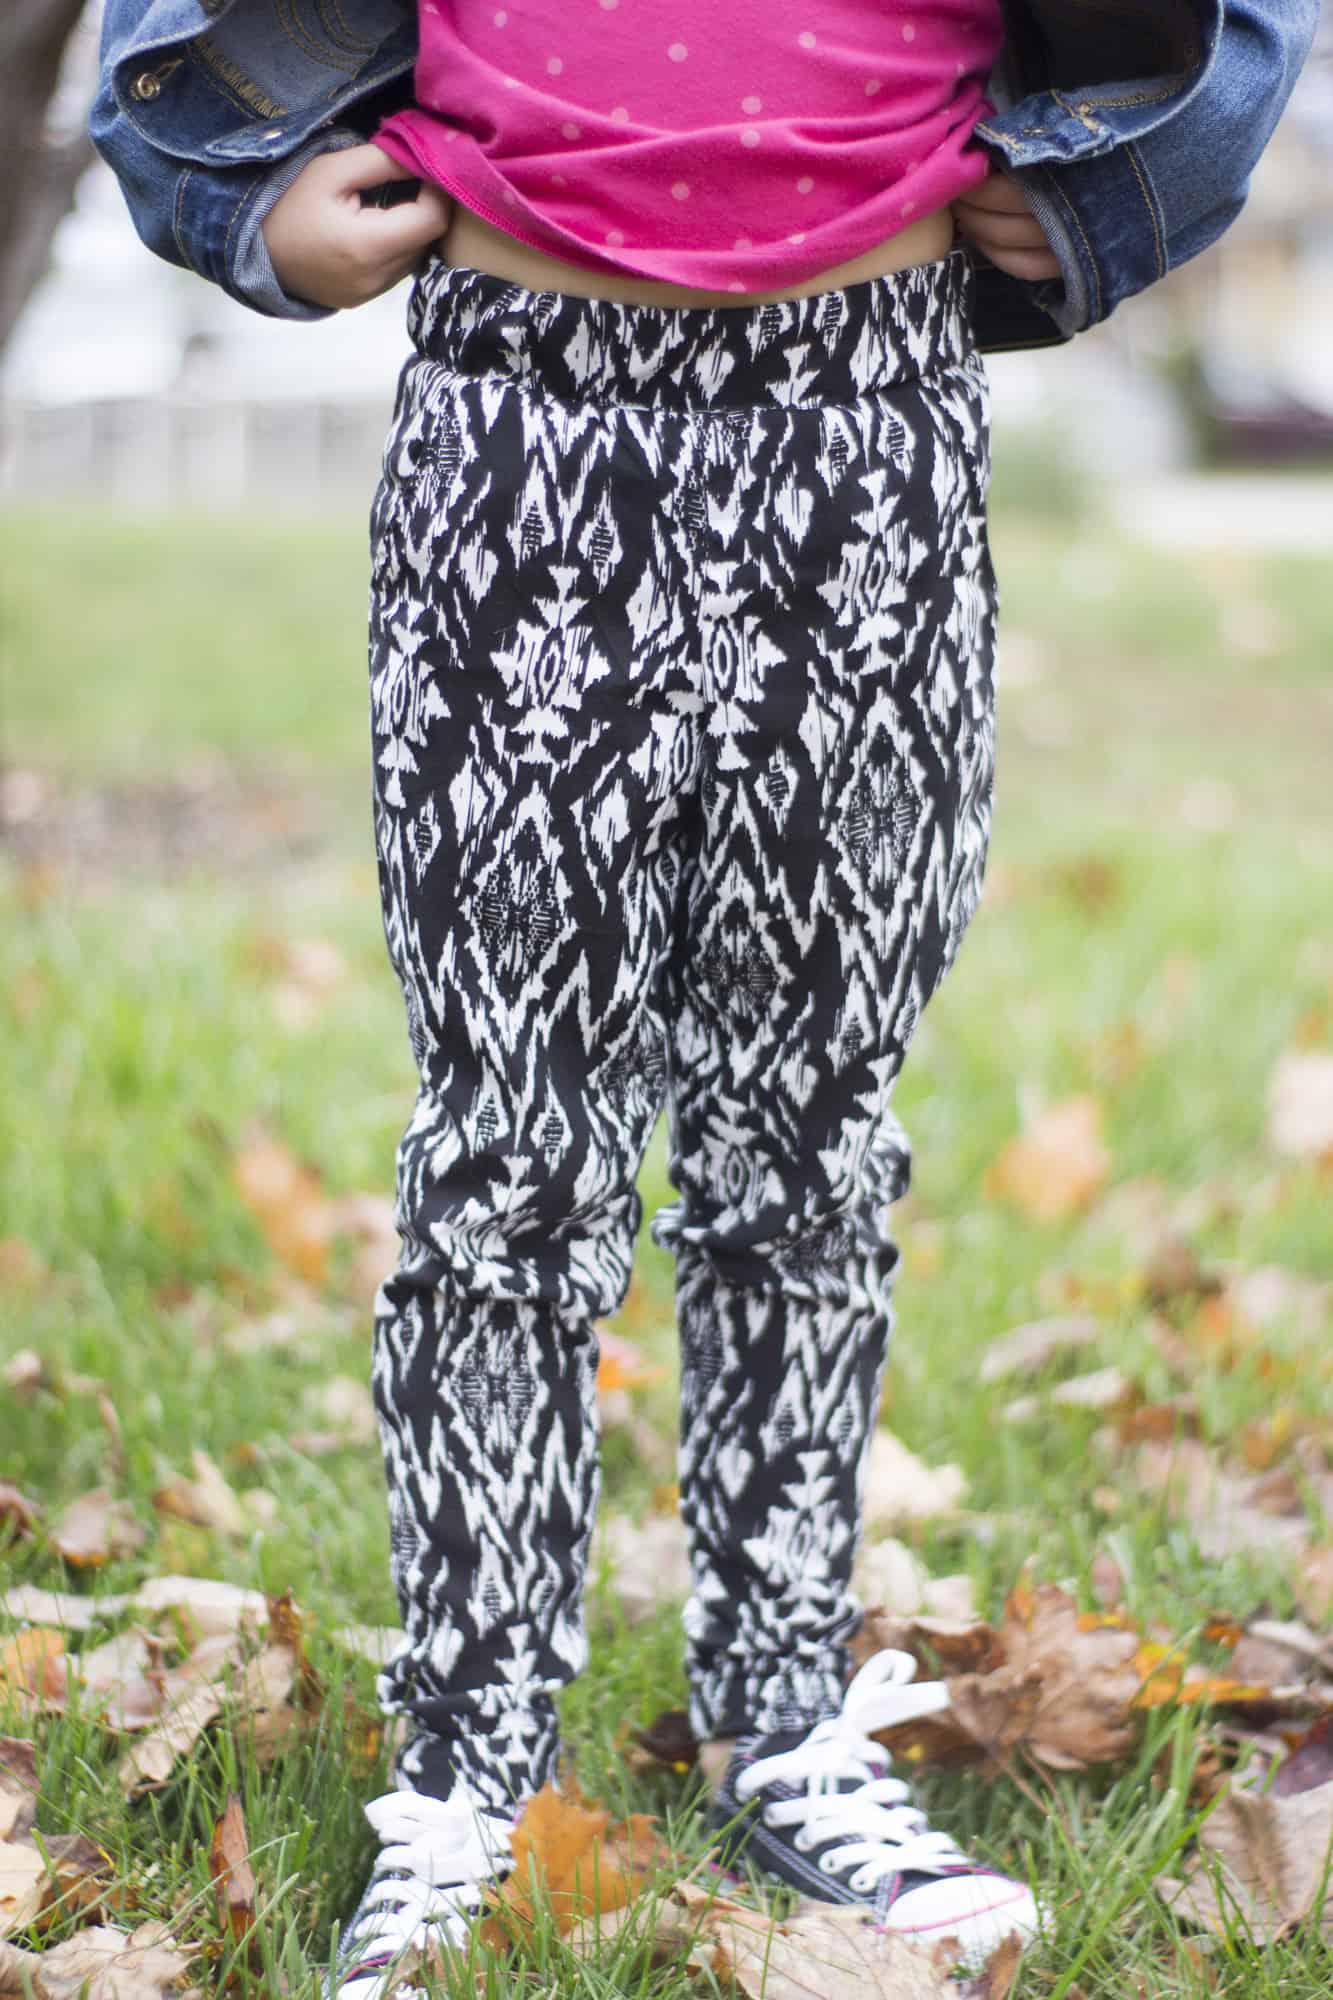
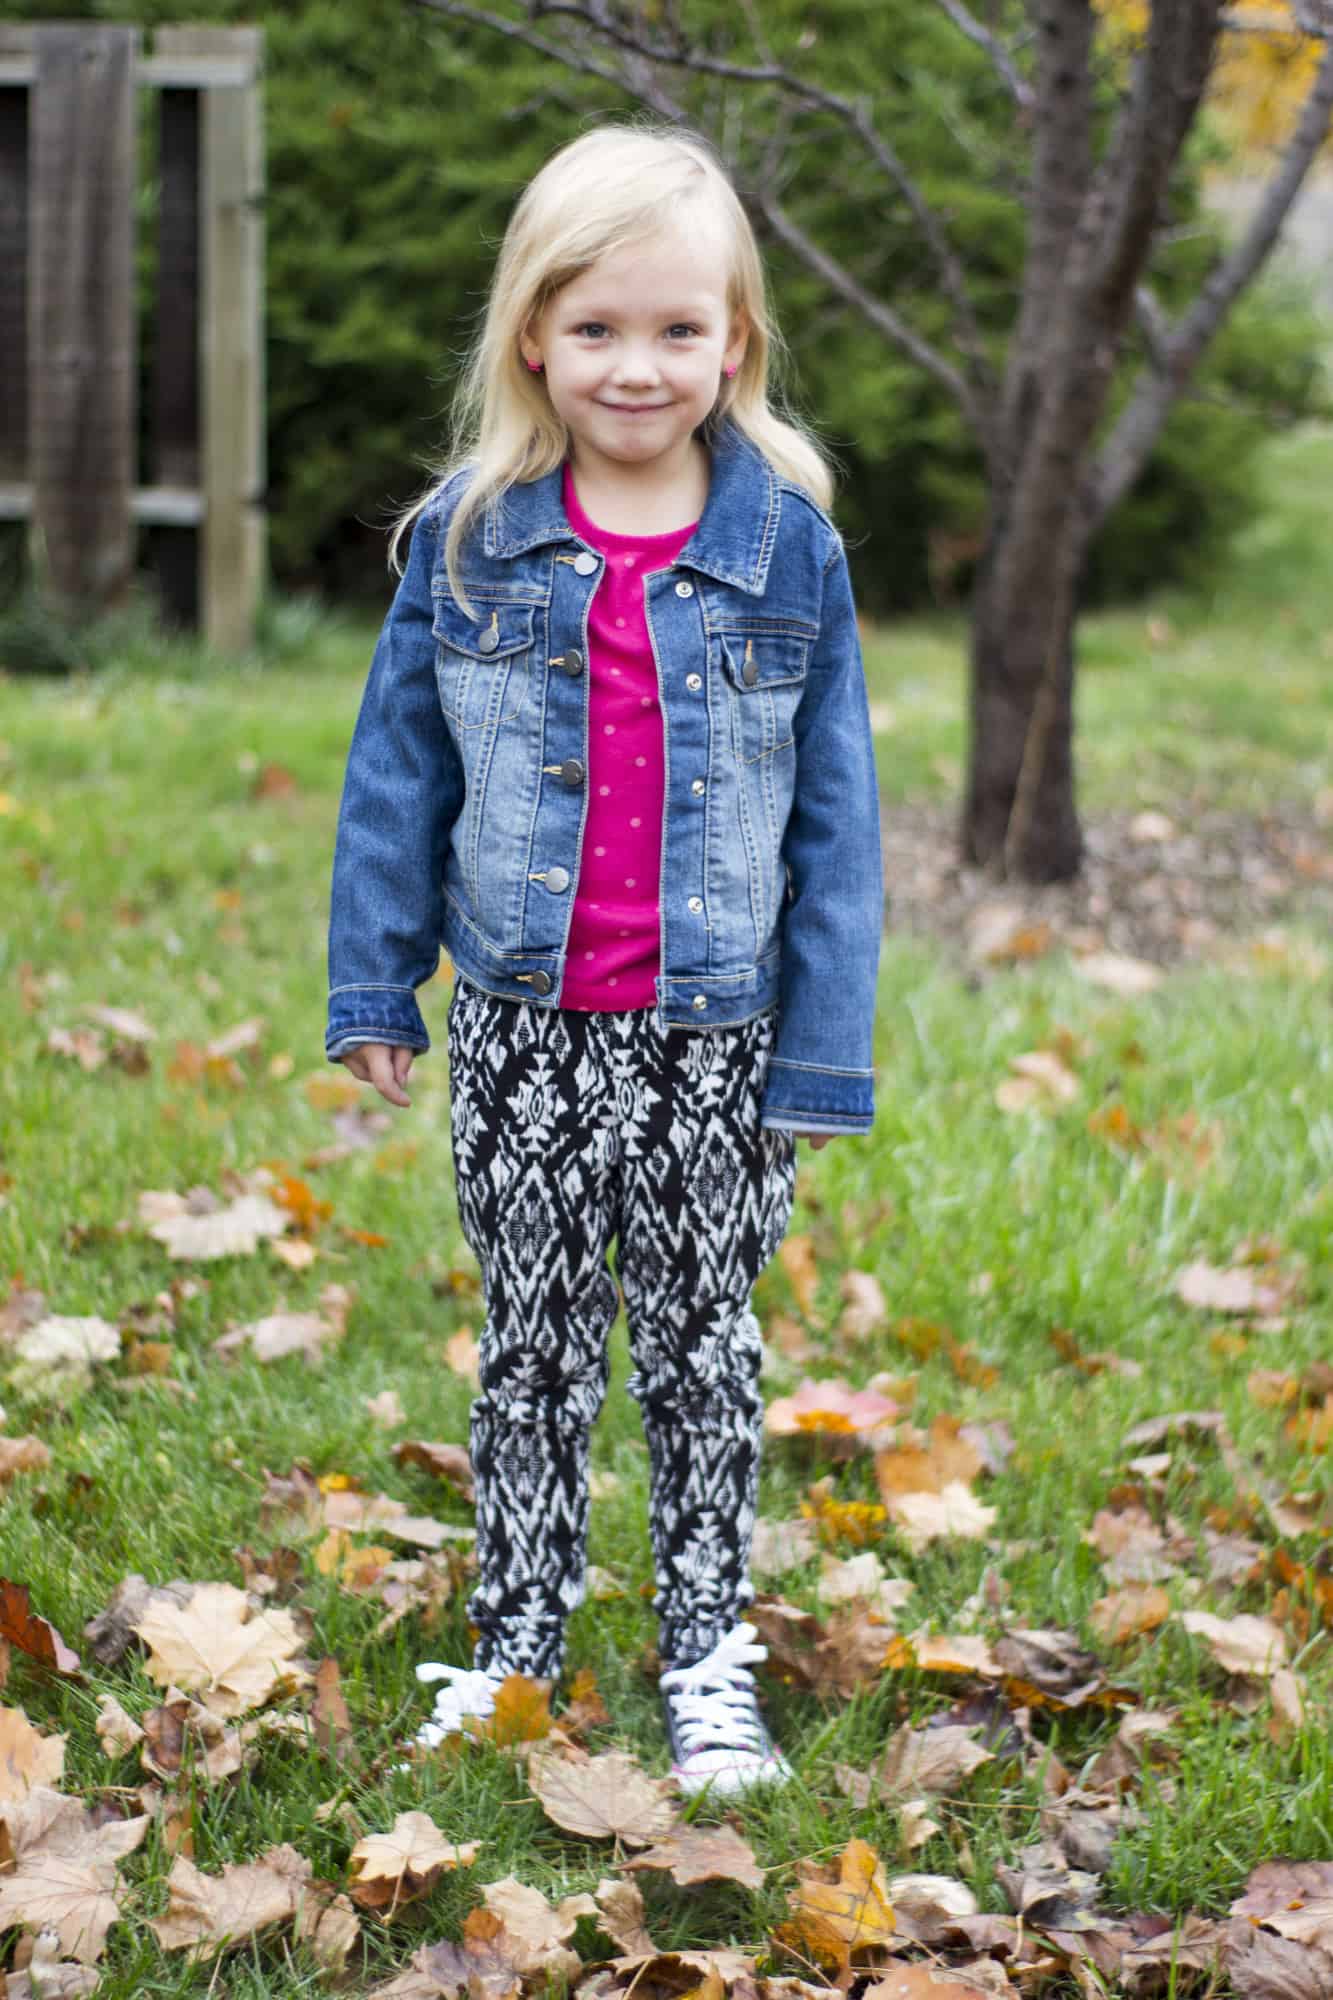
img_60741I have been eying up all the adorable woven joggers that seem to be everywear this season and as soon as I saw the new P4P joggers I thought hmm, I wonder if then could be done in woven and guess what, they work great in woven for the baby bear joggers! I sewed up this pair for my daughter in a rayon challis remenant that I found and they are just too cute on her and super trendy right now! I didn’t alter anything while sewing but if your child has thicker calfs or ankles you may want to grade out one size to give a bit more room or take a smaller seam allowance from the calf down. These have the elastic waistband but as I had some 1 1/4 elastic in my stash Idecided to use it instead of doing the 3 rows of elastic. I inserted my elastic into the waistband and then basted the seam allowance before attaching the waistband to the pants. I did the elastic casing cuff which worked great the rolled cuff may be a touch to tight thou for wovens. No other changes to these and my girl has adorable woven joggers! I can’t wait till spring to make her a pile more!

img_60771

img_60751


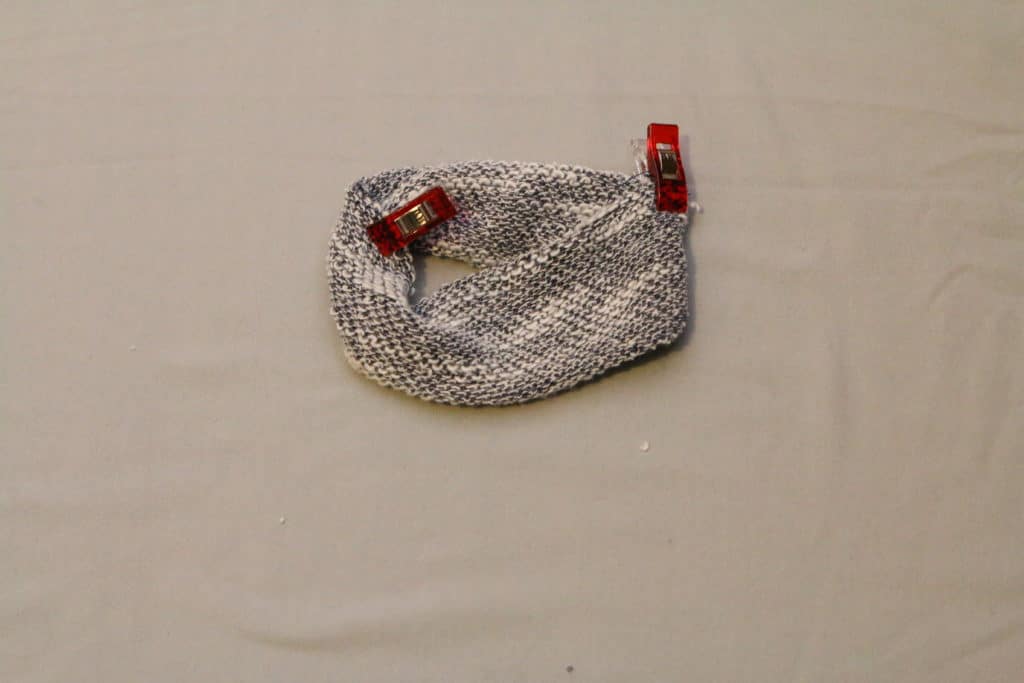
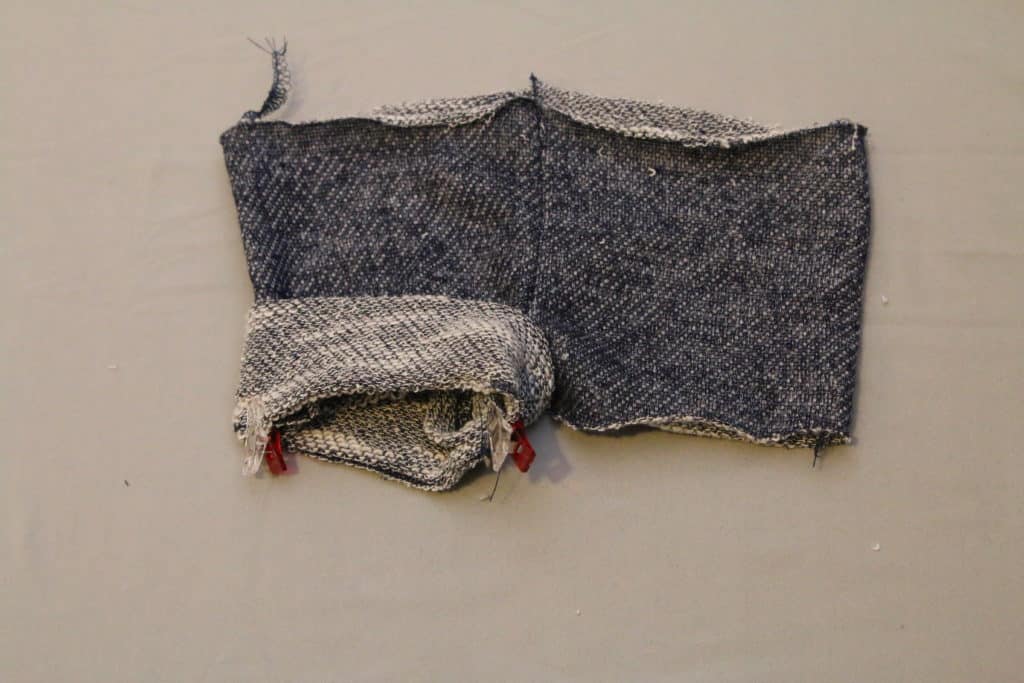
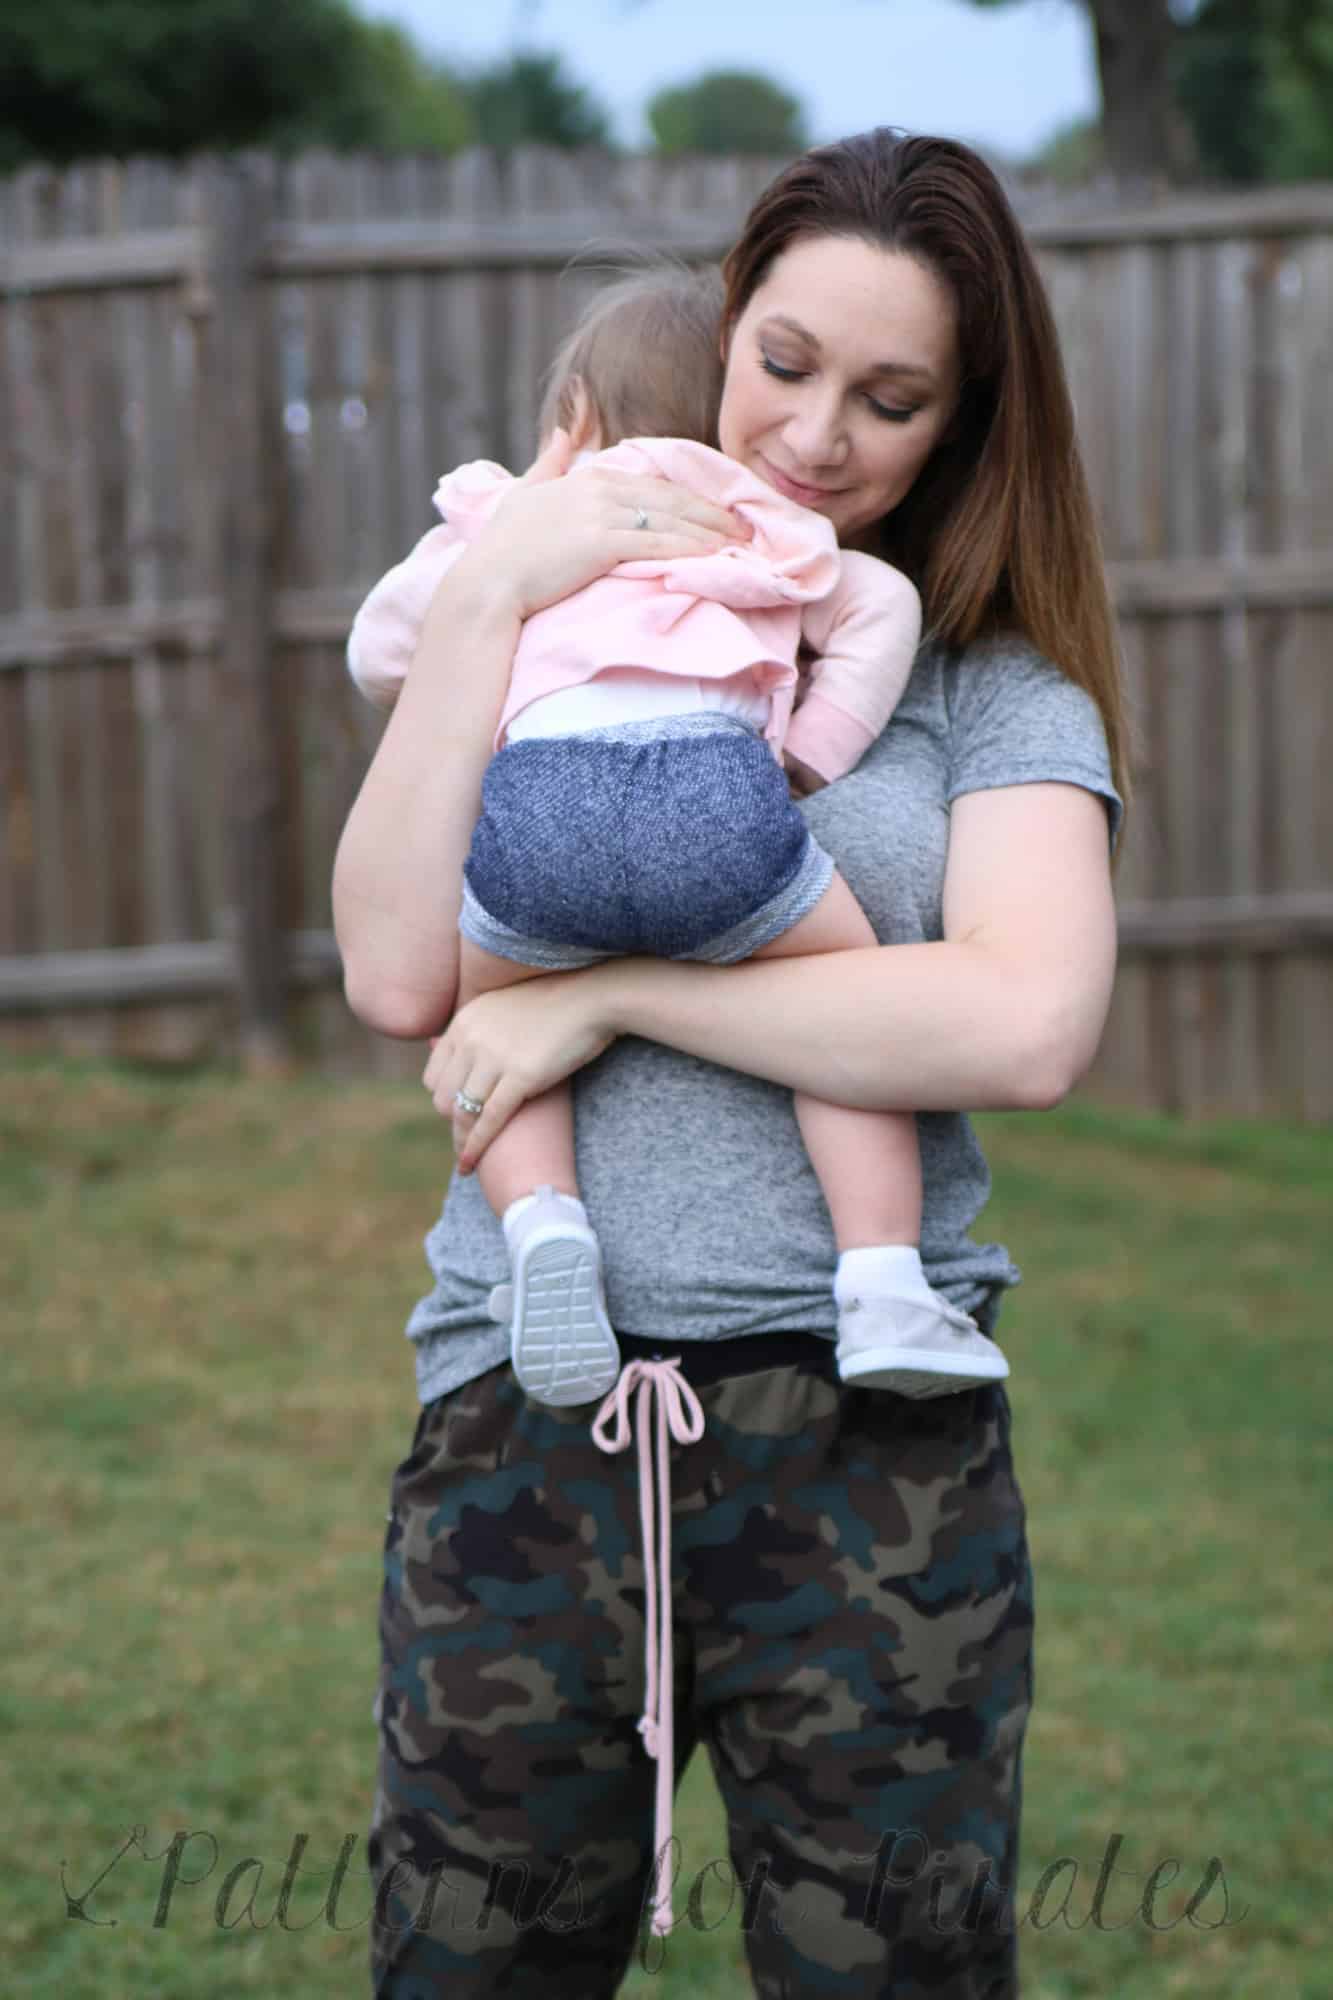
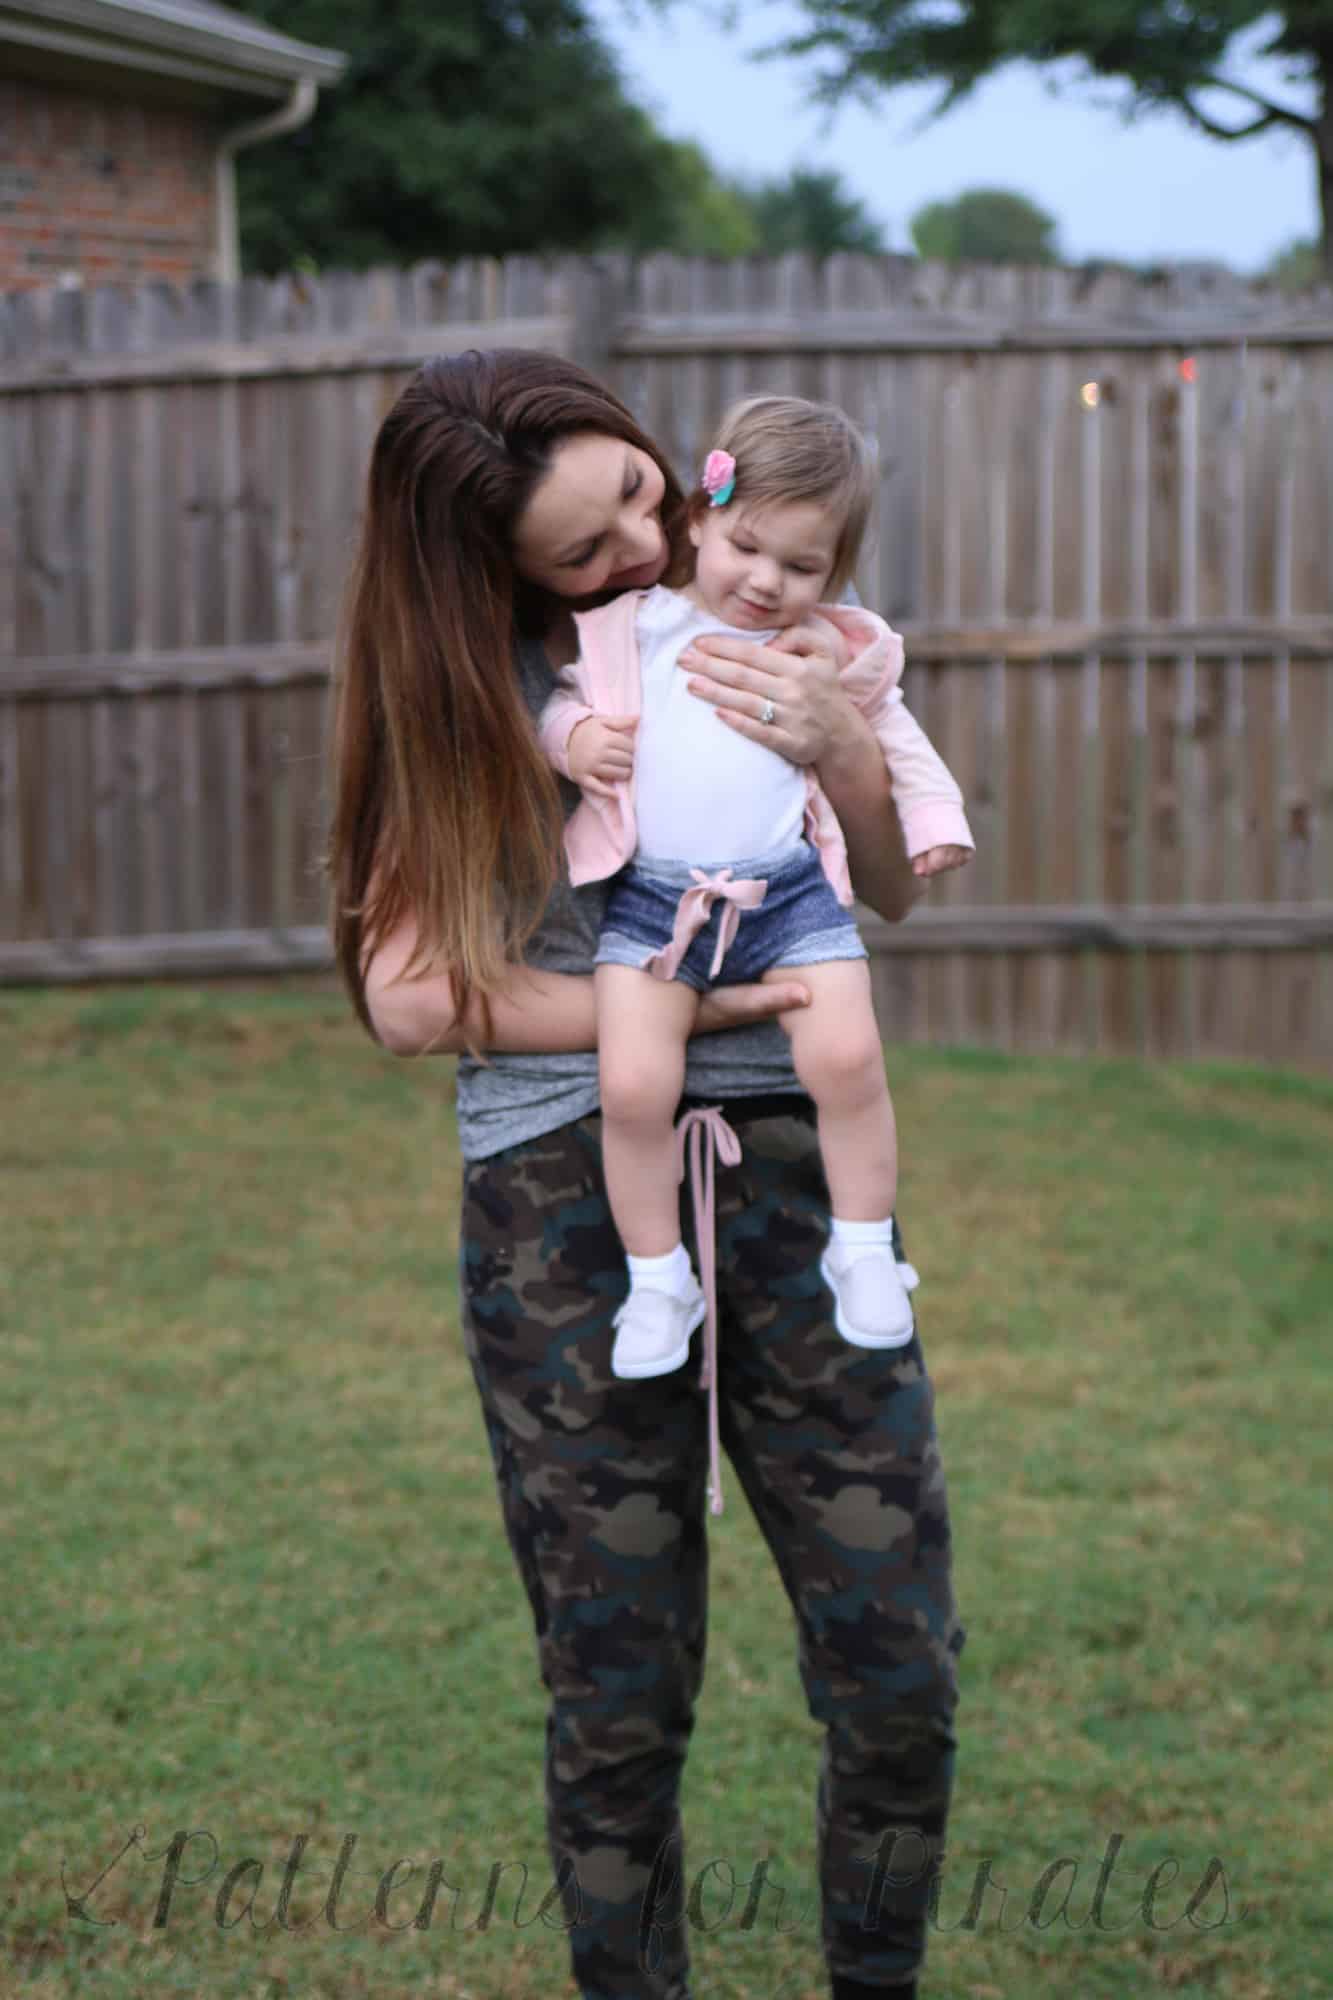
I love the little shorties or bloomers look for my Baby Girl.  Show off those rolls on her legs that I love so much!  It’s very simple to use the new Baby Bear Joggers to create this cute, trendy look!

I determined the inseam by estimating how wide I would need it to cover her diaper.  I made hers about 1″ before bands…they could’ve used another 1/2″ really though.  I marked this on the inseam of back and front pieces.  The side seam length I determined by thinking about how long I needed it to cover the diaper.  I curved the bottom hem up towards the outer leg seam by about 2″ on both the back and front pieces.

I sewed the pattern up per the directions.  To finish the bottom hem I added thick bands.  I made them finish 1.5″ matching the waistband thickness.  So, I cut 4″ by slightly shorter than my leg opening.  You want to stretch the bands to fit the leg openings so that your bands are snug to their thighs.

Fold the bands in half width wise with right sides together (I wanted the “wrong side” to show on my bands.

img_0985

Fold the band in half lengthwise with wrong sides together.

img_0986

Align raw edges with raw edges of shorts and stitch, stretching band only as you sew all three layers together. Then flip band down with seam inside shorts.

img_0987

I think they’re so precious! My Baby Girl has been sick and wasn’t really up for pictures, but we snapped just a couple to show them a bit.     img_0990 img_0630  img_0659  img_0692 img_0693

Filed Under: Pattern Hacks 2 Comments

Top 10 Sewing Room Tools – “Sew it, Win it, Build it” from P4P

October 16, 2016

slide5

As part of our 30k member celebration and giveaway, which you can read all about here, we’re sharing our top 10 favorite sewing tools to have in your craft room! *This post contains affiliate links*  So if you’re just planning your sewing room or are a seasoned seamstress, I recommend having all these in your toolbox!

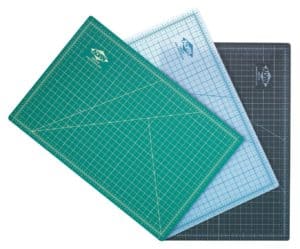
  1. My number one tool I like to have is a LARGE cut mat.  I love to be able to lay out my entire pattern piece on my mat! I currently have one that’s about 36×60.  I plan on upgrading to a nicer Alvin one when we move!  A self healing mat is perfect for using a rotary blade (which is my preferred method when cutting most things) and the grid makes cutting rectangles a breeze!  We included this in the Amazon bundle the Grand Prize winner will receive!81ugl5o9uil-_sl1365_
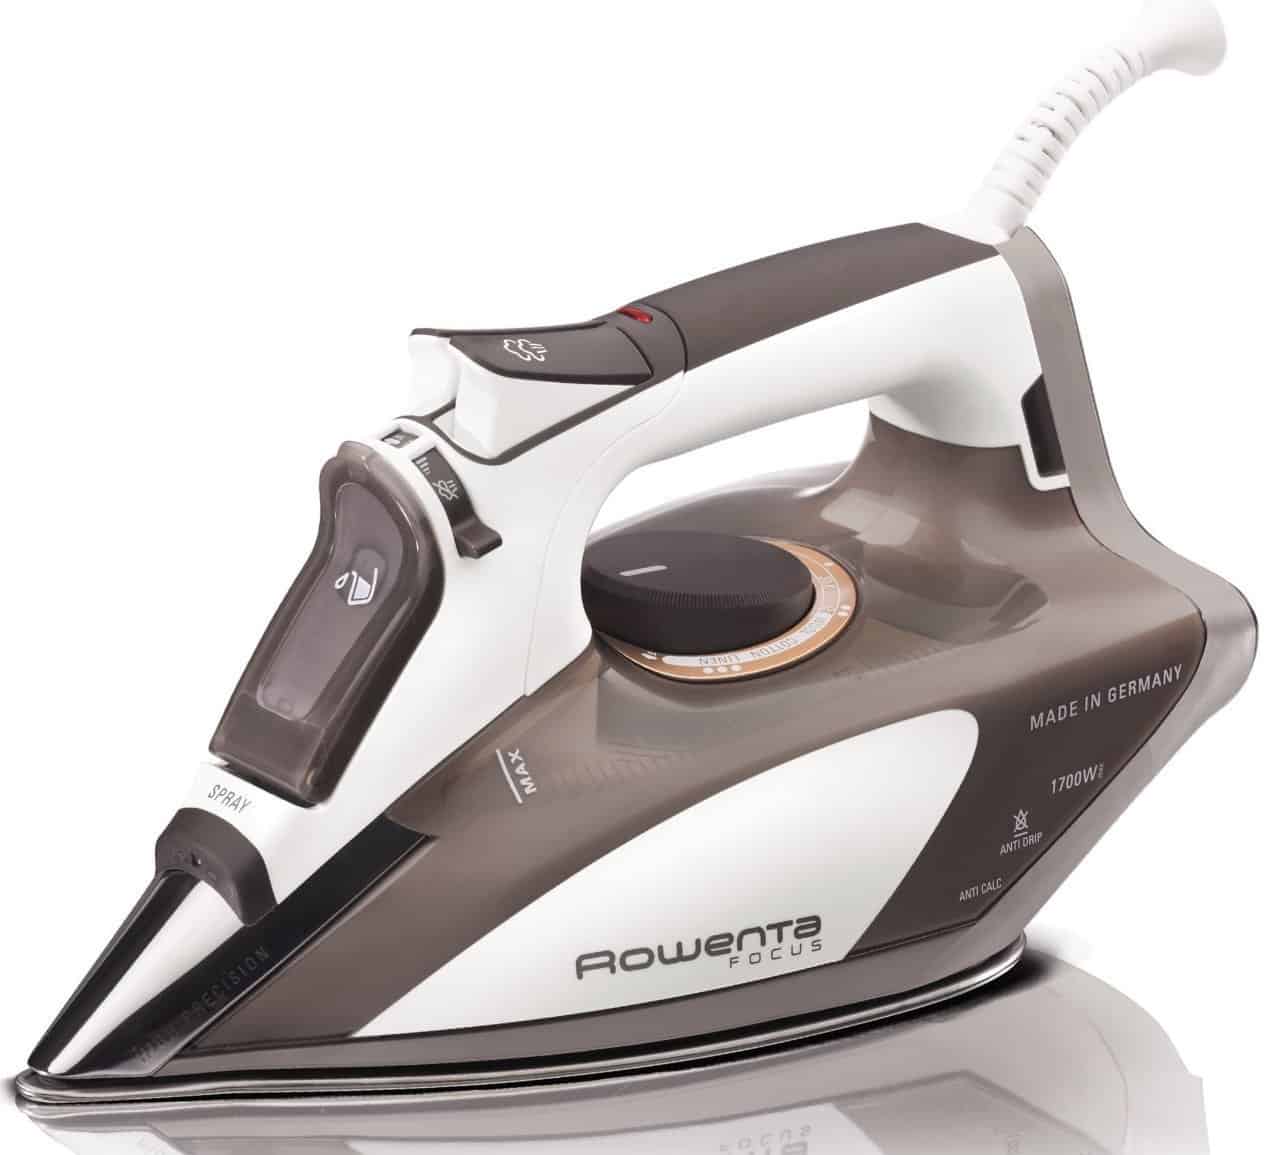
  2. A good iron is almost as important as your sewing machine.  The more you press as you construct the more professional your garment/anything will turn out.  Even on knits! I know a lot of ladies skip pressing for knits, but the rule still applies—the more you press, the more professional it will look.  I can’t wait to upgrade my iron when we move! I’ve been eyeing a Rowenta and hope it’s love when I get it! The winner will also get to try it out in the Amazon bundle included in the Grand Prize!613hlp7nsxl-_sl1284_
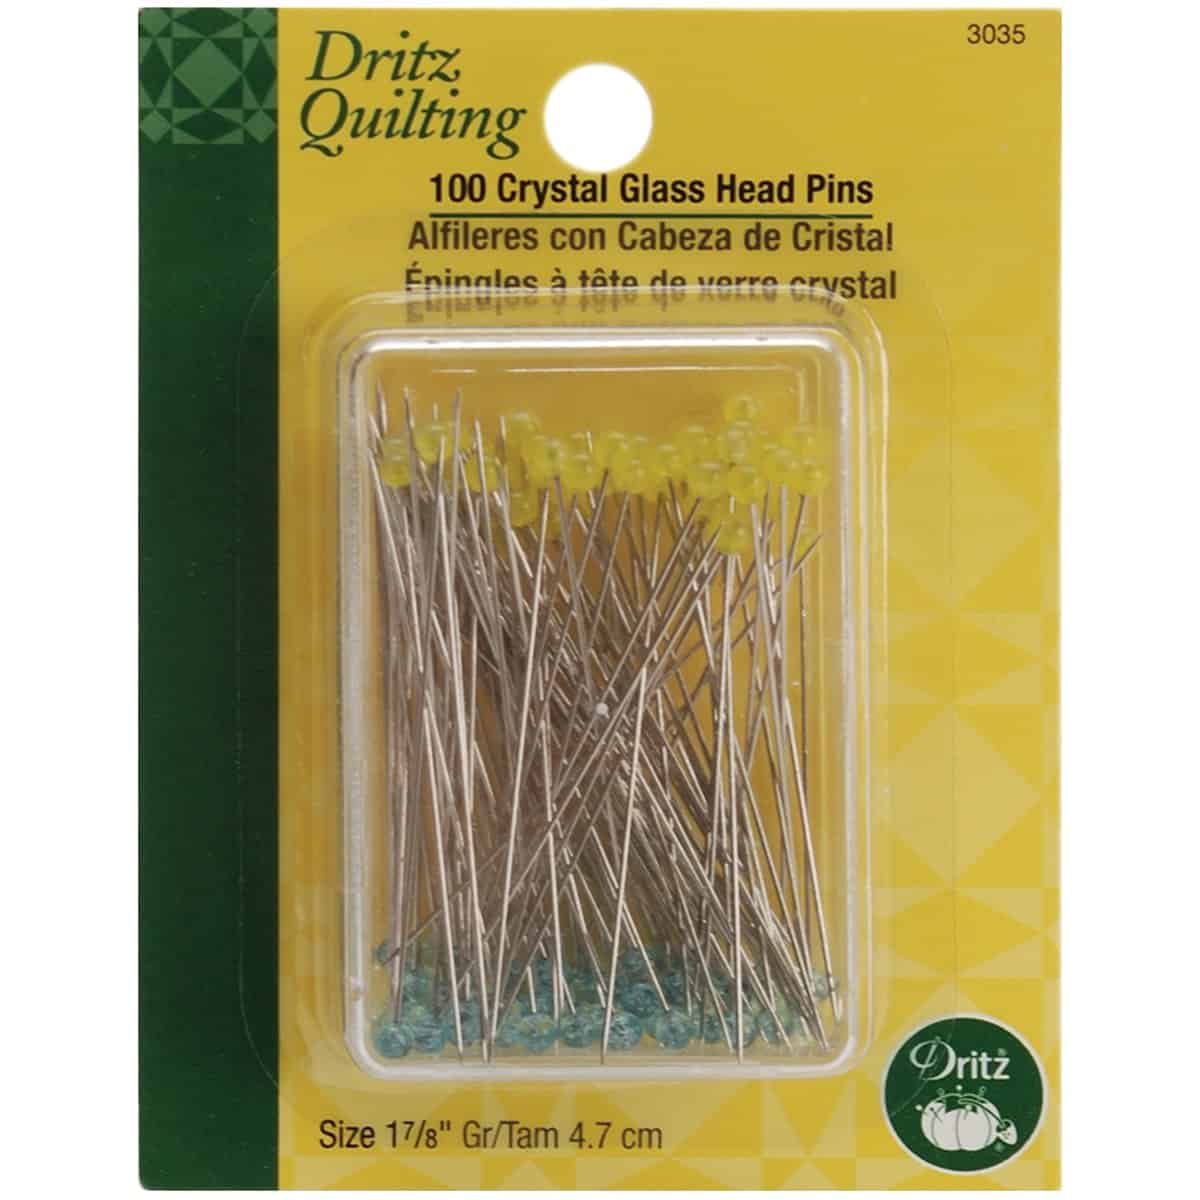
  3. My next is pins and pin alternatives (10 is a really small number guys! I had to combine a few 😉 )! I love to use nice pattern weights to hold my pattern pieces in place while I cut.  I inherited a set from my mother that are hot pink and I love them.  But, we have a set in our Grand Prize from an adorable little shop that is just starting out.  She has all different styles to match your sewing space! I prefer pattern weights for many reasons— they’re quicker– they’re easier to not move/stretch your finicky fabrics while cutting– they never poke you or your kiddos 🙂 (My son also thinks they’re a great stacking toy!) Next up is wonder clips .  These are nice to use when sewing. They’re quick to put on, won’t leave holes in any fabric, and they’re pretty impossible to forget to move and sew over.  They’re also nicer to step on when you drop them onto the floor! But, I still love using traditional ole’ pins as well.  I like these longer quilters pins best!   14370261_10208832252796581_4726523656606785585_n414koytuzpl71icmxwo2tl-_sl1200_
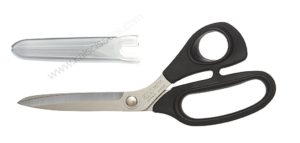
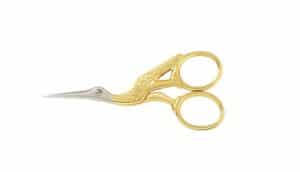
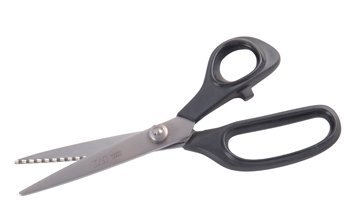
  4. Great scissors is next on the list.  Cutting is such a big part of sewing that a great pair of sewing scissors will be loved.  I like these kai scissors . They aren’t insanely expensive and they work wonderfully.   I use snippers as well right next to my sewing machine.  I like to use little, sharp embroidery scissors for precise trimming of seams, cutting notches into seam allowances, etc.  I get pulled in by the gold peacock Gingher ones just for that classic look!  I also love a pair of pinking shears for trimming seam allowances down.  I have cheapy ones, but next time I need to buy I plan on trying out Kai’s pinking shears since I’ve been so happy with their other products. 5169htcjgcl-_sl1024_61yy4eo0bil-_sl1500_21msyft6rul
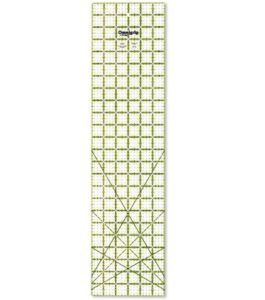
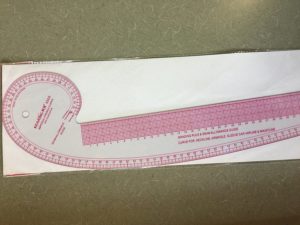
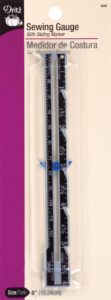
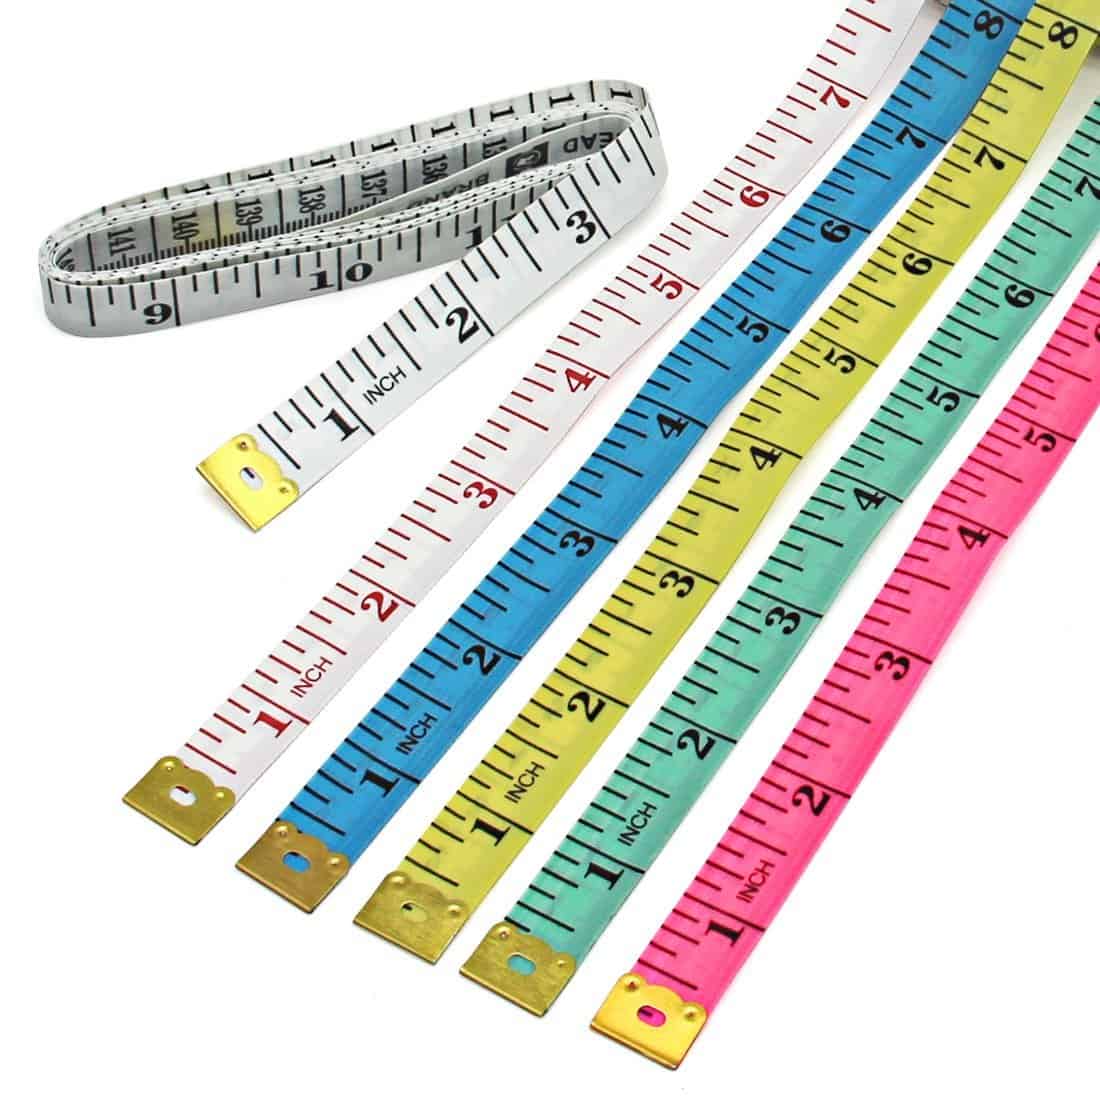
  5. Bundling again 😉 Since they’re all rulers I think I can get away with it!  I use rulers while sewing constantly!   The clear quilters ruler is perfect for cutting those rectangle pieces with your rotary blade. The french curve is what you need if you’re having to alter any patterns.  It will help you change a neckline or grade sizes with a smooth curve!  I like this designer’s one here because it also has a straight section.  So, you can just flip it easily for an all in one ruler as your marking/cutting.  But, you can also grab a much less expensive one that is just the curves as well.  You simple place your curve at your starting and stopping points (so if you’re grading sizes the smaller and larger size) and move your french curve until it meets your marks with the curve you’d like (concave, convex) and trace.  Now you have a smooth curve without worry!  Last is the hem gauge.  This is an inexpensive little tool that is handy to have at your ironing table.  You can move the little notch up and down to your hem allowance and move it along your hem line as you press giving you a nice even hem with ease.  They also make ones that are more like a flat ruler you can fold your hem over and press onto, but I prefer this little dinky one personally! And lastly you need a soft measuring tape for measuring body measurements and if you need to measure a curve. I’m a sucker for the cute colors! 71shzyaa7qs-_sl1361_911ziebxy5l-_sl1500_ 61vhjq4bwl-_sl1200_71ftq4x9zql-_sl1111_
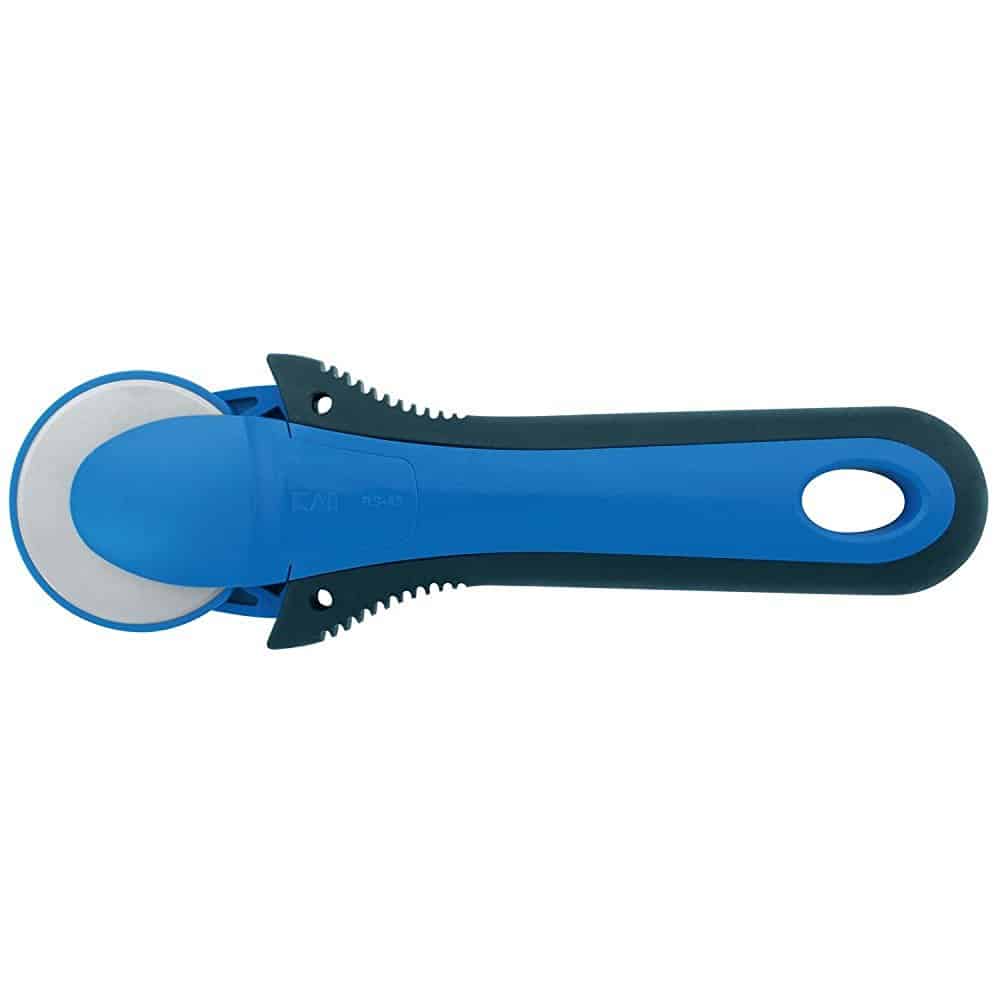
  6. A rotary cutter is another cutting tool I can’t live without these days.  Although I learned with scissor cutting almost everything, I now use a rotary the majority of the time.  I like the Kai one because the blades are nice and it doesn’t have a button to press open and close.  Instead you just push the blade and the safety cover automatically moves out of the way.  Just a teeny tiny time saver that I ended up really loving! I used to always forget to shut my blade in the other style and would worry about dropping it off my cutting table. 51mxvjywkrl-_sl1000_
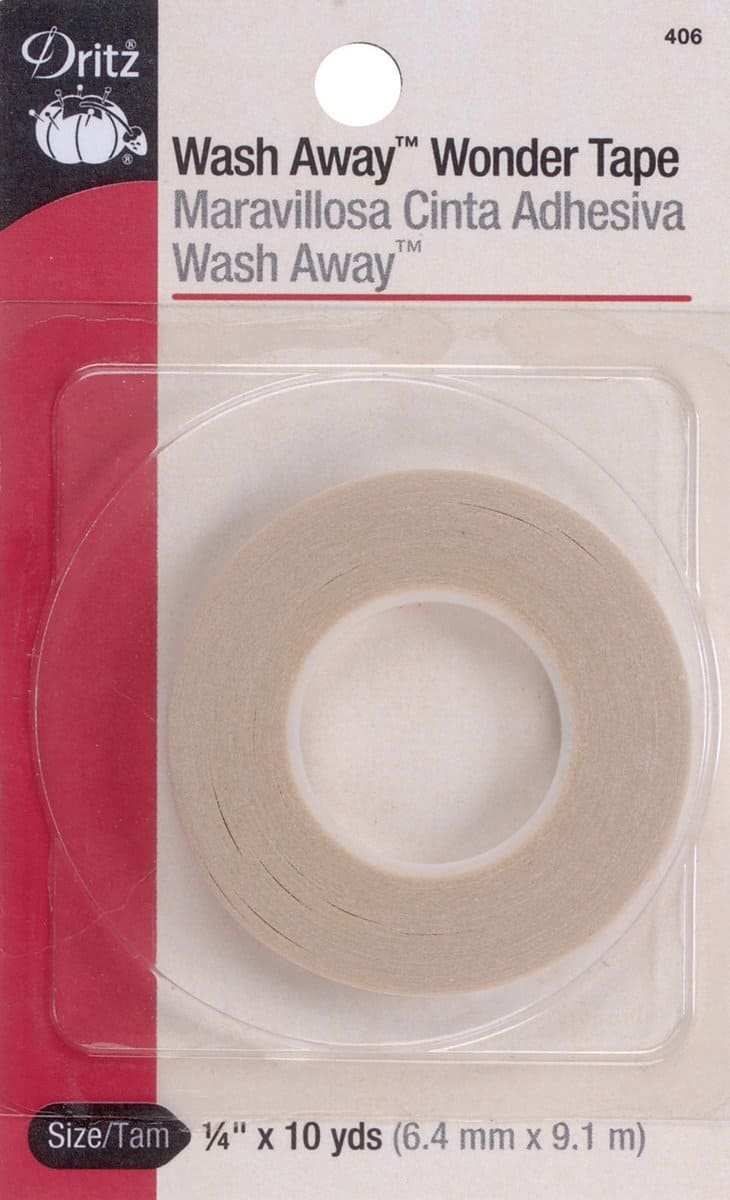
  7. I love using a wash away hem tape to help hold or stabilize a seam while sewing.  It’s so quick and easy to use and really holds your garment exactly how you place it while stitching.  I recommend it for hemming knits in almost all my patterns as well as an alternative to pinning carefully on certain steps where you need to sew from the right side but catch the underside.  I prefer the wash away, especially on knits so that after a wash or two the knit will have it’s normal stretch. 71942z6i9ul-_sl1200_
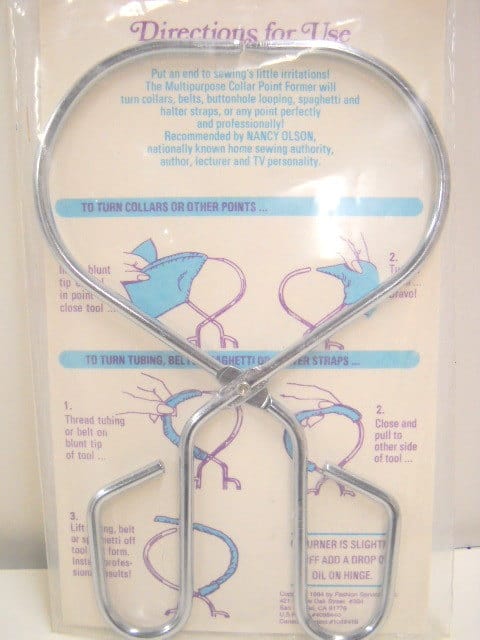
  8. One of my most used tools in my room is a point and tube turner.  I had a really difficult time tracking one down for sale though!! Apparently they aren’t very common and maybe aren’t made anymore? But, I love mine! So if you can get your hands on one you should snatch it up.  It is the easiest tool for turning small tubes like straps, drawstrings, thin belts, ect.  I love that one end is rounded and one is pointed.  You slide your tube that needs turned onto the rounded side all the way down.  Then clamp the ends shut on the very end of your tube and pull/push your tube onto itself turning it right sides out.  You will end up with the tube right sides out on the pointed side which you use to press out the corners of your tube if the short end is sewn. e76753282b82b8923da61b47a6aea5f4il_570xn-476678543_ntmx
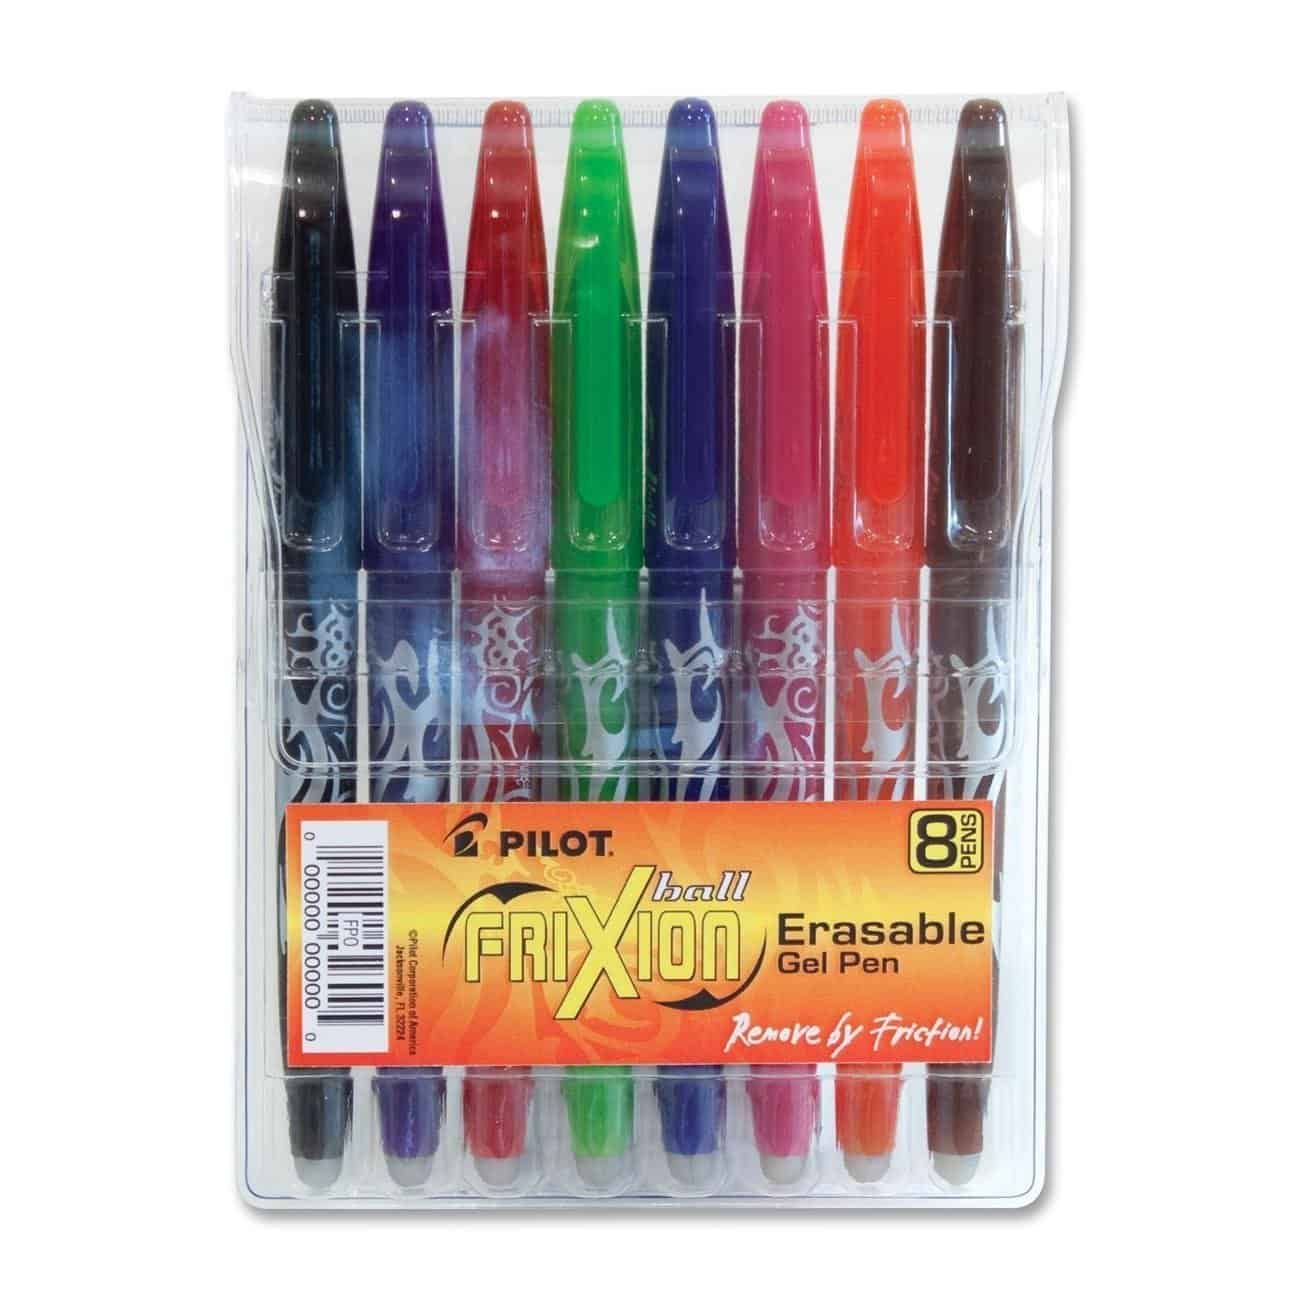
  9. Next up is my favorite marking tool– a Frixon pen.  This pen is so neat. You can buy it in a few colors and mark right onto your fabric.  The heat from the iron will make it disappear.  With all marking tools, I recommend trying on a scrap piece first before marking  your actual pieces. Every once in a while I meet a fabric that doesn’t like this ink and if you mark it and iron it there is a lighter mark left permanently.  But, I still use it ALL the time! It’s easy to use, store and I like having the color variety for marking on different color fabrics. 71ax6j-oznl-_sl1300_
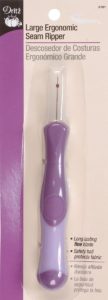
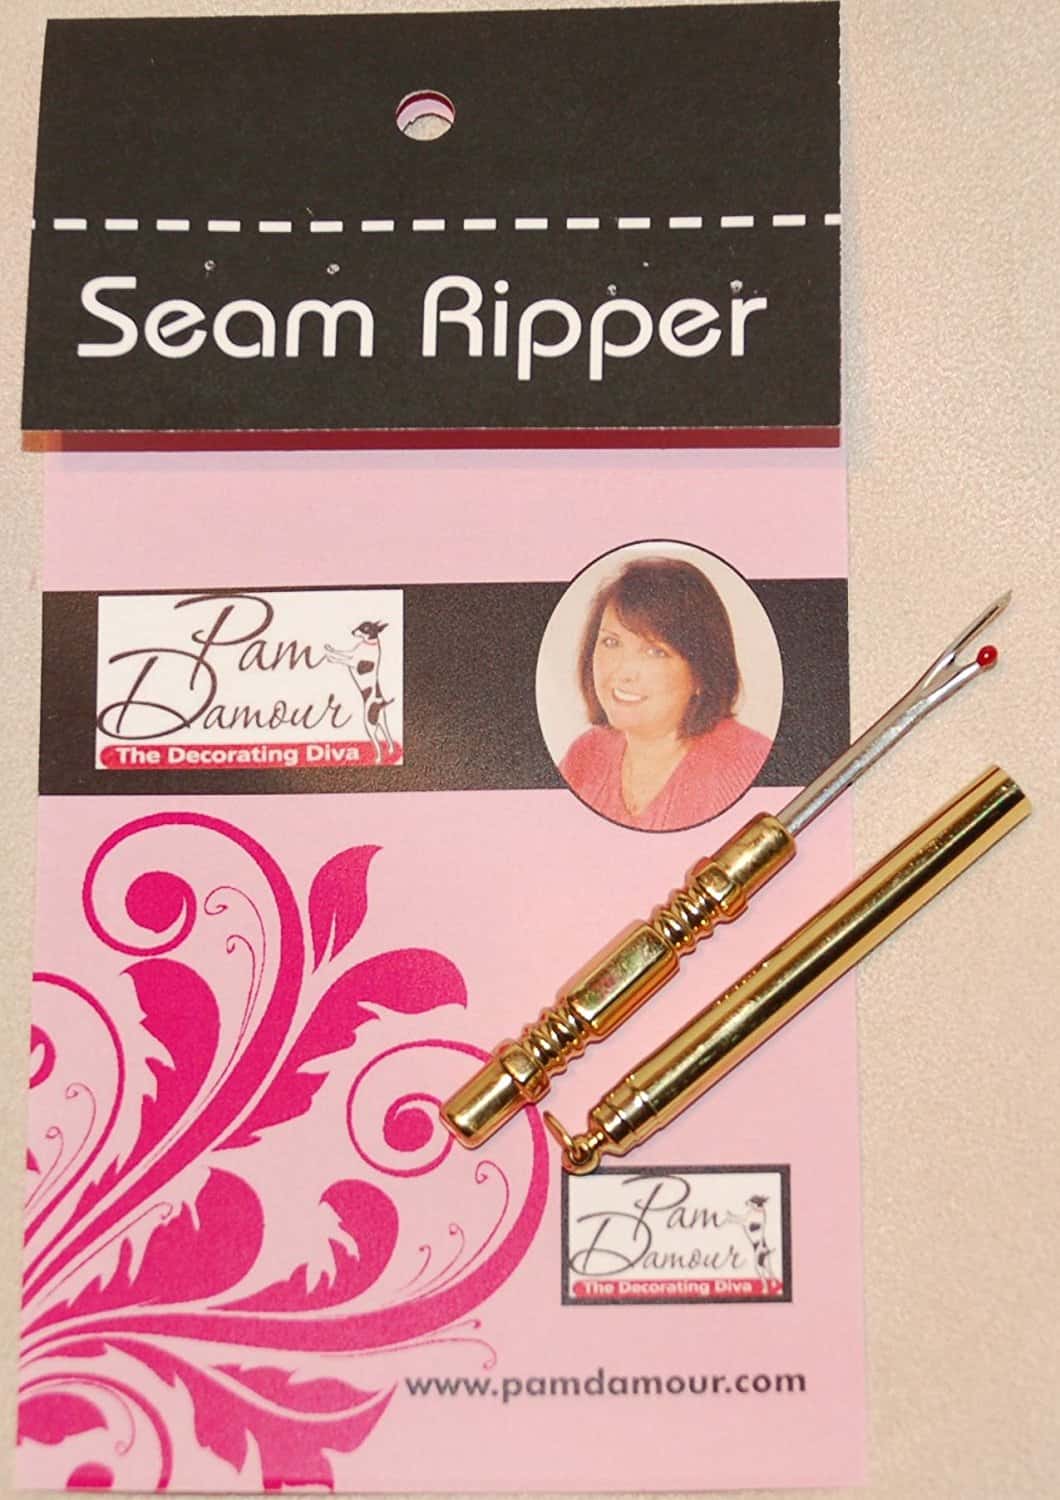
  10. We all make mistakes… so every sewing room needs one, or maybe a few seam rippers.  I prefer this bigger style. It’s a bit harder for me to misplace ;).  I have yet to try out one of the pretty nicer ones, maybe one day!

61ghsi7fexl-_sl1200_
81eu603e6vl-_sl1500_

We had a few more that were on some of our top 10 that didn’t make the final list, but here a few with honorable mention:

  • Bobkin to guide through casings.
  • Thread Snippers for quick thread cutting at the machine.
  • Best Press spray for a starch alternative.
  • Bamboo Point Turner to help turn out the perfect corners with the pointed end and rounded seams with the rounded side.
  • Expandable Marking Guide use it anytime you need evenly spaced markings like button holes, pleats, trims, etc.

Don’t forget to enter our “Sew it, Win it, Build it” giveaway this week or the other posts coming soon!

schedule


Filed Under: Contest/Giveaway Leave a Comment

Pivot and Slide FBA Method`

June 22, 2016

fba header picture

We get a lot of questions about Full Bust Adjustments.  Since I draft for a true hourglass, curvy figure lots of our ladies have bigger busts. So here is a quick and easy method for knit tops if you need a FBA.

Do you need a FBA?

I see a FBA suggested A LOT in sewing groups, even though it’s not always the problem/solution for ladies (Especially for a P4P pattern that already drafts for a bigger bust.)

So, how do you know?  I began putting both upper/over bust and full bust in my measurement charts to help! (Need a refresher on these measurement terms? Here is our How to Measure Yourself post explaining them.)

If your upper bust is a size smaller than your full bust- you need a FBA.  If you don’t have those measurements on your pattern then you will have a neckline and shoulder fitting too large when choosing your size from your full bust measurement.

I do NOT advise “choosing your size based on your upper bust measurement” and doing a FBA for that many inches.  Indie patterns like mine are much more “true to size” than traditional paper patterns that tend to have a lot more ease built into them. With traditional paper patterns it is often very easy to size down 1-2 sizes on them and still have enough wearing ease.  Most indie patterns are not drafted with that much extra ease.  I draft my patterns right from that measurement chart meaning if I picked my size based on my upper bust (34.5) I would choose a size small, but I don’t need a small! Both my upper and full bust fit into a medium on the full size chart.  I do not need a small with a FBA becuase my frame/upper body isn’t a small.  It’s a medium 🙂 This is why I began adding the upper bust measurement into my patterns, to take out that guess work when I saw this recommendation quite a lot.  And while it might work well for those traditional paper patterns with more ease- I do not suggest using this method for P4P patterns-or most indie patterns in general.

Here is my size chart with both upper/over bust and full bust.

listing pictures3

Got some wrinkles on the full bust area? A FBA is NOT always the answer 🙂 There are a lot of other reasons you might have some wrinkling there!

Both raglan and dolman style sleeves will naturally have some wrinkling there. No matter who that pattern designer is, who is wearing it, fabric choice, or even gender wearing it! The drafting of these two sleeves lay flat when arms are out, which means when arms are down it naturally creates some wrinkling in the armpit area. No biggie 😉

IMG_0238 IMG_0413 IMG_9552 IMG_3842 IMG_4147 IMG_4387

Length is the armsyce is another reason one might have some gaping or pulling.  If you are shorter or taller then the height the pattern is drafted for (P4P drafts for average 5’5″), or if you happen to have a different proportion there. You might need to adjust the length of your pattern from the top of shoulder to the armpit rather than needing a FBA.   This is difficult to tell just from a picture.  It is however much easier in person to see.  If you’re not sure try pinching at the shoulder seam to take out some length if you think it might be too long.  If it is too short you will feel like the entire shoulder area is too tight and that armpit seam will be up touching your armpit too tightly.  For both it is easy to see if you try on the shirt prior to putting the sleeves in.  If it is a tank, remember the bands will pull the armysce in though.

Here my lovely tester and model has a little wrinkling because she is a bit shorter than the drafted height. She would benefit from taking just a touch of length from the armsyce.

11036978_10207178765452450_6301409831053611894_o

Here my lovely tester would benefit from the opposite, a bit more length in the armsyce.

11807358_10207360915846870_5189633883074489071_o


You might have some issues with fit through the armsyce and bust if you are wide chested/through the upper back.  You would find your upper bust measurement in a bigger size than your full bust.  You would need a Small Bust Adjustment (follow the same method just pivoting and tracing to the smaller full bust size).

Here is a gorgeous tester of mine who has begun to trace off a size larger through the neckline and shoulders and adjust down to her smaller bust. This is prior to doing so. You can see it is a bit tight across her shoulders and upper chest area. but fits well in her full bust.

12512545_10156480108785282_629169134466680487_n12669689_10156480108610282_565742808129966782_n


The last reason you might be having fit issues through the bust is not using the appropriate fabric for the top.  If your pattern suggest 50% and you sew up a cotton jersey with only 20% you might have pulling at the chest.  The opposite problem would be using a very stretchy fabric like a lightweight rayon spandex with a lot of horizontal and vertical stretch making the armsyce droop lower or even gape.

Here I am in the exact same size, but the feathers are a more stable cotton jersey with very little stretch and the grey is a rayon spandex with a ton of stretch and drape.  The armsyce is an 1-1.5″ lower in the drapey, stretchy rayon spandex.

IMG_7635 IMG_7920

One more thing I see sometimes is the drag lines from bust to waist.  This is something you will get naturally with an hourglass figure. You have a large difference from your full bust to waist.  If your shirt/dress is semi-fitted then you will see those drags pulling into that smaller measurement at the waist.  This isn’t asking for a FBA, it’s asking for a dart 🙂 But, most knit shirts don’t have darts, just curves along the side seams. You can’t get as drastic of a change from full bust to waist without a dart.  But that’s okay! It’s the nature of a semi-fitted knit top.  It doesn’t mean it is ill-fitting.  Here are some pictures showing those drag lines, but I have room for my bust and the armsyces are fitting perfectly for my frame.  My side seams aren’t pulling drastically to the front of my body on my bustline and it isn’t too tight across my back at the bustline.  I don’t need a FBA for my patterns (yay! I do need them on patterns drafted for a more rectangular figure like traditional paper patterns! Just one reason why I love drafting for a curvy figure).

IMG_7564 IMG_7753 IMG_1758 IMG_1791 IMG_1804

Okay, now if you’re still with me 😉 and you need a FBA here is my favorite, quick and easy method for a knit top. This only adds a bit of width right at the bust.  It doesn’t add length.  For most women and most knit tops this is sufficient.  If you have 2 sizes difference in your upper and full bust you might also add some length to the front center at the bust line and ease it back into the side seam (making the front center curve down). To give your bust some extra length as well.

Here is one of my favorite testers.   She has a smaller size upper bust than full bust.  Here she did not do a FBA.  You can see she has a bit of pulling pointed right to the apex of her full bust. She is your classic case of needing a FBA 🙂 Her side seam will be pulling towards the front of her body instead of laying more evenly along her side.

12109259_10156165083900790_2794494373974819072_n  12094846_10156165083630790_3745559963982436088_o


Here is the “Pivot and Slide FBA Method”:


Step 1: Choose your sizes based off the measurement chart.

z

Step 2: Pivot

fba pictures-02

Step 3: Trace

fba pictures-03

Step 4: Slide back

fba pictures-04


Now you have a new armsyce that goes wider at the bust, but the same smaller neckline/shoulder fit as the smaller size.

I hope this helps those out there needing this fit adjustment! Once you’ve got it down it really is a very quick and easy method to adding a bit more room for the ladies 🙂

Filed Under: Fitting, P4P University, Uncategorized 35 Comments

How to use the new Layers feature

January 9, 2016

header

Patterns for Pirates has added a brand new feature to their newest upcoming patterns! The Layers Feature! This means you can choose to print one size, a couple, or all of them if you’d like.  They will still be the “No Trim” style.

Here is a few screenshots to help you use the new feature.

As always, you will need to open and print your PDF from Adobe PDF Reader (a free download if you don’t have it yet).

This is what your screen should look like viewing the PDF pattern pieces:

Patterns for Pirates how to print layered pdf sewing patterns using adobe (3)

Patterns for Pirates how to print layered pdf sewing patterns using adobe (1)

Patterns for Pirates how to print layered pdf sewing patterns using adobe (2)

Patterns for Pirates how to print layered pdf sewing patterns using adobe (4)

Now you can print just the sizes you need and save some ink and time tracing off your size! 🙂

As requested, here is our on-going list of patterns that have the layers feature (These are also the patterns that include the A0 Copy Shop File Size):

Freebies:

  • Pirate Pencil Skirt
  • Peg Legs
  • Peg Legs- Add Ons
  • Peg Legs- Maternity Add On
  • Tulip Tee
  • Tiny Tulip- Youth
  • Wee Lap Tee
  • Petite Pegs
  • Teeny Beanie
  • Walk the Plank- Adult
  • Walk the Plank- Youth

Youth:

  • Jolly Roger Raglan
  • Jolly Roger Add-On Pack
  • Sugar Pie Dolman
  • Spice Cake Dolman
  • Me Hearties Dress + Peplum
  • Yo Ho Henley
  • Tiny Timeless
  • Baby Bear Joggers
  • Fav Tee
  • Butterfly Cardigan
  • Heart Breaker Cami
  • Little Loungers
  • Sweet Bow Dress
  • SOS Knit Pants- Youth
  • So Classic Sundress- Youth
  • Go To Jacket- Youth
  • Cpt. Mack’s Cardigan

Womens

  • Slim Fit Raglan
  • Relaxed Raglan
  • Raglan Add-On Pack – for women
  • Sweet Tee Dolman
  • Pumpkin Spice Dolman
  • Sweetheart Dress + Peplum
  • Siren Swim Top
  • Hello Sailor Swim Bottoms
  • Layer Me Up Shirt
  • Women’s Henley
  • Essential Tank
  • Sunshine Dress
  • Free Spirit Tank
  • Women’s Henley
  • Timeless Tunic
  • Mama Bear Joggers
  • Carefree Cardigan
  • Granpda Cardigan
  • Summer Kimono
  • Cocoon Cardigan
  • Cross my Heart Cami
  • Favortie Tee
  • Linen Loungers
  • SOS Knit Pants
  • So Classic Sundress
  • Go To Jacket- Womens
  • Ragdoll Raglan

Mens:

  • Go To Jacket- Mens
  • Papa Bear Joggers
  • Men’s Henley

Filed Under: Frequently Asked Questions 70 Comments

Carefree with added Button

December 22, 2015

I’ve seen a lot of draped front cardigans with the big wooden buttons on Pinterest and in the Boutiques…and of course I thought, “I can do that!” So the Carefree Cardigan Big Button Modification was born!

carefree cardigan add big button tutorial

The Carefree Cardigan is perfect for the look.

carefree cardigan patterns for pirates drape front cardigan tutorial

I choose the neckband only option, cuffed long sleeve, and choose to leave the front and bottom raw.

I’ve been making a ton of Carefrees after Baby Girl made her arrival… it is such a nice baby wearing cardigan that I feel cute in and can wrap us both up in when it’s windy or cold.  I can also use it nursing her so easily without worrying about bringing another cover or getting anything on or ready when she’s ready to nurse! So, I thought I’d make TWO buttonhole placements… one for normal wear that just pulls the cardigan closed at the neckline… and a second for when I’m wearing Baby Girl and need the neckline open much more.

carefree-cardigan-button2carefree-cardigan-button1I sewed up my entire cardigan exactly as normal. Then tried it on both with Baby Girl on me and without and marked where I would like the cardigan to close.  Of course, Little Guy had to come photobomb a few shots ;).

SAMSUNG CAMERA PICTURES

I placed my button down a bit away from my neck, because I happen to be one of those people who can’t stand anything tight up against their neck (you will never see a turtle neck from this designer ;)).
carefree cardigan patterns for pirates drape front cardigan tutorial

So now I needed to create the buttonholes, which is a bit different then usual because I wanted the GIANT buttons that are so popular right now and my sewing machine can’t fit a button near that big on my automatic buttonhole foot.  SOOOO, I made my own buttonhole with 2 different size zigzag stitches.
First I marked my button placement and how big I need the buttonhole to be.

SAMSUNG CAMERA PICTURES

Then I sewed a very narrow rectangle that would be my buttonhole.  I turned my zigzag length down very low to 1, so that it was a tight stitch.

For the top and bottom of my rectangle I used a wide 5 zigzag and for the sides I used a narrow 2.  I simple freehanded it.

SAMSUNG CAMERA PICTURES

SAMSUNG CAMERA PICTURES

I used matching navy thread, so I knew if it wasn’t exactly perfect that no one would be able to see.  Actually, the thread matched so close it was REALLY difficult to get a picture of the buttonhole!

SAMSUNG CAMERA PICTURES

Then I used my seam ripper to very carefully rip a line inside the narrow rectangle/buttonhole.

SAMSUNG CAMERA PICTURES

I created a second buttonhole for my baby wearing, looser option.

Wa-lah! Now I have a great on trend cardigan that was quick and easy that I can button up with or without Baby Girl! 🙂

carefree cardigan patterns for pirates drape front cardigan tutorialcarefree cardigan patterns for pirates drape front cardigan tutorial


Filed Under: Pattern Hacks 7 Comments

P4P Shirt fits Explained

December 13, 2015

I get asked a lot how the different P4P shirt pattterns compare fit wise.

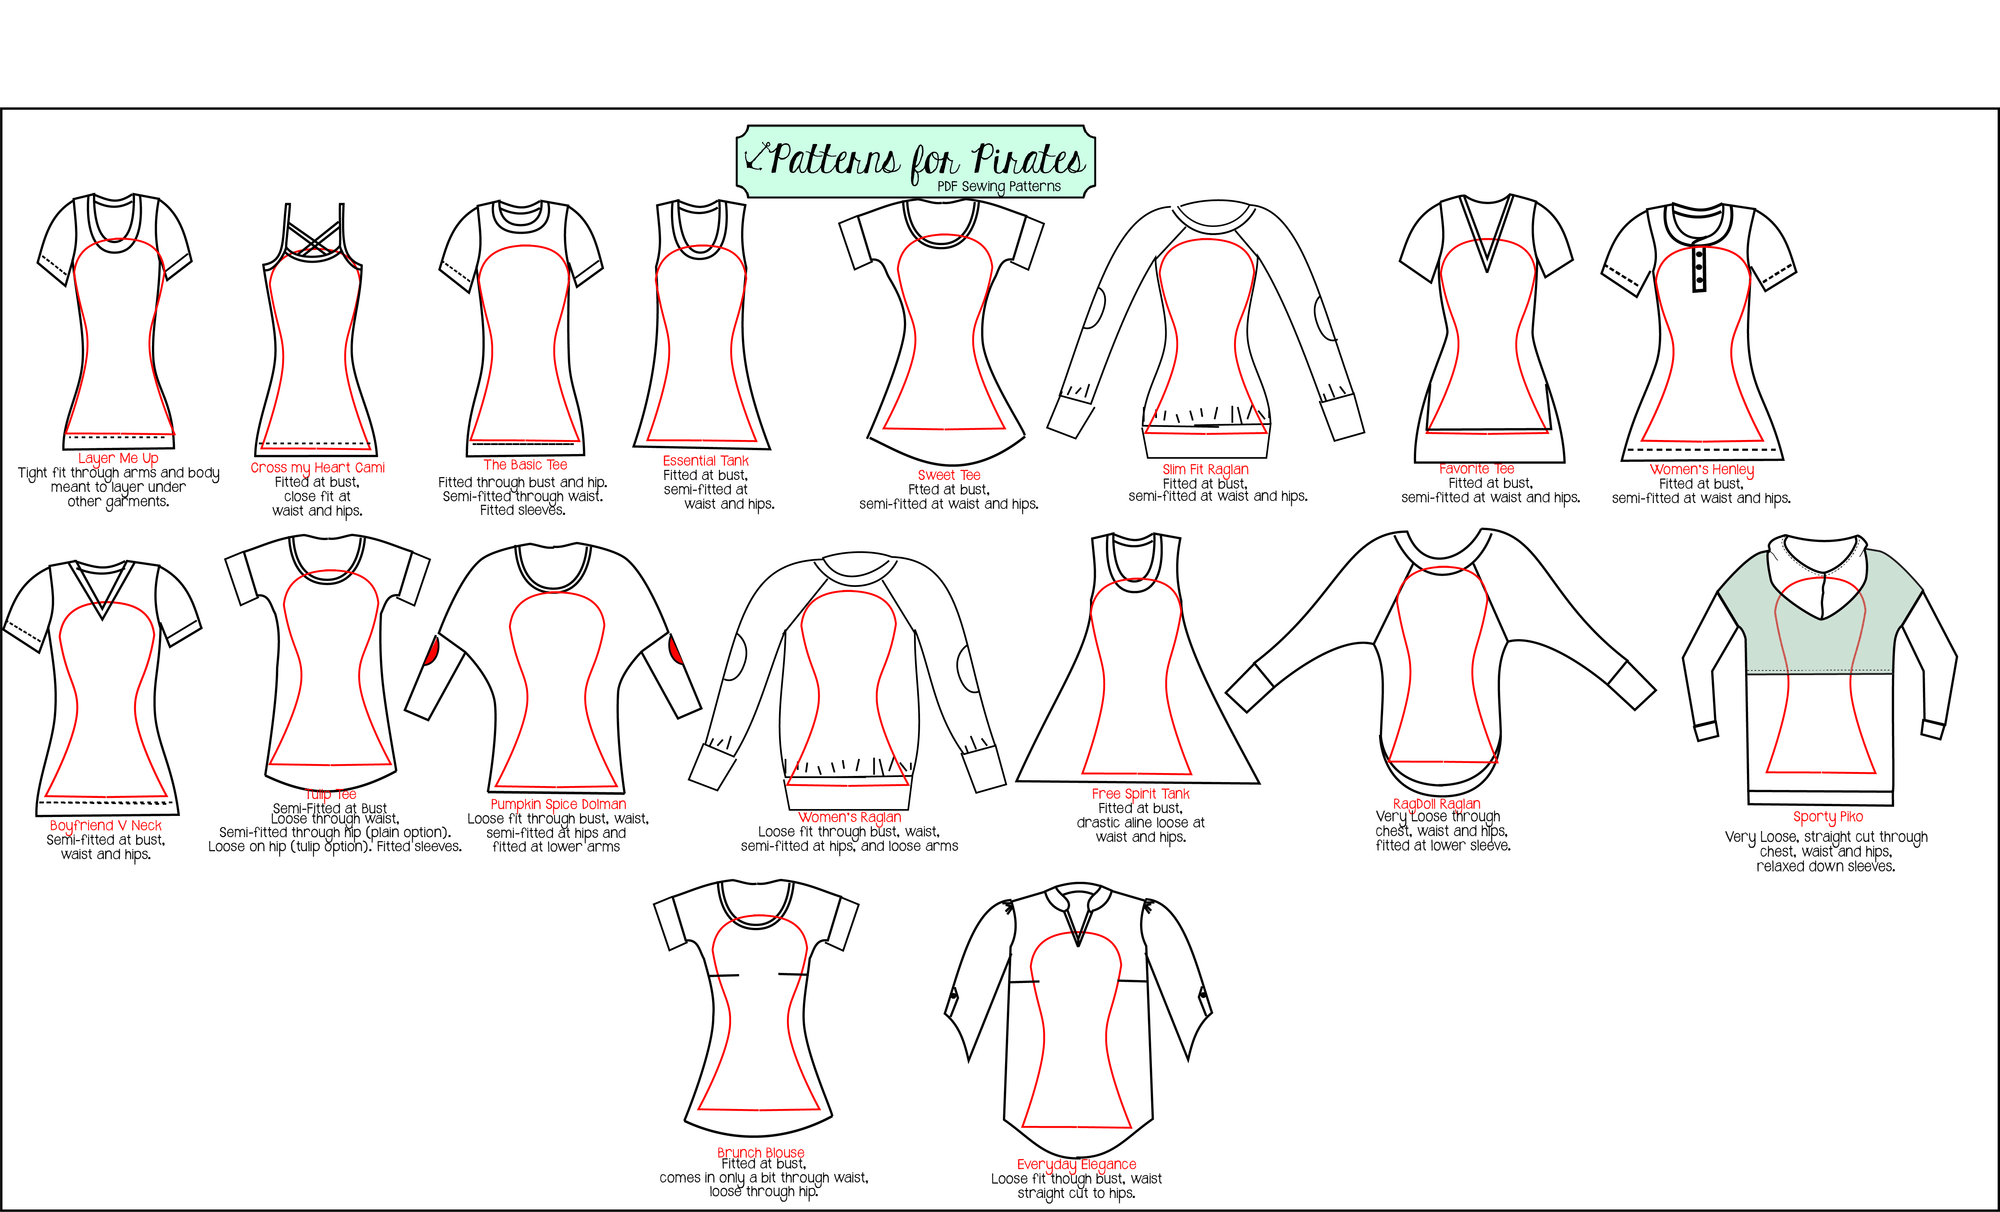
So to help those visual people (most of us sewing/creative types are!), I created a little line drawing with the hourglass figure in each shirt.

Remember, P4P is designed for an hourglass figure; so if you have a different body type you will have a different fit unless you follow your measurements and grade between the sizes you are.

Also, “hips” are the widest part of you- usually your booty.  So while looking at the line drawings, remember that the widest part is really the booty!

Here is the quick line drawing:


And for more quick overview here I am in every P4P shirt.  I was a solid medium at the time of all pictures unless noted.

Layer Me Up: Tight fit through arms and body meant to be layered under other garments. (Size Medium)

Favorite Fabrics: Knits with lots of stretch (70% more are my favorite) cotton spandex, rayon spandex, and liverpool knit.

IMG_6198 IMG_6266 IMG_6316 IMG_6367 IMG_6393 IMG_6442

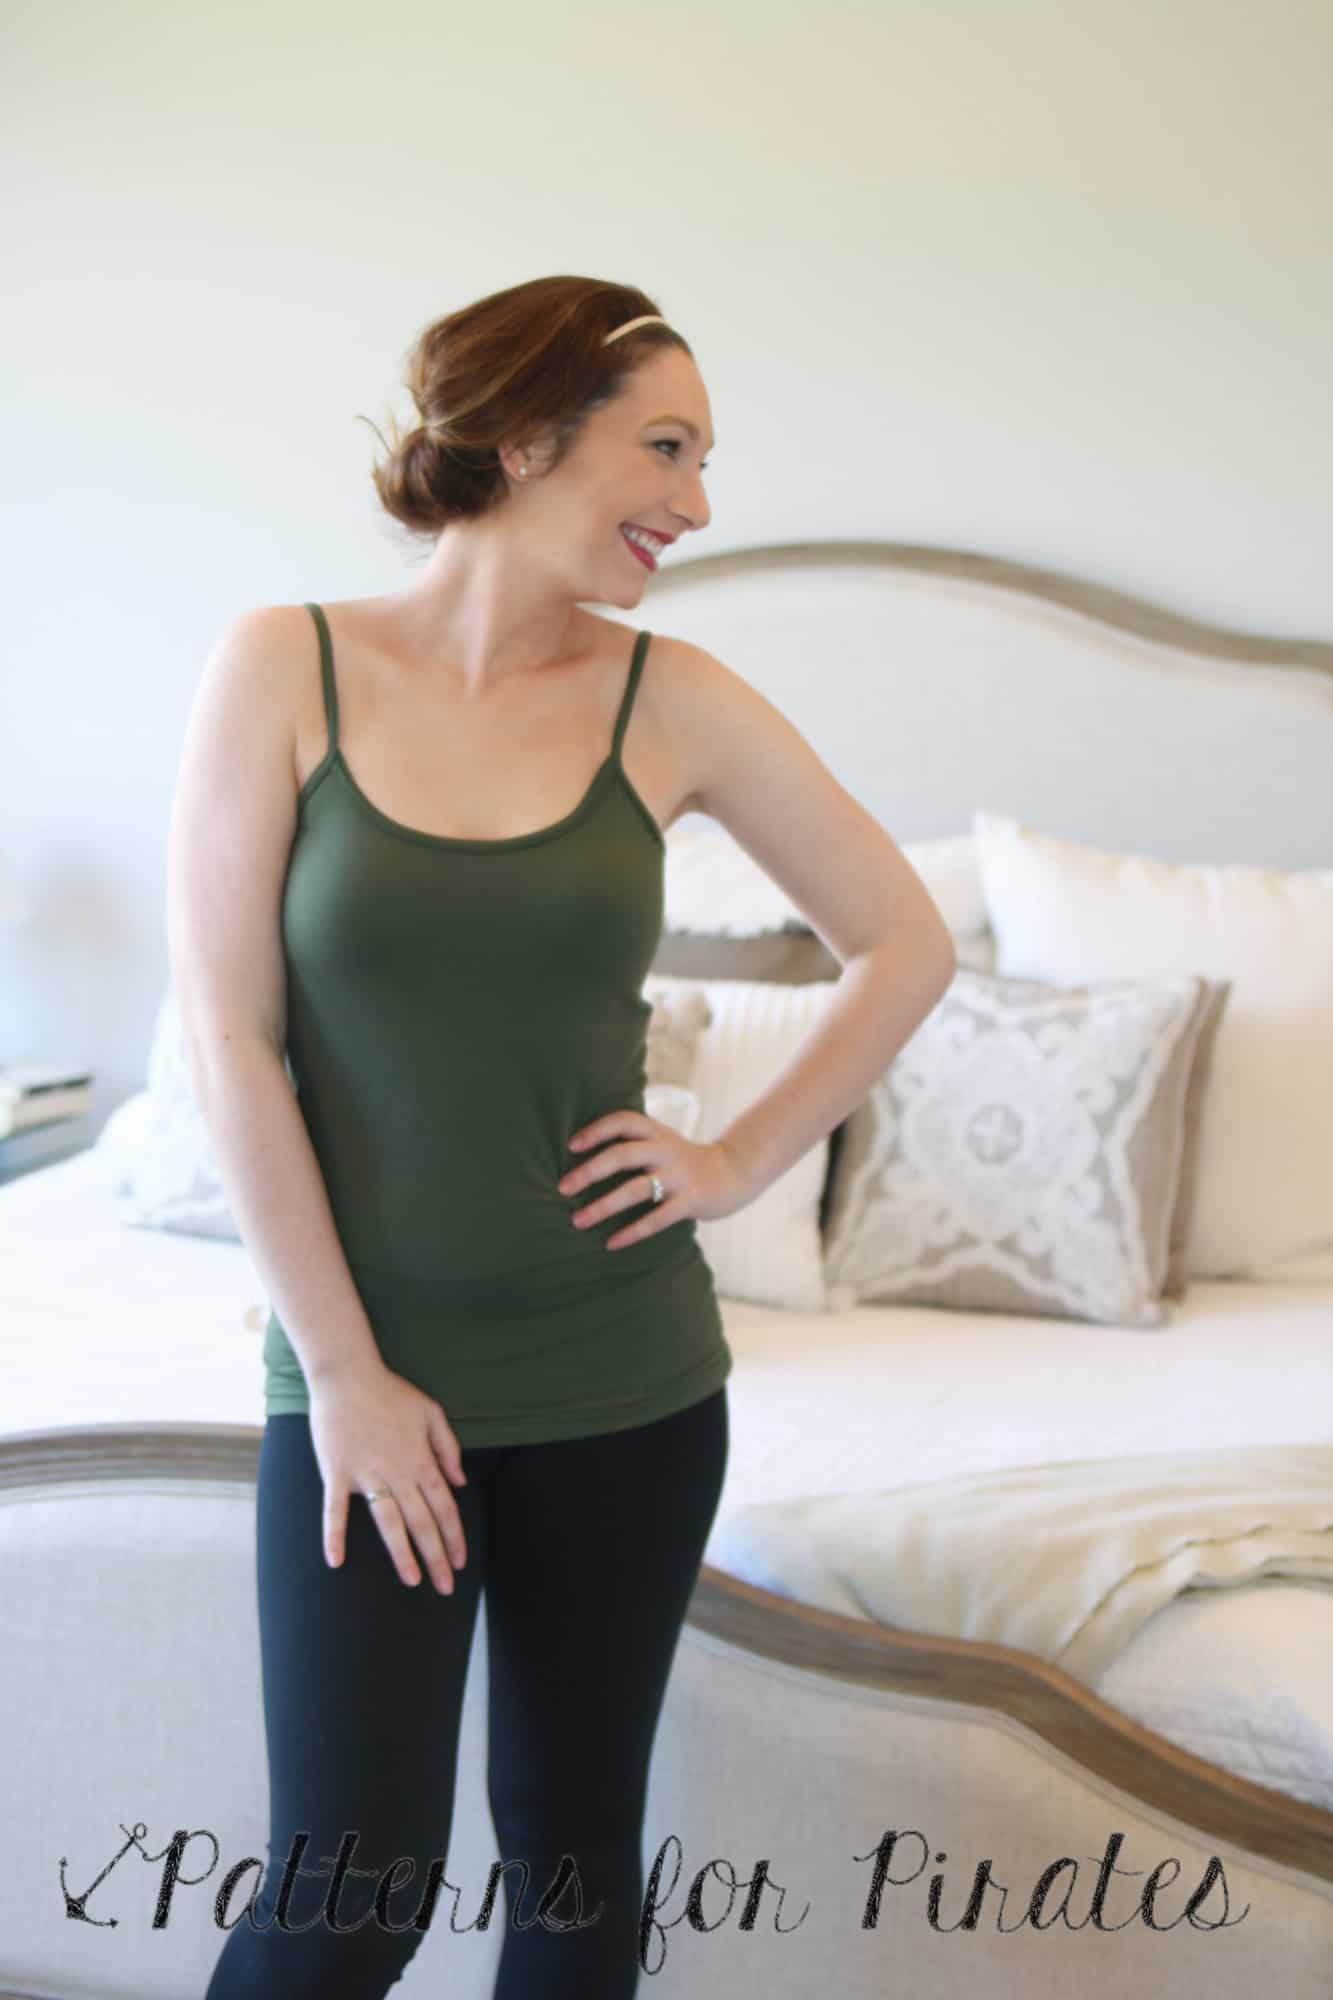
Cross my Heart Cami: Fitted through bust and a closefit through waist and hips. This is a medium here.

Favorite Fabrics: Cotton spandex, rayon spandex, jerseys, poly blends, ity, brushed poly and ribbed knit all work well.


The Basic Tee: Fitted through bust and a semi-fit through waist and close at hips. This is a small/medium here.

Favorite Fabrics: Jerseys, tri-blends, double brushed poly, rayon spandex, cotton spandex, poly blends, ity, ribbed knit, sweater knits all work well.

Essential Tank: Fitted through bust and a close semi-fit through waist and hips. This is a medium here.

Favorite Fabrics: Jerseys, rayon spandex, cotton spandex, poly blends, ity and ribbed knit all work well.

13350380_10102709342906983_688272442041579391_o 13418399_10102709342323153_7161703305455901606_o 13411710_10102709342253293_9173902032219237424_o 13418529_10102709341839123_247796028914714387_o 13392179_10102709340891023_5609753226814510102_o 13416881_10102709339658493_6711765543316495162_o

Women’s Henley: Fitted through bust and semi-fitted through waist and hips. (I don’t have many of these since it was drafted and released when I was pregnant 🙂 I made a medium here, but my bust and waist were bigger right after baby girl arrived!)

Favorite Fabrics: thermals, medium weight sweater knits, cotton jerseys, and rayon spandex.

SAMSUNG CAMERA PICTURES


Boyfriend V Neck: Semi-fitted through bust, waist and hips. (Size Medium)

Favorite Fabrics: I like to use a cotton jersey, interlock, medium weight sweater knit for a more fitted look.  For a looser/slub feel I go for rayon spandex.

10511668_10100213568490777_3346501466436650626_o IMG_8828 IMG_8834IMG_8812IMG_8890

Slim Fit Raglan: Fitted at bust and arms, semi-fitted at waist and hips.

Favorite Fabrics: Medium weight sweater knit, rayon spandex blends, cotton spandex, stretch french terry, slub jersey.

IMG_0393 IMG_0287 IMG_0278 IMG_0238 IMG_0231 IMG_0216  IMG_0183 IMG_0175 IMG_0173 IMG_0149 IMG_0135


Women’s Raglan: Loose fit through bust and waist, semi-fitted at hips- straight cut. Loose on arms. (Size Medium)

Favorite Fabrics: More stable knits like french terry, sweatshirt, fleece, interlock, and ponte roma.

1 (14)1 (4)1 (13)1 (28)1 (34)IMG_88011 (2)(PS- I have a light pink undershirt under the lace one! I didn’t realize that was a mistake until after the pictures! lol)

Favorite Tee: this is fitted at bust and semi-fitted through waist and hip. The side vent hem can give you even more relaxed fit through hip.

Favorite Fabics: You have a pretty wide range of knits you can use on this shirt.  I prefer a flowly, drapey knit for the curved hem option like rayon spandex, modal, poly jerseys, ITY.  For the banded hem option I love something with a little more structure like a rayon french terry and poly jerseys. The side vent hem can use either of these and look great.  For the dress length I prefer something more structured again like double brushed poly, cotton spandex, rayon french terry.

Sweet Tee: this is a slimmed dolman with very small “bat wings” under the arms.  It is fitted at bust and semi-fitted through waist and hips.

Favorite Fabics: light to medium weight knits, although it has very small “bat wings” I still strongly prefer a soft drape for any dolman so that your “wings” aren’t puffy 😉  I used tissue jersey, slub jersey, light and medium weight sweater knits, and rayon spandex for my favorites.

IMG_3884 IMG_3896 IMG_3911 IMG_4015 IMG_4036 IMG_4091 IMG_4137 IMG_4162 IMG_4180 IMG_4185 IMG_9451 IMG_9485 IMG_9507


Tulip Tee: this is a boxy, relaxed fit dolman.  Semi-fitted at bust and hip, but a straighter cut through waist.  Although it’s not straight, it is still very loose through waist. The plain option will feel and fit tighter at the waist and hip than the tulip option, which will naturally swing open for a looser feel.

Favorite Fabics: light to medium weight knits. I prefer a soft drape for any dolman so that your “wings” aren’t puffy 😉  I used mostly rayon/modal/ blends for mine personally.  I love it in a soft sweater knit for fall/winter as well.  You could use a slub knit, poly blend, triblend, ITY all as well.


Pumpkin Spice Dolman: oversized/loose fit through upper arms, bust and waist.  Semi-fitted on hips. Tight fit on lower arms. (Medium in the navy/grey and Large in the others- I hit those measurements at the time of sewing/pictures :))

Favorite Fabrics: I like fabric with good drape for this one.  Rayon spandex blends, sweater knits (both medium and lighter work), thinner slub jerseys, french terry with rayon in the blend, and ity.


IMG_3440 IMG_3467 IMG_3493IMG_0447IMG_0418IMG_0417IMG_0407


Free Spirit Tank: Fitted at bust, drastic a-line out to give loose fit through waist and hips. (Size Medium)

Favorite Fabrics: I like fabric with good stretch and drape for this one.  Rayon spandex blends, sweater knits and thinner slub jersey.

20151123_15042420115_10100313906851897_8805792748950944668_n 11051762_10100313891198267_4156963260416149925_o 11169614_10100313891921817_5868655417849932999_o 11187817_10100313901737147_4232944970819534637_o 11212671_10100313892365927_3793099993655718393_o 11218719_10100313910180227_7456640702411835535_n 


Sporty Piko: A very loose, straight cut from the short sleeve juncture.  It is loose throughout the body with relaxed sleeves as well.

Favorite Fabrics: It really depends on the look you’re wanting for this one! I love a french terry for the hoodie options, but for an everyday tee it must have a very soft drape.  You can use various fabrics depending on how boxy you want the shirt to appear- the more stable the fabric the boxier it will look worn.

Brunch Blouse: Fitted at bust, curves in only a touch at waist, loose on hips.

Favorite Fabrics: Rayon challis, crepe, anything with a softer drape.


Everyday Elegance: Loose fit through bust and waist- straight cut to hips. (Size Medium)

Favorite Fabrics: I like fabrics with lots of drape for this one like peach skin, chiffon, rayon challis.

10679813_10100211573383987_4958949390945241951_o 1961948_10100211572959837_2864287625354337808_o 2 (6) 2 (2) 1 (10) 1 (2)

Filed Under: Announcement, Fitting, P4P University 19 Comments

  • « Previous Page
  • 1
  • 2
  • 3
  • 4
  • Next Page »

connect with me

  • Email
  • Facebook
  • Instagram
  • Pinterest
  • YouTube
Privacy & Cookies: This site uses cookies. By continuing to use this website, you agree to their use.

To find out more, including how to control cookies, see here: Cookie Policy
  • Privacy Policy
  • Refund Policy
  • Contact Us
  • About

Copyright © 2026 Patterns for Pirates

Copyright © 2026 · Genesis Framework · WordPress · Log in