Patterns for Pirates

P4P stylish, modern, wearable patterns

  • Home
  • Blog
    • Frequently Asked Questions
    • Pattern Releases
      • Free Patterns
    • P4P University
      • Fitting
      • Sewing with Stretch, Knit Fabrics
      • Sewing with Woven Fabrics
      • Sewing Machines
    • Sew-A-Longs
    • Fabric for Pirates
    • Pattern Hacks
    • Announcement
      • Blog Tours
      • Contest/Giveaway
  • Shop
  • Bundle Discounts
  • Flash Friday
  • Gift Cards
  • My Account
  • Cart

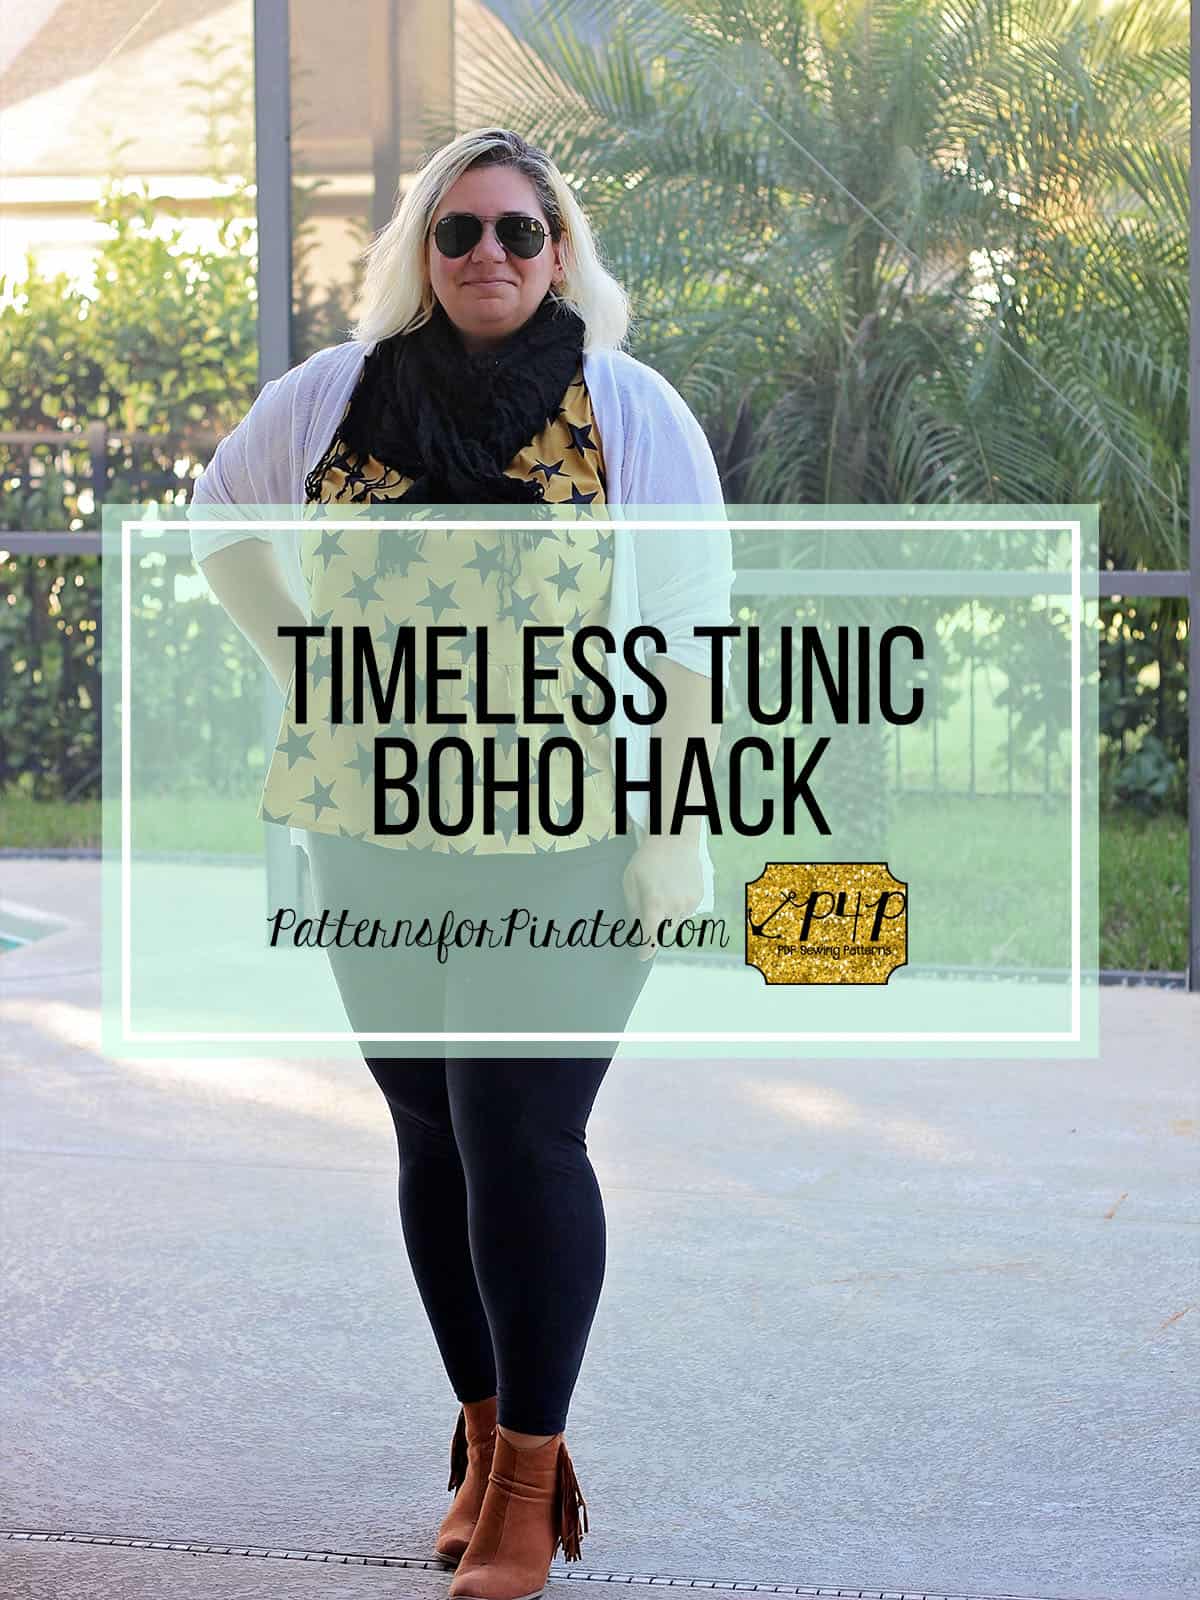
Timeless Tunic – Boho hack

November 7, 2017


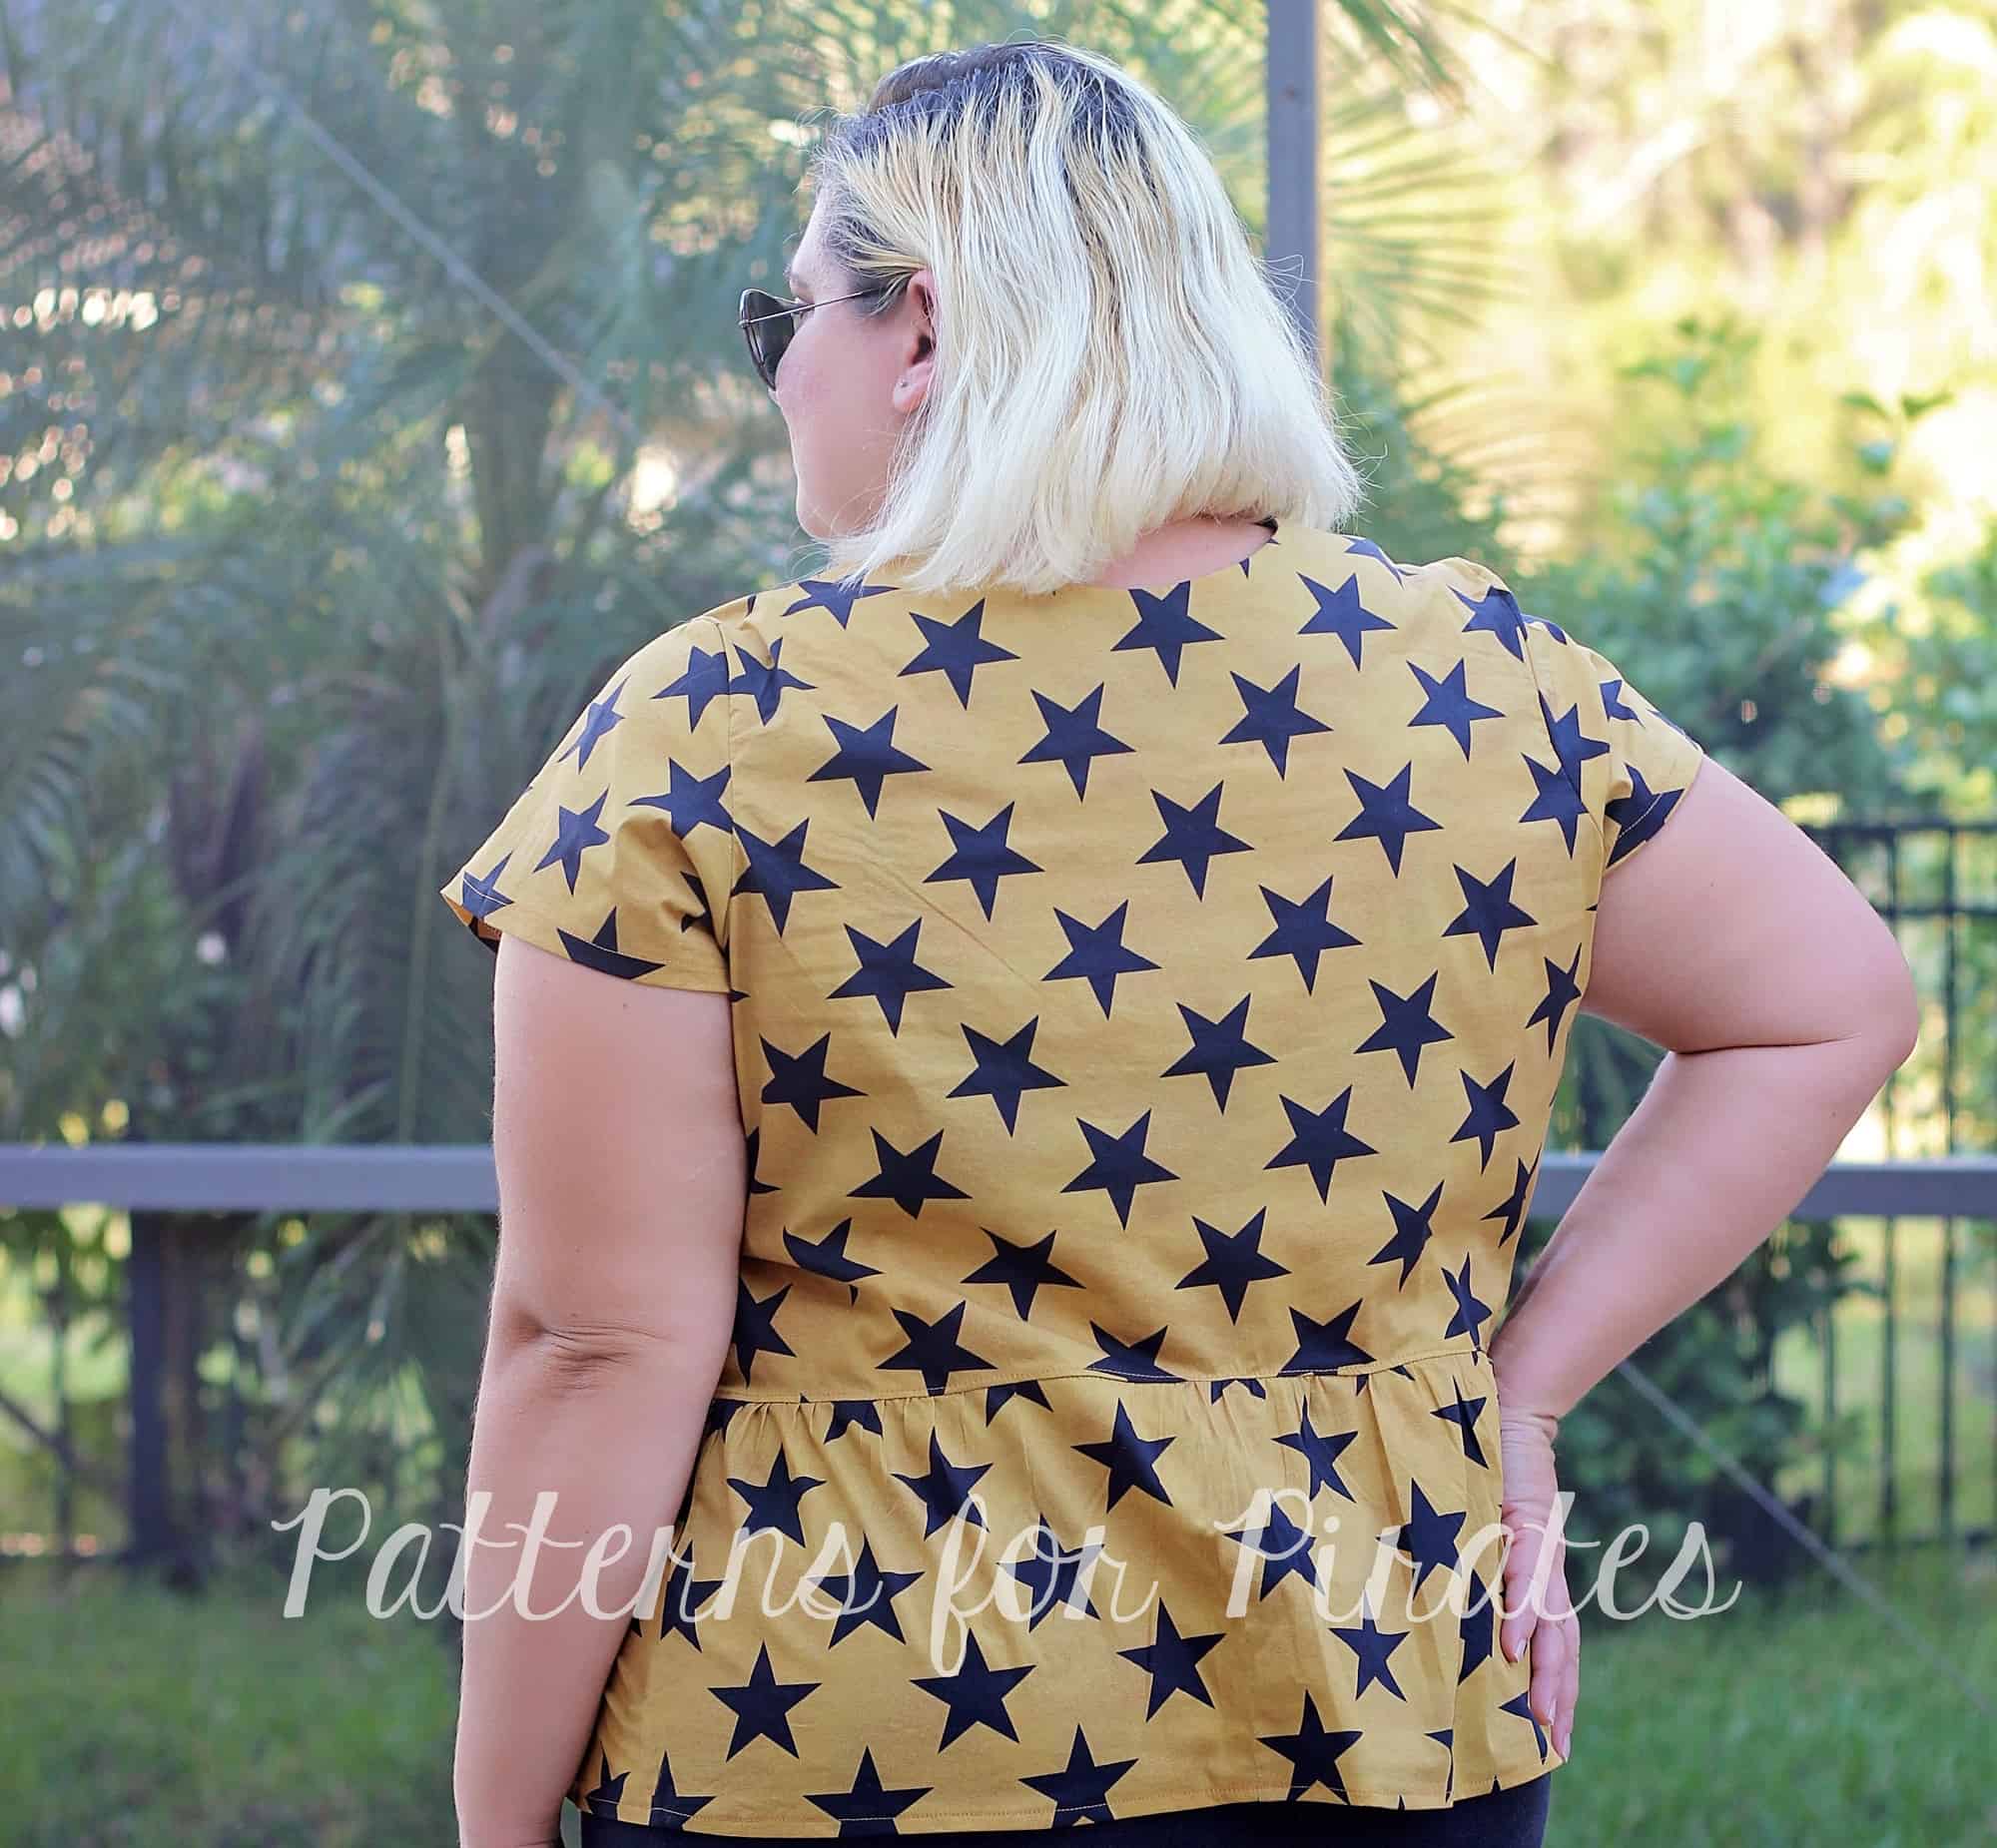
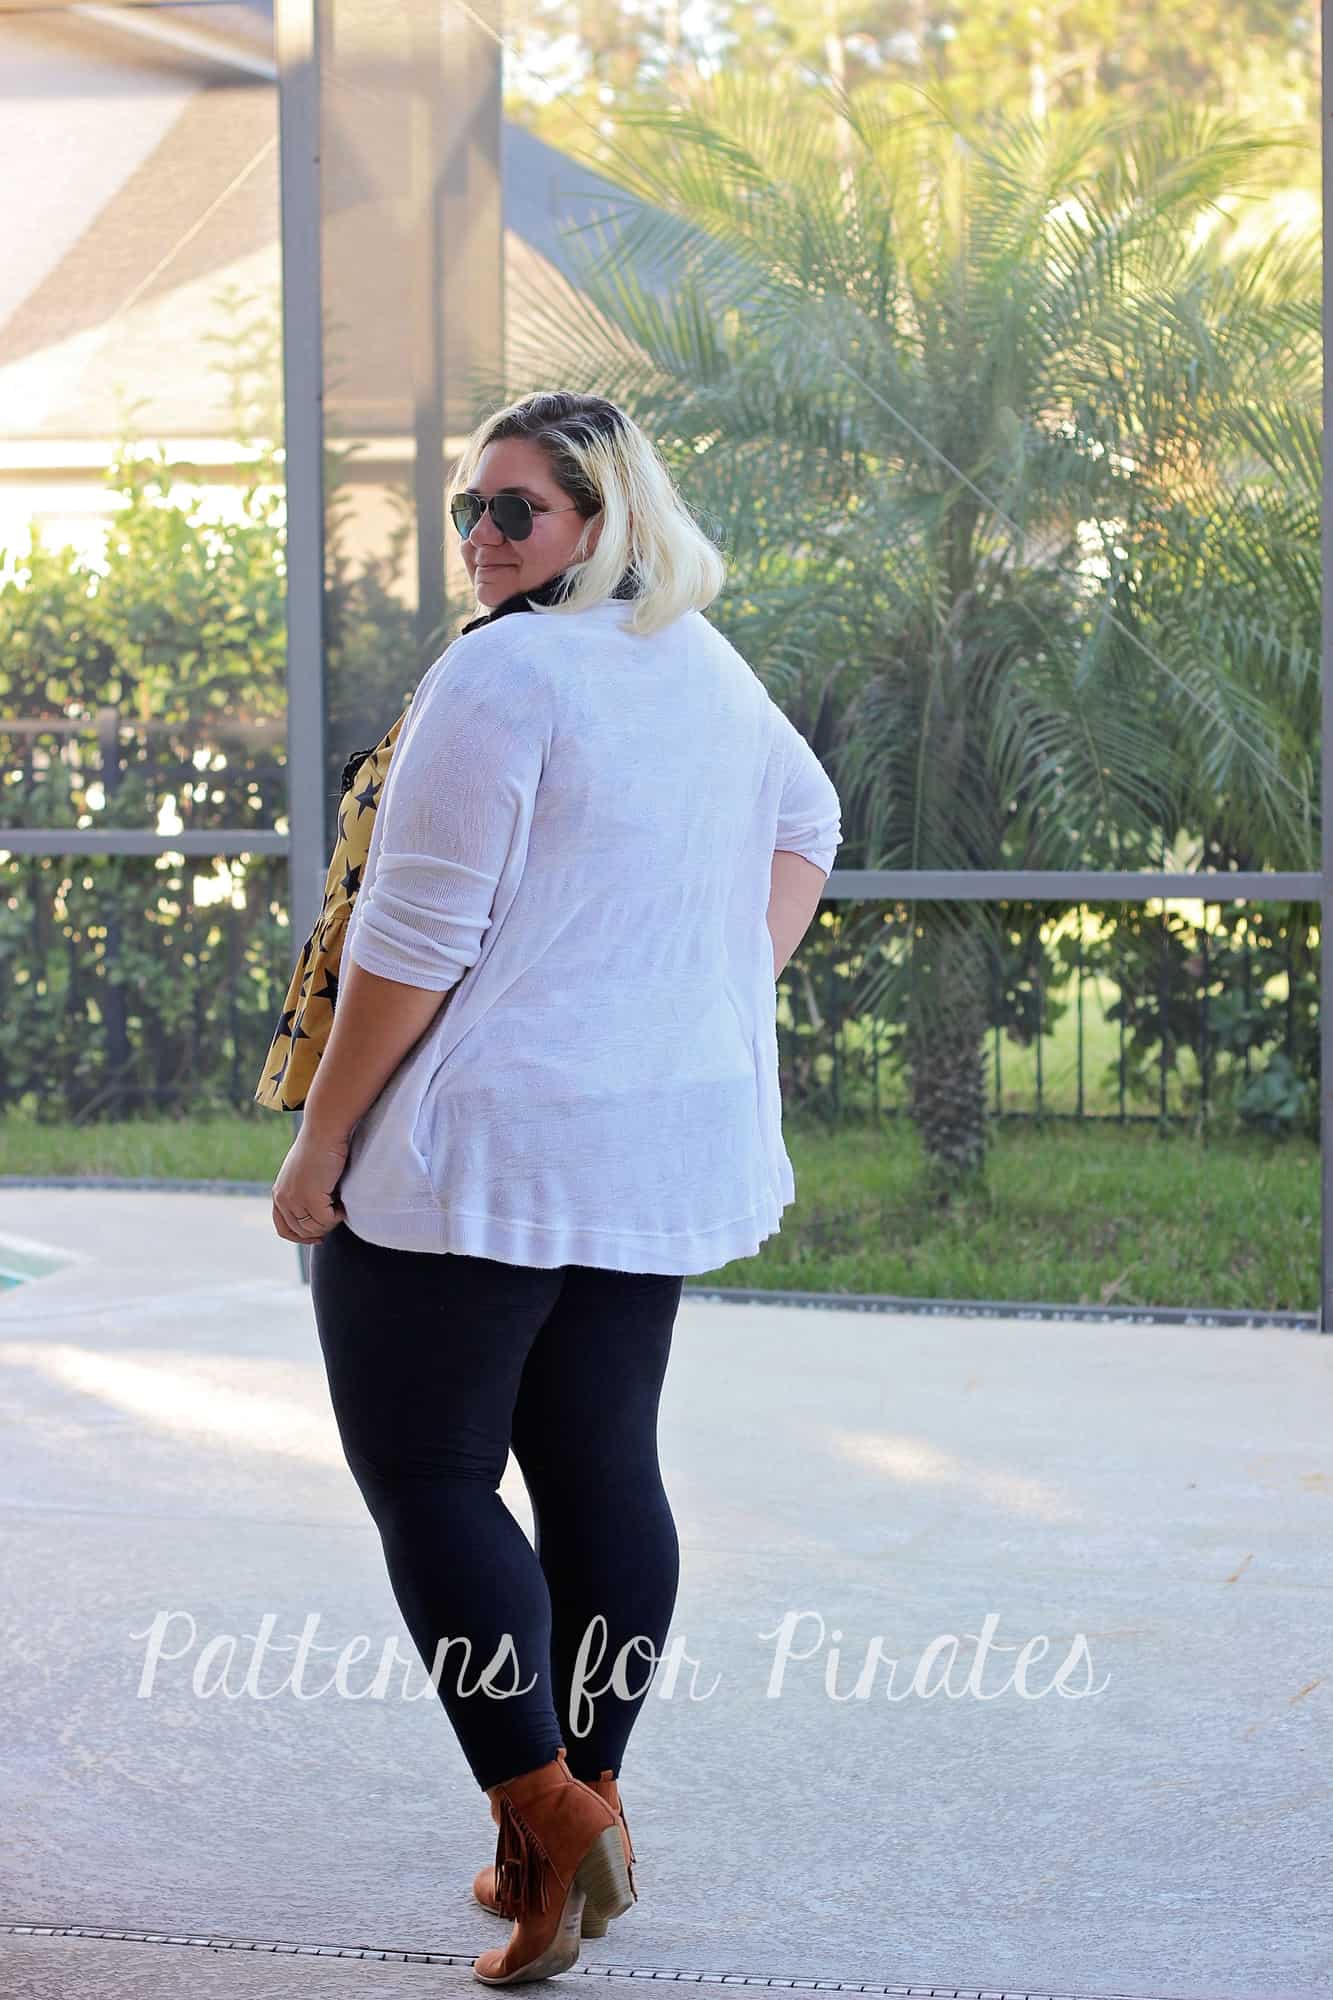
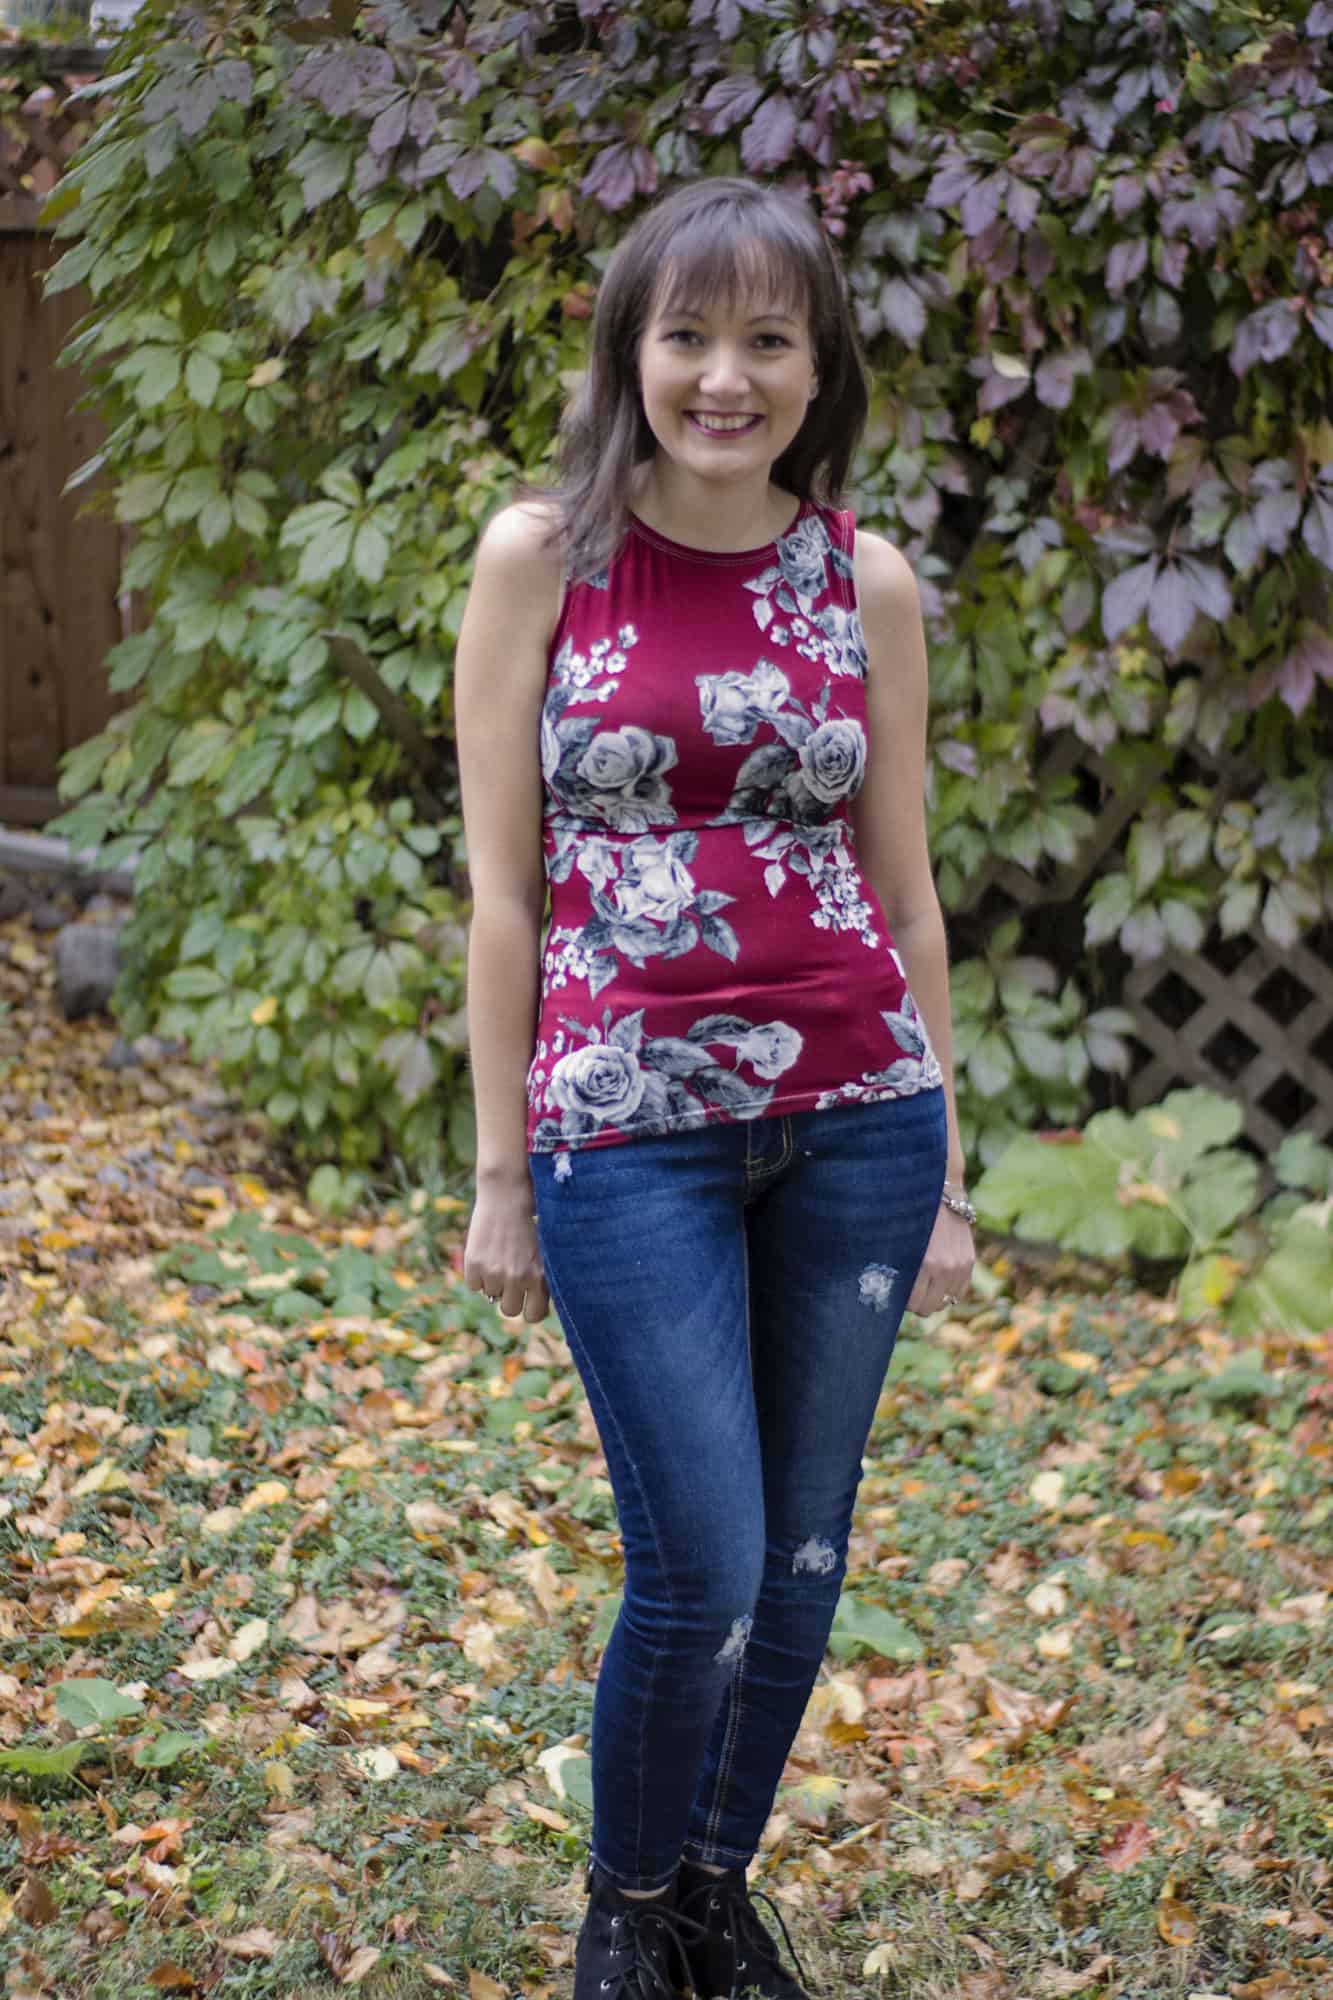
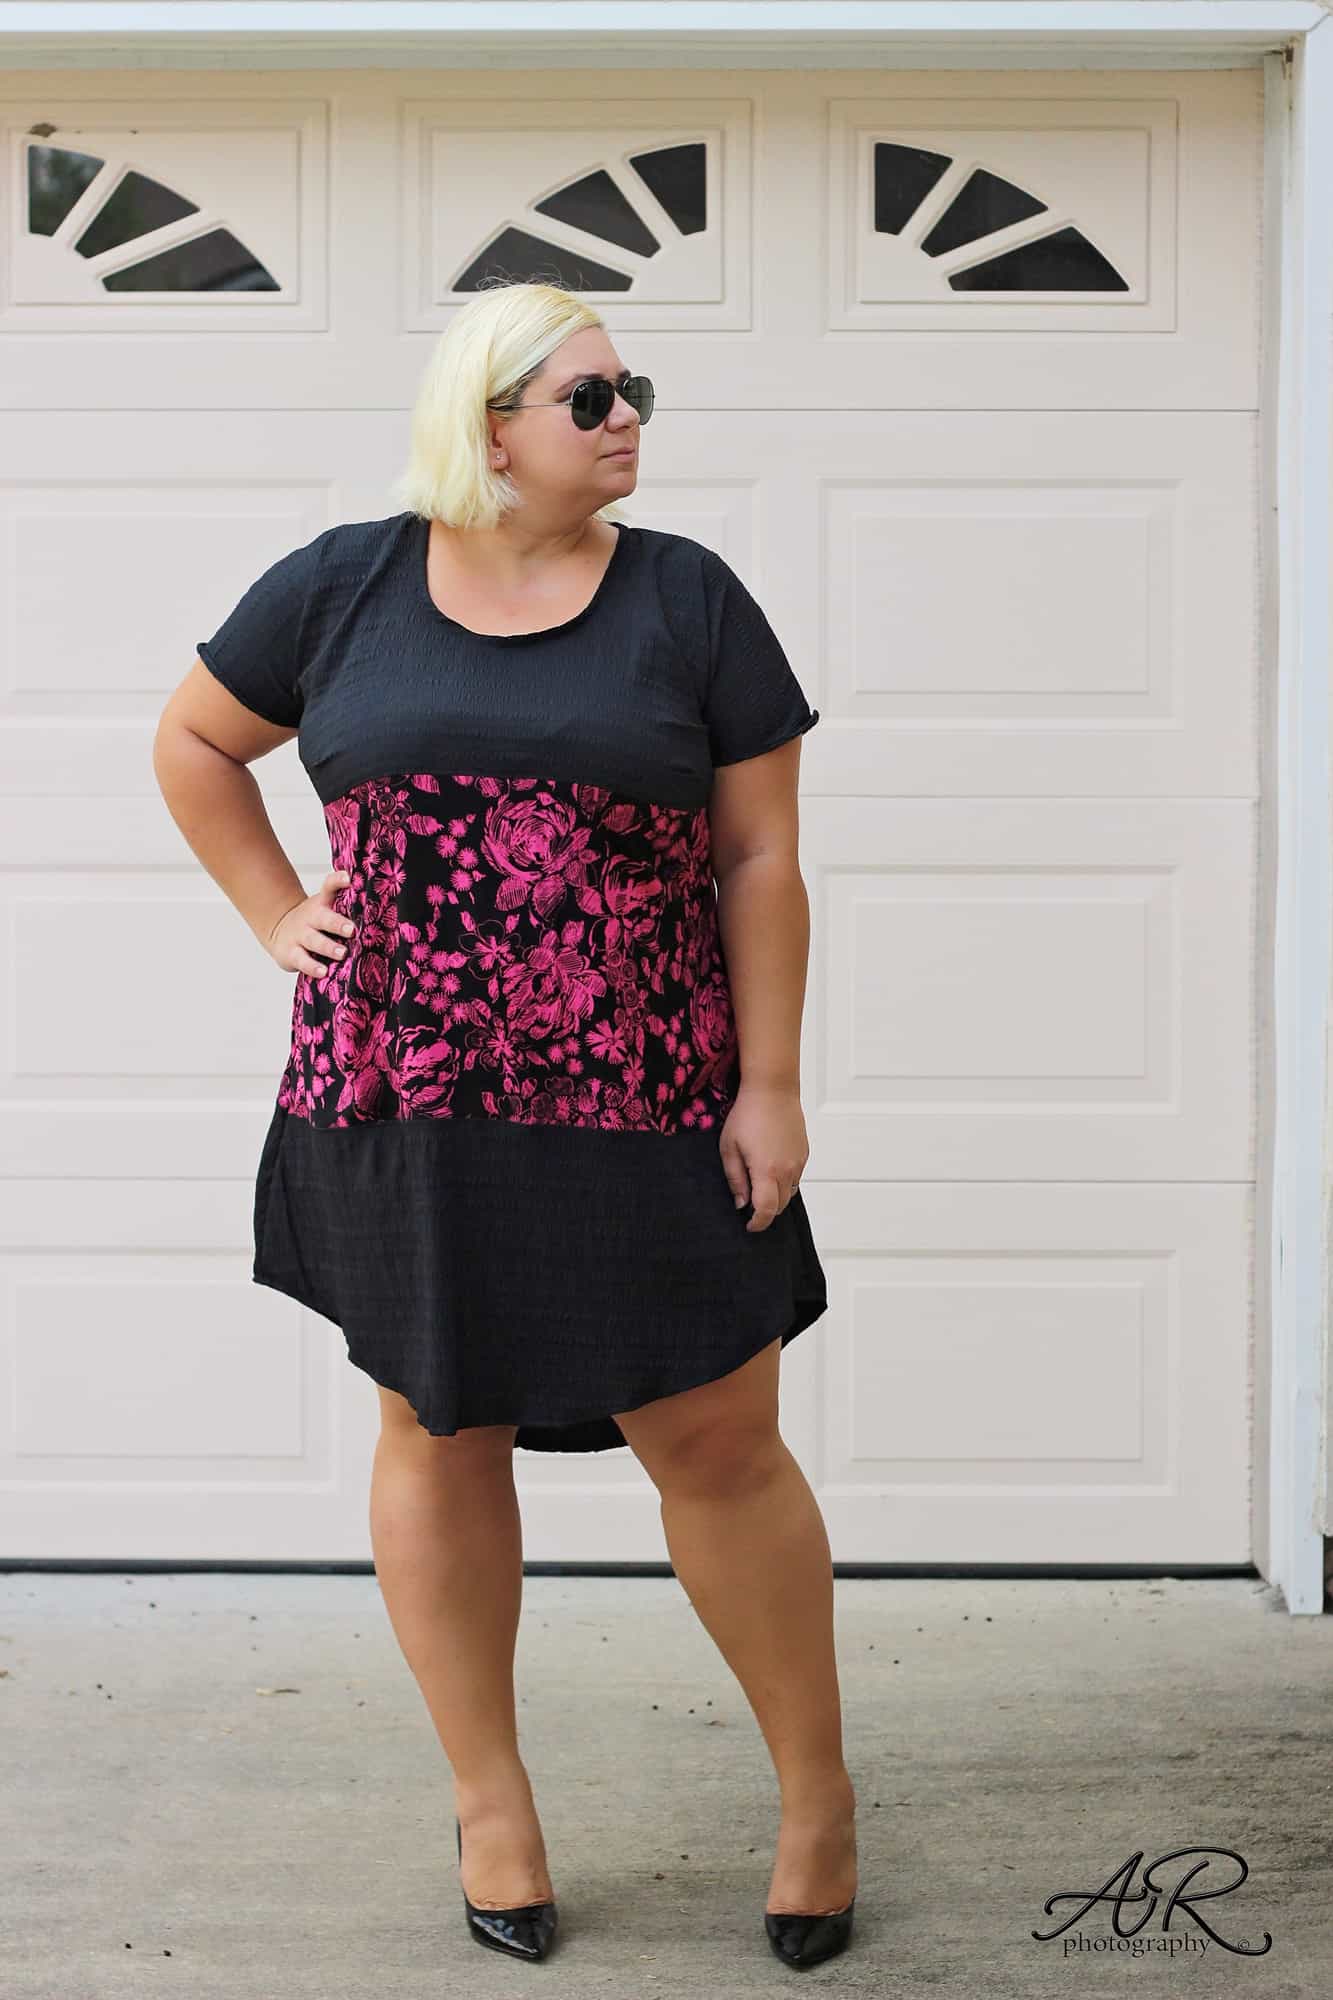
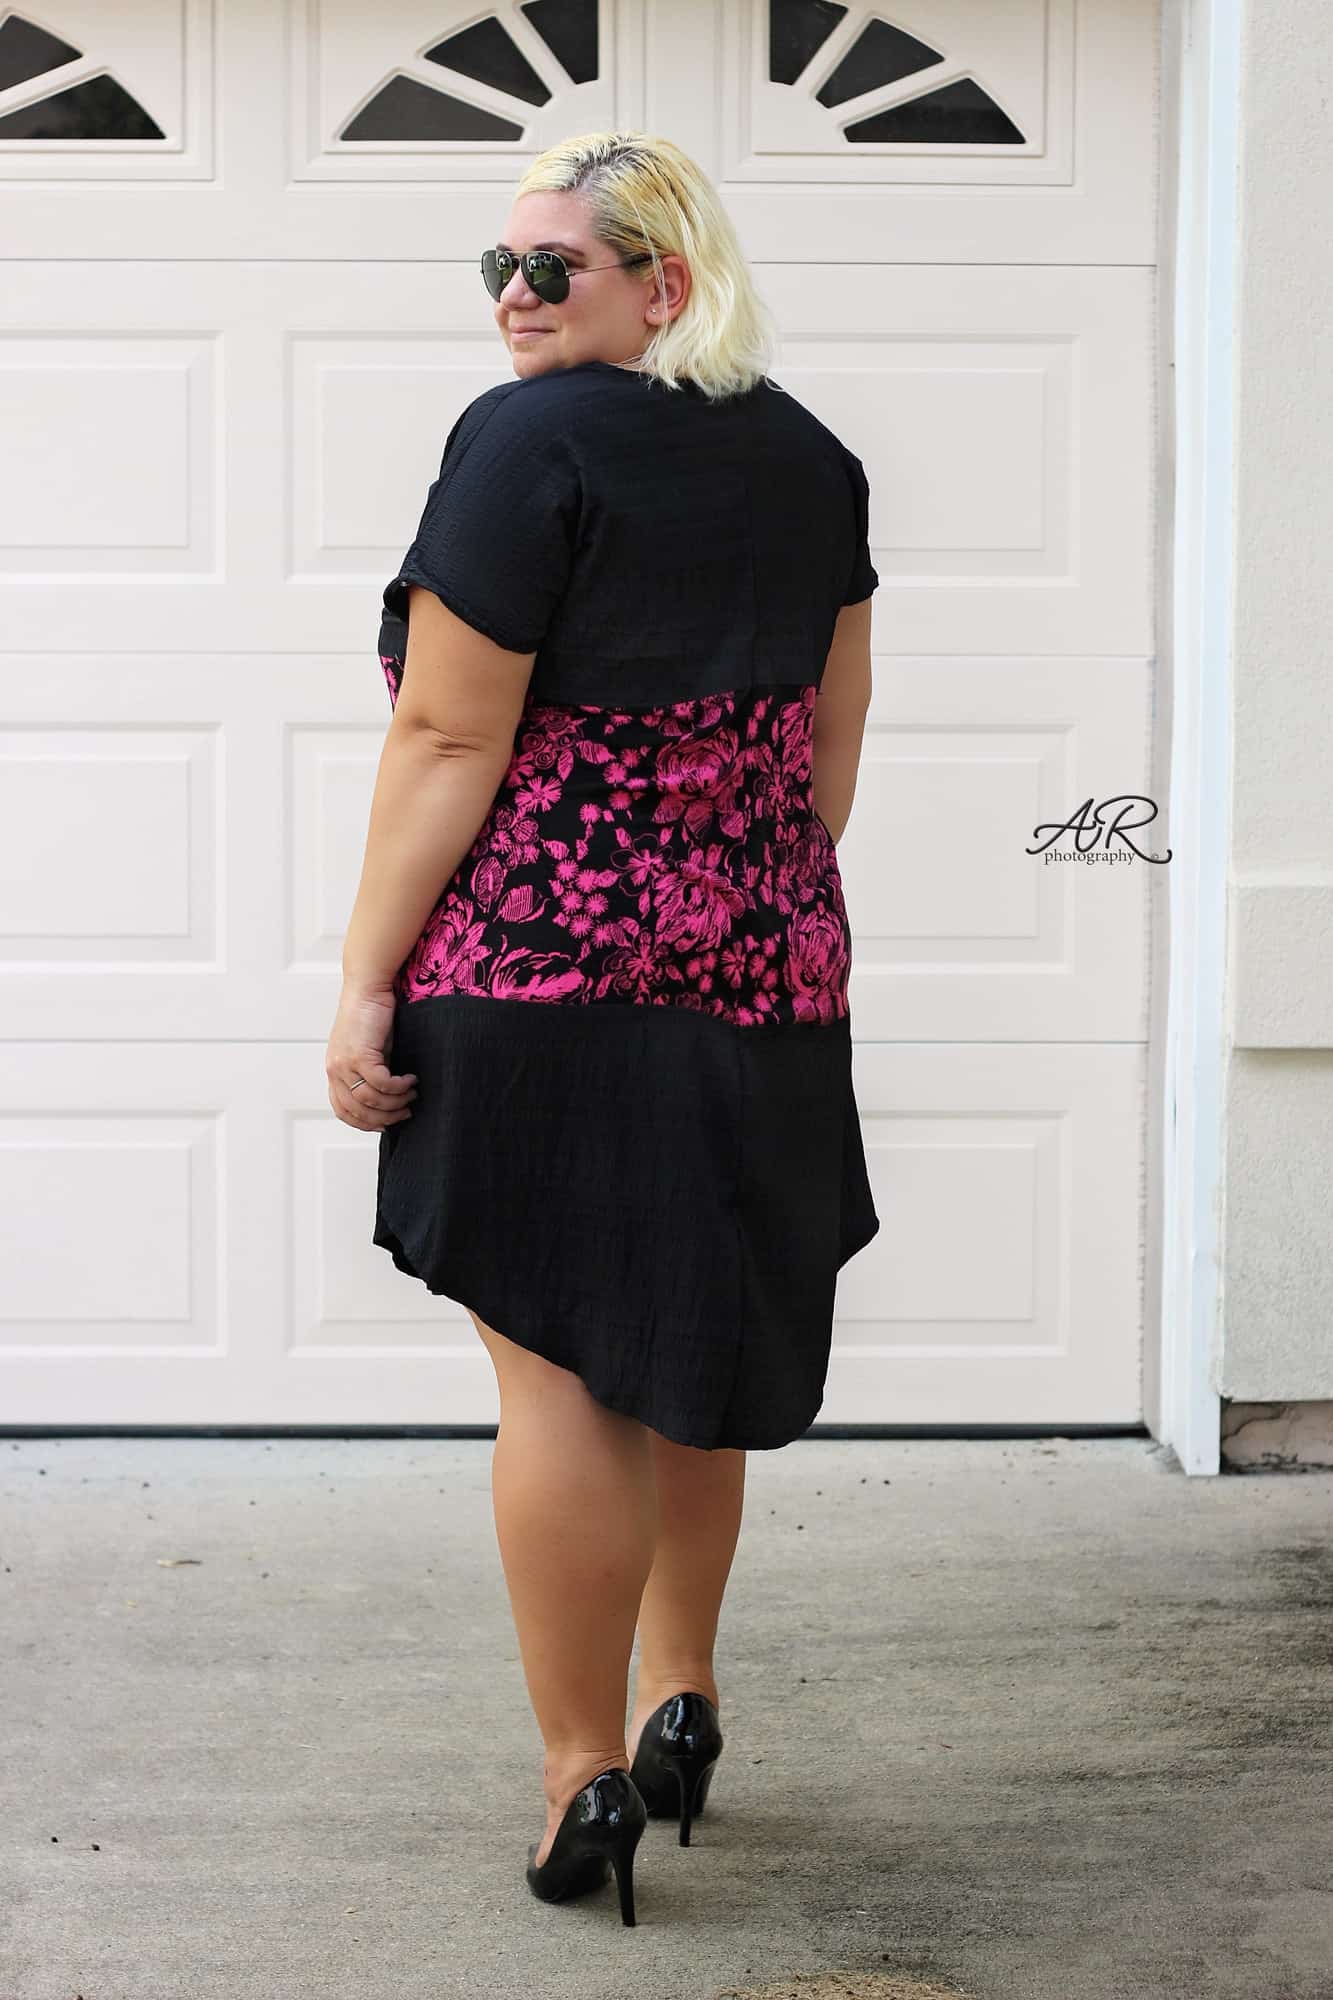
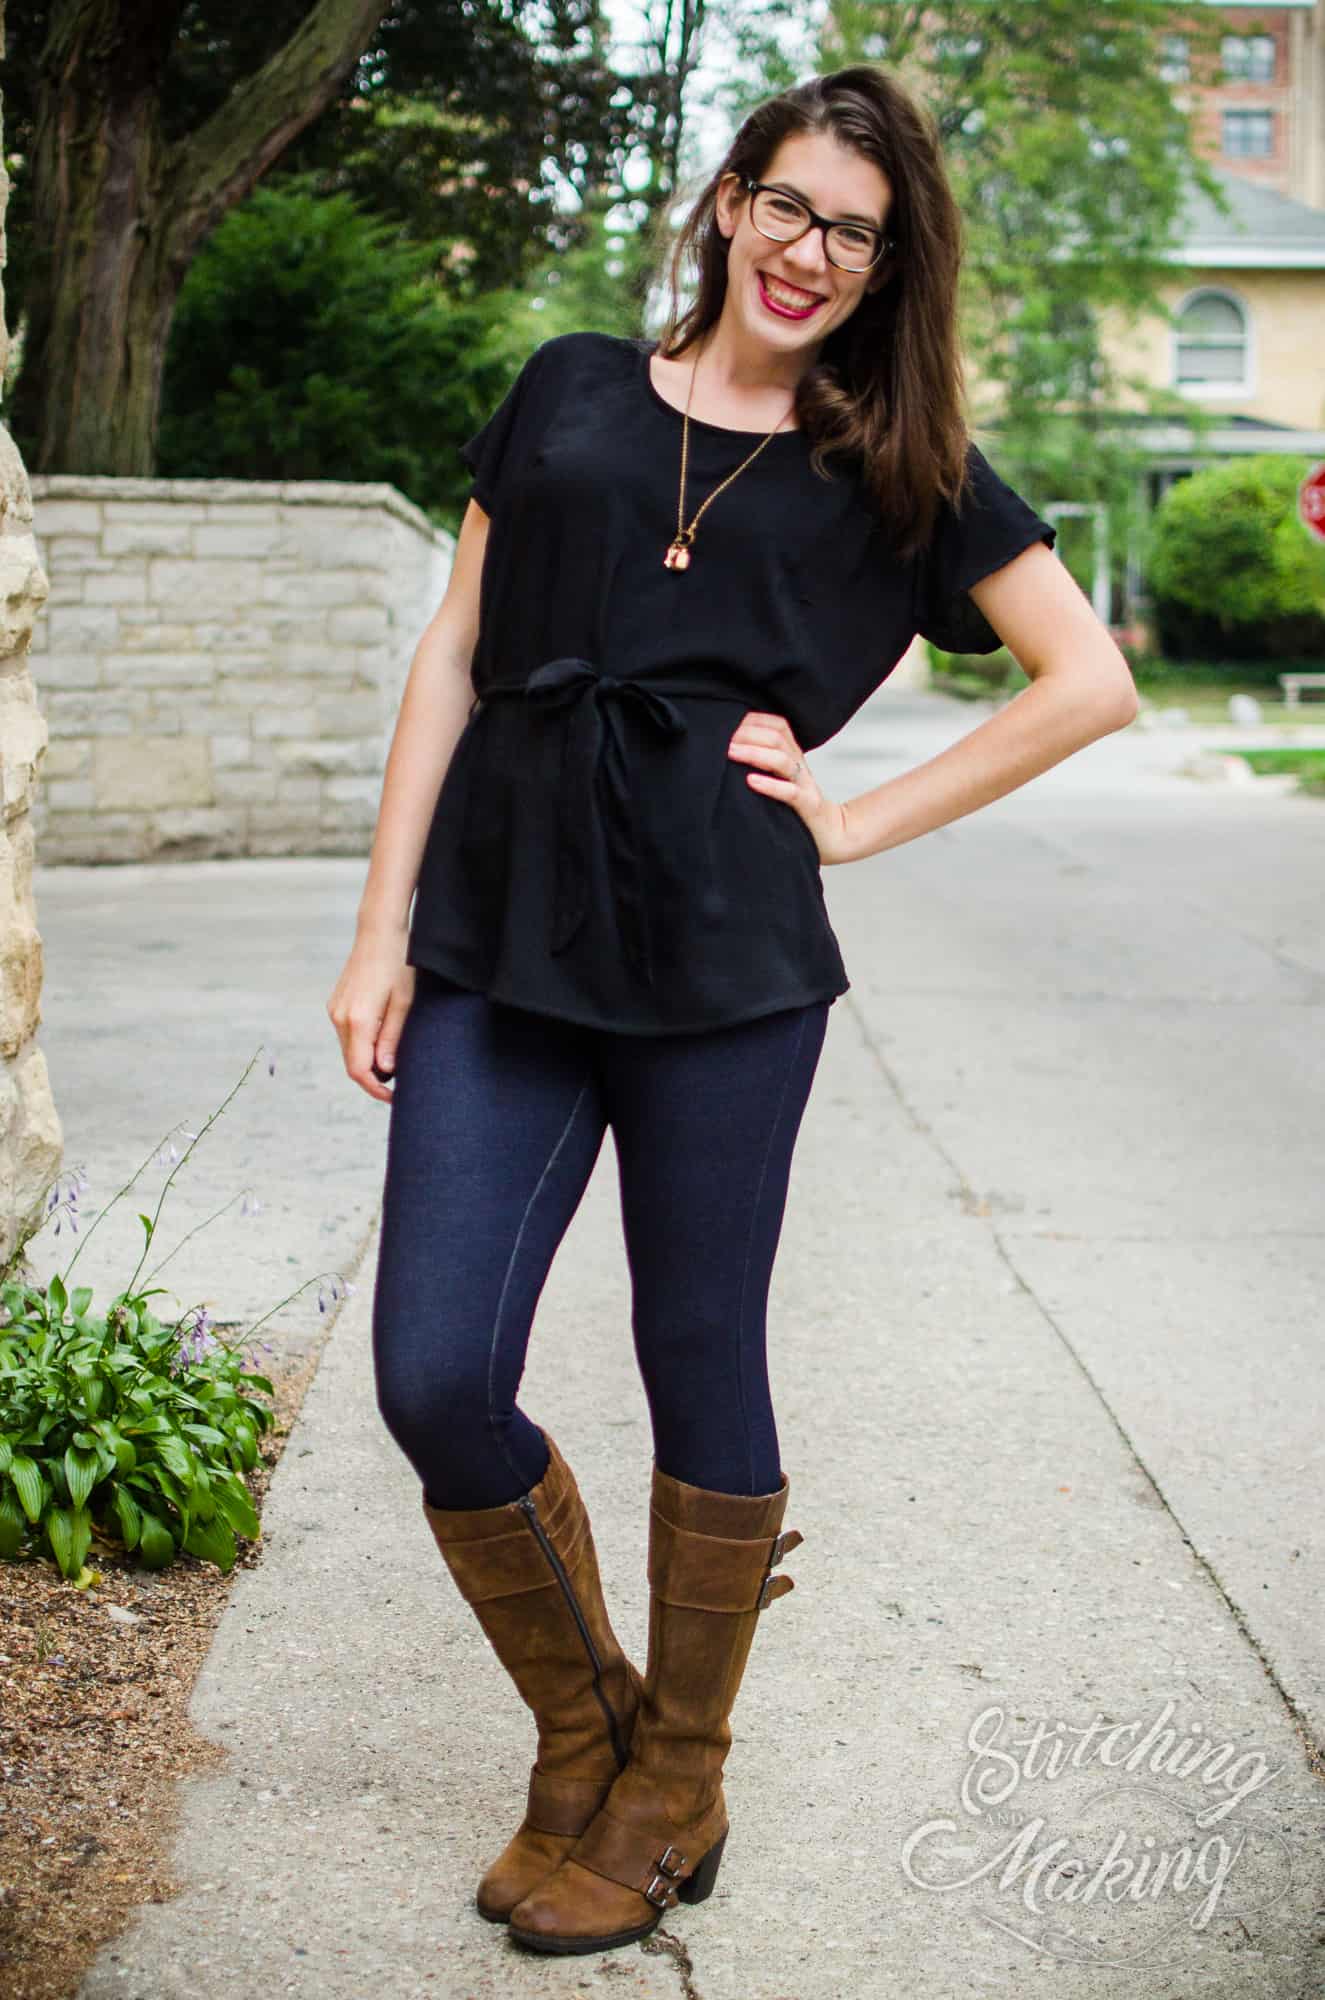
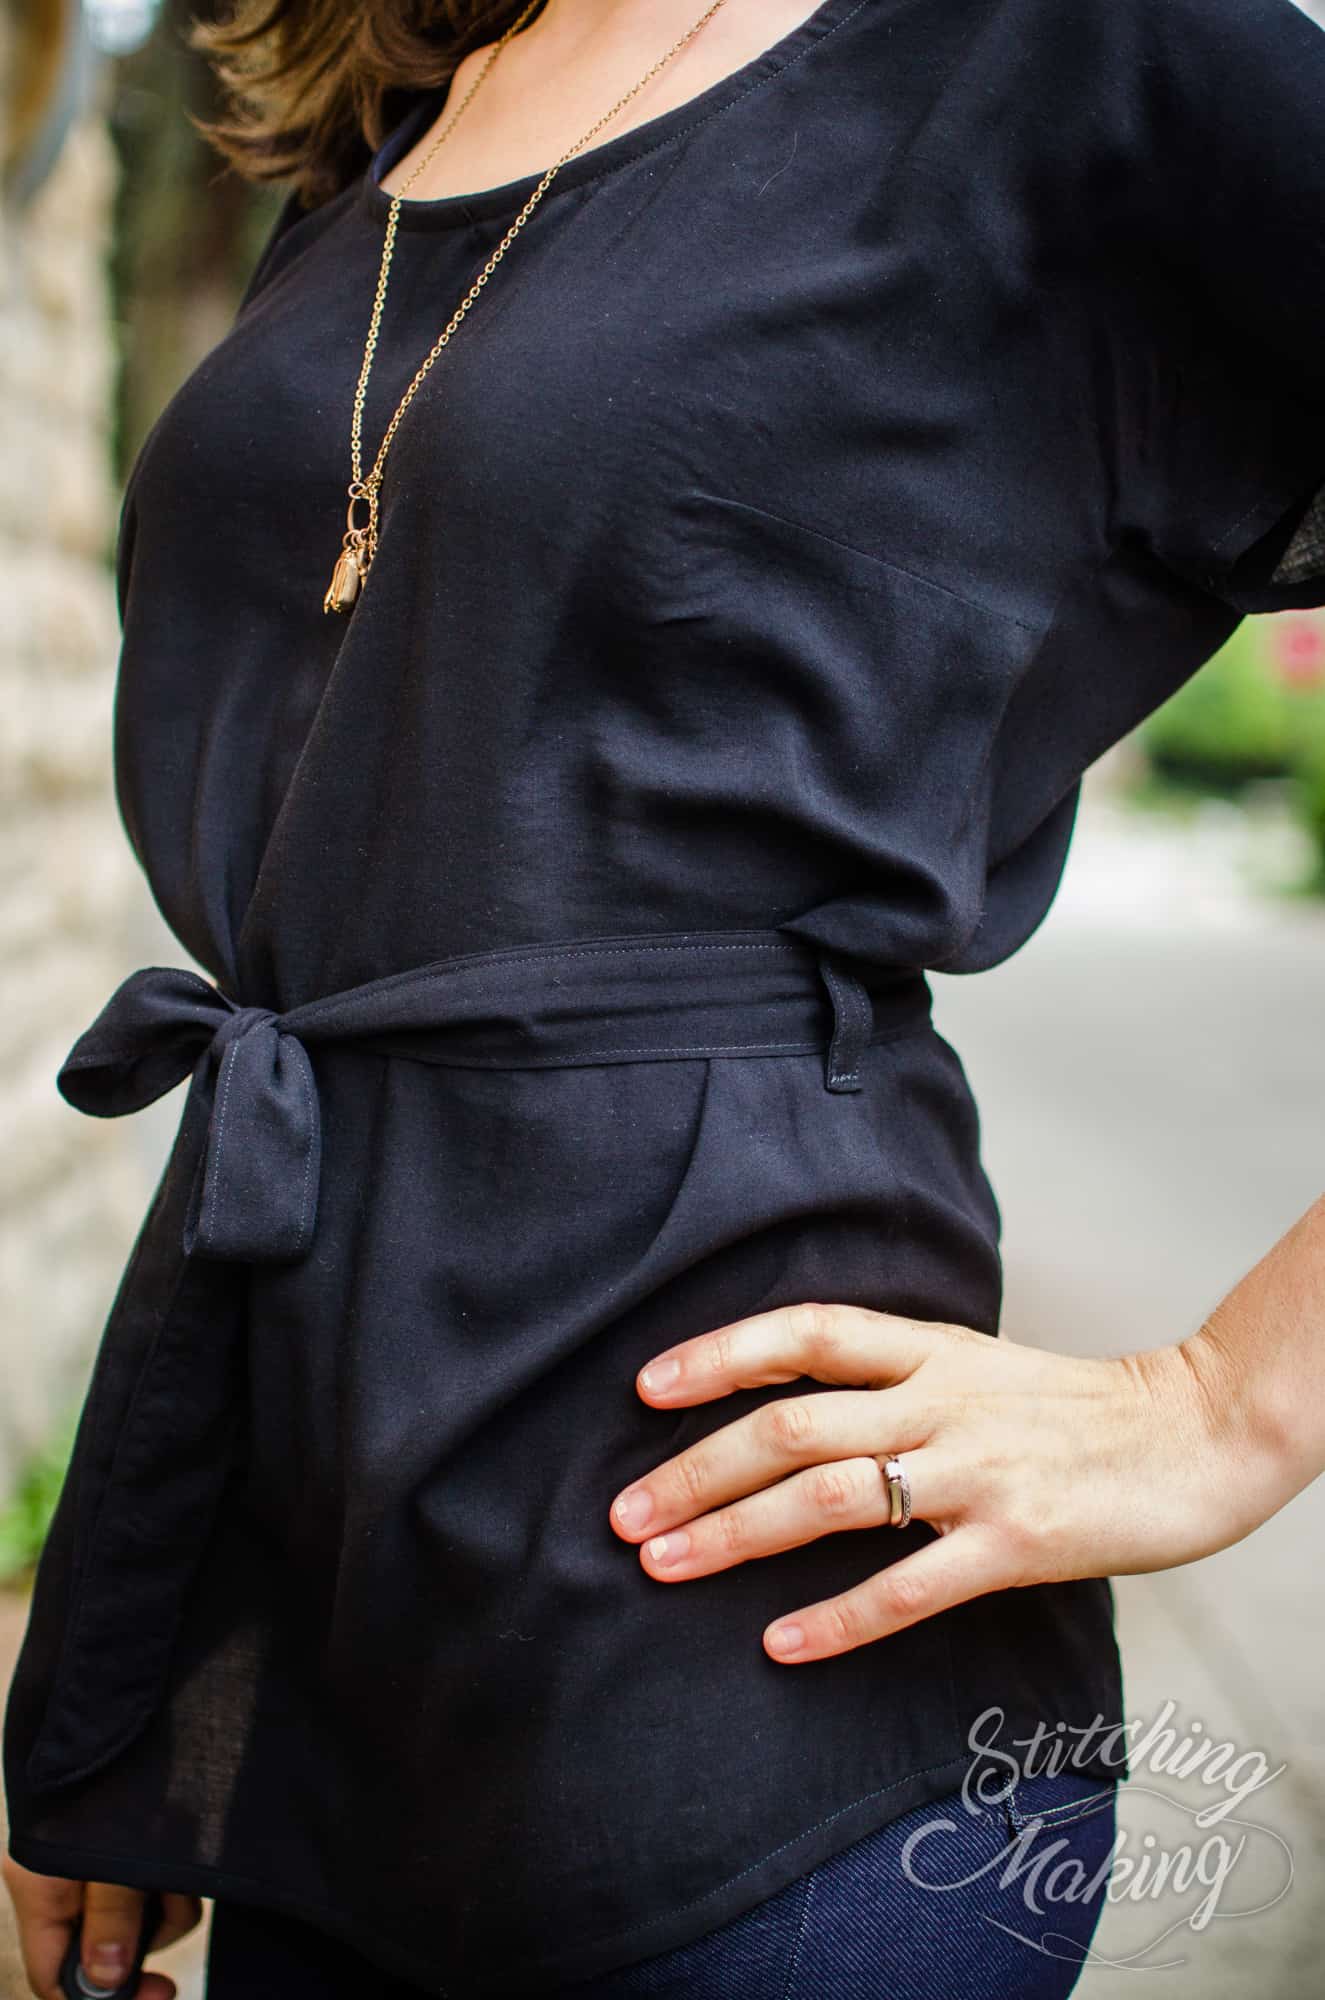
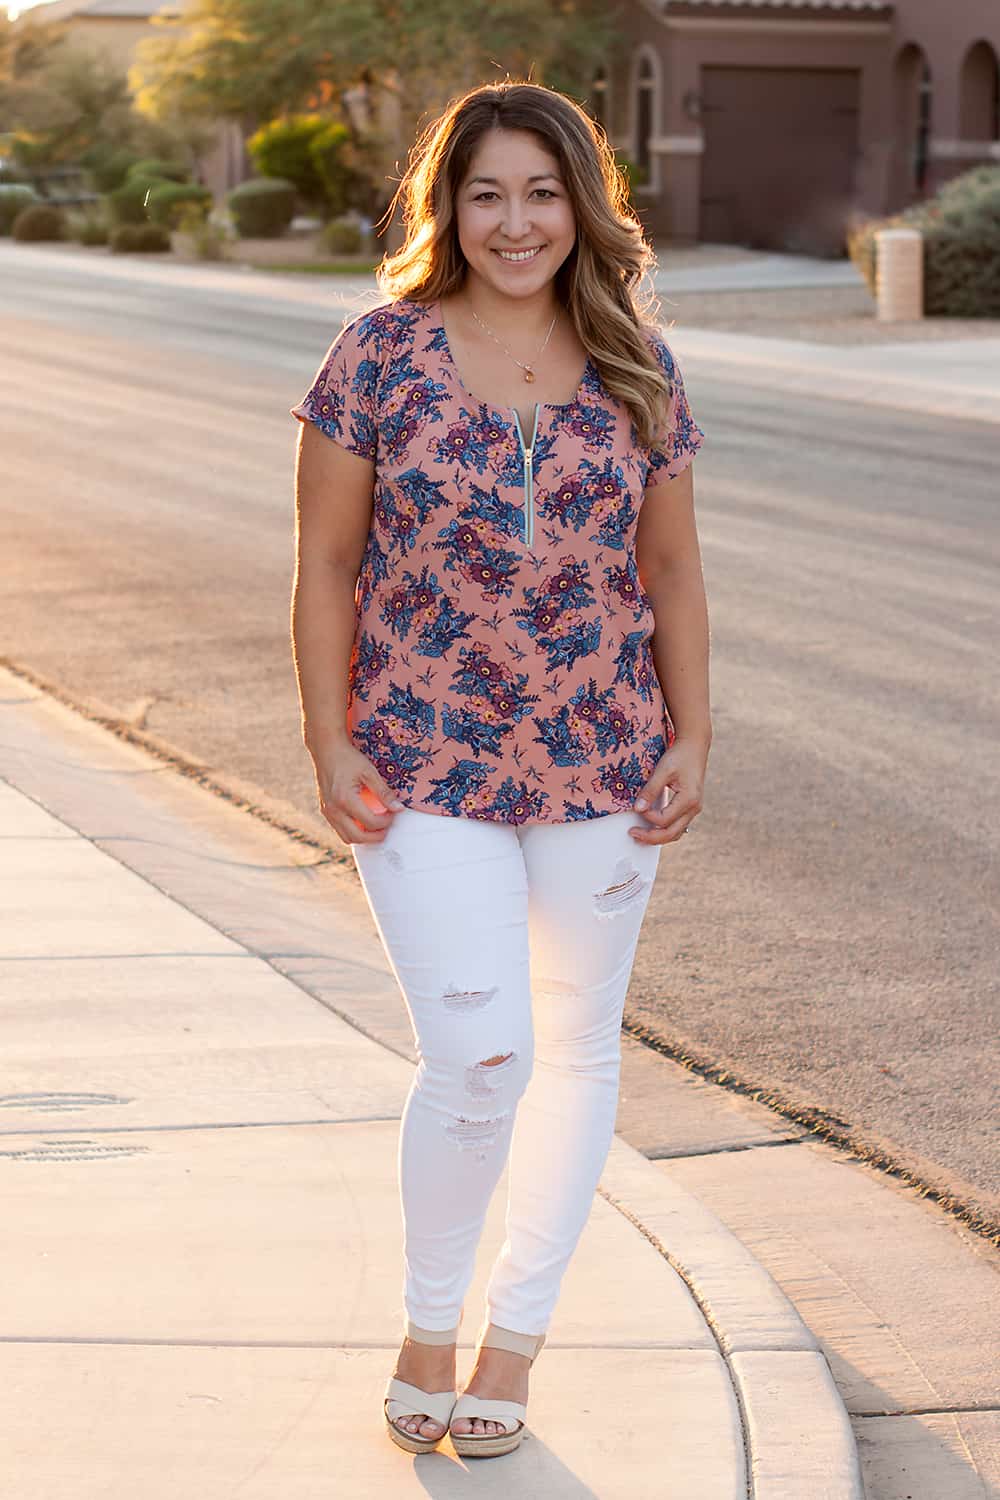
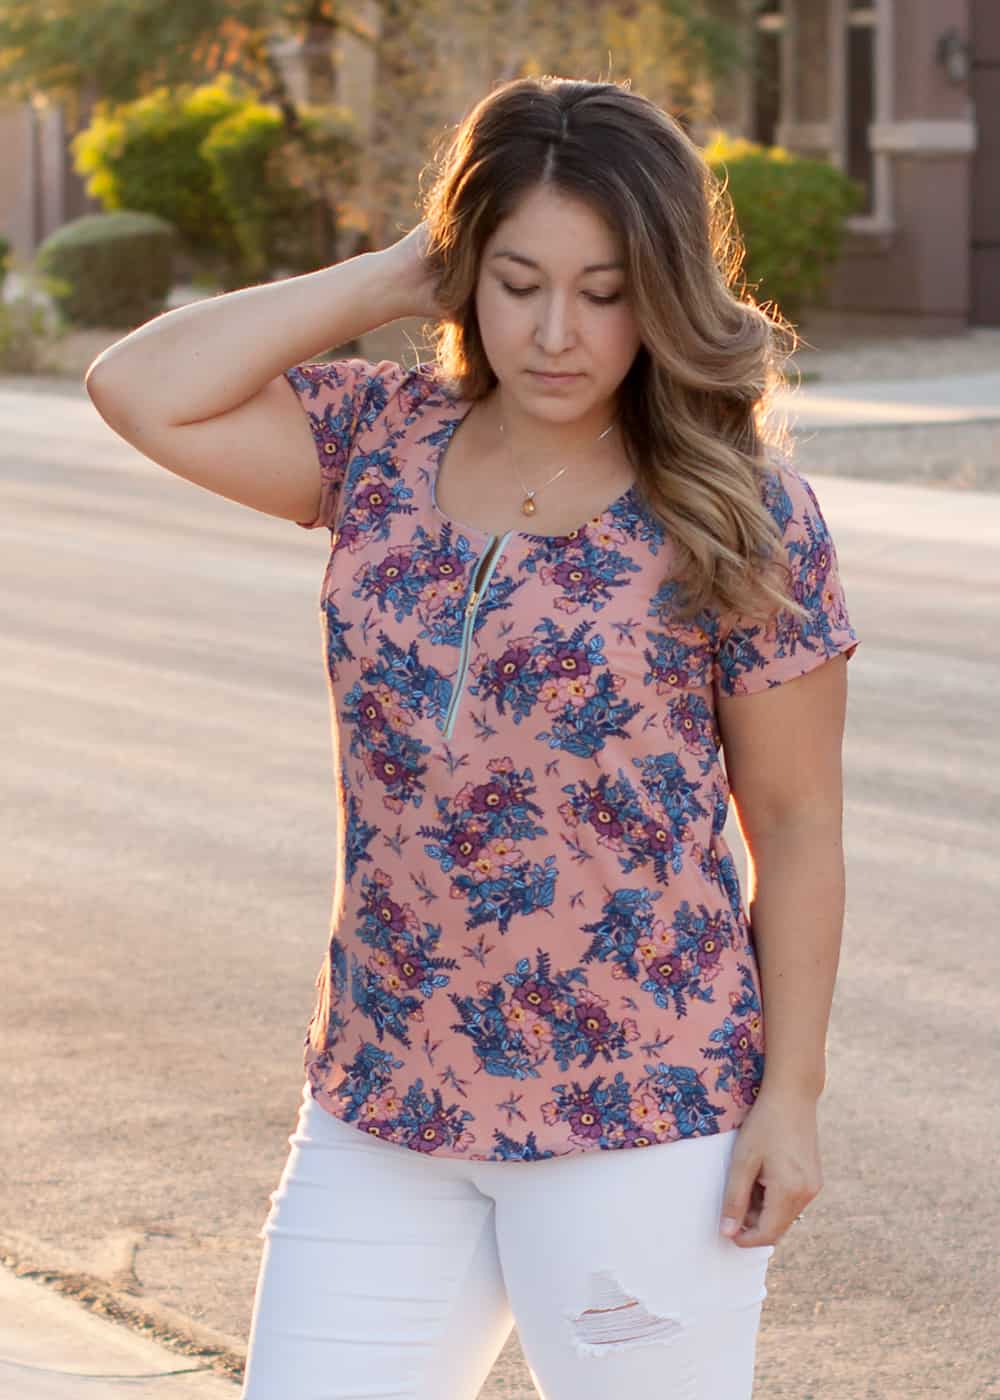
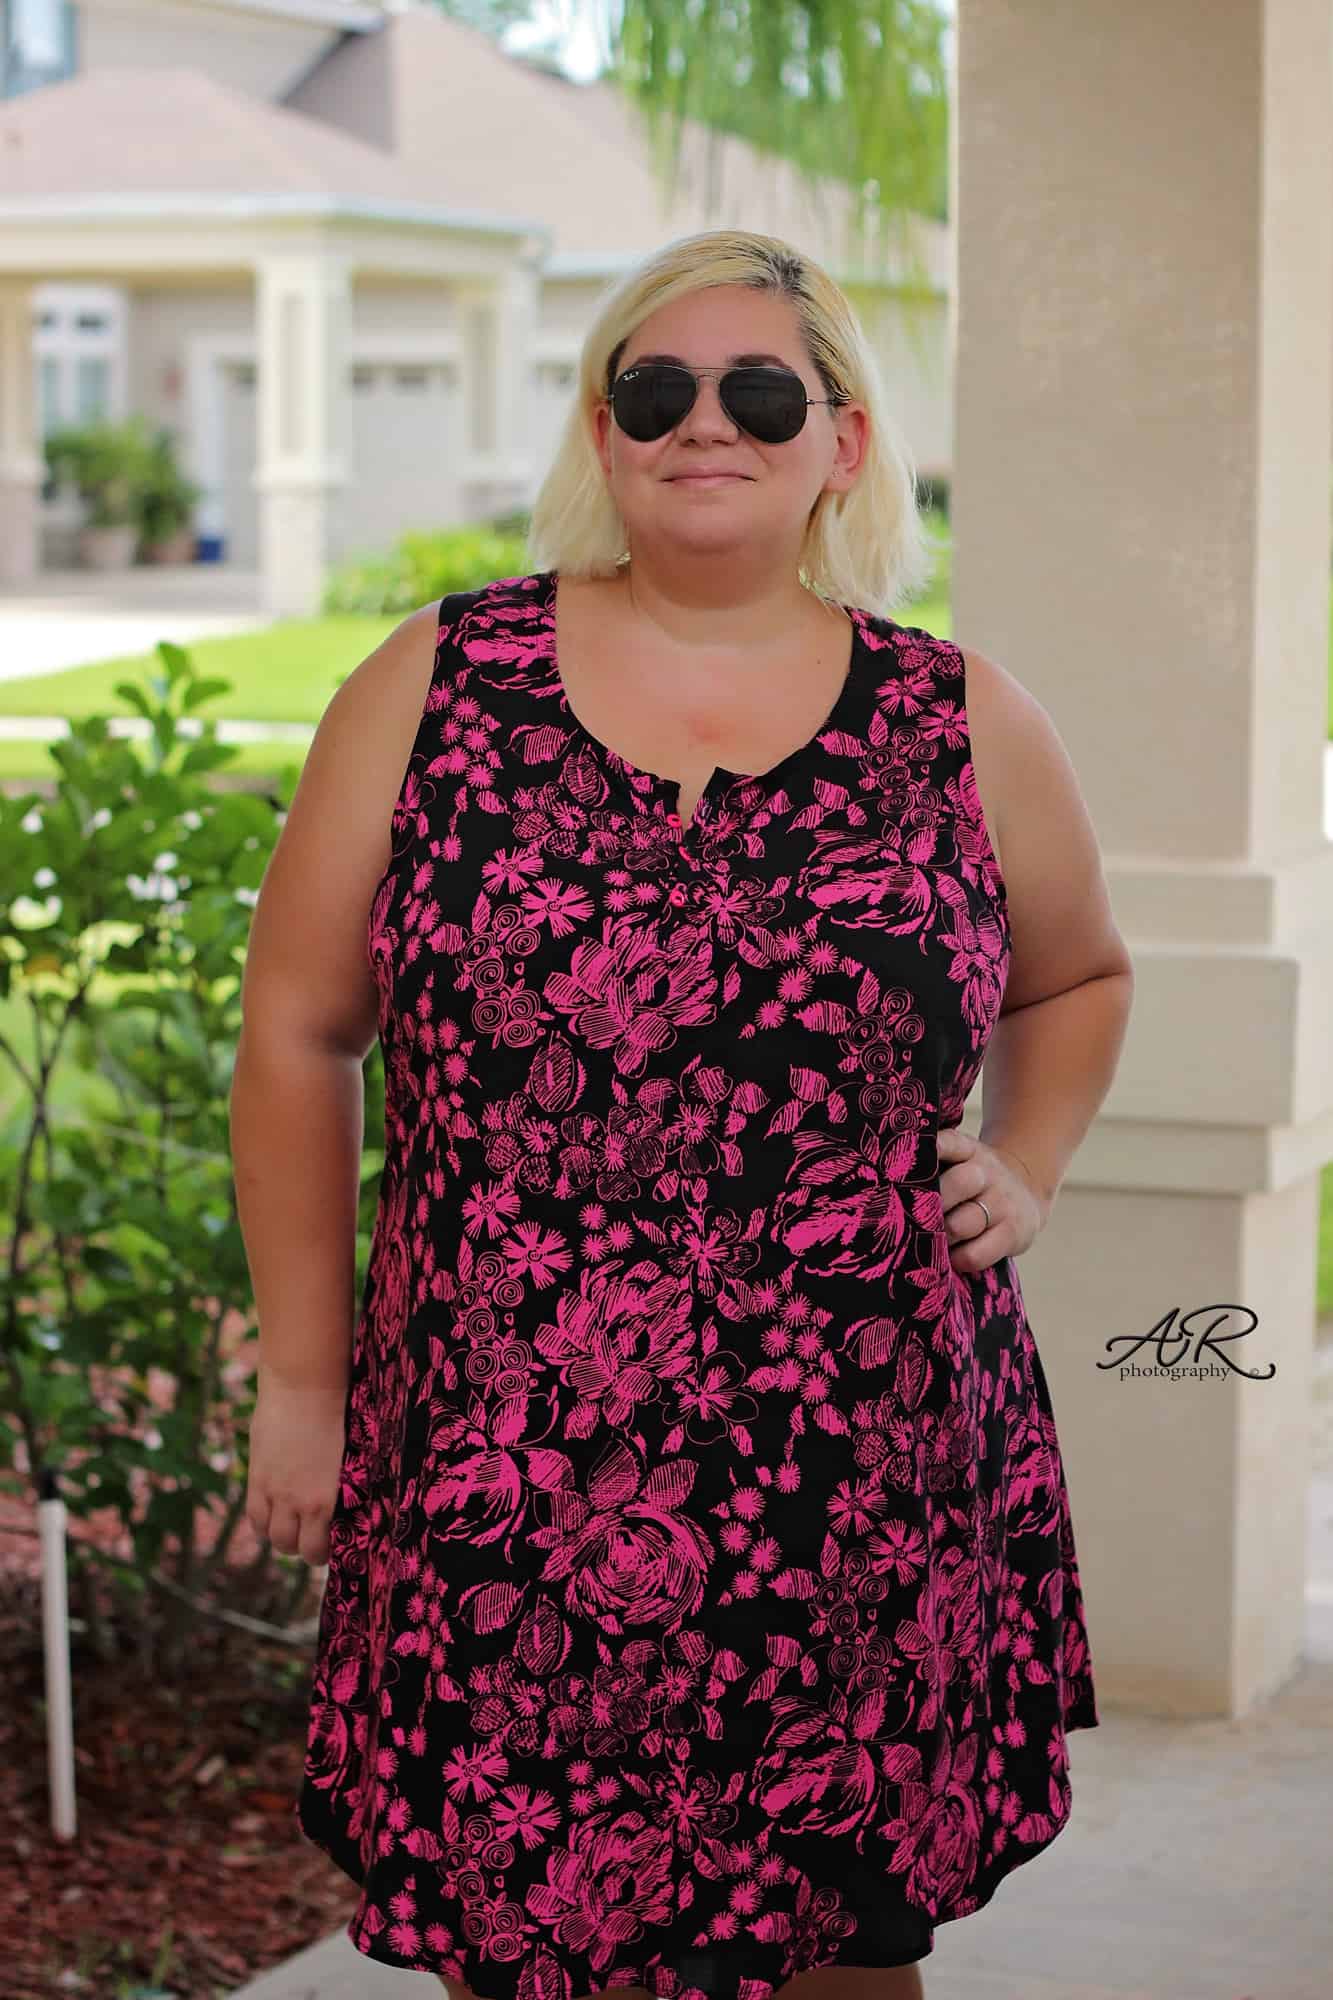
In one of my daily Pinterest browsing sessions (admit it, we all do it!) I came across some great boho tops that just screamed fall to me. Needless to say I had to have one so in today’s blog I will show you how to create this simple boho shirt using just the Timeless Tunic pattern and a few easy modifications.

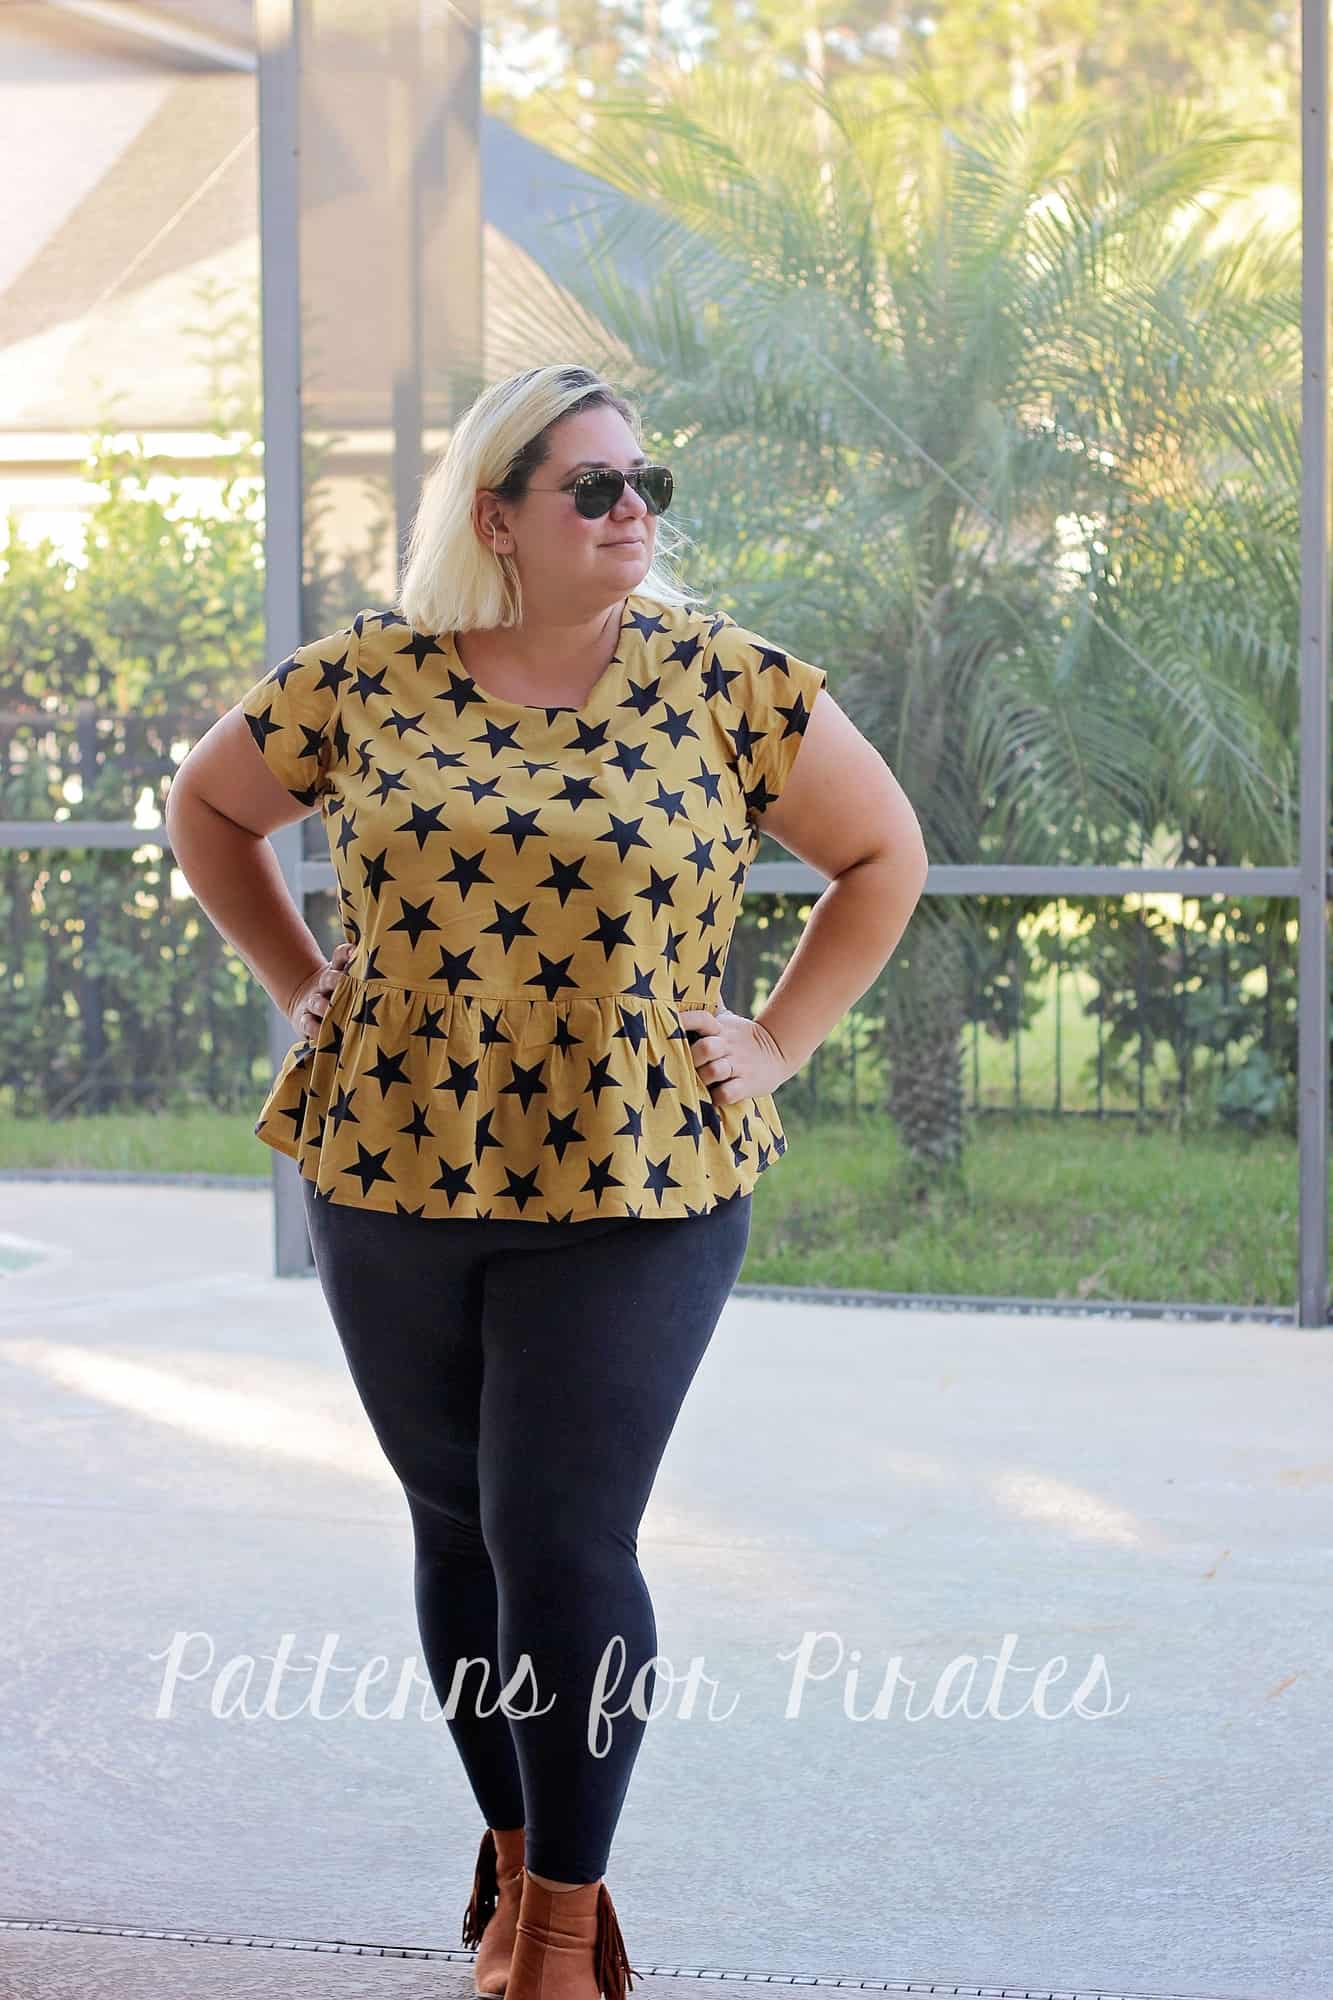
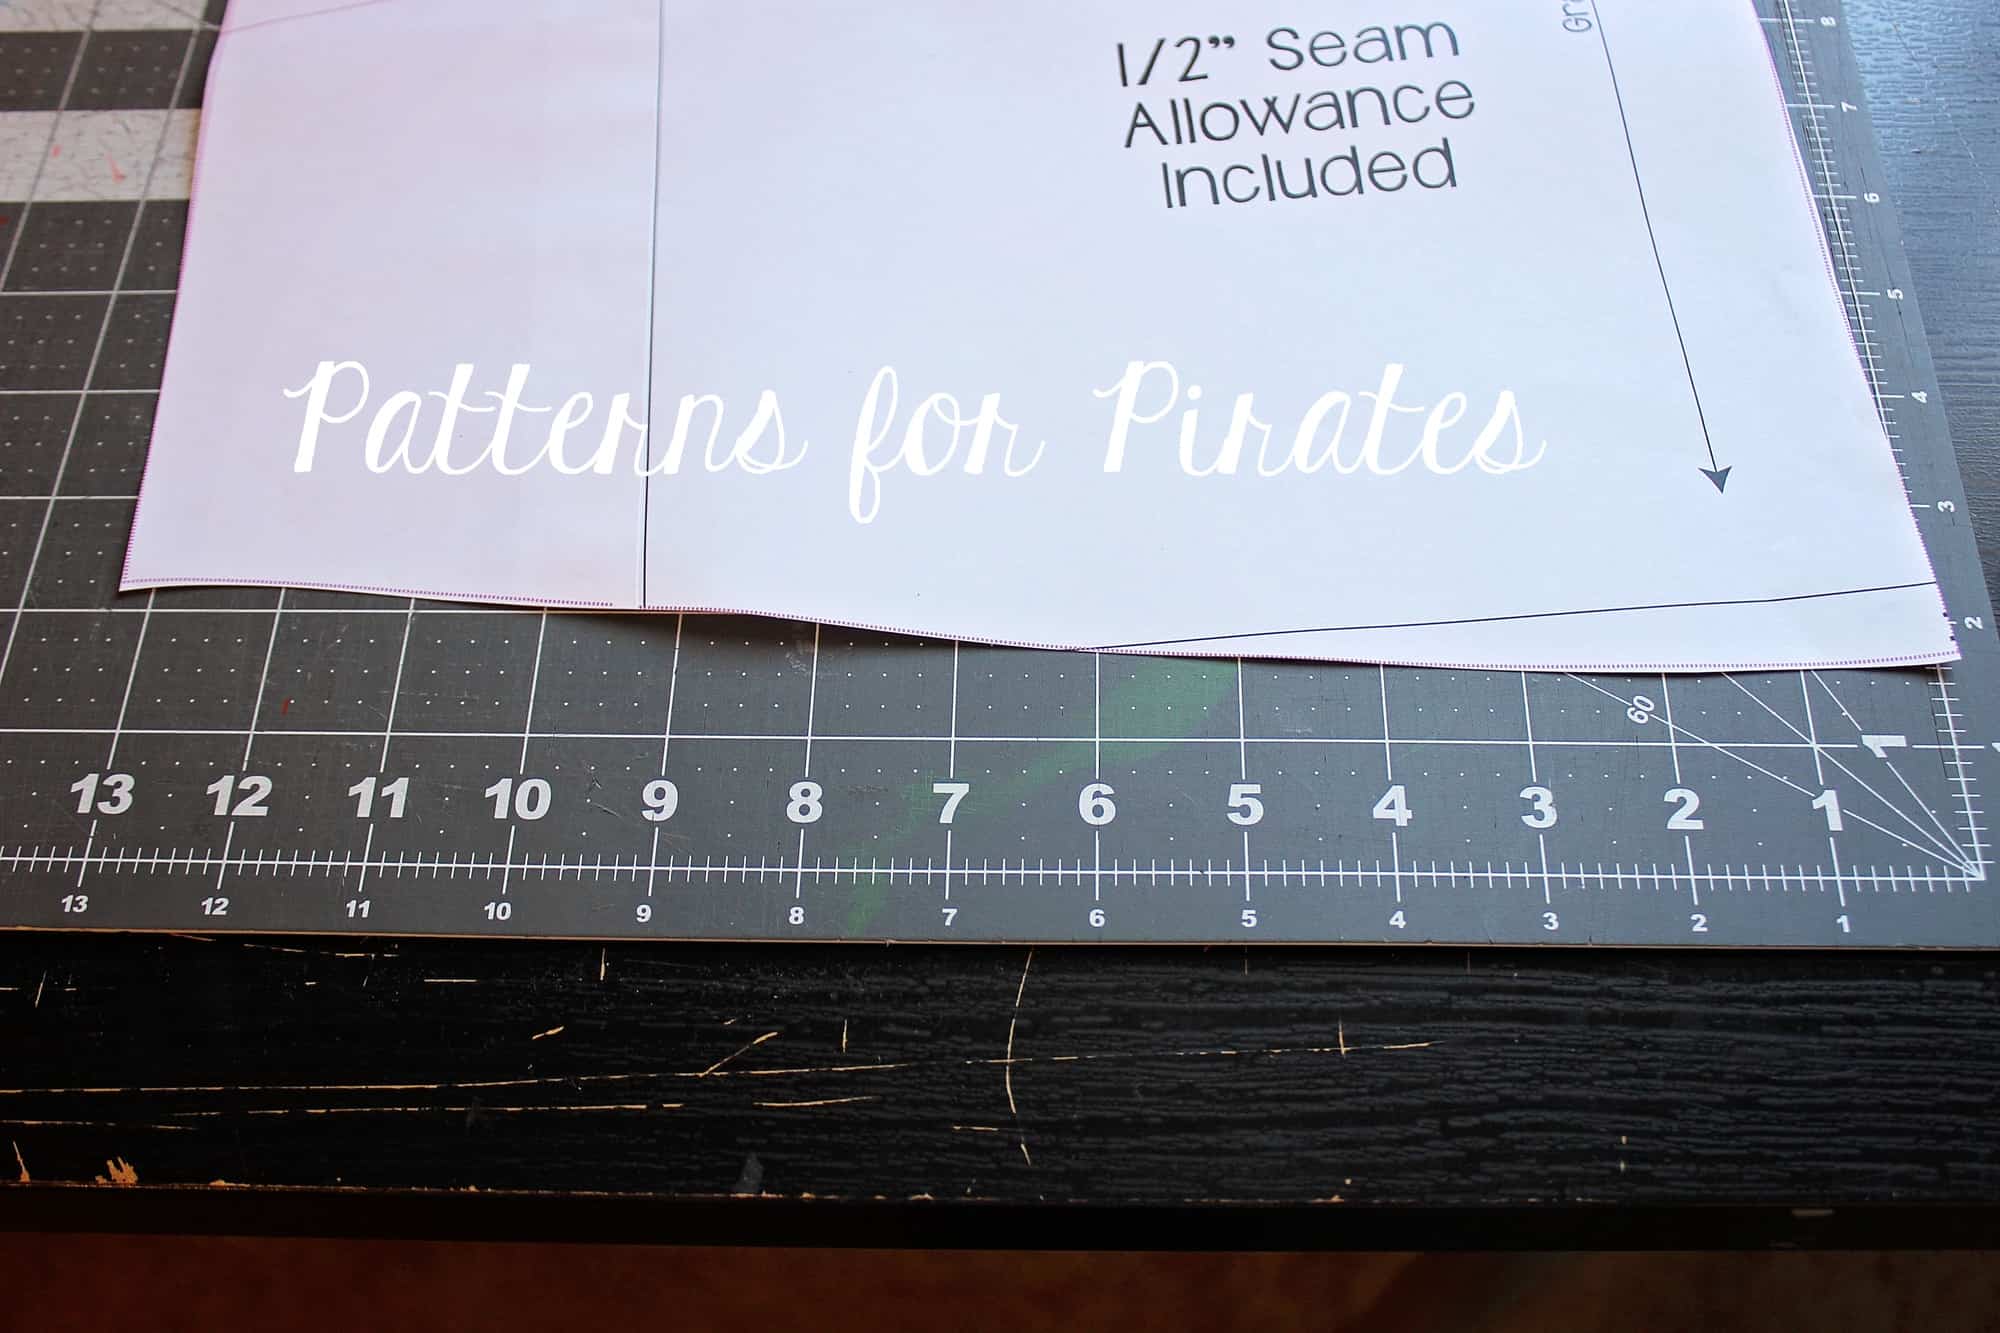
Start by printing your pattern in your size. You will only need the bodice pieces and the sleeves (if you are not making the tank option). Skip the skirt! Measure the front and back bottom width. We need that measurement to create the gathered skirt. Since the look we’re going for is a relaxed boho style we will not be adding the elastic casing or the elastic.
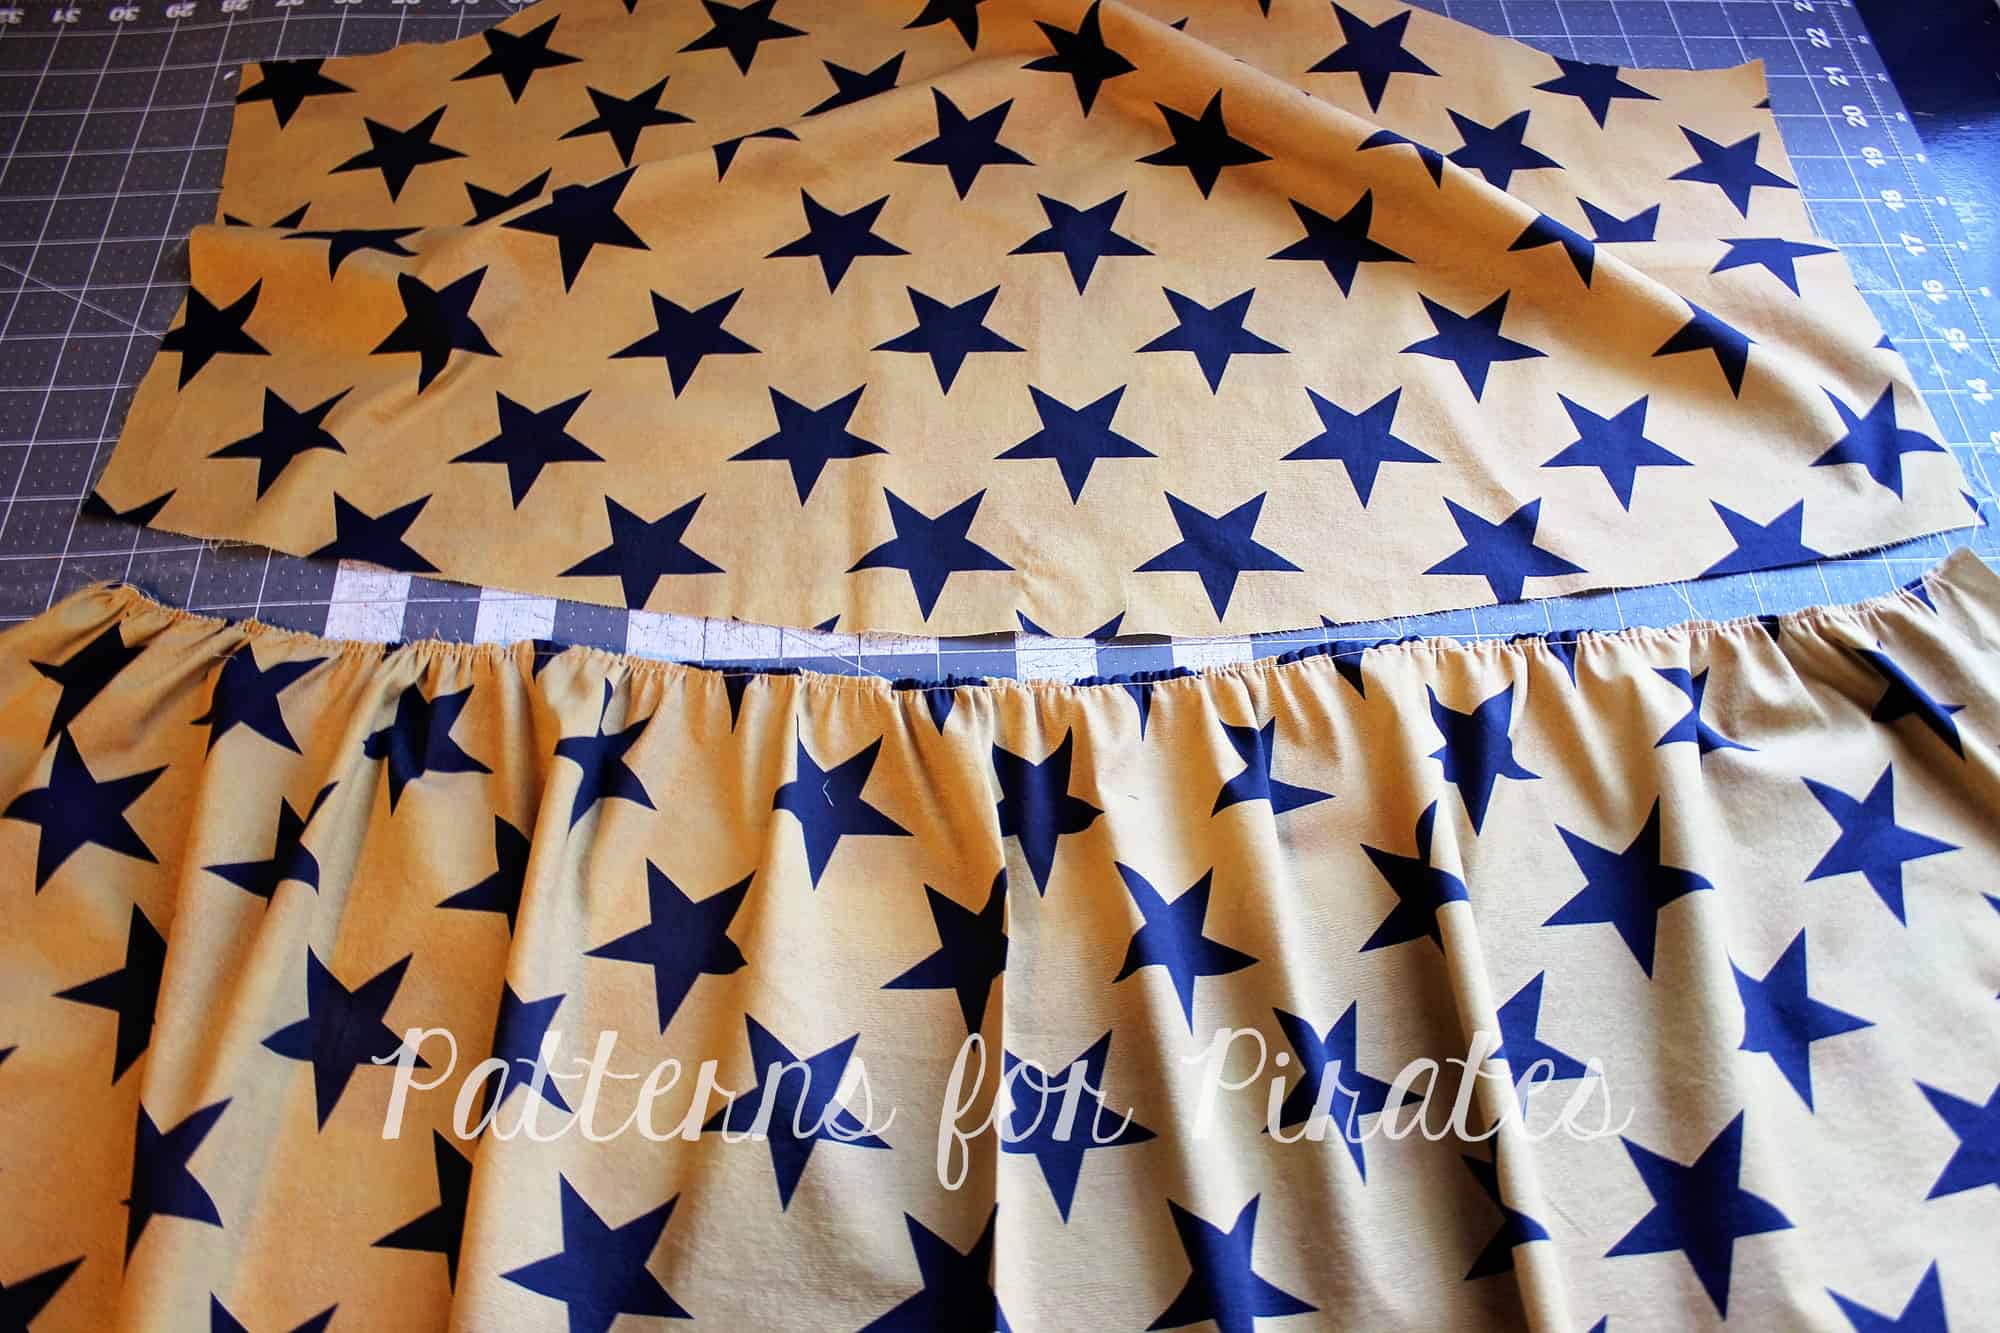
Cut the skirt part of the top 9″ by 1.5x bottom width. If you prefer your top longer you can certainly make the pieces 11-12″ instead of 9″. You will cut two pieces, one for the front and one for the back.
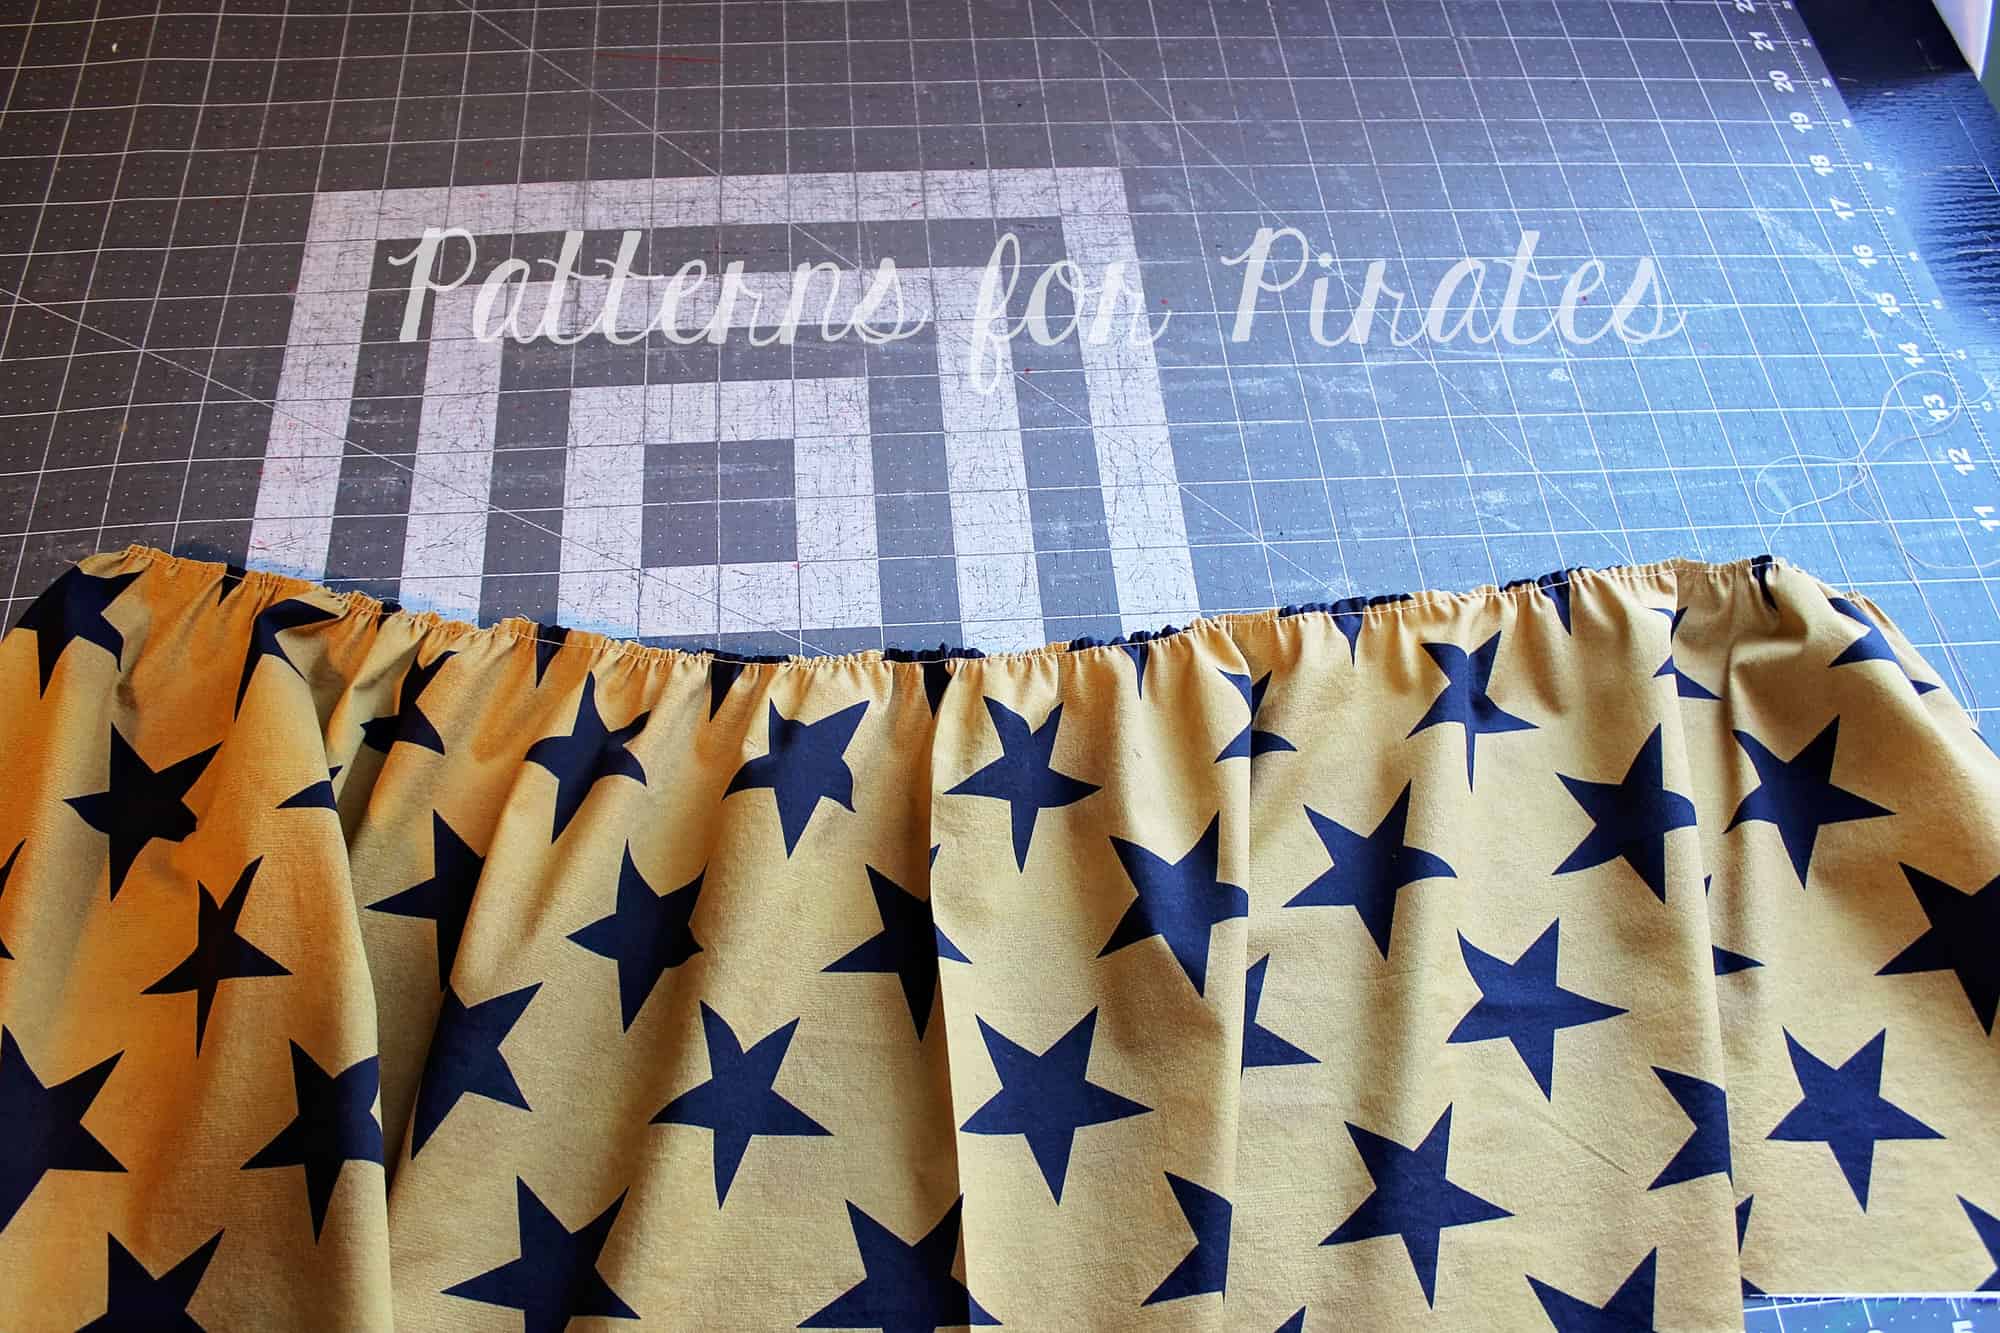
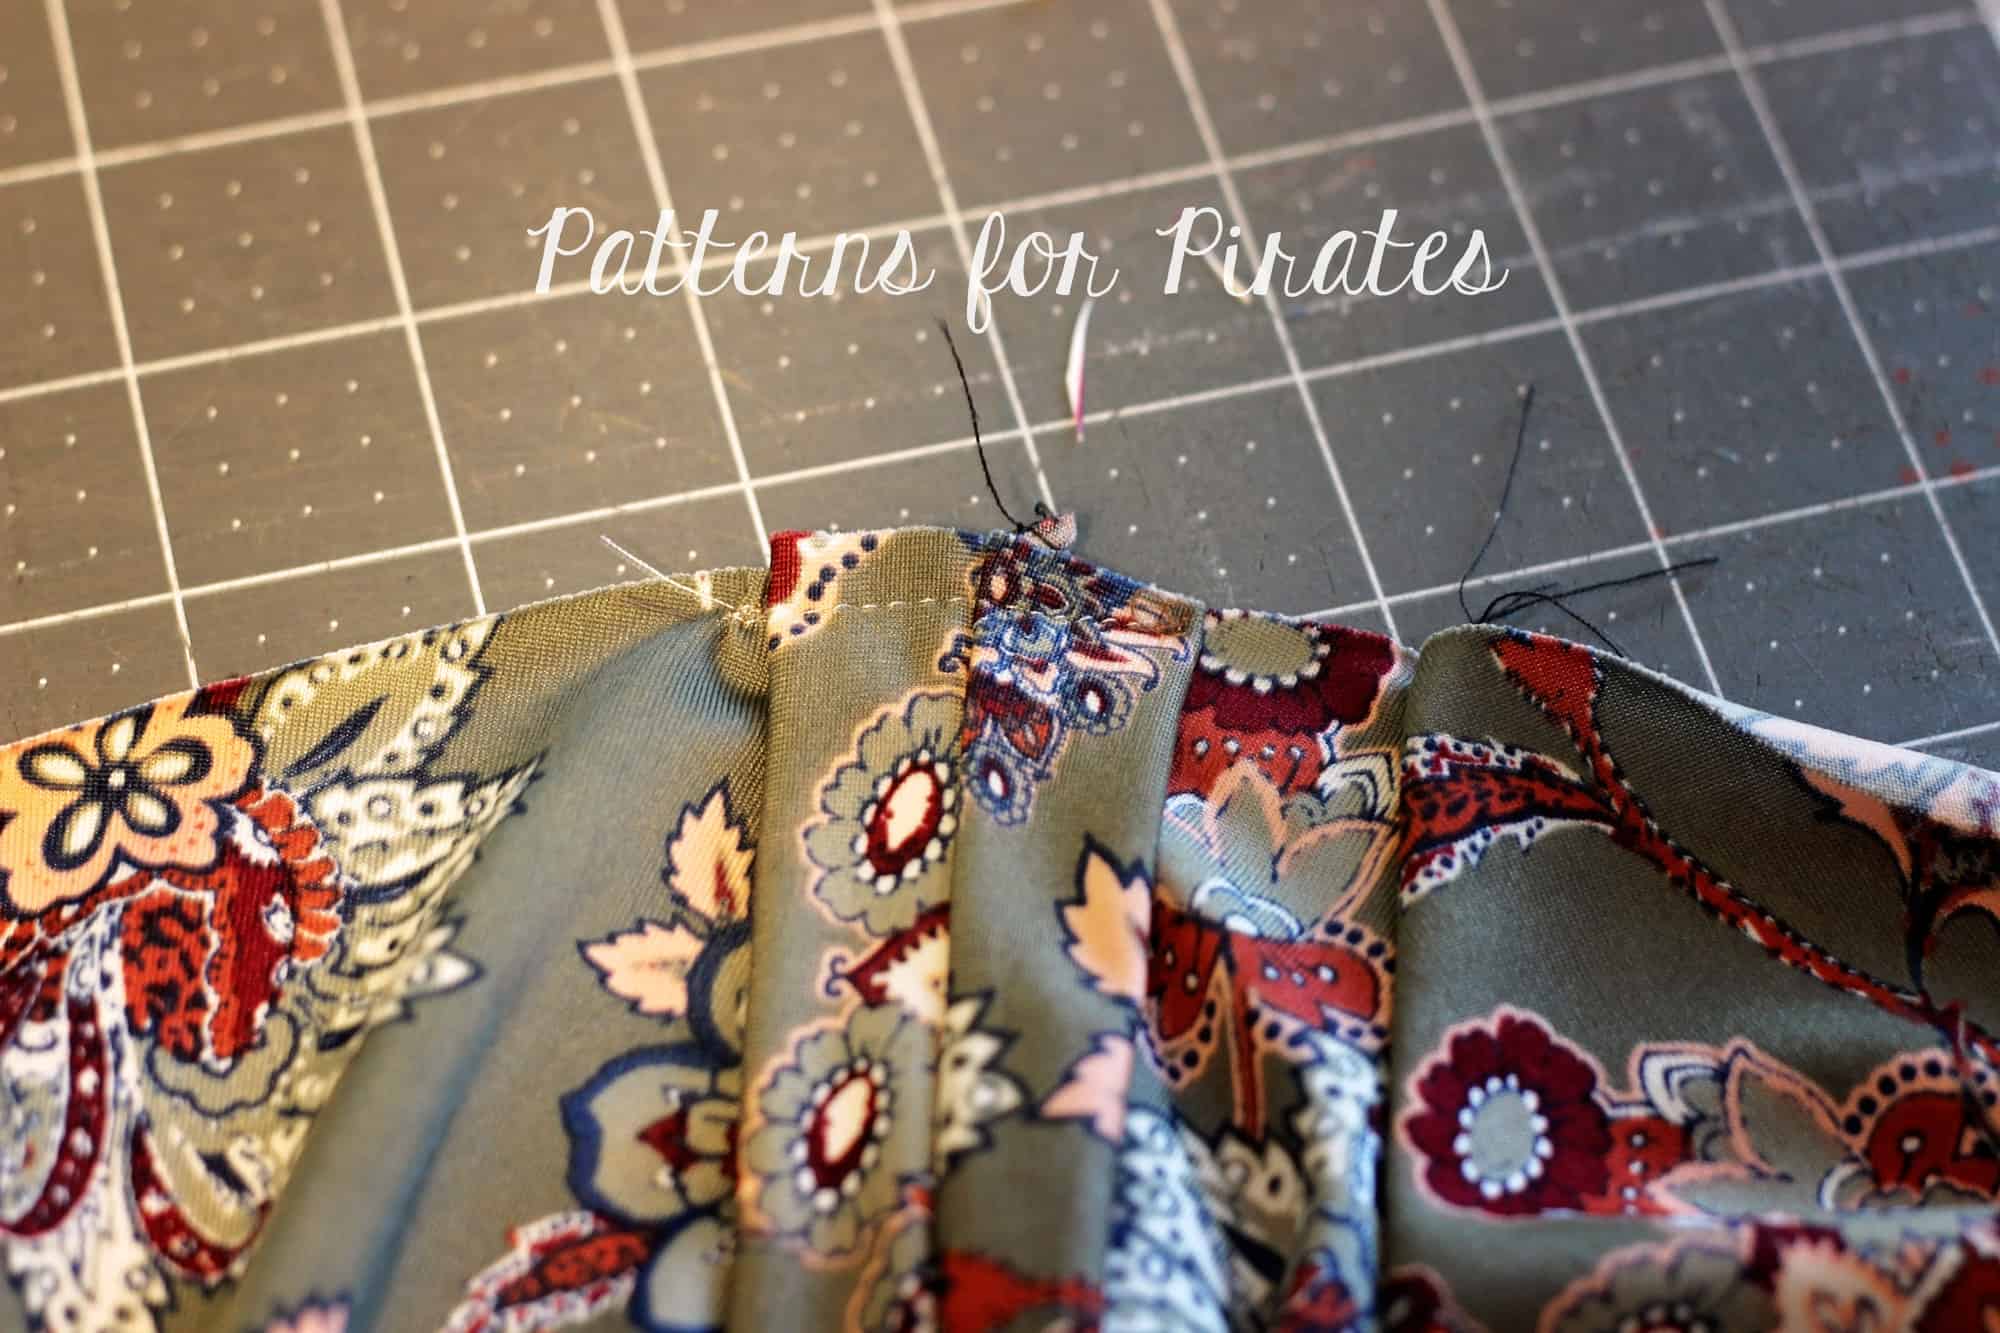
Using your favorite gathering method (serger gather, zig zag over dental floss, longest stitch/highest tension, etc) gather the top of the skirt pieces to match the bottom of the top.
Sew the top as per the pattern instructions.
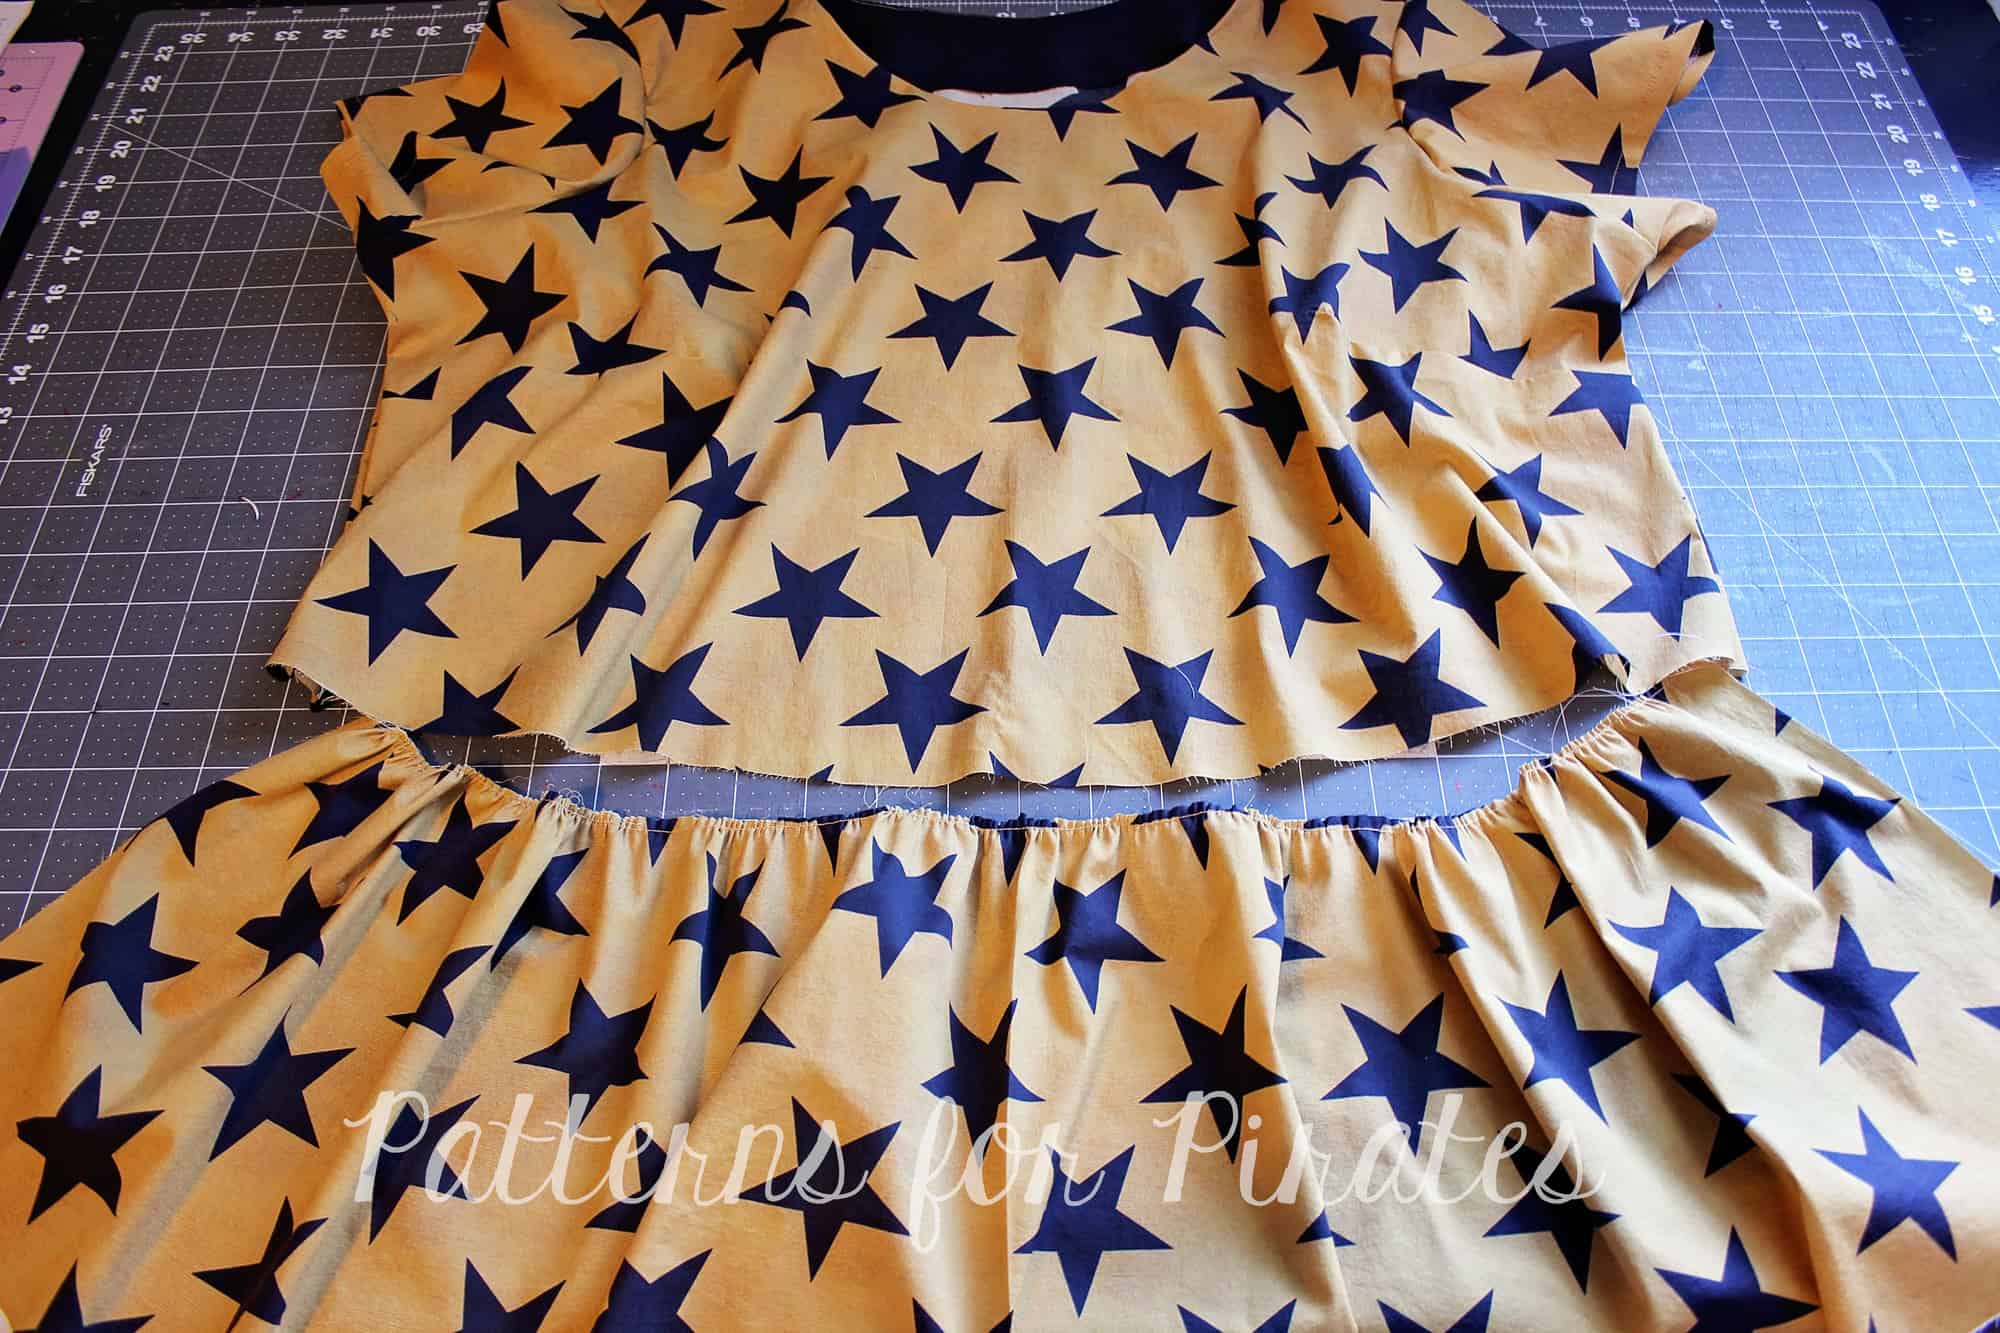
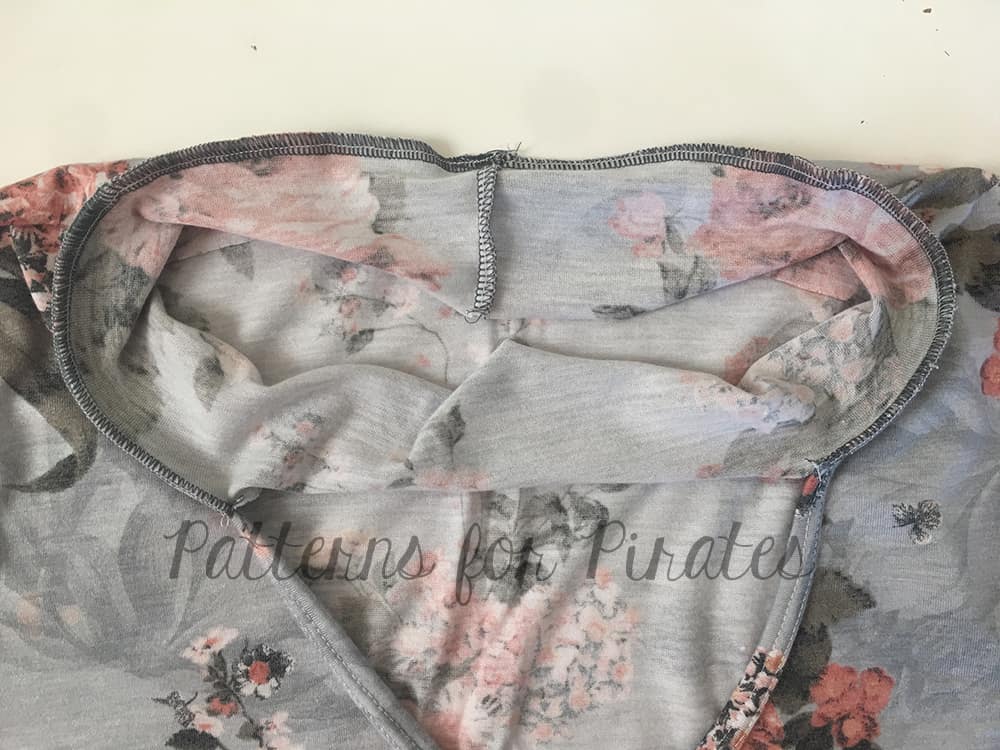
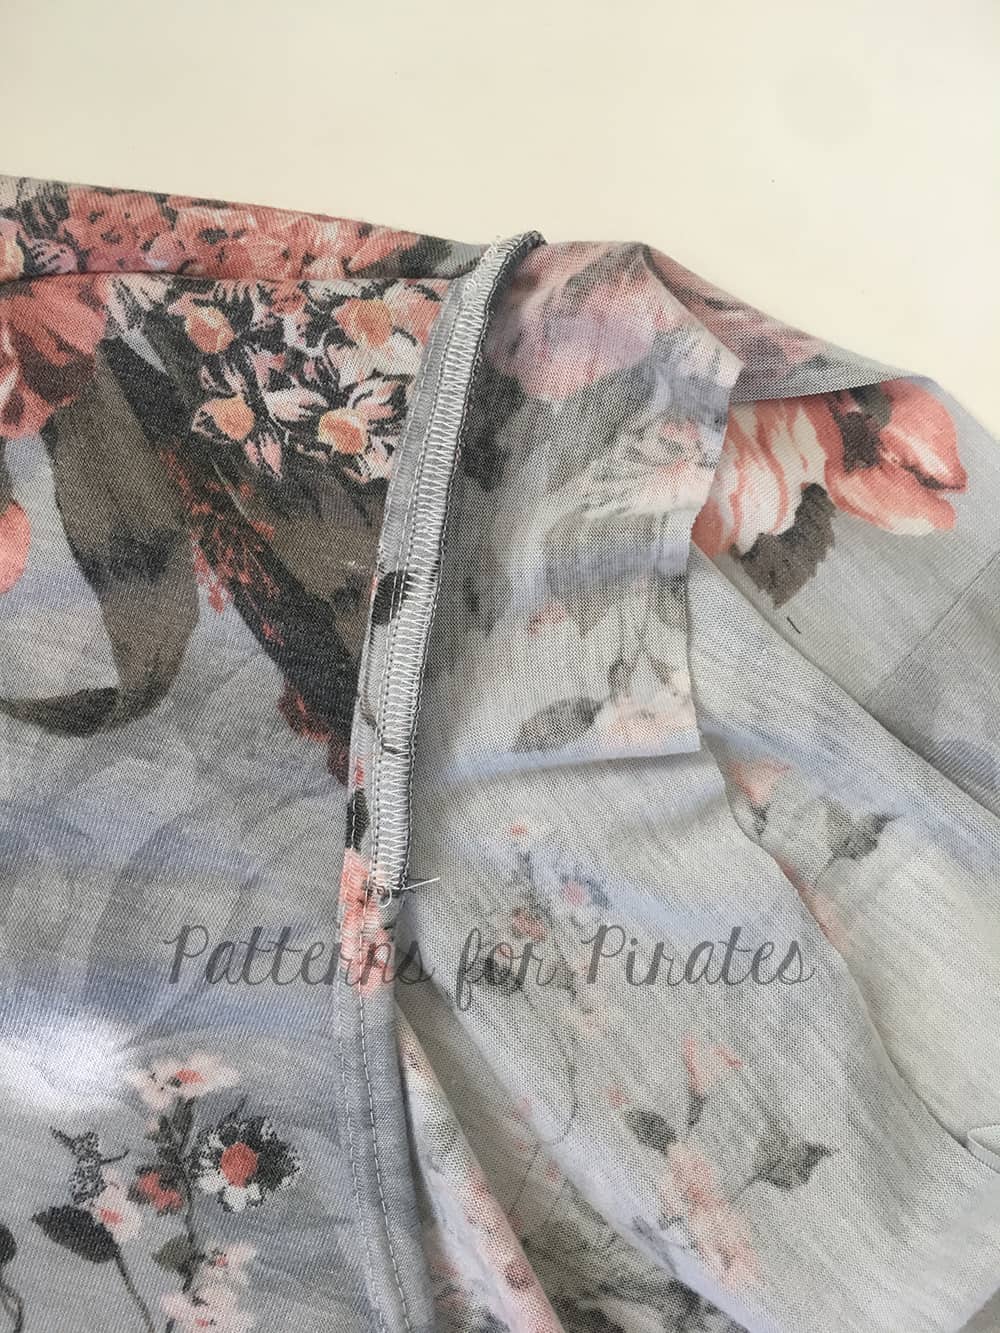
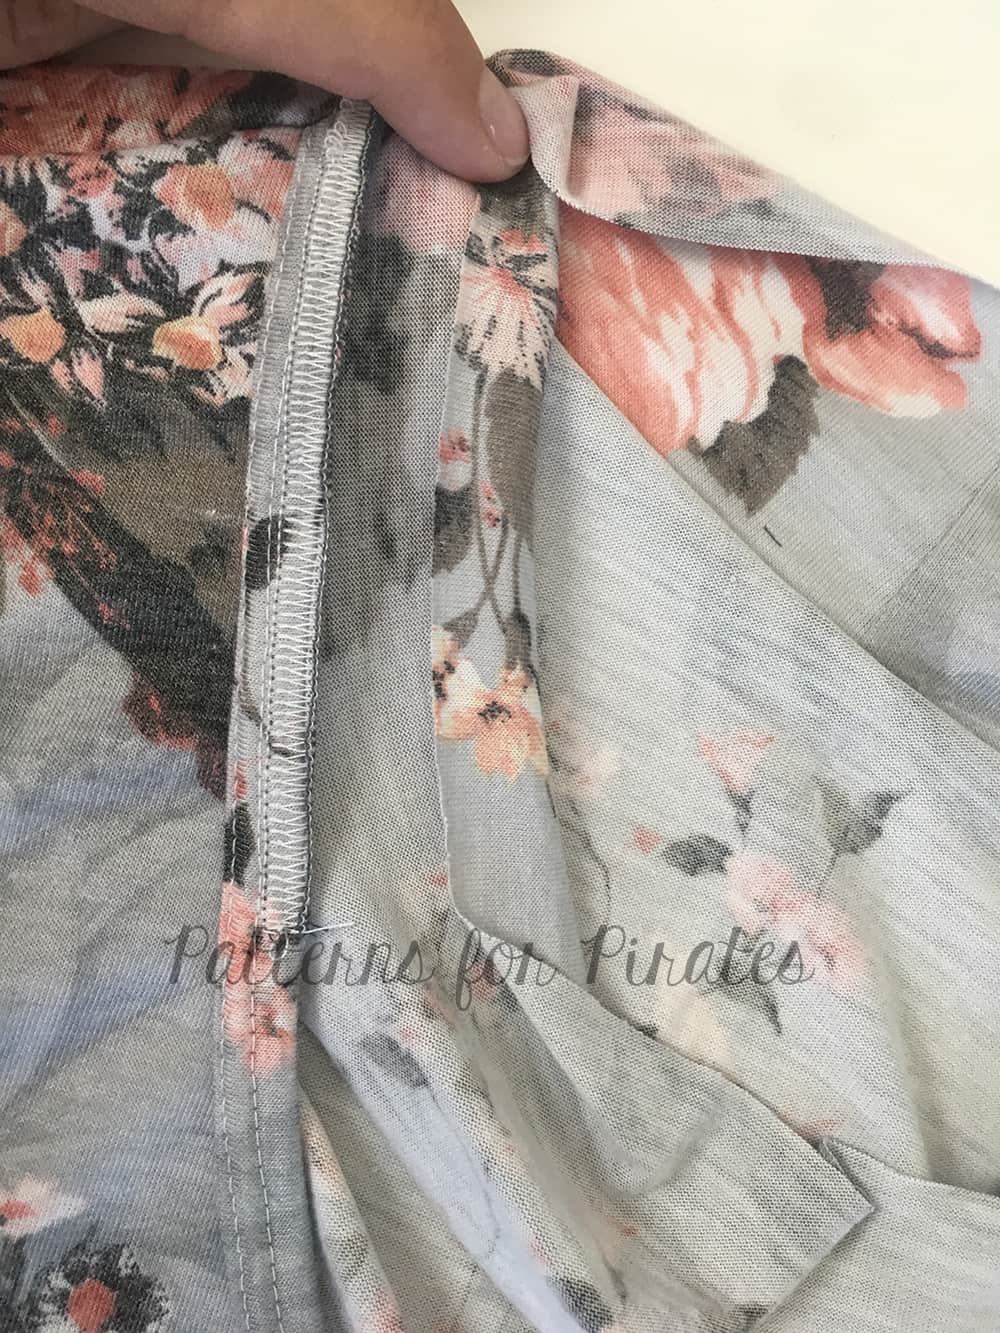
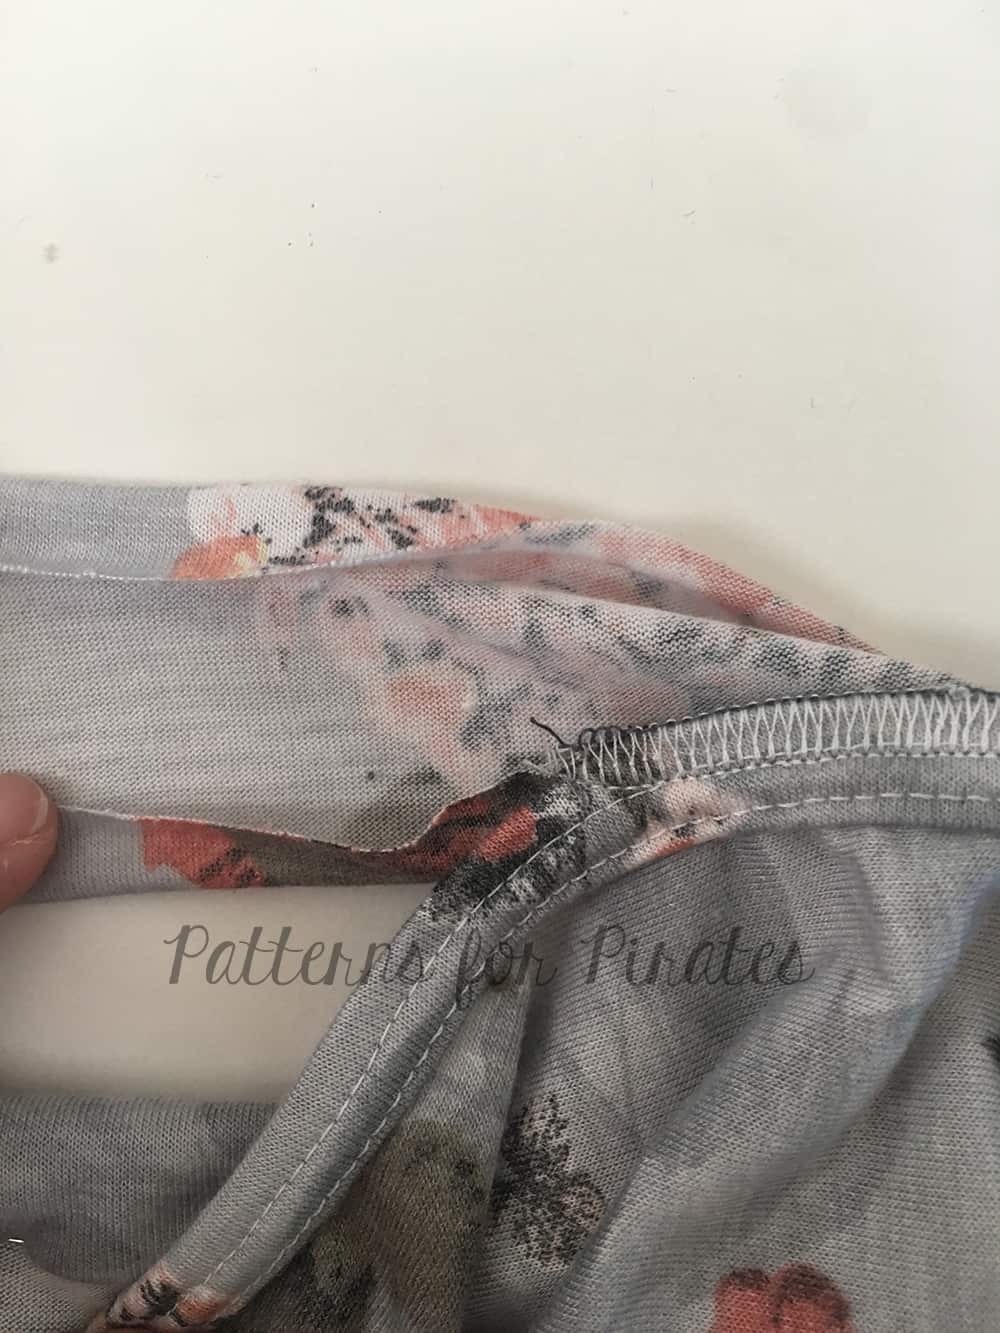
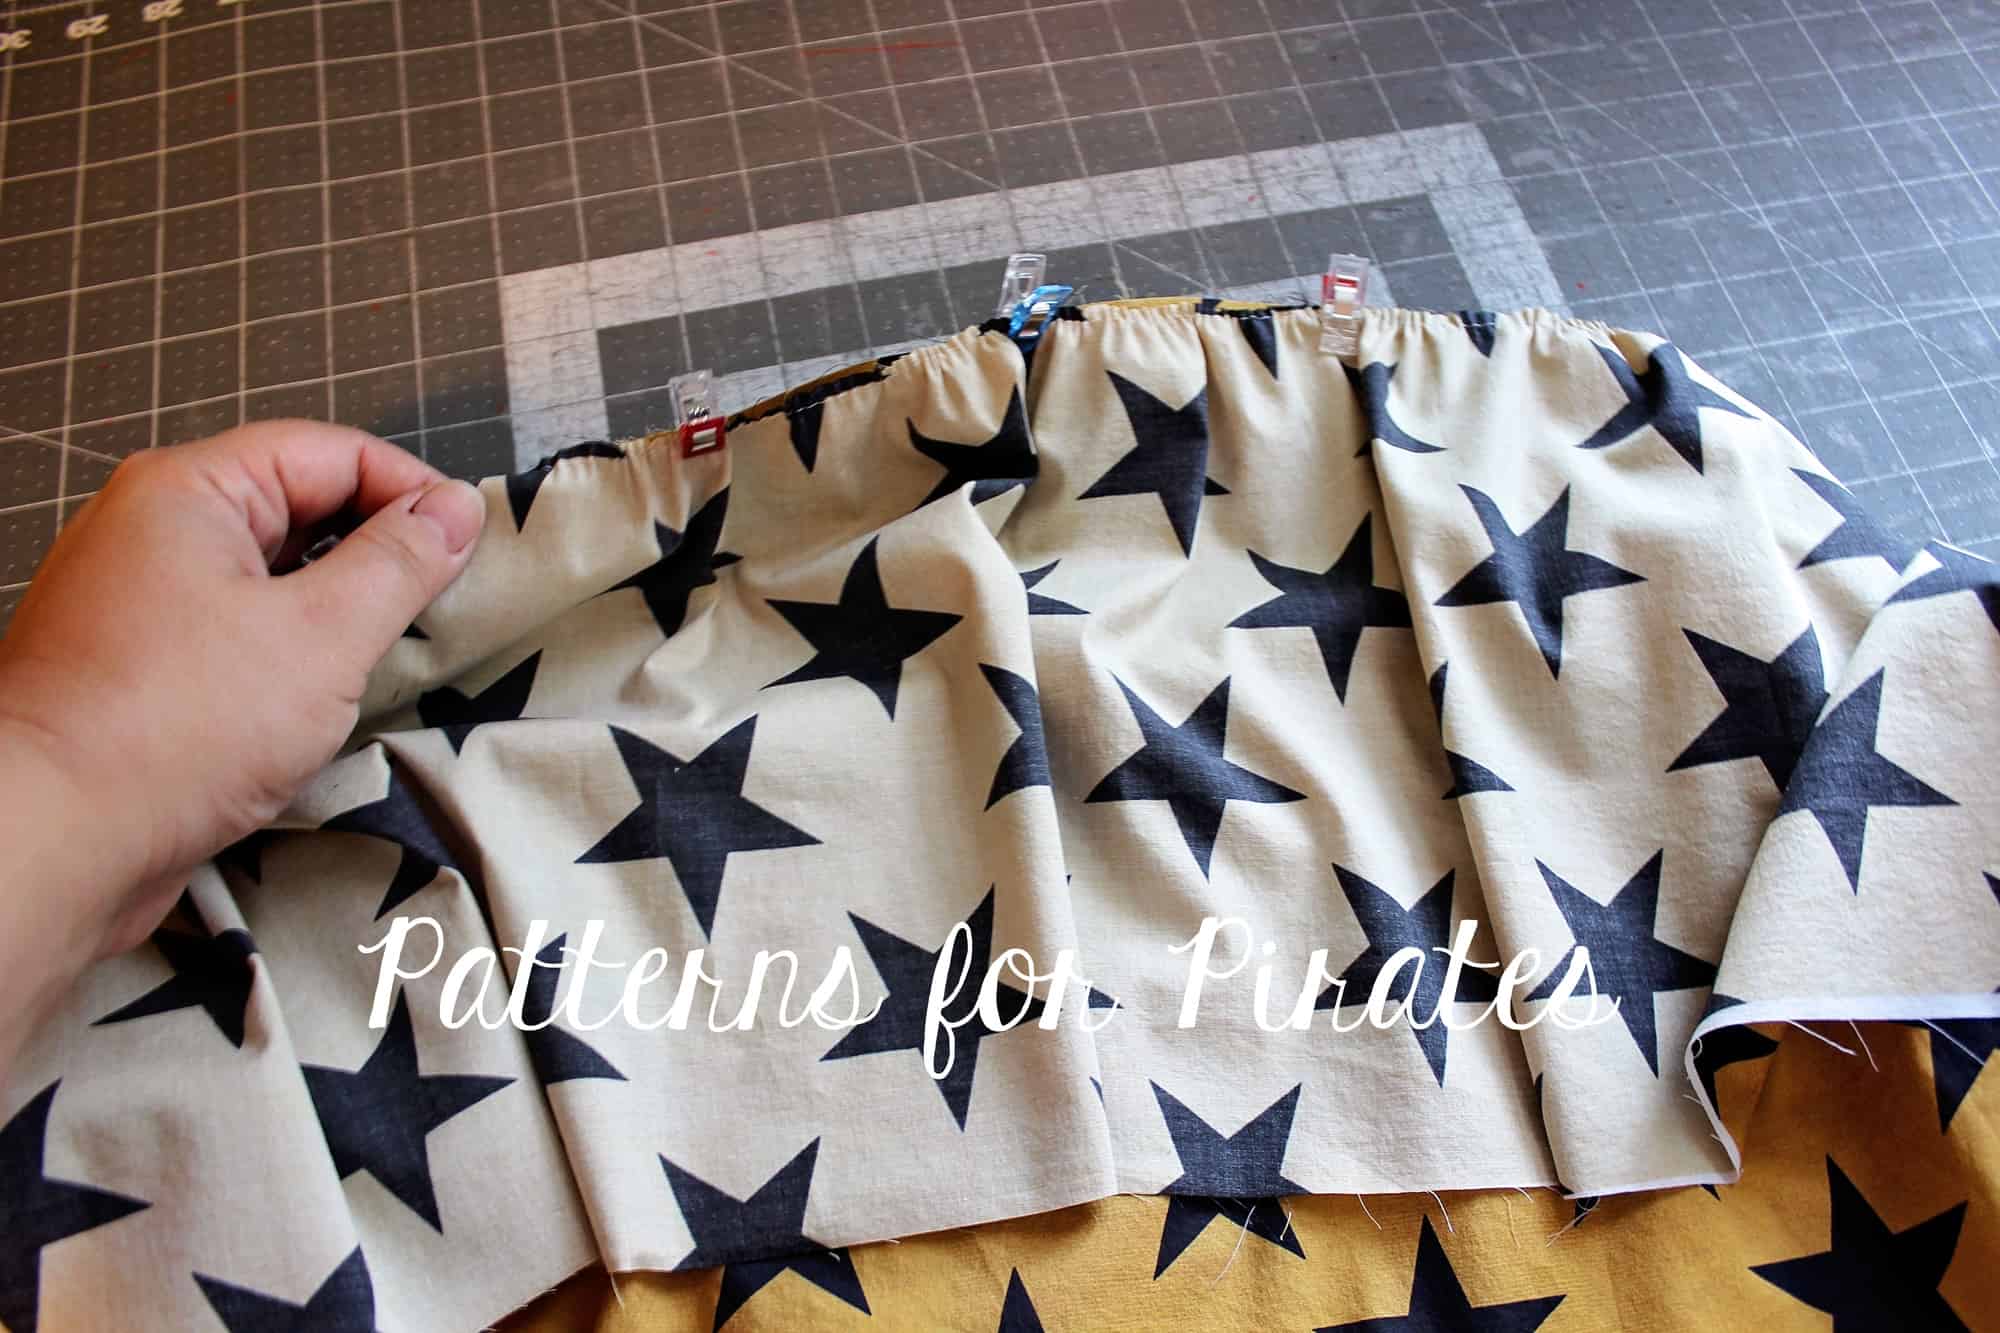
Using a 1/2″ seam allowance, sew the side seams of the skirt to create a loop. Attach the gathered skirt to the top matching the side seams.
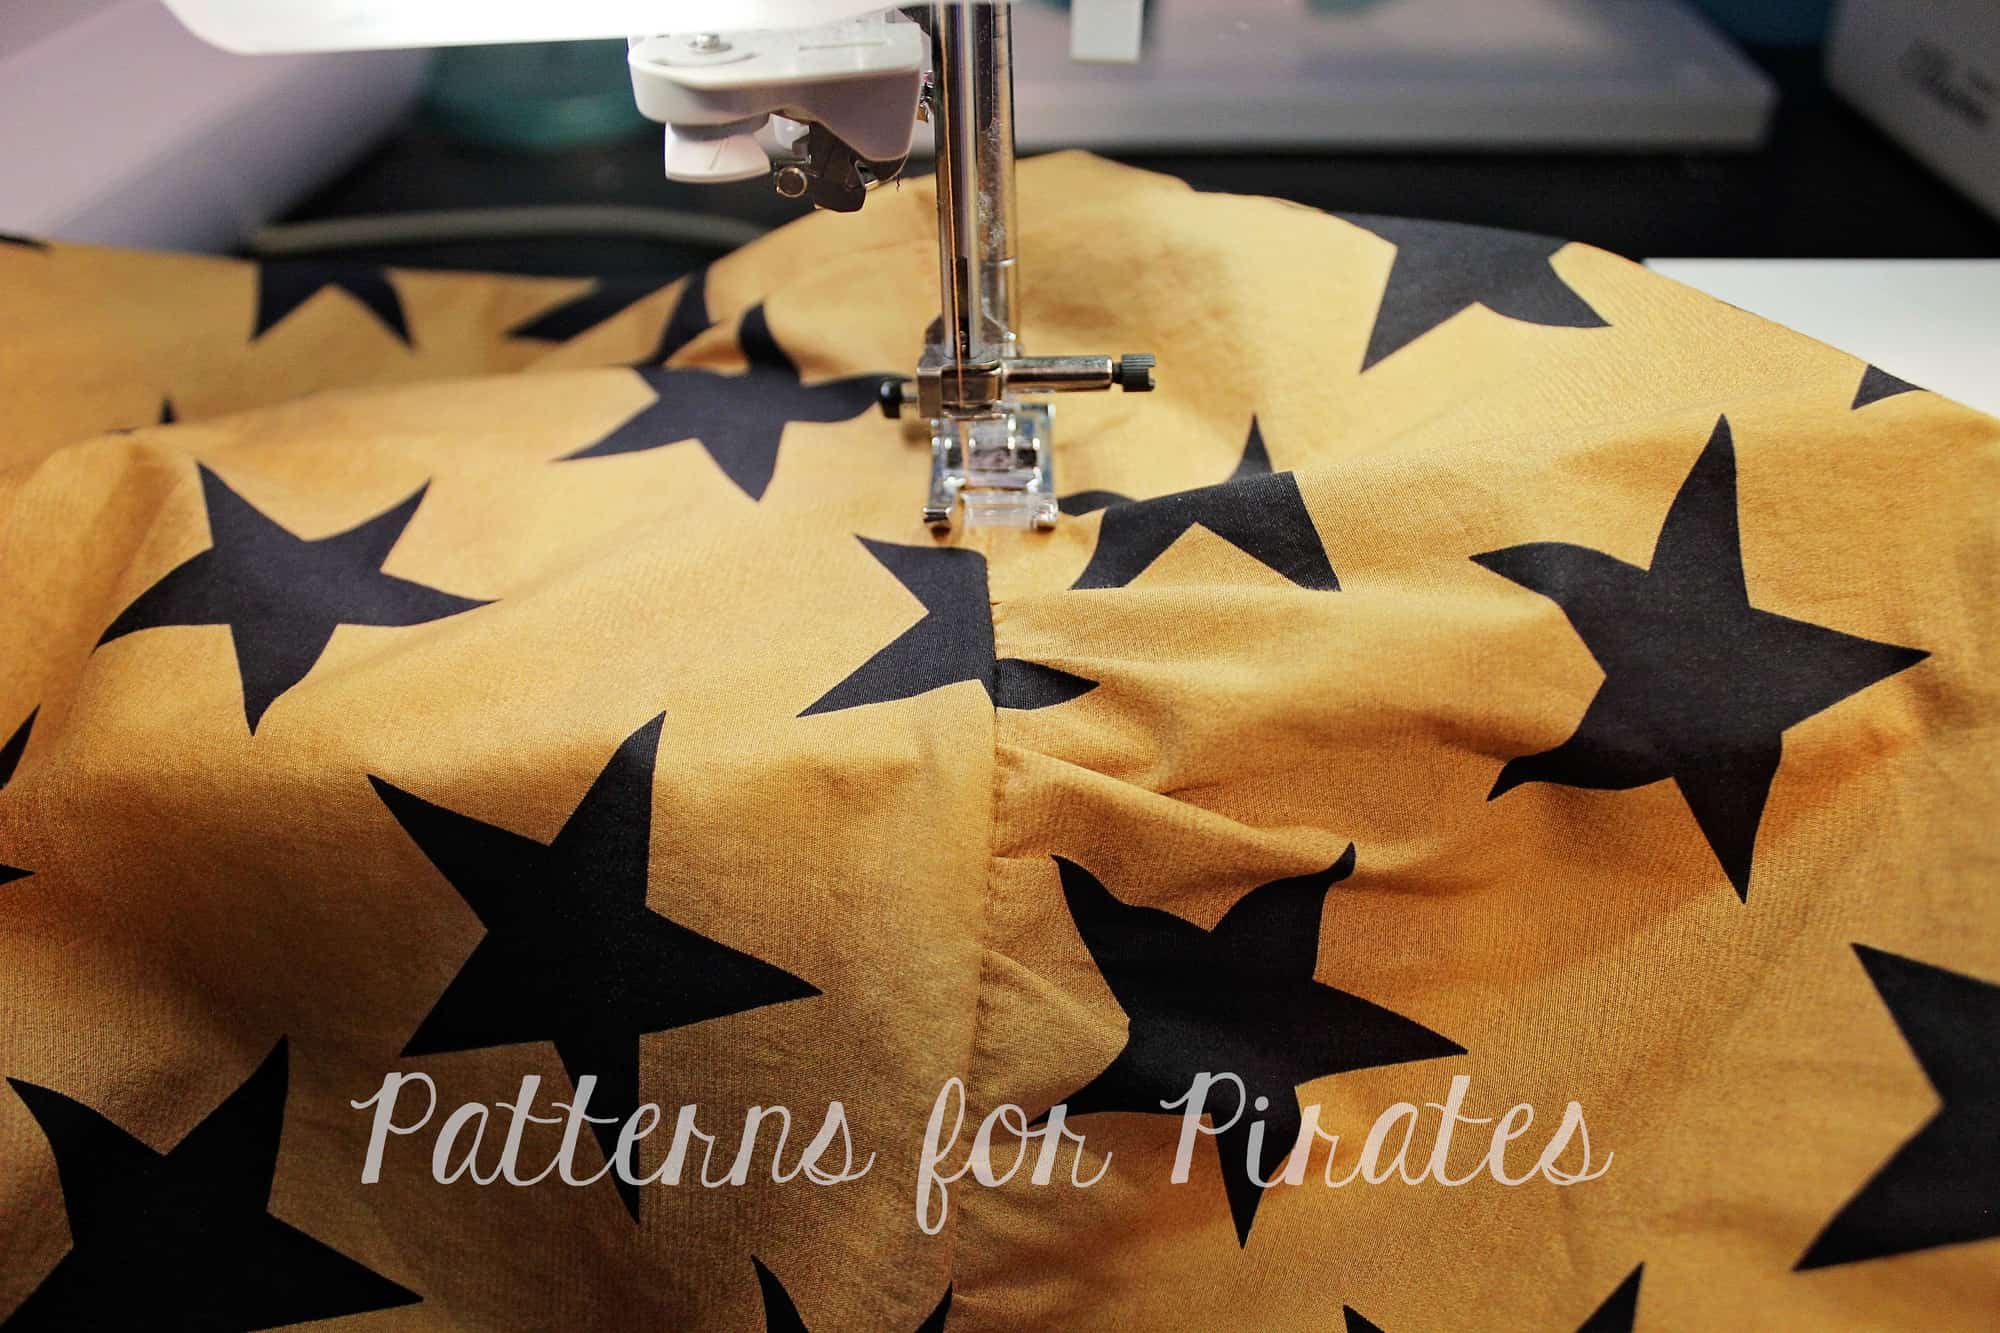
Optionally, top stitch the skirt to the top.

All you have to do now is hem the skirt (using a 1/2″ hem ) and enjoy your new boho top. I absolutely love this top paired with the Cocoon Cardigan and some SOS knit pants or Peg Legs.
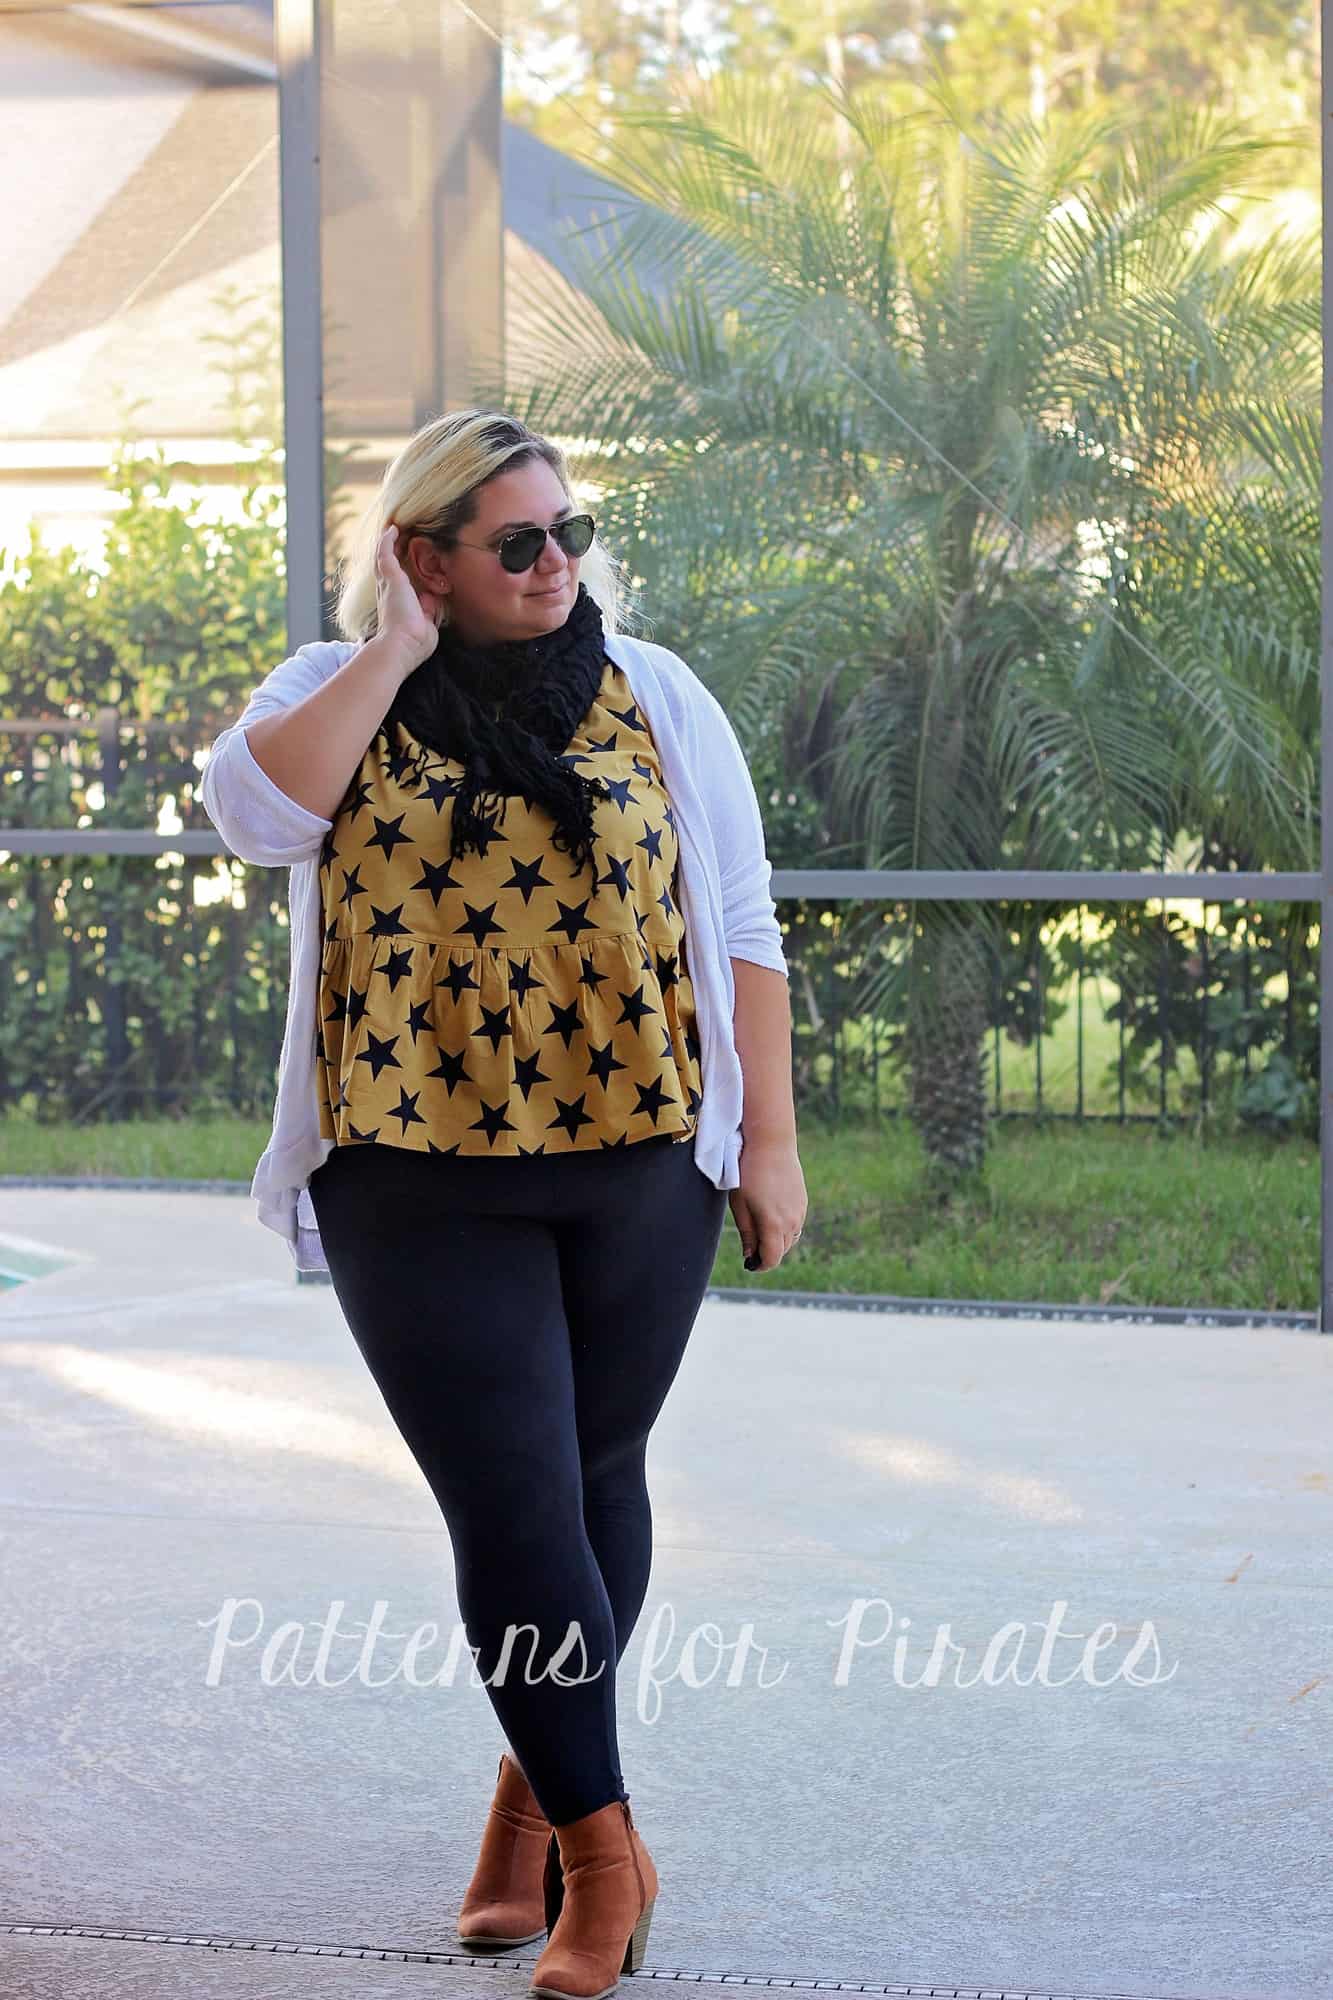
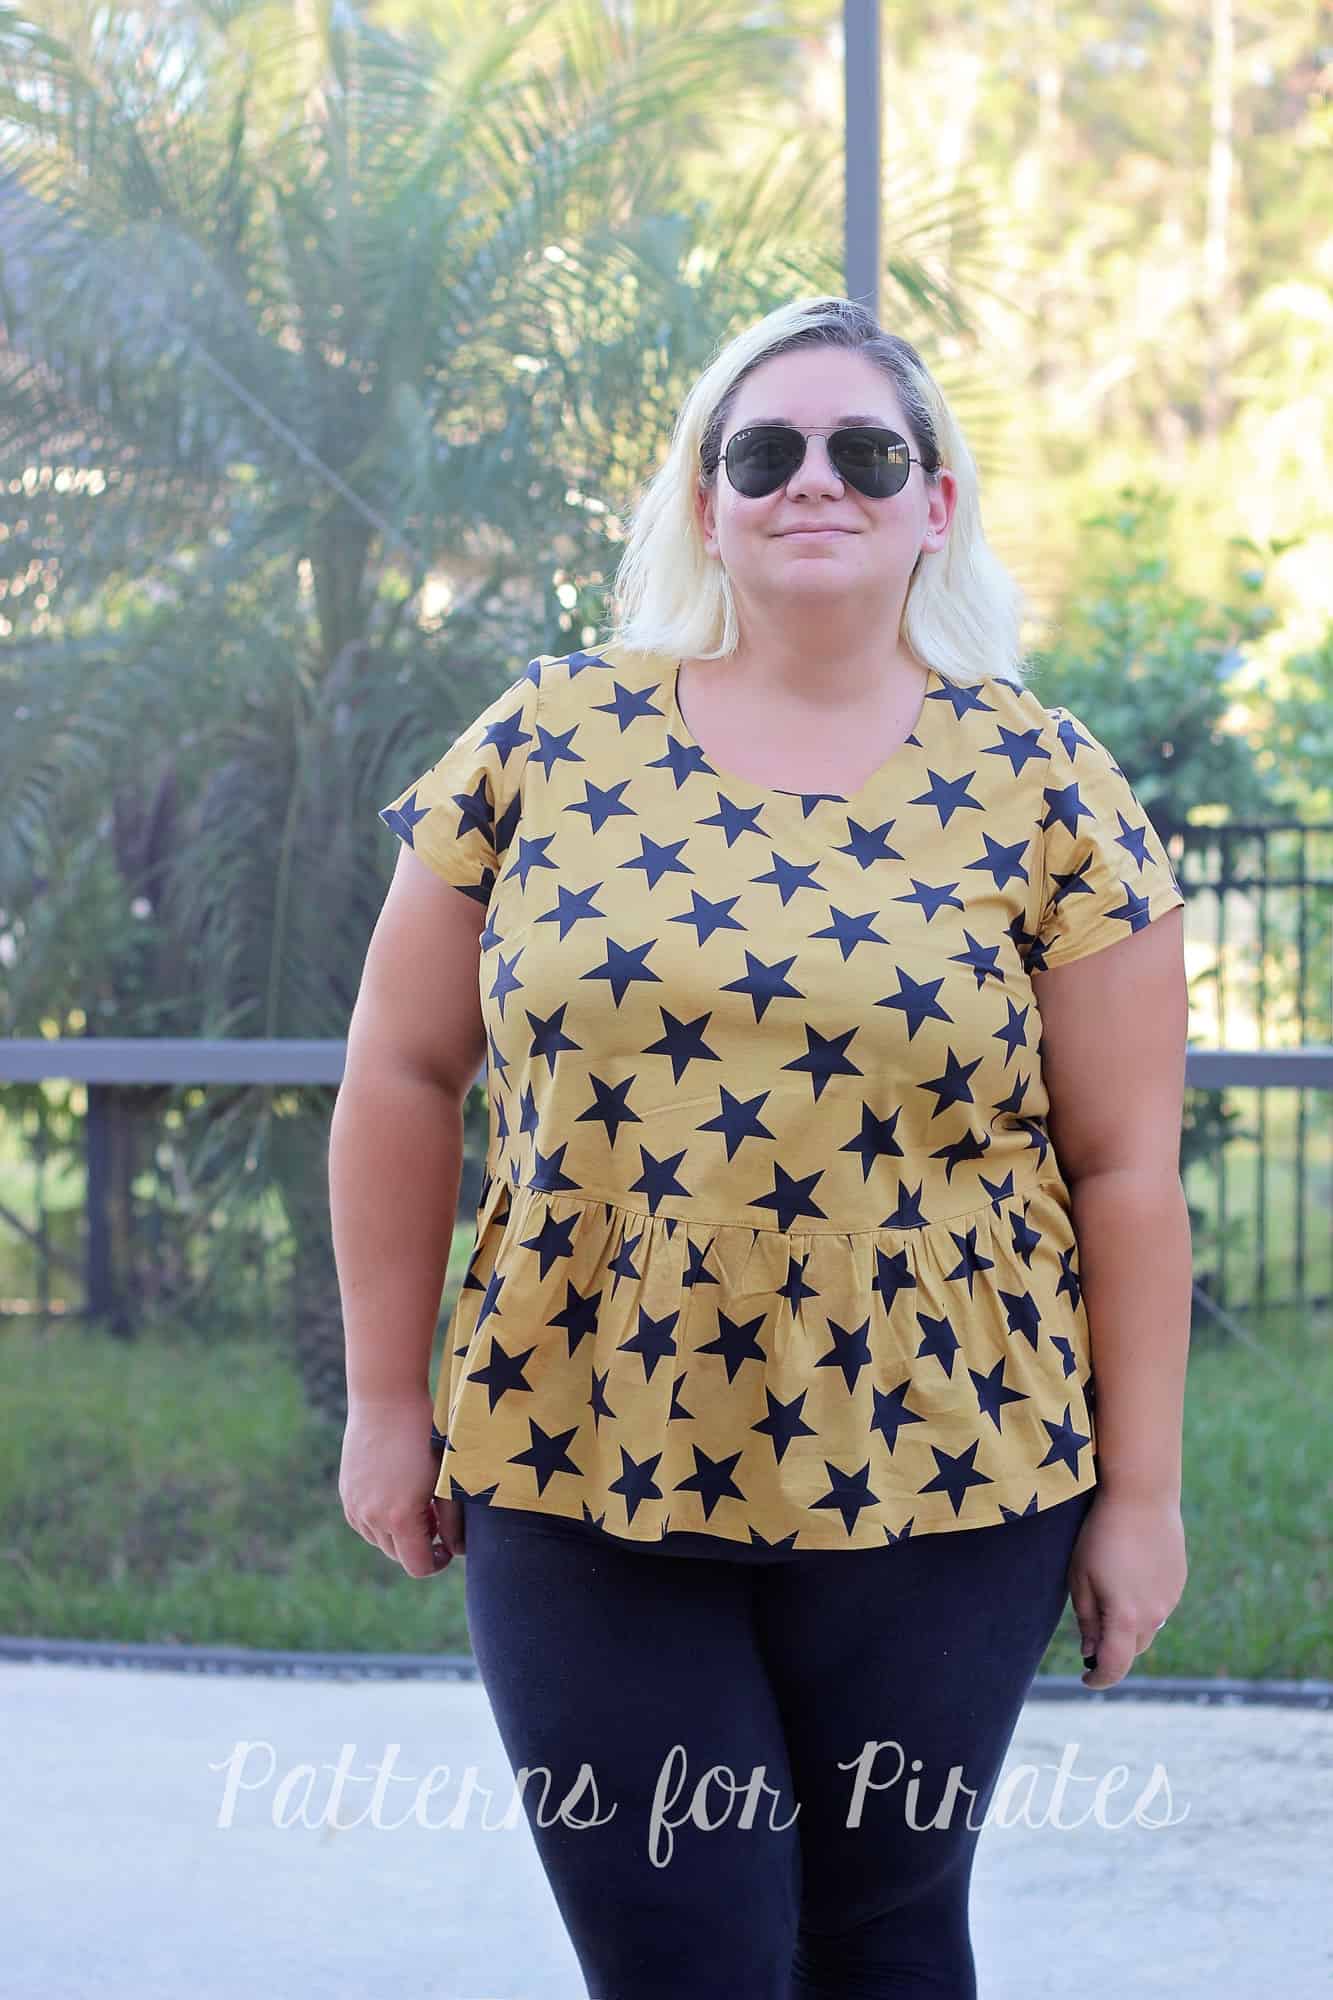
I can’t wait to see your take on this top so be sure to post your creations in the P4P group.

 

Filed Under: Frequently Asked Questions, Pattern Hacks, Uncategorized Leave a Comment

Sew what do I wear…Professional Edition

October 27, 2017

It’s that time of the year again…time for the Sew What do I wear blog tour hosted by Made for Mermaids and P4P. This season a group of very talented women are bringing you inspiration for business wear outfits so make sure to check them all out.

As busy professionals on the go one of the most important thing to keep in mind when sewing your office outfits is time! How much spare time to you have? How many outfits can you treat yourself to in the allotted sewing time? Easy and fast patterns will help you get many looks in a short amount of time.

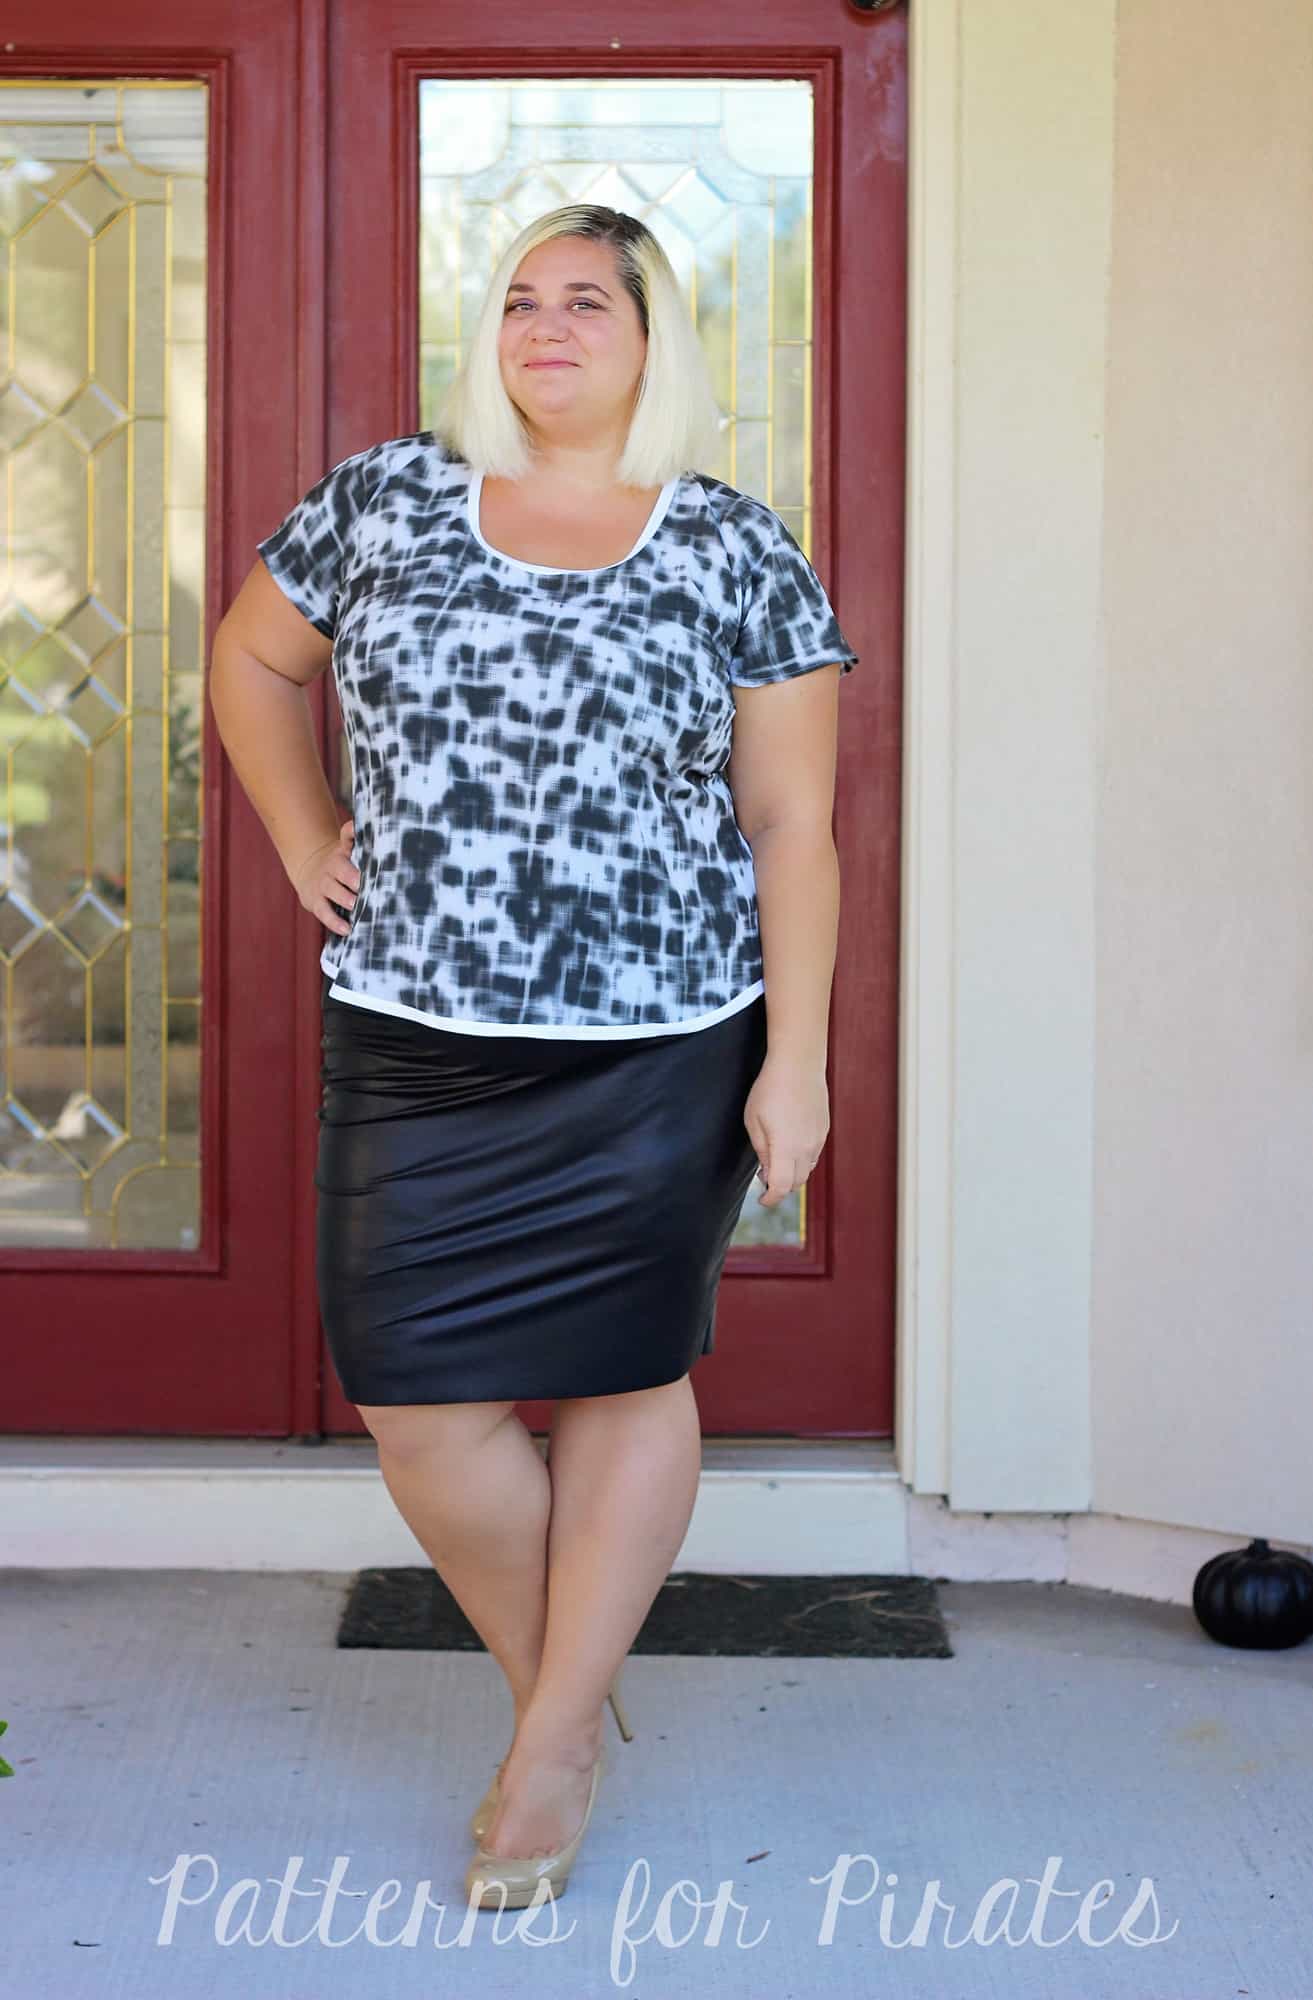
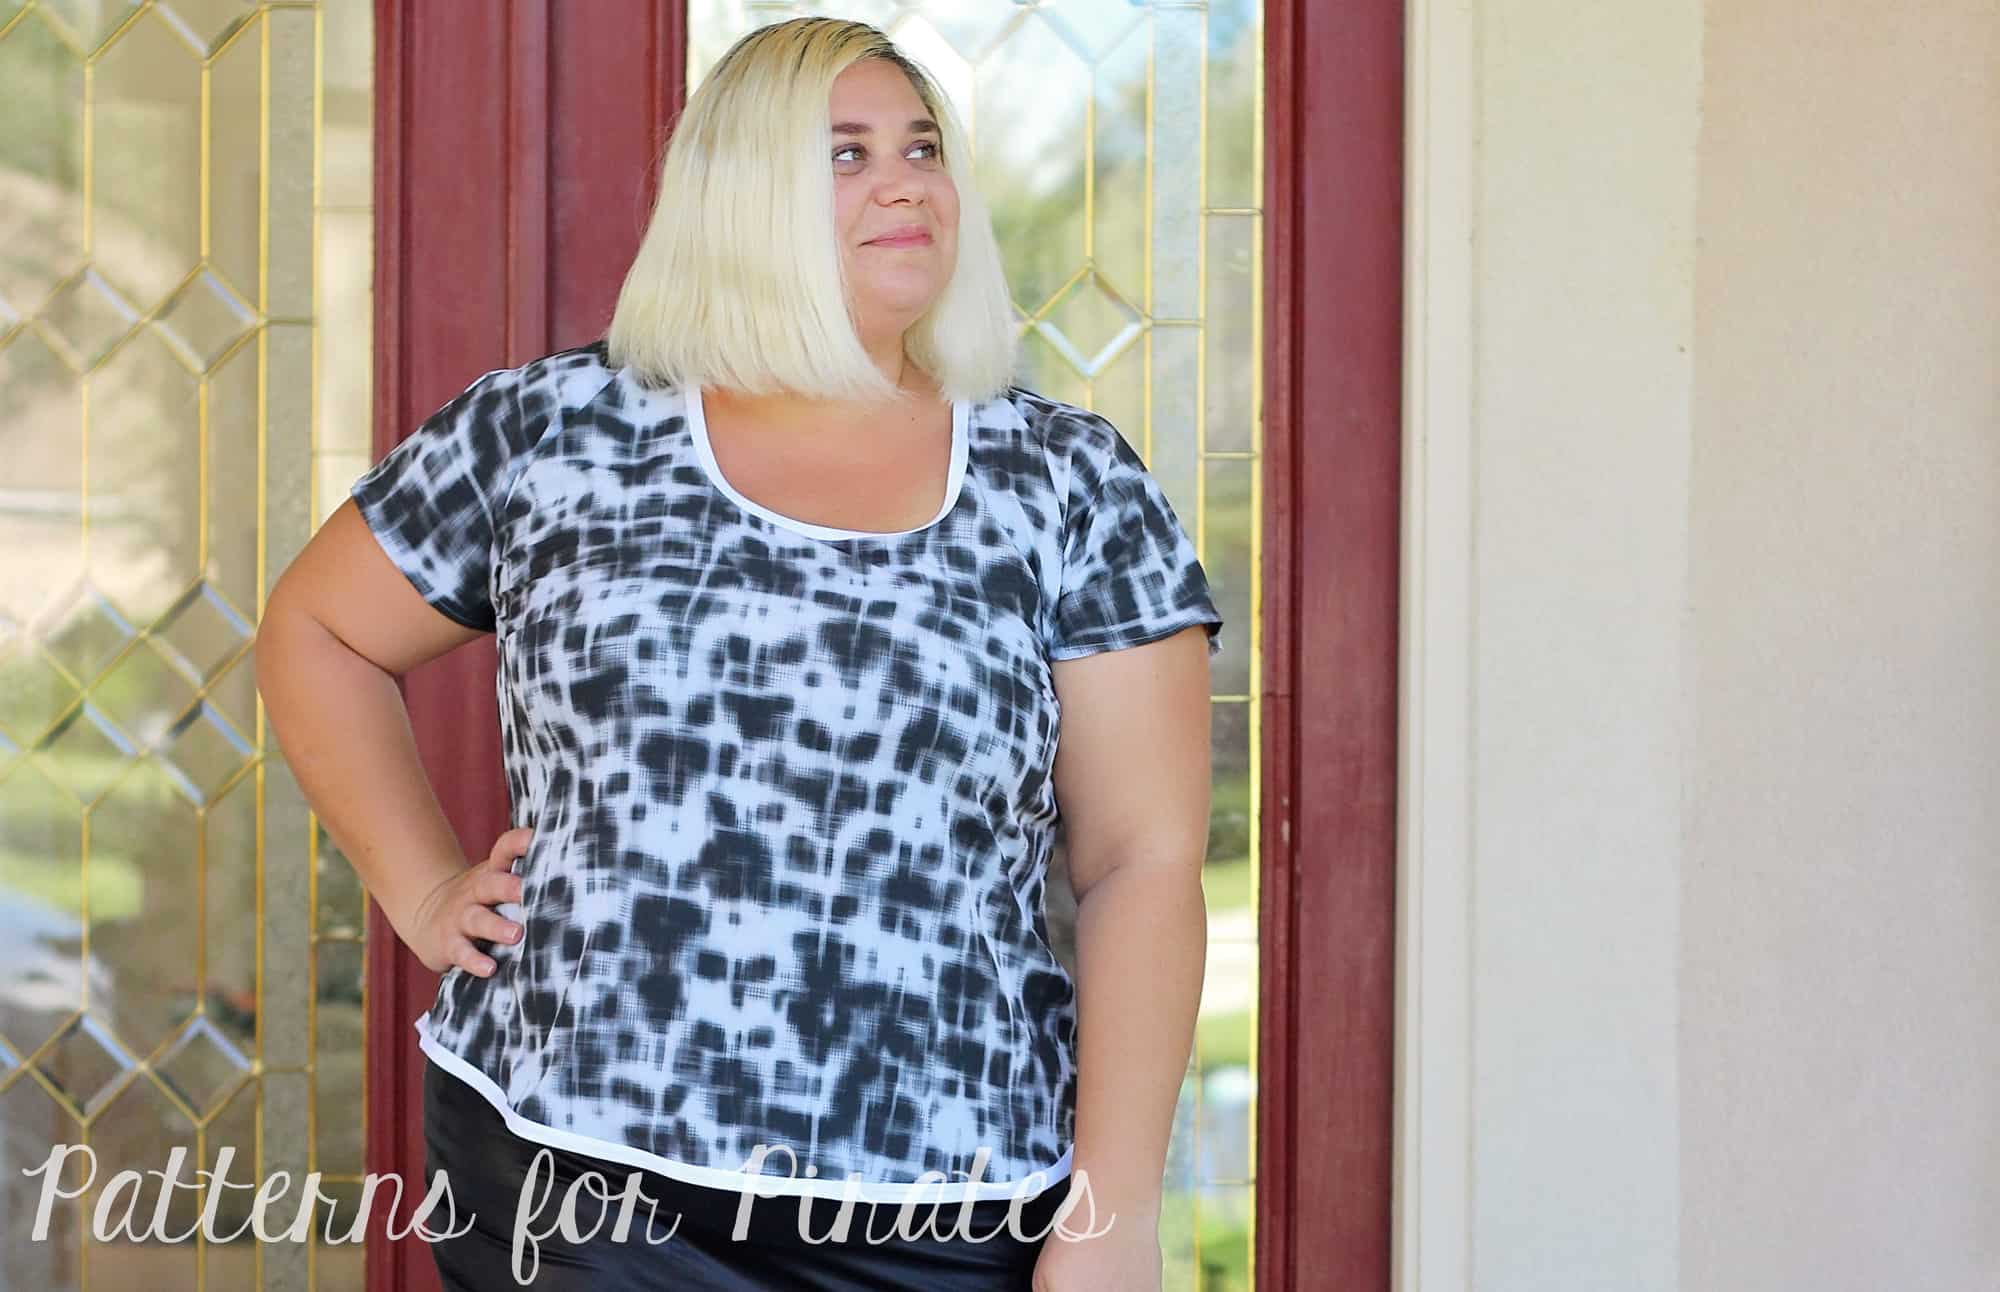
Keeping that in mind, for today’s blog I chose two of the fastest to sew P4P patterns, the Brunch Blouse and the Pirate Pencil skirt. Both patterns have a minimal number of pattern pieces and are super fast to put together.

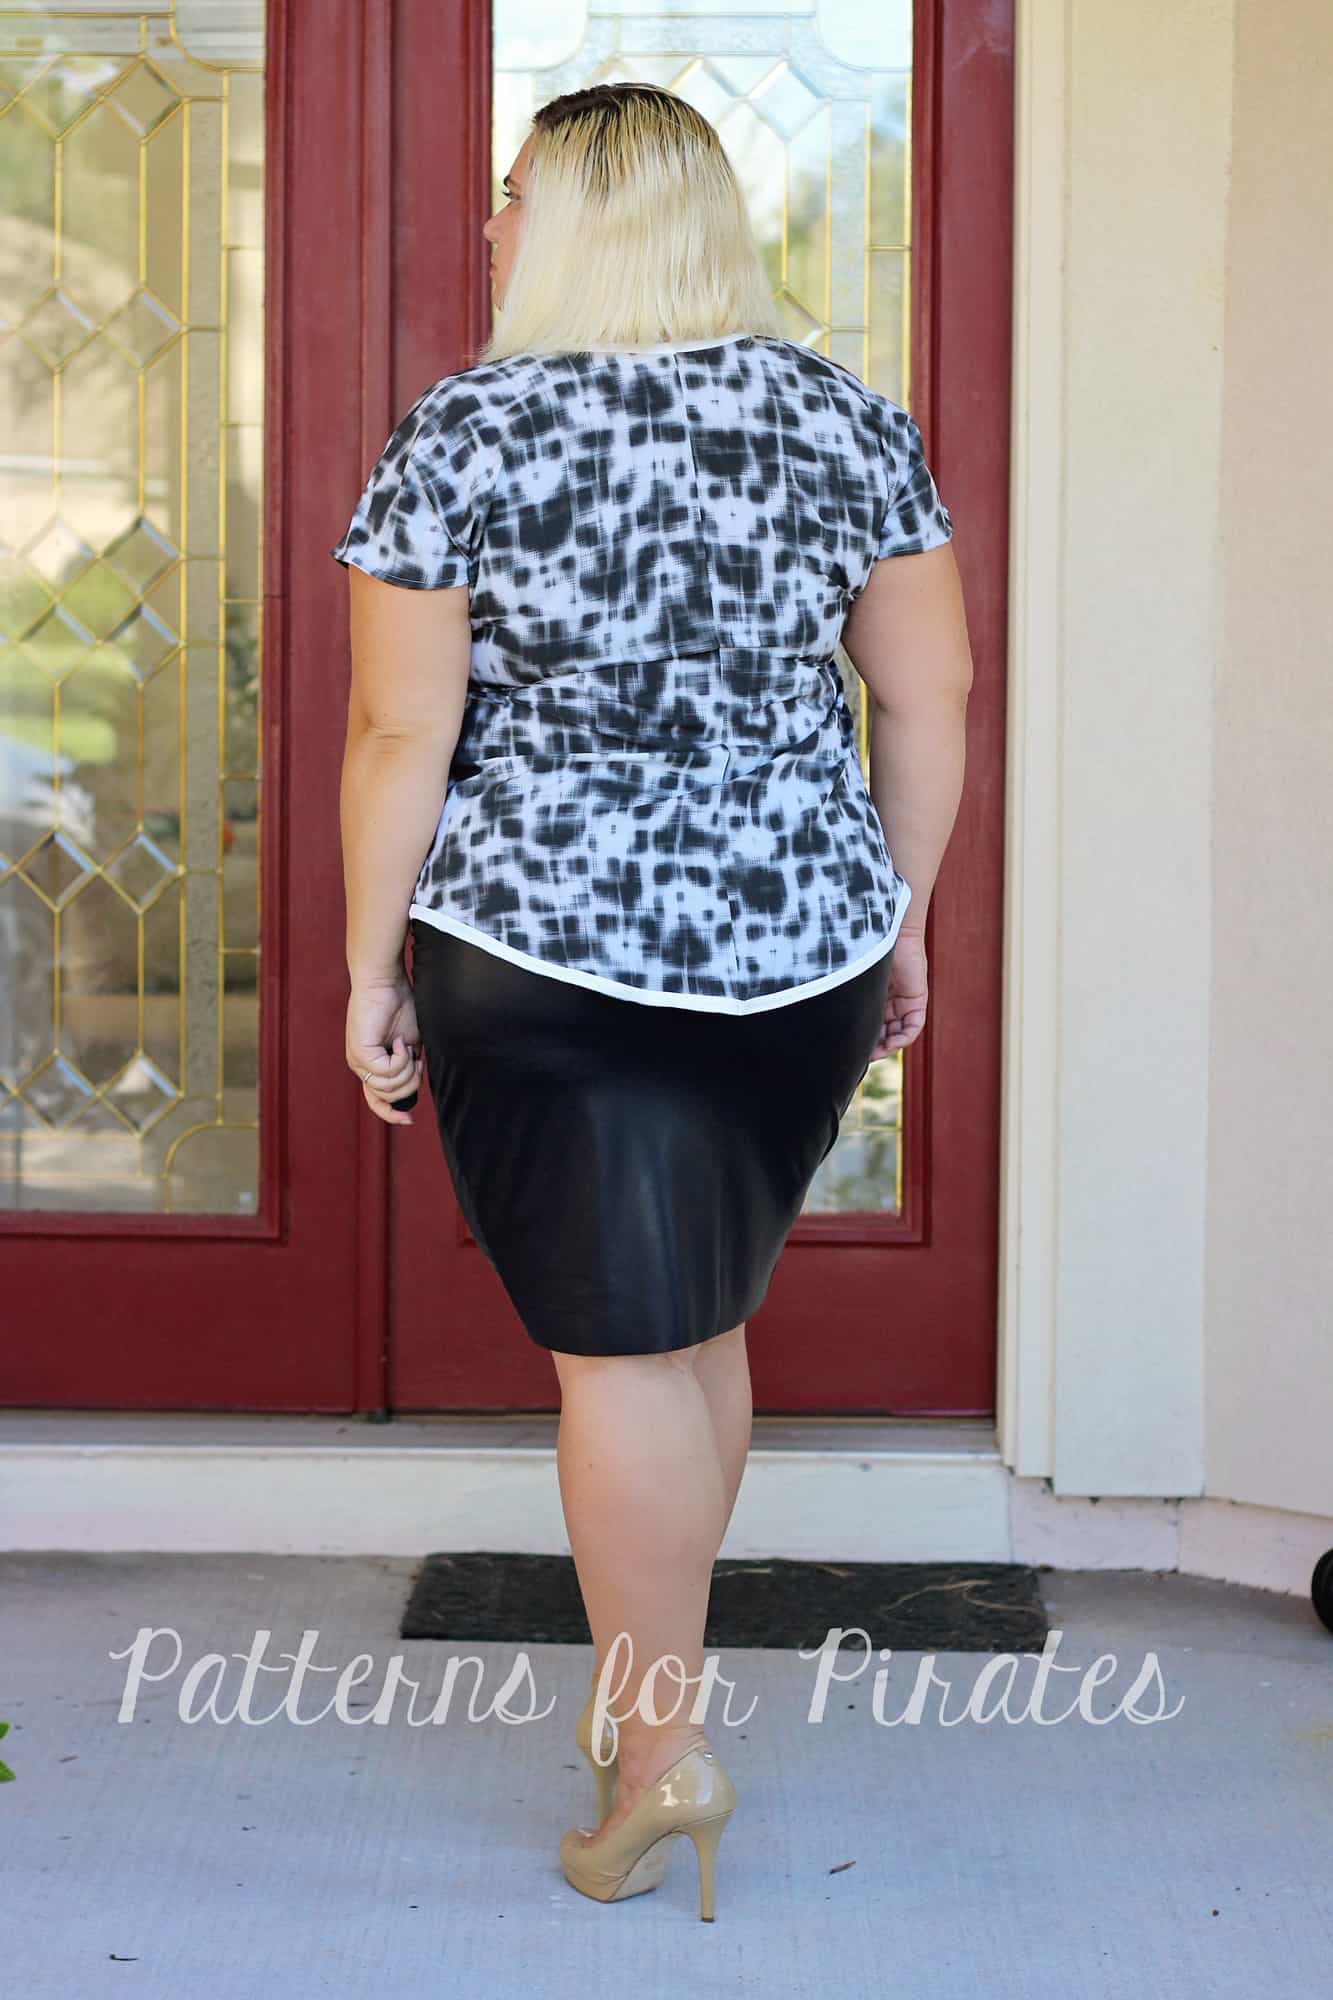
For a more edgy look I use some vegan stretch leather when I made the Pirate Pencil Skirt . I loved the look of the skirt un-hemmed so I just skipped this step all together…boom! Even a faster sew now!

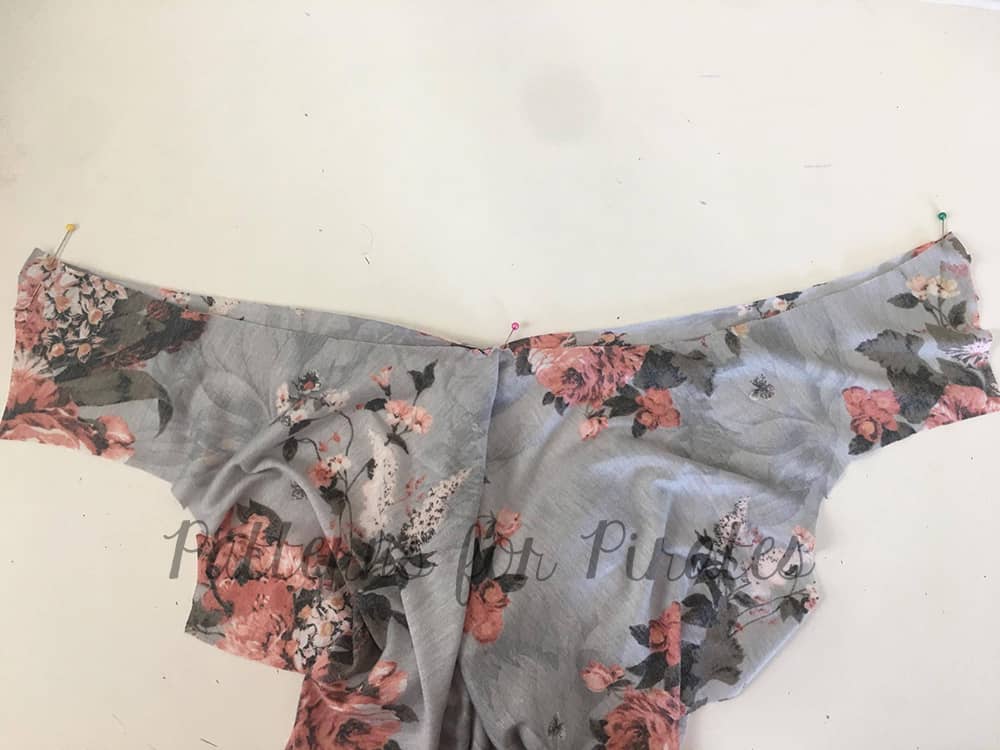
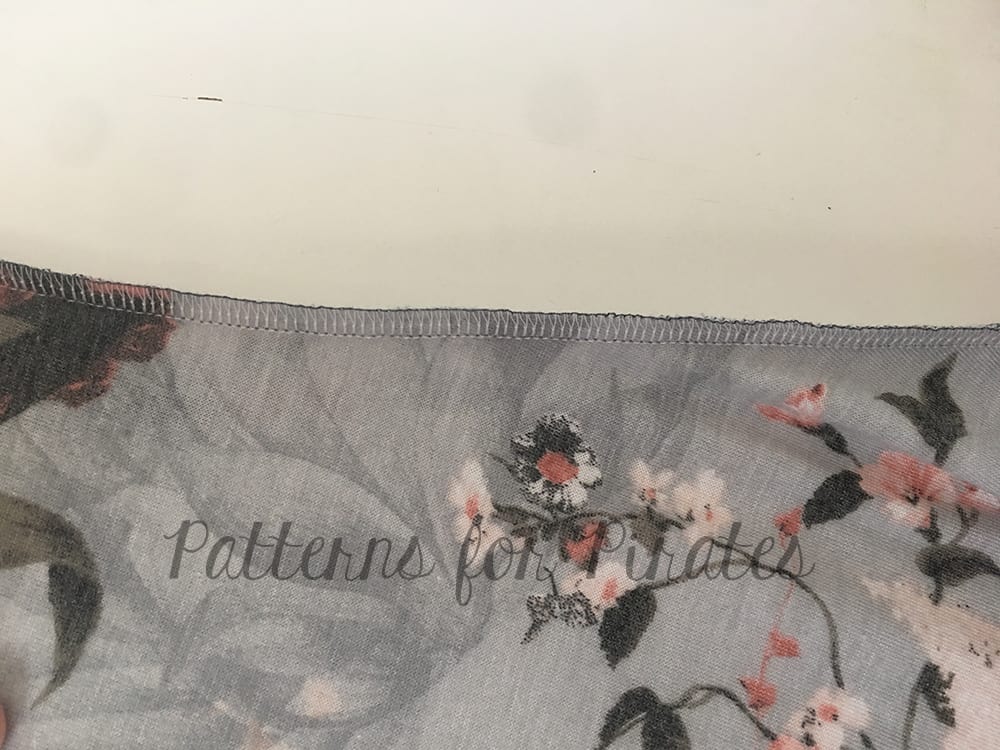
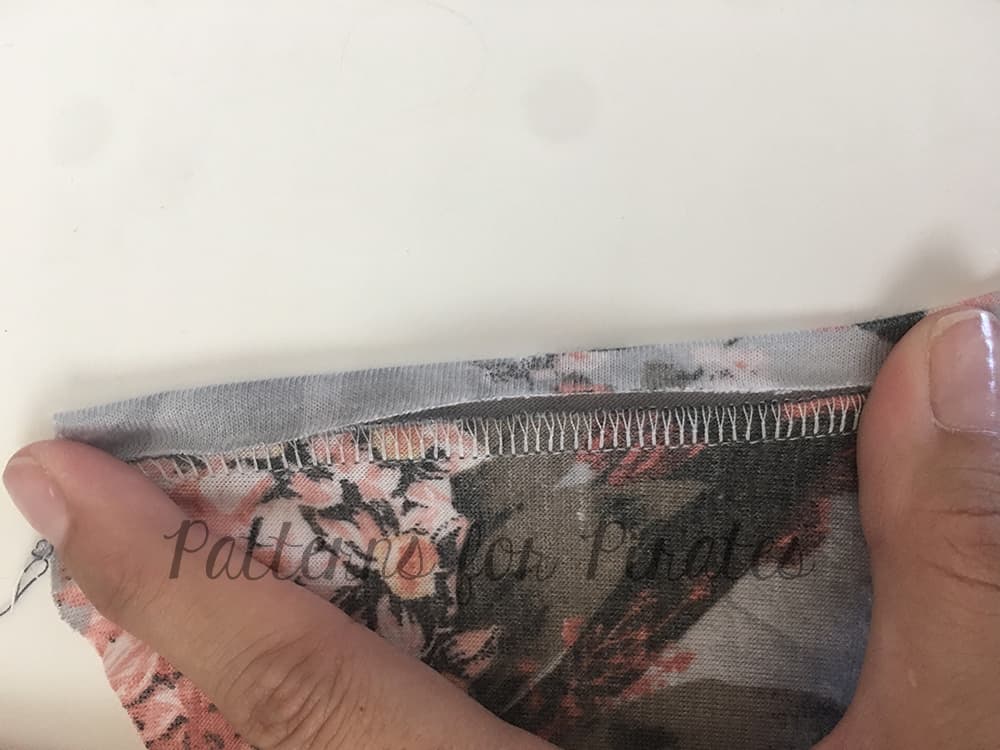
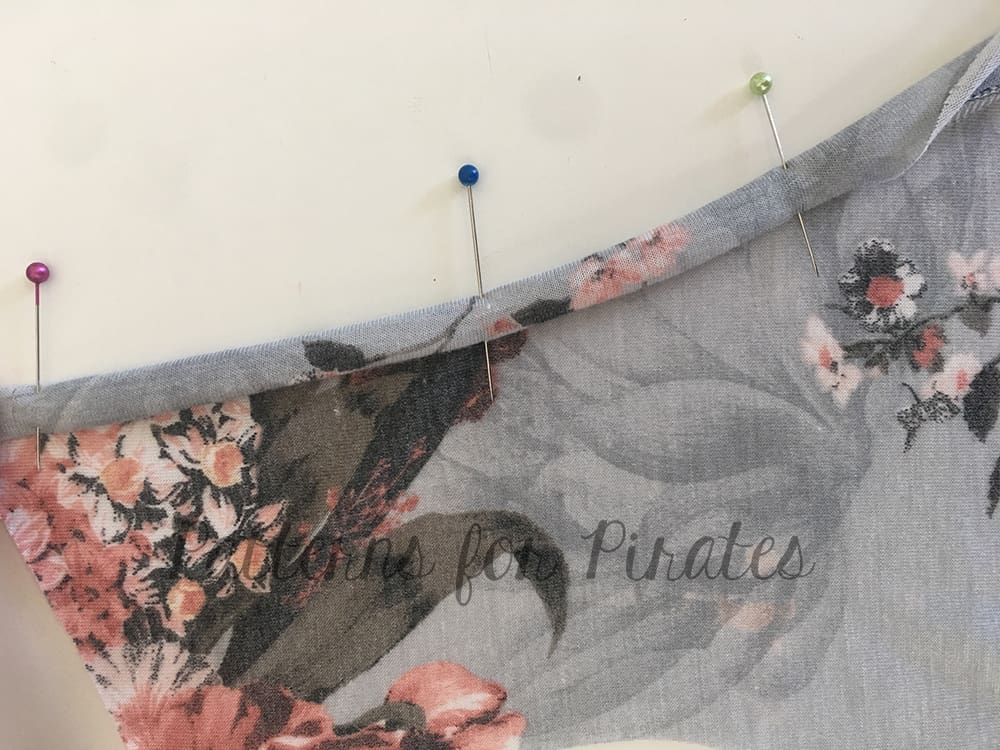
As I was sewing the top length Brunch Blouse I realized I wanted to add some extra details to it but without much work 😉 Store bought single fold bias tape to the rescue! Instead of finishing the neckline with the bias tape on the inside (as per the pattern tutorial), I did a switcharoo and put the bias tape on the outside of the neckline. I finished the bottom of the shirt using the same technique. The bias tape hem add a little extra to the shirt, doesn’t it?

There you have it! Two easy to sew patterns and a pair of of stilettos and you made yourself a edgy office attire. If you live in a colder weather are, throw a Cocoon Cardigan over and you’re ready for a stylish day at work.

Make sure you check out all the amazing blogs that joined us for this tour!

Filed Under: Blog Tours, Frequently Asked Questions, Uncategorized 2 Comments

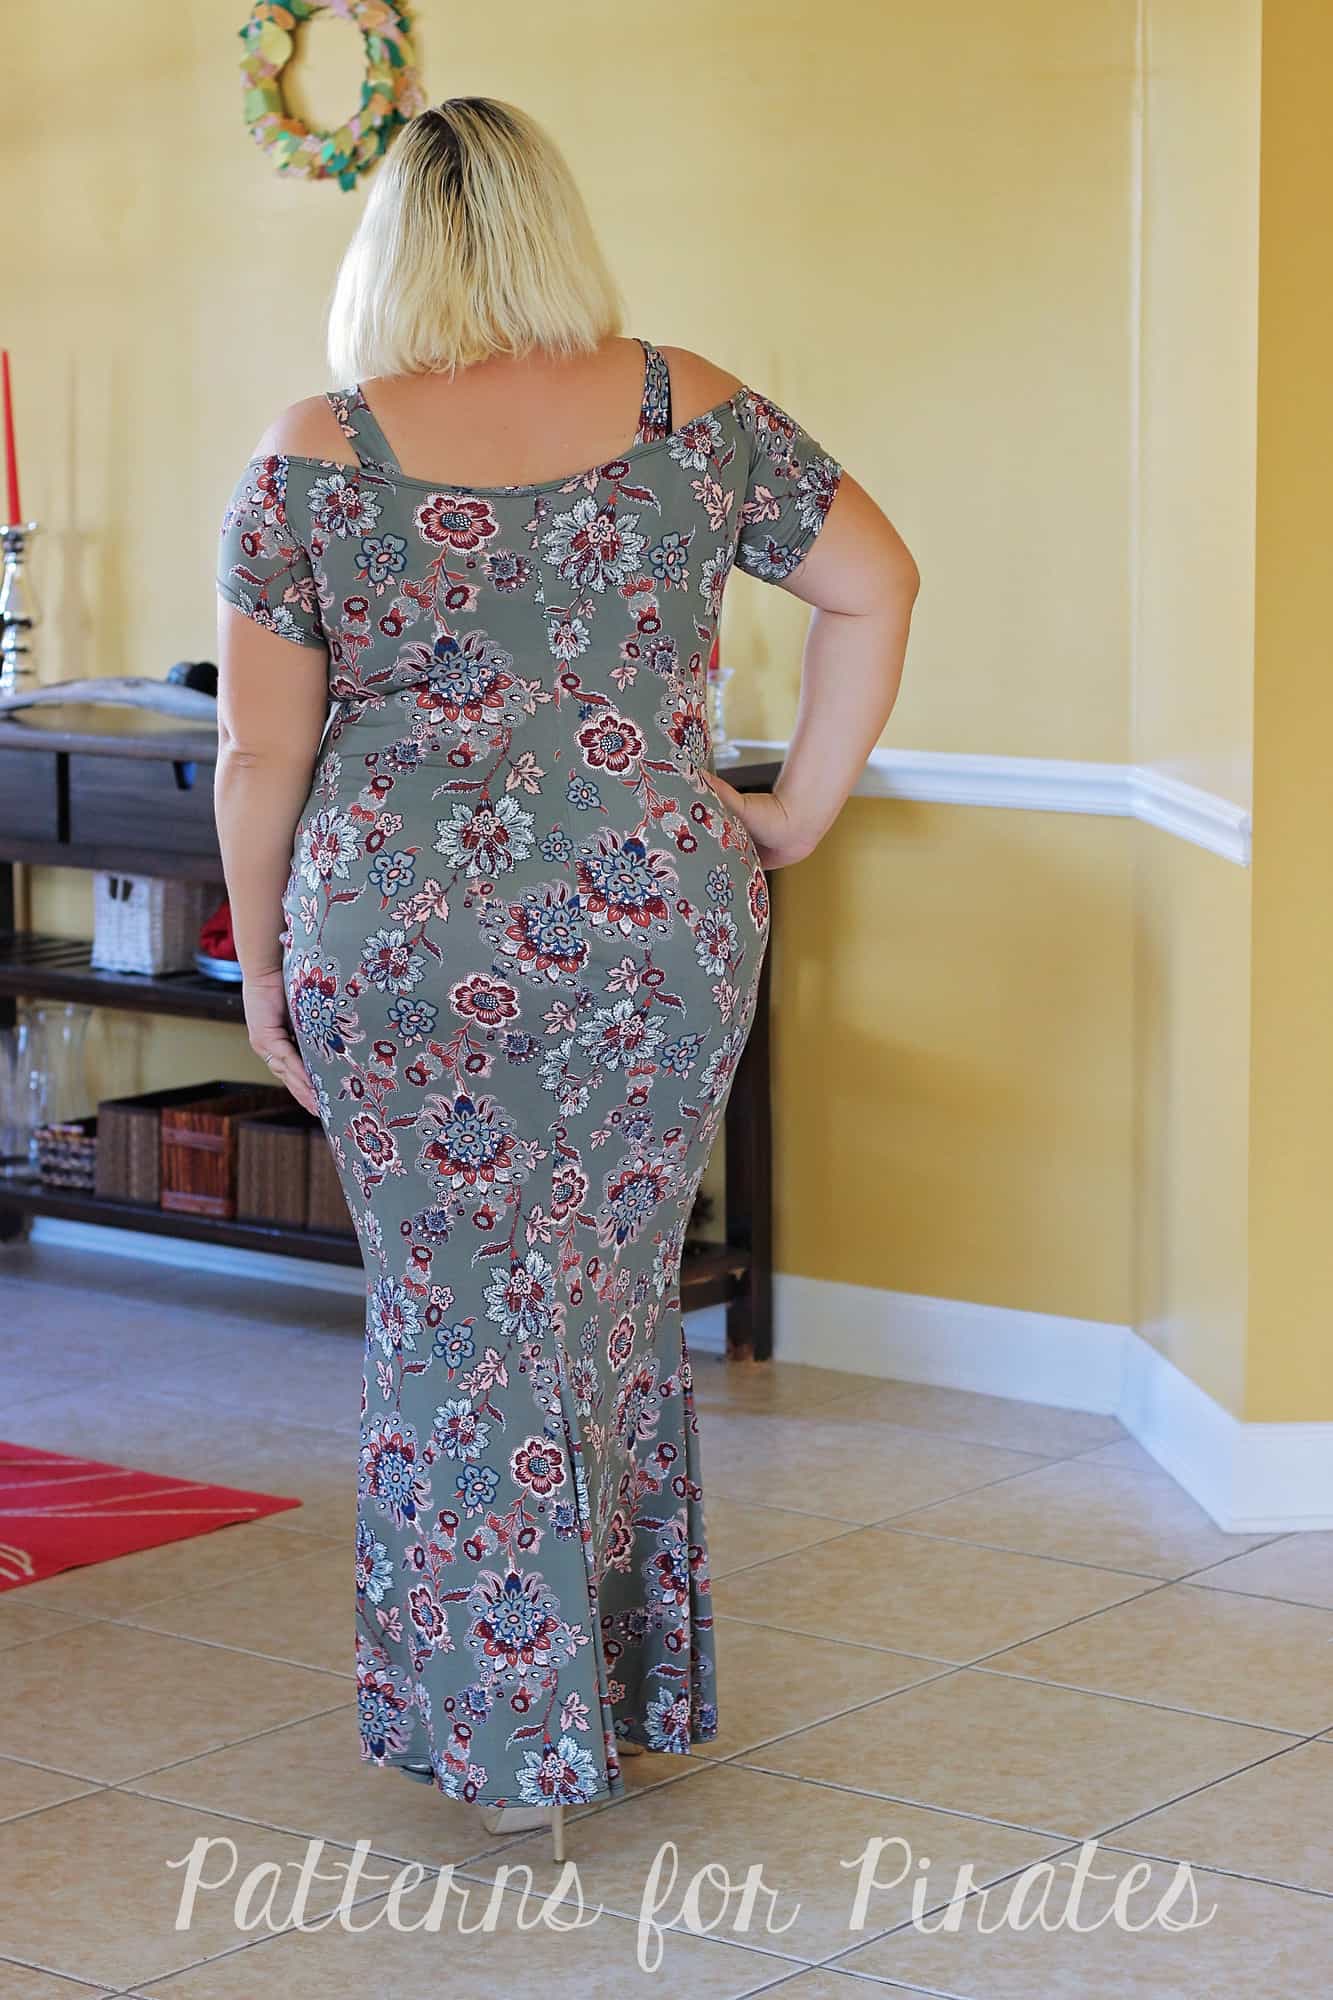
Wiggle Dress – easy hacks

October 24, 2017

…..

Separates

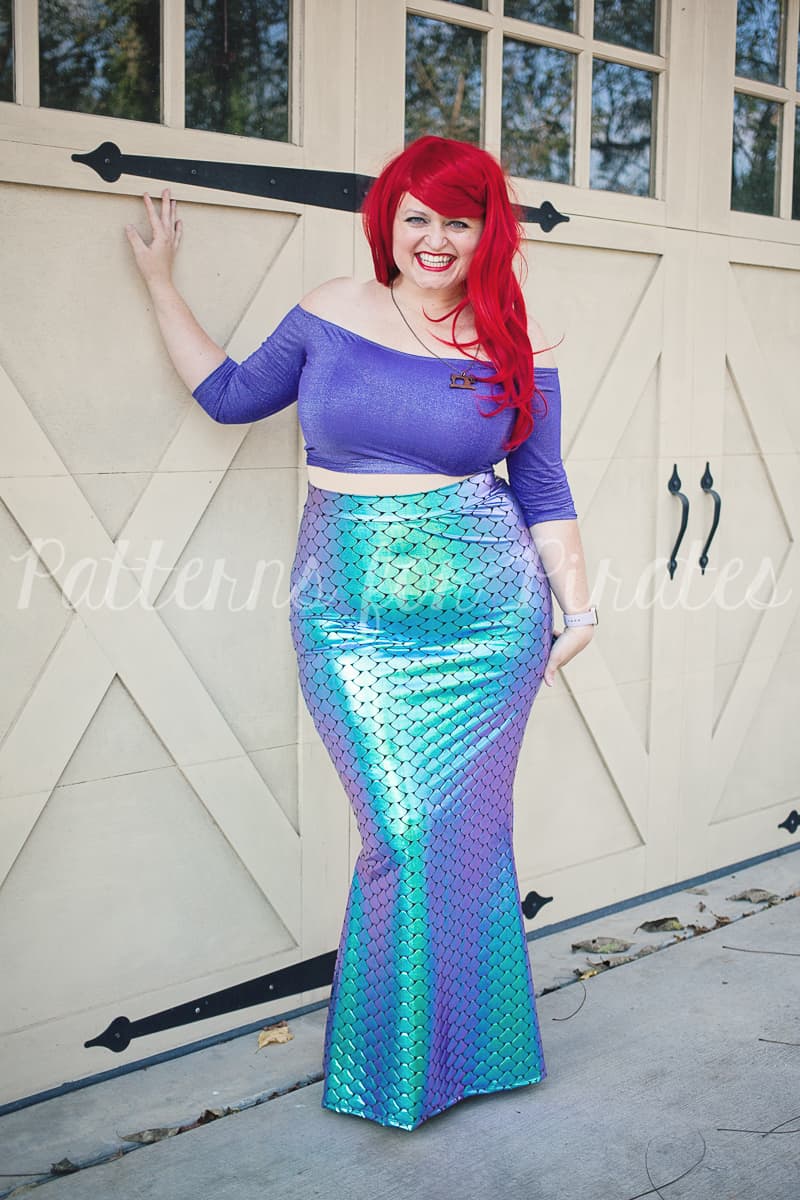
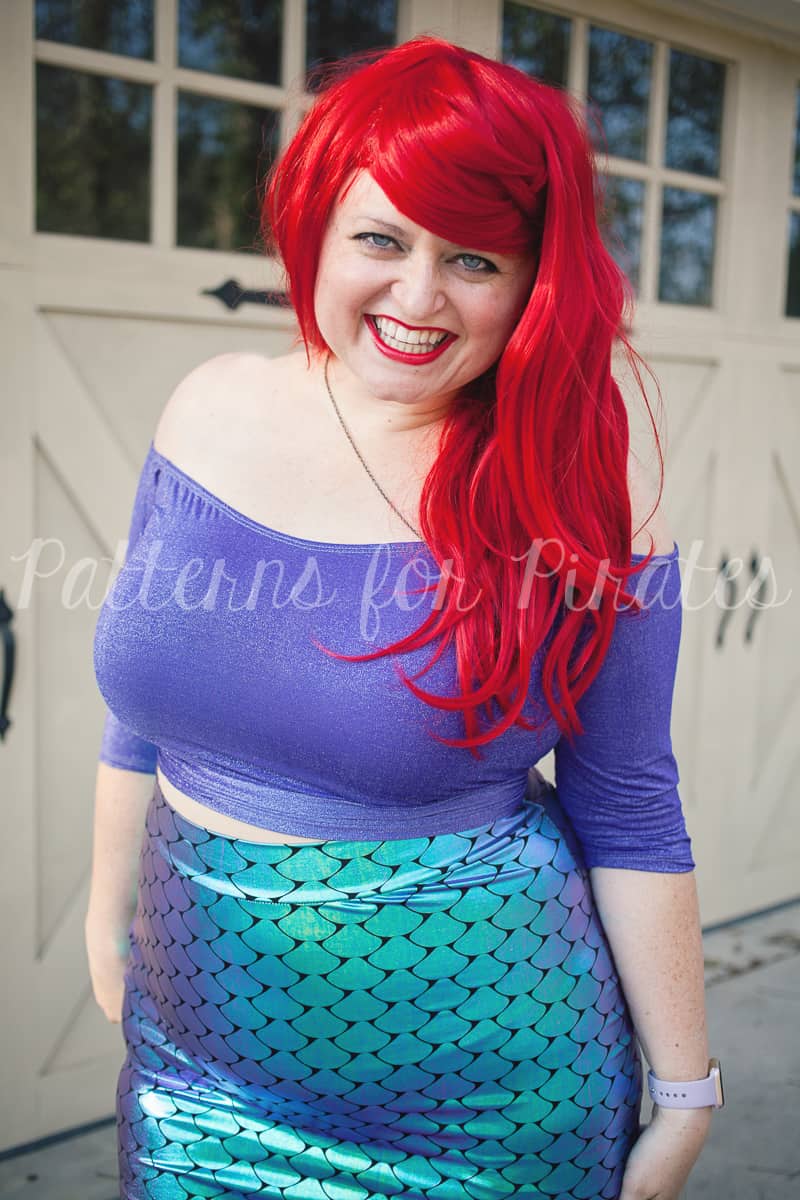
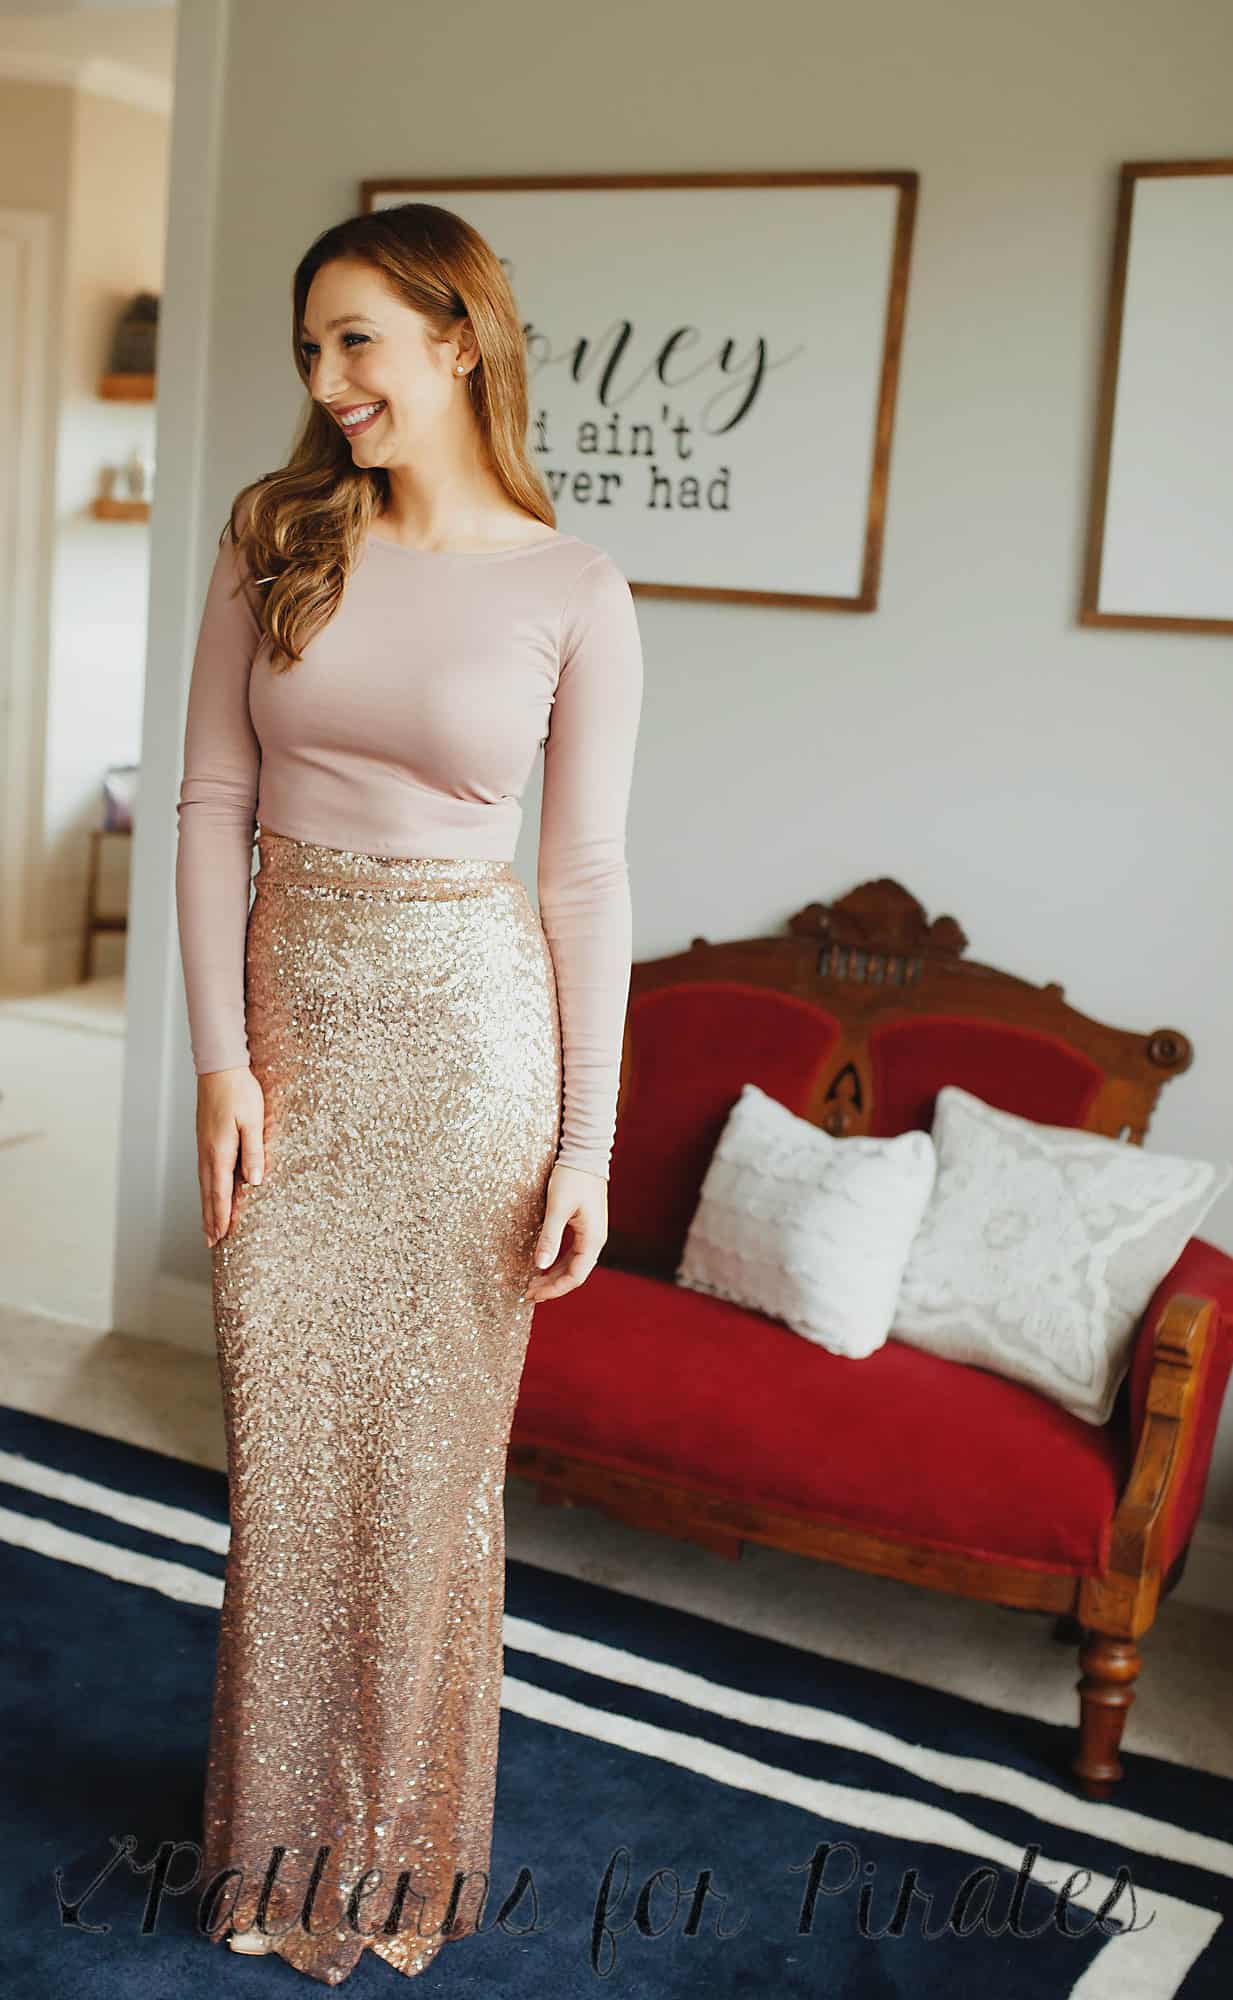
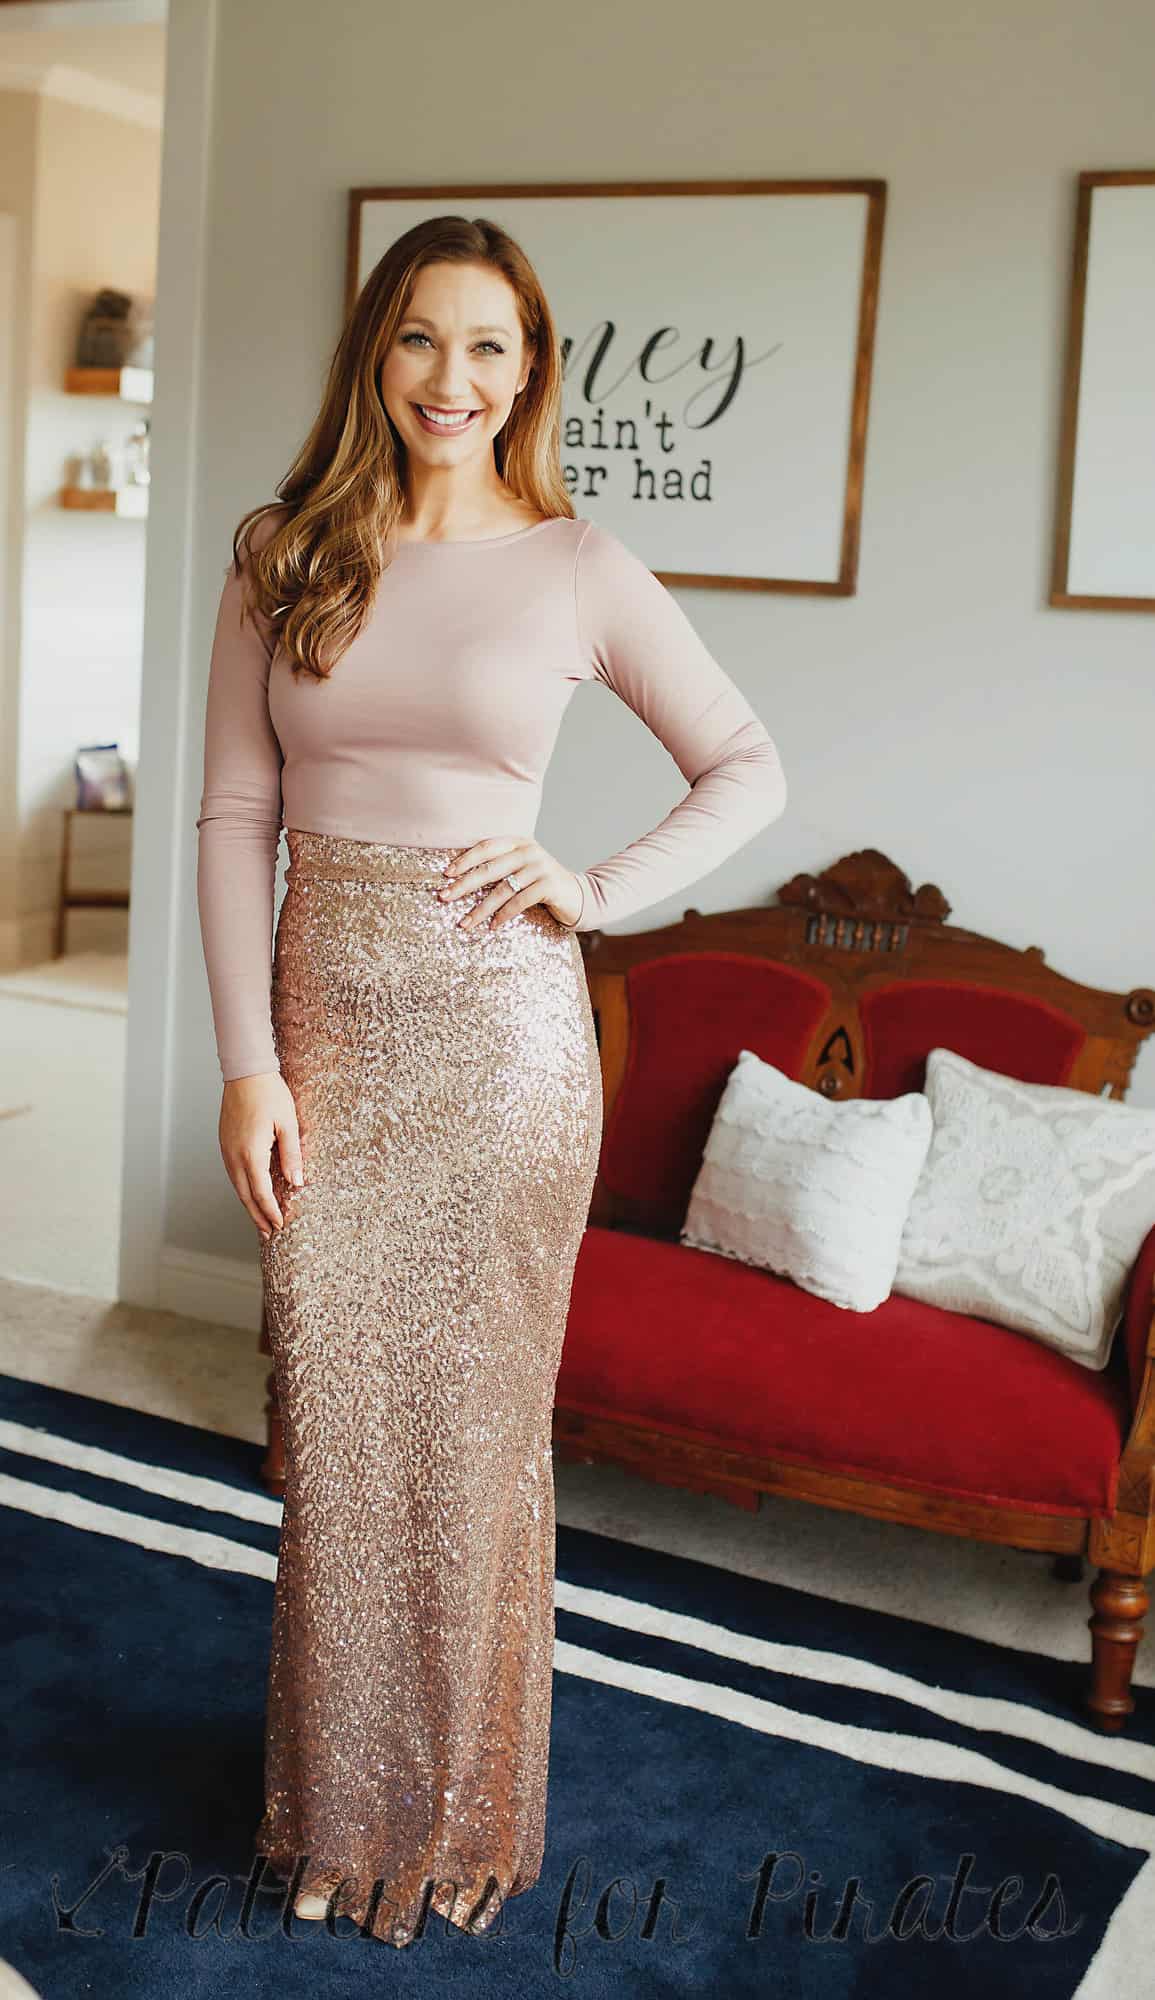
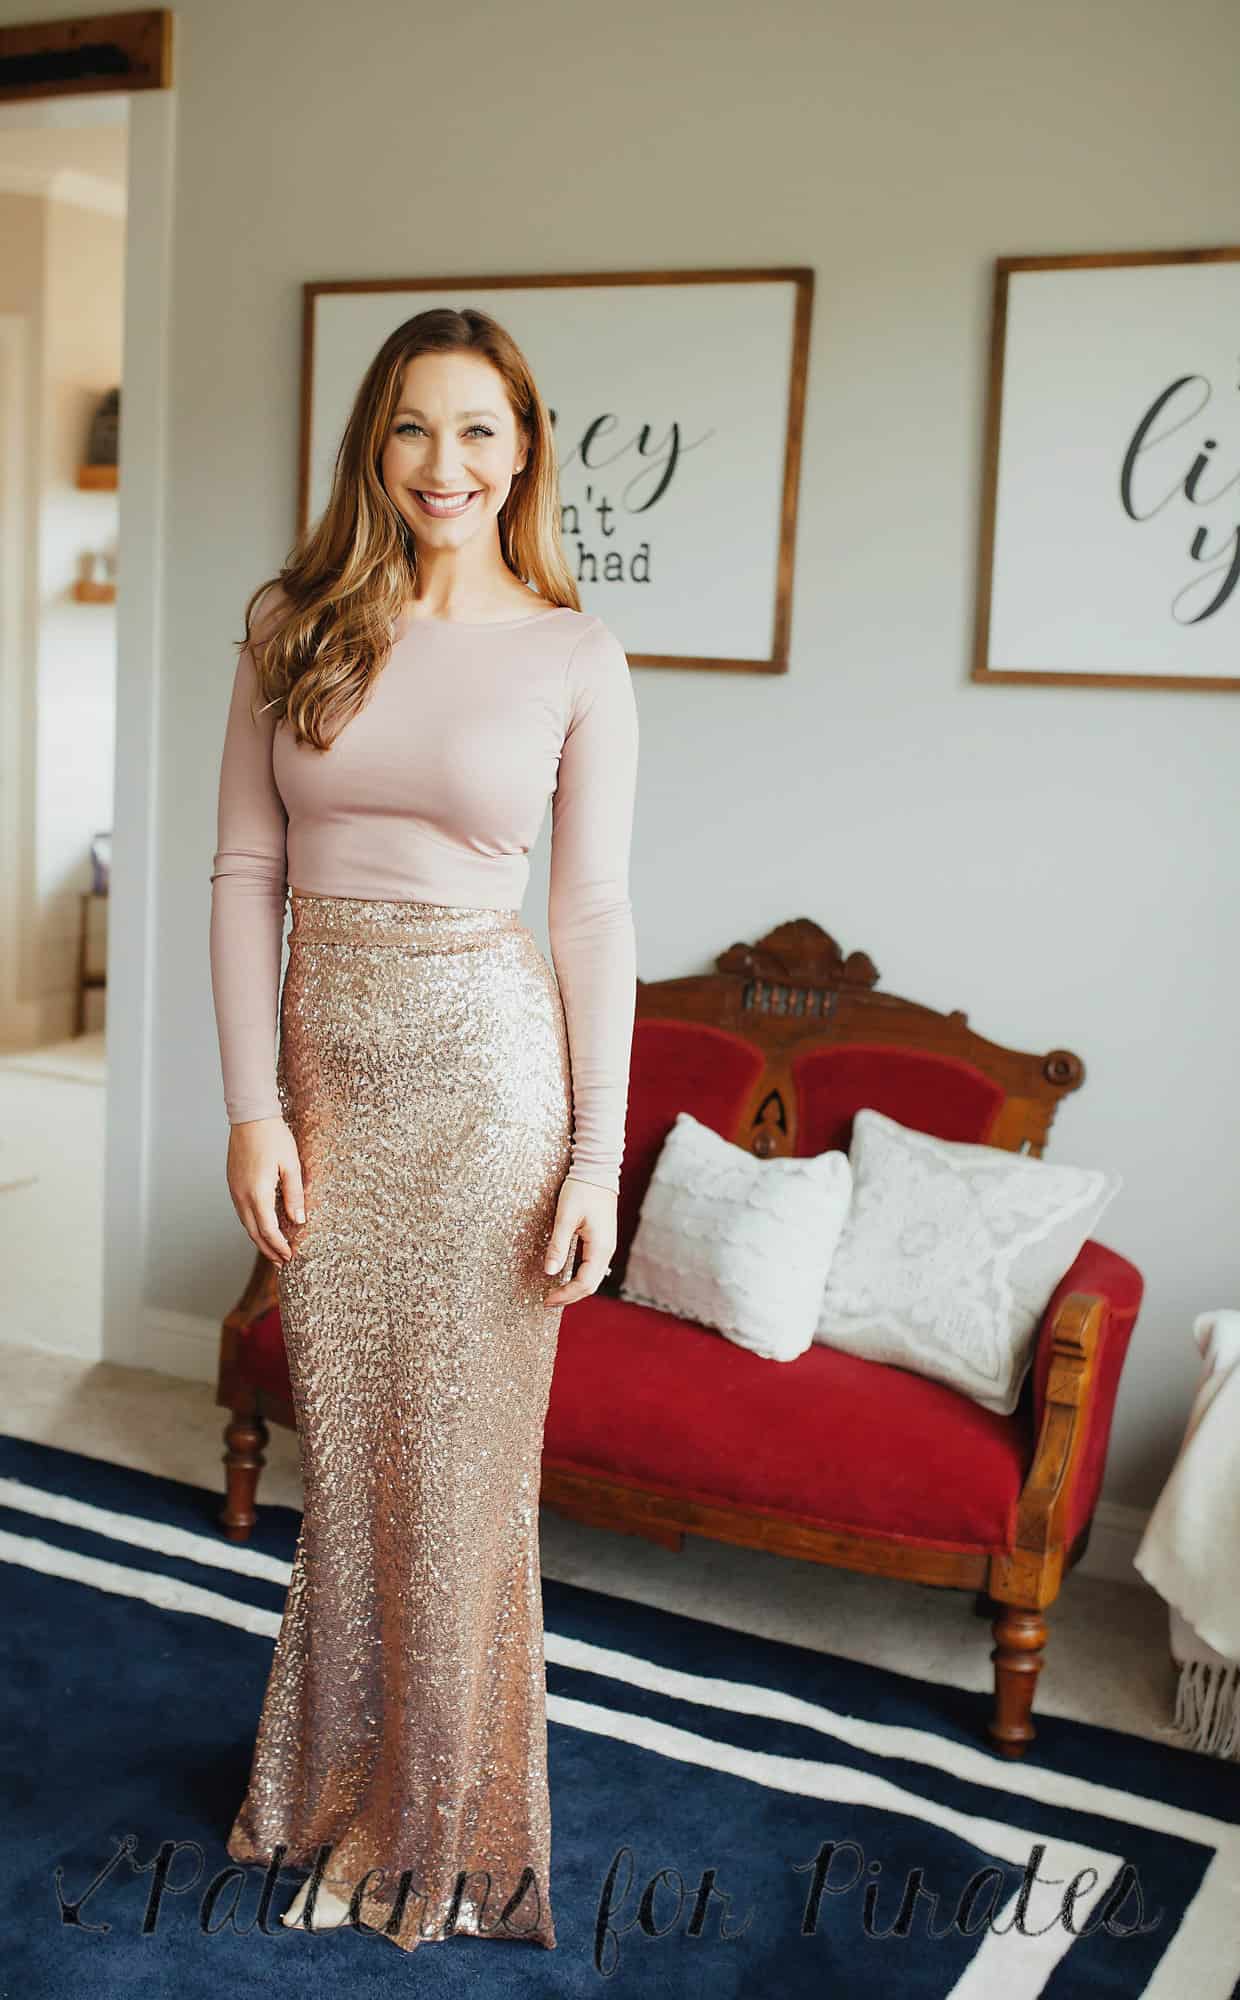
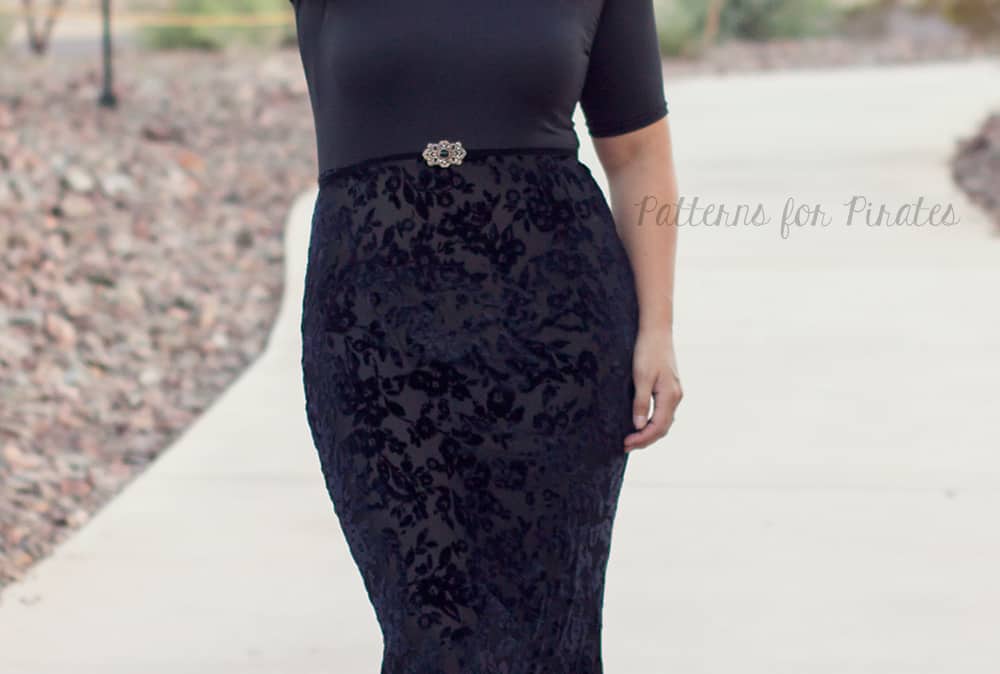
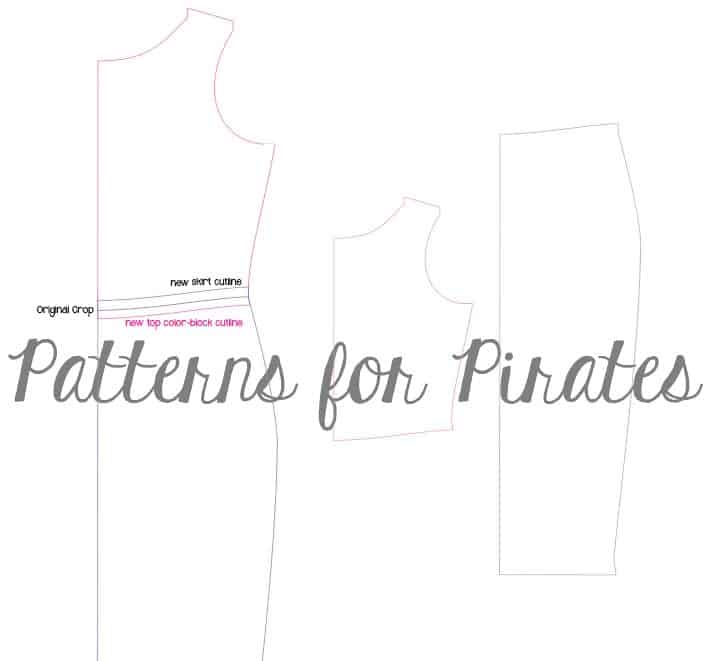
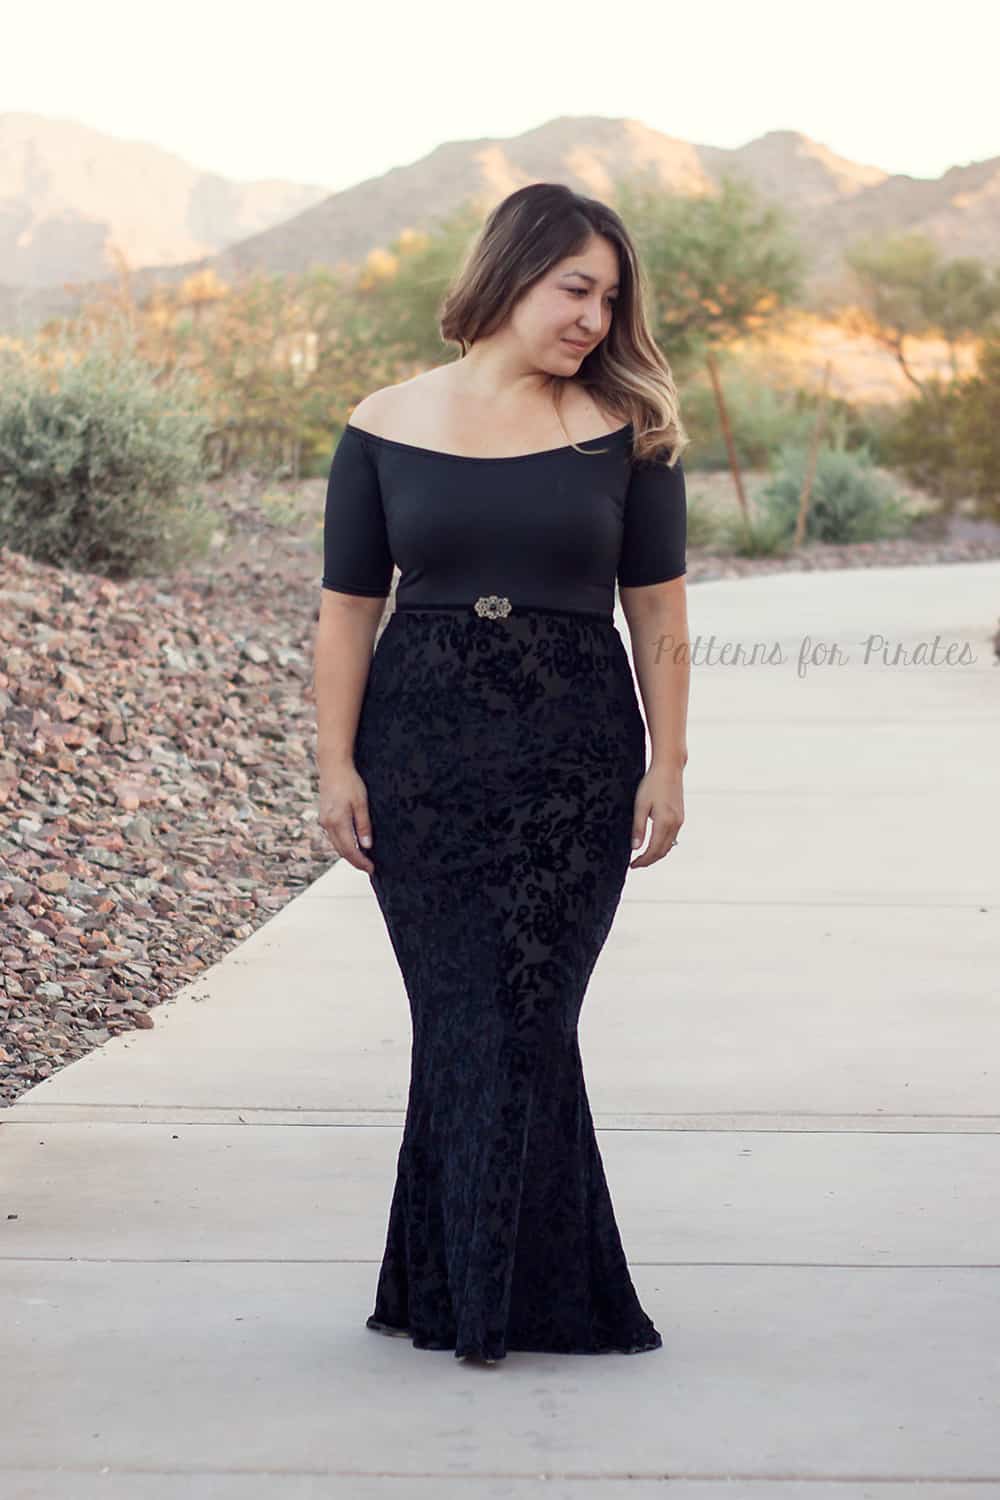
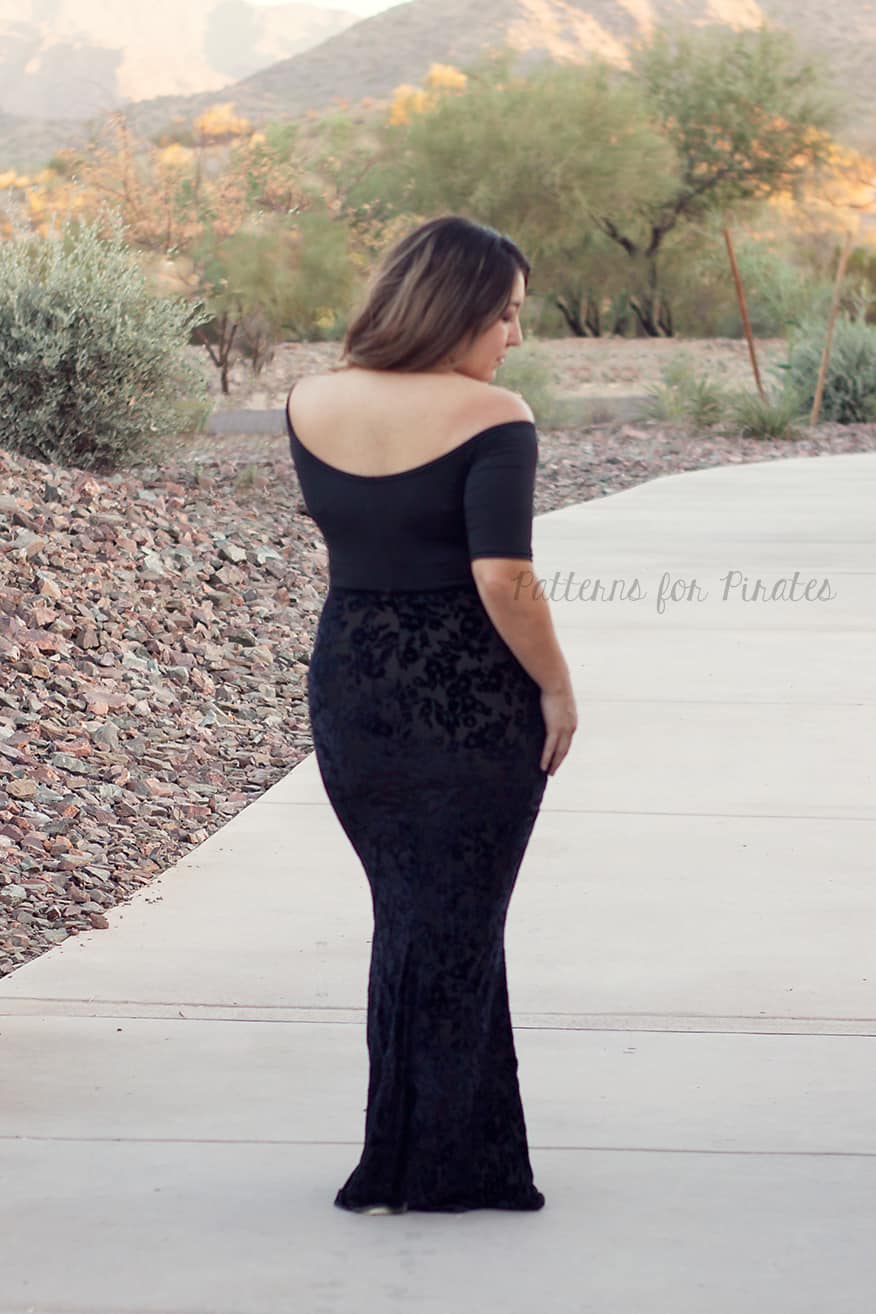
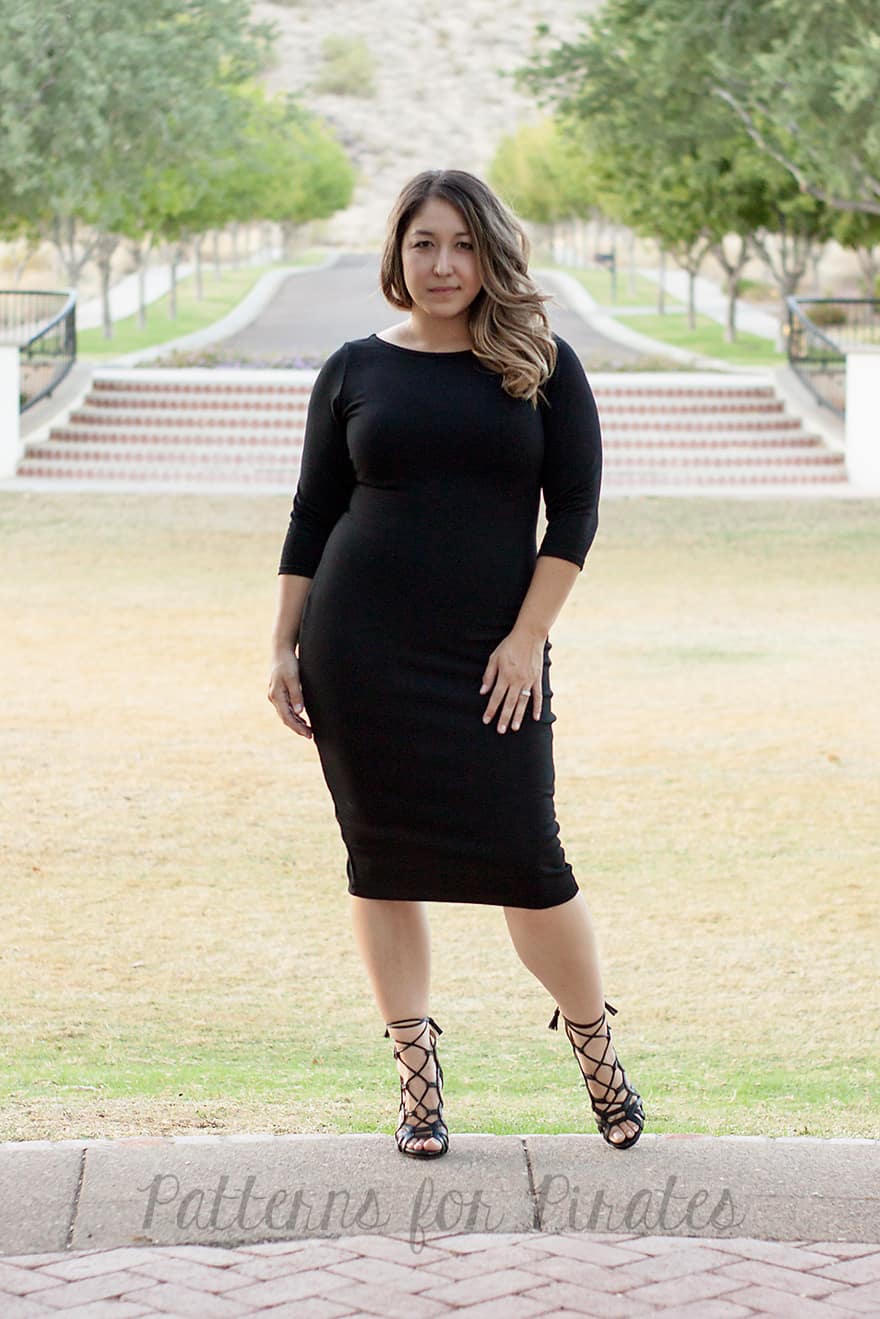
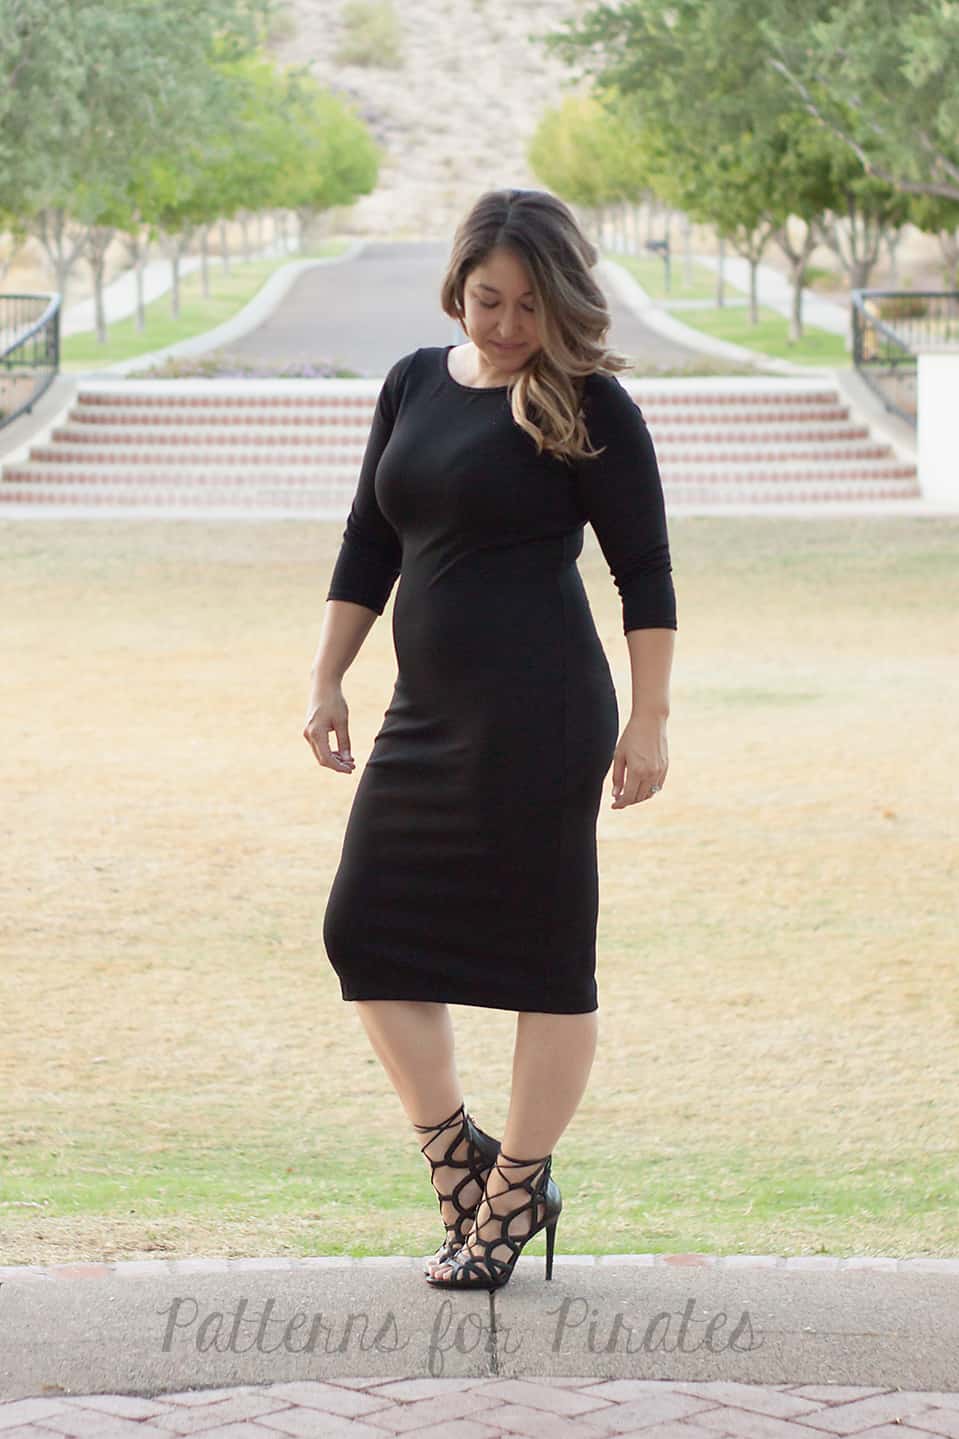
The full-length mermaid-esque dress is gorgeous, but maybe you want to pair it with a different top or choose different fabrics?  With this simple hack, you can create a gorgeous set and wear them as separates.  For the skirt, cut along the crop cutline.  Stitch the center back seam and each side seam.  Using the cropped band measurement and instructions, attach to the top edge of the skirt.  Easy peasy!

How cute is Katy in this Ariel inspired Haloween outfit!


And seriously, how amazing is this sequin skirt!!


…..

Color-Block Bodice

Keeping with the concept of separates, but perhaps you still wanted a dress. Doing a color-block bodice gives you a chance to mix up your fabrics. Since there is already a crop cutline on the pattern pieces that hits at the natural waist, we will be using that as a guideline. Re-trace the crop cutline 1/2″ above and below it to create your seam allowance on both the front and back pattern pieces.  Cut your new top bodice and bottom skirt from both front and back.  For the back, you will have 2 back top bodices (mirror image) and 2 back bottom skirt (mirror image) pieces.  For assembly, with right sides together, stitch with a 1/2″ seam allowance the front bodice to the front skirt. Repeat for both back bodice and skirt pieces.  Continue construction as provided int he pattern. 🙂


…..

Decorative Button Back

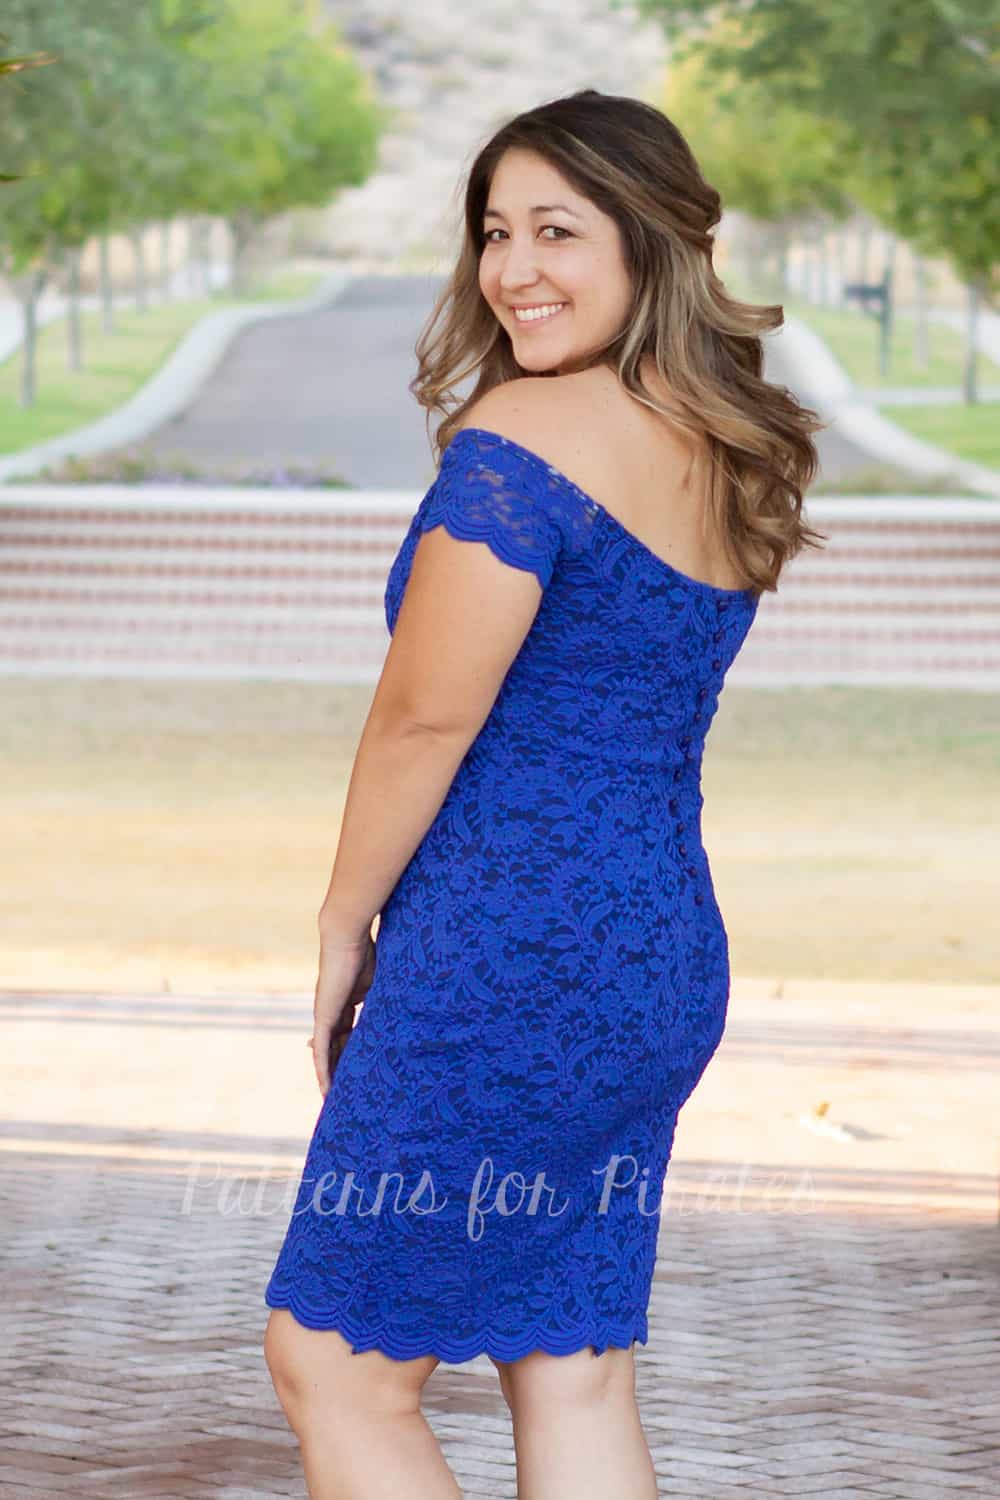
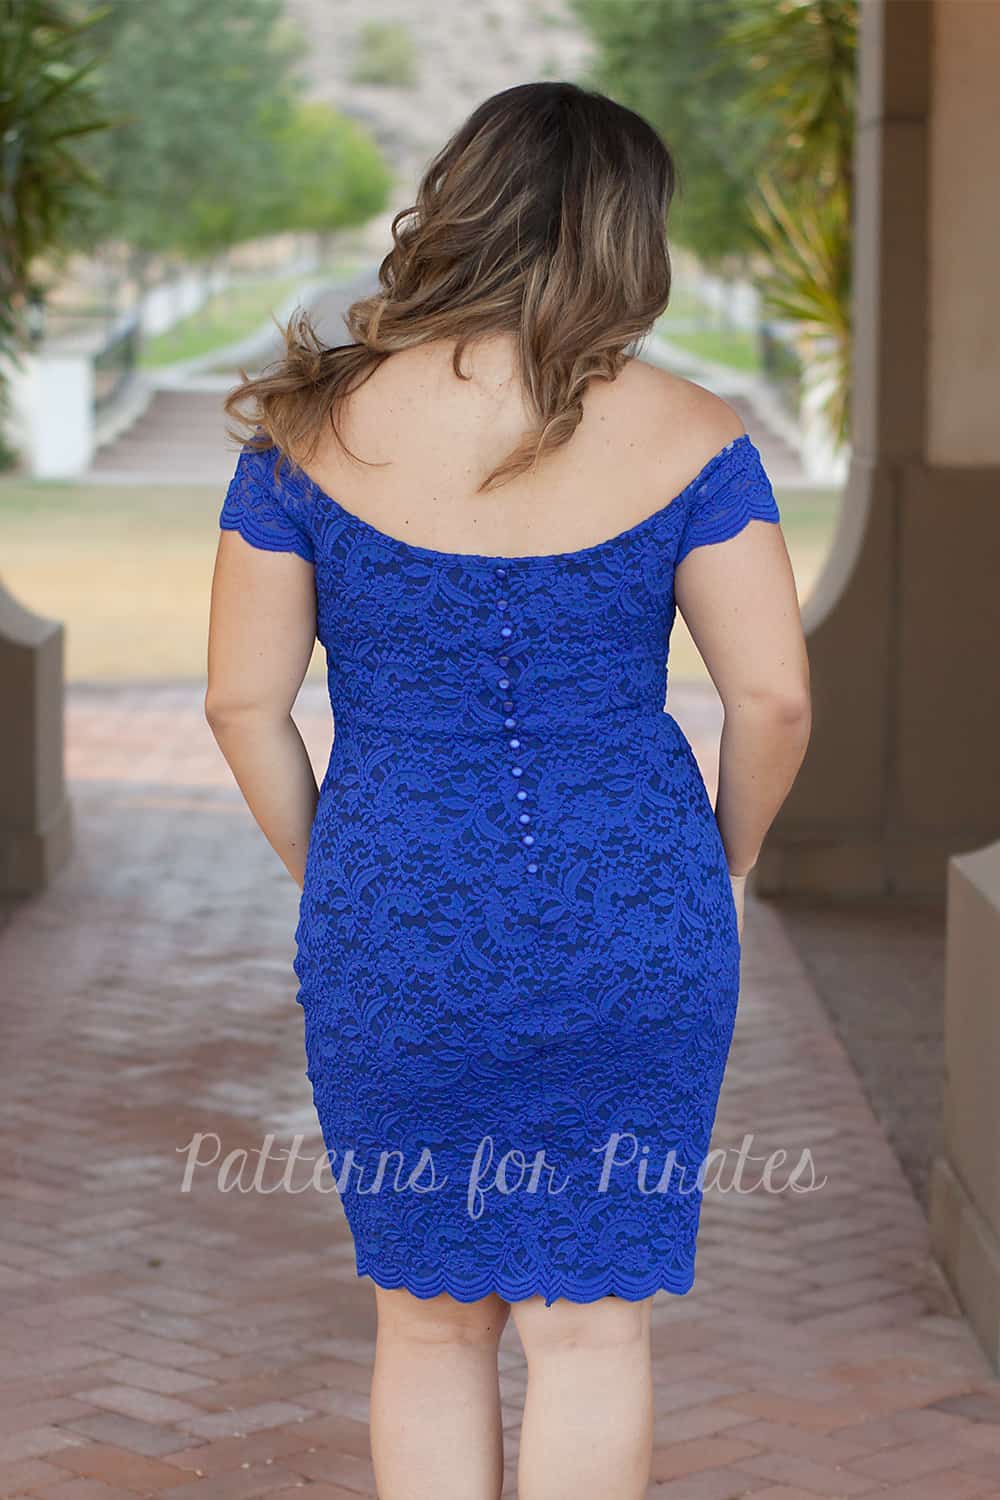
Adding embellishments to your dress can give it some extra special details that will set it apart from the next.  Since the pattern is drafted for stable knits, you do not need a zipper or functional buttons to put it on, so these buttons are purely for decorative reasons.  I love the finishing touch it gives the back. Using the center back seam as a guideline, I hand stitched pearl buttons every 1/2″.  I used the zipper lengths as mentioned in the tutorial as a guide where to end my button placement.  For this version, I used a total of 13 buttons. ”


…..

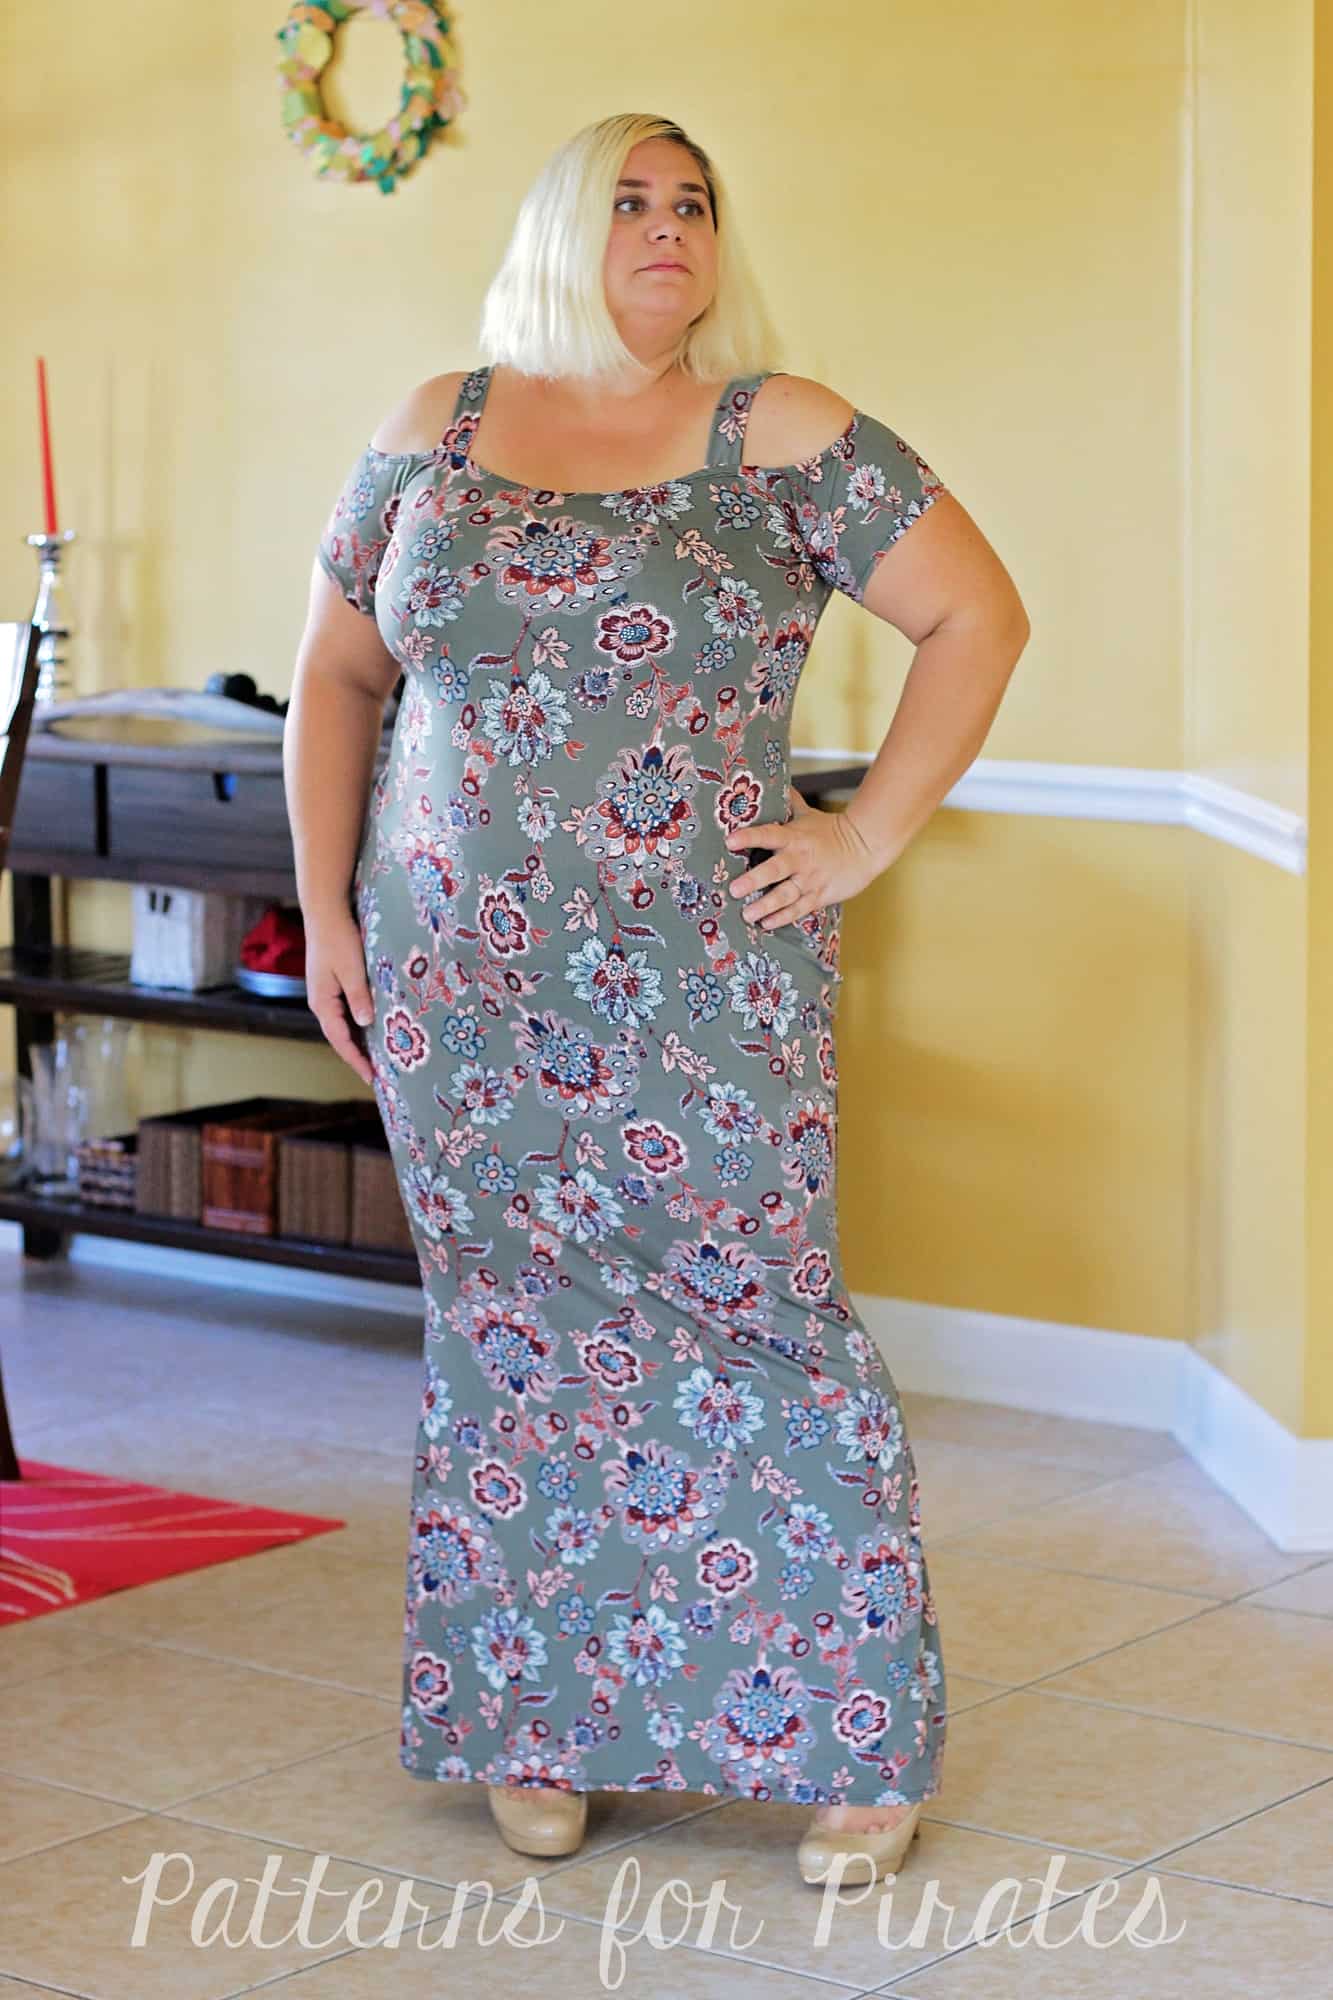
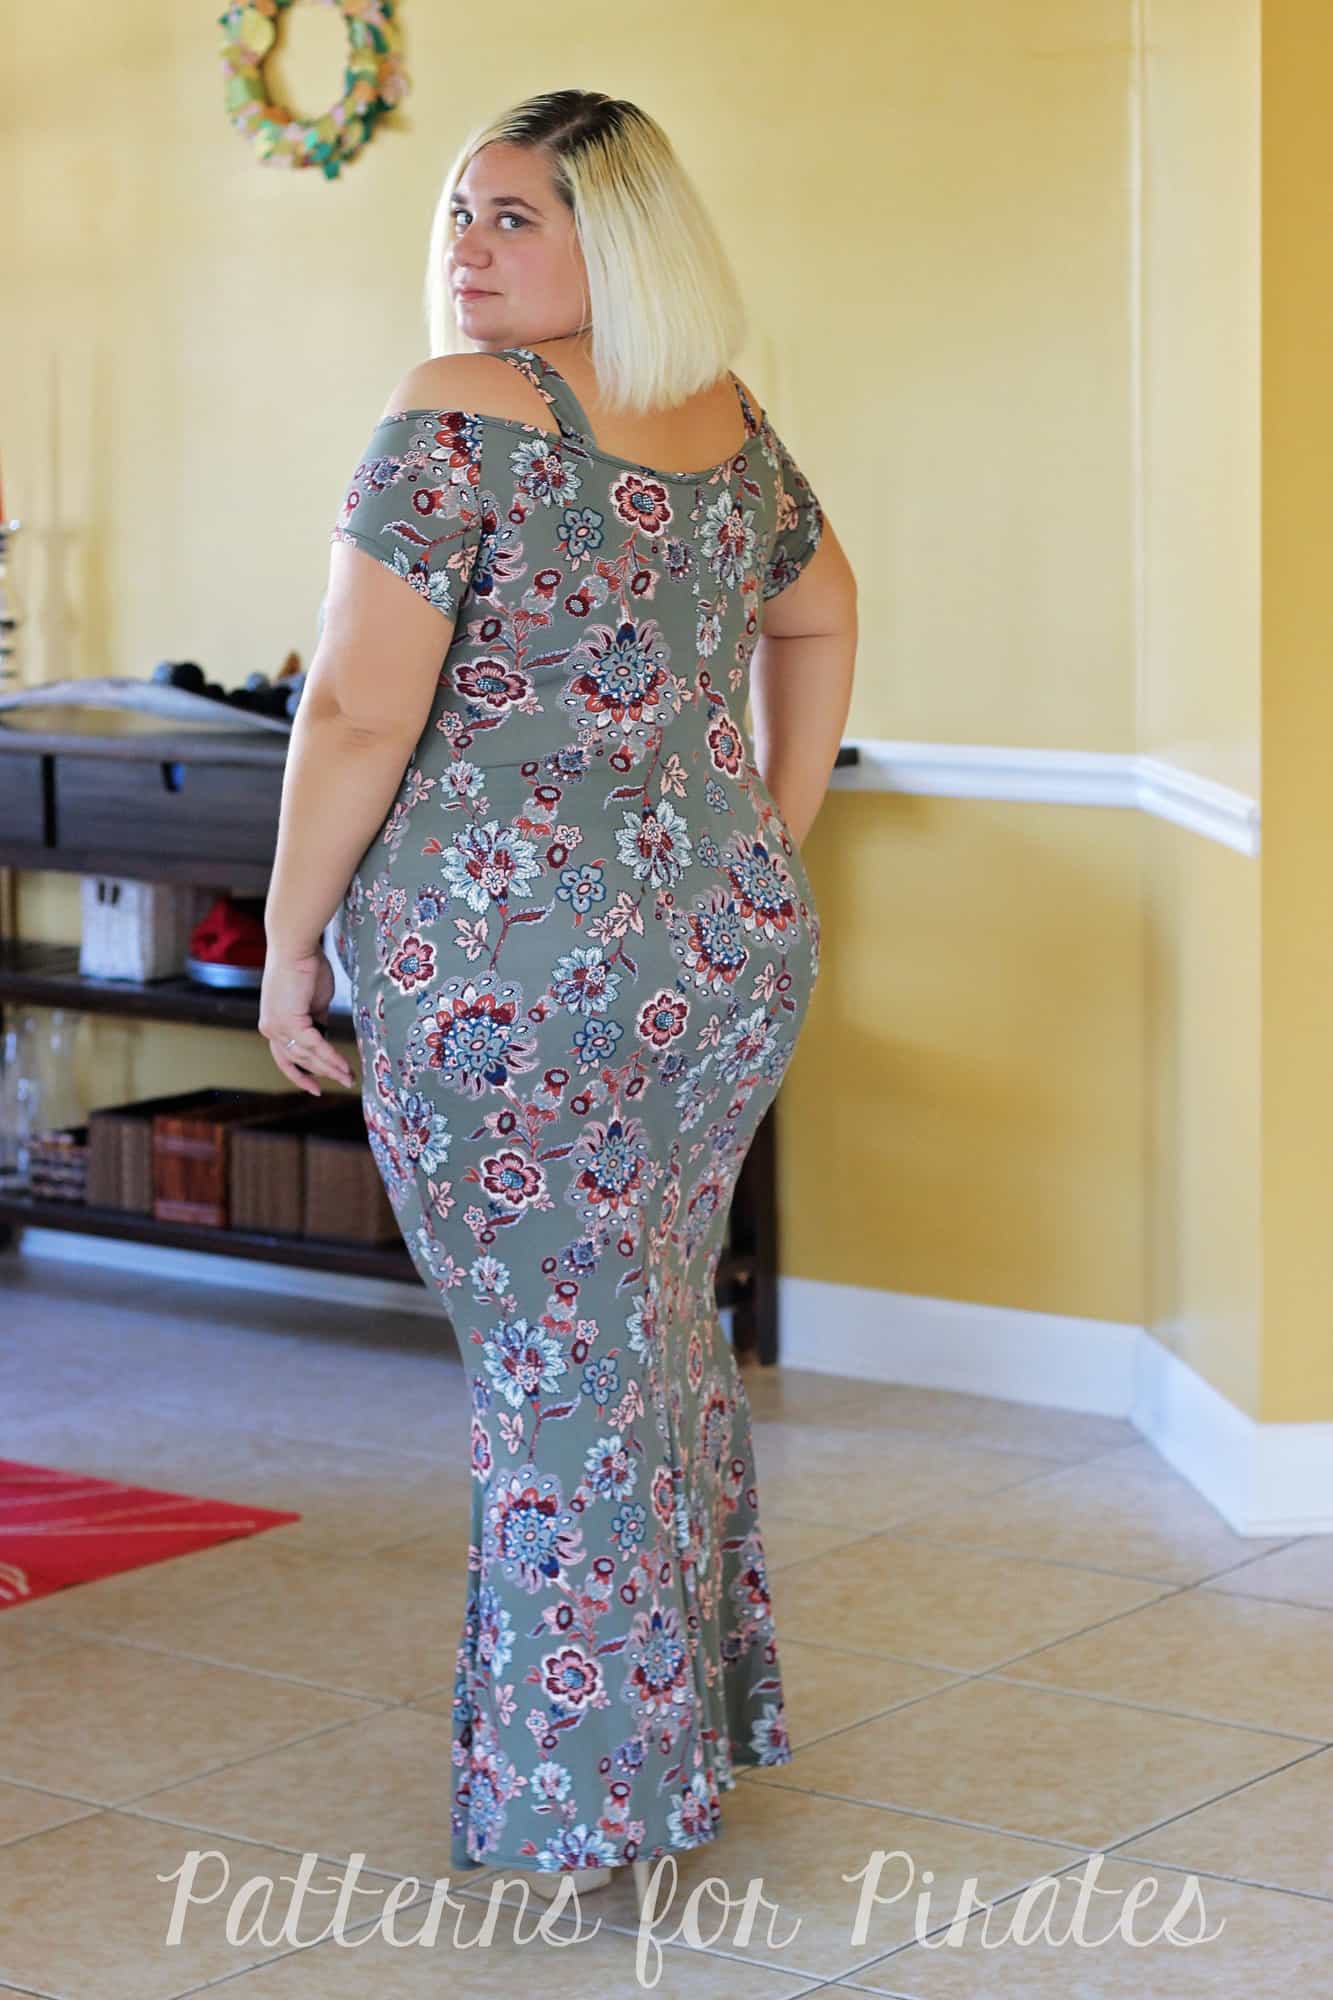
Straps for off the shoulder

Love the off the shoulder but hate wearing strapless bras? No problem! Let’s add some cute straps to the Wiggle off the shoulder dress that will cover your bra straps. Print the off the shoulder option of the pattern and sew it up as per the pattern tutorial. Stop at the neckline finishing steps. Cut two pieces of fabric 4″x 9.5″. These will be your straps. The length of your straps may vary slightly based on the size you make.

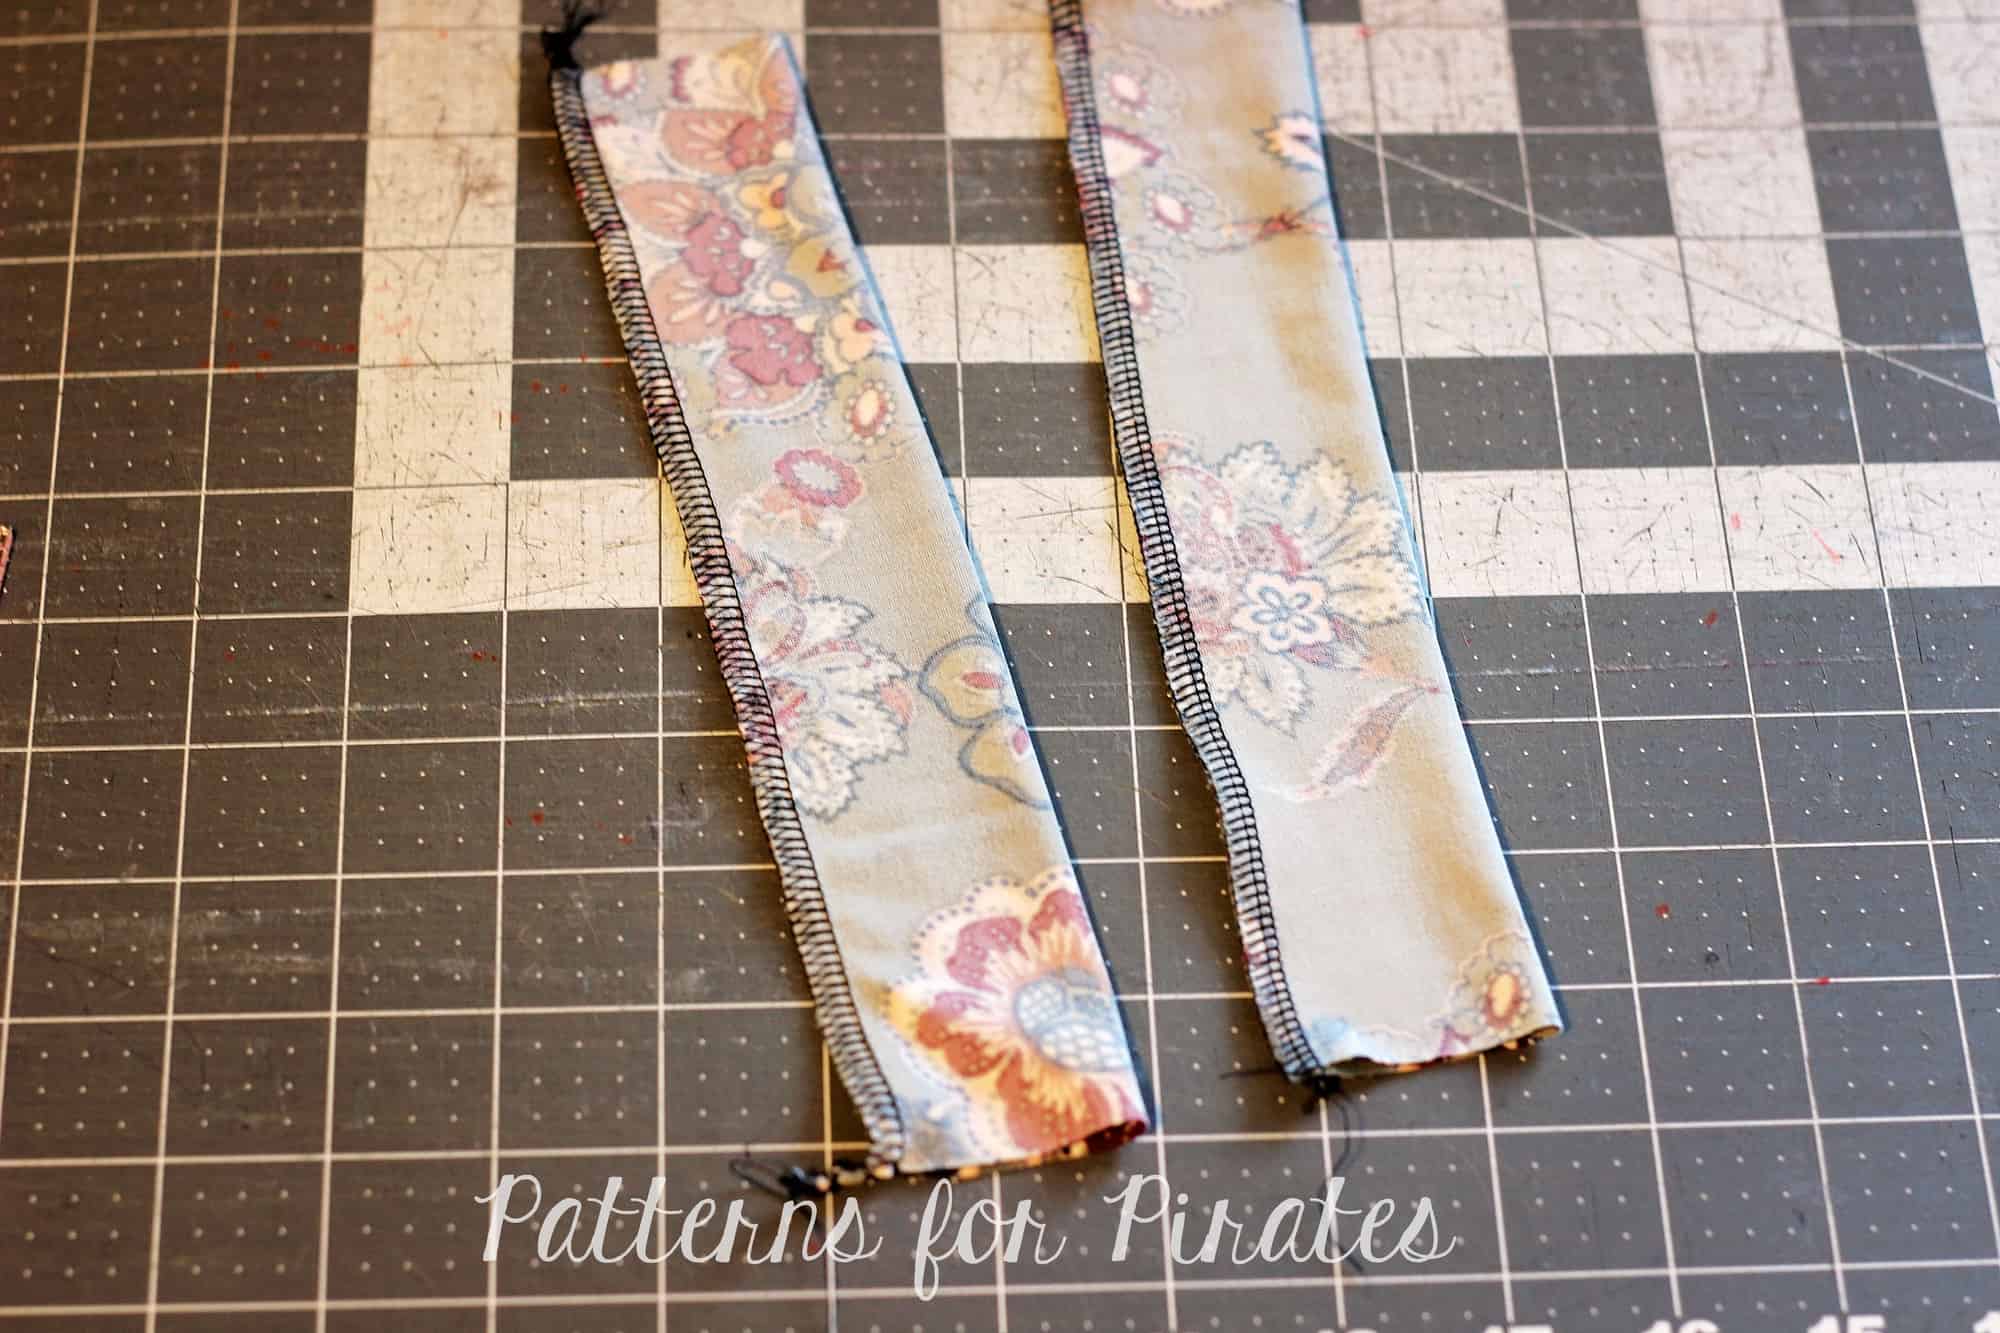
Fold the straps lengthwise and sew them side with a 1/2″ seam allowance.

Turn the straps inside out and press them with the seam in the center.

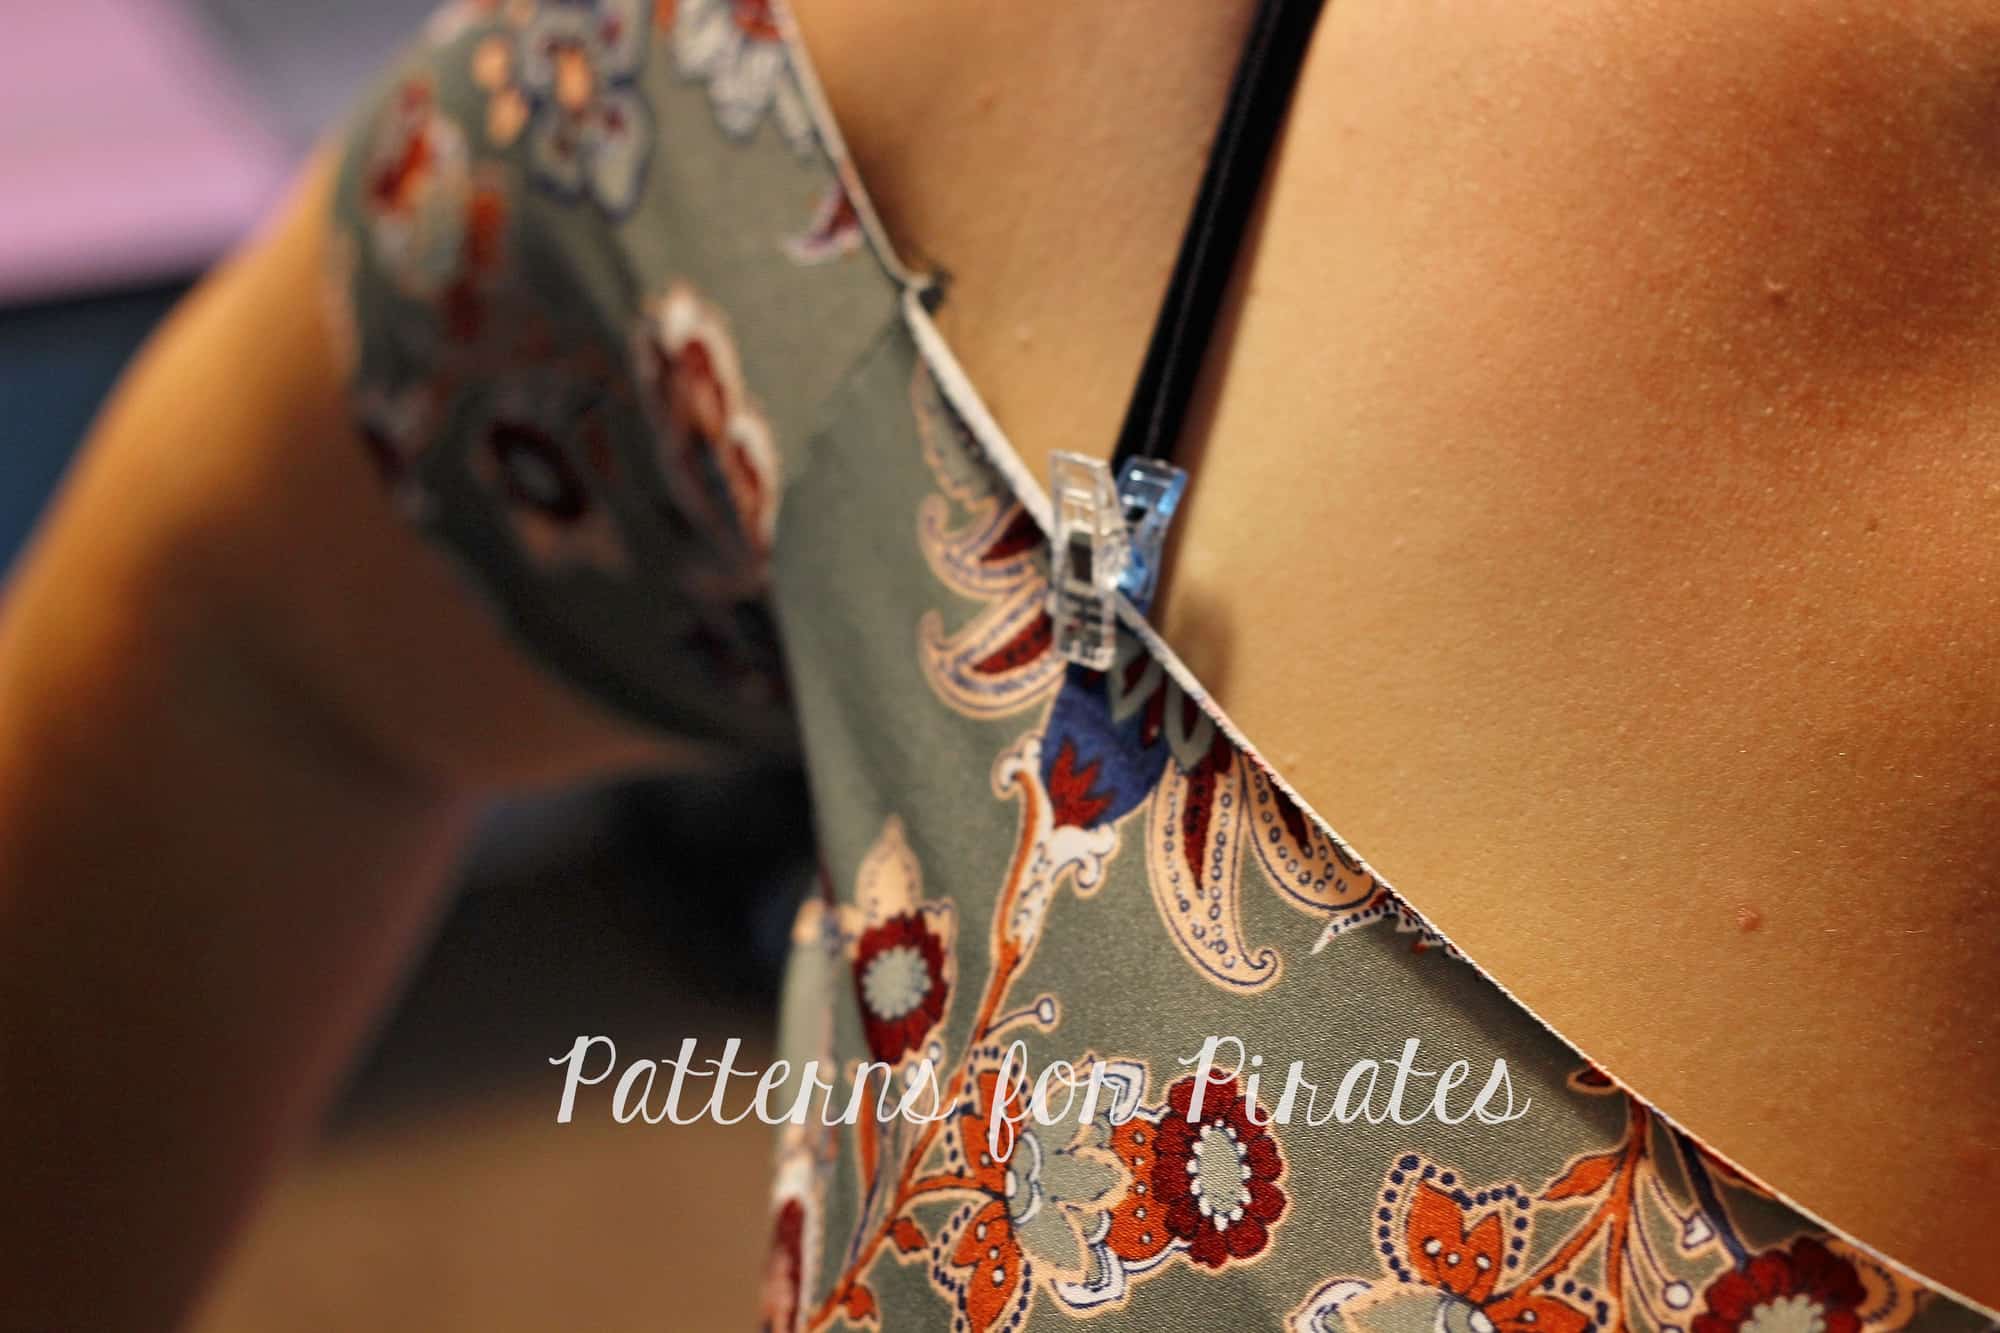
For perfect straps placement, try the dress on with your favorite bra. Mark with a pin or a clip where the bra straps will be.

Sew the straps to the dress with the right sides together. Finish the neckline as per the pattern tutorial.

That’s all! You now have yet a new style of the new Wiggle dress!


…..

Sleeveless

The Wiggle Dress is already packed with soo many options and great for every season but I don’t know about anyone else but summer here is HOT!! I can not handle any type of sleeves at all so a sleeveless version of the Wiggle dress would be what I would want for summer and lucky for me it is a really quick and easy hack.  Let’s get started.

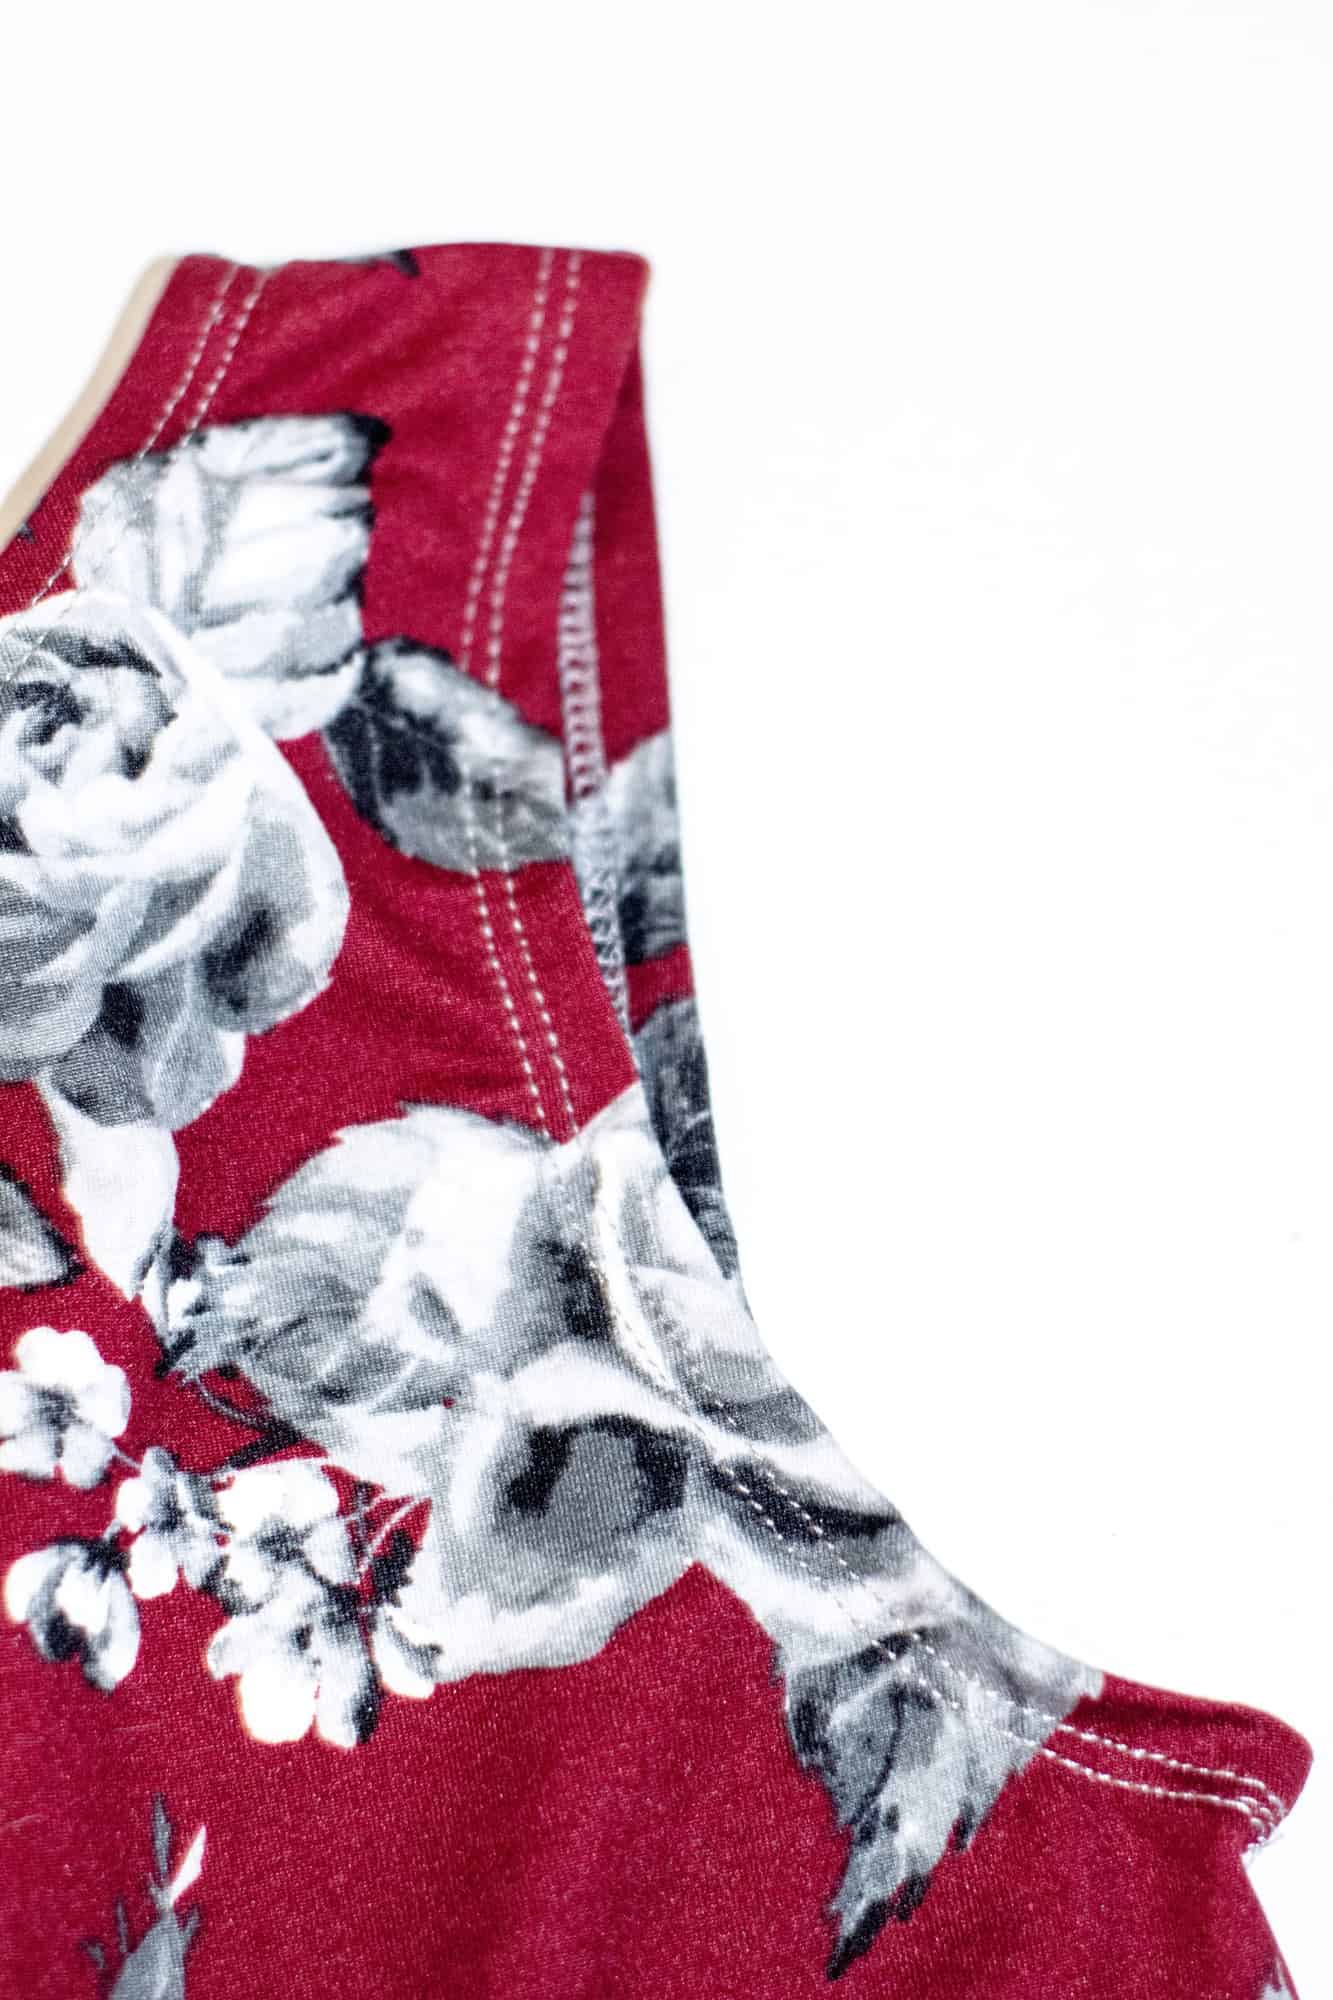
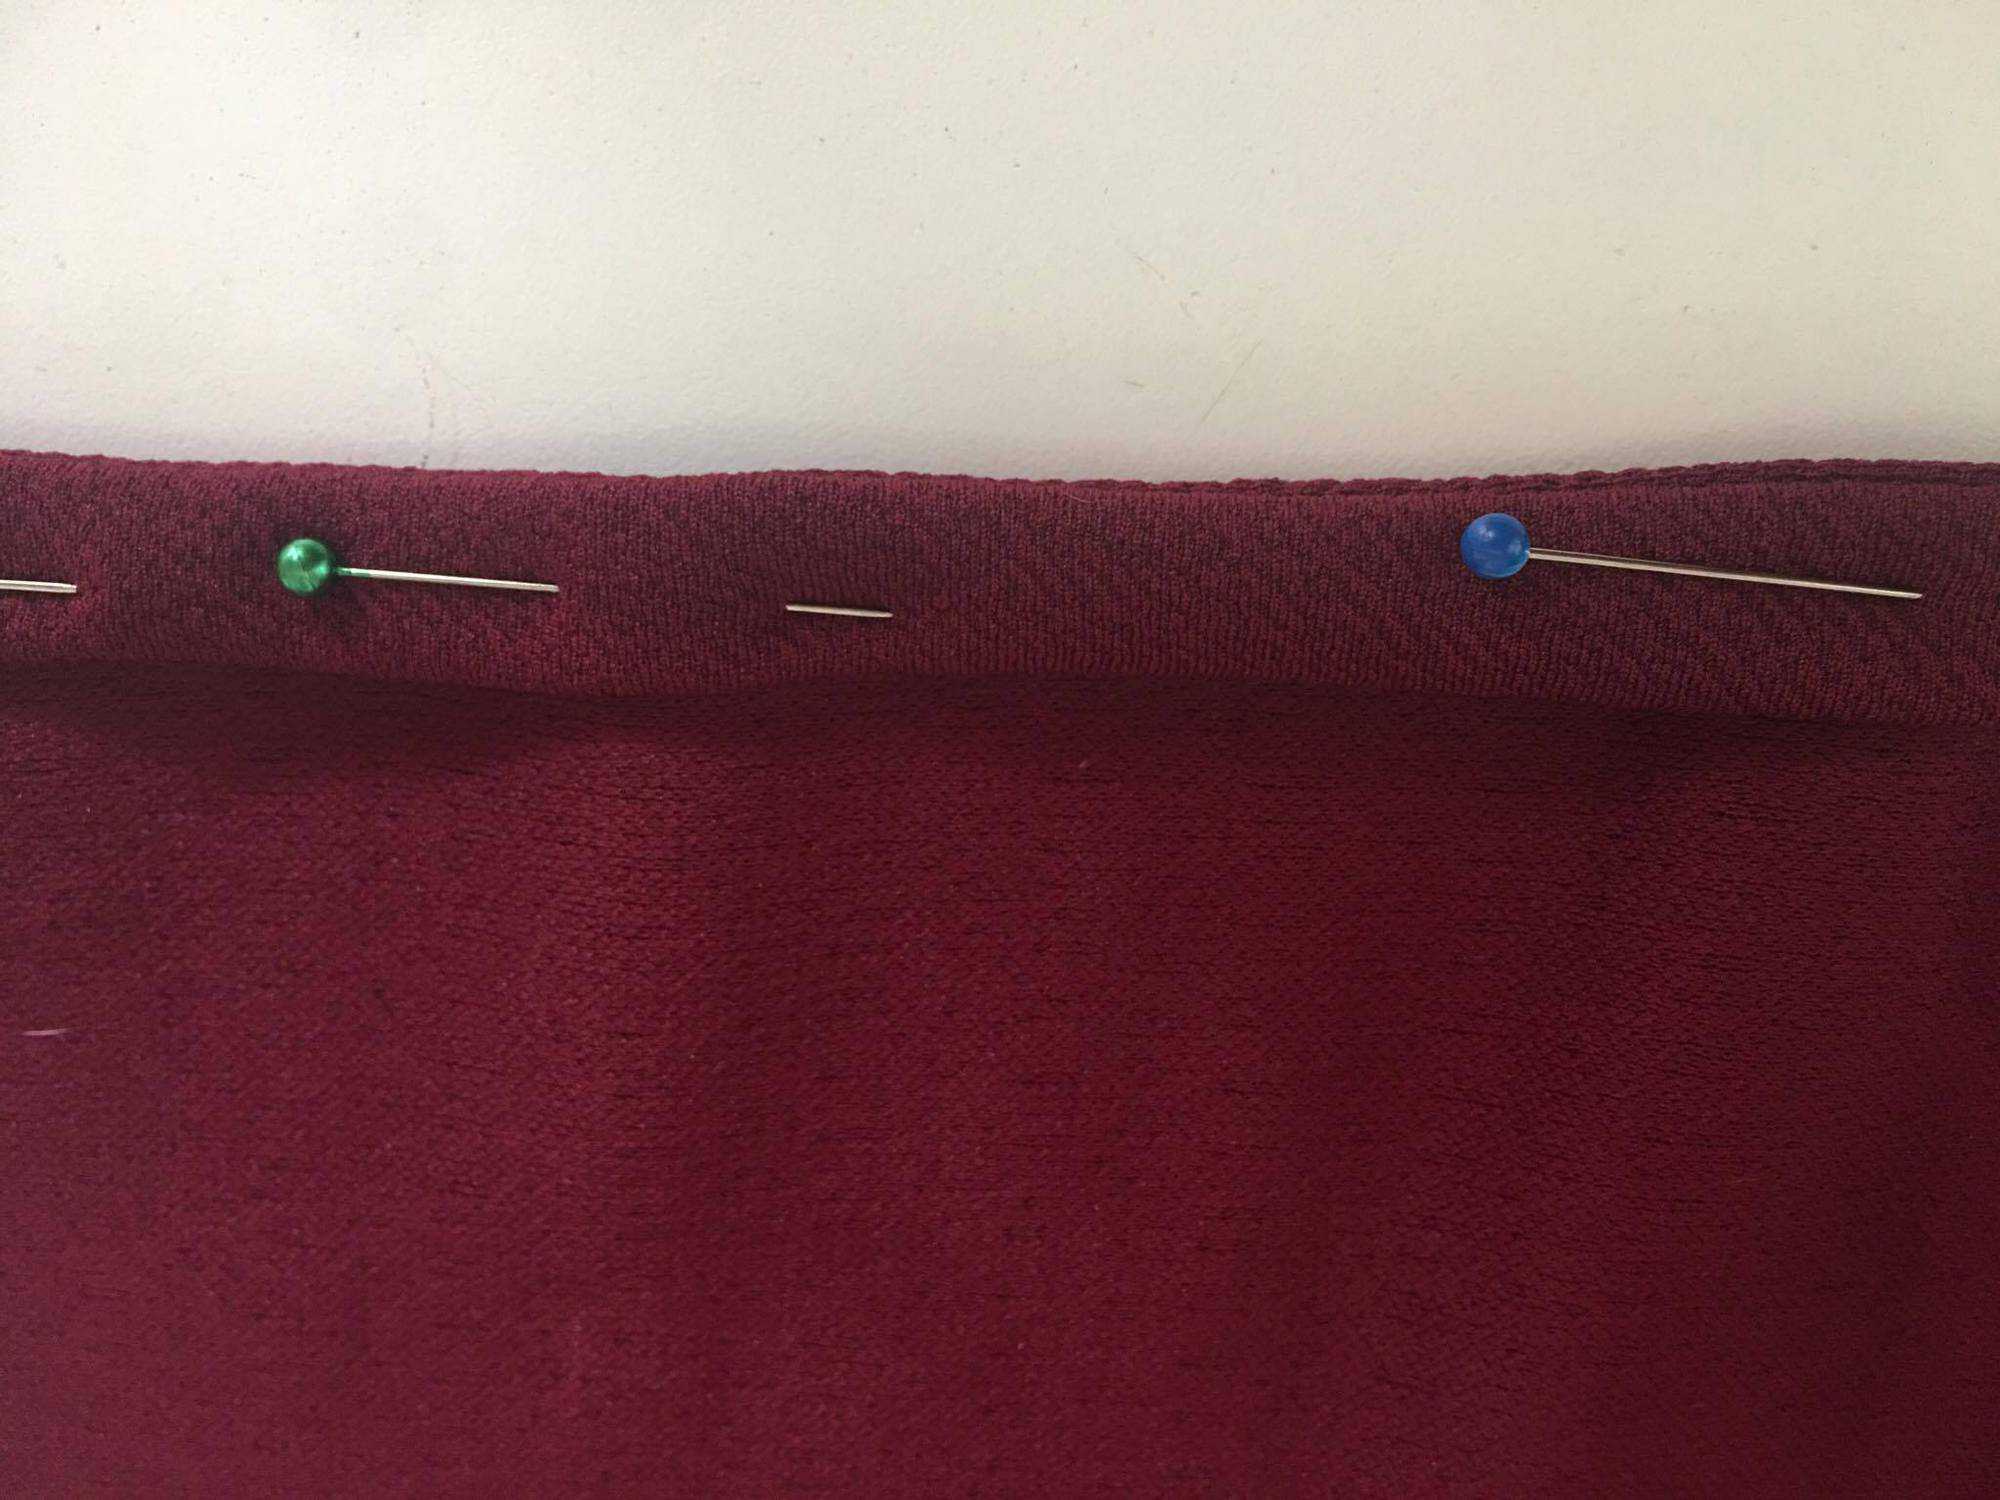
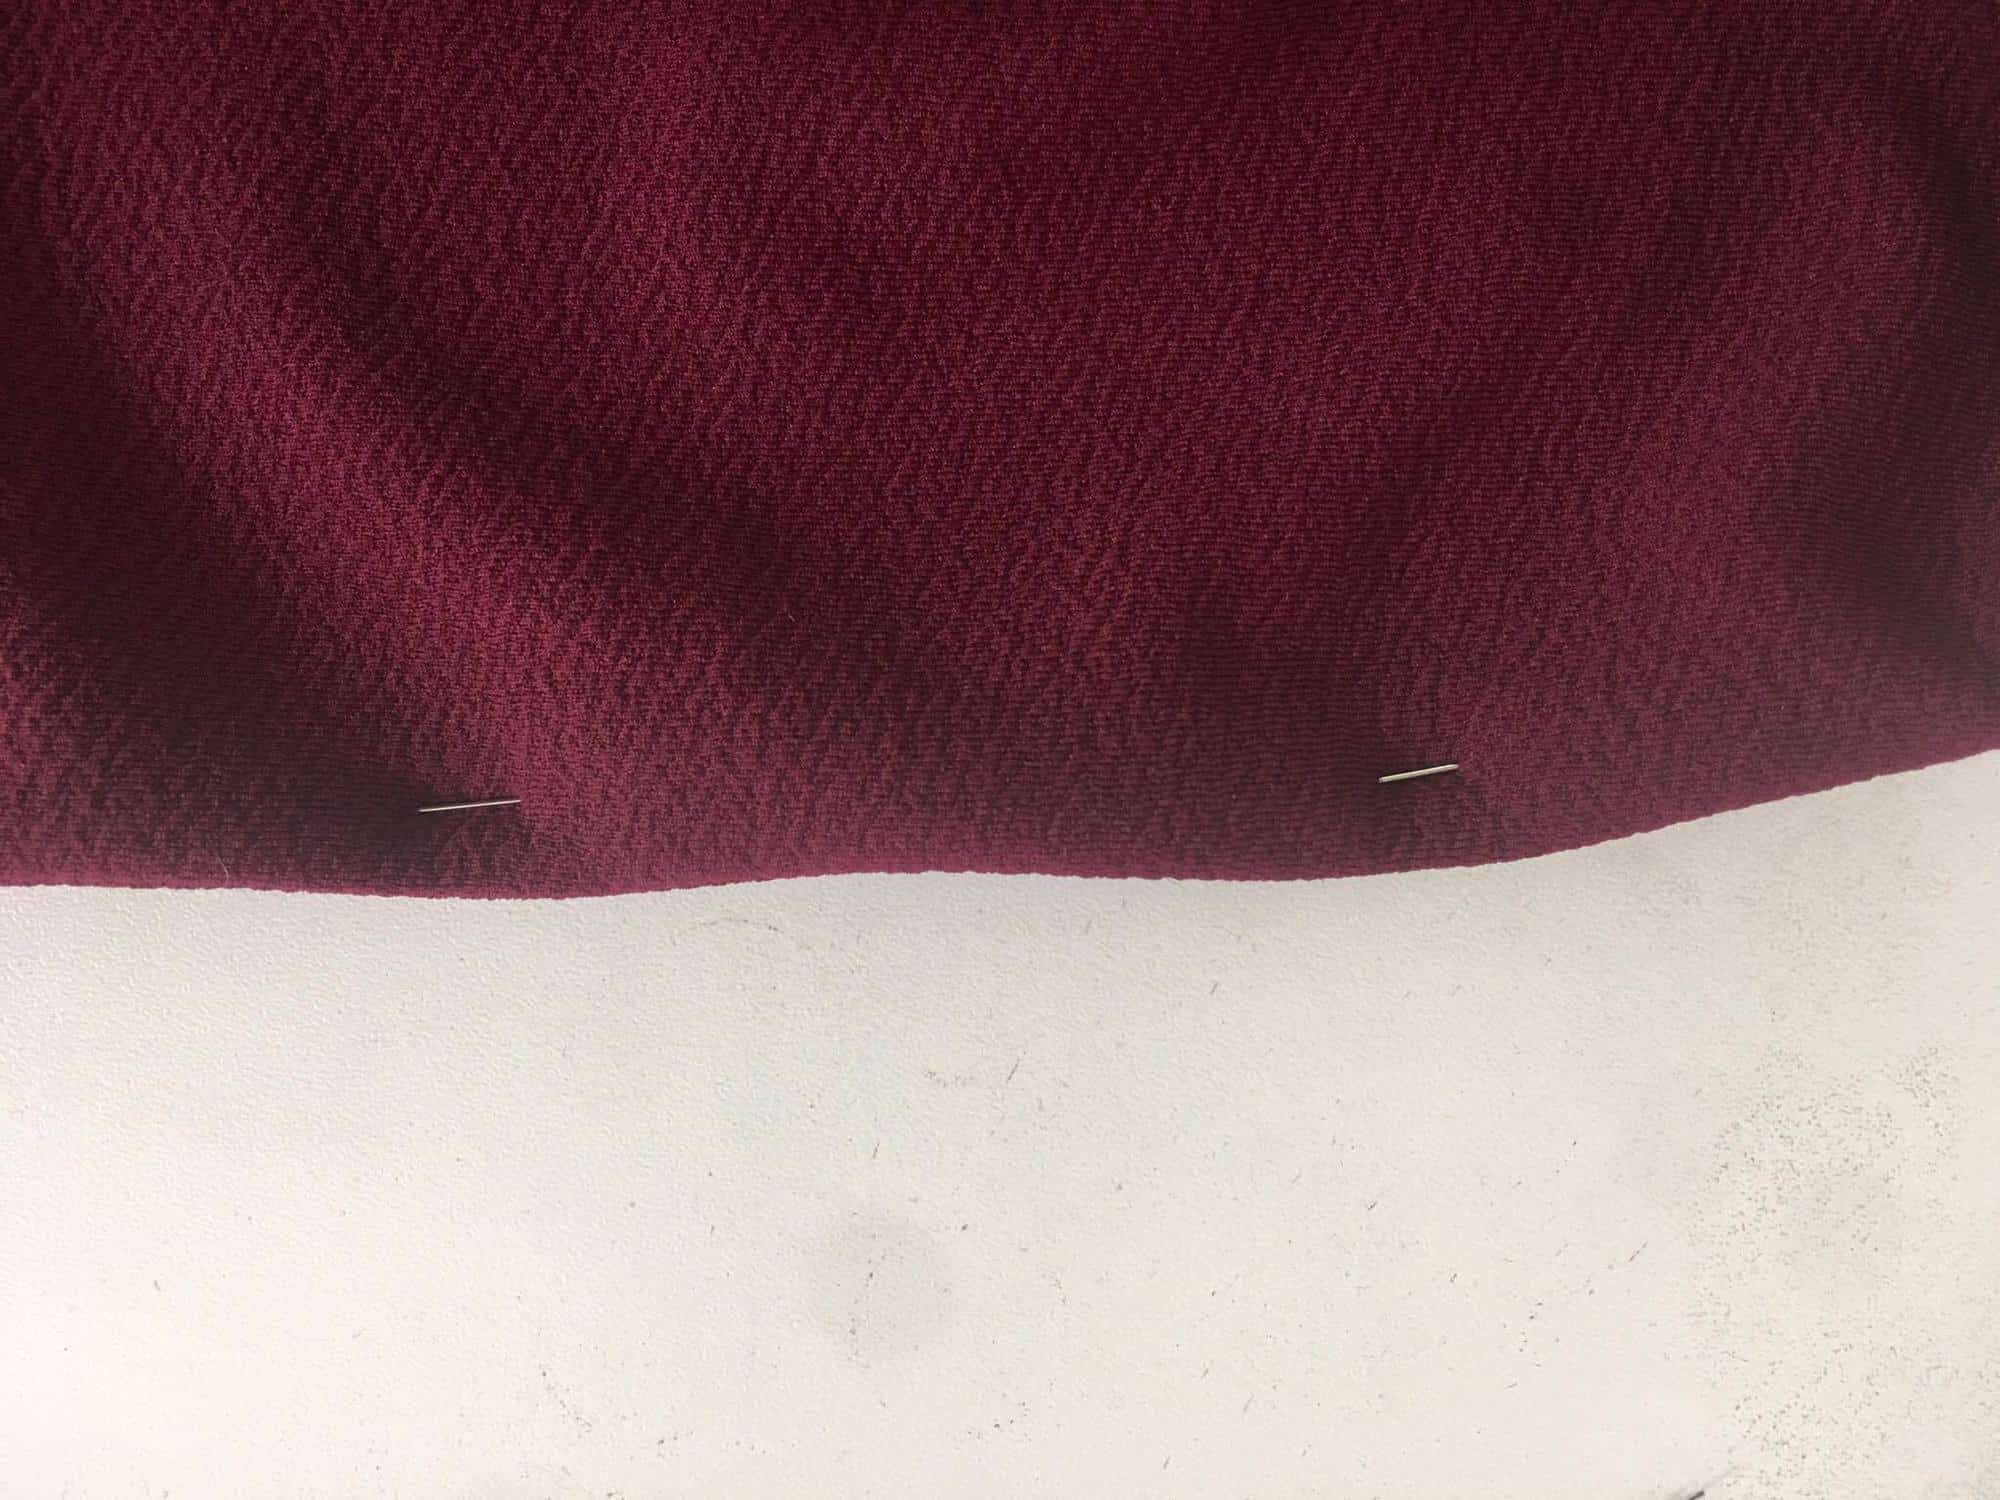
First, you are going to cut all your pieces except for your sleeves.  You do not need to modify the armscye at all for this hack so just cut your front and back as usual.  Sew the shoulder seams and side seams as directed in the pattern, but skip the section for adding a sleeve.   Next, you will iron and pin your armscye to the wrong side 1/2″ inch as shown below. Topstitch using your favorite stretch stitch.


Now just finish up the dress or top as instructed in the pattern and you’re done. Quick, right!?


…..

Full Zipper Back

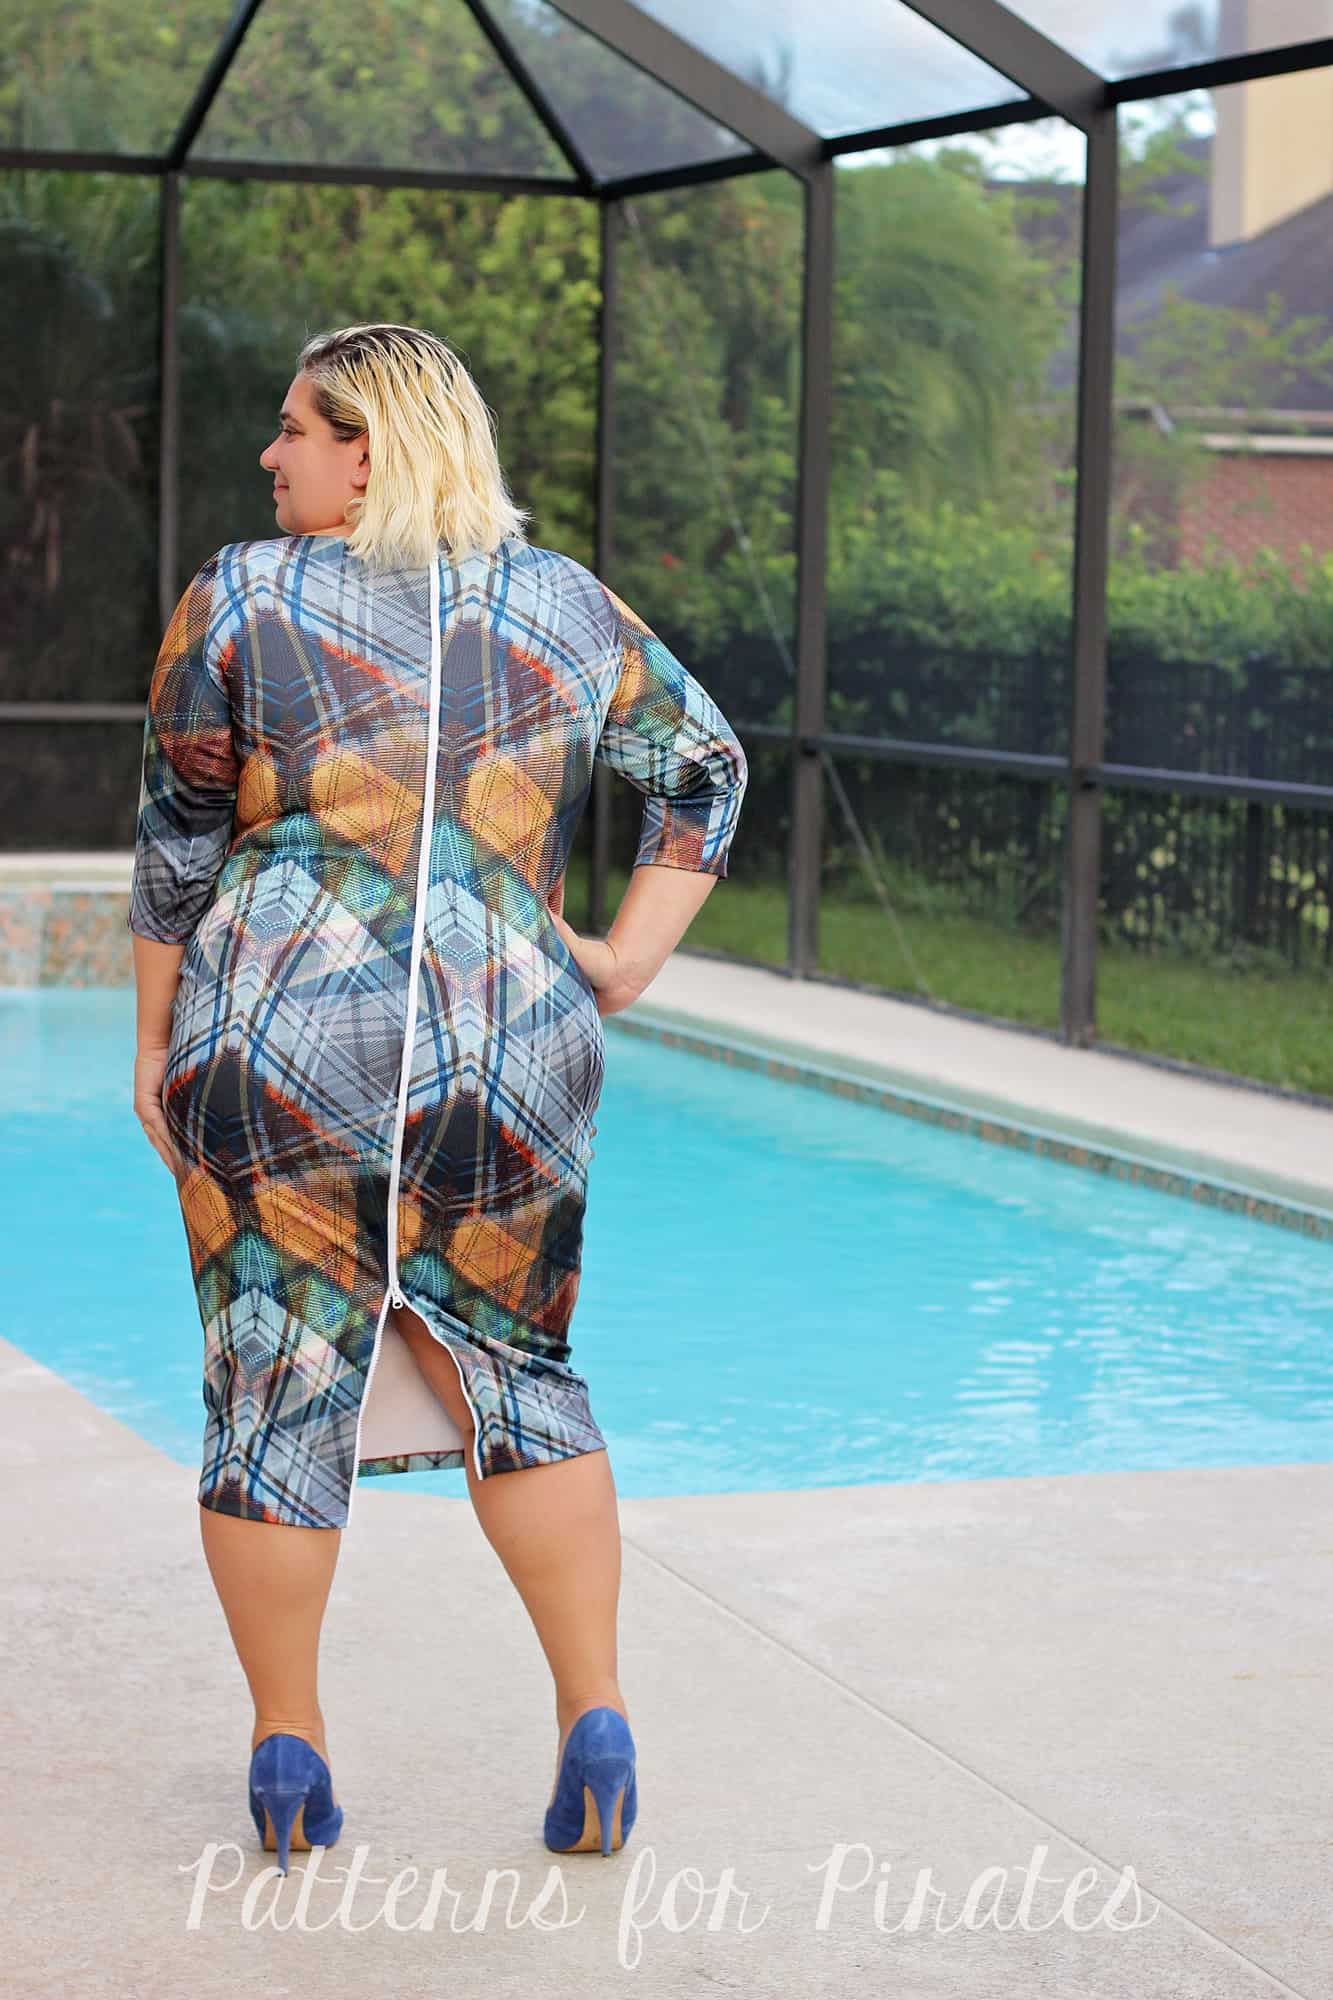
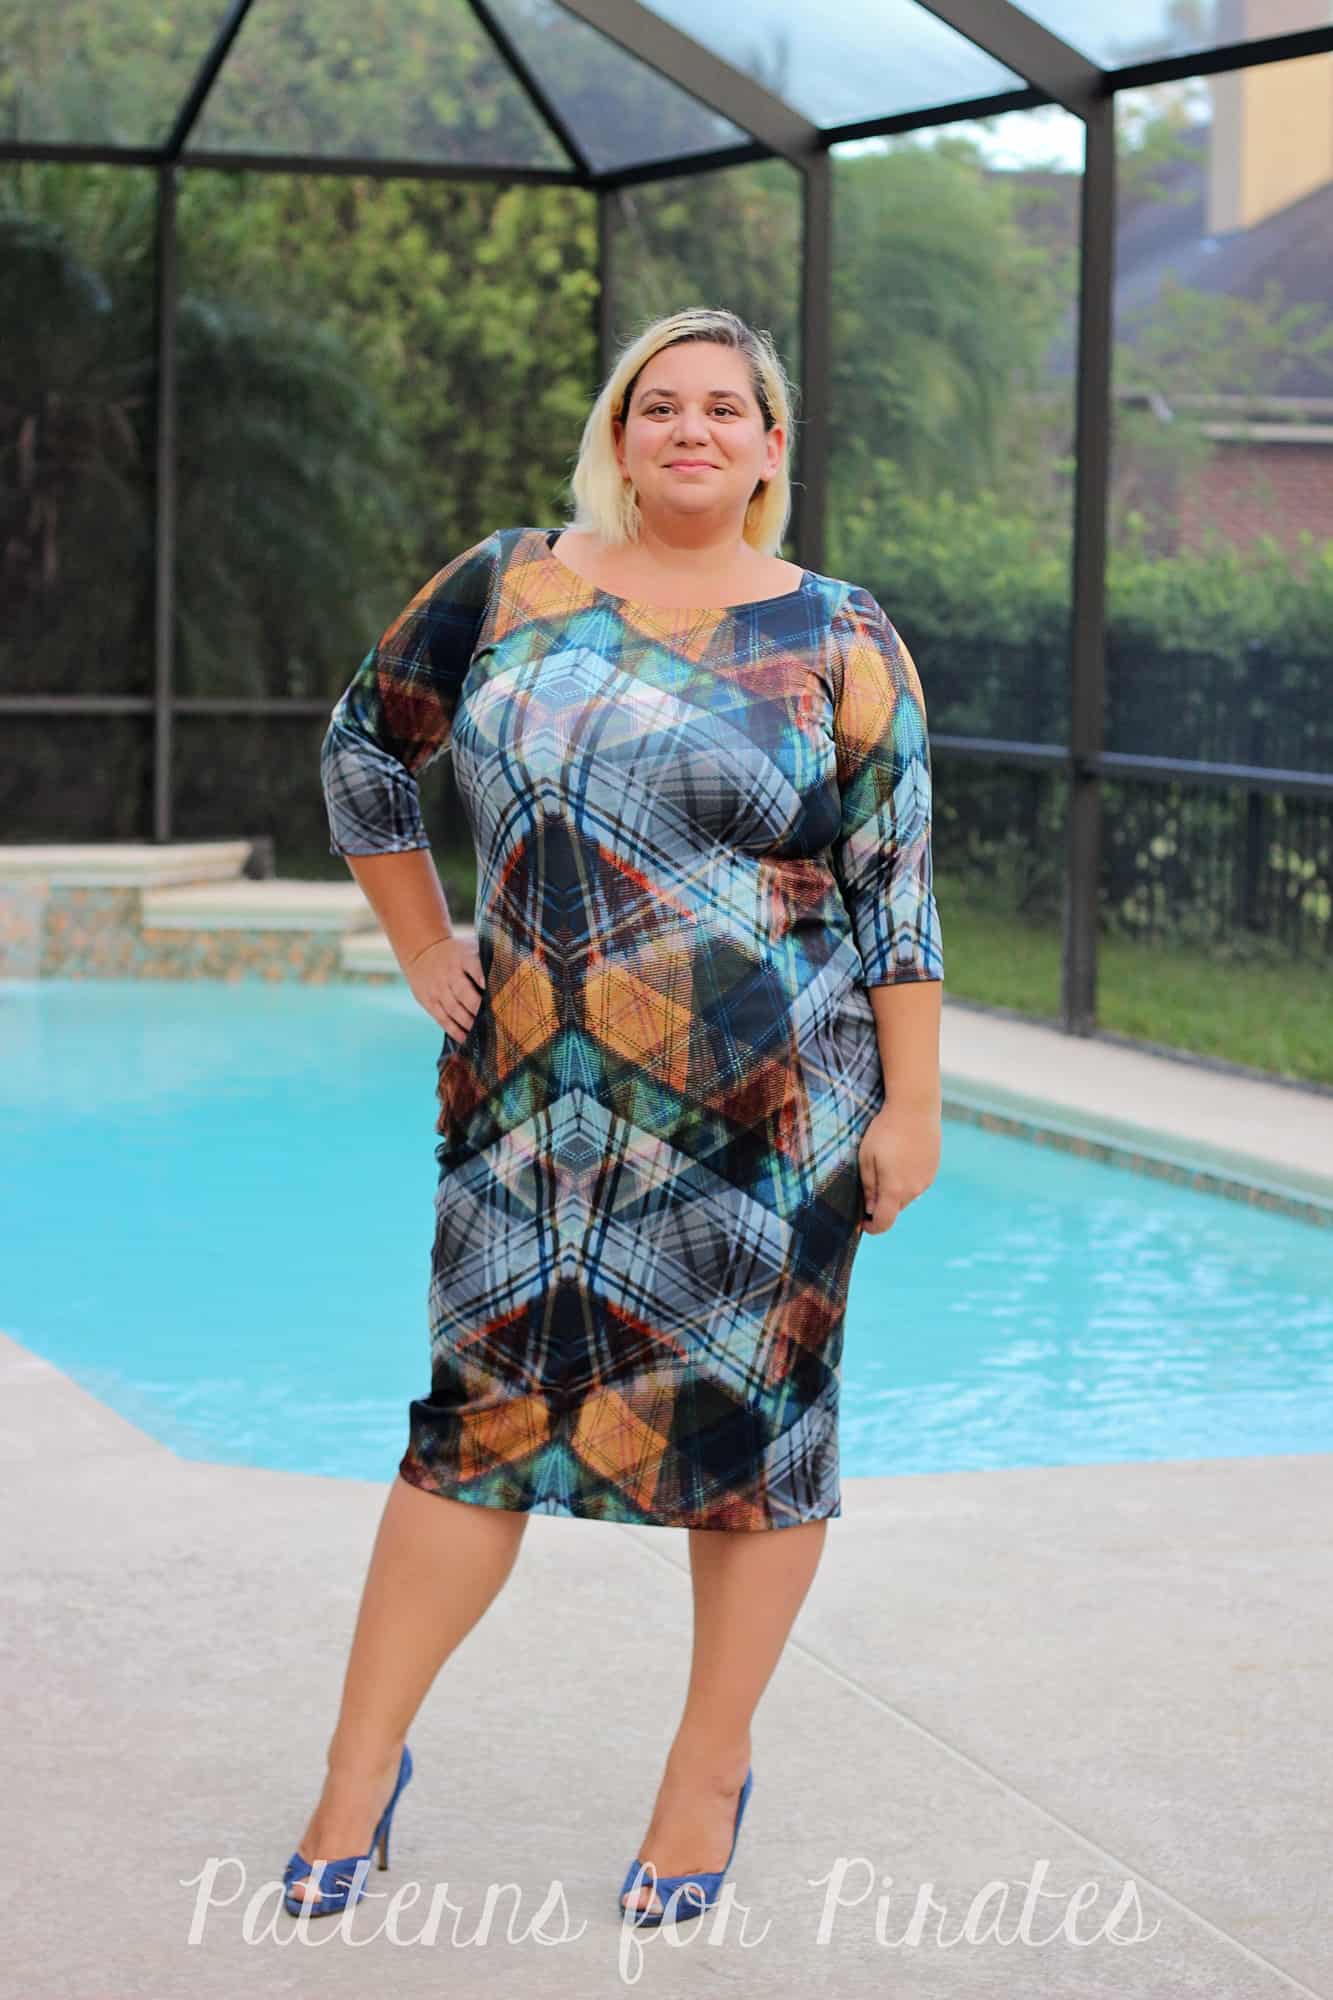
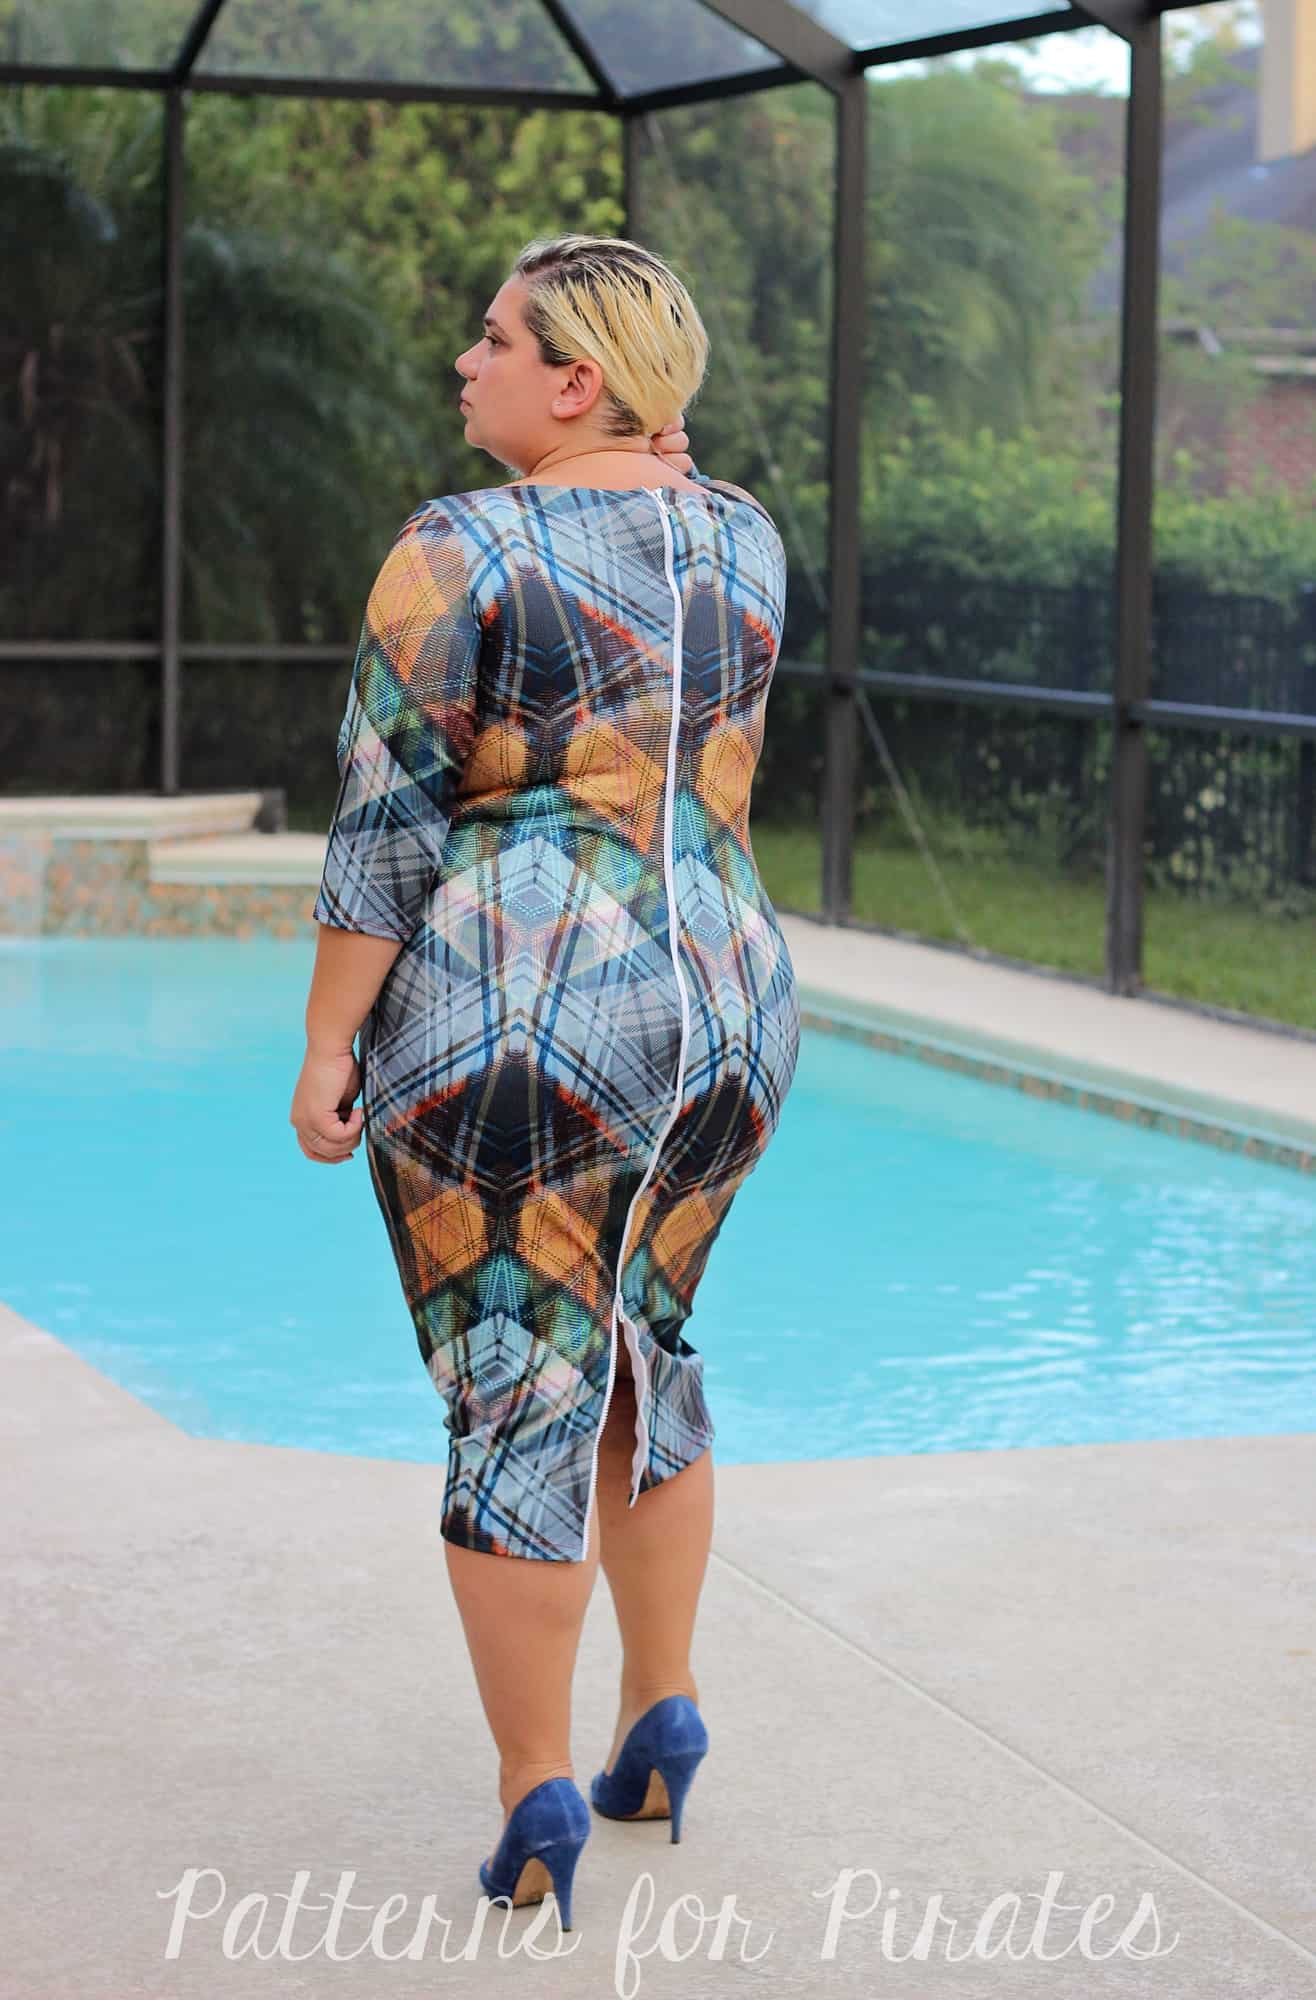
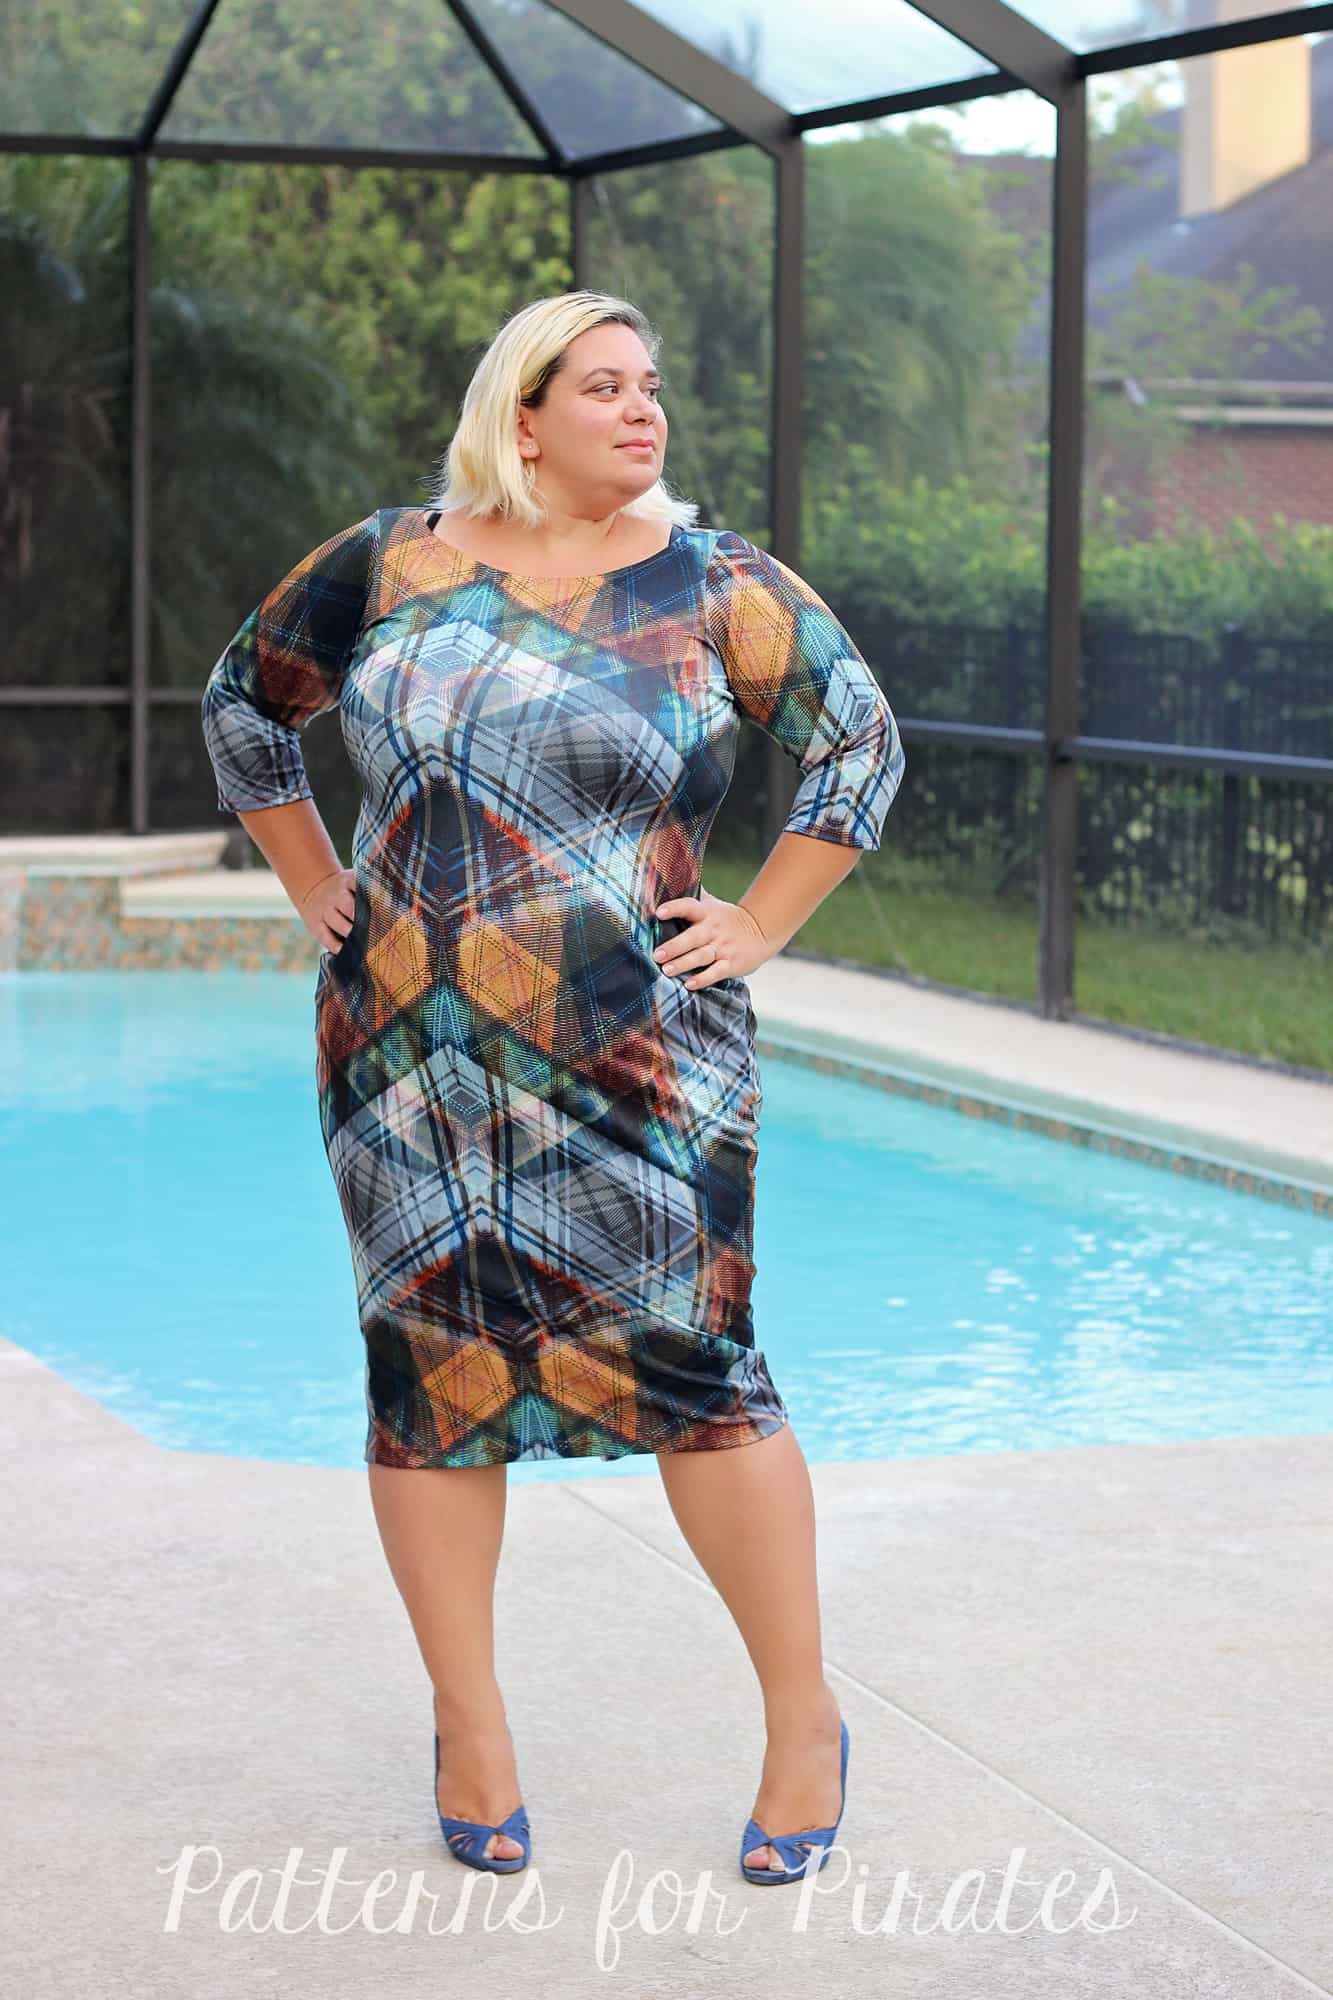
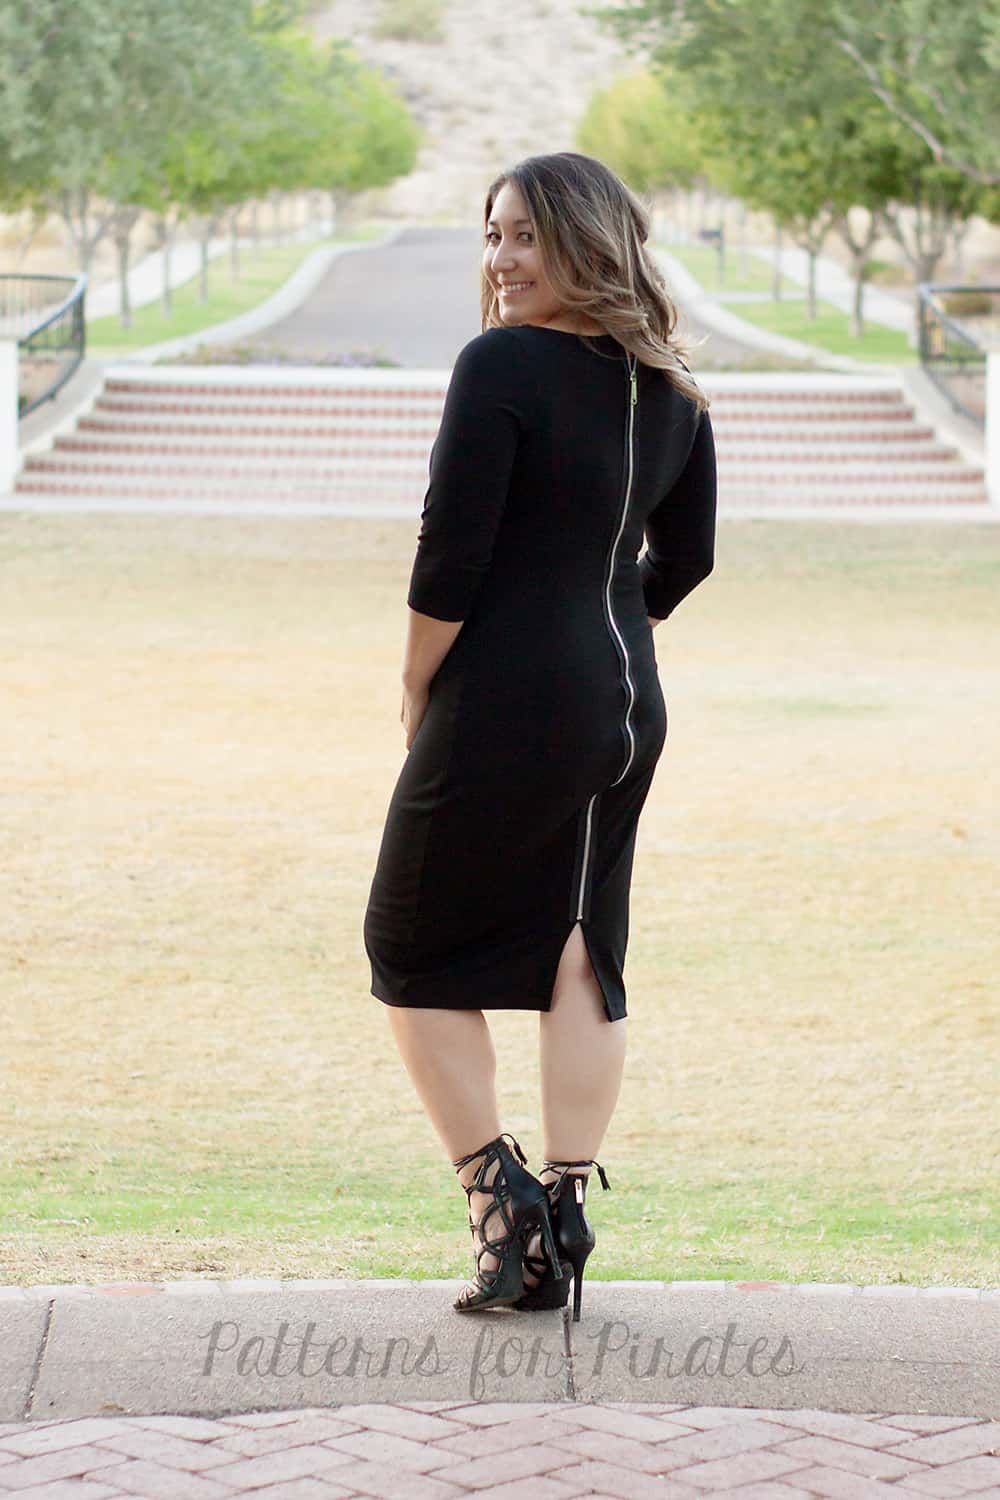
As soon as I saw the Wiggle dress I knew I had to make a full zipper back! So I took it up a notch and bought a dual zipper. This style zipper opens at the top and bottom. You can add this zipper to the high back, low back or even the off the shoulder option as well as the above, bellow or midi length. Just make sure the zipper you use is long enough! As a point of reference, I used a 48″ zipper for the high back, midi length style.

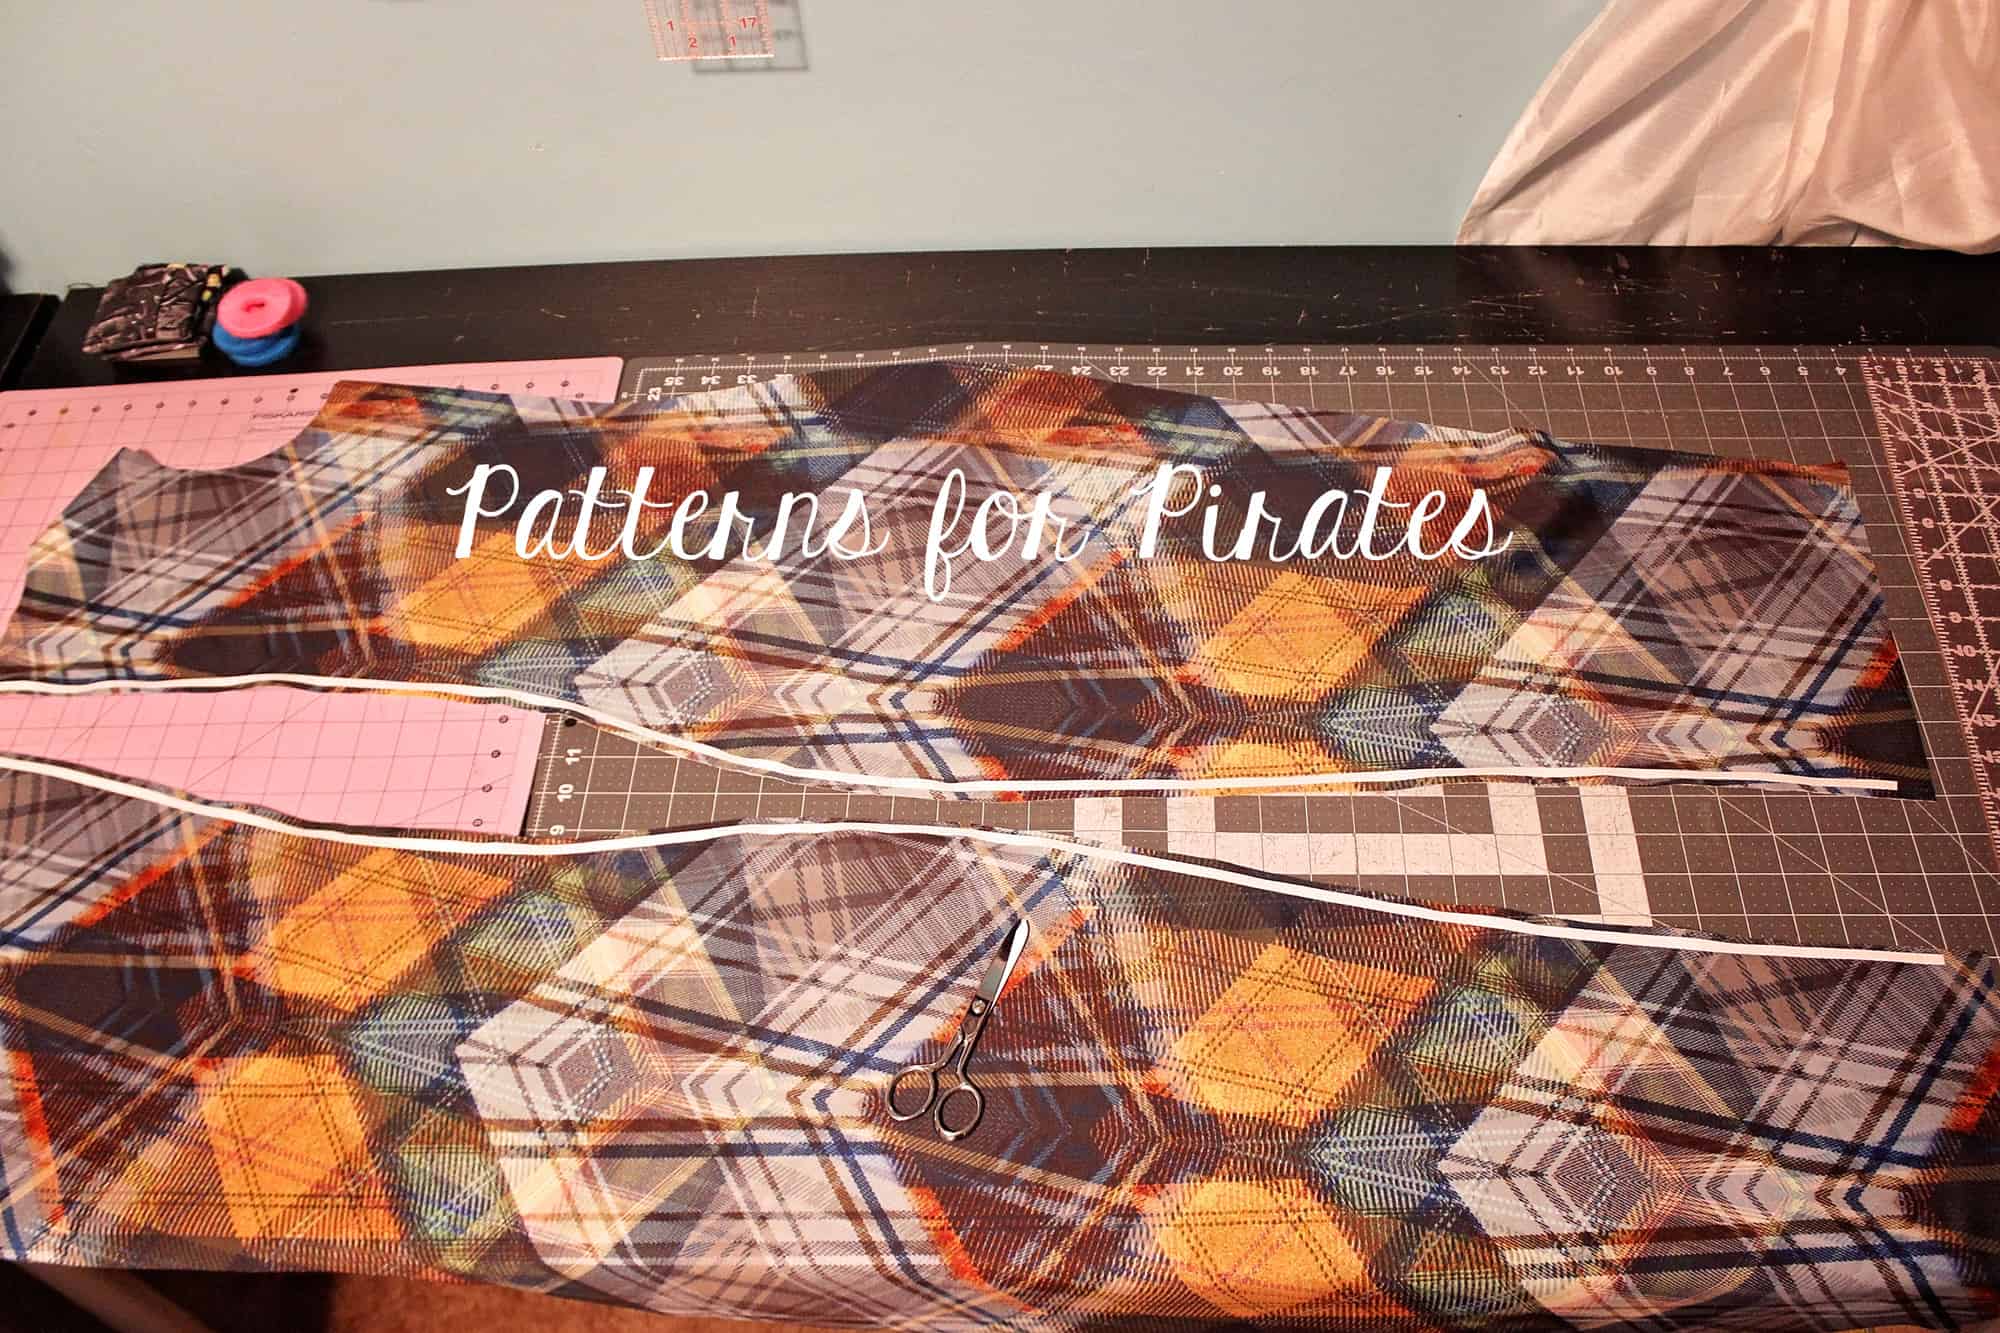
Start by marking the hem on the center back seam.

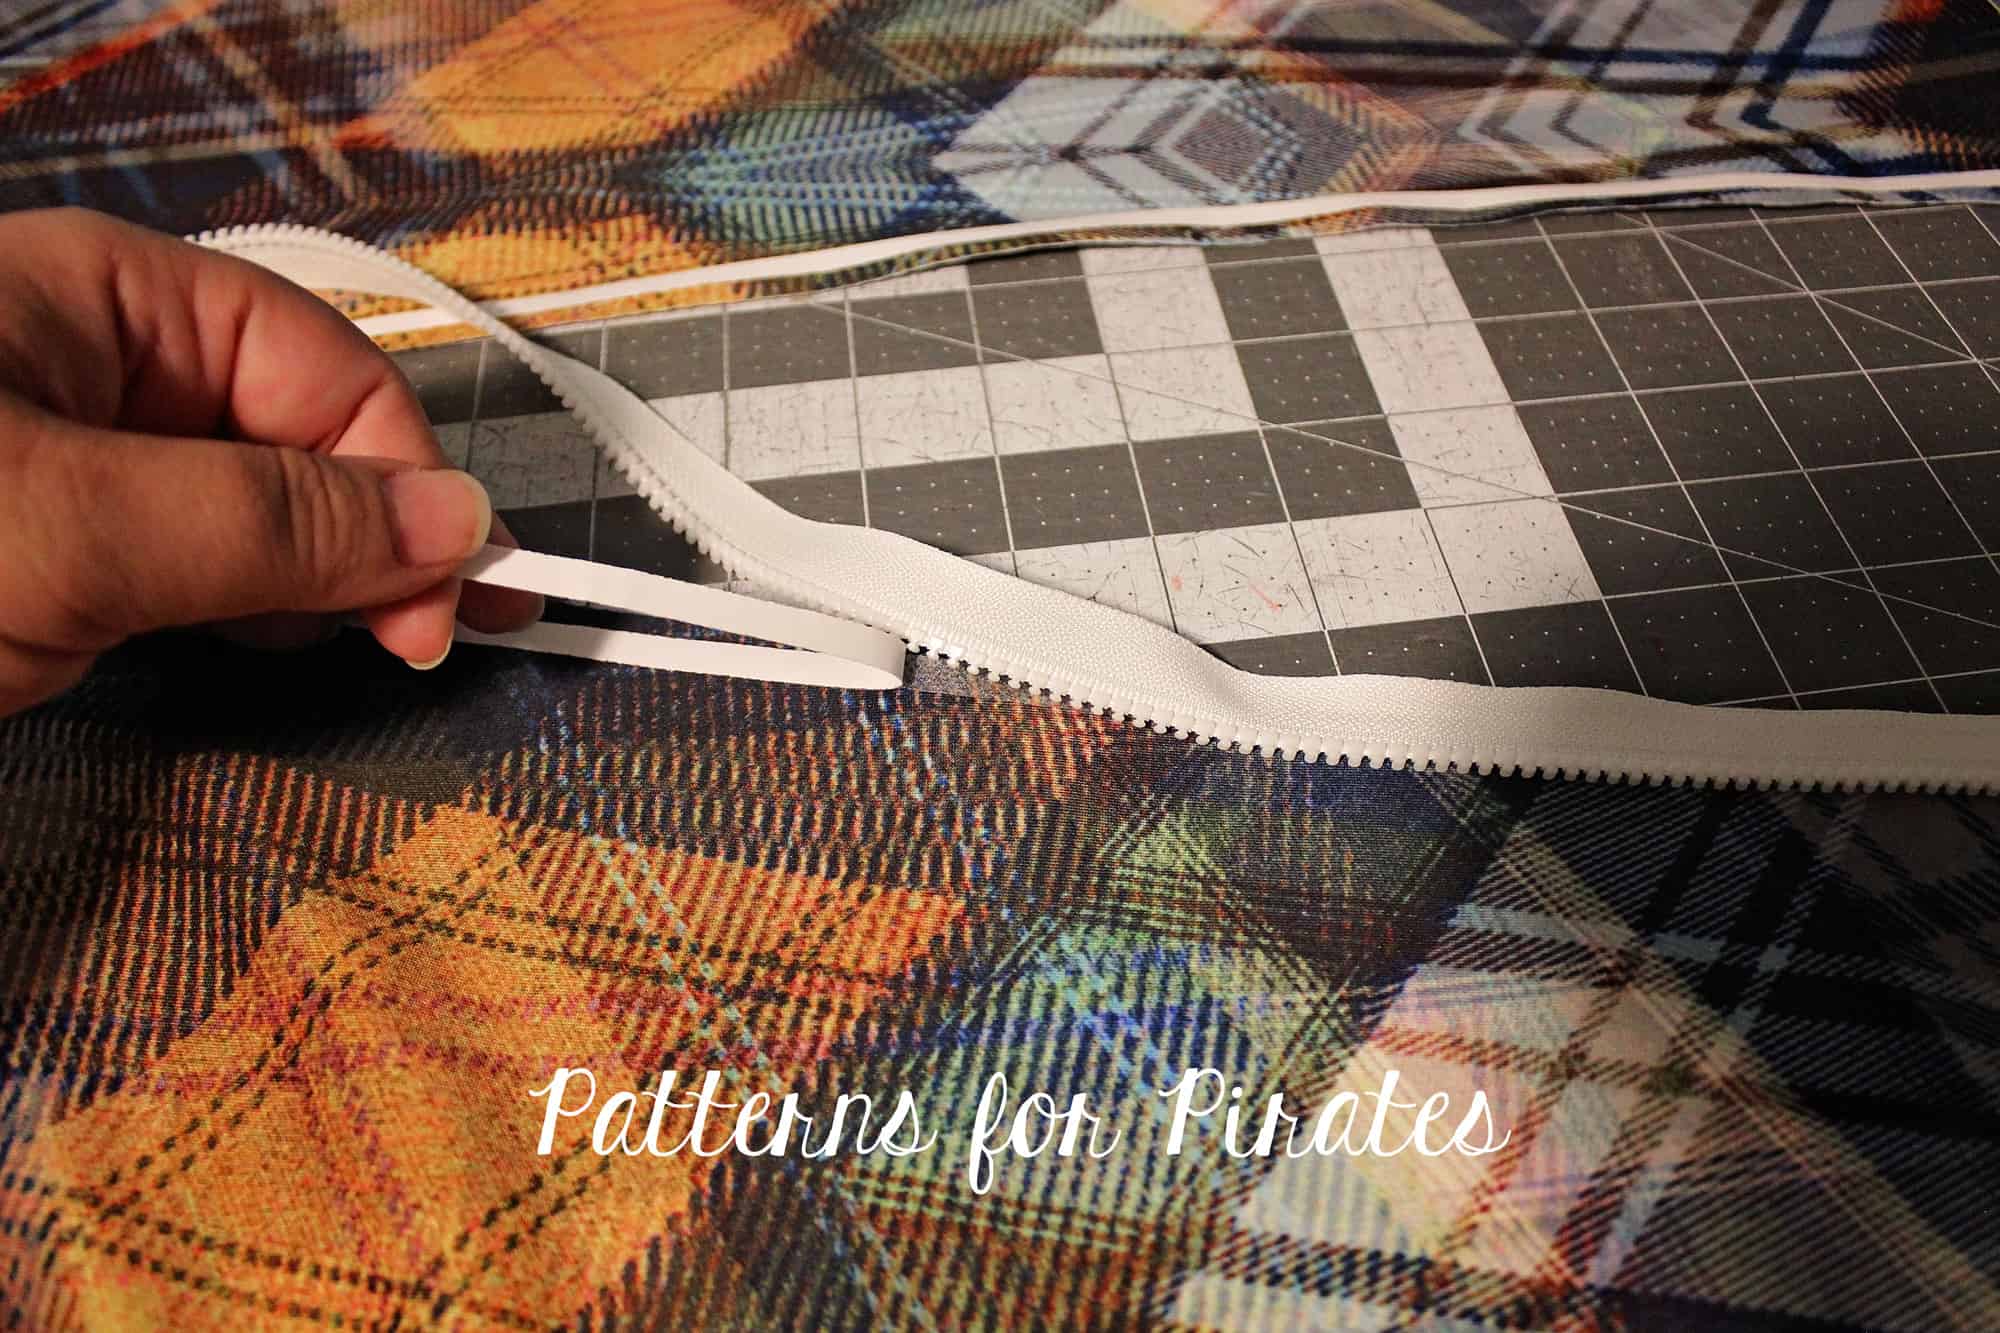
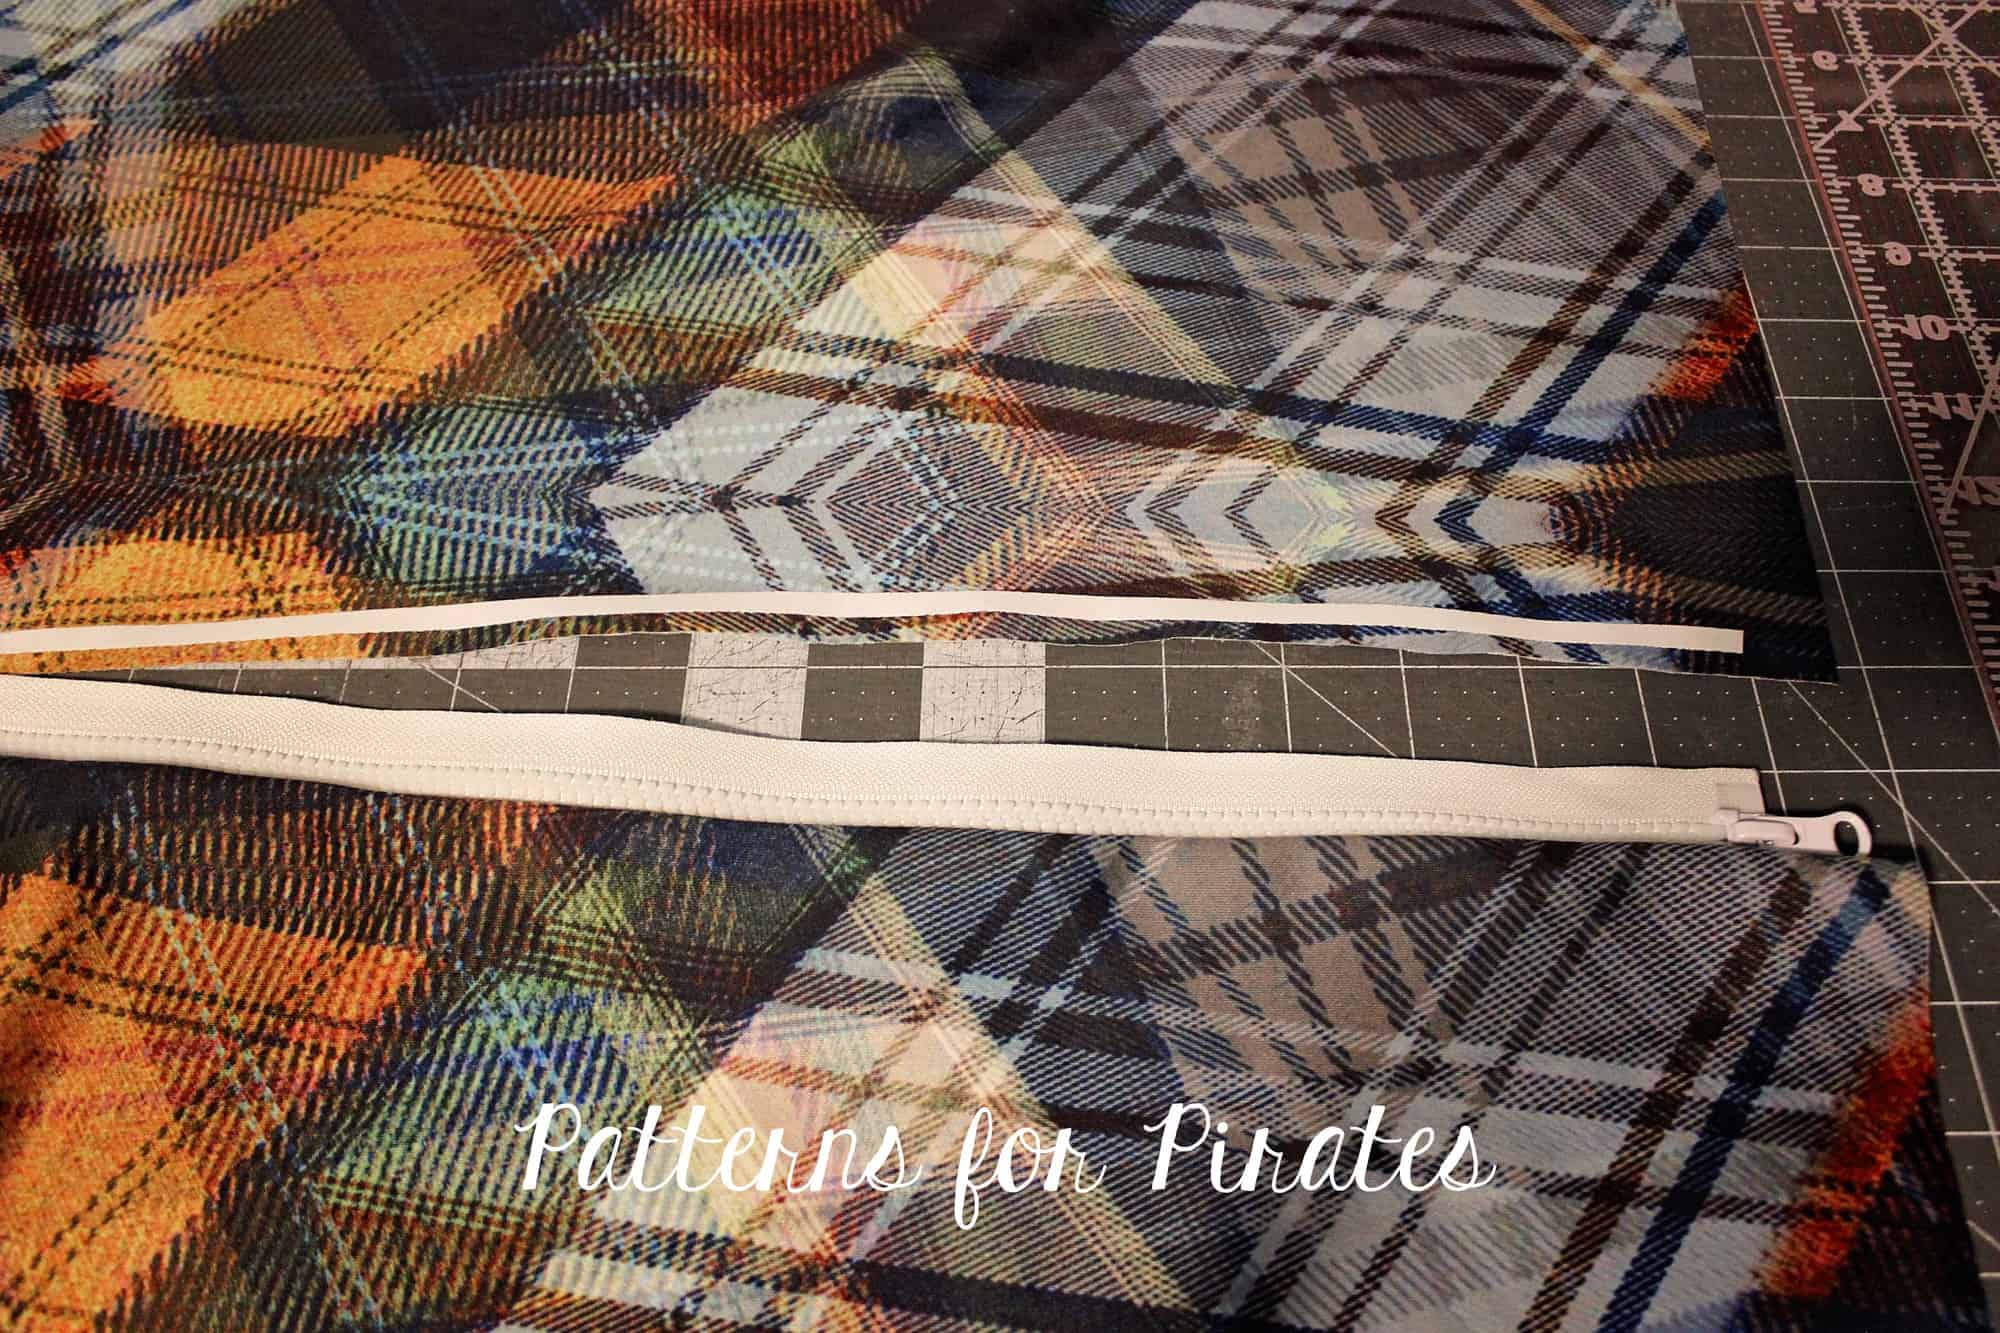
Add a strip of 1/4″ Wonder Tape to the center back seam, 1.4″ away from the edge. Start at the point you marked above and stop 1/2″ away from the top.

Repeat with the other back piece.

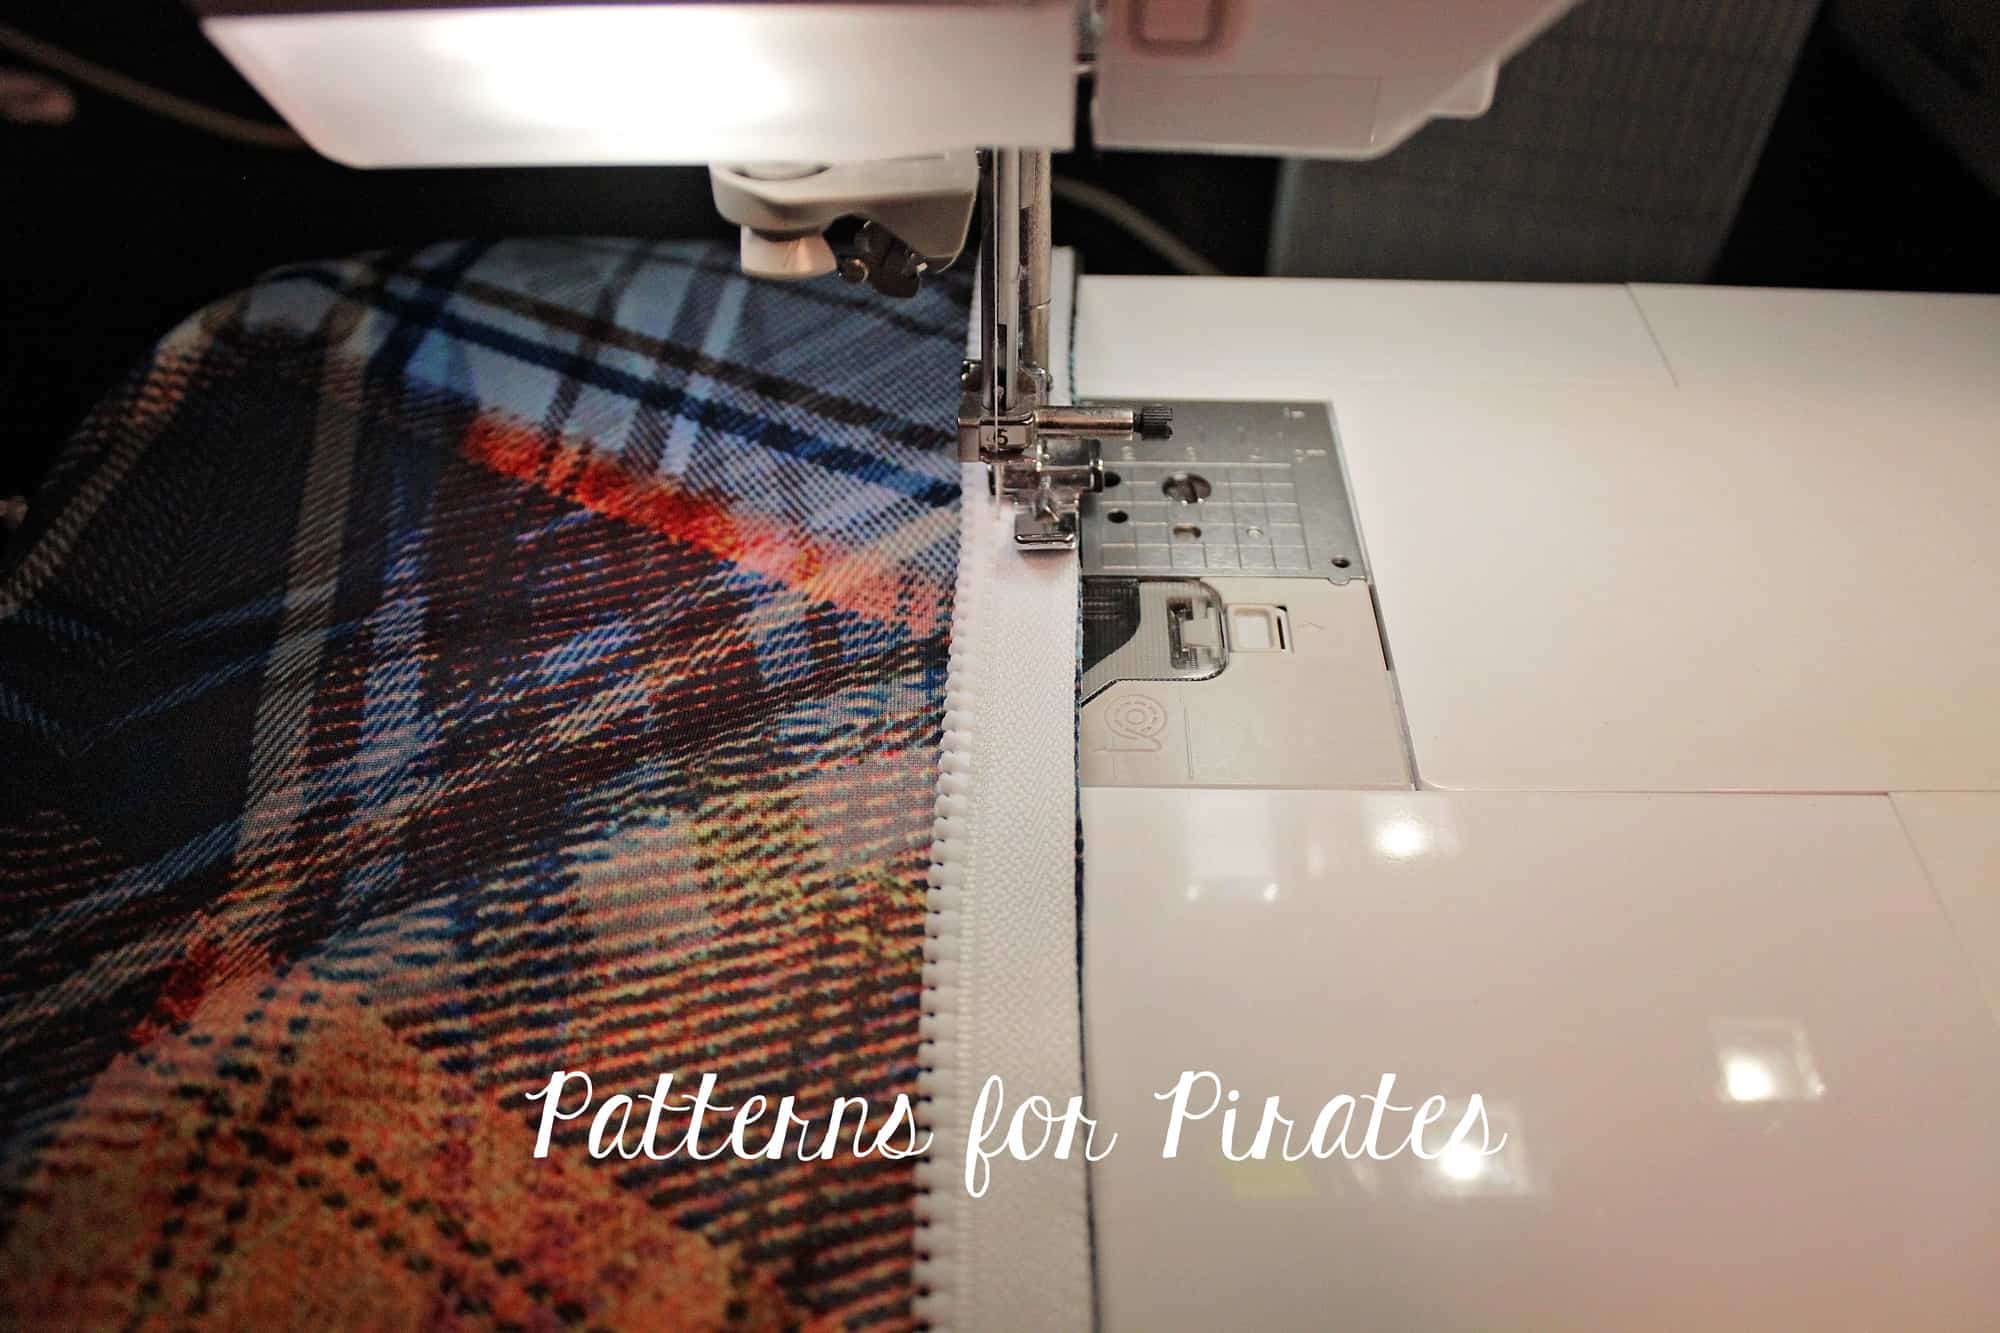
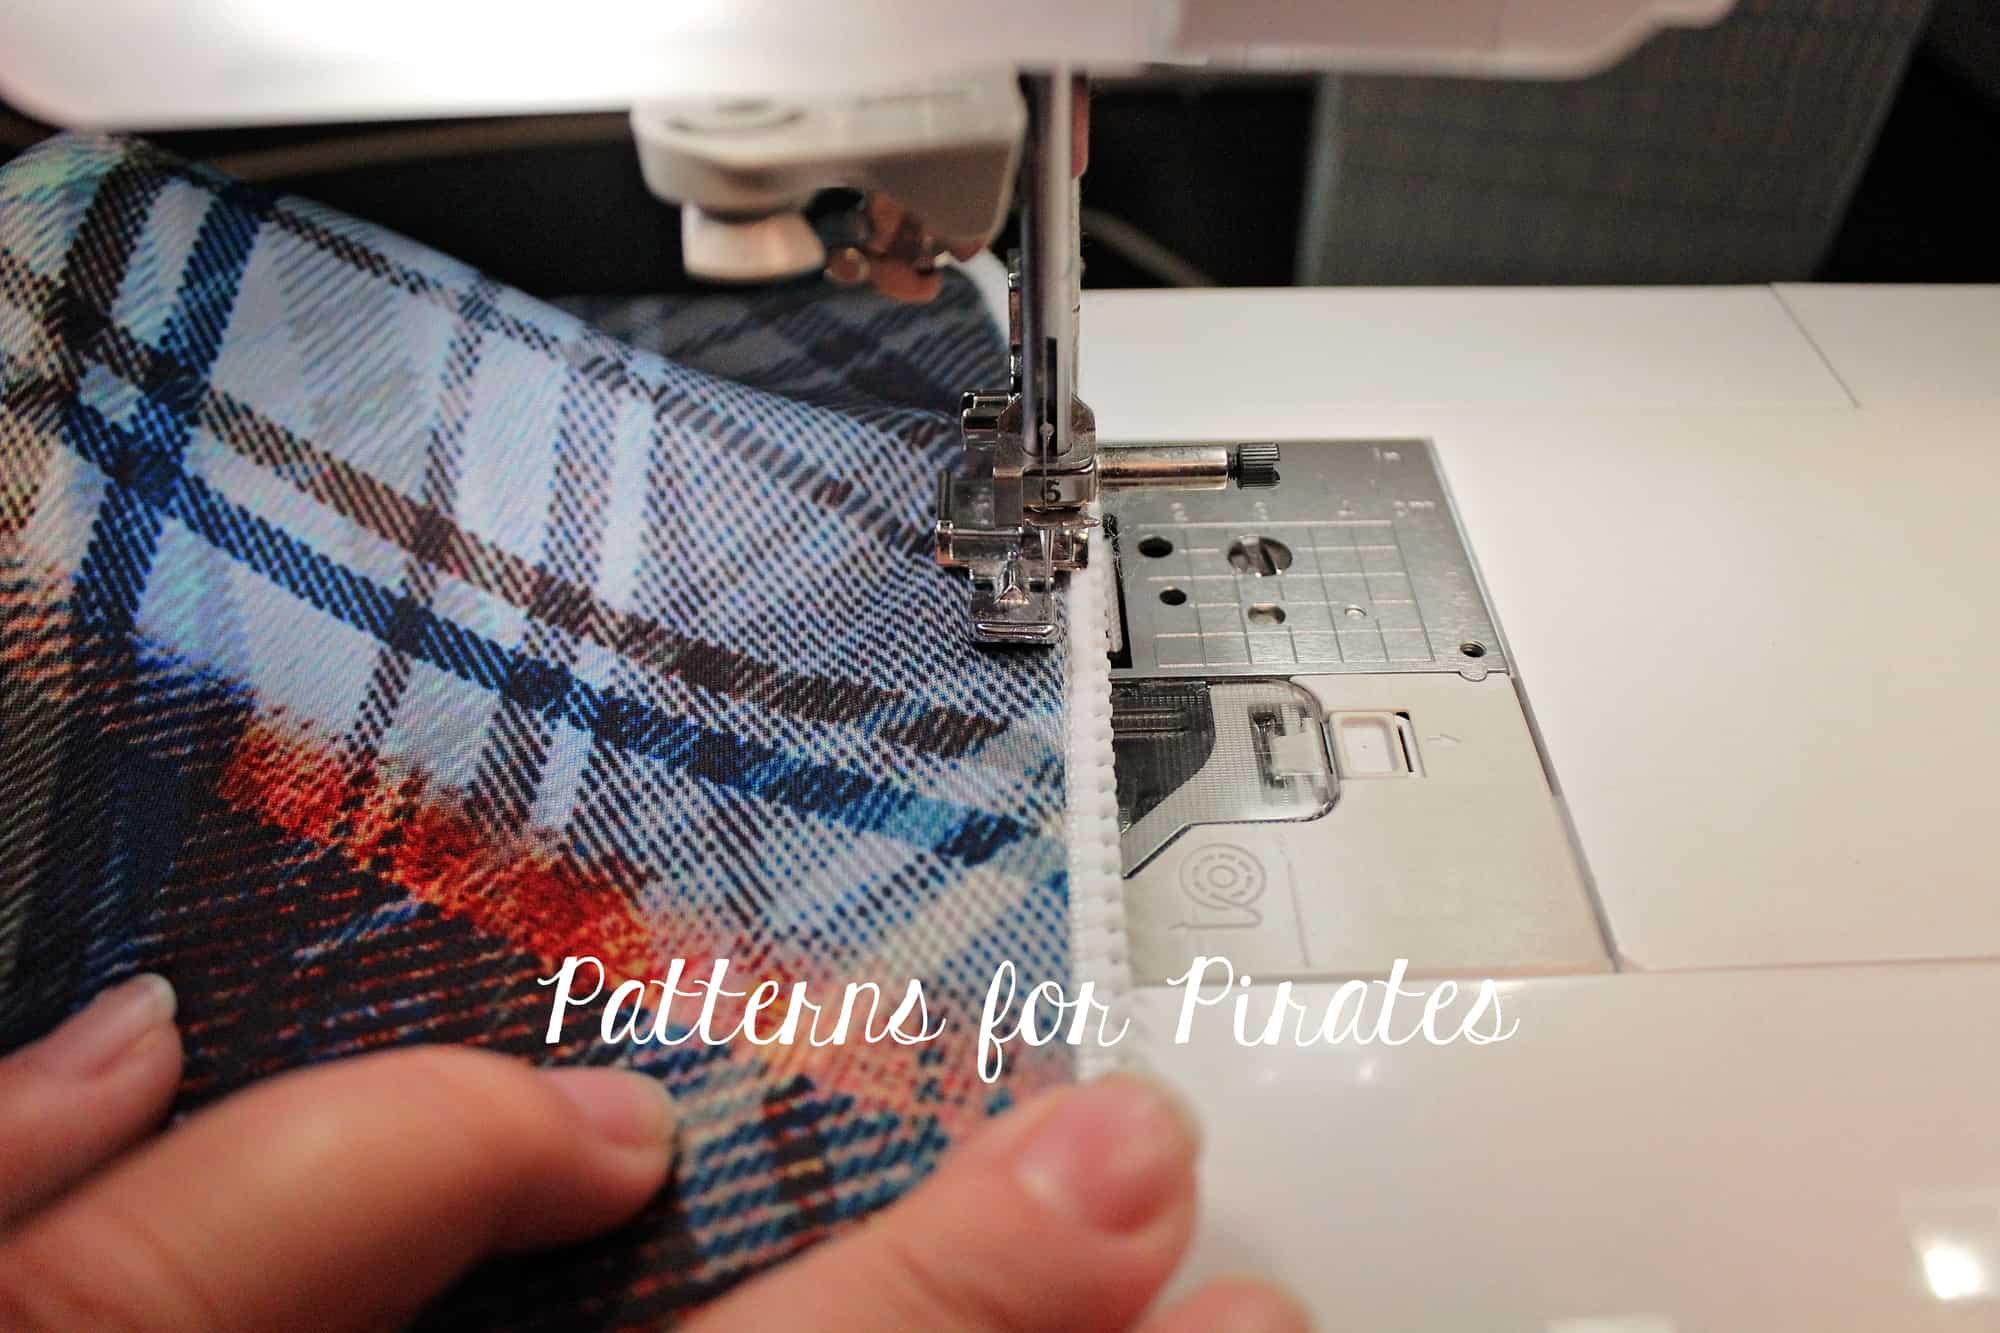
Remove the paper backing of the Wonder tape and adhere the zipper right sides together. Sew in place with a 1/2″ seam allowance.

Zip up the zipper and place the other side of the back piece, right sides together, making sure that the bottom and top match.

Sew in place and top stitch.

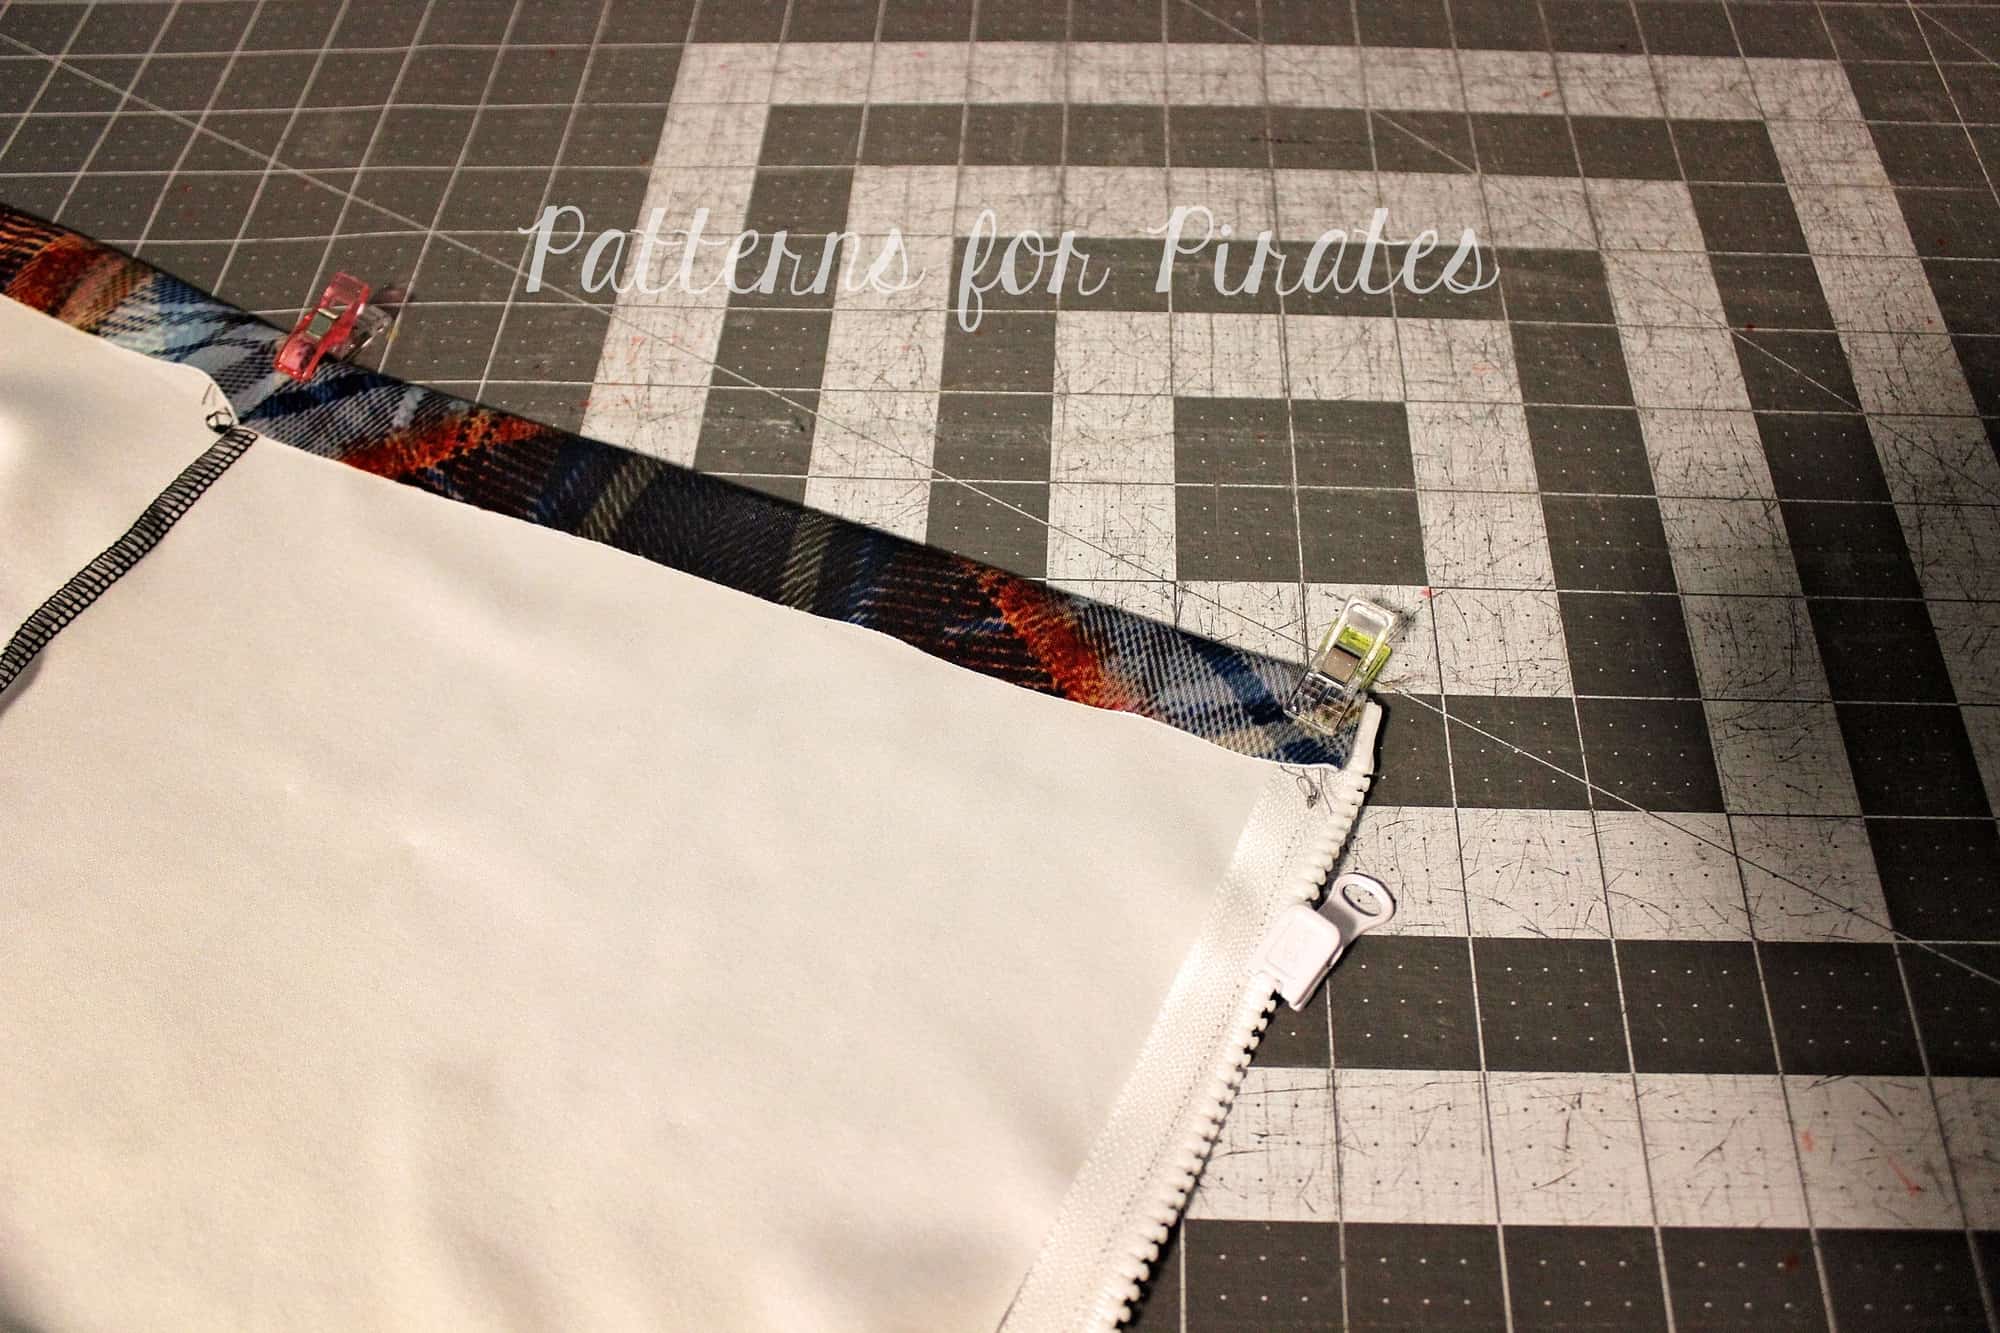
Now that you have your back piece ready, sew the dress as per the tutorial. You will be enclosing the zipper in the bottom hem as shown below.

All done! Now all you have to decide is where the next date night will be! 🙂


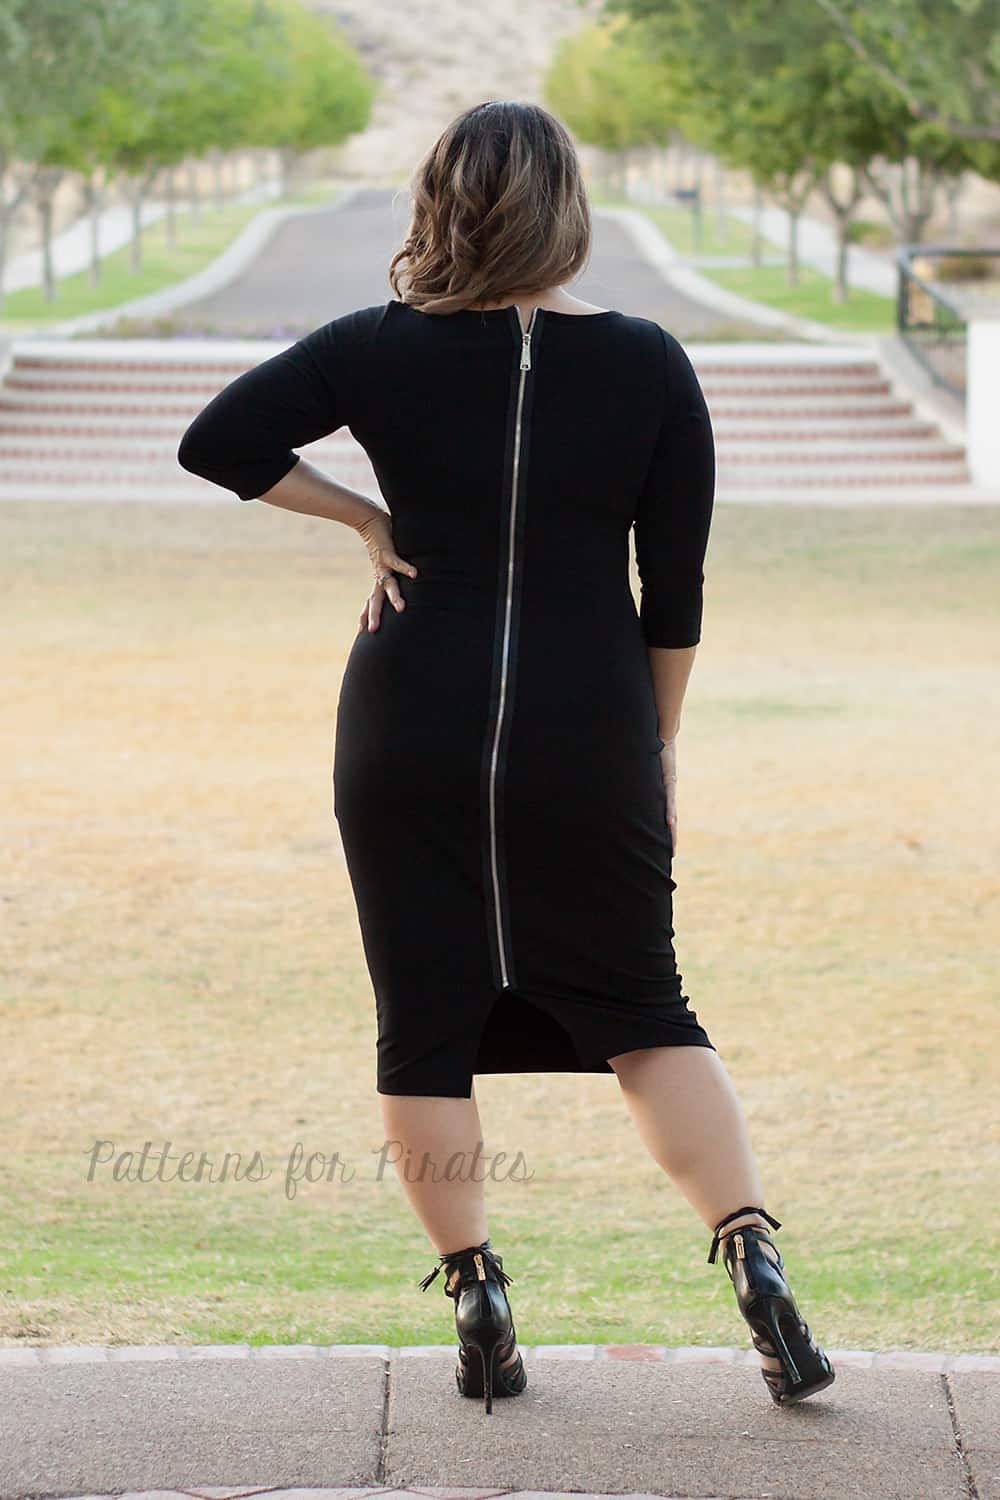
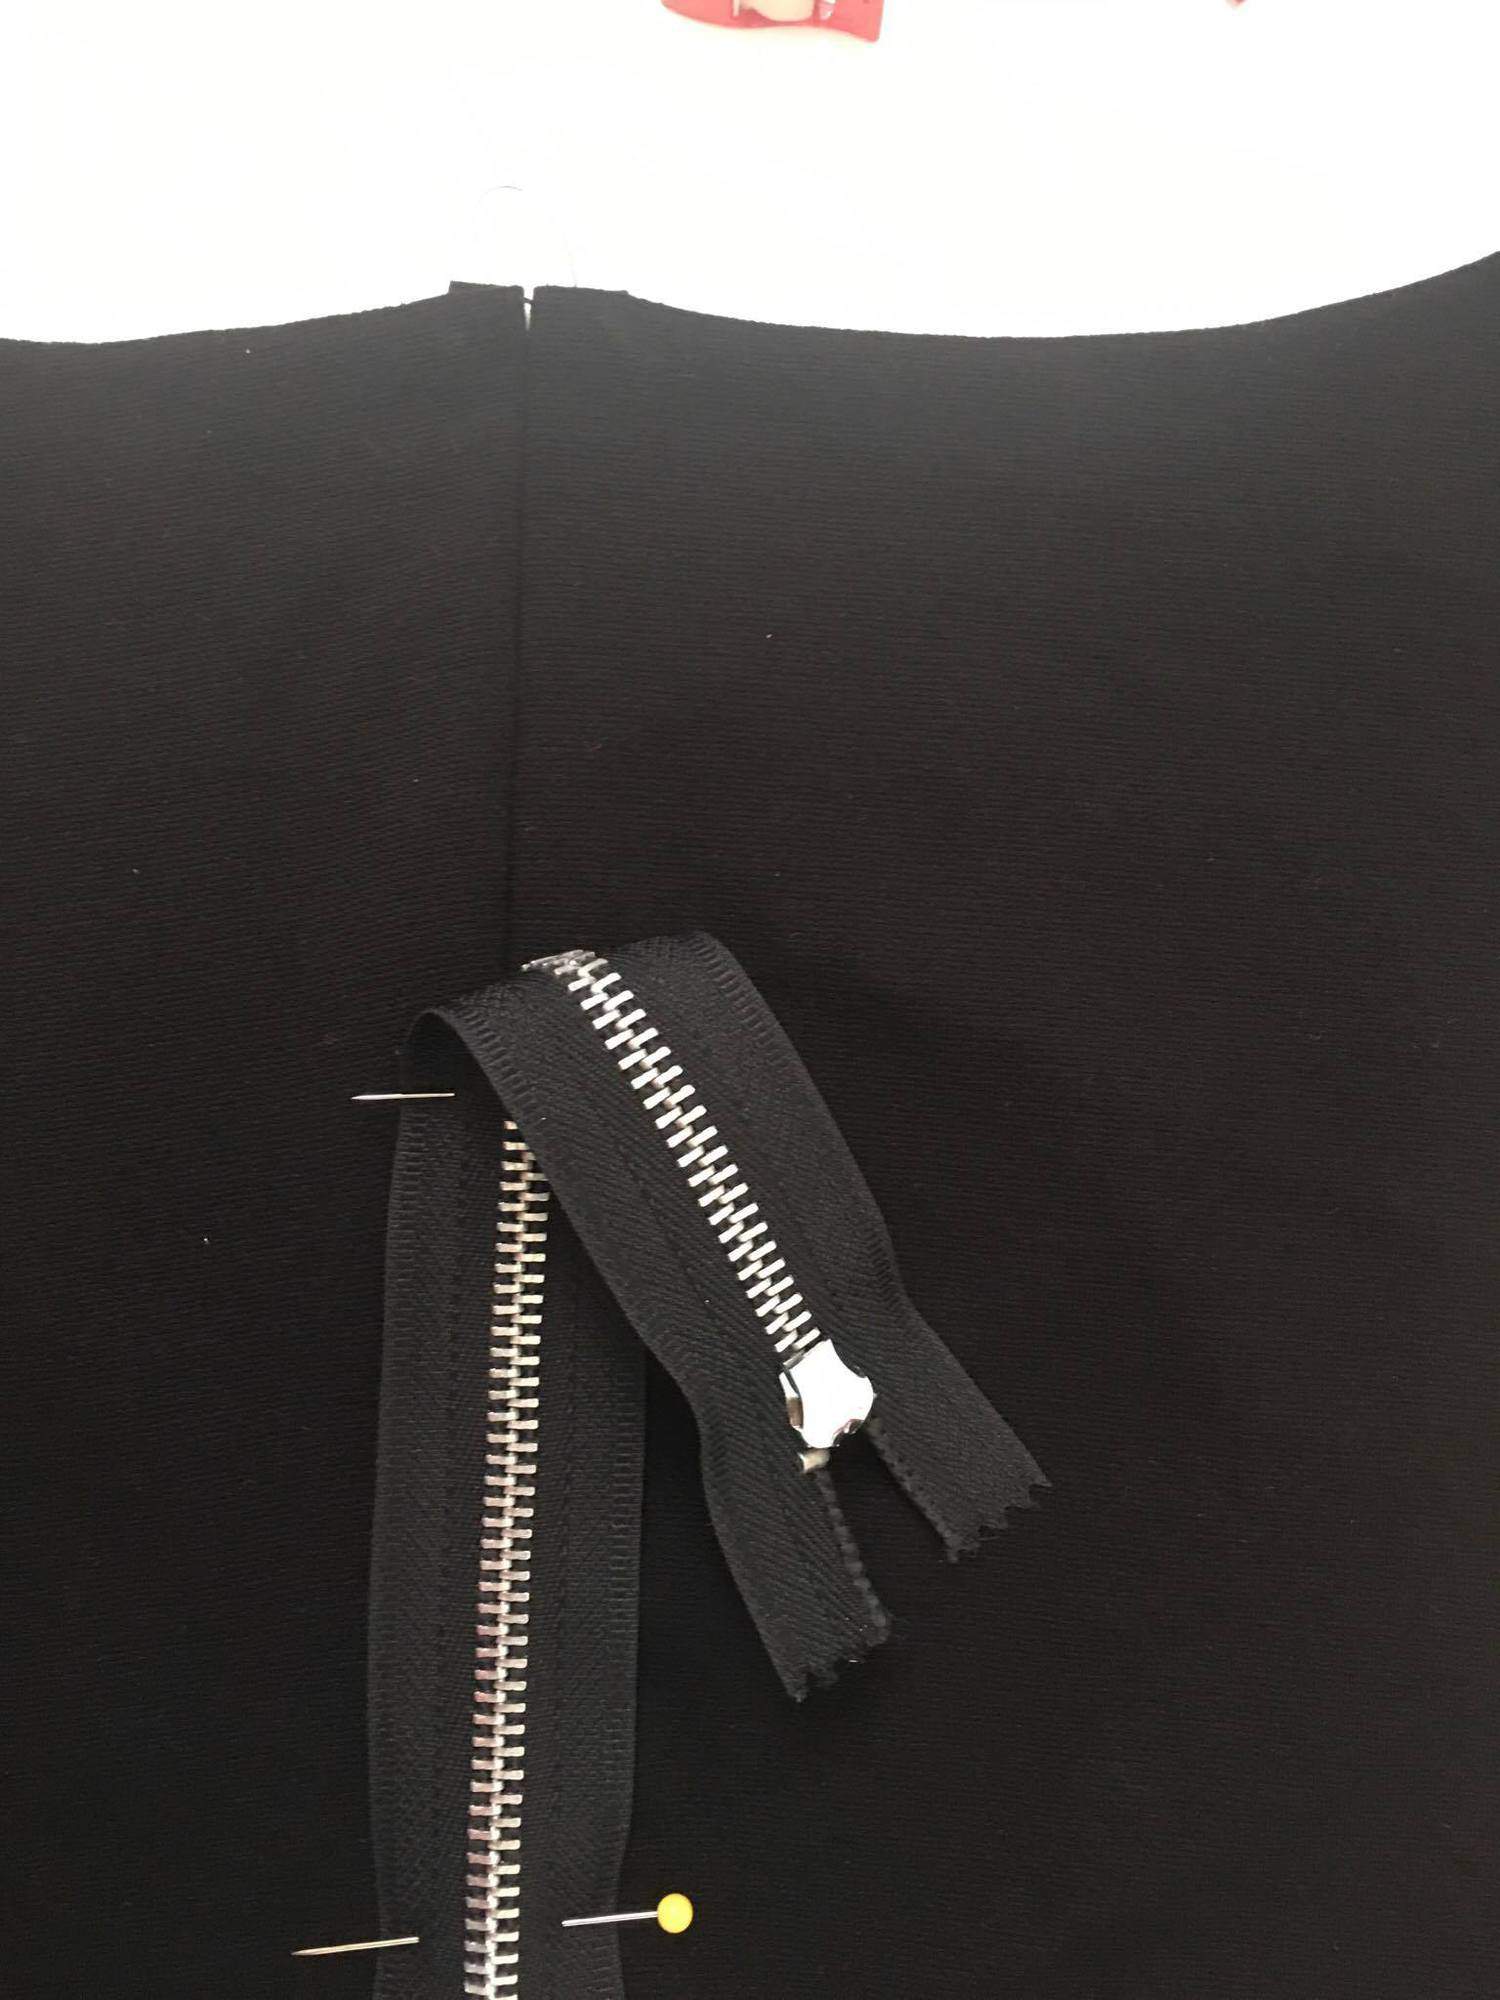
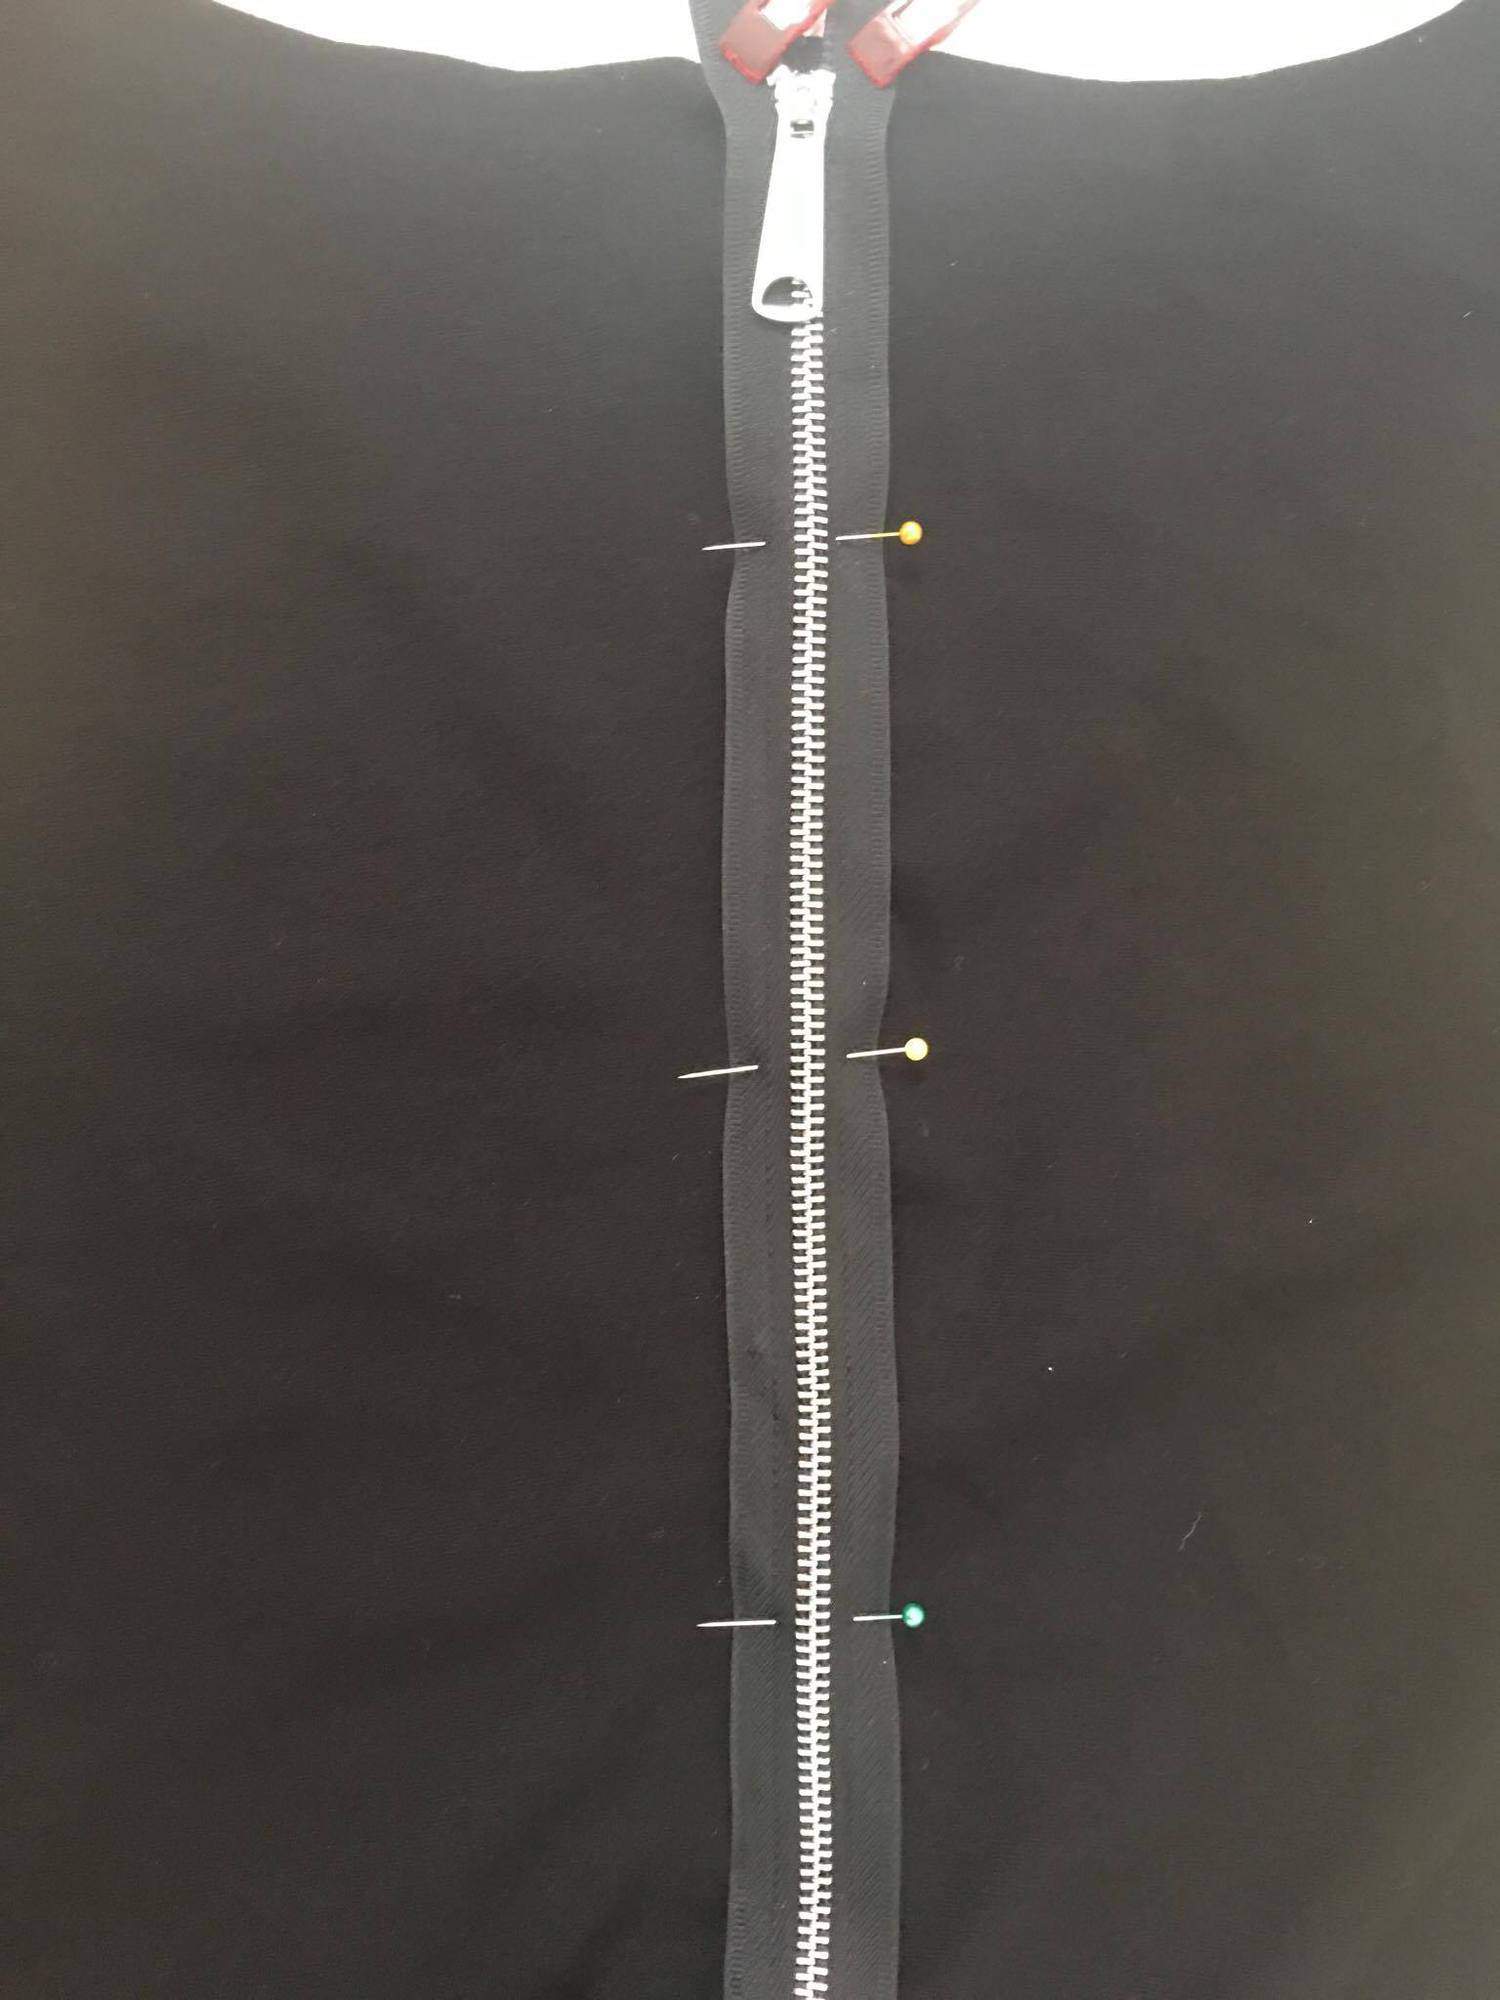
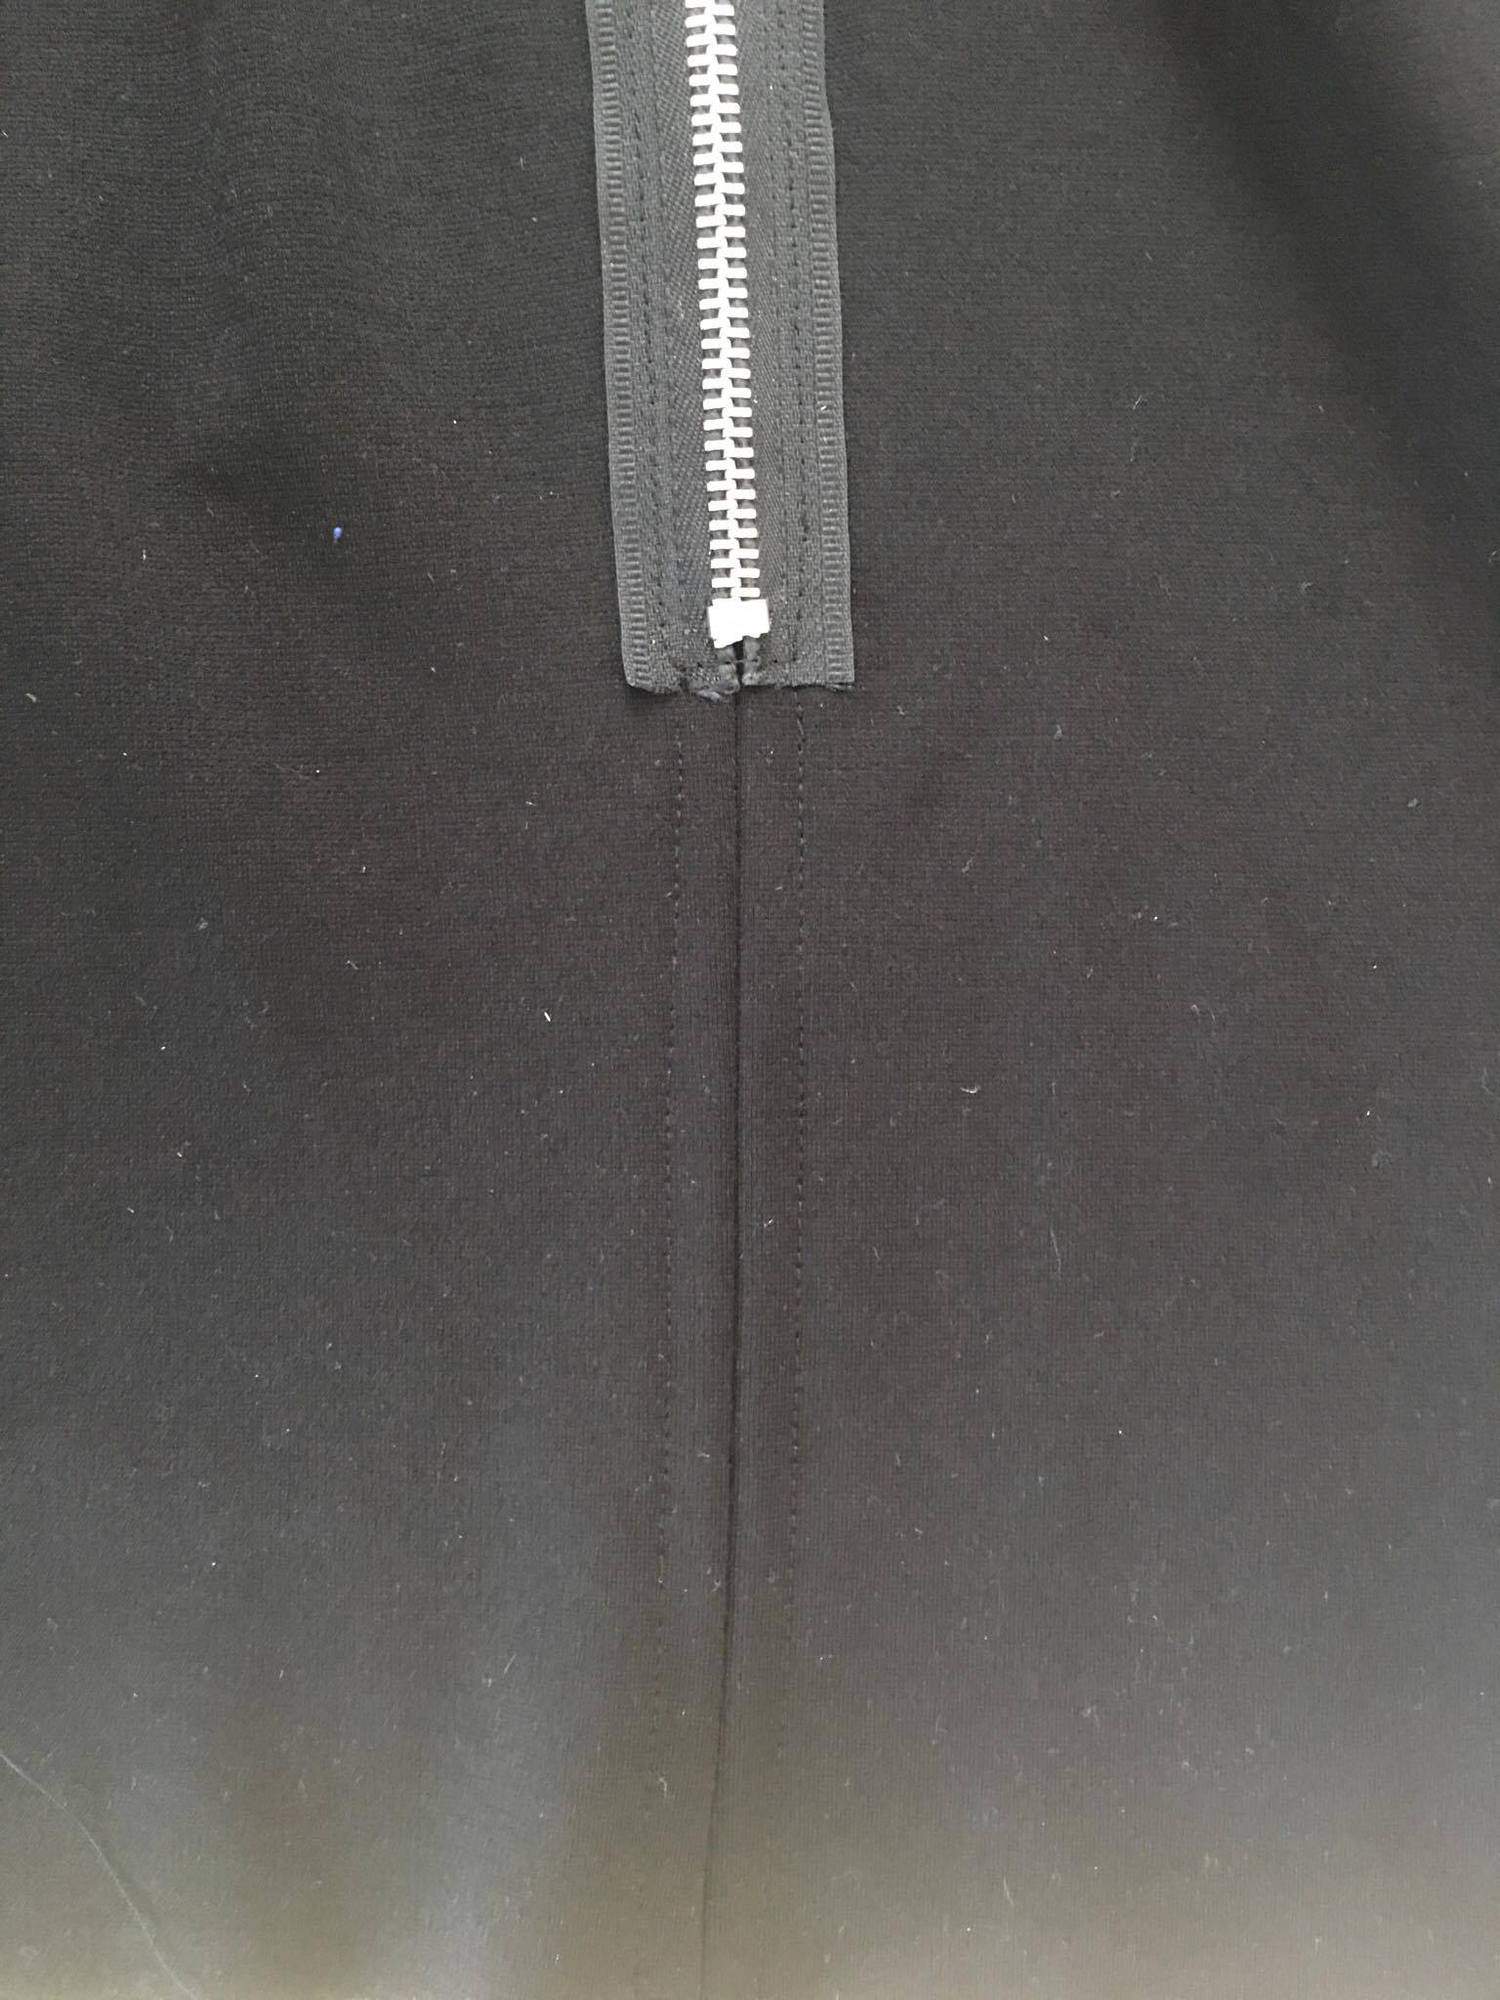
I loved the idea of a full-length zipper like Alex showed us above, but when it came to finding one locally, I wasn’t able to get one the length I needed.  I did find a chunky zipper that would be perfect to use as an exposed zipper and just so happened to work out that it’s finished length was about knee length.  I opted to go with the midi length and do a split hem at the center back.  You will install your zipper the same as you would in the tutorial, except place it on the RIGHT side of the fabric with the wrong side of the zipper centered along the back seam.

Place zipper on top of the center back seam.
Pin in place and topstitch.
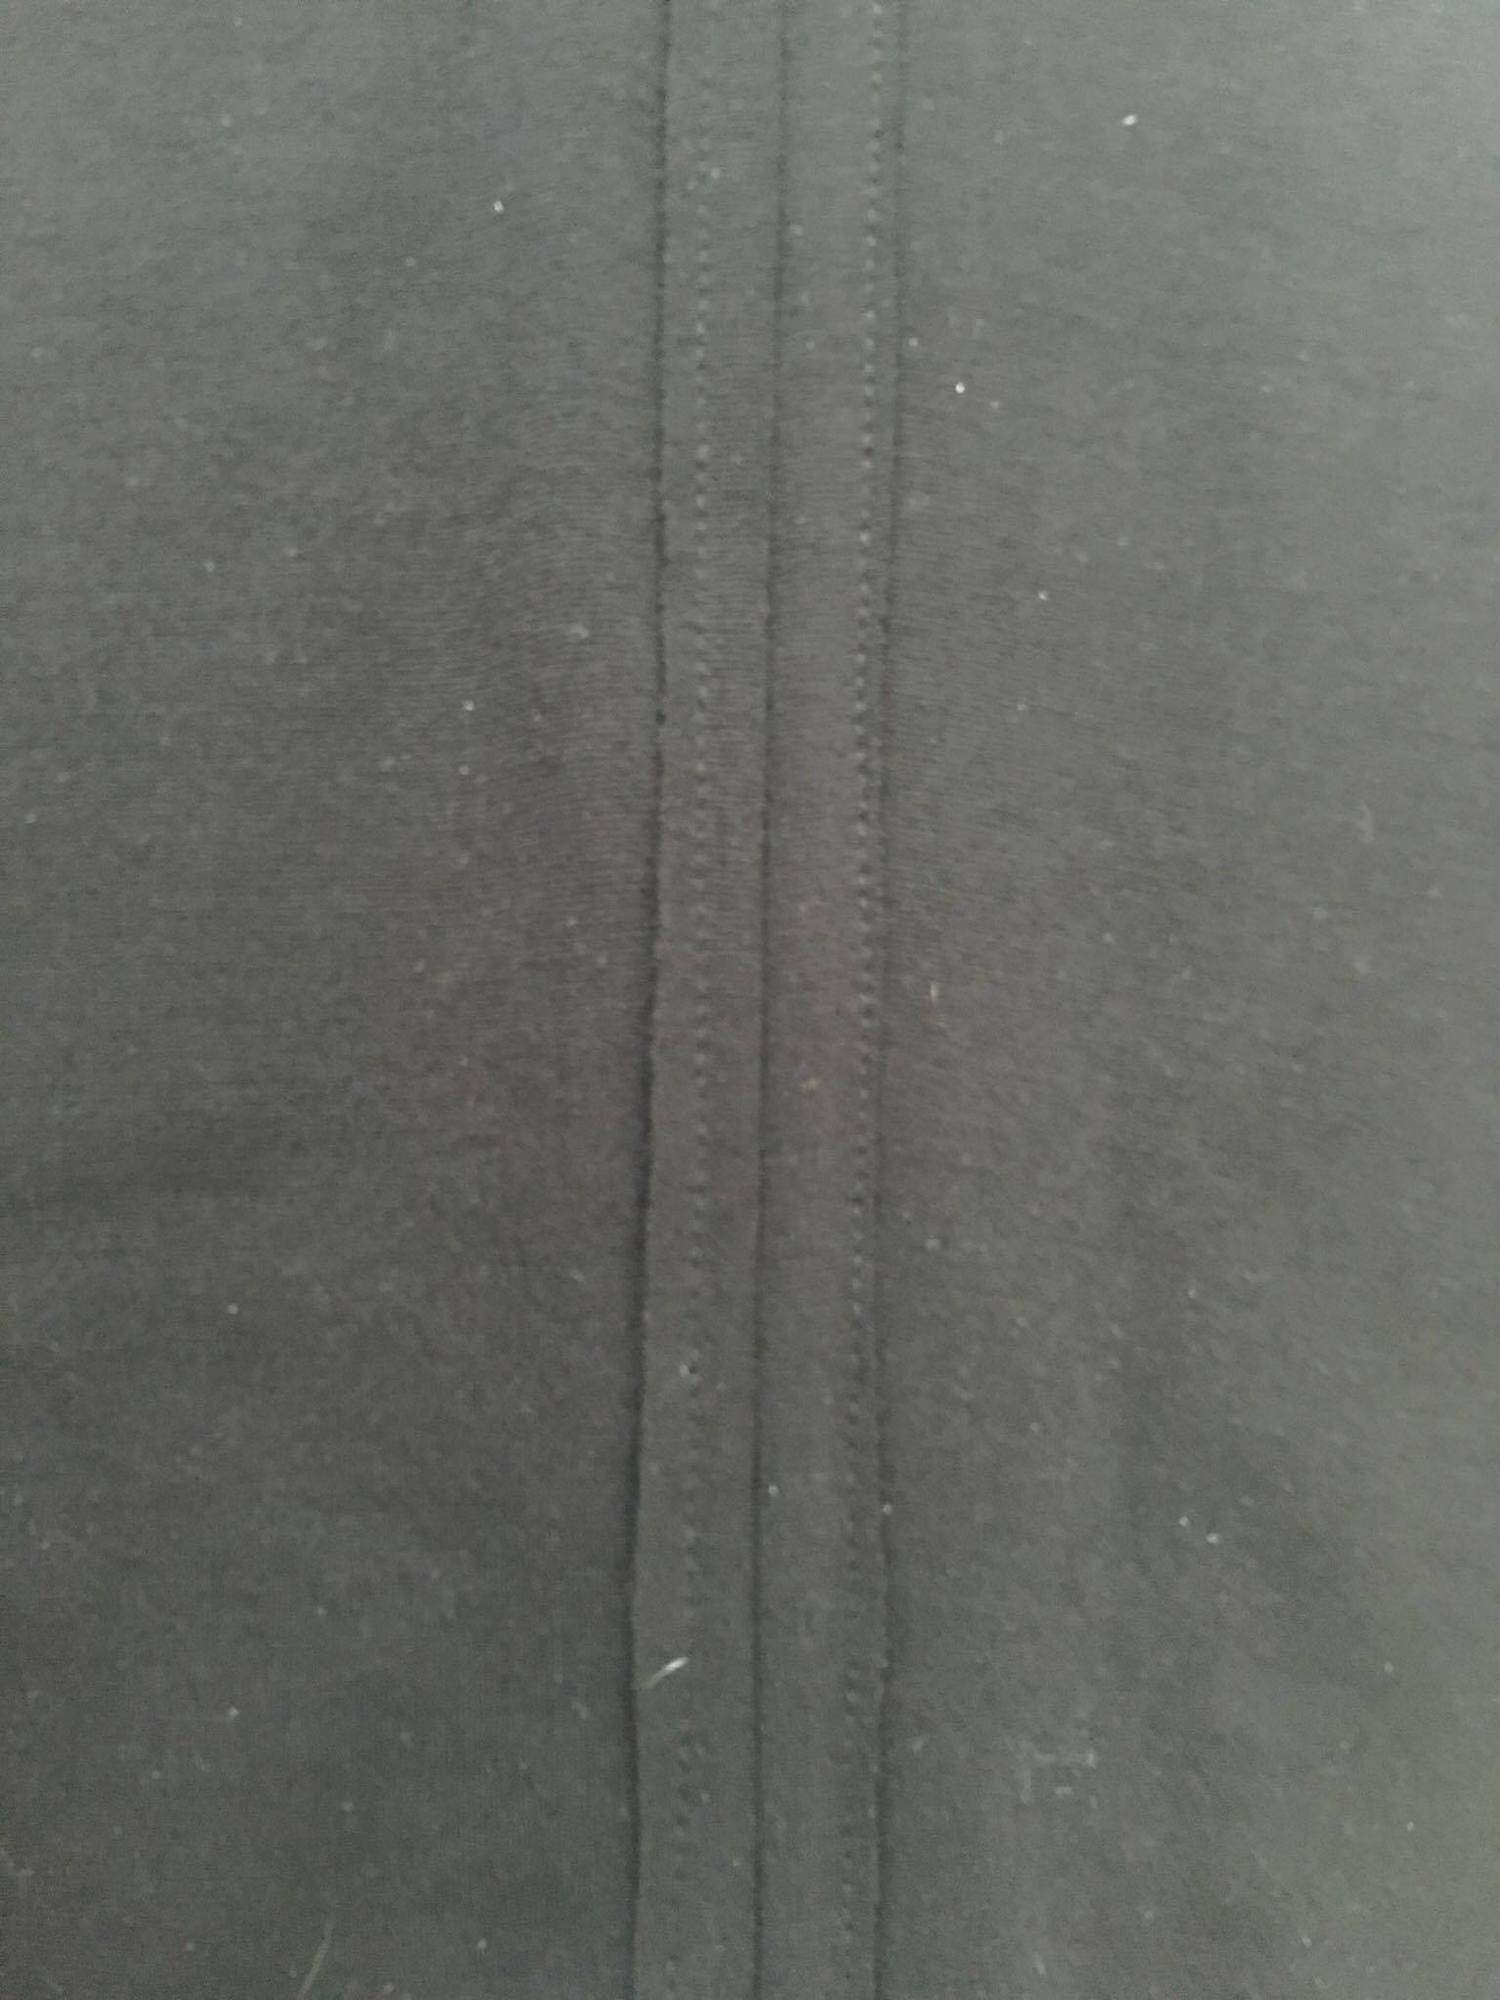
View from Back
Fold the remaining center back seam to the wrong side and topstitch.


…..

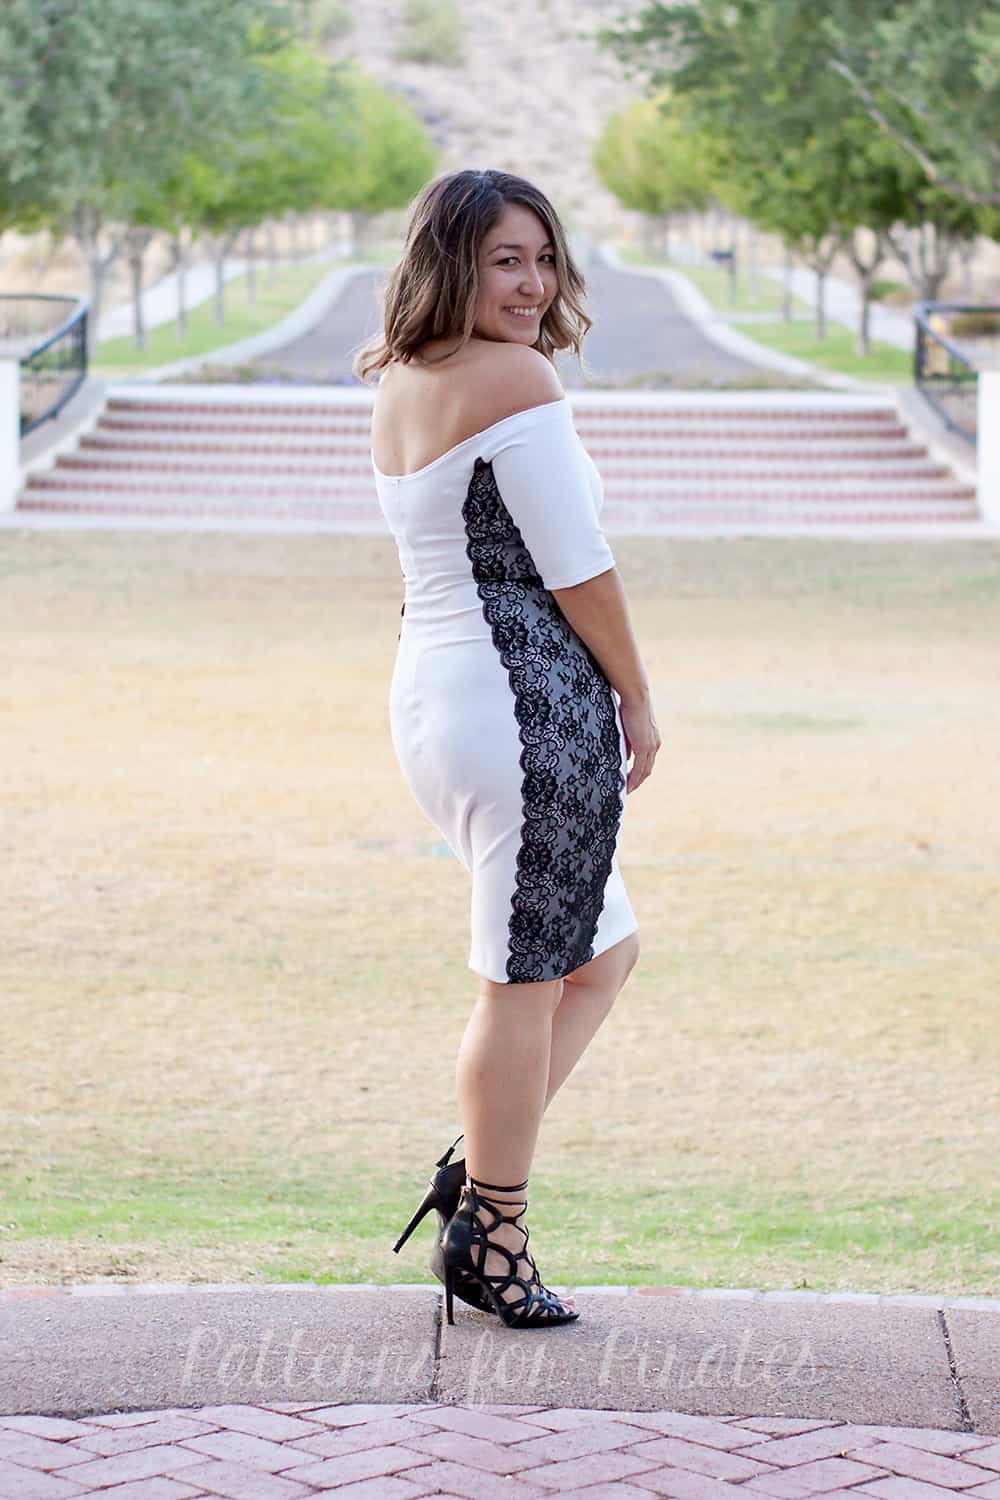
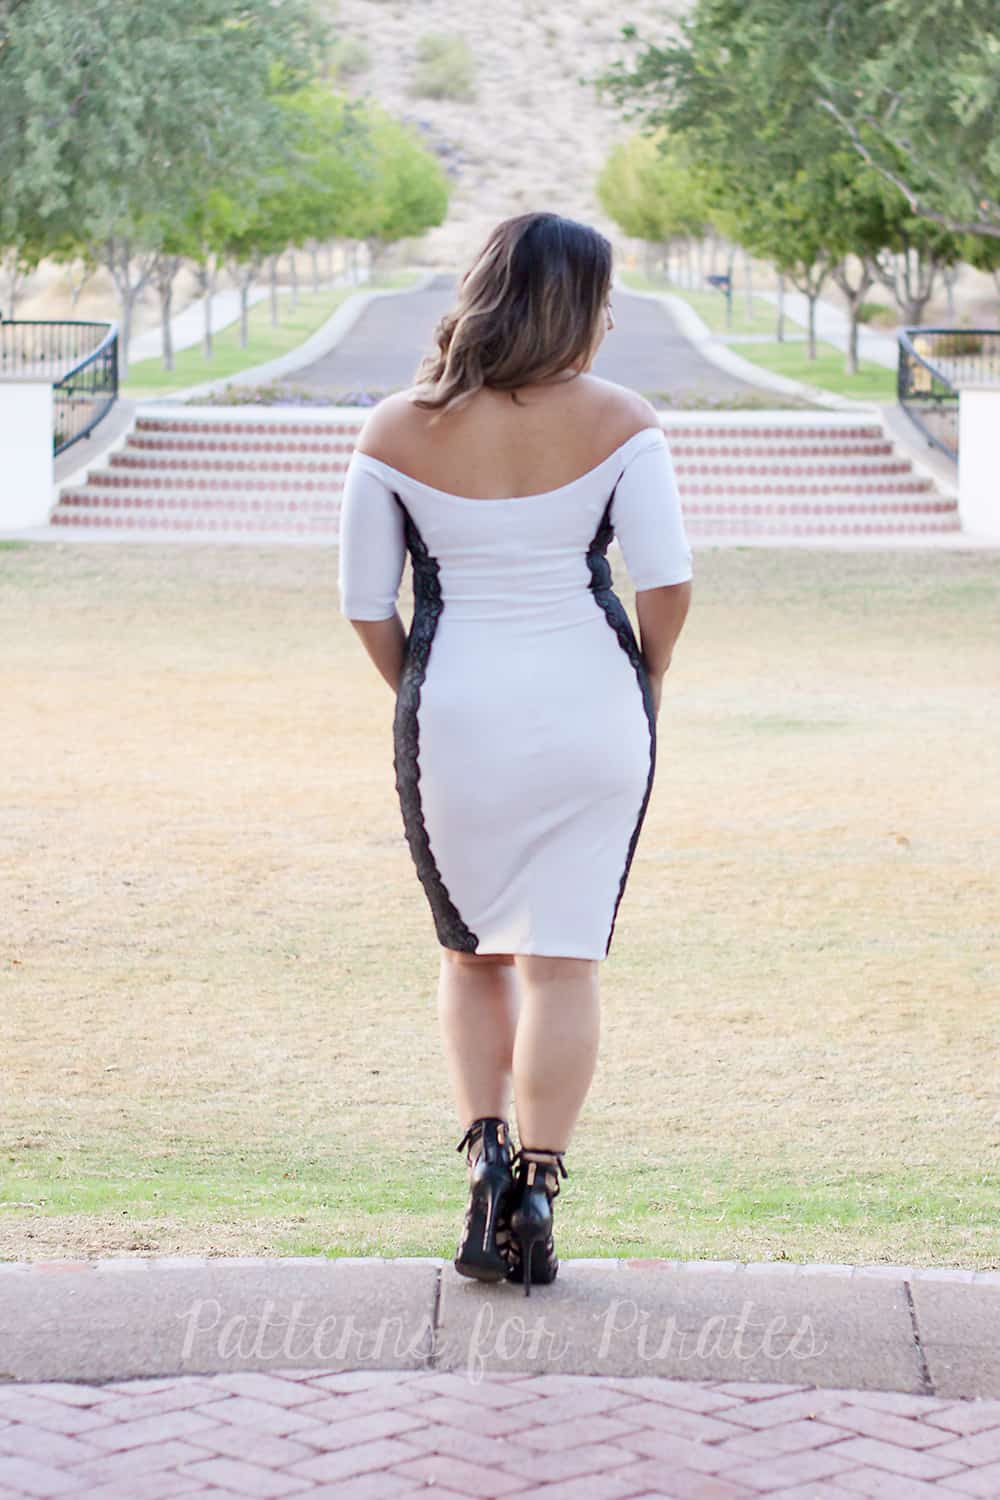
Lace Applique

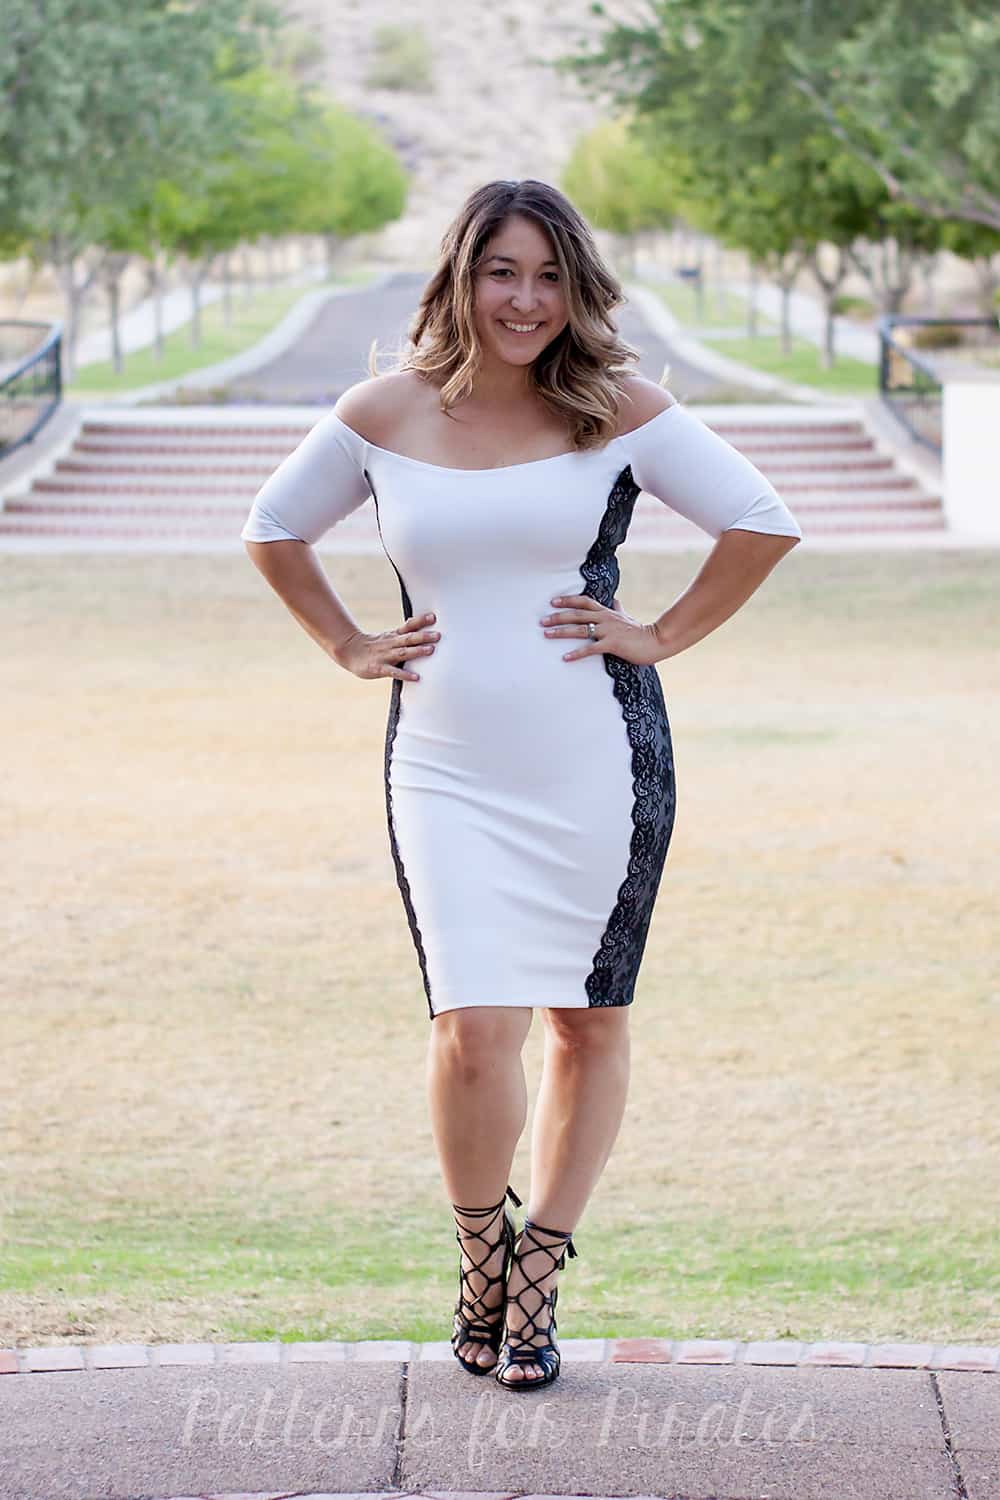
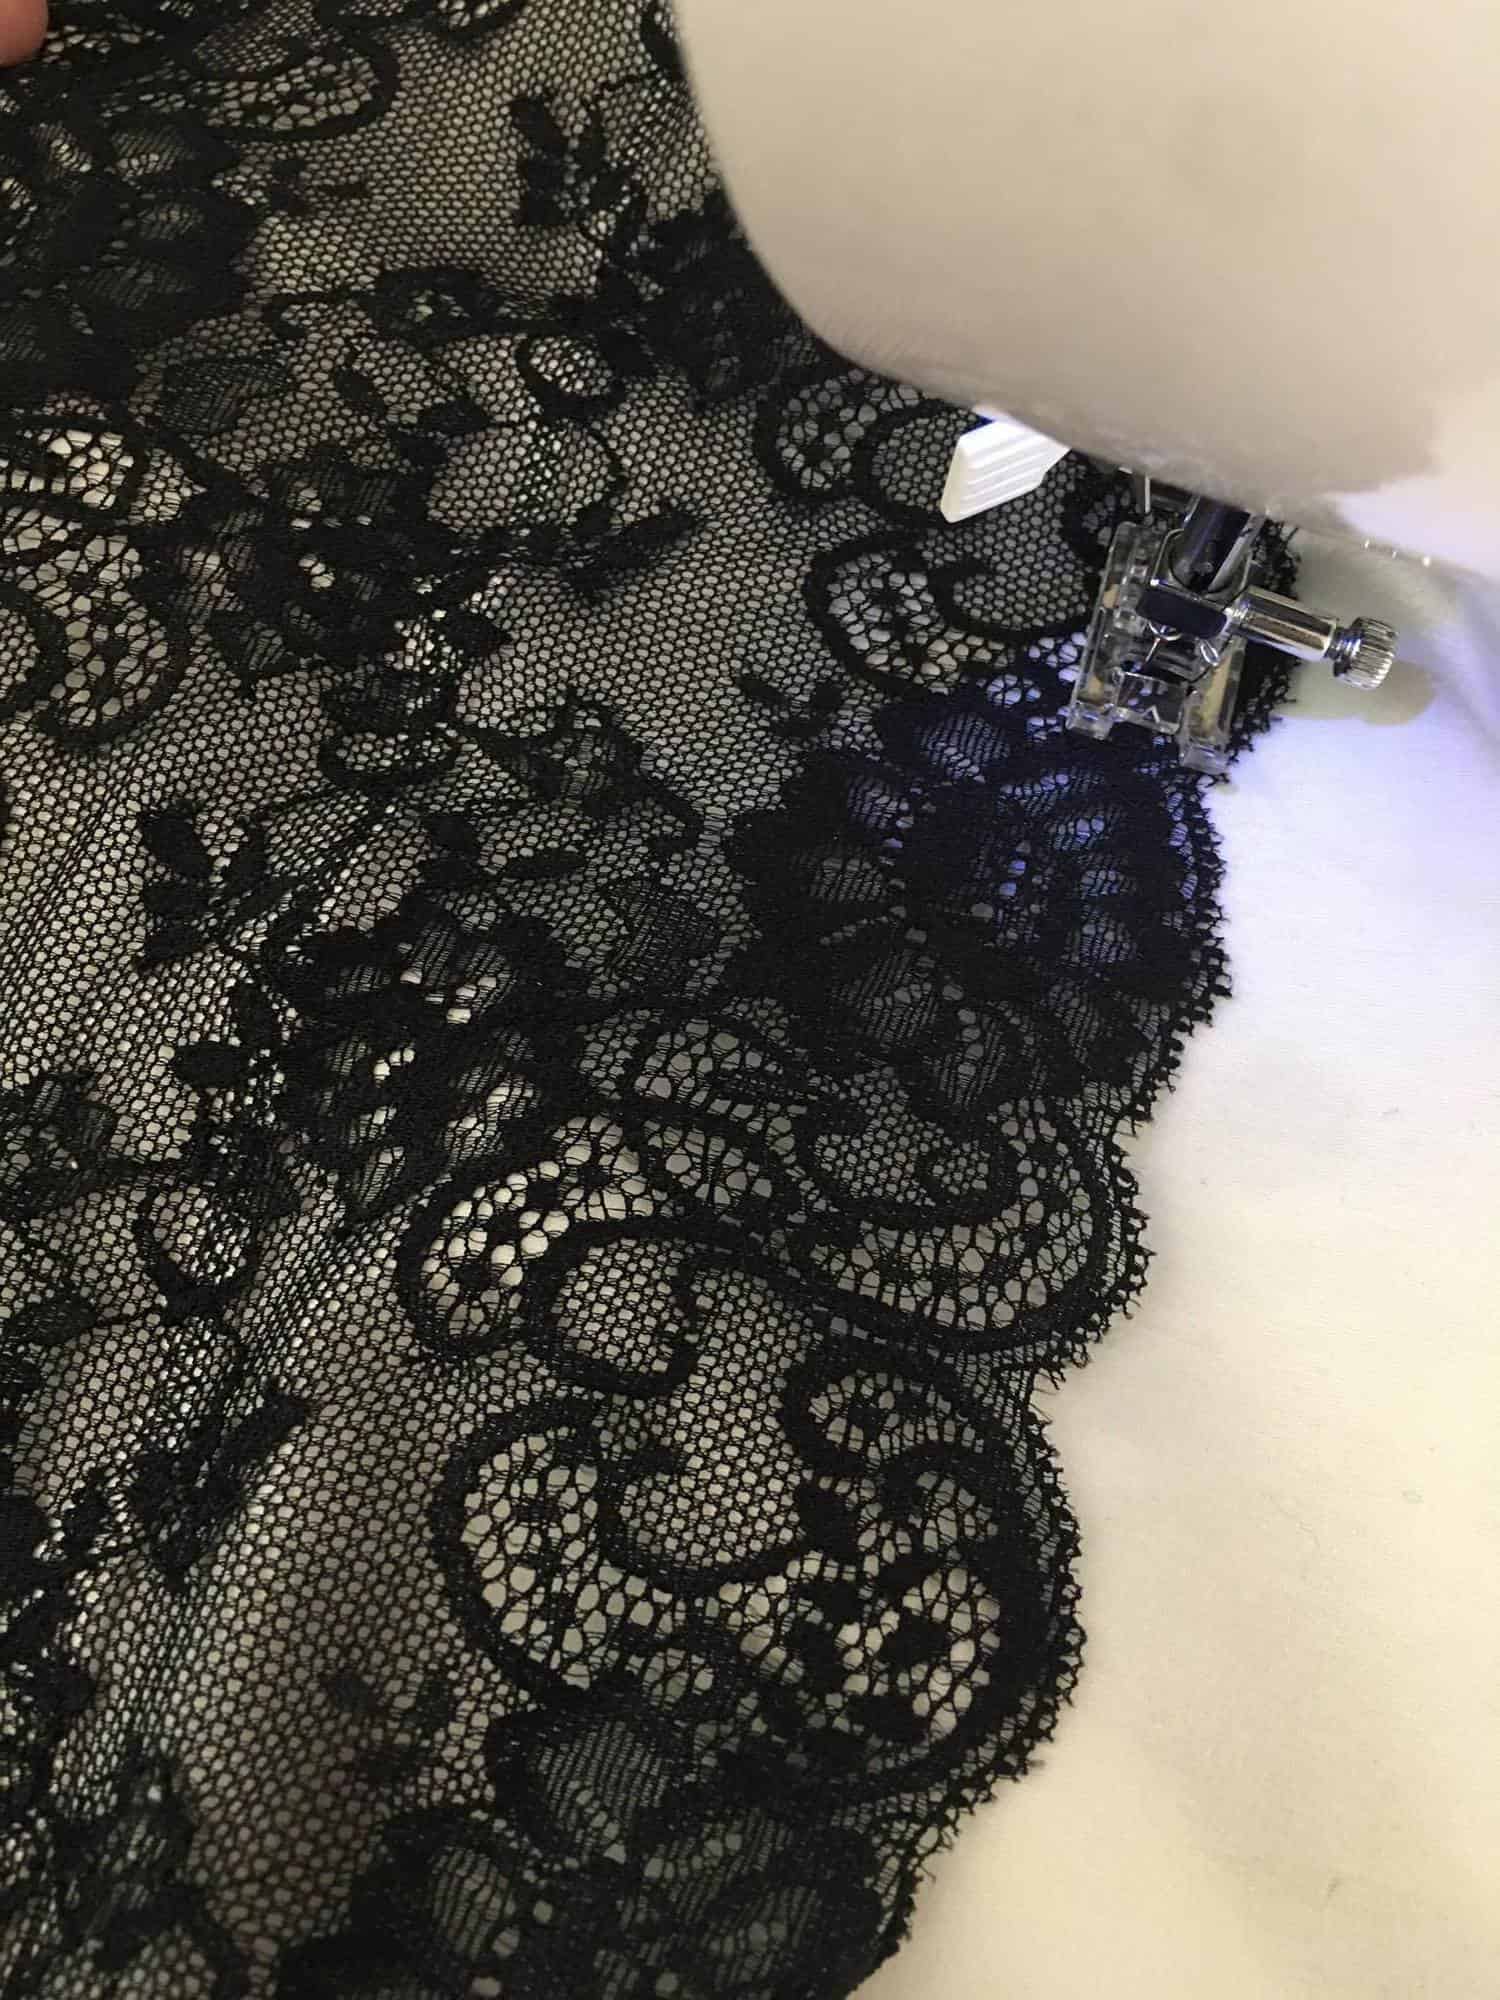
I’ll be honest, Judy created this dress while we were pre-testing and I had to replicate it.  Adding a lace applique is super easy but adds a super sexy and classic flair.  For this particular version, the lace extends along the entire side seam, so I constructed my bodice first, added the lace to the top, then sewed my sleeves on so that the lace was enclosed in the armscye.  You can, of course, add lace wherever you’d prefer, such as the neckline or bottom hem but I love the silhouette the wide stripe gave from the front and back.   I used a fairly narrow zig-zag stitch down the center seam and along each edge of the stretch lace trim.  Be sure to keep your lace taut as you sew along the waist and hip curves.


…..

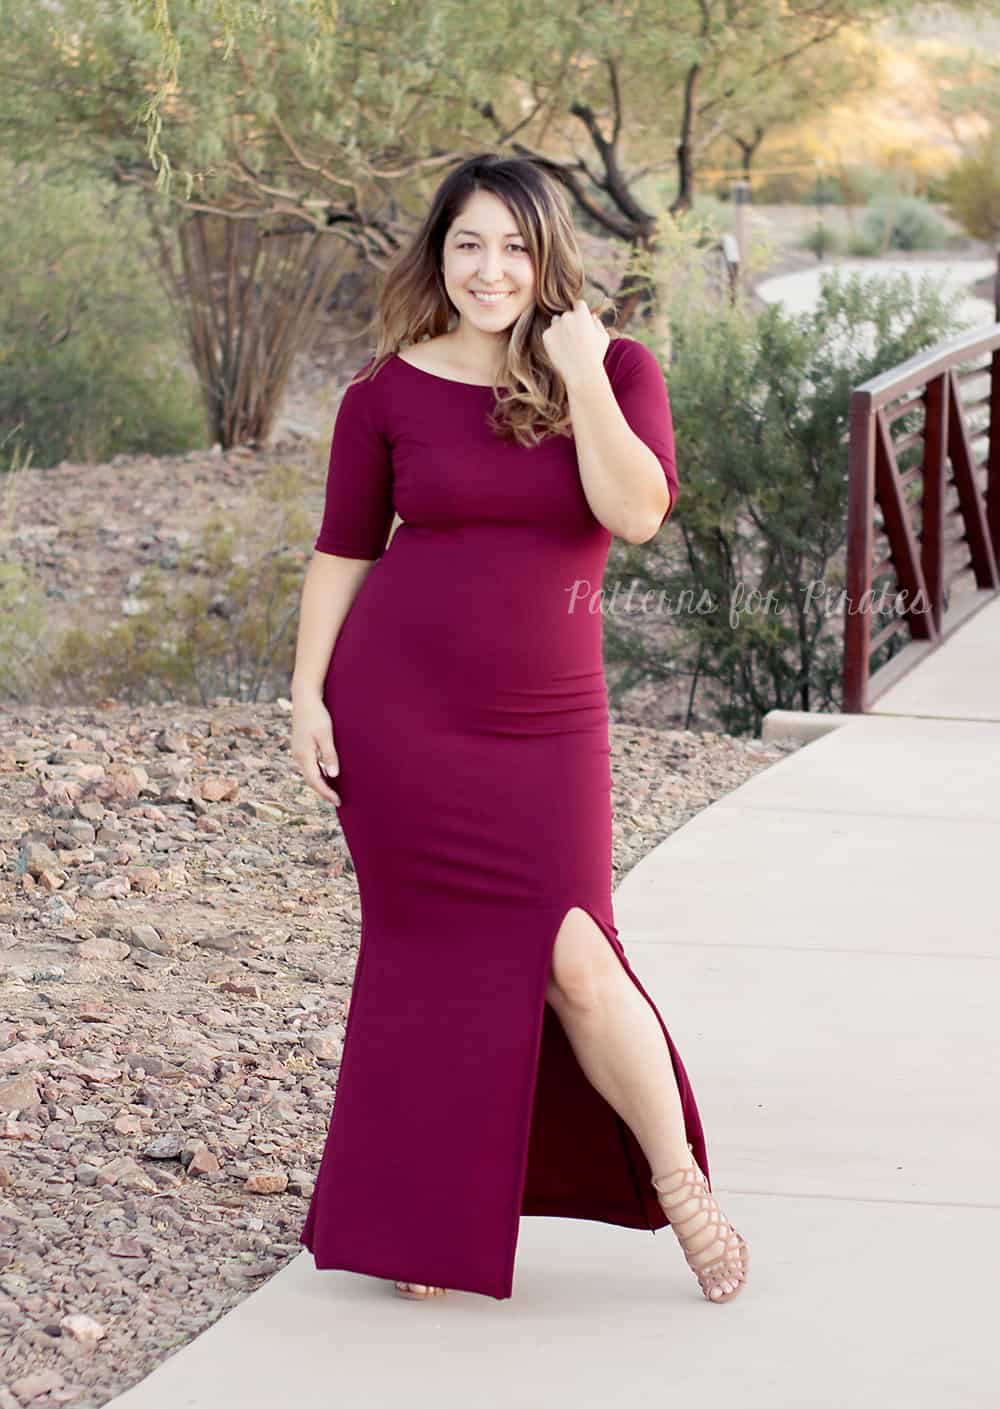
Front Leg Slit

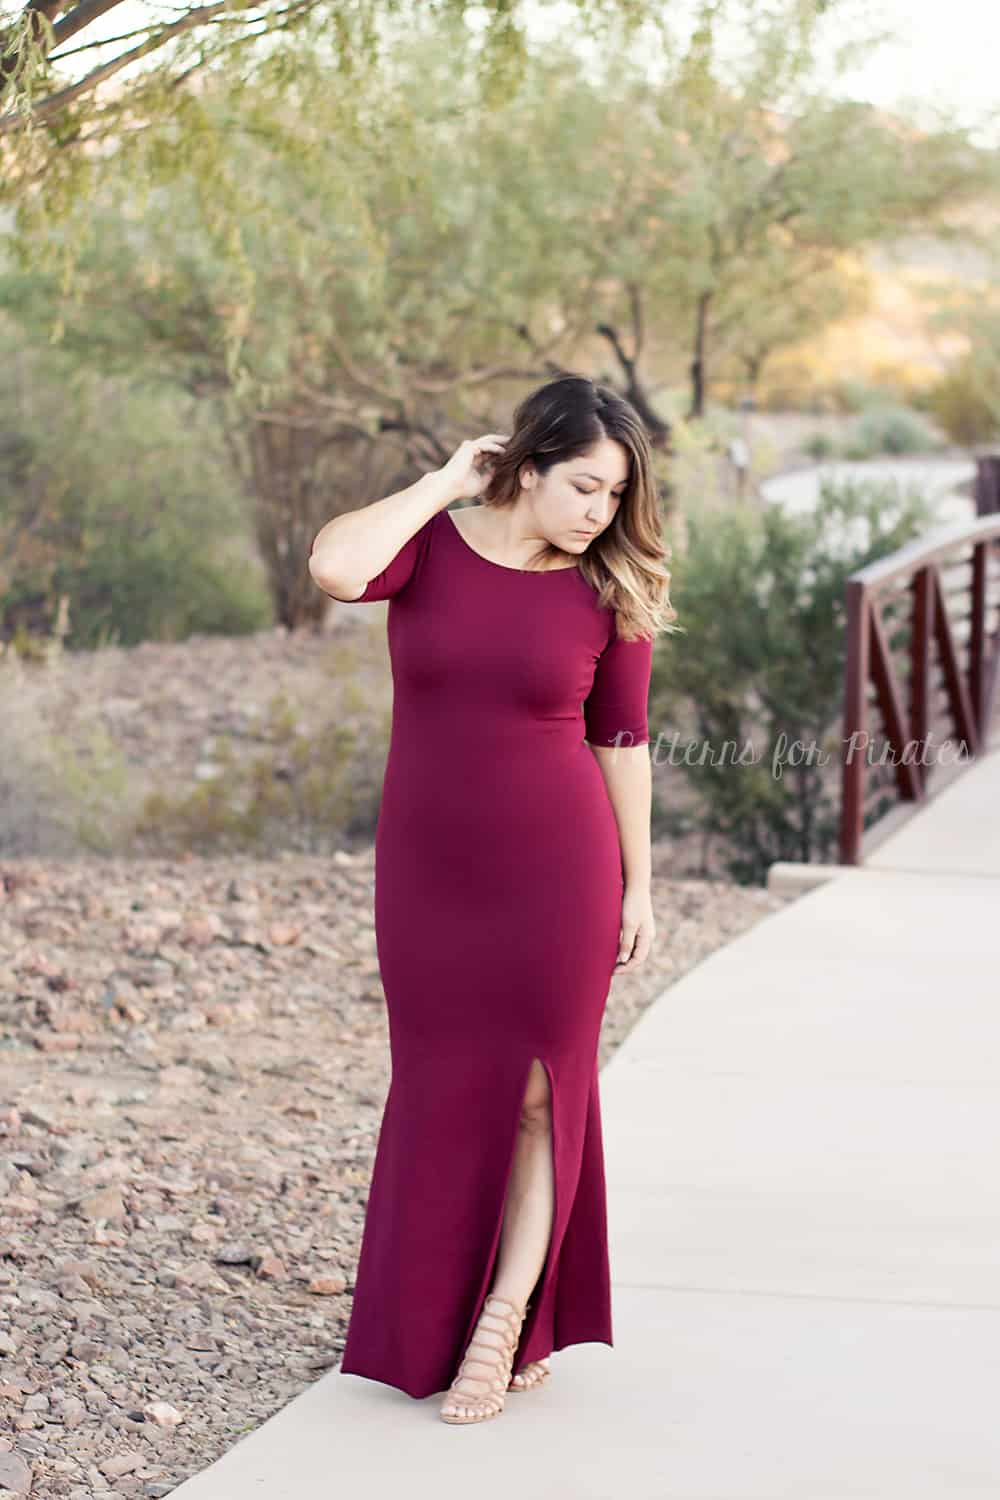
What sexy dress doesn’t include a slit!  Show off those legs and add a front slit to your wiggle.

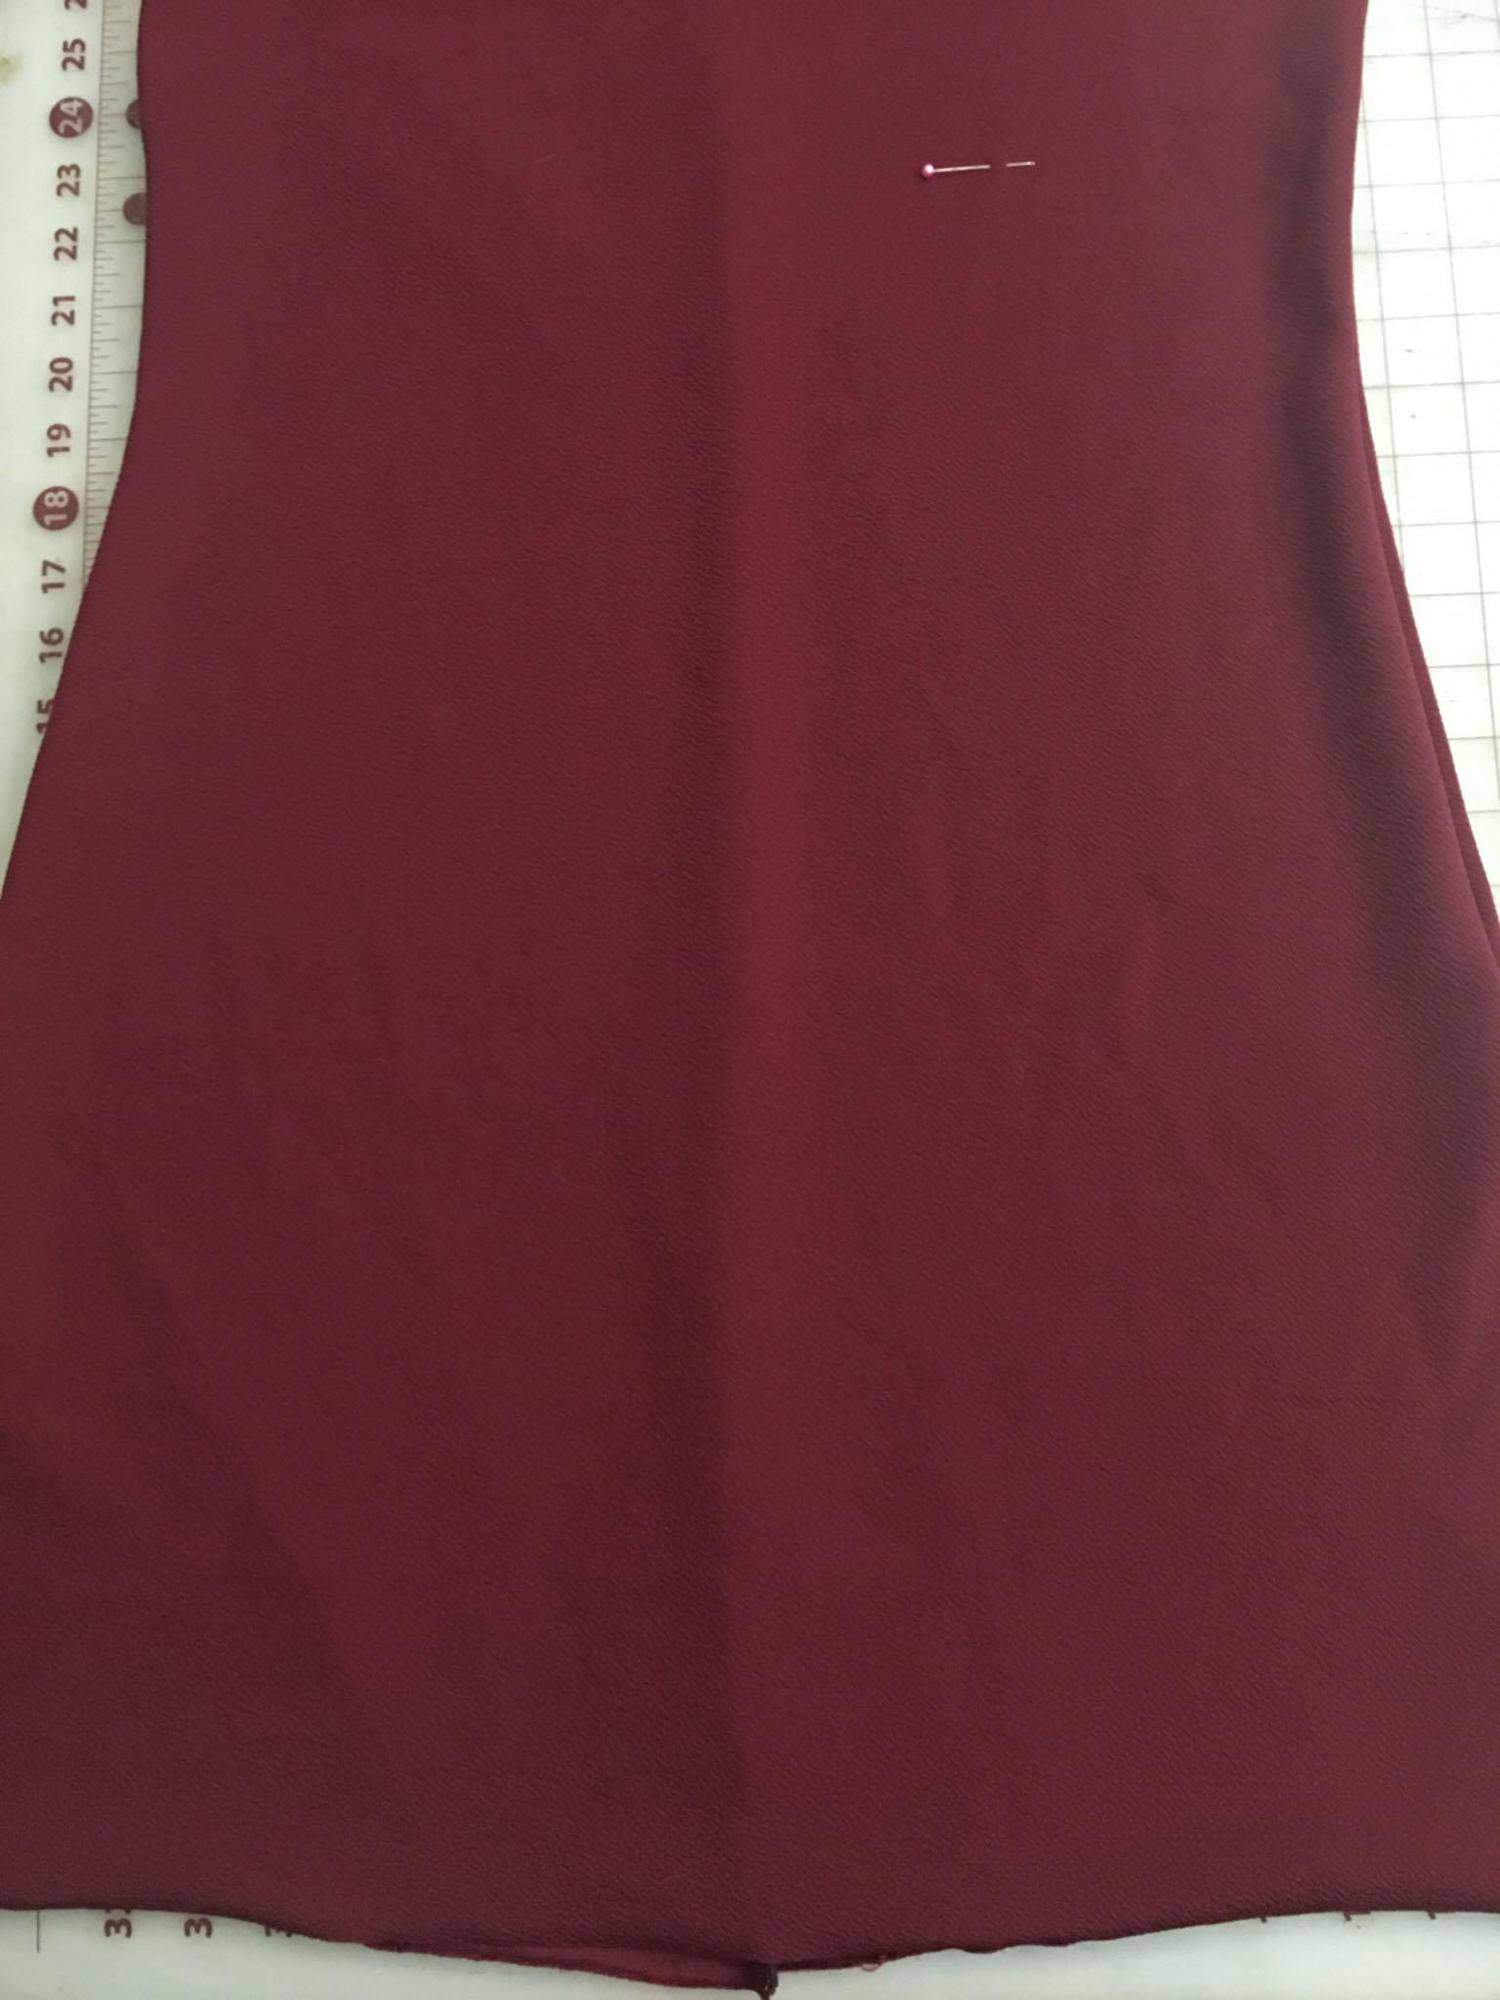
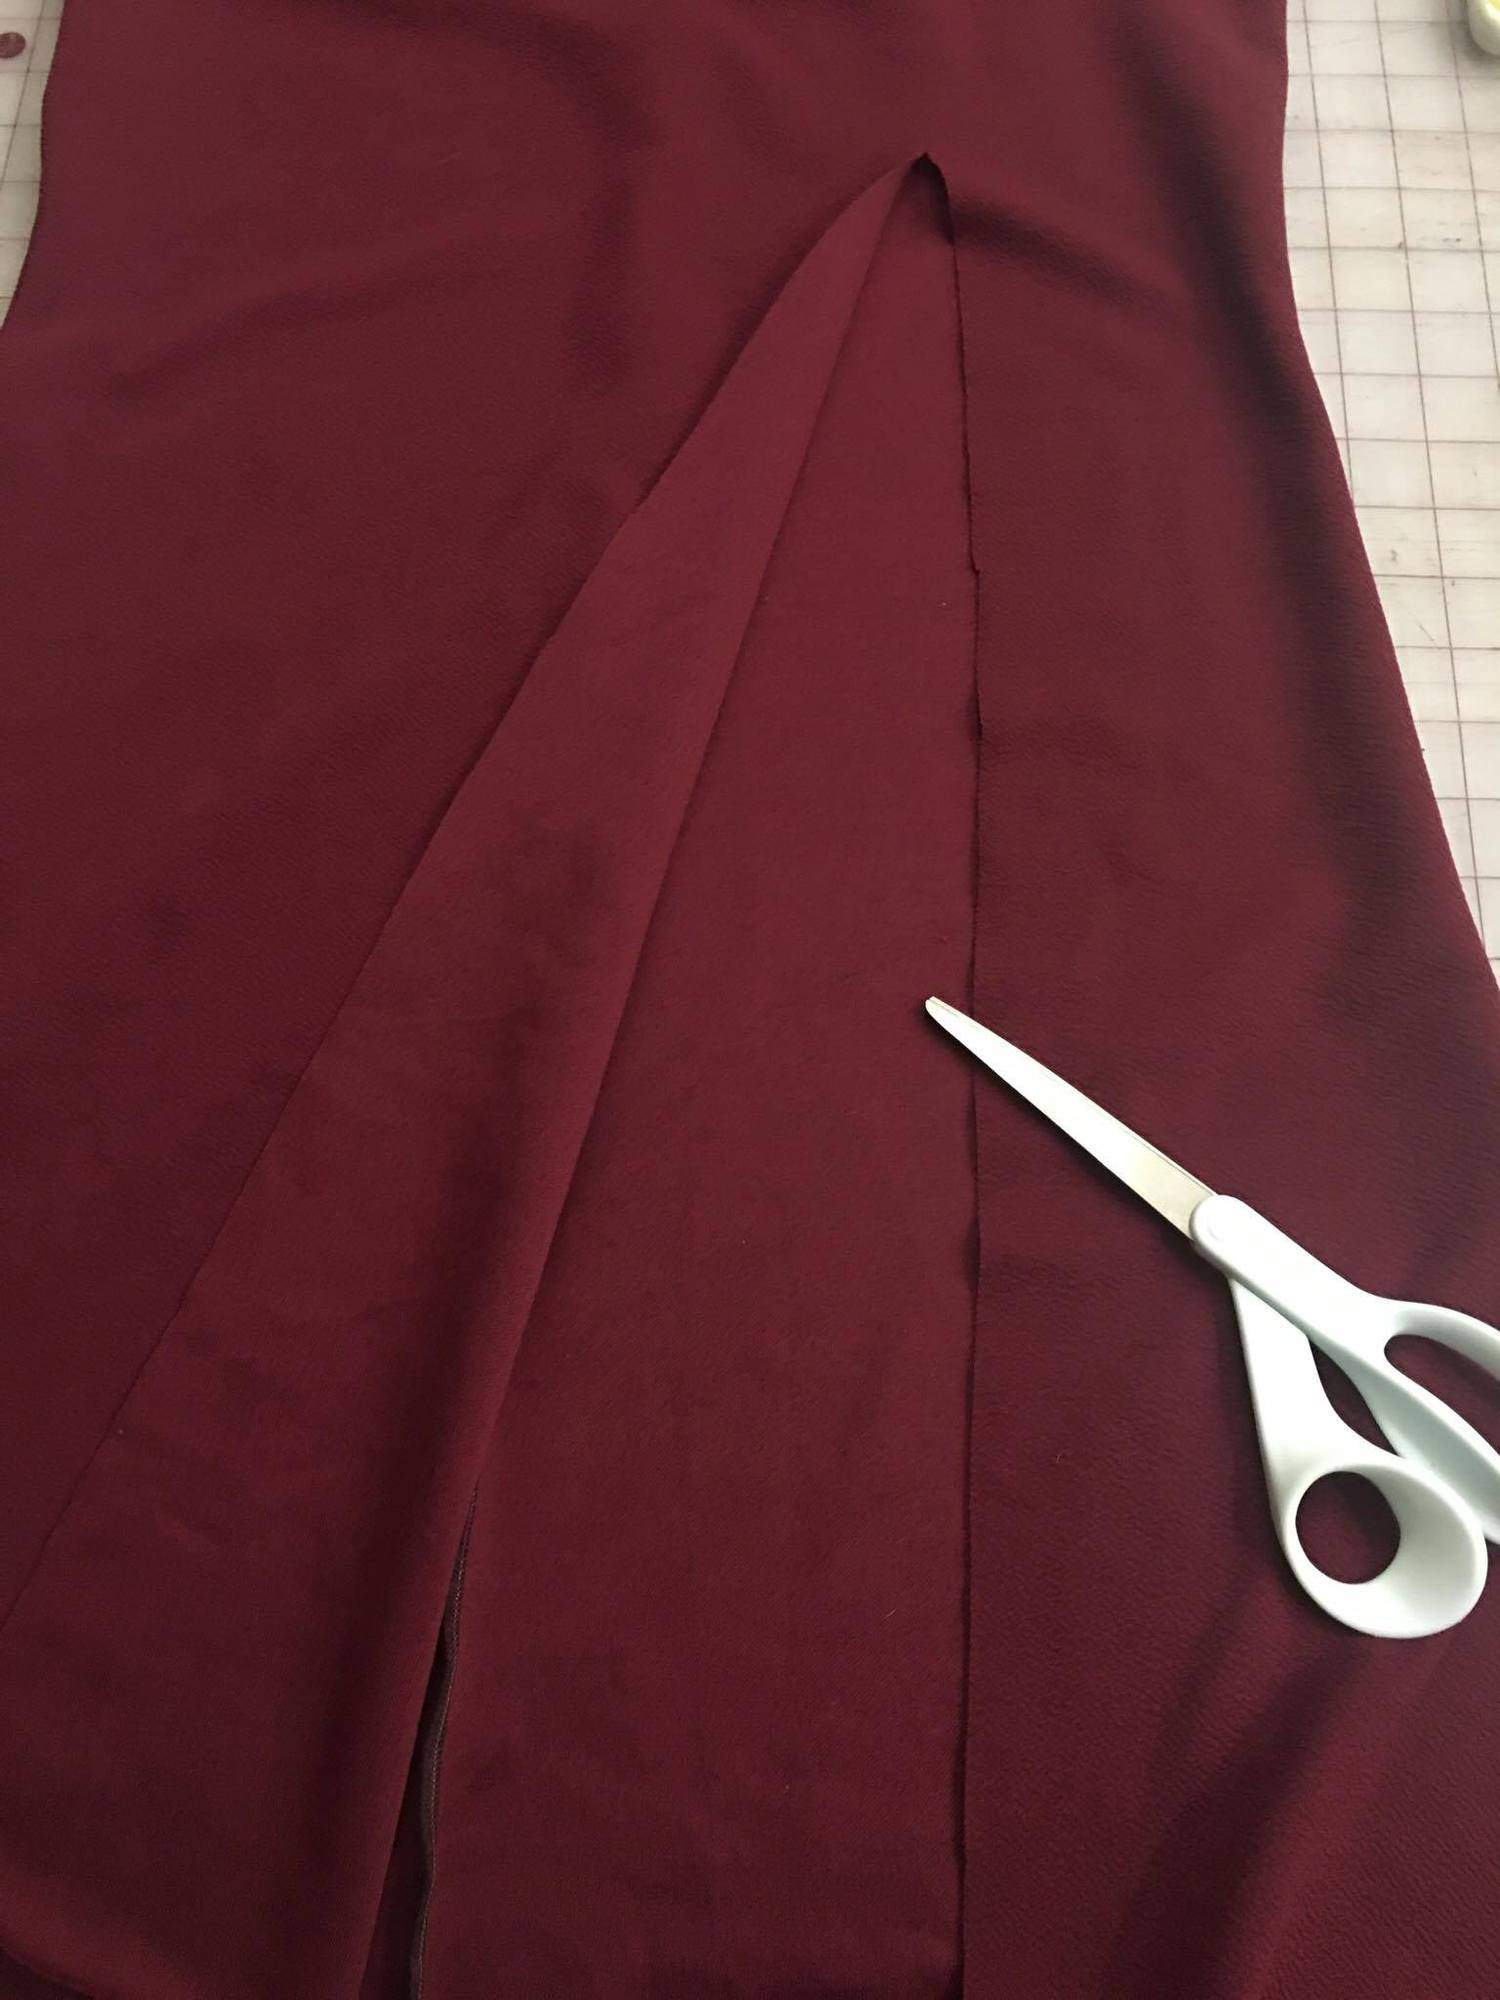
Try on your dress and mark where and how high you would like your slit. For reference, mine is 24″ from bottom hem (just above the knee) and is about half the distance from the center (1/4 point).
Cut the slit.
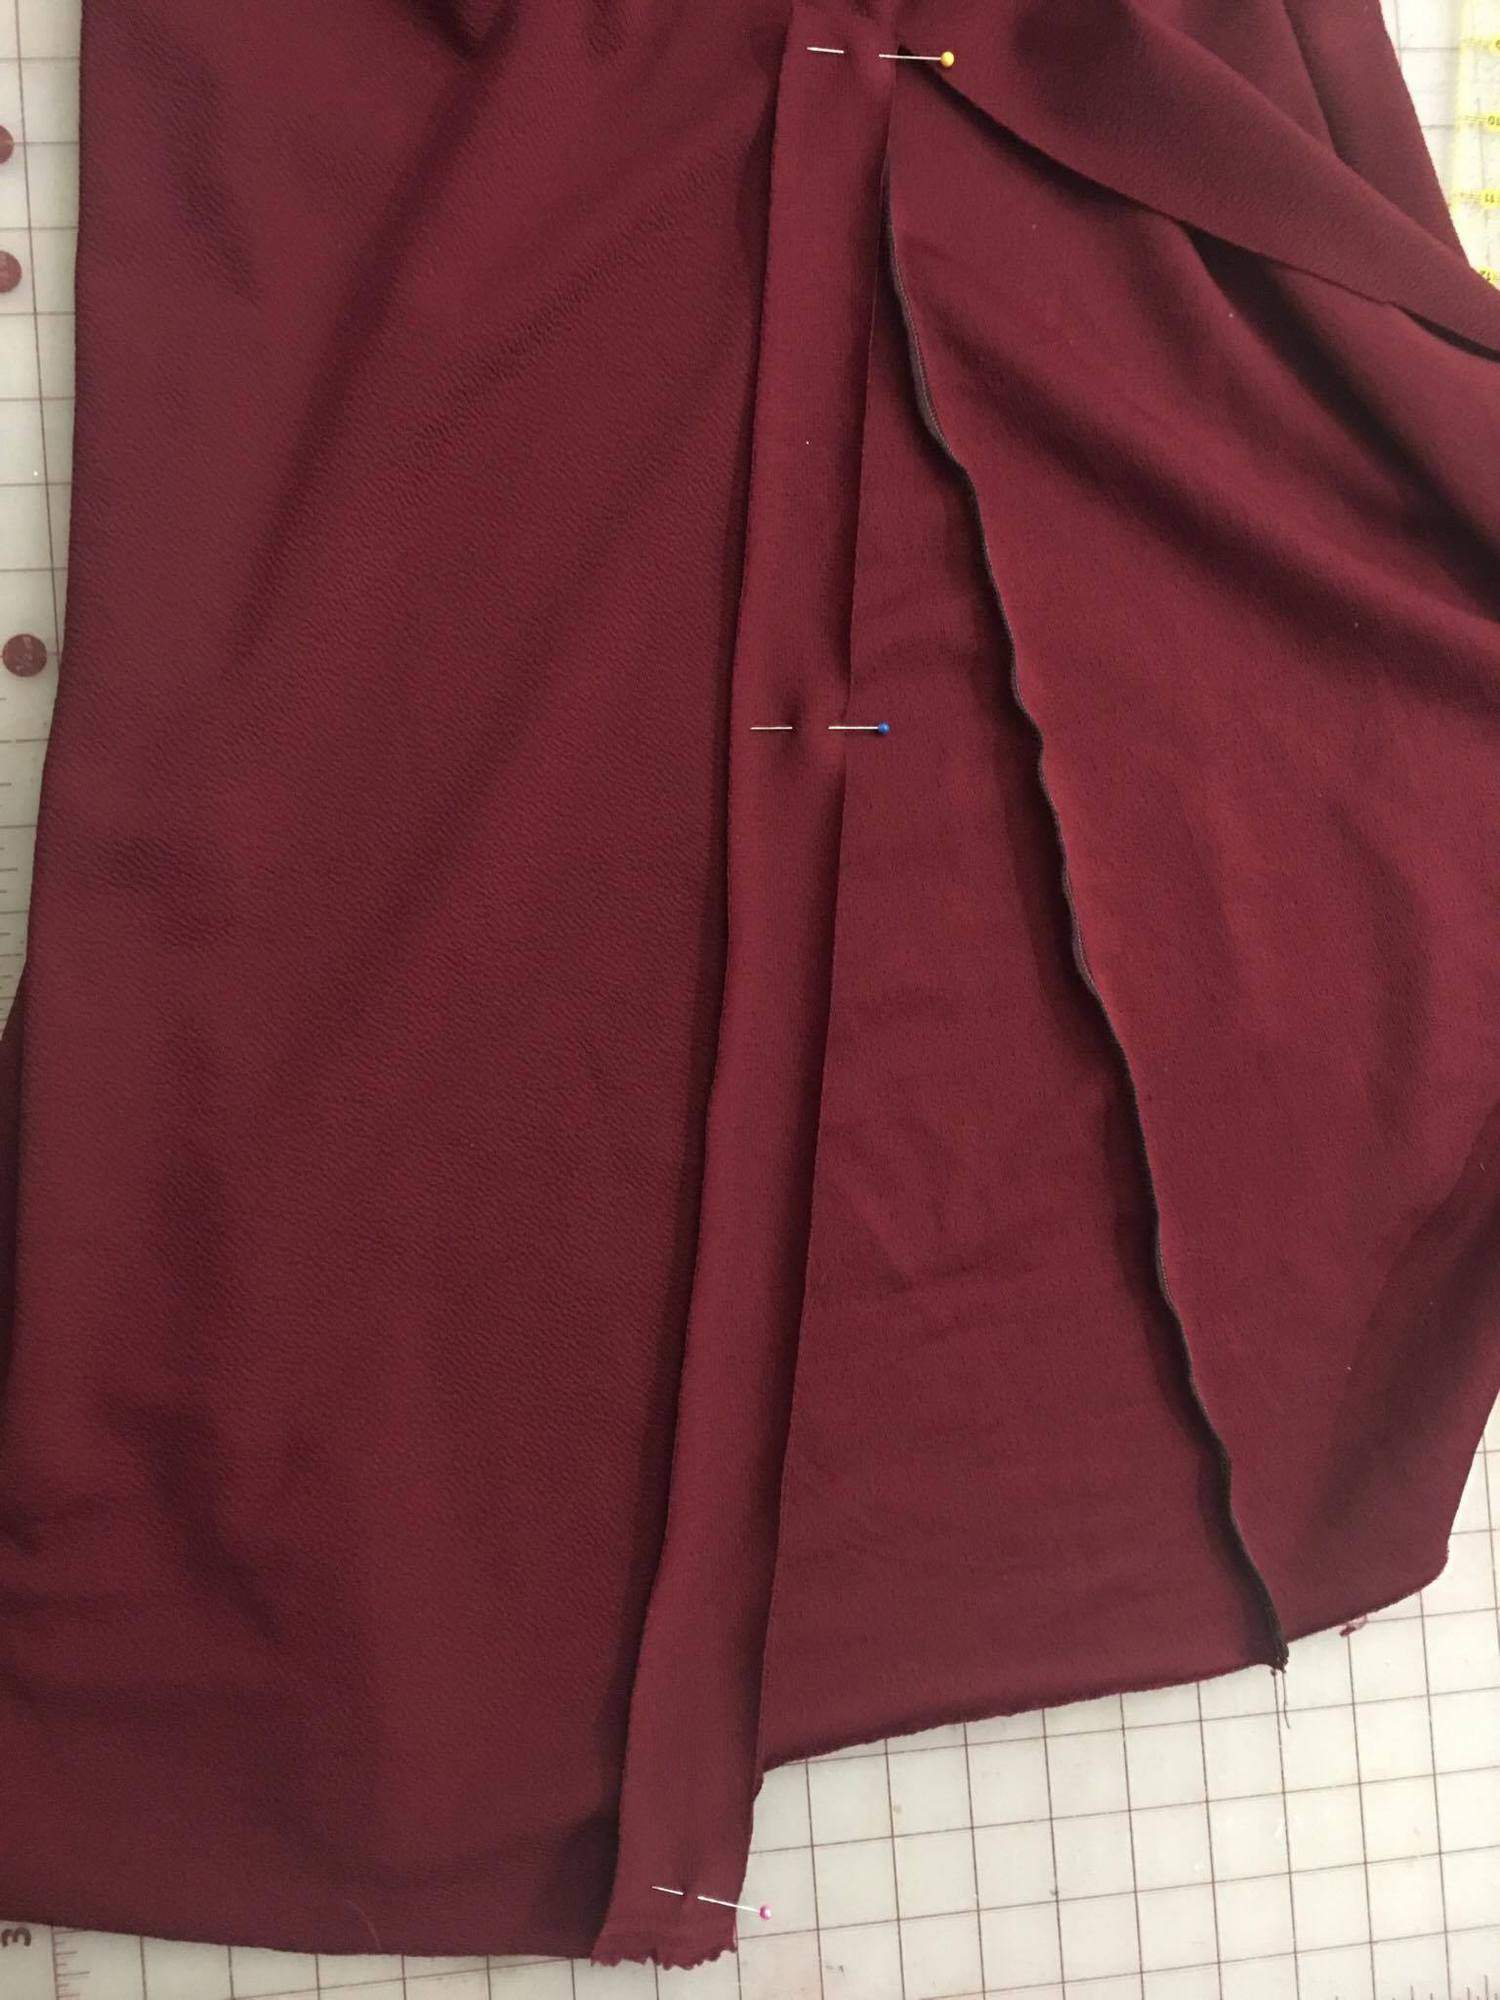
Cut 2 binding strips 1 1/4″ by the length of your slit.
With right sides together and using a 1/4″ seam allowance, stitch binding to each side of the slit.

Fold the binding to the wrong side.
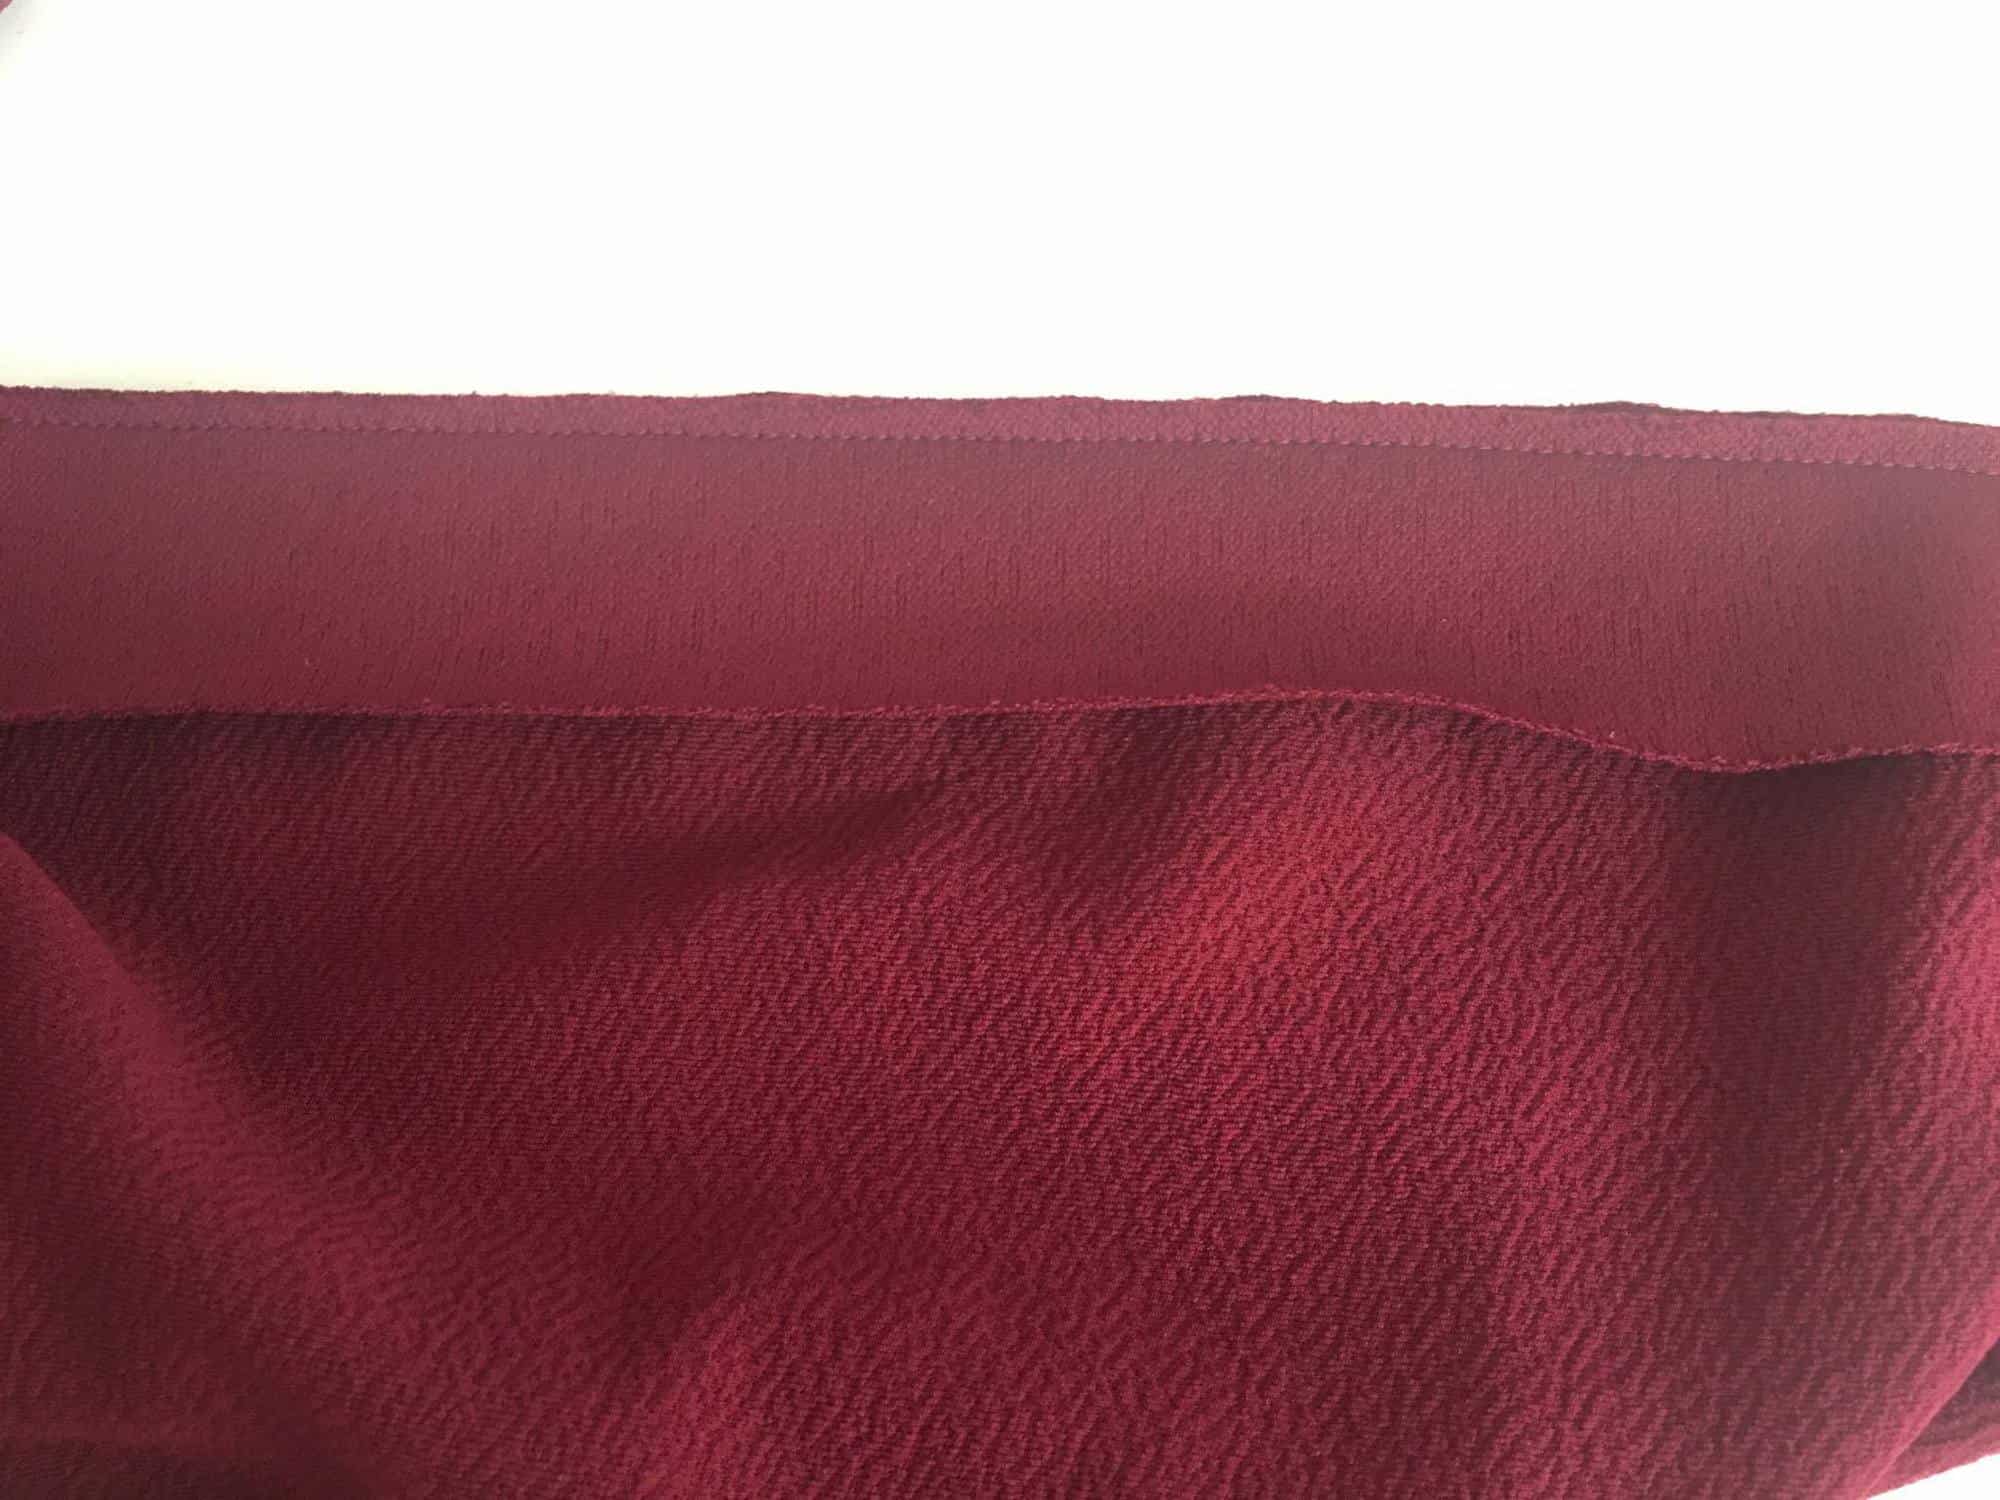
Fold the raw edge down to the previously sewn stitch line.
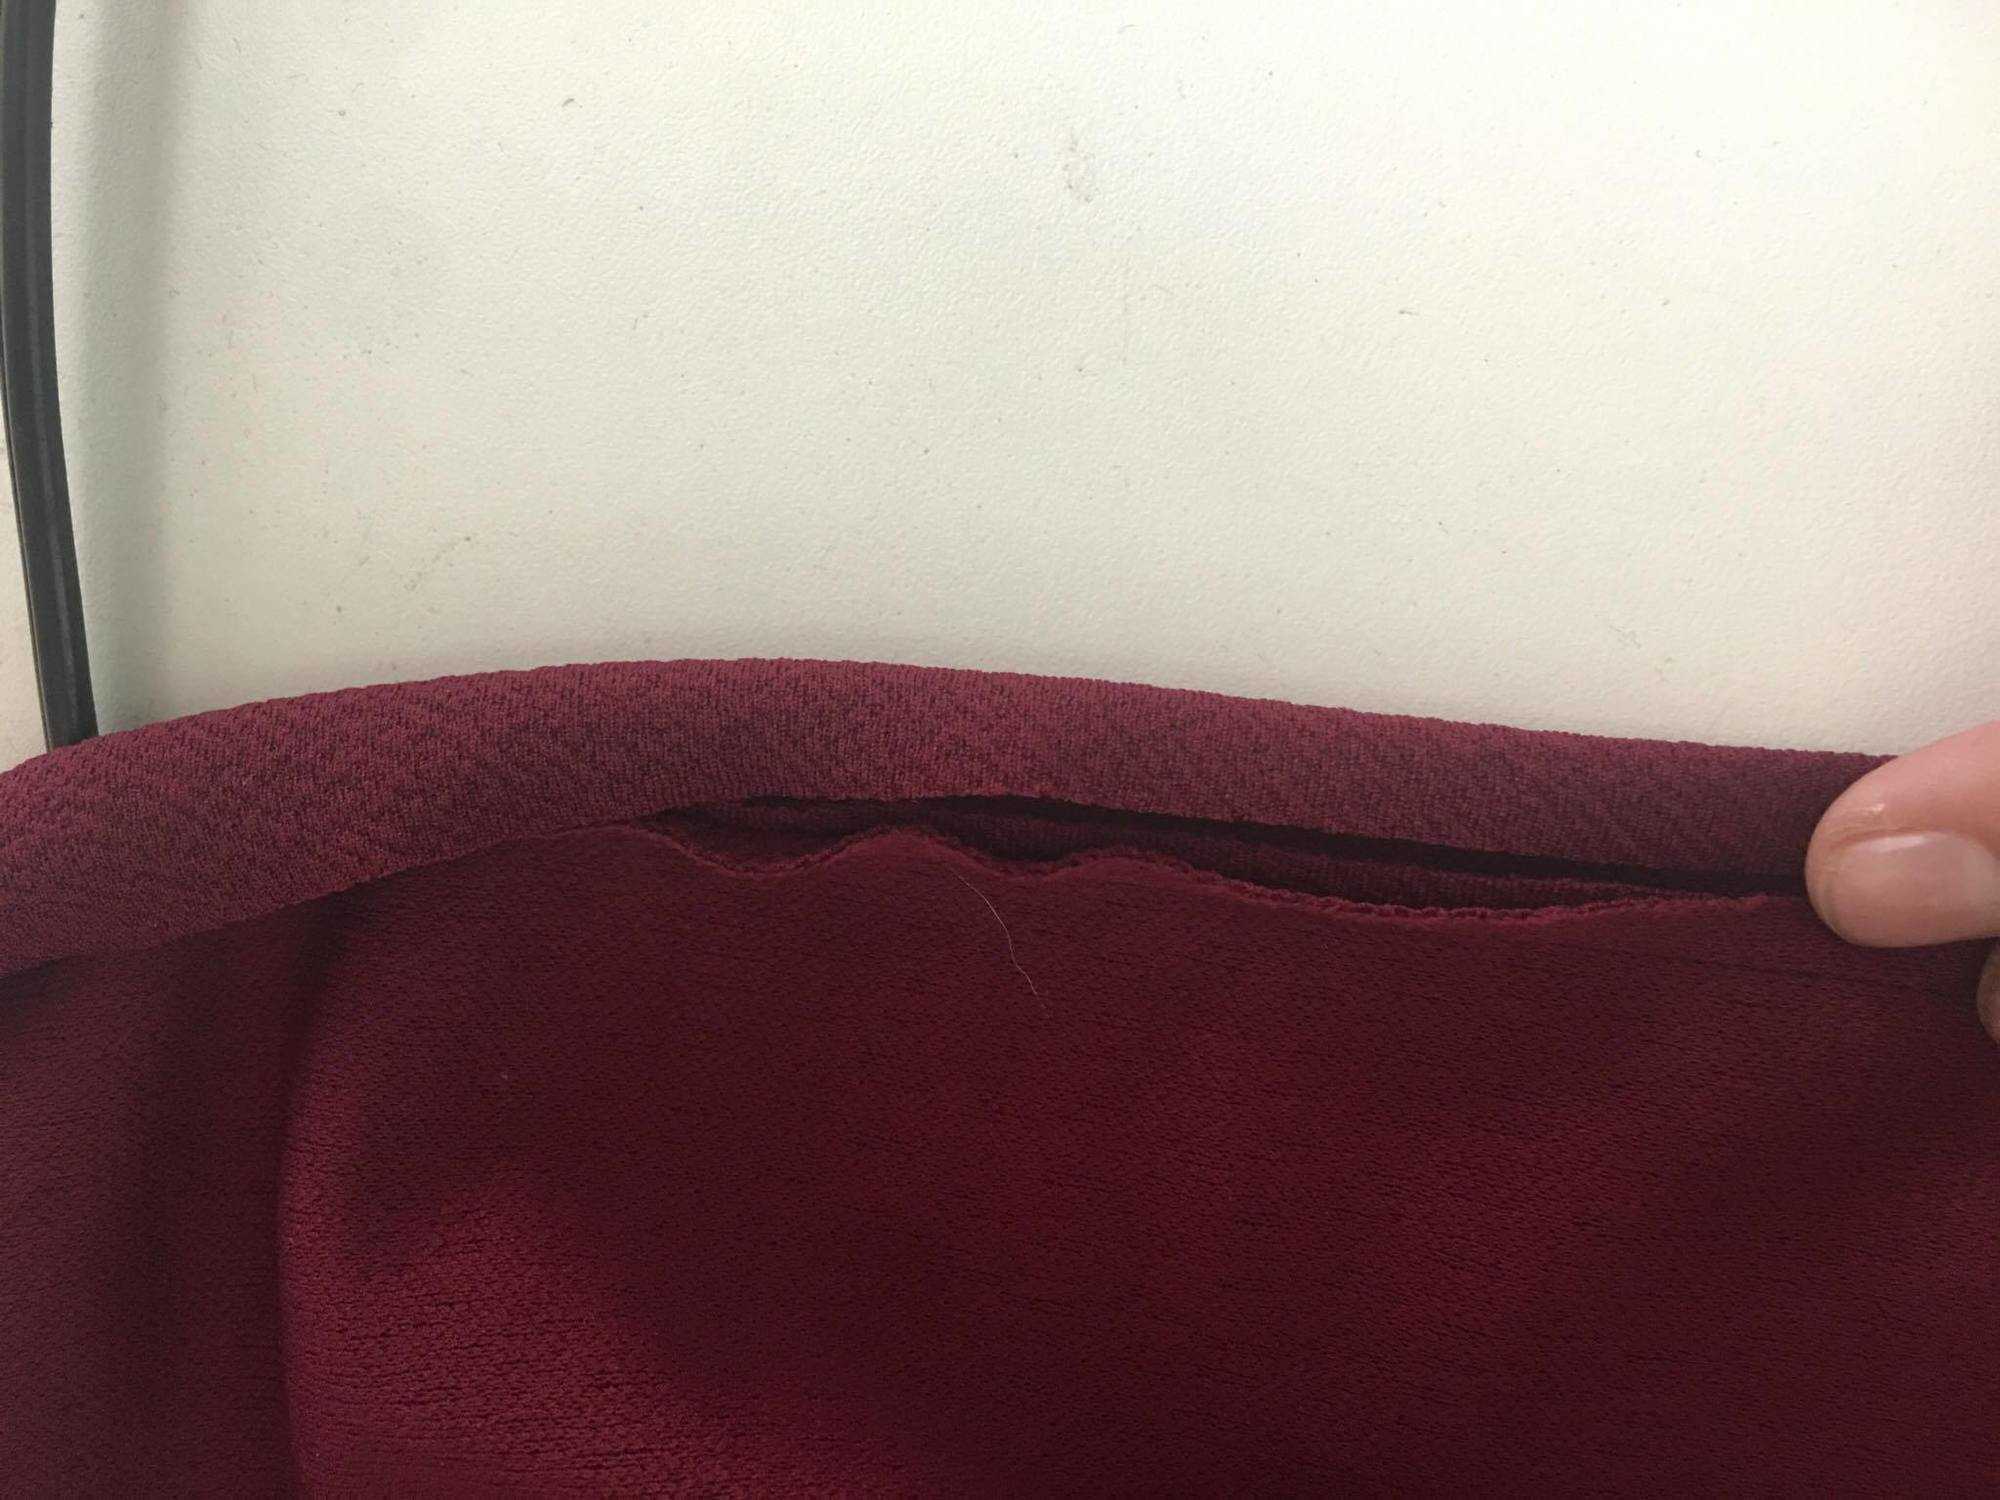
Fold over to the wrong side again, and pin in place.
Topstitch.

…..

Sweetheart/Wiggle Mash

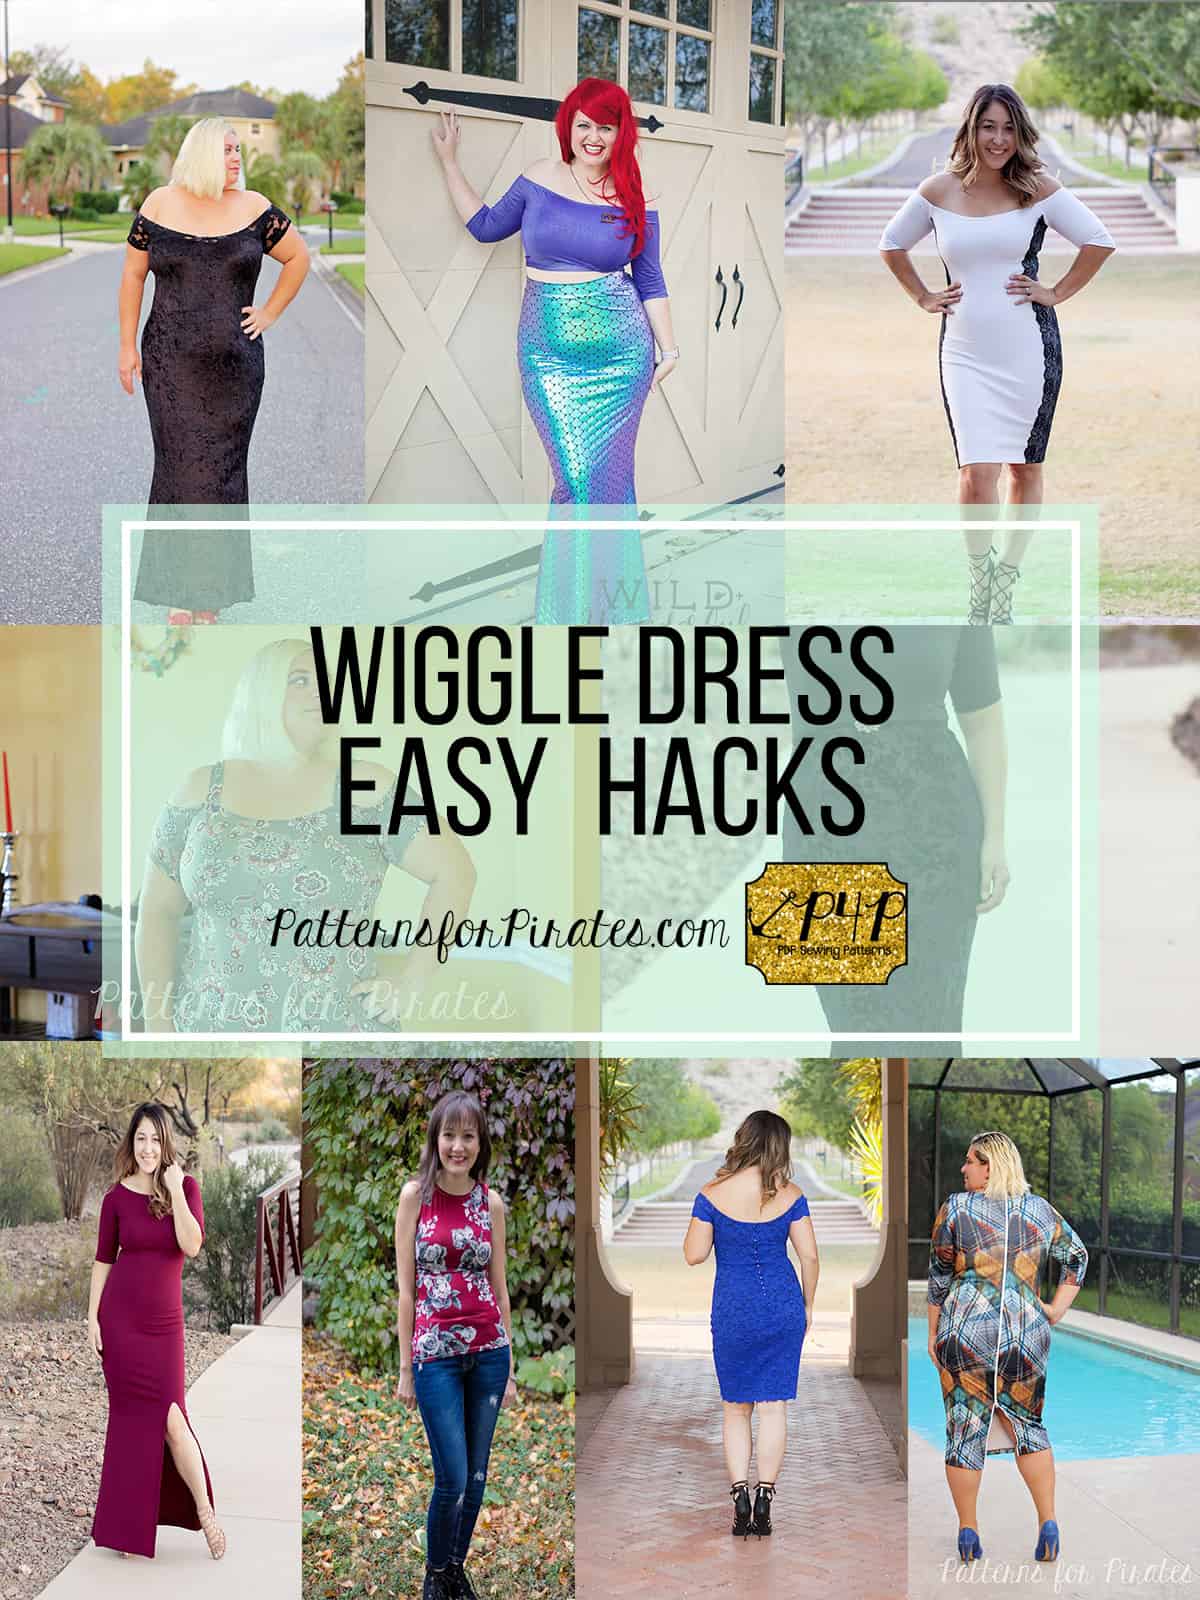
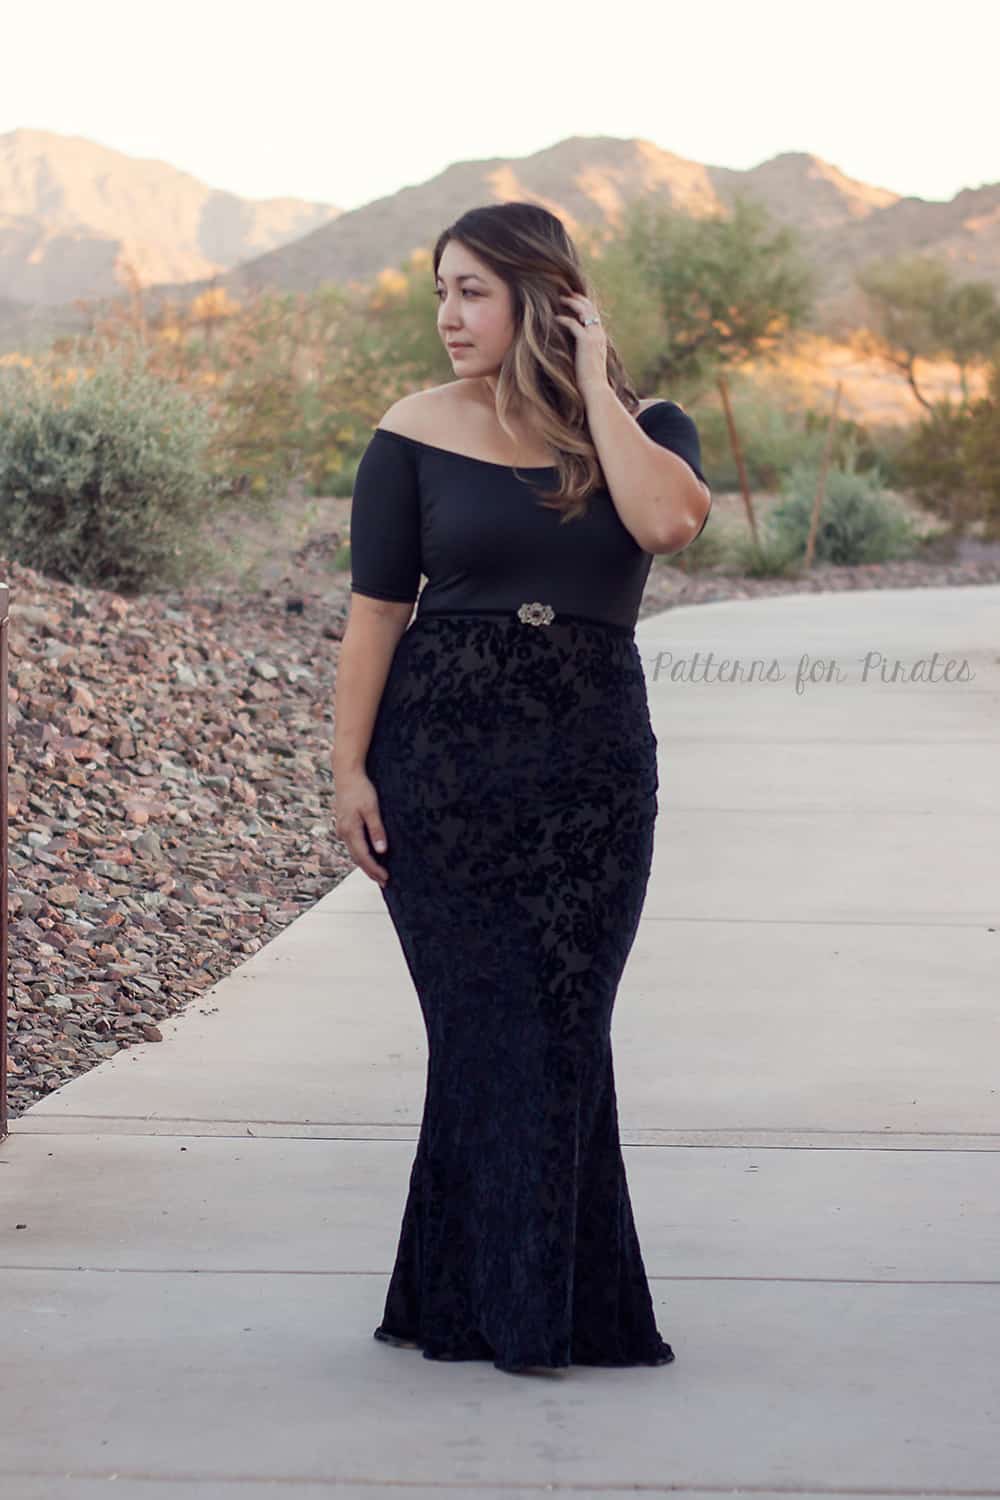
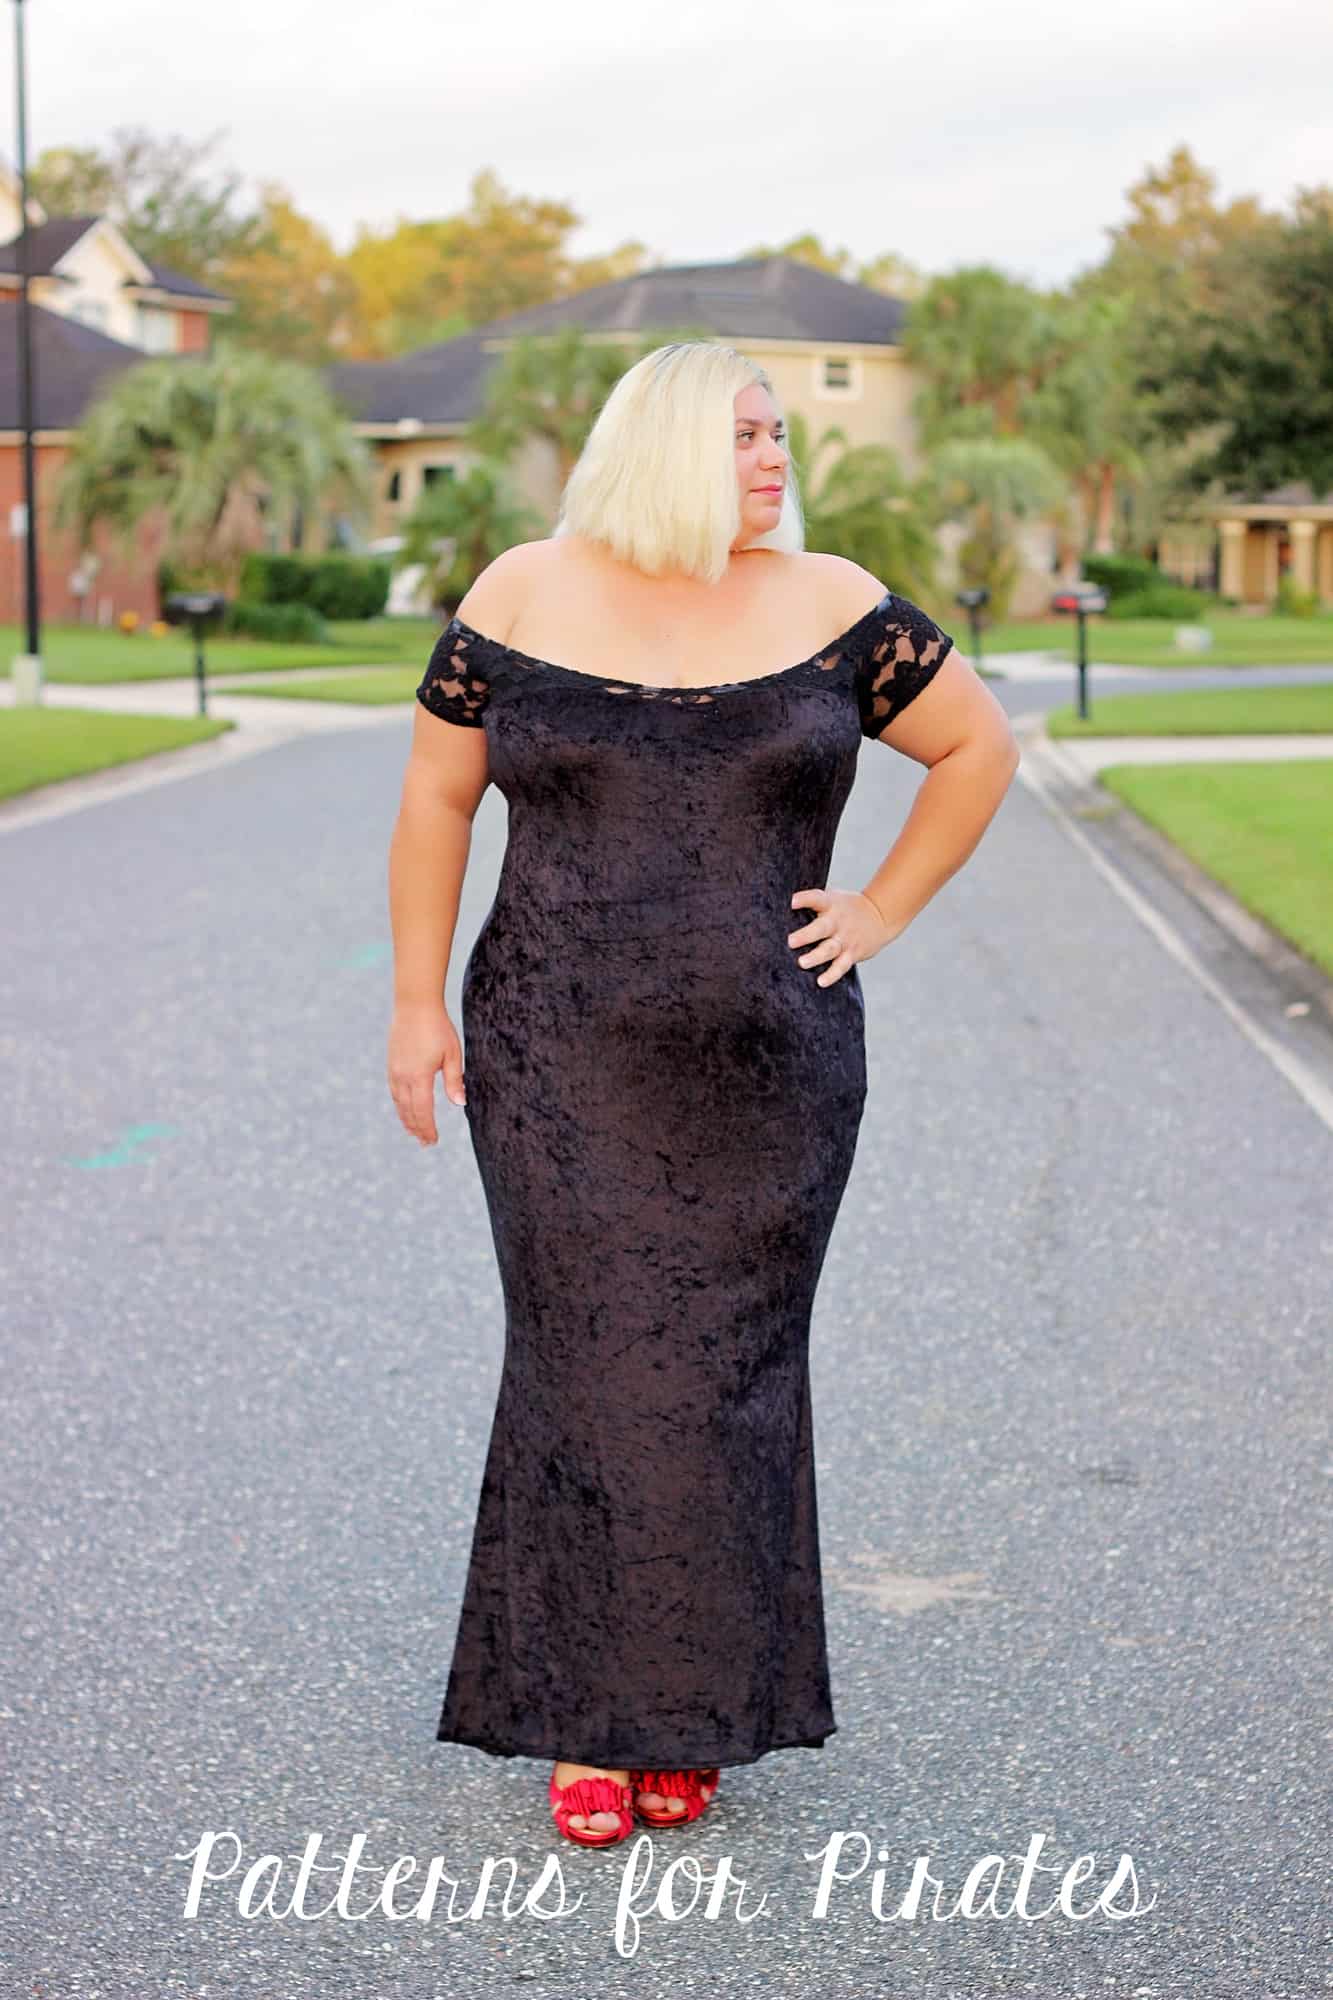
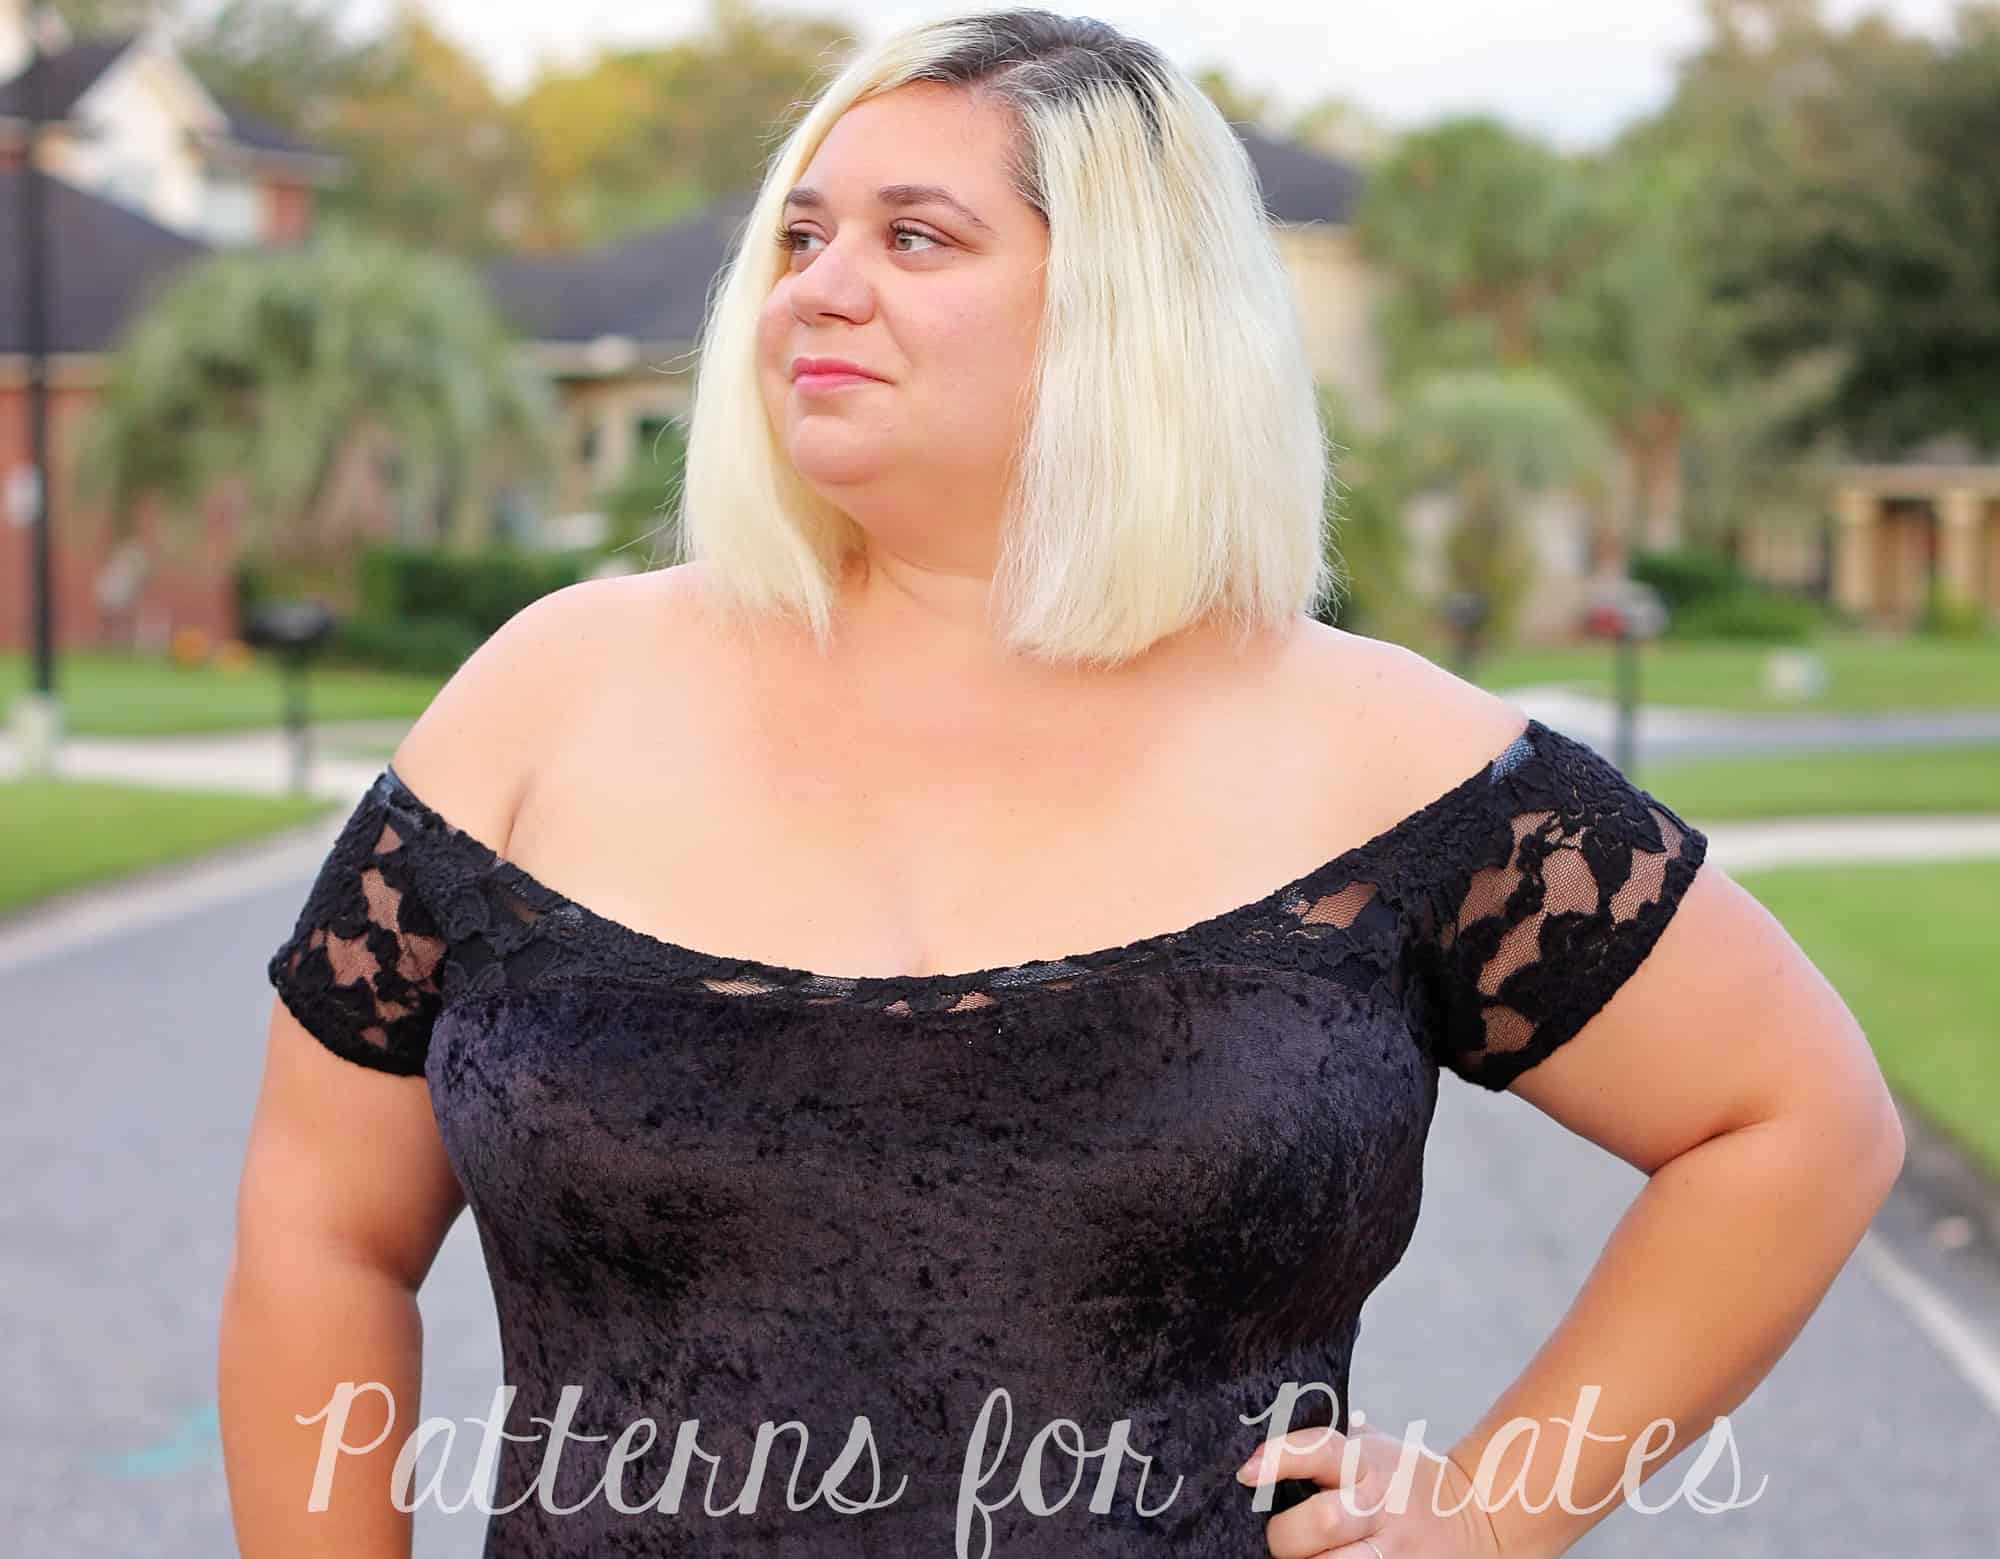
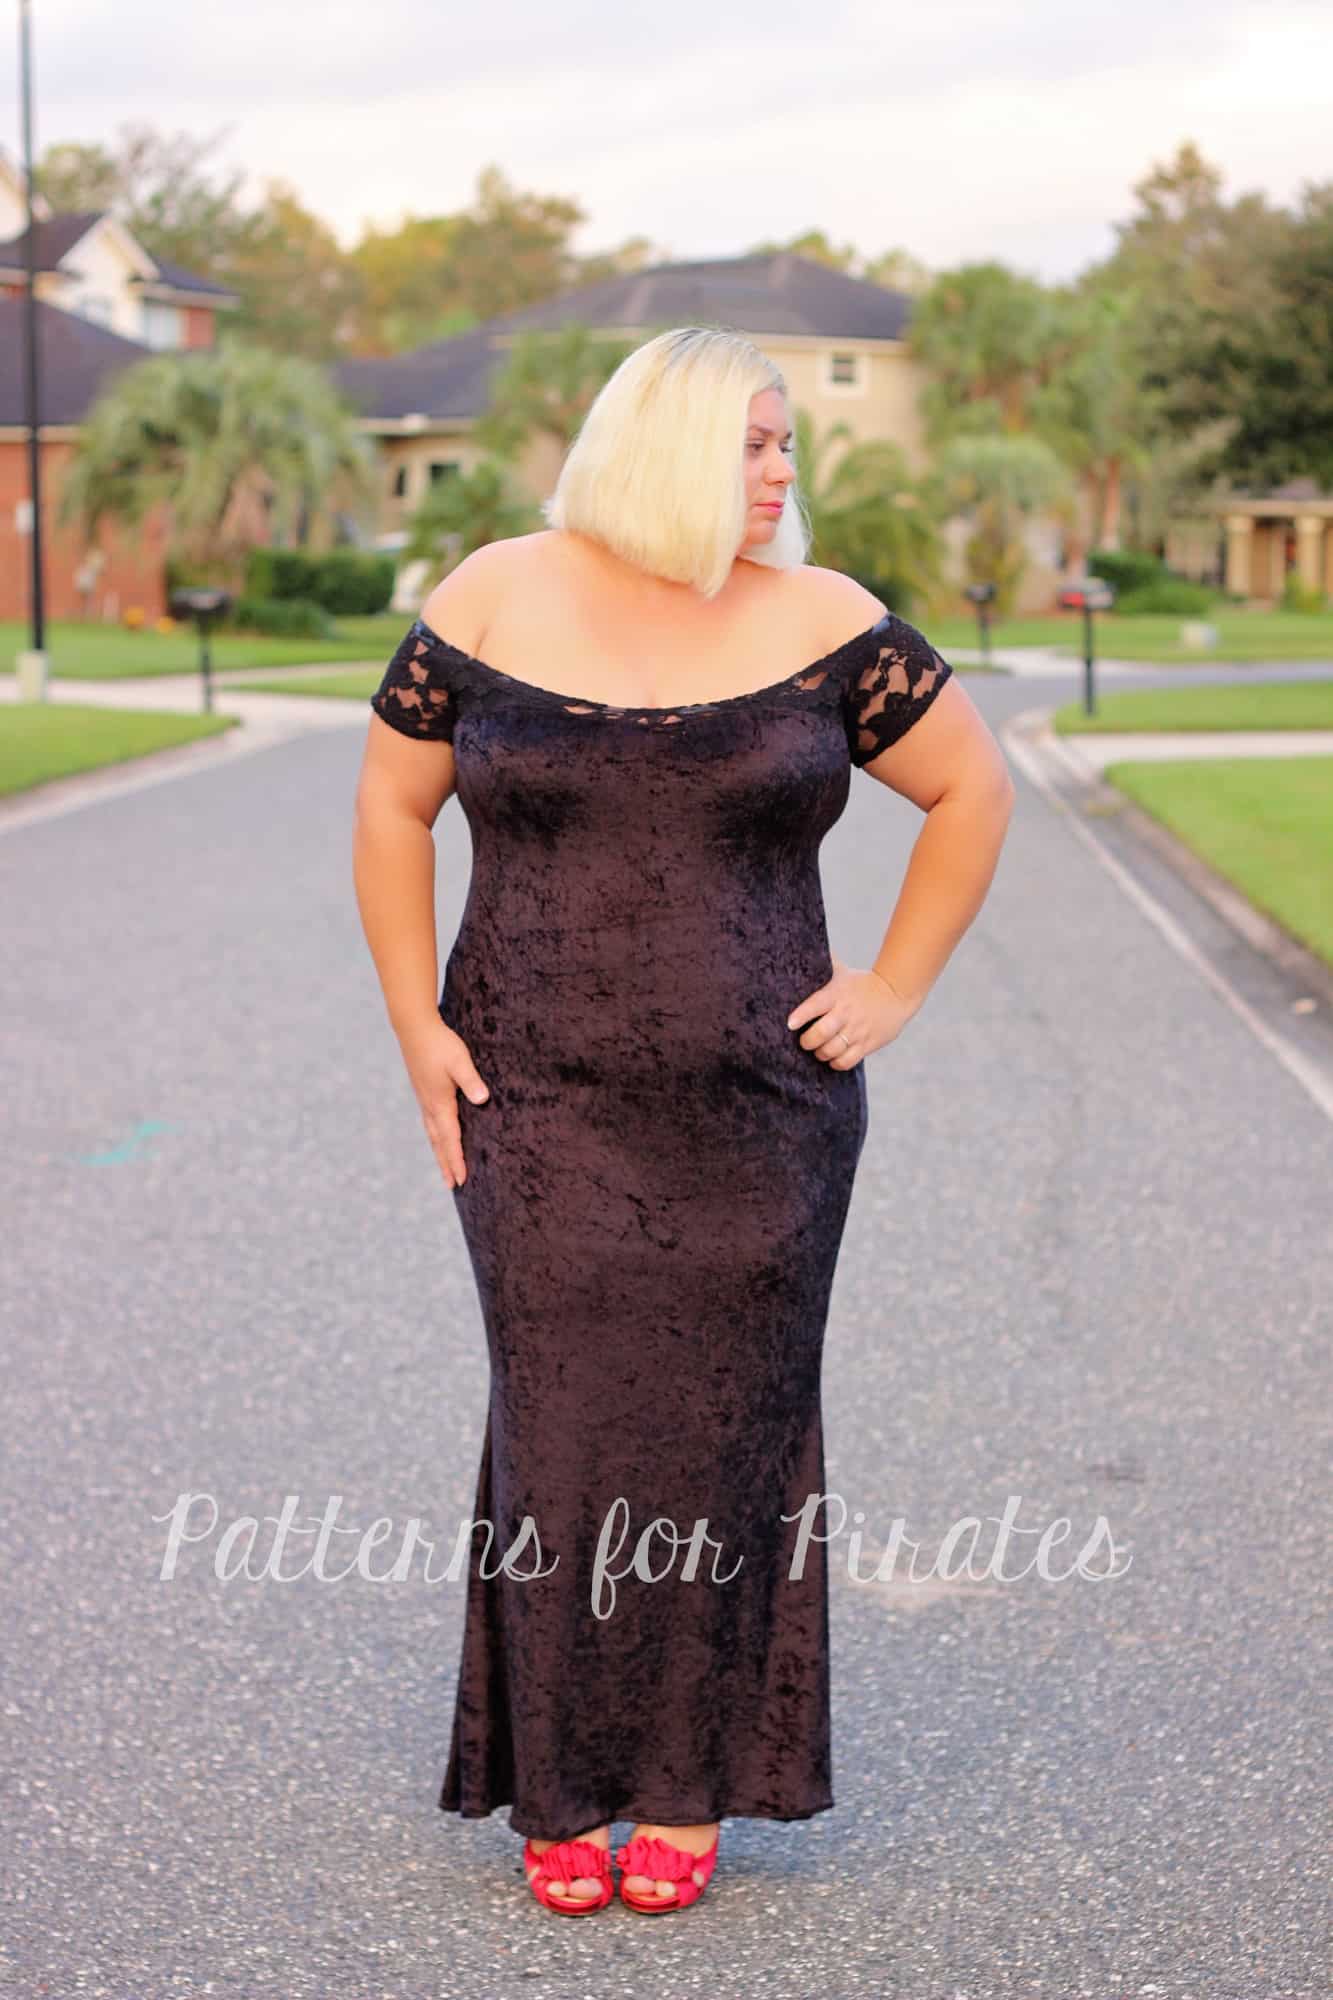
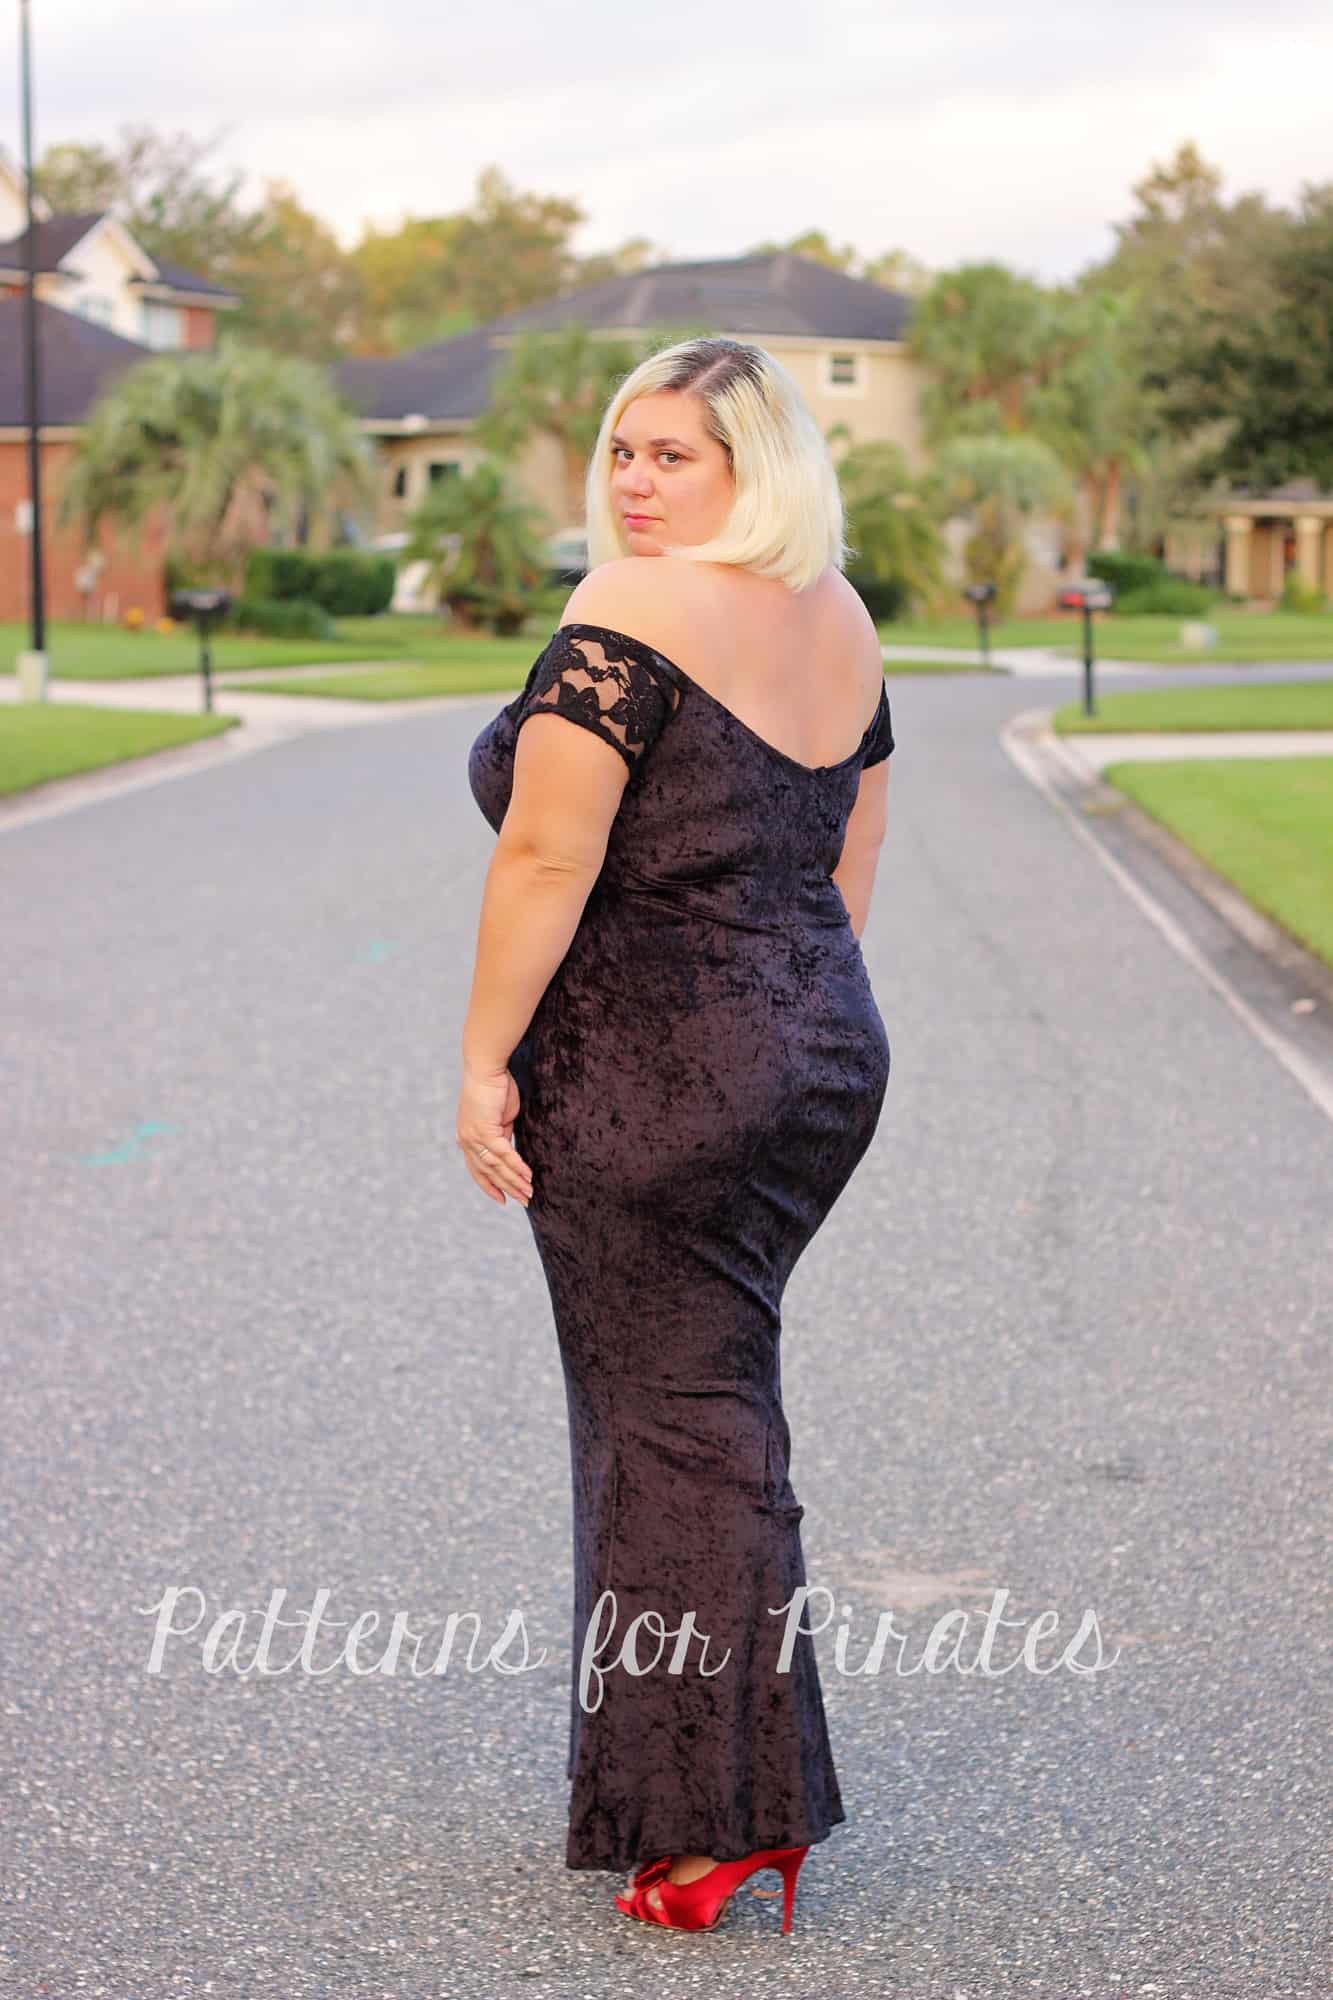
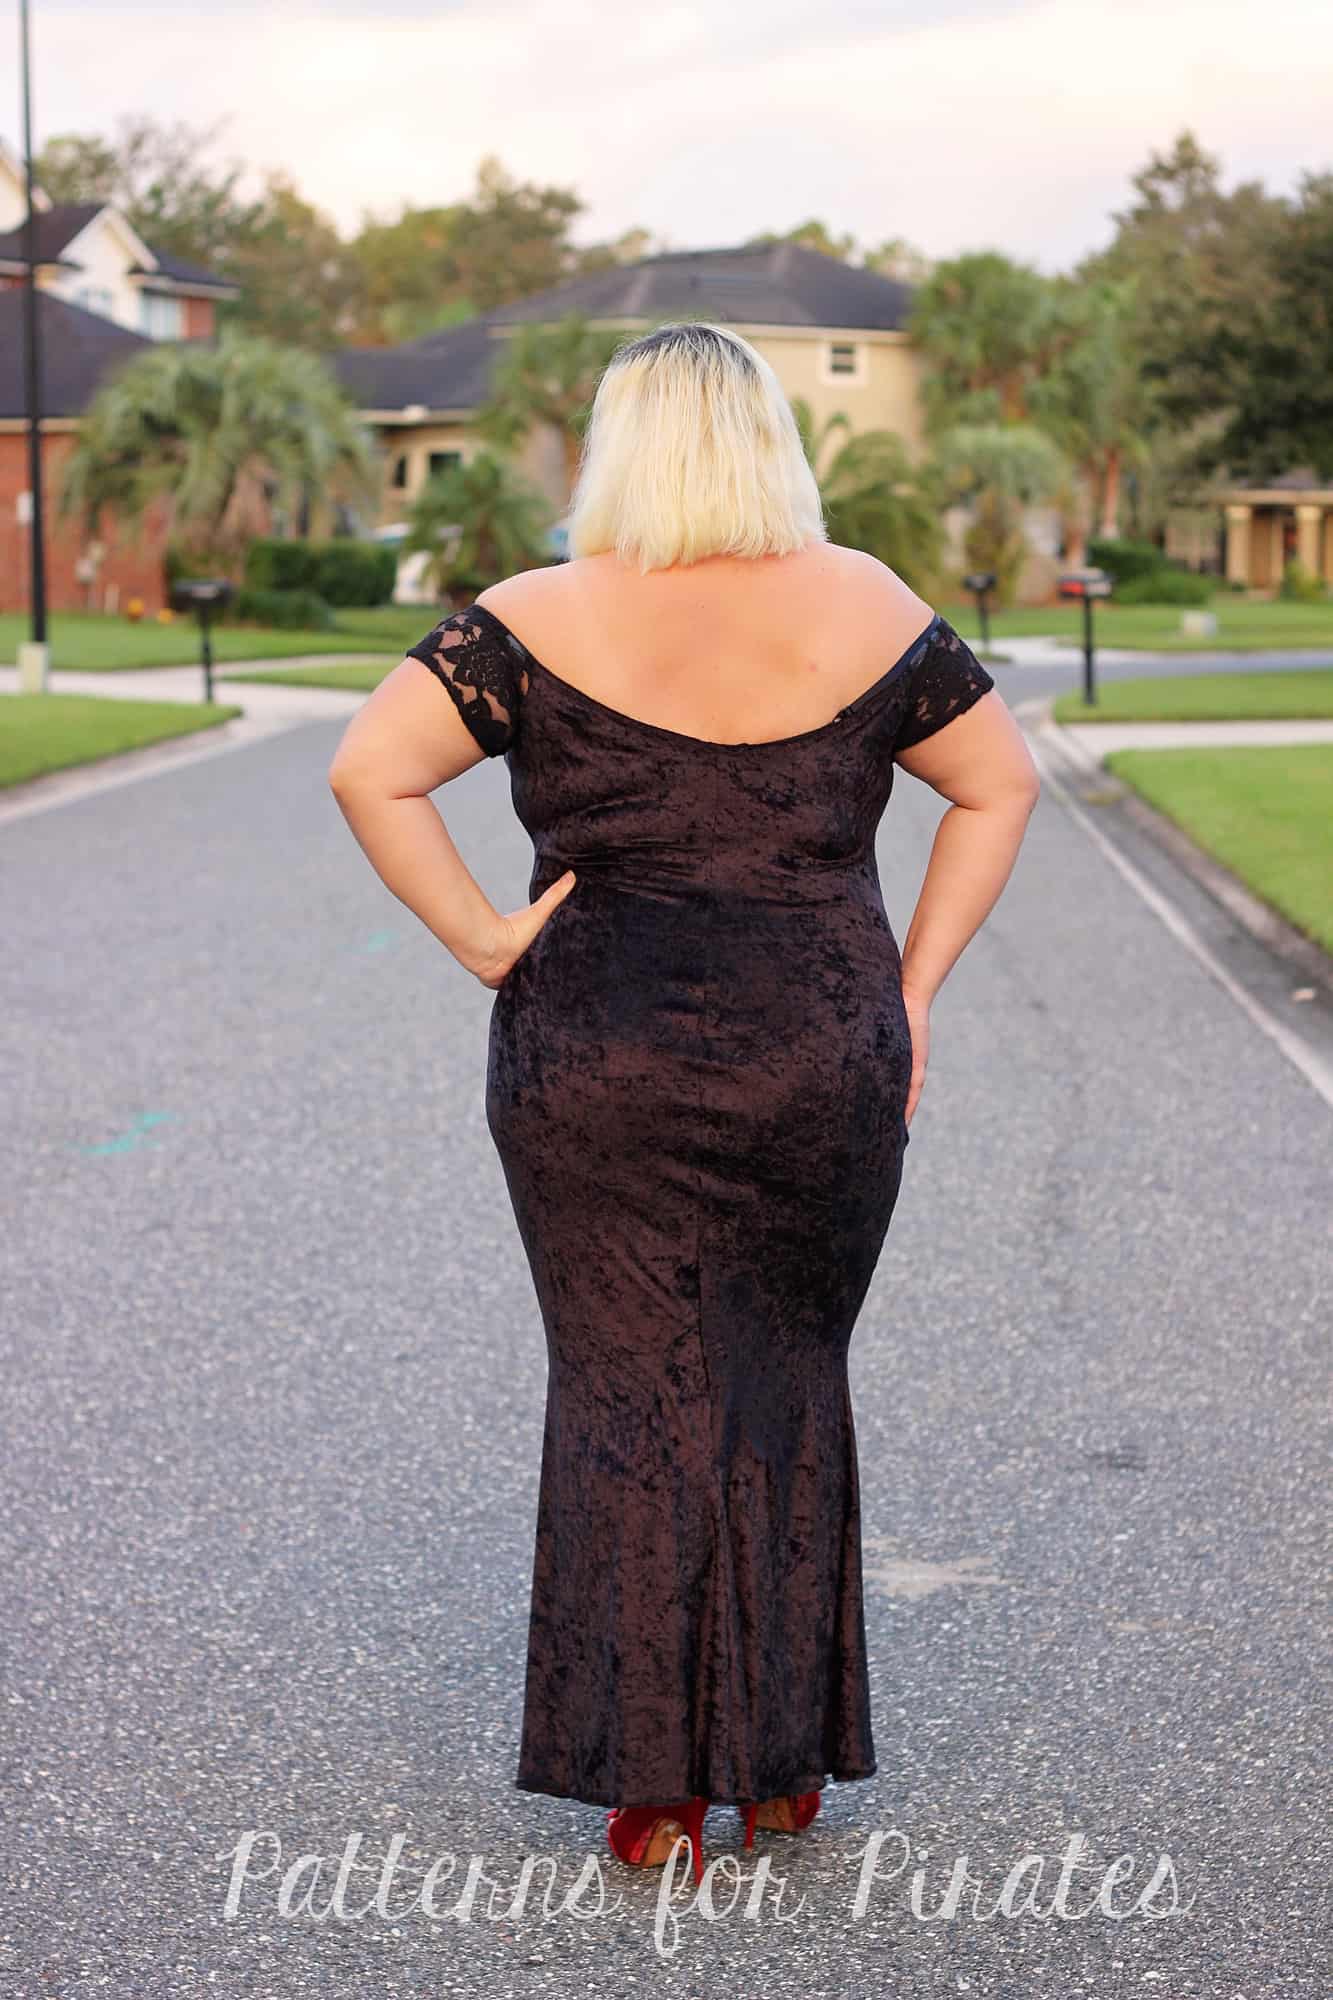
We couldn’t end this epic hacks series without a Wiggle dress/Sweetheart mash up. I just had to make myself a black velvet and lace long dress. We all need one in our closets, right?

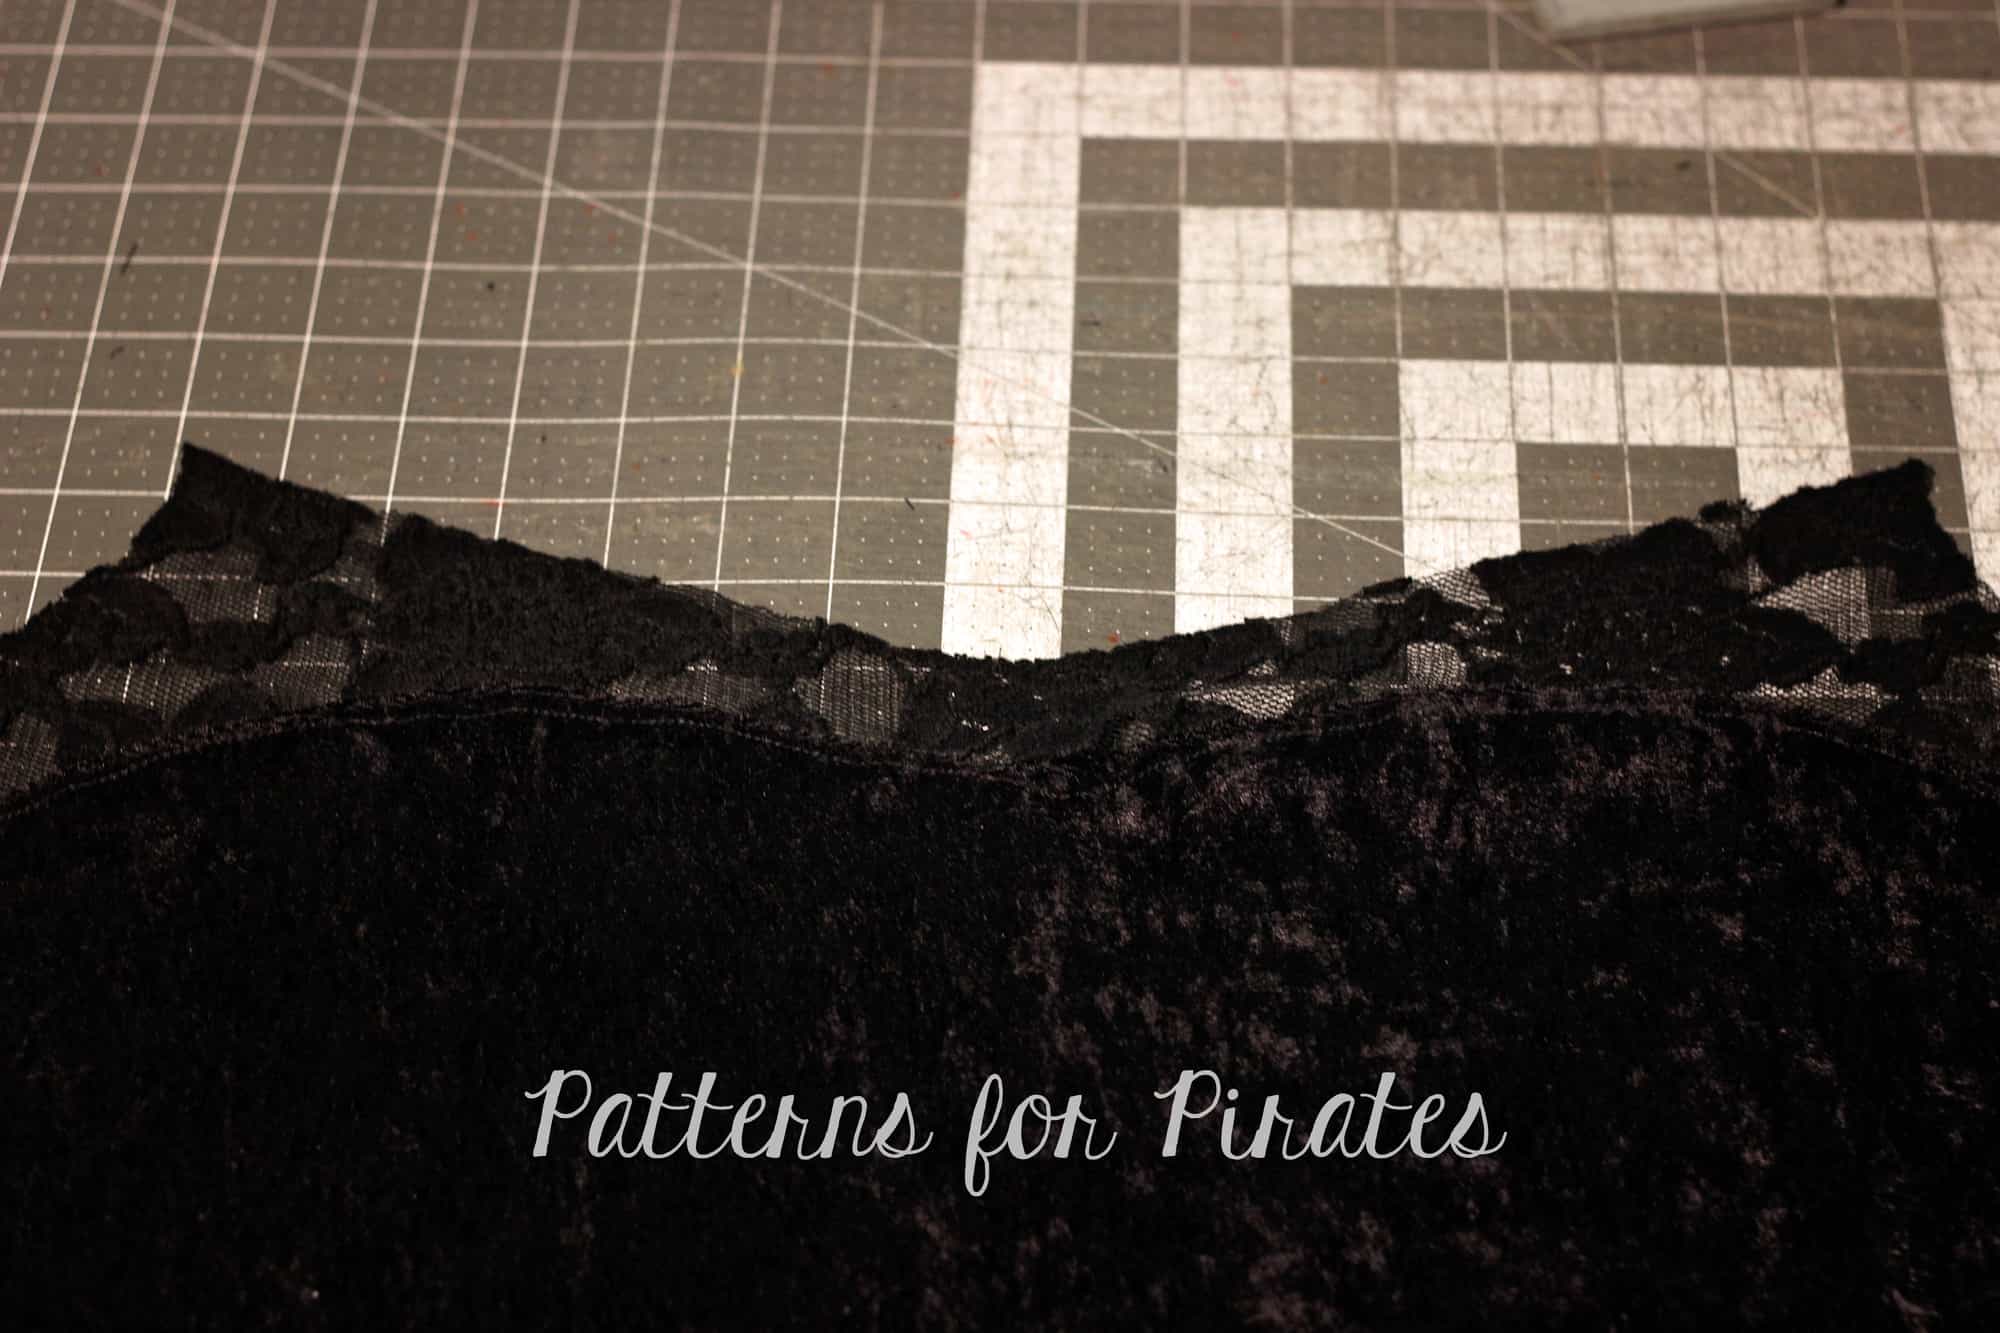
This mash is super easy. Simply take the front patterns of the wiggle dress and mark the sweetheart color-block lines using the Sweetheart dress top pattern piece. Don’t forget to add the seam allowance!

Sew the two front pieces (lace and velvet) as suggested in the Sweetheart pattern.

Once you do that simply follow the directions in the Wiggle Dress pattern to finish your dress. I used lace for my sleeves too. Since I didn’t have any black elastic and I certainly couldn’t use white elastic for the neckline, I used clear elastic instead. It worked like a charm!

Tadah! Just by adding a sexy sweetheart color block front, you took your Wiggle dress up a notch!


Holy Moly…. I think we covered just about every hack we could come up with to take The Wiggle Dress to the next level (if it wasn’t already on its own)!  Make a Wiggle? Hop on over to the Facebook Group, and share your makes, we’d love to see it!

Filed Under: Frequently Asked Questions, Pattern Hacks, Pattern Release, Uncategorized 15 Comments

V-neckbands 101

October 12, 2017

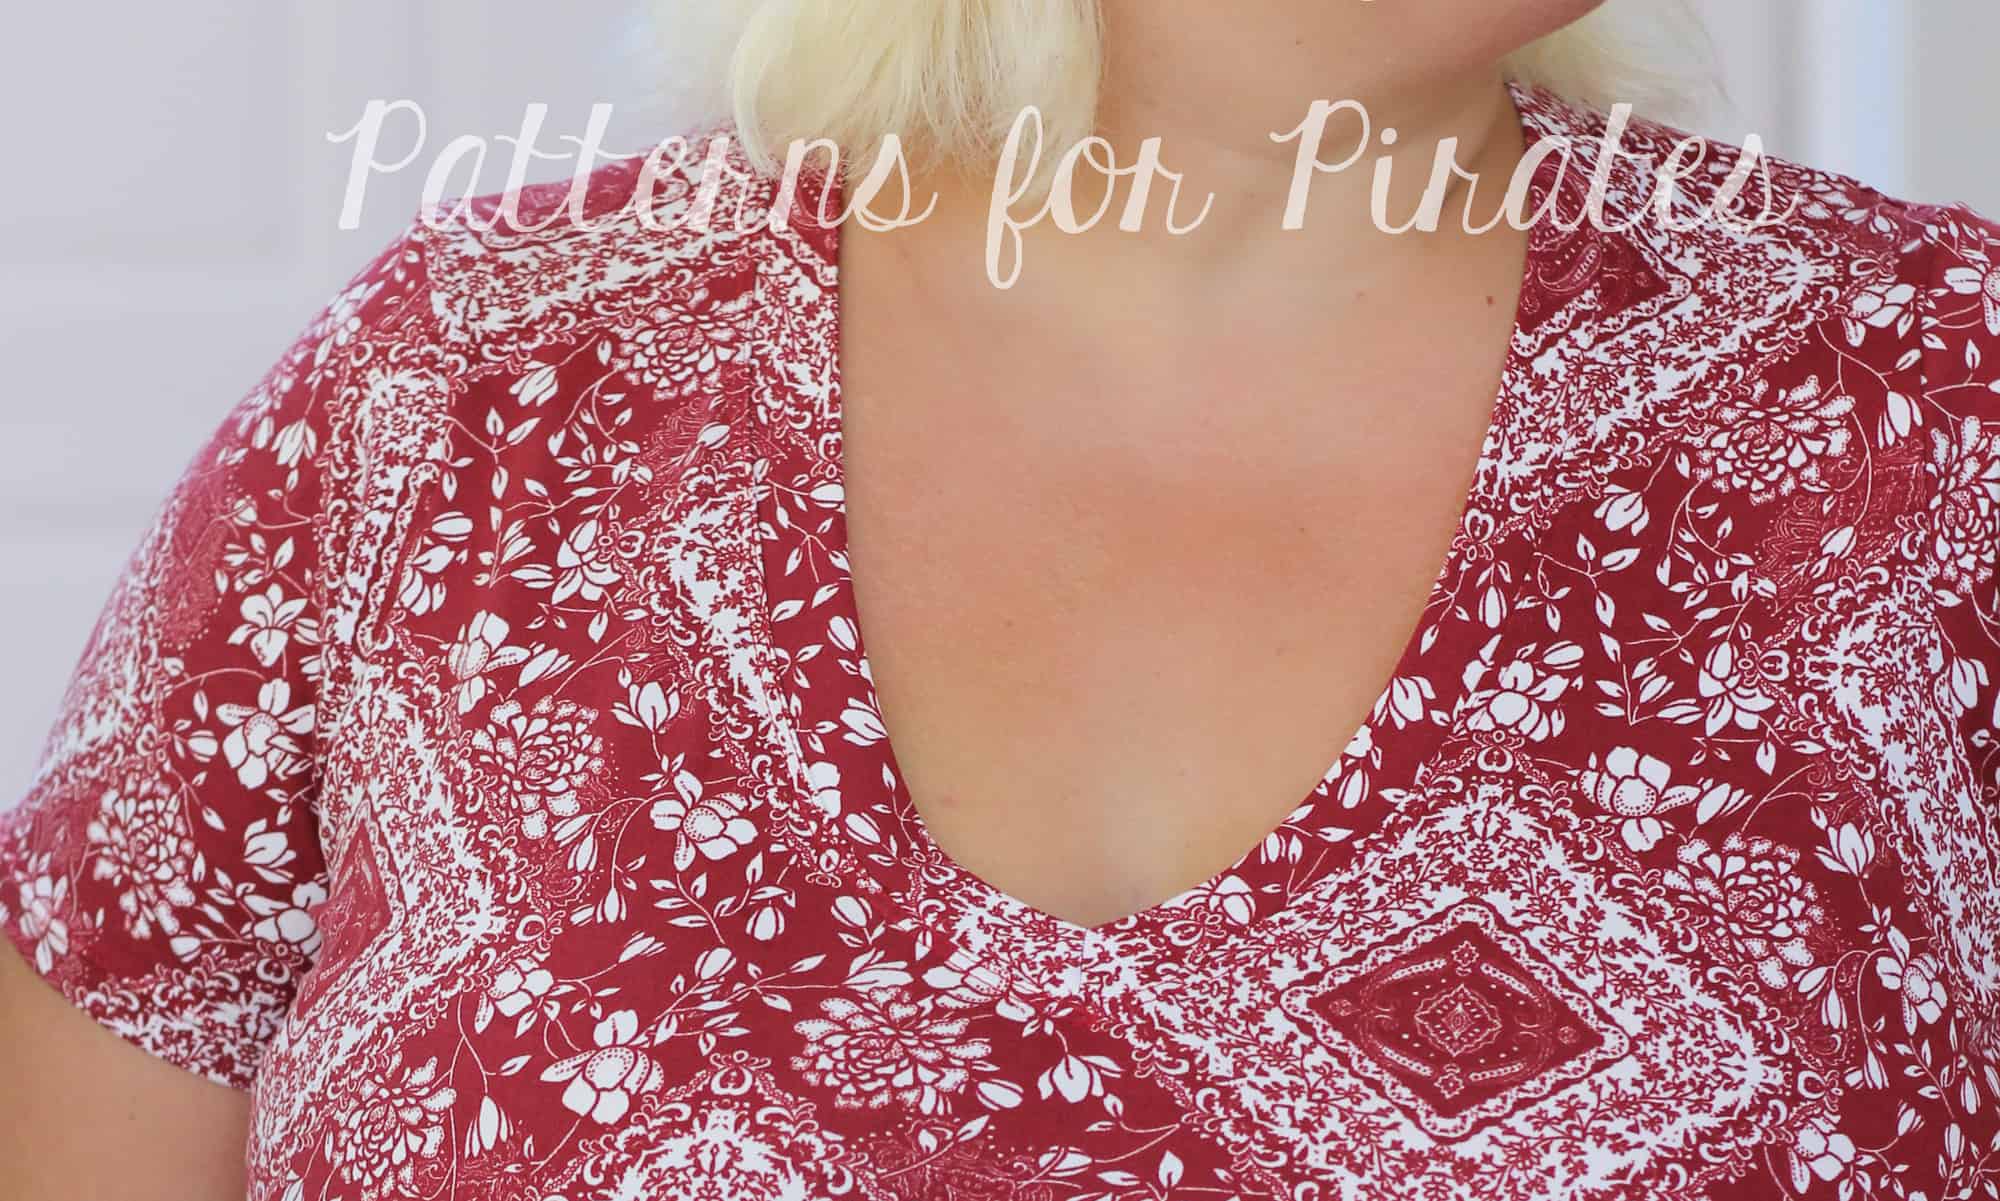
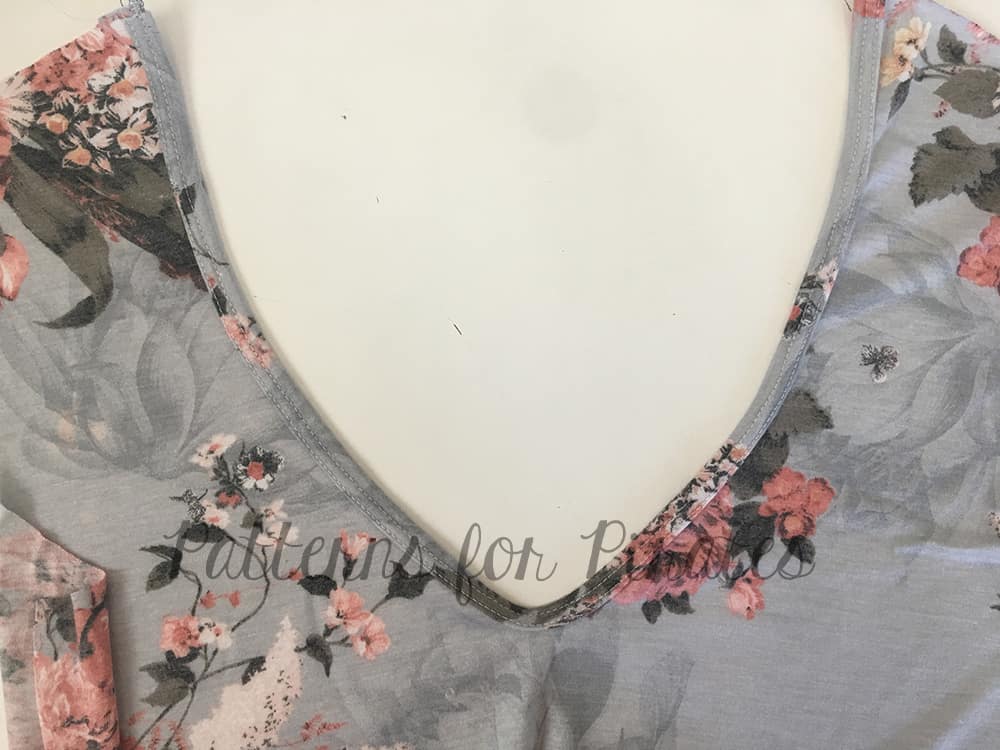
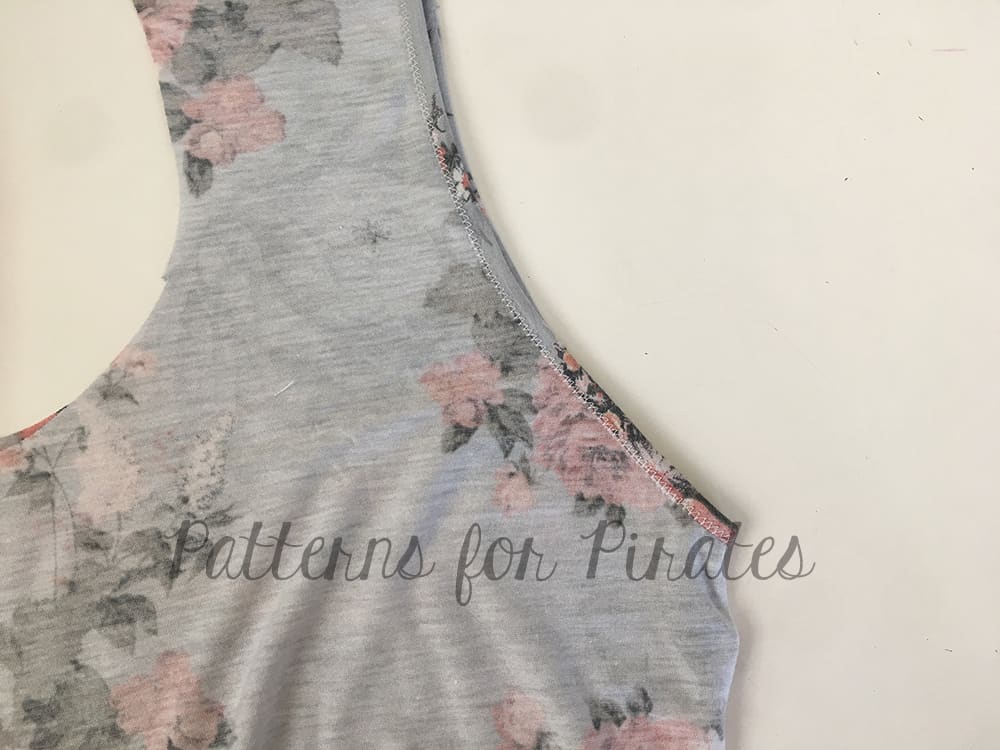
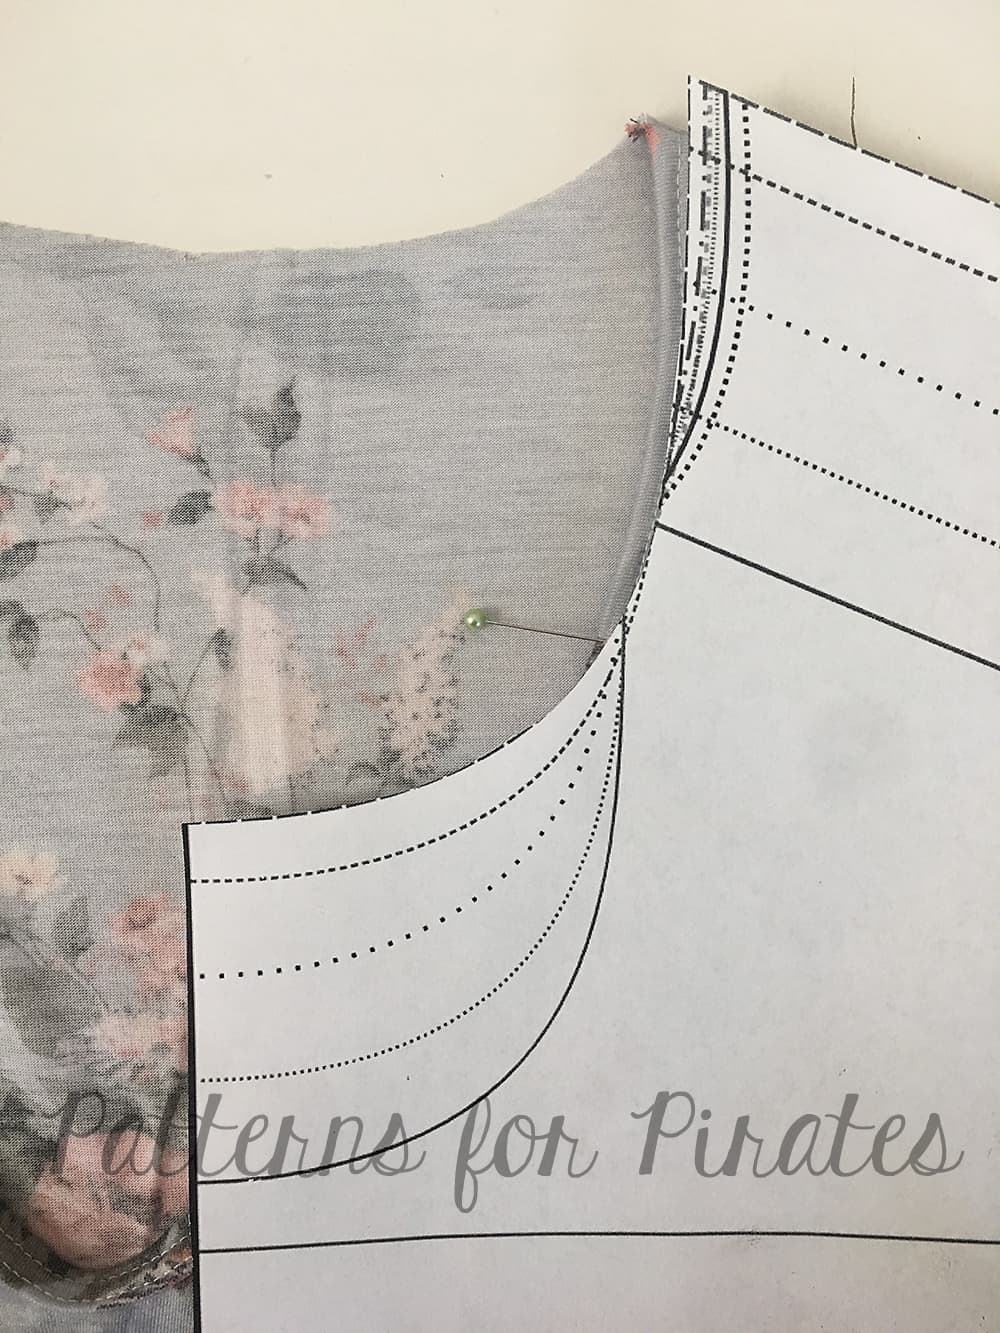
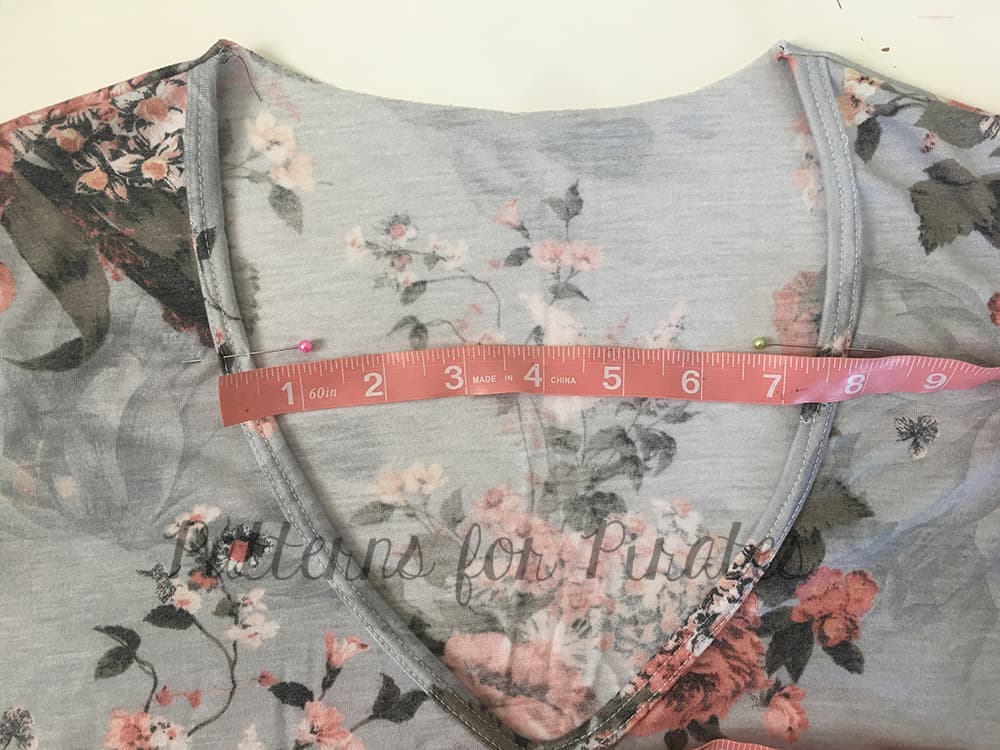
We’ve been asked so many times how to achieve that perfect V neckline so today on the blog we will be covering a few tips that will help you get that look you’re striving for every time.

Let’s start with a reminder of the Neckbands 101 blog! All the tips I gave you there apply to the V neckbands too so take a look over it and come right back.

Now that you we have those tips covered let’s take a look at some V neck specific tricks that will ensure you will have the perfect neckline.

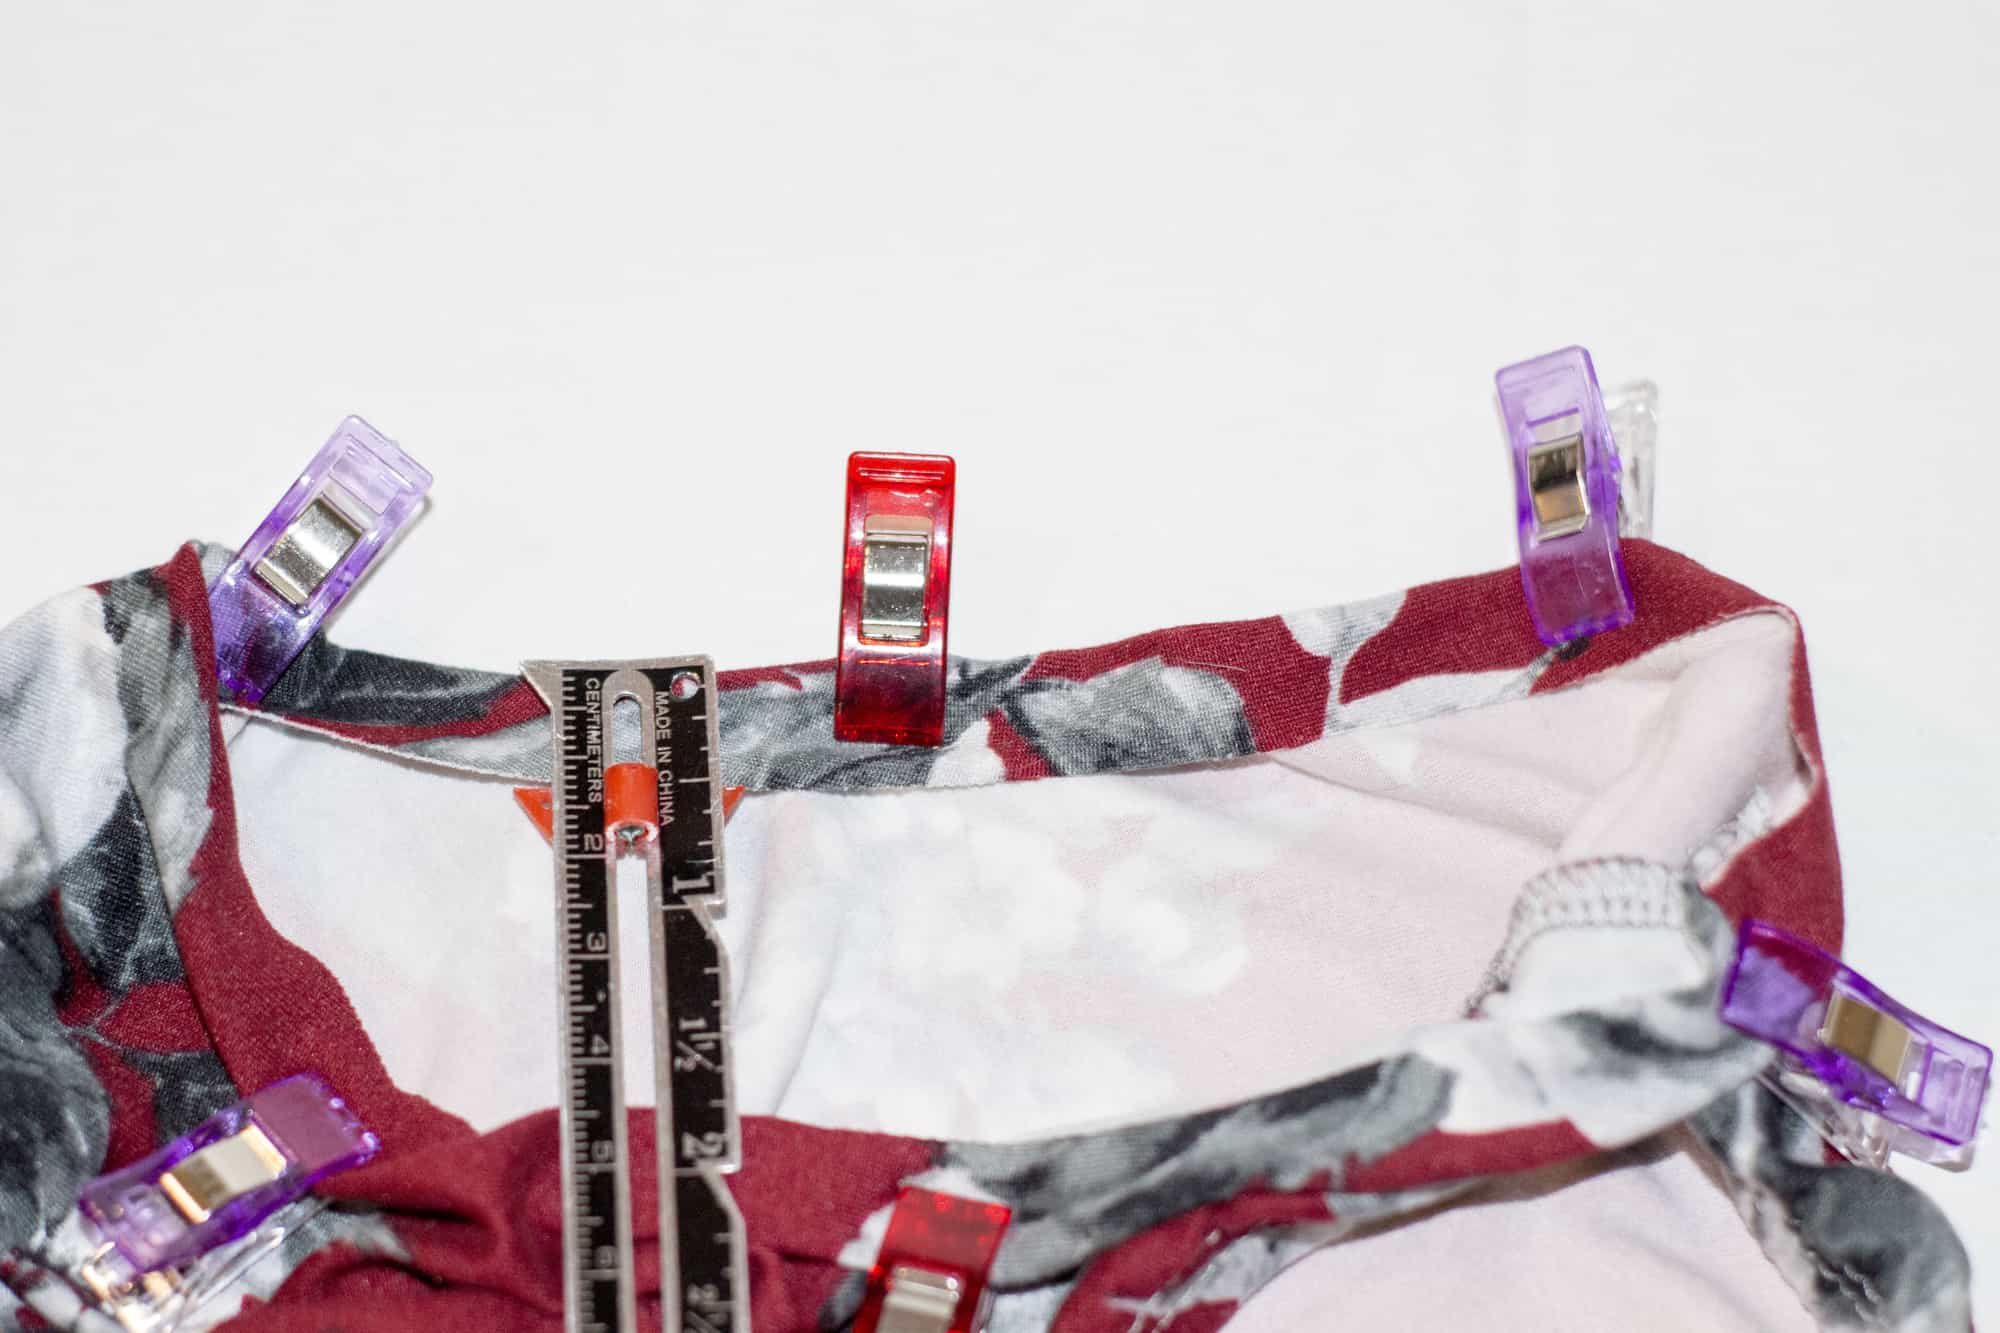
Don’t skip the stay stitch!

A stay stitch is a straight stitch that will help your fabric stay in place, it will keep it from stretching and distorting. You will be sewing a stay stitch on both the neckband and neckline, a couple of inches on both sides of the V point.

Here is a video of the Favorite Tee V neckband. The same tips can be applied to the Boyfriend V neck shirt or the kids’ Deep Sea V neck and Fave Tee.


Always press the V neckband!

Press the neckband before you attach it! It will make a world of difference! Pressing it will make it easier to maneuver when pining it to the neck opening and when attaching them.

Snip the V point as close to the stay stitch as possible!

As you can see in the video below, a snip in the right place can make a huge difference. Using sharp scissors, carefully make a vertical snip about 3/8″ long, getting as close as possible to the stay stitch without snipping the stitches.

Sew the V points with the sewing machine!

Taking the extra time to attach the V part of the neckband with the sewing machine will help you achieve that much desired crisp V point. Plus, if you’re not 100% happy with how it looks you can definitely seam rip it and reattach it a lot faster than if you were to have used your serger.

Here is how I attach the V neckband to the neck opening.


Are V necks less scary now? 🙂 I sure hope these tips will help you get that perfect look you’re aiming for. Don’t forget to brag about your awesome V neck shirts in the P4P group too!

Filed Under: Frequently Asked Questions, Uncategorized 3 Comments

Walk the Plank – easy hacks

September 27, 2017

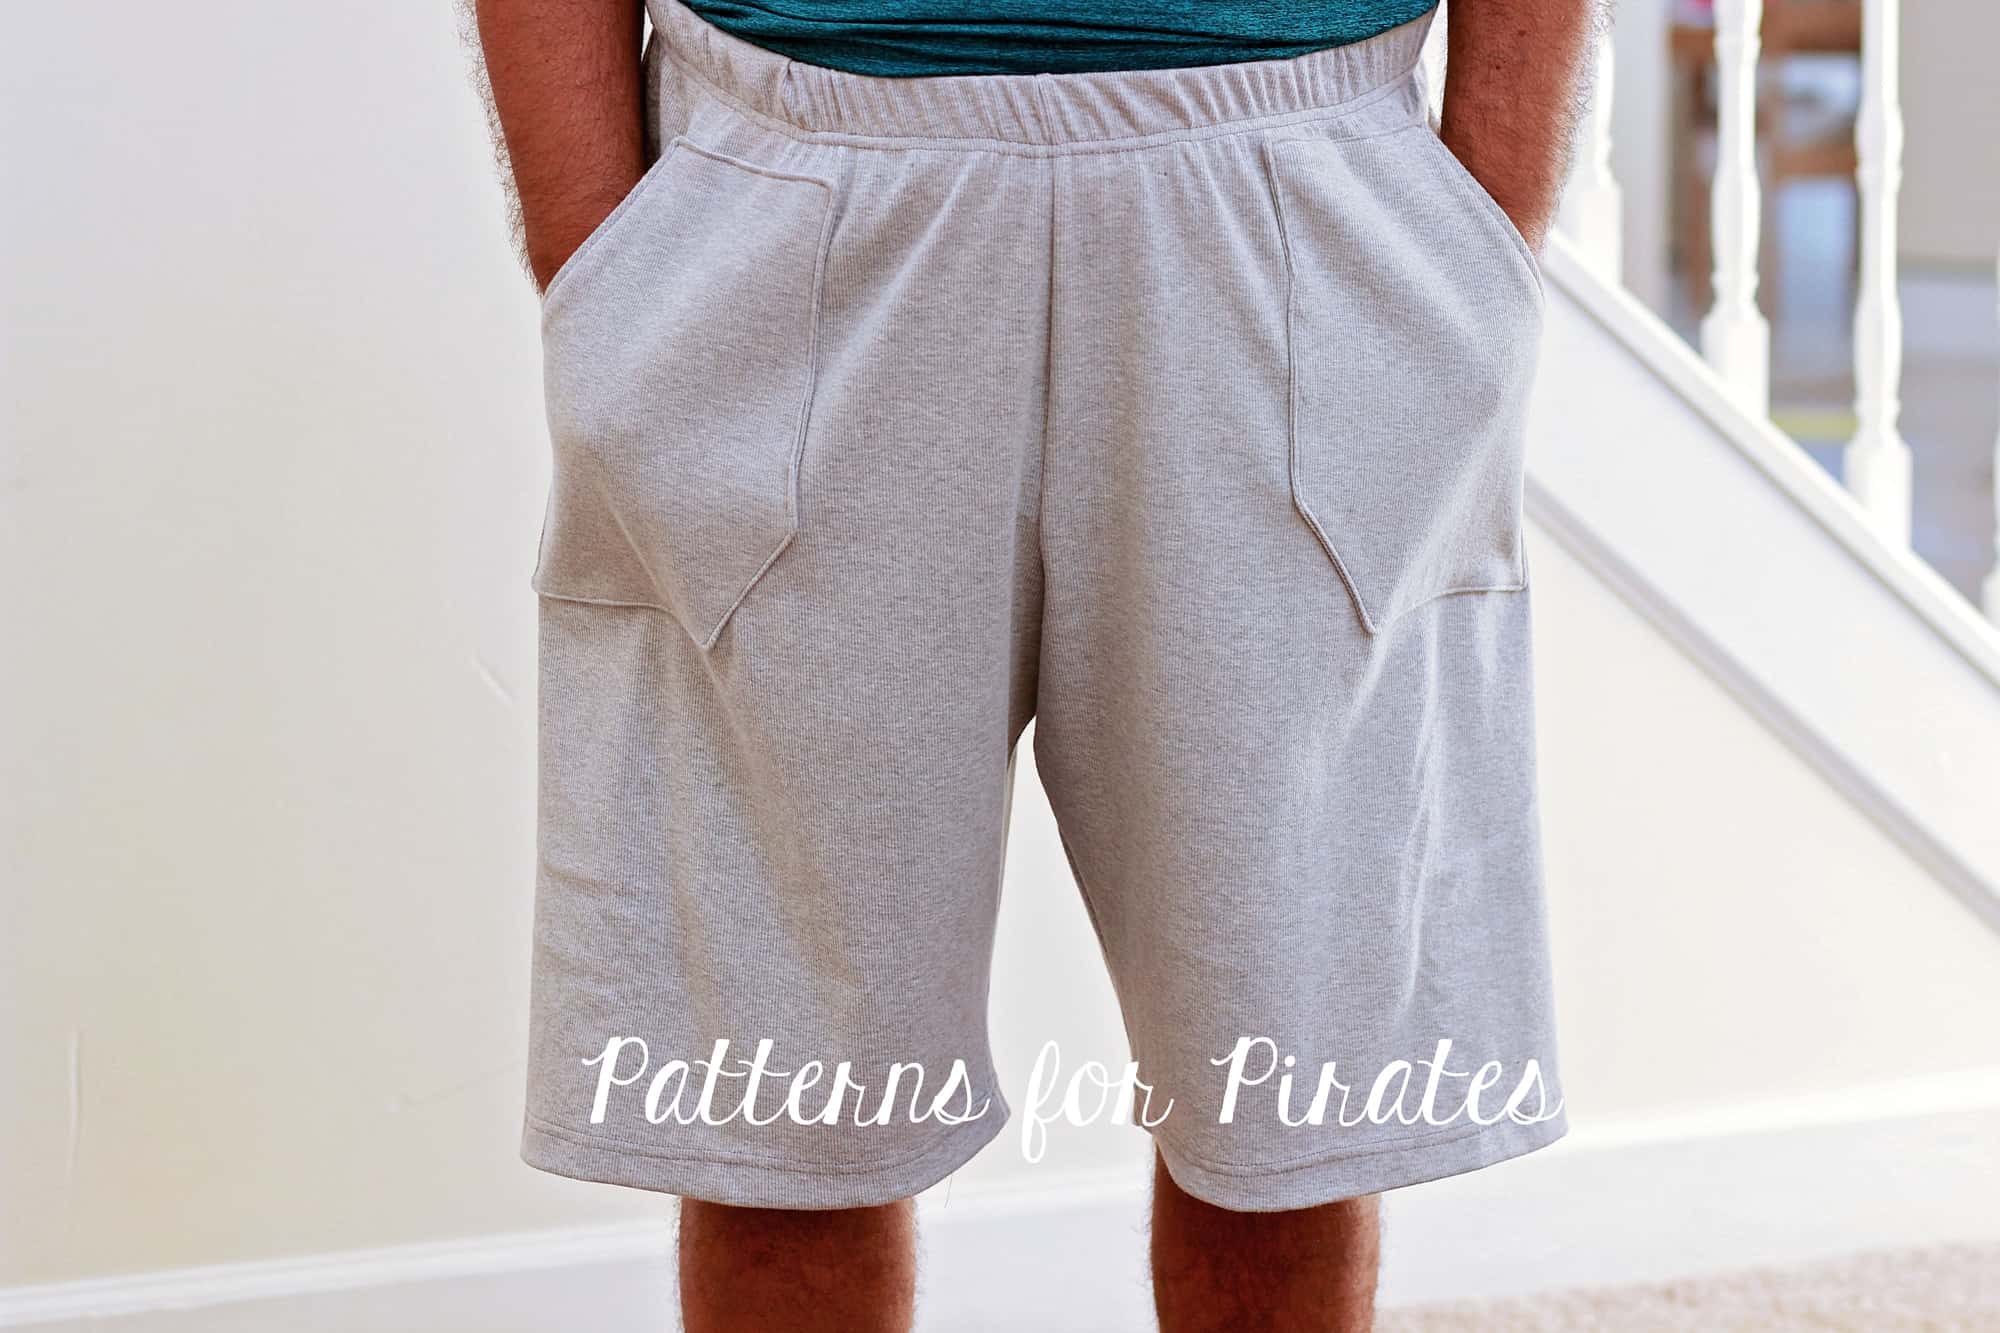
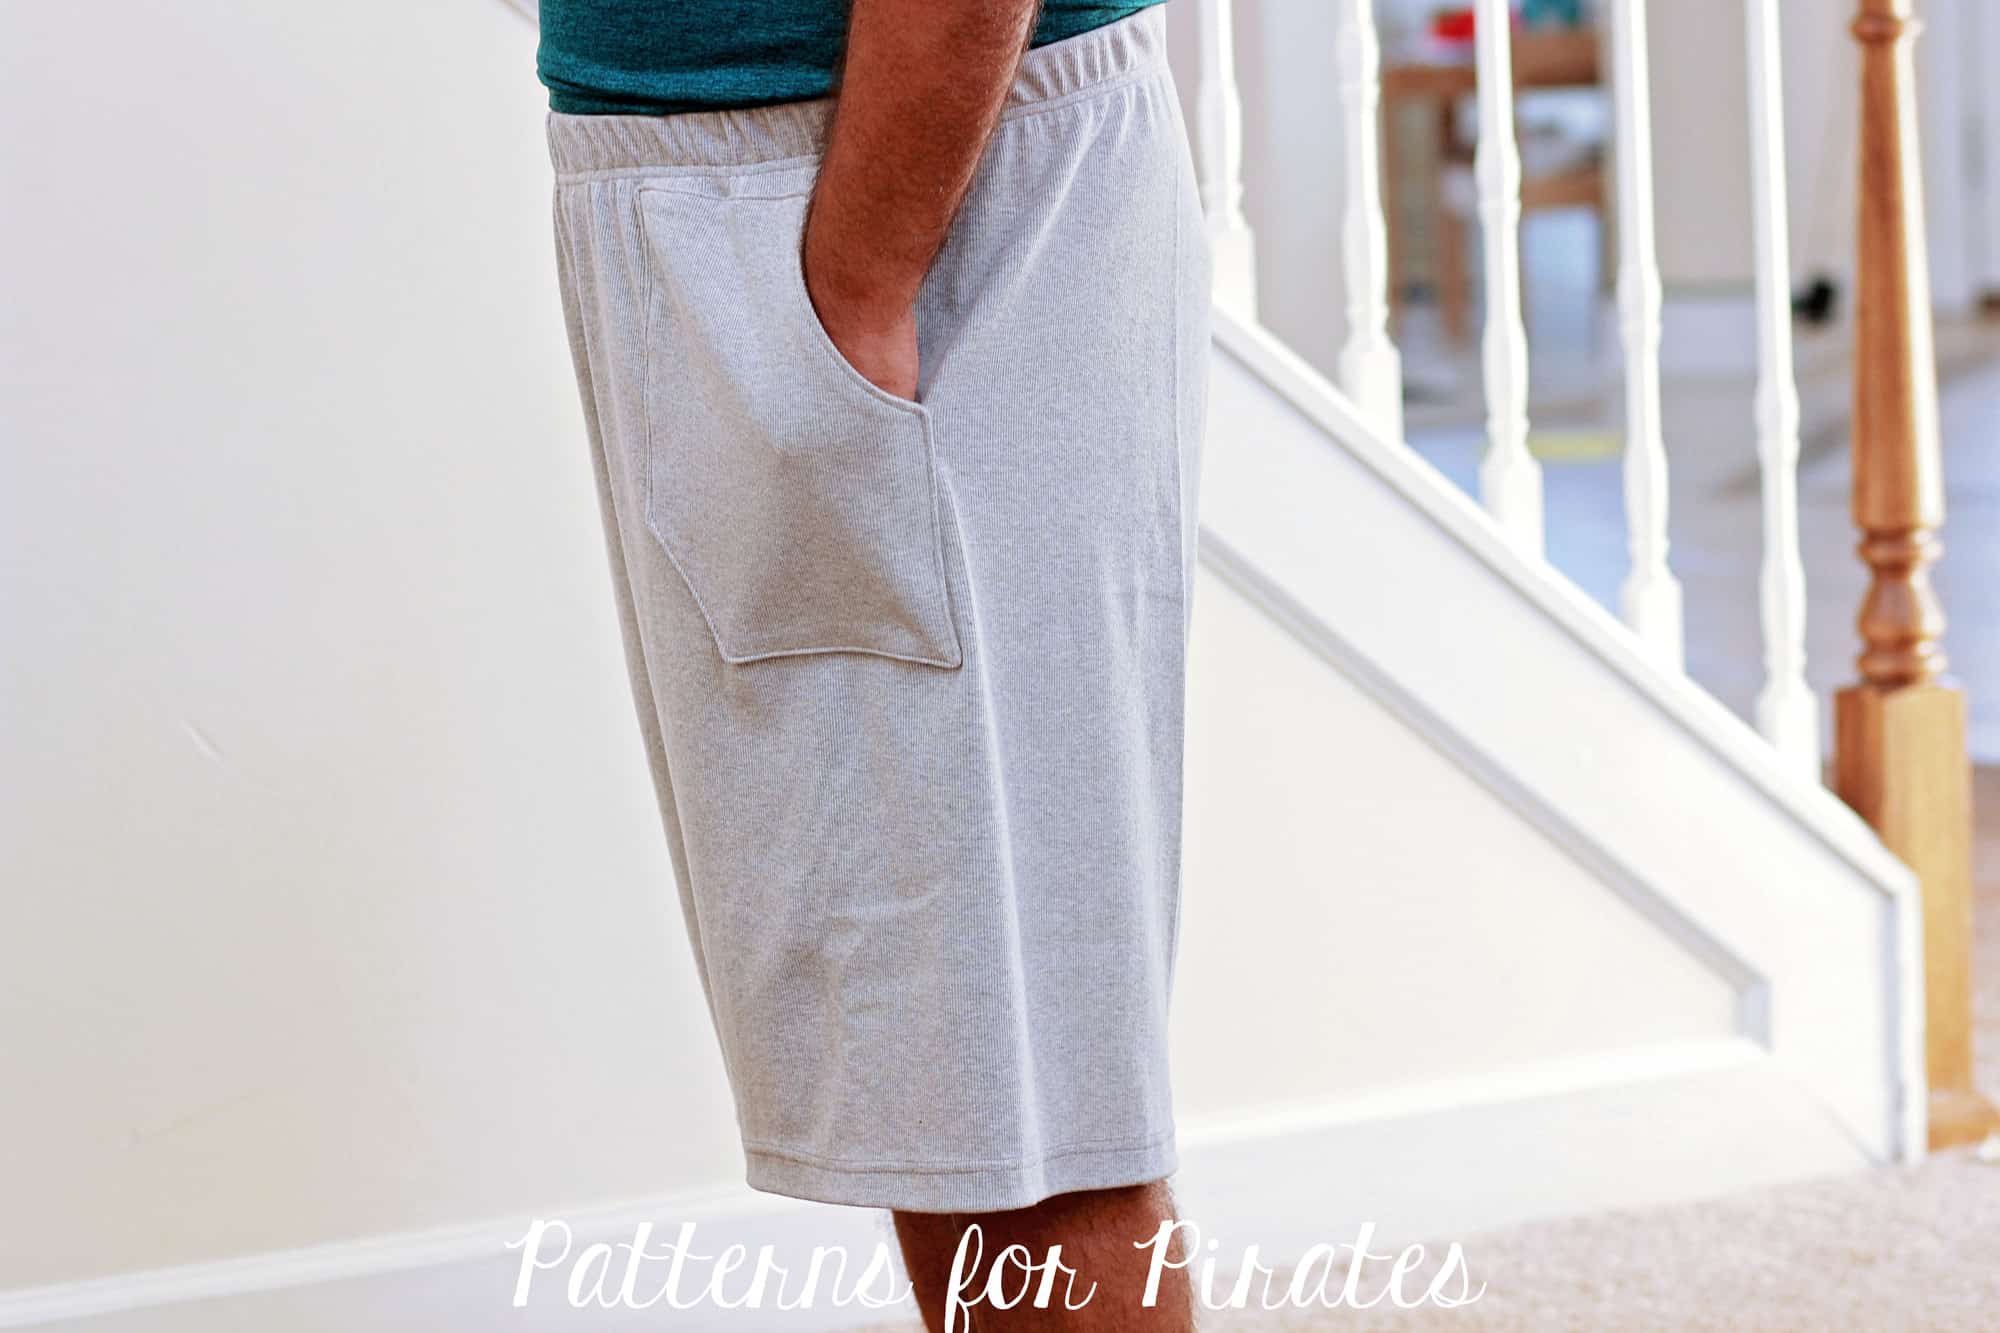
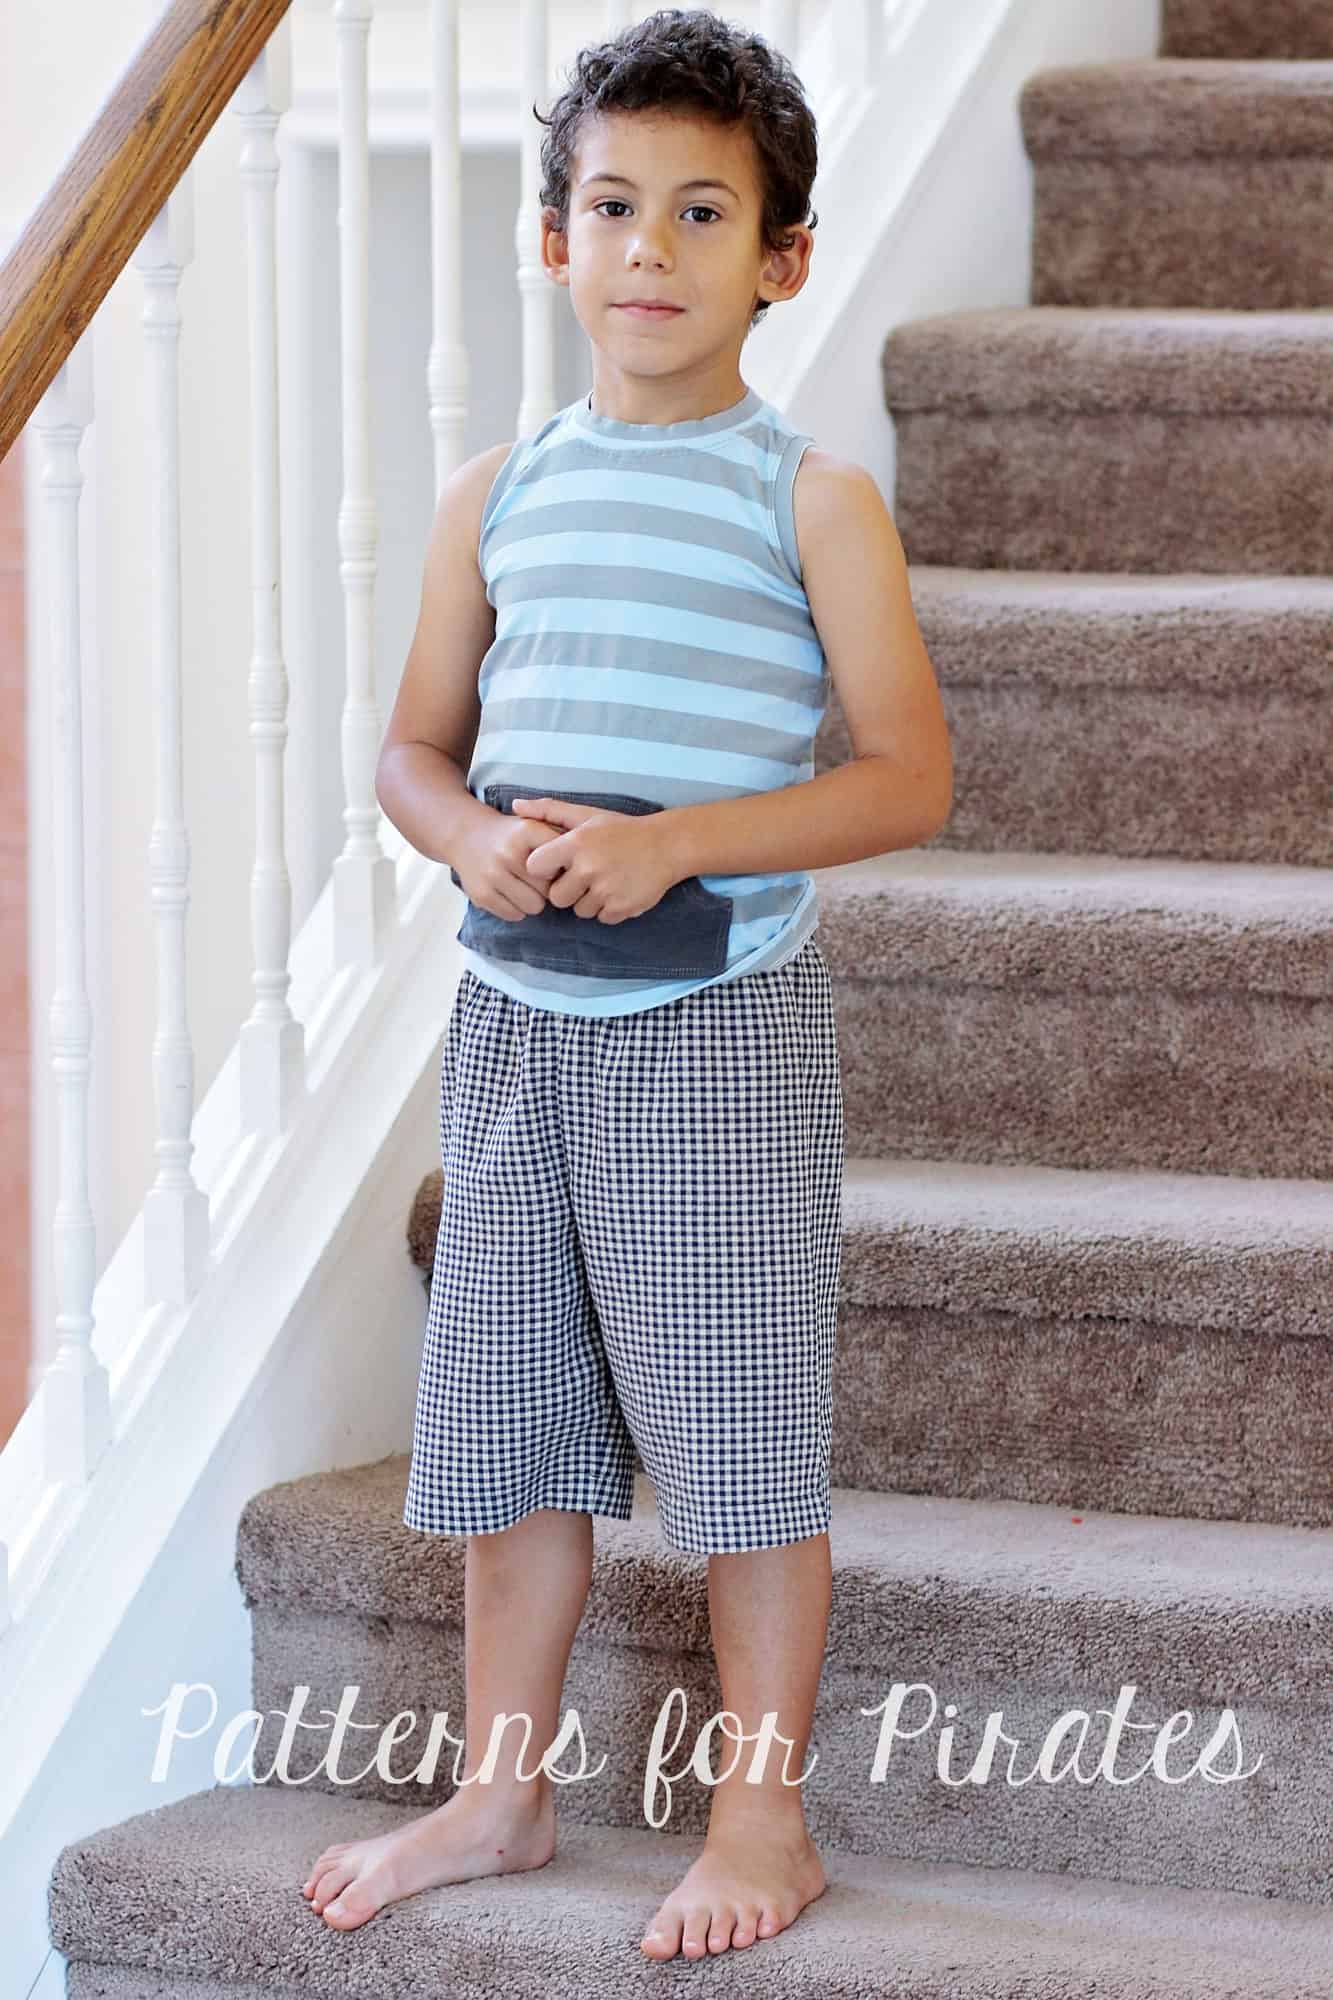
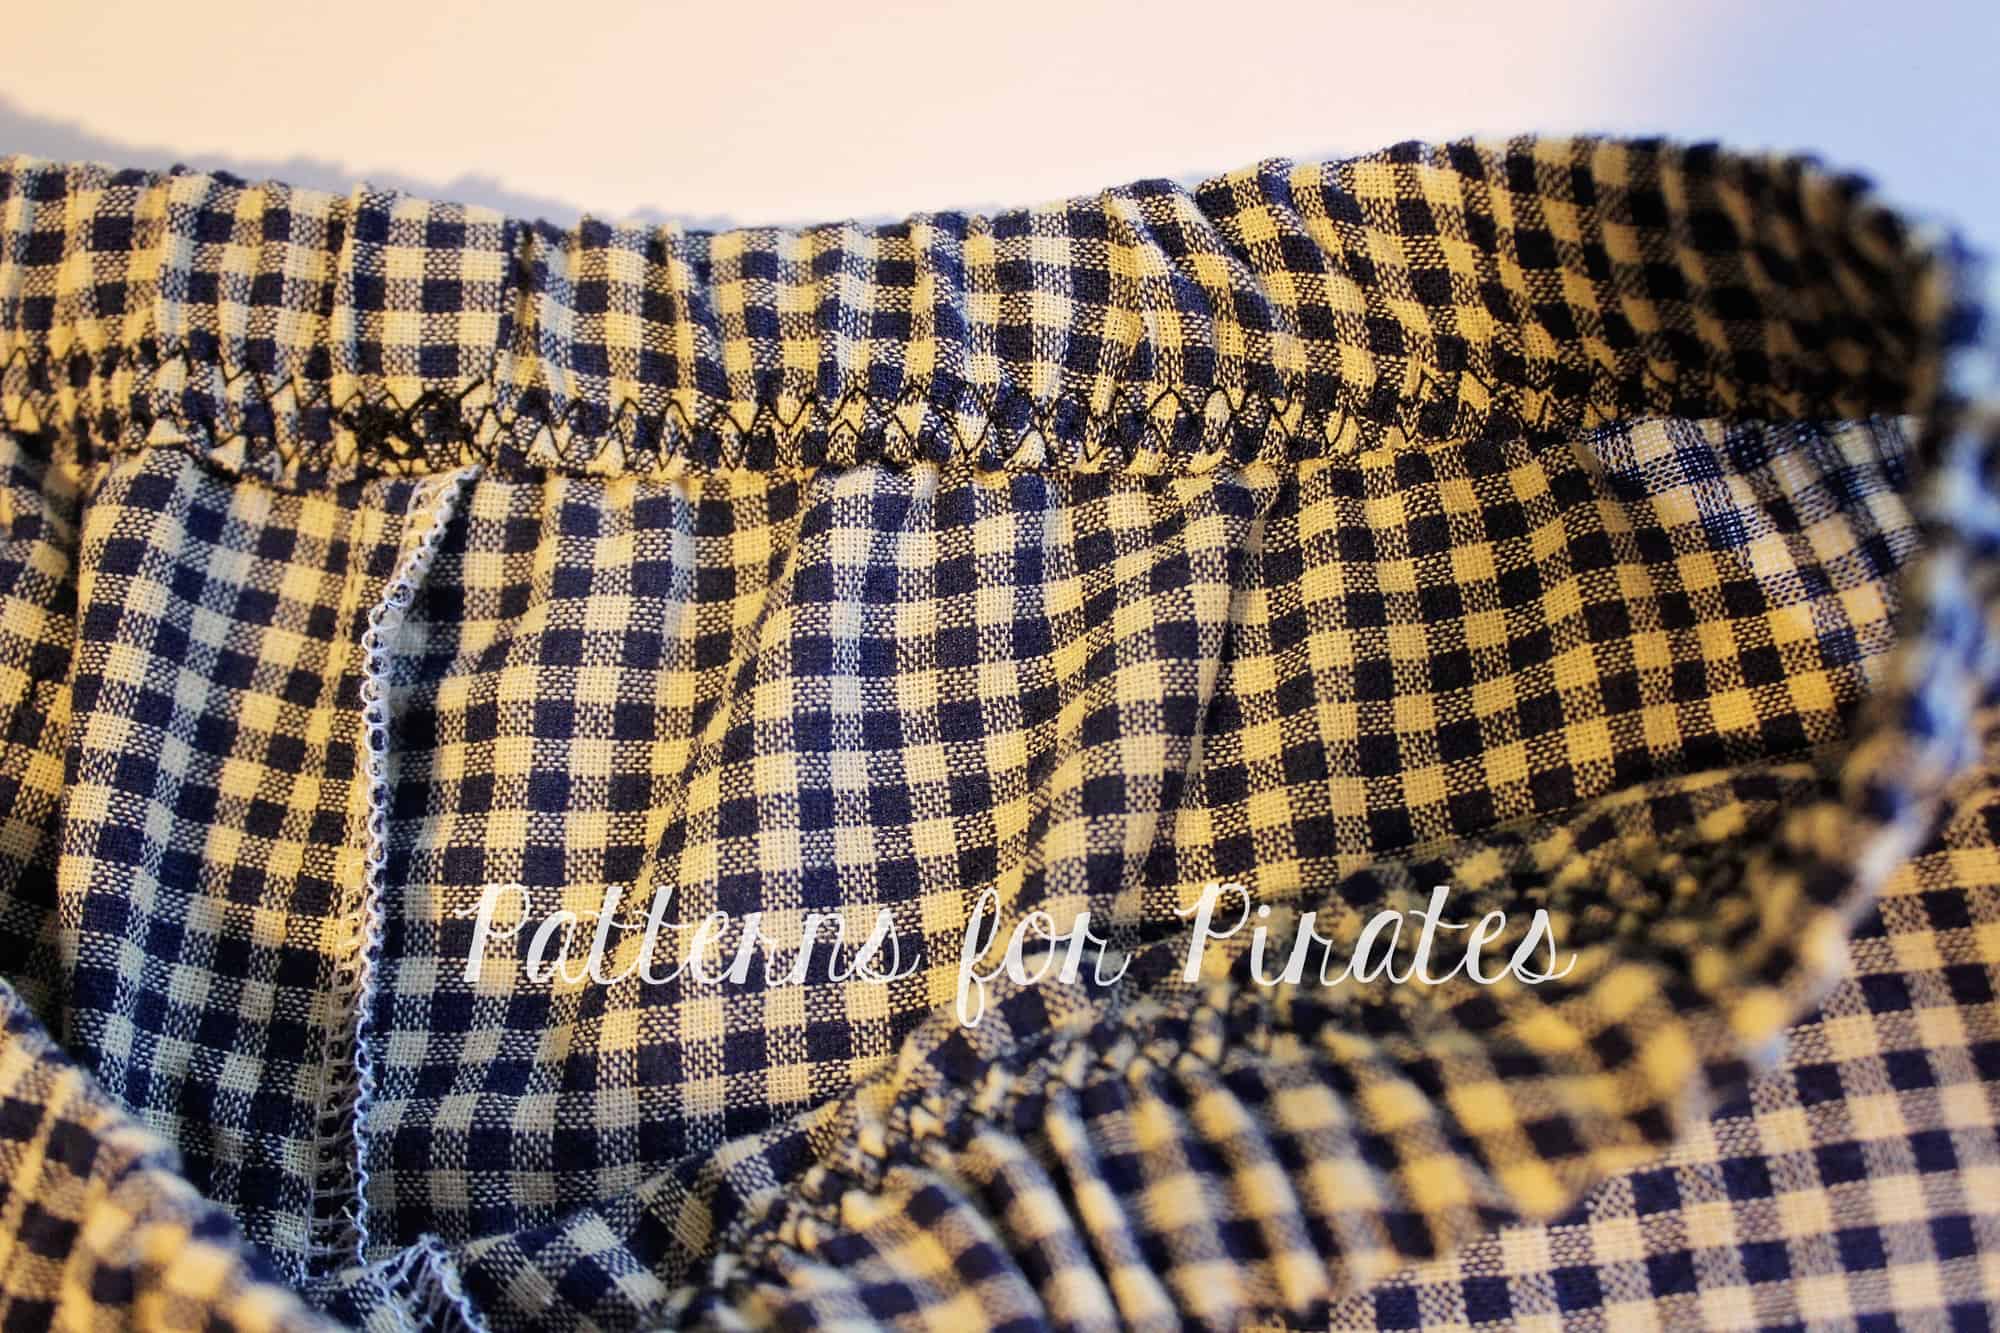
Ahoy, pirates! Hope you grabbed your FREE Walk the Plank pajama pants patterns by now. If not you can get them here. Today I wanted to show you how easy it is to add patch pockets to the pattern so all those husbands, boyfriends and sons of ours will be even happier with their new PJ pants. I’ll also show you how to enclose the the elastic in the seam.

. . . . .

Front patch pockets

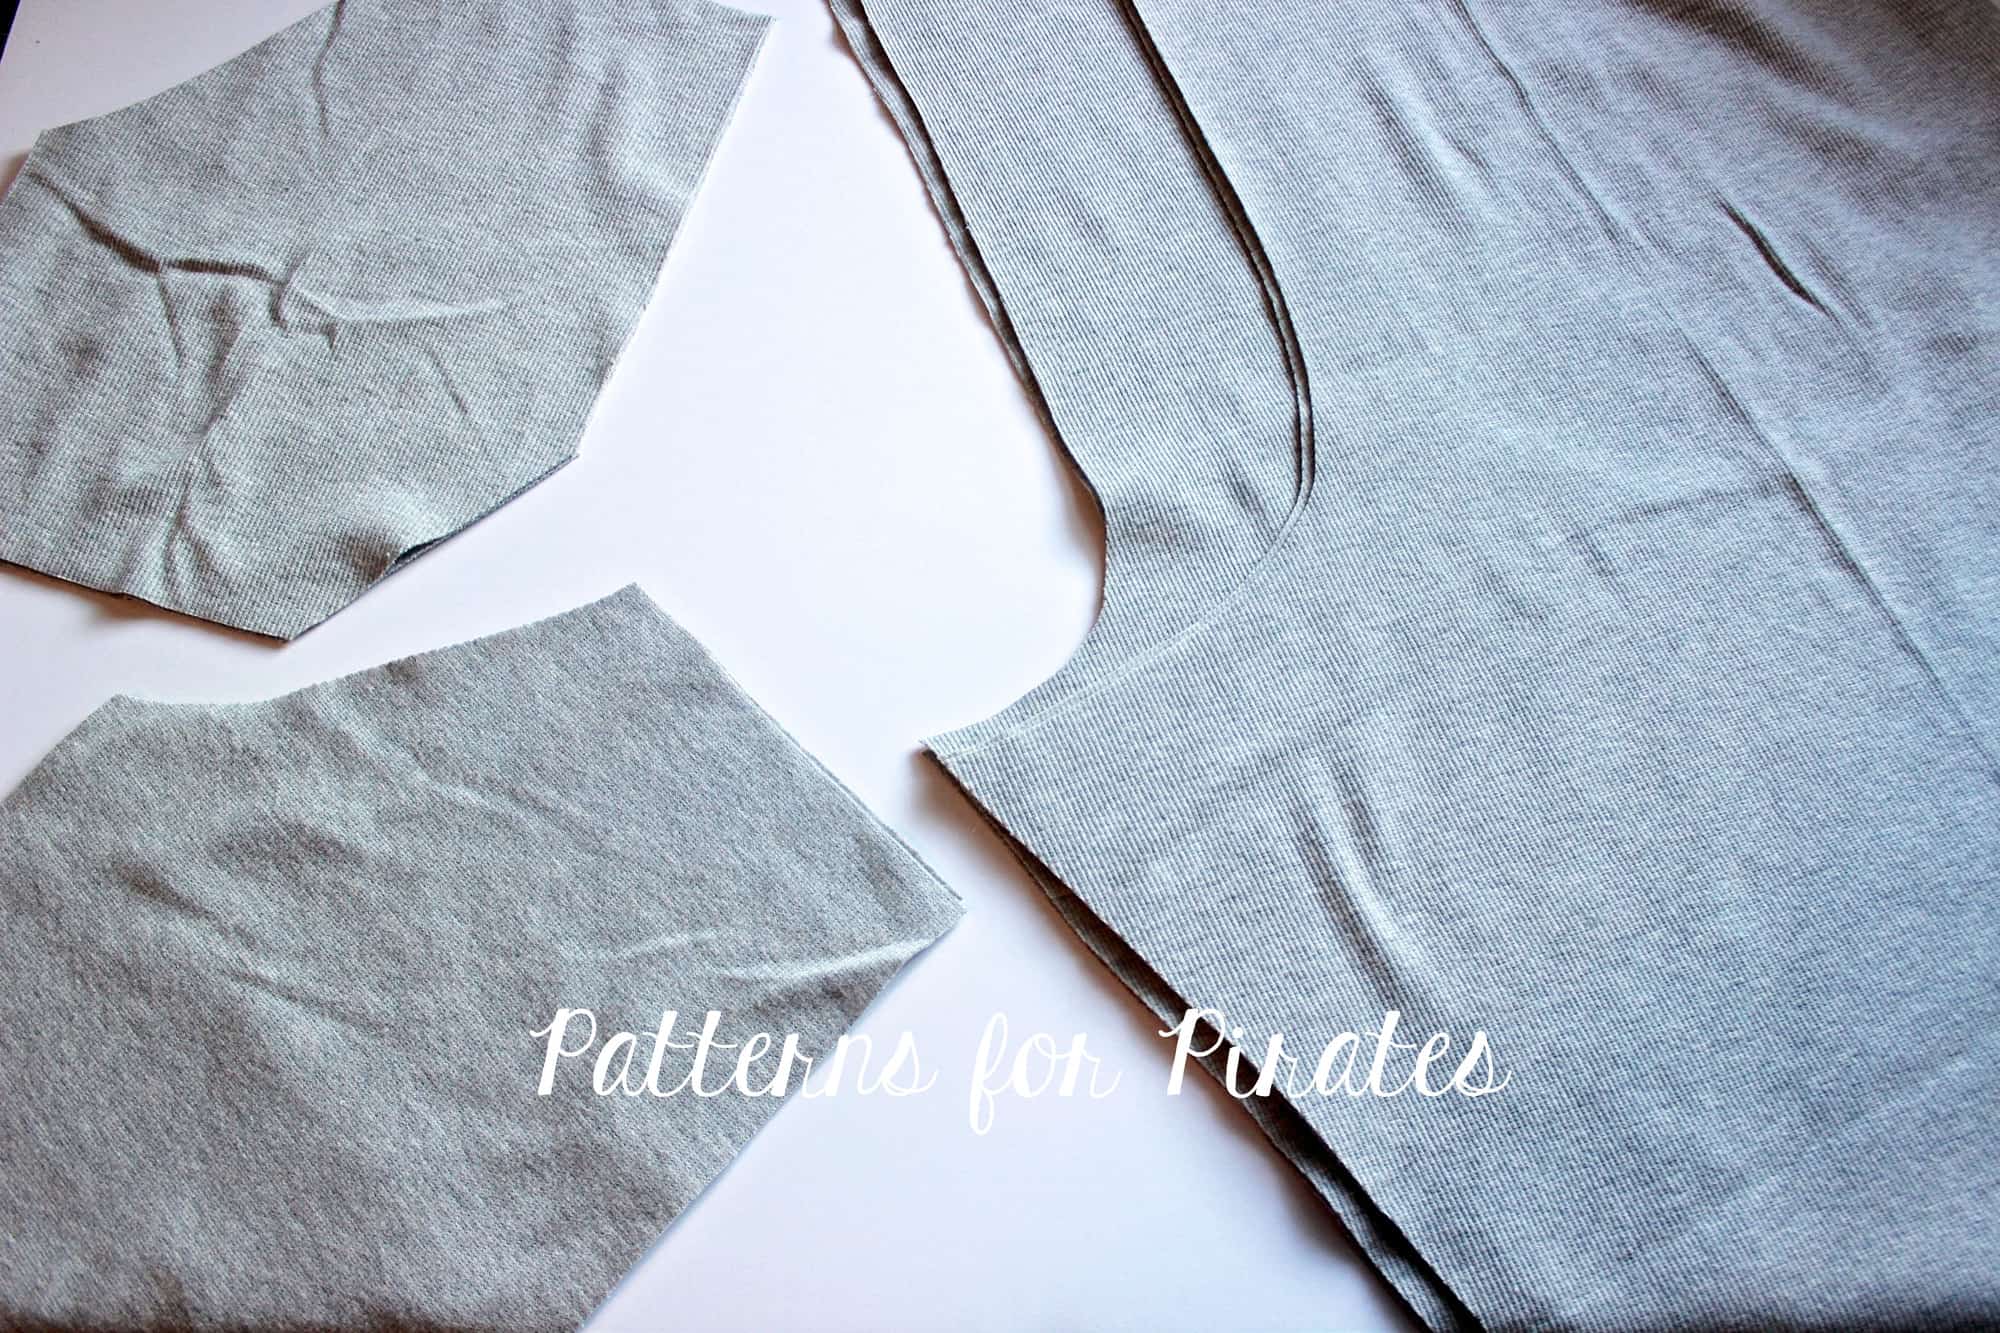
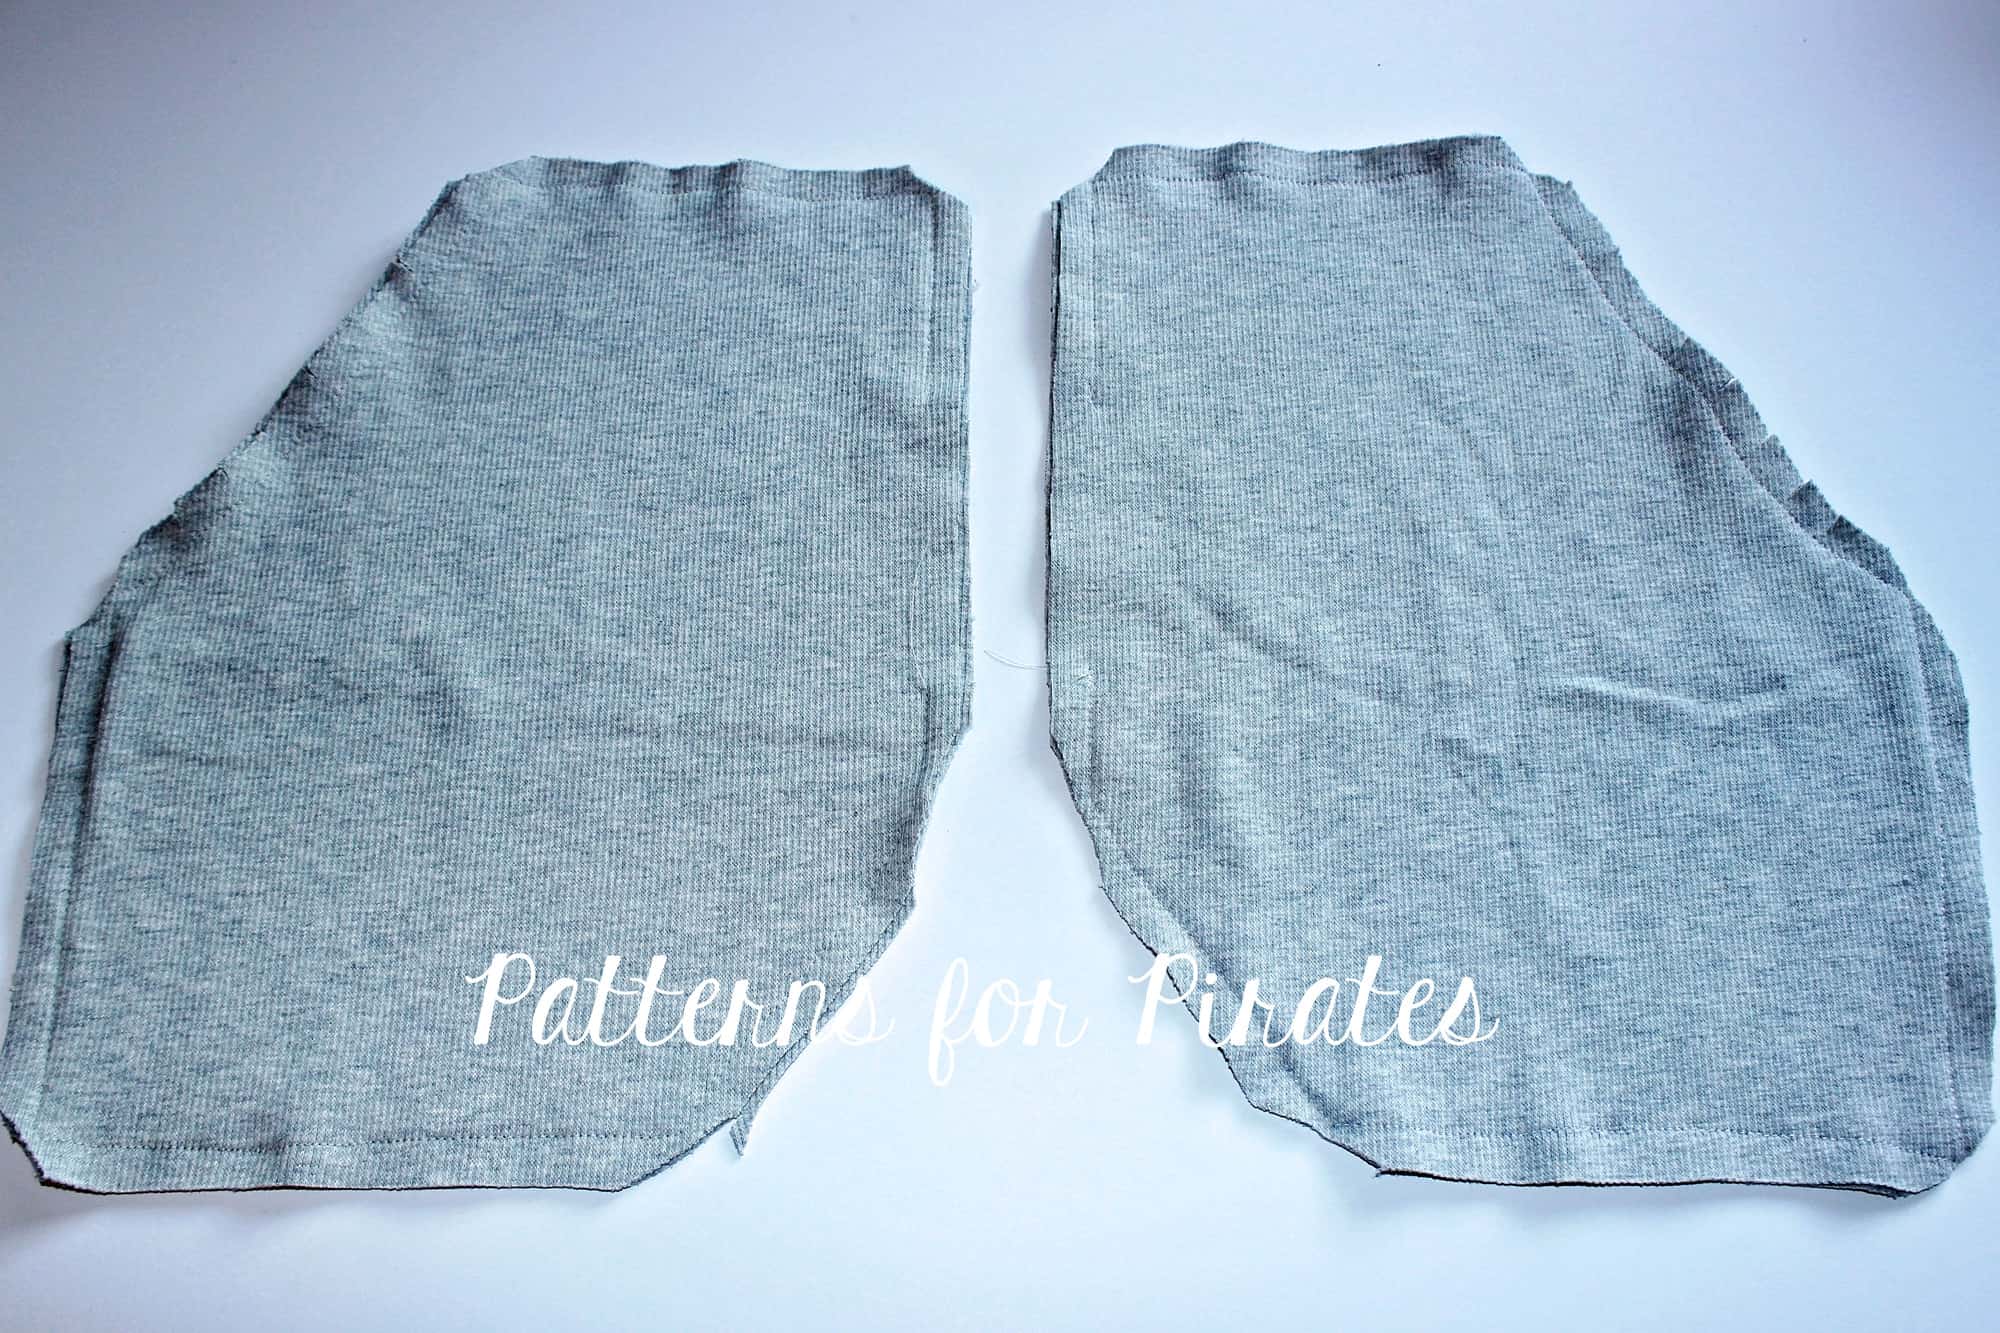
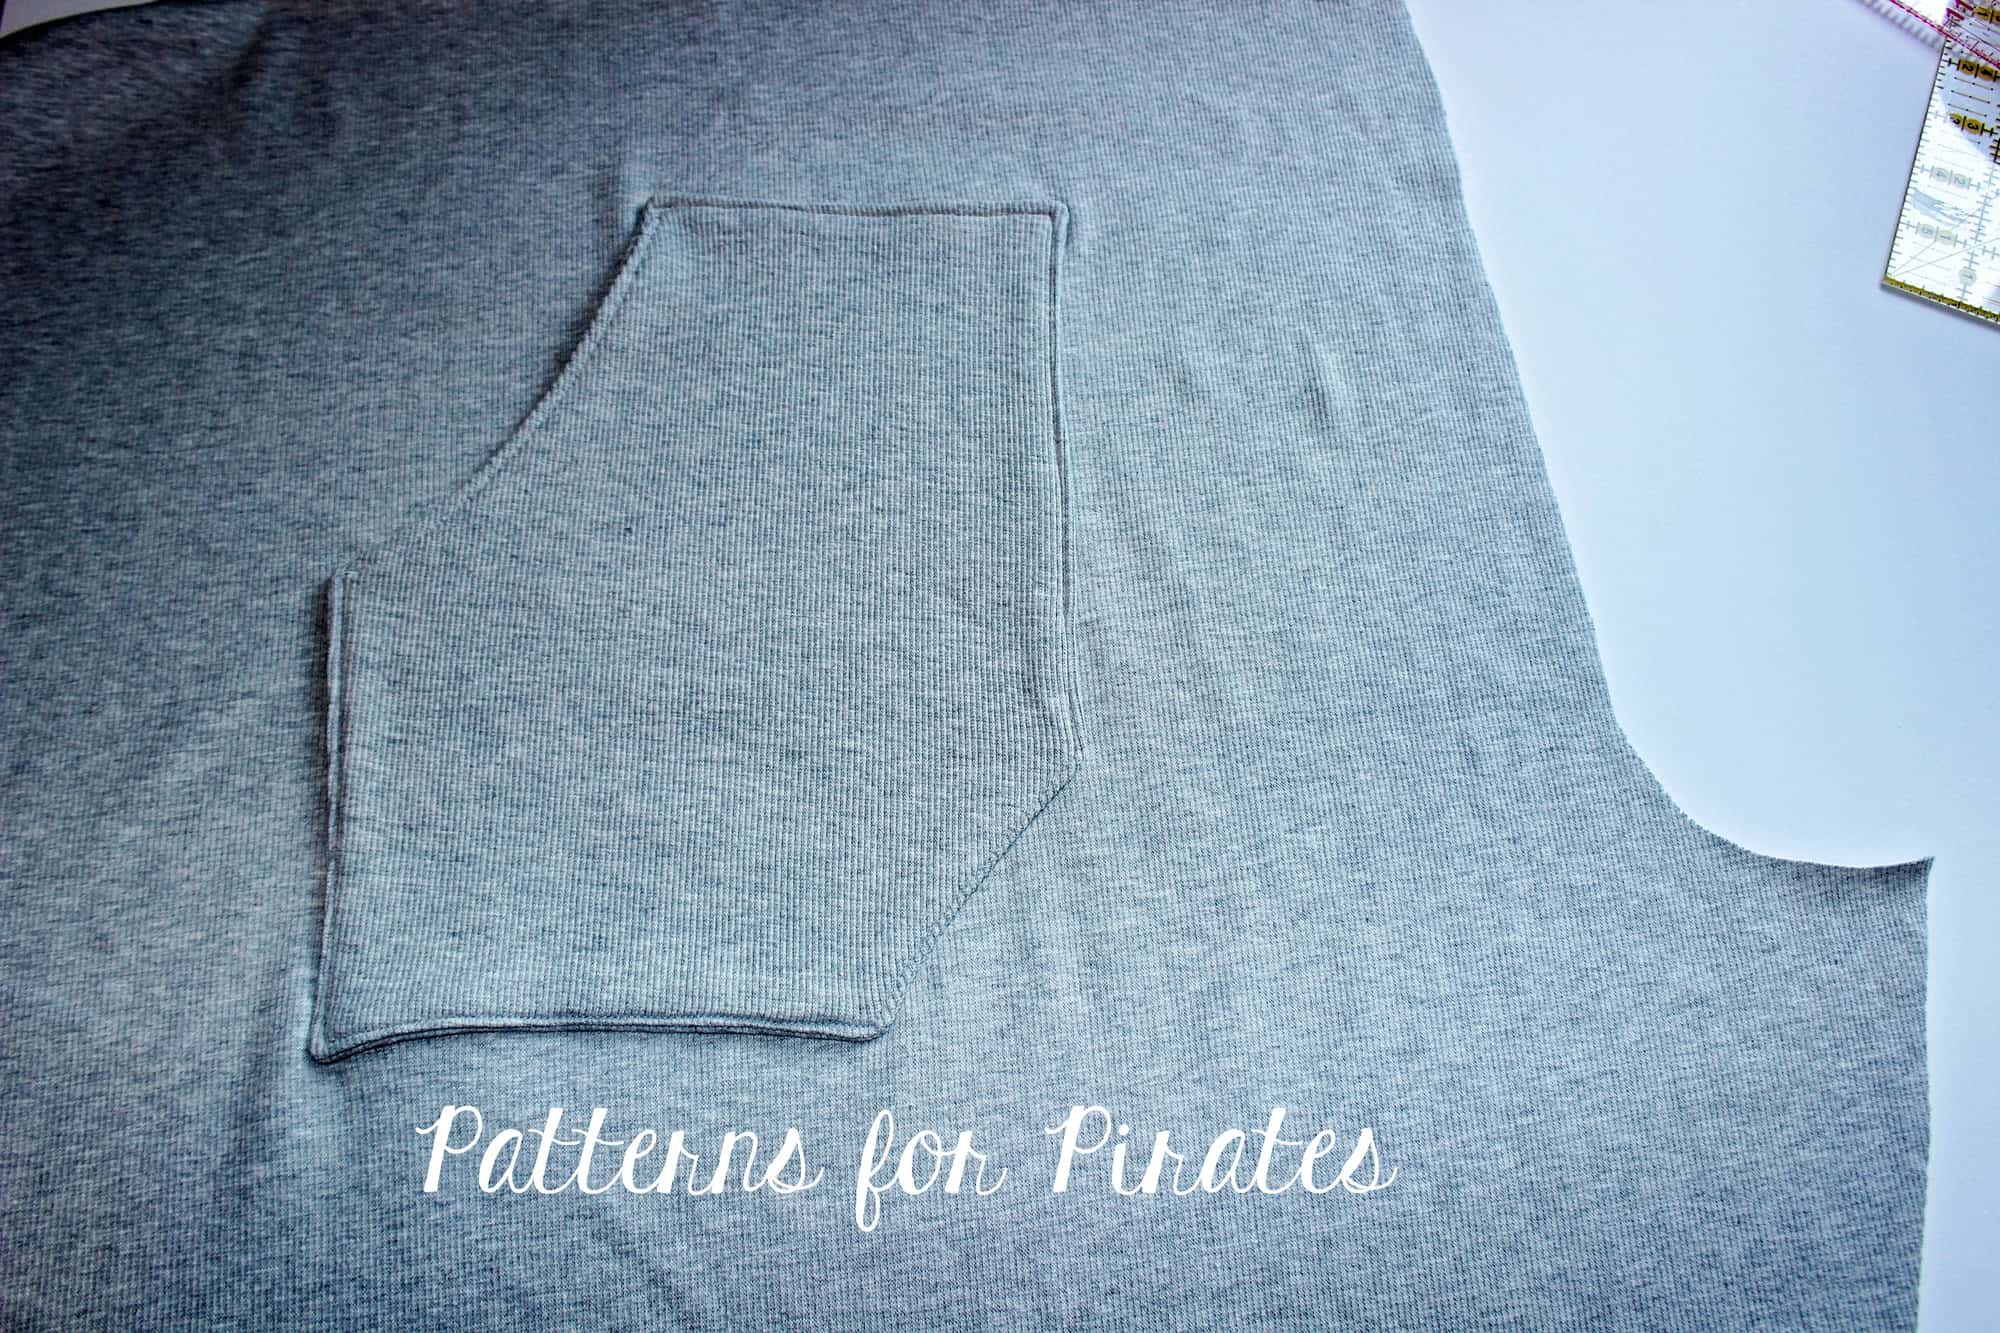
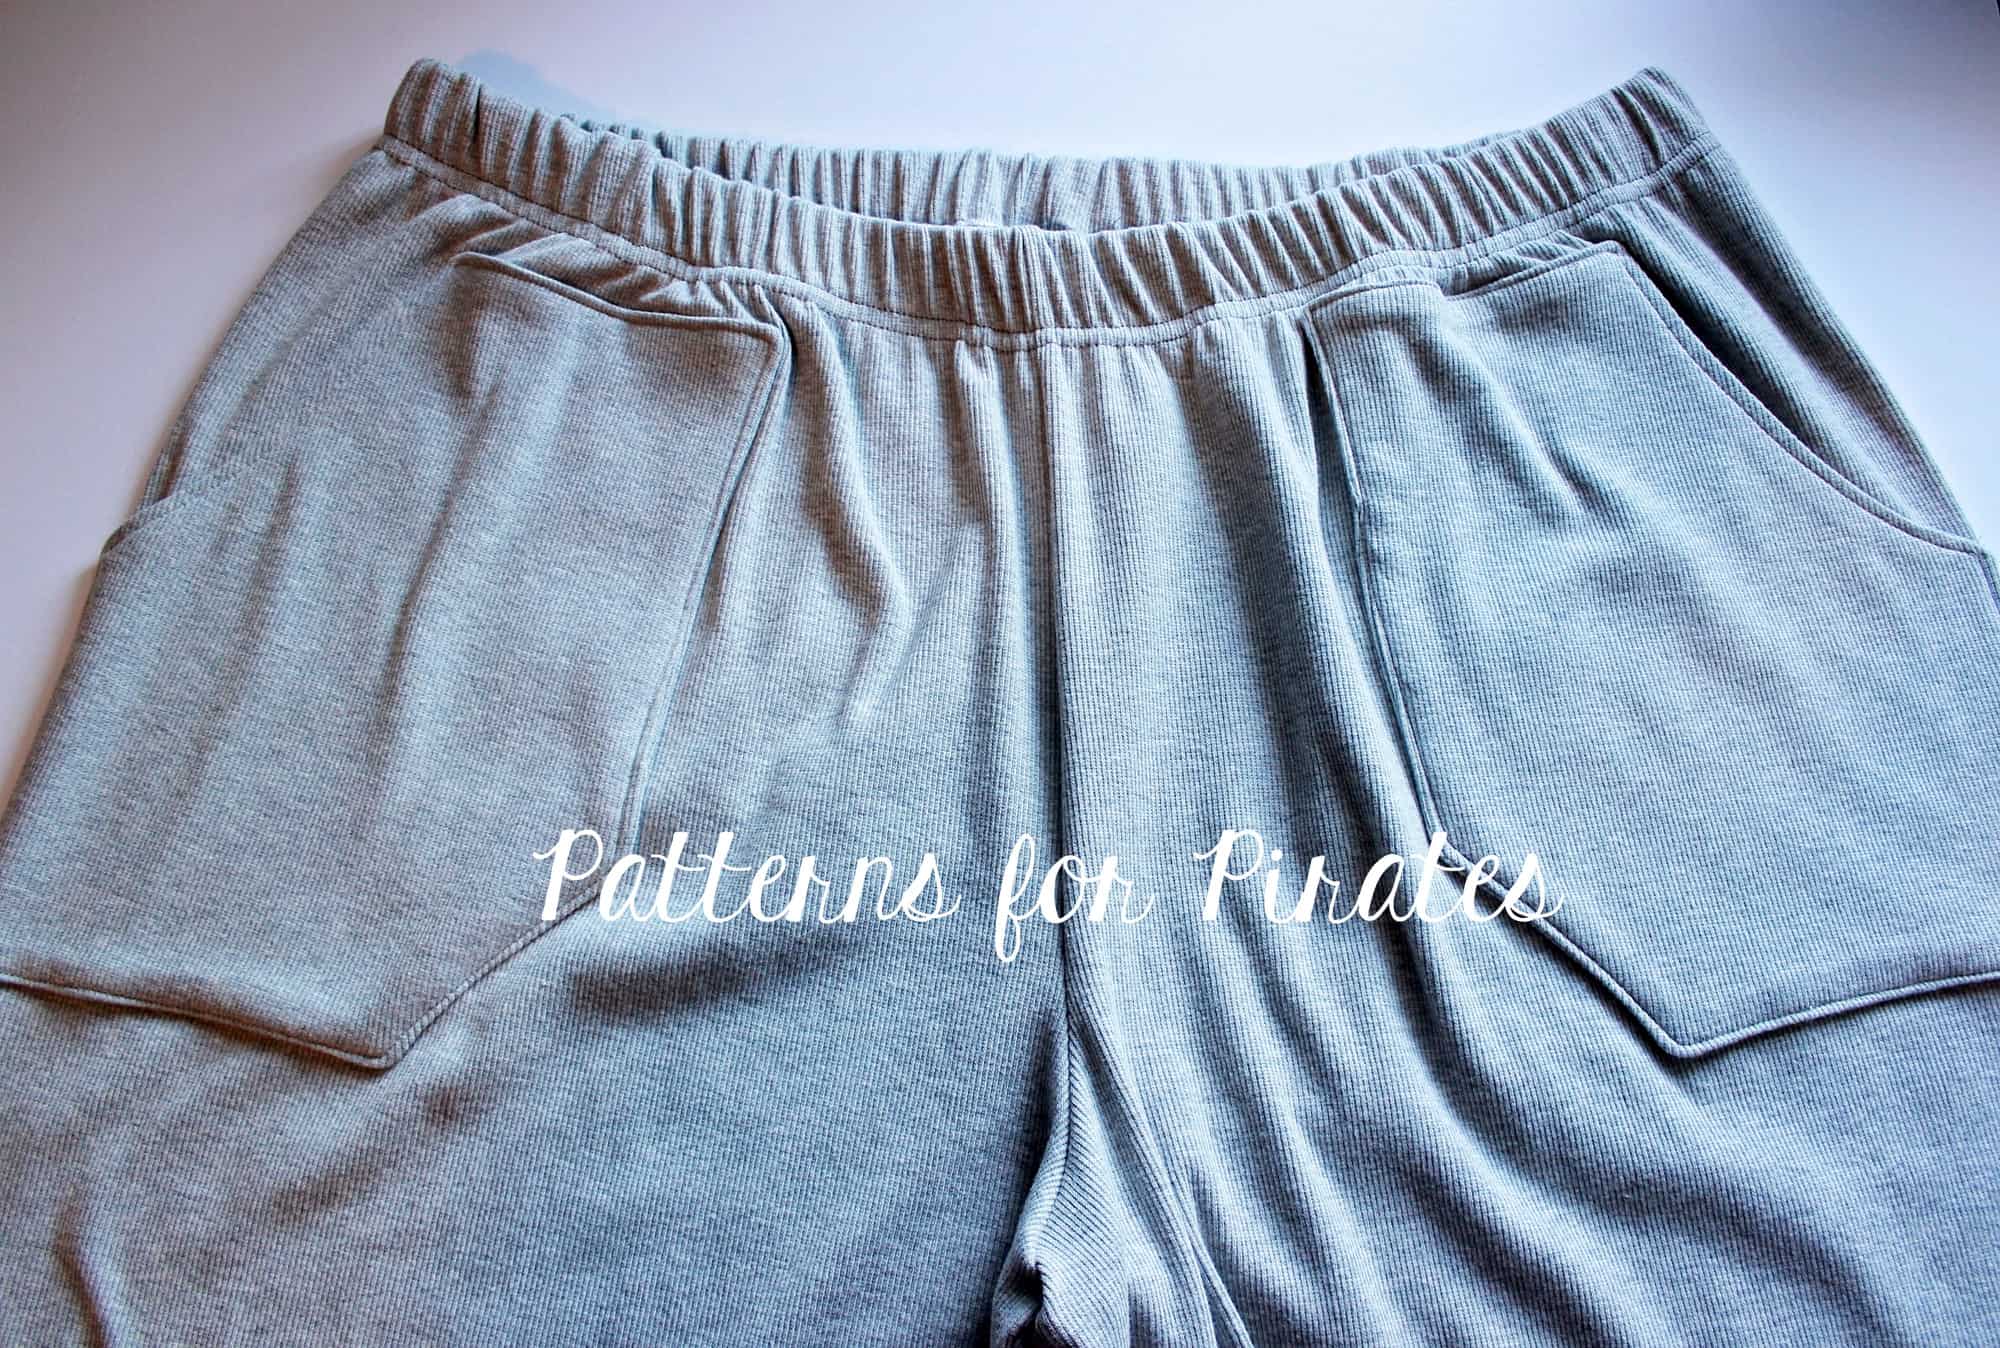
Start by printing the WTP pattern piece in the size needed. Now grab your Papa Bear Joggers (Mama Bear or Baby Bear) pants pattern and print only the page(s) that include the Patch Pocket. You now have two pattern pieces, the pants and the pocket. Cut the leg fabric (two mirrored images) and 4 pocket pieces (2 mirrored images for the main and 2 for the lining). The PJ pants pattern is drafted for woven fabric. I did use knit instead…you can do that too if you want!

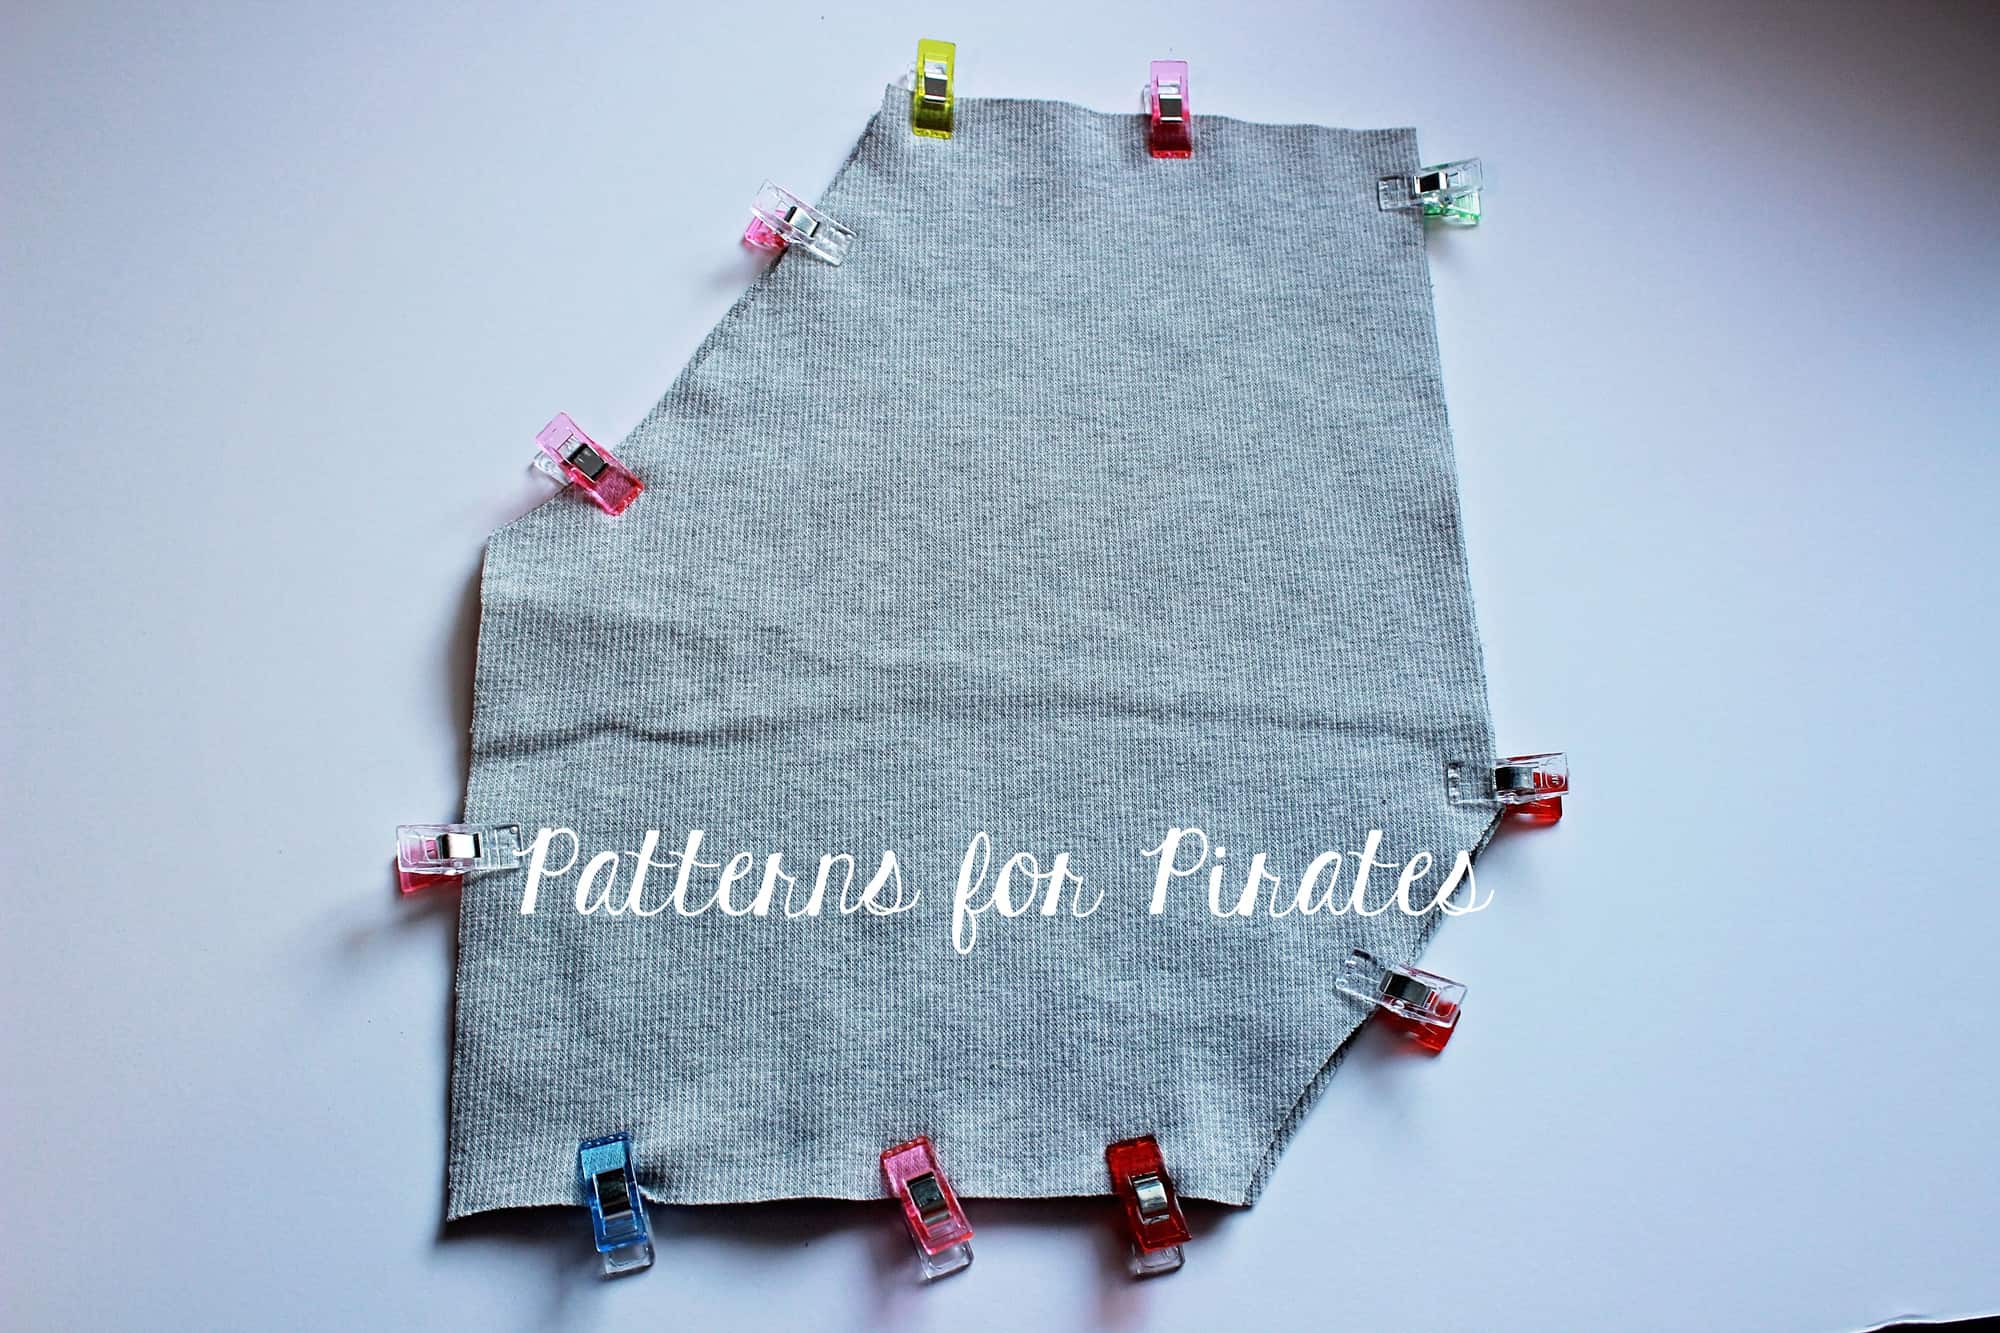
Take your pockets and place them right side together. Sew around the edge with a 1/2″ seam allowance, leaving 2-3″ opening so we can turn the pocket.

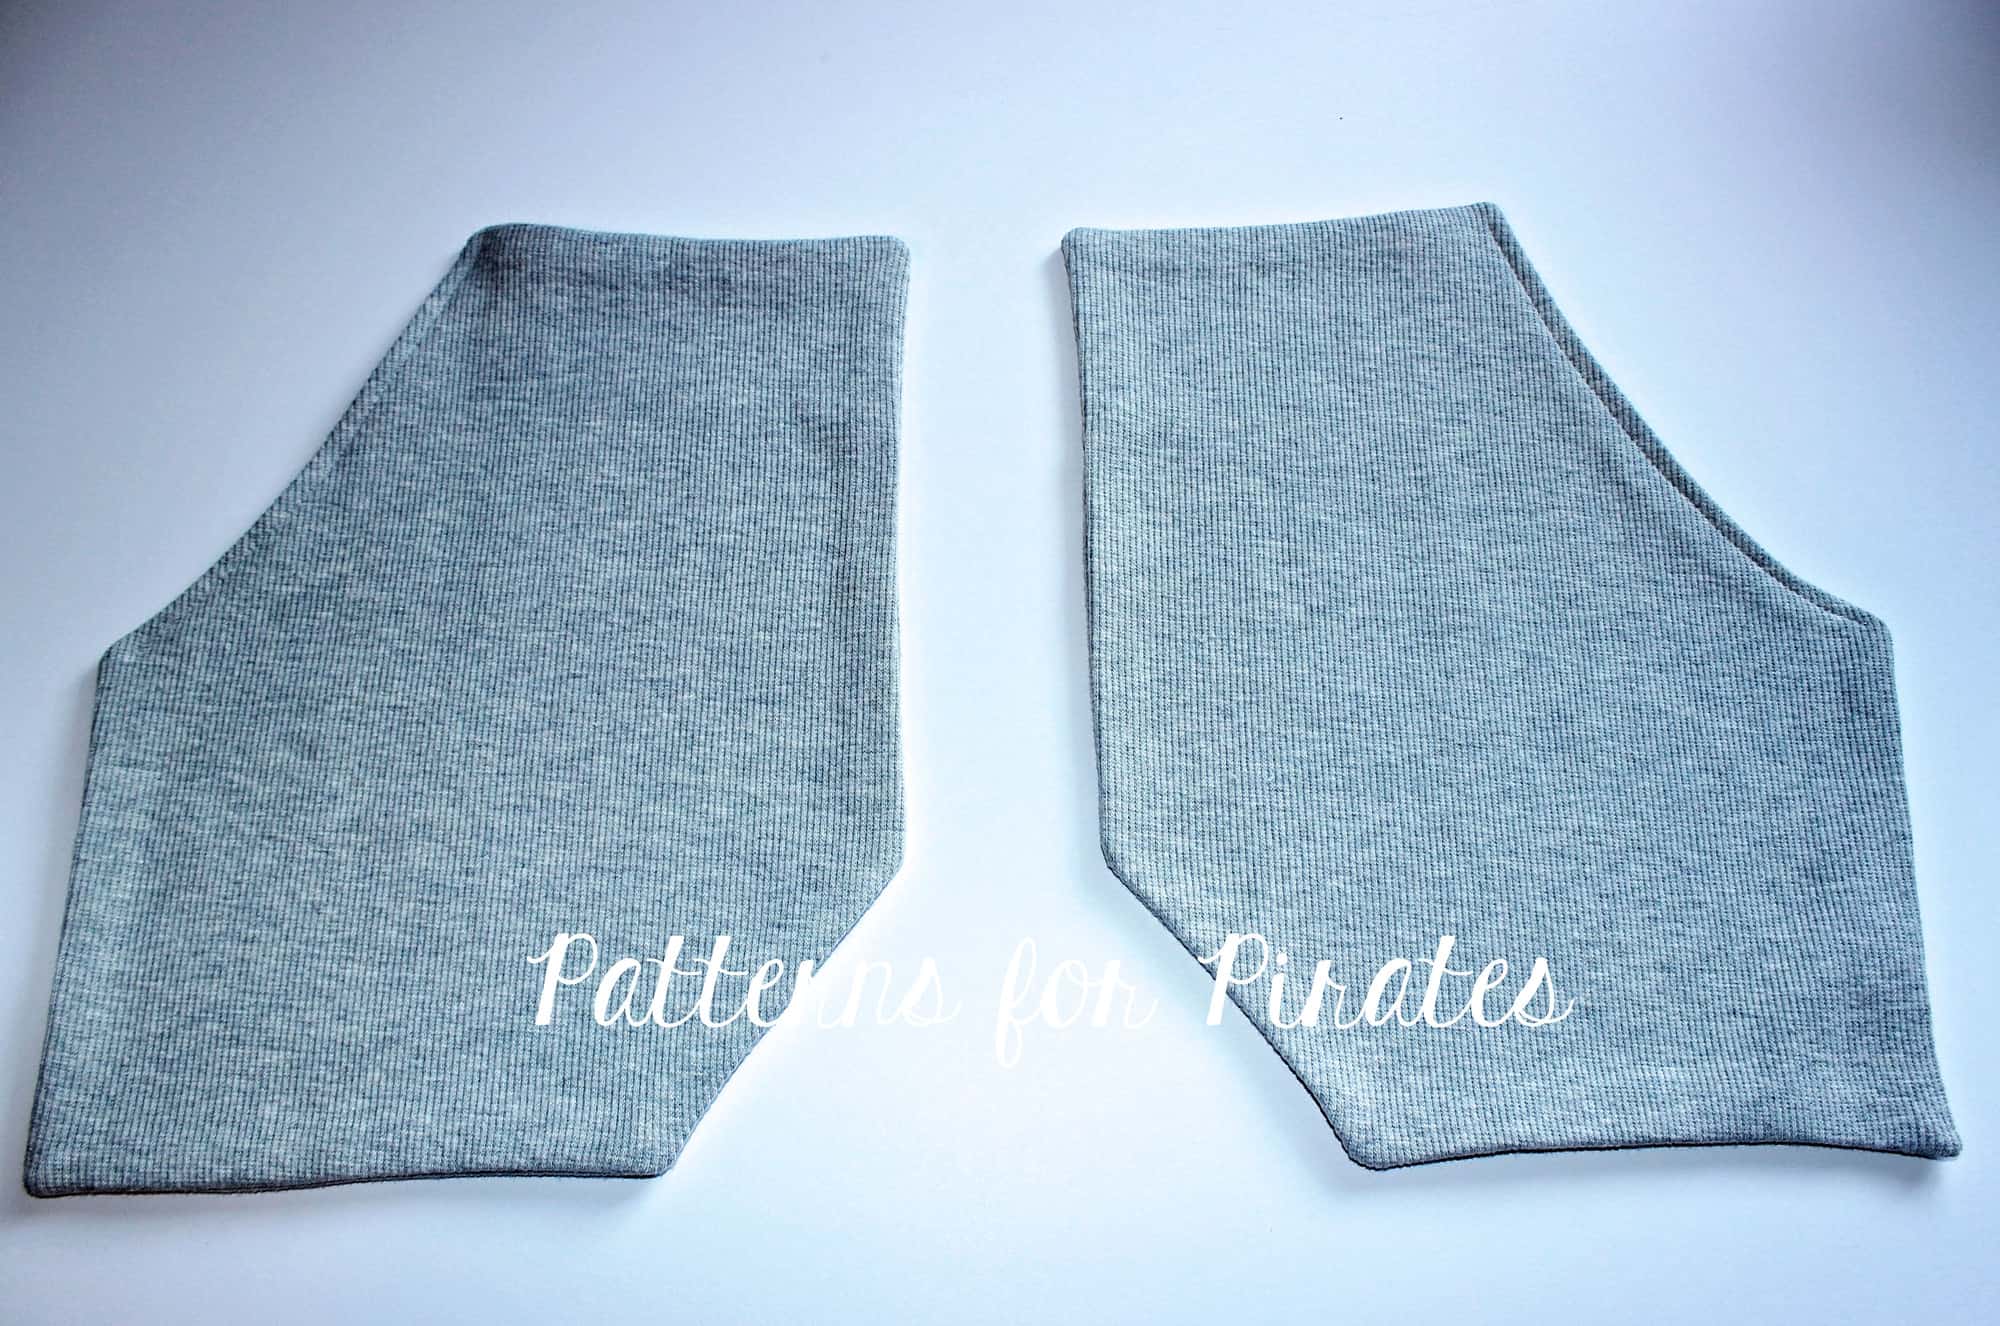
Clip the corners and snip the curve of the pocket as close to the seam as possible (without clipping the stitch). Turn your pocket inside out a press very well. Repeat with the other pocket.

Top stitch only the pocket curve opening.

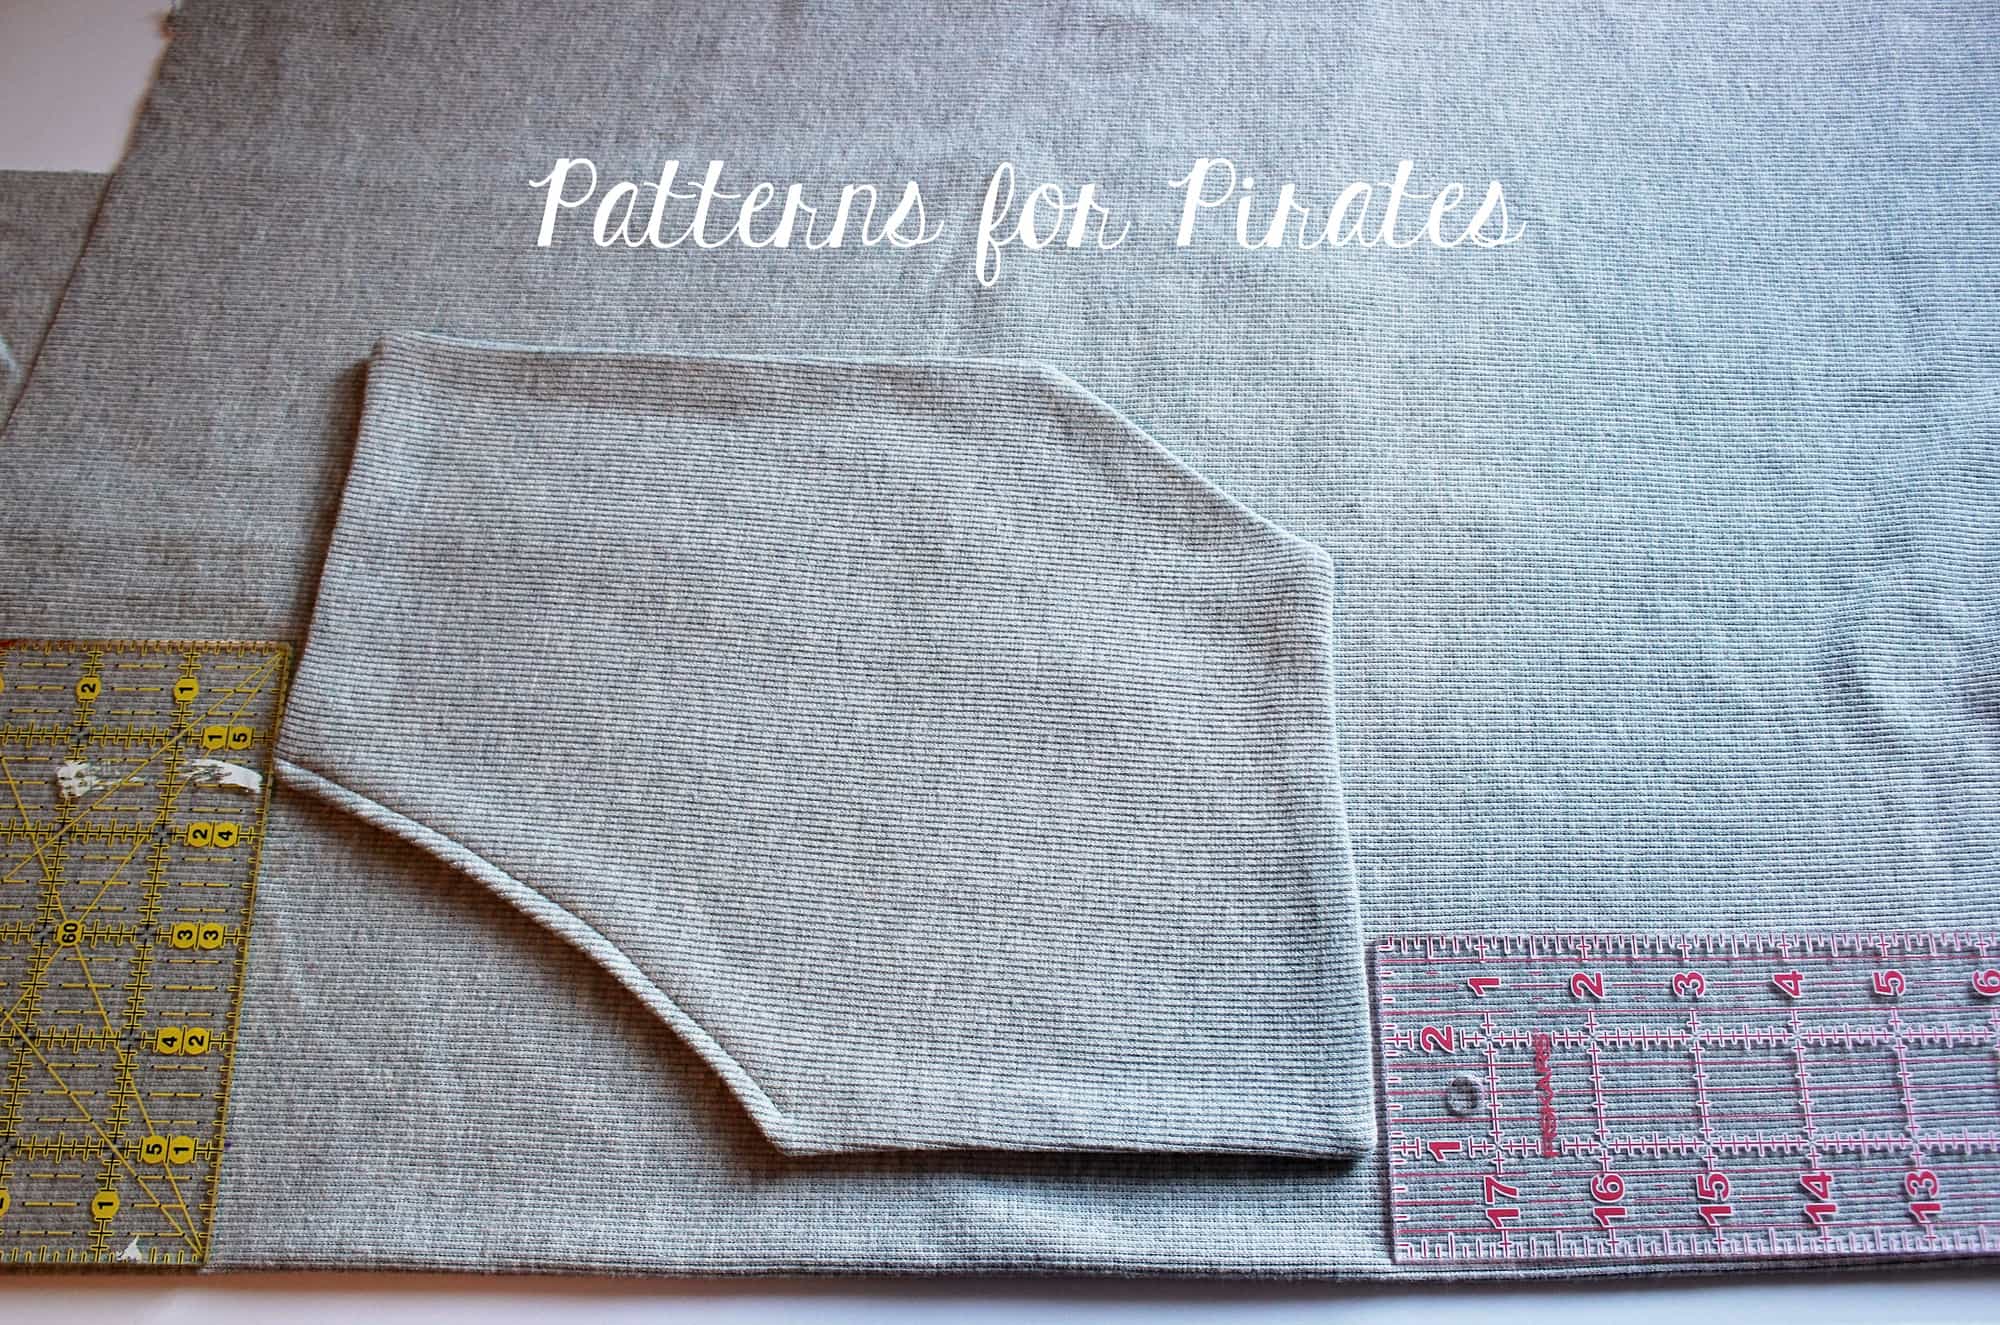
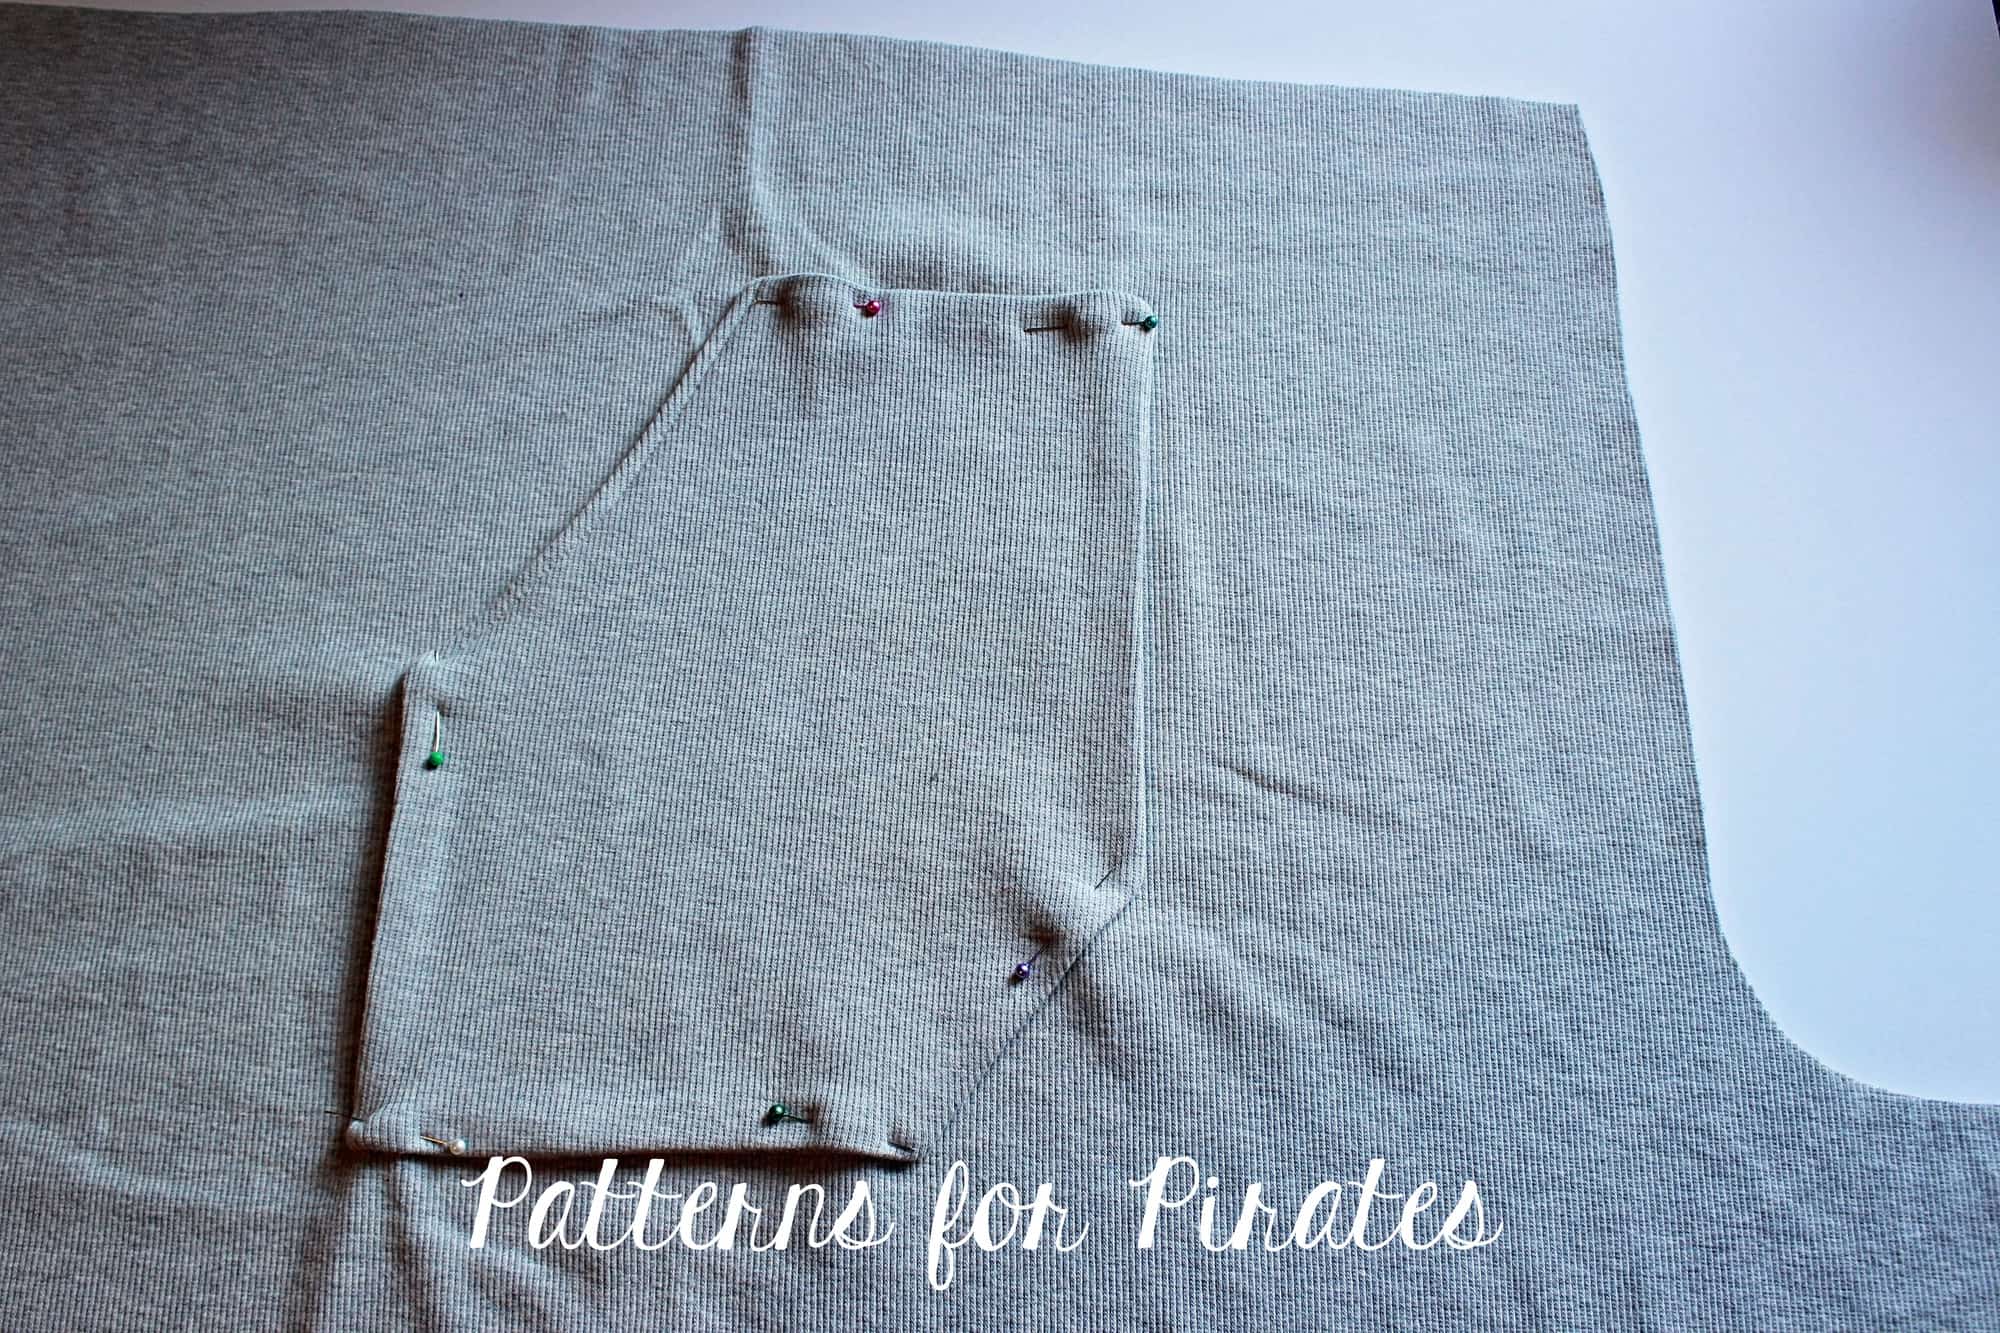
Take the pants pattern piece and place it right side up. Fold the pants so the inseam matches making sure the front is on top. Measure 4″ down from the waist edge and 1 inch away from the side fold. Place the pocket as in the picture below and pin in place.

Note: you will need to adjust these measurements if you are making the kids Walk the Plank pj pants.

Sew the pocket to the pants making sure you leave the pocket curve open. You will only be sewing around the 5 straight edges. Repeat for the other leg.

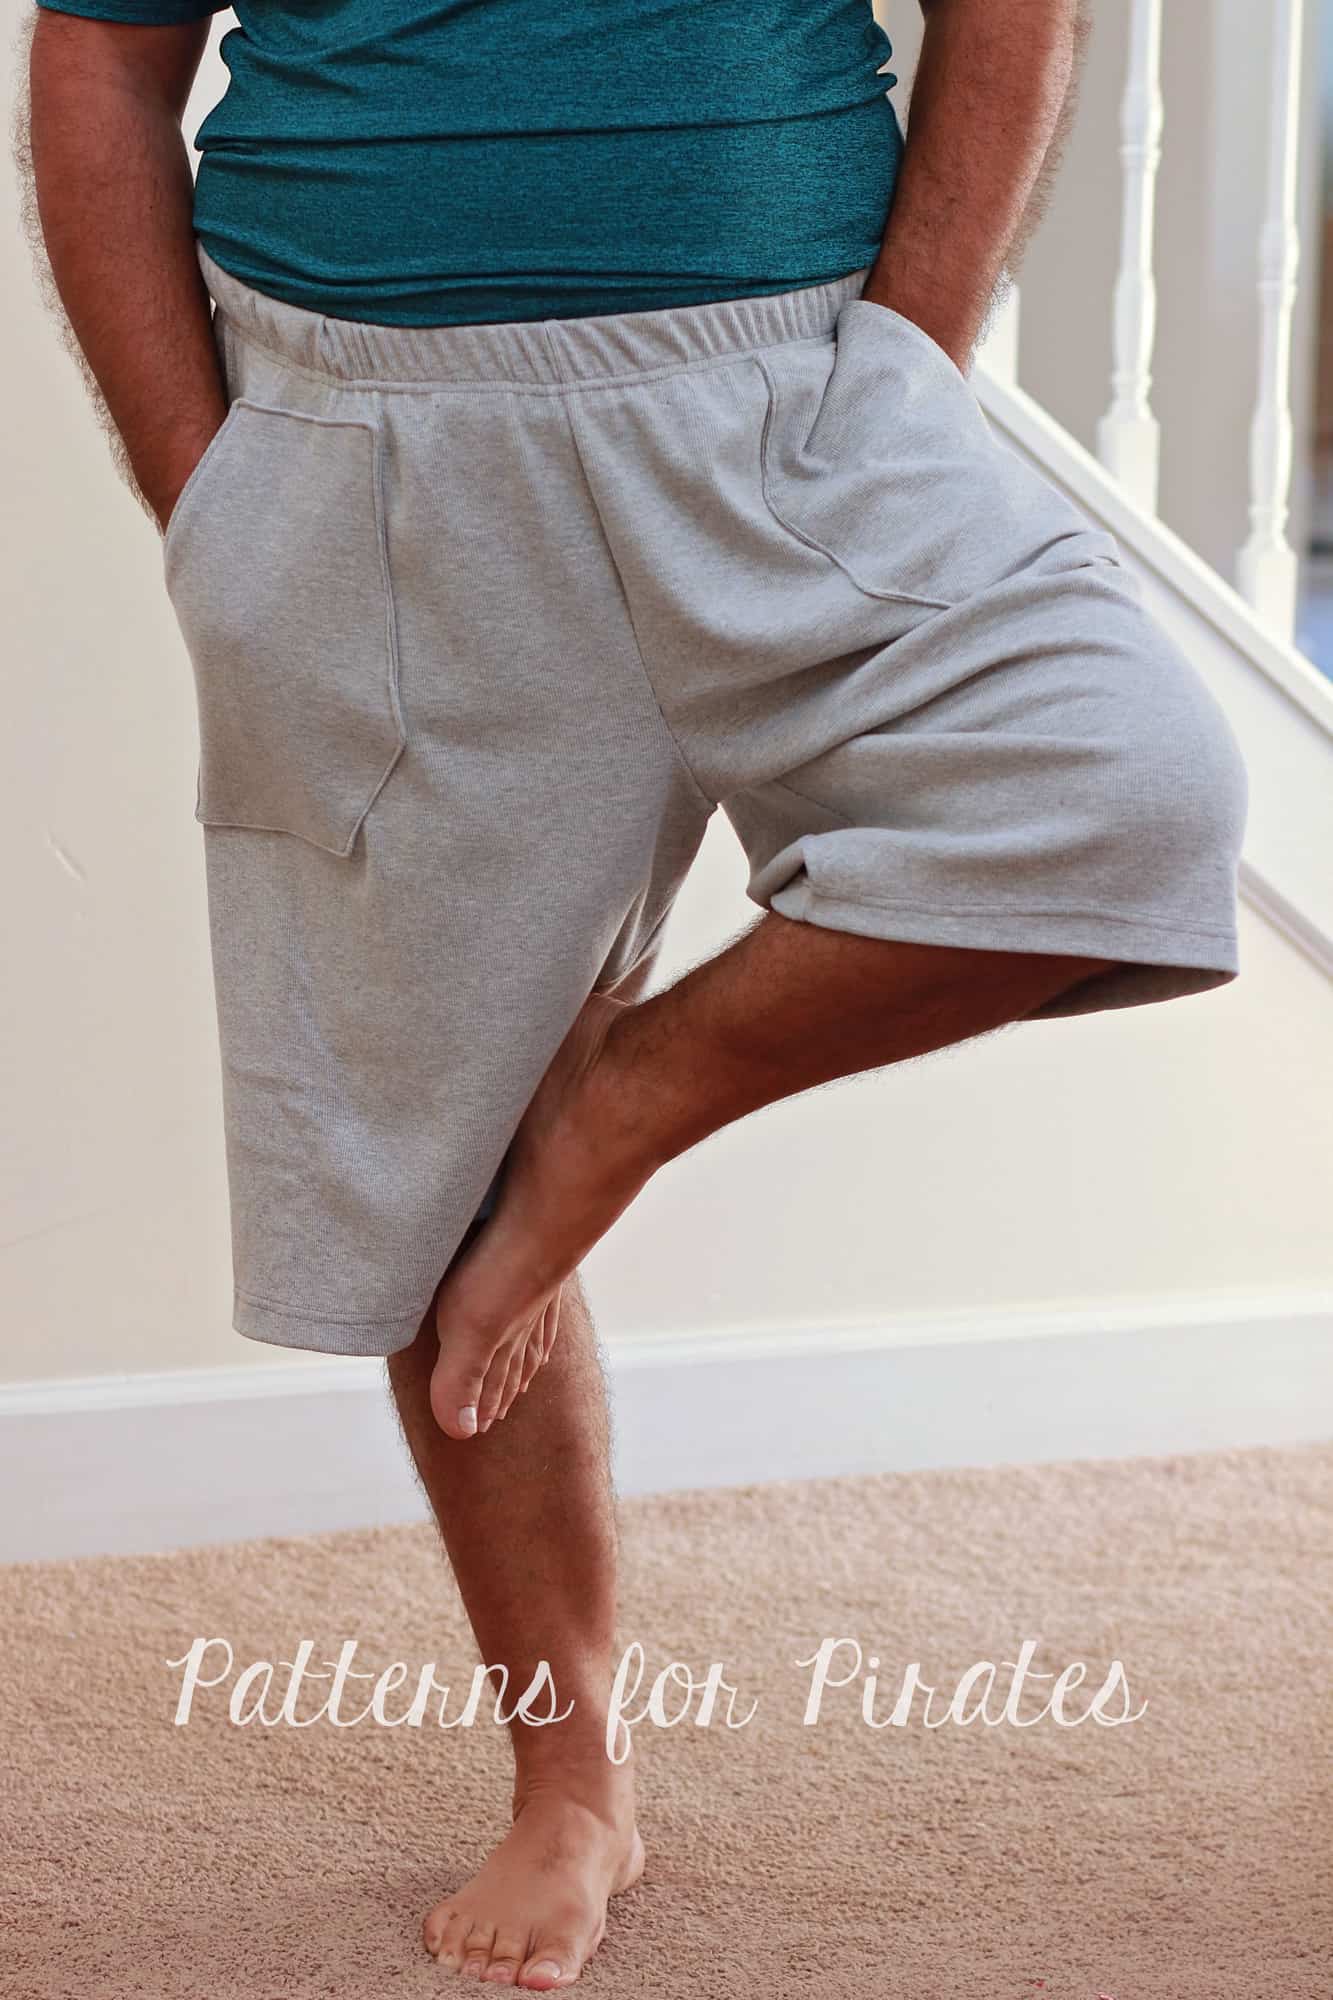
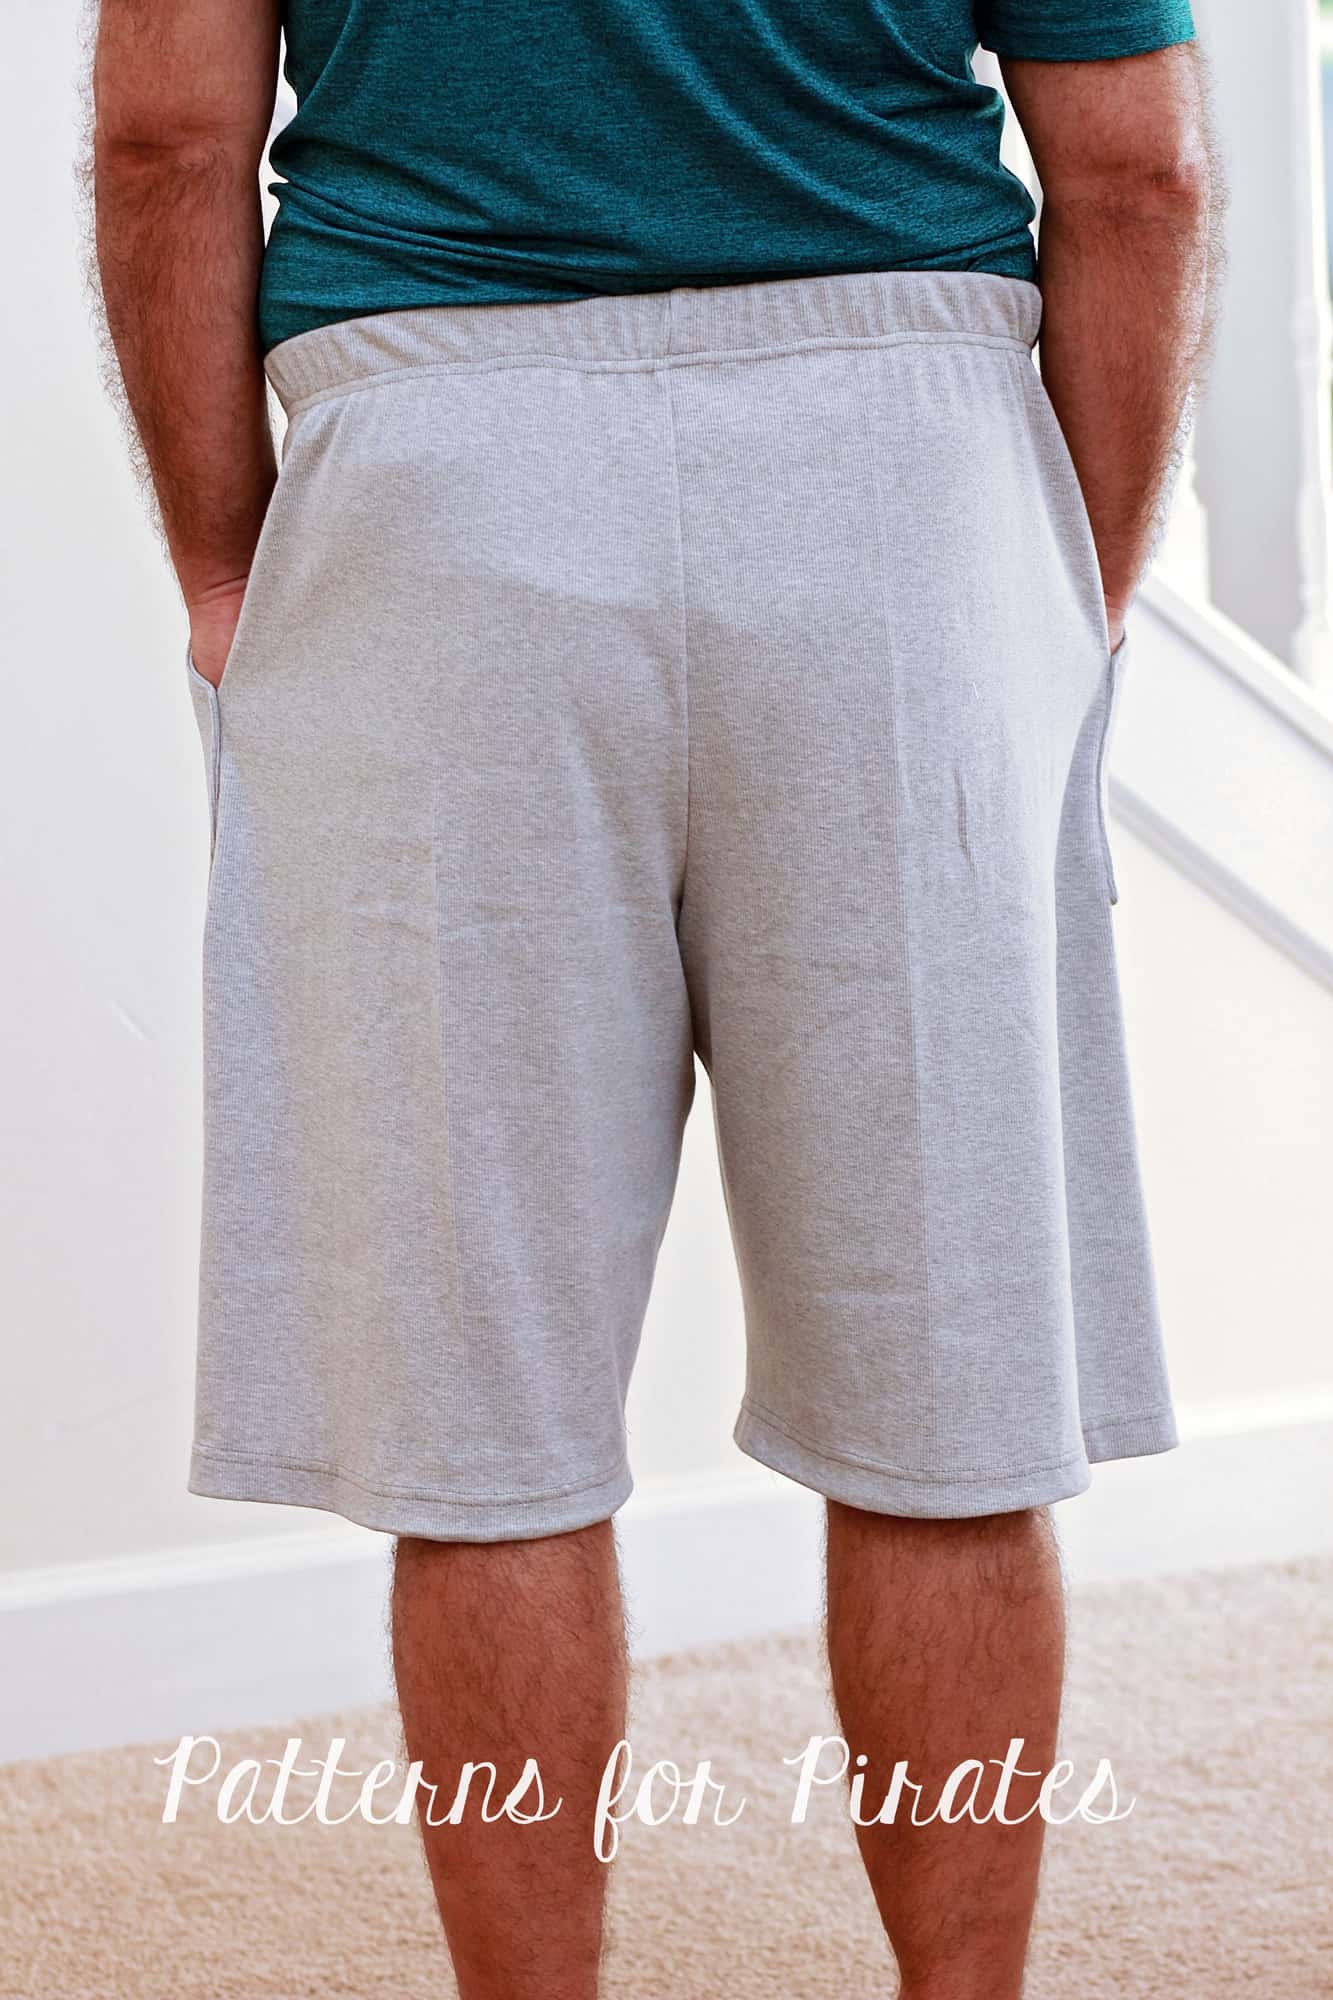
That’s it! You added patch pockets to the pajama pants. Simply continue to construct the pattern as per the tutorial and enjoy a new pair of PJs WITH POCKETS!


. . . . .

Back patch pocket

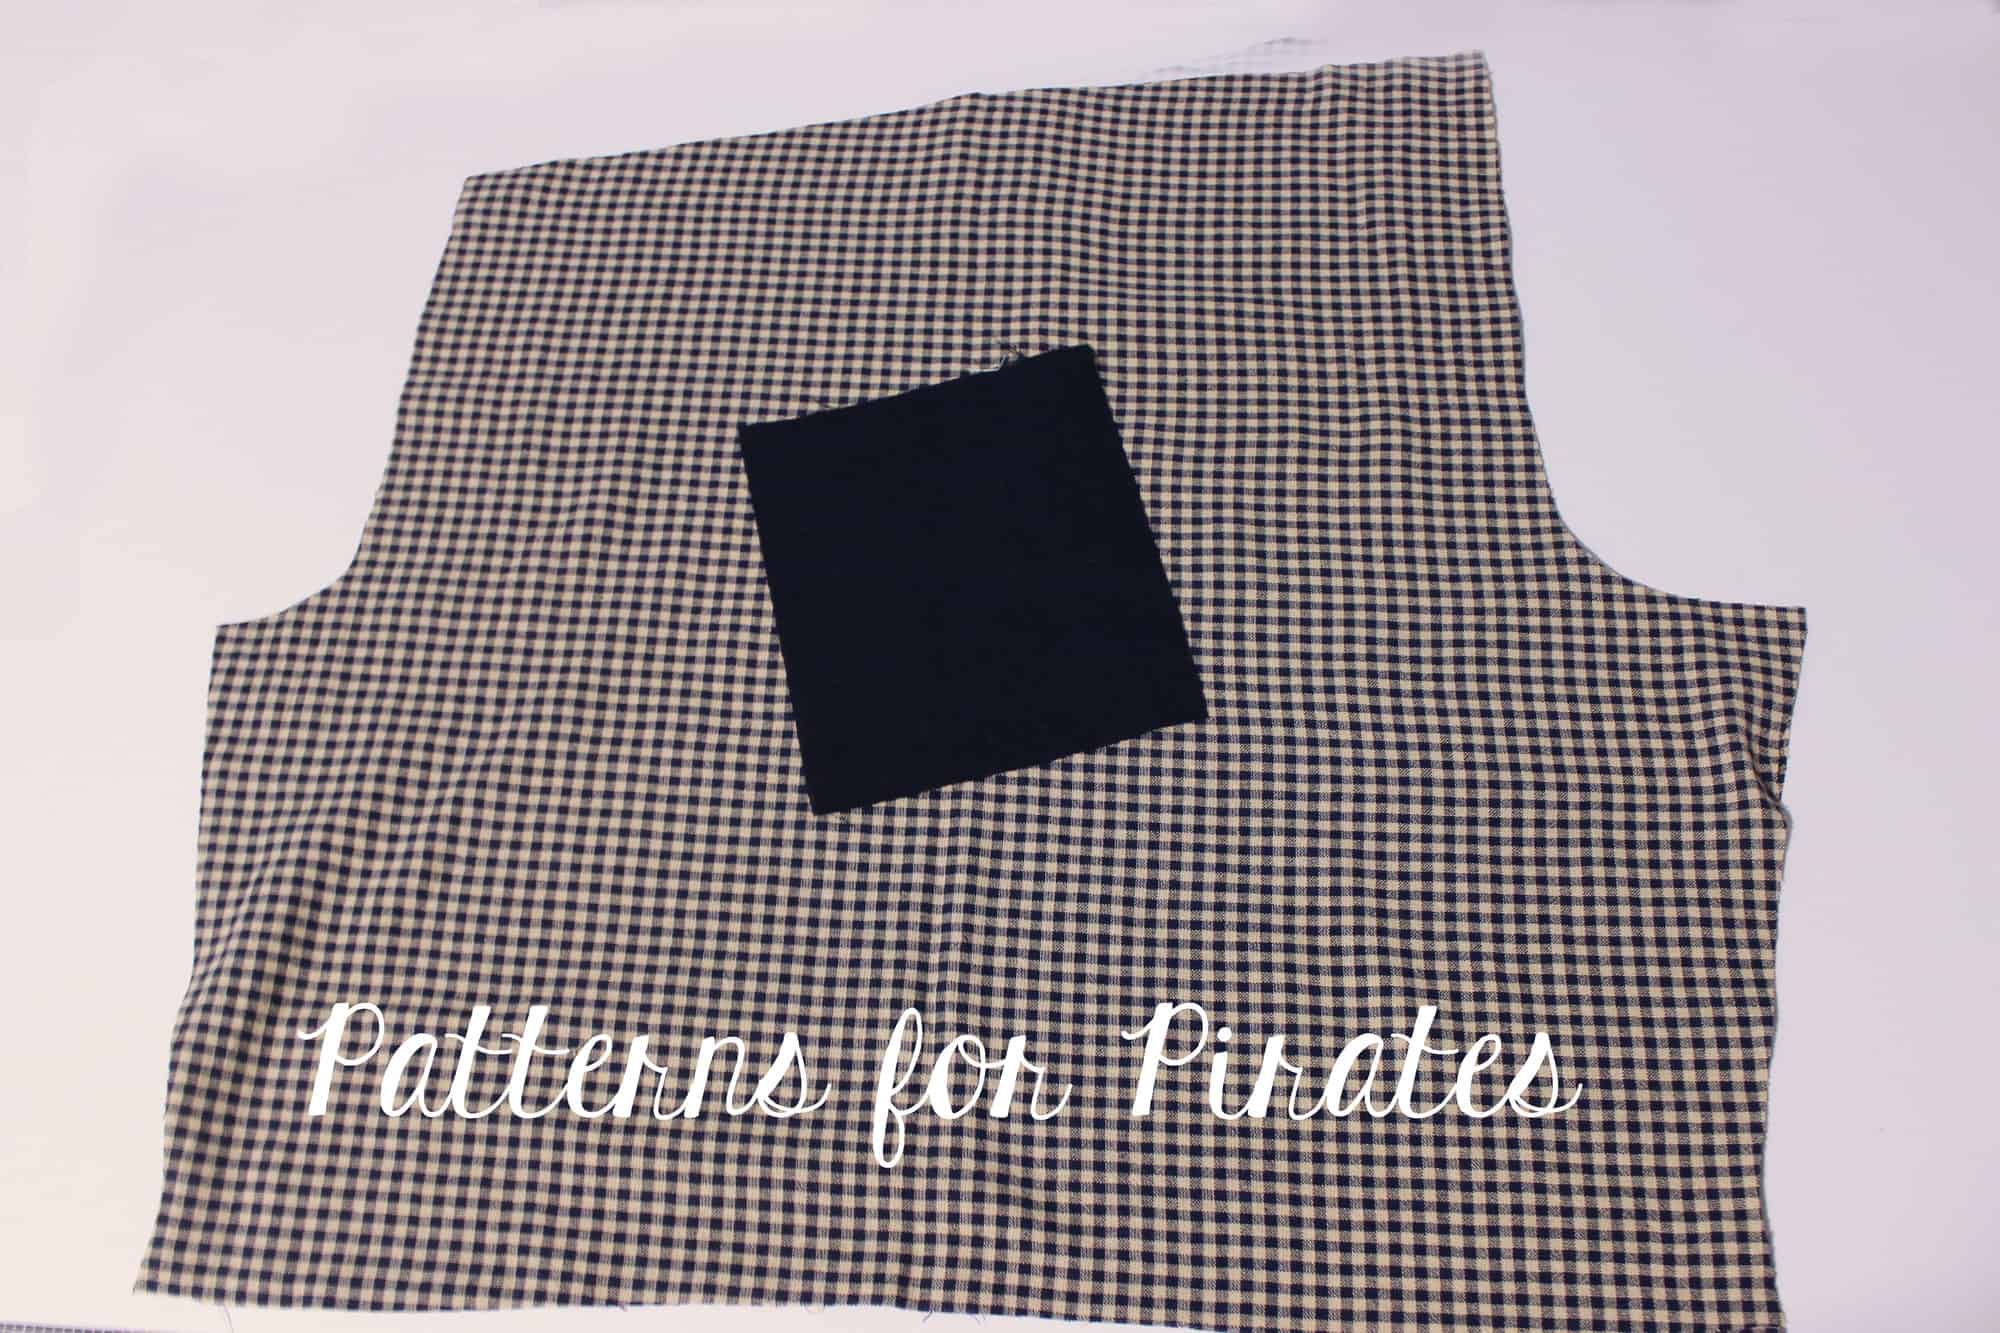
Next I want to show you how to add a back pocket to your Walk the Plank PJ pants. This hack is even easier and it does not require any additional P4P patterns. Simply cut one rectangular piece of the same fabric or a coordinating one. The size of the rectangle will vary depending on how big you would like the pocket. I cut my piece 5″ wide by 6″ tall and I am making a size 6 PJ pants.

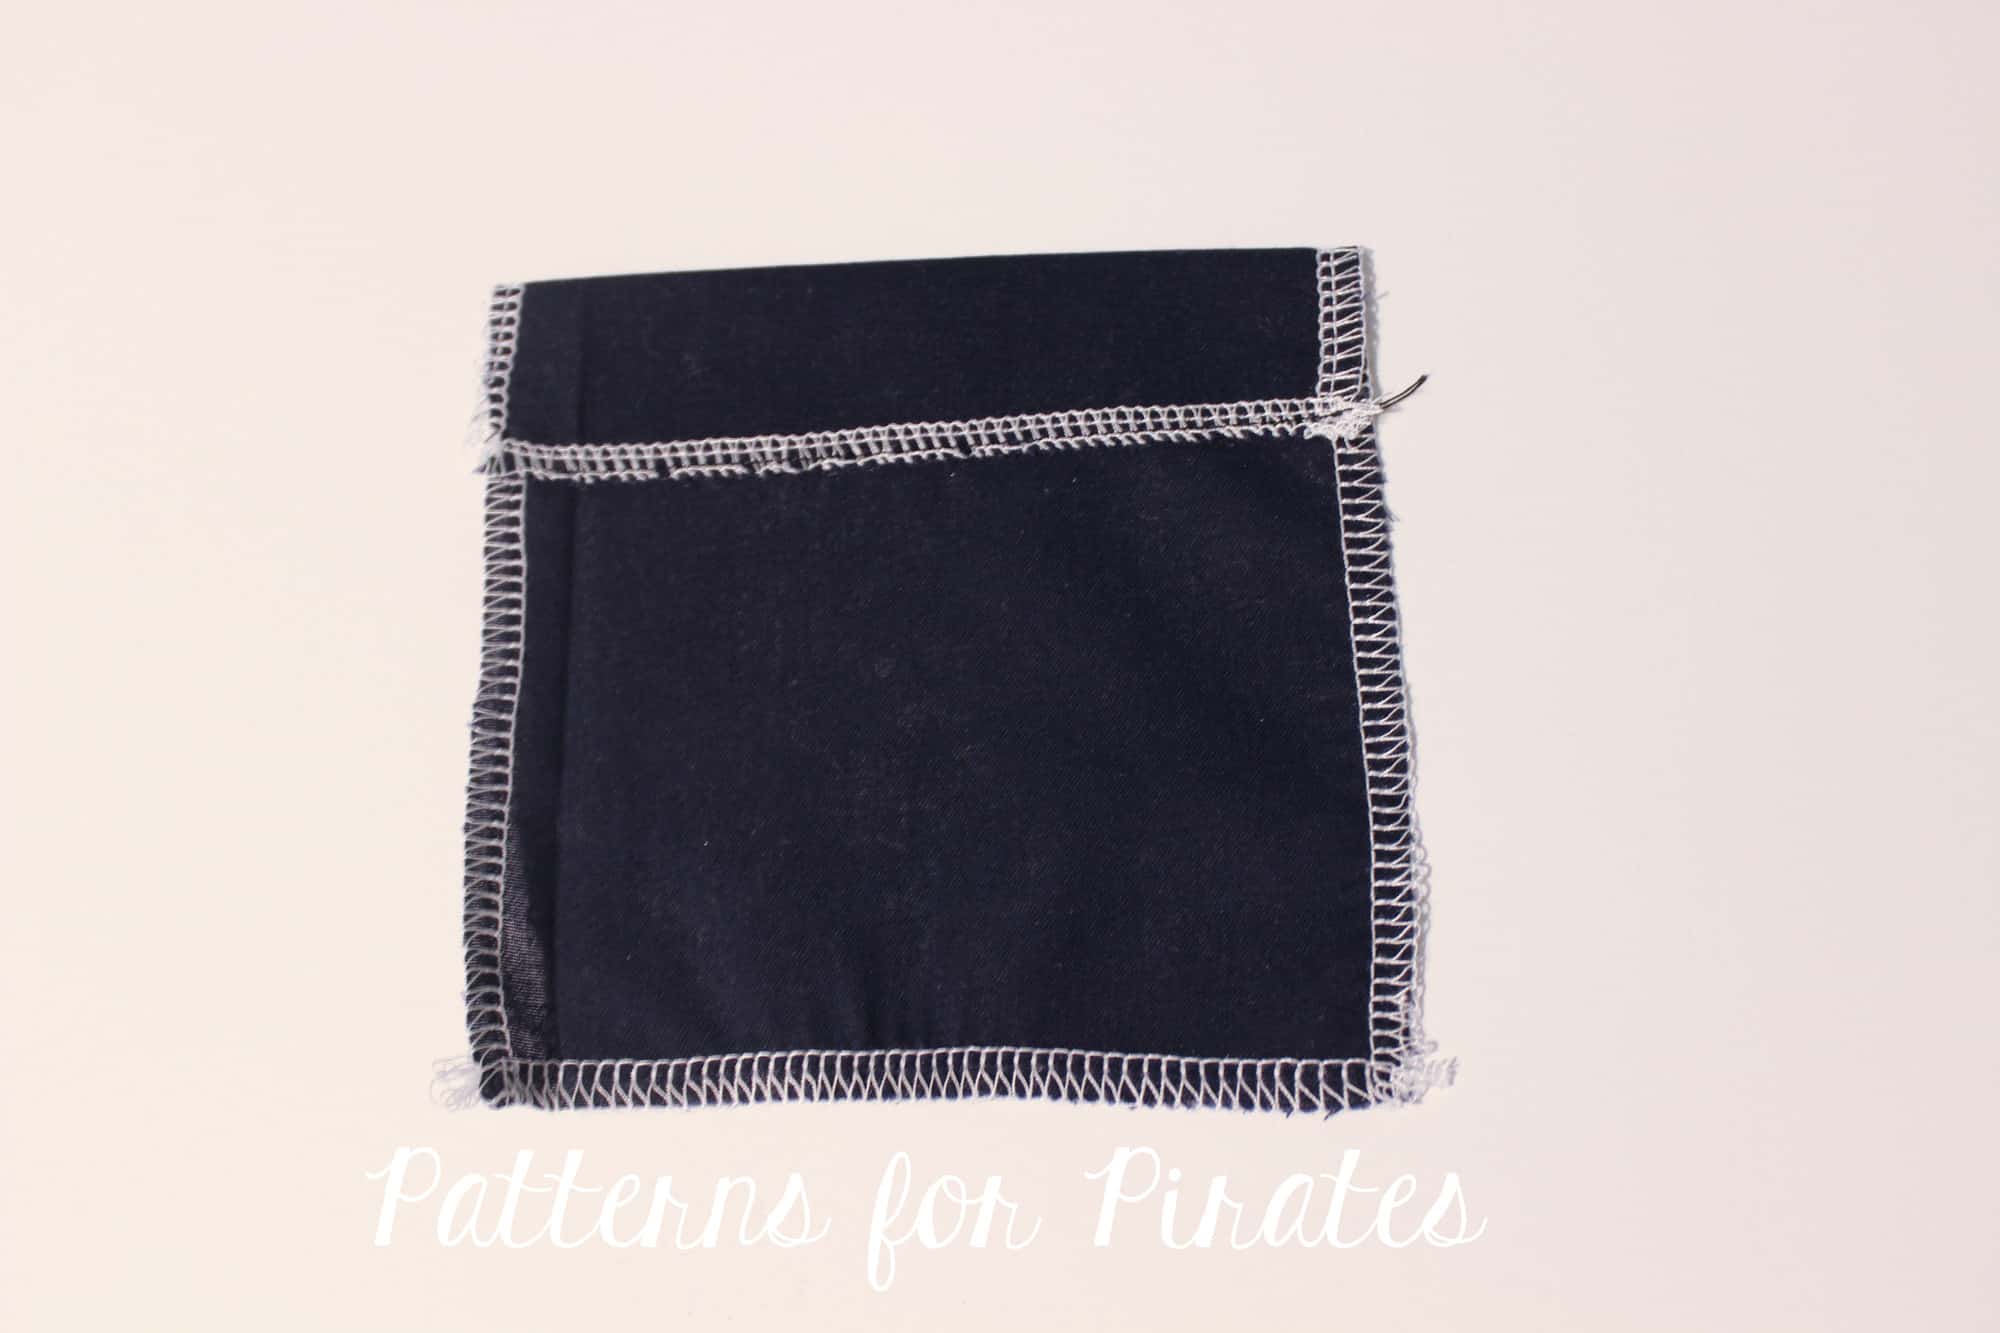
Optionally, you can serge around the edges to prevent fraying in the wash.

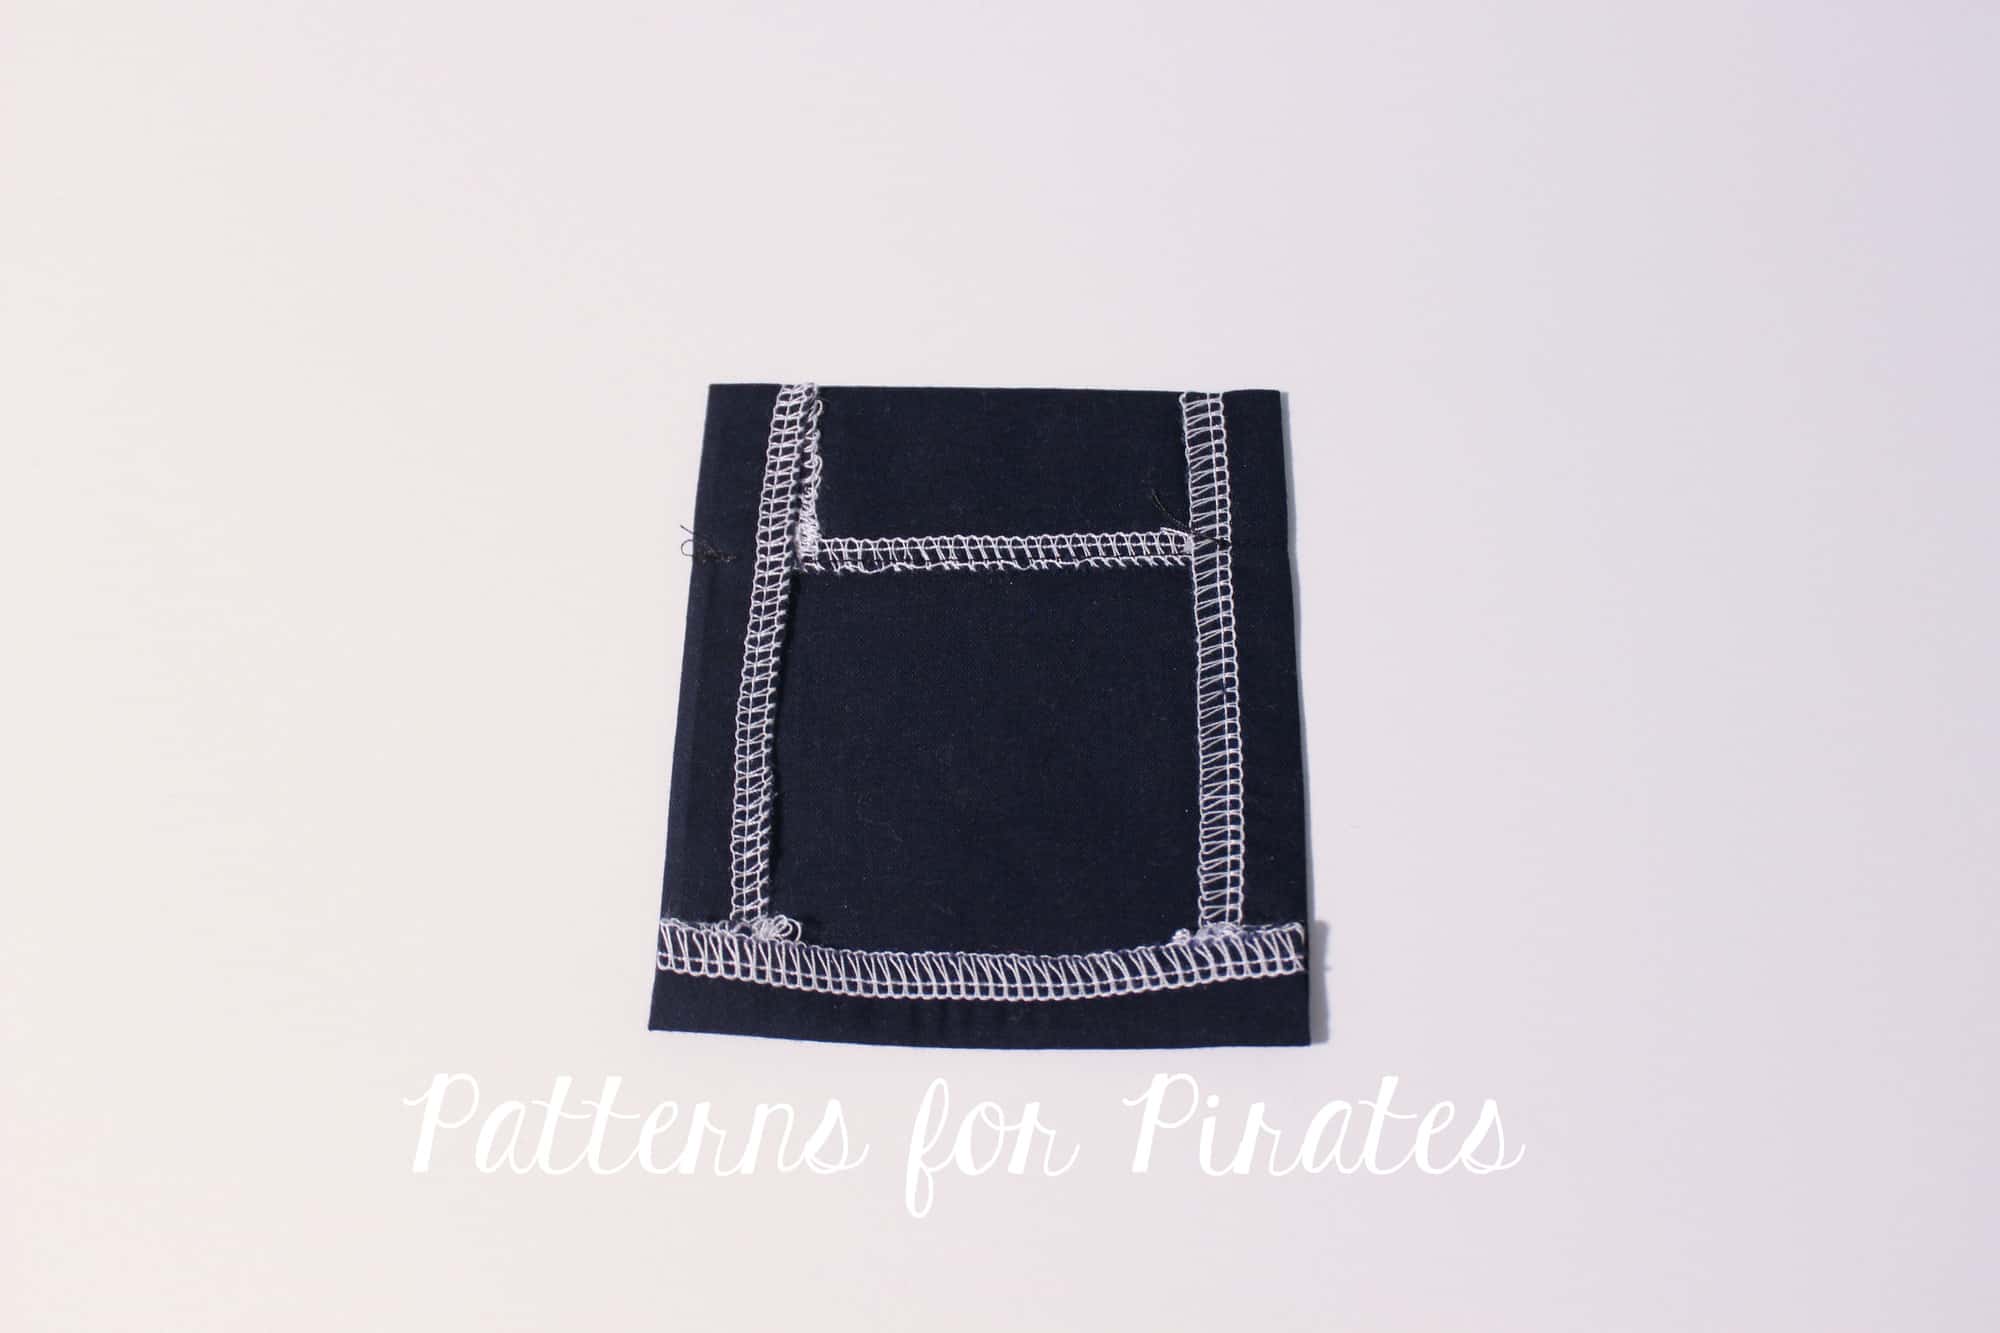
Fold the top of the pocket 1″ down, press and sew in place.

Now fold the other three sides 1/2″ and give it a good press. Do not sew them just yet.

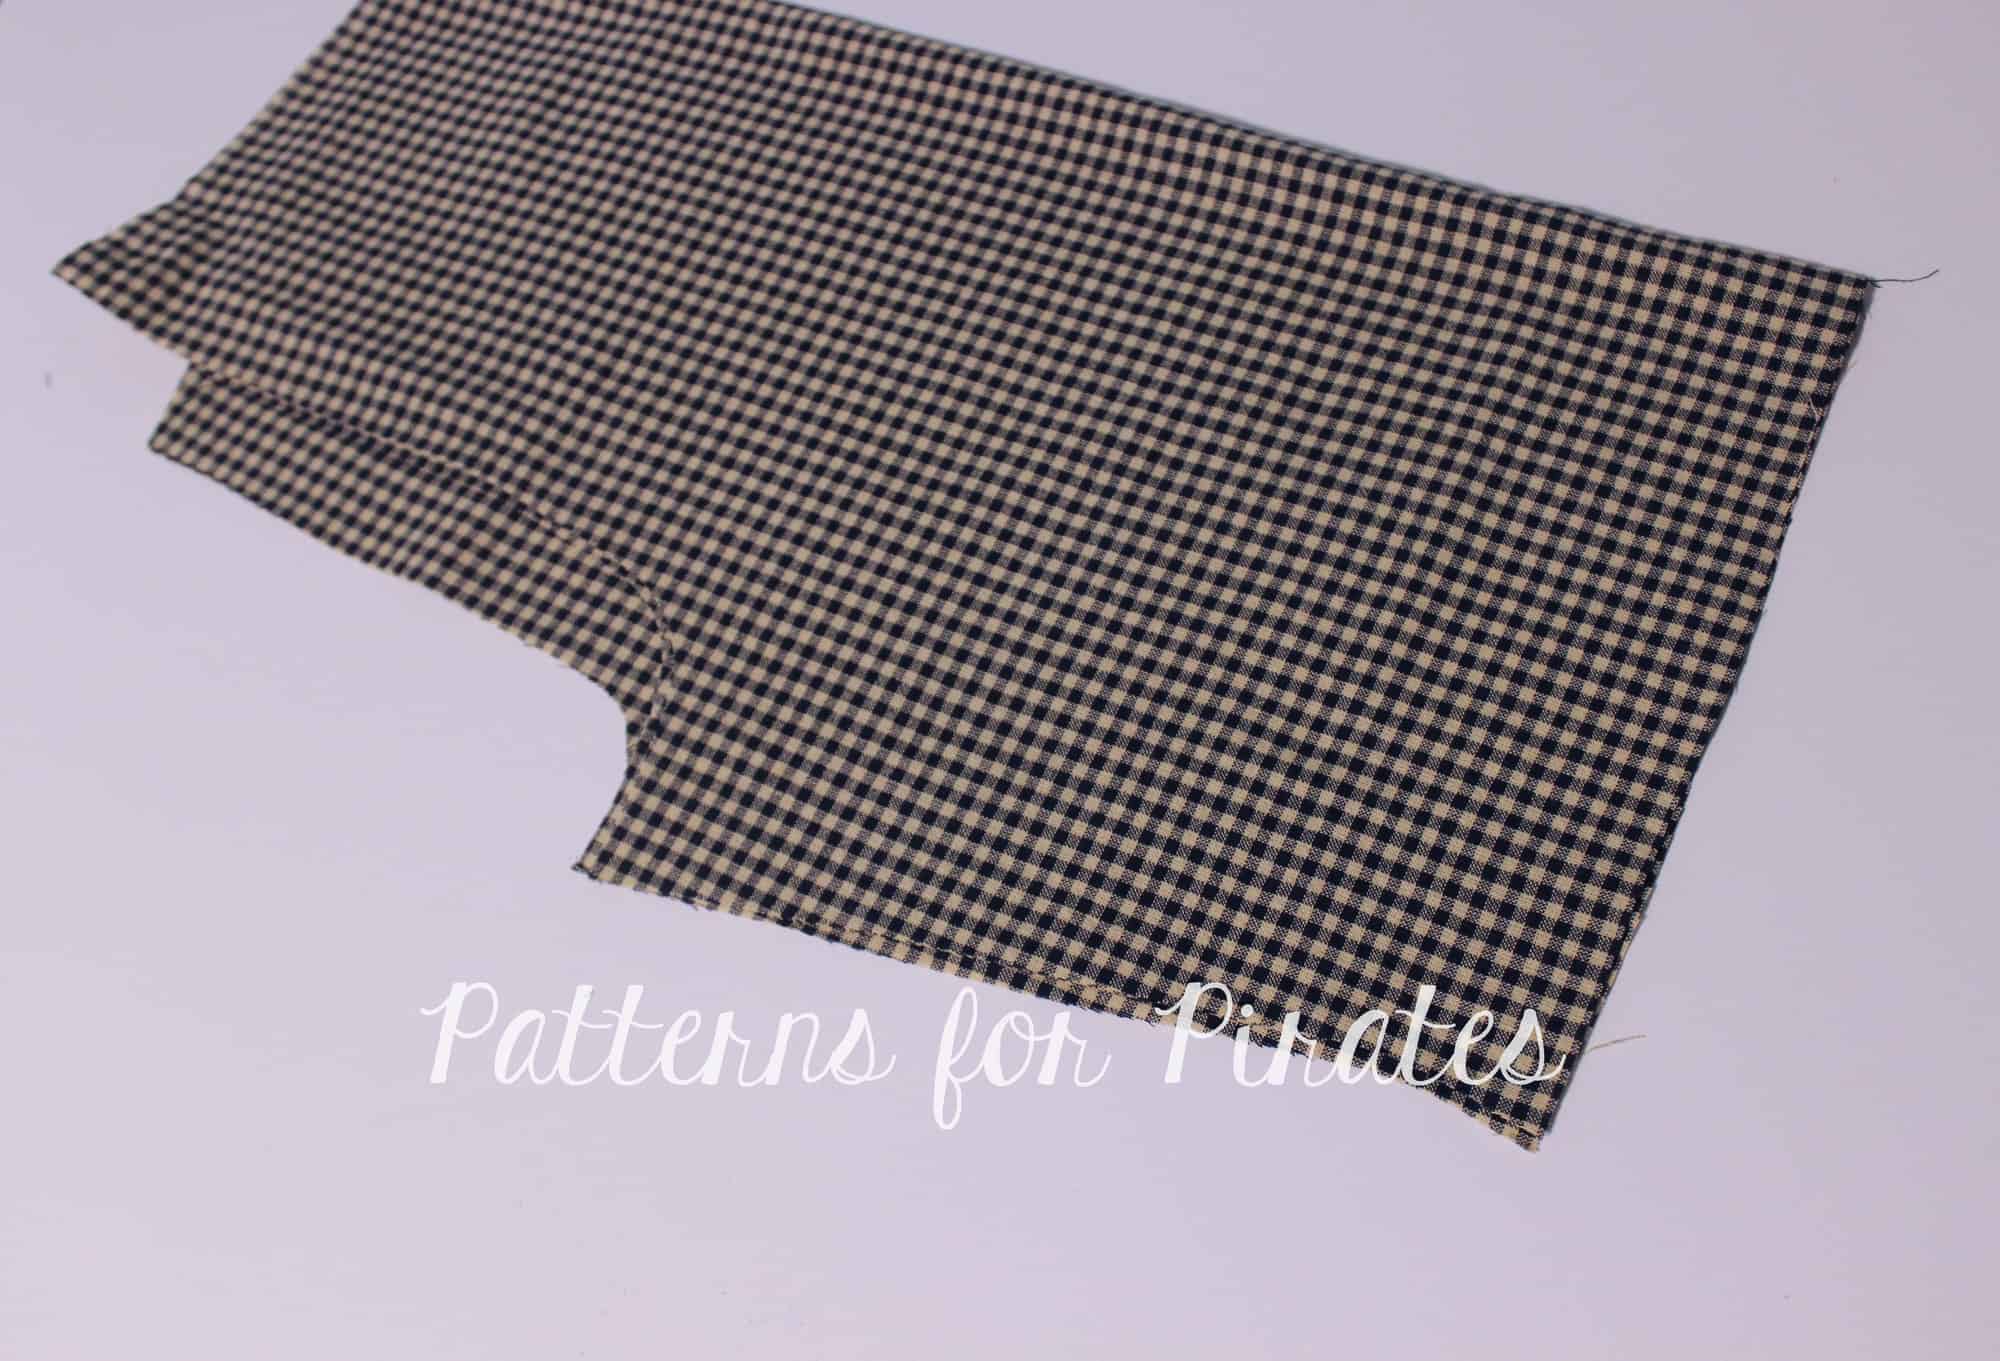
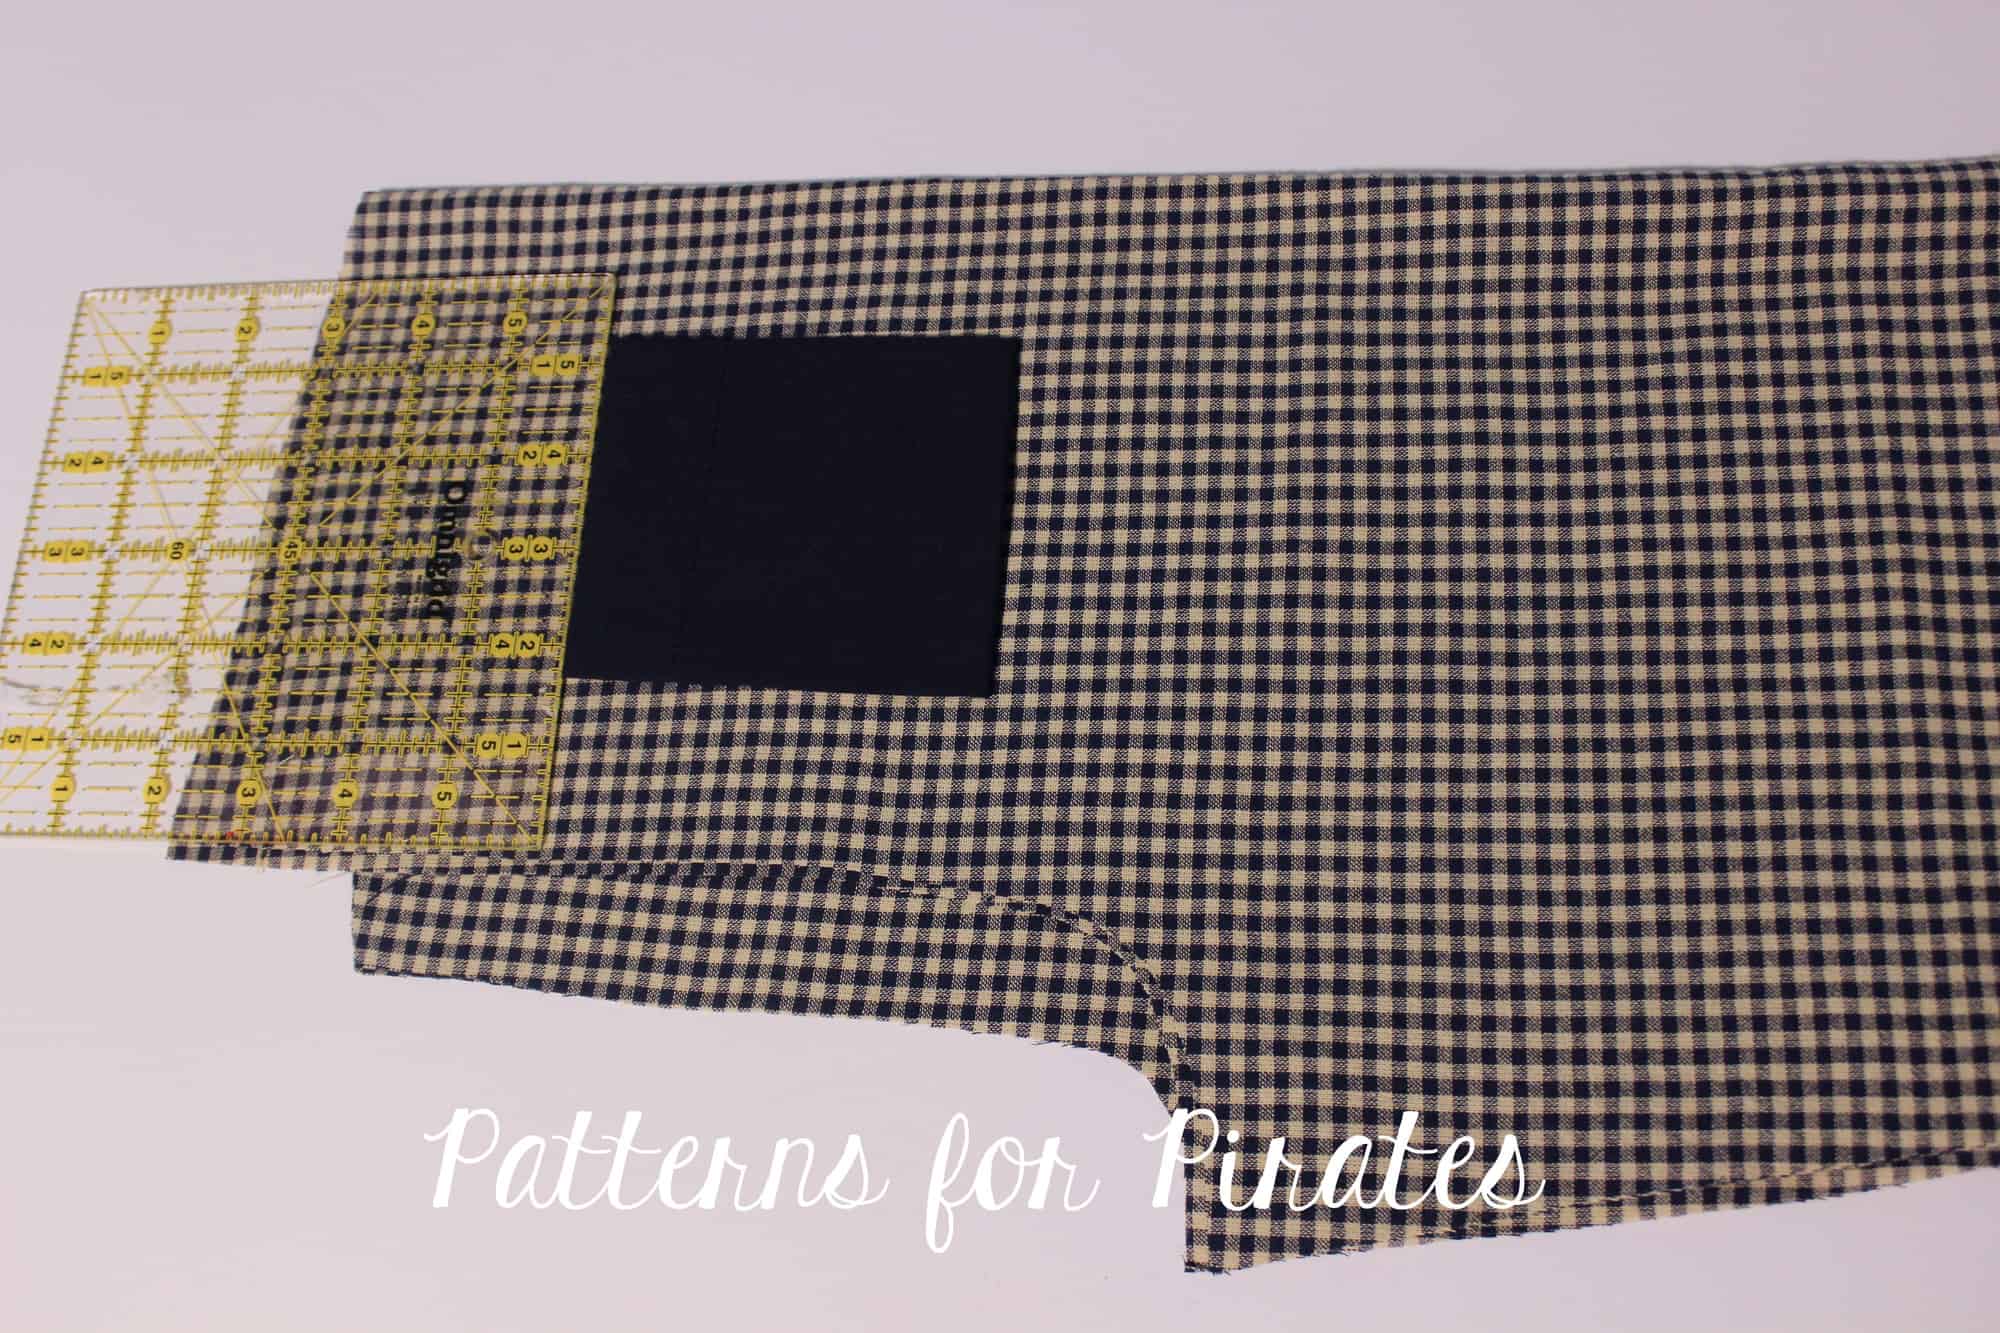
Take your pants pattern piece and with the right side out, match the inseam. Place it on the table with the back facing up. The back part of the pants is the one with the higher rise.

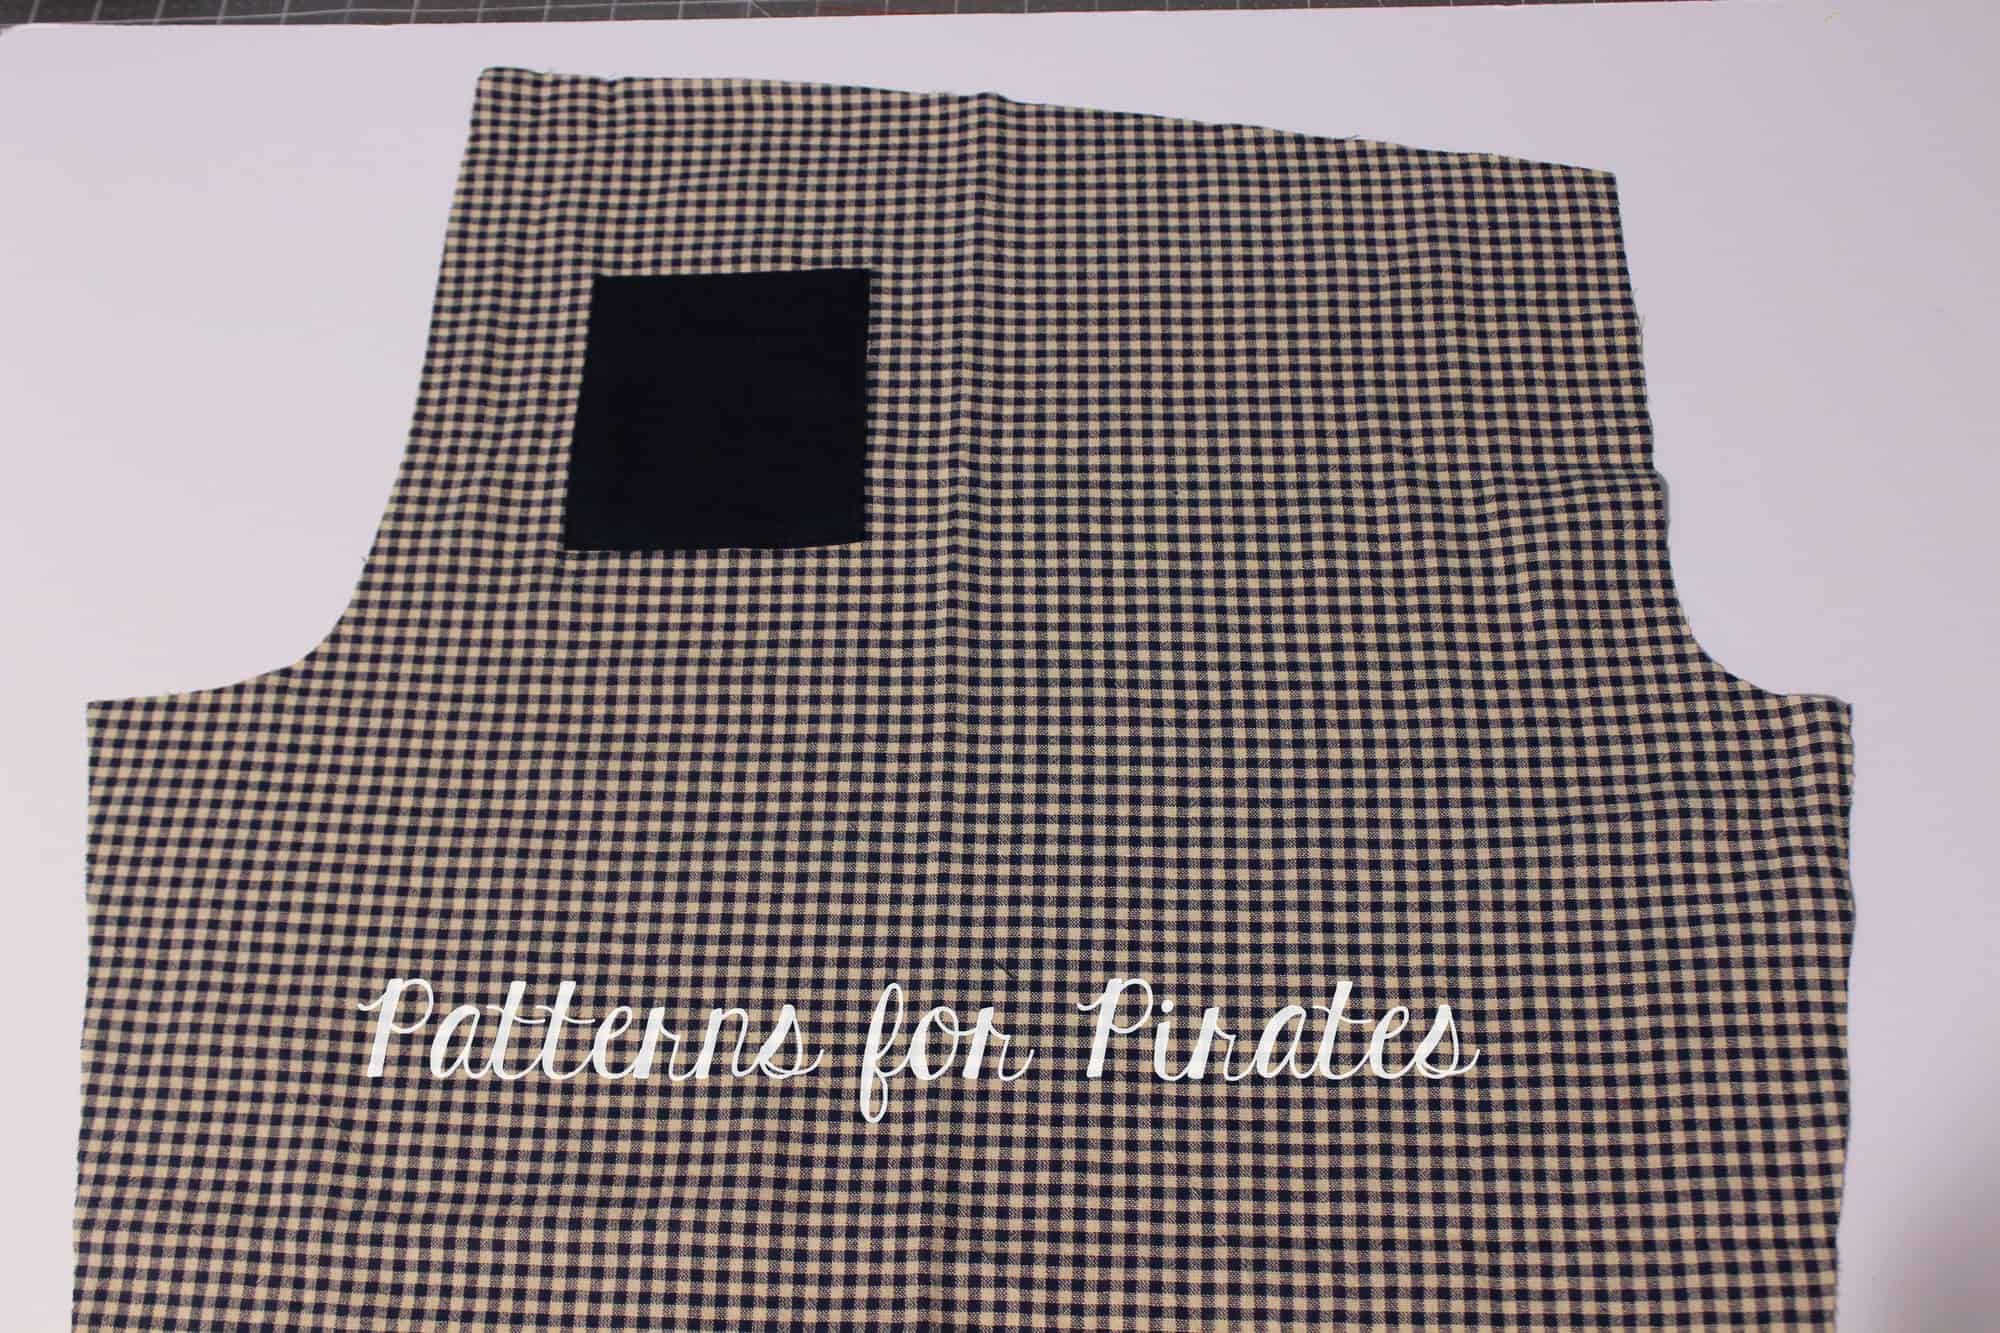
Place the pocket approximately 3″ down from the rise. Note that this placement will vary from size to size so I encourage you to baste in place insead of sewing in place if you are not sure if you’ll like where the pocket sits.

Edge sew the pocket to the pants (or baste) making sure you do not sew the top but only the bottom and the sides of the pocket.

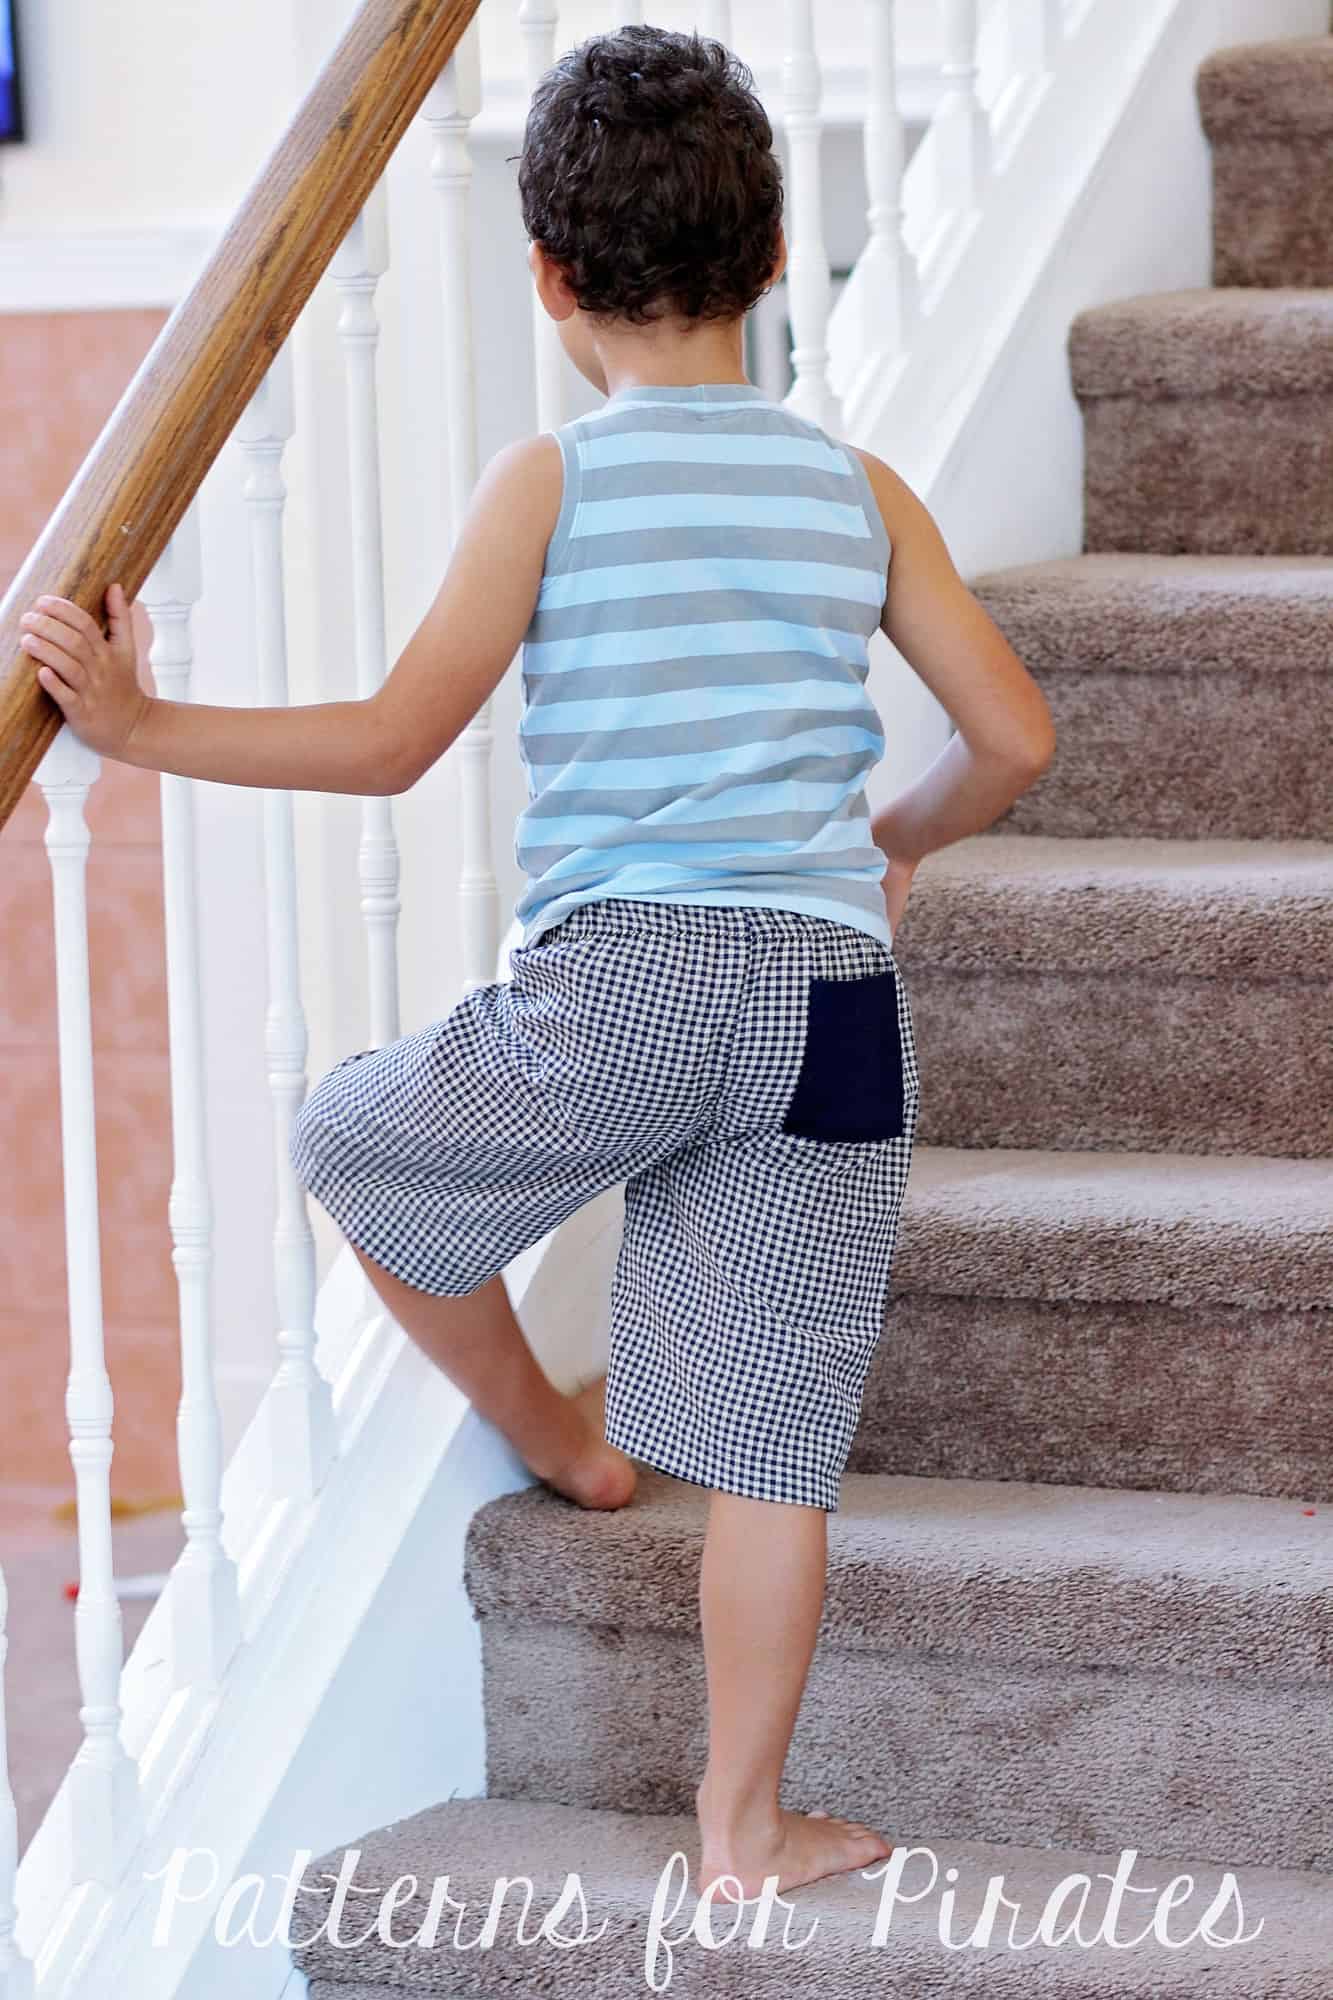
Continue sewing the PJ pants as per the pattern tutorial and enjoy you new pair of back pocket Walk the Plank pants. 🙂

NOTE: If you basted the pocket, try the pants on! If you like where the pocket sits, stitch it in place. IF you don’t, you can easily remove the pasting stitches and relocate the pocket before you sew it in place.

. . . . .

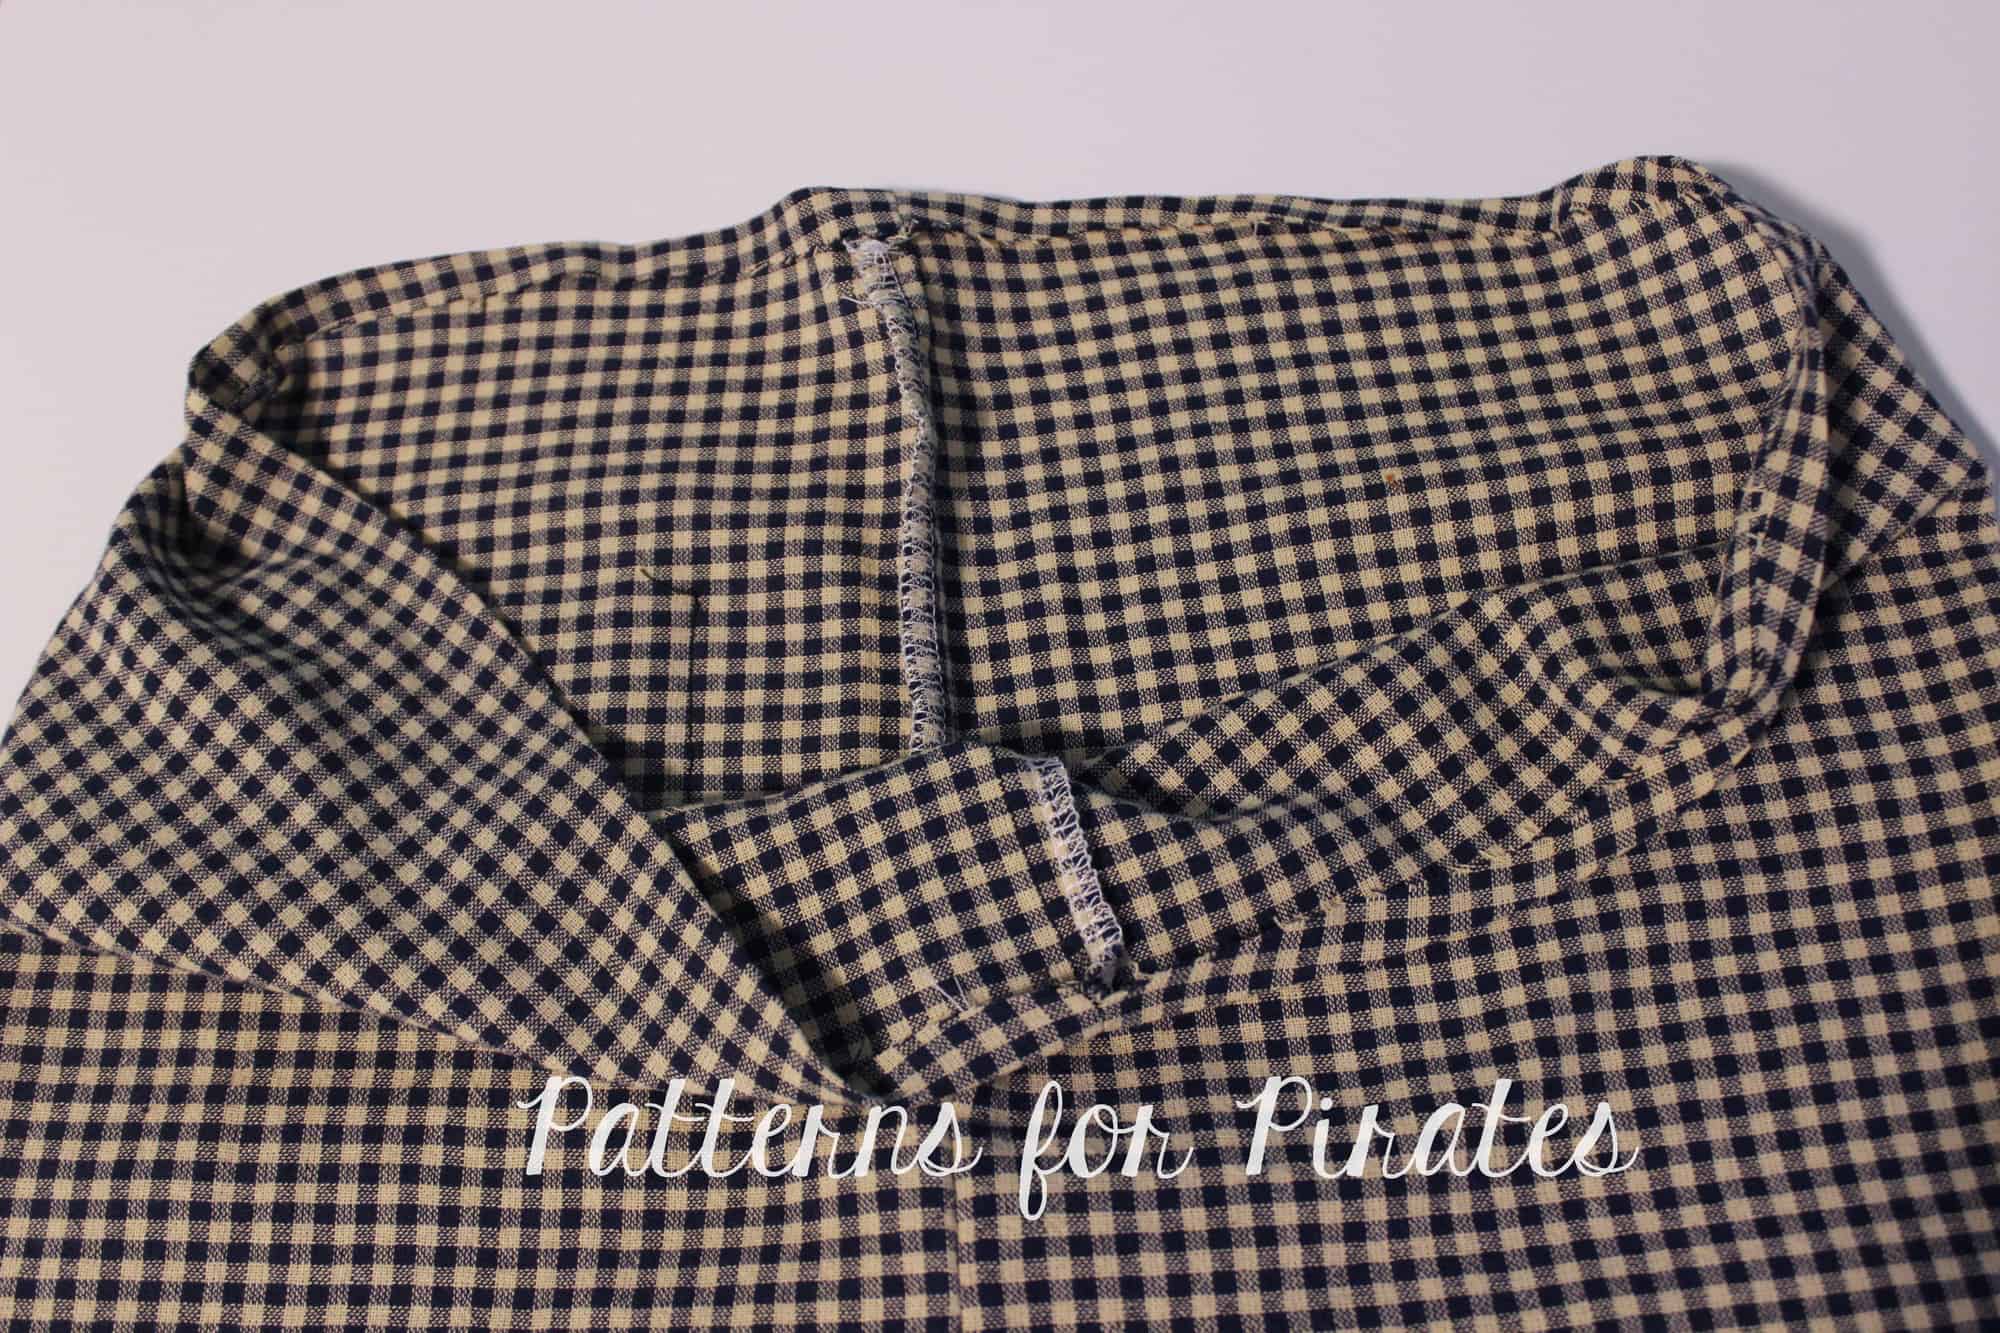
Enclosed elastic waistband

Next up I would like to show you how to enclose the elastic in the waist so you do not have any visible serged edges. Sew your PJ pants as indicated in the tutorial. Press the top of the pants 1/4″ down in order to create a memory hem.

NOTE: this method will yield a rise that will be 1/4″ lower than the original pattern.

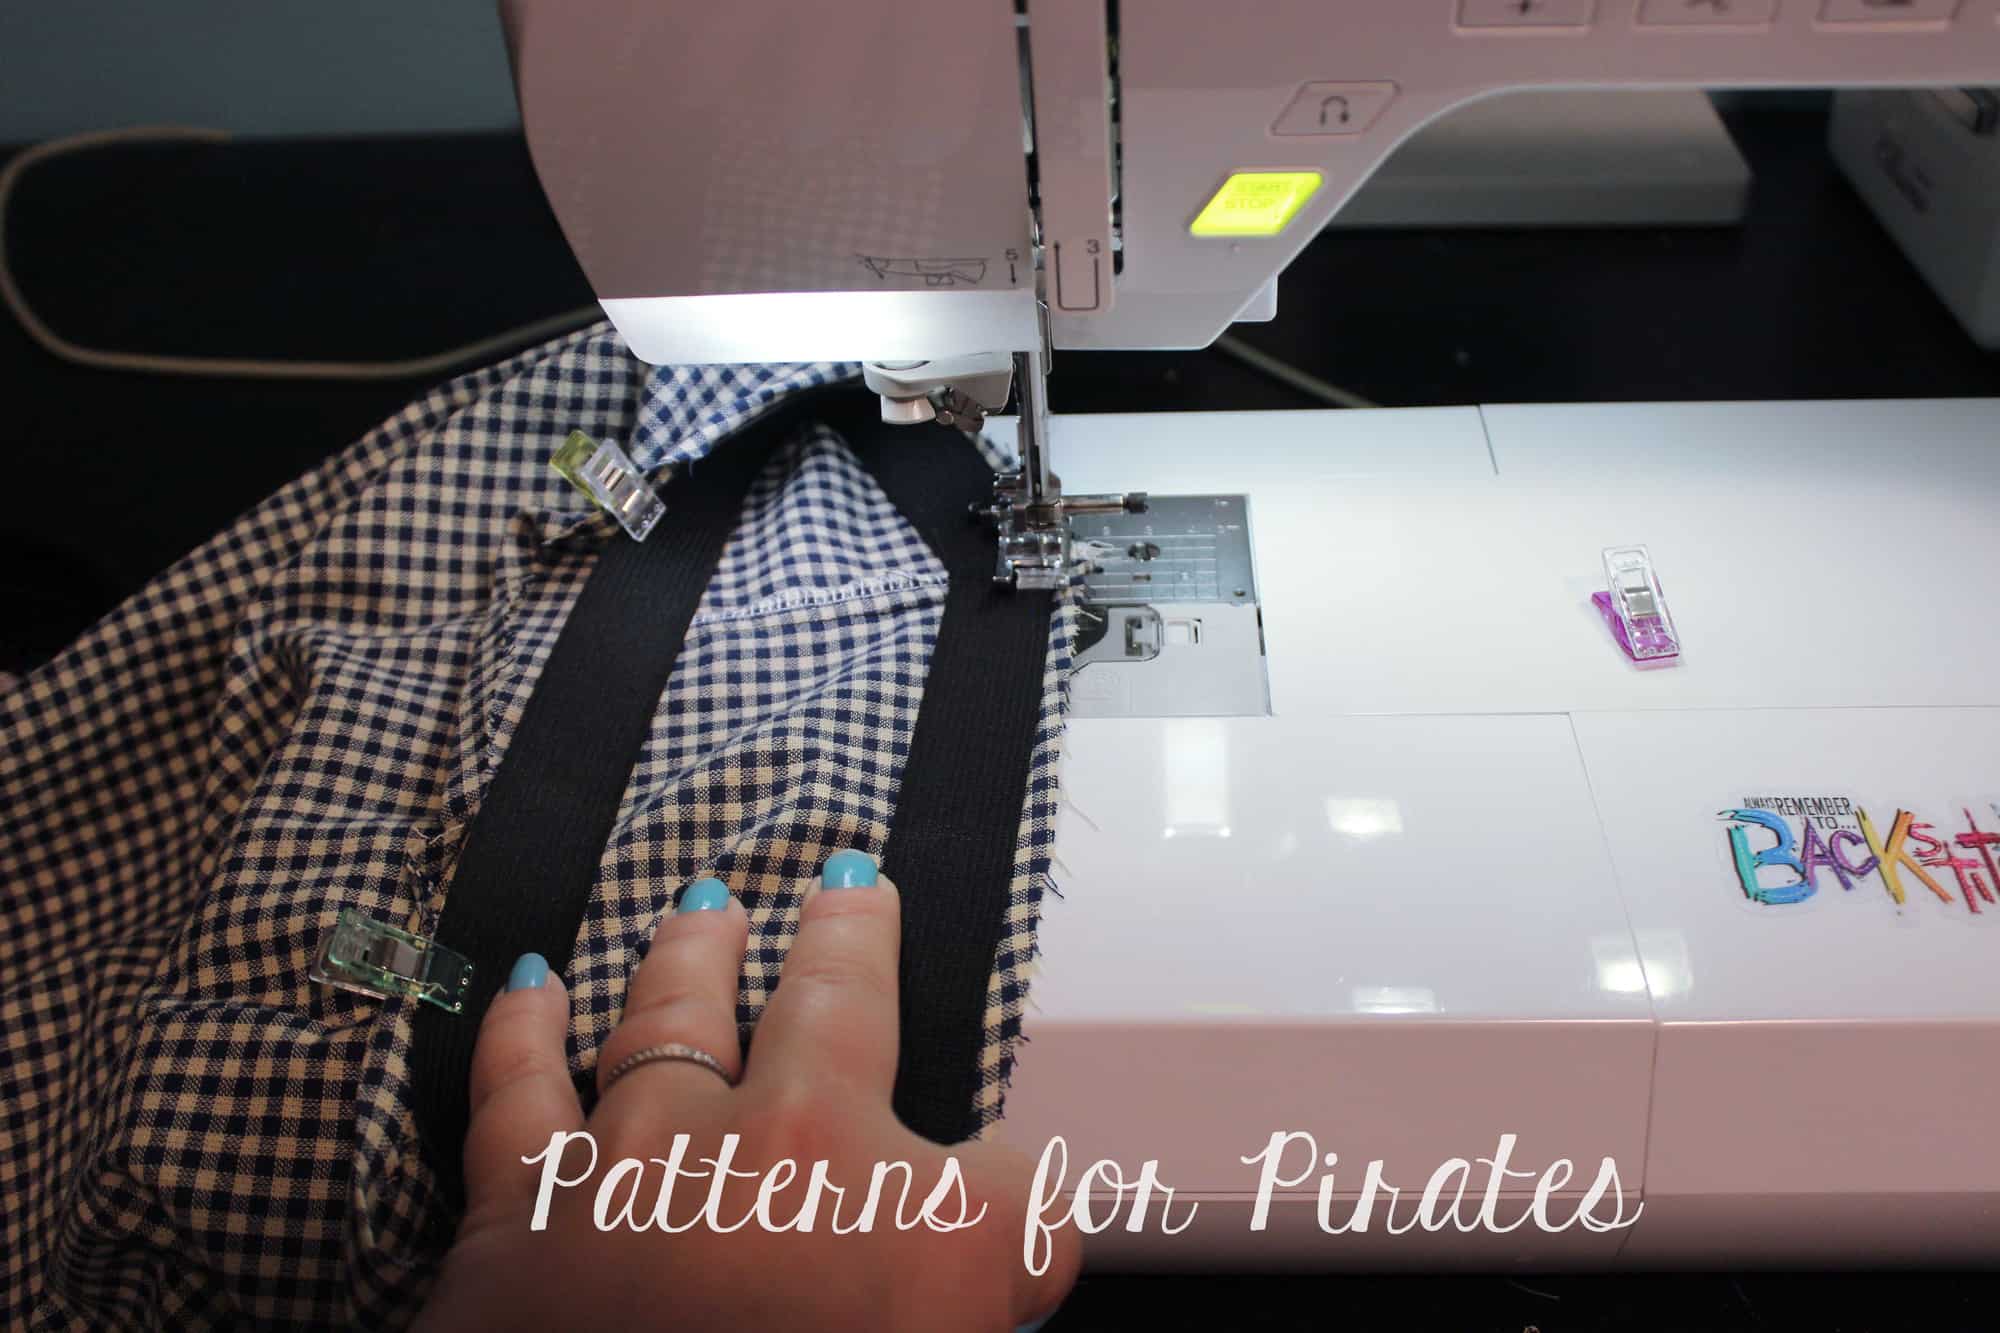
Sew the elastic in a loop (as per the pattern) and mark the quarters with pins or clips. Find the quarters of the waist opening and match the elastic quarter points to them, placing the top of the elastic 1/4″ of an inch down from the top of the pants. Use the memory crease mark as a guide.

Sew the elastic with a a zig zag stitch.

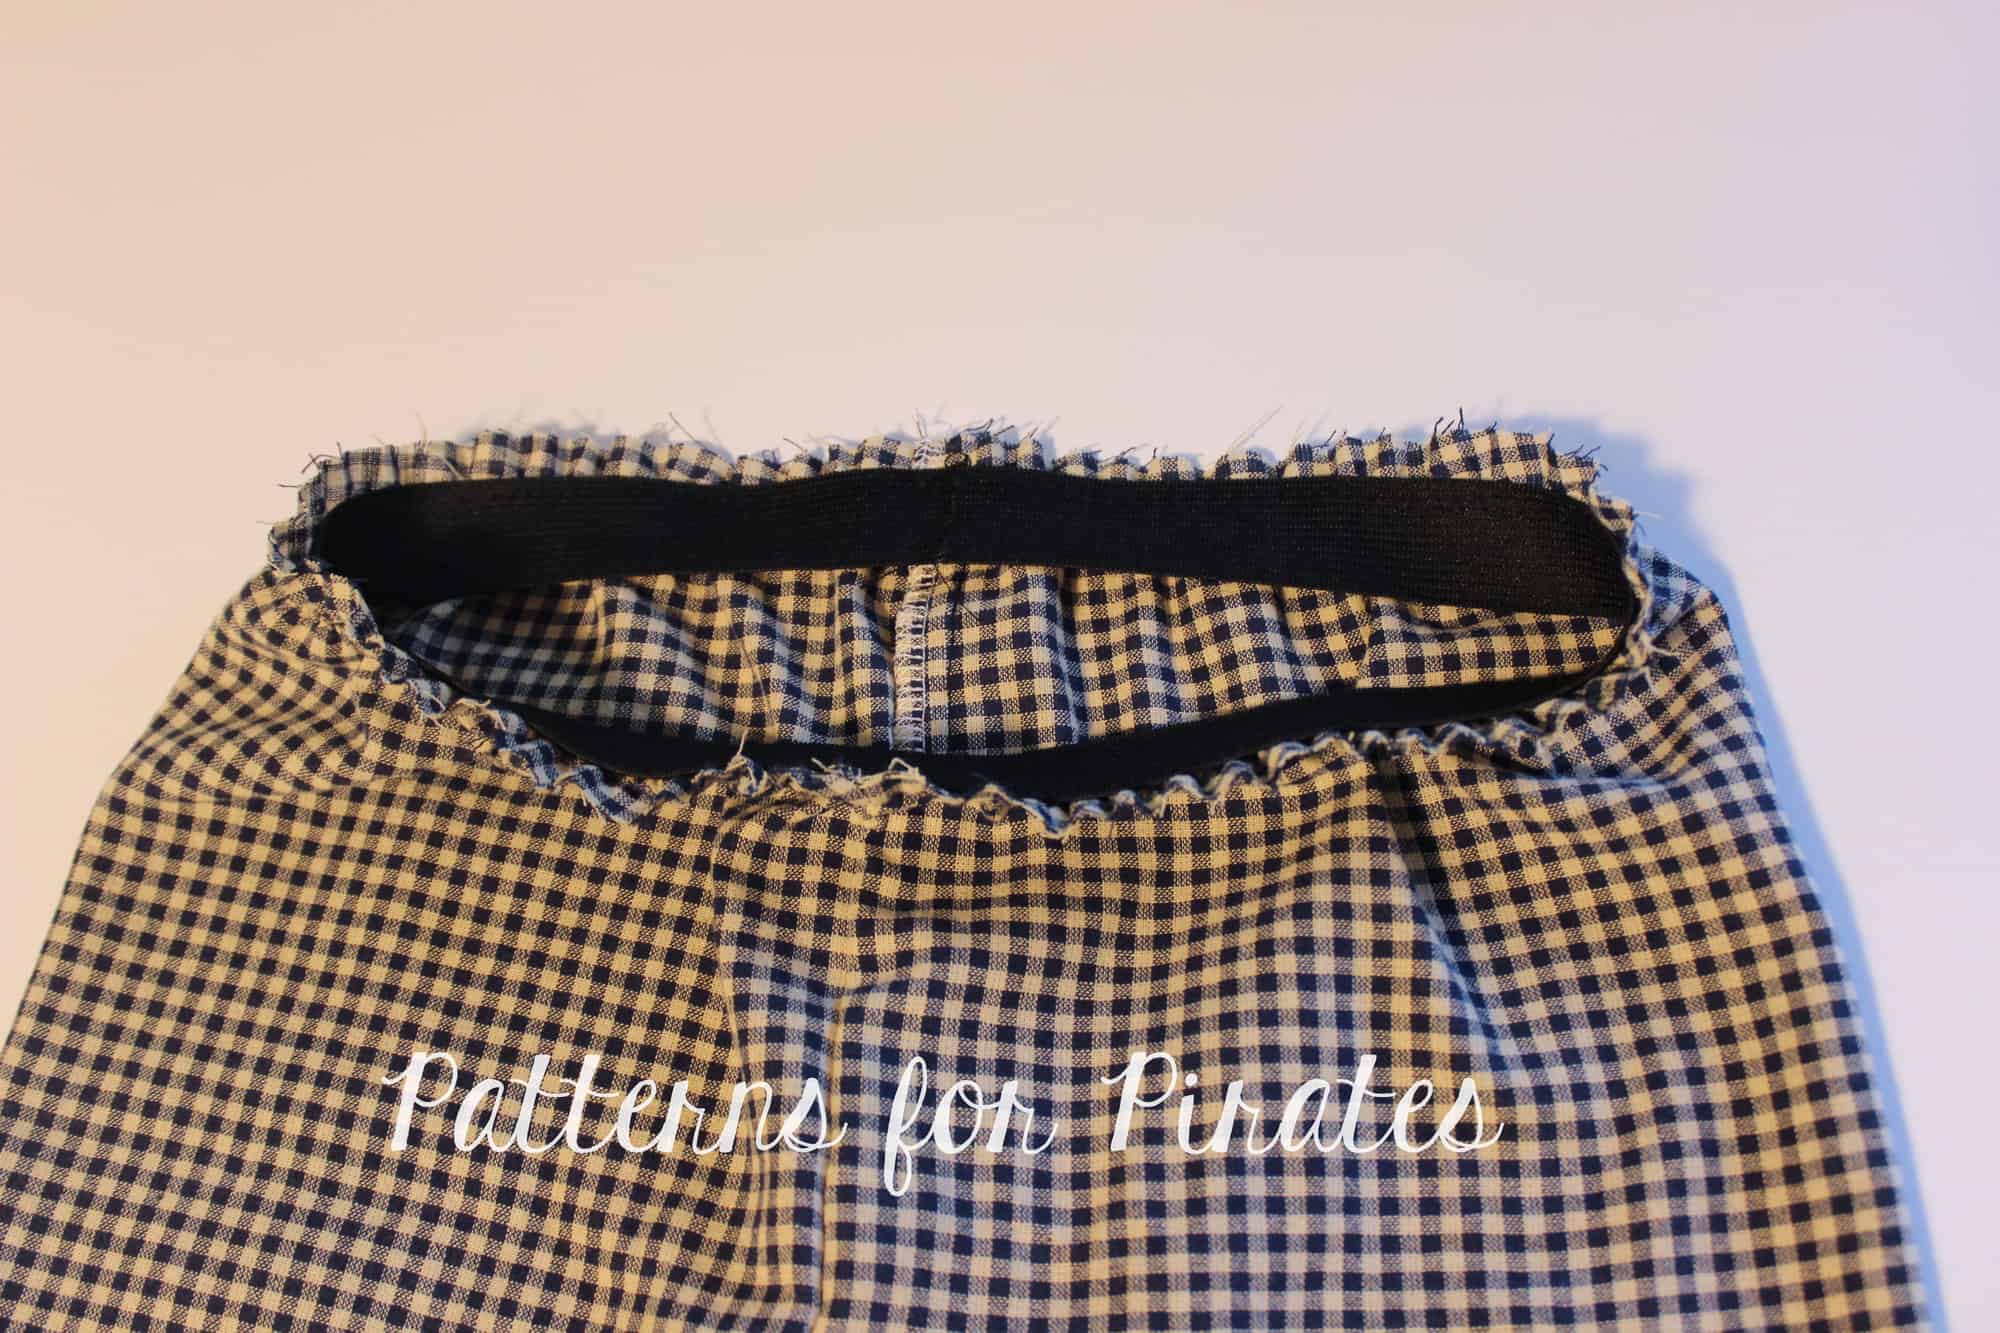
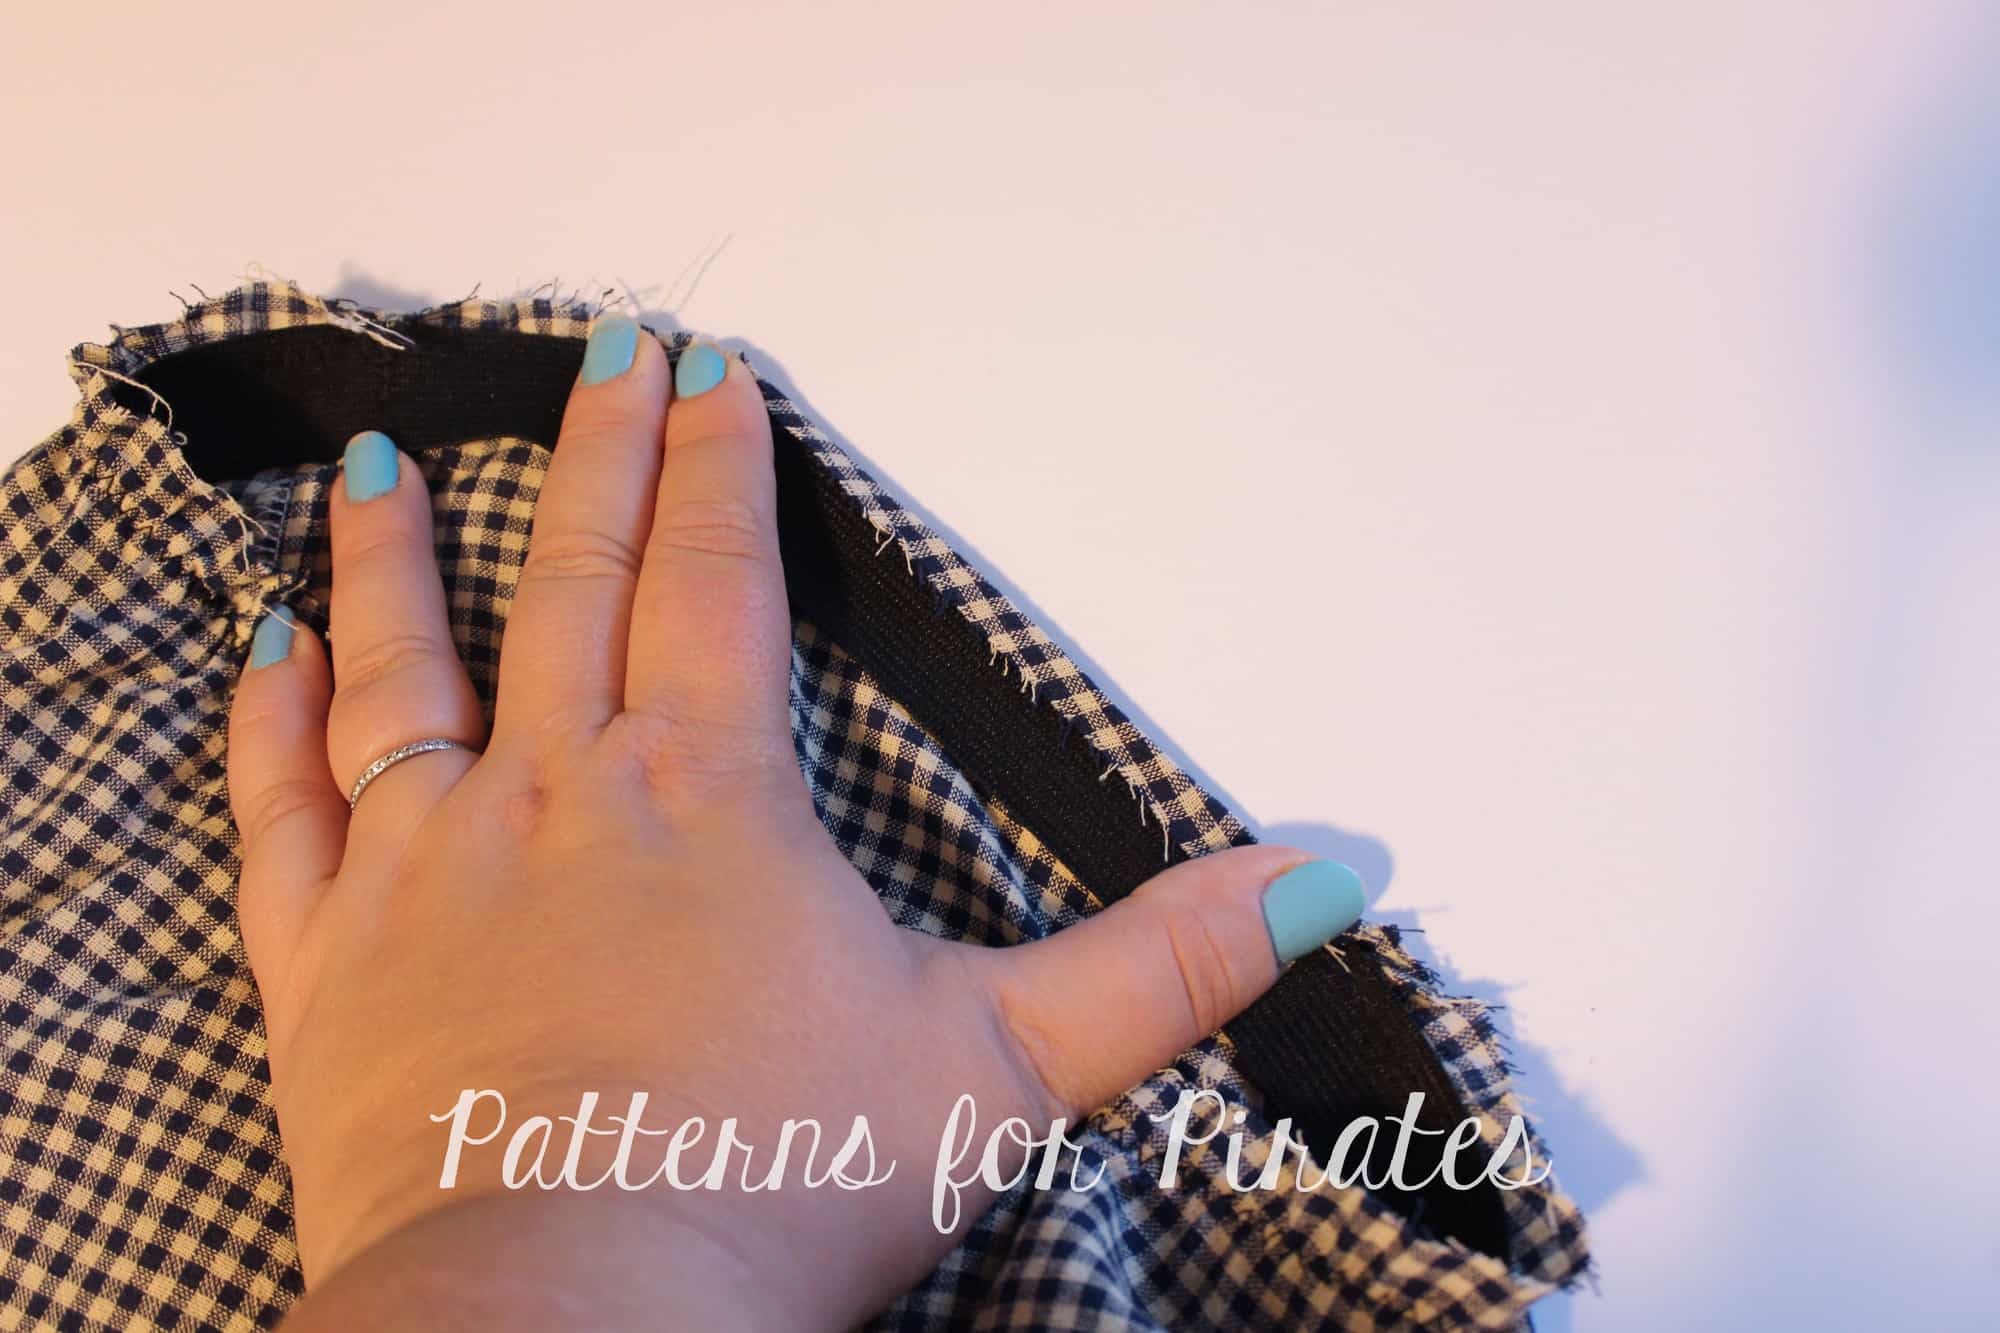
Fold the top top of pants down. This may be a tricky process since you will have to stretch the elastic as you go. Take it slowly and press!

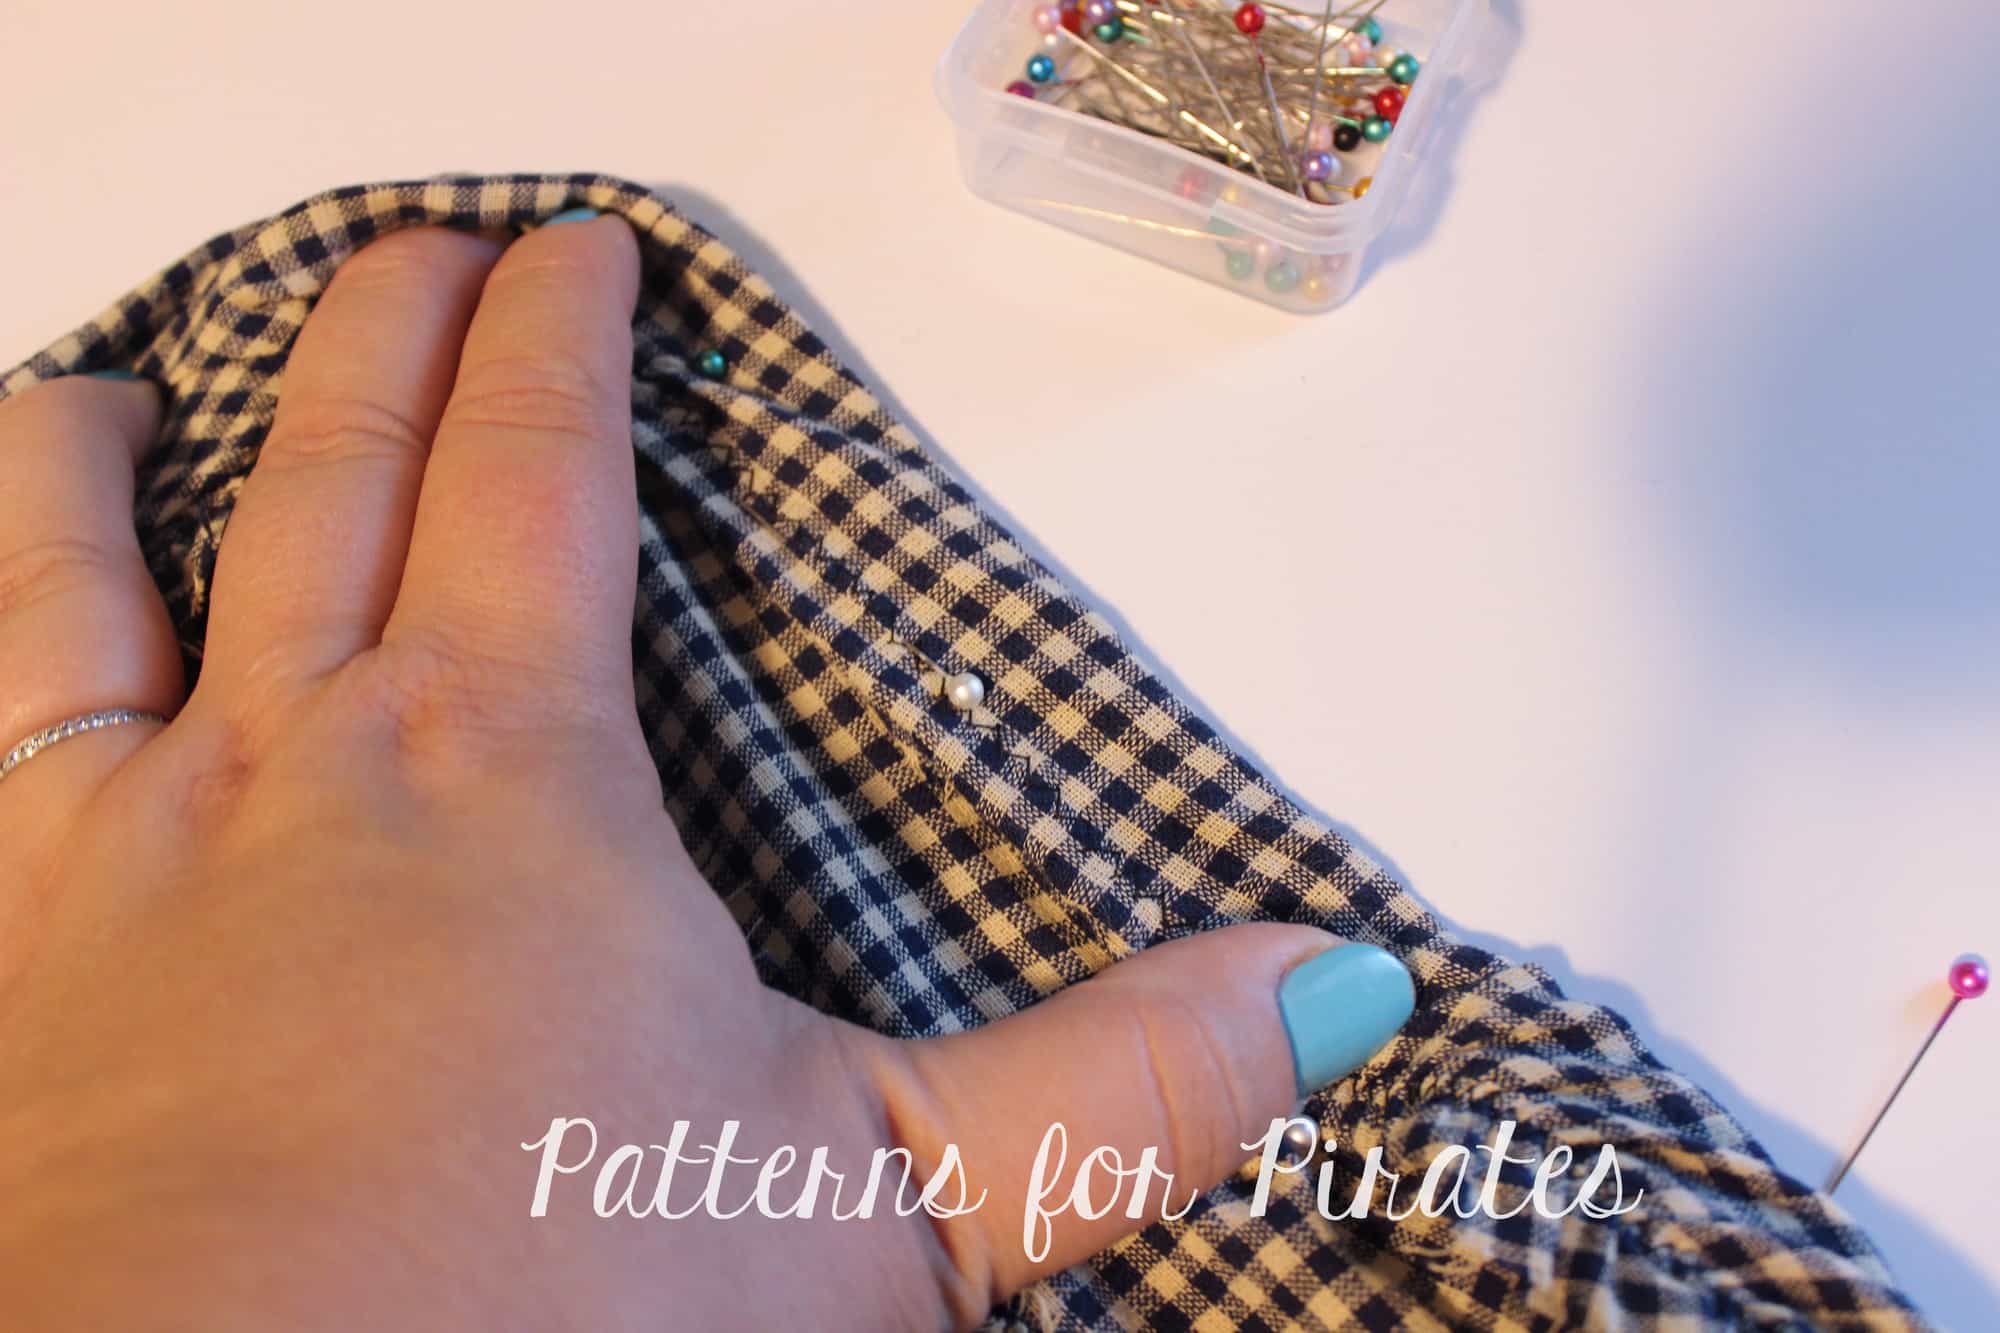
Fold the elastic down and pin in place. You will again need to stretch the elastic so you might find it easier to skip pinning and just use your hand to hold it in place when you sew.

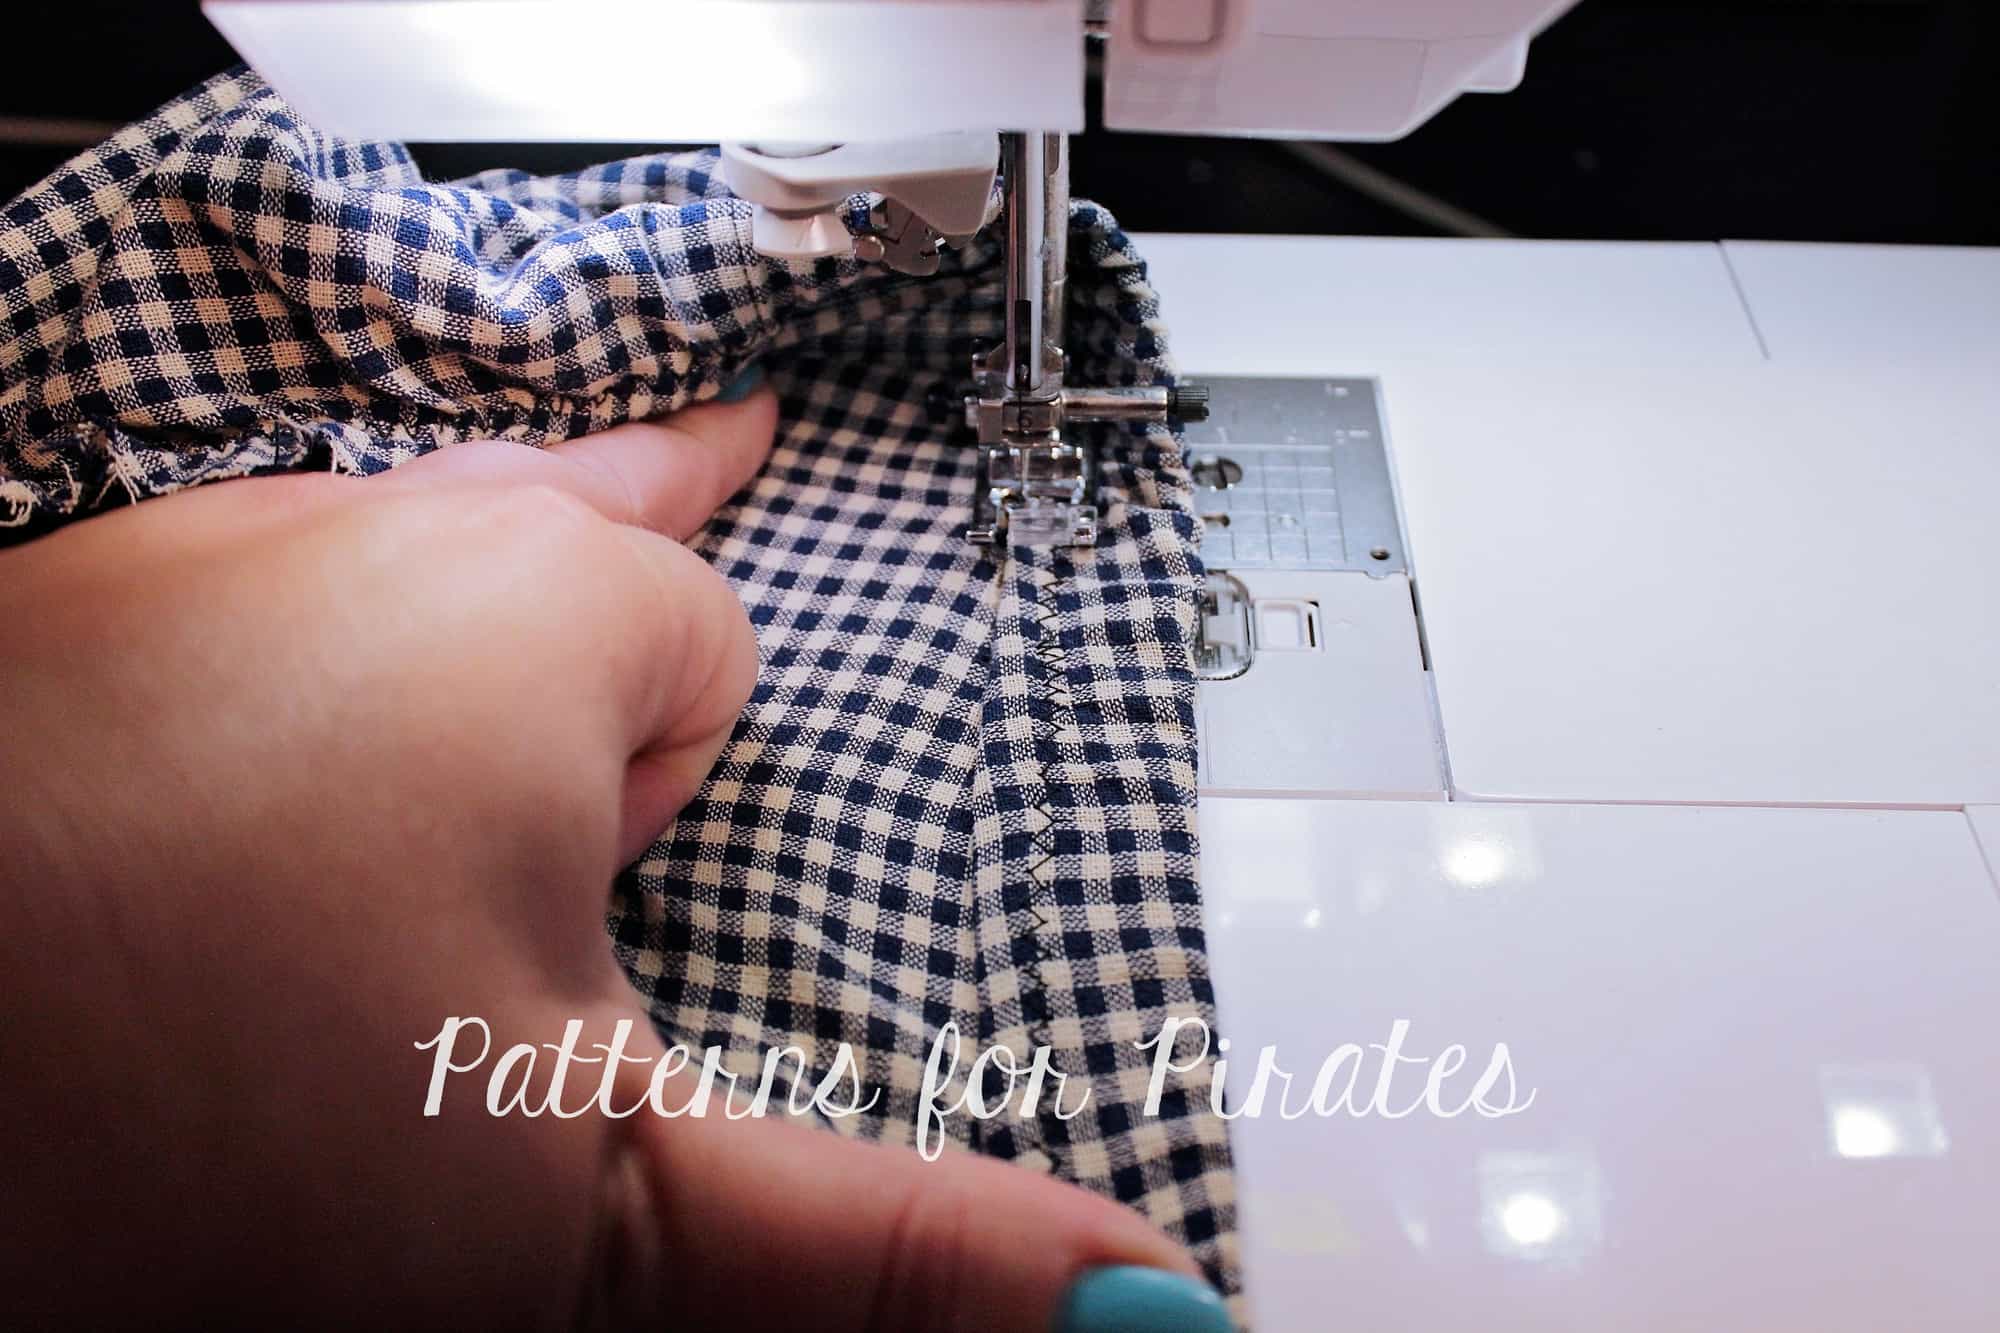
Sew as close to the edge as you can, stretching the elastic  to make sure the fabric lays flat when you stitch it.

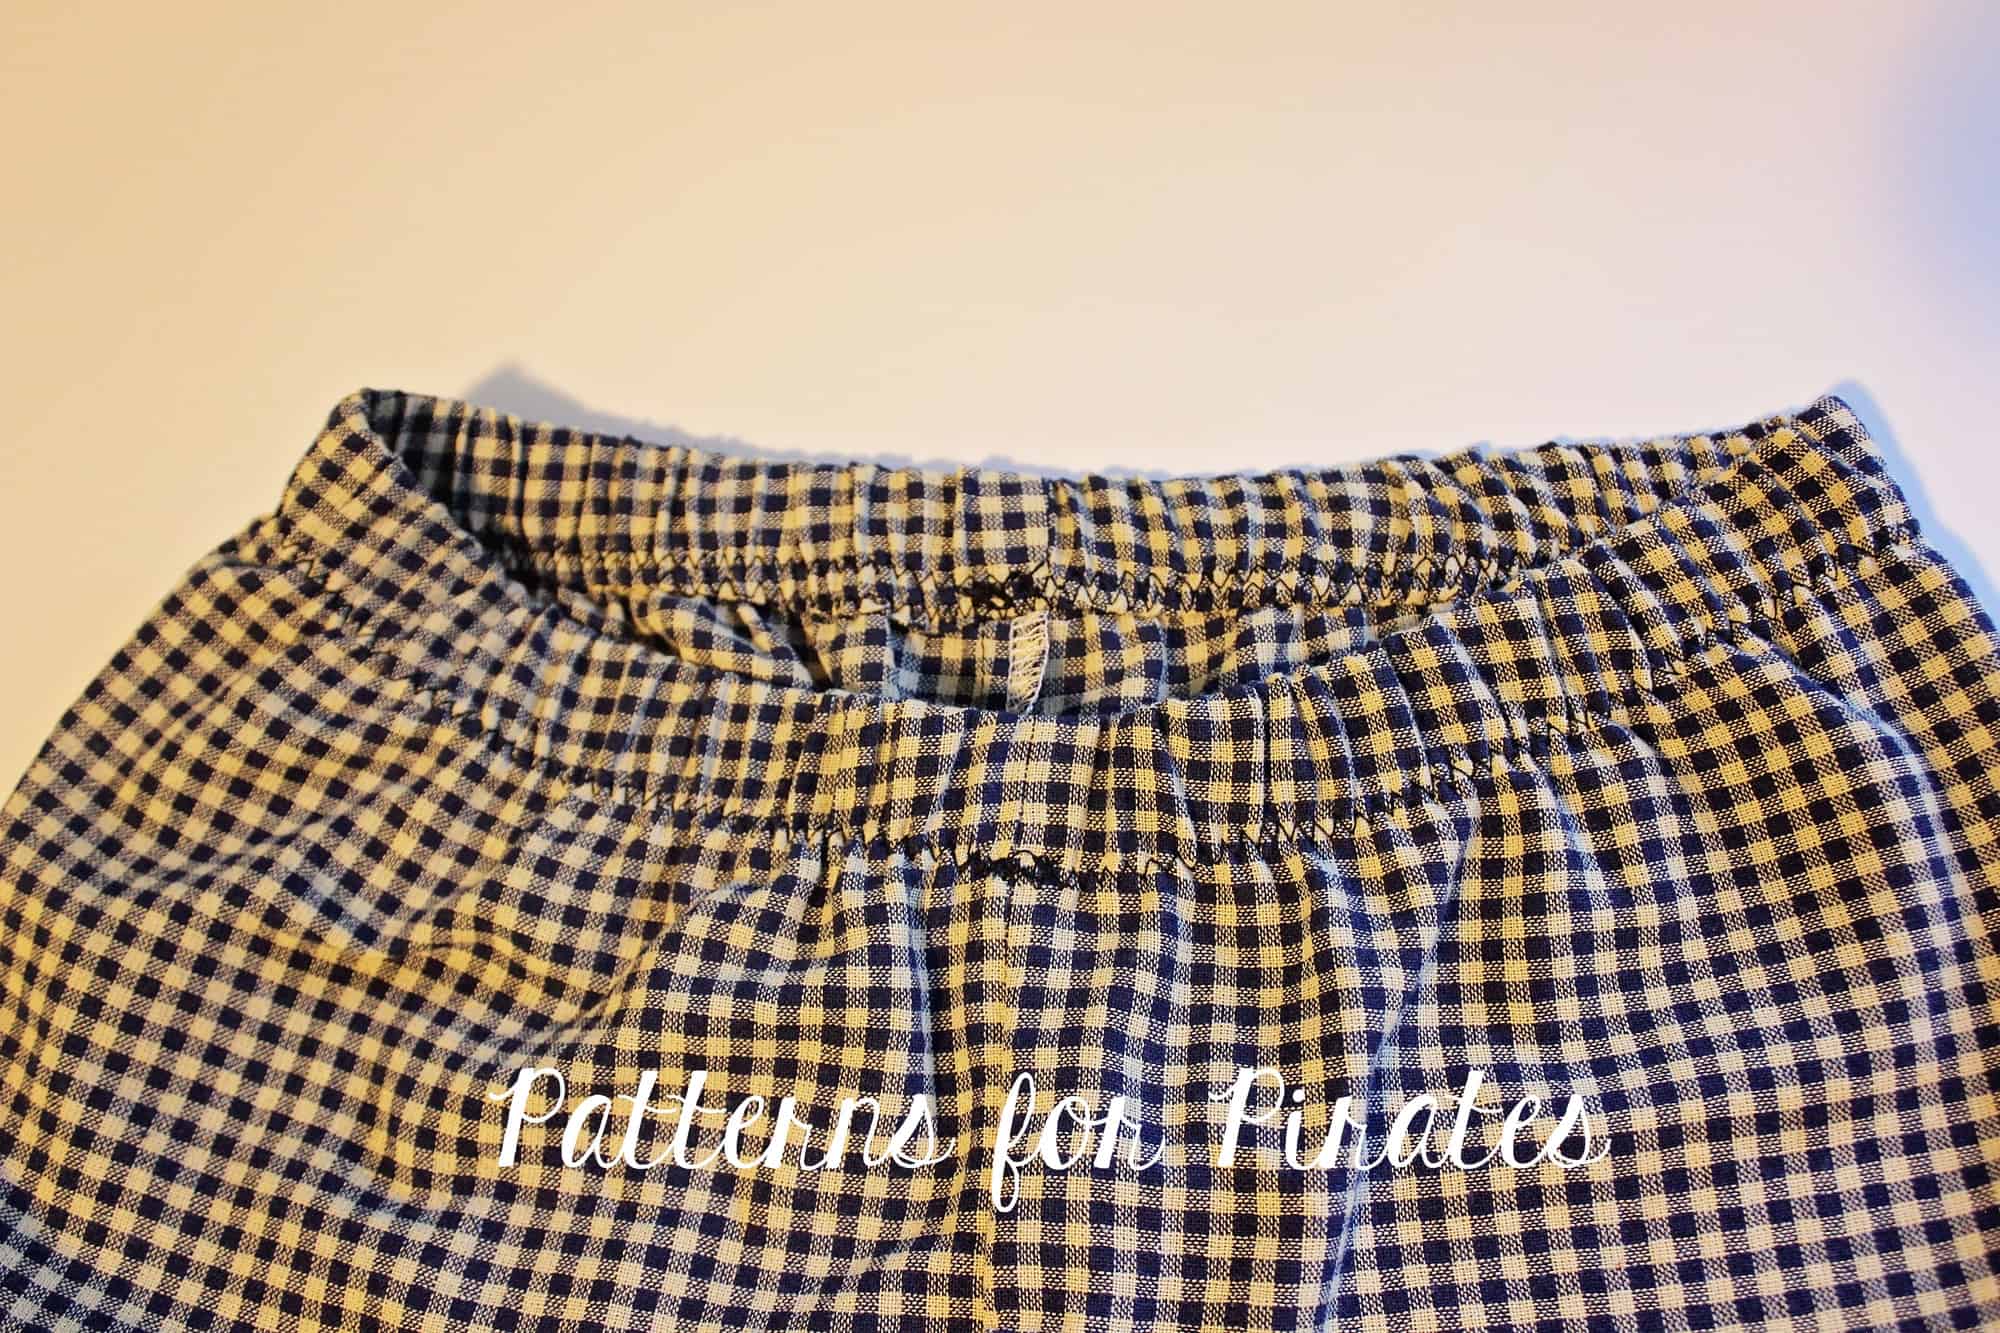
There you have it…. an enclosed elastic for your new PJ pants!

Hope you found these easy hacks helpful. Don’t forget to show your creations in the P4P group! We love to see what you make for you and your loved one.

Filed Under: Free Pattern, Pattern Hacks, Pattern Release, Uncategorized 12 Comments

P4P’s Next Top Tester

September 16, 2017

“How do I become a P4P tester?”  It’s a question we’ve heard a million times.  We even wrote a blog post all about how to get noticed by the Pirate Crew.

But friends.  Listen up.  Because next week, we are bringing you a special opportunity that just might fast track you into our tester group.  Allow me to announce:

That’s right!  We are doing an open call for a FULL BLOWN pattern test for P4P, and you’re invited!  Be sure to check the Patterns for Pirates Facebook Group on Monday, because we will posting a tester call.  And we are taking EVERYONE.  It’s going to be a wild ride and I couldn’t be more excited!

Top Tester will be putting you through the ringer.  You will be taking on a pattern test, and you’ll be doing all of the steps that we do for any of our normal tests.  Which means we will have size assignments, fit pictures and feedback, final photos, tutorial feedback, and promoting of the pattern when it gets released.

#P4PNTT will result in two official winners: a Top Tester and the Runner Up.  But first, let’s talk schedule.

Tester Call!
Monday, September 18, 2017

I will post a “Tester Call” for the challenge in the Patterns for Pirates Facebook Group. You’ll need to sign up with your size and information in the form we will be sharing with you.  There area actually two unisex patterns, and we are looking for men, women, boy, and girl models.  Everyone is welcome to join!

Measure, measure, measure!! Kids grow fast and weight/size fluctuates weekly.  Make sure you have the most up-to-date measurements so you can make the appropriate sized garment.  Knowing your actual measurements and not what you’d pick up in a store is SO IMPORTANT for testing.  We want to put out a pattern that is drafted for the proper sizes.  (Need help measuring?  We’ve got a post HERE all about it!)

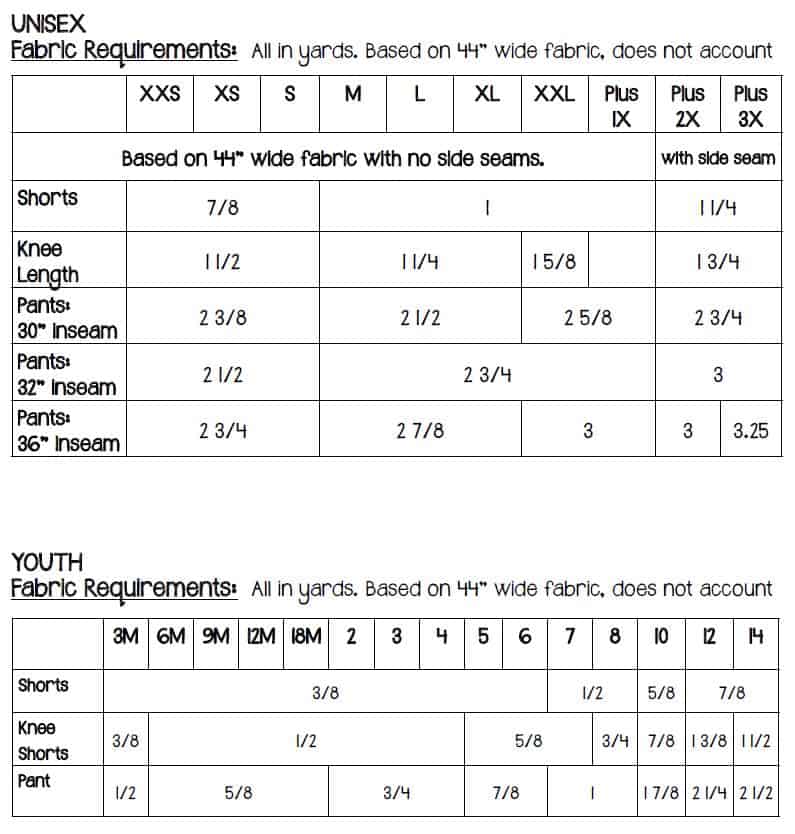
We aren’t telling what the pattern is until you’re in the group (since we’d like to keep it a surprise) but we didn’t want to leave you scrambling for fabric this week.  Here are the fabric requirements, based upon 44″ wide WOVEN fabric.

Print, Sew & Fit Feedback + Tutorial Edits/Feedback
Tuesday, September 19 – Friday, September 22, 2017
All participants will be added to a private Top Tester group on Facebook. (Remember to check your emails on Tuesday for the invites!!)

Print, assemble and cut your pattern.  Select your fabric.  Sew up your garment.

This portion of the process, we ask that you make your assigned version first, and you make sure to only print the pattern right before you’re about to sew — since we can make several changes to the patterns during the process and we want people sewing the most recent update.

Show us “fit” pictures with feedback.  This is a huge step in getting our patterns just right.  These do not need to be professional pictures.  They can be cell-phone shots or selfies, but we need to see how things are fitting in the size you signed up for!  It helps us identify any fit issues throughout the testing process.

We will also be posting the tutorial for the pattern(s) for you to edit.  The PDF will be located in the files within the Top Tester group and will have spelling mistakes, typos and maybe some construction errors.  Put on your “editing eyes” and catch the problem areas and provide us with revisions.

Final photos
Sunday, September 24, 2017

Take your photos and load them into the Top Tester group.  We prefer natural, outdoor photographs but understand completely that the weather doesn’t always cooperate.  You will need to provide at least 5 pictures showing fit from all angles. Think front, back, side shots, close up on details, etc.  You may style them as you like, but remember the focus of the picture should be the garment and it should make sense for the item you’ve sewn.  **You do not need to have a fancy DSLR camera and photo editing software to produce clear, beautiful tester photos.**


All of these tasks must be completed by their respective deadlines in order to be in the running for Patterns for Pirates’ Top Tester title.  Most of our testing periods last 4-7 days.

Winners will be announced on Monday, September 25, 2017!  Here are the prize packages:

Top Tester- 1st Place
Guaranteed testing spot for next 3 patterns
3 P4P pattern pack of choice
Pattern of Choice from Cole’s Creations and Made for Mermaids
LFRB Fabric Bundle from Sly Fox Fabrics

Runner-up
Guaranteed testing spot for next pattern
3 P4P pattern pack of choice
LFRB Fabric Bundle from Surge Fabric Shop

*Note: while only 2 winners will be selected, depending on your performance and effort, you may be invited to join our testing group!!! Bring your A-Game, P4P Fans!

**Winners will be chosen by the Patterns for Pirates Team**

Are you ready to party?!  Make sure to tune into the P4P Facebook Group on Monday, so you can join the tester call!!

Filed Under: Contest/Giveaway, Frequently Asked Questions, Uncategorized 11 Comments

Brunch Blouse – easy hacks

September 14, 2017

In true P4P fashion, we have a few easy, fun hacks for the Brunch Blouse. Grab the pattern here and get creating!

. . . . .

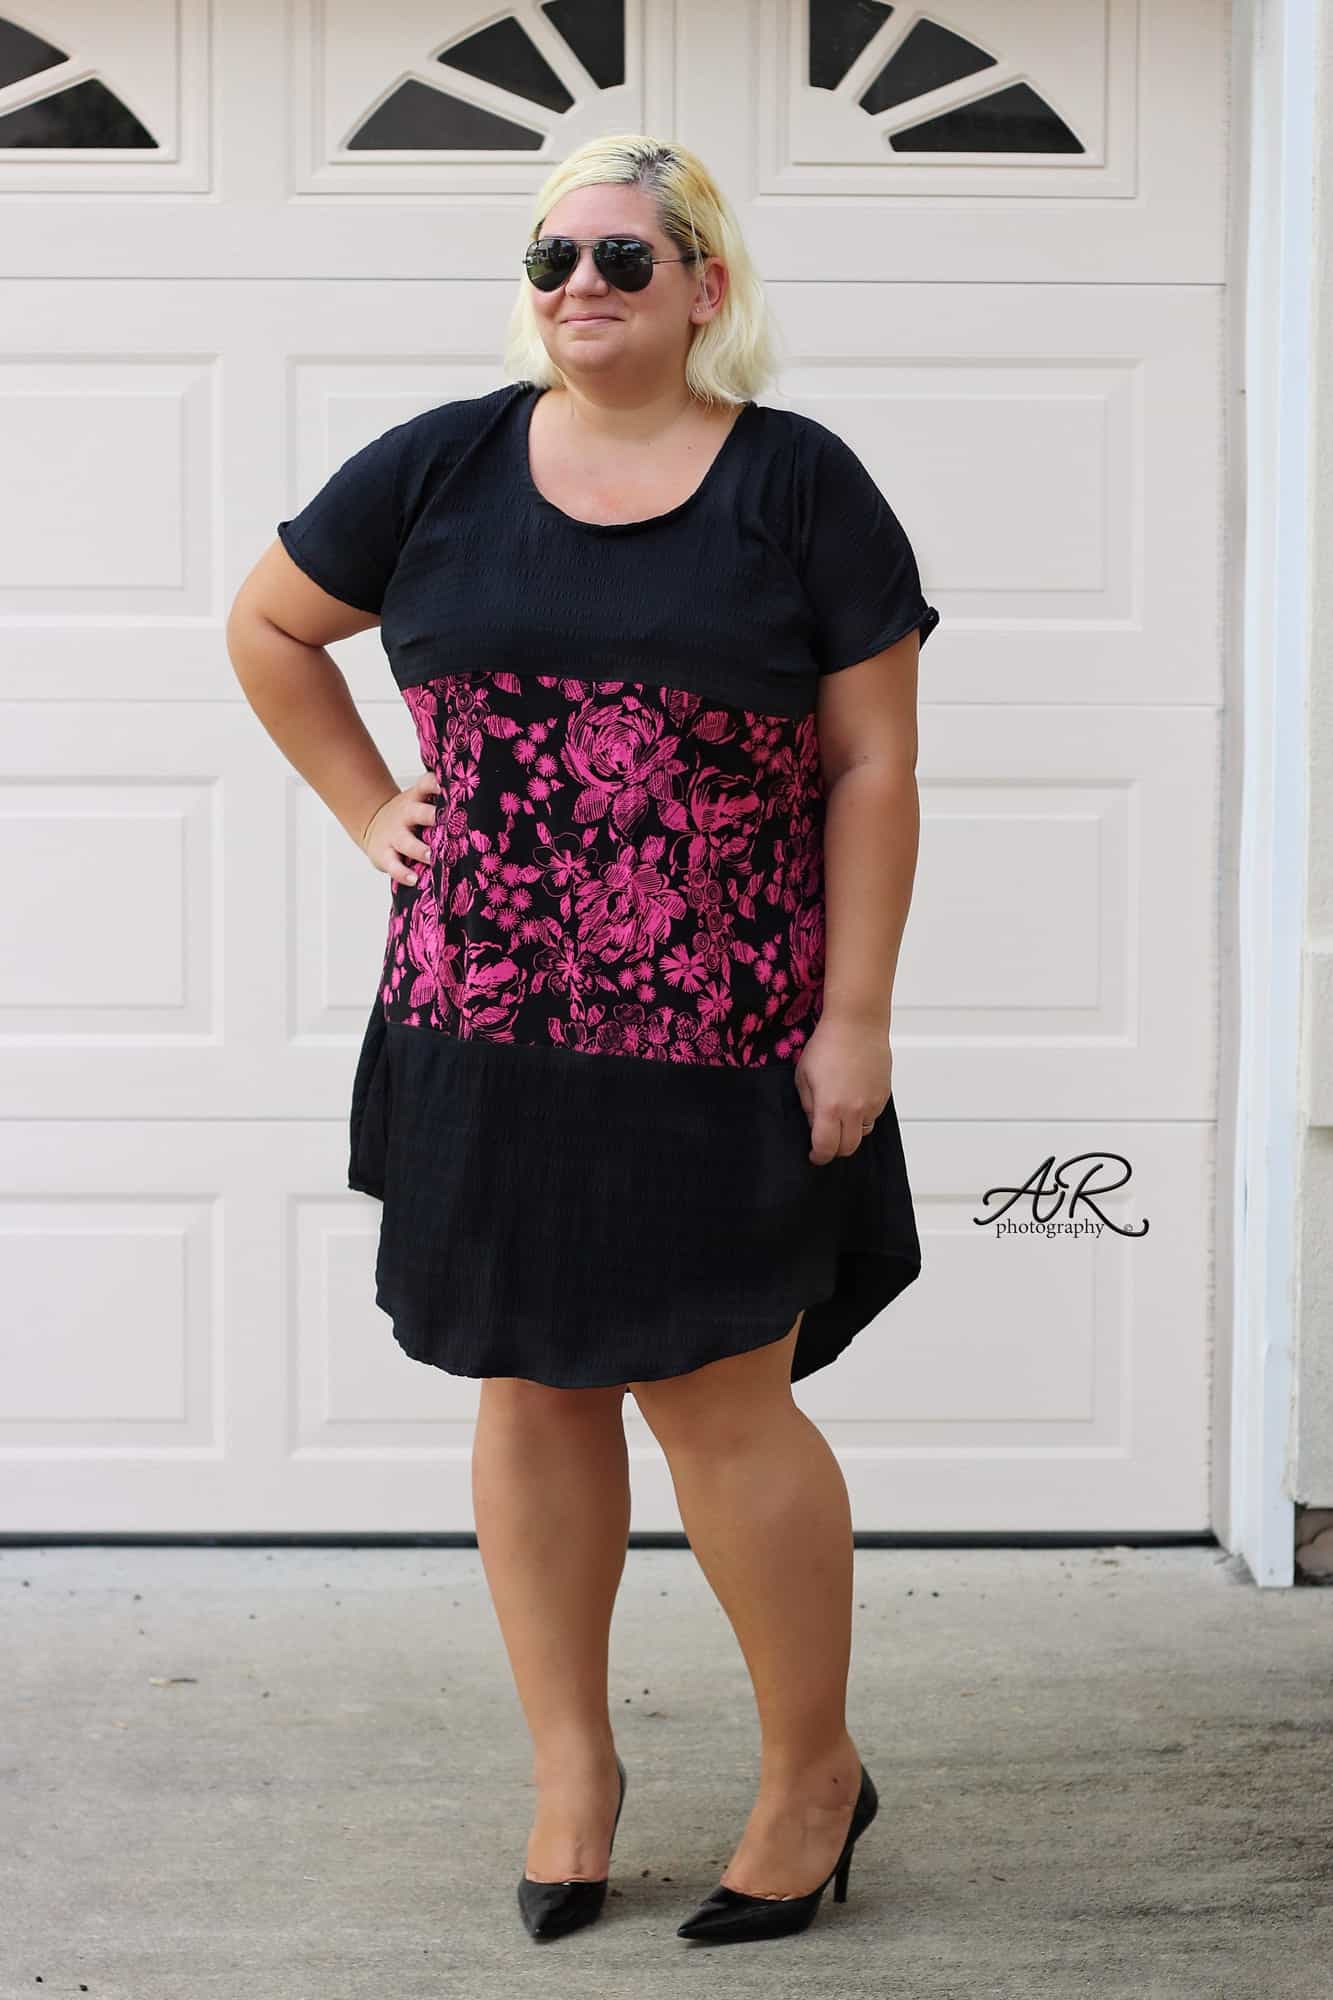
Color Block Dress

First off I will show you how to achieve a color block look with the dress option of the Brunch Blouse. You can use the same principles for the top option, you will just need to adjust some measurements. Start by printing the pattern in the size you need. Now grab a ruler and some scissors or a rotary cutter (for paper only 😉 ) because we’ll do some cutting.

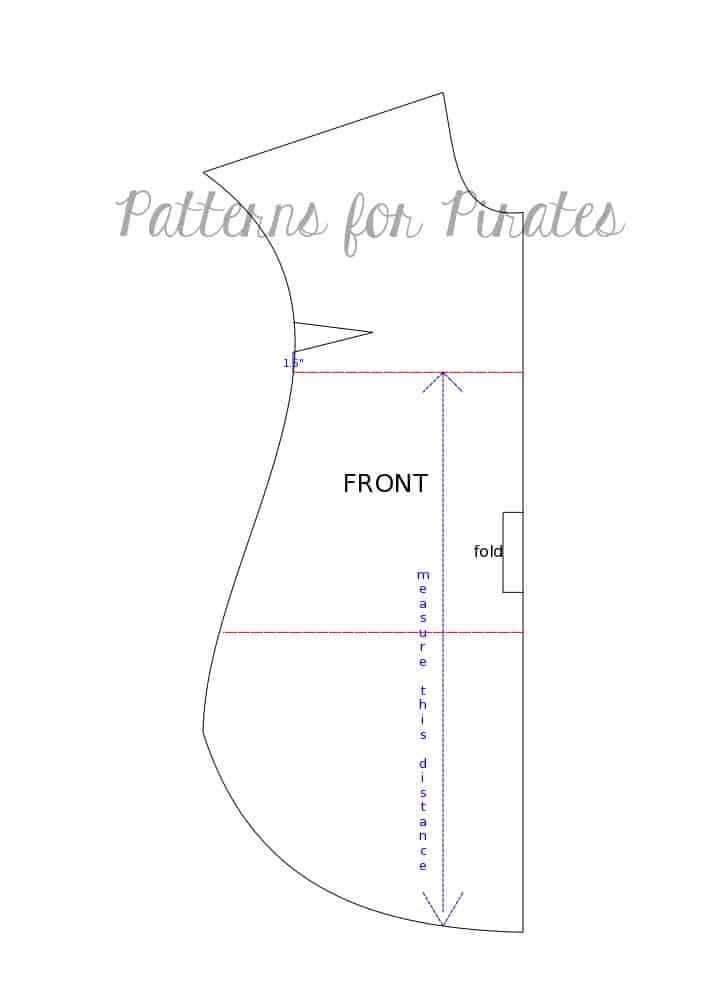
Take the front pattern piece and mark 1.5″ down from where the dart mark is. Now draw a horizontal line (perpendicular to the center fold). Measure the distance between this line and the bottom of the dress.

Divide the length in half and draw a horizontal line at the half way mark. You have now split the front in 3 separate pieces.

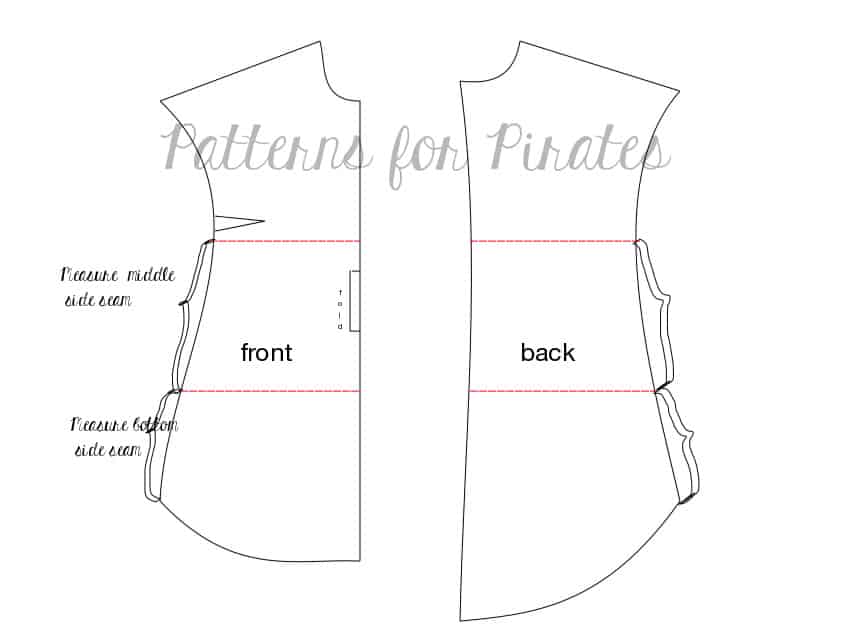
Measure the side seam from the bottom to the bottom colorblock line. Take your back piece and measure up on the side seam the same amount and mark it. Now draw a horizontal line on the back piece. We will be measuring the front middle part side seam now. Mark the point on the back piece from the bottom colorblock line to whatever the measurement was for the middle front side piece. Draw a horizontal line front that marking point. You have now color blocked your back pattern pieces too, making sure that they will line up beautifully with the front color block pieces. Great job!

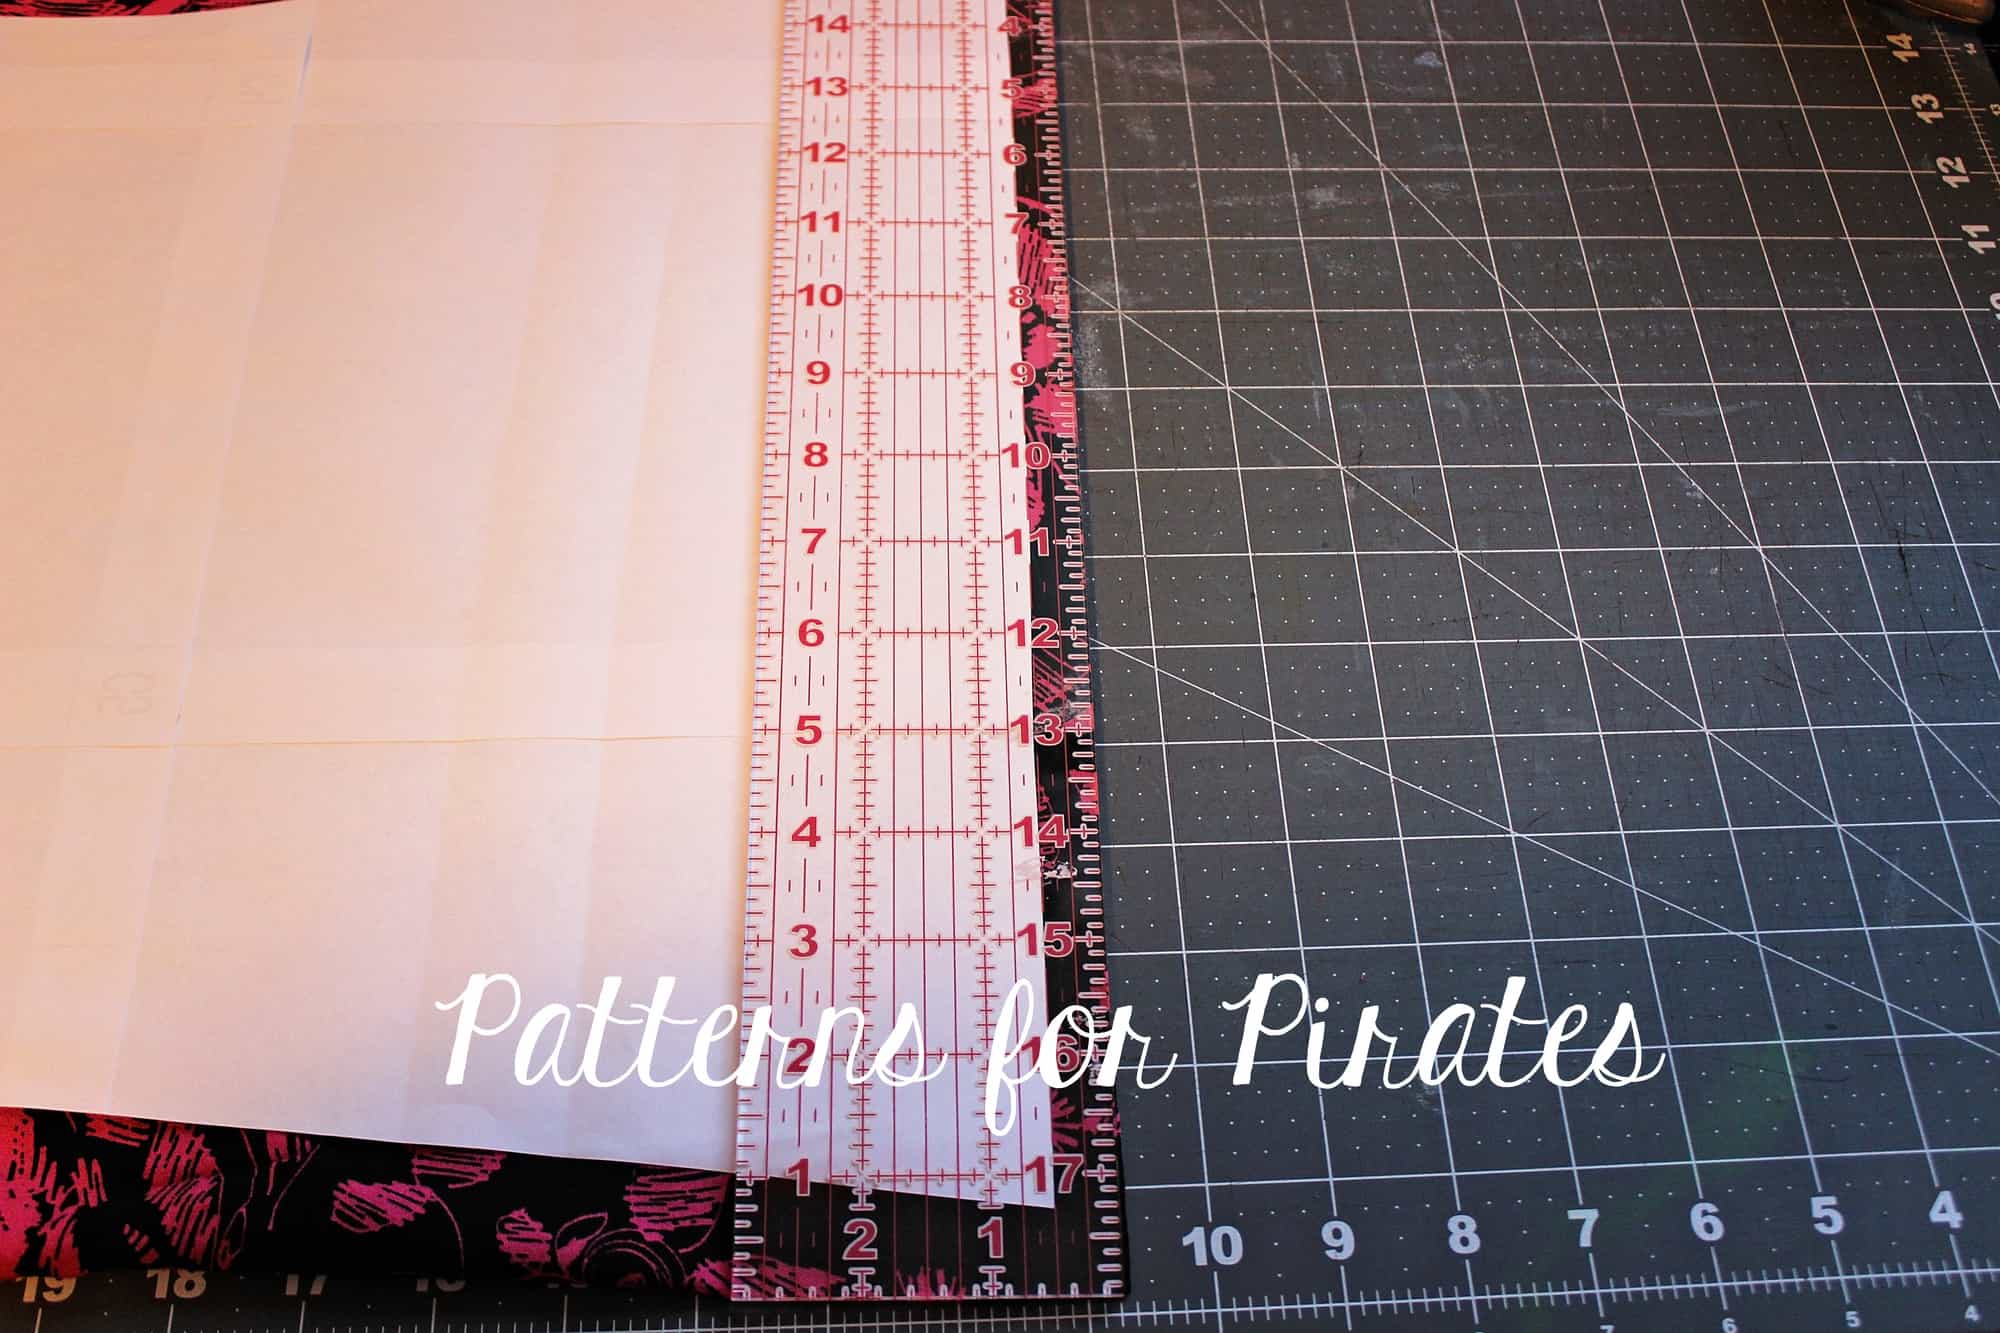
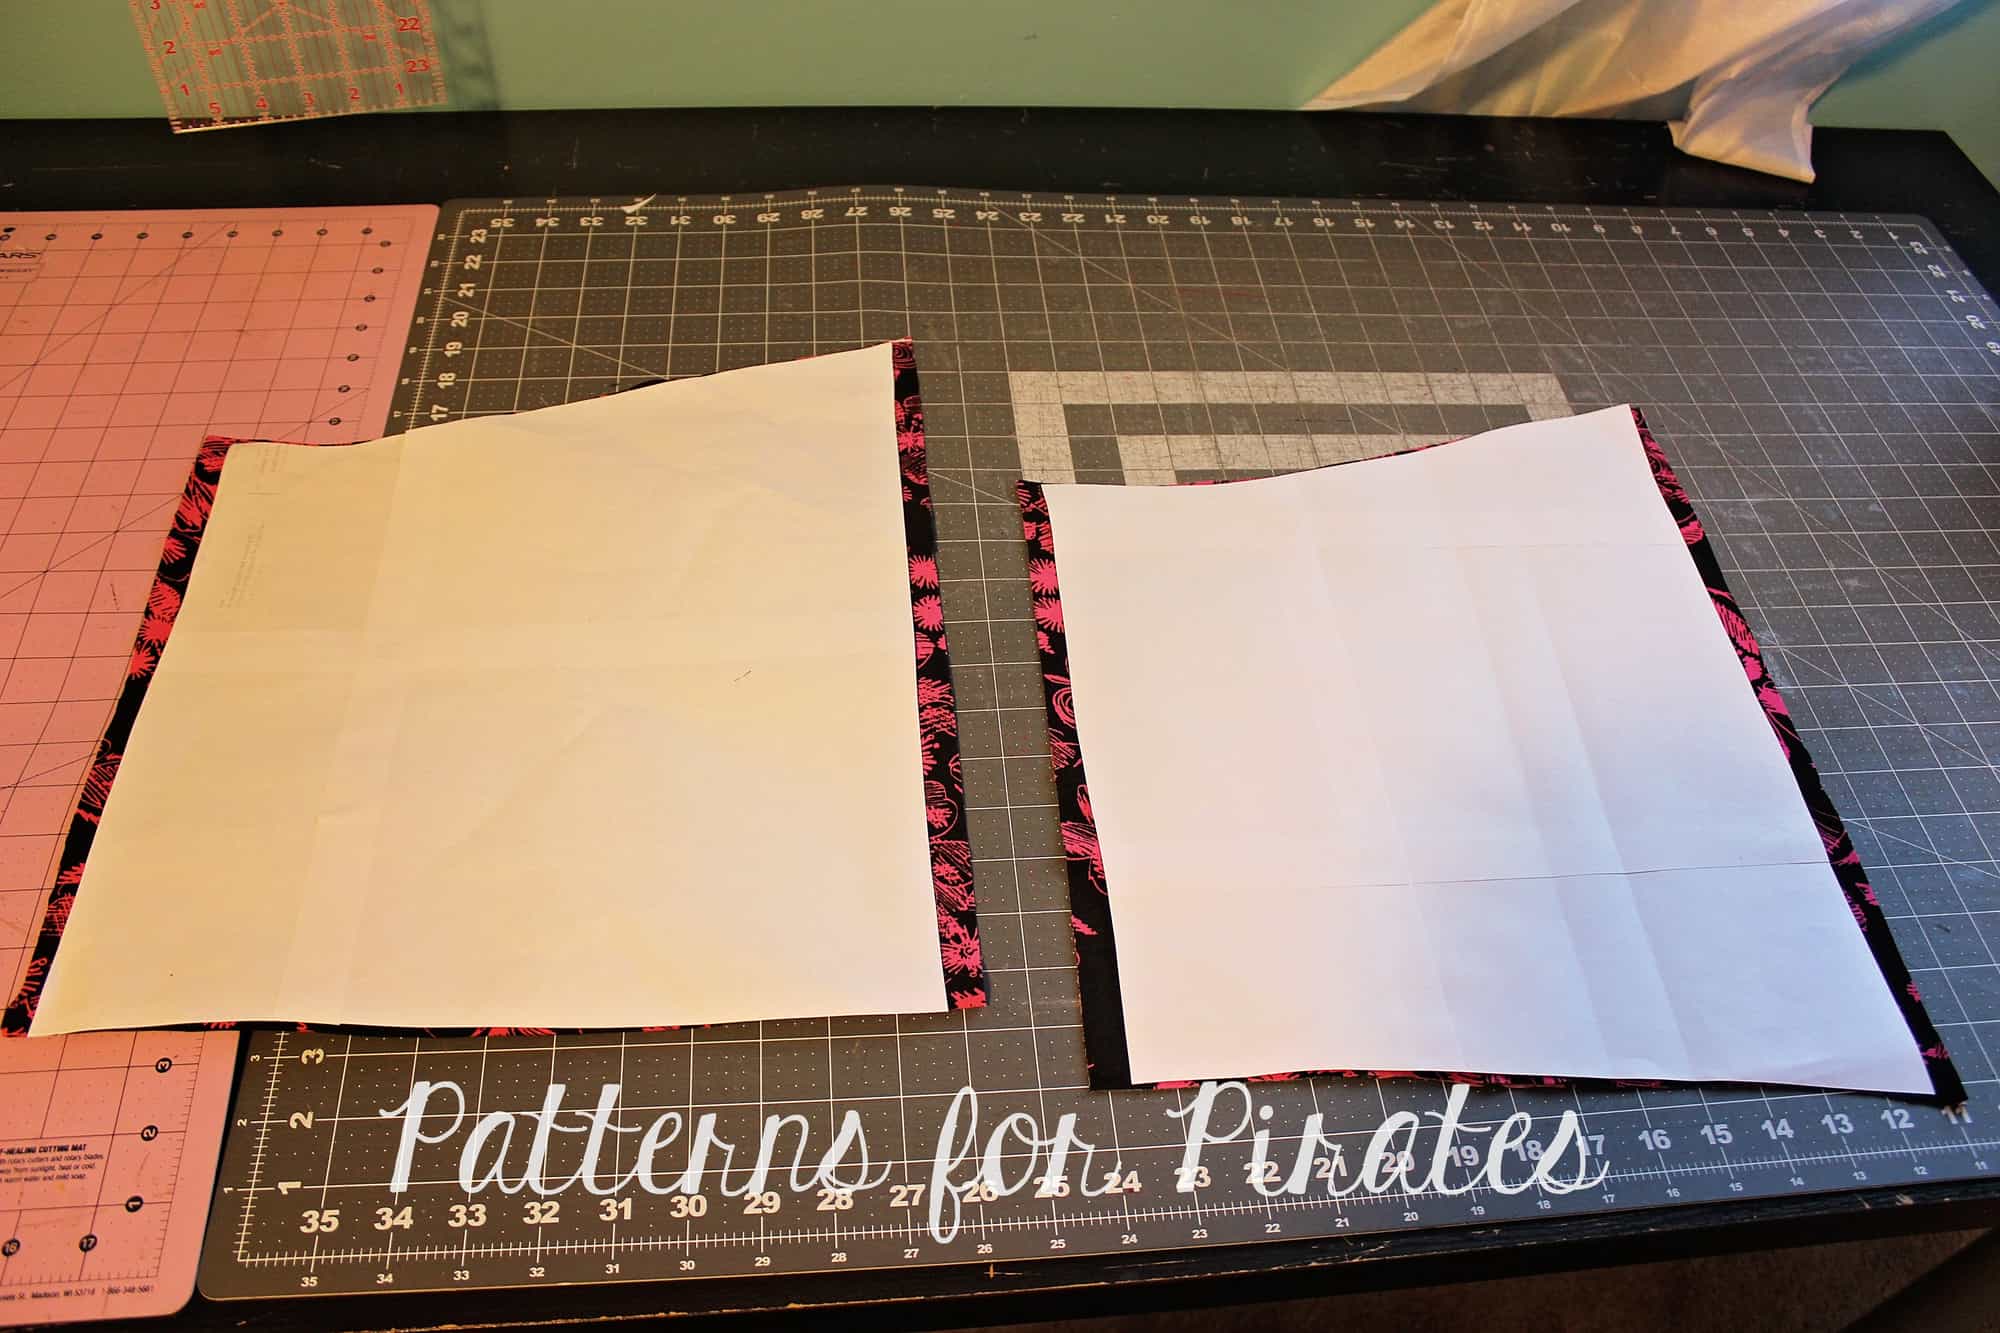
We will now cut the fabric. DO NOT FORGET THE SEAM ALLOWANCE! Since we are only dealing with straight color blocking lines, I will show you the easiest way to add SA. Simply use a quilter’s ruler and cut away 1/2 from the newly designed pattern pieces. Remember you need to add seam allowance only to the colorblock parts, NOT the center fold or side and middle back seam. Those seam allowances are already included in the pattern.

Once you have all your pieces cut (3 for the front, 6 for the back) you will start sewing them together. First sew the front top to the front middle (RST) with 1/2″ seam allowance, serger your raw edges and optionally top stitch. You will now sew the front bottom to the front middle, right sides together. You now have your front piece ready. Repeat the process for the back pieces. Remember that the back of the Brunch Blouse is not cut on fold so you will end up with two mirrored back cuts.

Finish sewing your BB dress as per the tutorial instruction. How easy and fun was that? You can get creative with your color blocking…just imagine a beautiful ombre blouse, or a blouse with lace overlay for the top colorblock. The possibilities are endless.

. . . . .

Belt Loops and Sash Hack

This hack is super easy but a fun option for a different look than the normal Brunch Blouse!  You can do this hack with any option except the one that already includes the waist tie.


1. First, sew up your blouse/dress as usual.  Make sure to mark the notches on the side seams, add a pin as well after you’ve sewn the side seams so that you can still see where the notch is.

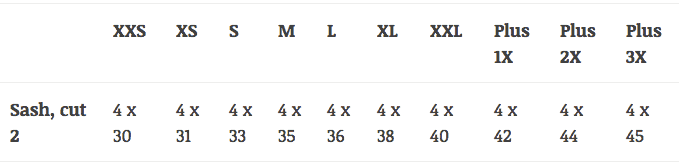
2. To make the sash, refer to this cut chart based on your size.  Cut two.


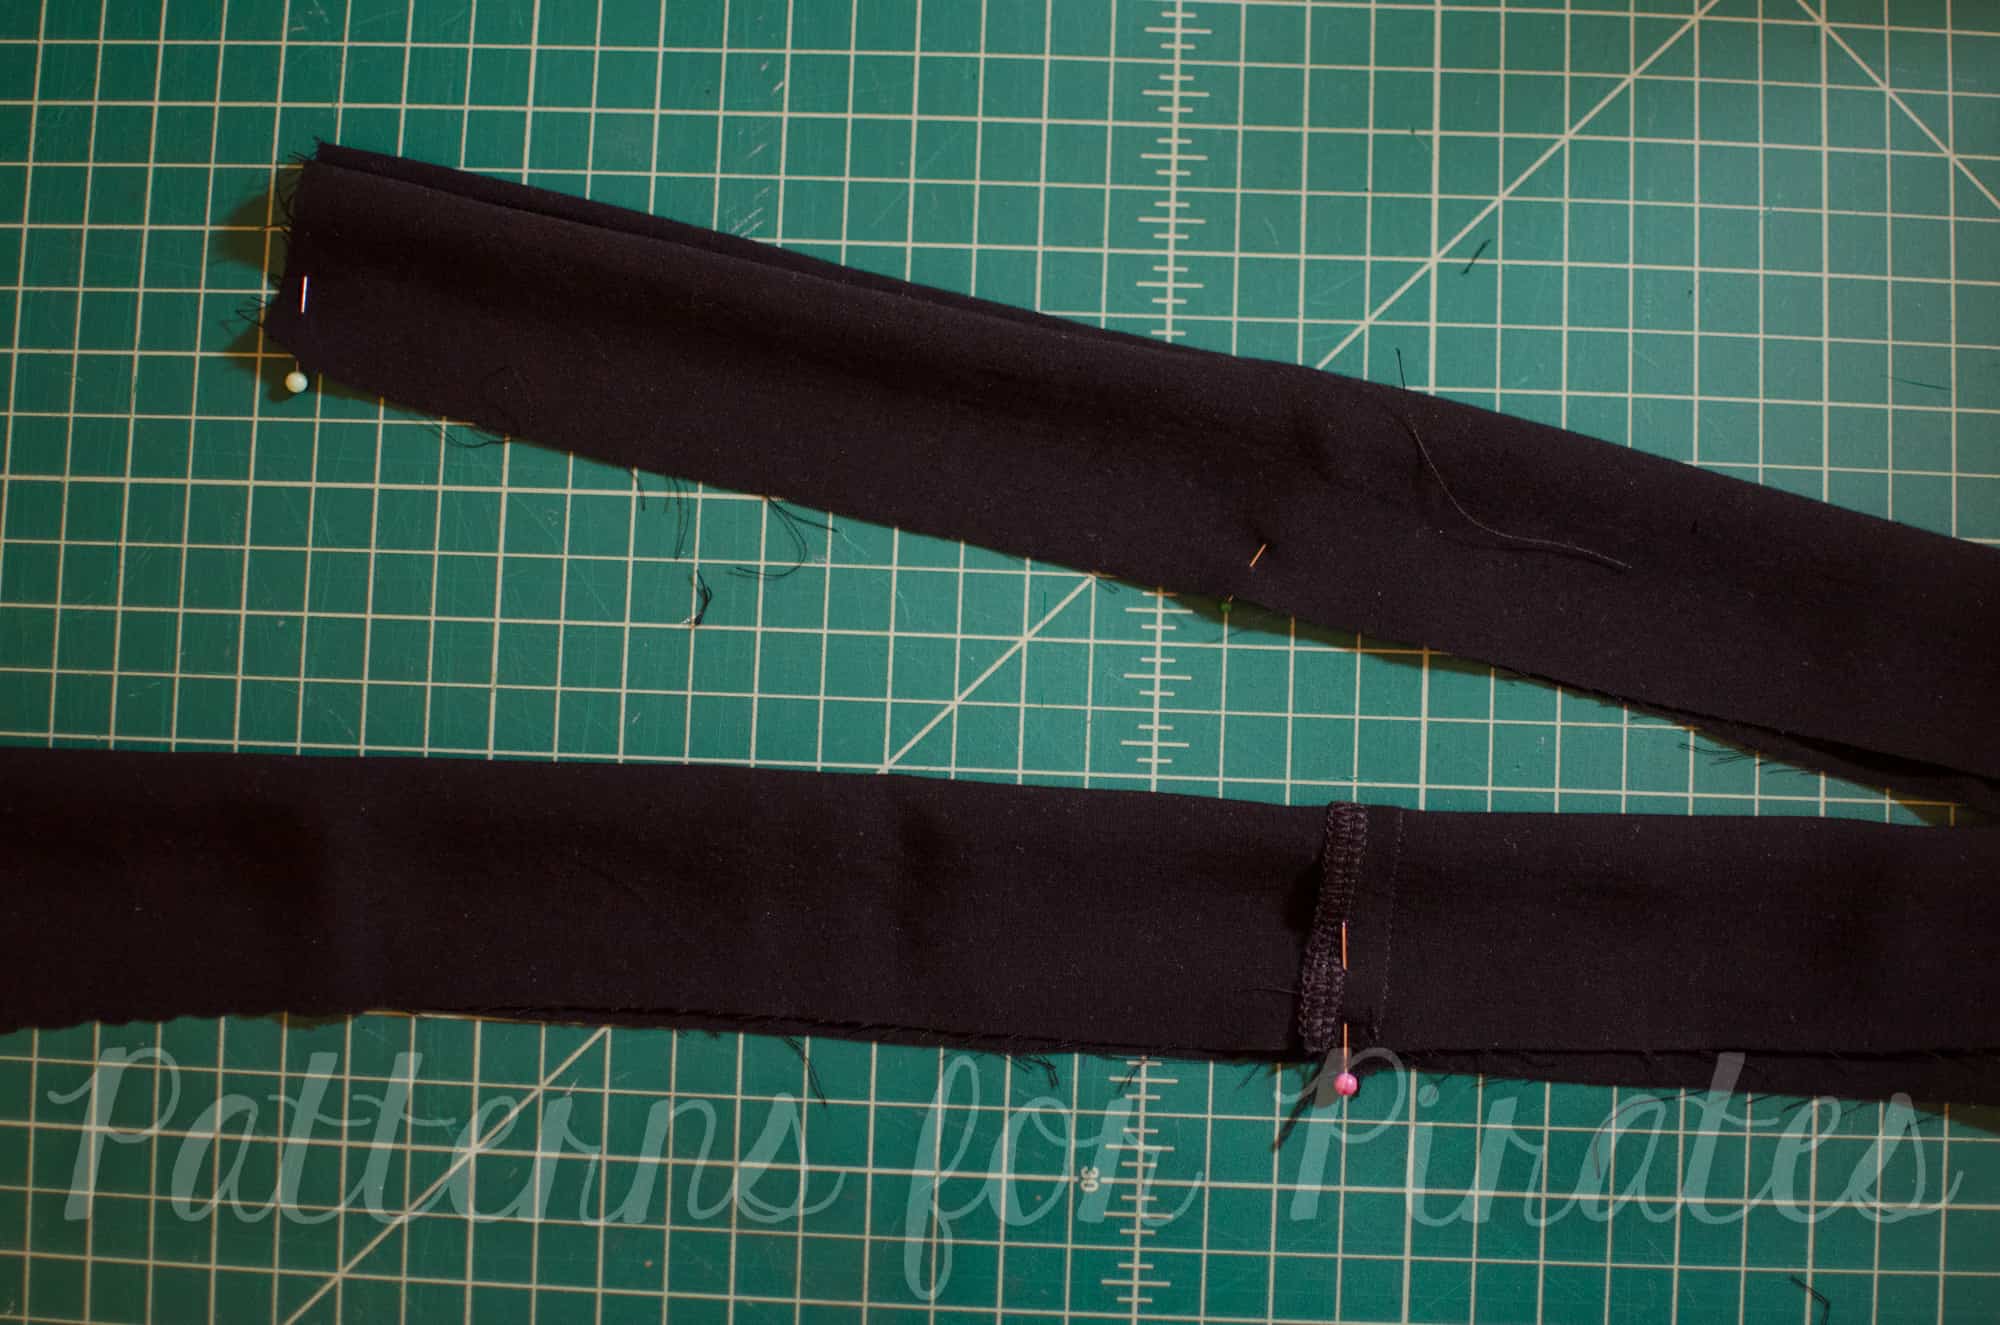
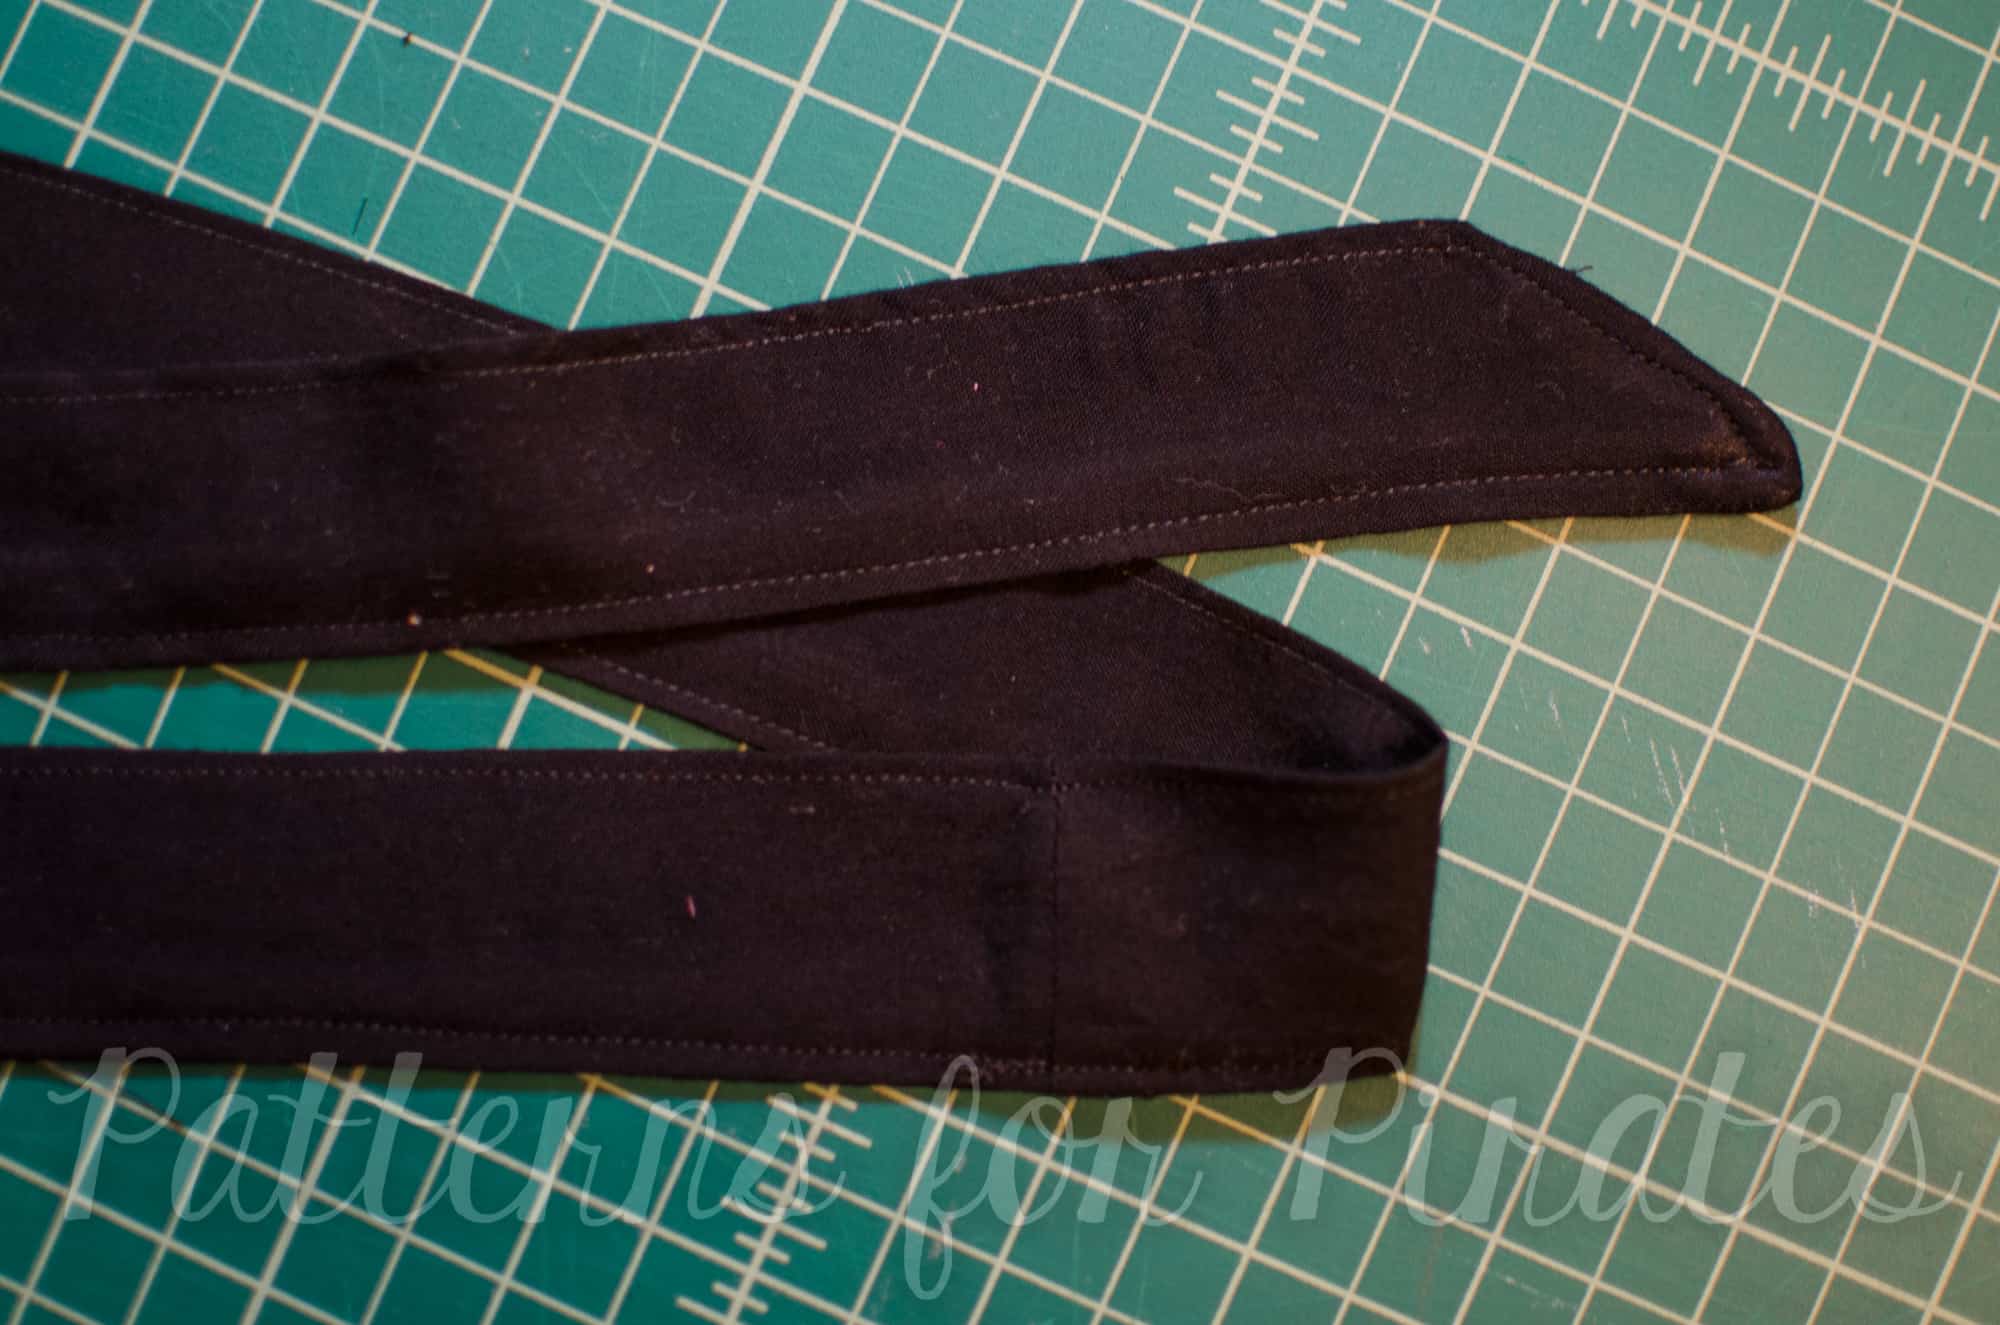
3. Right sides together, sew the short ends together.  Press open and finish edges.


4. Right sides together, sew the long edges now, but leave 2″ unsewn in the middle.  This is how you’ll turn it right side out when you’re done.


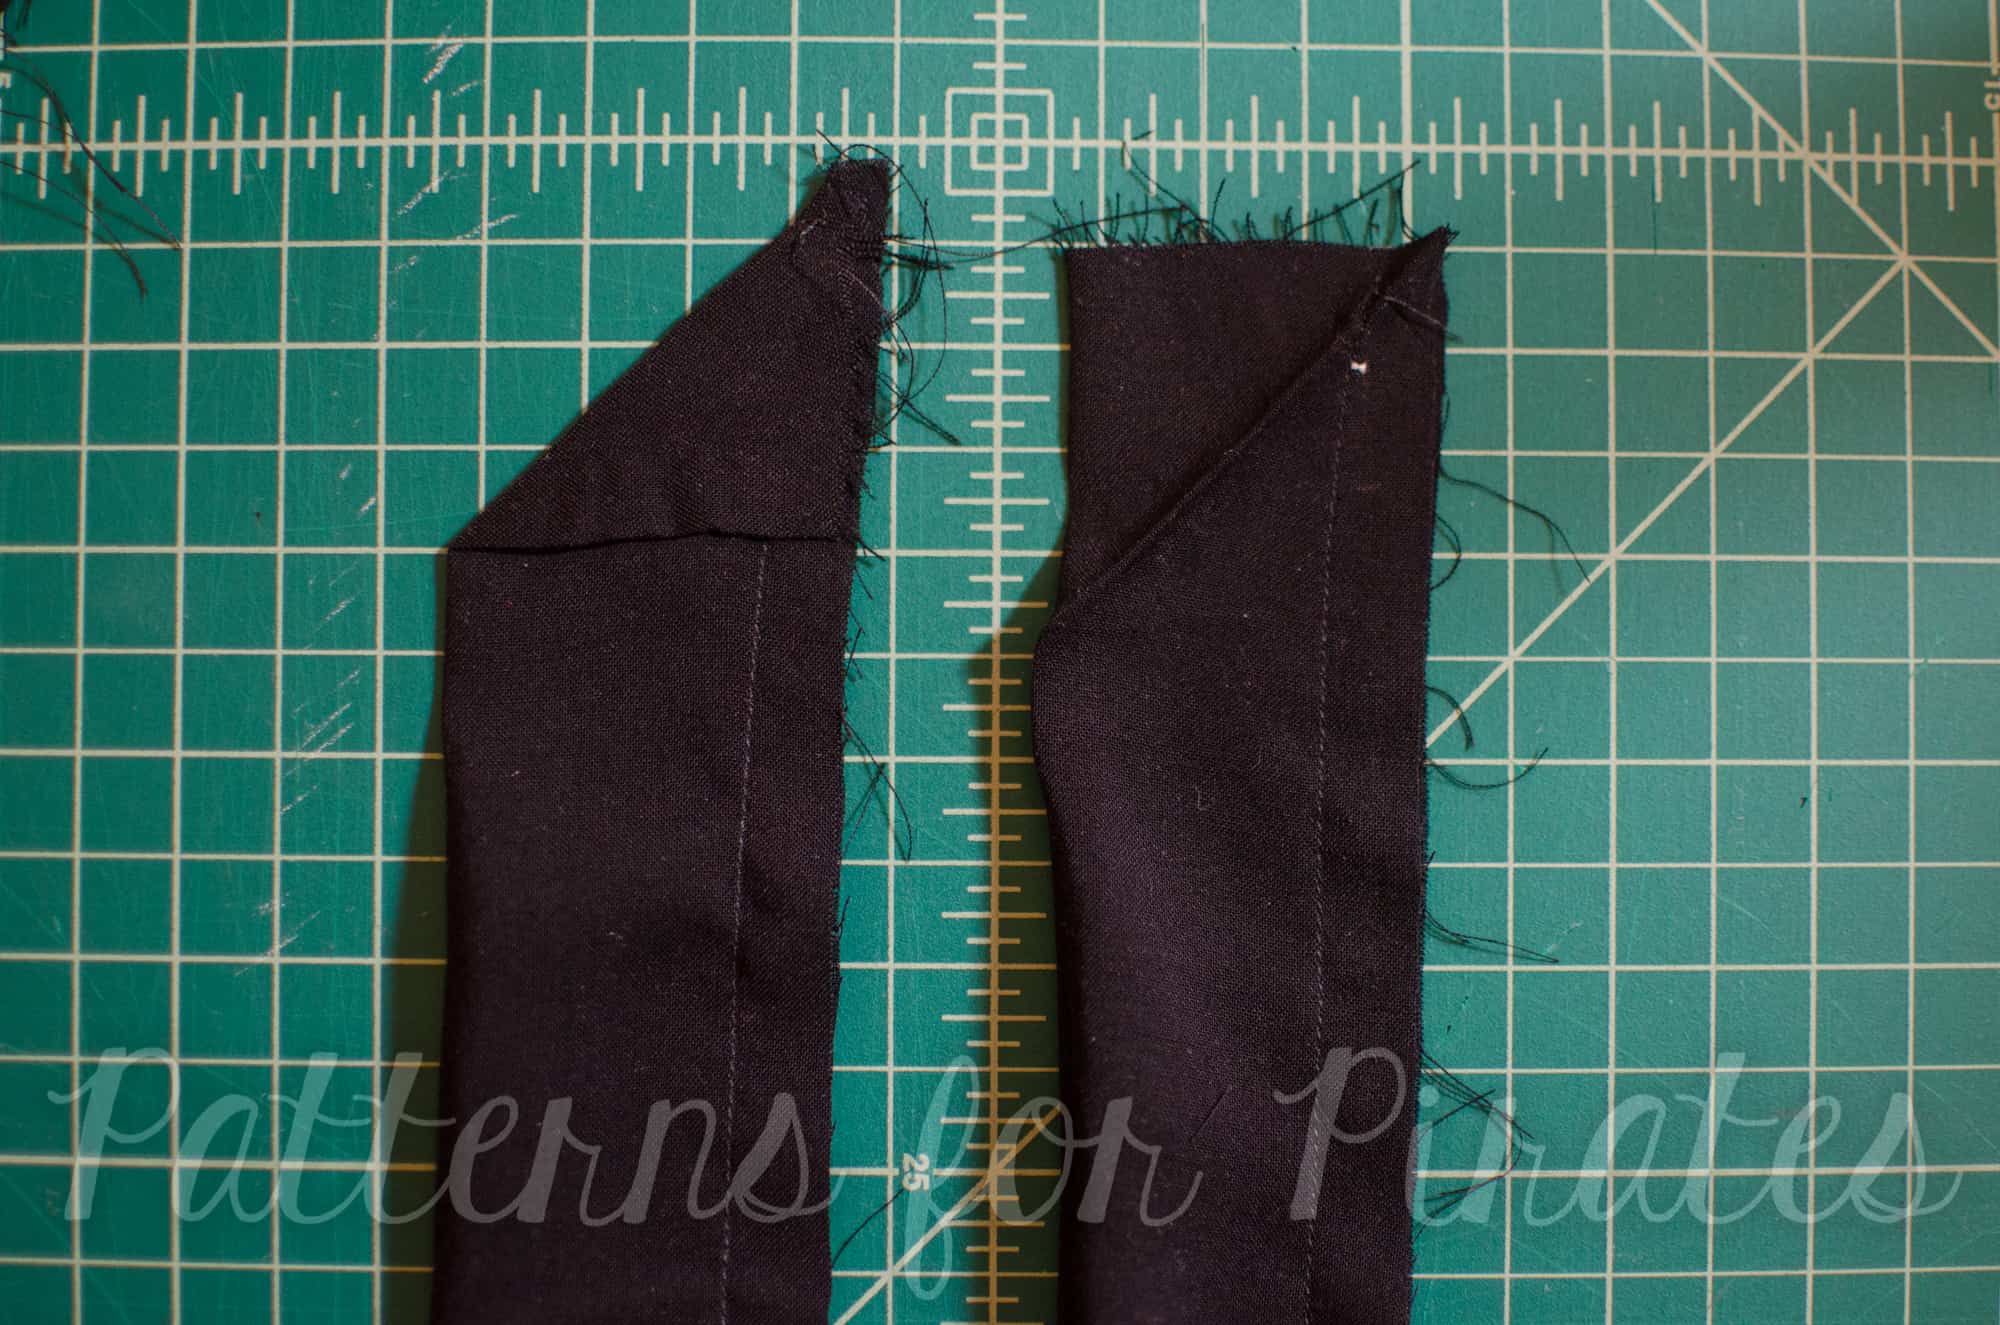
5. Iron the short edge over to form a triangle.  Now sew here to make the pointed edge, and trim the seam allowance down to 1/2″.


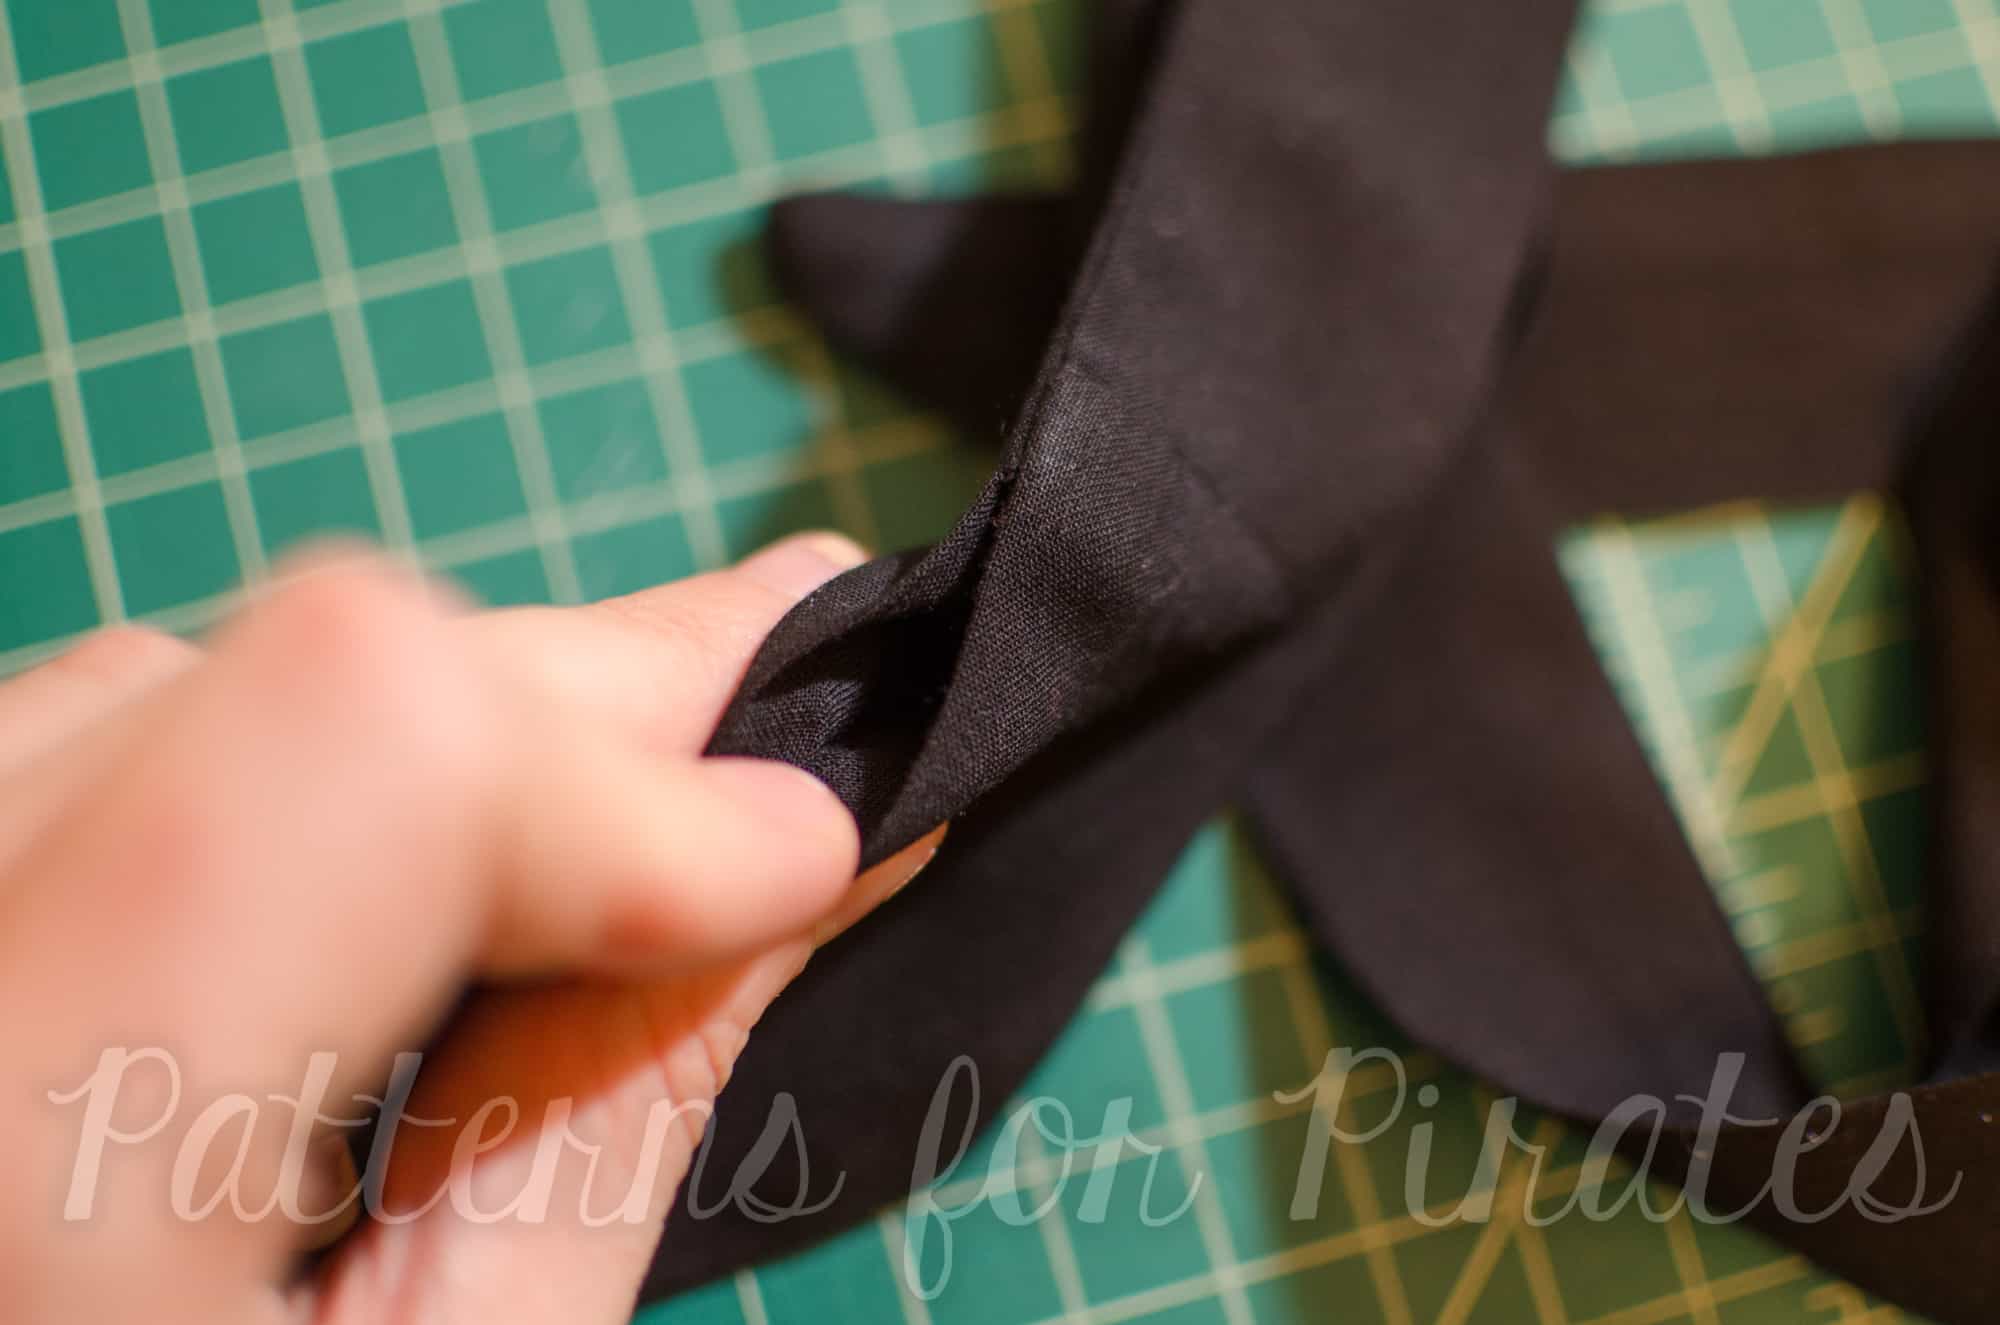
6. Turn right side out, press, and topstitch as close to the edge as you feel comfortable.  When you get to the 2″ you left open, align the seam allowance inside and and stitch shut while topstitching.


7. For the belt loops, first decide if you want two or three.  I opted for two because I didn’t want one on the back (I just don’t like the feeling).

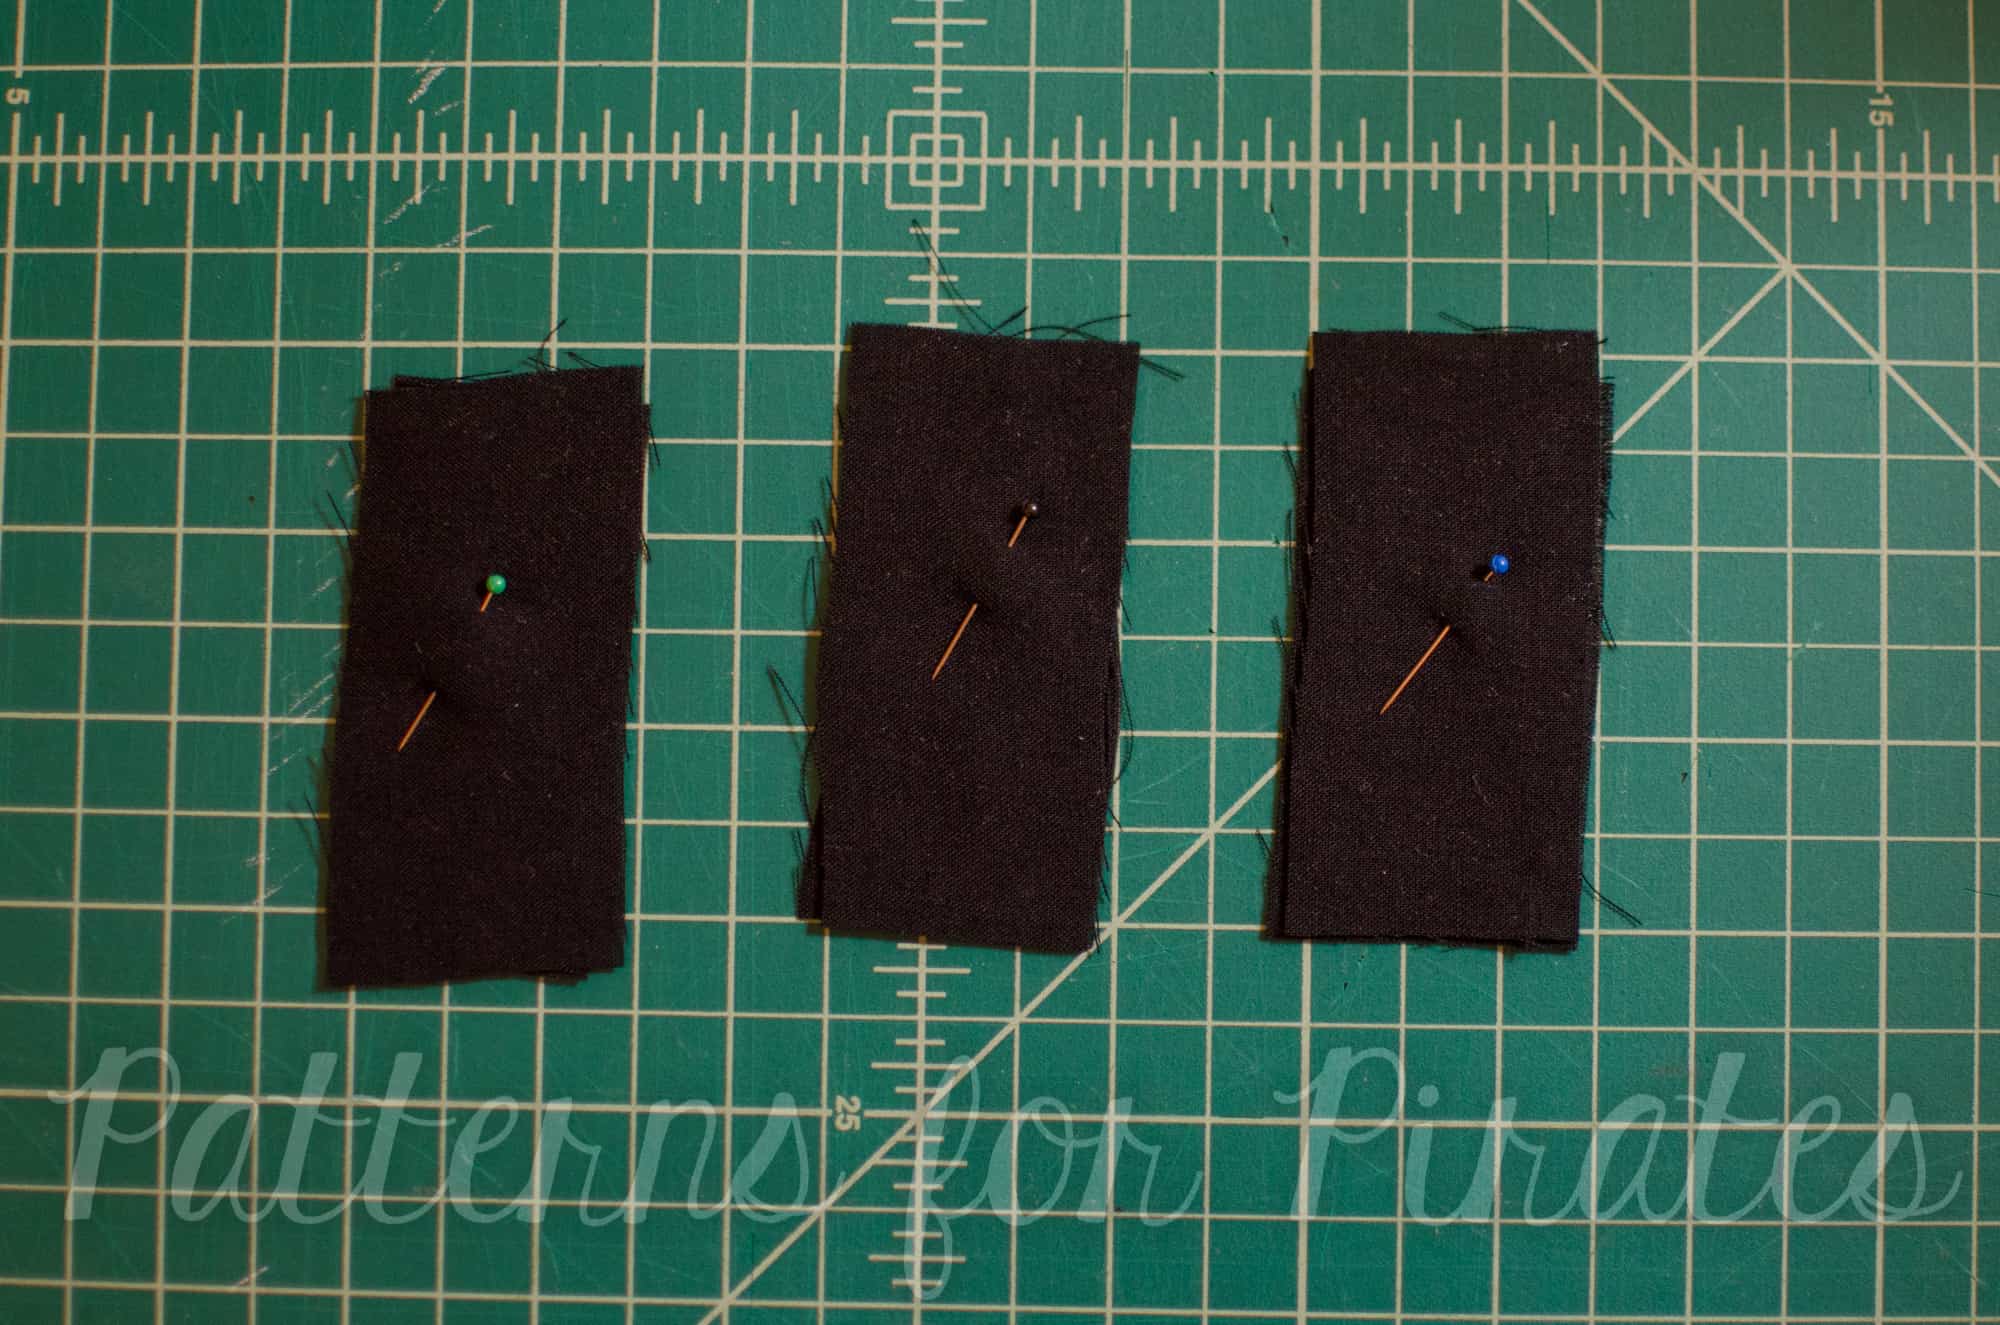
8. Cut rectangles 3″ x 1.5″ – four for two belt loops or six for three belt loops.


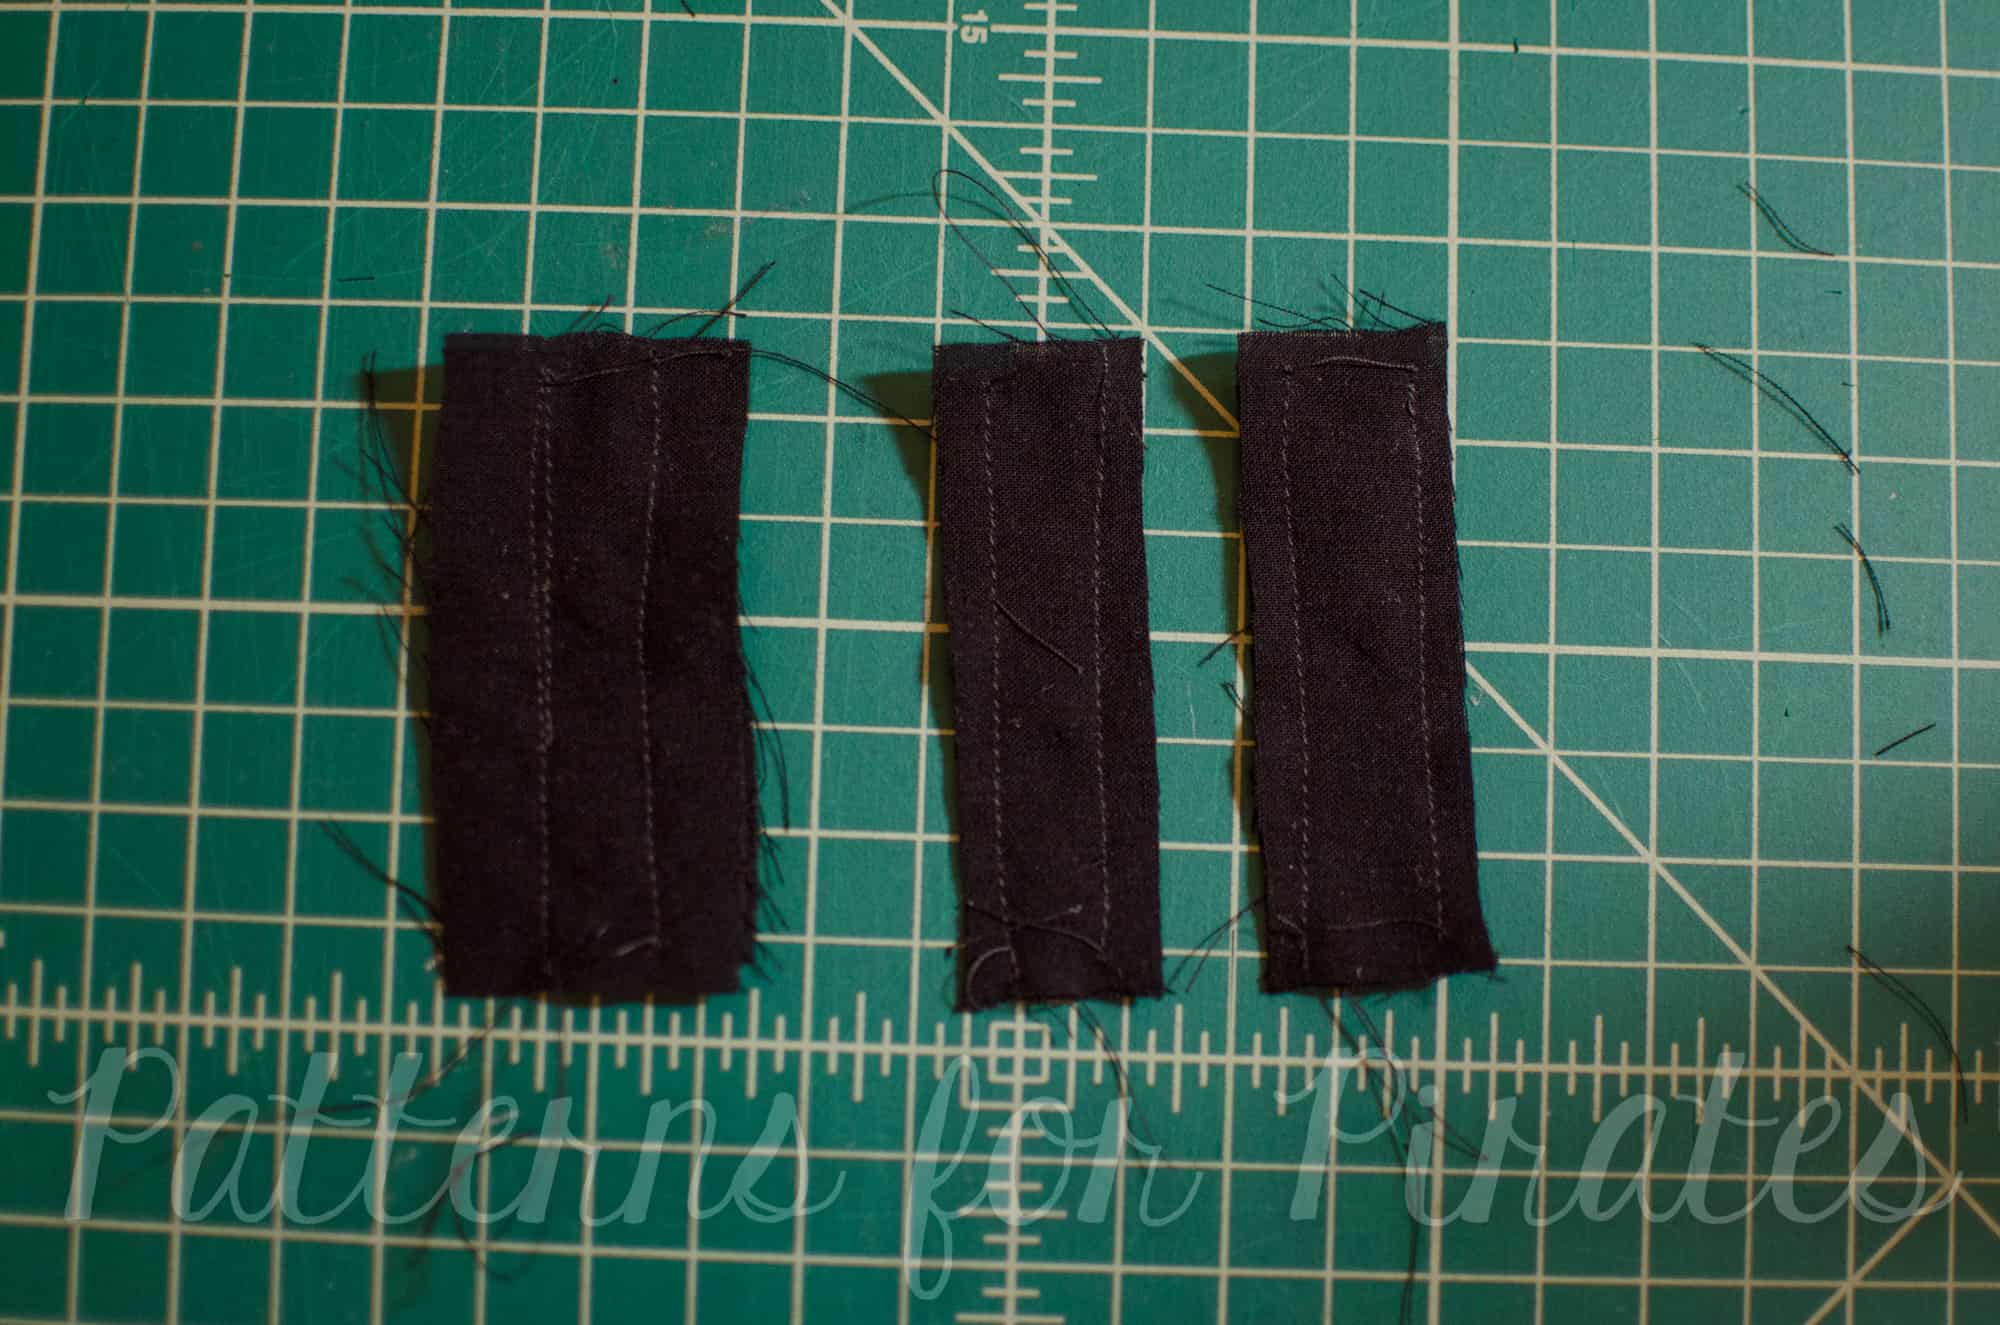
9. Stitch along the long edges, right sides together.  Then trim seam allowance to 1/4″.


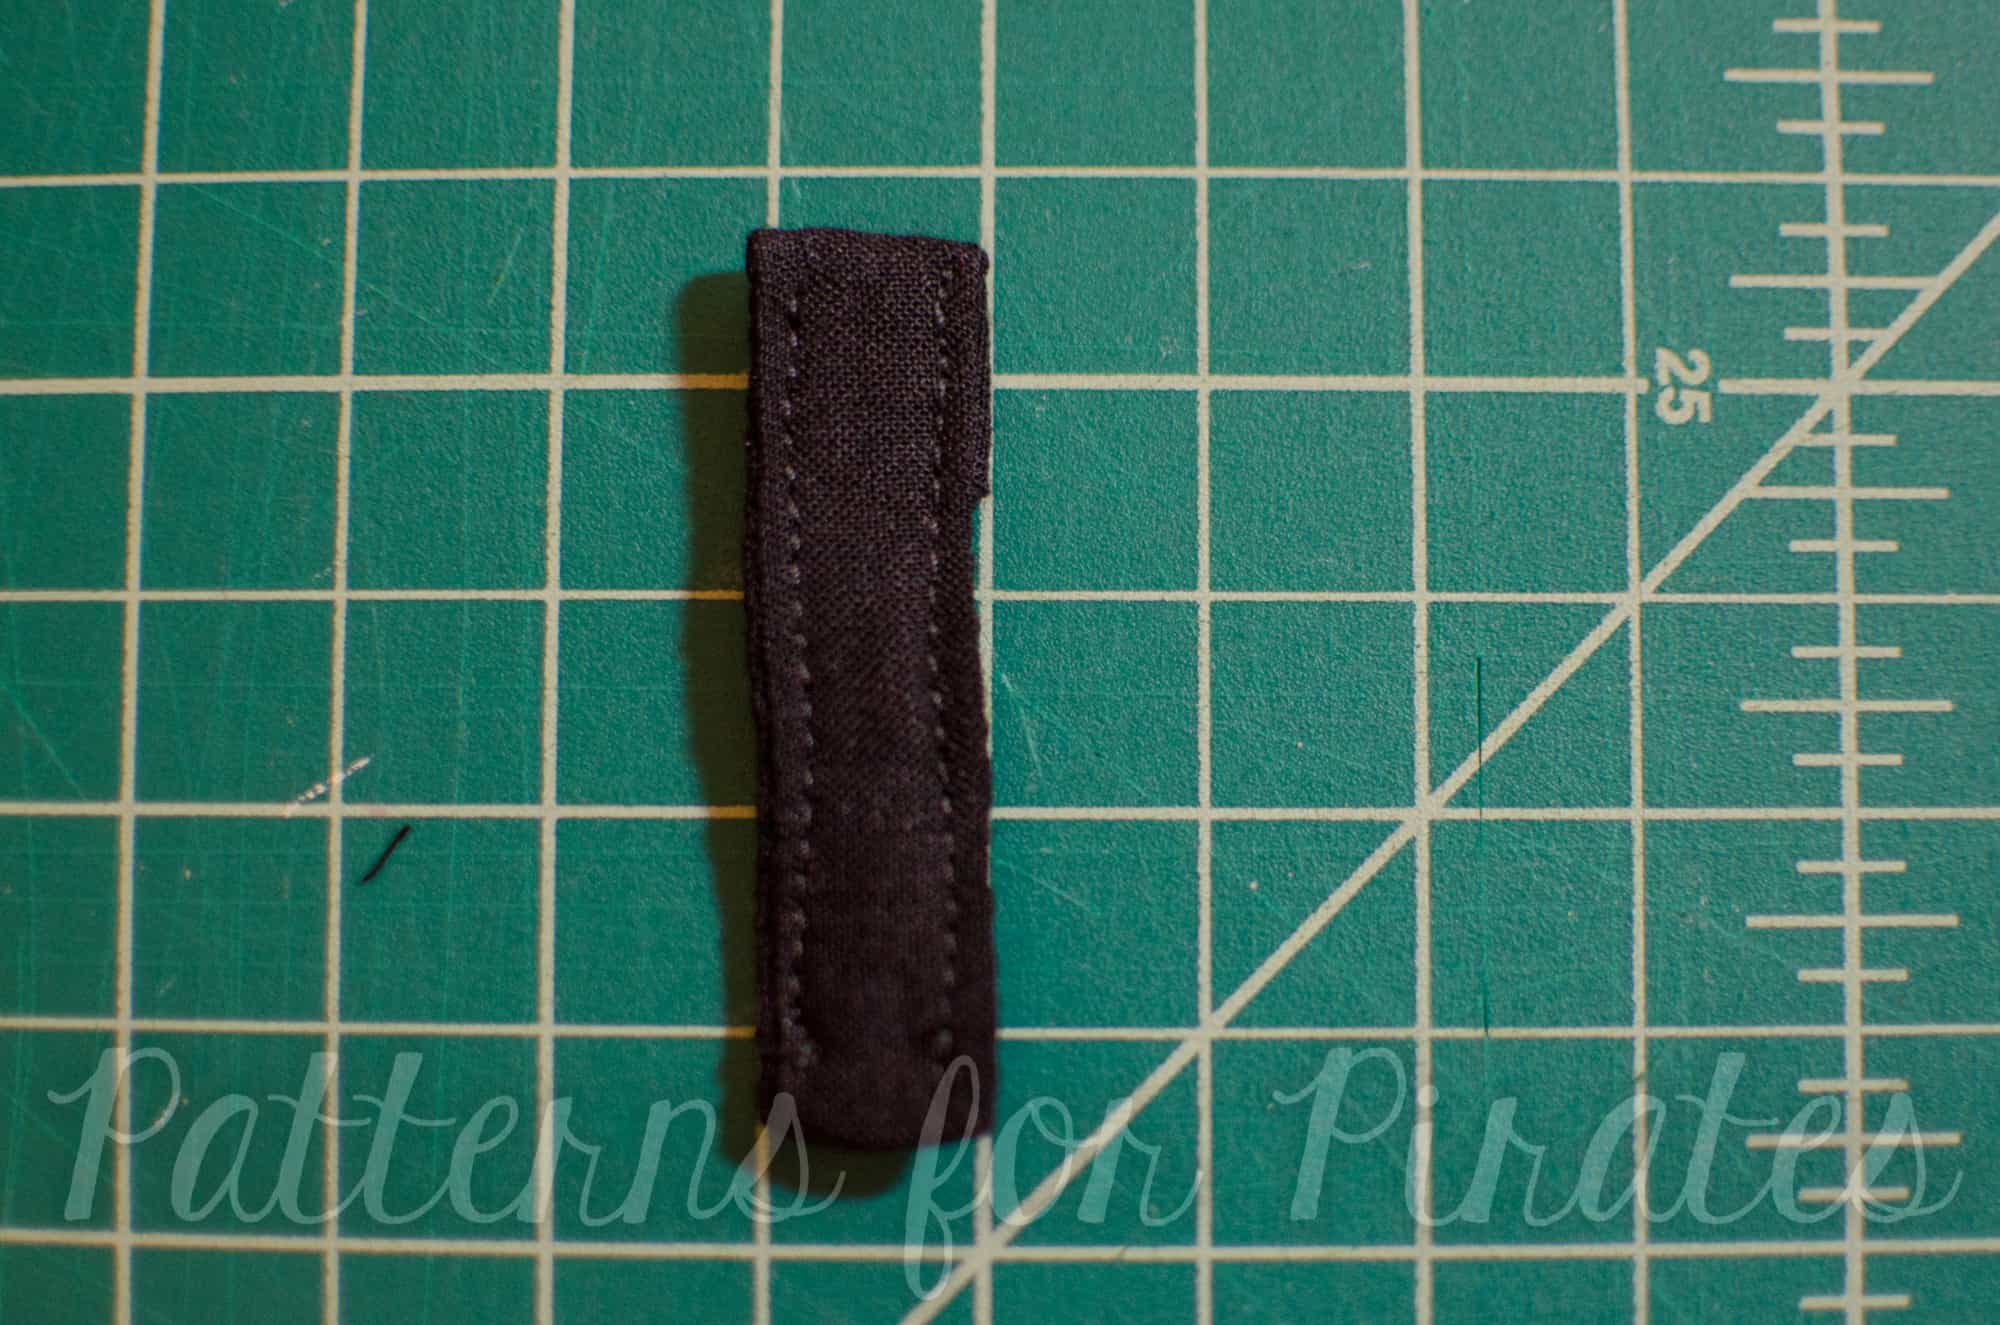
10. Turn right side out, press short raw edges to the back 1/2″. then topstitch down the long edges as close to the edge as you feel comfortable.


11. Find the notch on the blouse side seams you marked earlier.  Sew the loops on to the side seams, over the notch, by topstitching the short side 1/4″ from the edge.  If you’d like a loop on the back too, find the middle of the back neckline and use a ruler to find the center back of the blouse from there and attach.


12.  Press everything one last time.  Slip in your sash into the loops and wear your new blouse!


~Elisabeth

. . . . .

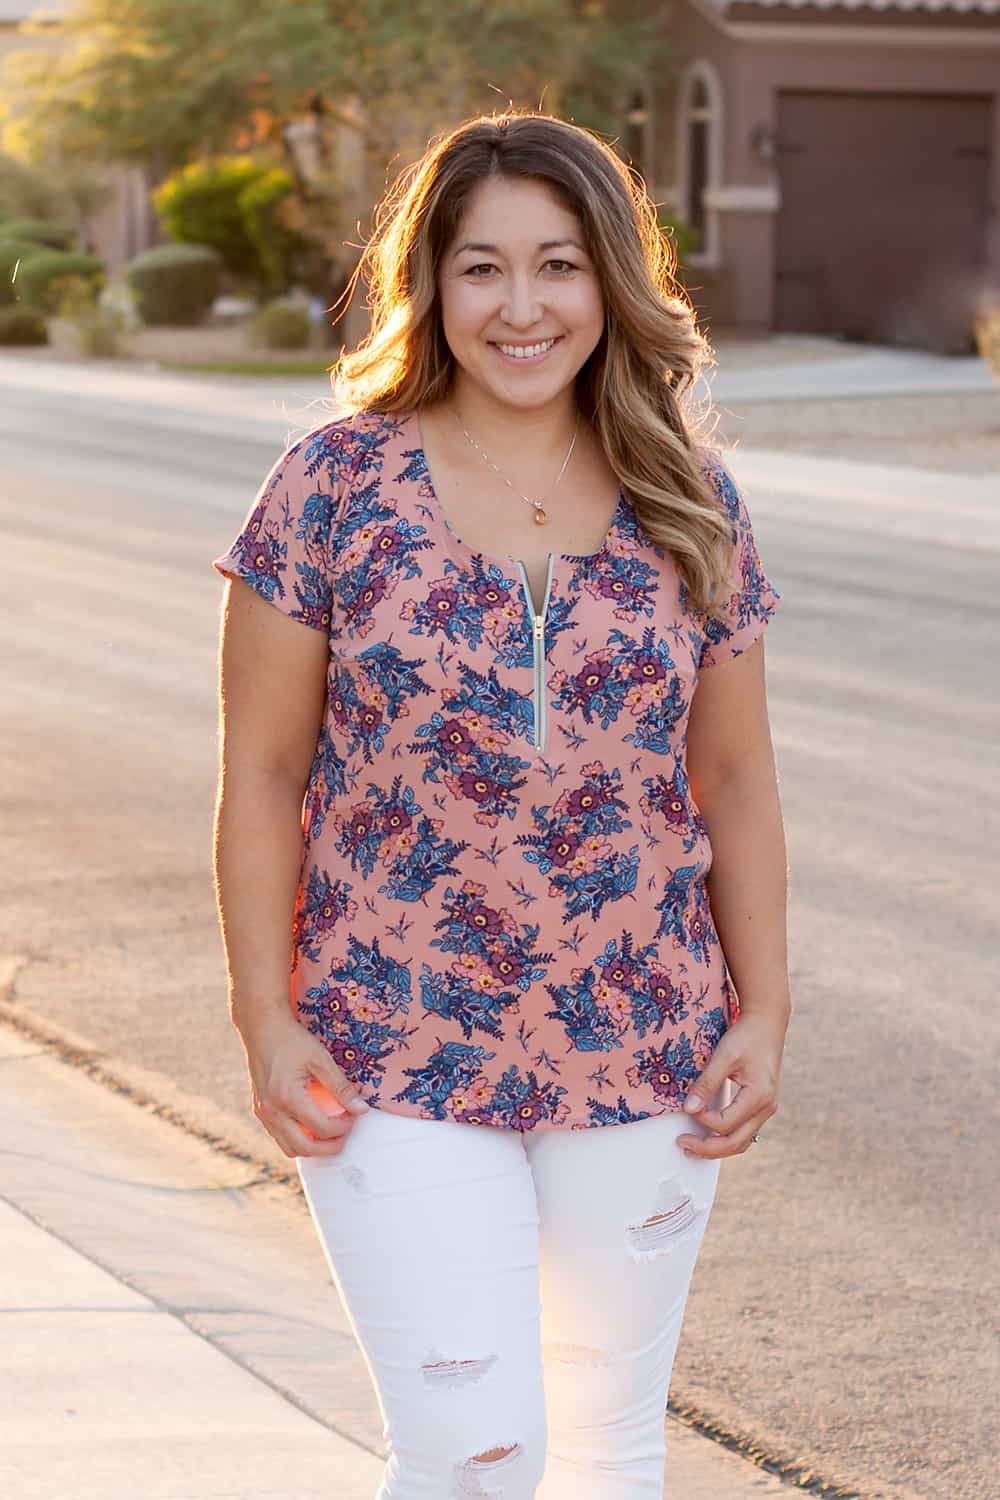
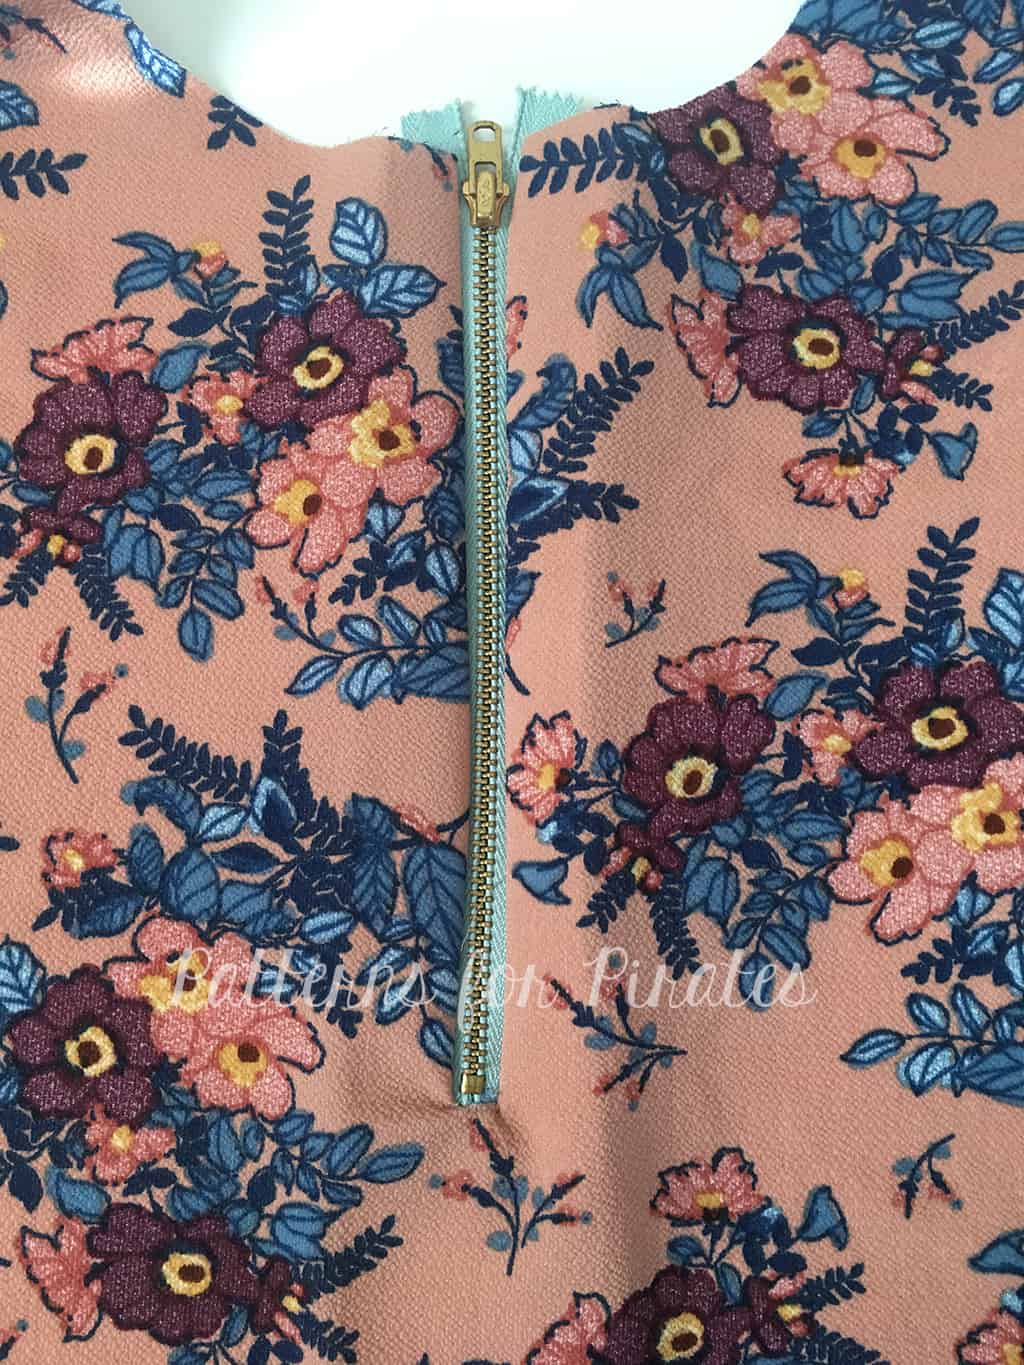
Front Zipper Hack


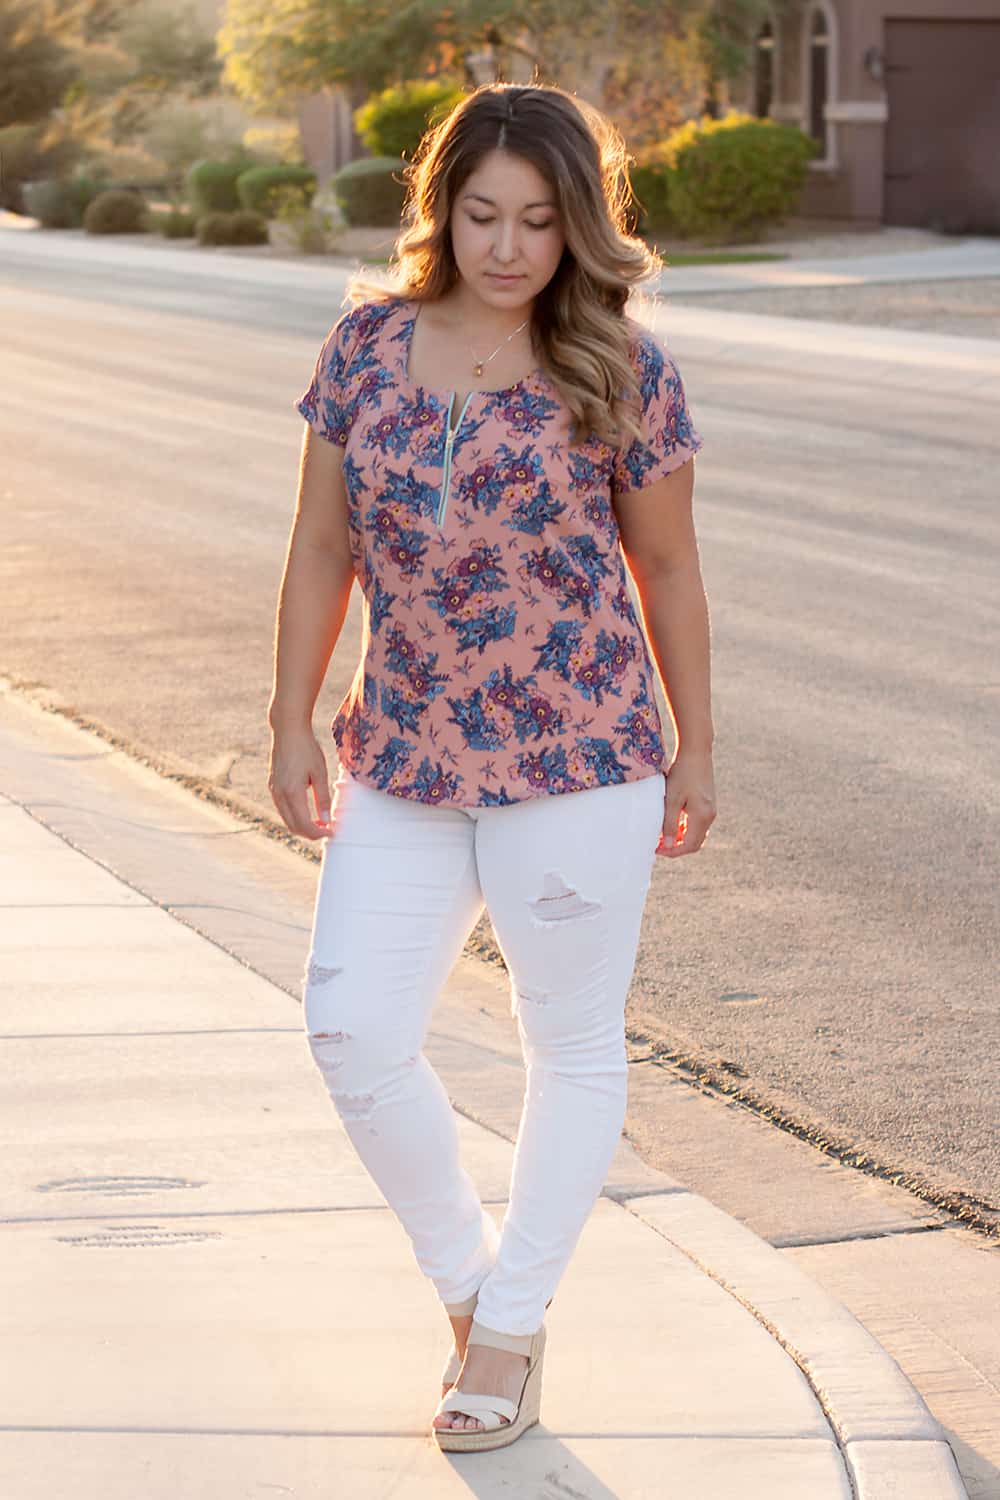
This is a little more intense and involves one of those scary things… you know, a zipper!  Now, if you’ve never installed a zipper this may be a little daunting, but I promise, take it slow, you can do this!

I am using a 7″ (I think?) exposed metal zipper but you can choose your preferred length if you want it shorter or longer.  If you’re choosing this option, do this prior to any other step in completing your top.  So now, let’s get started.

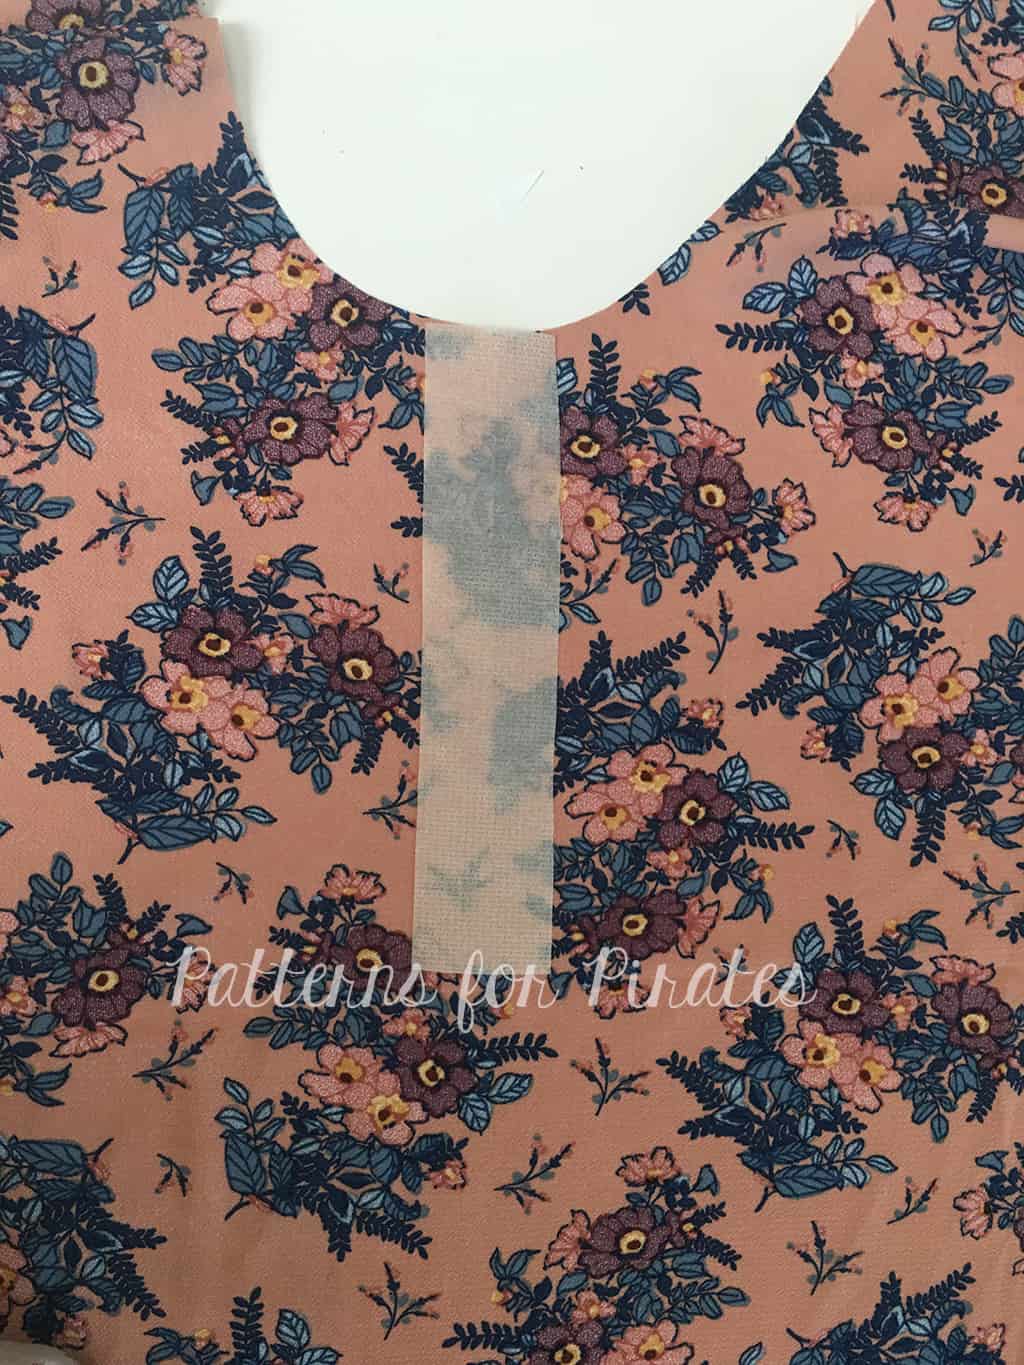
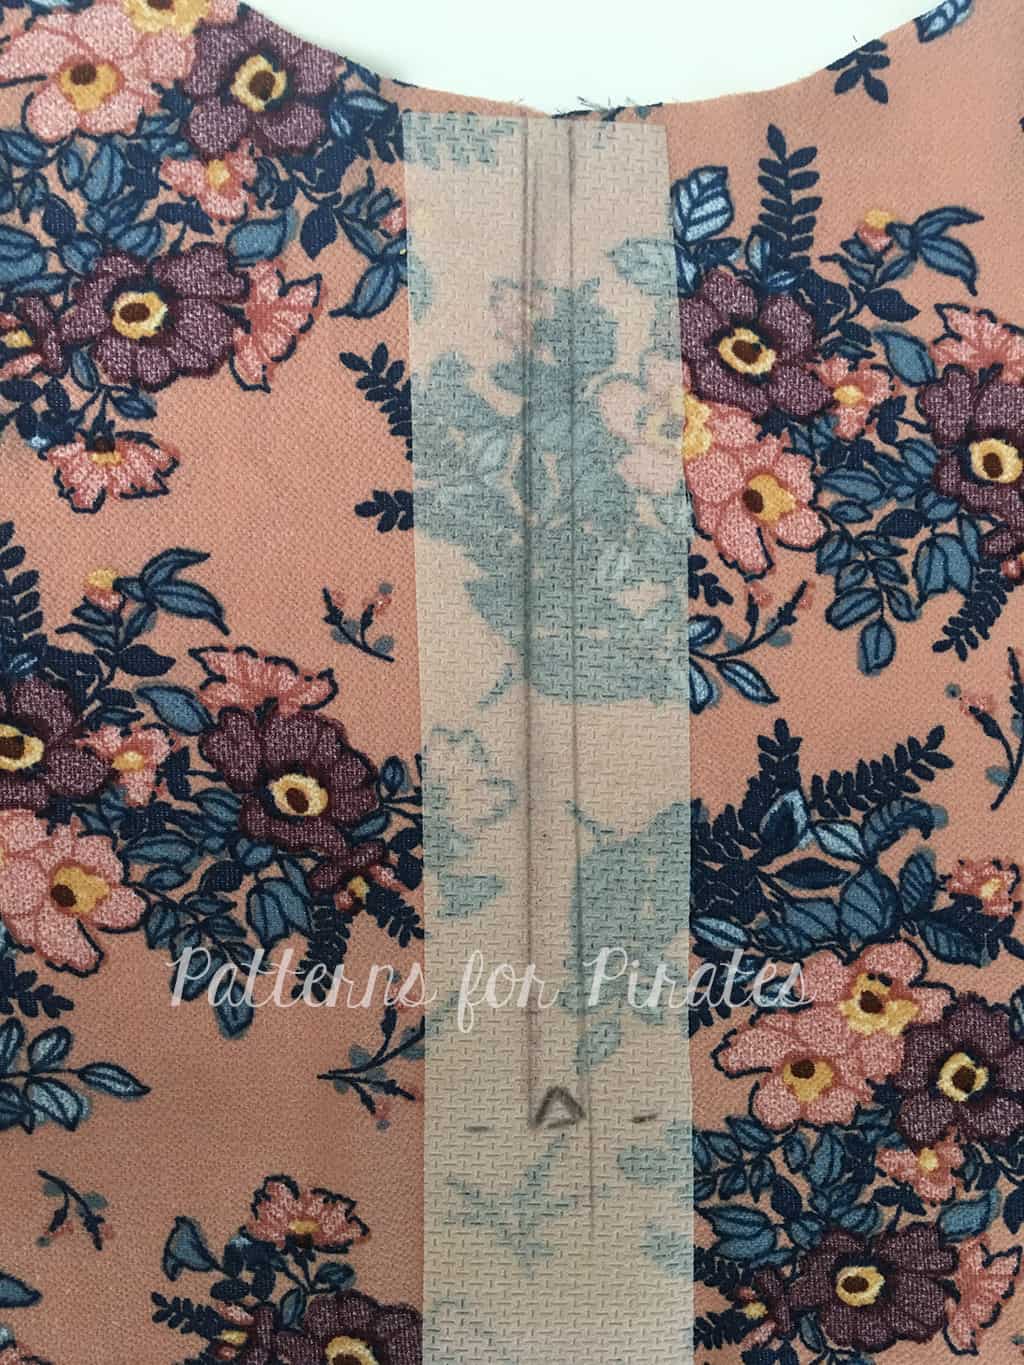
Find center front of neckline and iron on interfacing to wrong side of fabric.
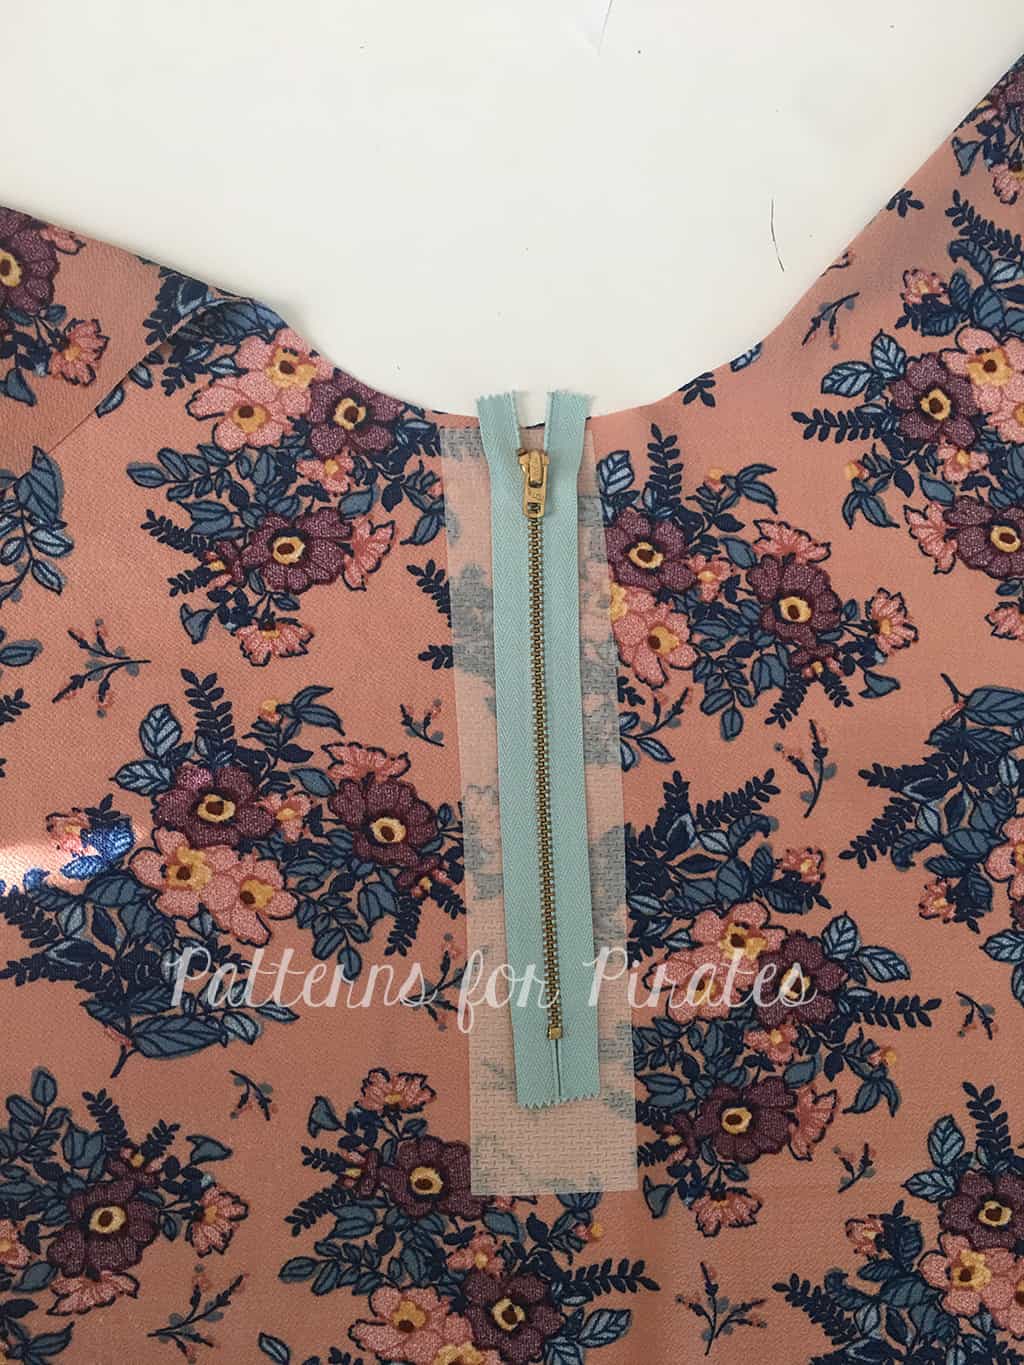
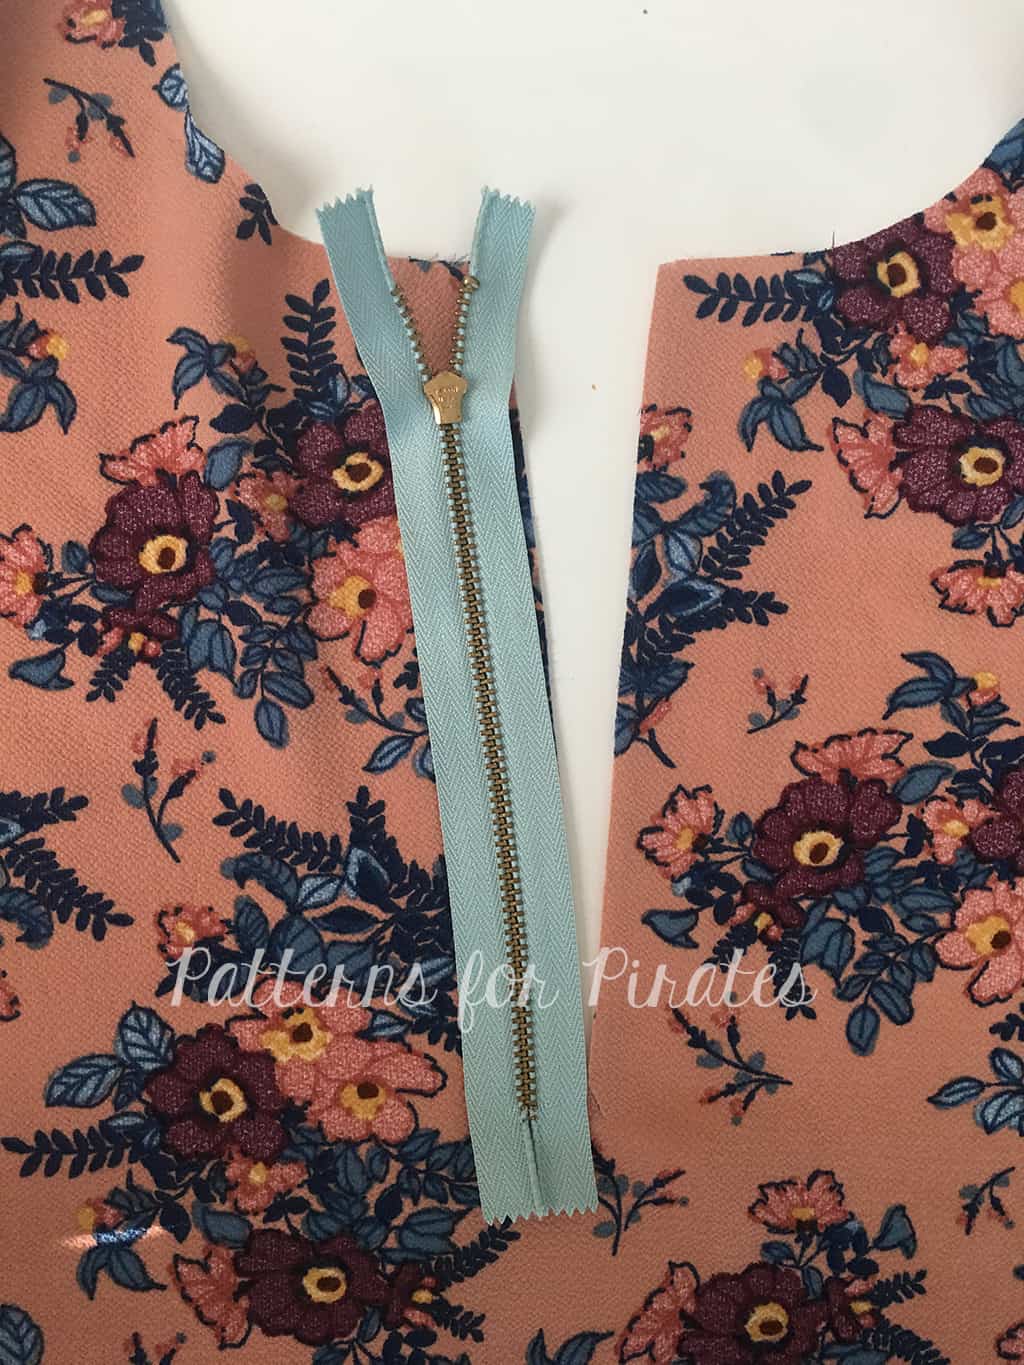
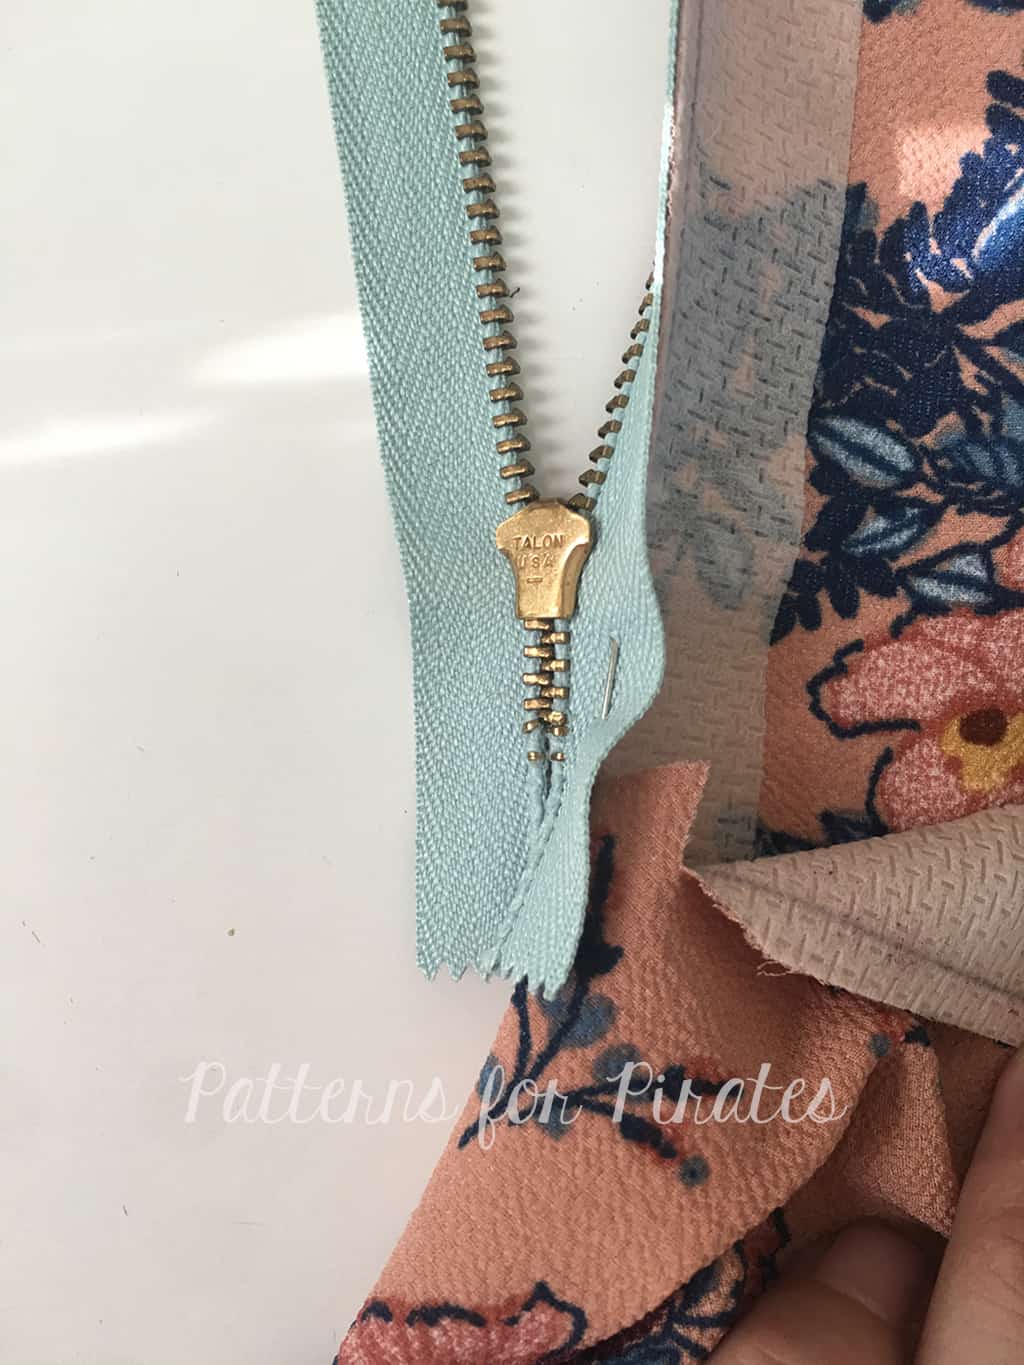
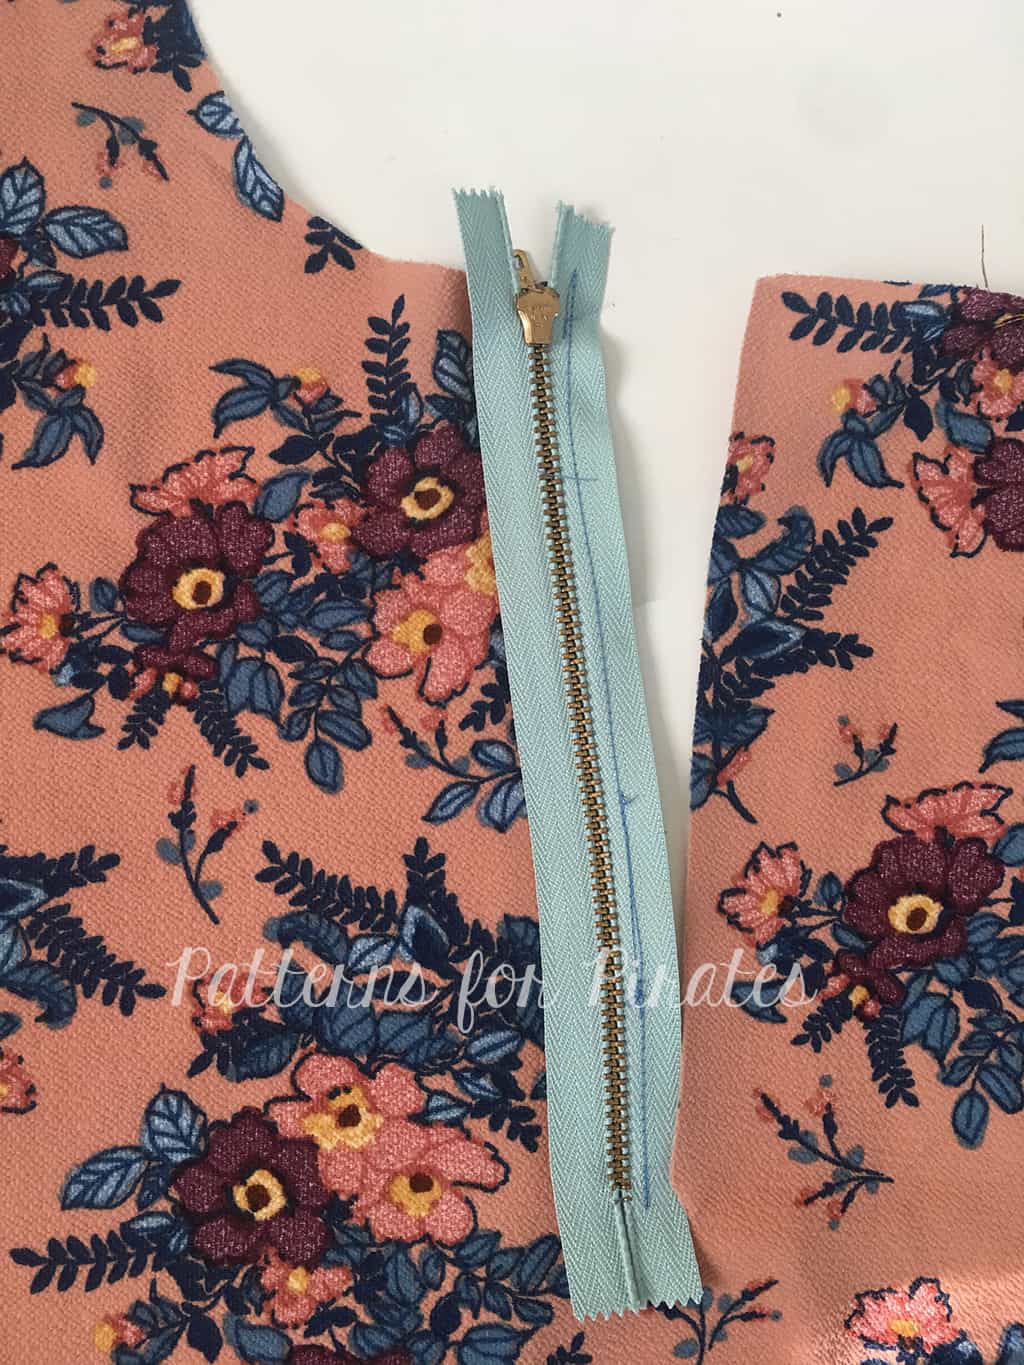
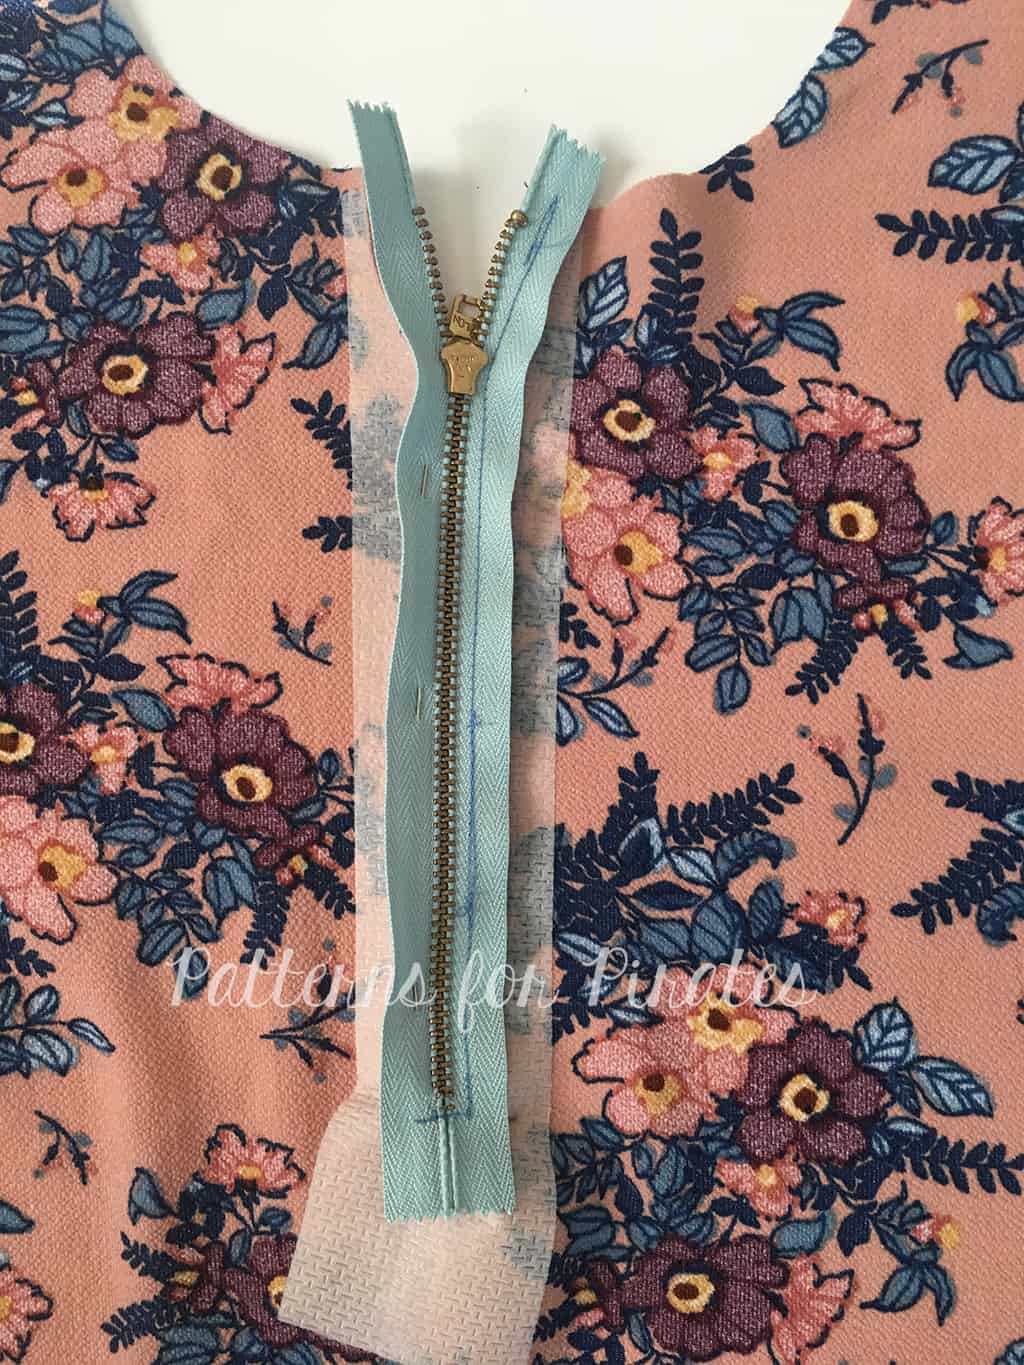
Place top of zipper 1/4″ below raw edge of neckline. If your tails are longer, you can trim them later.
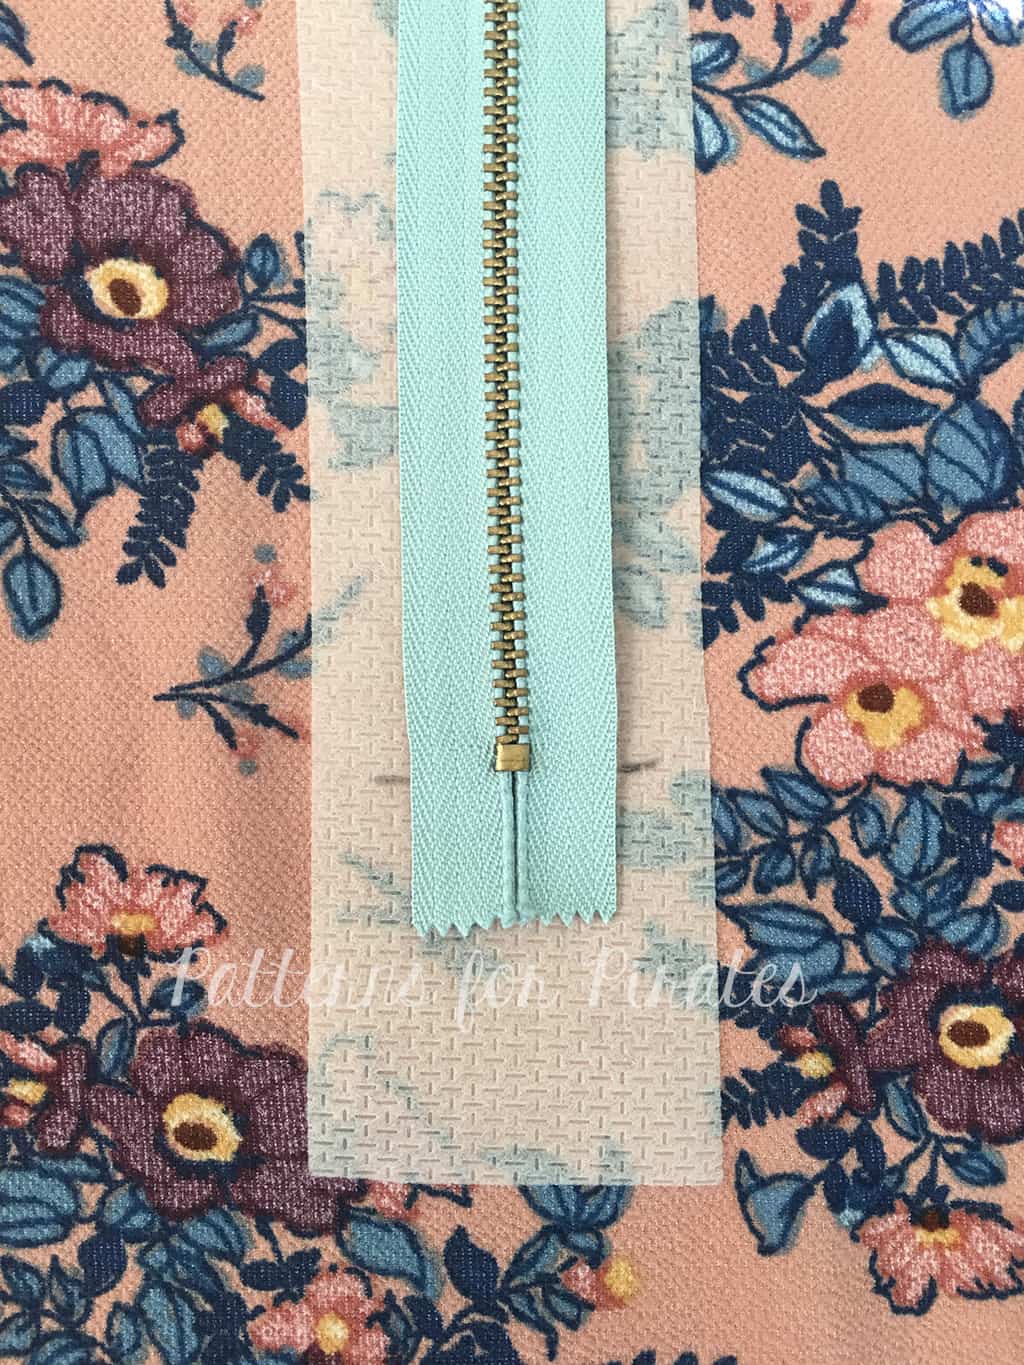
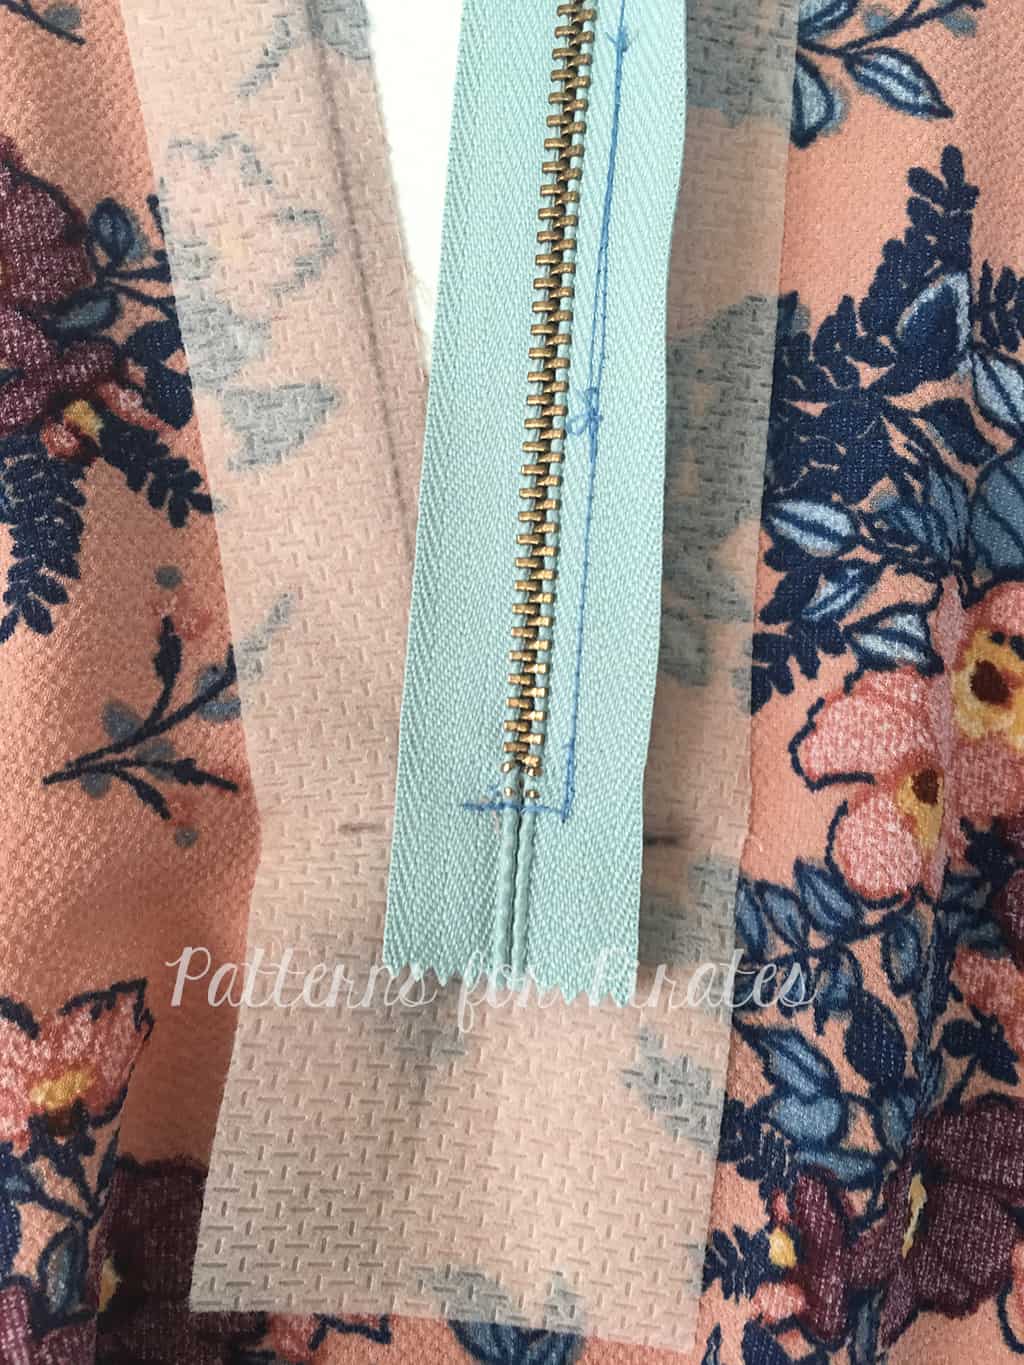
Mark the zipper stop placement on your interfacing.

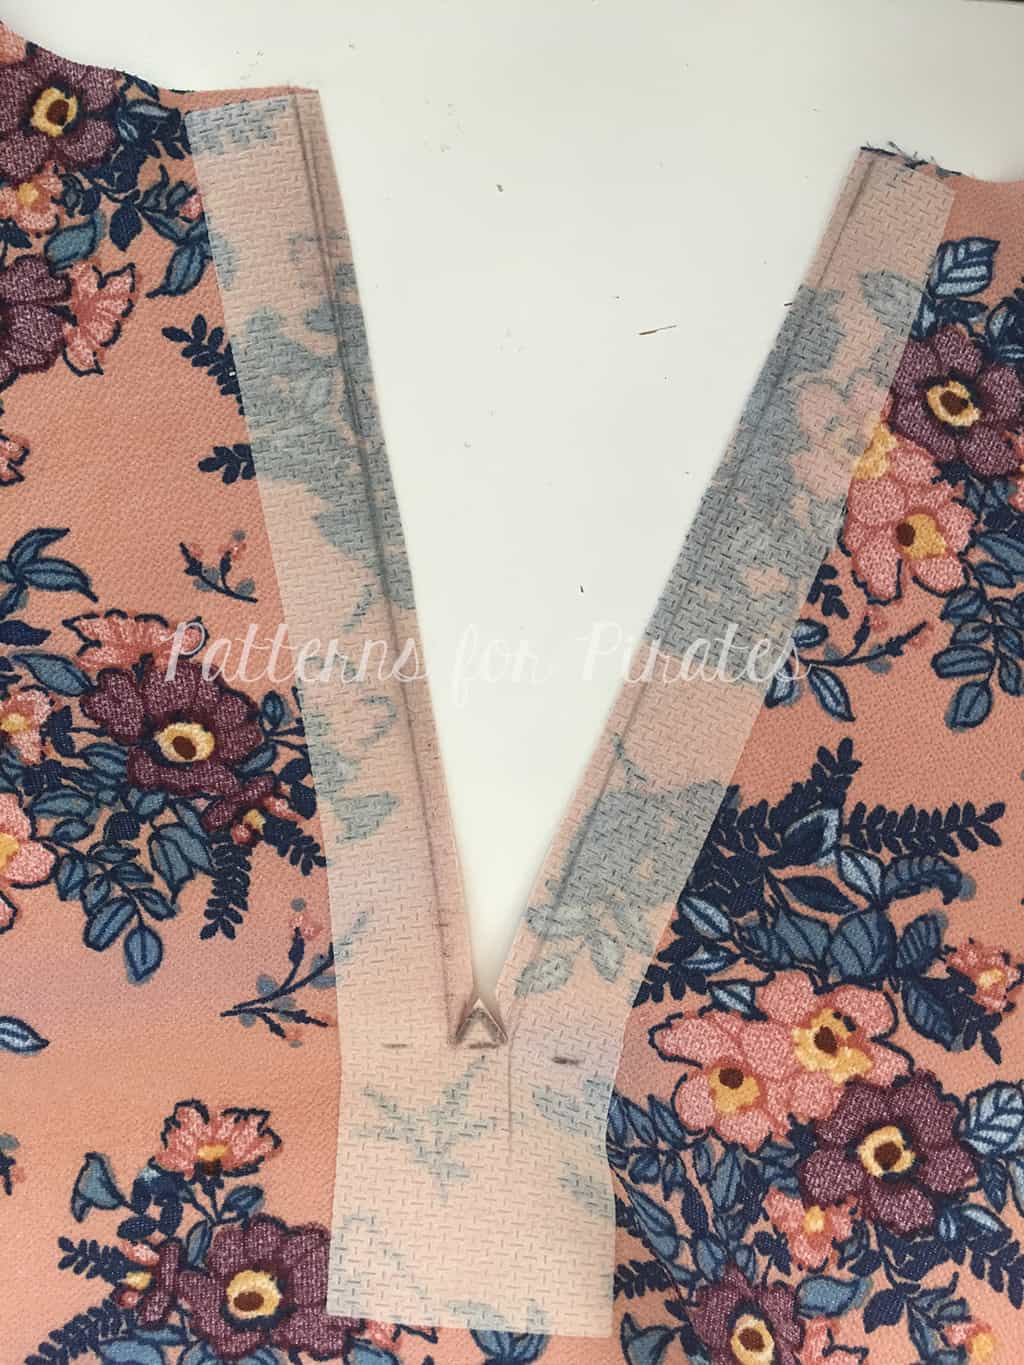
Draw a 1/2″ rectangle down the center of the front bodice. (this will be your stitch guide)
Cut down the center of the rectangle. Stopping just above the bottom, snip at a 45 degree angle to the corners.
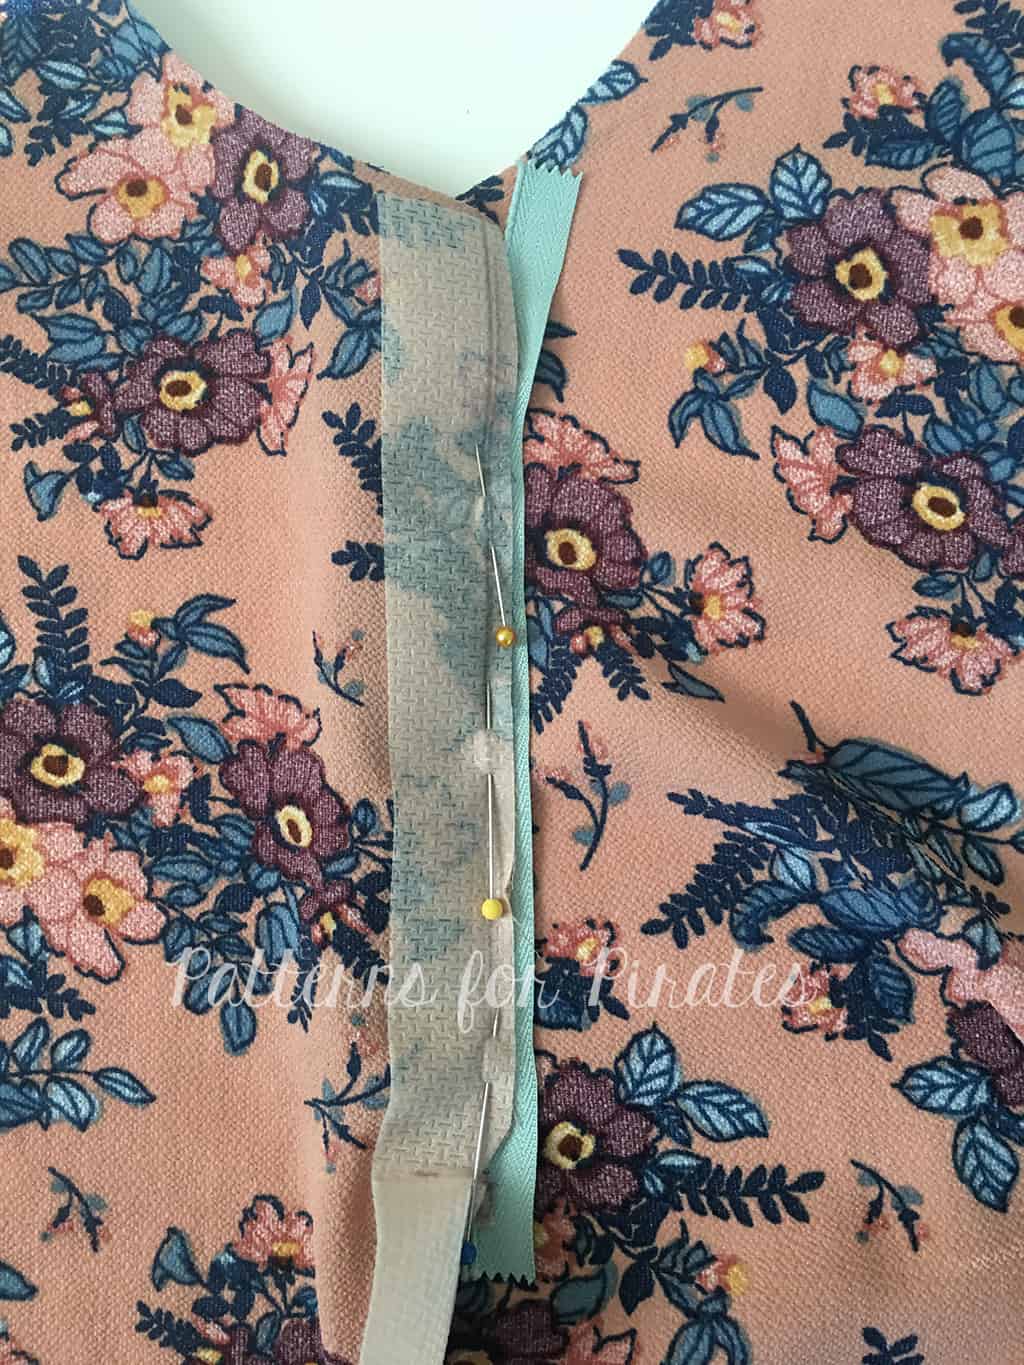
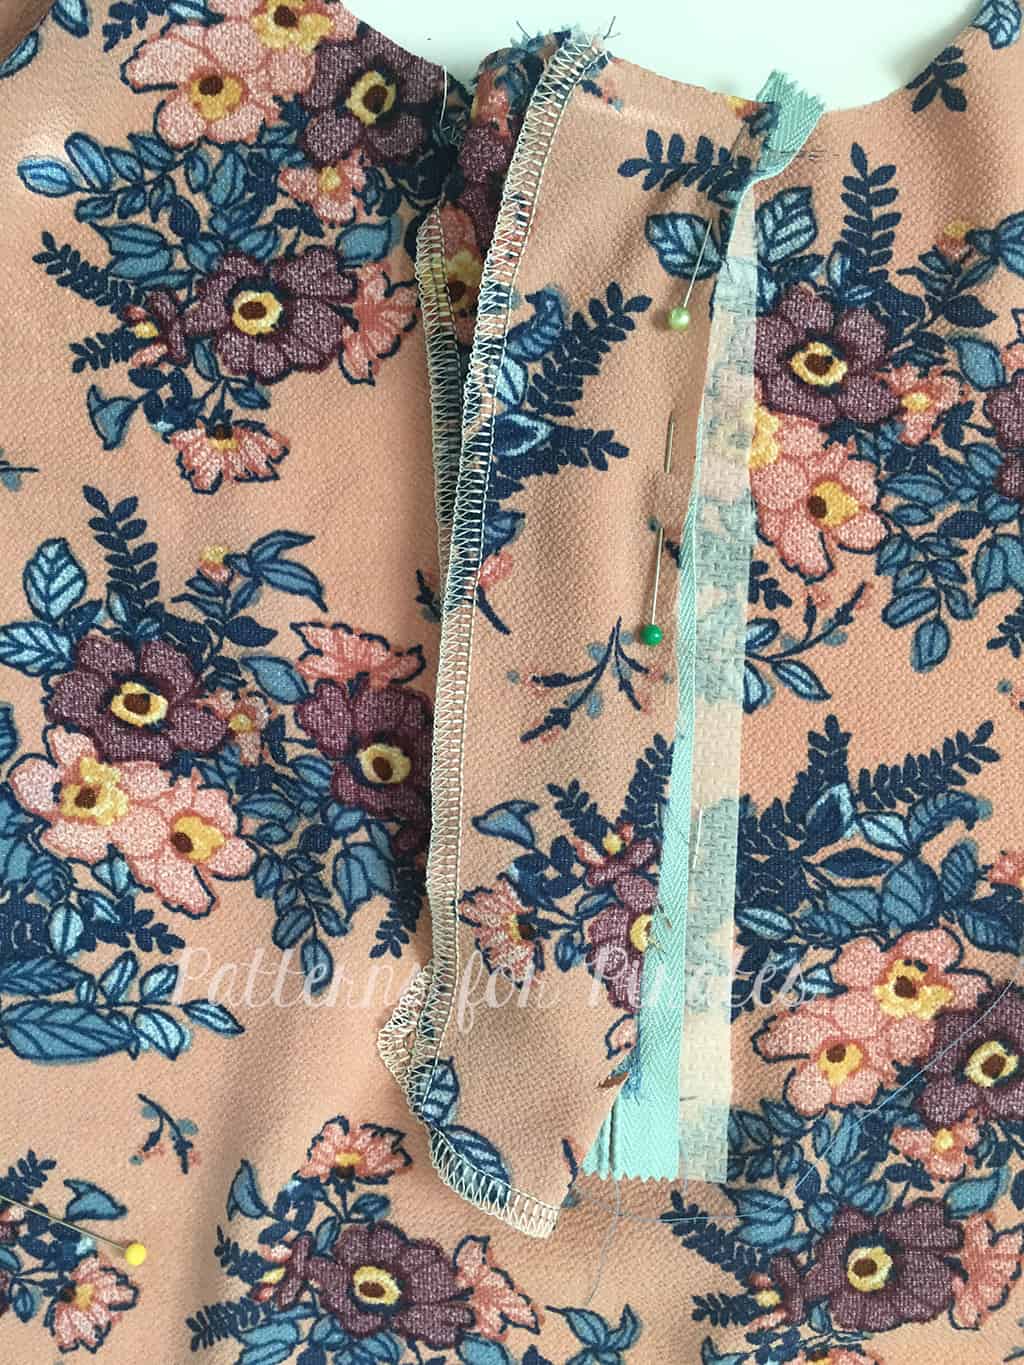
With right sides together, pin zipper in place.

The raw edge of your fabric should line up toward the center of the zipper tape.
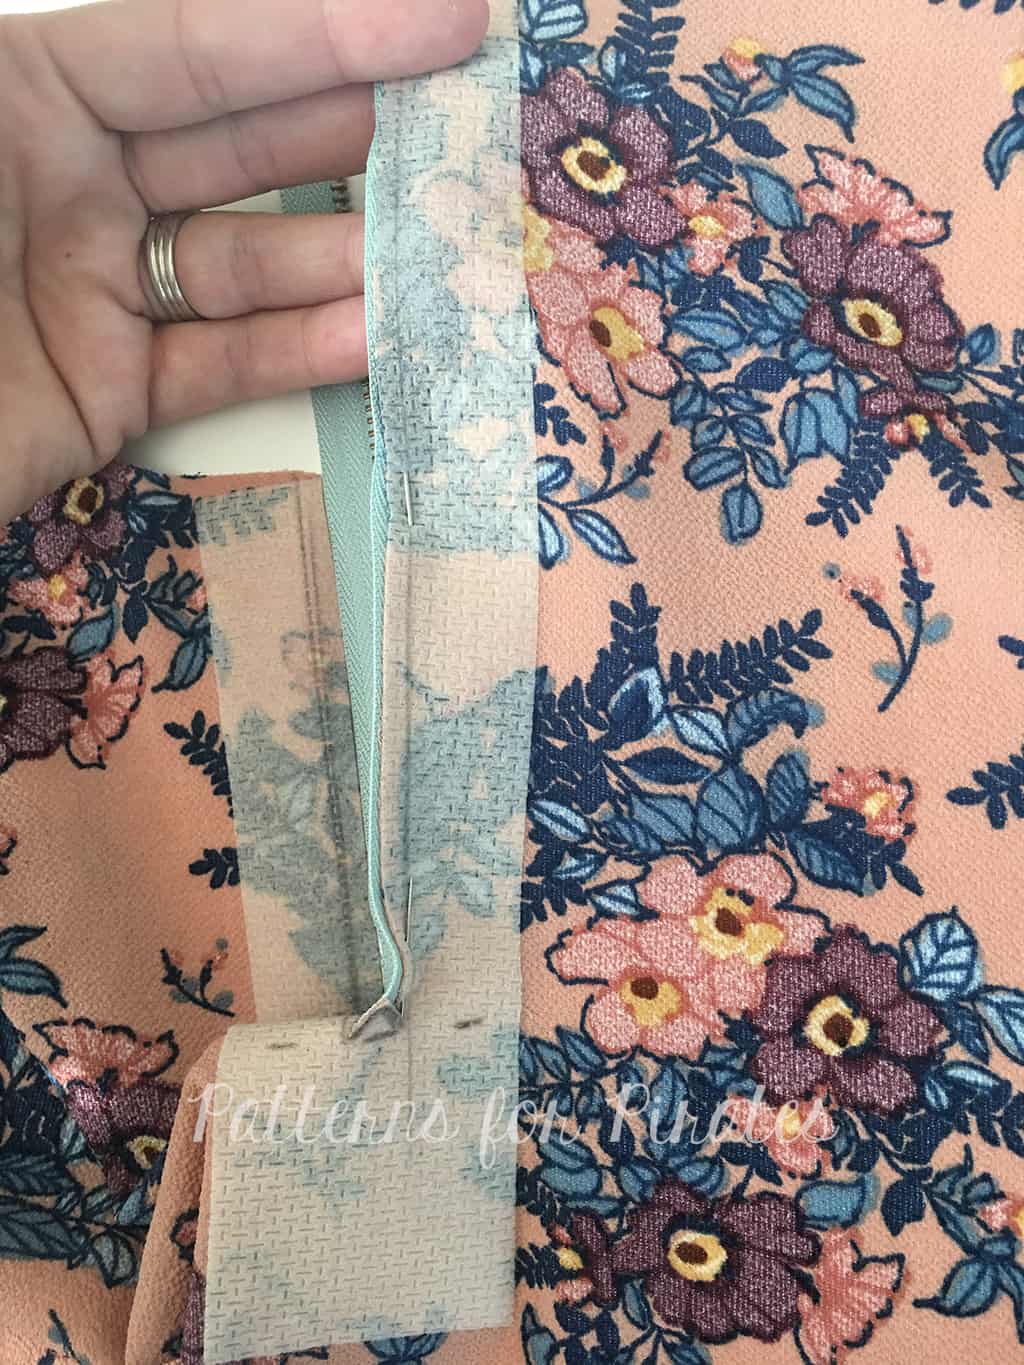
Be sure that your zipper stop is aligned with the bottom edge of your rectangle.
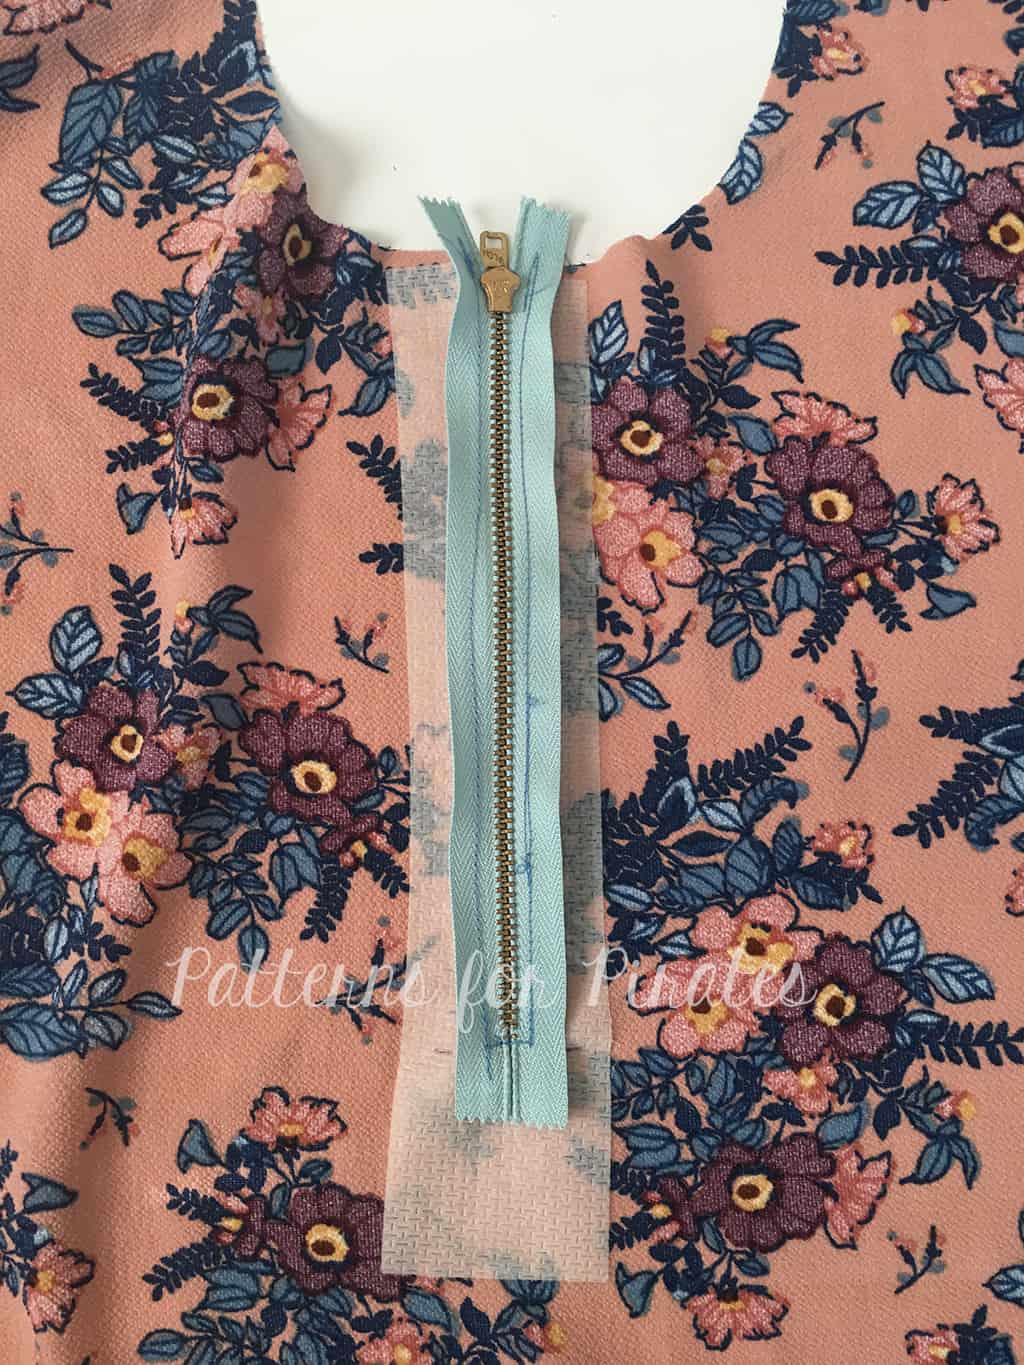
Stitch.

View from the front
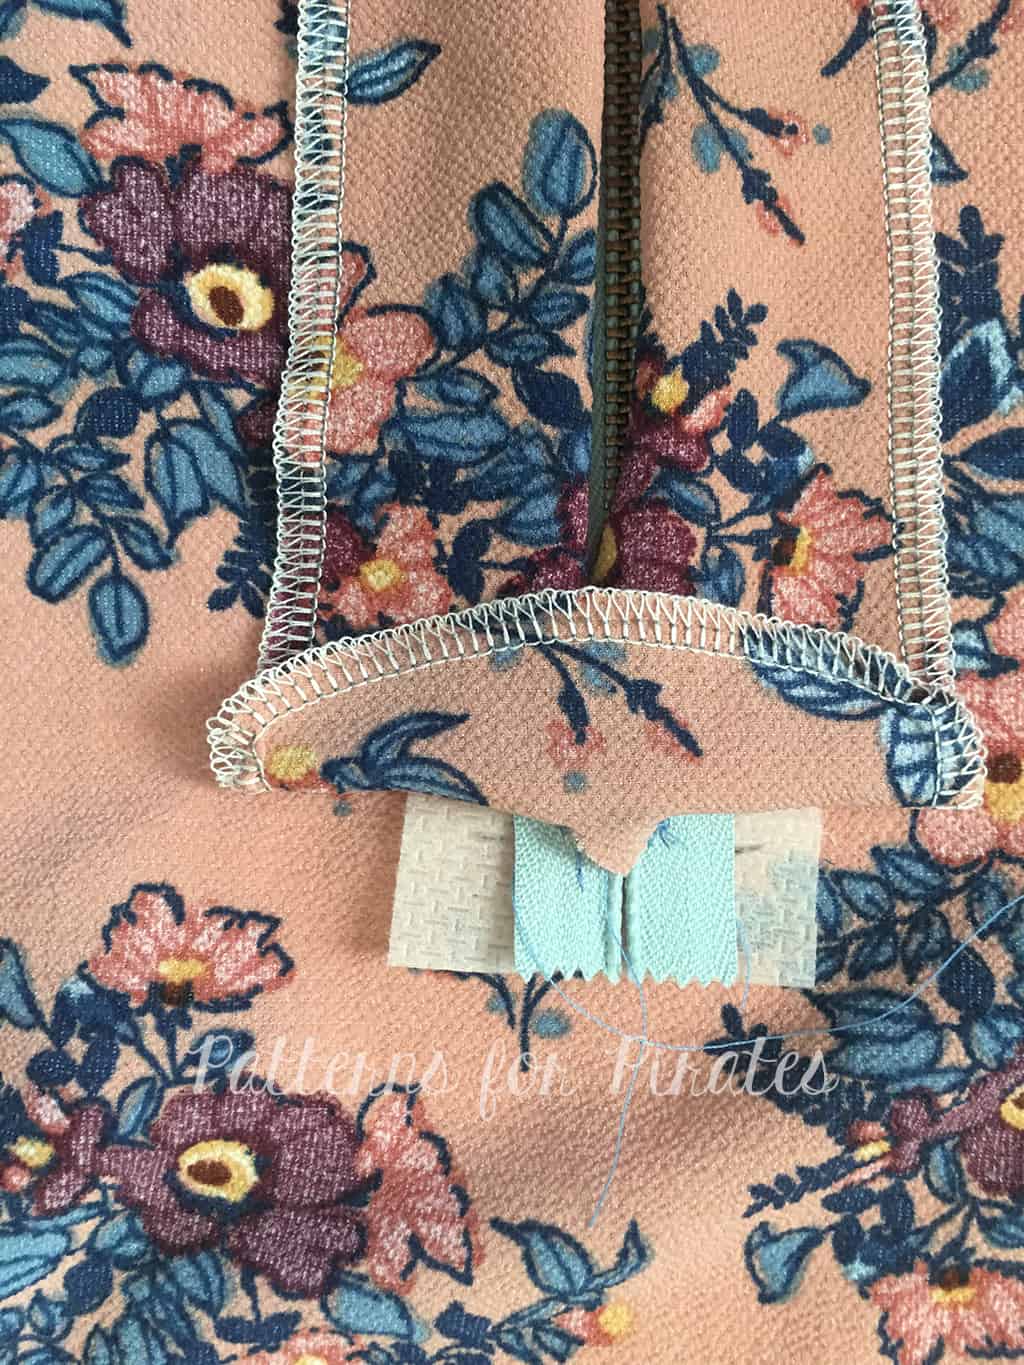
Flip notch upward and stitch.
View from back of zipper.

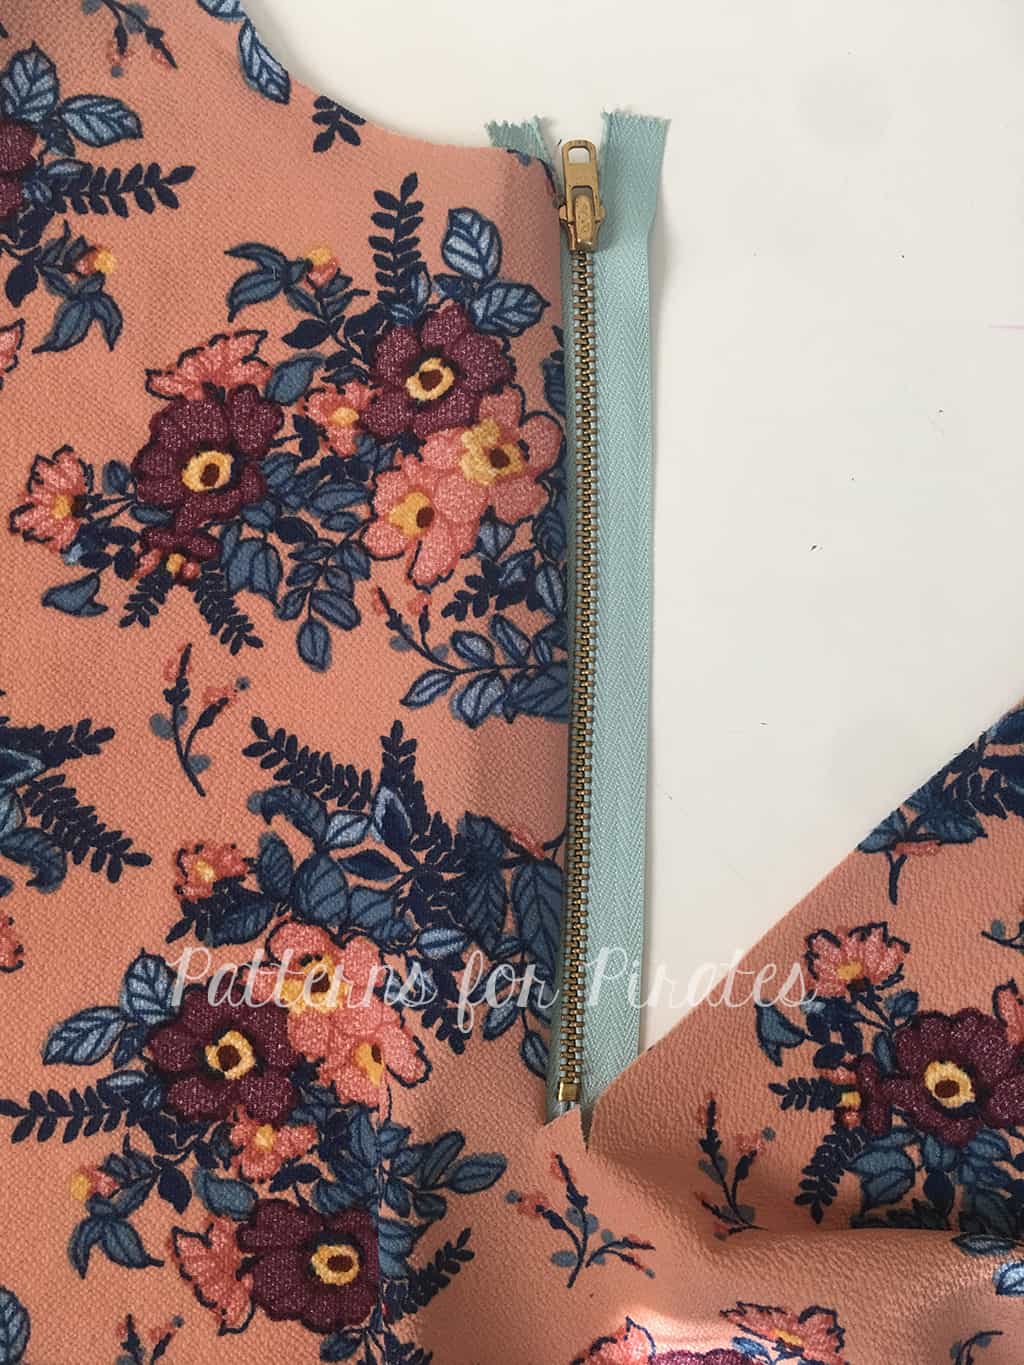
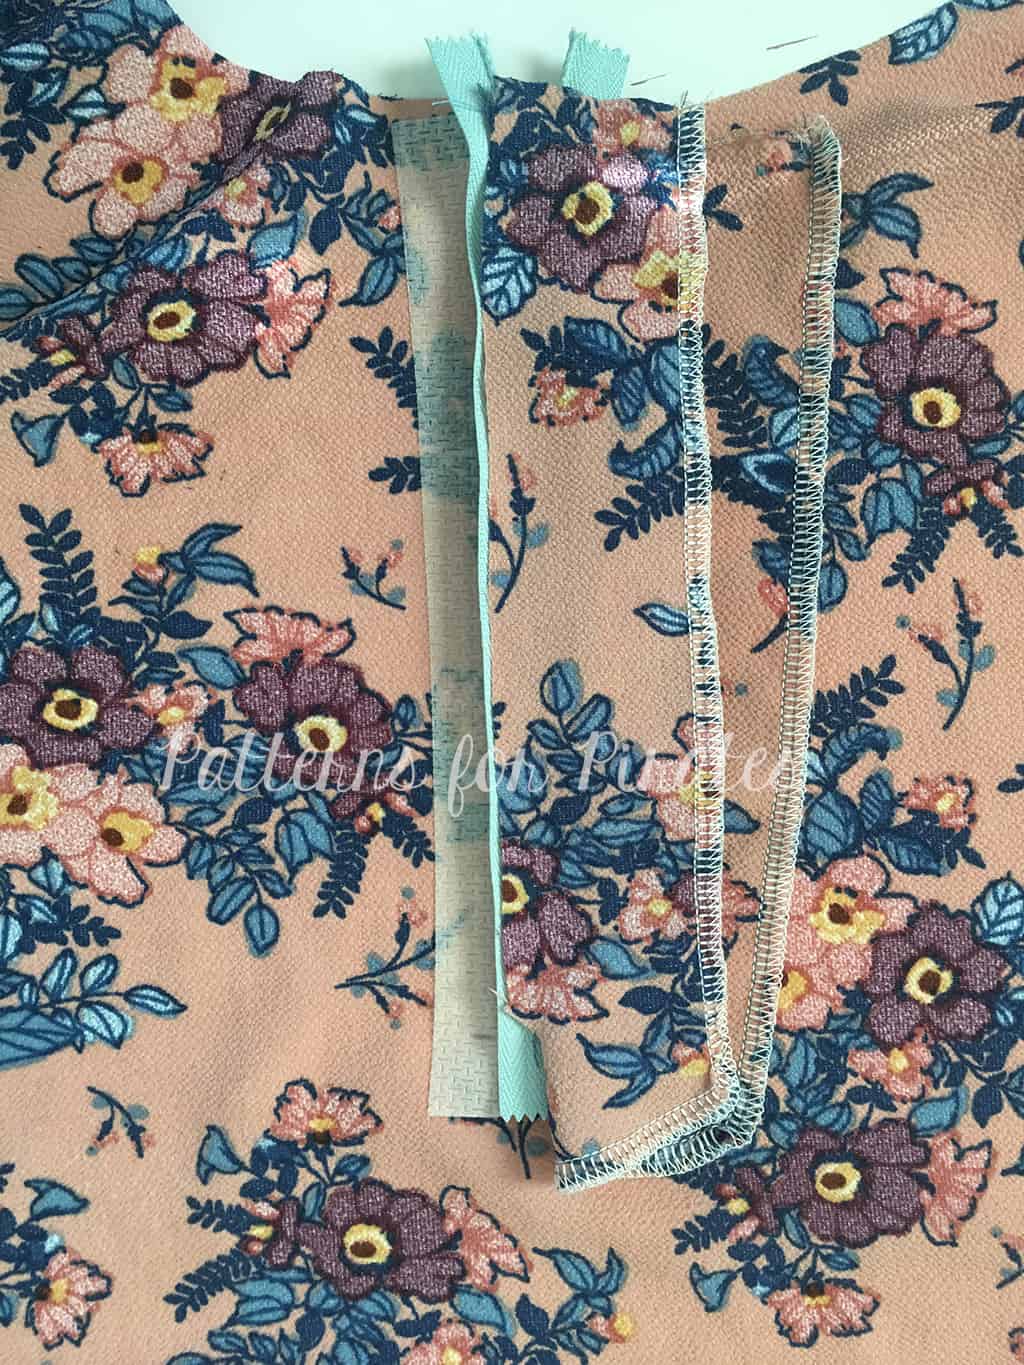
Repeat with opposite side. With right sides together, pin zipper to front bodice.
Stitch.
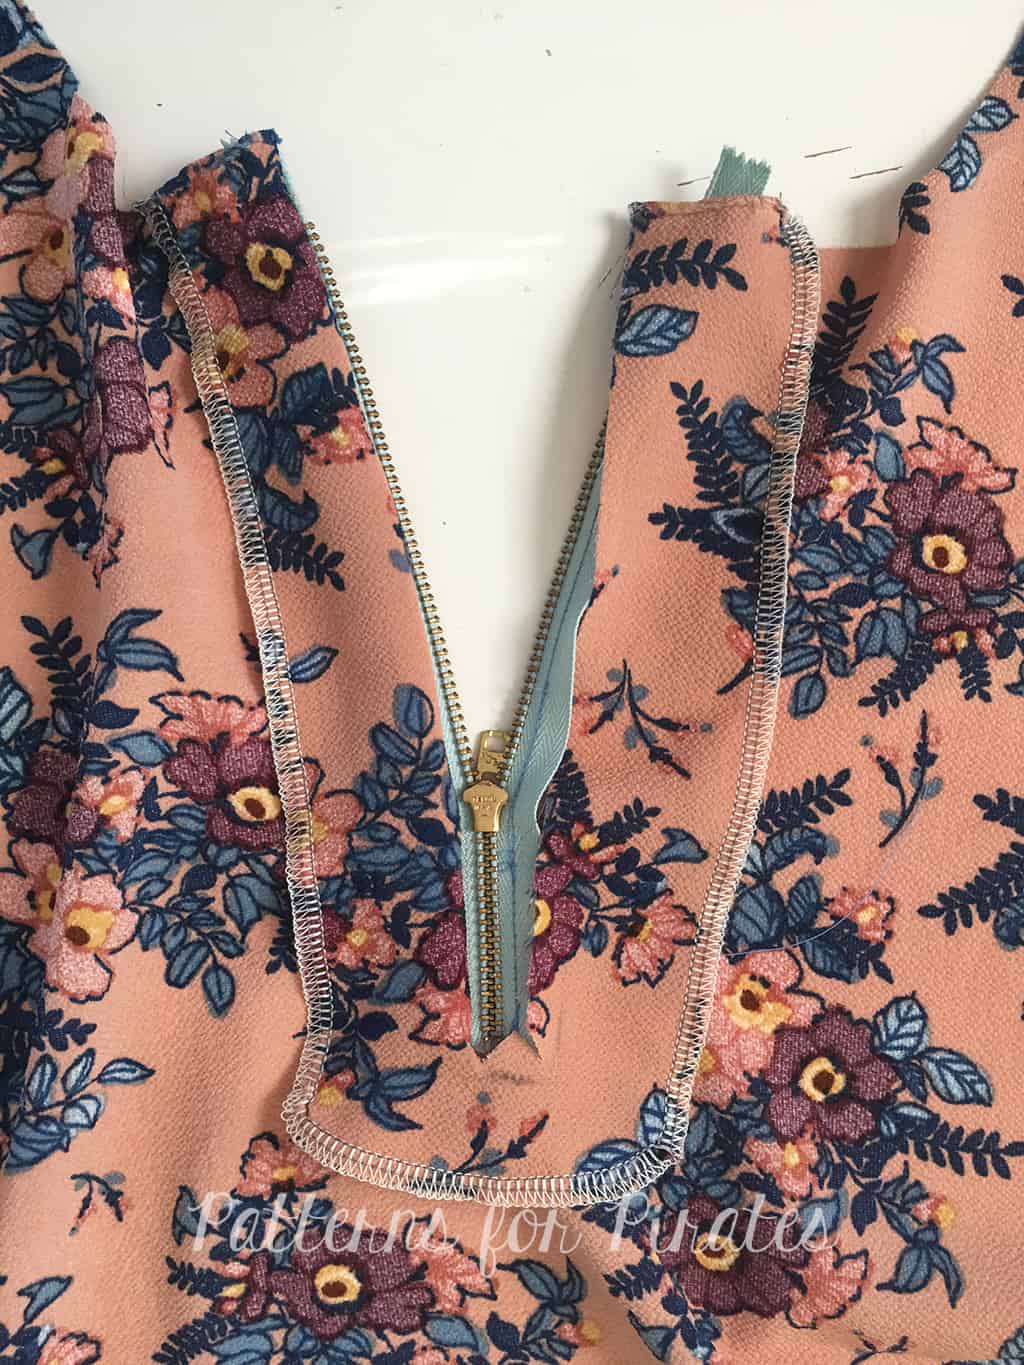
View from back of completed zipper.

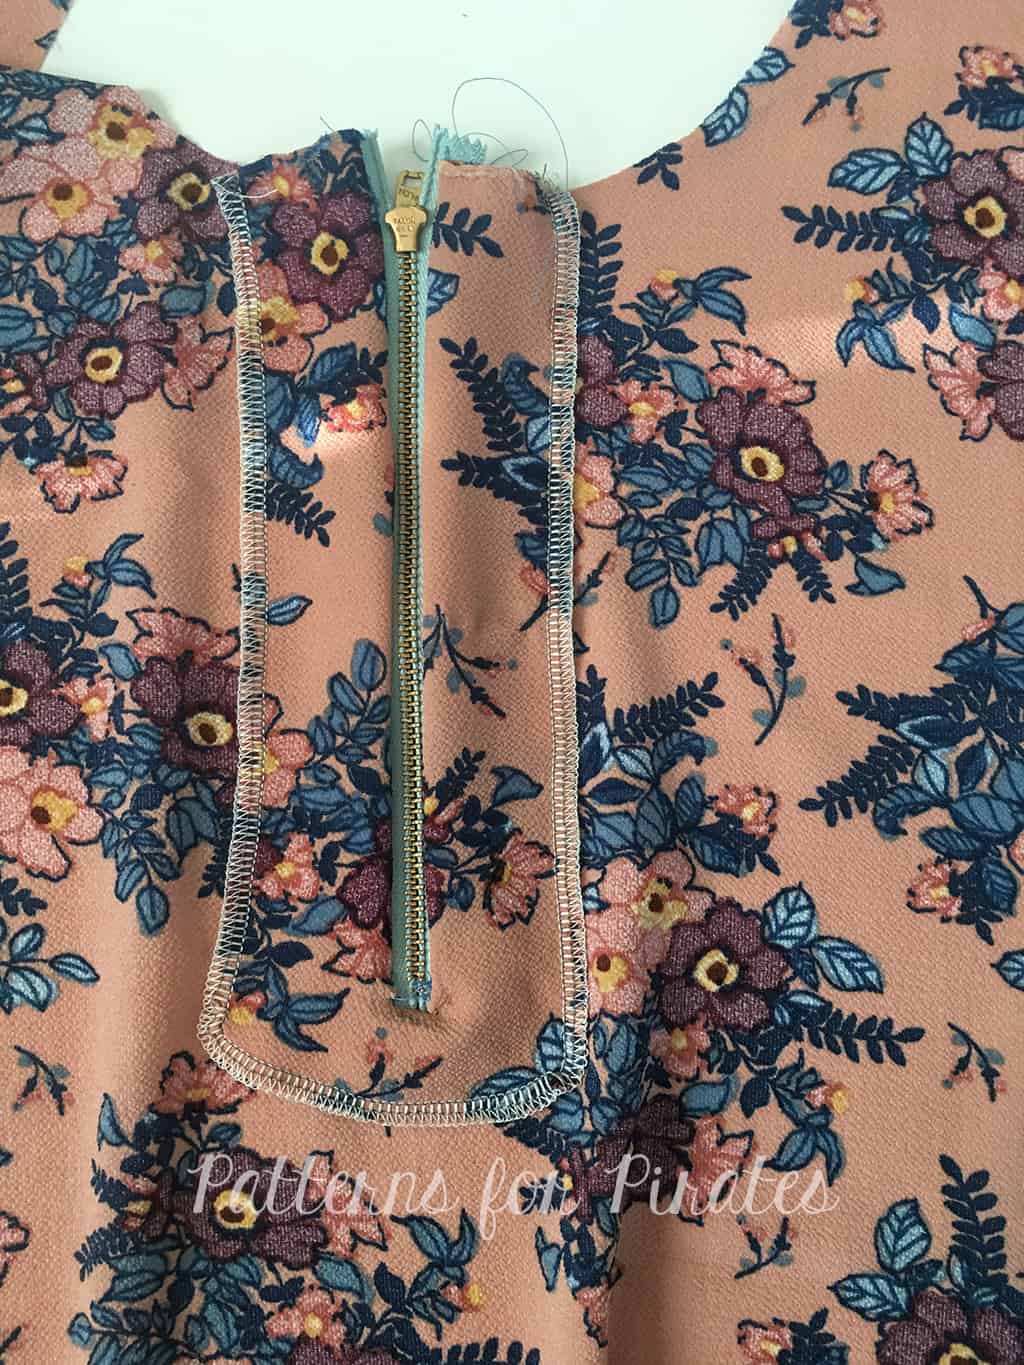
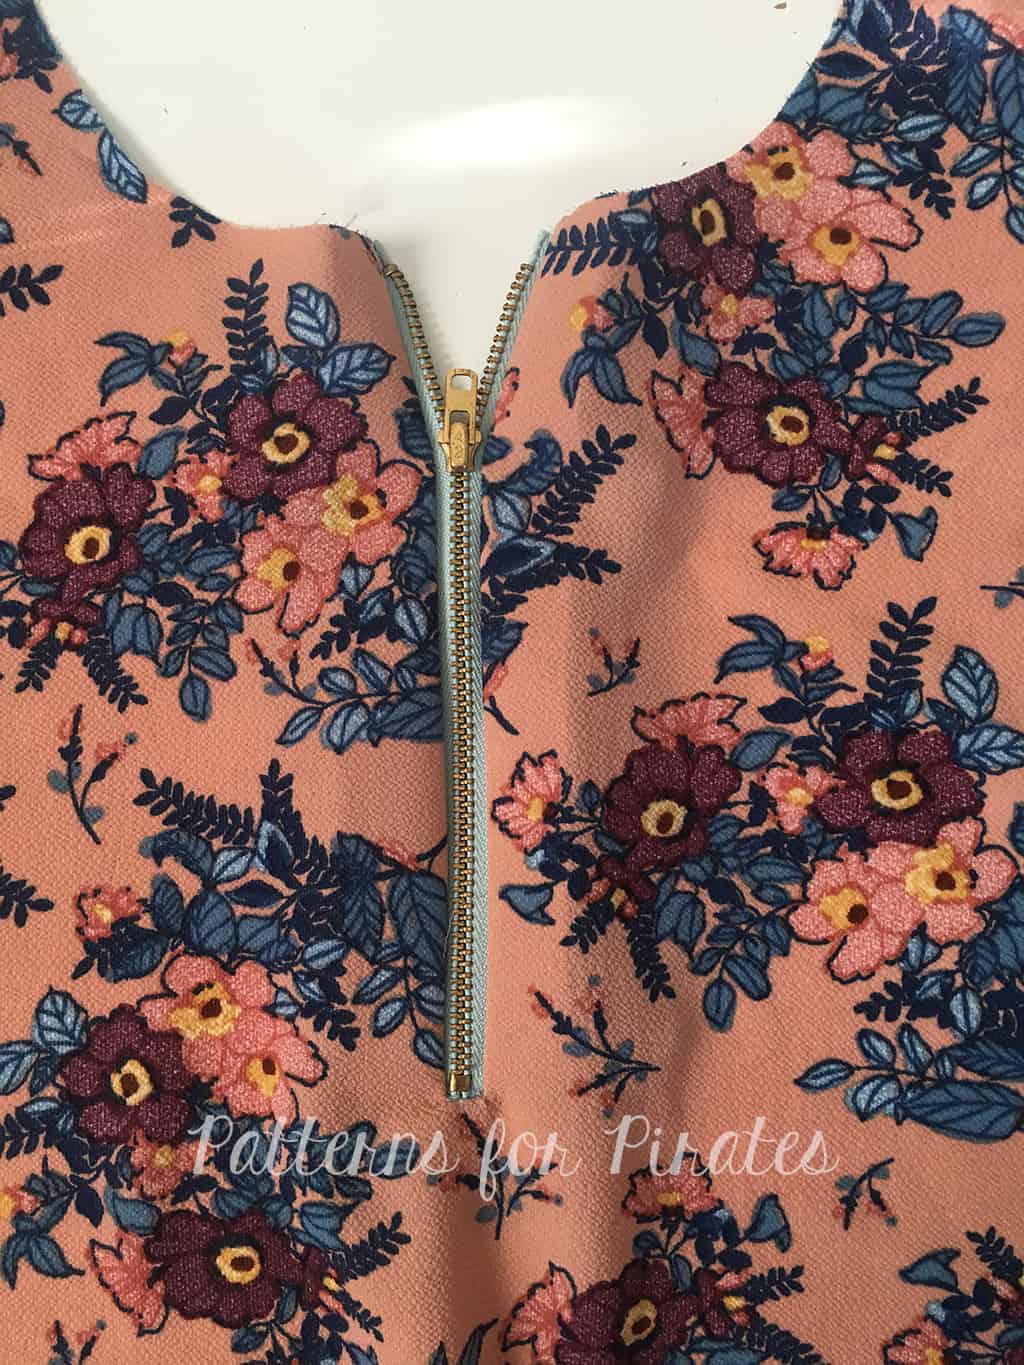
View from front. You can stop here and top-stitch if you do not mind the zipper showing inside your item. Proceed to next step if you want to enclose it.
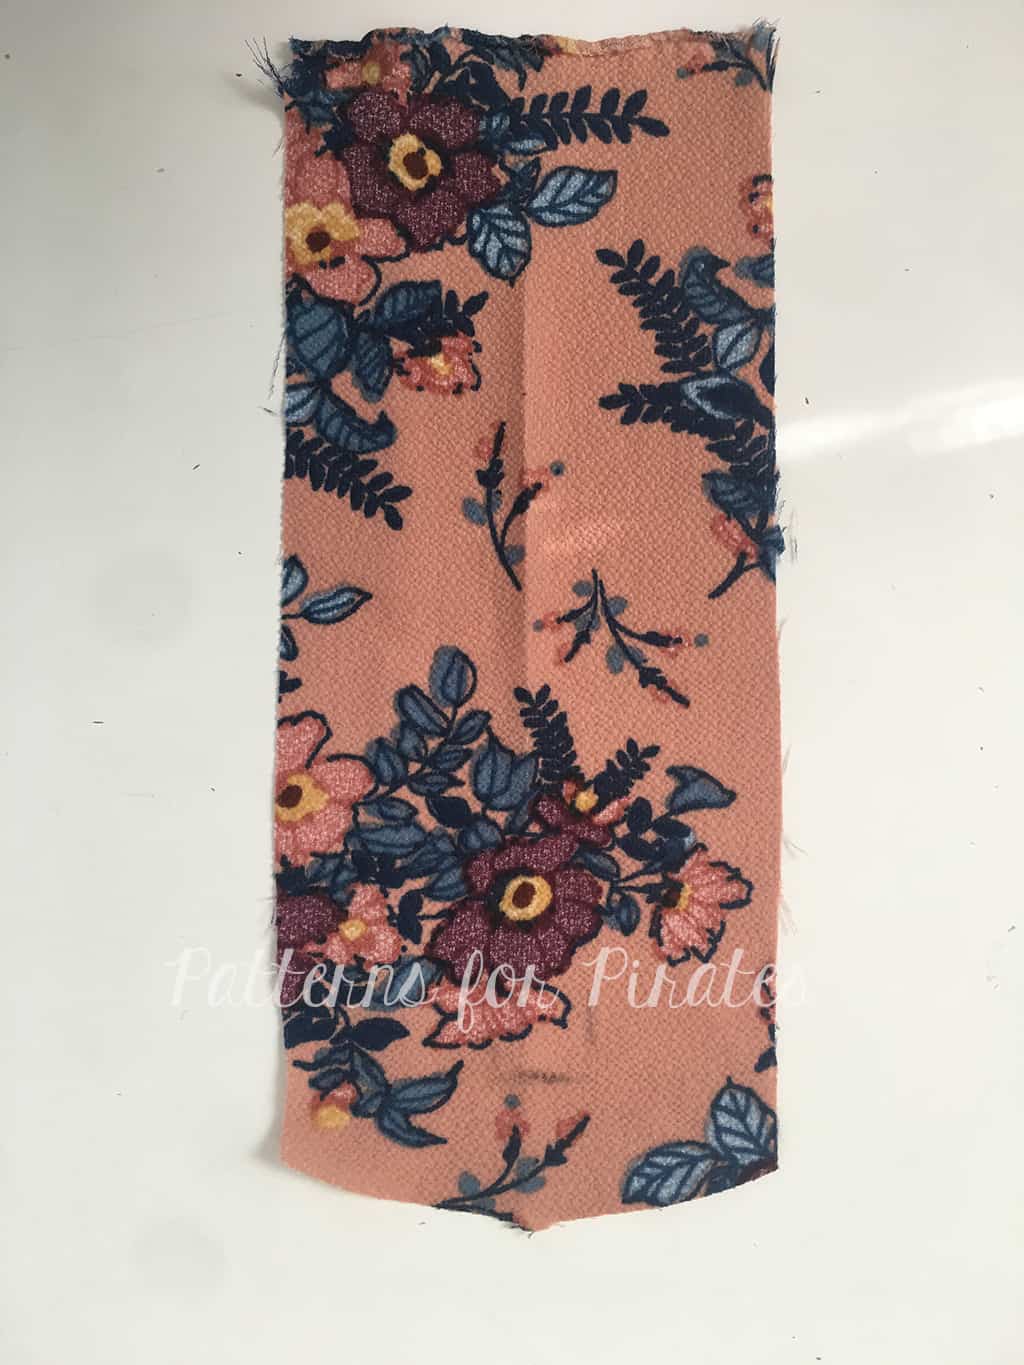
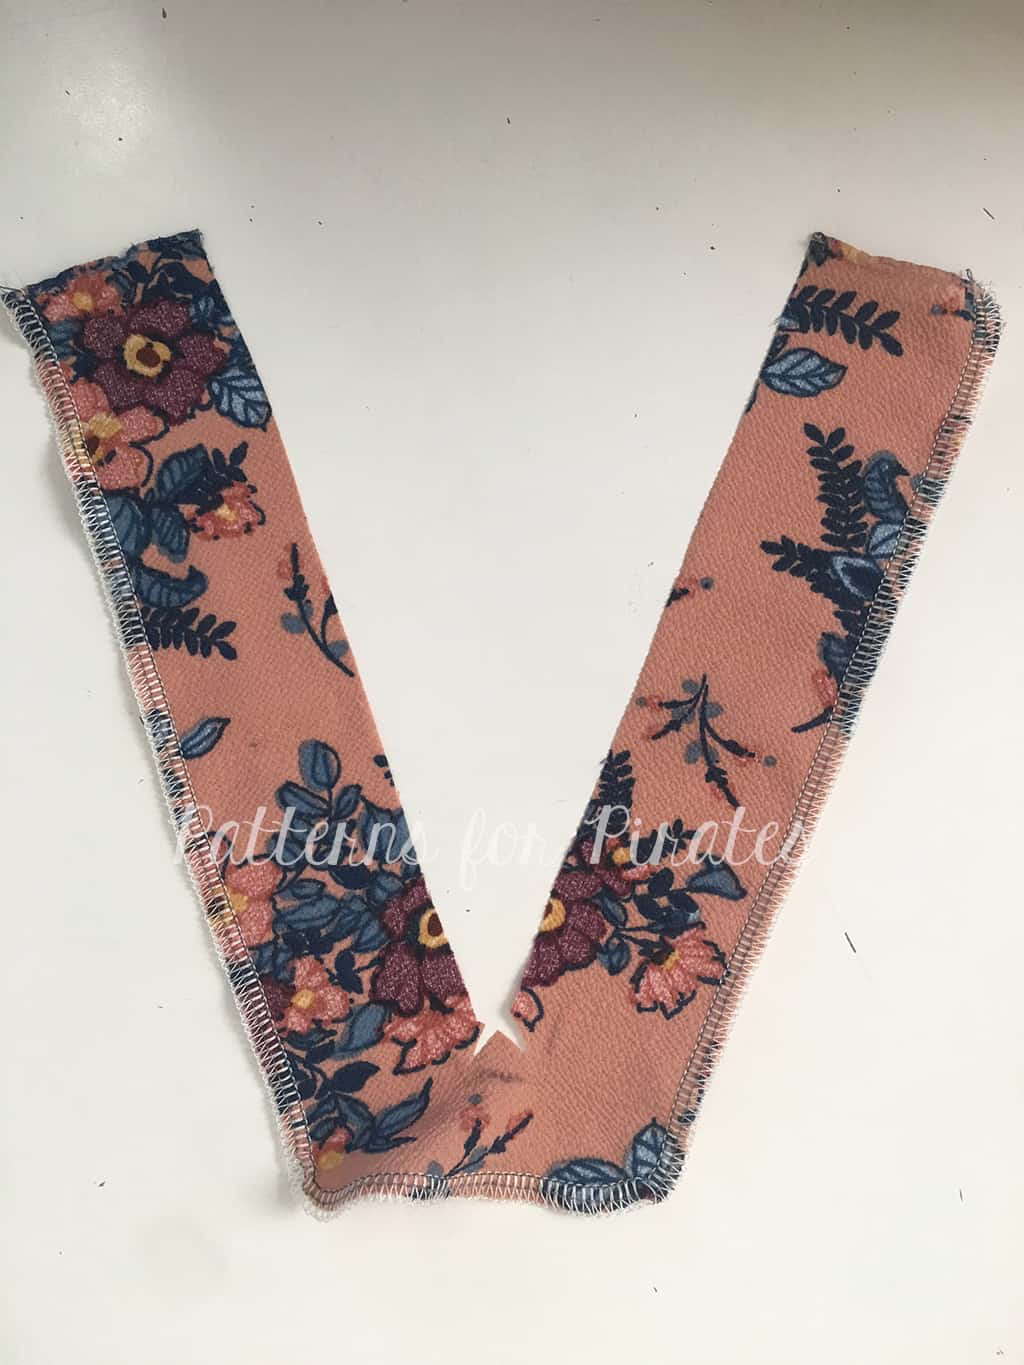
Cut a facing and transfer the markings as previously done in the first few steps.
Finish raw edges. Cut down the center of the facing and snip towards the corner at a 45 degree angle.

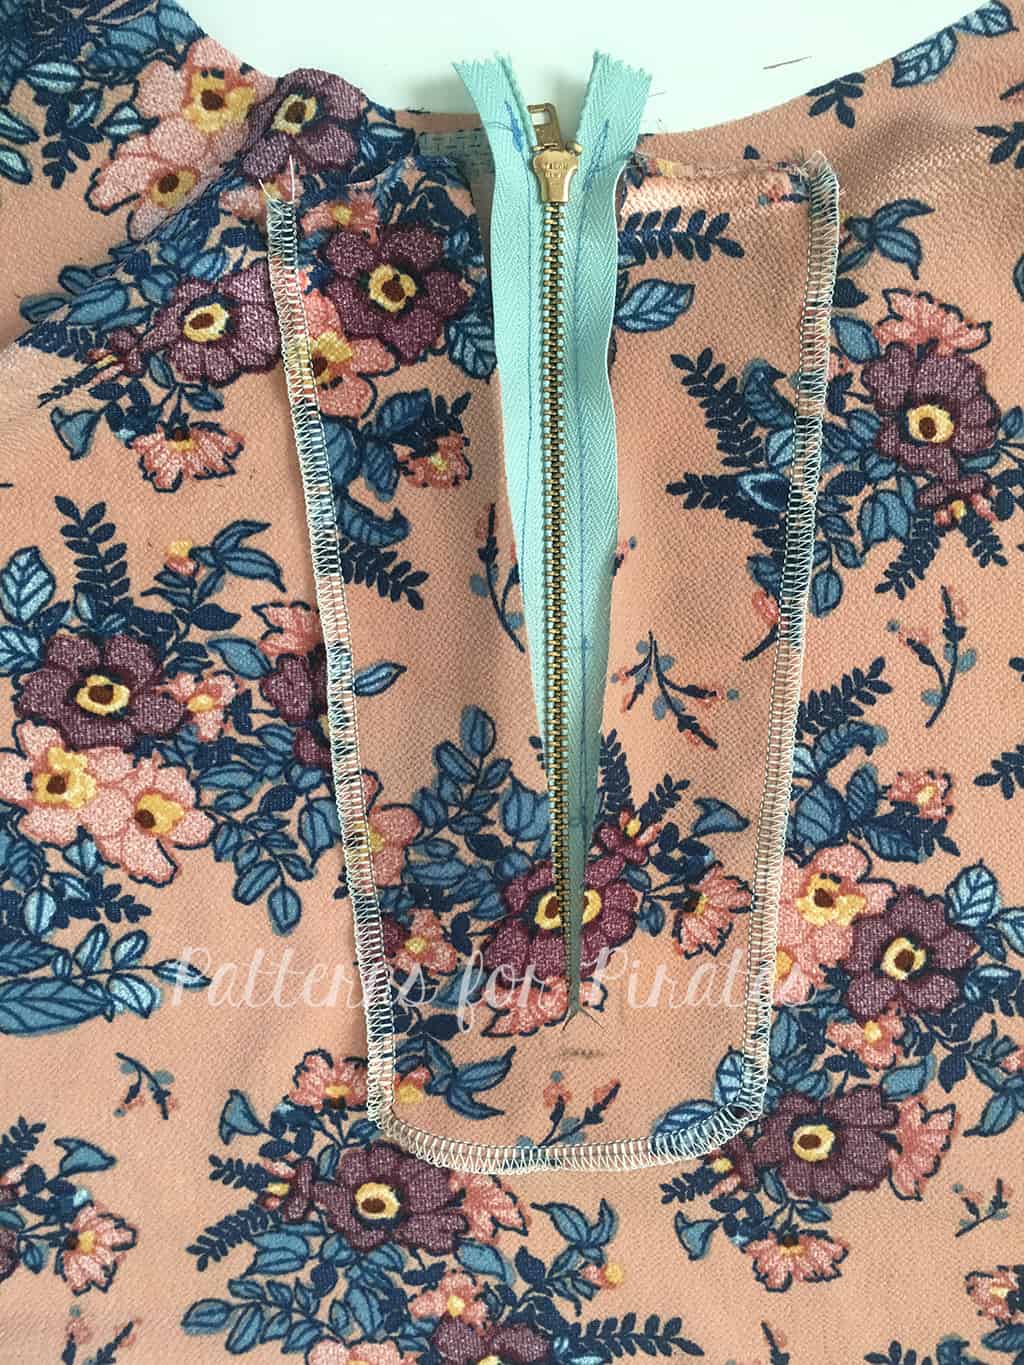
Lay the facing right side up on top of the wrong side of your zipper and front bodice.
Flip the facing toward the center so that the right side is now lined up with the wrong side of the zipper. Stitch.
View of left side of facing stitched.

Repeat on opposite side. Stitch.
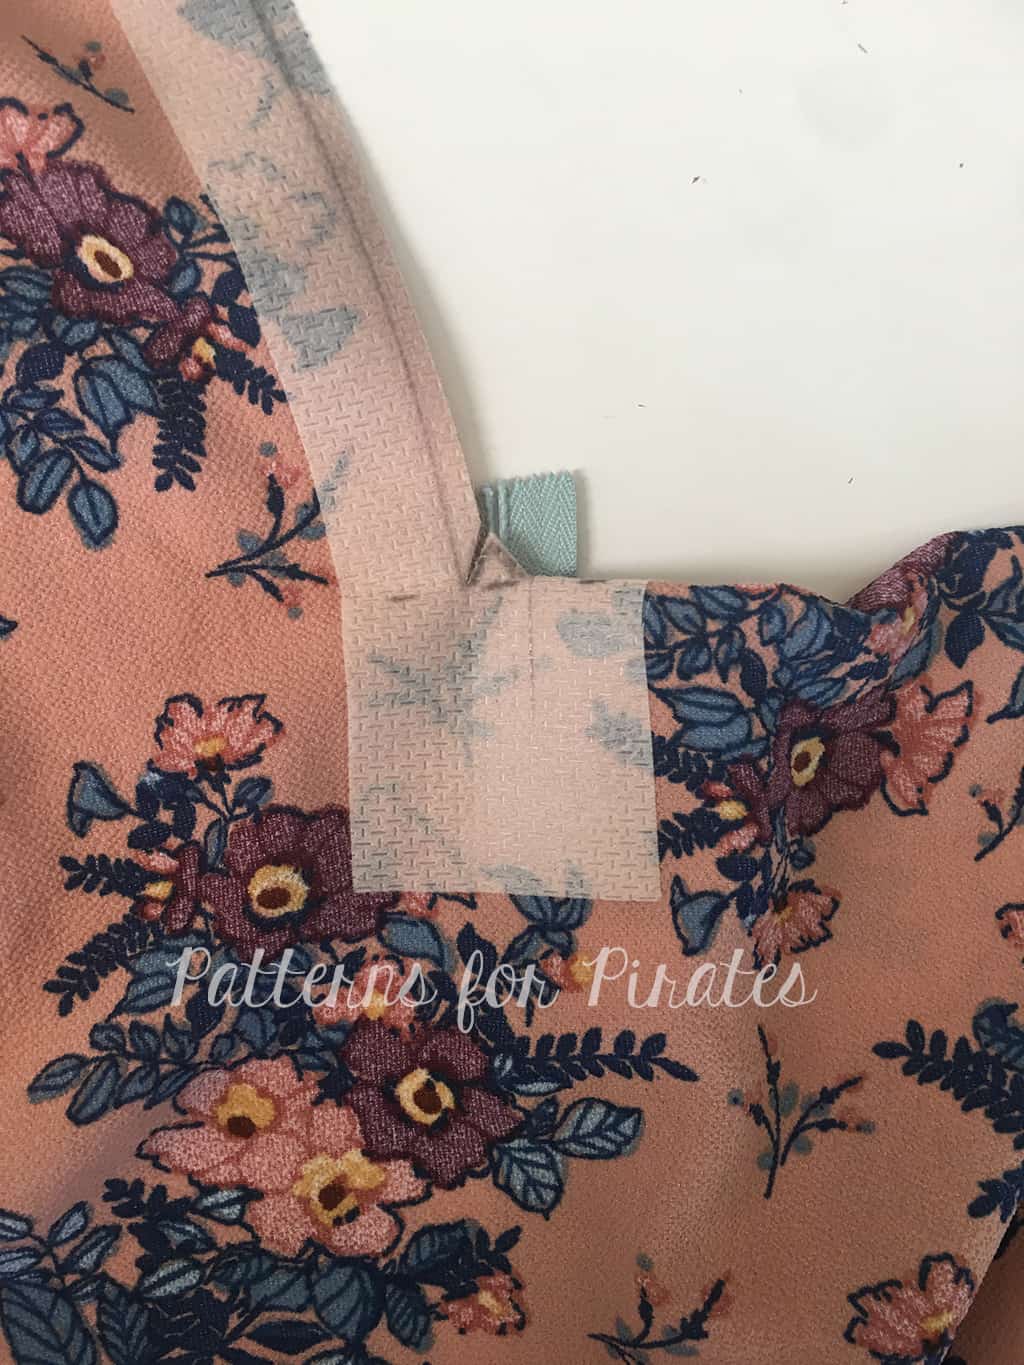
Pull notch down and stitch in place. (same as you previously did on your main front body).
View from back.

Top-stitch around zipper.
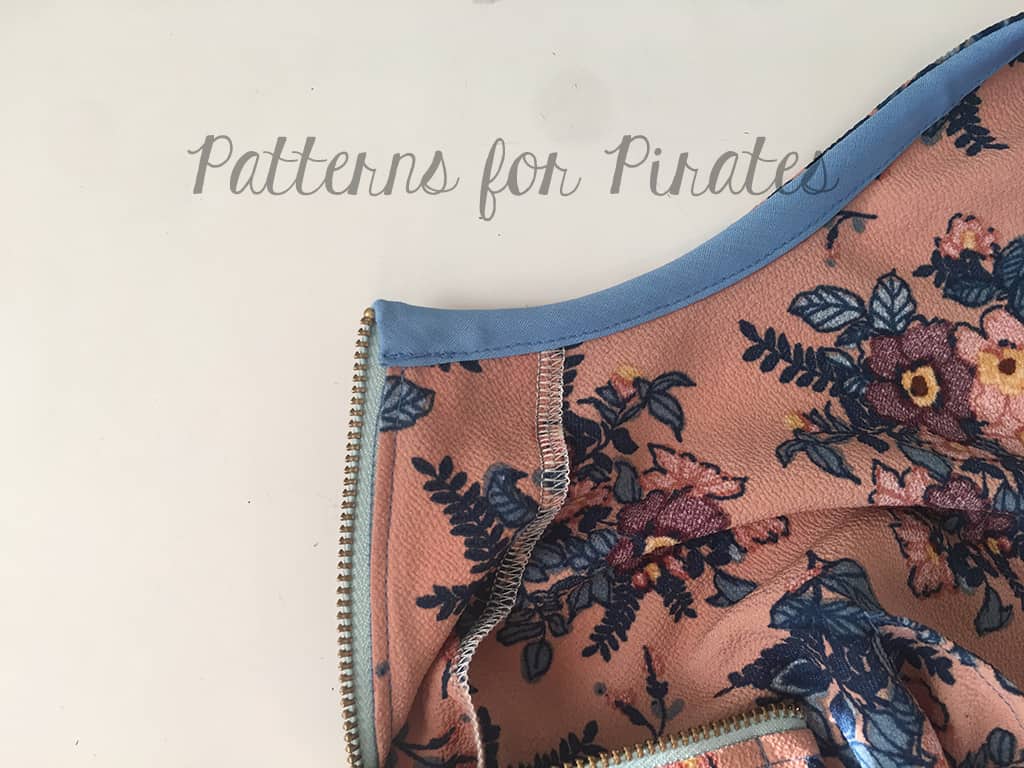
Finish neckline using single fold bias tape as shown in the tutorial.

There you have it!  I hope that wasn’t as difficult as it appears.  If you’re not sure you’re ready to tackle the zipper on your top, try it on a few scrap pieces first.  Practice makes perfect right?


We hope you enjoyed the hacks as much as we did.   Don’t forget to share your makes in the Facebook Group, we’d love to see them!  Happy Sewing!

Filed Under: Pattern Hacks, Pattern Release, Uncategorized Leave a Comment

P4P University – plackets

September 13, 2017


Ohhh….plackets! Why are you so scary? Today on the blog I’m hoping to change that perceptions of them and help you face this fear.

What are plackets?

Plackets are basically just a slit or an opening in the fabric that allows for garments to be easily put on or taken off. Sometimes plackets are purely decorative. You can find them on sleeves, on pants, back of skirts and neckline. You can have a placket on the back of the neckline or on the front. The most common neckline front plackets are for Henley or Polo style shirts. On this blog I will be using the new Brunch Blouse placket but you can certainly utilize the same principles for a Yo Ho Henley or a Women or Men Henley shirt too.


Interfacing? Yay or nay?

My first tip/recommendation is to always use light weight interfacing for the placket piece. Simply fuse a piece of interfacing to the wrong side of the pattern piece. You can get away with not using any if you’re making a woven pattern but even so, the result will be so much better if you do add it. Interfacing will help stabilize your piece which in turn will make it a lot easier to sew. ALWAYS use interfacing for knit plackets!

Mark and press!

As you can see in the video above, I use a tailor chalk to mark the pressing and sewing lines on the back of the placket piece. You can use a soluble fabric pen or a fabric marker too.

If you have a tailor clapper now would be a good time to use it. It will defiantly come in handy and help keep those pressing marks firm. Spray starch will help too!

Sew slowly!

Make sure you pin a lot and catch any notches that need to be enclosed! This may be the most tedious part of adding a front neckline placket so it is well worth paying extra attention and sewing slowly.

Enjoy the fruits of your labor! 🙂

Now that you took the time to create the perfect placket, show it off! Be proud of your achievement and don’t let sewing techniques intimidate you! Speaking of showing off…don’t forget to brag about your Henleys and Brunch Blouses in the P4P group.


Filed Under: P4P University, Sewing Techniques, Uncategorized 4 Comments

Choker Neckline Hack

August 21, 2017


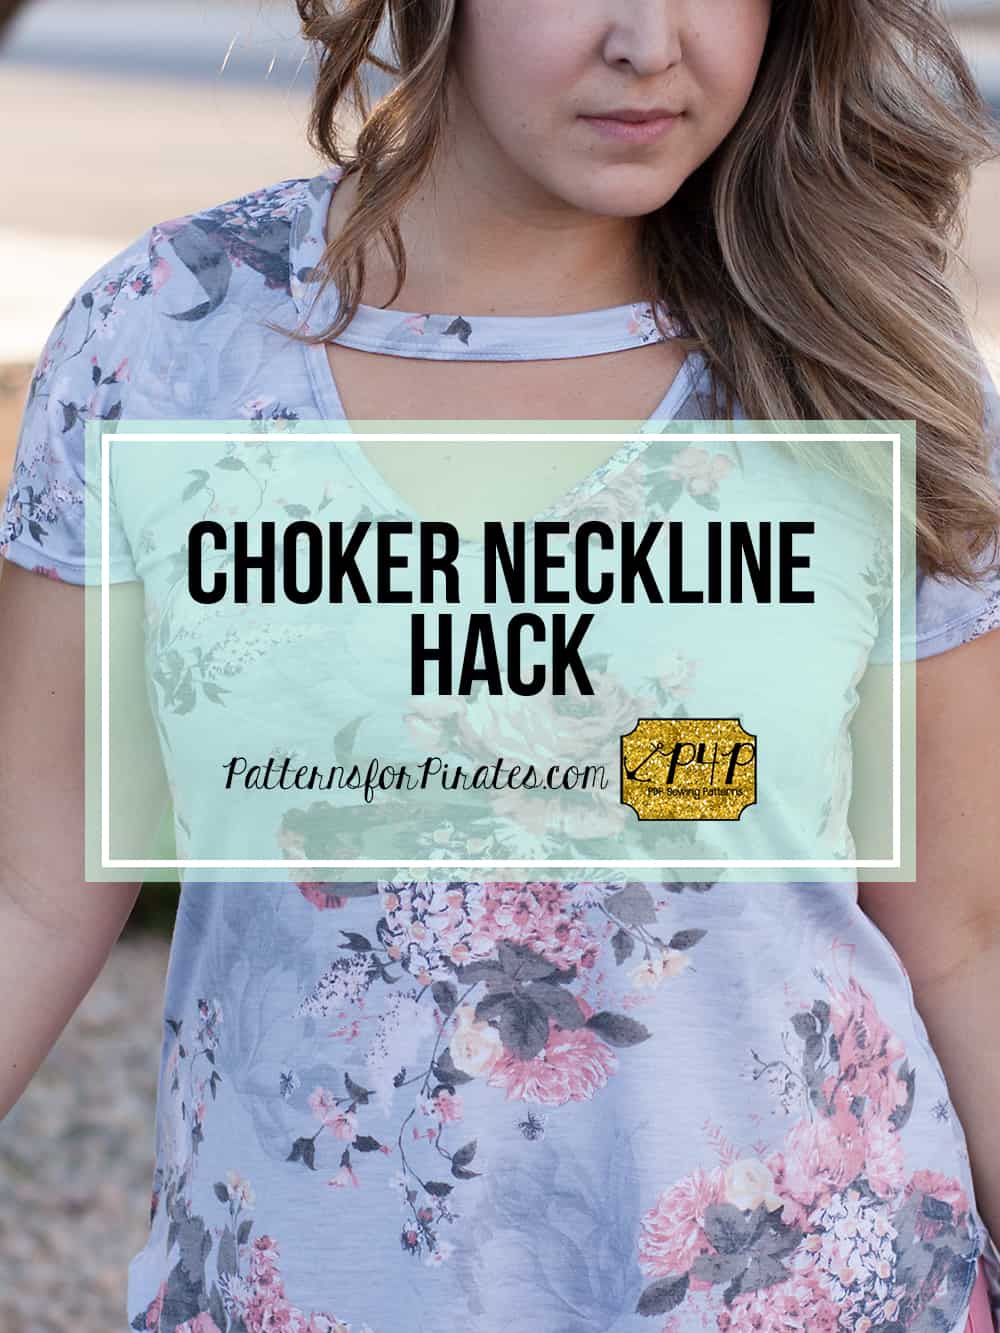
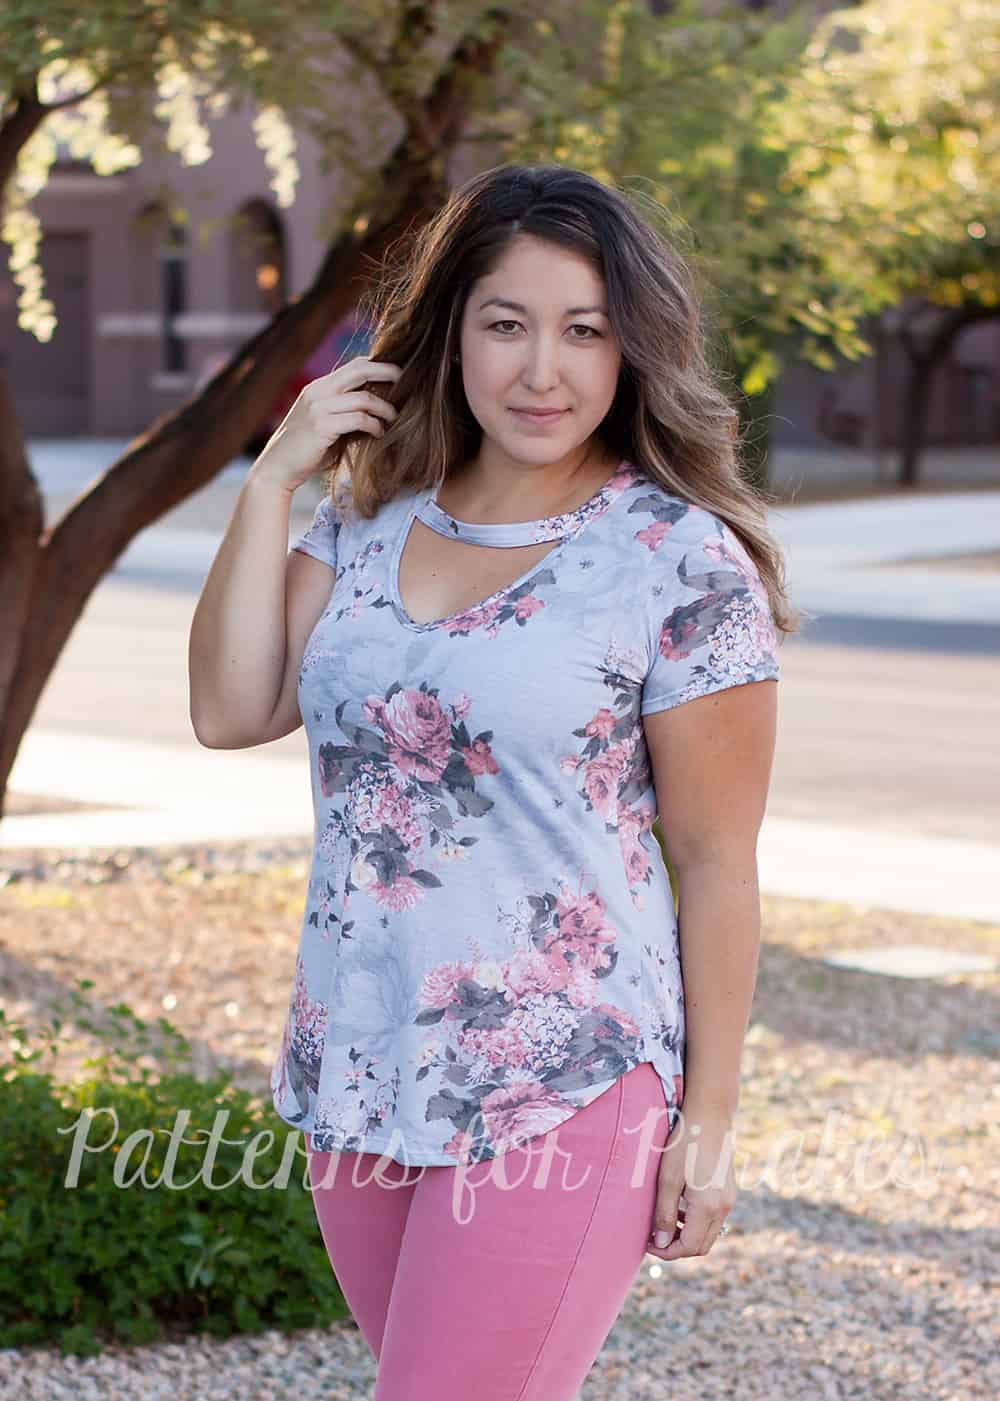
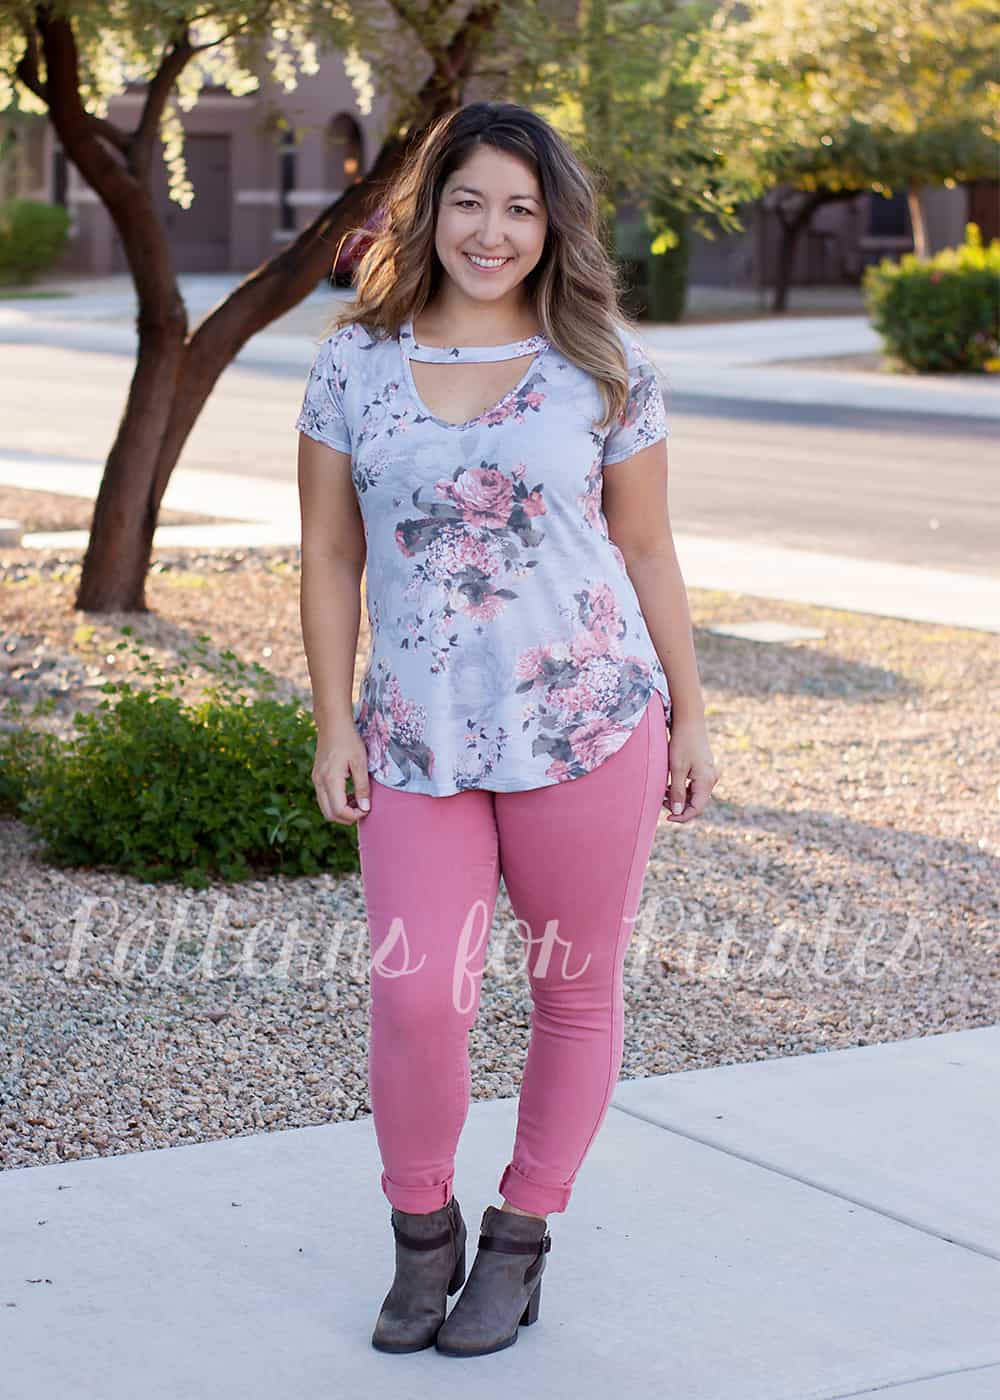
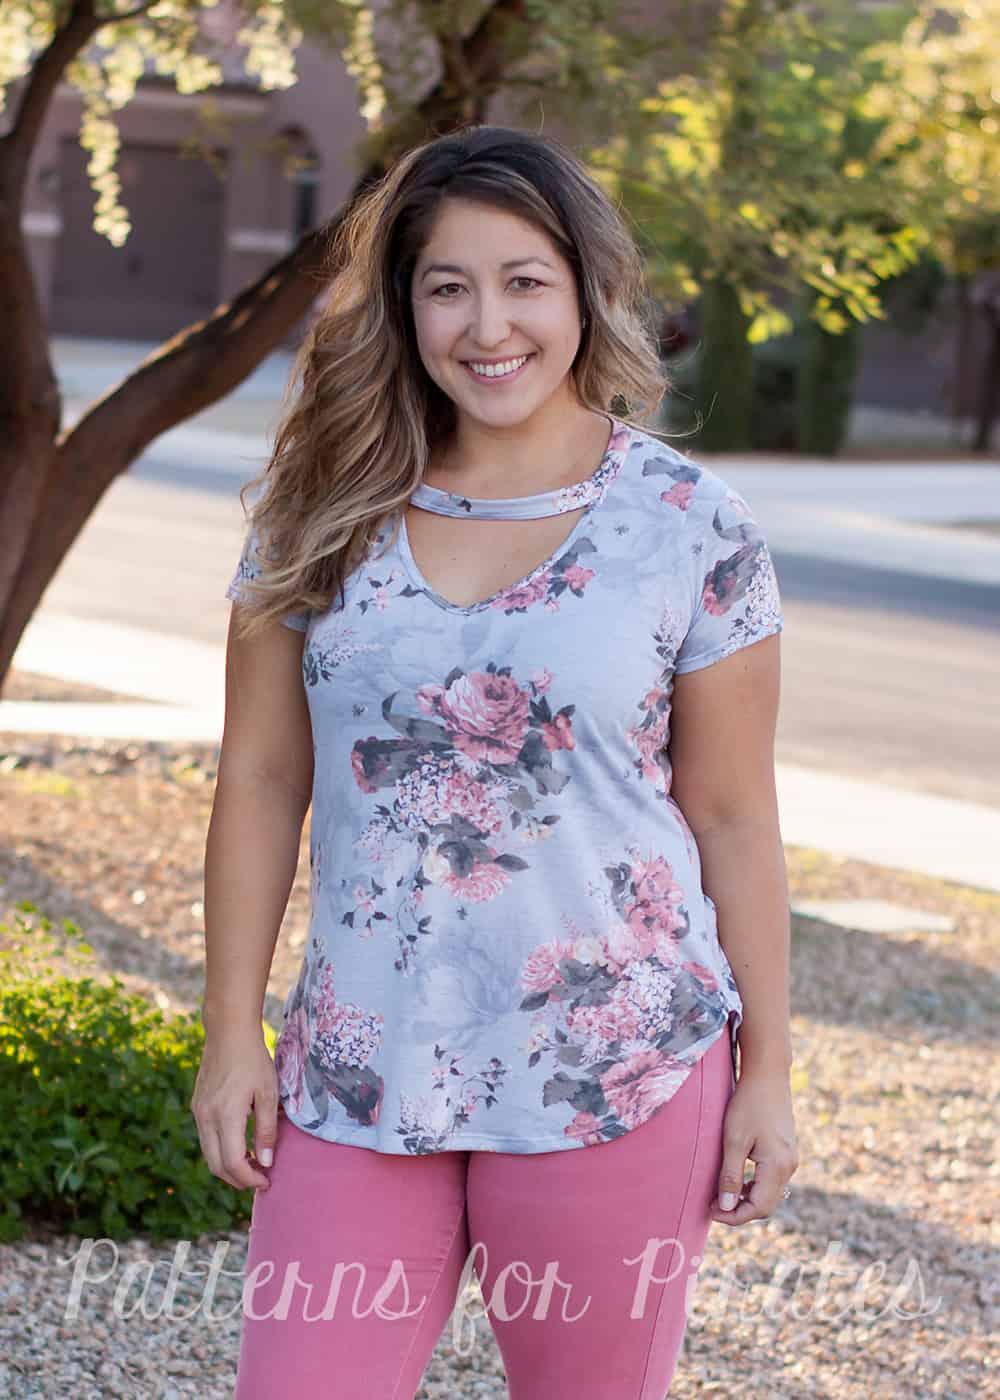
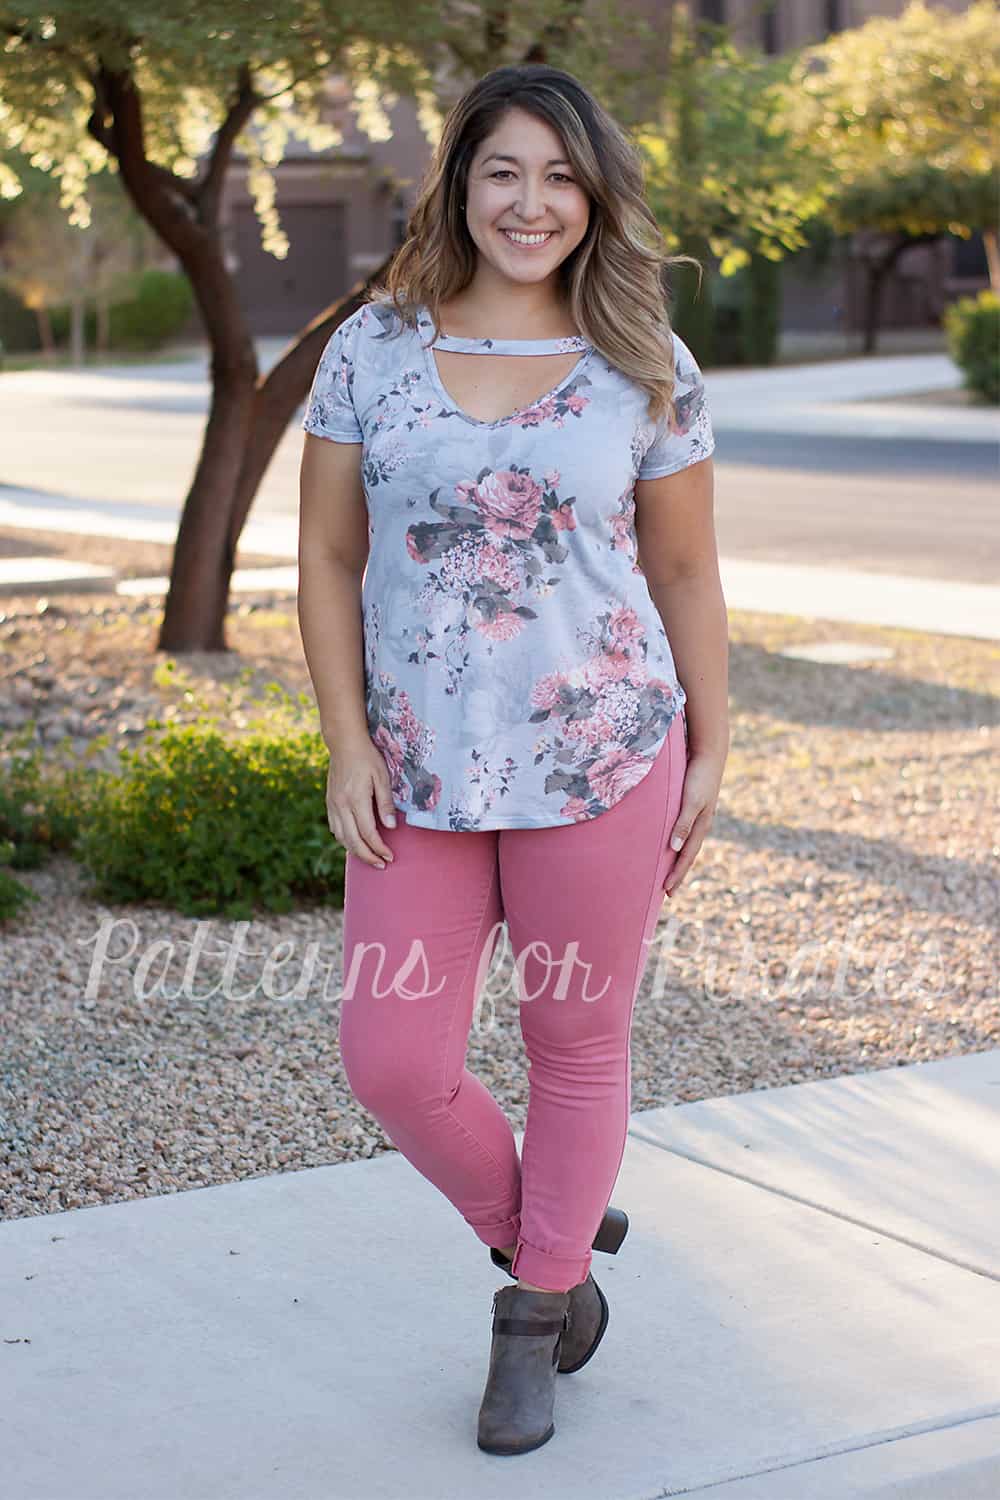
Choker necklines are all the rage right now, so we thought we’d give you the “how-to” so you can add it to your most loved top.  I used the Favorite Tee since it already has a V-neck option but you can really use any of our t-shirt patterns and add a lower scoop neck or v-neck to it.

Once you have decided your pattern and cut your pieces, do not assemble your shirt!  We need to finish the V-neckline first and is easier to do prior to construction.  I chose to bind the V-neck, but you could also use a traditional neckband if you wish.  (Need more help with knit binding? Check out our tips HERE)

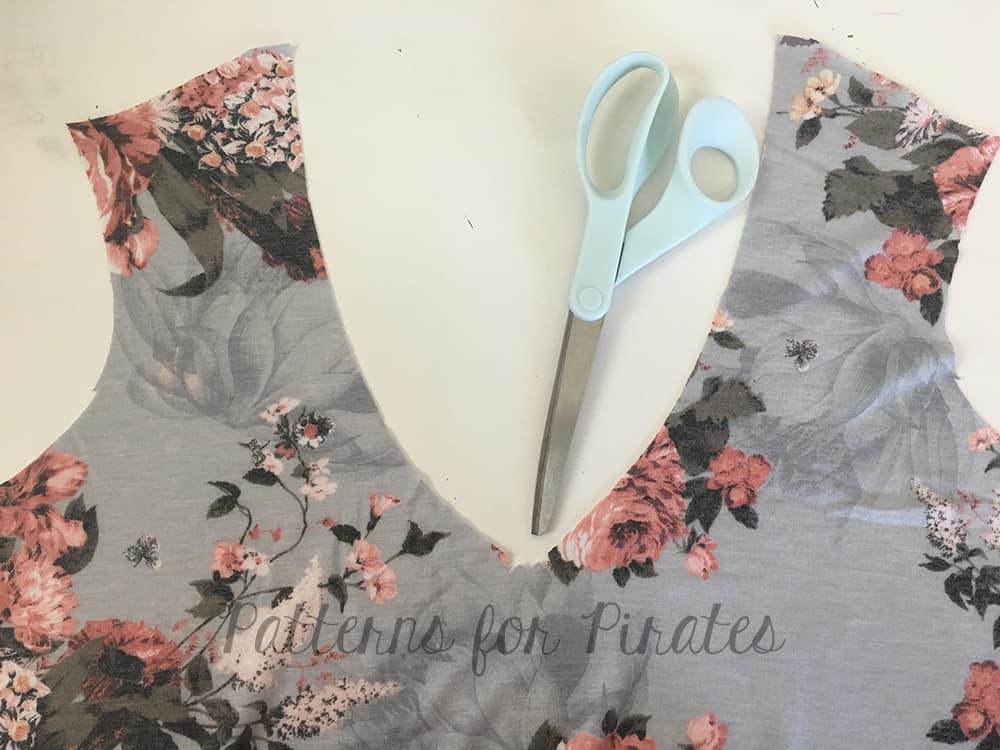
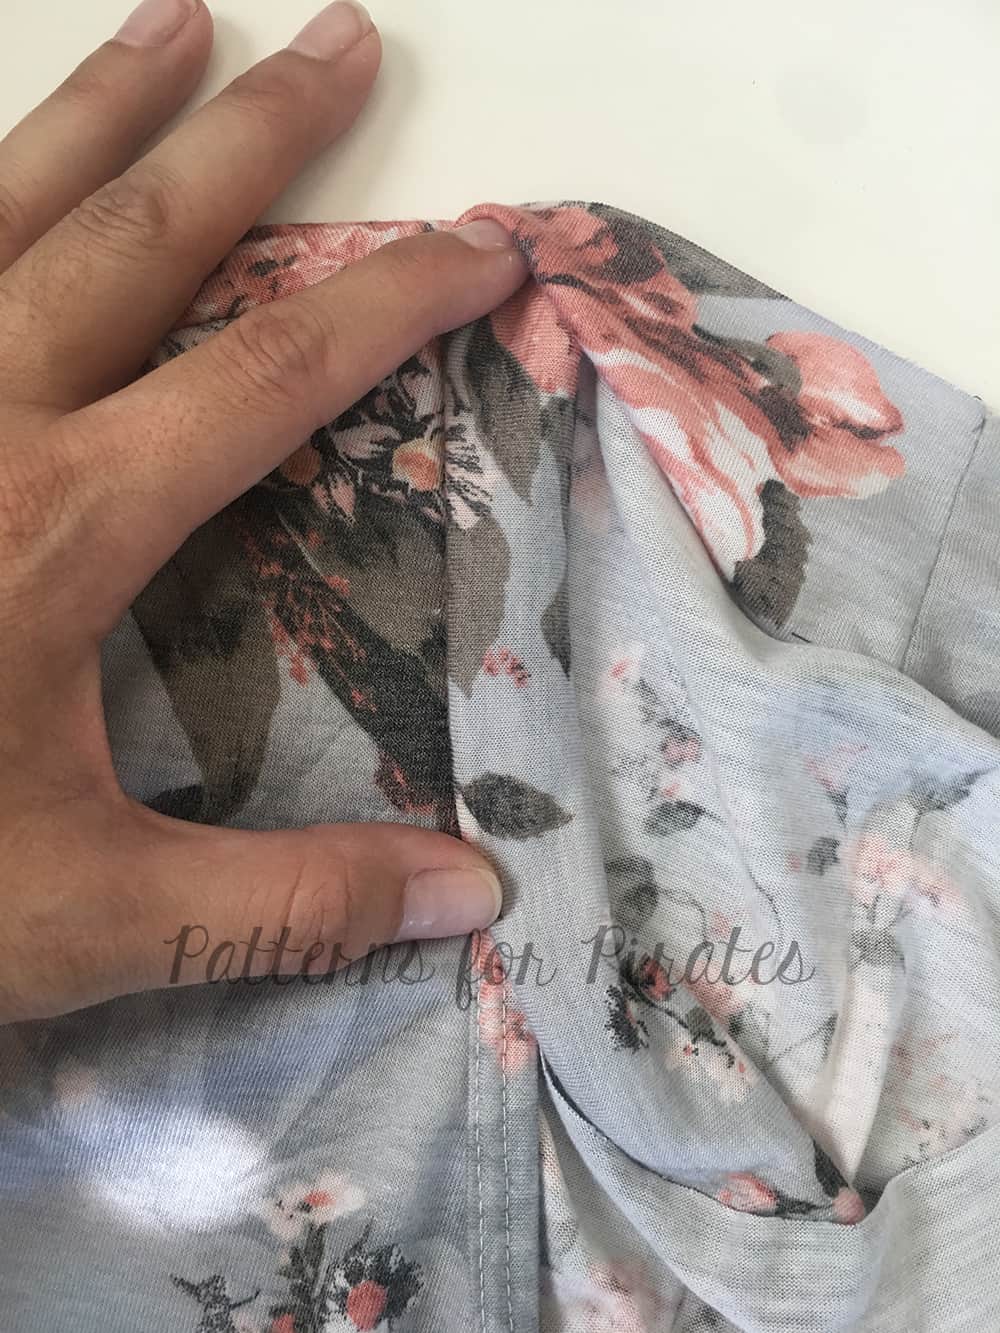
Snip a small “v” 3/8″ inward, on either side of the center of the v-neckline.
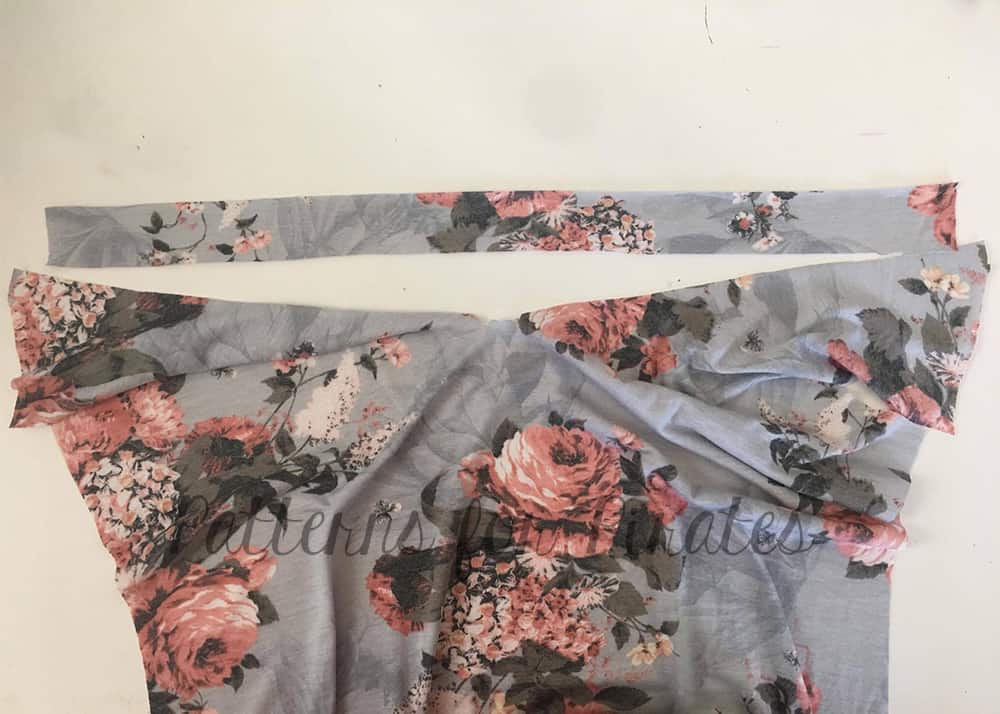
Cut a binding strip 1.5″ x 90% of the neckline.

With right side of the binding to the wrong side of the neckline, pin in place.
Stitch with a 1/4″ seam allowance. Note: the binding will need to stretch slightly to fit the neckline.

Press seam allowance up and fold raw edge to meet center. Press.
Fold over again, covering seam allowance and press.

Top-stitch.
Fold V-neck in half width-wise and stitch down the center of the V.


Next, construct and finish your shirt as indicated in the tutorial, but do not use the existing neckband instructions.  We will now finish the choker portion of the neckline.

I did not want the choker neckband piece to be too high on my neck, so used the Women’s Henley as a guide for placement. You can make your own adjustments if you prefer to have it higher or lower. Place a pin or mark on the neckline where you wish to have the choker band.


We are going to use the same binding method as we did the v-neck to finish the choker band.  My binding strip is 2.5″ and finishes about 1″.  Again, this is customizable and if you wish to have a thicker or thinner choker piece, adjust the height of your band accordingly.  (just be sure to add 1/2″ to the height as we will be folding and enclosing the raw edges).

Lay your shirt flat and measure the distance between either side of the neckline where you wish the choker band to attach at the neckline. This is measurement “A”.
Measure the neckline from your marked point to center back. This is measurement “B”.

To determine the width of your choker binding:  A + ((B x 2) x 90%)).  For example, my measurement A is 8″. Measurement B is 8″. So my choker band is 8″ + 14.4 (or 8 x 2 then x 90%) = 22.4″ .  To make it a nice even number I just rounded it out to 22.5″.

Mark 1/2″ of measurement “A” from the fold.
Fold binding in half width-wise and stitch short ends together, creating a circle.


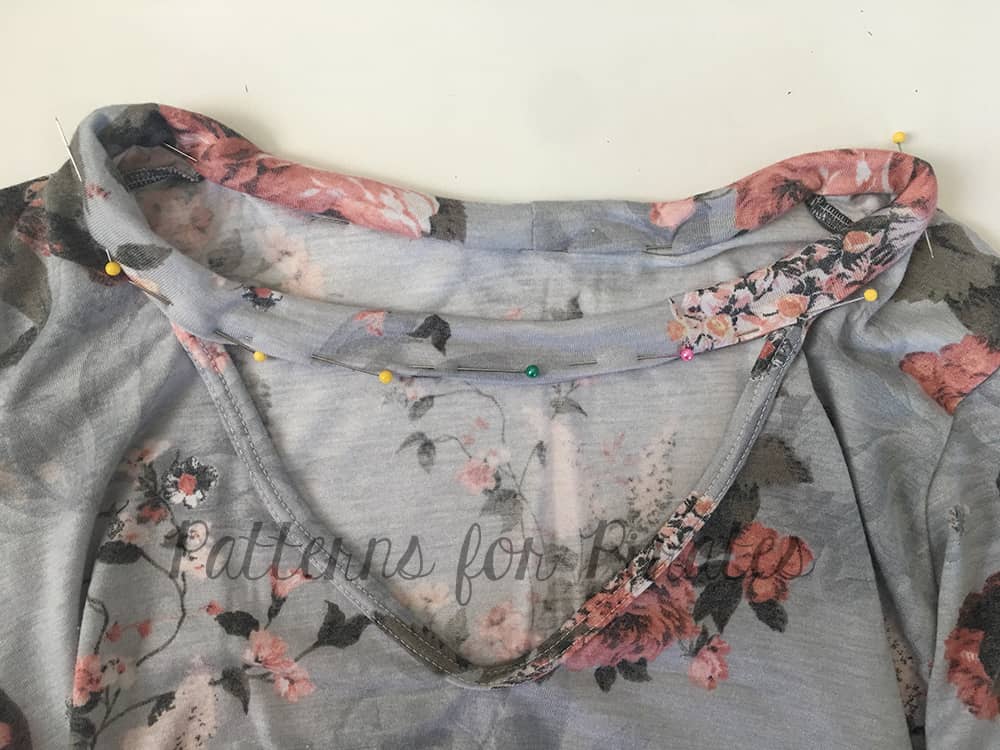
With right side of binding to wrong side of shirt, match center back and two front points of neckline and choker binding.
Stitch using a 1/4″ seam allowance.

Press seam allowance up.

Fold binding raw edge down 1/4″ towards center. Press.
Fold and press the bottom raw edge 1/4″ between your V-neck.
Fold in half again, just covering your previously stitched line.

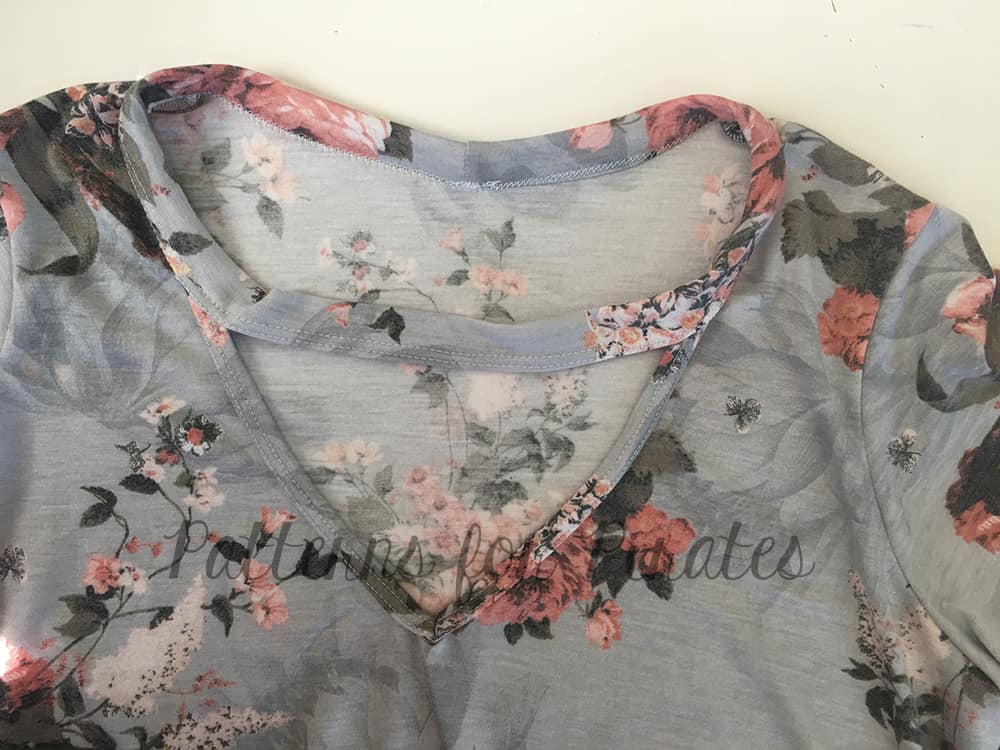
Continue folding and pressing the binding all the way around neckline.
Top-stitch near the bottom fold.

Voila!  You’re all finished.   🙂


Filed Under: Pattern Hacks, Uncategorized 1 Comment

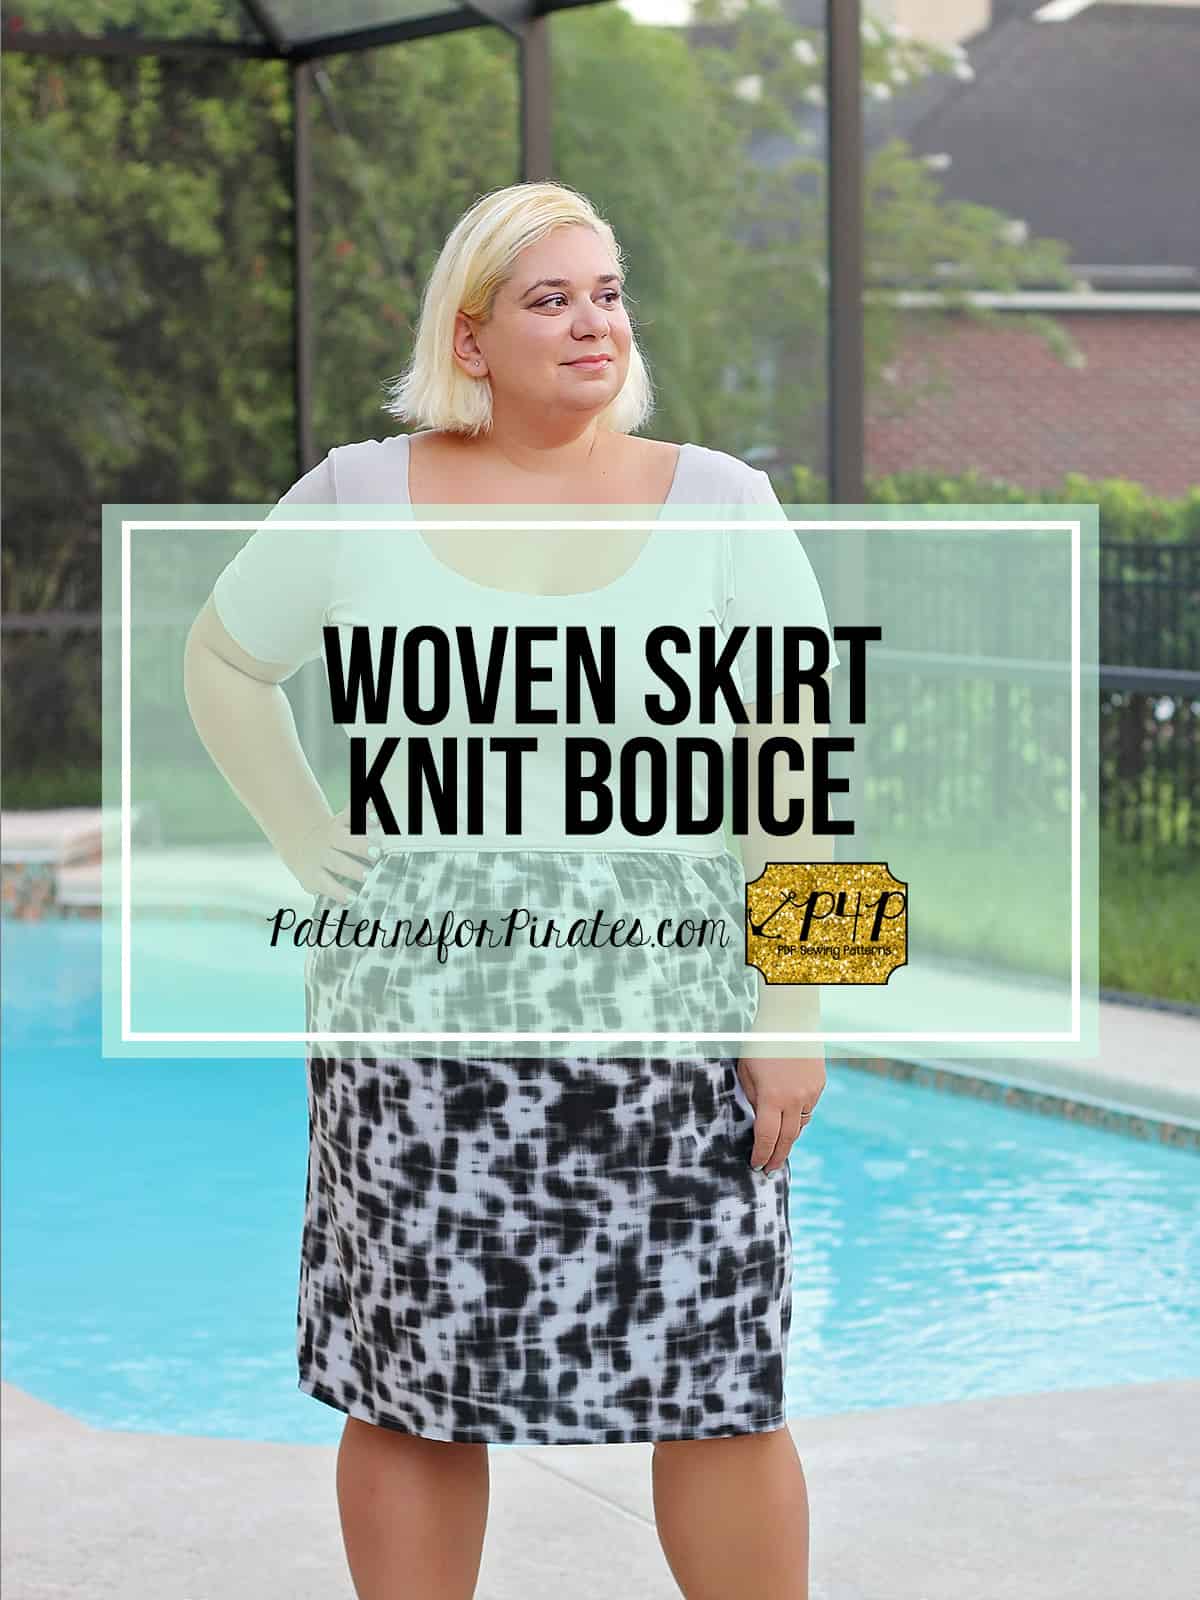
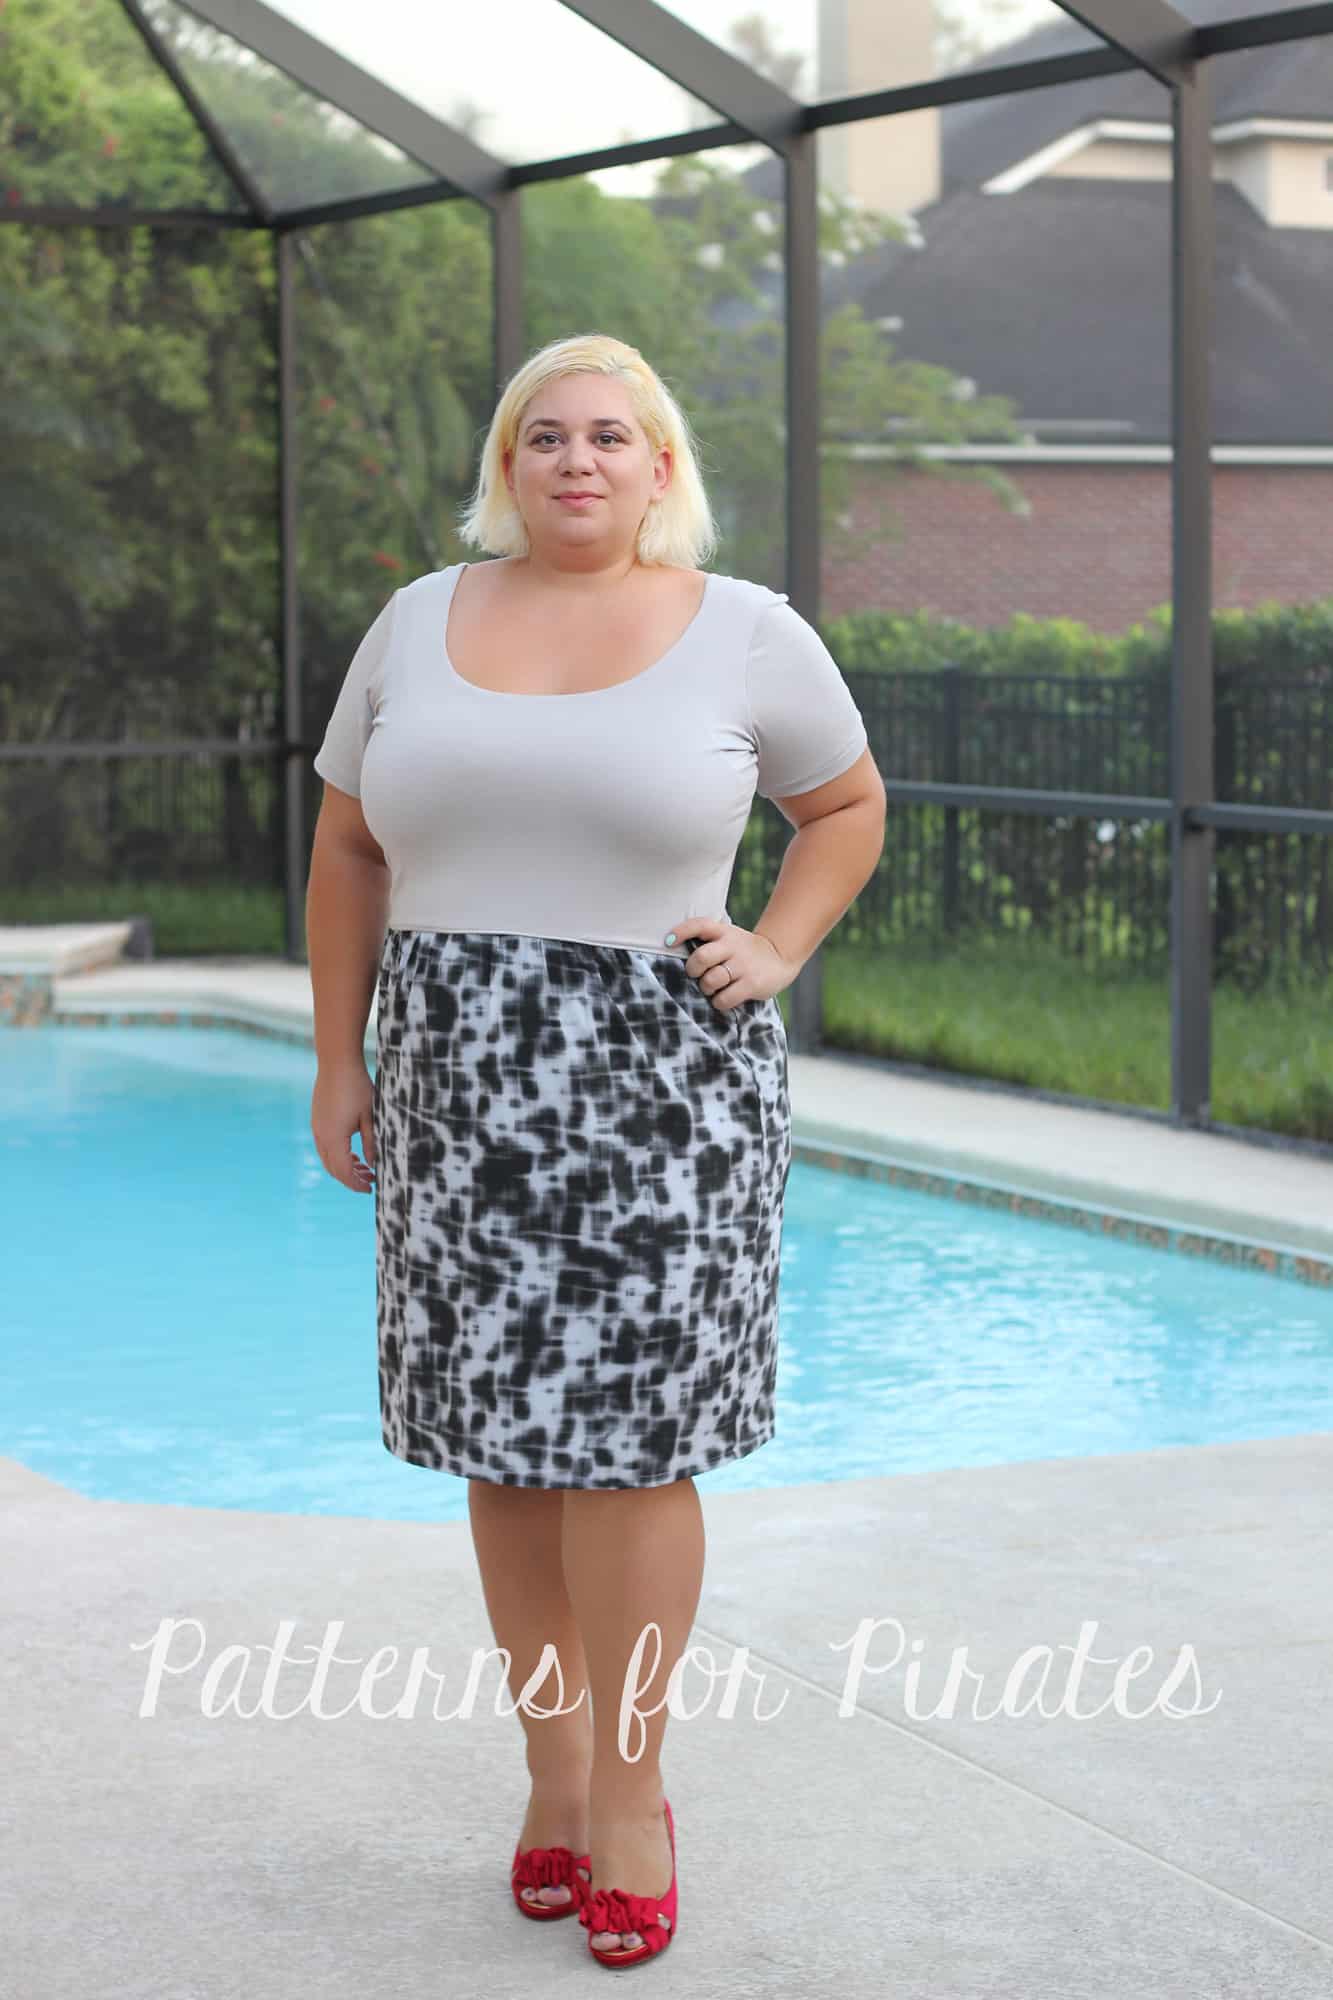
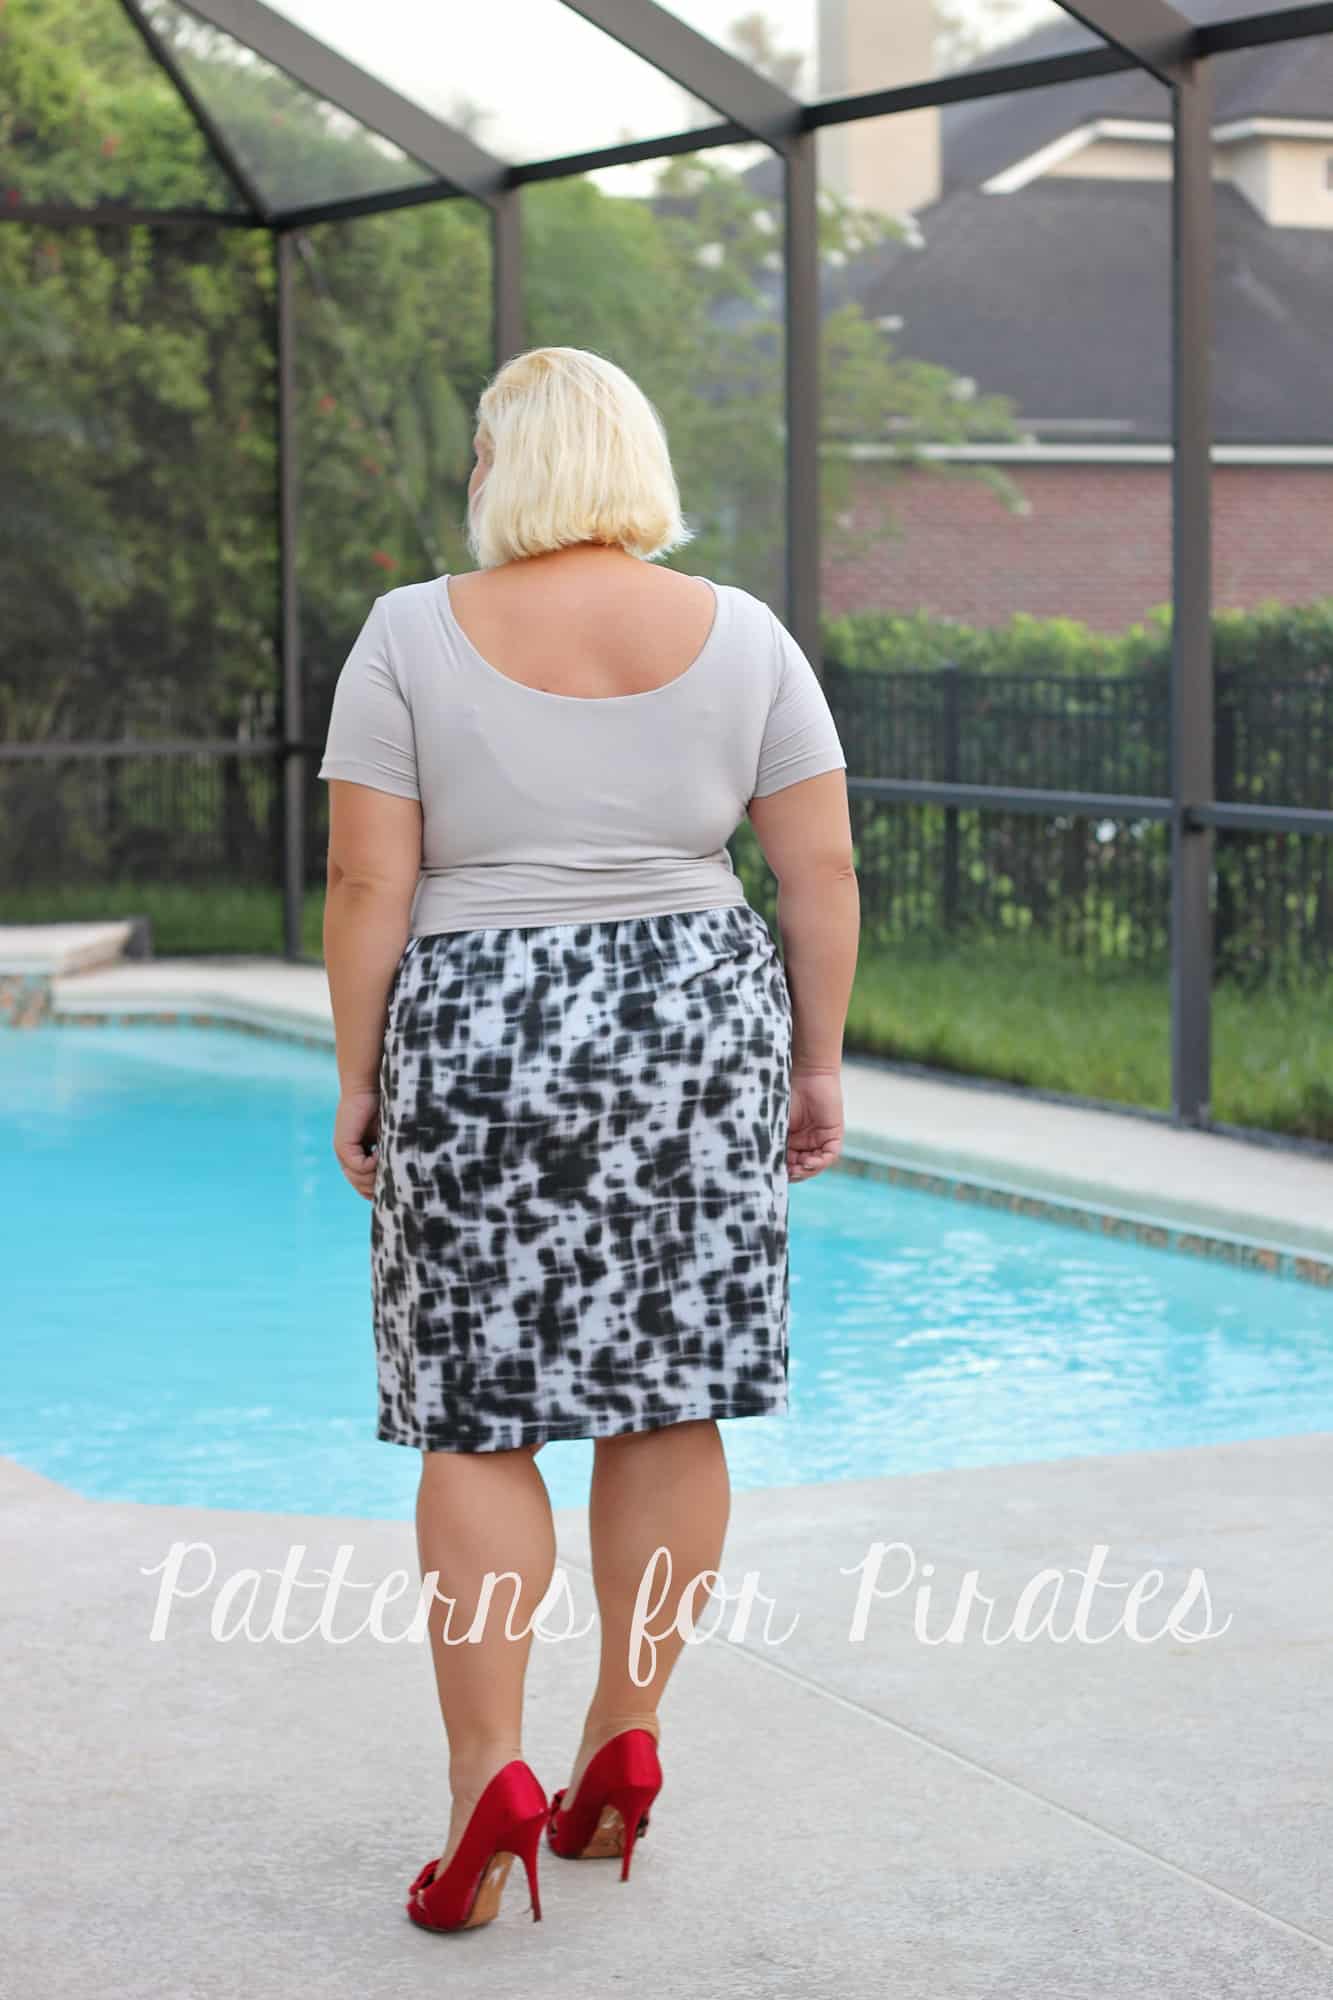
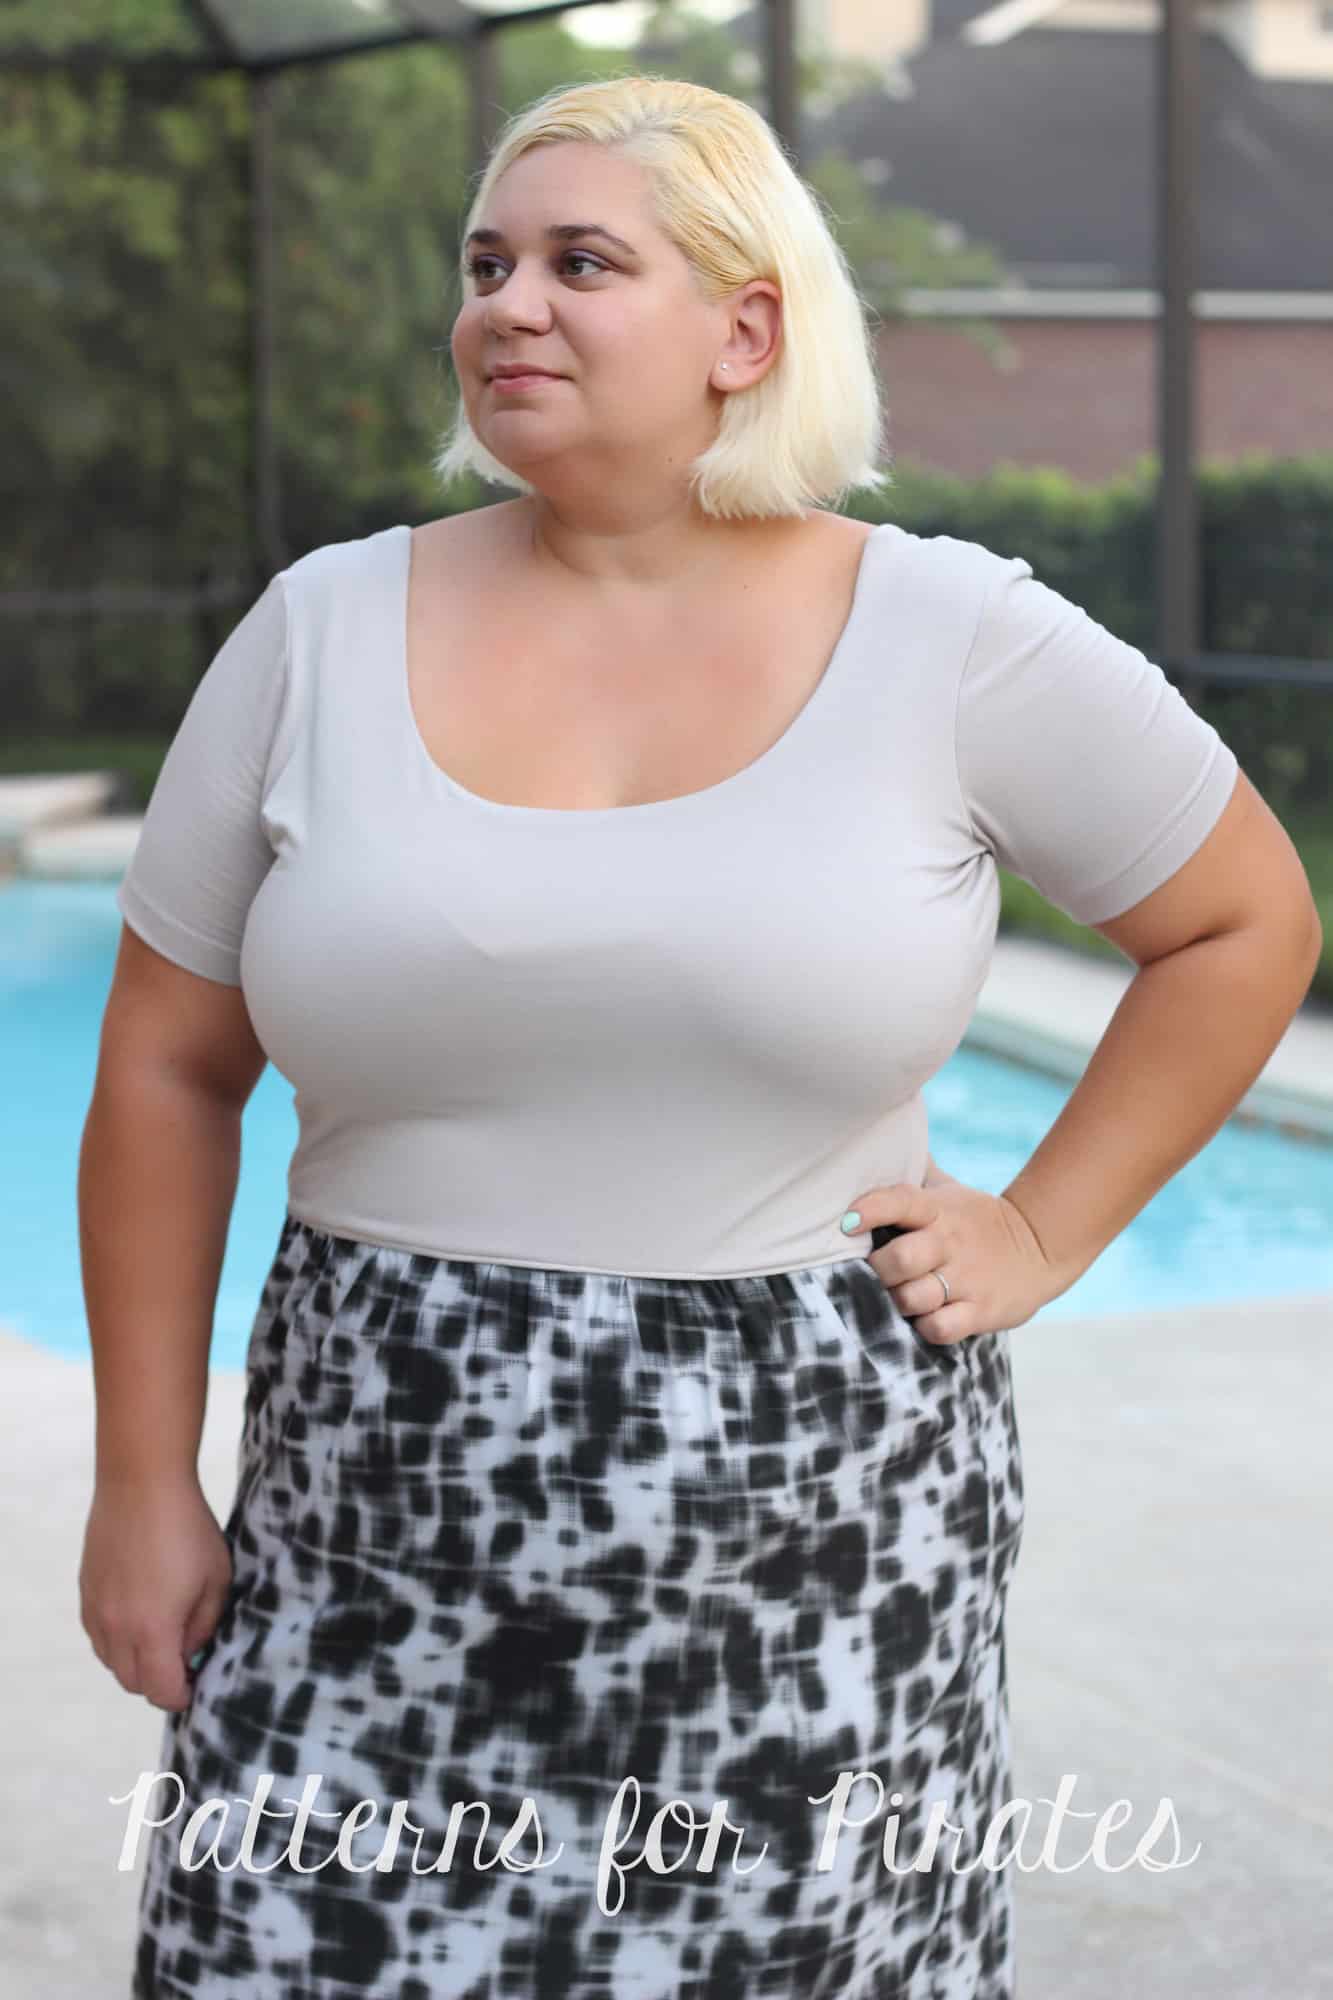
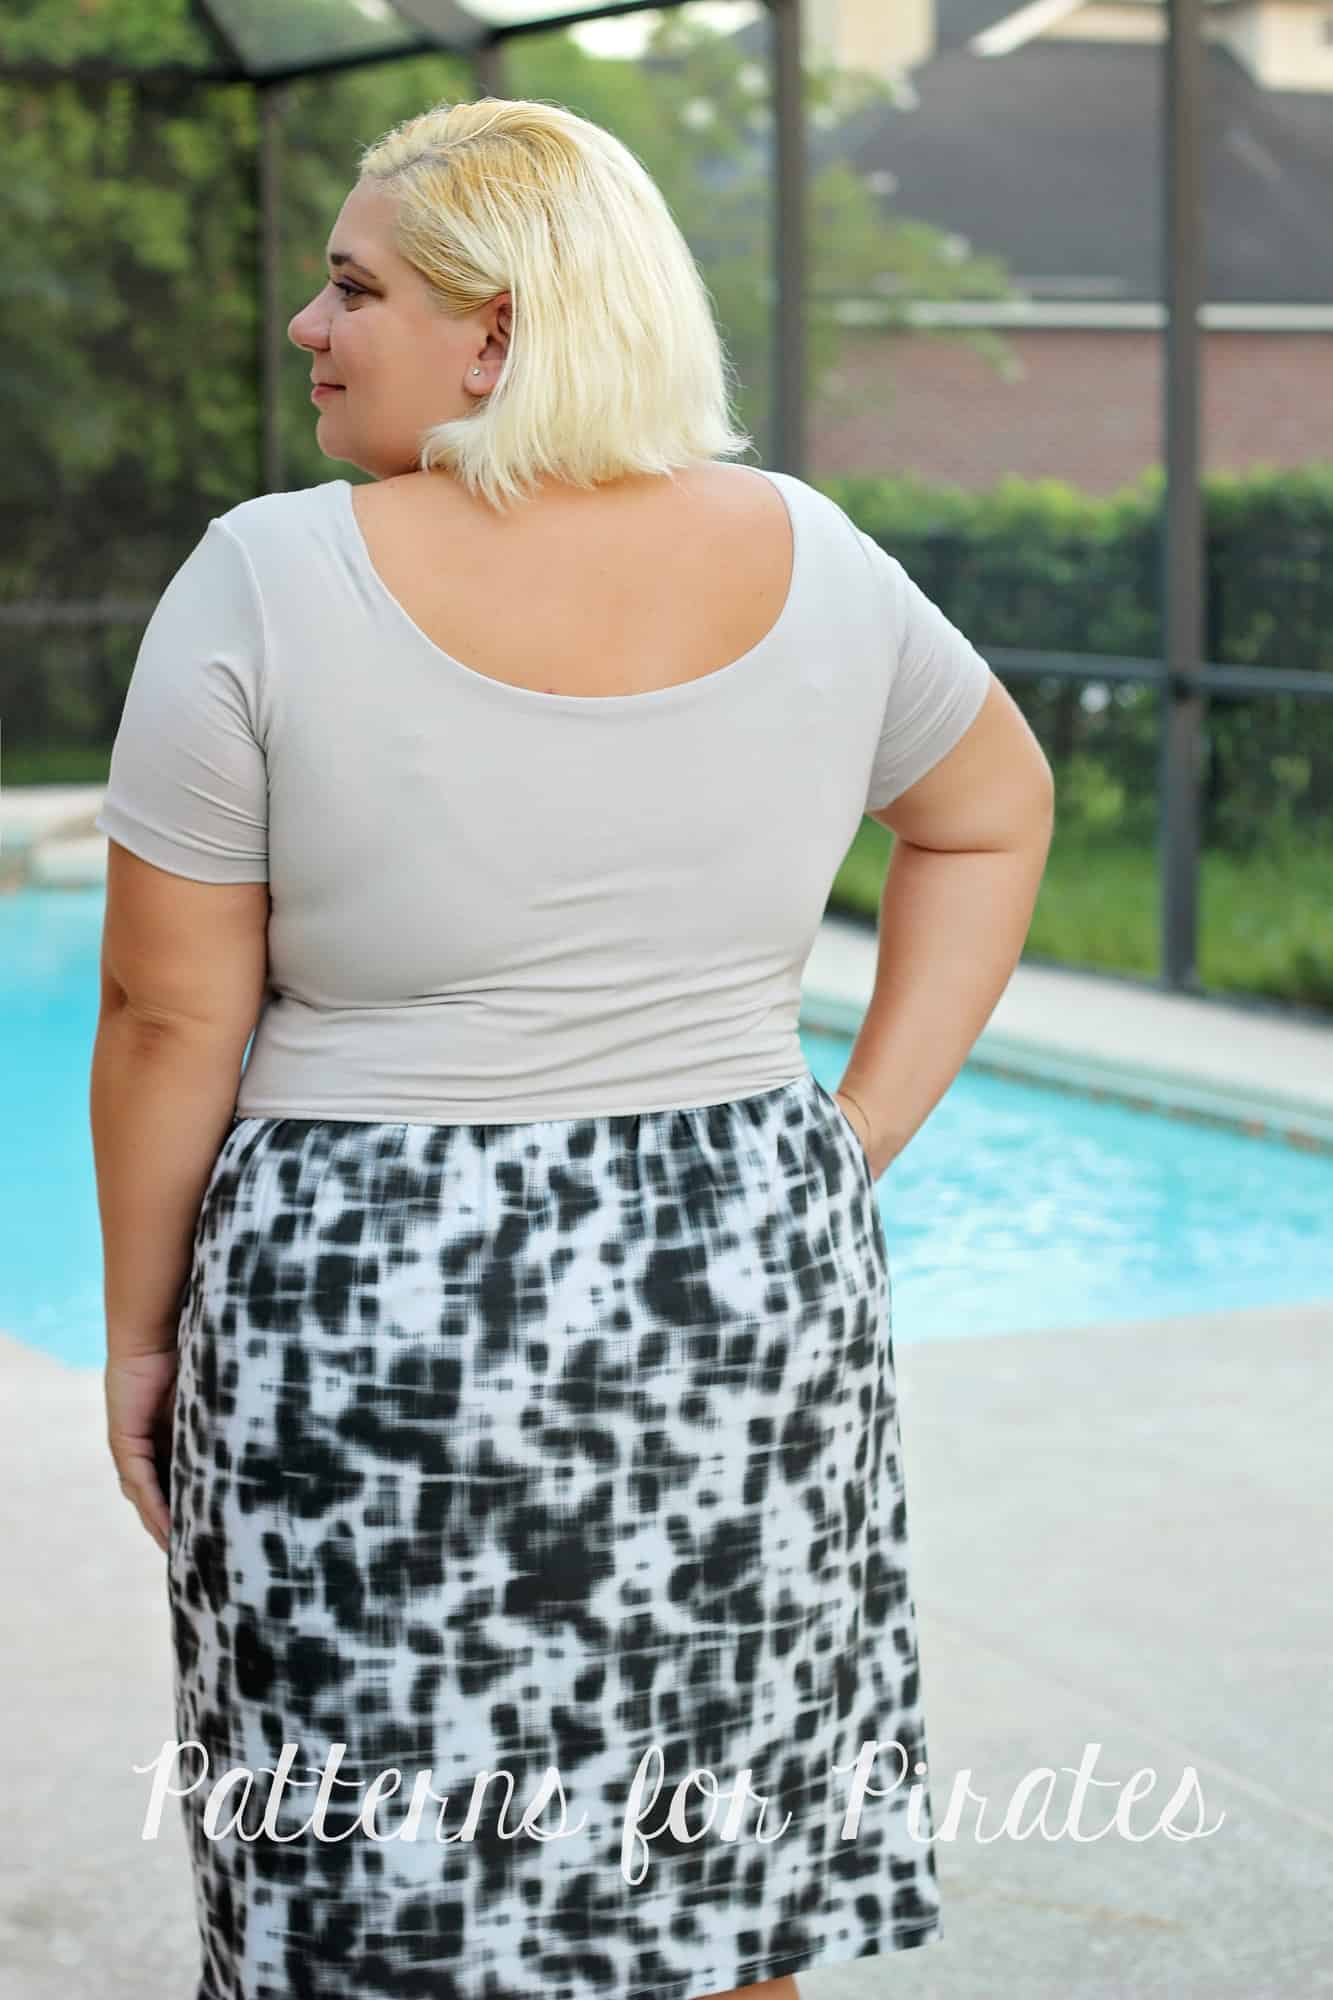
Tips for adding a woven skirt to a knit bodice

August 17, 2017

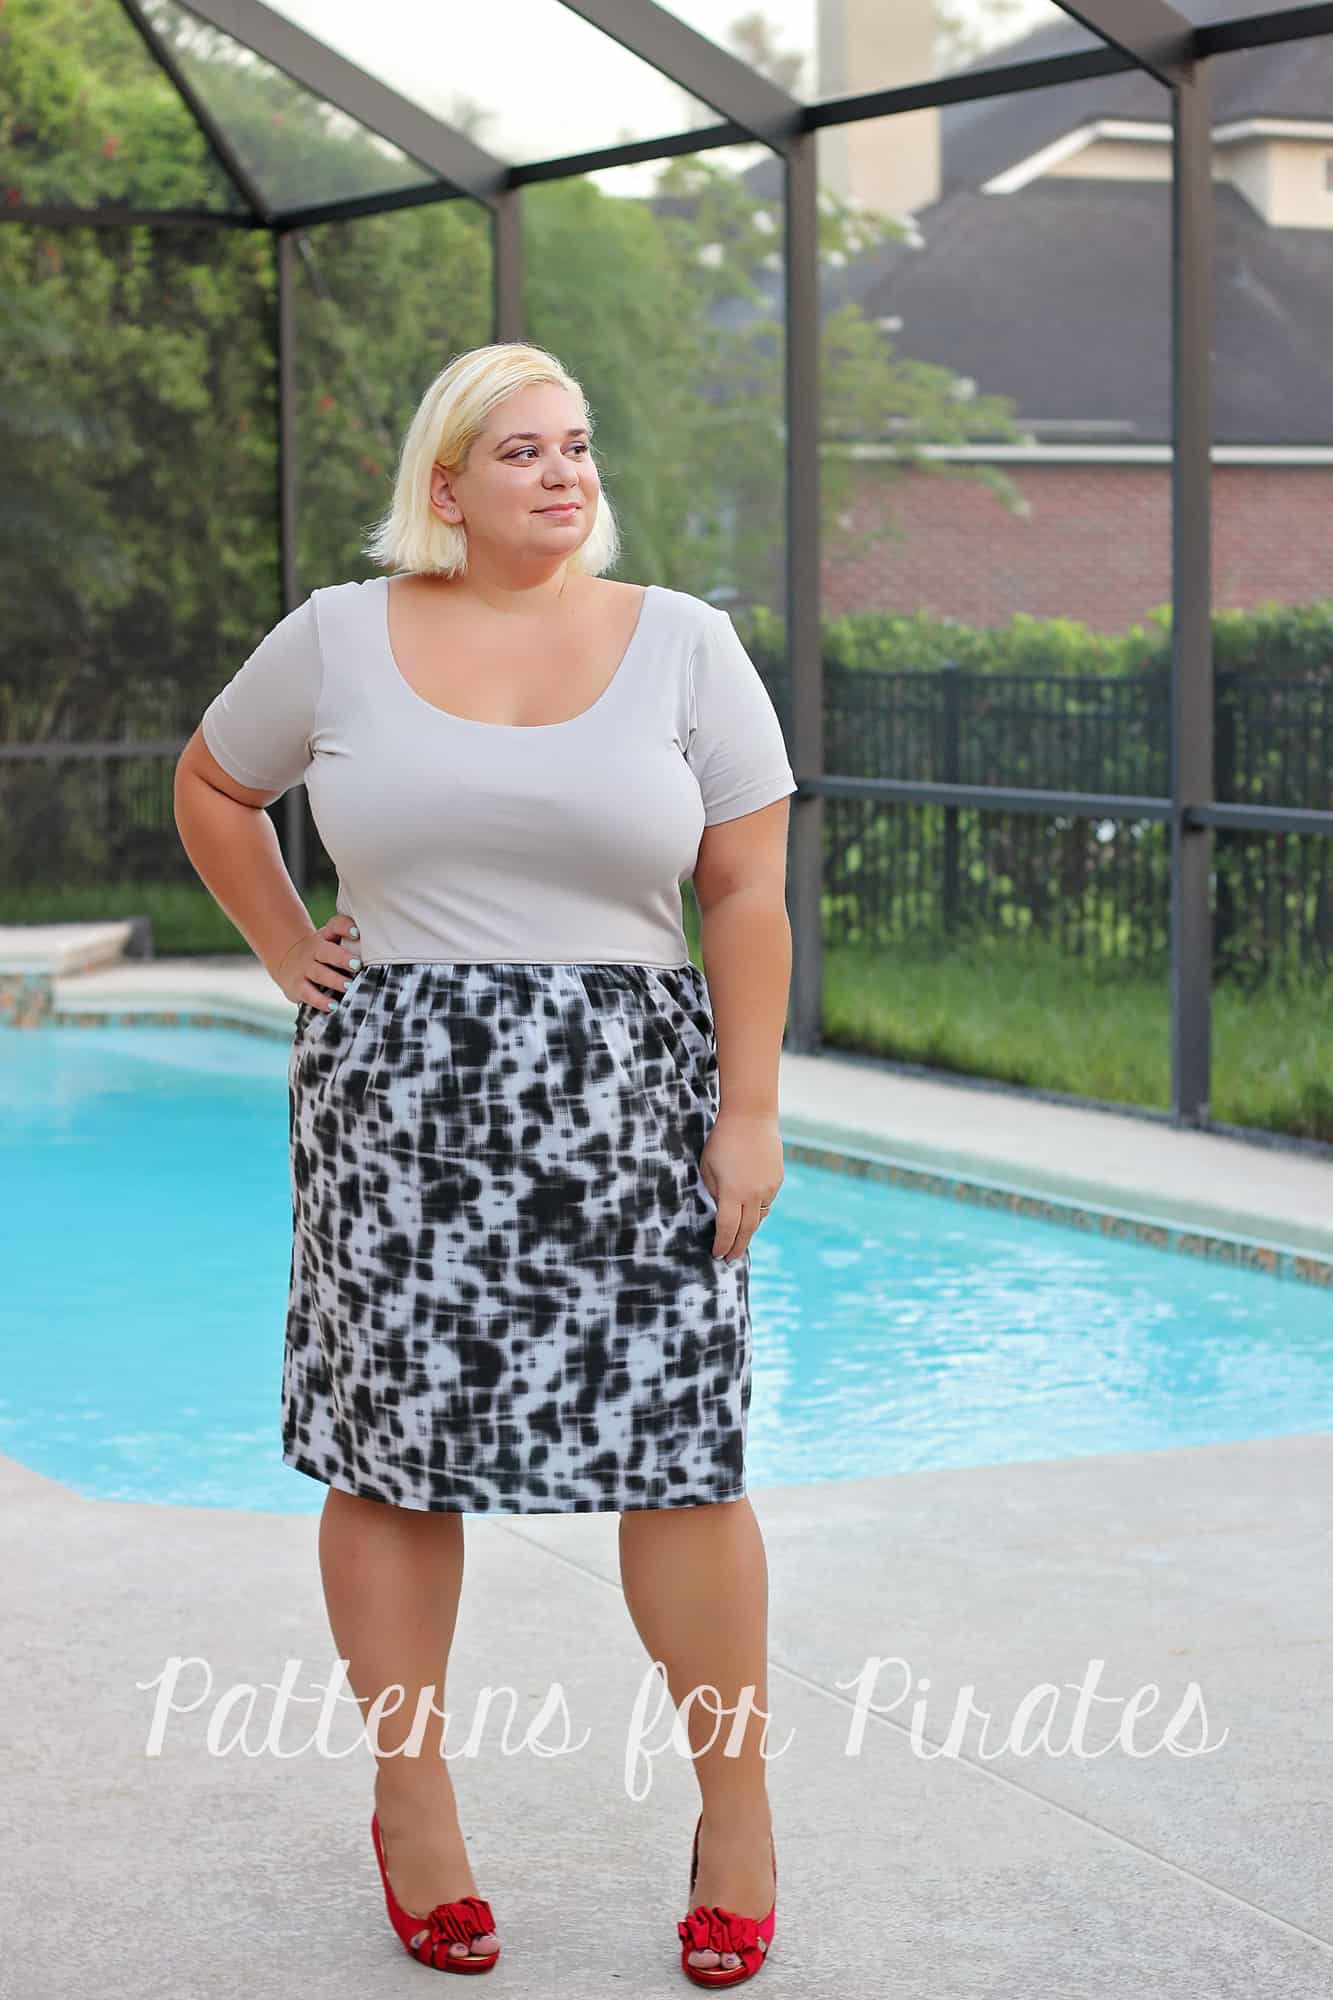
Ahoy, pirates! The Summer of Wovens is in full swing so I wanted to show you how easy it is to add a gathered woven skirt to a knit bodice. You can use this technique to the Boundless dress, like I have, or the Sunshine dress. If you love the bodice of the Sweetheart dress as much as I do you can use it and hack it with a woven gathered skirt too.

The most important thing to keep in mind when adding a woven skirt is CHOOSING THE RIGHT WOVEN fabric. Make sure to use a light weight fabric with great drape. I used a Nicole Miller chiffon and it worked beautifully. You can also use rayon, rayon challis  or crepe georgette. Avoid quilters cotton, it will look stiff and add visual width which we don’t want. Am I right, ladies? 😉

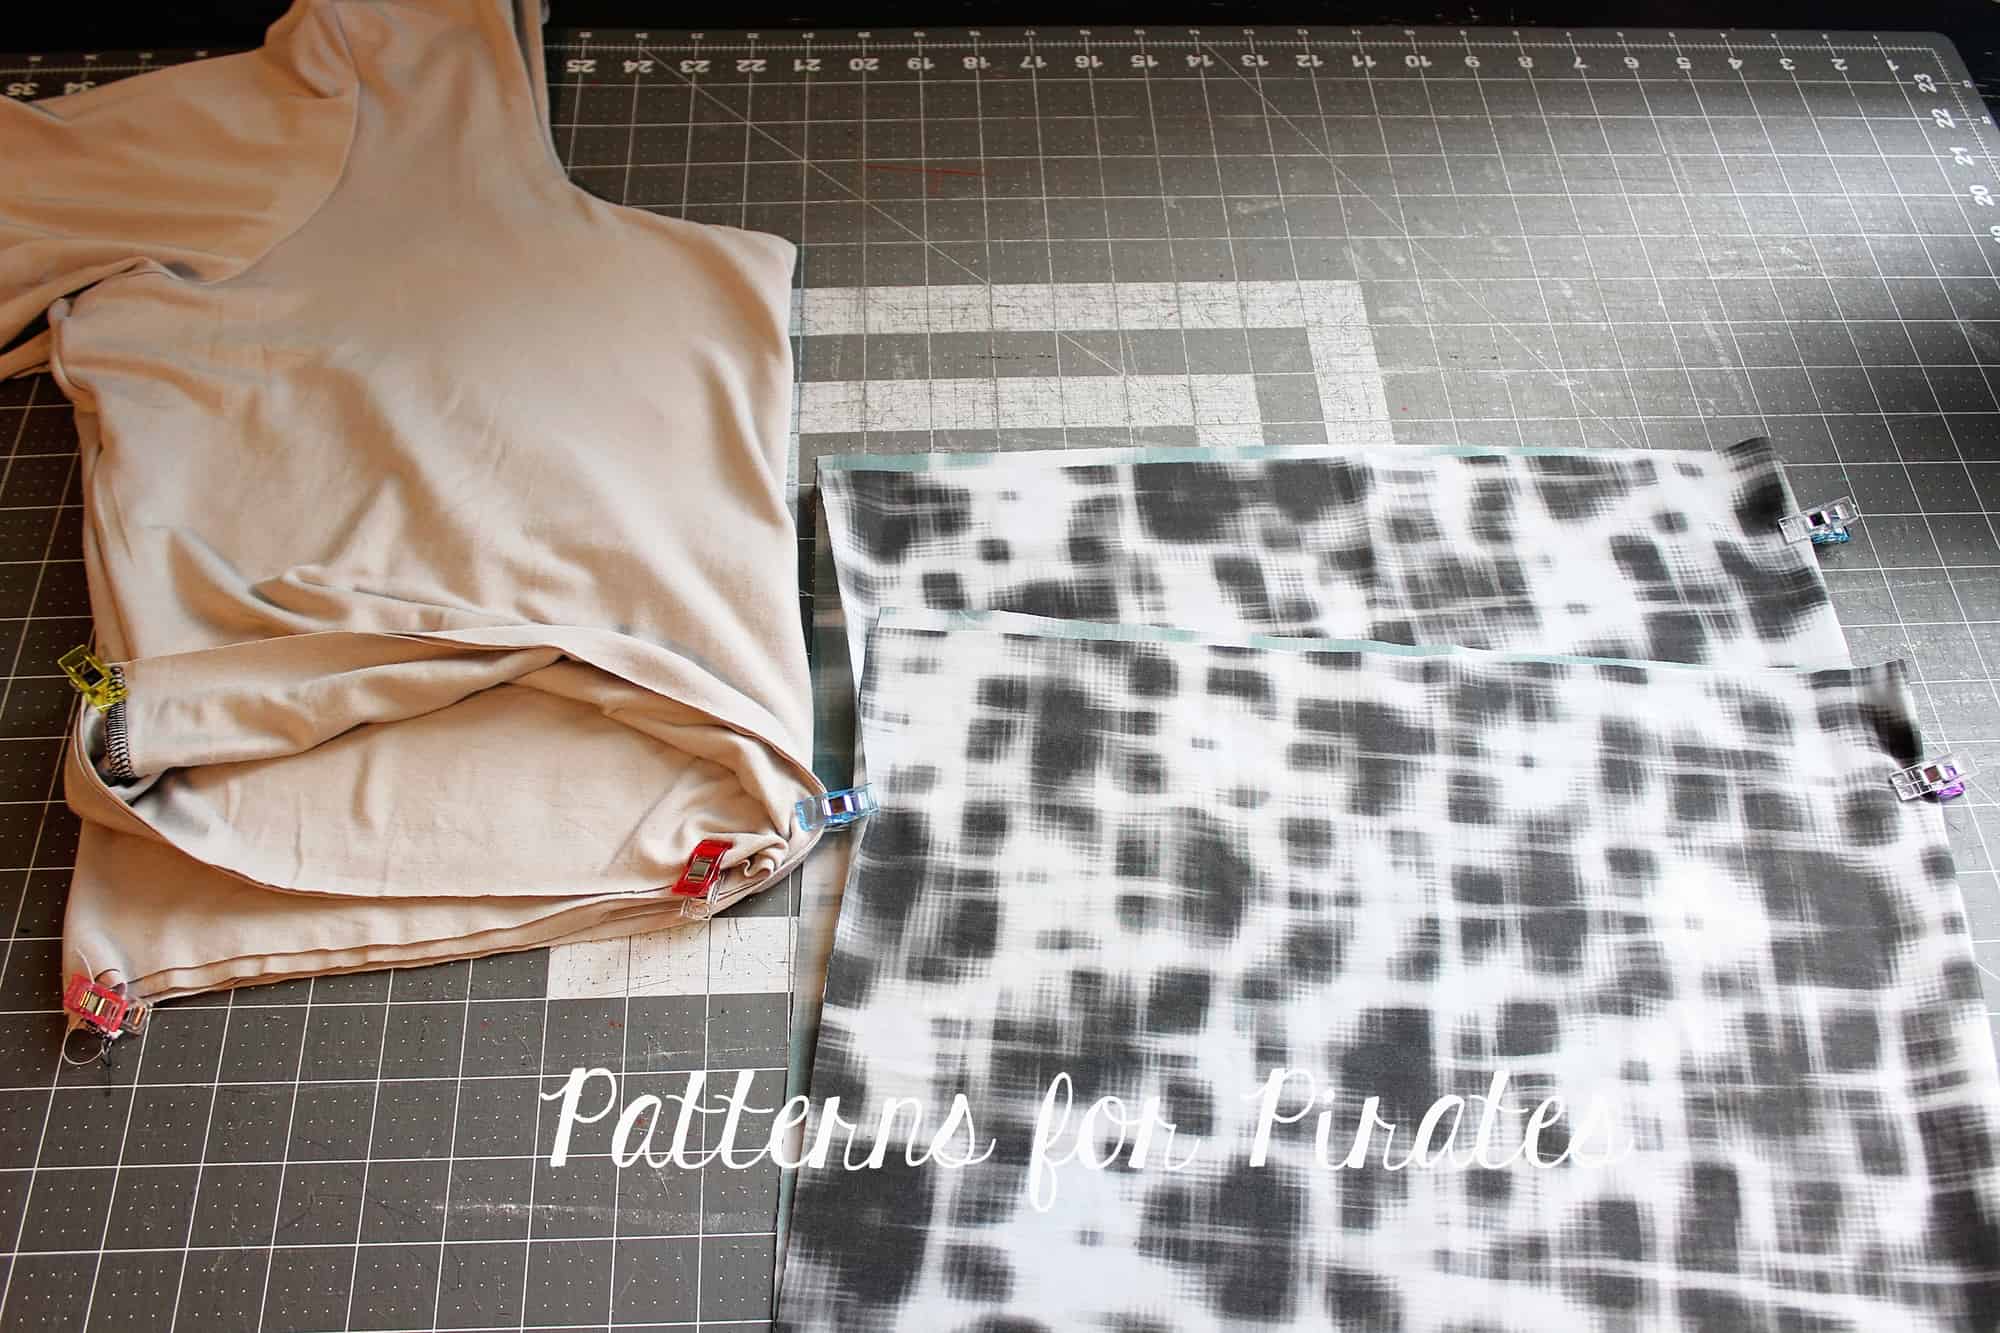
Cut the pieces as per the pattern. You do not need to size up or down, just be sure to measure yourself and choose the size based on that. I do recommend adding some width to the skirt for more comfortable wear. I did not add it to mine but you can certainly increase width by a couple of inches. You can see how to take your measurements here.

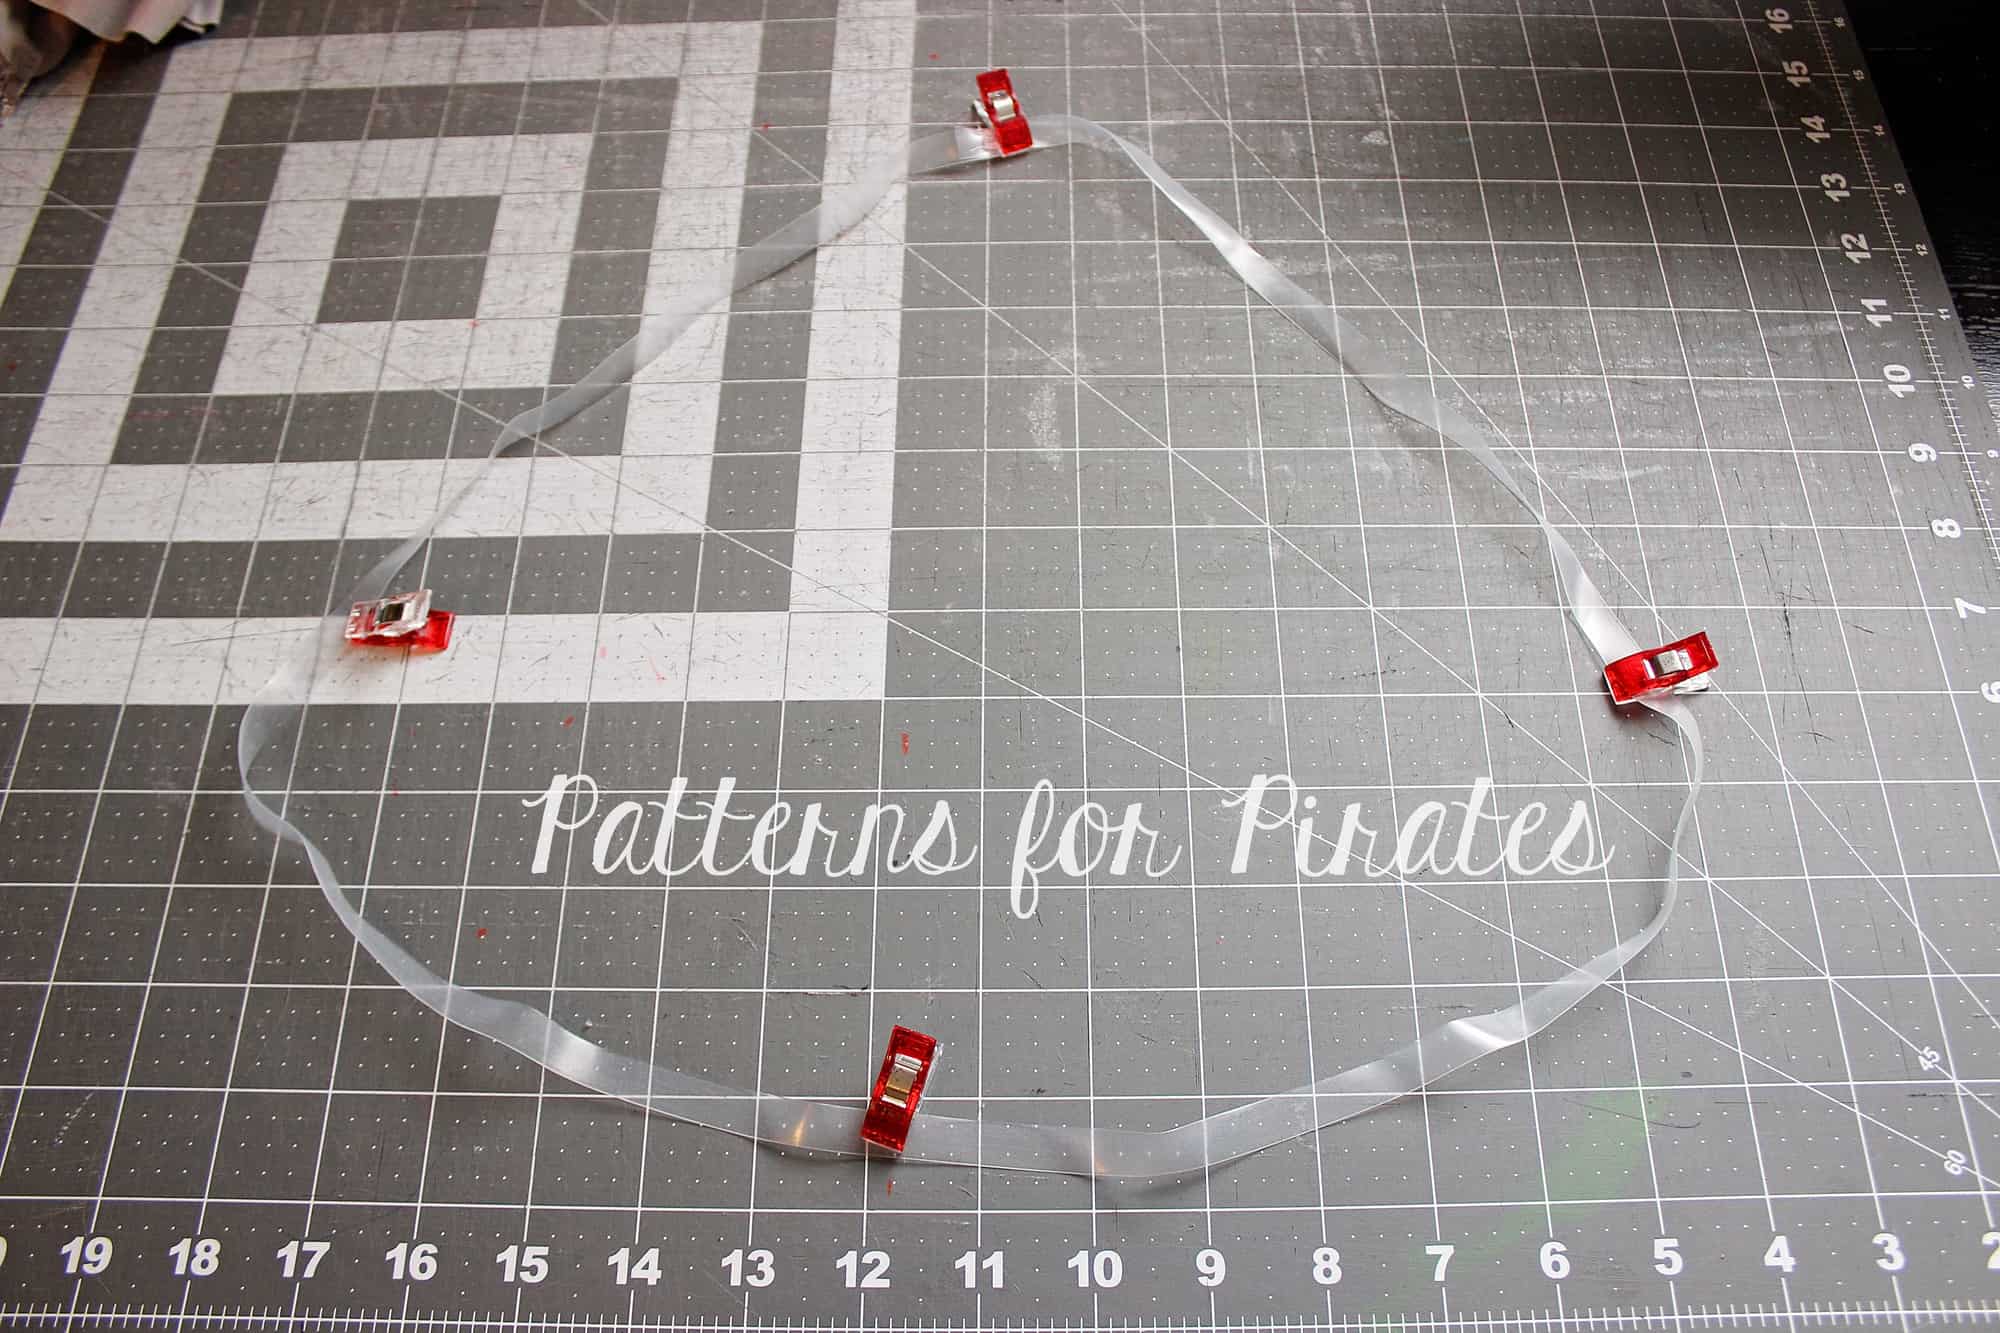
Sew the bodice as per the pattern tutorial. I marked the center of the front skirt piece and the back. I like to use clear elastic when I attach the skirt to the bodice. I do that for two reasons, the clear elastic will add stability to the seam and it will help you gather your skirt evenly. Simply cut a piece of elastic that matches the bodice bottom. Don’t forget to add seam allowance! I prefer to cut just one piece and match the elastic seam to the center back but if you prefer to cut two pieces and match the seams to the sides you’re welcome to do that as well.

Mark the quarters of the clear elastic. Mark the side seams and center back and front of the skirt. Remember to mark the to of the skirt if you’re using a fabric with a directional print 🙂

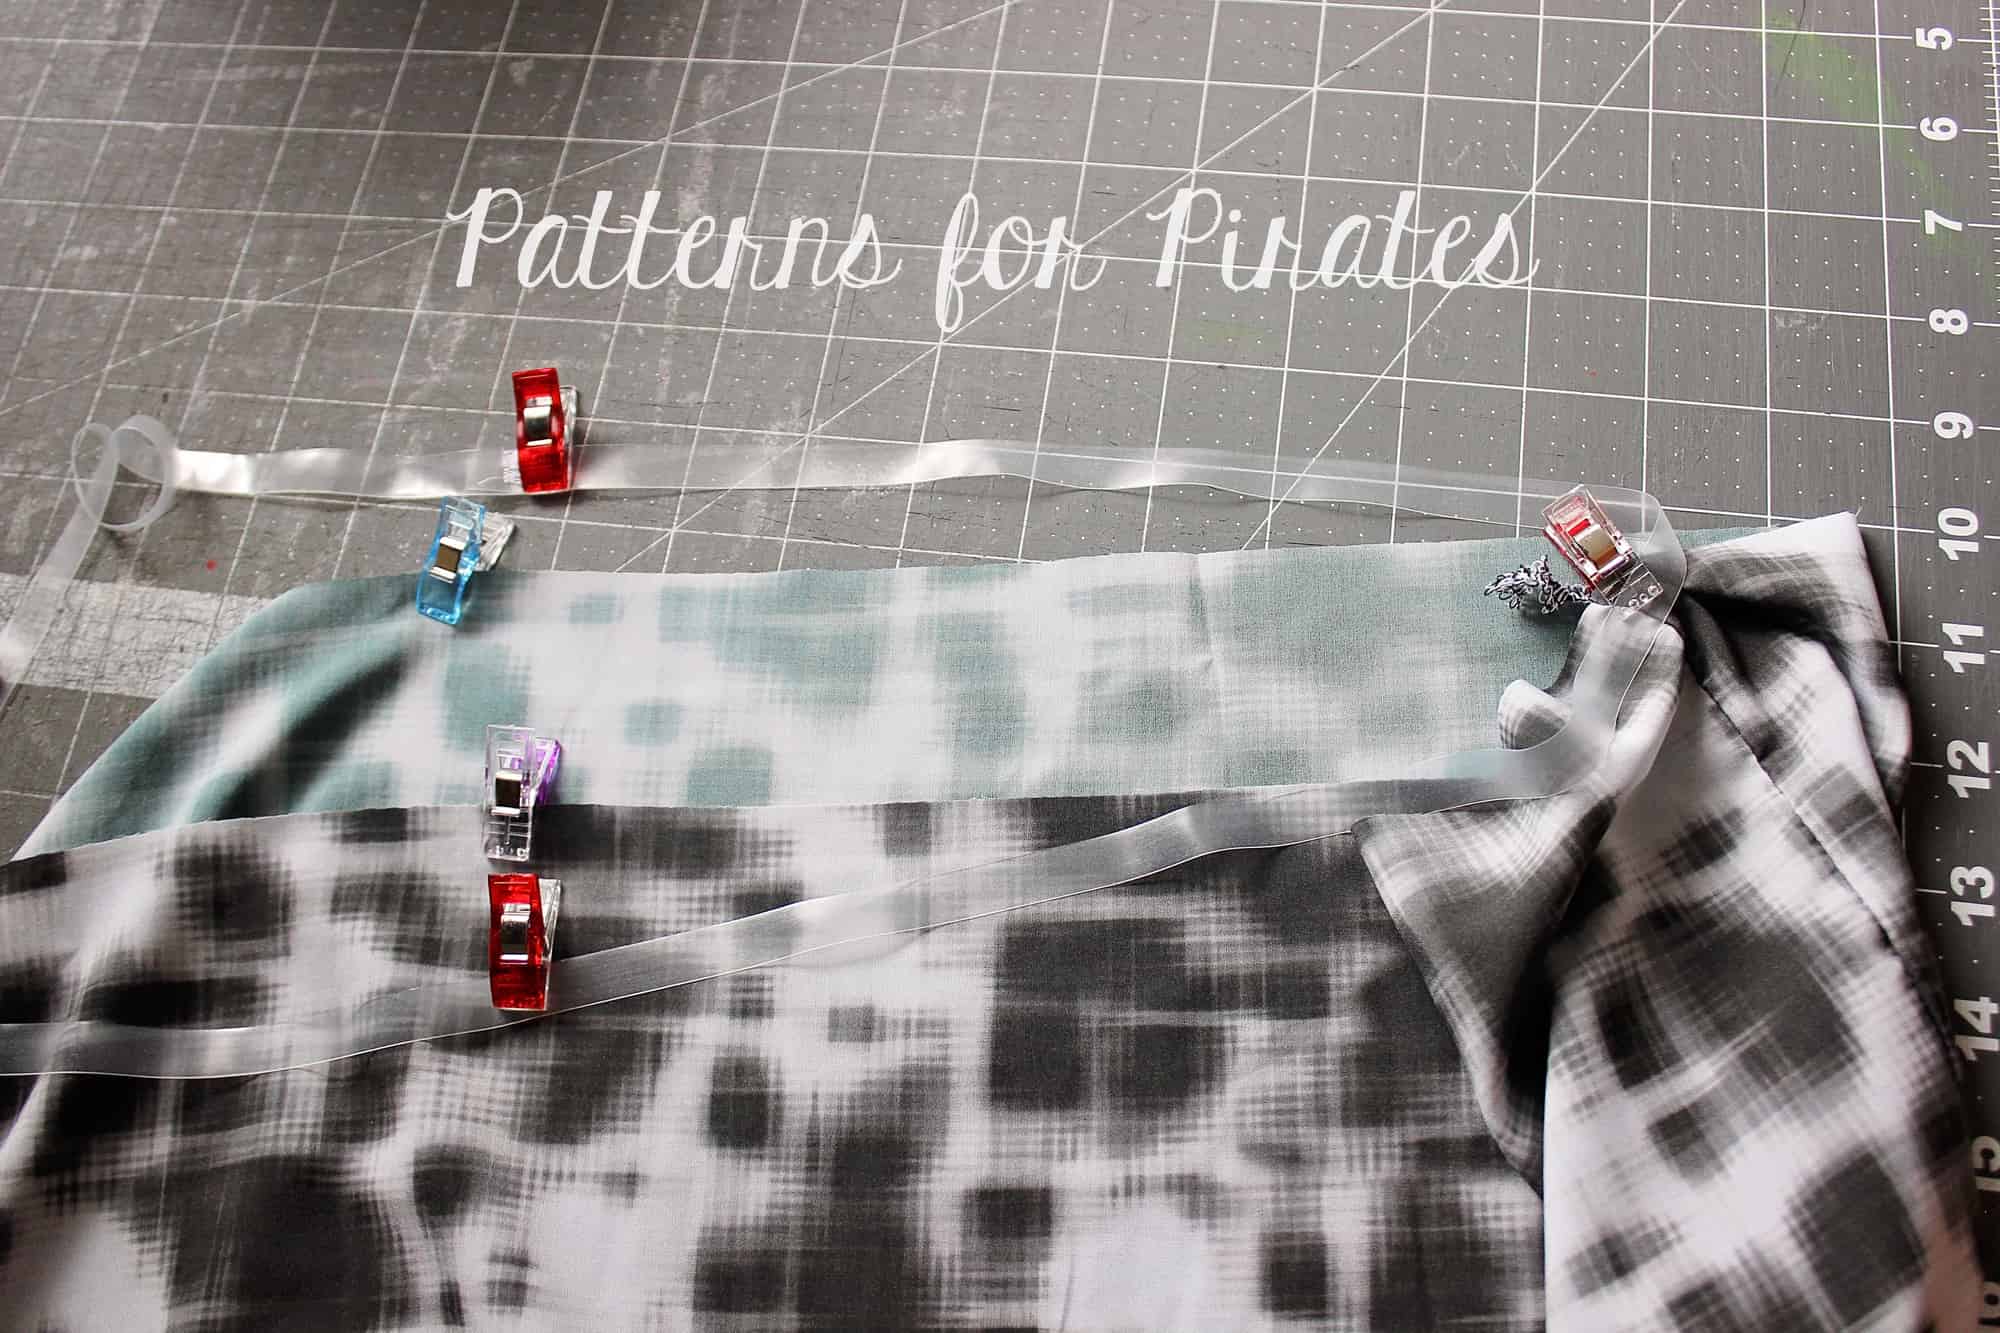
Match the quarters of the skirt to the quarters of the elastic.

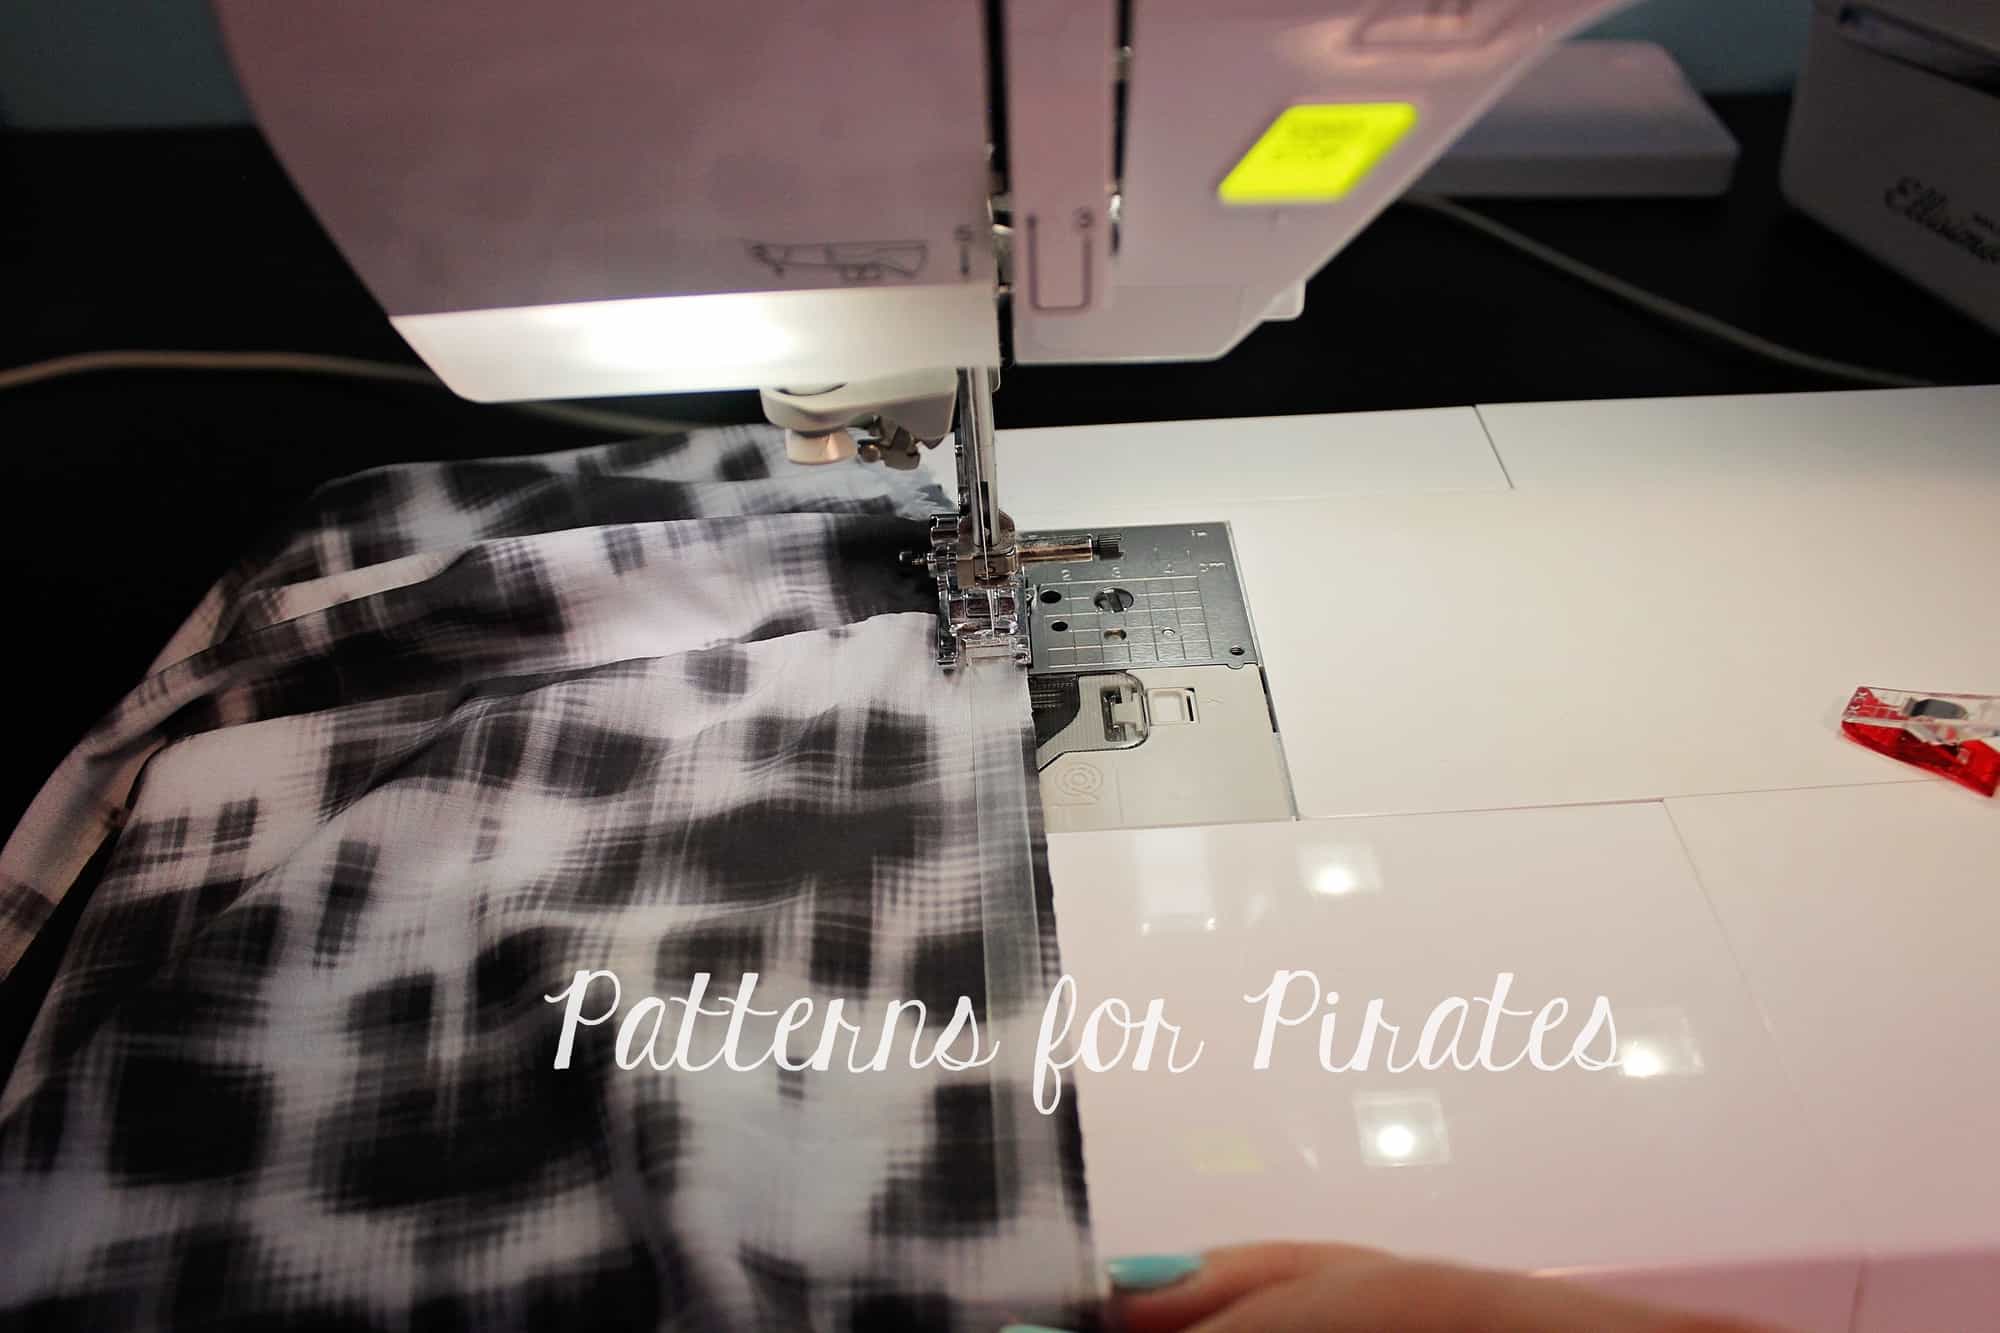
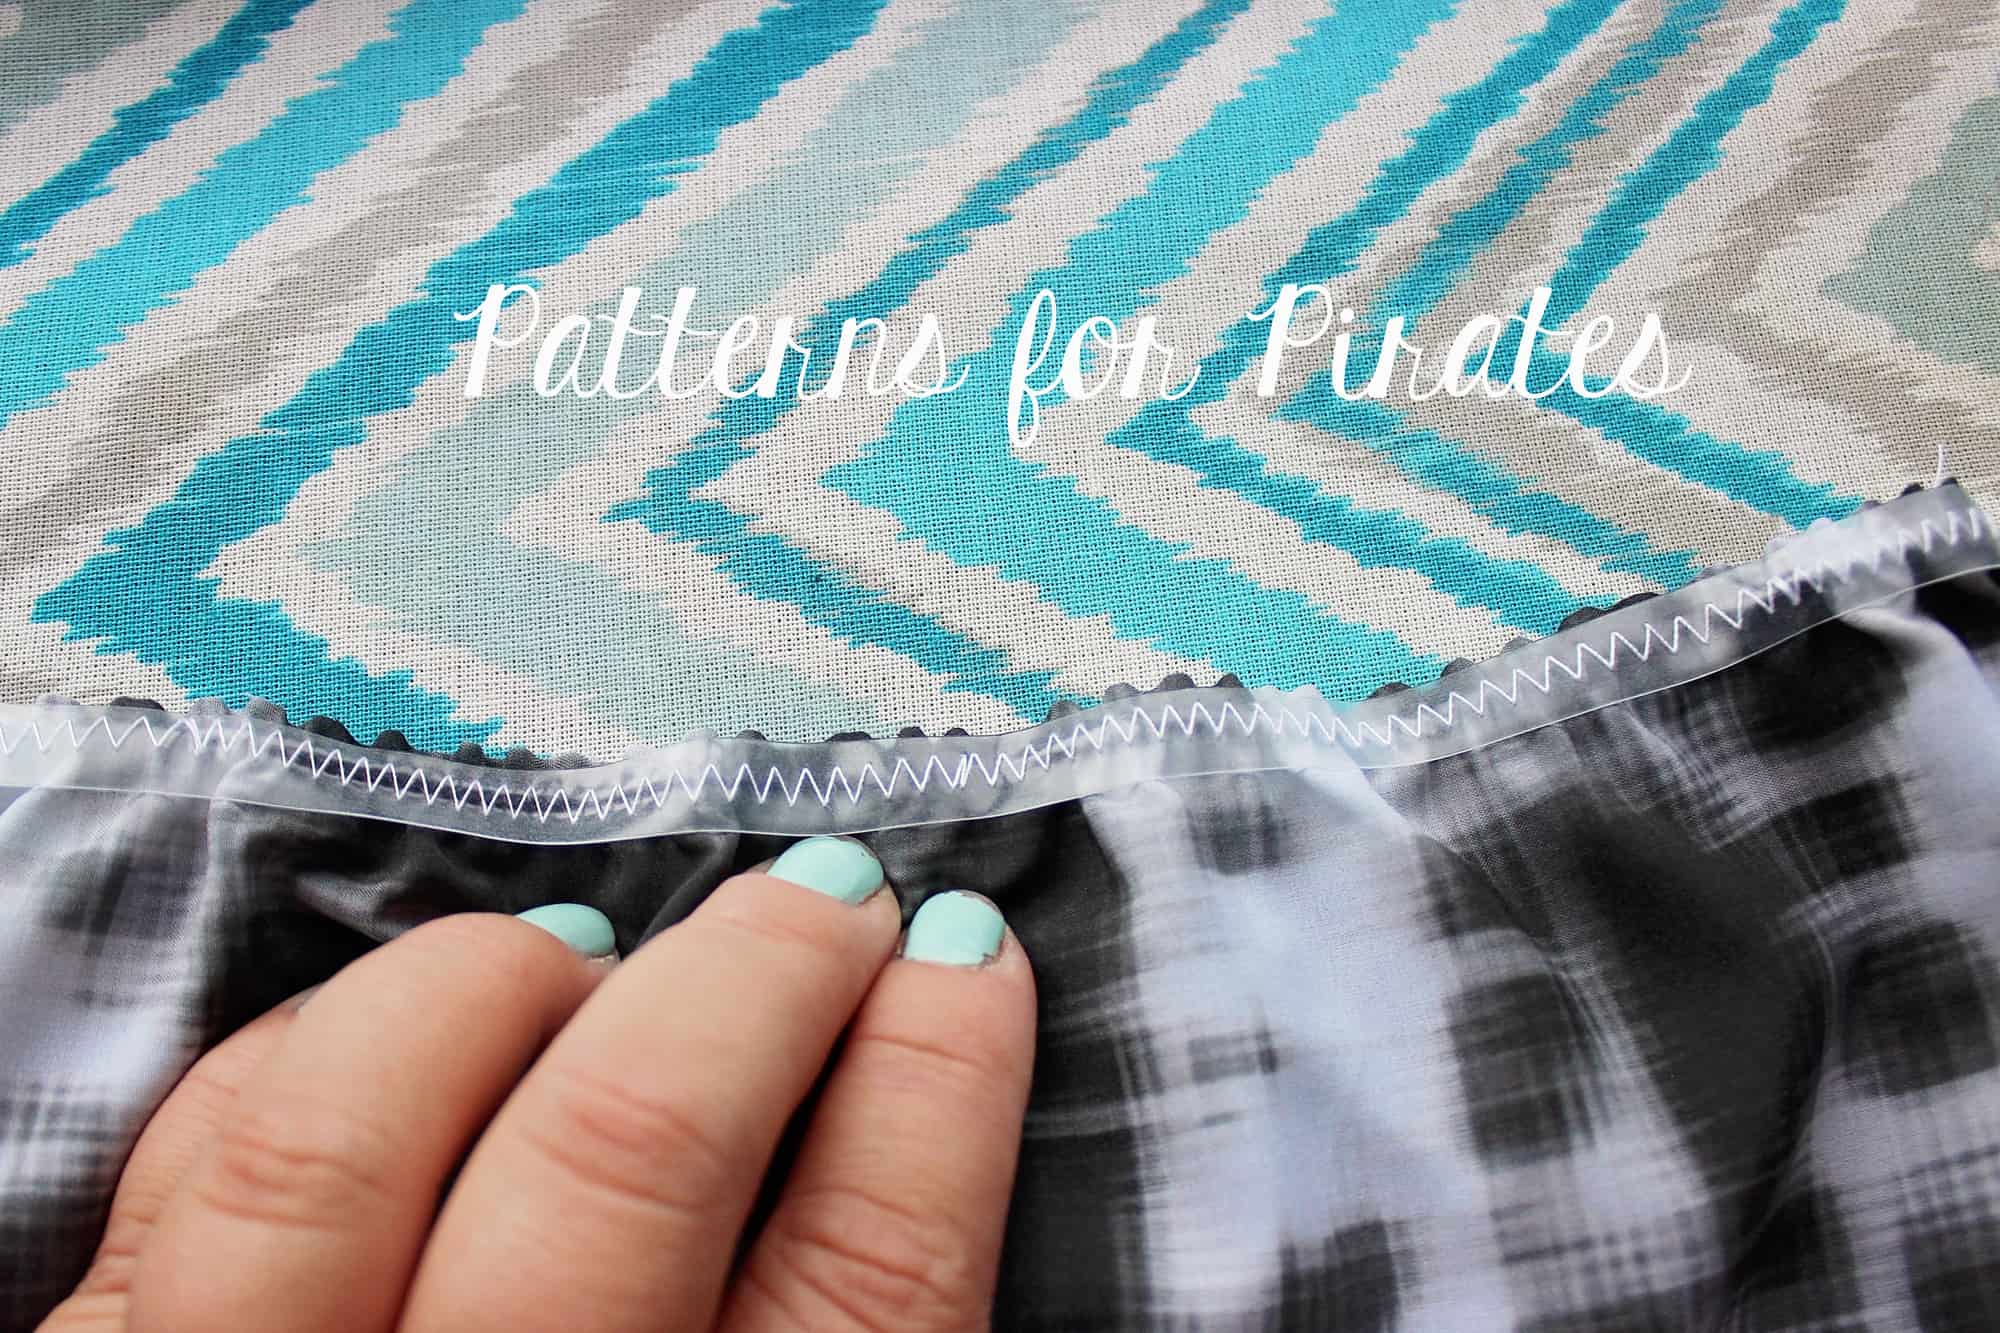
Sew the clear elastic to the top of the skirt. Use a zig zag stitch and adjust the tension and width to better fit the type of fabric you are using. Stretch the elastic as you sew. If you use a 1/2″ clear elastic simply align the edge of the elastic to the edge of the skirt. I use 3/8″ clear elastic so I put it a little lower than the edge to accommodate the 1/2″ seam allowance that is followed in this pattern.

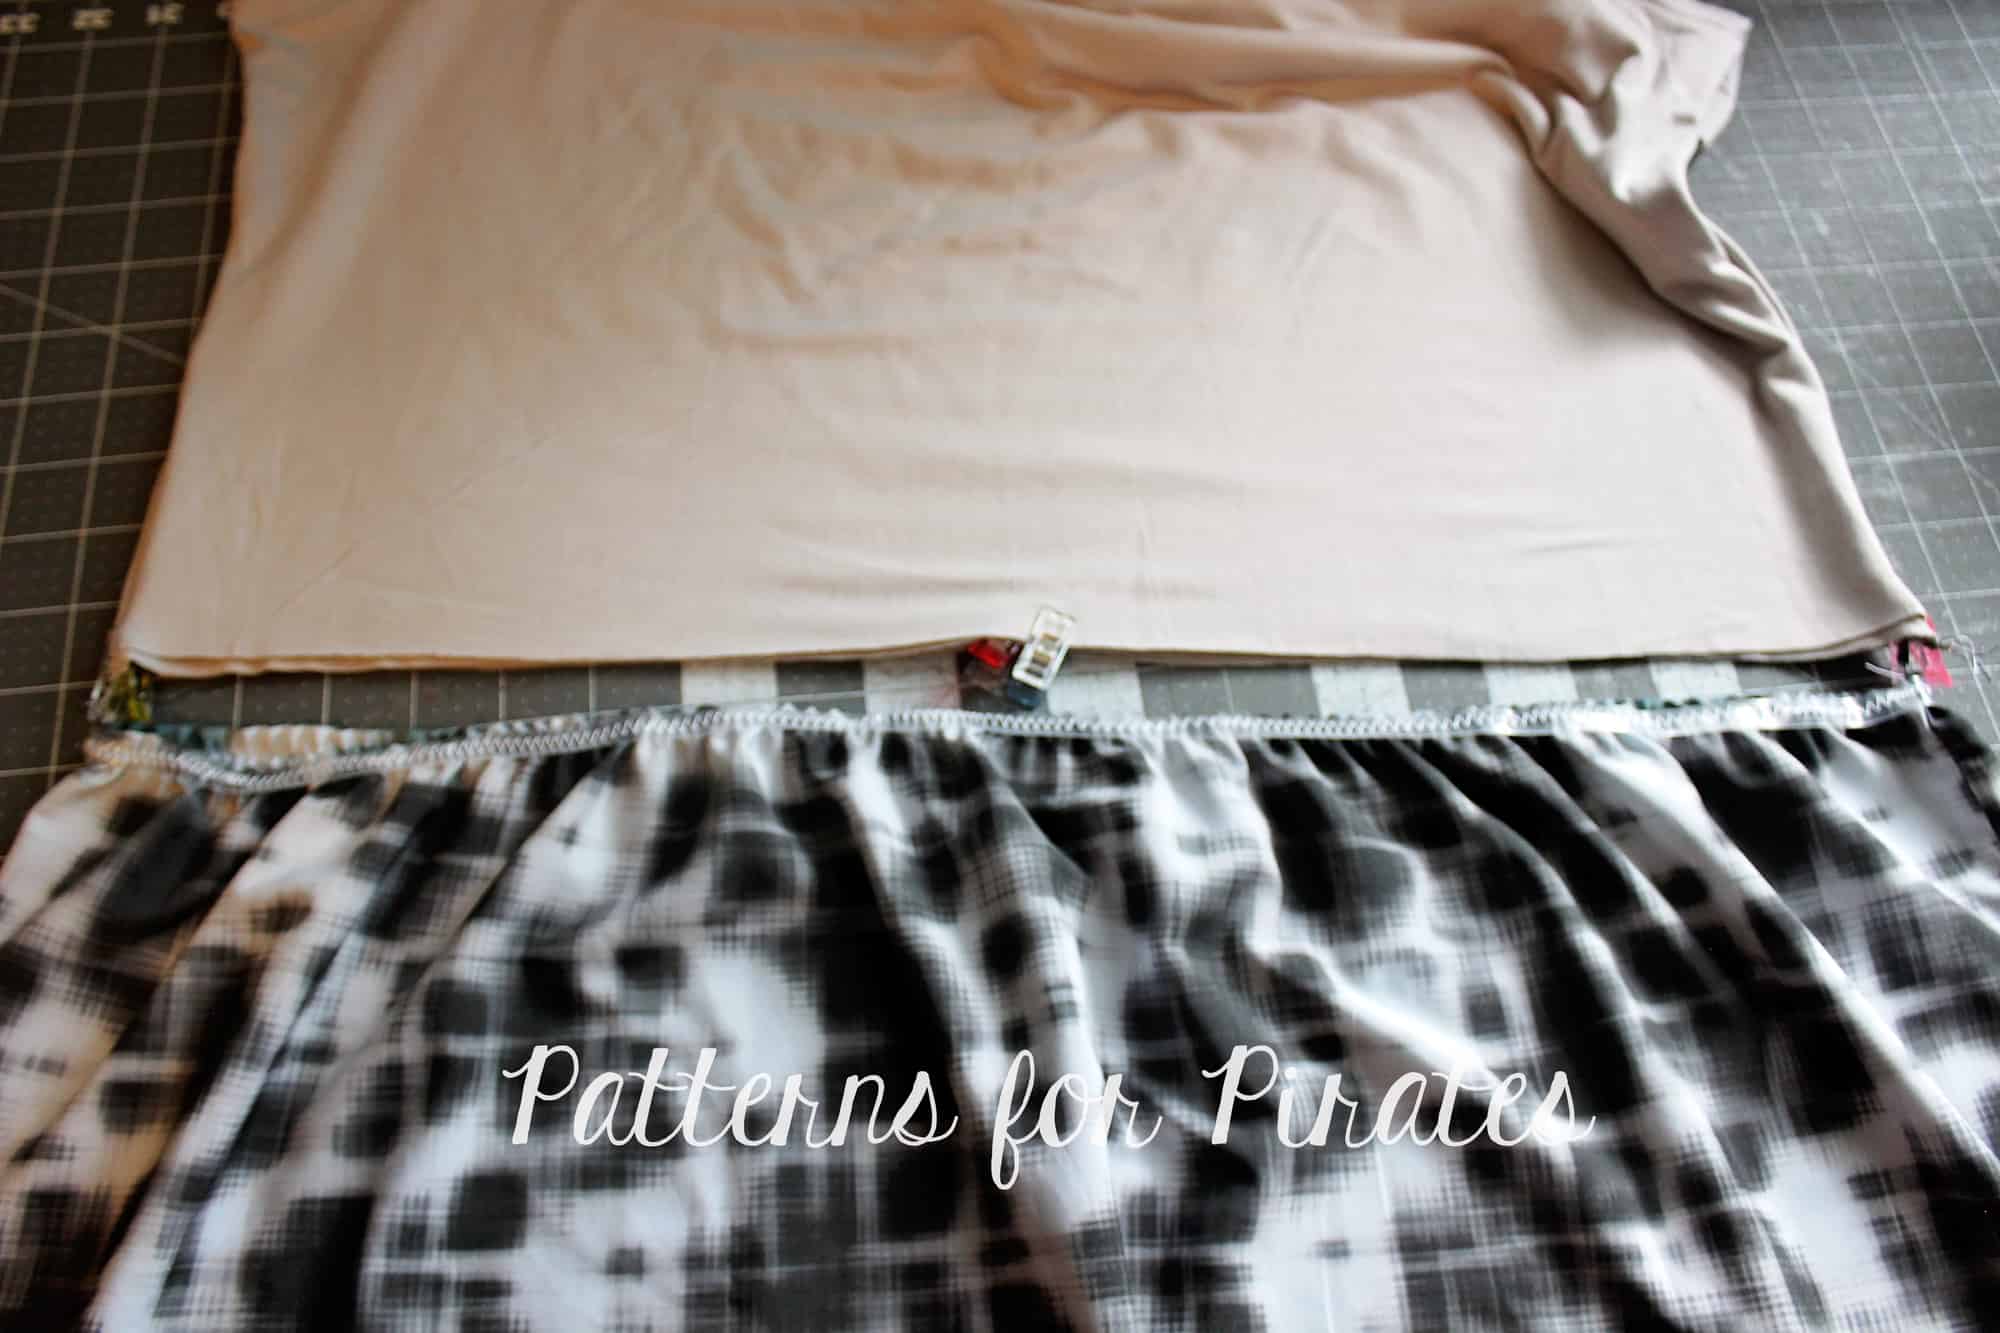
All you have to do now is attach the skirt to the bodice. The bottom of the bodice and the top of the skirt will be the same circumference. Match the side seams and the center backs and fronts, pin right sides together and sew.

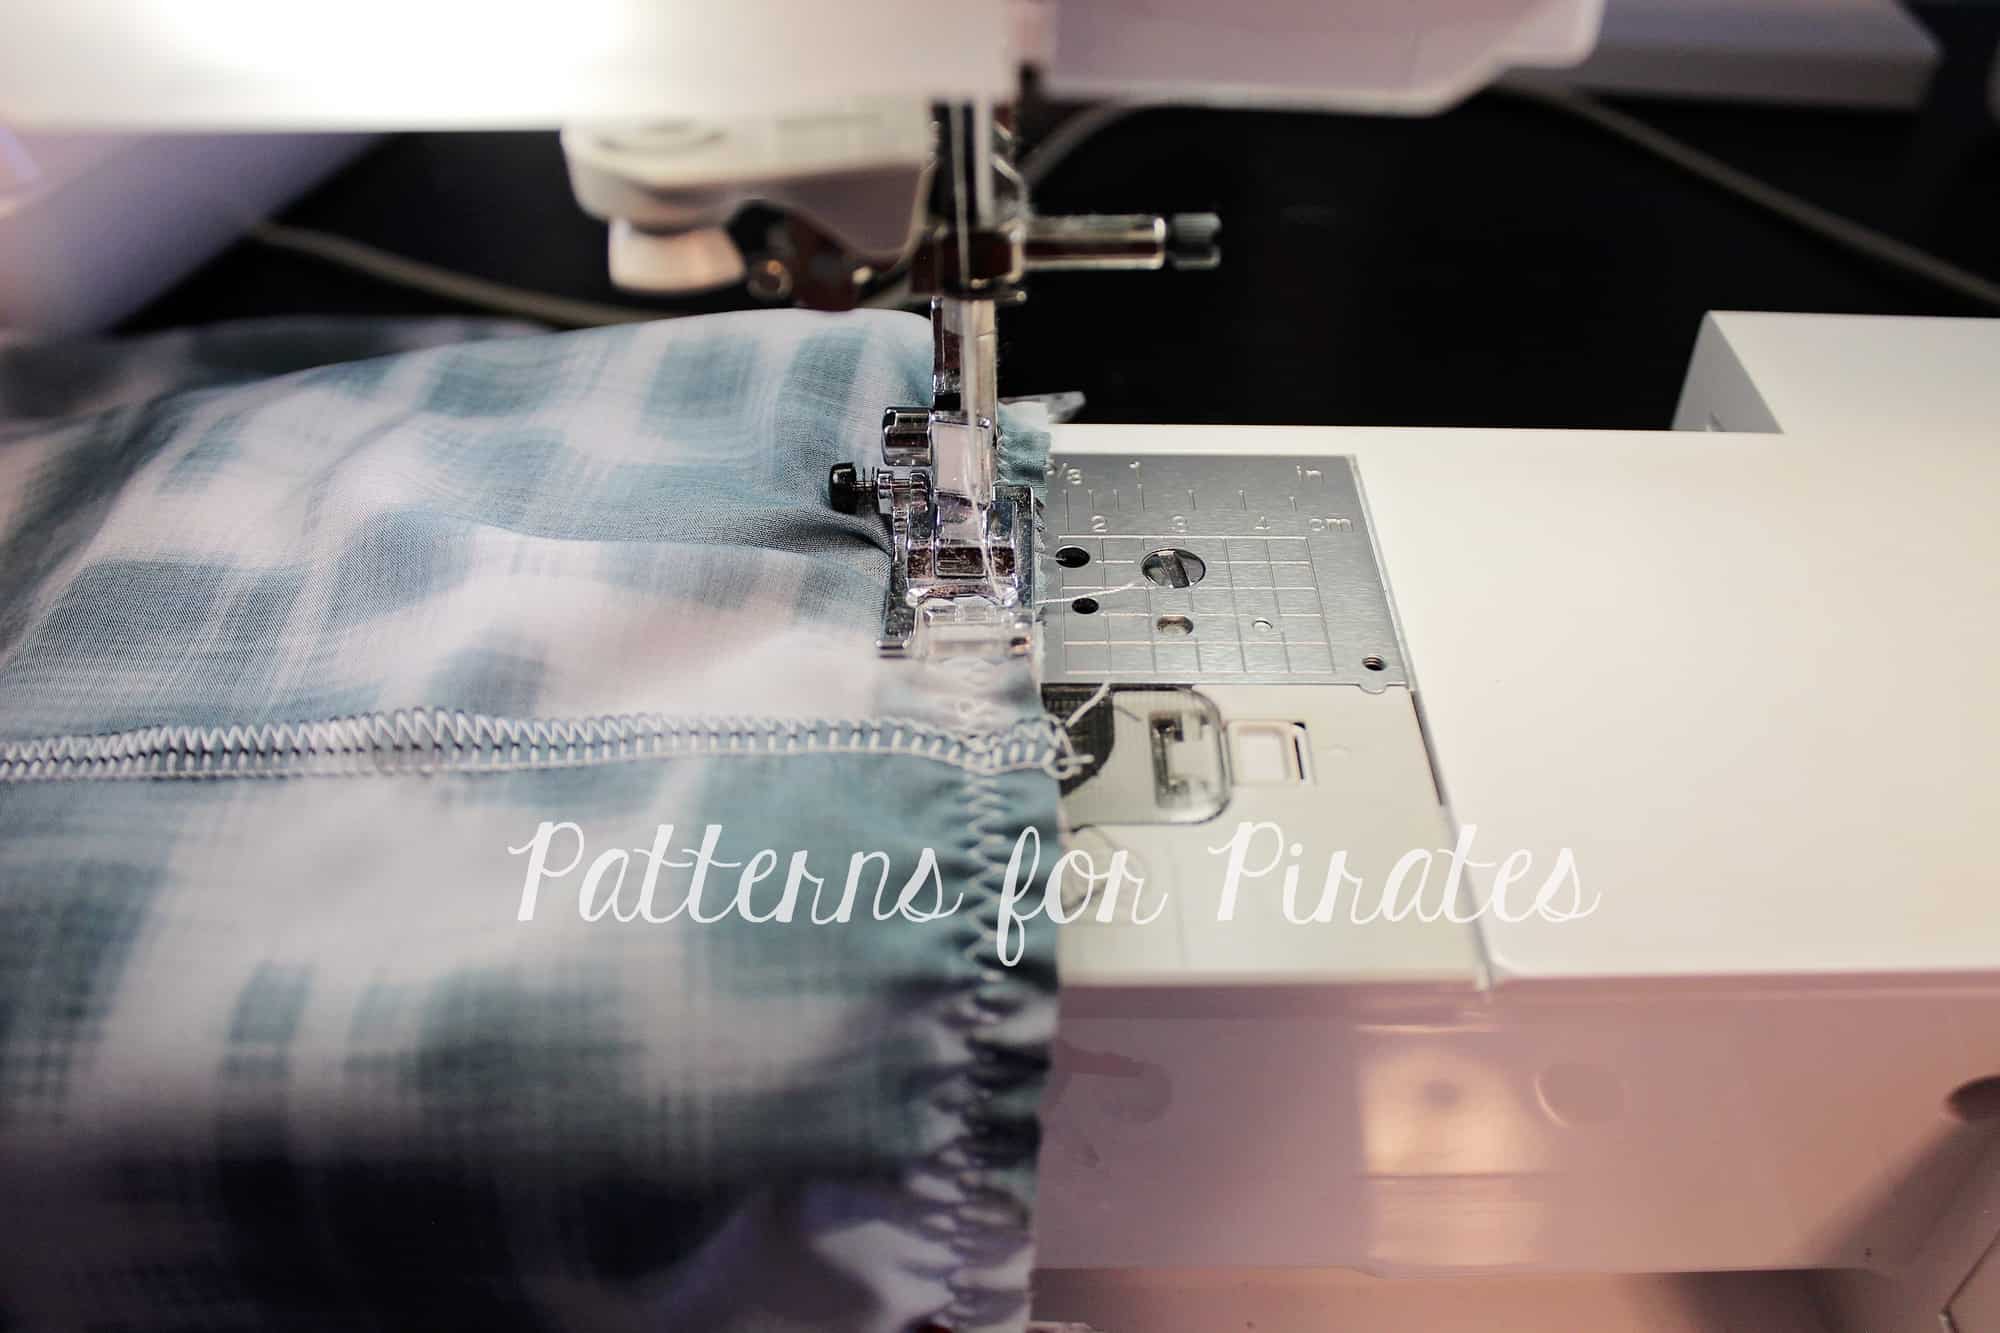
I like to attach the skirt to the bodice using a zig zag stitch but you can also use a triple stretch stitch.

Optional: top stitch the seam allowance up towards the bodice.

Tadah! You’re all set to rock your new woven skirt Boundless (or Sunshine) dress! I can’t wait to see your take on this easy hack so be sure to post it in the P4P group too!

Filed Under: Frequently Asked Questions, Pattern Hacks, Uncategorized 7 Comments

  • « Previous Page
  • 1
  • …
  • 20
  • 21
  • 22
  • 23
  • 24
  • …
  • 29
  • Next Page »

connect with me

  • Email
  • Facebook
  • Instagram
  • Pinterest
  • YouTube
Privacy & Cookies: This site uses cookies. By continuing to use this website, you agree to their use.

To find out more, including how to control cookies, see here: Cookie Policy
  • Privacy Policy
  • Refund Policy
  • Contact Us
  • About

Copyright © 2026 Patterns for Pirates

Copyright © 2026 · Genesis Framework · WordPress · Log in