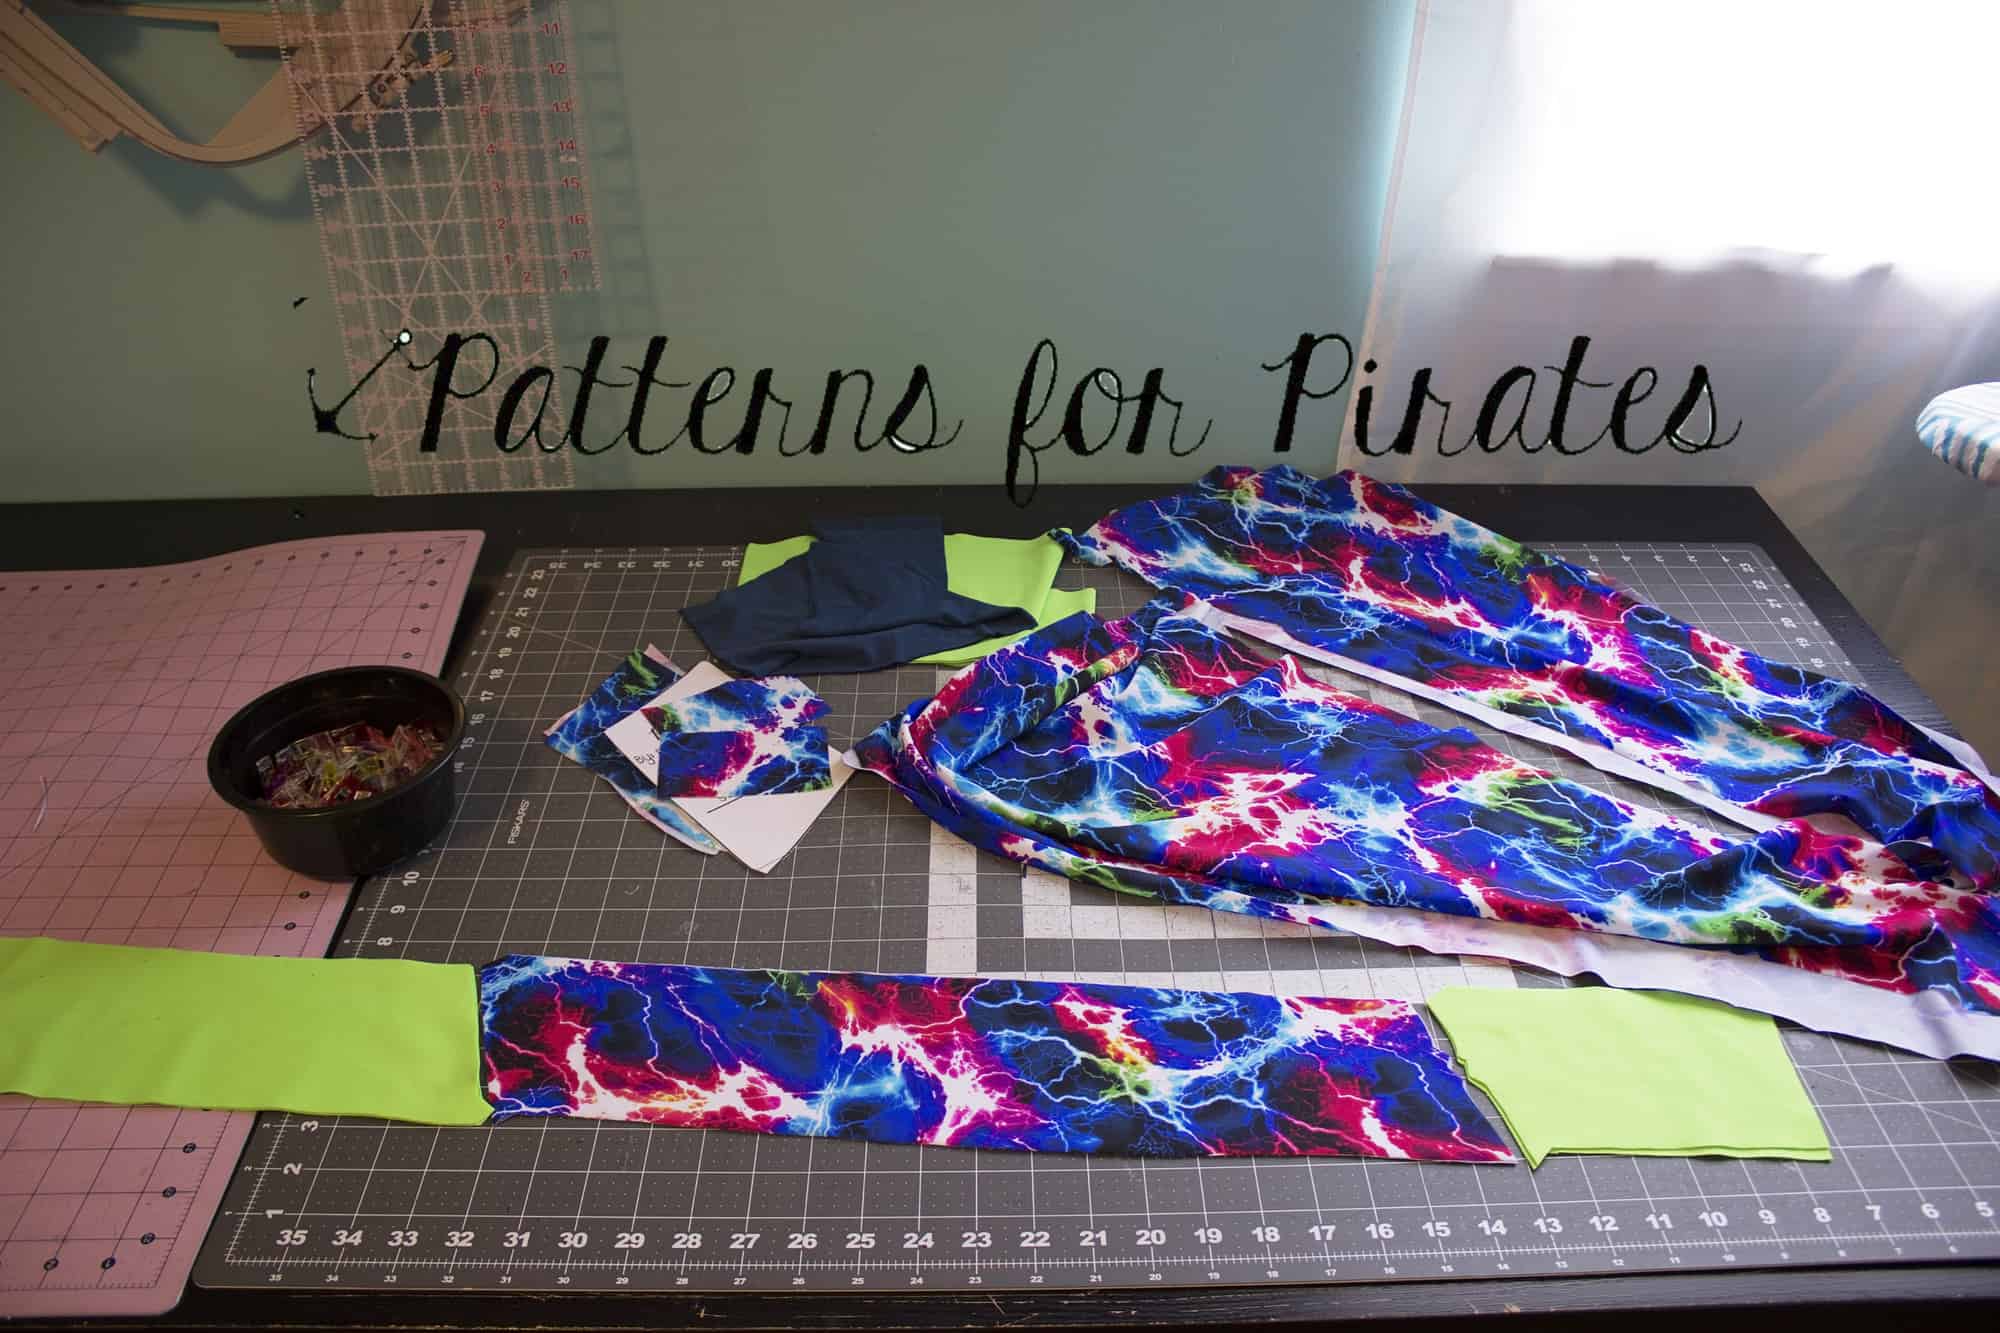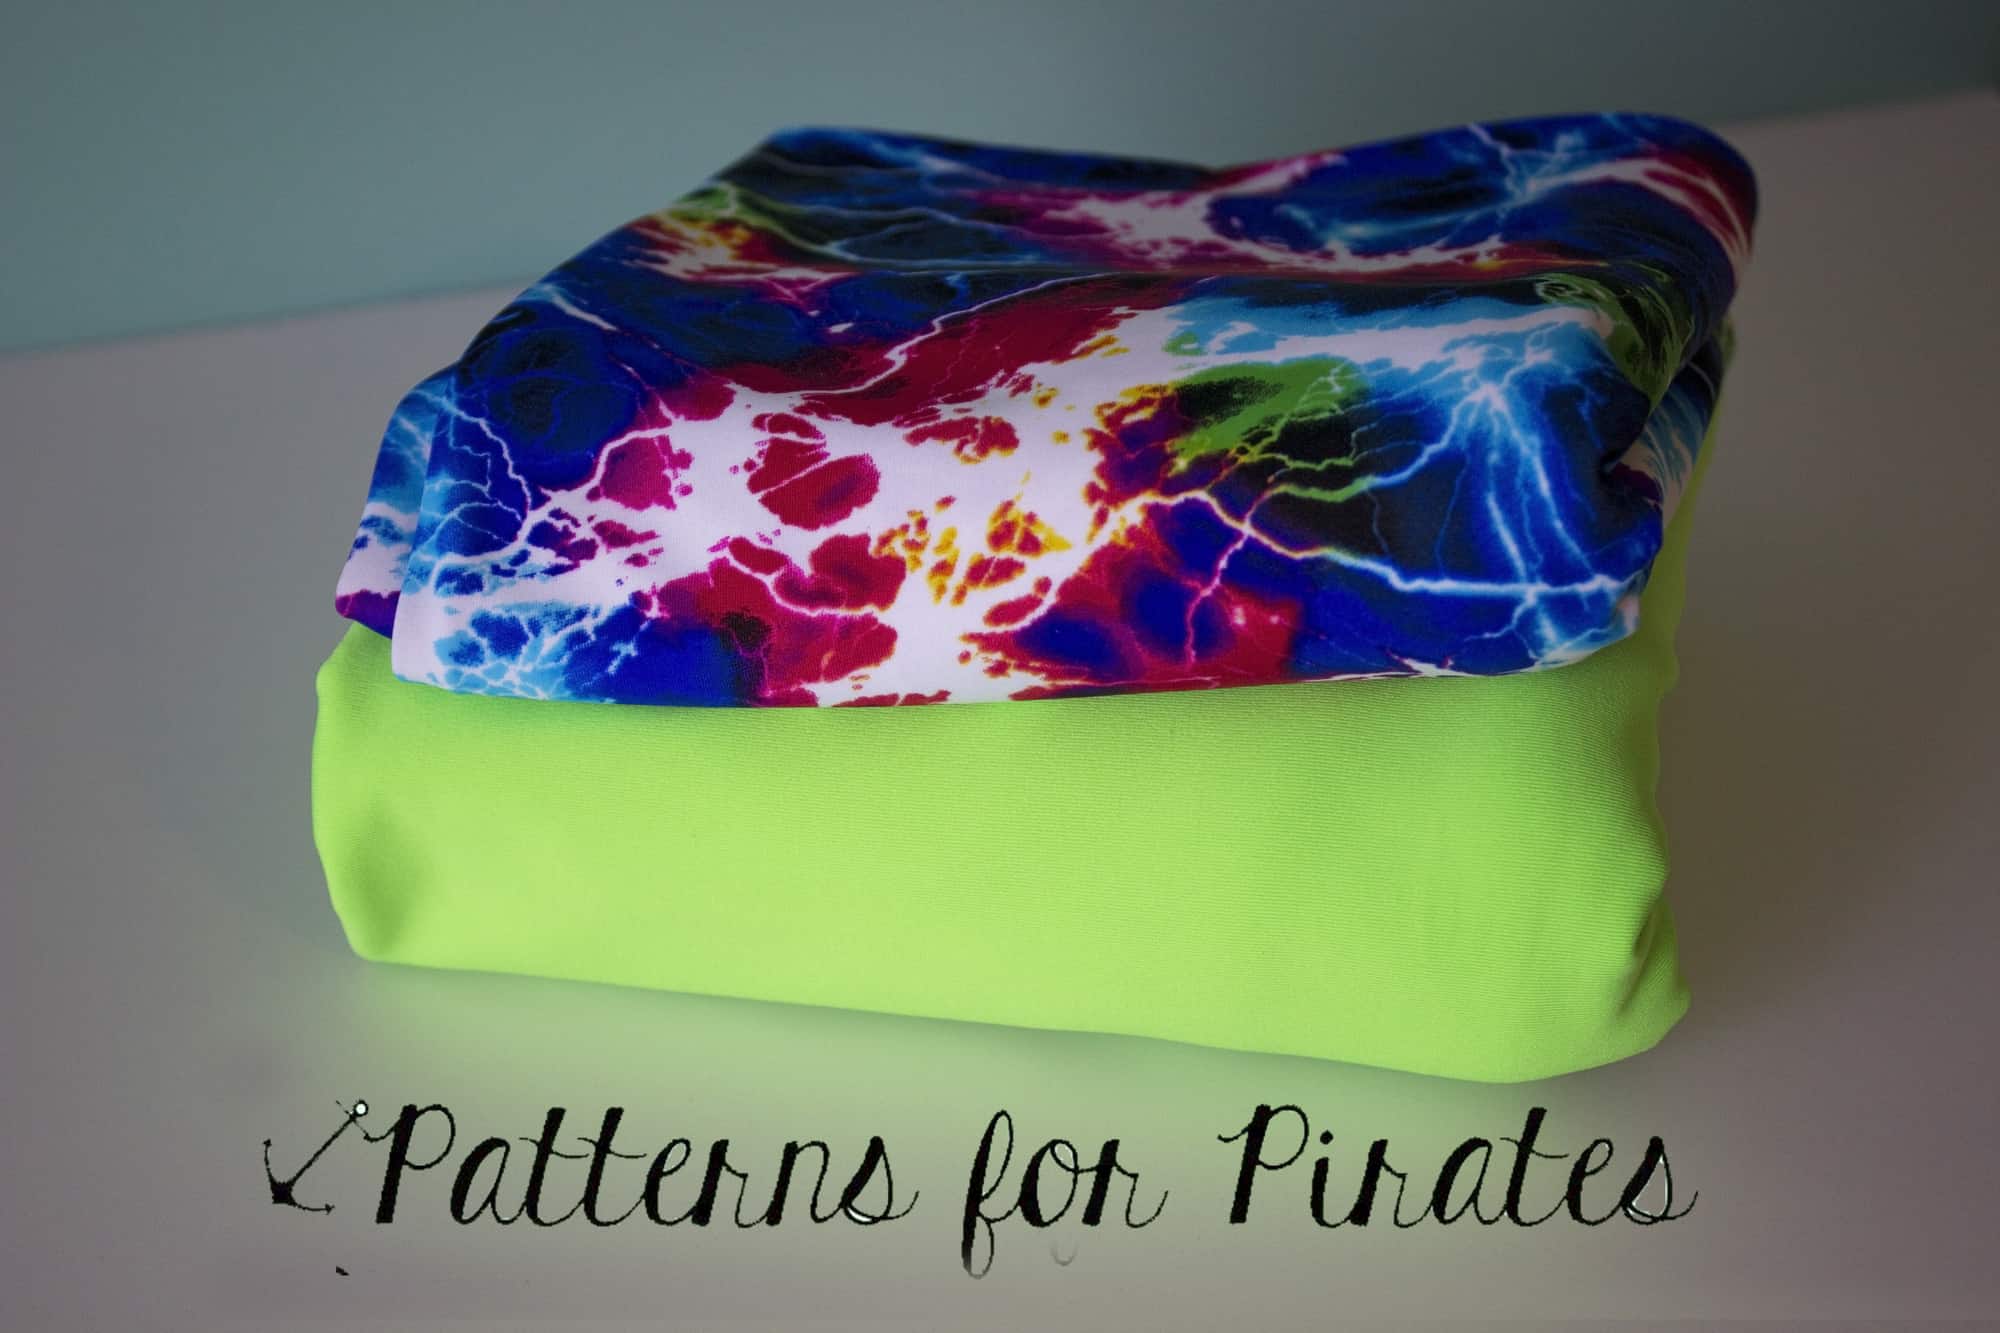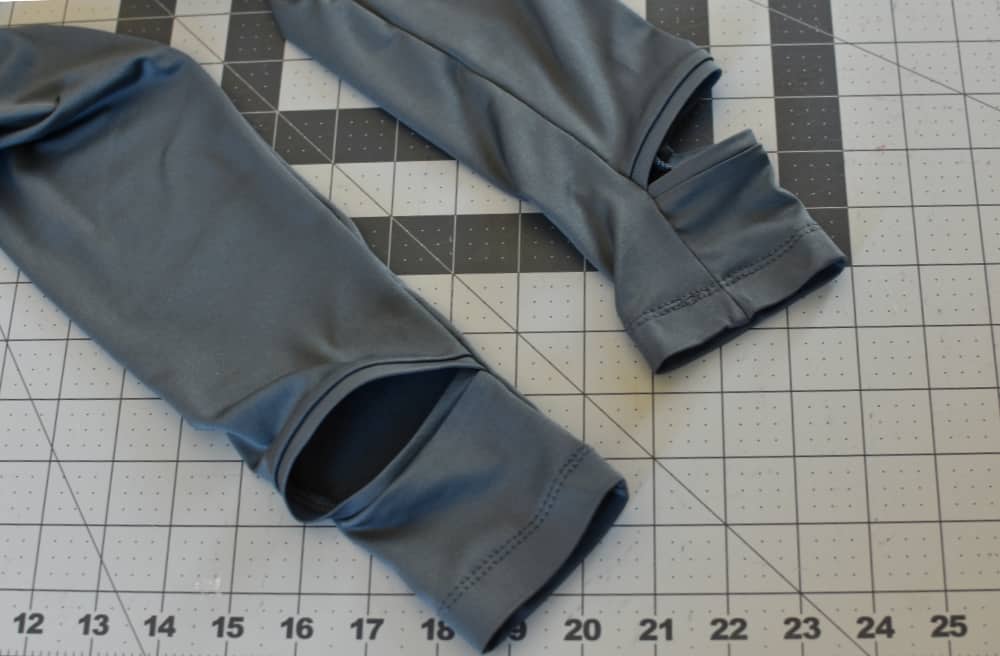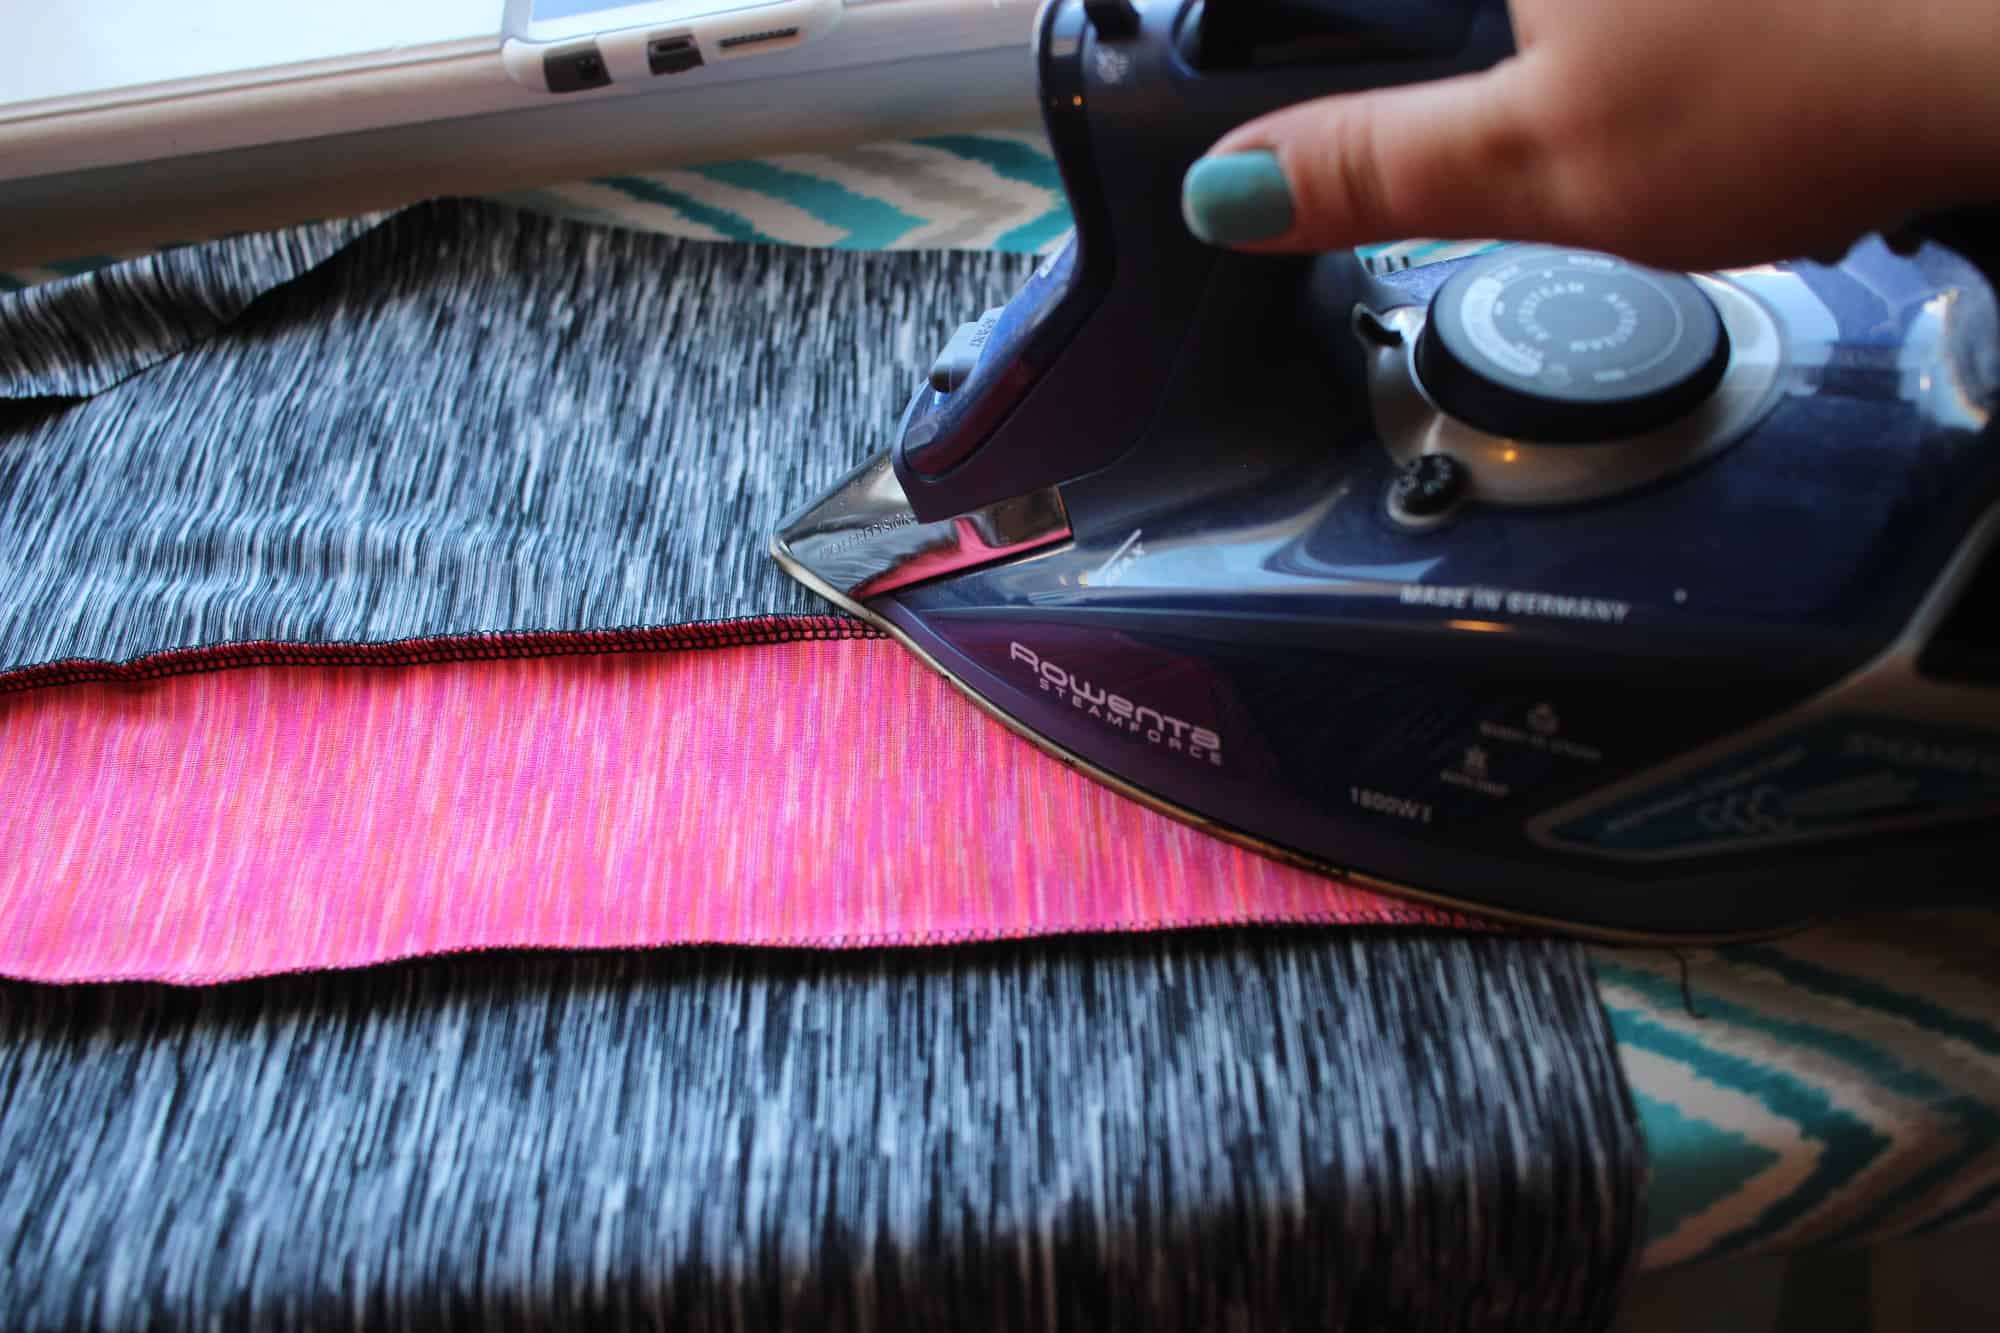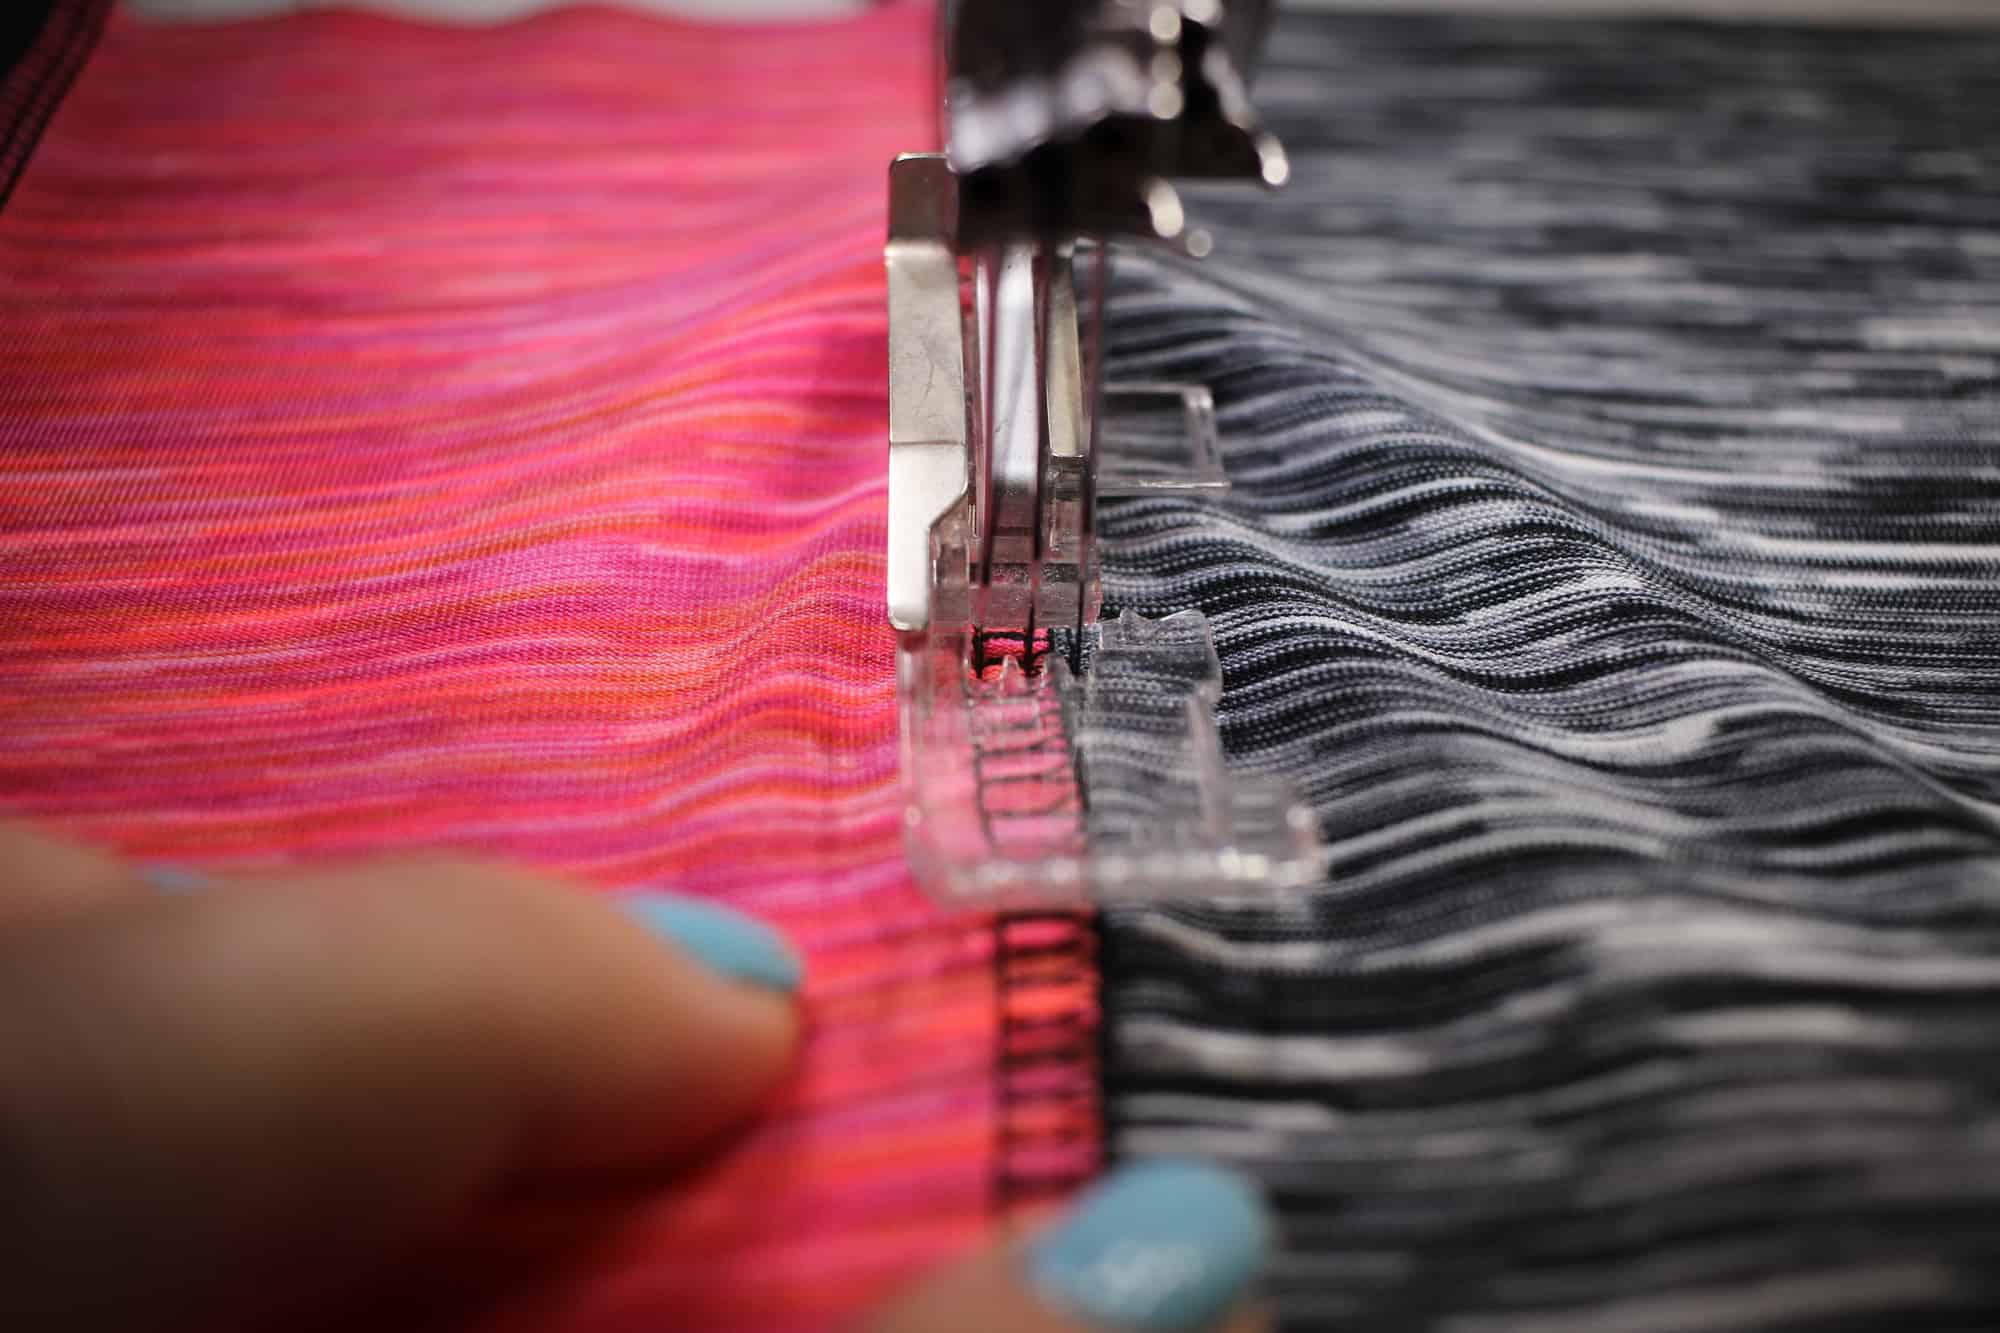
Welcome to day 3 of our Peg Leg sew along. So far we have picked the fabric(s) we will use, measured for accurate sizing and printed the pattern. Today we will be cutting the fabric so grab those sharp scissors or rotary cutter and let’s get started.
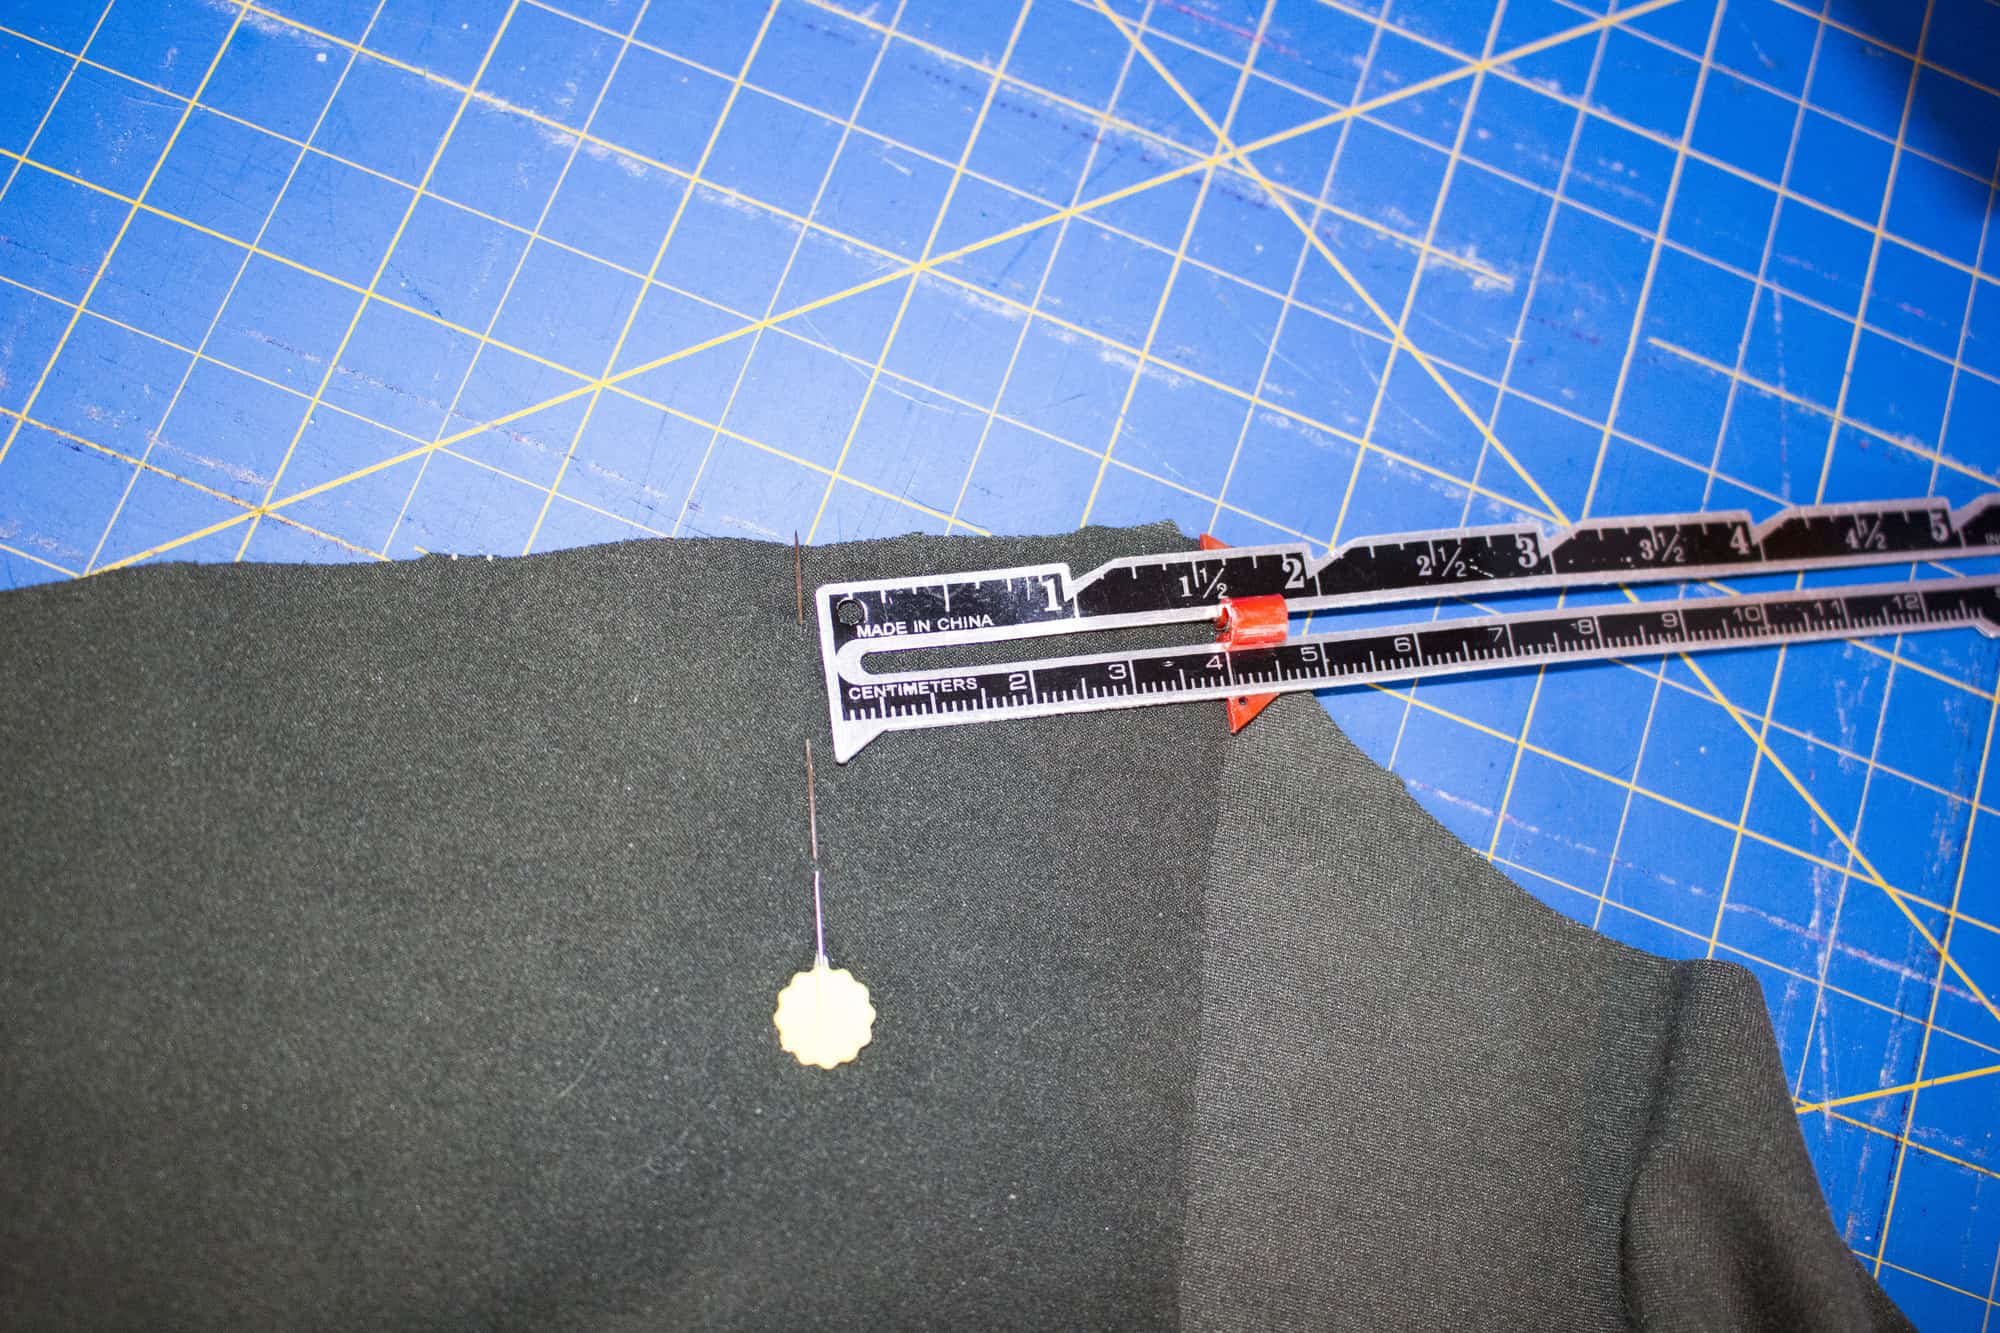
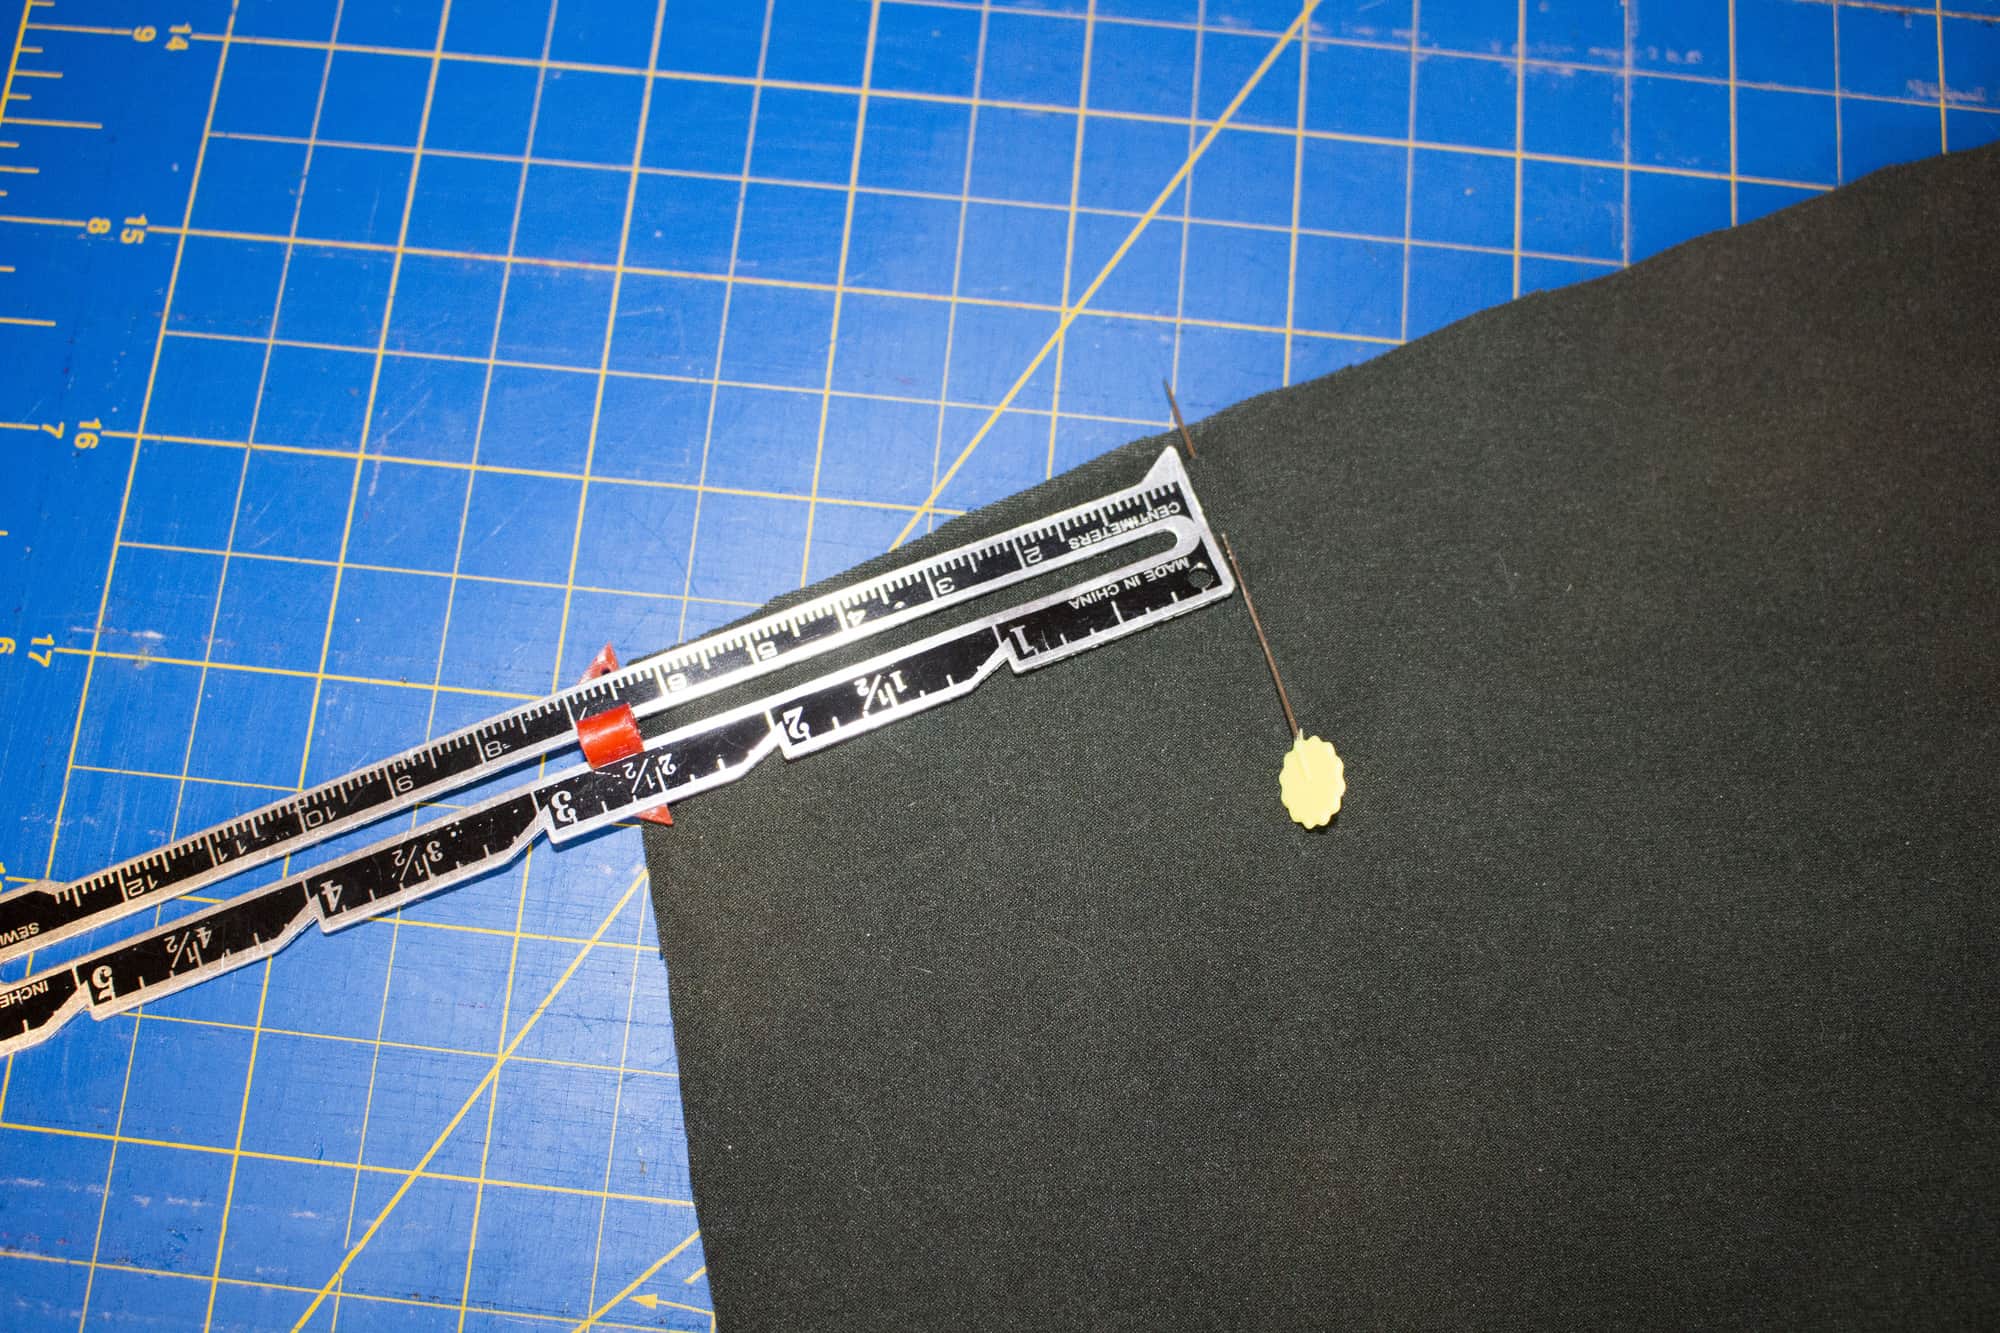
It is imperative that you cut your fabric following the grain/stretch recommendation. Do not cut your pegs against the grain even if you feel that it may save you some fabric. The final product will not look as nice and you will notice sagging and misshaping.
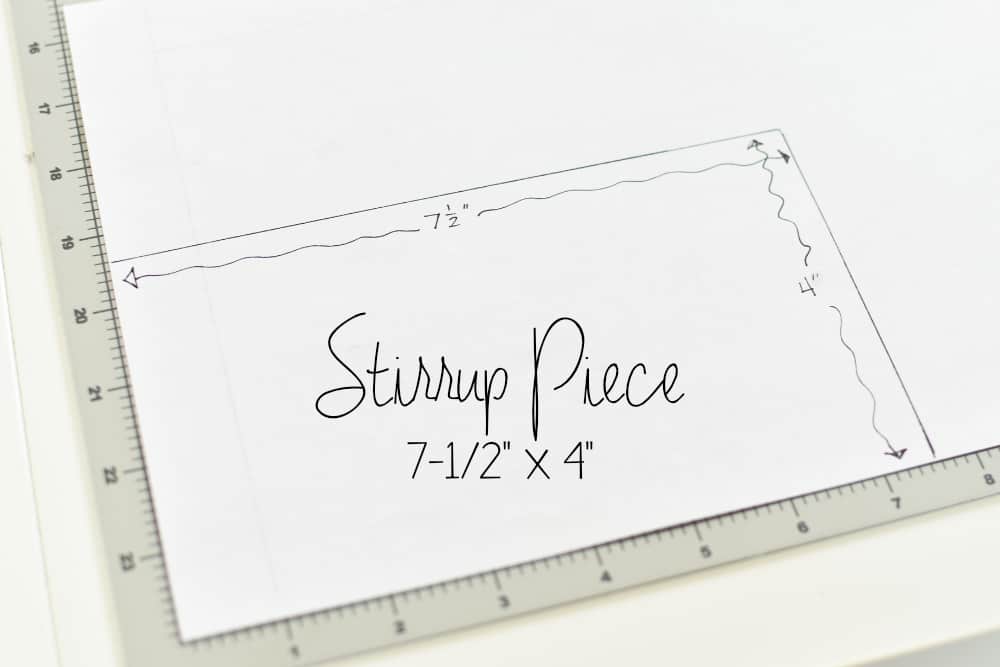
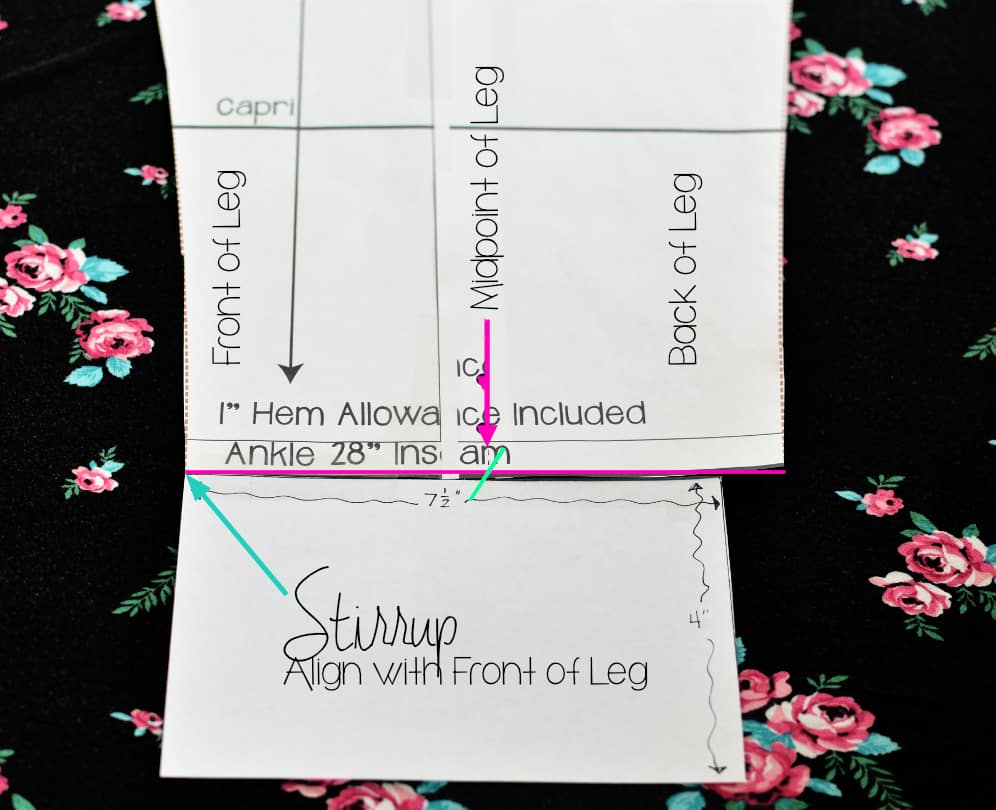
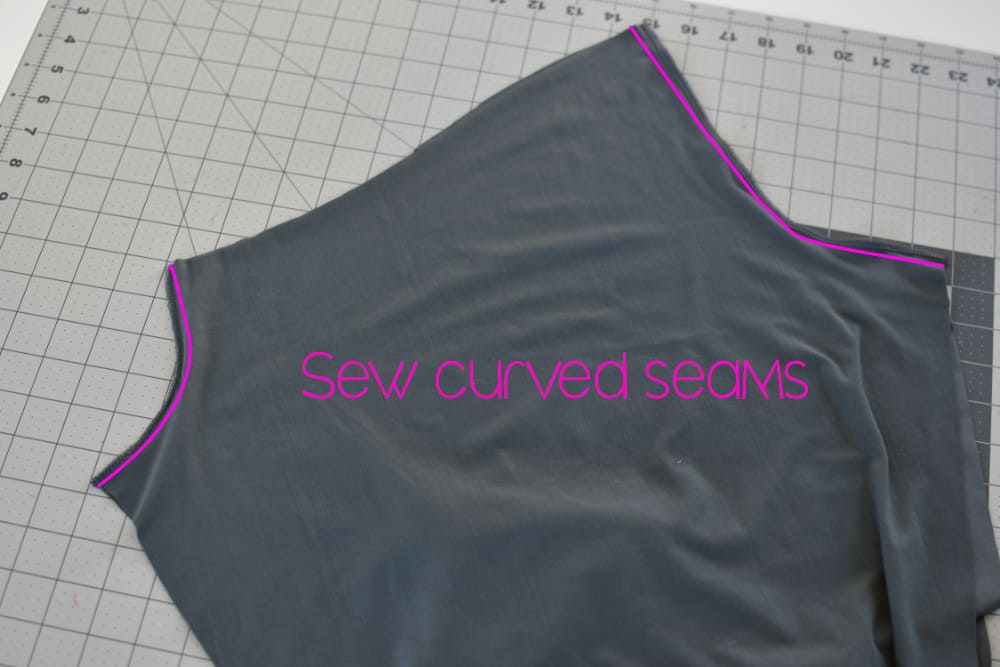
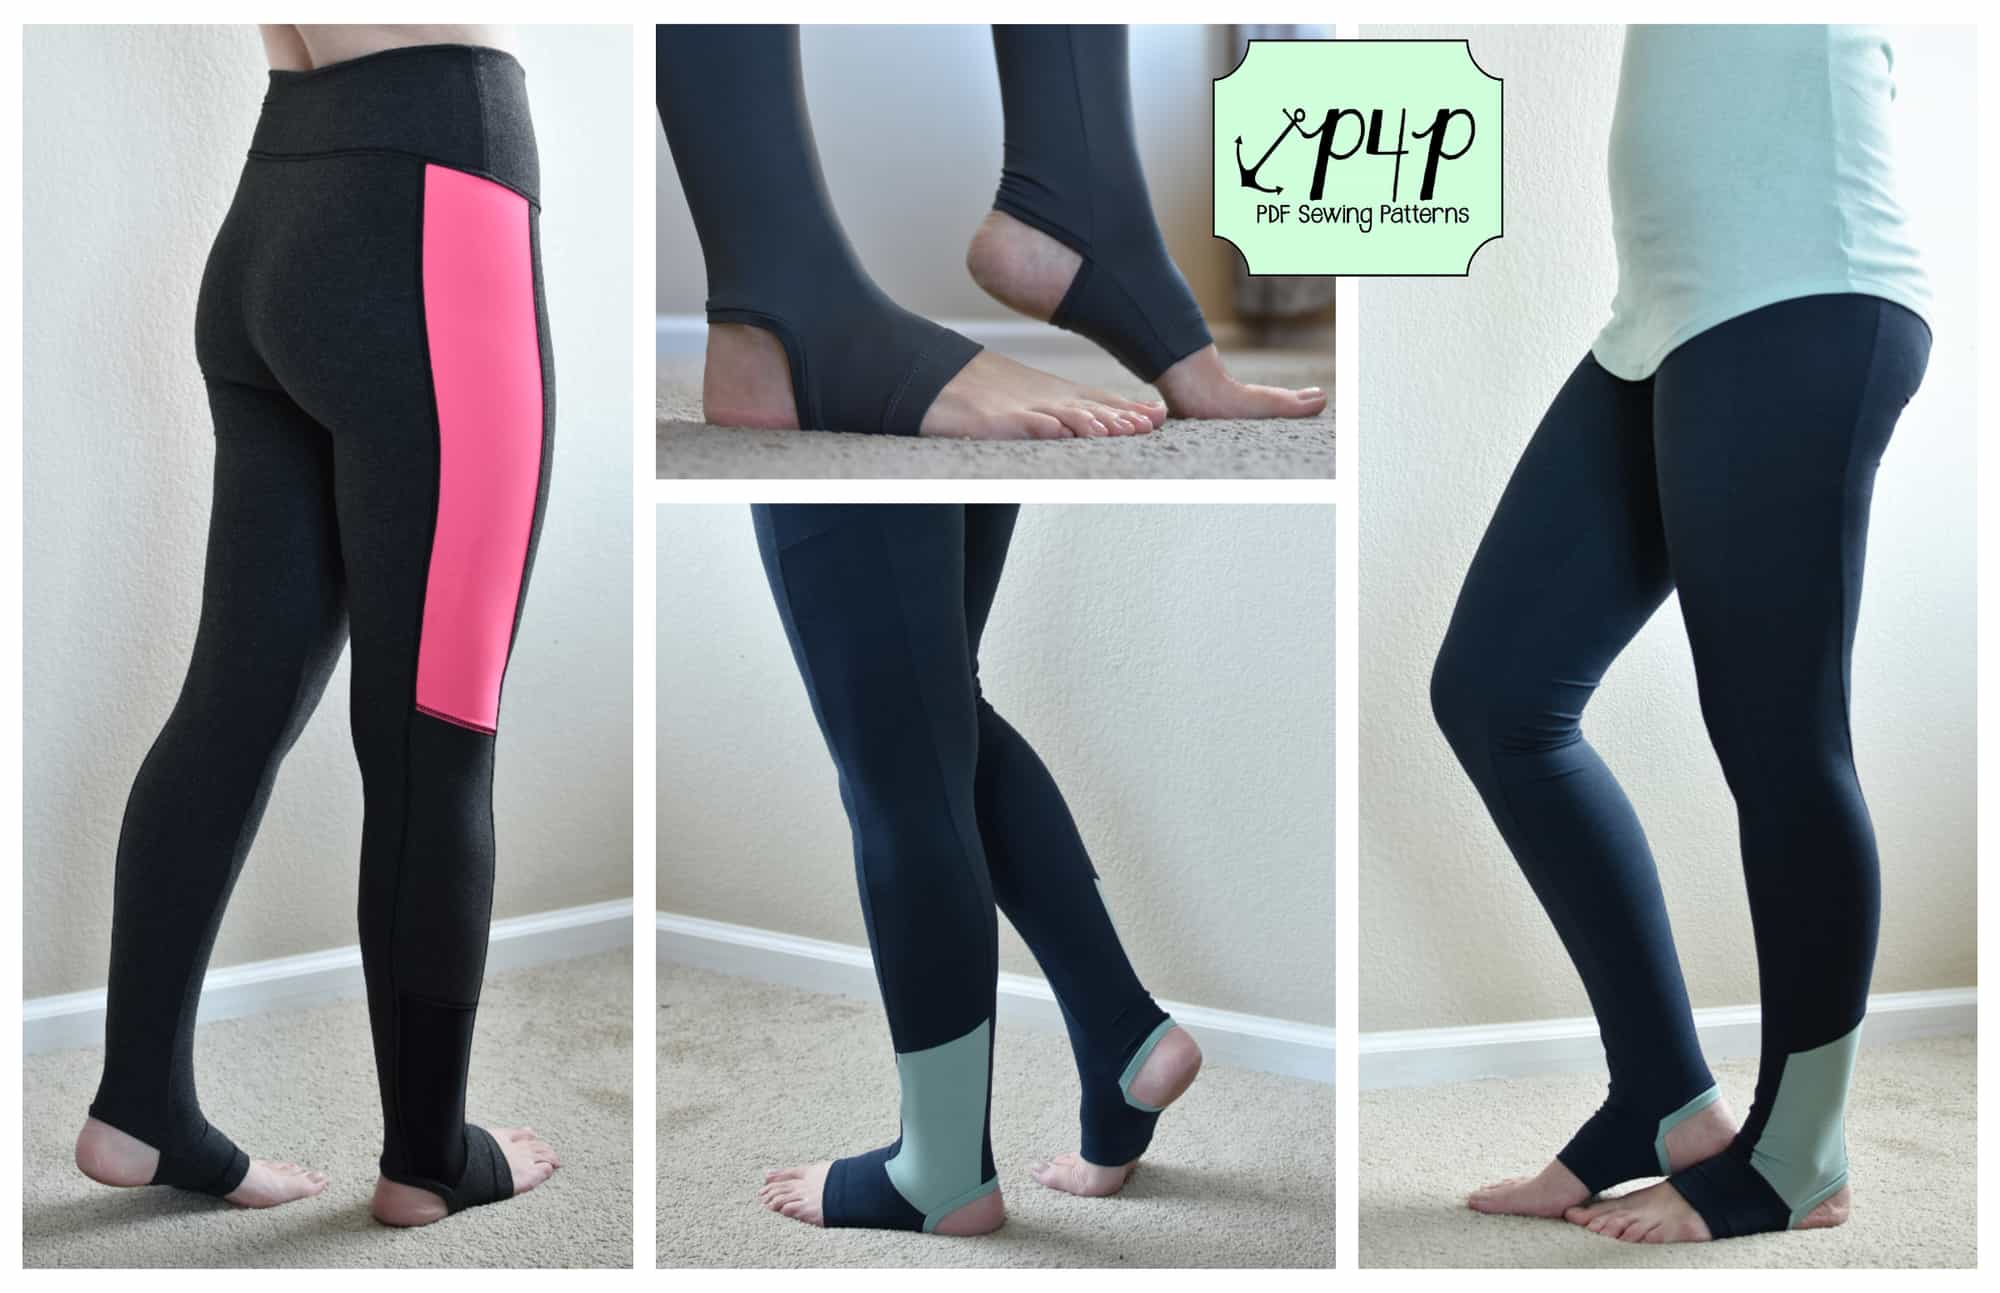
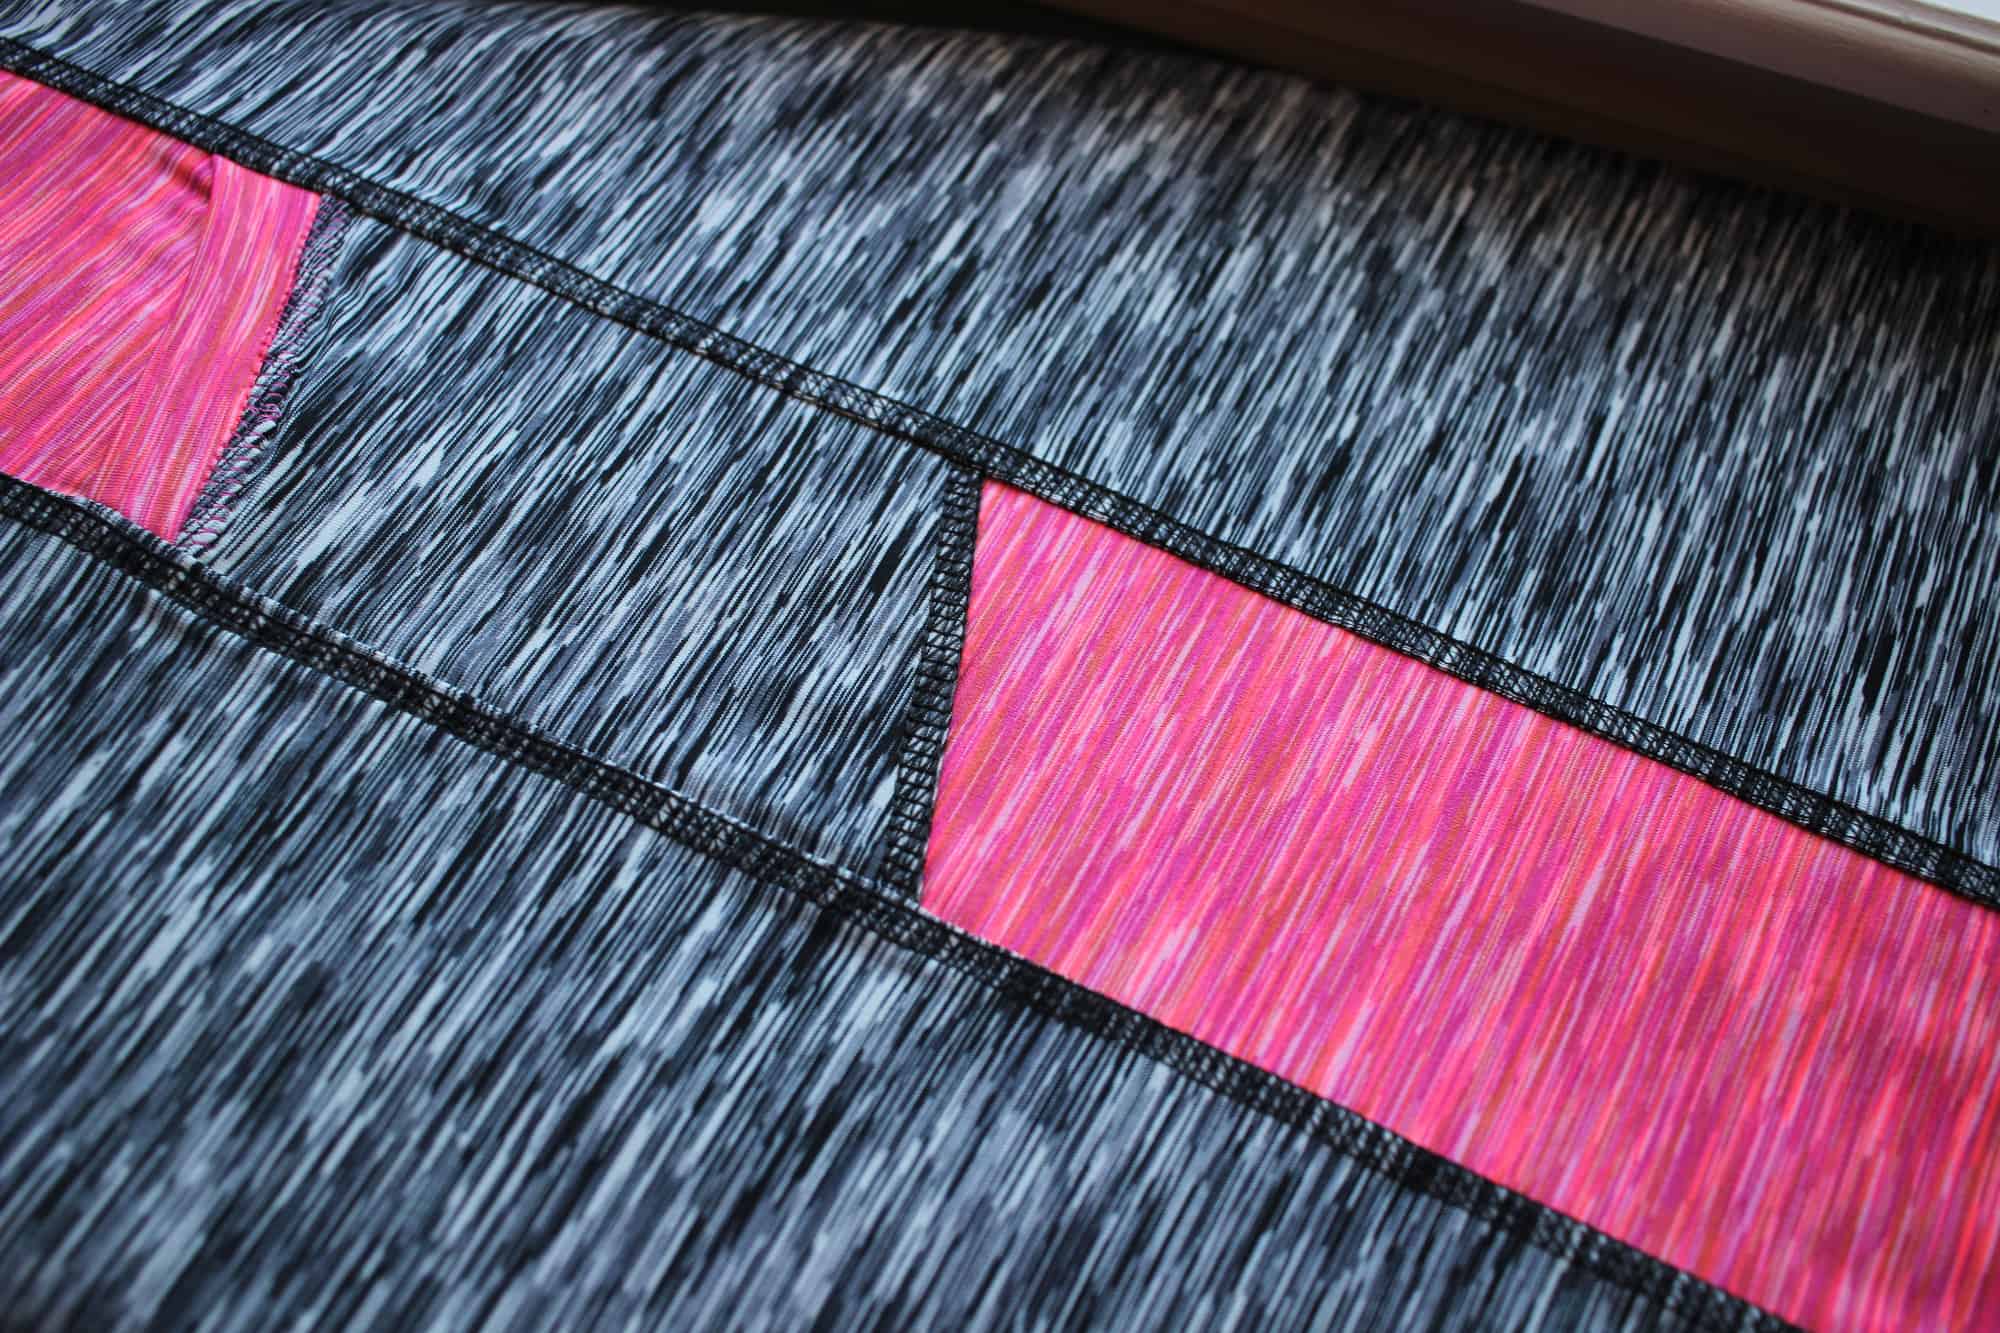
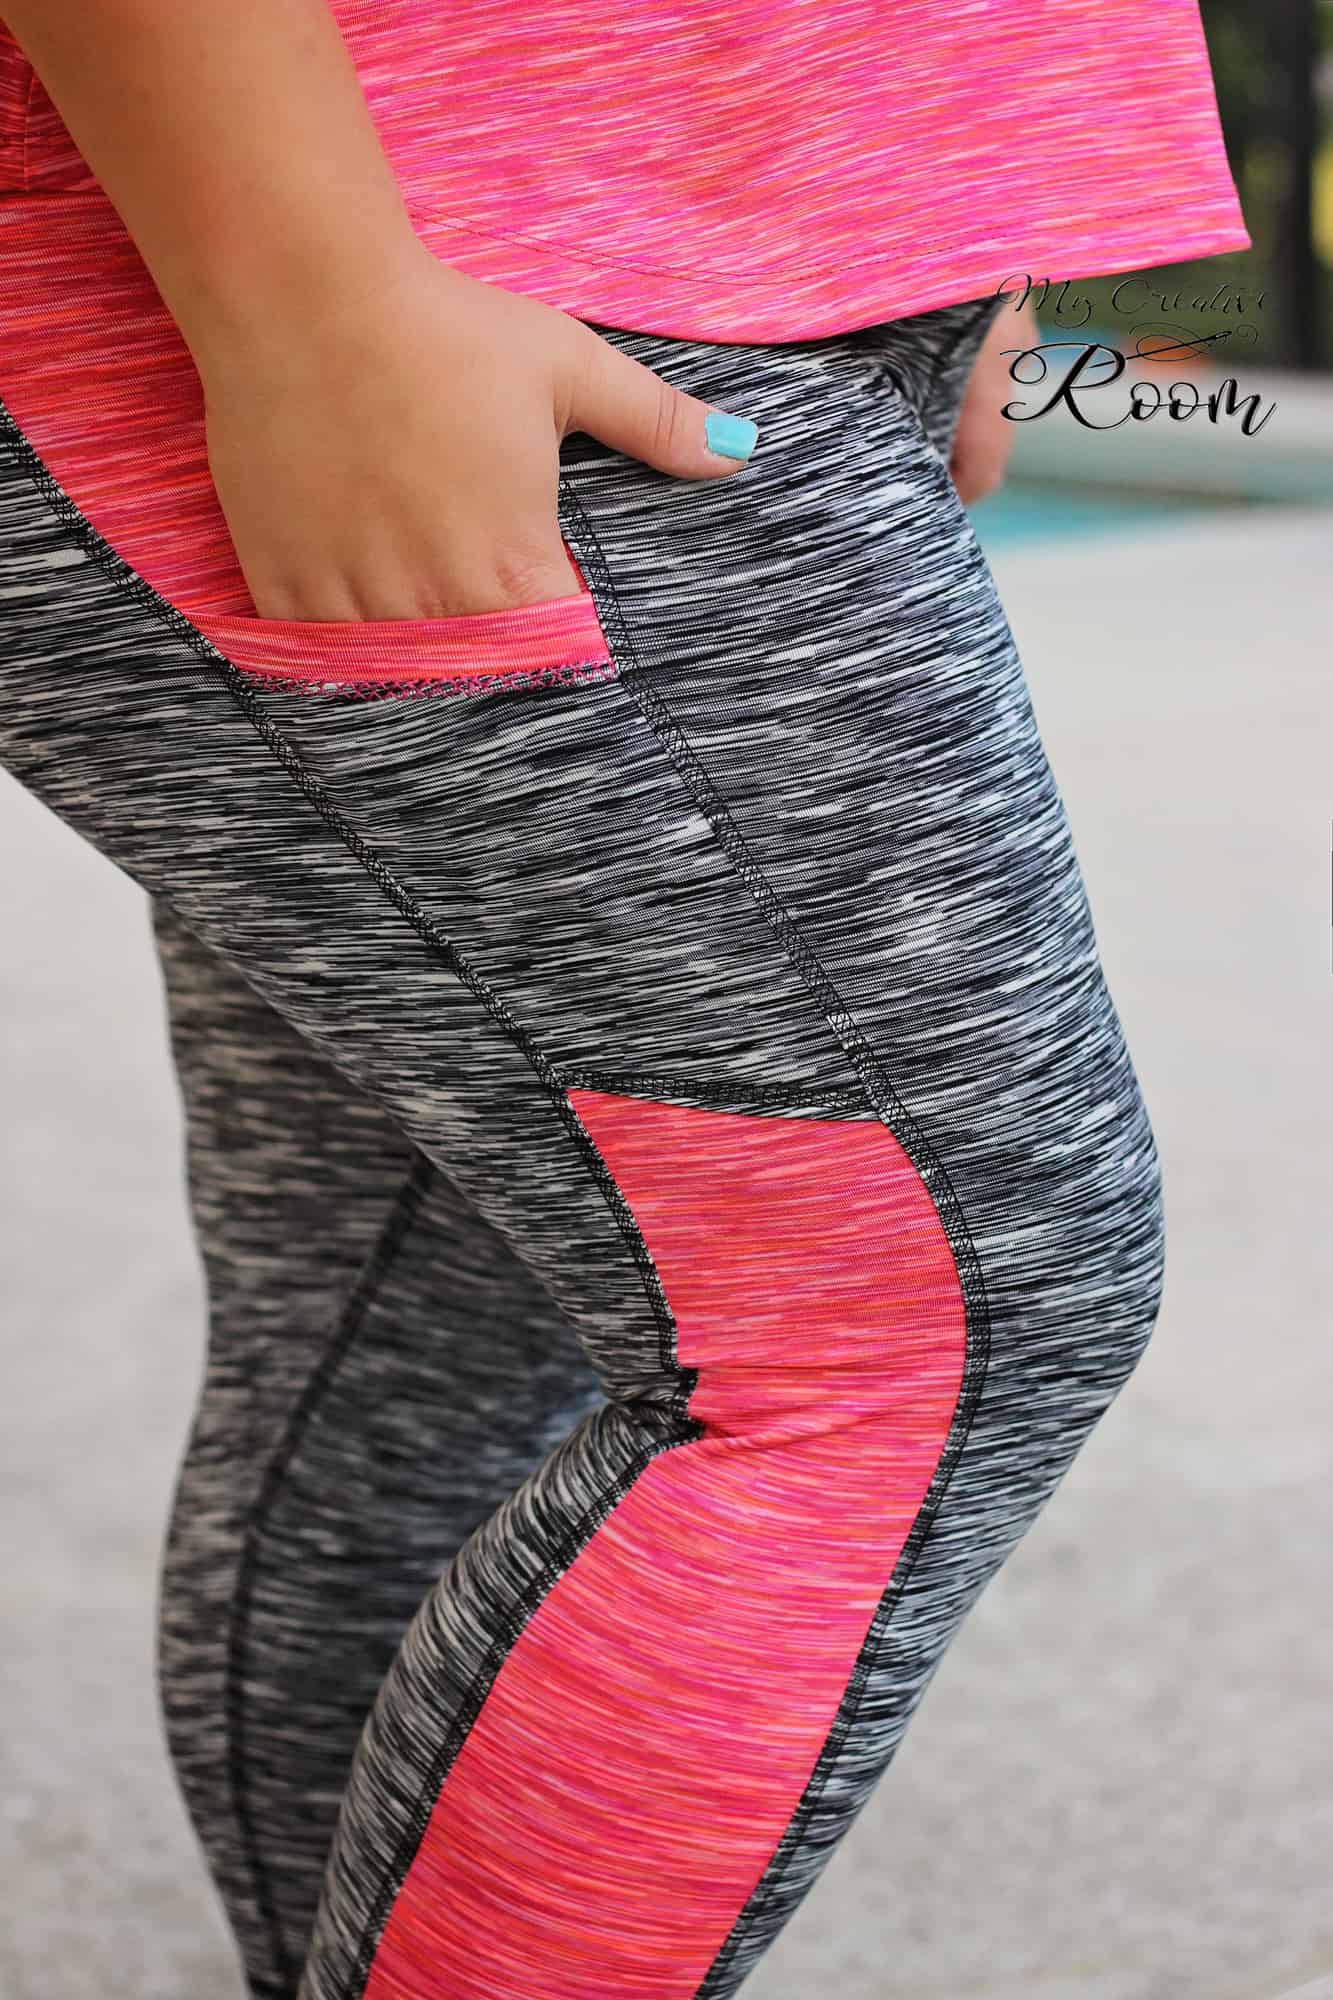
Don’t forget to cut MIRROR pieces for both your main part and the color block ones! The easiest way to make sure you cut all the fabric correctly is to fold the fabric and make only one cut instead of two mirrored ones. Check out day 3 video here!
TIP: Cut all pieces of the same fabric before cutting the pieces of the coordinating fabrics.
Once you cut your fabric post a picture of the pieces in the Peg Leg SAL Event and hashtag it #pegsalday3. See you back here tomorrow!