Patterns for Pirates

P4P stylish, modern, wearable patterns

  • Home
  • Blog
    • Frequently Asked Questions
    • Pattern Releases
      • Free Patterns
    • P4P University
      • Fitting
      • Sewing with Stretch, Knit Fabrics
      • Sewing with Woven Fabrics
      • Sewing Machines
    • Sew-A-Longs
    • Fabric for Pirates
    • Pattern Hacks
    • Announcement
      • Blog Tours
      • Contest/Giveaway
  • Shop
  • Bundle Discounts
  • Flash Friday
  • Gift Cards
  • My Account
  • Cart

Favorite/Fav Tee SAL – day 2 (choose and cut fabric)

August 7, 2018

Welcome to day 2 of our Favorite and Fav Tee sew along. Today we will be choosing the fabric and cutting it. You should have your pattern pieces ready from yesterday so now we will be using them to cut the fabric.

But first let’s talk a little about the right fabric for this pattern. As you can see in the video below I am using Bamboo Spandex from Fabric Anthropology for my dress. This is by far my favorite knit type for this pattern. I also like Rayon Spandex and Brushed Poly for it too.

If you are unsure about which knit type will work best for your desired look, take a look over our P4P University Knit Types blog. Judy also included a cheat sheet that you can print. If you are like me and sometime are just keen on using a specific print for a specific pattern, read our Different fabric, different fit blog post before you cut your fabric.

The Day 2 video is posted below. Check it out and once you are done cutting your fabric post a picture of it in the comments of the Day 2 photo in the M4M & P4P Sew Along group.


Favorite Tee & Fav Tee SAL

Day 1: print + cut pattern

Day 2: chose + cut fabric

Day 3: shoulder seam + attach sleeves

Day 4: side seam + hem sleeves

Day 5: hem bottom or add band

Day 6: neckband

Day 7: winner announcement 

Filed Under: Frequently Asked Questions, Sew-A-Long Leave a Comment

Favorite/Fav Tee SAL – day 1 (print and cut pattern)

August 6, 2018

Welcome to our Favorite Tee / Fav Tee Sew Along!

Day One is reserved to purchasing the pattern, printing and cutting the size(s) you need. If you plan on sewing for yourself you can get the Favorite Tee here, if you’re sewing for your little one, the Fav Tee can be purchased here and if you’re sewing for both of you (just think of the mommy and me matching outfits!) you can get the bundle.

This is our first Sew Along in the new M4M & P4P Sew Along group so be sure to join the group not only for the exclusive discount code available for the Favorite and Fav Tee patterns but also to post your progress this week.

Now that you purchased the pattern(s), print the size needed. In order to do that it is very important that you take your most accurate measurements.

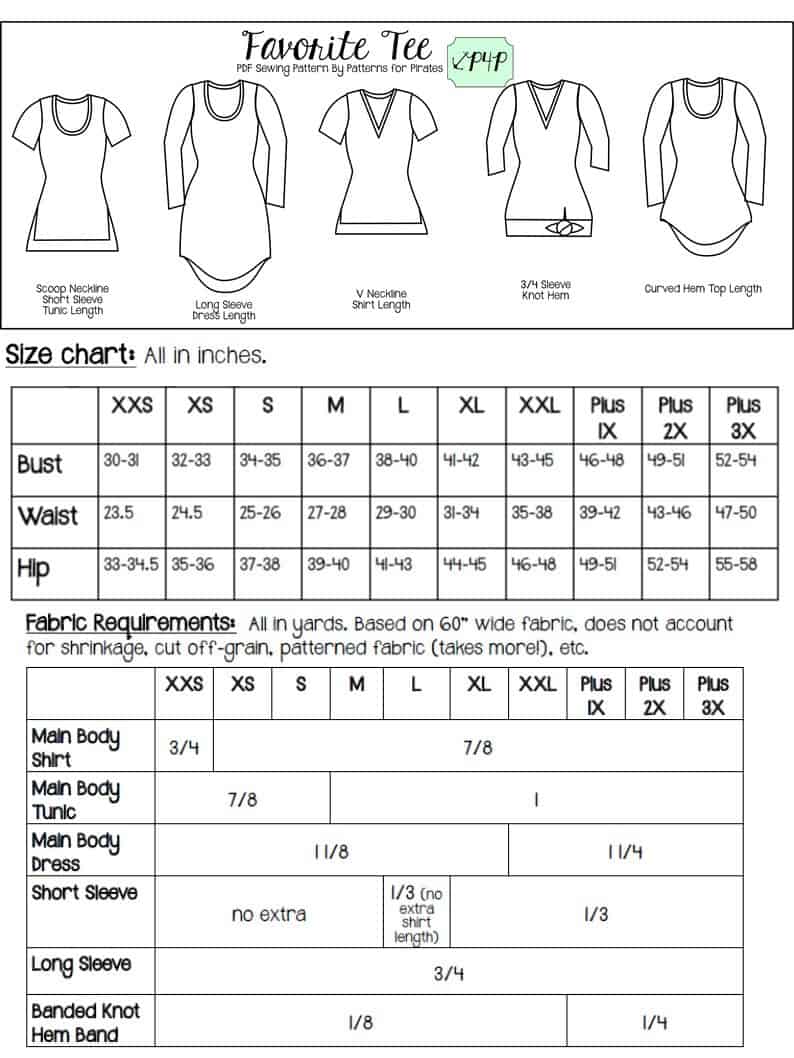
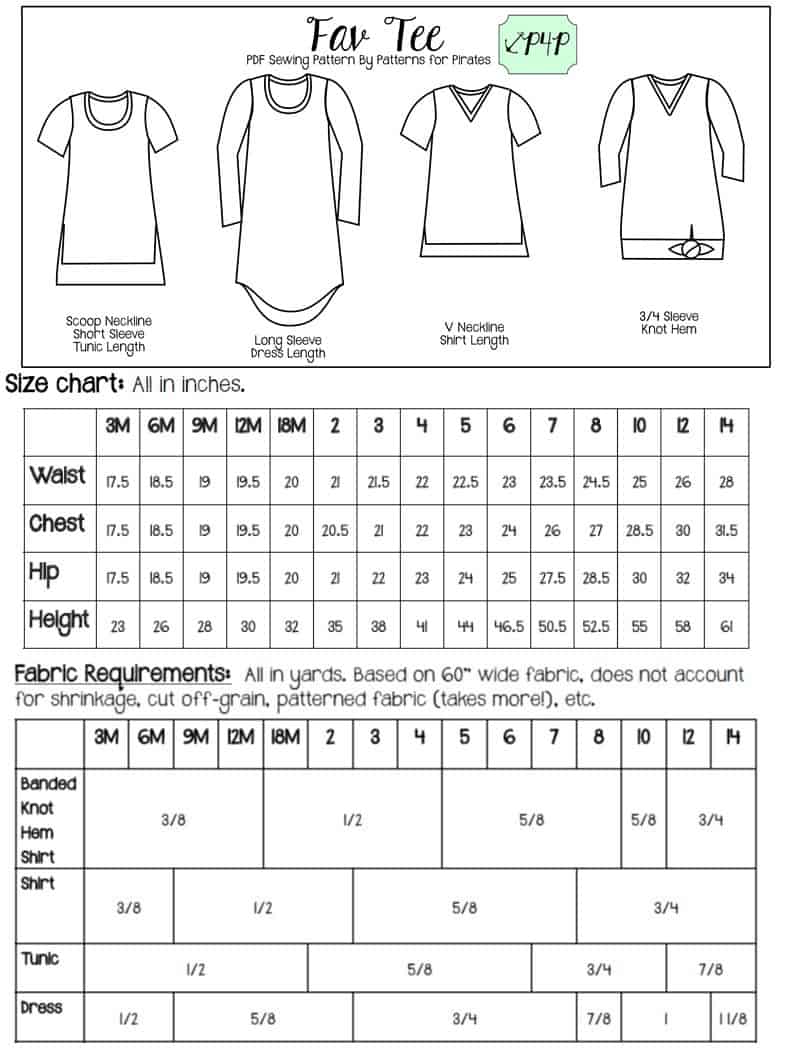
You will need your waist, hips and chest measurements in order to choose the correct Favorite/Fav Tee size. P4P has an amazing blog that gives you tip for accurately taking your measurements. You can read all about it here. If your measurements put you in a different size for chest/waist/hips be sure to check out our P4P University blog and grade to achieve the perfect fit.

Check out the day 1 video below and then post a picture of your favorite sewing tool in the comments of the Day 1 picture. We don’t allow pictures of the pattern posted so this will be a great way to show our fellow sewists our gadgets 🙂


Favorite Tee & Fav Tee SAL

Day 1: print + cut pattern

Day 2: chose + cut fabric

Day 3: shoulder seam + attach sleeves

Day 4: side seam + hem sleeves
Day 5: hem bottom or add band

Day 6: neckband

Day 7: winner announcement 


Filed Under: Frequently Asked Questions, Sew-A-Long 7 Comments

So Classic Sundress Hacks

August 3, 2018

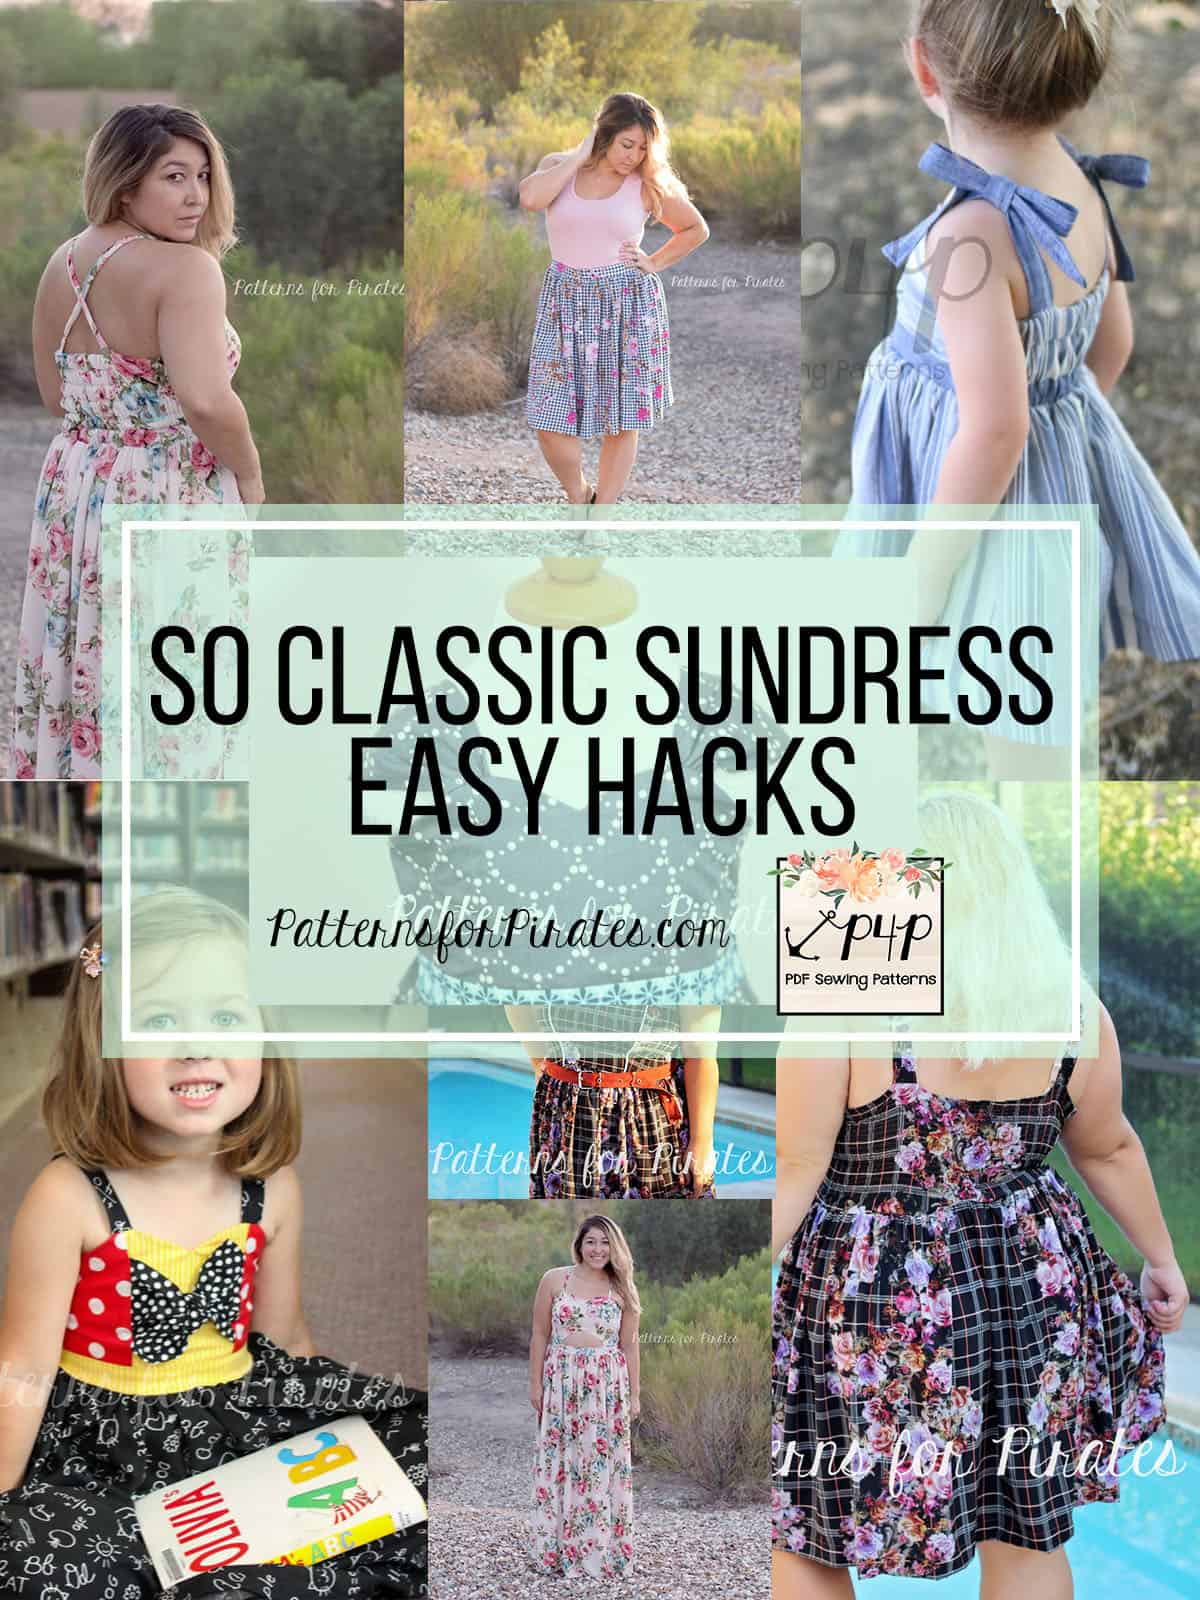
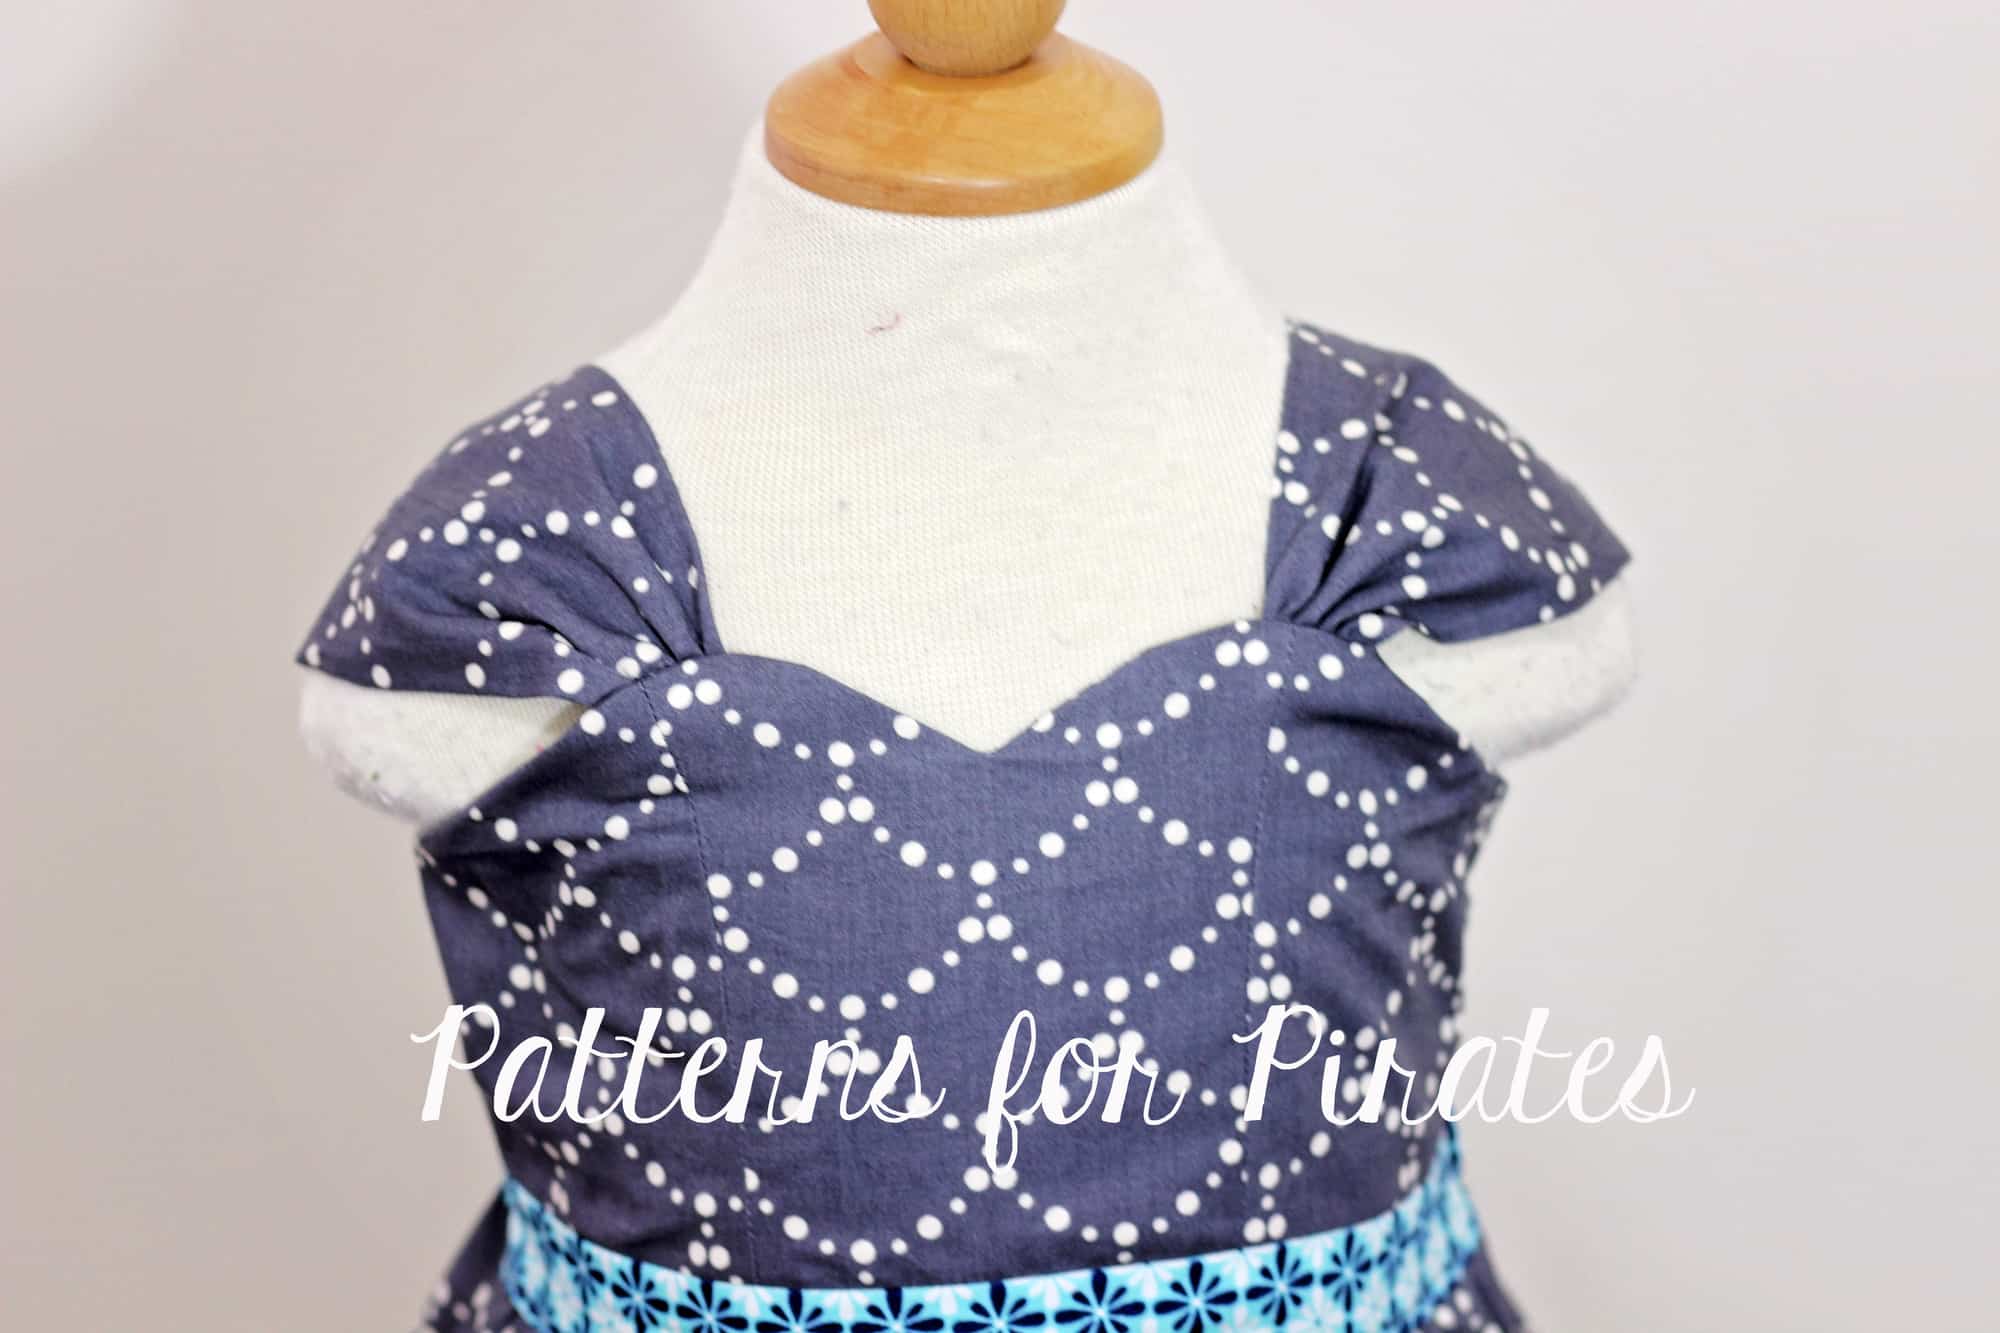
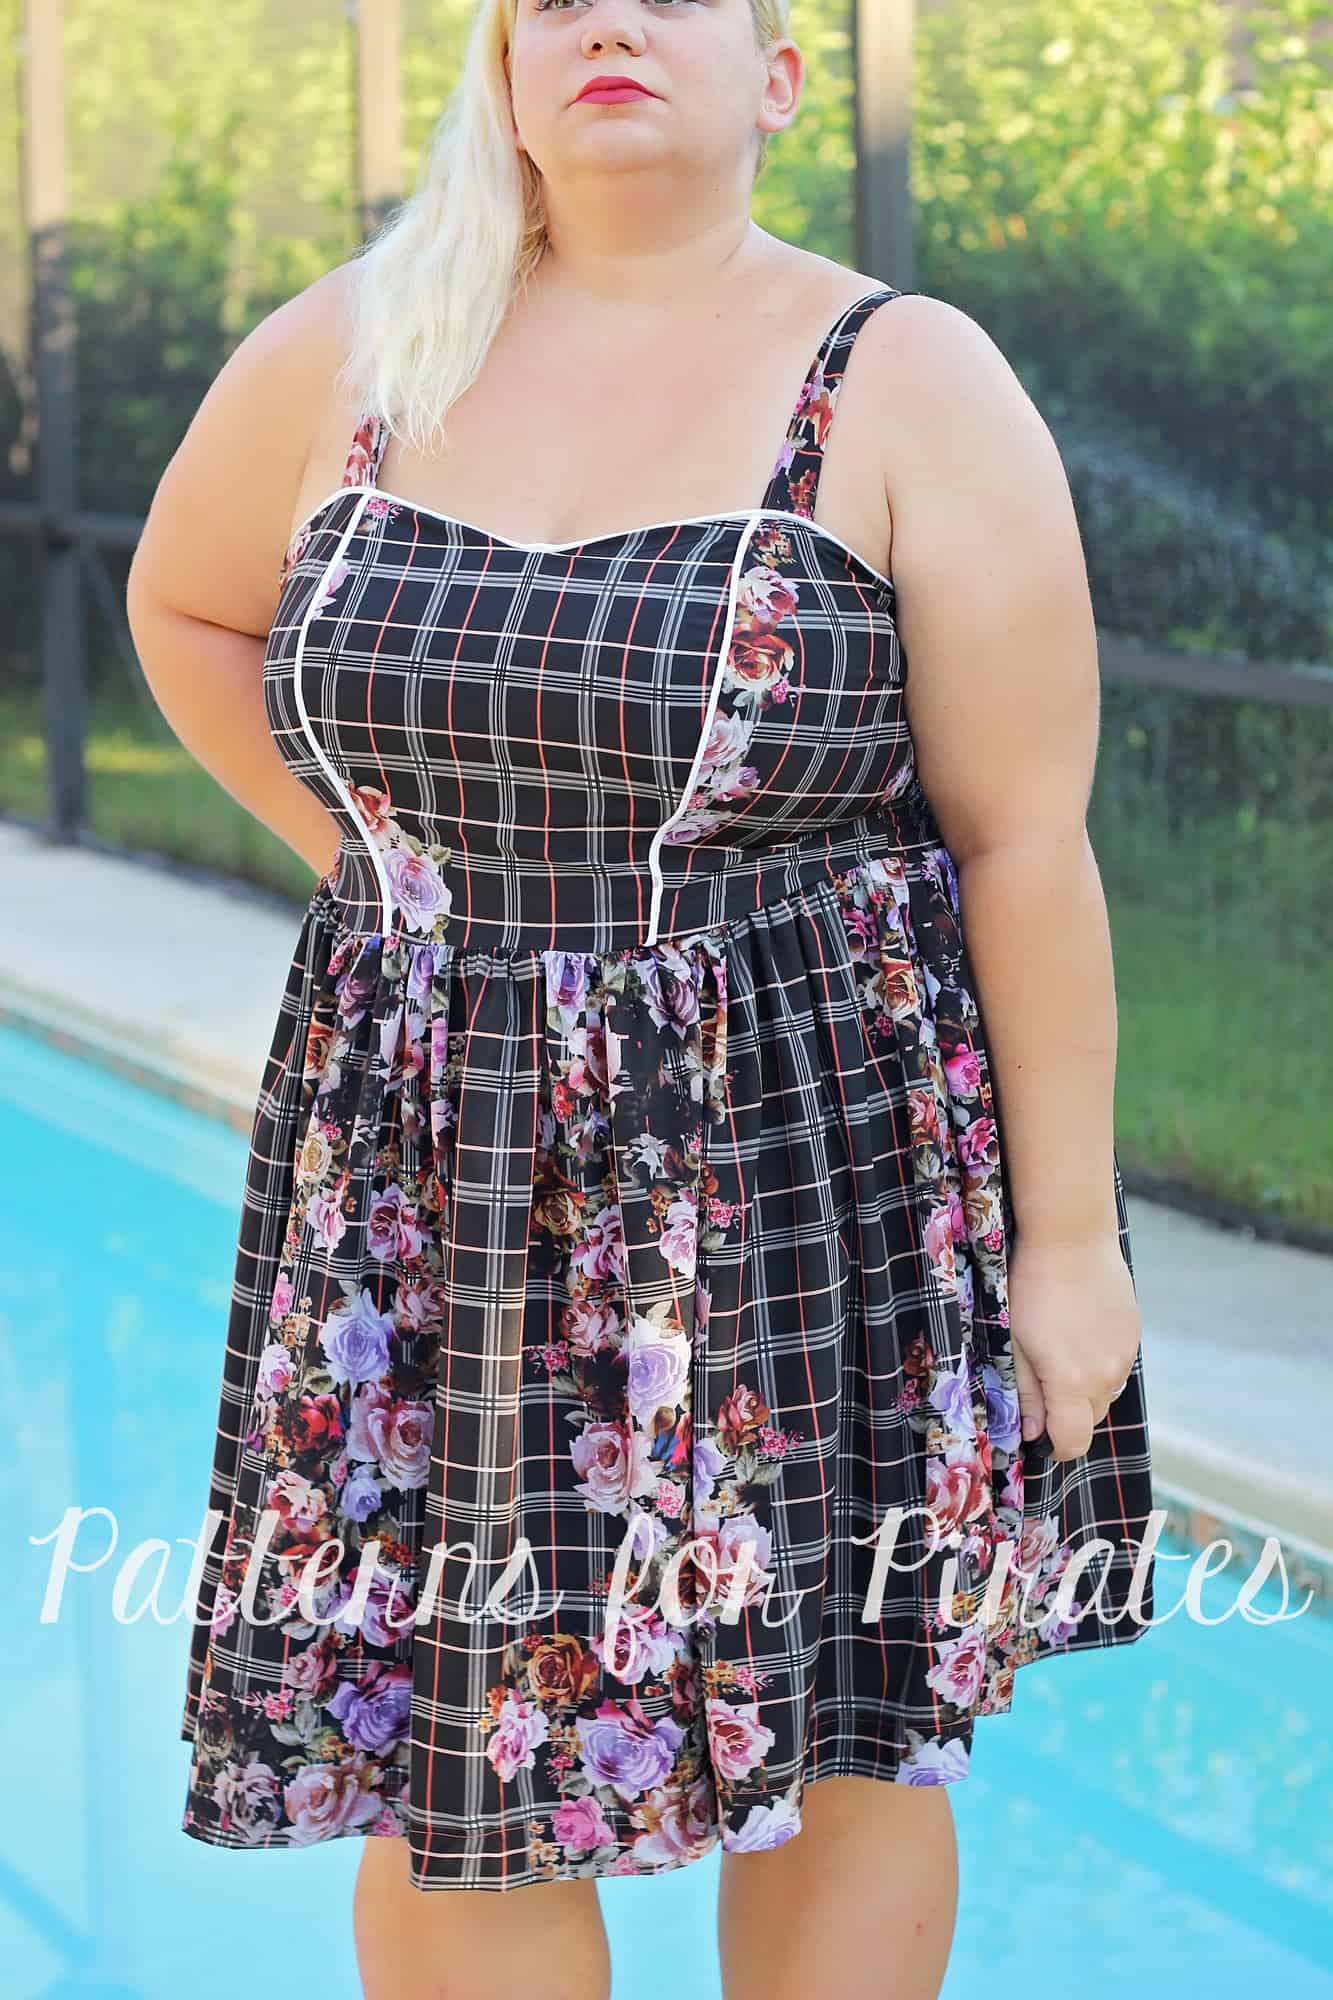
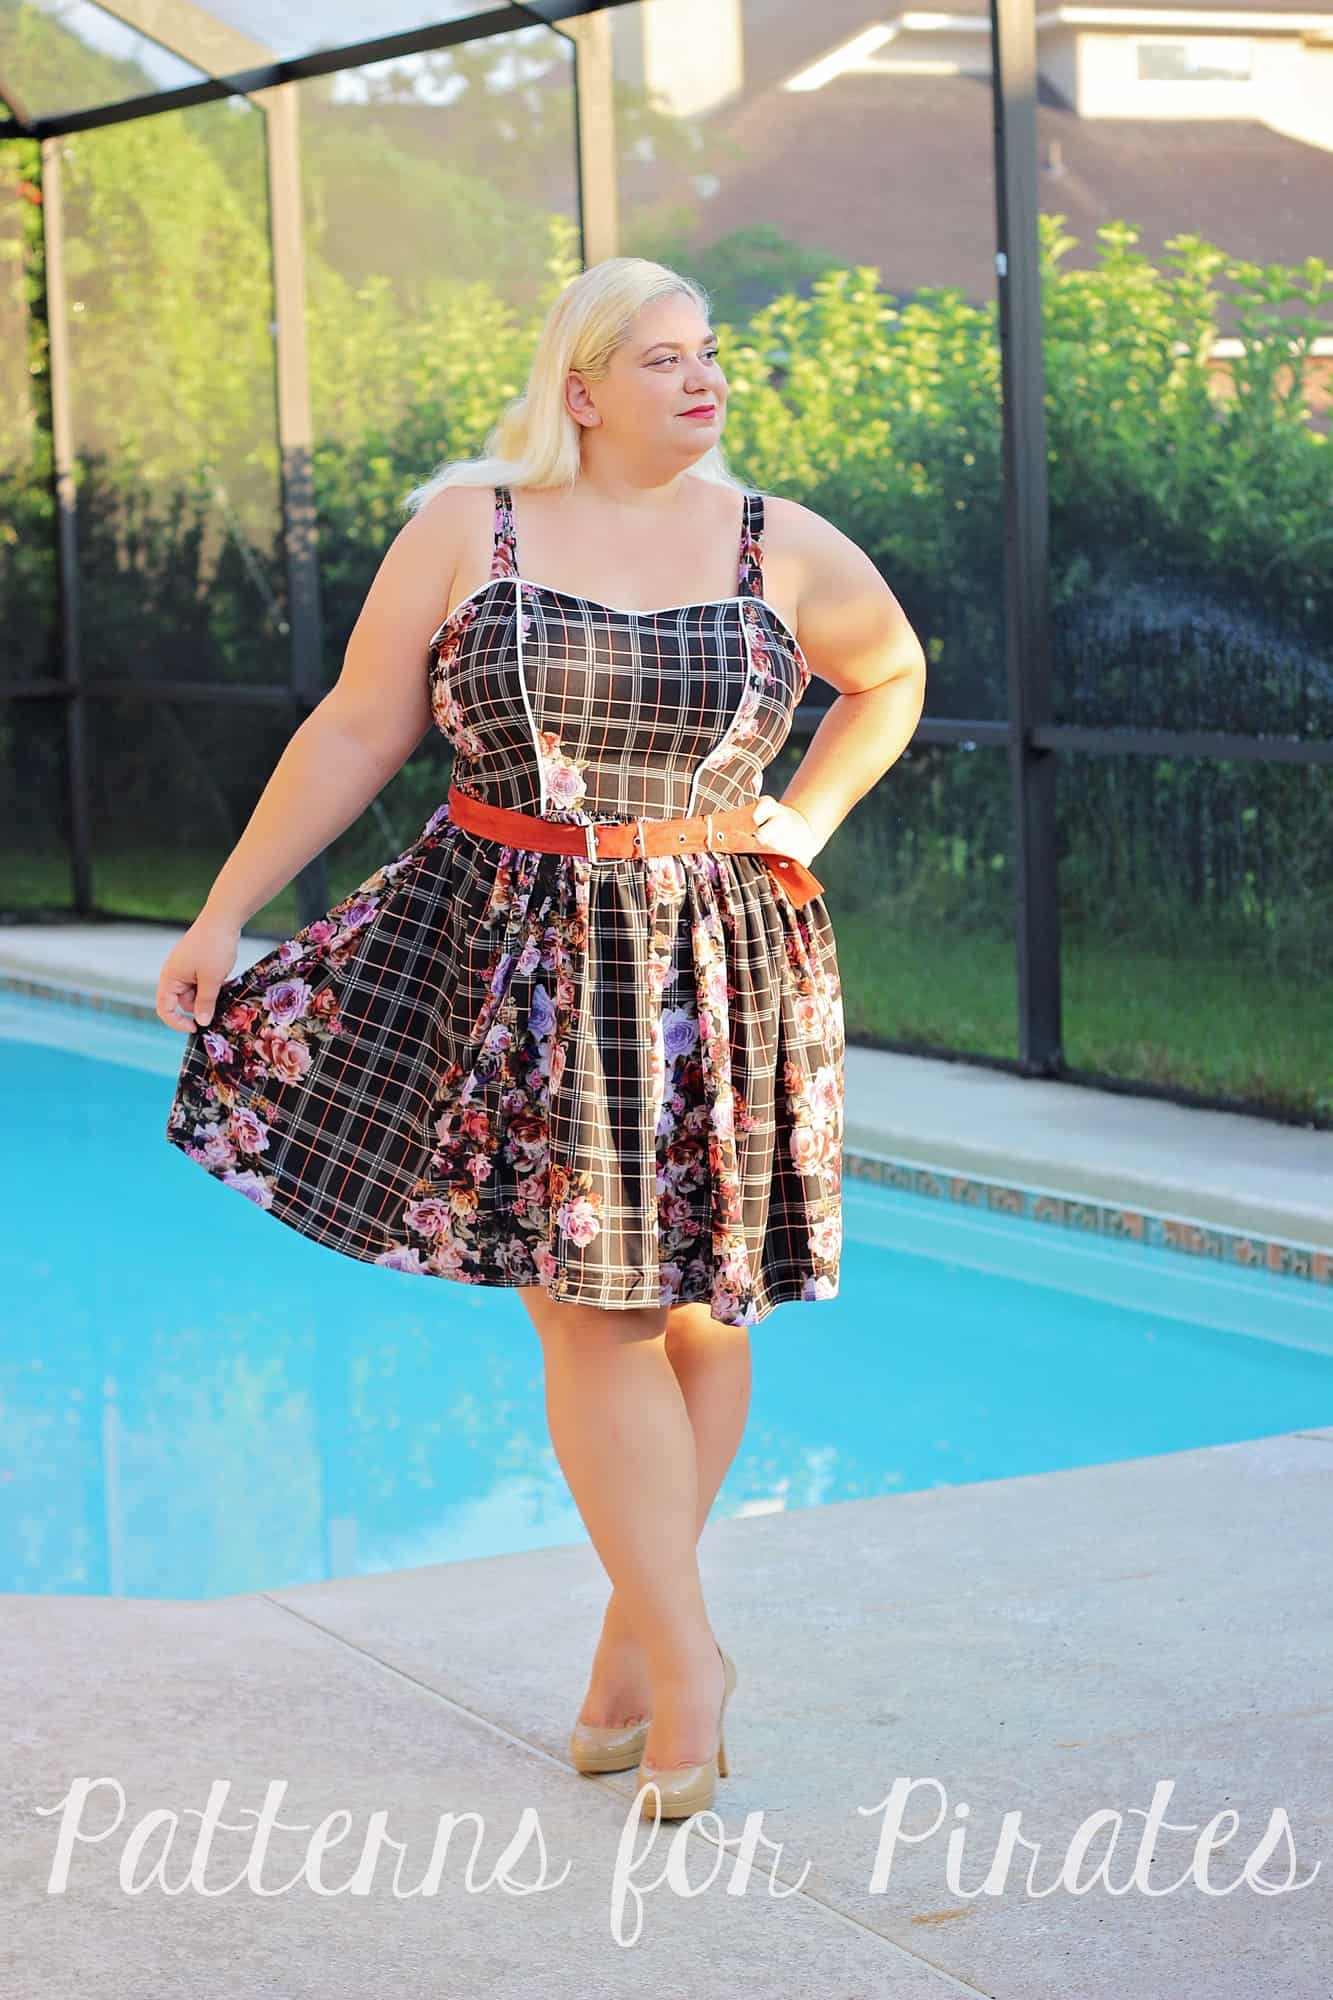
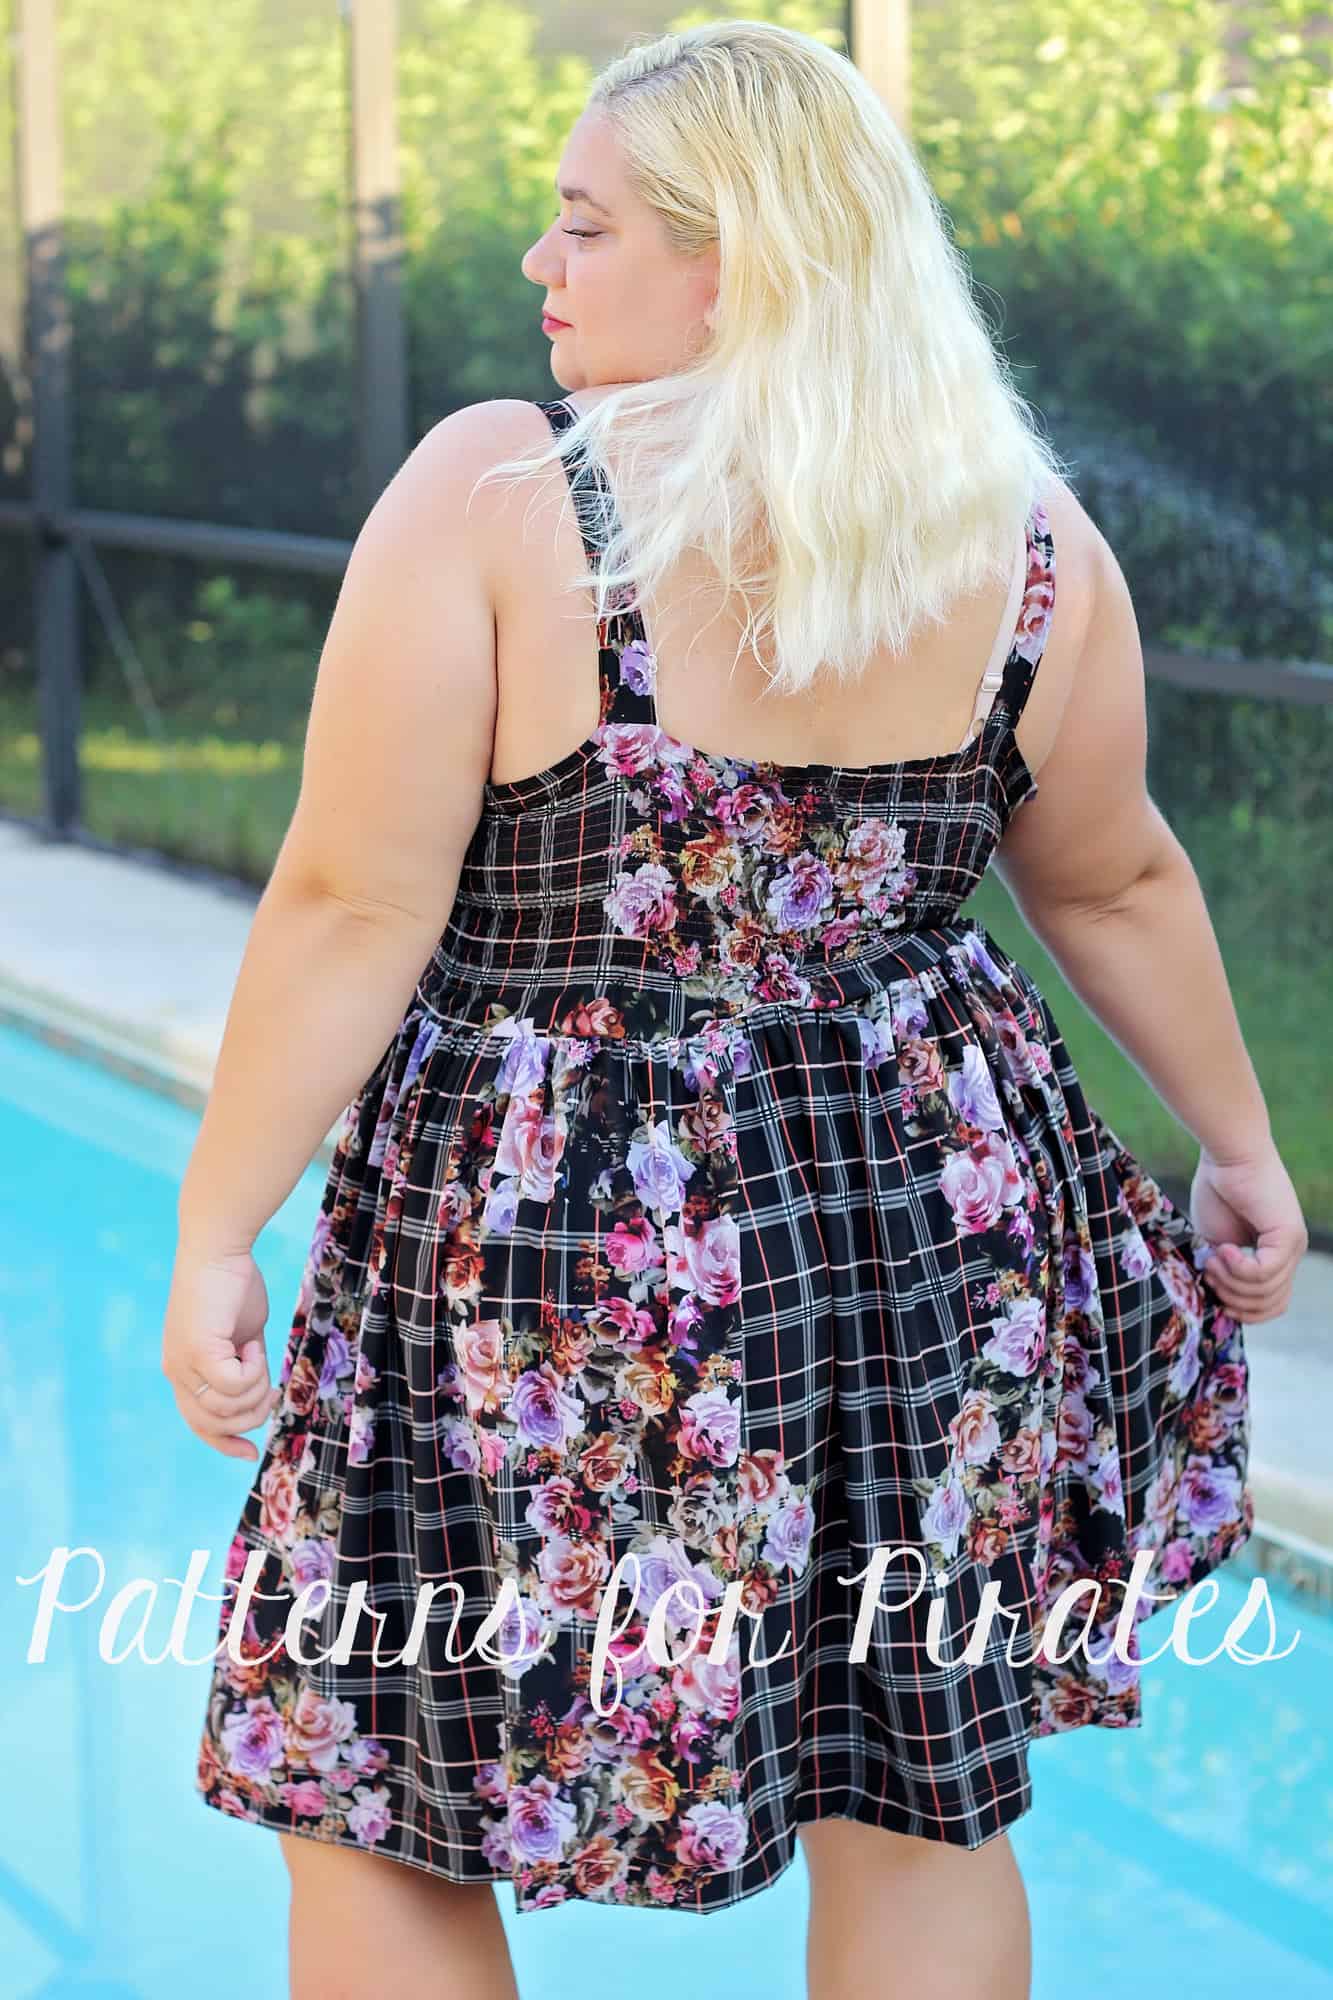
The So Classic Sundress has released so grab your favorite wovens and sew yourself or your little ones a pretty dress. In true P4P fashion we have gathered some easy hacks that you can make to the So Classic Sundress that will give you even more options than the many included in the pattern.

…..

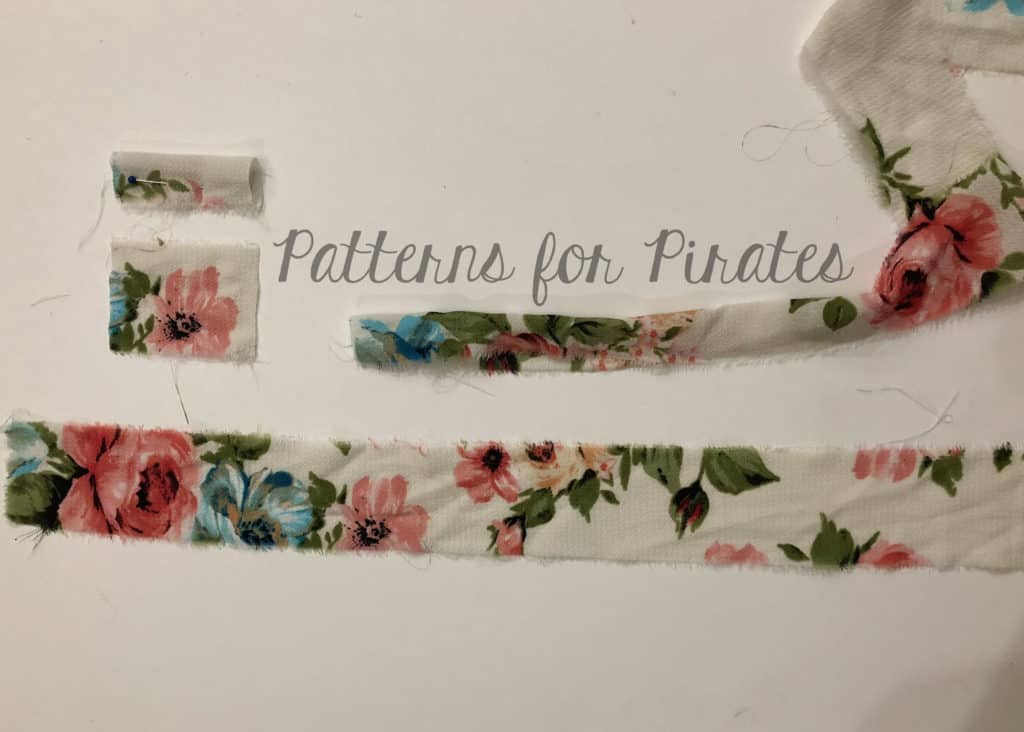
Gathered Thick Straps

The first hack we have for you is a gathered strap. If you would like a little more shoulder coverage or just want a fun new option, this hack is for you. Cut your dress as per the pattern instruction and simply cut the straps wider. For youth 3M to 4 you will be cutting the straps 7″ wide by the length given in the pattern. For 5 to 14, your straps will be 8″ by the length. If you are making this hack for the women’s dress then your new width will be 8″ (XXS-S), 9″ (M-XXL) and 10″ (1x-3x). The length will be the one listed in the tutorial.

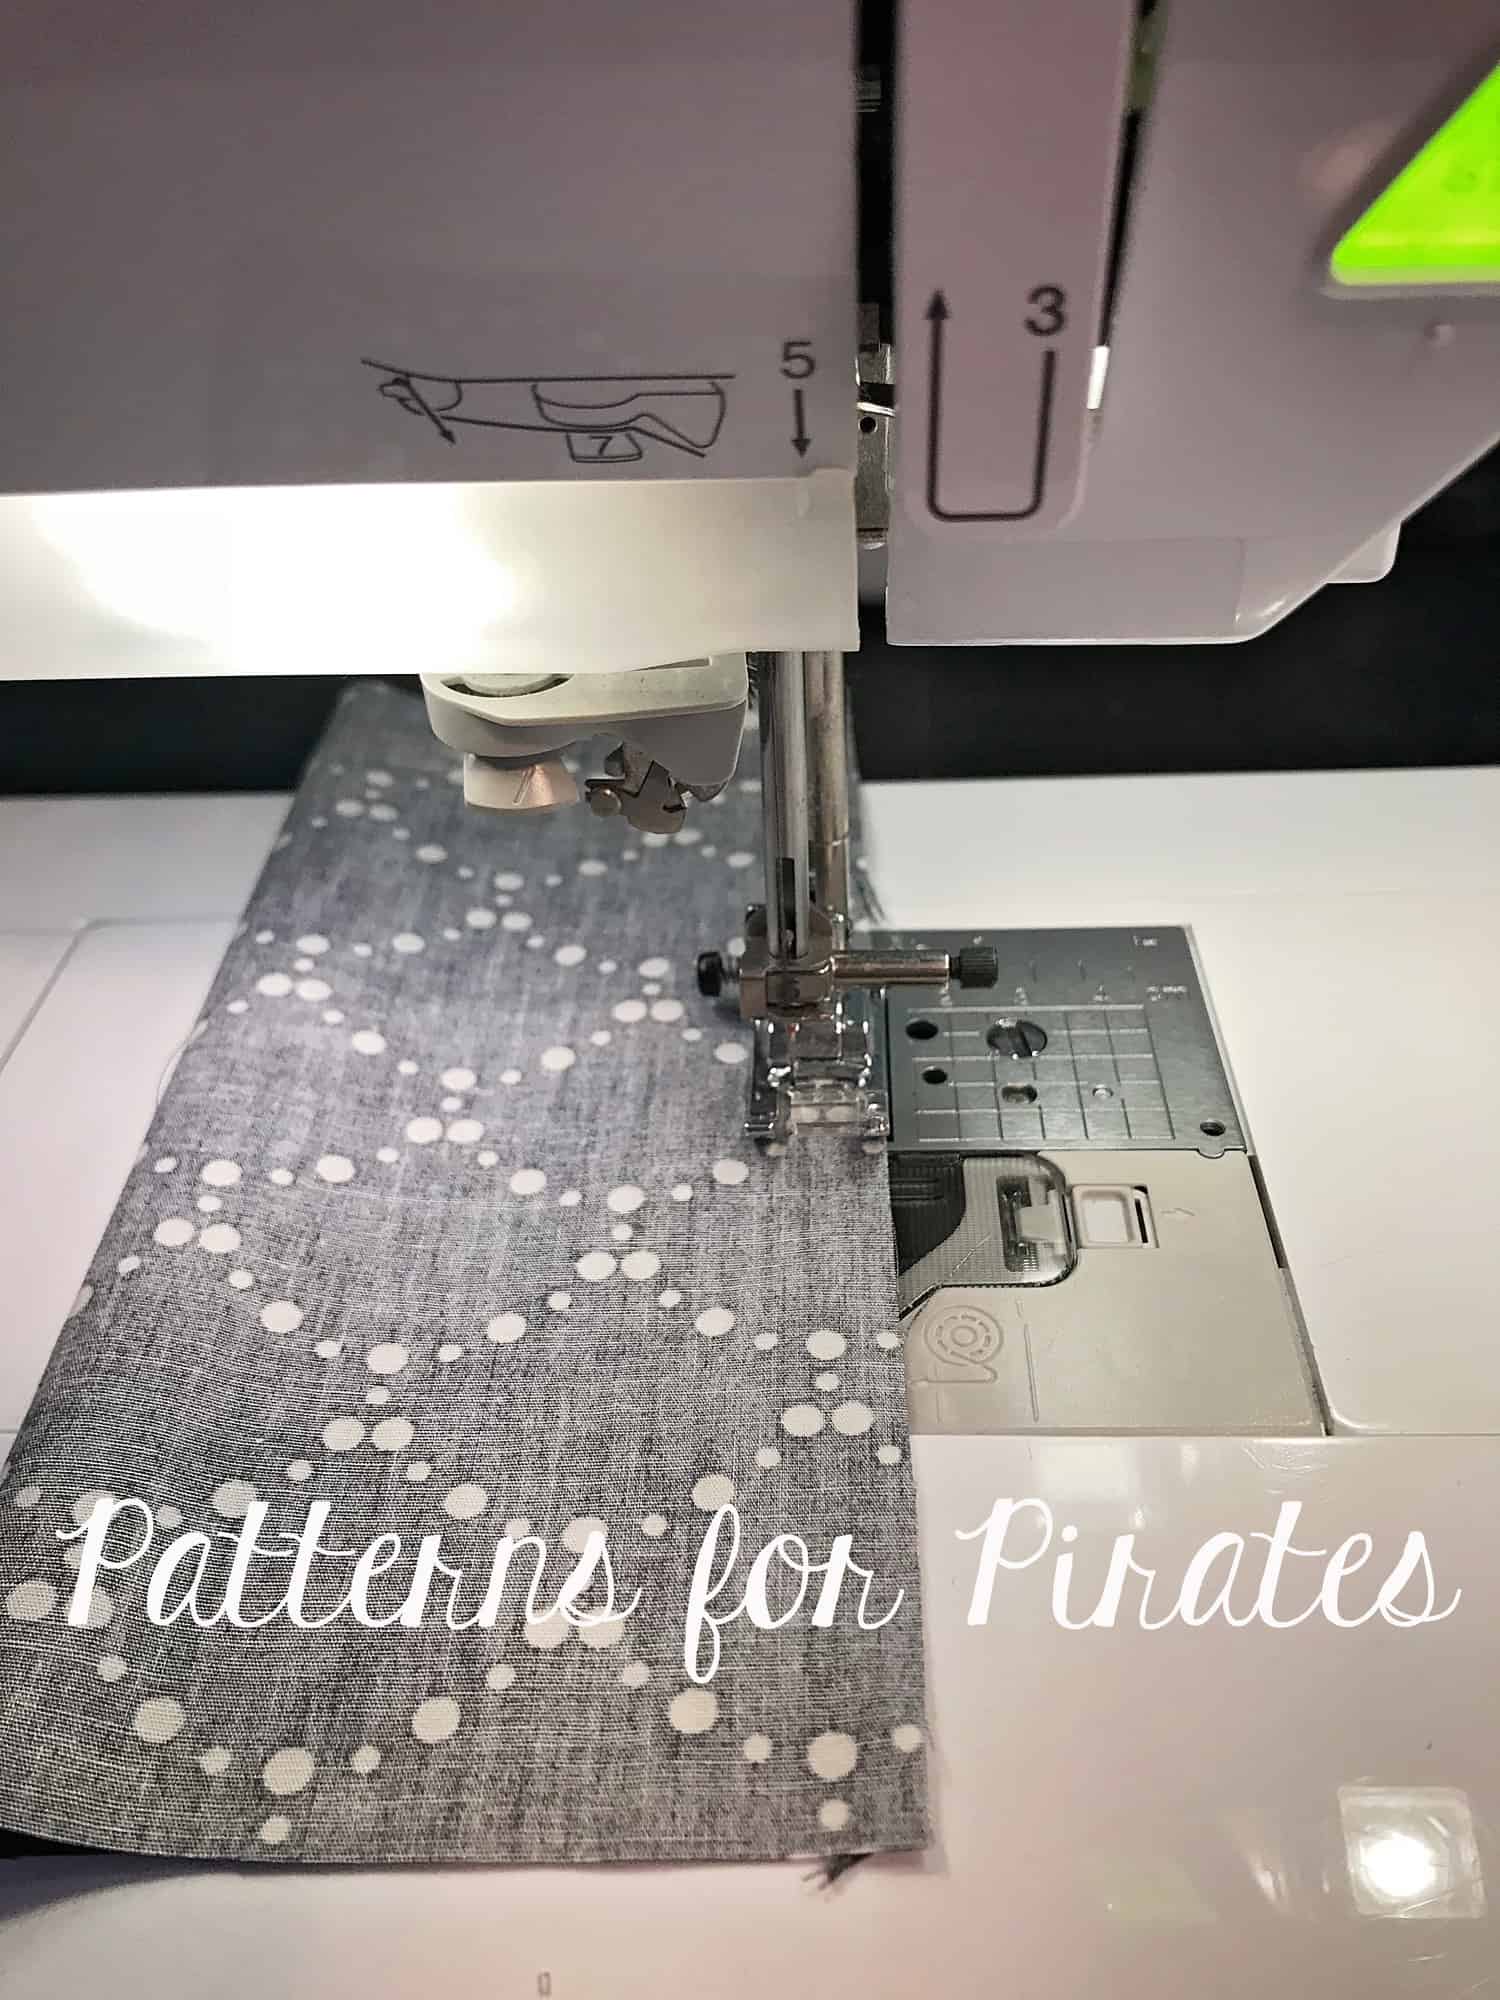
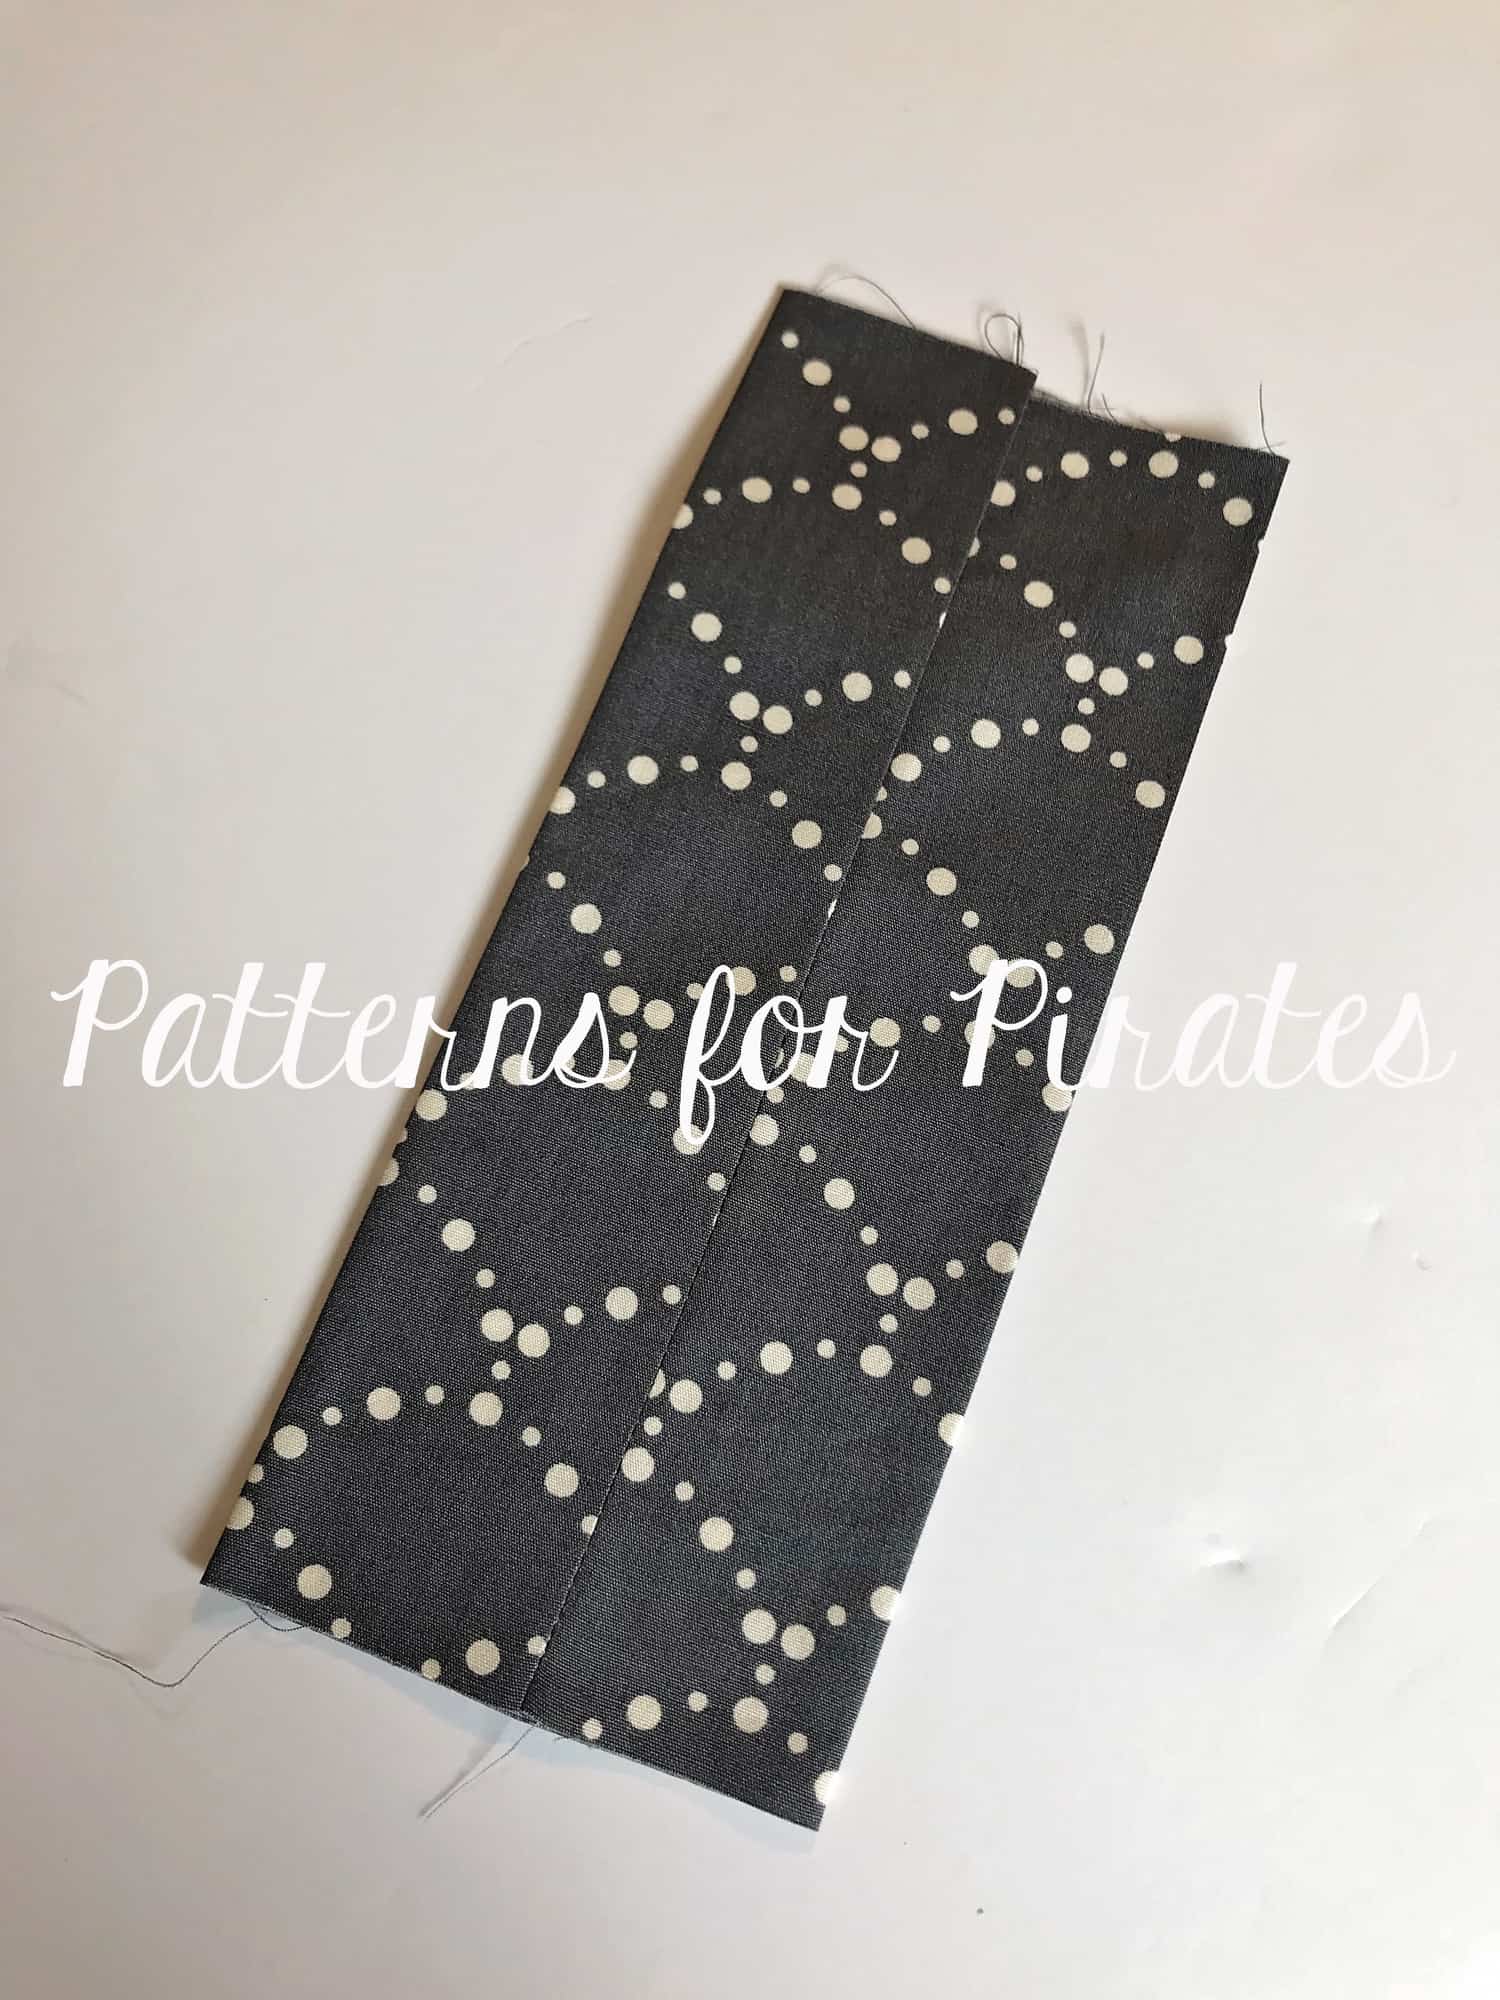
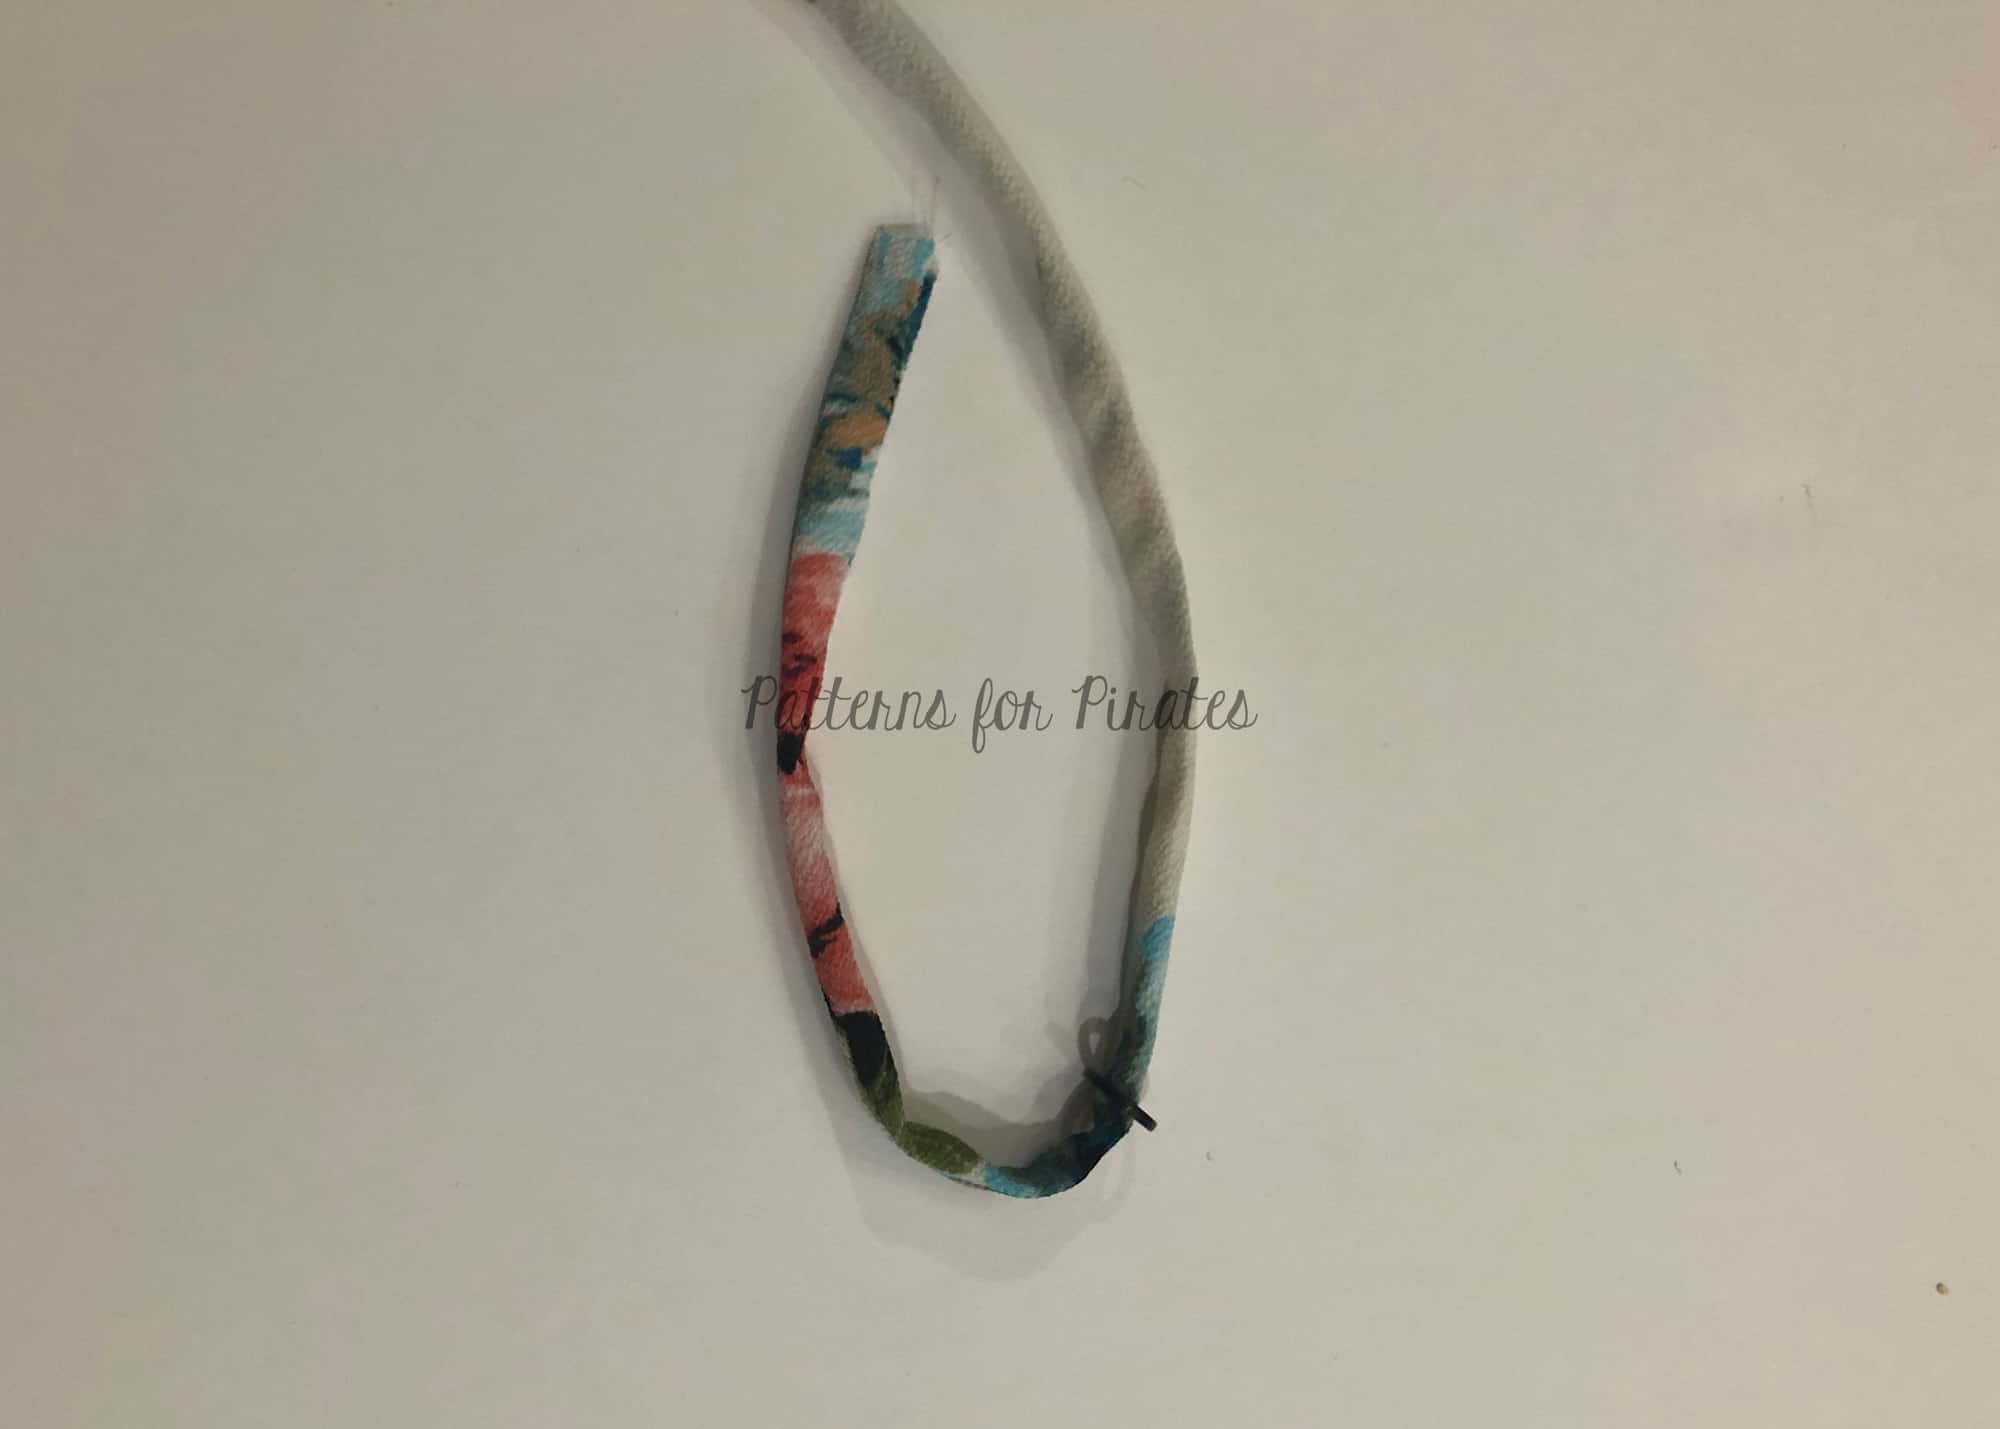
Fold the straps lengthwise, right sides together and stitch with a 1/2″ seam allowance. Trim the SA to 1/4″, press open and turn the straps inside out. Press and optionally top stitch.

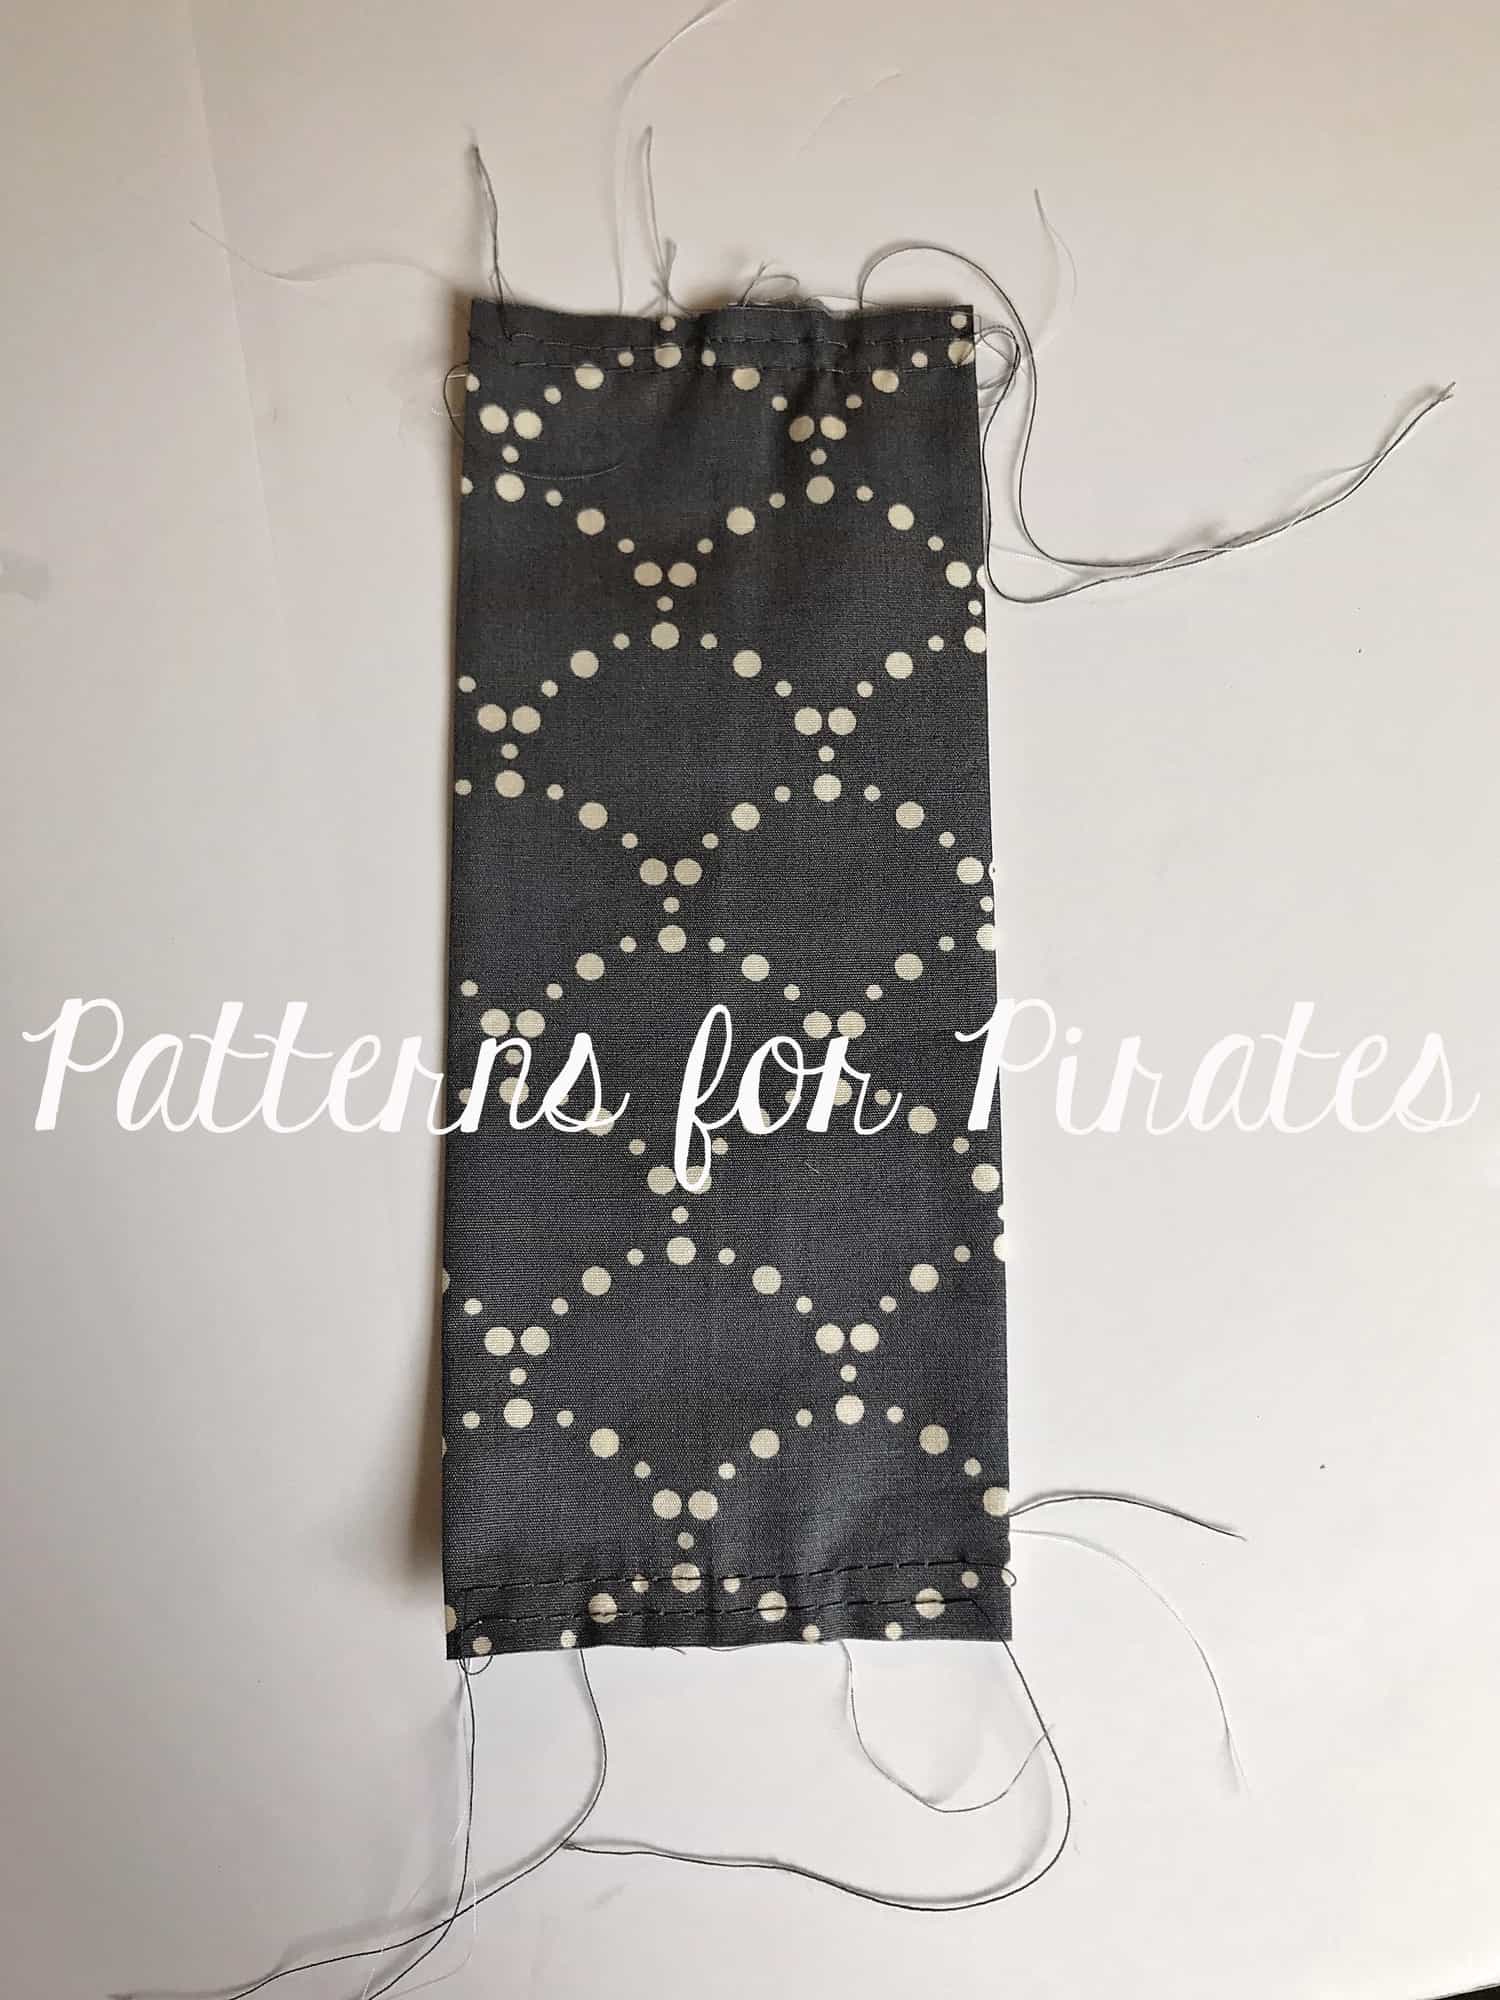
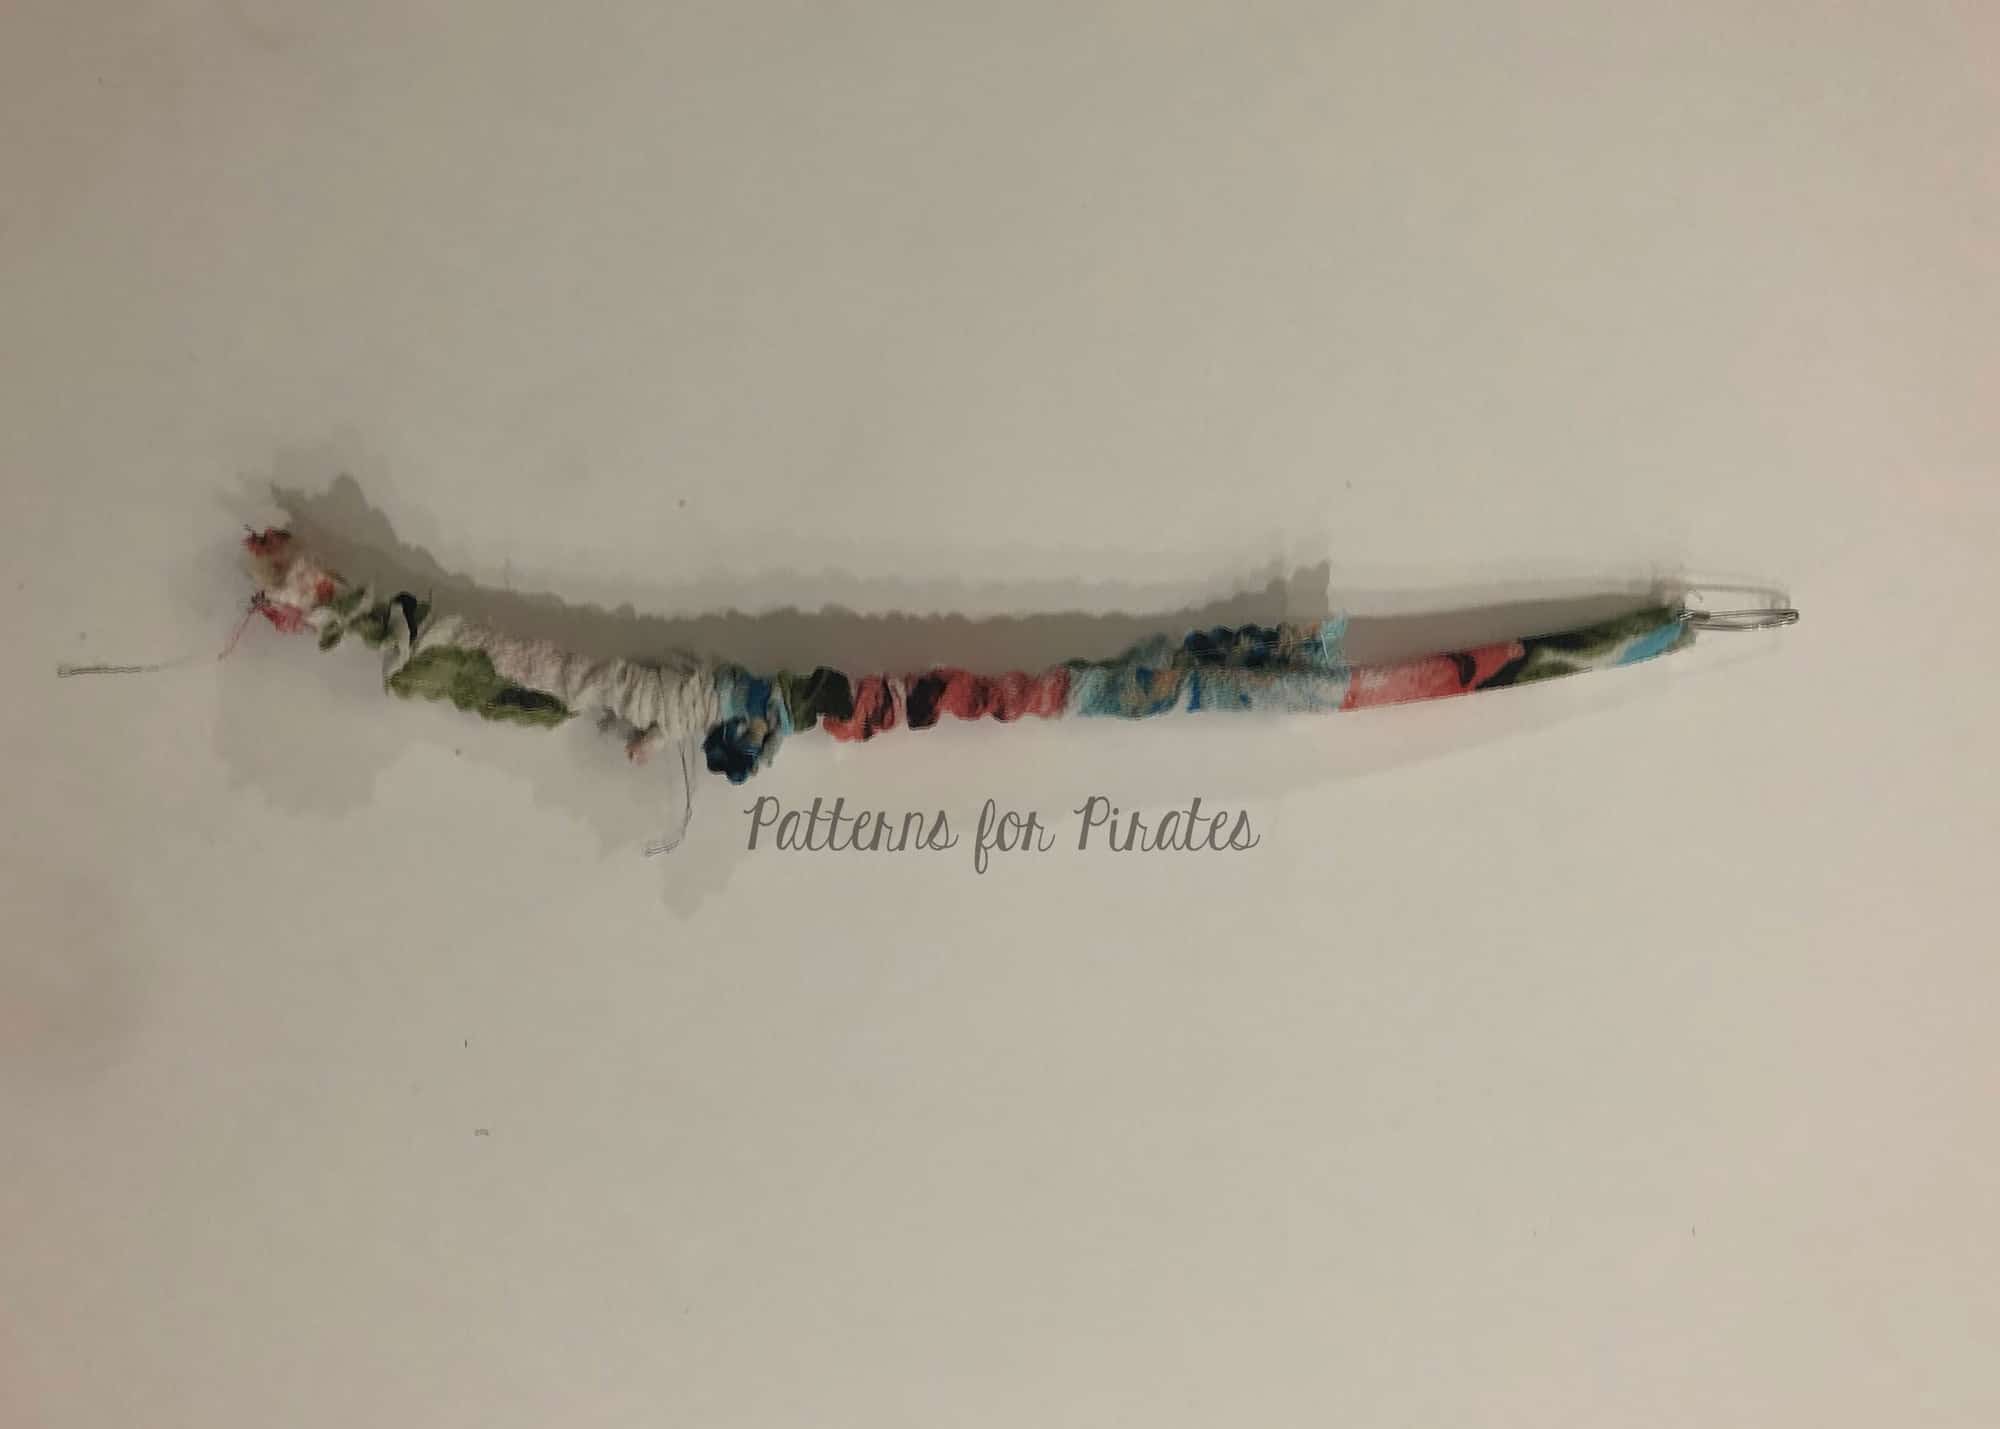
Sew two gathering stitches at the top and bottom of the straps. One should be about 1/4″ away from the raw edge and the other 5/8″ away.

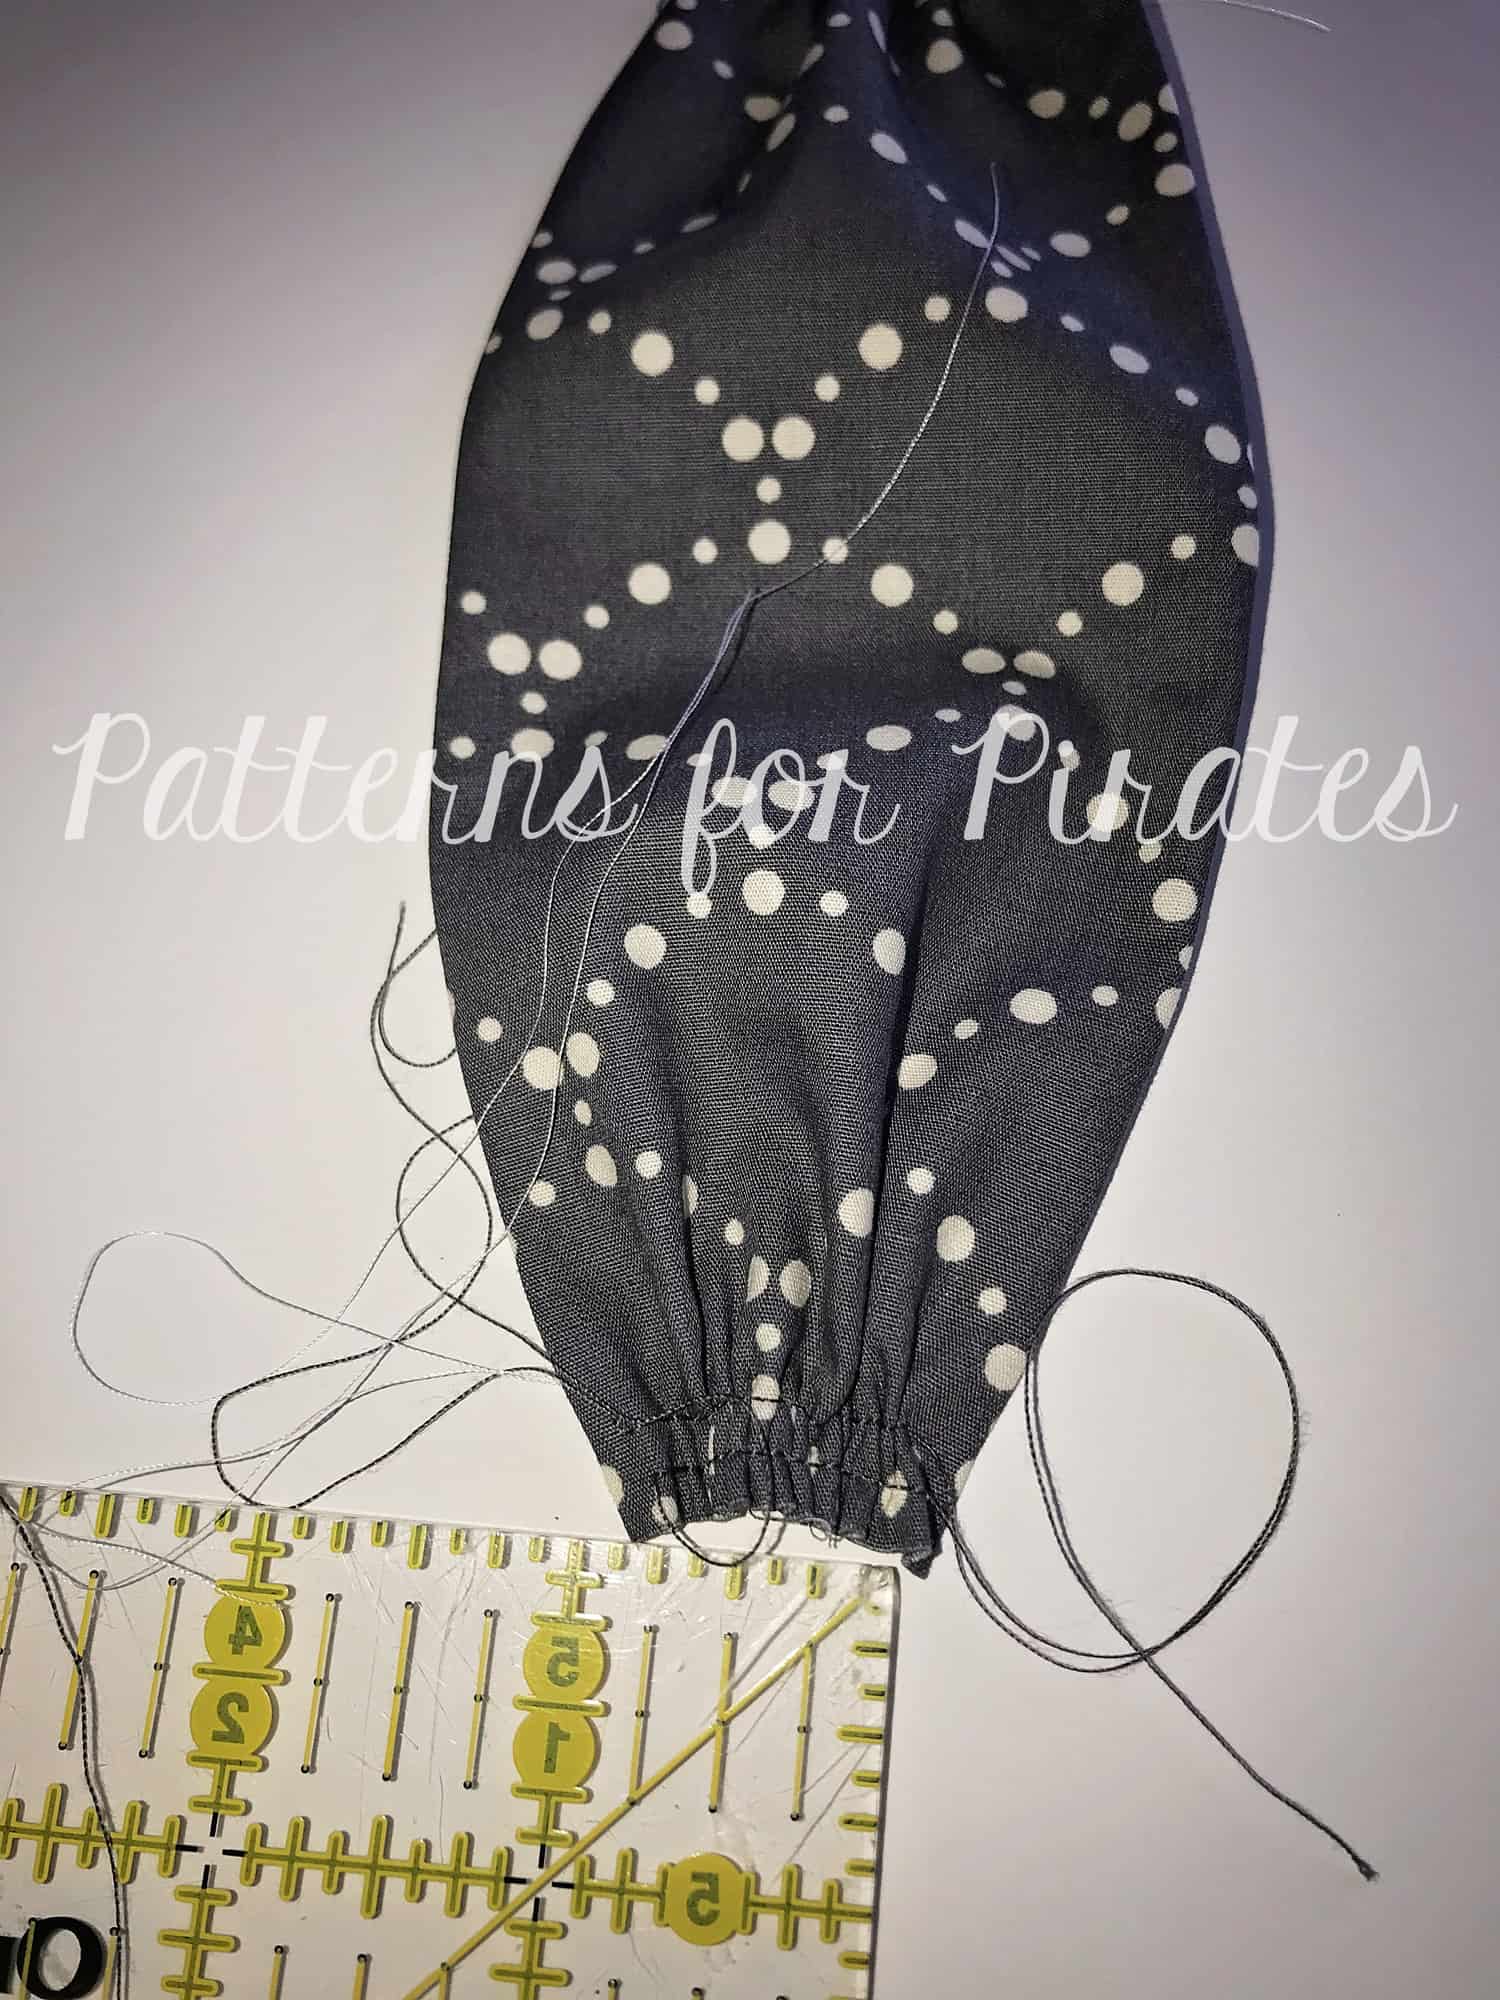
Pull the gathering stitches so the  straps are 3/4″ wide for sizes 3m to 4. Your finished gathered straps will be 1″ ( for 5-12 and xxs – xs), 1.25″ (m – xxl) and 1.5″ (1x-3x).

Repeat this step for all raw edges of the straps.

Continue sewing the dress as shown in the tutorial. Tadah! you have a brand new option added to the So Classic Sundress repertoire.


…..

Skirt

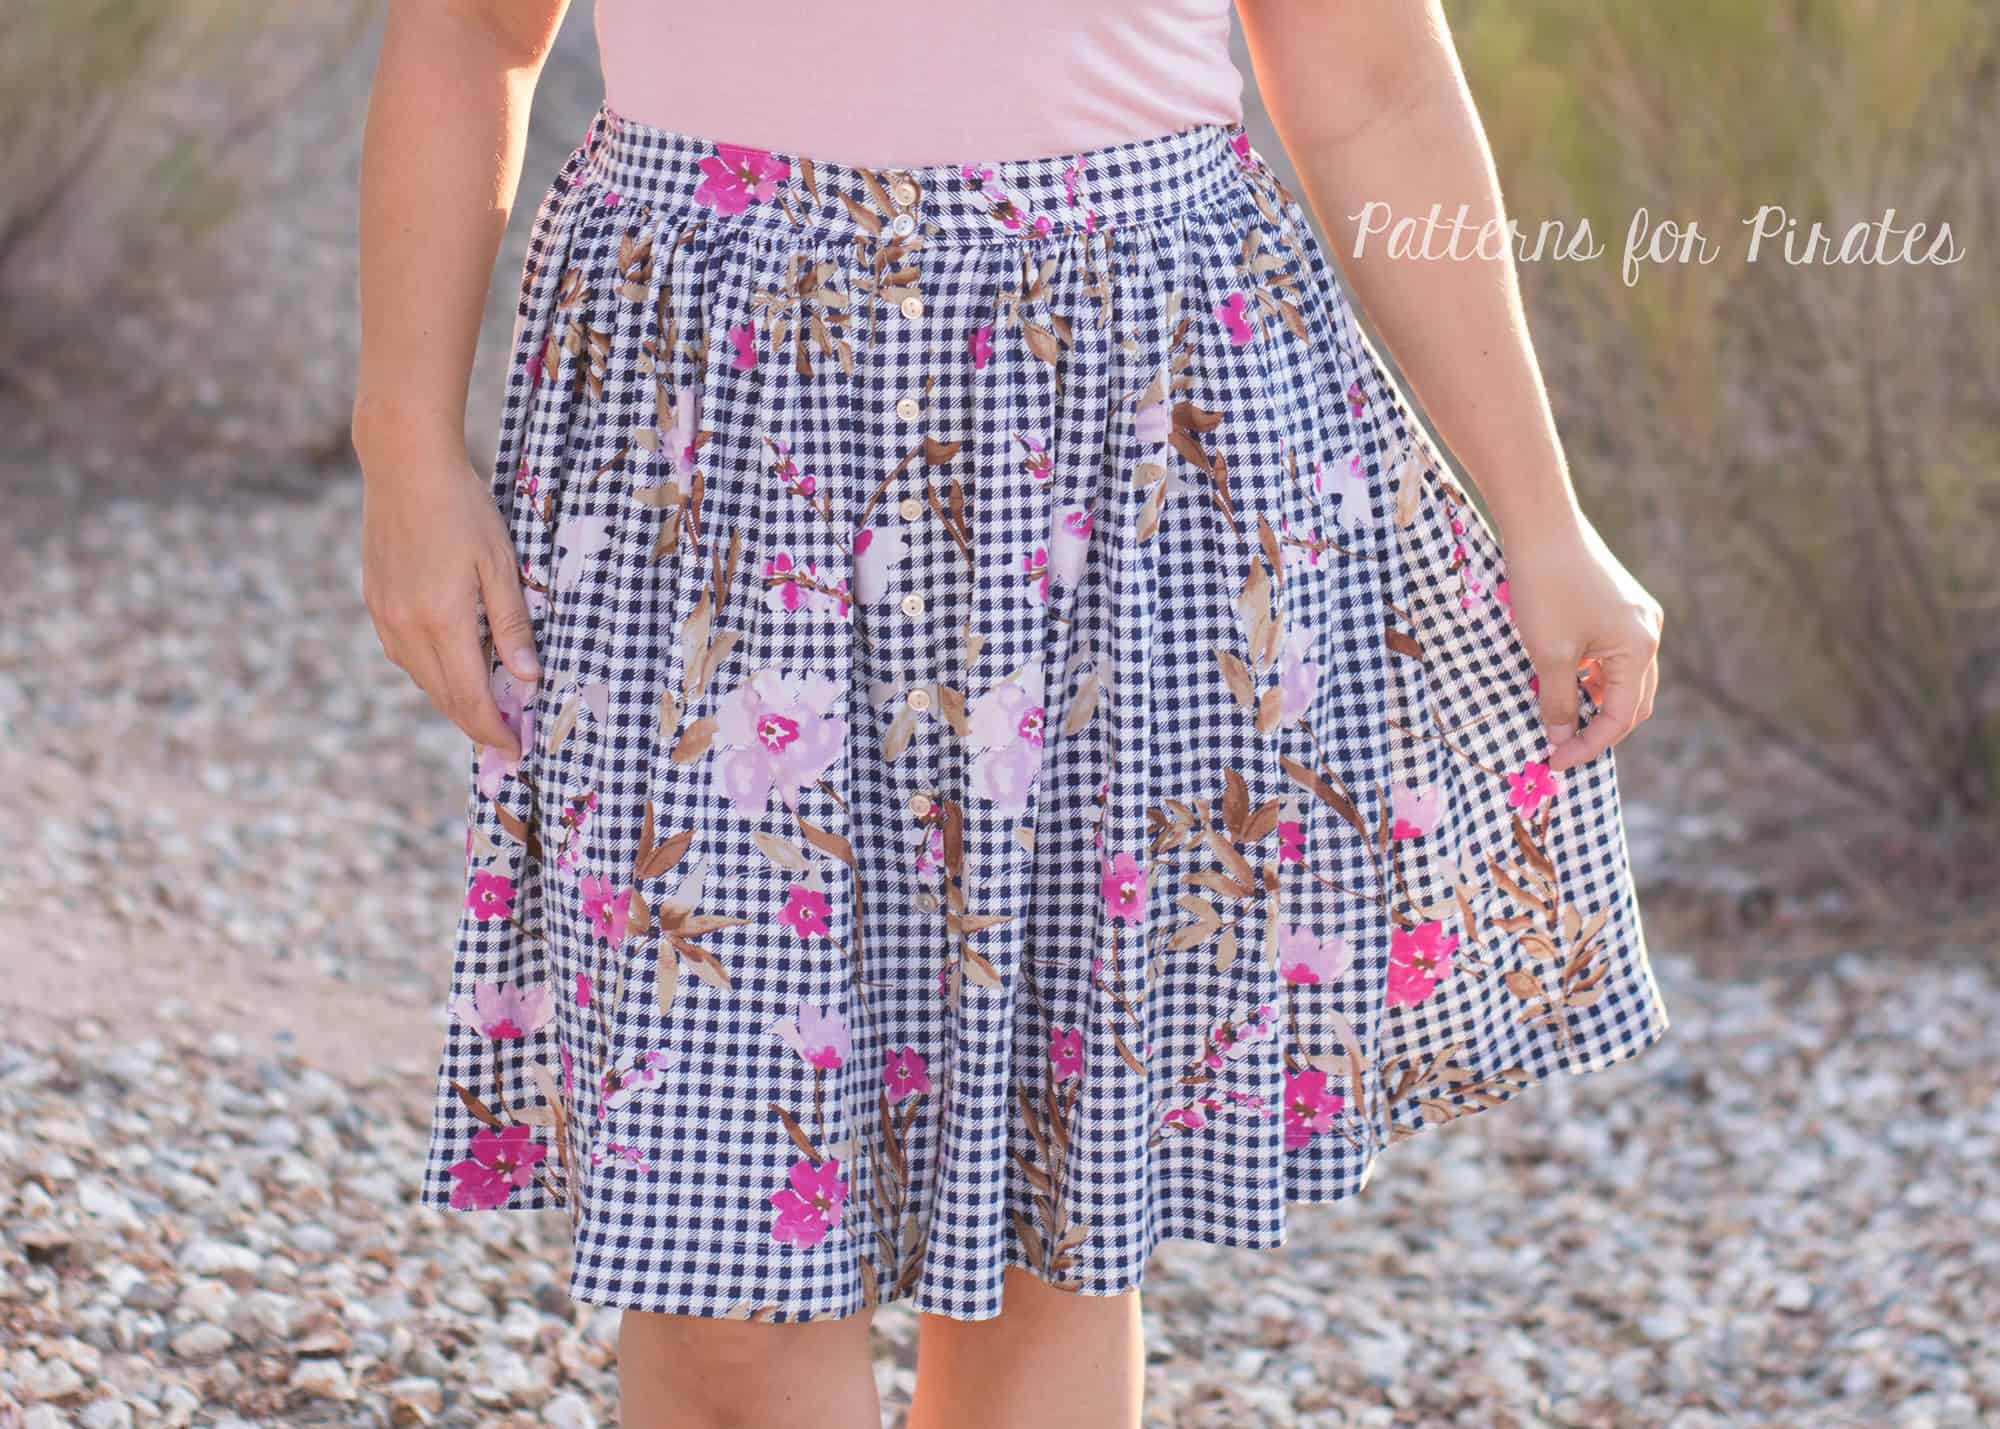
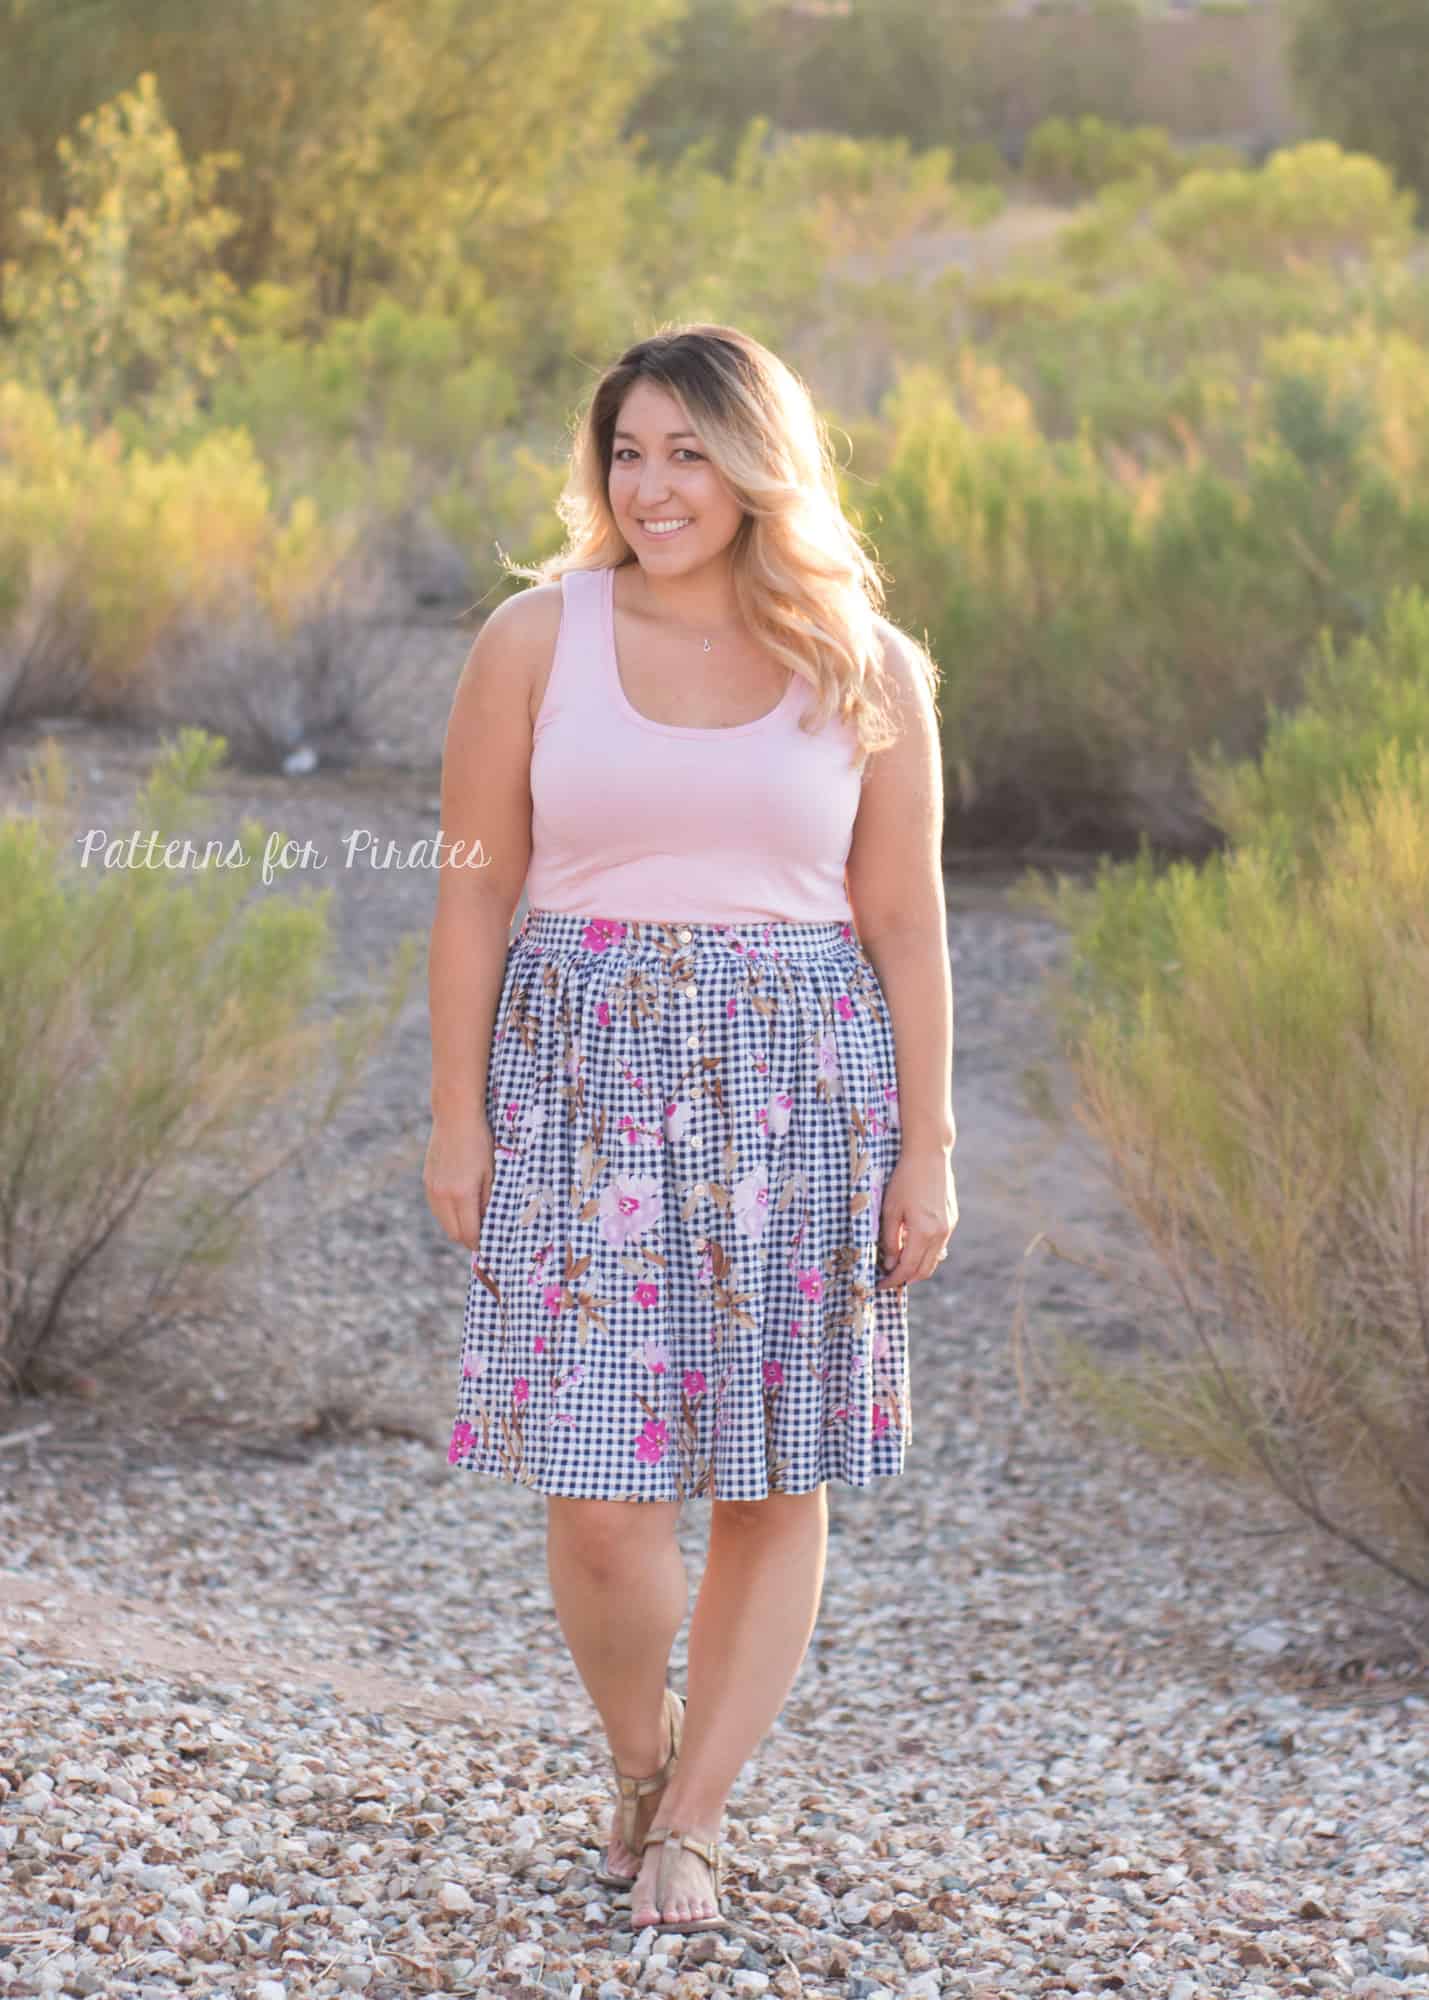
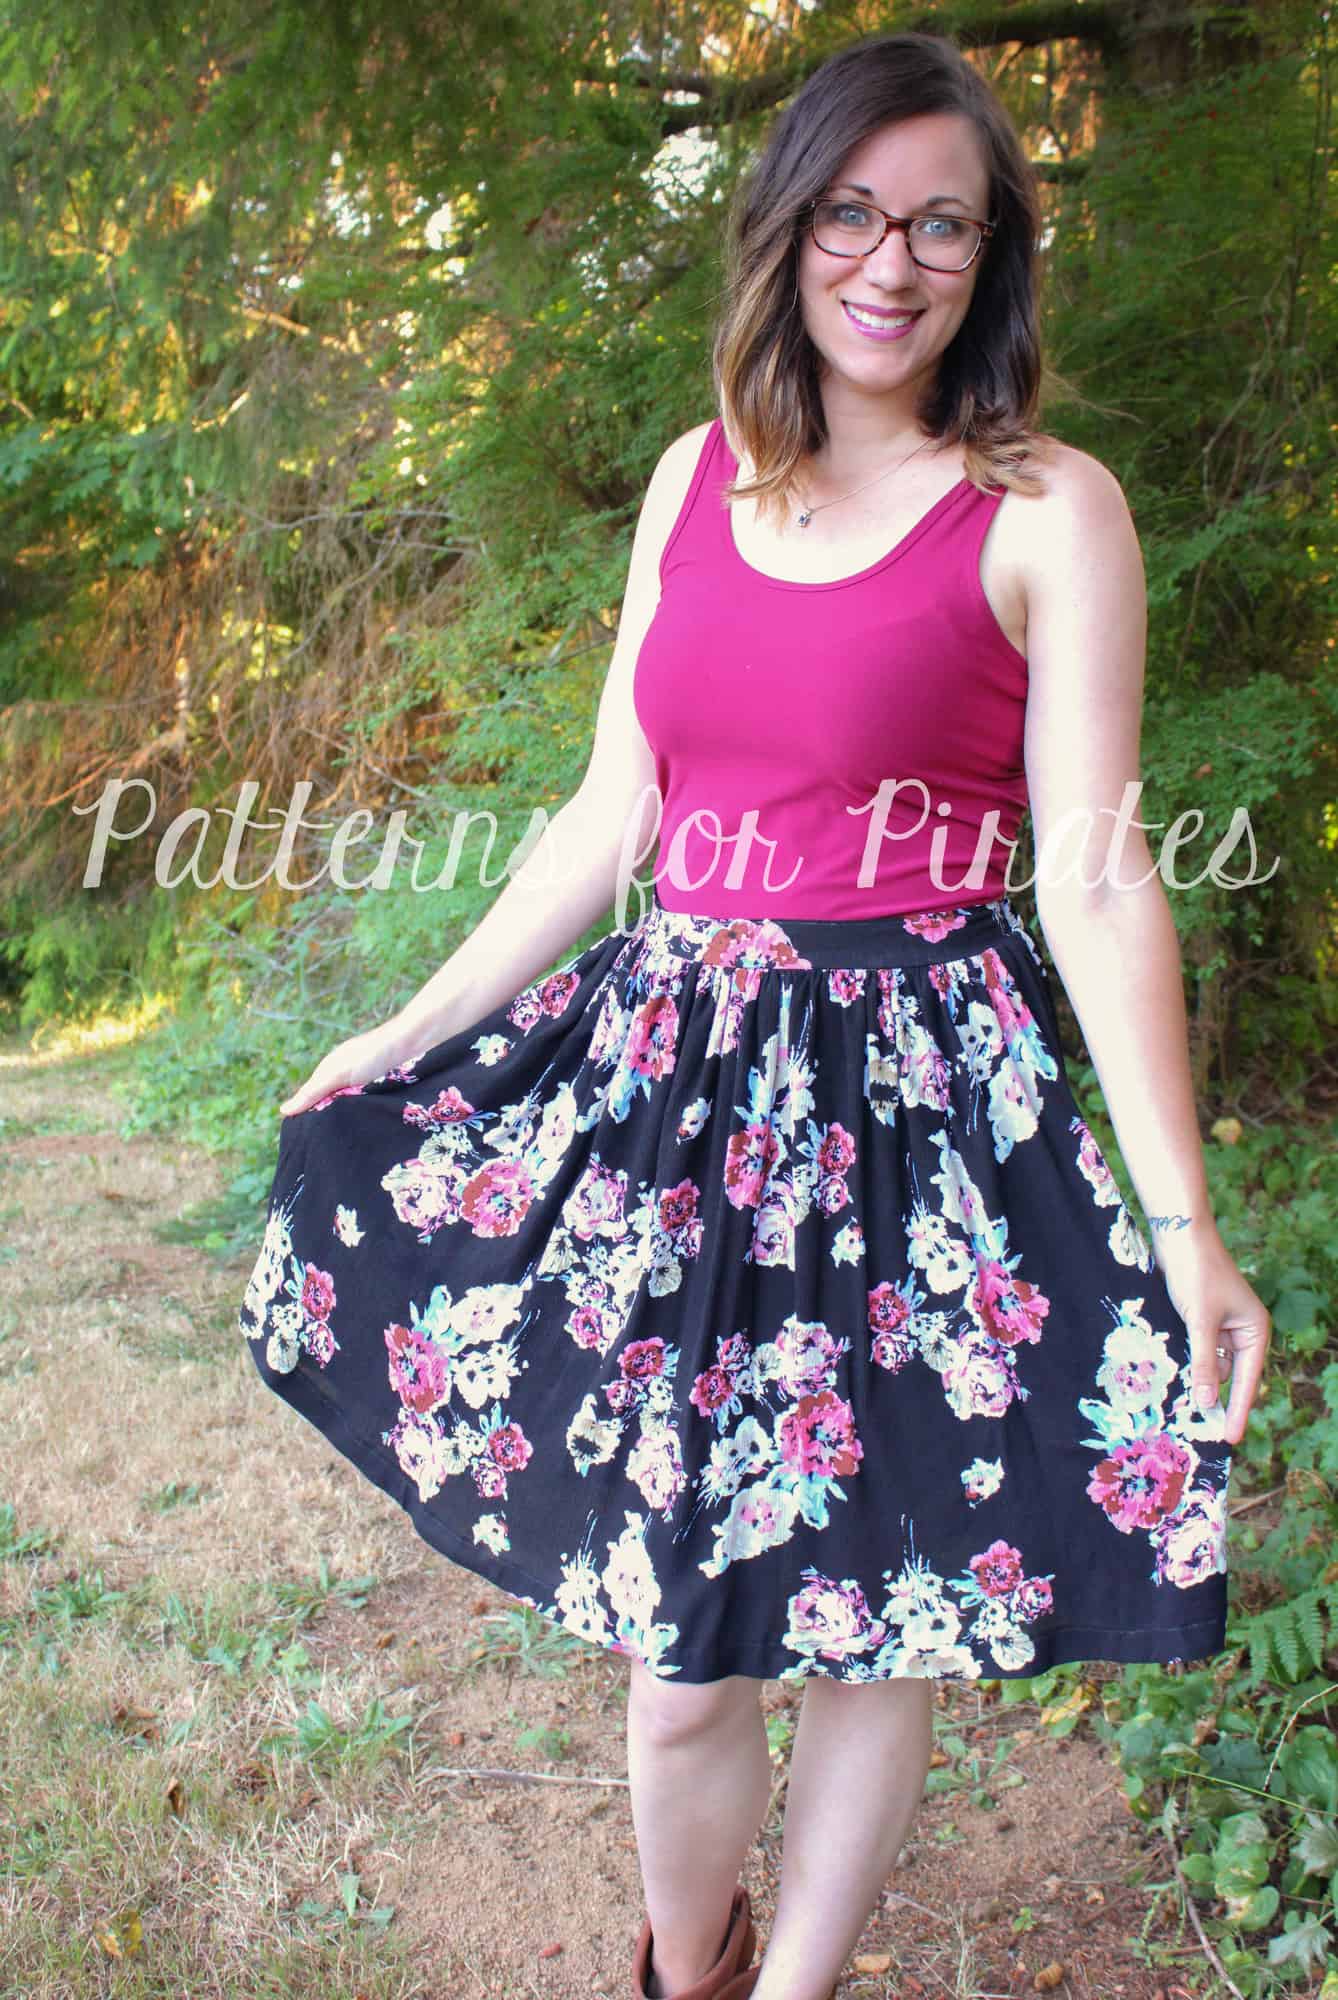
For this hack, we’re going to do something that we love to do to our dresses- create separates. In this case, we’re creating a classic style woven skirt using the bottom portion of your So Classic Sweetheart dress. This is a great hack for everyday wear or more professional look as well.

To begin, you will want to decide which version of the skirt you would like, plain front or button up, along with length. Once you’ve decided, you will want to cut out your skirt pieces as given in the tutorial chart. The only change you will need to make is to your waistband. You will want to double the length when cutting it out.

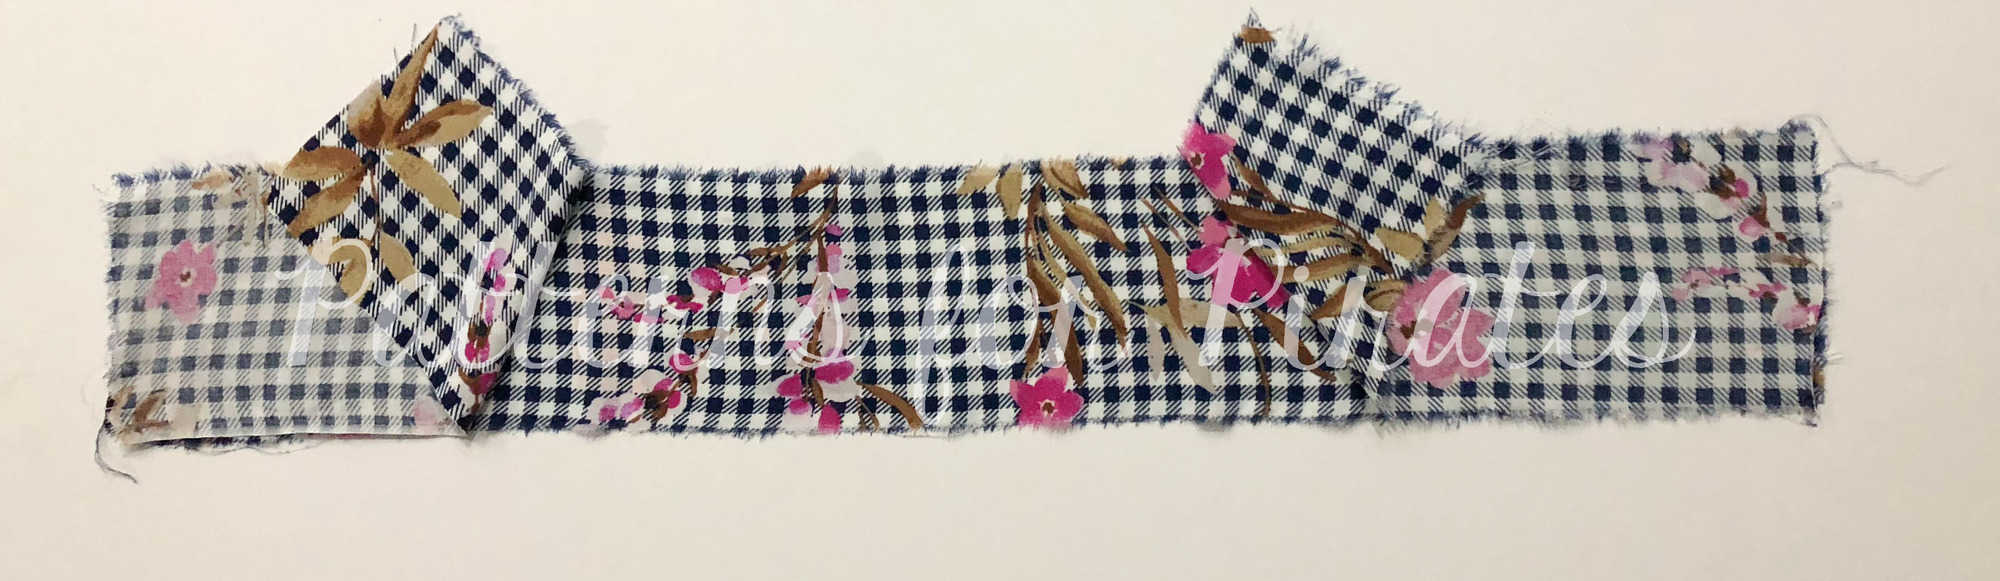
To assemble the waistband, begin by stitching your waistband pieces together using a 1/2″ seam allowance.

If you are making the button placket, you will now have a long waistband piece, that is constructed in the following order: front waistband, back waistband, front waistband. If you are making the plain front, you should have a tube. Trim seams and press open.

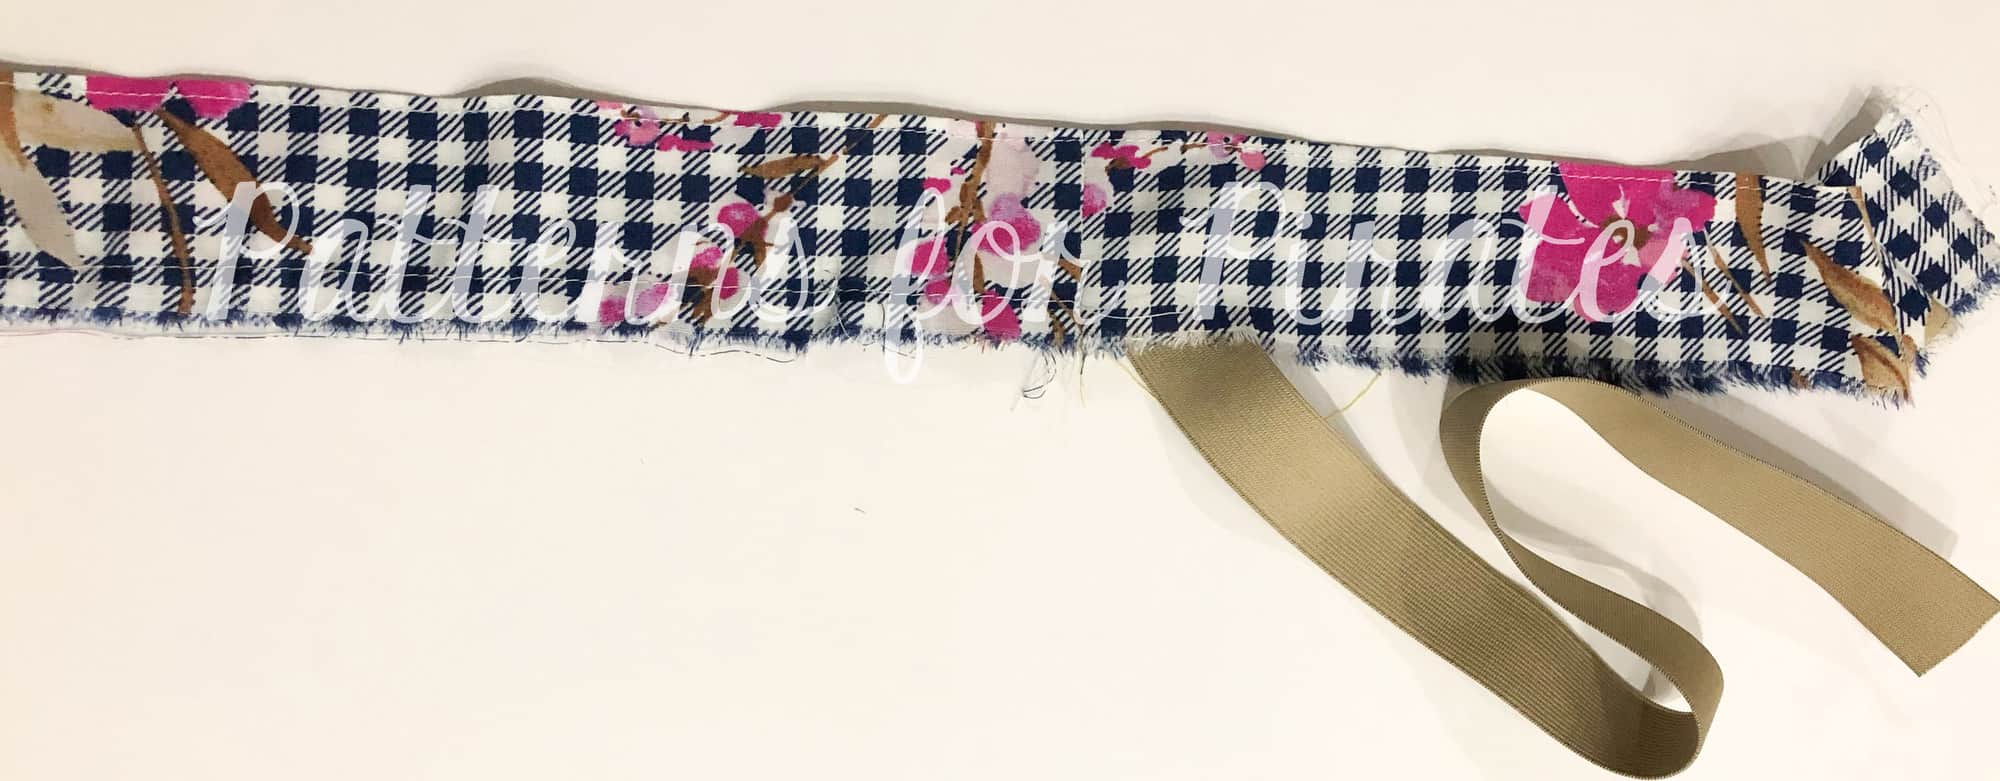
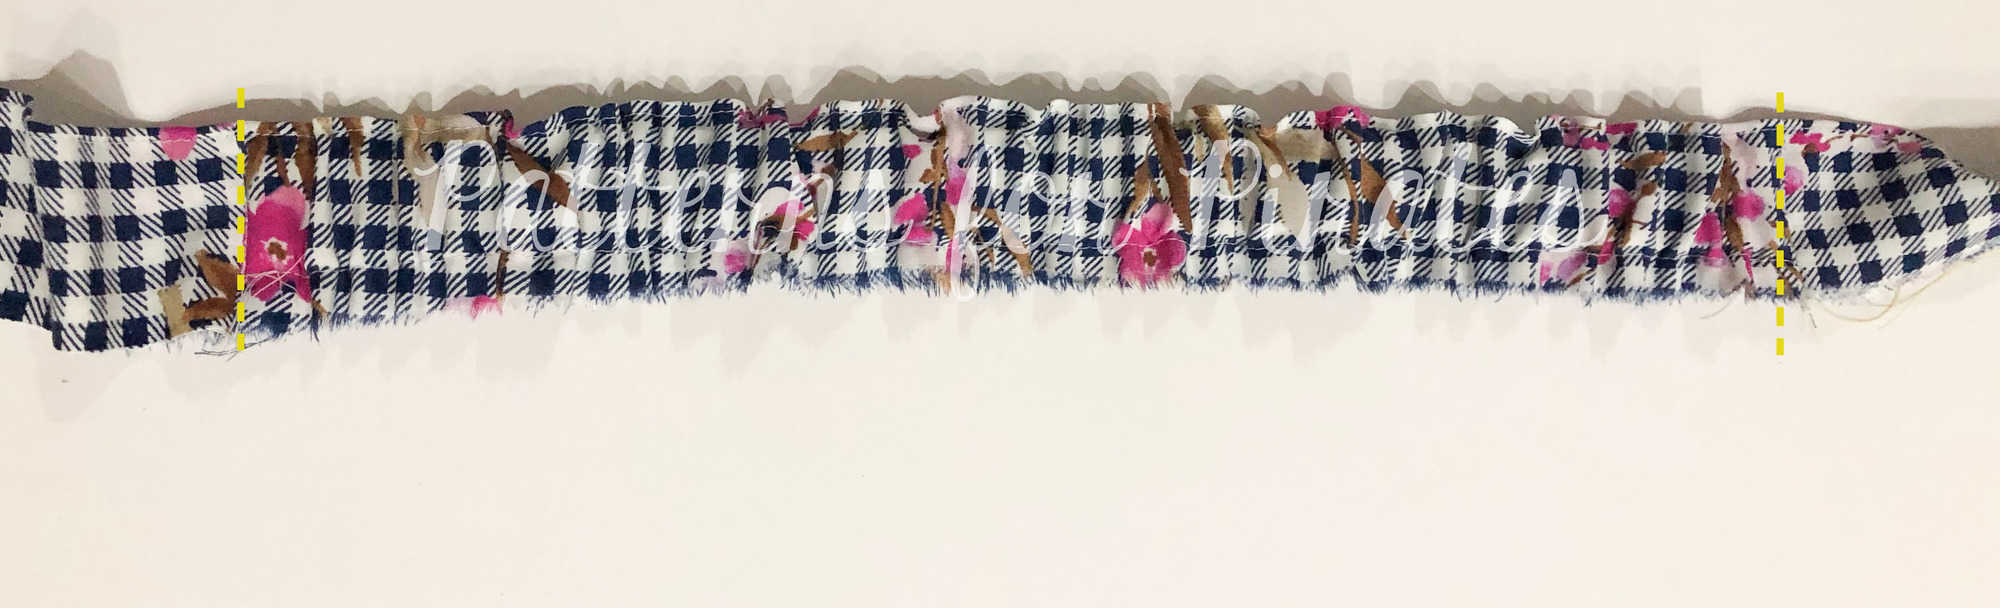
Fold waistband in half lengthwise, with wrong sides together. If desired, you can top stitch 1/8″ from top of waistband. Baste only your back waistband piece together.

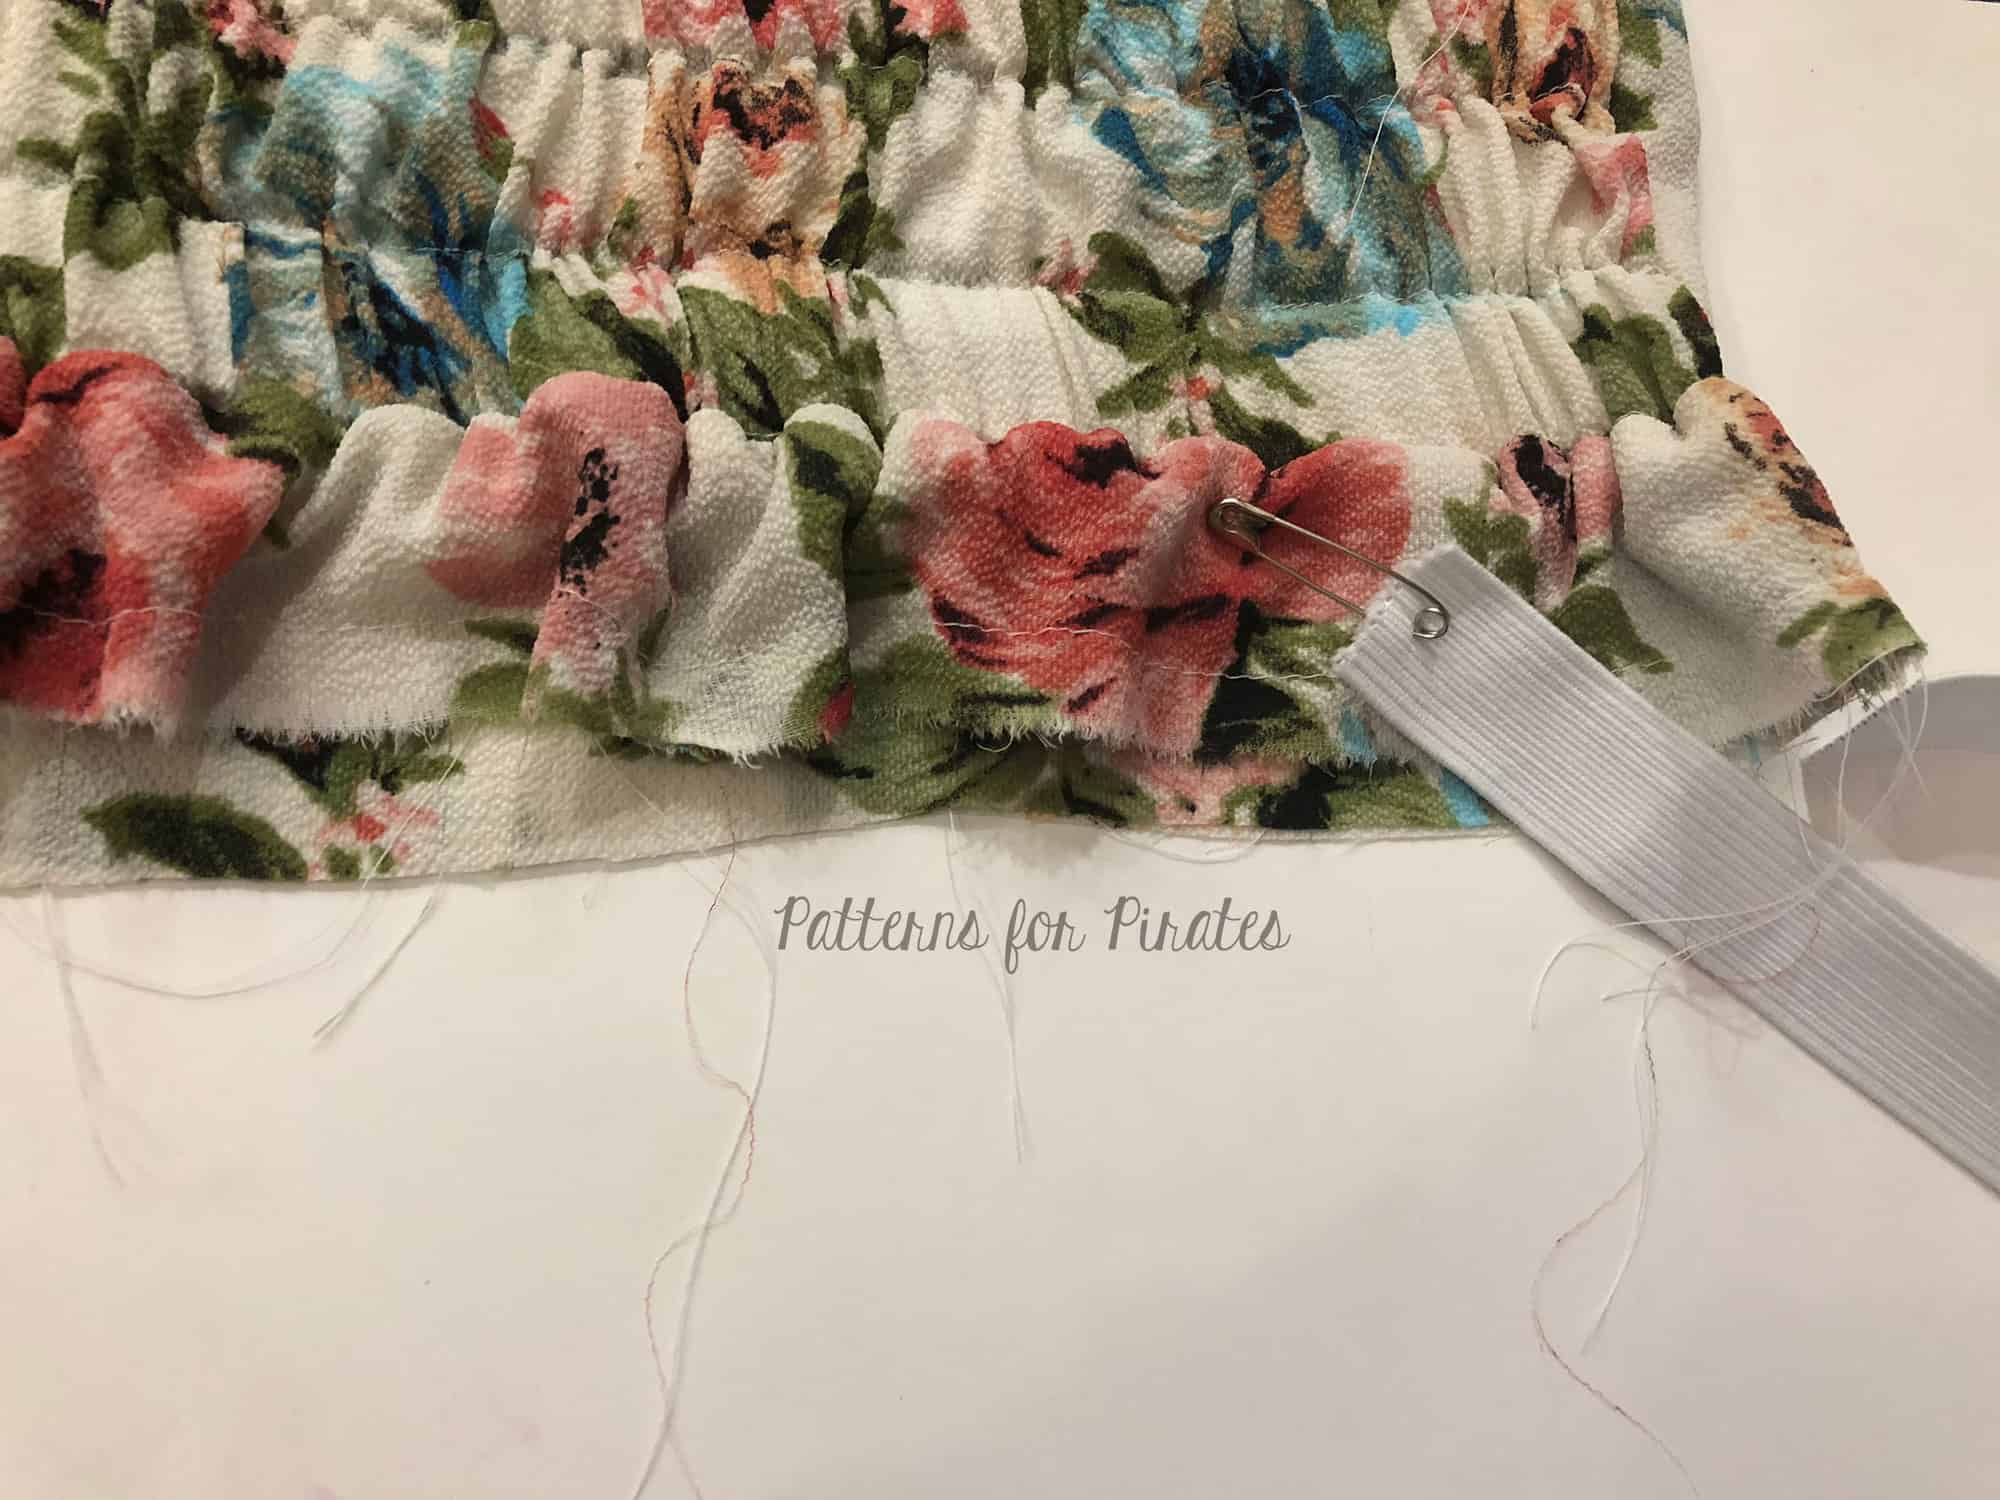
Cut your piece of elastic to the appropriate length given in the tutorial chart. Using a safety pin or other tool, pull your elastic through the back waistband casing.

You will now stitch in the ditch at the waistband seams to hold elastic in place.

Your waistband is now ready to be attached to the skirt! Follow the directions as given in the tutorial and begin to enjoy that gorgeous skirt you just created!

~ Nicole and Erinn

(Nicole is wearing the button placket skirt and Erinn is wearing the plain front version)

…..

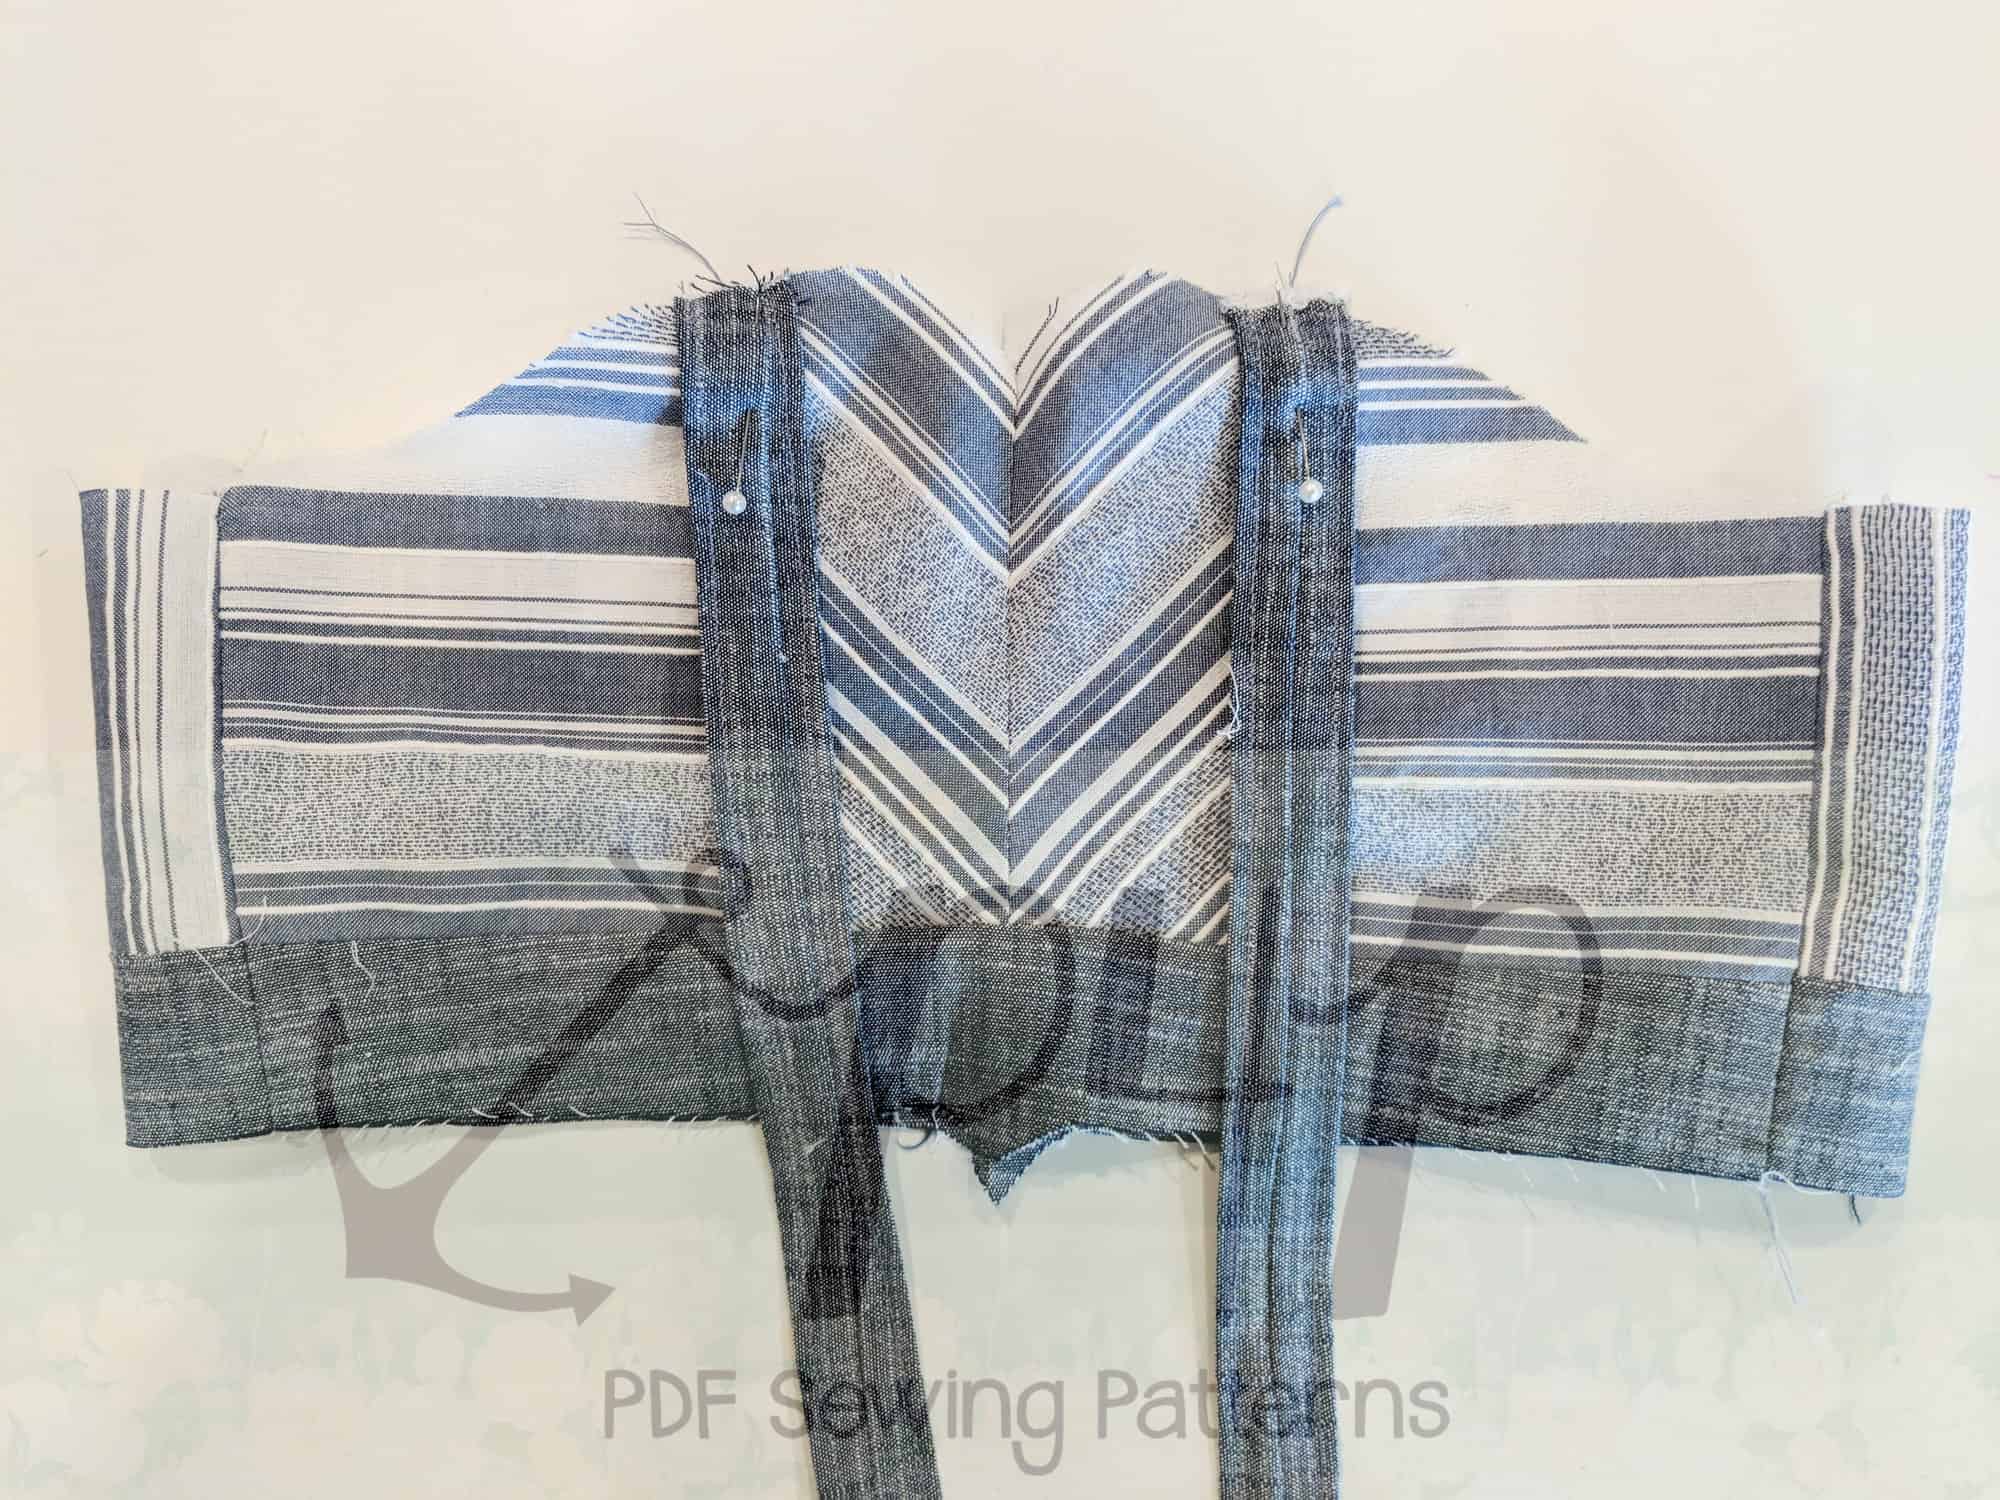
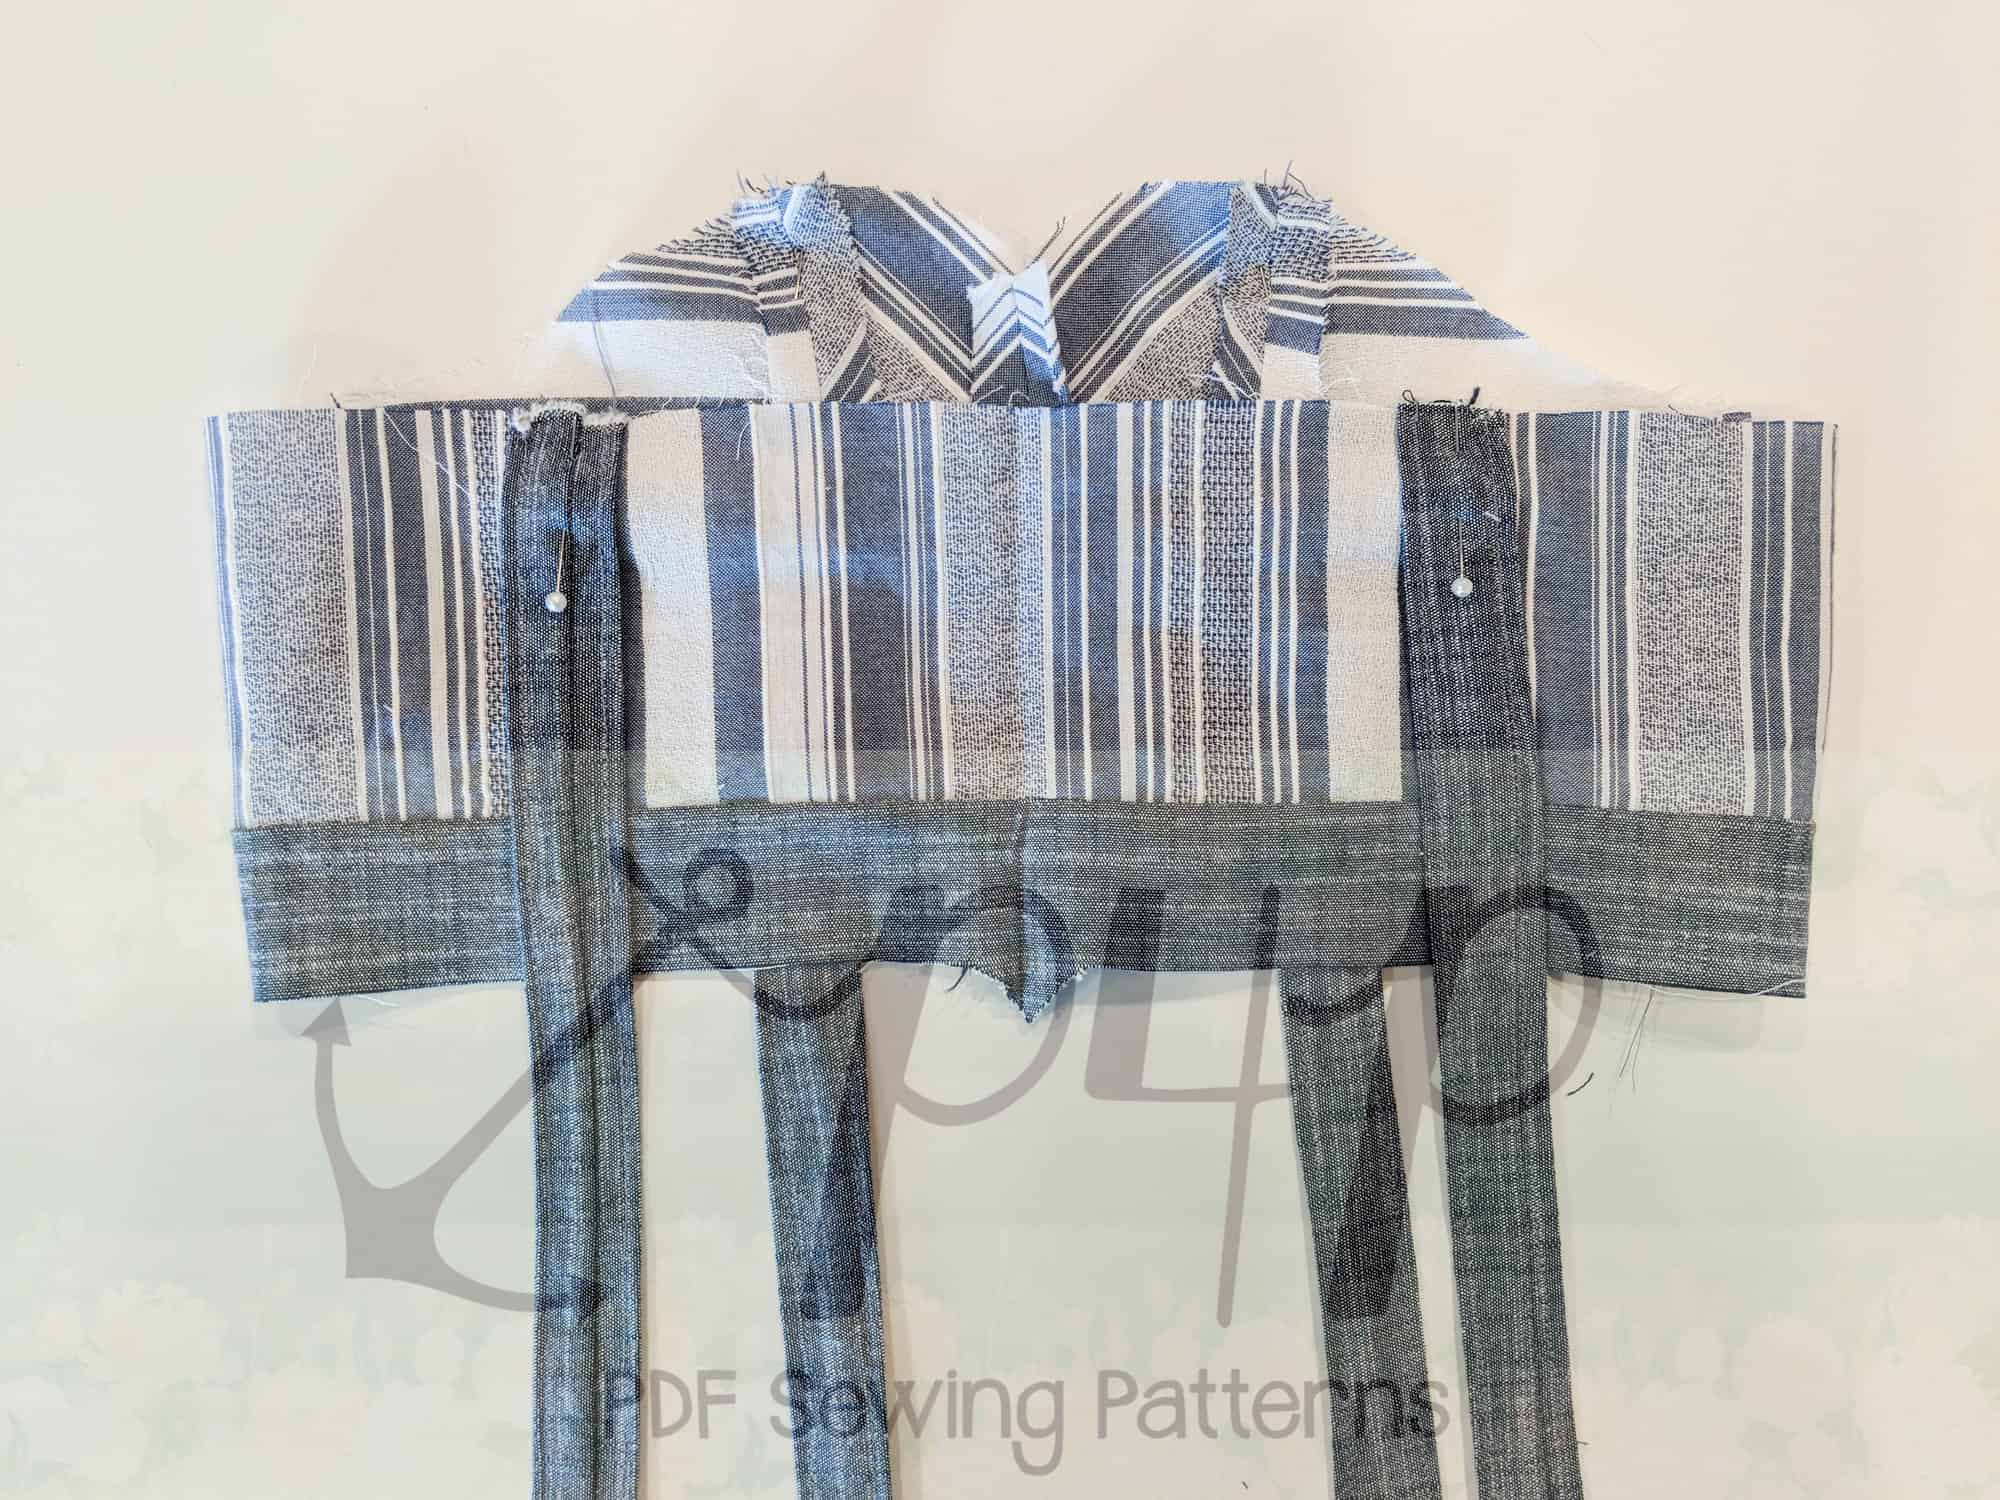
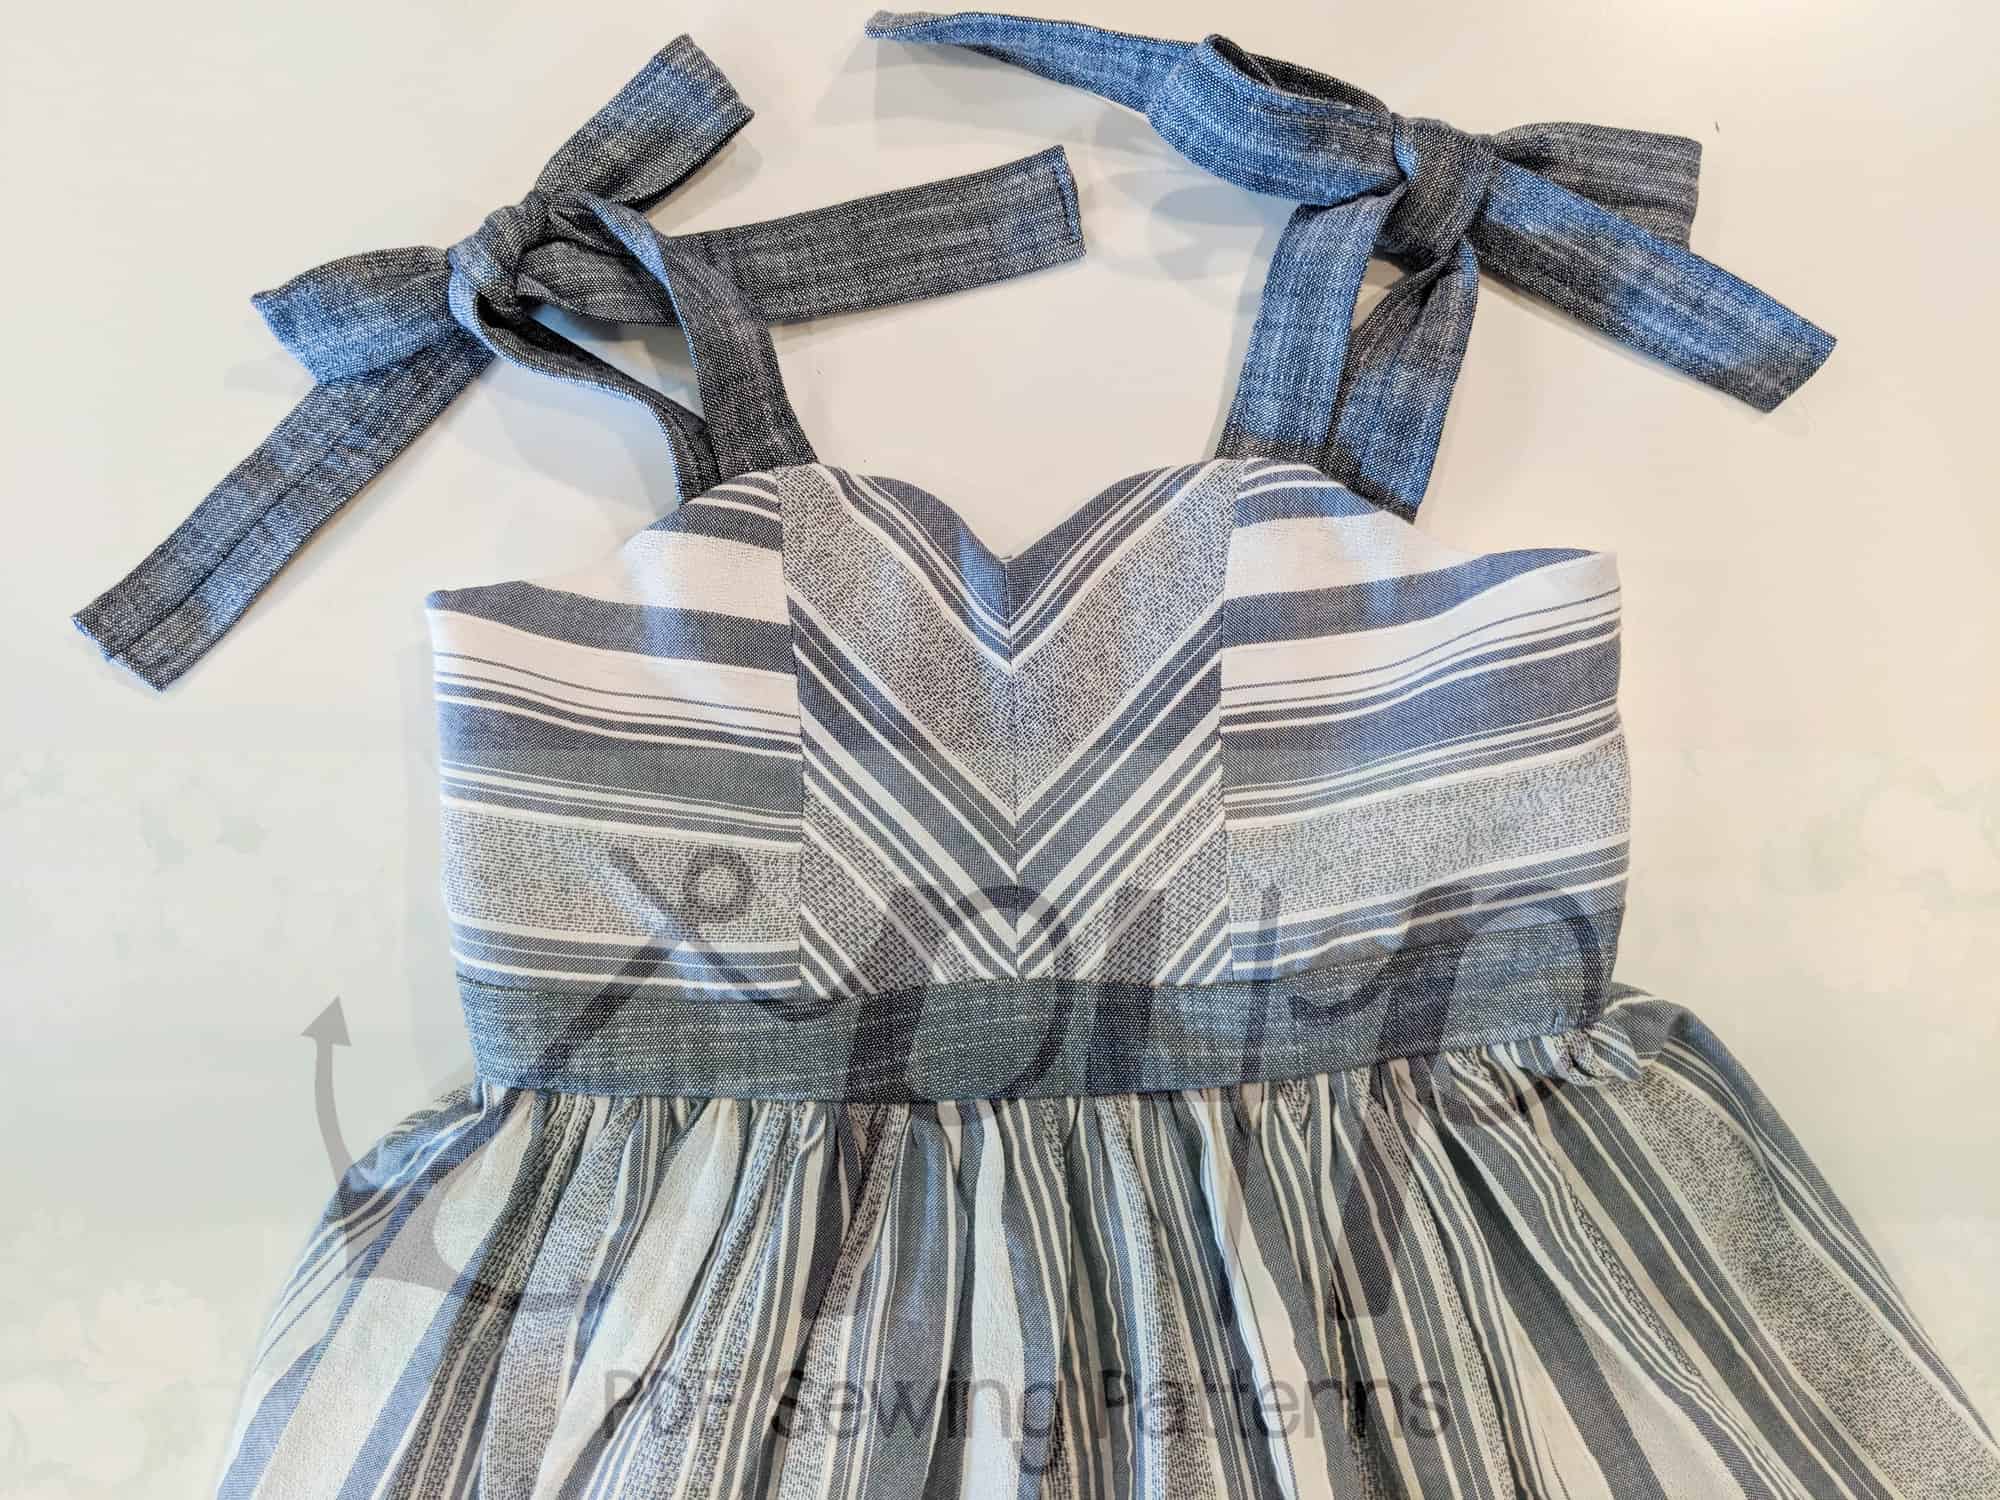
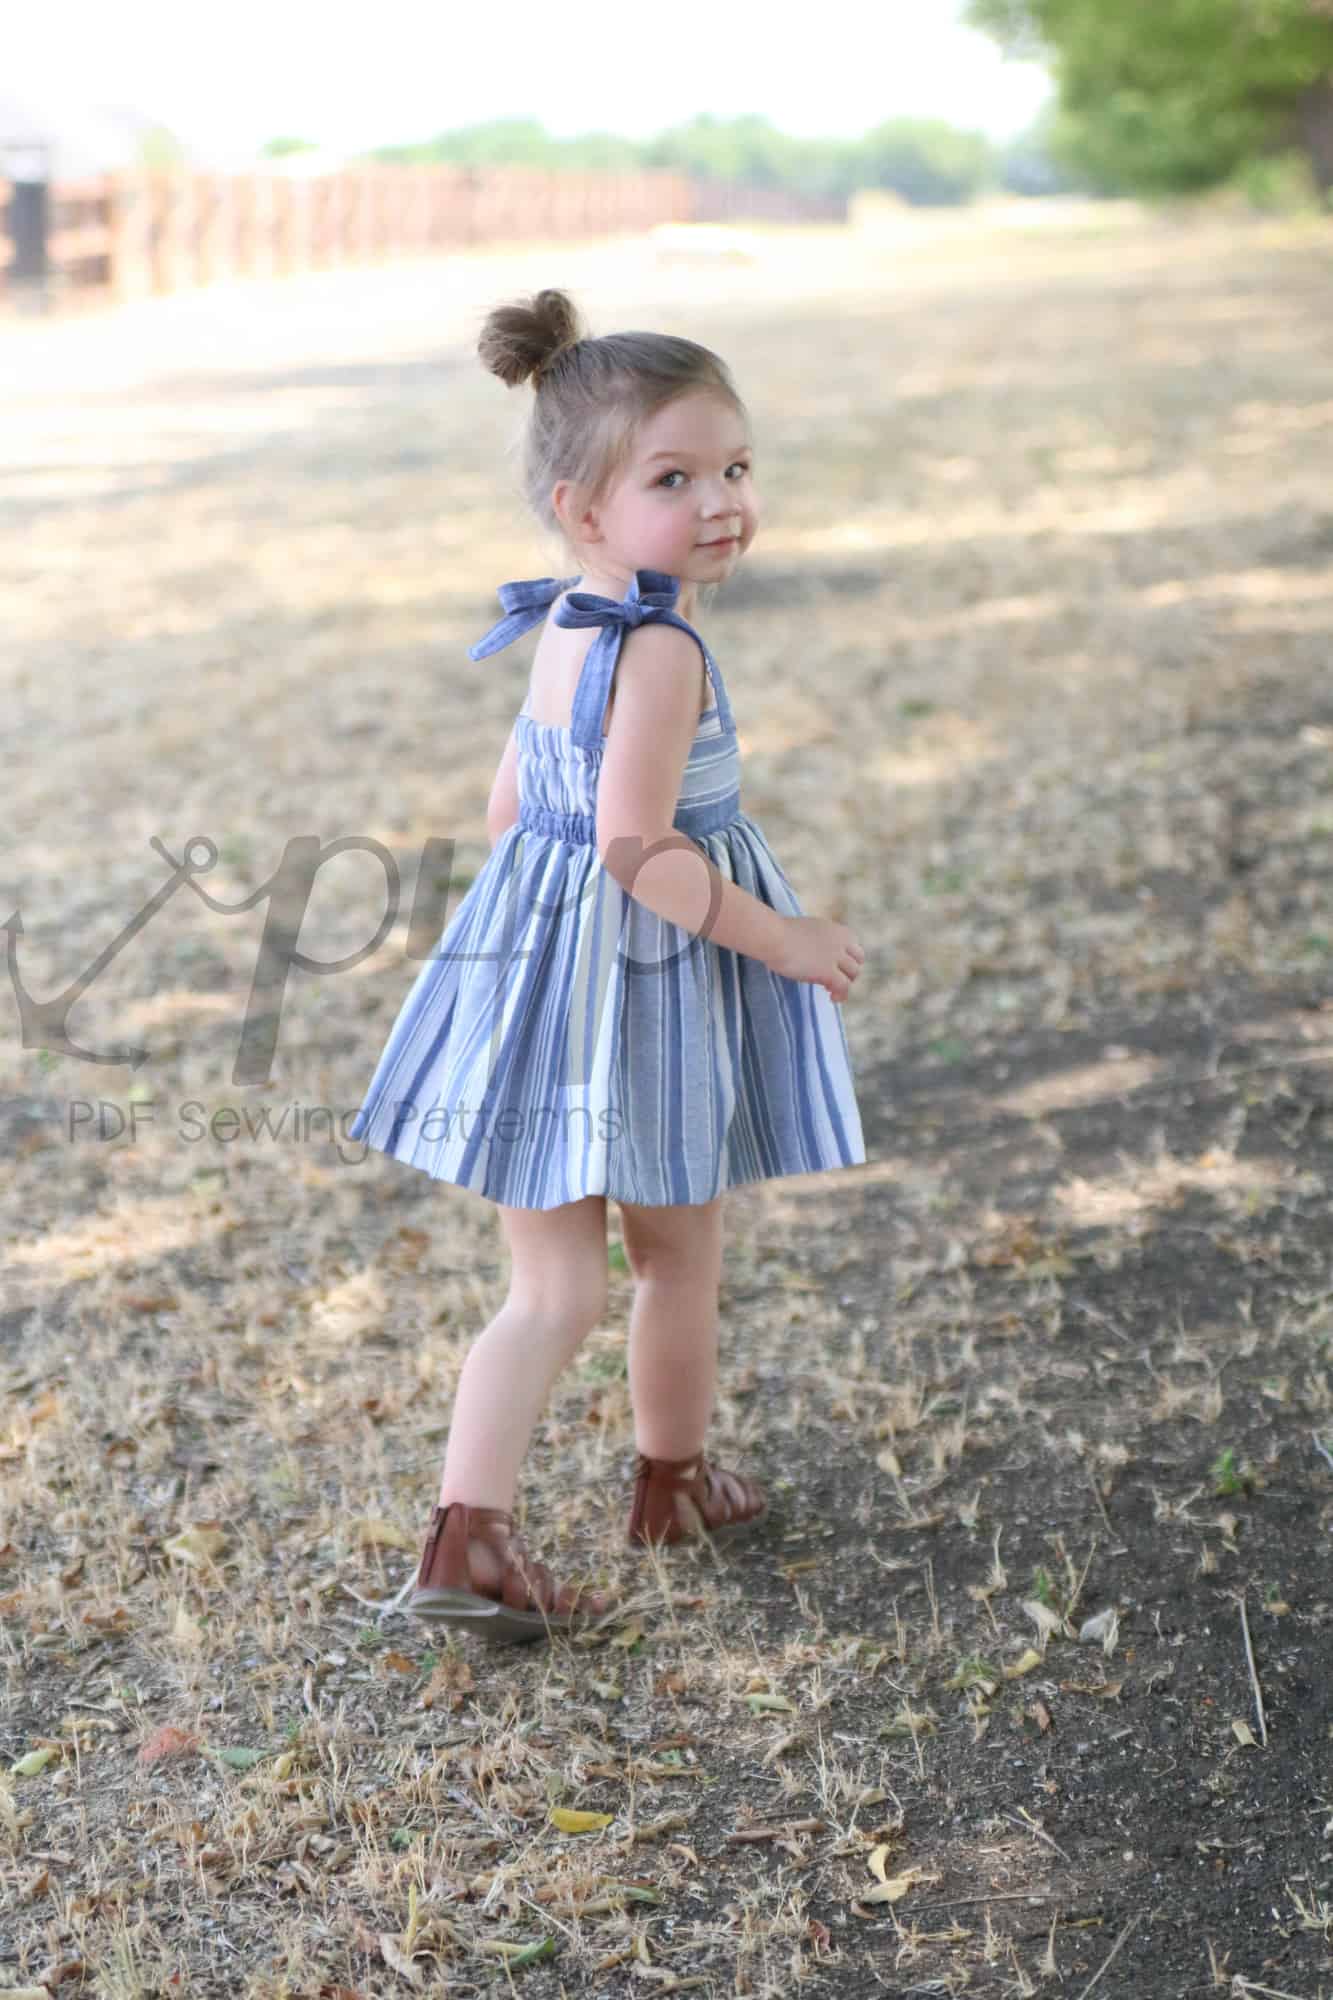
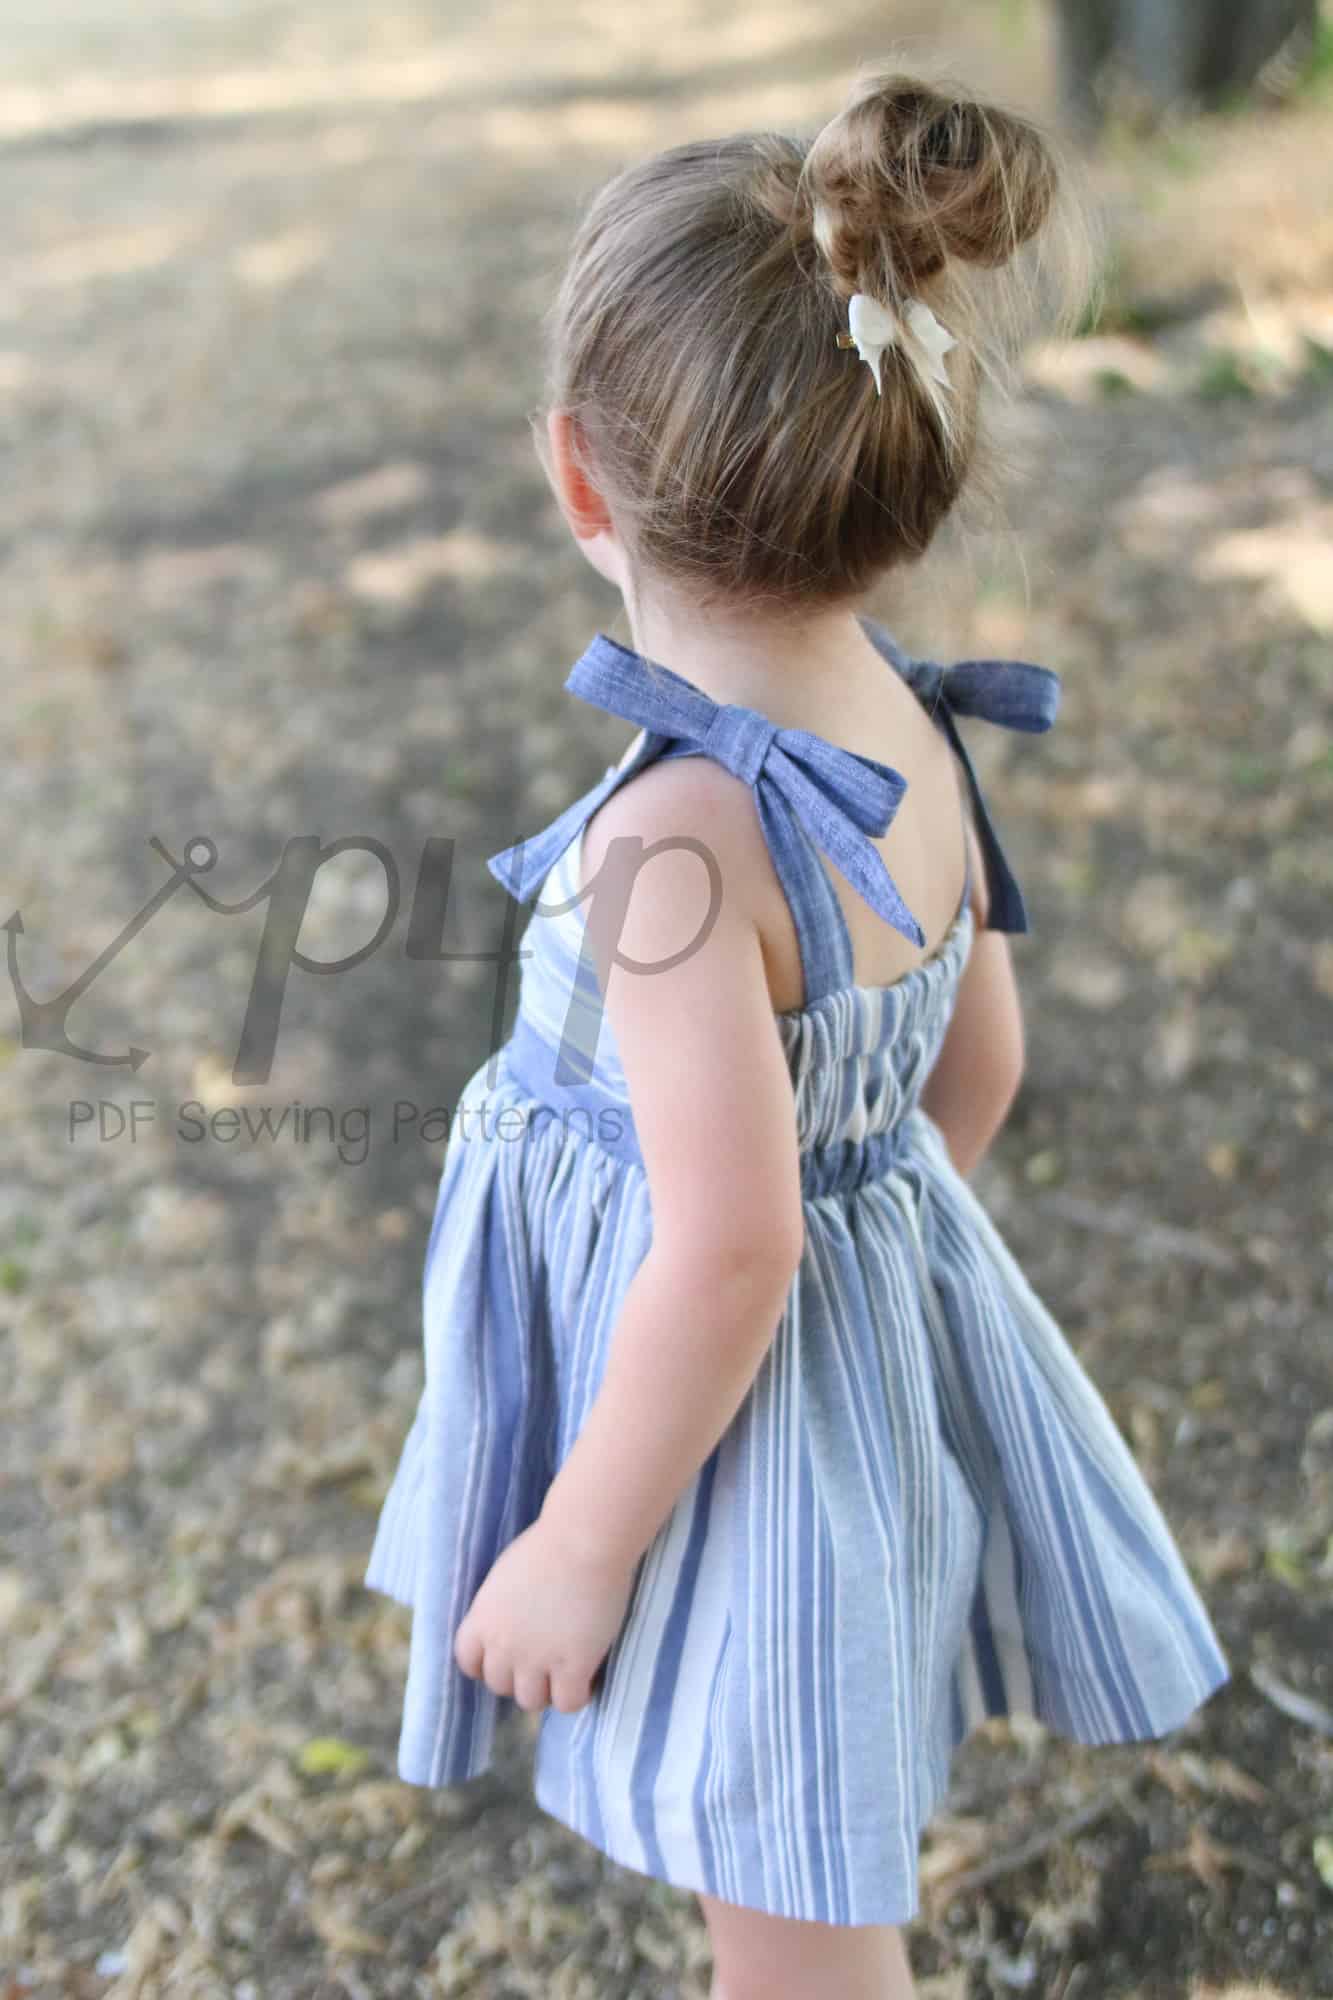
Ties Straps

I’m here to show you a super simple tie strap hack! This hack is great for tiny babies who are more difficult to get dressed, a grow with me length of strap that is super quick and easy, a way to get the perfect strap length every time, and of course, just another adorable detail to change the look up a bit.

Start by cutting 4 halter straps rather than just 2.

Follow the tutorial to finish the straps just as the halter straps are finished.

For placement use the suggested placement for the regular/traditional straps.

Finish constructing bodice and dress just as the tutorial instructs.

Enjoy the adorable bows on the shoulders!

Judy

…..

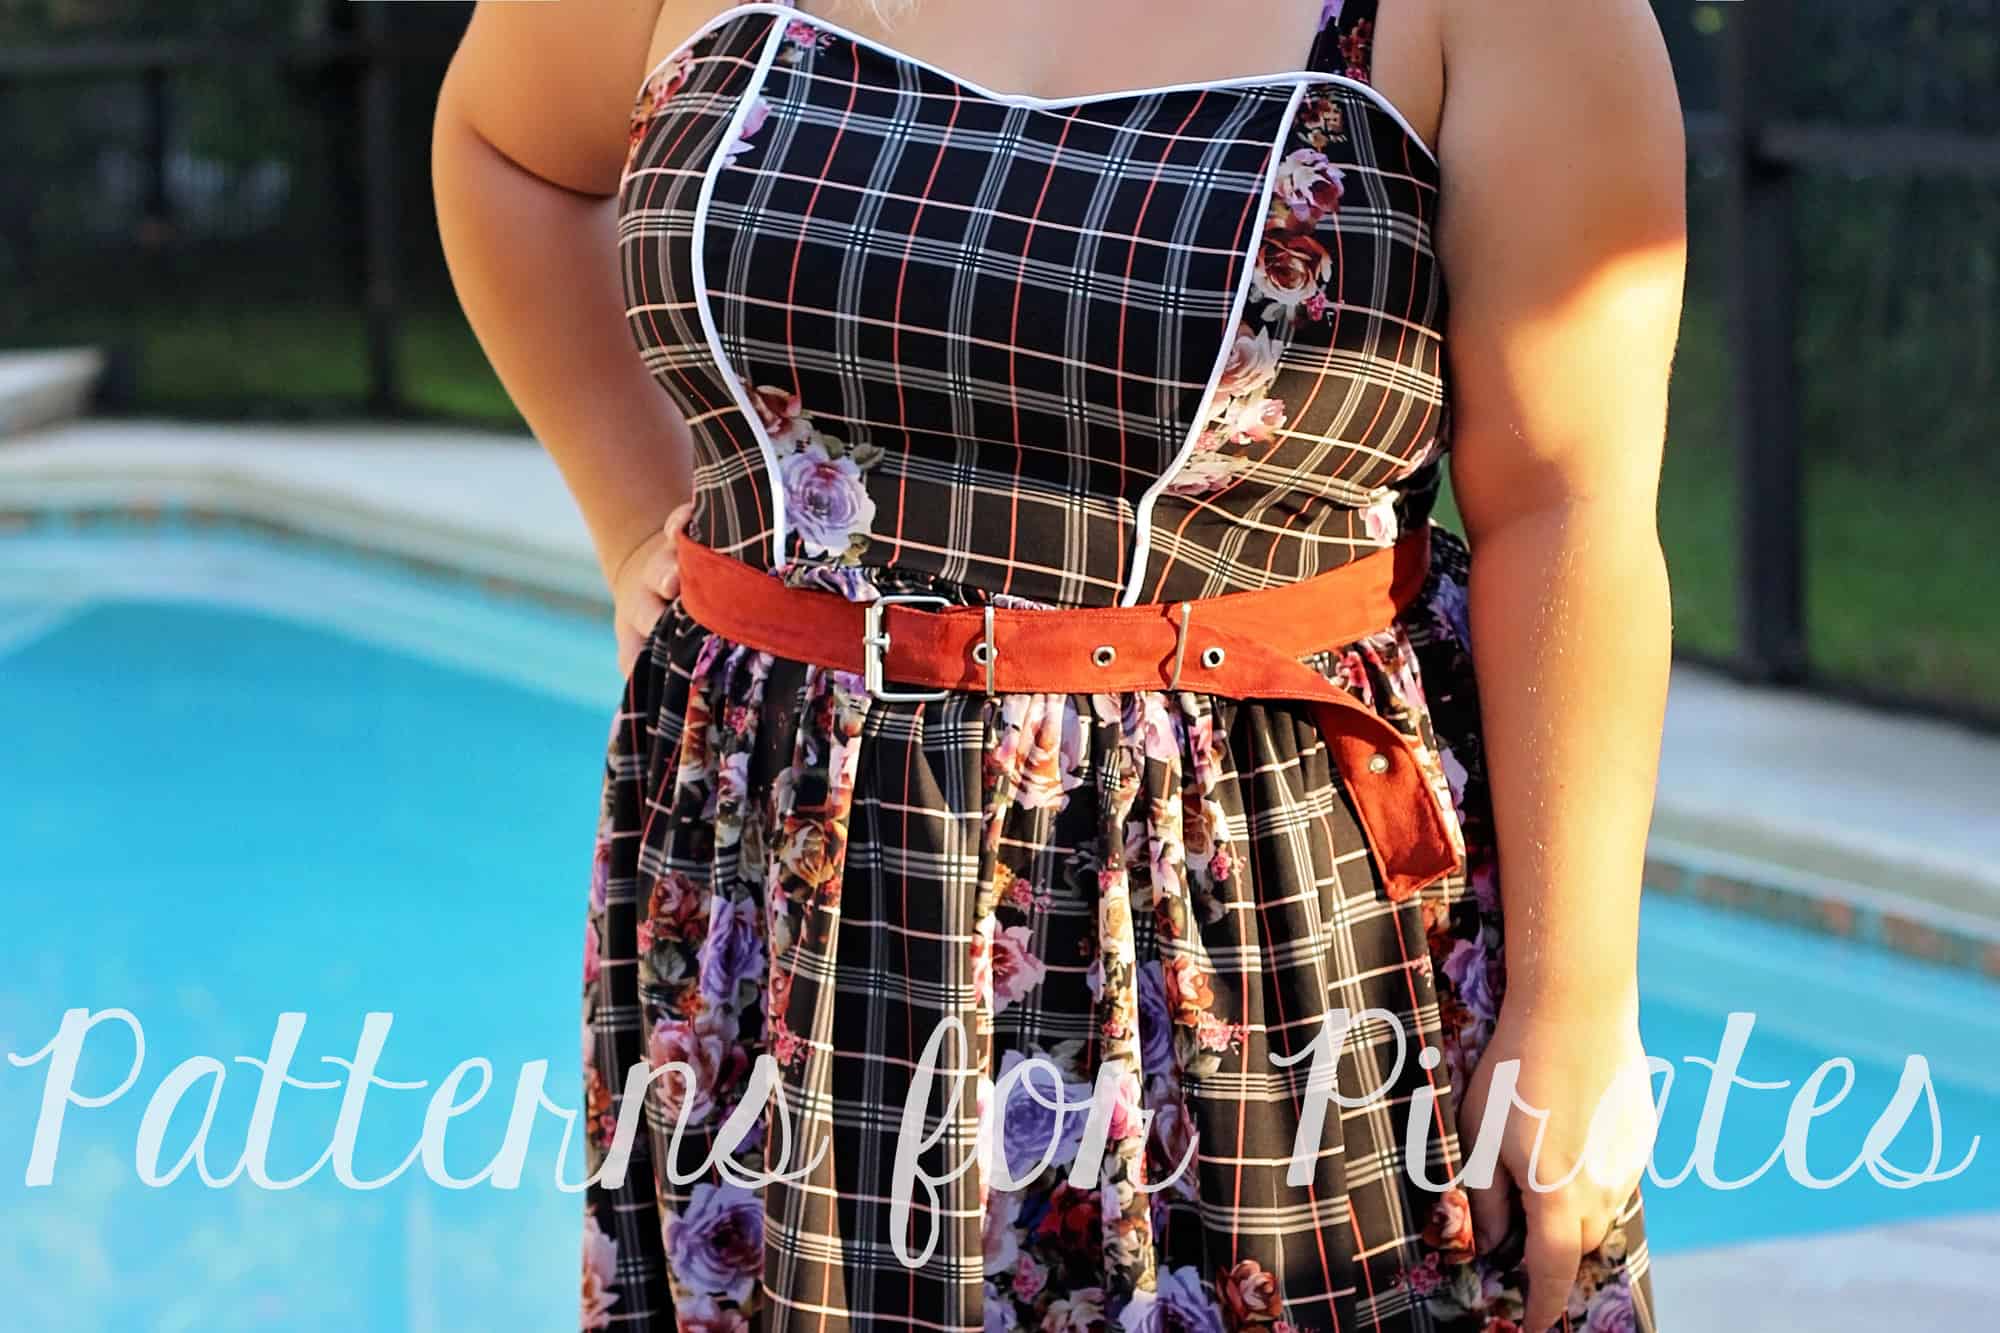
Simple Belt


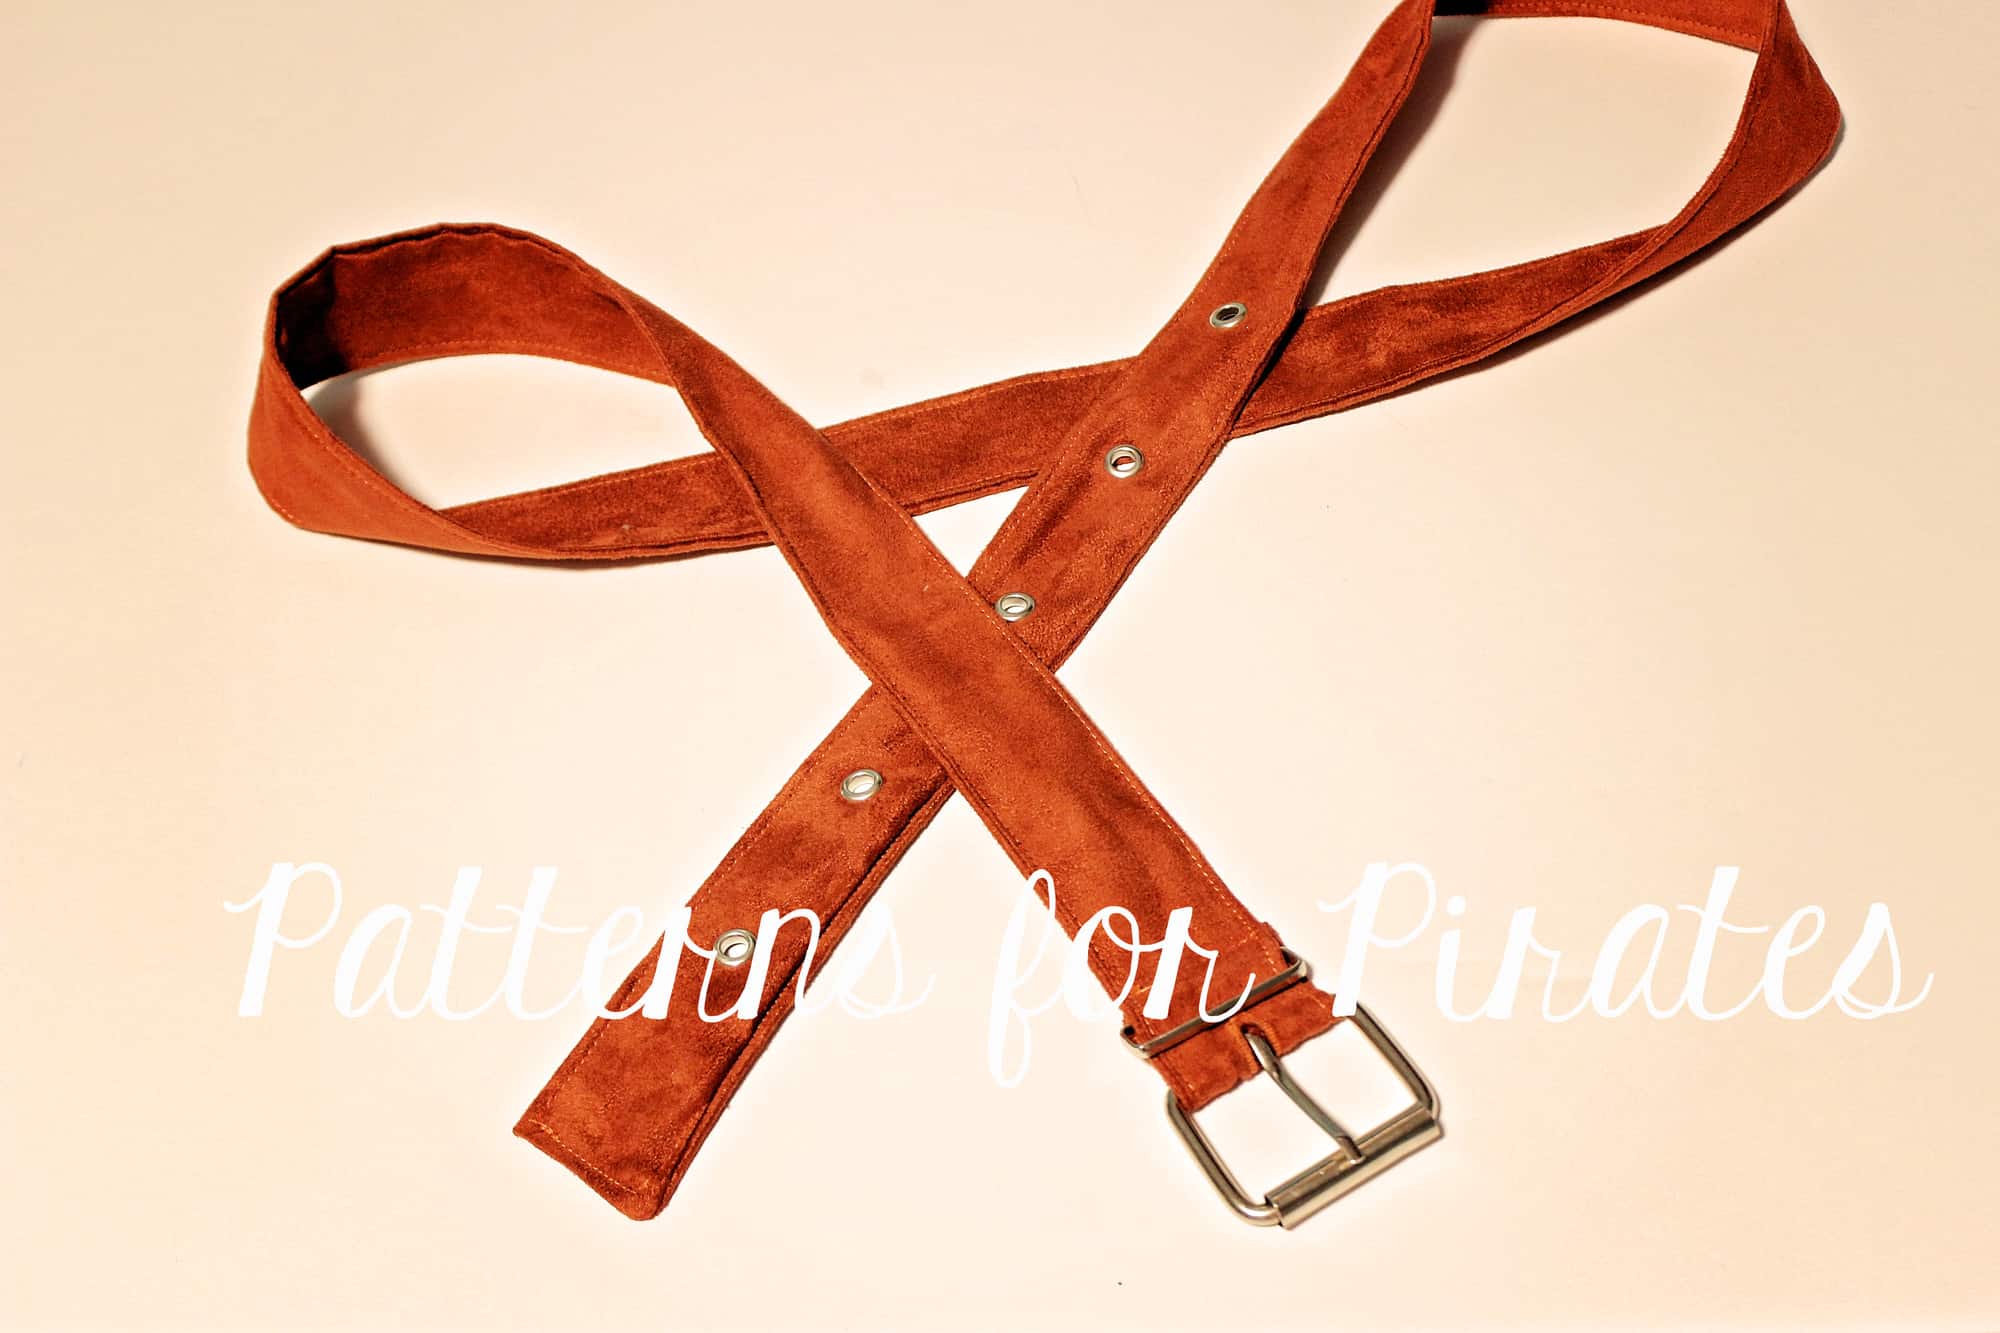
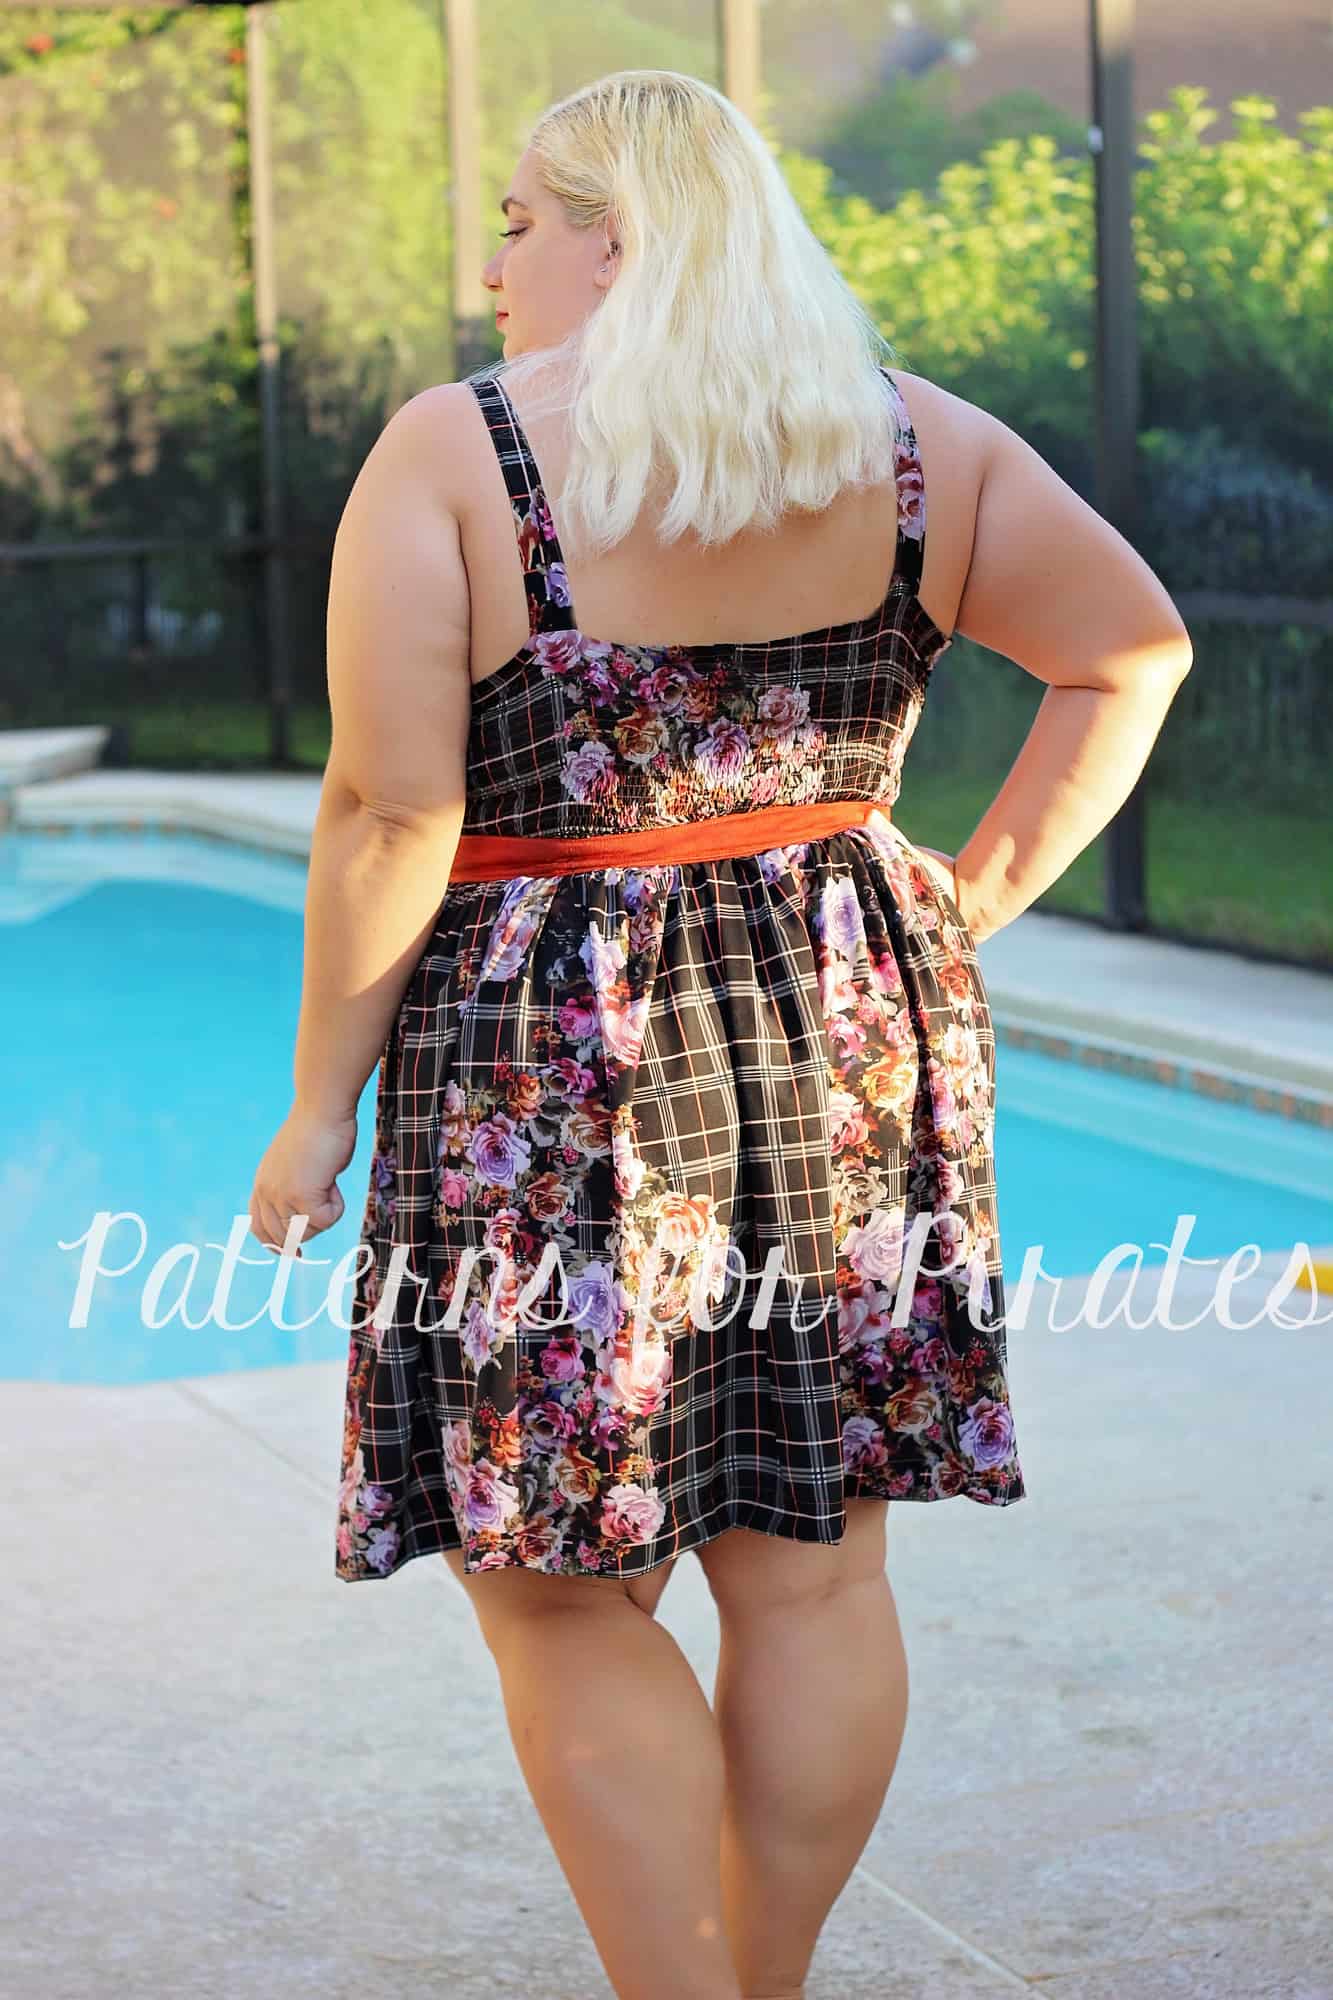
While browsing Pinterest I saw a dress very similar to the So Classic Sundress that featured a real belt instead of a waistband so I knew I had to make a simple one and show you how to make your own belts.

Start by gathering your supplies. You will need fabric, any woven fabric will work, belt hardware (that I actually upcycled from an old one) and grommets.

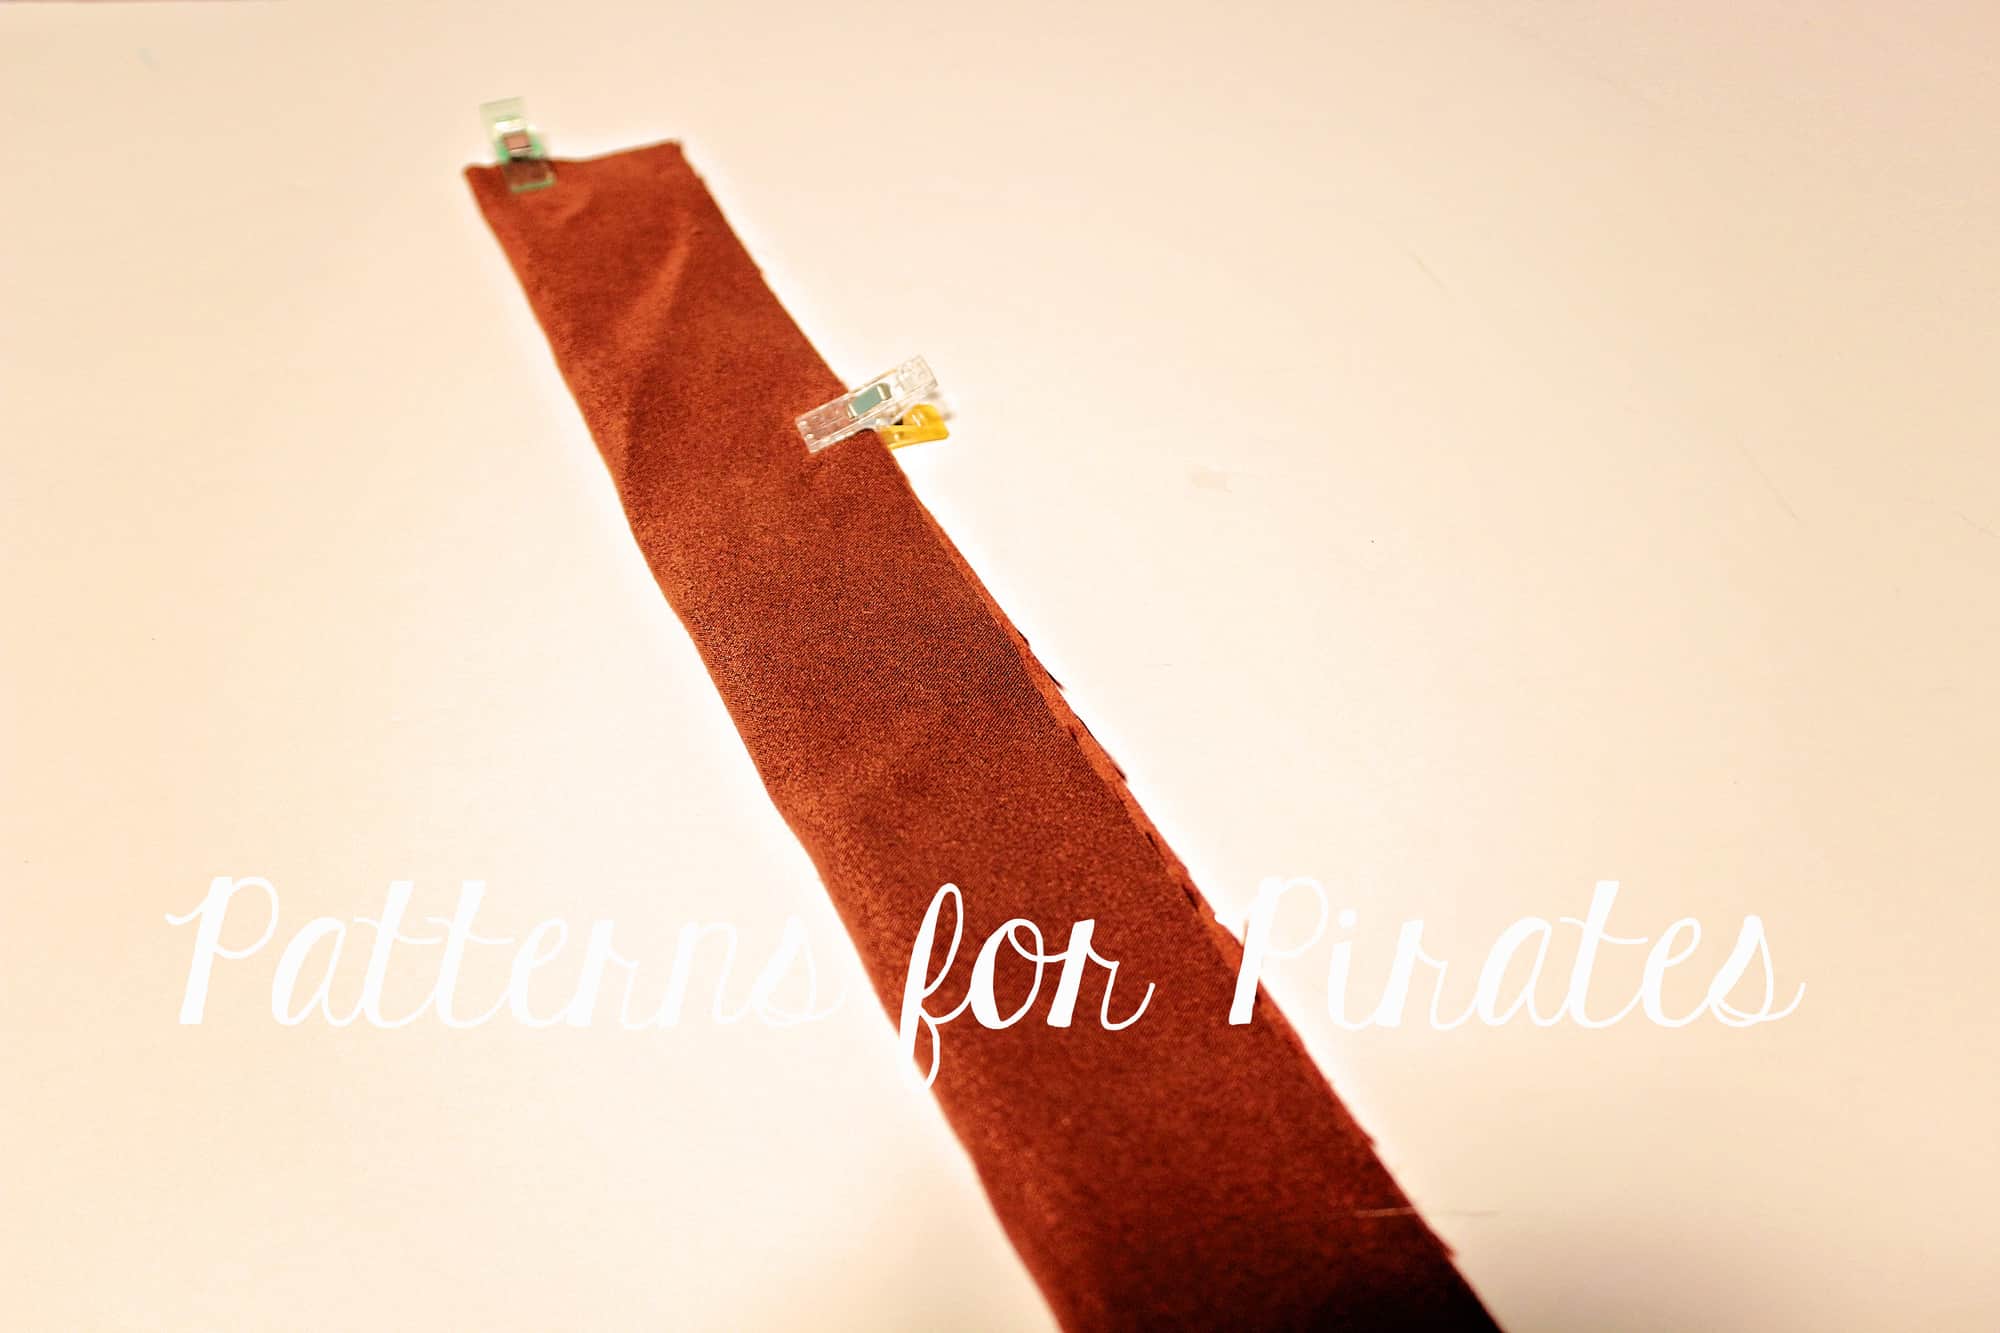
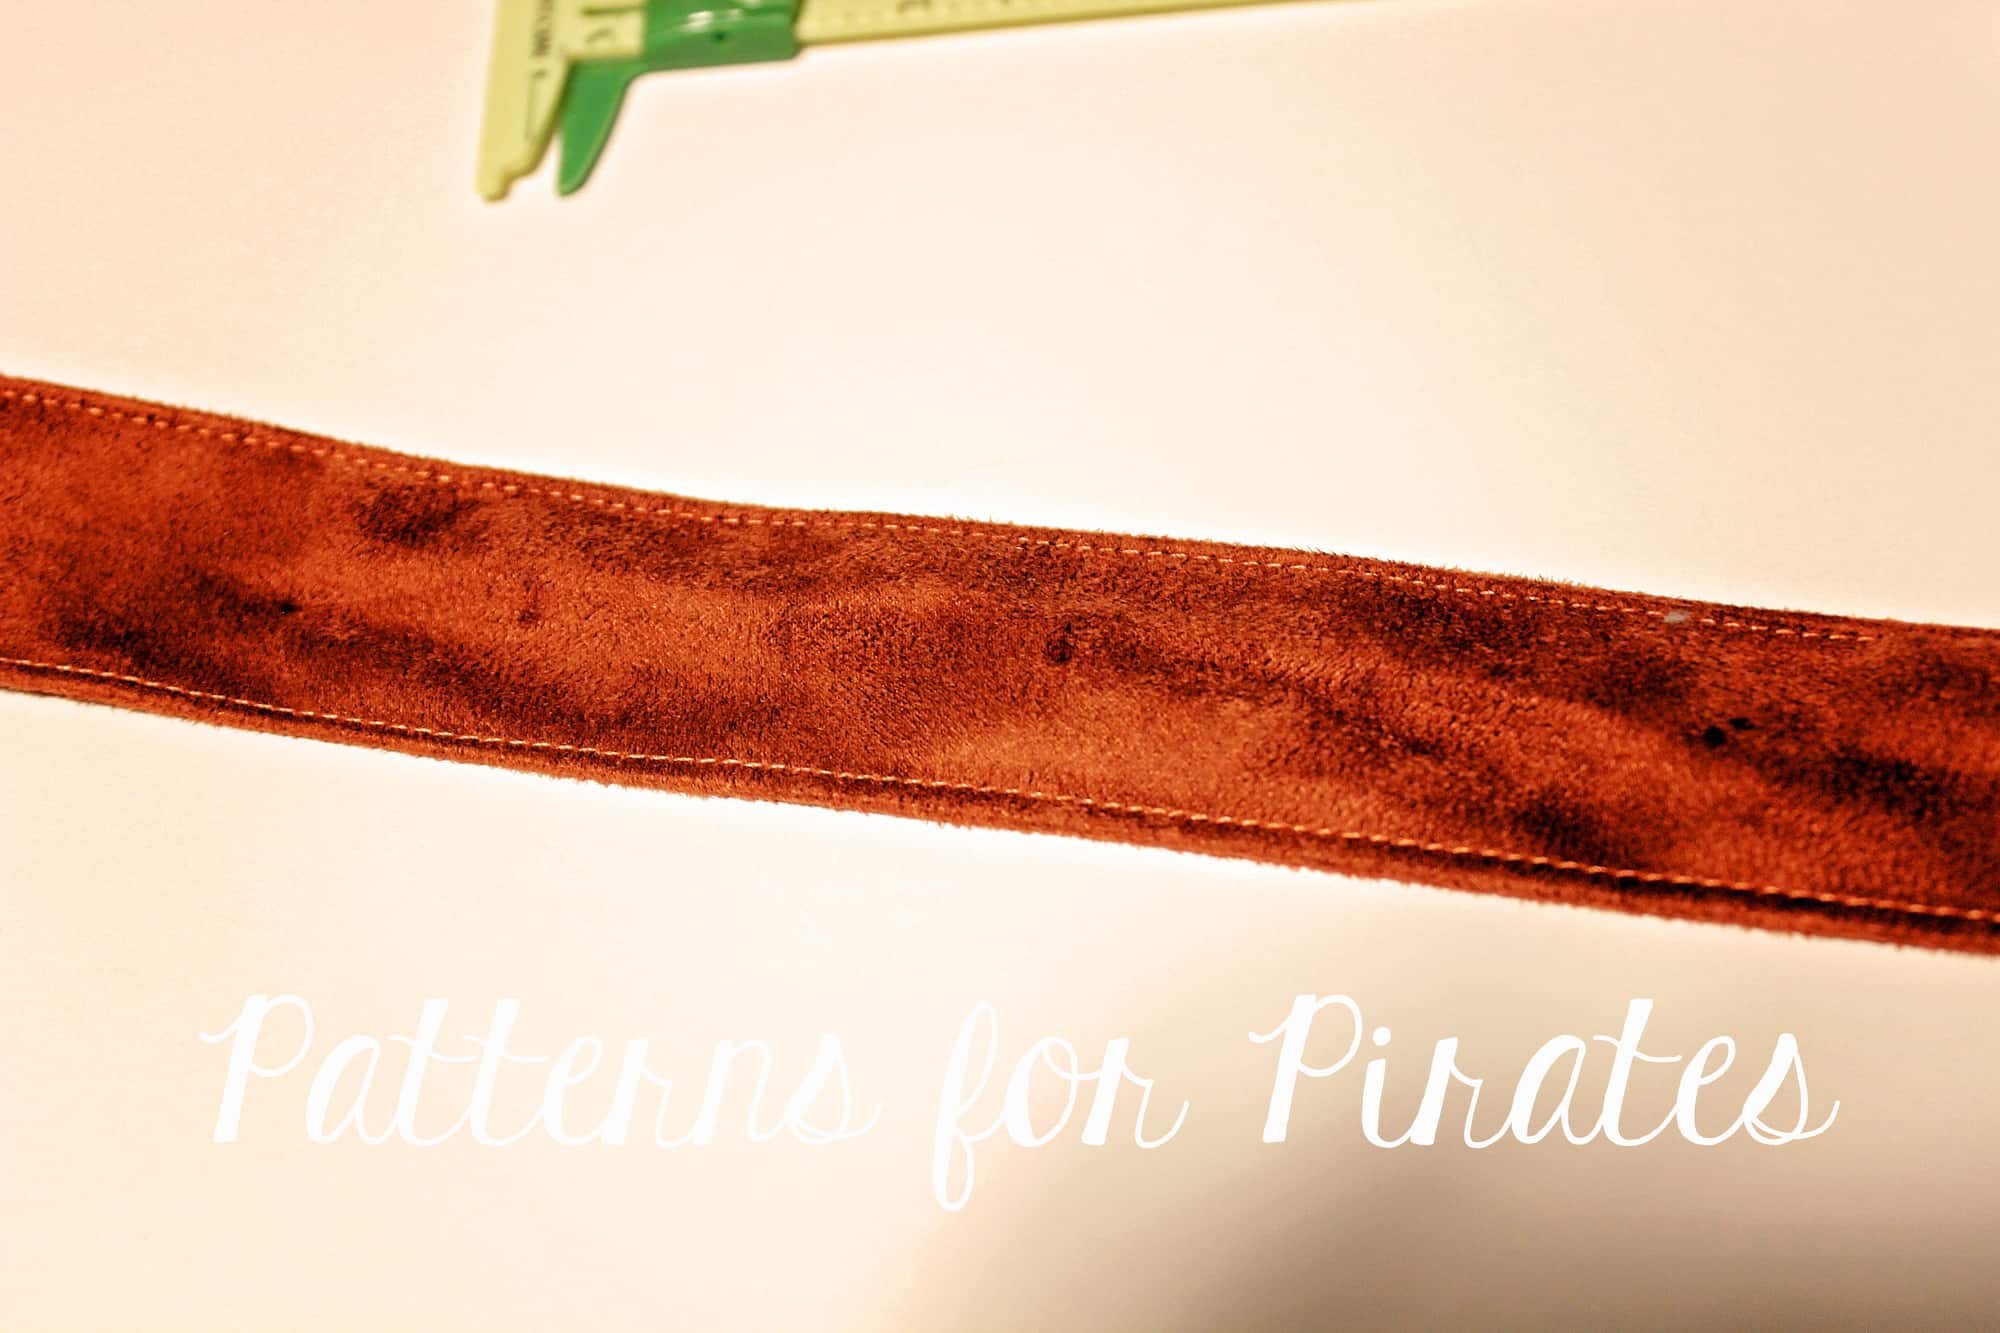
Cut a strip of fabric 4 inches wide by 50-60″ long depending on the size you’re making.

Fold the fabric lengthwise with the right sides together and sew around the raw edge leaving a 2-3″ opening. Turn the belt with the right side out, topstitch around the edges so you close the opening and give it sturdiness.

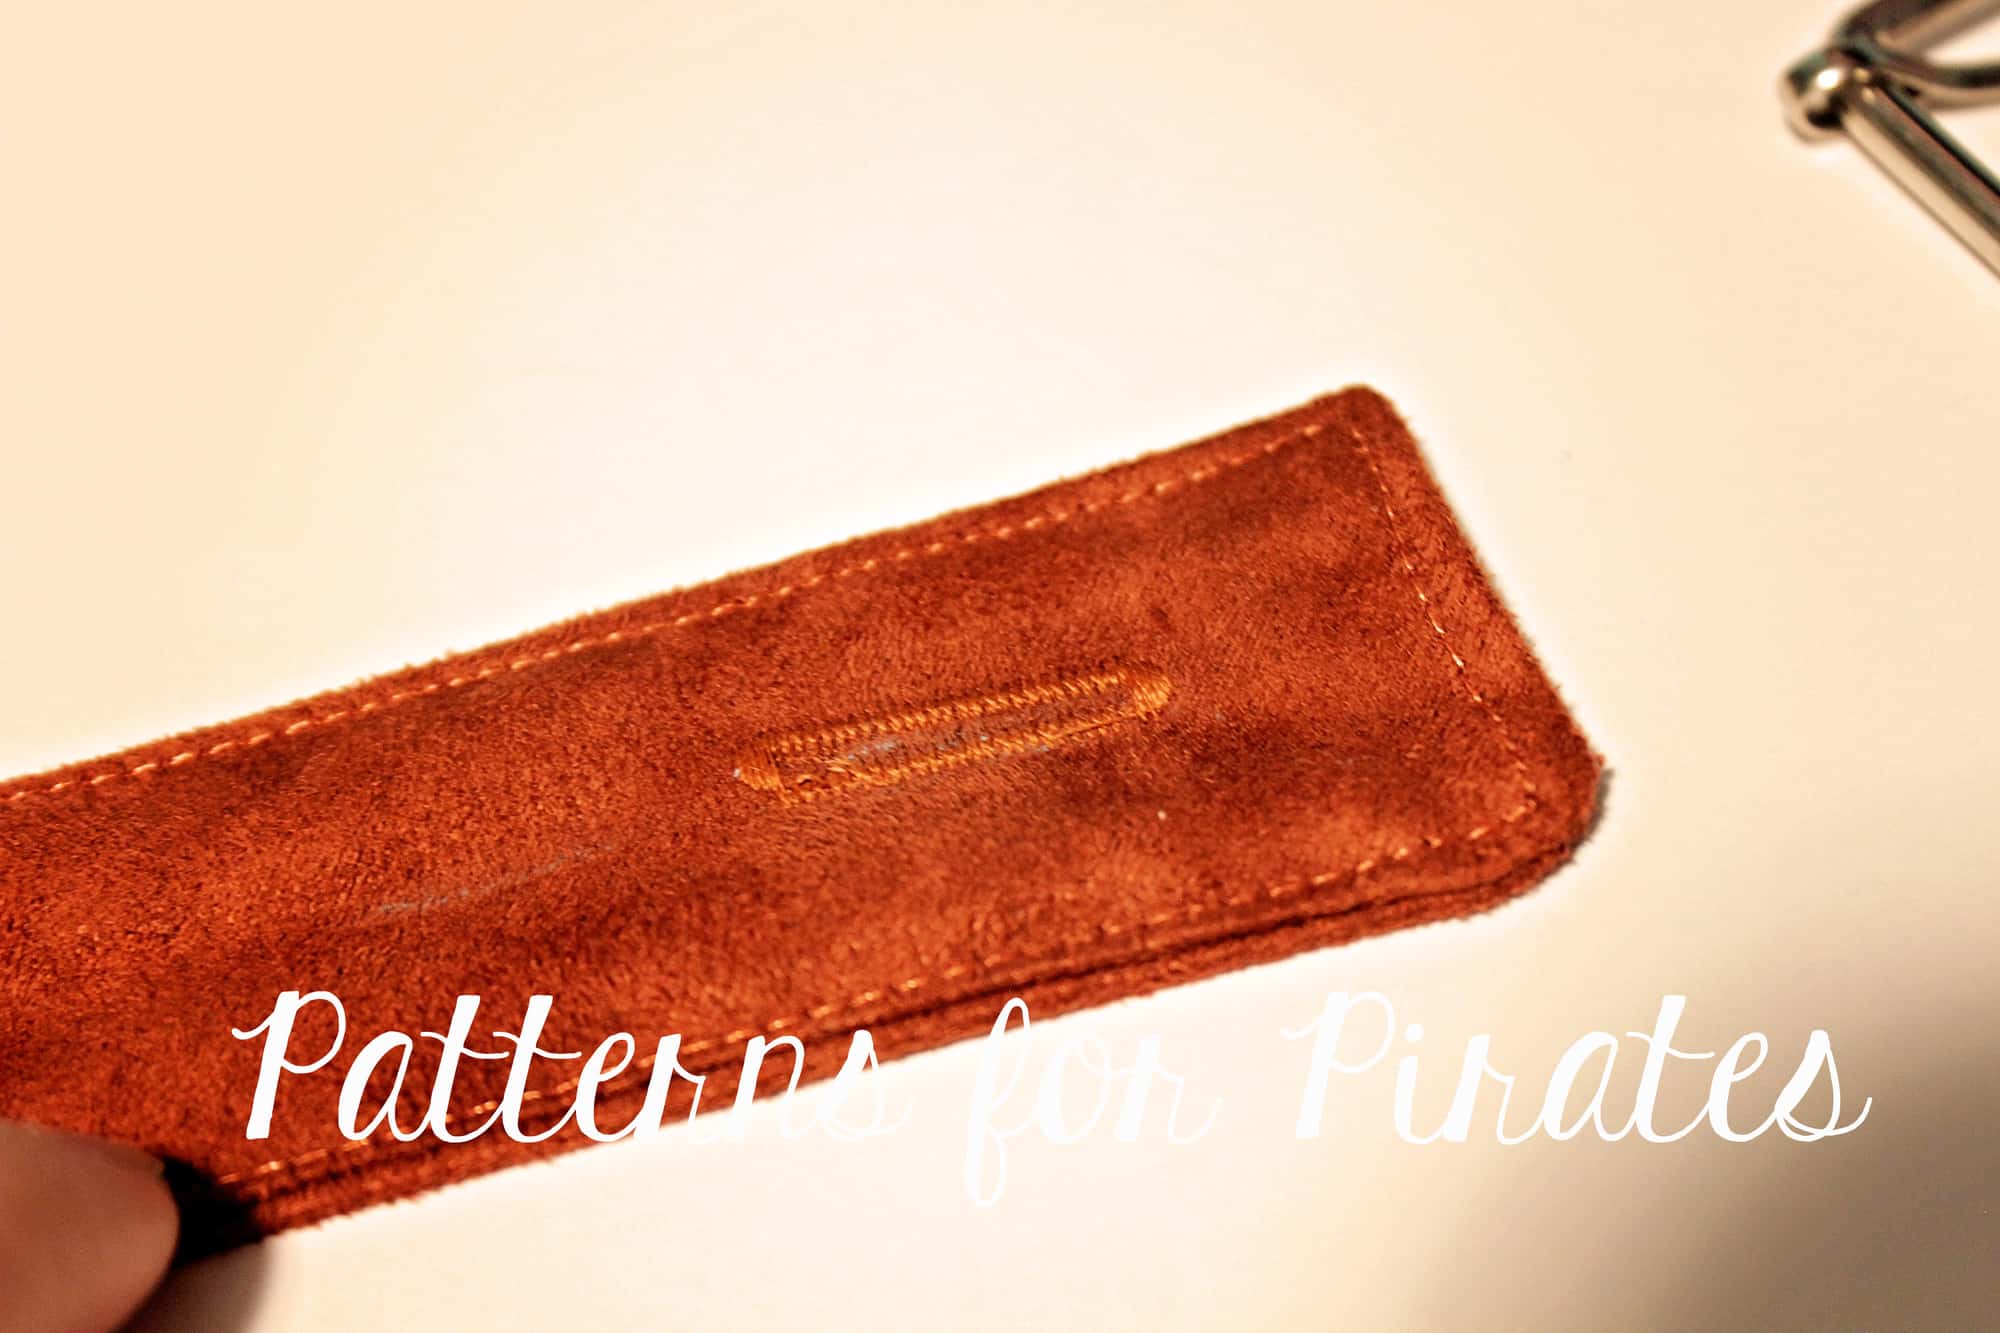
Using a fabric marker or chalk, draw a 3/4″ line about 1.5″ away from the edge. This will be your buttonhole marking.

Sew a buttonhole using your buttonhole attachment. If you need a refresher on buttons and button holes check out the P4P University blog here.

Add the belt hardware as shown in the pictures below and sew in place. Optionally you can slide one additional metal belt loop on the belt.

Take the other side of the belt and mark your grommets positions. Make sure that you add your grommets to the right side of the belt so it matches the other end. I like mine spaced 2″ apart. Try the belt on to see if you need to add any additional grommets.

There you have it! You made your very own belt. Now think about all the fabric possibilities! 🙂

…..

Bow front


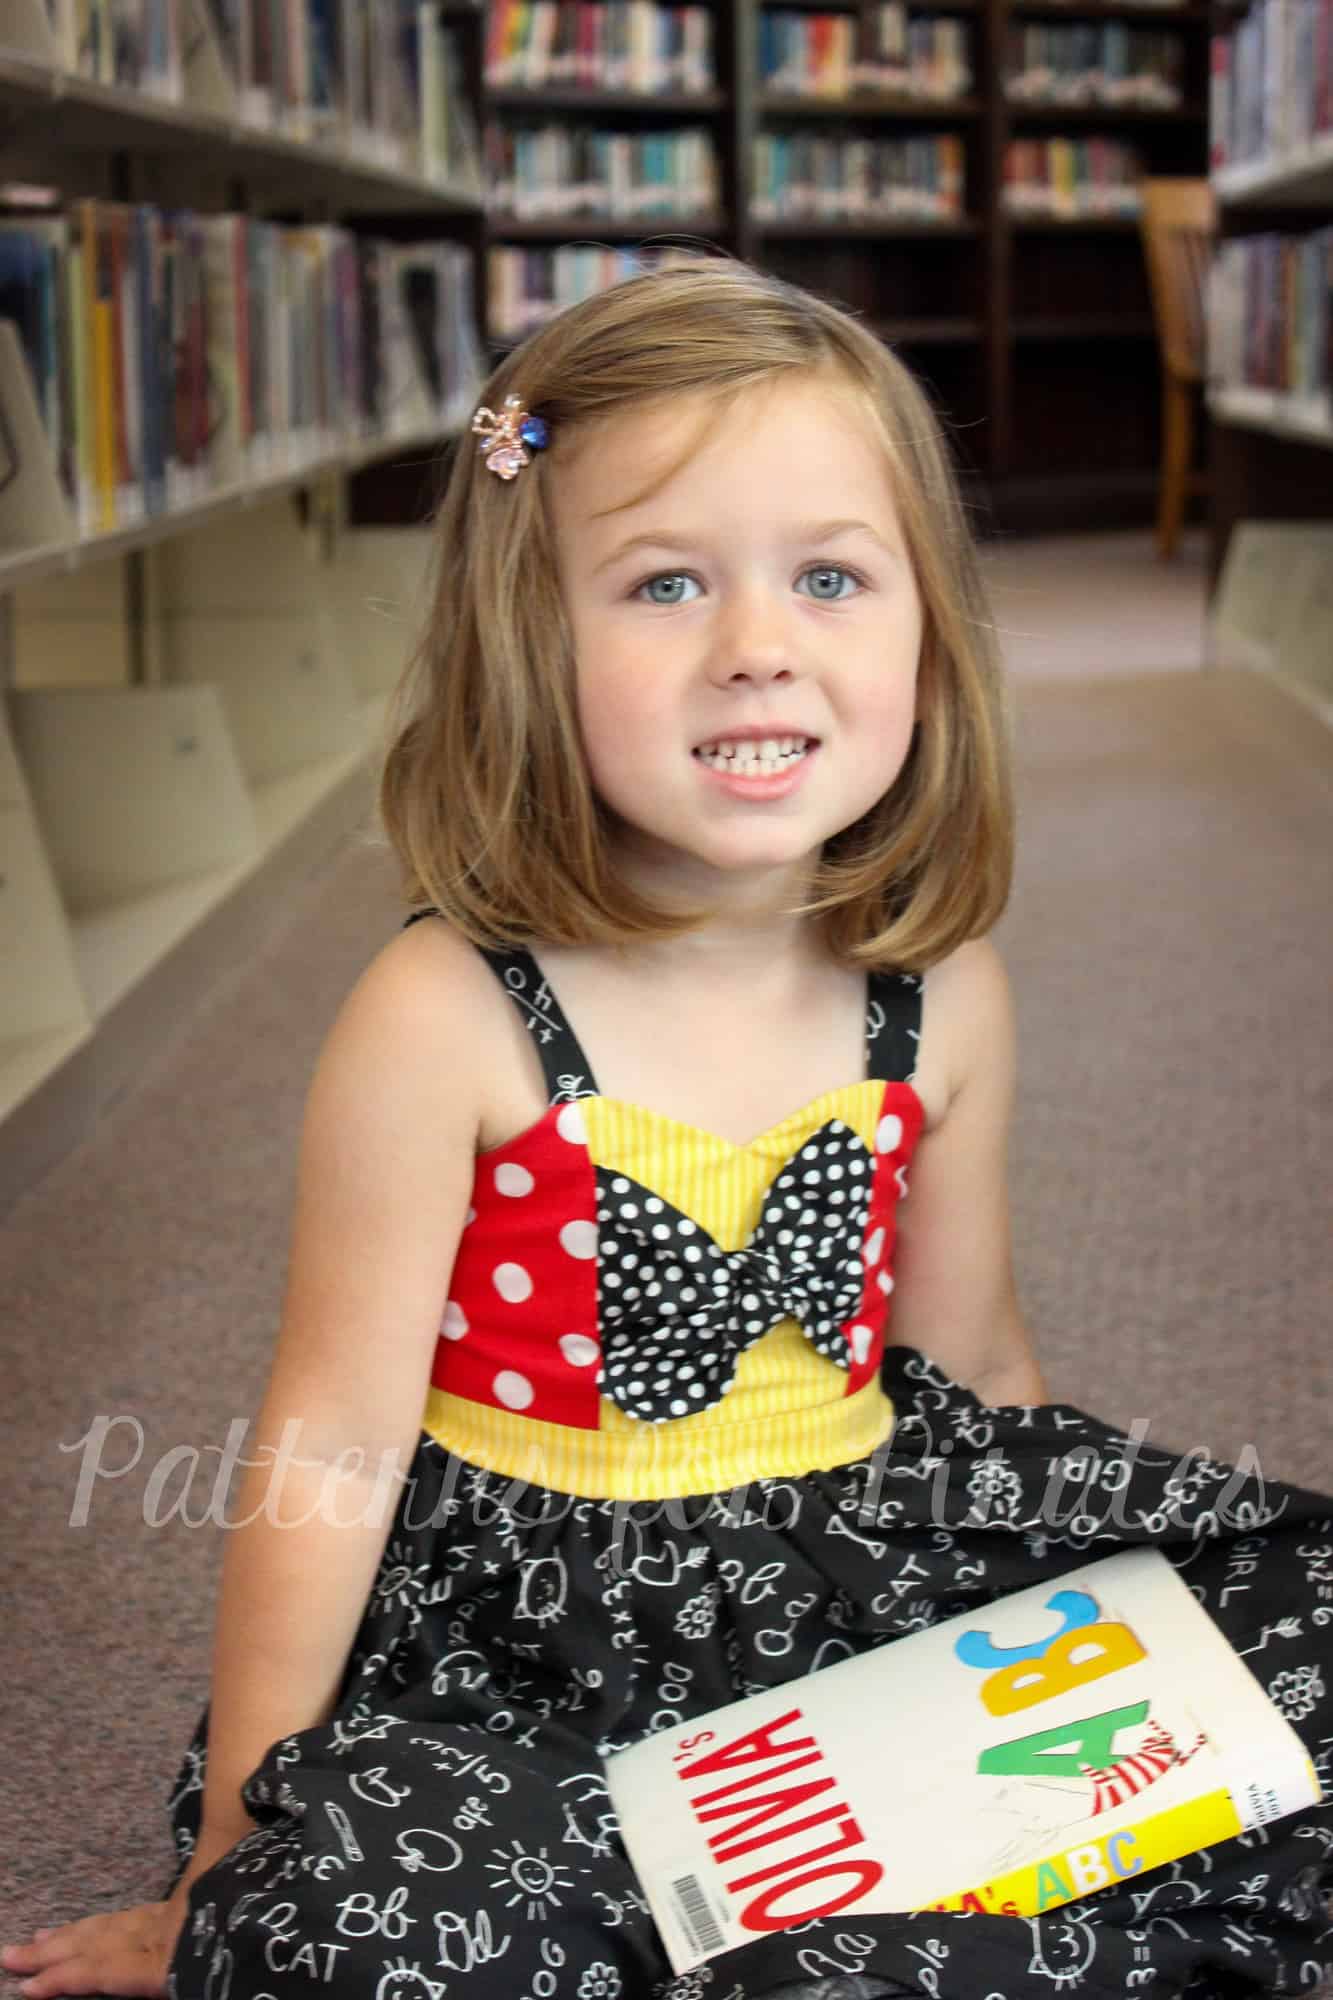
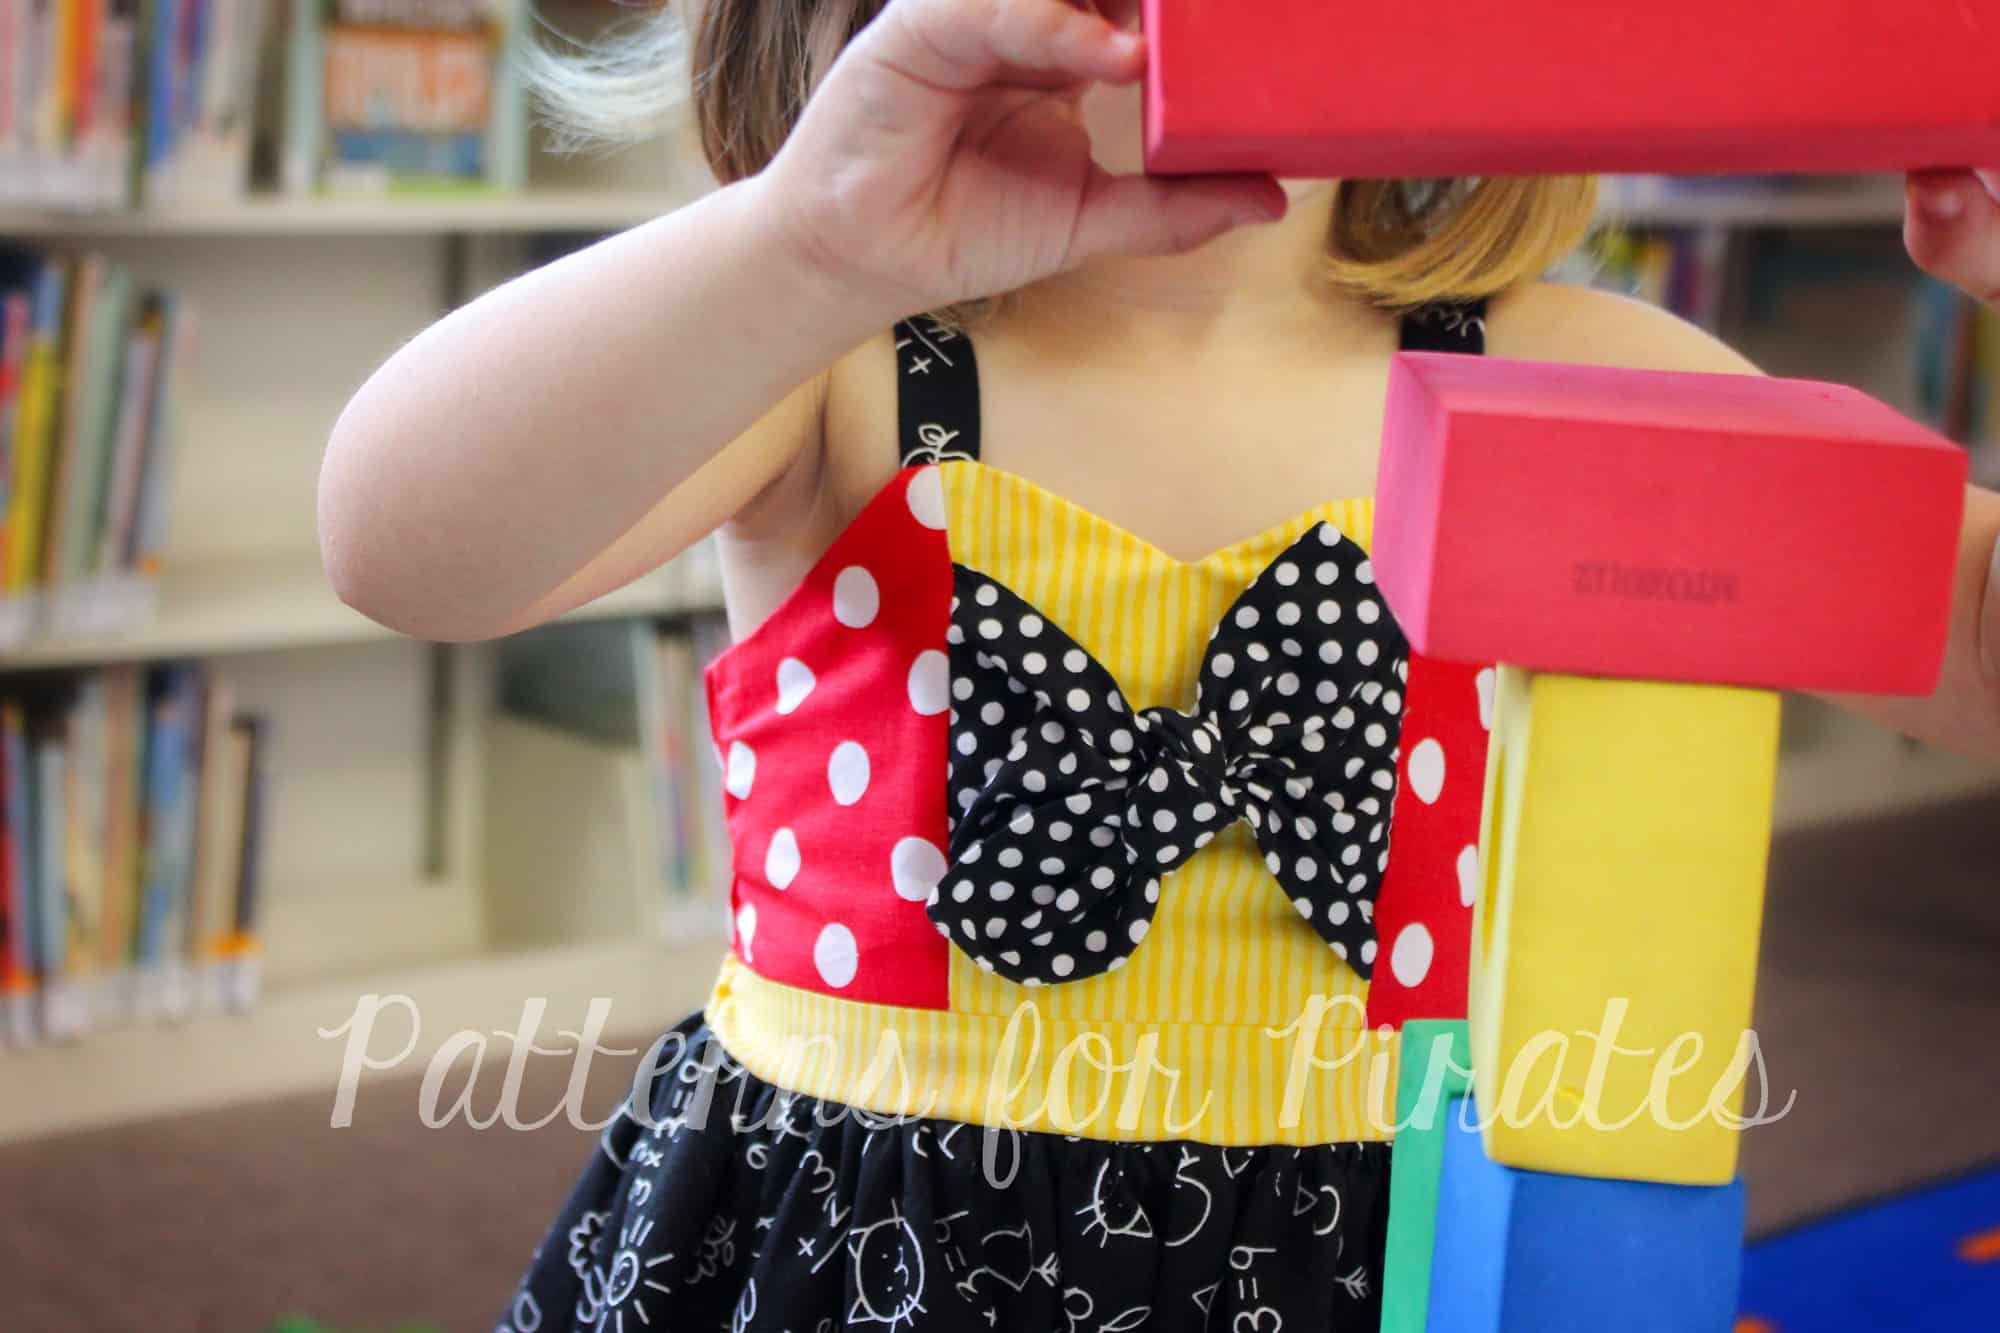
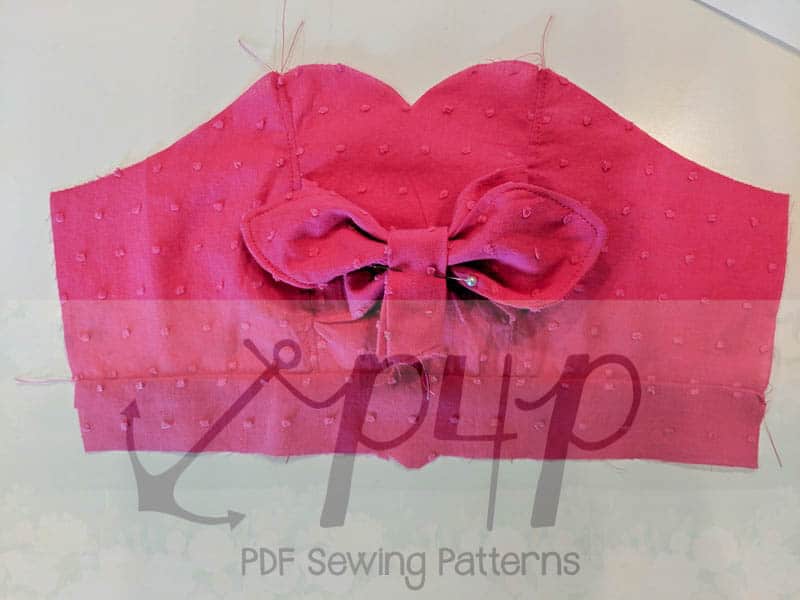
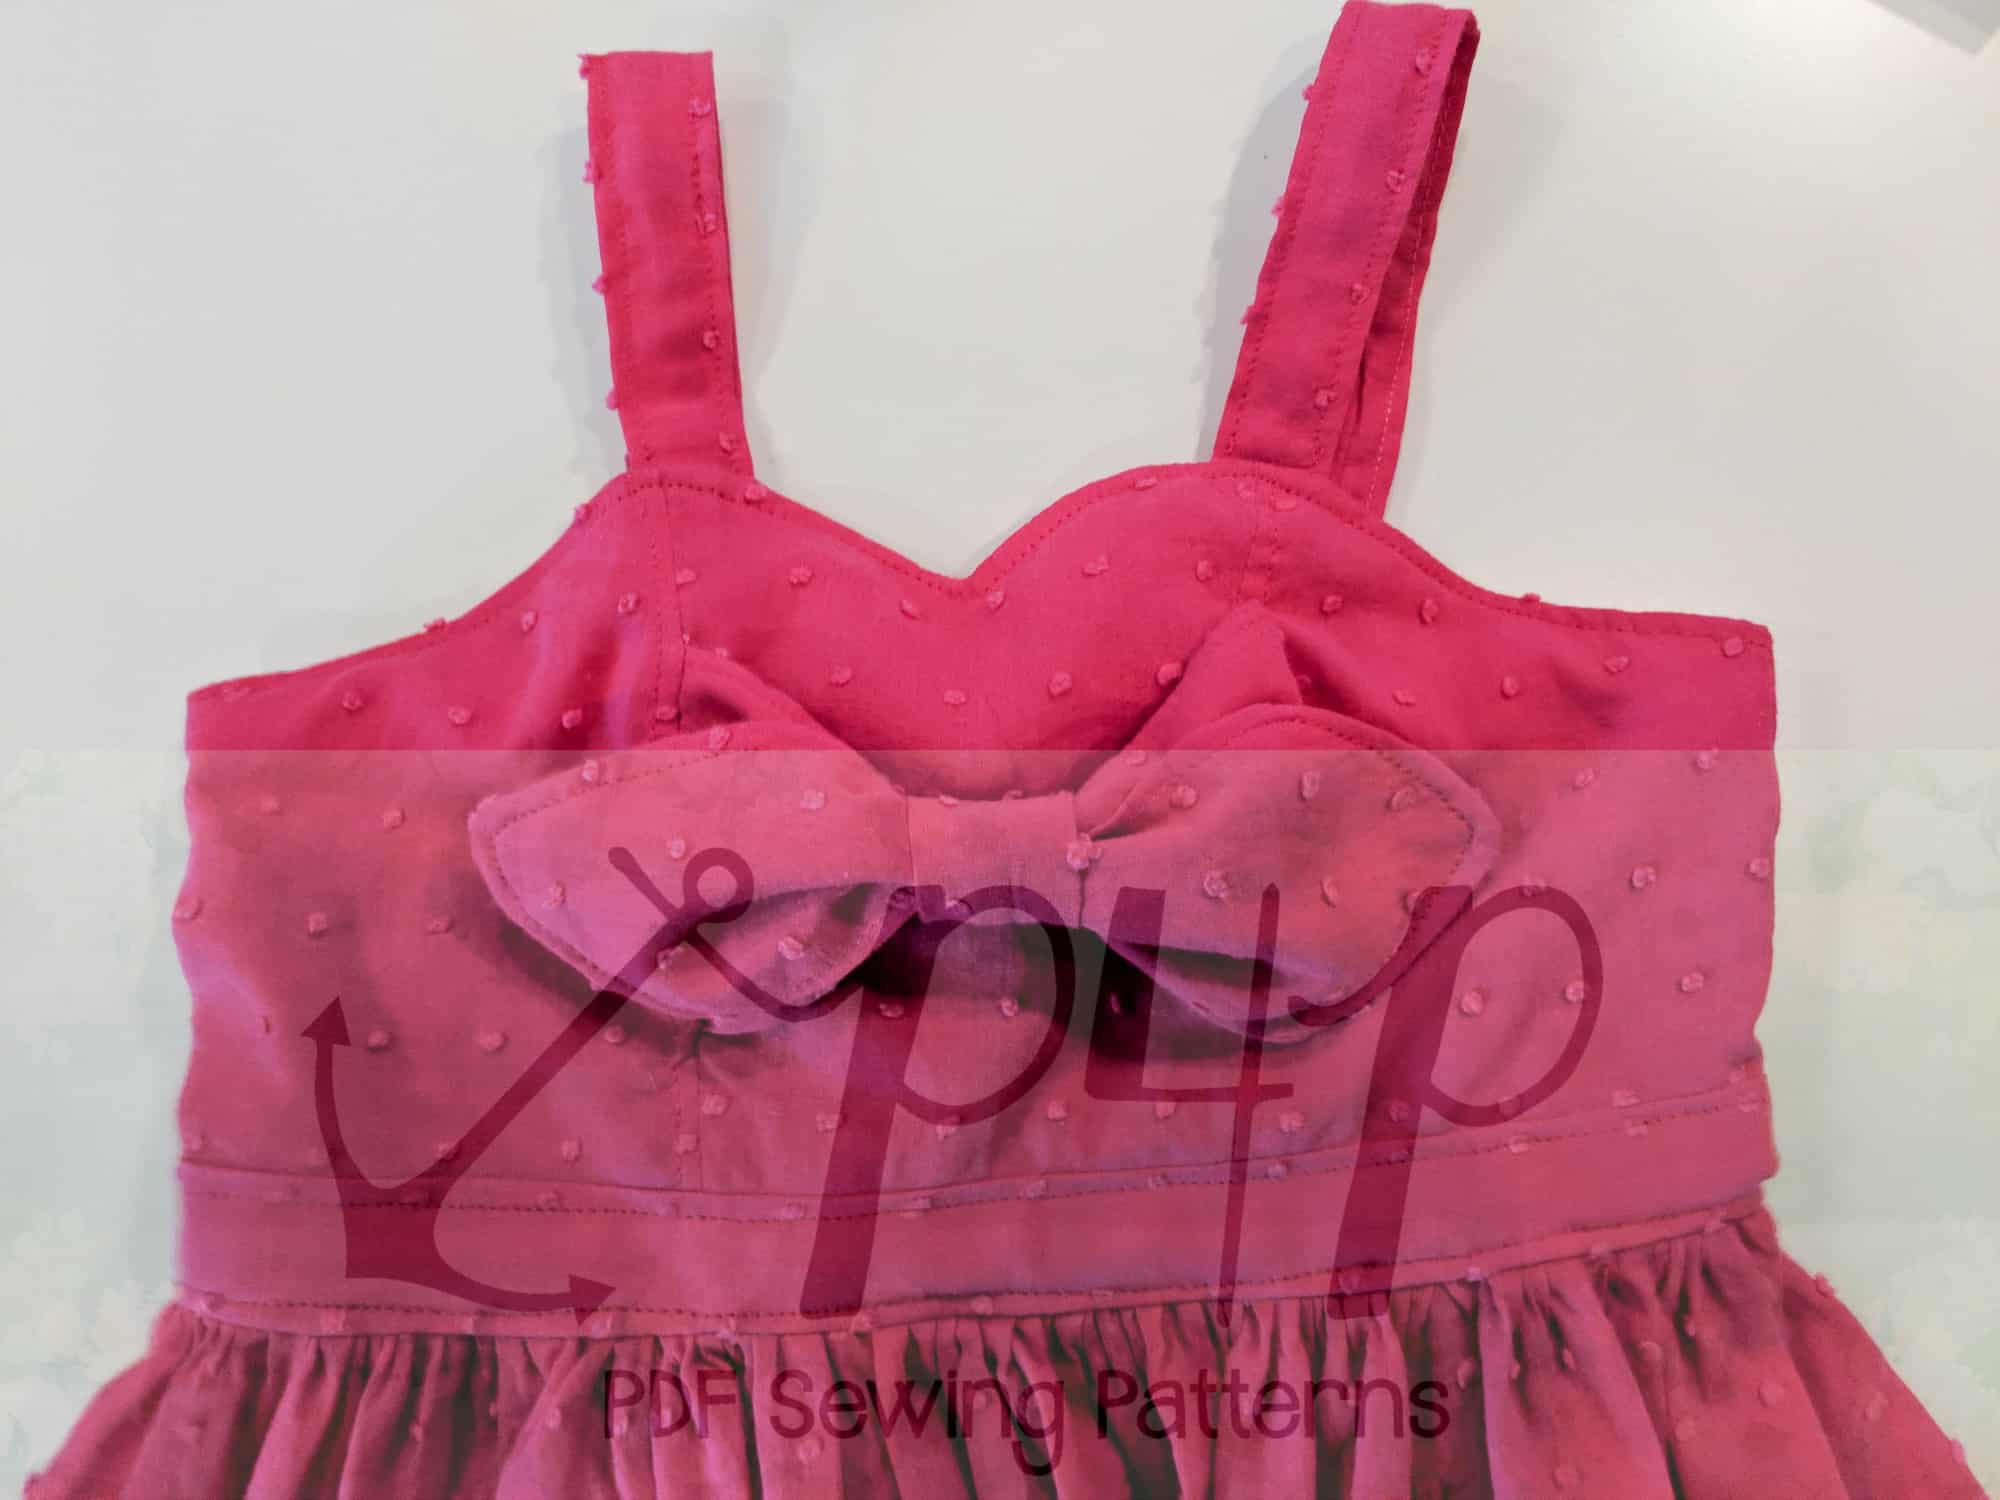
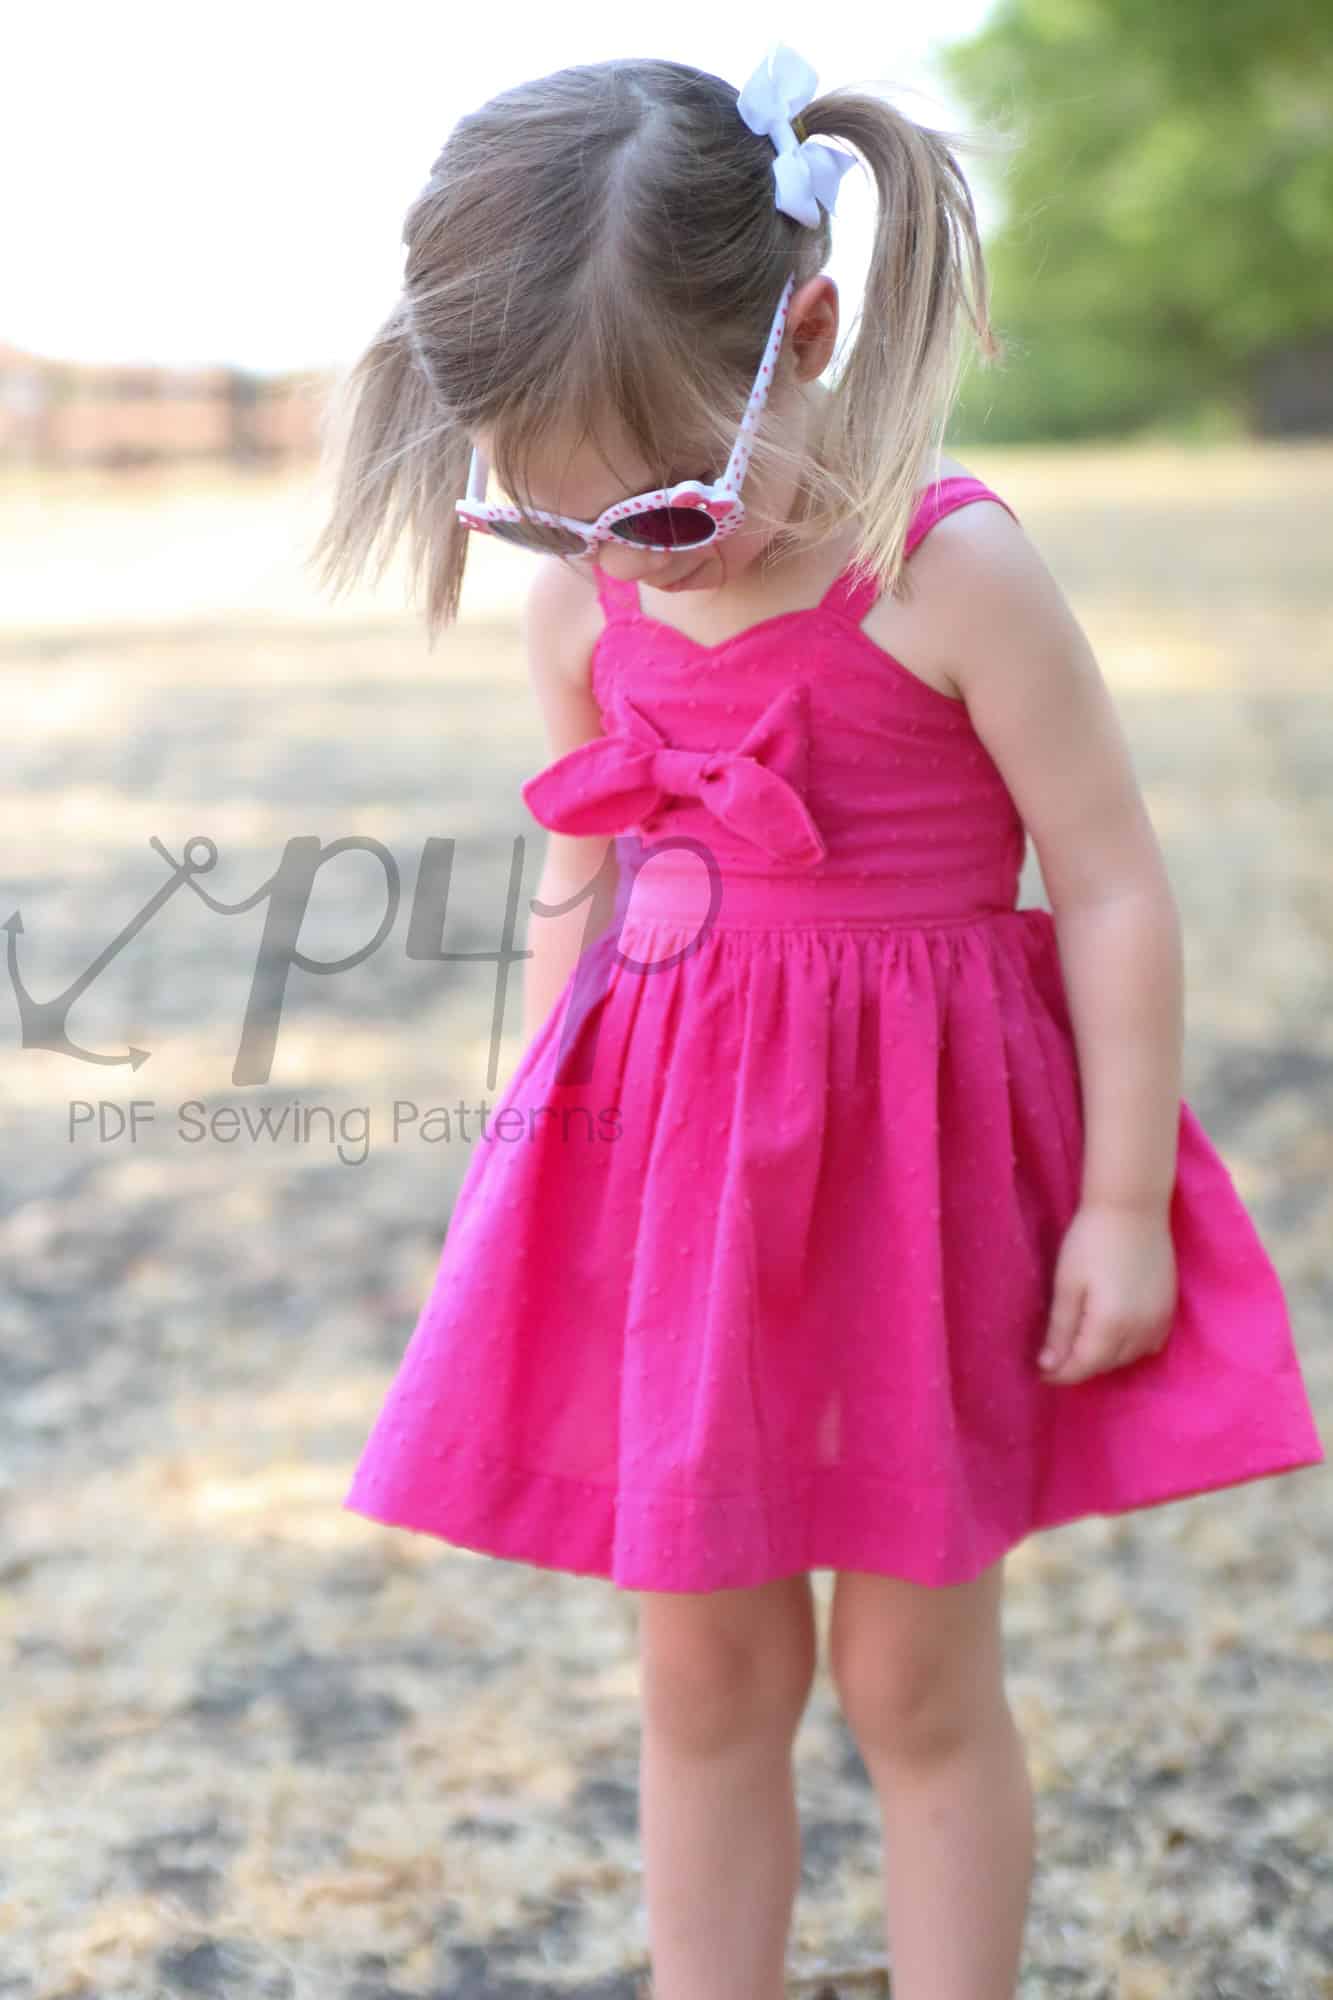
Adding a bow can be another way to add a pop of color or a cute detail to your dress. We’ve shown it here for the girls, but you could easily add this to the women’s as well using the same methods.

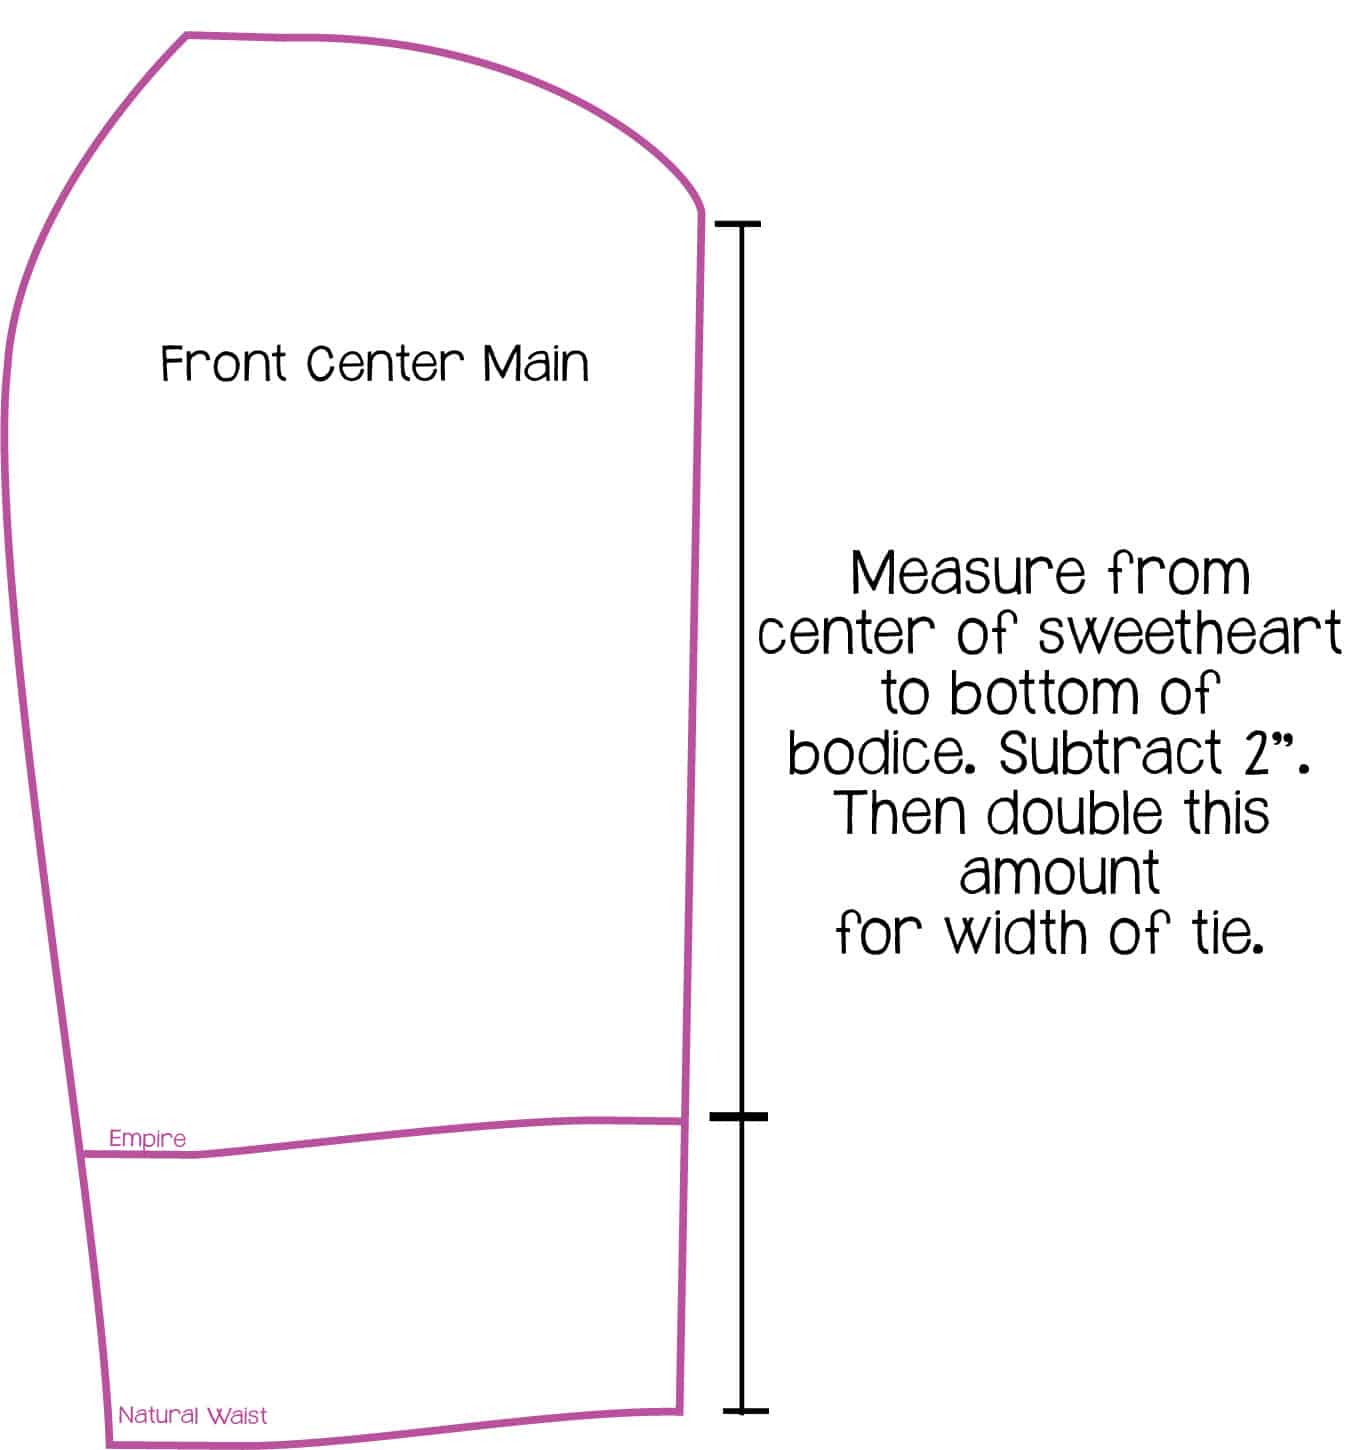
You will want to begin by cutting your rectangular bow pieces. You will need two rectangles. To determine the width, follow the graphic below (this is just a guide, you can make your bow wider or narrower, based on preference). For the length, you will want to make sure that it is wide enough to tie and fit across the bodice piece. It’s ok if it is too long, as you can always trim it down later.

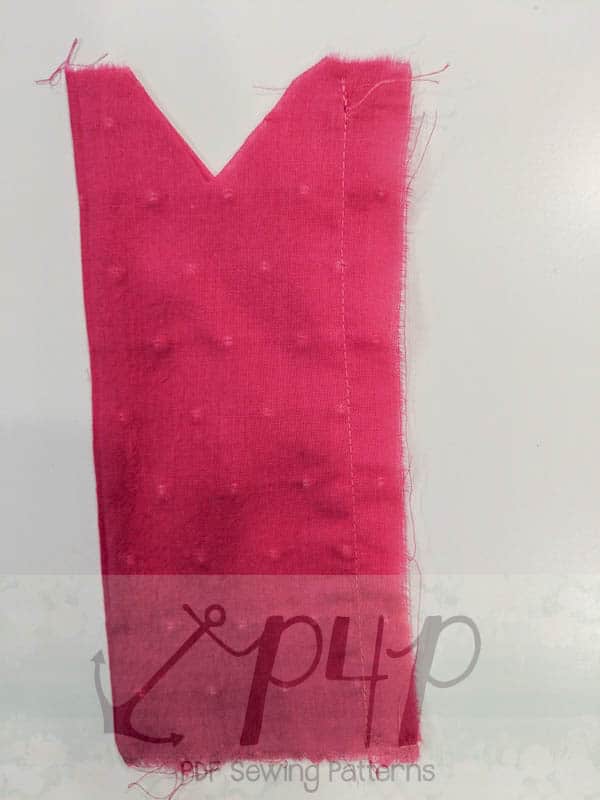
Taking one of your rectangles, fold it in half with right sides together. Stitch, using a 1/2″ seam allowance. Repeat with other bow. Next, cut a “v” notch from the top of each piece, as shown below. Press seam allowance open.

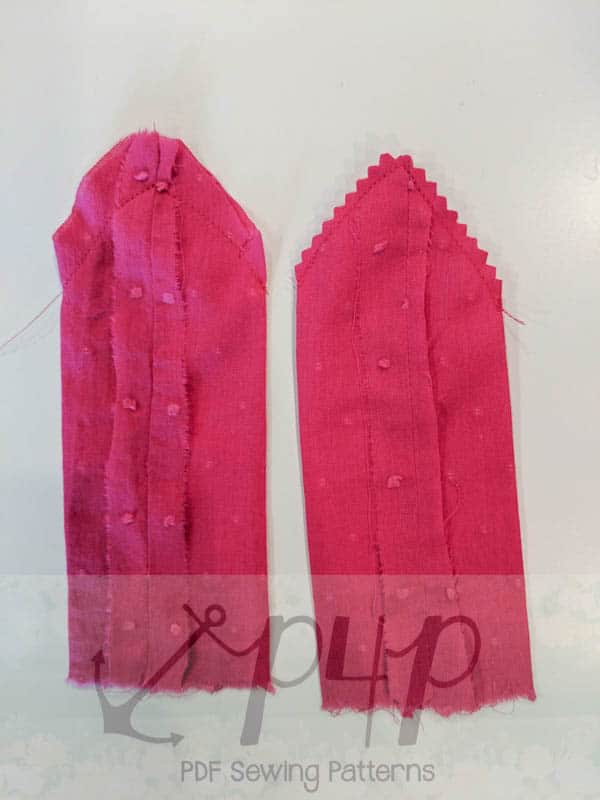
Holding the bow slightly open, it should create a tube. You will want to align the stitched edge with the opposite side now, to create the curved edges of your bows (the seam should now be in the middle rather than the edge). Stitch around the curve, using a 1/2″ seam allowance. Repeat on other bow.

Trim along the curve’s seam allowance using either pinking sheers or scissors.
* If using scissors, make small cuts into the seam allowance, making sure to not cut through stitches. This will help your curve to lay smoother.

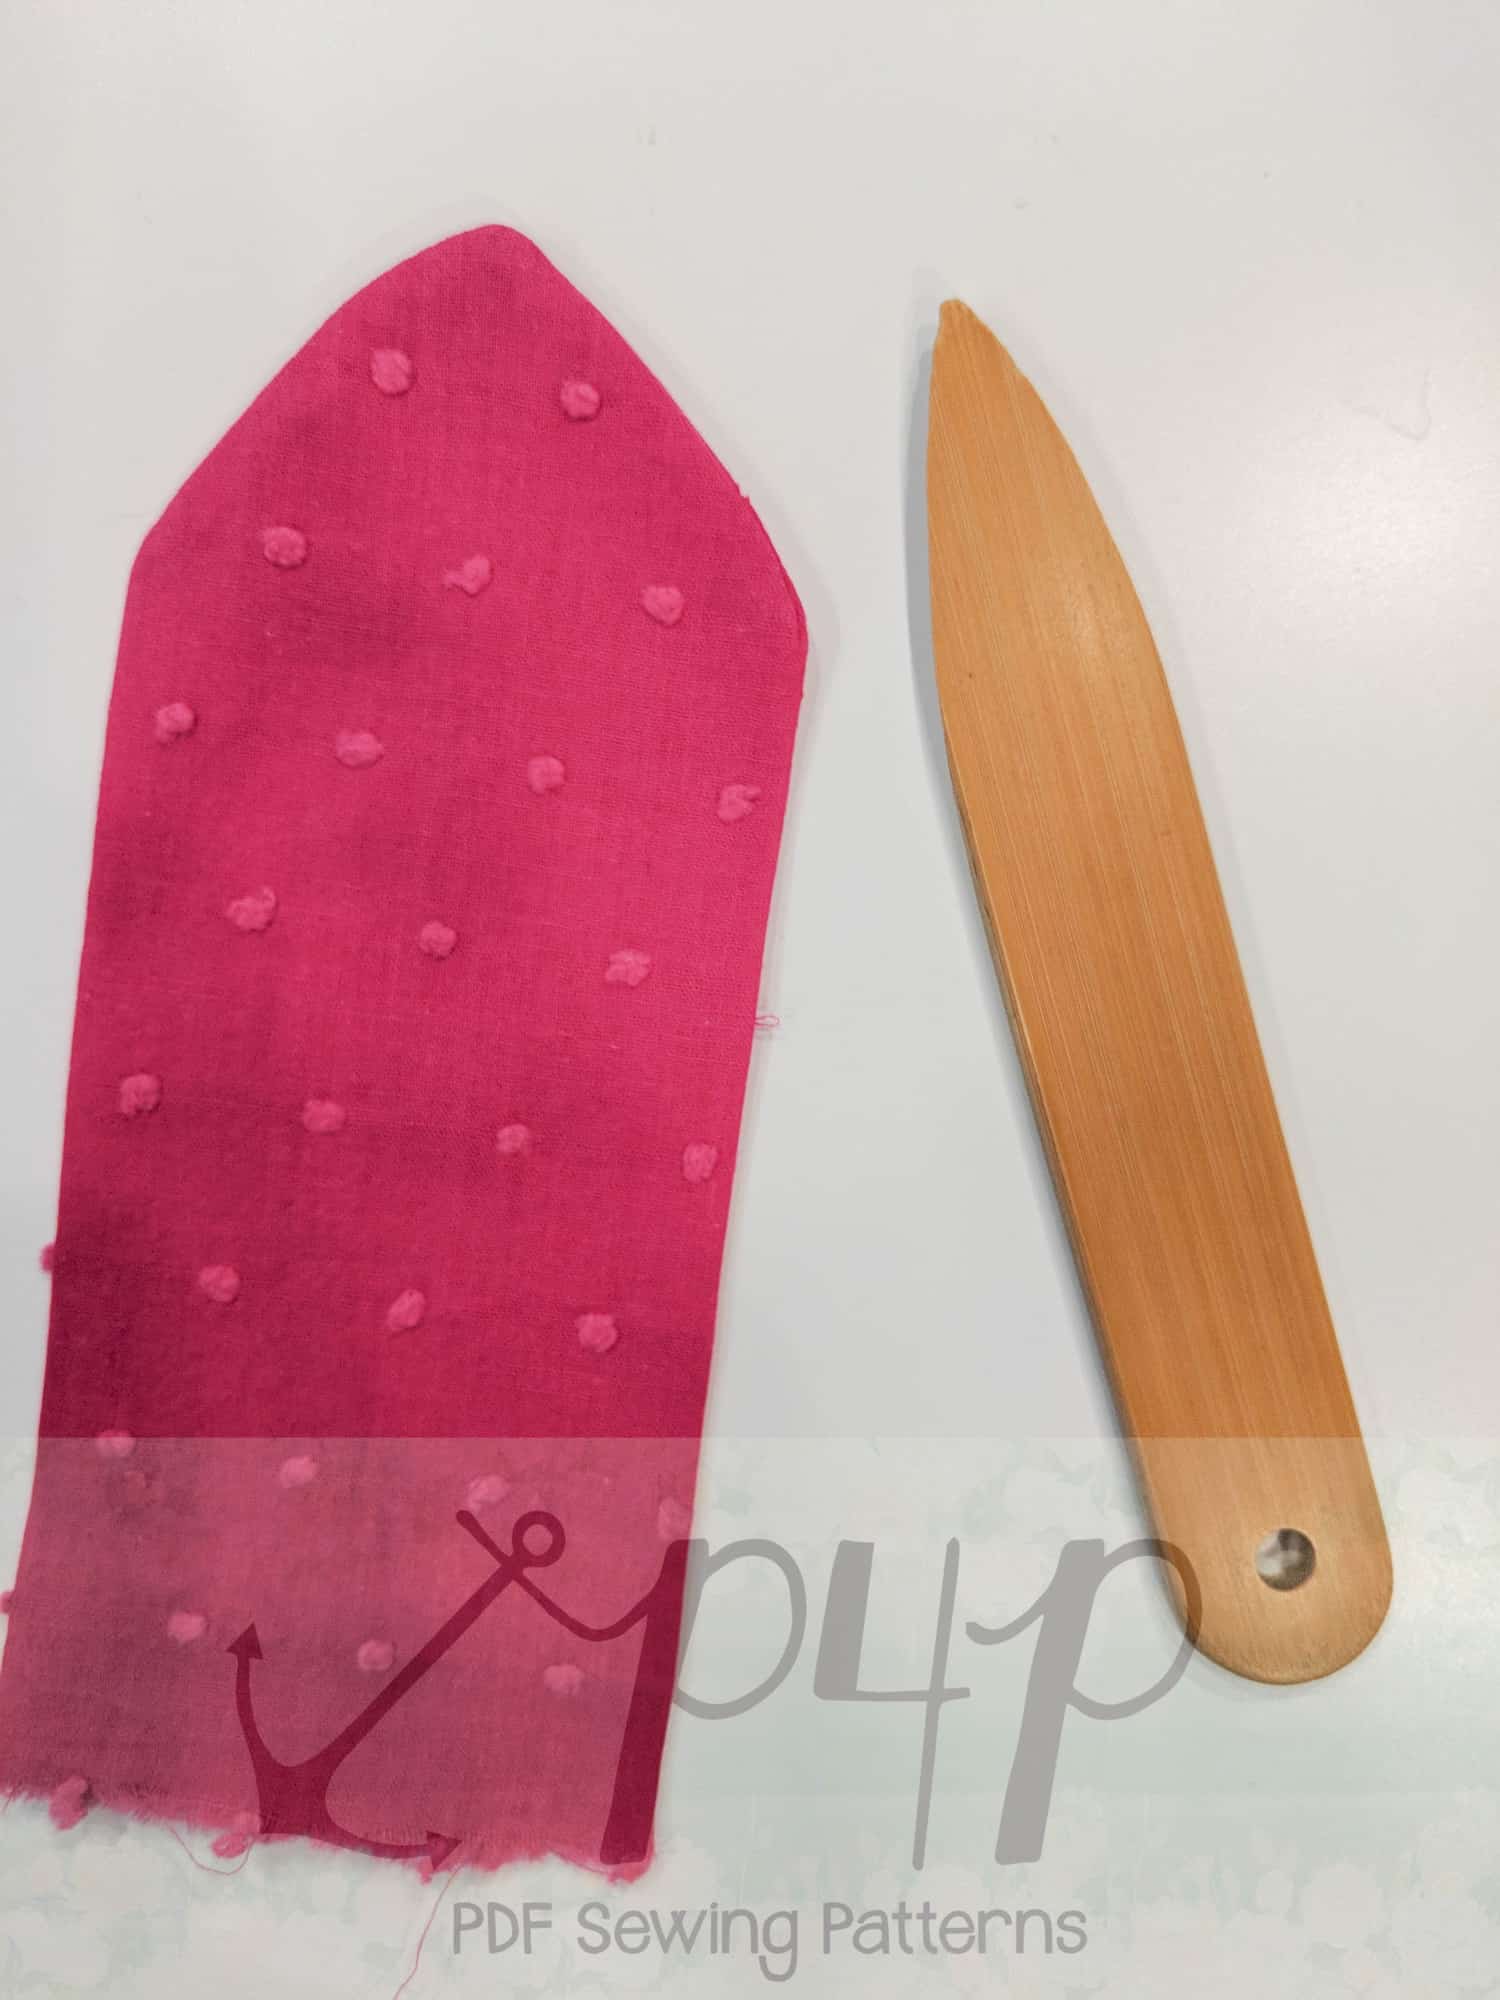
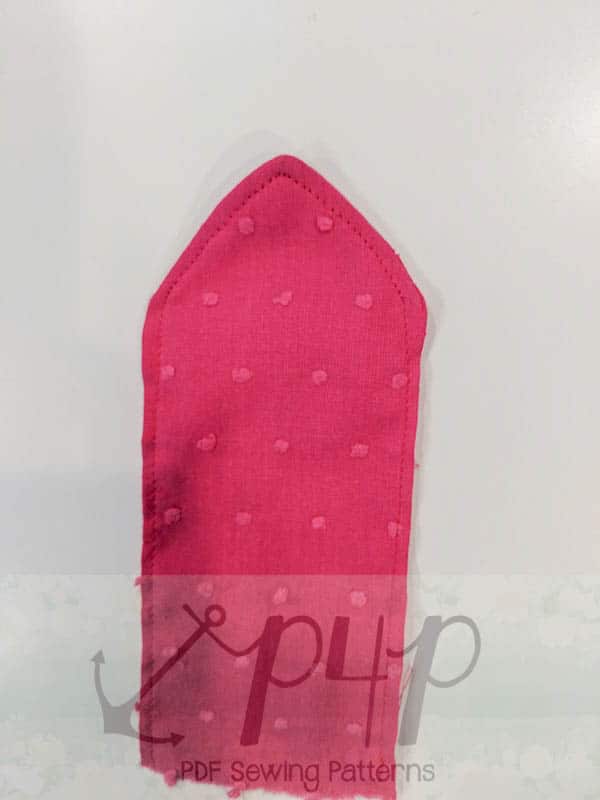
Using your favorite turning tool, turn bows inside out, smoothing out the edges and press. Top stitch if desired.

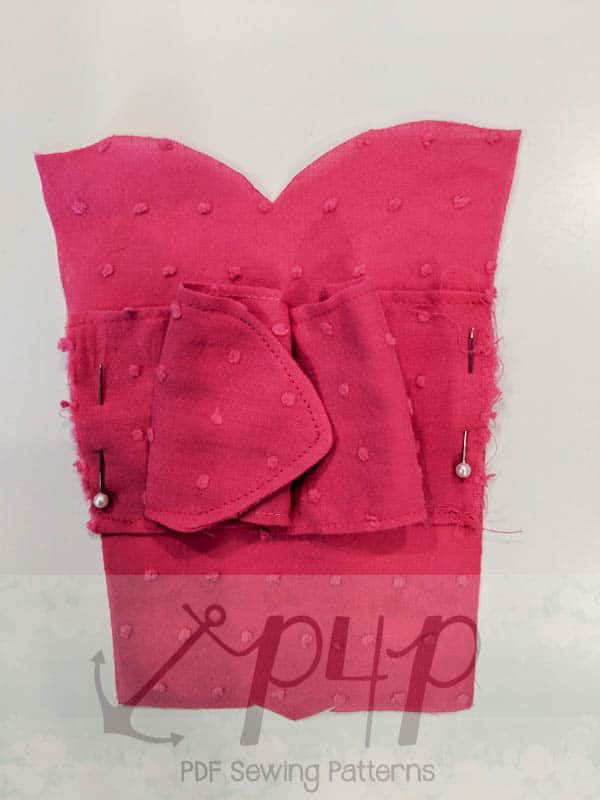
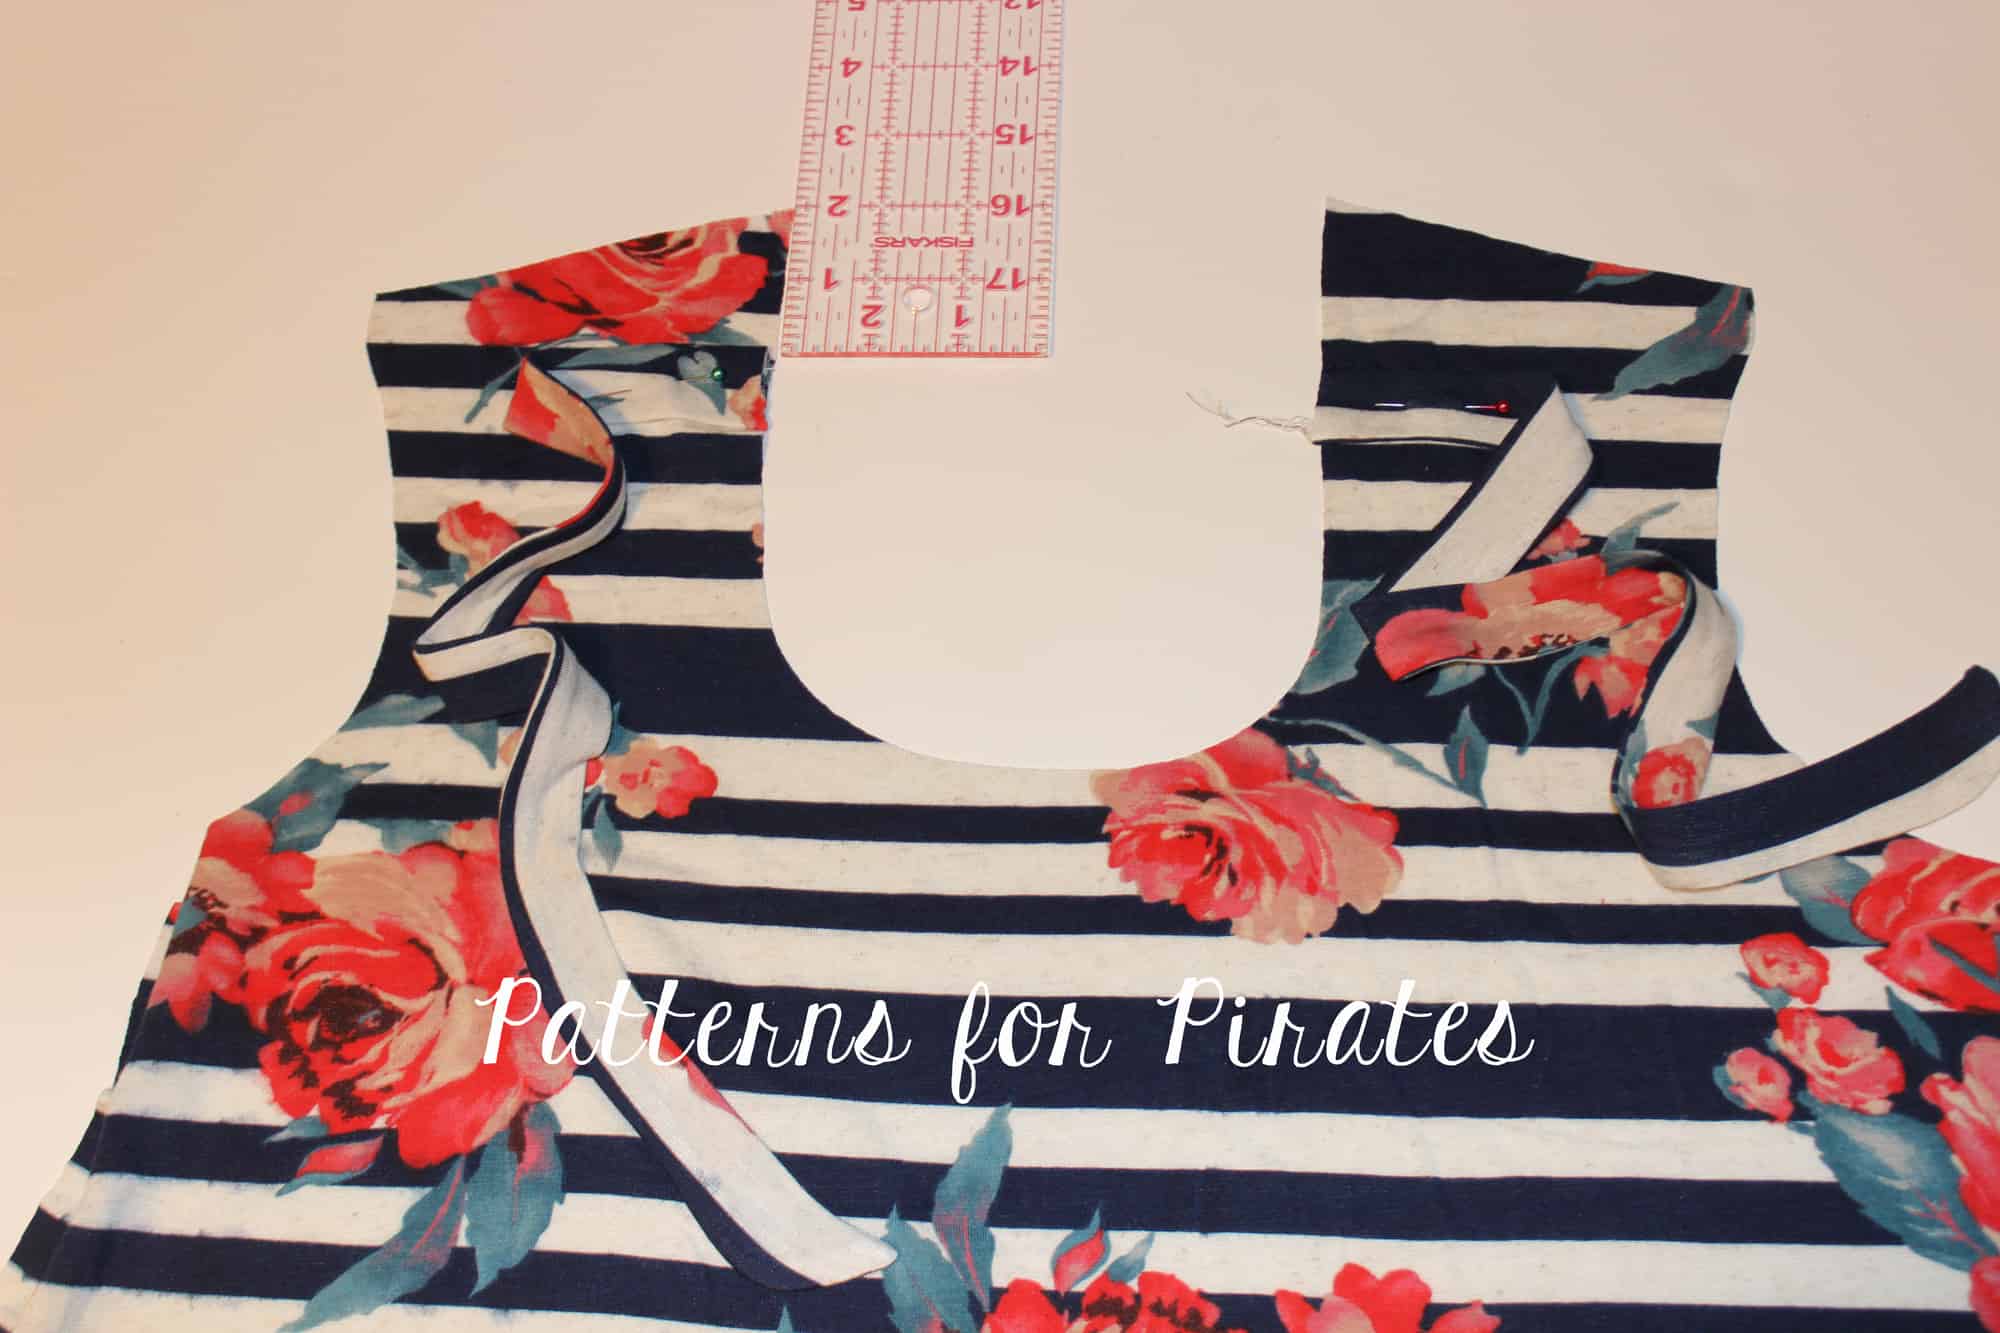
Taking your center bodice piece, position each bow and baste into place (make sure to leave enough length to tie the bow, as shown in the next step!). Trim any excess length. Attach side pieces as directed in tutorial.

You now have two options- You can either tie the bow in a simple knot, like this. 

Or, another option is to create a center tie to hold the bows together. If using this method, you will not need as much length when you baste your bows.

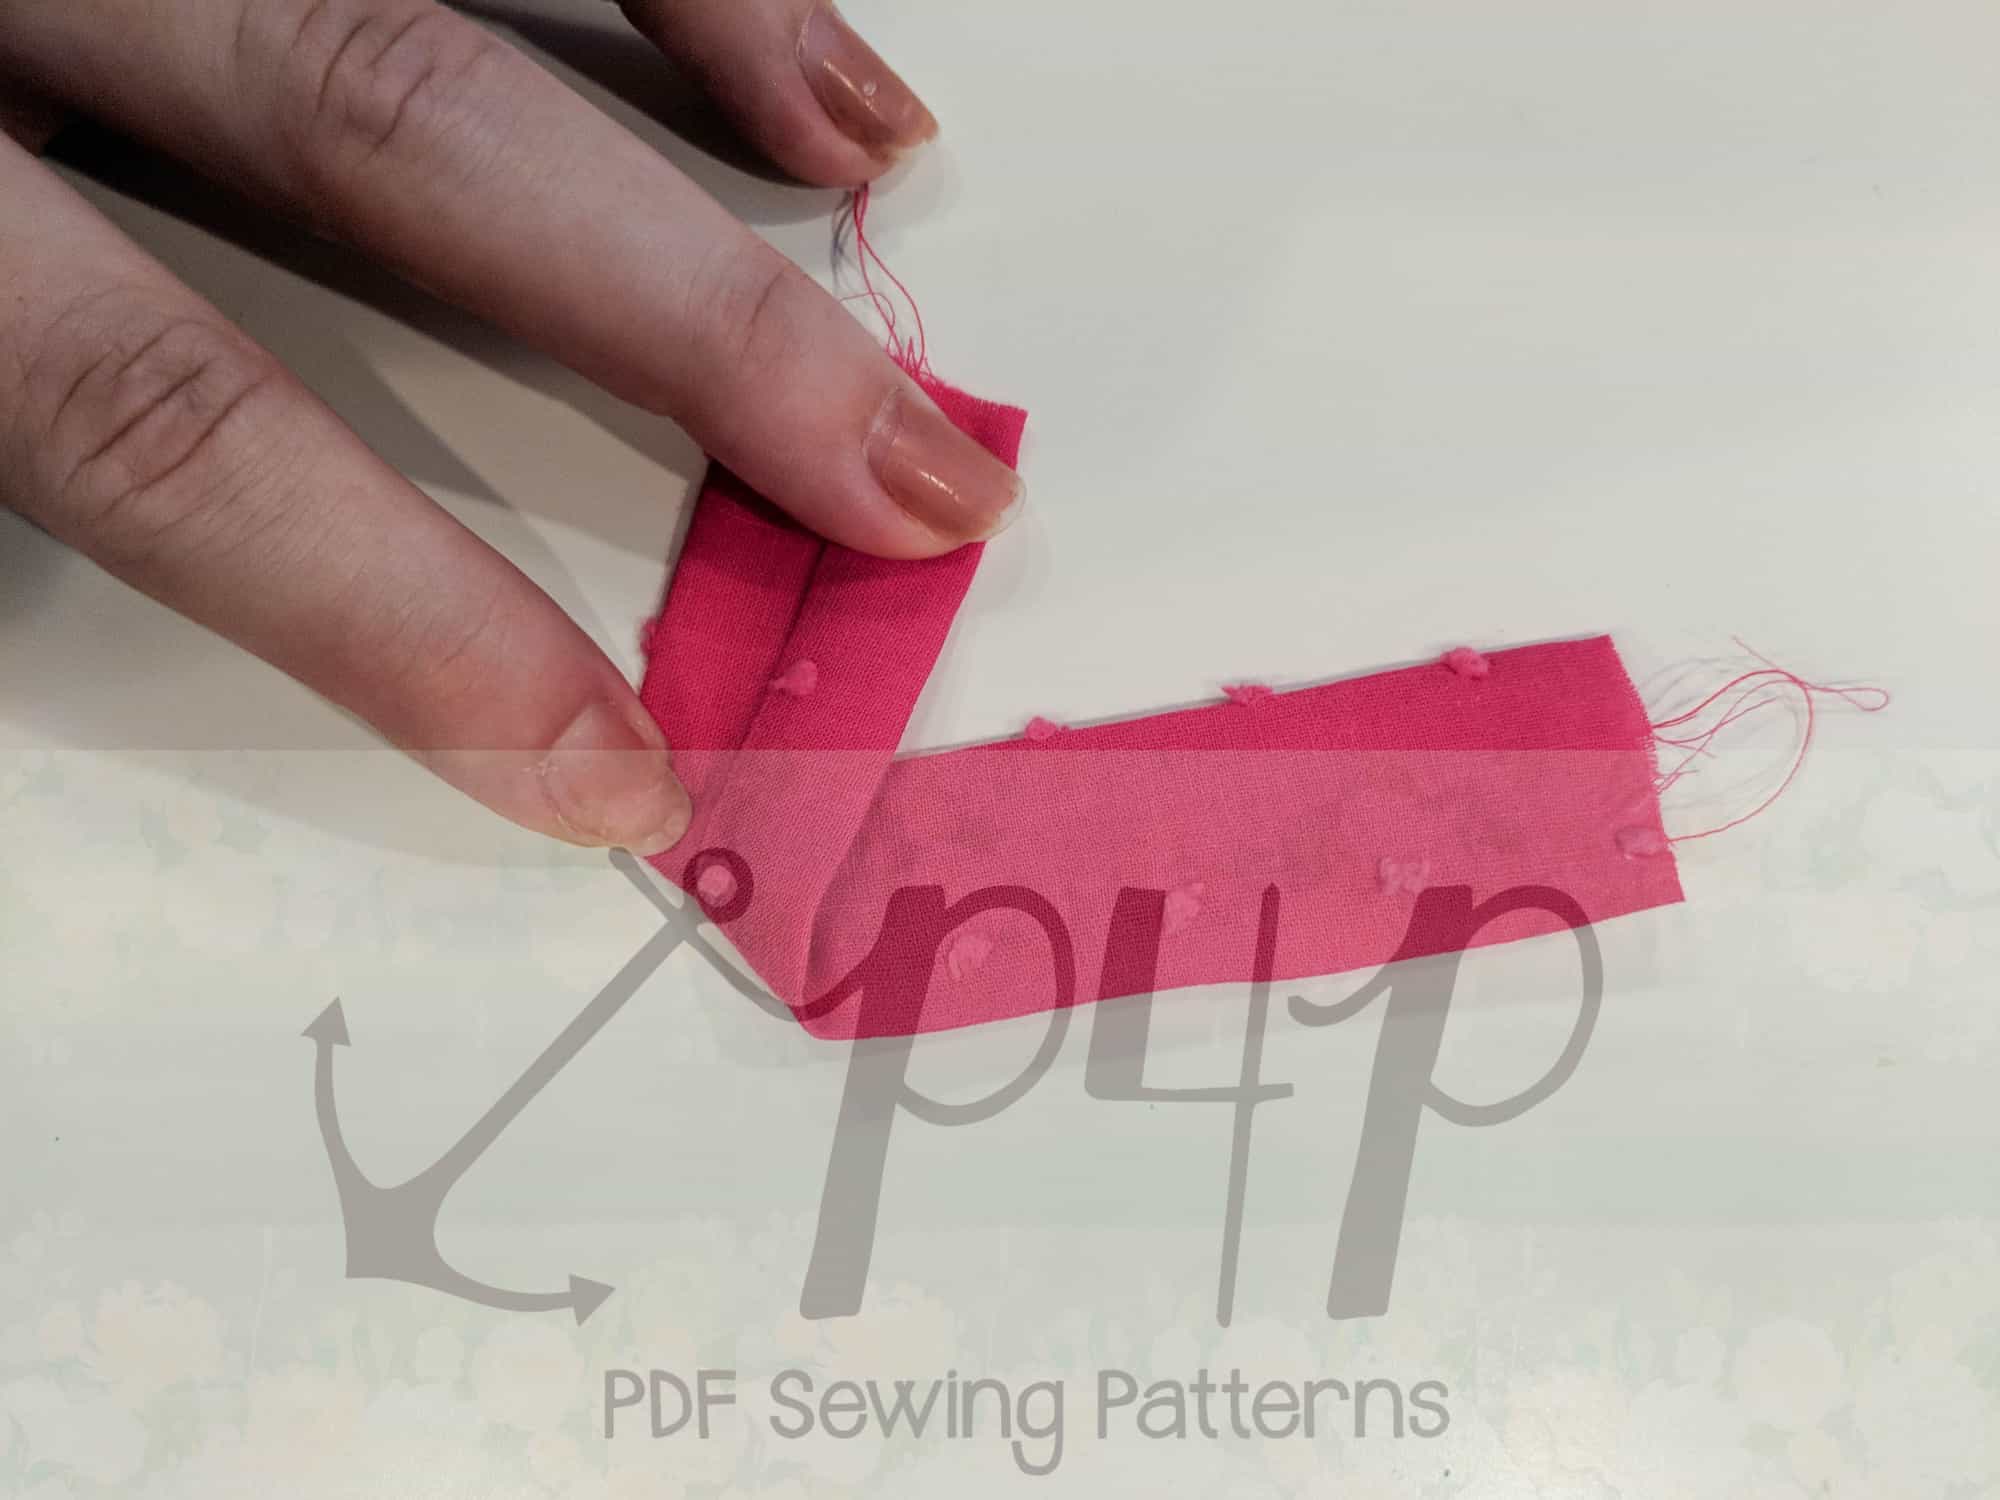
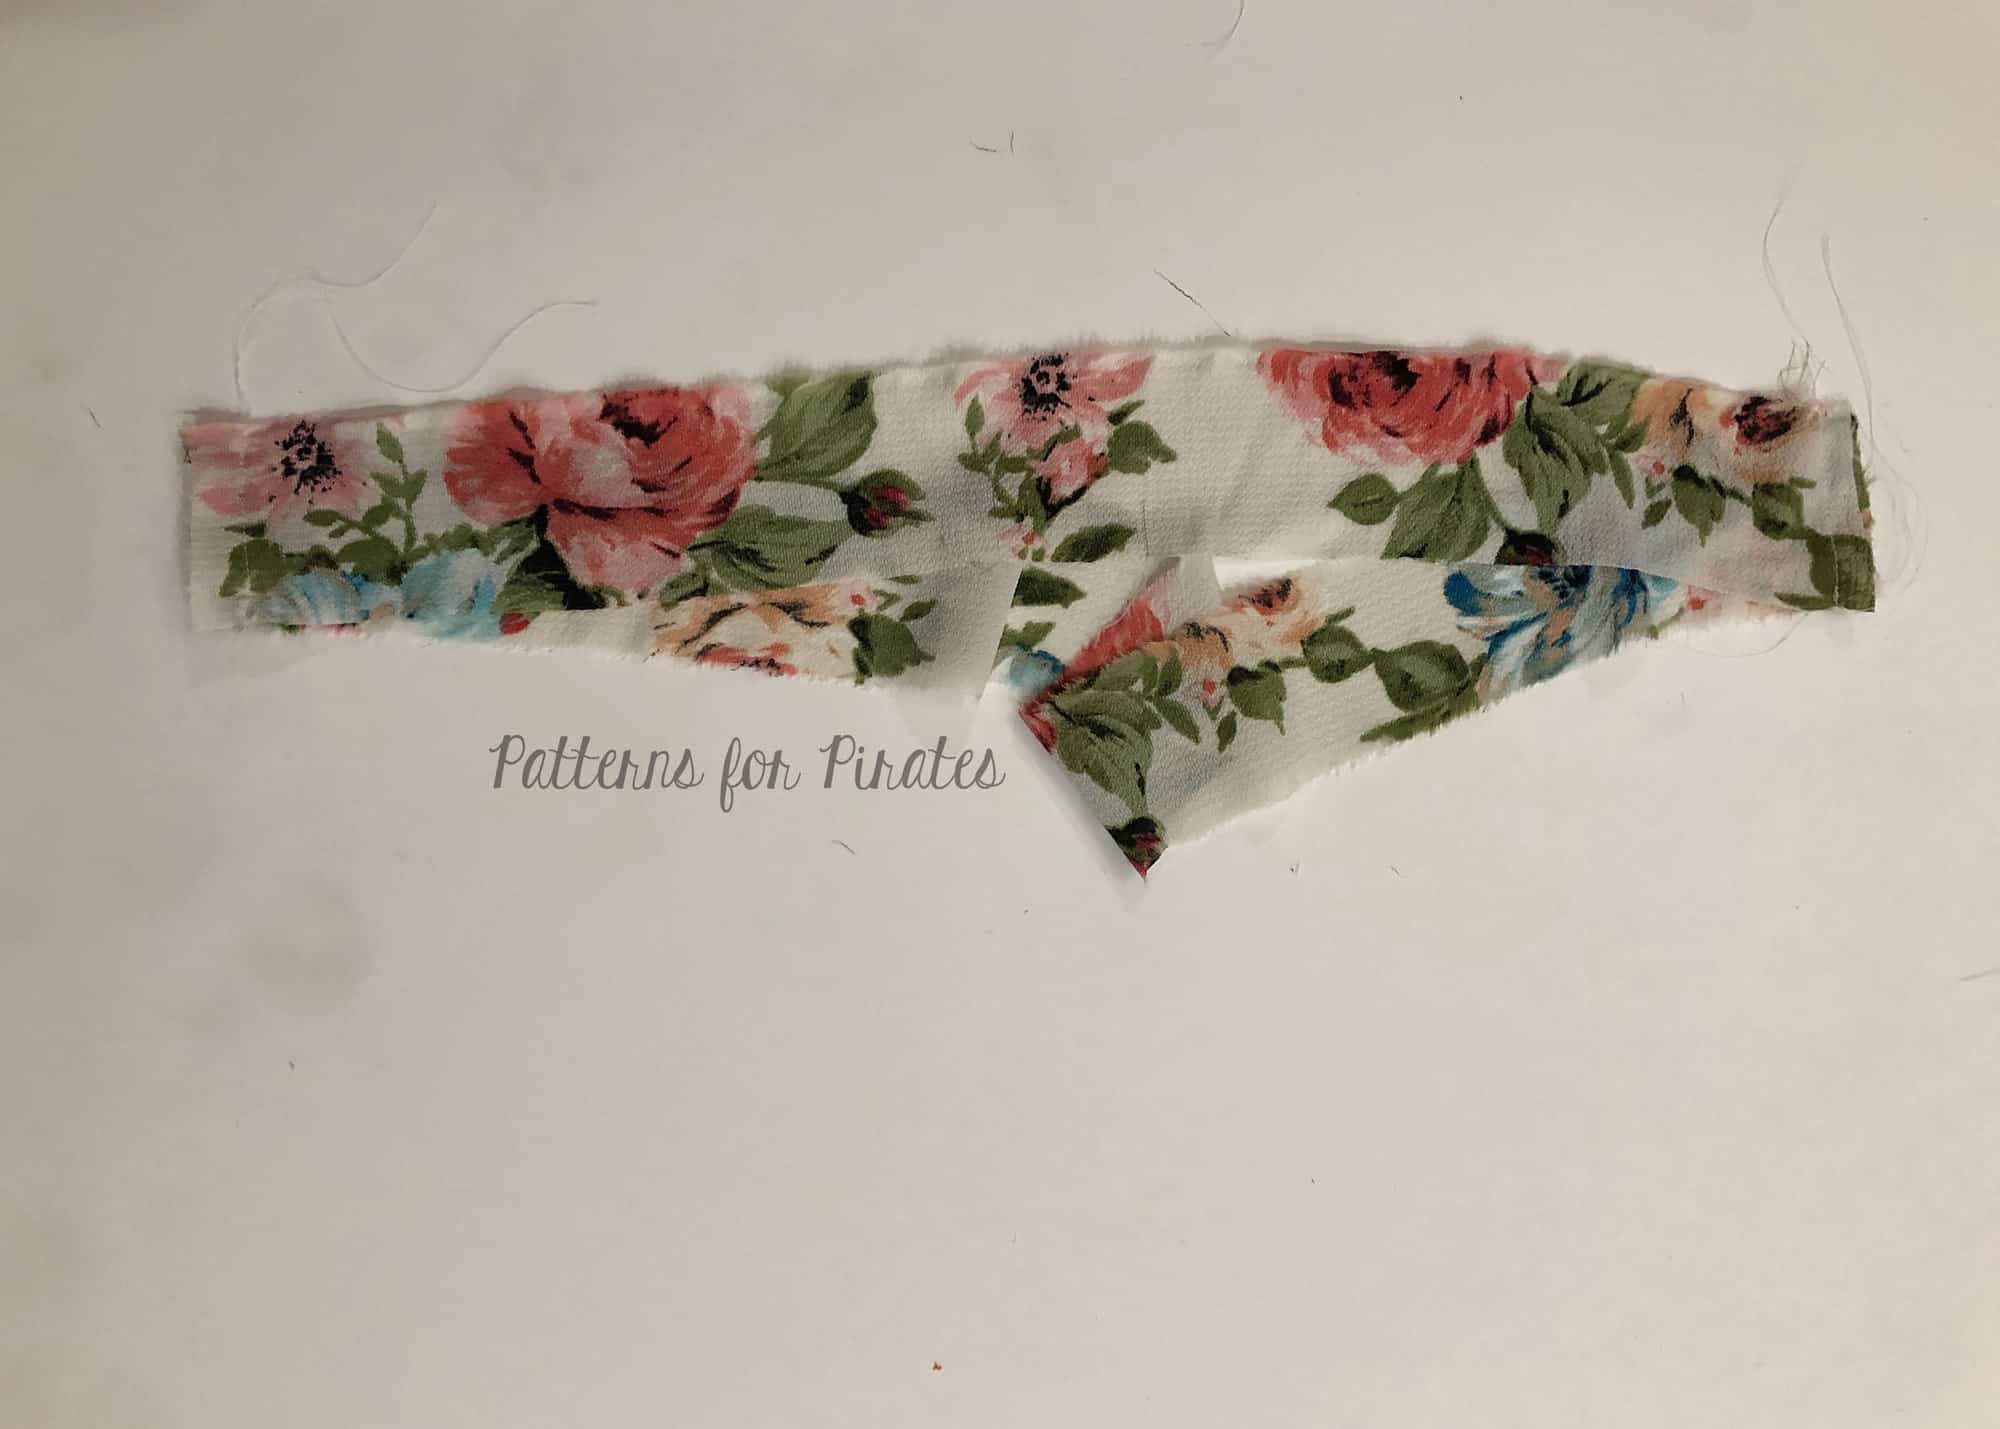
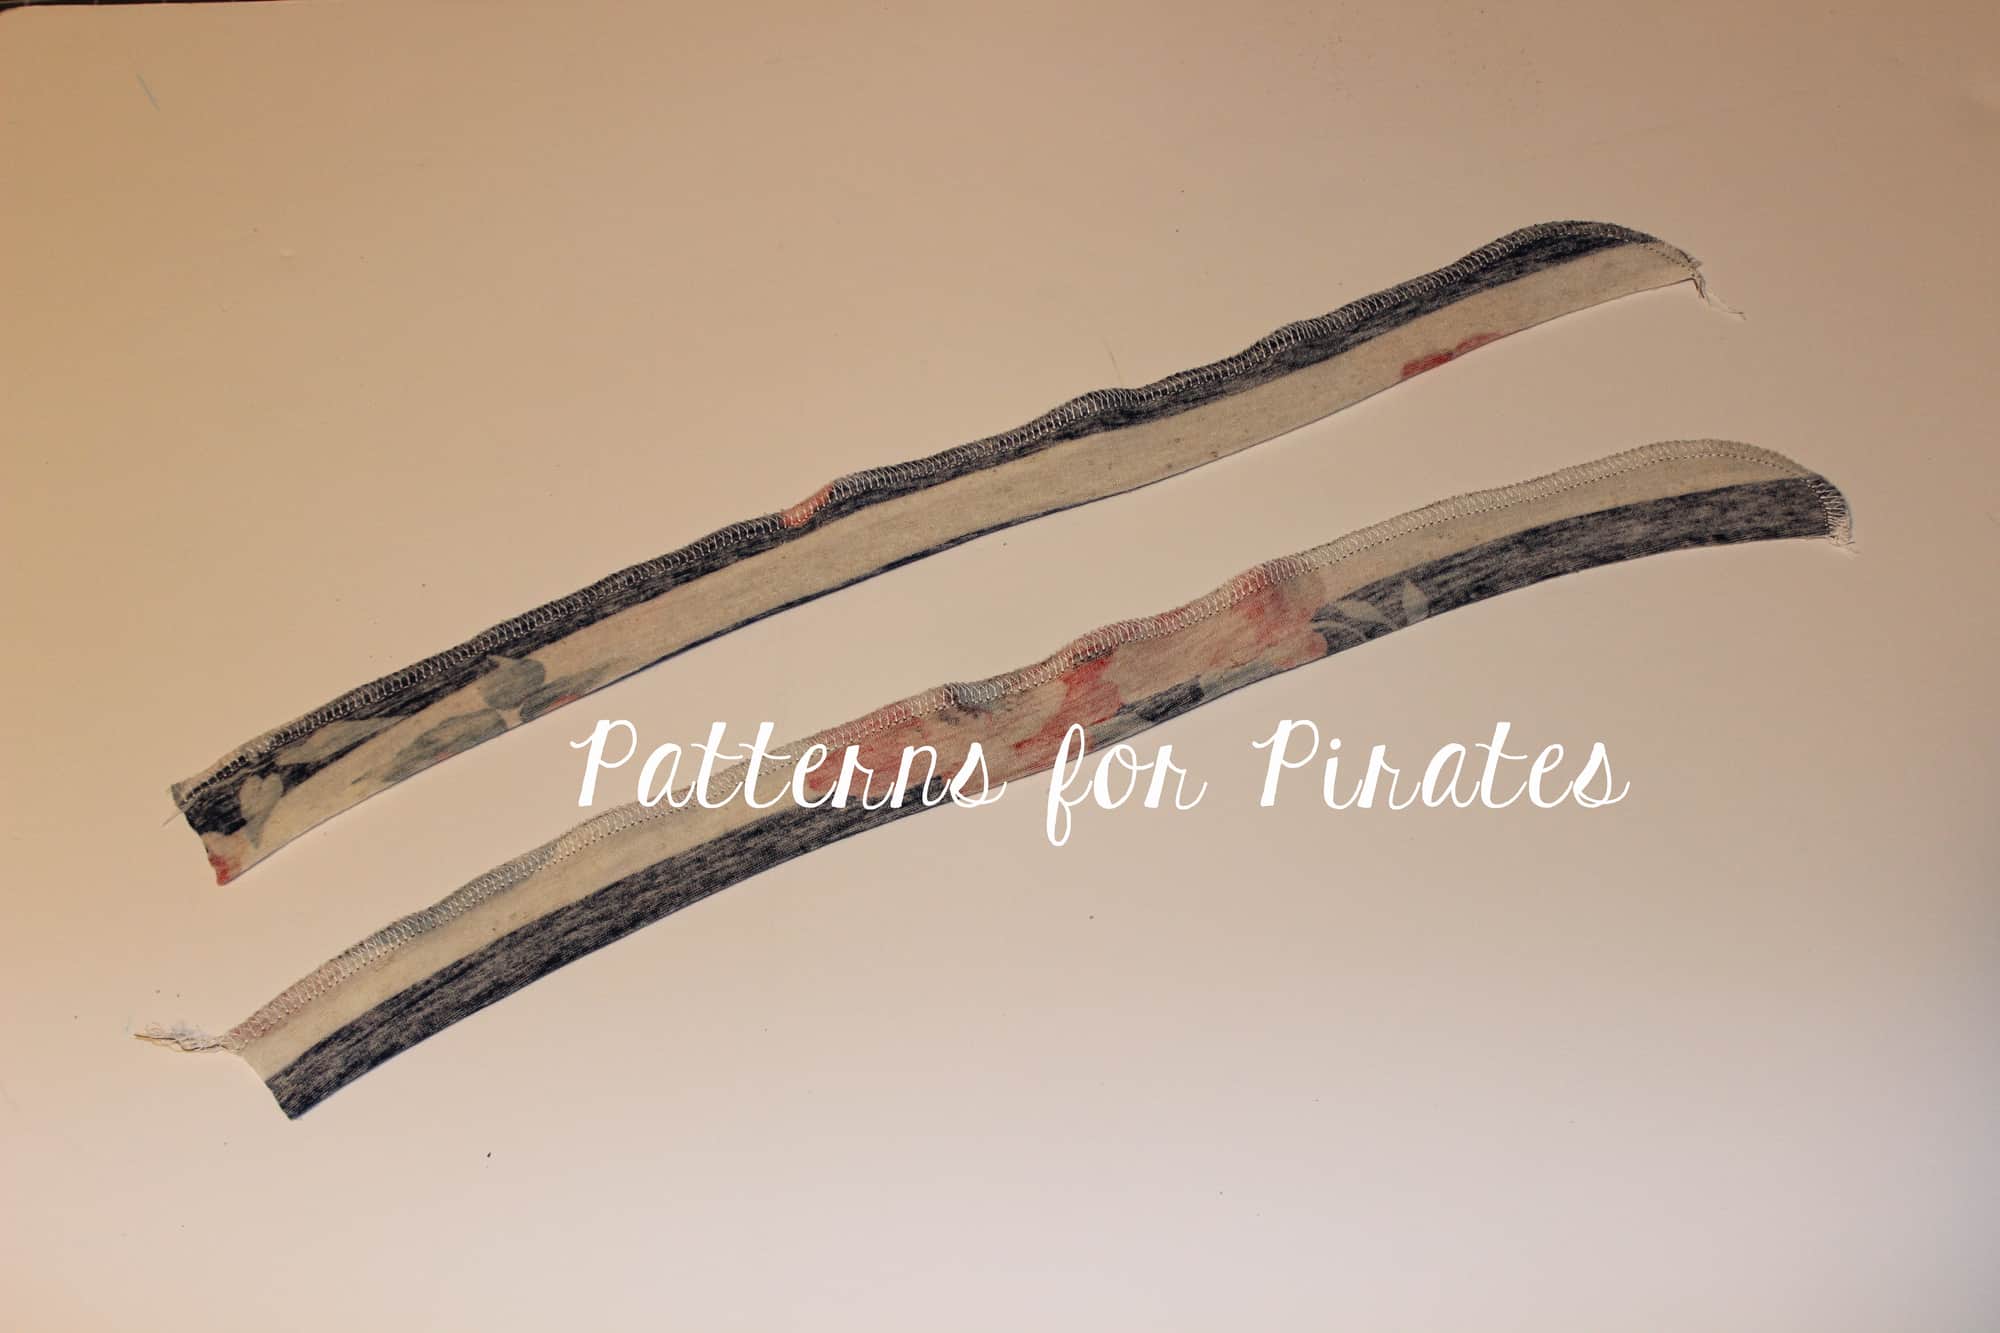
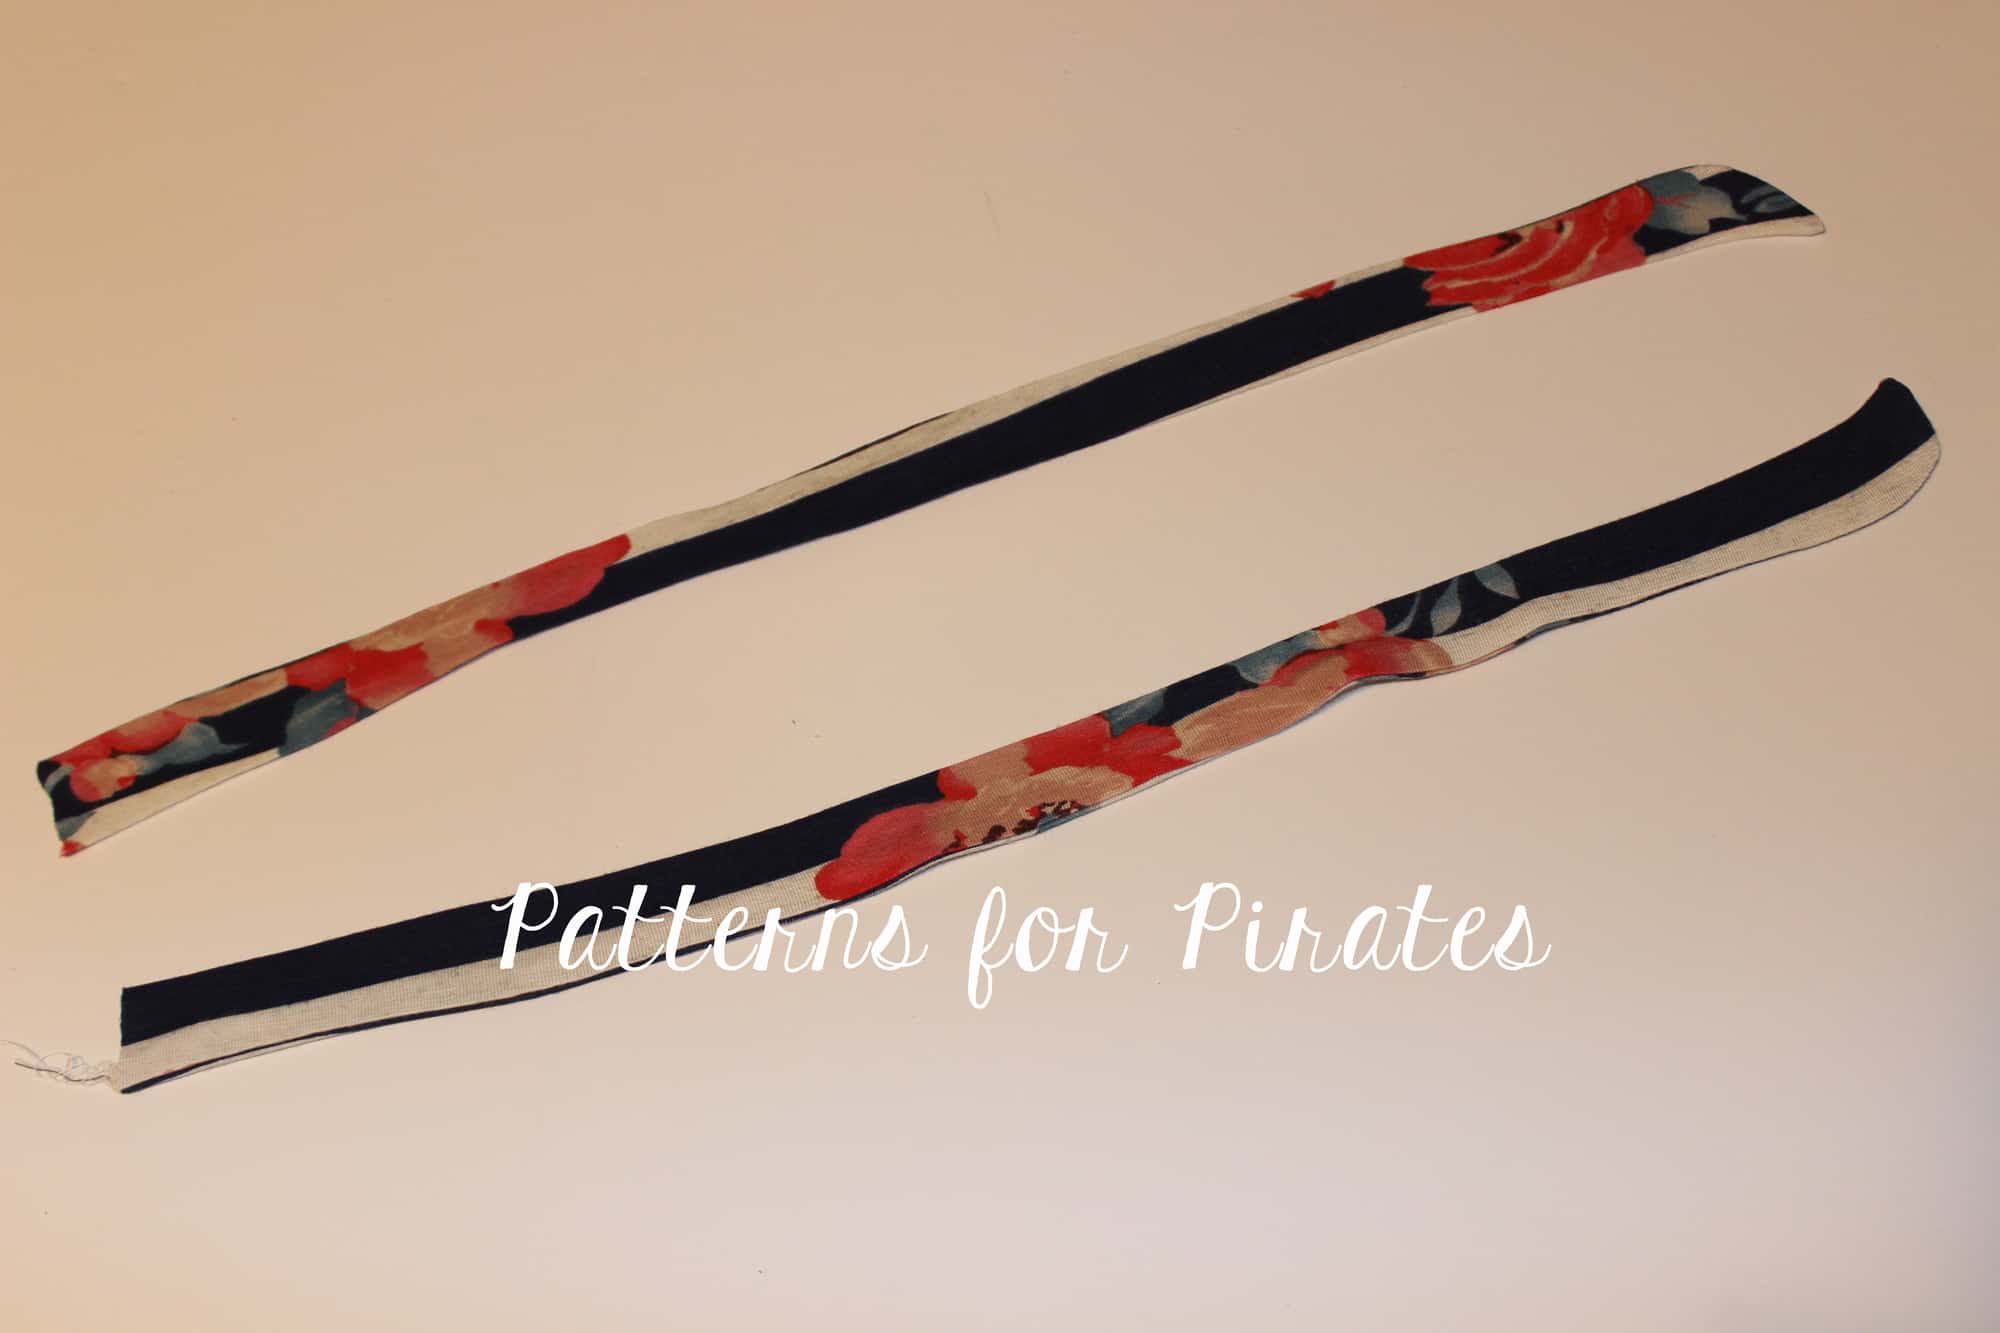
You will want to begin by creating a small tube. Cut a rectangular piece 2″ width and approximately 6″ long. Fold in half, right sides together, and stitch using a 1/2″ seam allowance. Press seam allowance open and turn tube right sides out. Press, making sure that the seam is in the middle back of the tie.

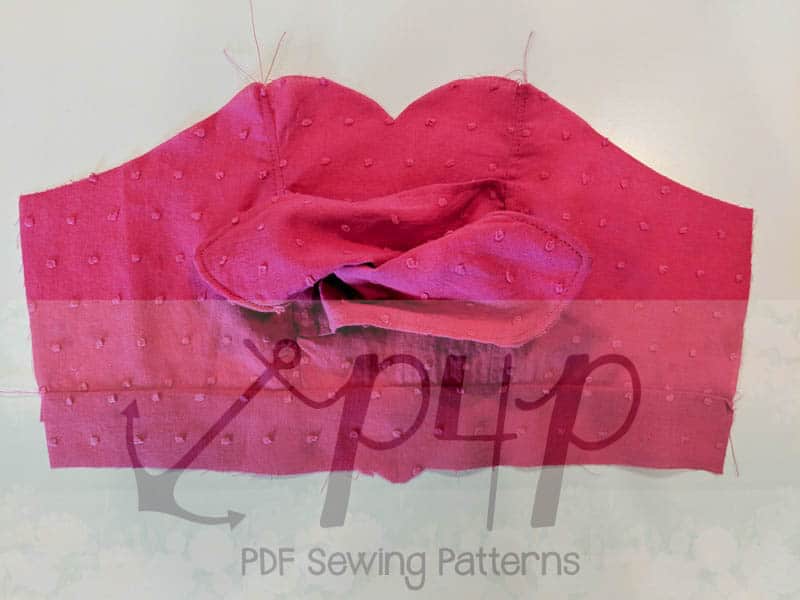
Overlap your bows and wrap the center piece around them.

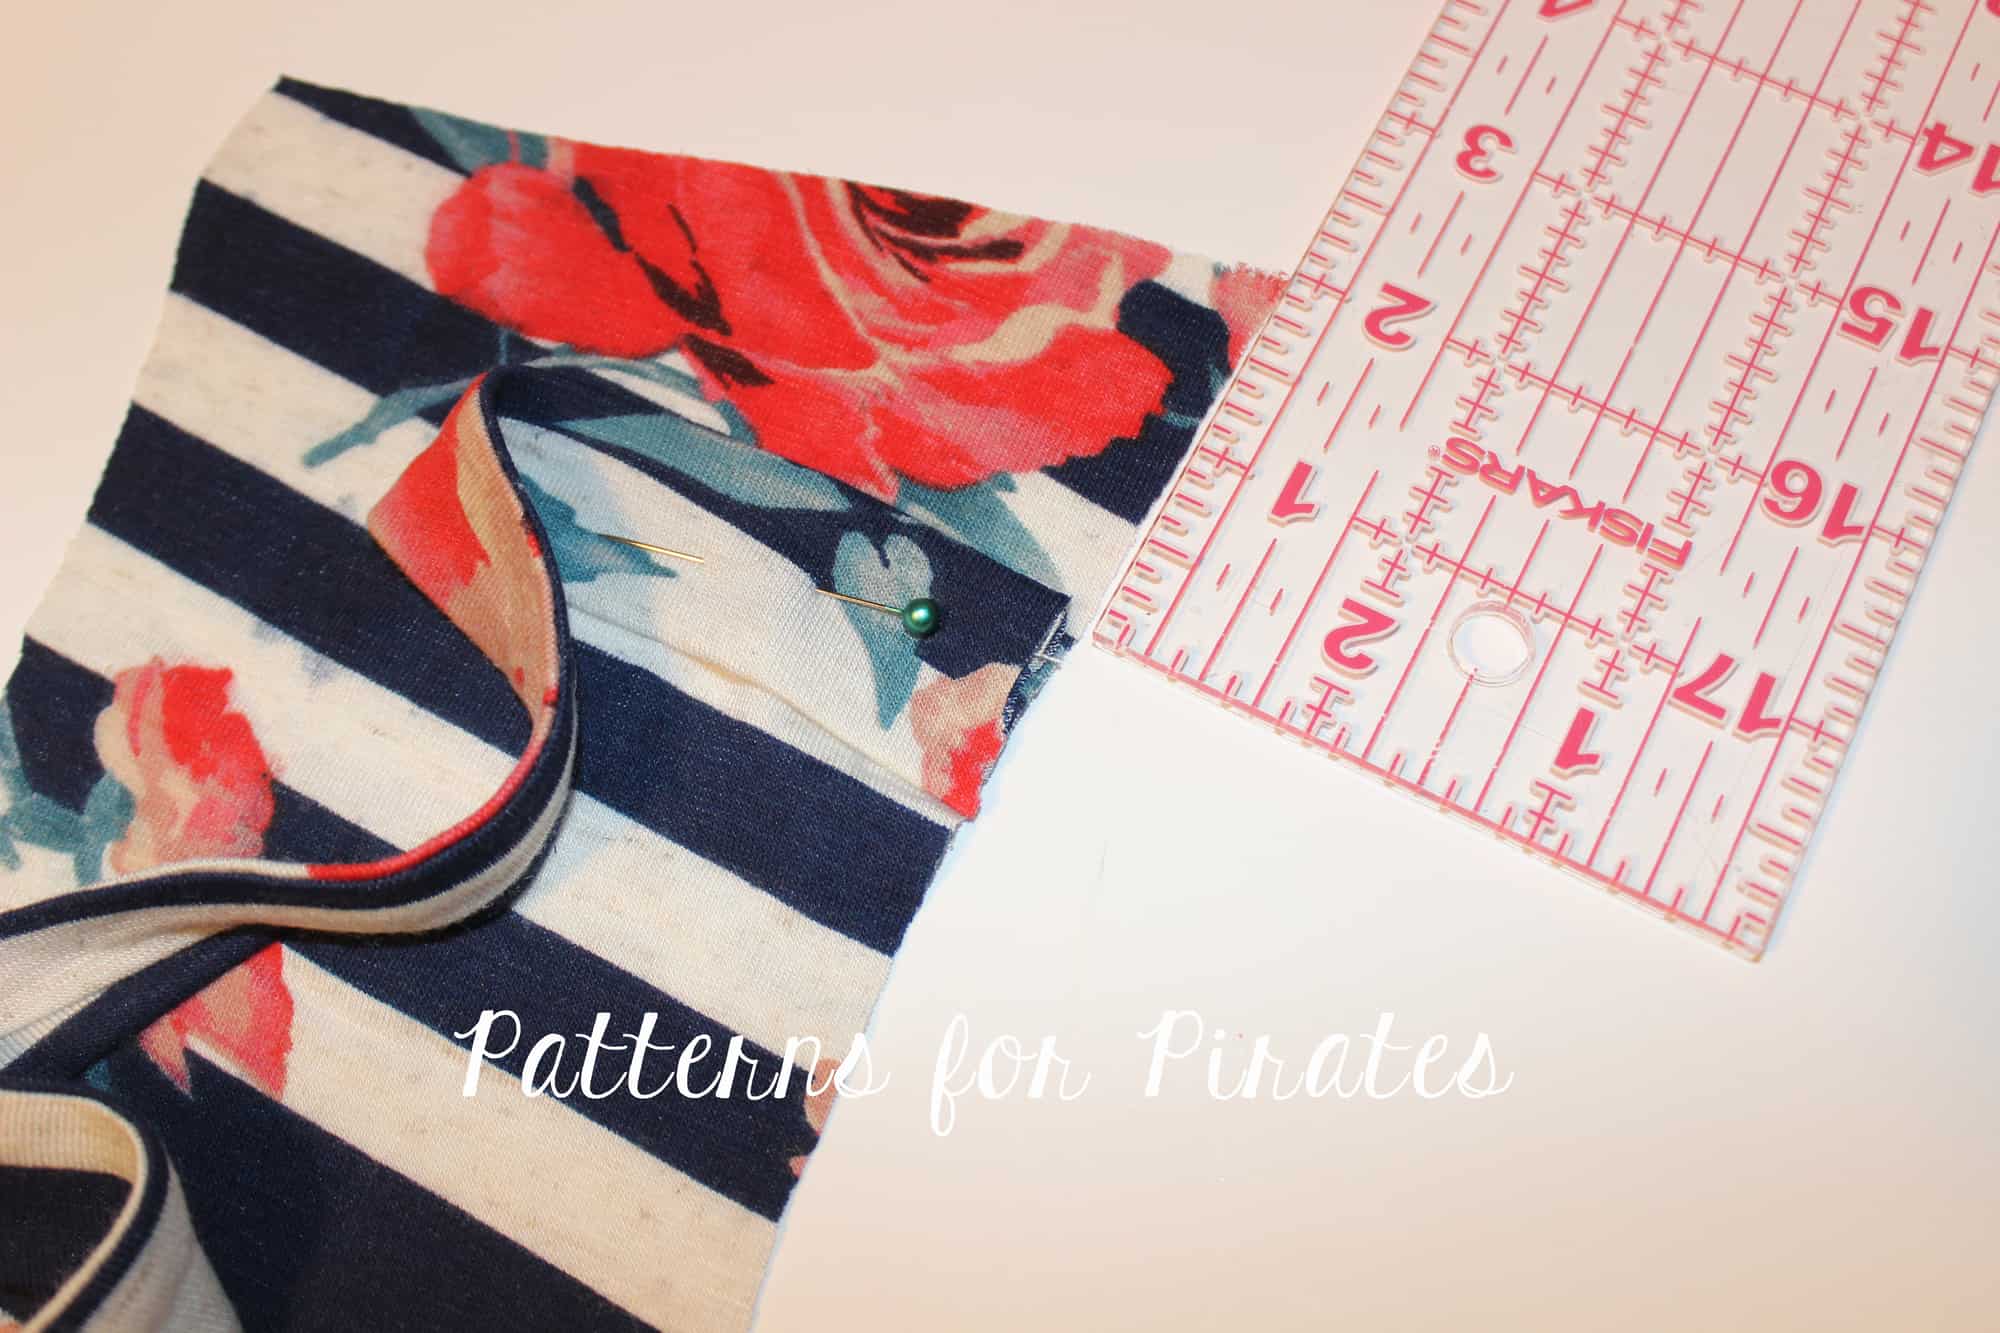
Stitch across the center piece to create a loop (as shown where pin is placed above). Trim any extra length that you might have and rotate the seam to behind the bow. Finish dress as per tutorial.

~ Erinn

Piping

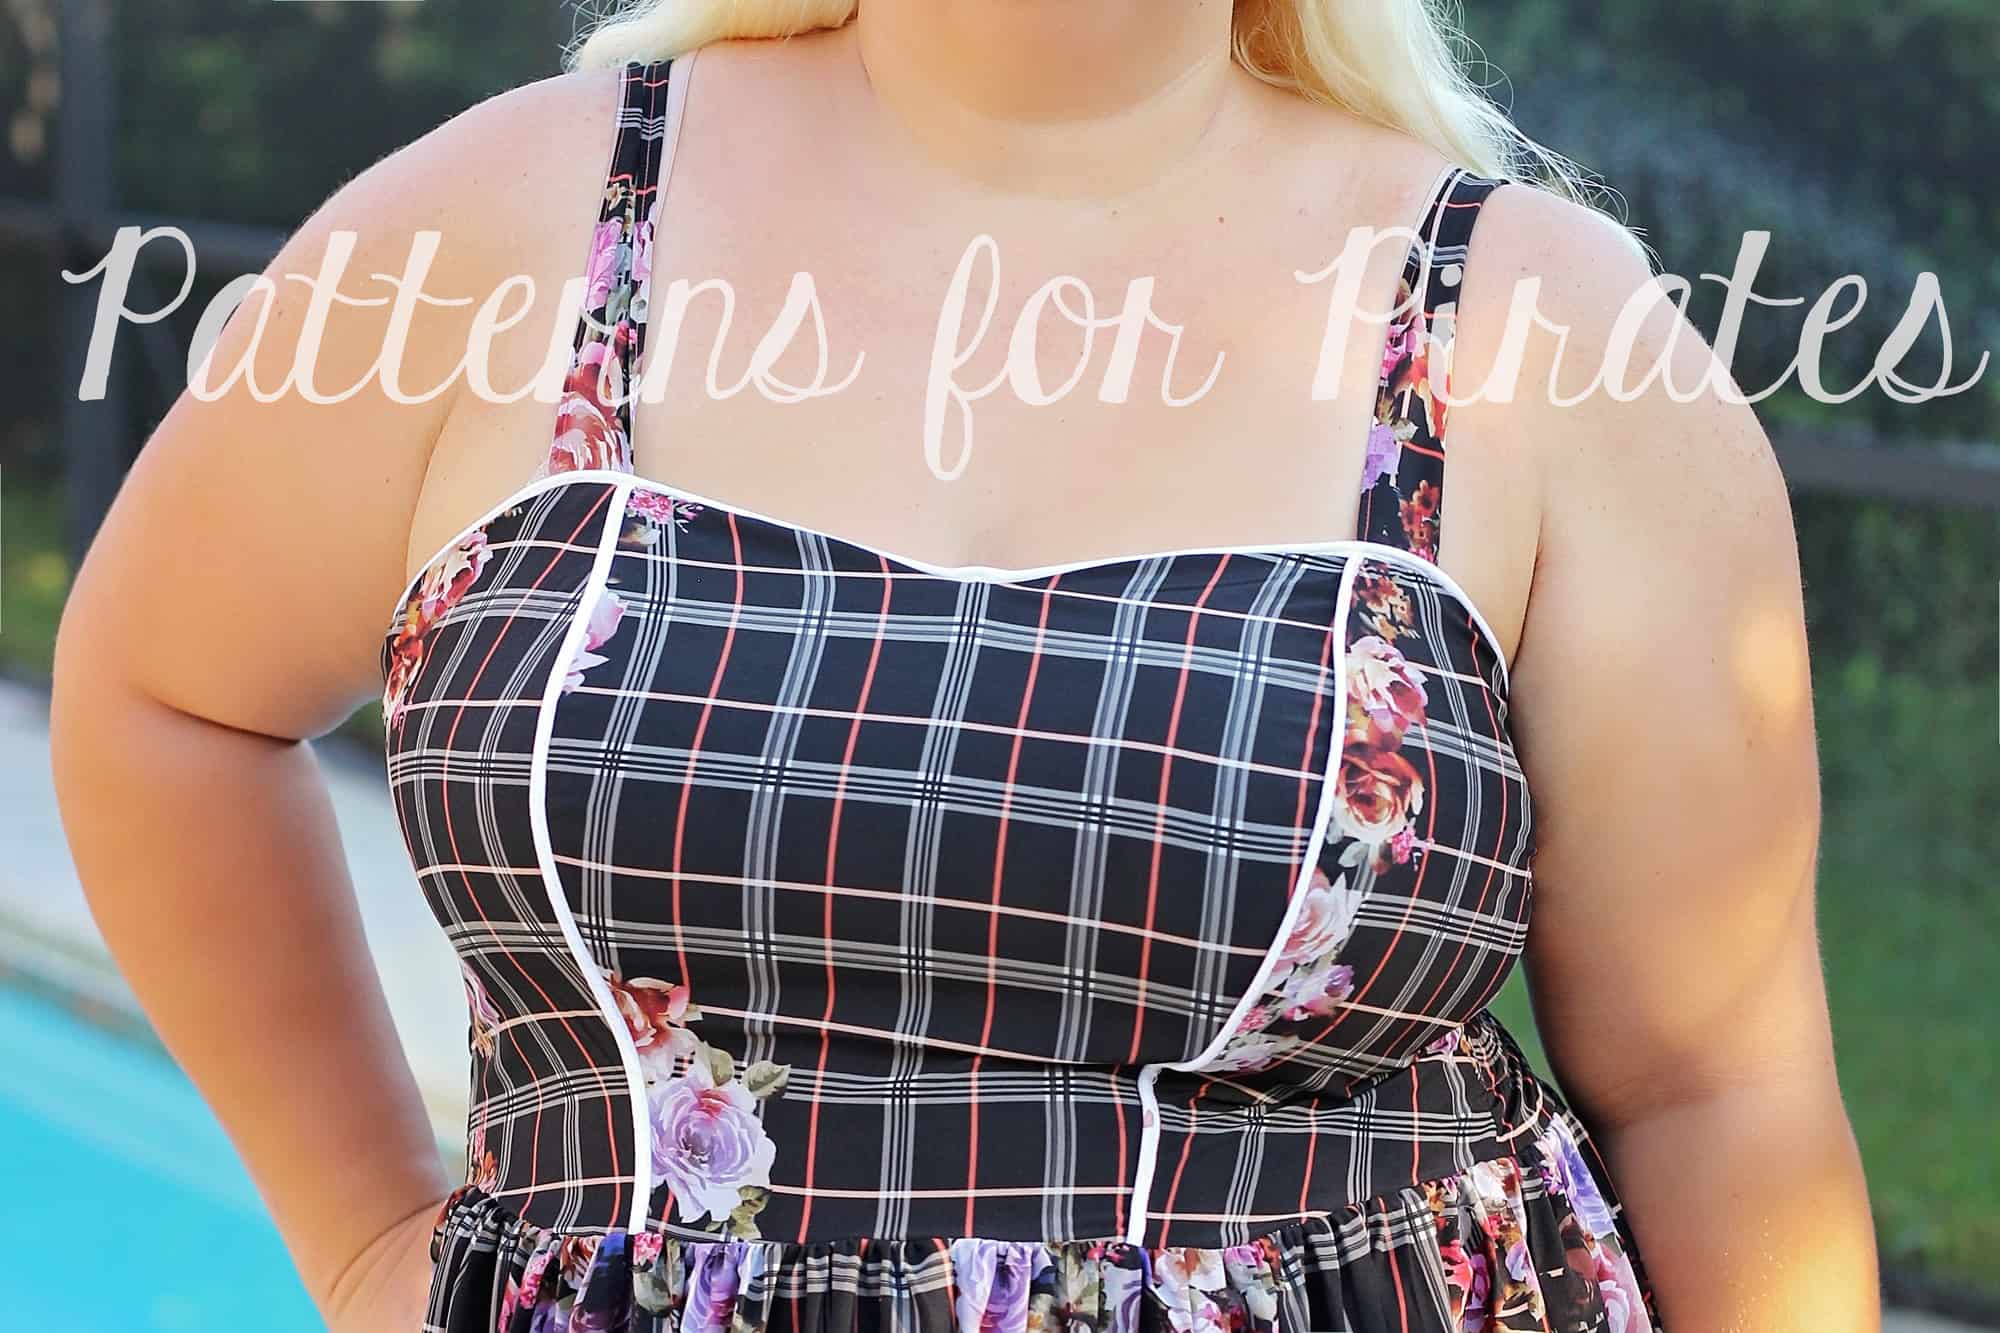
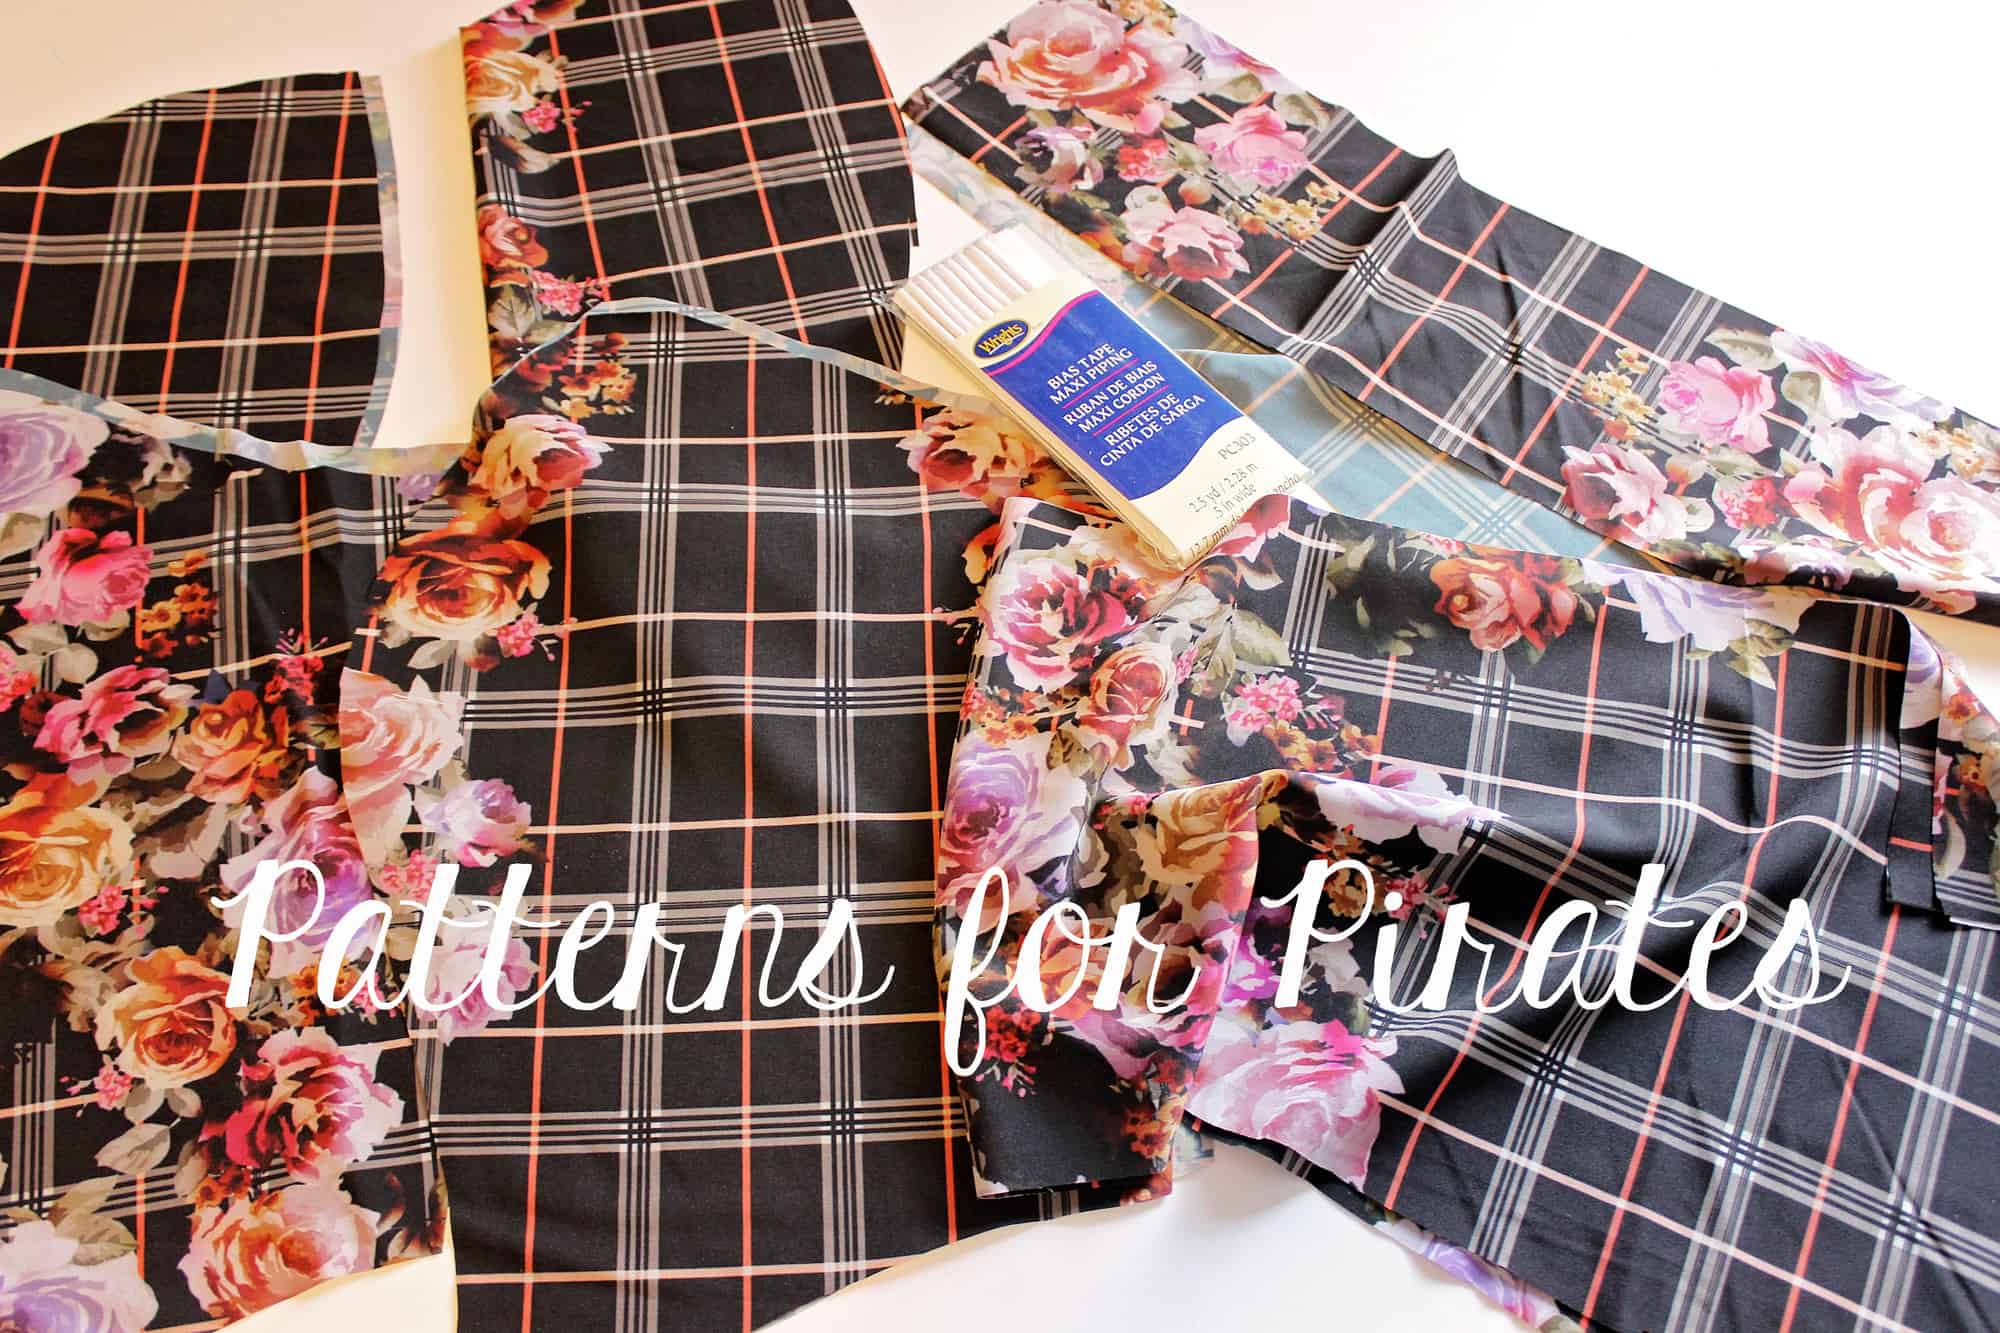
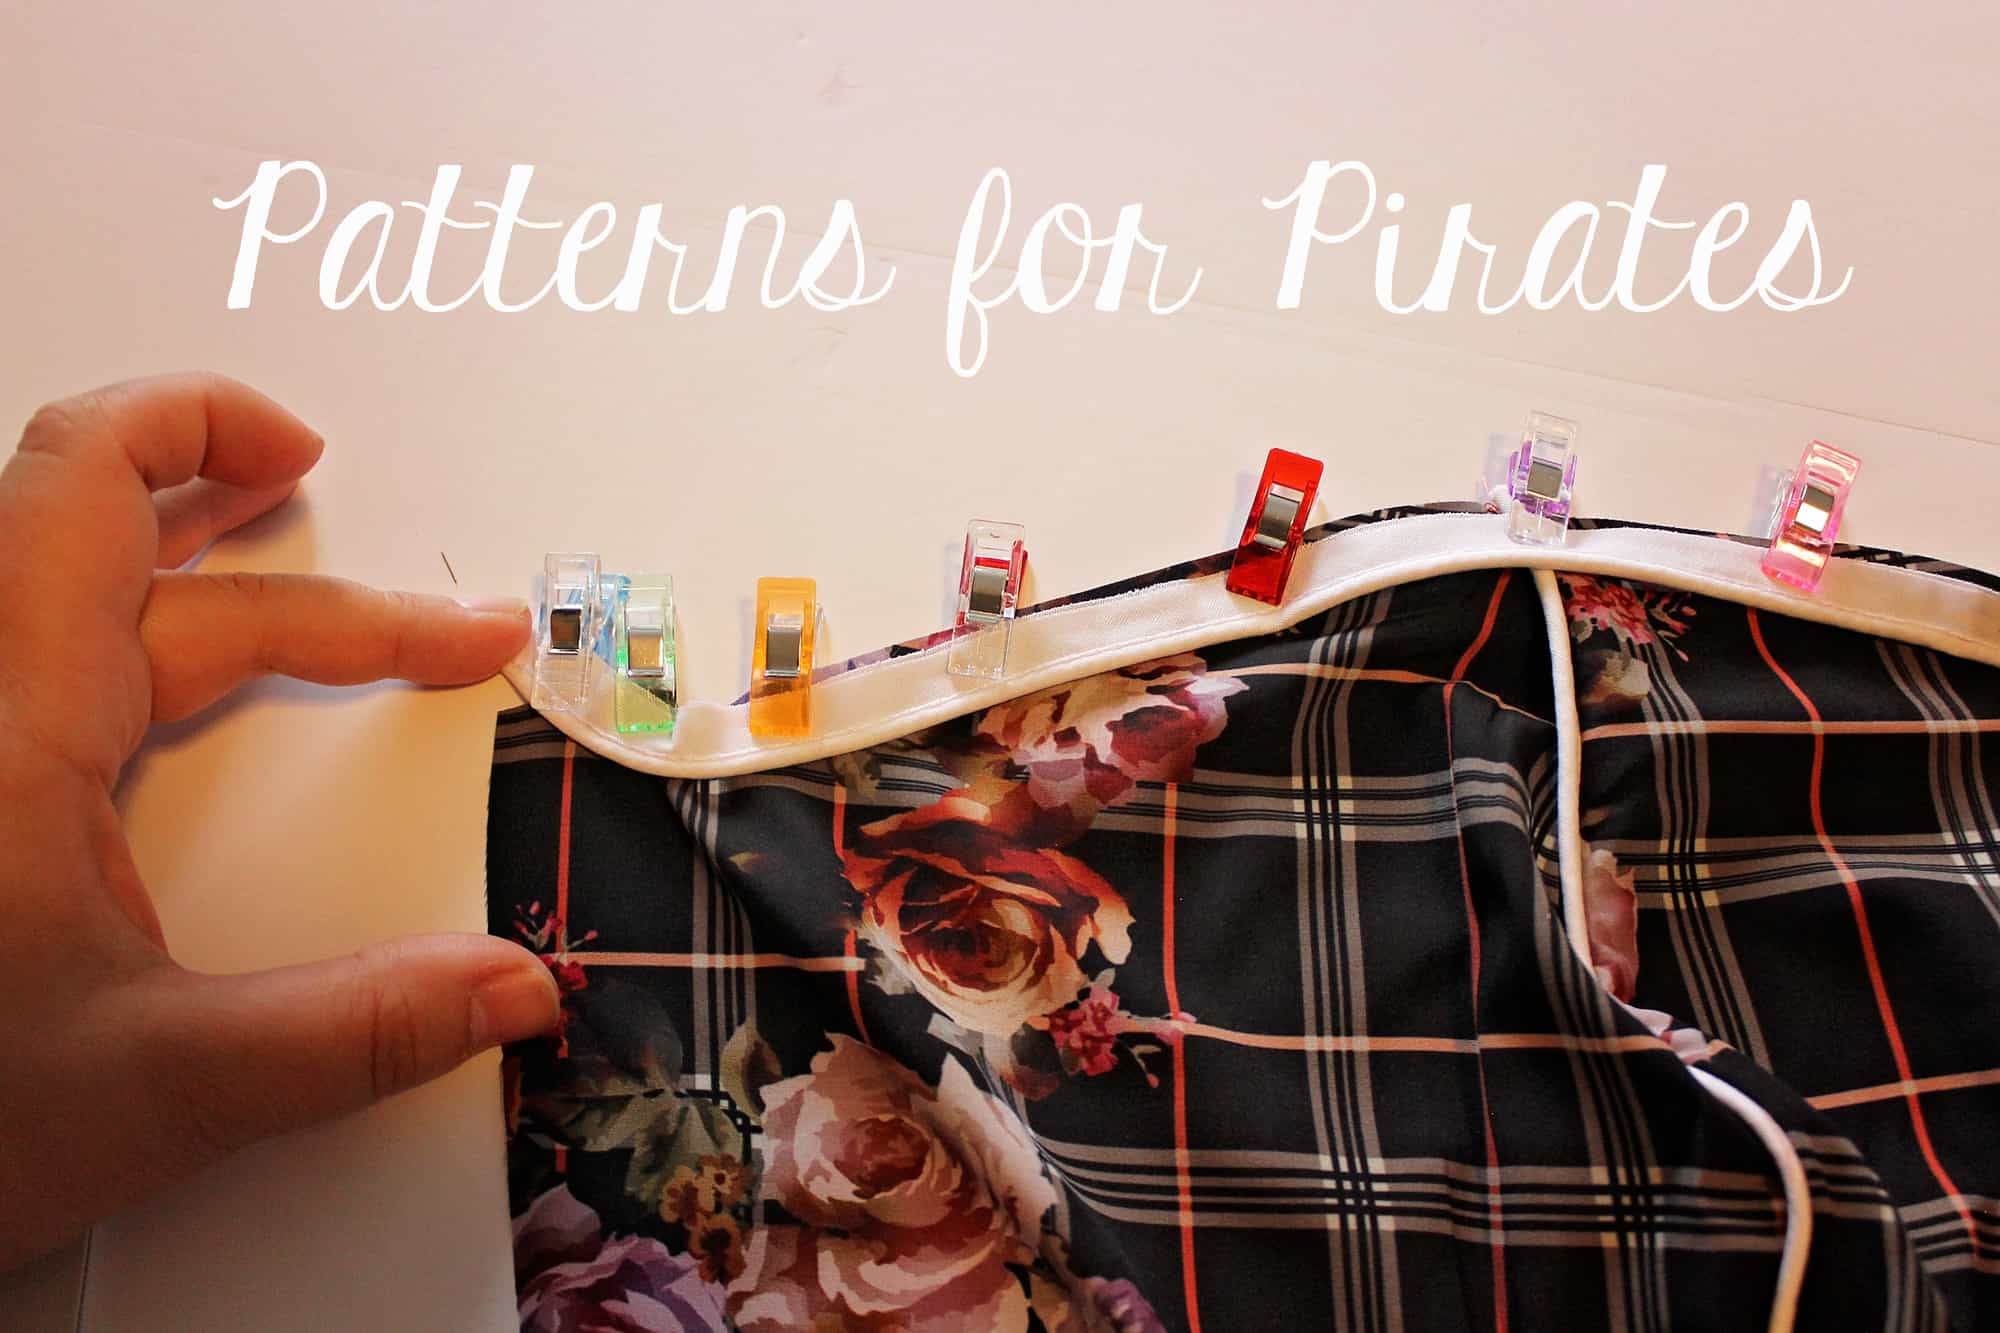
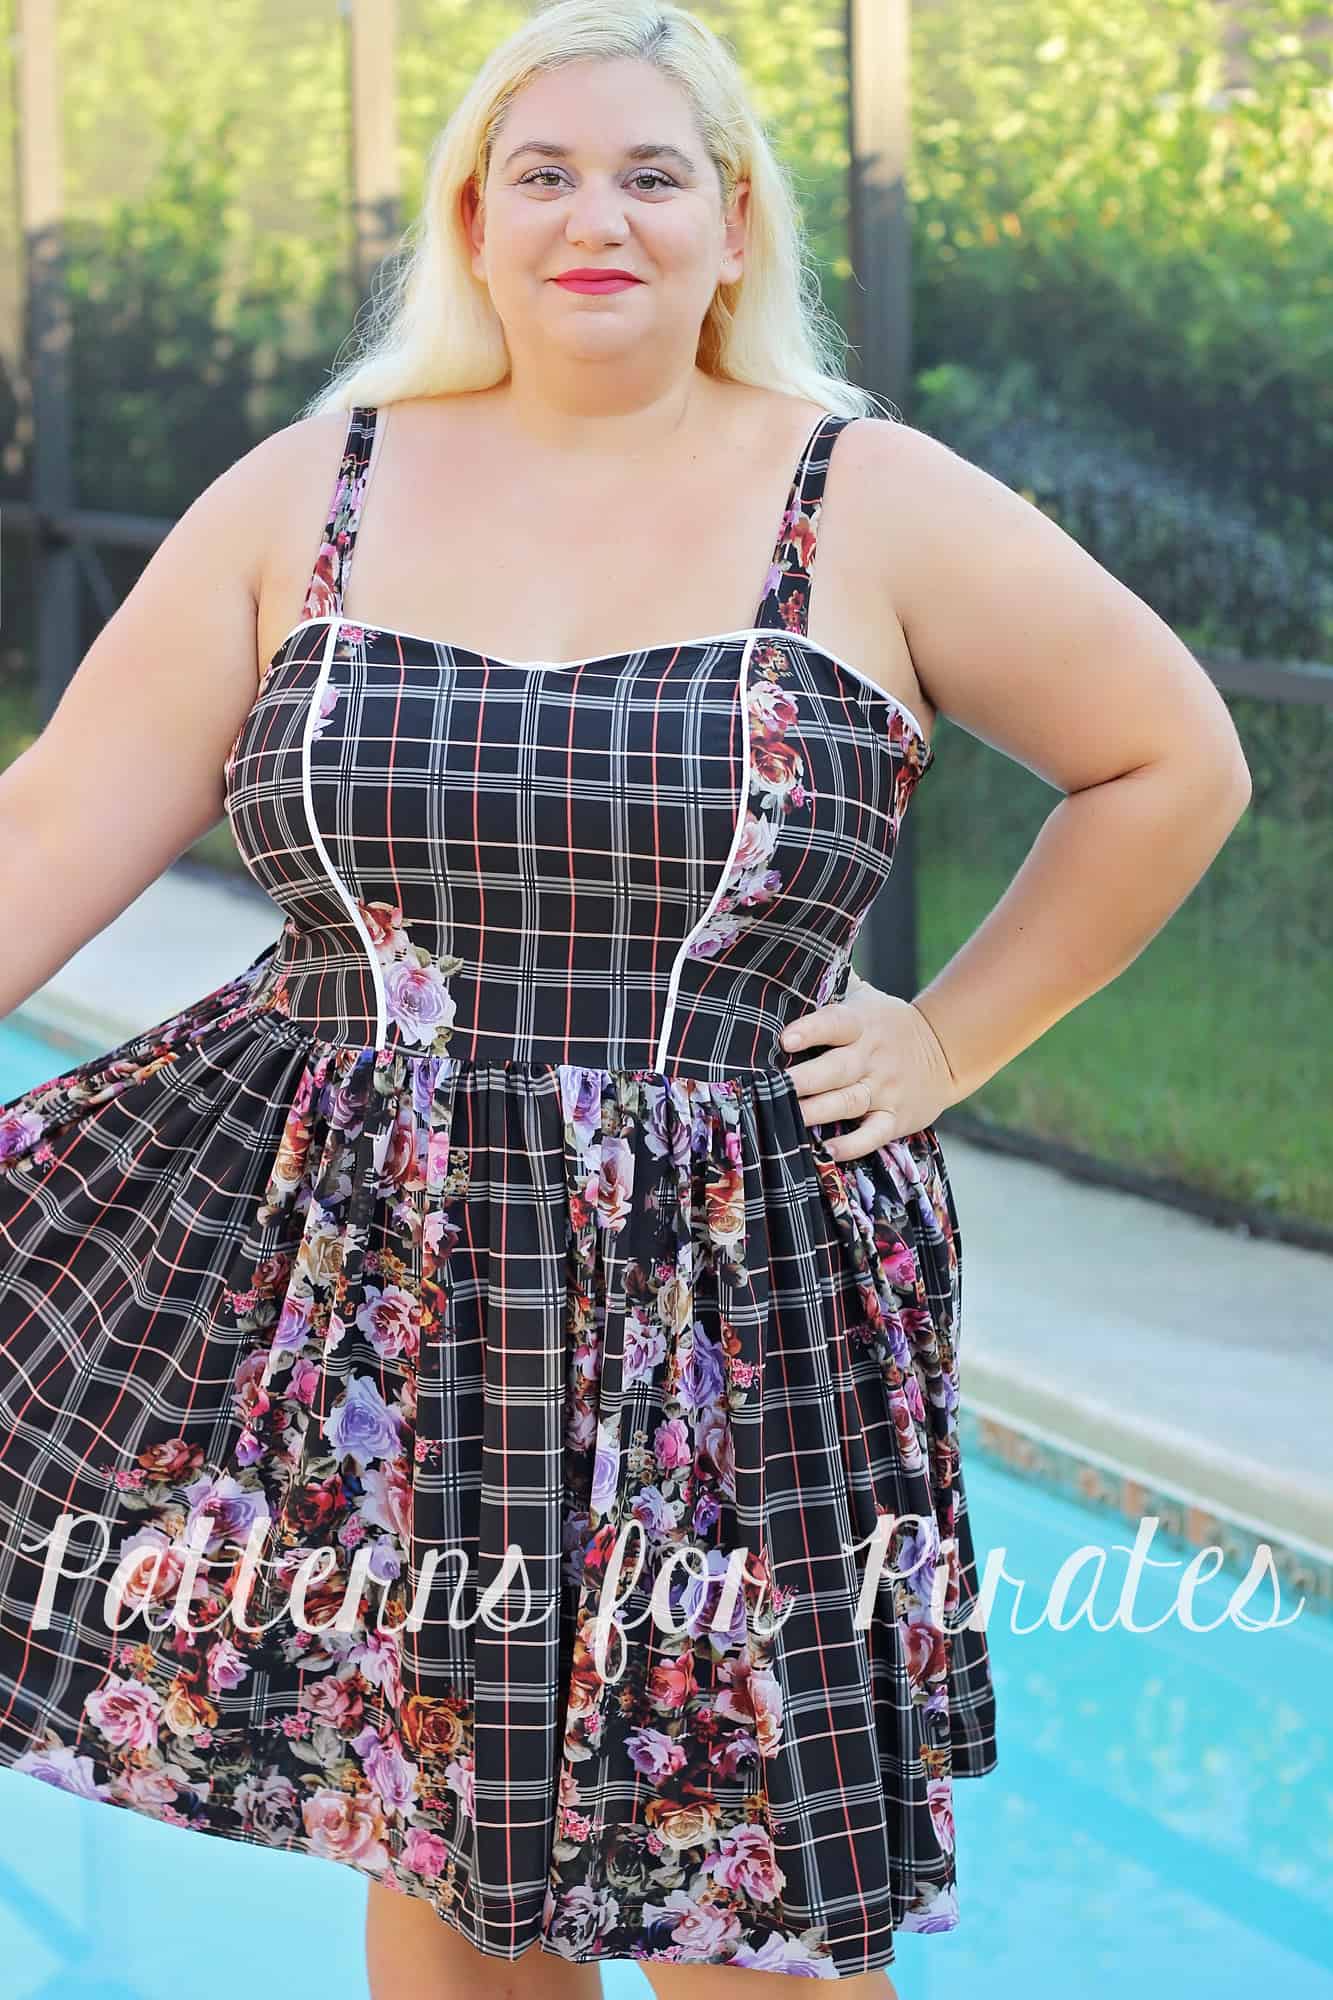
If you know me you know I’m a huge piping fan, store bought piping that is. If I can add it to a dress I will, so it is only normal that I added it to the So Classic Sundress.

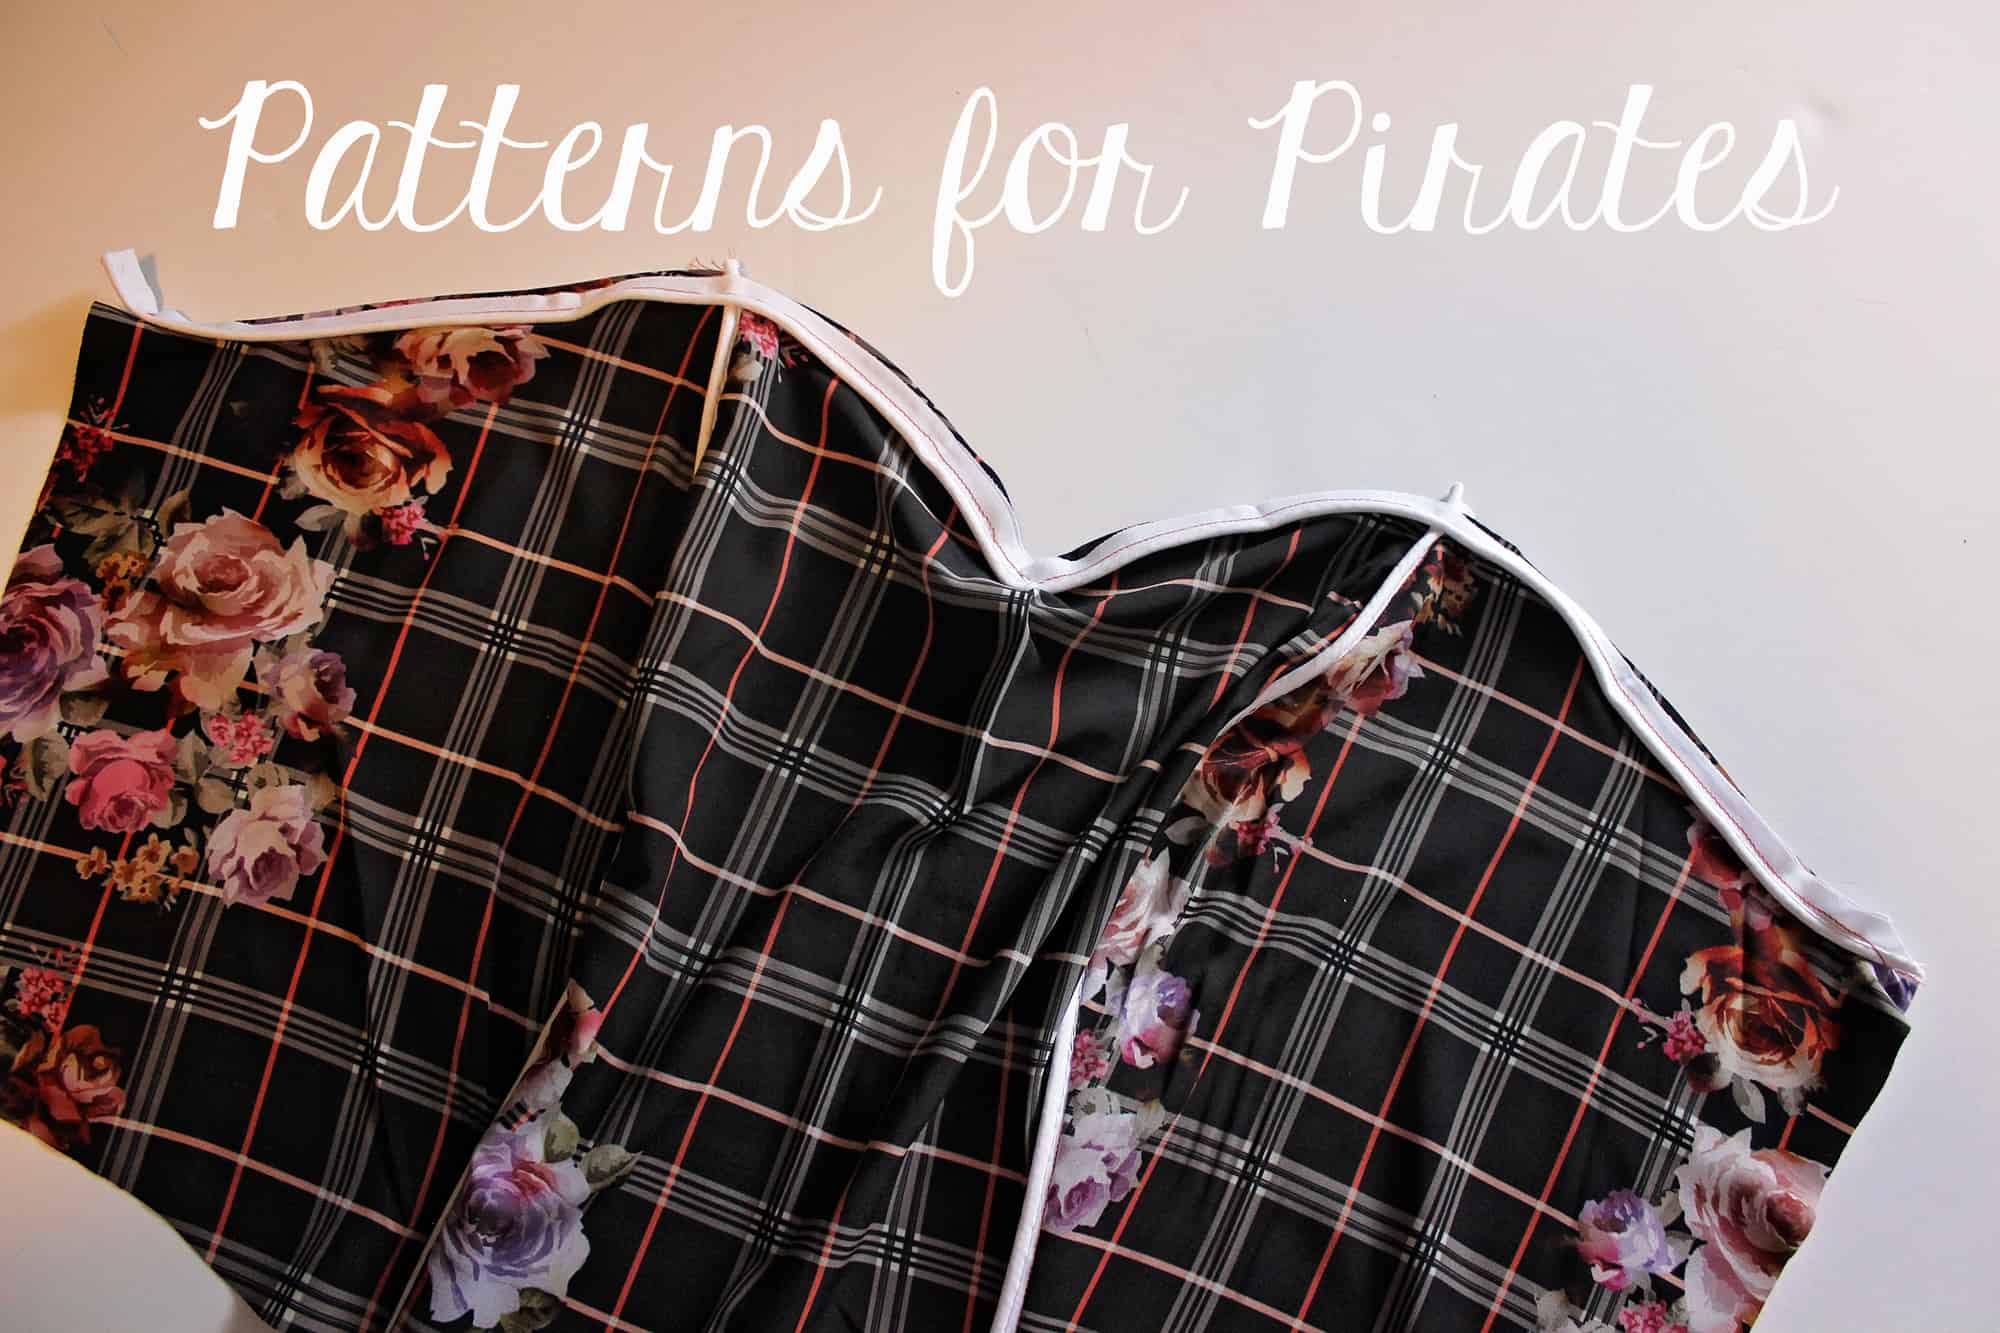
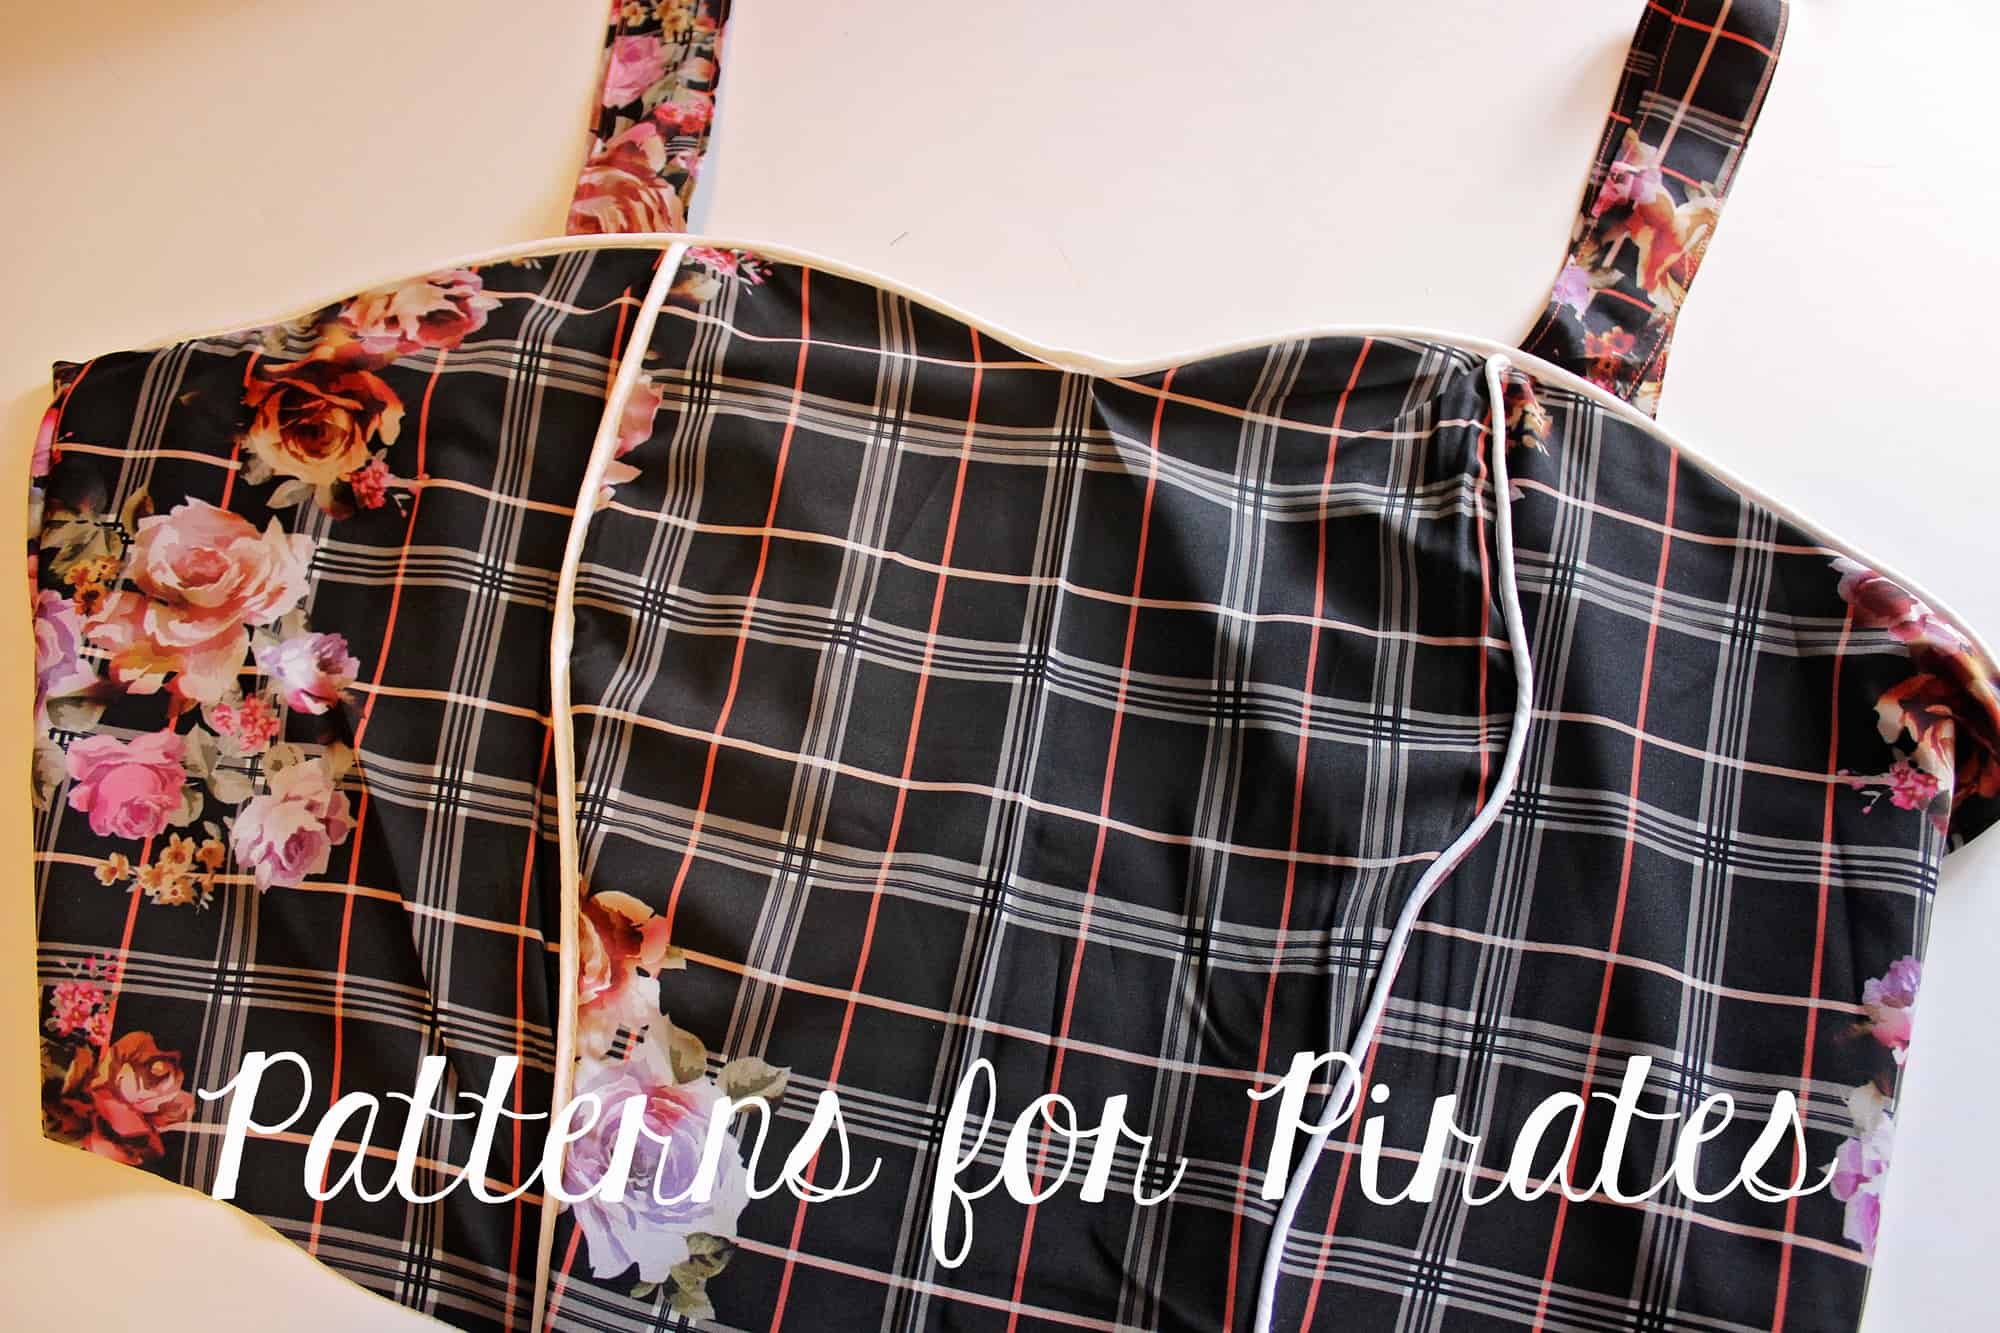
After cutting your pattern pieces as instructed you will add the piping to the desired seams. I love it at the princess seams and the sweetheart neckline. You could add piping to the straps, the waistband and even the bottom hem if you’d like. I would not recommend adding piping to the back as piping doesn’t look nice gathered.

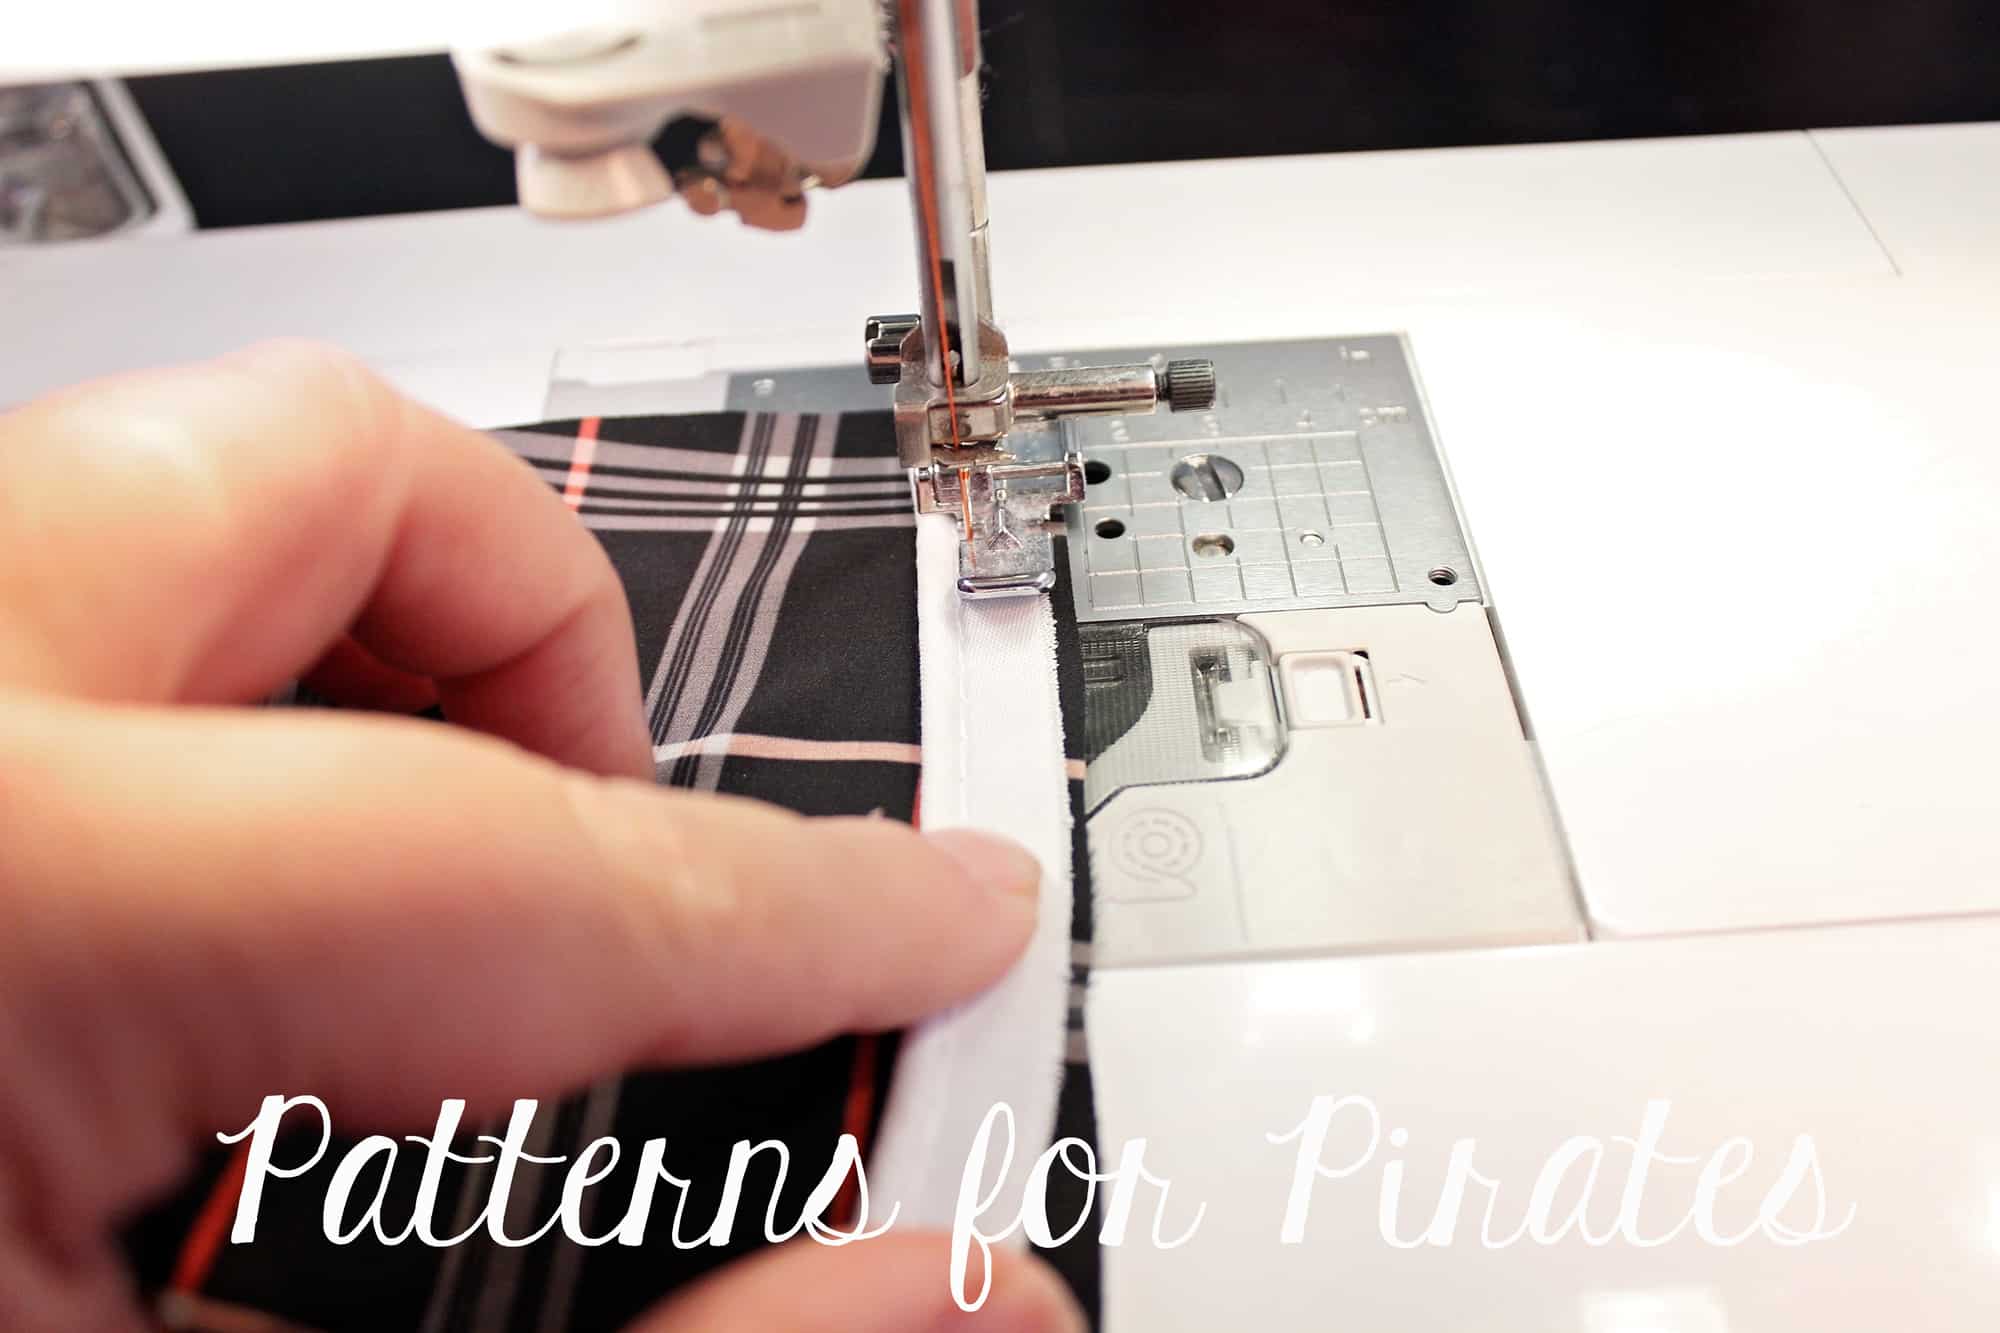
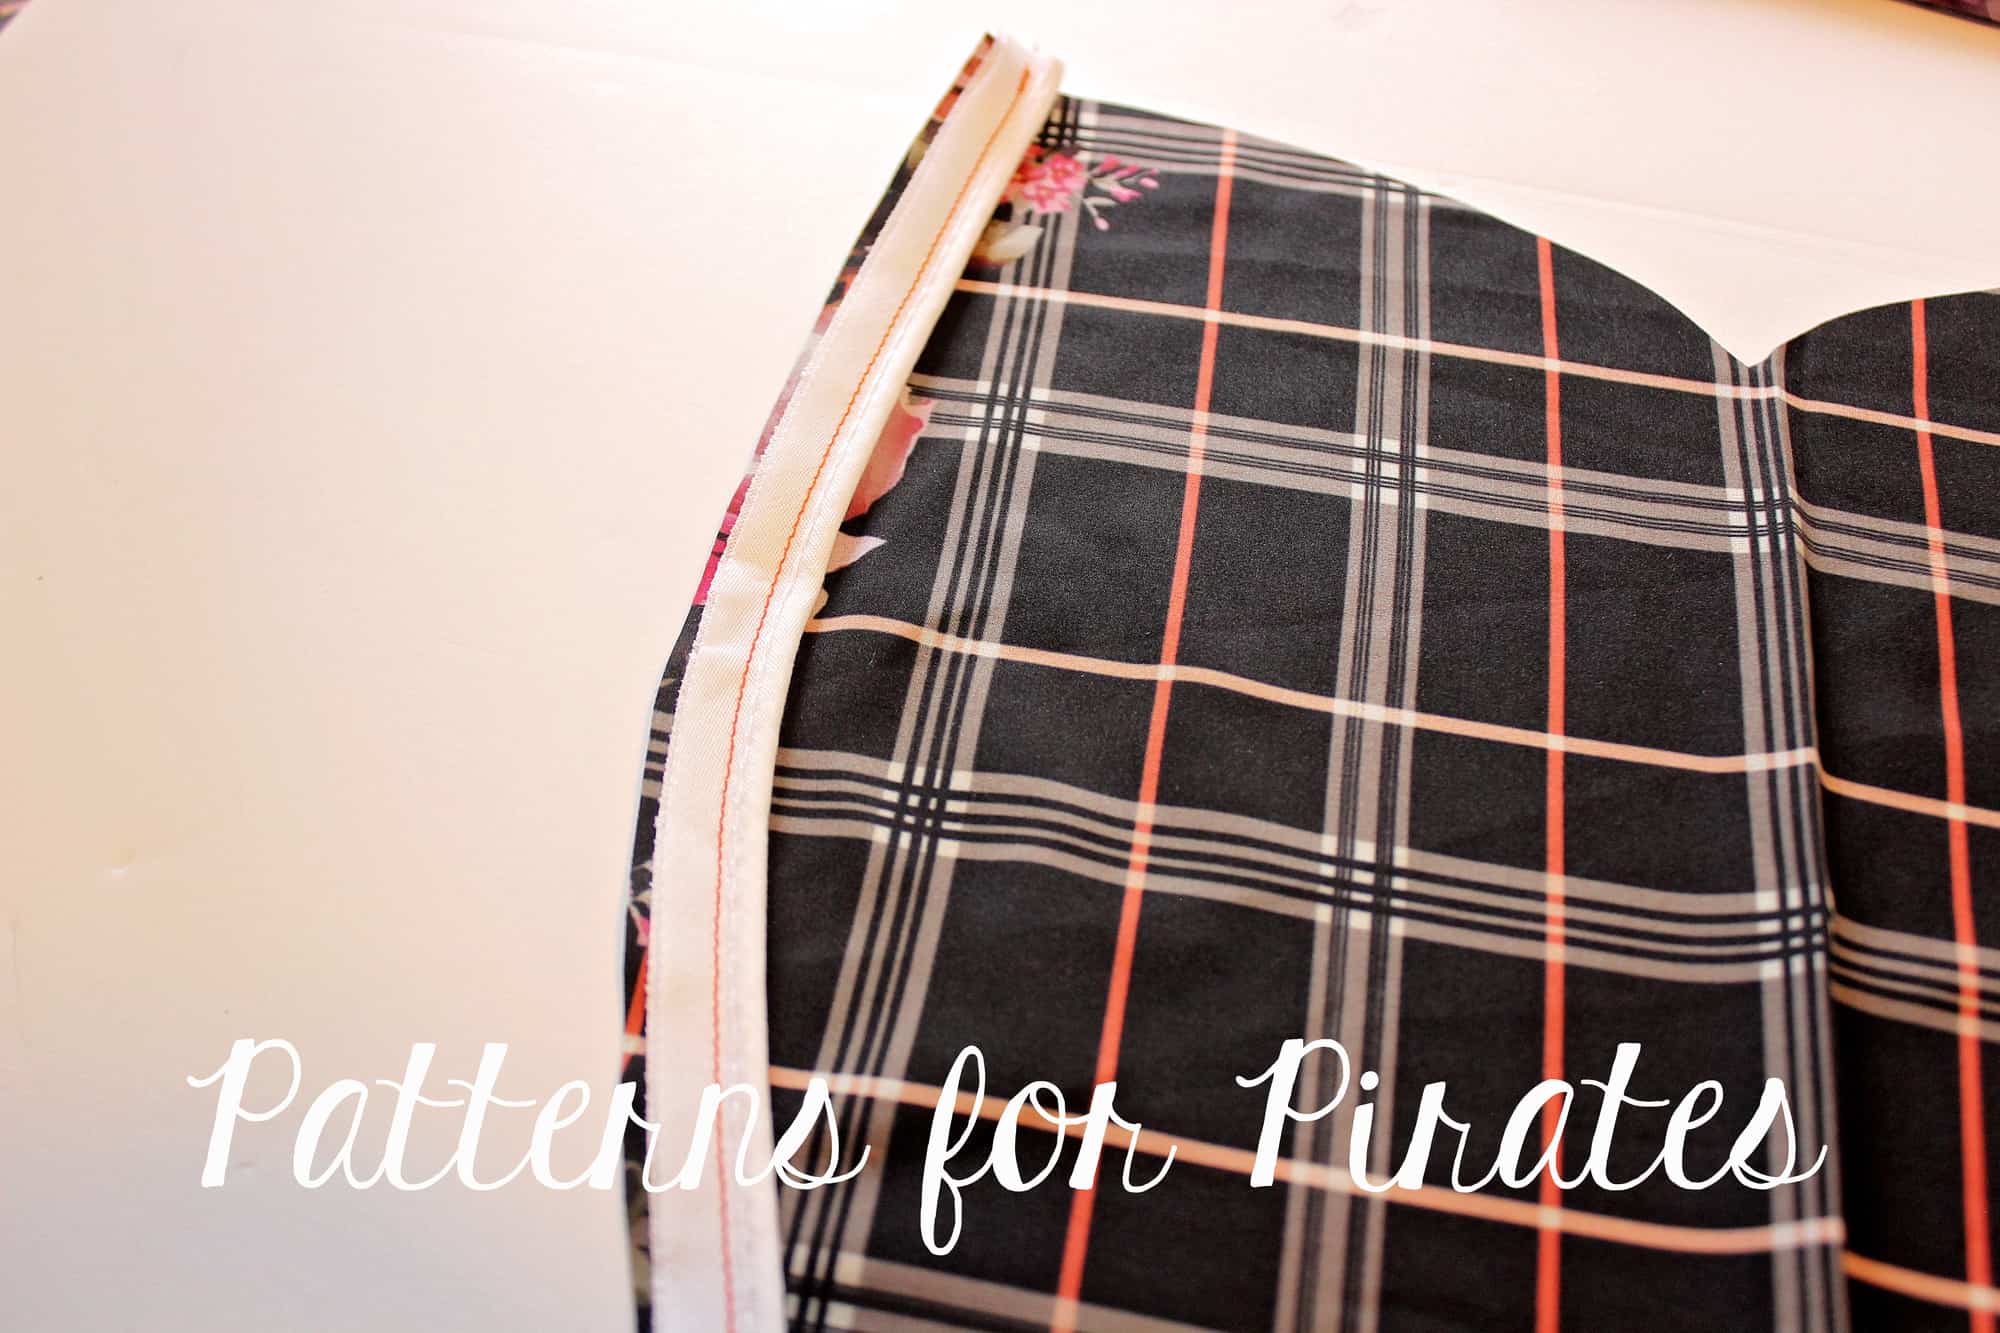
Sew the piping to the center princess seams using a zipper foot. Store bought piping are smaller than the 1/2″ SA included in the pattern so place it a little bit away from the edge.

Sew the princess seams with a 1/2″ seam allowance.

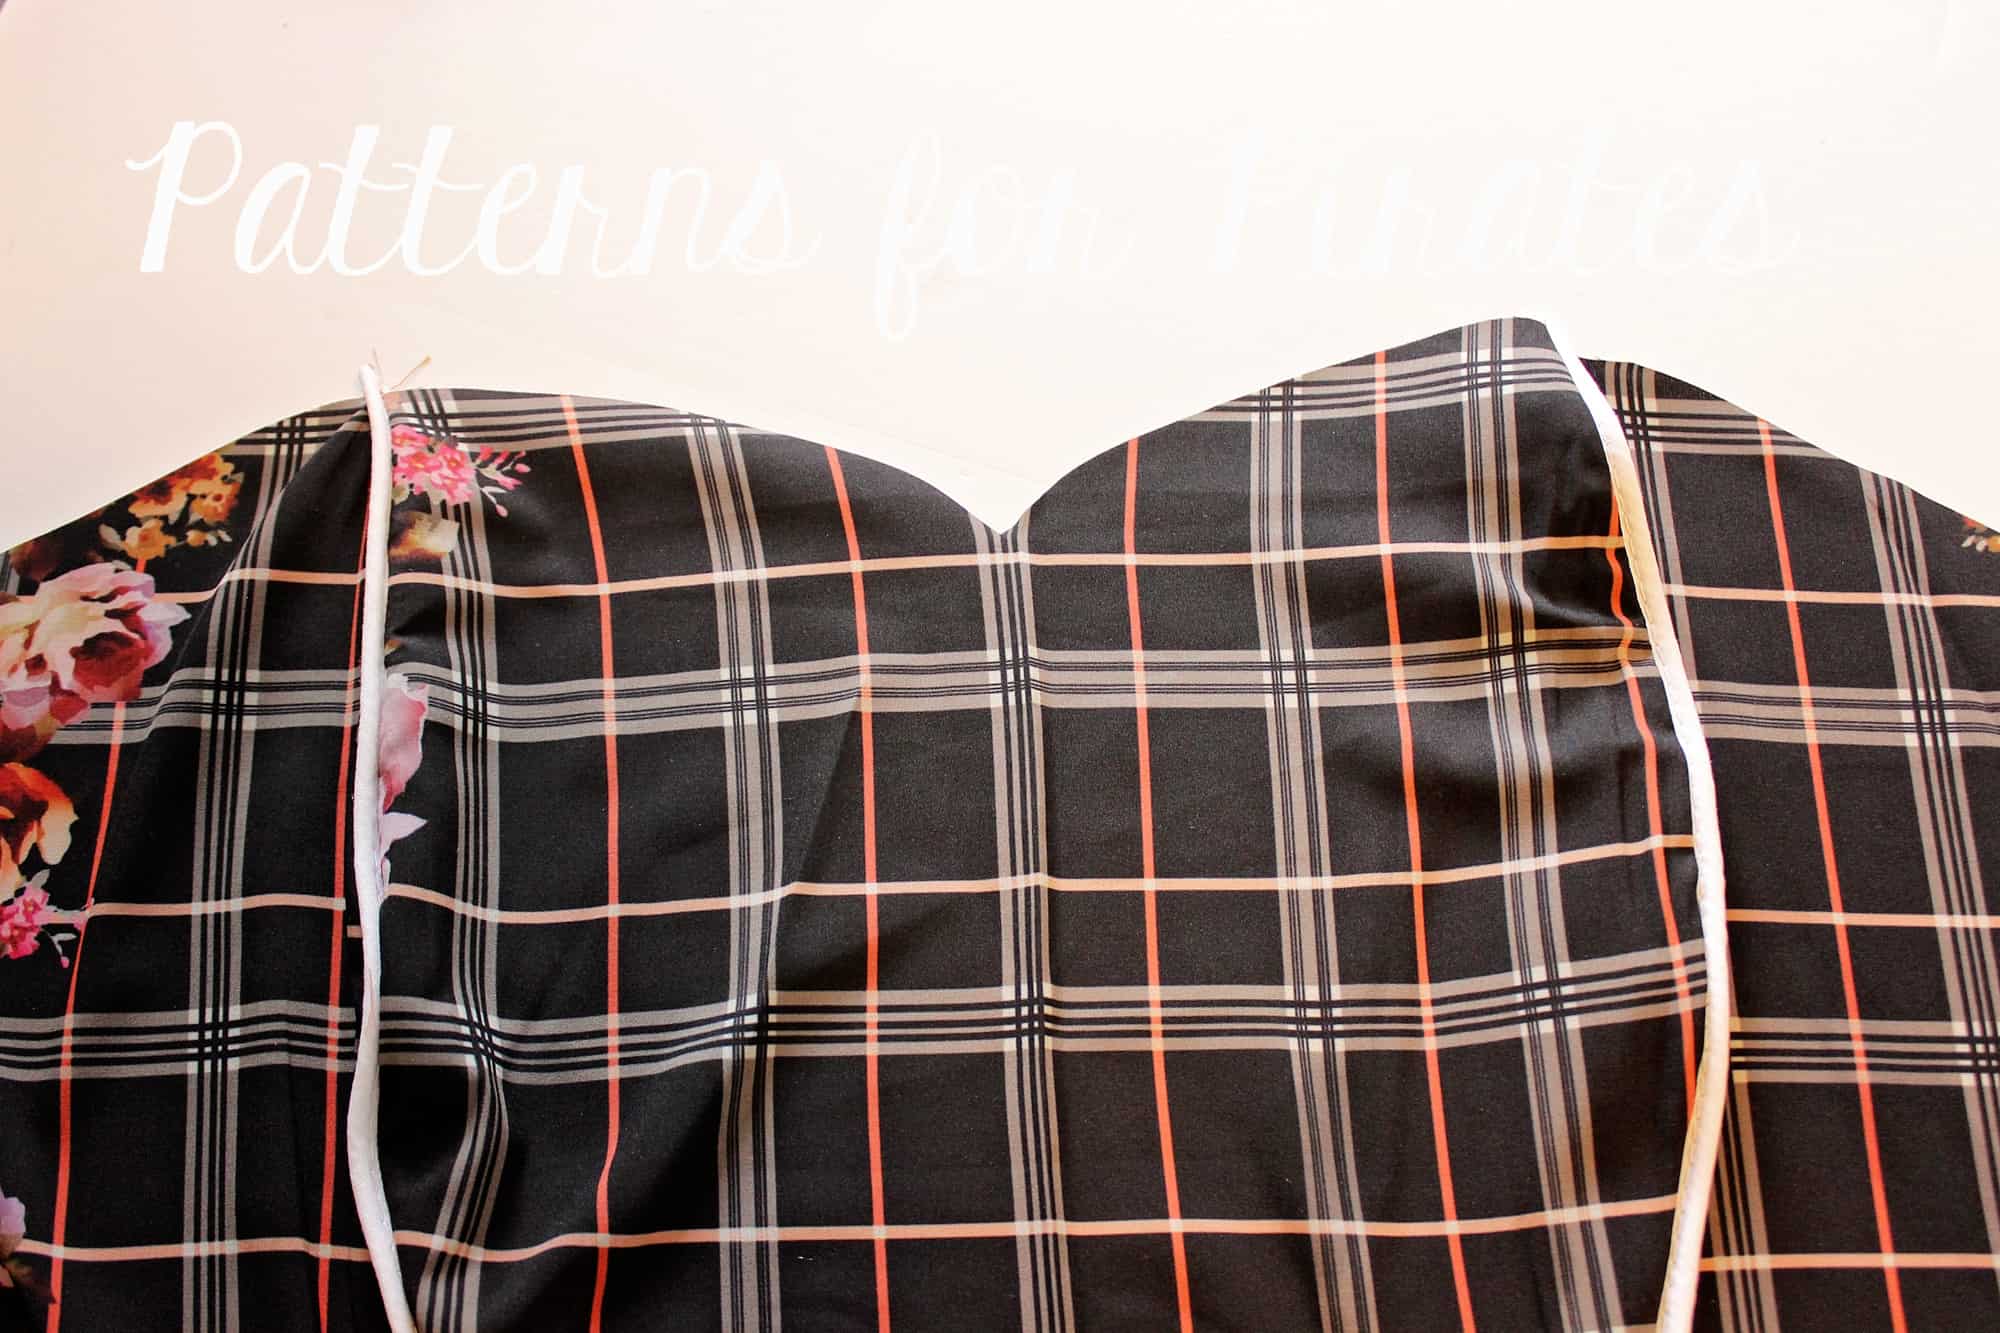
Take the front of the bodice and pin in place the piping at the raw edge. Start 1/2″ away from the side seam and stop 1/2″ away for the other side seam as shown below.

Sew in place and continue the dress construction as per the tutorial.

Such a fun detail and so easy to add!


…..

No Waistband


You might have noticed above that I skipped the waistband piece on the bodice. This is such an easy hack. All you have to do is use the lining pieces as the main piece. So you will be cutting two front linings (one in the main fabric and one in the lining), four front side linings (2 sets of mirrored pieces with the lining fabric and two with the main fabric) and two back lining pieces (one in the lining and one in the main fabric).

You can make this hack for all straps options and for both women and girls. 🙂


….

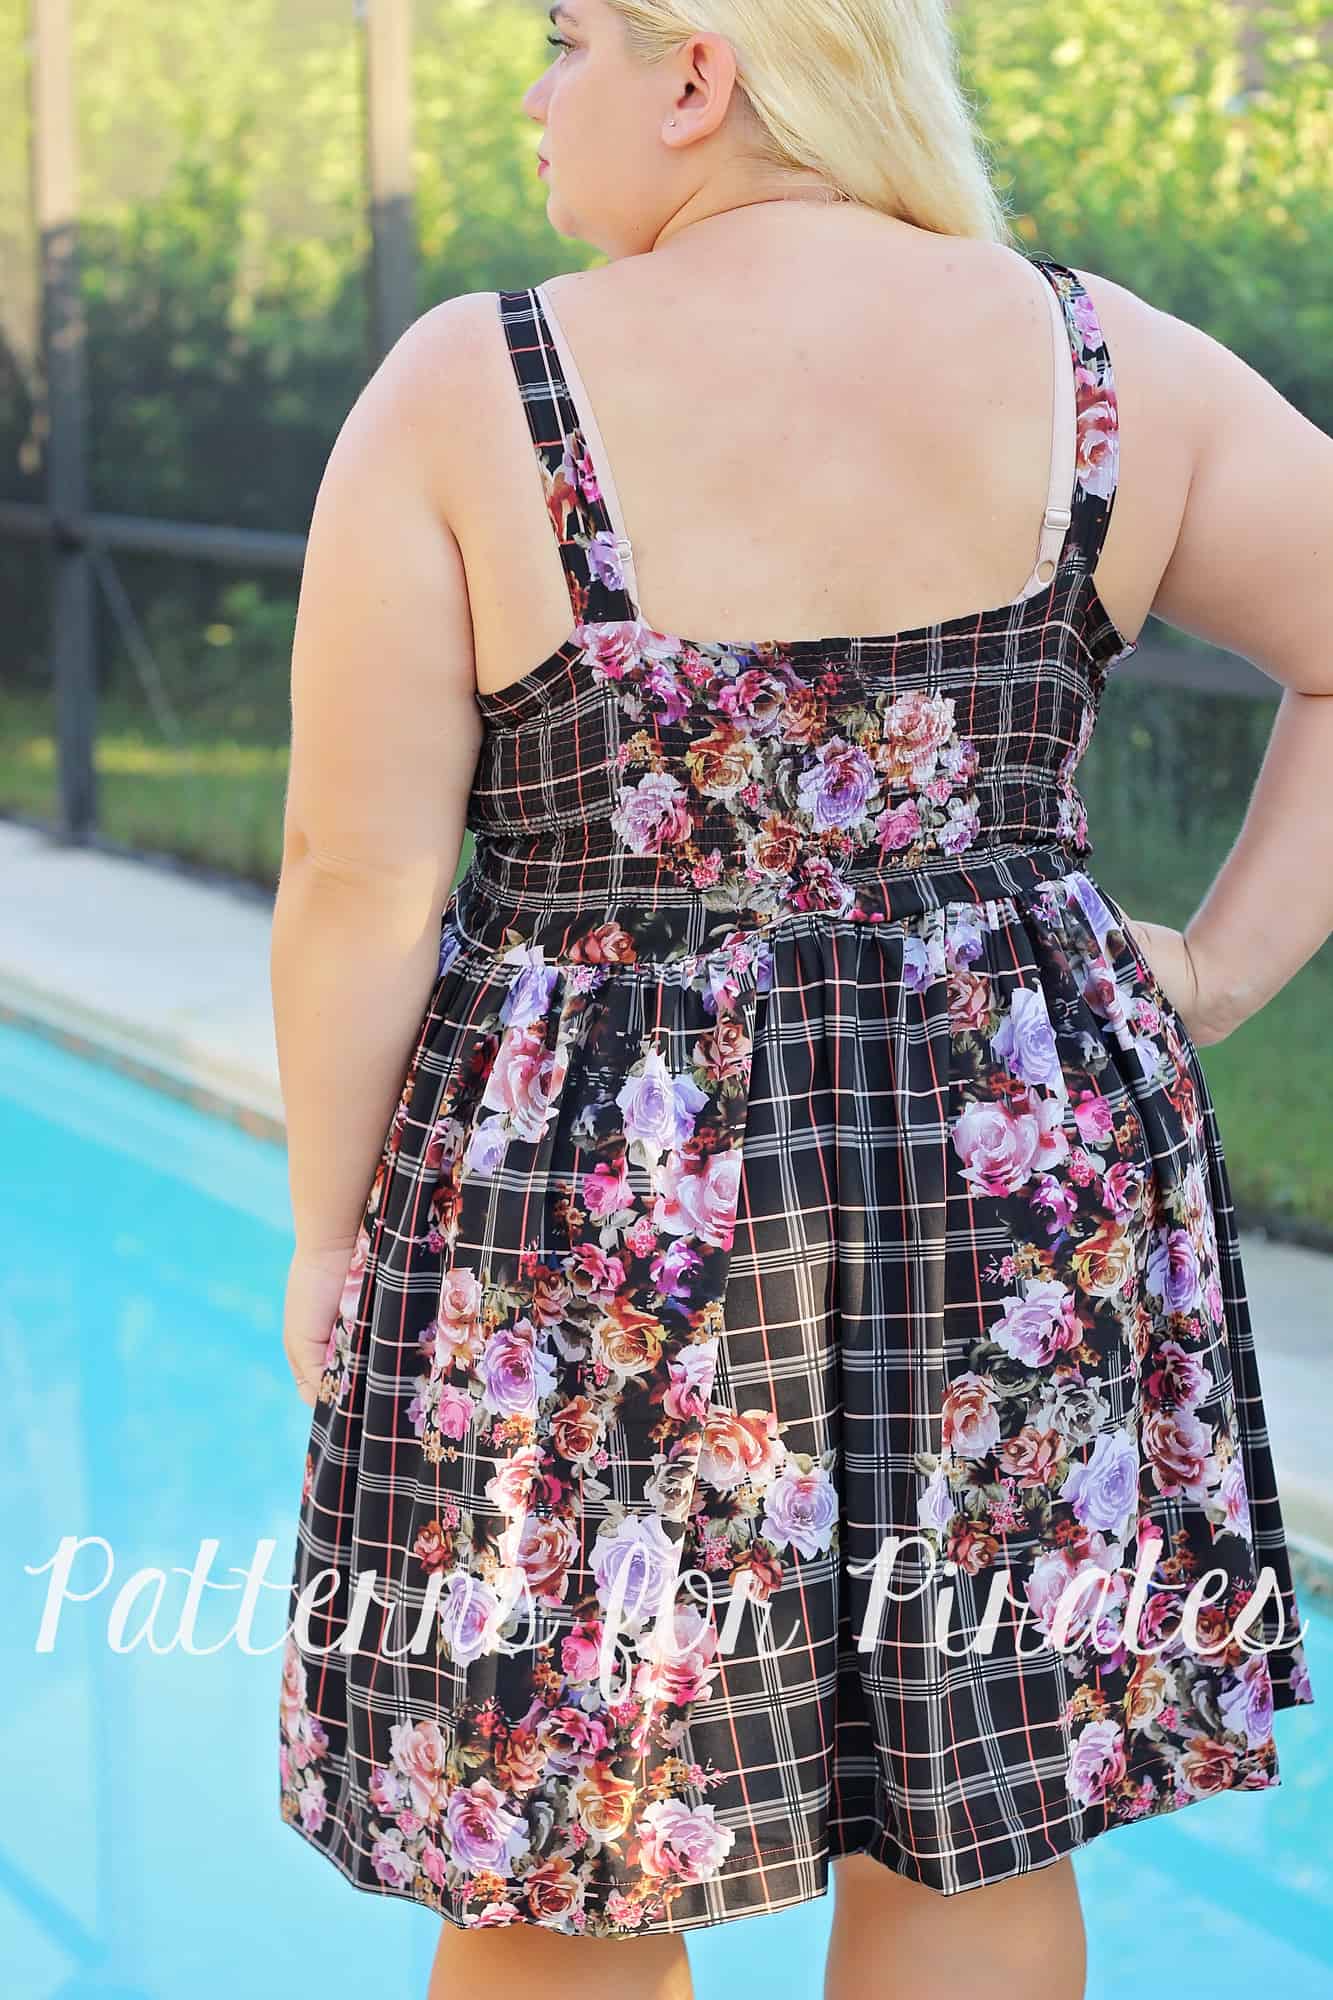
Shirred back

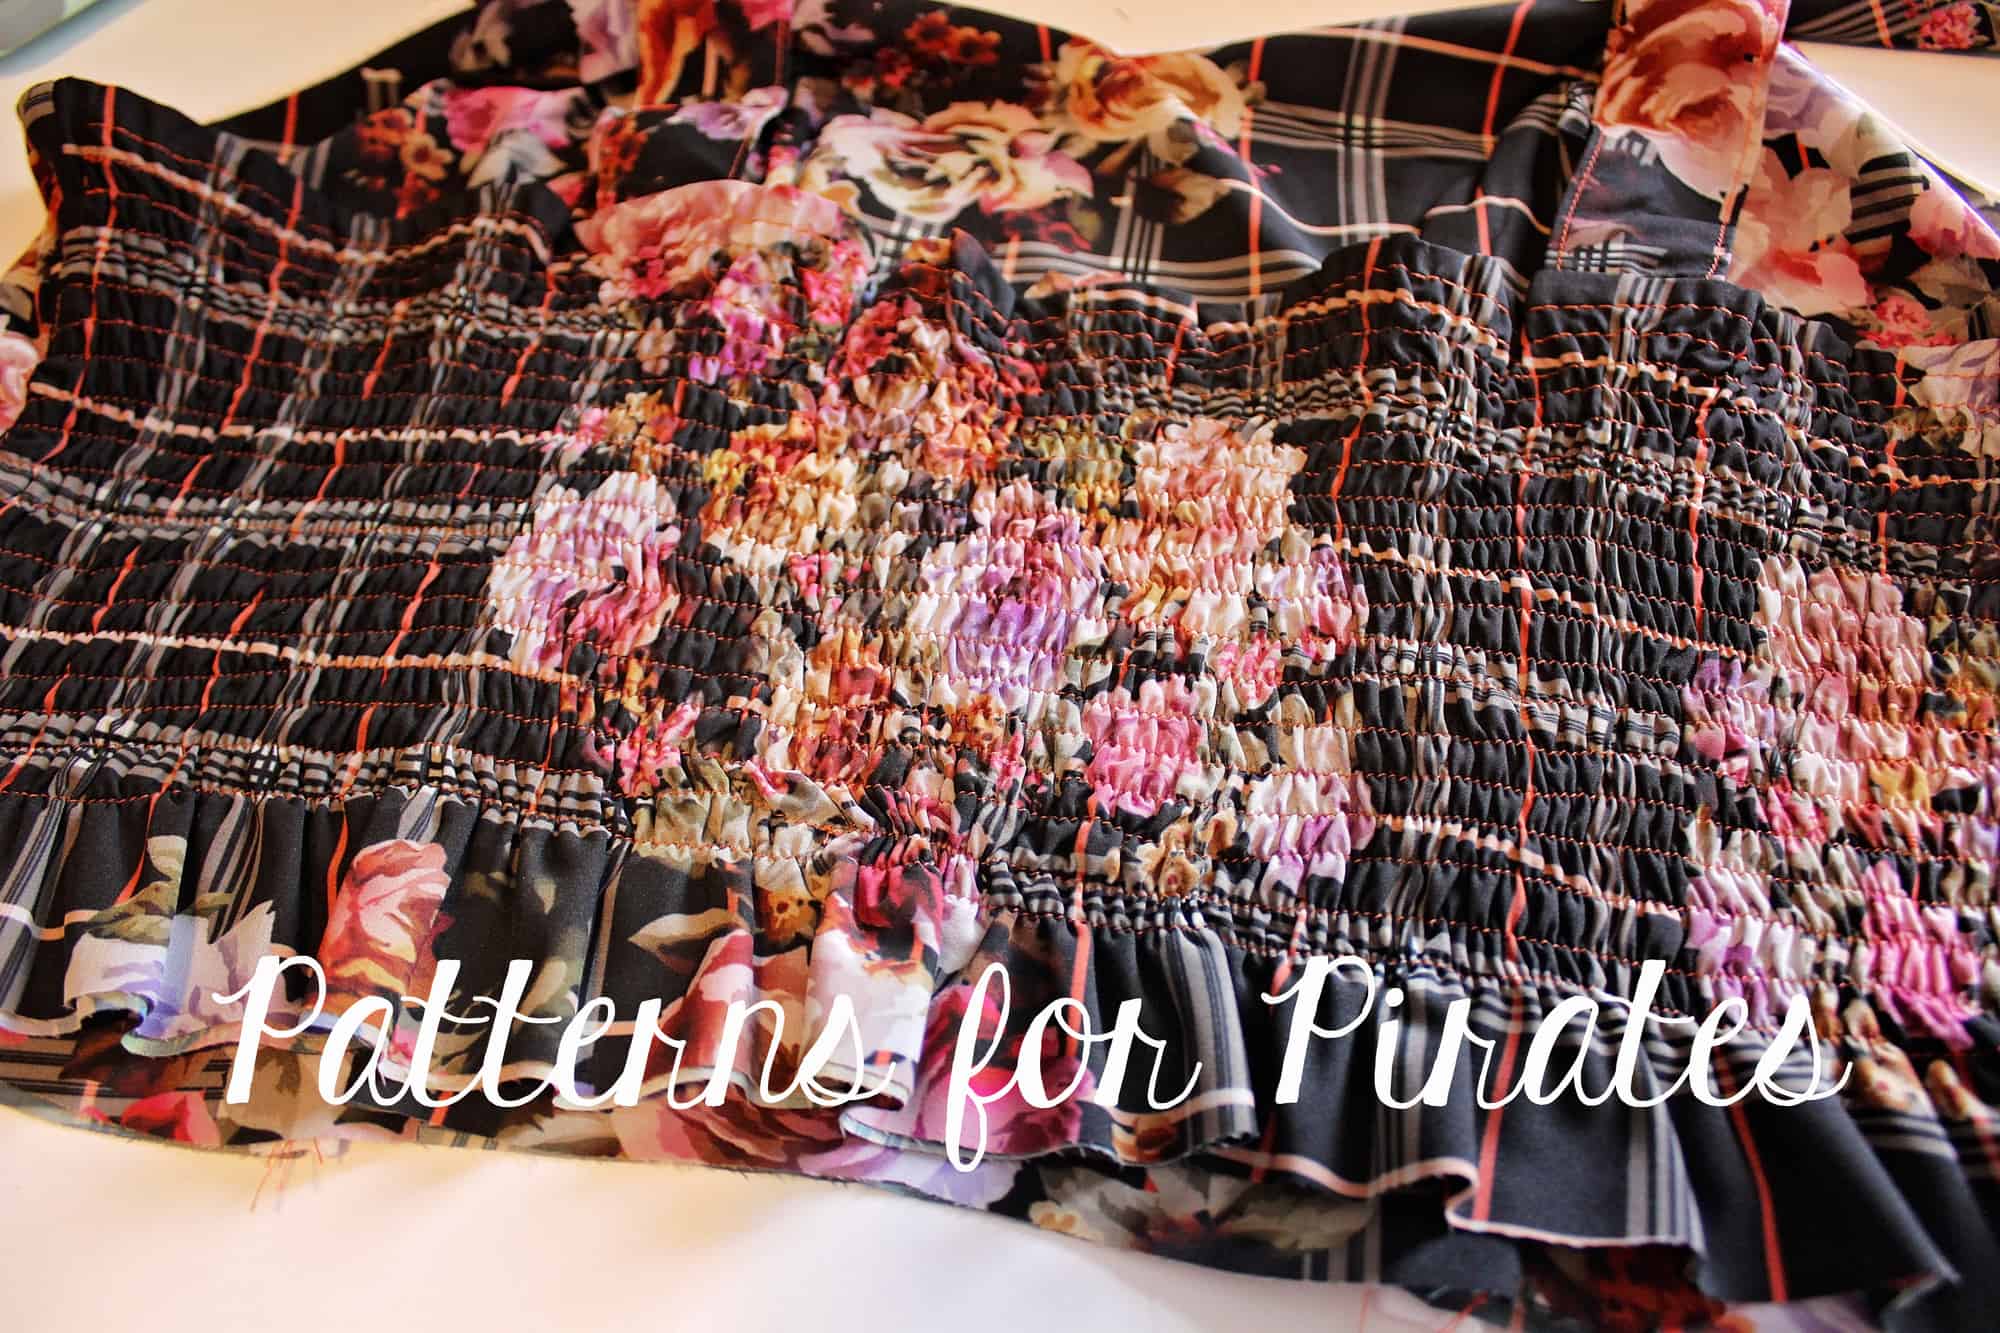
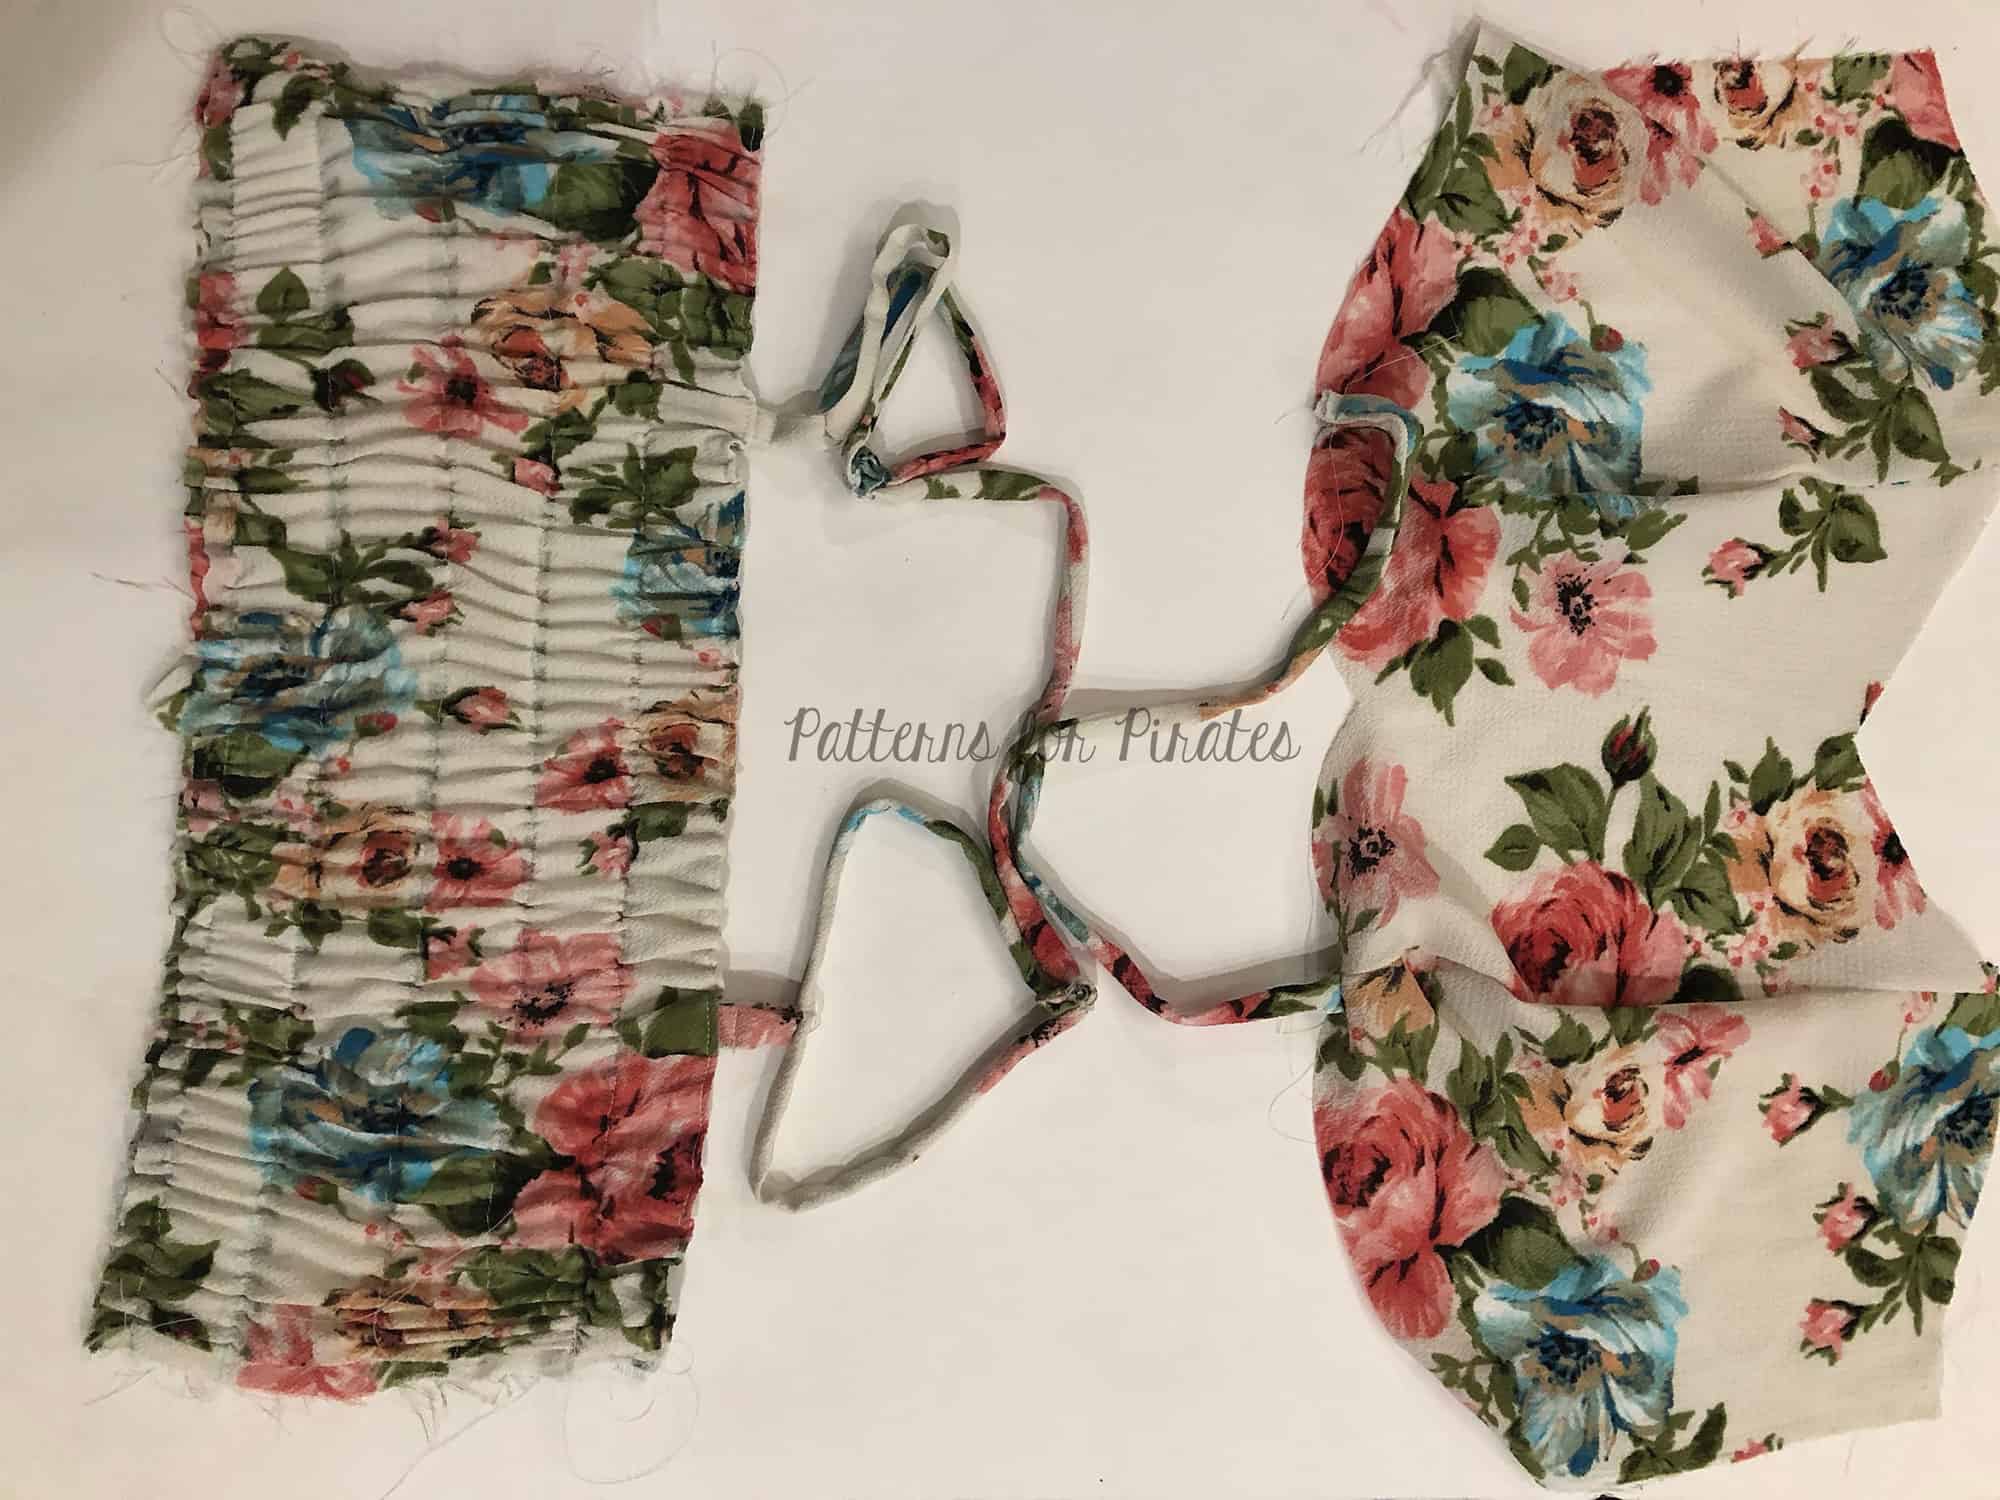
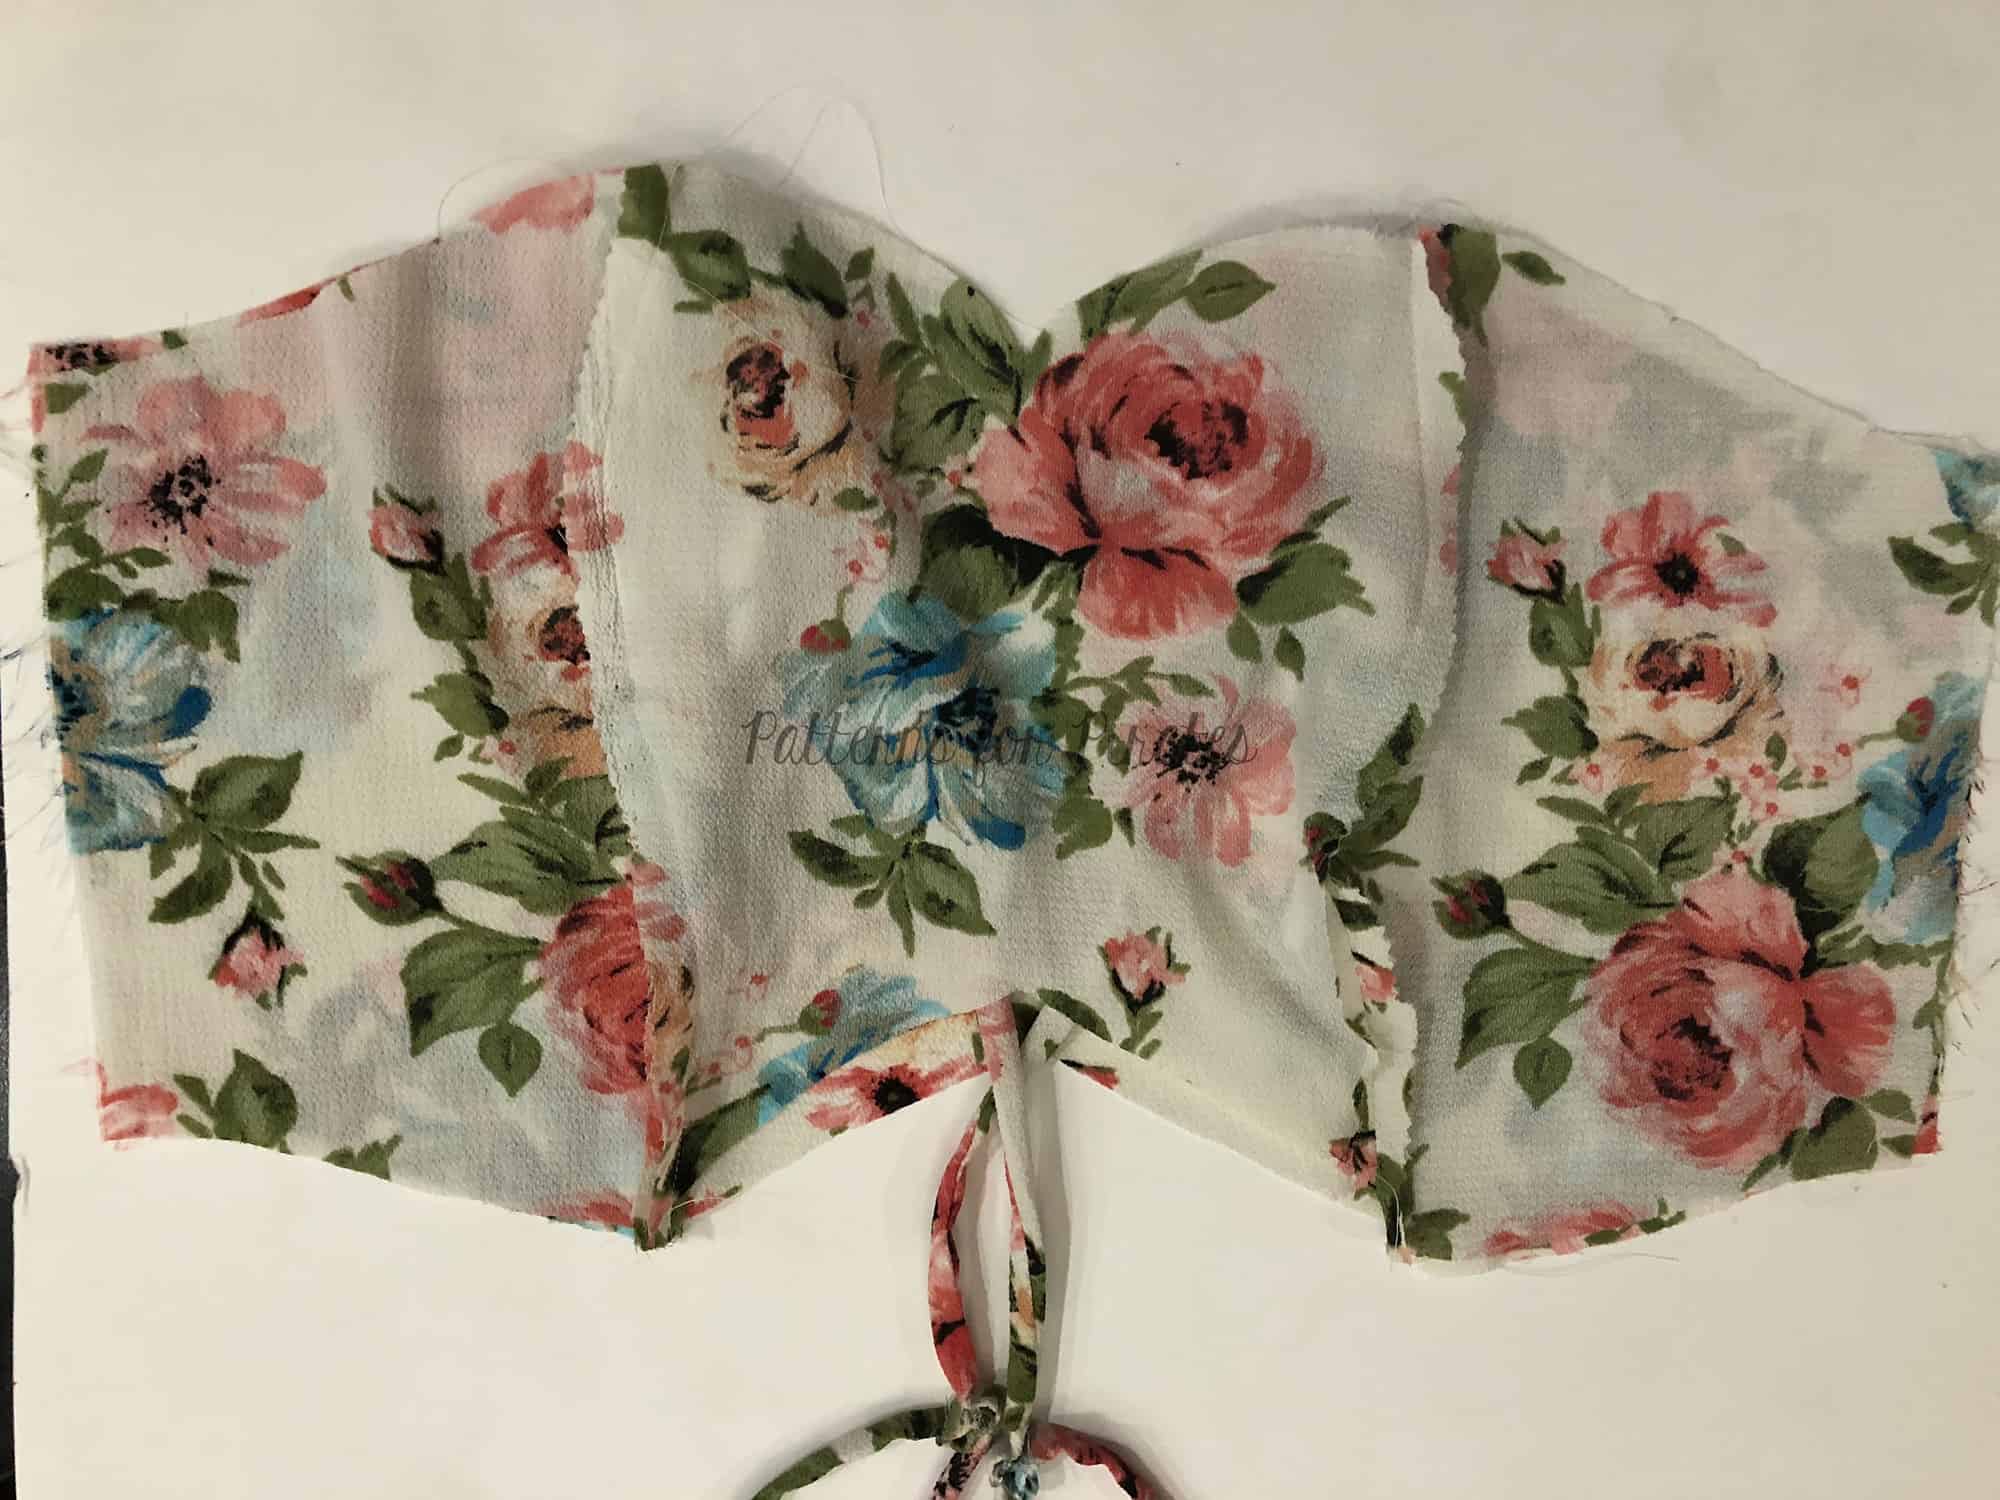
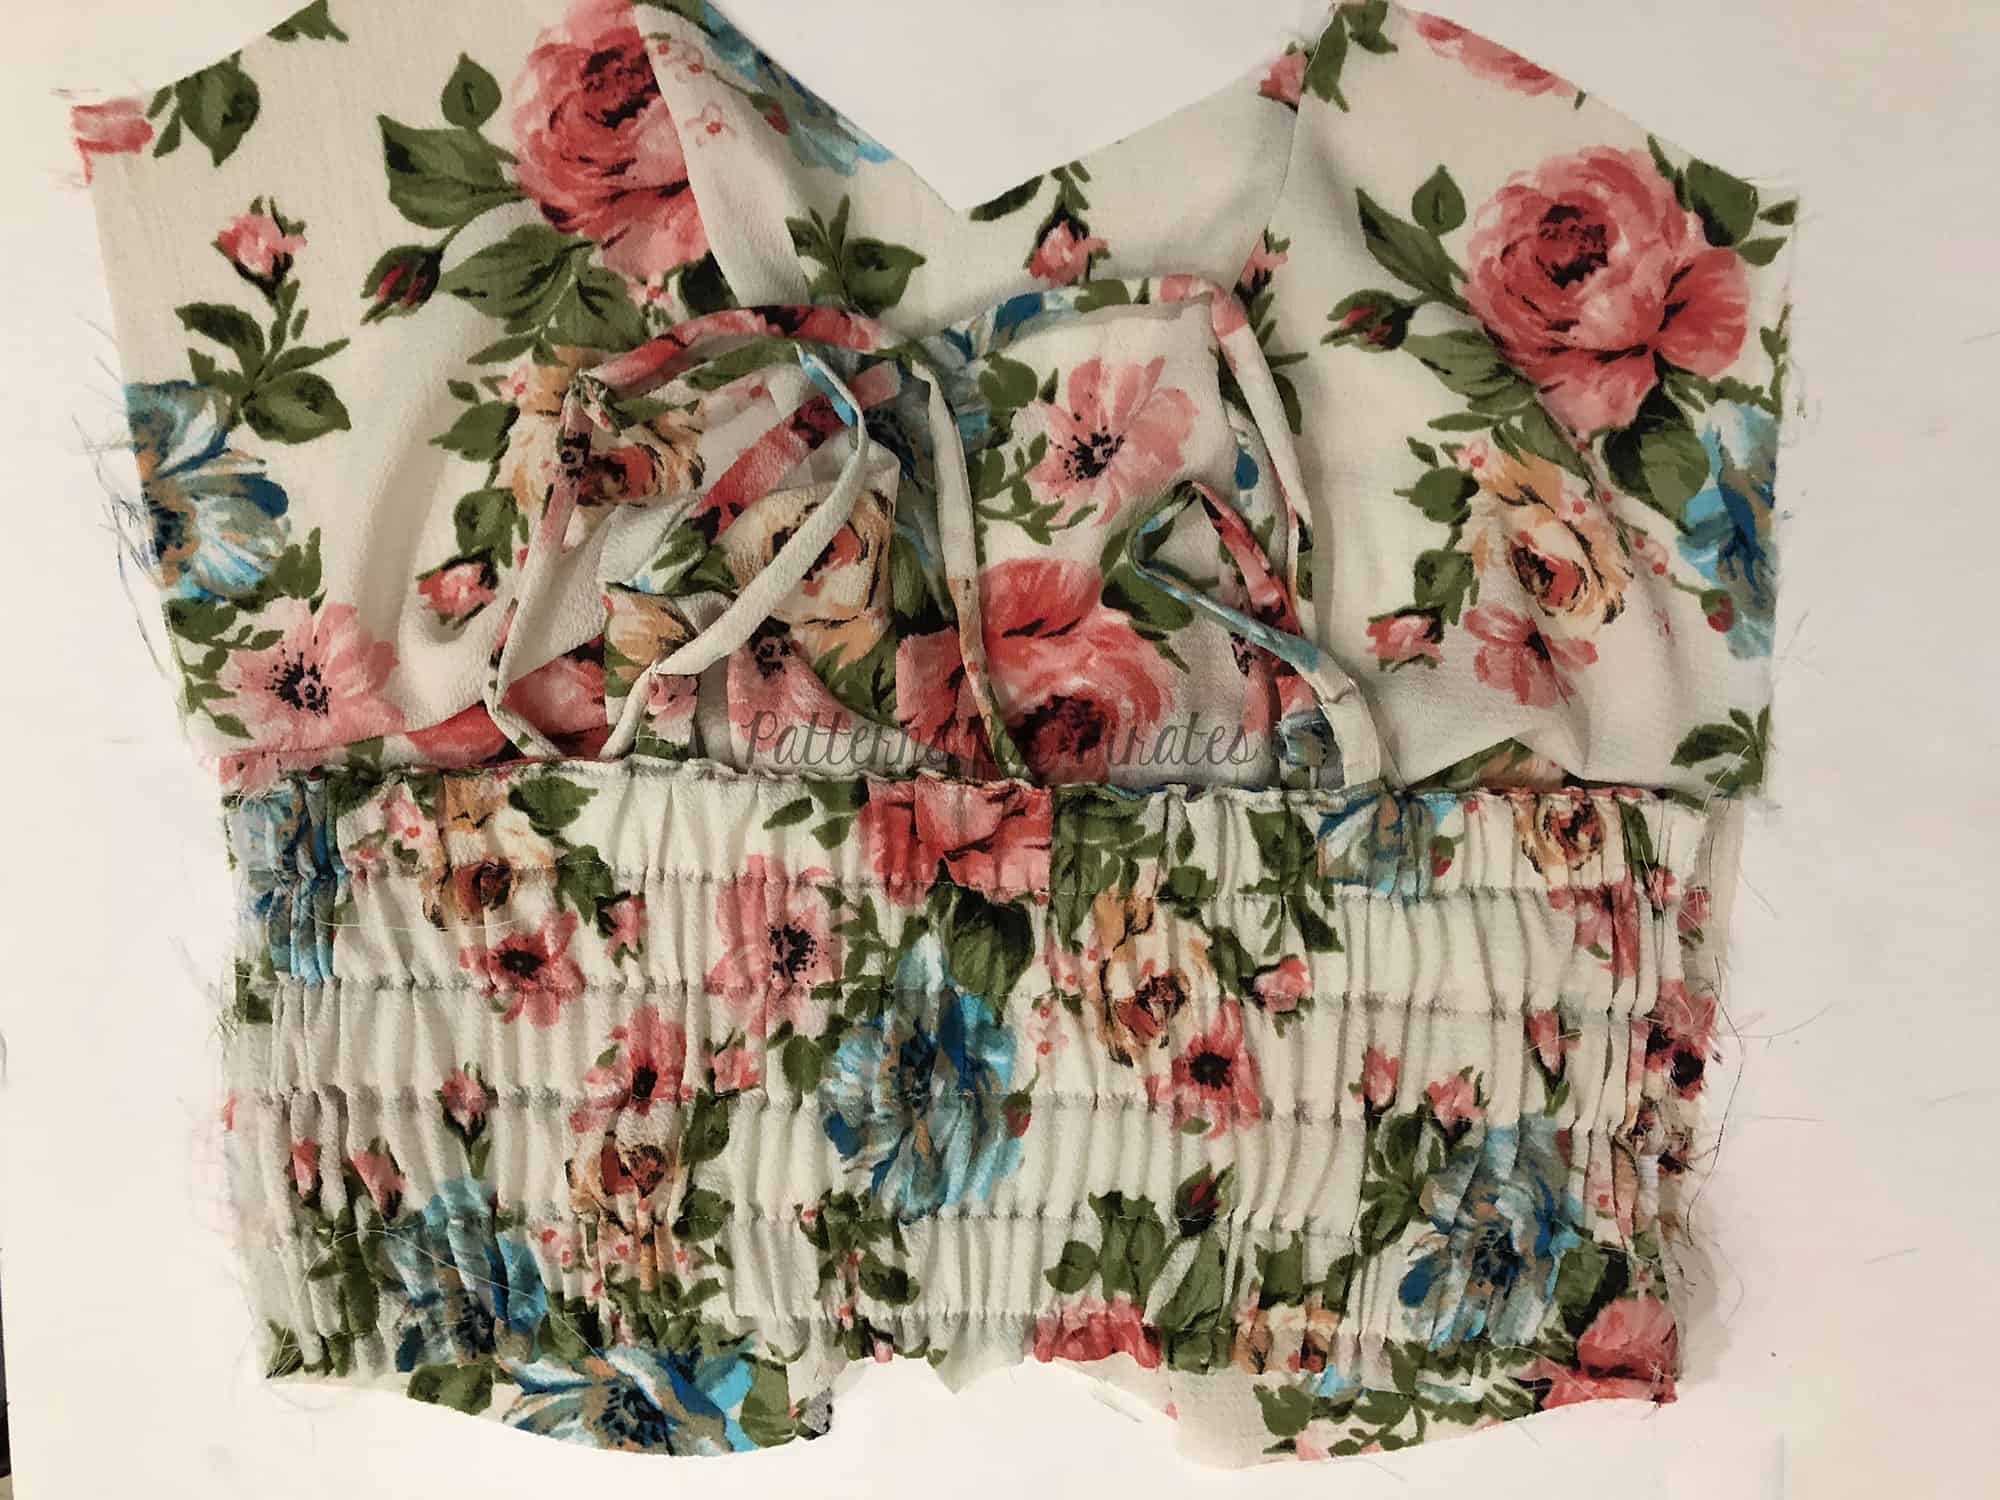
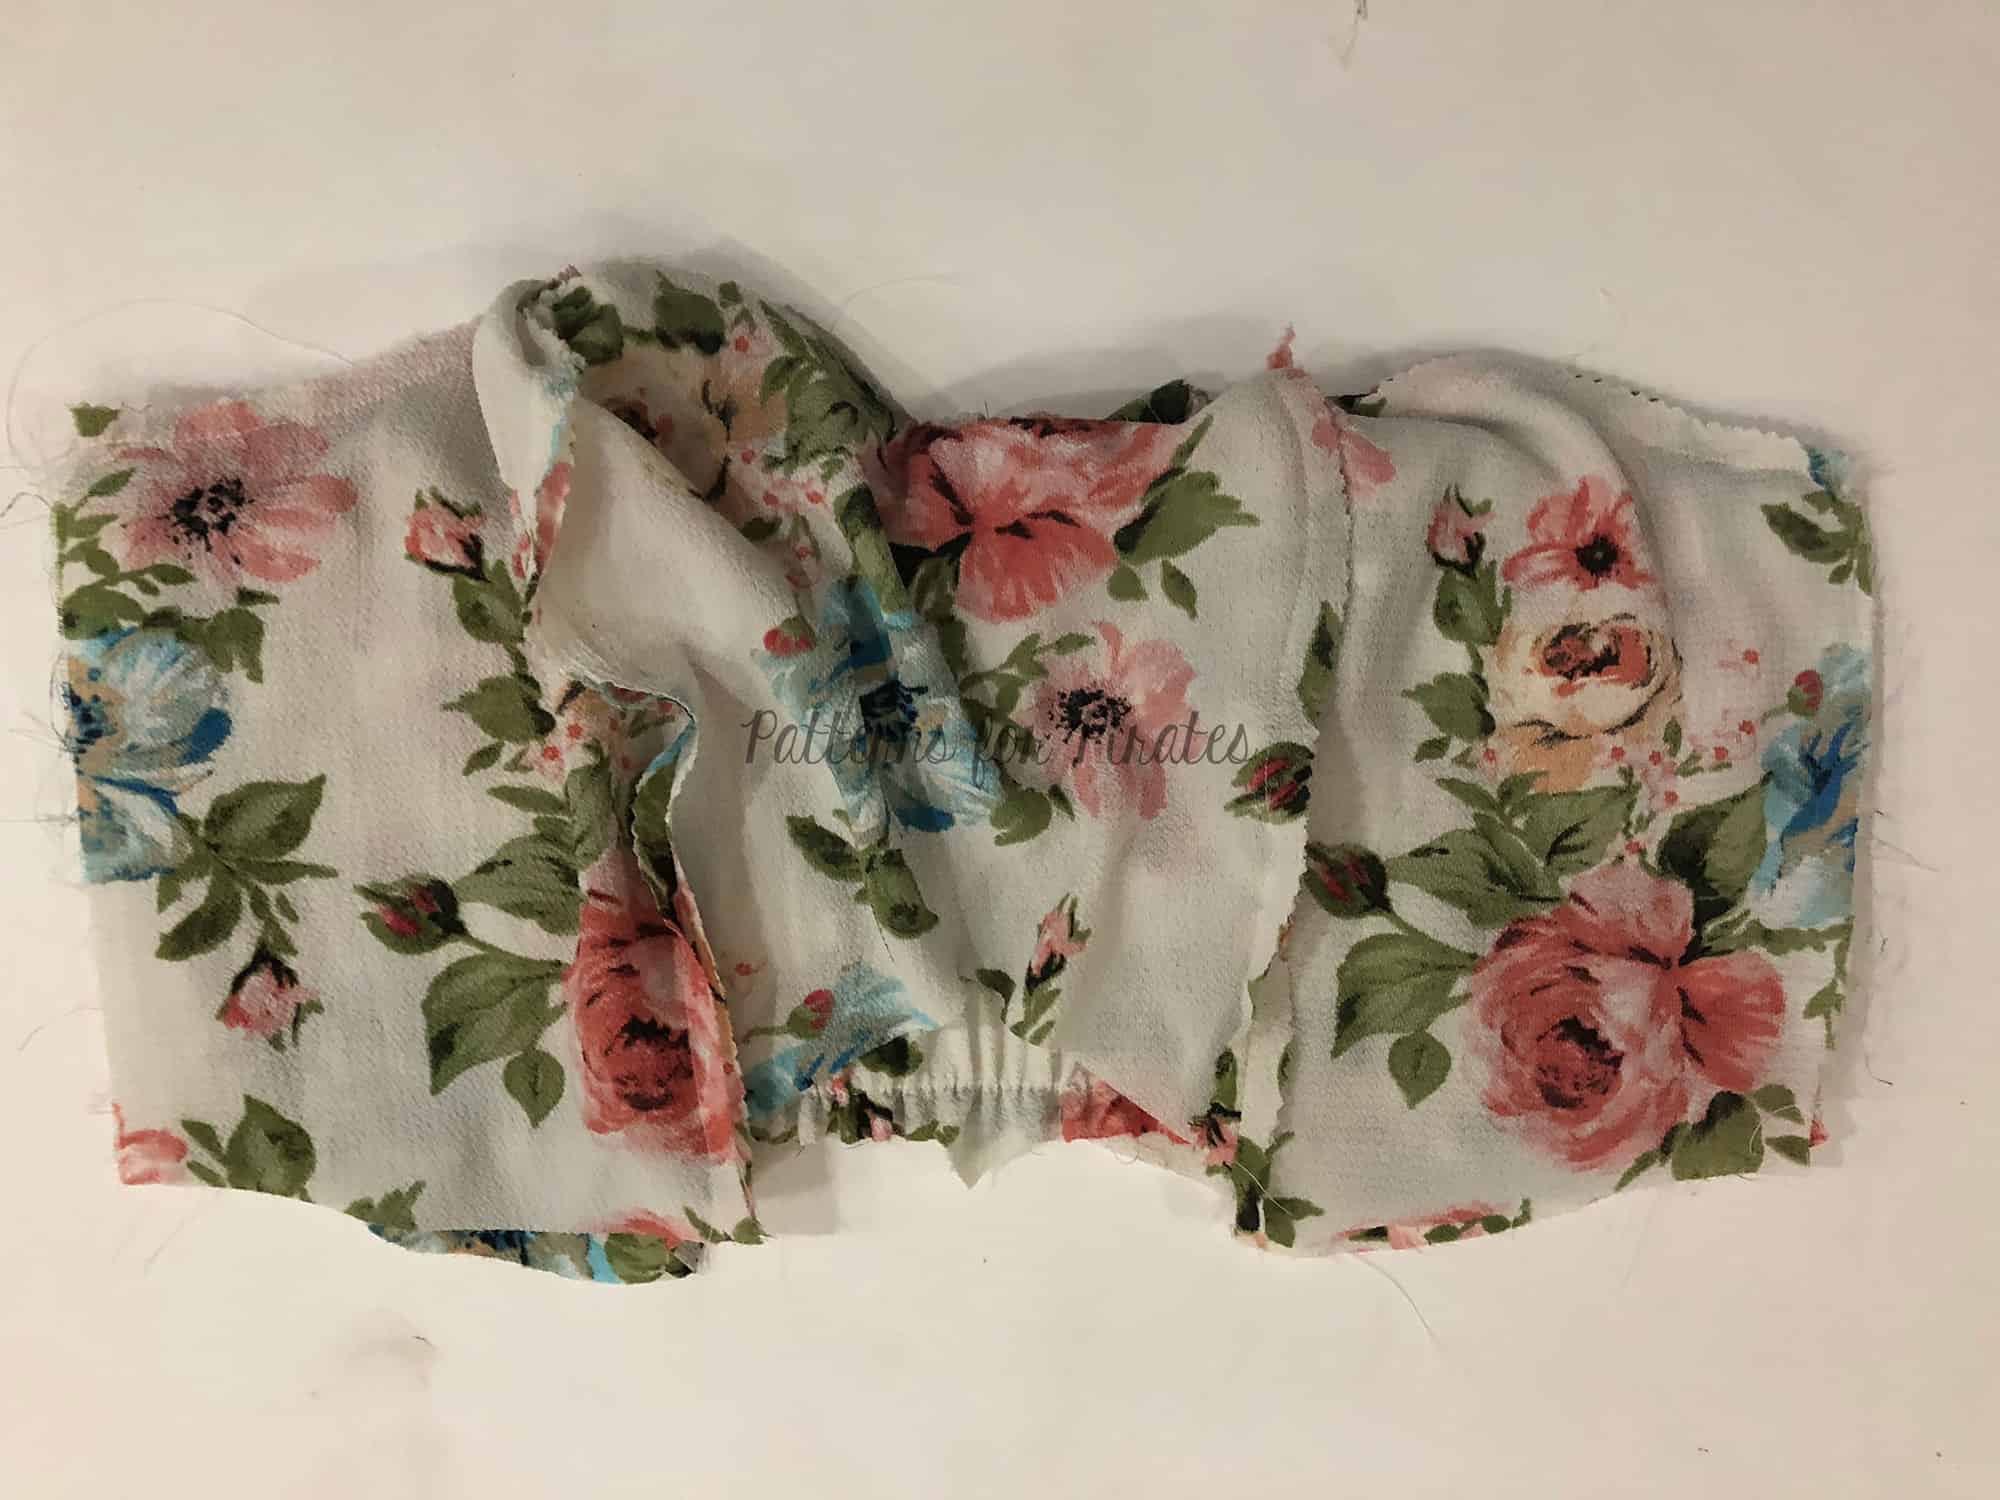
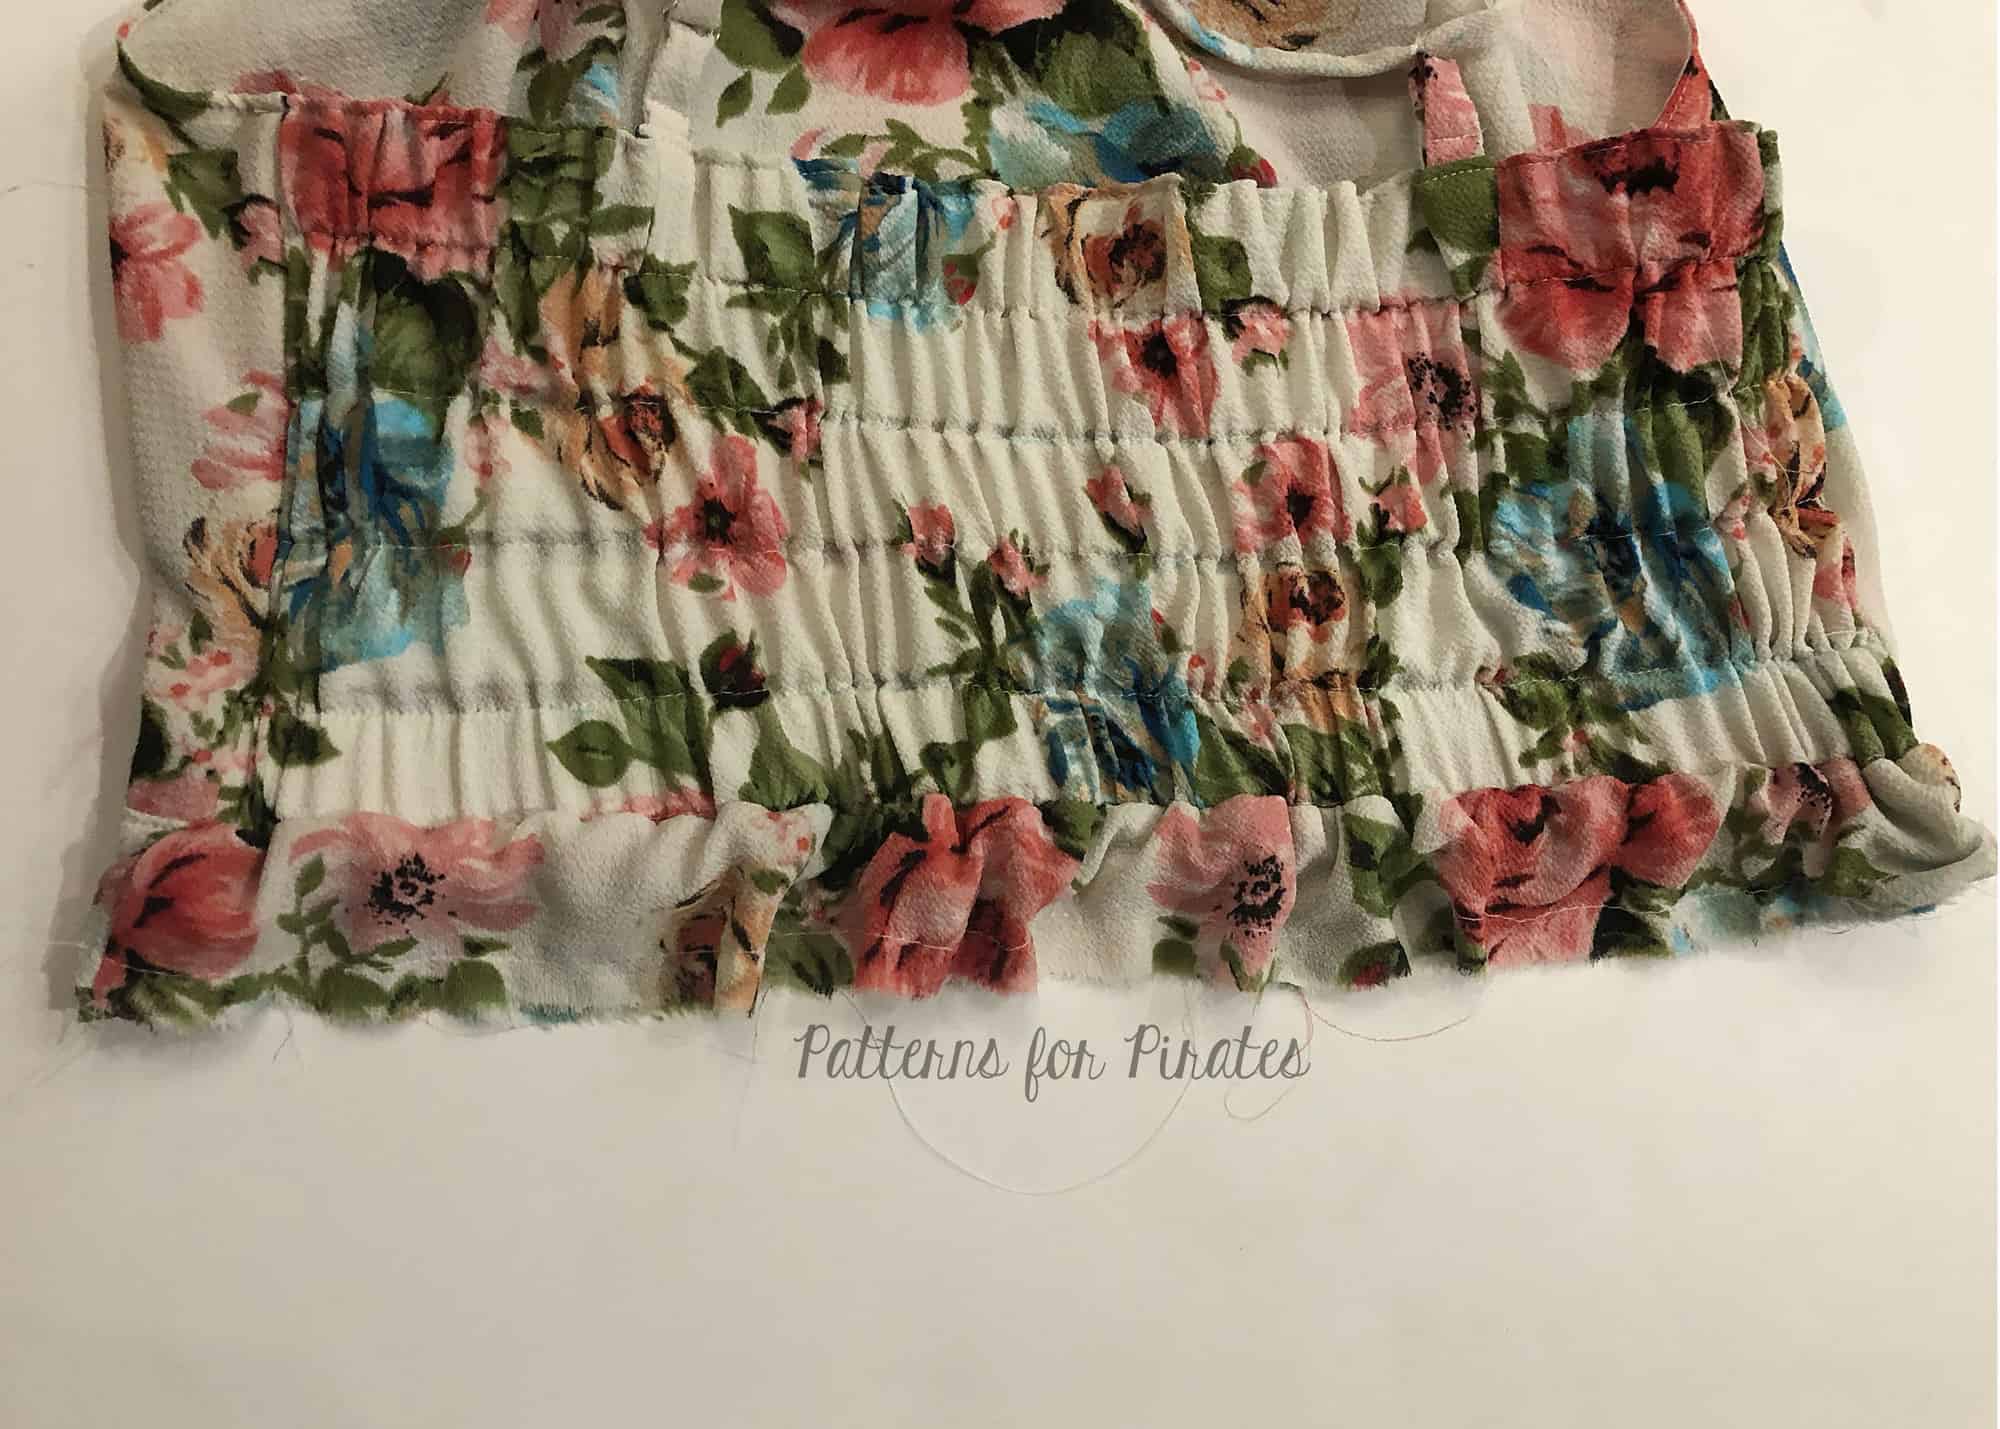
The So Classic Sundress feature elastic casing at the back bodice but if you or your little one prefer the feel of shirring or would just like an extra option you can do that so easily. Construct the bodice as shown in the pattern and skip cutting the elastic pieces. and creating the casings and replace with shirring.

All you have left to do now is shirr the back using elastic thread. Follow the tips in the Shirring 101 blog we have for you as part of our P4P University. Easy peasy!


….

Adjustable Straps

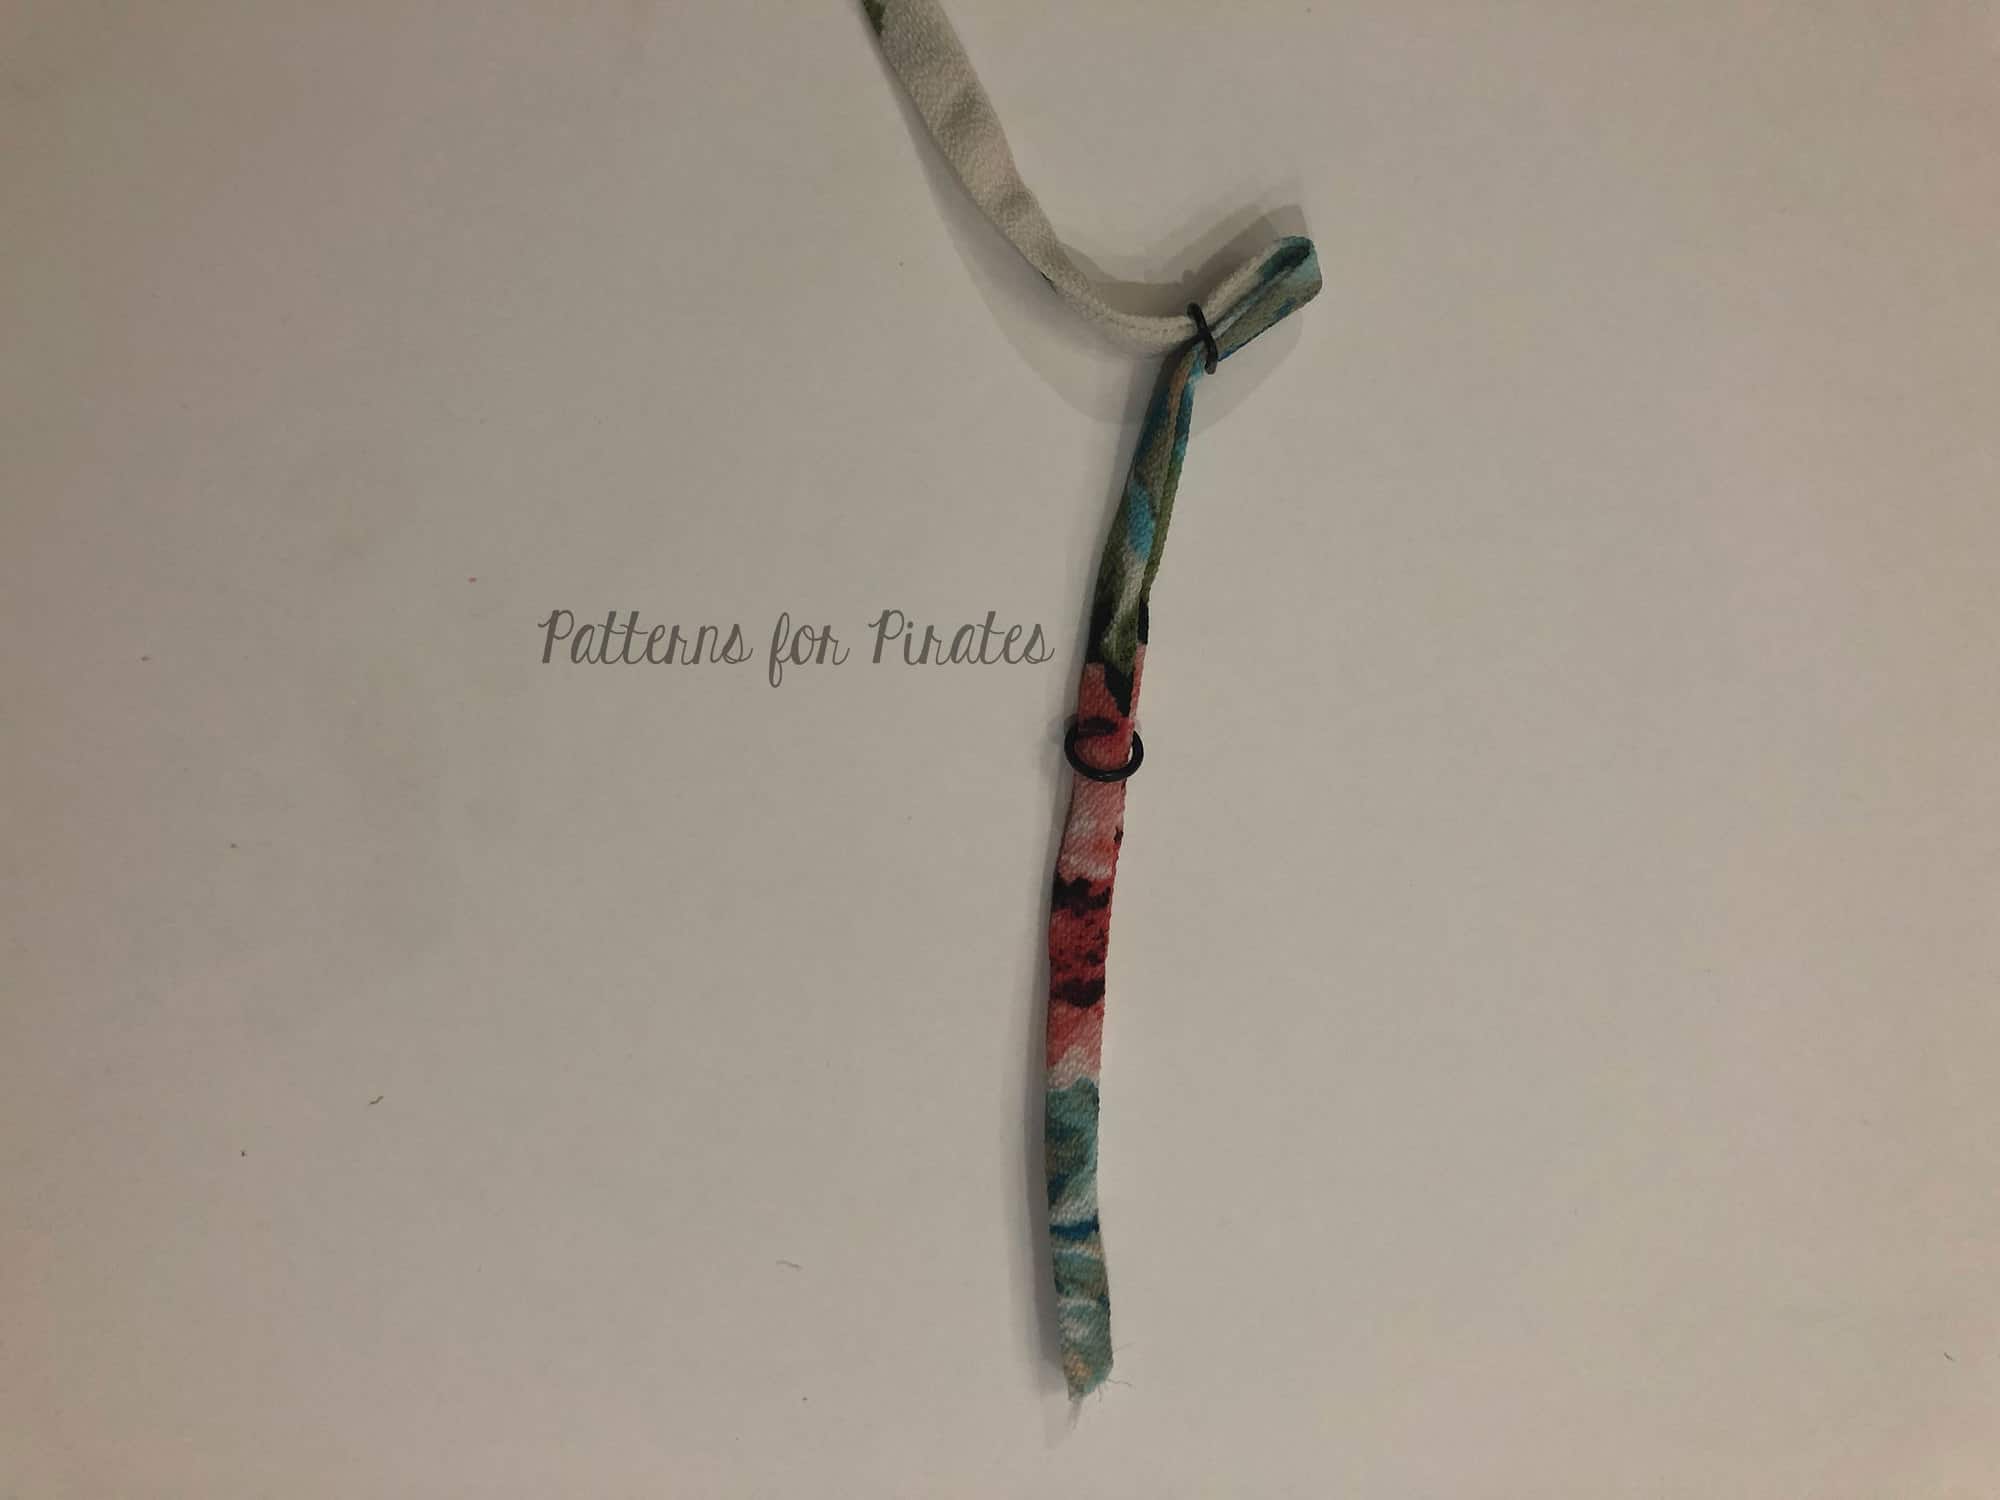
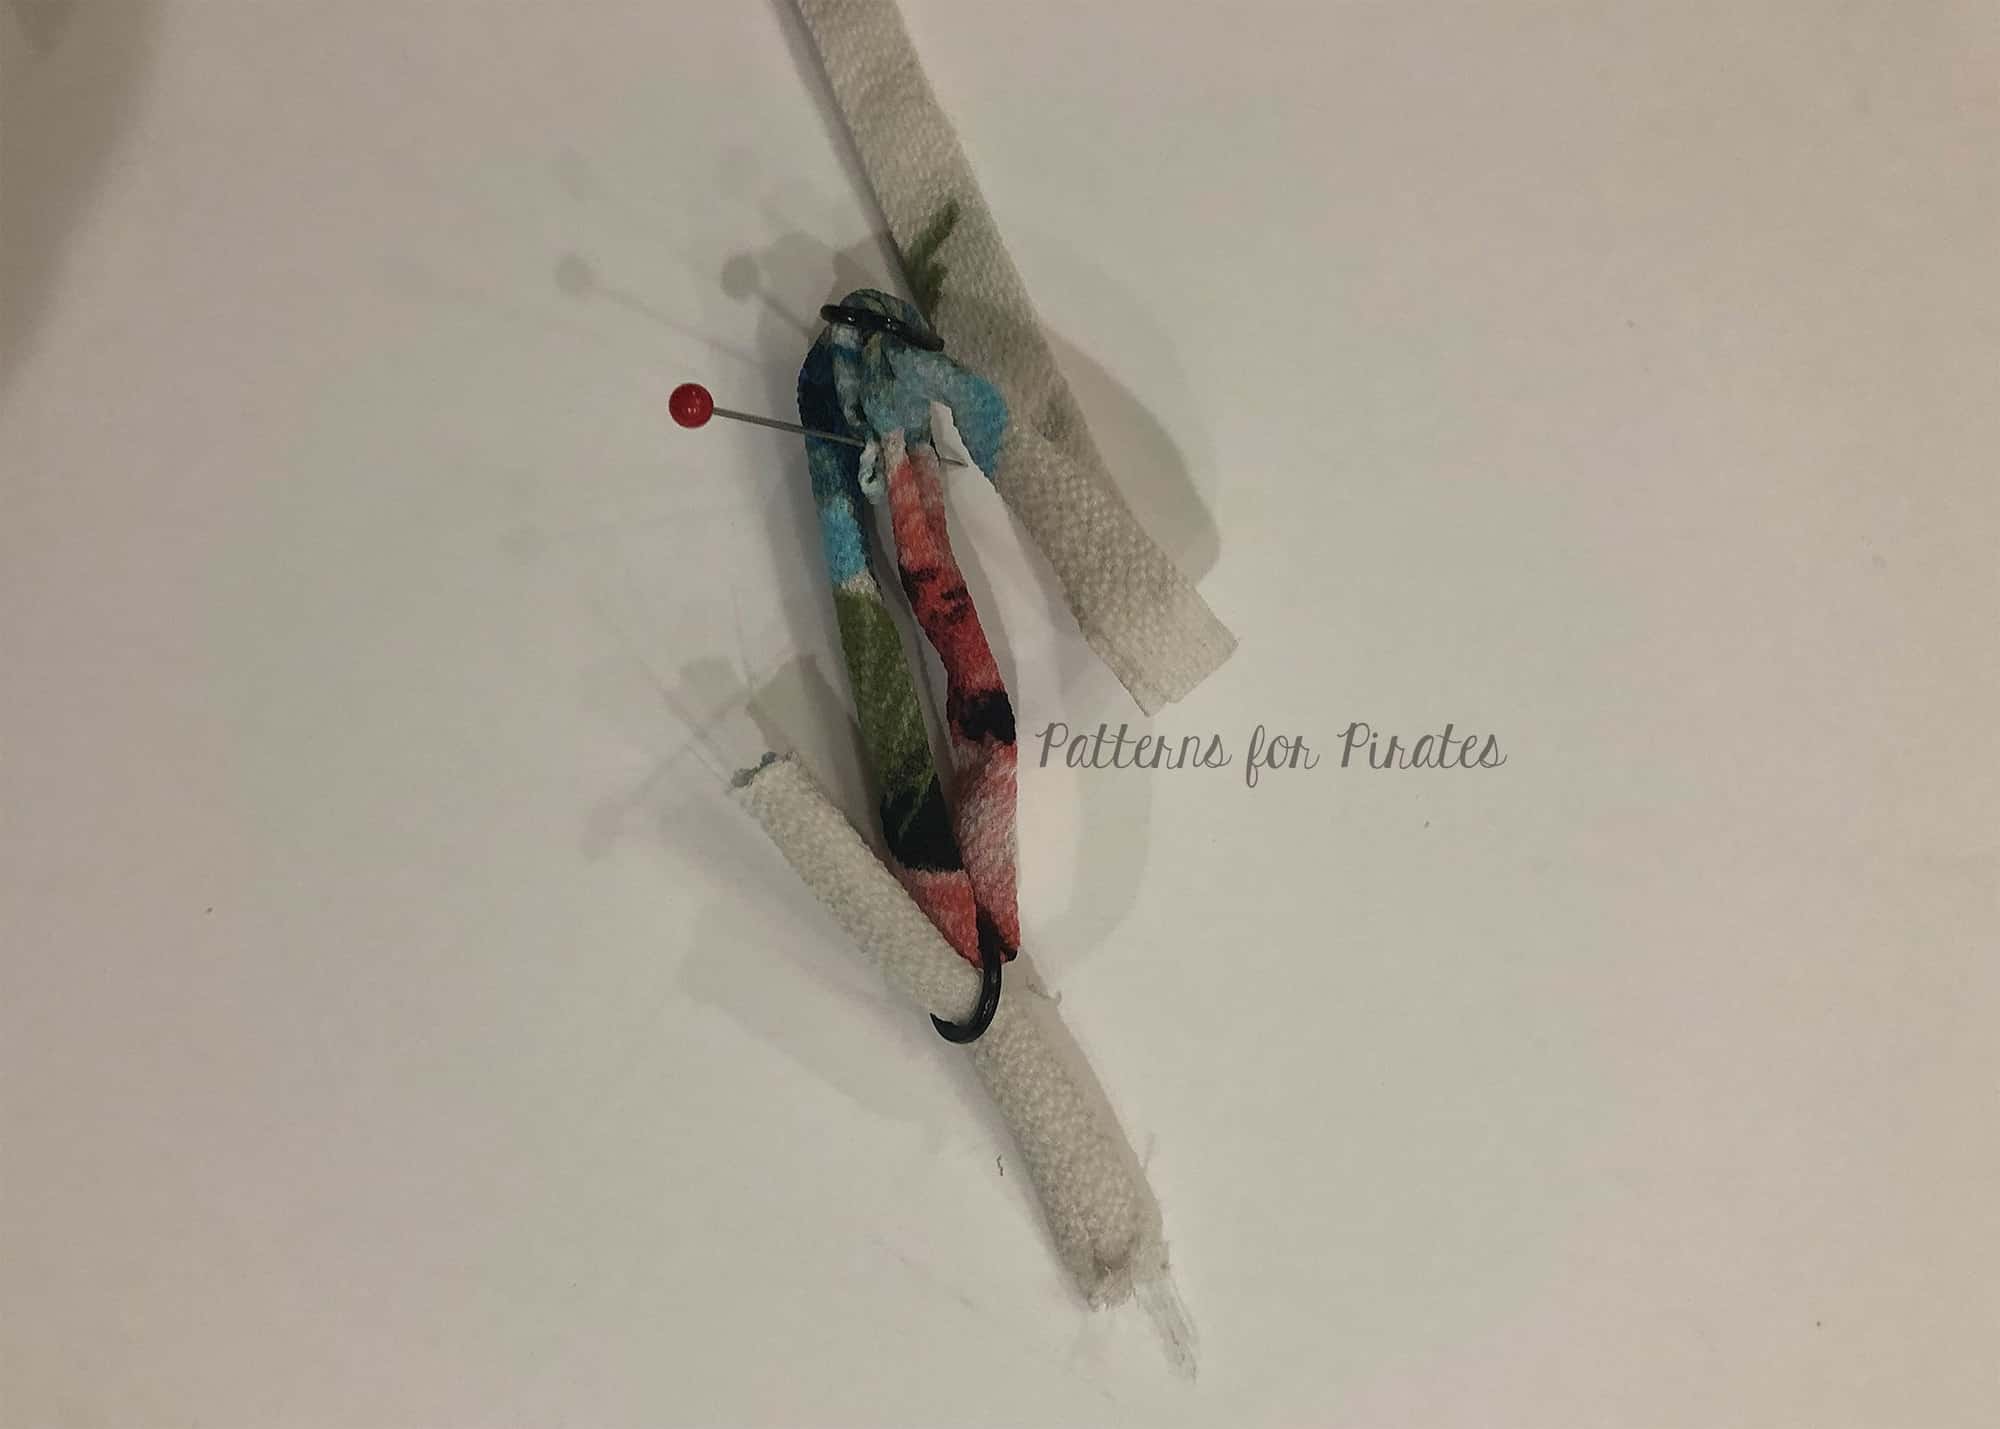
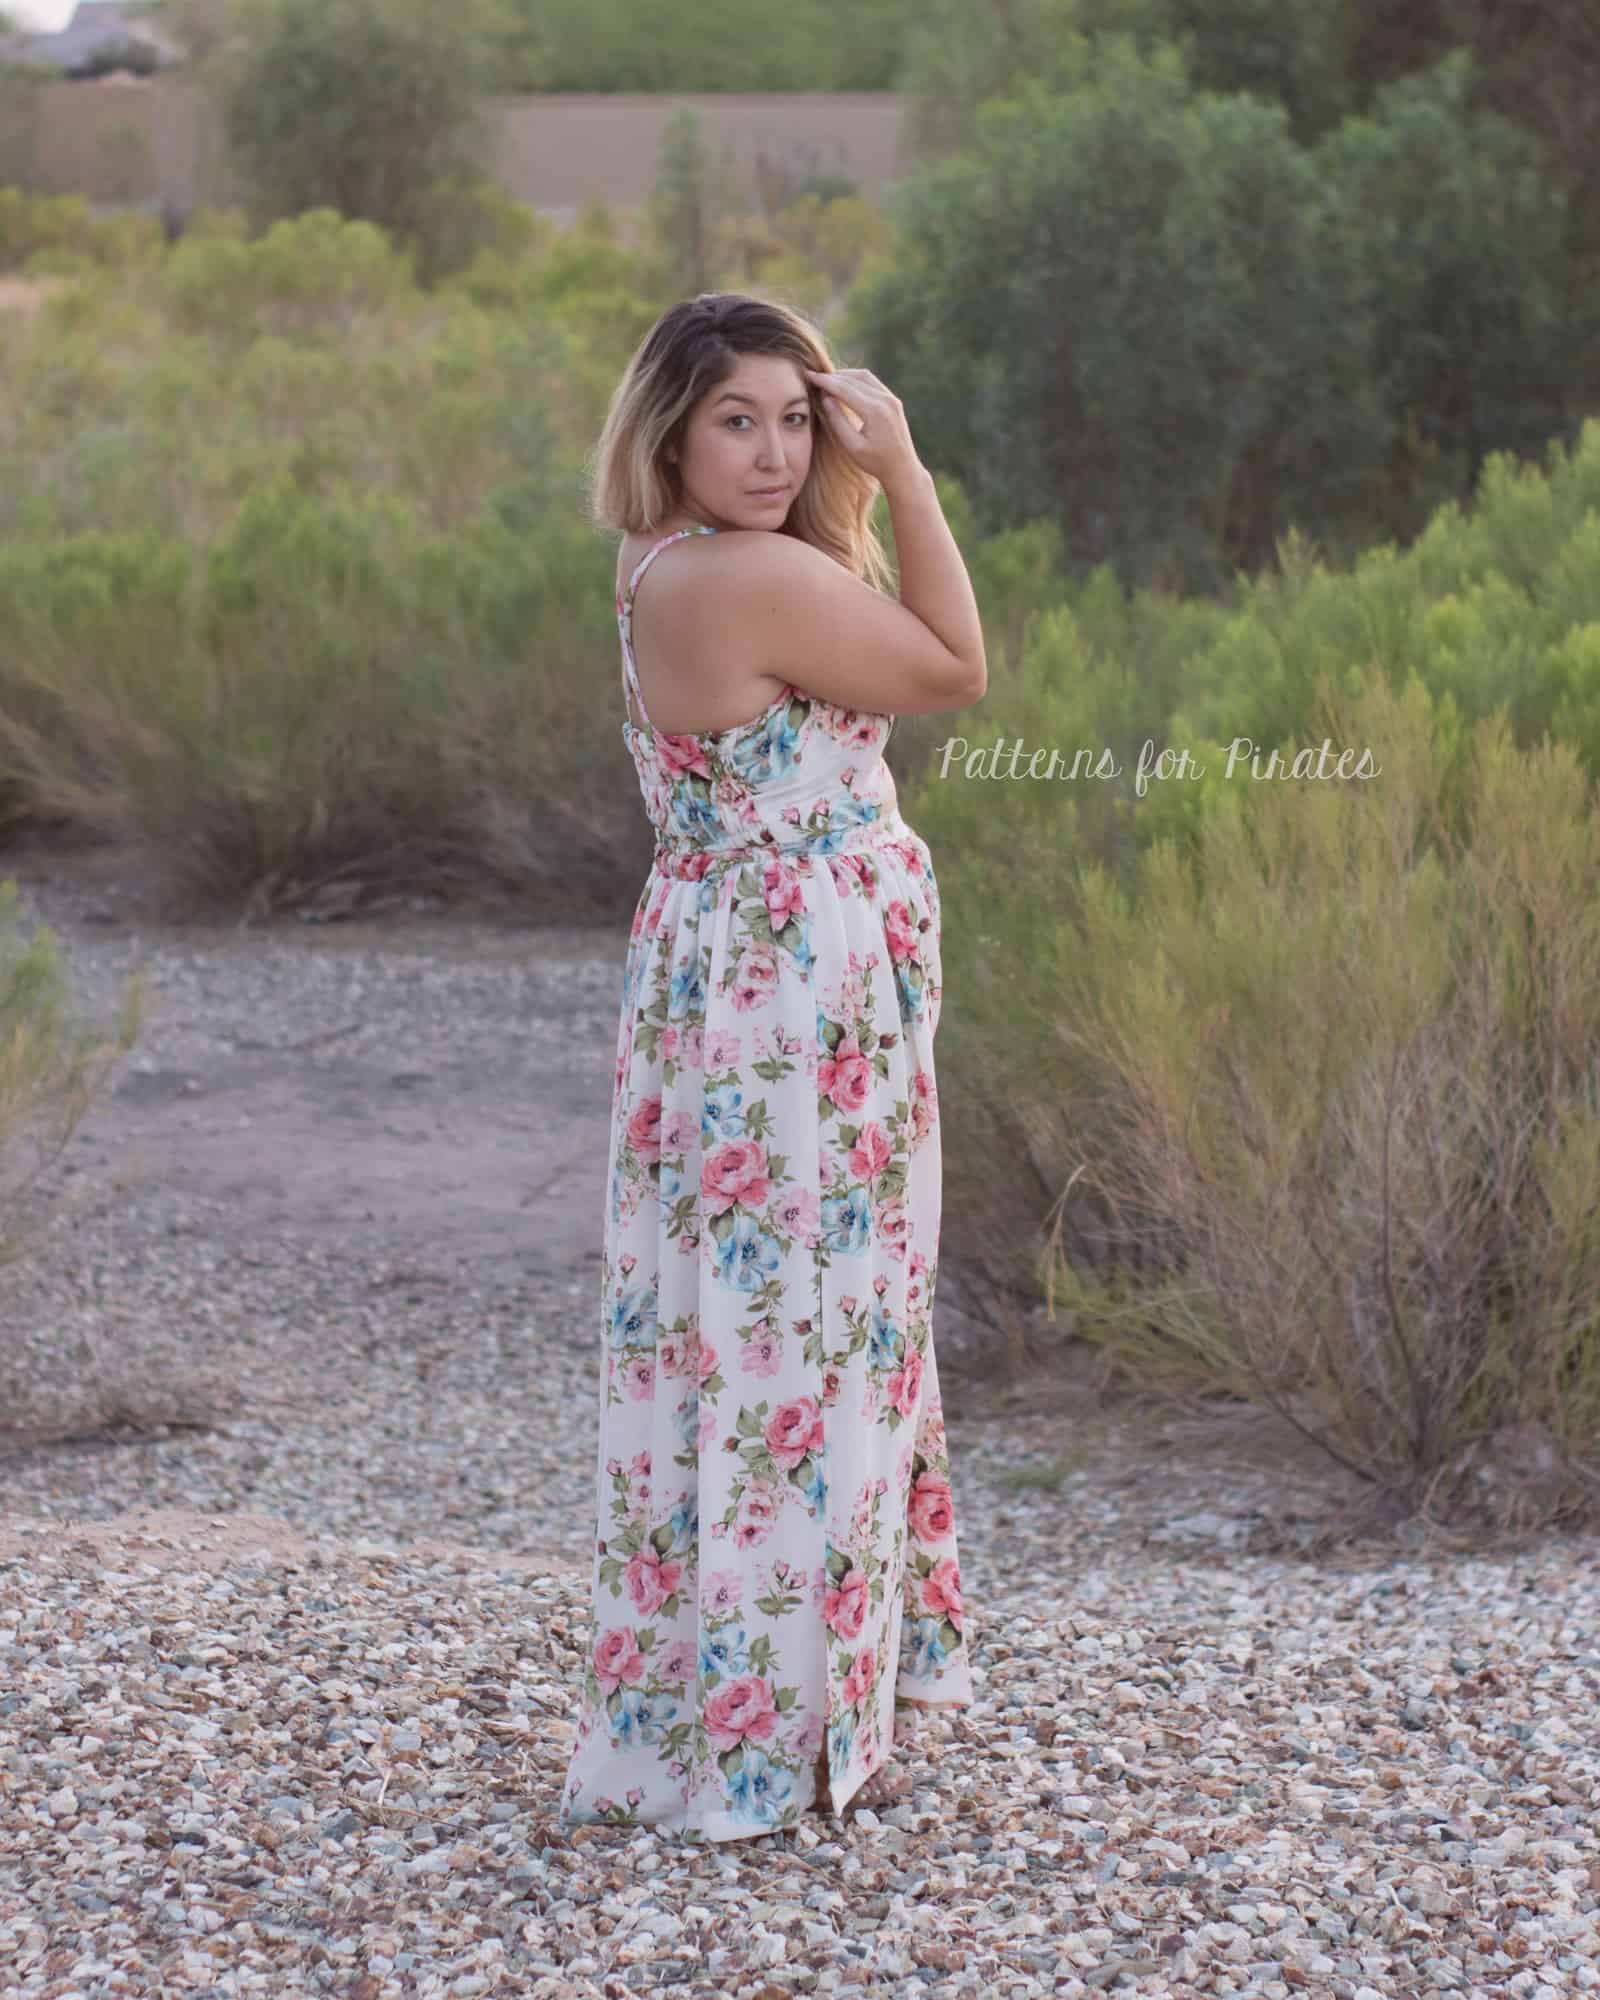
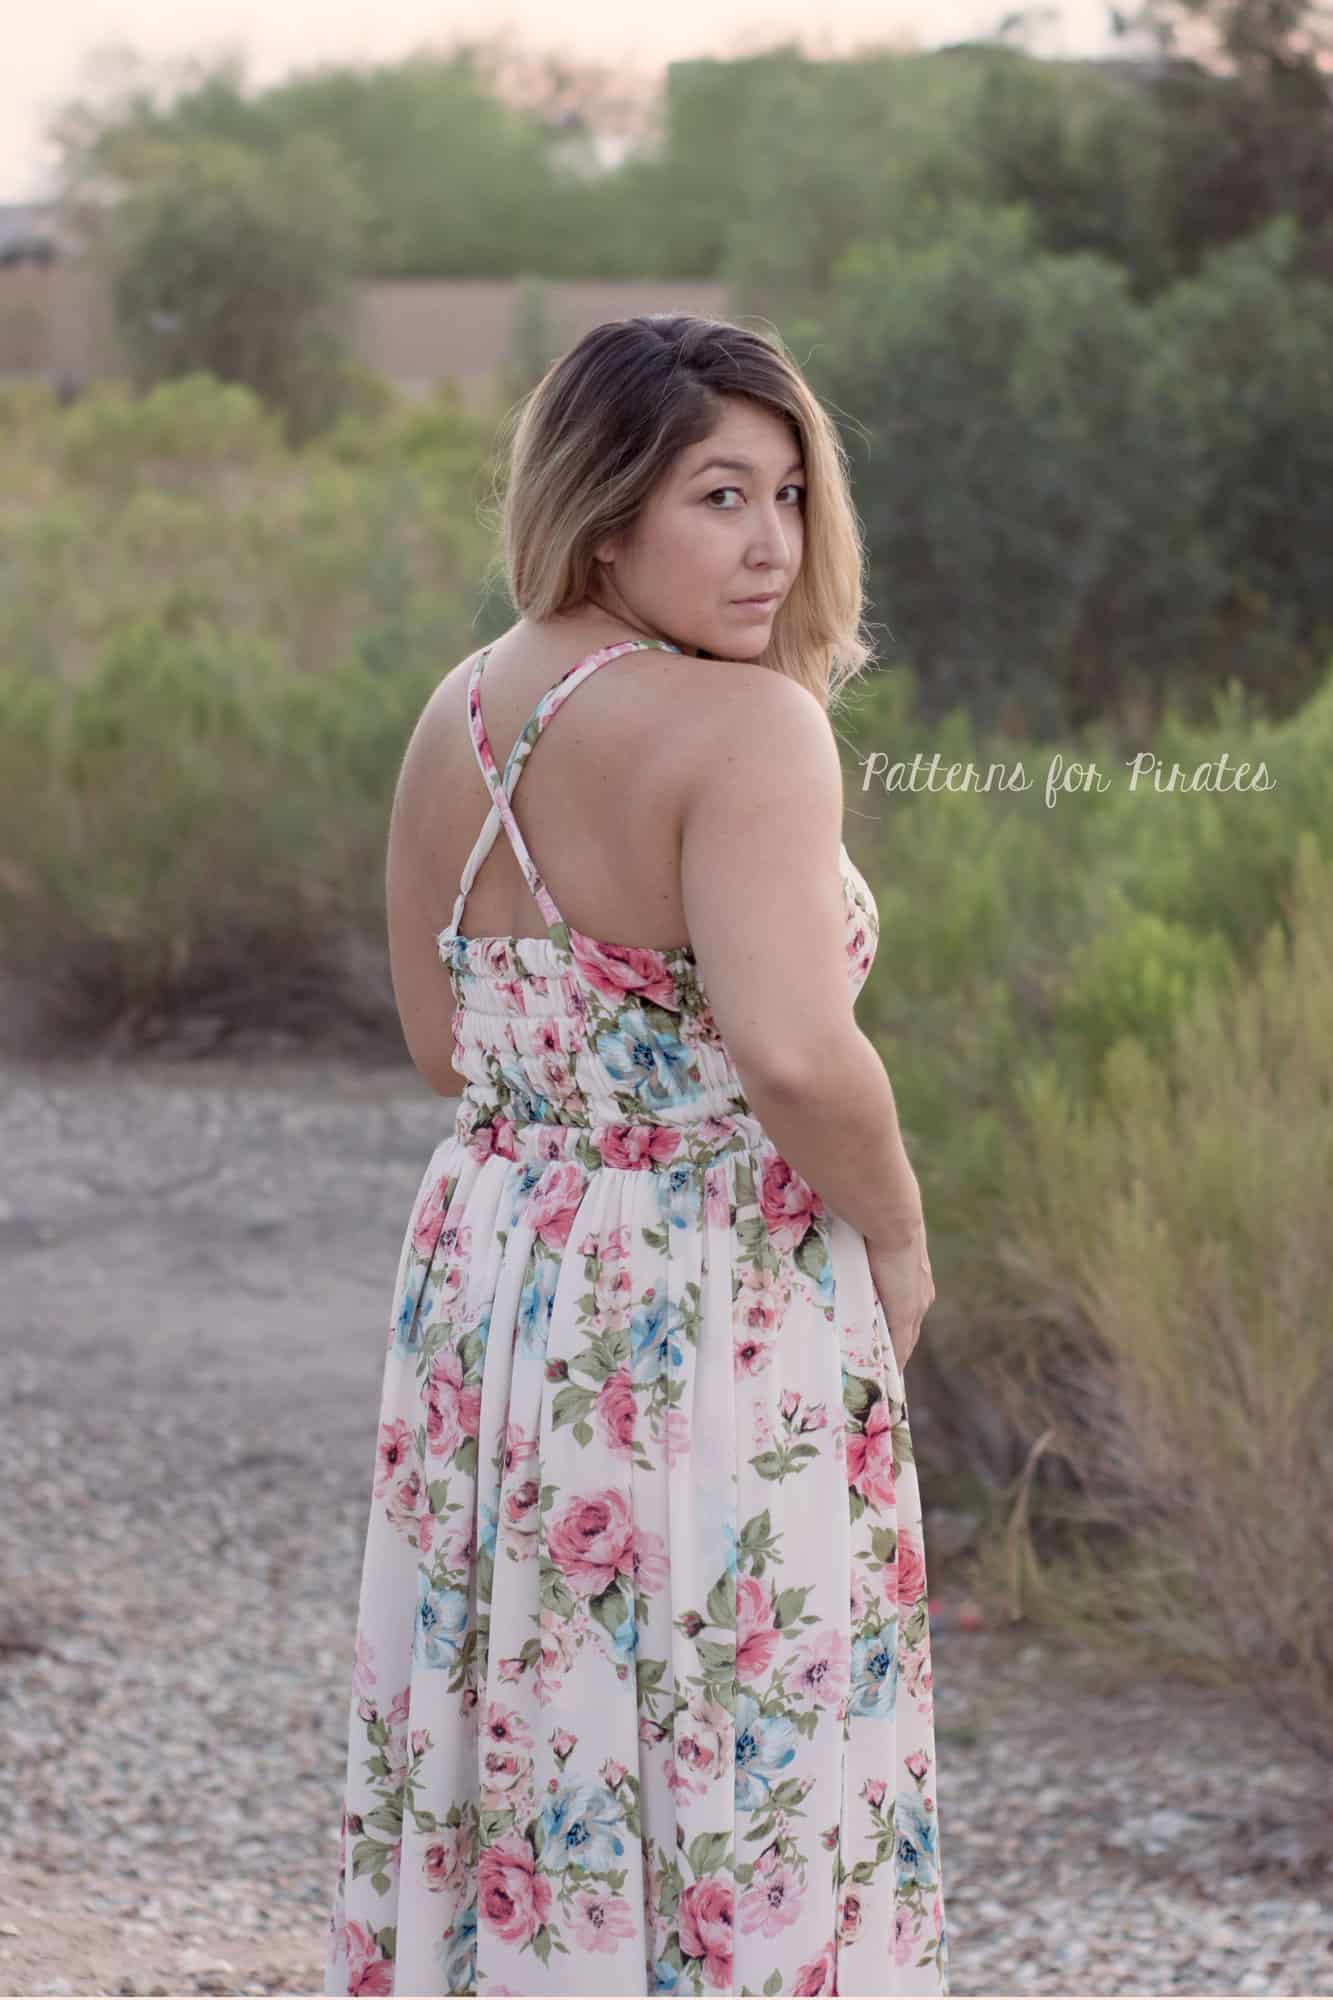
The pattern includes standard or suggested strap lengths, but some may prefer to have adjustable straps.  I adjusted the width of my straps to do spaghetti style and used “lingerie” sliders from Joann Fabrics.  There are wider width sliders and rings available from various shops (such as Bra-Makers Supply) if you prefer to keep a wider strap to cover your bra straps.

Cut 2 longer straps (these will be the adjustable section ) and then 2 short straps (this will be attached to the back portion of the bodice).

My straps were 1.75″ x 28″ (the length of the halter straps in the pattern).  In retrospect I think adding about 8″ to the shoulder strap lengths in the pattern would be sufficient enough.  My sliders ended up on top of my shoulders and I really didn’t need all that extra length.  The short strap is 1.75″ x 3″.

Fold each strap in half lengthwise right sides together and stitch.  Trim and press seam allowances open.

Turn straps right side out.
Pull end of strap through one side of slider. Note – the right side of your strap will be facing up. The middle bar of the slider will be on the wrong side of the strap.
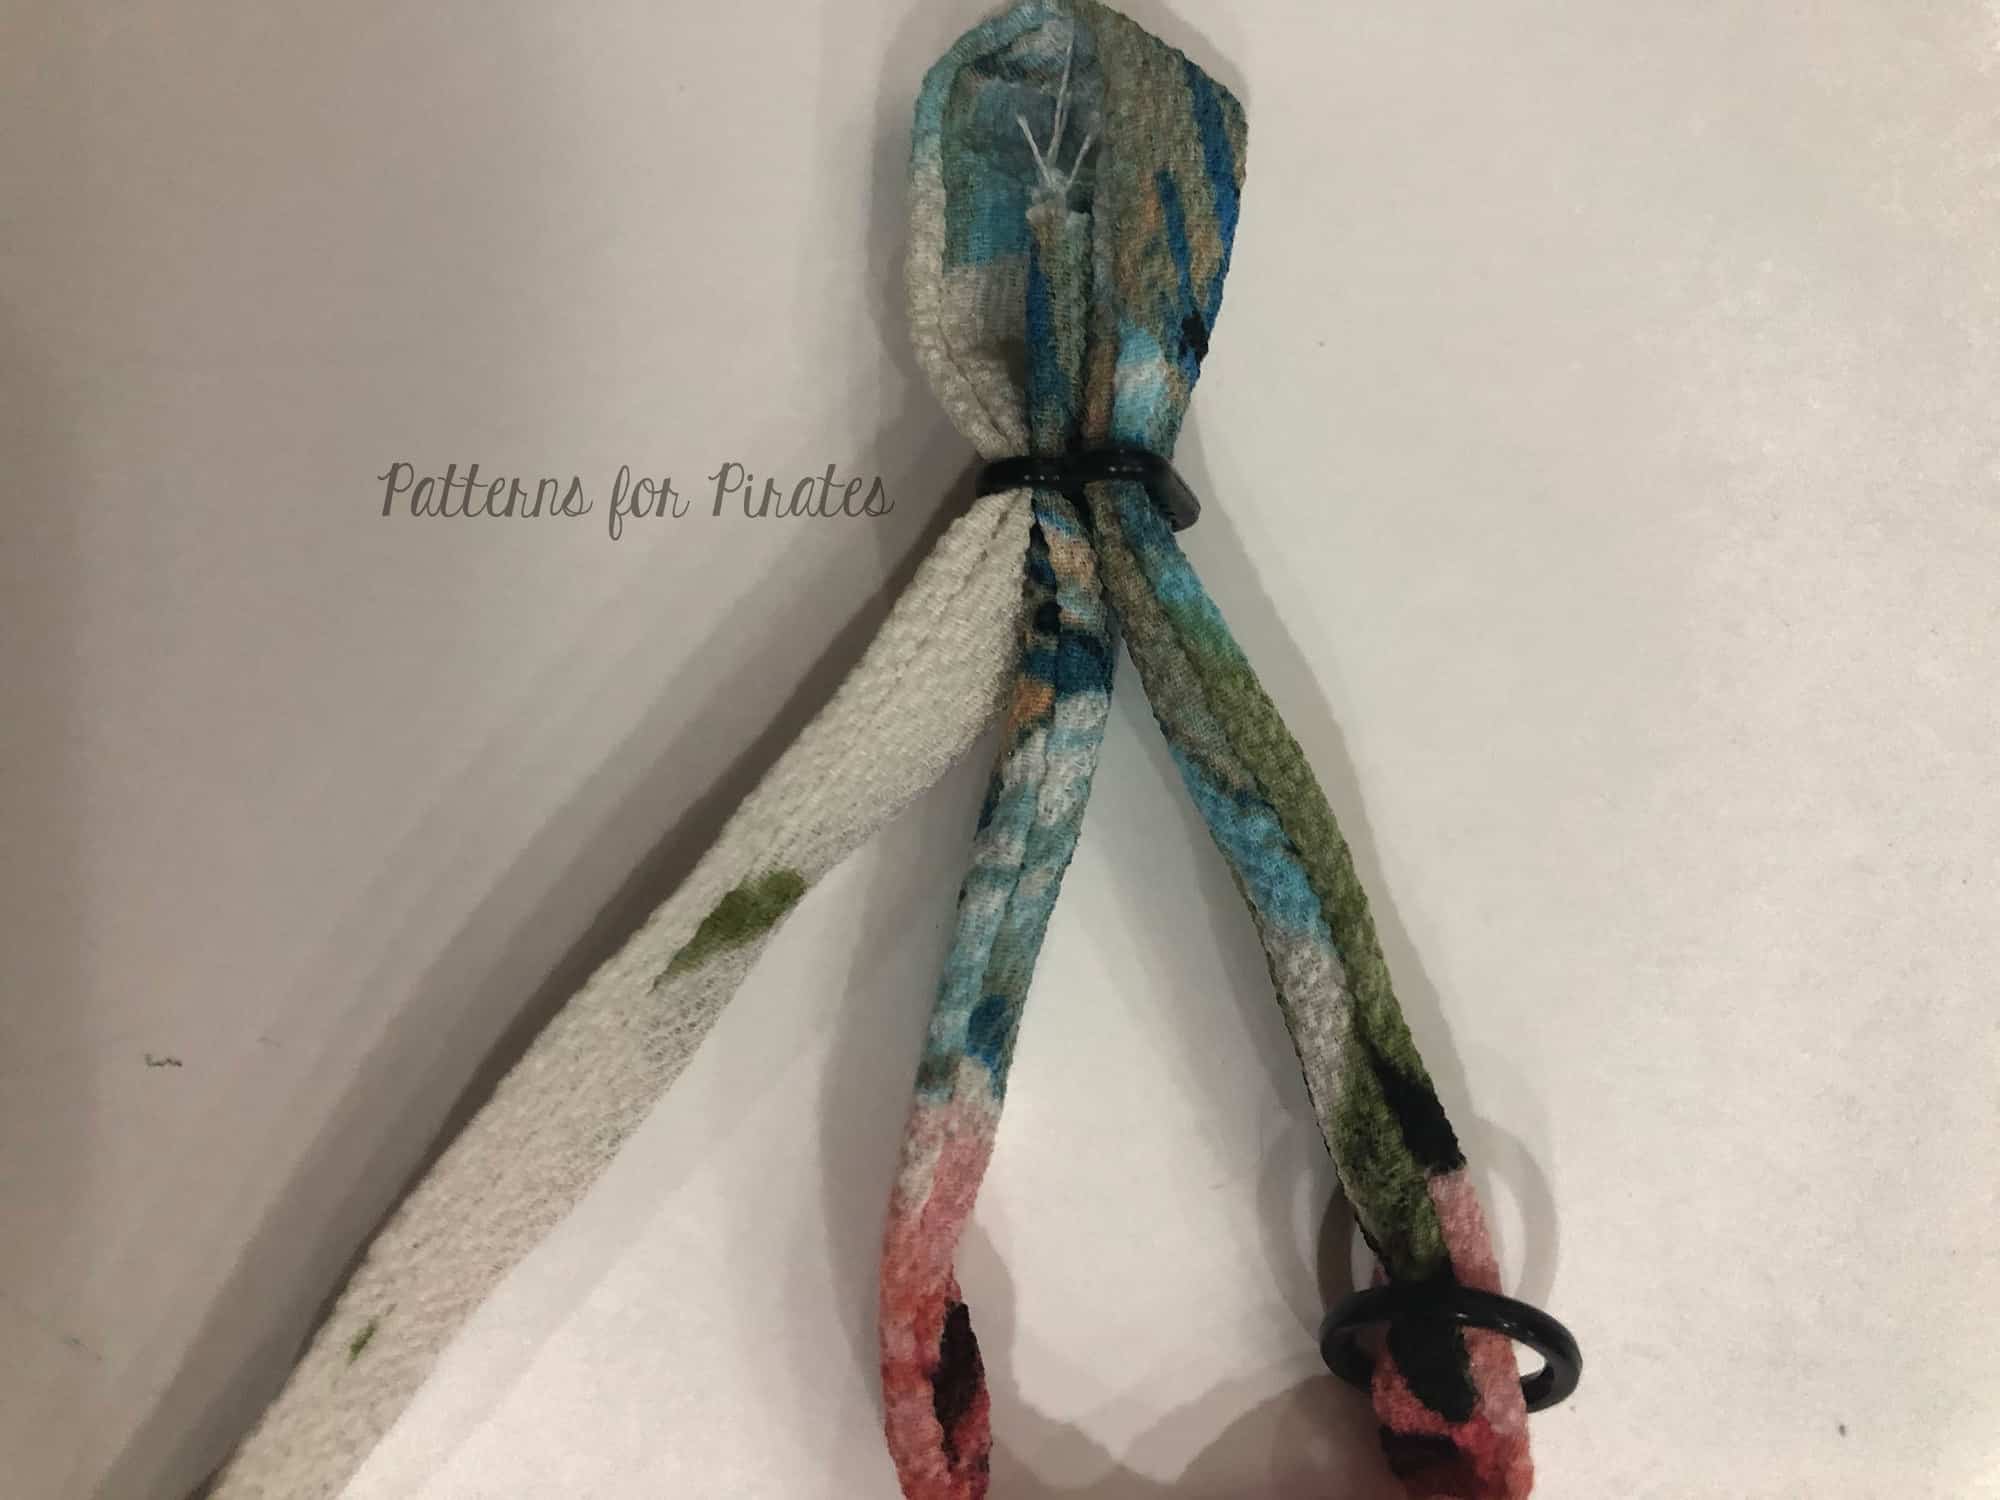
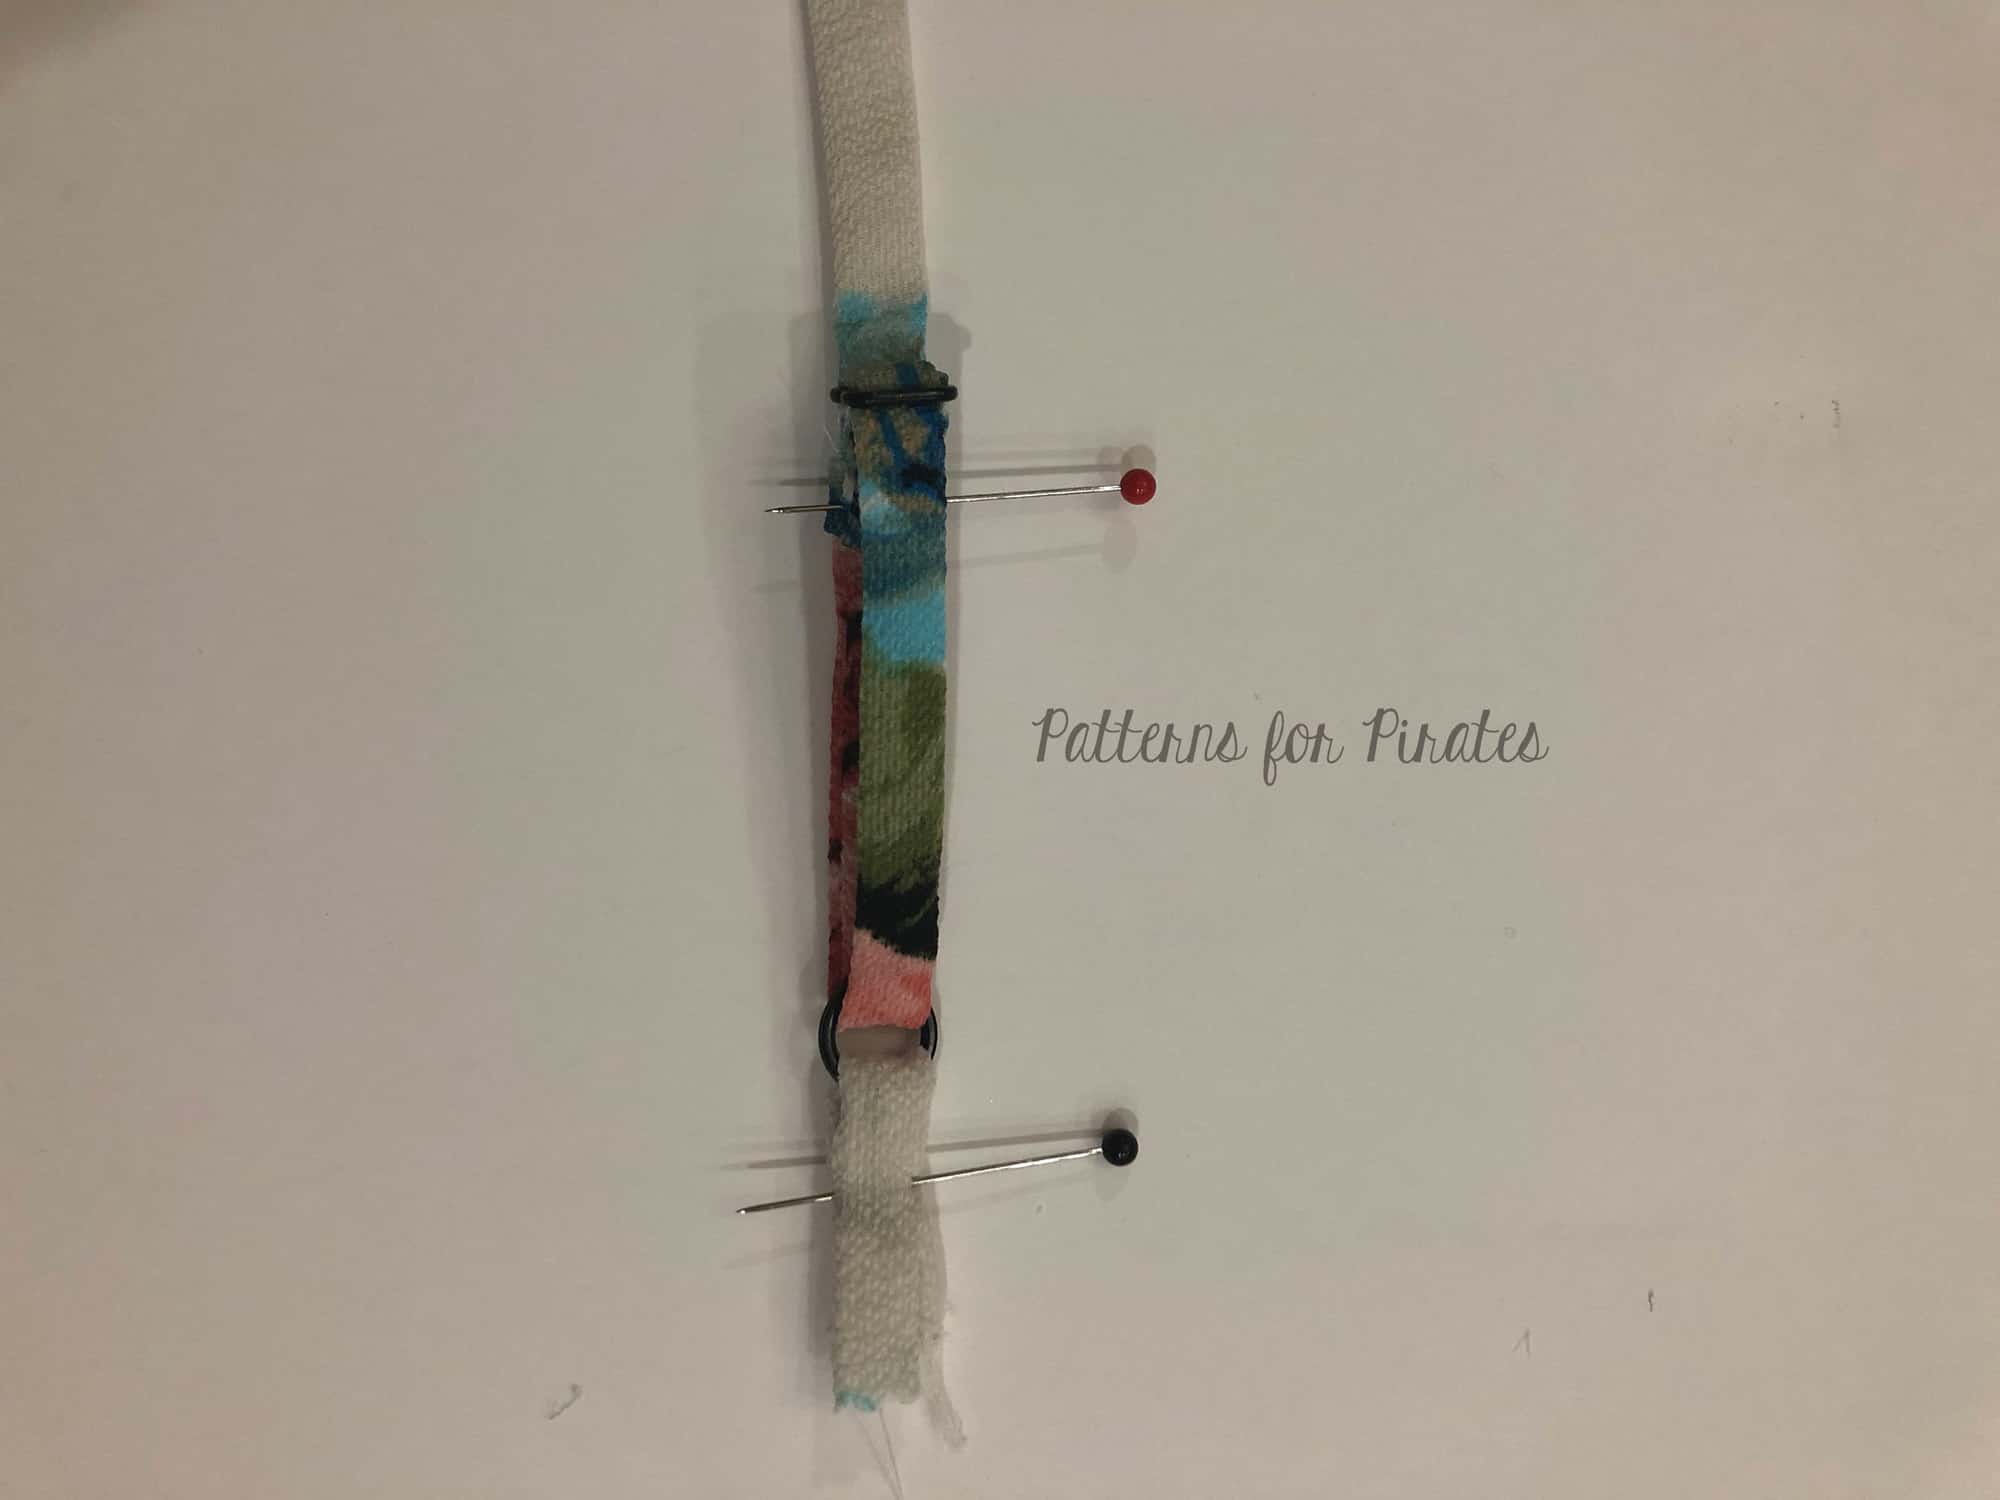
Feed strap through opposite side of the slider and then slide the ring through the end of the strap.
On the wrong side of the strap, feed the strap end through the top opening of the slider.

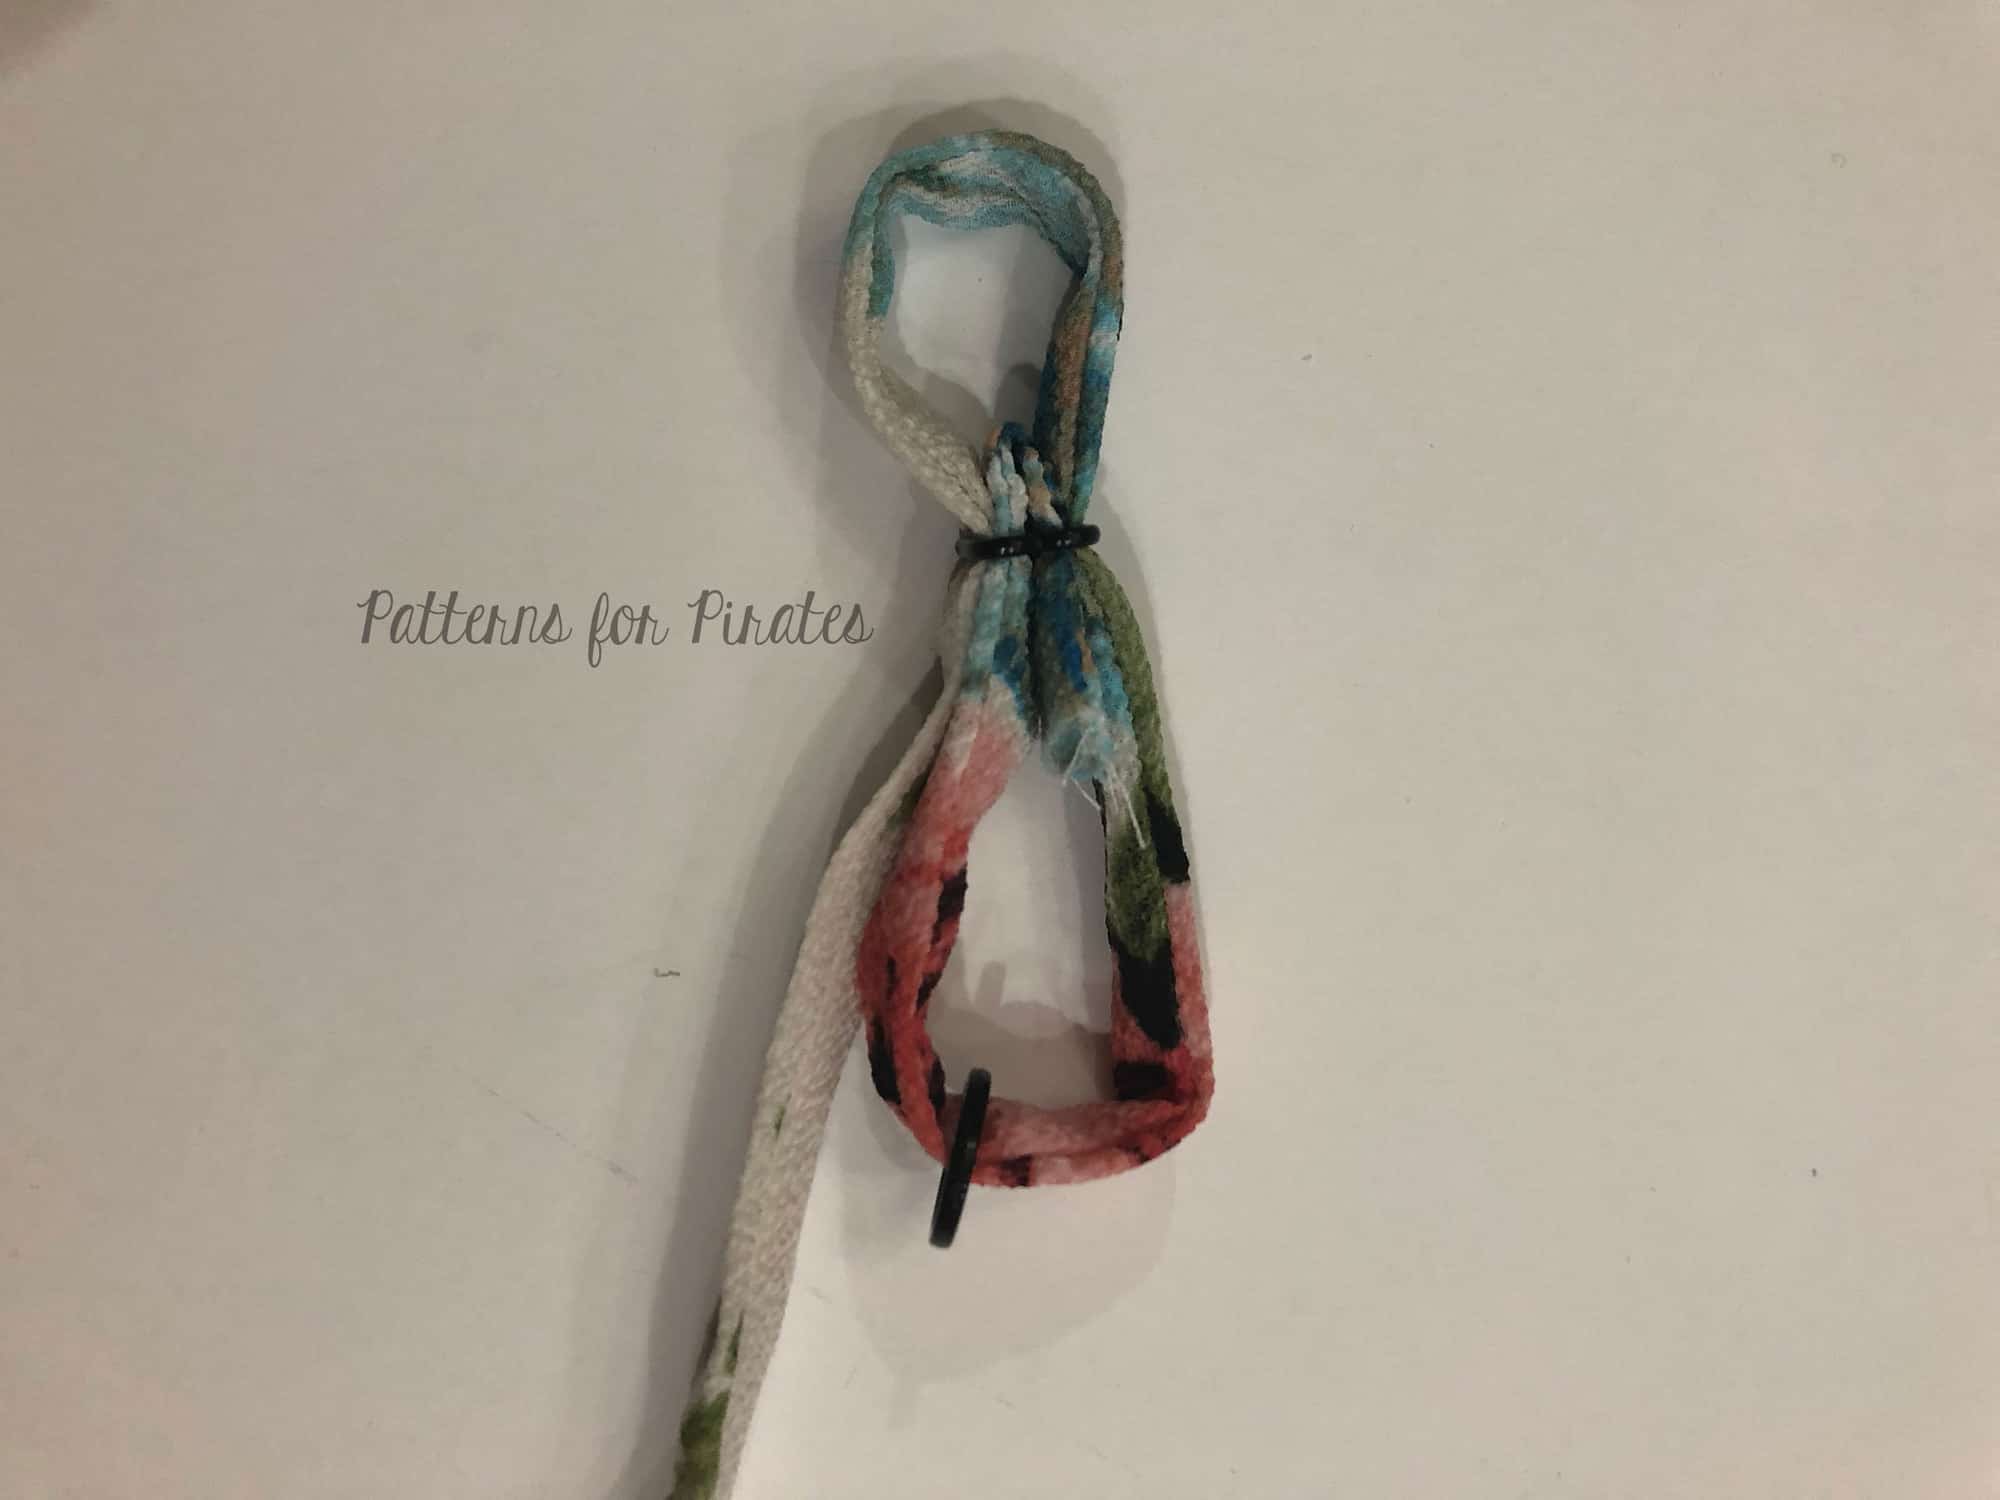
Fold the strap down and continue to feed it through the bottom opening of the slider.
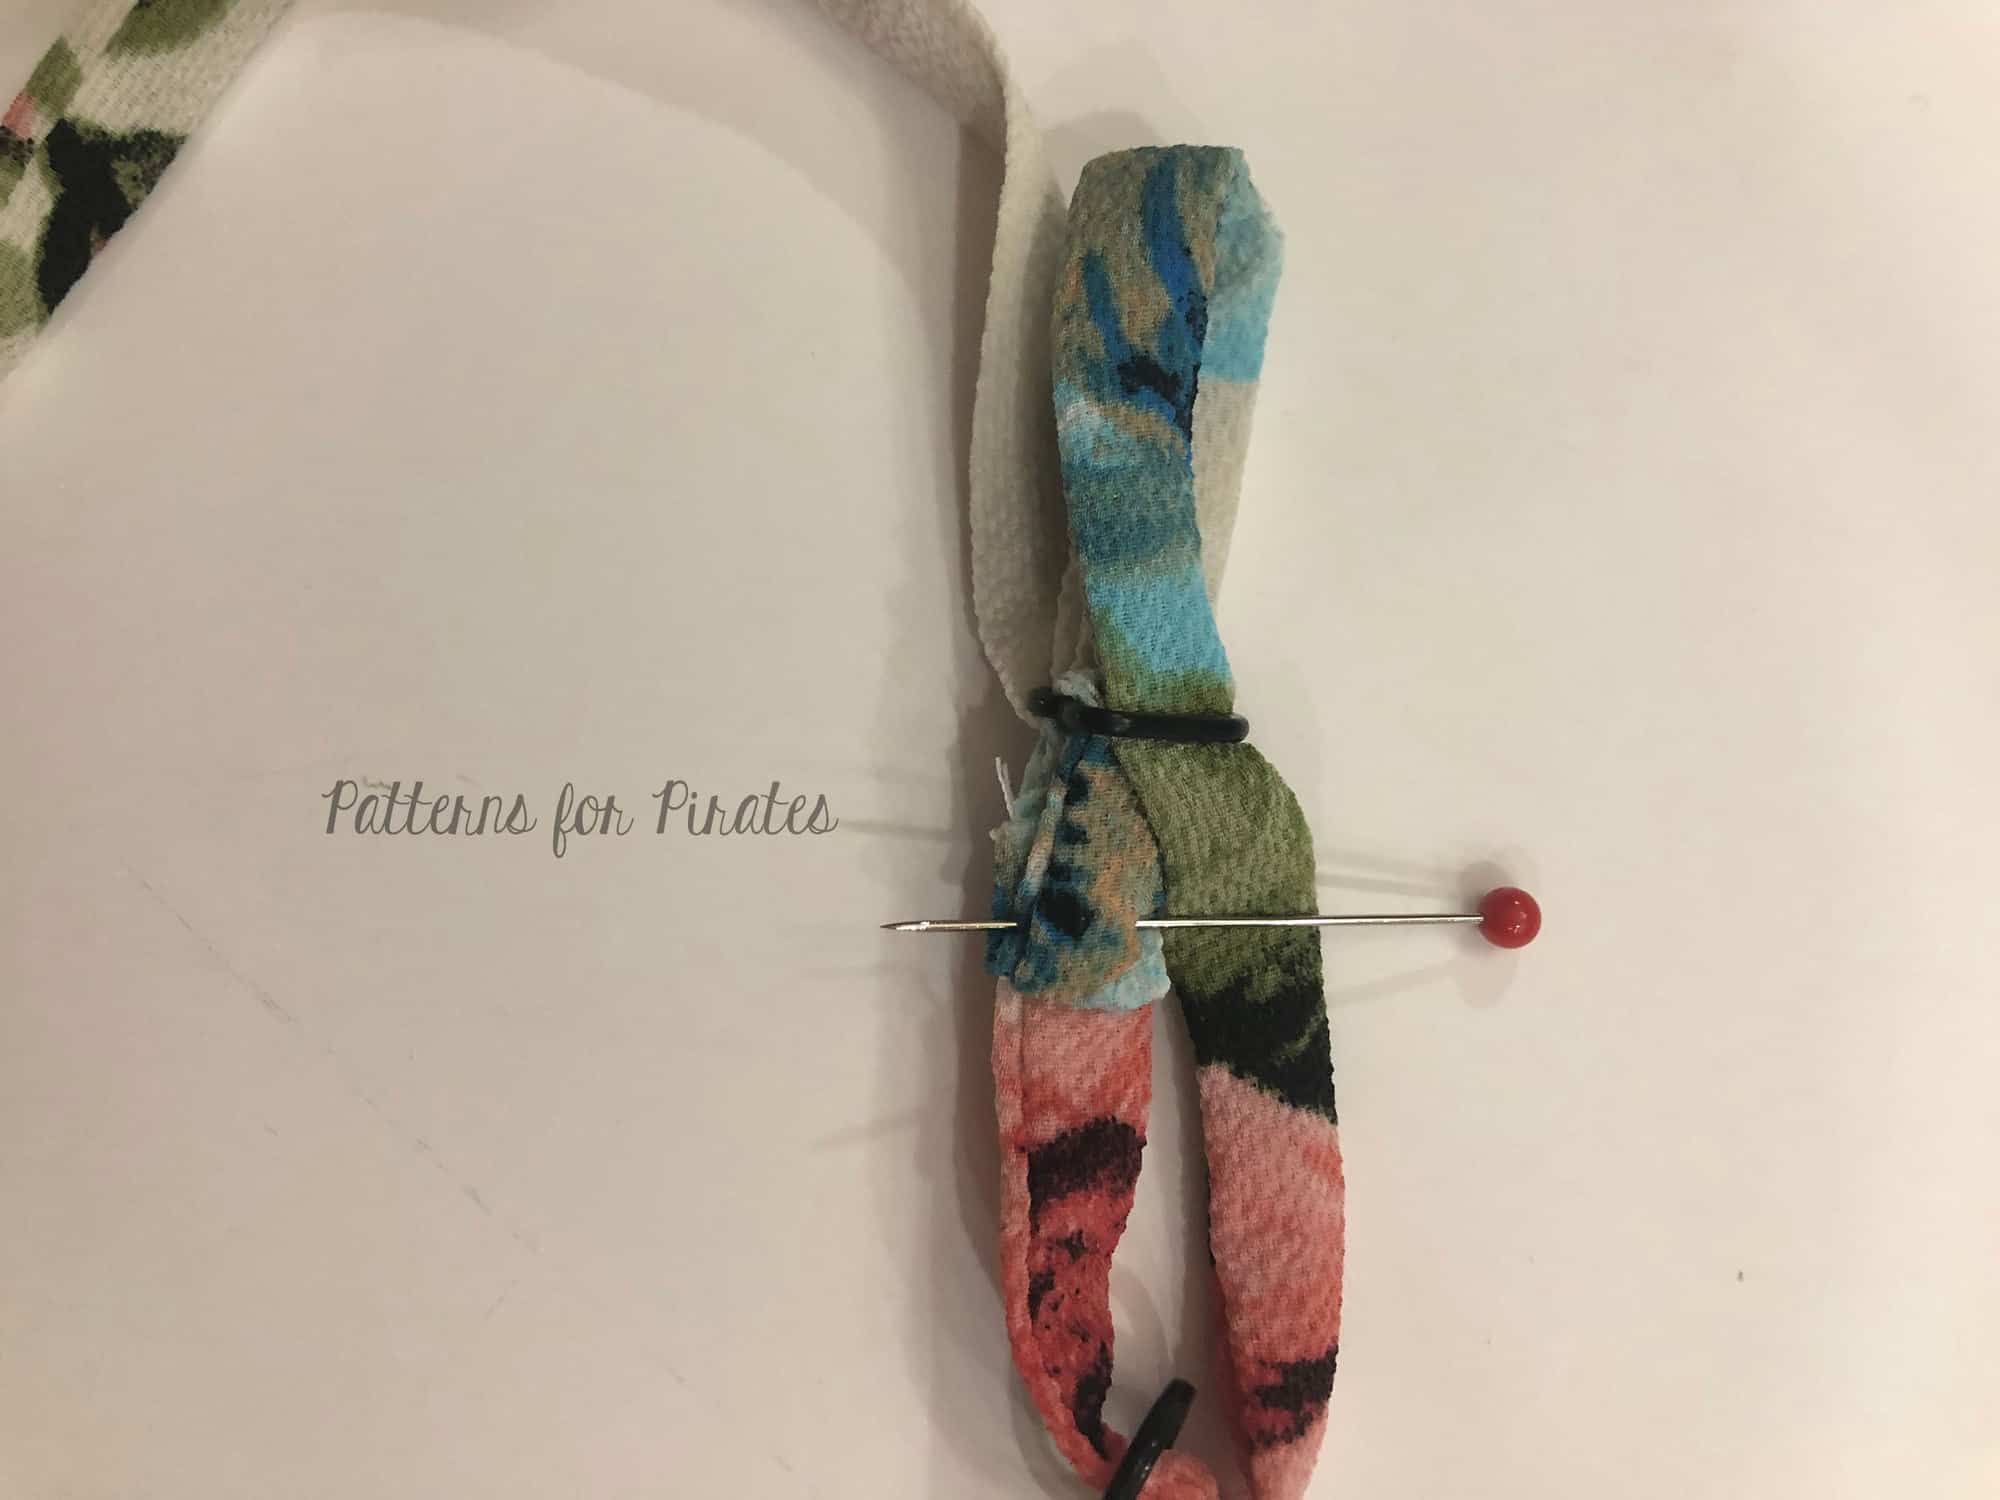
Fold strap end under and stitch.
Feed shorter strap section through ring.
Fold in half and baste in place.

Now you have a completed set of adjustable straps. Treat them as a single strap and attach to the bodice as shown in the tutorial.  The shorter strap side should be attached to the back bodice. I also chose to do a criss-cross, so instead of placing them parallel, cross them over to create an X when attaching them to the front and back bodice.


….

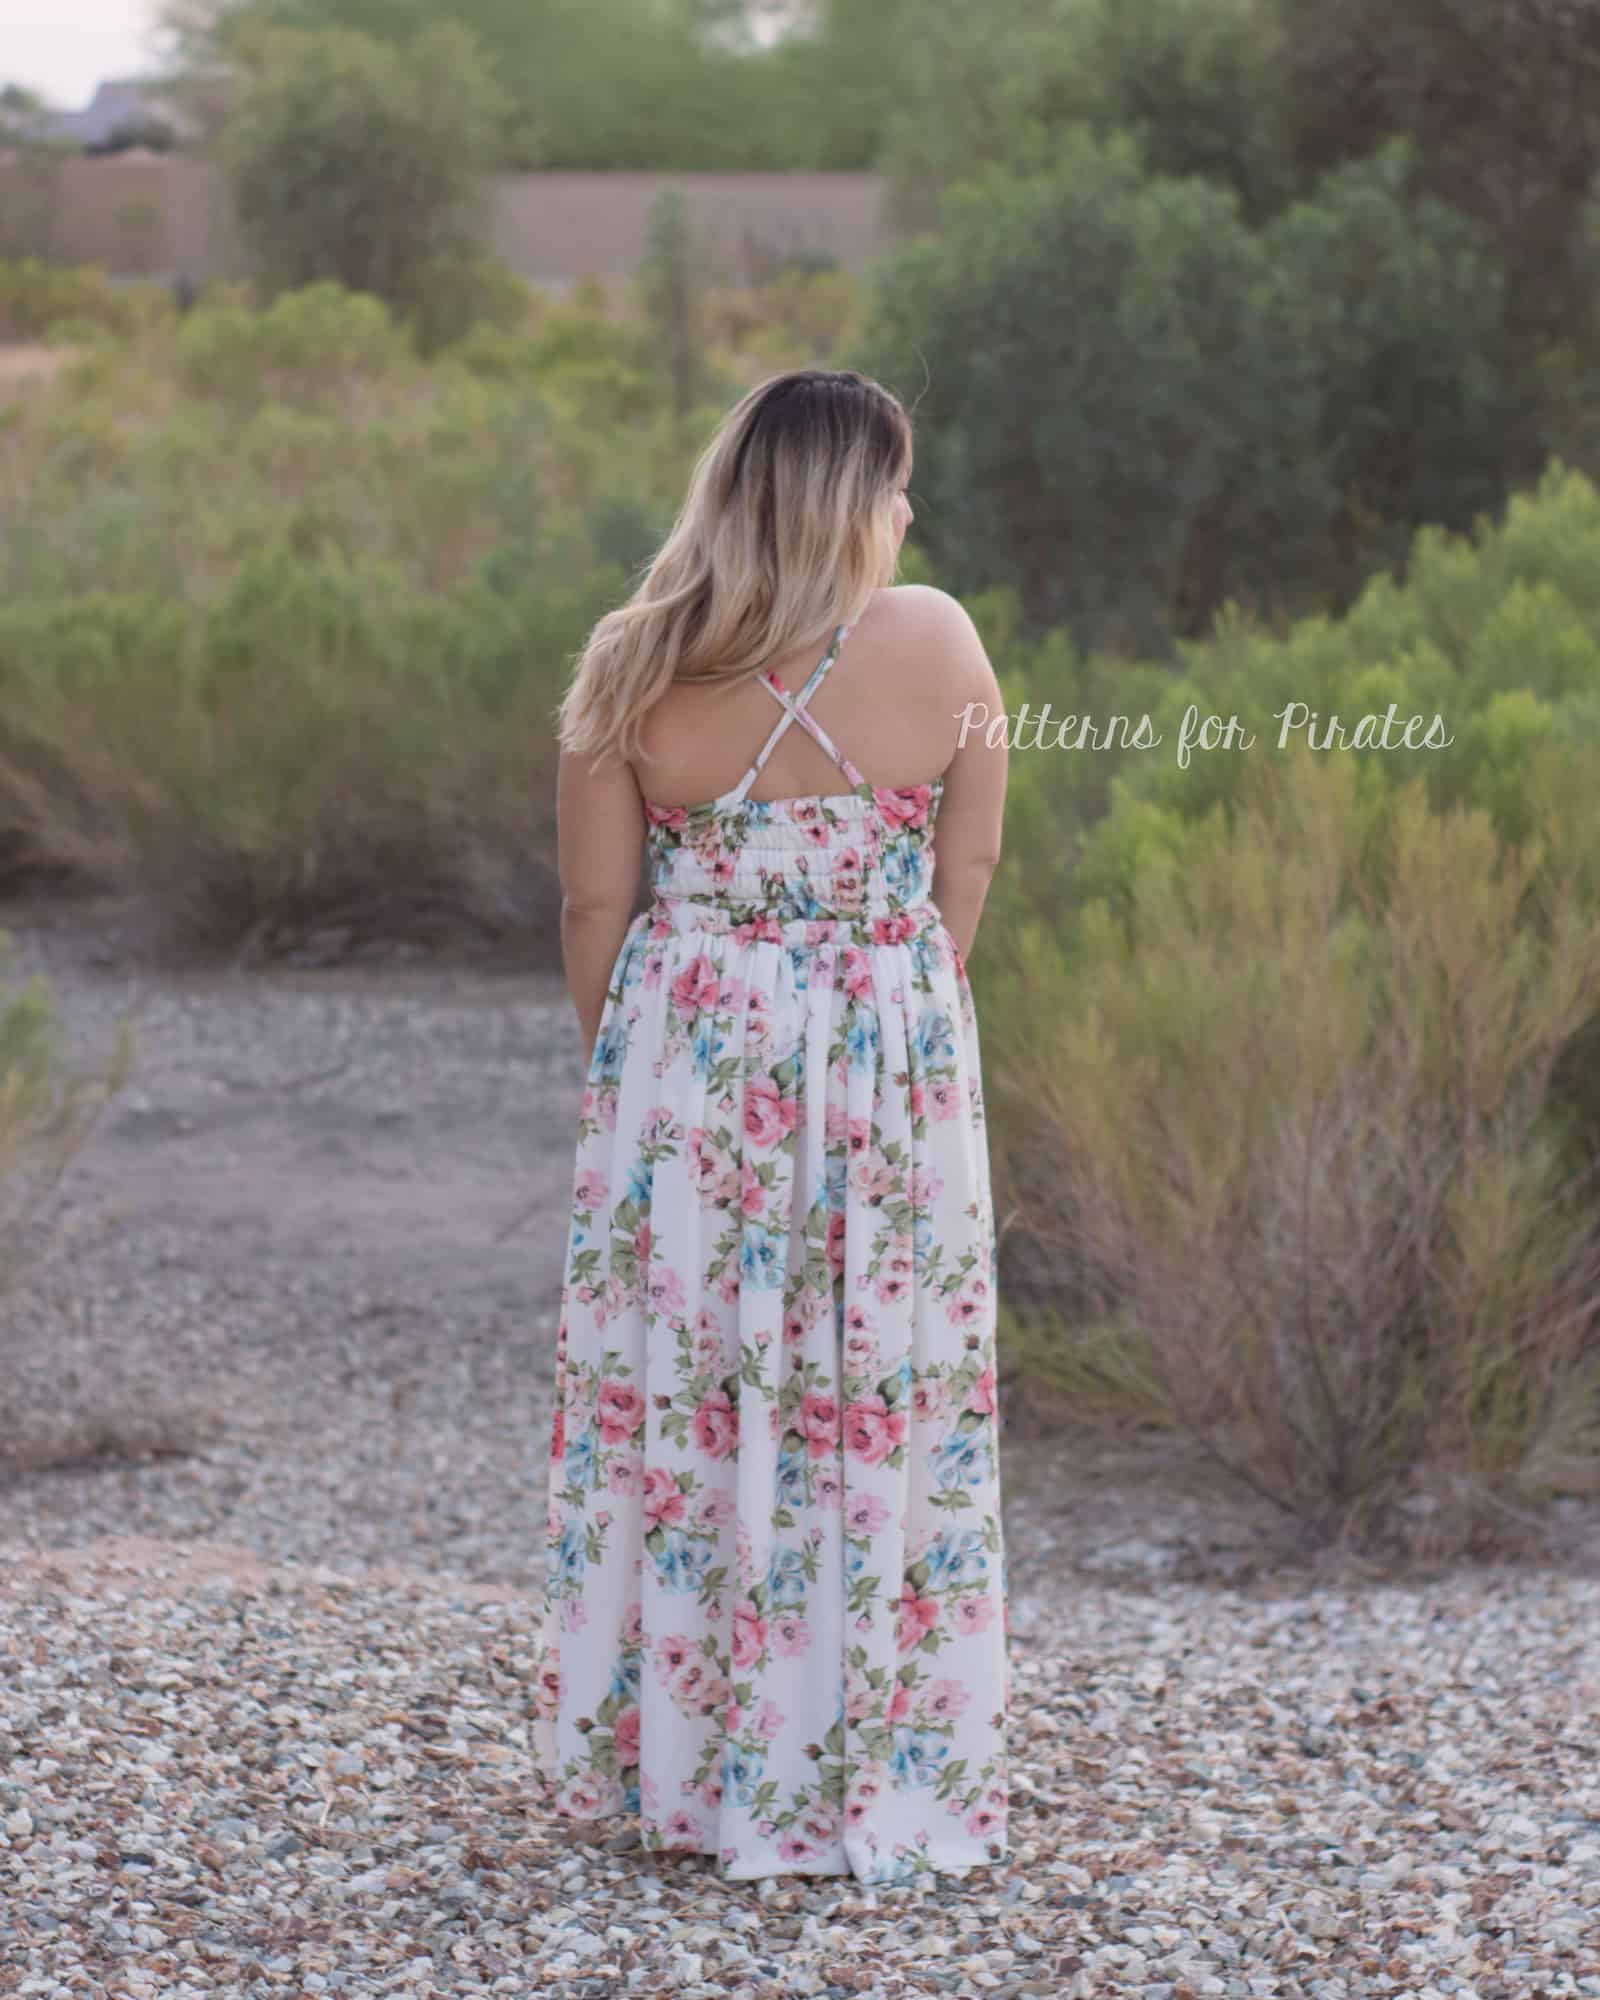
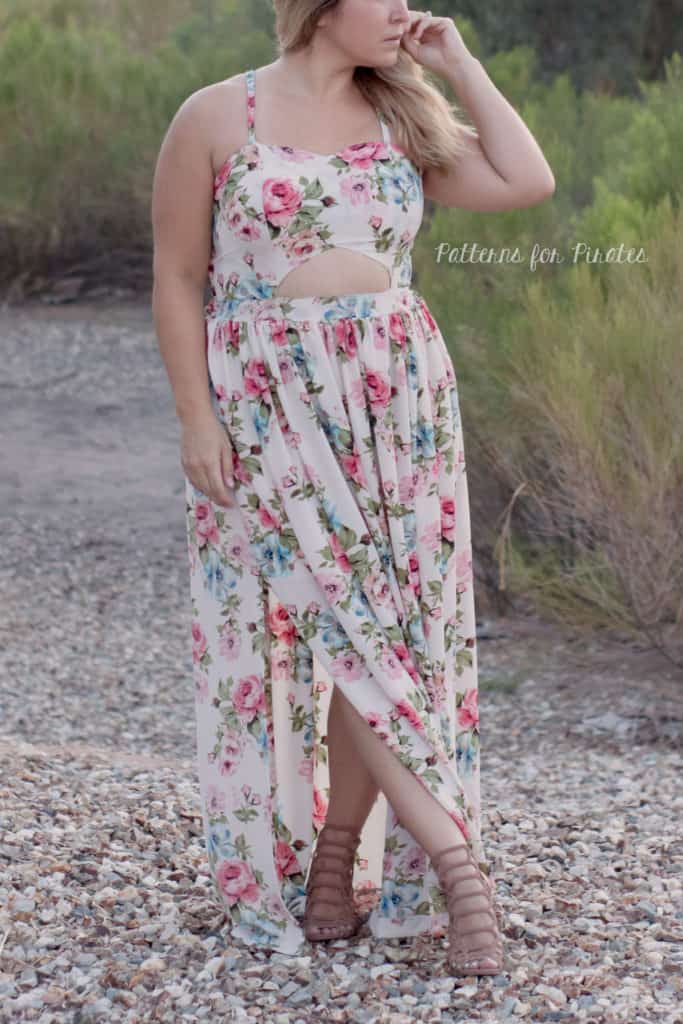
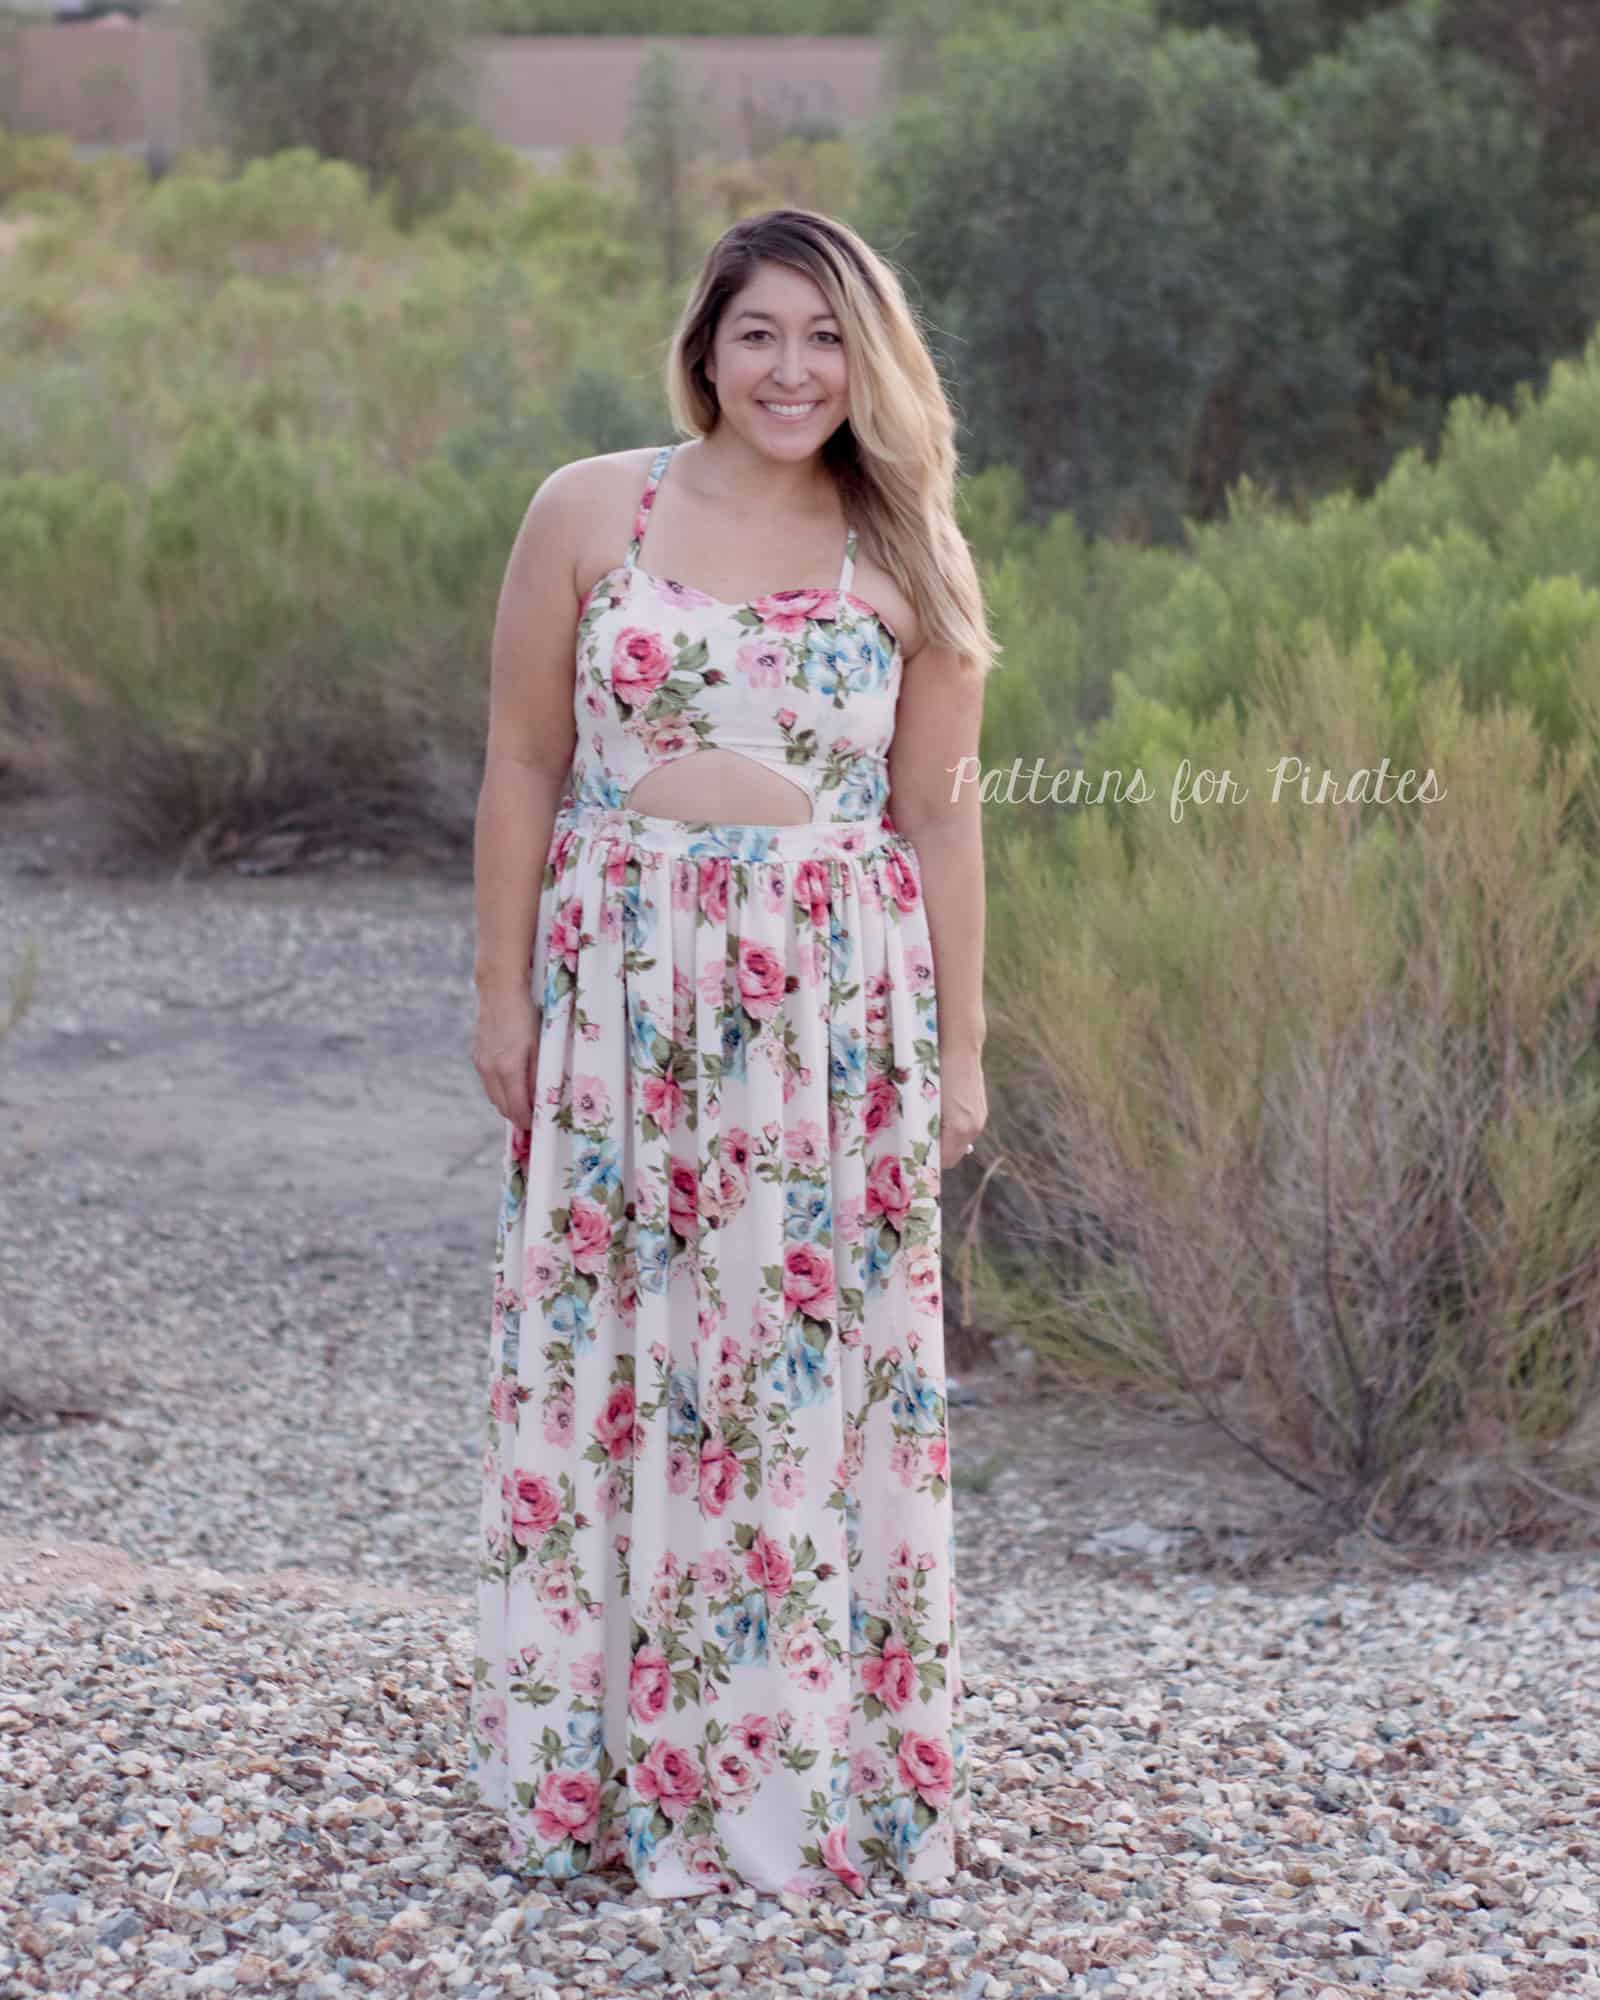
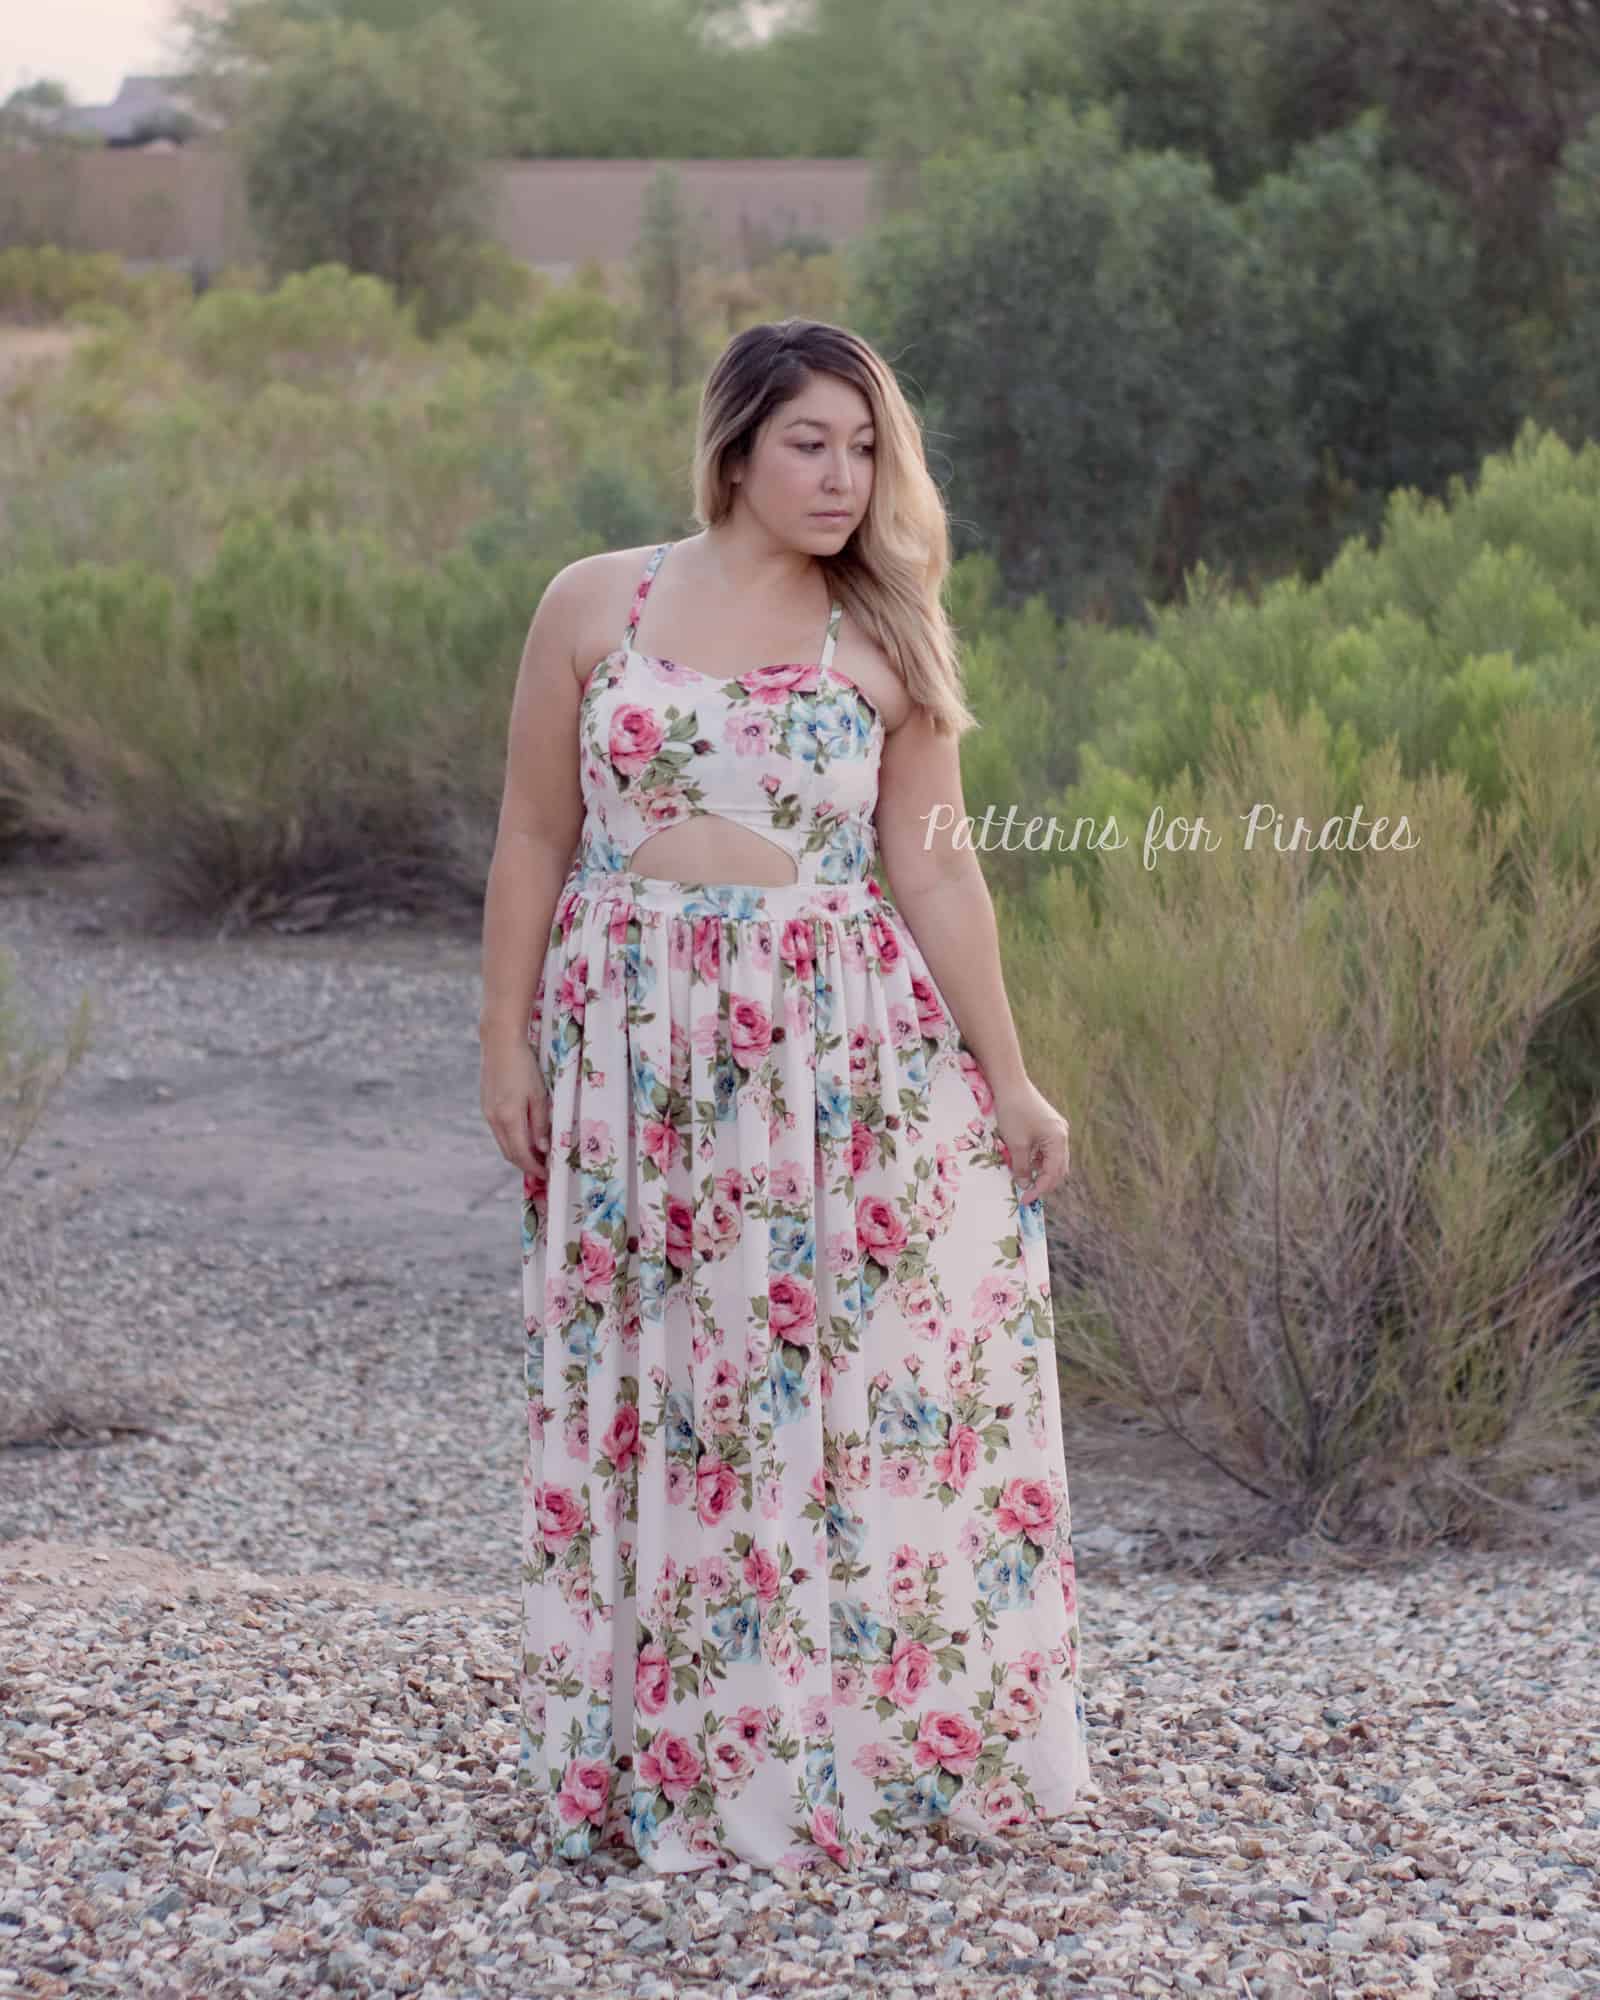
Front Bodice Cut-Out

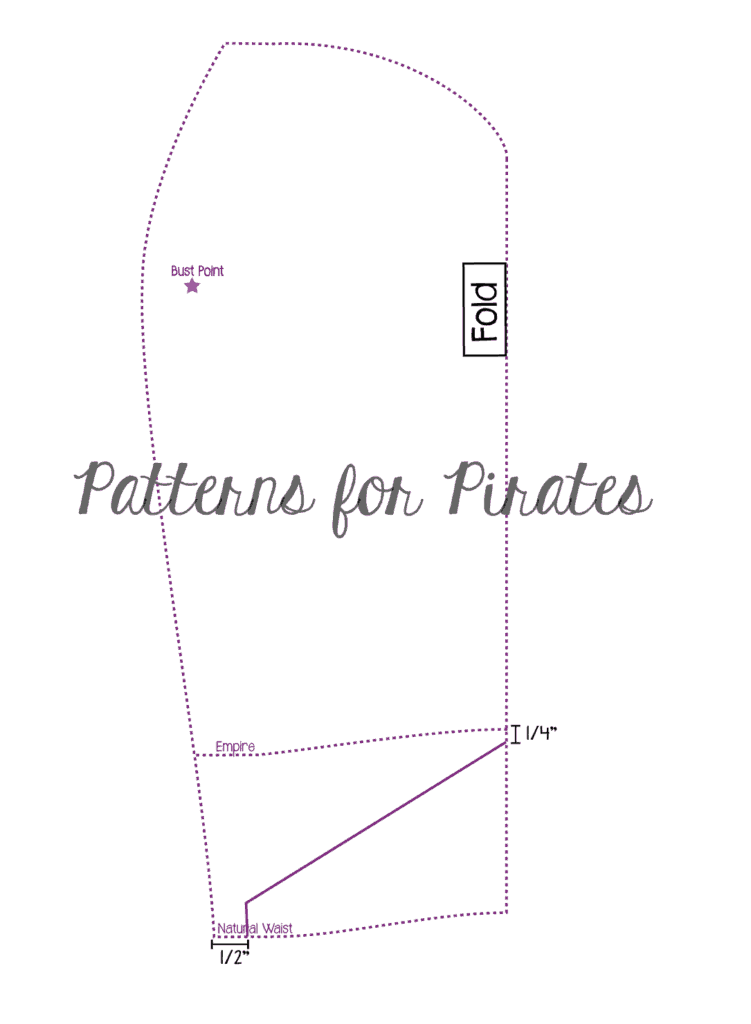
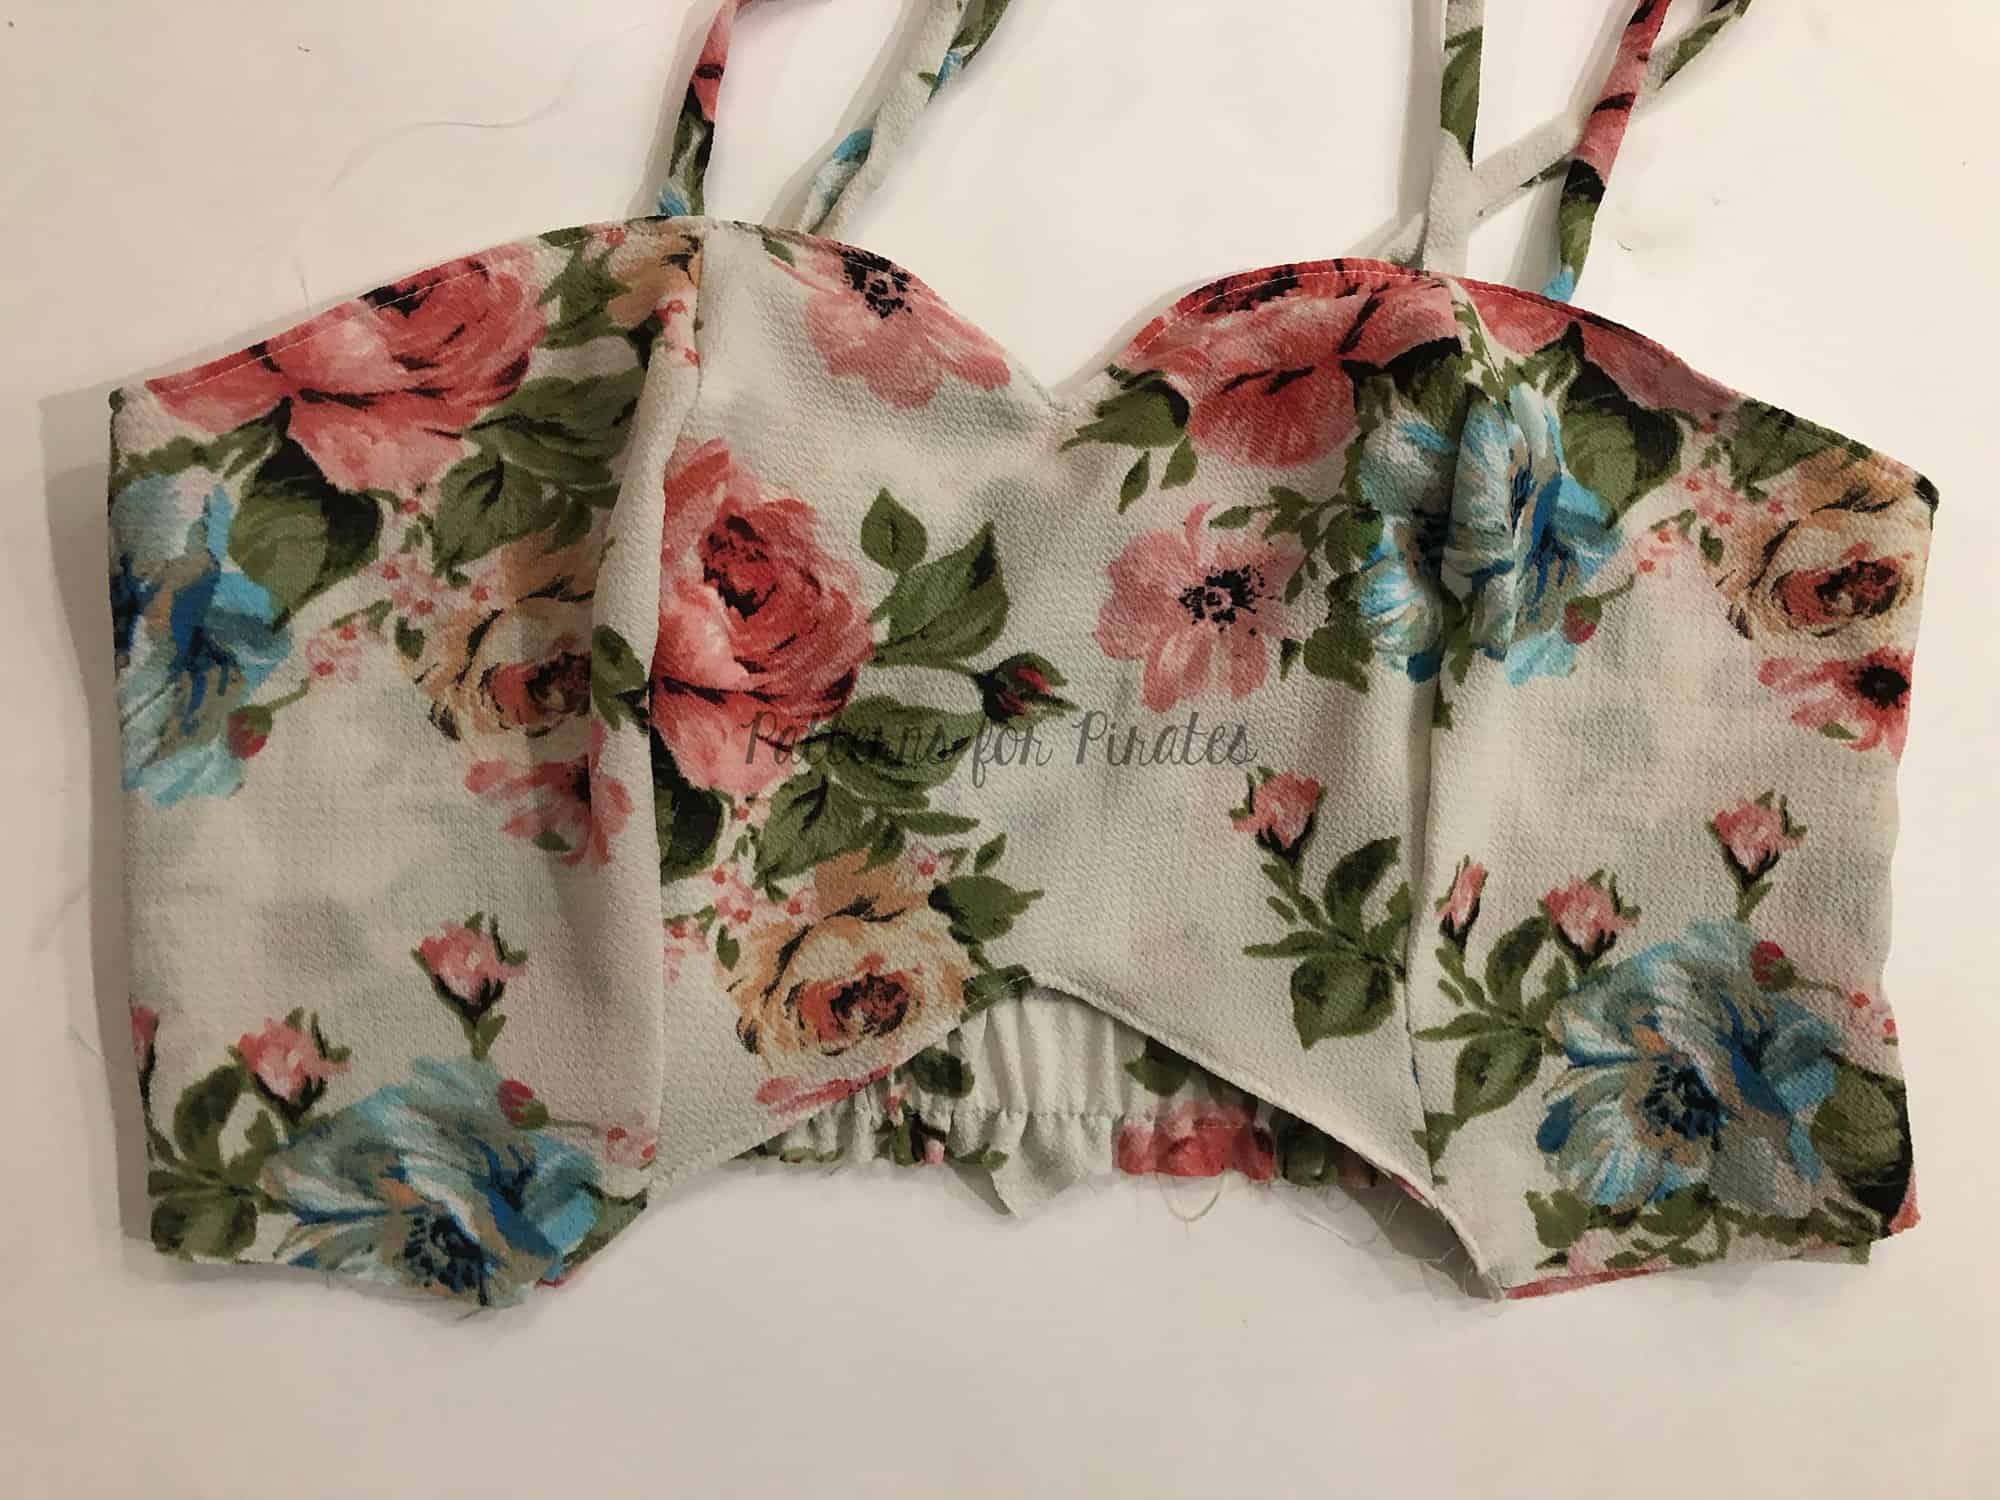
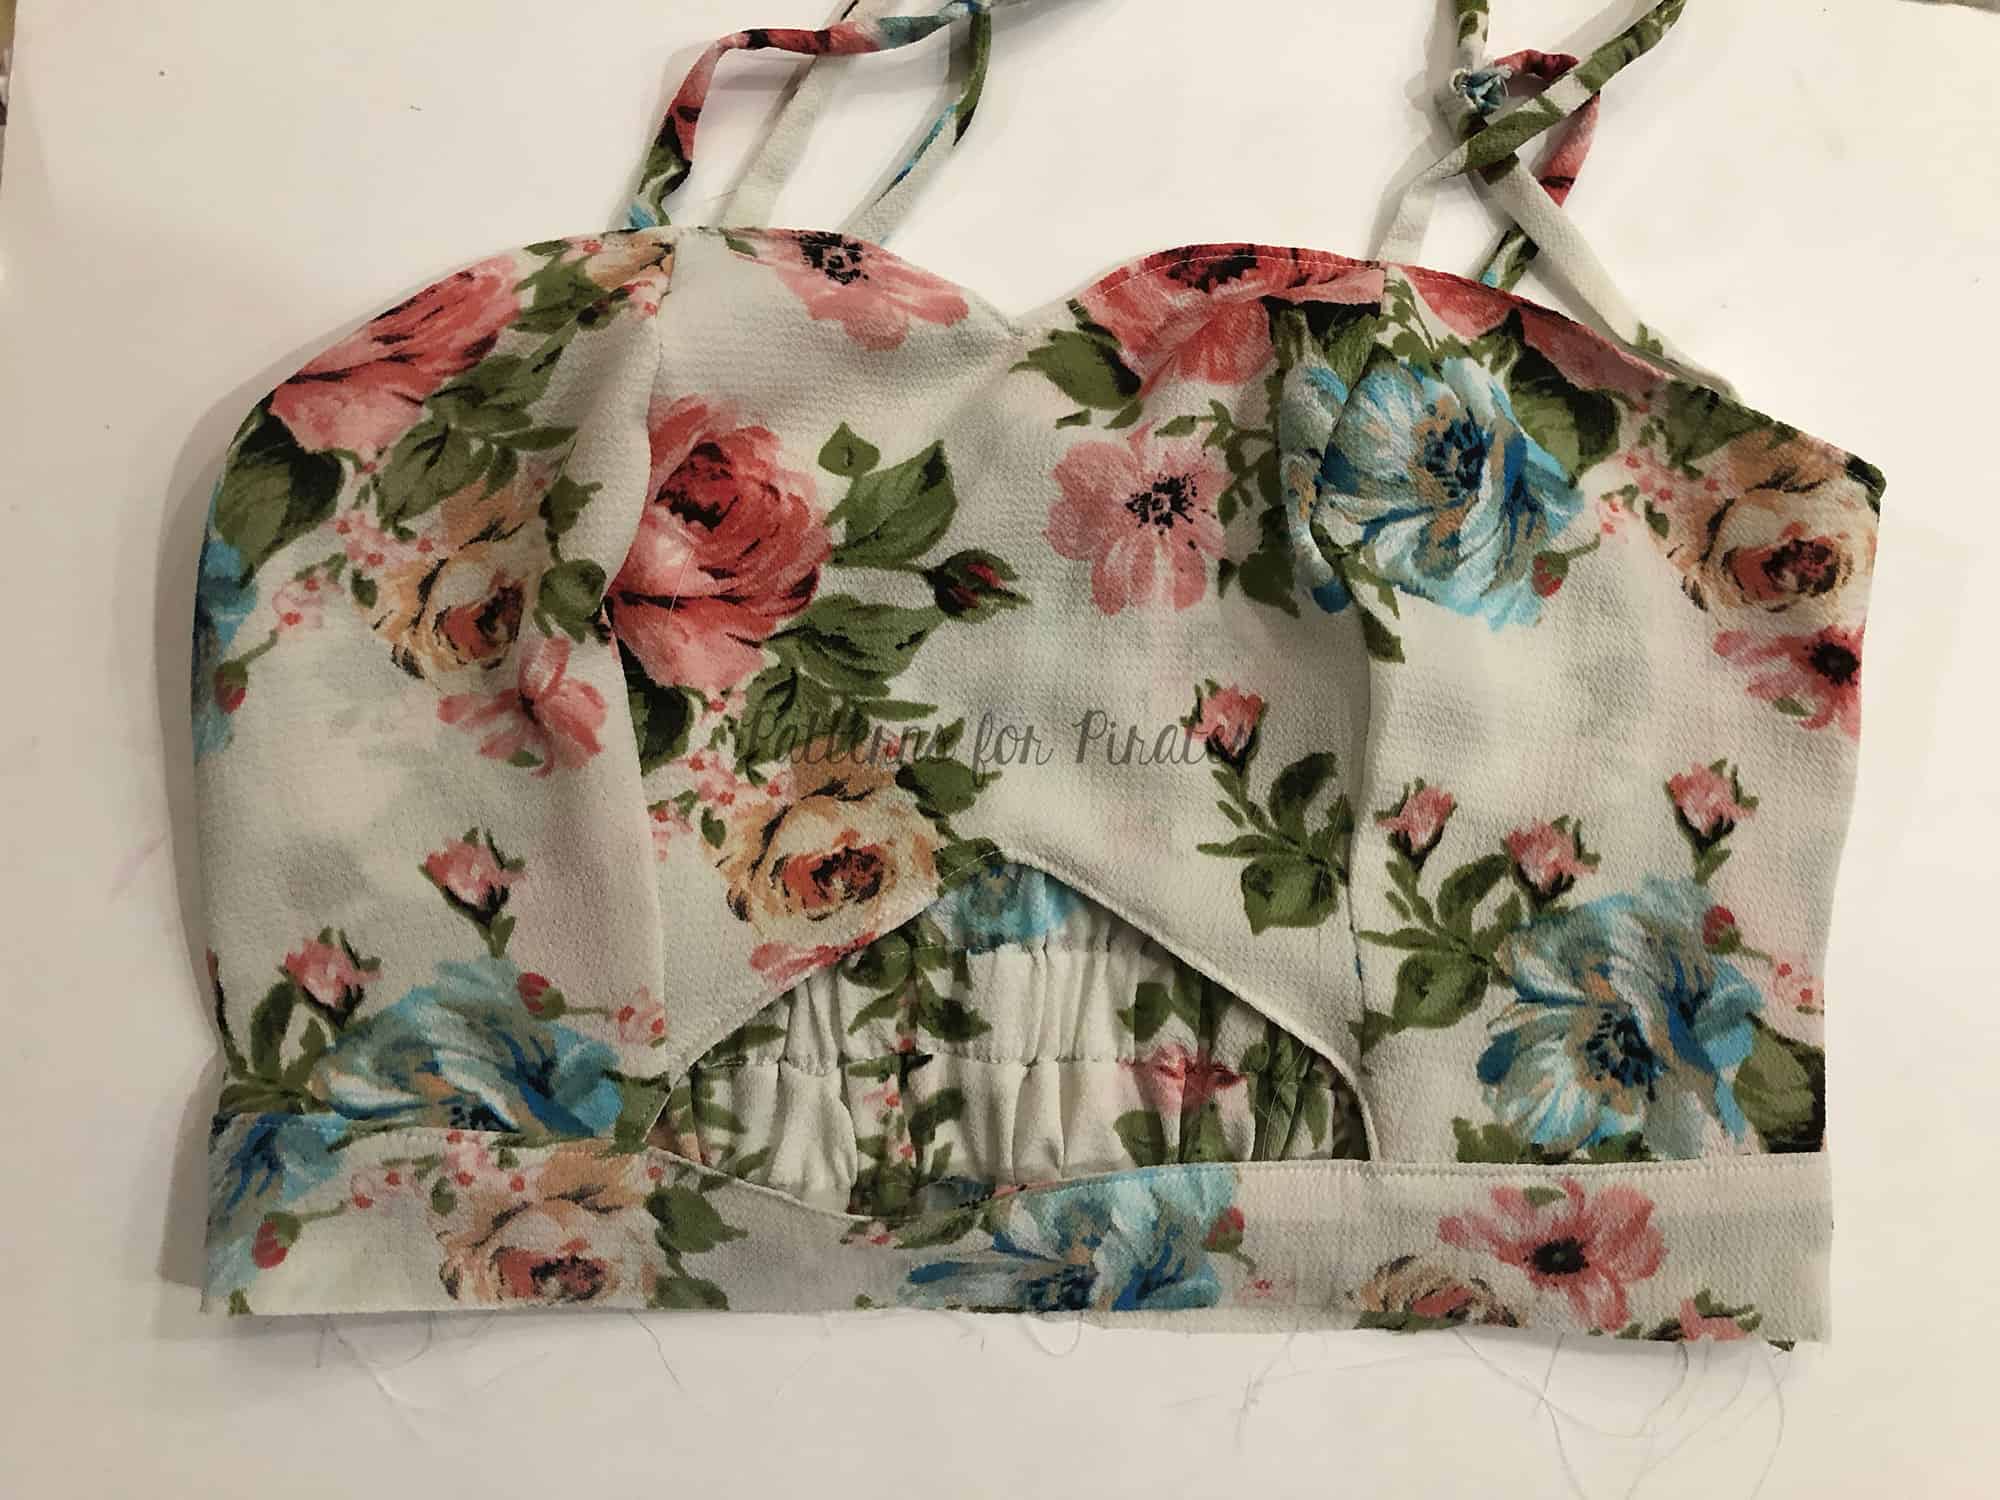
The So Classic Sundress is a classic, vintage style but with this slight modification, you can make it edgy and on trend. You can adjust the size of the cut-out to your preference but I used the empire and princess seam as a guide as to where to place mine.

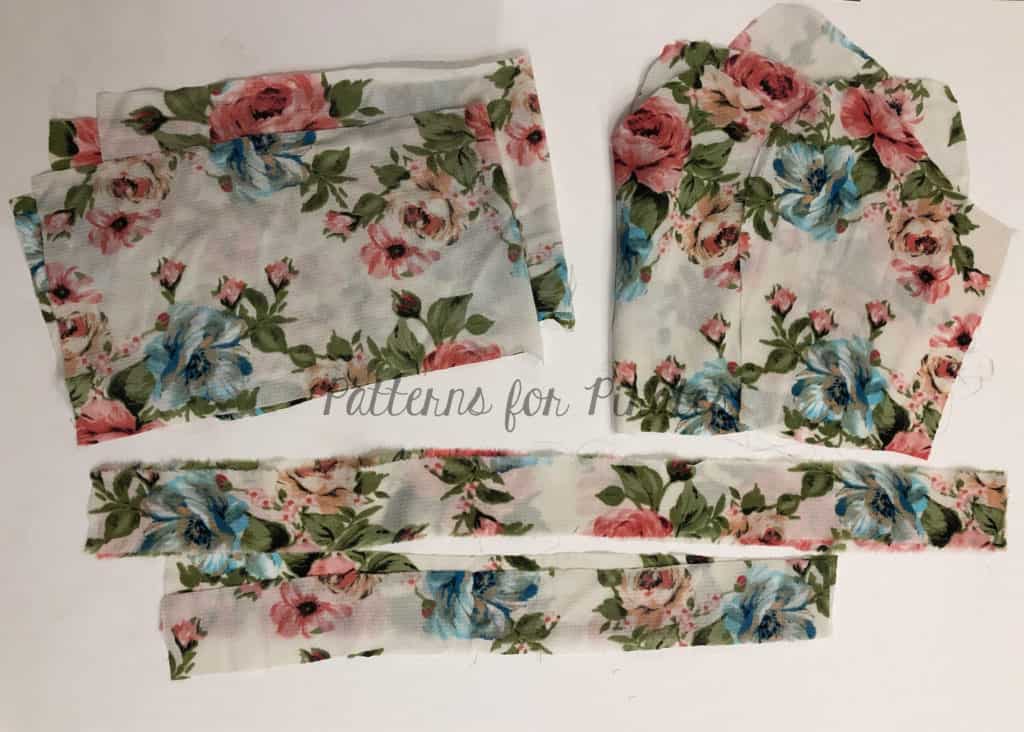
Construction is slightly different and since we will be enclosing our front bodice in the waistband you will not use the lining pieces in the pattern.  Instead, cut out 2 (mirror image) of all the main front bodice, main back bodice and front and back waistband pieces.

Construct your front and back bodice per pattern instructions and attached your straps.
With right sides together , place lining on main front bodice and stitch along the entire top edge. (just as the pattern instructs).
Open bodice from lining. With right sides together, place back bodice in side front bodice. (just as the pattern instructs).
Fold main bodice so that it is right sides facing with the lining, sandwiching the back bodice in between the layers. Stitch side seams. (just as the pattern instructs).

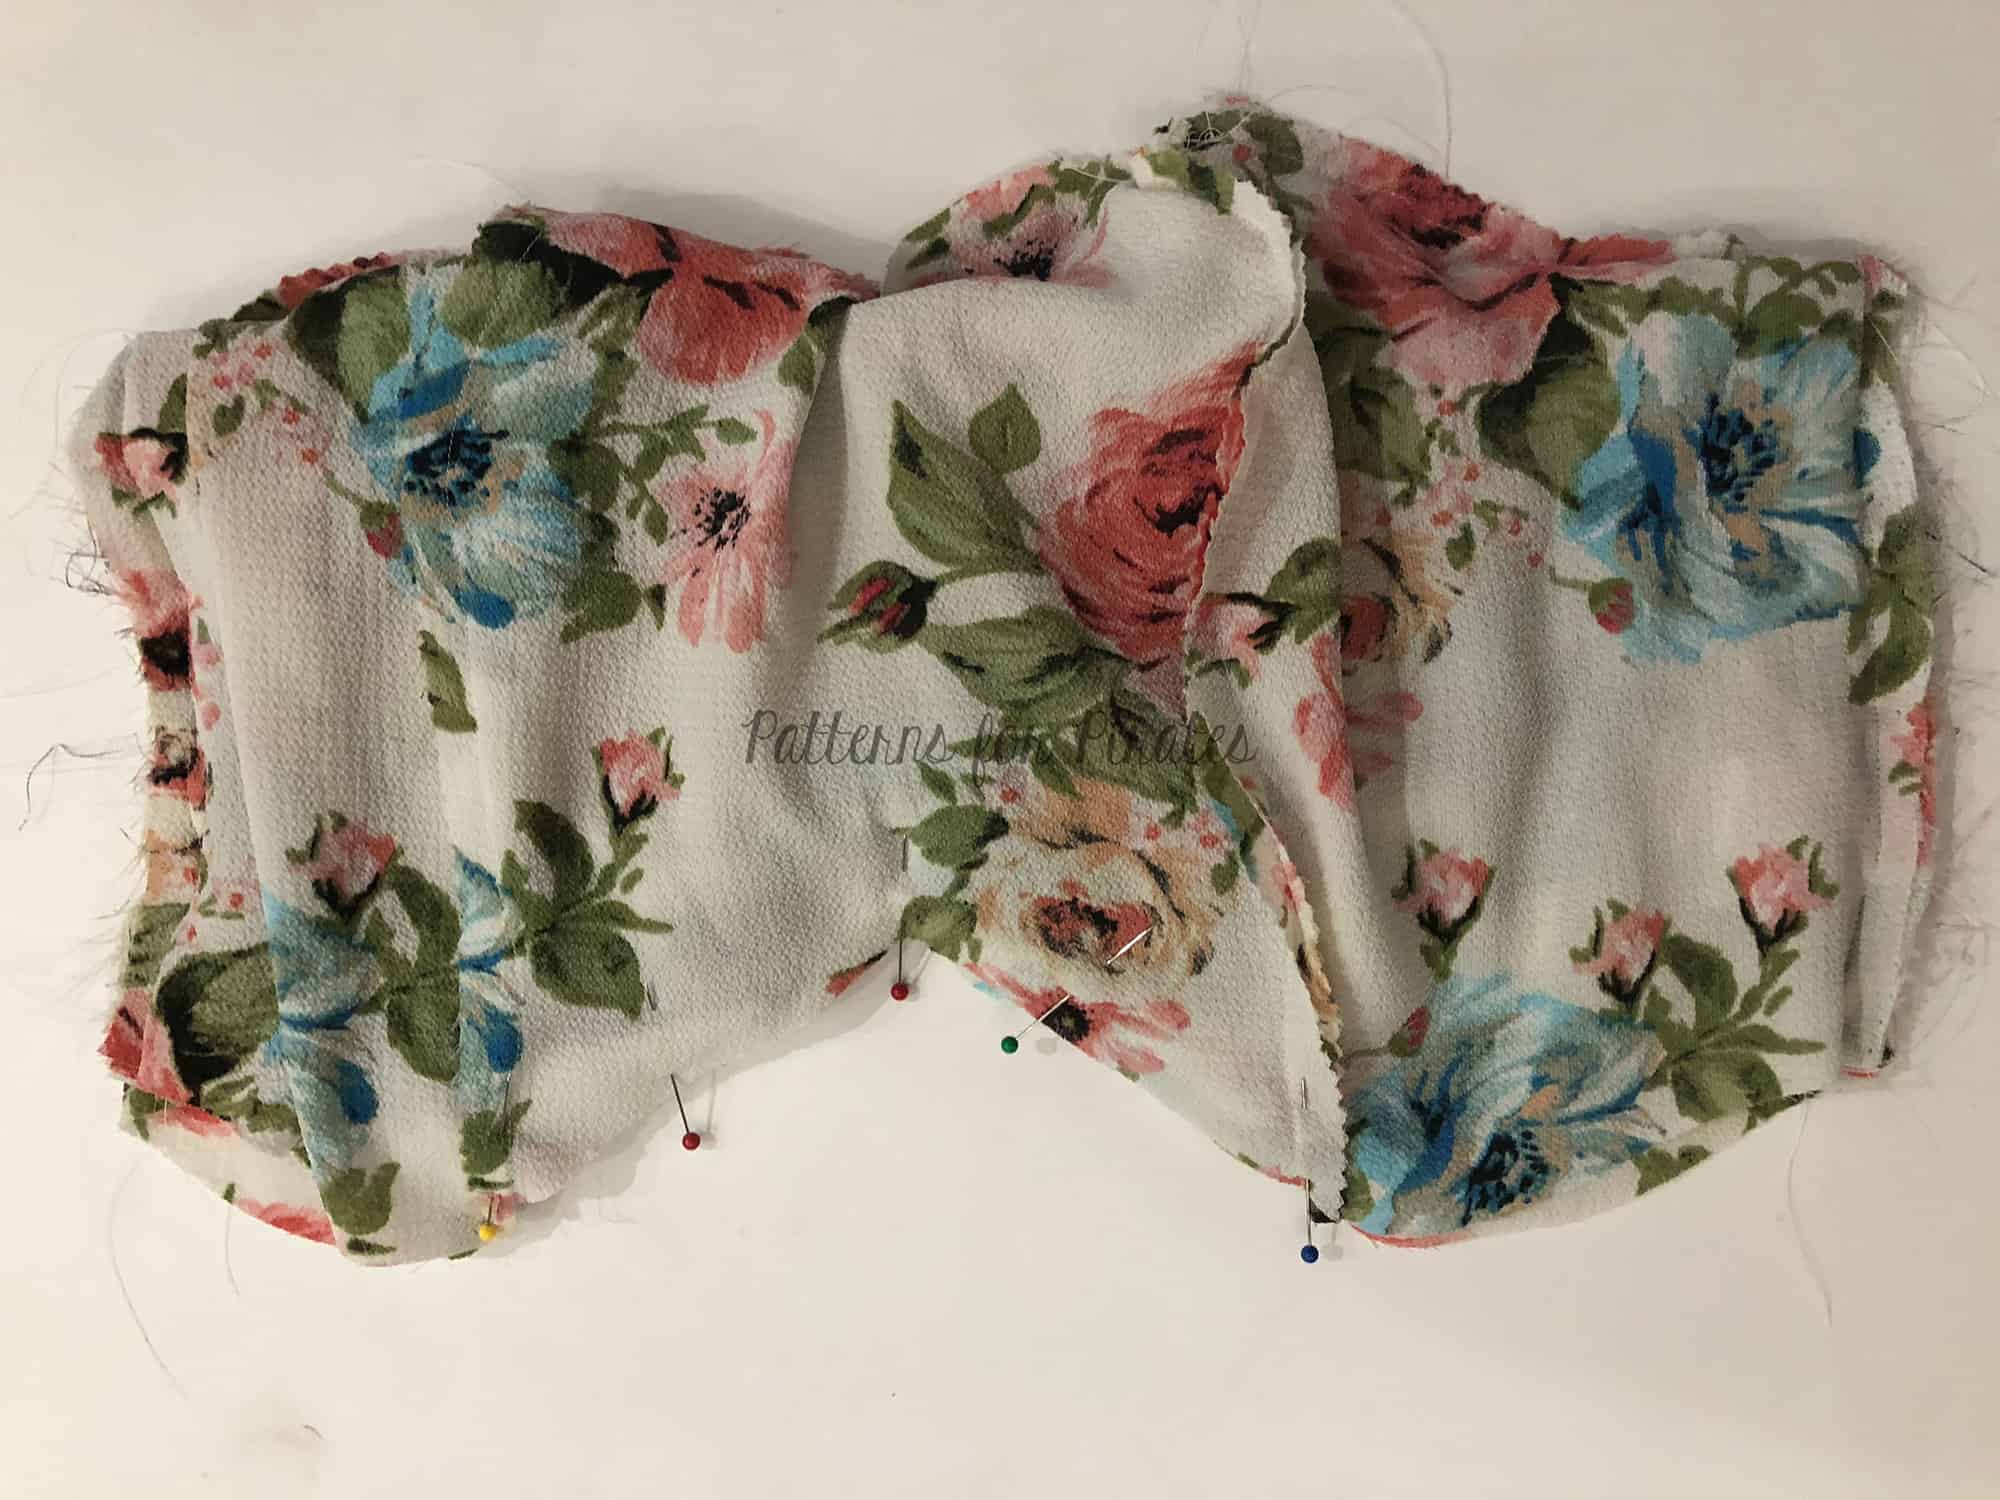
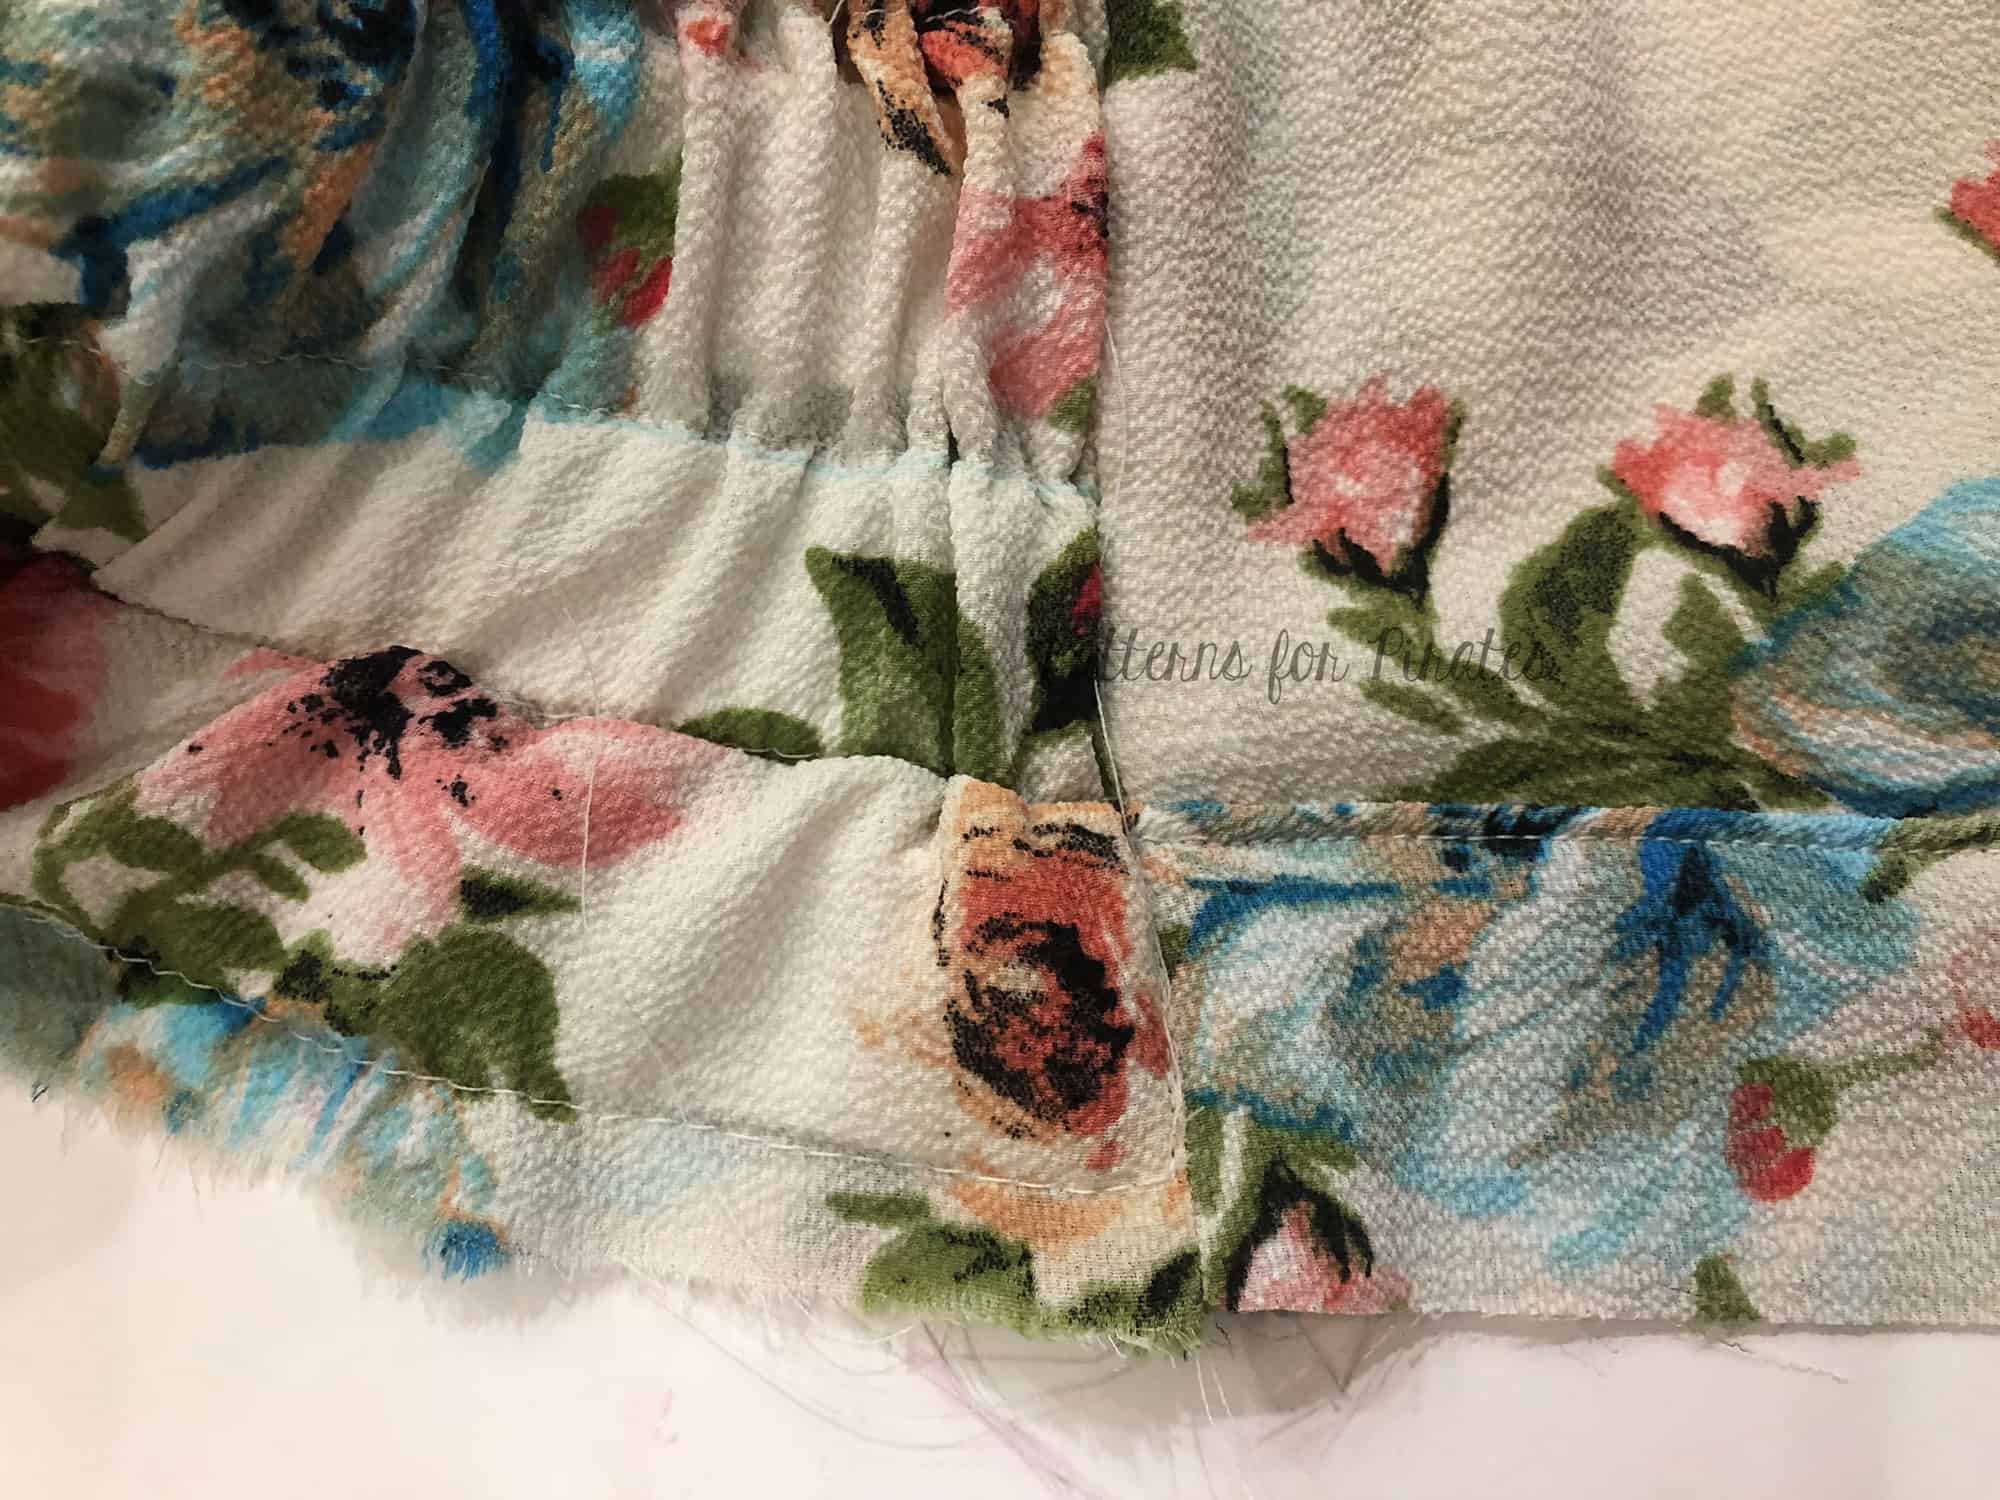
Moving the back bodice out of the way, pin the bottom raw edge of the front bodice along the V cut-out. Stitch with a 1/4″ seam allowance. Note – do not stitch along the side bodice section.
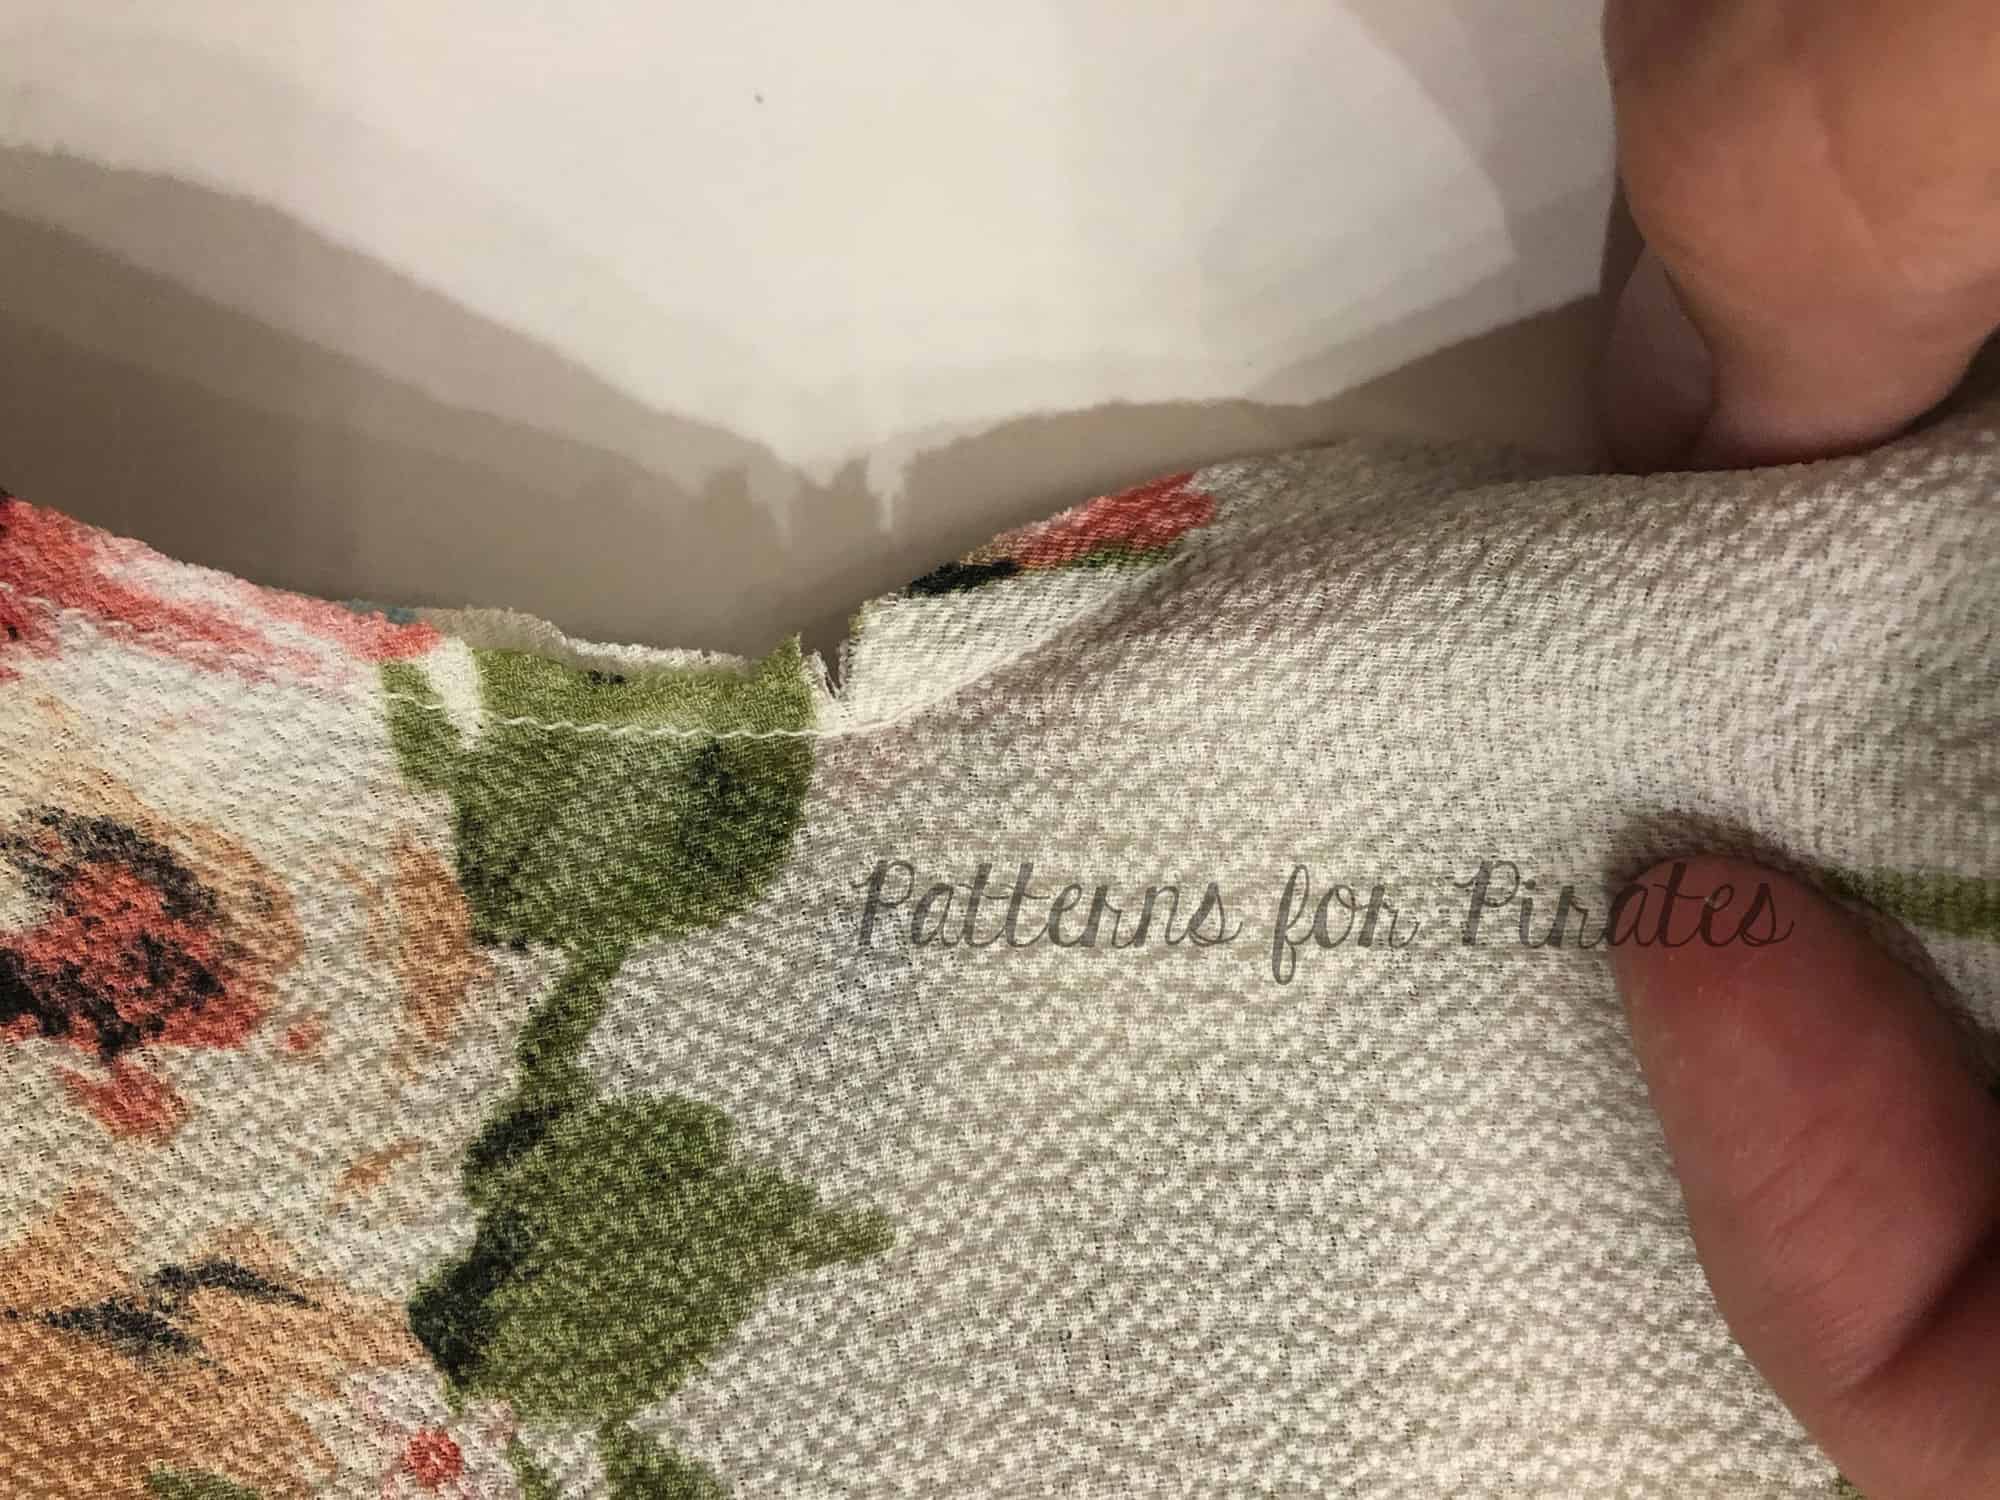
Clip the center of the V up to but not through the seam-line.
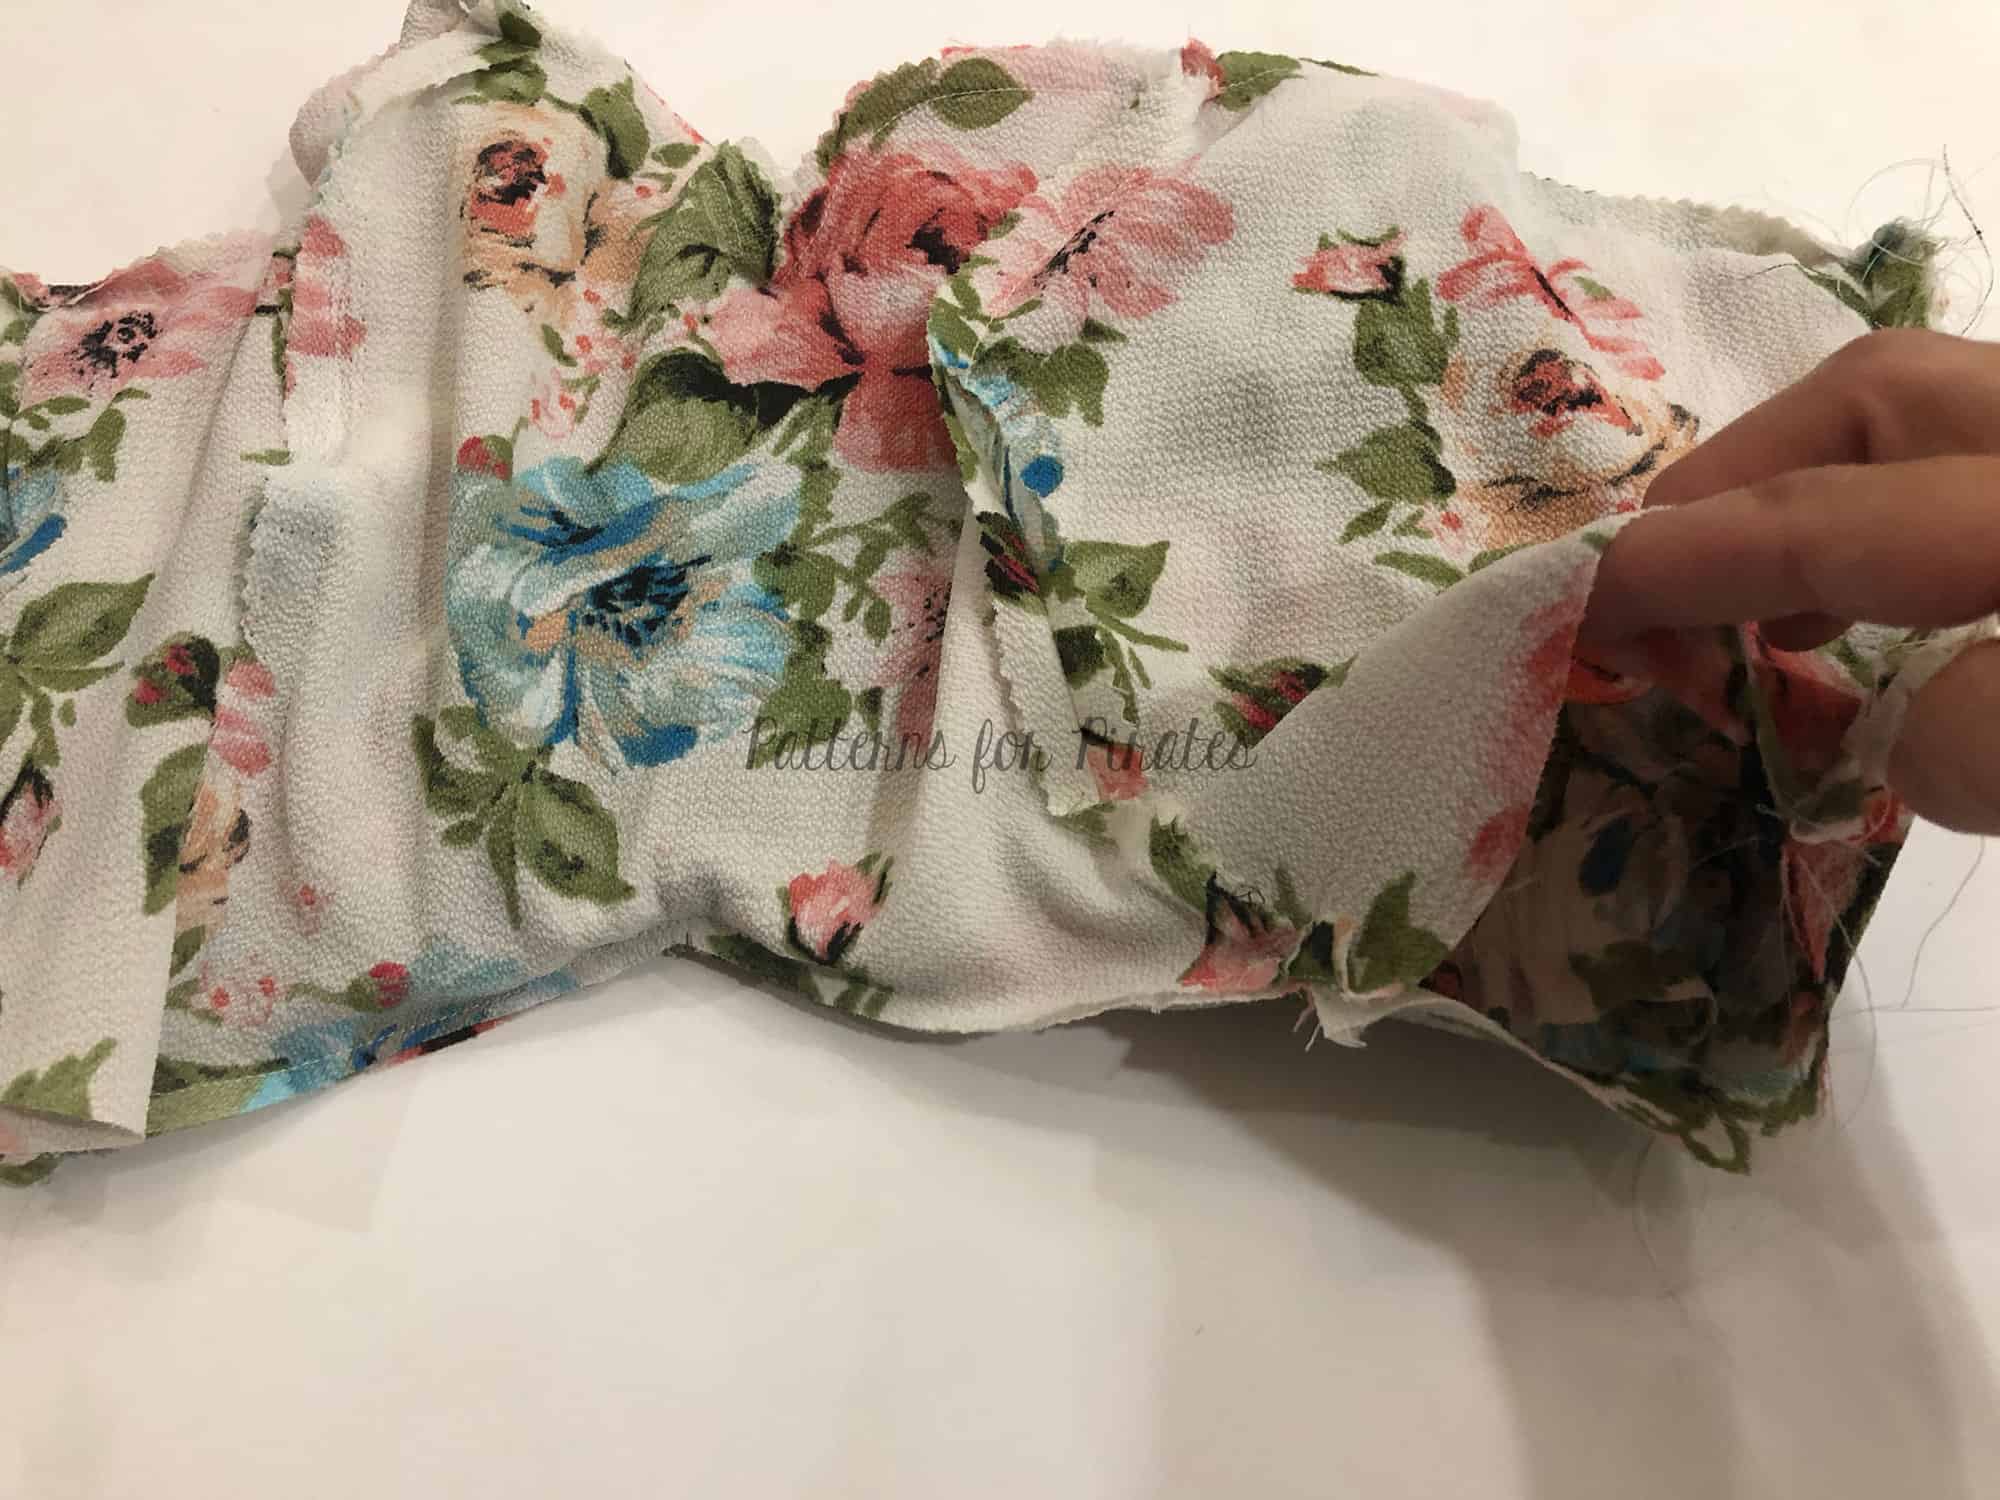
Open bodice and pull the back bodice out to turn the entire bodice right sides out.
Press and top-stitch along top edge and V cut-out.

Now we will move on to construct and attach the waistband and skirt.

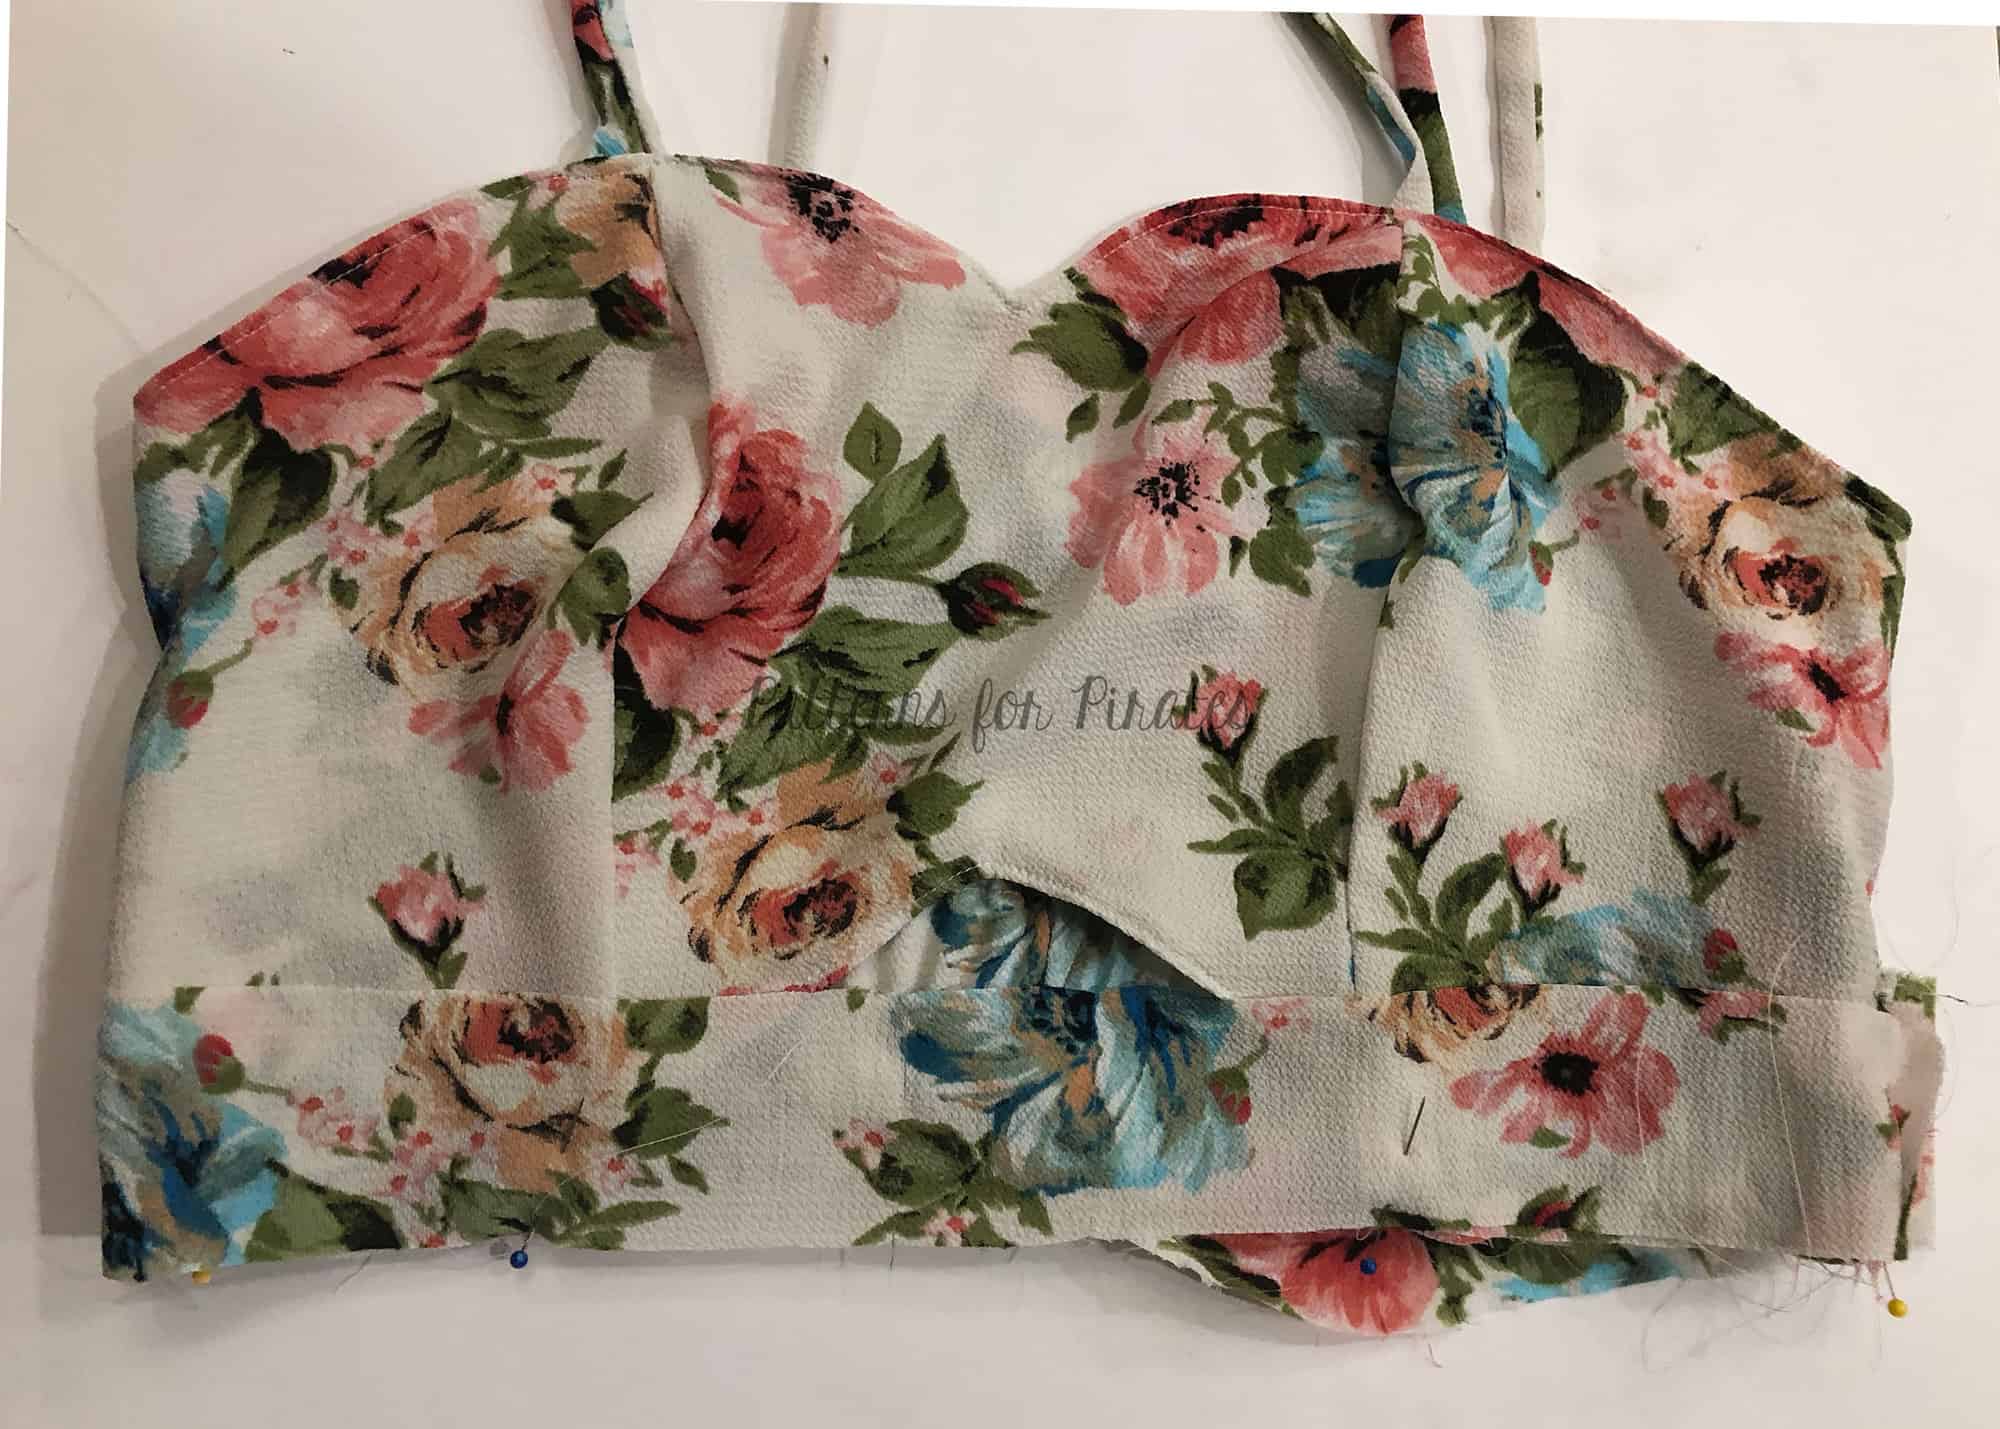
With right sides together sew front waistband to back waistband at side seams (short ends), creating a circle.
With right sides together, slip waistband over bodice. Baste in Place.
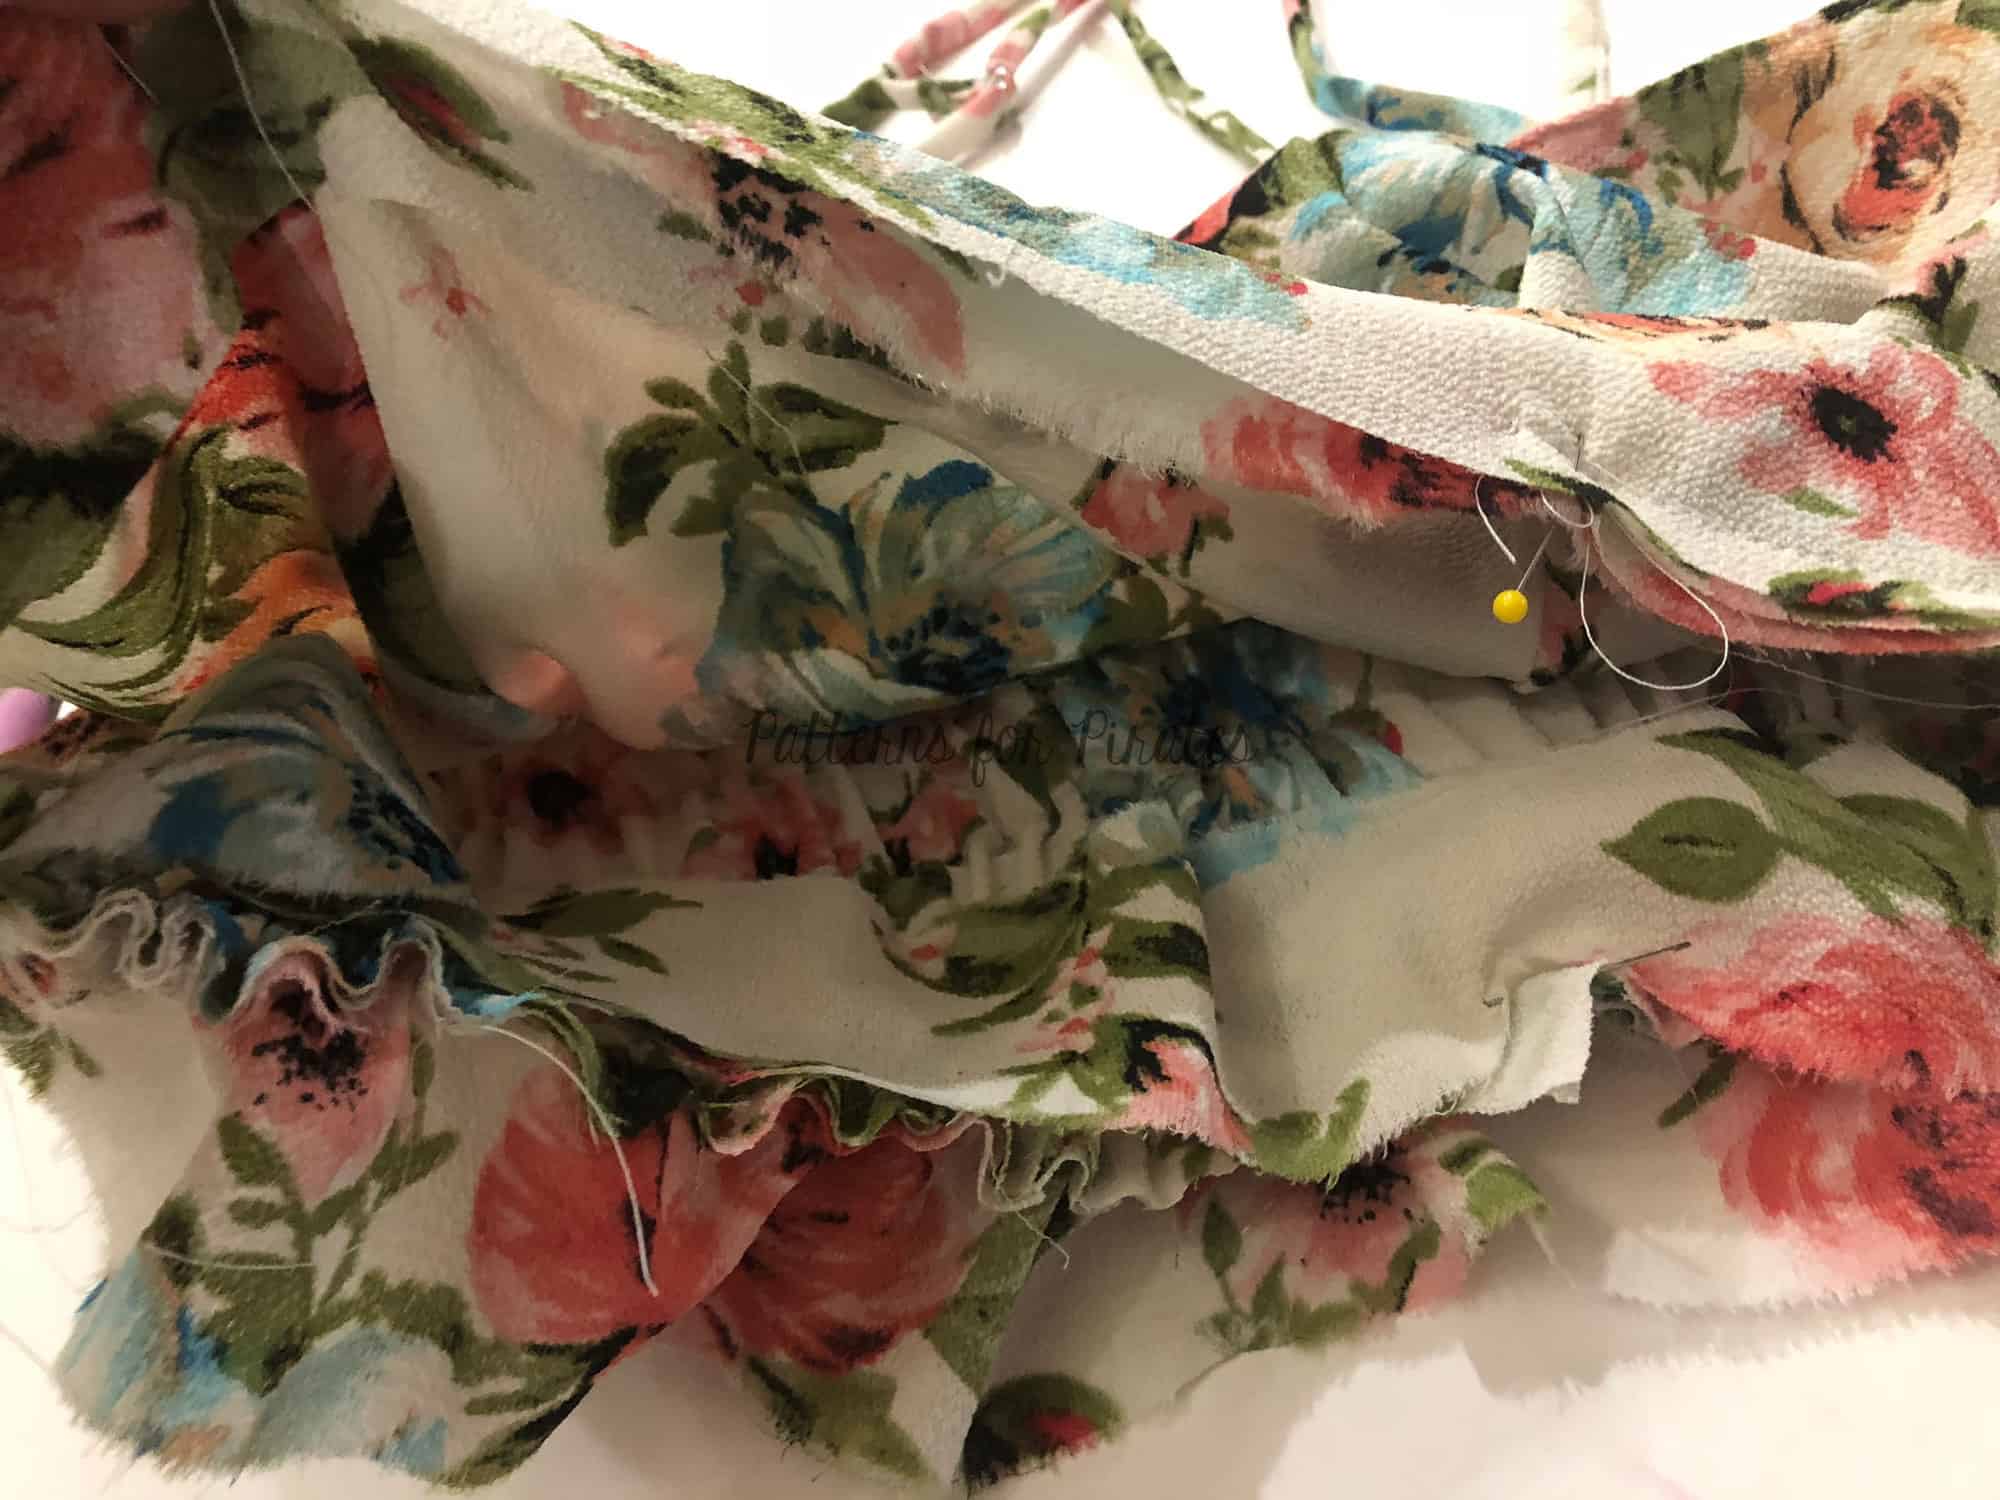
With right sides together, slip lining waistband inside bodice. The bodice should be sandwiched between the main and lining waistband. Stitch.
Fold and press waistband wrong sides together.

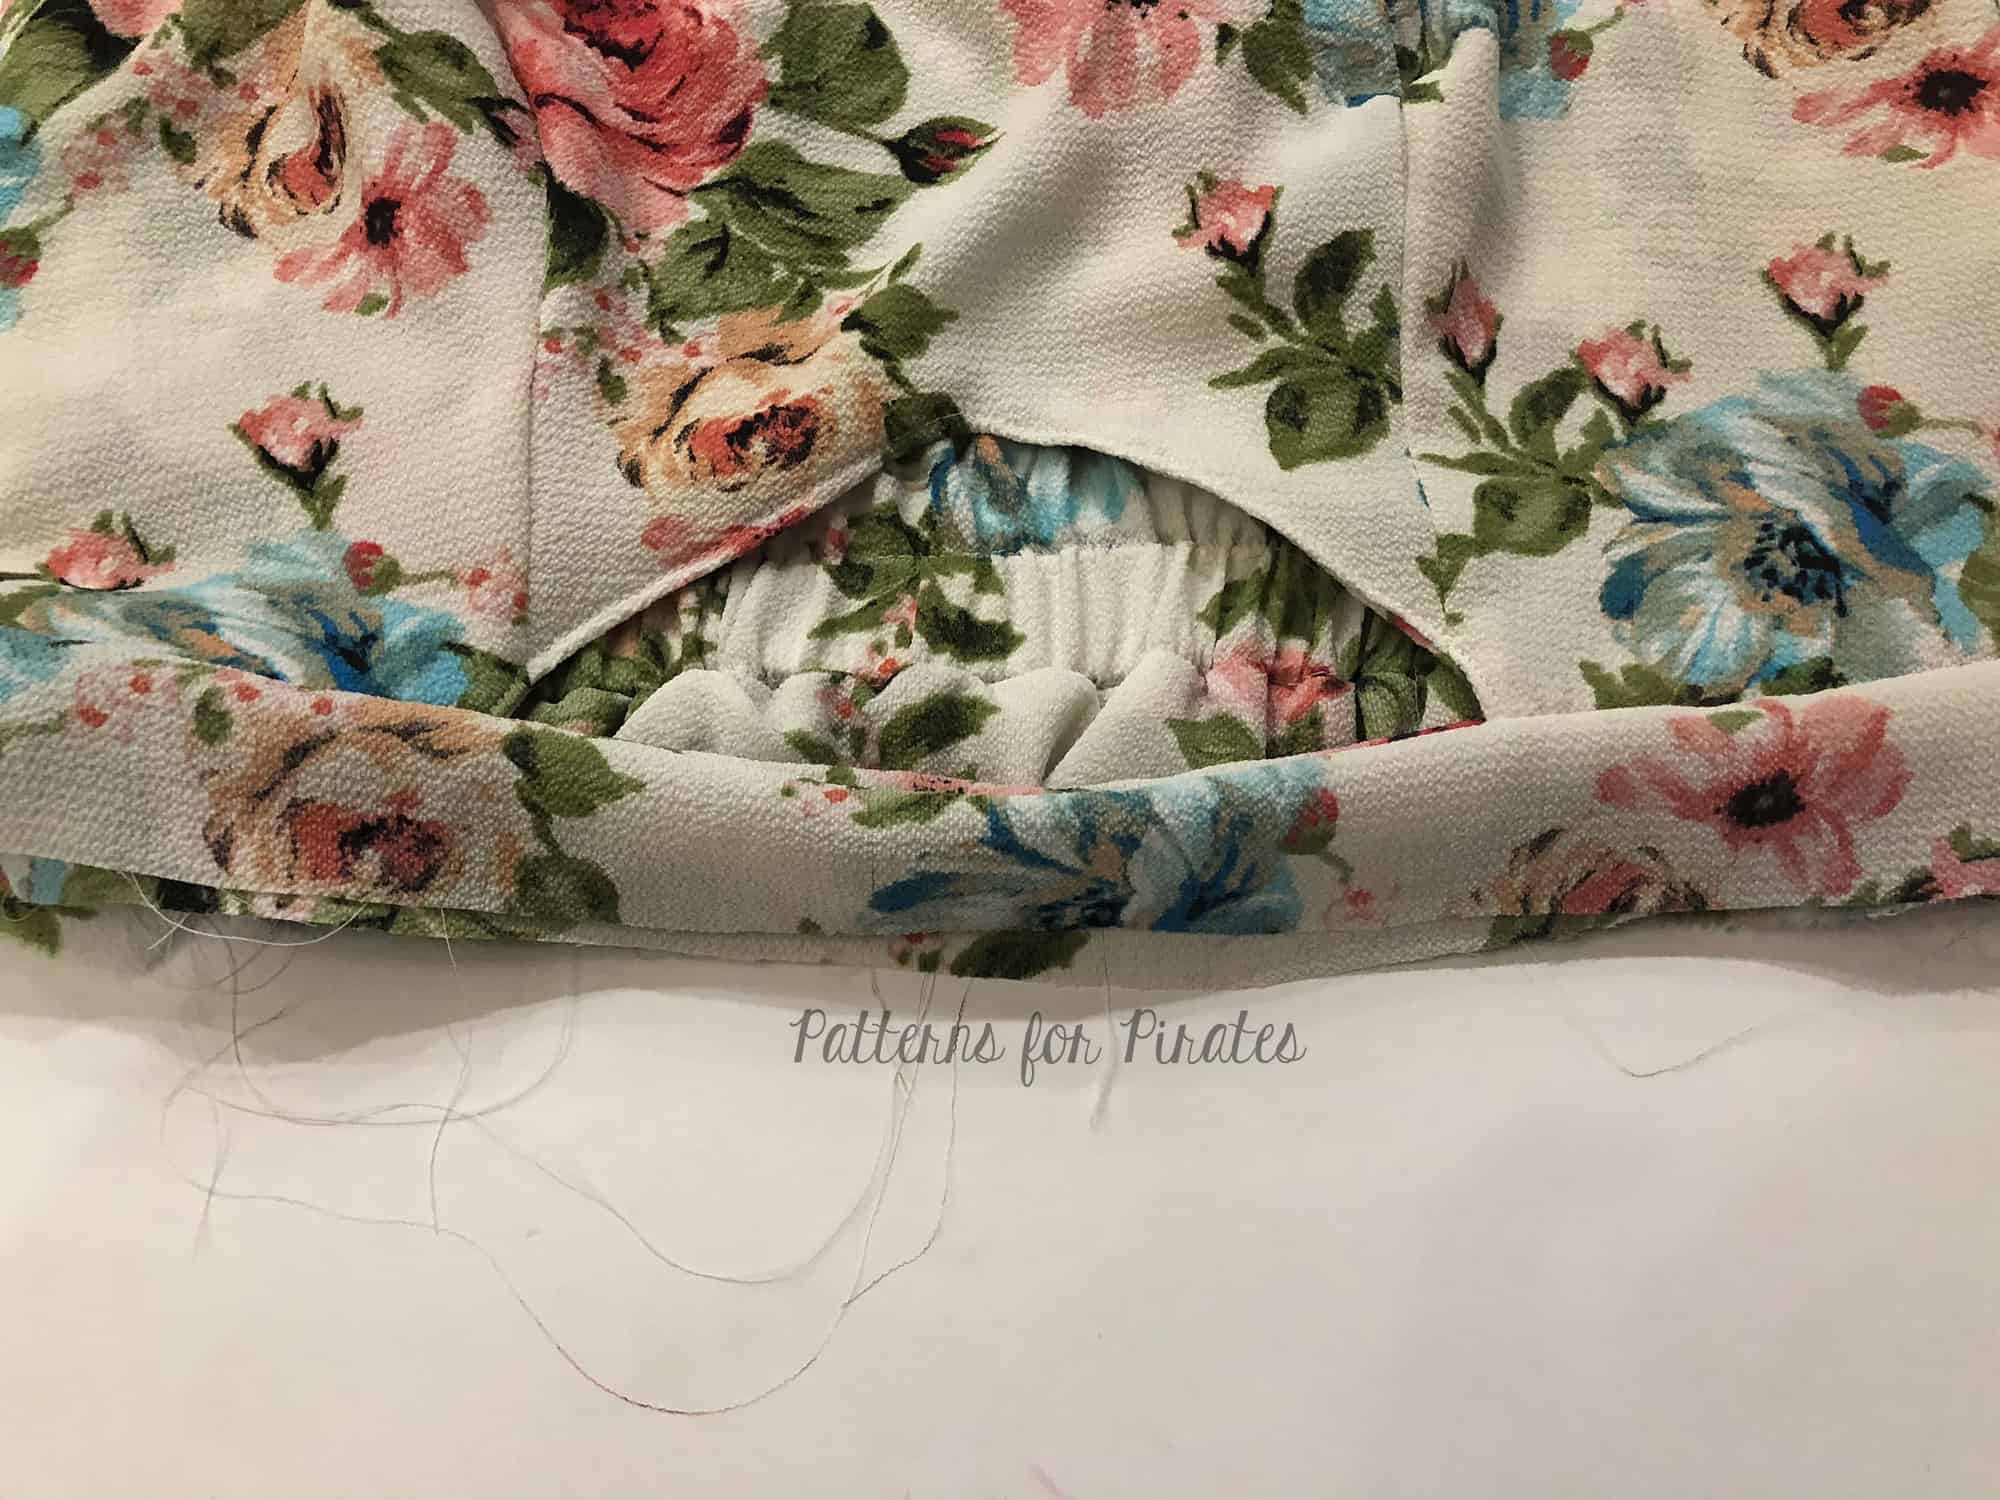
Baste back waistband along bottom raw edge. Do not stitch the front waistband yet.
Insert elastic in waistband.
Stitch in the ditch (along the side seam) to hold elastic in place.
Top-stitch front waistband and baste along bottom raw edge. Attach your skirt as per pattern instructions.


Now that you have all these extra options, go sew some So Classic Dresses and don’t forget to show them off in the P4P group !

Alex, Nicole, Judy and Erinn

Filed Under: Frequently Asked Questions, Pattern Hacks, Pattern Release, Uncategorized 1 Comment

P4P University – Shirring 101

July 31, 2018

In this month’s P4P University blog we decided to focus on shirring. Shirring is the process that will give elasticity non stretchy fabric by shrinking it.

Start by winding the bobbin with elastic thread. I recommend winding the bobbin by hand instead if the electric winder. This will ensure that the thread is not too tight on the bobbin.

TIP: Wind several bobbins before you start sewing.

Replace your regular thread bobbin with the elastic thread one and manually pull the elastic thread up by hand turning the machine wheel.

I have made this video with my tips for easy shirring so take a look before you start.


Choose light weight fabric!

As with all sewing, fabric type/weight makes a huge difference. The lighter the fabric, the tighter will your shirring be. Voile or chiffon will shirr better than quilting cotton, denim or corduroy won’t shirr at all.

Adjust the tension and length according to your machine and fabric!

Not all sewing machines will shirr the same way. Some might “fuss” more than other, so it’s very important to test on a piece of fabric (the same as the one you’re using in your project) what tension will work best. I personally prefer the longest stitch length and the highest tension.

Do not use the automatic thread cutter!

I know for some, like me, using the automatic features of our machine is like second nature but try to remember to disengage the automatic thread cutter so you avoid having to manually pull the elastic thread up with every row. See video above.

Space your shirring rows equally spaced, no more than 1/4″ apart!

For best shirring results your rows should be about 1/4″ apart, or less. The closer the shirring rows, the tighter the elasticity.

Steam, steam and STEAM again!!

Once you finished your shirring rows take your project to the ironing board and give the shirred rows several bursts of steam, on both sides. You will see the shrinking magic happening right before your eyes. This step is NOT OPTIONAL, it’s a must do when shirring.

There you have it! You are now ready to shirr all the woven tops!

Filed Under: Frequently Asked Questions, Pattern Hacks, Uncategorized Leave a Comment

Sister, Sister!

July 11, 2018

I don’t write much about myself personally here on the blog- but I get asked a lot about my sisters 🙂

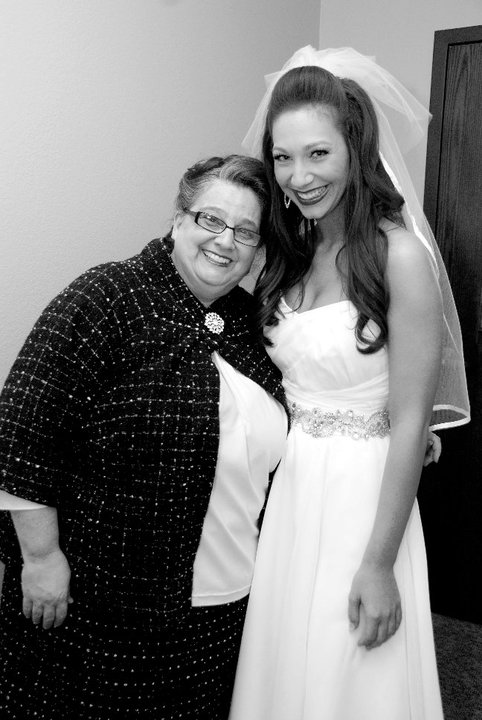
I have two sisters- Megan and Nicole.  Both of who have or still draft their own PDF Sewing Patterns just like me.  We all grew up sewing with my Mom, who was self taught through books, tv shows, online classes, etc… she is a life long learner who always wants more information! She definitely taught us you can always learn more if you’re willing.  She also taught us a lot about sewing! She made every kind of apparel including our prom dresses and wedding dresses.  Here is mine, which I adore.

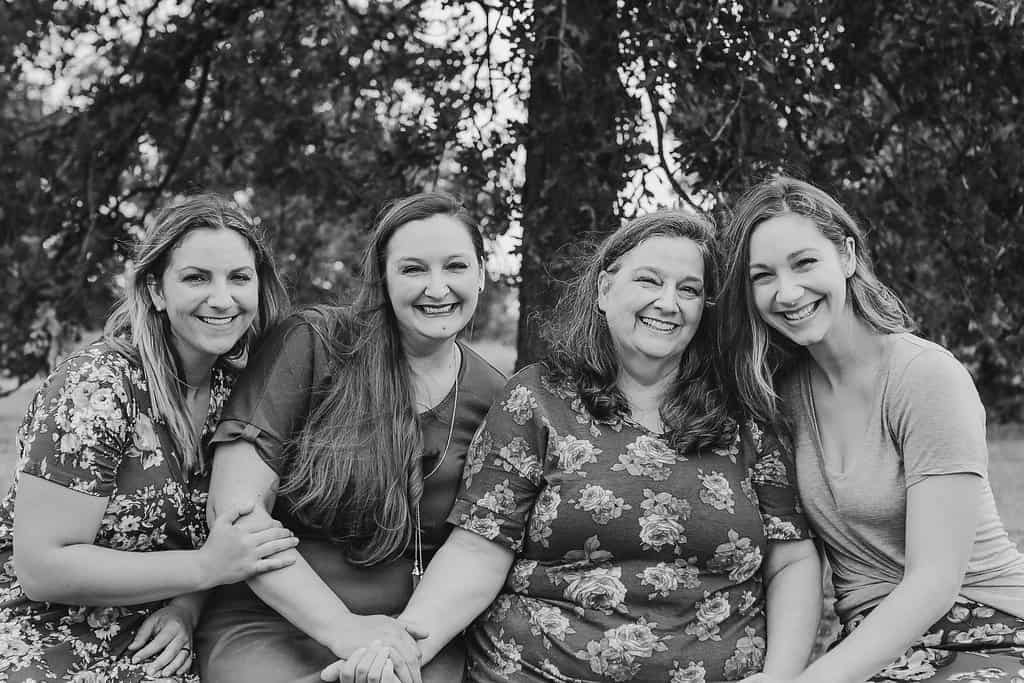
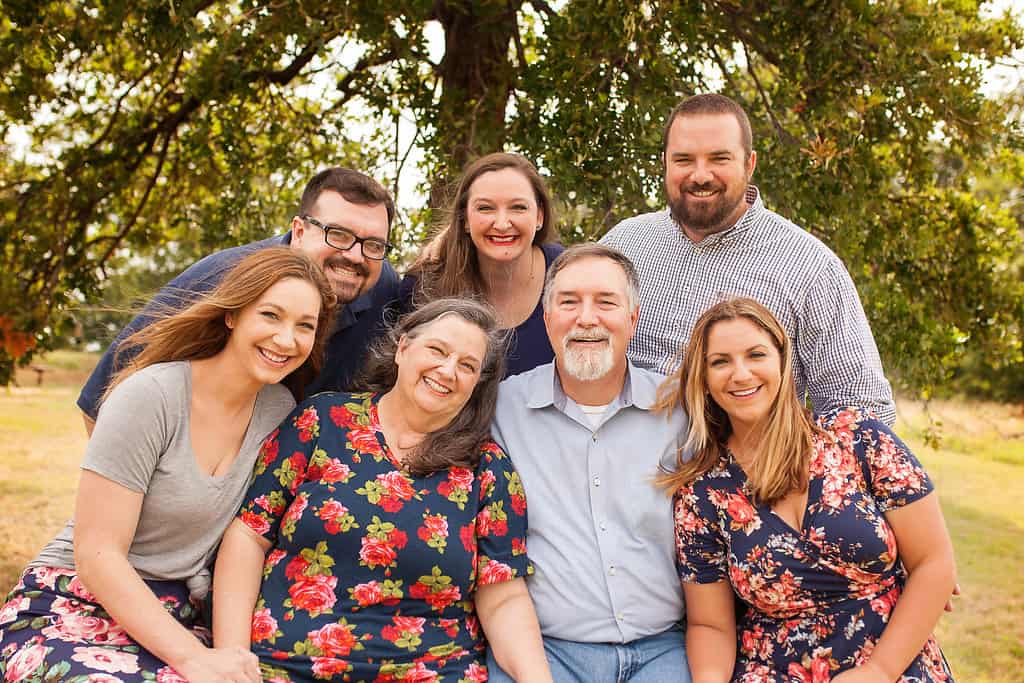
She taught us everything from sewing jargon, fabric types, ease, modifying and about drafting as well. Eventually we all ended up in the same business.  Nicole had Coles Creations, in which Mom actually helped her on the drafting side for some time.  Since, she has retired a bit from the game, but still enjoys sewing of course.  Here we are this past Christmas all in me-made shirts 😉

Megan is the owner of Made for Mermaids.  We’ve done a few promos and things together over the years from pattern bundles, sew a longs, giveaways, blog tours, etc.  We often get sited as “sister sites/companies”, but in actuality we keep our companies completely separate.  We are in fact SISTERS though 🙂

You’ll notice we have some similarities in our companies and some differences too.  We both have wide size ranges and our womens are drafted to the “curvy” women’s body type… because, well… we’re both curvy 😉  I draft for P4P exclusively- although I have some help with small adjustments during testing and help with some of the freebies being drafted by Nicole Lanzarotto and Katy McKinley.

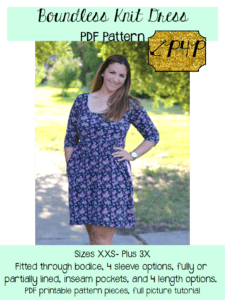
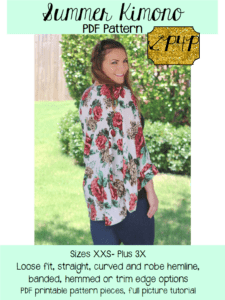
Megan drafts for her company and has two other designers that also draft their own patterns with M4M- Catherine Muzzati and Megan Thoman.  So, when questions are asked about M4M patterns vs P4P patterns the answer is often, “I don’t know!”  I do not have anything to do with M4M patterns from drafting, testing, releasing, etc other than seeing the sneak peeks like you usually! Sometimes Megan and I will talk more in detail about certain patterns: discussing and giving opinions on amount of ease we like best, length, etc.  Sometimes we will ask each other to test a pattern or to model a pattern for each other as well.  For example, Megan is the cover of my Boundless Knit Dress and Summer Kimono, both drafted and released while I was pregnant with my daughter 🙂 We used to do this much more when we lived closer, because it is much easier to take someone else’s picture than you’re own!! I’ve also used her daughter for covers several times, because I once didn’t have a daughter to model or had a little baby who was very hard to take a picture of 😉 I still will grab her for pictures when I can… she’s so much easier to take a photo of than my toddler, lol!!  Her husband is even the cover of our Men’s Henley because she happen to get a great shot for me.


But, most the time we have never seen the majority of the others patterns until we would like to sew one up one day.  So, most the time I honestly just don’t know if one of her shirts is more or less fitted than one of mine is.  We do try to not overlap our designs much since we don’t want to compete with each other on purpose, but as our catalogs grow we will most likely have some overlap and that’s okay too.

I hope this helps clarify how we are and are not connected 🙂 If you’re curious, we also have two brothers, but neither are into sewing…although John has modeled for me before (he appears on the cover of the men’s bball shorts).  We’re one big happy family who love and support each other through everything.

Filed Under: Announcement, Frequently Asked Questions, Uncategorized 4 Comments

P4P nursing hacks

June 12, 2018

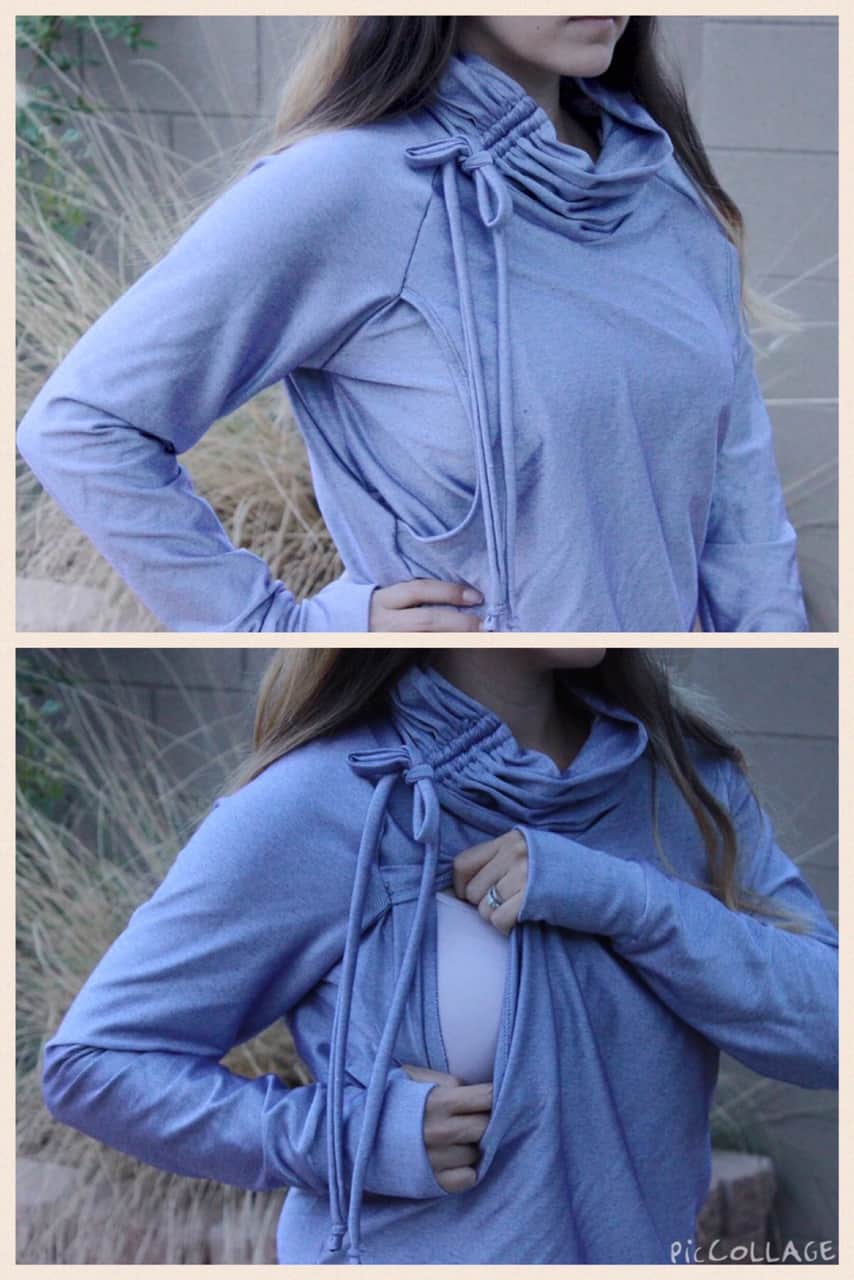
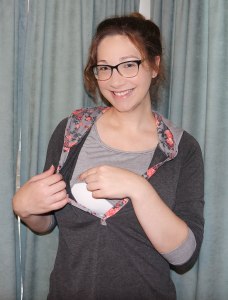
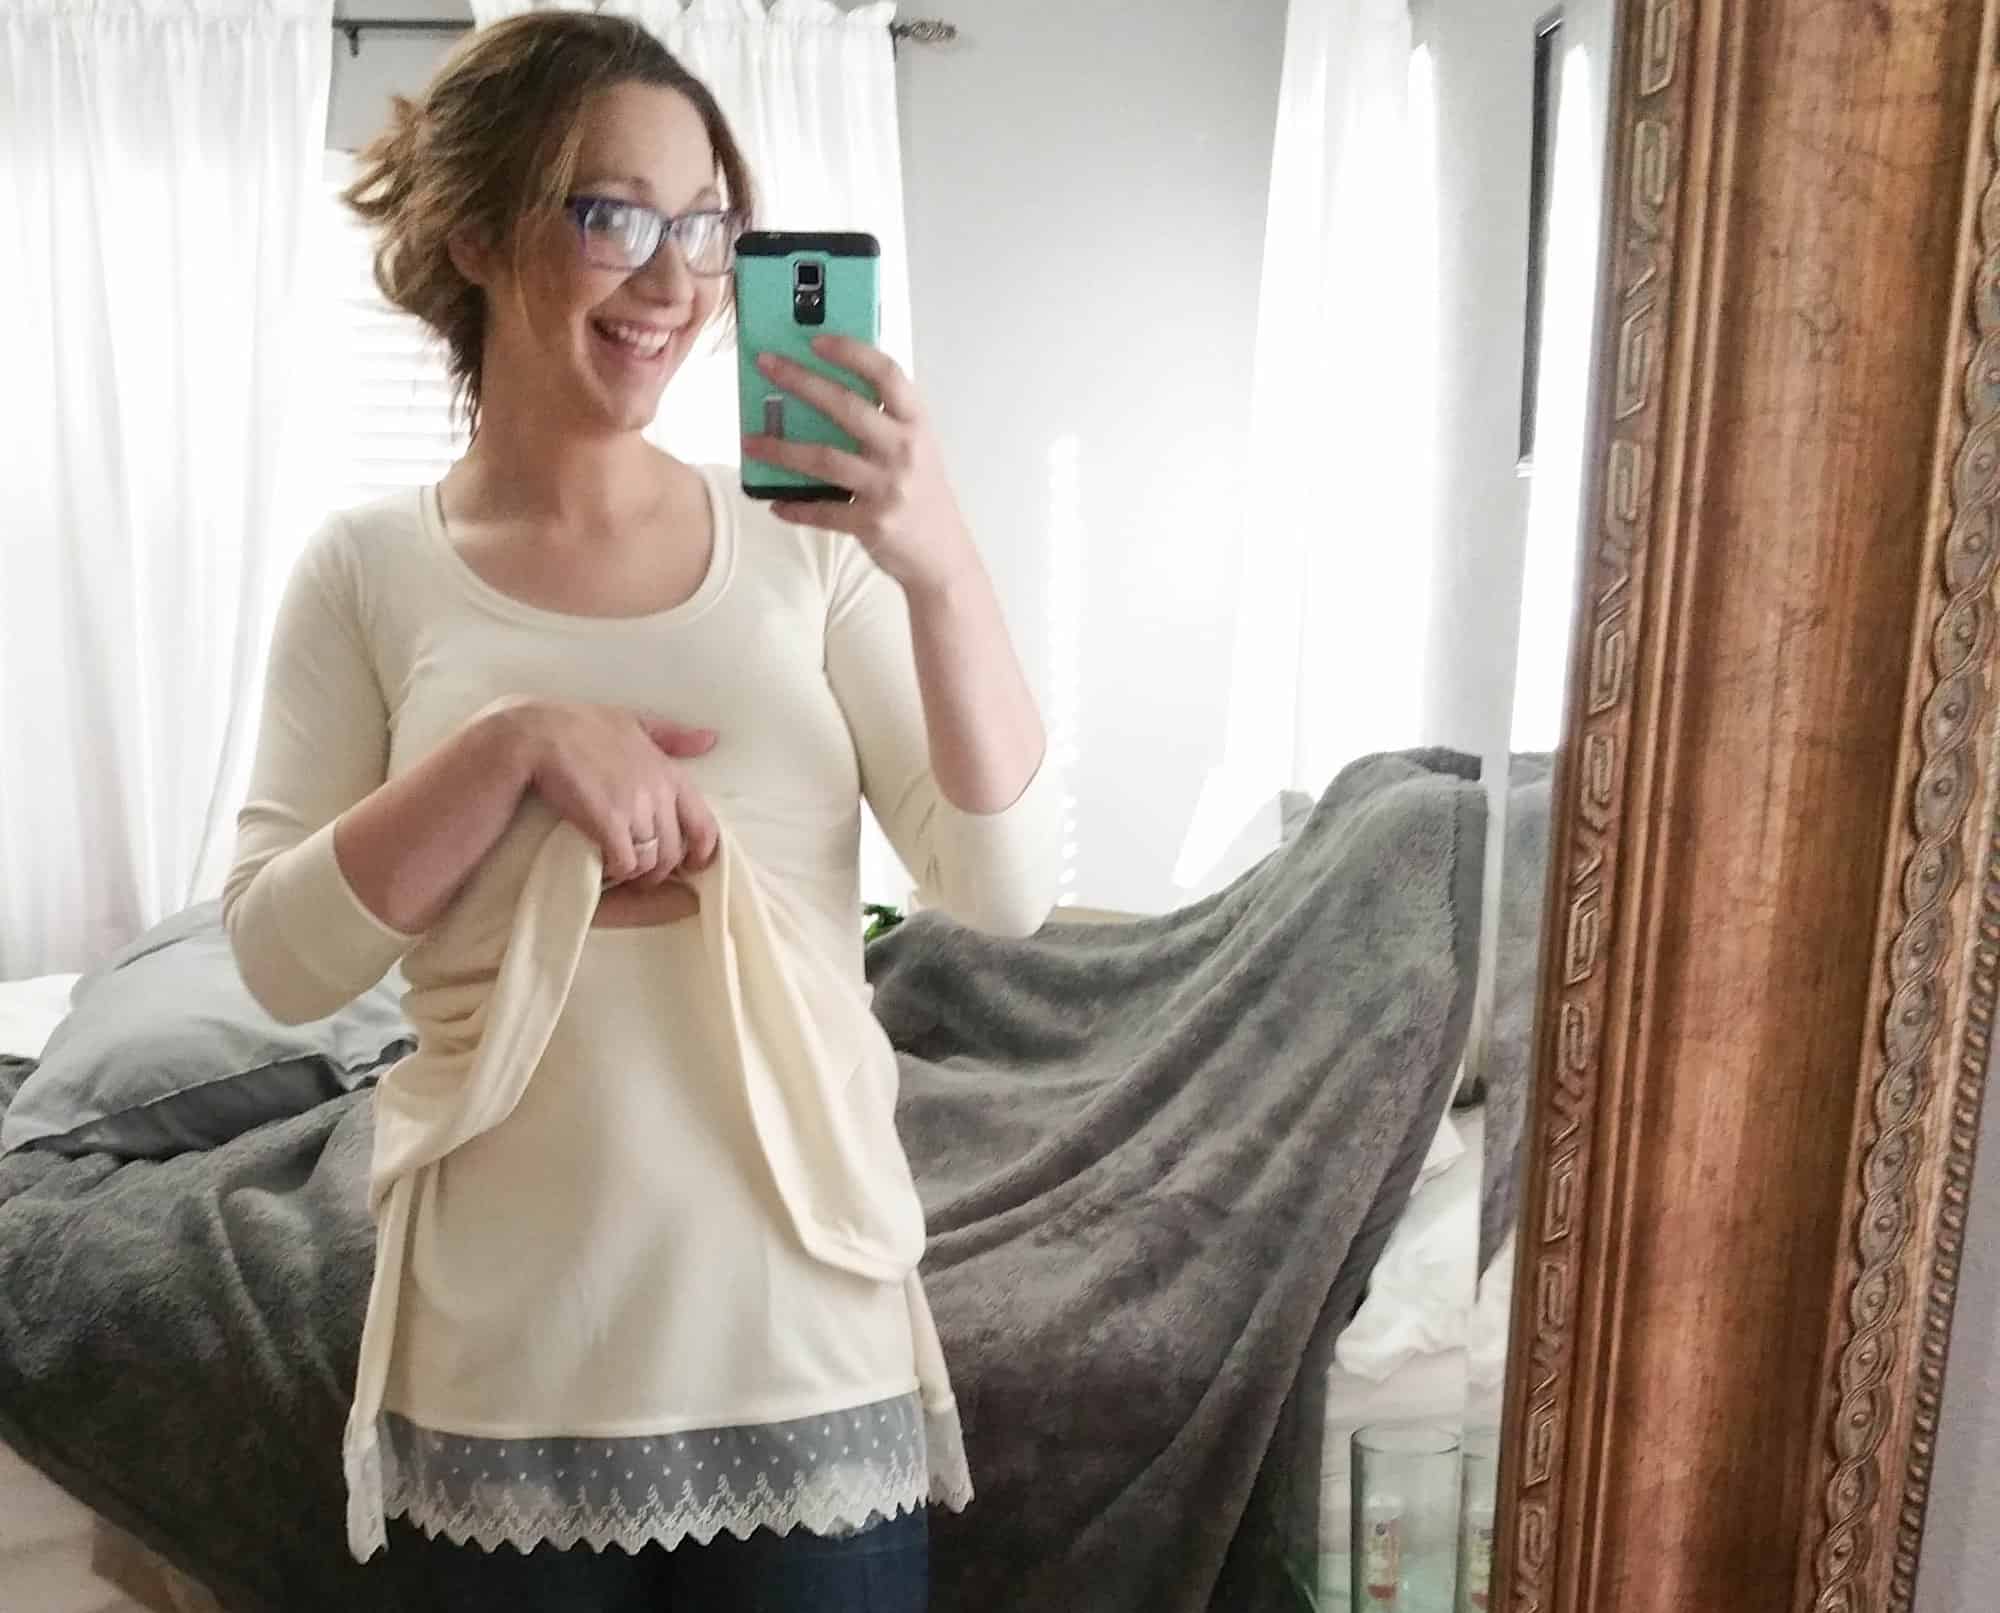
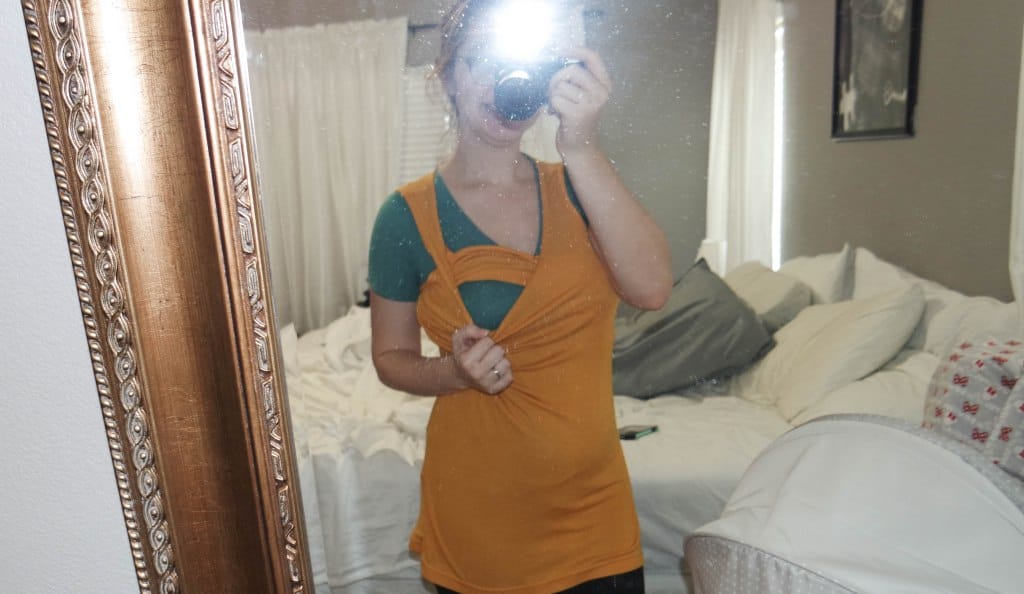
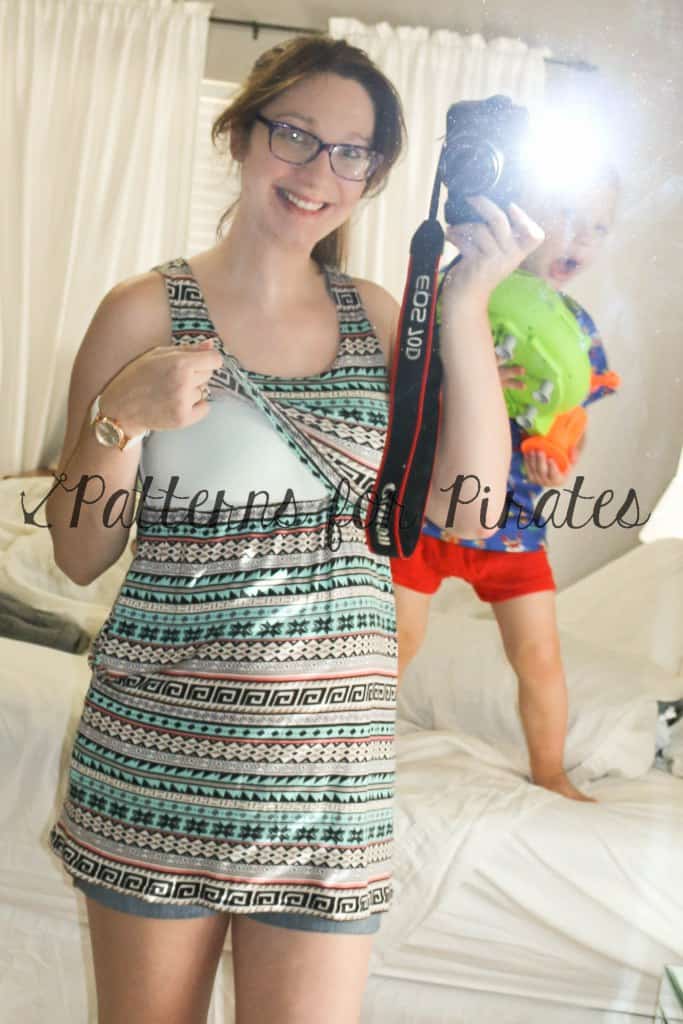
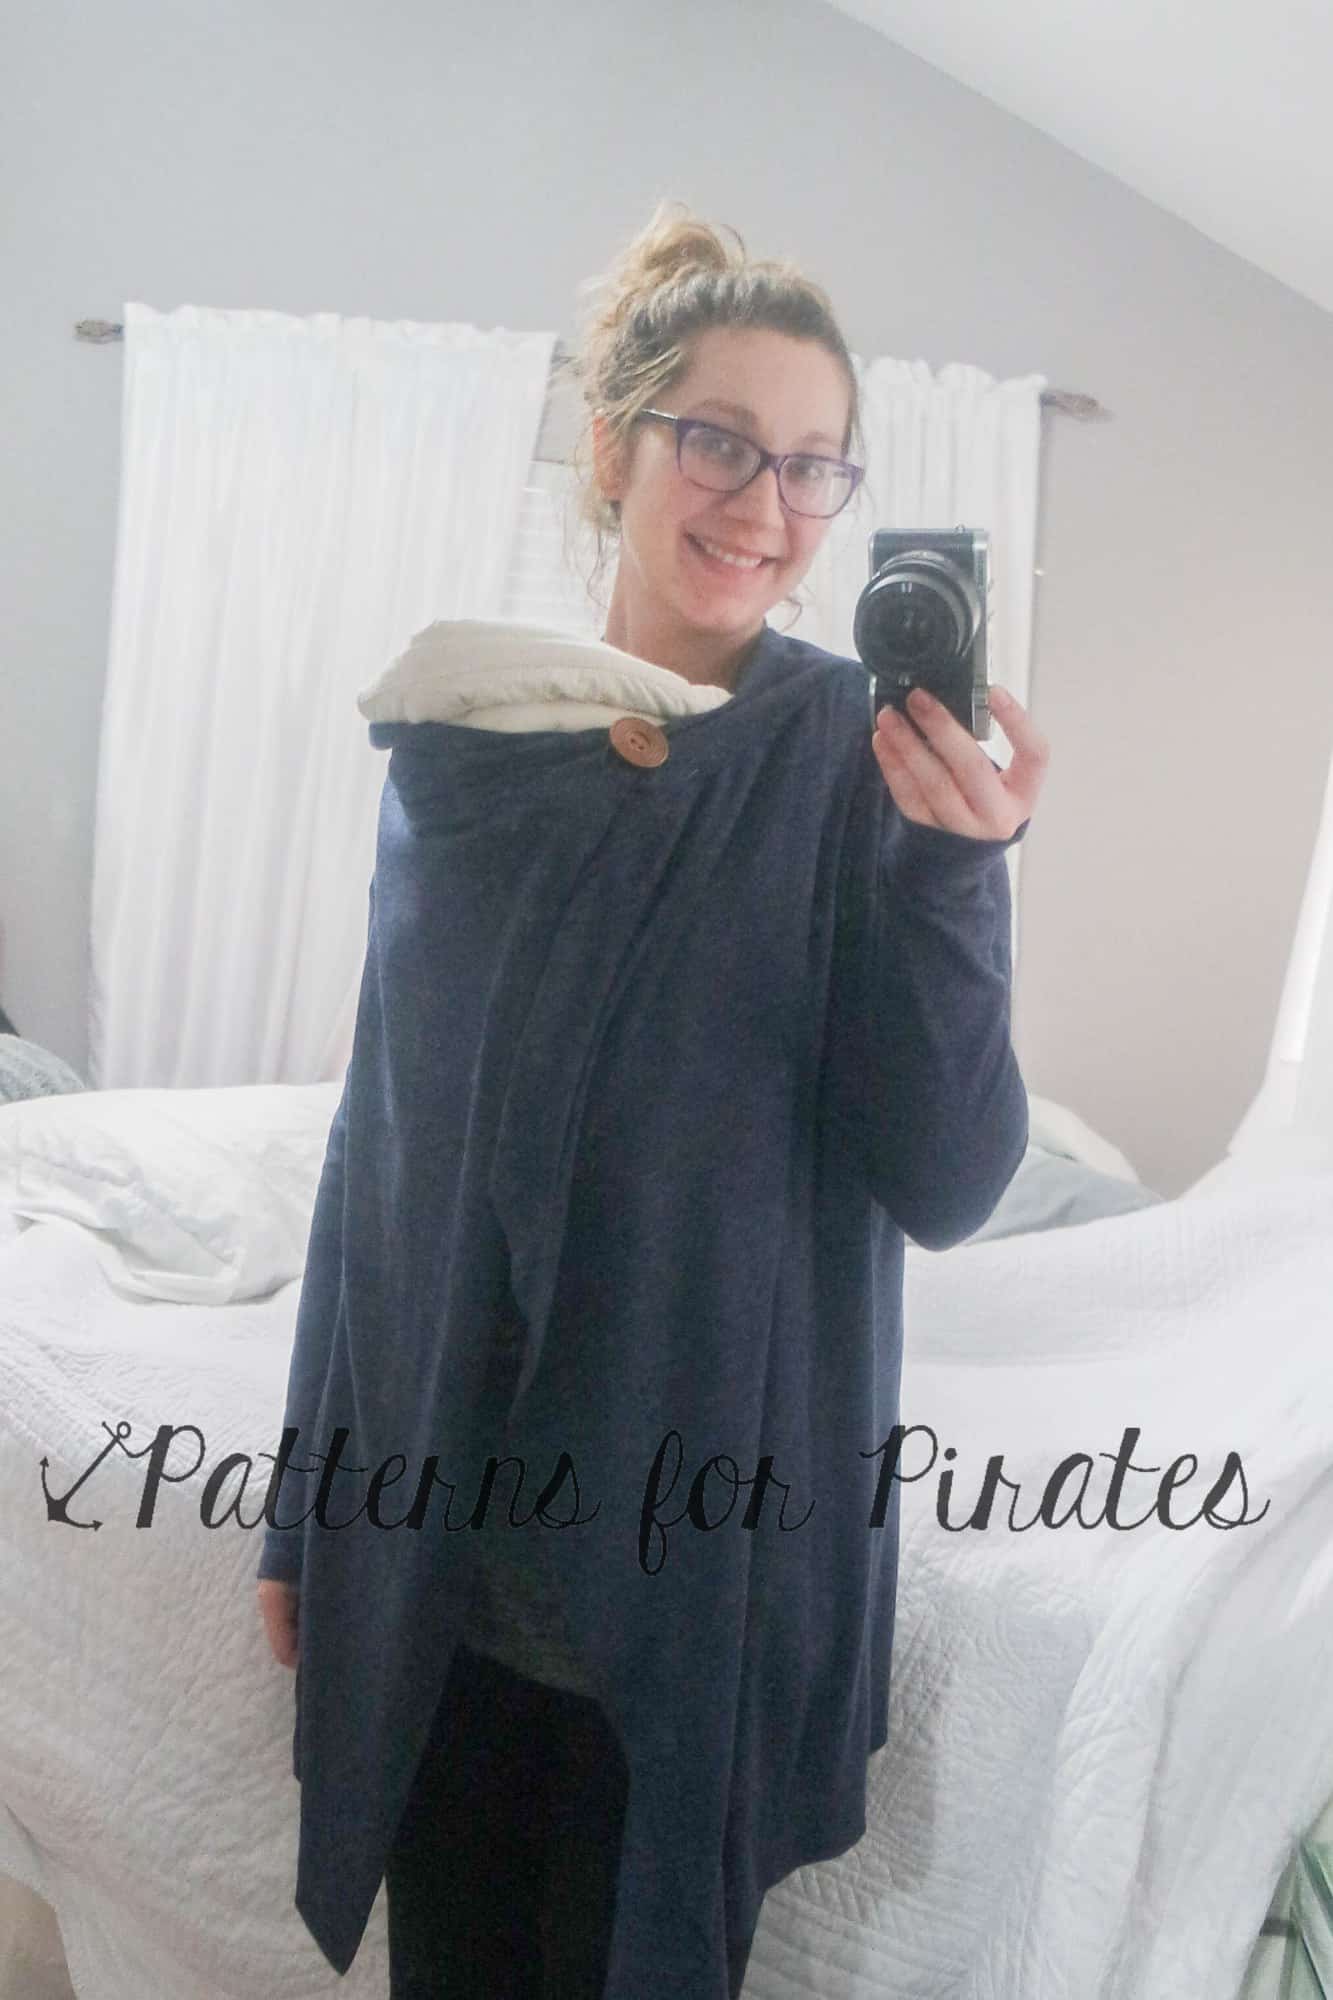
Ahoy, pirates! Throughout the years the P4P team has showed you lots of ways to hack our patterns and make them nursing friendly.  So today I wanted to put them all together in a round up blog. this way you have easy access to them at all times.


RELAXED’S RAGLAN Nursing Hack

Nicole is showing us how to modify the Relaxed Raglan (or the Ragdoll, or the Slim Fit Raglan) to make it nursing friendly. You can find the blog here.


HENLEY nursing hack

Next up we have a Henley modification that can certainly be applied to the Brunch Blouse as well. The blog can be found here.


FST/LMU MASH nursing hack

A lot of us are big fans of the FST/LMU mash so we couldn’t skip this mash in our nursing line up hack. You can find the details here.


LAYER ME UP nursing hack

Our Layer Me Up Shirt has a nursing hack on the blog as well. Judy is showing us here how to modify the shirt to achieve a nurse friendly look.


BOUNDLESS nursing hack

The Boundless Knit Dress nursing modification can be found here. The same technique can be applied to other dresses like the Sunshine or the Sweetheart dress.


BOHO BABYDOLL nursing hack

Our Boho Babydoll hacks includes a split side seam modification is that is great for nursing as well. You can read Erinn’s blog here.


CAREFREE CARDIGAN nursing hacks

Our cardigans are already nursing friendly but Judy took it up a notch with the Carefree Cardigan Button Hack. The blog can be found here.


ESSENTIAL TANK nursing hacks

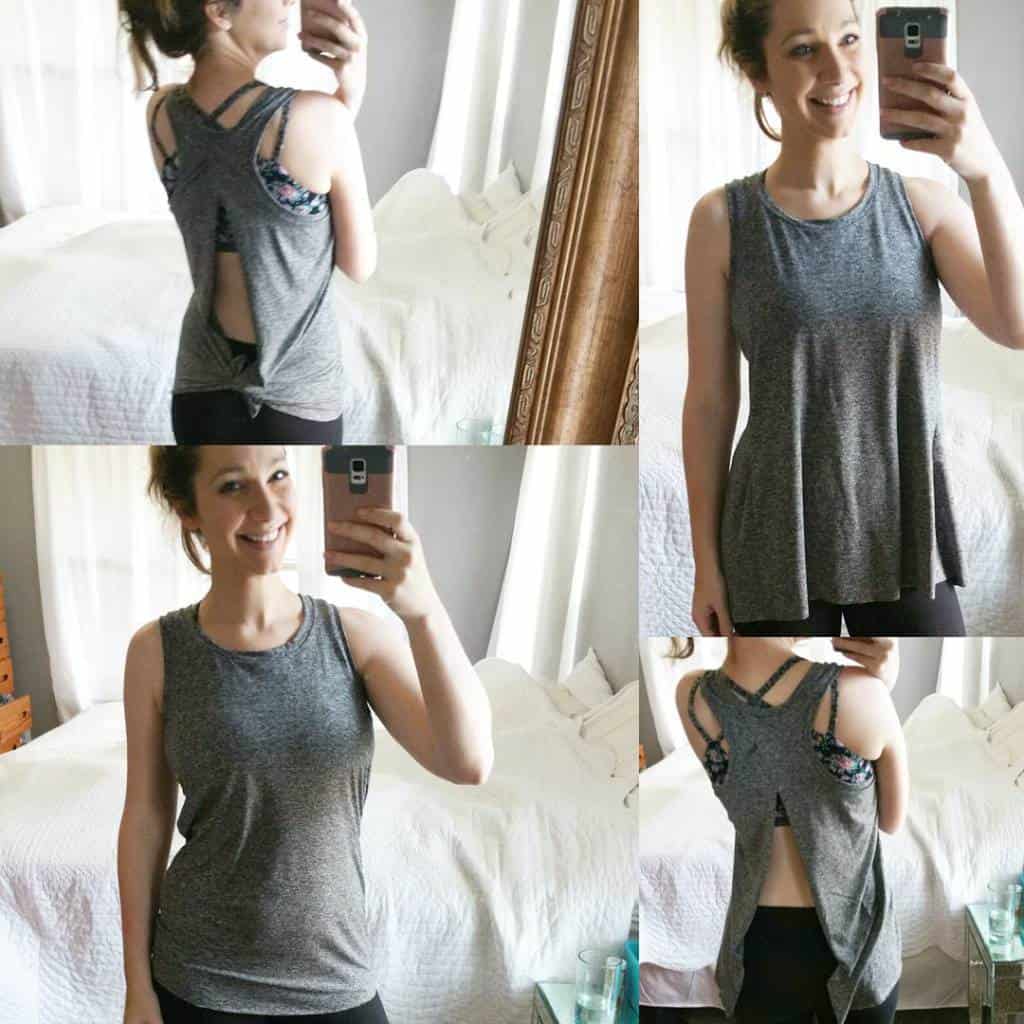
Last but not least we have an Essential Tank hack that is nursing friendly too. Judy shows us here how to achieve an open back look for the ET.


All you have to do now bookmark this blog post so you have easy access to all our nursing hack and get sewing. 🙂


Filed Under: Frequently Asked Questions, Pattern Hacks Leave a Comment

Palazzos Open Leg Hack

June 7, 2018


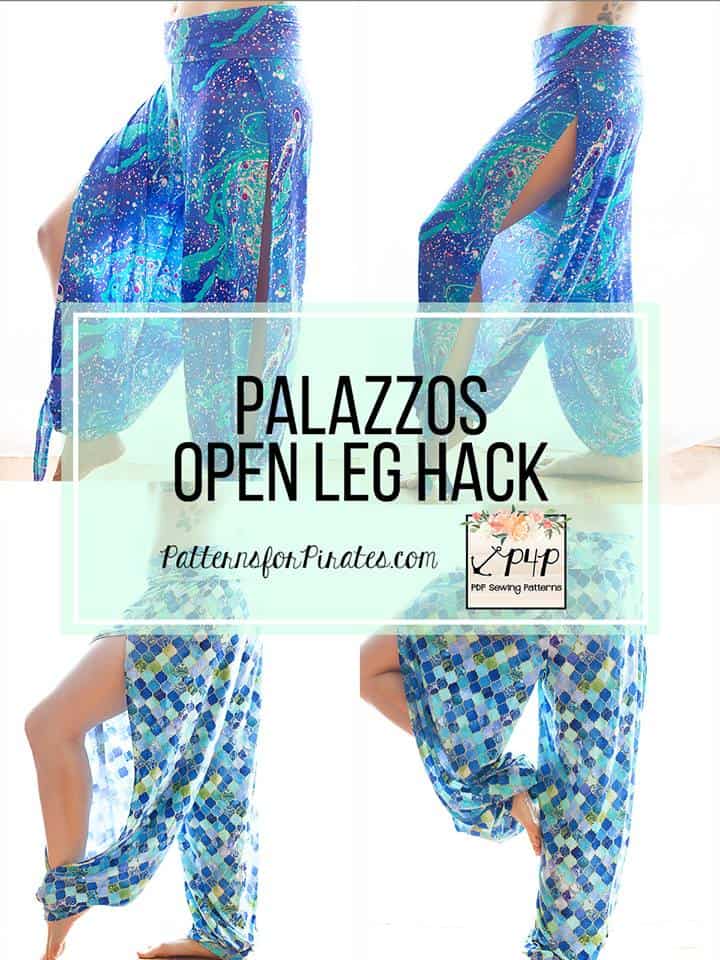
I’m so excited to bring you this fun summer hack!  These open leg pants are perfect for summertime, yoga, belly dancing, beachwear coverup, and really whatever you want them to be!   I’ll be taking you through two styles-   the overlap with a tie and the split seam with banding.  They can be mixed and match as well :).

Let’s talk about fabric,  drapey fabrics are a must for this so things like Bamboo Lycra, Rayon spandex, and Double Brushed Poly work great (although DBP is better for colder weather due to breathability).  I used Bamboo Lycra for both of my options.   I definitely recommend using a cheap muslin fabric first to make sure you get the fit you want before cutting into your nice fabric.

Now for the fun part!  Open up your Palazzo pattern and for sizing I chose to size up for a looser fit through the hips. Print your pattern and assemble as normal.

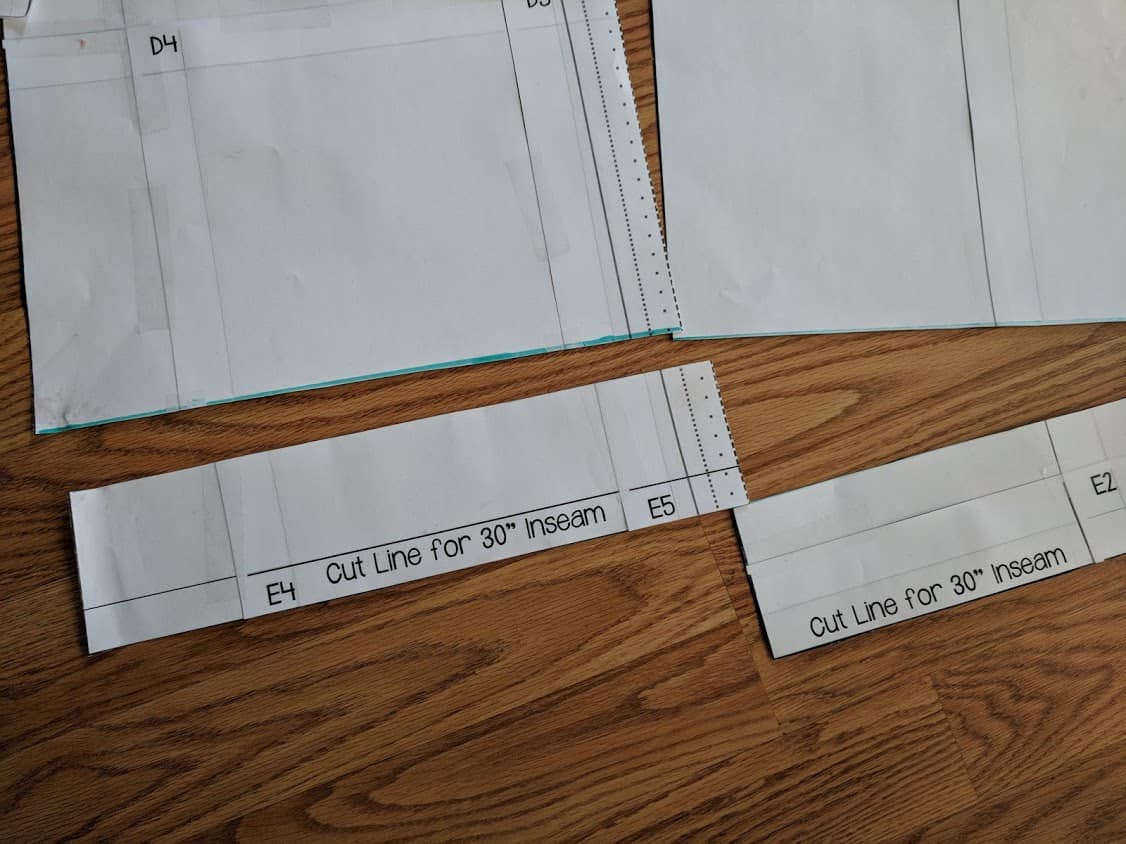
First,  you’ll need to take off some length – I took off about 3 inches.   It still left me with a lot of drape at the ankle.  It was perfect for the tie version but if you want less ankle drape you’ll need to take off more especially for the cuff version.

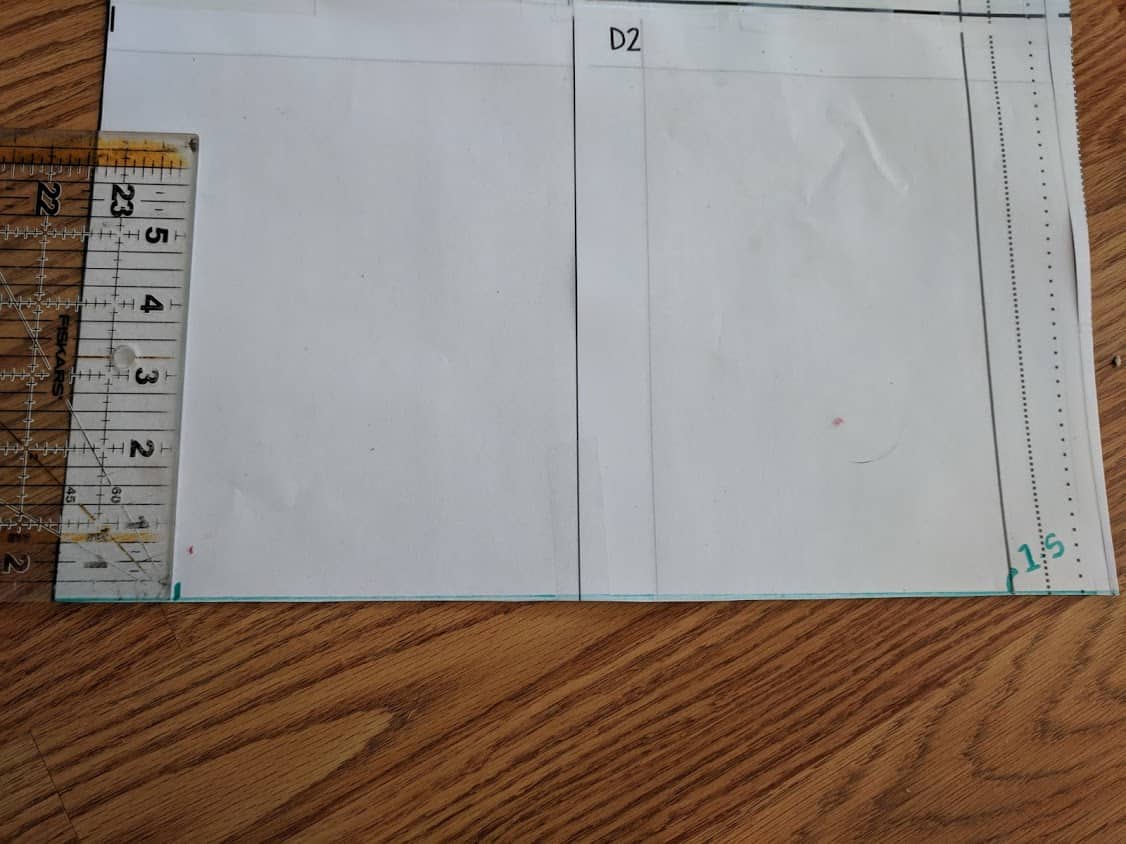
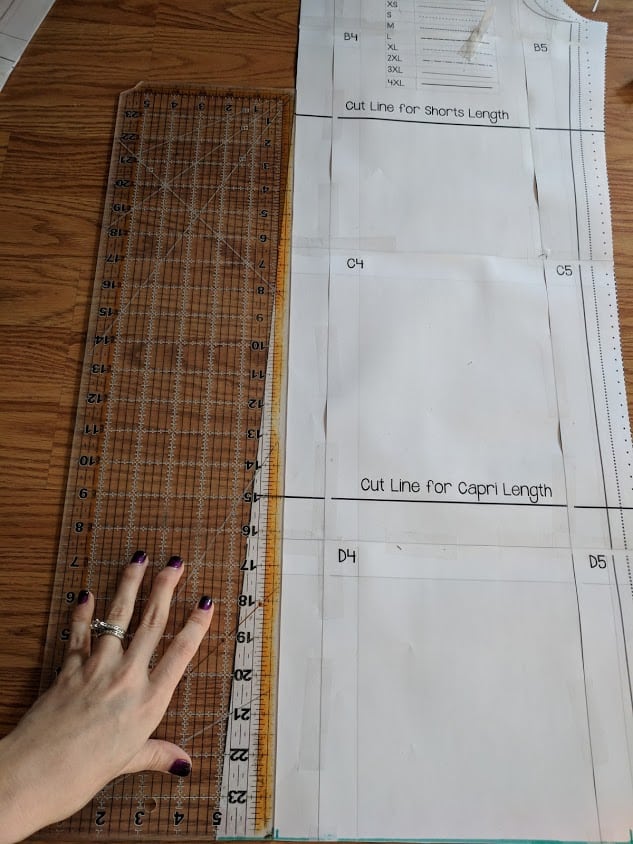
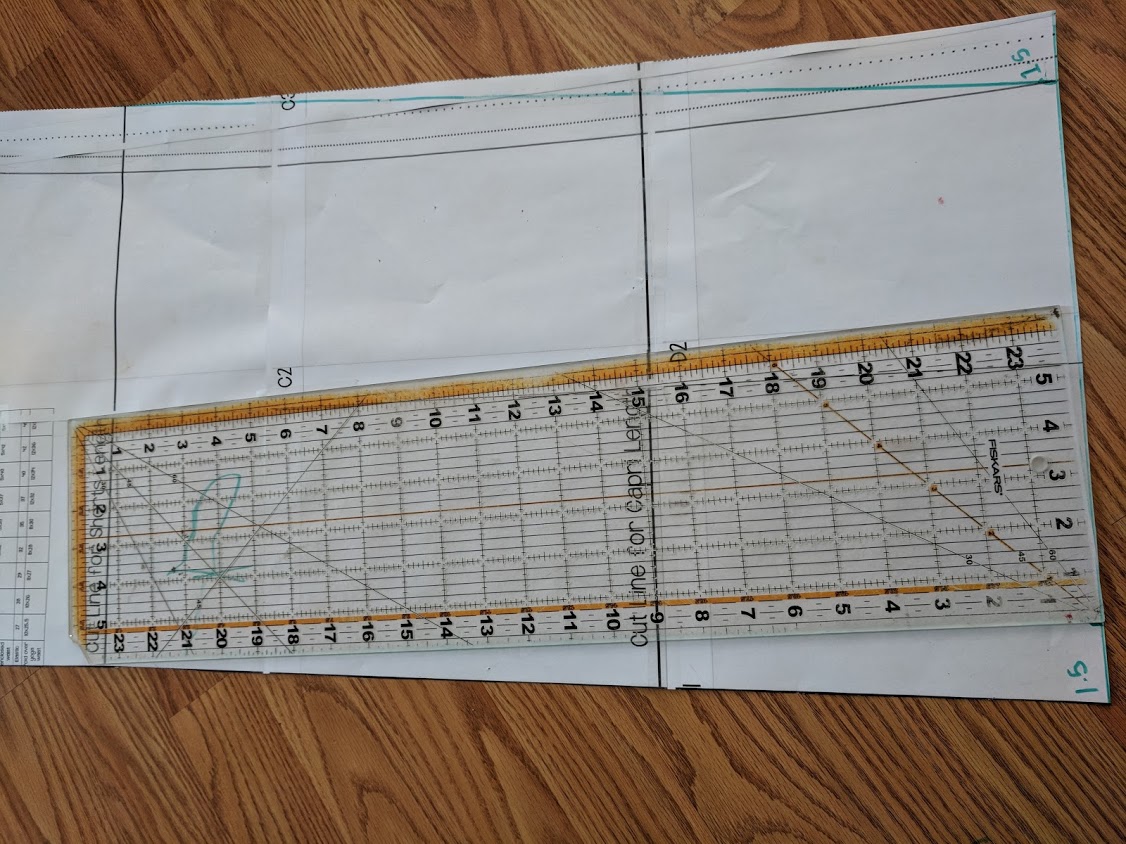
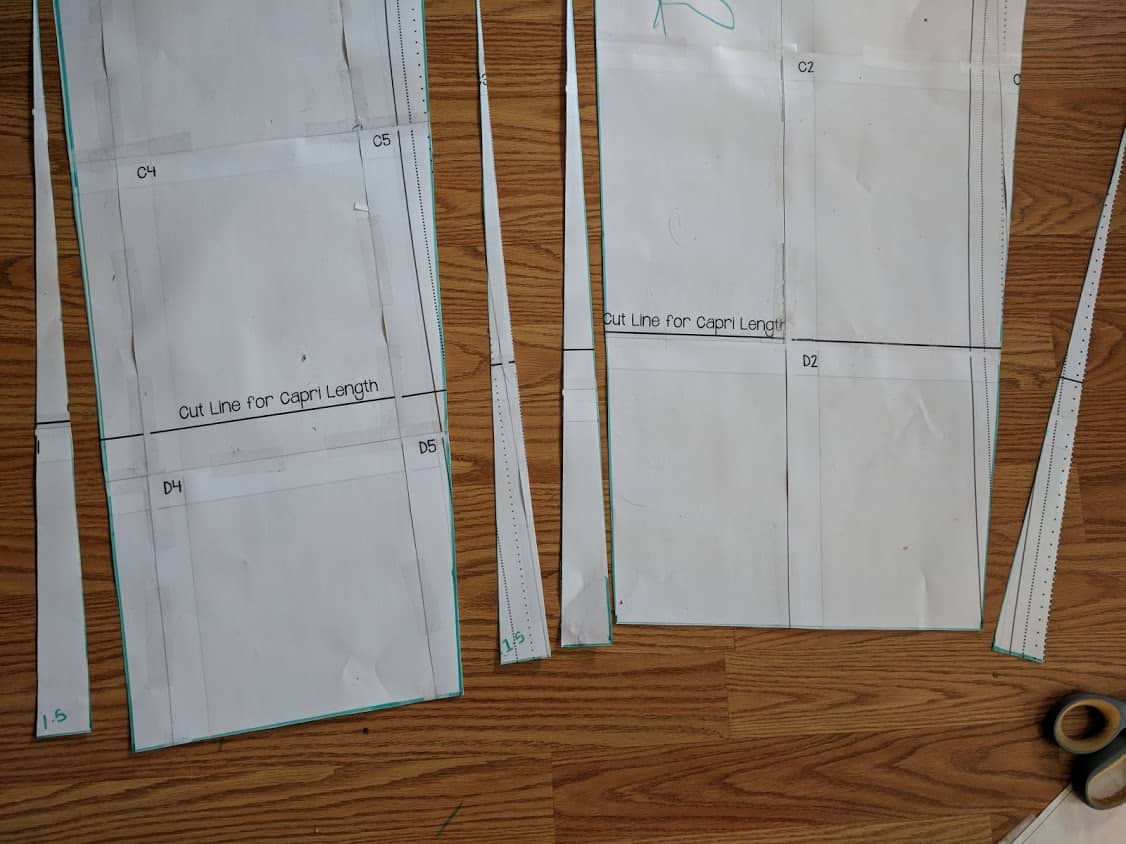
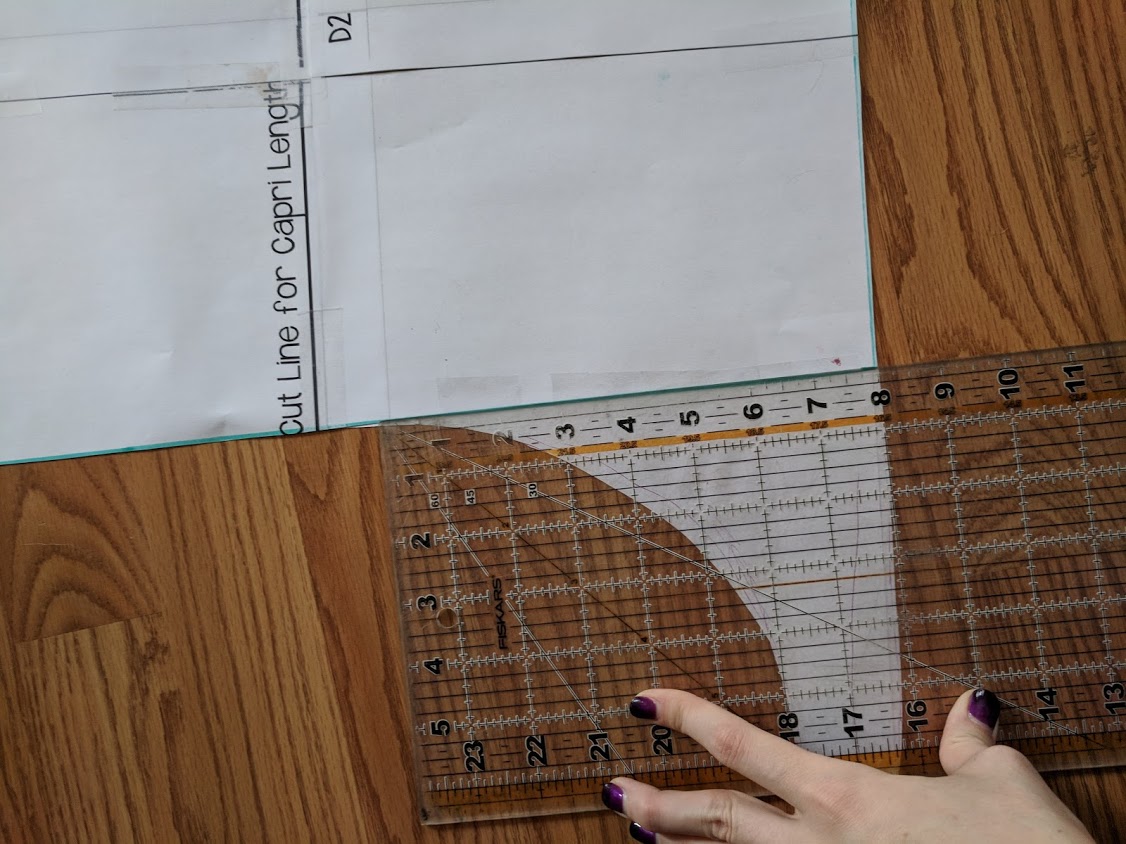
Next, you need to taper in your legs.  The amount you take in will also determine the look you want. If you want a thinner leg take them in even more. For the tie option, I marked in 1.5 inches on each side of the pattern piece for a size medium.   (If you are doing the cuff I’d recommend taking it in .5-1 inch more.)

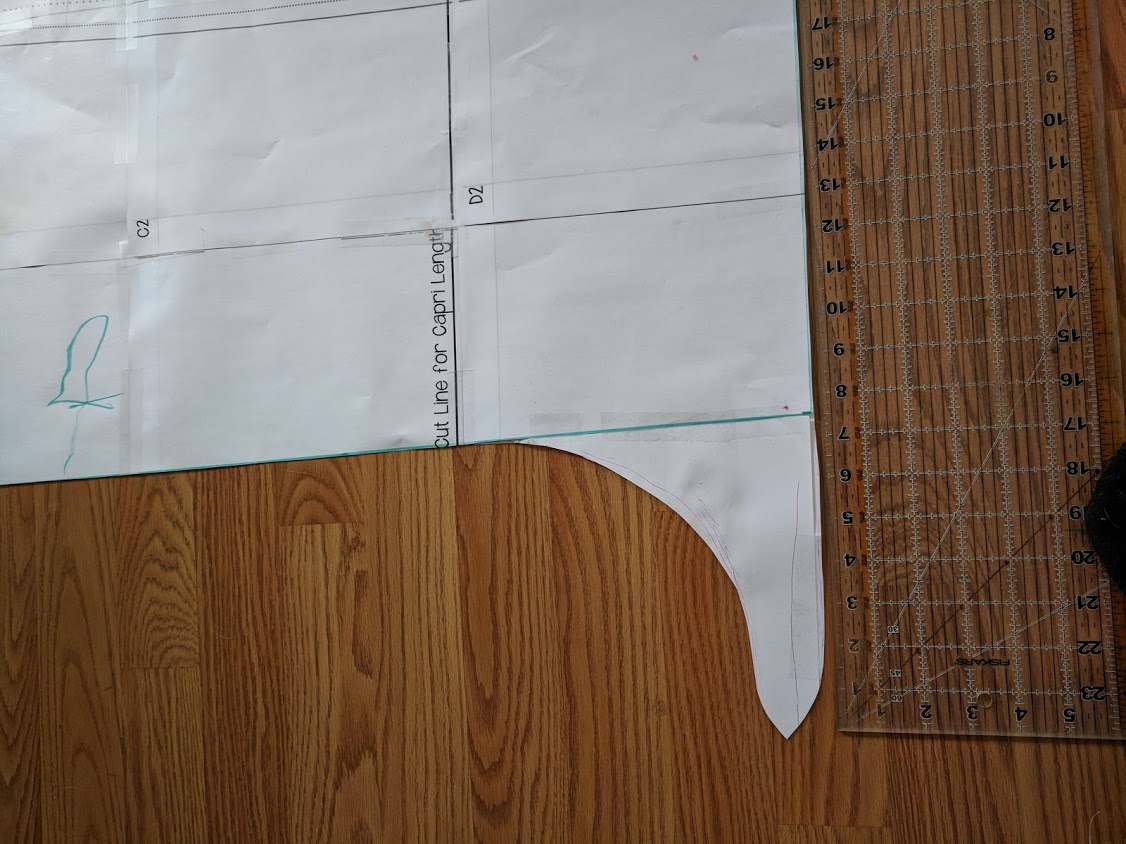
Once you have your 1.5 inches marked on both pieces you’ll take a straight edge up to the shorts cut line to create a gradual grade ending there.  Now cut those off.


If you are doing the Cuff bottom stop here and move on to sewing.  If you are wanting the tie- you’ll need to create a tie extension on the outer leg seam.   Honestly I just kind of winged it.   The size shown here is smaller than the one in the photograph as those were a tad too long.   Here are the measurements and tie shape.  Make sure you do matching ties on both outer edge seam pieces.


Now cut out your fabric pieces!  For your waistband- I used the fold over yoga band and you’ll cut it at your normal size, not the upsized.

Sewing the Tie Overlap option-

The first thing you are going to do is hem the entire outside edge of the pants through the tie and along the bottom using a .25-.5 inch hem.   It’s a lot of hemming but worth it!   Do this on all four pieces.     Outside edge only- not the inner leg seam.

Next lay your front and back pattern pieces right sides together and sew up the inner leg seam as instructed in the original pattern.  Then sew the two pieces together along the crotch seam.

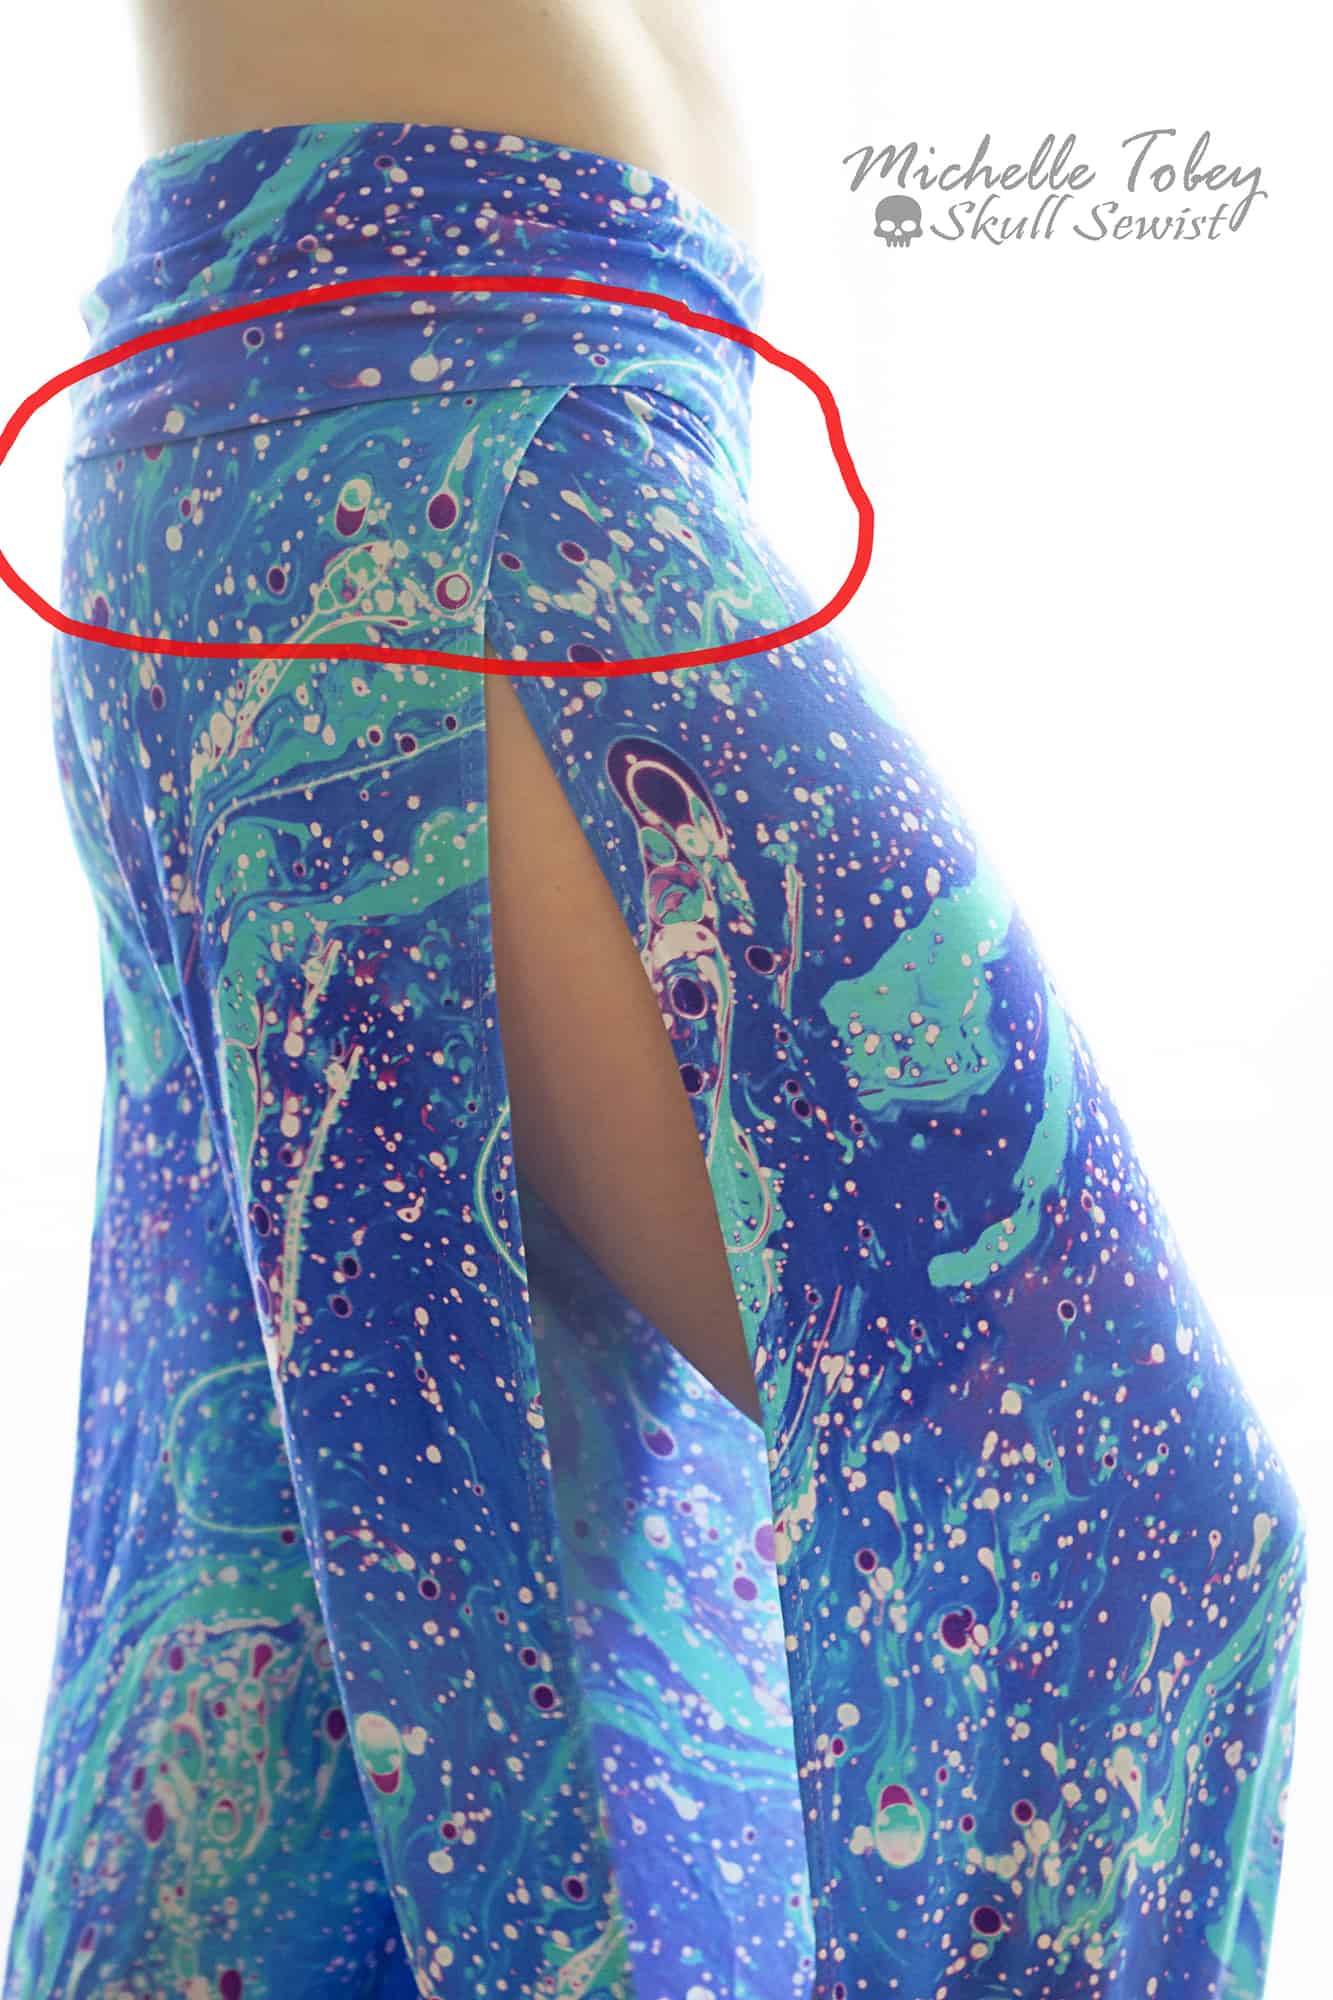
Now you are a going to put your pants on- I know it’s a little tricky as they are totally open but pull them up one side at a time.  You are going to take your front and back pieces at the top and overlap them to where you feel comfortable.  Mine overlapped about 4 inches.   Use some clips to clip it together and then baste the pieces together.  The red circled part is where you are overlapping.

Now cut the waistband from your regular size- (not your upsize) and sew it to your pants and you are done!   If you’d like a more modest leg you can tack your opening closed however low you’d like it.  Tie your bottoms up and you are ready for some summer fun!


Sewing the Cuff option-

First I’m going to have you clip your front and back inner leg seams RST together on one leg.

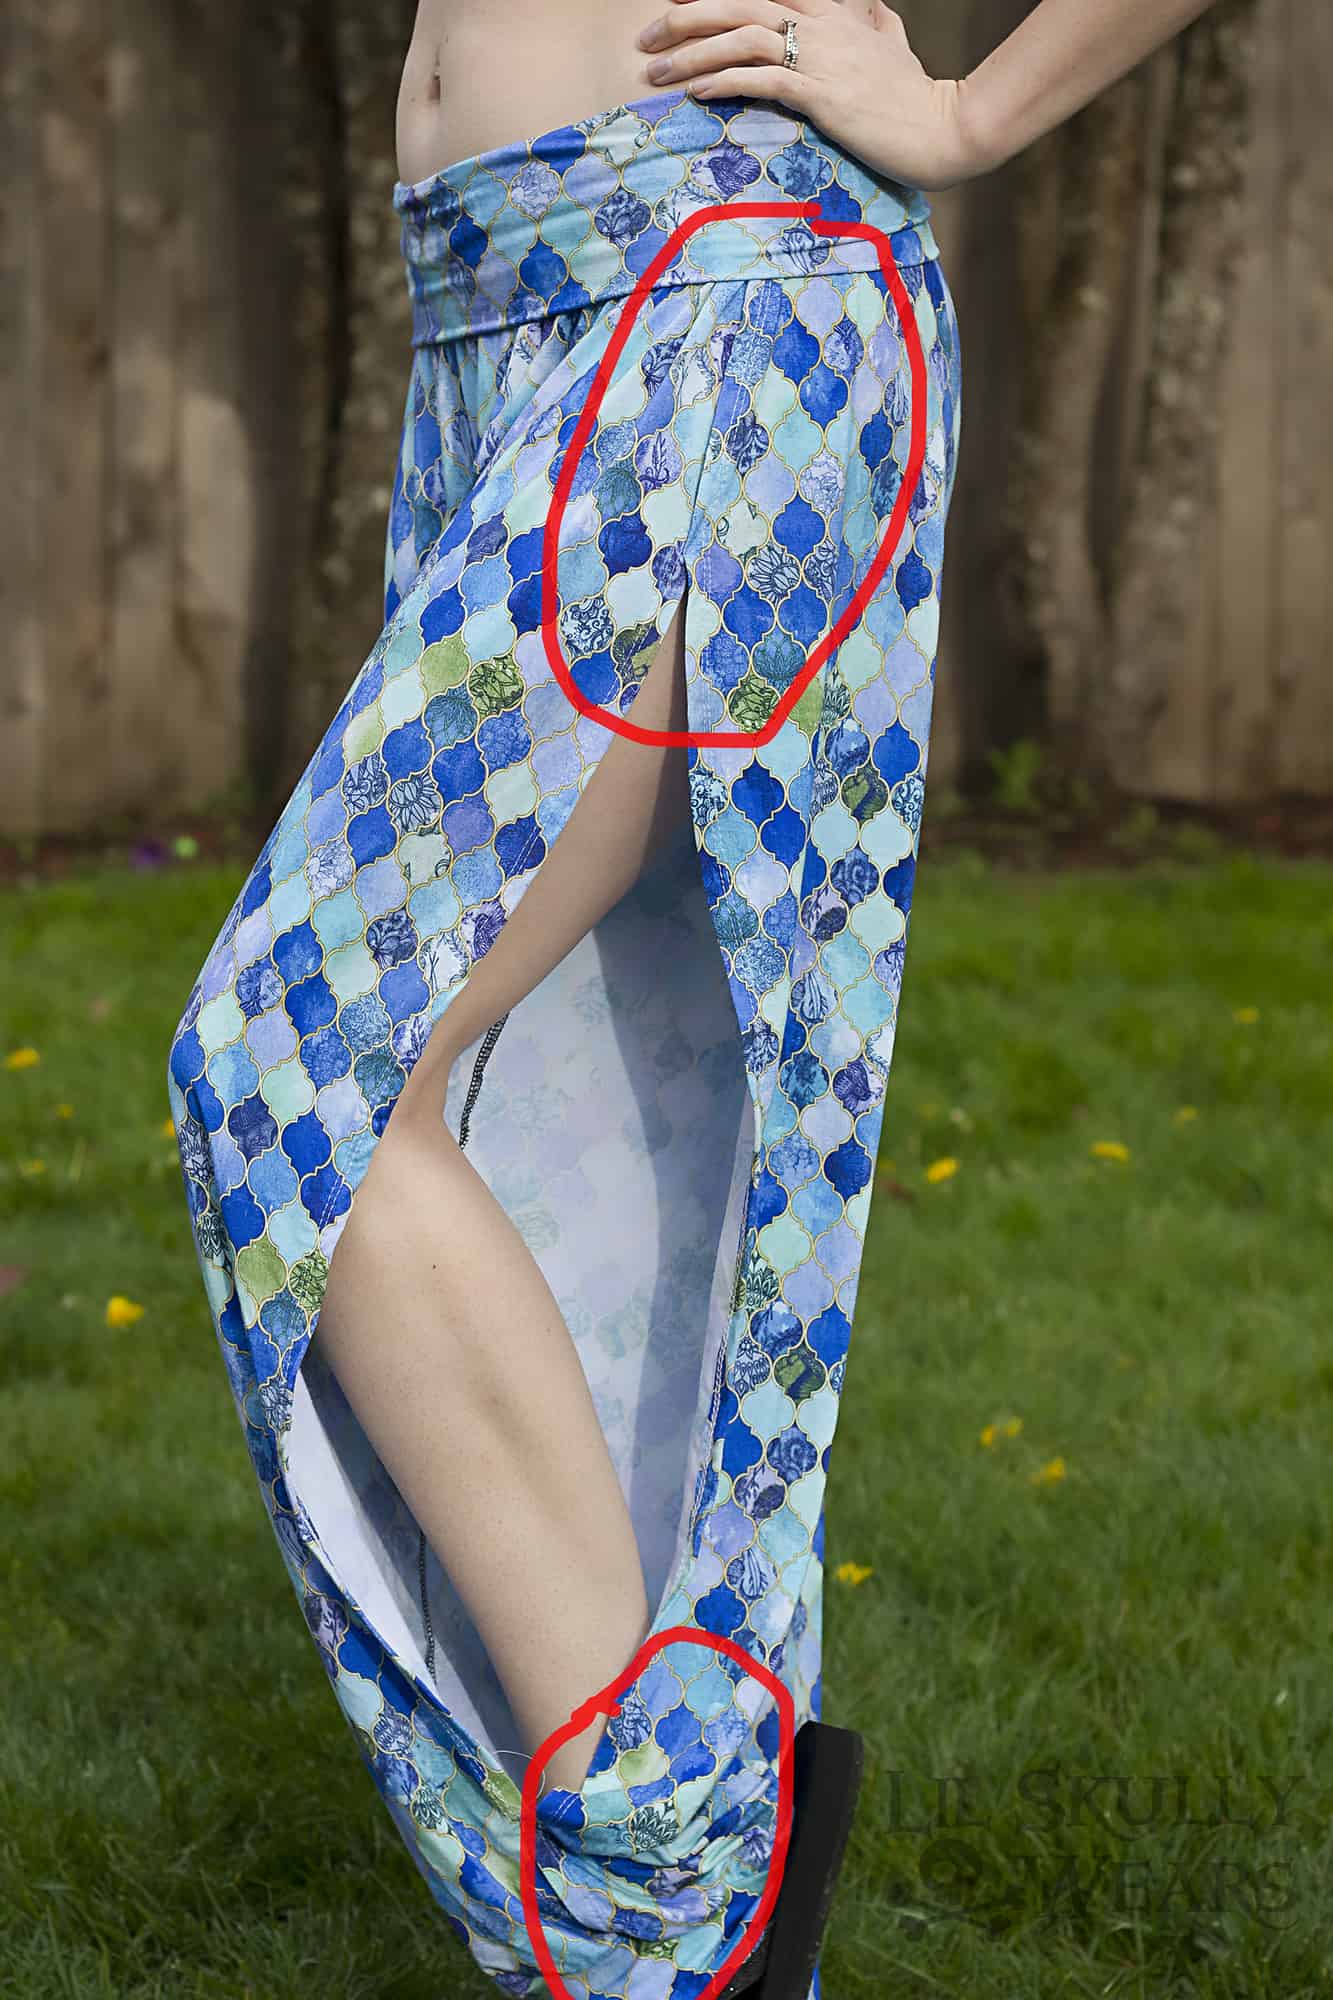
Now slip your pant leg on inside out- I know it’s a little weird as the side is totally open but at this point, you are going to figure out how big you want your slit to be.   Using clips- clip the top as far down as you’d like it and the bottom as far up as you’d like it.   Repeat on the other side.   It’s helpful if you have someone that can help you hold up the side.   You can also just guess if you want and clip on the floor.  Mine are about 8 inches from the top and 4 inches from the bottom. The photo below shows what you are clipping.

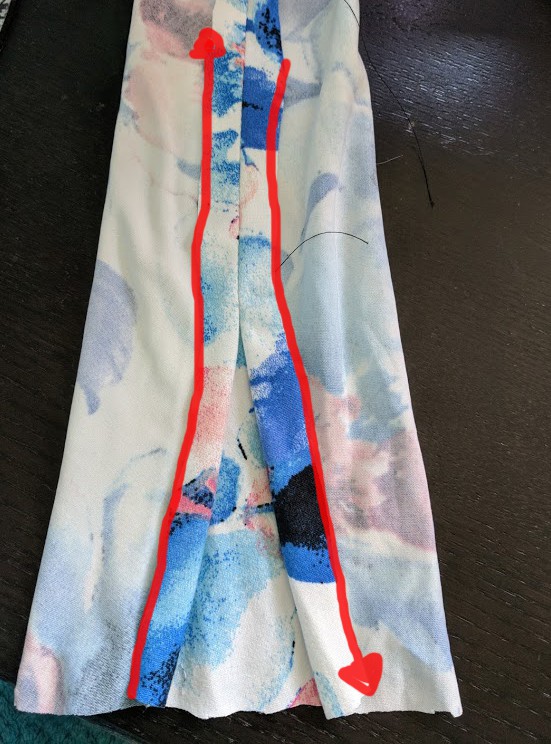
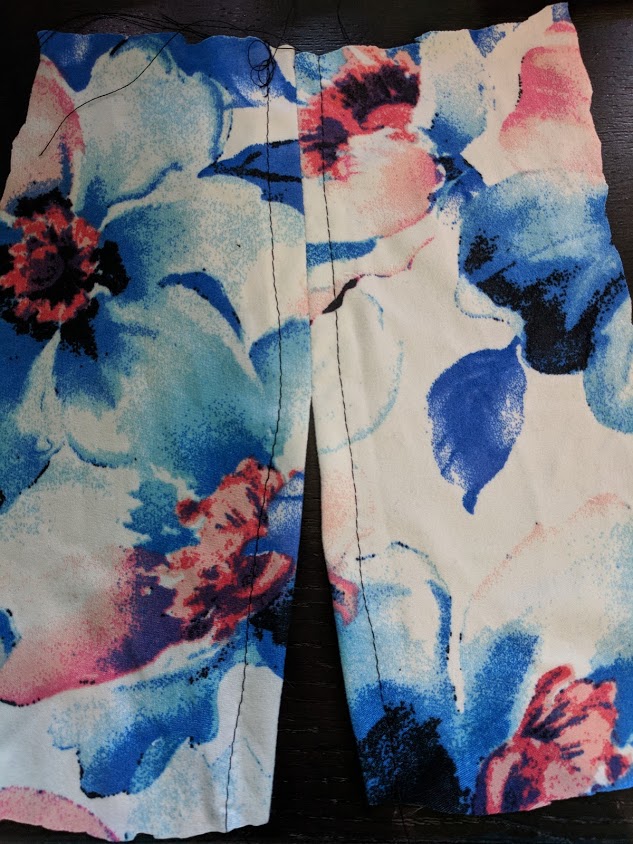
Then, using your sewing machine (you might want to baste first), sew your seam allowances together up to where you clipped on the bottom and top.    Feel free to try on again after basting to make sure this is the size you want your opening. Don’t forget to back and front stitch a few times to seal your seam.  Once you have your set opening you’ll press open your seam allowance and topstitch from the bottom all the way to the top as shown by the red lines below.    The second picture is what your finished outer leg will look like at the bottom and top.

Now go ahead and sew up your inner leg seams, crotch seams, and waistband.

Finally, for the cuff, you’ll take your bottom width of your pant and multiply it by .7.  Cut out two cuffs that are that length (going with the stretch of the fabric) by 4 inches tall.  If you’d like a different height feel free to use whatever.

Then you will serge on your cuff stretching as you go and leave a small 1.5-2inch opening.   Now using any elastic you’d like that will fit in the cuff, find a comfortable length around your ankle and cut two pieces.   Feed the elastic into your cuff opening using a safety pin and making sure to keep one end out.   Once you have both ends out and the elastic fed through,  overlap your elastic ends and stitch using a stretch stitch.  Push the elastic back into the cuff and finish your cuff seam.

Yay!! Now you have your finished pants!!

Thank you so much and I hope you enjoy these pants as much as I do! Don’t forget to show them off in the P4P Facebook group too!

May your sails and bobbin always be full,

Michelle


Filed Under: Frequently Asked Questions, Pattern Hacks, Uncategorized 1 Comment

Boundless – Easy Hacks

May 3, 2018

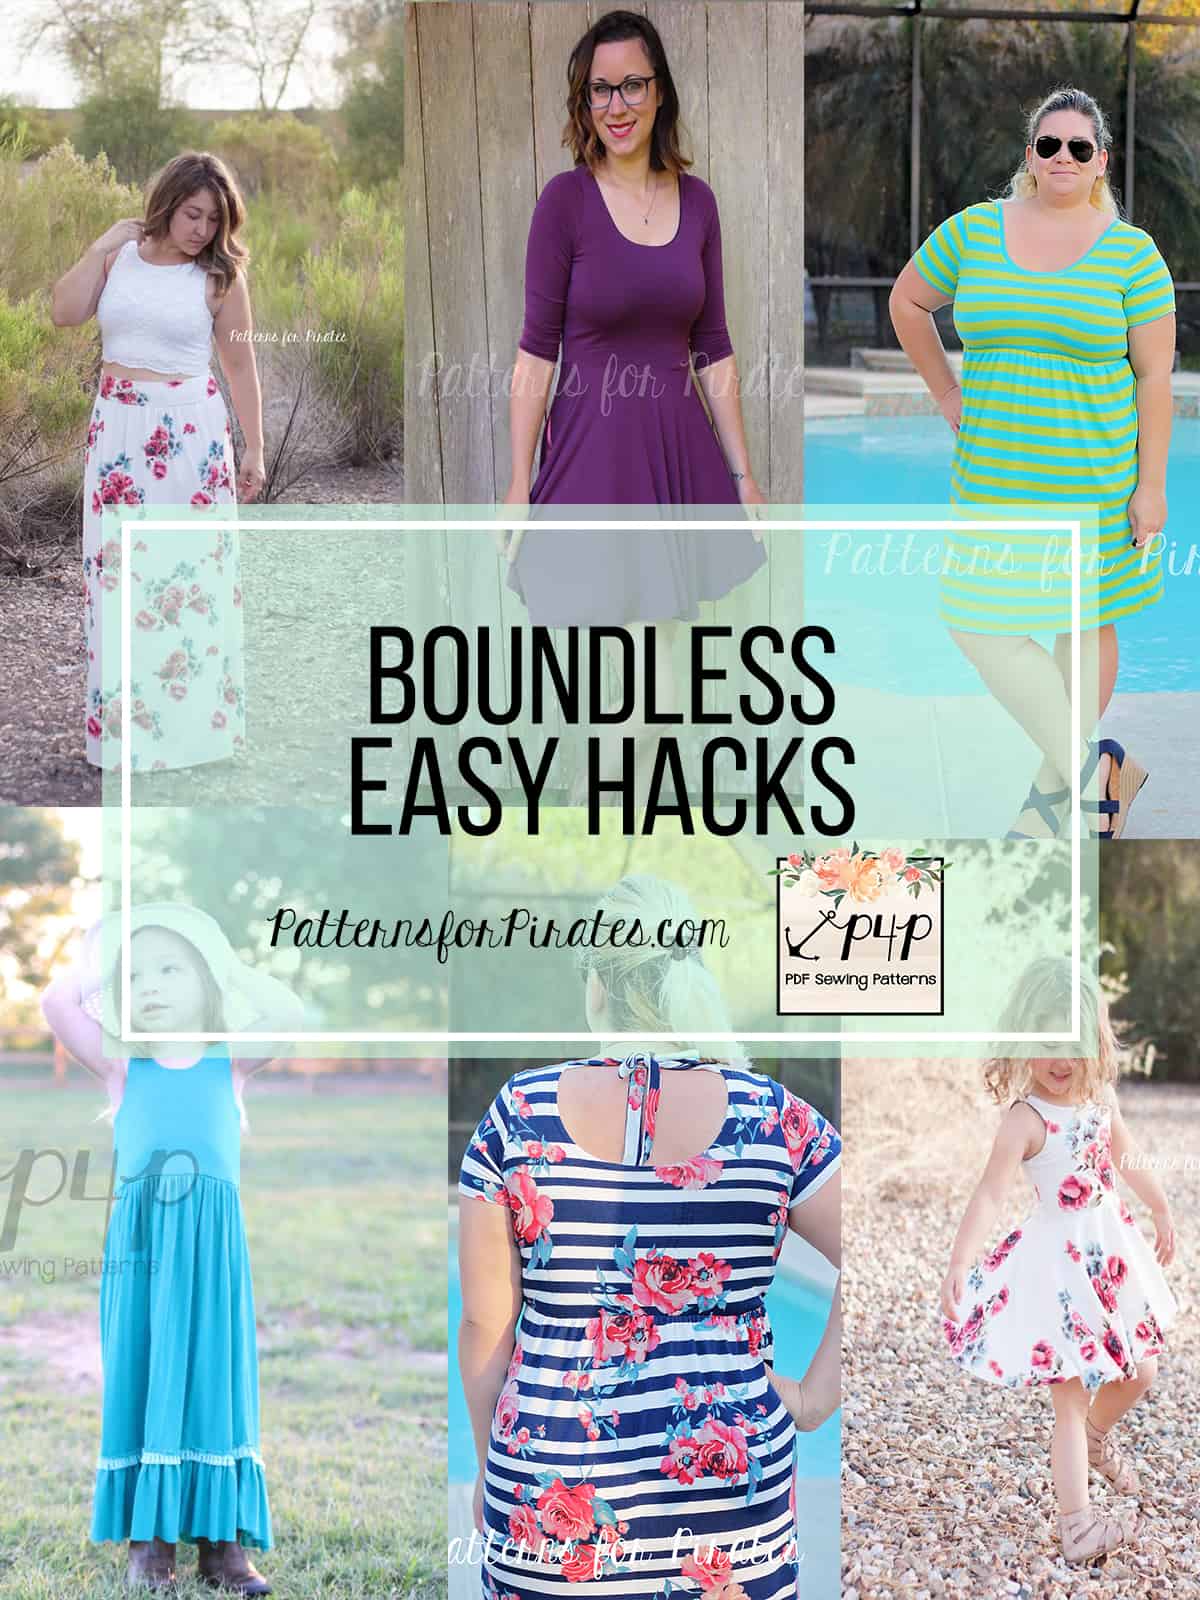
As you’ve seen, the Boundless dress got an update and we released the highly requested, youth version. We couldn’t let this double event go by without showing you some easy hacks.

…..

Neckband


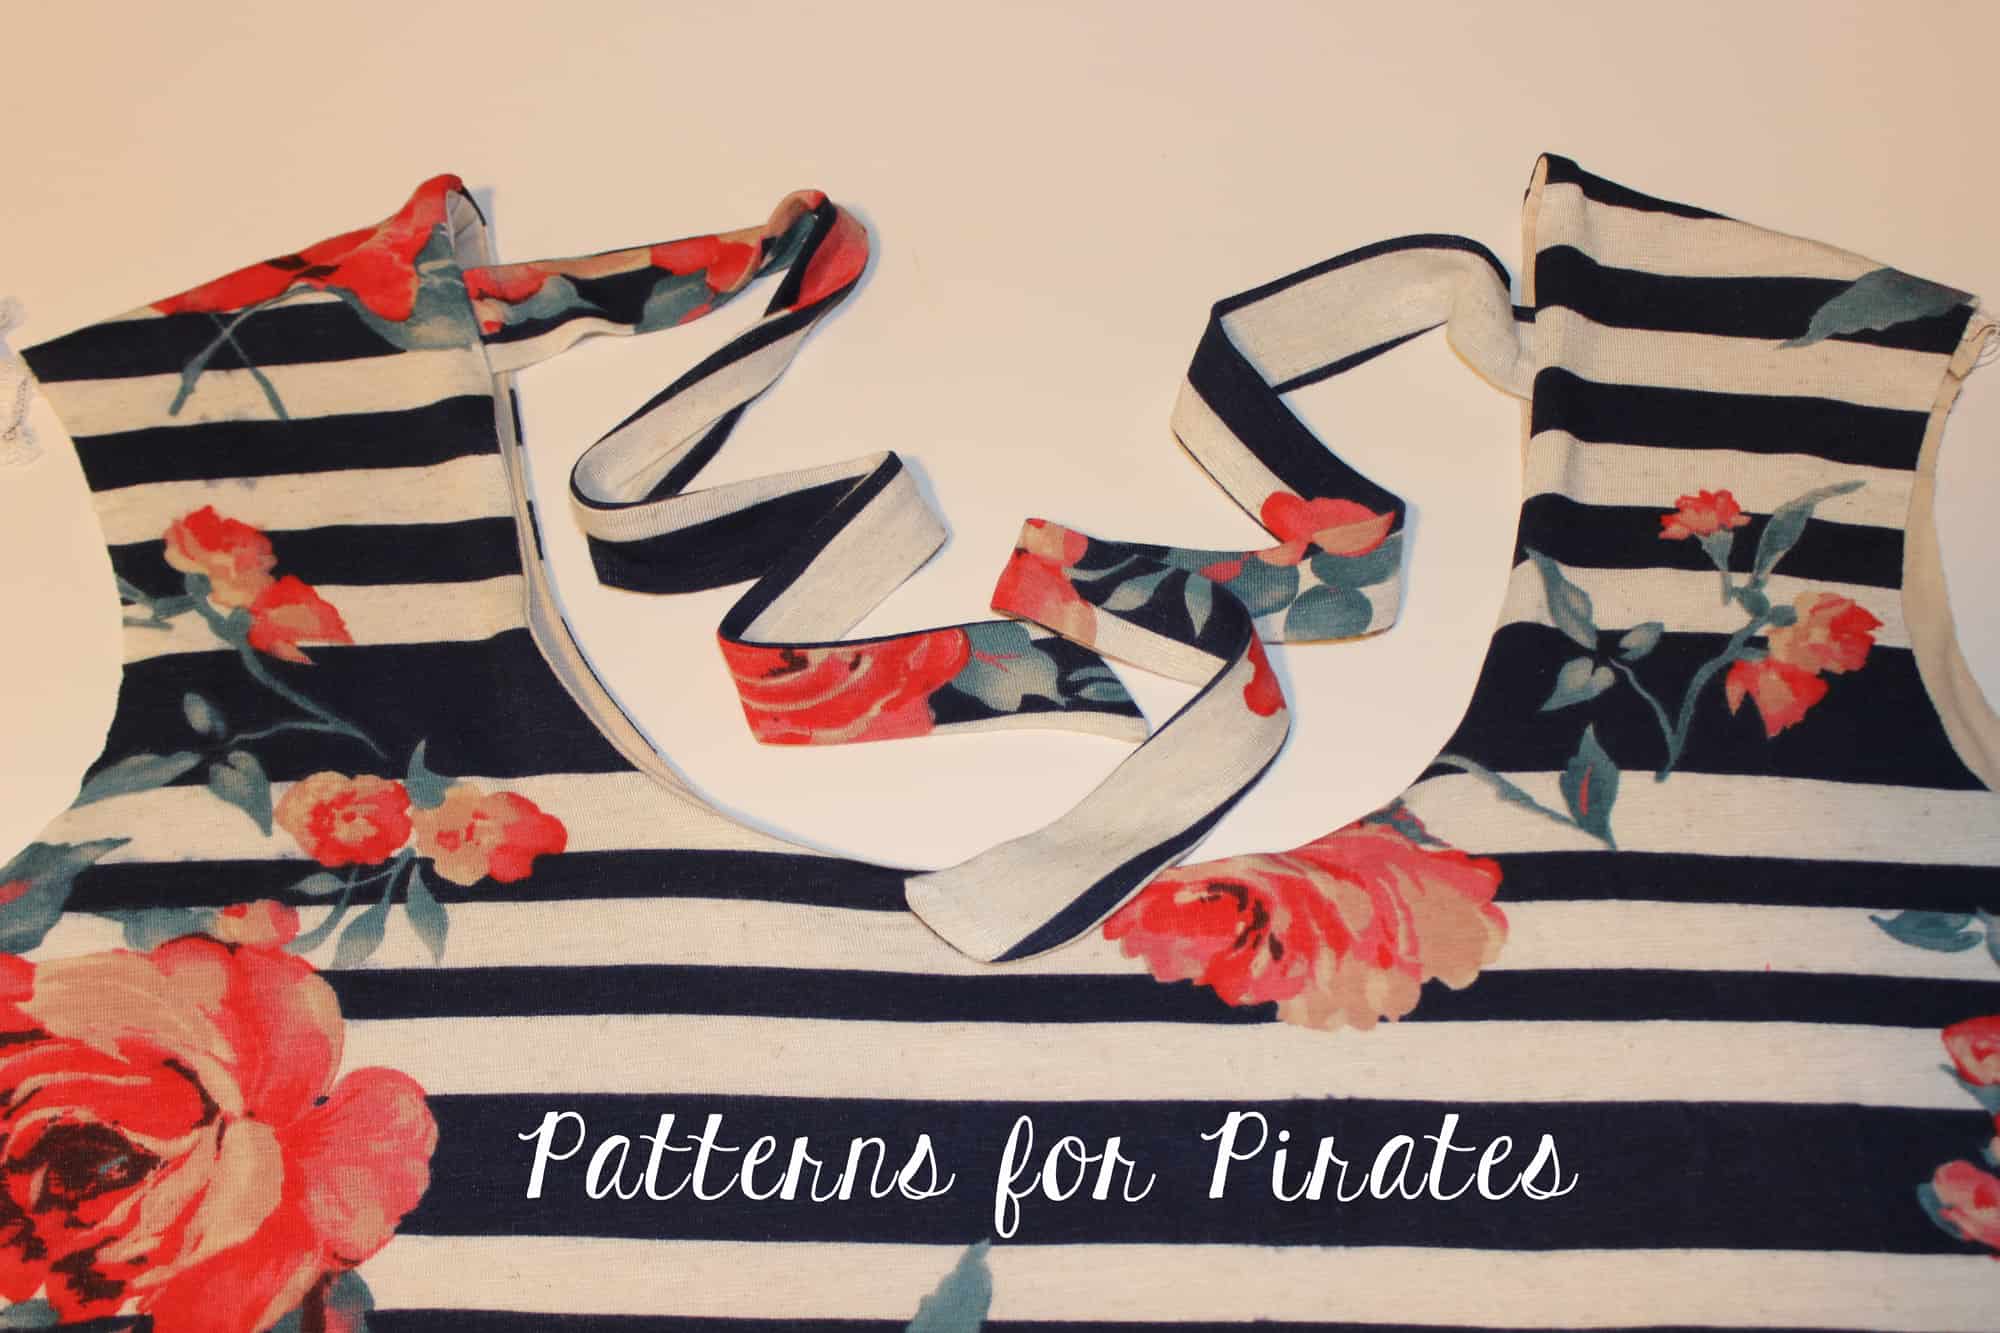
If you like the unlined option but prefer to not hem the neckline you can easily add a neckband like we have in most of our patterns.

Simply sew the dress as instructed and then grab a measuring tape to establish the neck opening. The opening will vary depending on the size and options you made (low front/back, high front/back or low front/high back)

The neckband will be 85% of the neck opening plus seam allowance. For example, if the neck opening is 34″ then the neckband needs to be 34″x0.85 + 1″ which is 30″. You will cut one neckband 2″ by 30″.

NL X 0.85 +1 = NB

*NL – neckline opening

*NB – neckband length


Sew the neckband right sides together at the short ends to create a loop. Press the neckband in half lengthwise and mark its quarters. Mark the quarters of the neck opening. Matching the neckband and opening quarter marks, pin and sew the neckband in place with 1/2″ seam allowance.

Note: adding a neckband will yield a neckline 1/2″ higher than the intended pattern look.

Before you get started take a look over our Neckbands 101 blog which also includes helpful videos.

TIP: If you would like your Boundless dress to still be reversible (front and back) place the neckband seam on the side shoulder. 

…..

Boundless/Sweetheart mash

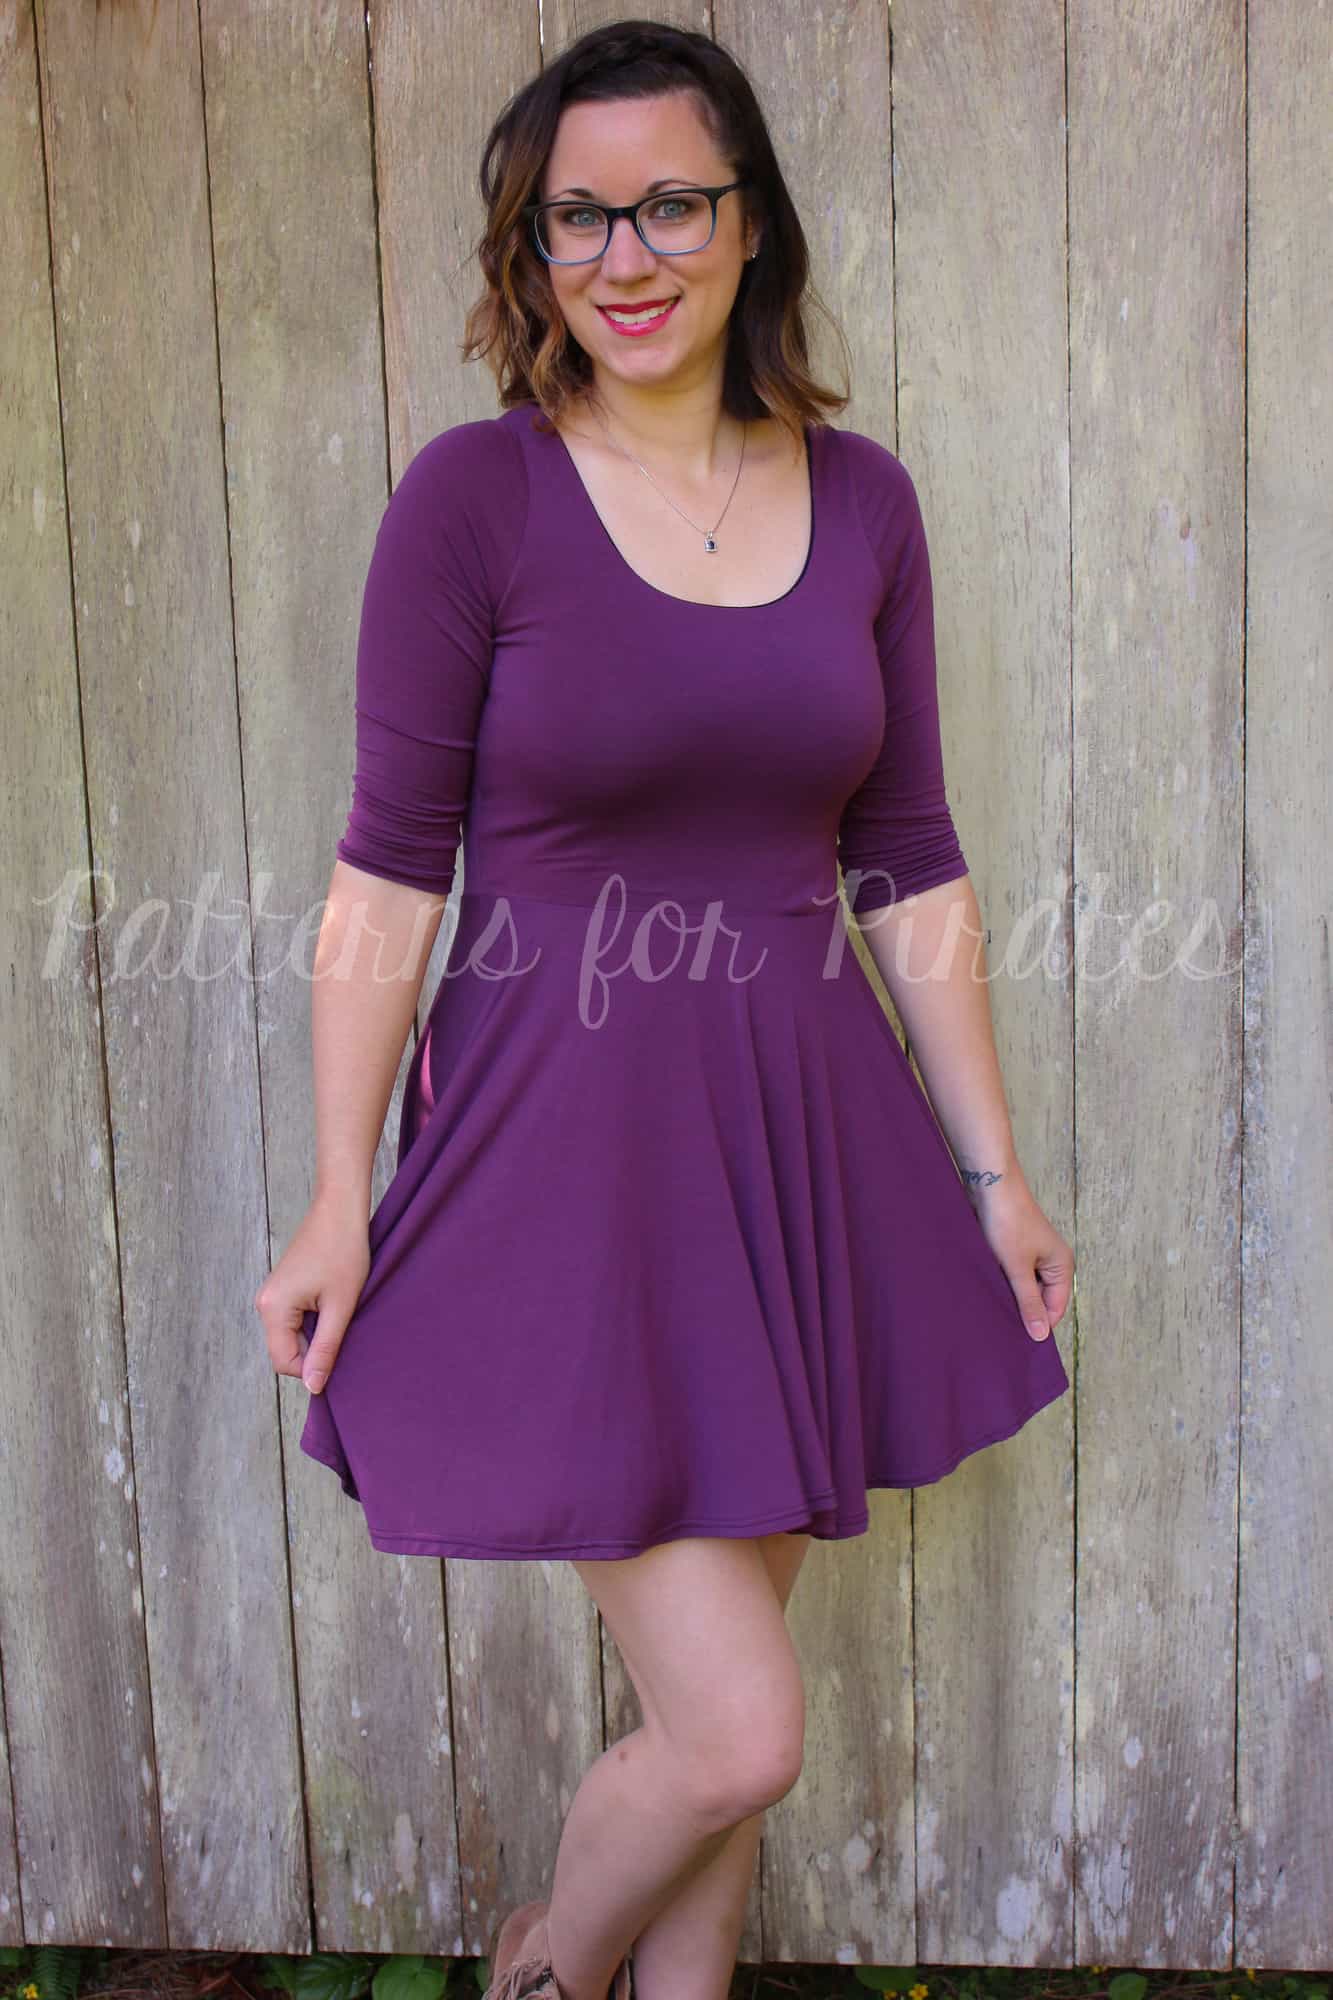
Looking for a quick and easy way to avoid the gathers on the Boundless? Or are you looking to create the perfect twirly dress? The Boundless mashes perfectly with skirt from the Sweetheart and can help to create either of this looks! If you have little ones, you can also use these same steps to pair the Boundless Youth with the Me Hearties.

Cutting Pieces:

You will need to cut out your Boundless bodice pieces as directed and based off of the options you choose. For mine, I used the lined version with the low neckline and 3/4 sleeves. For the skirt, you will need to have the skirt from the Sweetheart printed and then choose your length. I used the mini length.

Assembly:

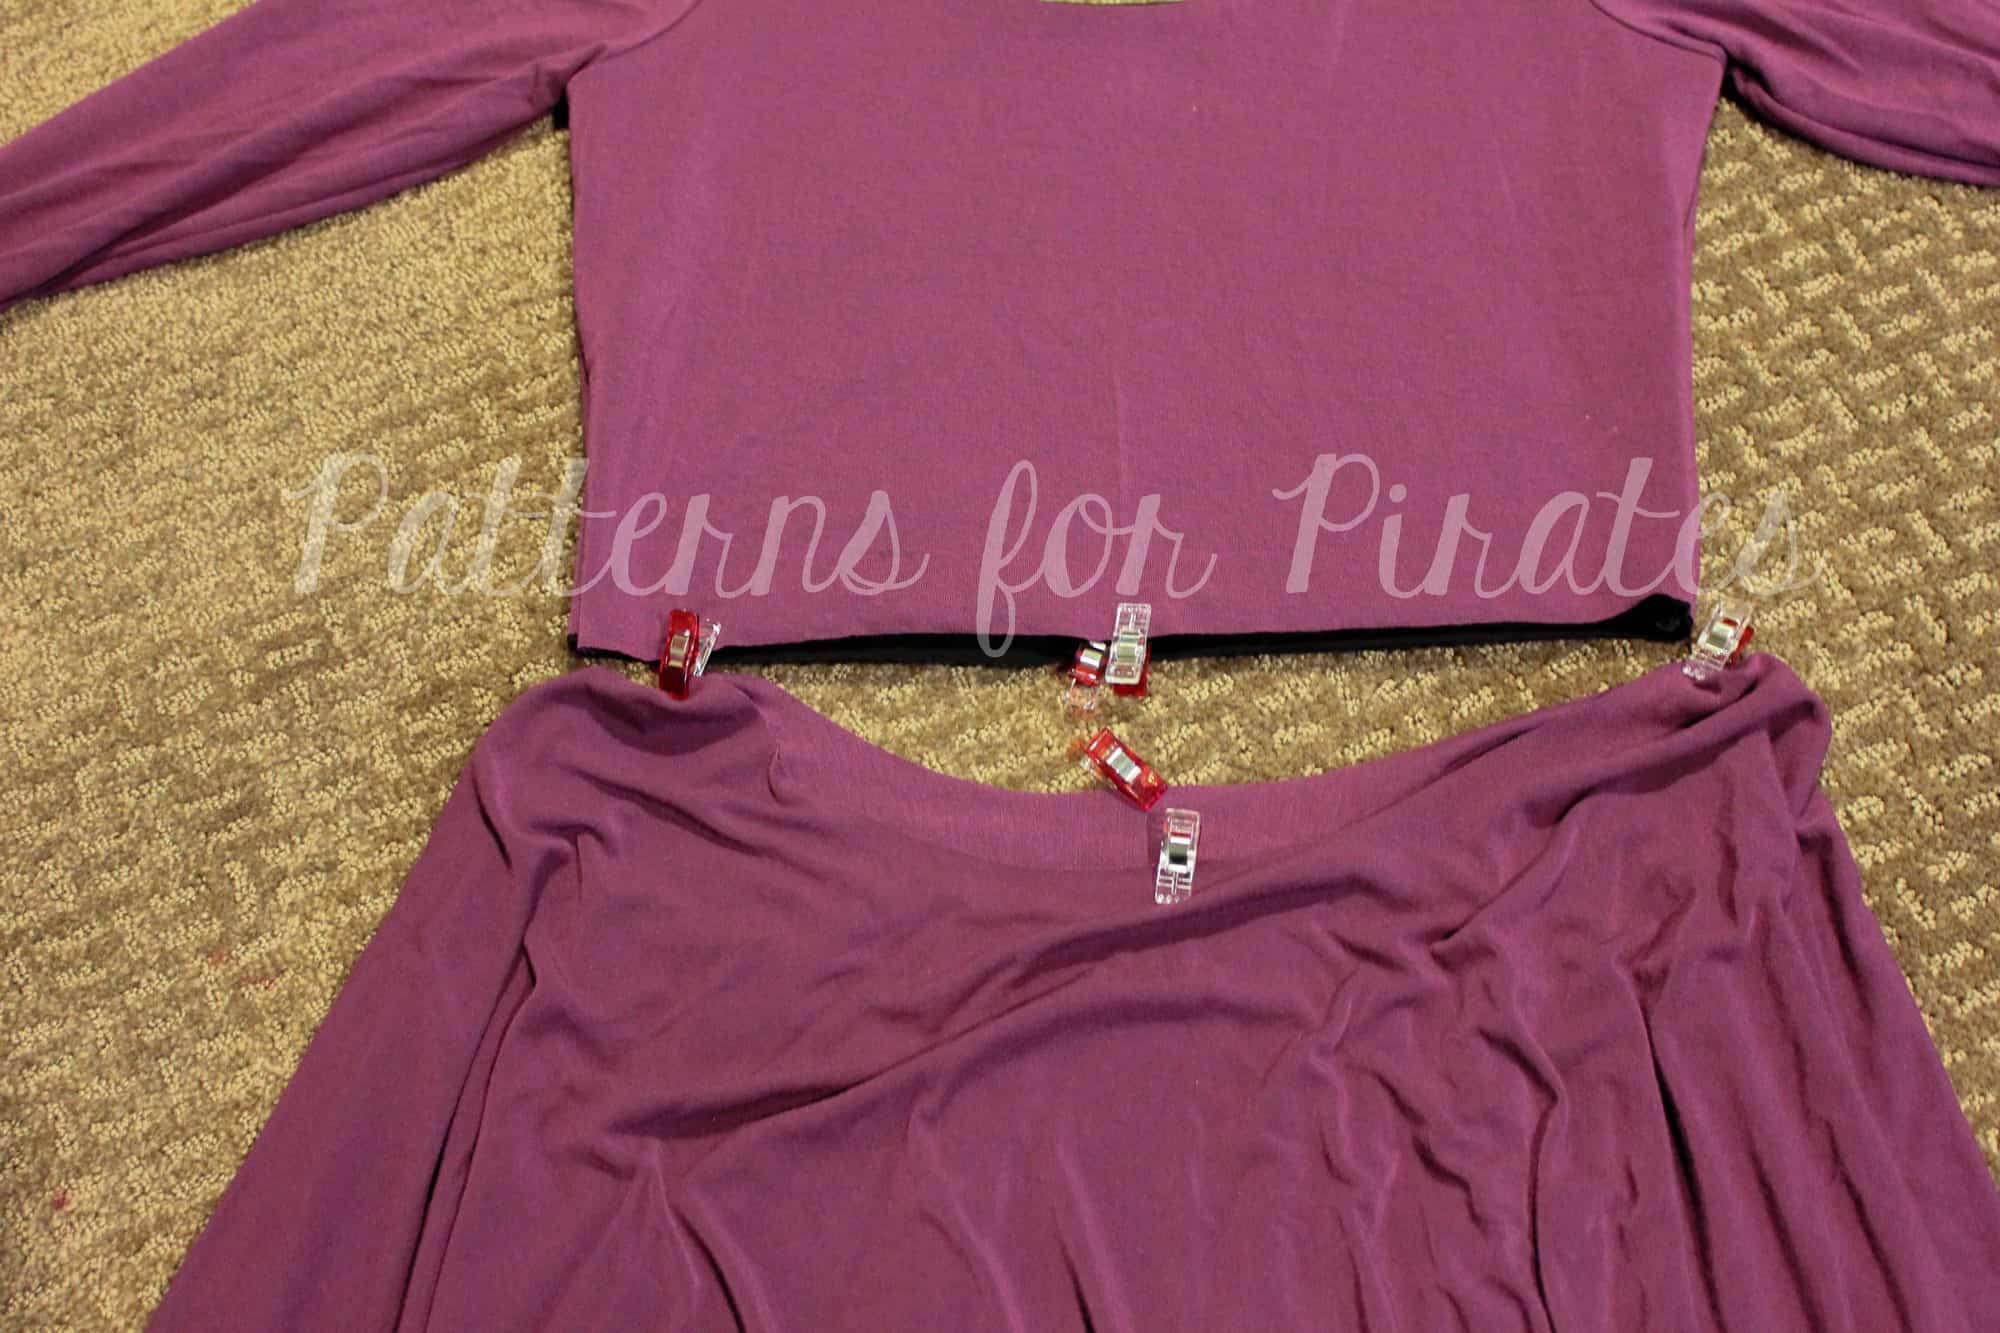
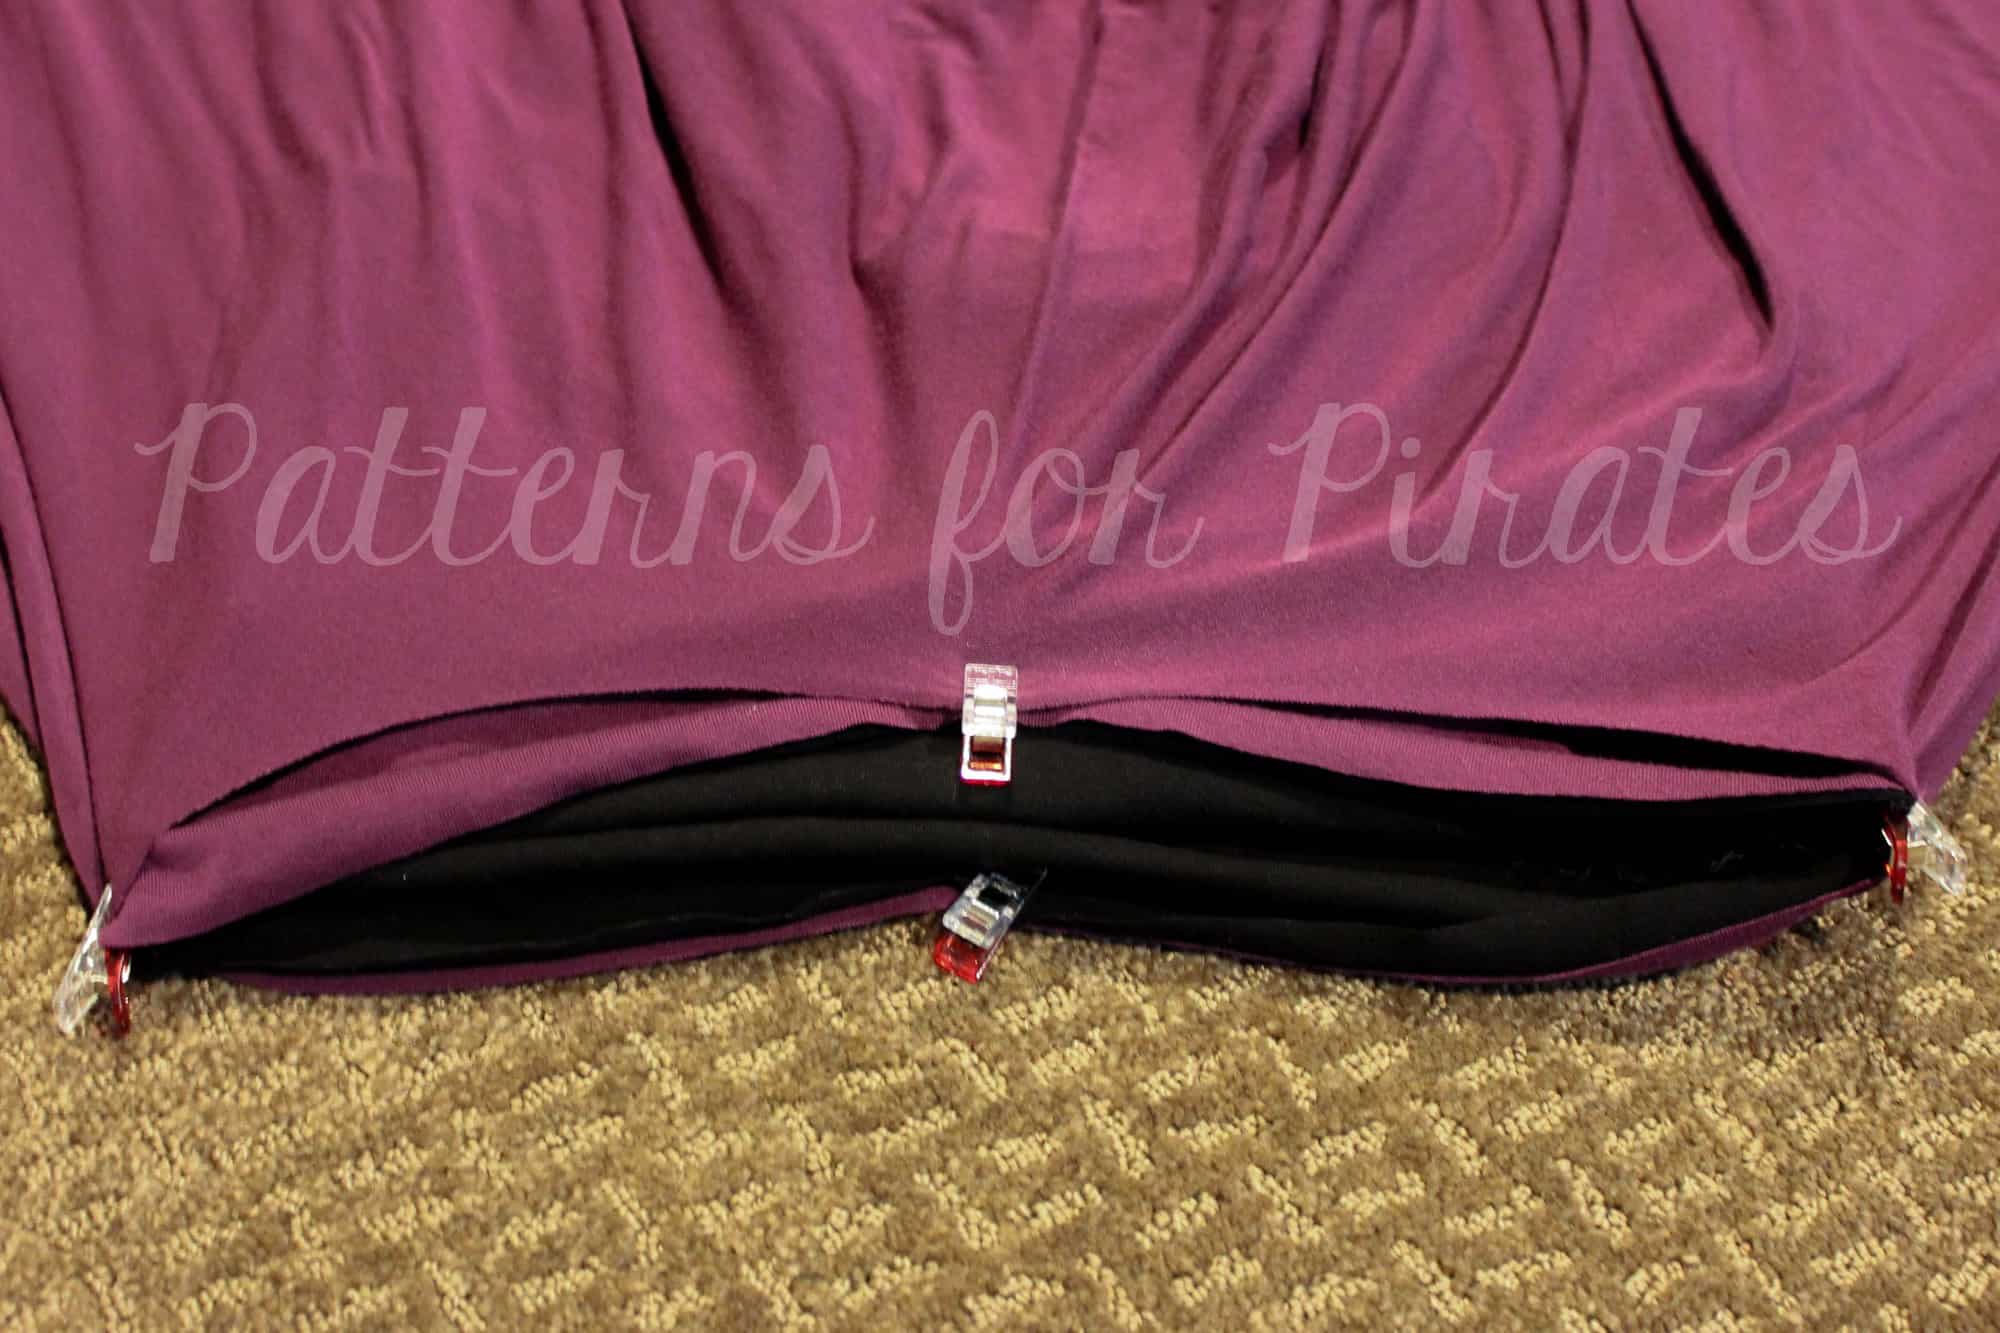
Assemble your Boundless bodice as directed. You will then need to mark the quarter points on both the bodice and the skirt.

With RST, match the quarter points and attach your skirt with your serger or stretch stitch. (Note: You may wish to place elastic in the waist to help give your skirt additional support.)

Hem the skirt and sleeves and you’re all finished!

~Erinn,

…..

Back ties


The next hack we have for you is super easy back ties. I love this hack for the lined low back option but you can certainly apply it to the high neckline cut.

Print the pattern as instructed. Cut two trips of fabric, 3″ by 18″. You will be changing this measurements if you’re sewing a youth Boundless or if you prefer your ties narrower/wider or shorter/longer.

Fold the ties right sides together length wise and sew the edge with a 1/2 seam allowance leaving one of the ends open. Turn the ties inside out and press them. Optionally, you can top stitch.

Take the back piece of the bodice and pin the open edge of one strap 2″ down from the shoulder as shown below. Repeat with the other side. Sew them in place.

That’s it! All you have to do now is sew the bodice as per the tutorial making sure you do not catch the ties.

Get creative! Using the Cross My Heart Cami straps as inspiration you can add some really fun accents to the back or the front of the Boundless dress.

…..

Ruffles maxi

Add a little boho spirit to the maxi with this simple hack!

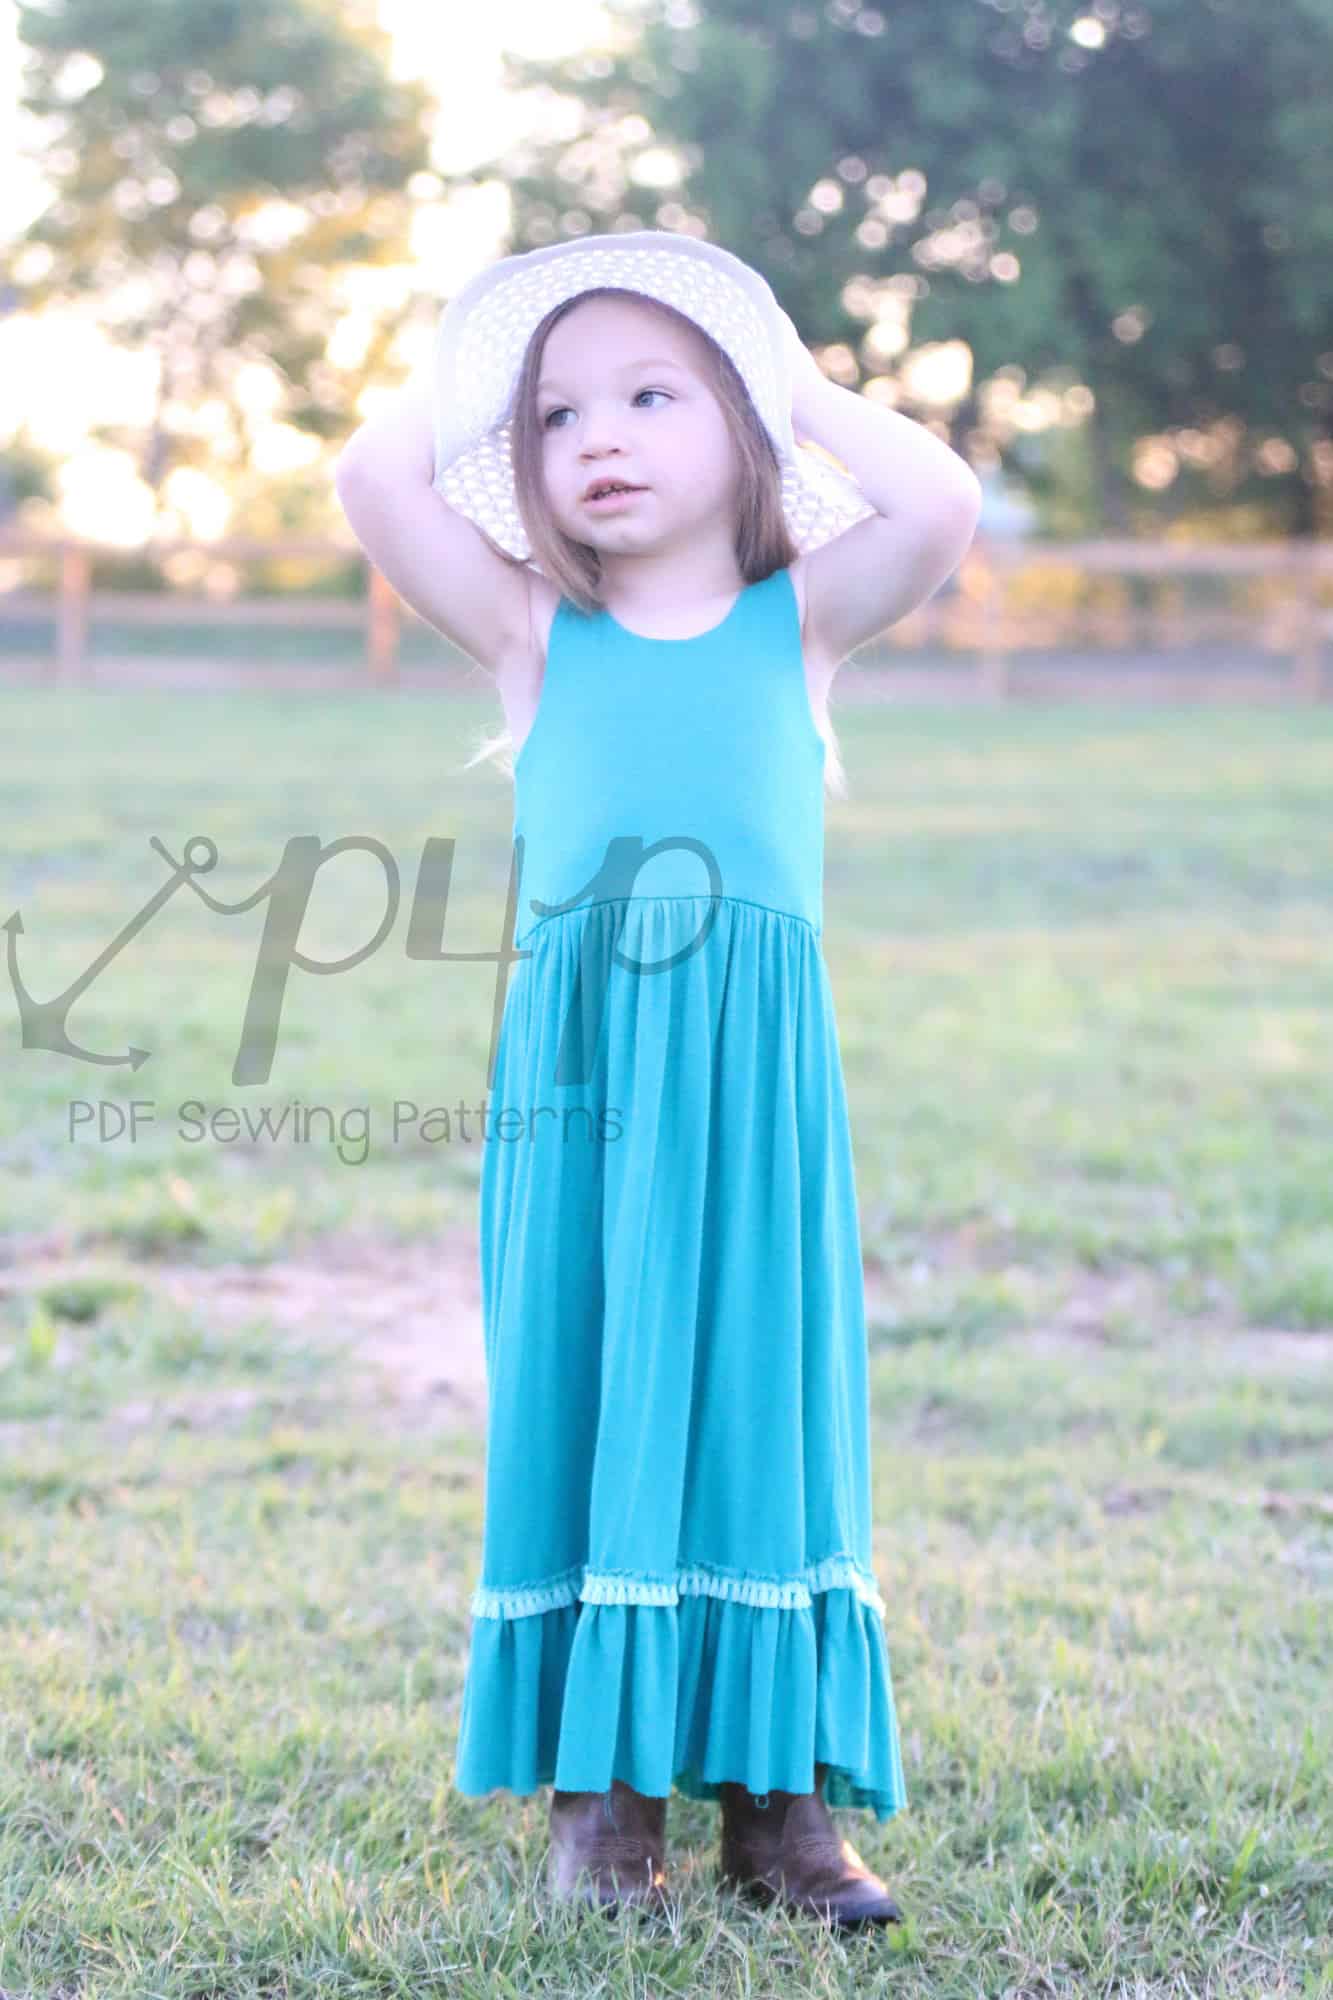
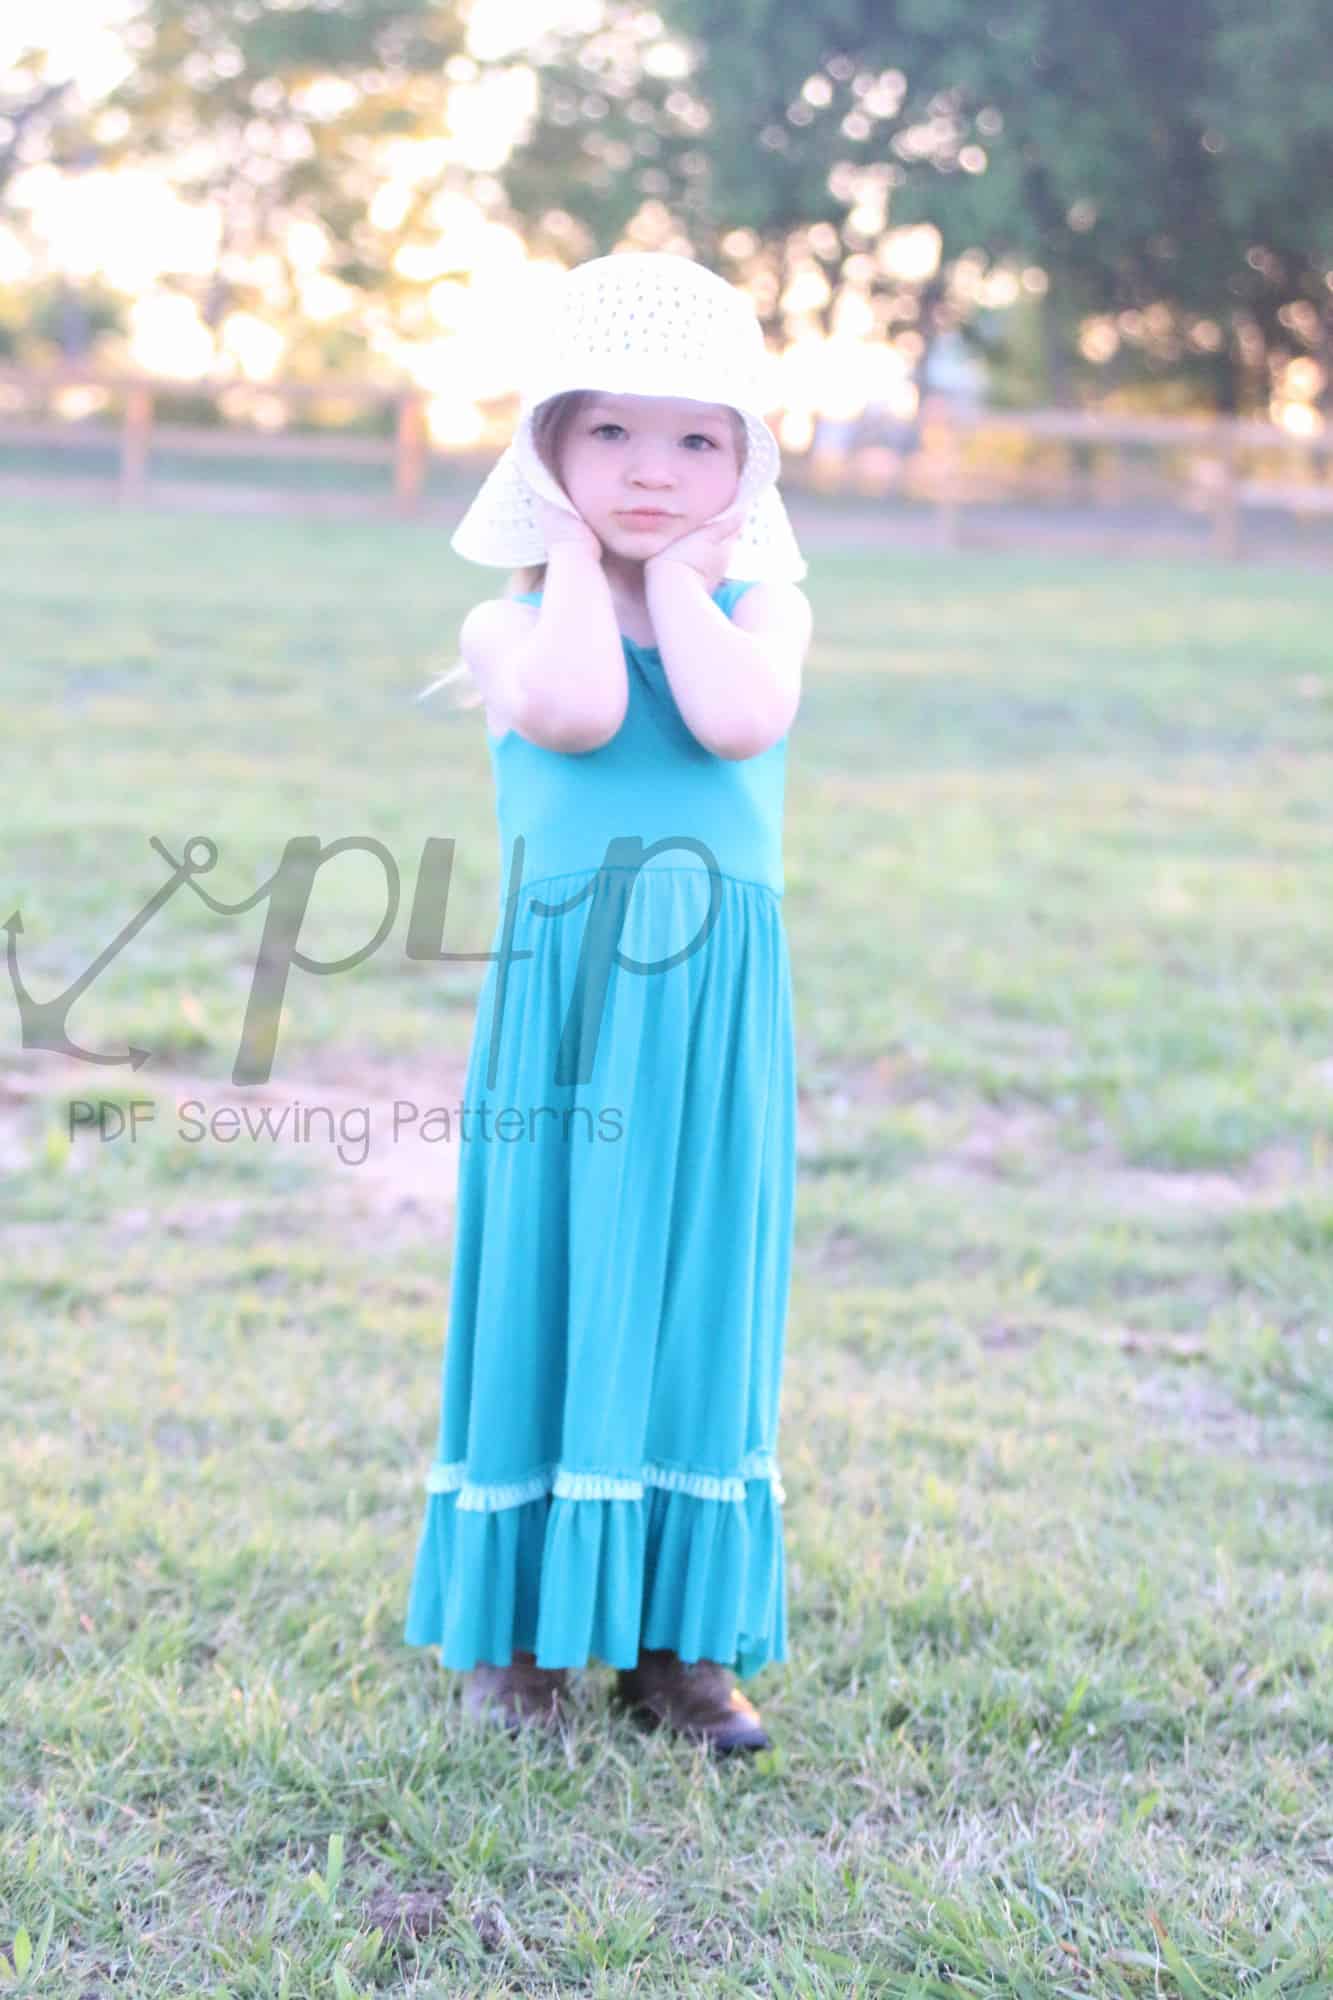
You will need a little extra yardage than the required maxi.  You will cut your skirt to the “below knee length” for youth (for adult I’d suggest either knee or tea depending on how deep you’d like your bottom ruffle).

To cut your ruffle you’ll take the “maxi length” and minus the “below knee length”- add 1/2″ for seam allowance- this is your length measurement.  Width will be double the width of the skirt measurement normally for that size.

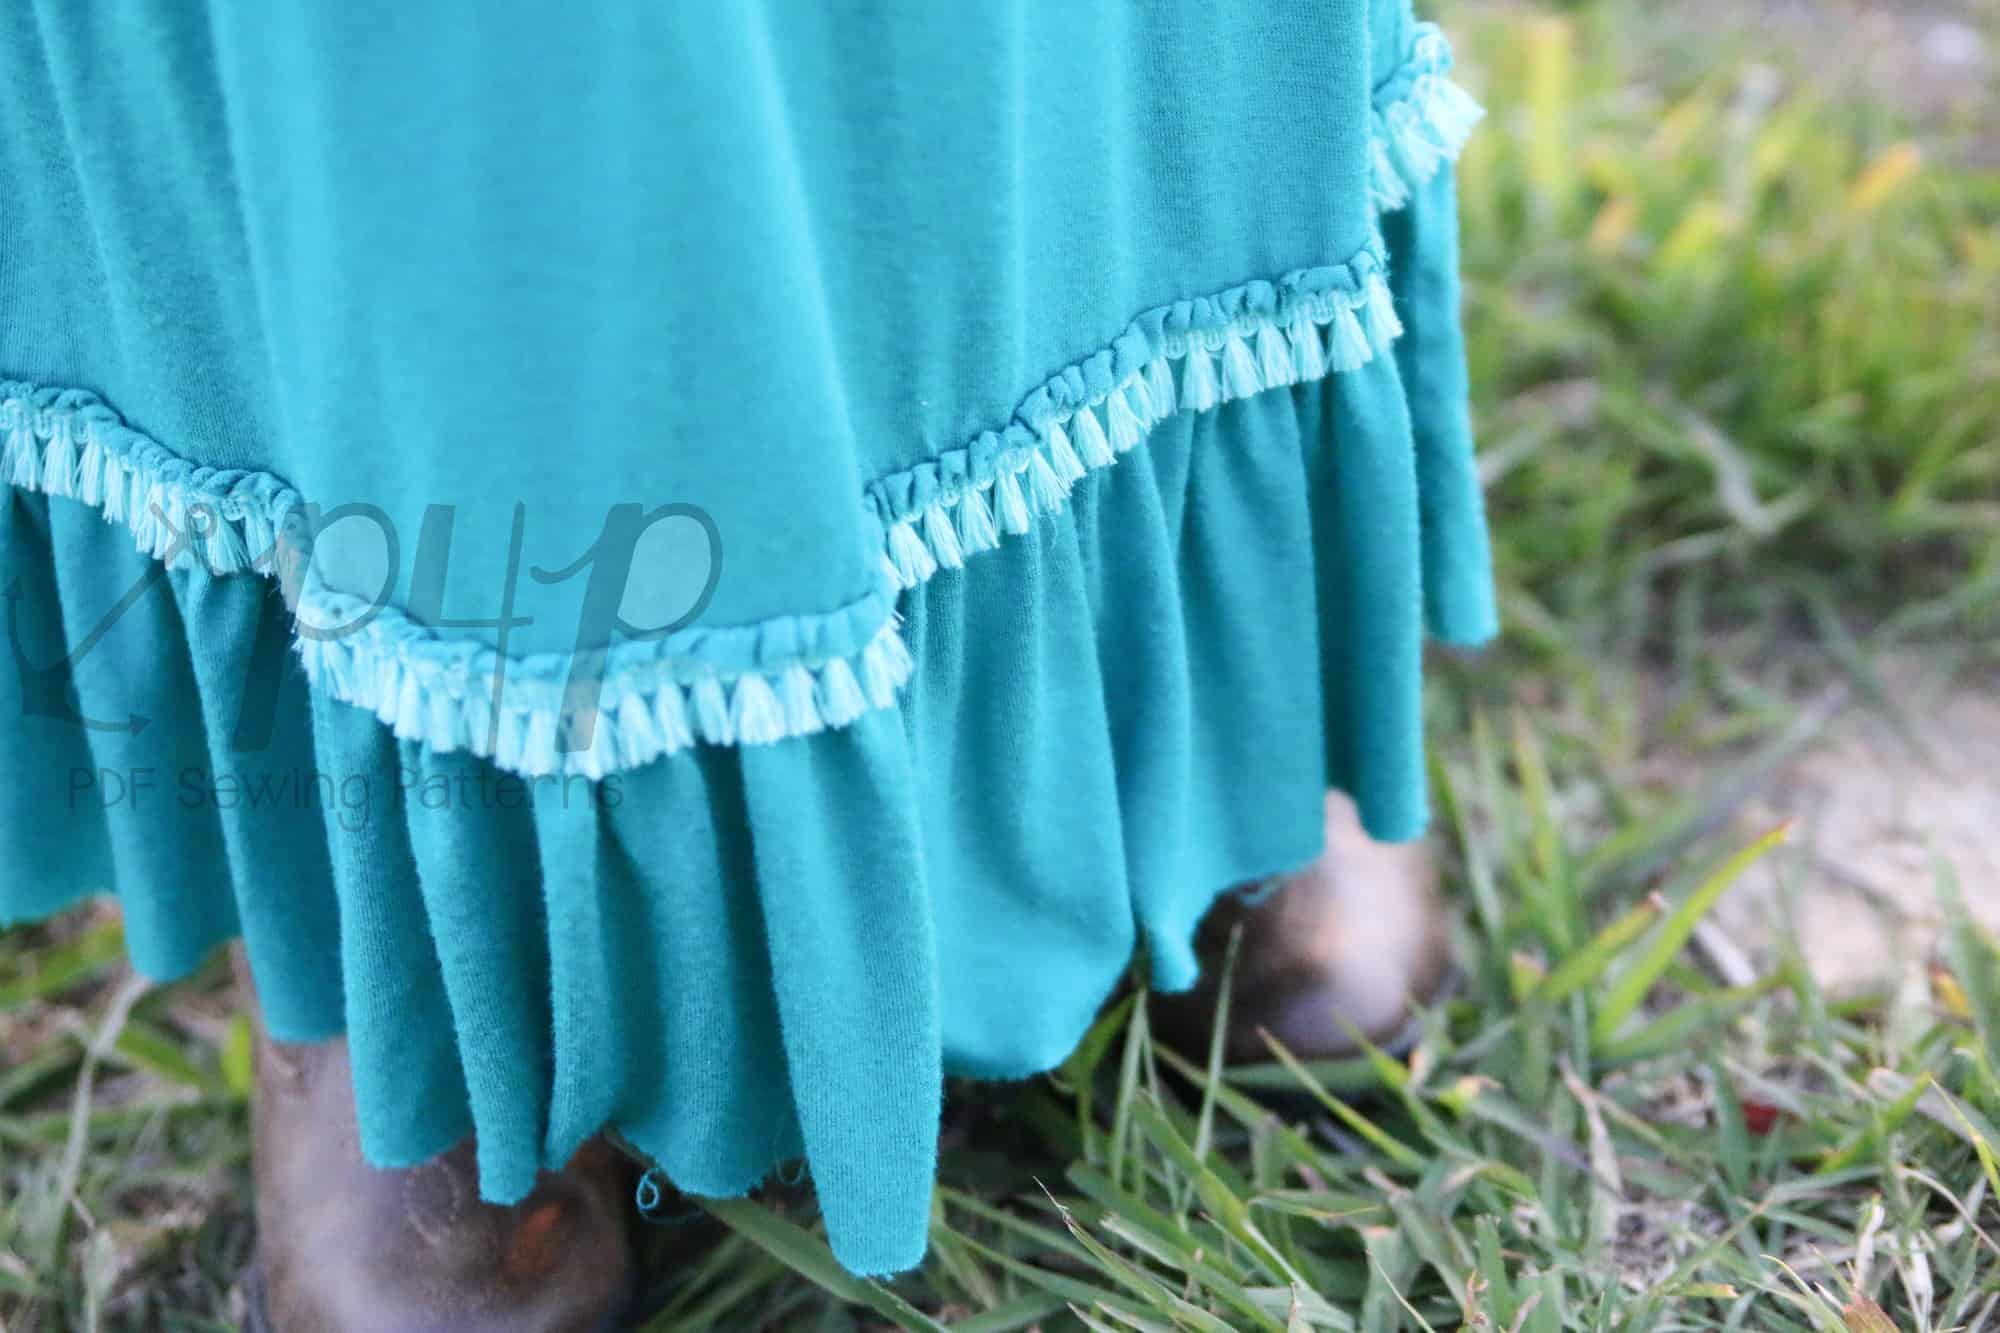
Sew up your dress exactly per the tutorial until you get to the bottom hem.  Instead of hemming, we will add the ruffle.  Gather the top of the ruffle using your favorite gathering method.  I used a rayon spandex, which tends to stretch out vertically easily- so I used the double rows of basting method to avoid adding any extra weight to the skirt bottom.

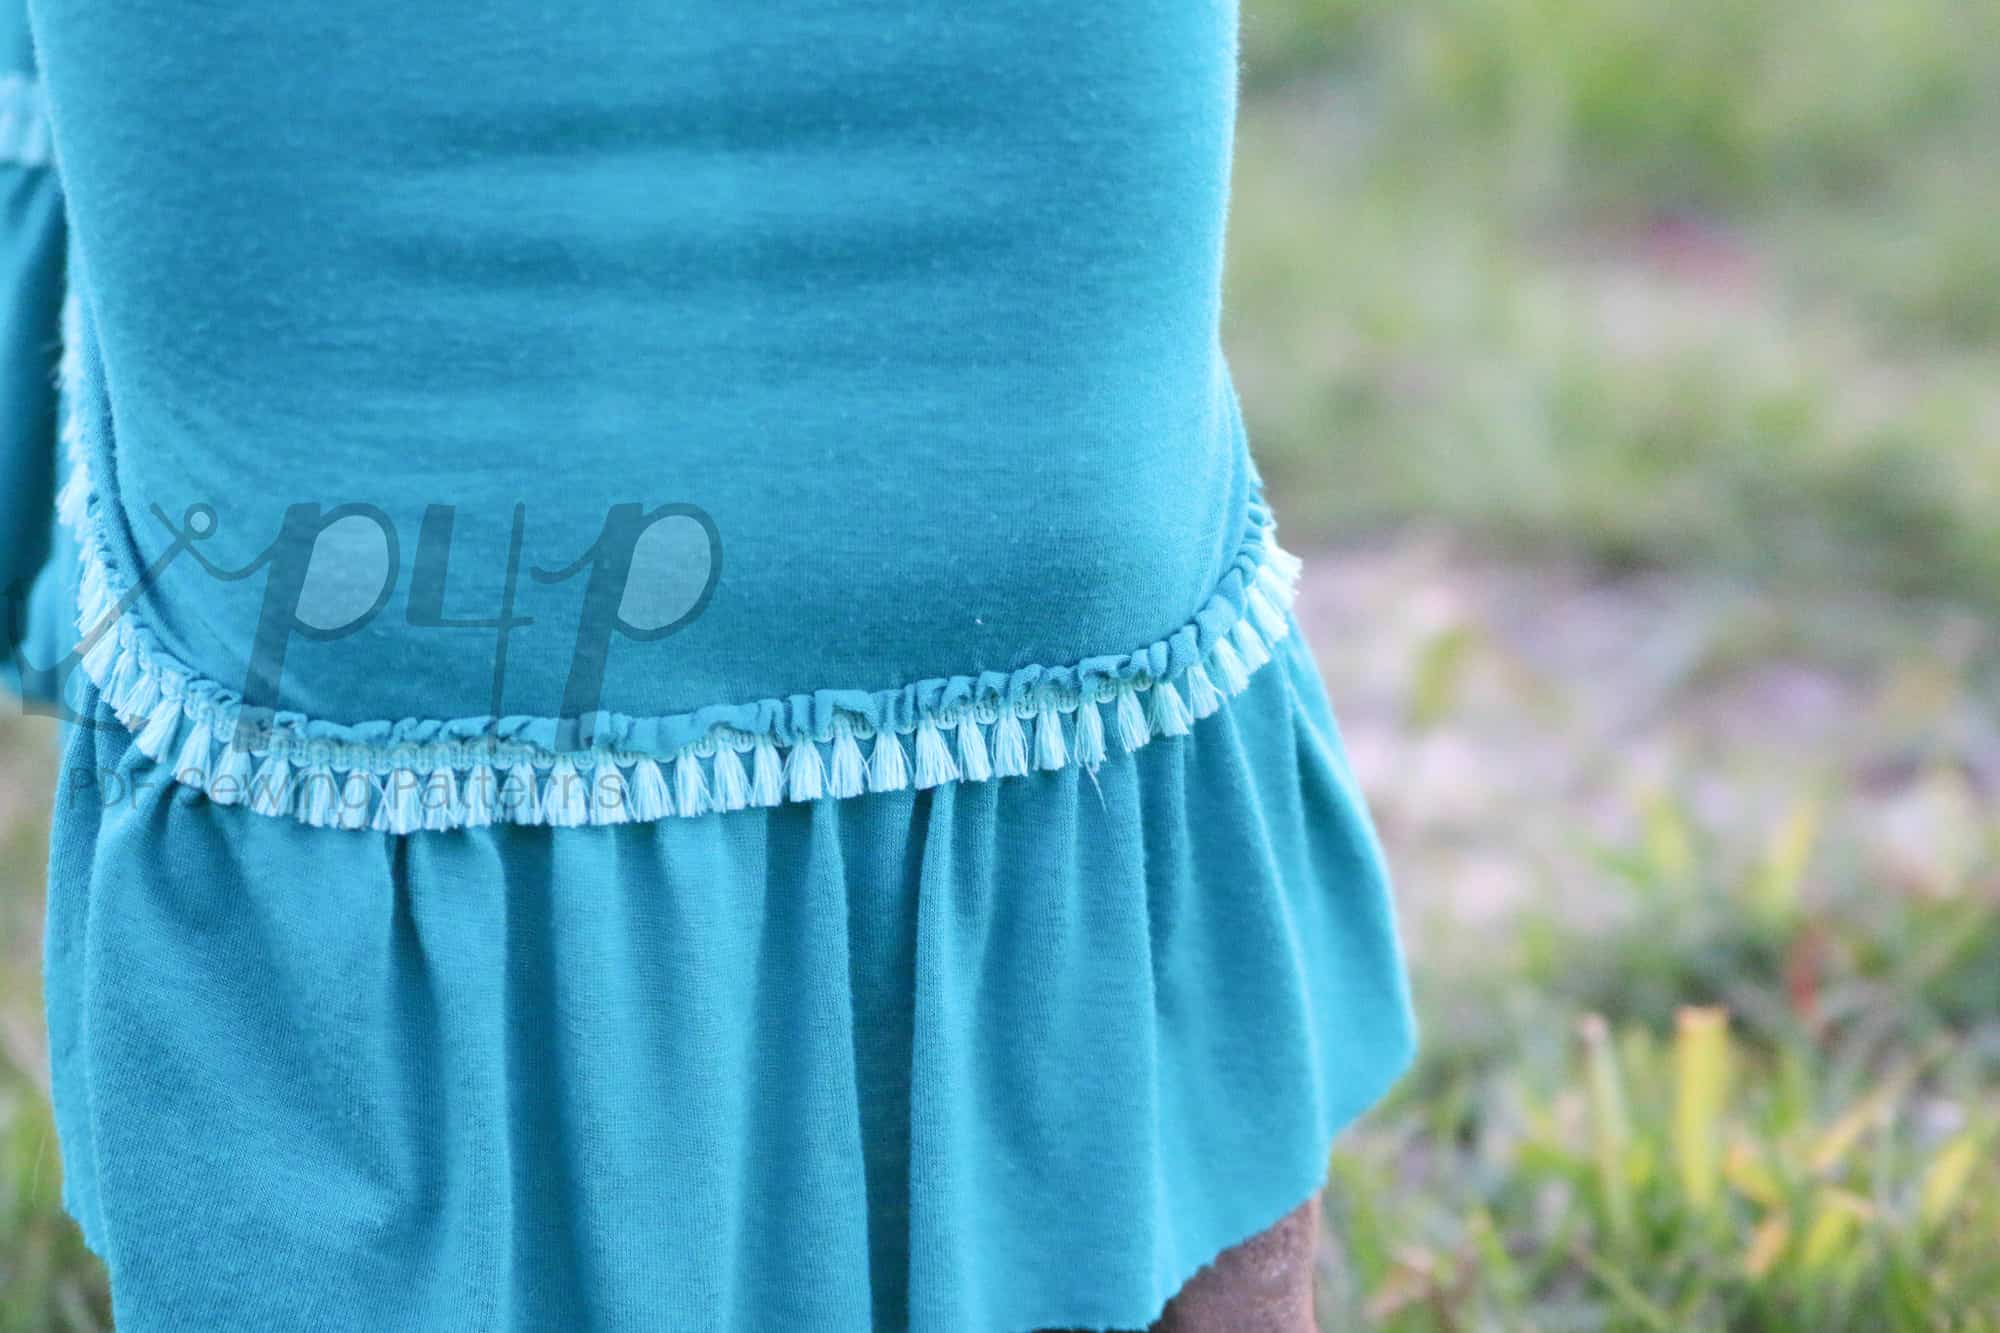
Following the popular boho look- I just overlapped the top of my ruffle to the bottom skirt hem leaving the exposed raw edge. I stitched the ruffle on top the skirt between my two basted rows with a stretch stitch.  Removed the basted stitches and gave it a press. I didn’t hem bottom edge just to match the raw edge on the ruffle (but that is just personal preference). I also added some fun trim along the gathered stitch line for some extra pizzazz 😉

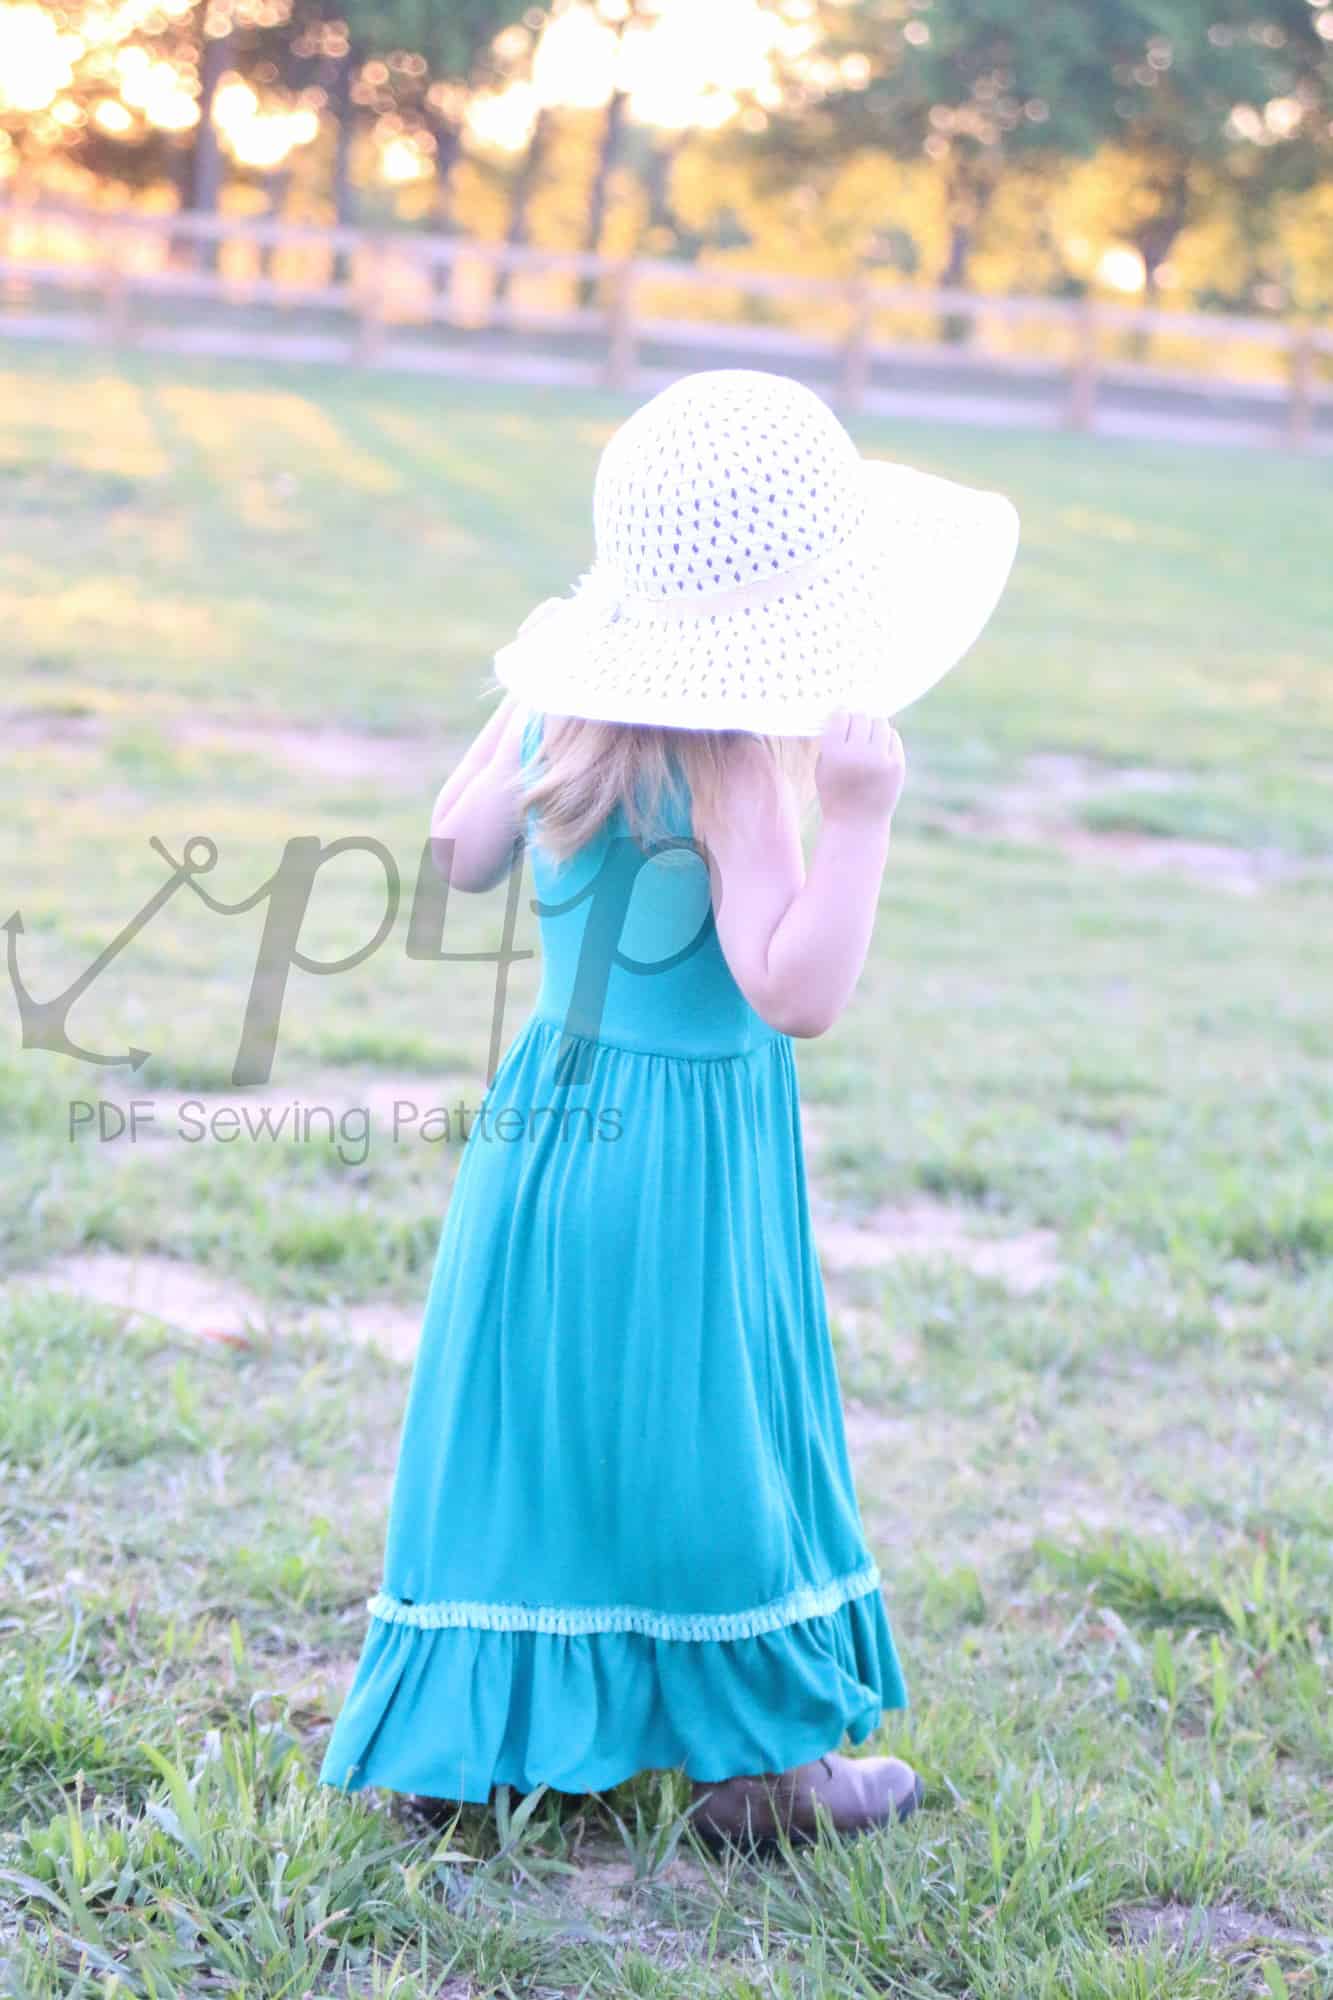
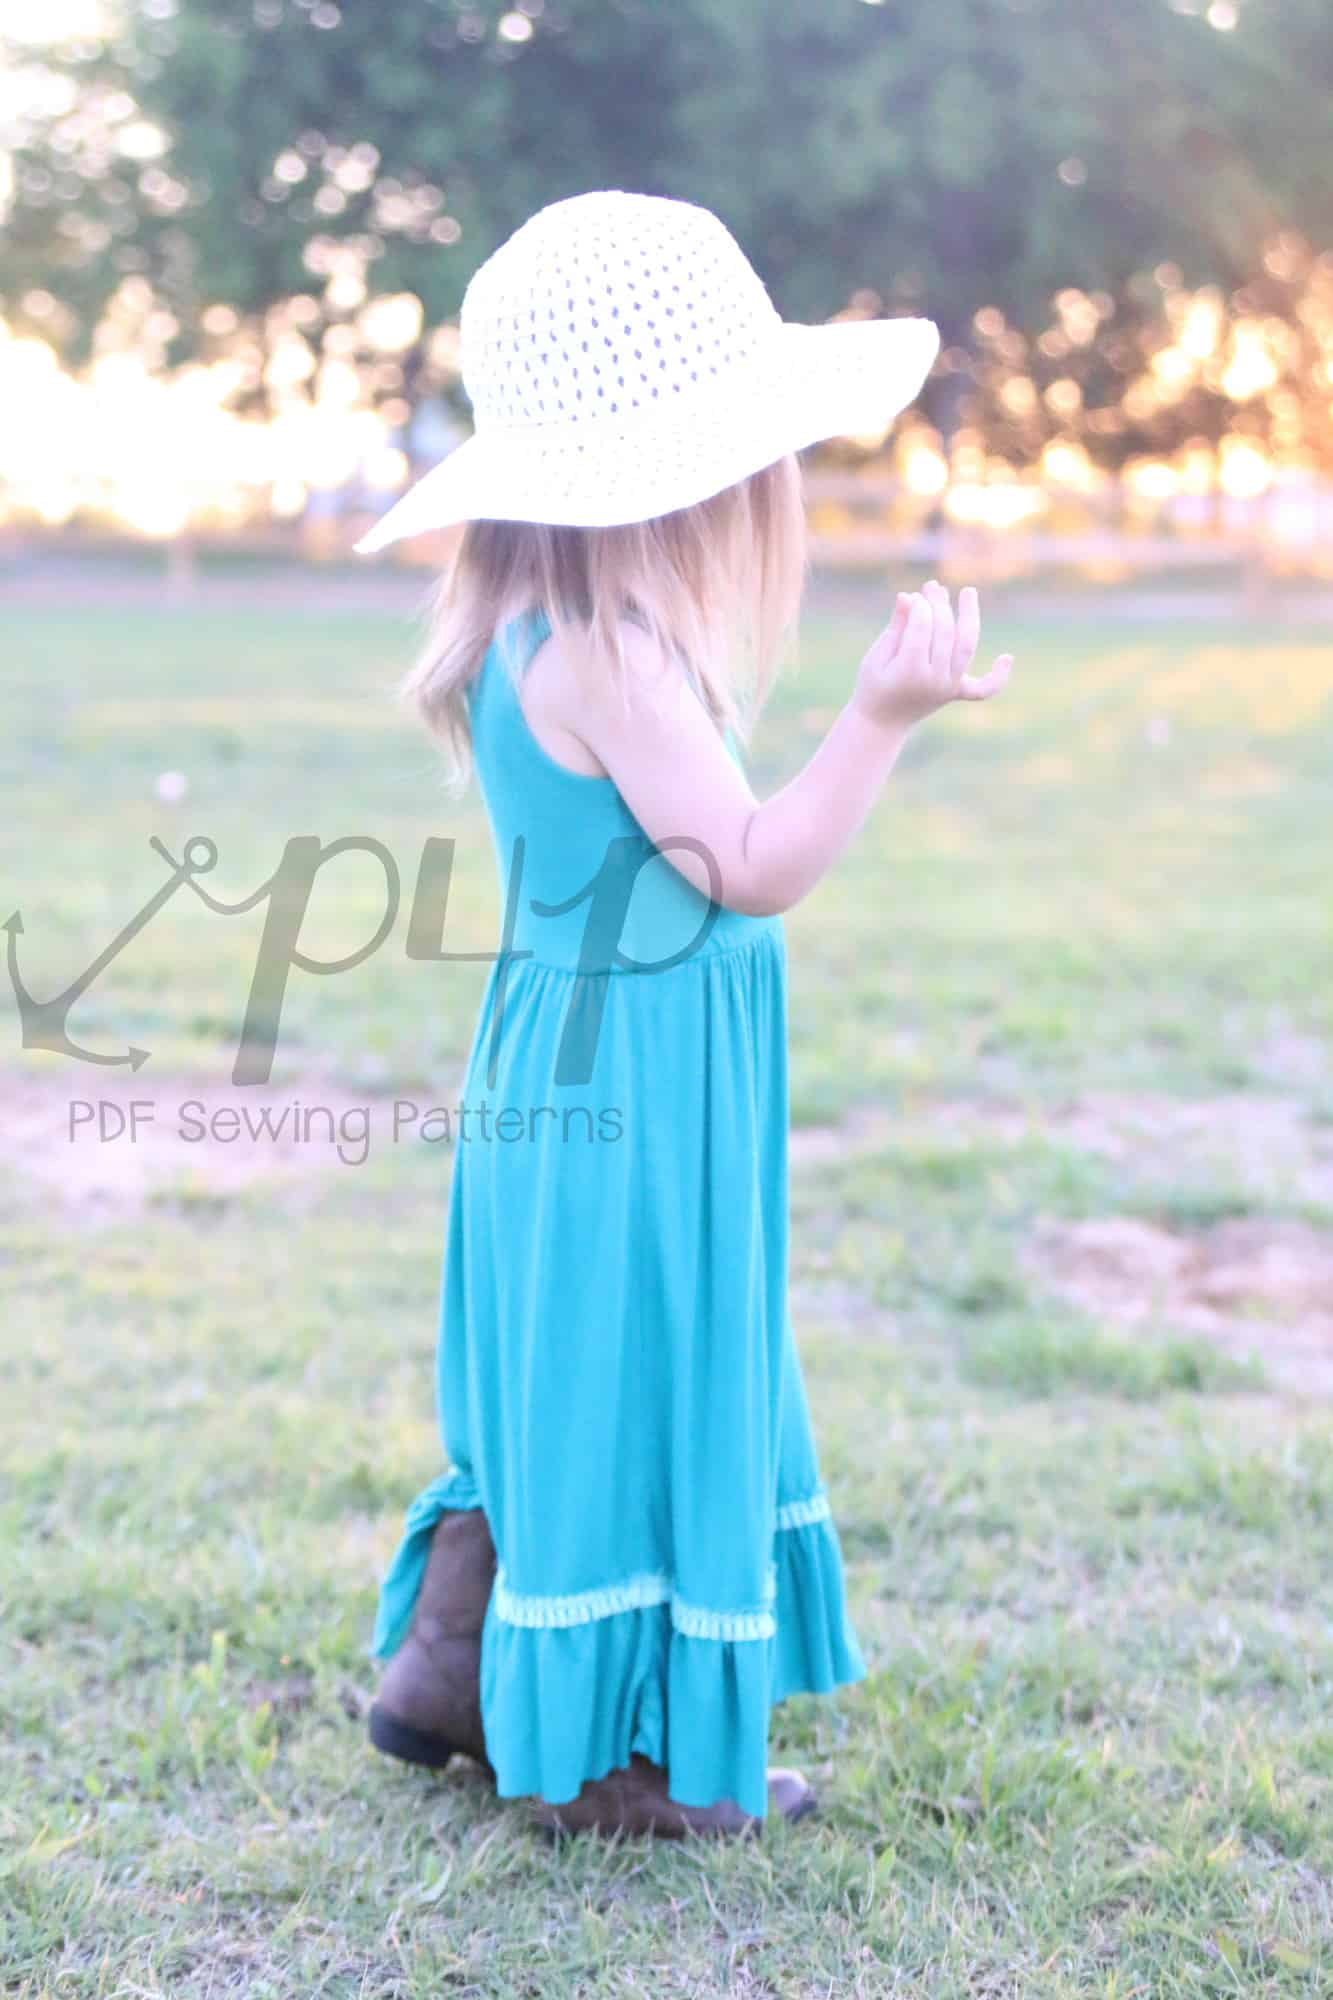
My daughter just LOVES this dress! I think it might top her favorite dress I’ve ever made her so far in fact! I guess she’s a little boho baby girl, she also wants to wear this hat for every photoshoot now 😉


…..

Crop Top

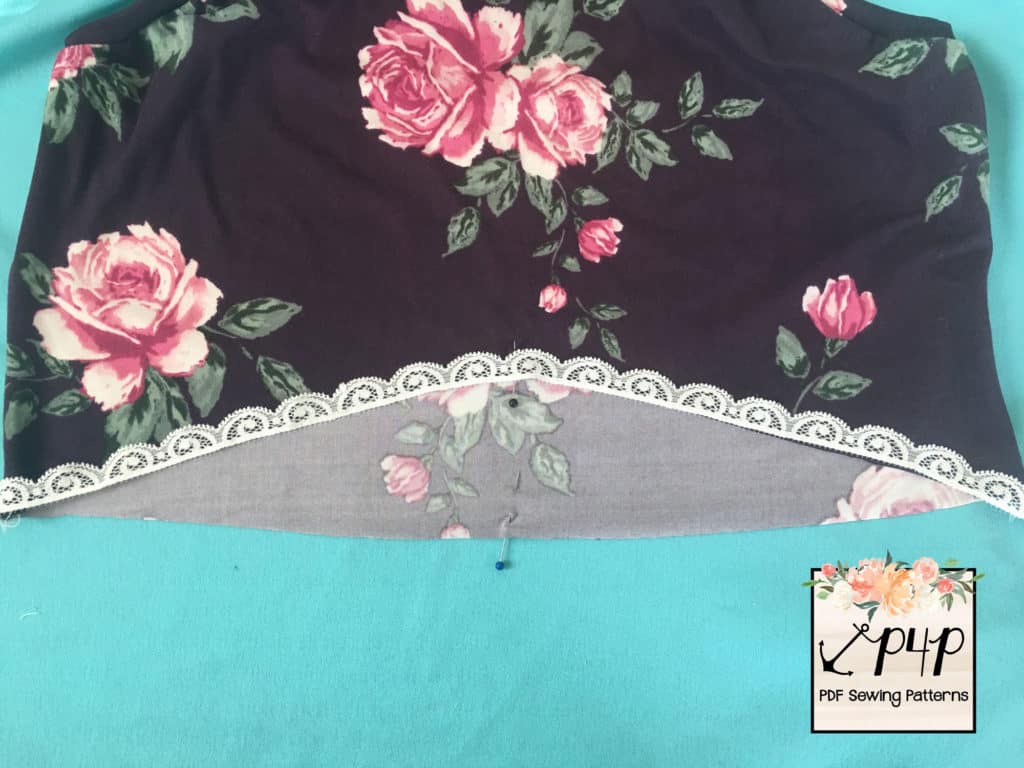
Crop tops seems to never really go out of style and we’ve seen some requests for it lately.  The Boundless bodice already has a natural waist cutline so is a great base to create a simple crop top.  Sew up the bodice as you would in the tutorial but instead of adding the skirt, just hem the bottom edge 1/2″.  If you chose to line the bodice, you can hem the main and lining towards one another, like the lined sleeve option in the tutorial.  I chose a scalloped edge lace as my outer layer, so only hemmed my lining.

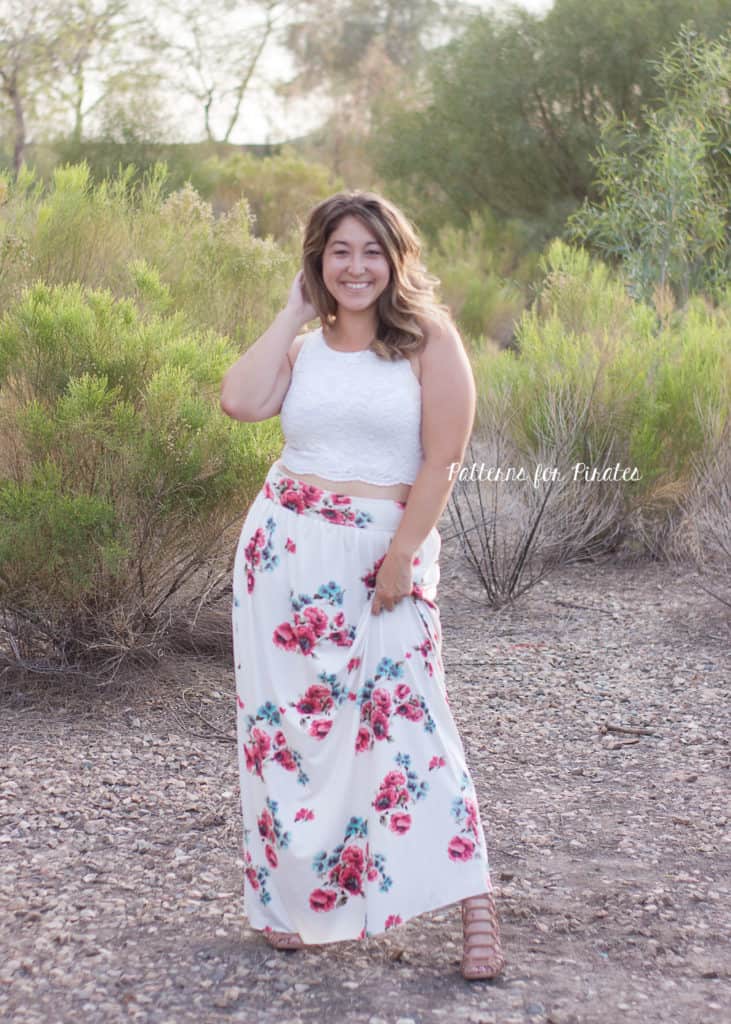
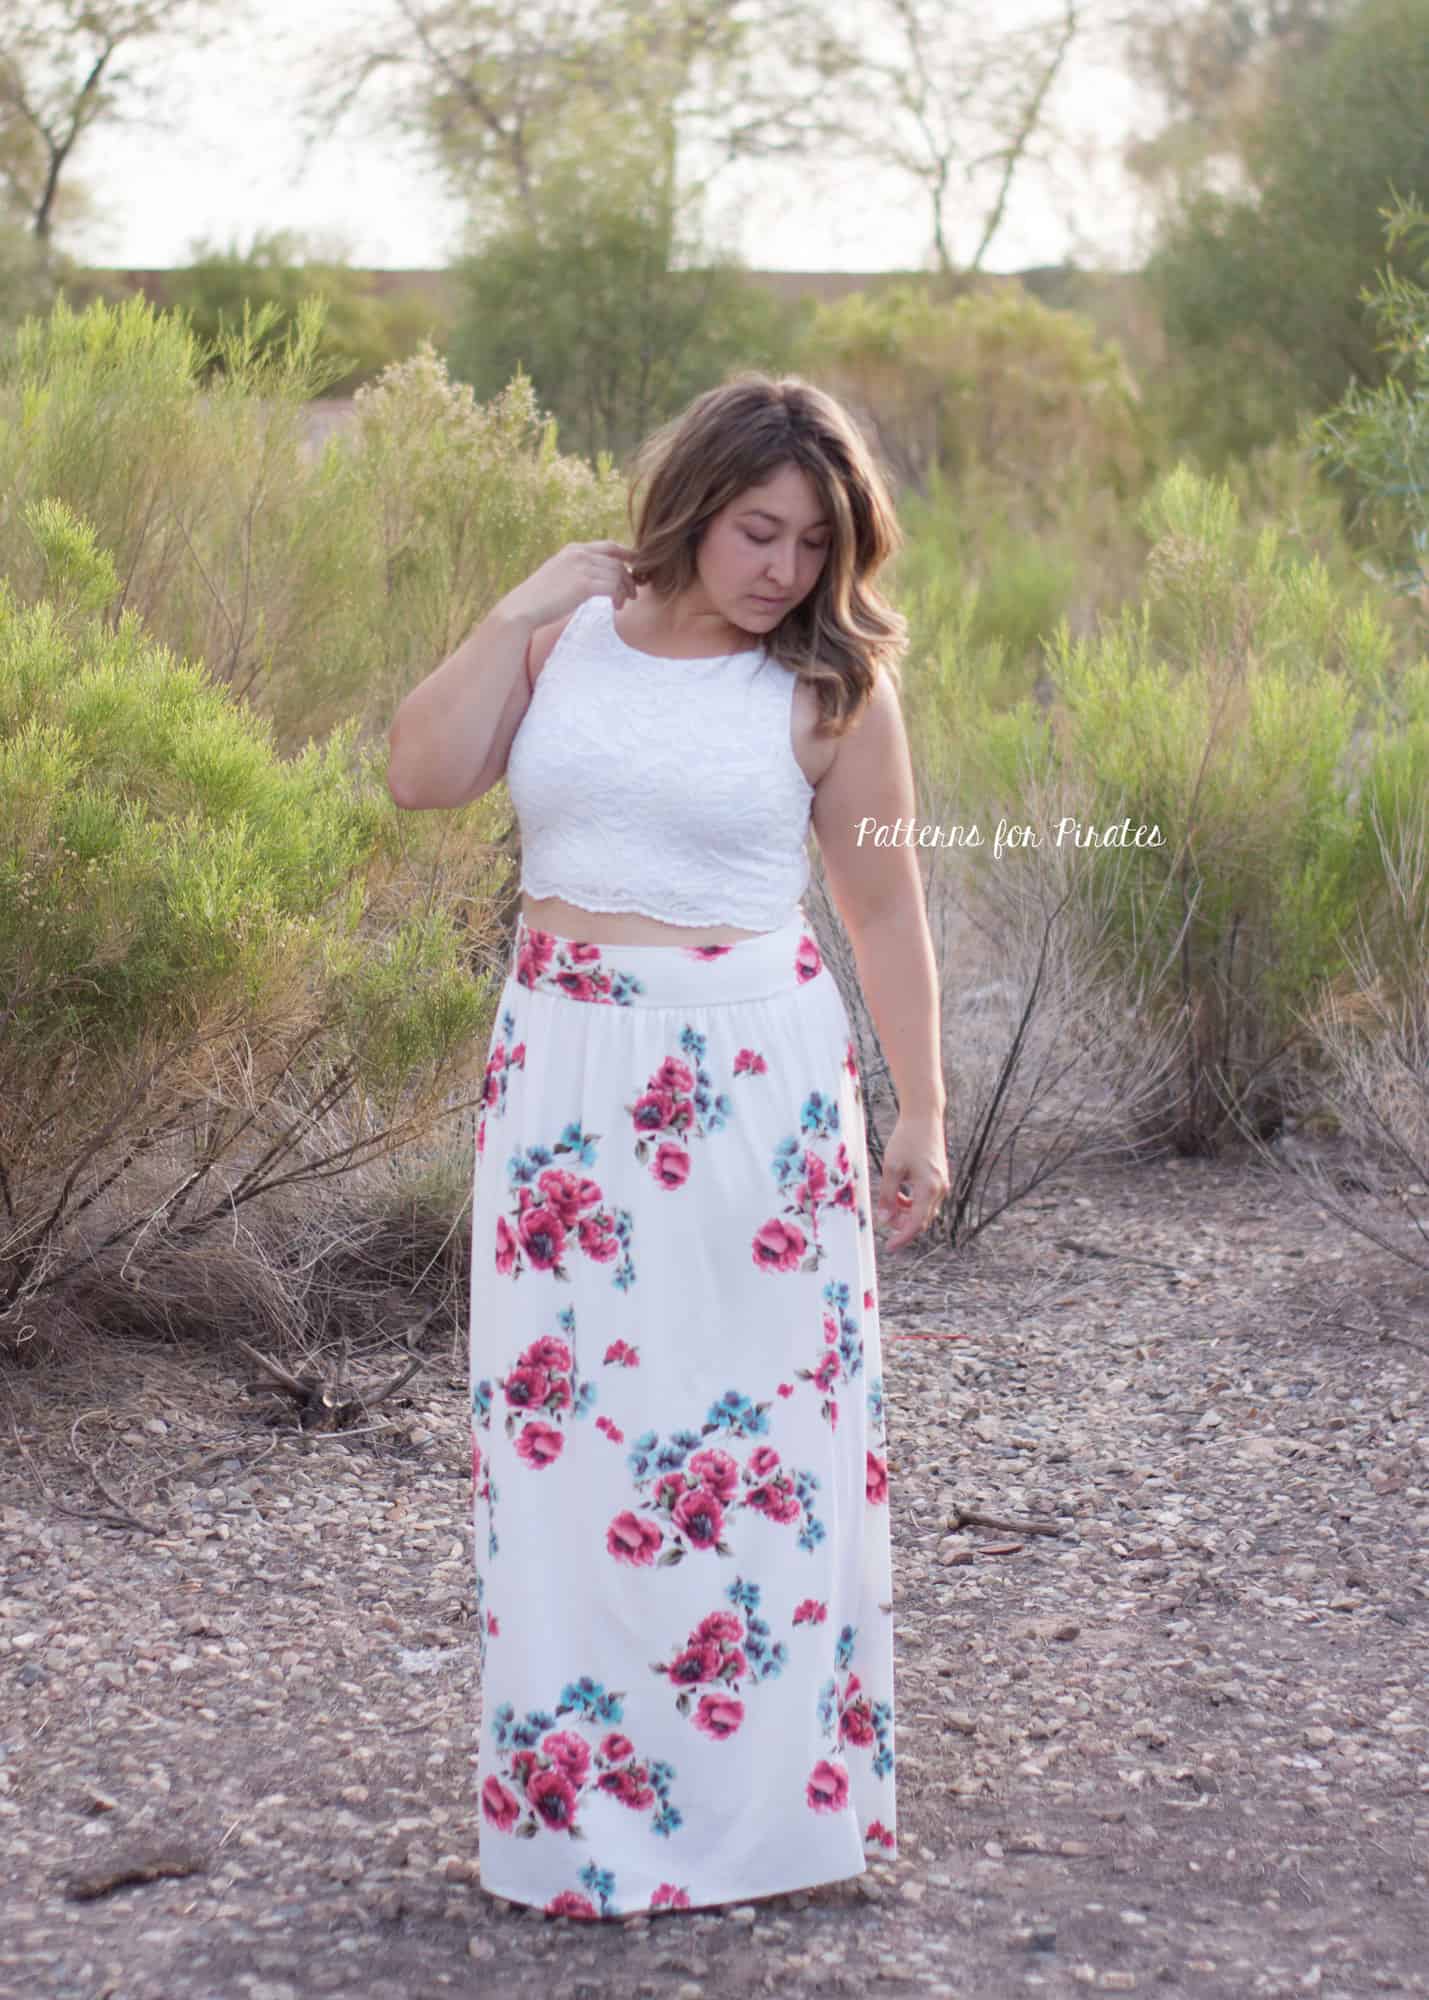
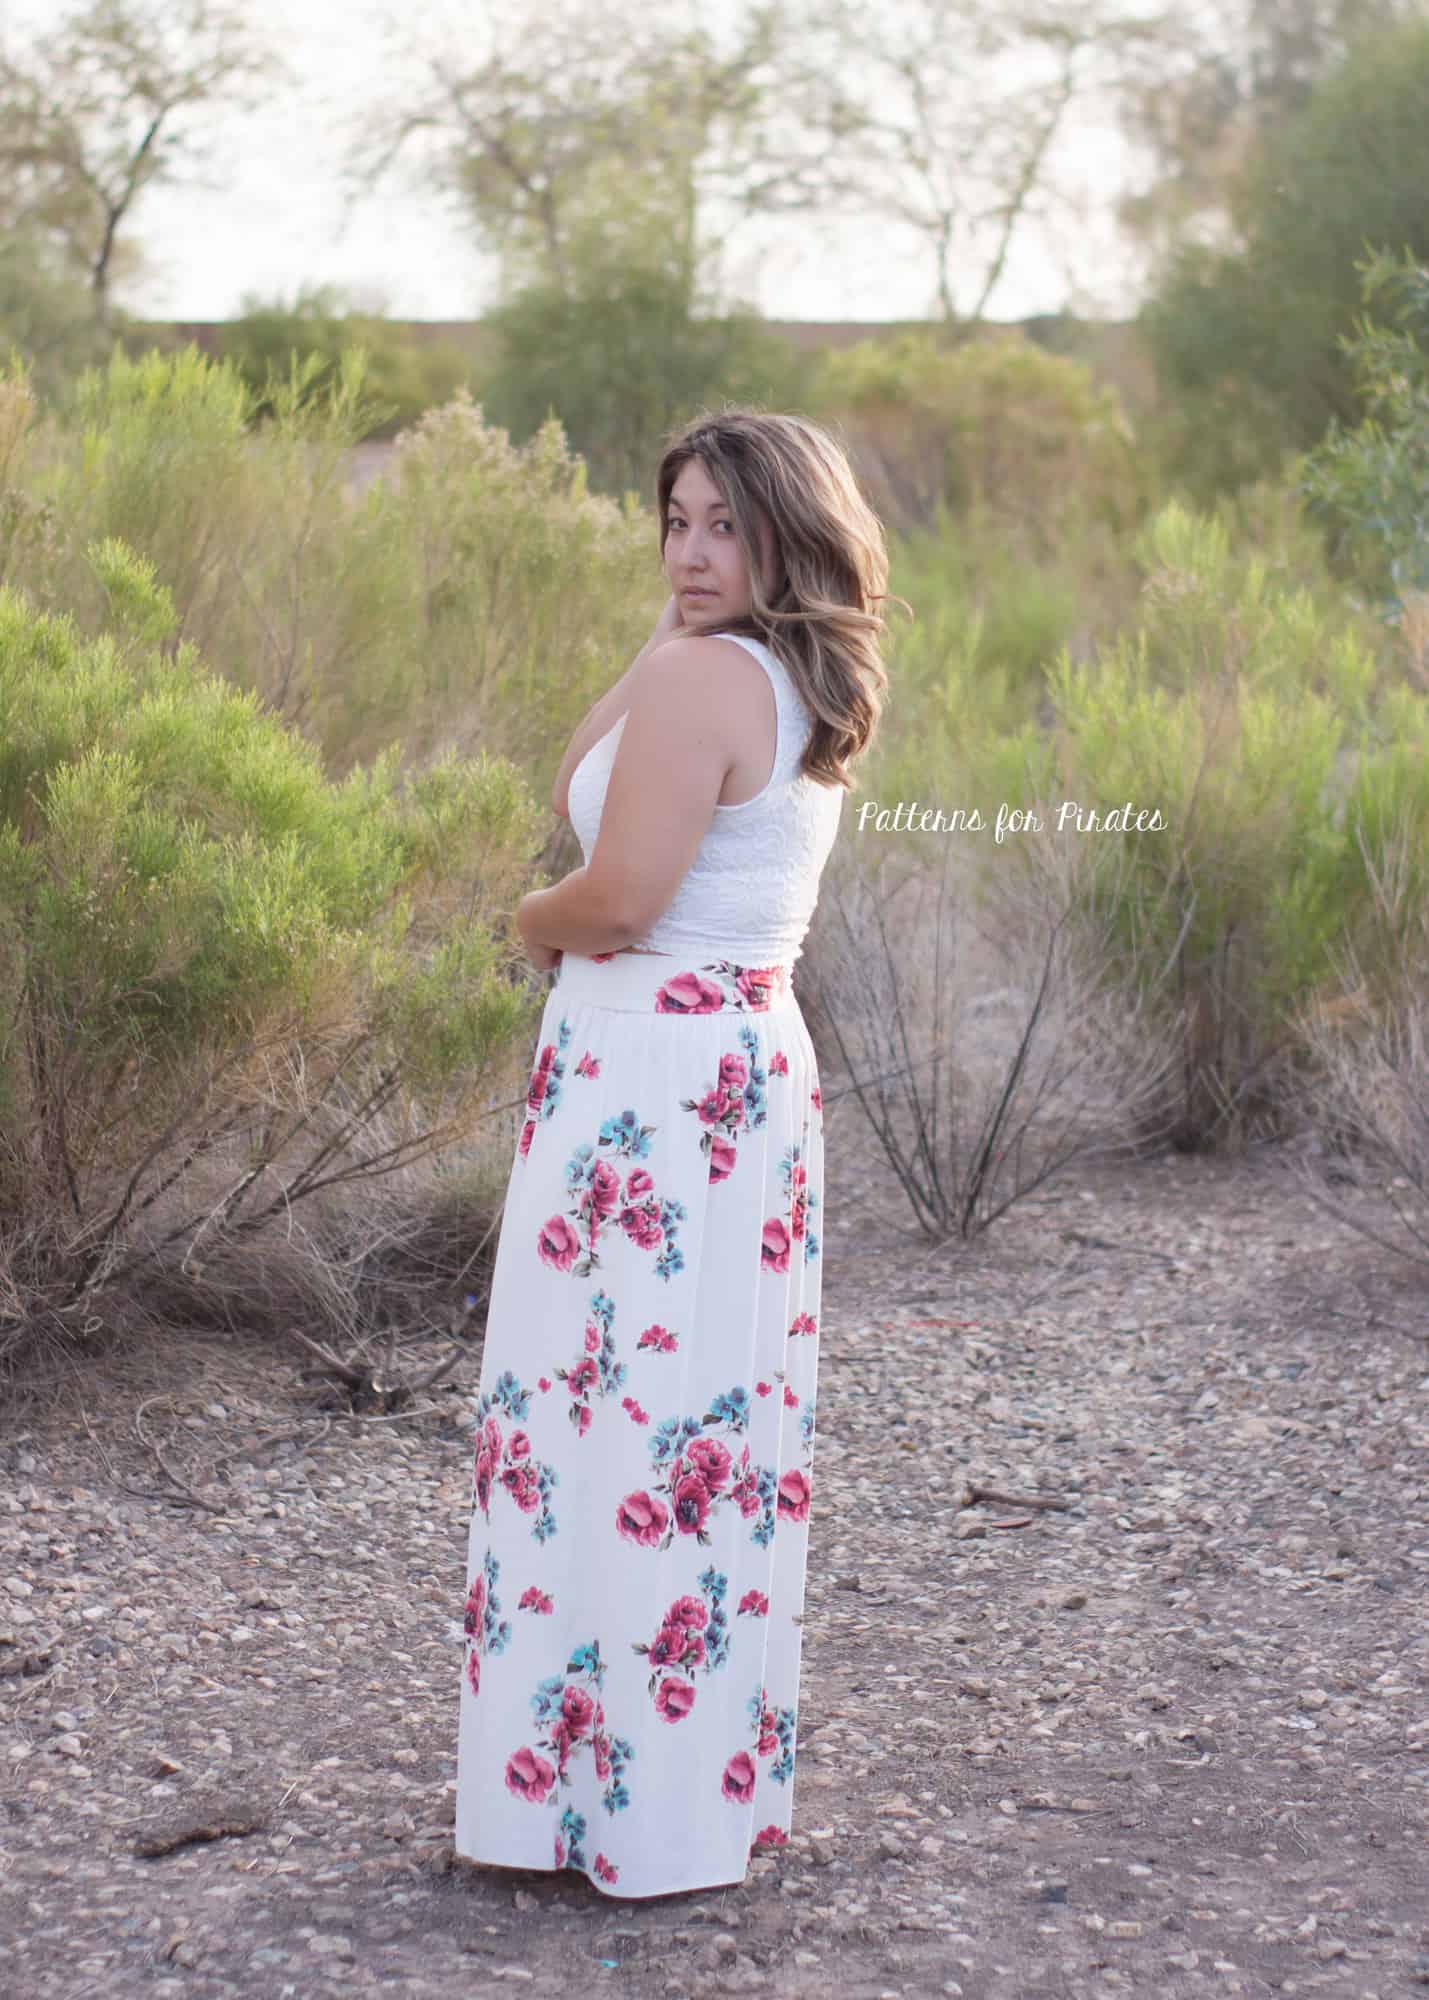
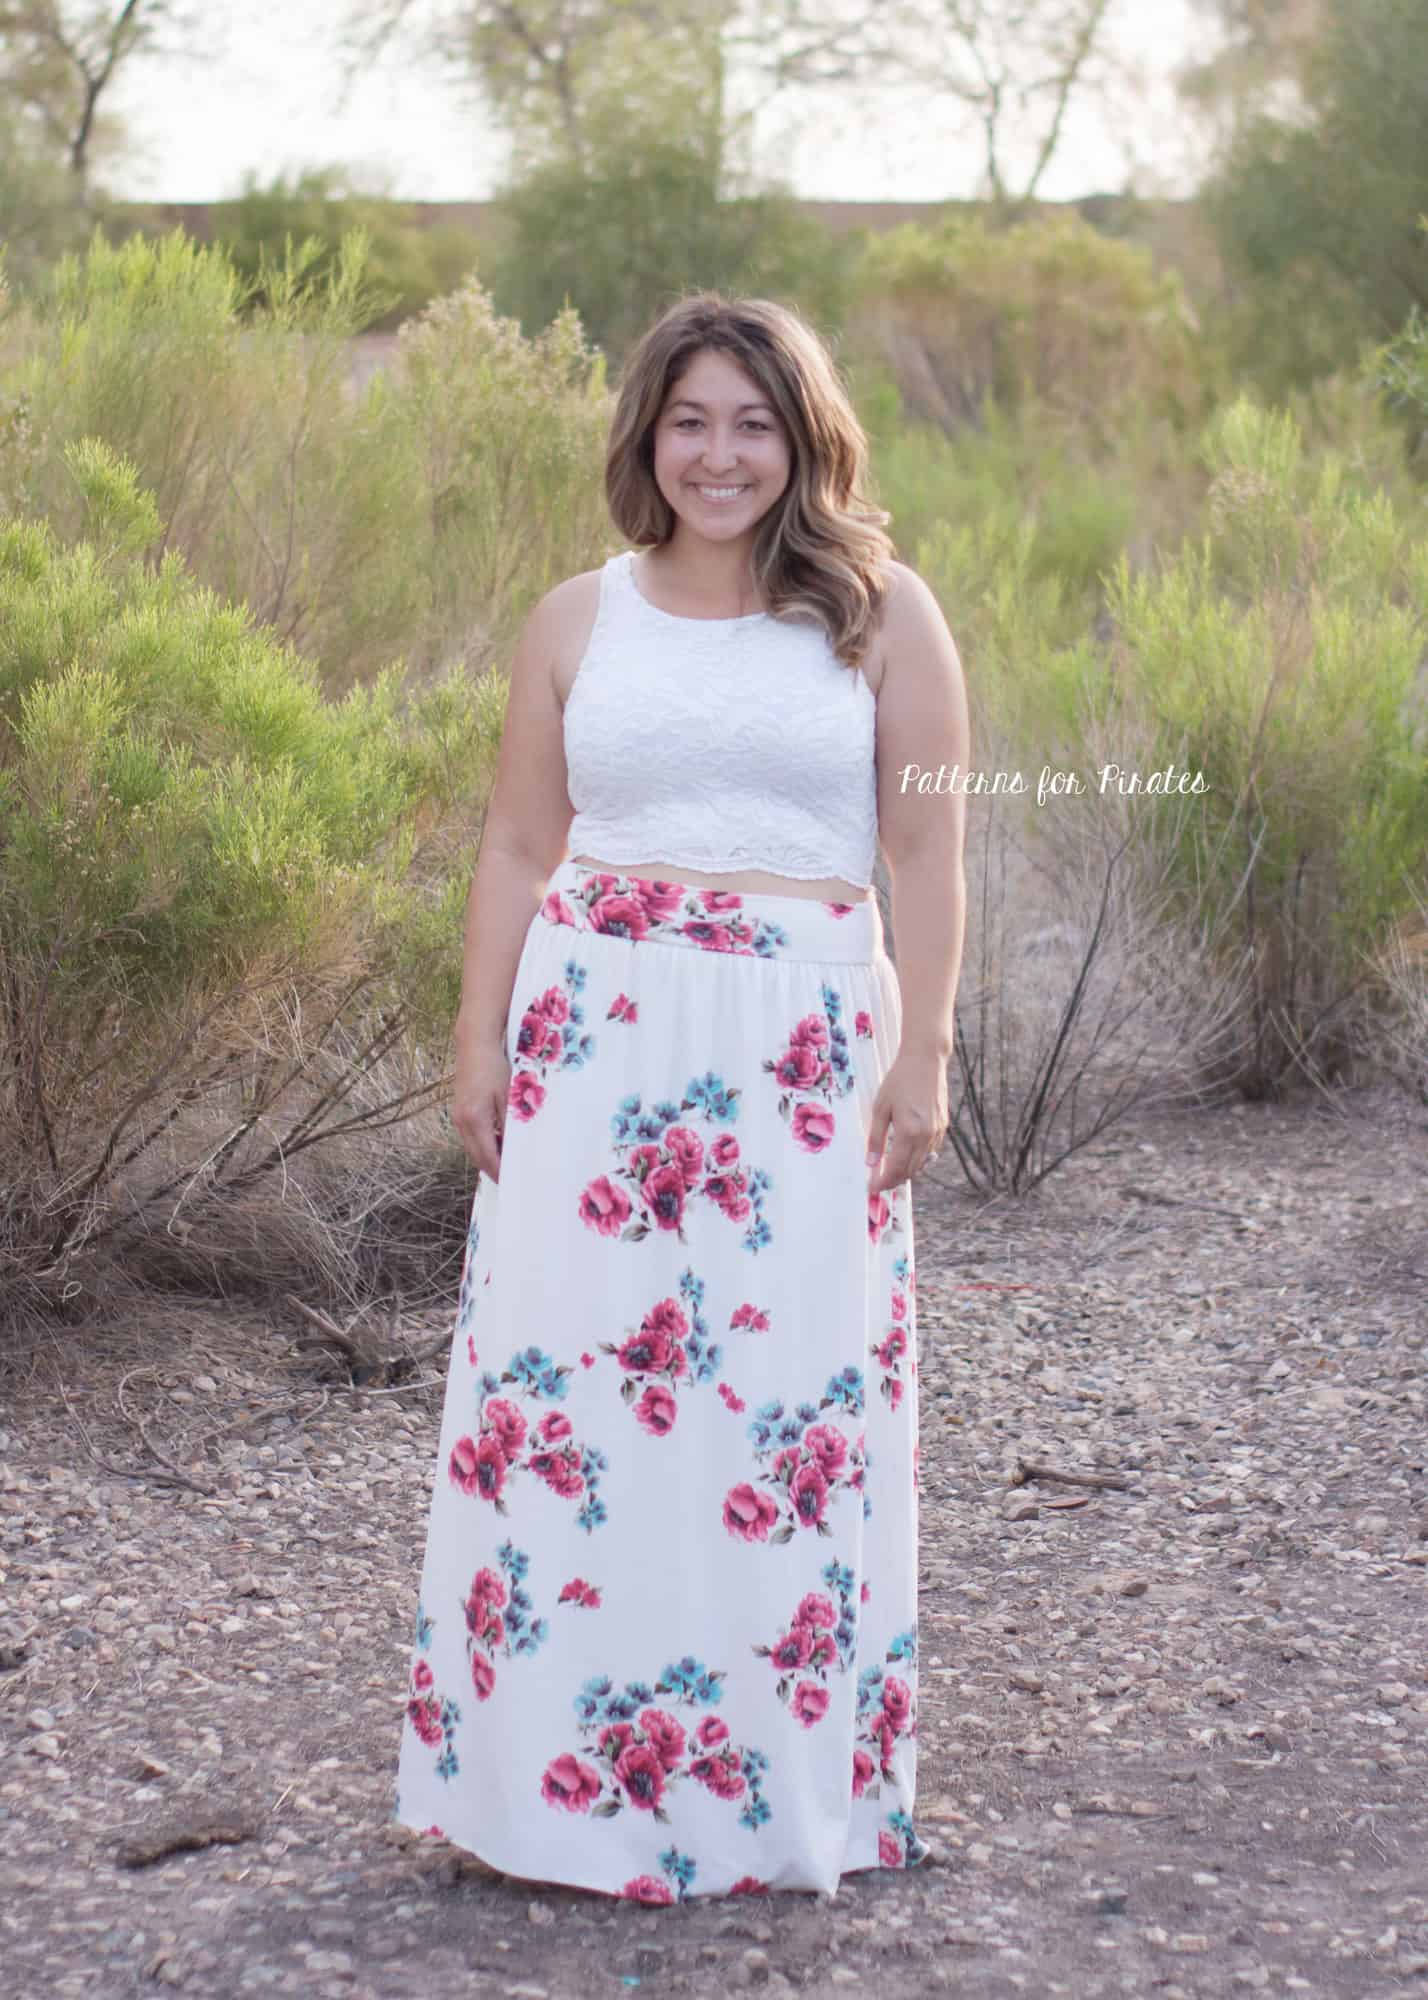
For my skirt, I used the waistband measurements from our Sweetheart SAL HERE and used the natural waist skirt option of the Boundless.  I did have to shorten the skirt a couple of inches to account for the added waistband but gathered and constructed per the pattern.  Instead of attaching to the bodice, just attach the skirt to the waistband.  Super simple right?!


We hope you all enjoy the updated Boundless Knit Dress and newly released youth Boundless as much as we do.  Be sure to share your makes in the P4P Facebook Group!

Filed Under: Frequently Asked Questions, Pattern Hacks, Uncategorized Leave a Comment

Boho Babydoll – Easy Hacks

April 4, 2018


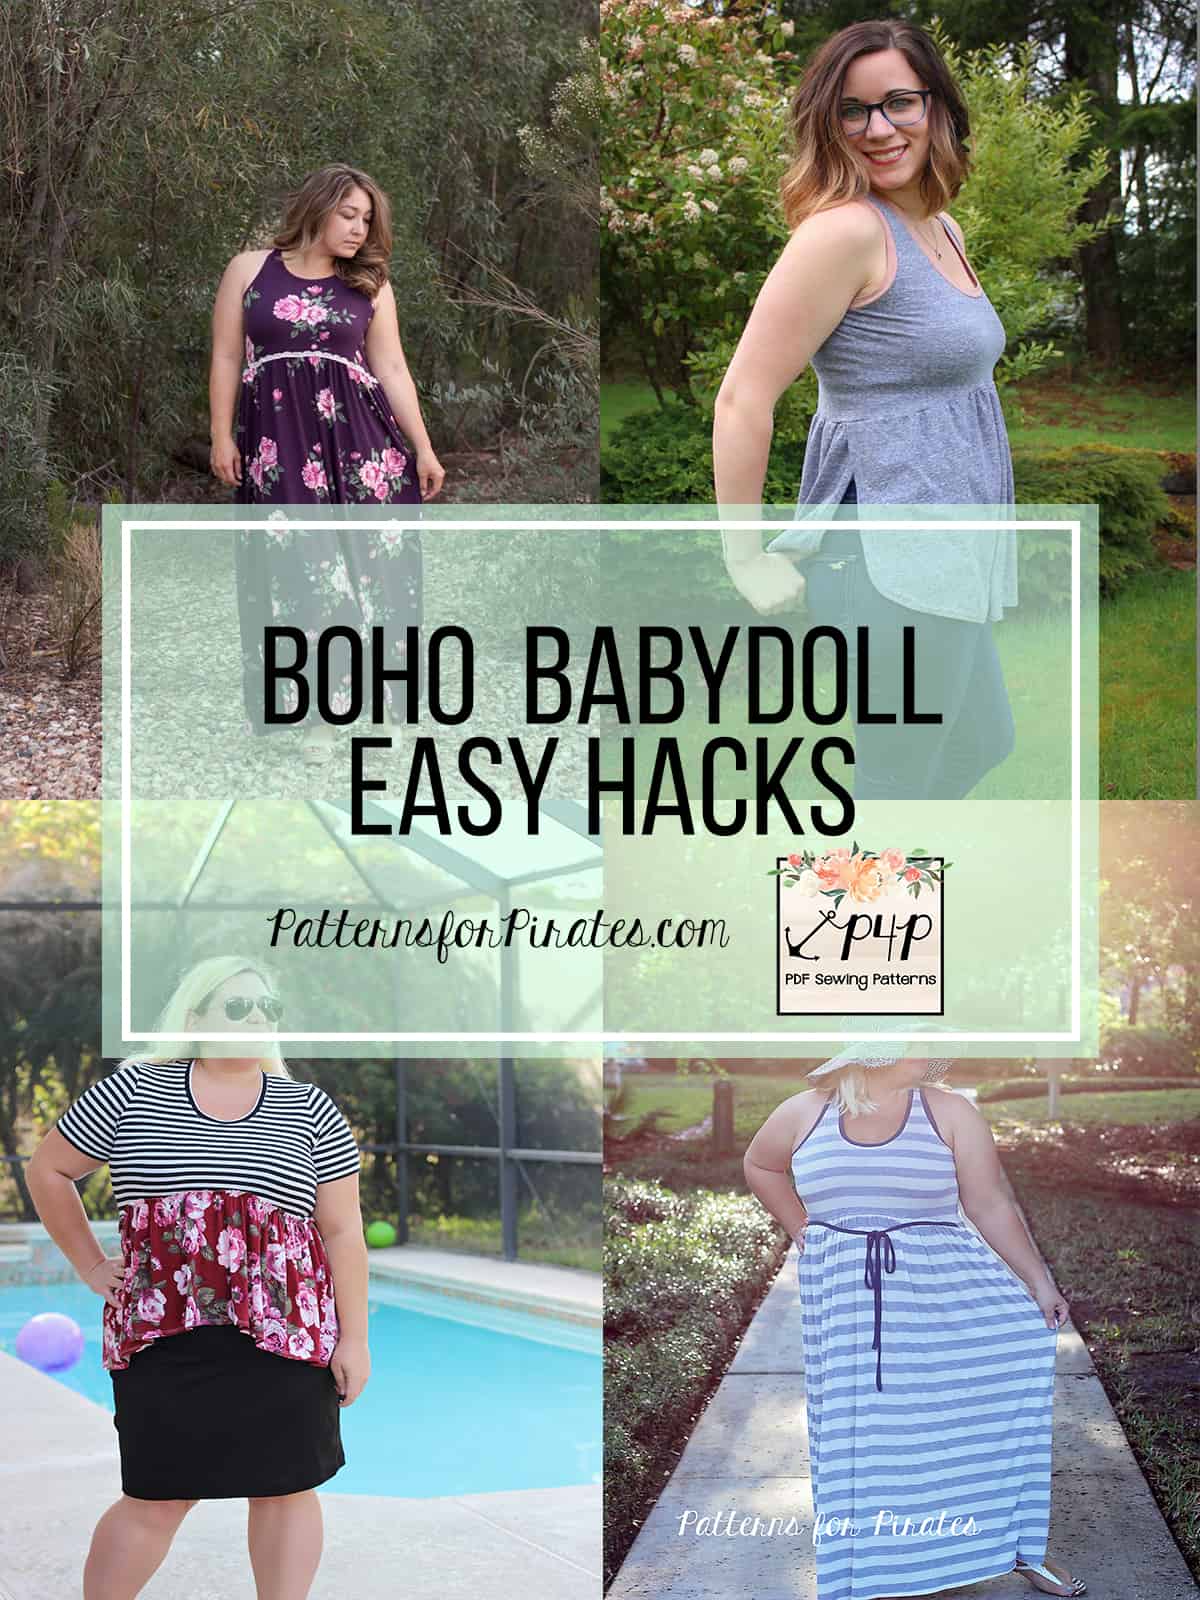
As with all other P4P releases we couldn’t let the Boho Babydoll party start without some easy hacks that you can do for both the women and the girls tops/dresses.

…..

Waist Ties

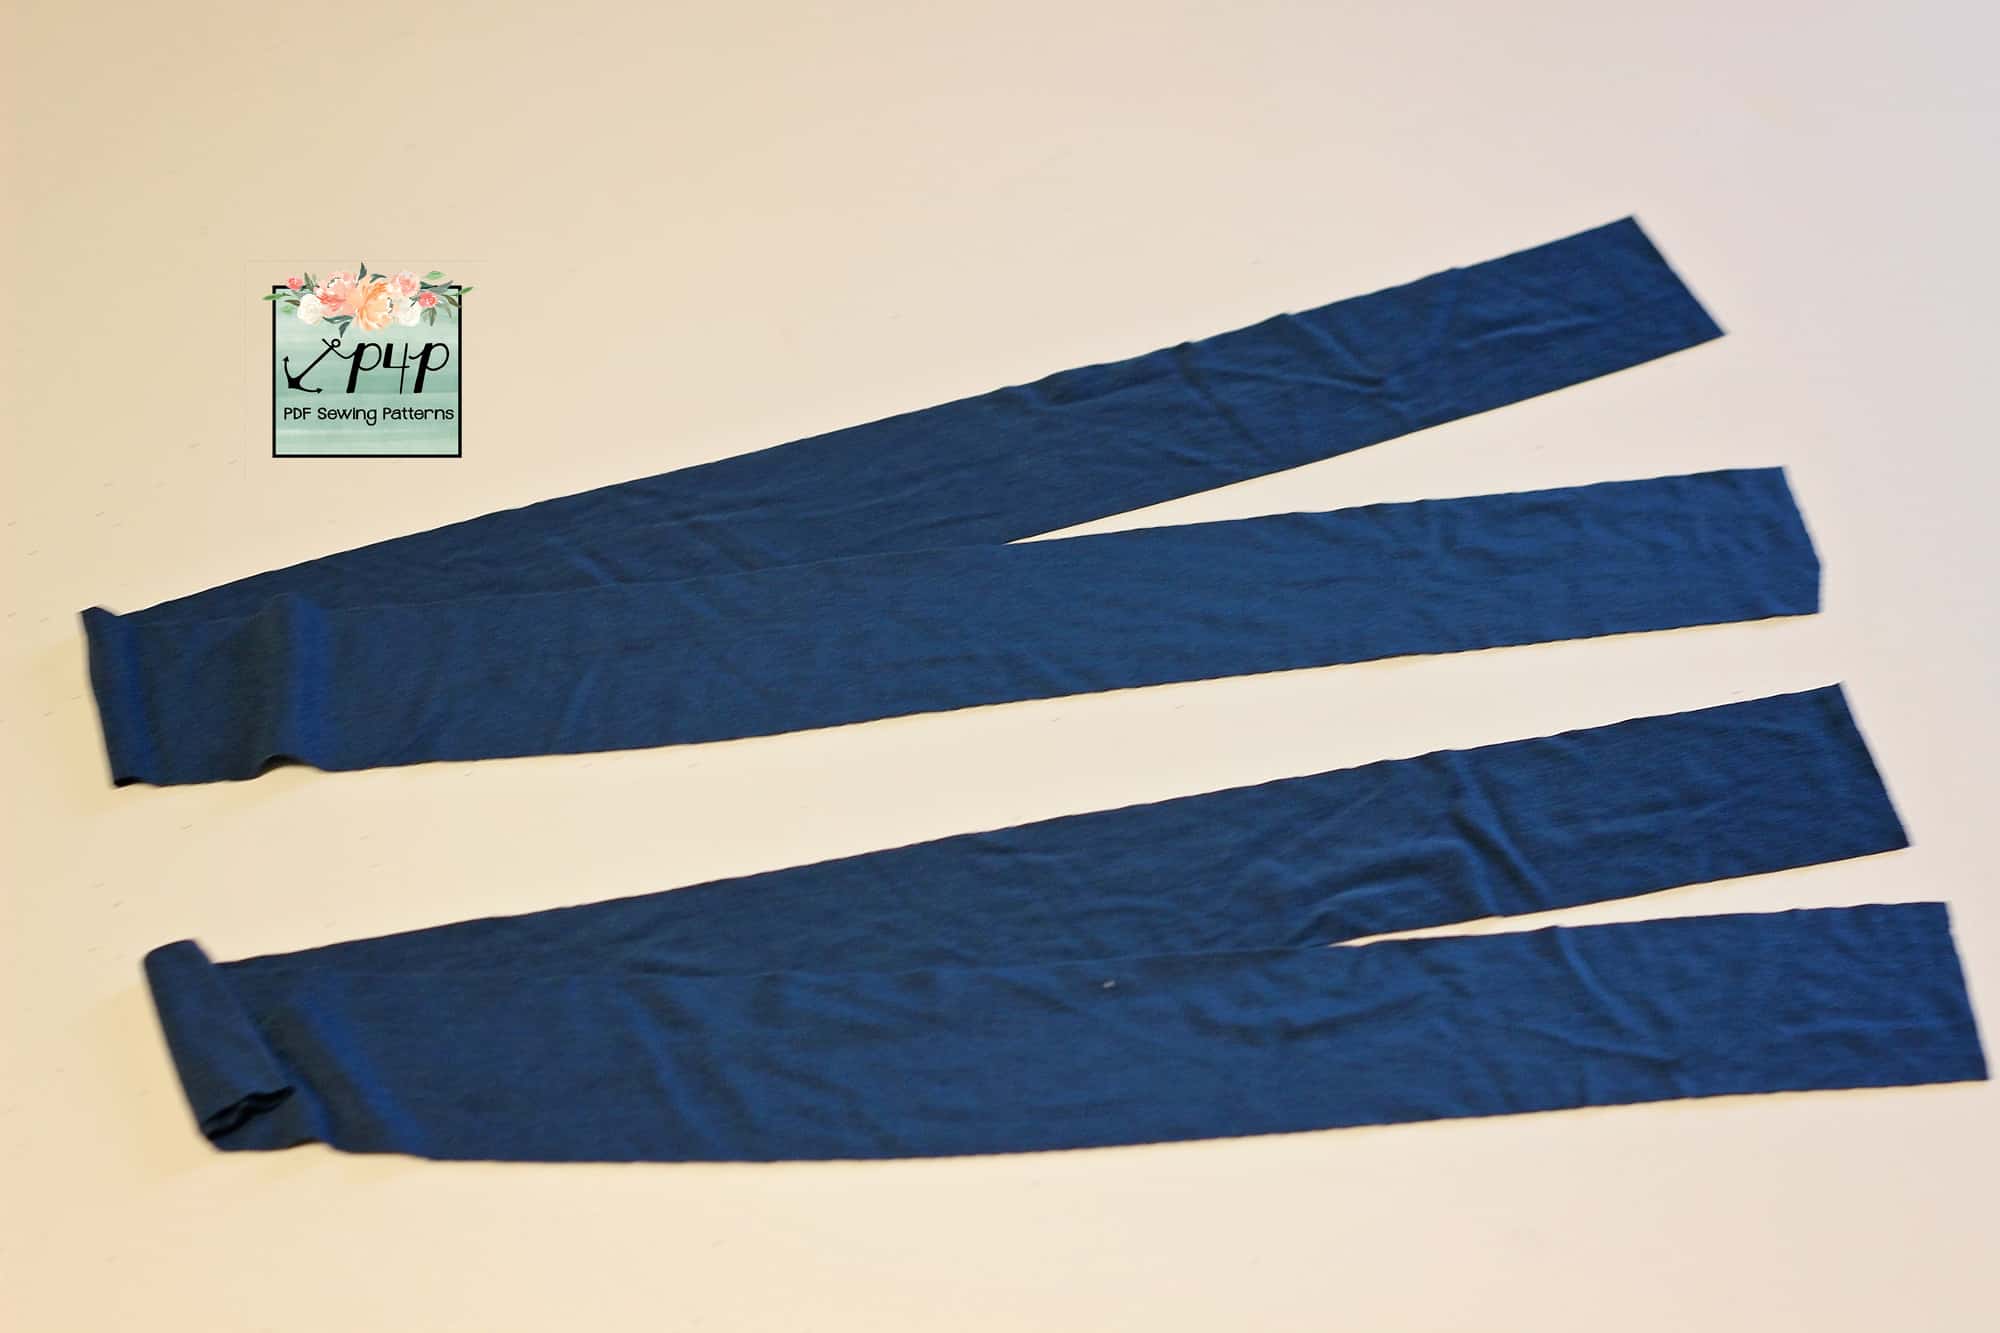
The Boho Babydoll Dress and Shirt is a relaxed it at the waist so I wanted to start these hacks by showing you how easy it is to add some fun waist ties top it. Print and cut your pattern and fabric as you normally would and cut two tie pieces 2″ by 28-34″ depending on how long you want the ties to be. For reference my ties are 34″ because I like to be able to tie them around my waist too.

Mark a point on both the front and back bodice pieces that is 3/4″ up from the waist edge.

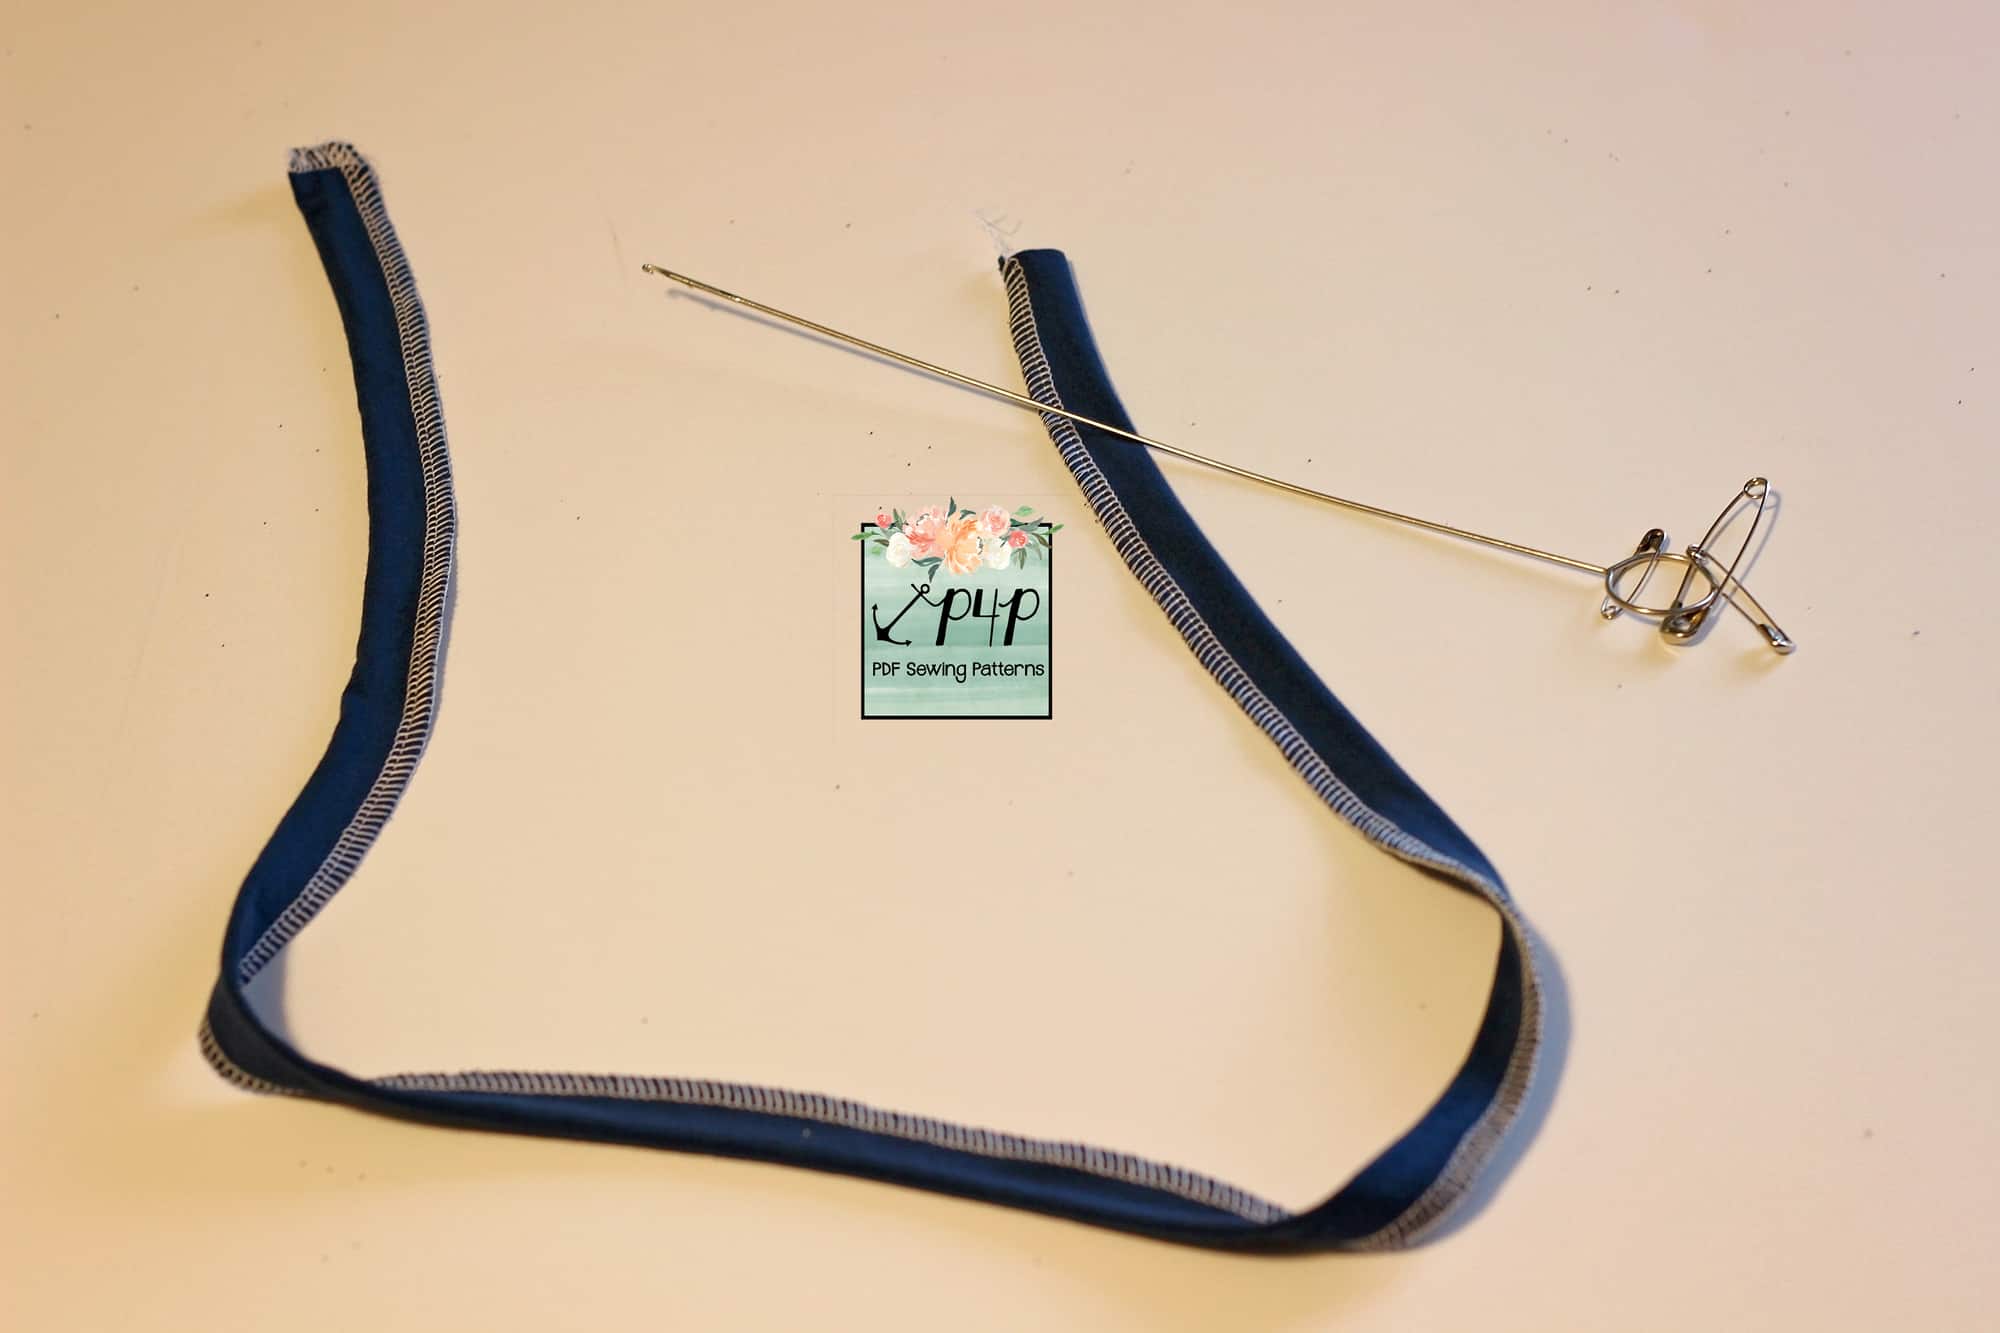
Fold the ties wrong side together, lengthwise and sew them with a 1/2″ seam allowance. You will be sewing one of the short ends too.

Using your favorite turning tool, turn the ties inside out and give them a good press.

Pin the ties on the front bodice at the marking point you did earlier. The bottom of the tie length will be at the 3/4″ mark. Repeat on the other side of the front of the bodice.

Optionally, you can baste the ties to the bodice before you sew the side seam.

Sew the bodice as instructed. That was easy!

You can wear your ties tied in the front…

….or tied in the back…

…or if you made them long enough you can wrap them around your waist.


…..

Split Sides


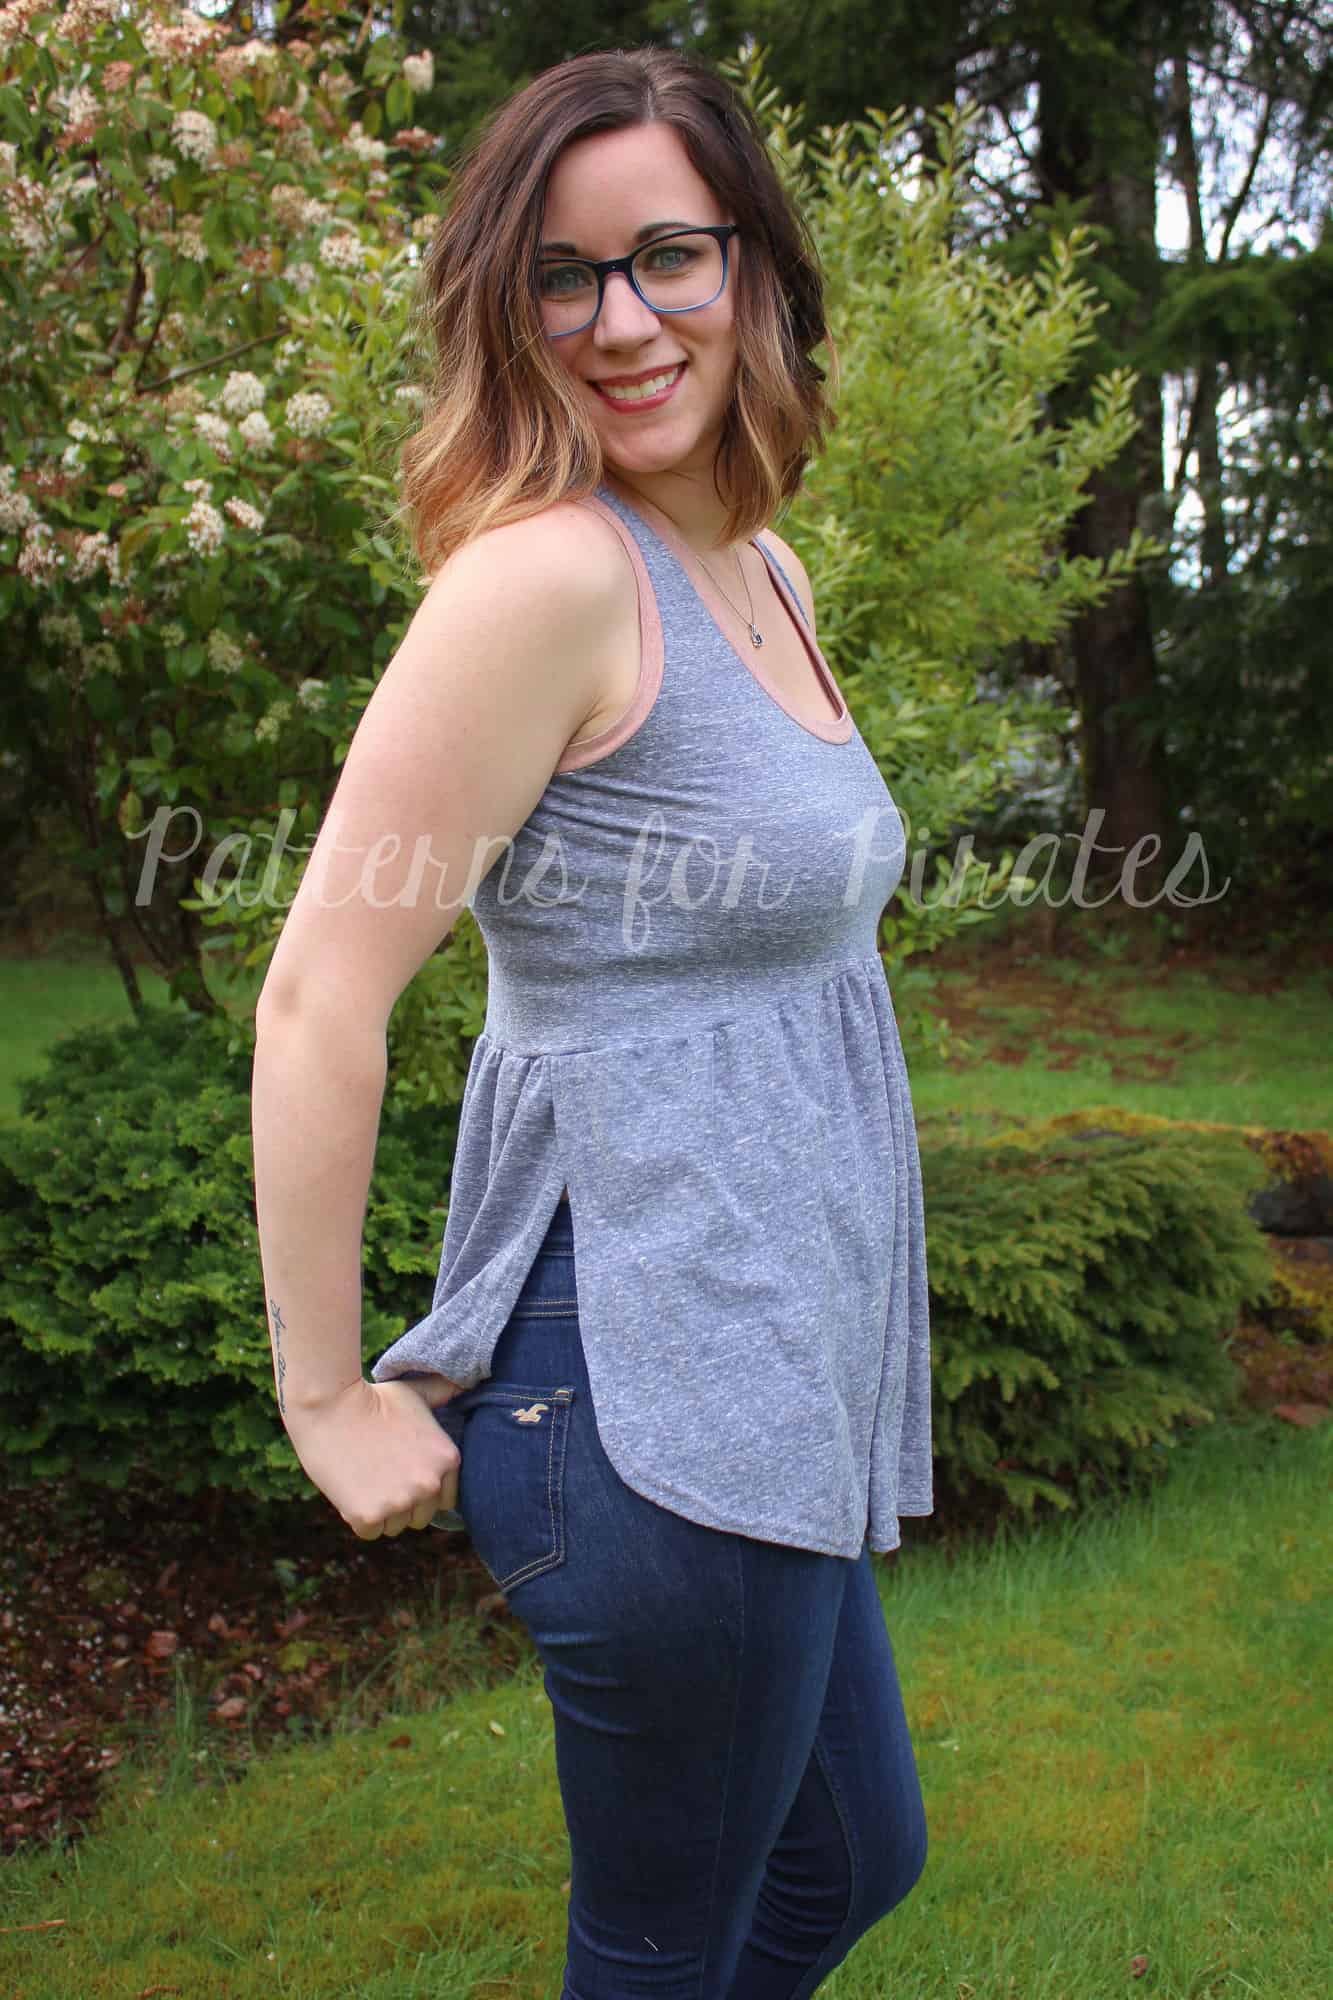
During the summers, I like to attend a lot of concert festivals. One trend that I have noticed are tank tops with flowy layers- sometimes it’s the back, other times the front, but one of my favorites is on the sides. The Boho Babydoll makes the perfect starting point to create a comfortable tank with a cute little peek-a-boo side. I can’t wait to try this out as a swim cover as well with some fun lace or mesh. You can use these simple steps below to help recreate this look.

Step 1: Cutting Pieces

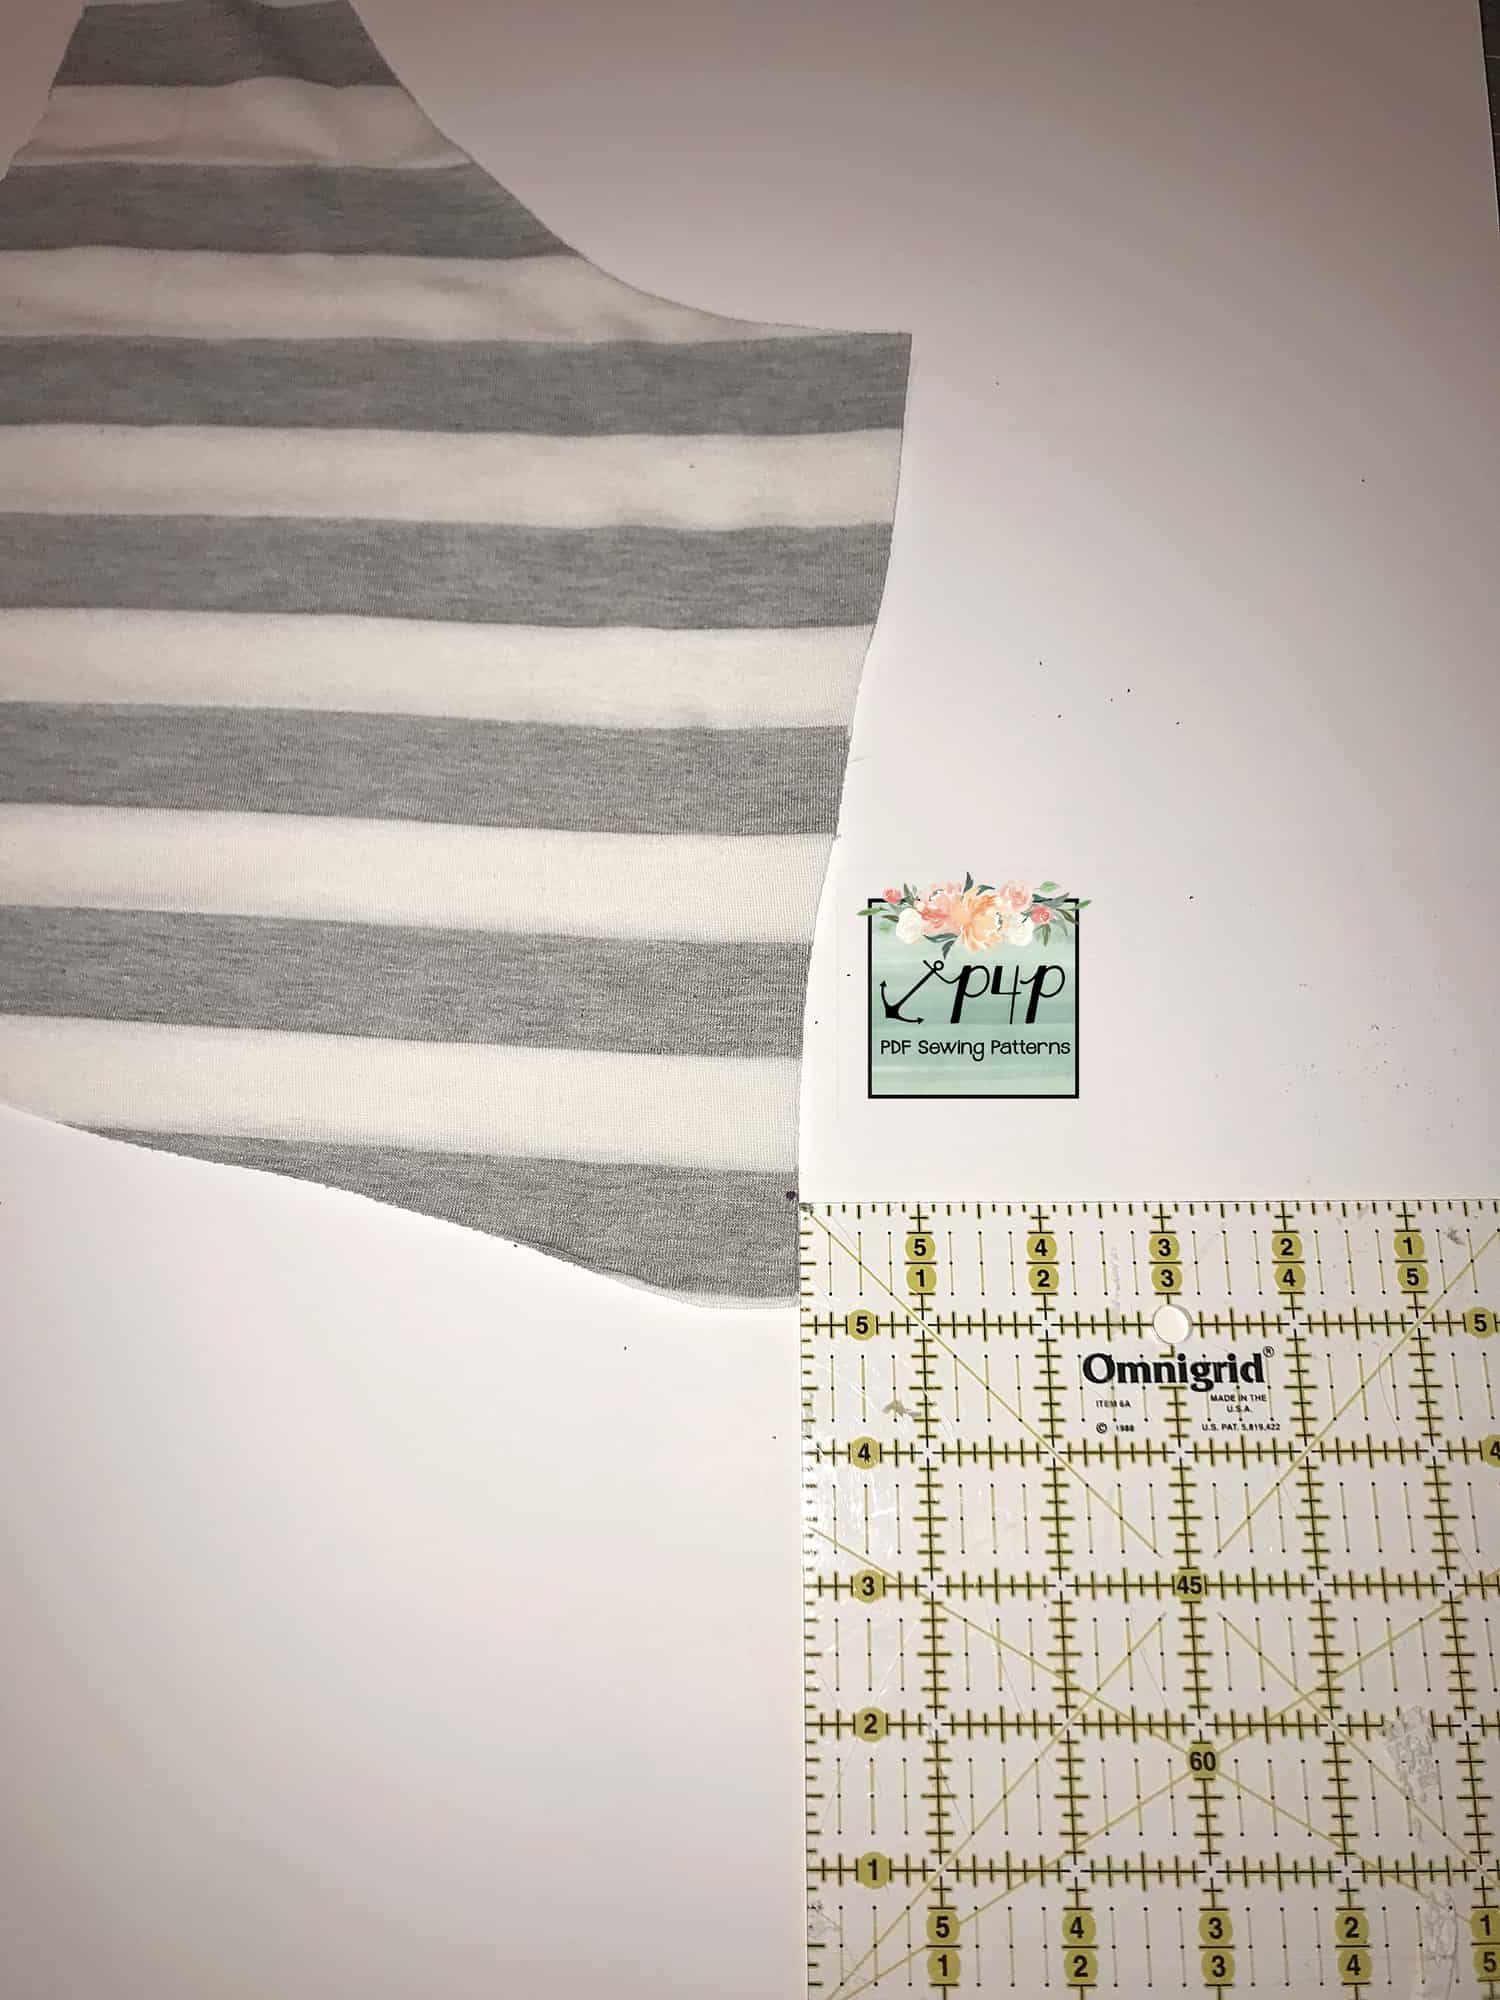
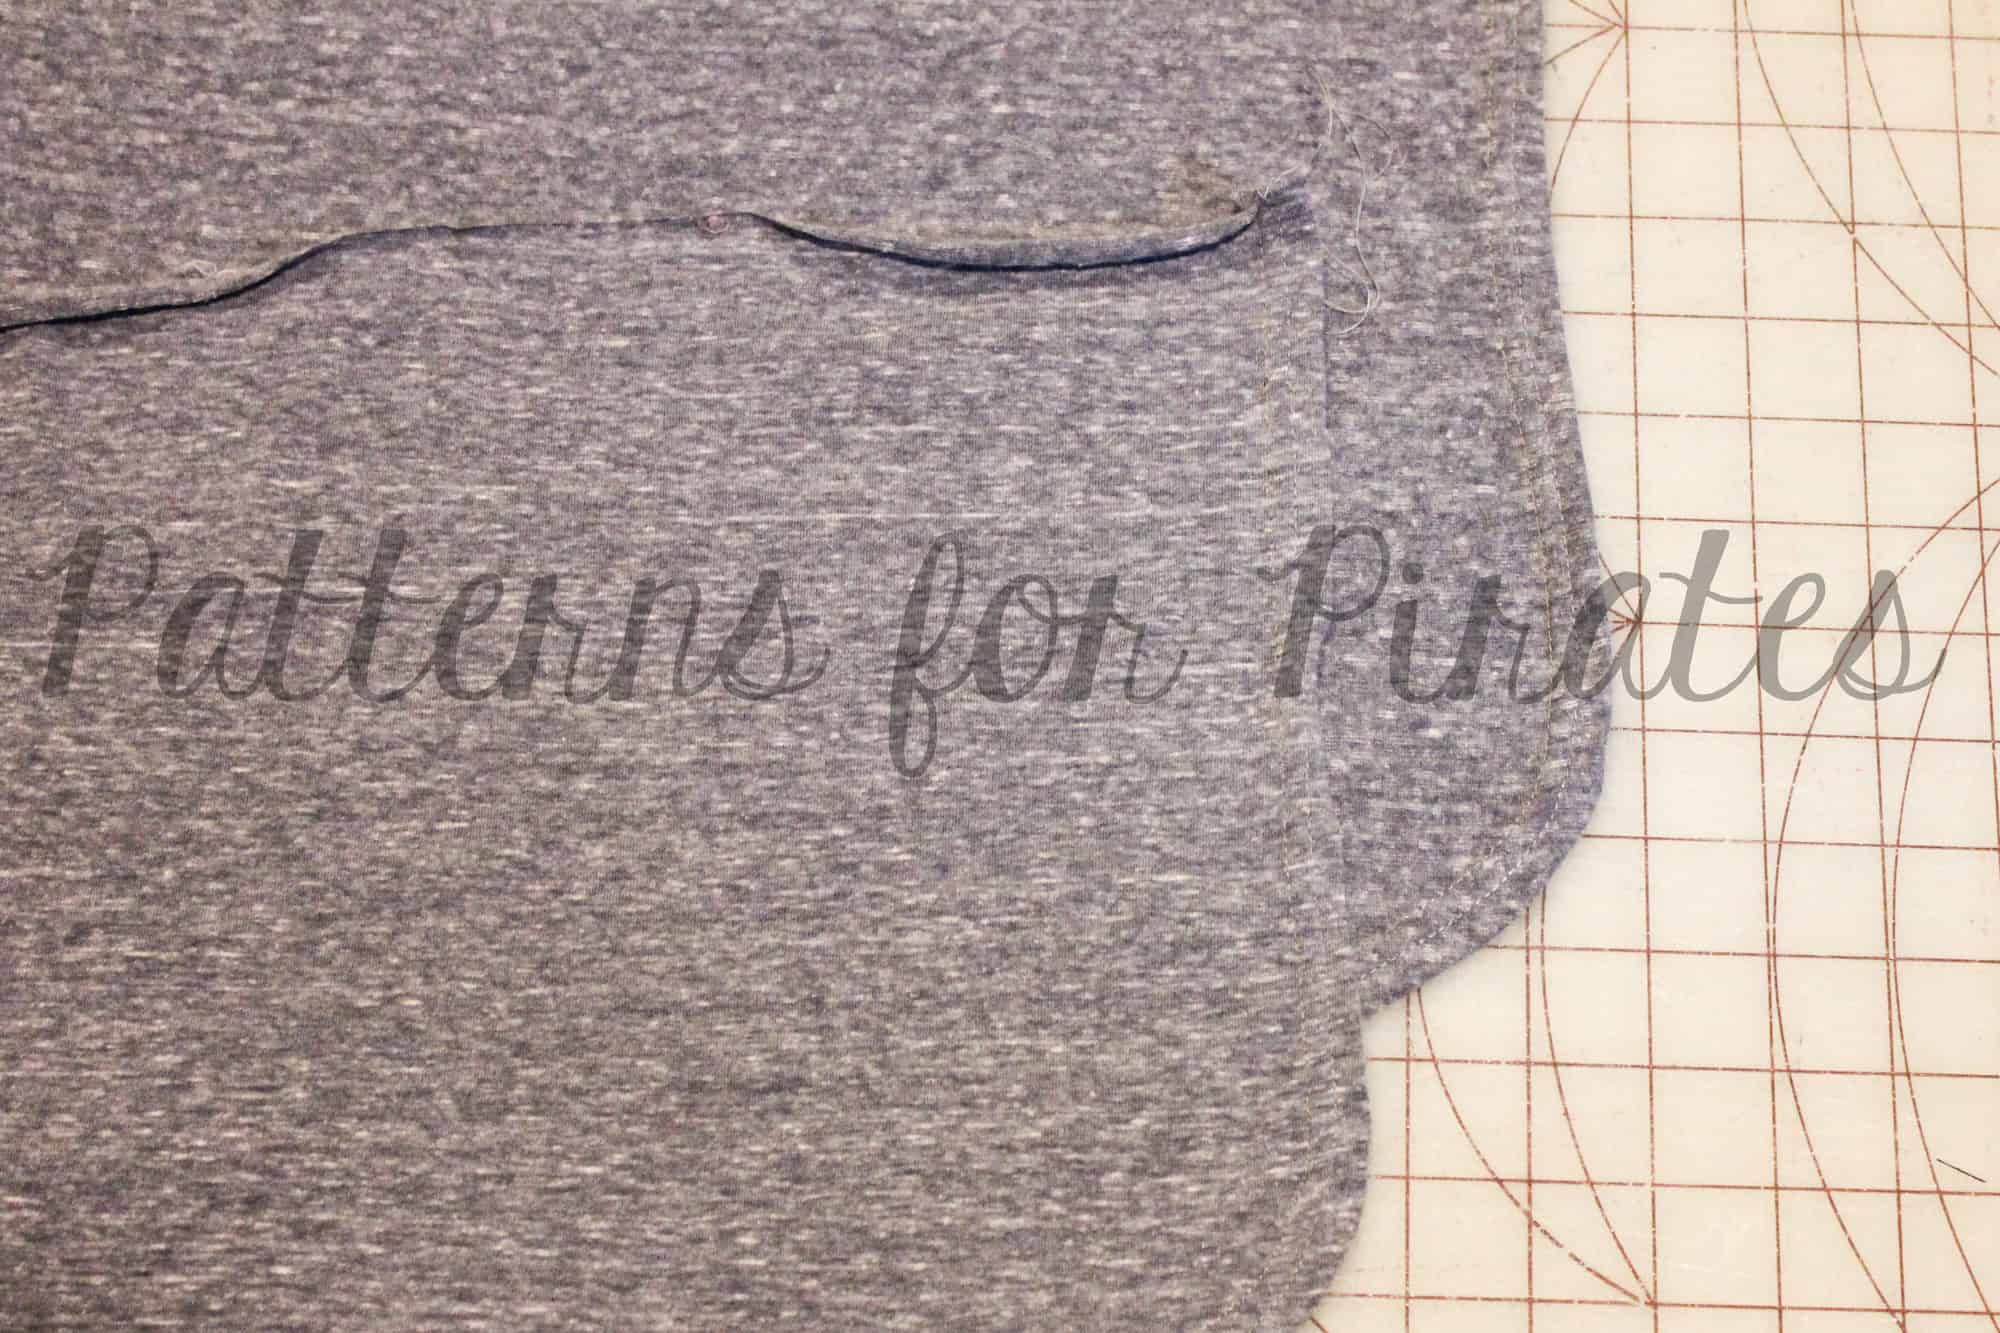
Cut out your pieces as instructed, with the exception of the skirt. (You can use any of the bodice options.) The only change that I made to the skirt was to add an additional 1″ to the fold of the FRONT piece. I did not make any adjustments to the back skirt. 

Step 2: Bodice/Hemming

You will want to assemble your bodice as per the pattern instructions, up to the skirt. Once your bodice is finished, you will want to hem your two skirt pieces. I did remove a small piece from the corner of my skirts to help create a smoother hem.

Step 3: Attaching Skirt

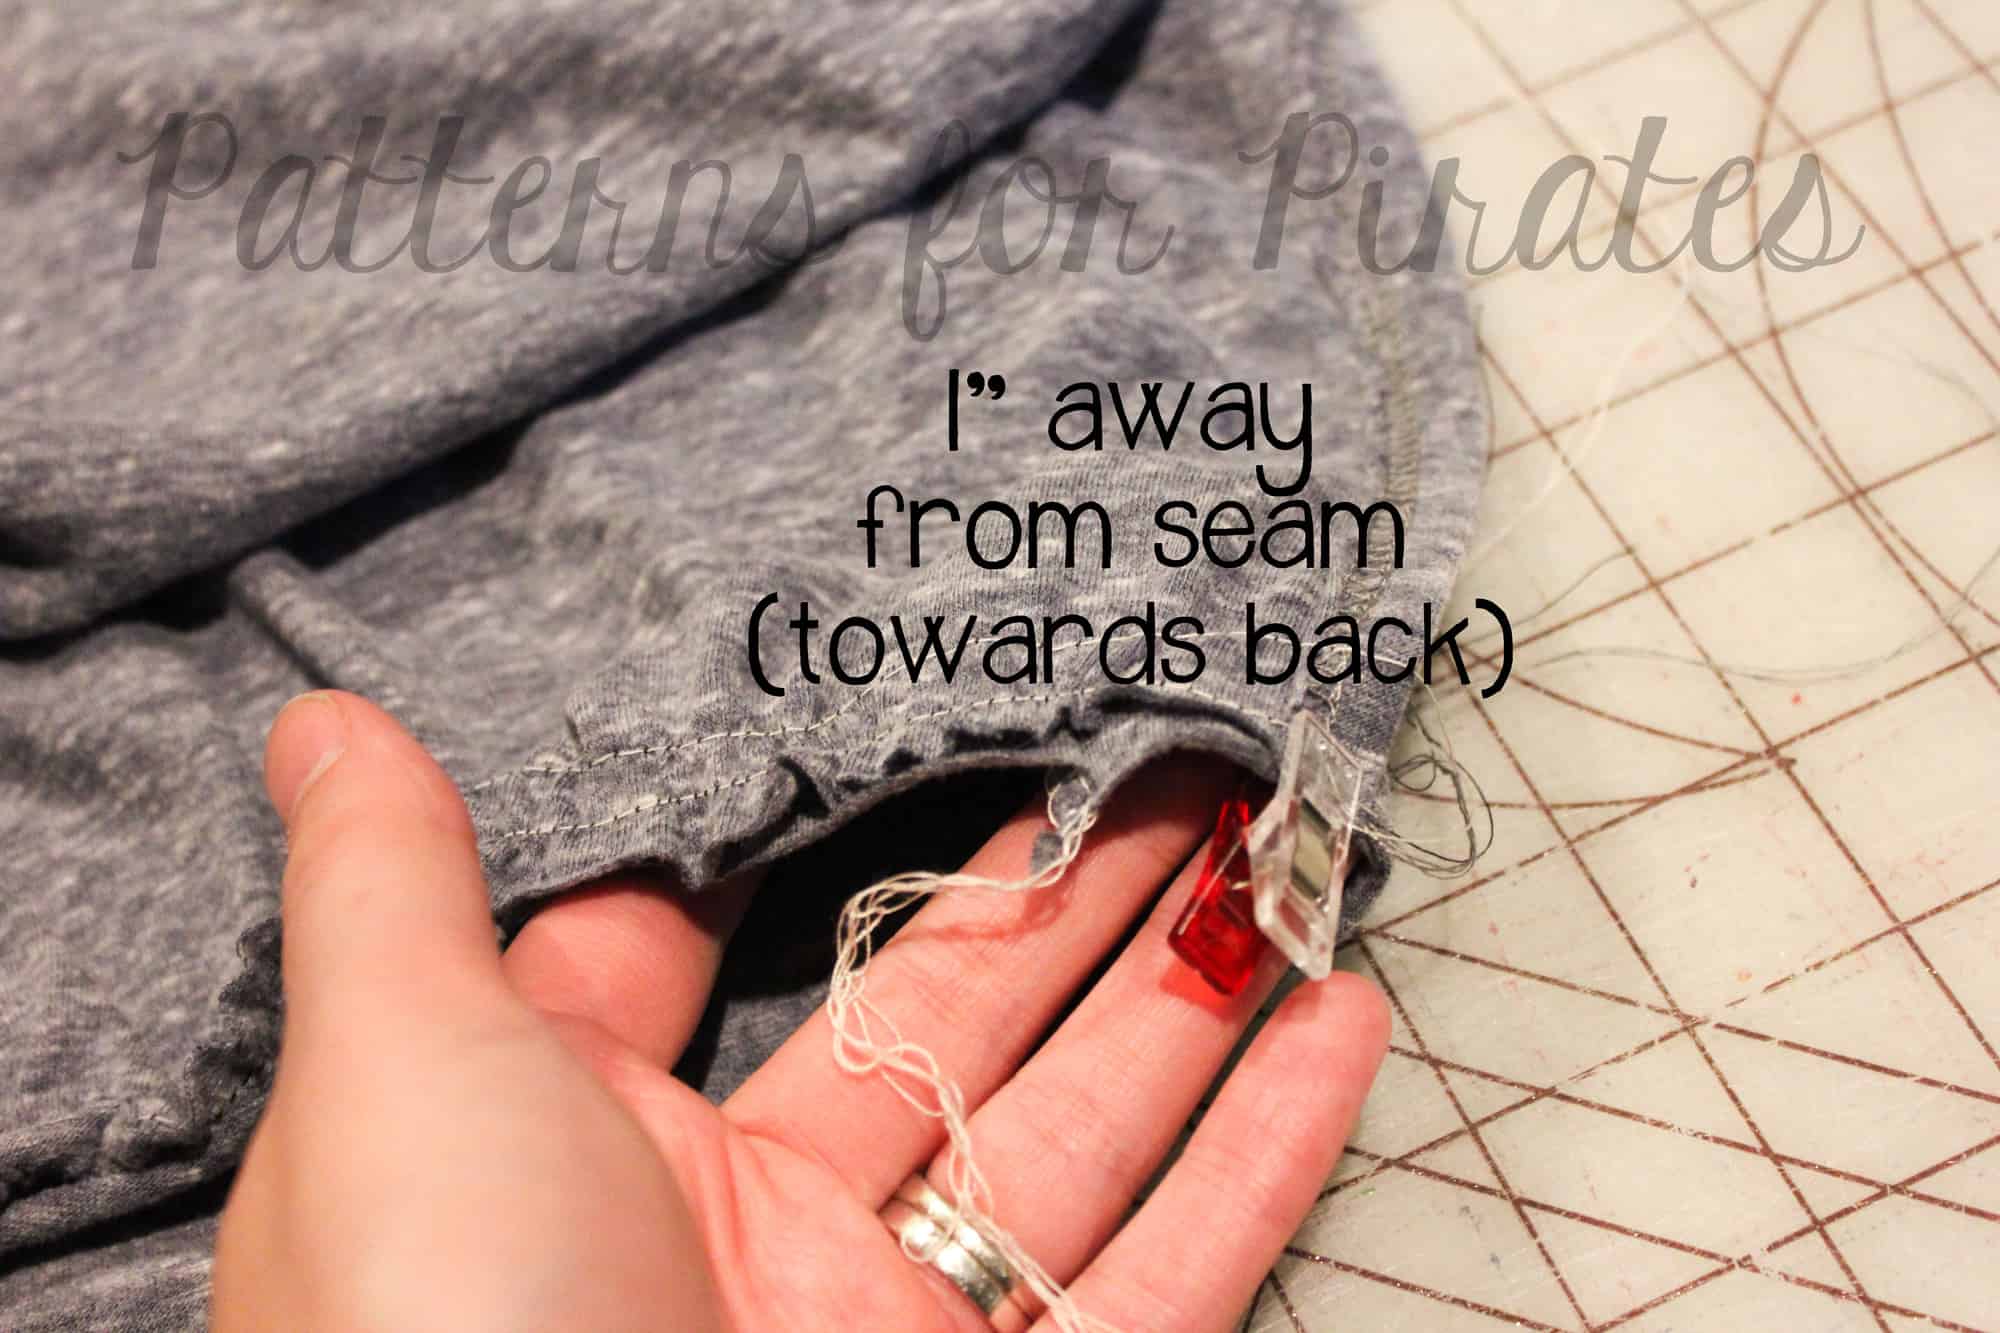
Once you’ve hemmed the skirts, you will want to create your gathering stitches. Taking your front piece, place right sides together with the front bodice and front skirt. Begin to pull your gathering stitches and even them out. Using your side seam as a guide, overlap the edge of the skirt piece 1″ past the seam and pin. Repeat the overlap on the opposite side seam.

Repeat the same process with the back skirt, however align the edge of the skirt with the side seam. 

Attach skirt using a stretch stitch or serger and you’re all finished!

This hack is quick to complete and gives a fun detail to your shirt! Not only can this look be fun for everyday, but it can also be used for a swim cover and even a nursing friendly shirt! Enjoy and make sure to share your creations in our Facebook Group!
~Erinn

…..

Trim Accents


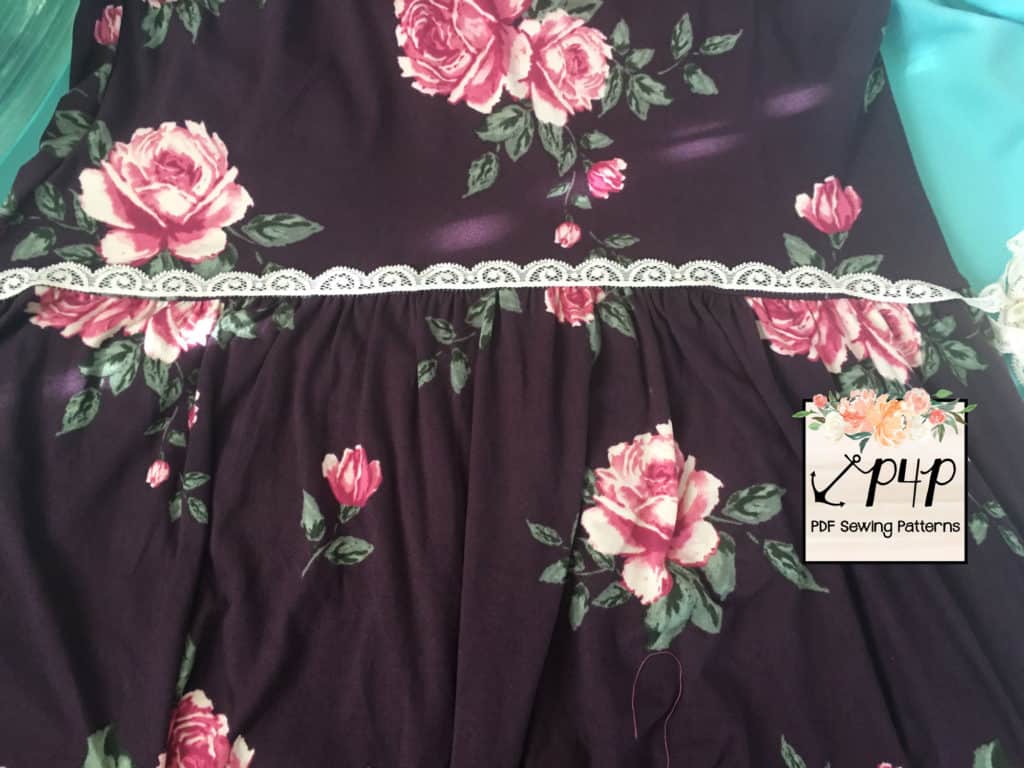
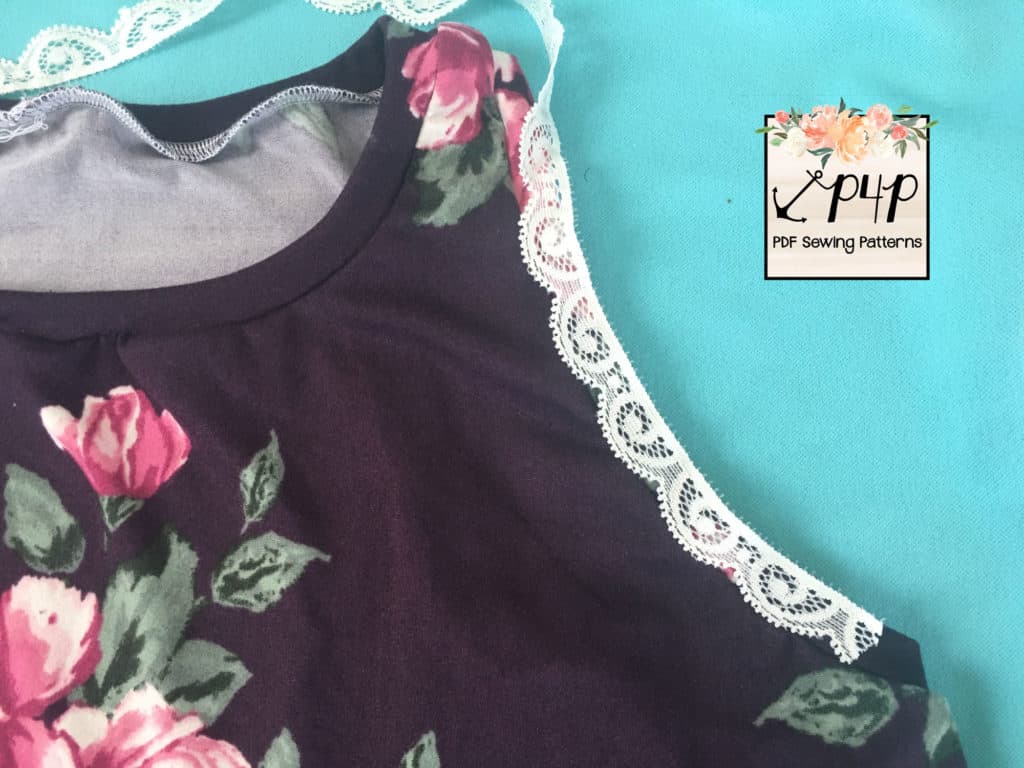
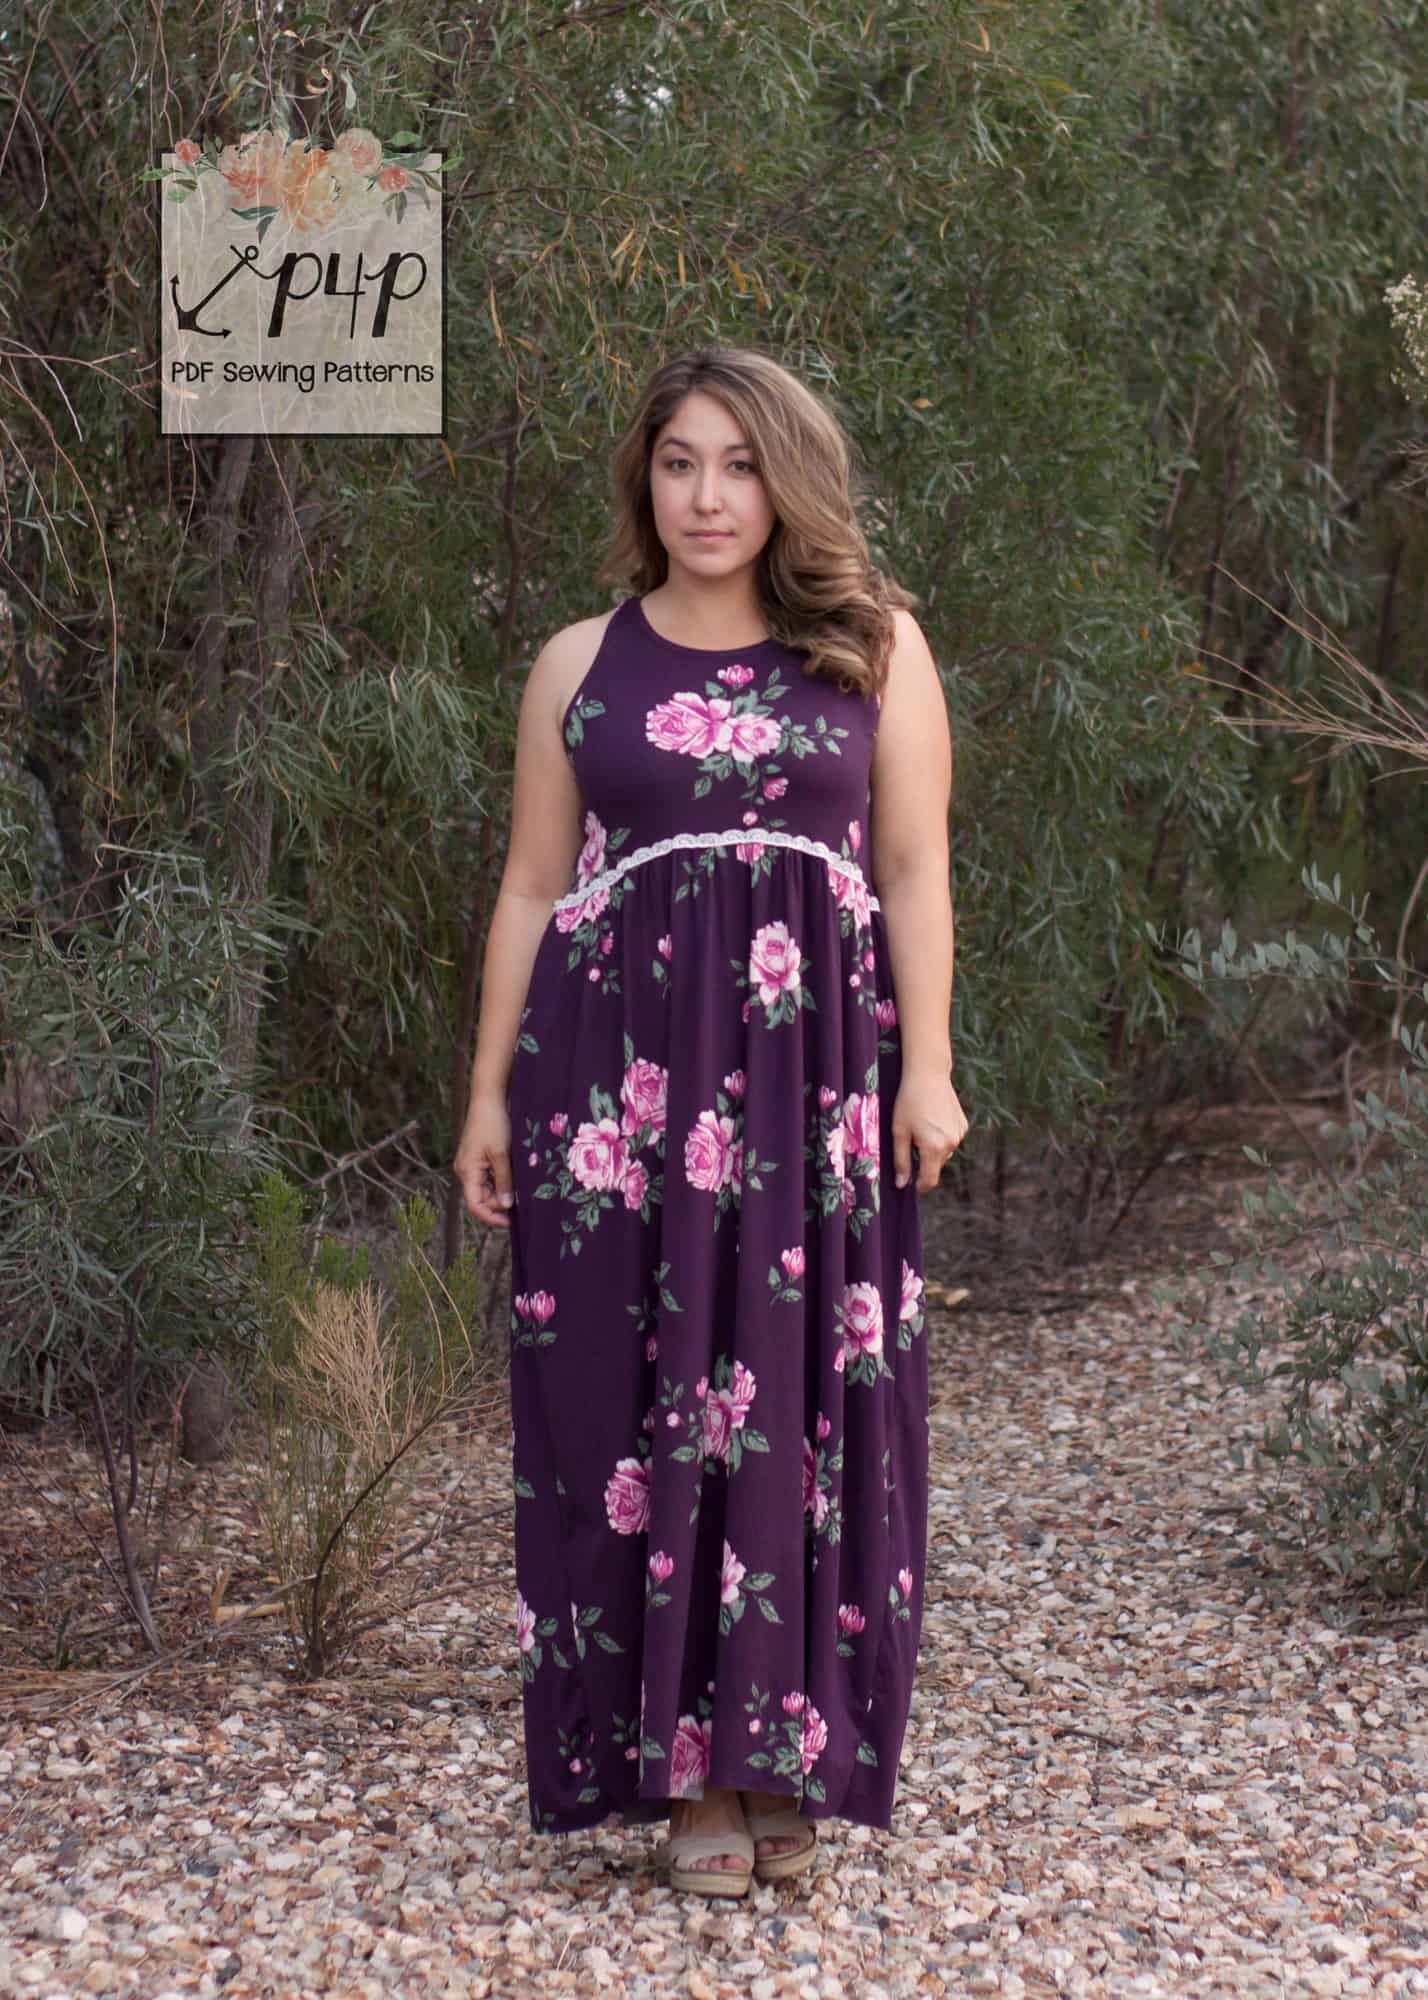
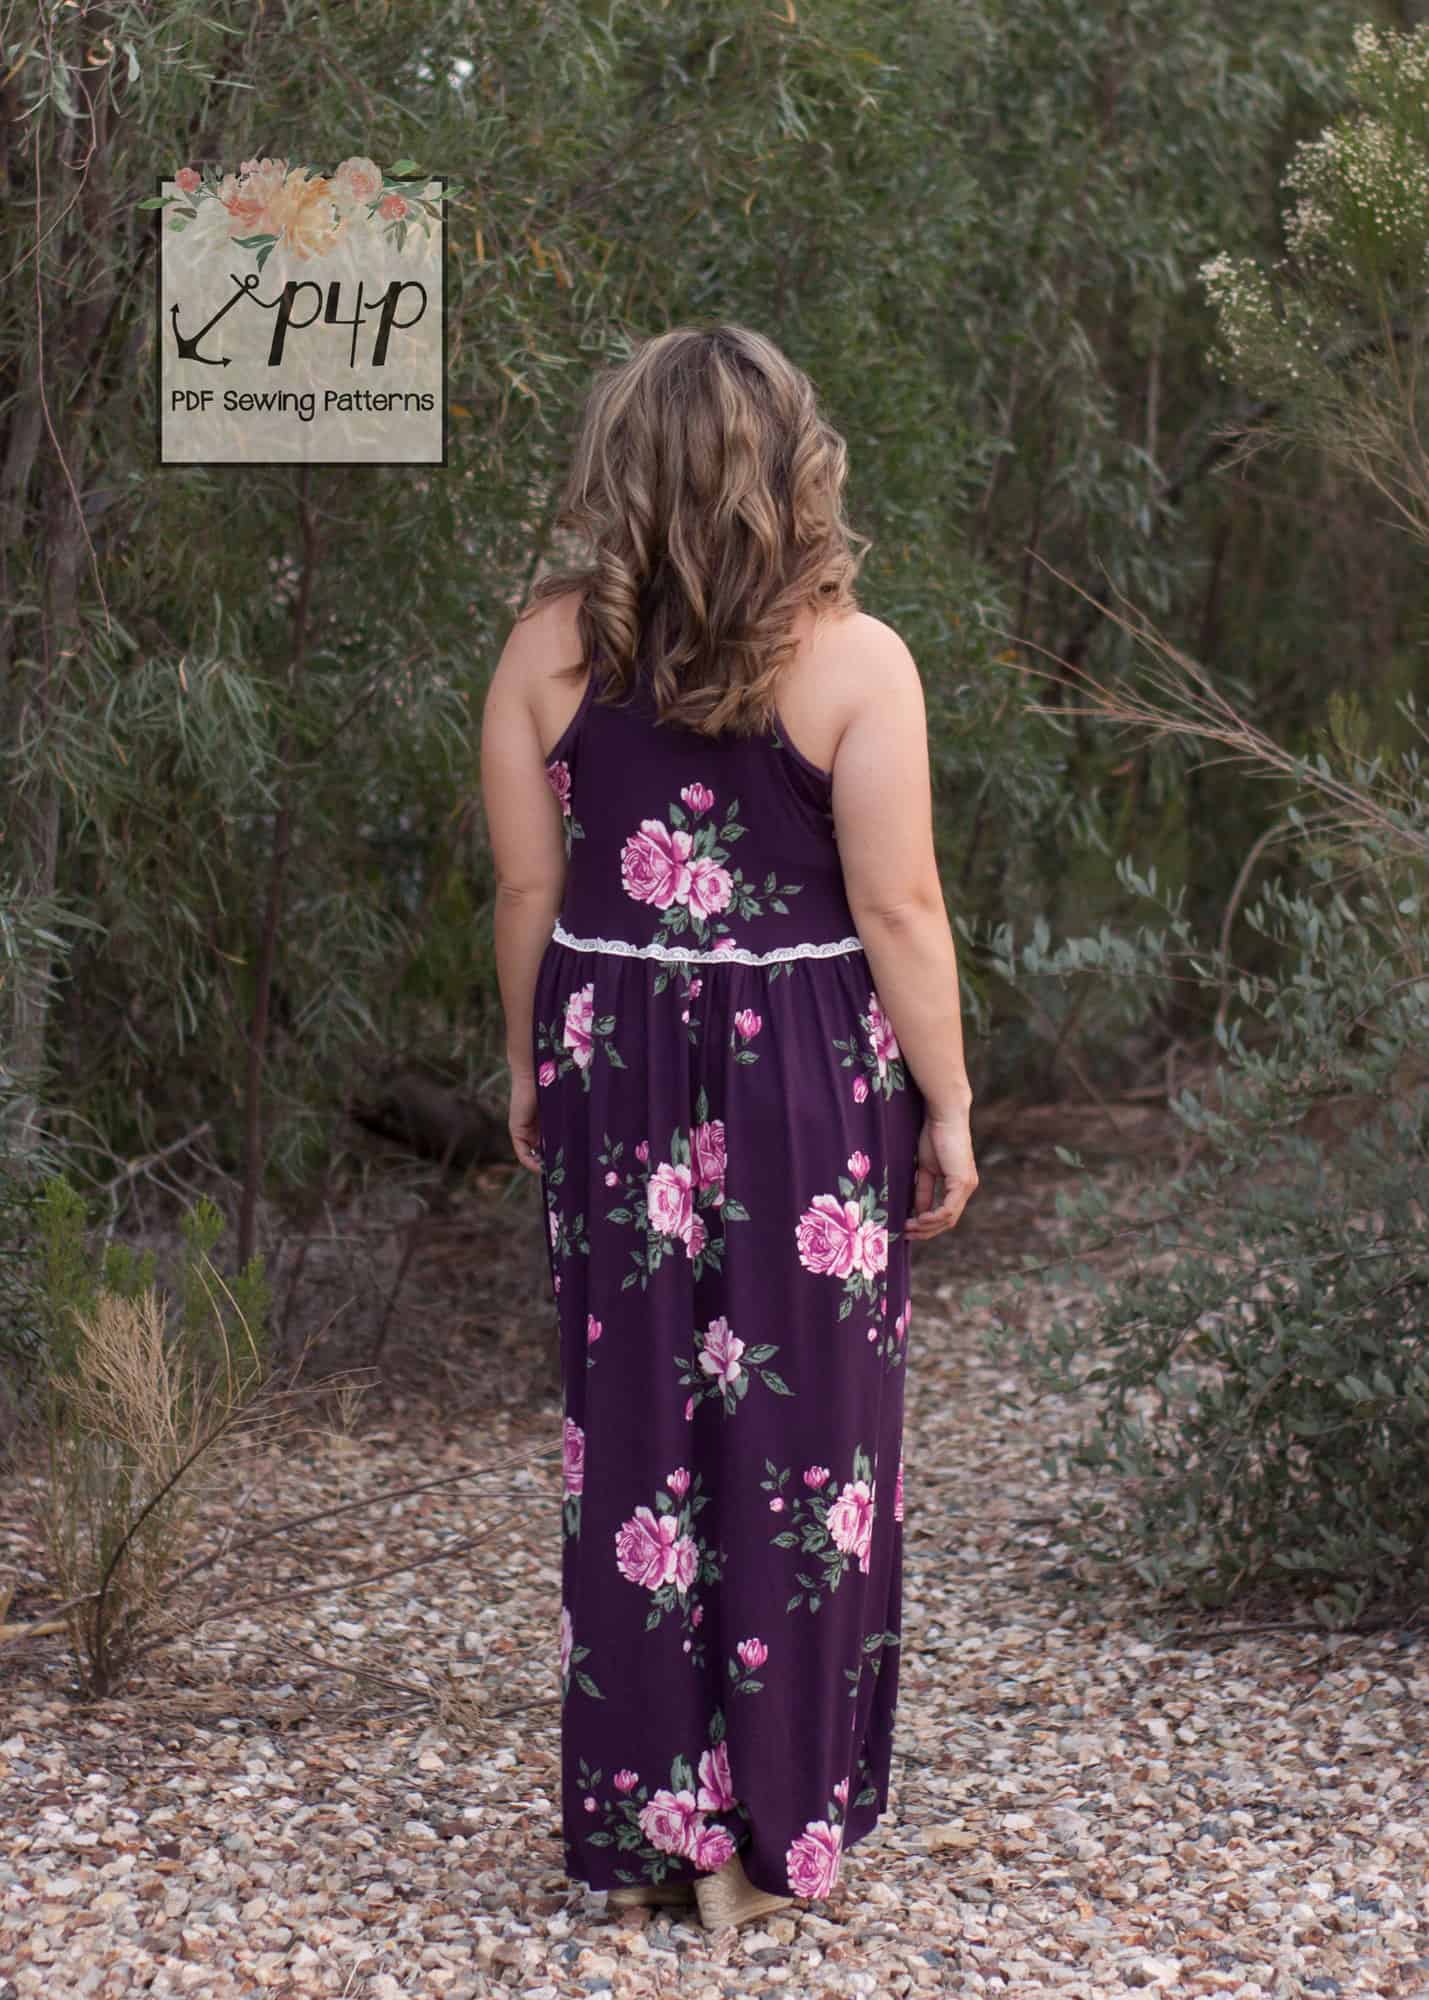
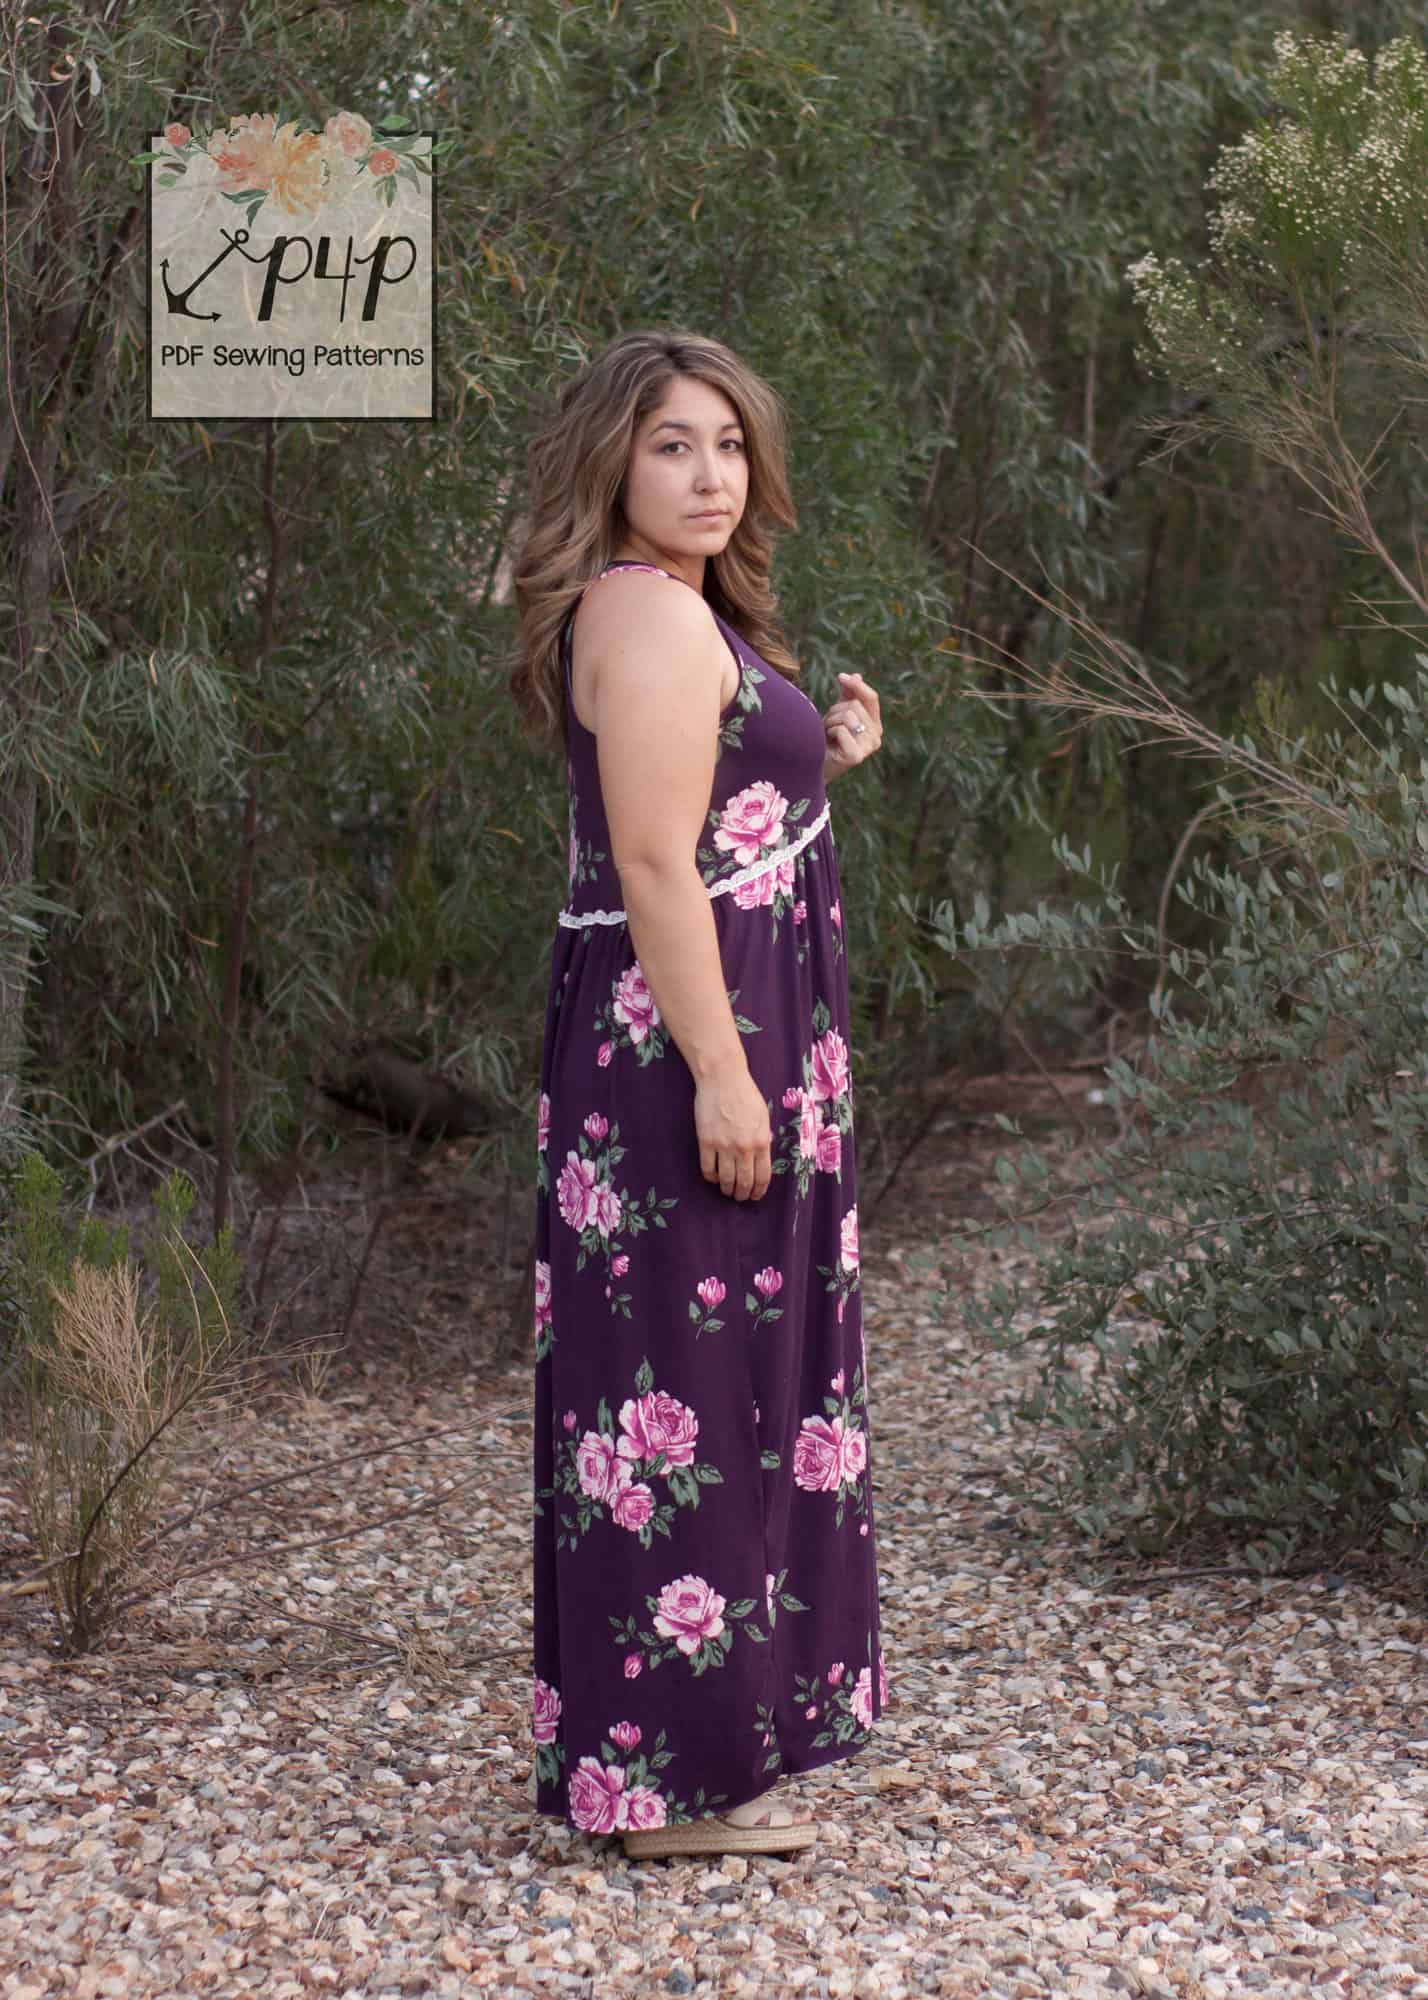
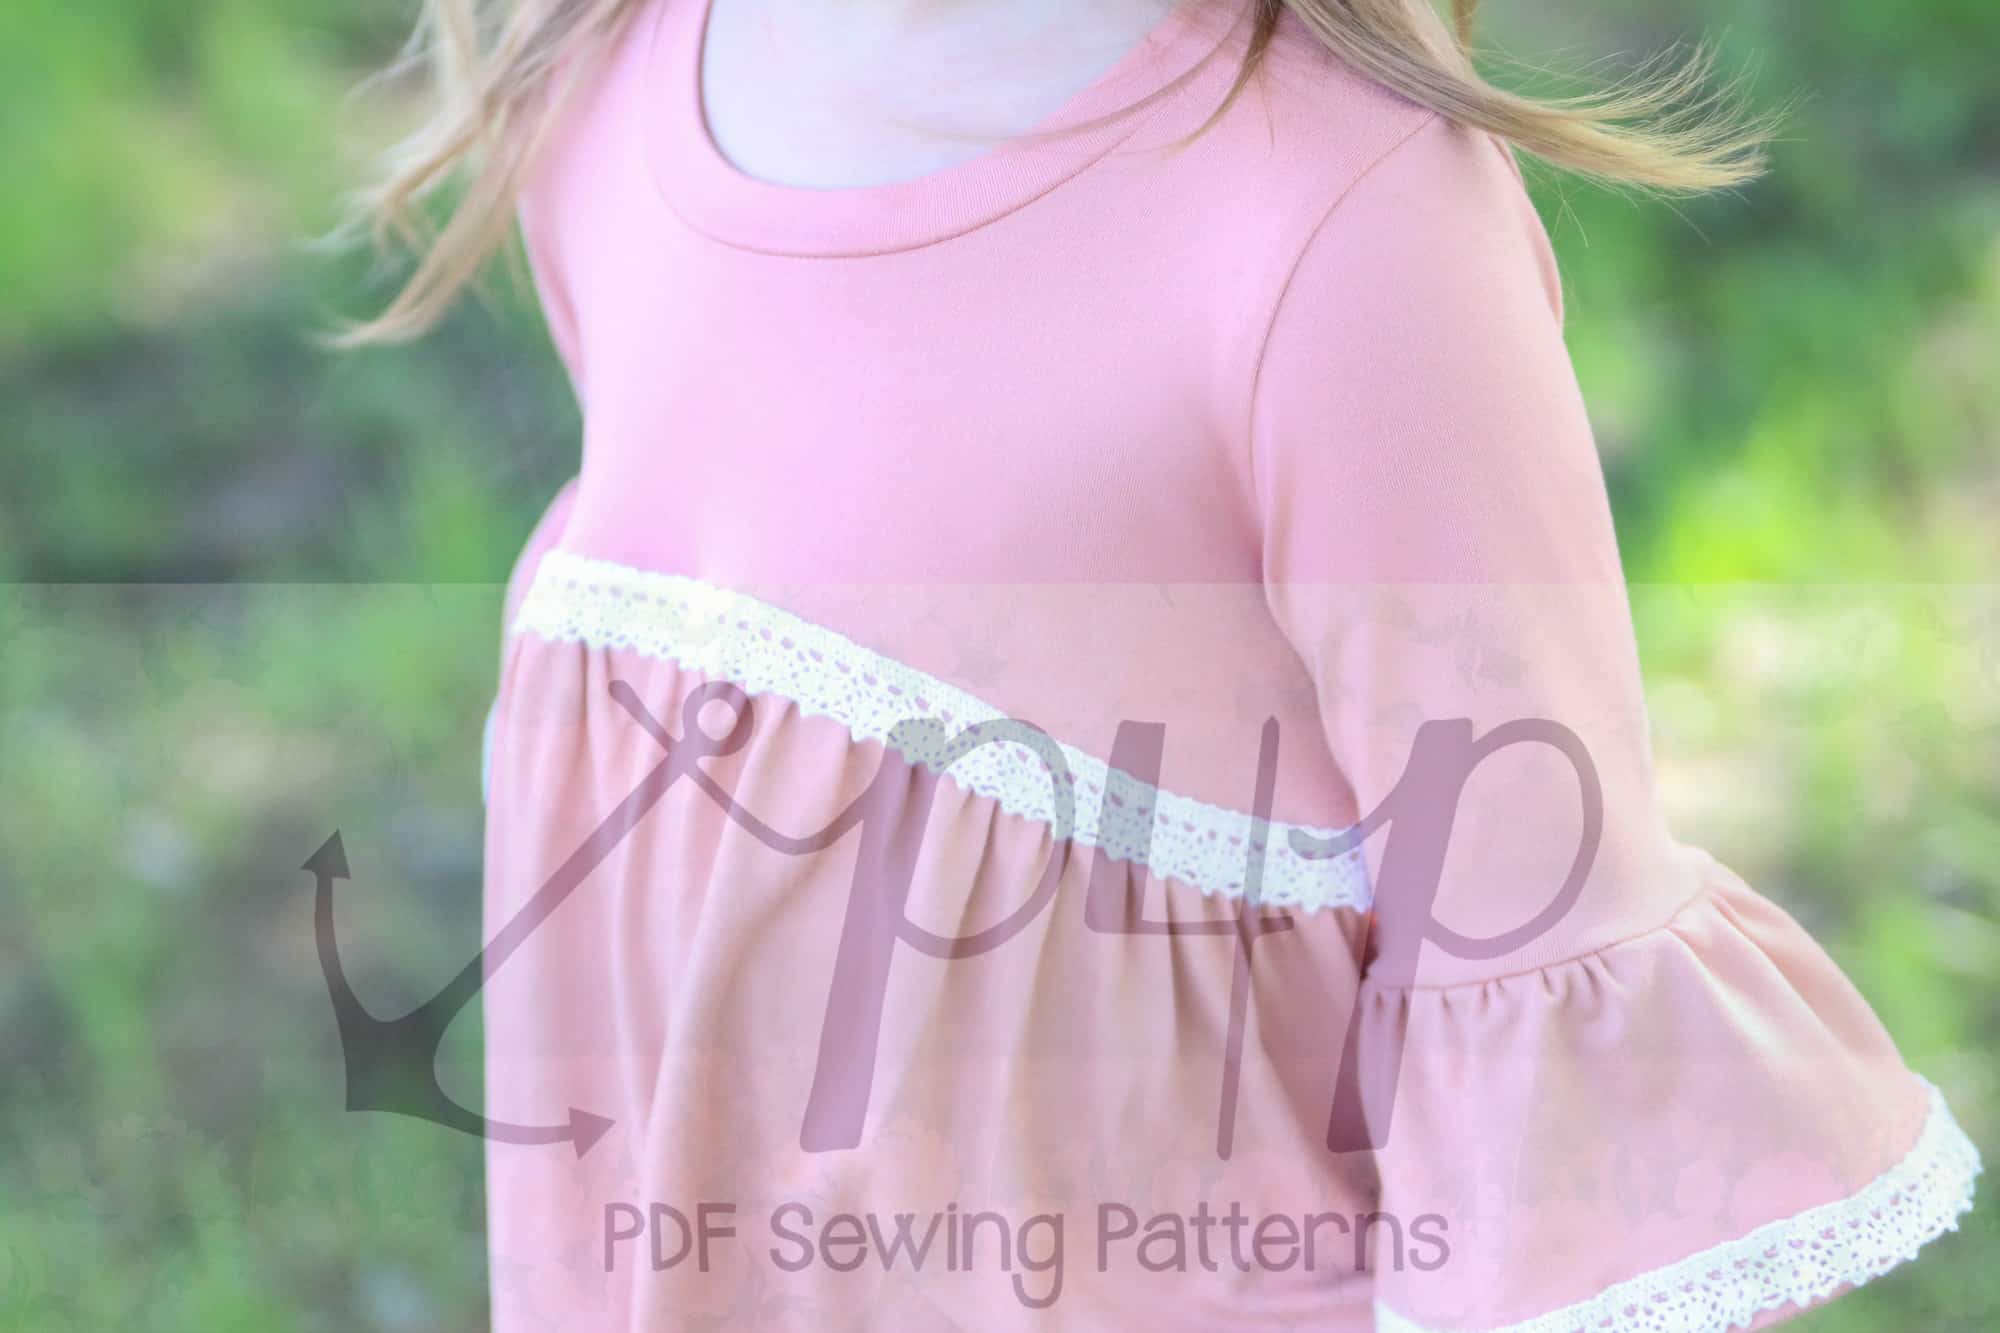
A little detail can go a long way.  The baby doll is perfect for adding lace trim details as it is not fitted through the waist so using a crochet trim or non-stretch trim is an option.  You can also add trim around the neckline and armholes but would recommend using a stretch lace as you still need to be able to pull the top over your head.  For my option, I used a pretty narrow trim so constructed my dress as usual and then topstitched it along the seam allowance.  If using a wider trim, you can baste it to the bodice prior to attaching the skirt.
Construct the top/dress first, then topsttich trim along the seam allowance.

Topstitch lace trim to the armhole and/or neckline

Baste trim to bodice edge then attach your skirt.


Here is another example on a youth version.  Judy used a crochet, non-stretch trim and top-stitched it on after construction to the bodice seam and the hem of the ruffle (both places that wont miss the stretch since they’re looser parts of the garment.
 

…..

Waist Seam Ruffle

Last but certainly not least we wanted to show you a different way to sew the skirt to the bodice. This method will give your waist a ruffled look without adding any ruffles or changing the pattern pieces.

For this easy hack you will not be modifying the pattern pieces or adding any additional ones. Print the pattern and cut the fabric for your size.

Using a fabric pen or tailor chalk mark the 1/2″ seam allowance on the bottom of the bodice.

Tip: for an extra pop of color finish the top of the skirt with a rolled hem.

Gather the skirt using two rows of basting stitches as in the pattern tutorial. You will now be pinning the skirt to the bodice. The wrong side of the skirt will be pinned to the right side of the bodice, making sure you match the side seams and the center point.

Sew the skirt to the bodice with a zig zag stitch, a triple stretch stitch or your coverstitch. Go really slow so you can ensure a constant 1/2″ seam allowance.

Pull the basting stitches out. One should be above your zig zag stitch, one should be below.

That was all. Your new Boho shirt or dress has an extra cute waist seam now 🙂


Filed Under: Frequently Asked Questions, Pattern Hacks, Pattern Release 4 Comments

P4P University – Easy gathering methods

April 3, 2018

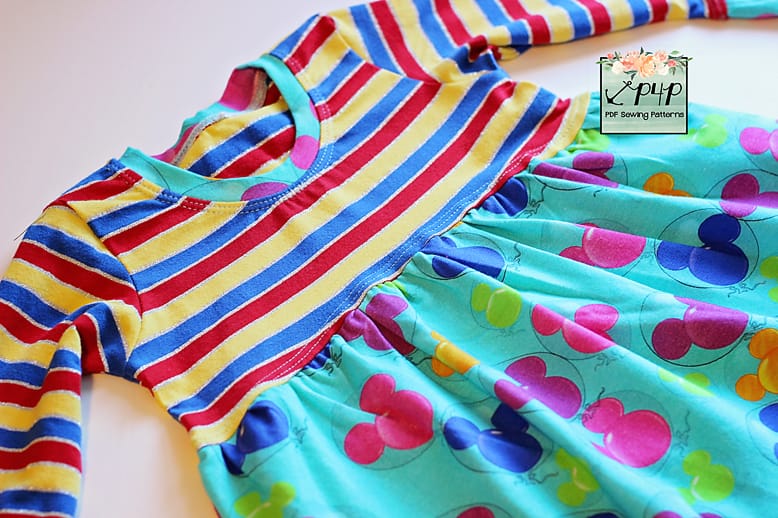
Hello, pirates! Today I wanted to talk to you about gathering and show you 4 of the easiest gathering methods that do not require investing in new gadgets or feet for your machines. All the methods I’m showing are applicable to both woven and knits.

Gathering with your serger

My favorite method of gathering is using my serger and its deferential feed. You will be switching your differential feed to the highest setting possible (in my case 2.0) and tightening the tension of your left needle. It is very important to test your new settings on a piece of fabric that is the same as the fabric you intend to gather. You will be able to see if you need to loosen the needle tension, tighten it or fidget with the right needle too.

For more tips and details watch the video below.


Gathering with two rows of basting stitches

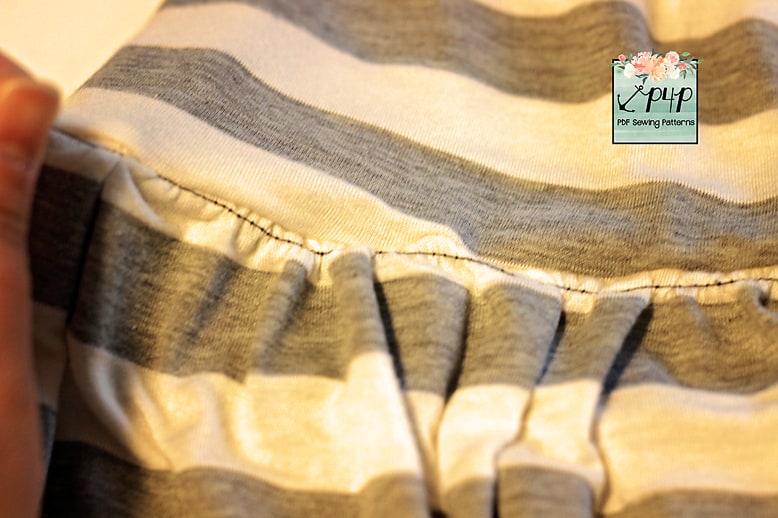
The most popular method of gathering, and the one most often used in our patterns (Judy’s favorite) is gathering with two parallel rows of stitching. This method uses your sewing machine.

Note: your first row of gathering stitches should be about 1/4″ away from the edge and your second one 5/8″ away.


Tip: For the basting stitches, use a different color thread than the fabric do you can remove it easily.

Gathering with elastic

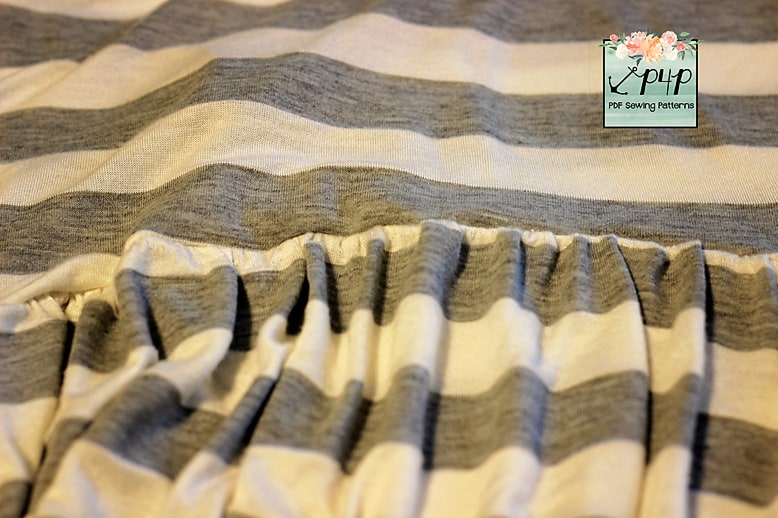
The next gathering method I wanted to show you is one that uses elastic, clear elastic or knit elastic. Avoid using no roll elastic!  Also, make sure to exercise (stretching it a few times) before cutting.

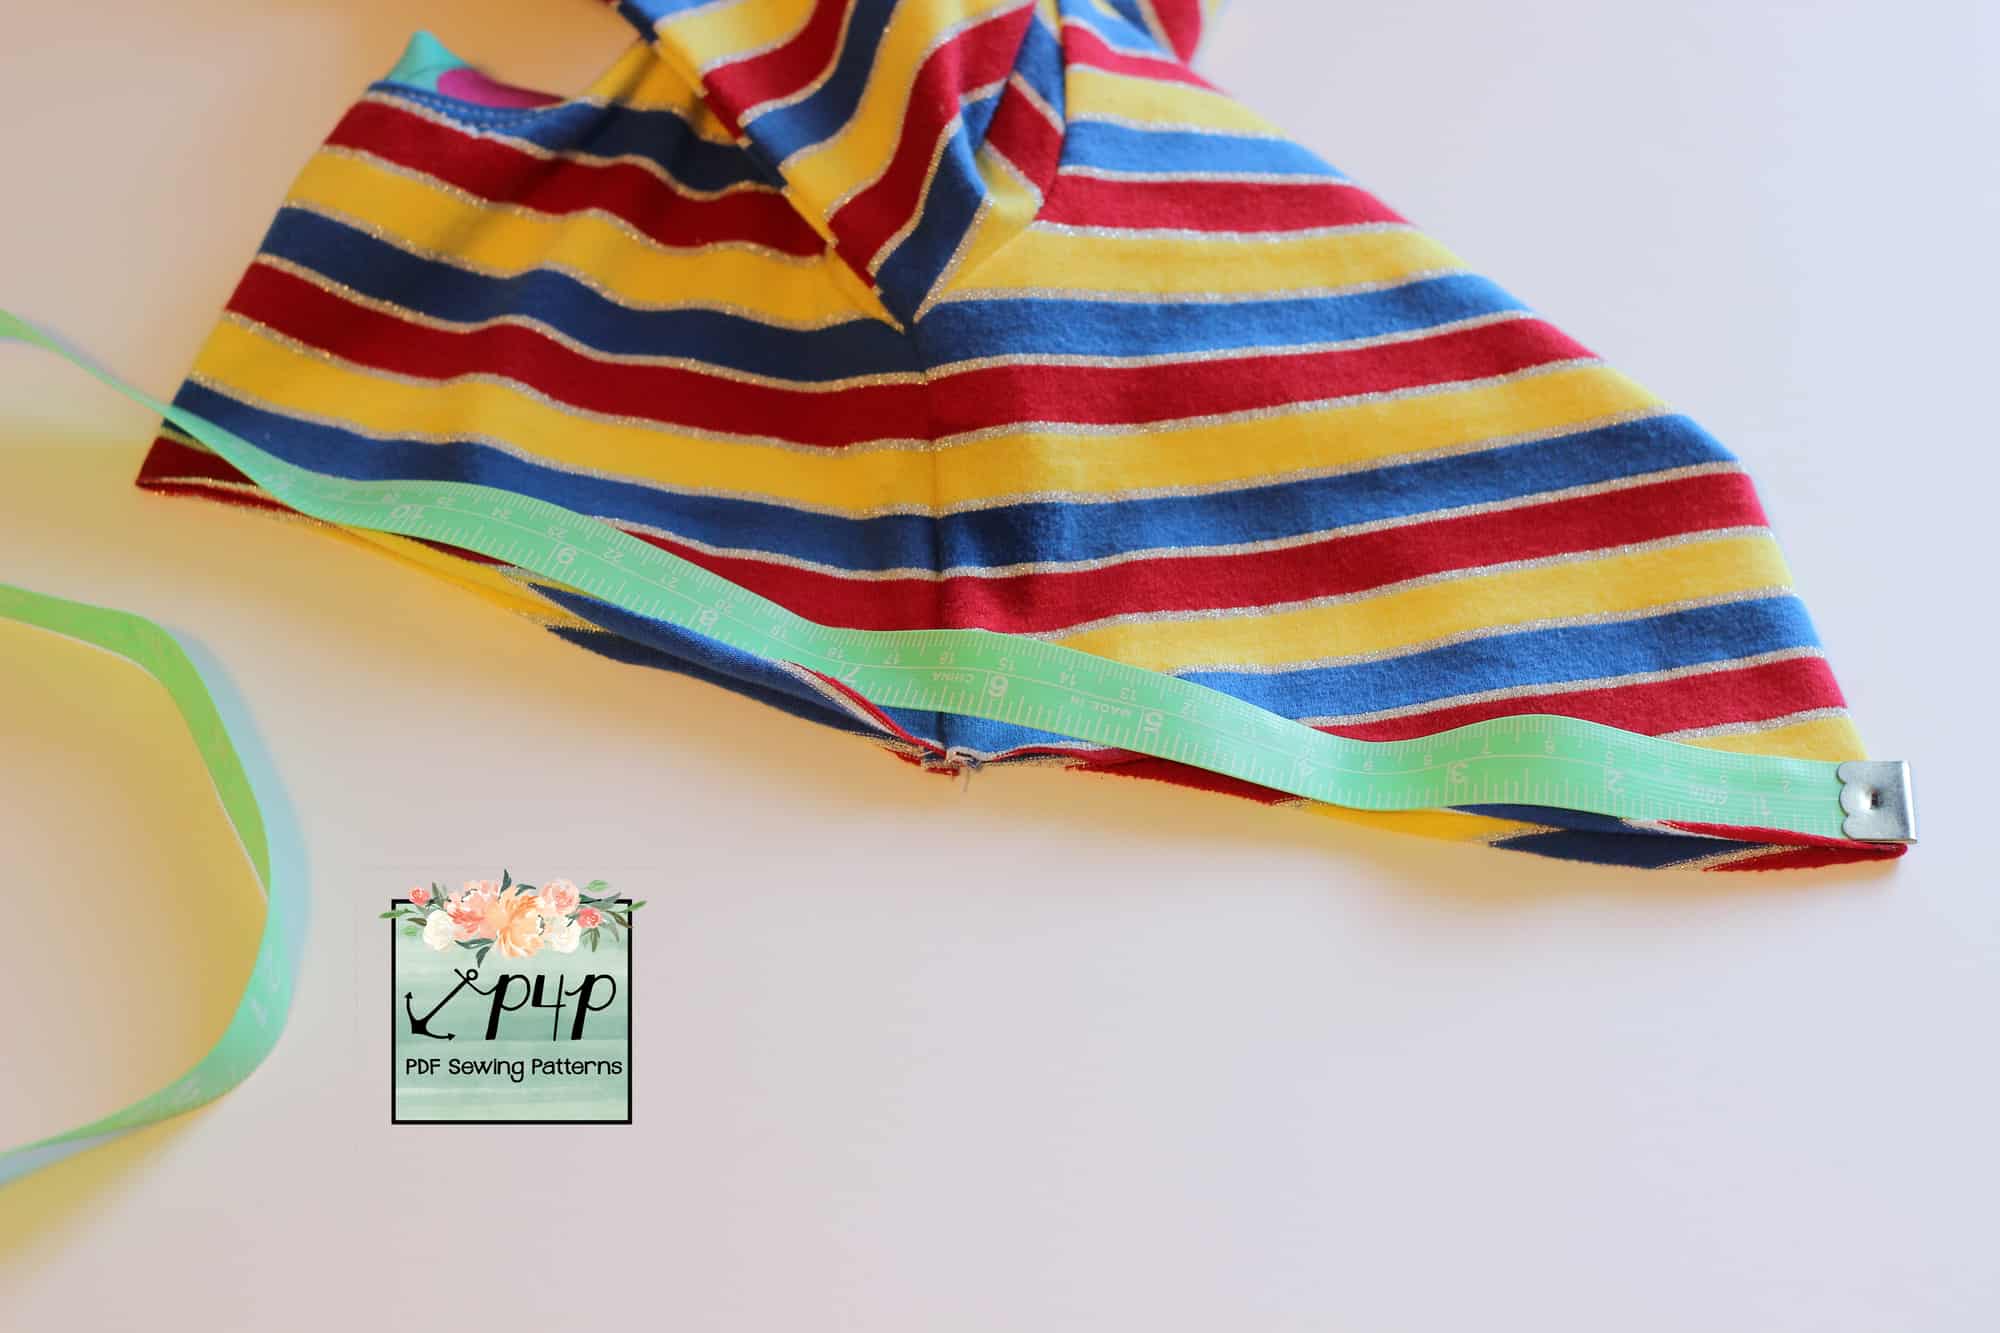
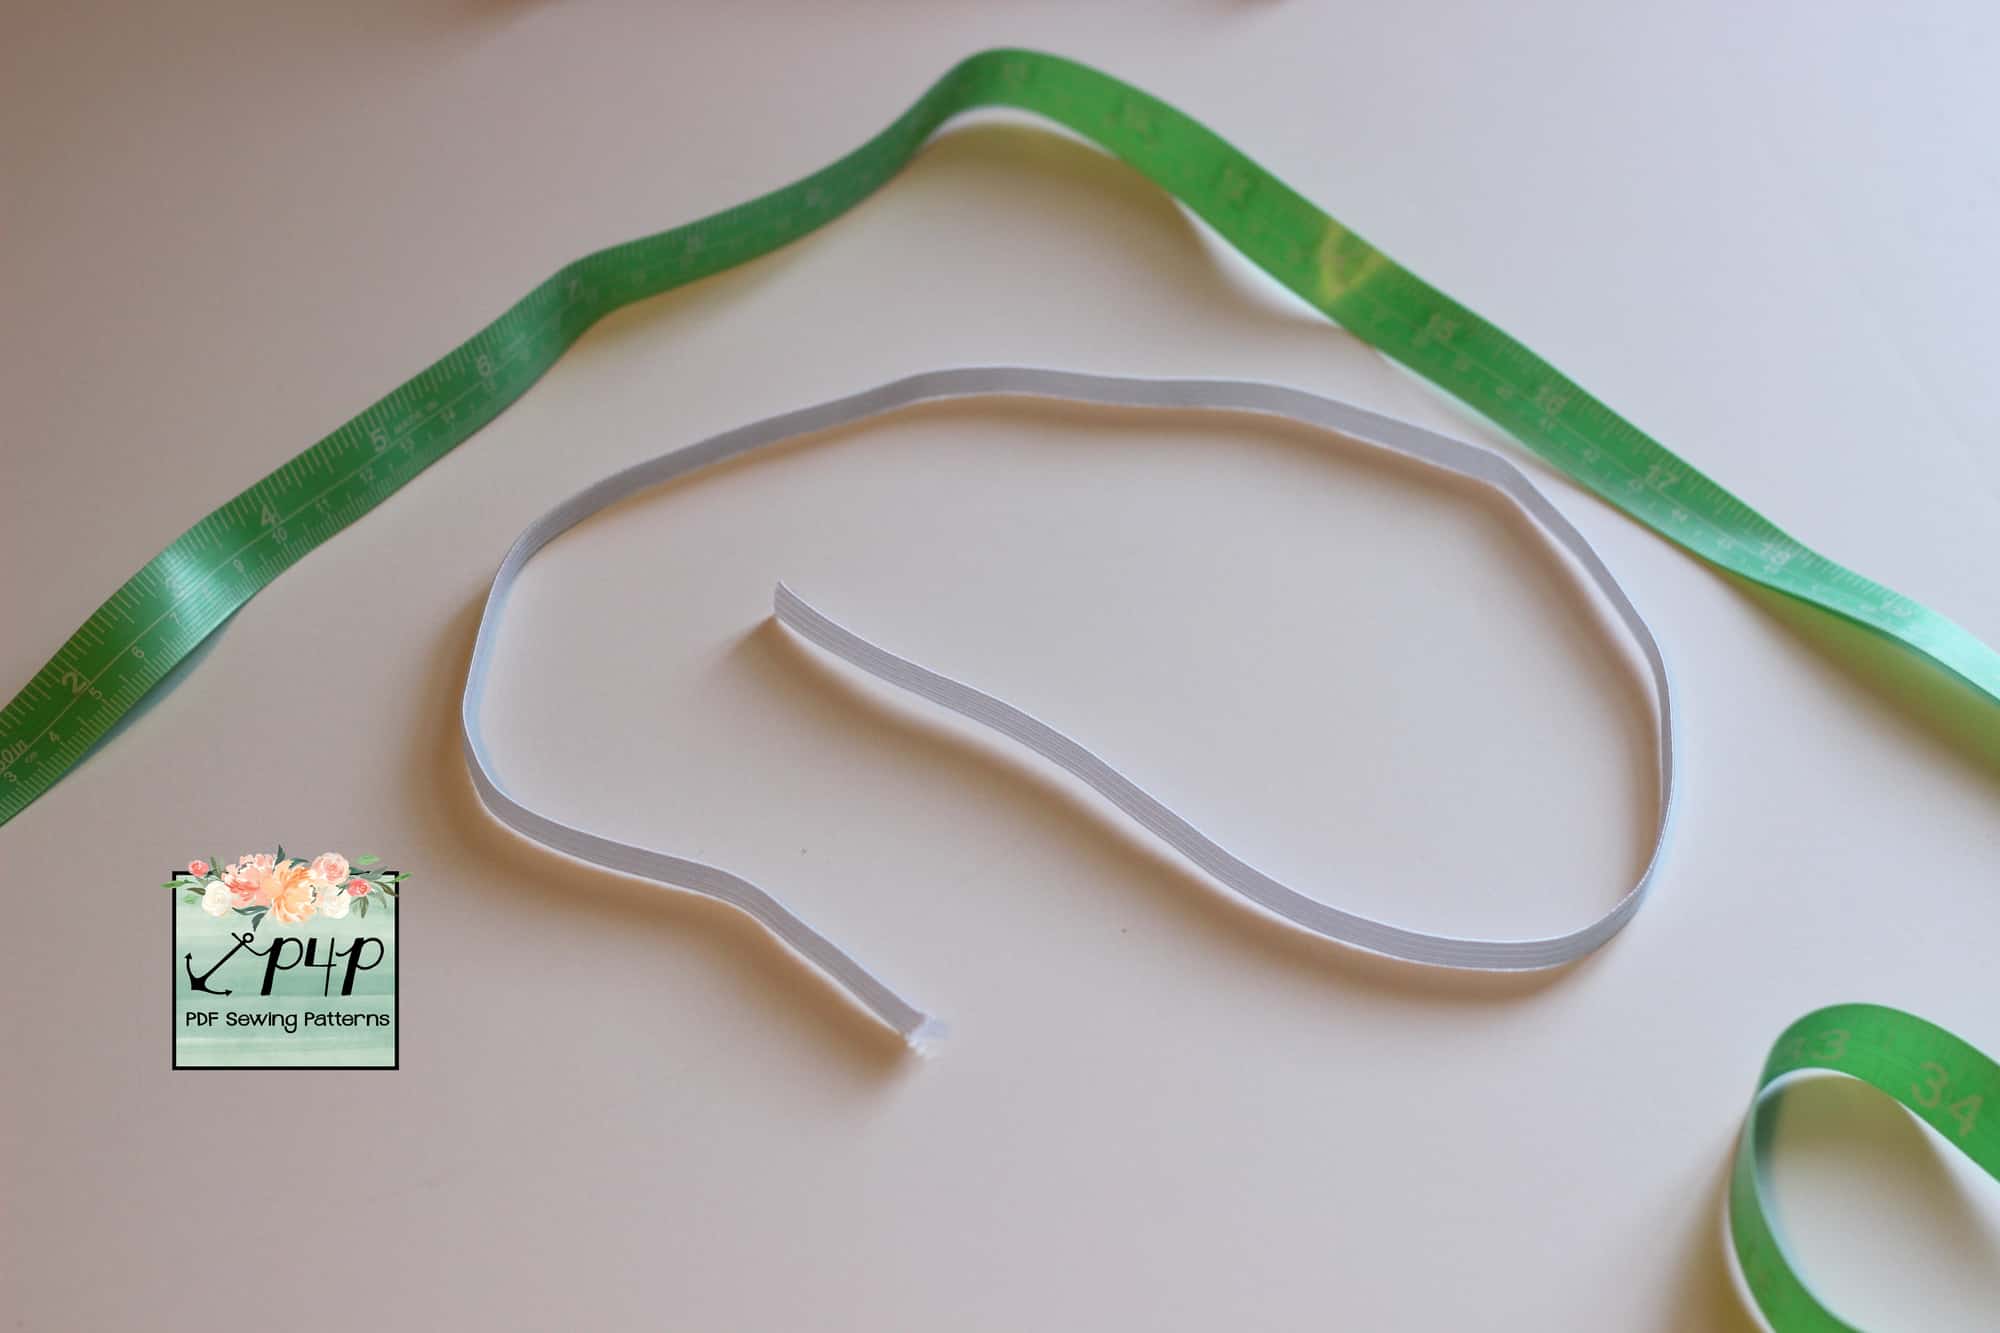
Start by measuring the opening of the bodice and cut a pieces of elastic that matches the opening. Don’t forget to add seam allowance.

Note: I used 1/4″ knit elastic. This method works beautifully with clear elastic.

Sew the elastic in a loop and mark its quarters. Follow the method as in the video below.


Gathering with yarn or floss

The last method I wanted to show you is commonly known as gathering with floss. You will simply sew a wide zig zag stitch over a floss or yarn and simply pull the ends to gather. Super easy!


Tip: if you’re using yarn, use thin yarn and preferably a color different than the fabric you’re gathering so you can easily pull it out.

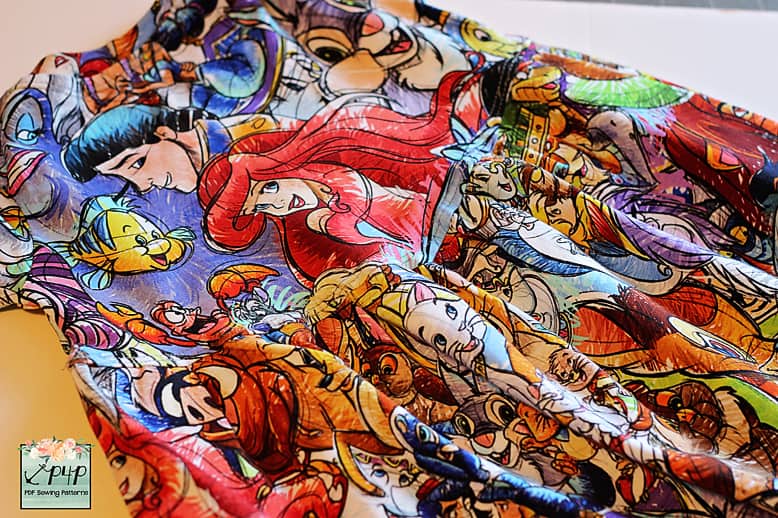
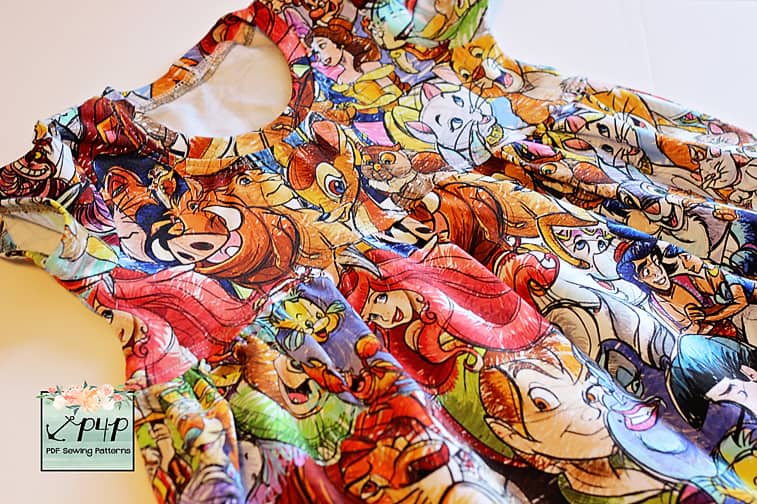
There you have it, 4 easy gathering methods that will help you achieve beautiful, even gathers for your skirts and ruffles. No matter which method you use it’s important to hit the seam with a nice hot iron and steam (as much as your fabric type will handle), this will help if you accidentally stretched the bodice at all while attaching as well as set those gathers nicely.  Now go sew a Boundless or a Sunshine dress and show off your new gathering skills.

Filed Under: Frequently Asked Questions, Uncategorized 1 Comment

  • « Previous Page
  • 1
  • …
  • 11
  • 12
  • 13
  • 14
  • 15
  • …
  • 17
  • Next Page »

connect with me

  • Email
  • Facebook
  • Instagram
  • Pinterest
  • YouTube
Privacy & Cookies: This site uses cookies. By continuing to use this website, you agree to their use.

To find out more, including how to control cookies, see here: Cookie Policy
  • Privacy Policy
  • Refund Policy
  • Contact Us
  • About

Copyright © 2026 Patterns for Pirates

Copyright © 2026 · Genesis Framework · WordPress · Log in