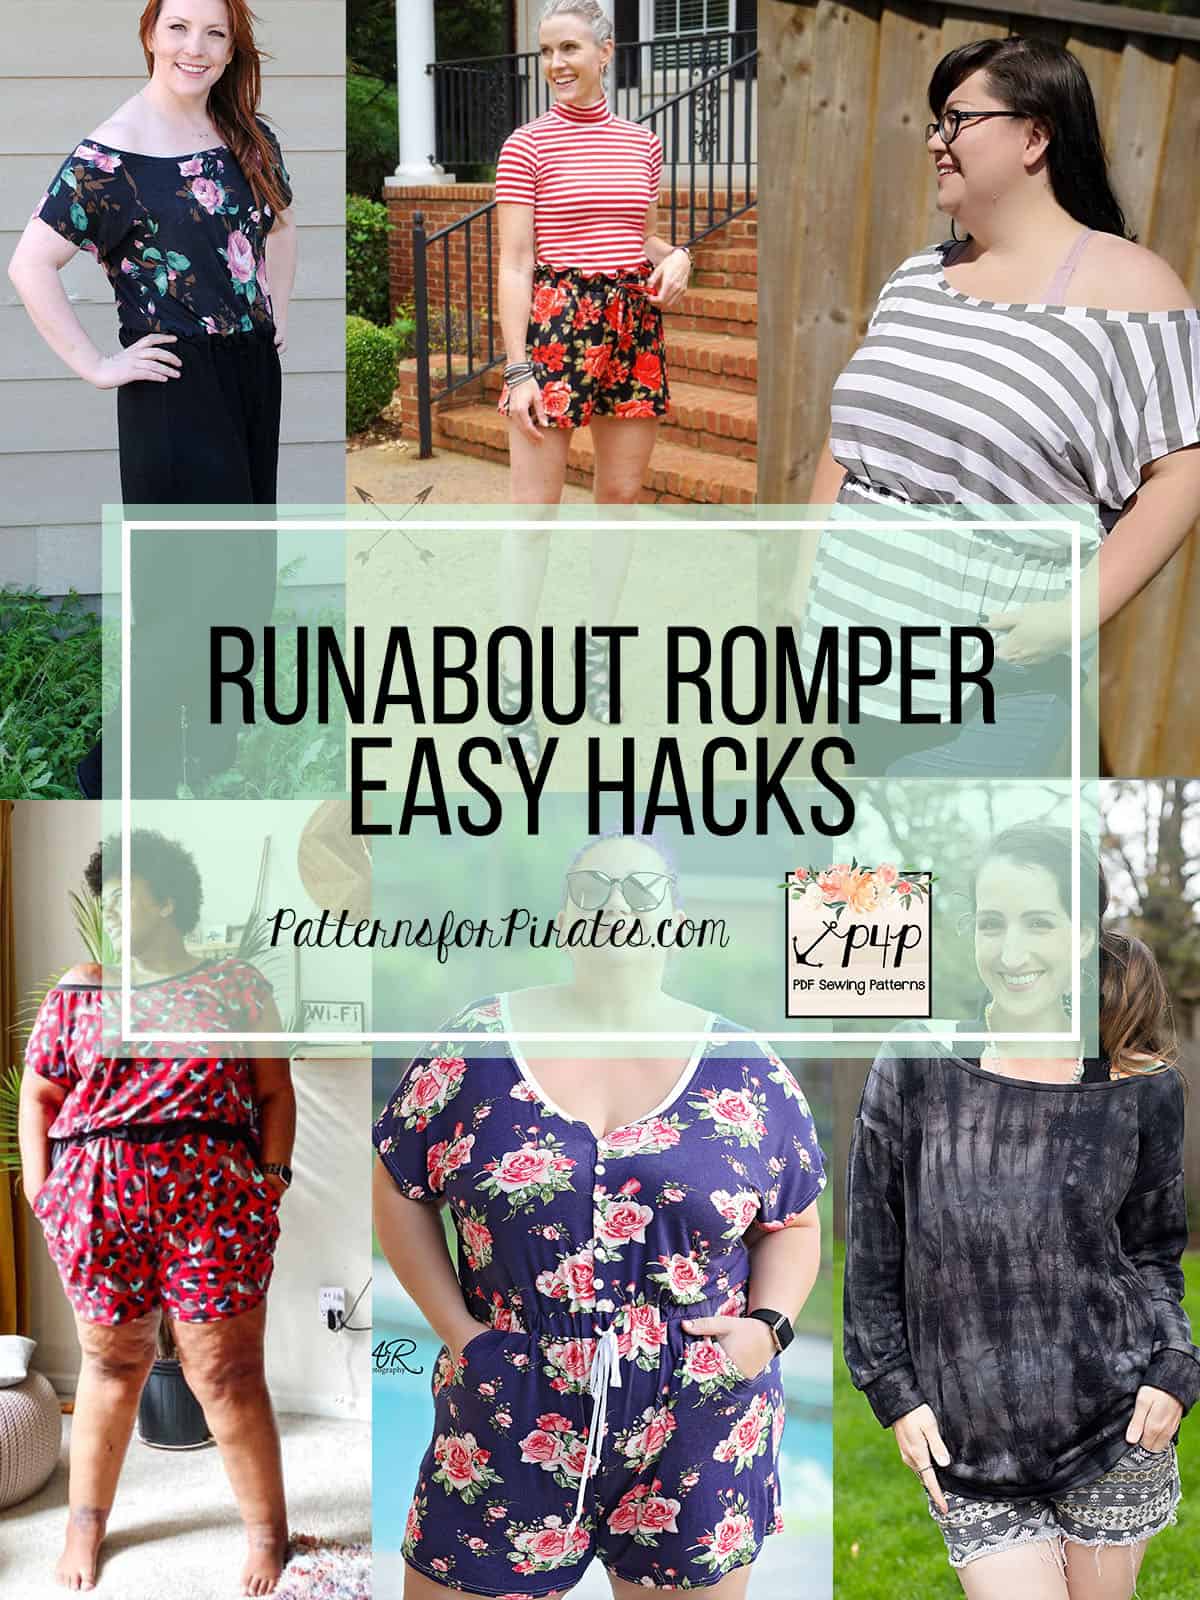
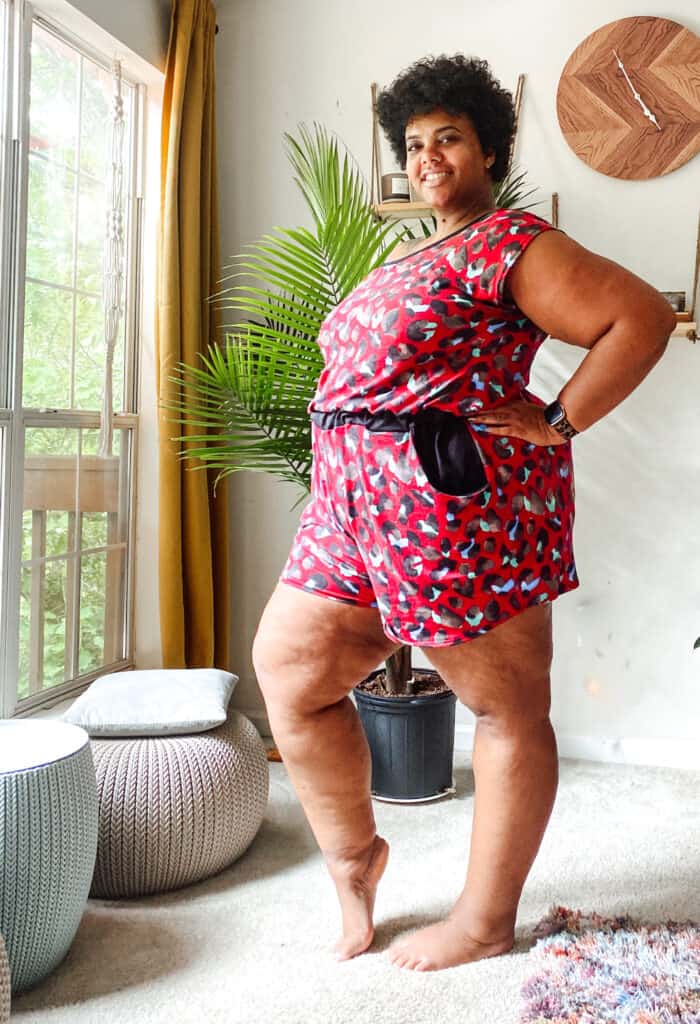
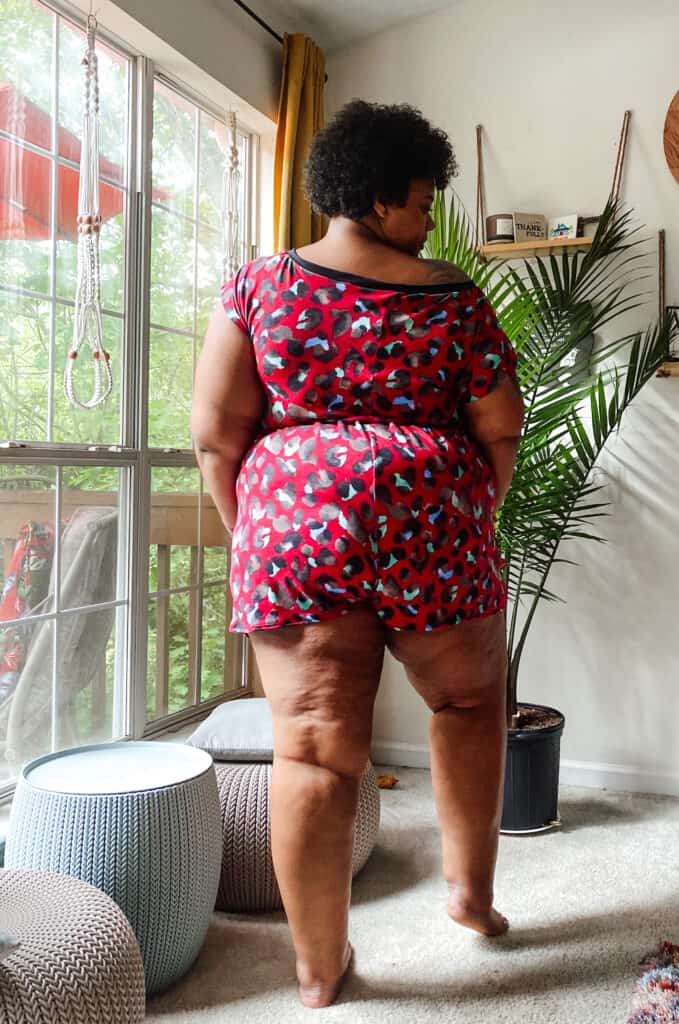
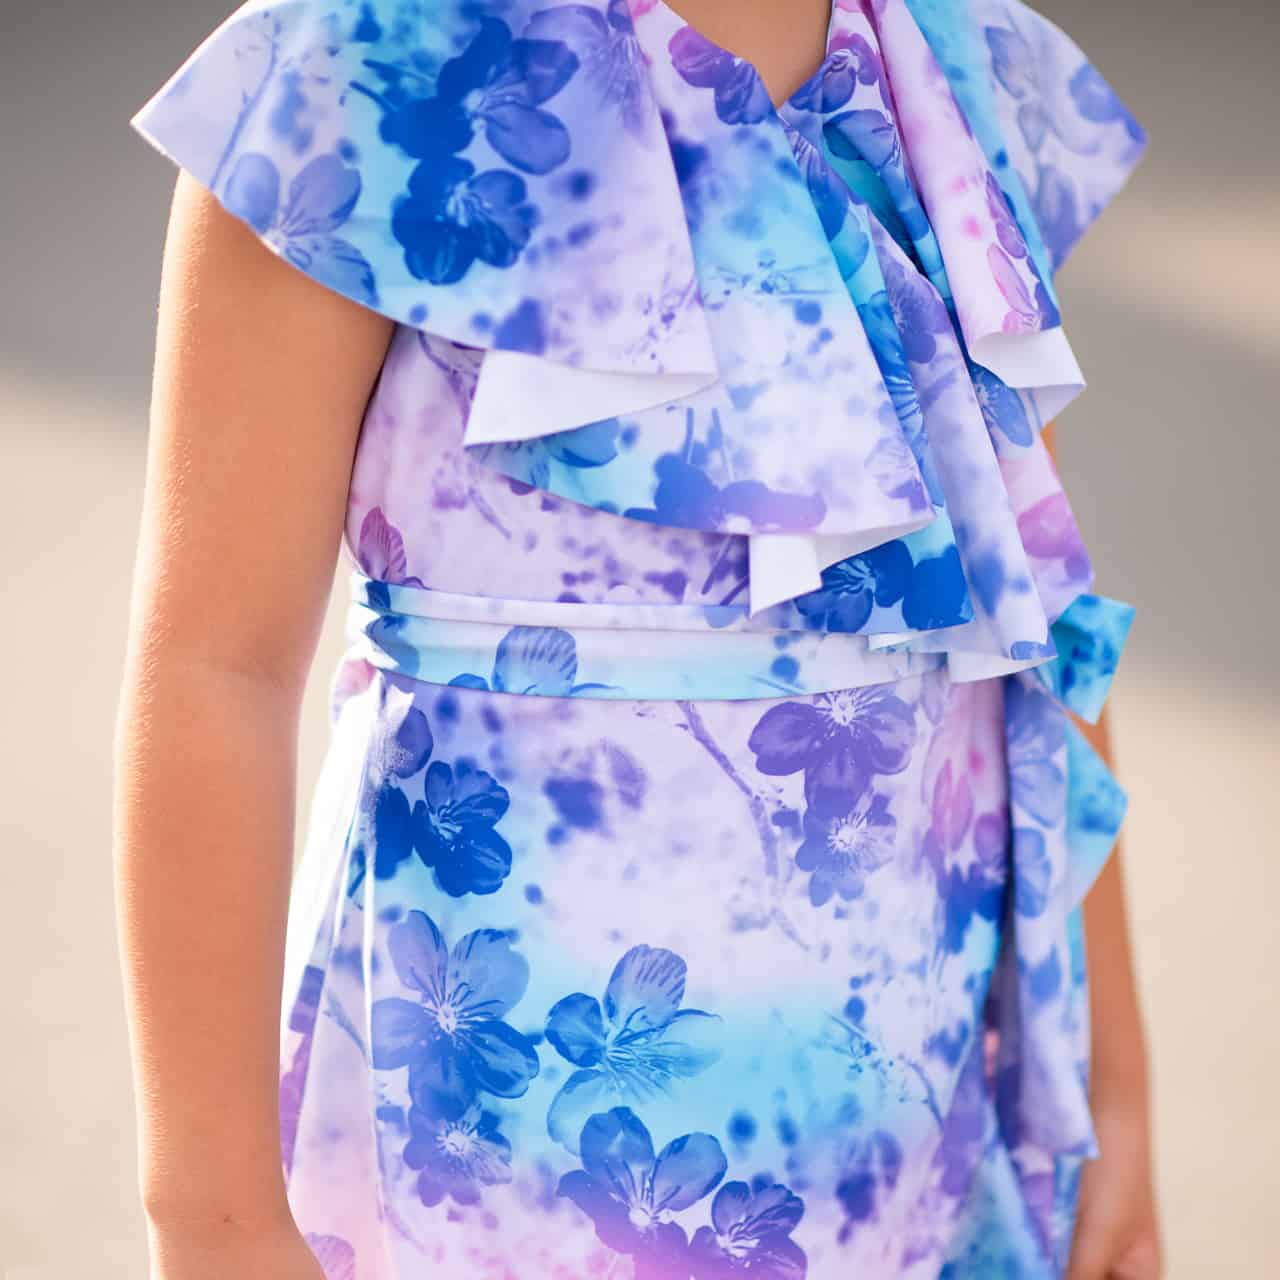
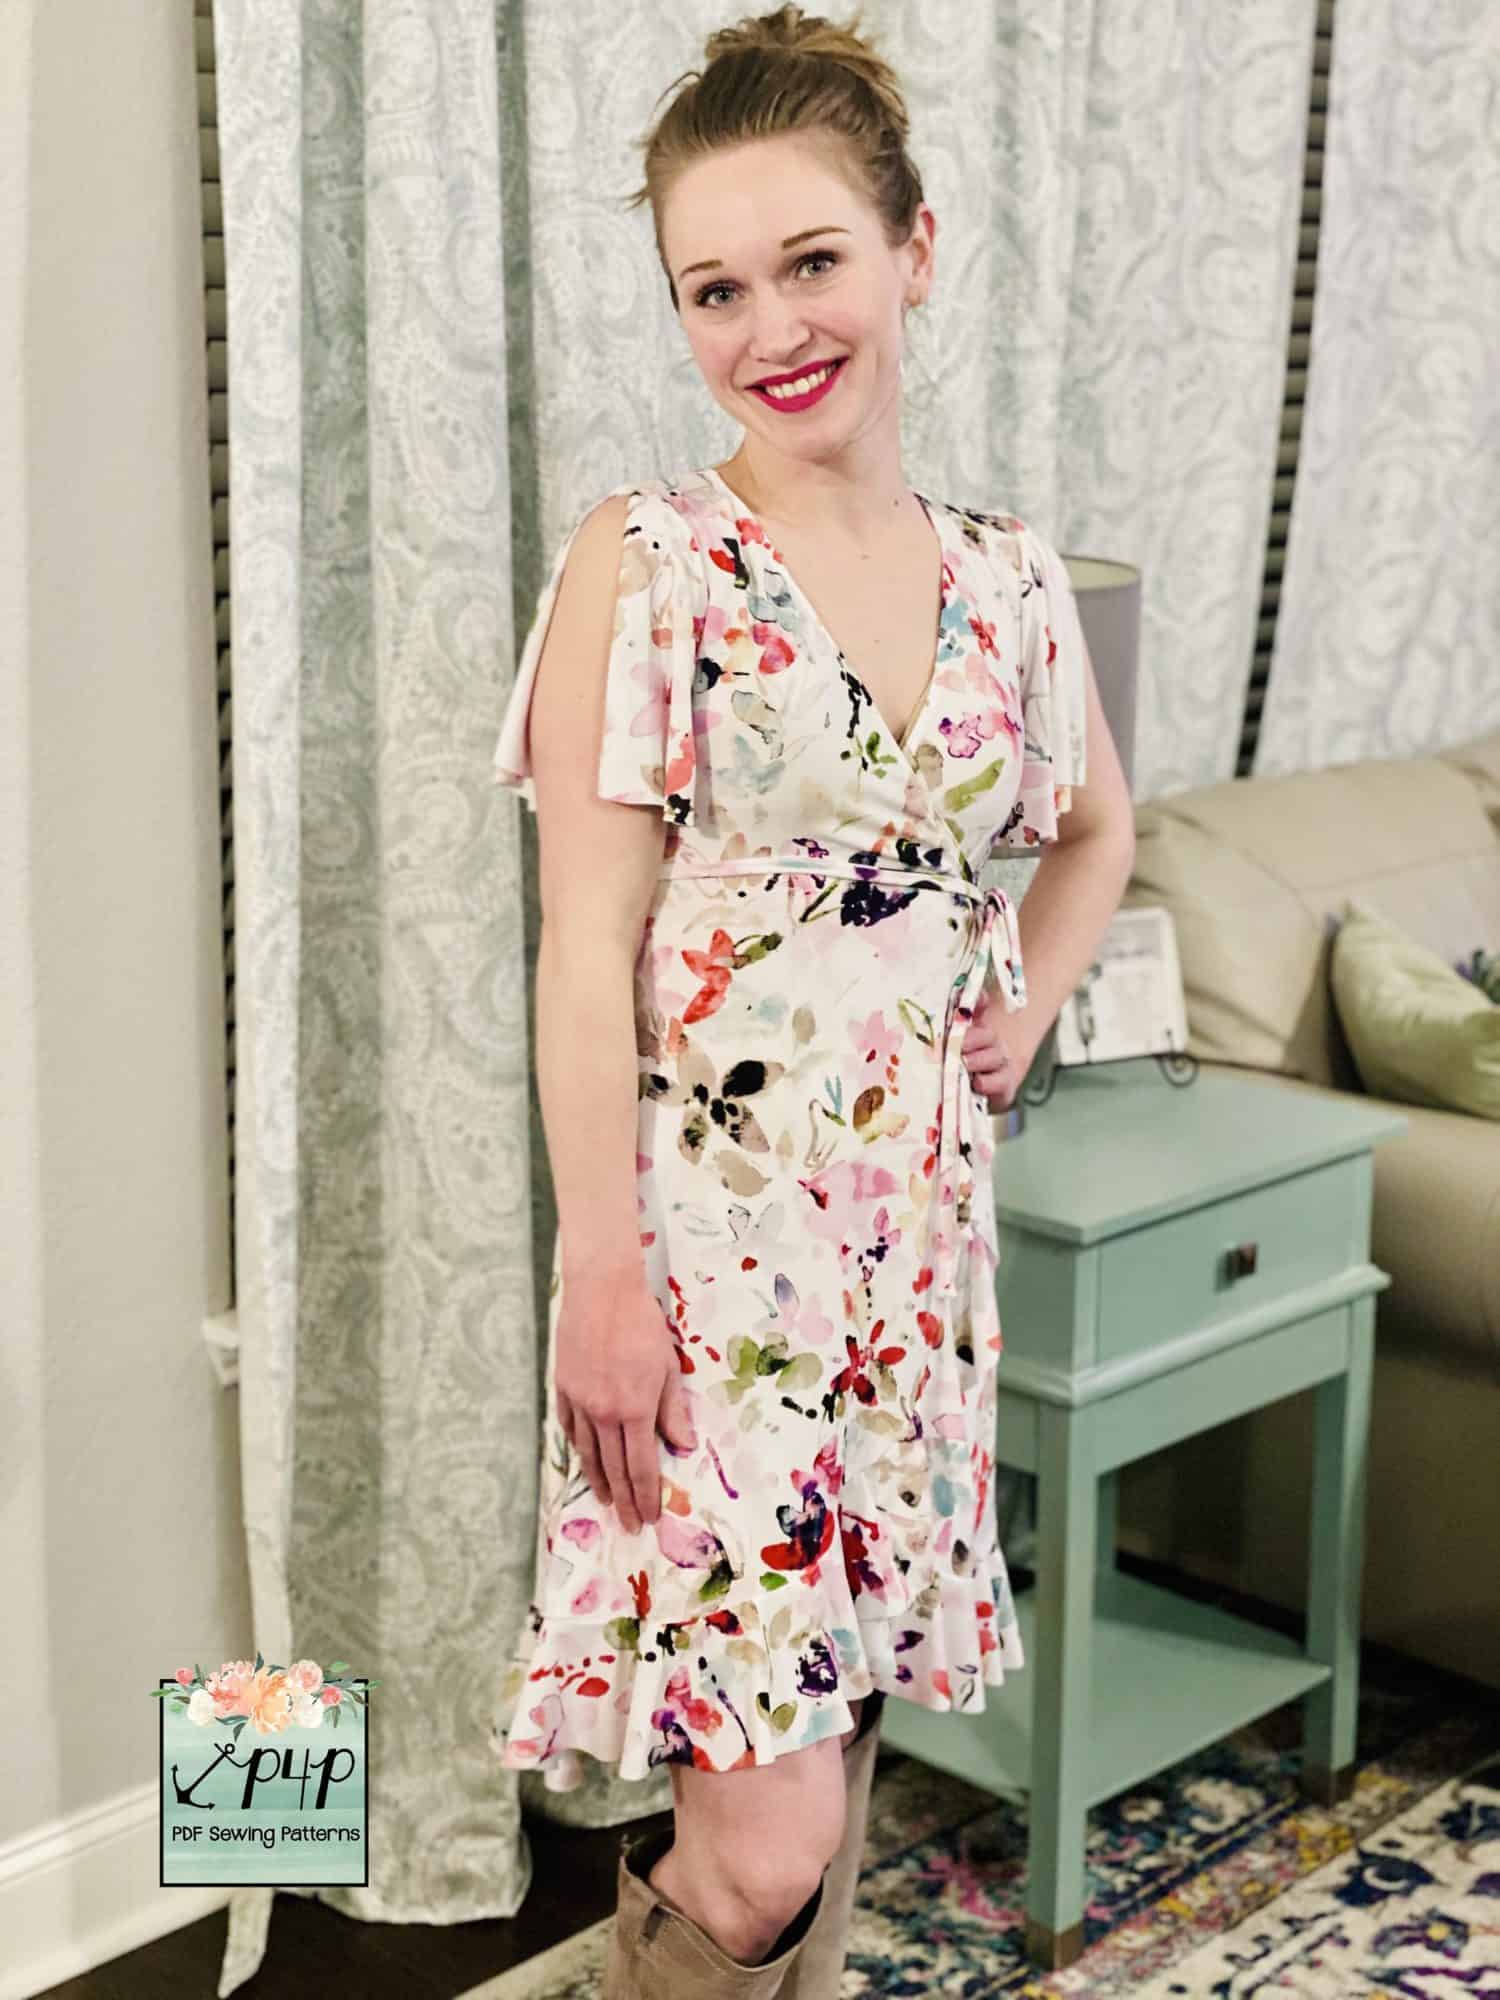
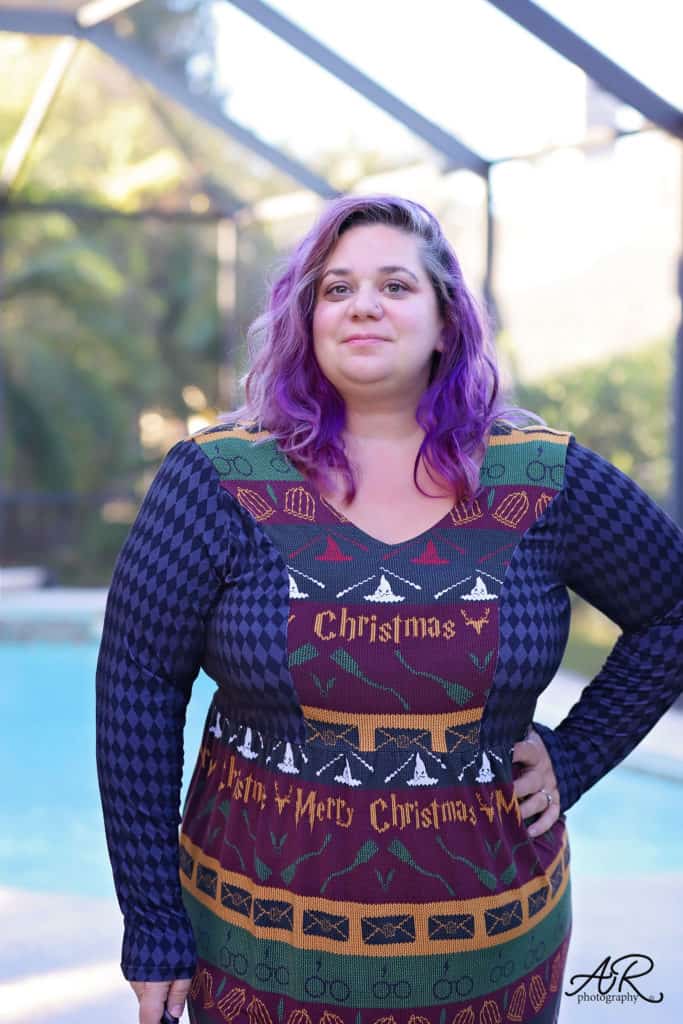
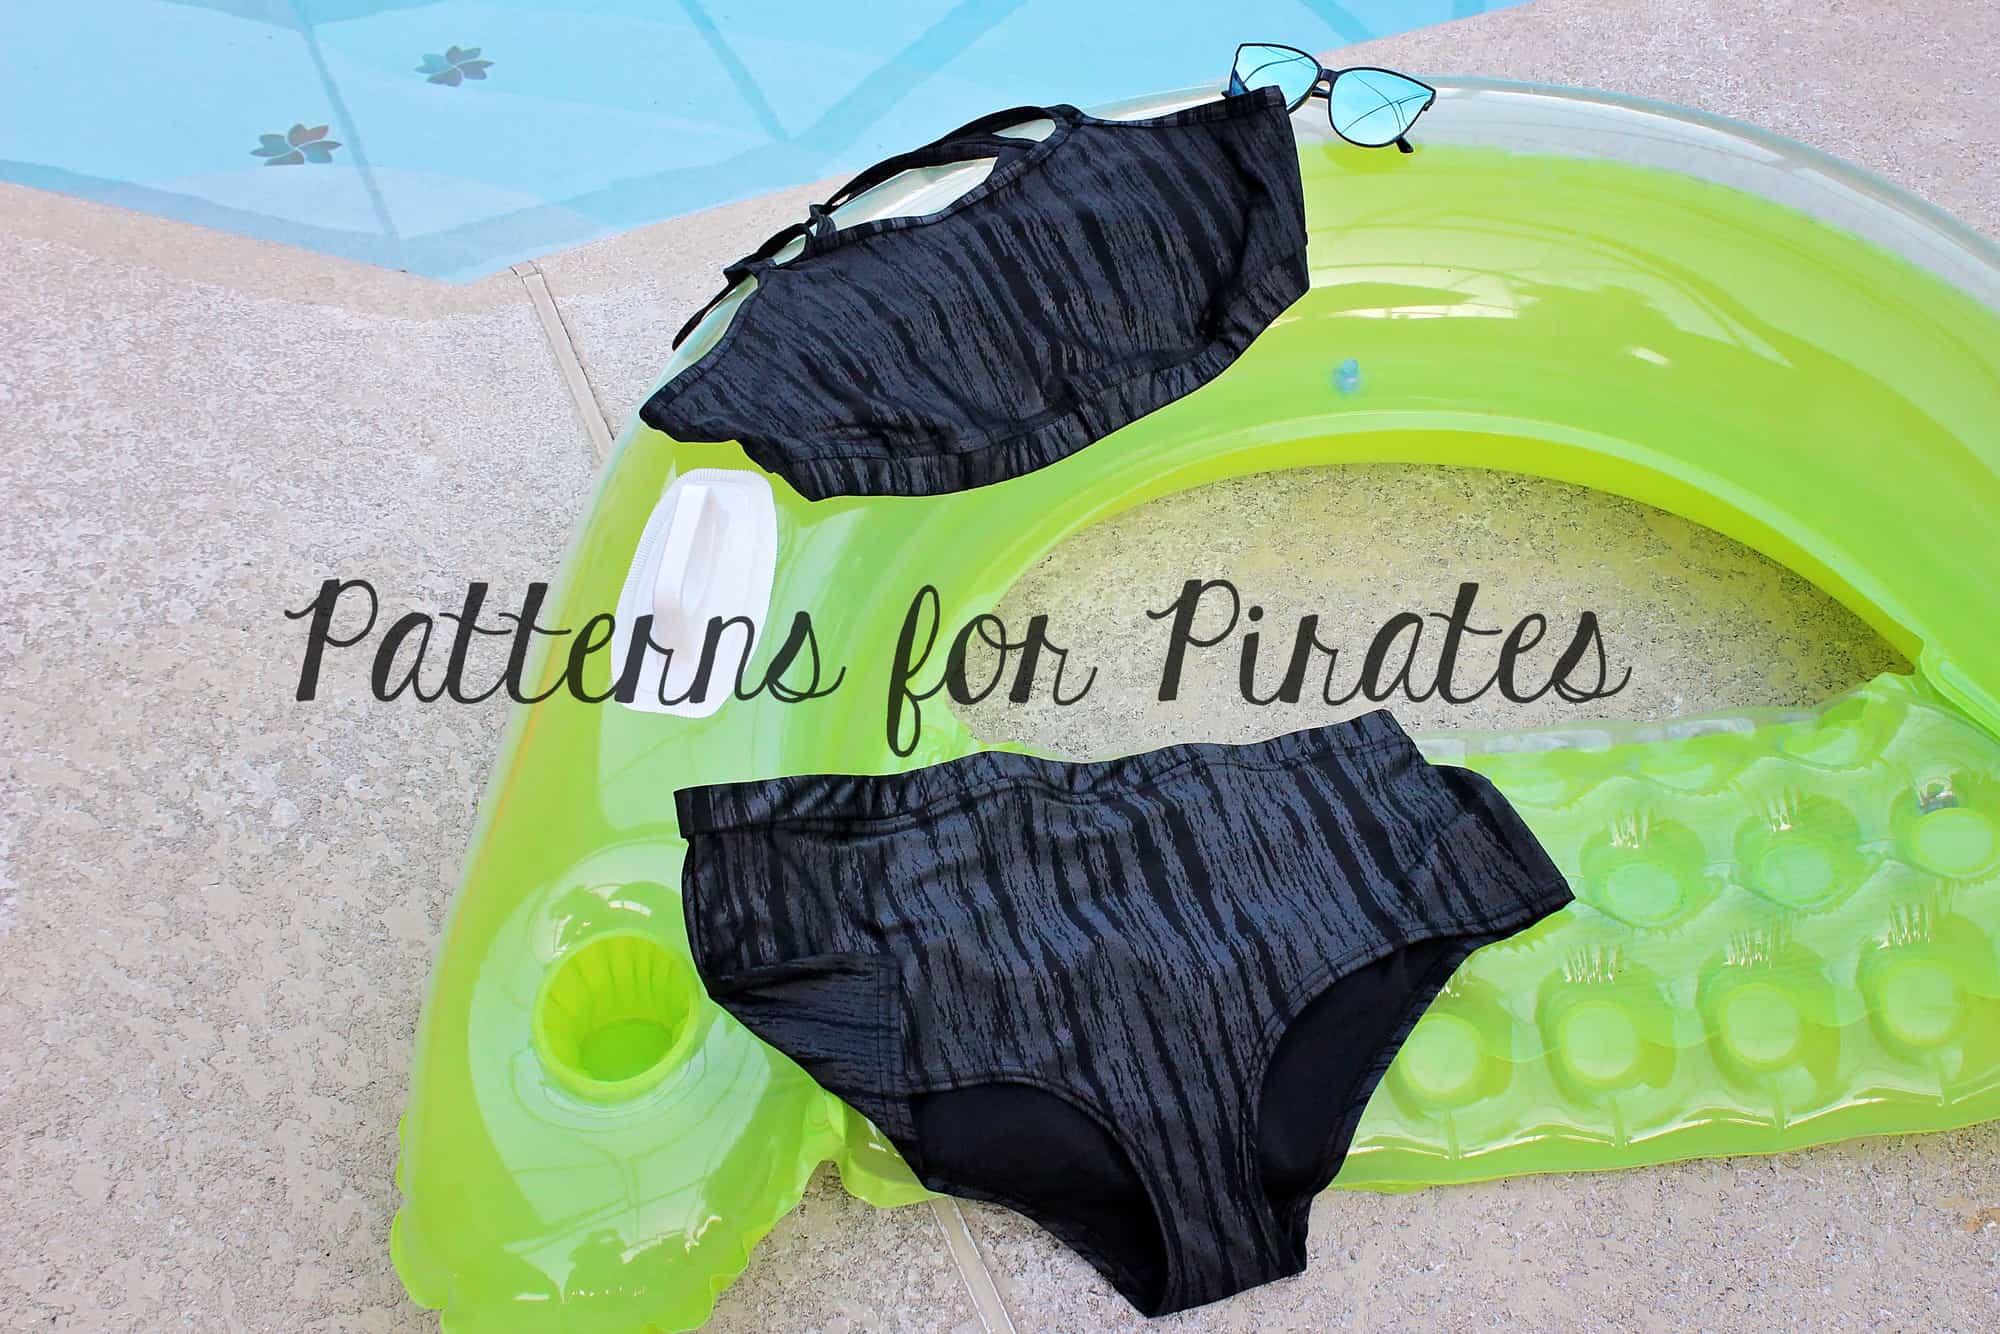
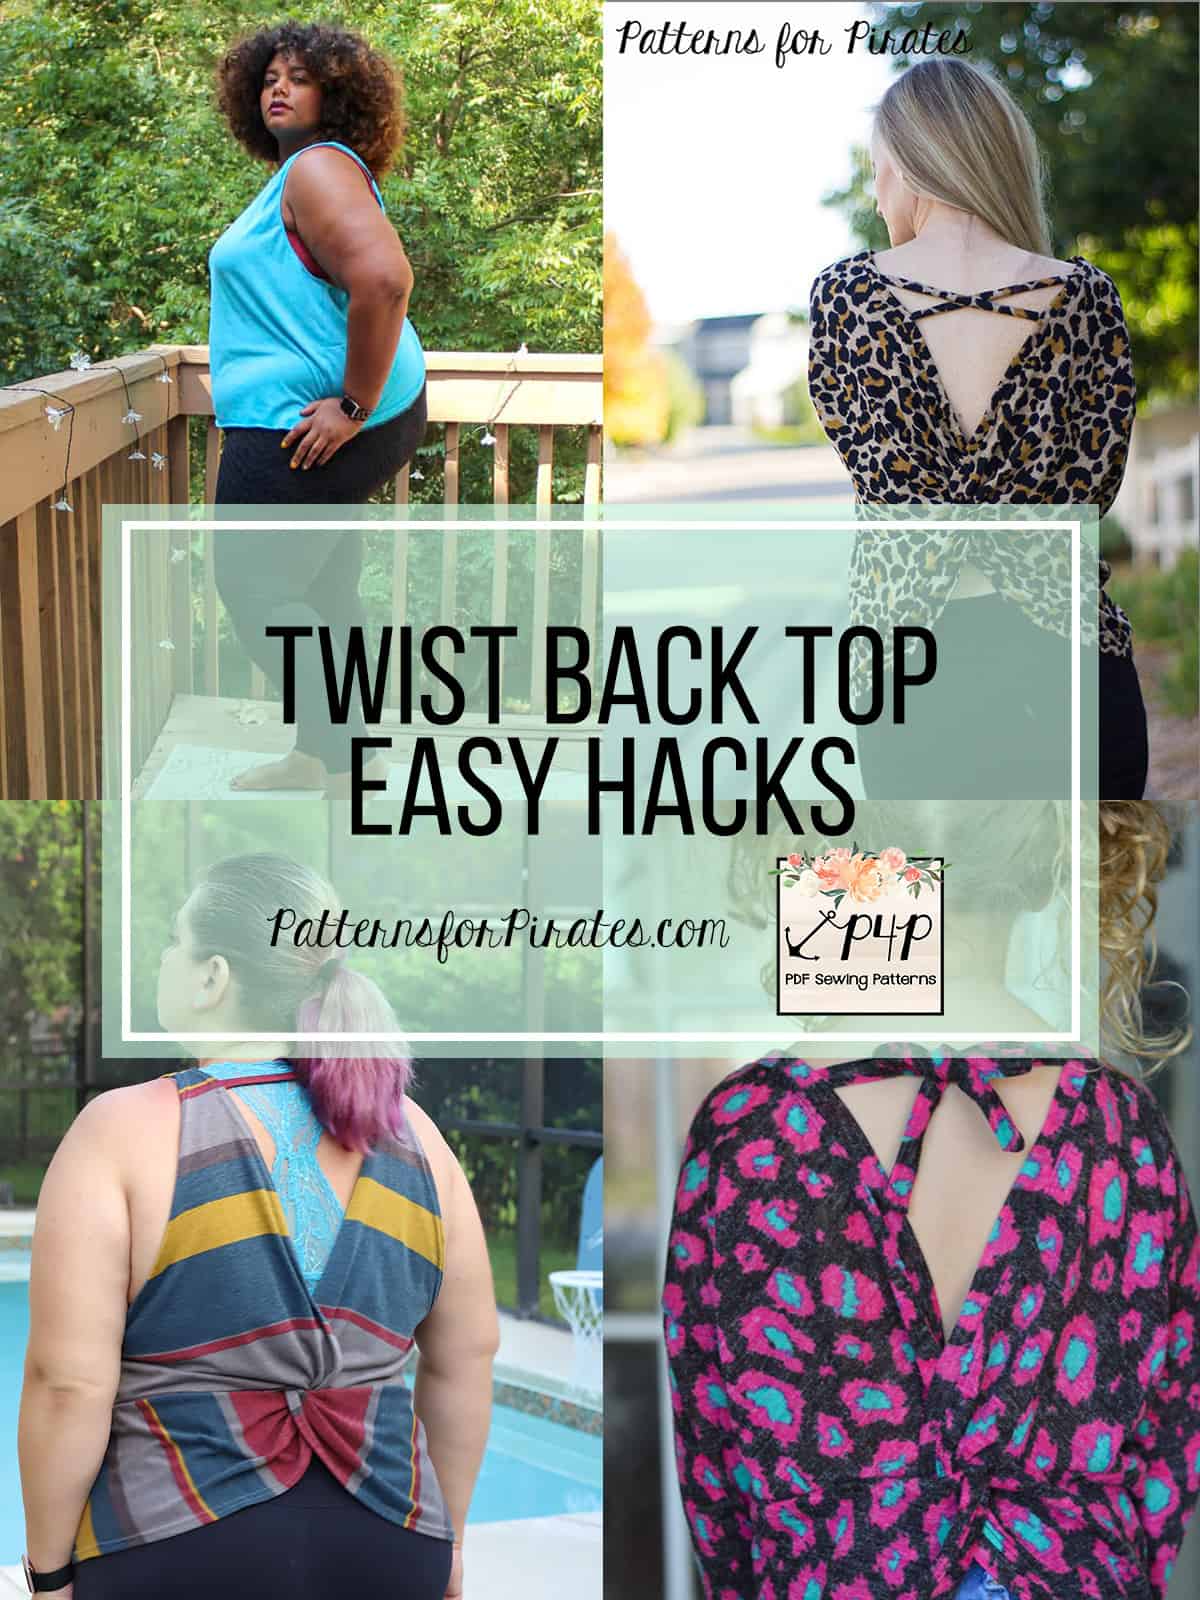
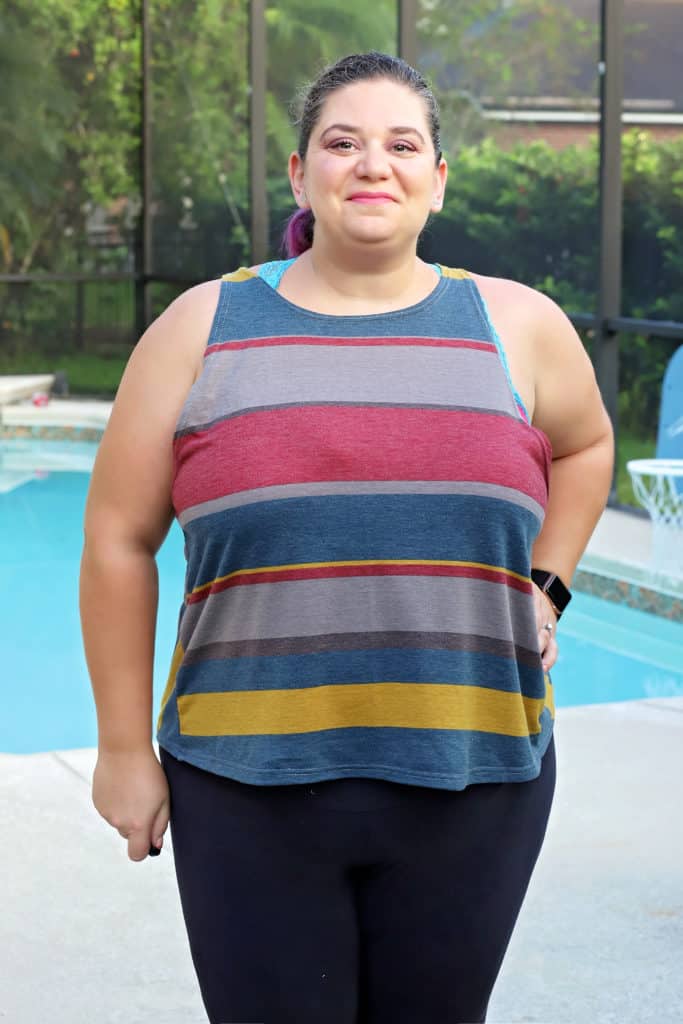
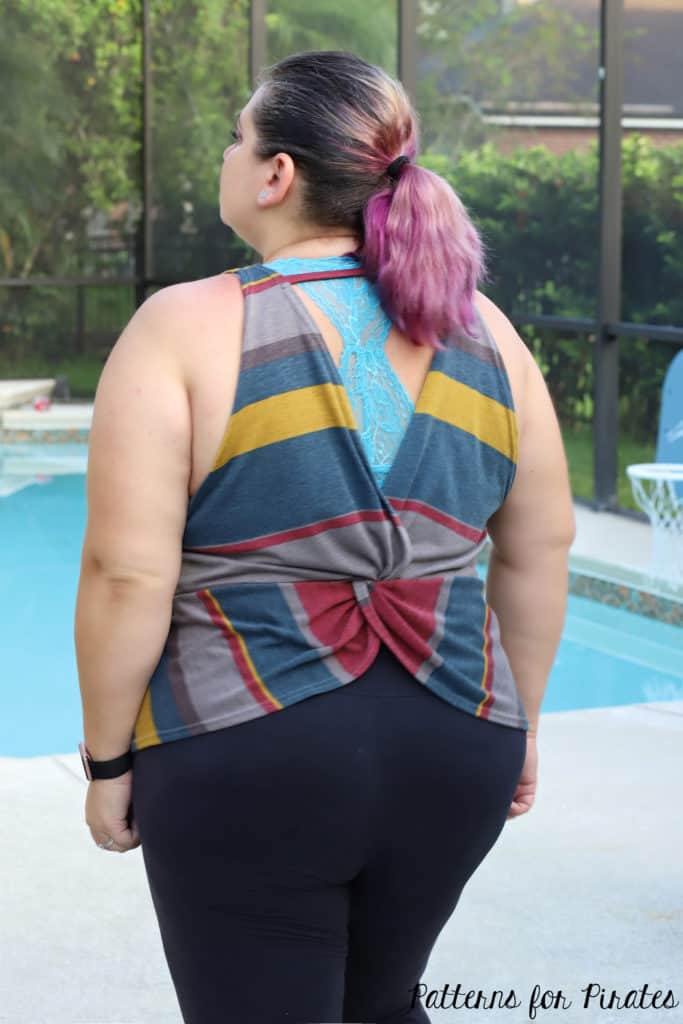
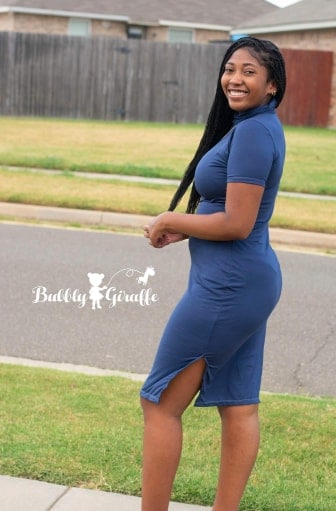
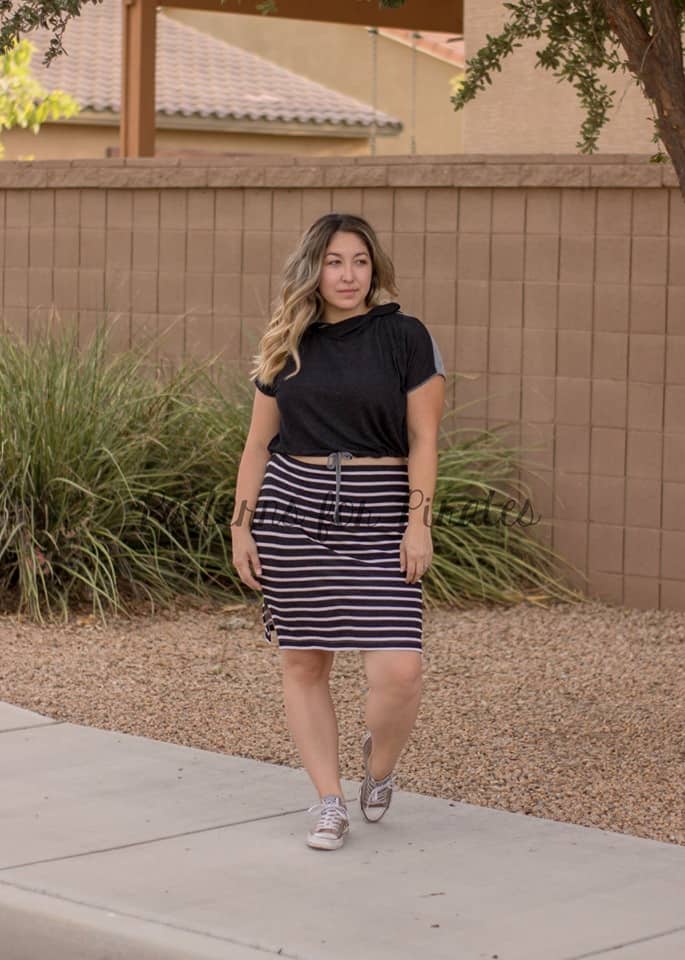
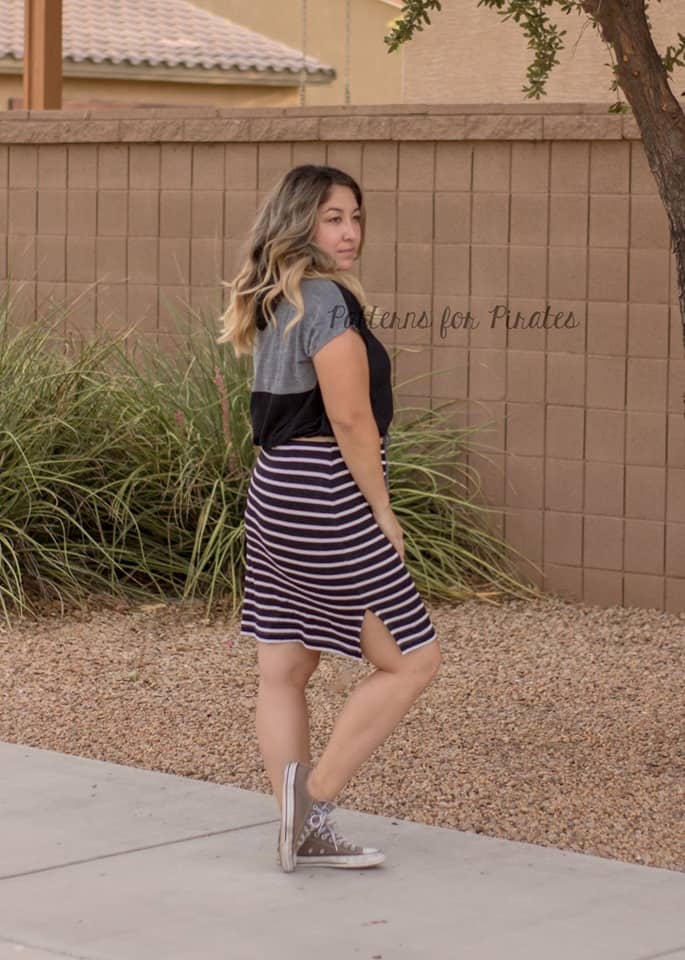
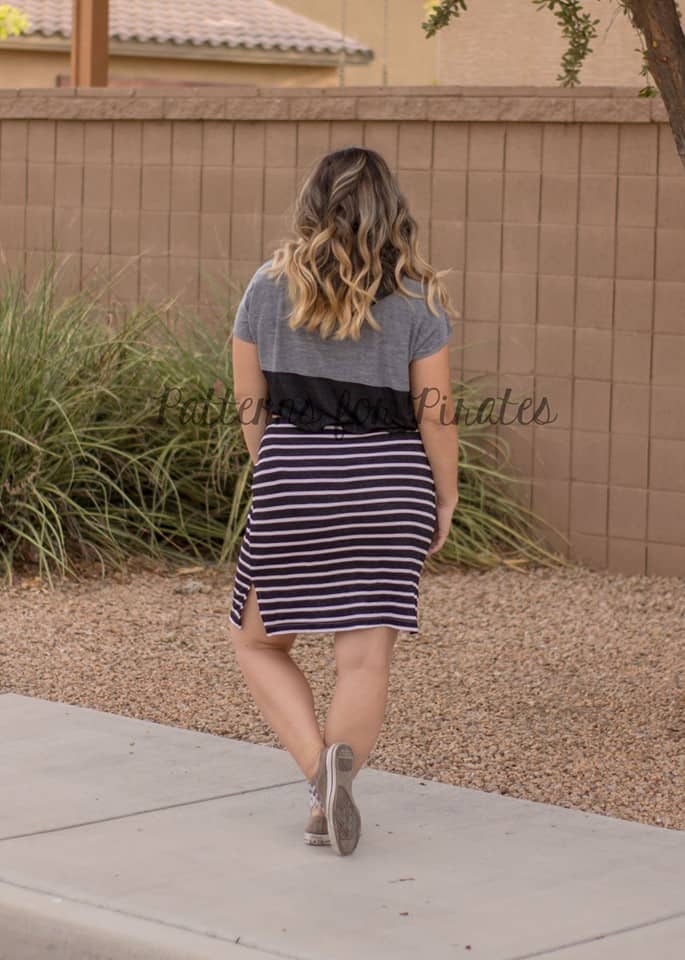
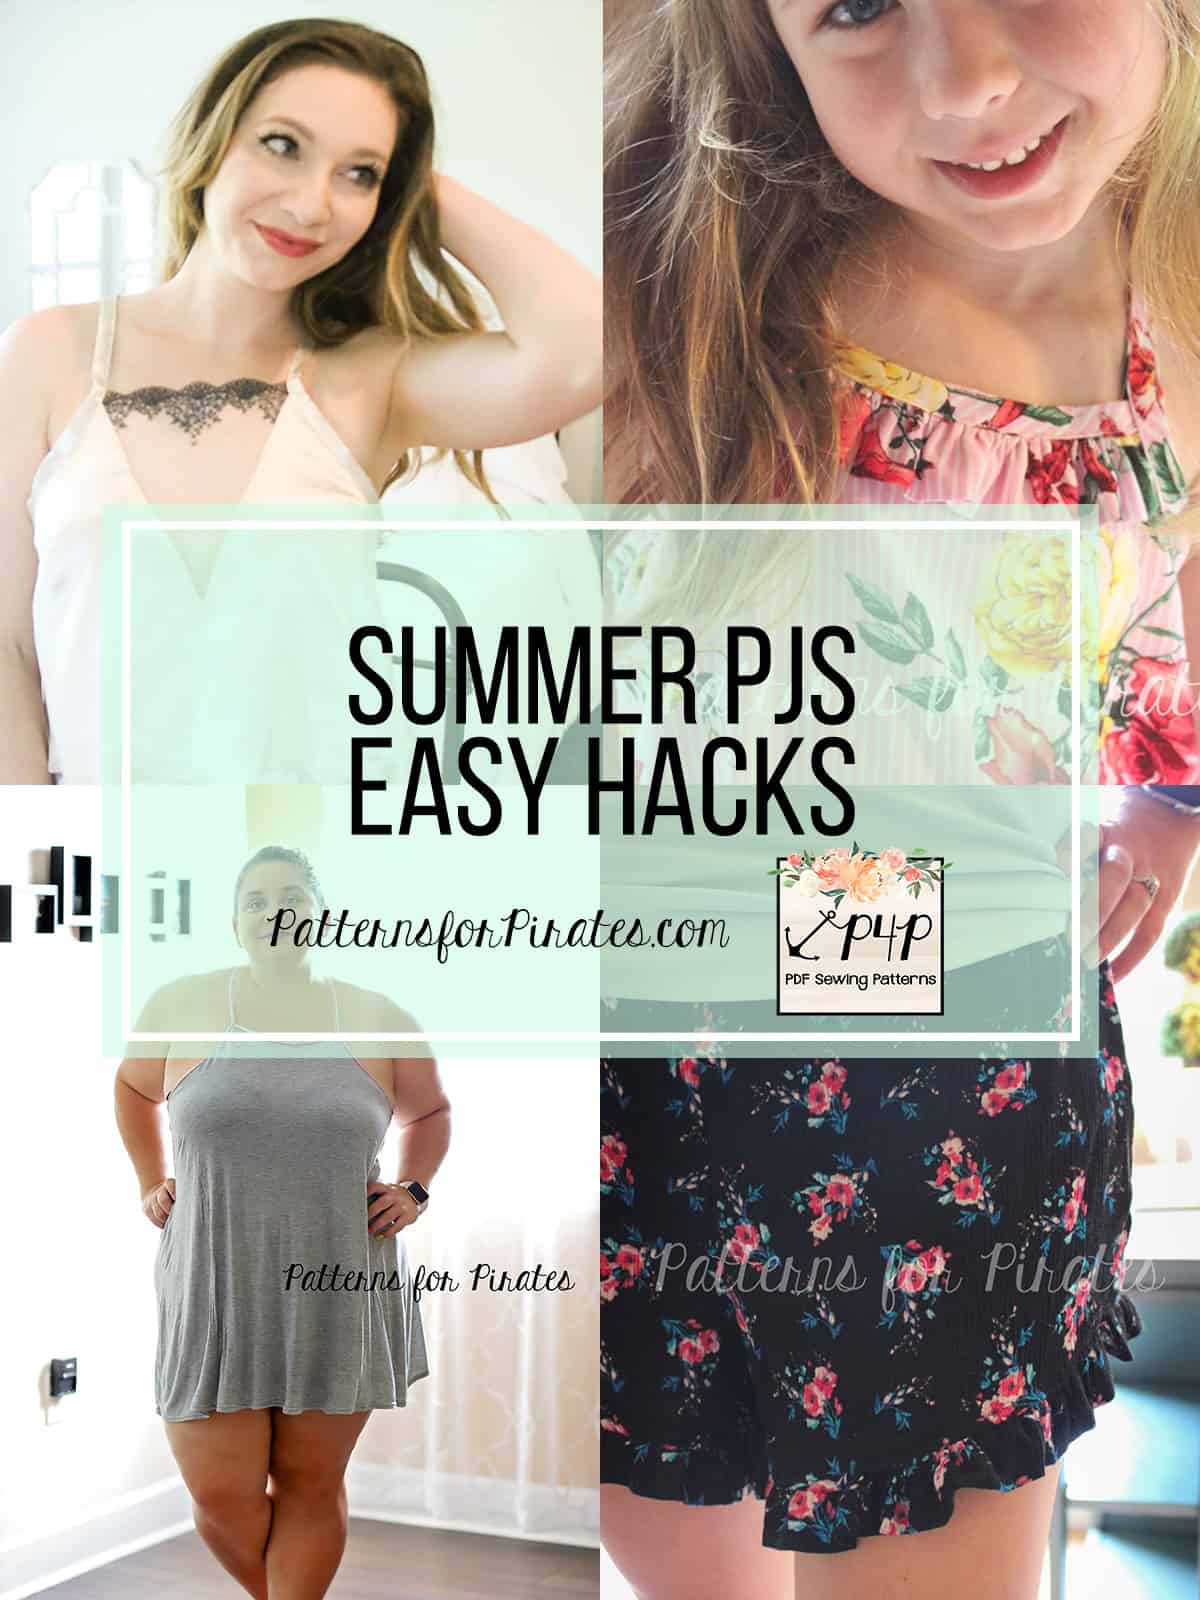
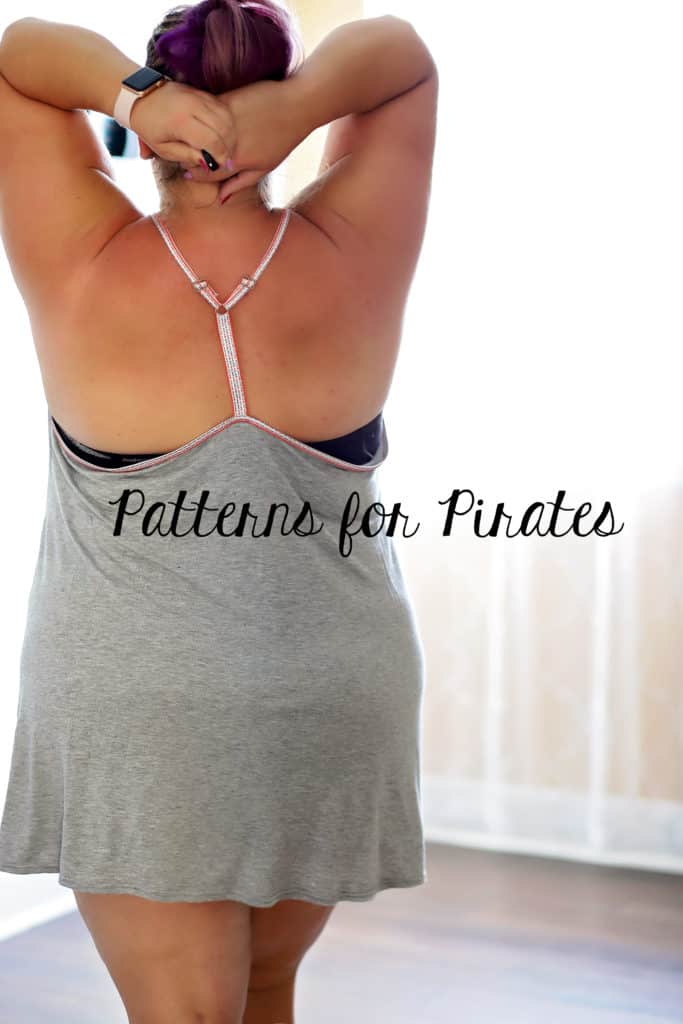
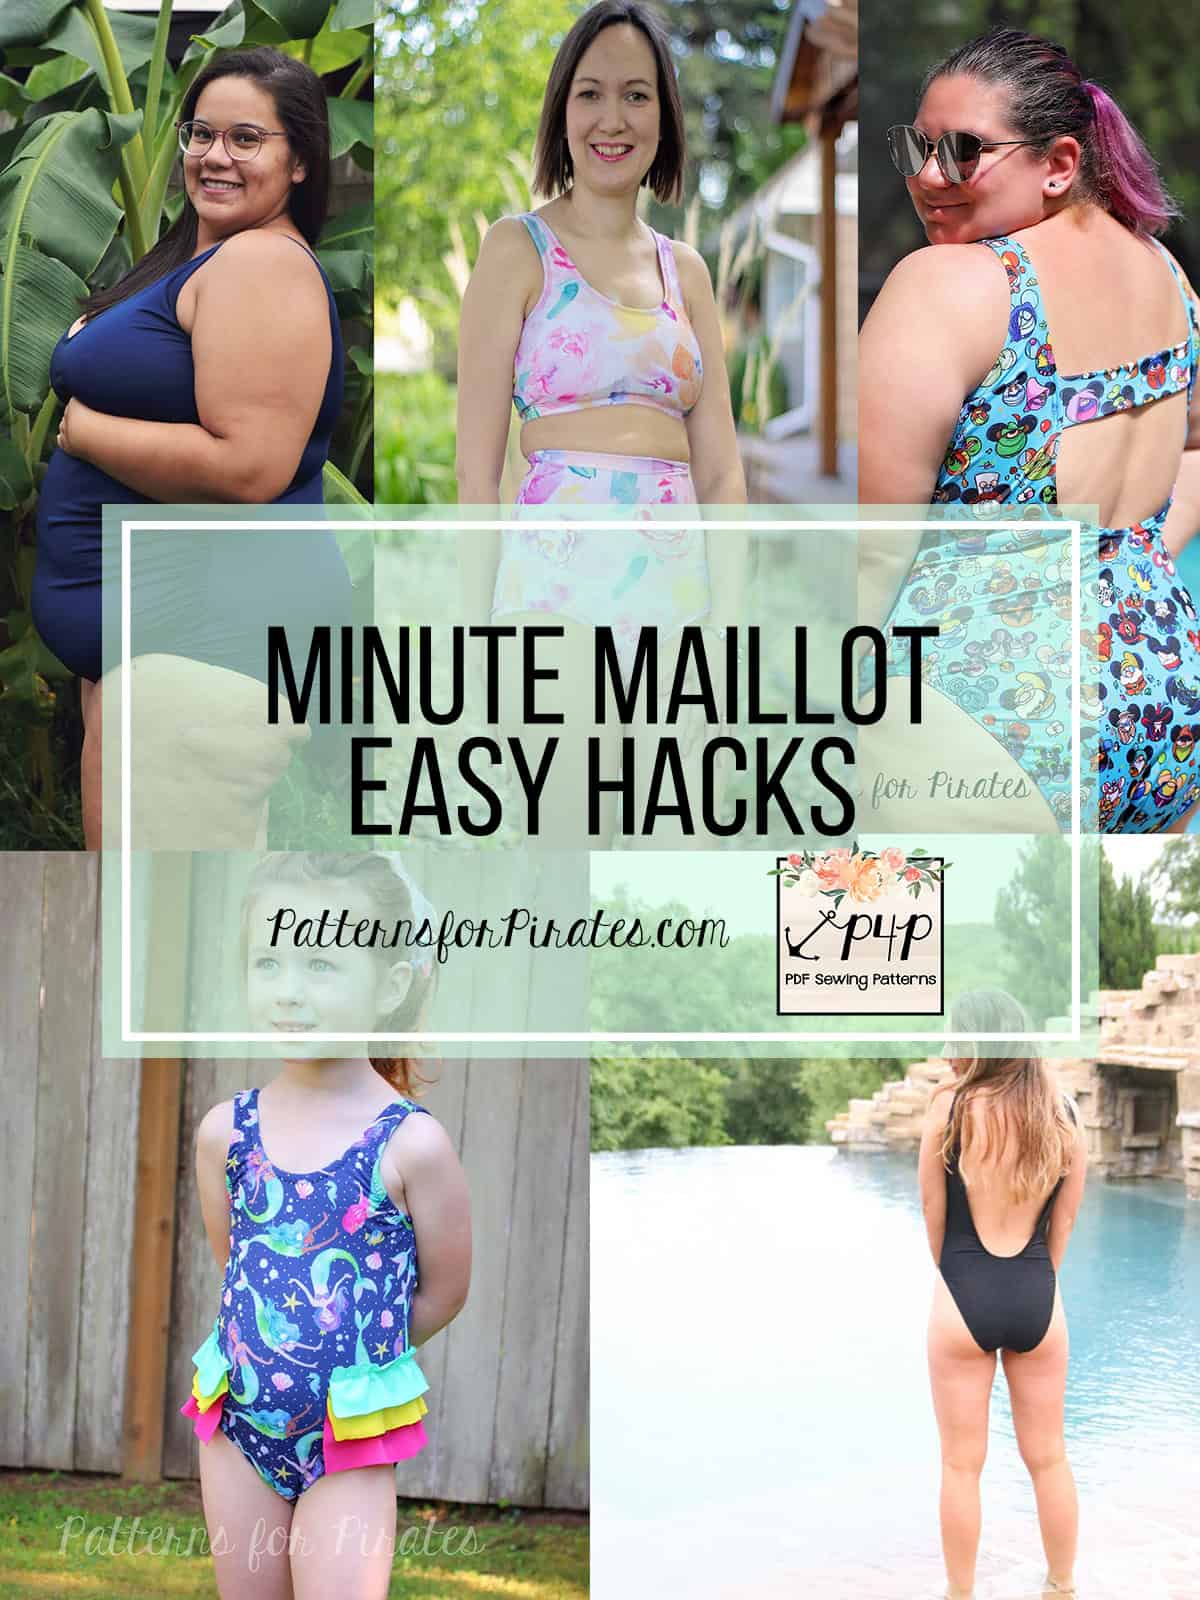
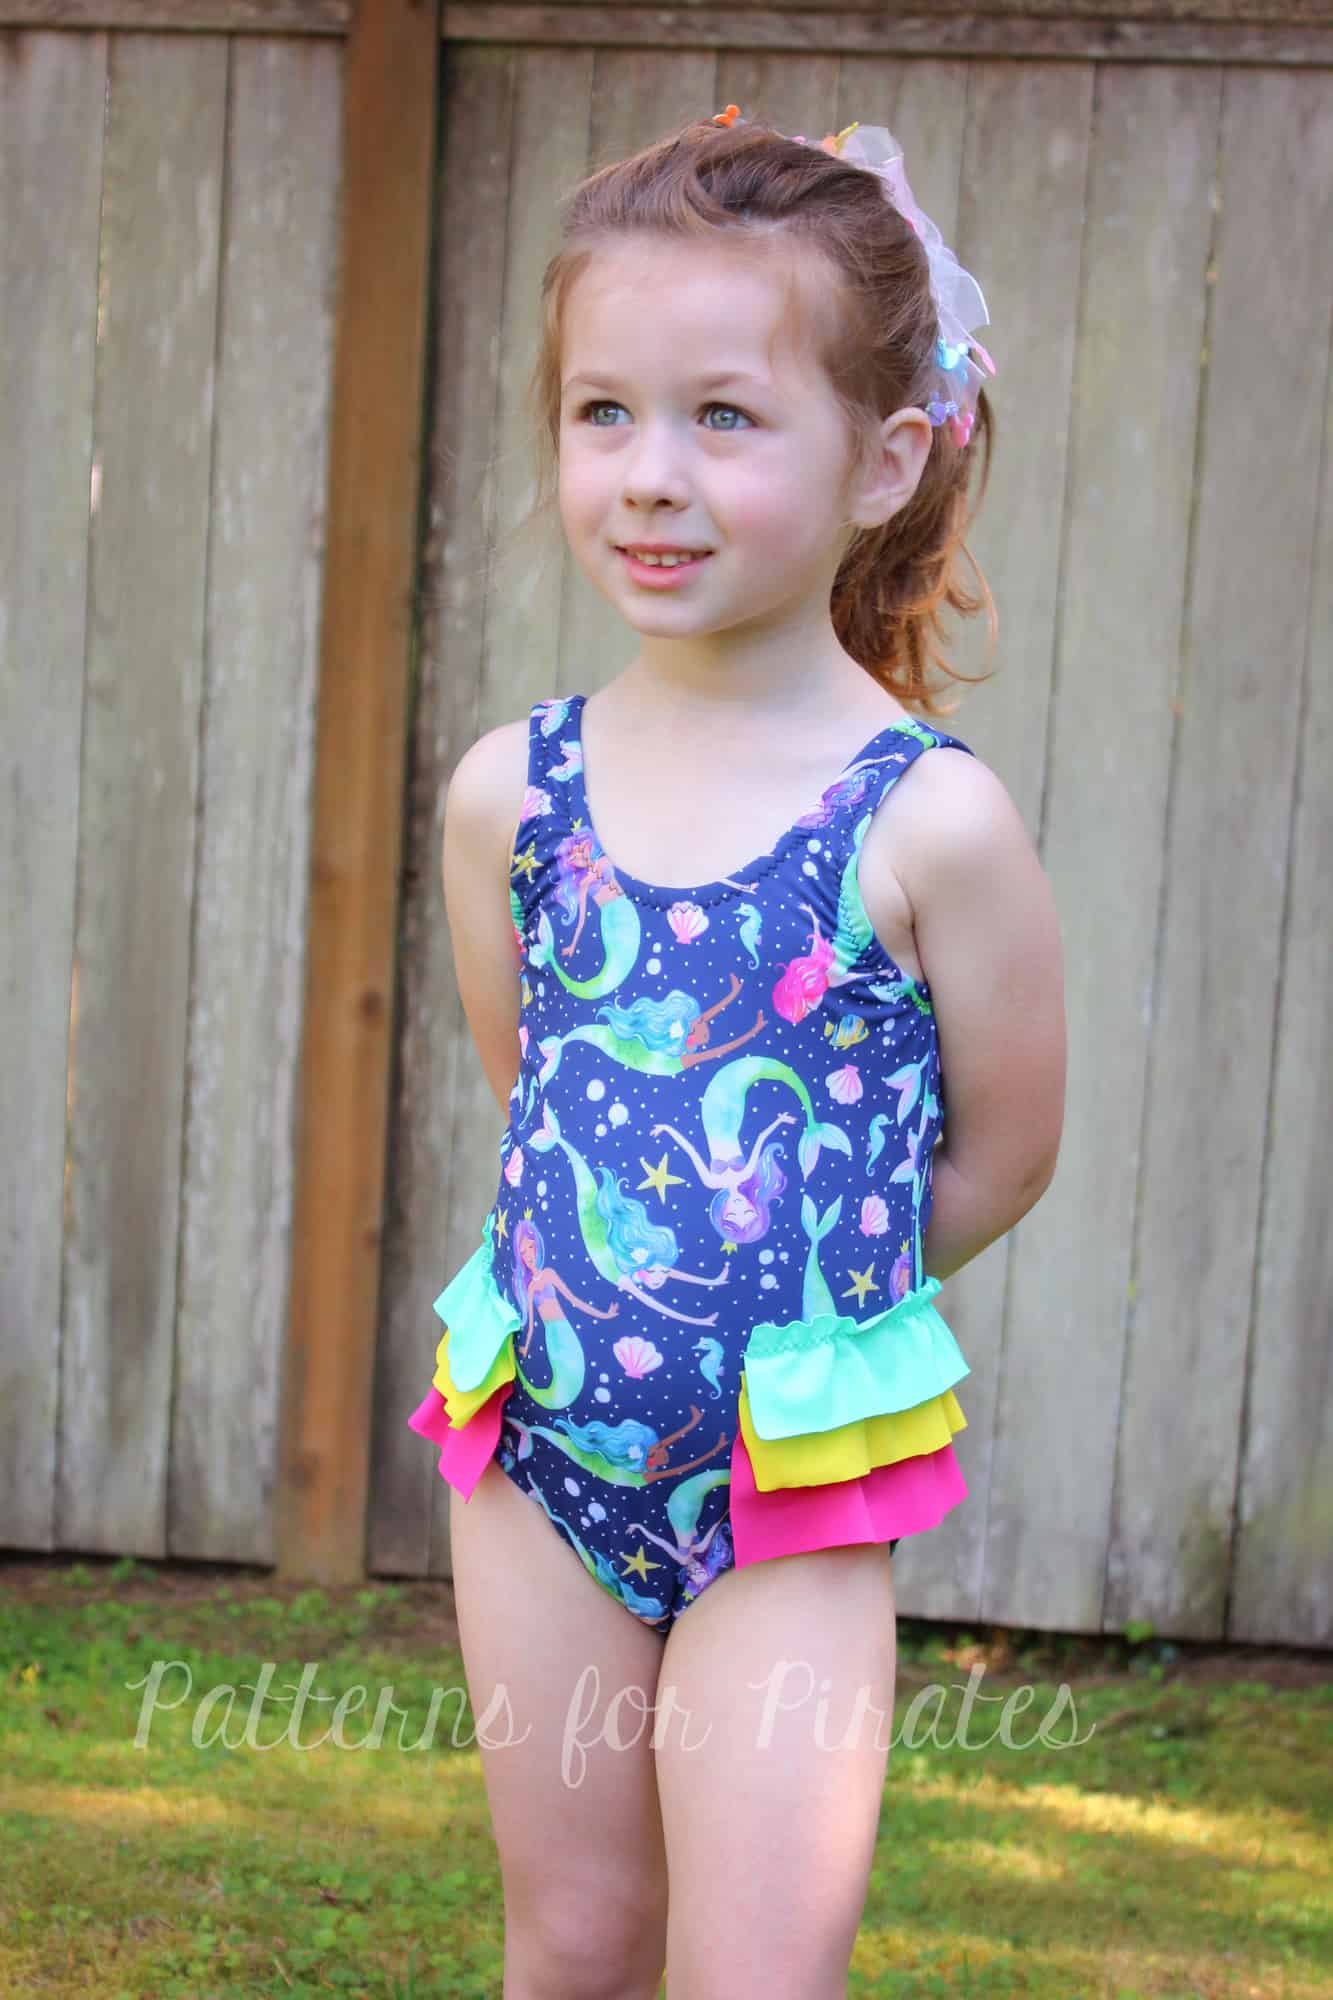
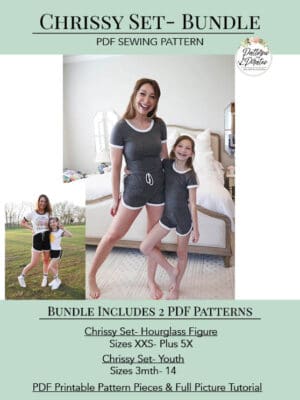
It’s here! It’s here! The Runabout Romper and Dress patterns (adult and youth) and jam packed with option but we couldn’t let this release pass without adding a few more. The P4P bloggers will show you how to make separate pieces, paperbag shorts, looser pants, slimmer shorts, button front and tunic length. Let’s take a look!
…..
Separates
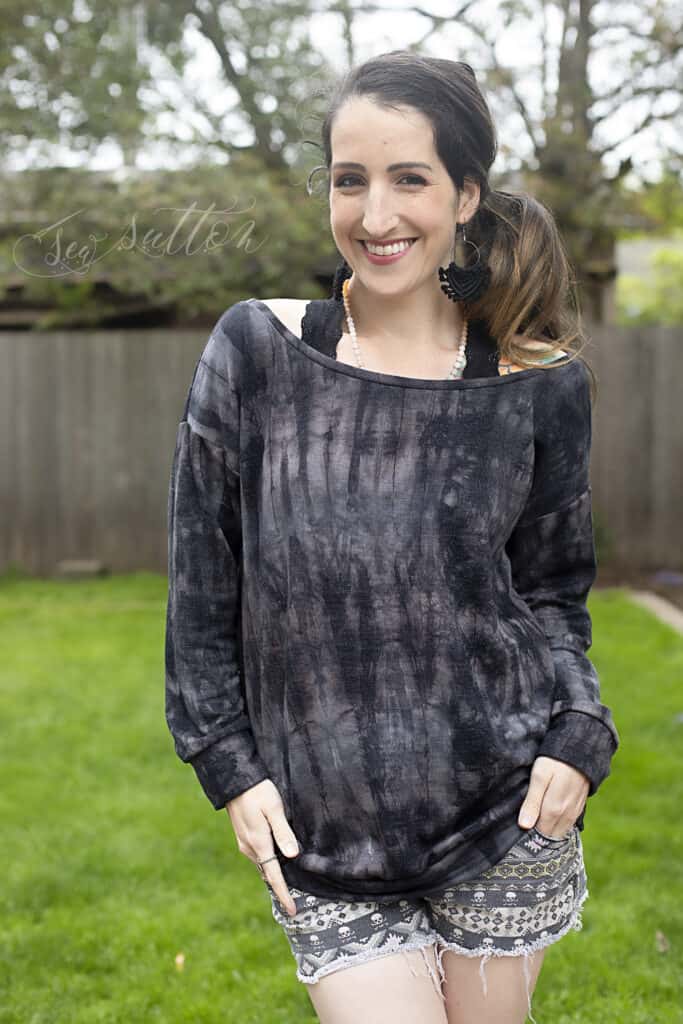
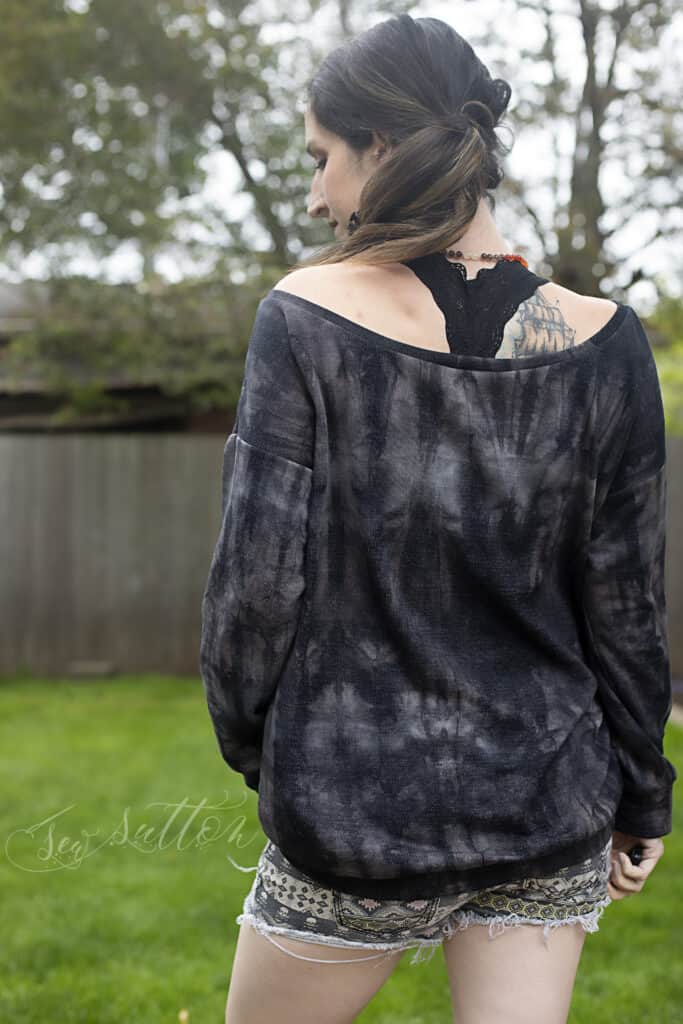
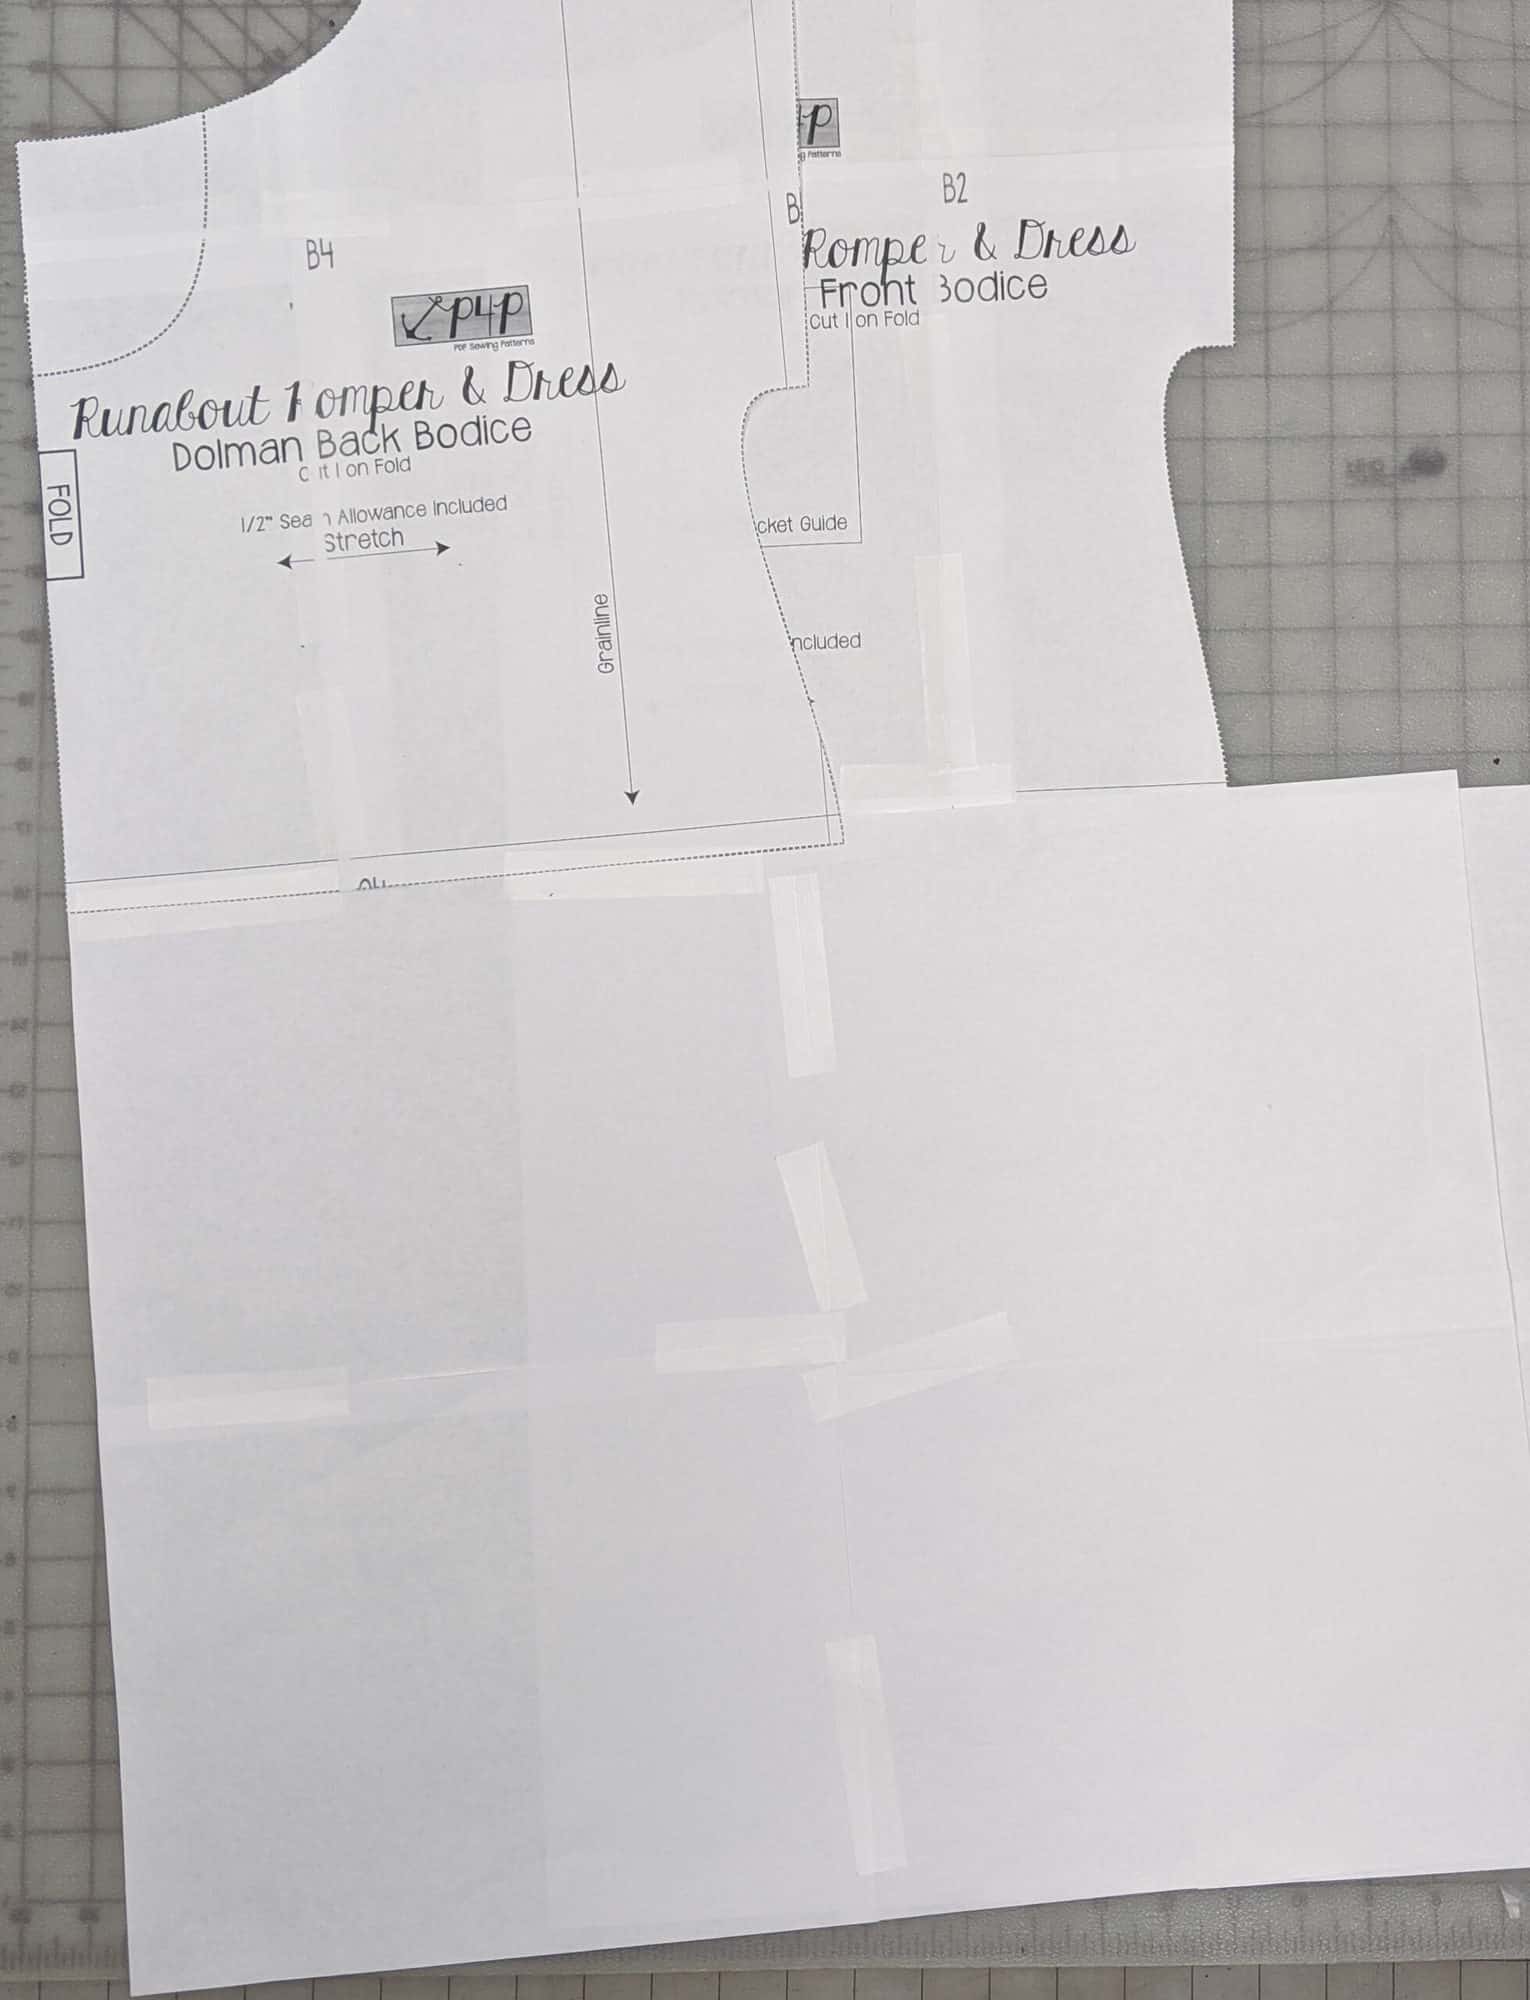
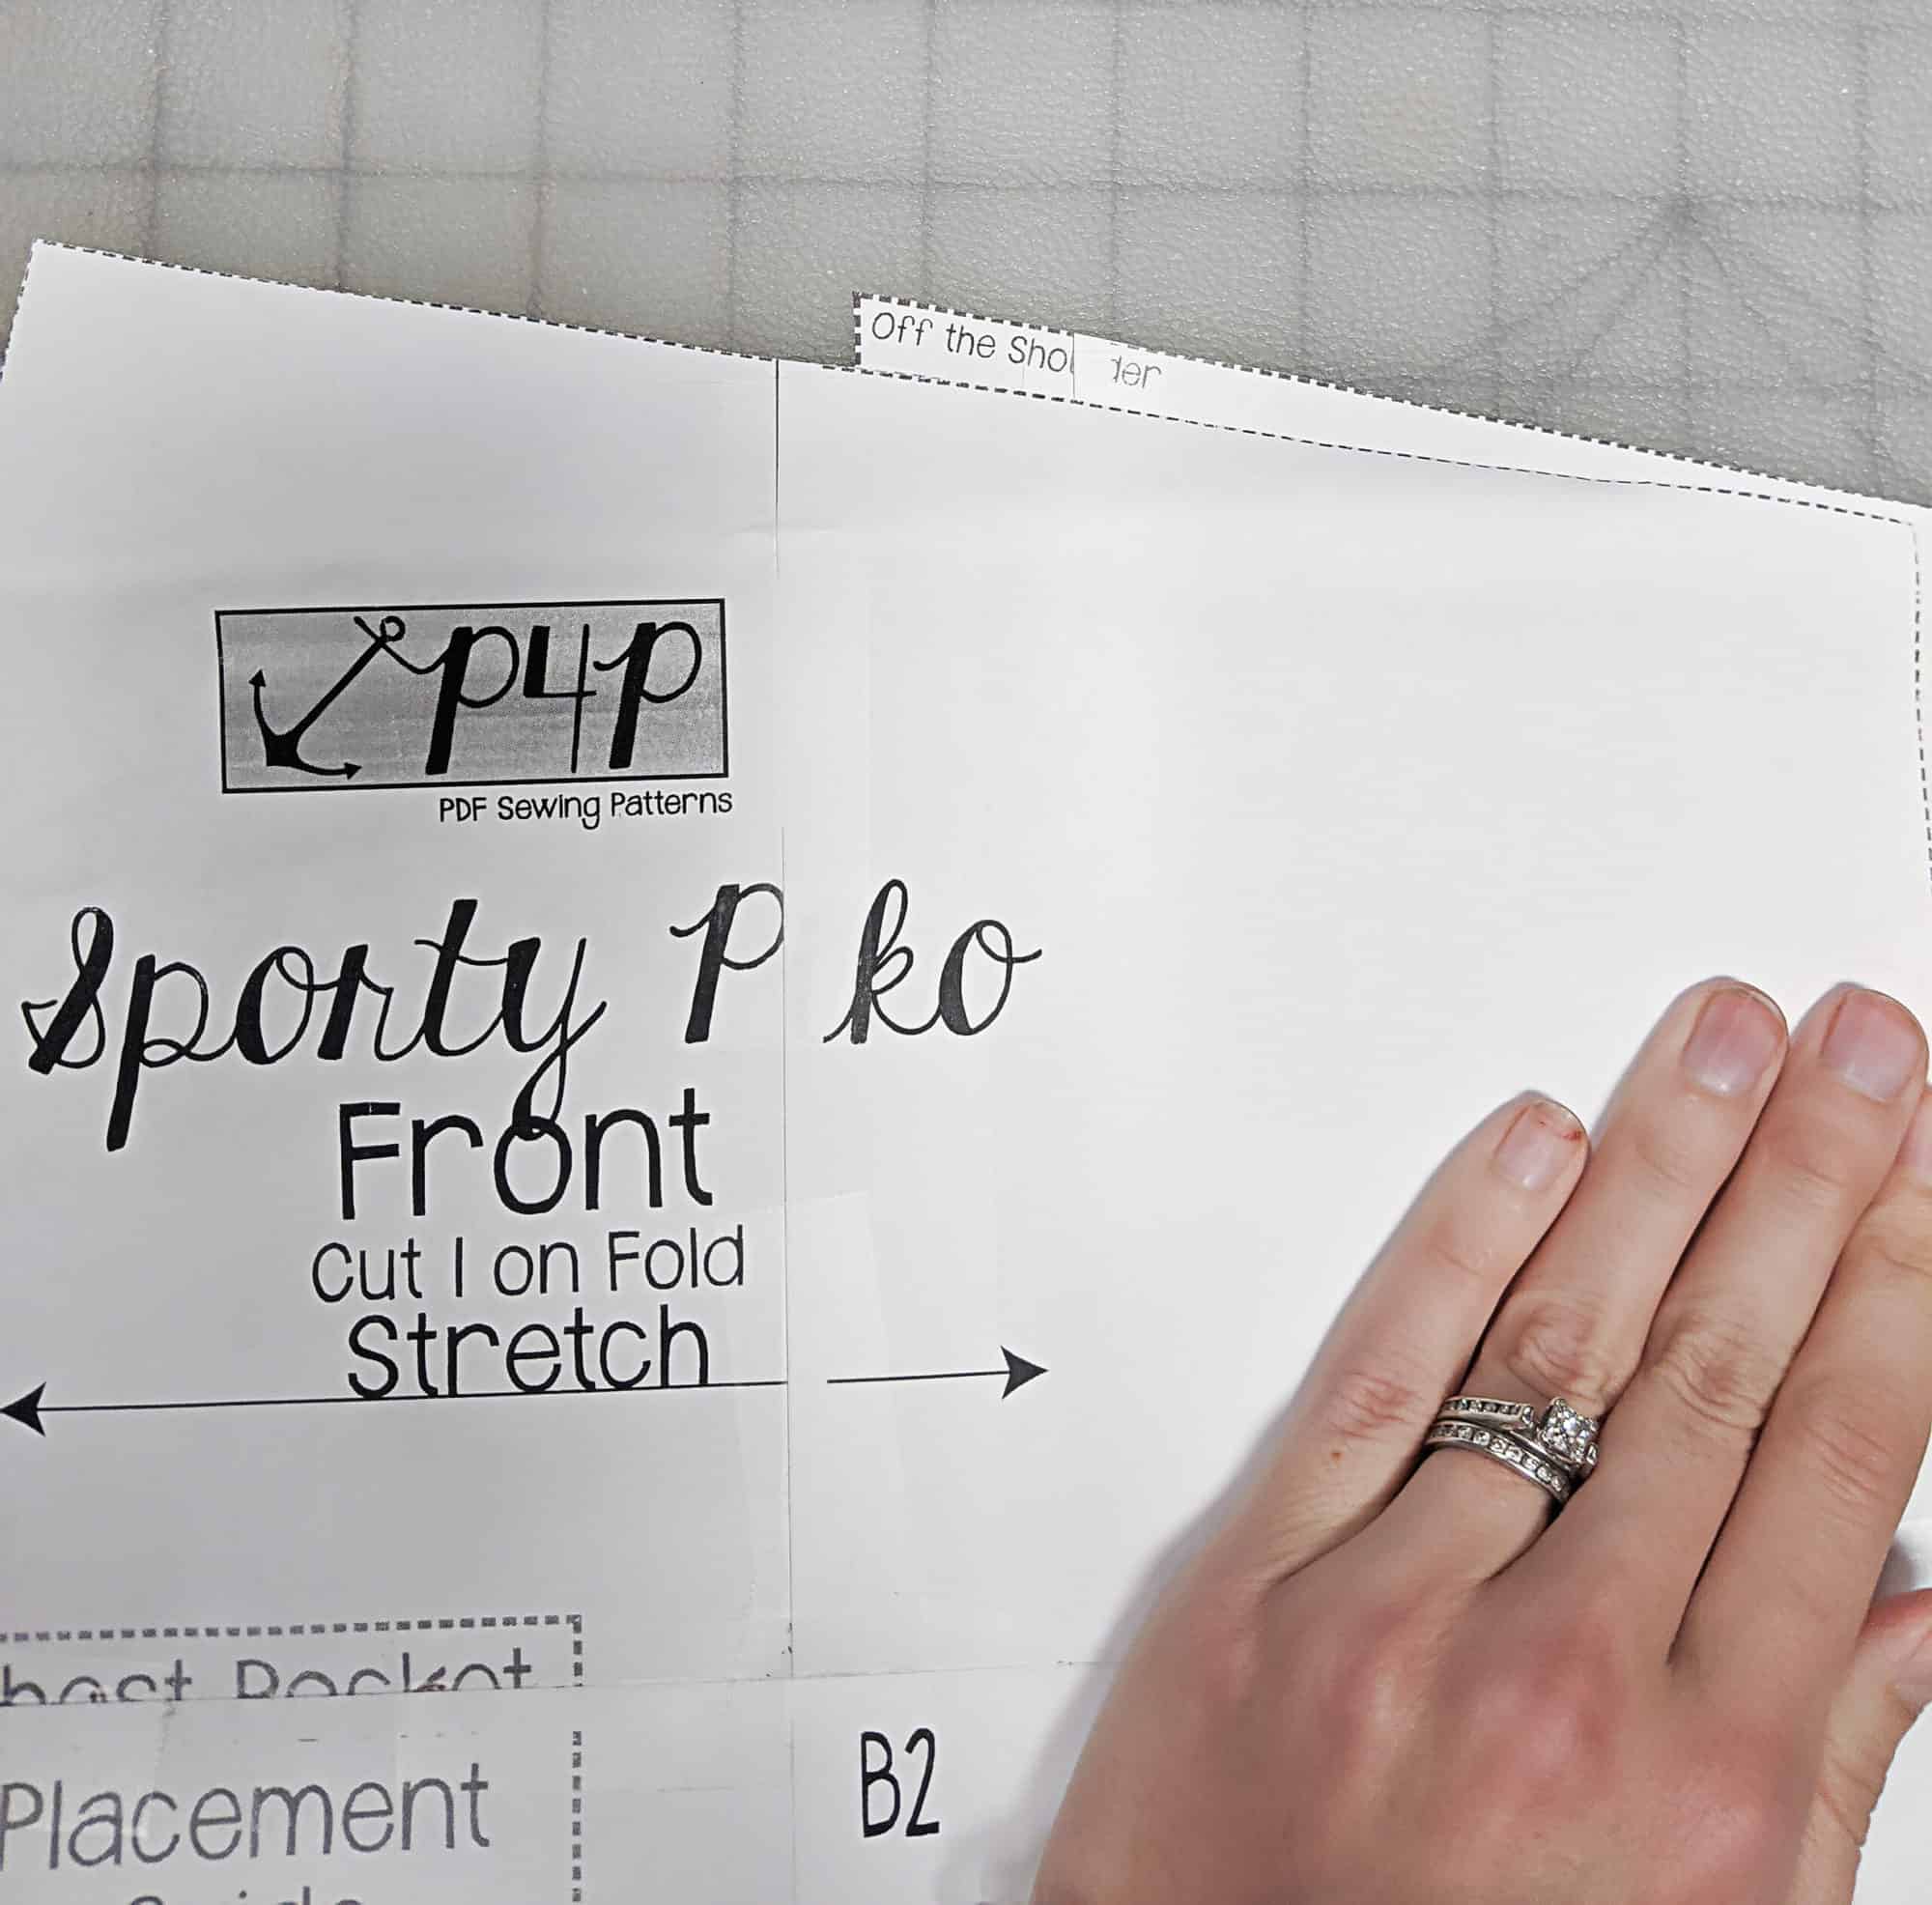
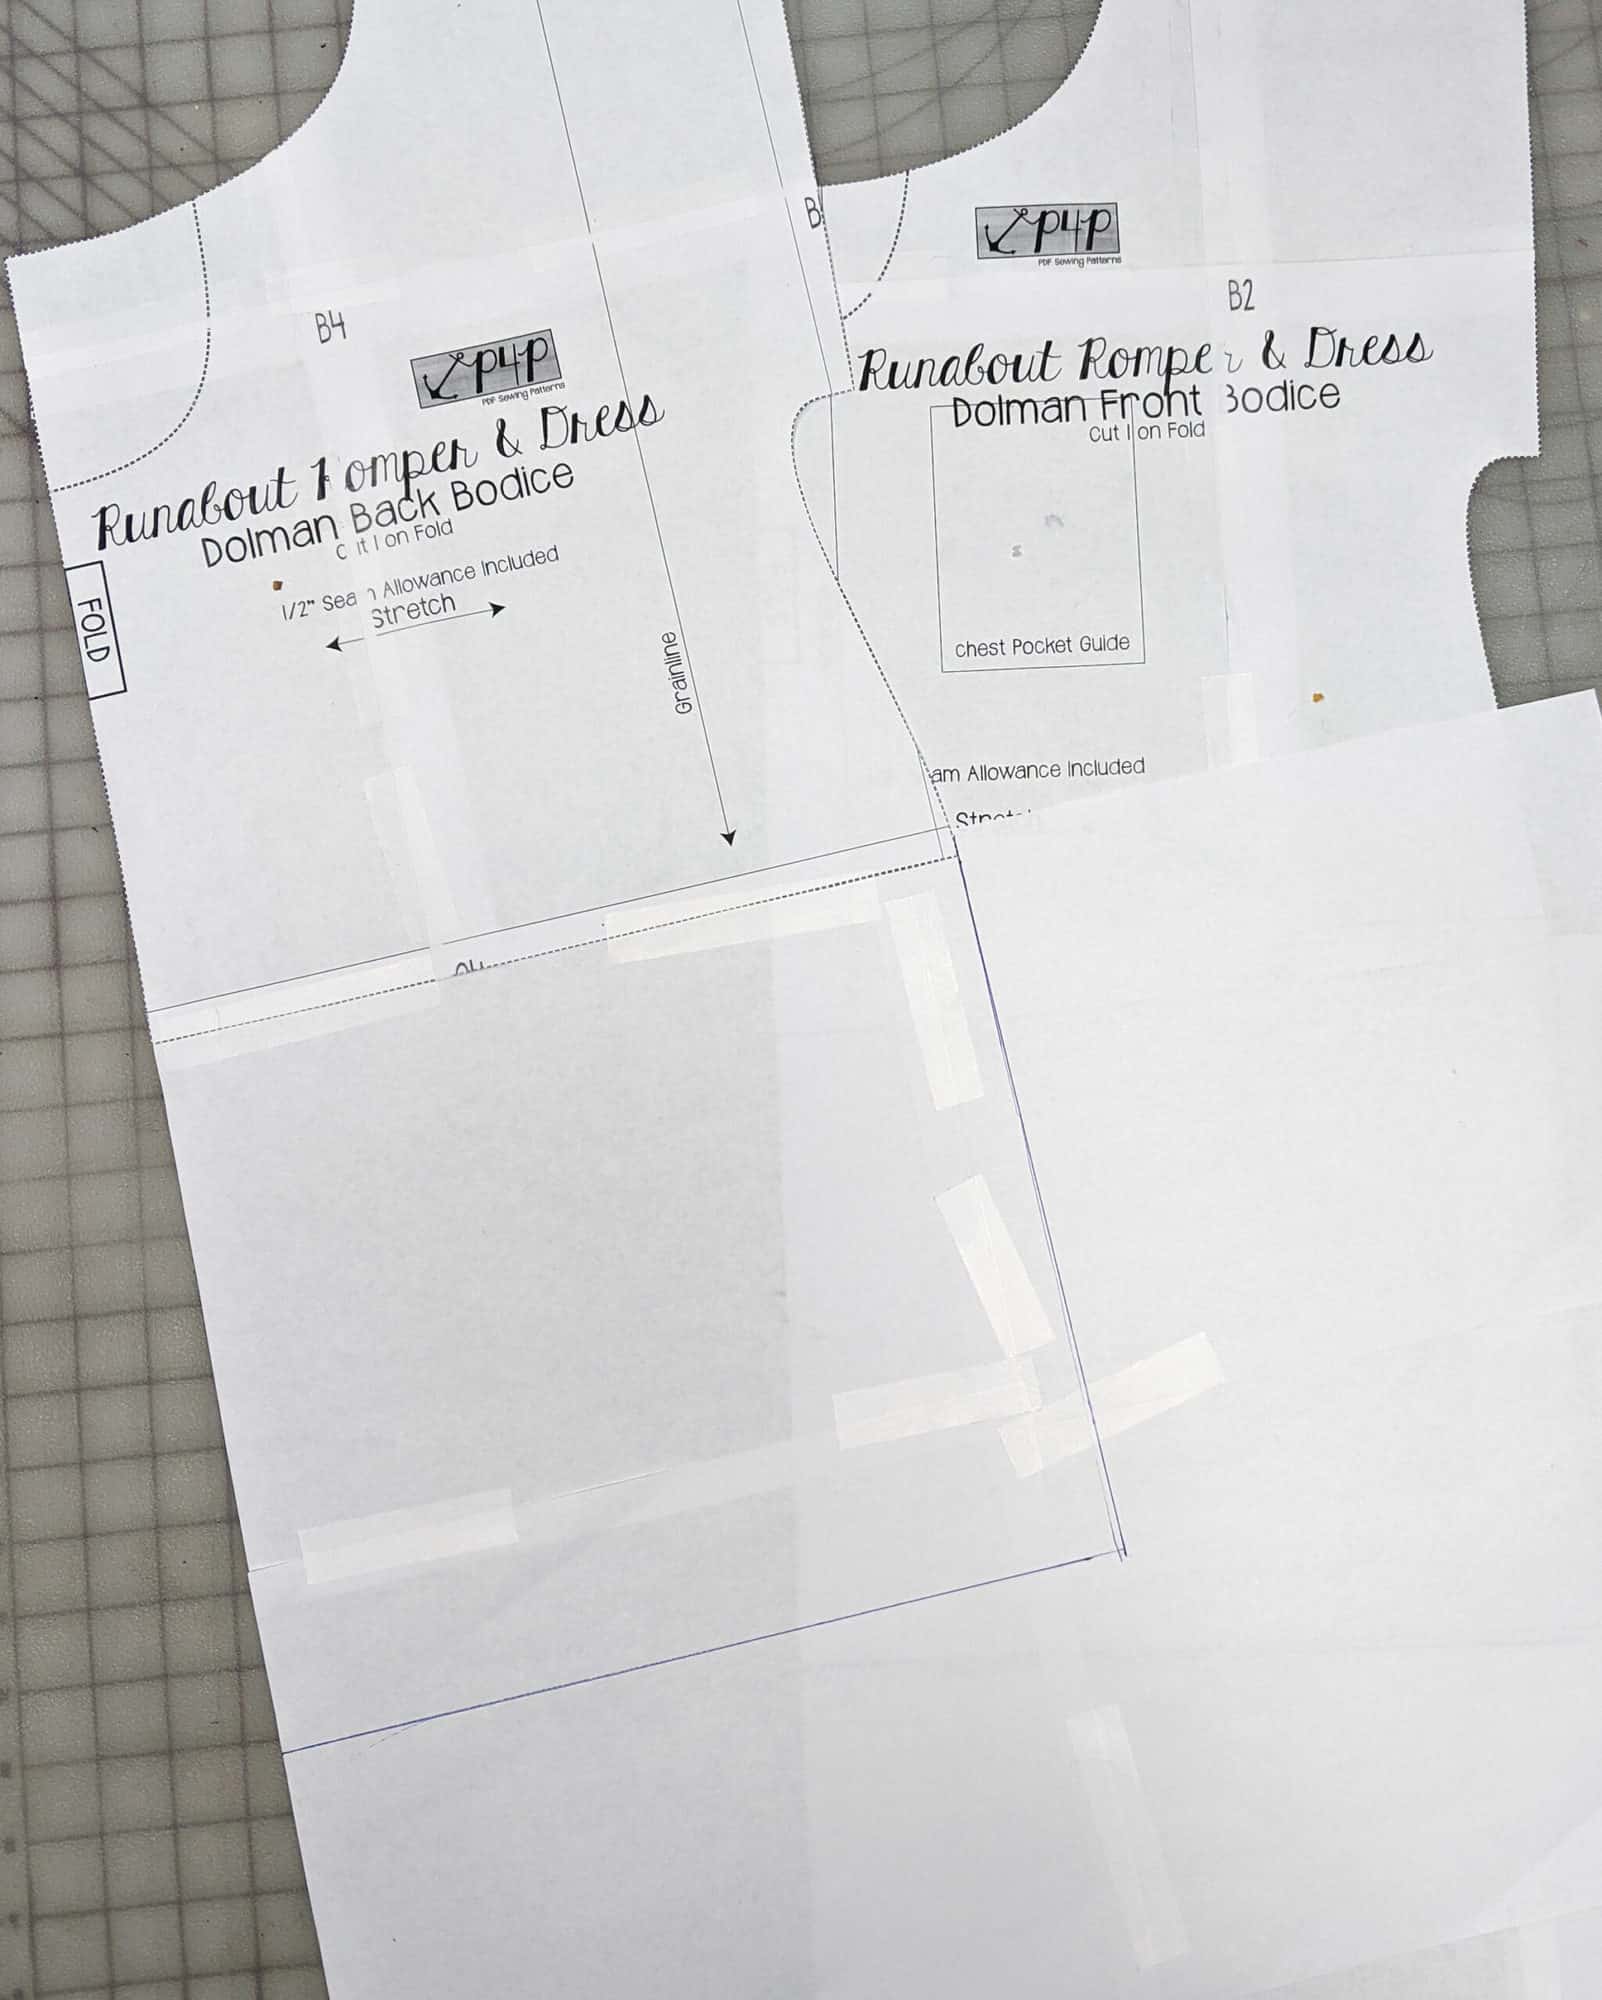
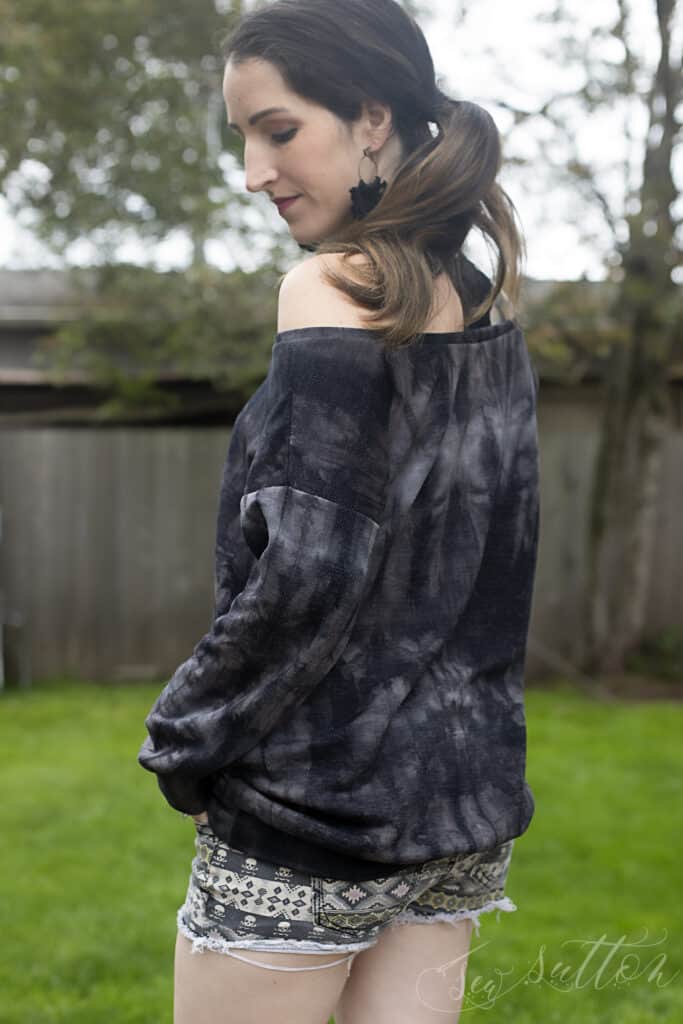
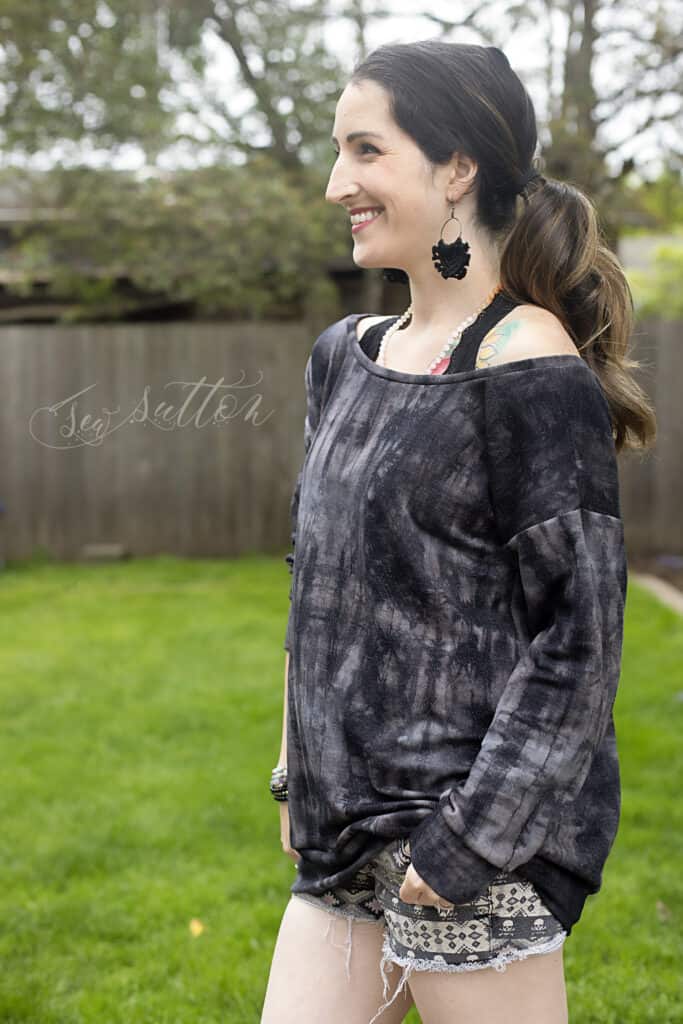
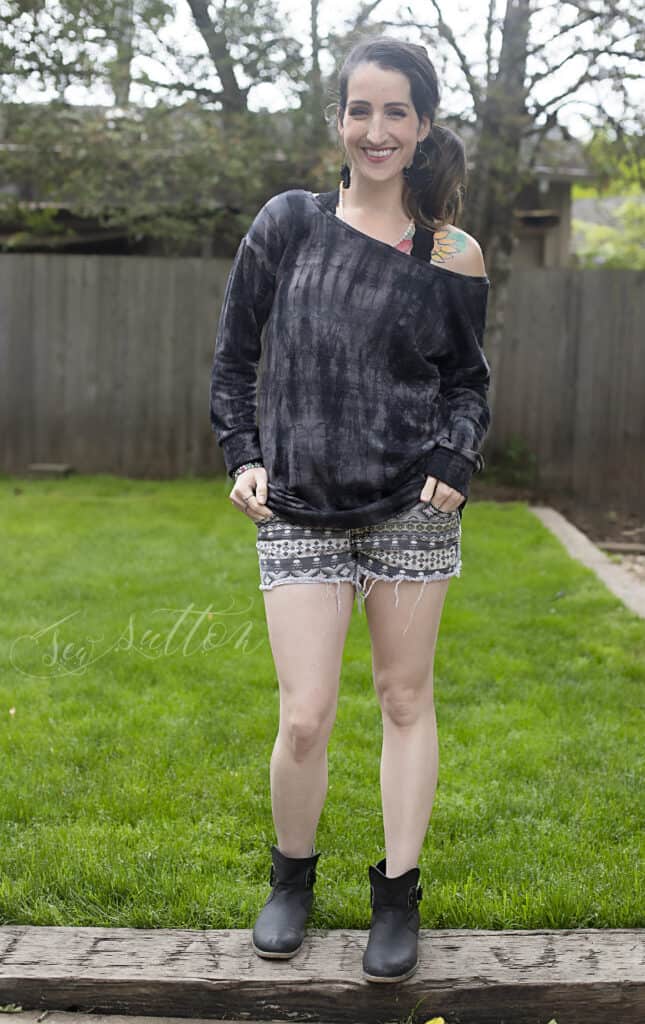
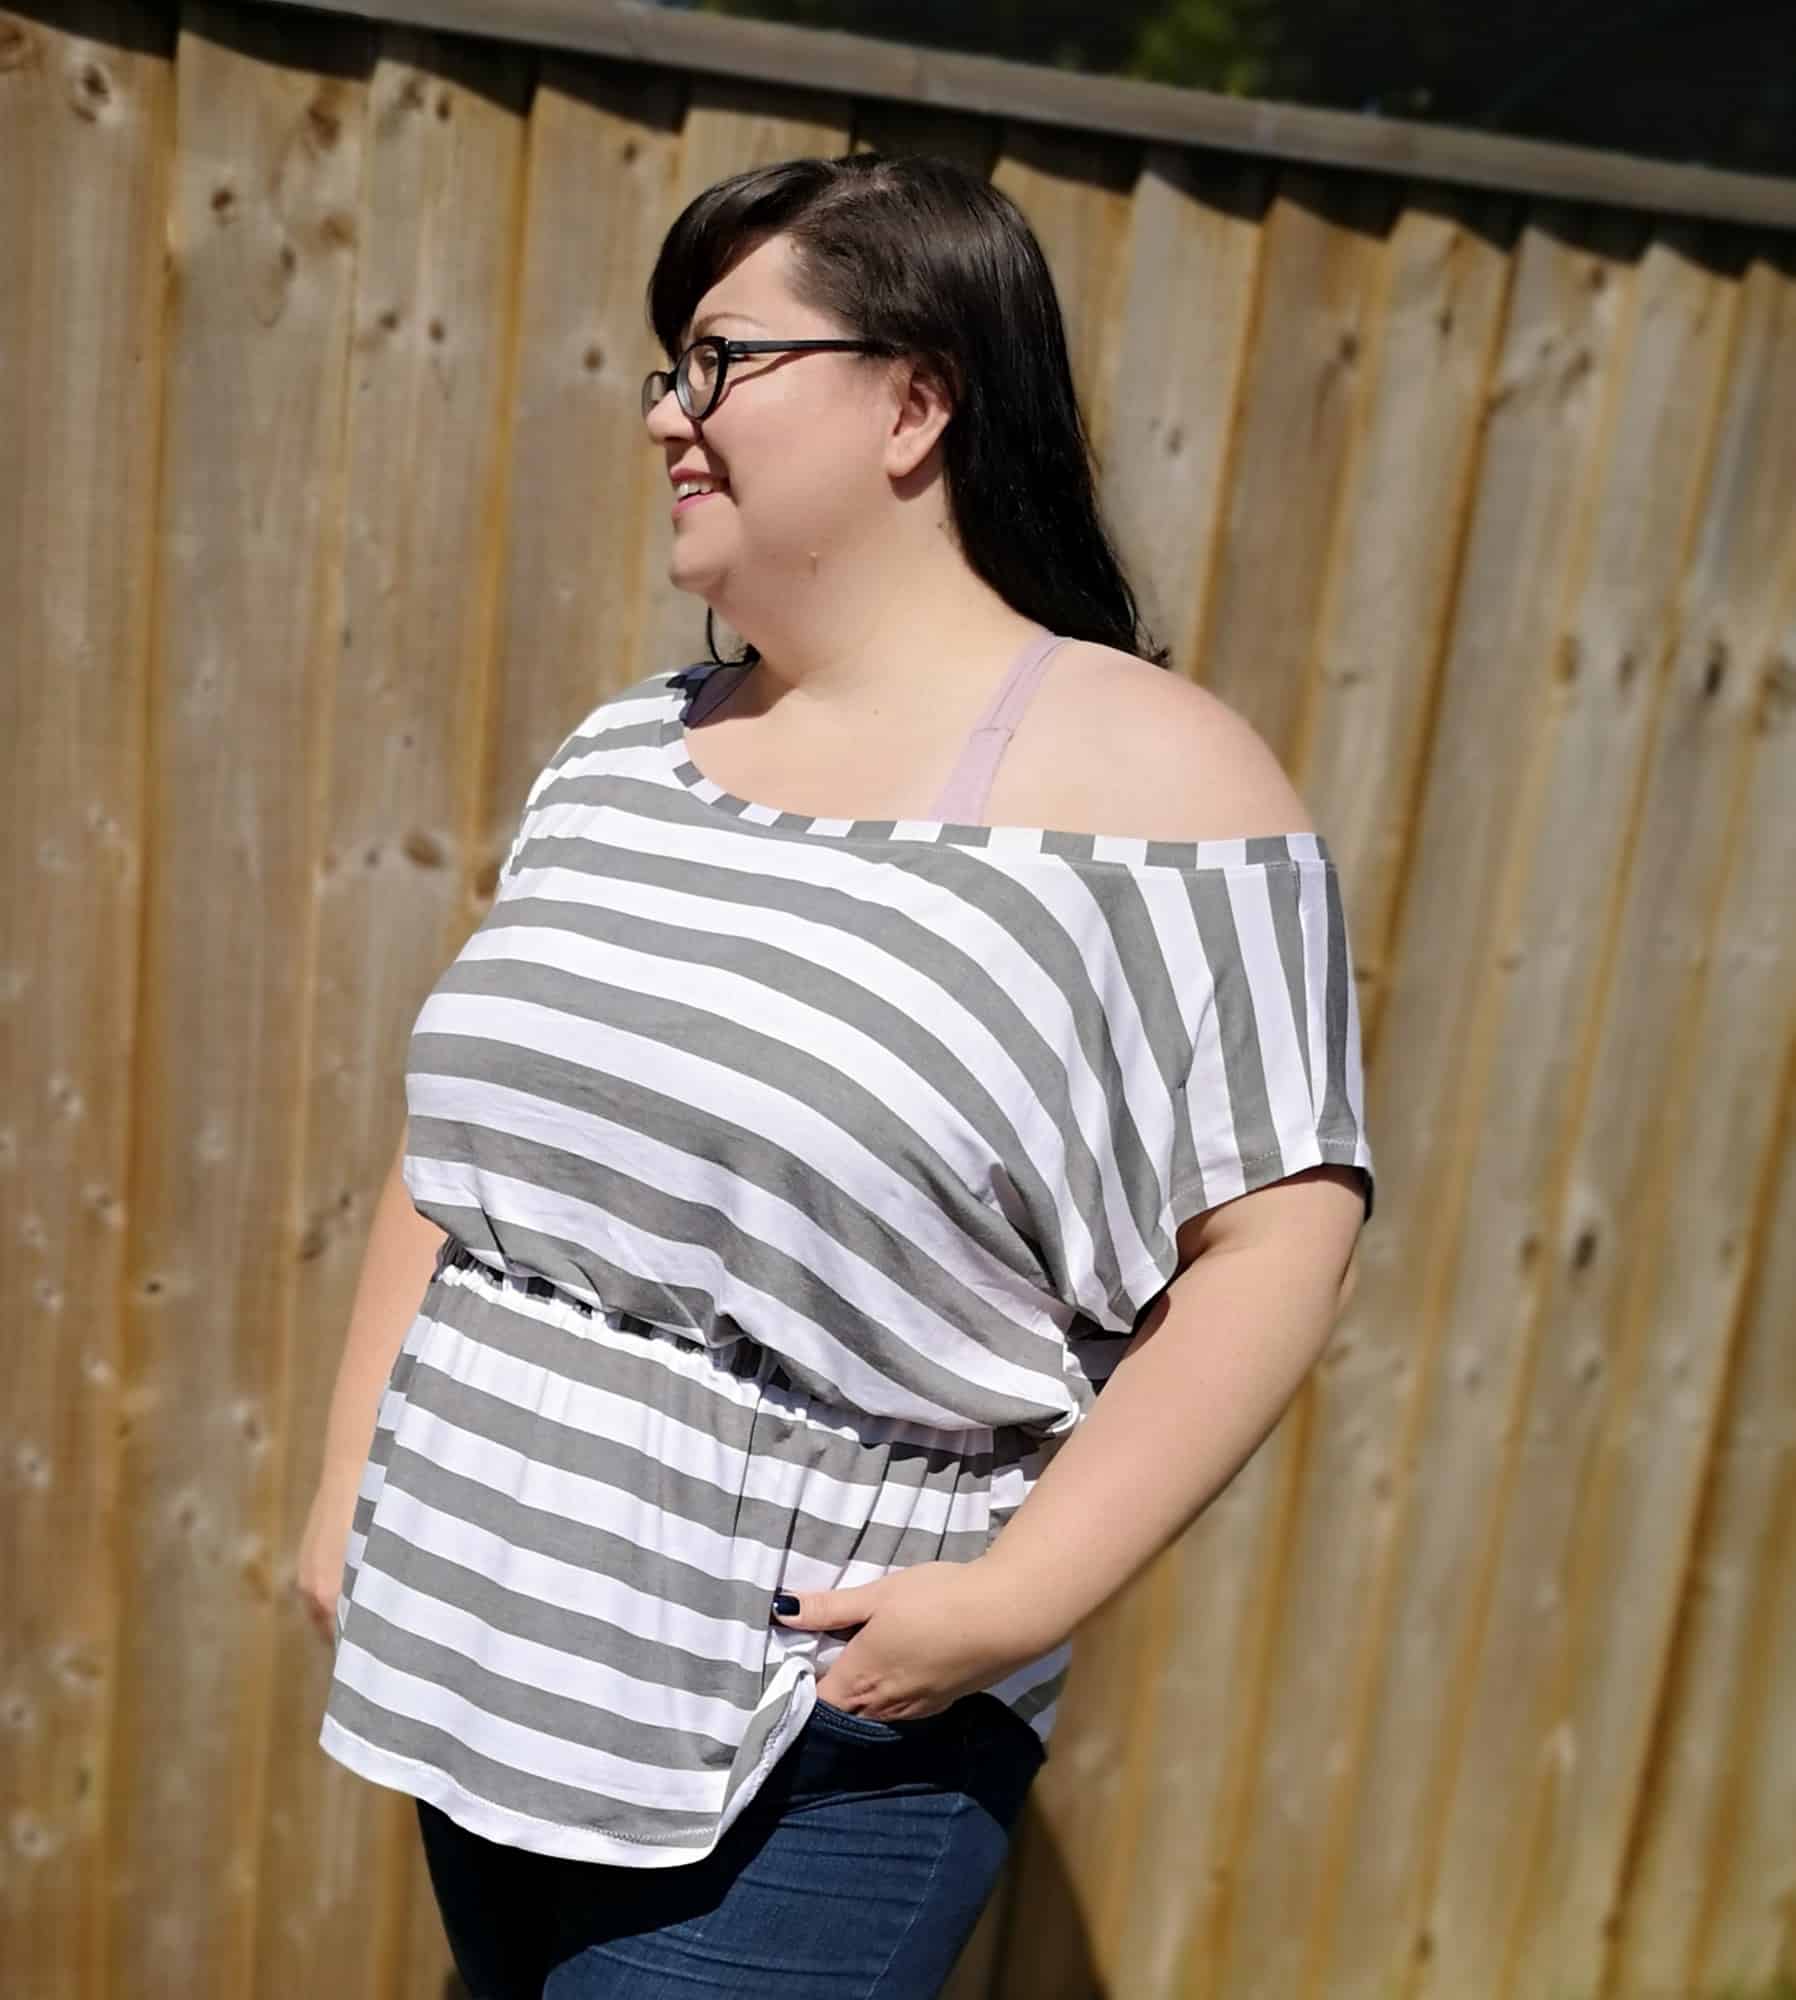
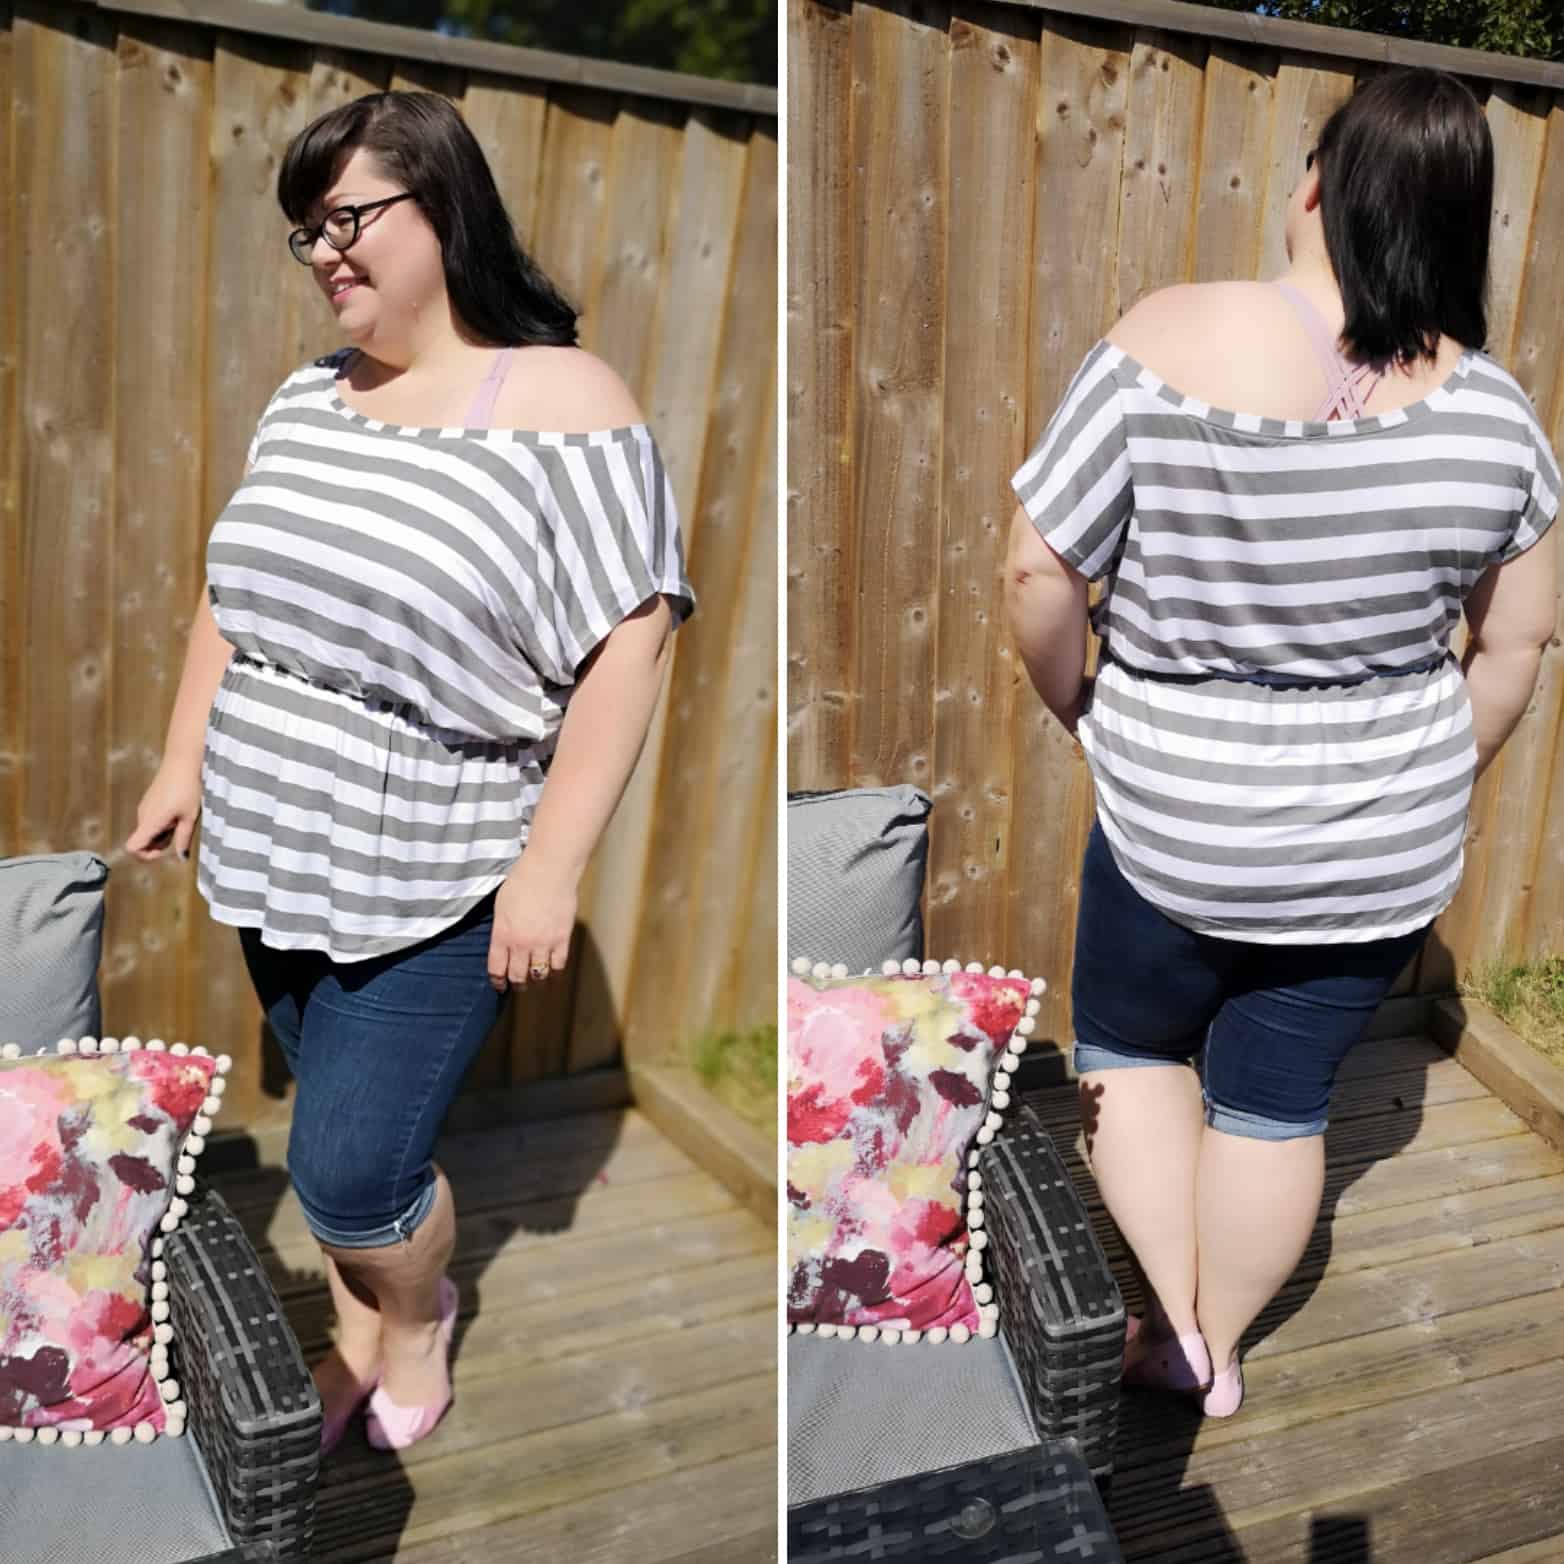
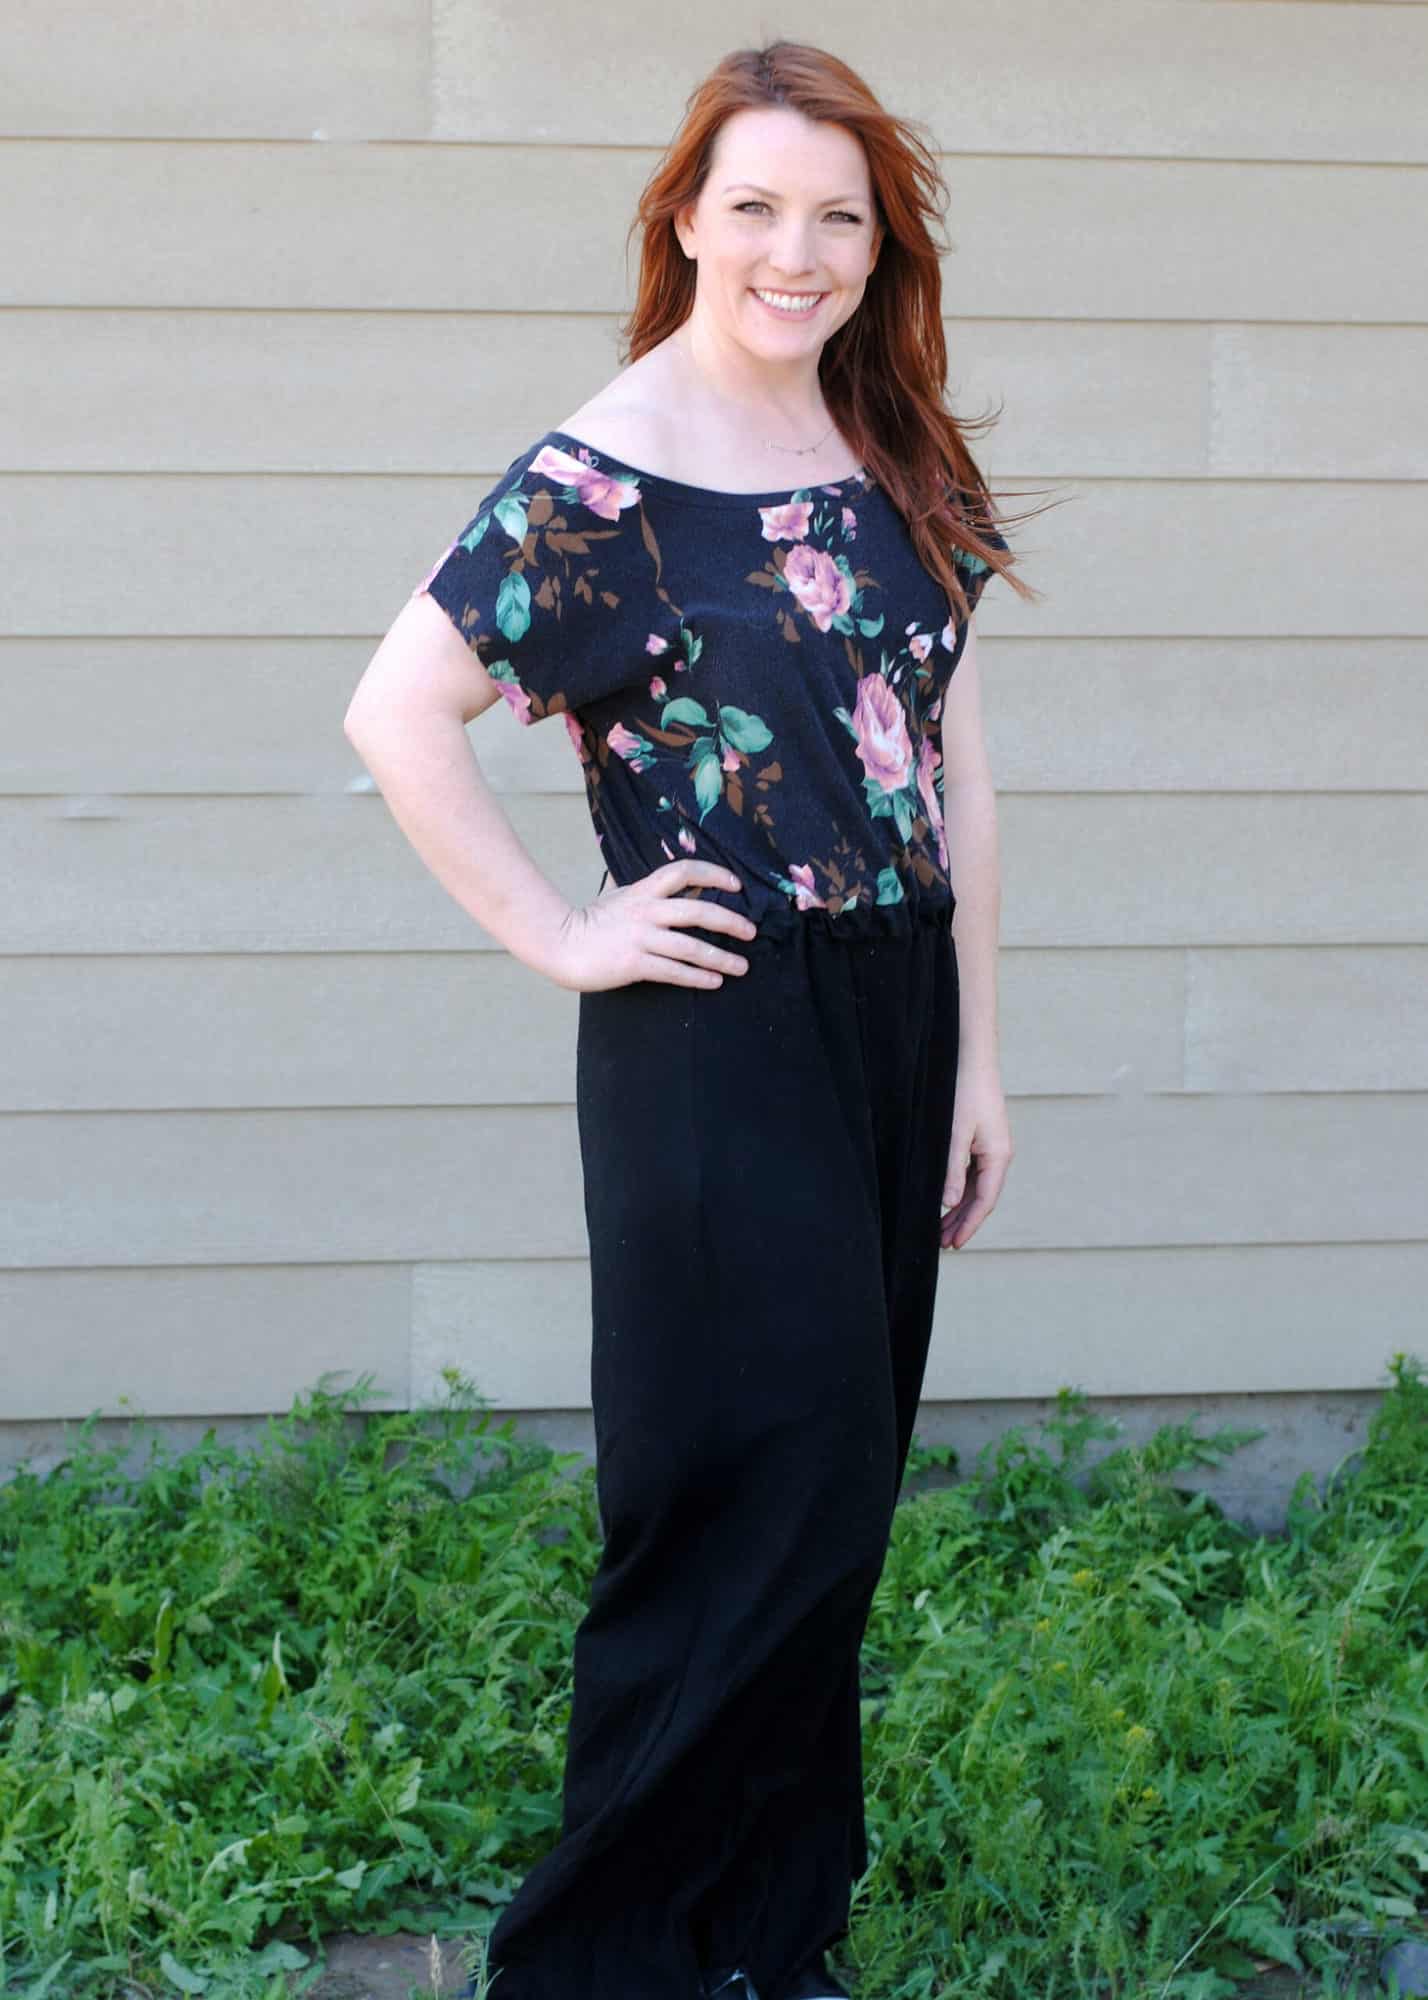
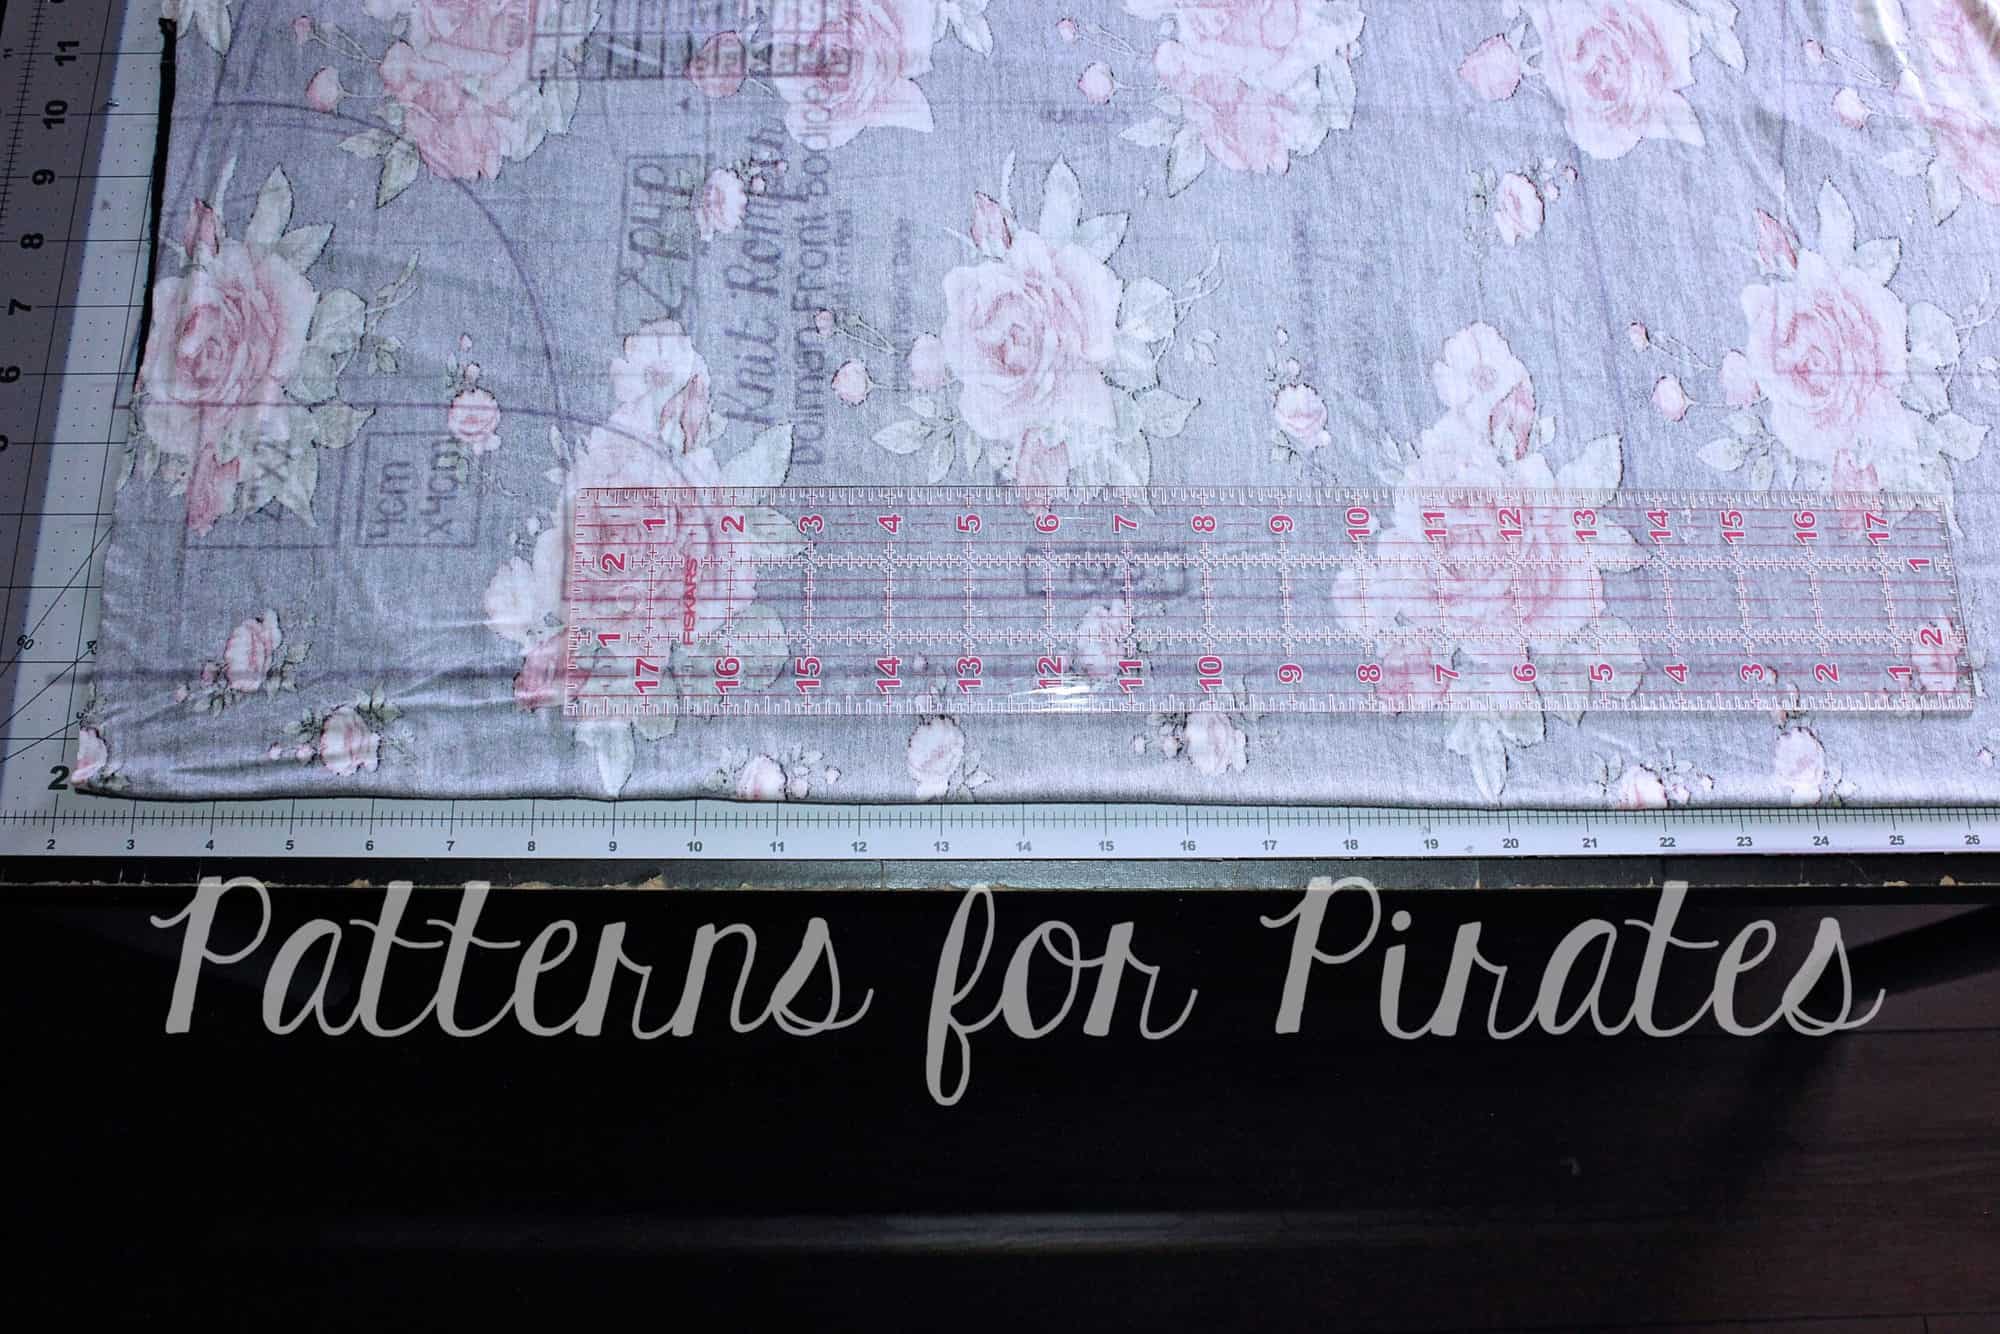
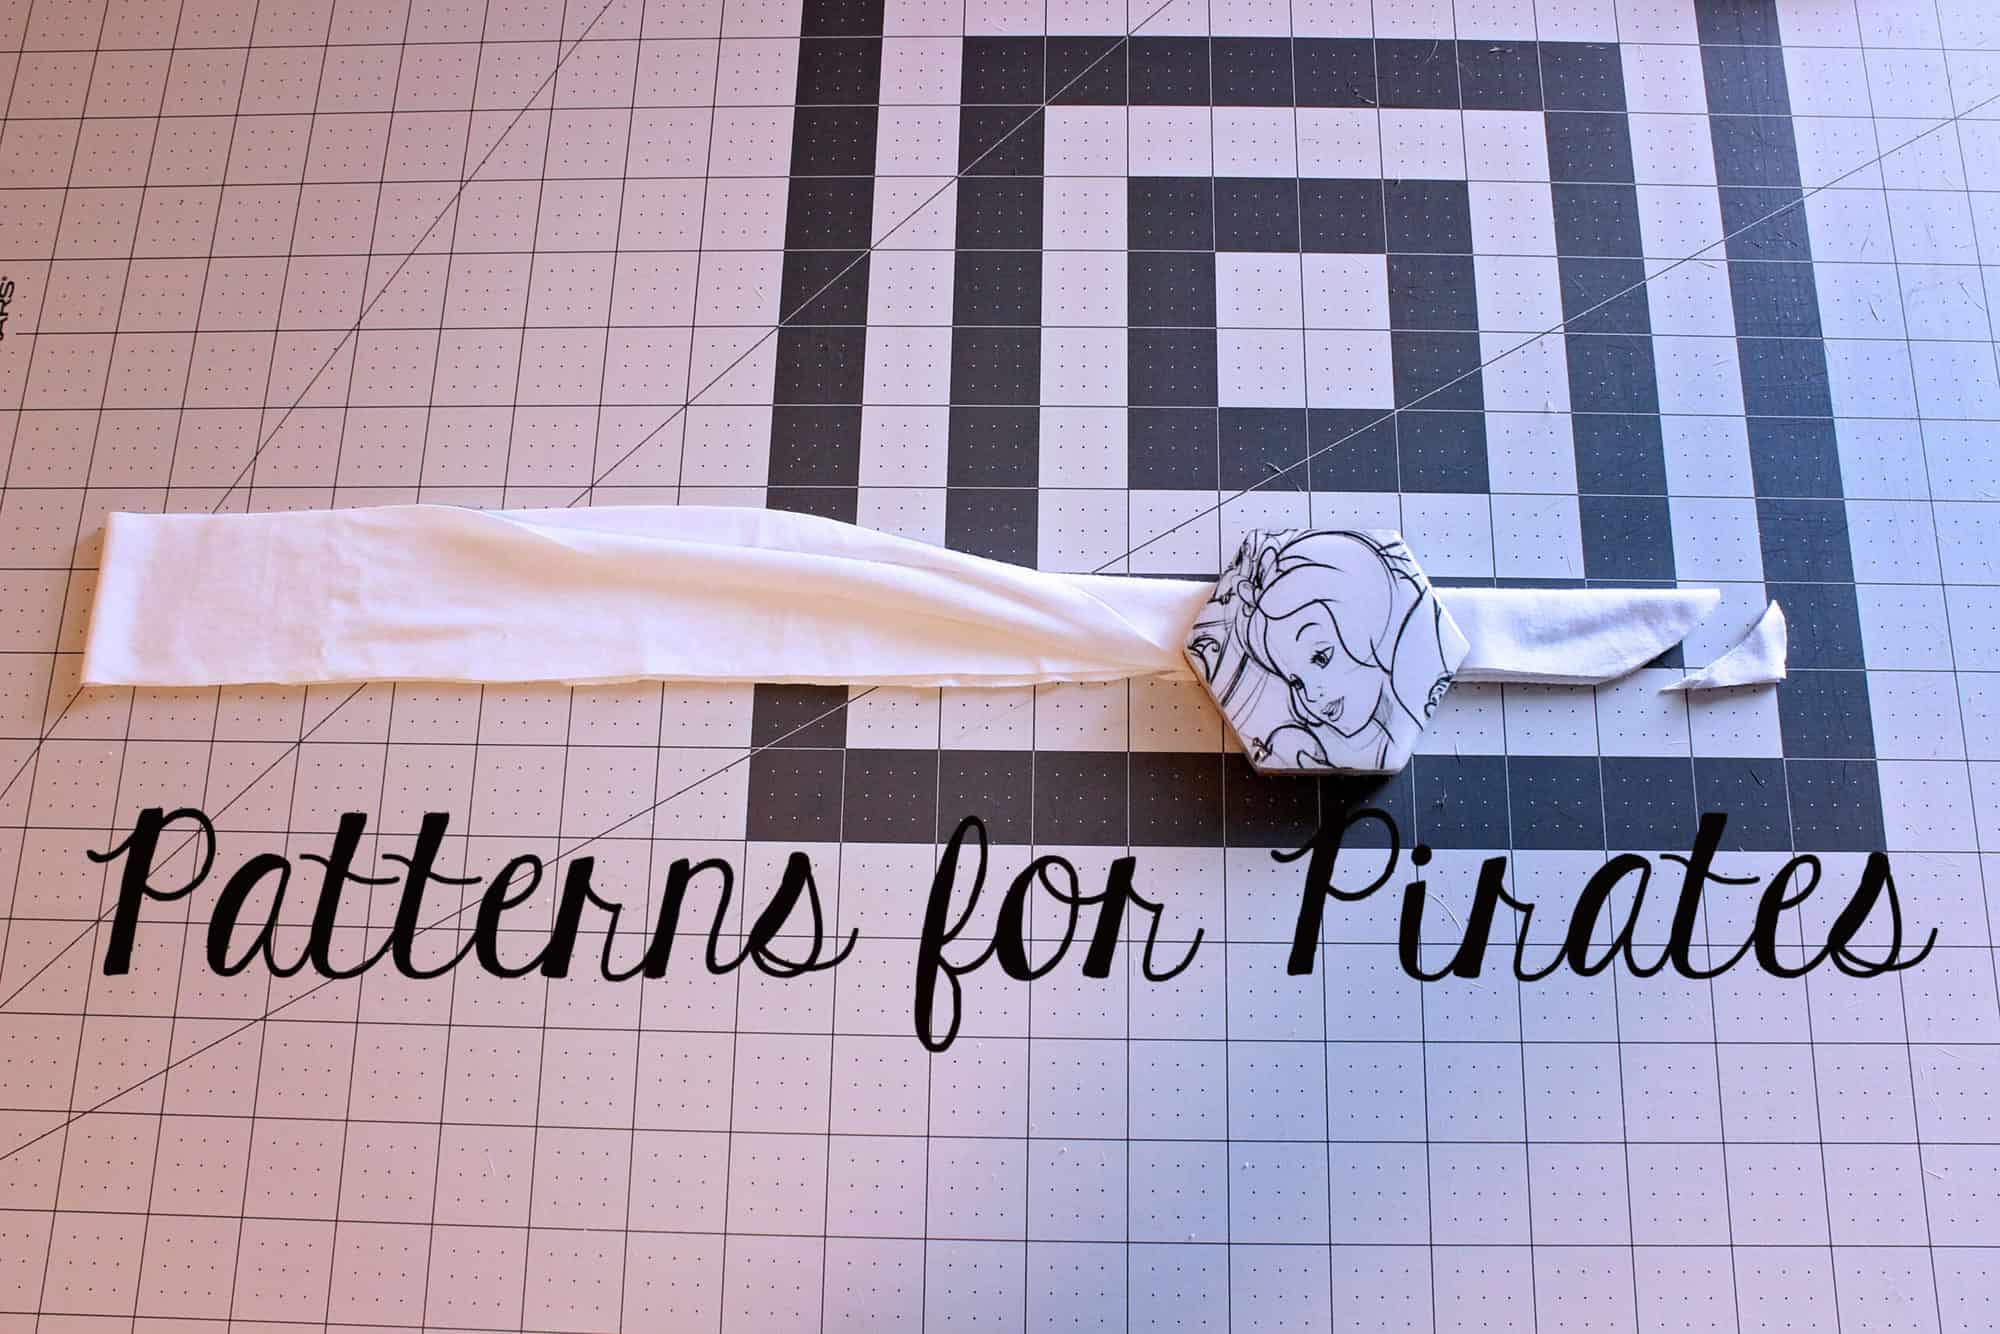
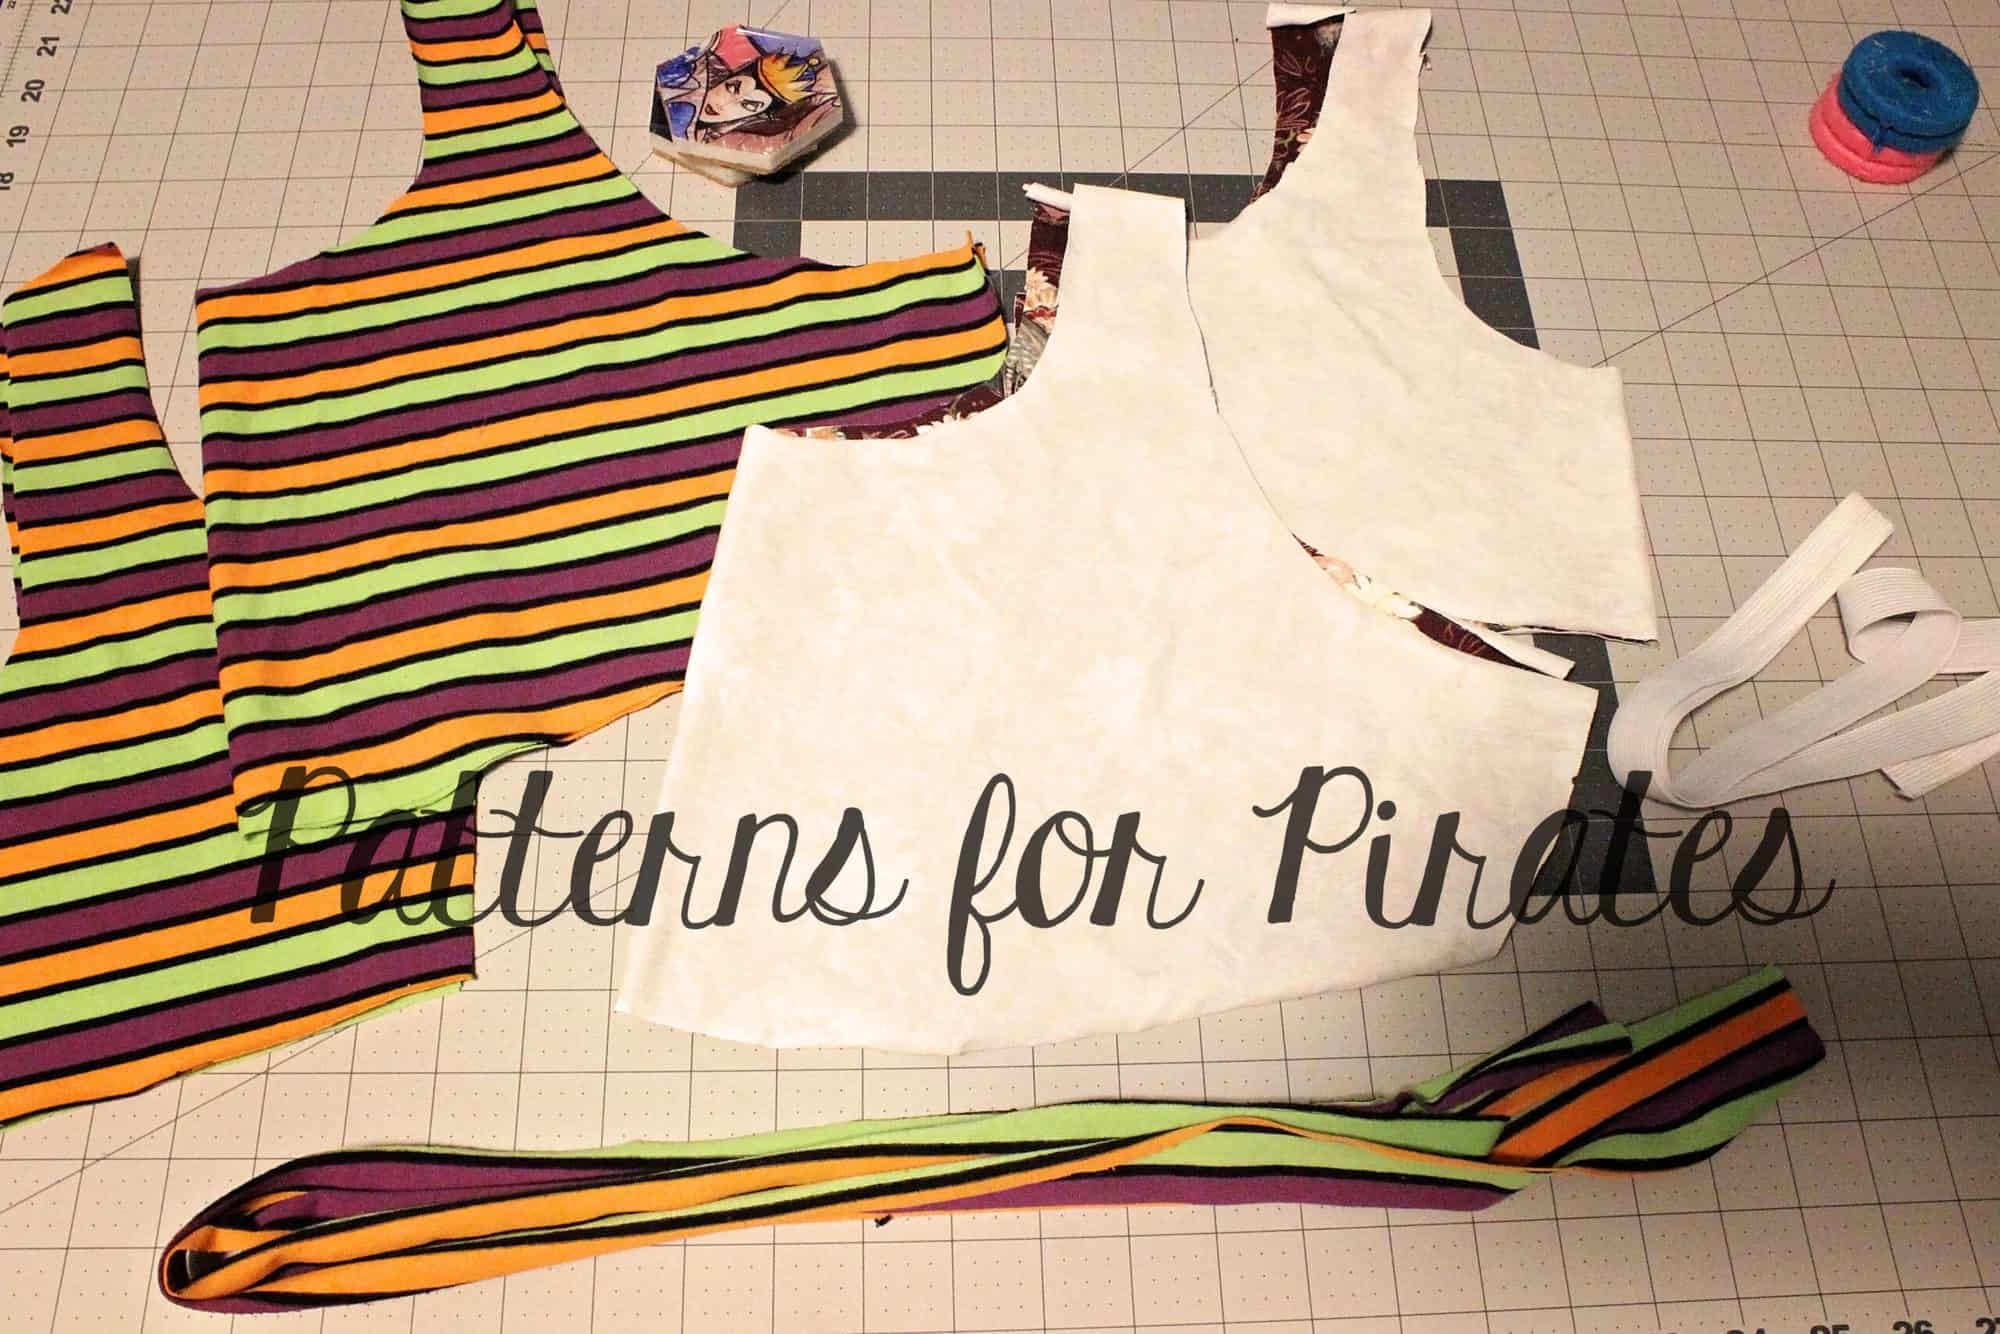
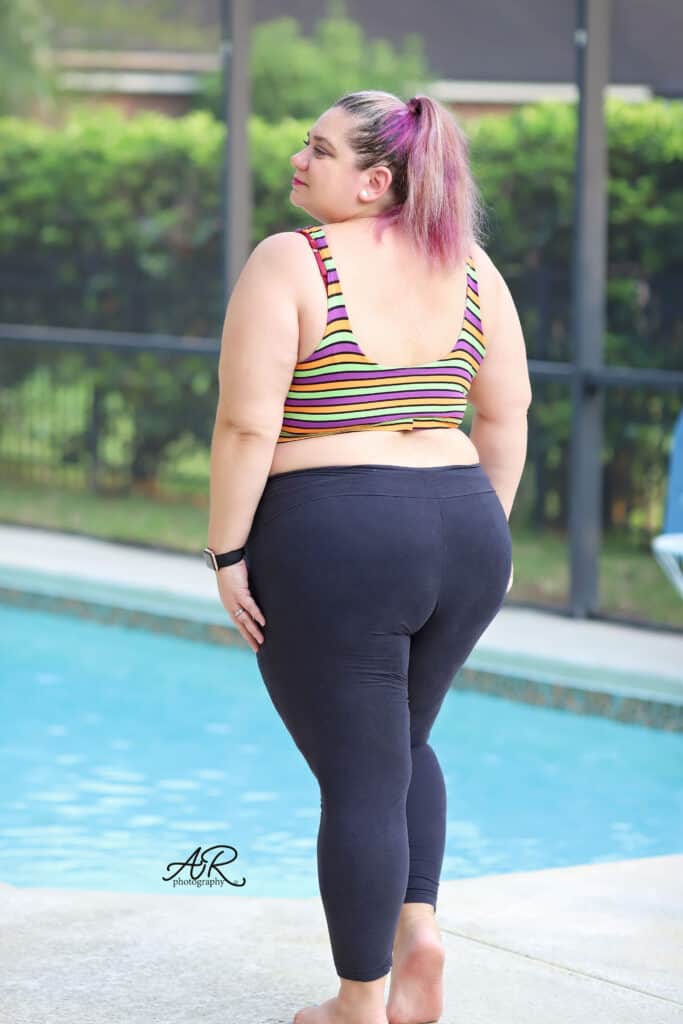
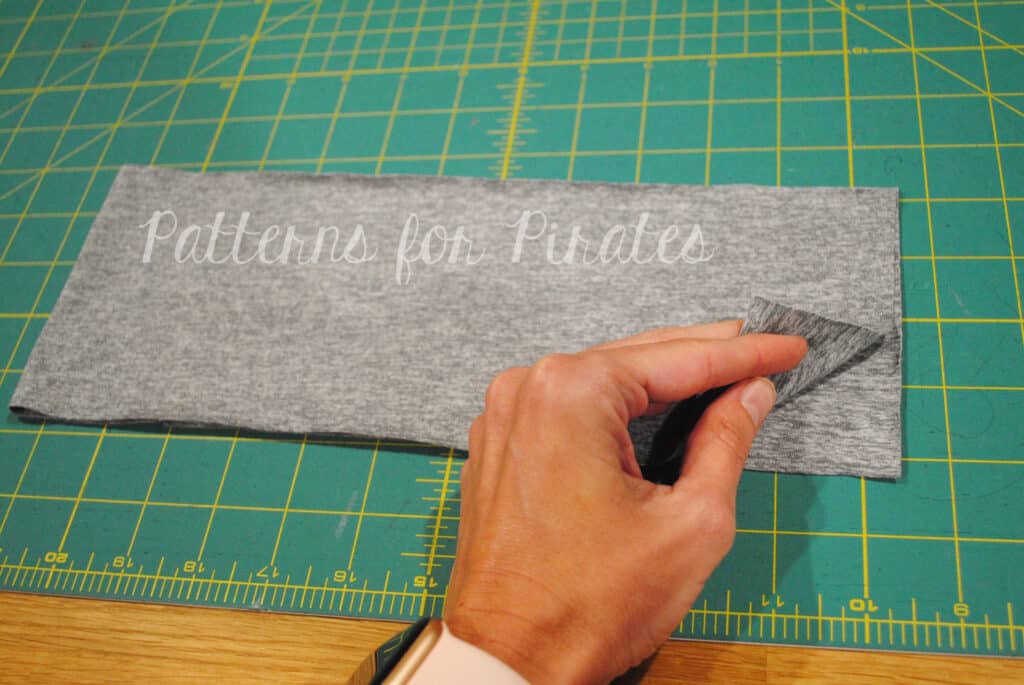
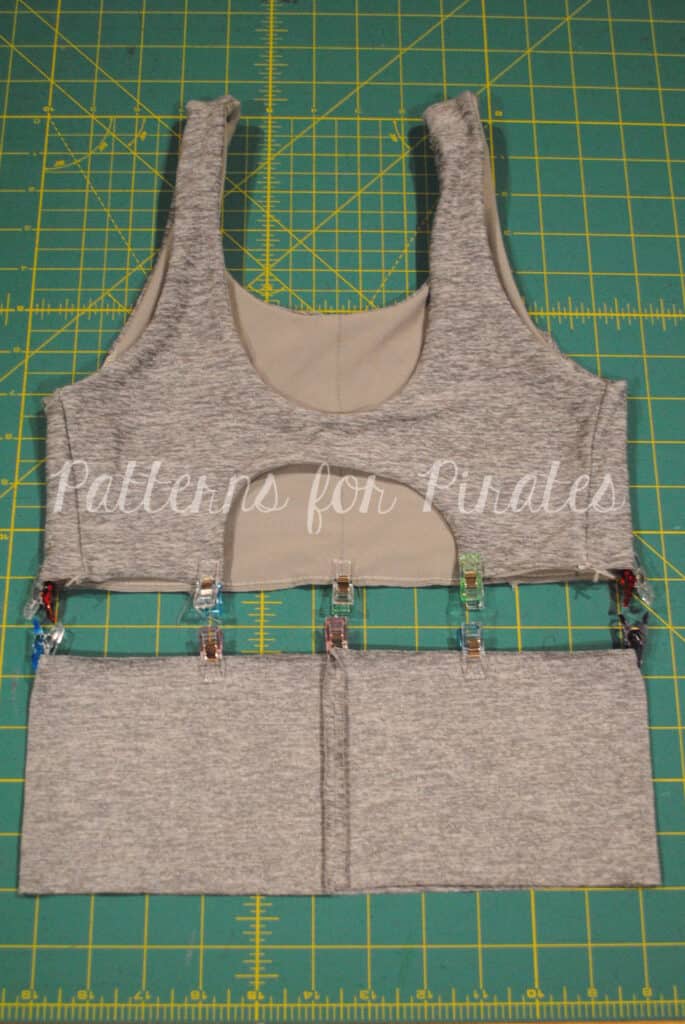
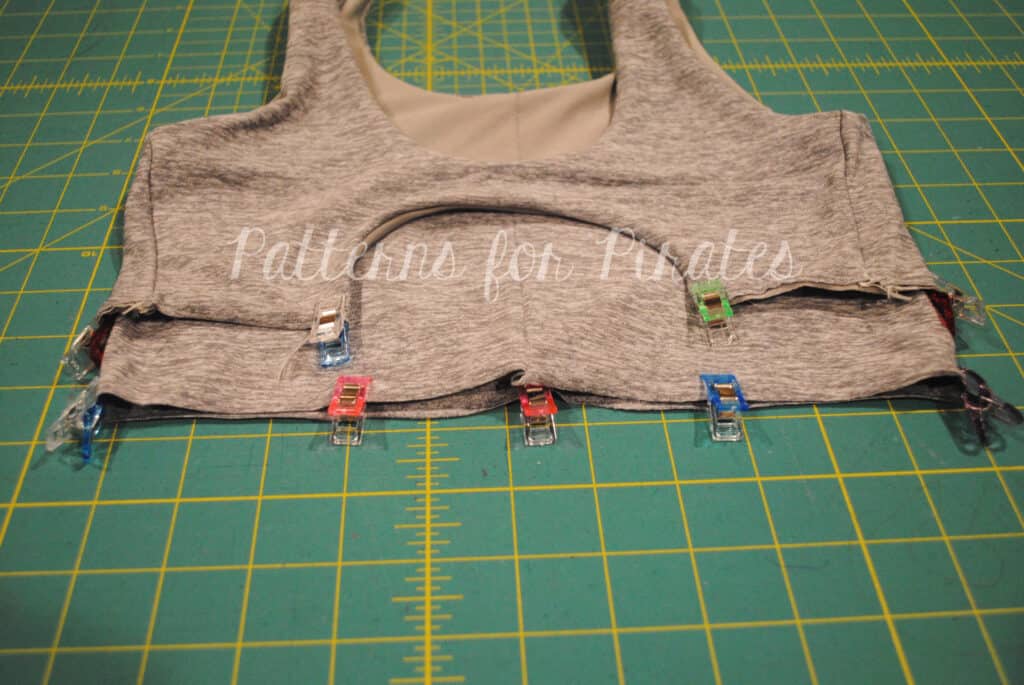
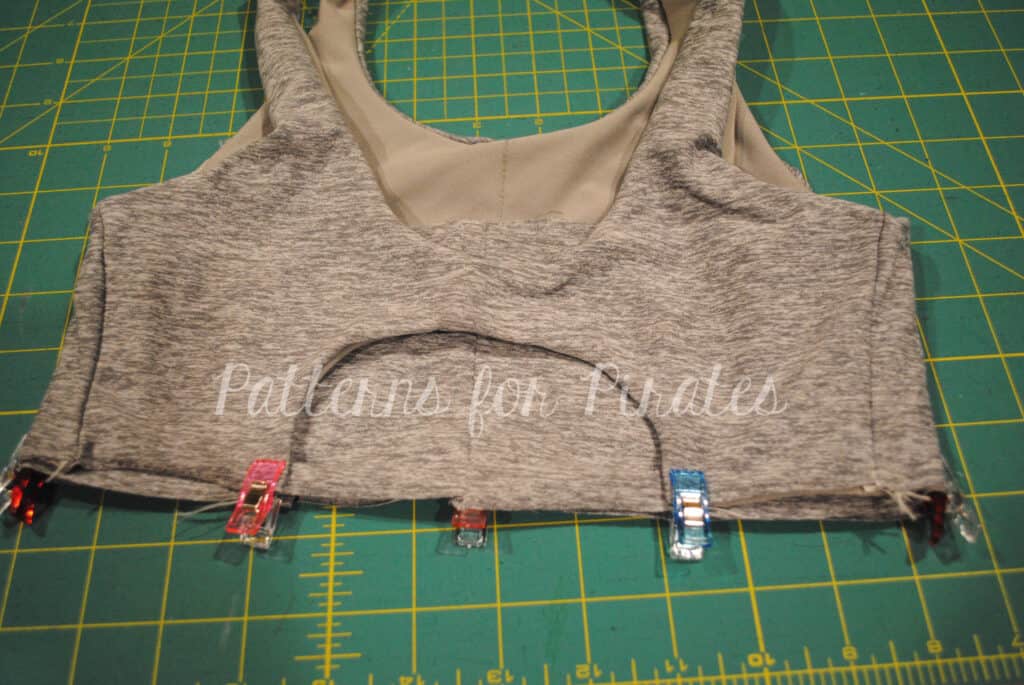
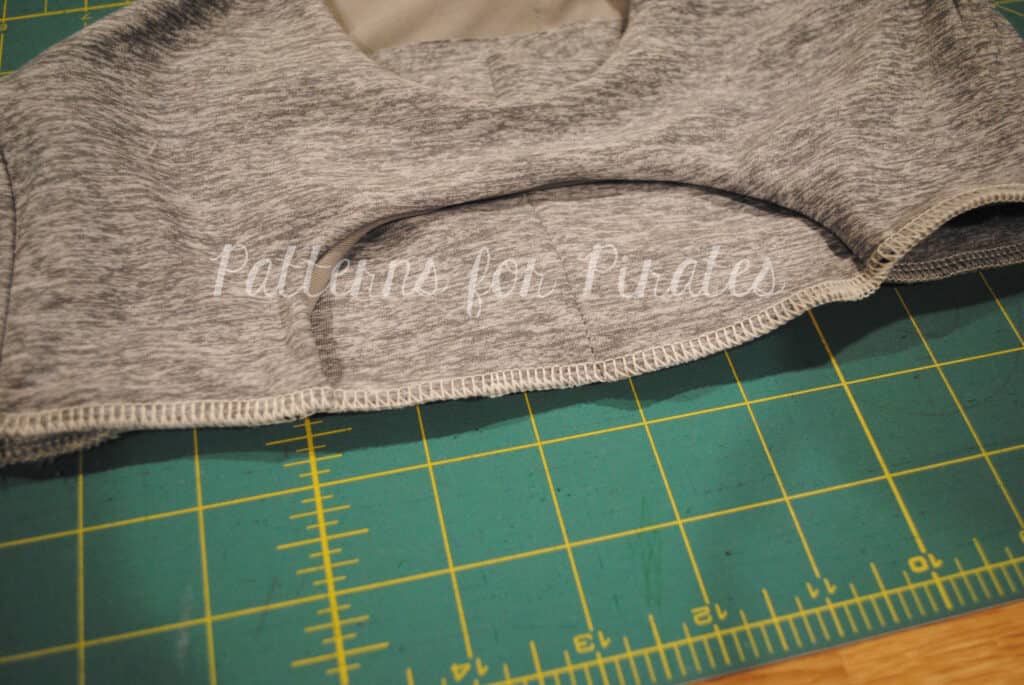
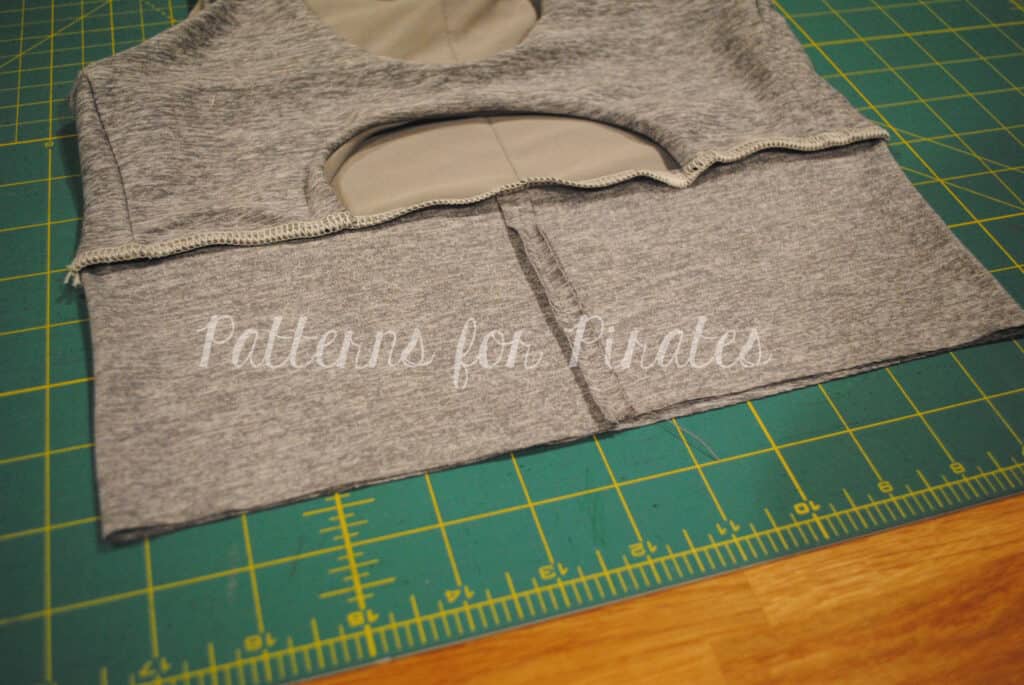
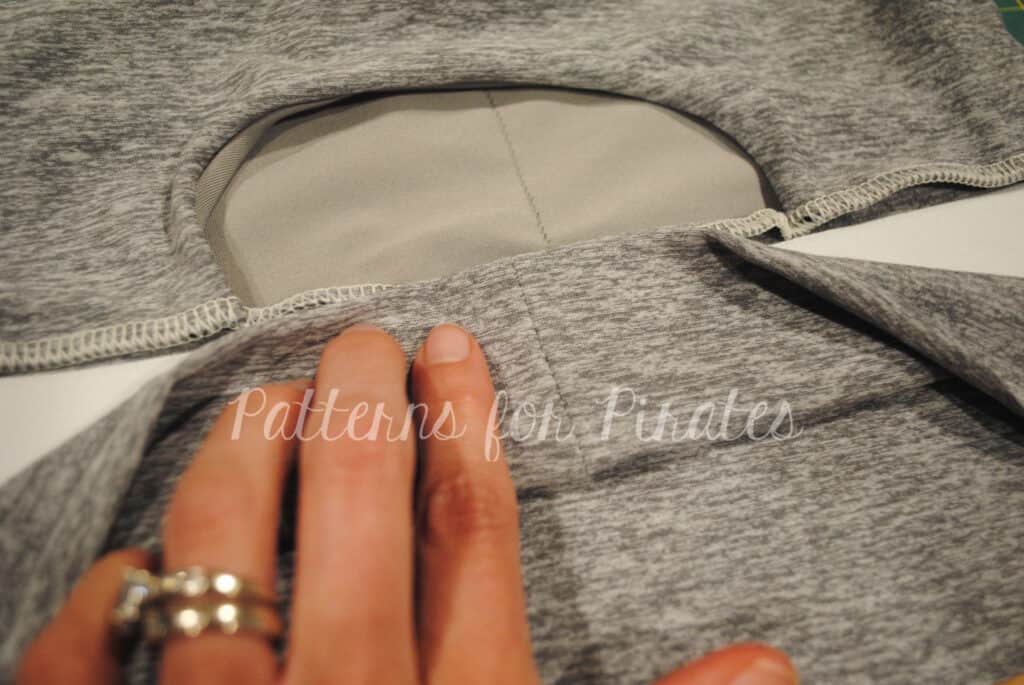
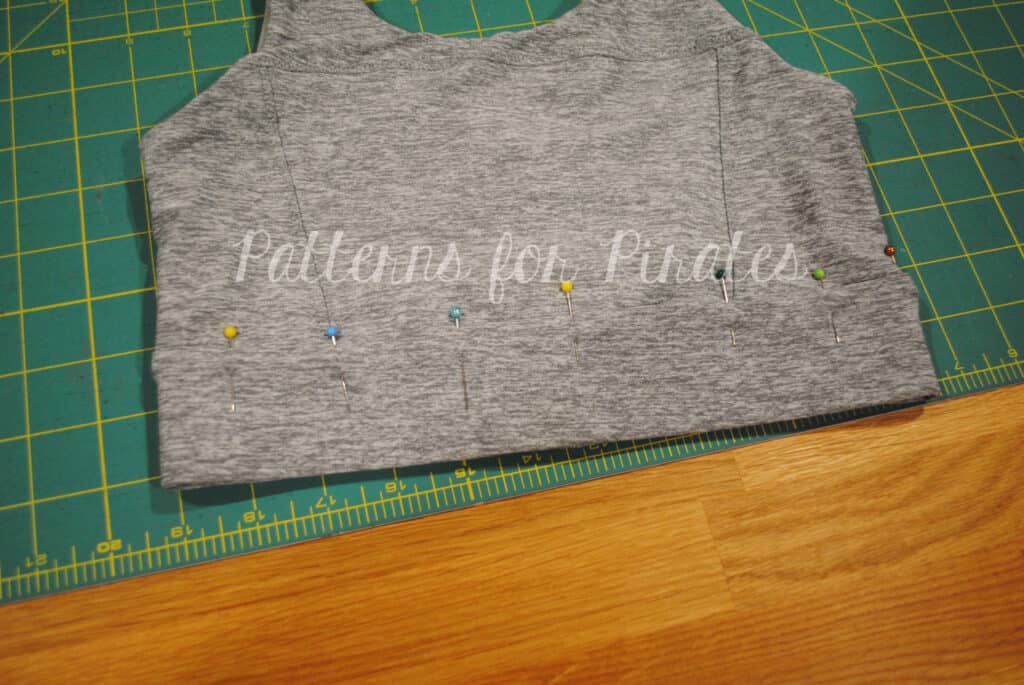
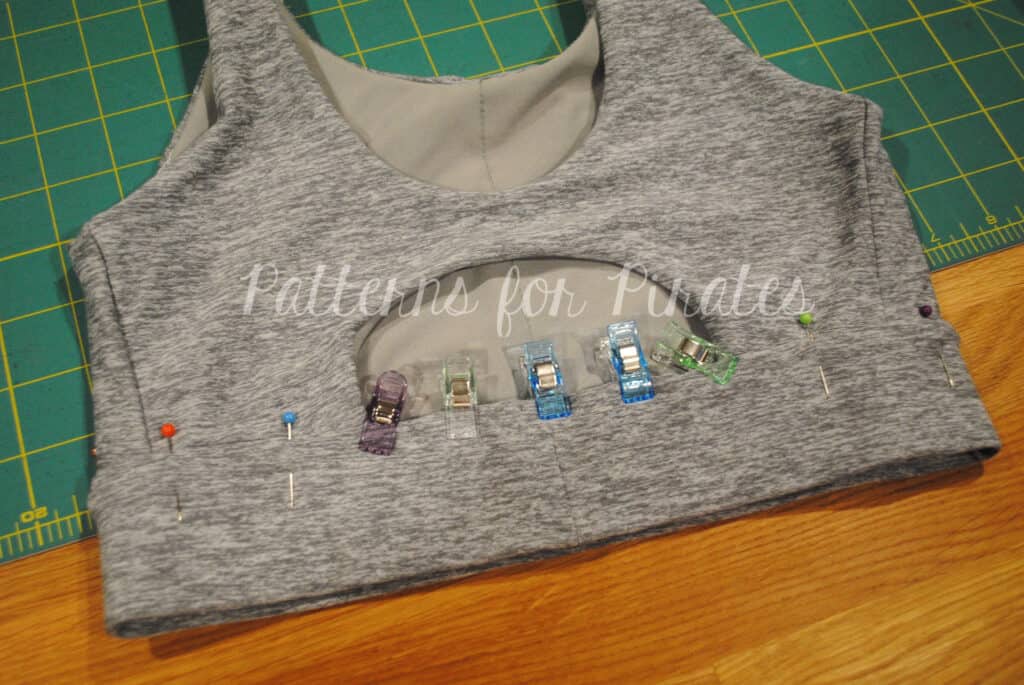
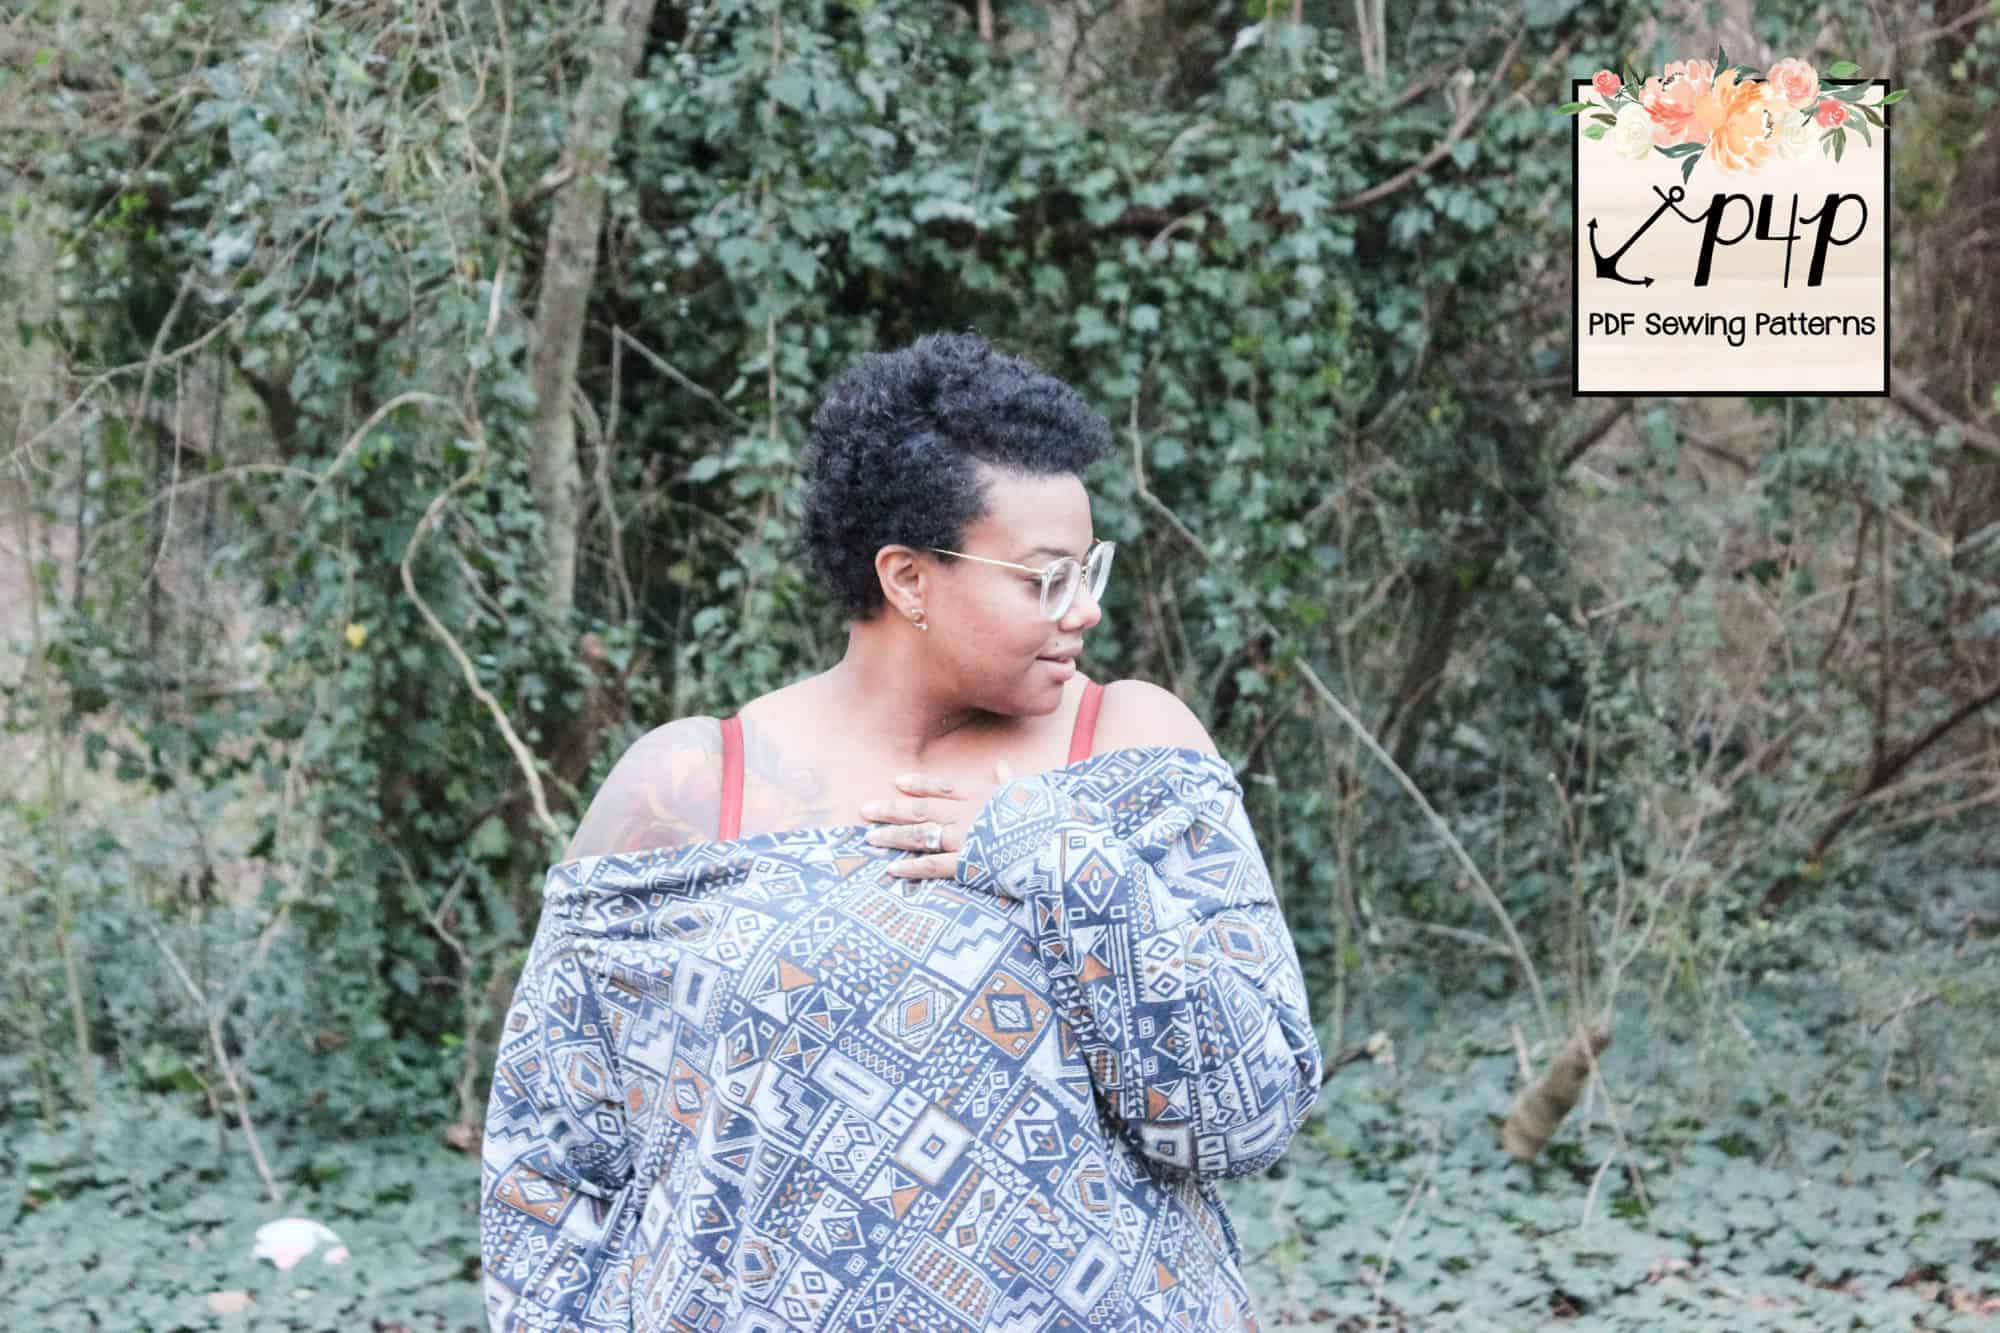
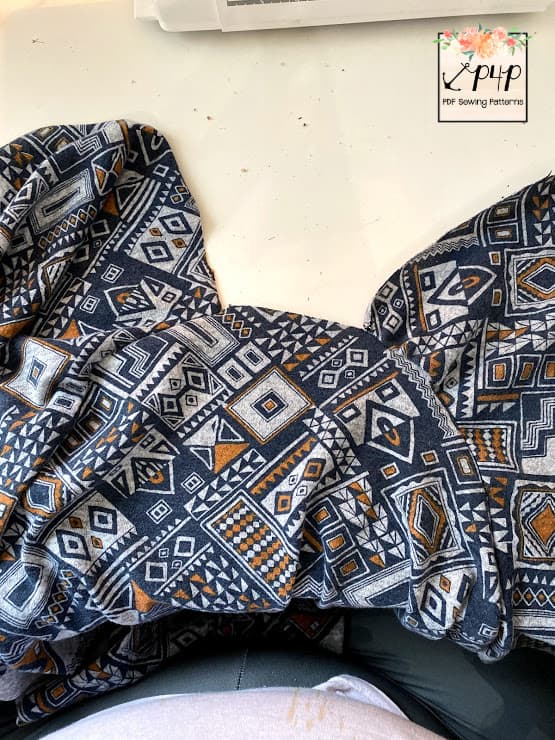
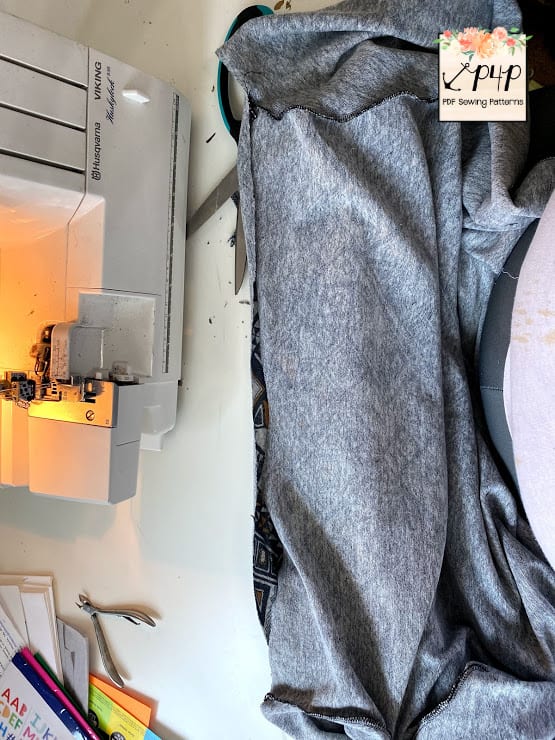
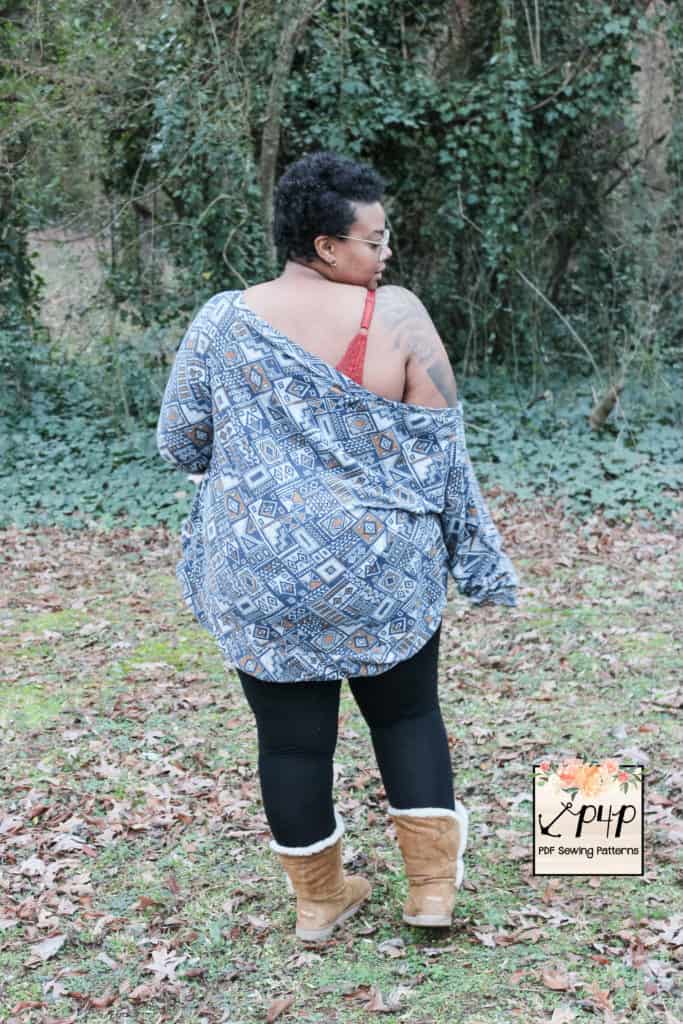
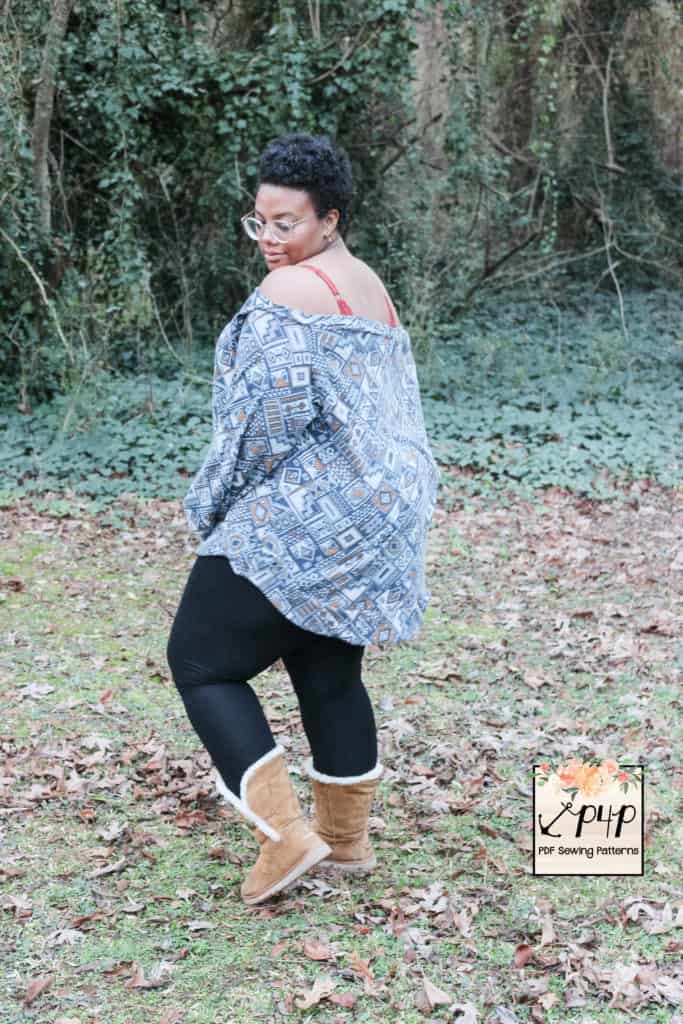
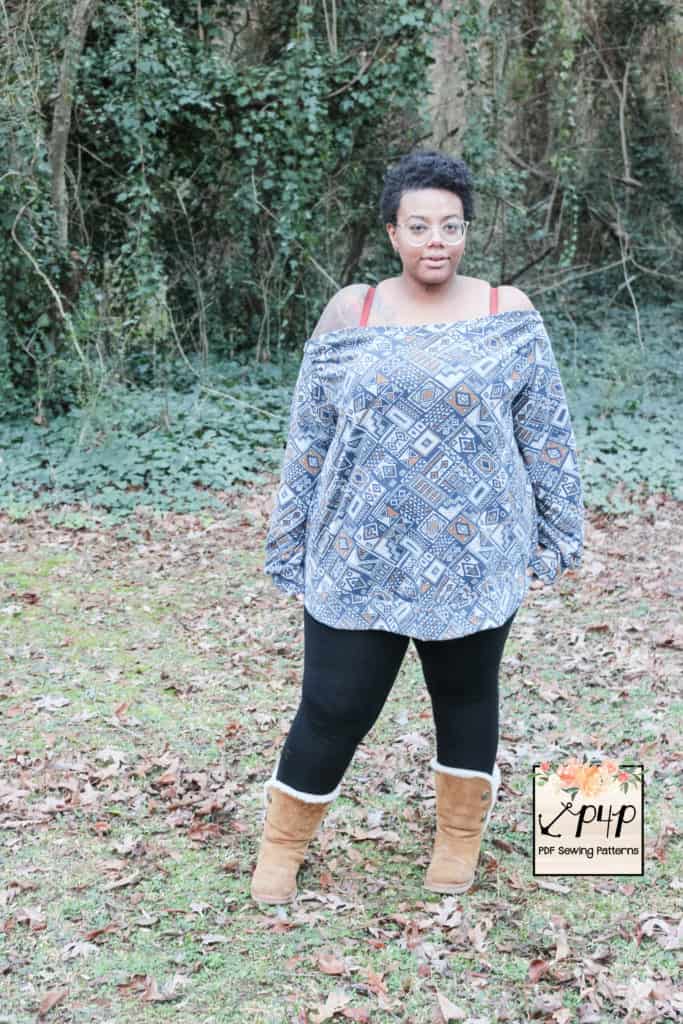
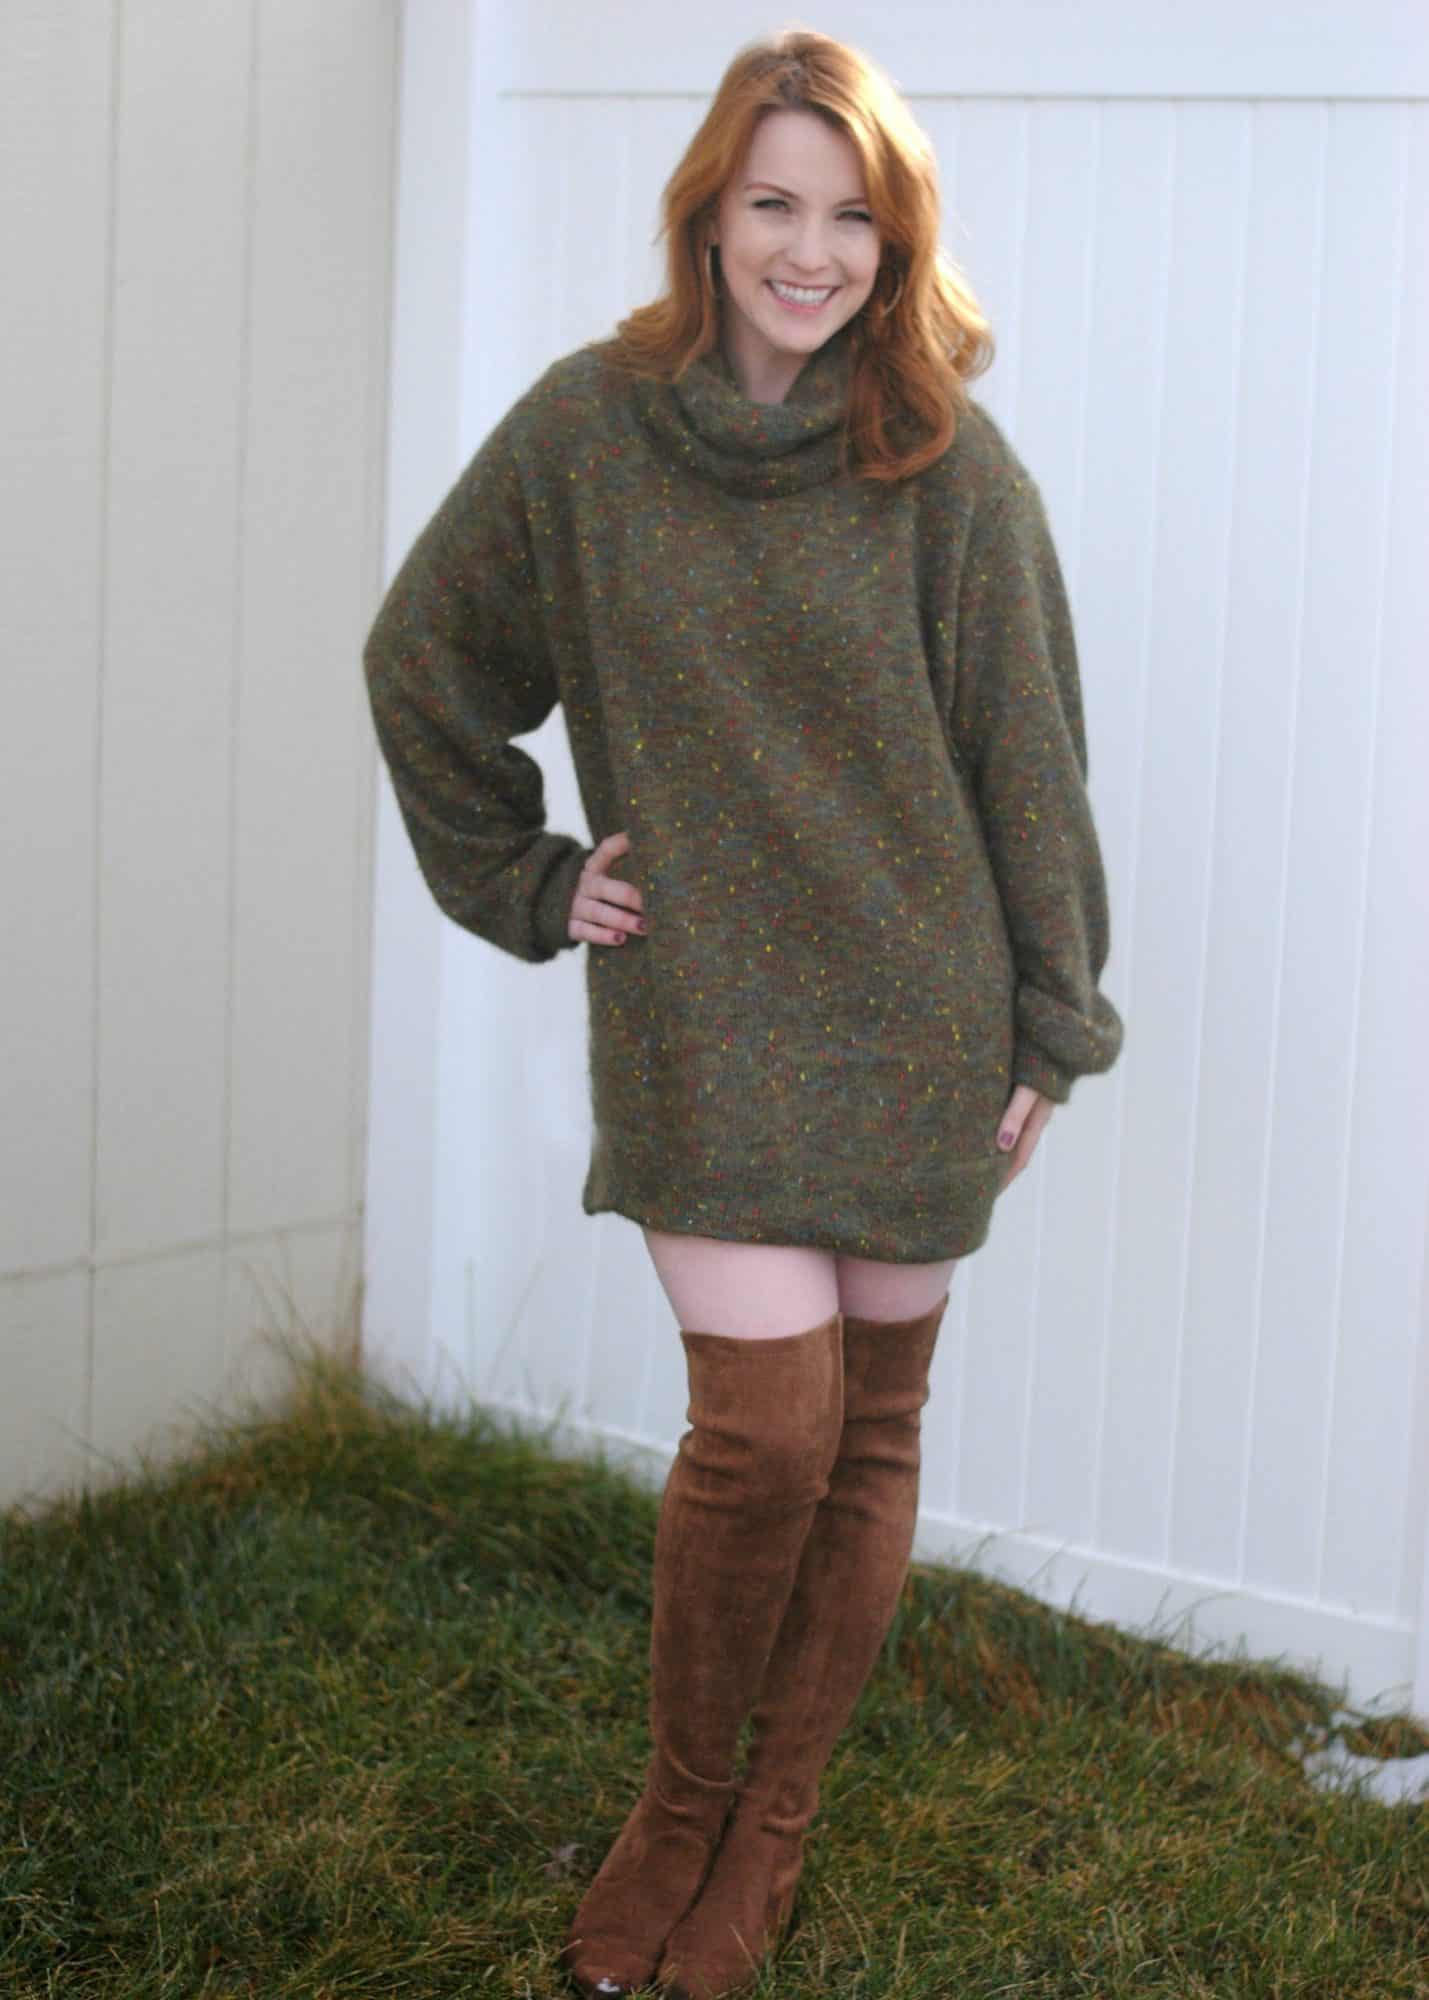
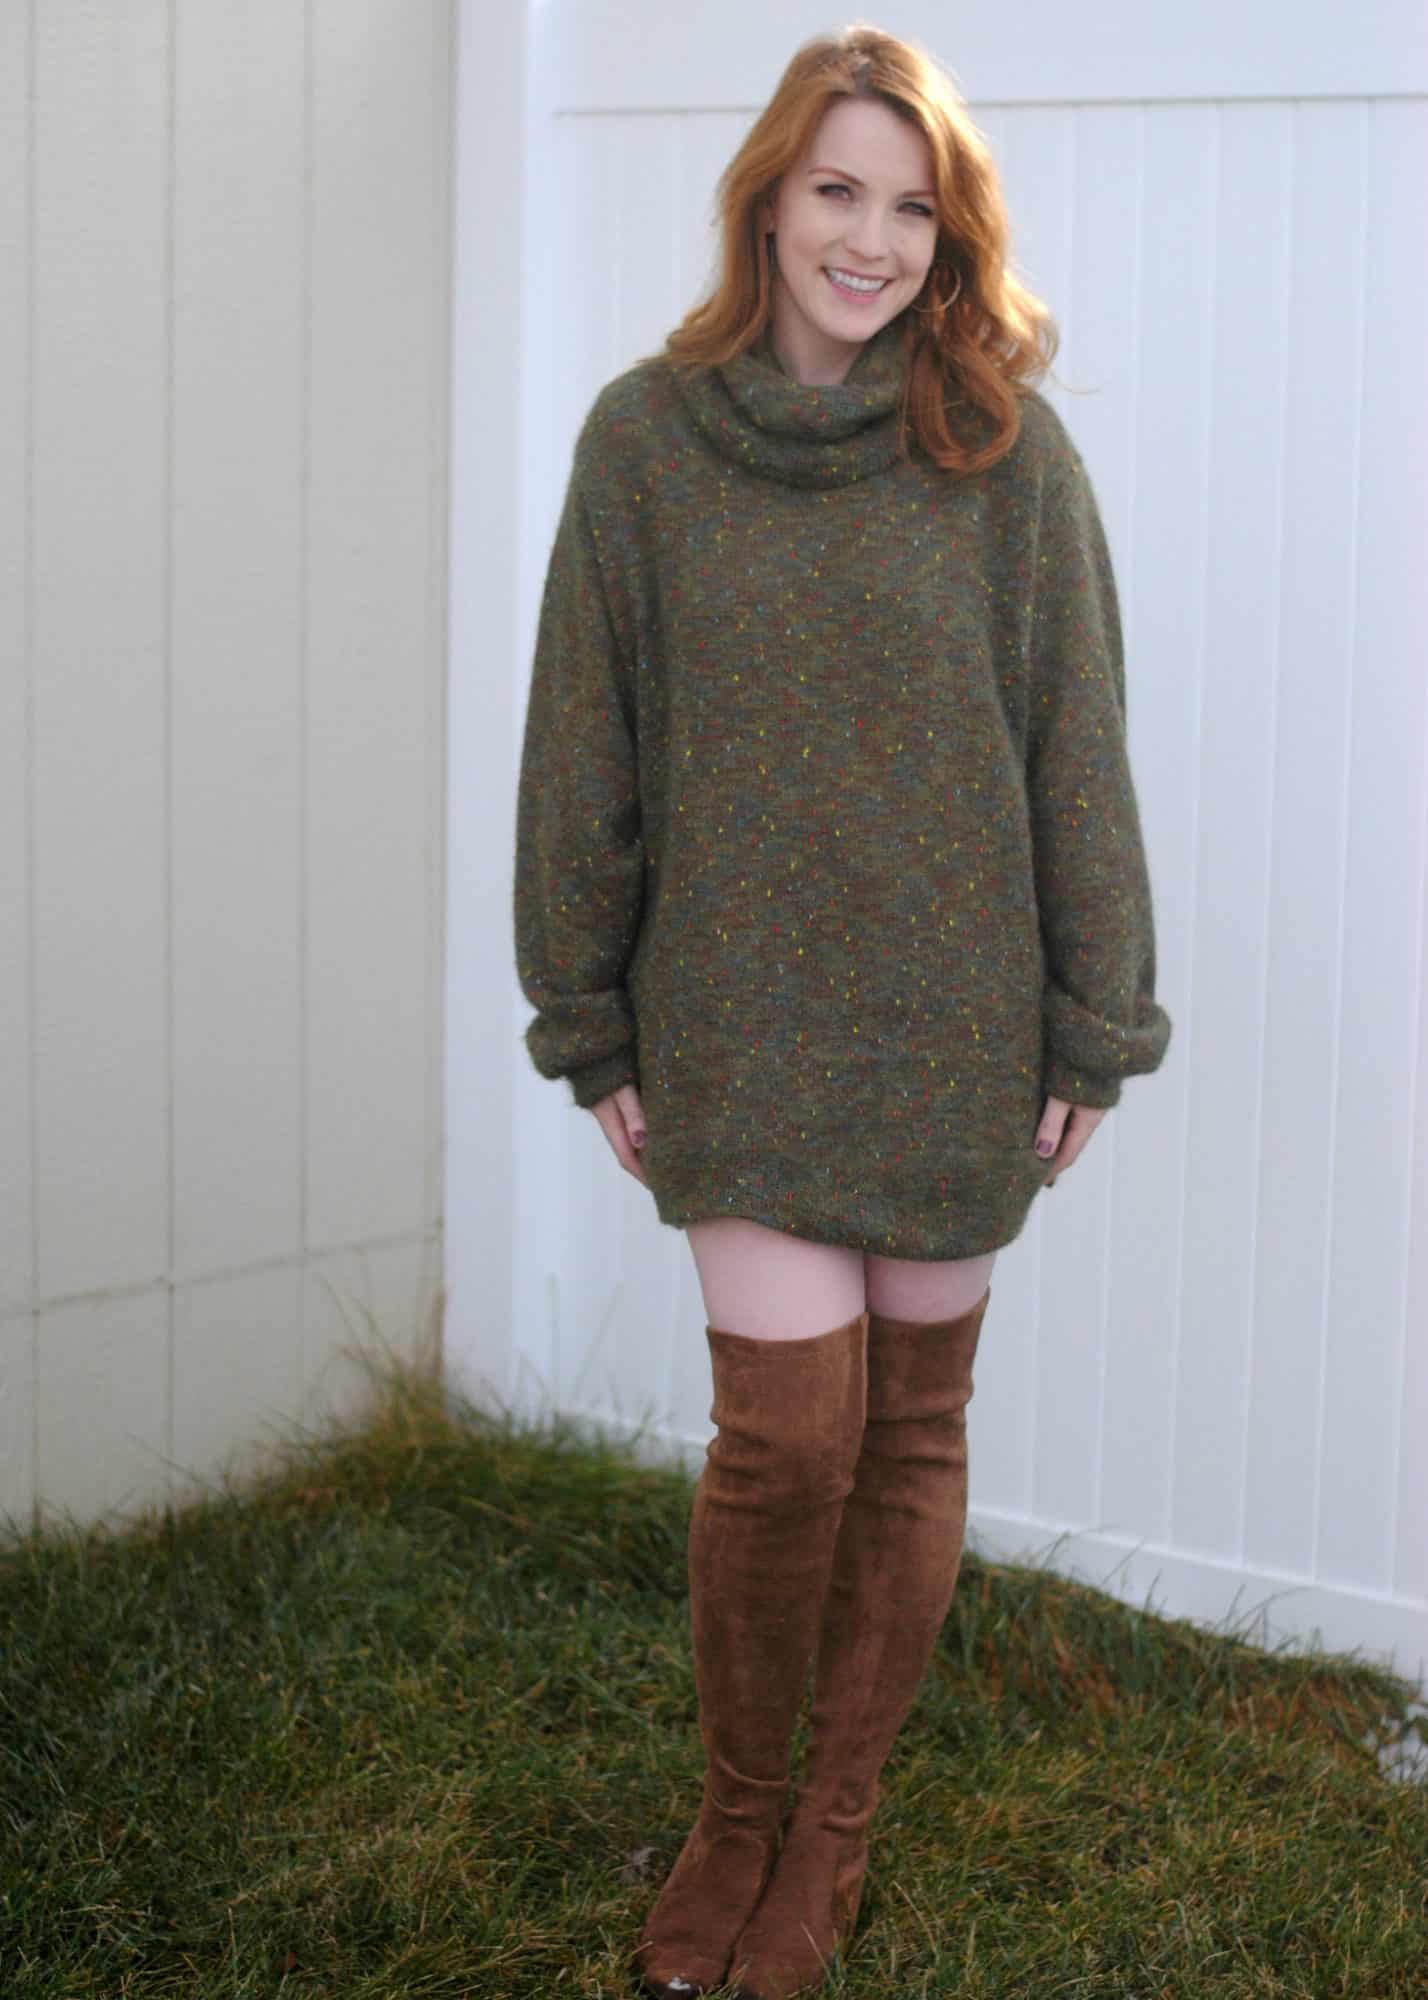
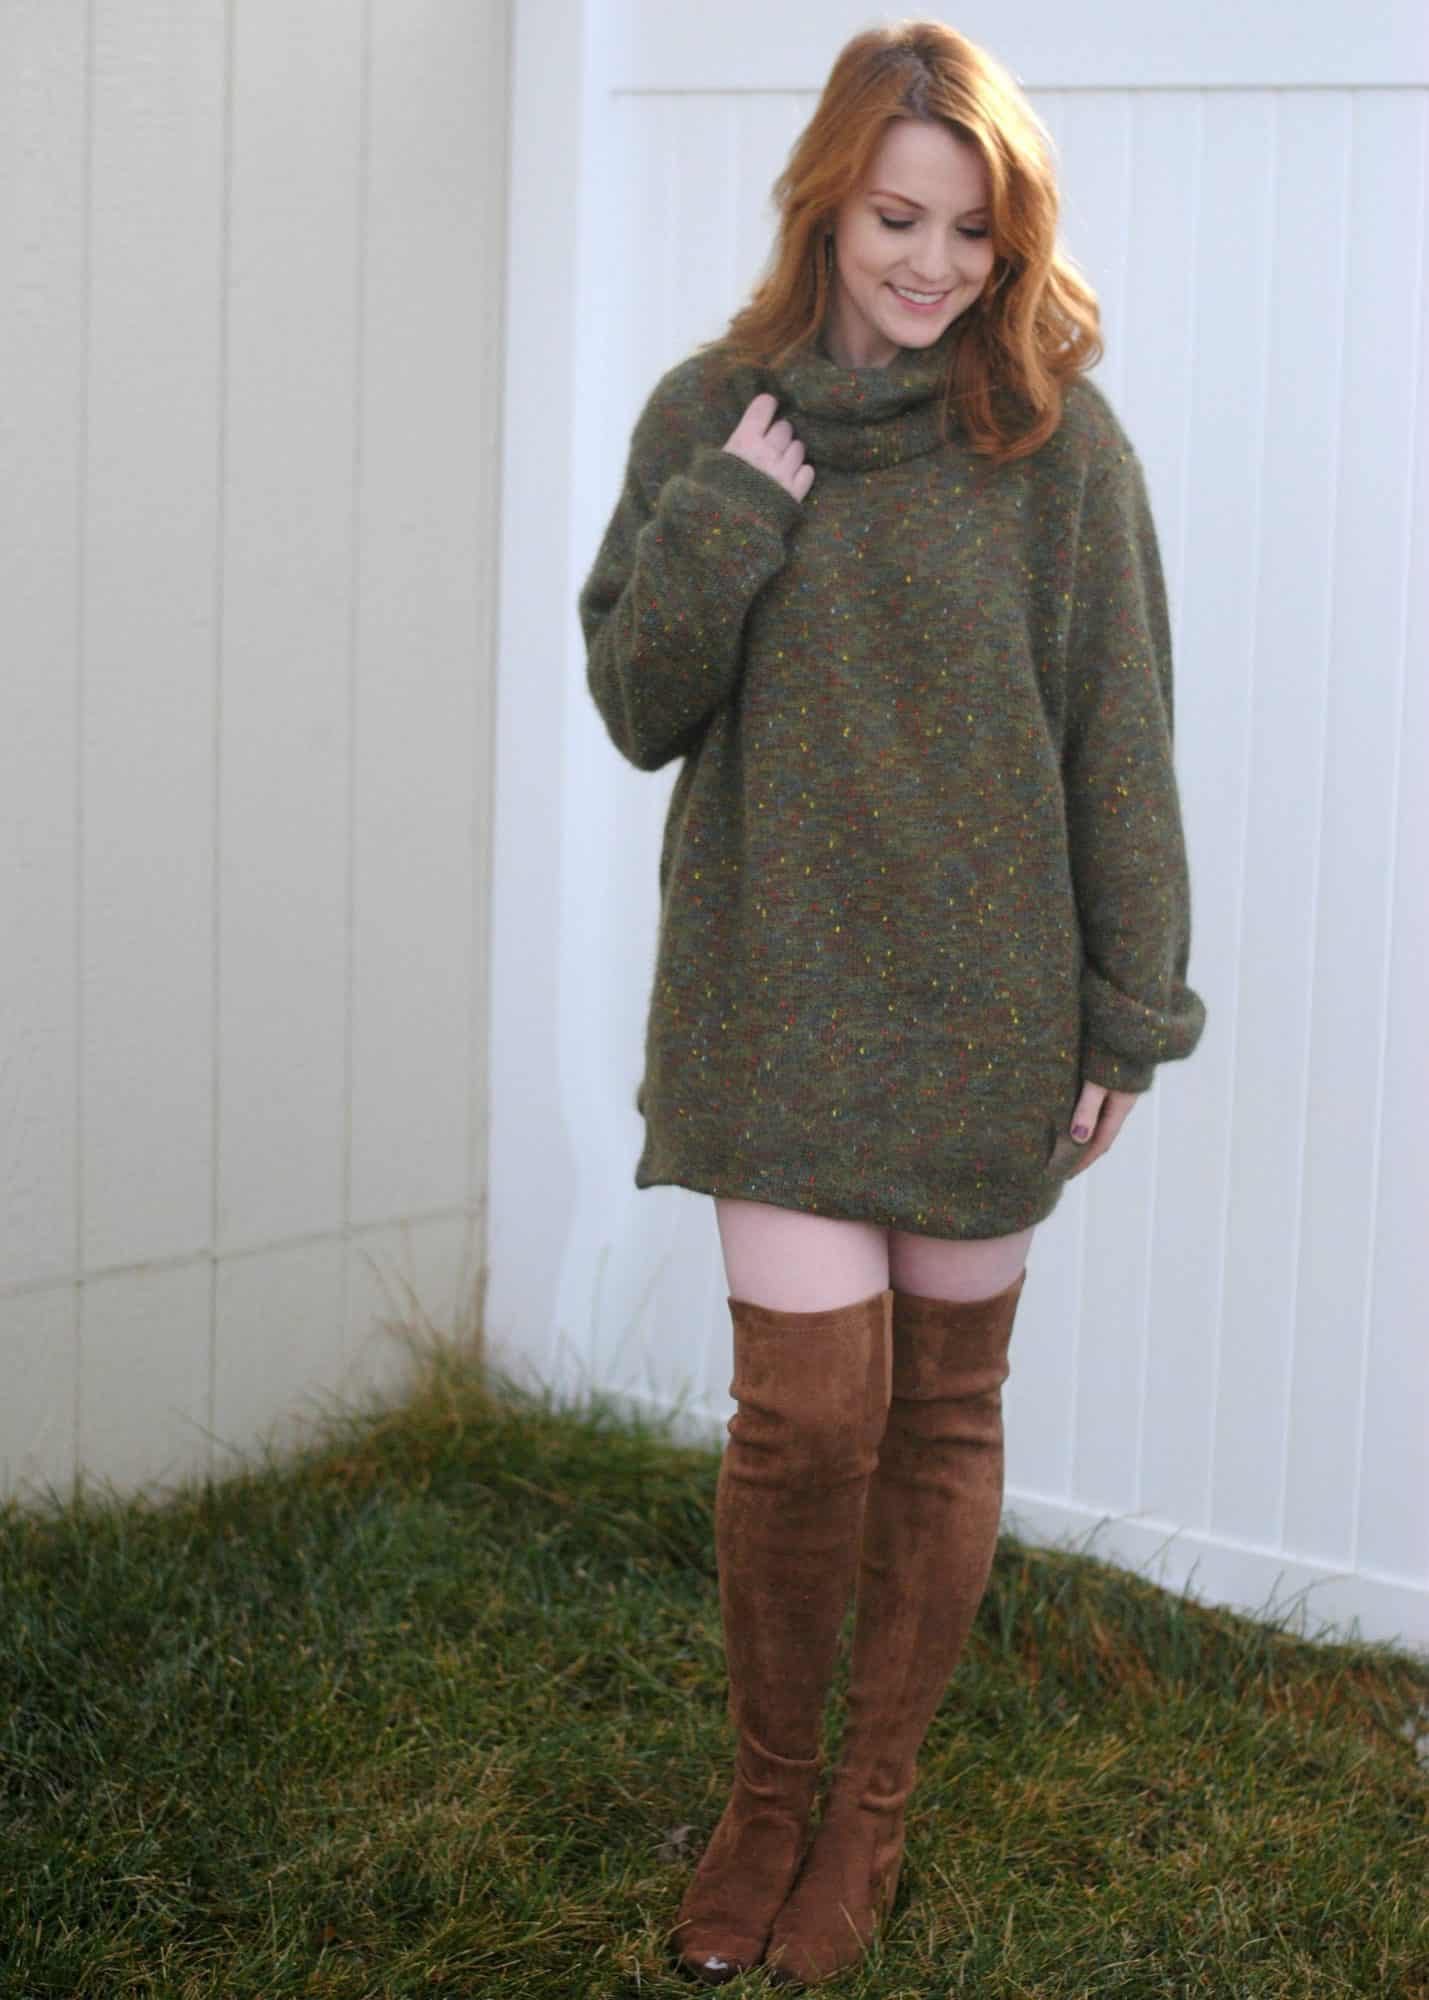
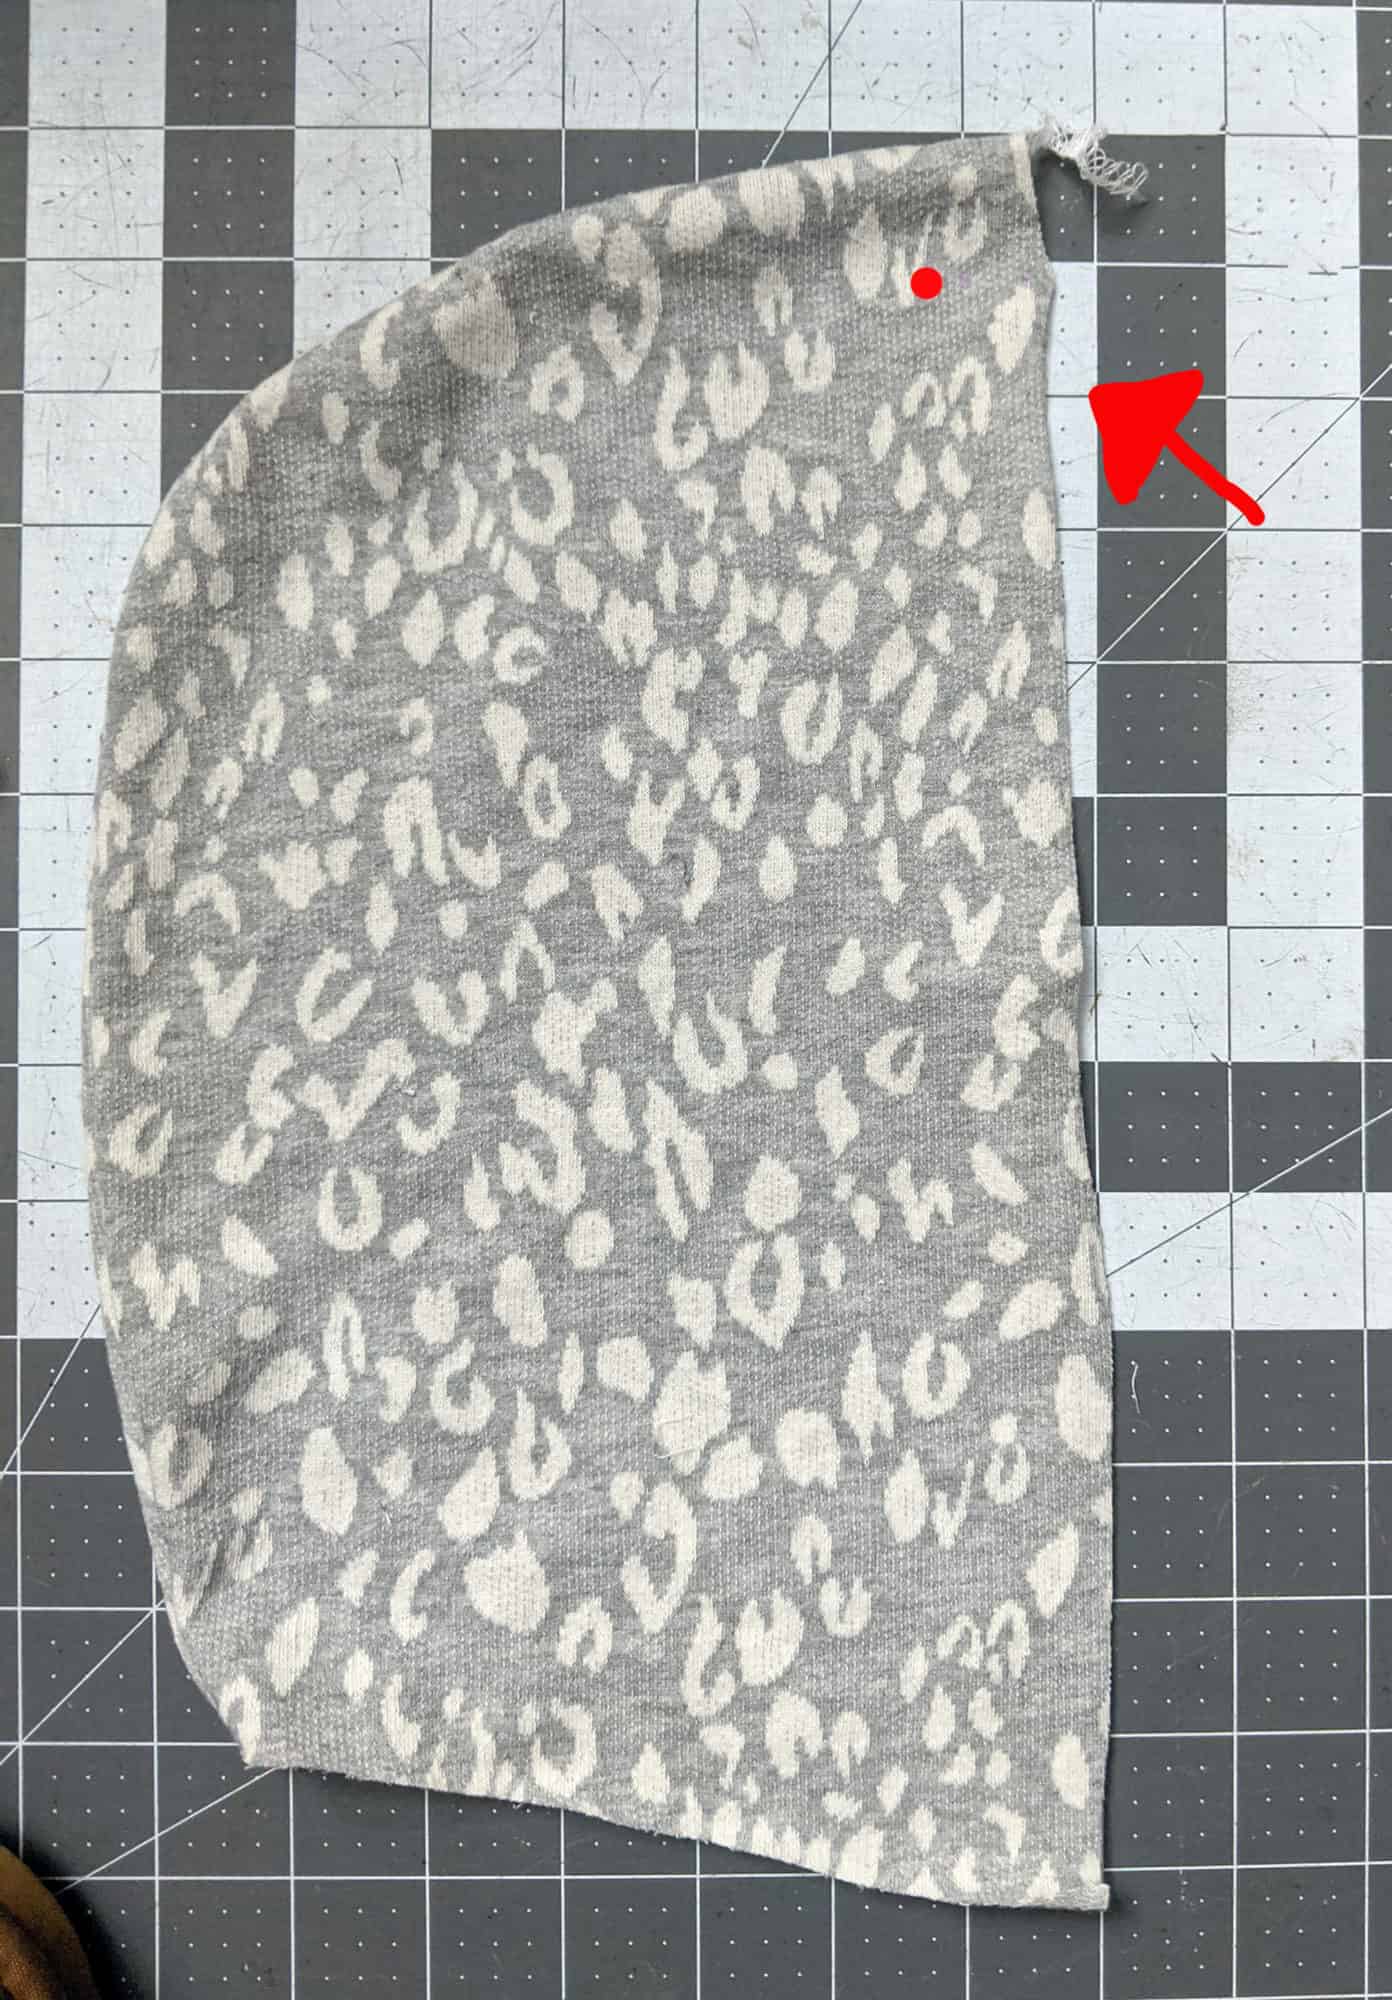
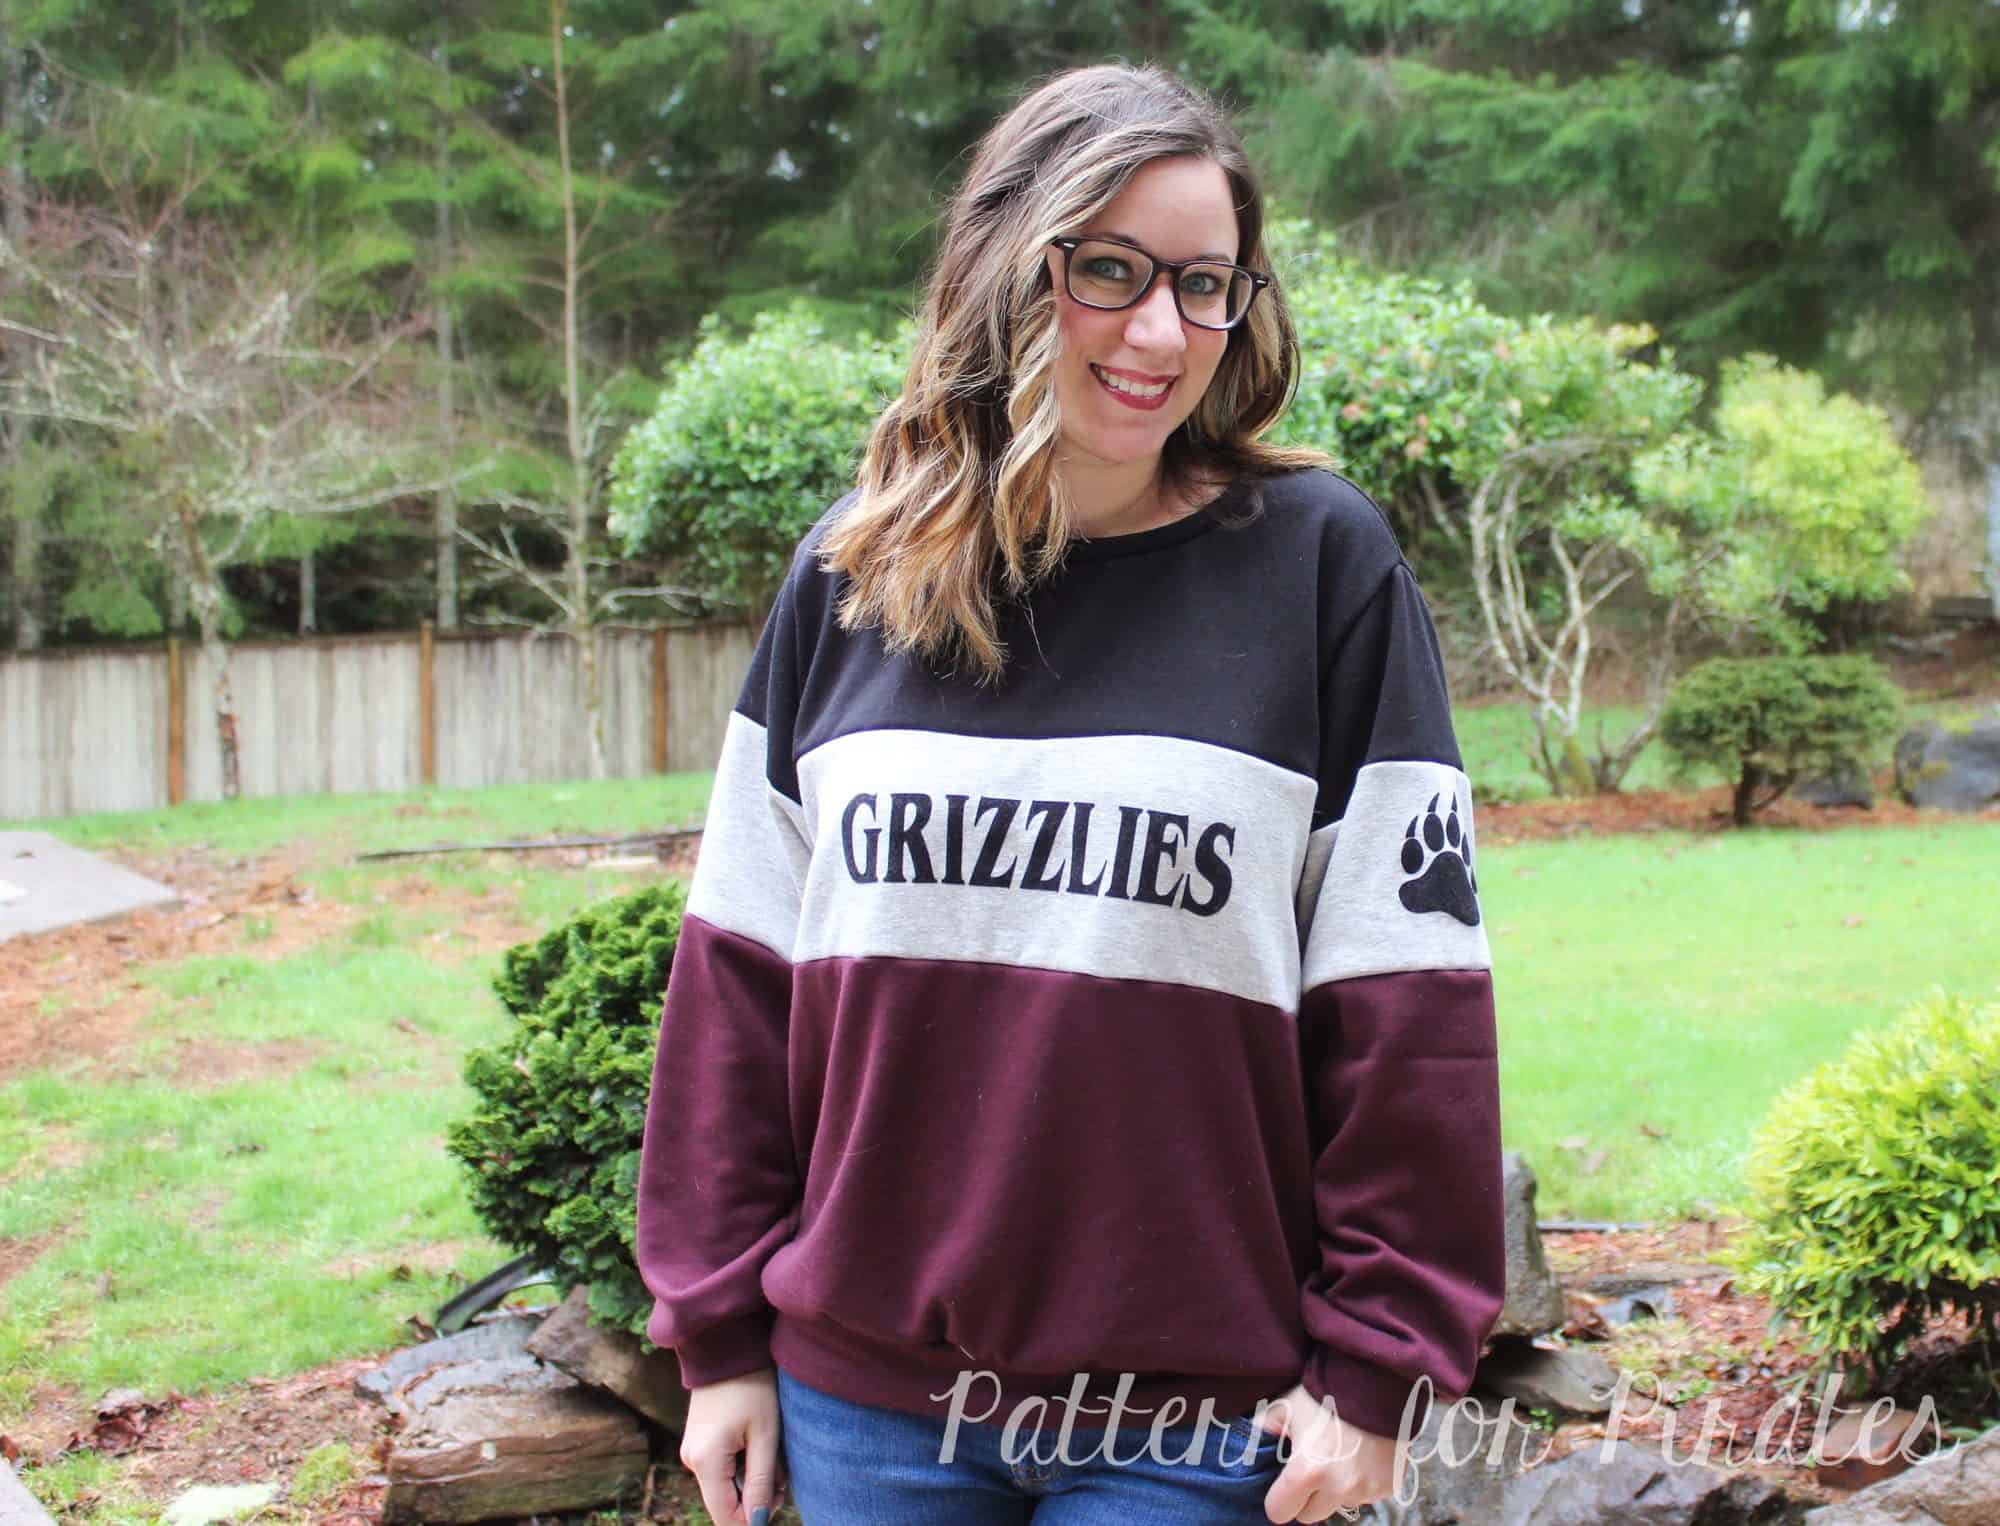
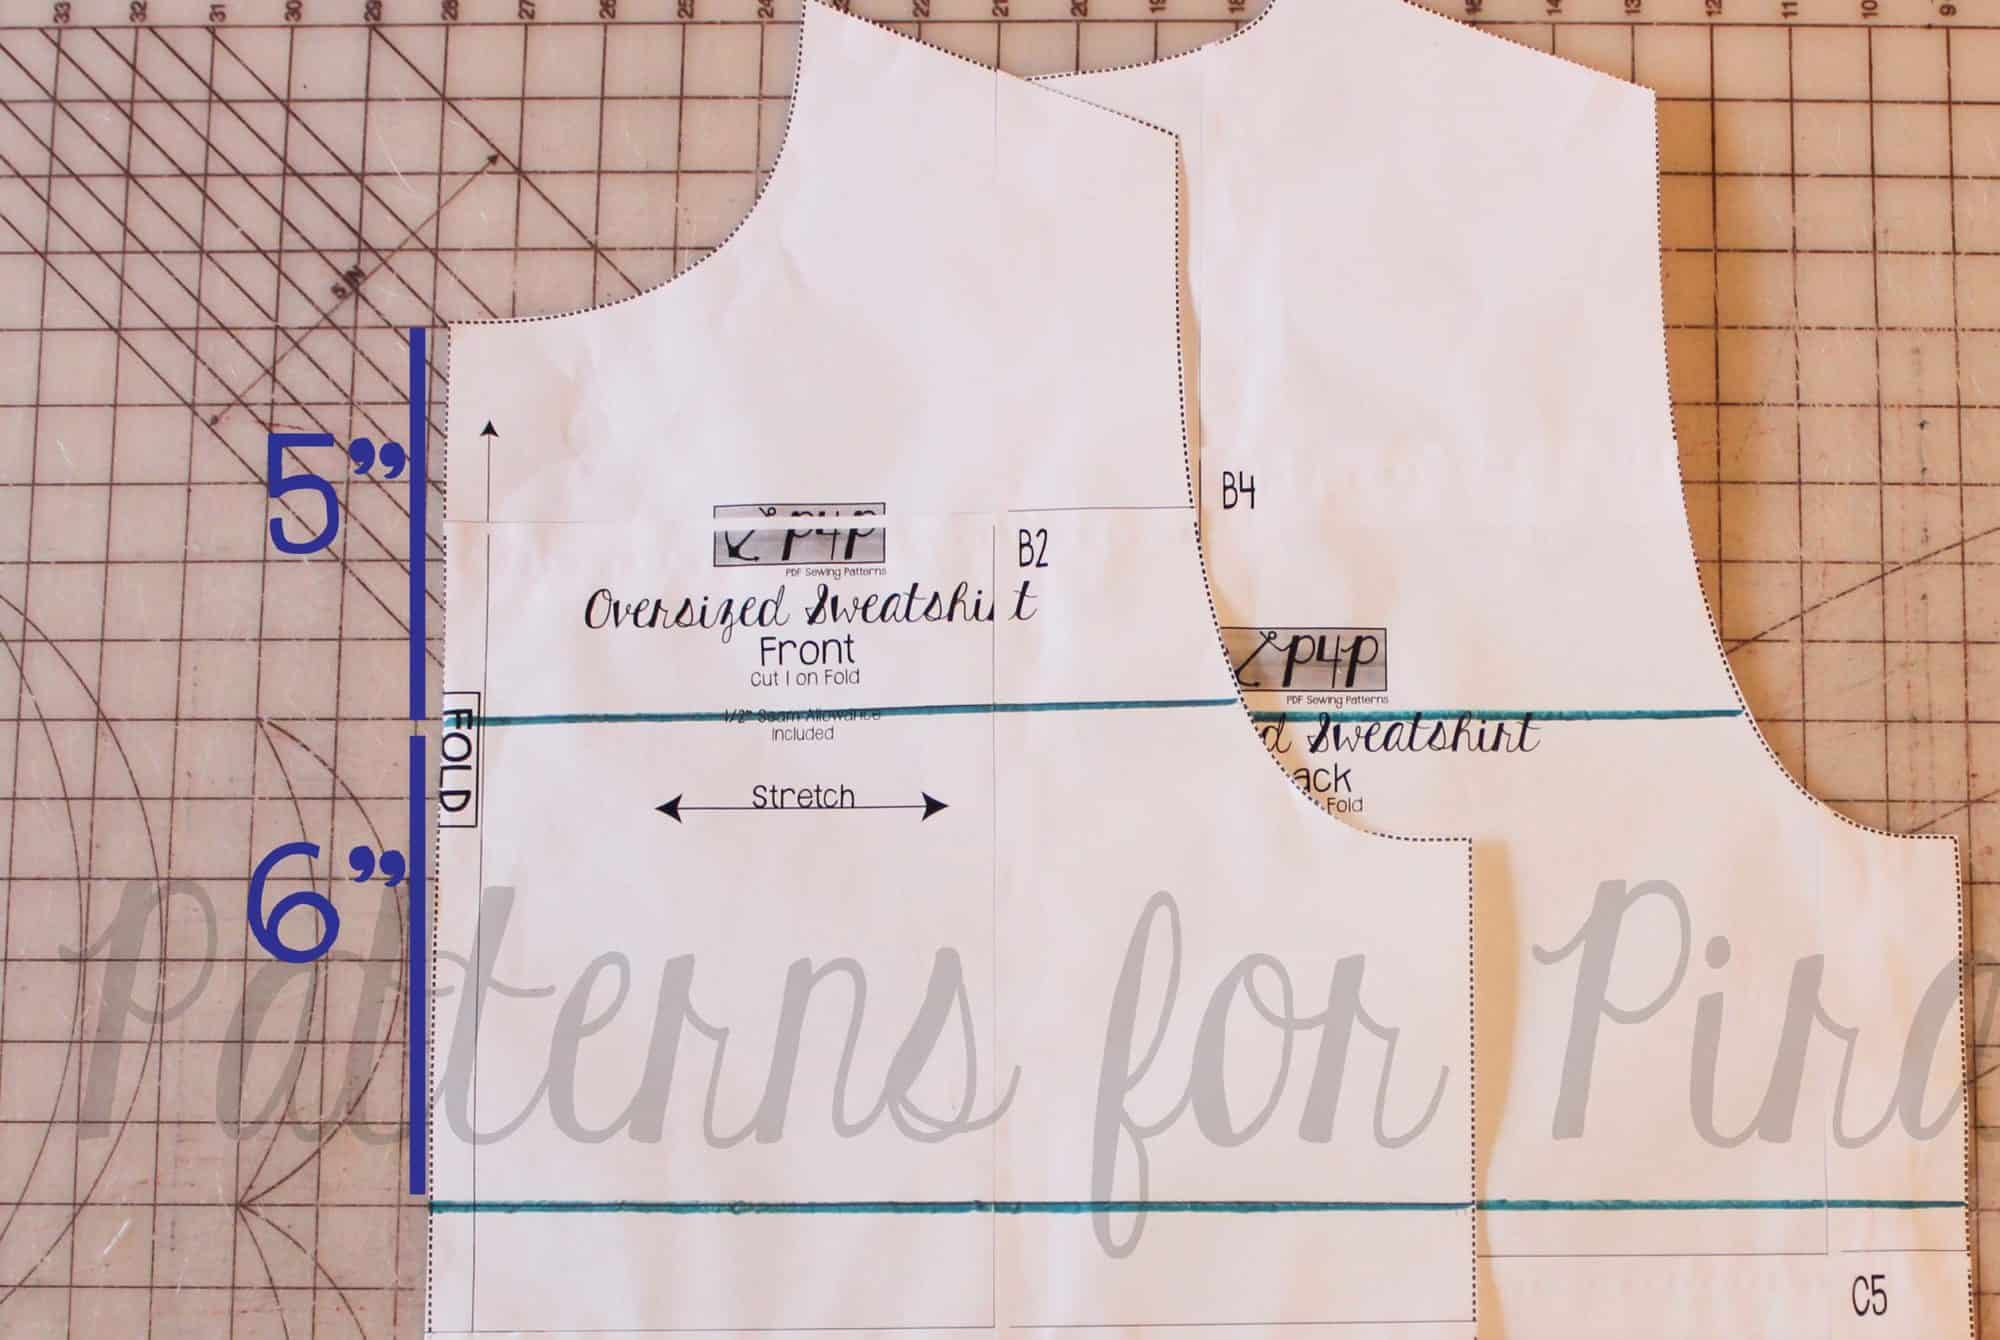
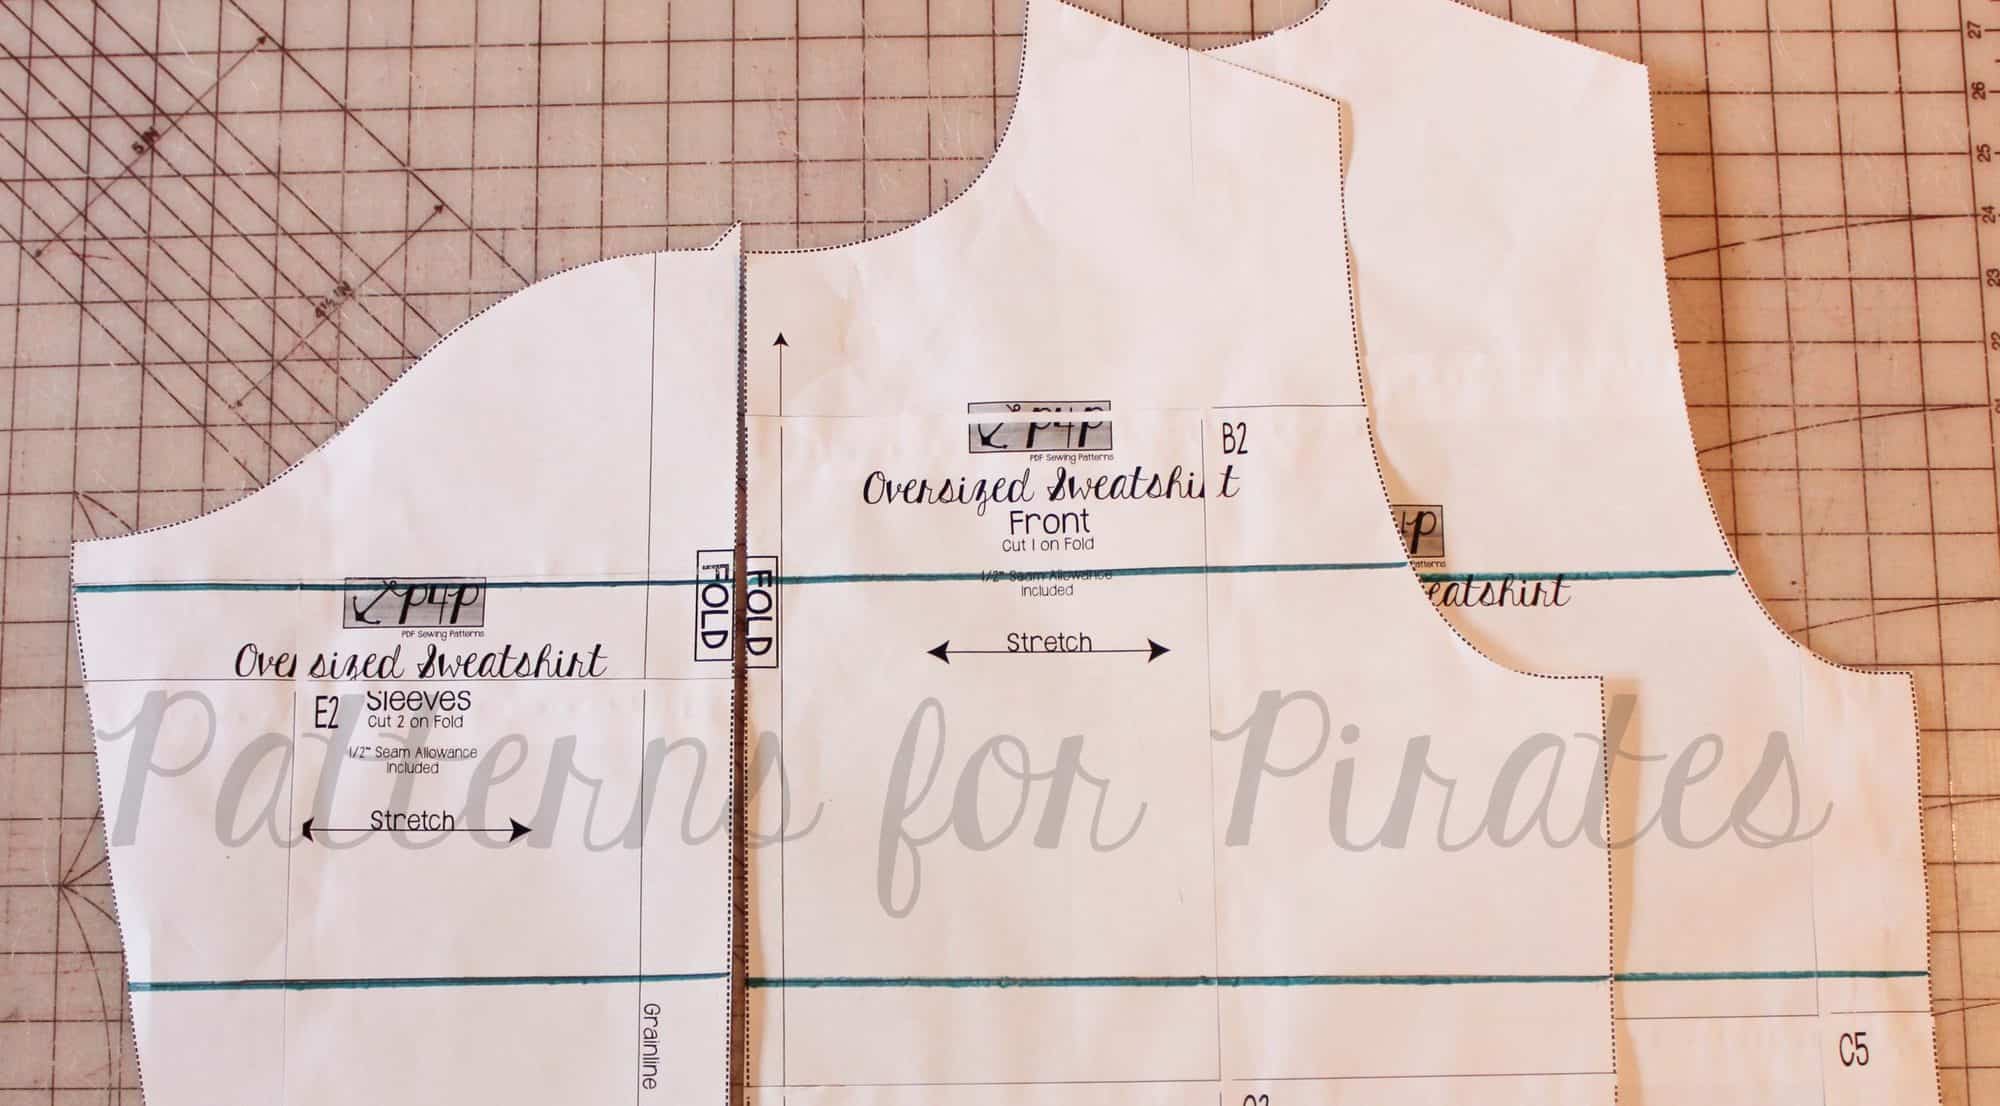
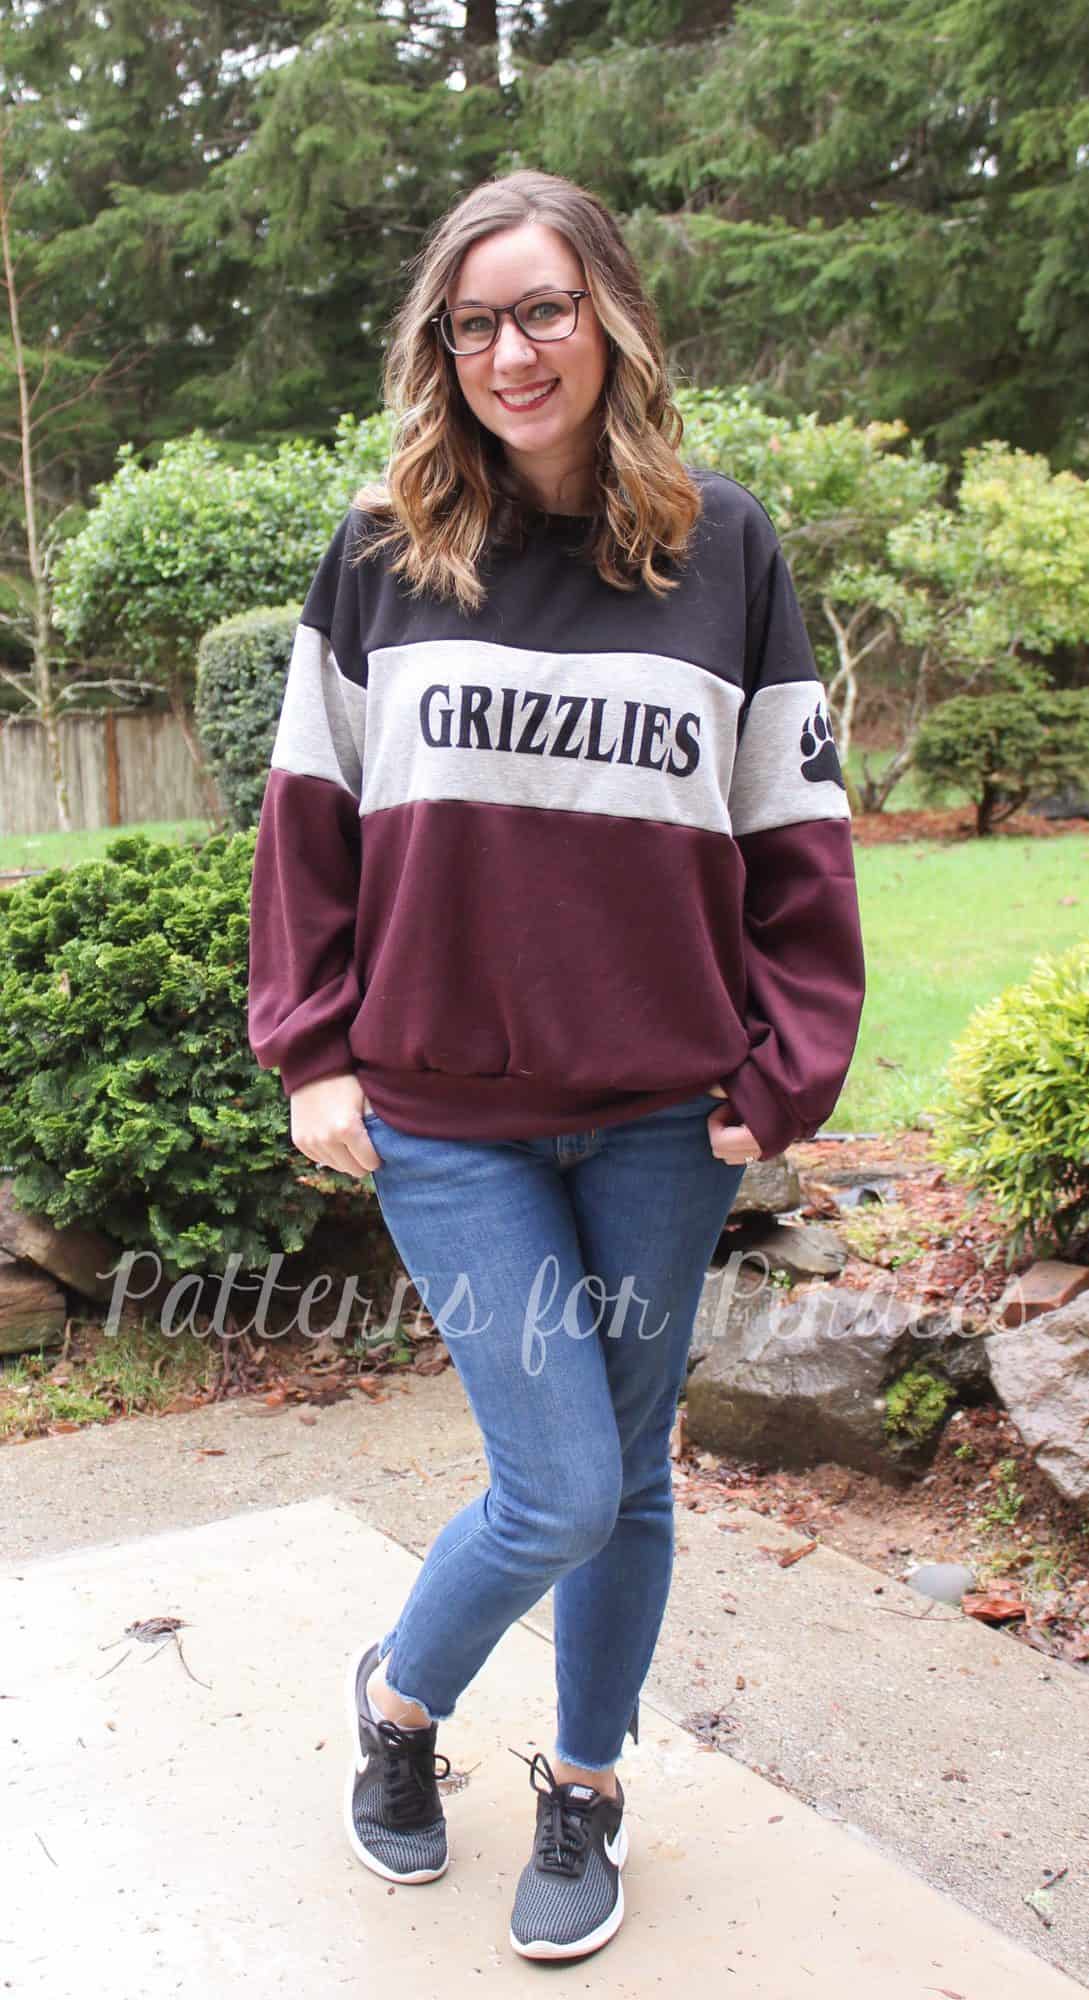
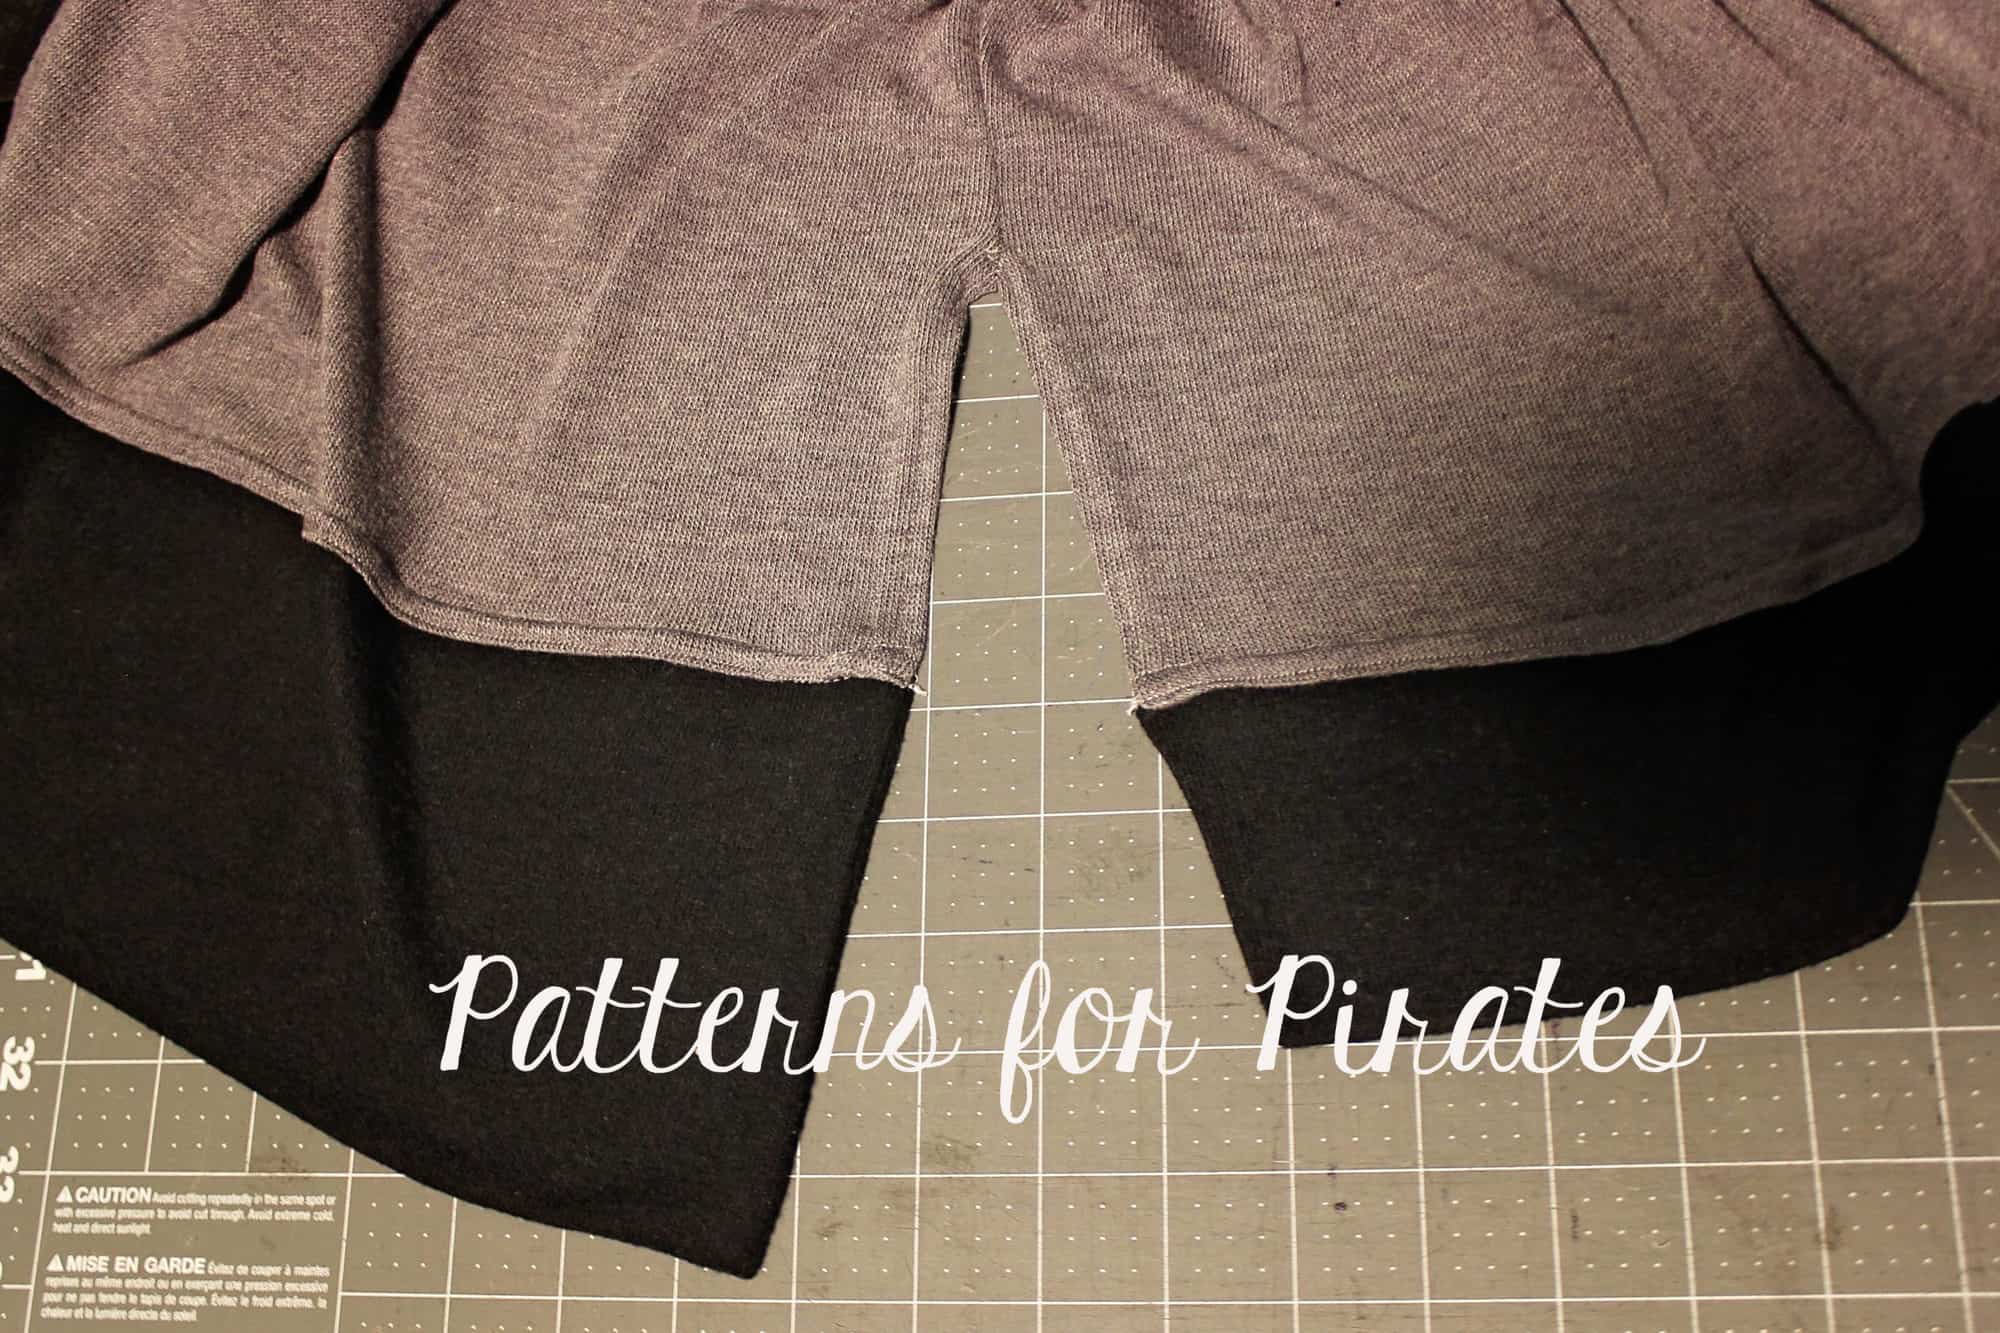
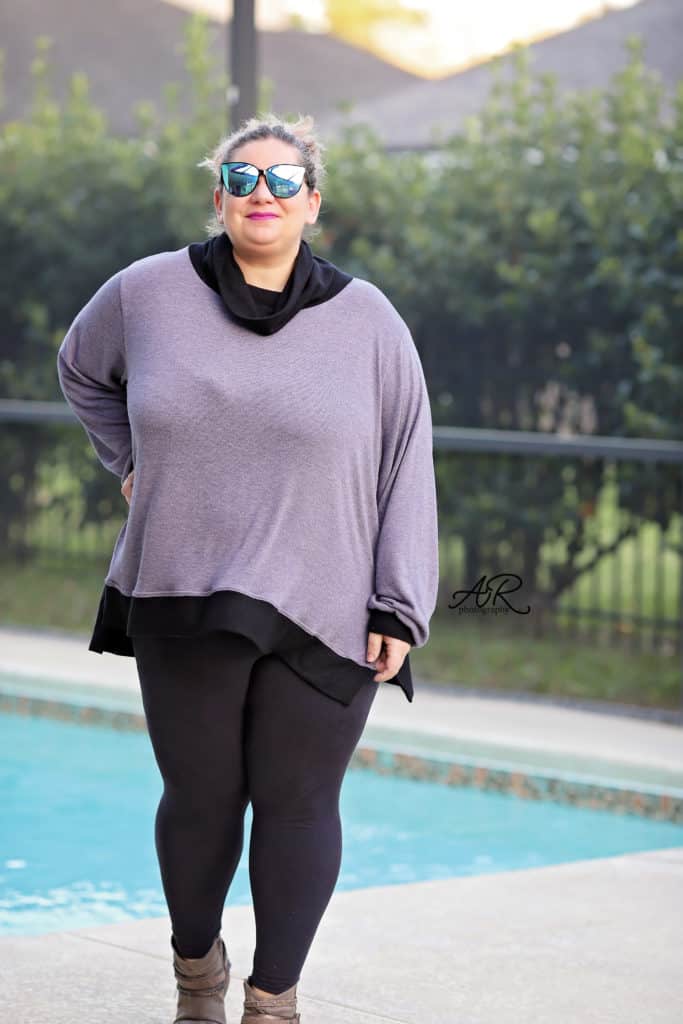
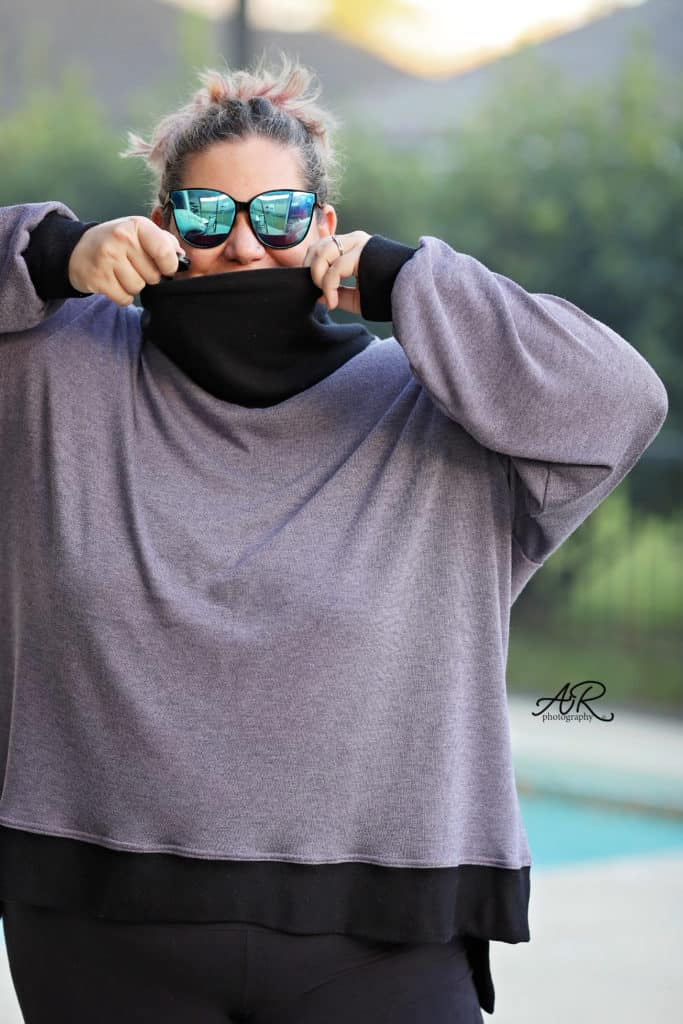
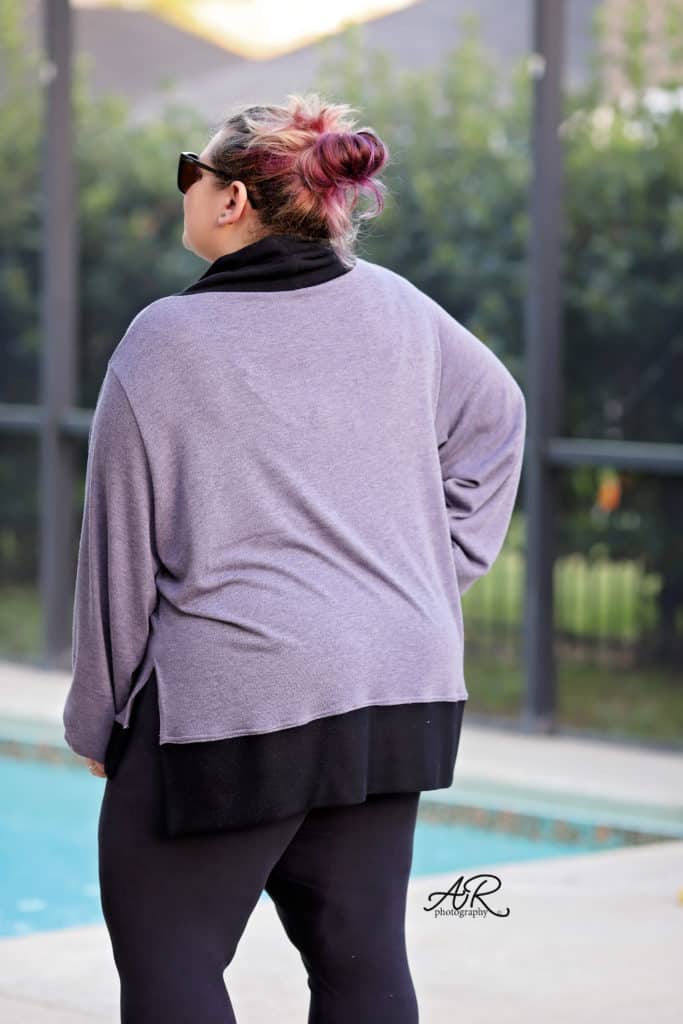
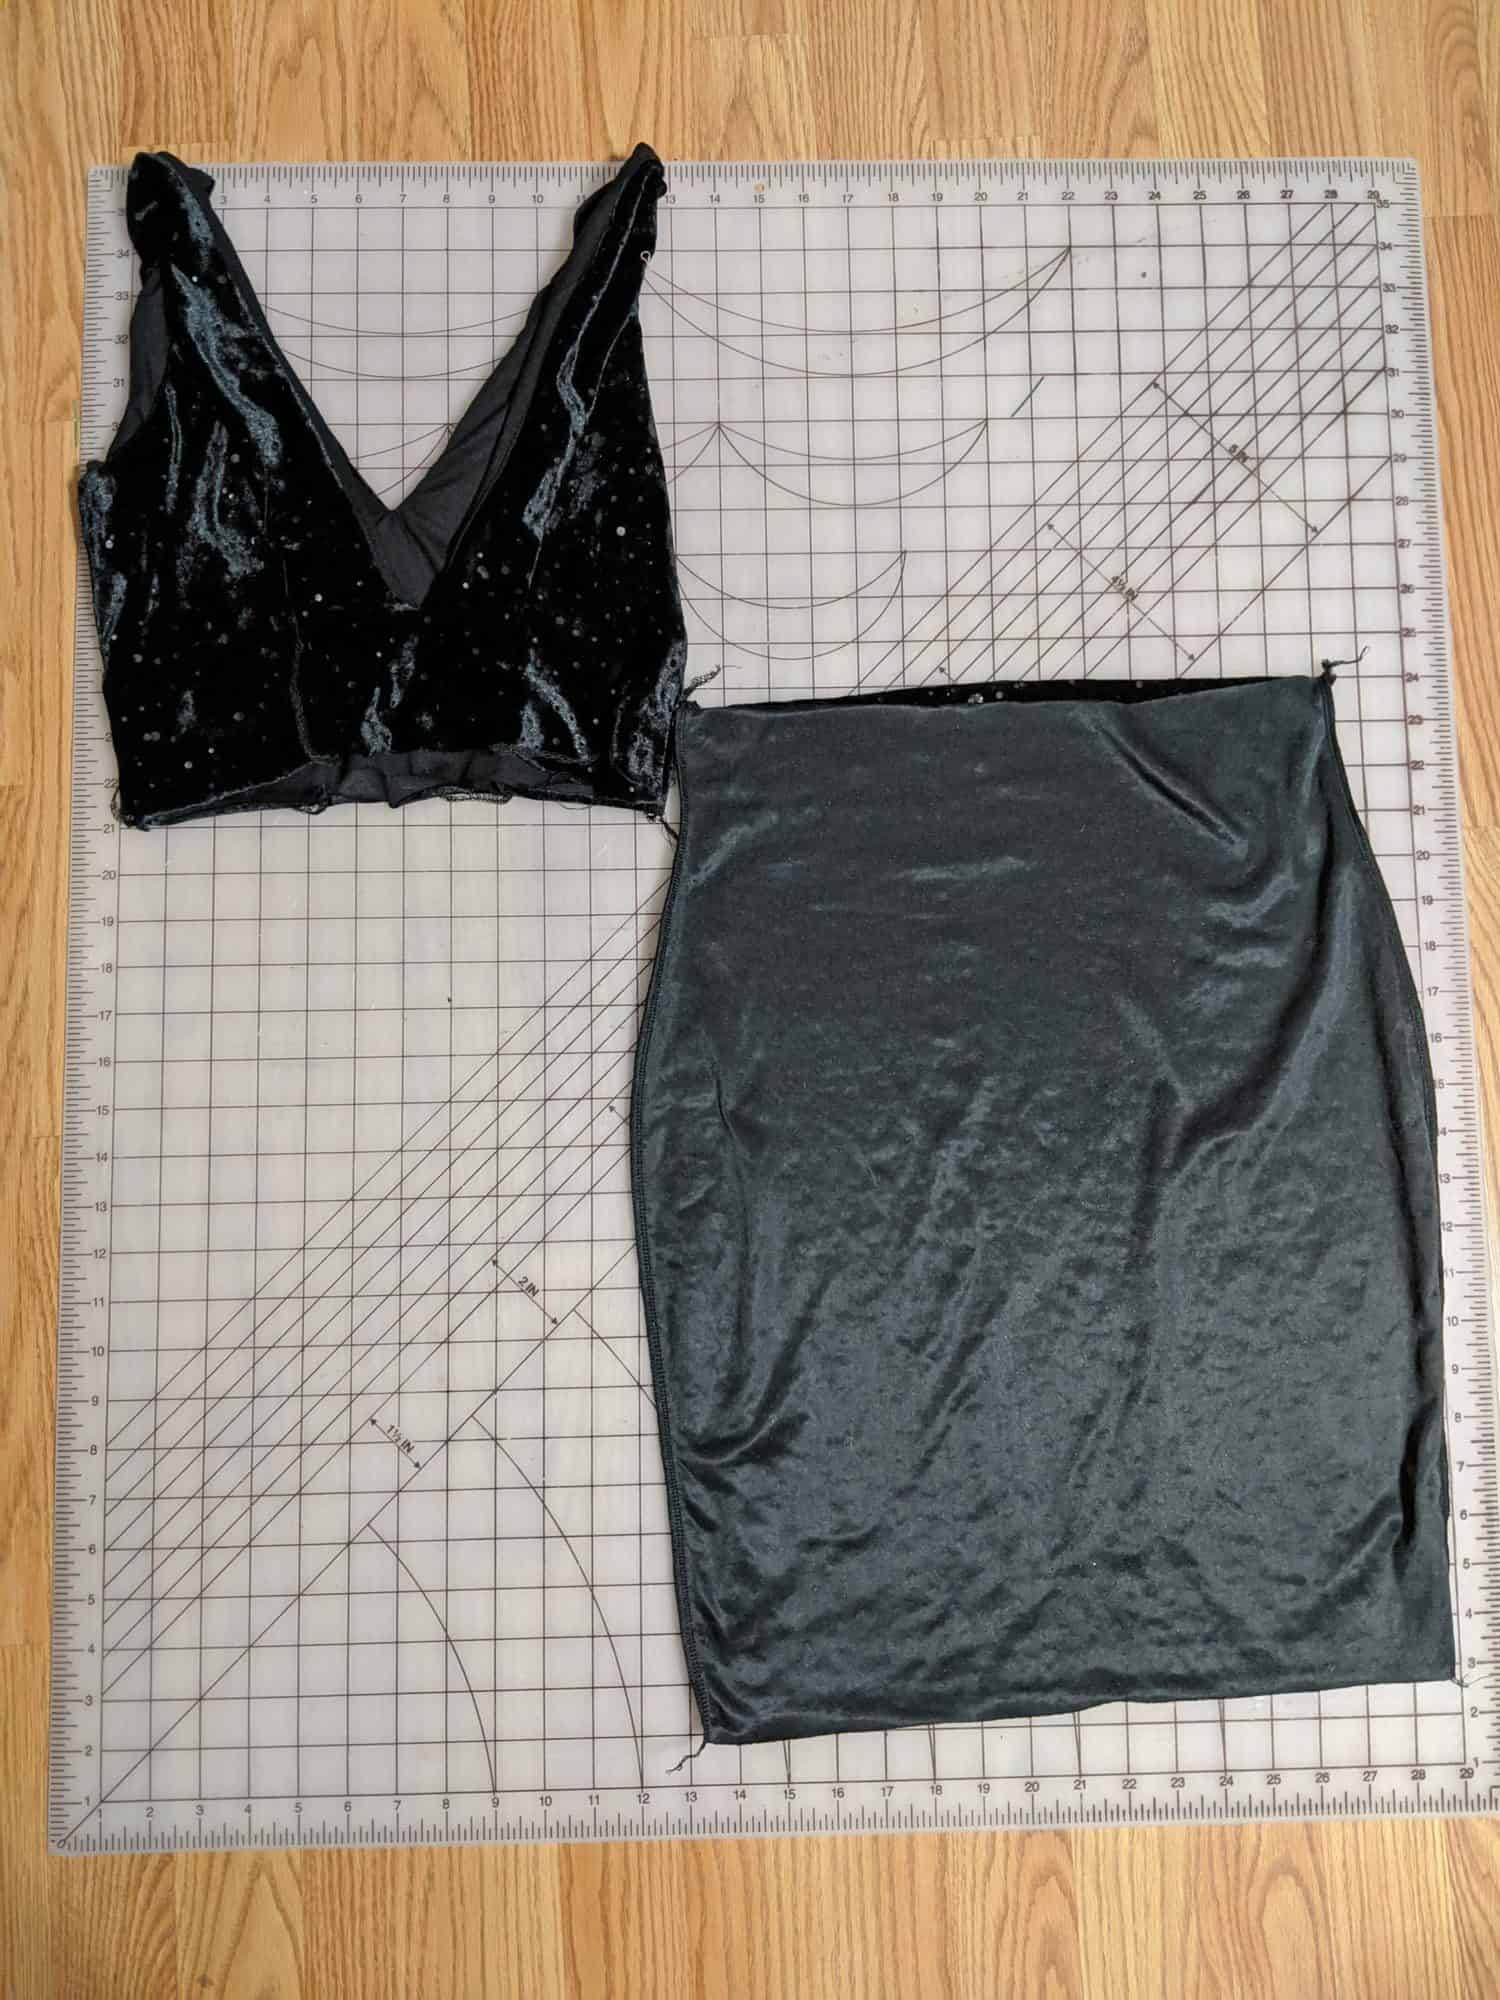
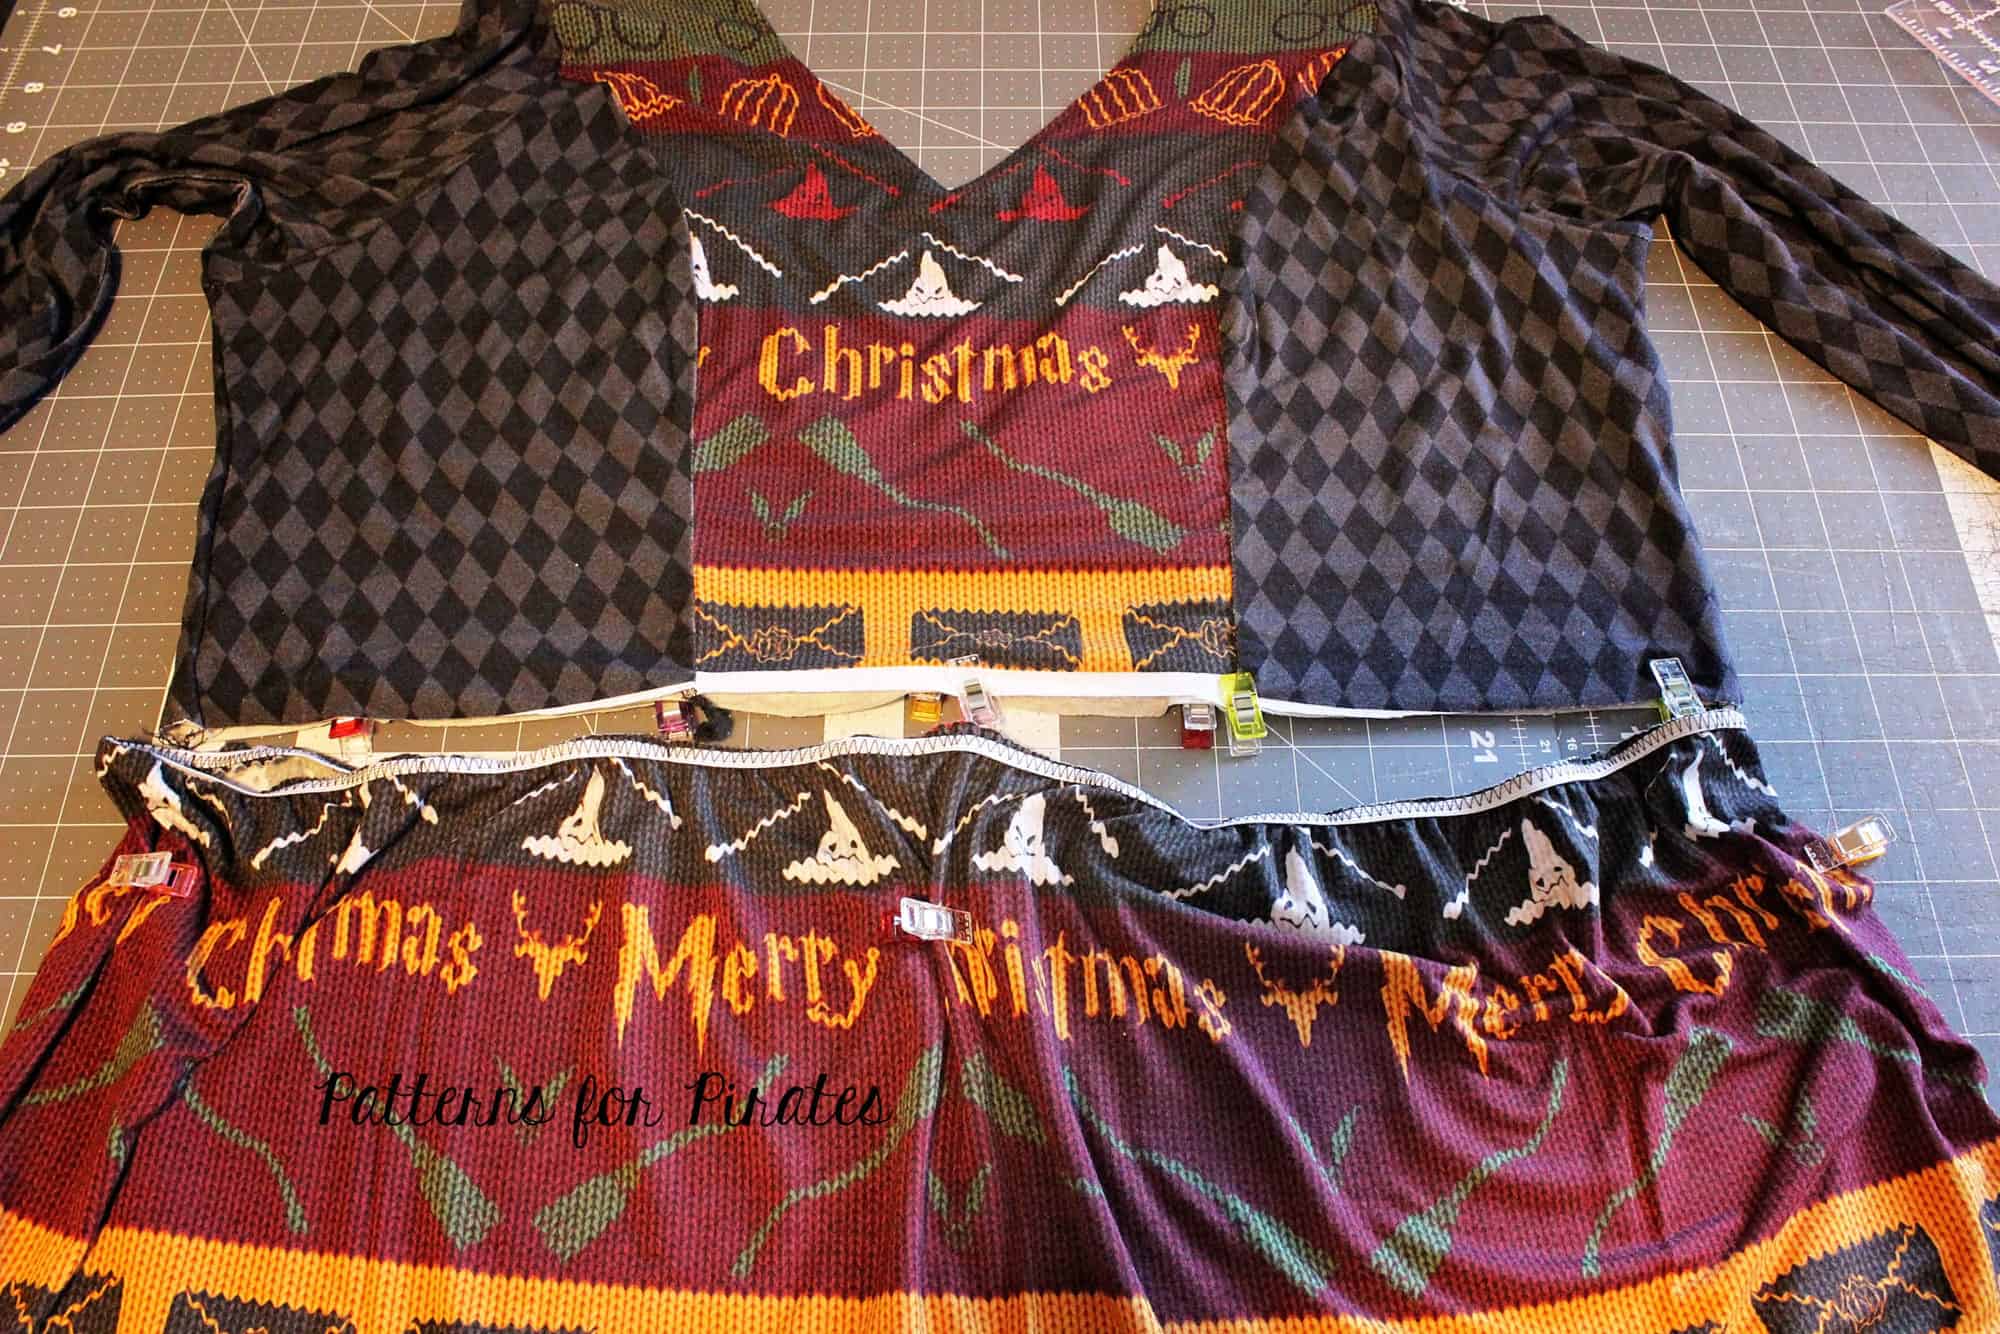
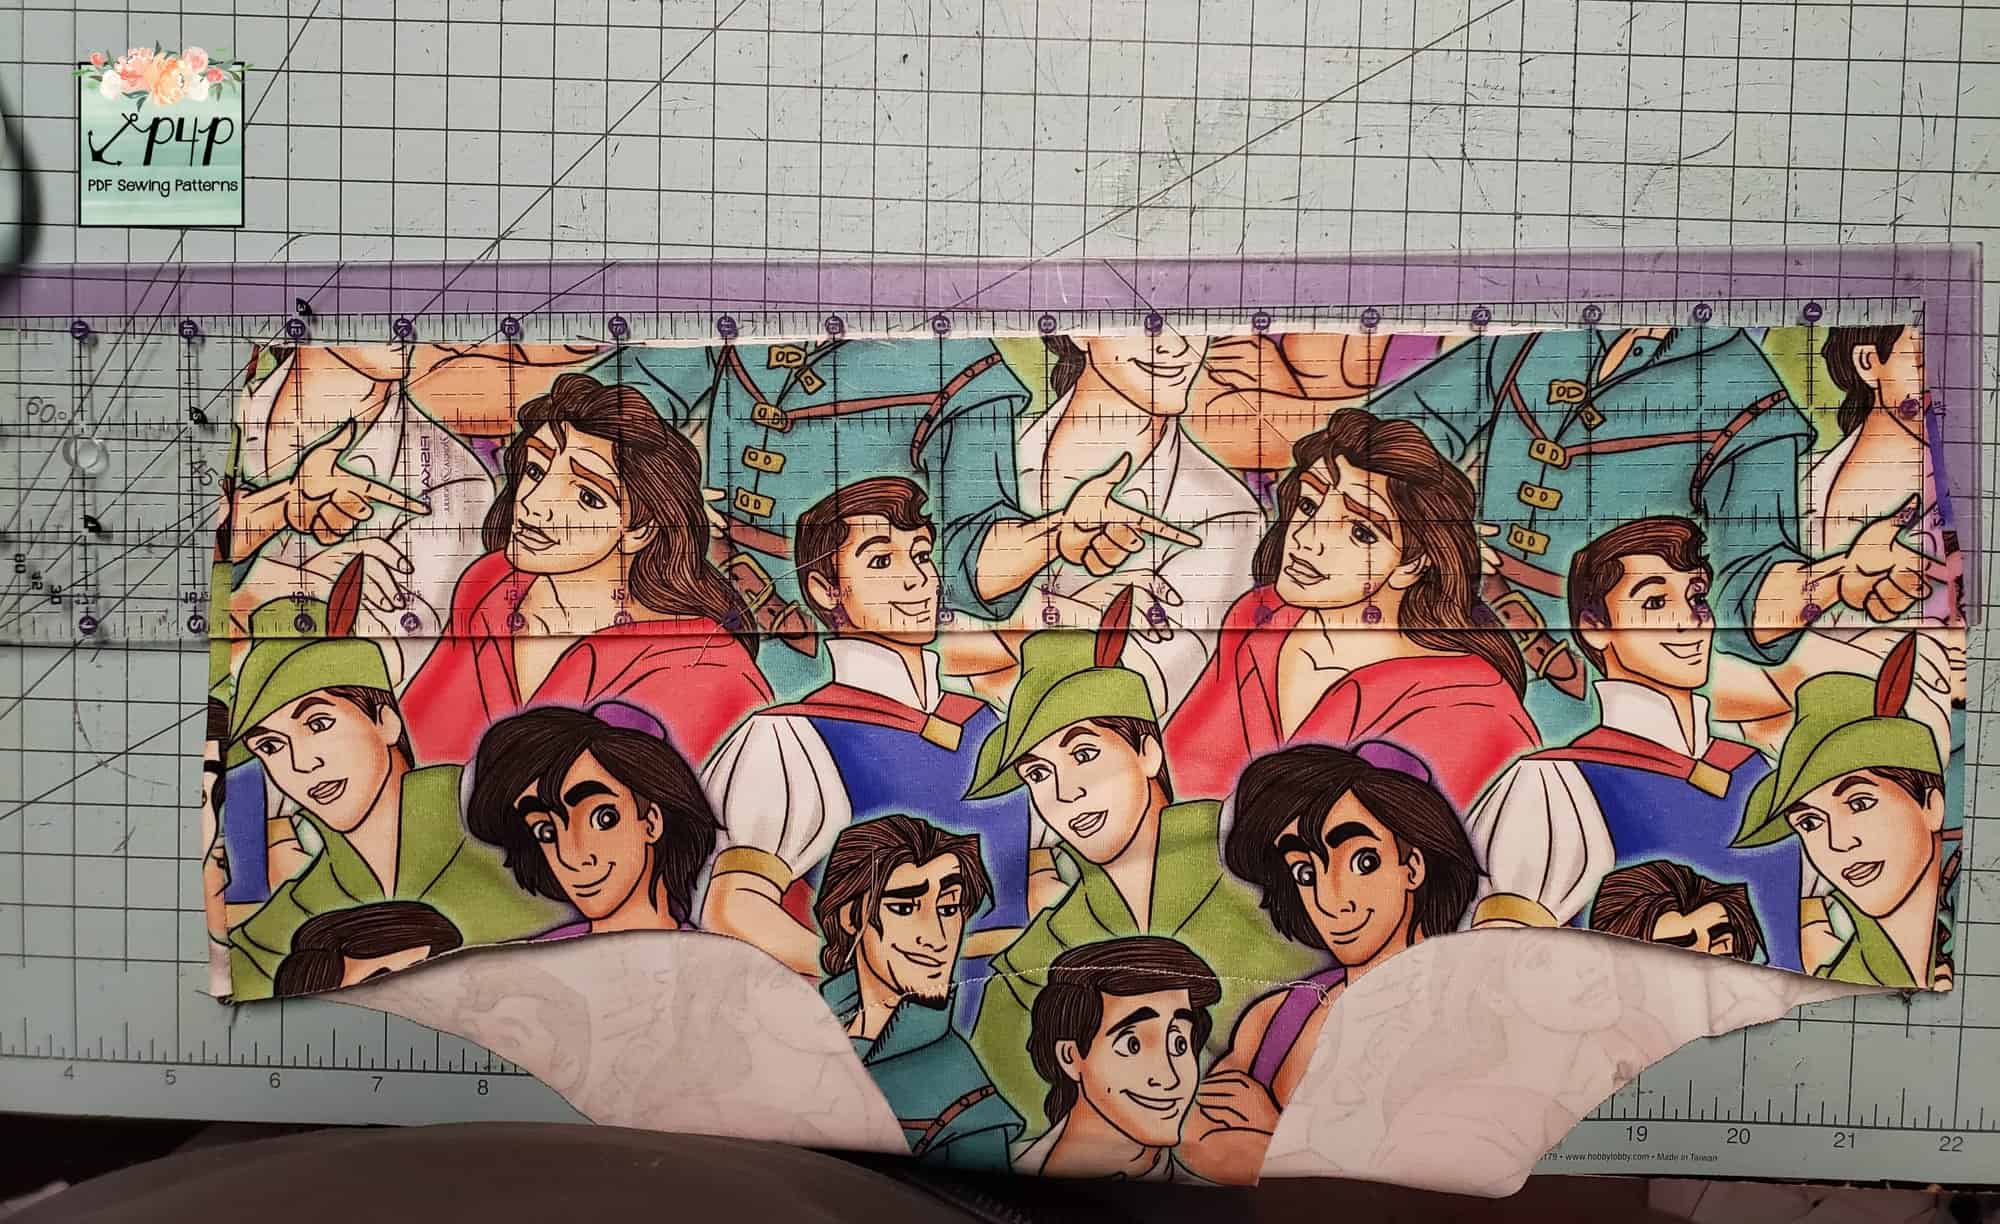
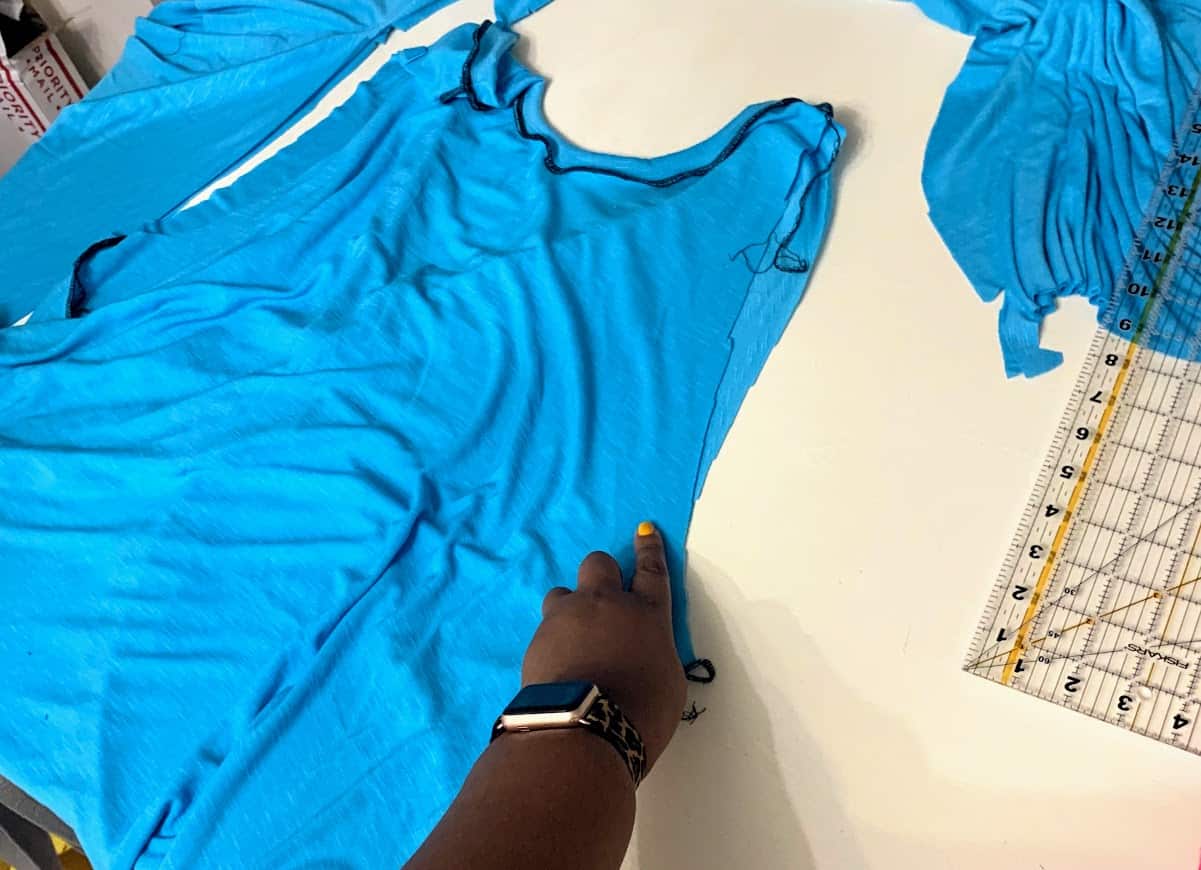
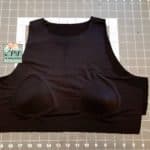
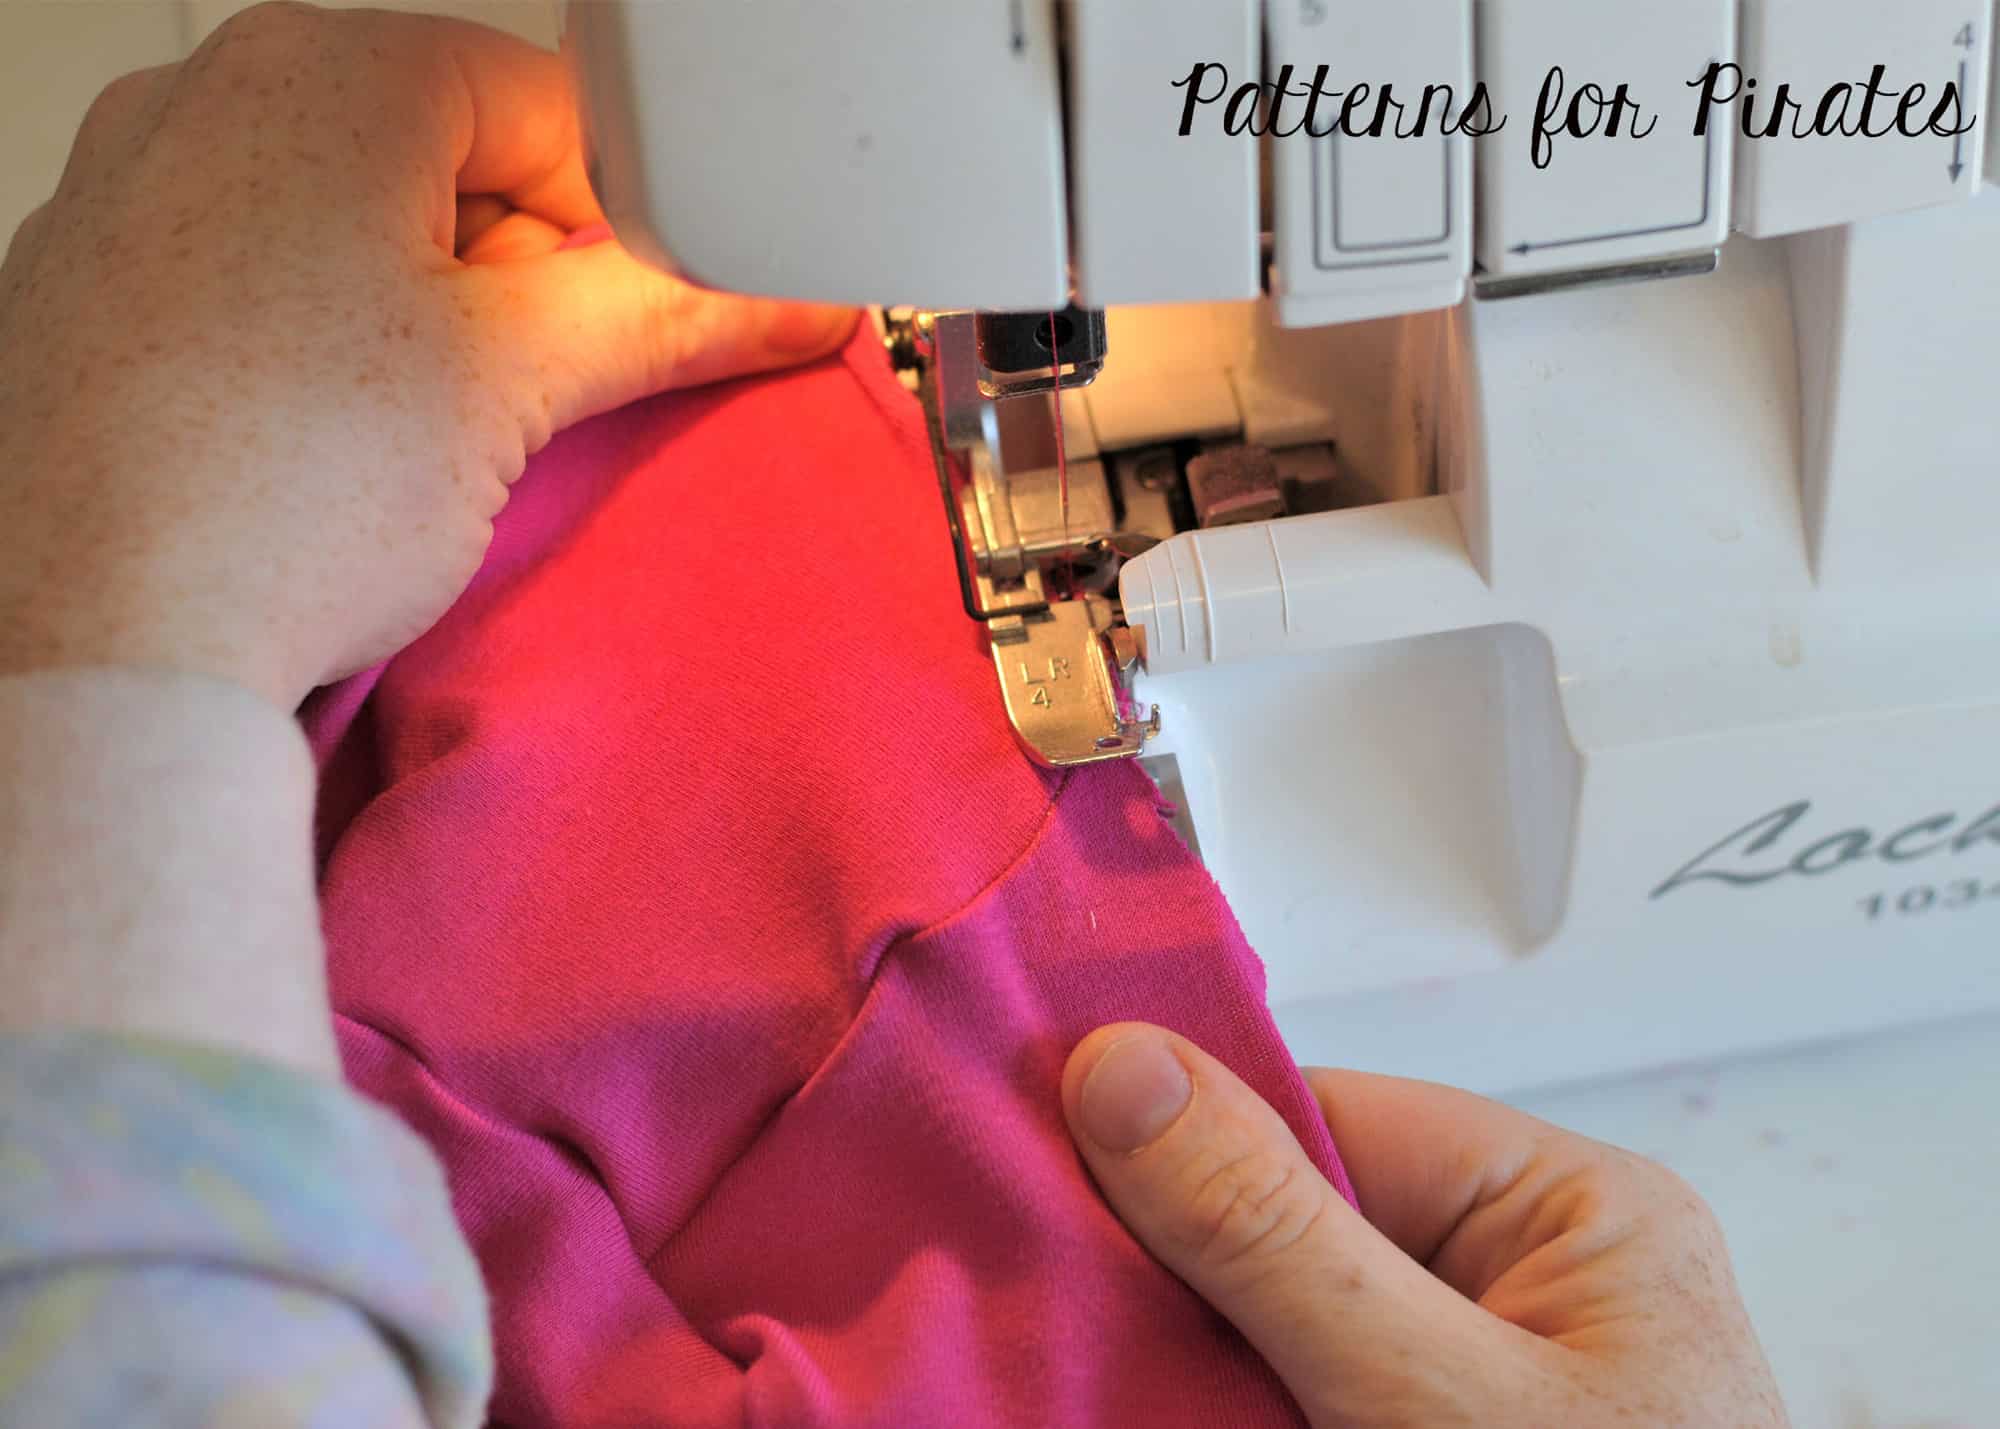
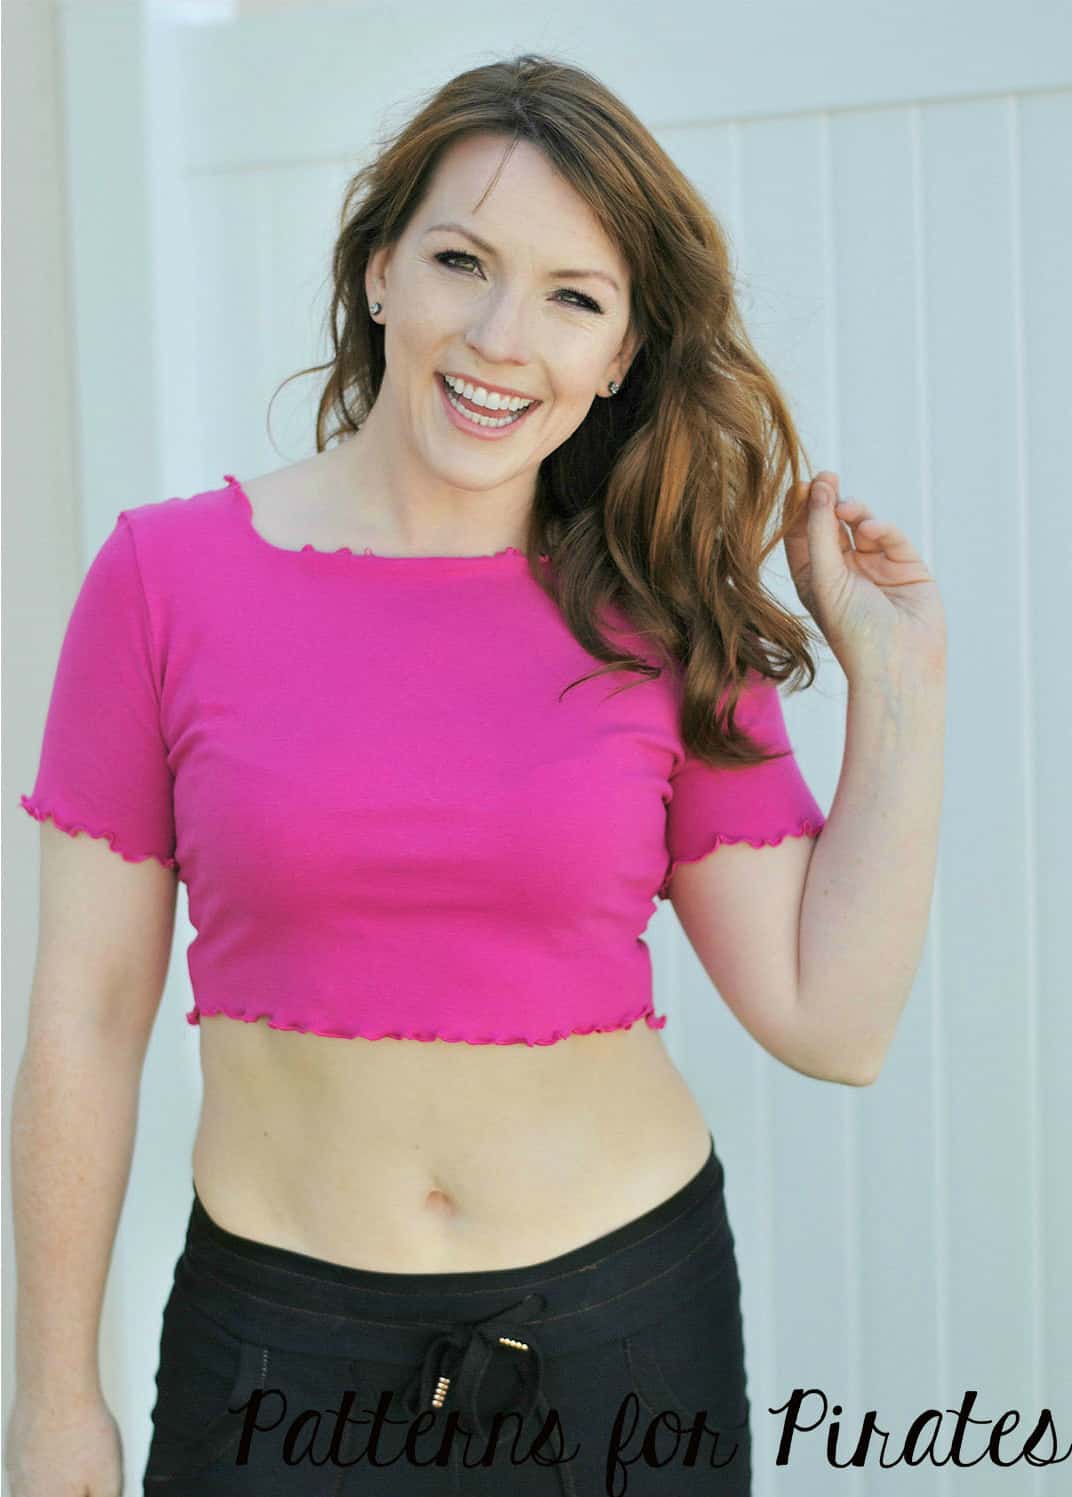
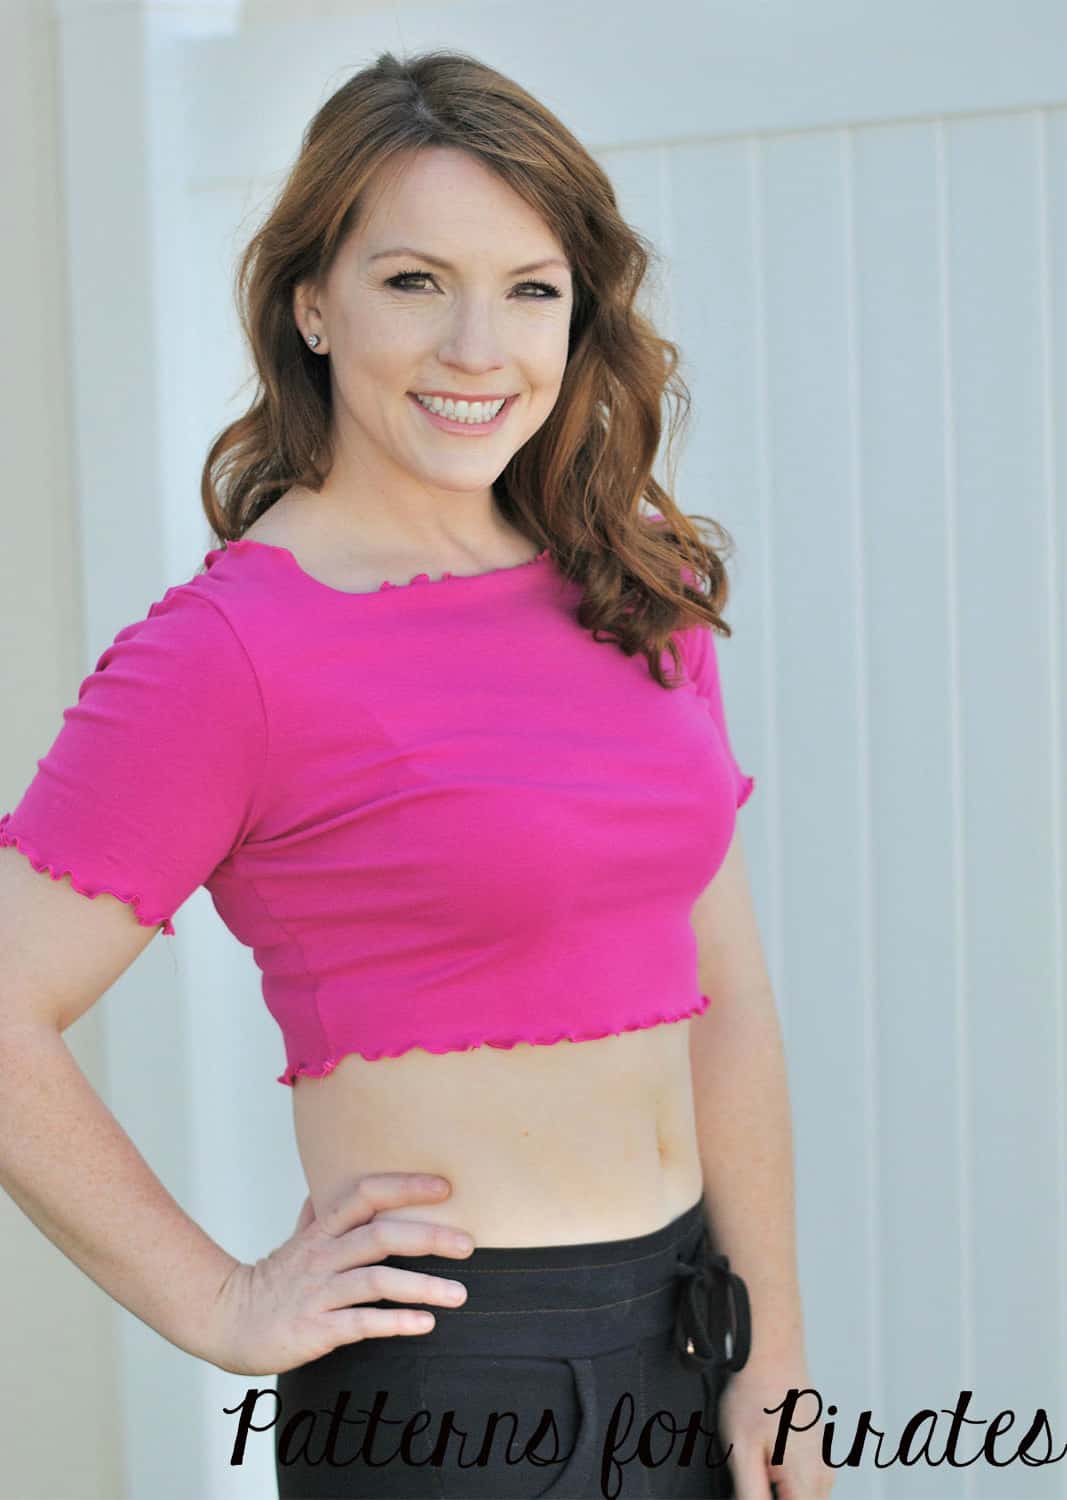
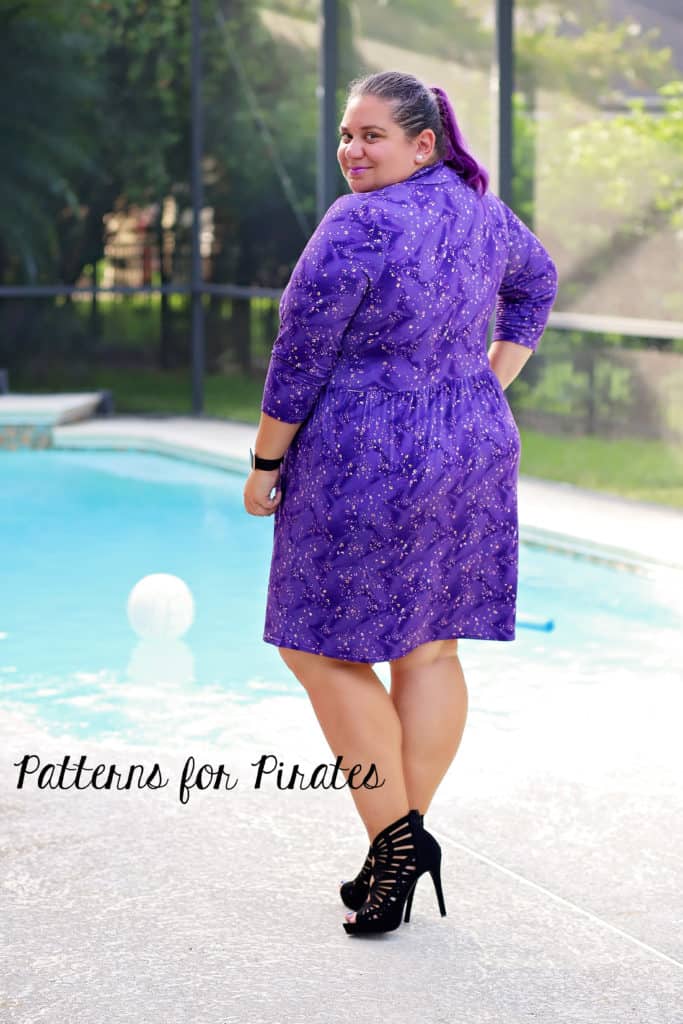
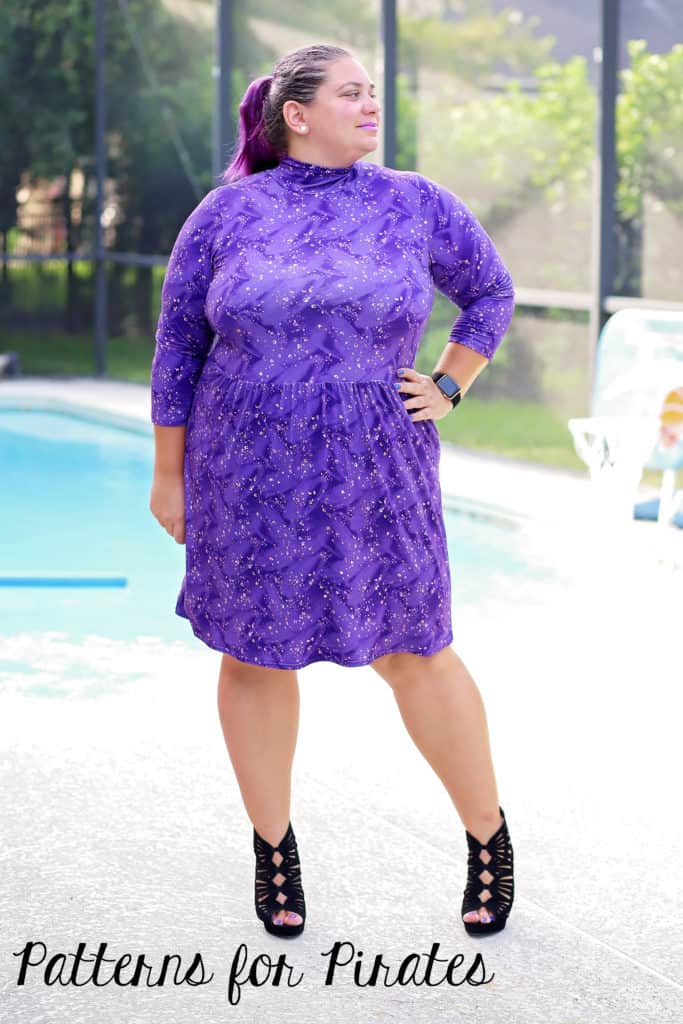
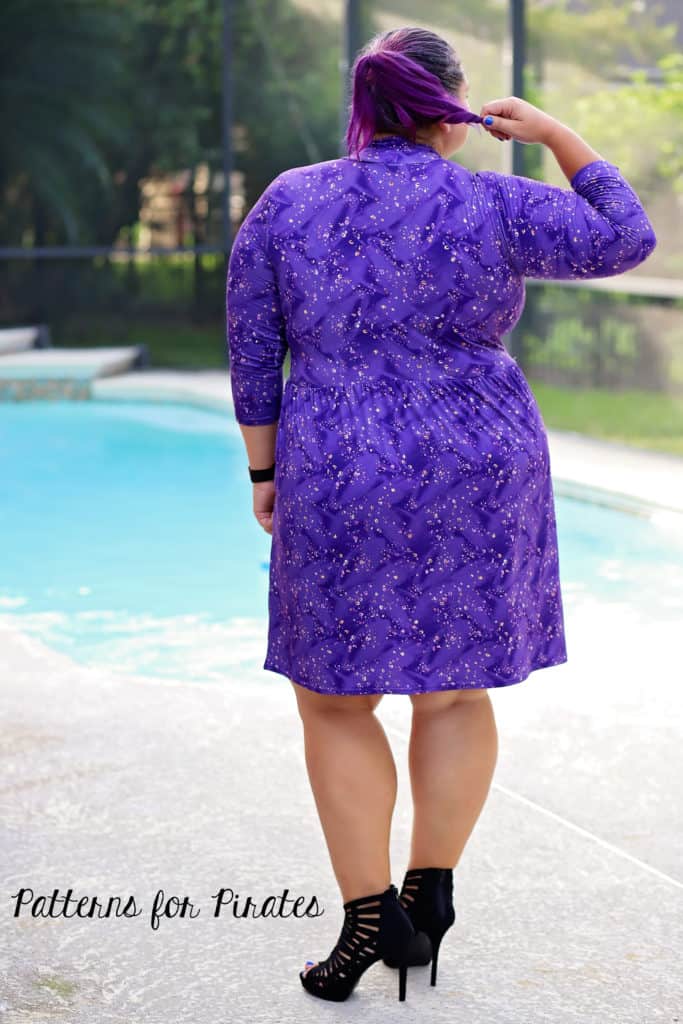
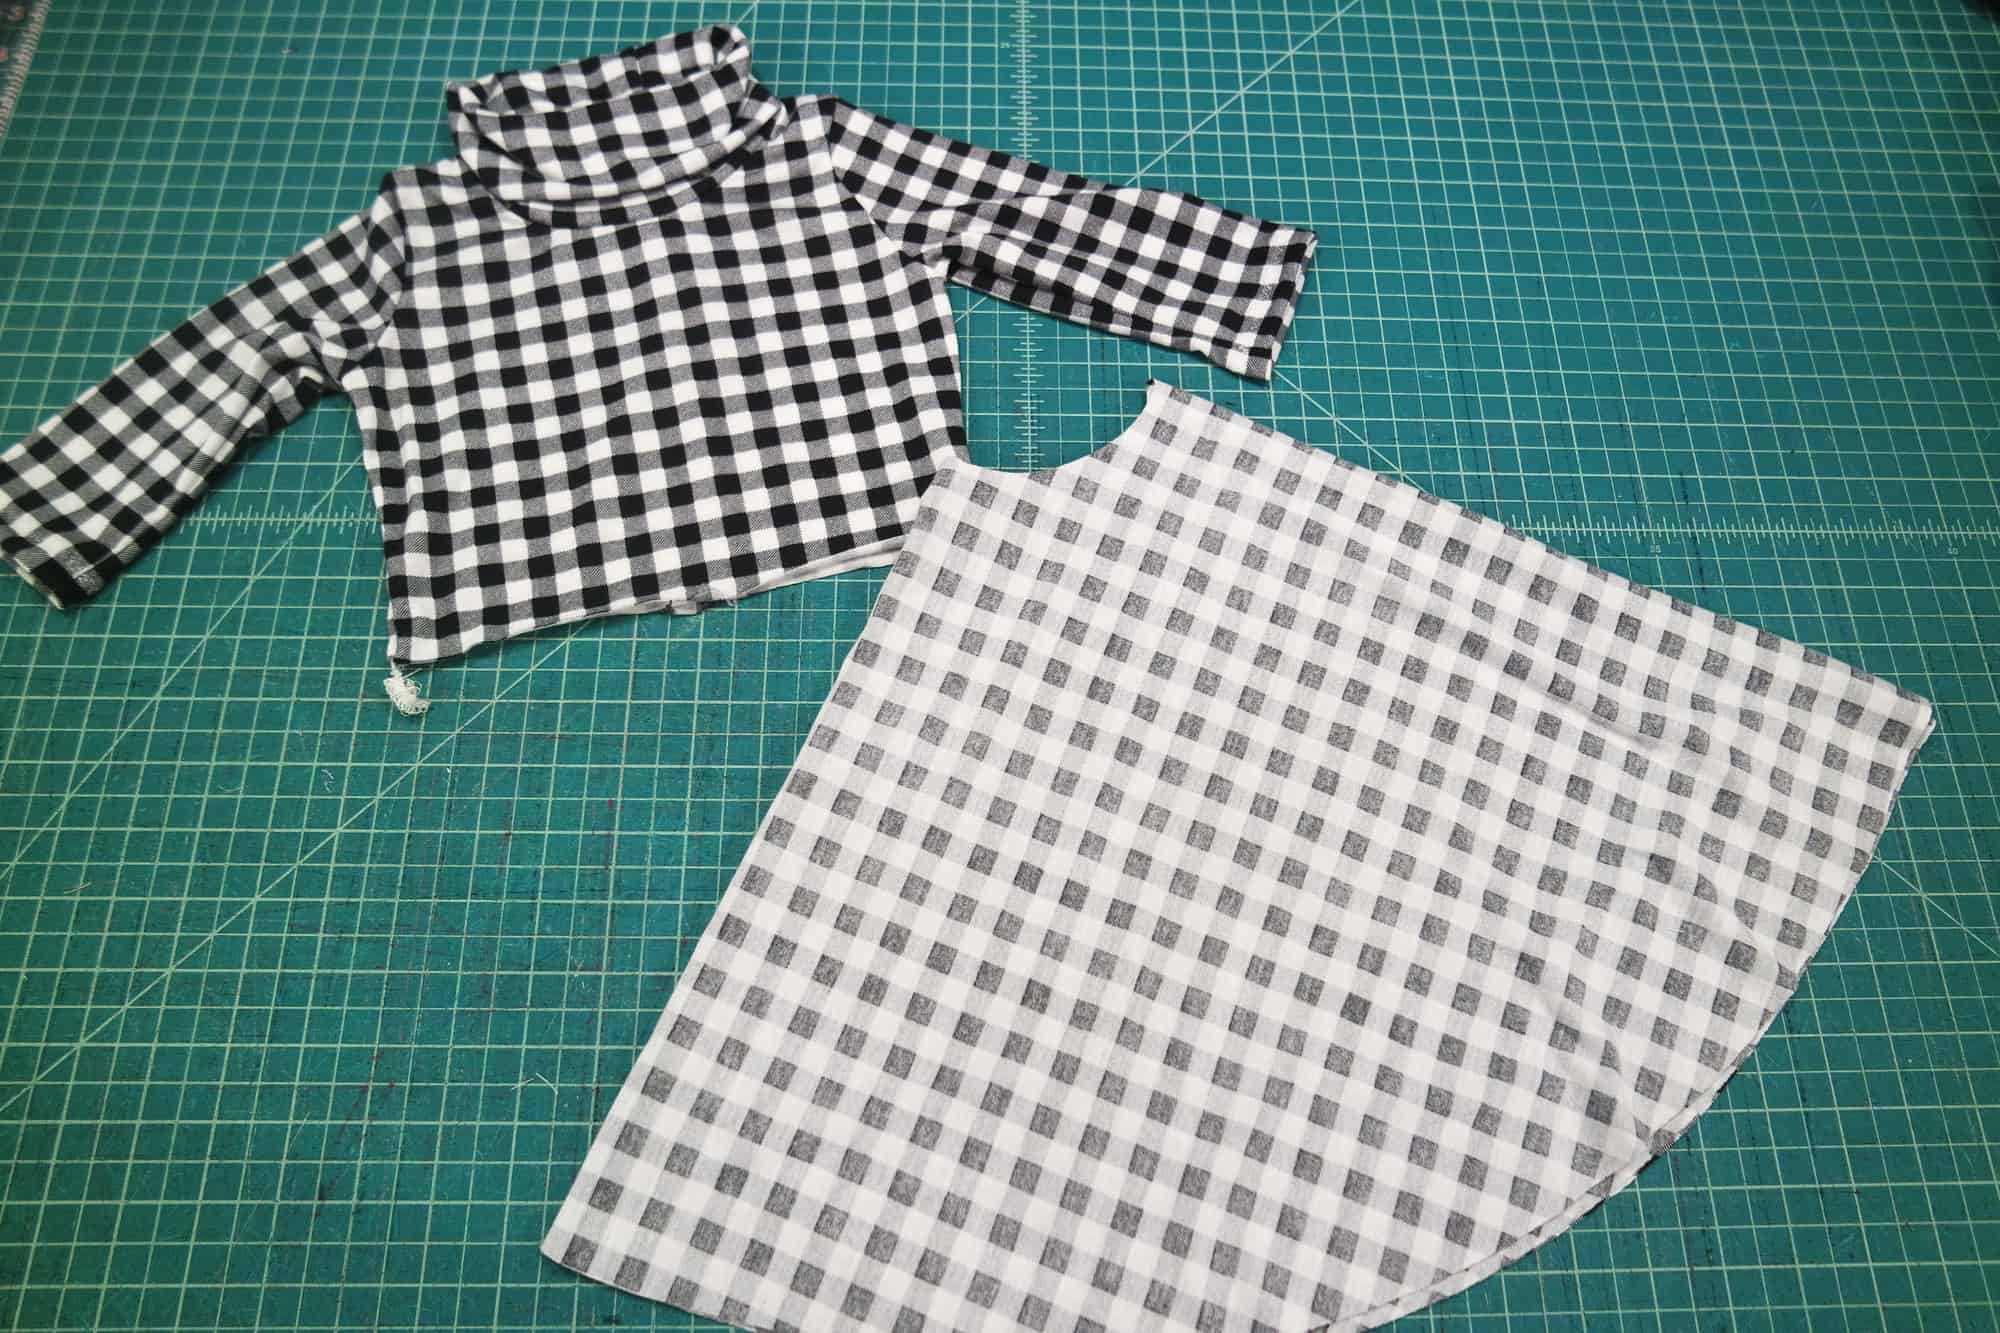
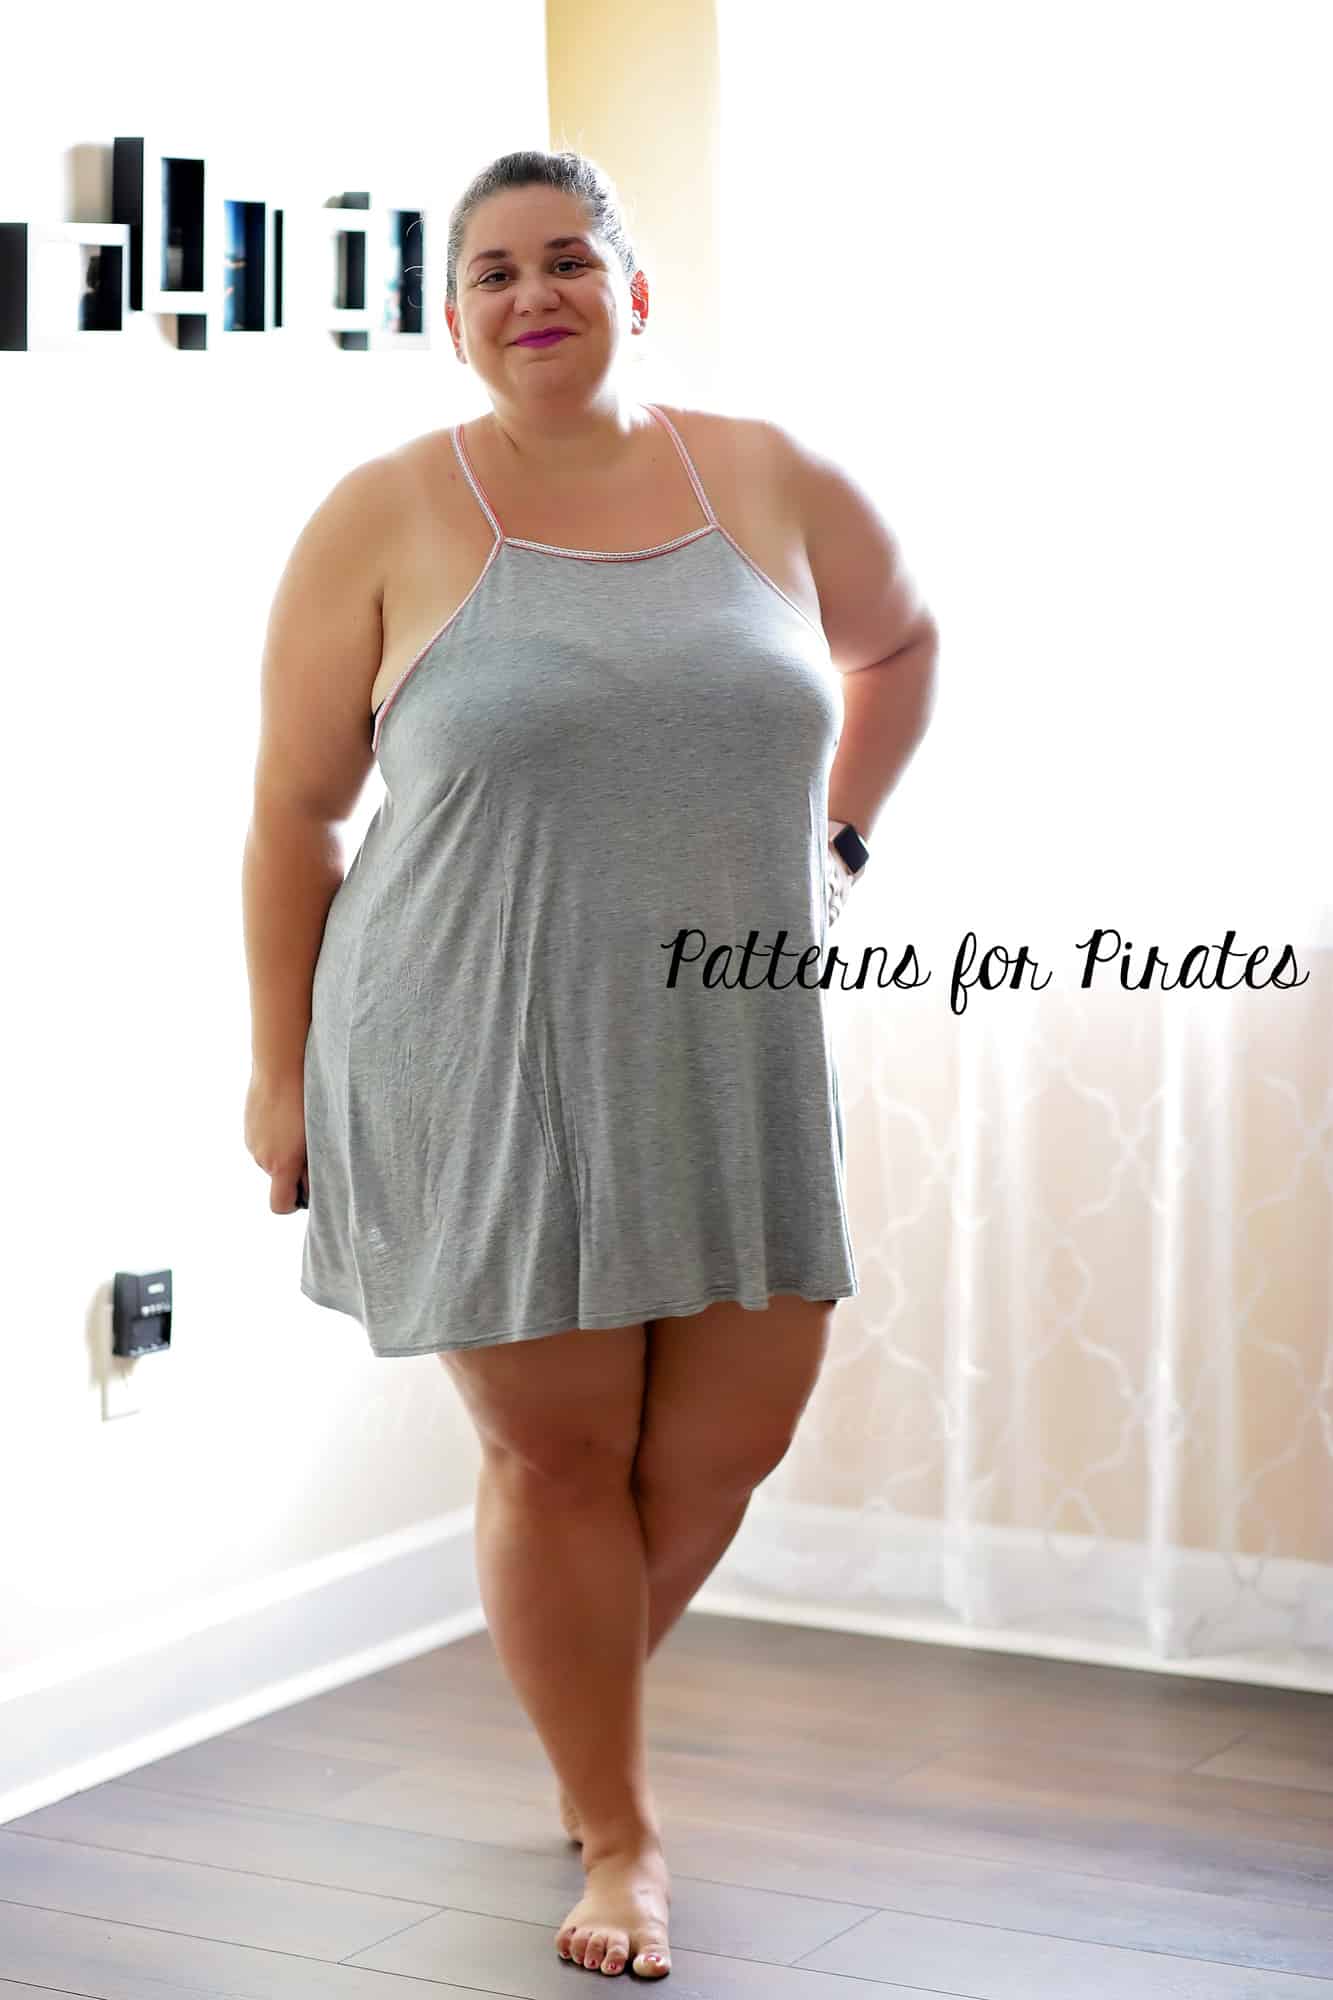
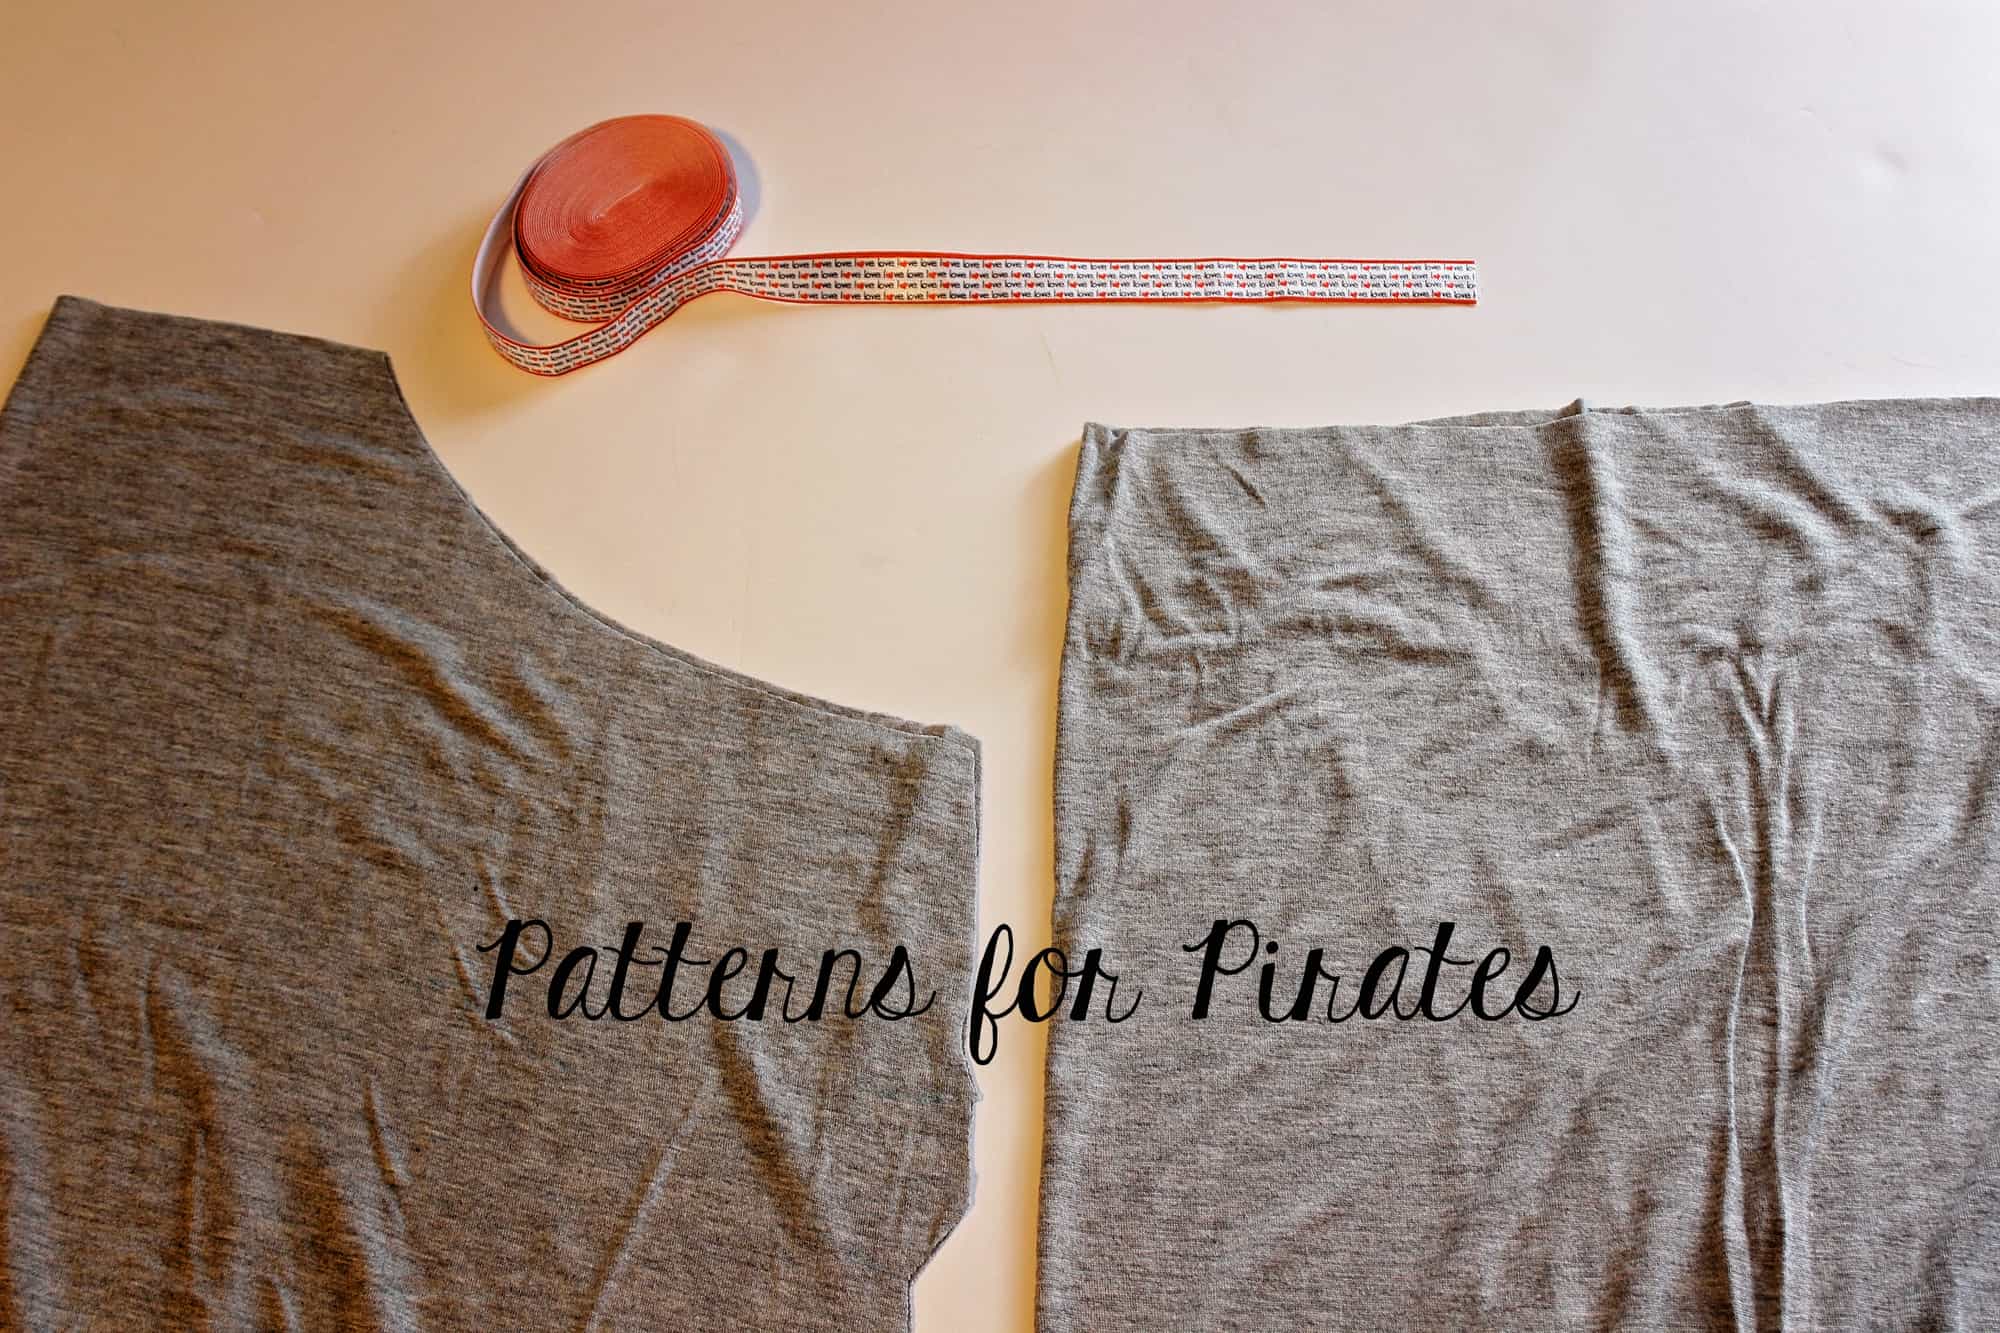
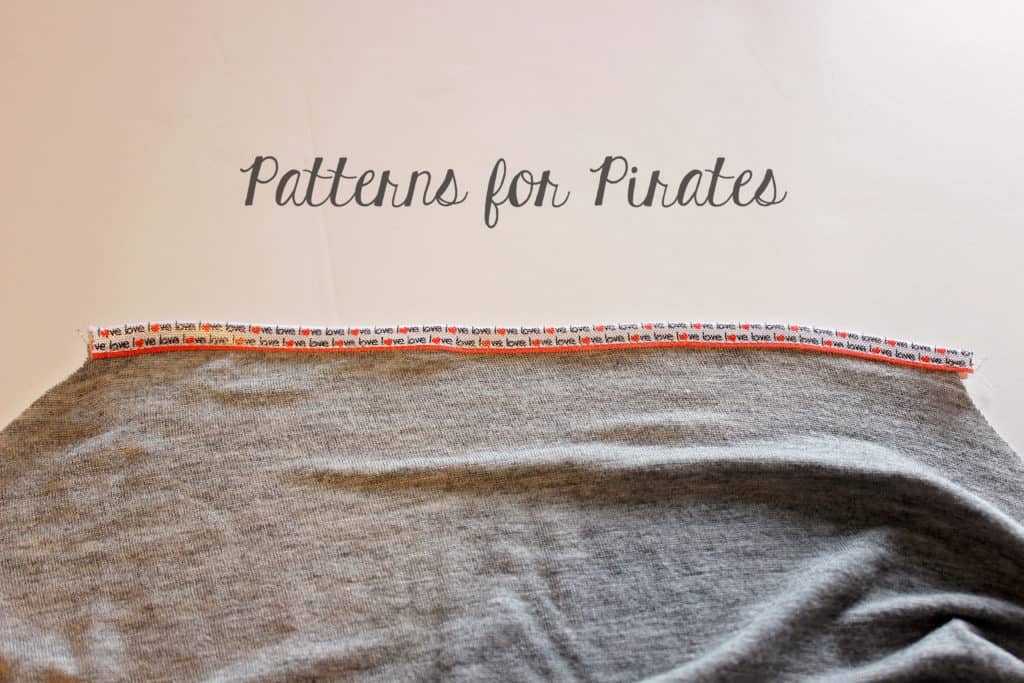
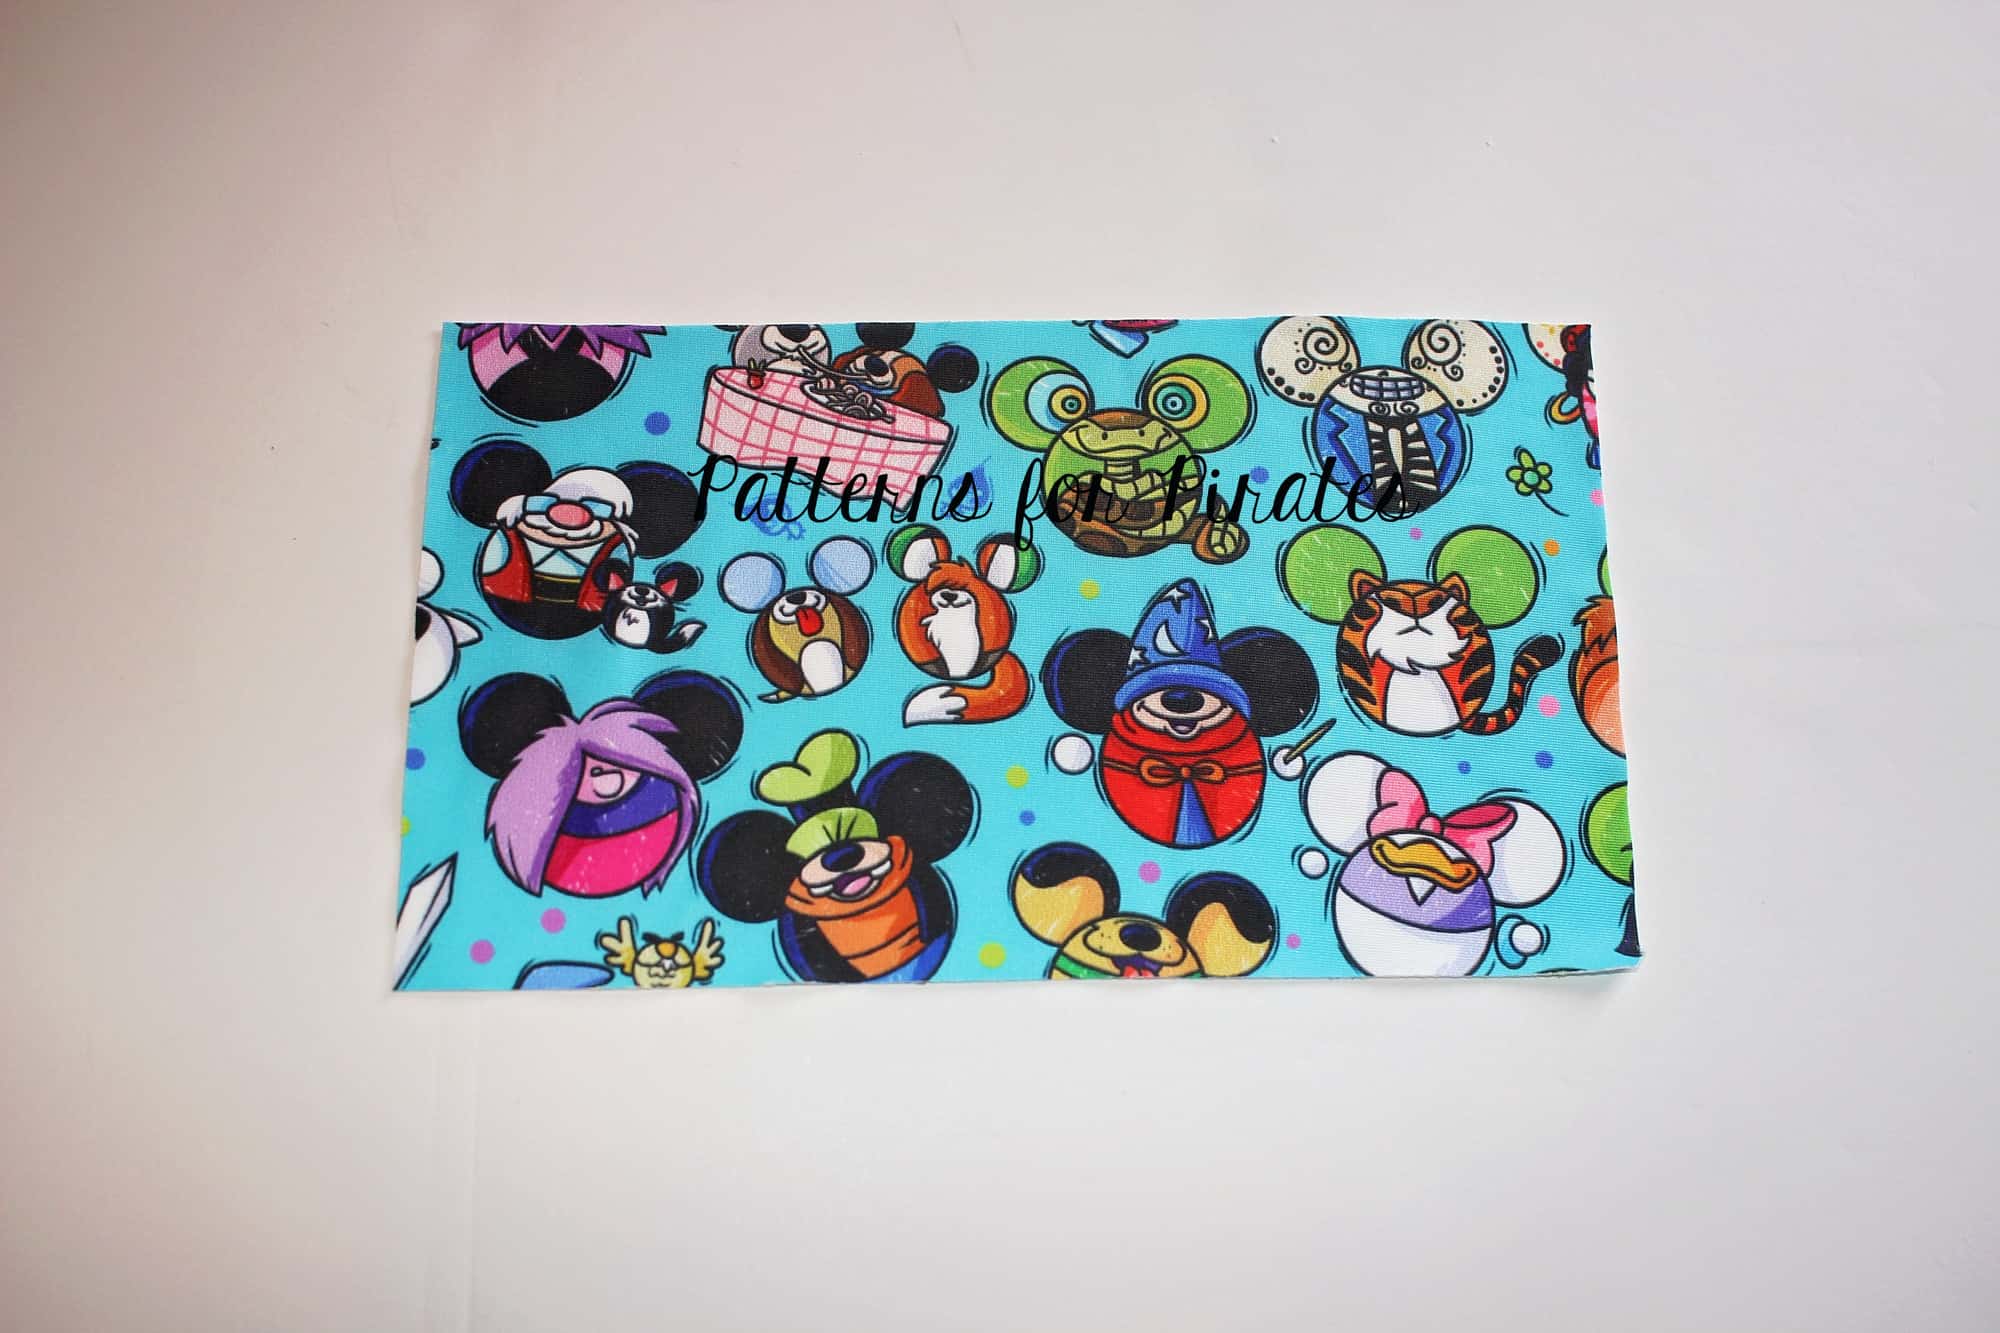
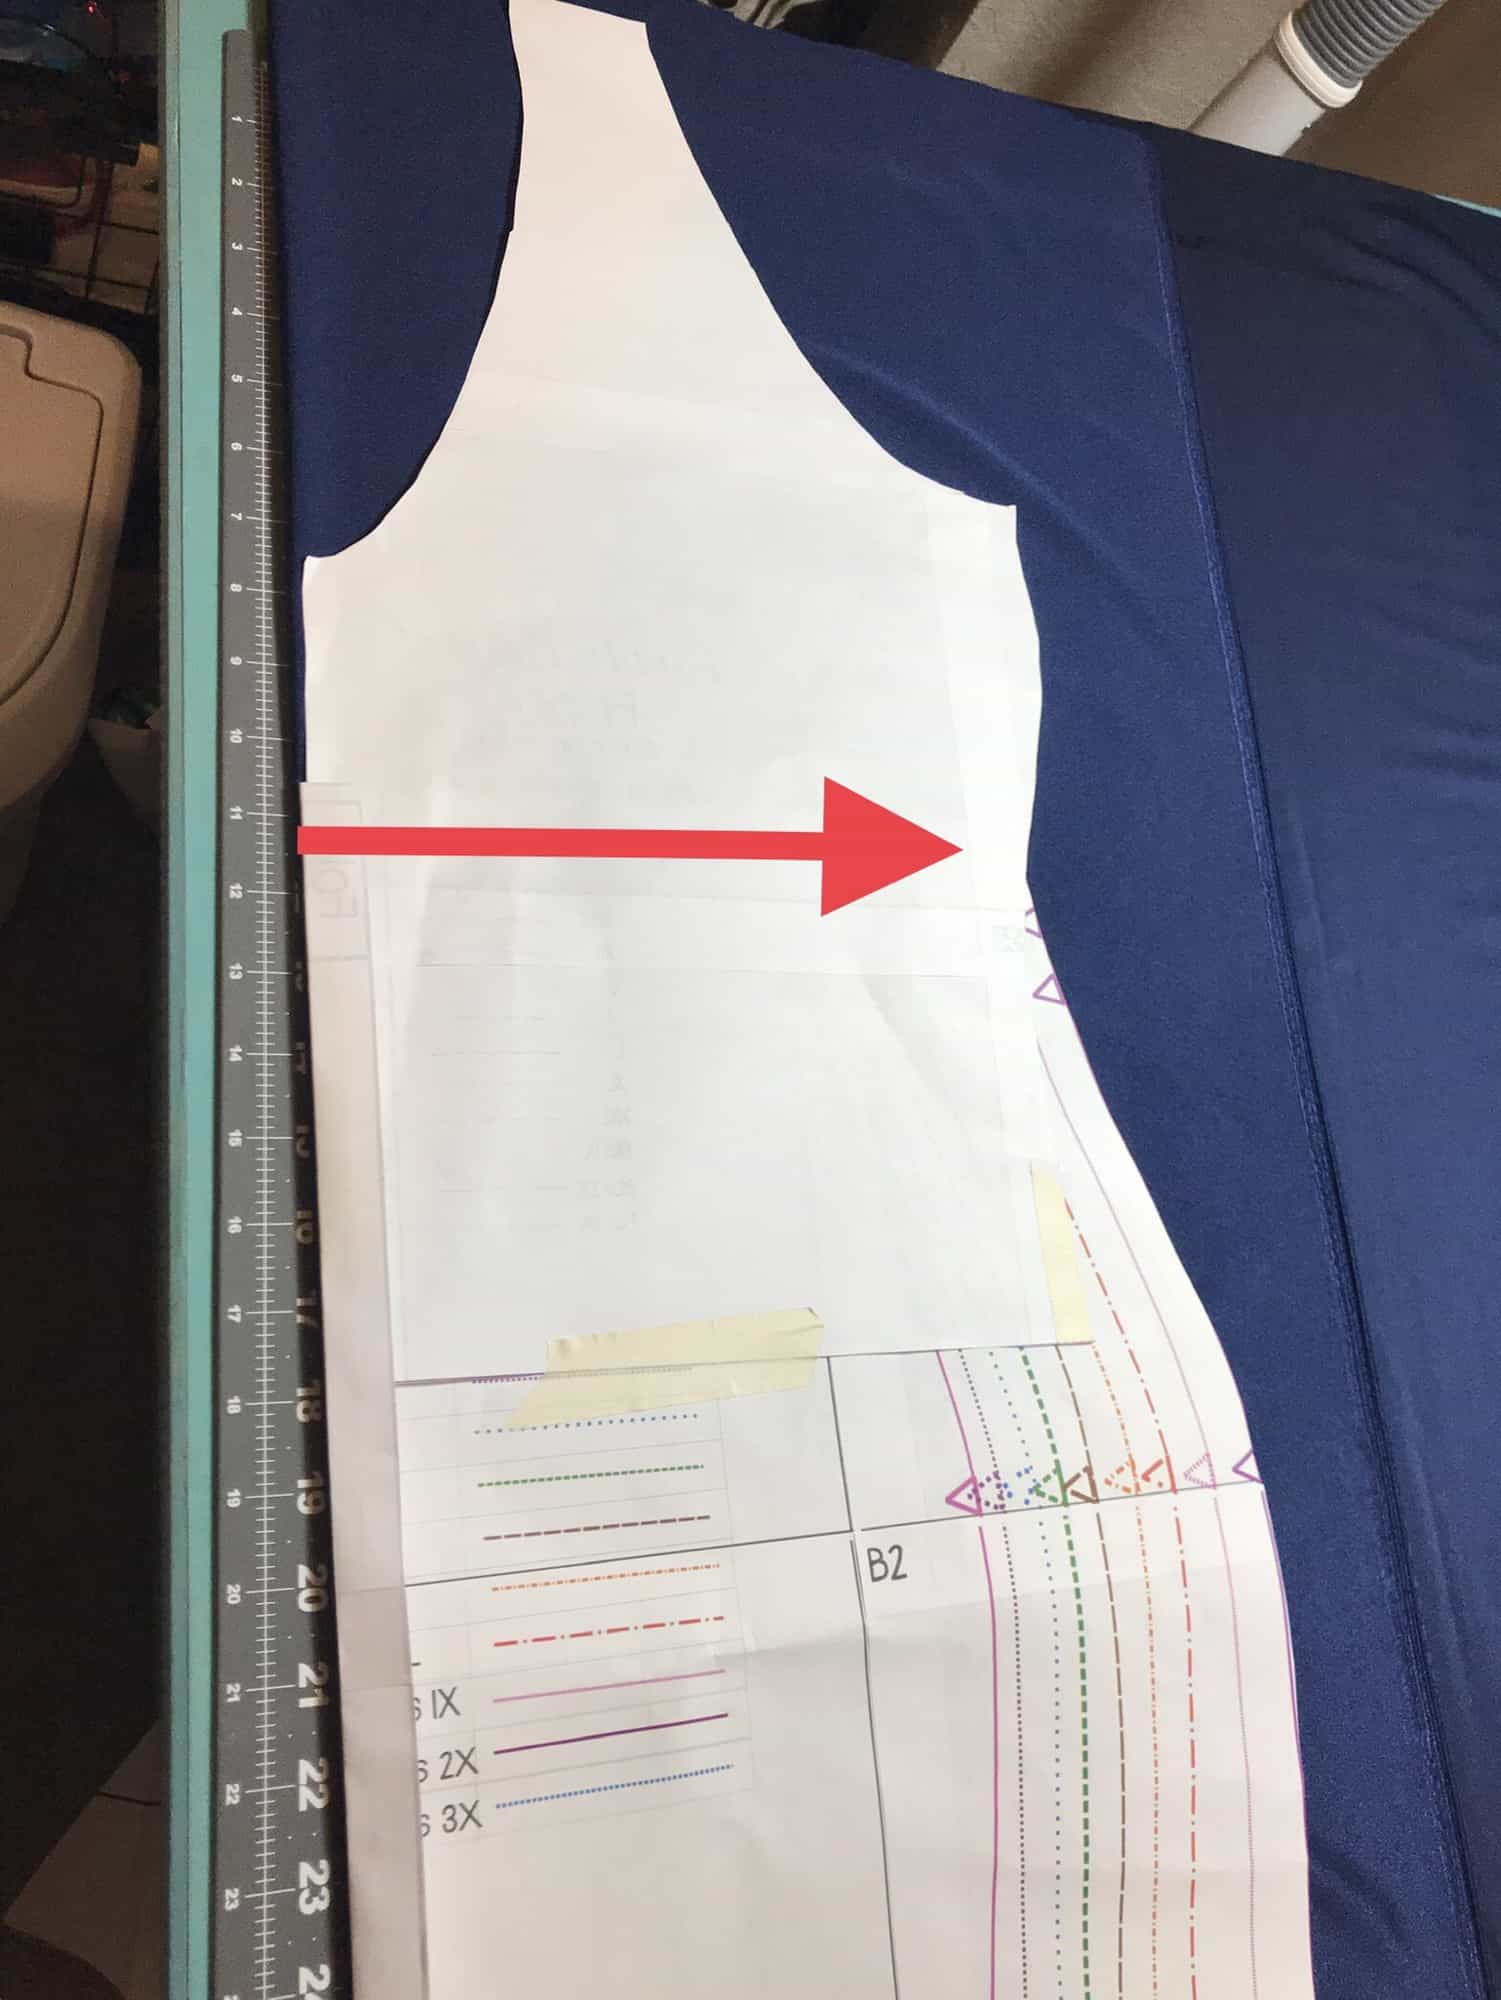
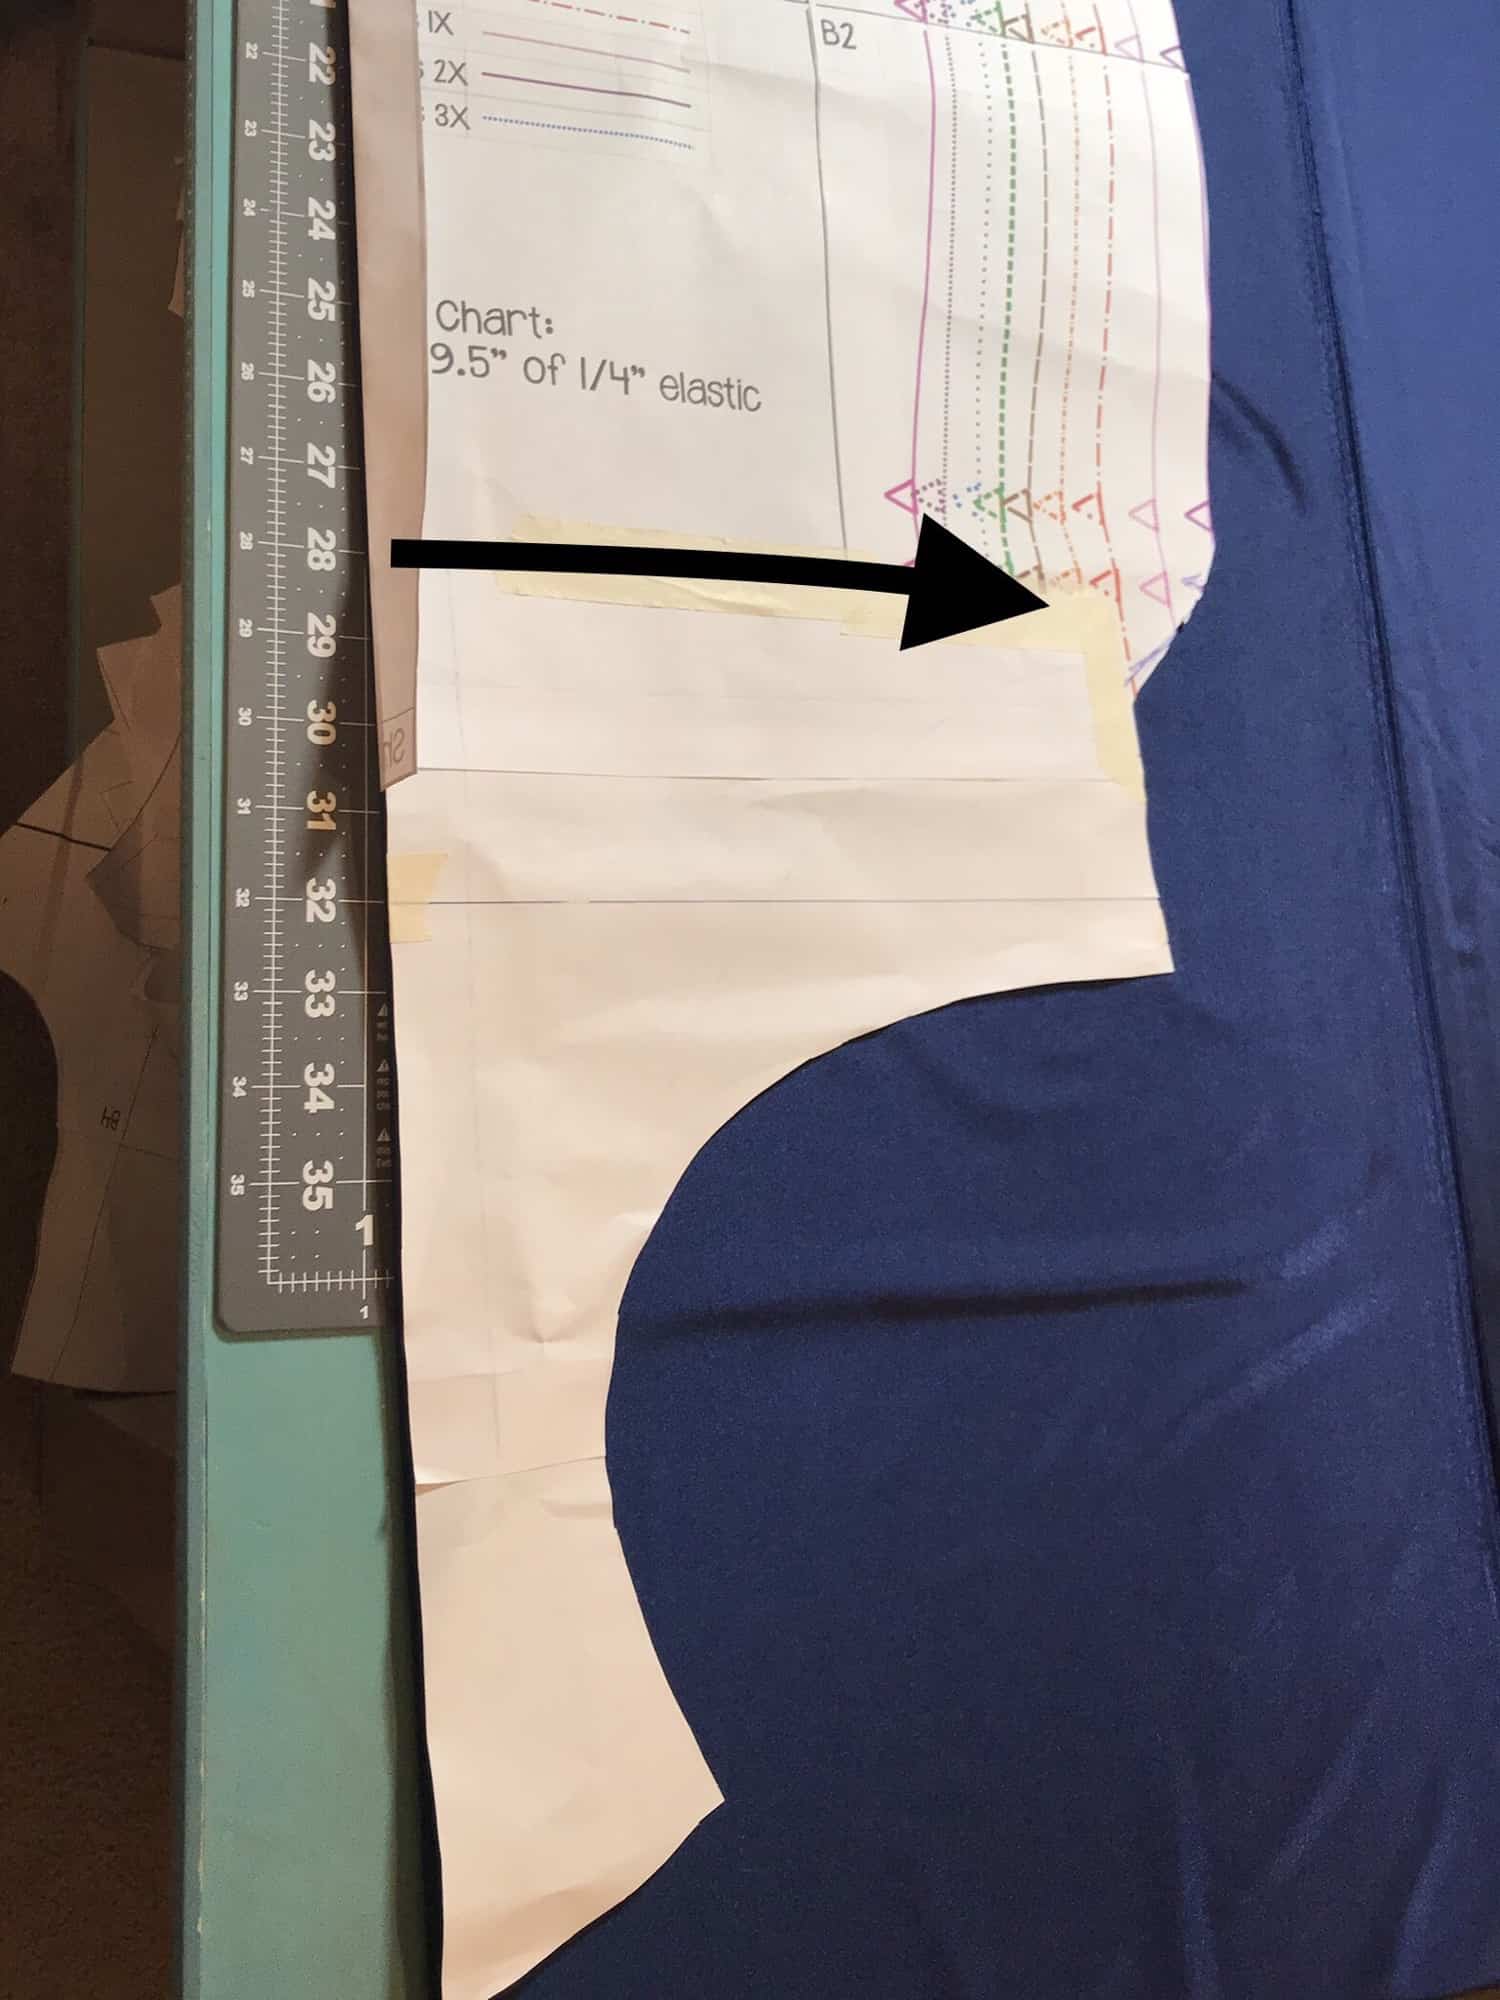
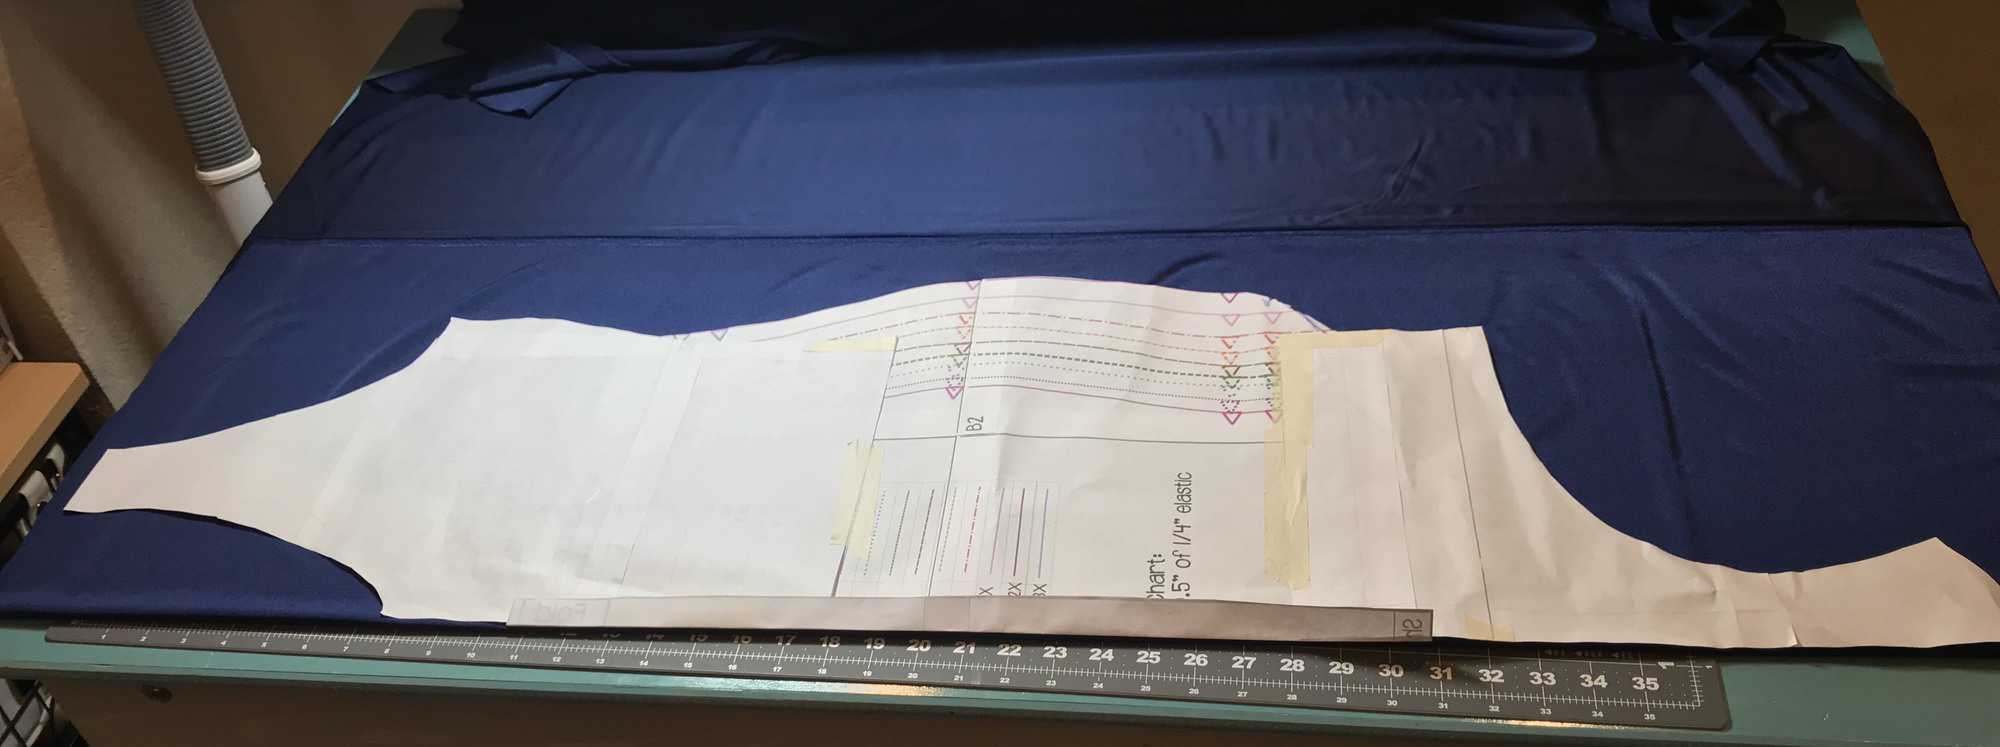
I absolutely fell in love with the off the shoulder neckline of the Runabout Romper but wanted it in shirt form for non-romper days. So, of course, an easy hack was needed and I now have the coziest sweatshirt ever. It’s so easy to do! First, start by printing just your top pieces, putting together, and cutting them out.
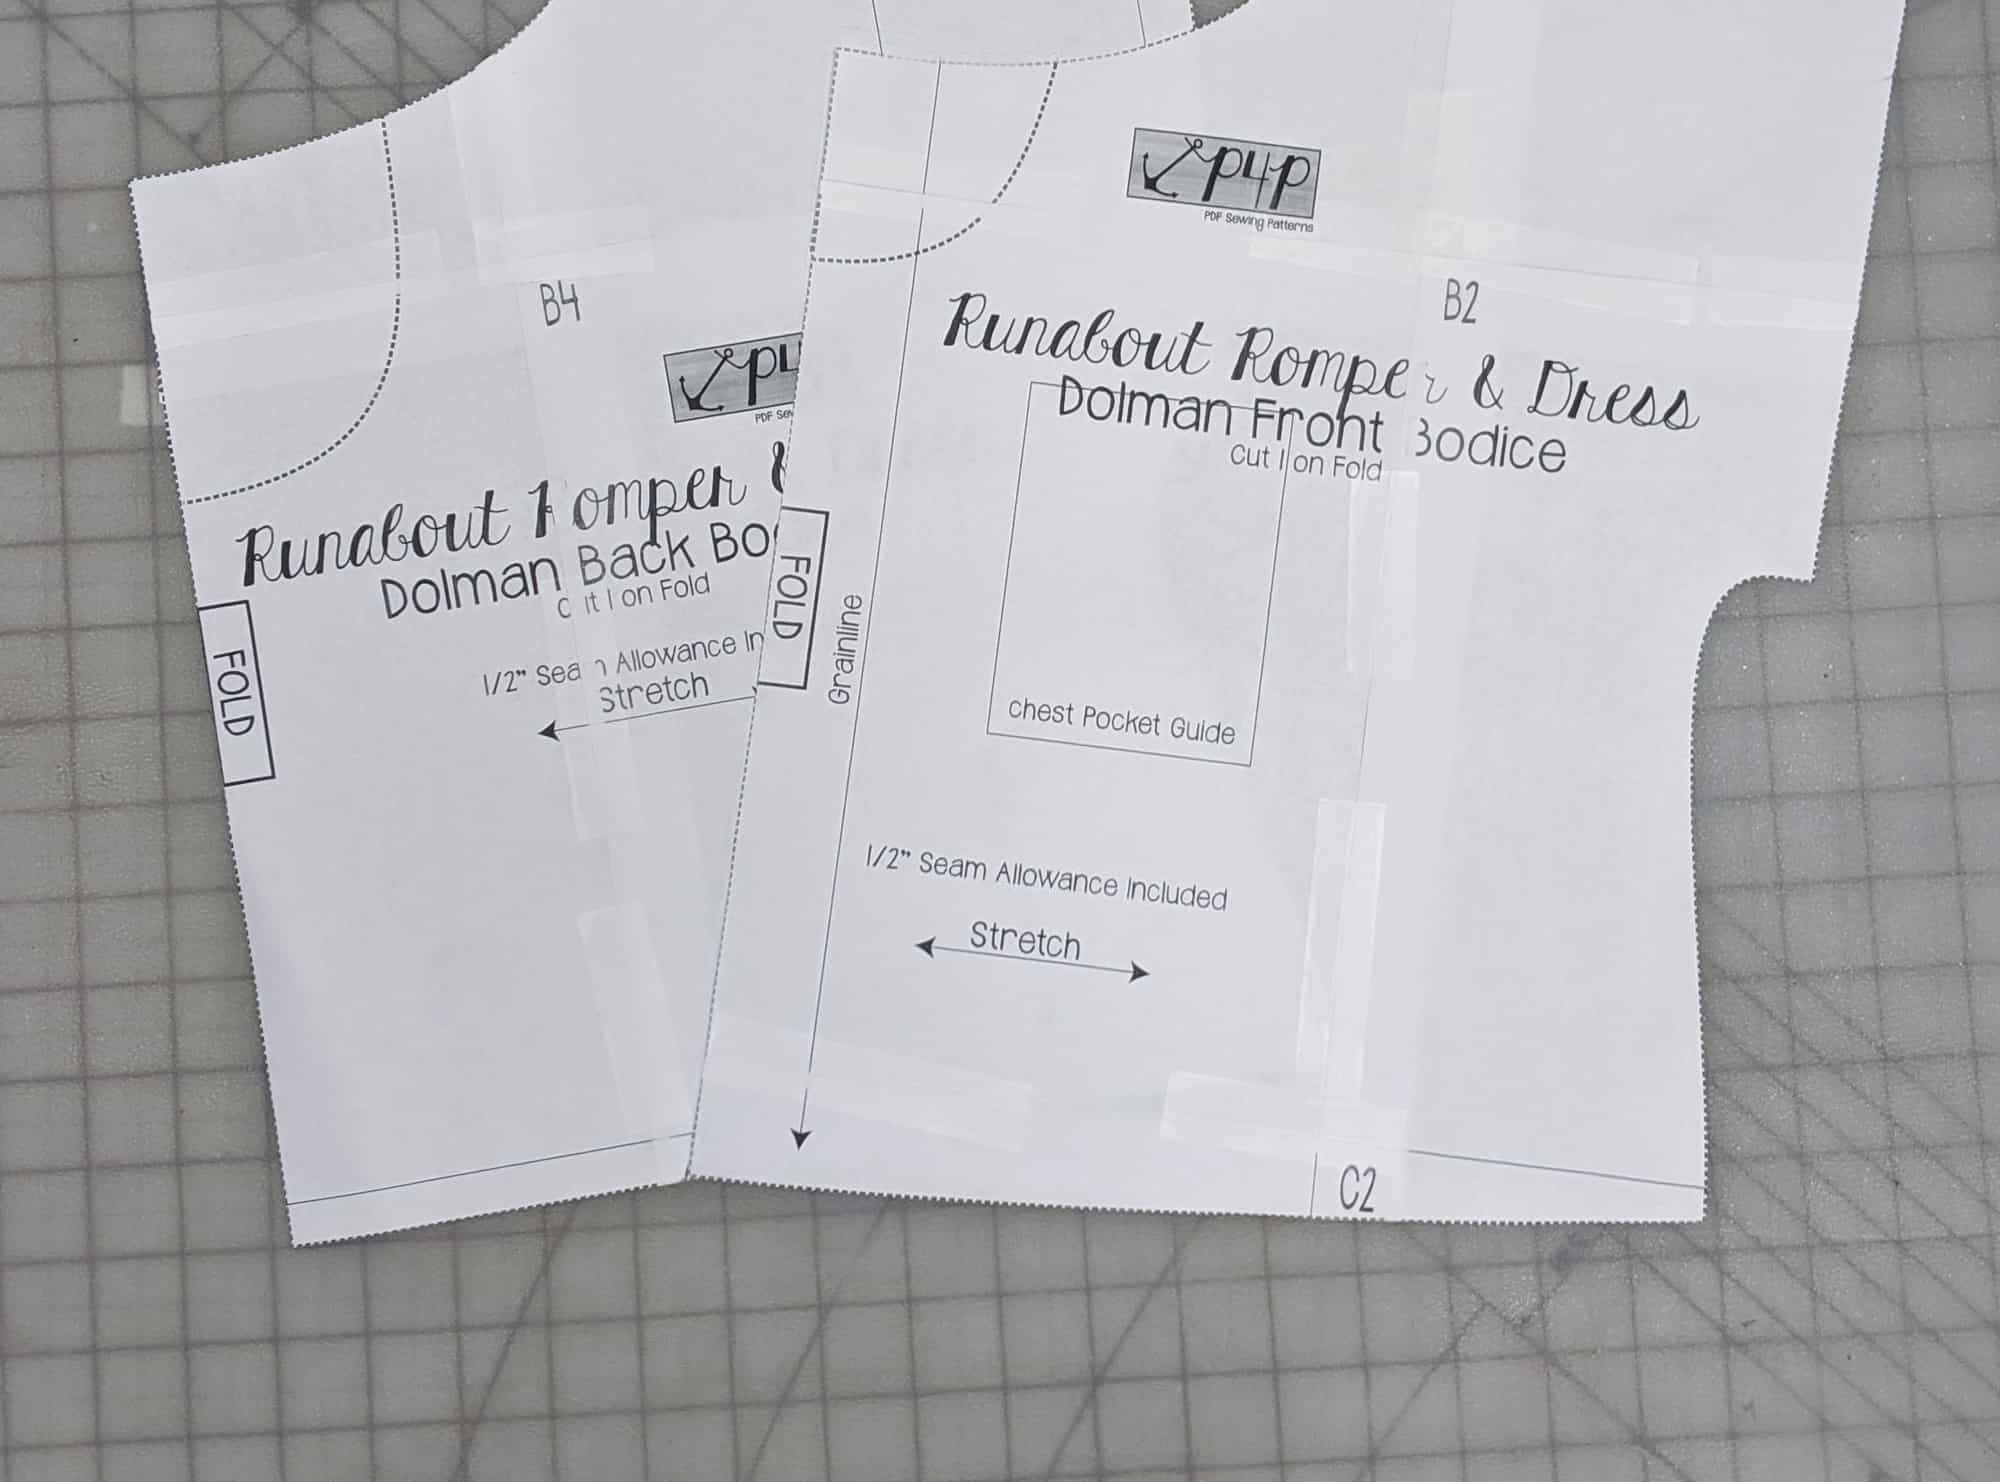
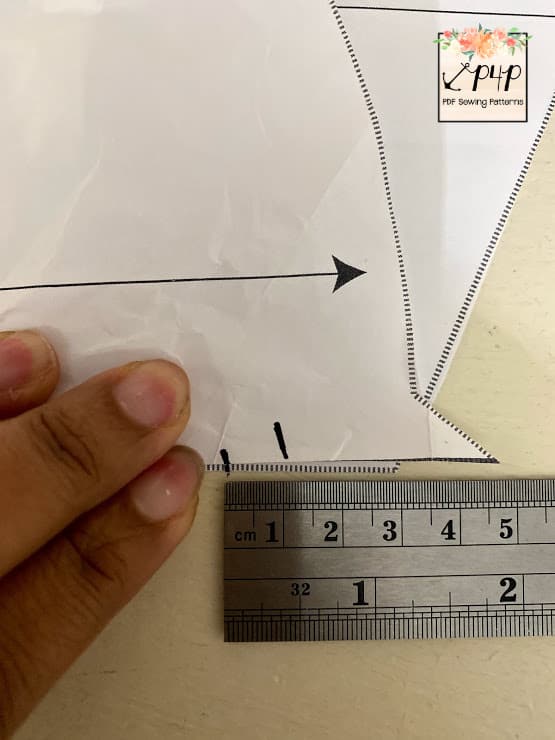
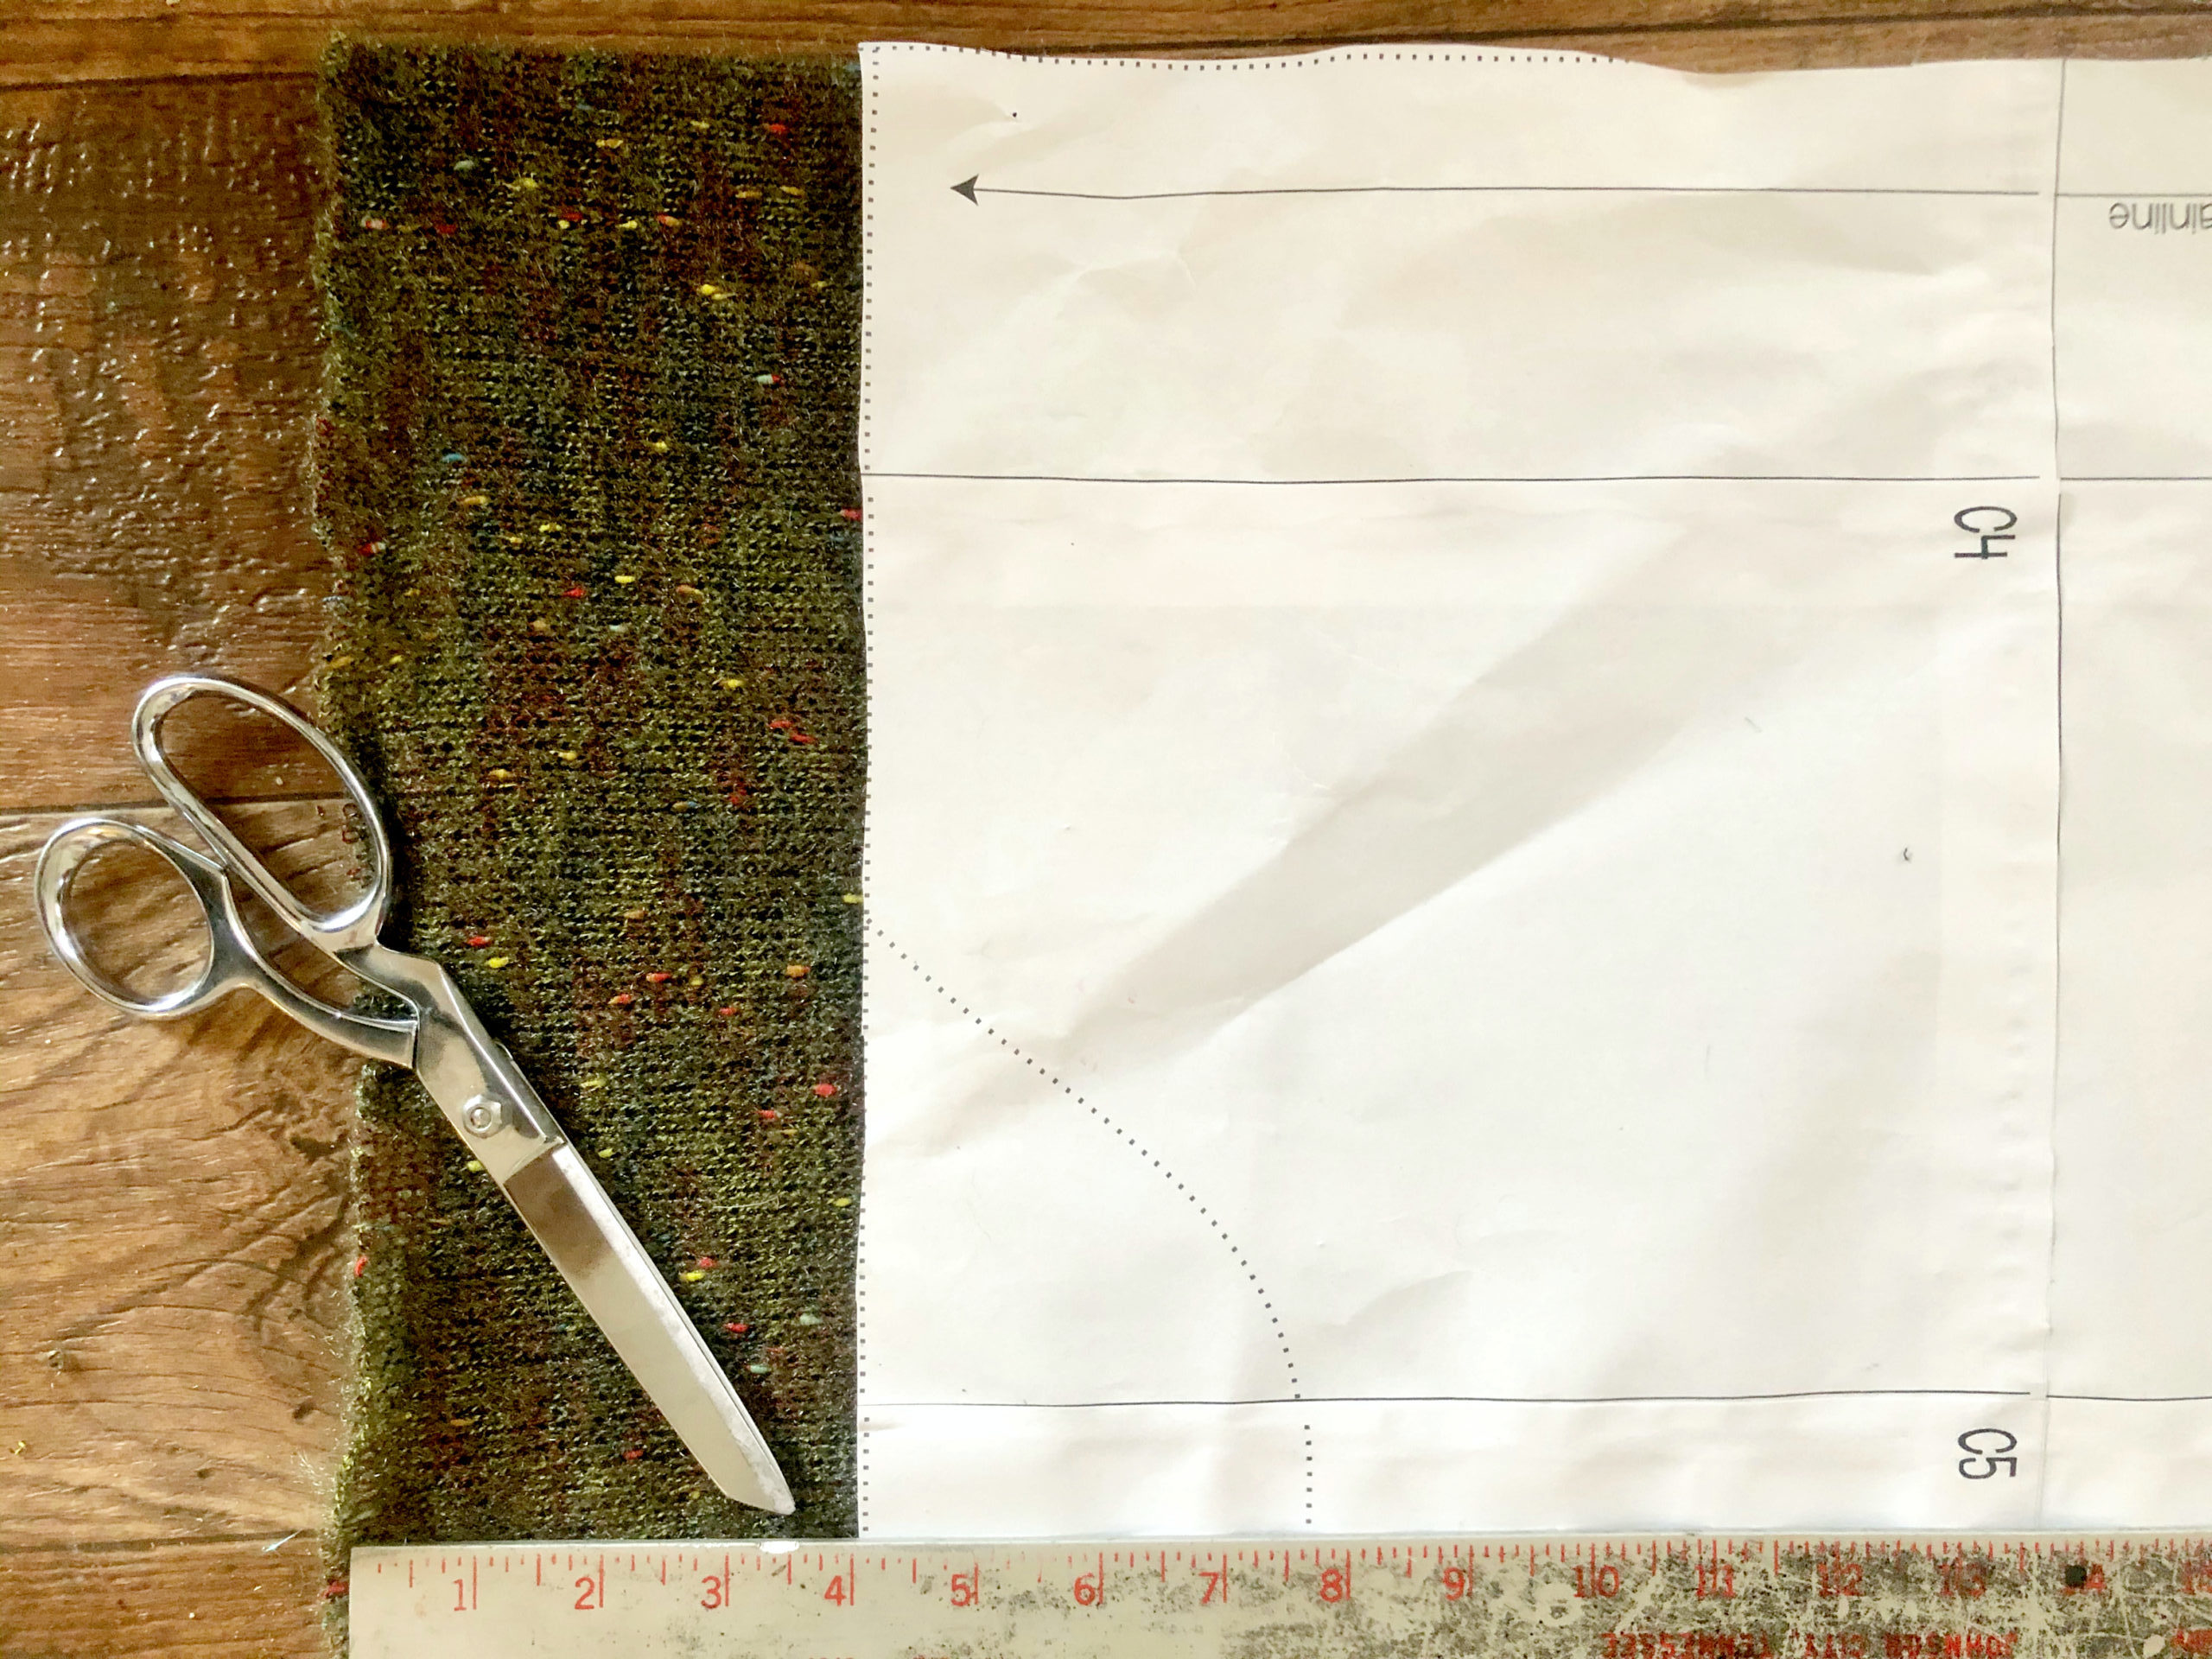
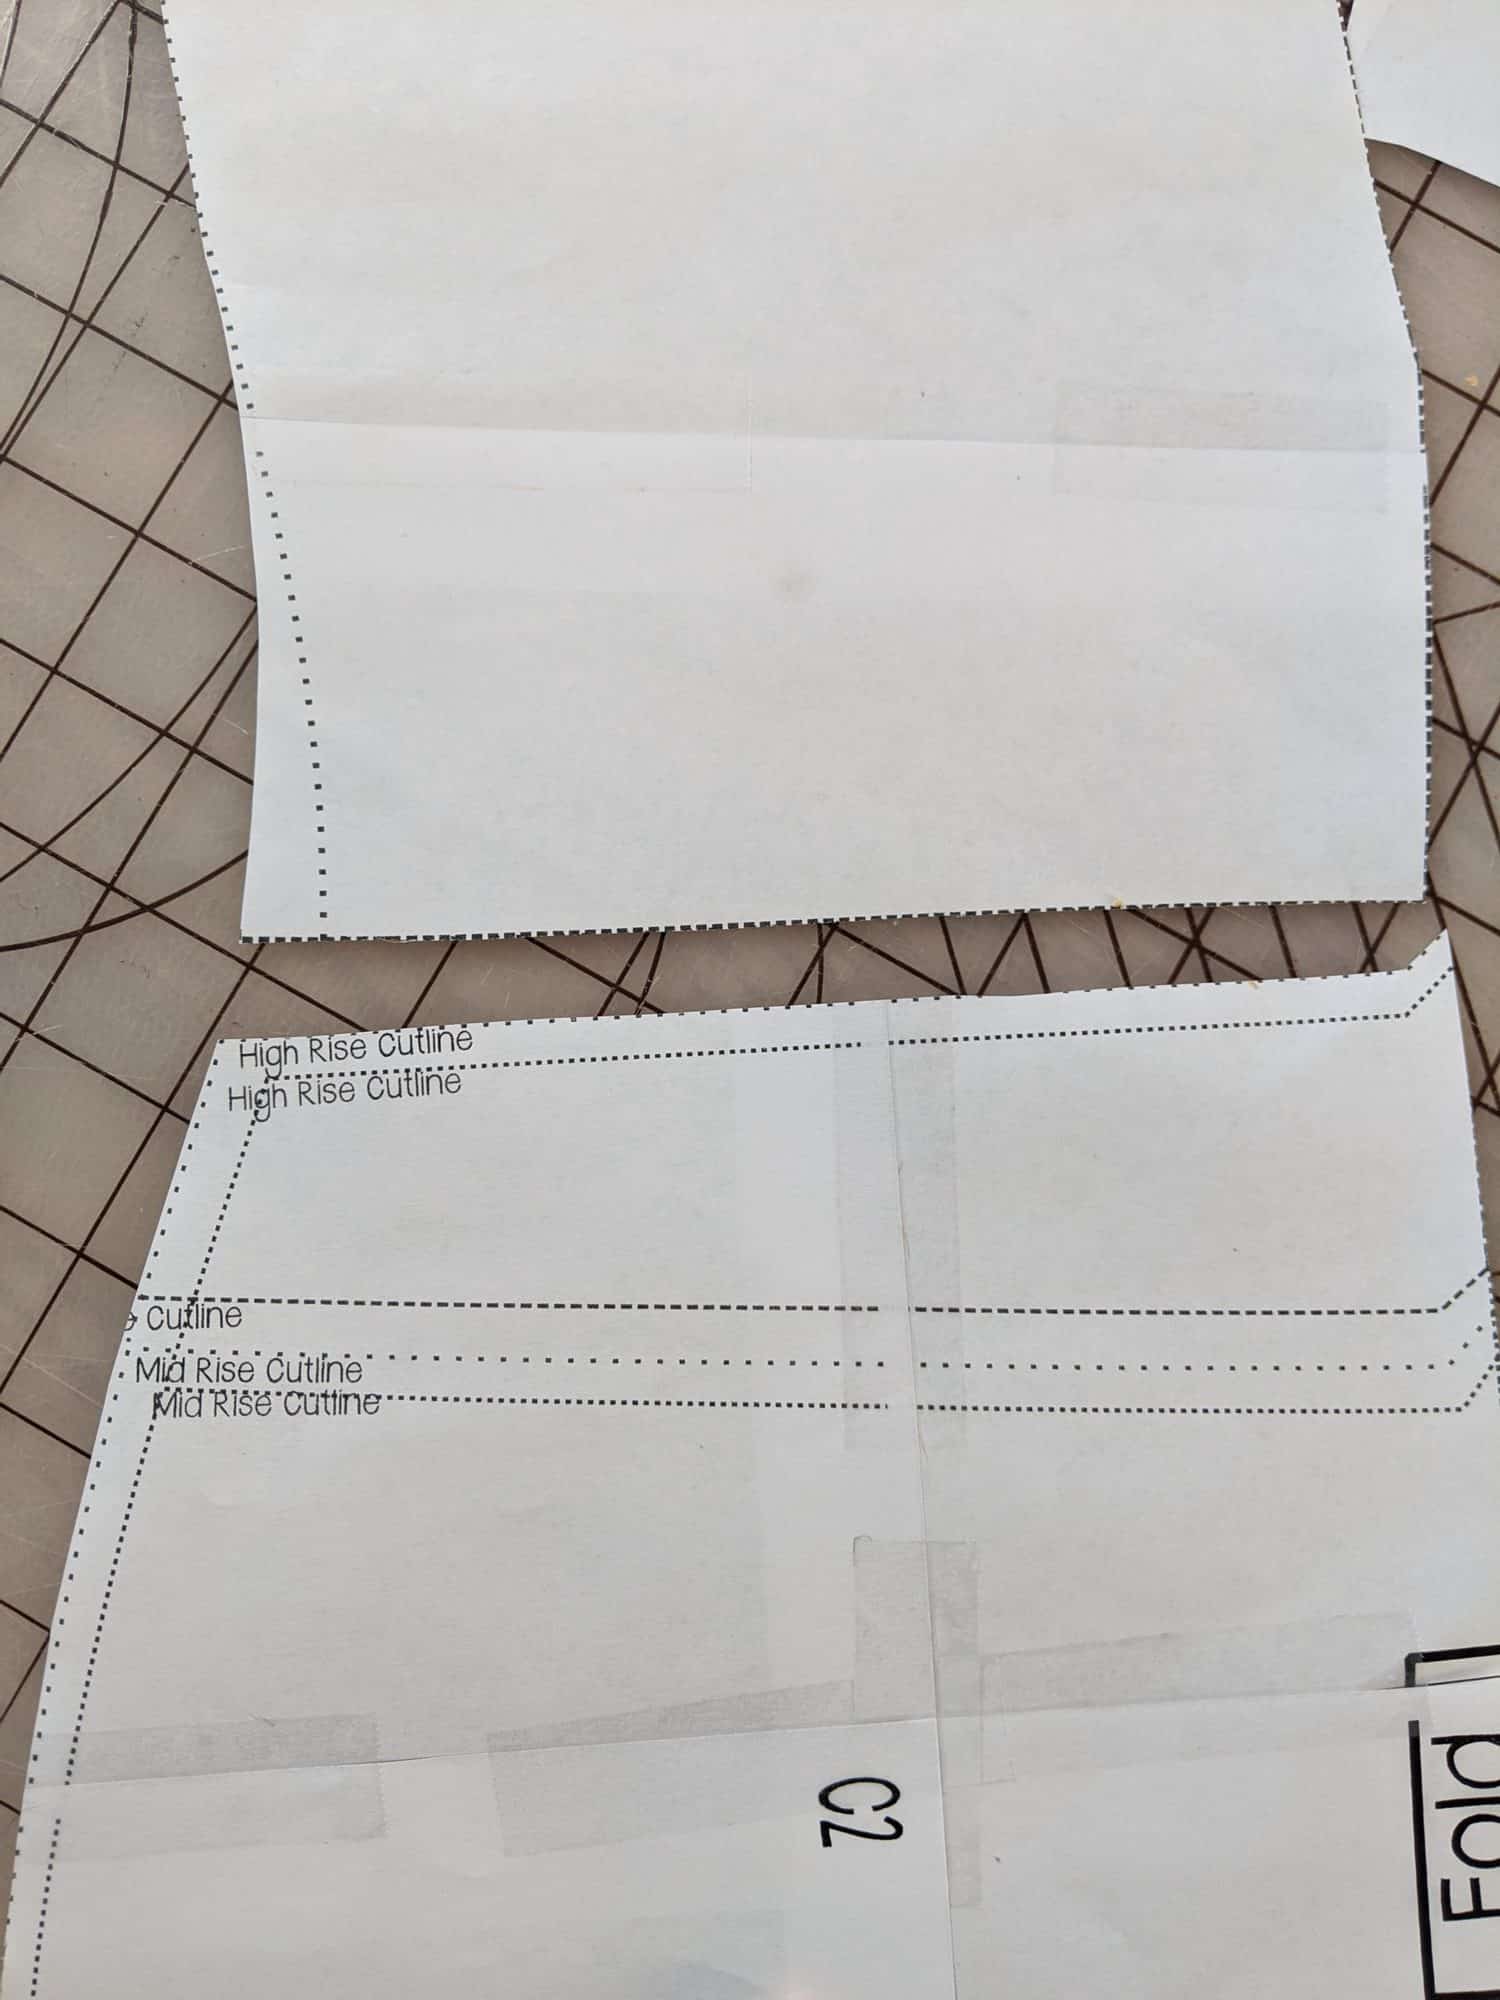
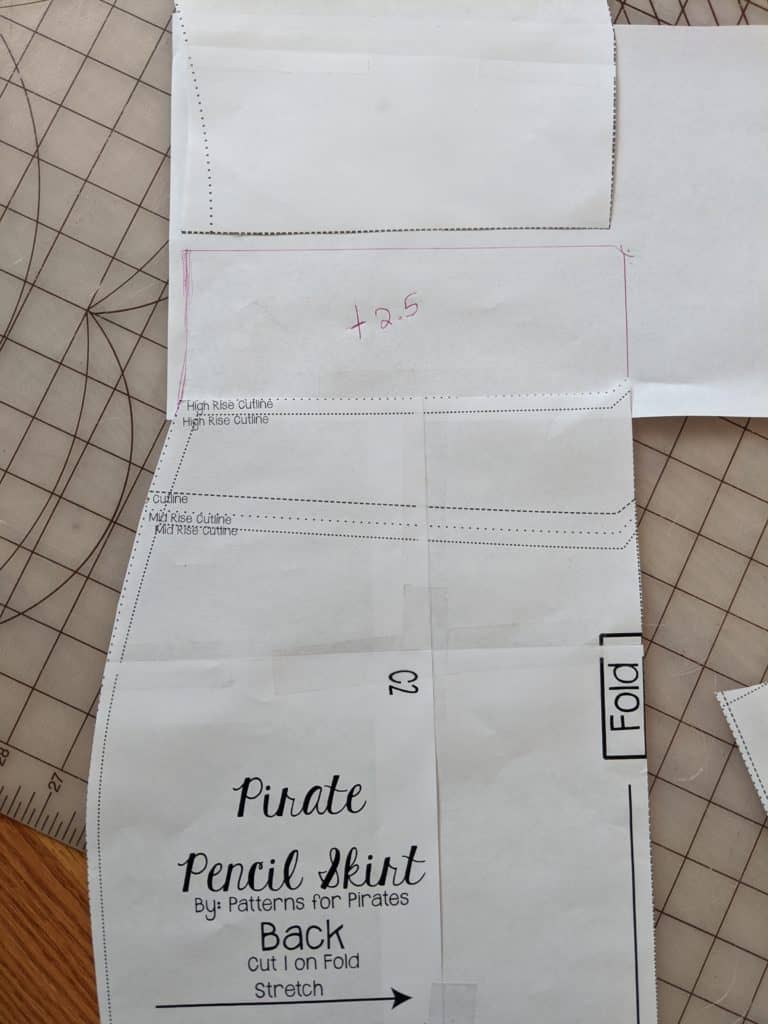
Now you are going to want to turn them into full-length top pieces. To do this, first- add a few blank pieces to the bottom of your pattern piece lined up along your fold line.
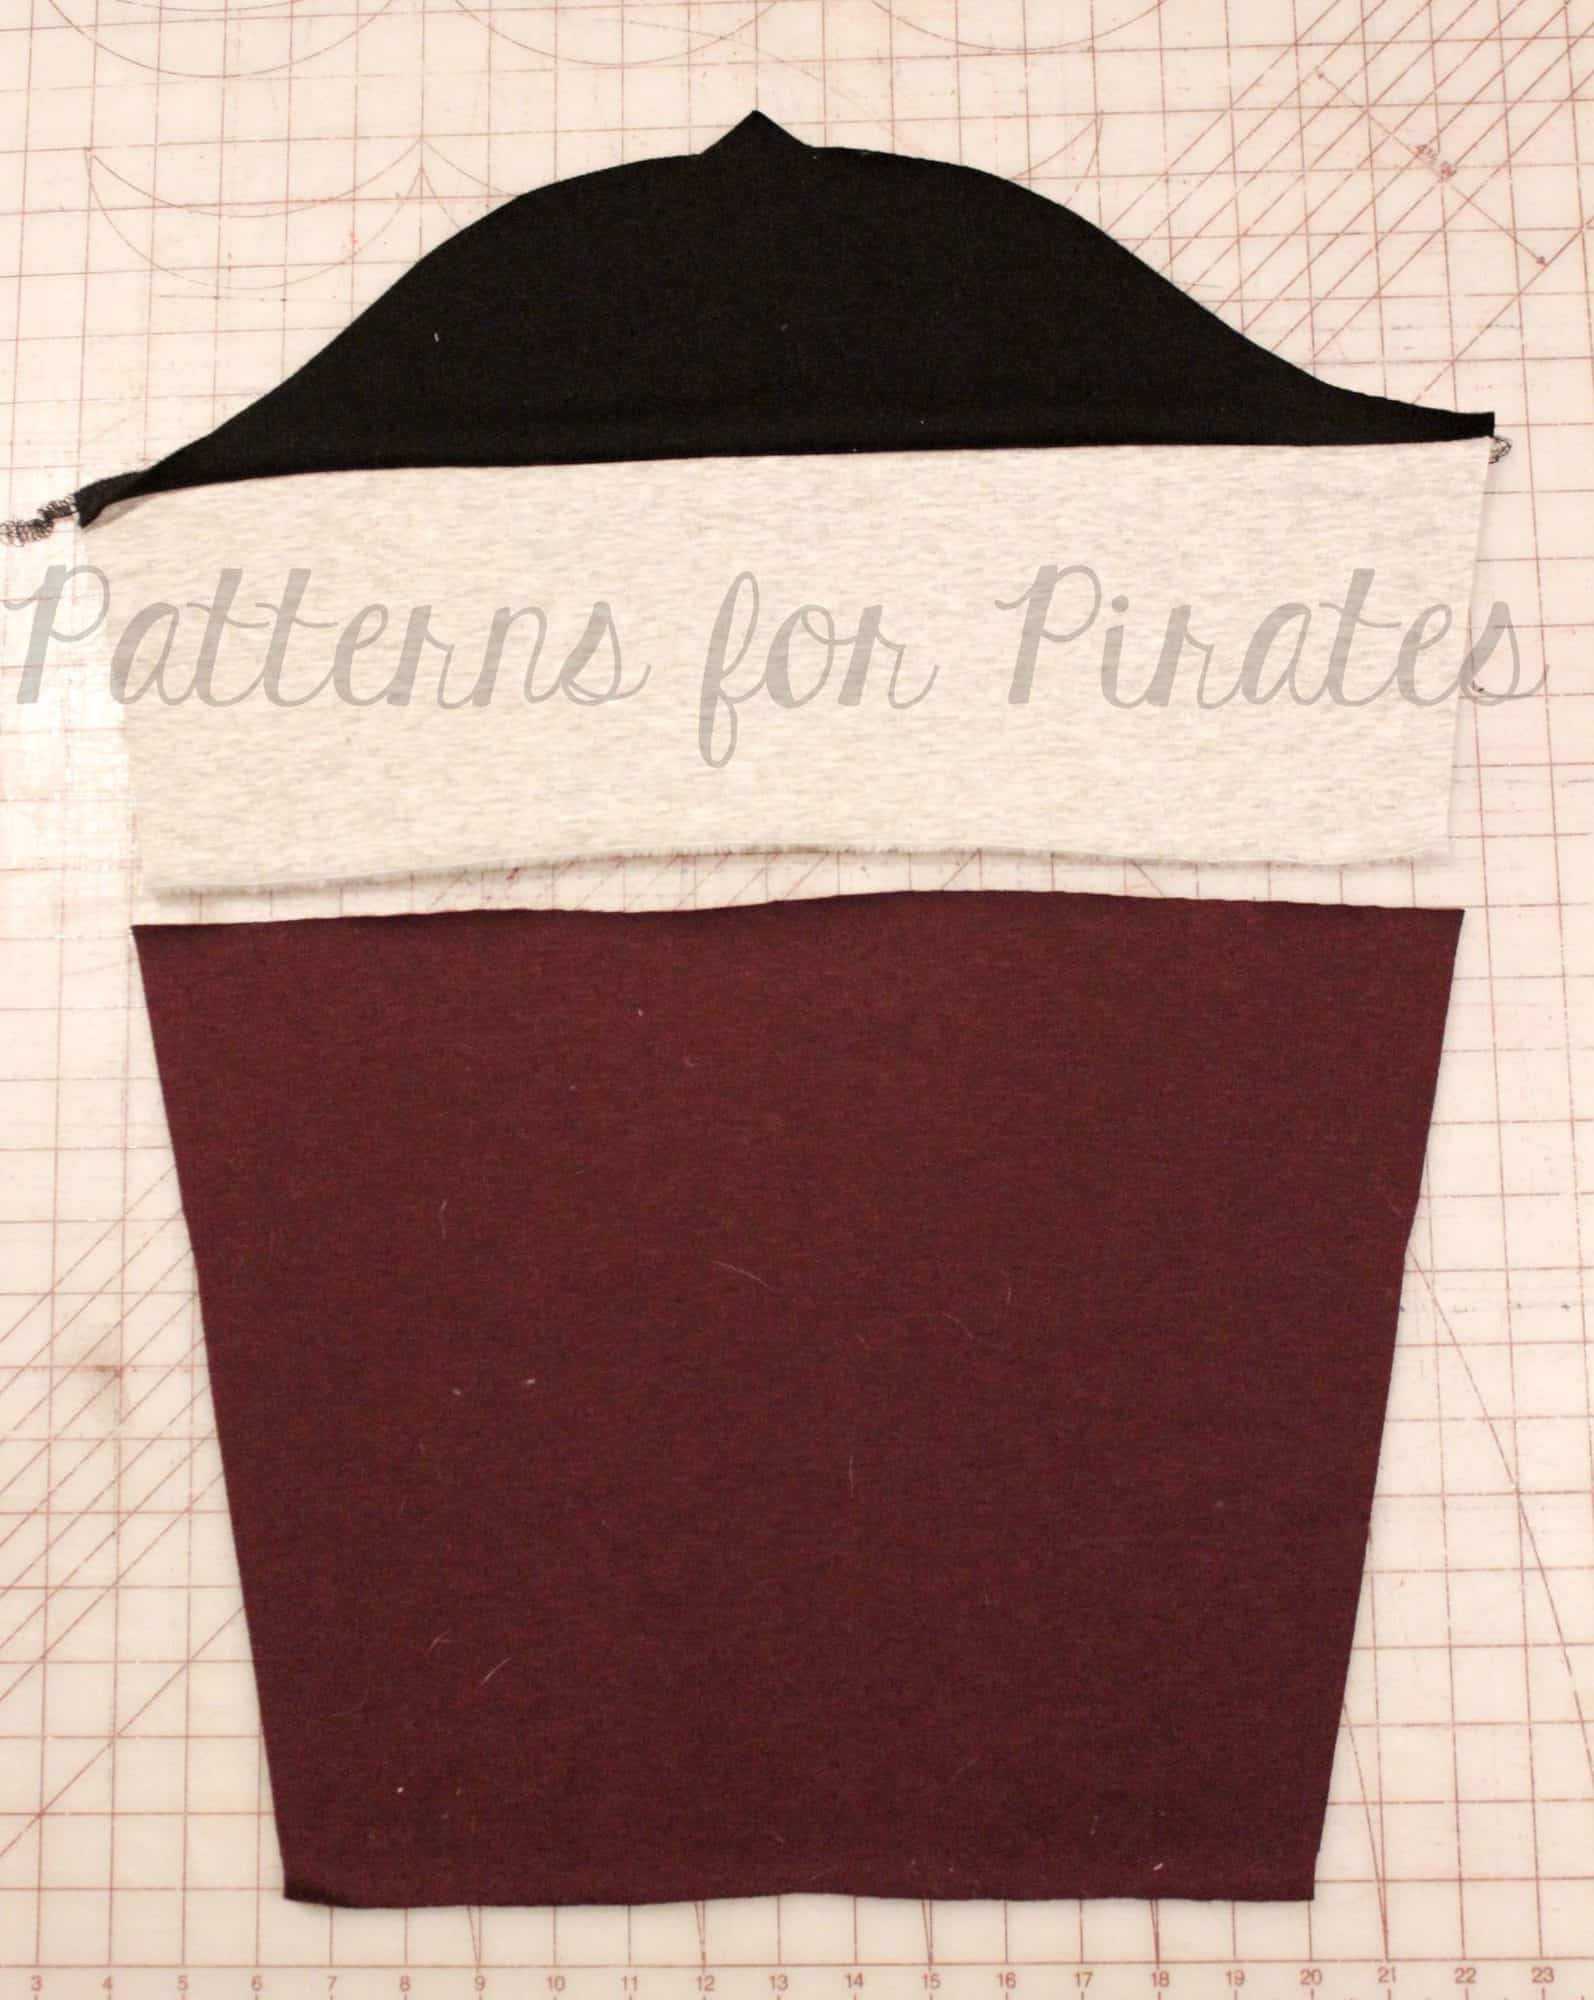
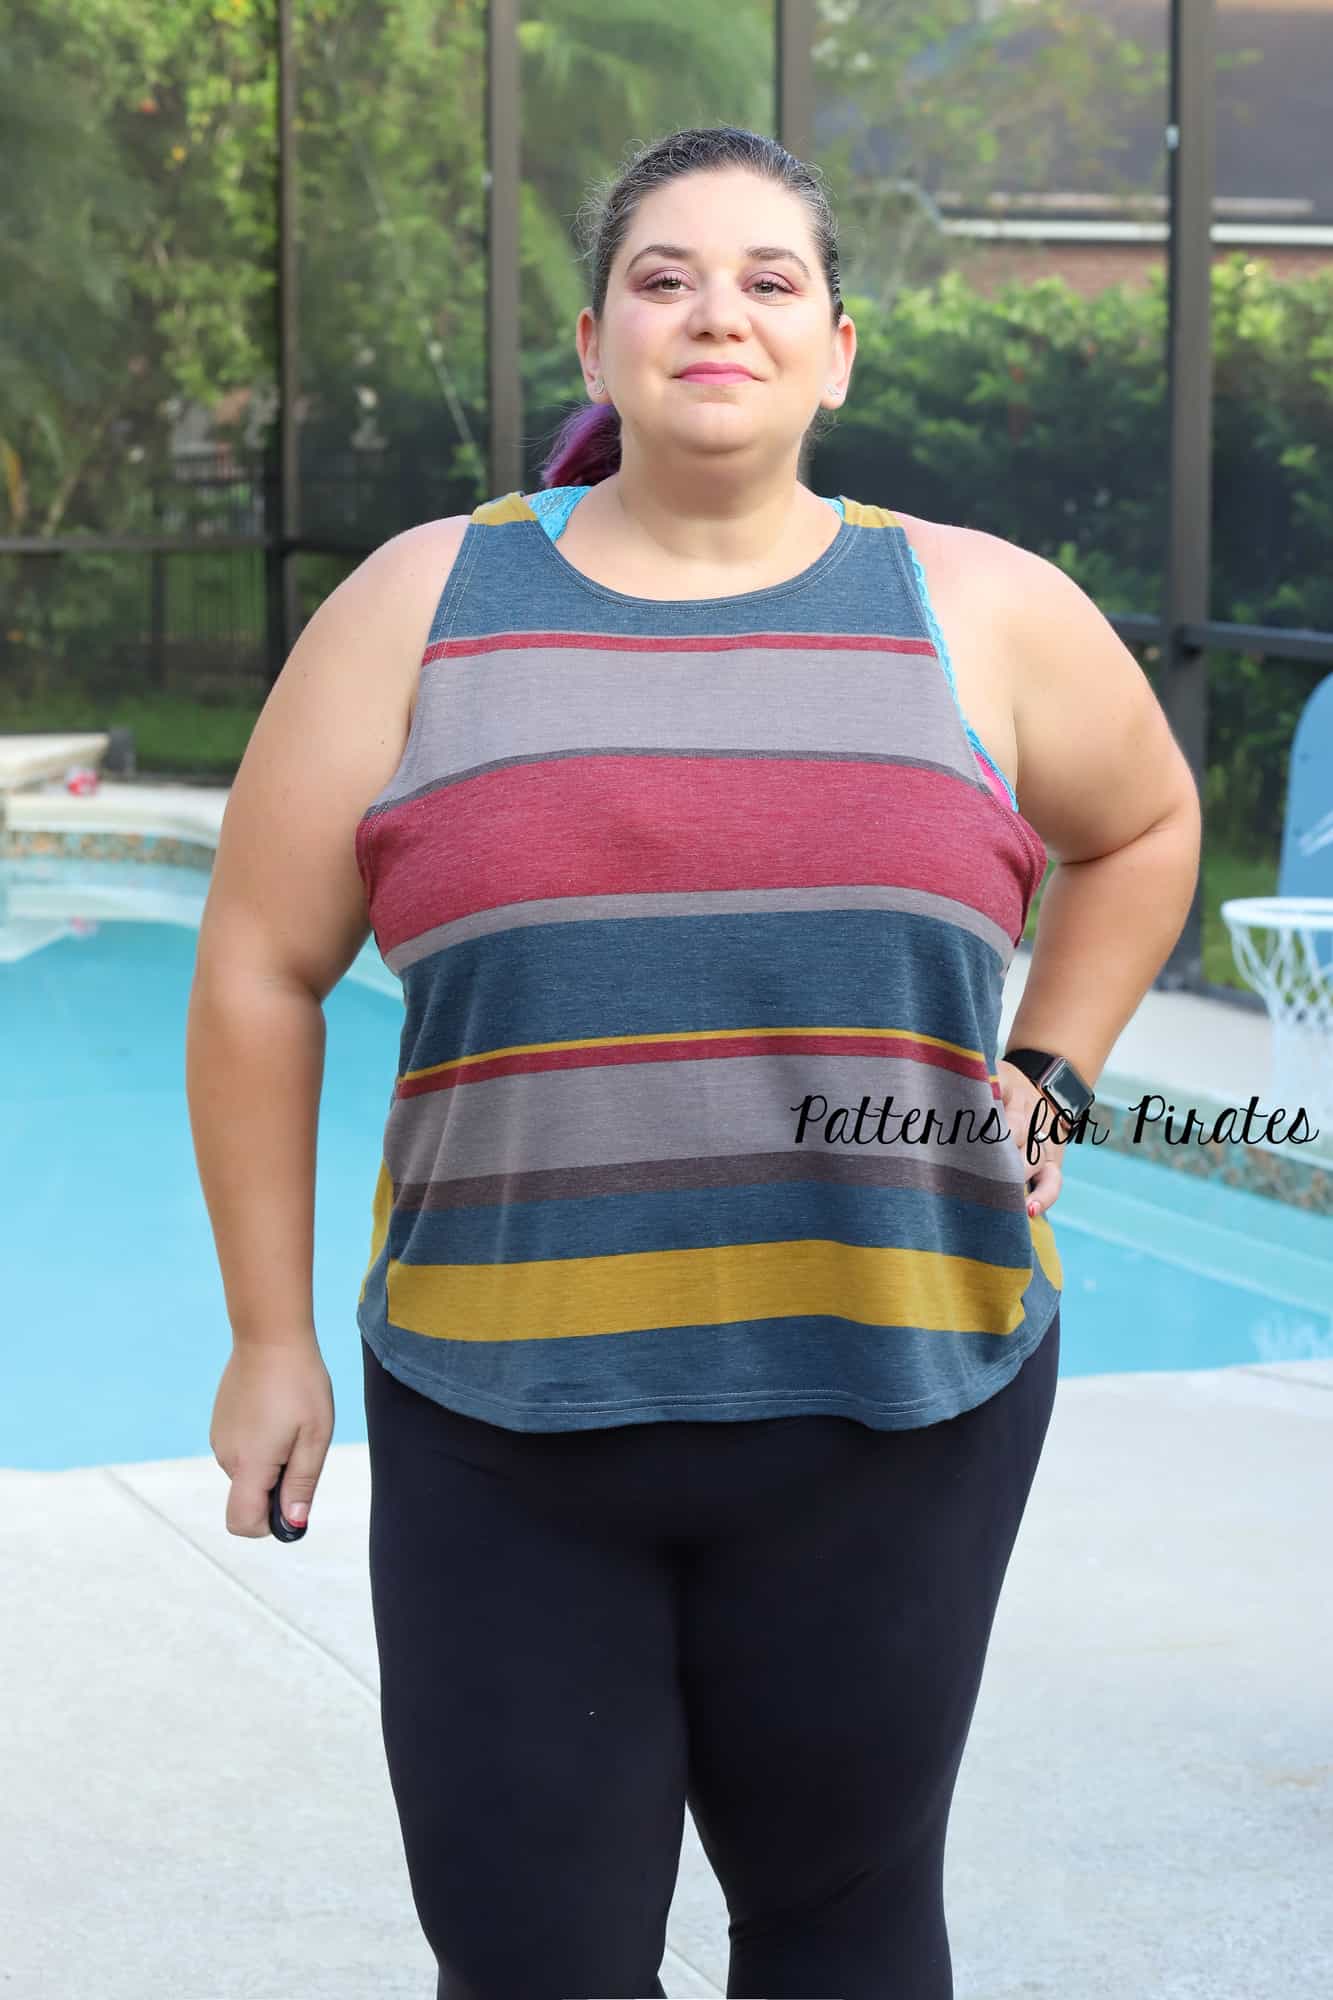
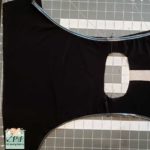
Then go ahead and grab your favorite p4p top that has the length you want, I chose the banded sporty piko. Alternatively, you can measure from your natural waist to where you’d like it to hit (don’t forget to take in account the seam allowance built in the waist).
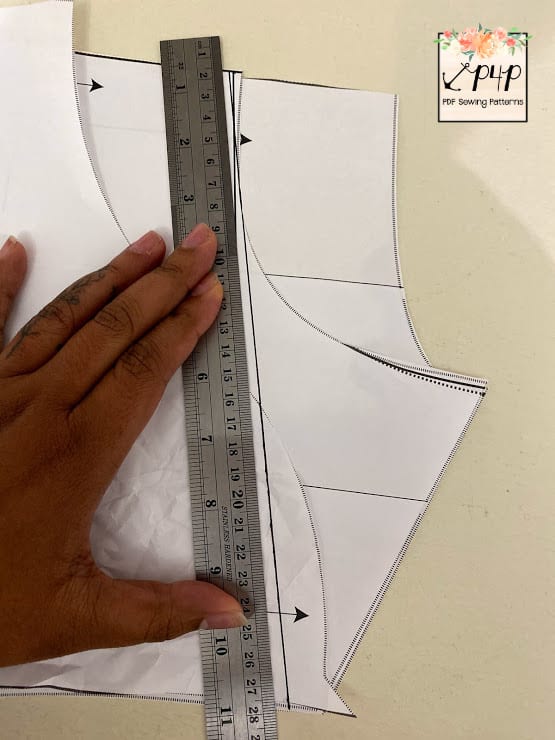
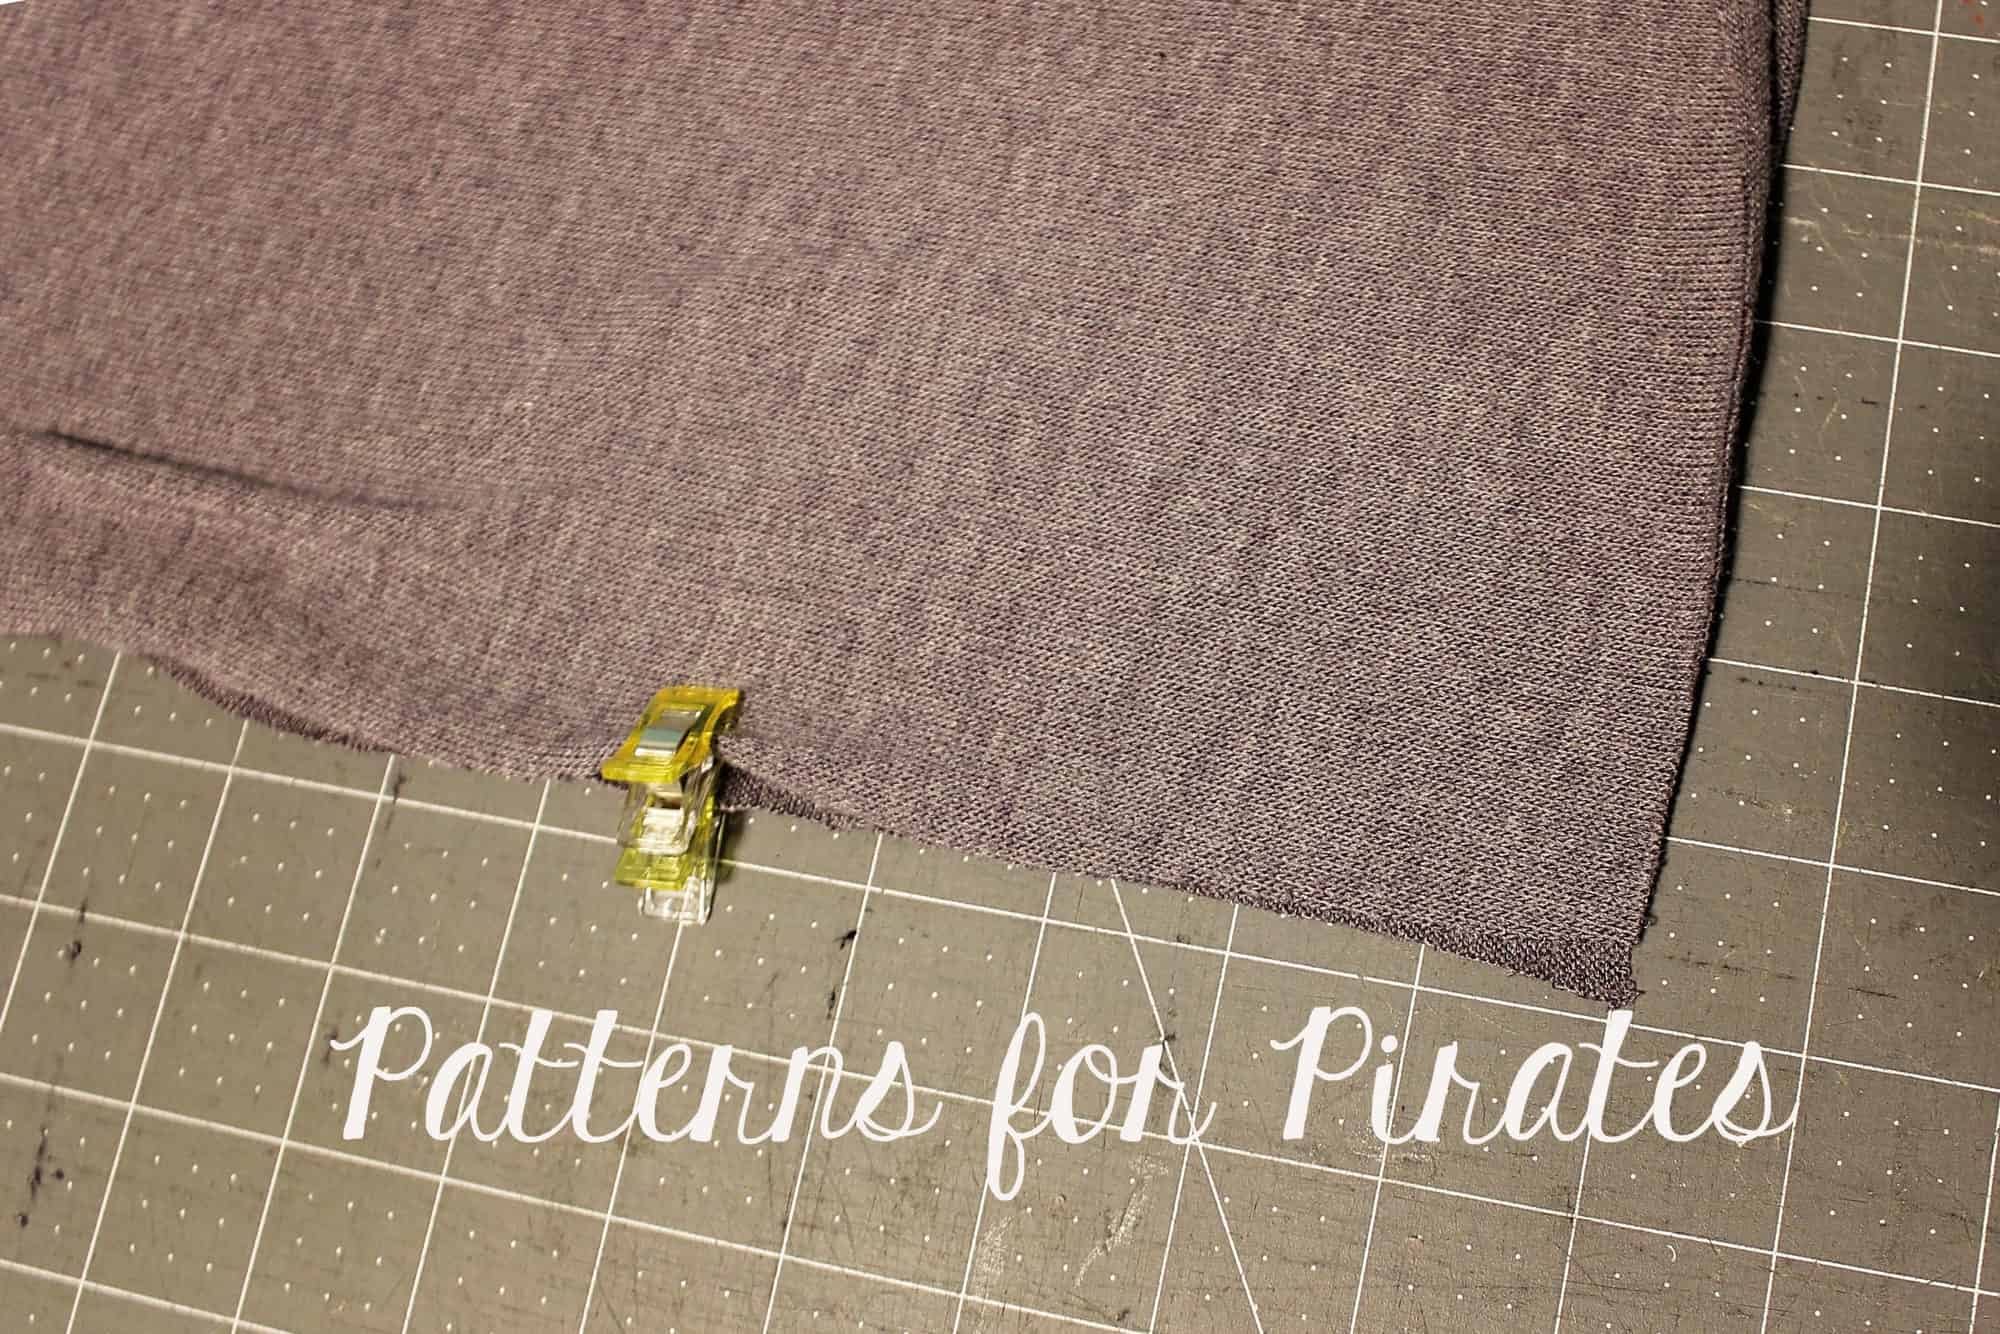
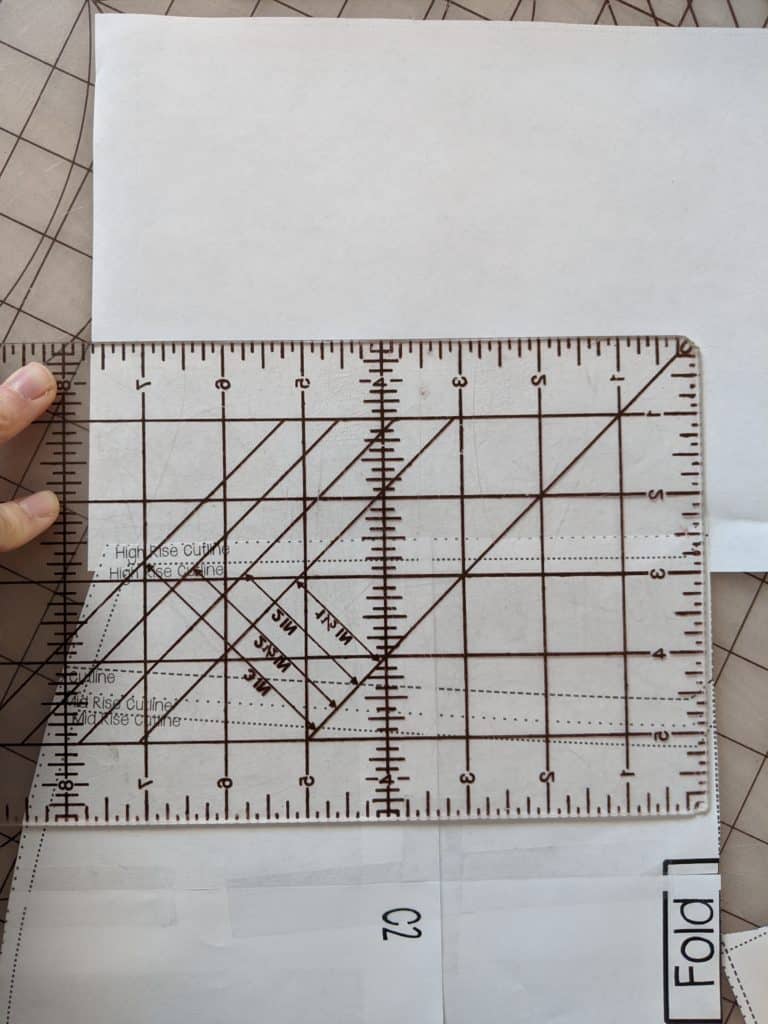
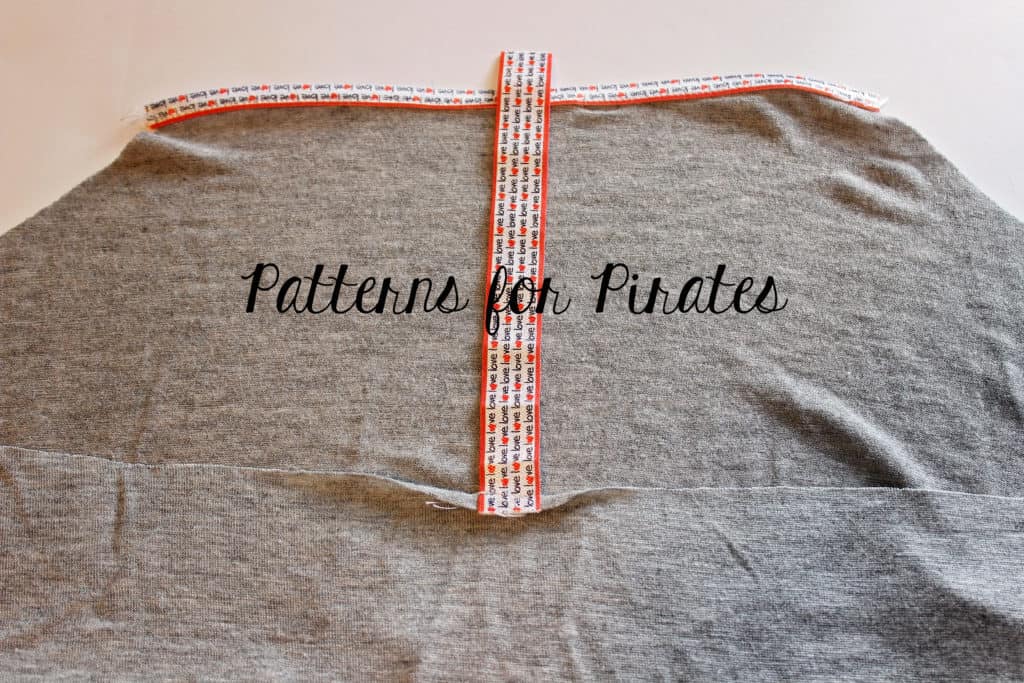
Lay the top of your chosen pattern piece on top of your romper top piece lining up your shoulder and the side seam (your actual widths may be different).
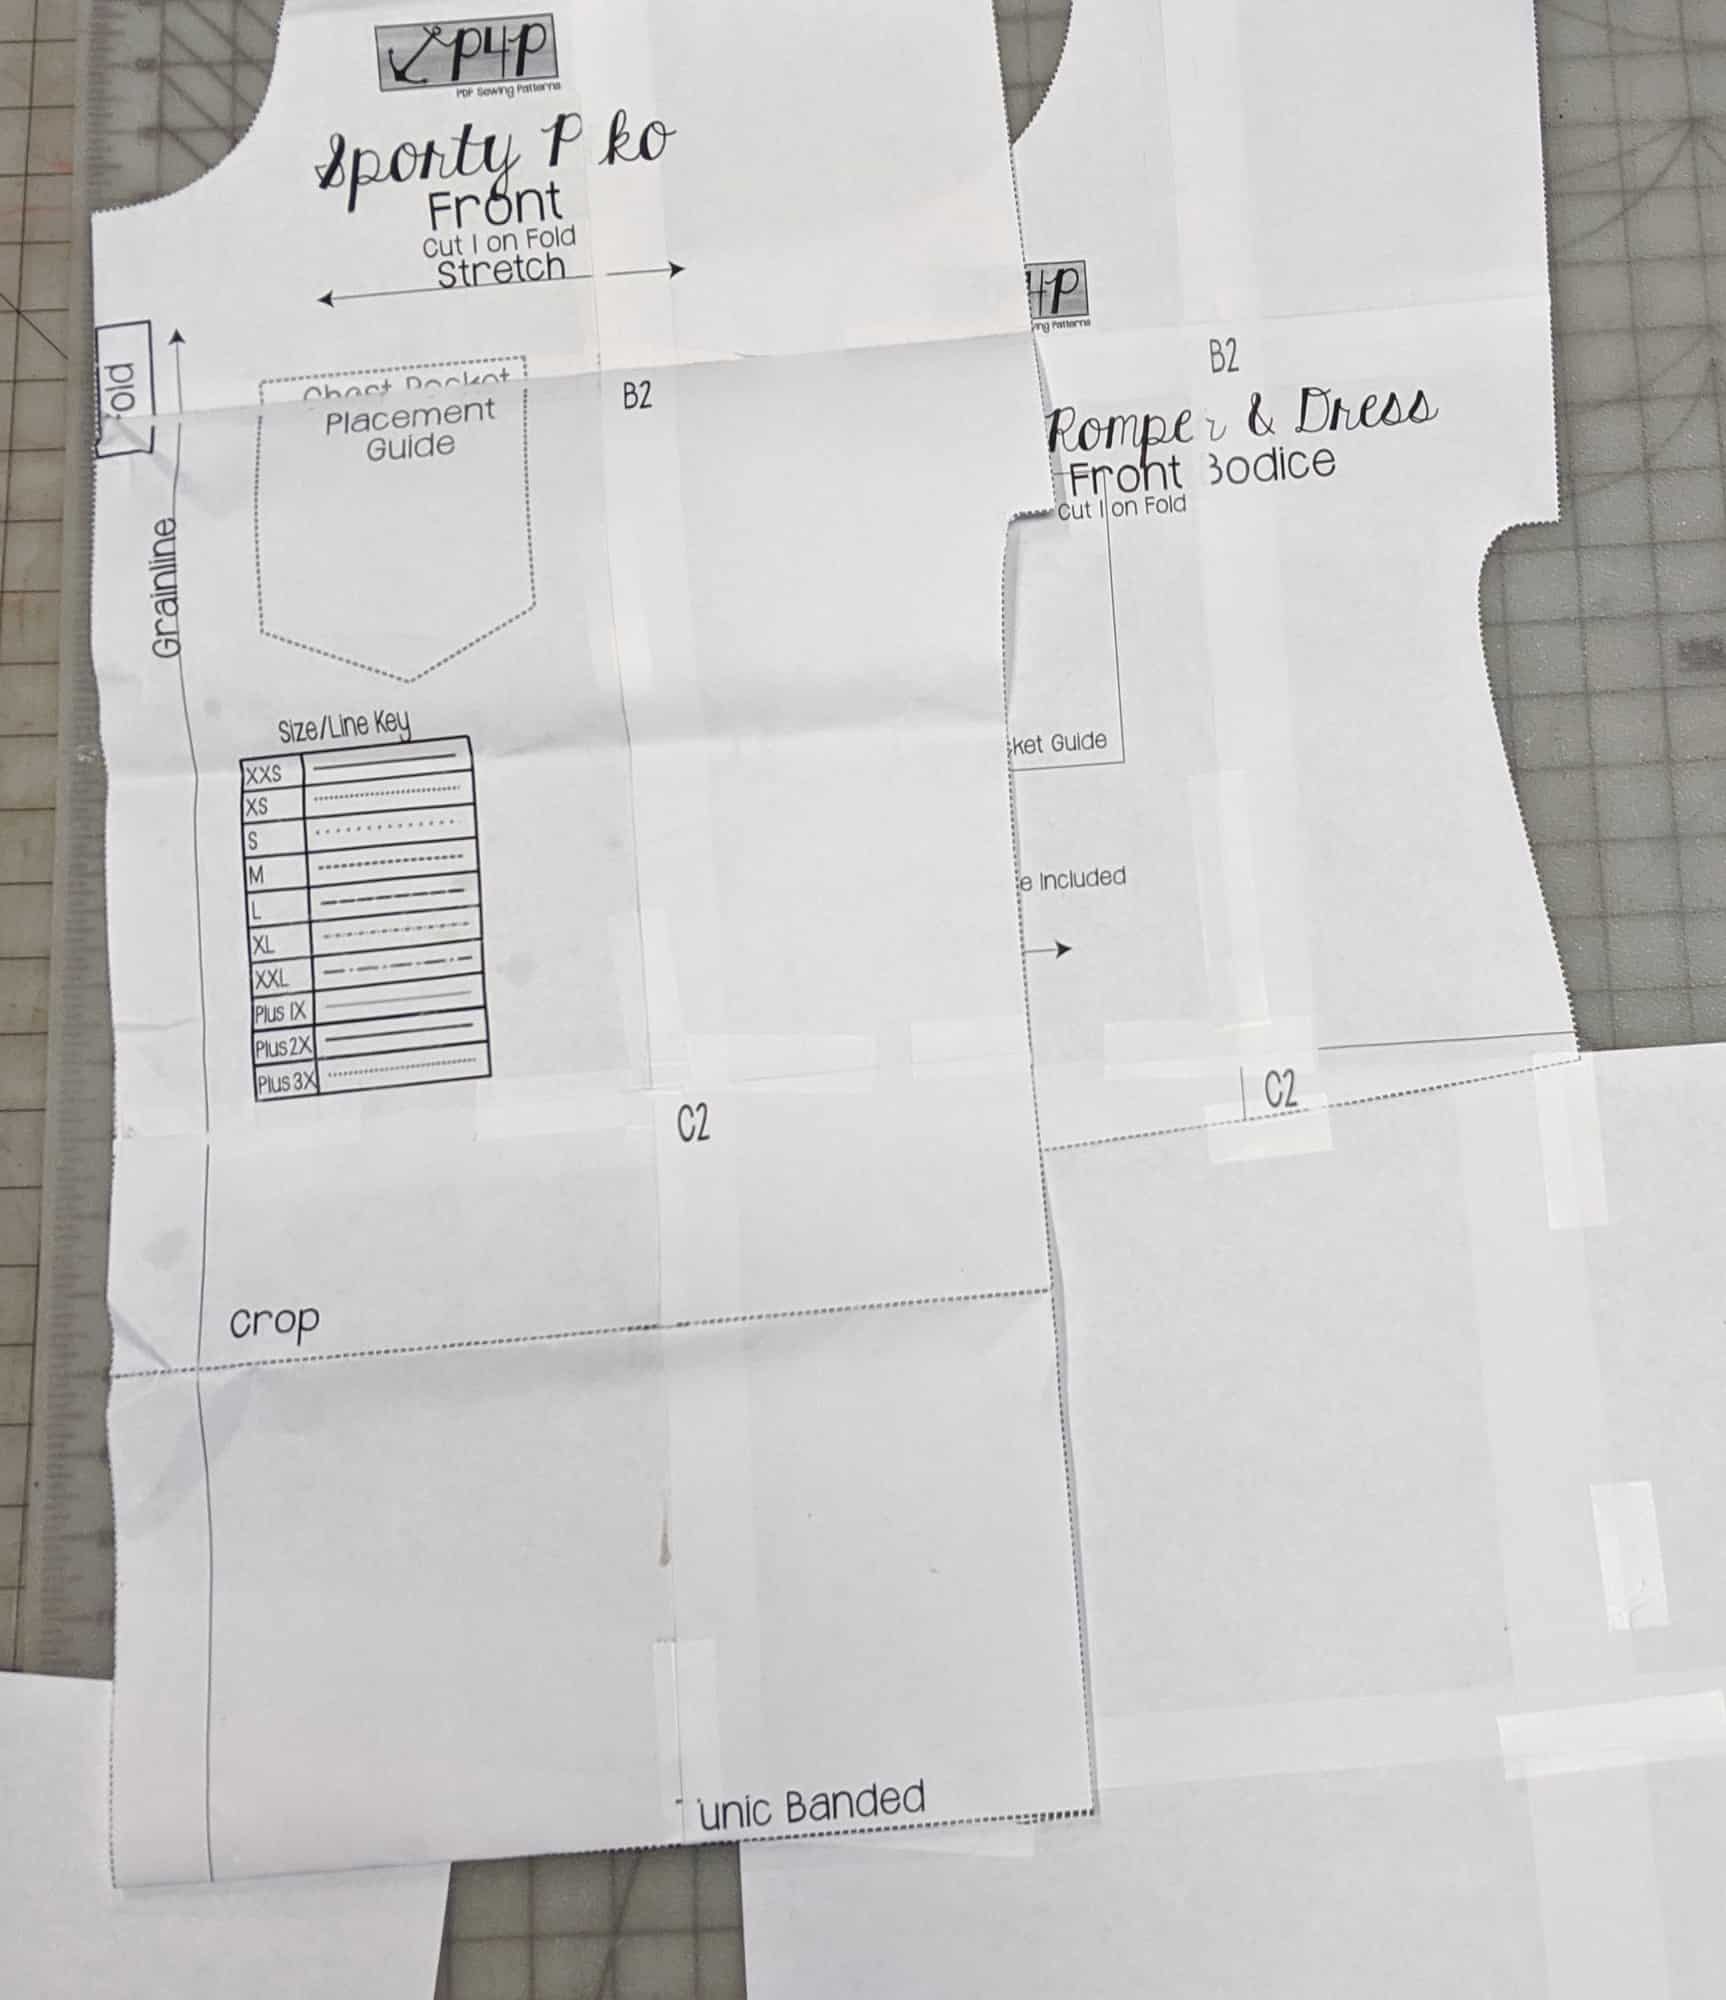
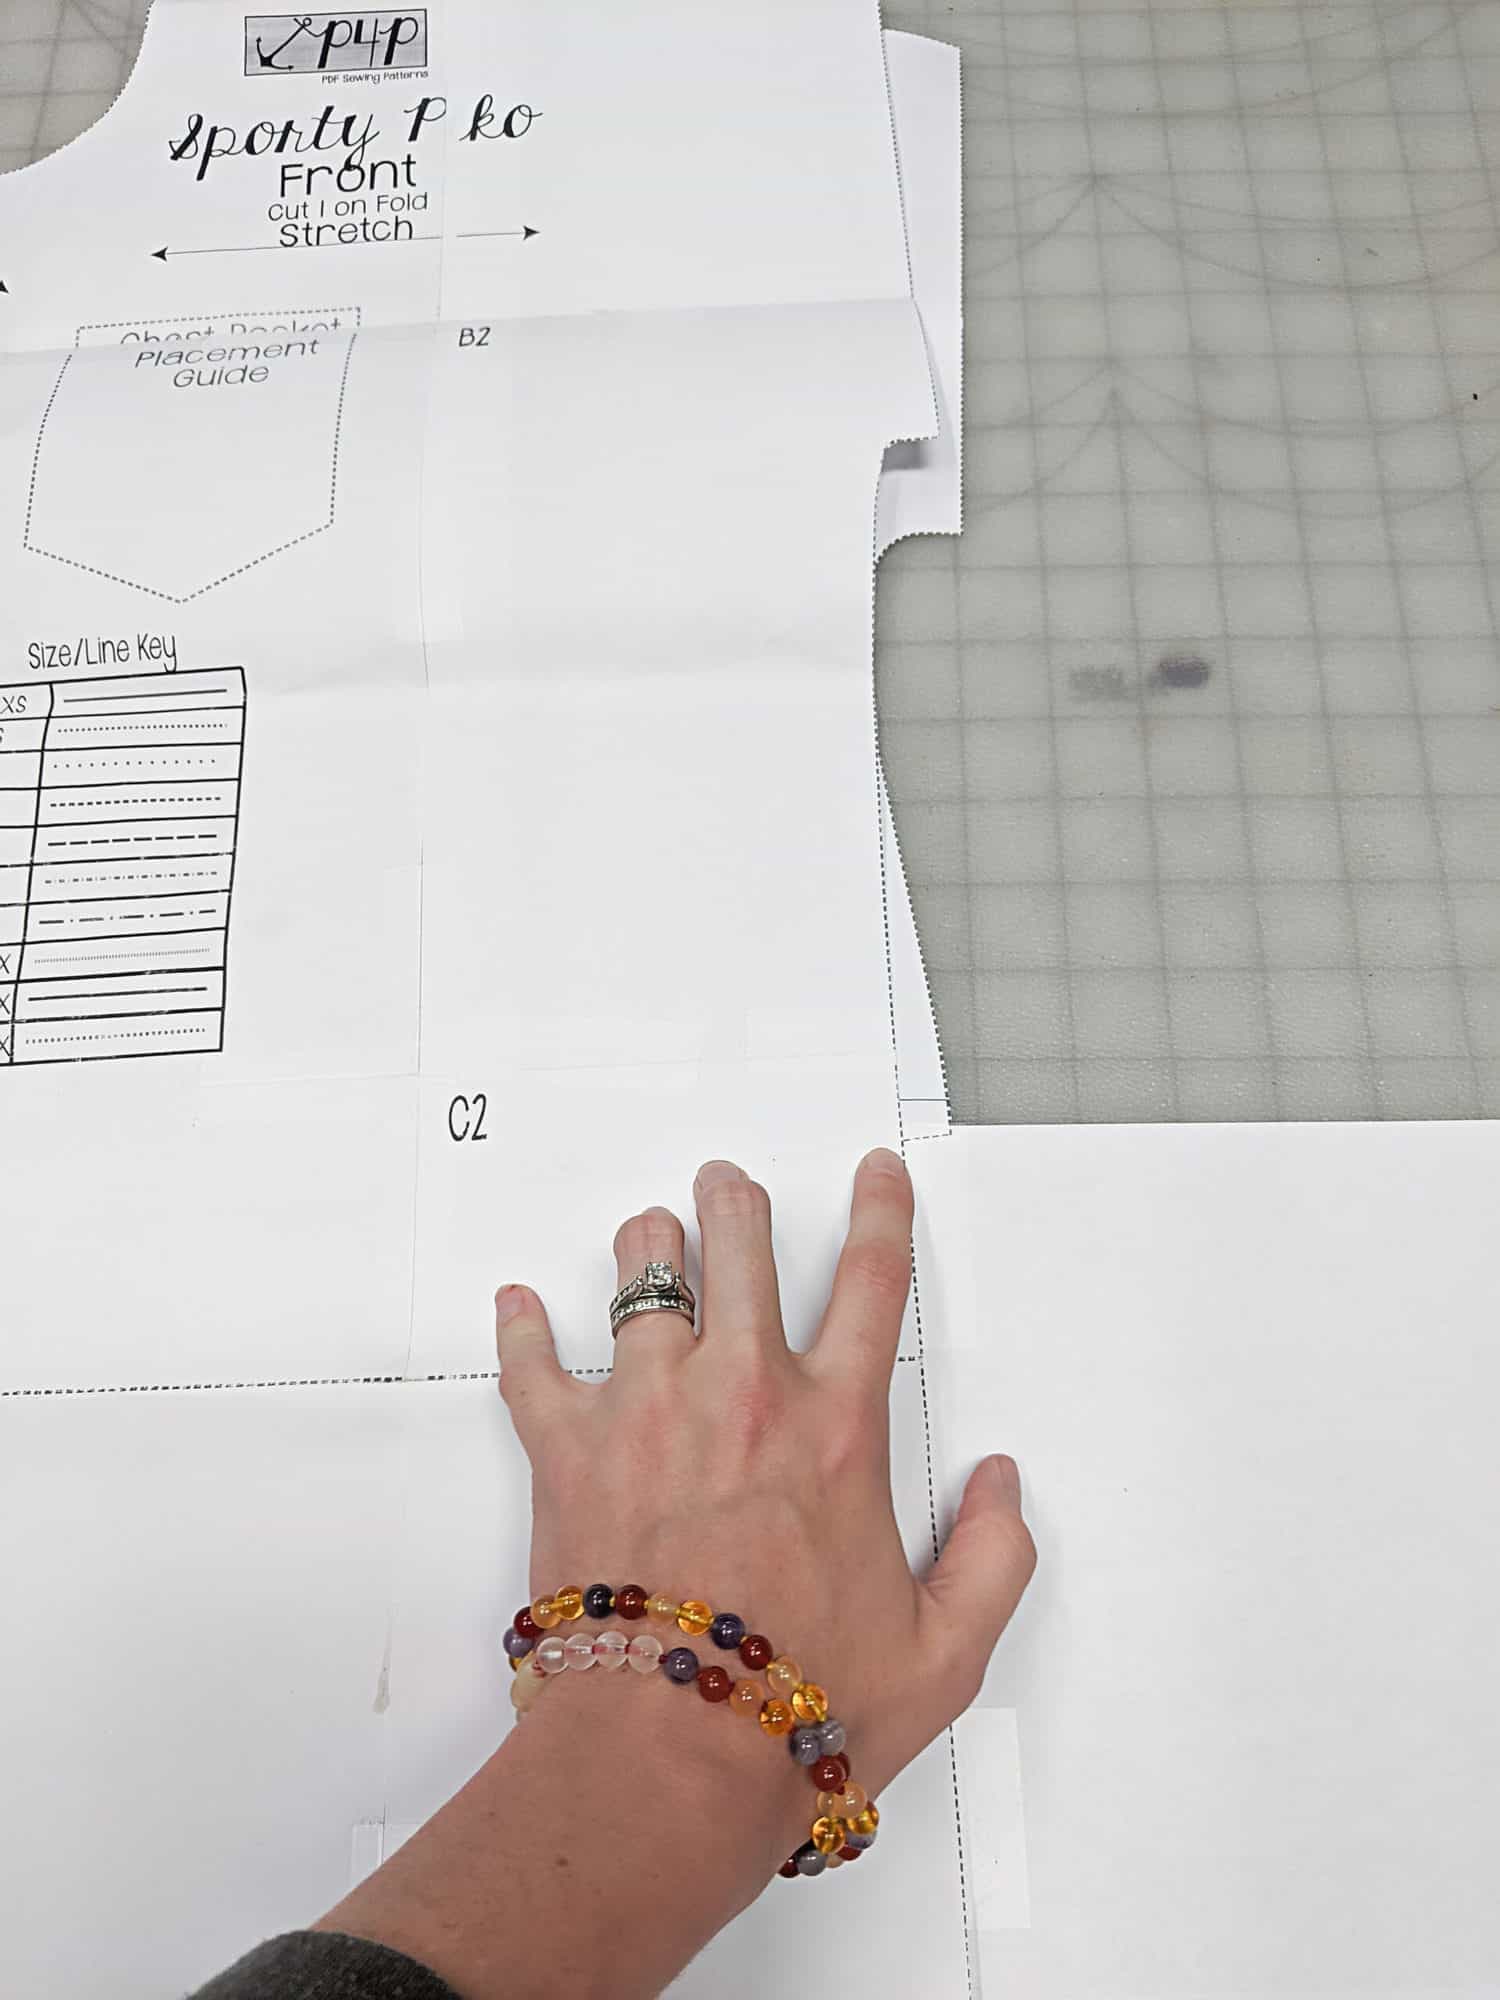
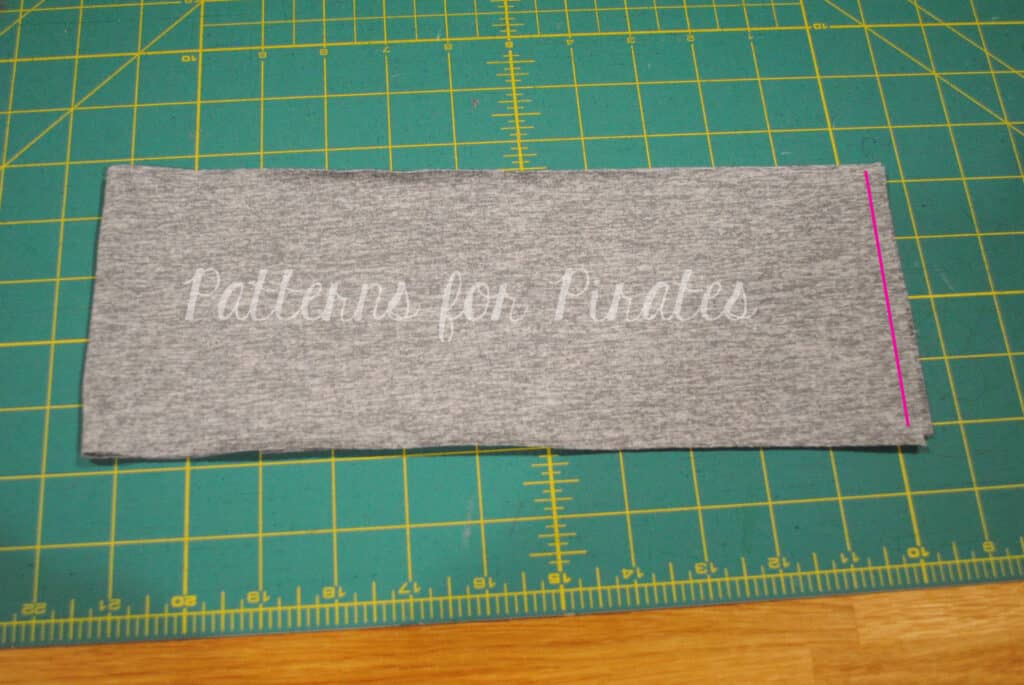
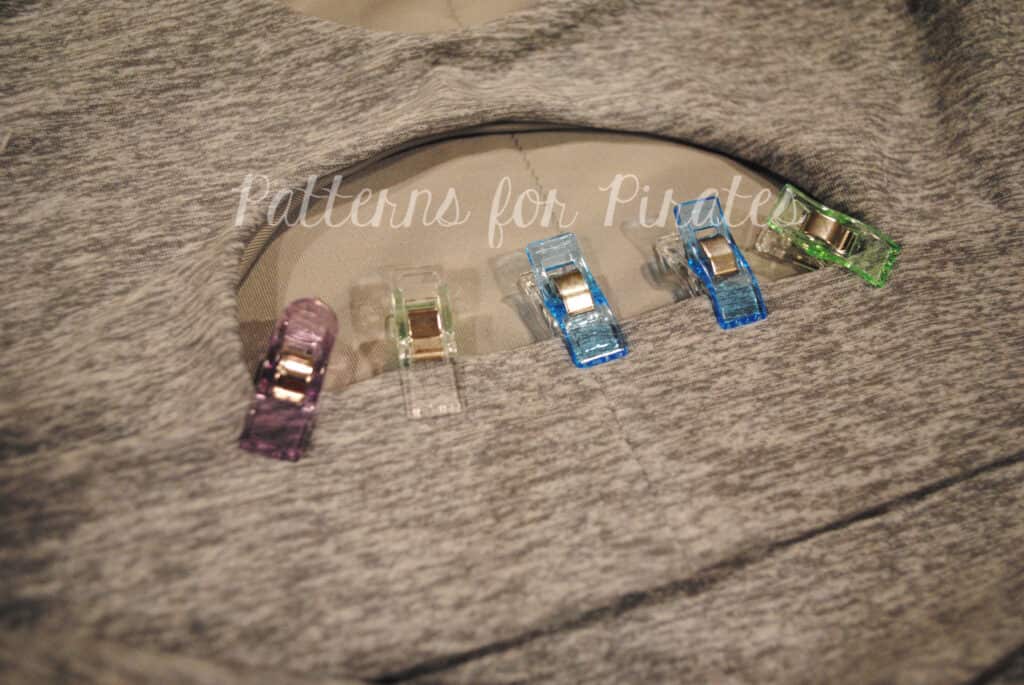
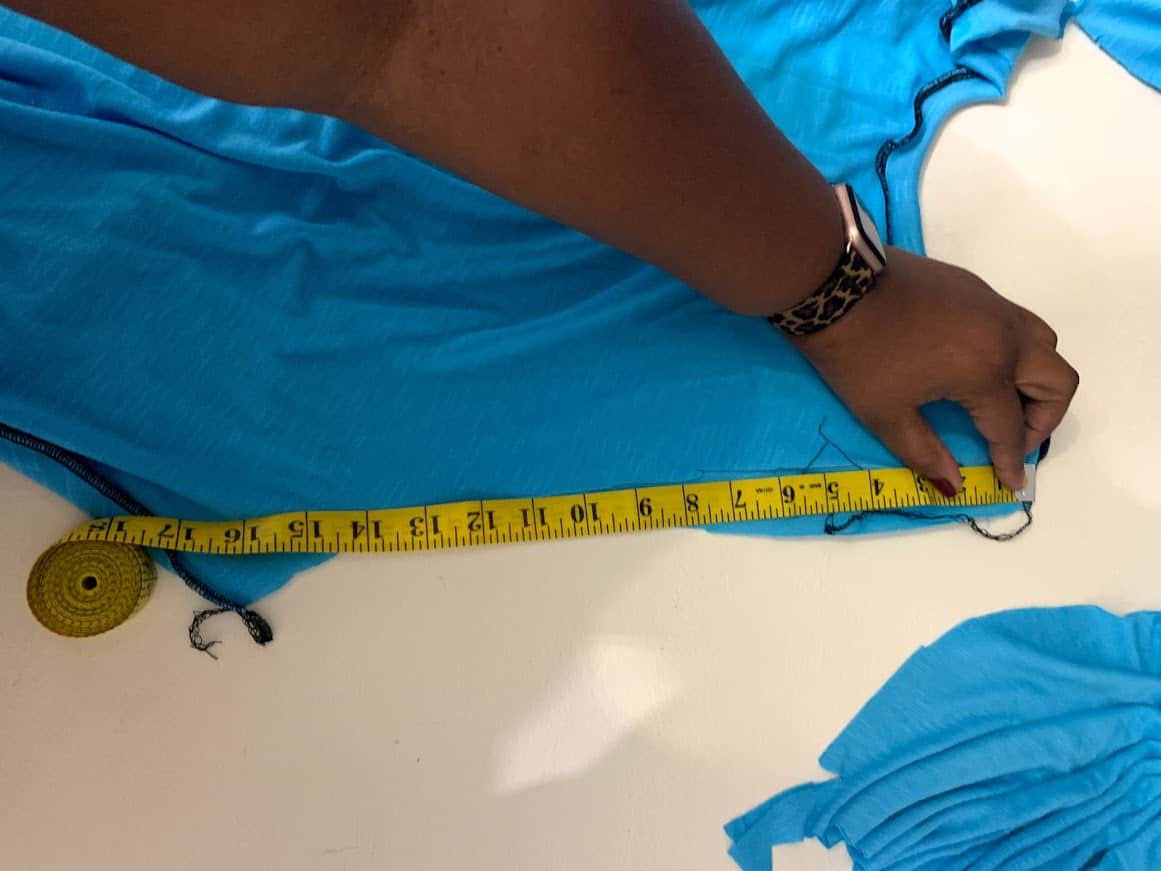
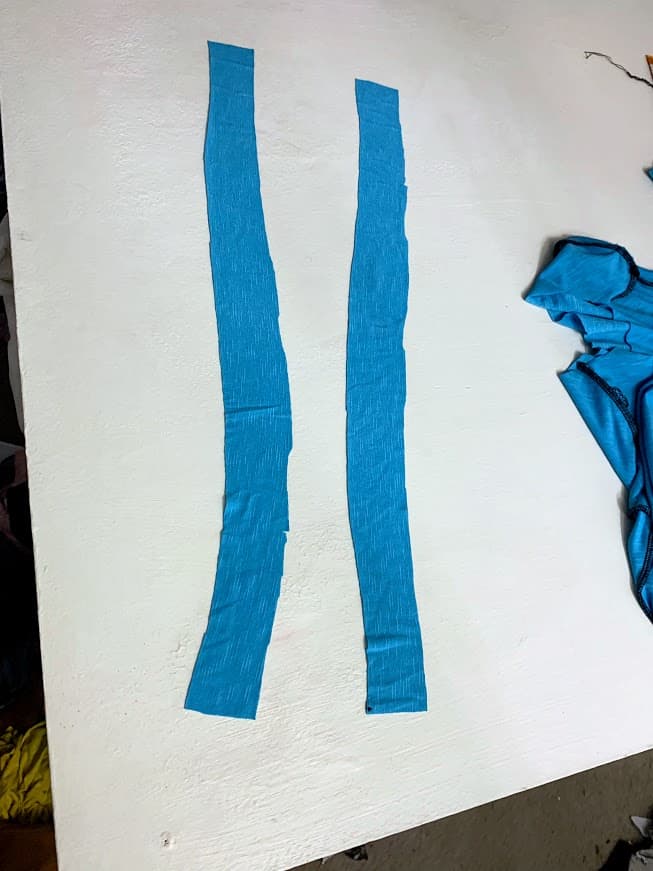
Make sure your pieces are straight and trace the bottom of your piece to get the length you want for your top and up the side of your piece. Repeat with the other piece and cut out along where you traced and you’ll have two new full-length shirt pieces.
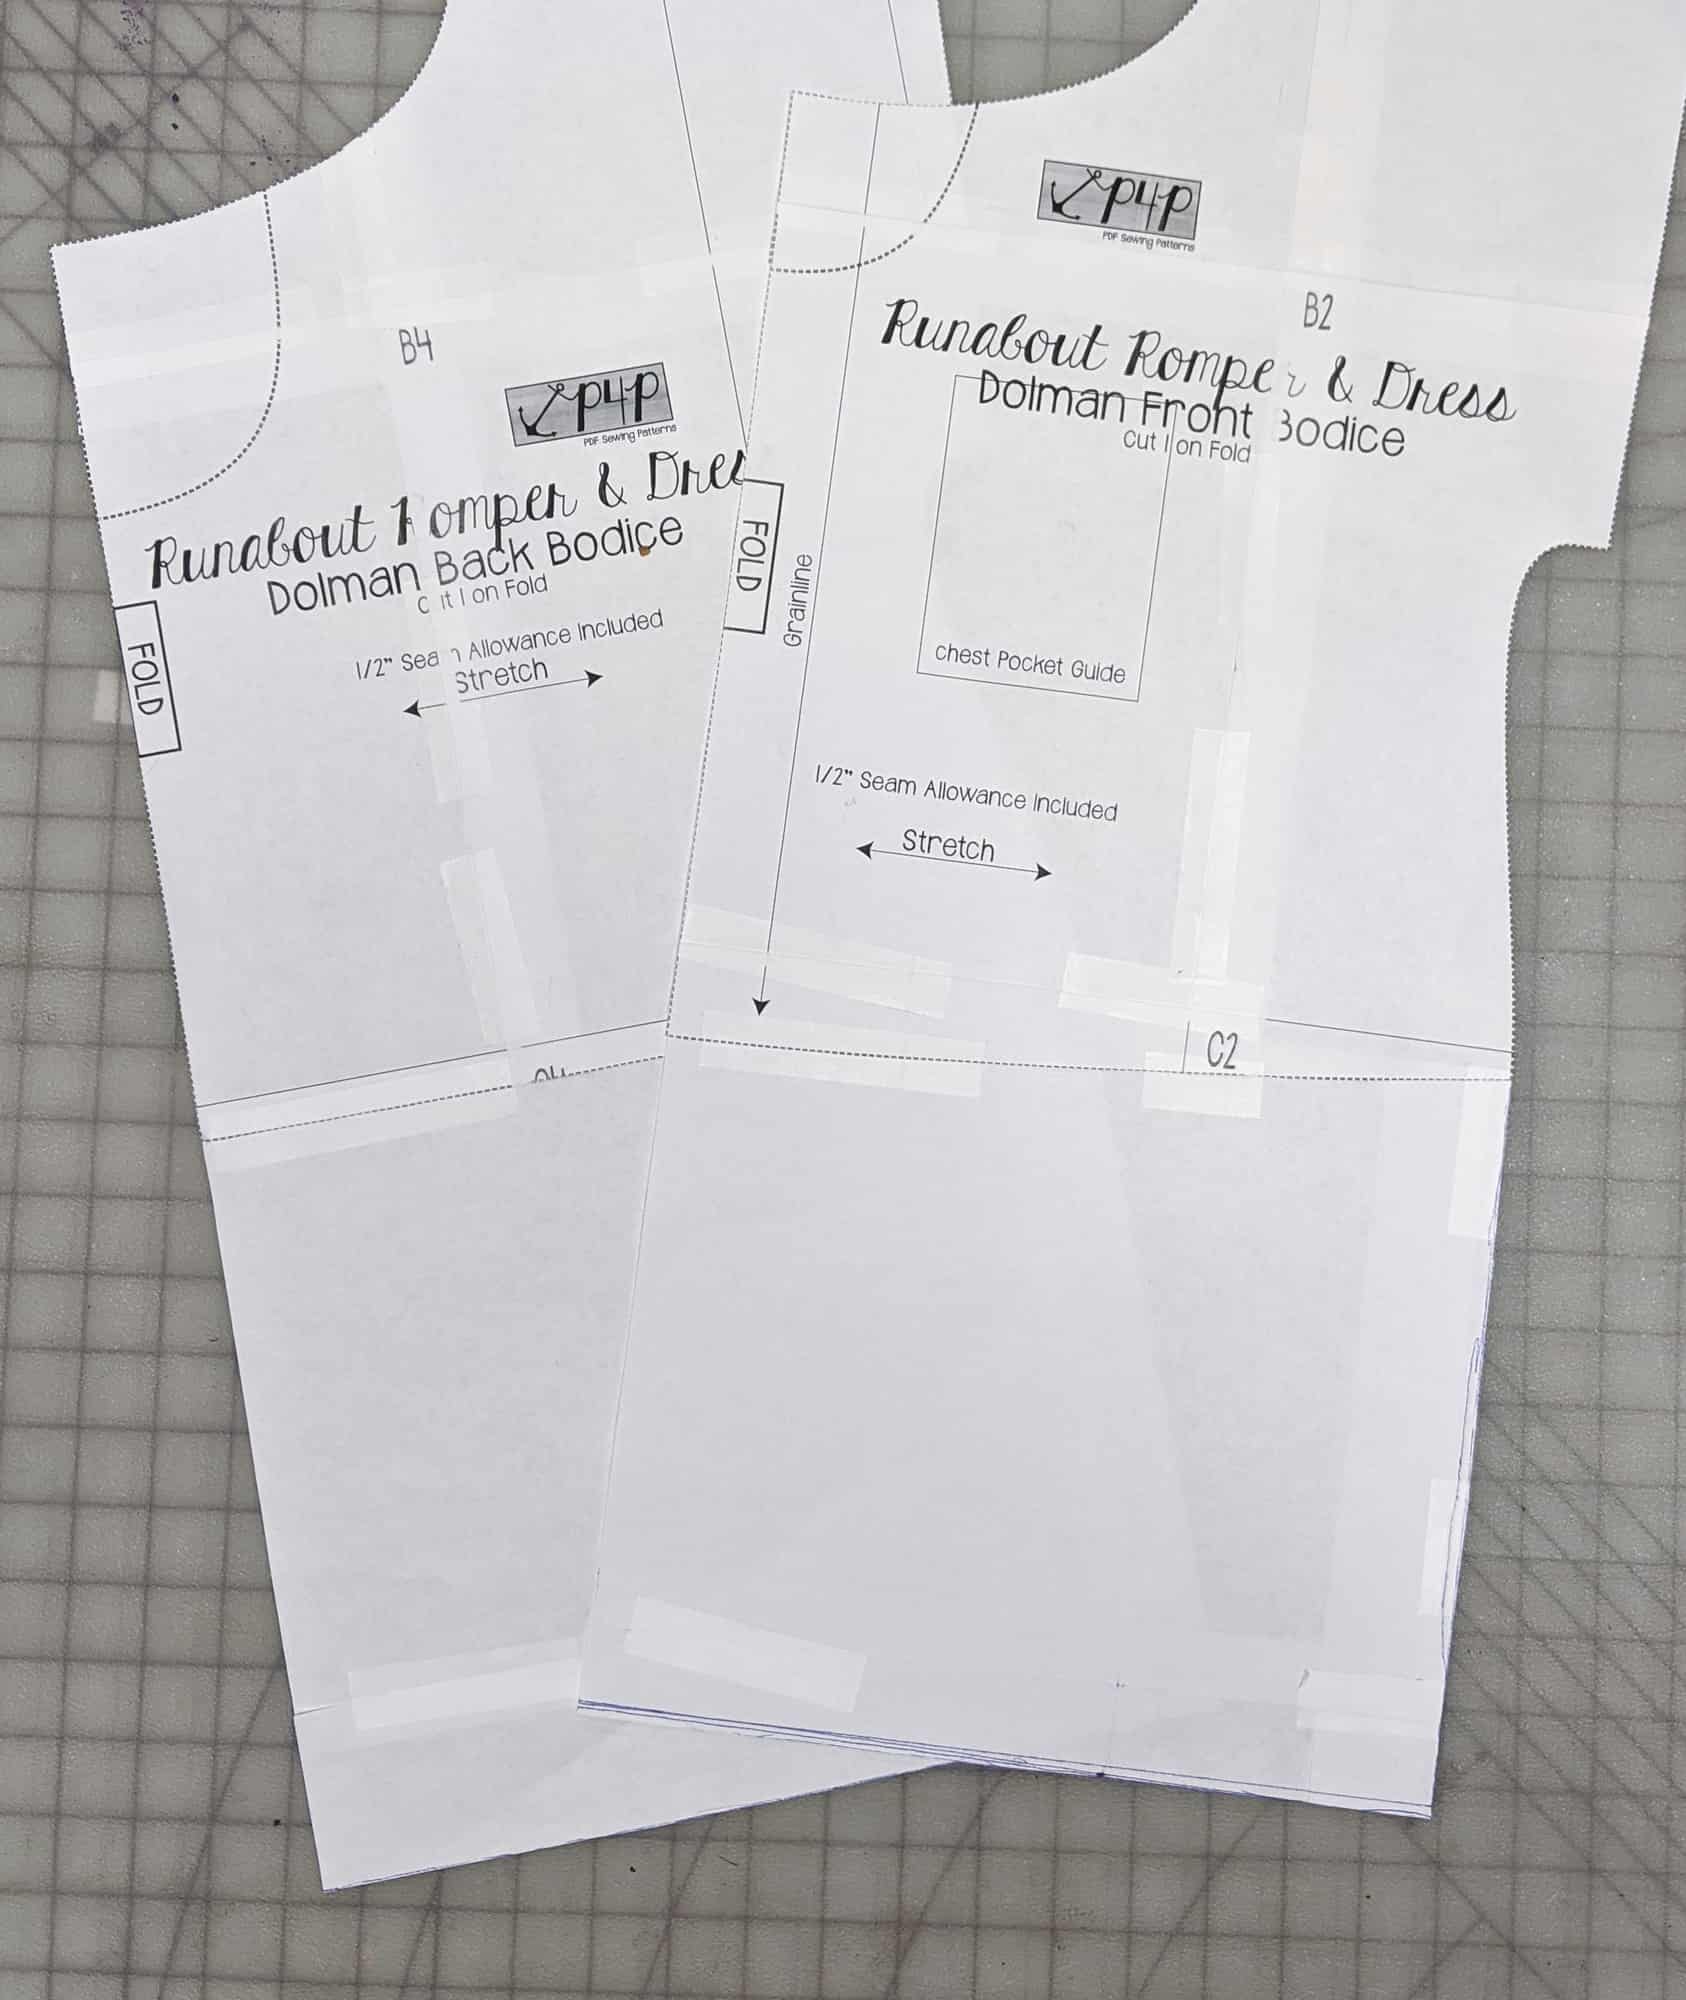
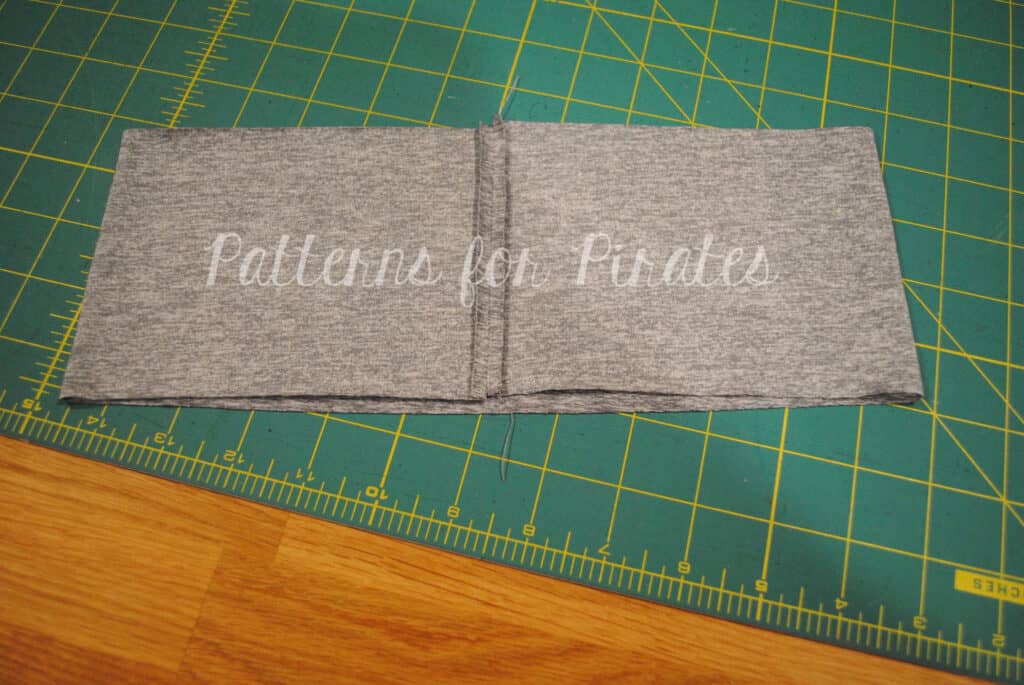
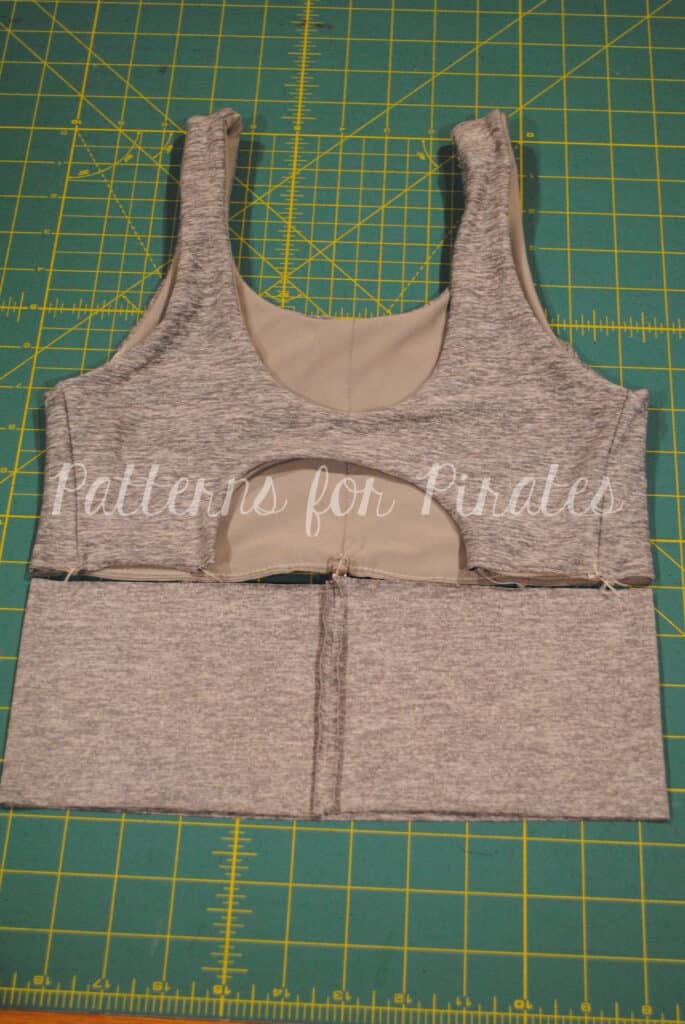
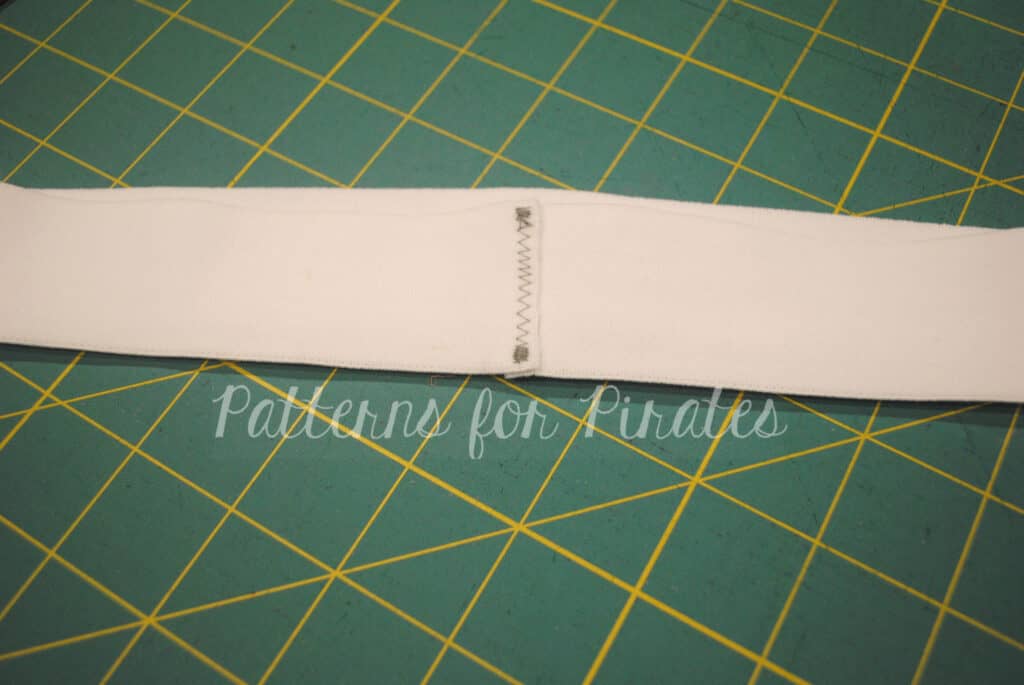
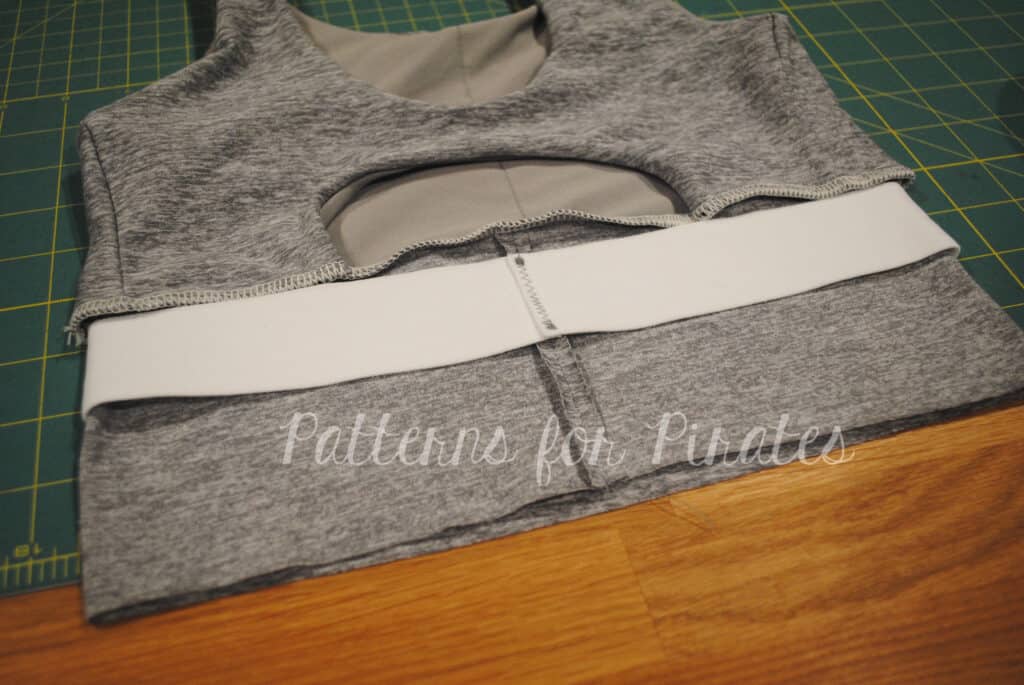
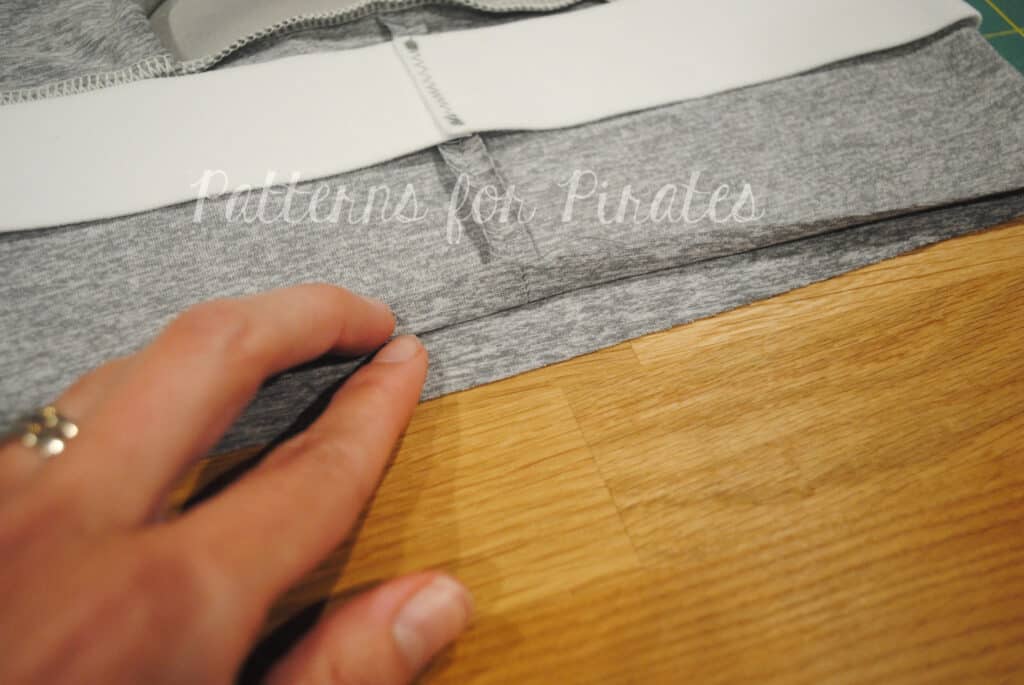
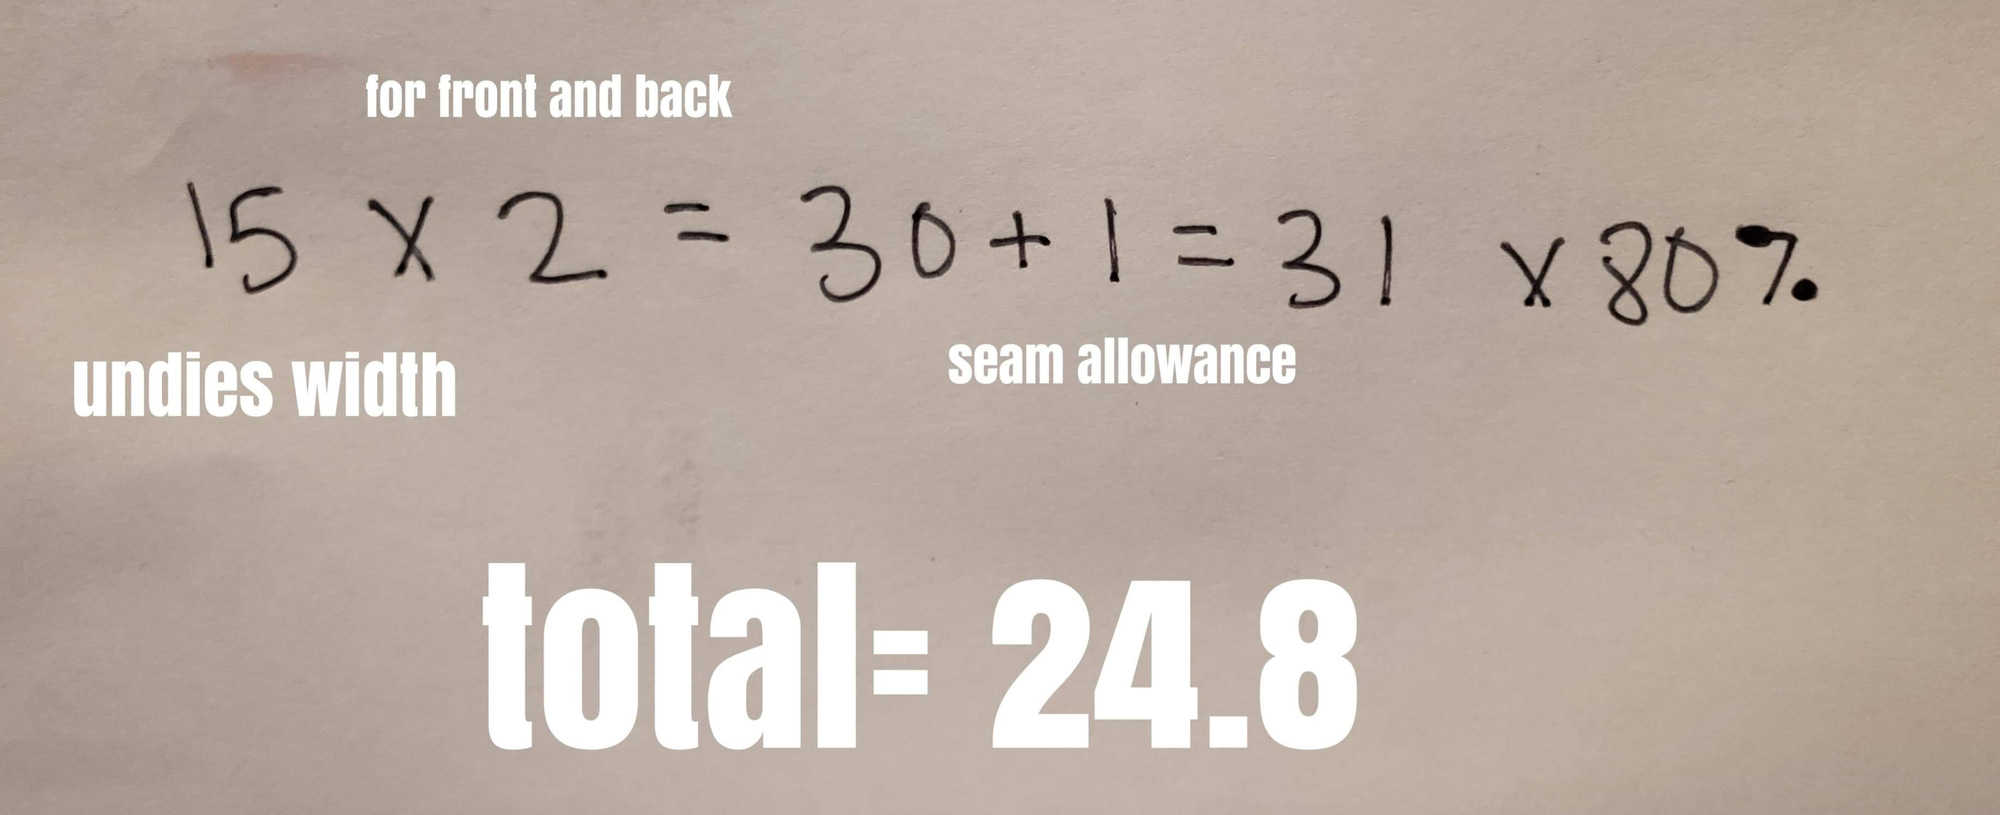
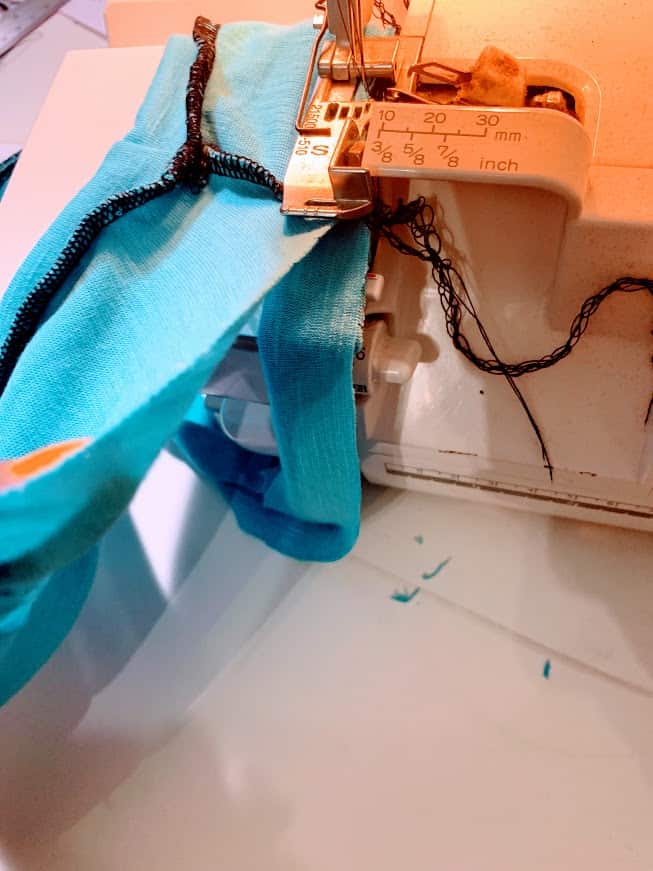
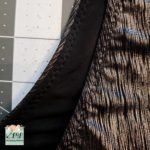
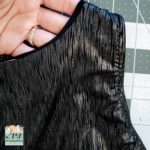
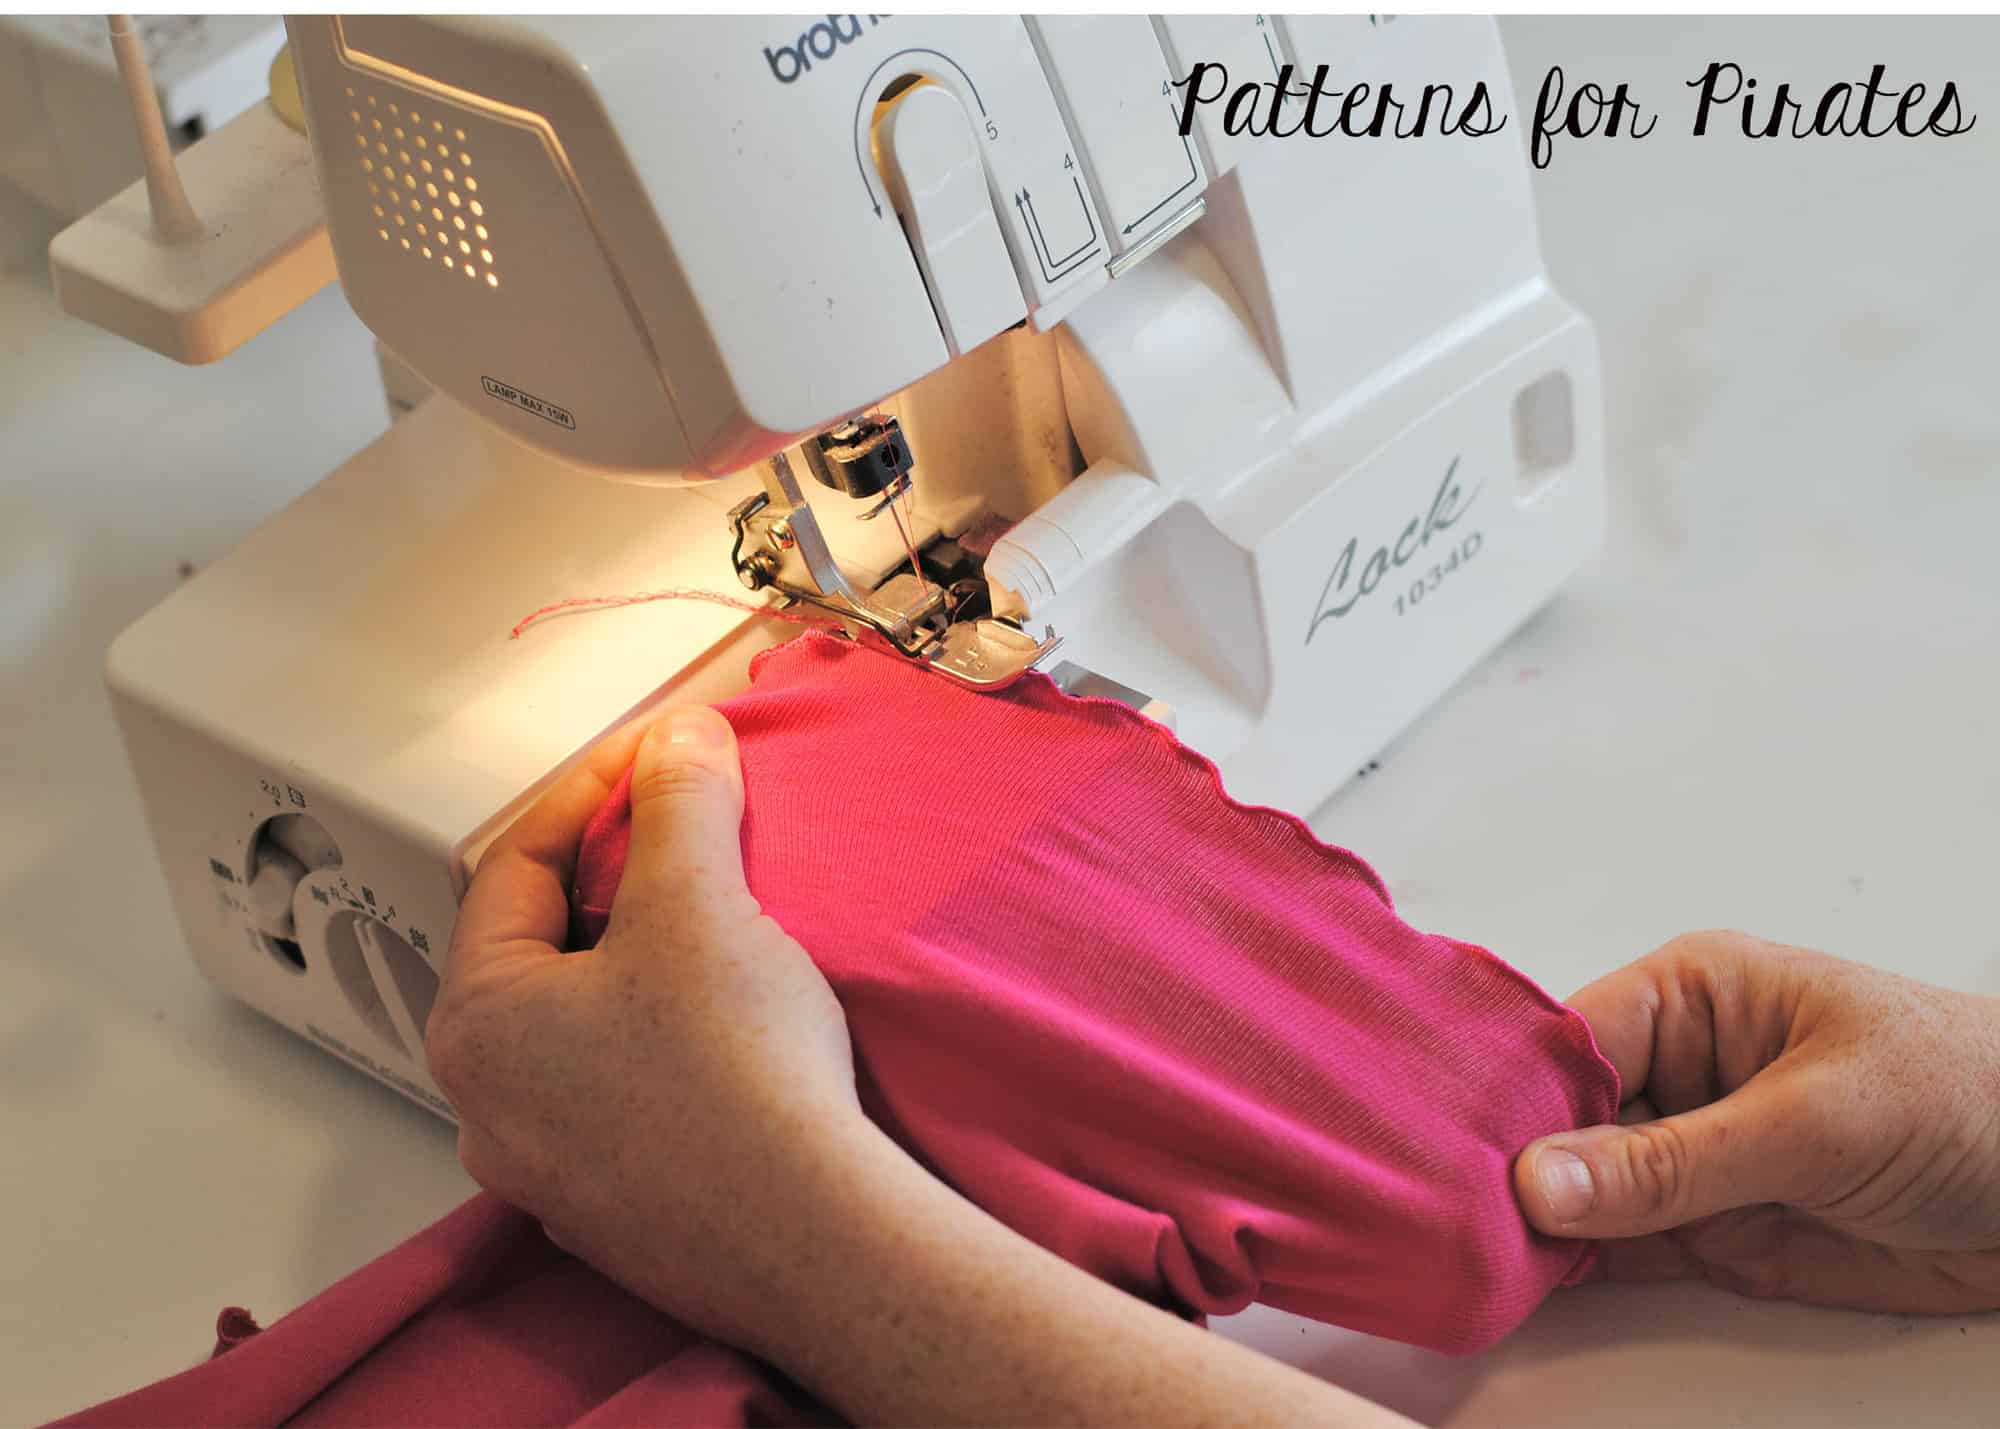
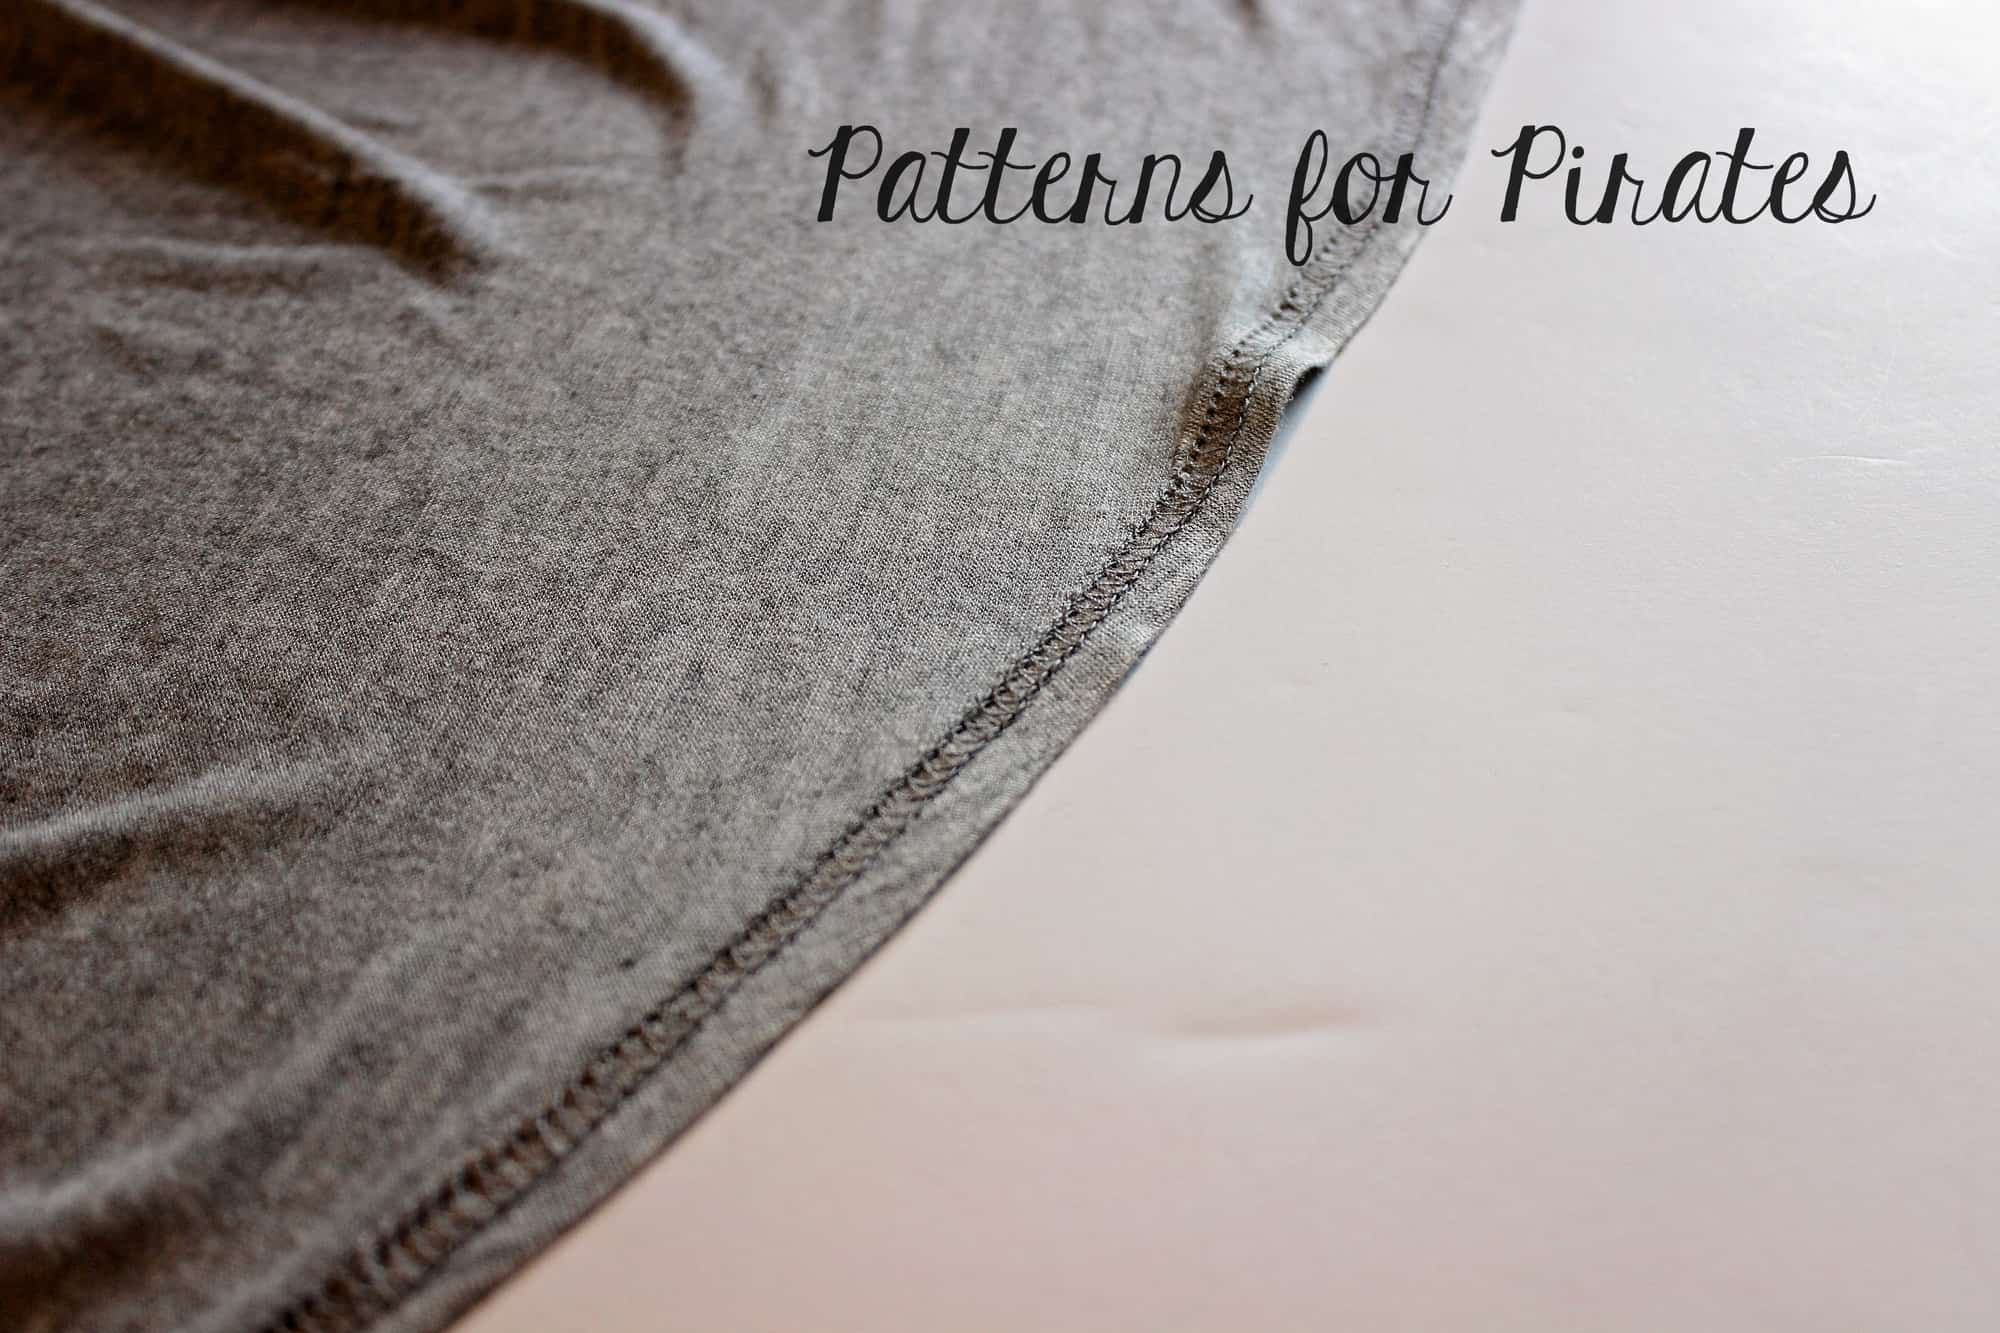
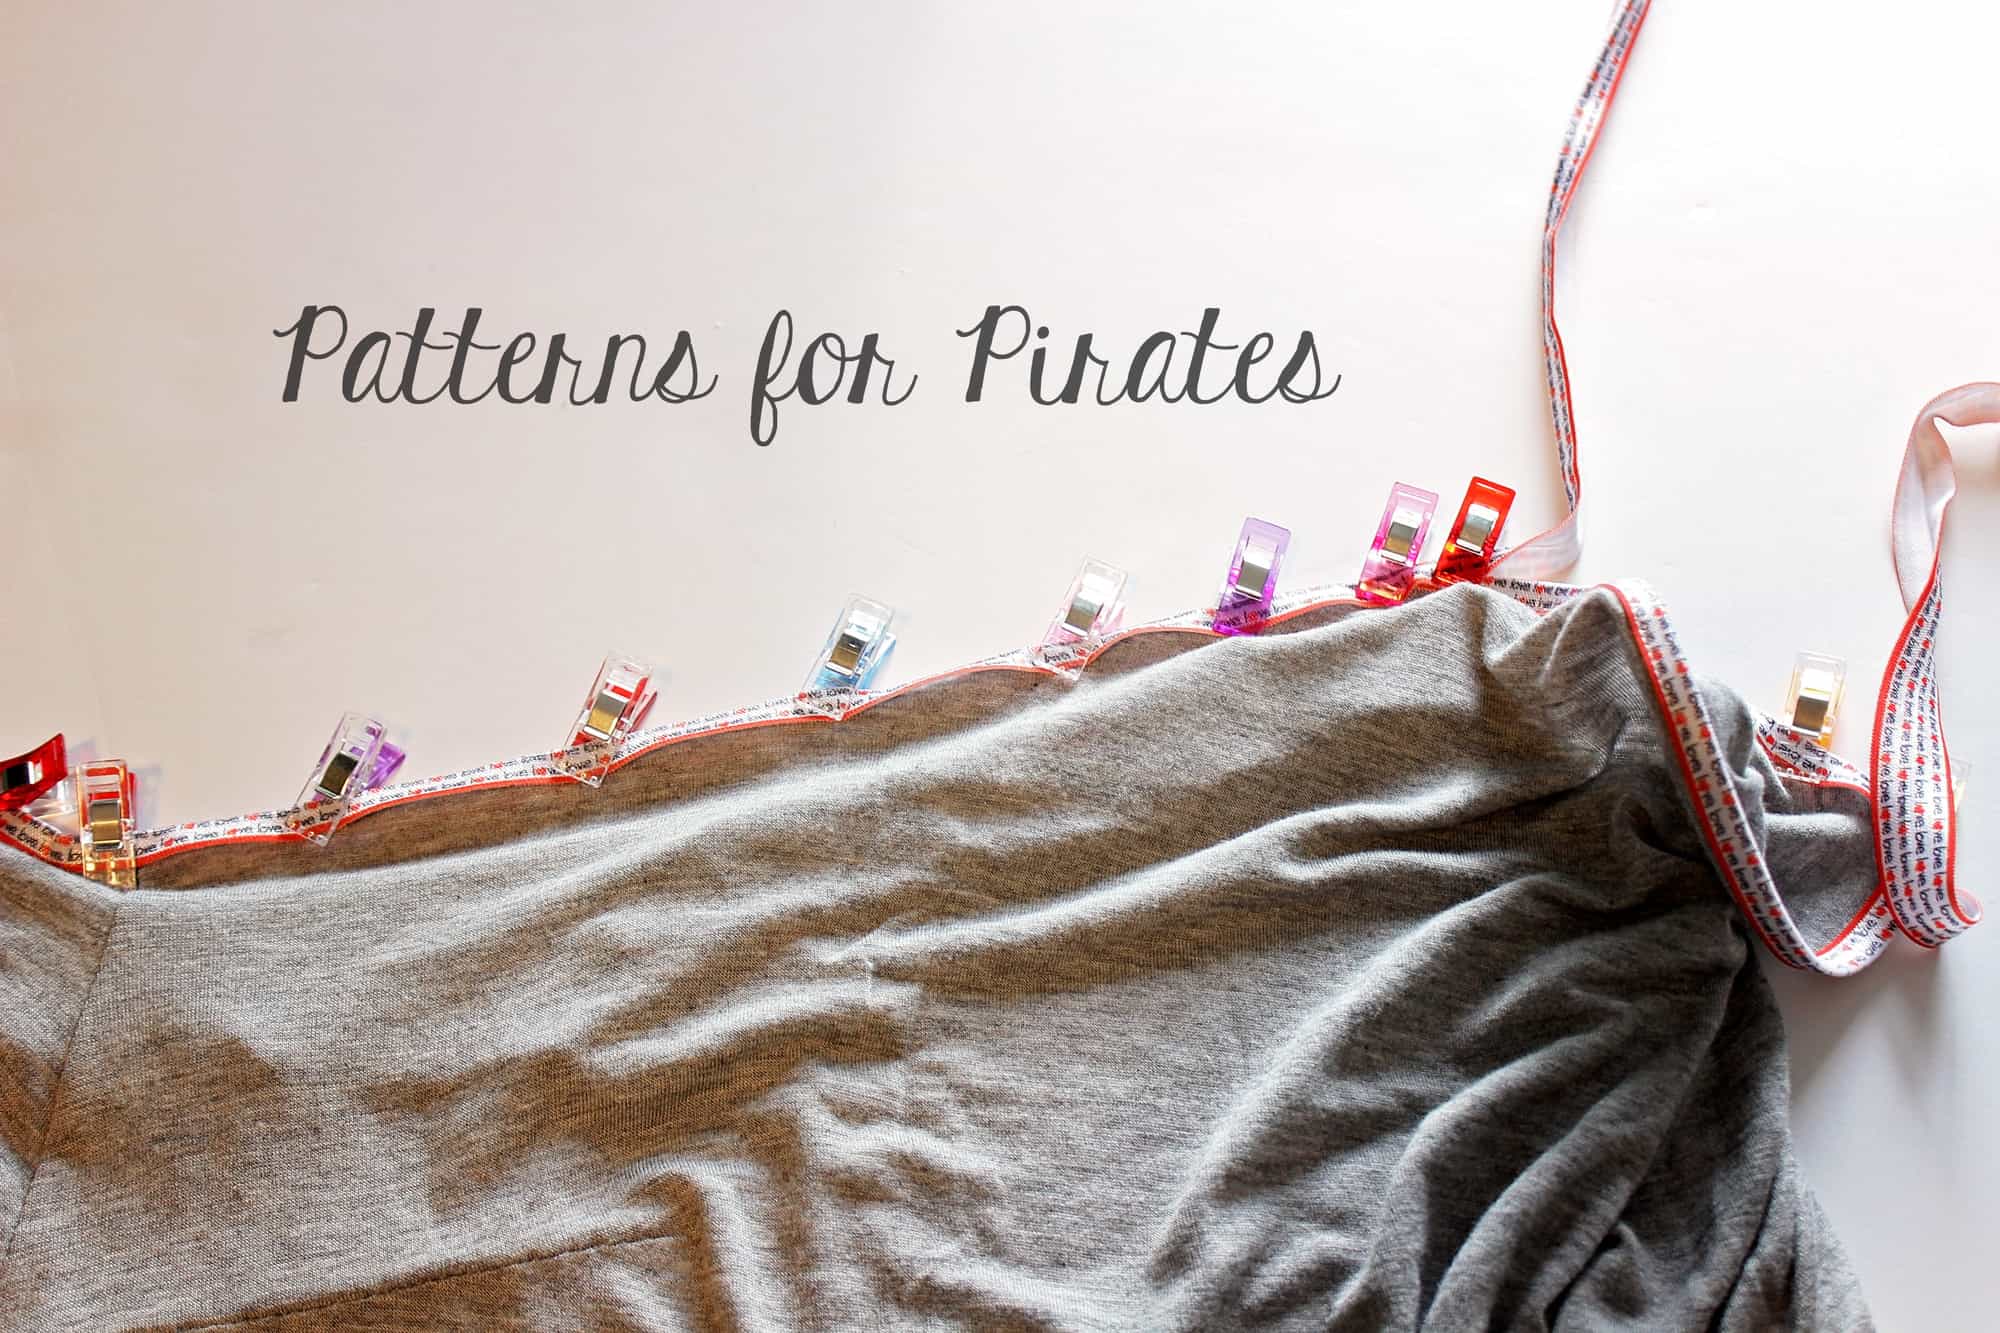
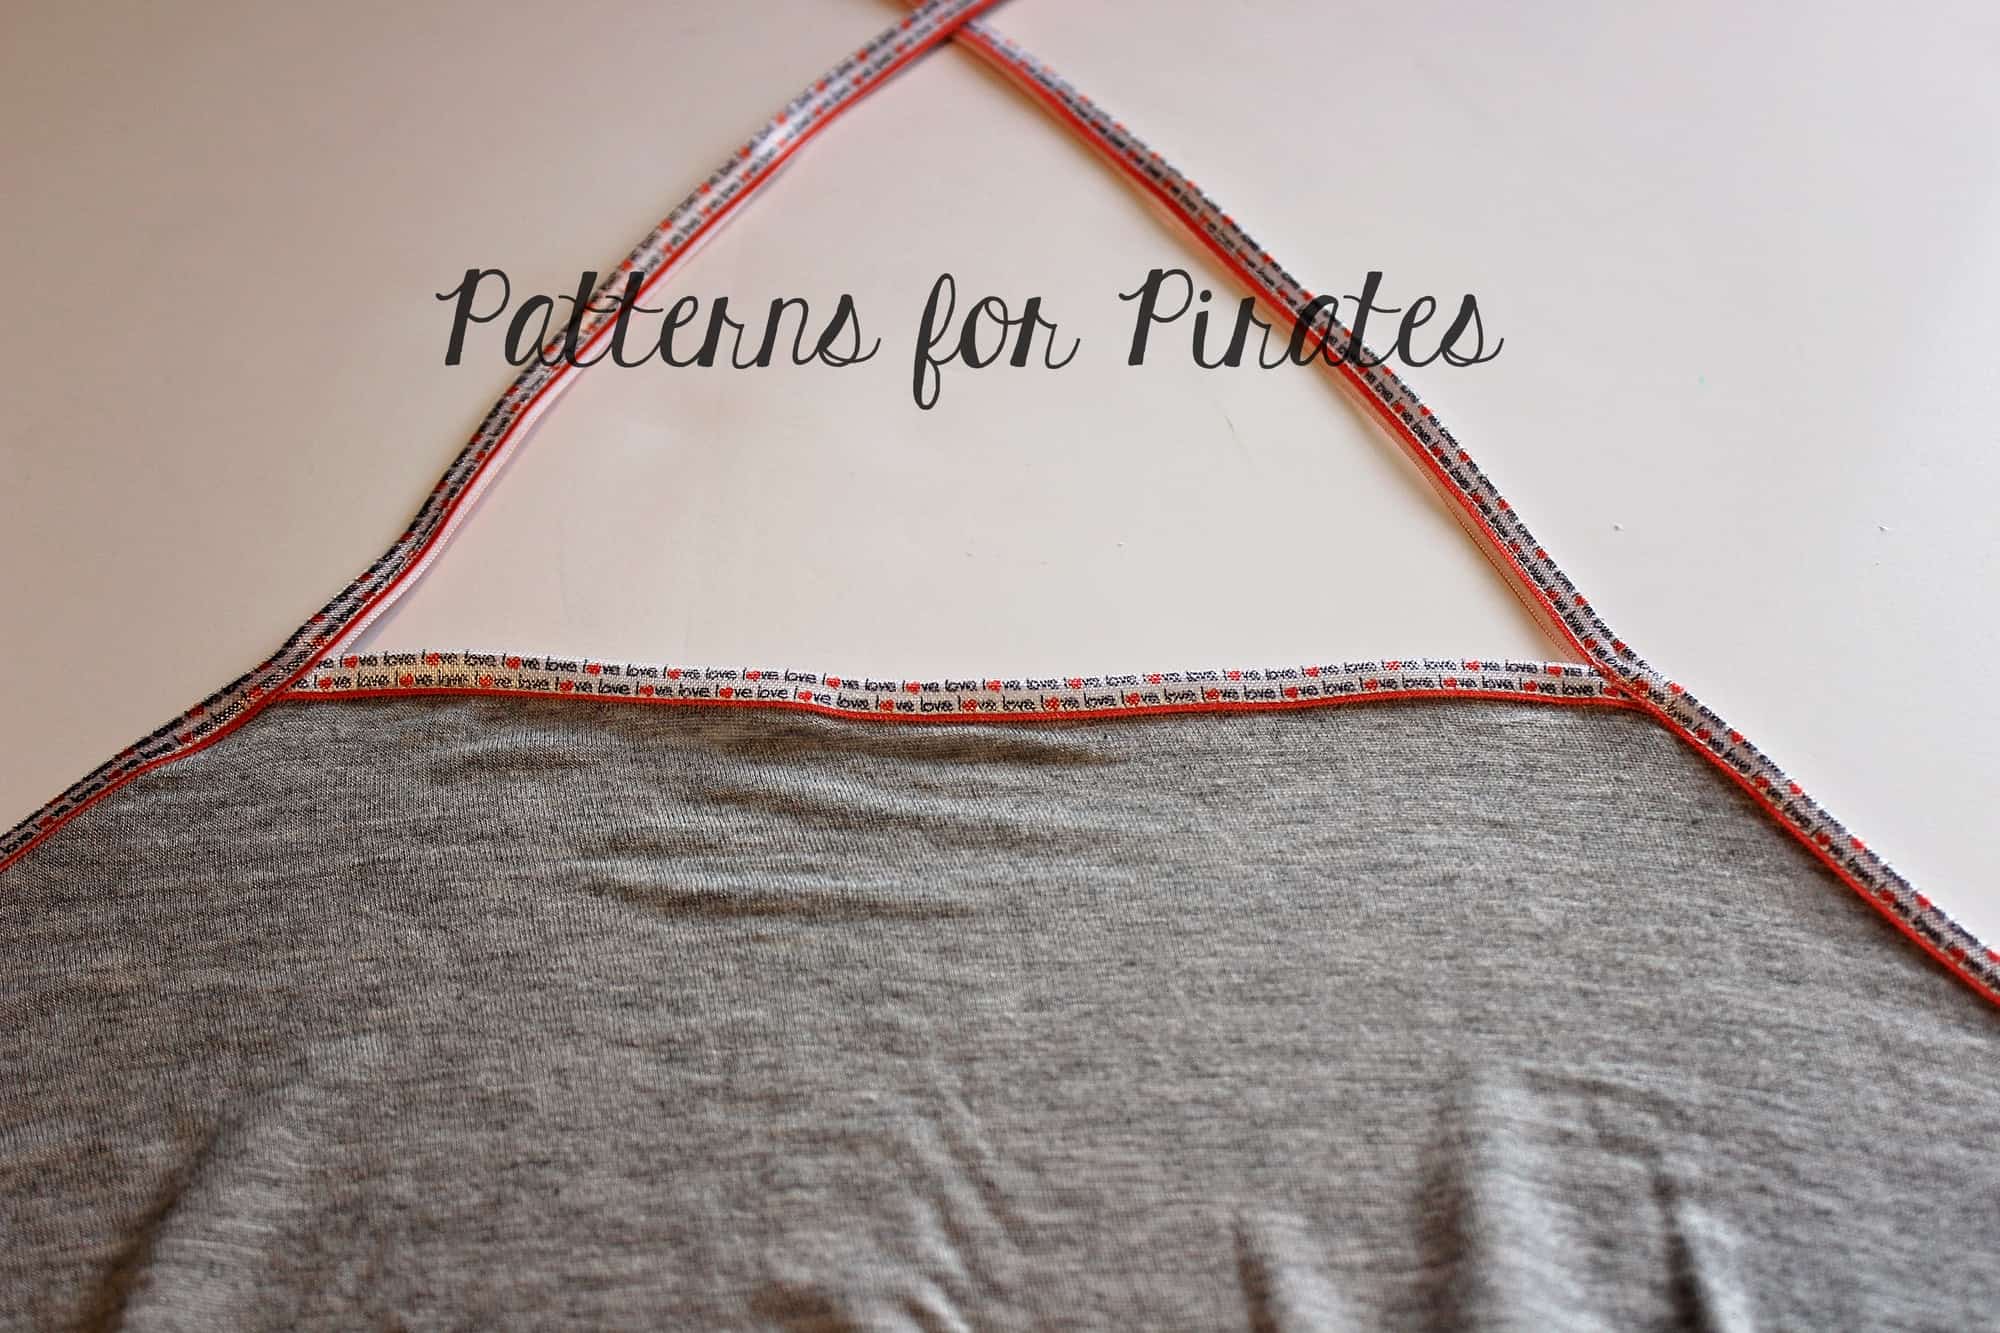
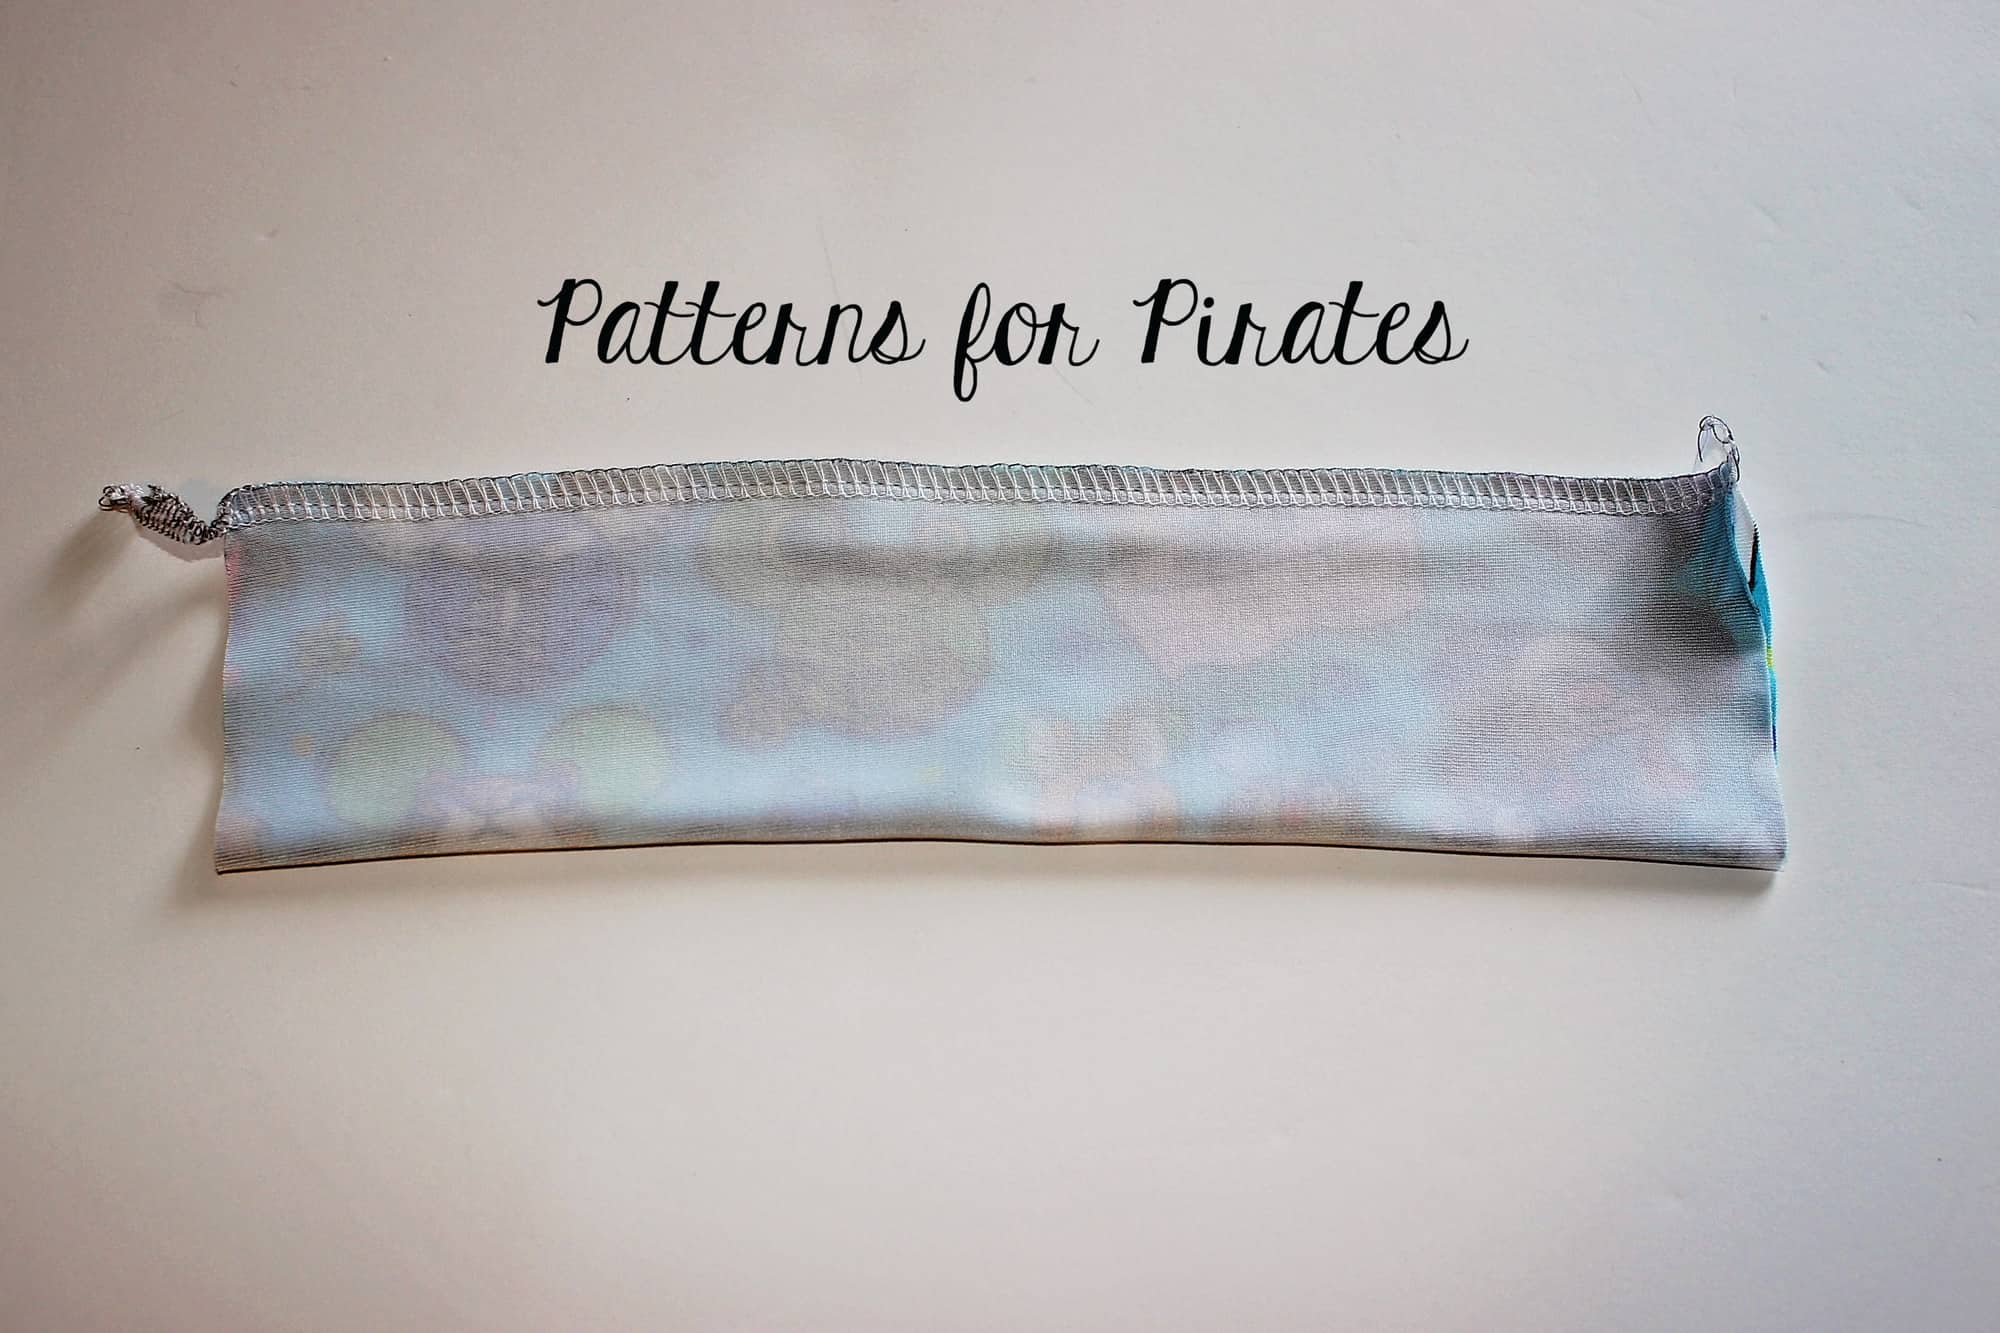
Sew together as directed by the pattern and either hem your top or if you are banding your shirt you’ll simply measure the bottom of your new top all the way around and multiply that by .85 plus seam allowance to get the width of your new band. I can’t wait to see your cozy shirts!!
Happy Sewing,
Michelle
…..
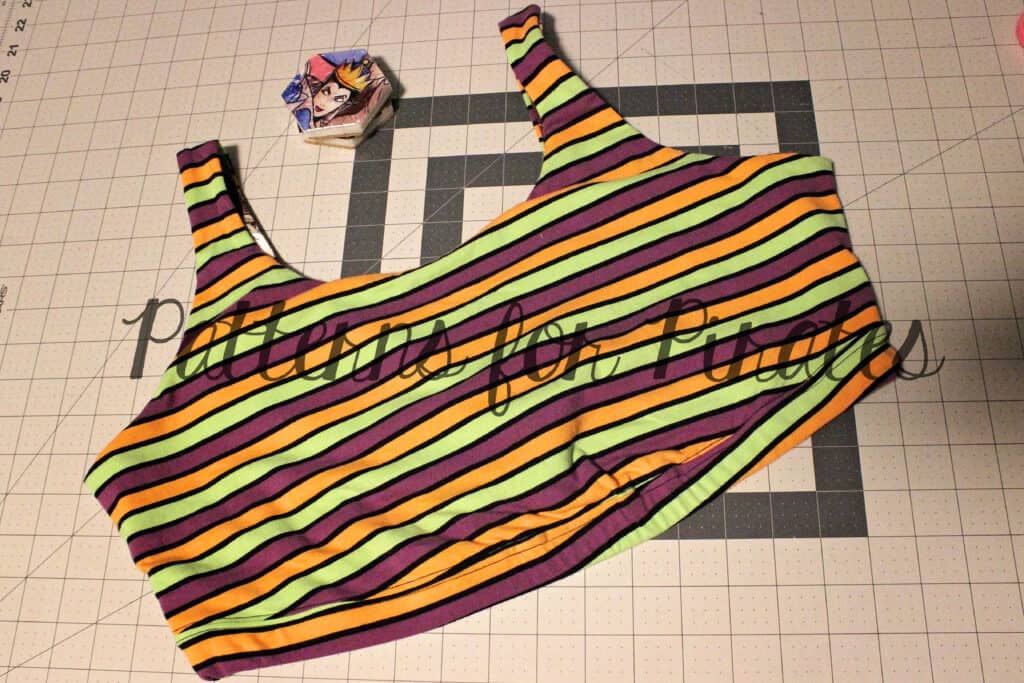
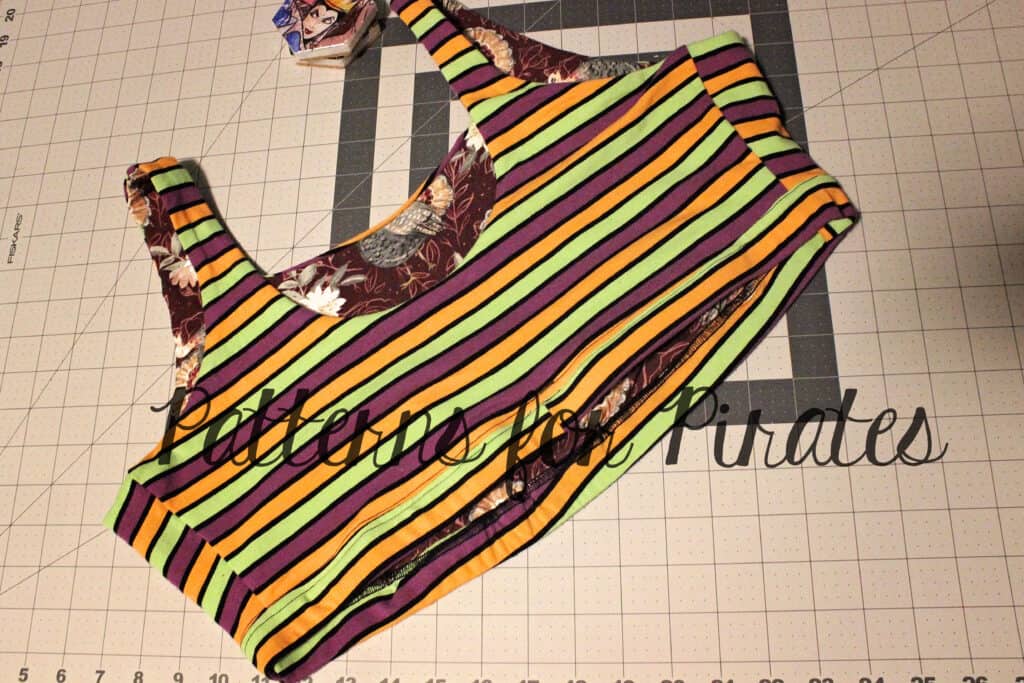
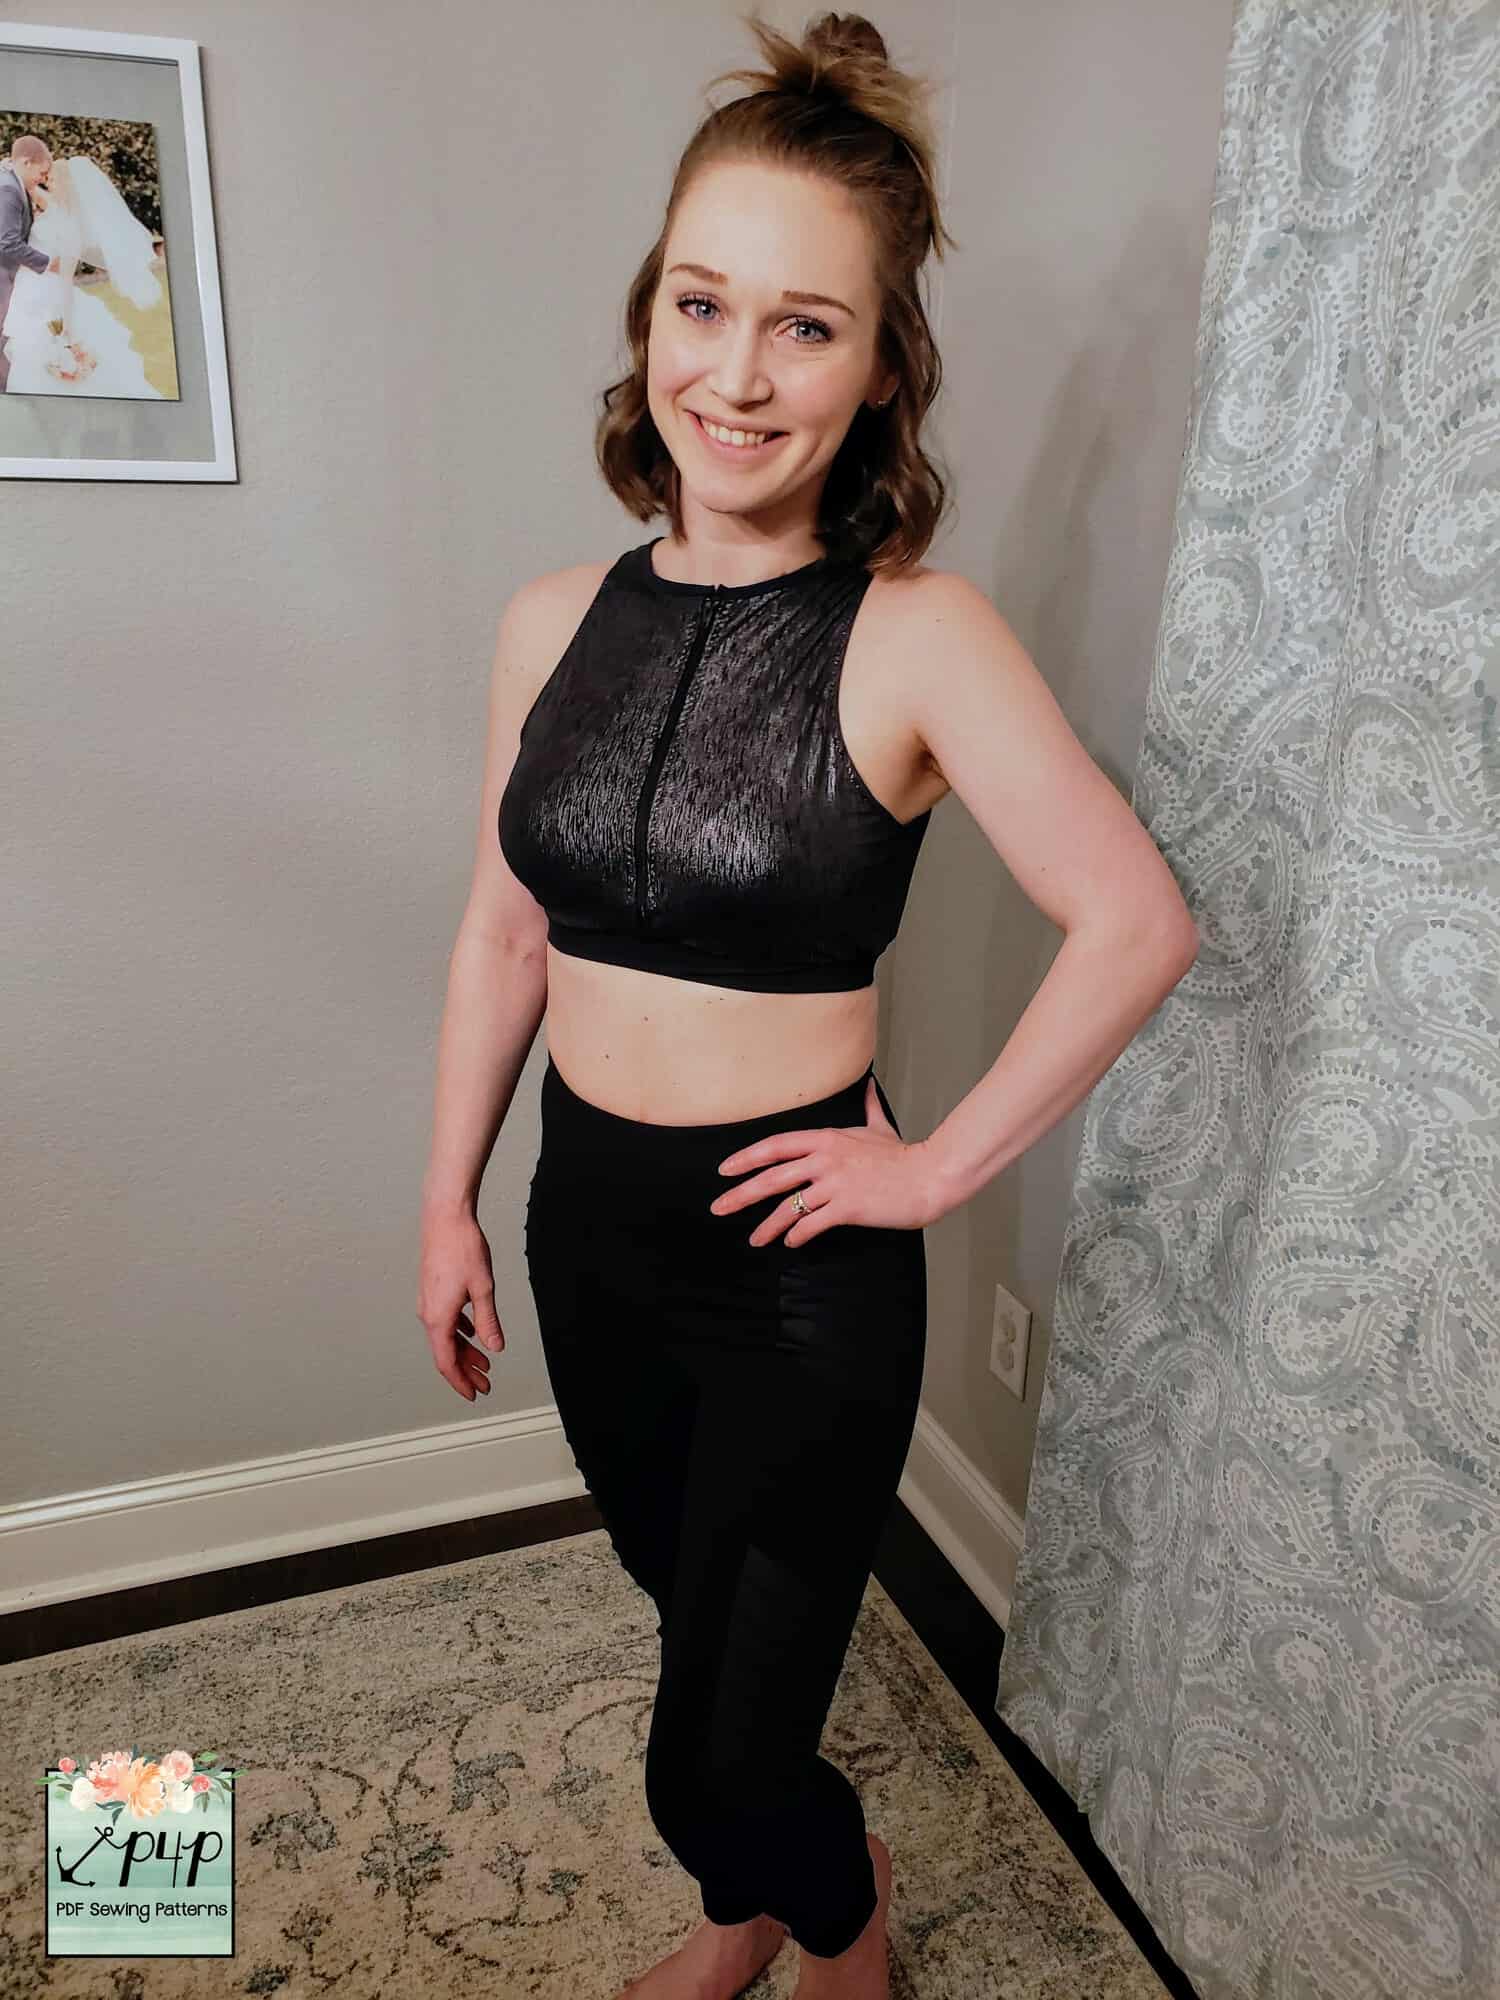
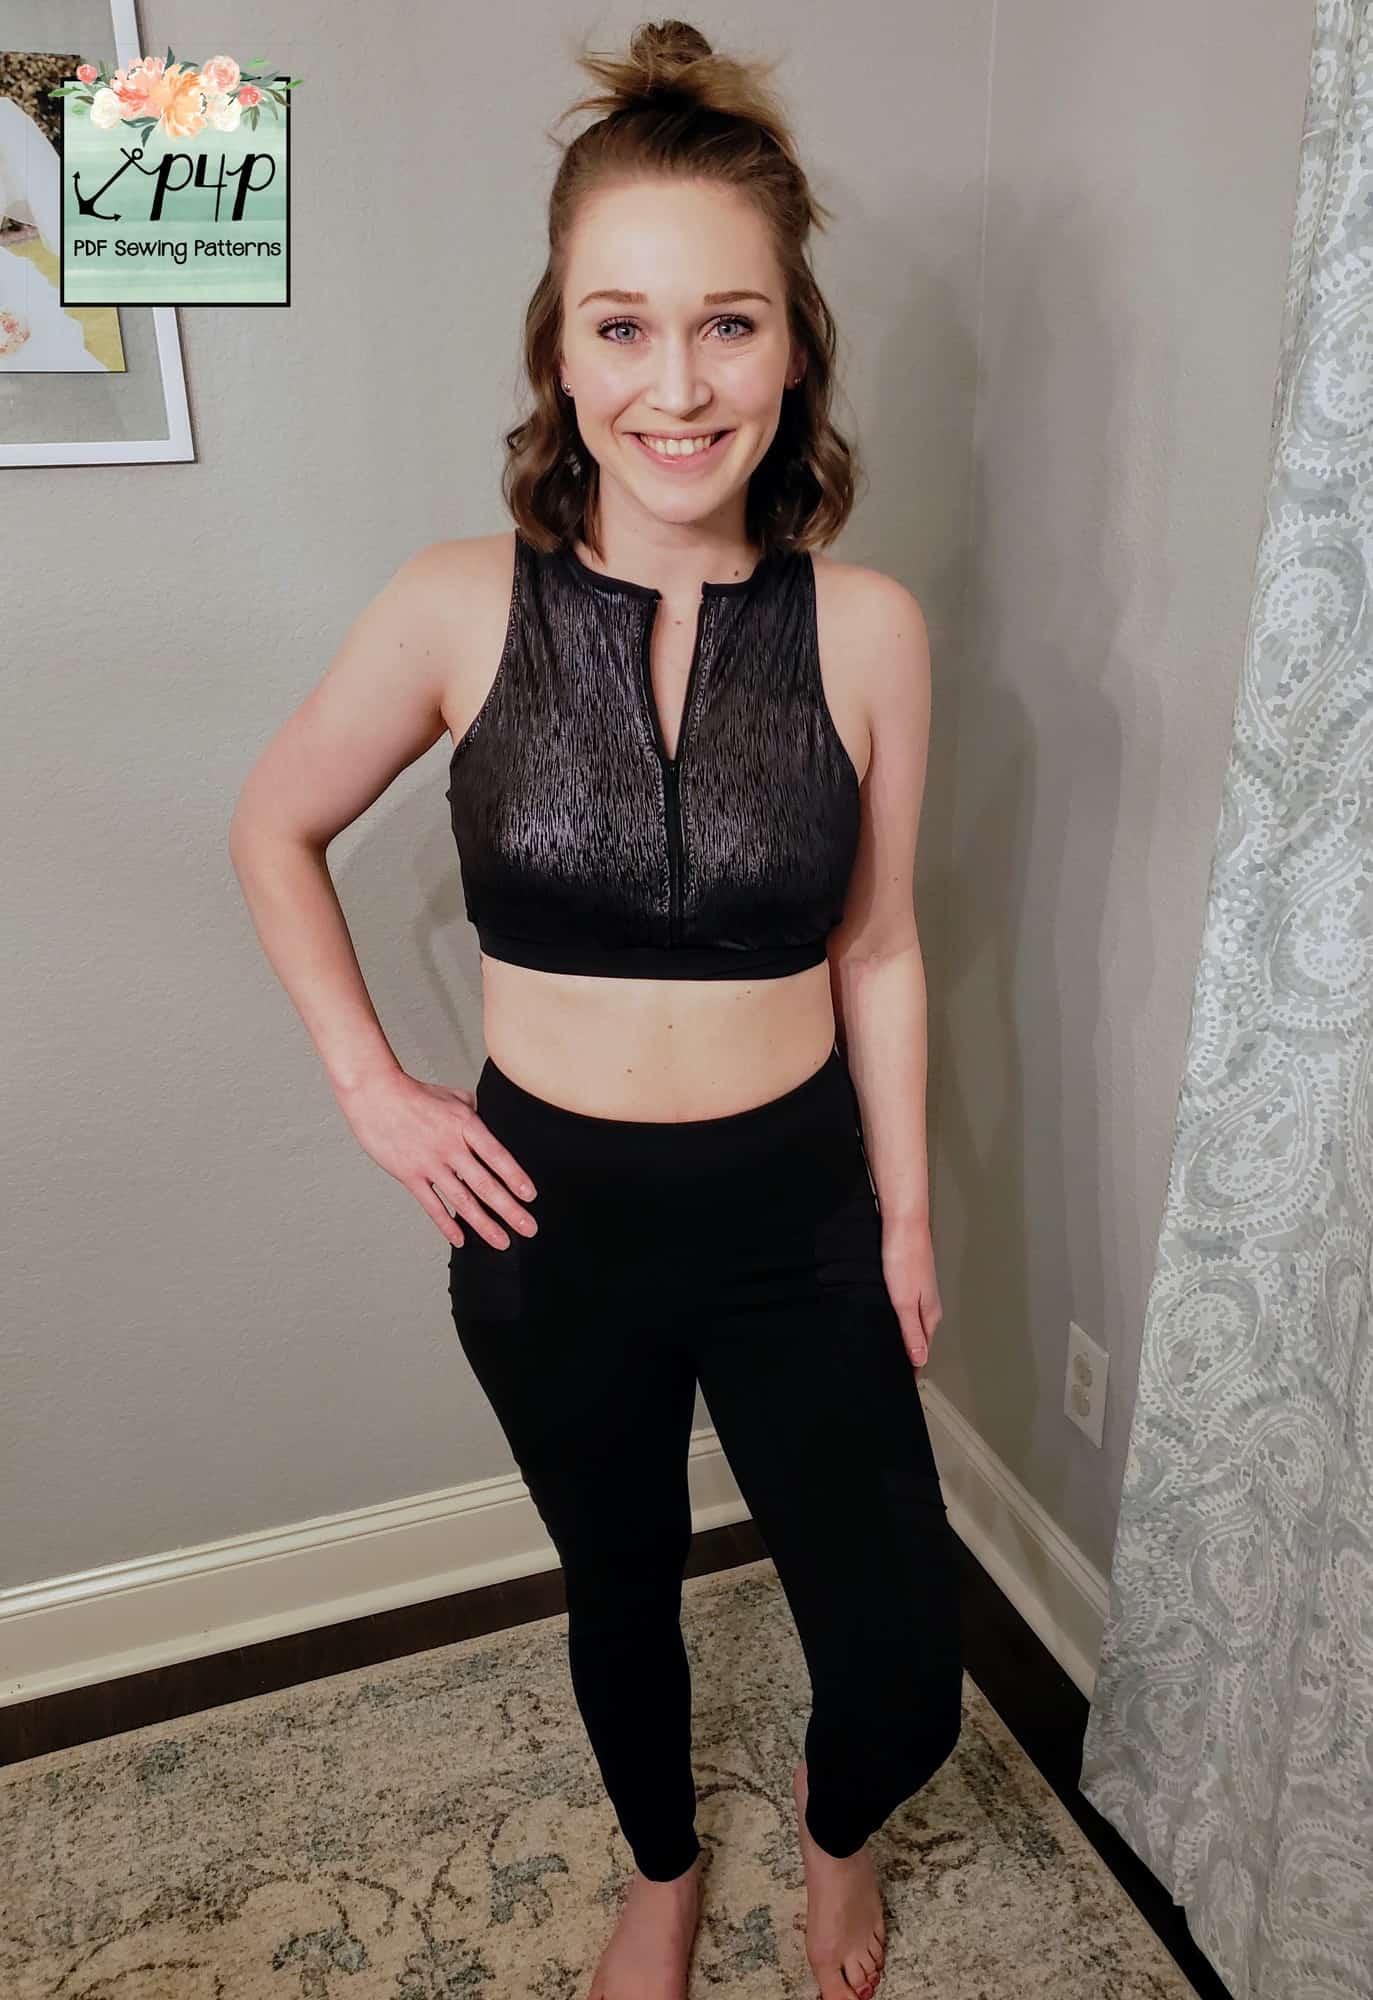
Paperbag Shorts
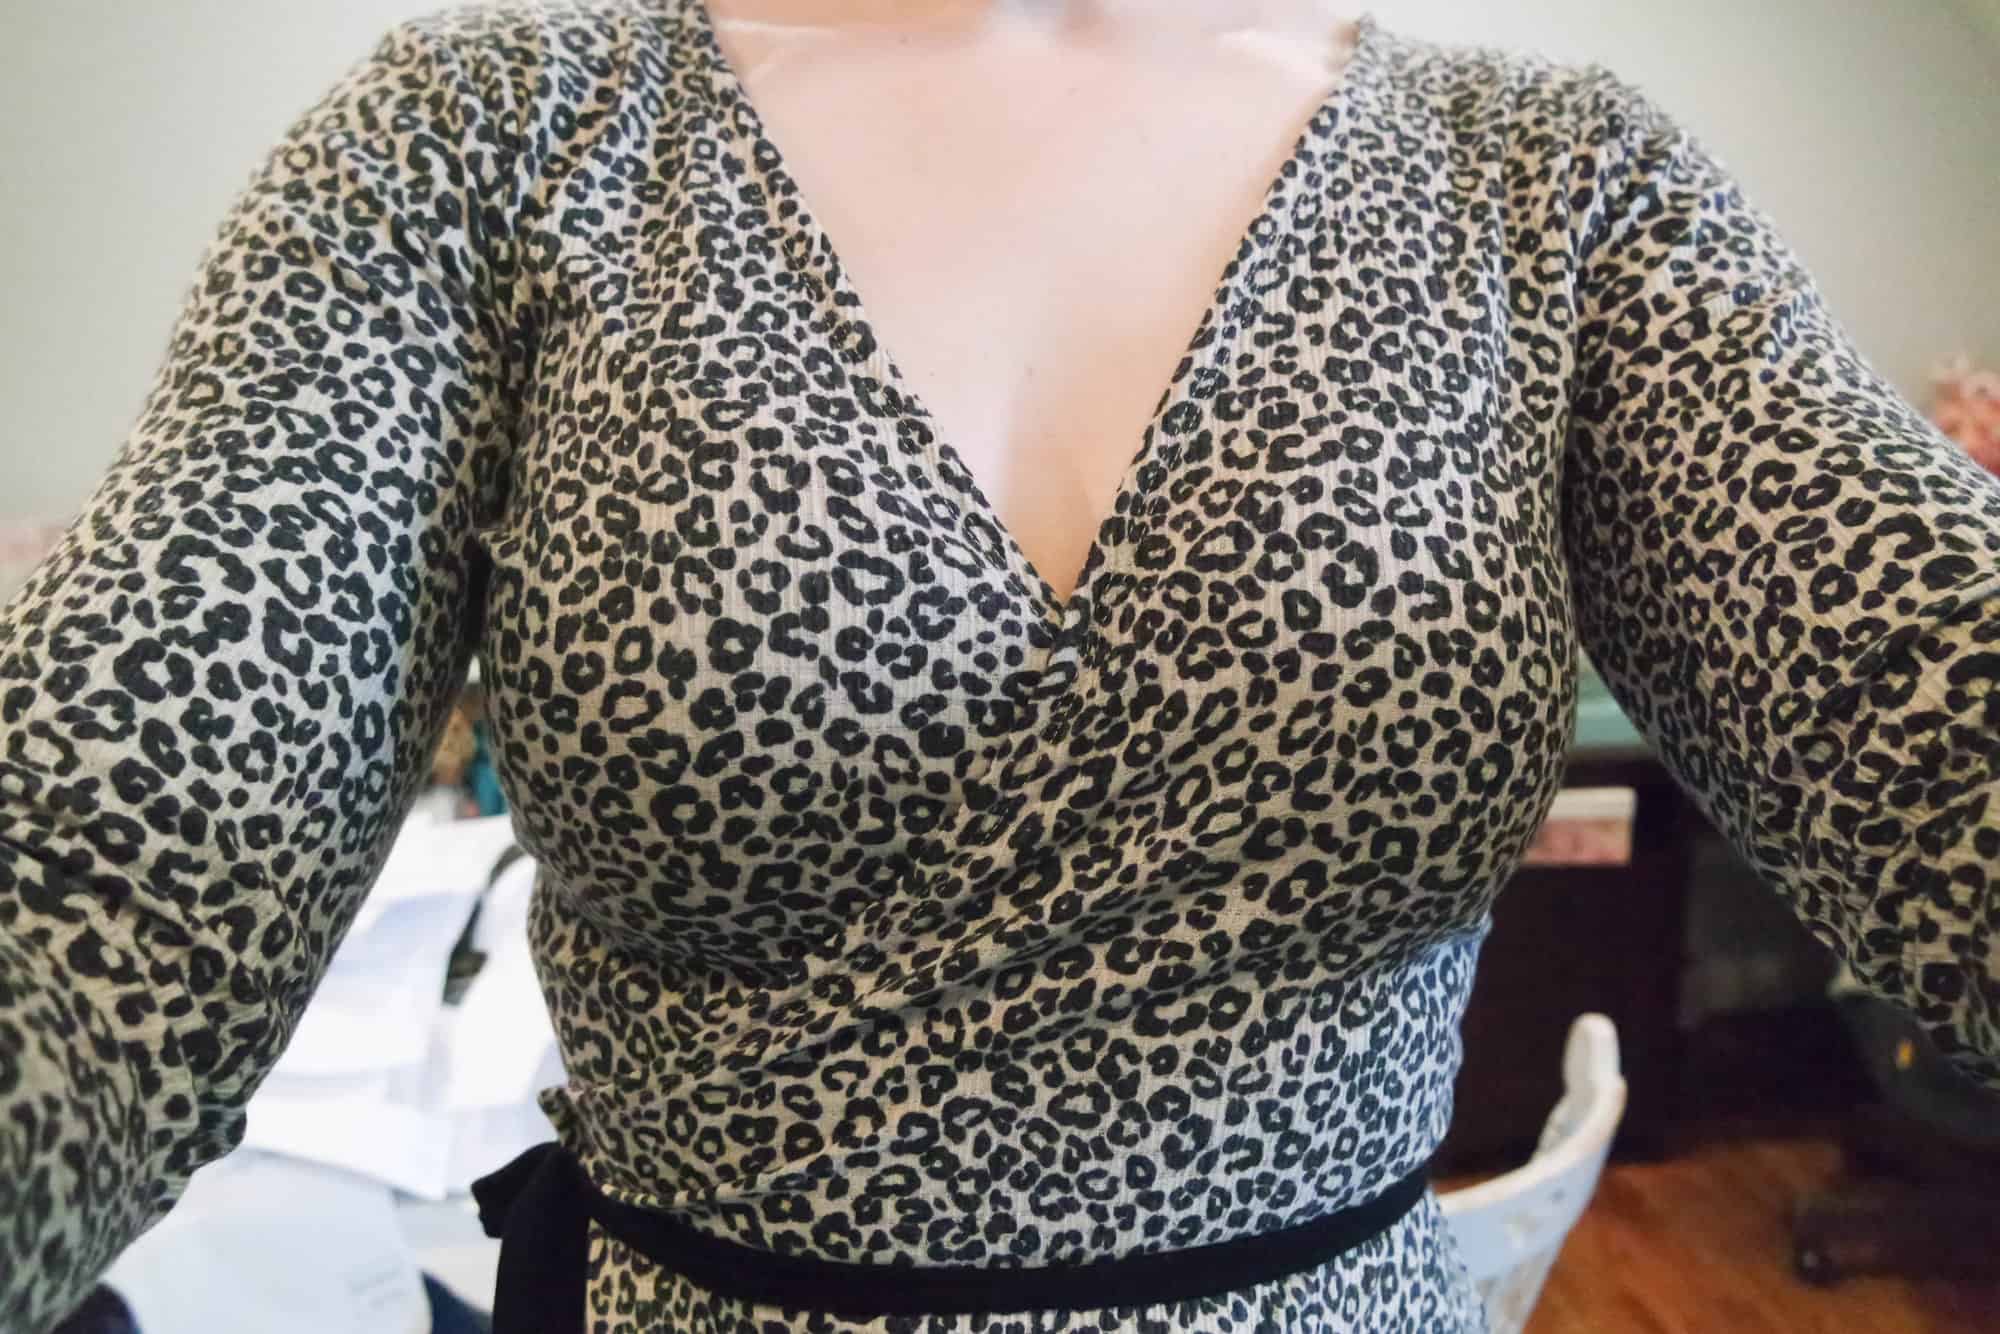
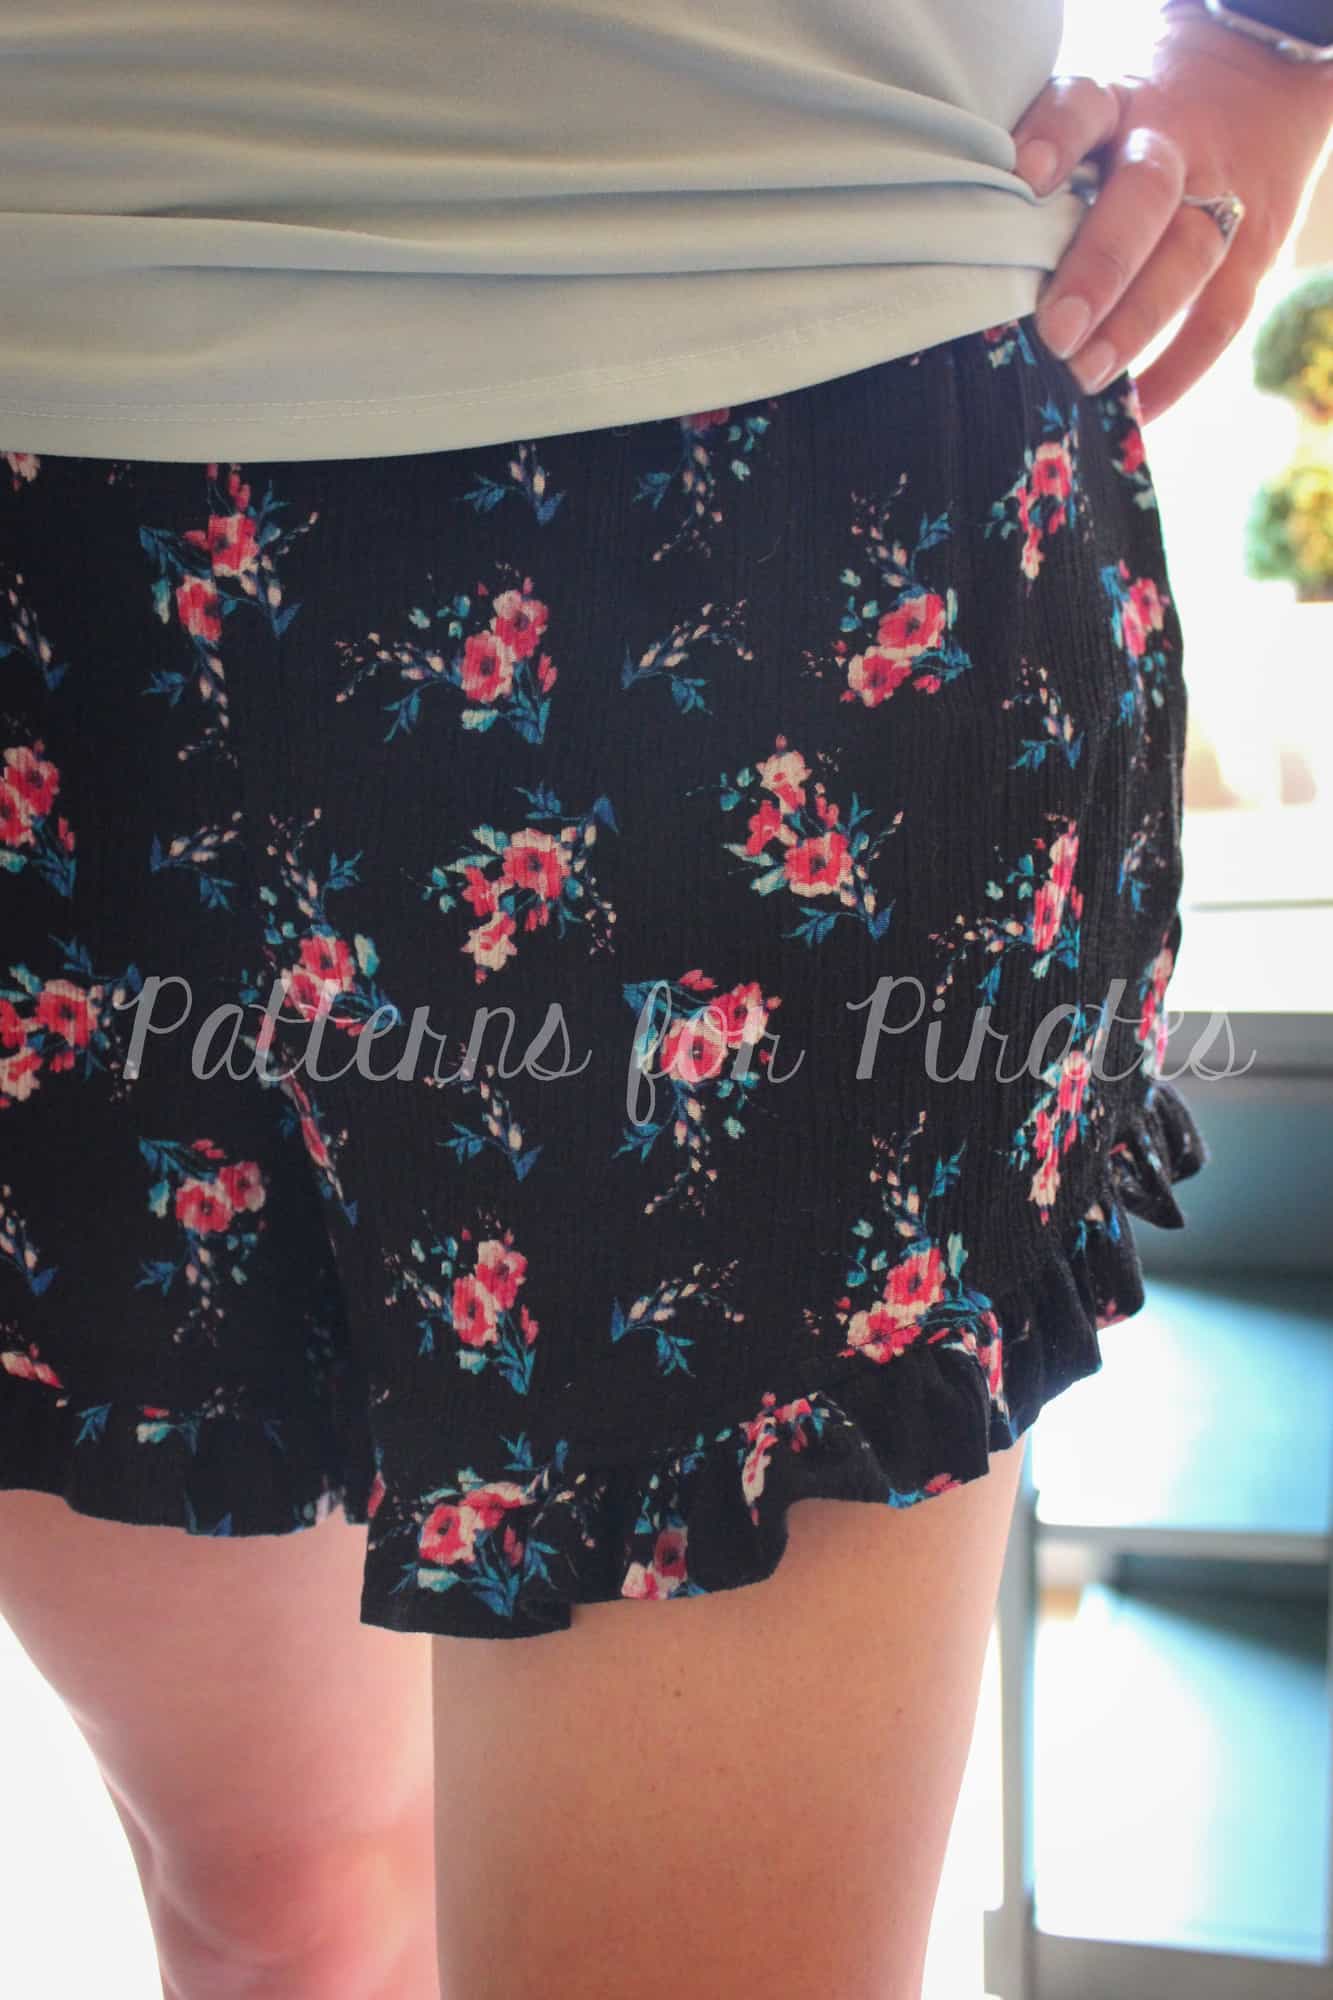
I absolutely love the paperbag waist trend that is so popular right now! The cinching is universally flattering for all figures.
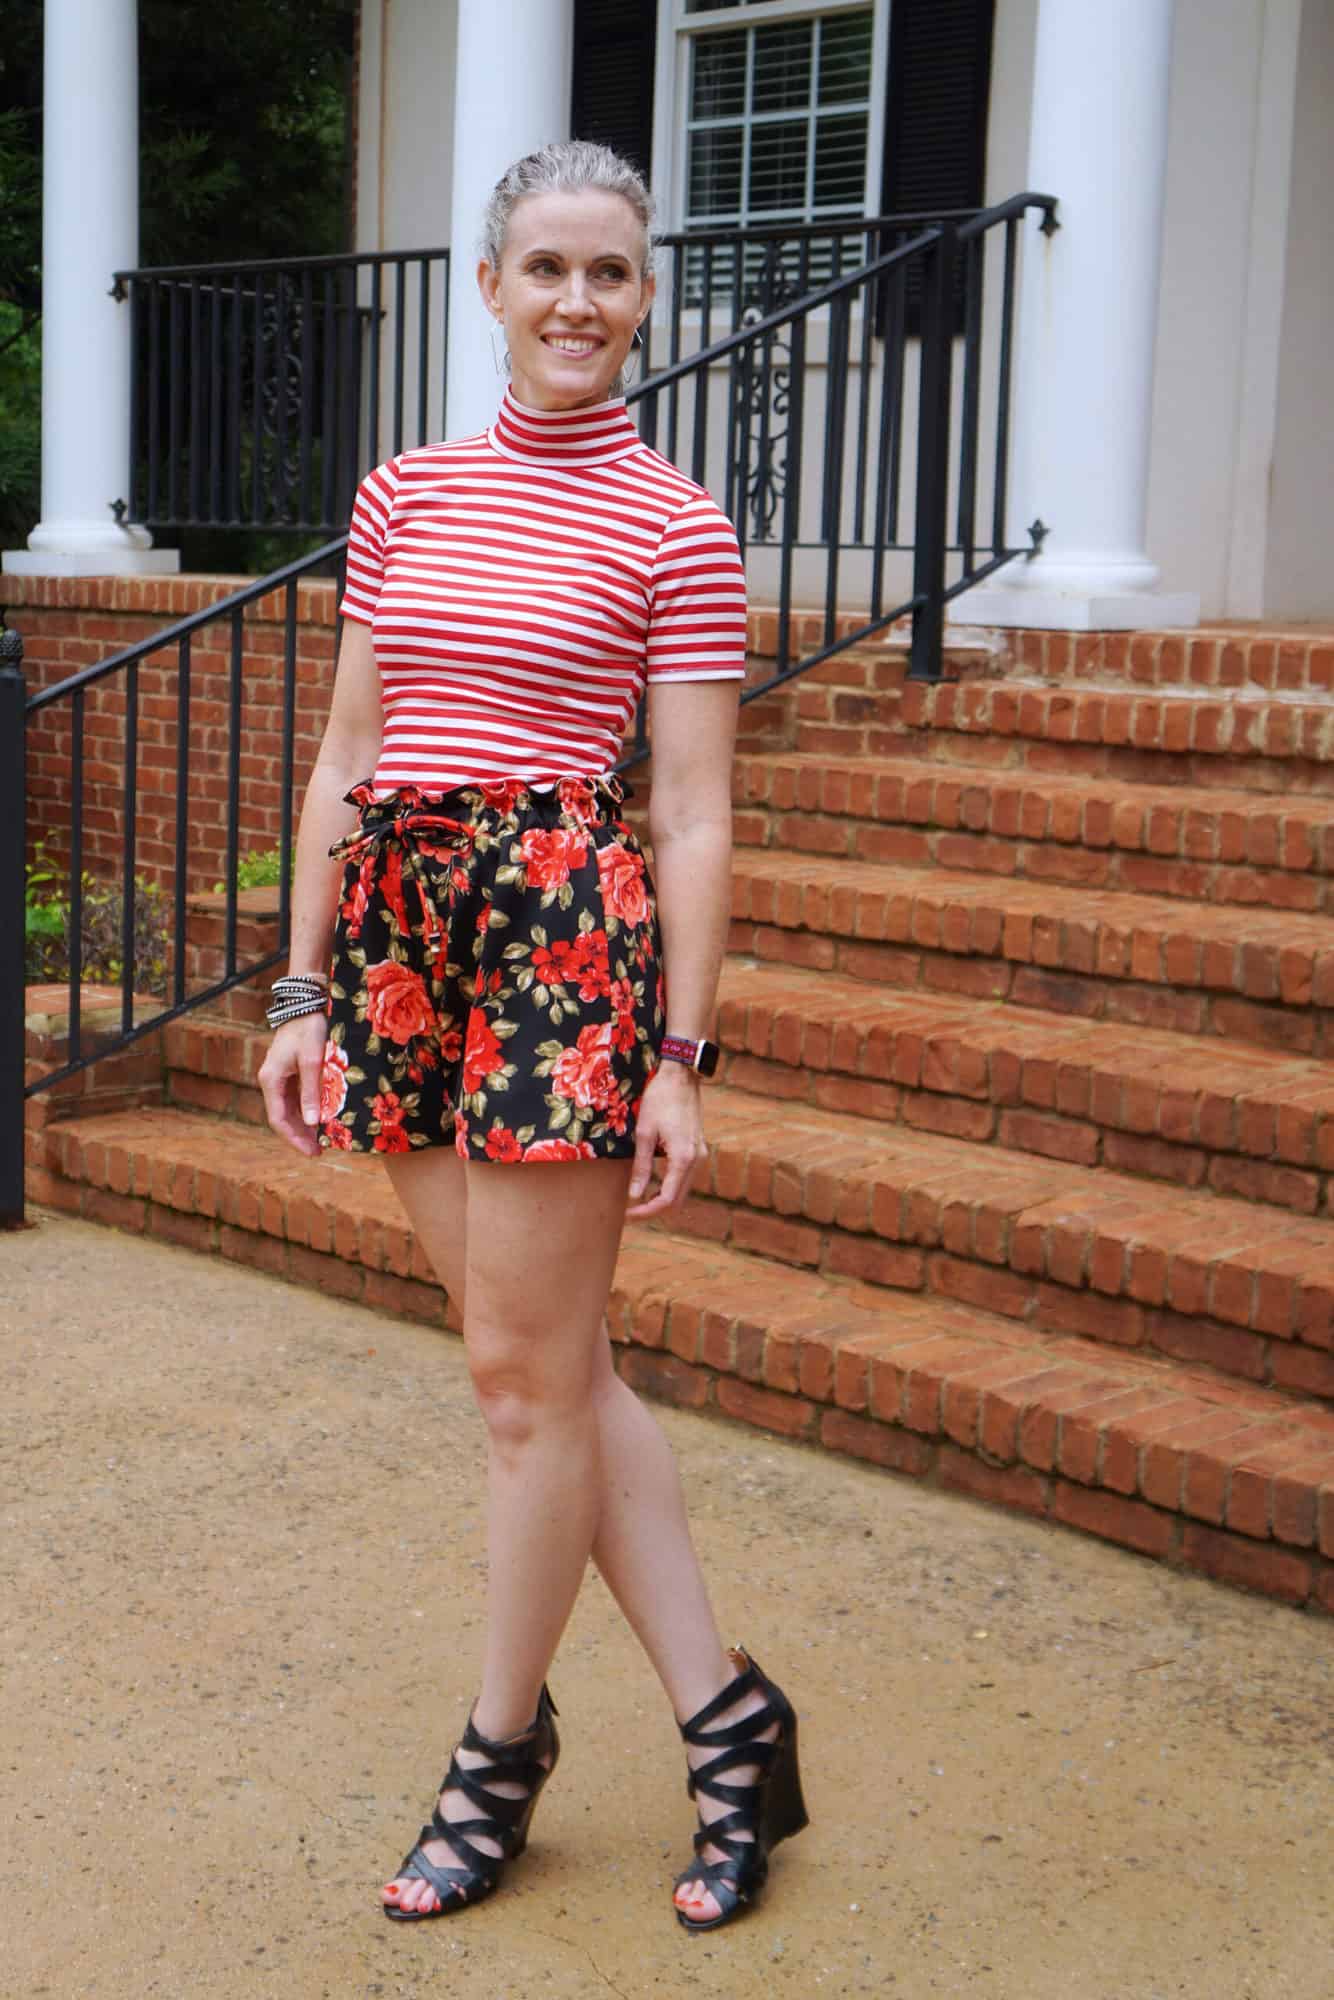
Once you’ve mastered the Runabout Romper waistband, you can easily turn the pattern bottoms into pants or shorts with this cute ruffle feature. And I’m here to show you how to do it!
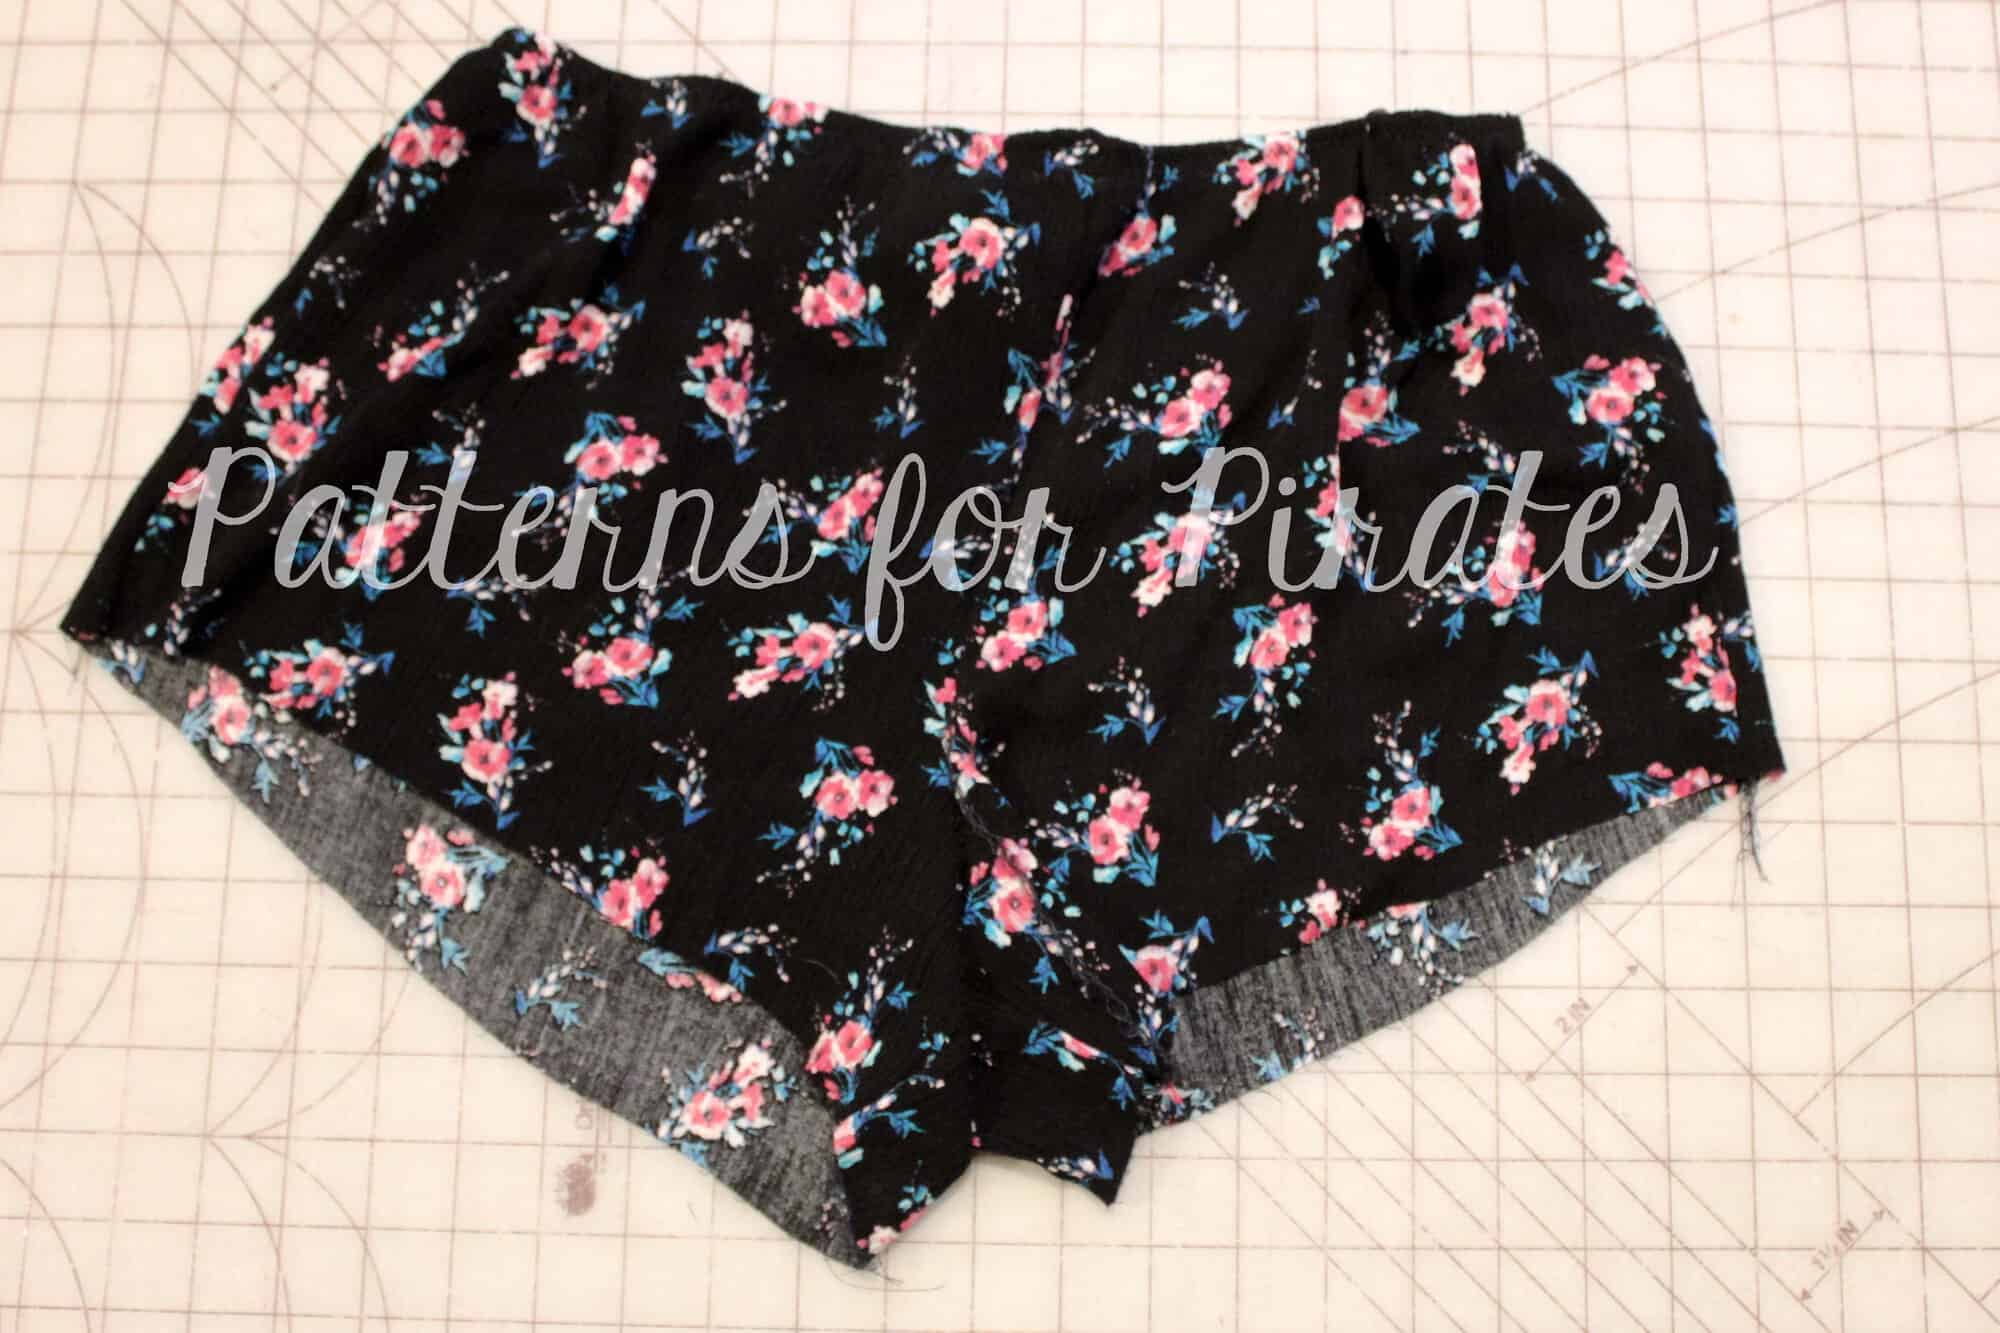
Start by cutting the bottom pieces to your preferred length. I’ve decided to make shorts for this tutorial.
Sew the pants or shorts pieces together per the pattern instructions.
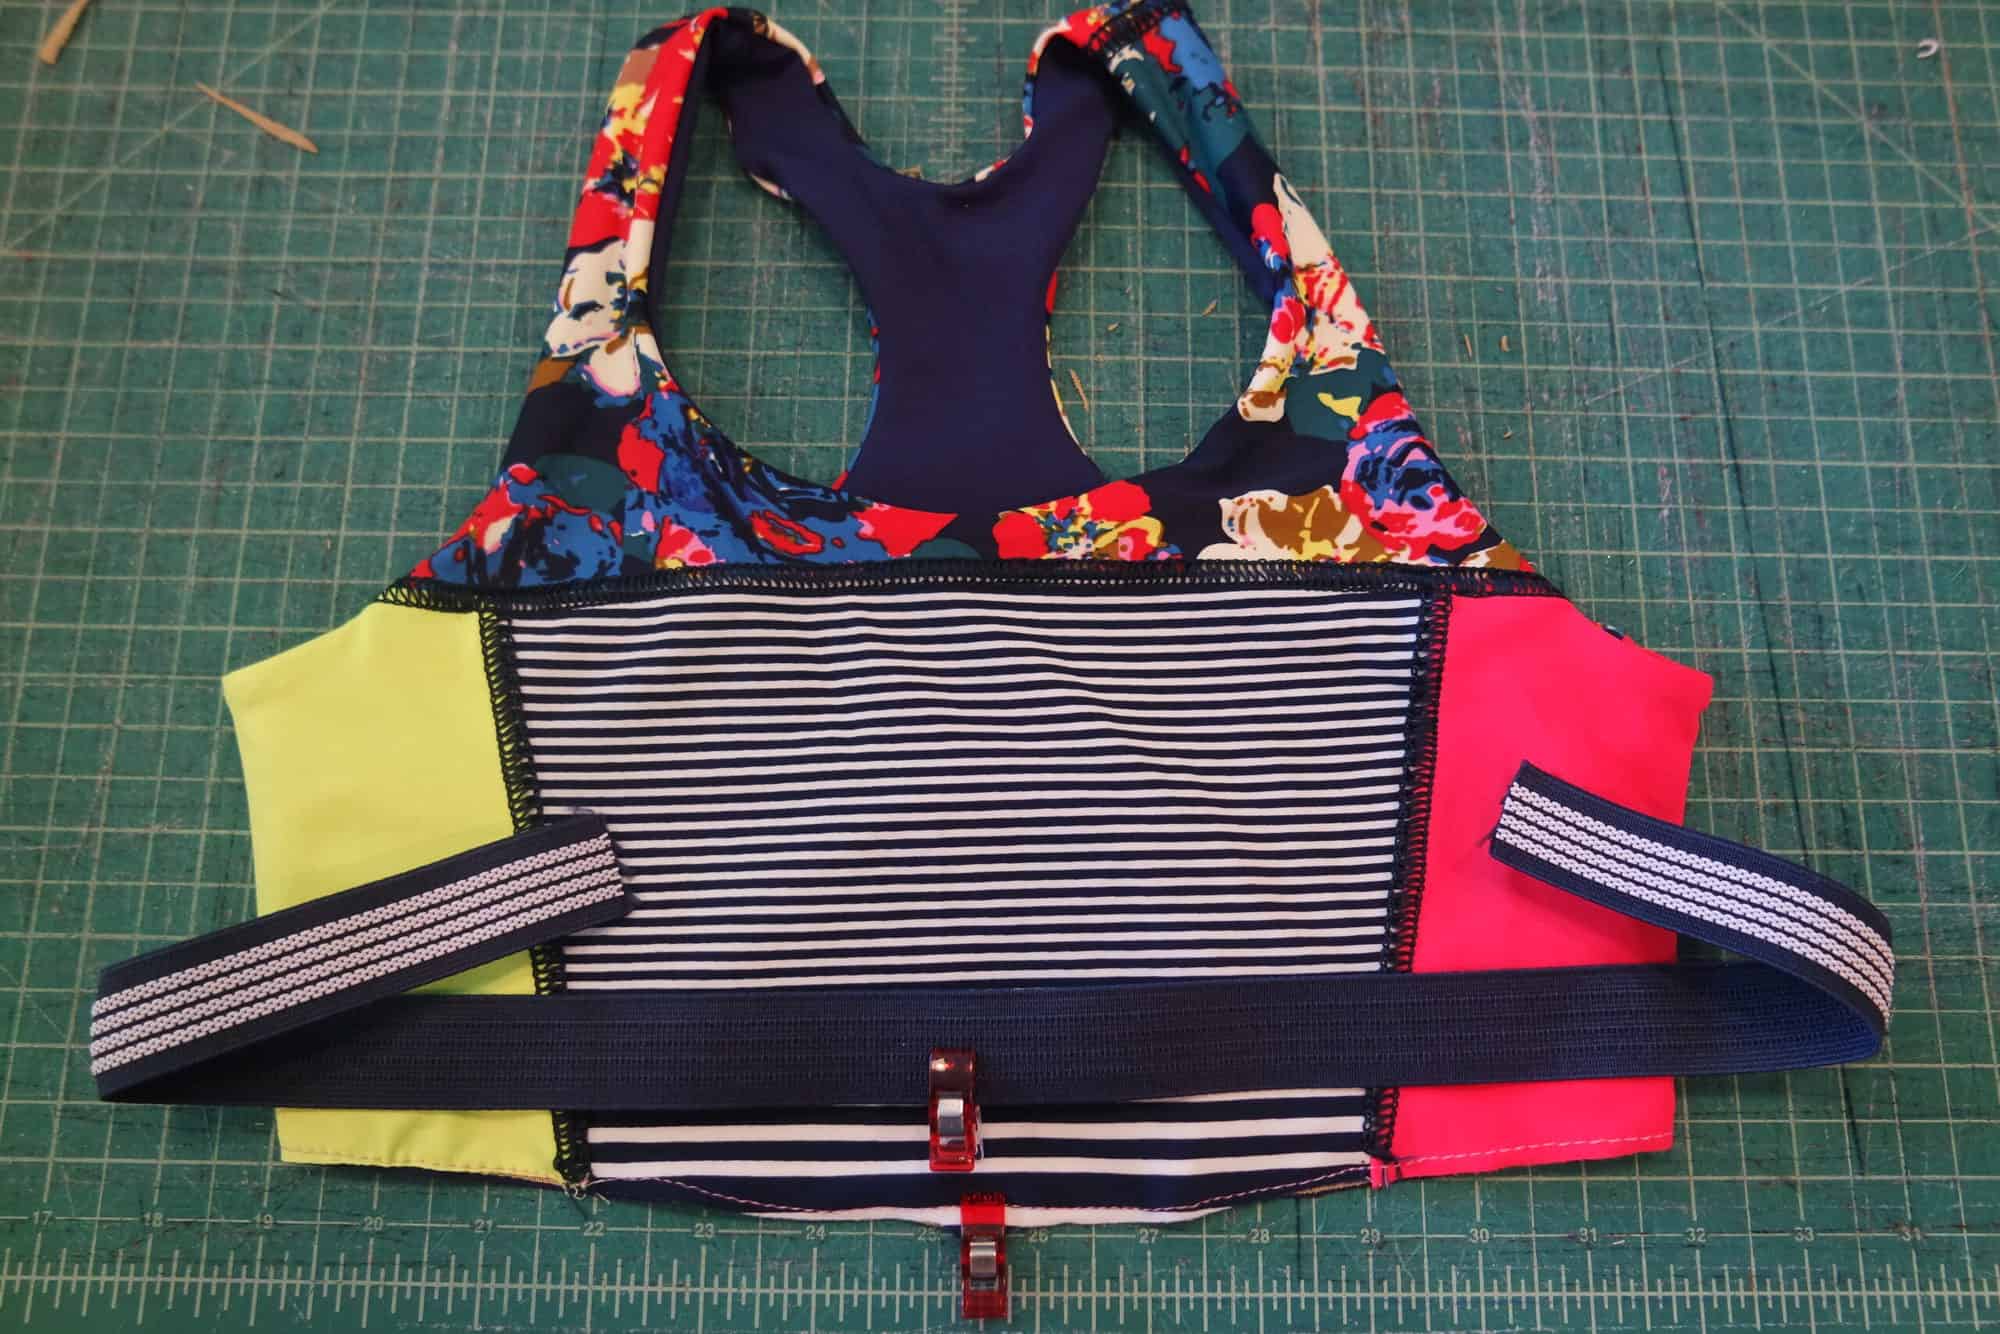
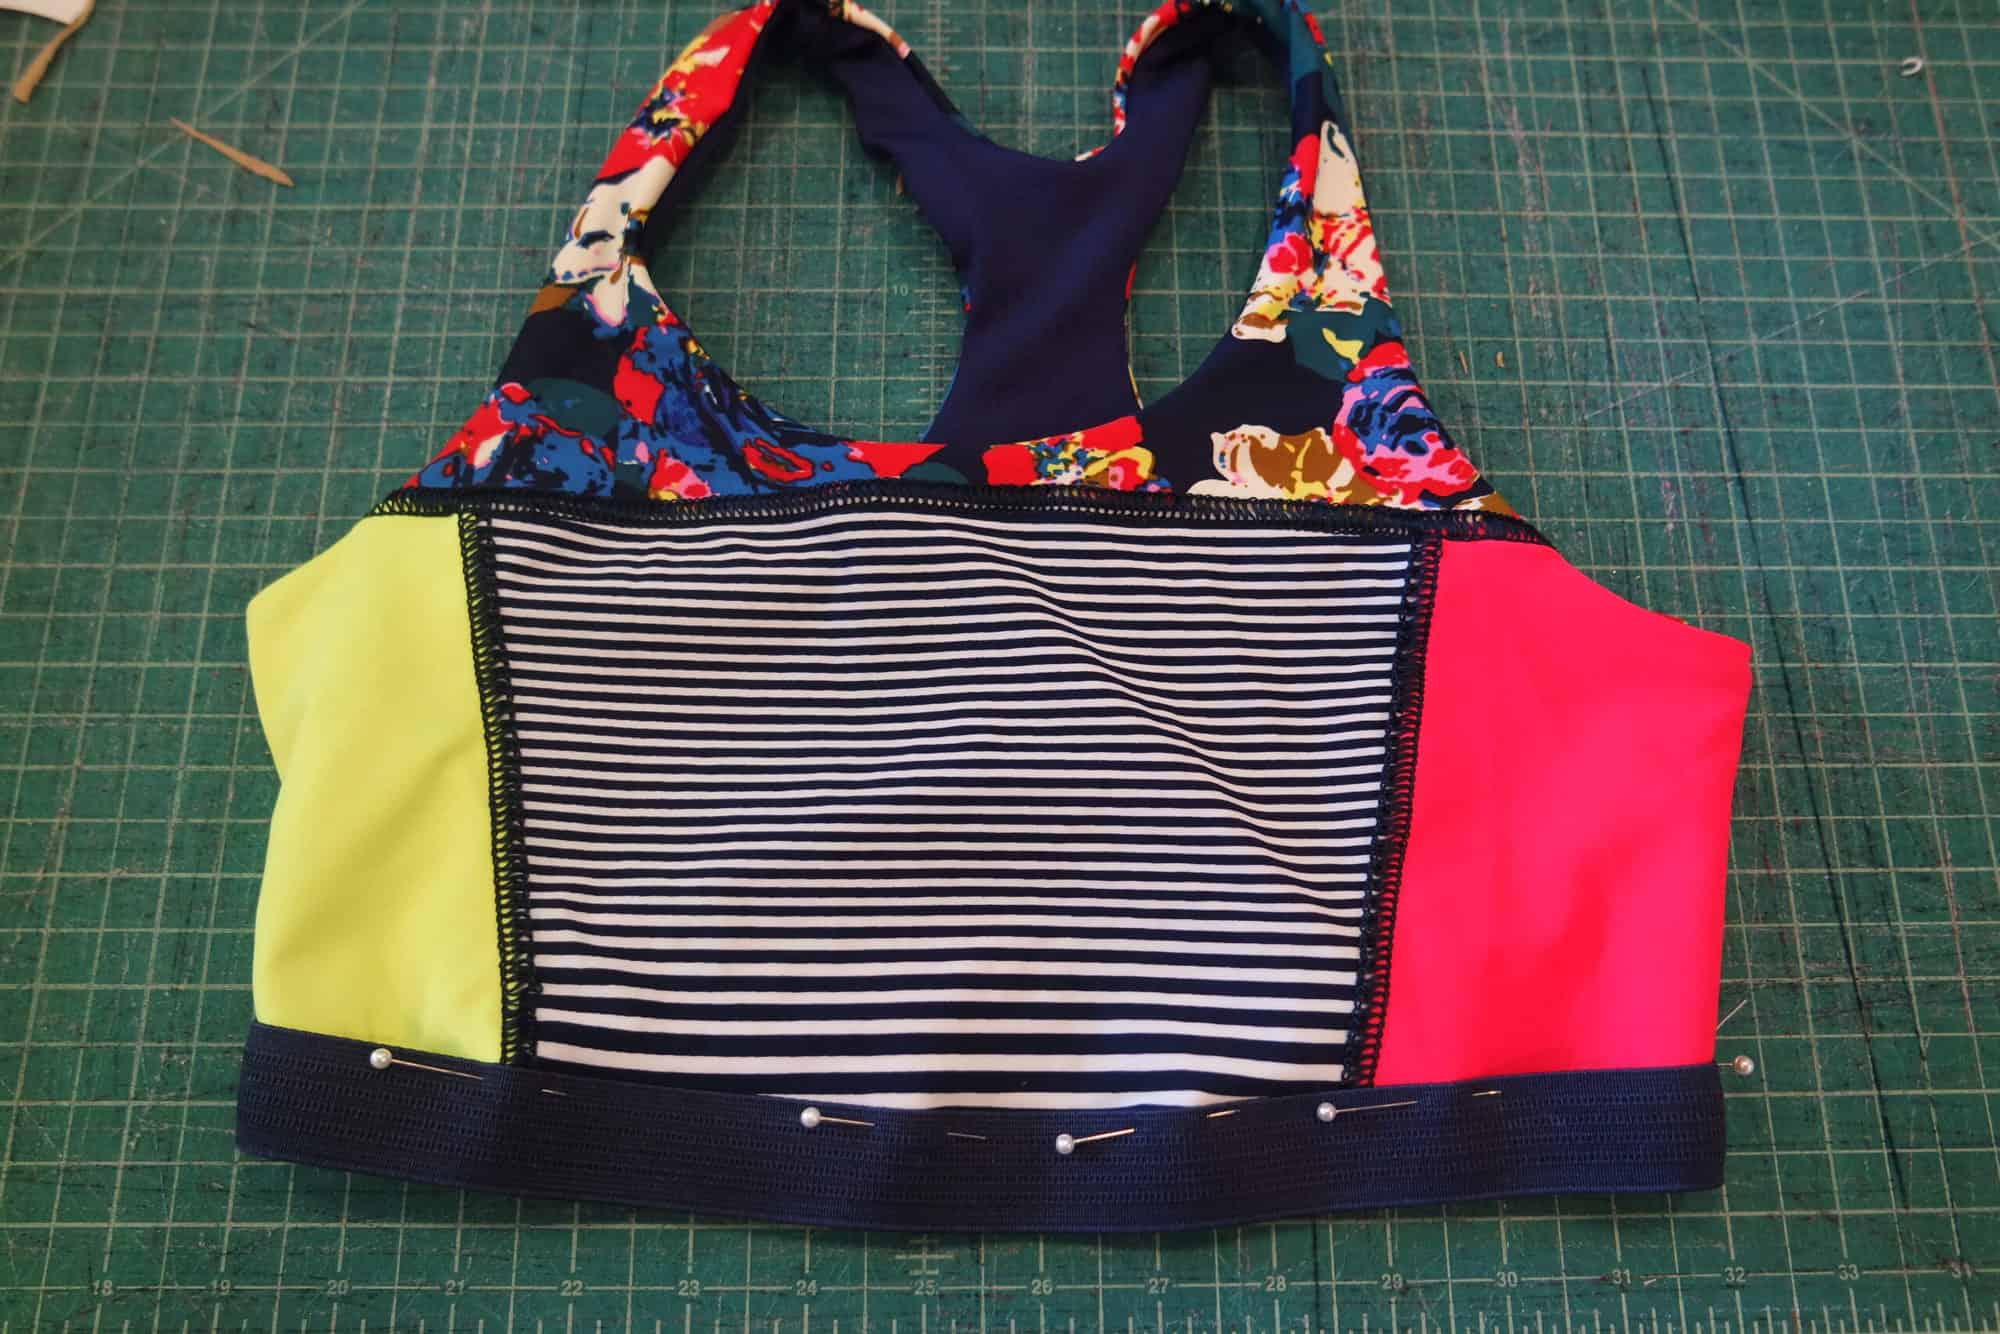
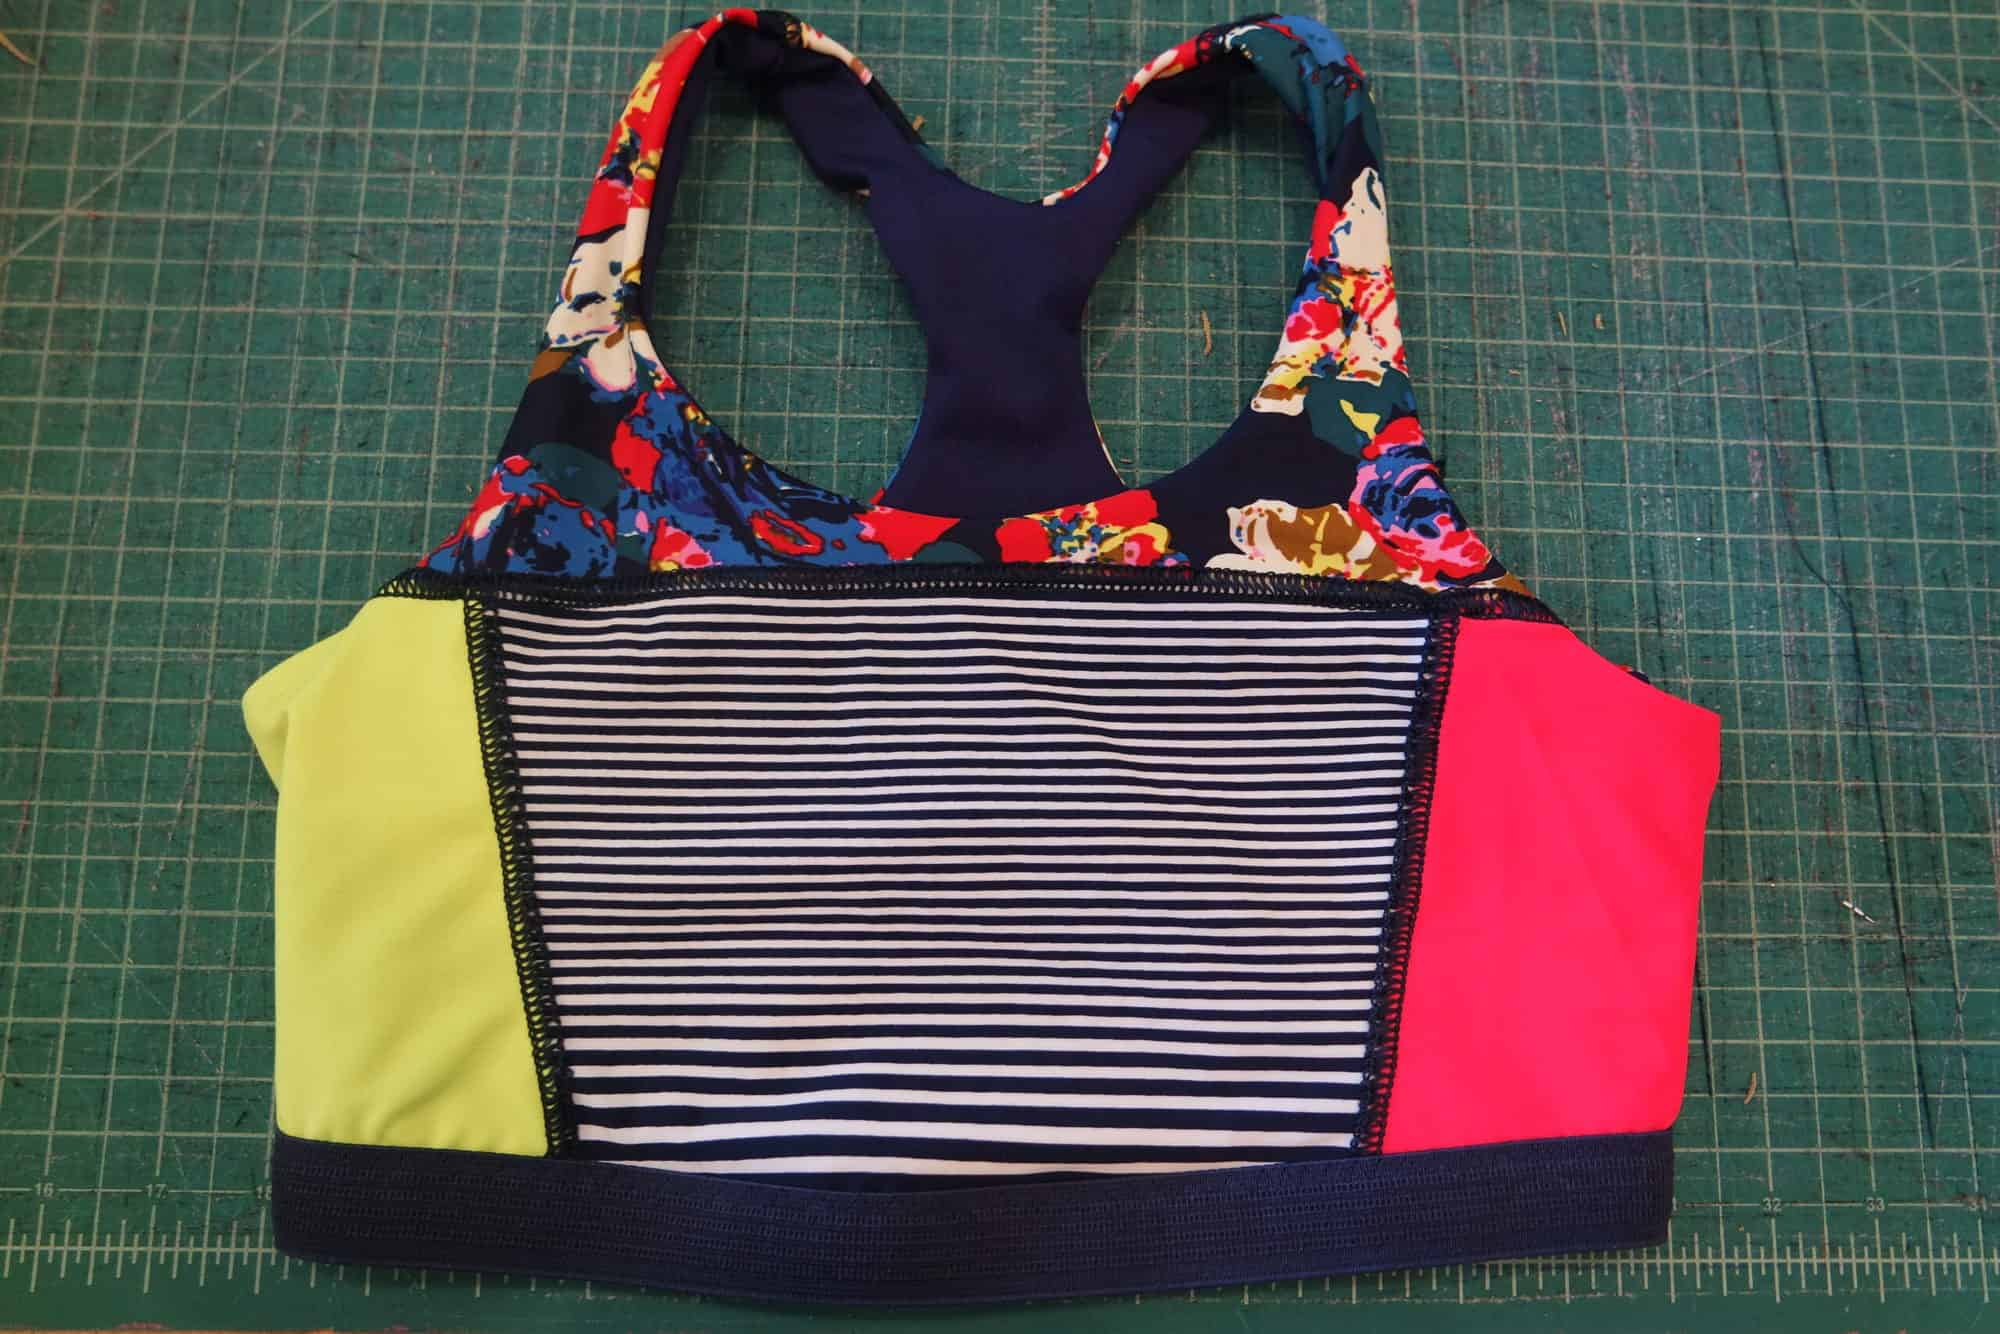
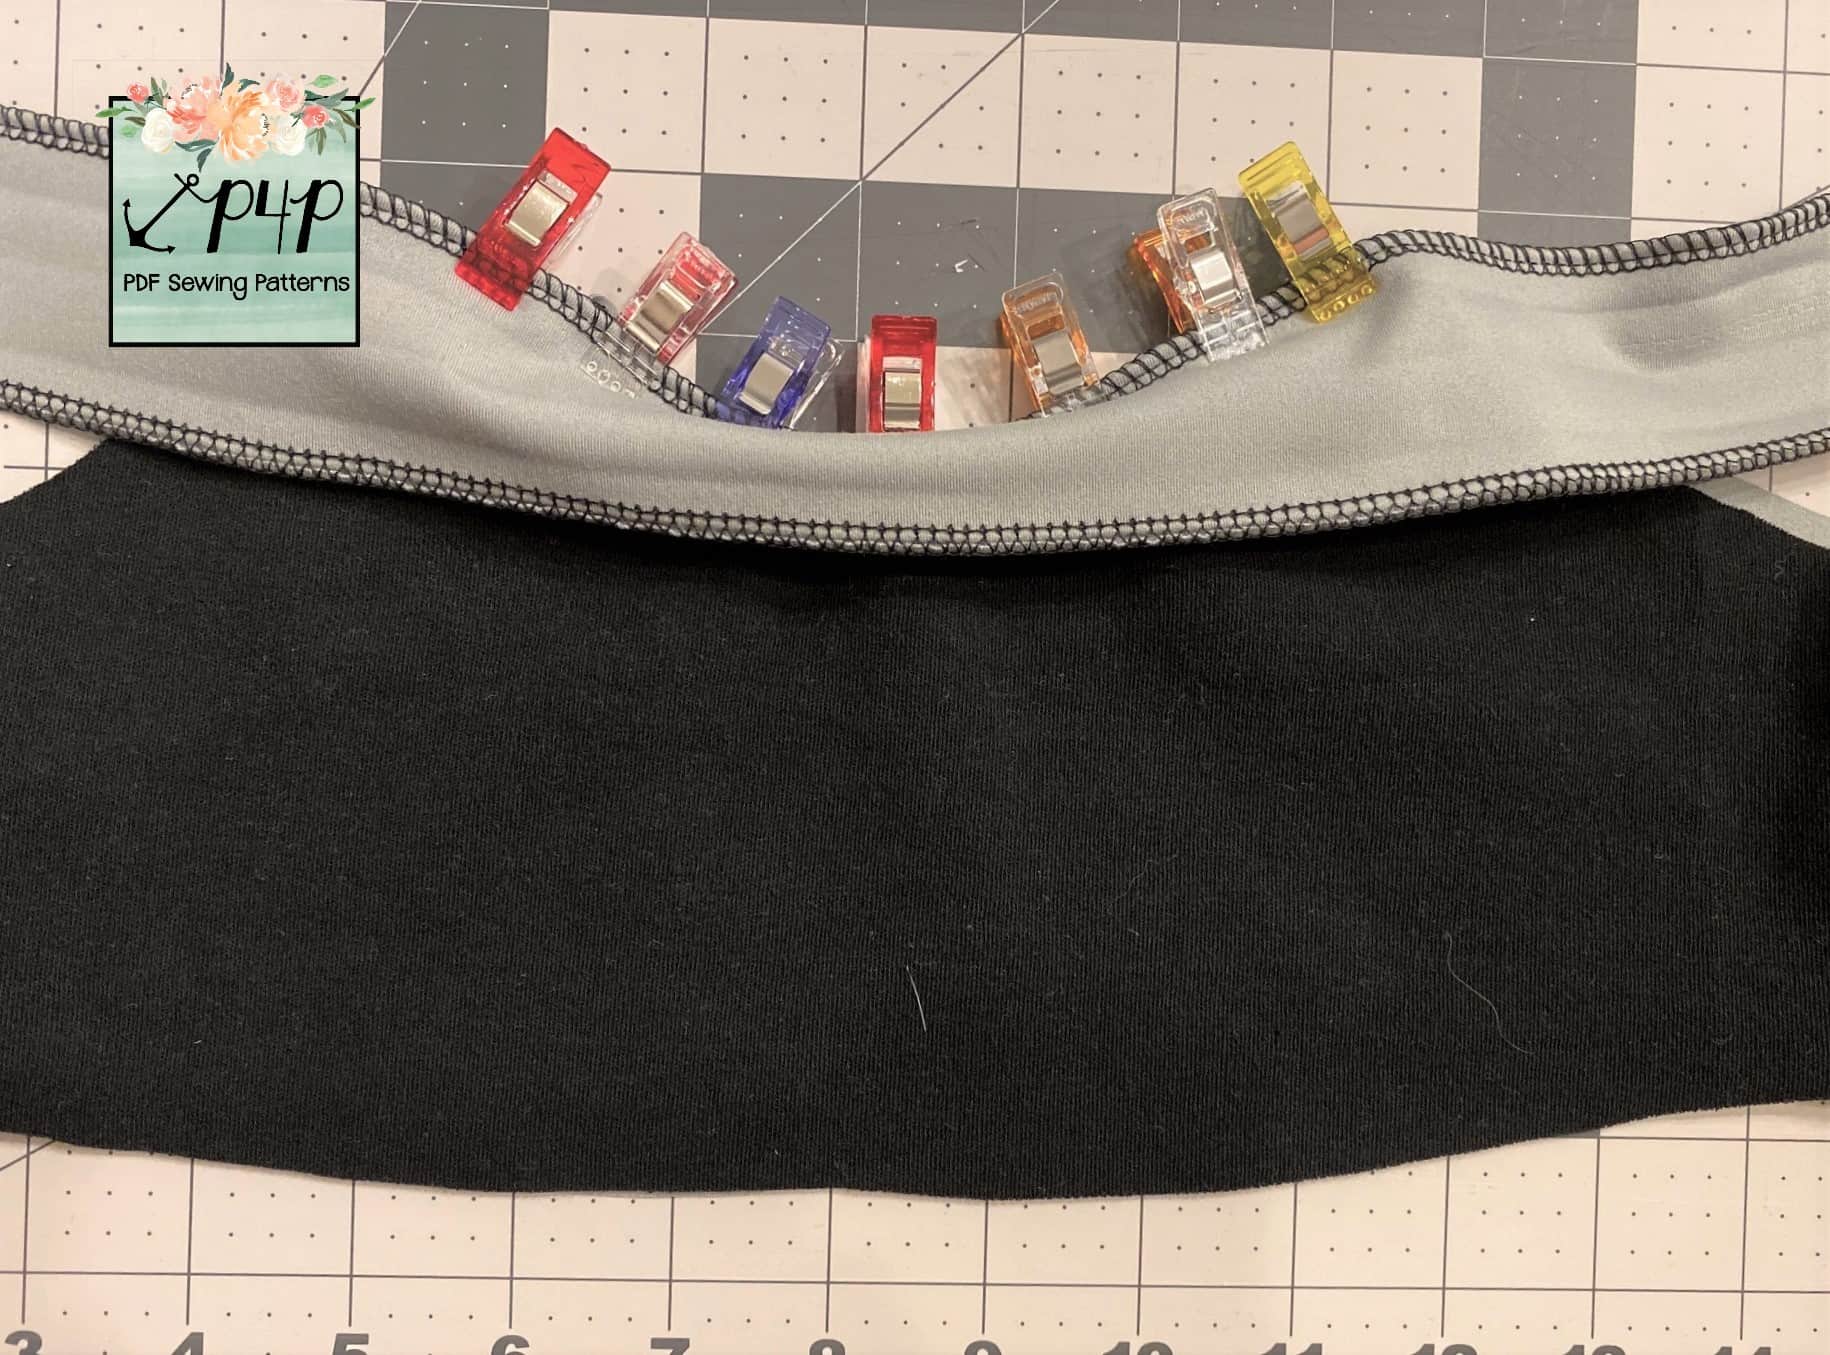
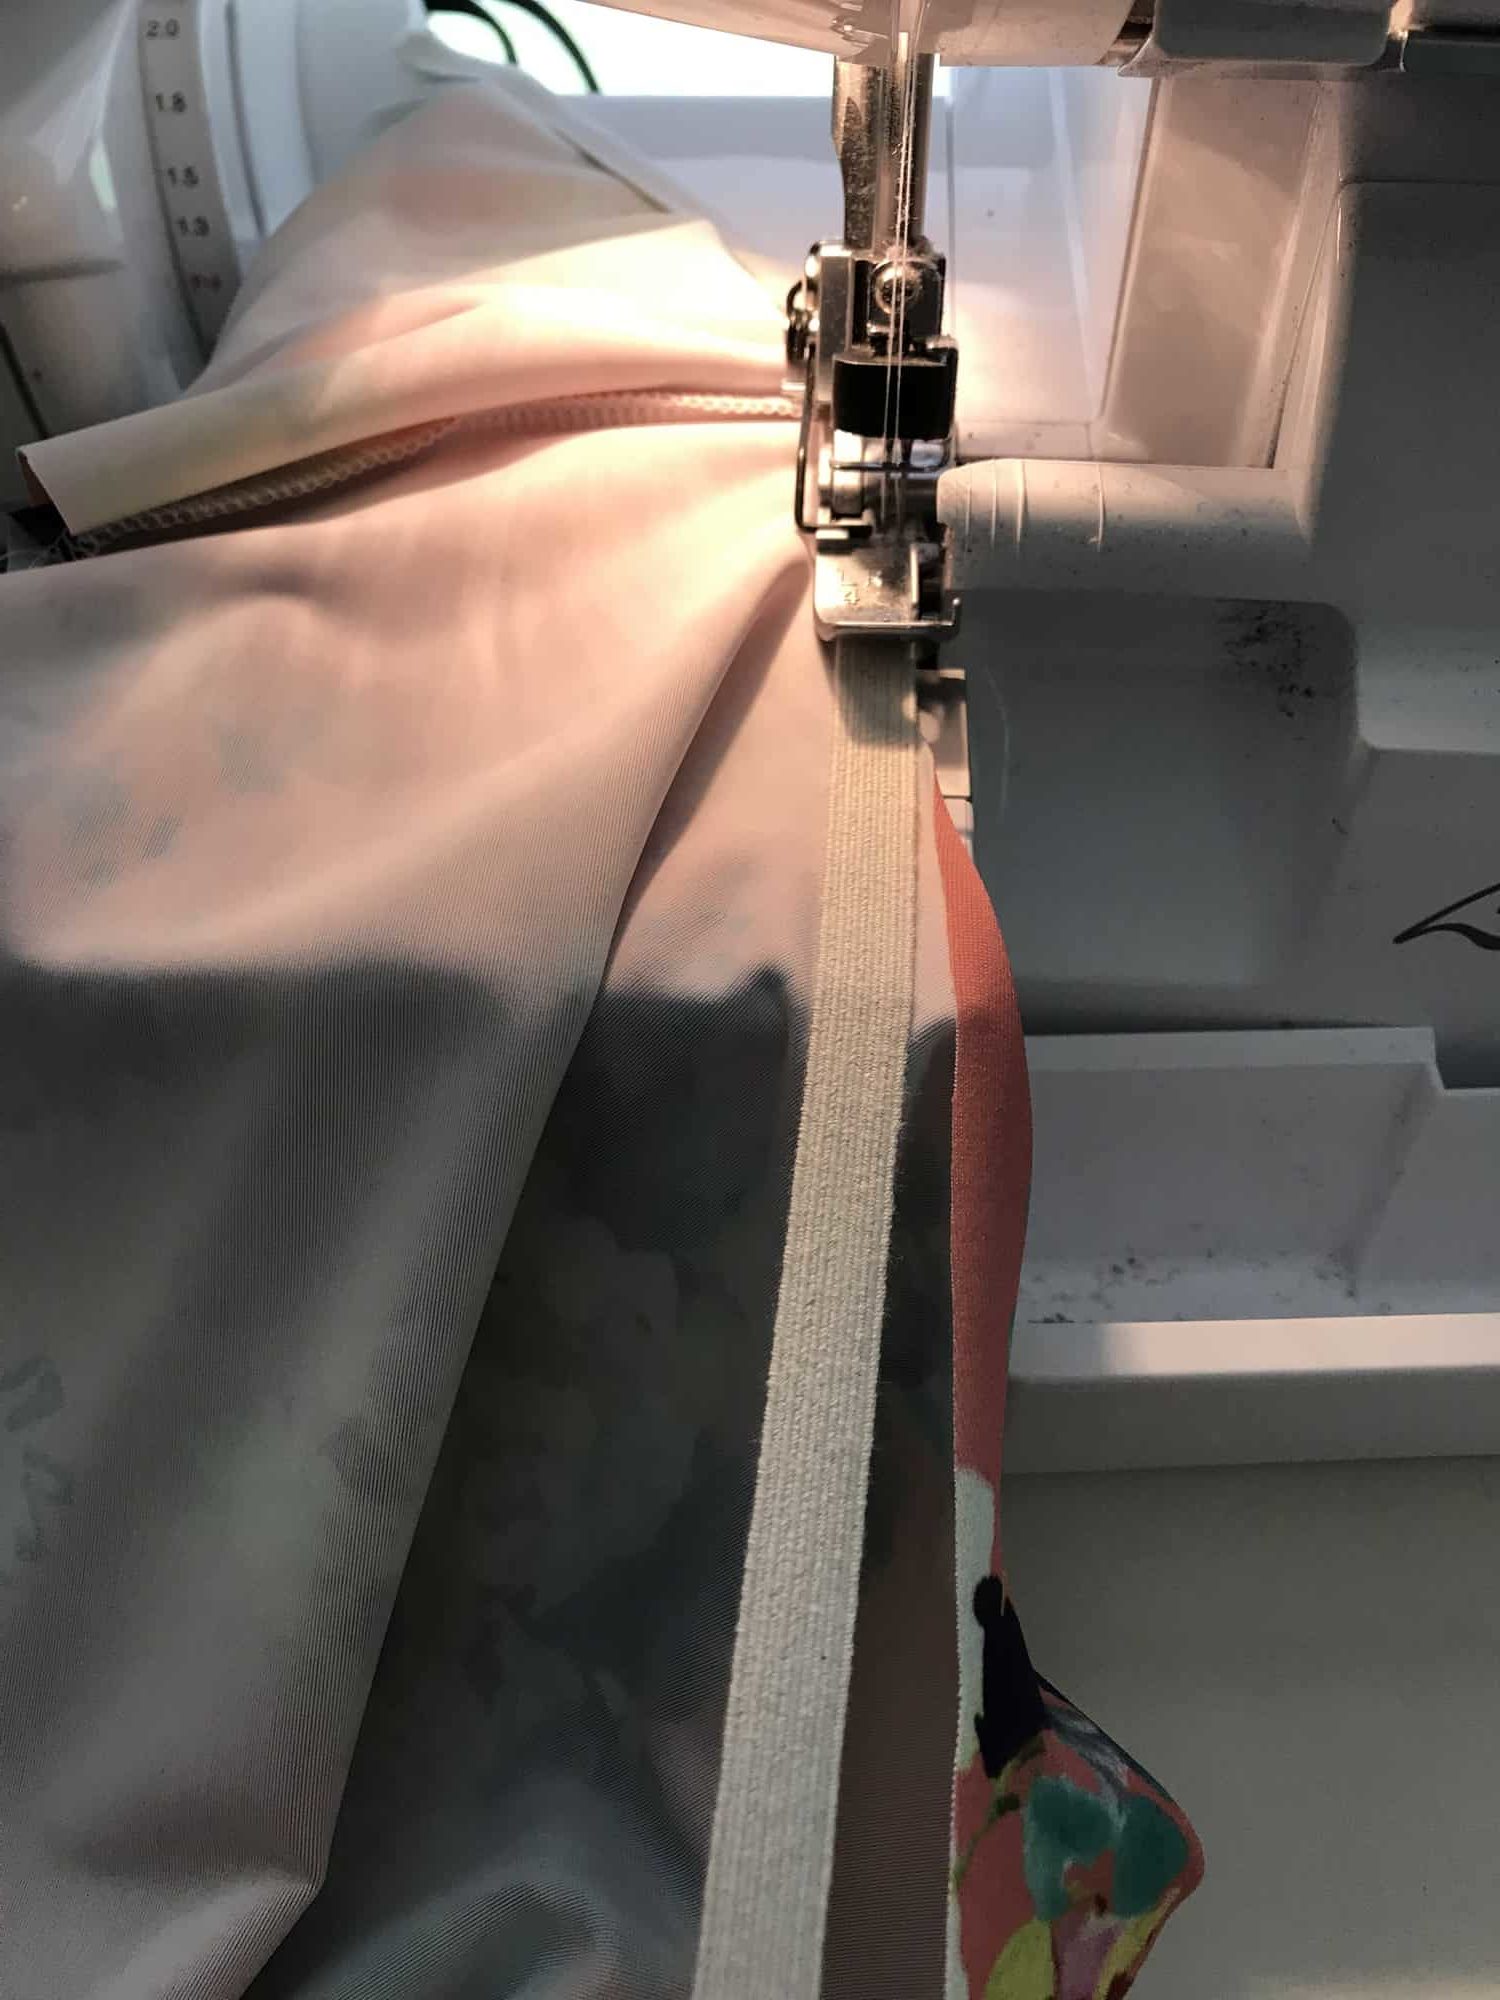
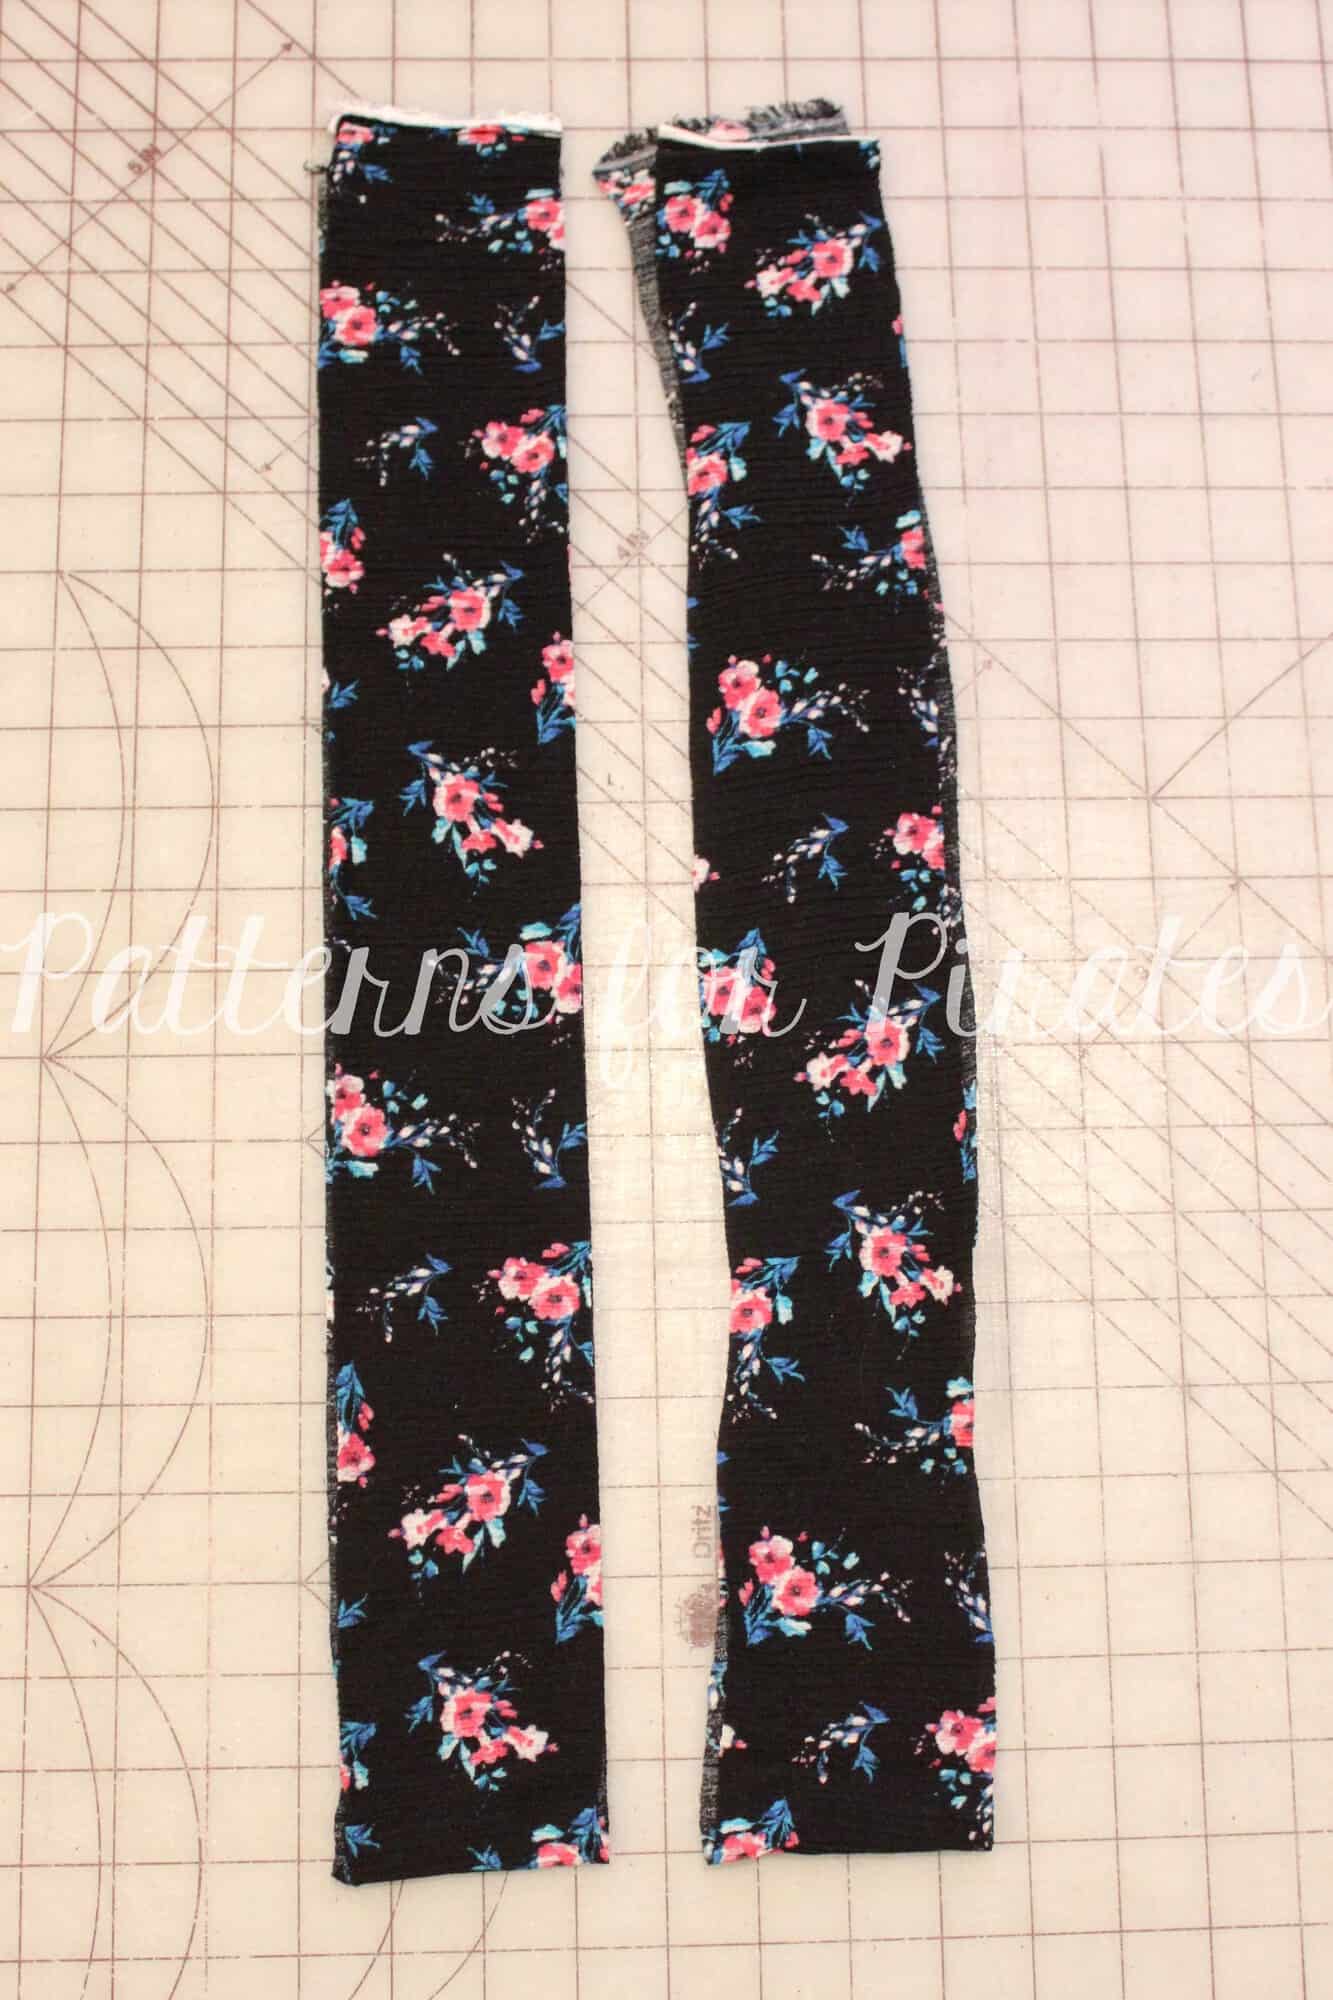
Now for your waistband…
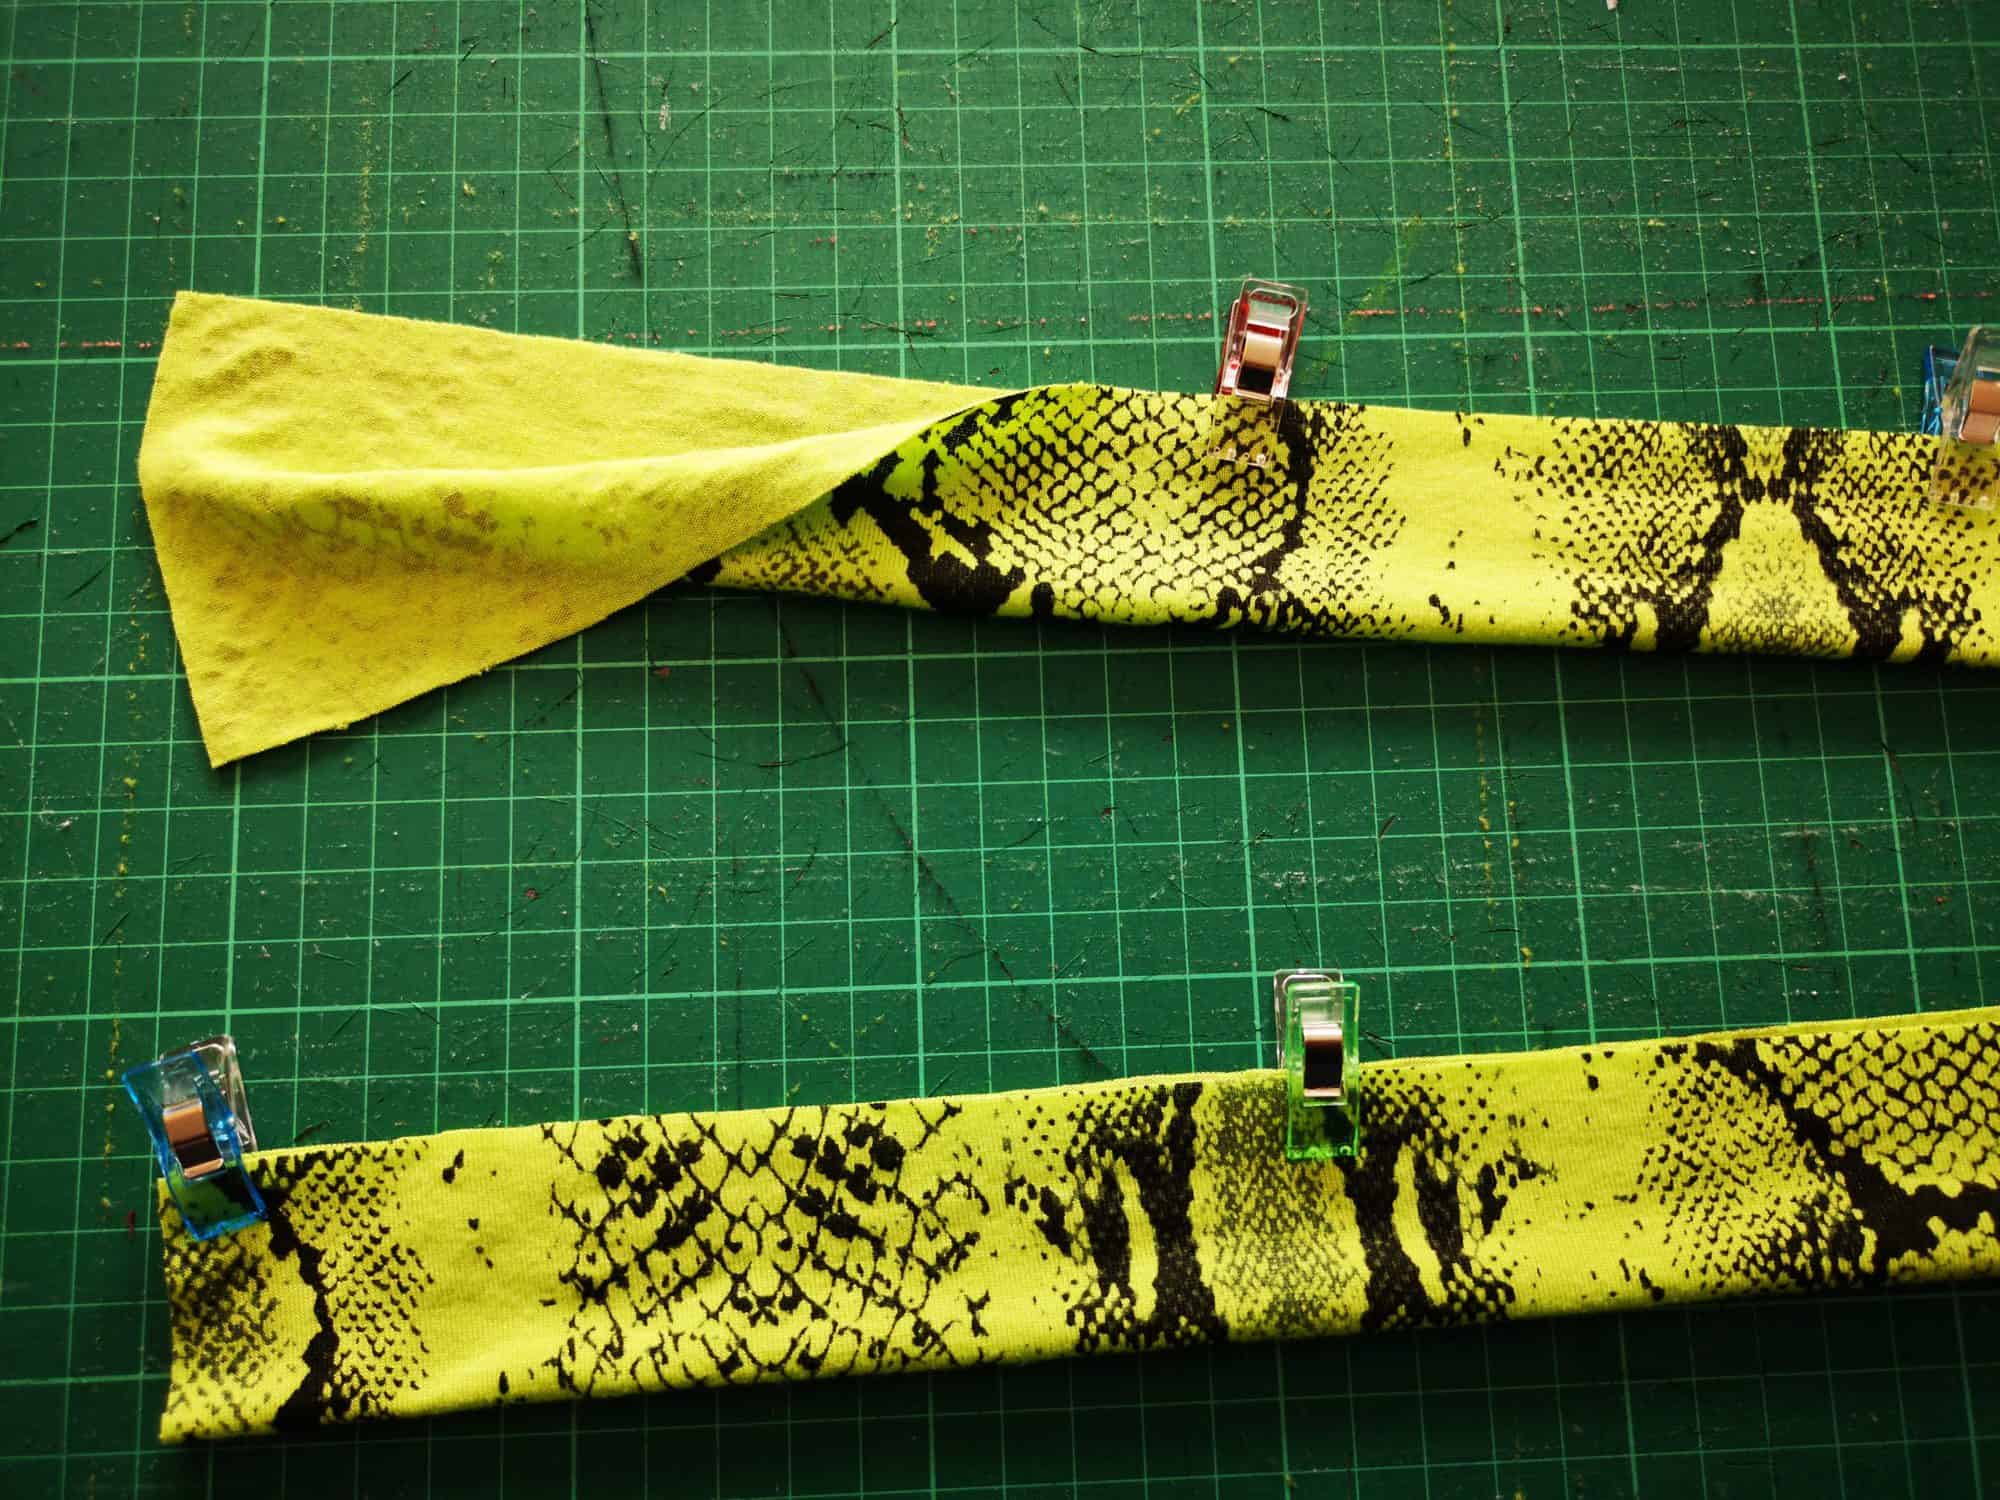
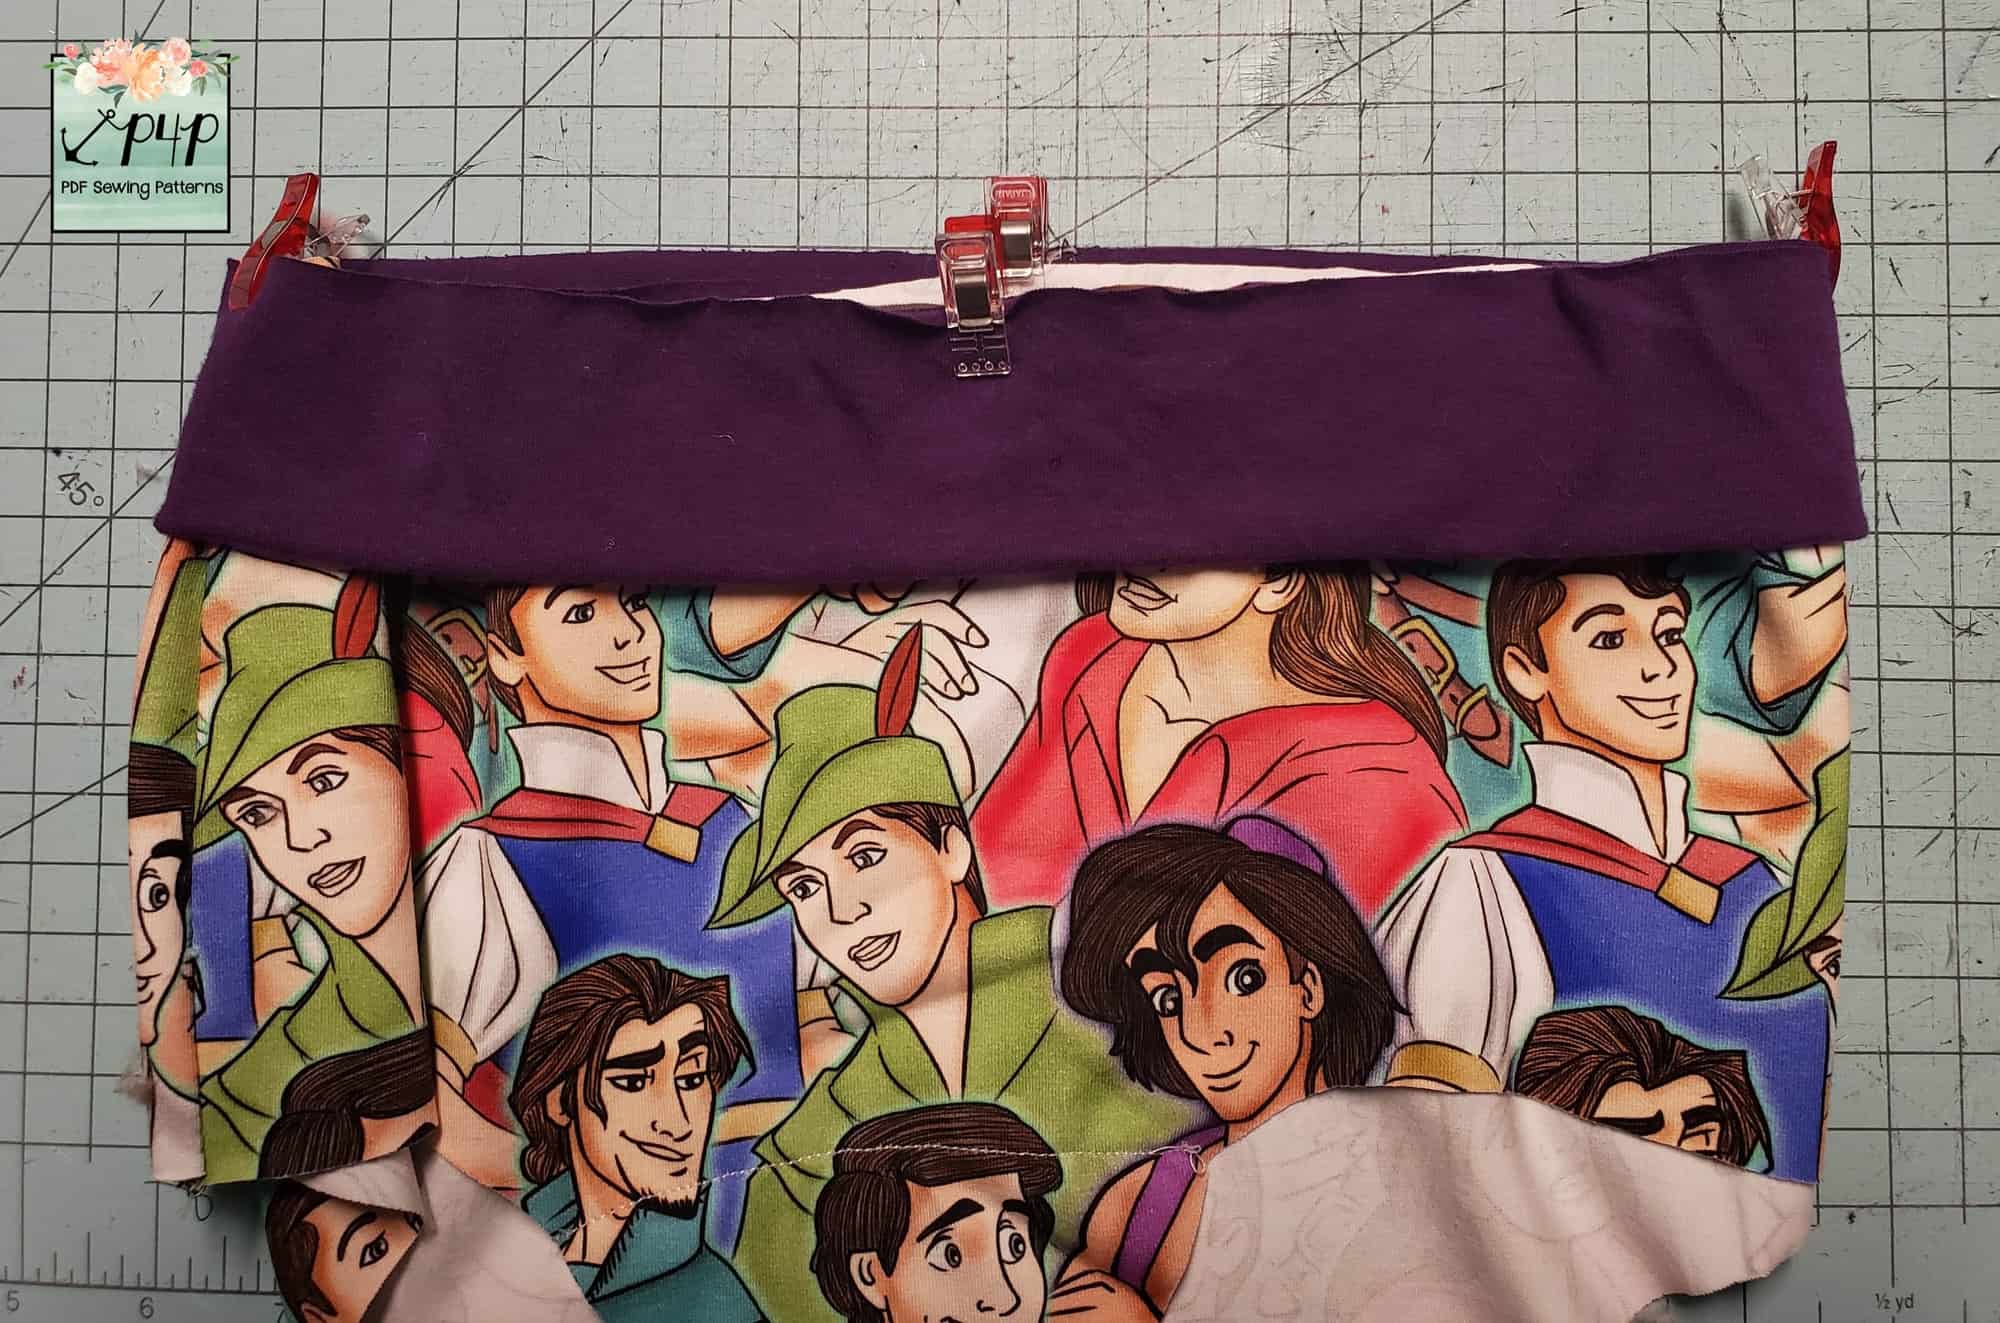
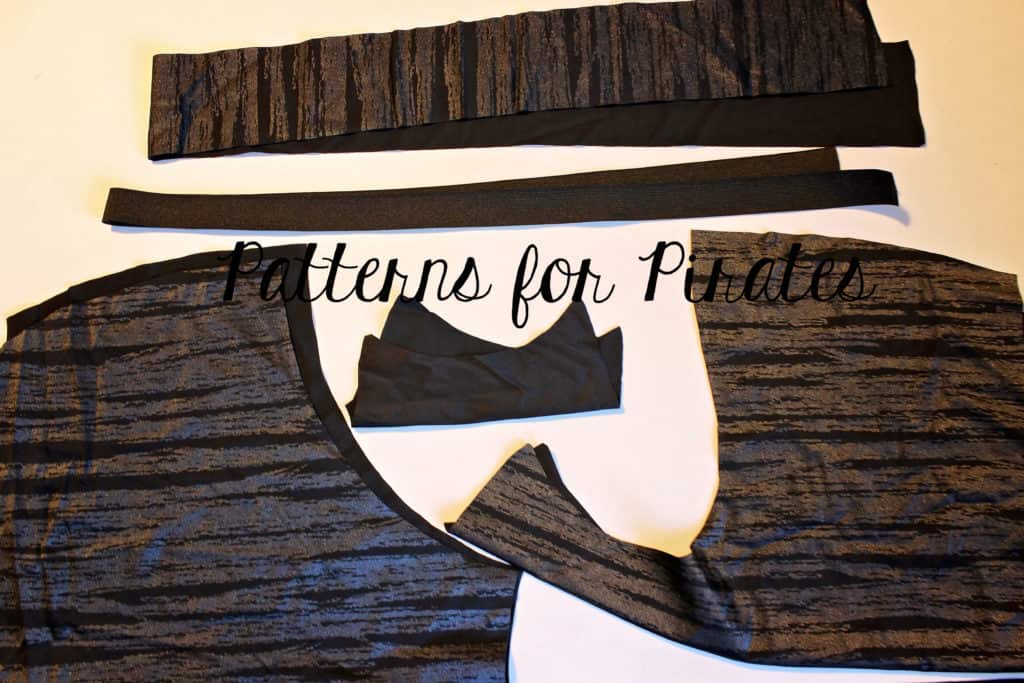
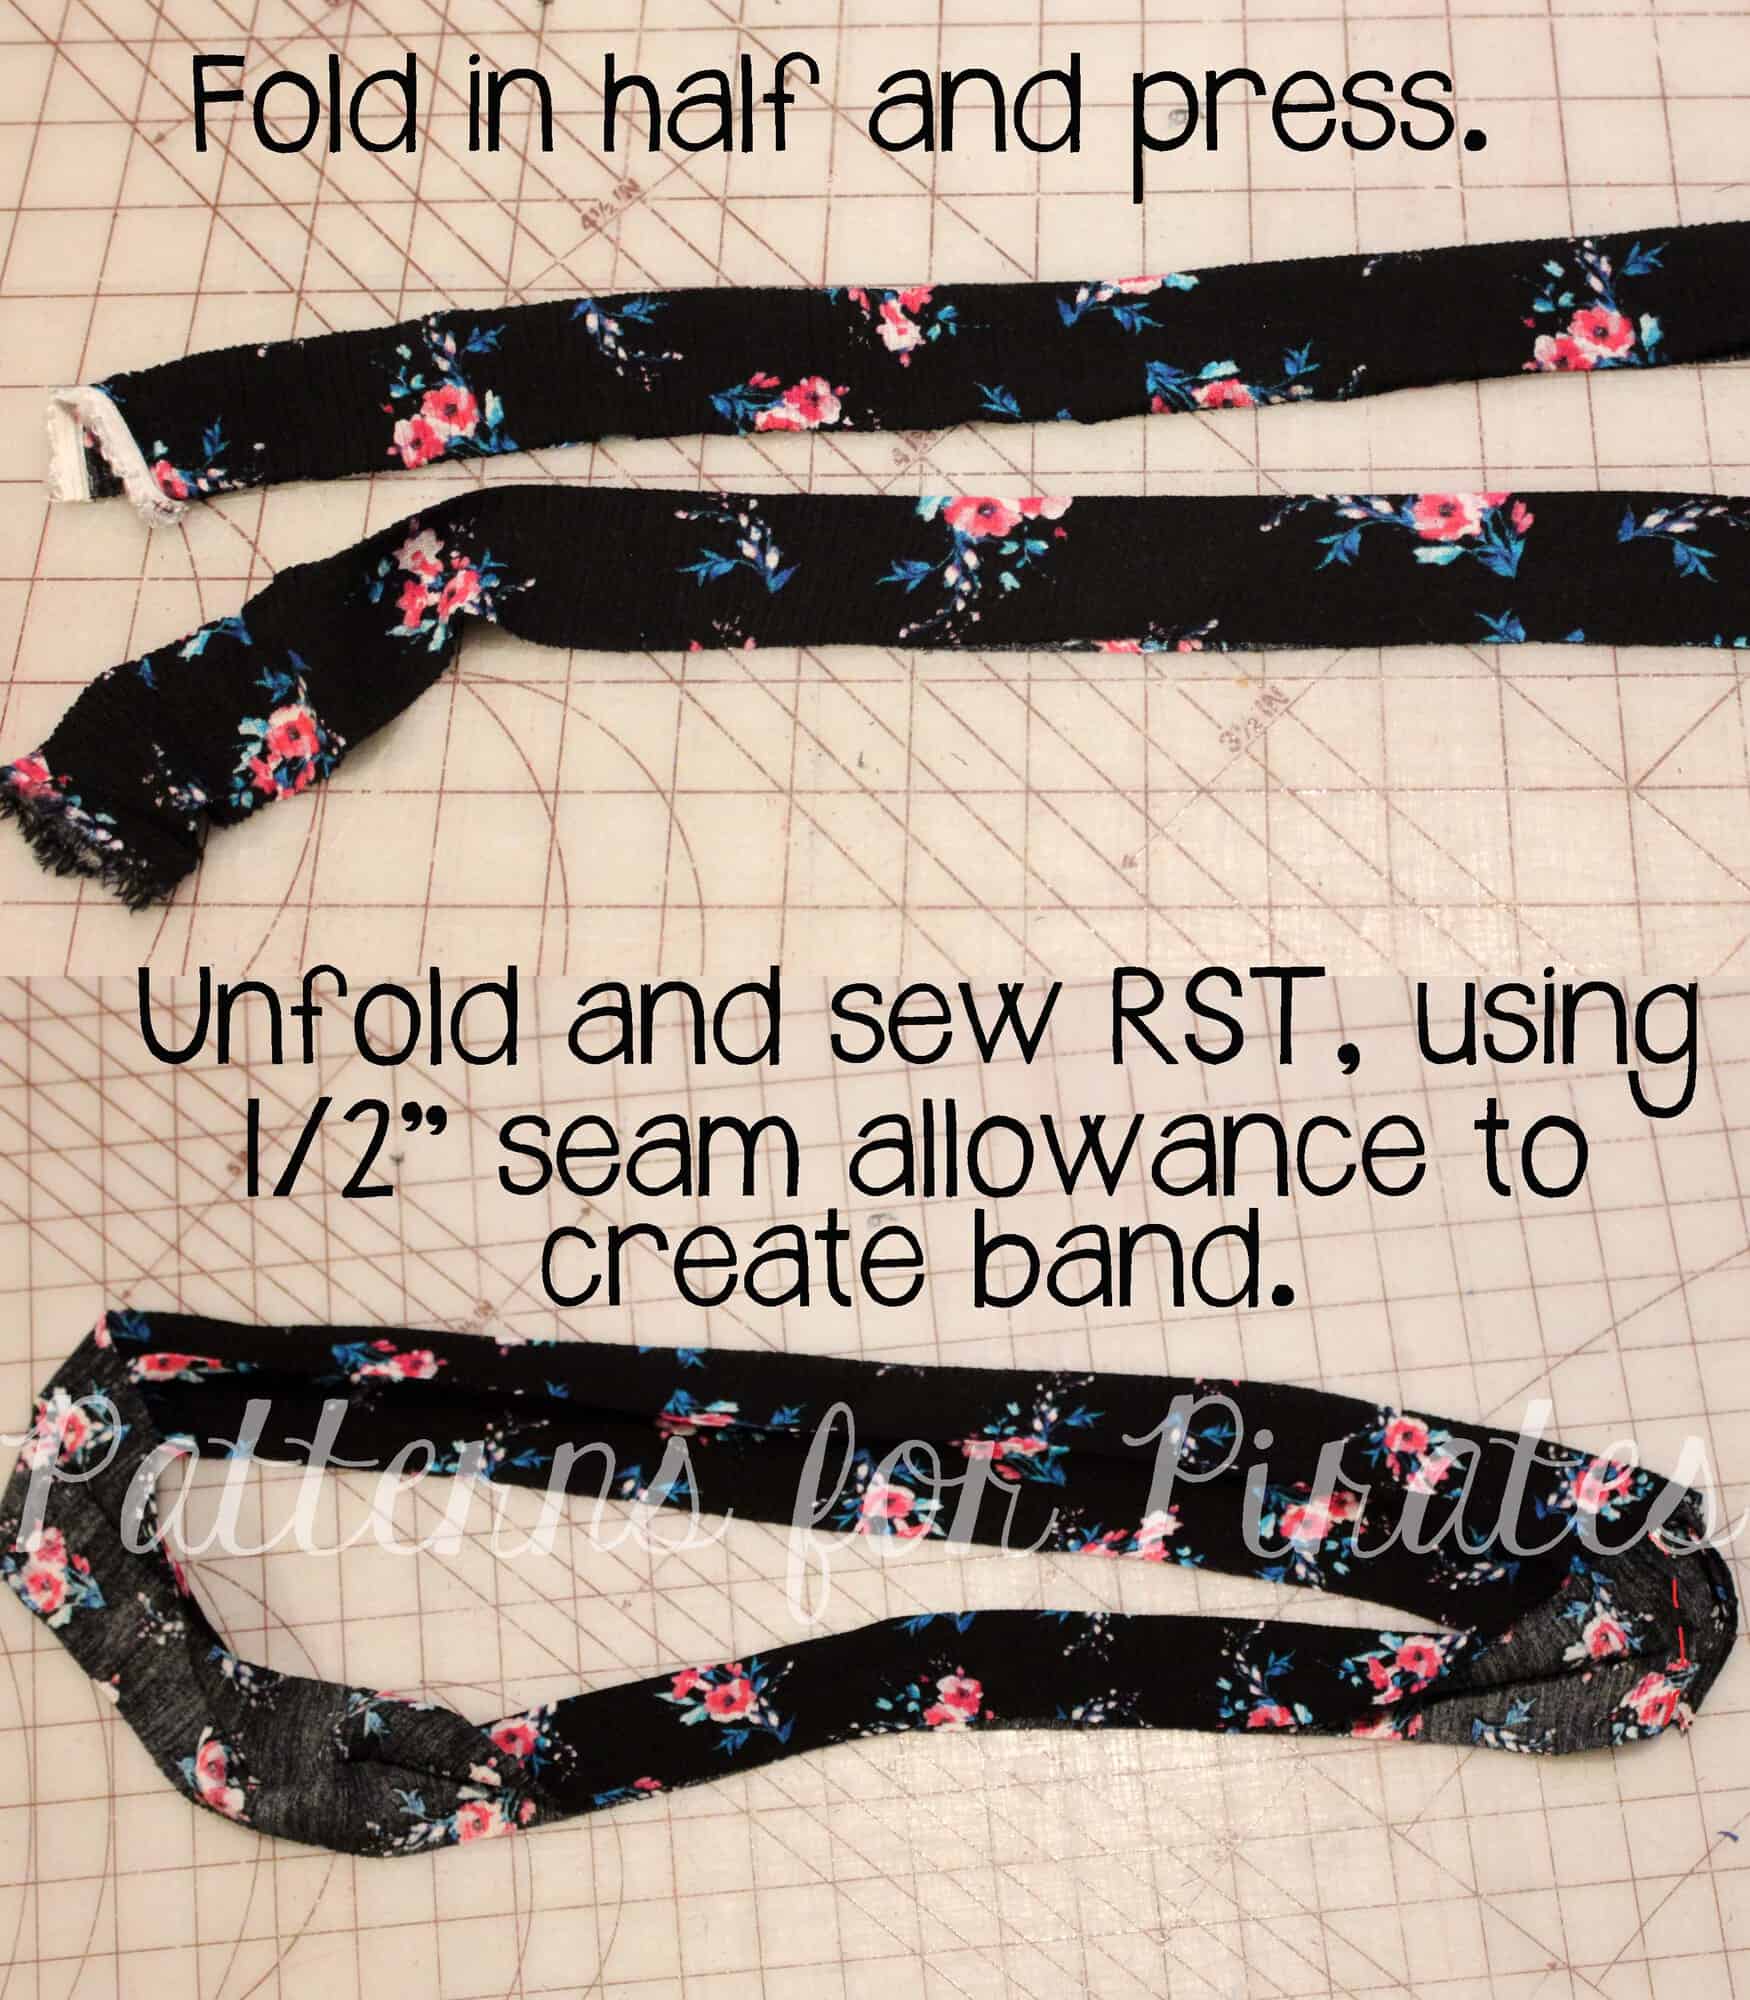
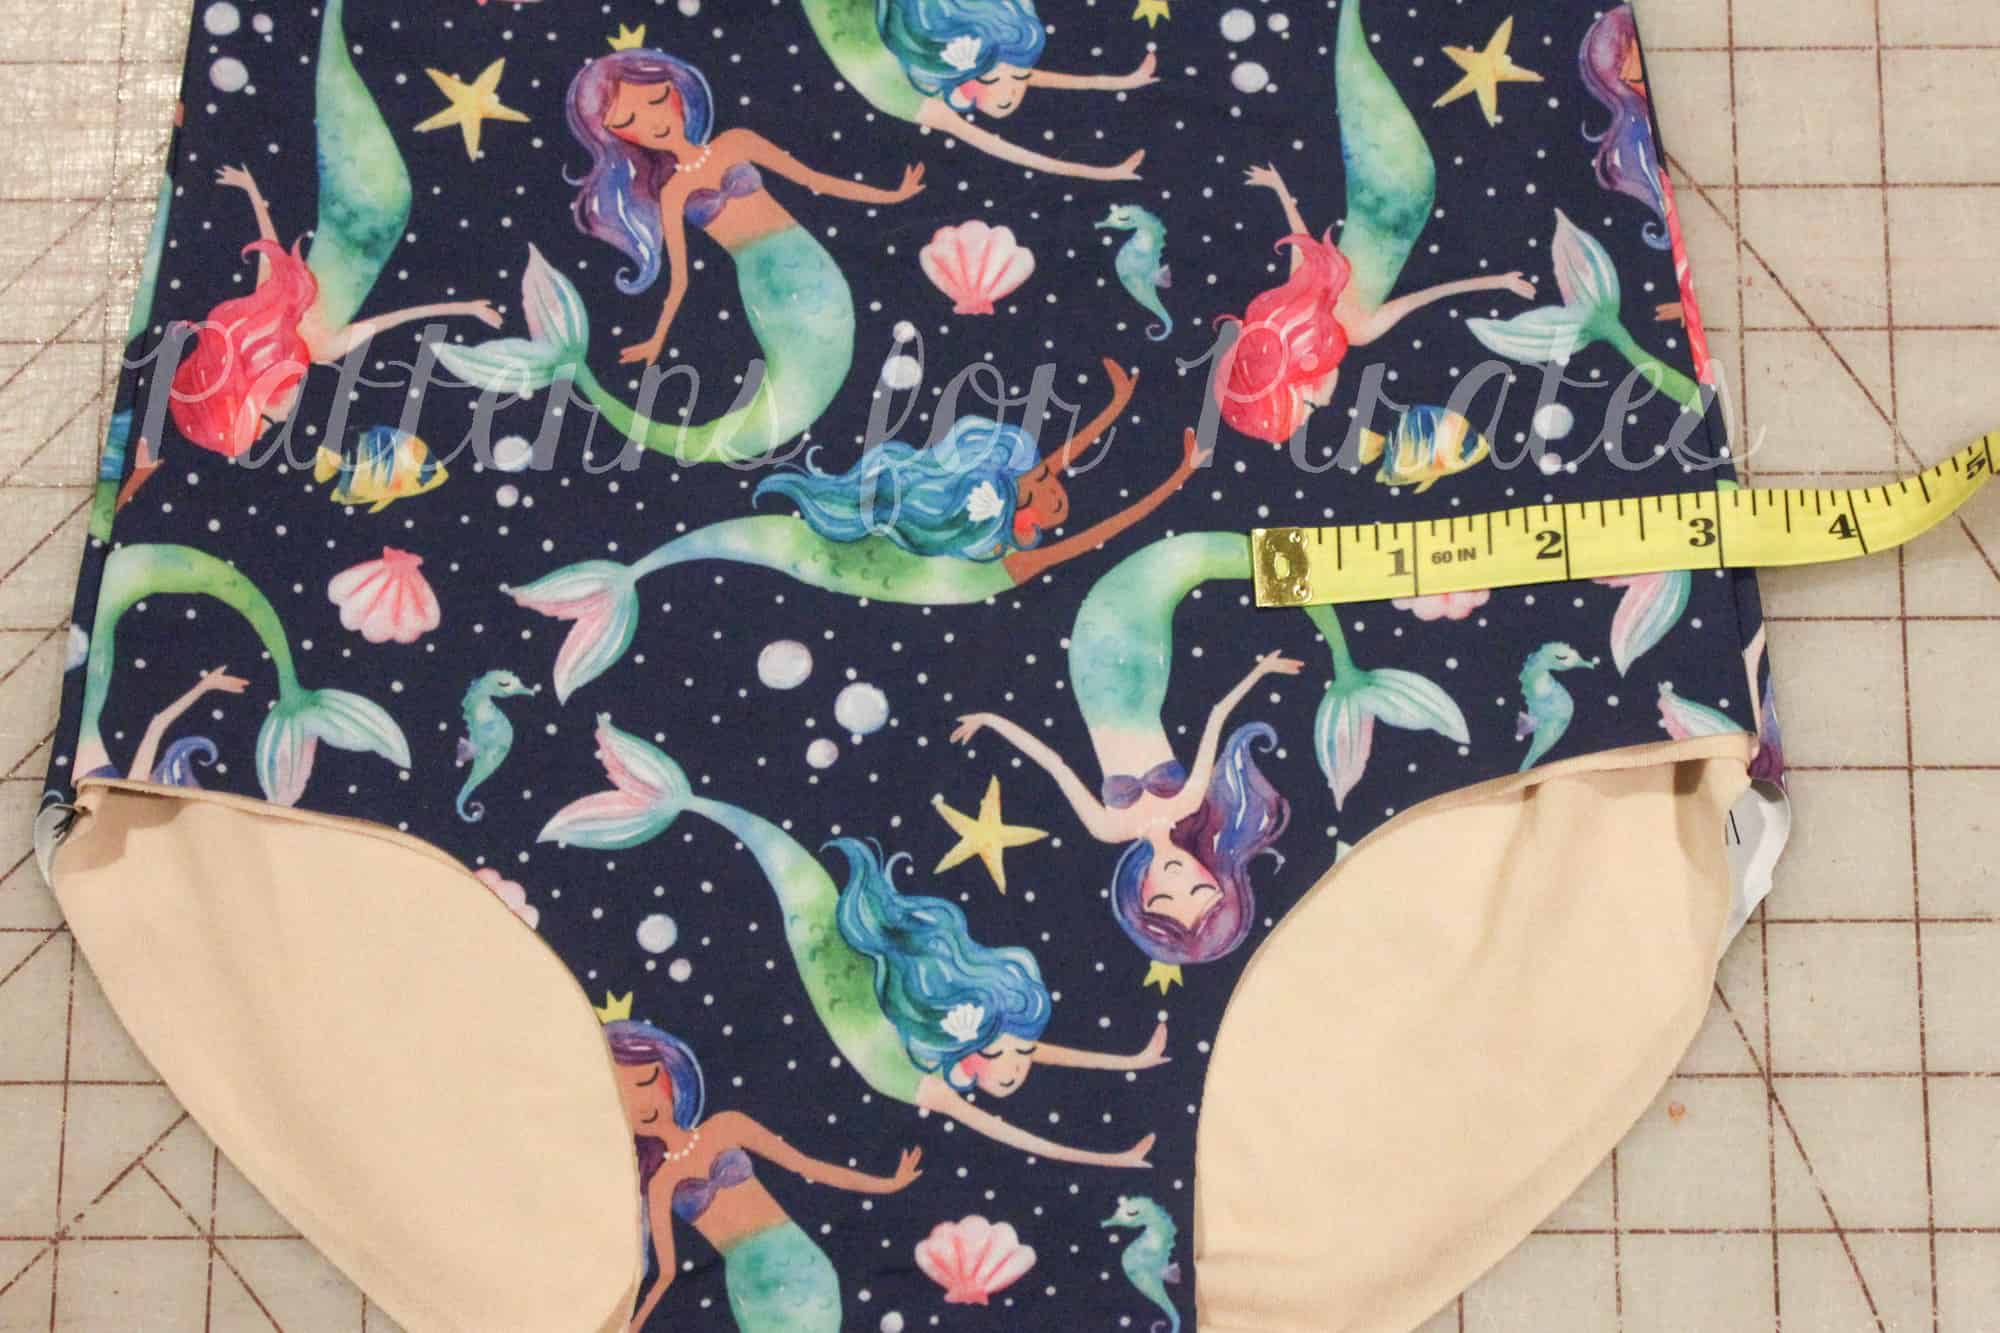
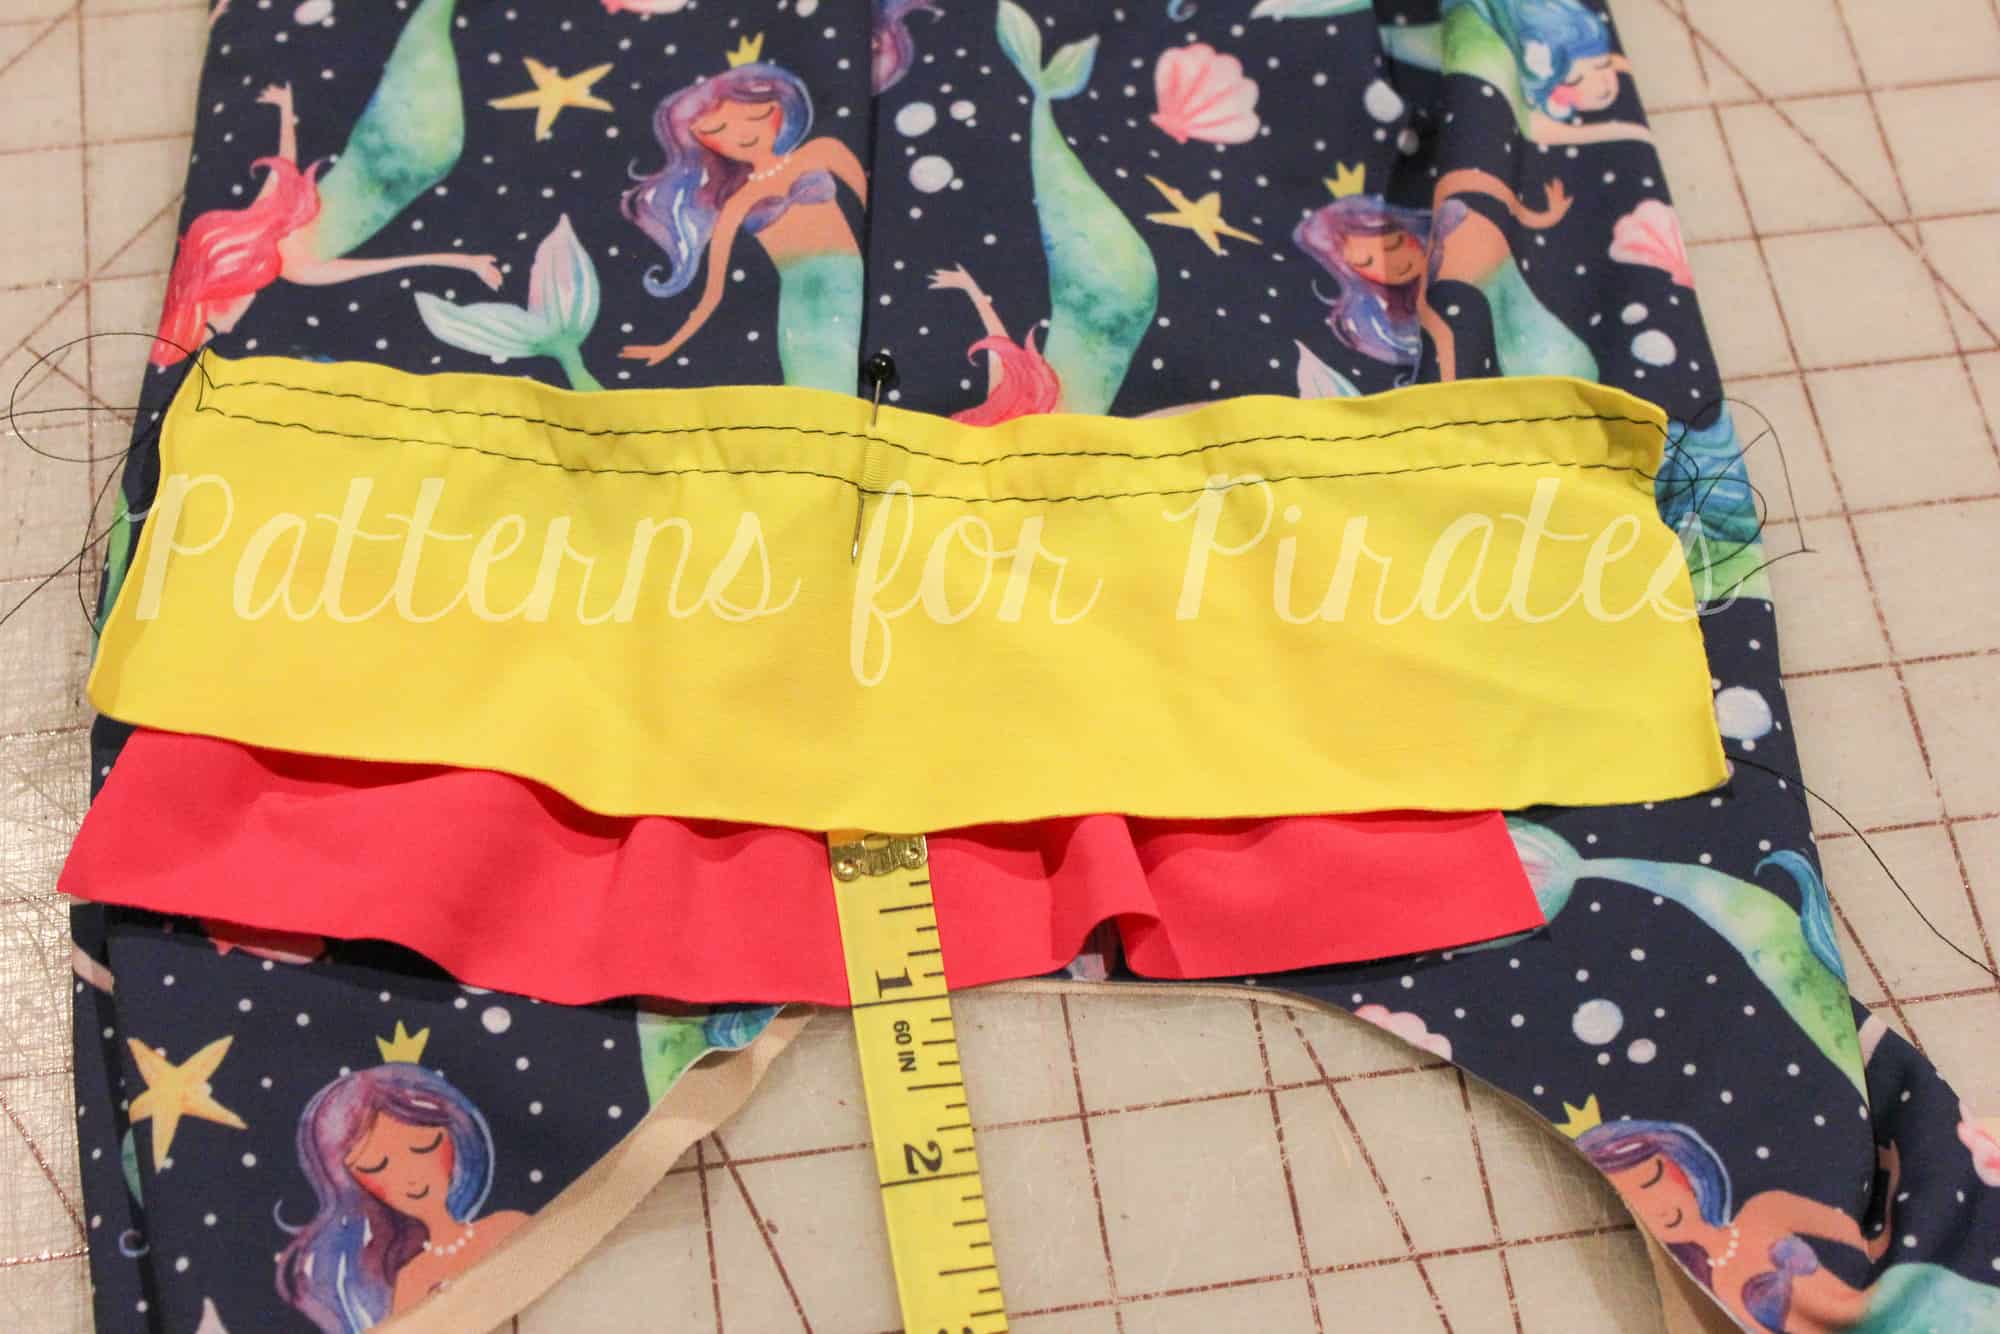
Add an inch in height when you cut your waistband pieces… instead of 2” tall waistband pieces, yours will be 3” tall.
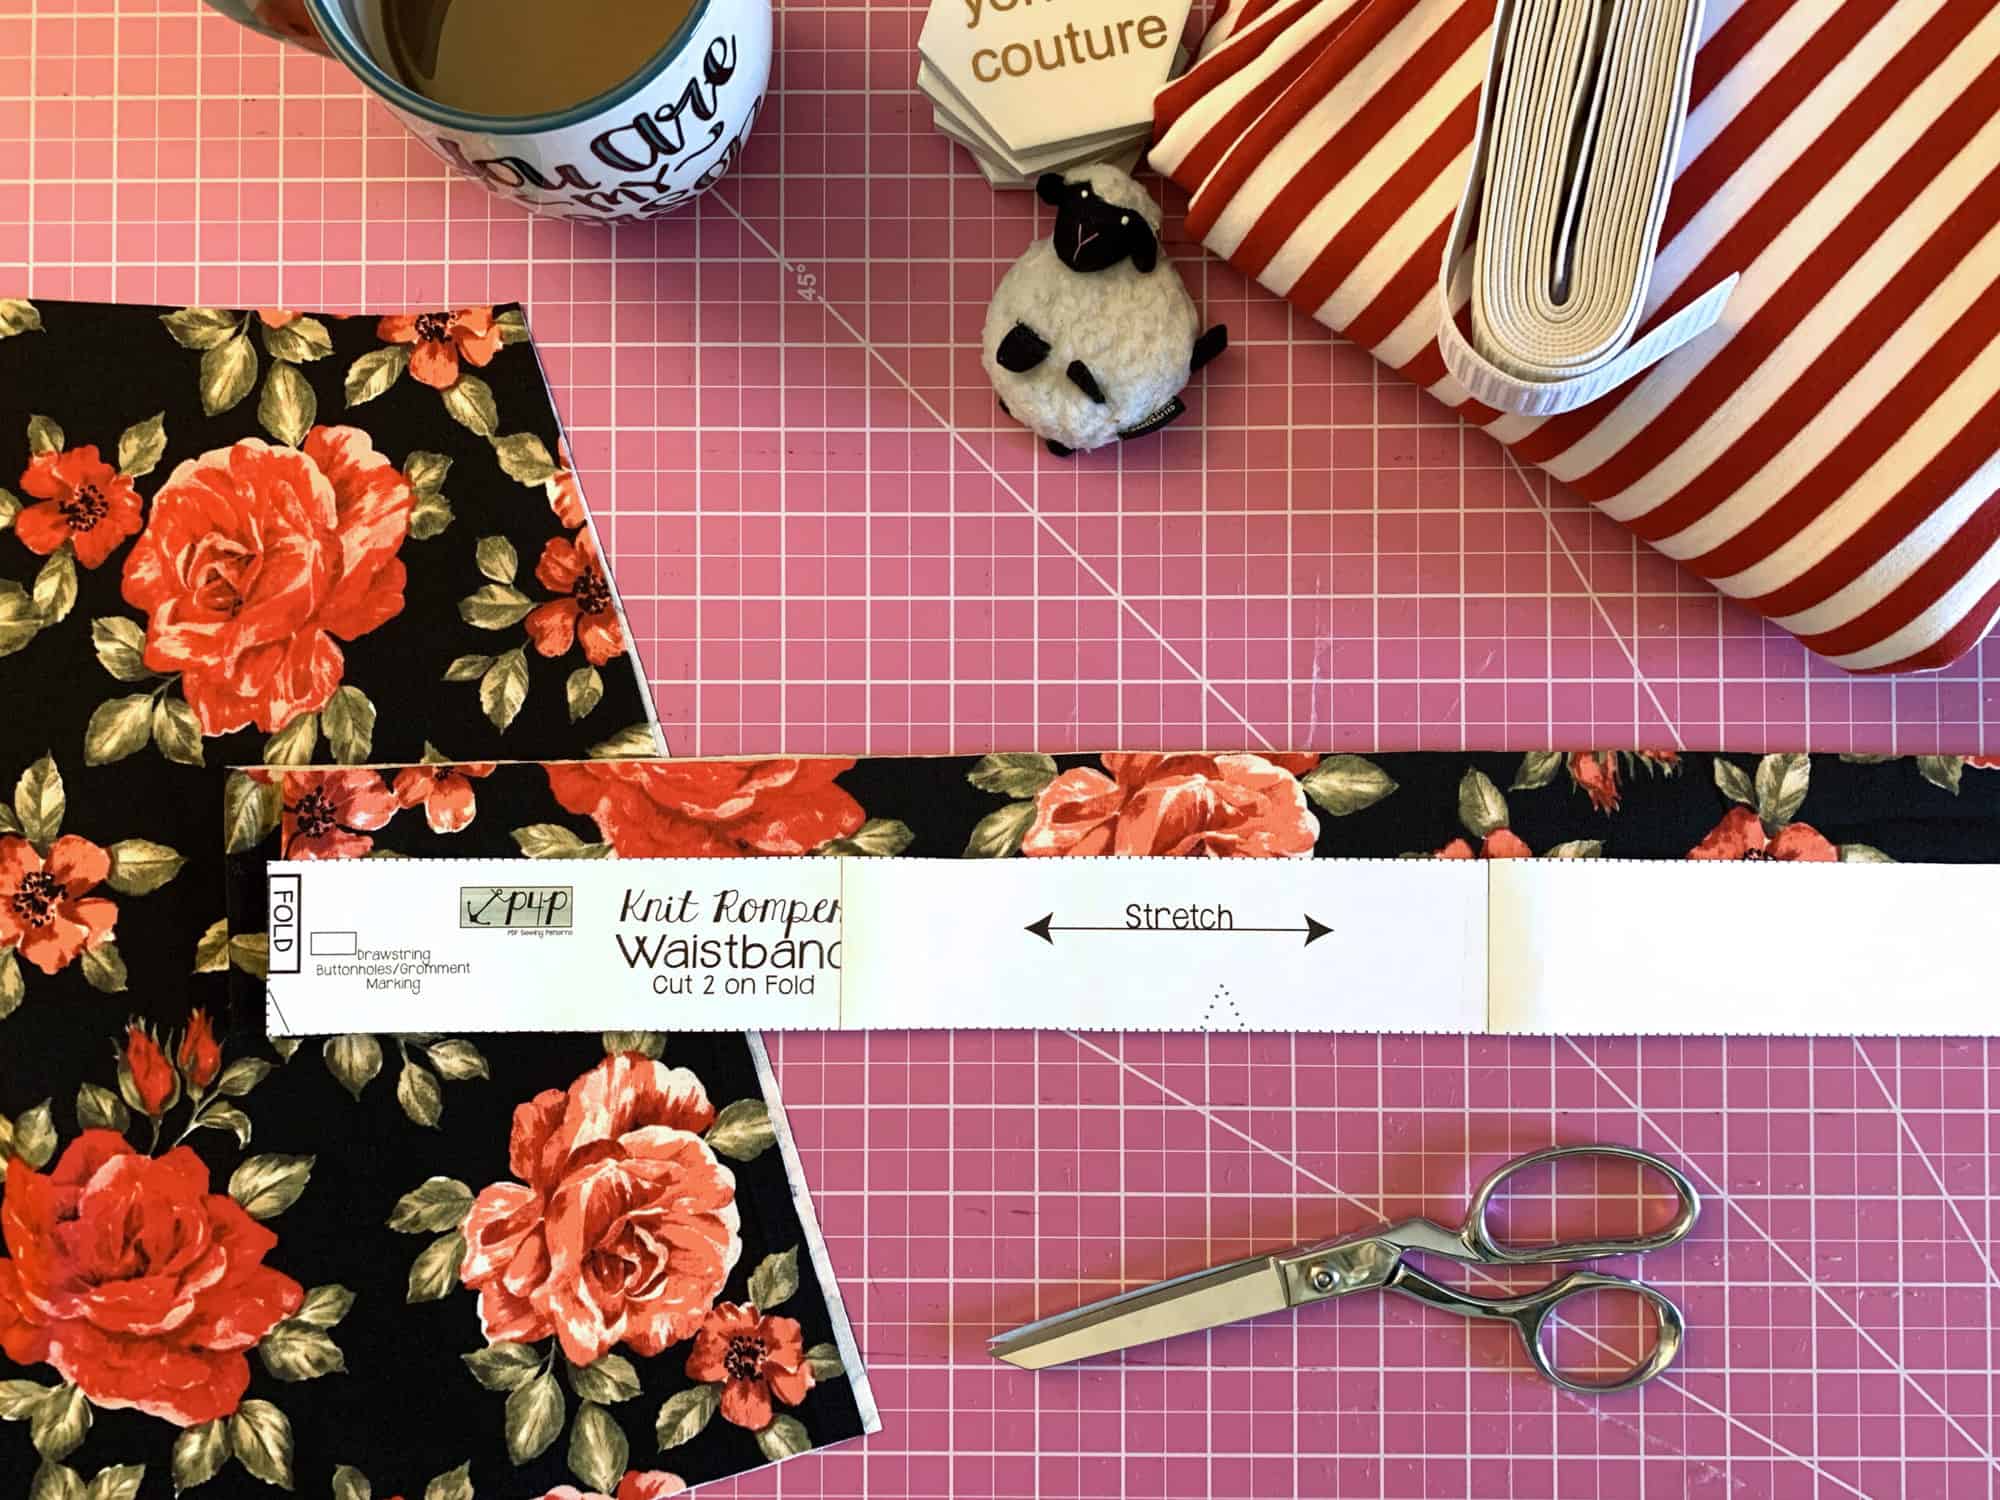
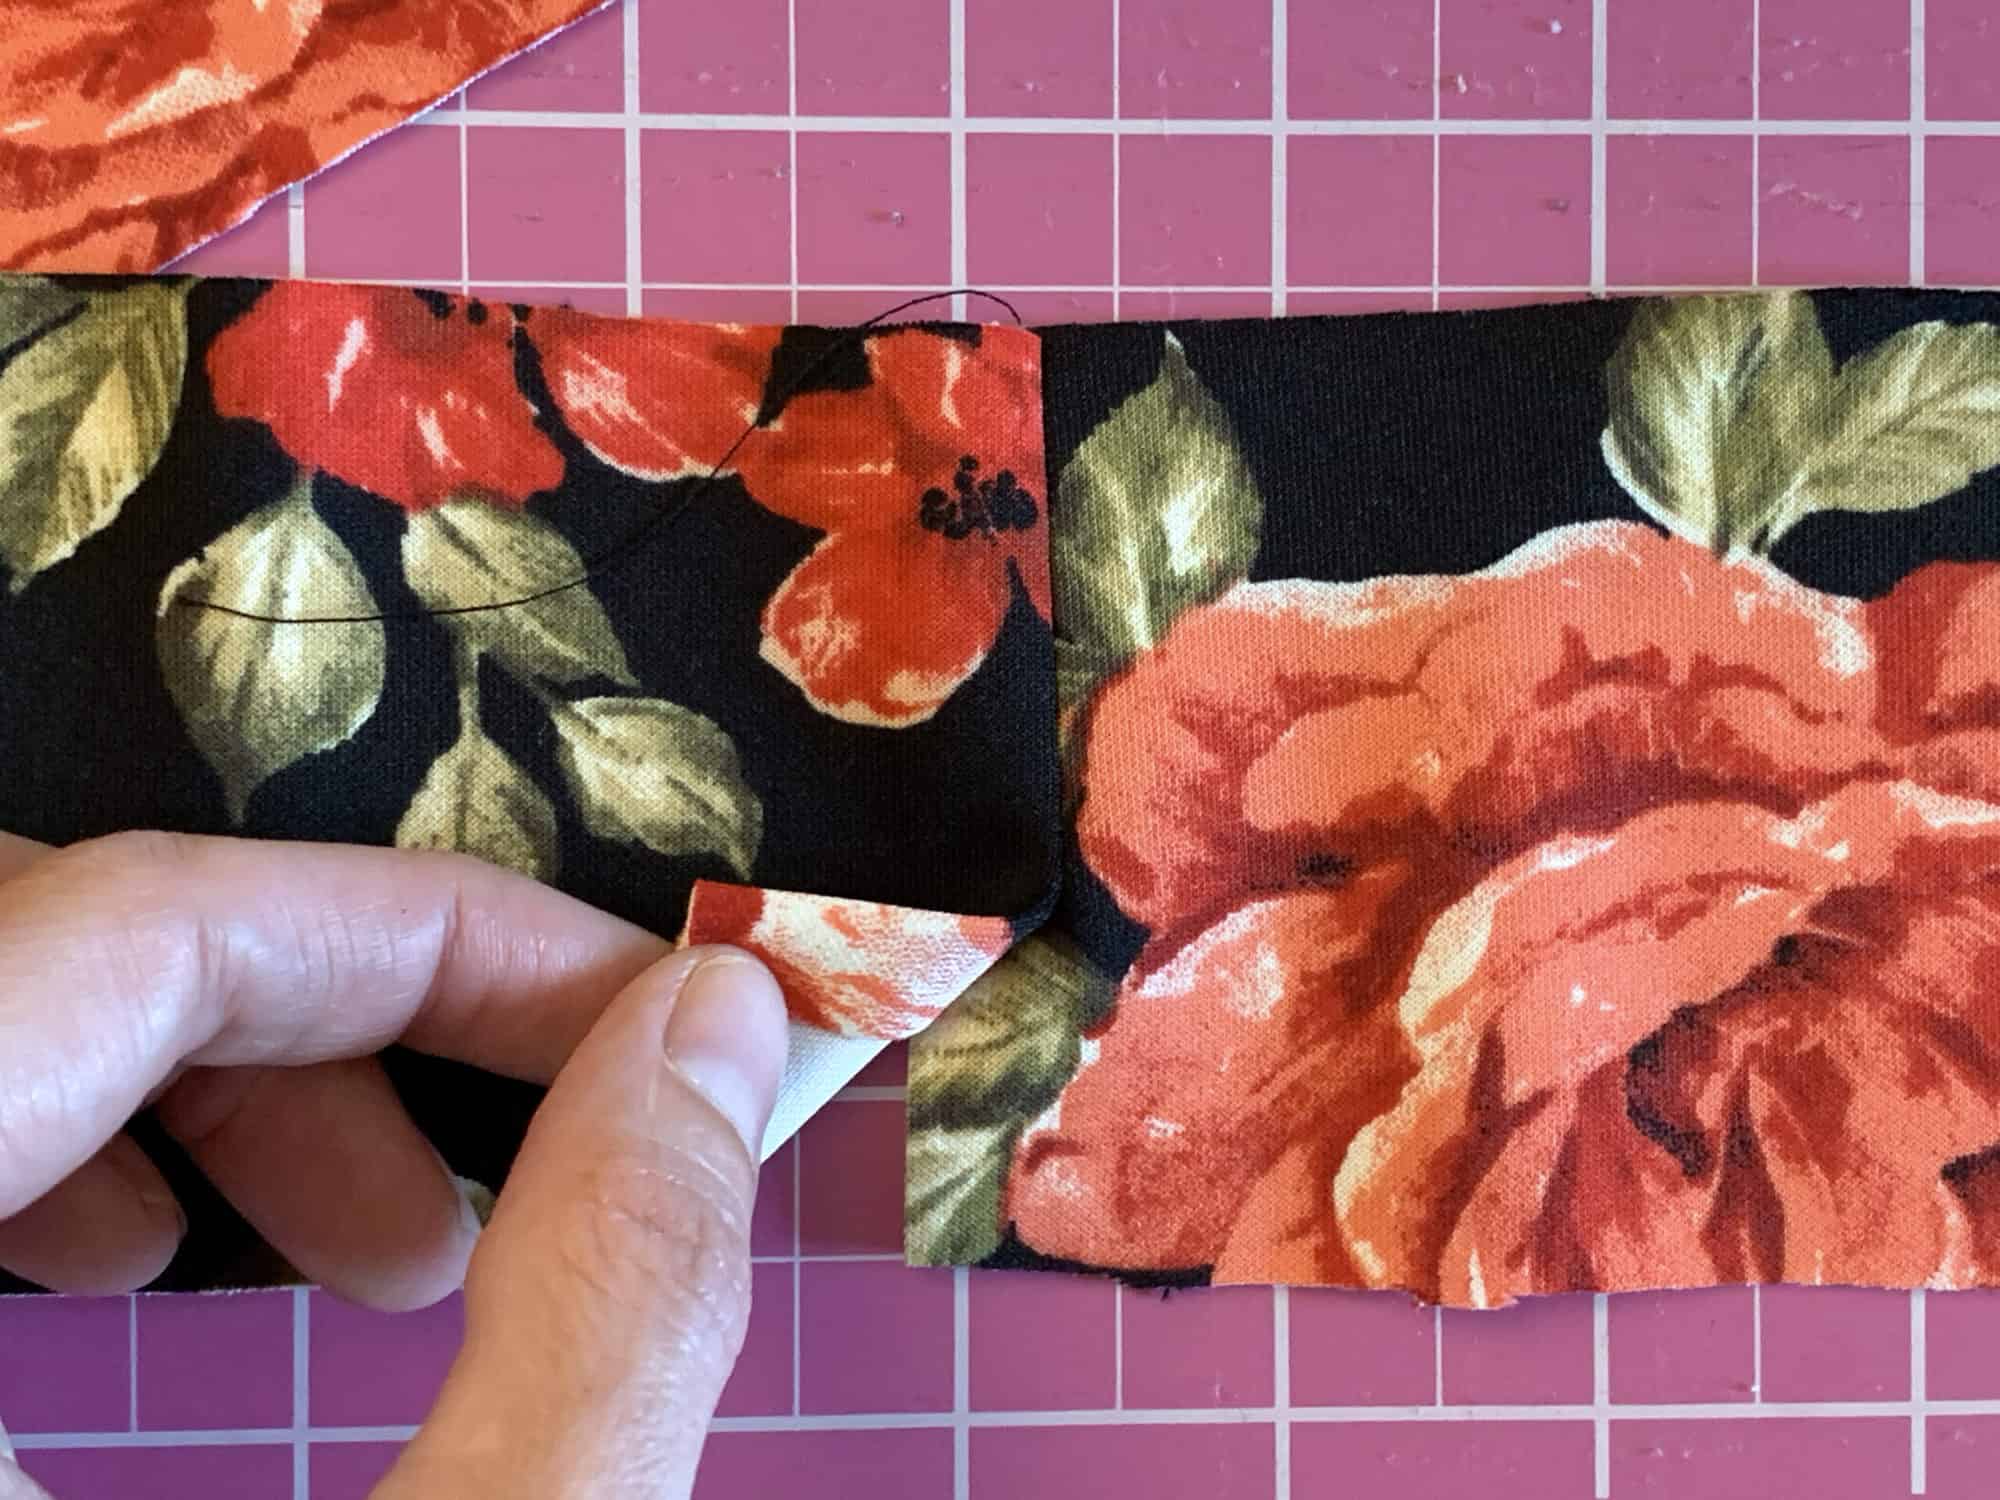
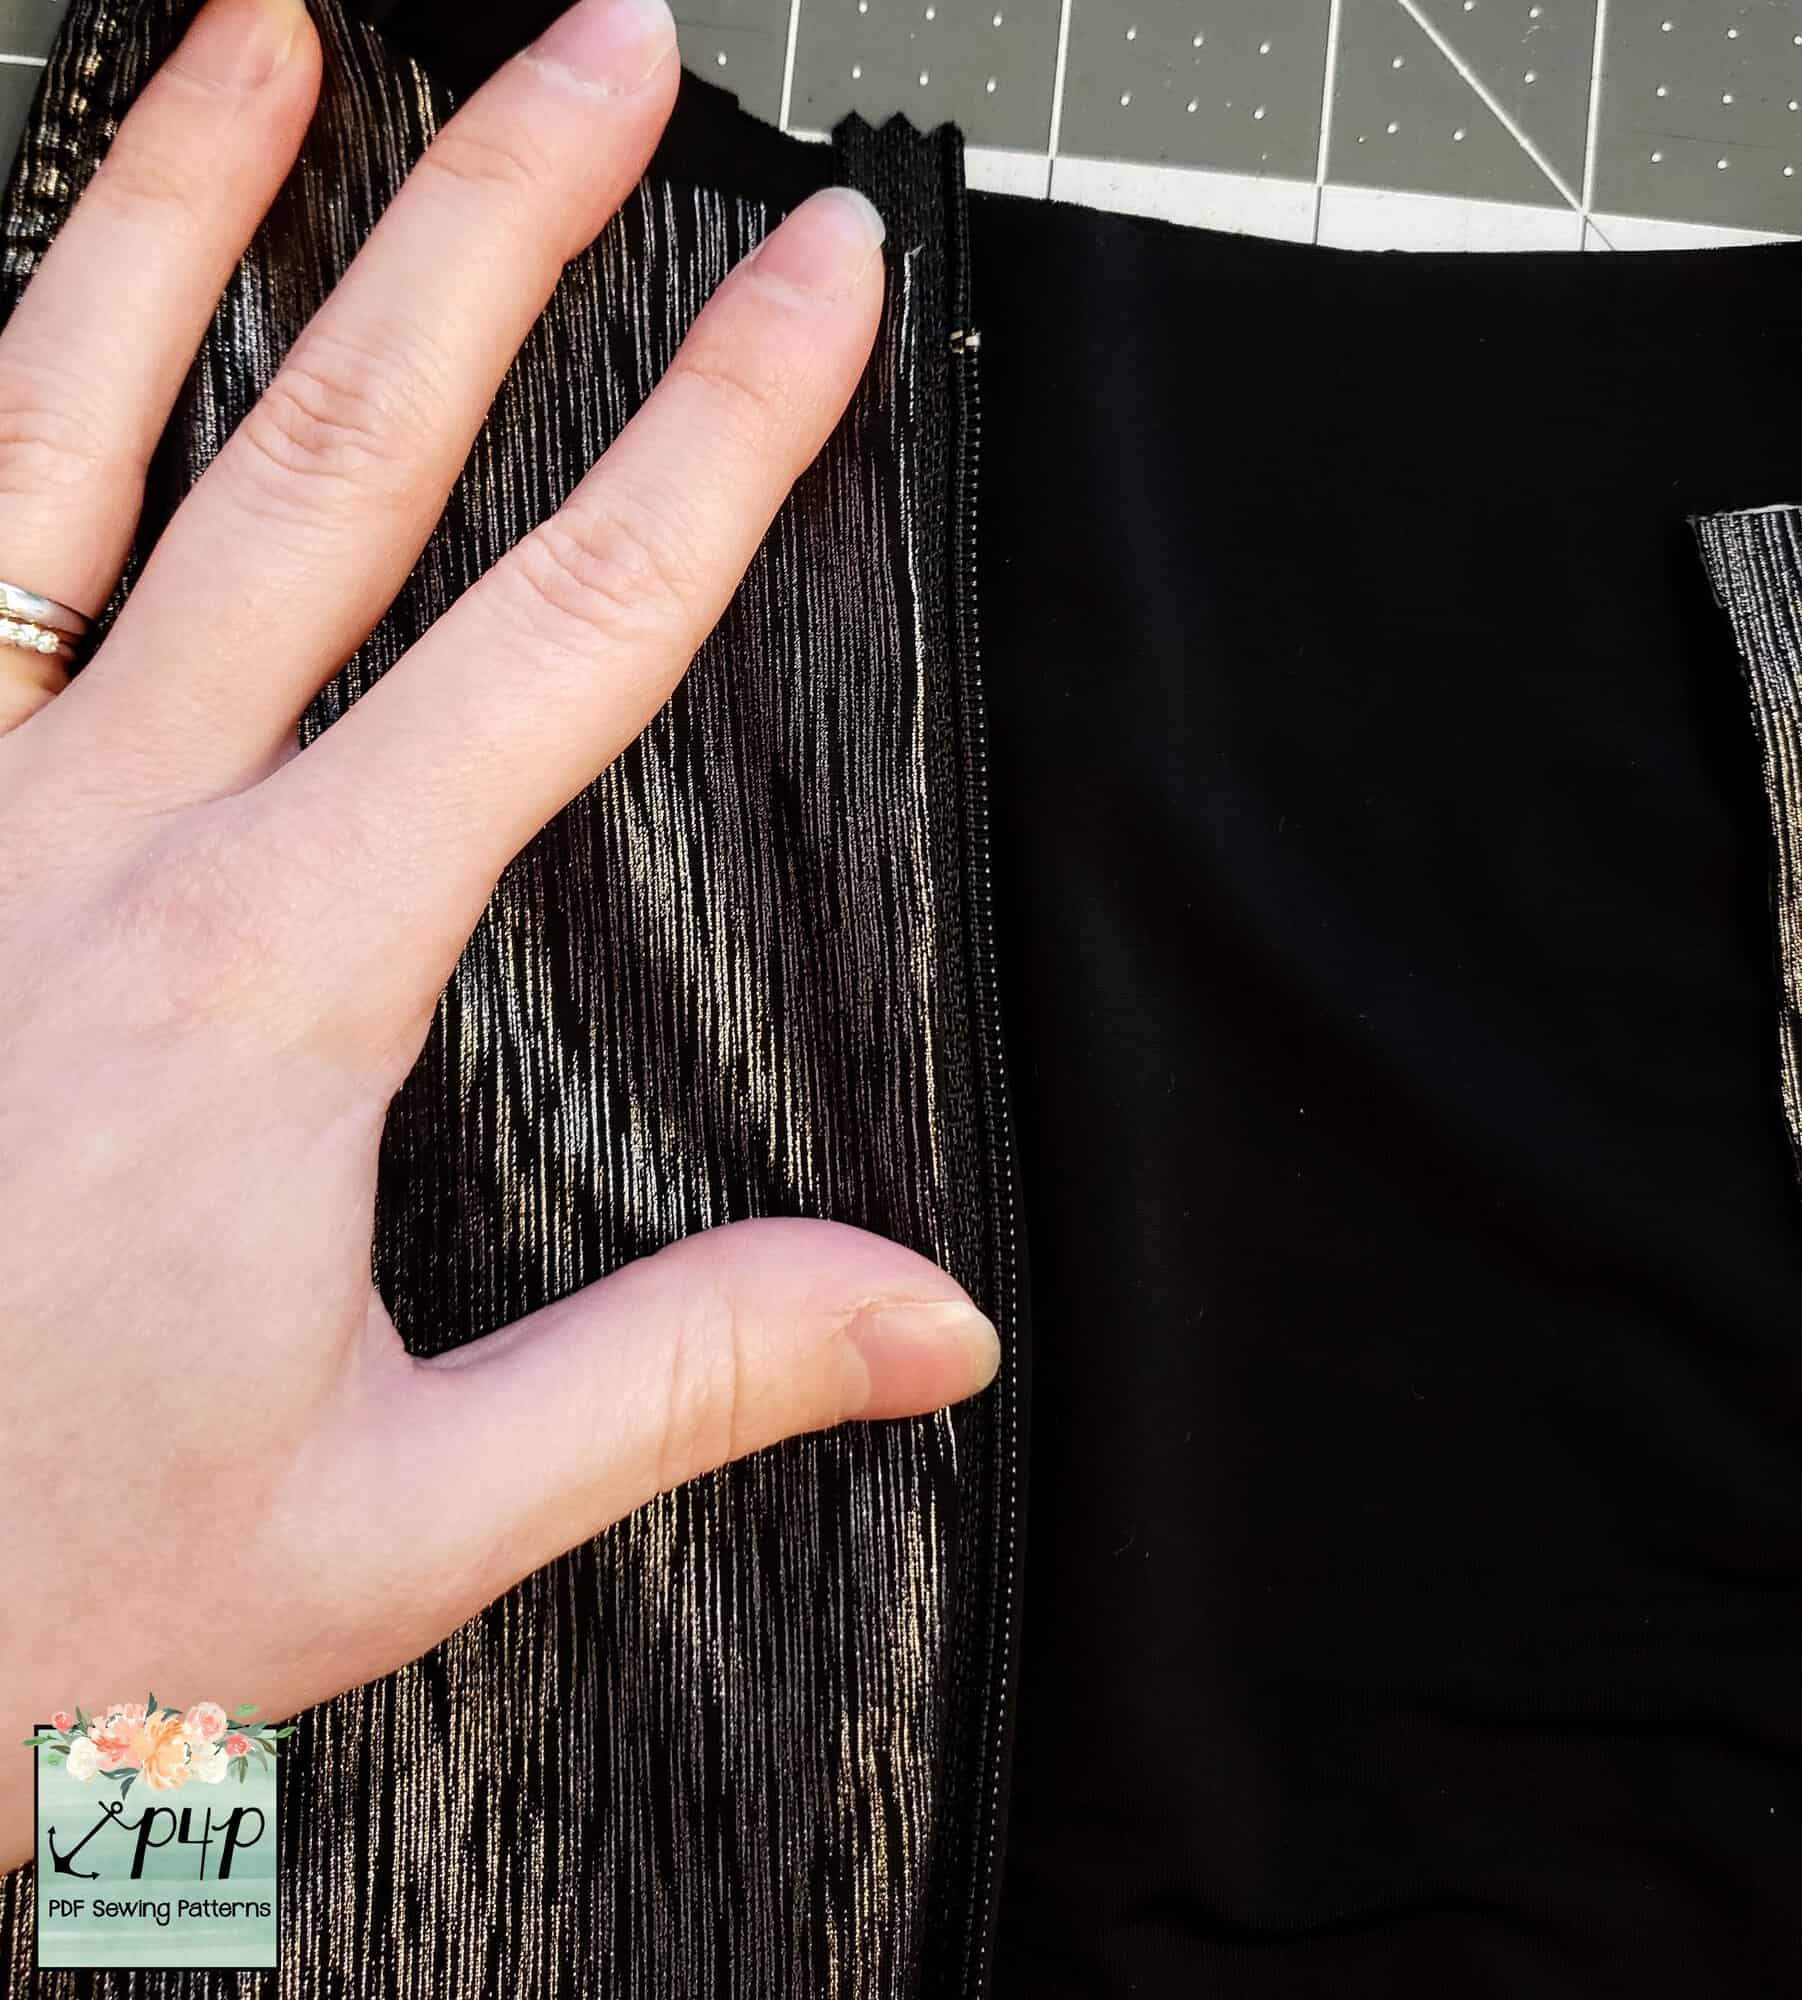
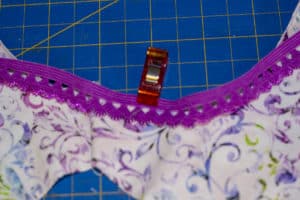
If installing grommets, you will mark your fabric and add those to your outer waistband where indicated by the pattern piece.

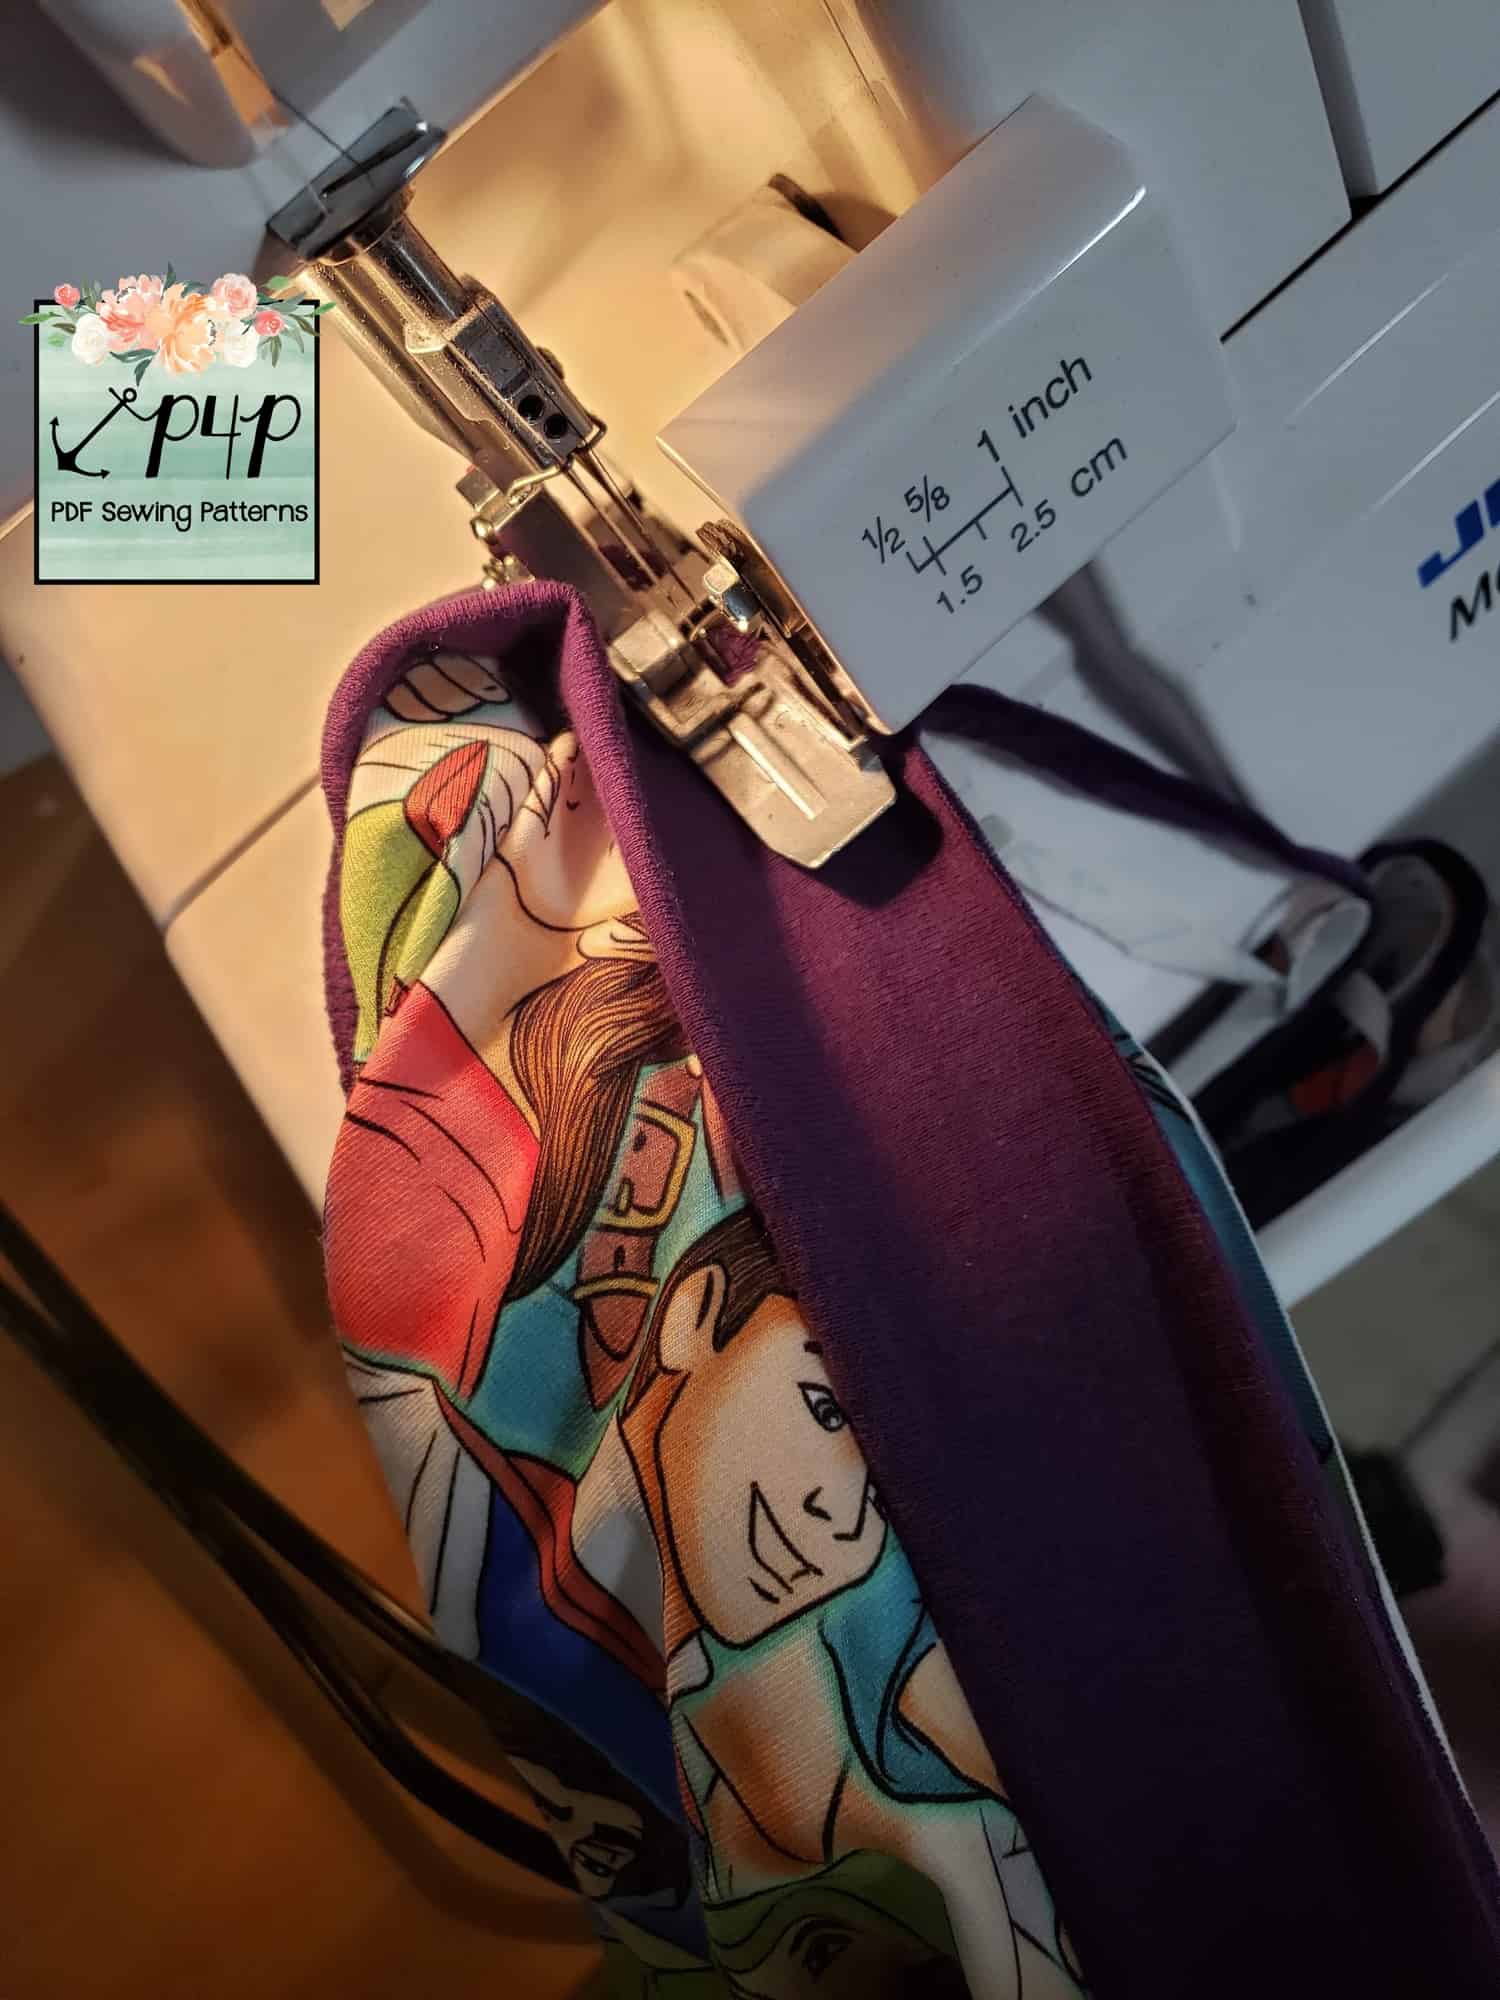
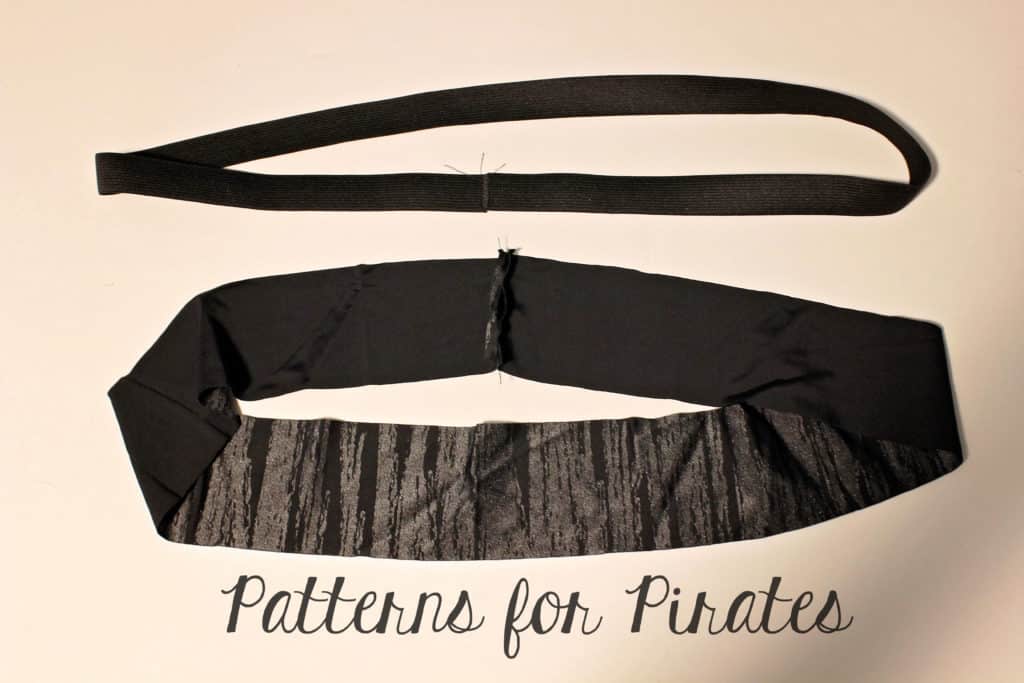
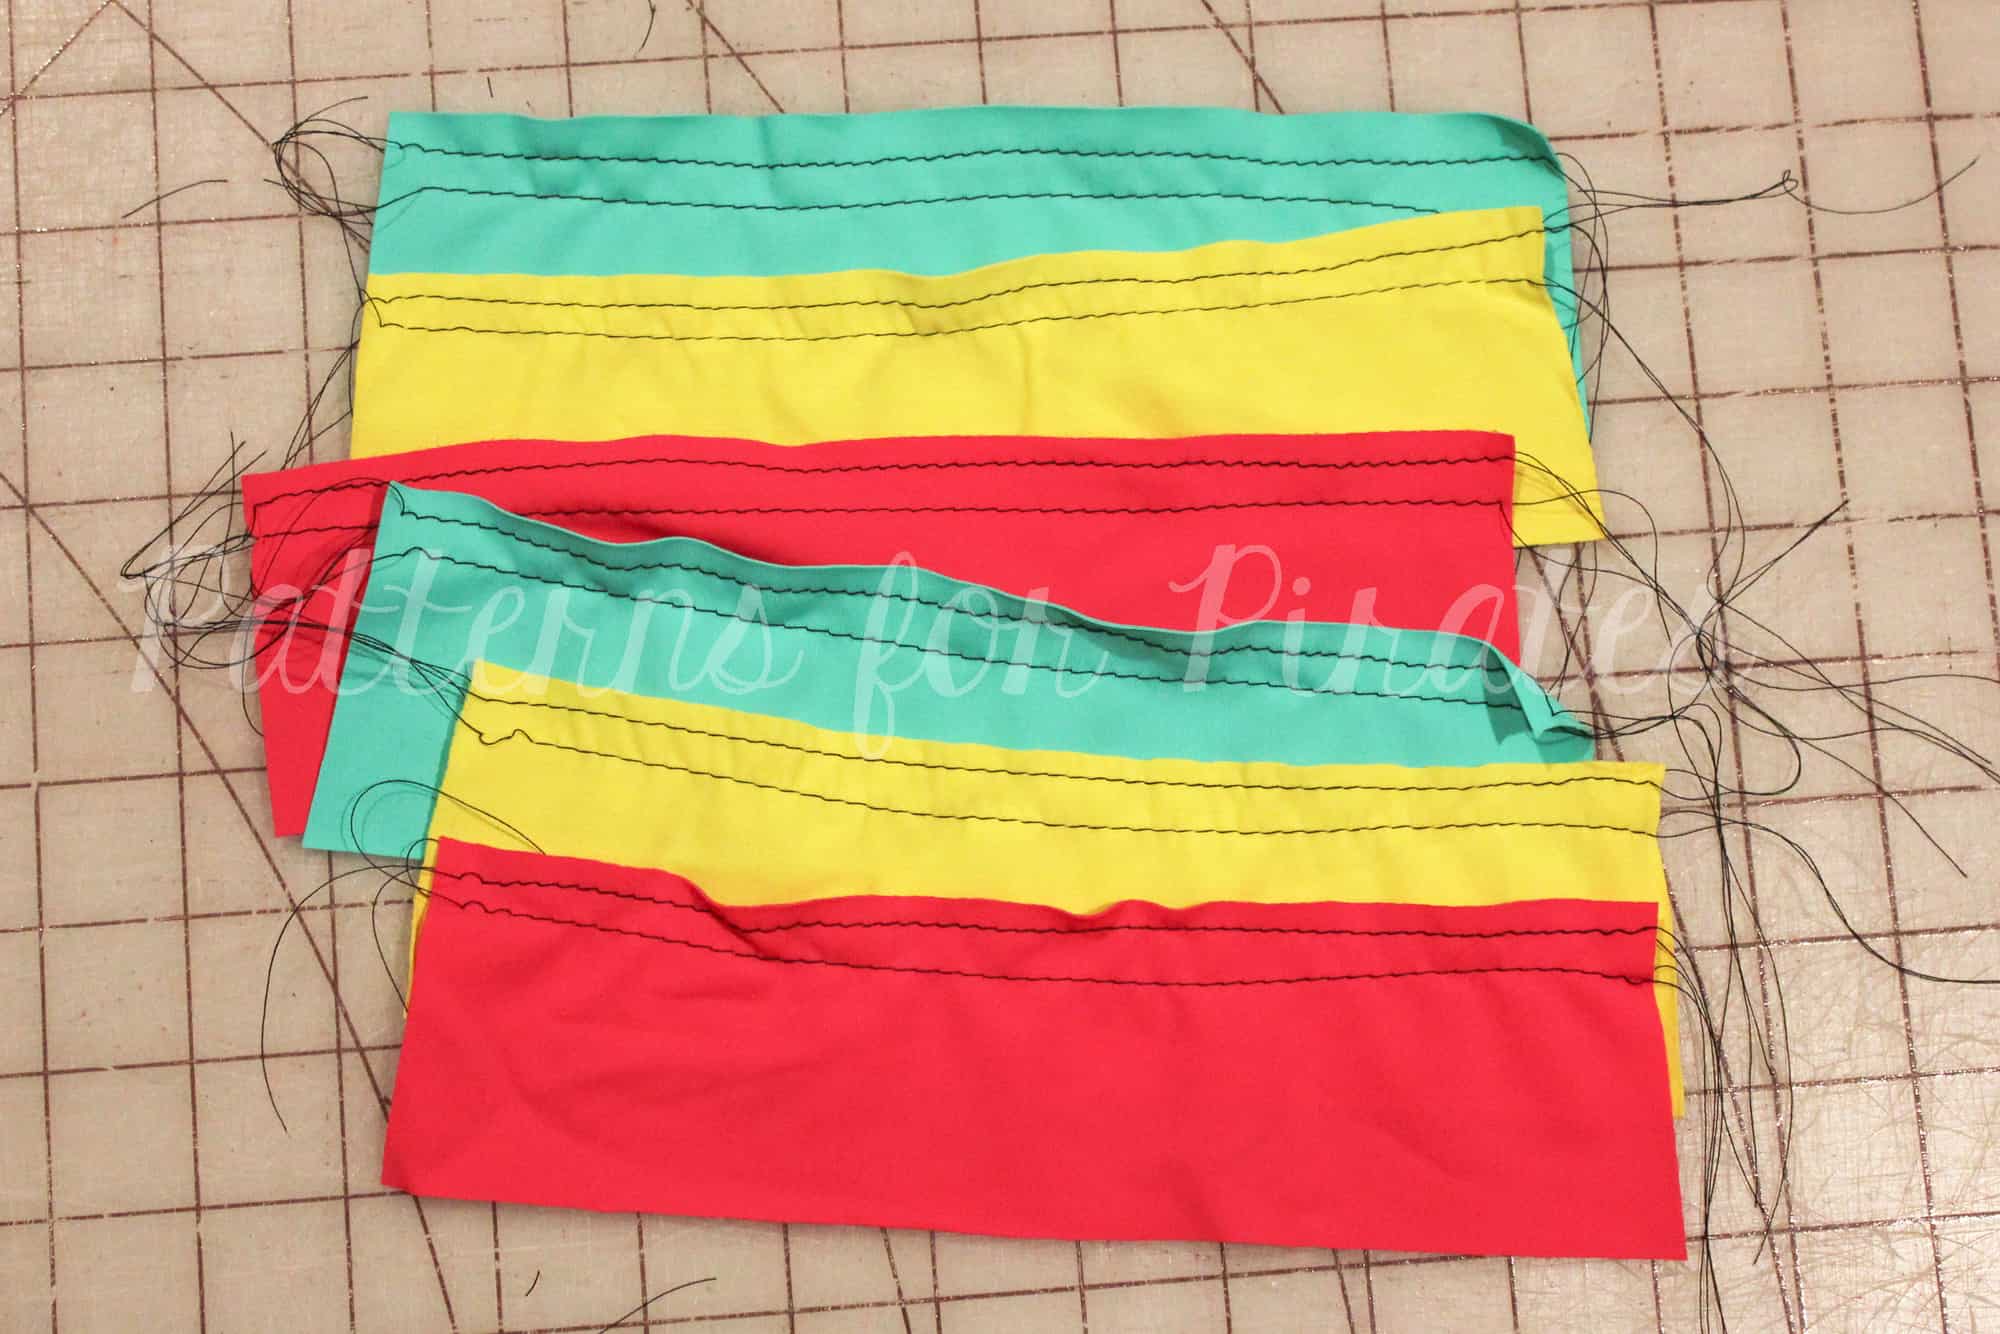
Next, take your inner waistband piece and stitch with right sides together, stopping 1” above the bottom of the band. Press the seams to one side.
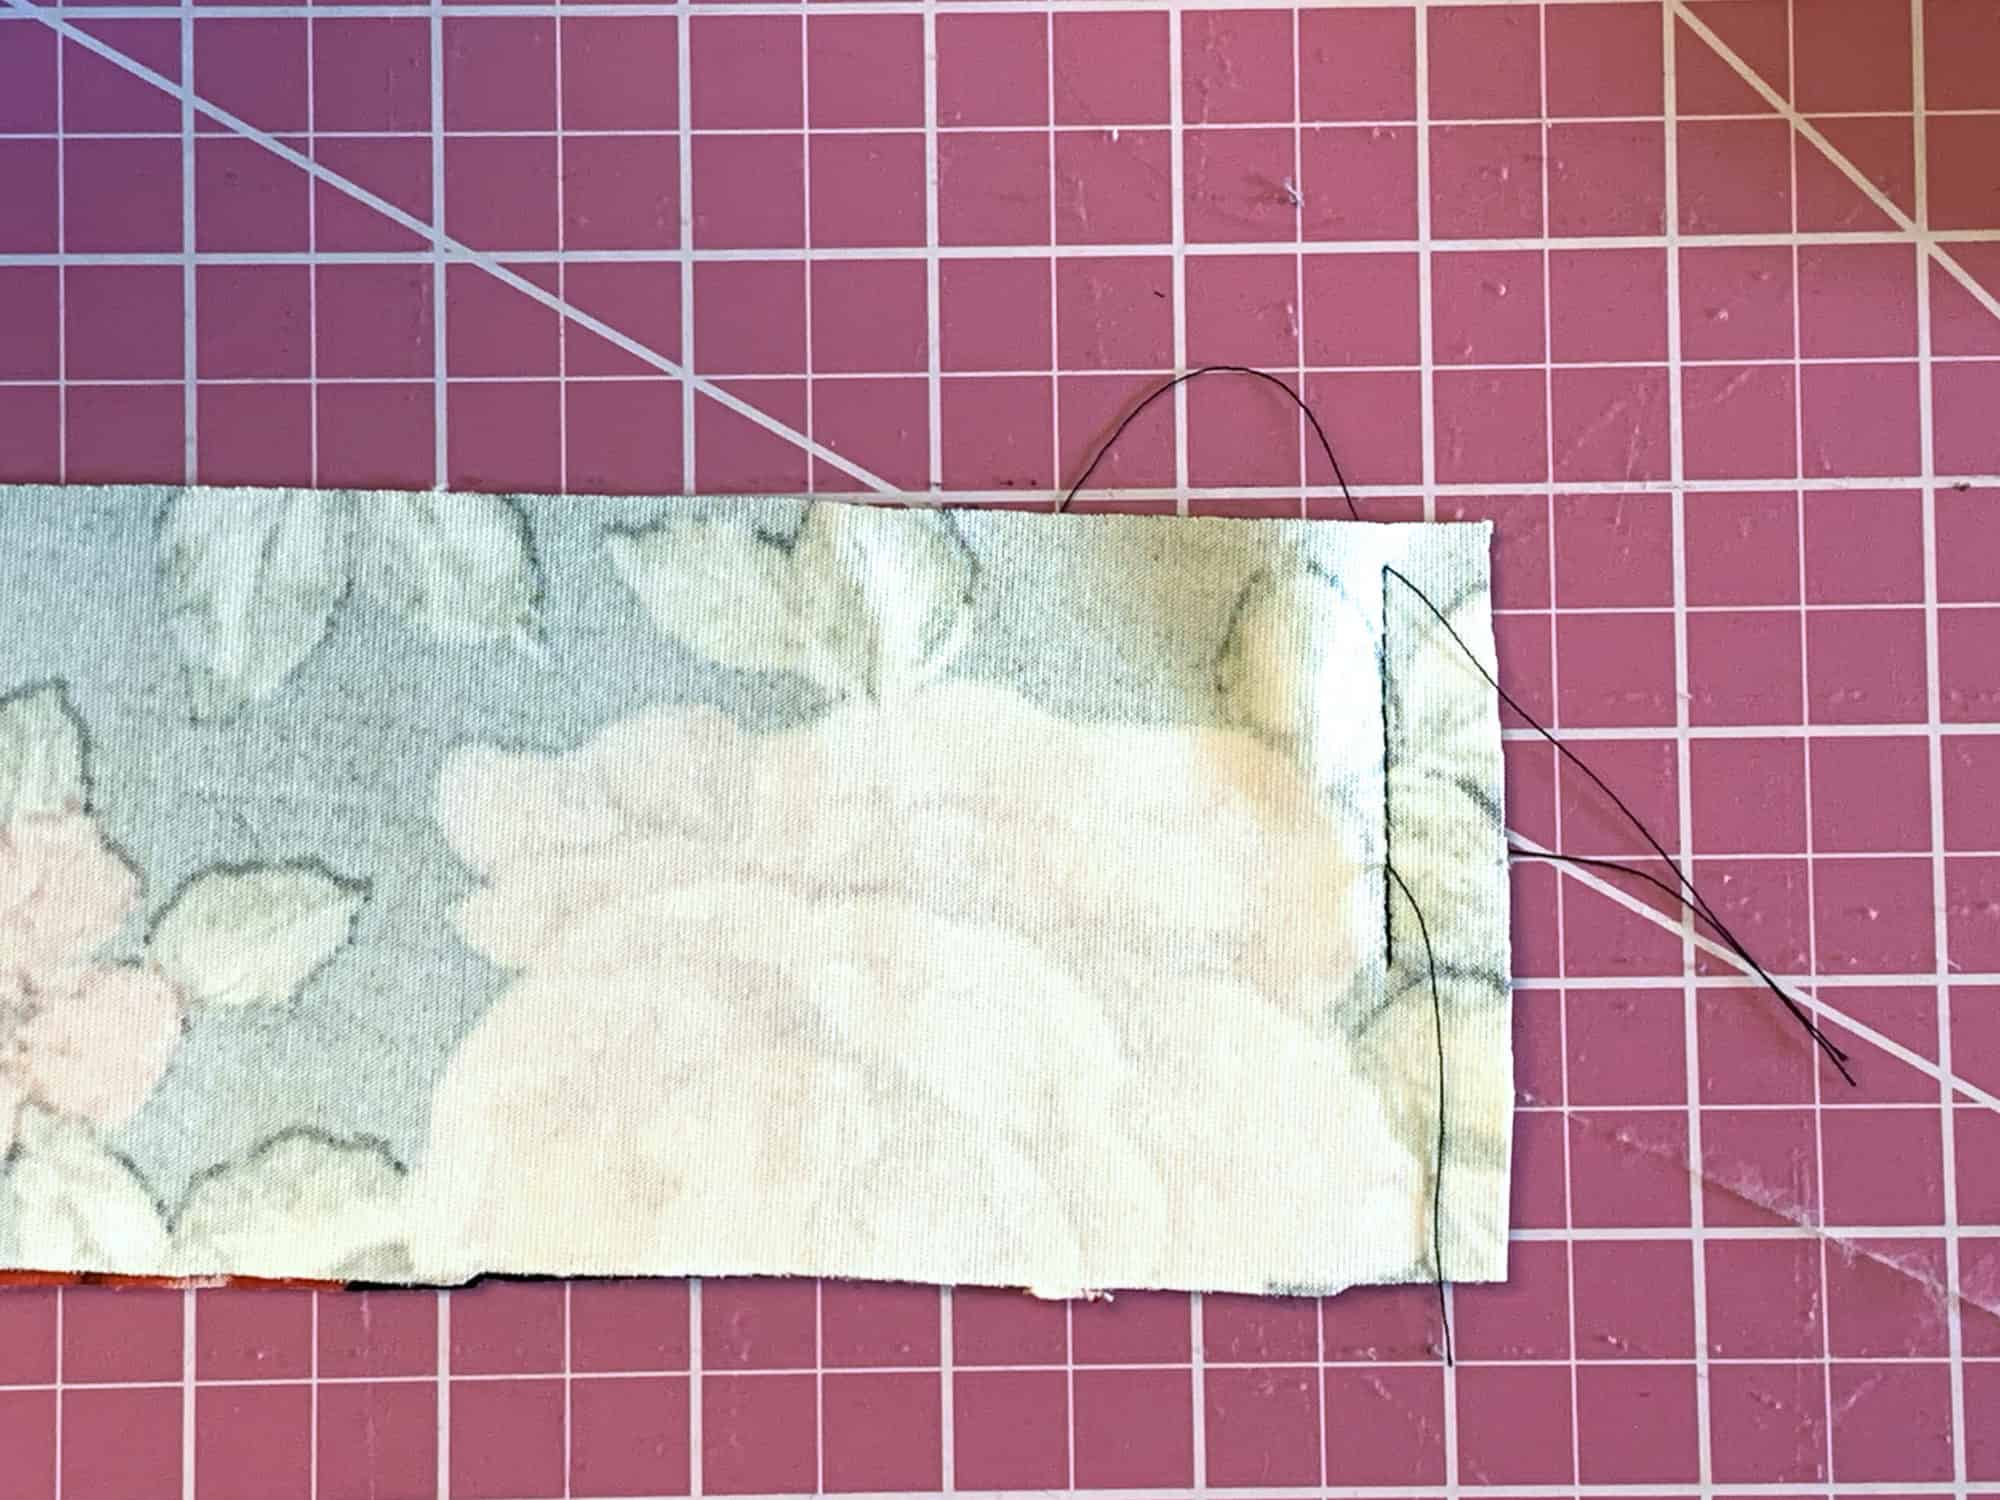
This opening will become your entry point when you install your elastic waistband.
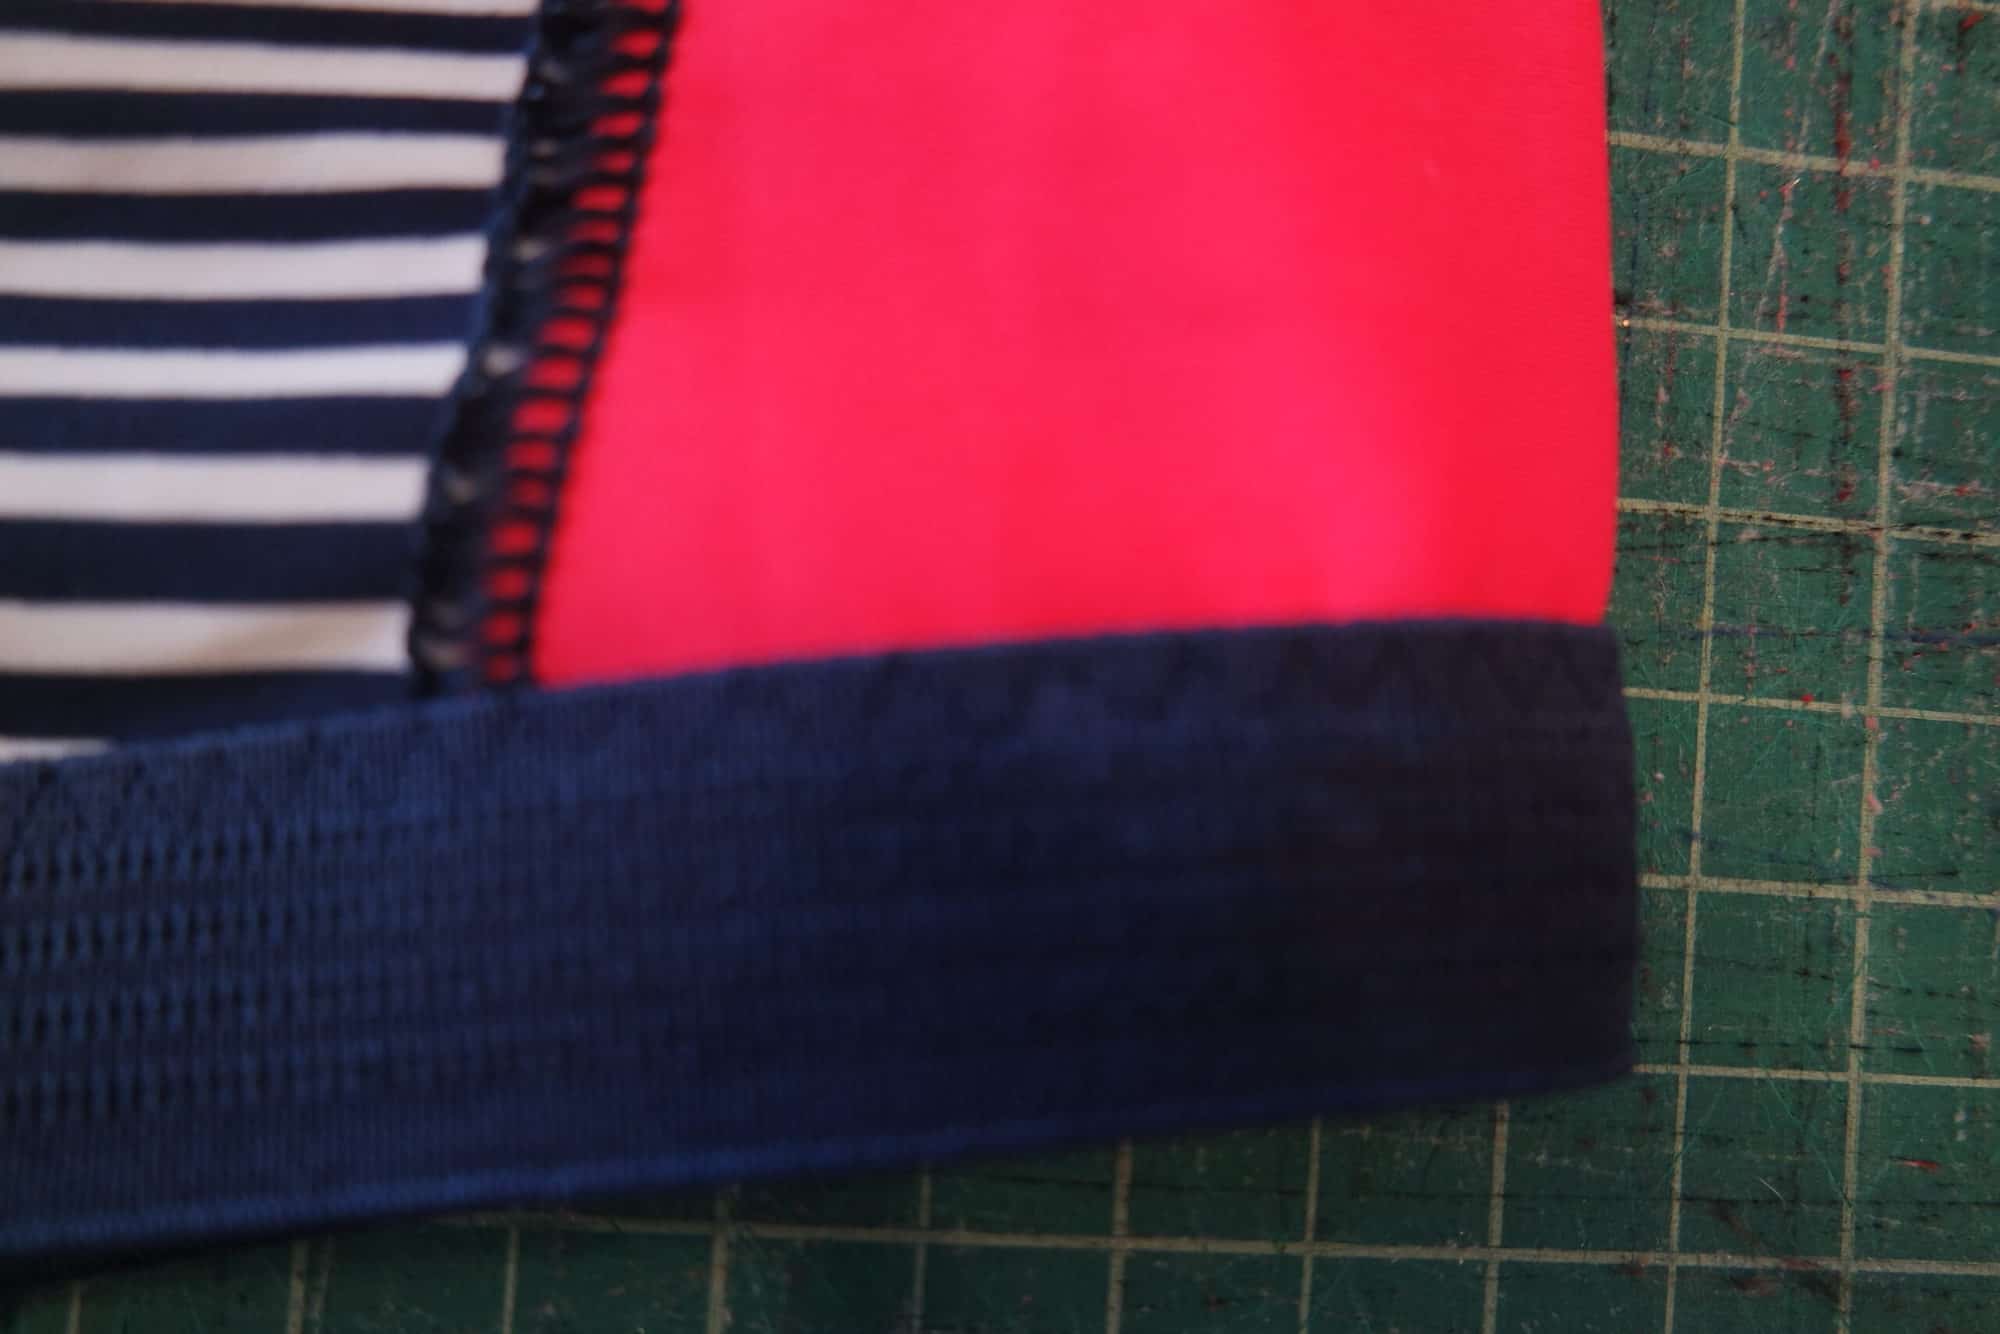
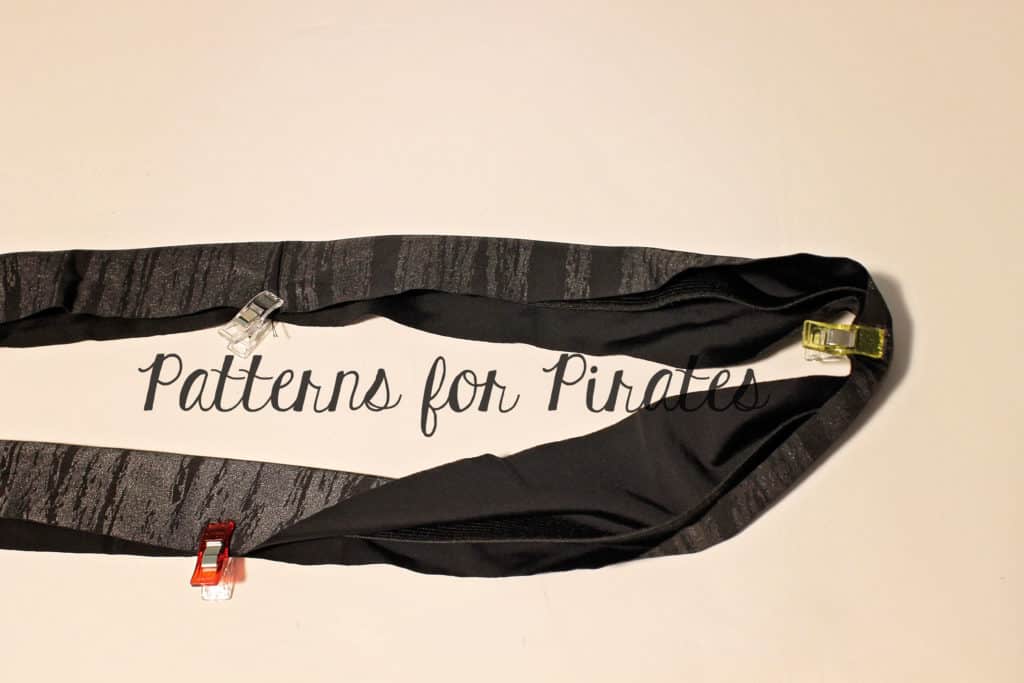
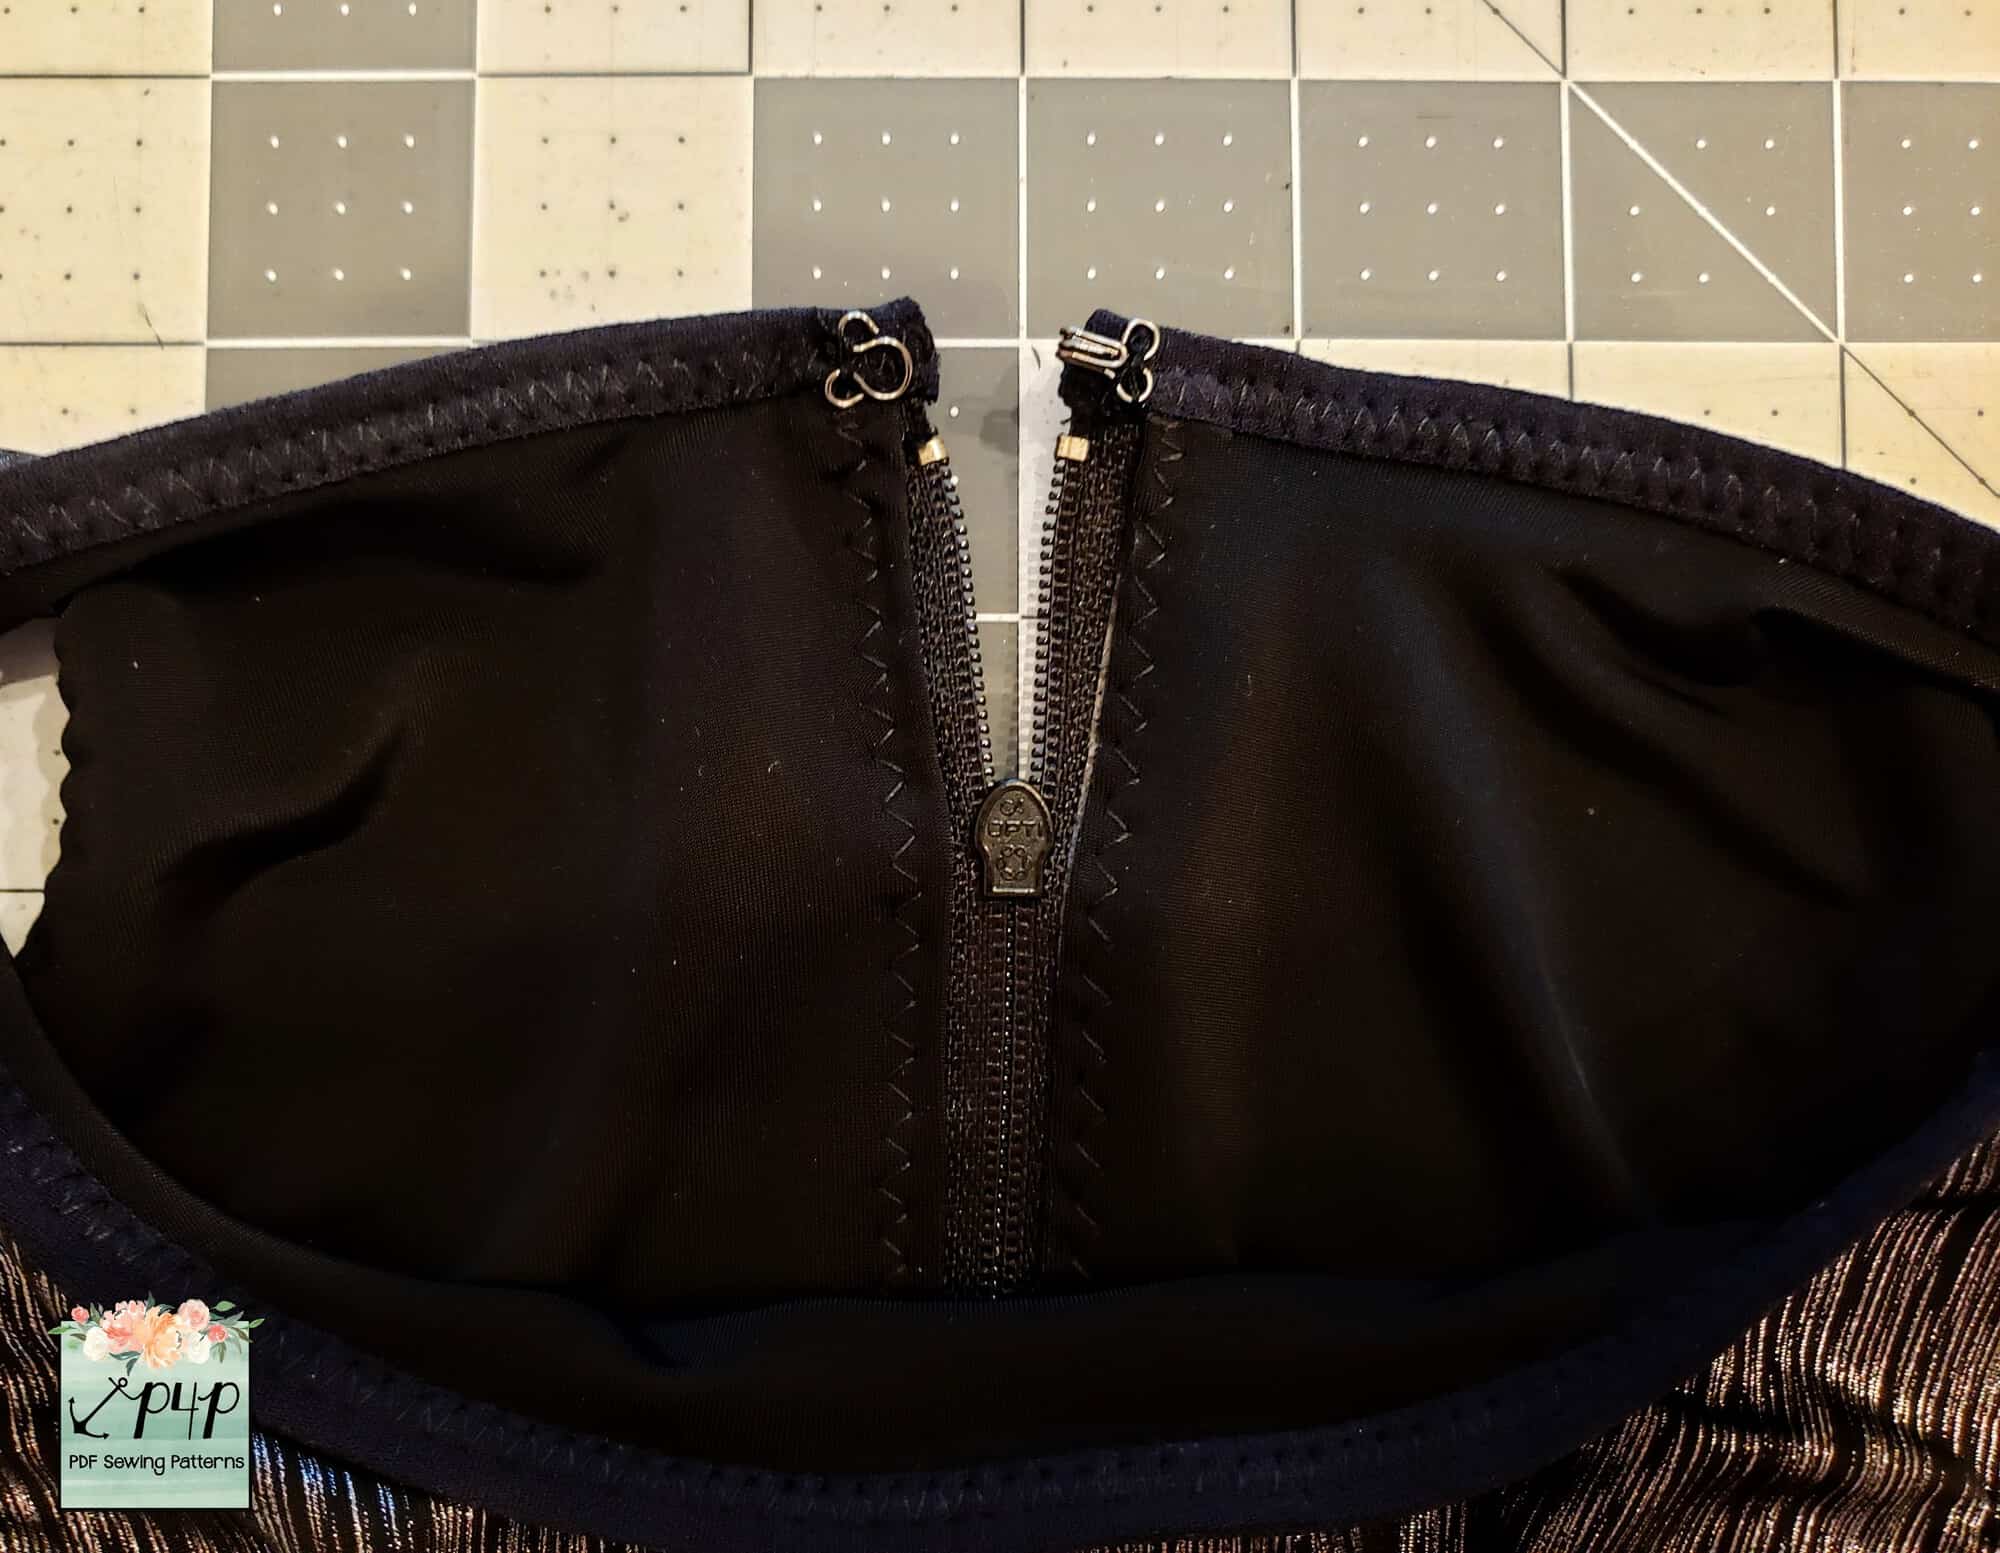
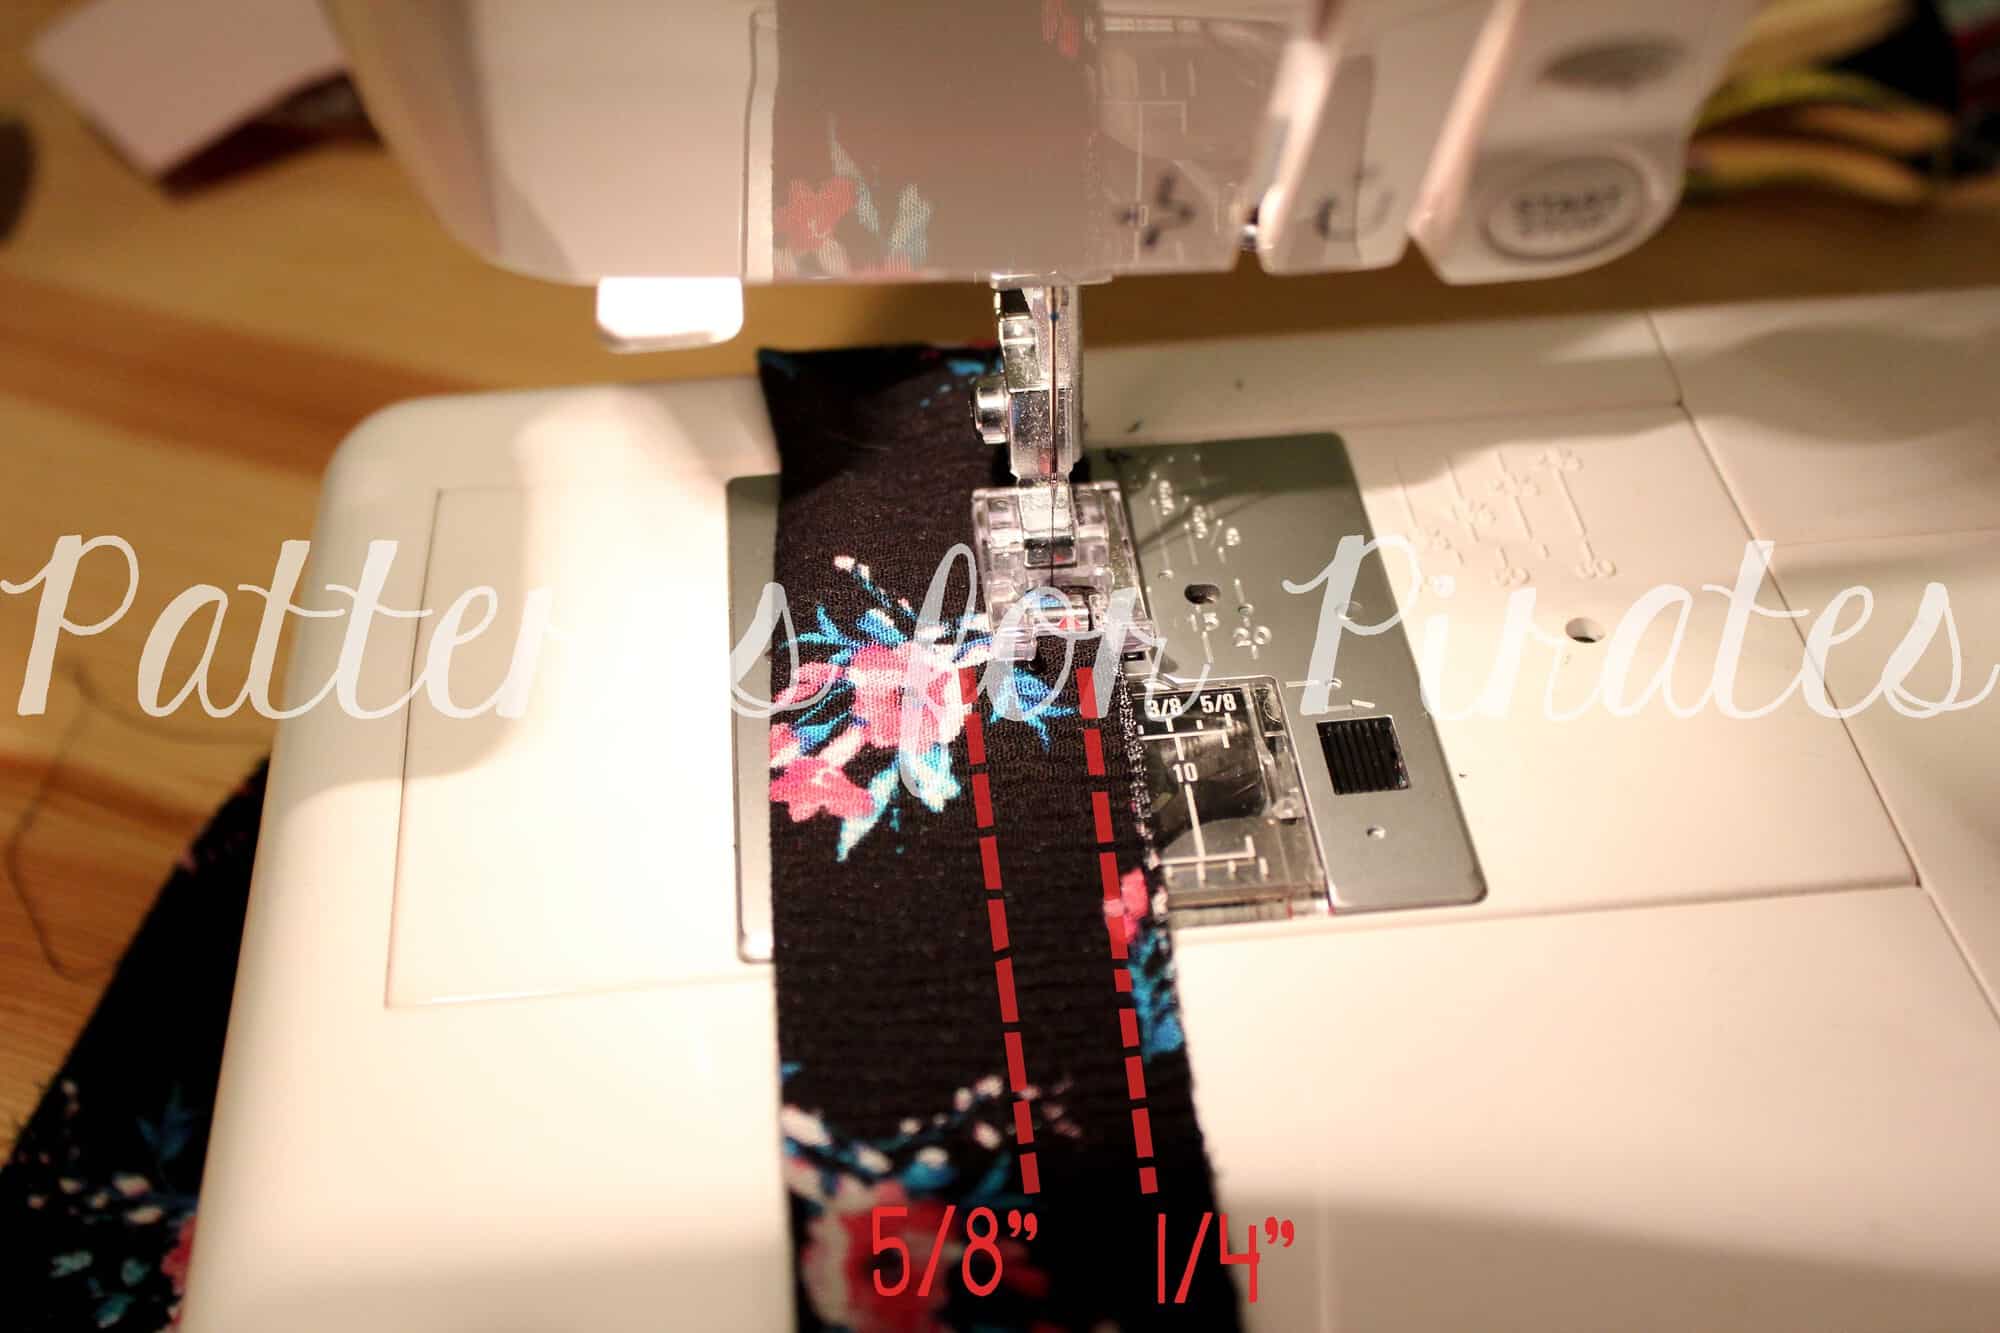
Stitch your inner and outer waistband pieces, right sides together, along the top edge per the pattern instructions.
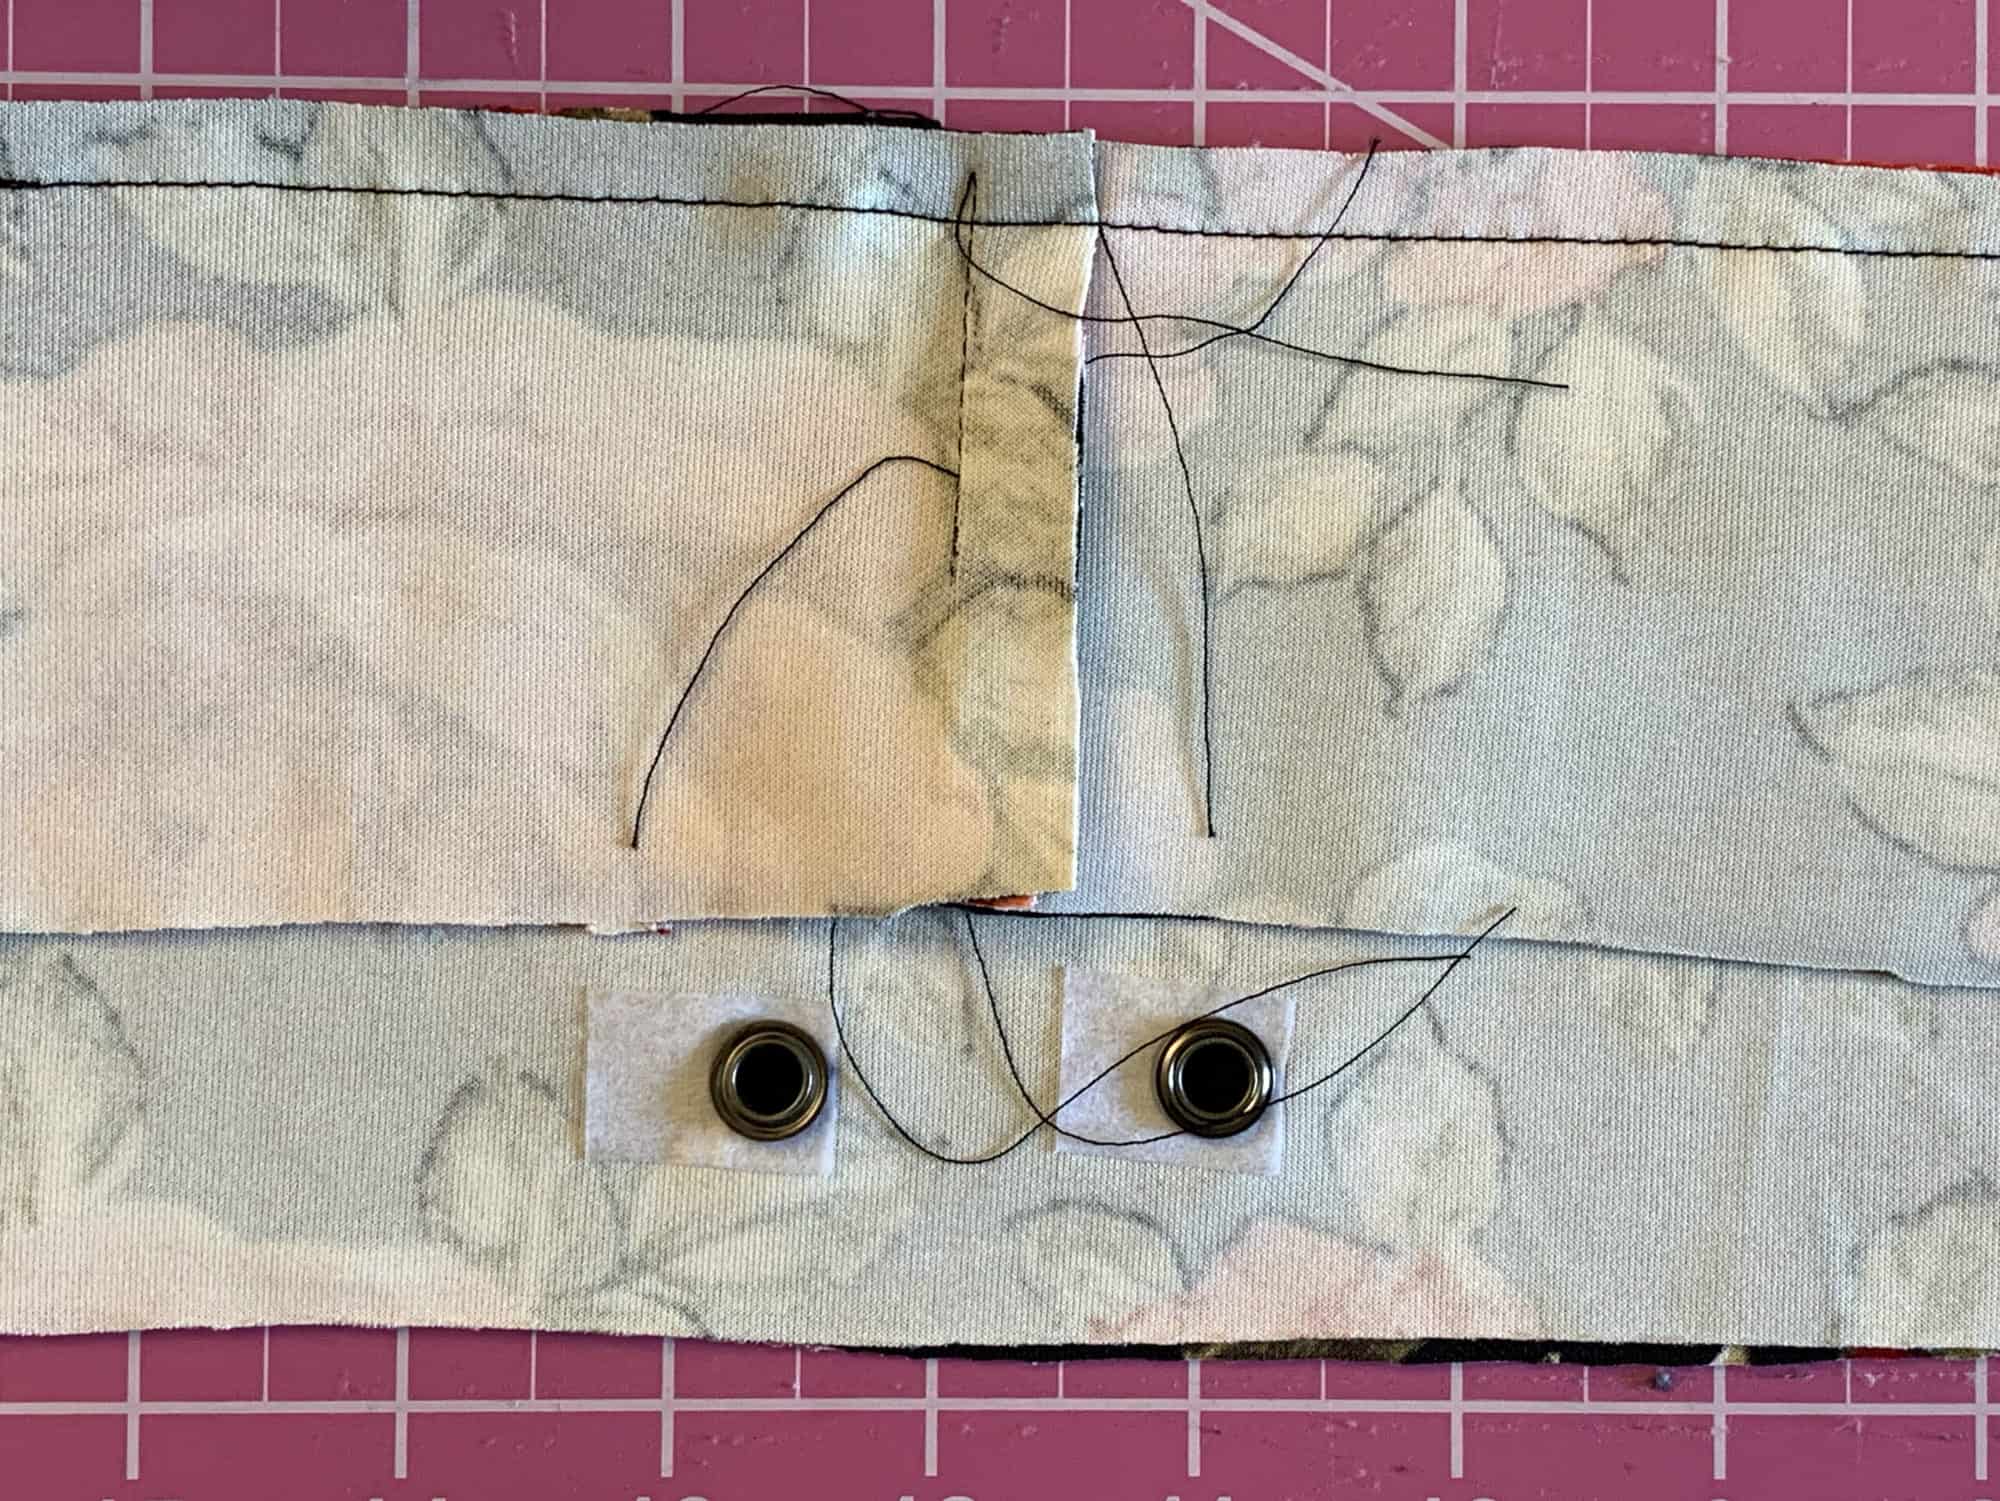
Open with right sides out, wrong sides together, and press your top seam to the inside. You may wish to topstitch this edge for a crisper finish.
Sew a second seam 1” down from the top edge.
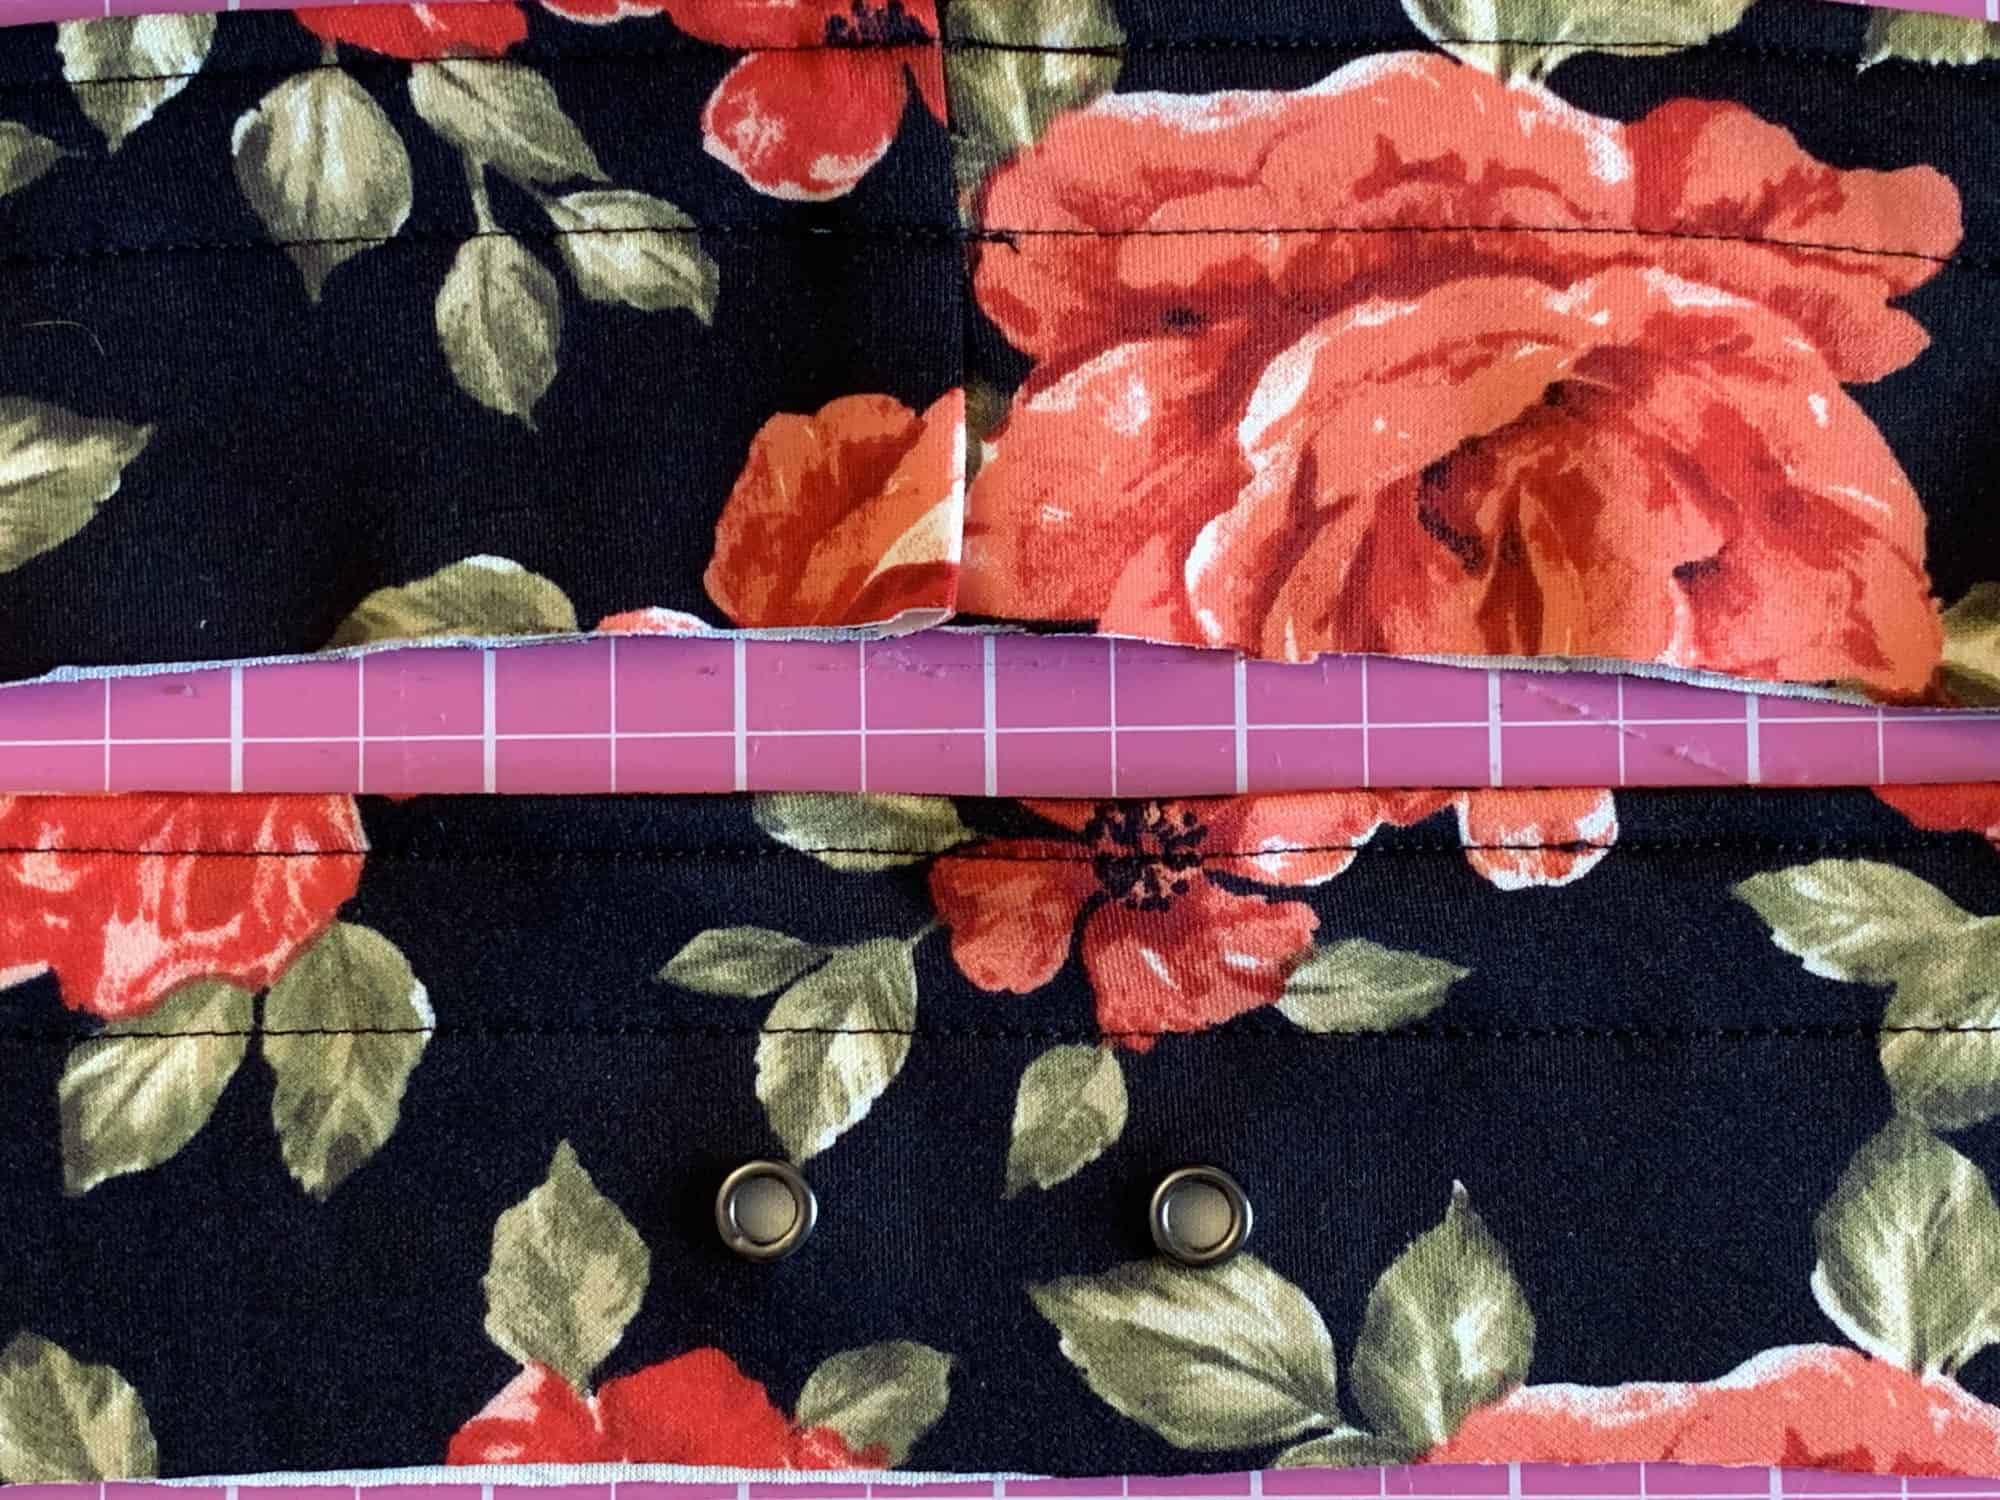
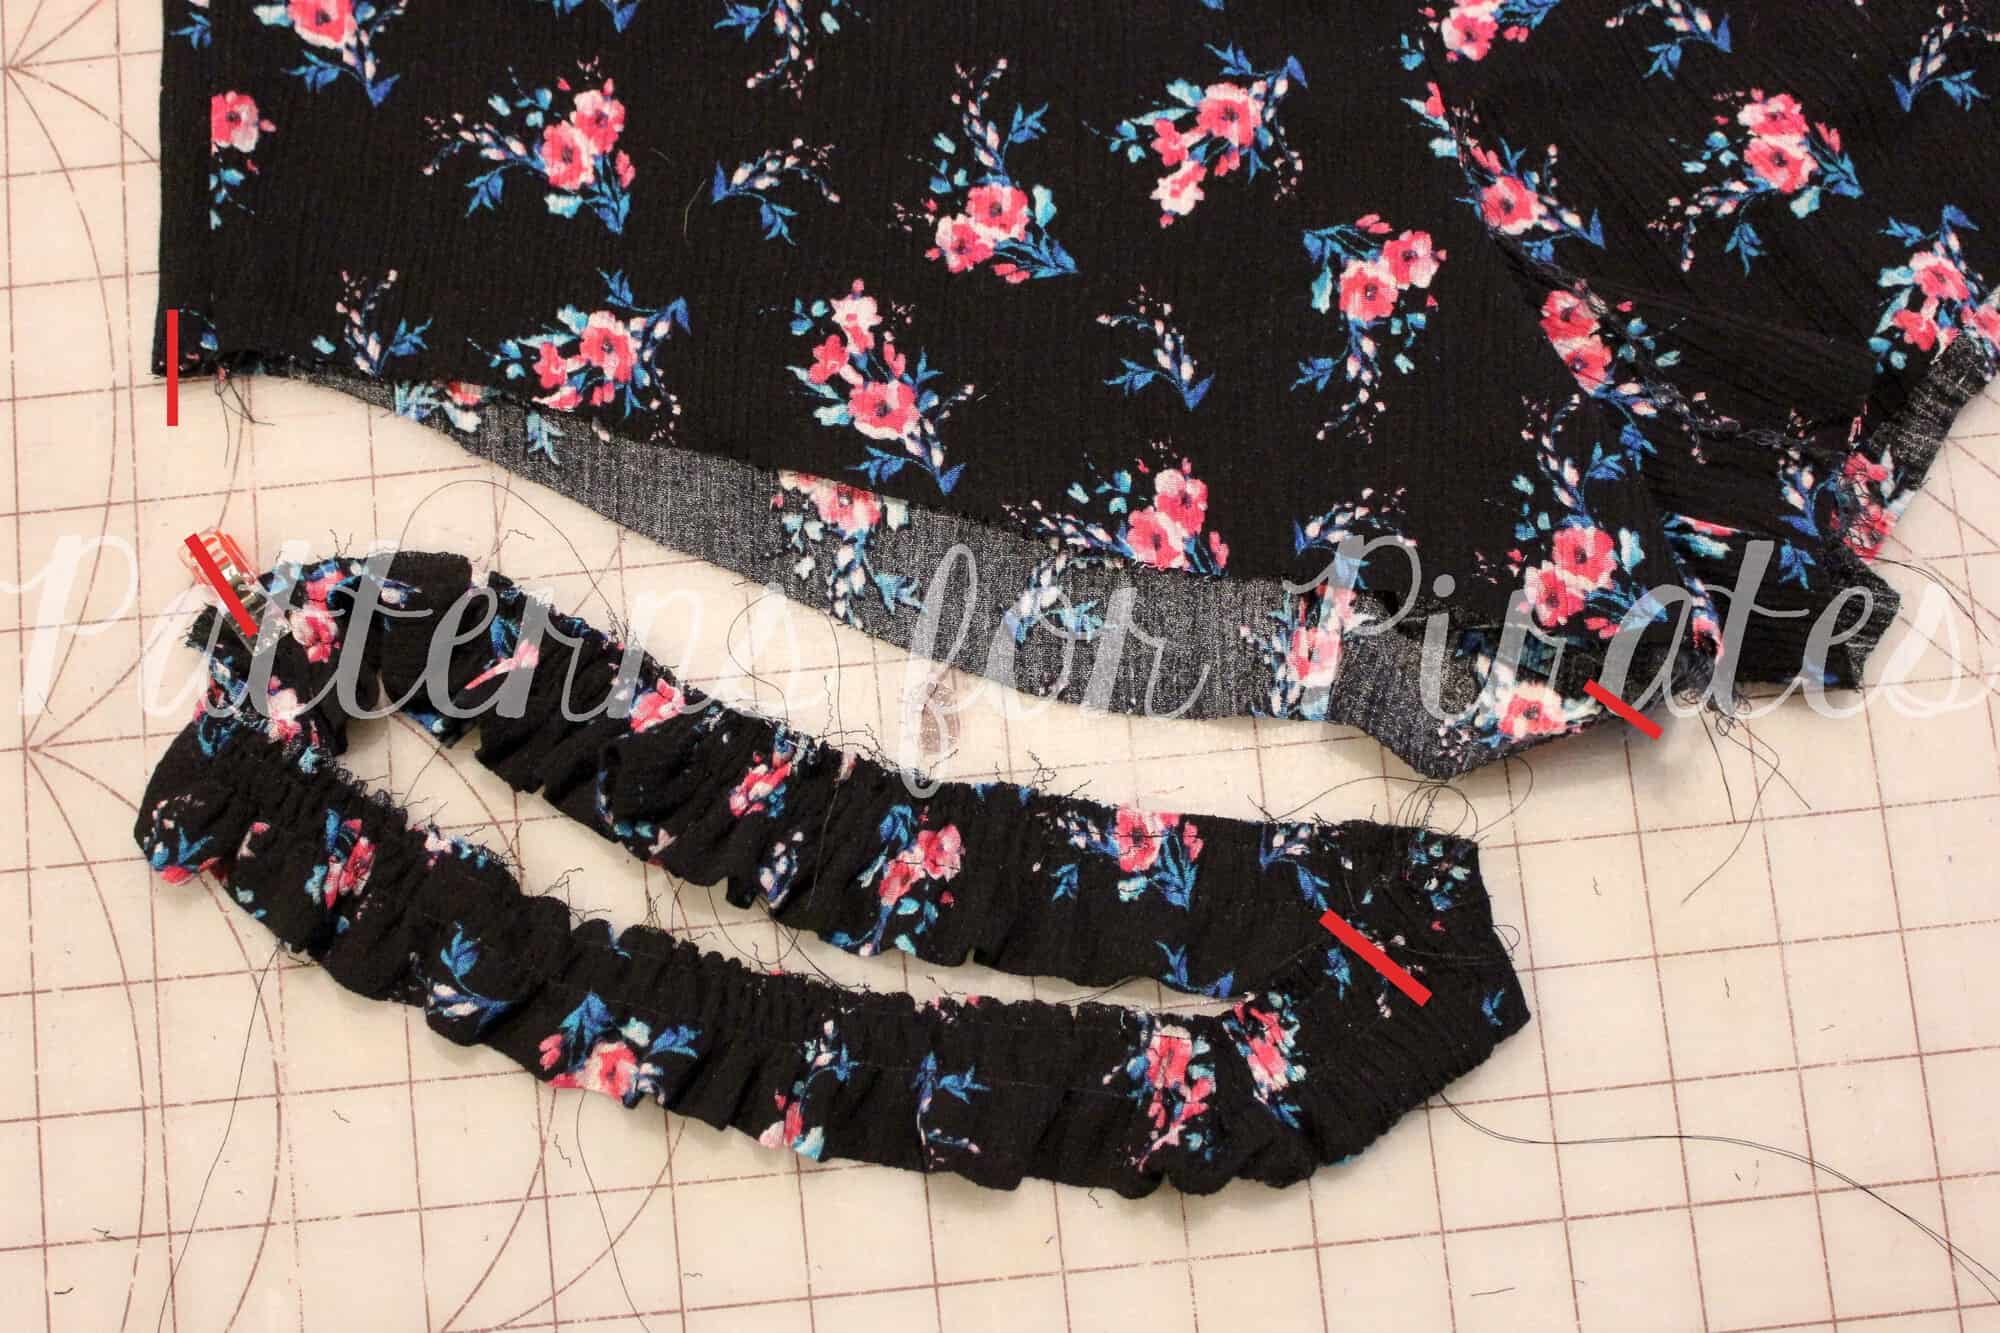
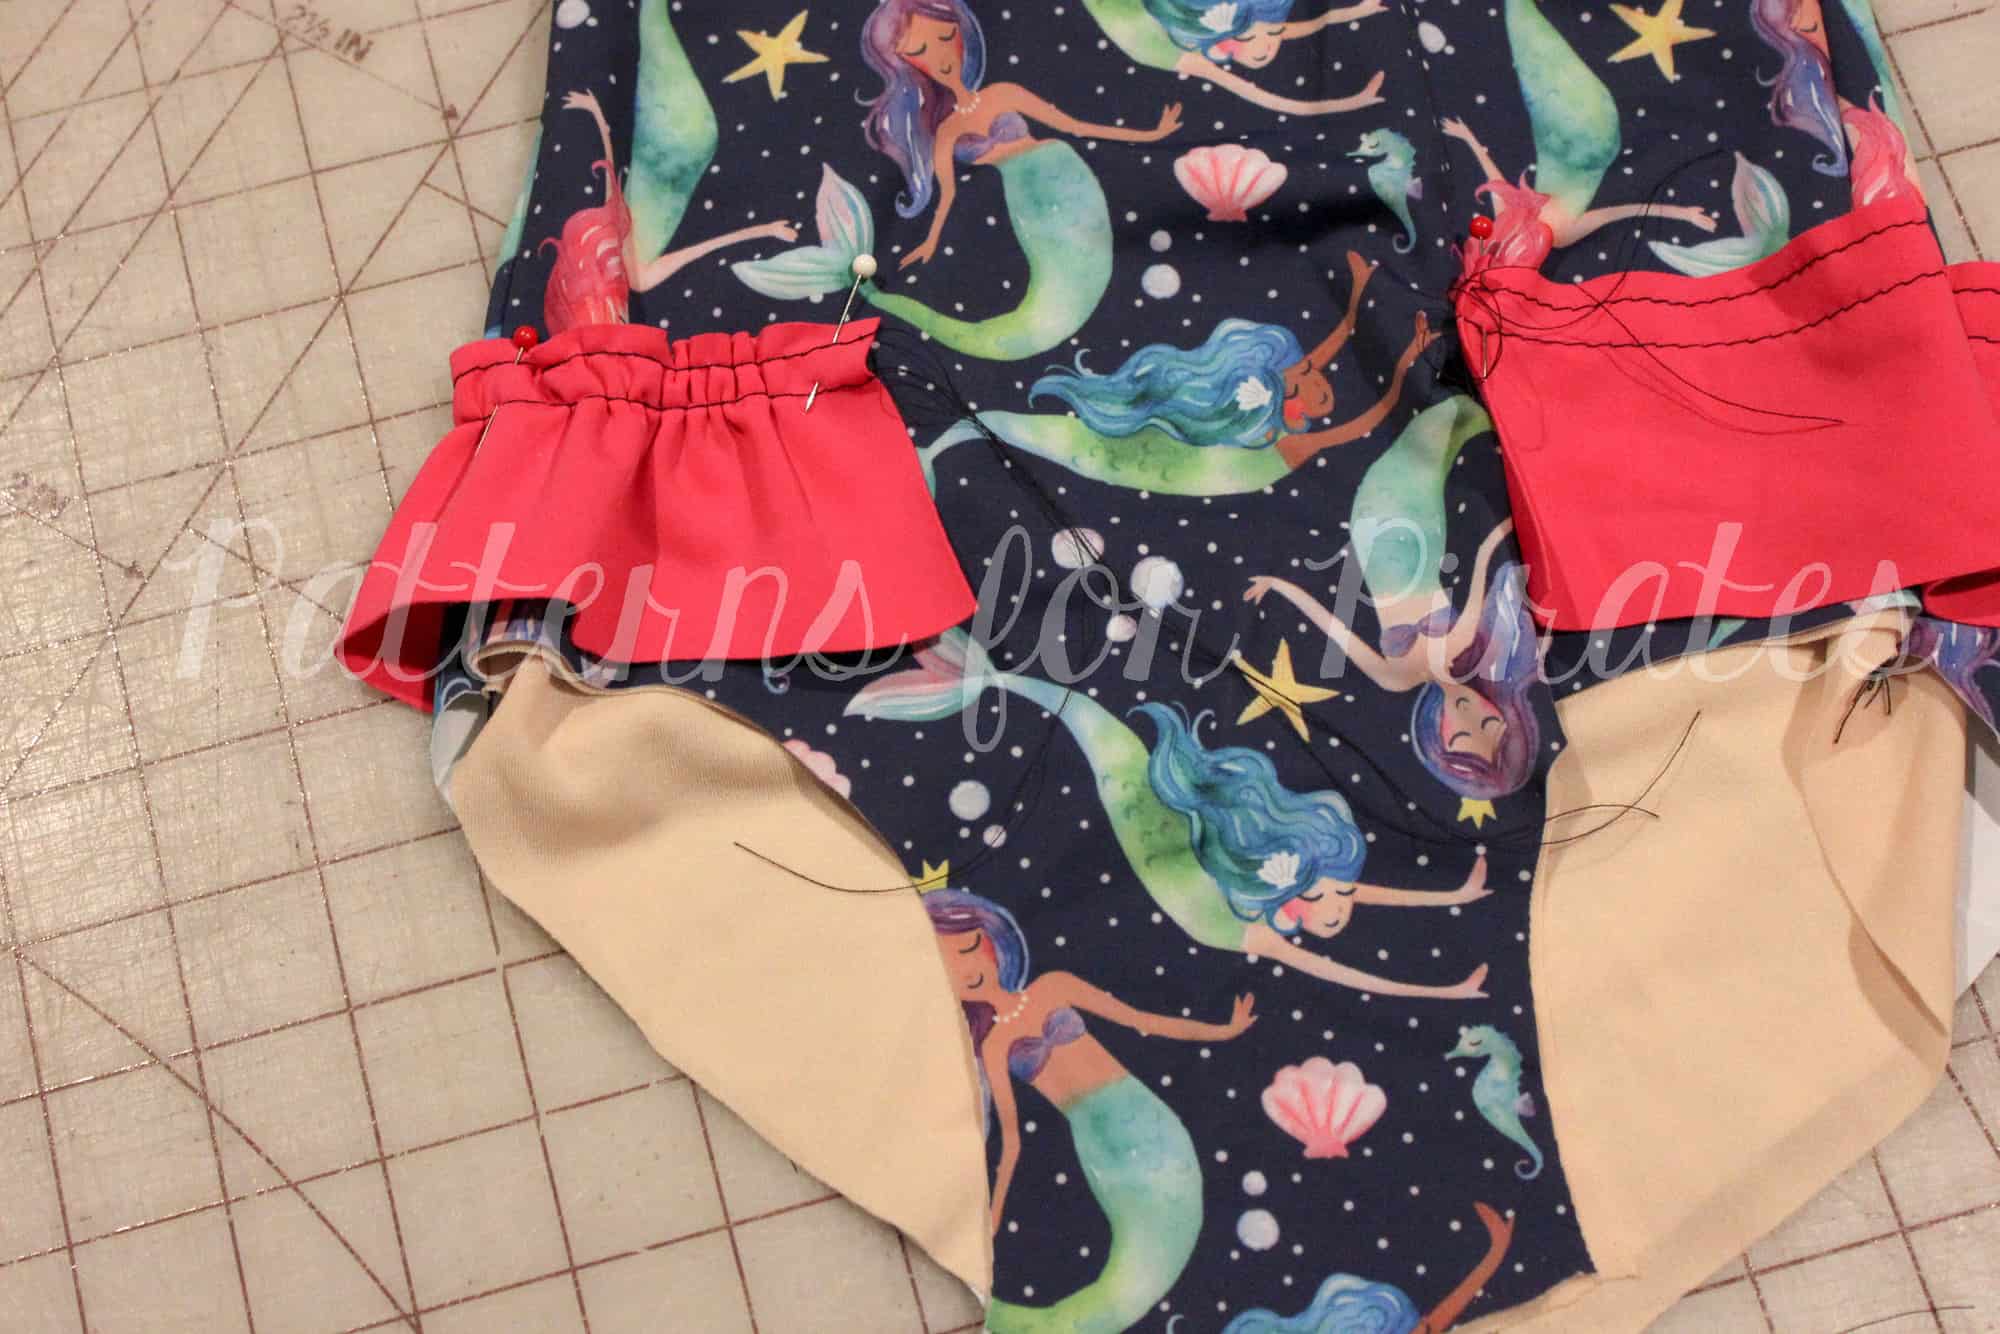
Sew your waistband to your shorts or pants per the pattern instructions and complete your bottoms accordingly. Enjoy!!!
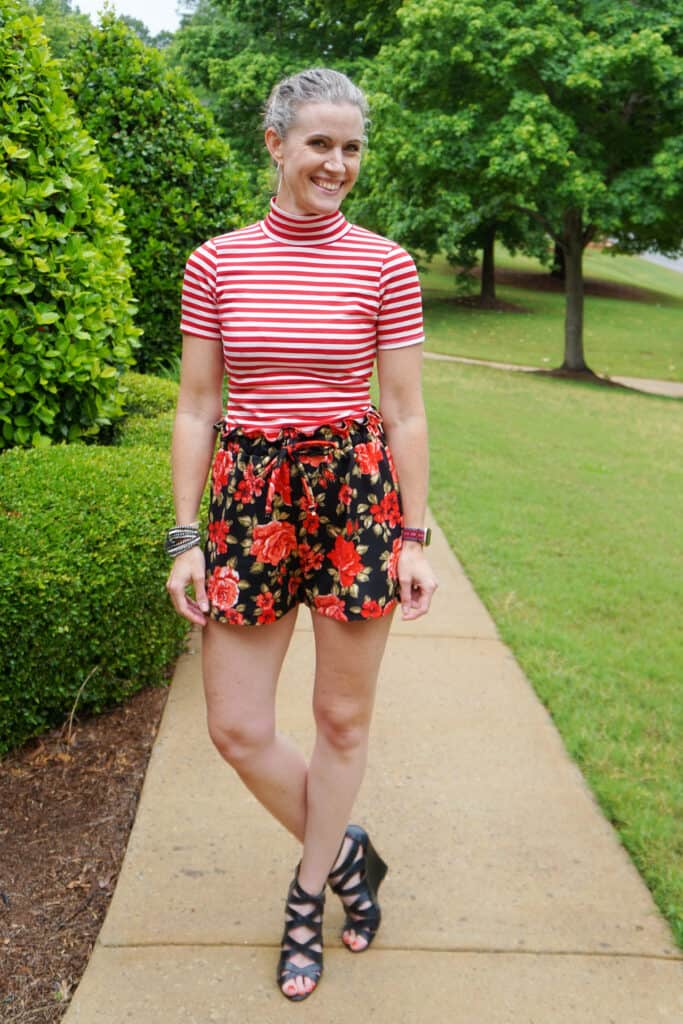
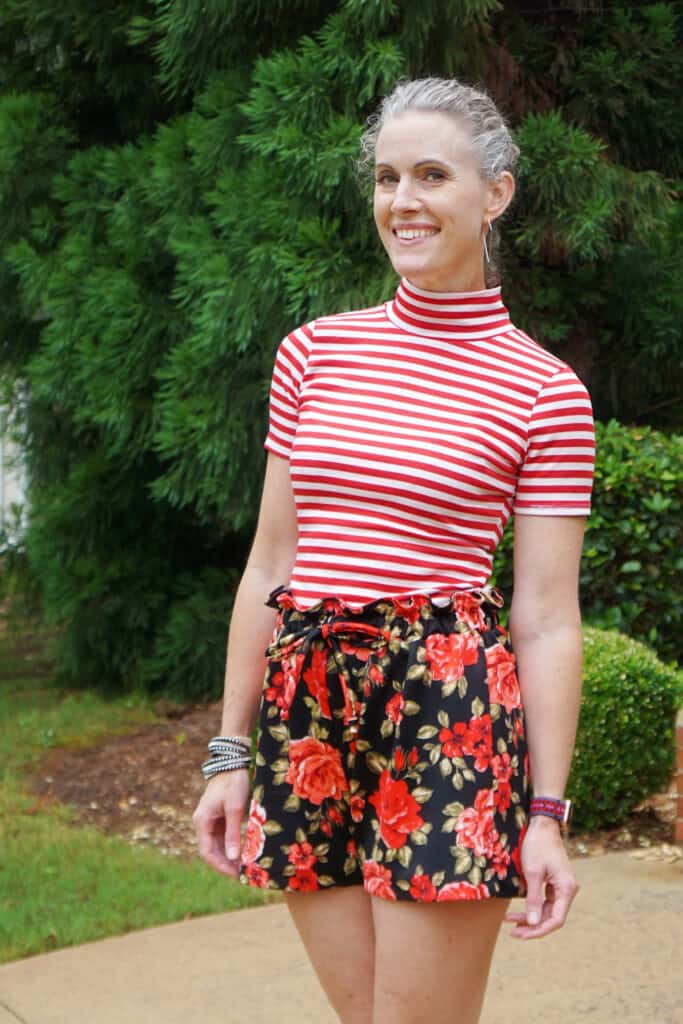
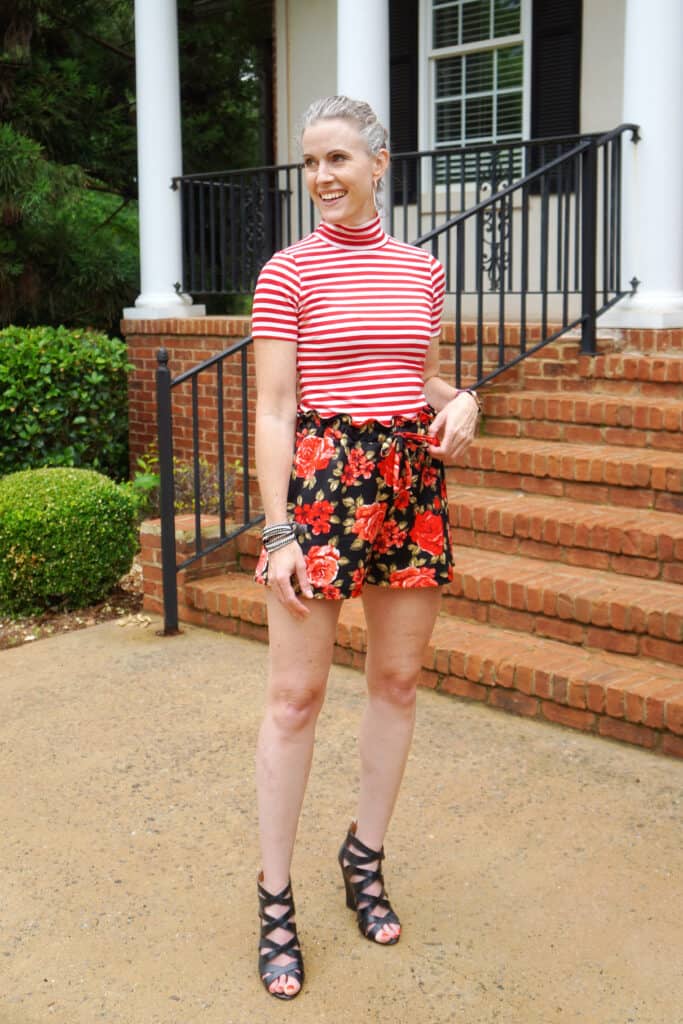
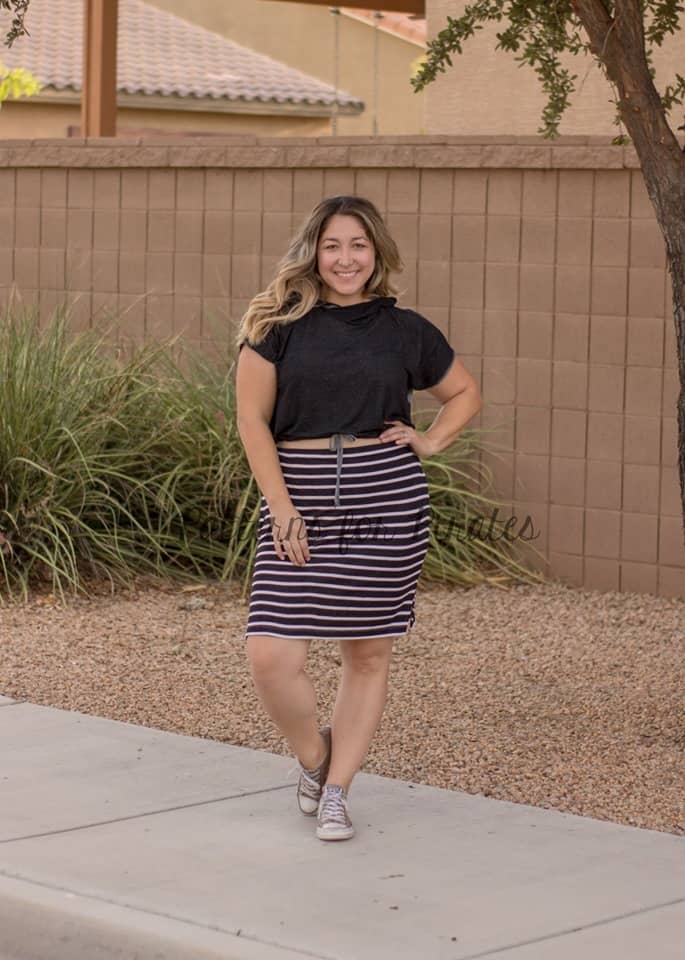
I’ve paired my shorts here with a Hepburn top. Cute, cute, cute!!
…..
Tunic/top
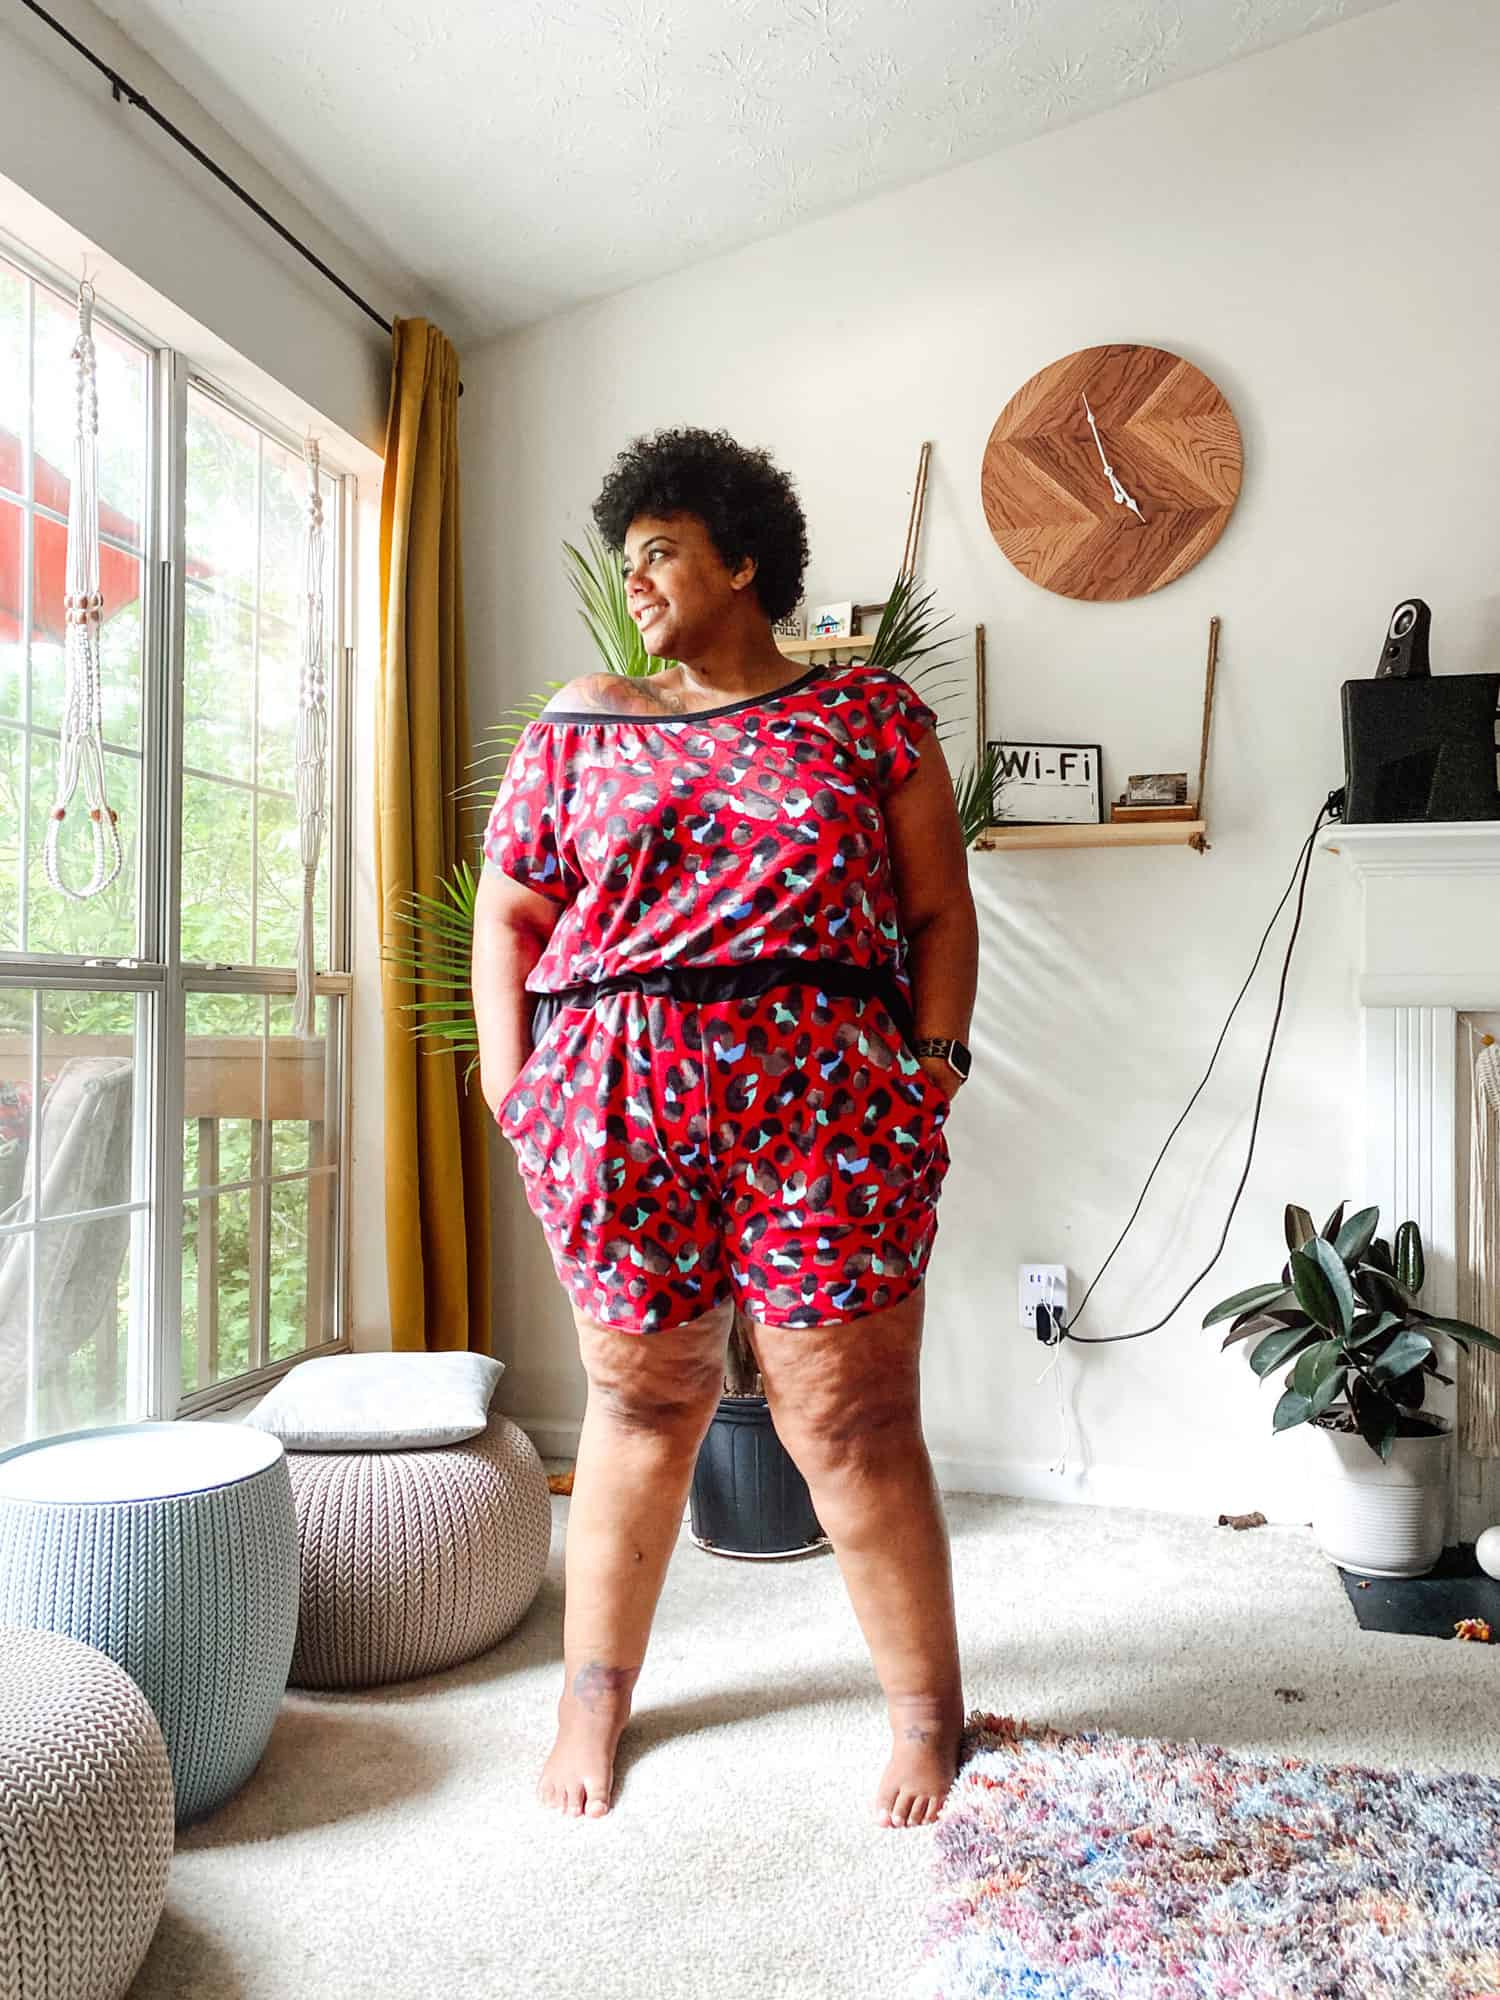
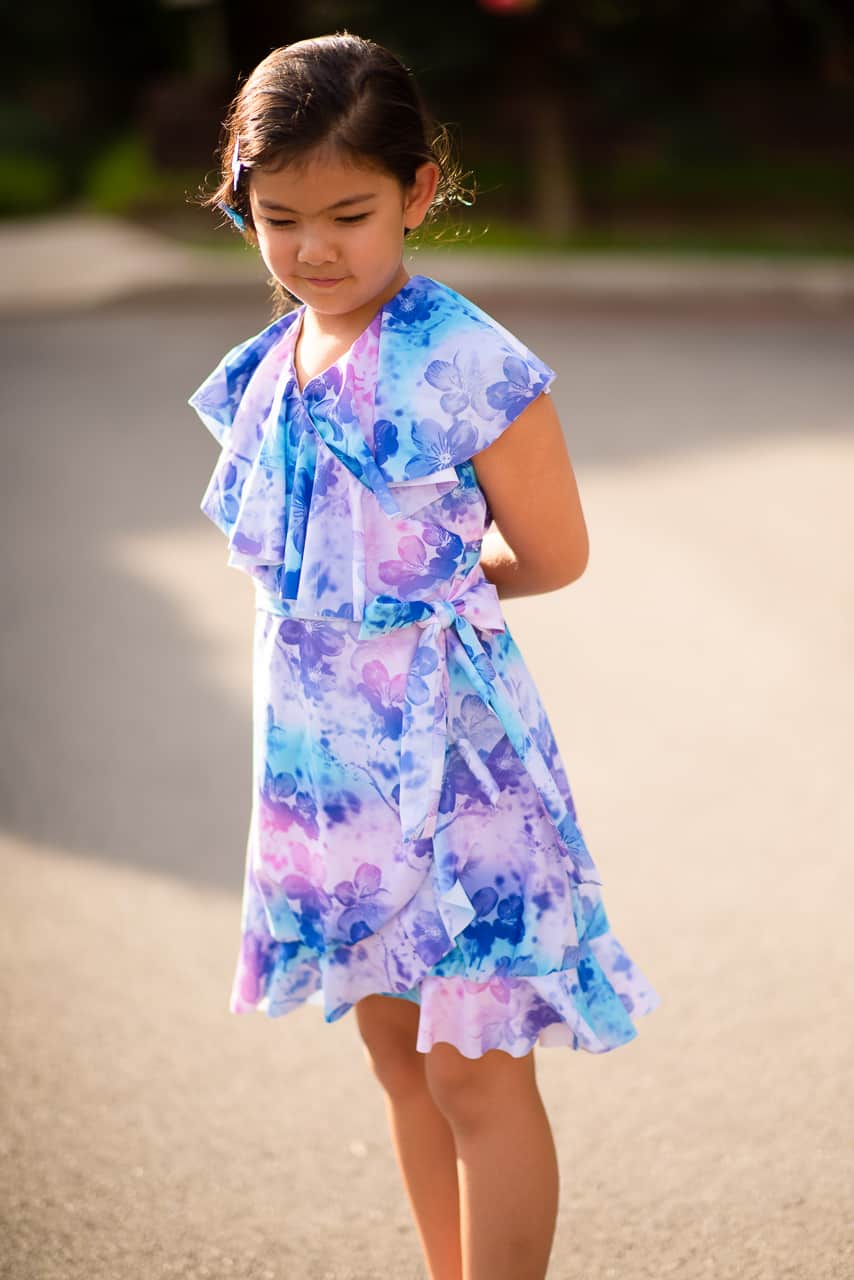
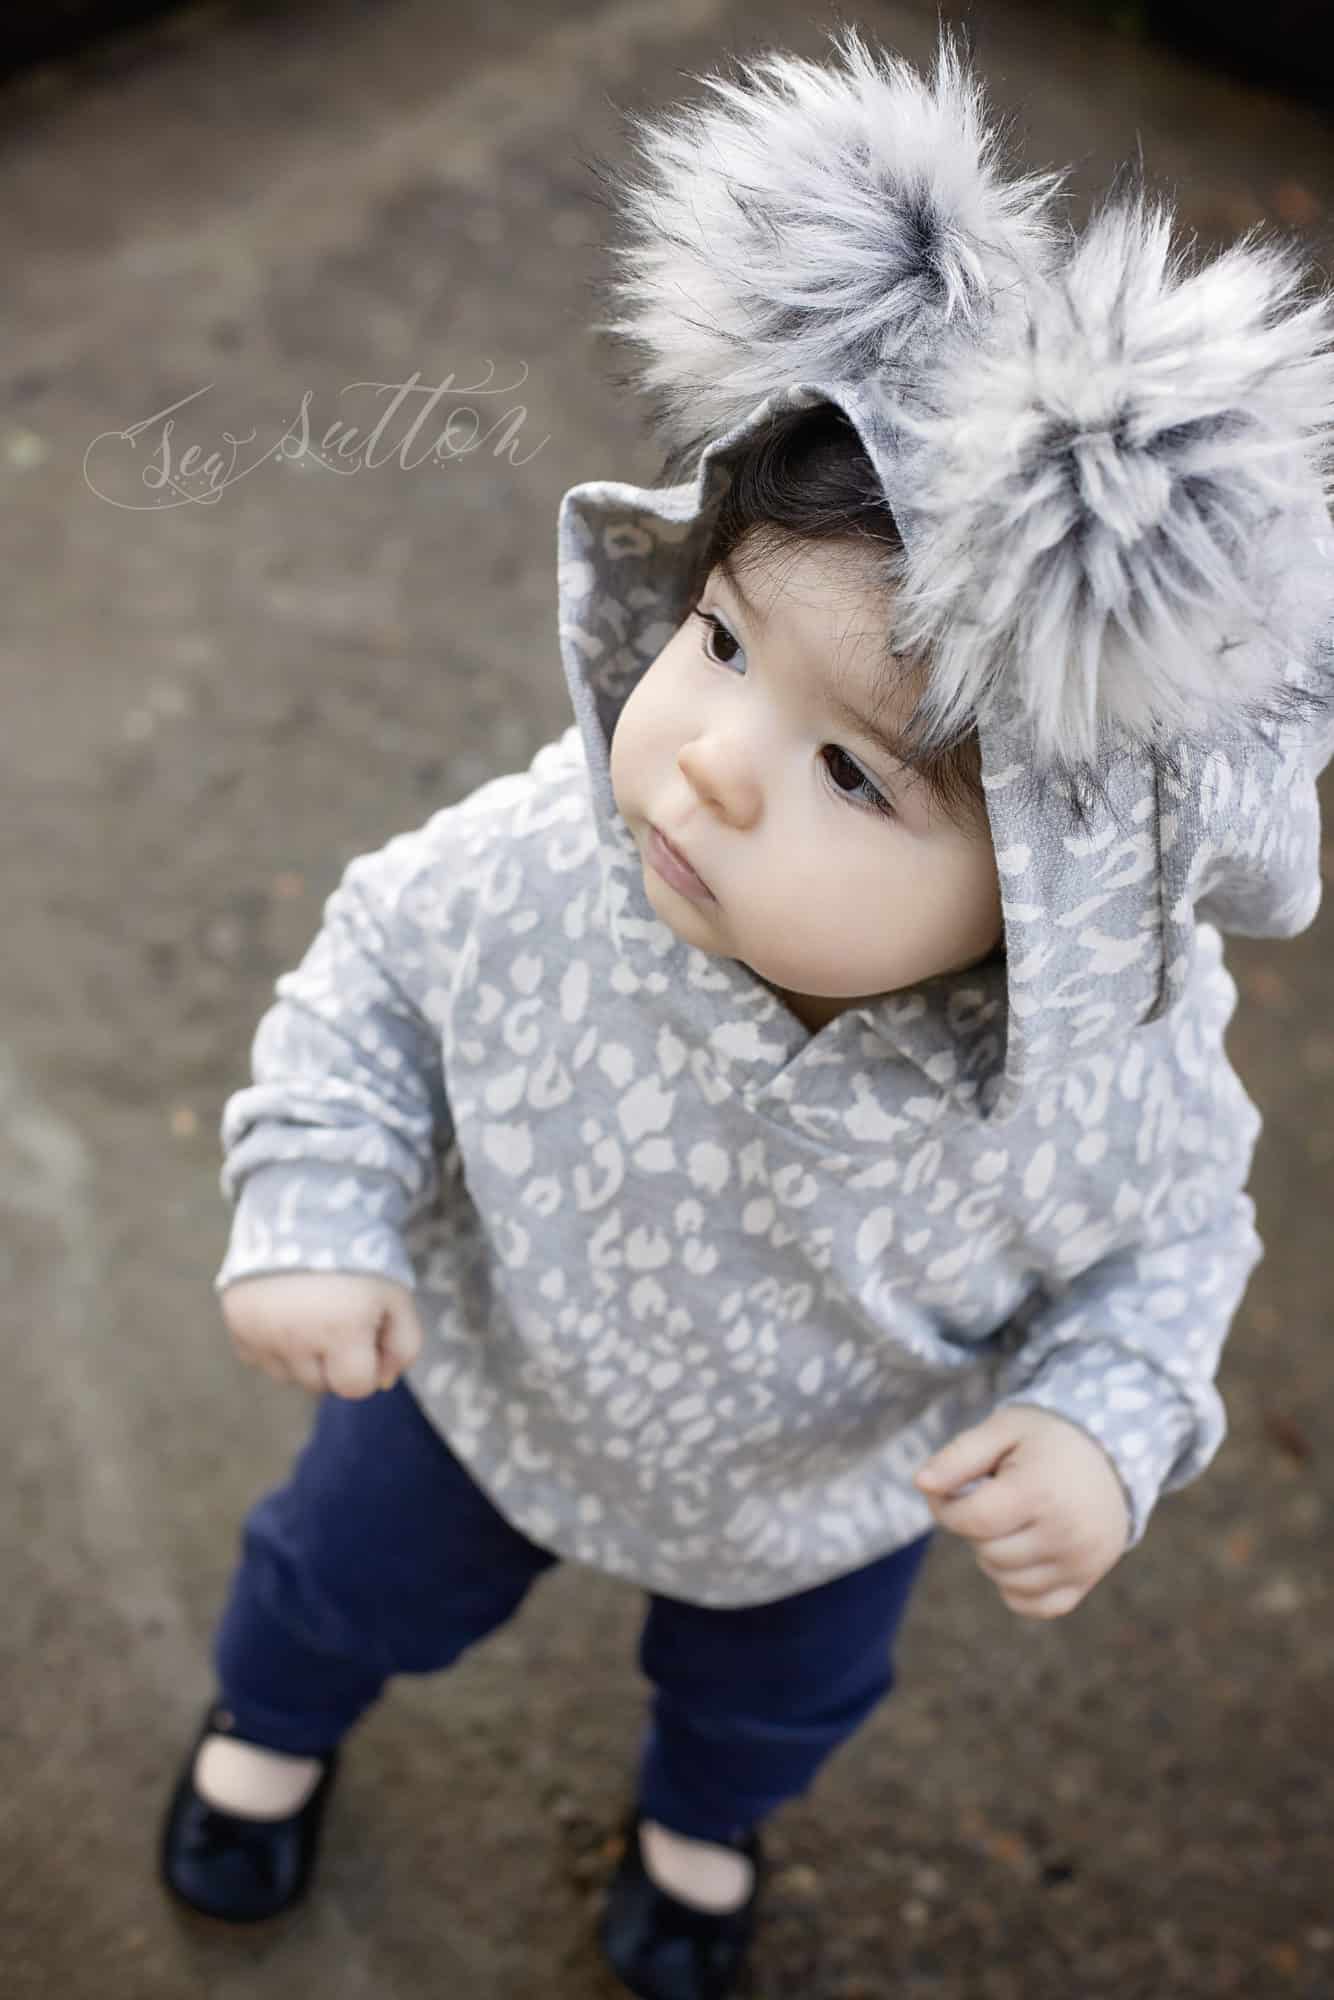
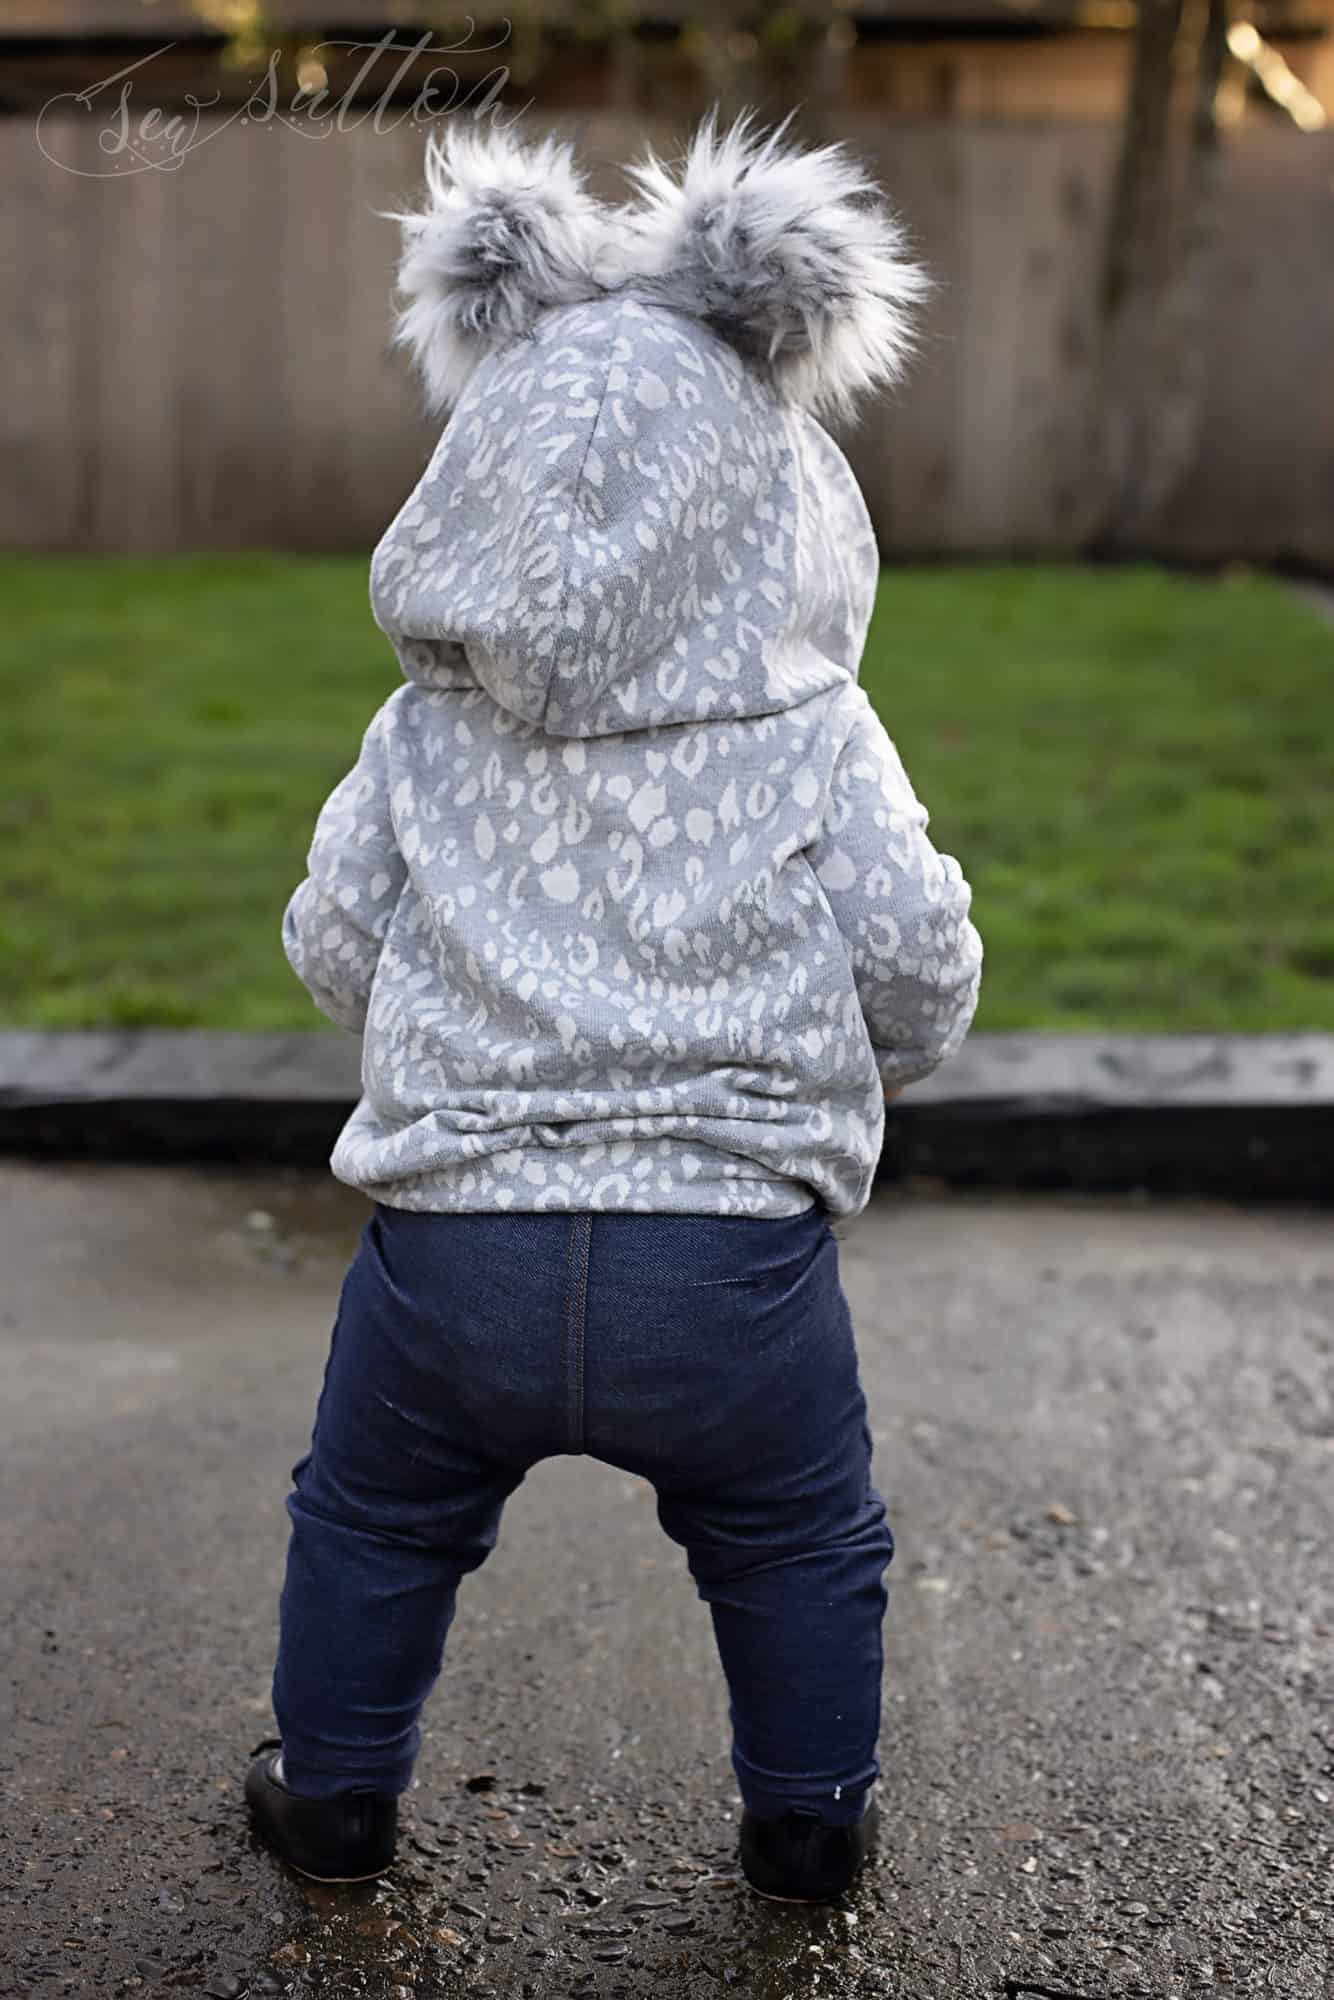
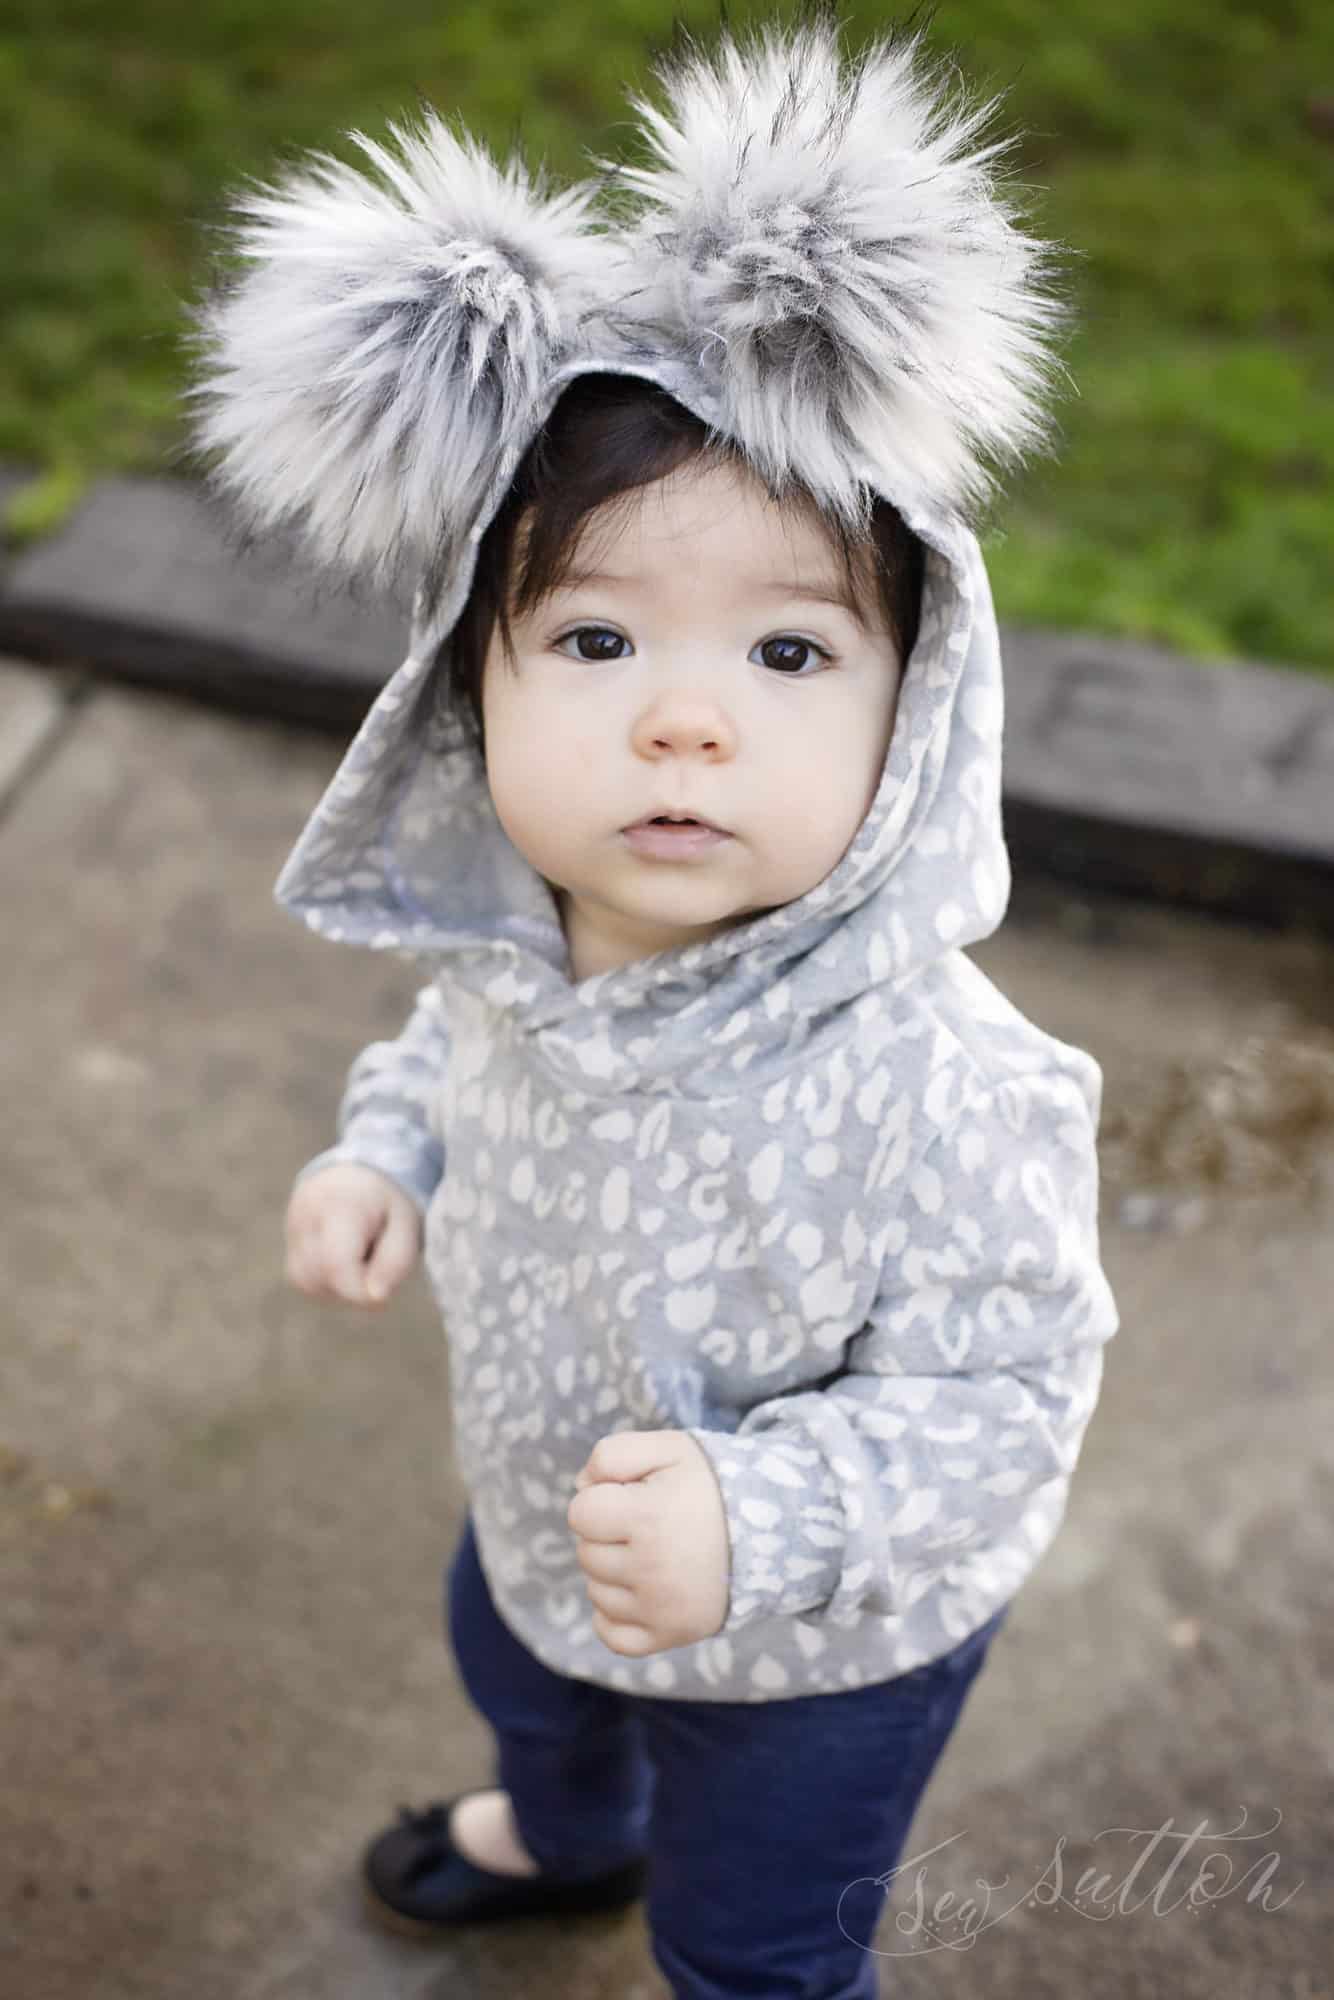
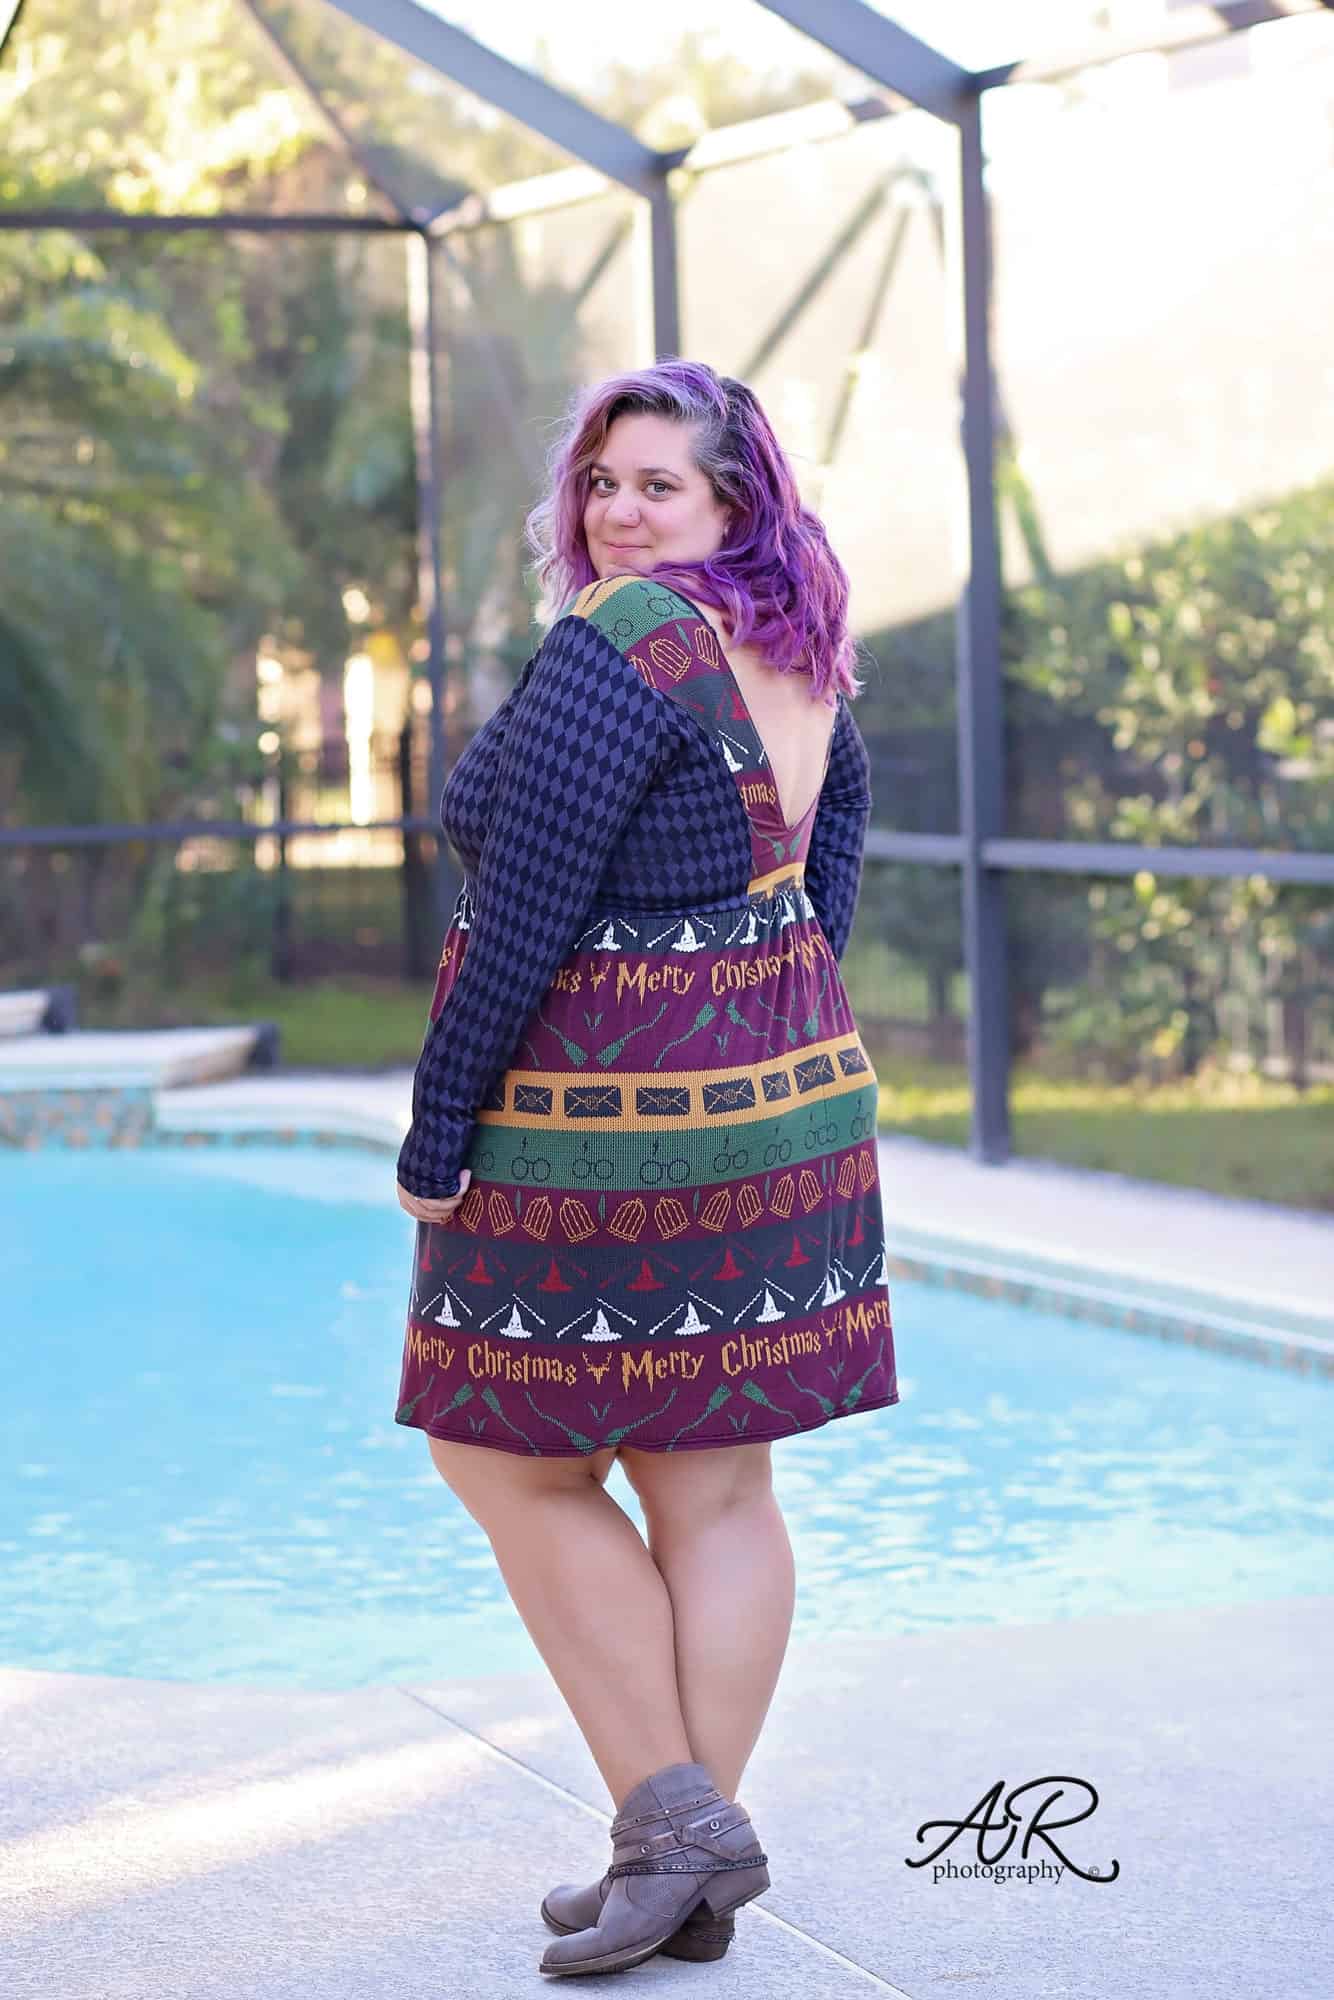
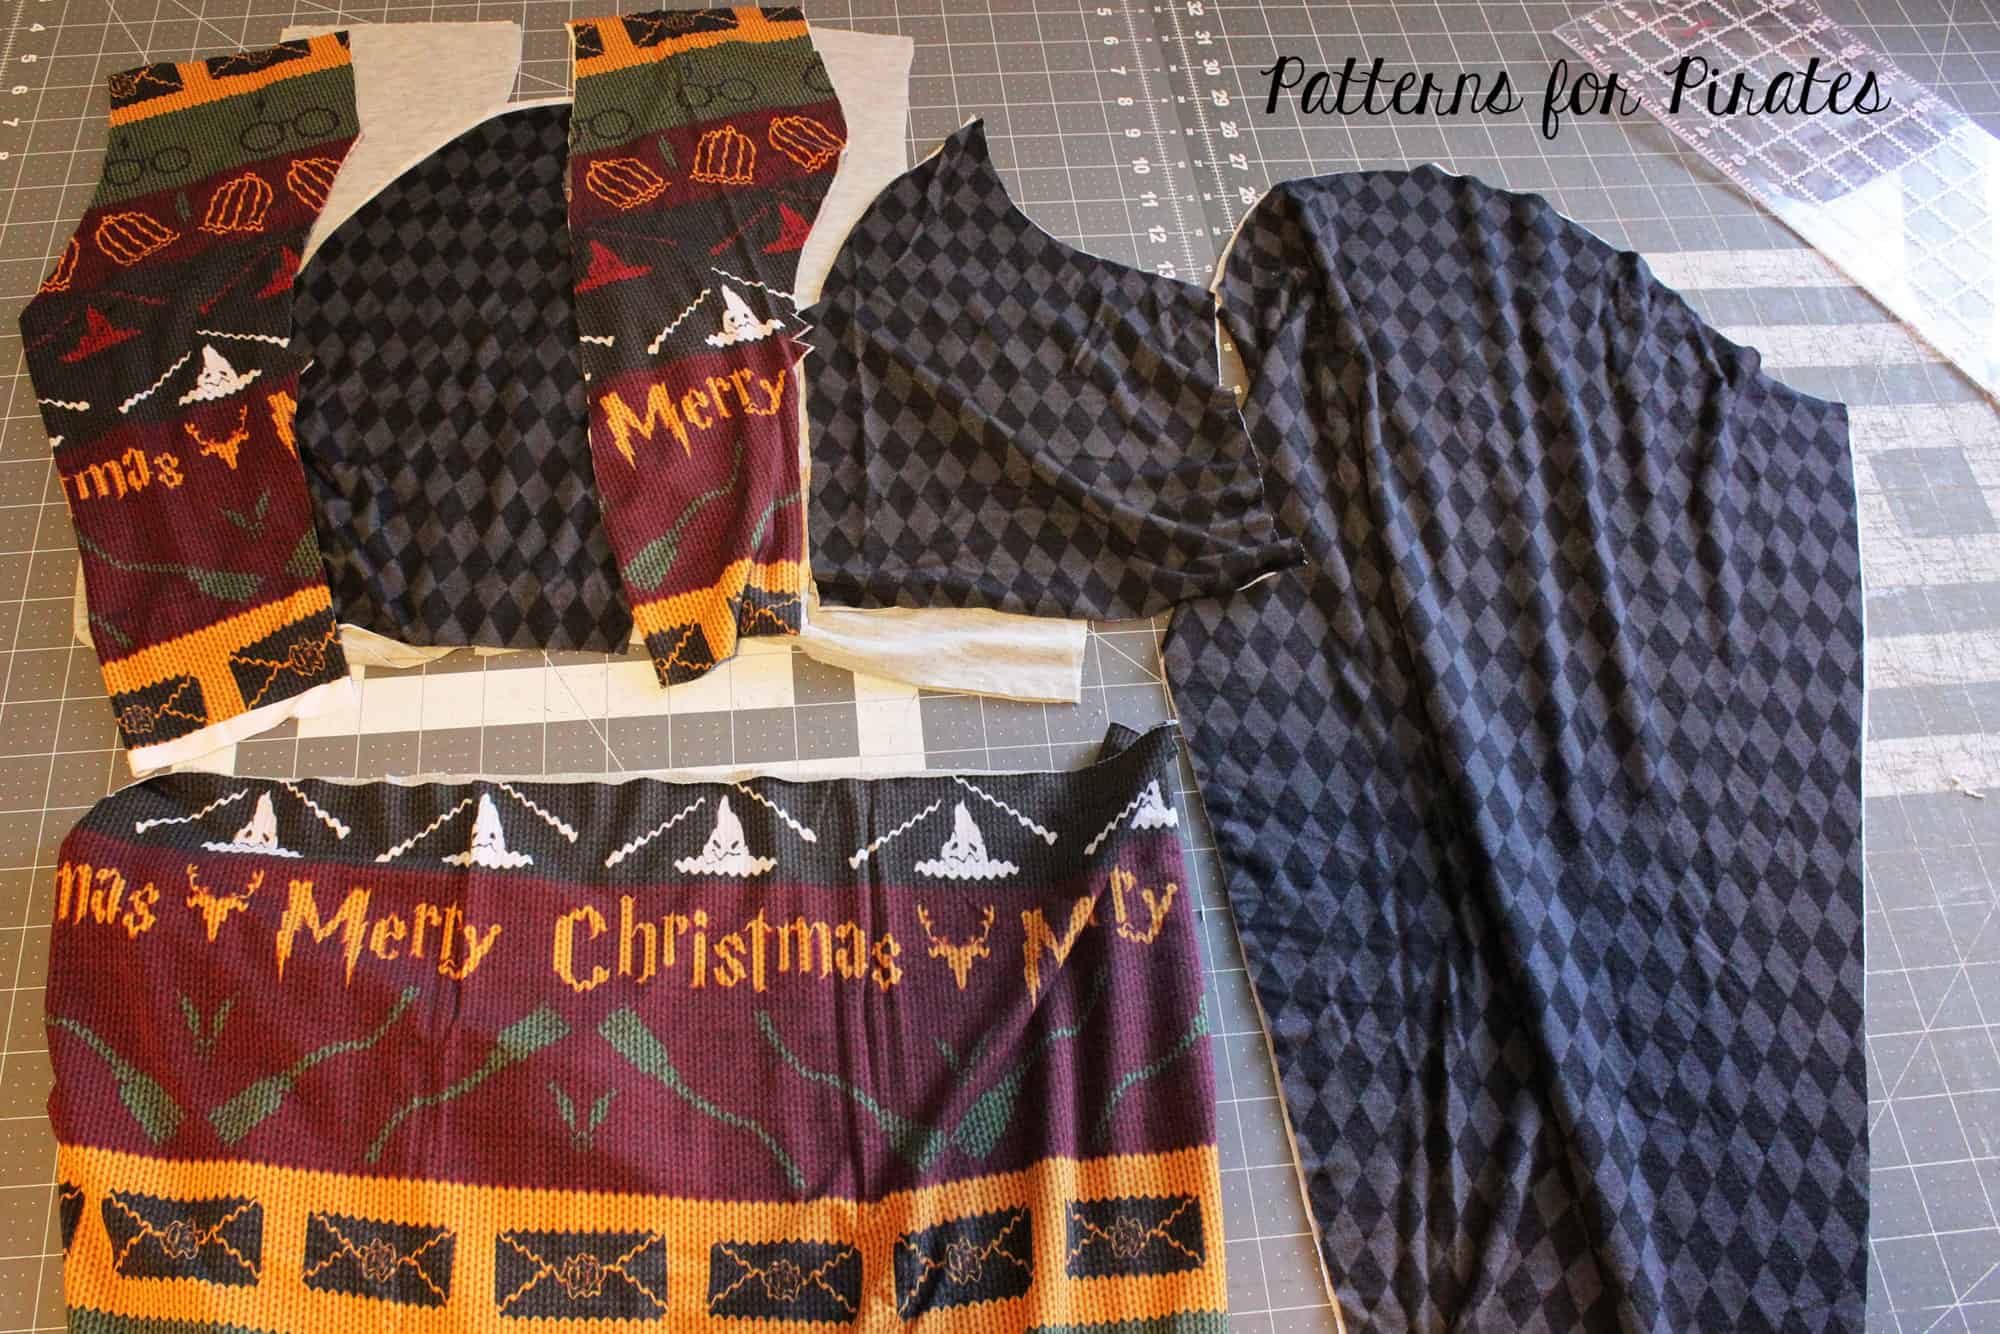
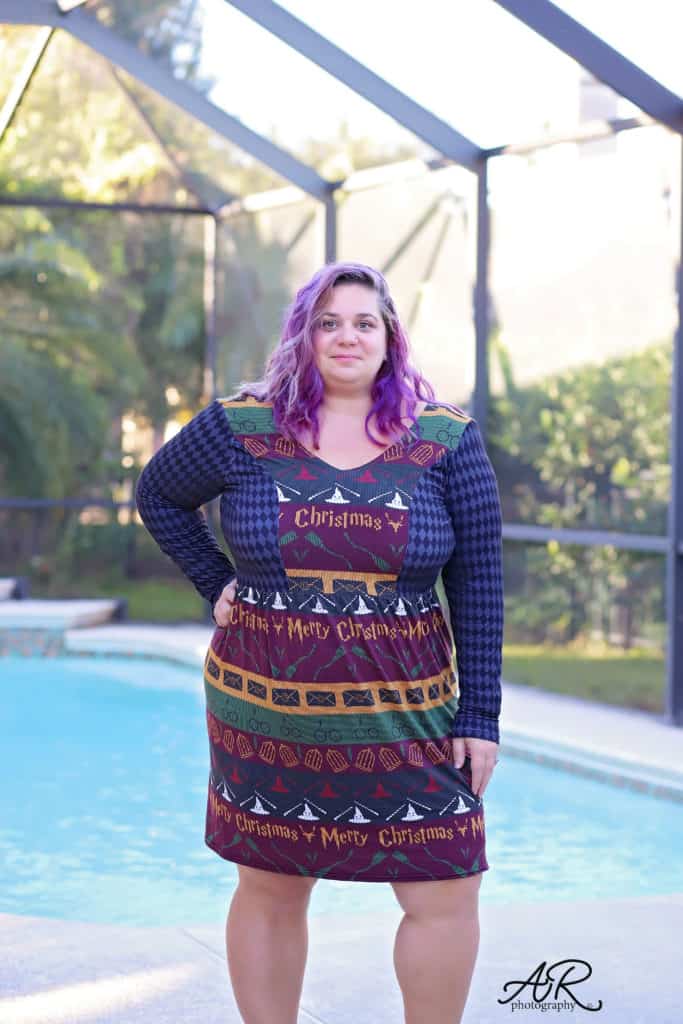
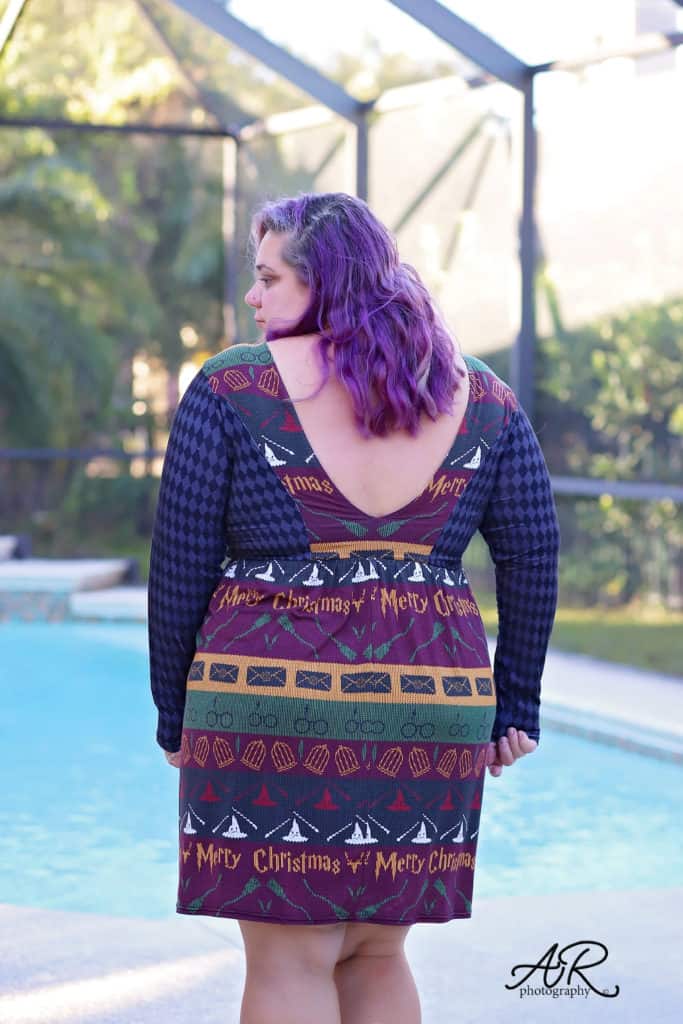
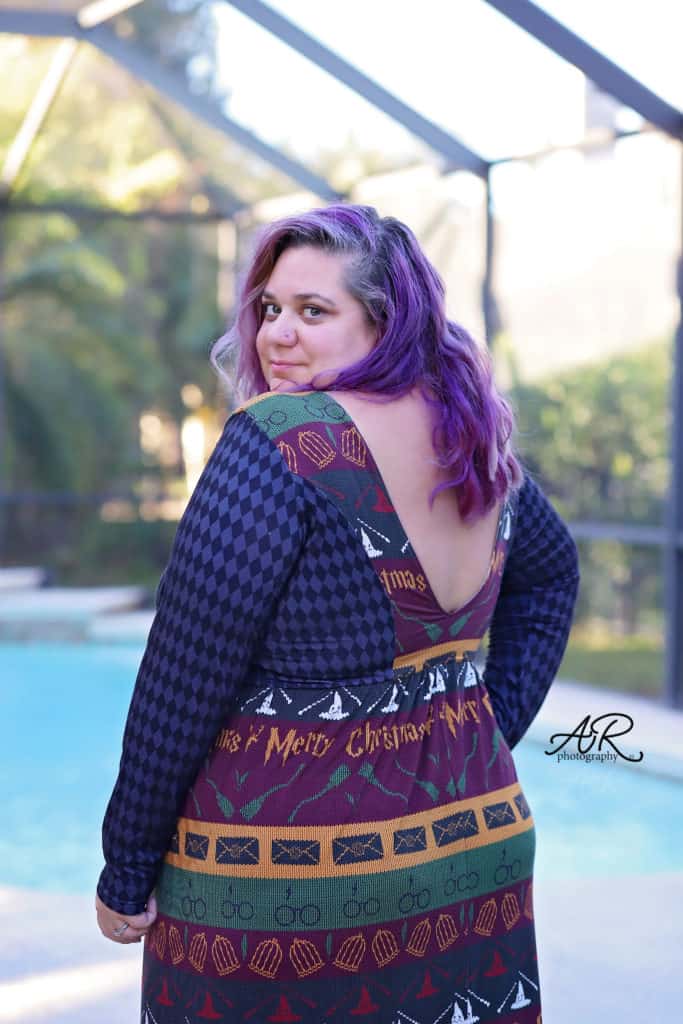
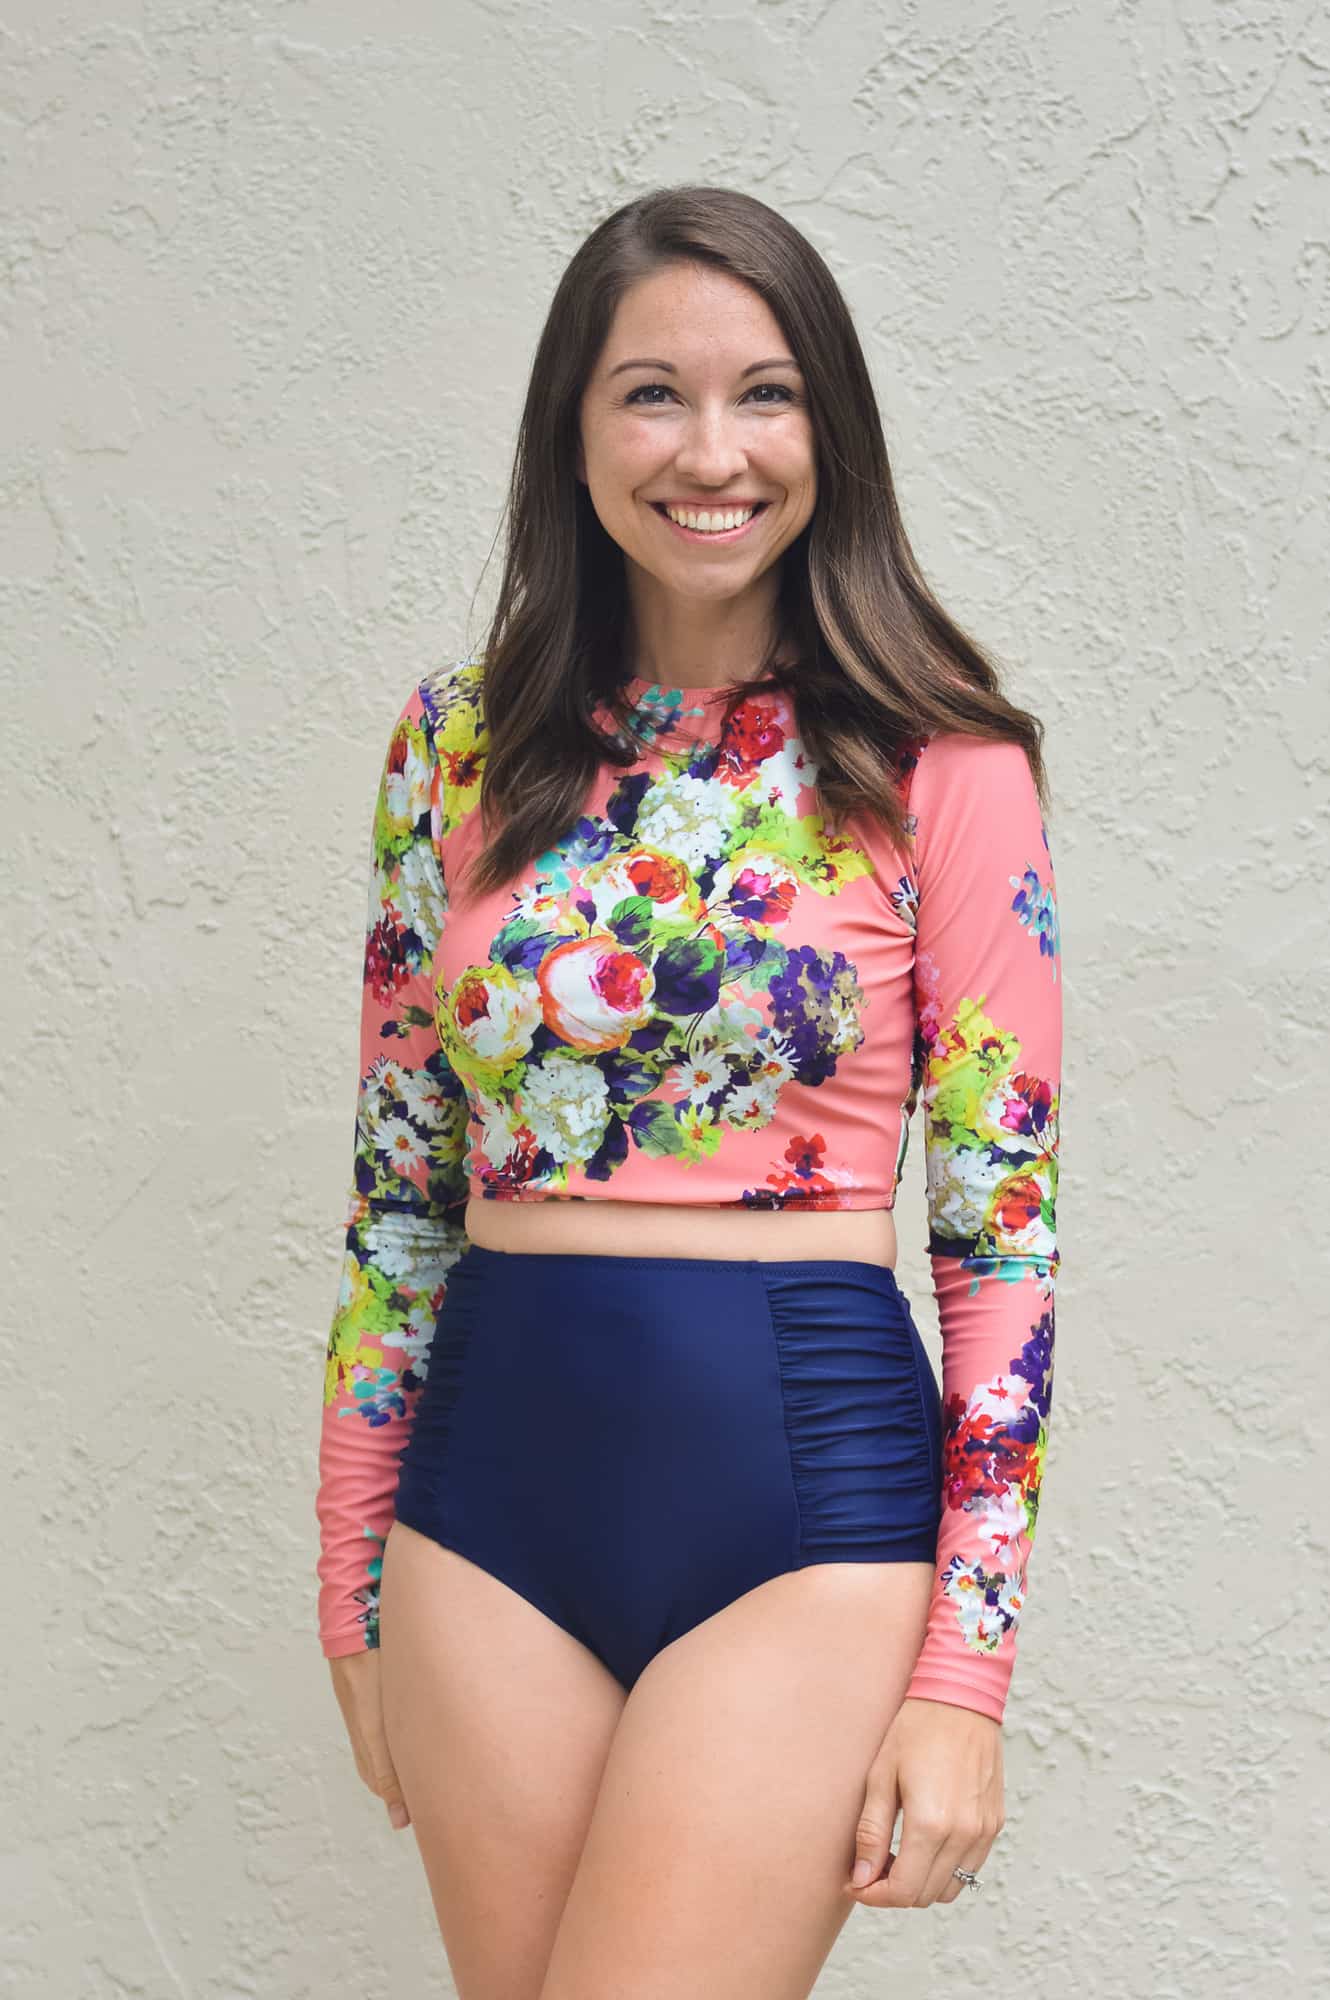
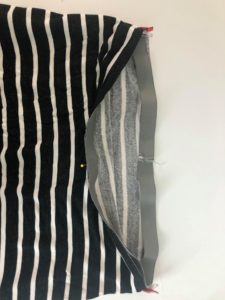
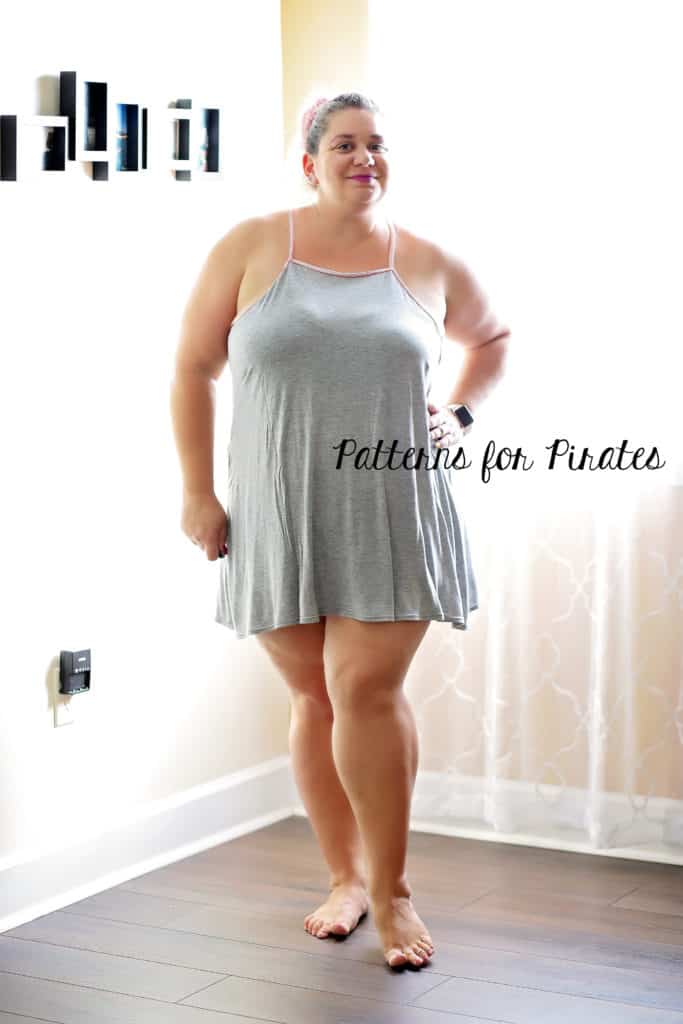
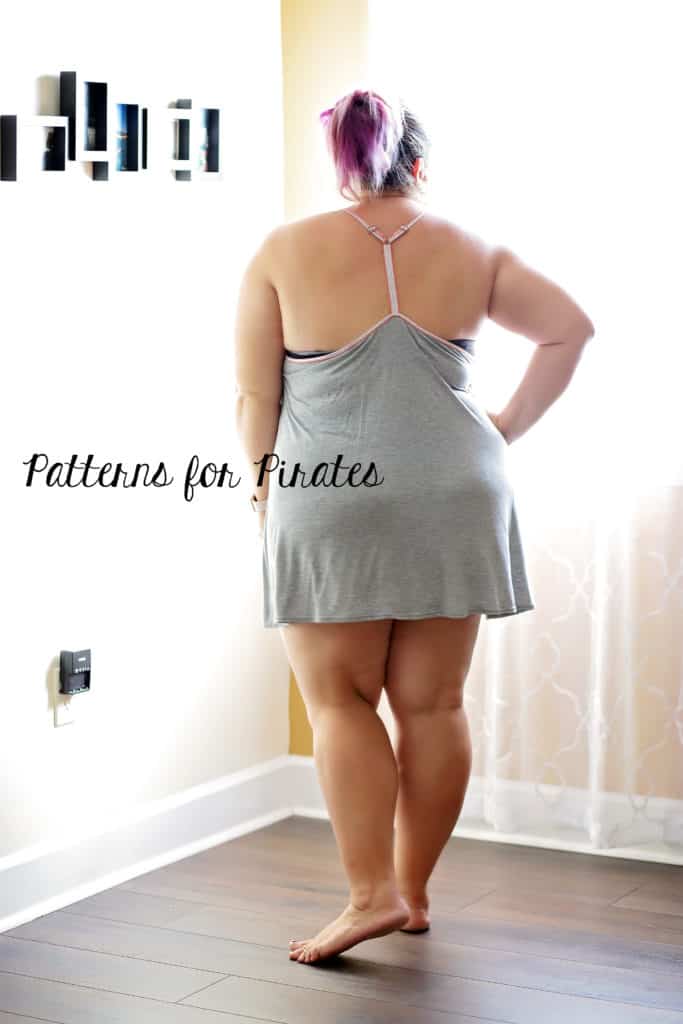
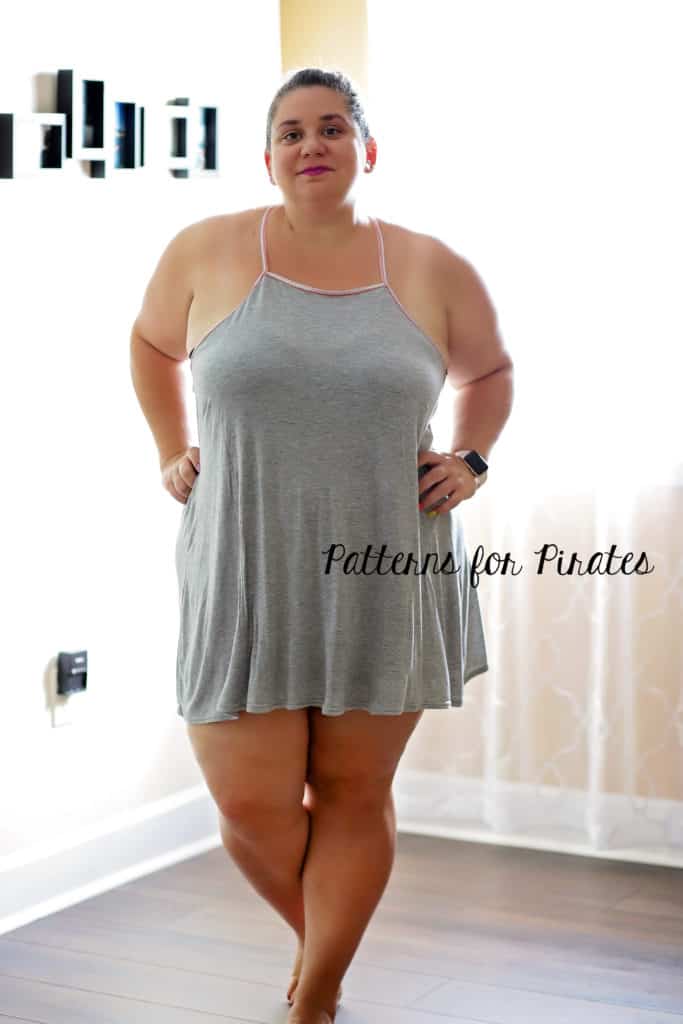
Hi, I’m going to show you how easy it is to make the new Runabout Romper as a tunic/top instead of a dress.
First of all you will want to decide how long you want to have the skirt portion, as this is going to determine how long your top is. You could make the bodice first and attach the waistband onto it (just safety pin your elastic together to try on) and measure how far you would like the front of your top to come down, or you could just be brave and guestimate.
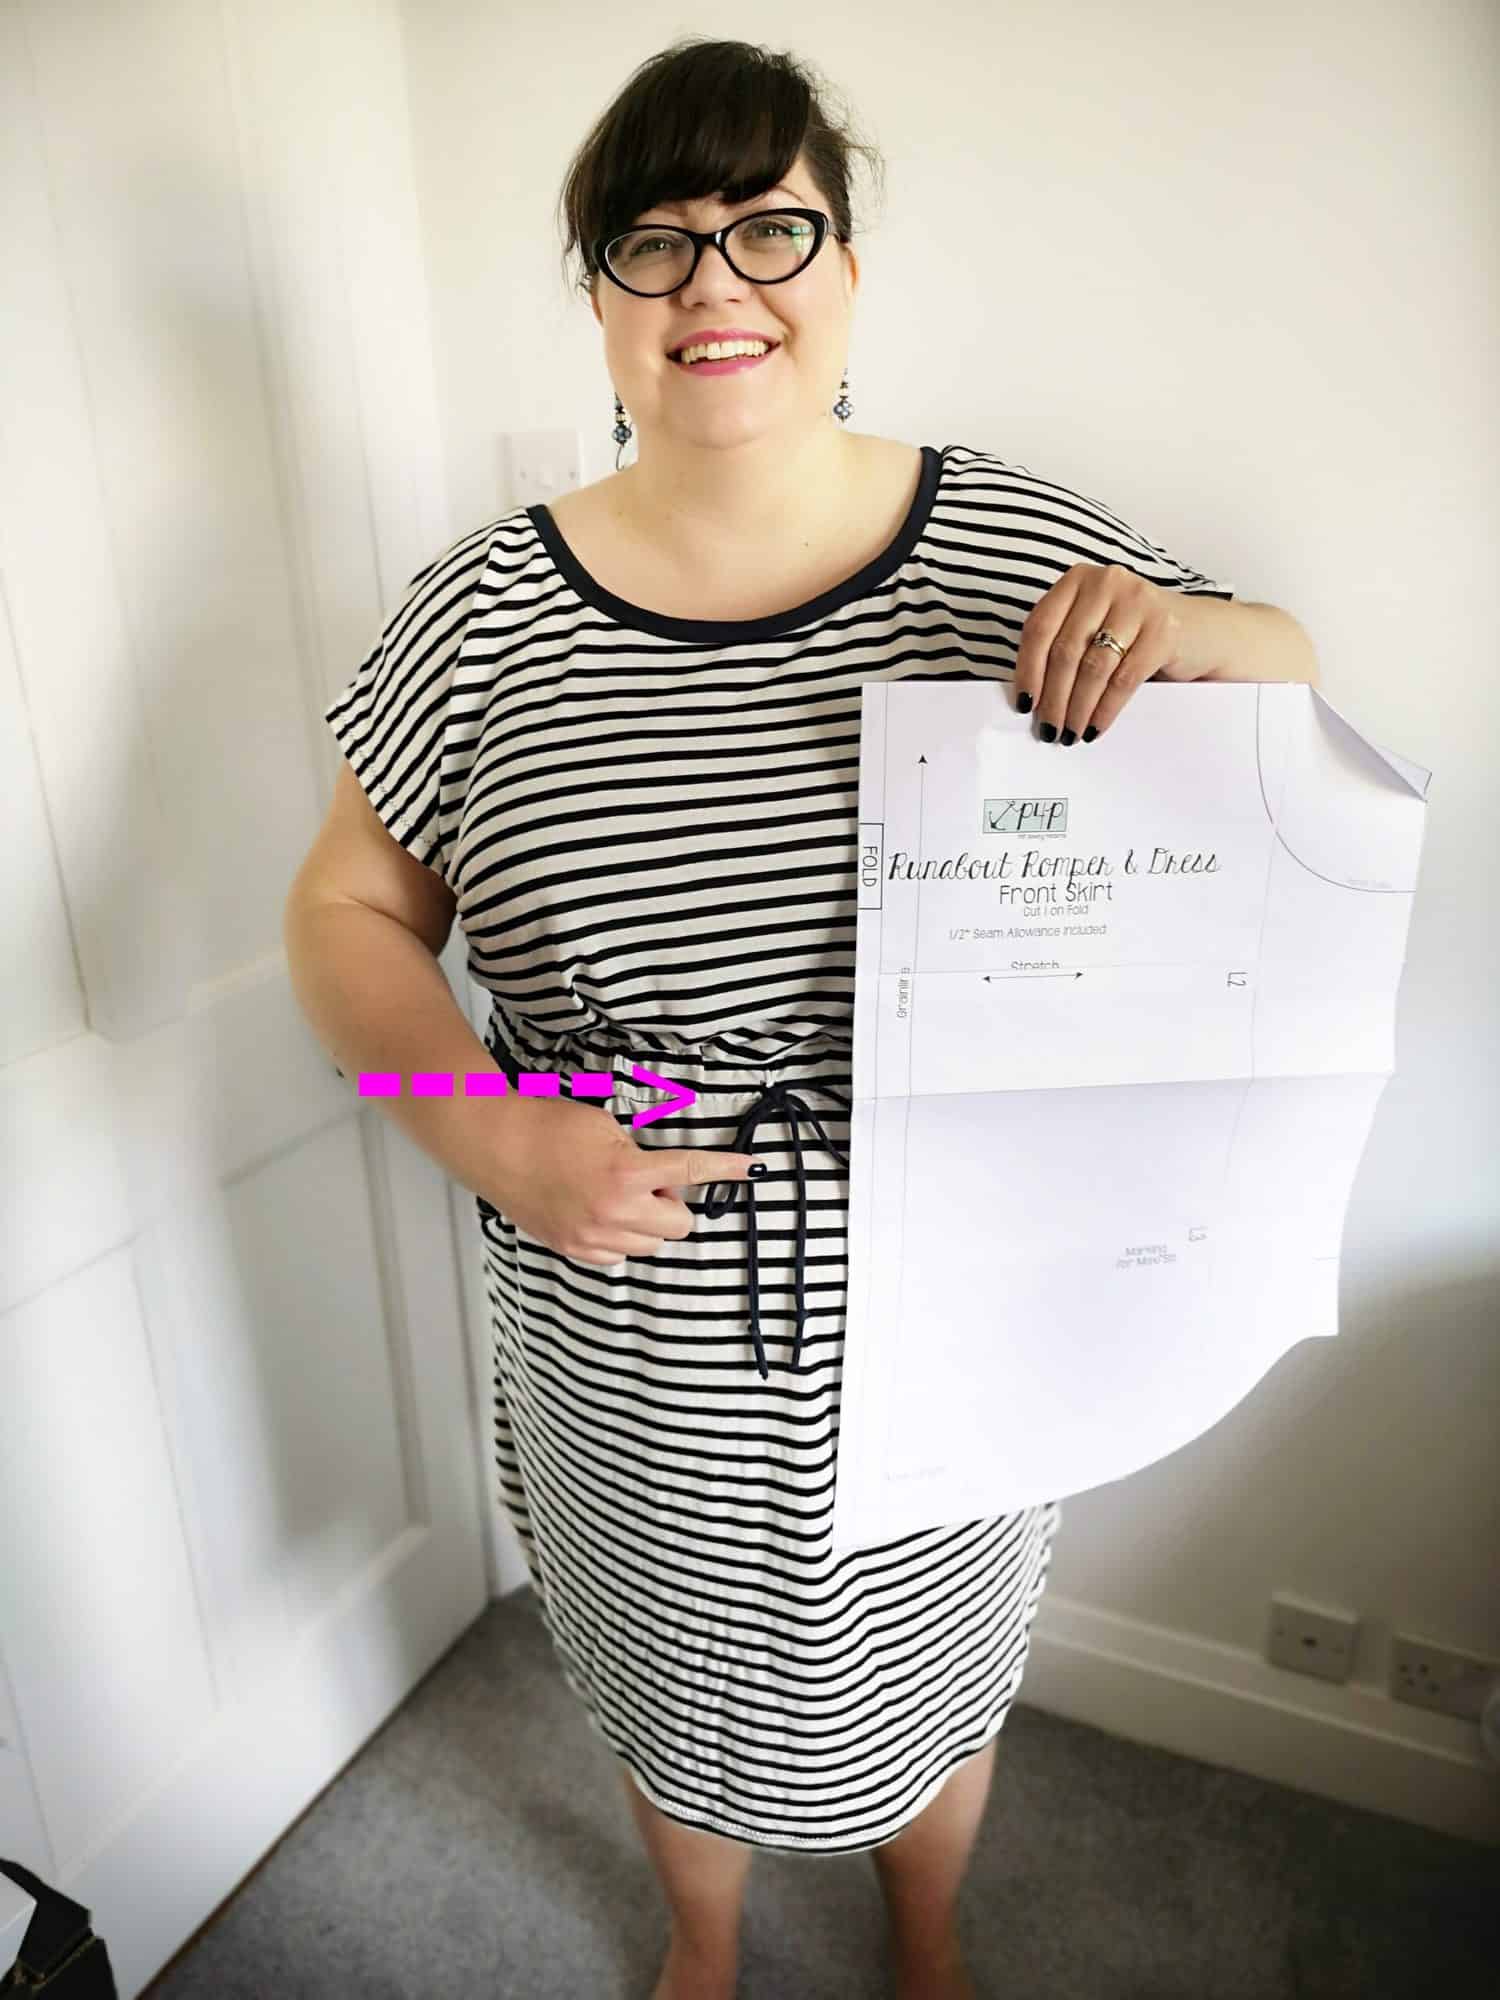
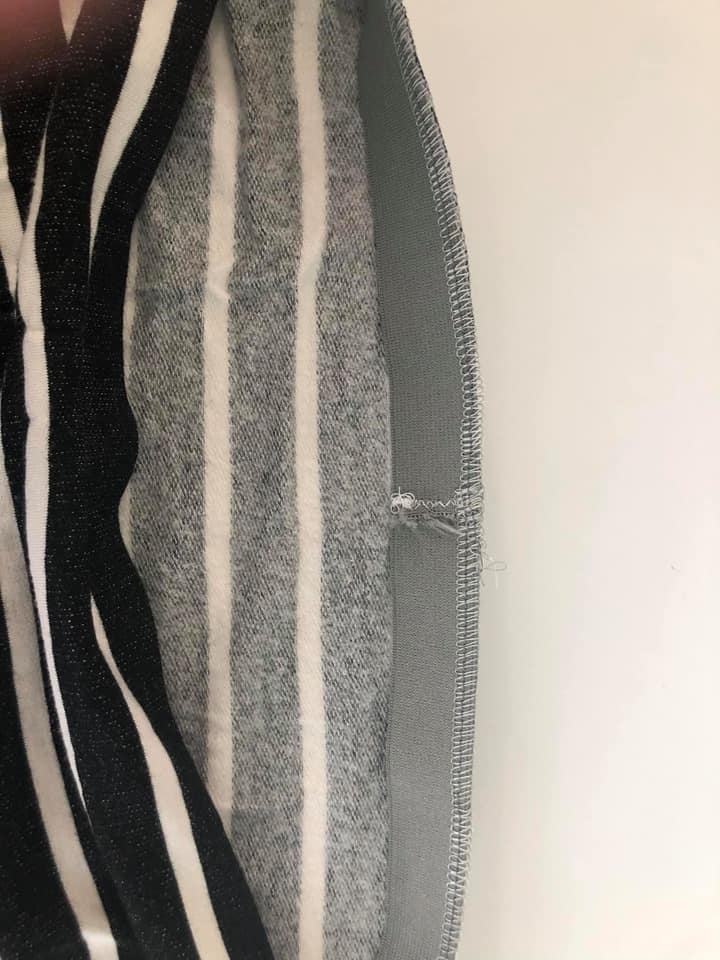
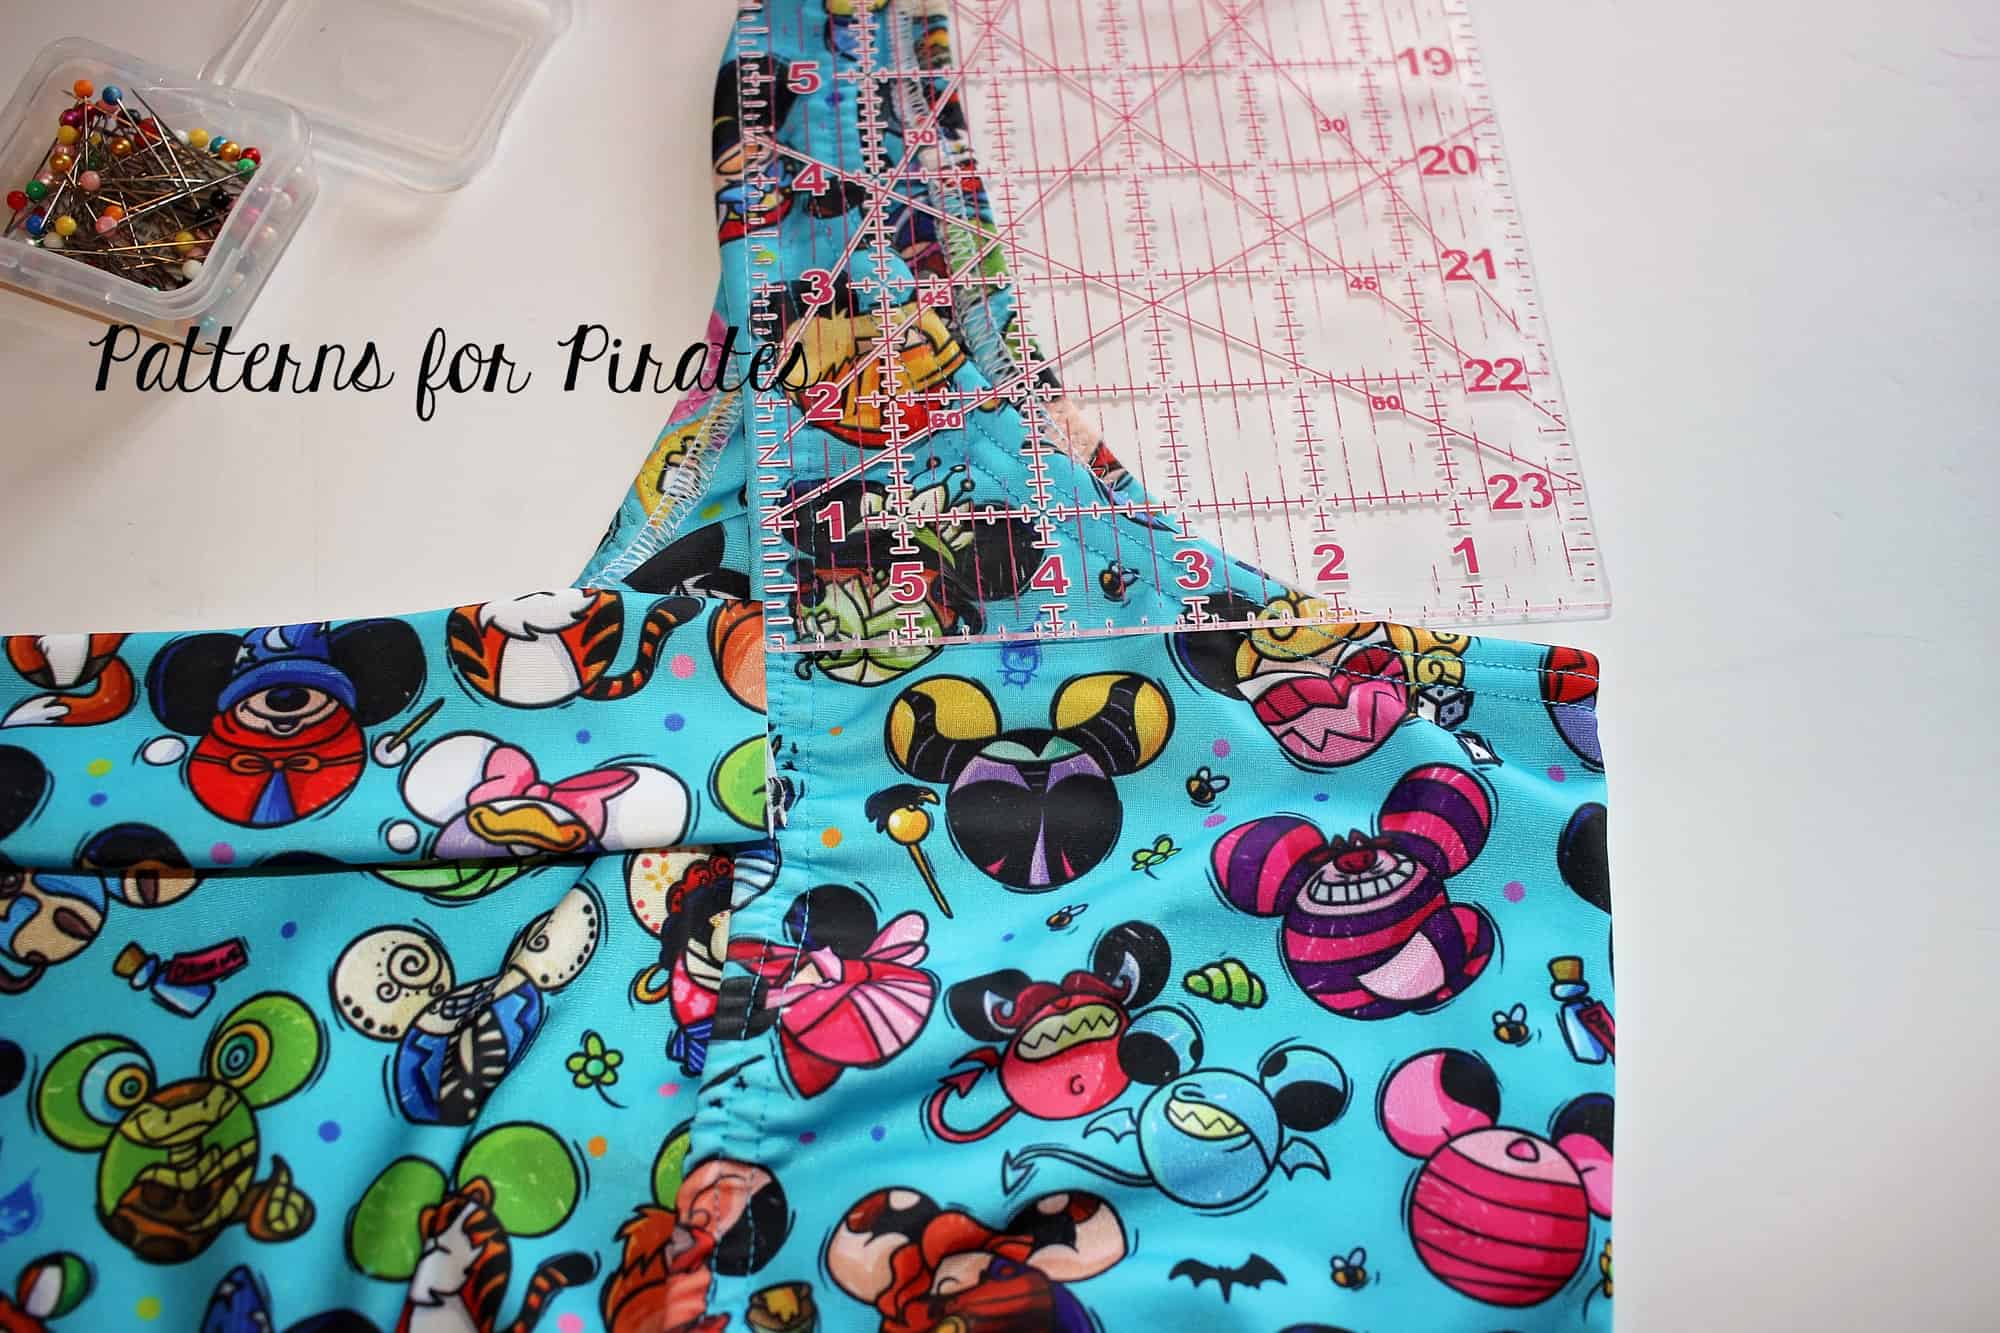
In this picture you can see I’m wearing my Runabout Romper dress, which was perfect because I could use the waistband on it to help gauge how long I wanted the top to be. There are two ways to make your top, either with a straight hem or keeping the curve of the dress hem. I chose to keep the curve. Hold the front skirt pattern piece up to your body and make a mark when it’s at the right height, don’t forget you’ll need to add a combined 1 1/2″ for the seam allowance at the waist and the hem allowance.
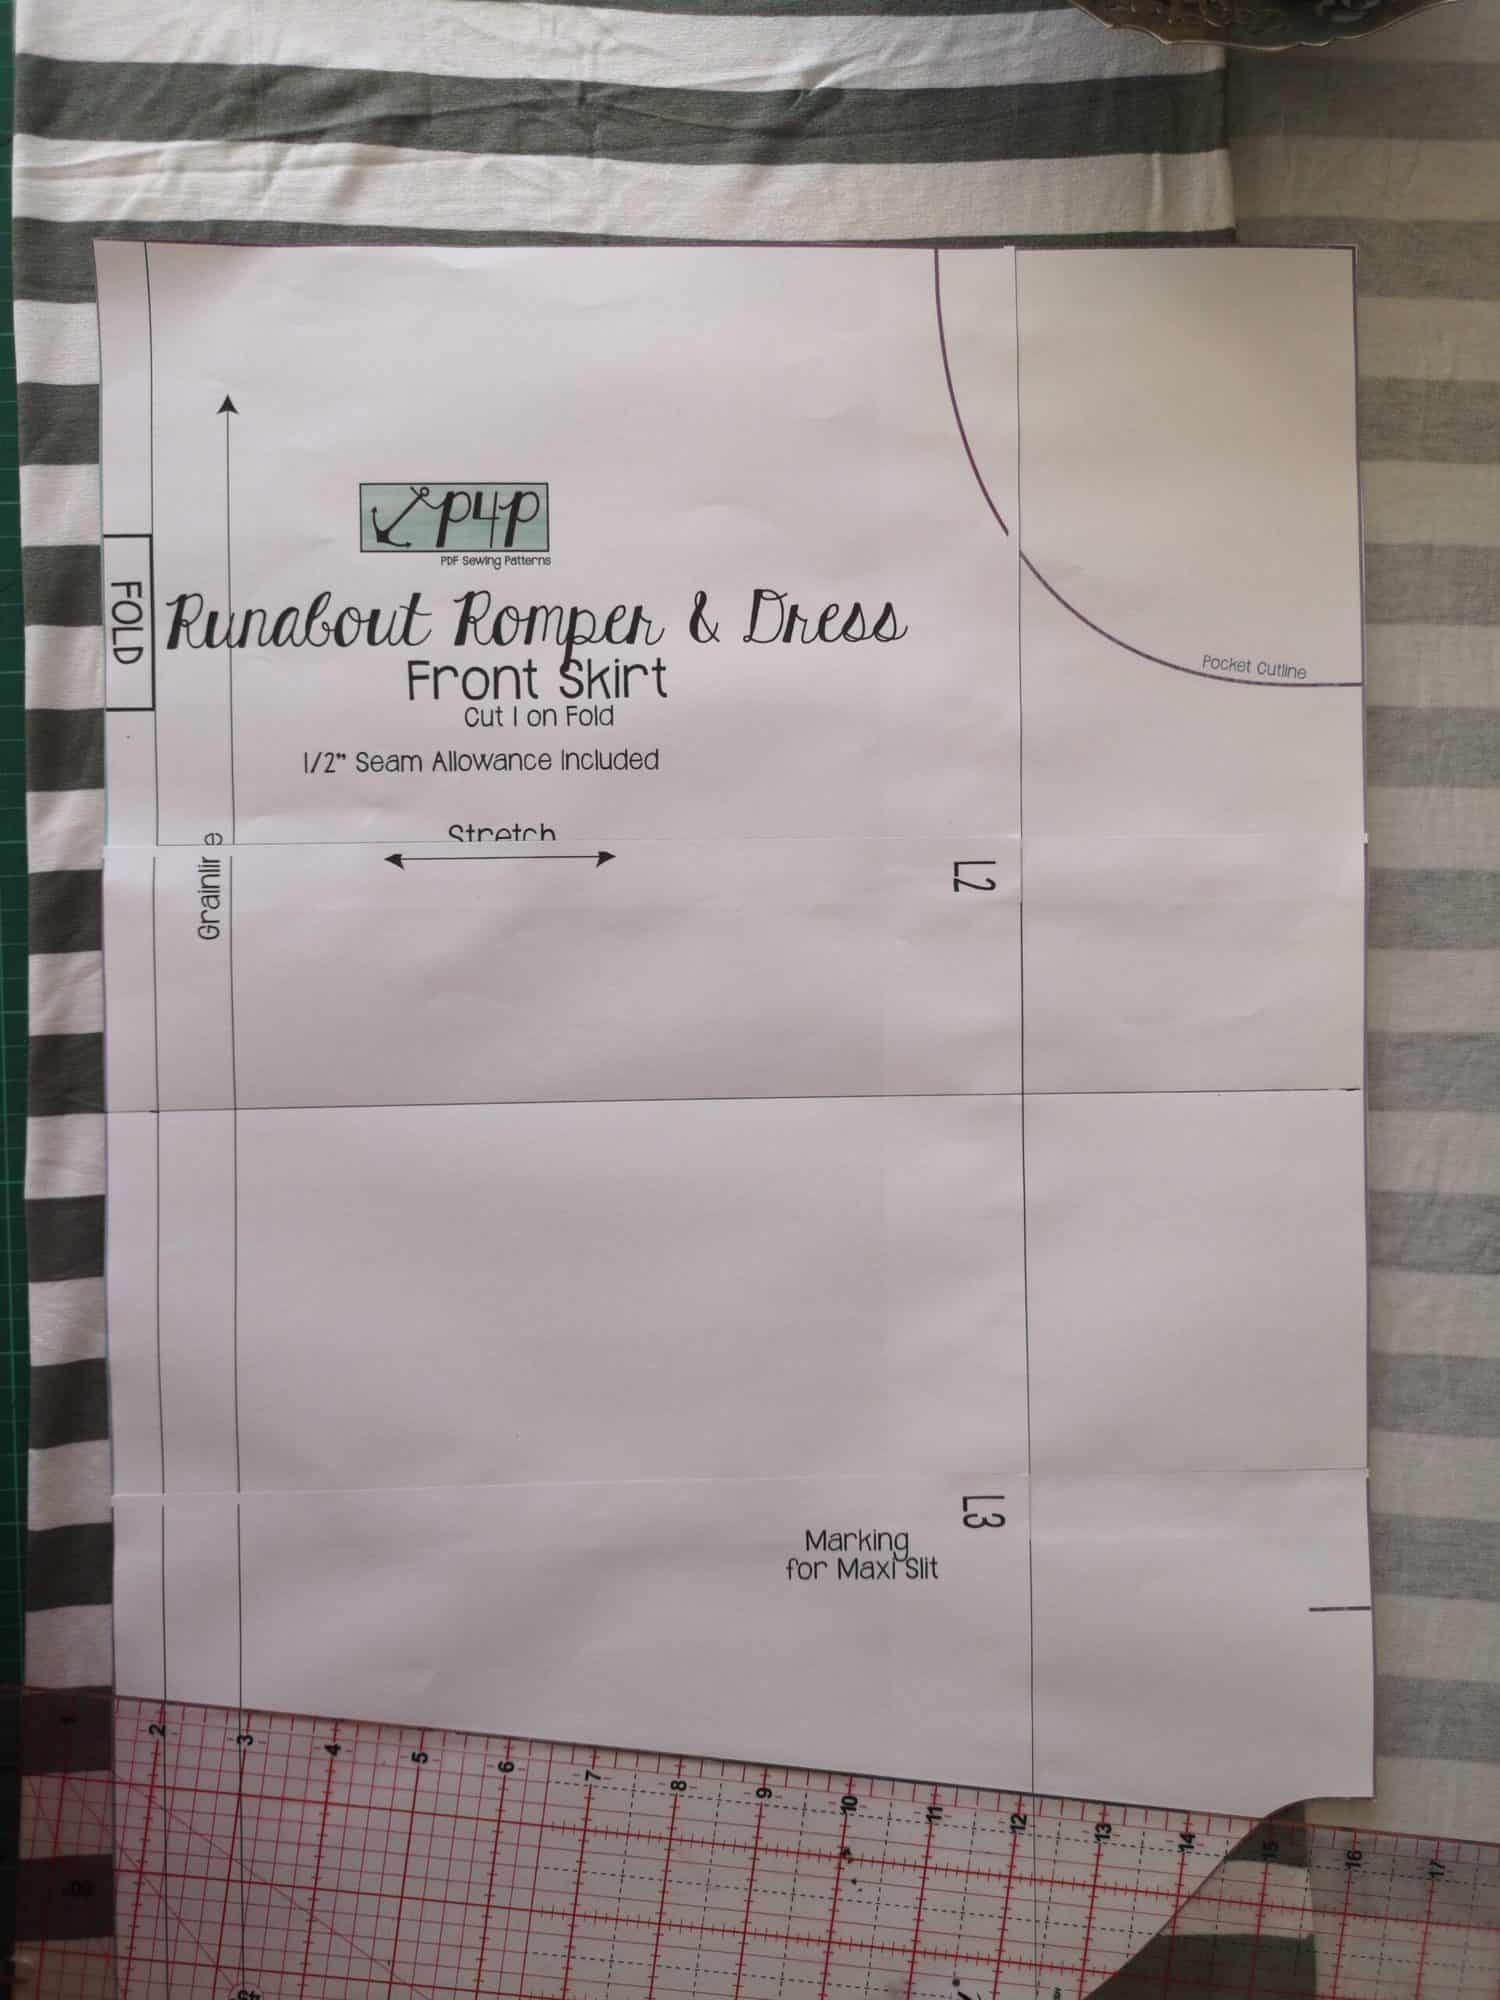
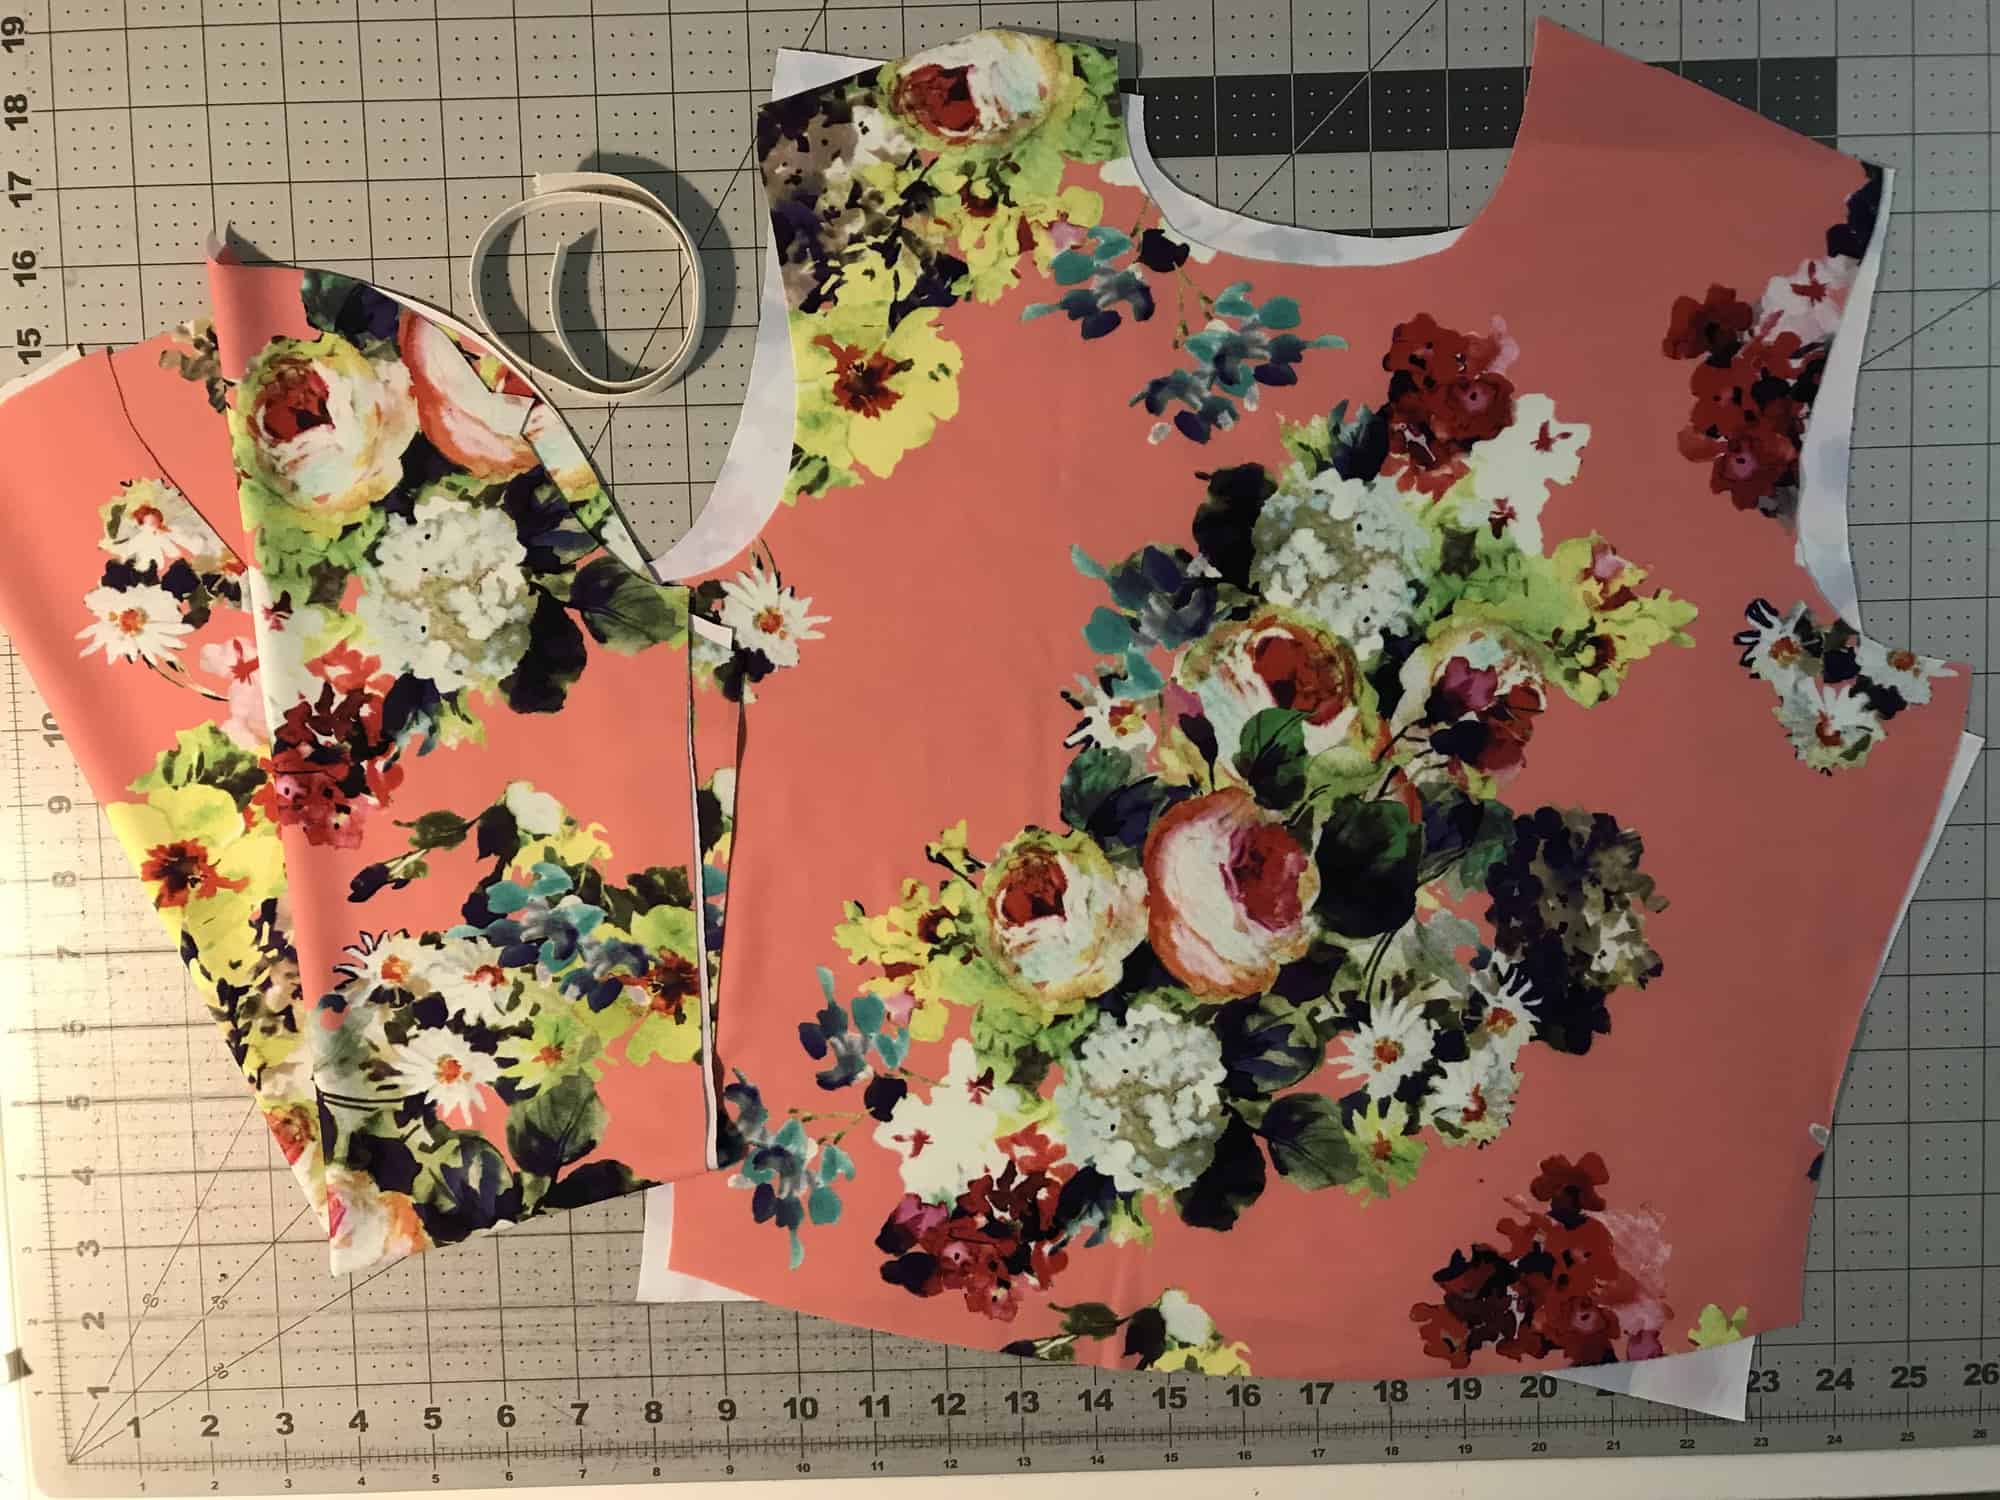
Using the mark I just made on the paper at the fold line, I then measure and make the same mark at the other side of the pattern piece at the outside seam line and rule a line across. For me, this mark was 10 inches down from the top edge of the pattern piece. Then repeat for the back piece. Fold the top of both pieces down (you might need to flip a corner out of the way by the curved hem edge) and you have your new top length pattern pieces.
If you want a straight hem to your top, you just have to fold the bottom of the pattern piece up to get rid of the curve, rather than the top of the pattern piece down to keep the curve.
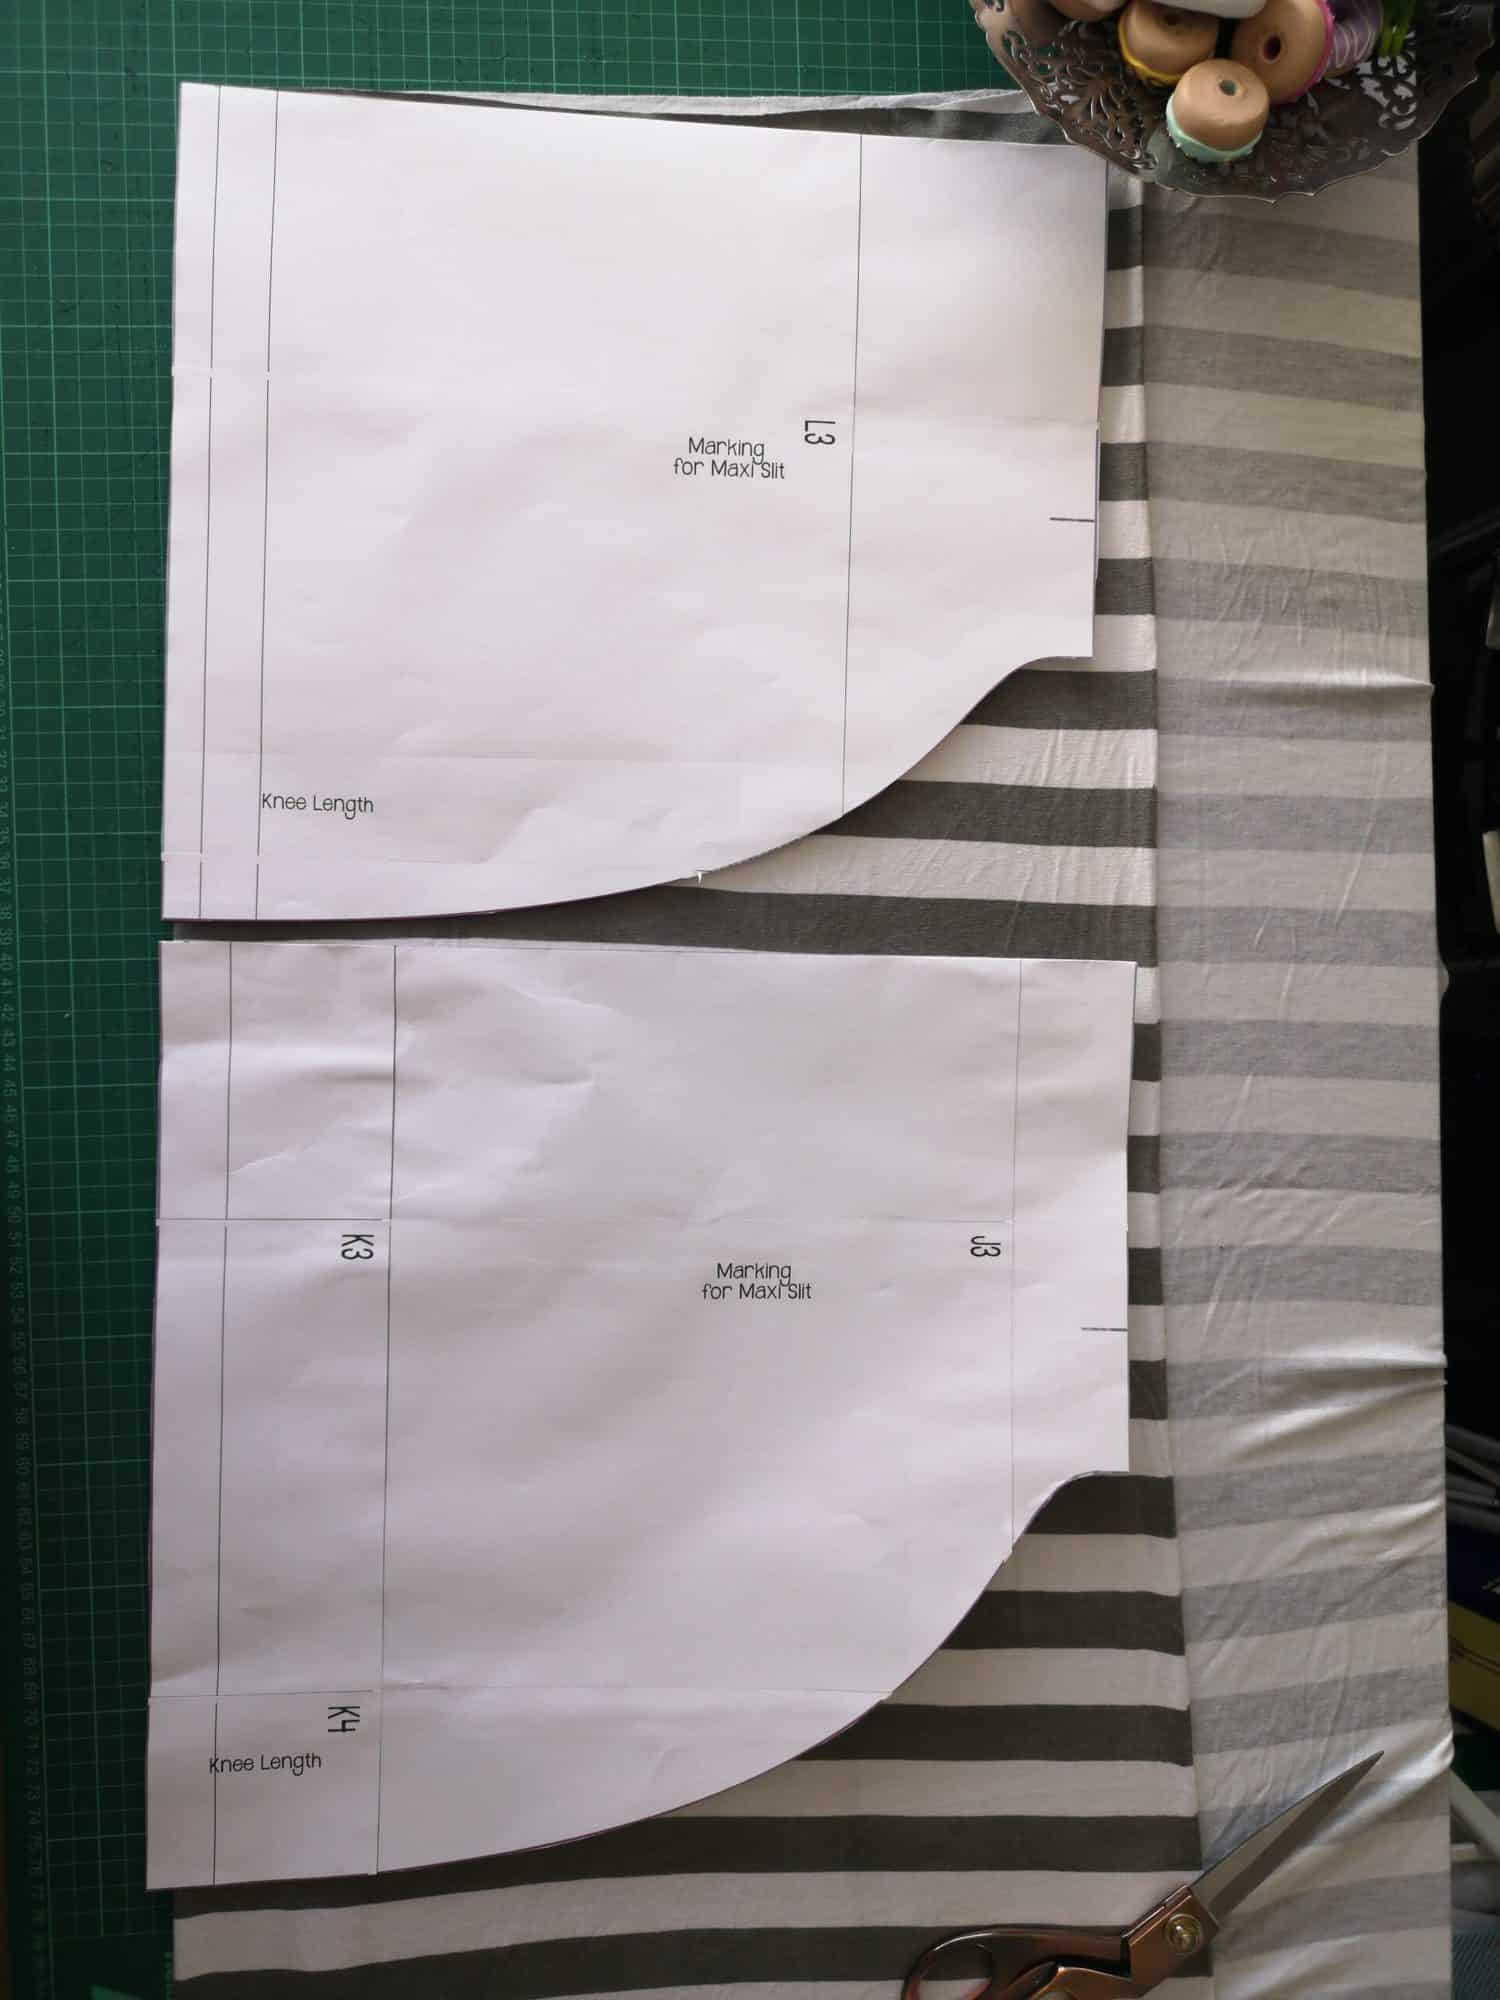
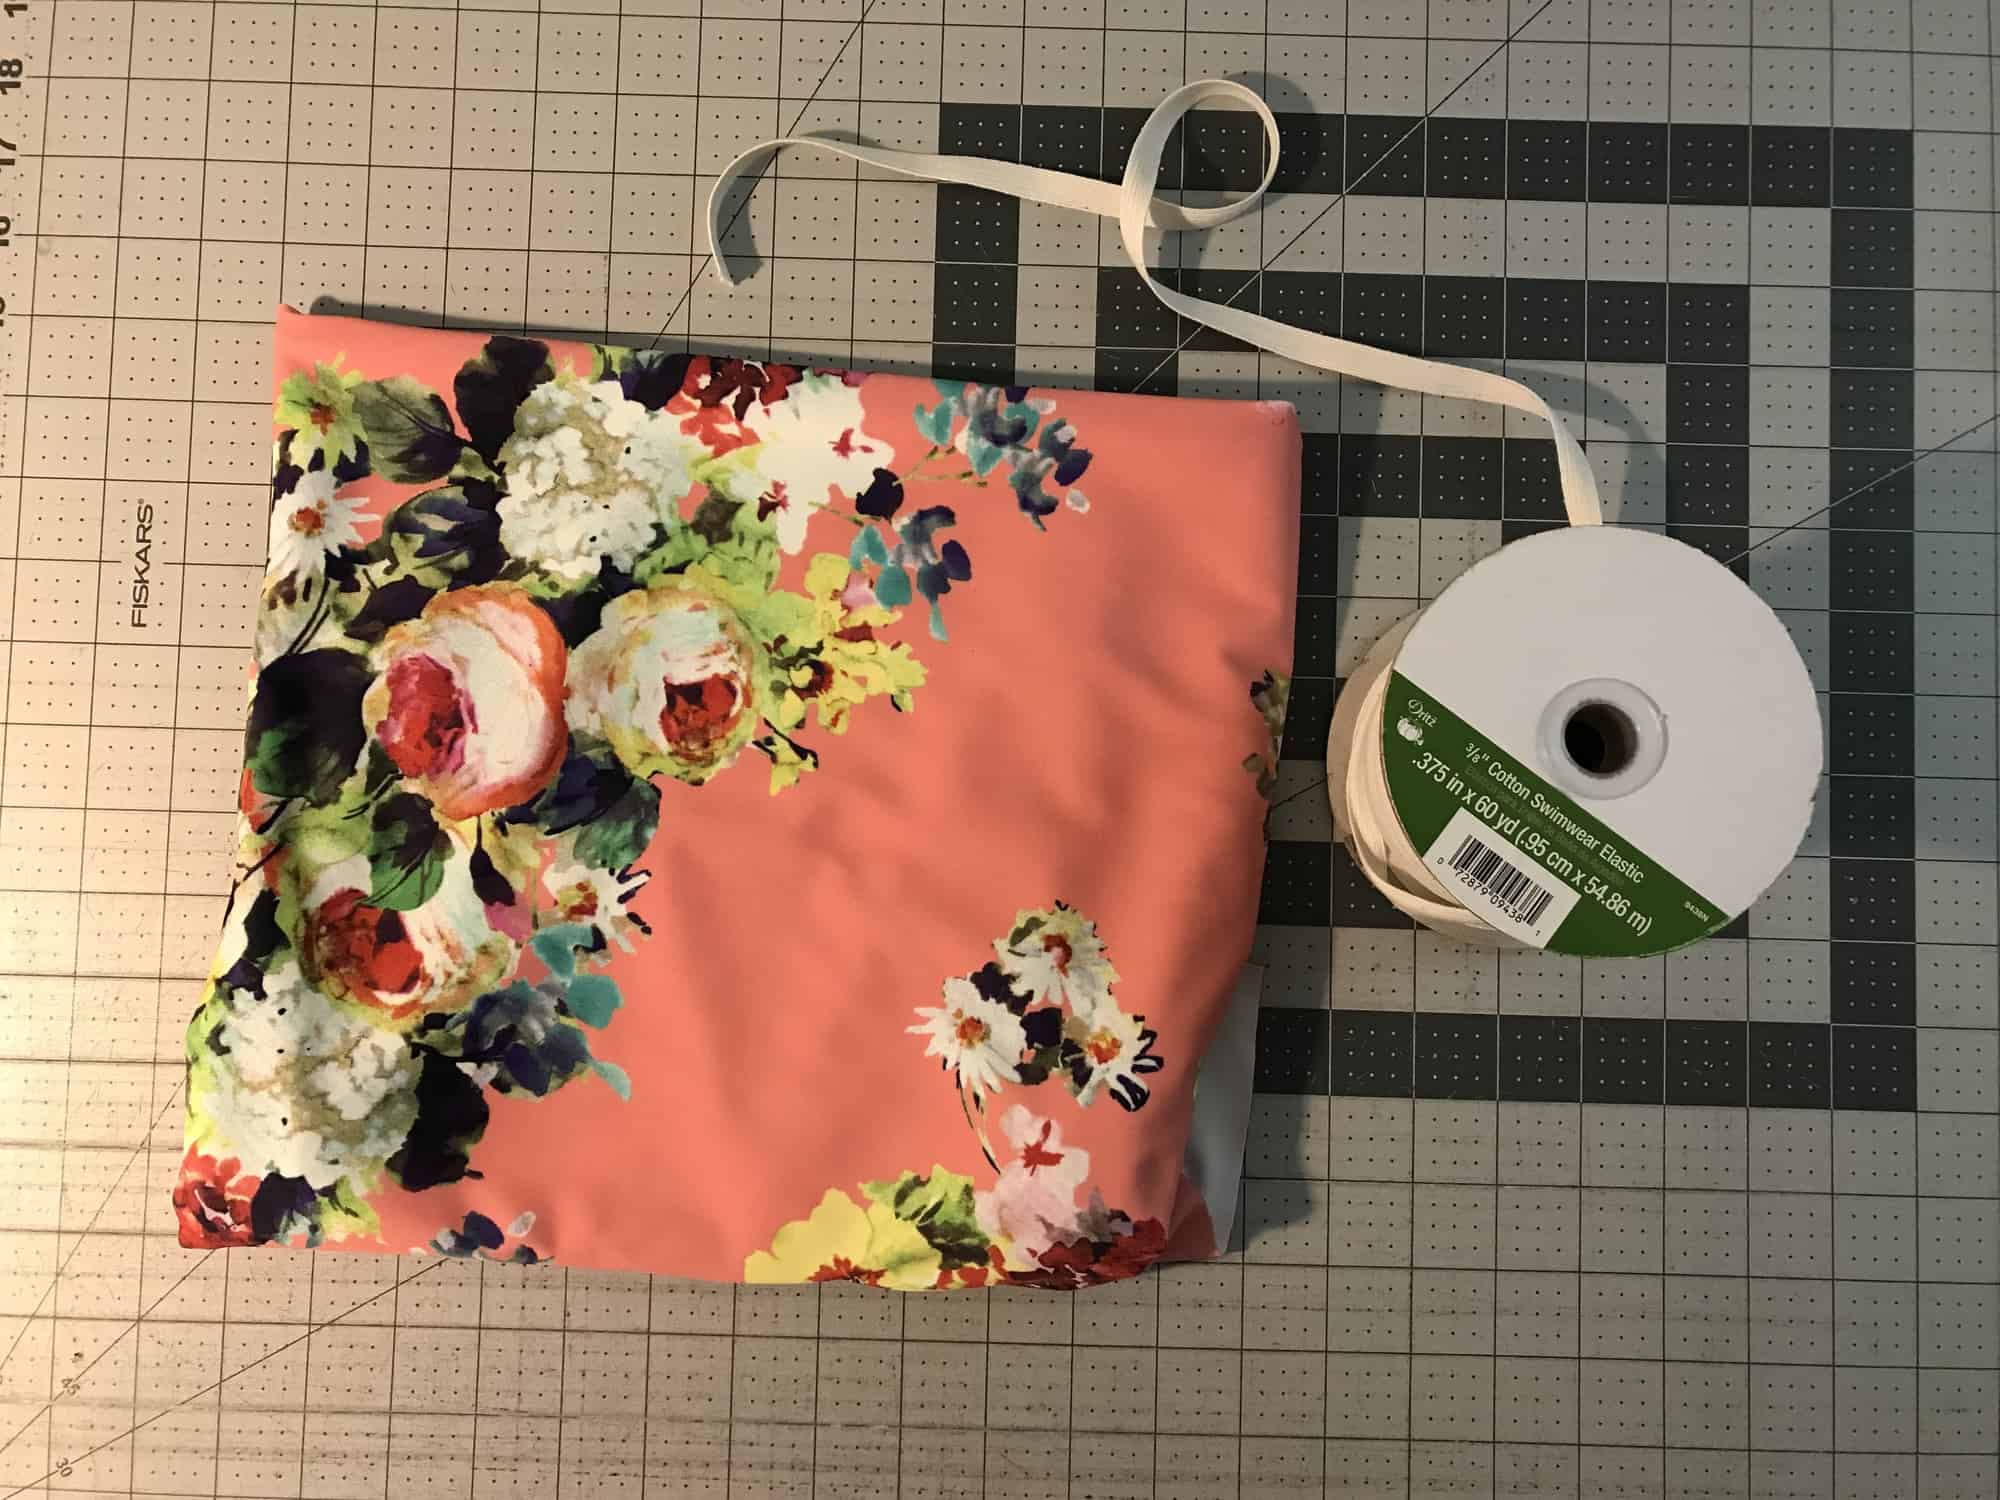
Cut your fabric out using your new pattern pieces and construct as per the Tutorial.
Enjoy!
Dana xx
…..
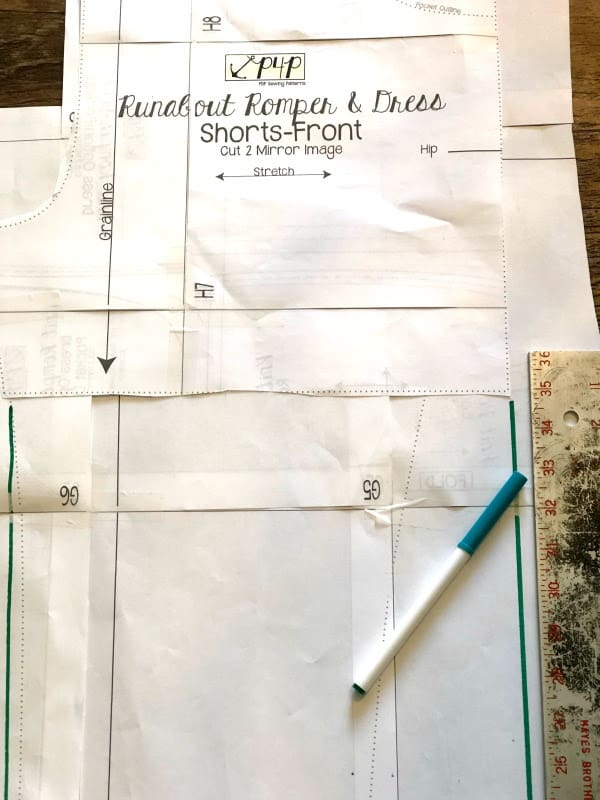
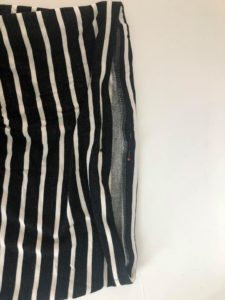
Slimmer fit shorts
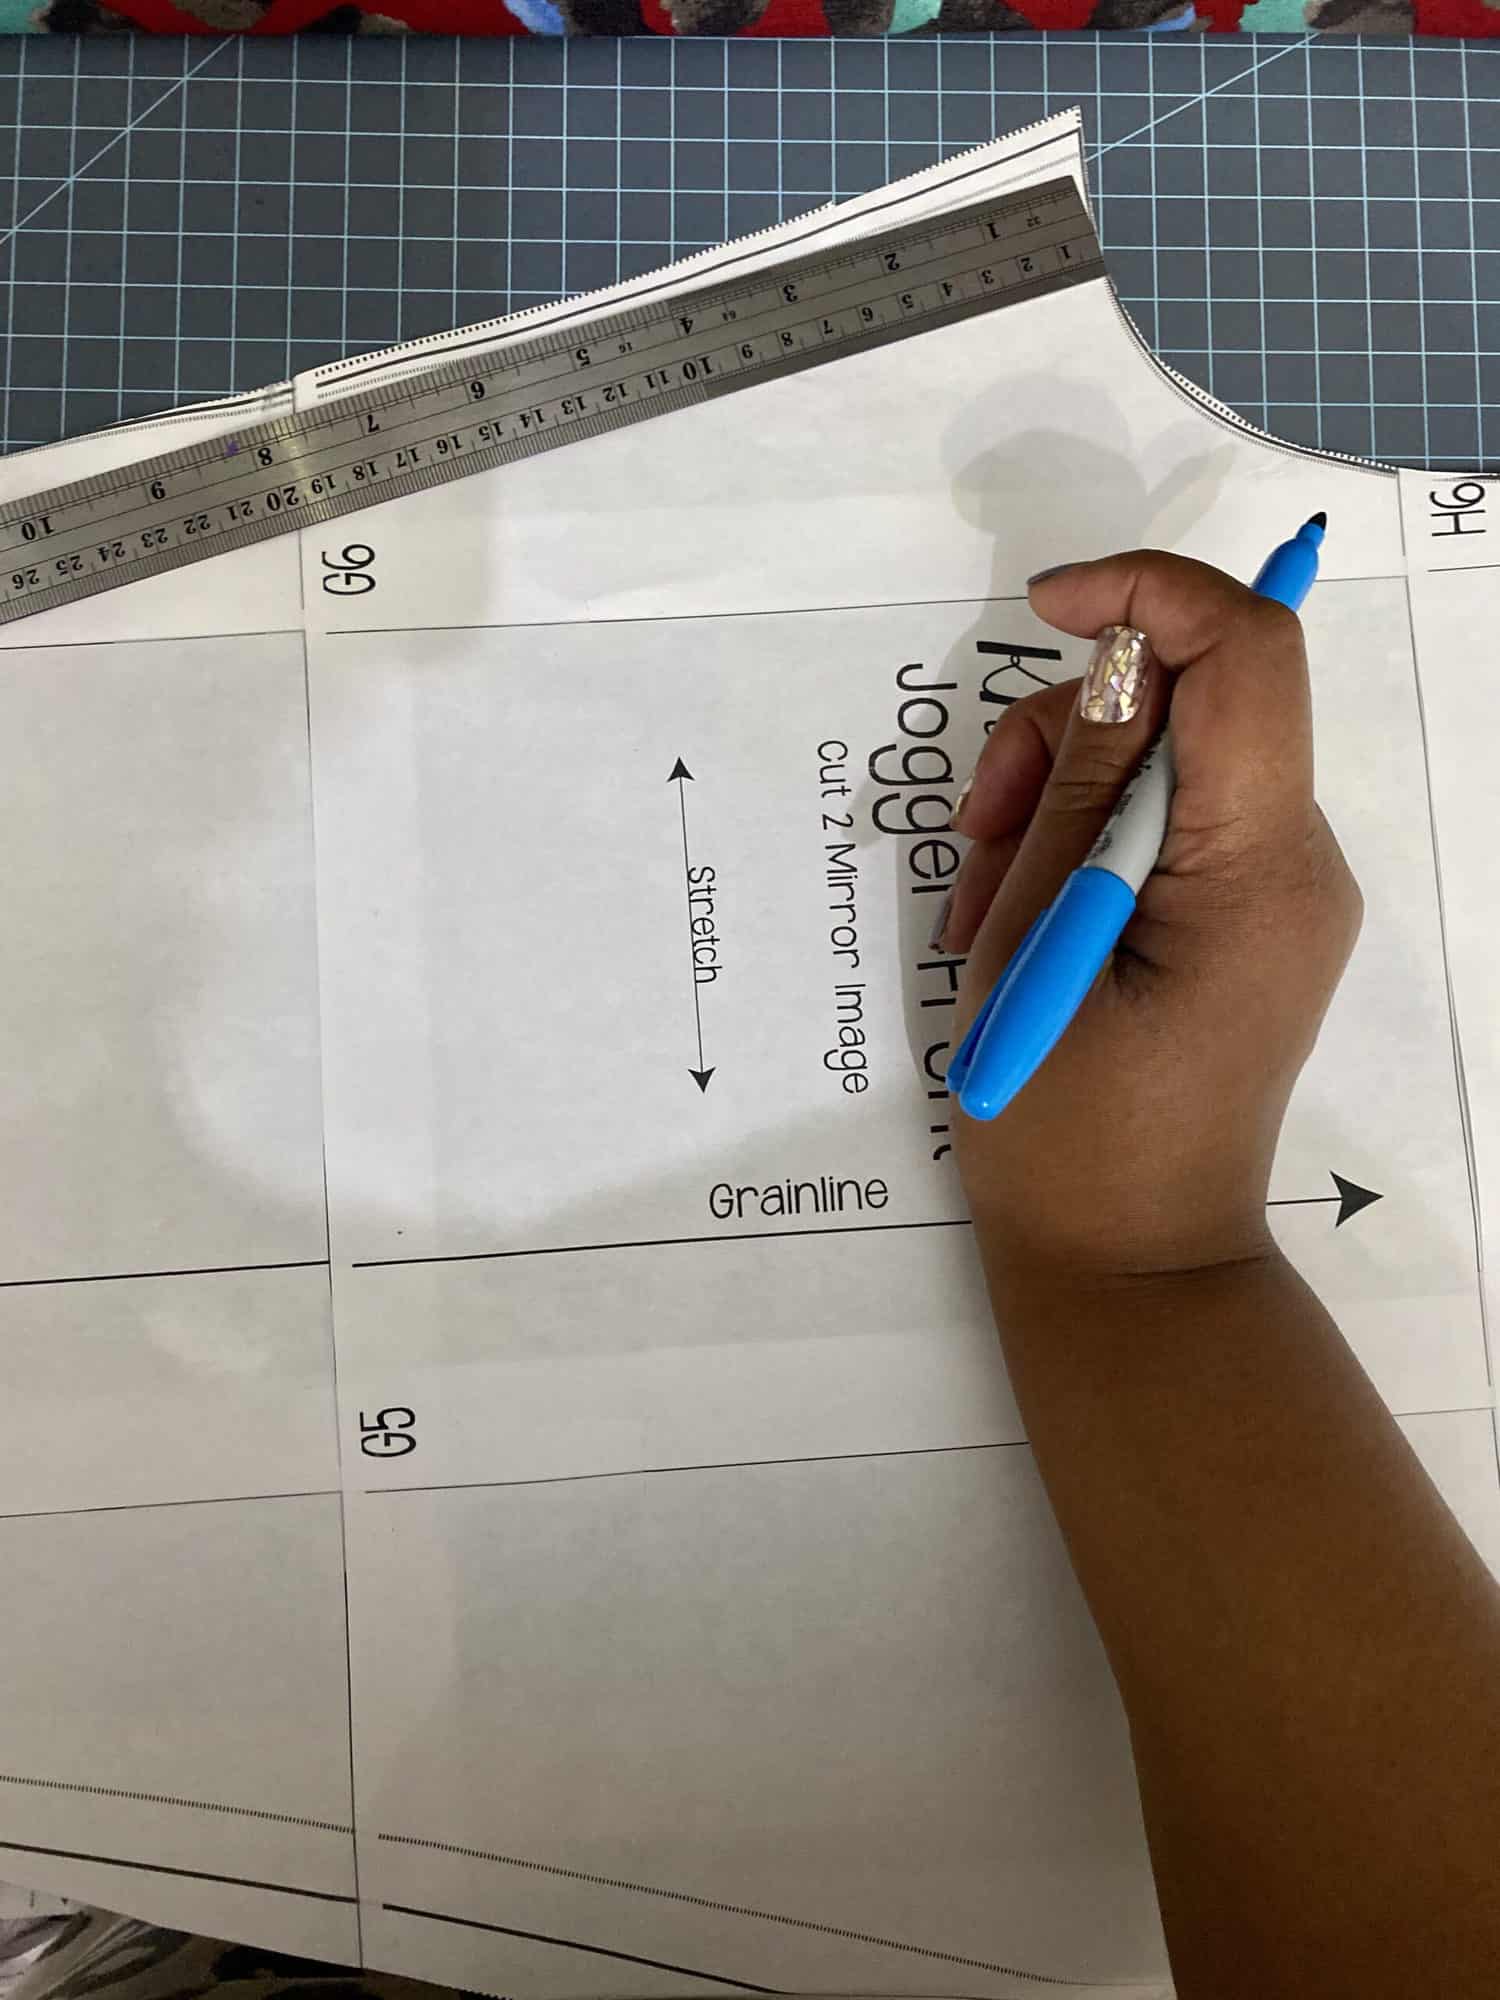
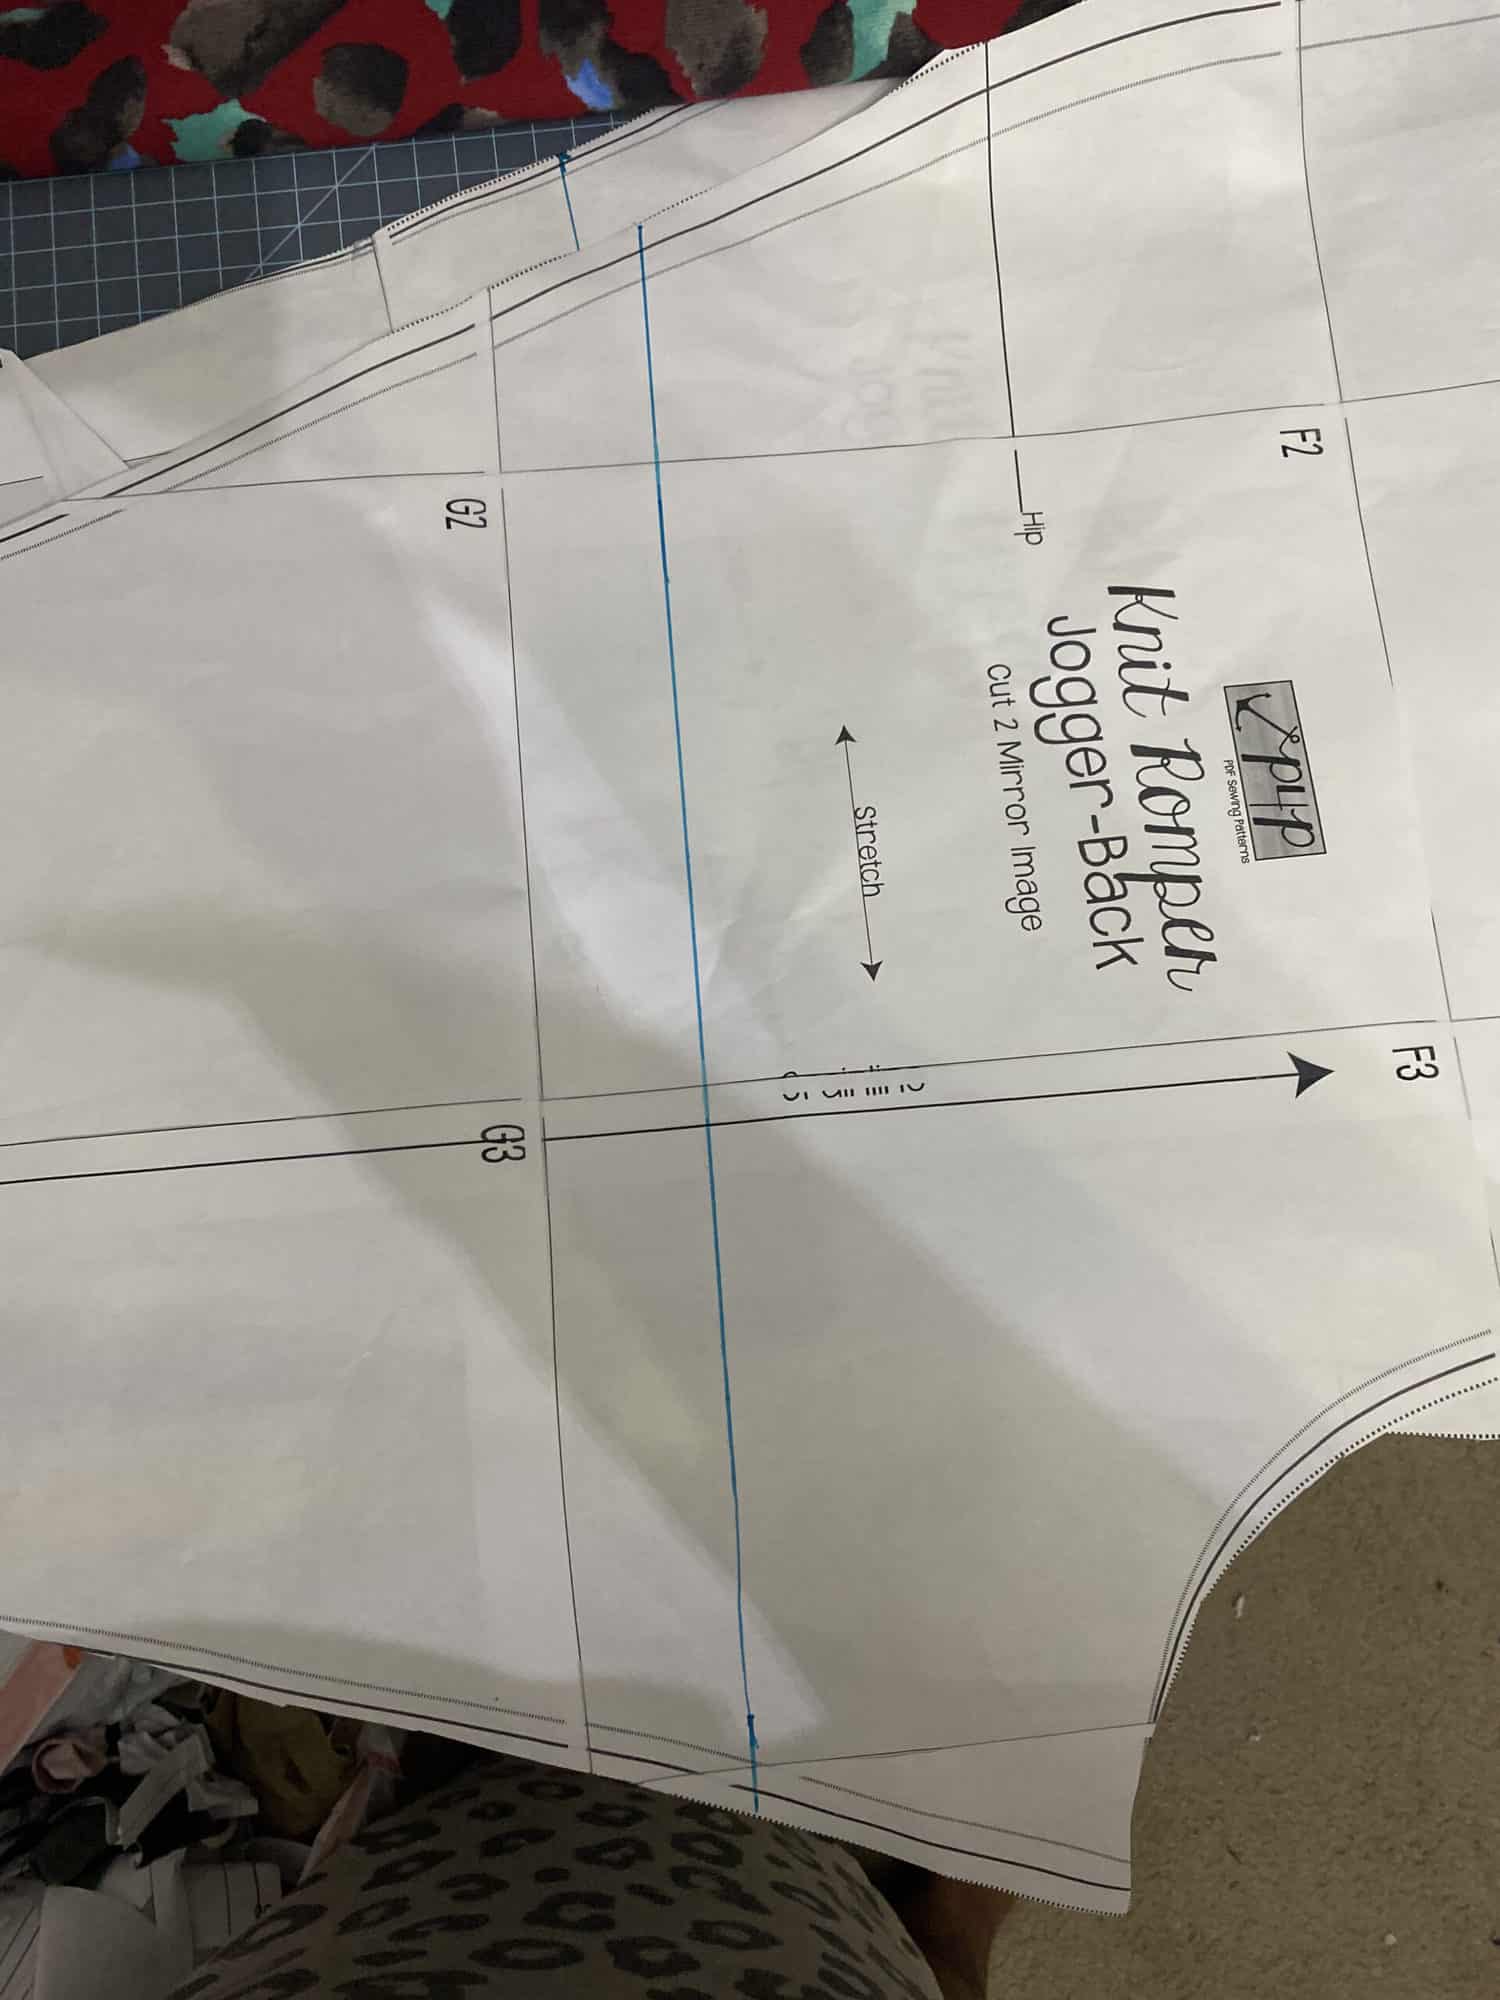
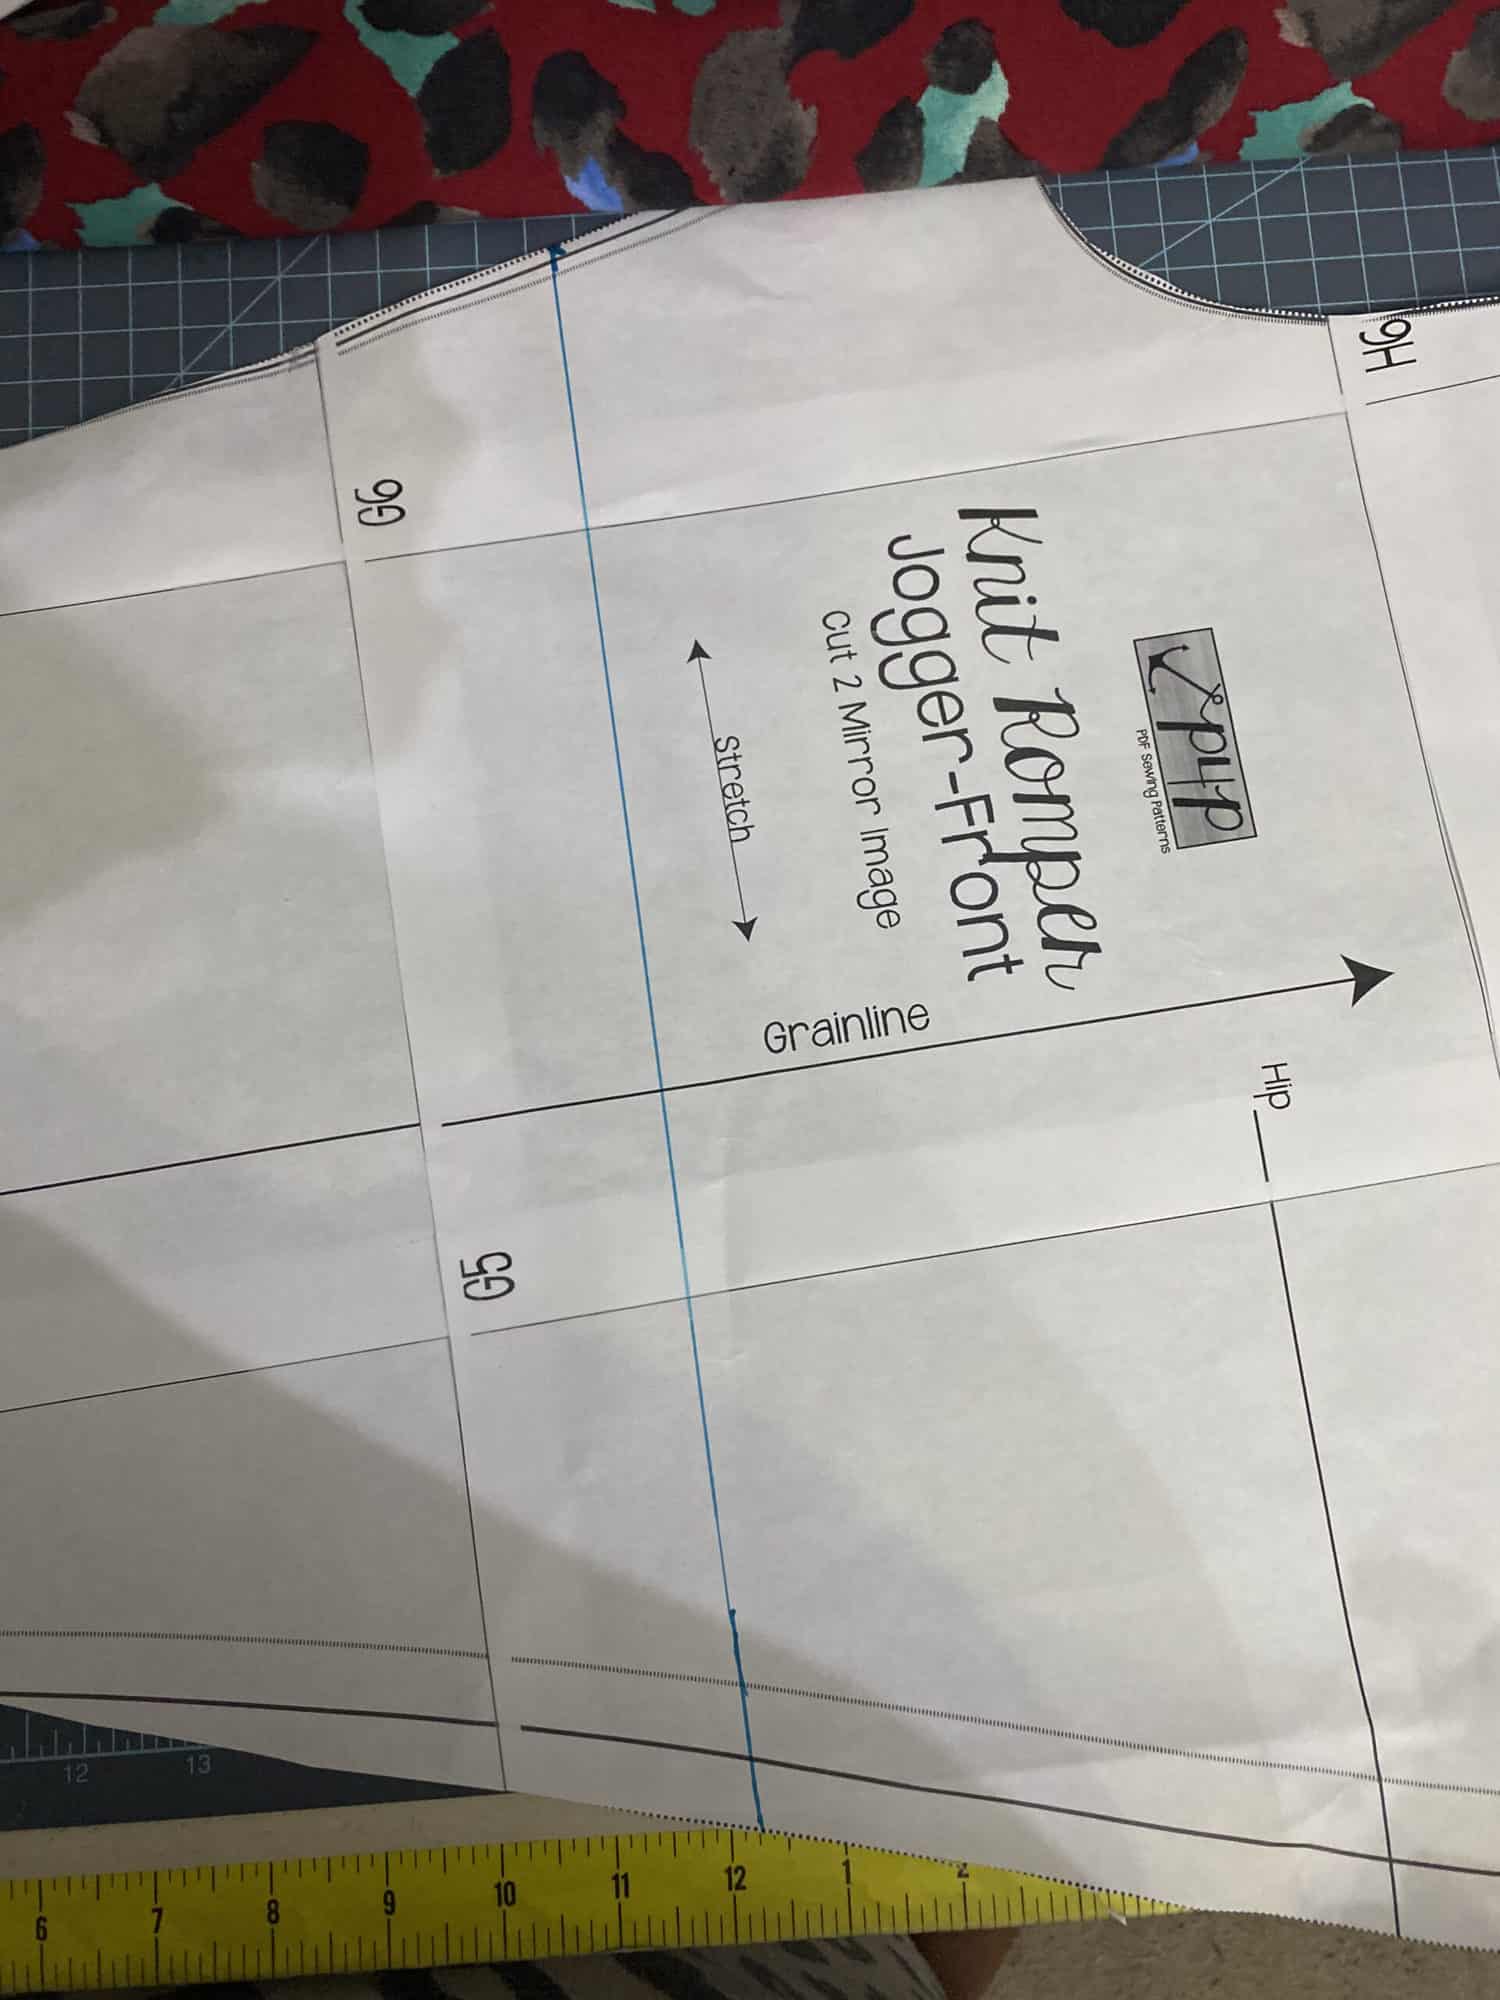
The jogger shorts are some of my favorite shorts. They’re fitted but not too fitted–they have the perfect amount of ease in my humble opinion and as we enter the hot summer, they were screaming to be added to this romper! It’s such a super easy hack that you’ll be cranking out Runabout Jogger Short Rompers super fast.
Let’s get into it!
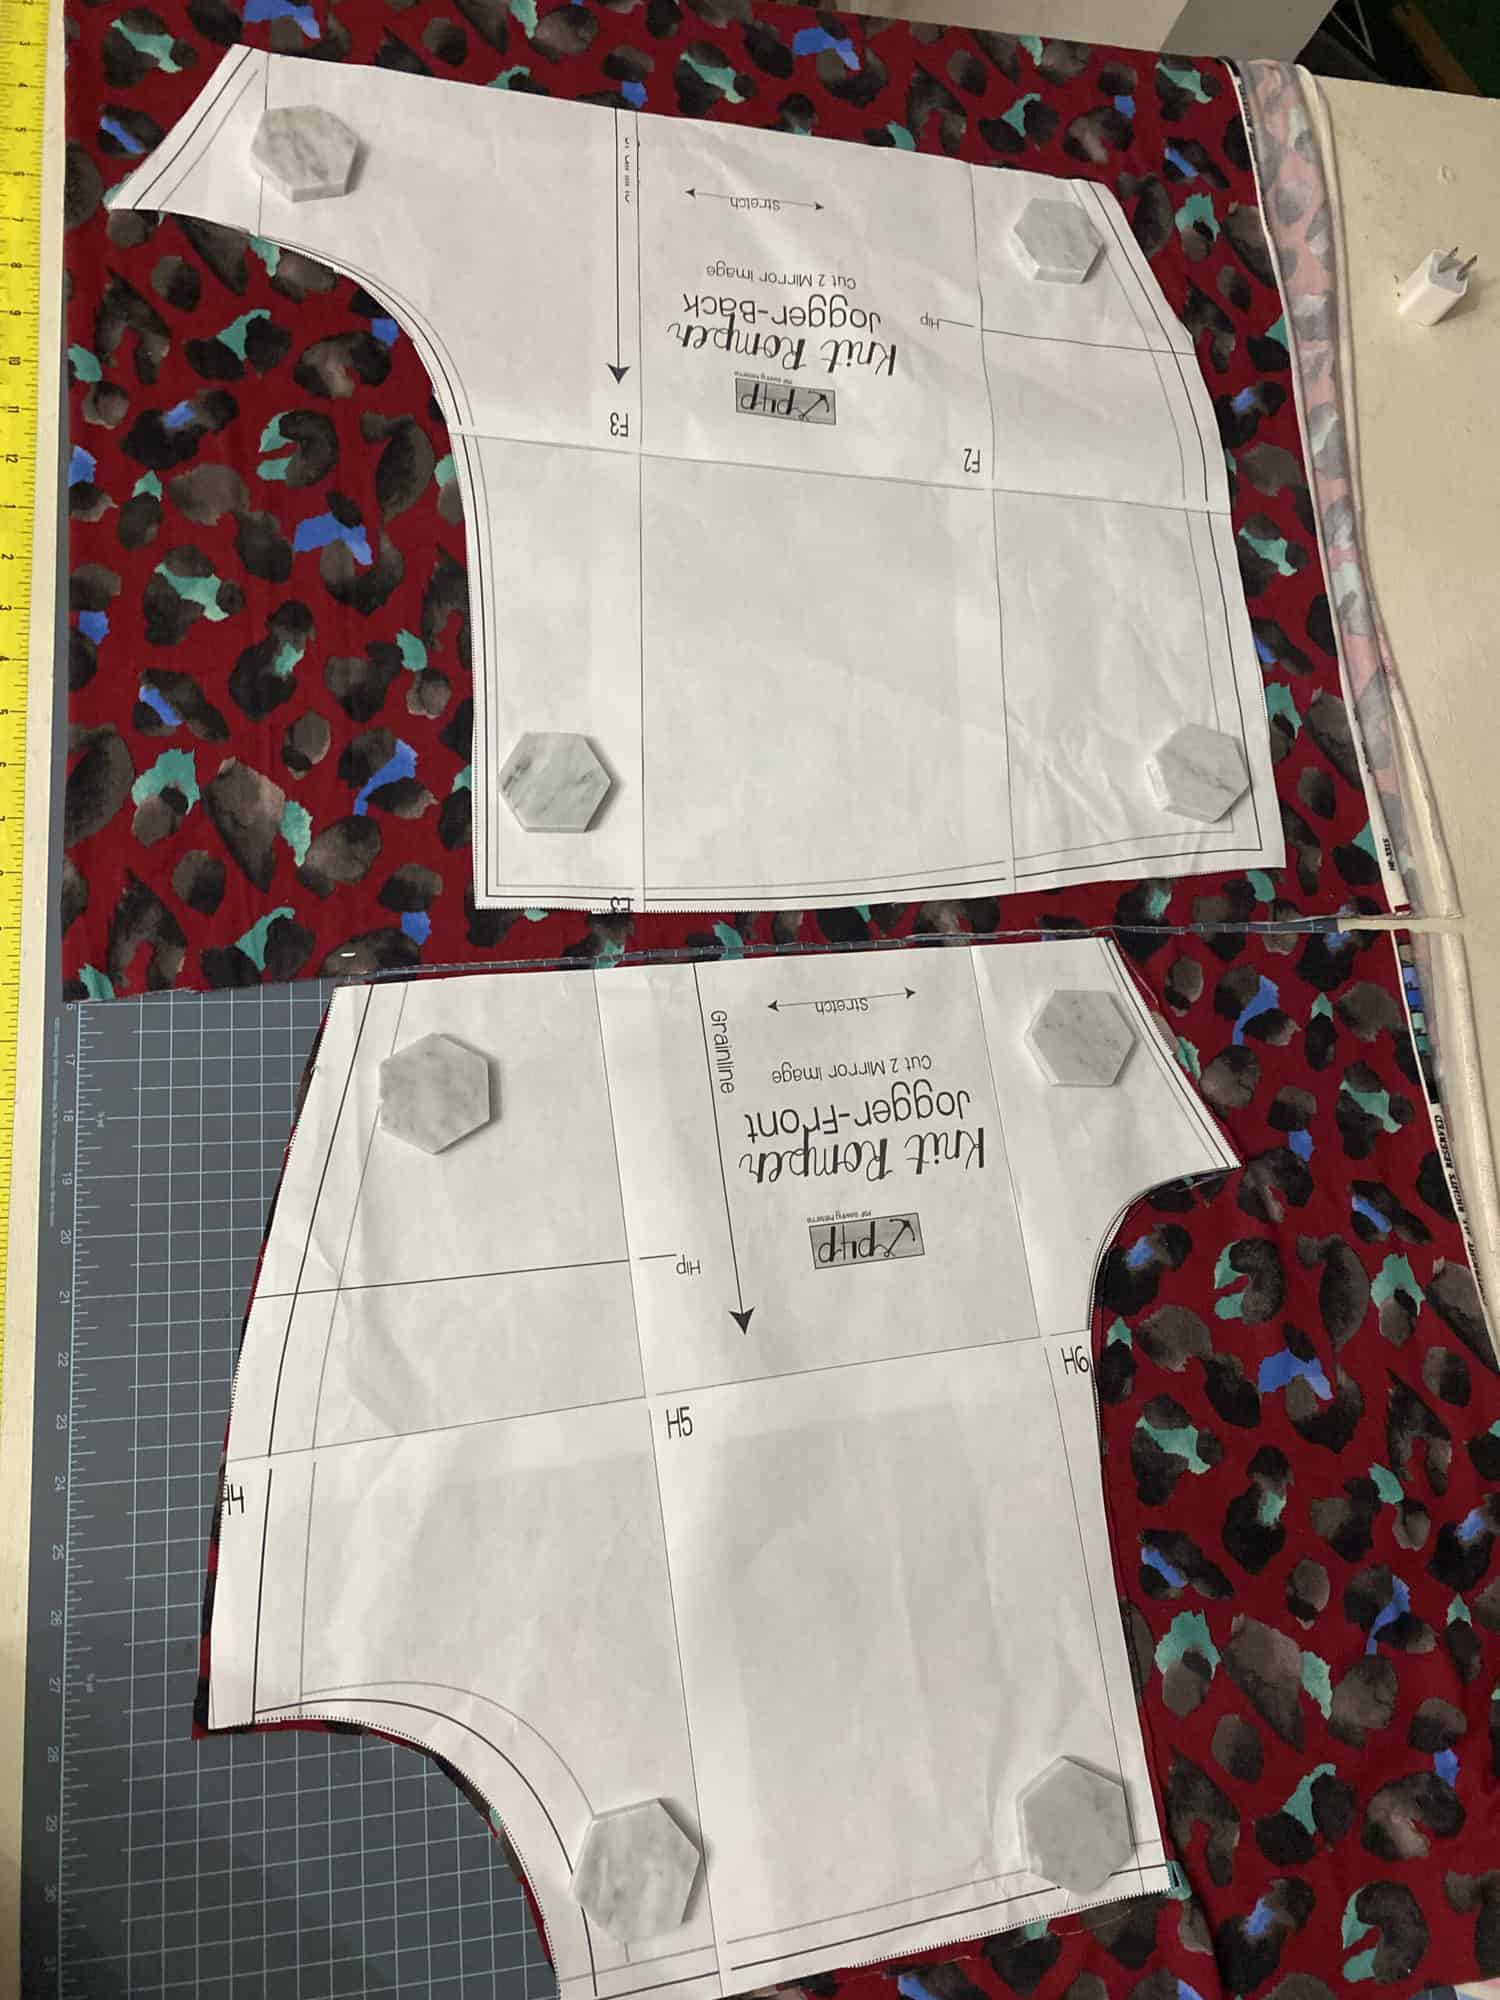
- Print out your bodice option and the jogger patterns.
- Decide what you’d like your inseam to be and add .5 in for the seam allowance. I did a 4″ inseam here so I measured out 4.5″ from the crotch curve. Draw a line from the inseam to the outseam. Do this on both the front and back pieces.

- Cut the new pattern piece.
- Assemble per the instructions.
- Enjoy your super cute and cool new romper!
…..
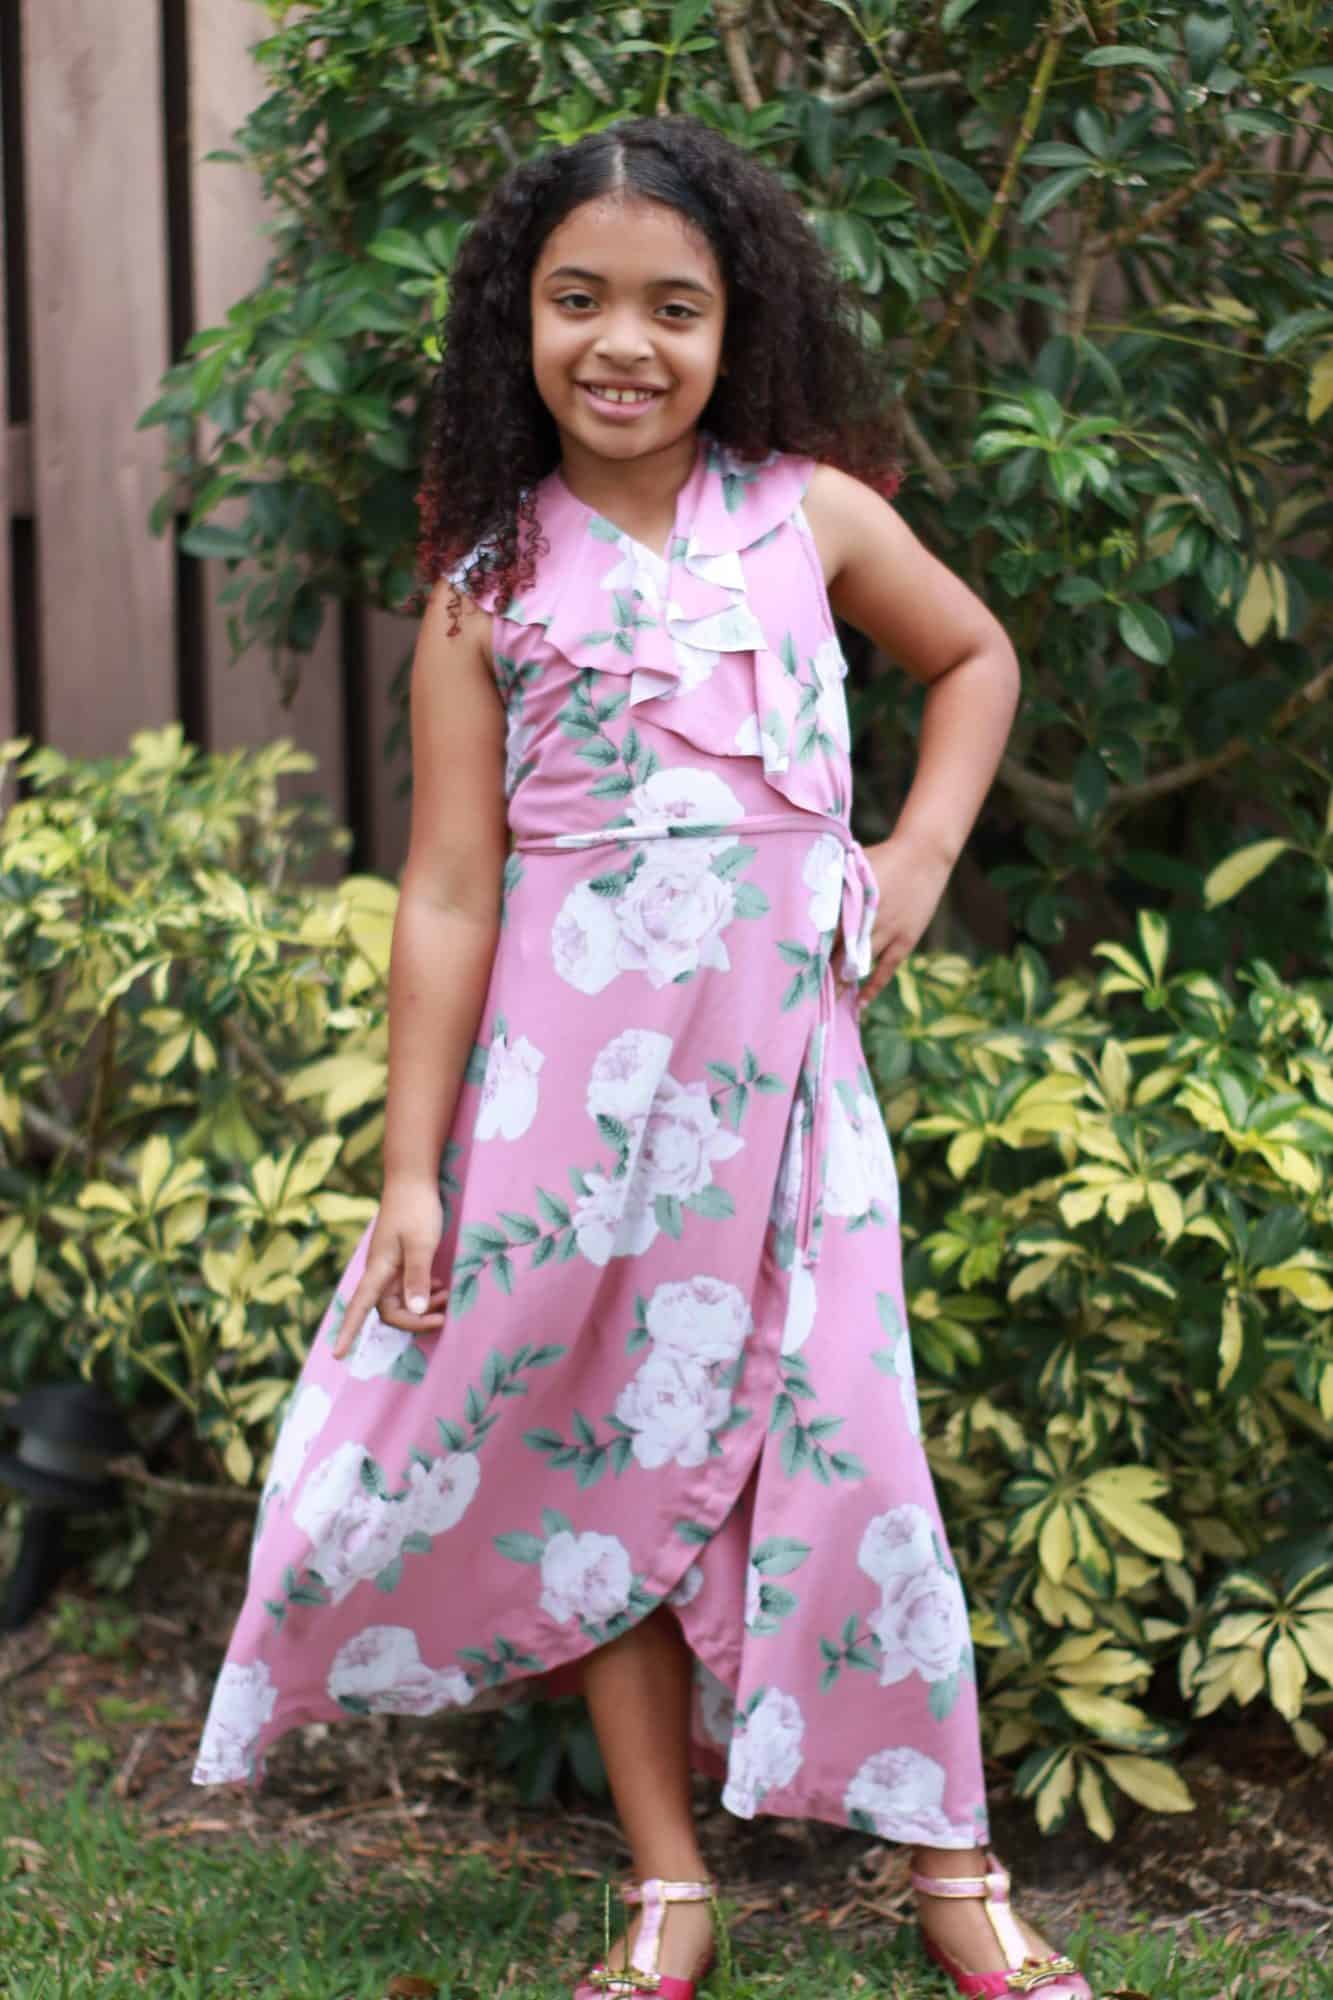
Straight pants
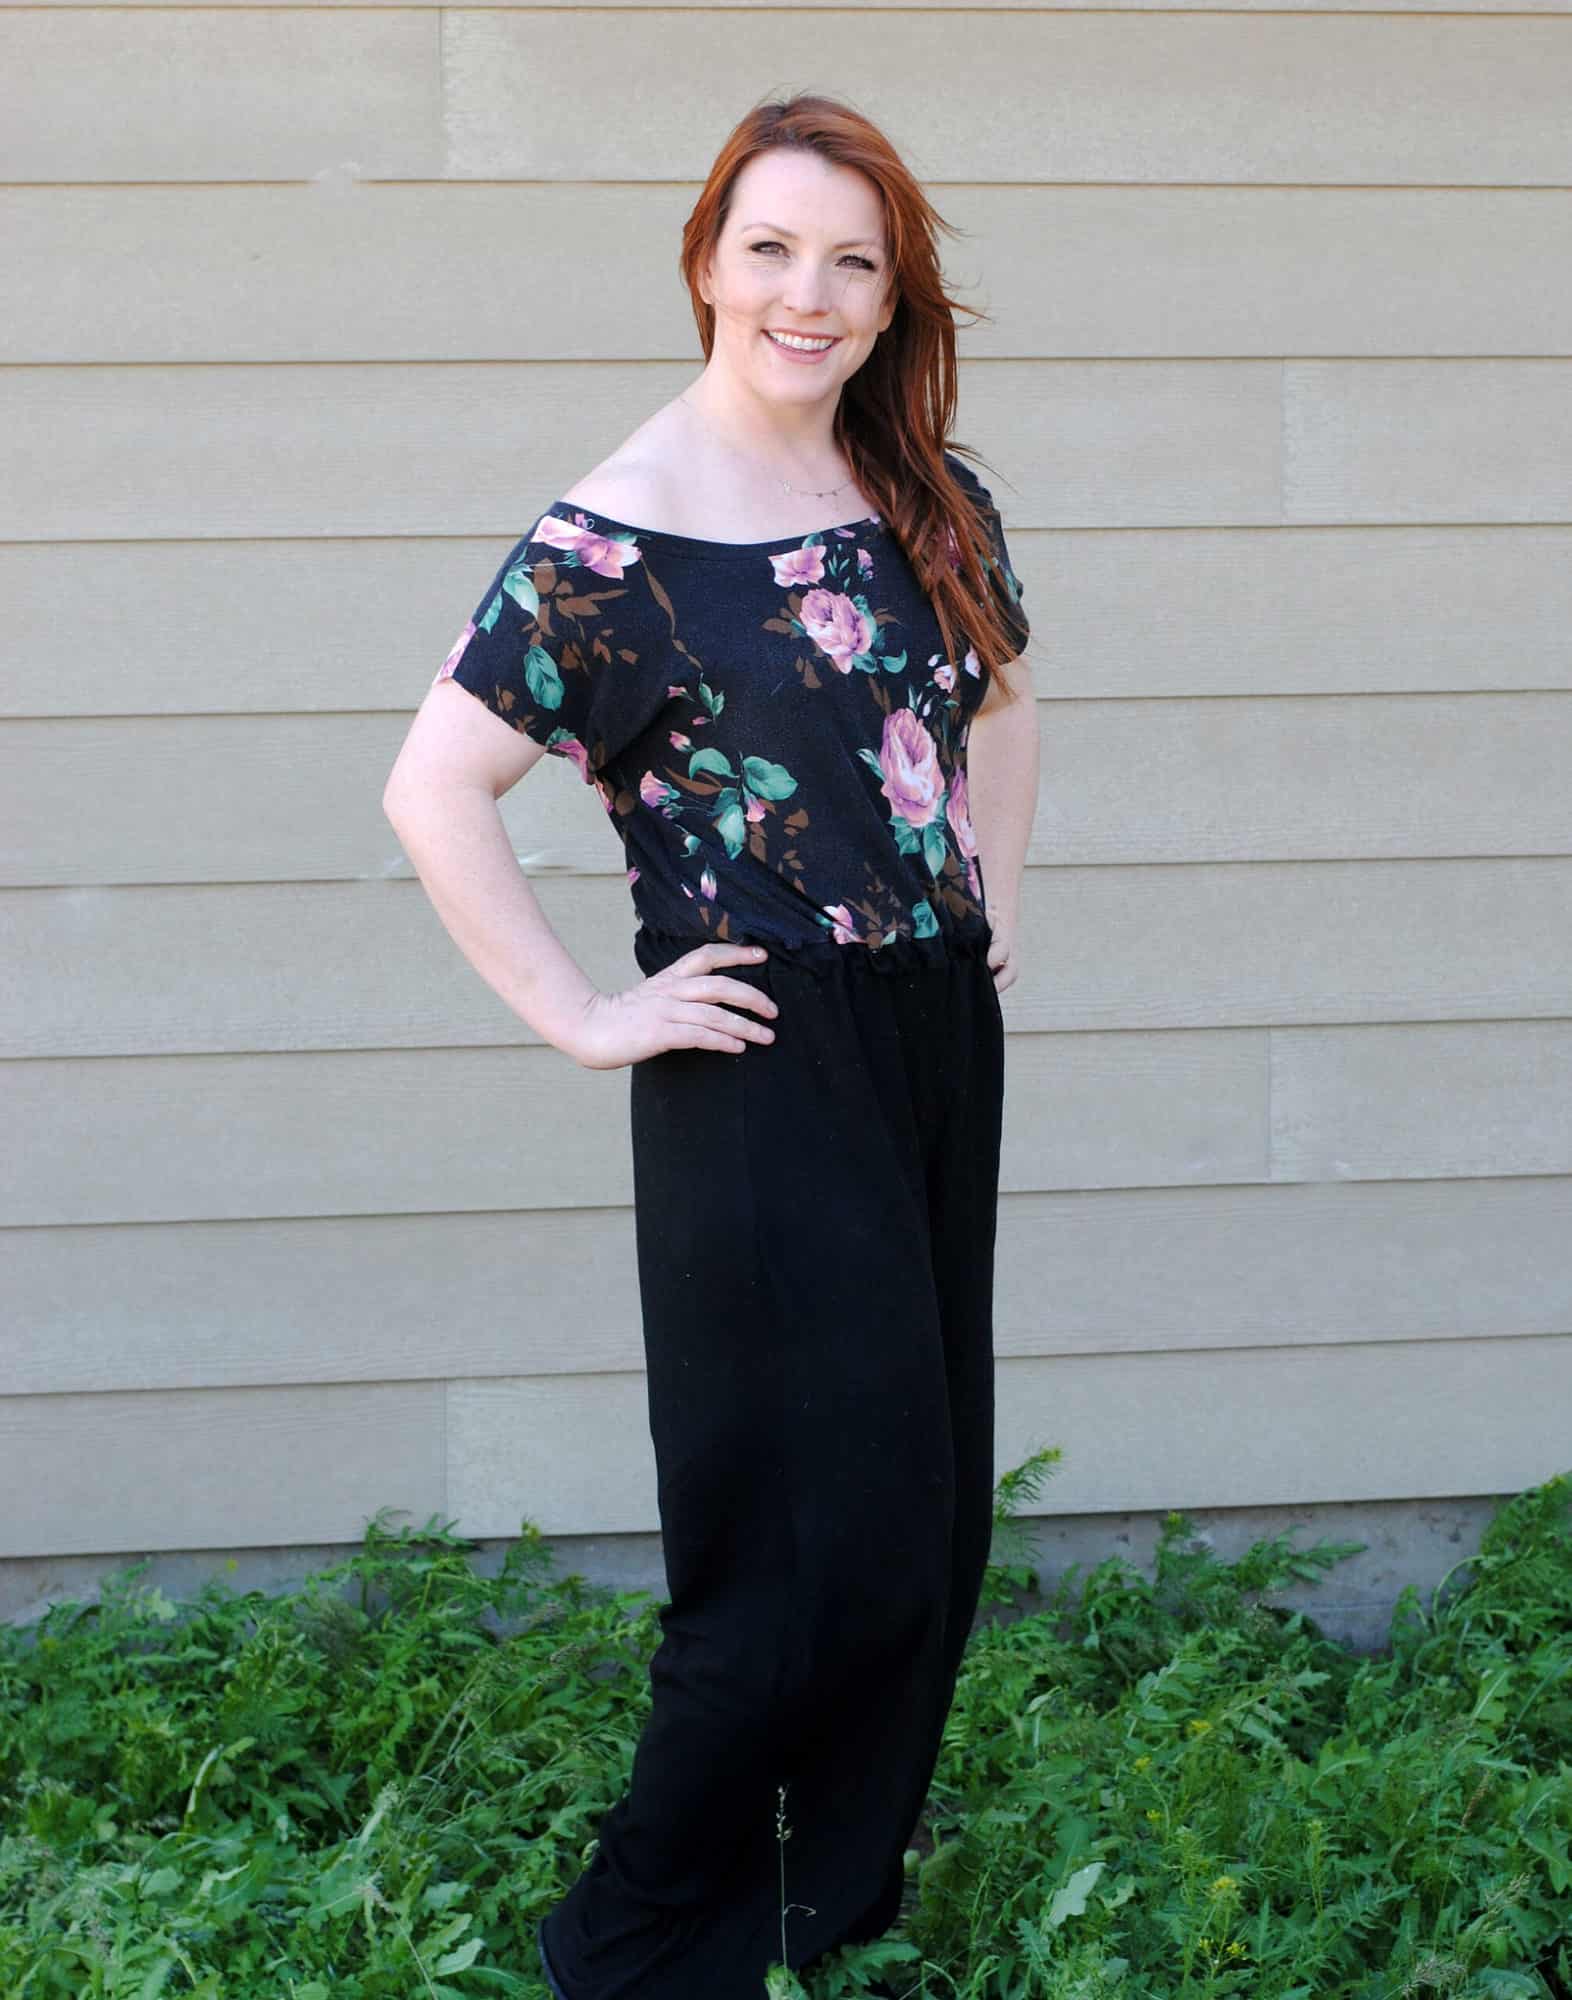
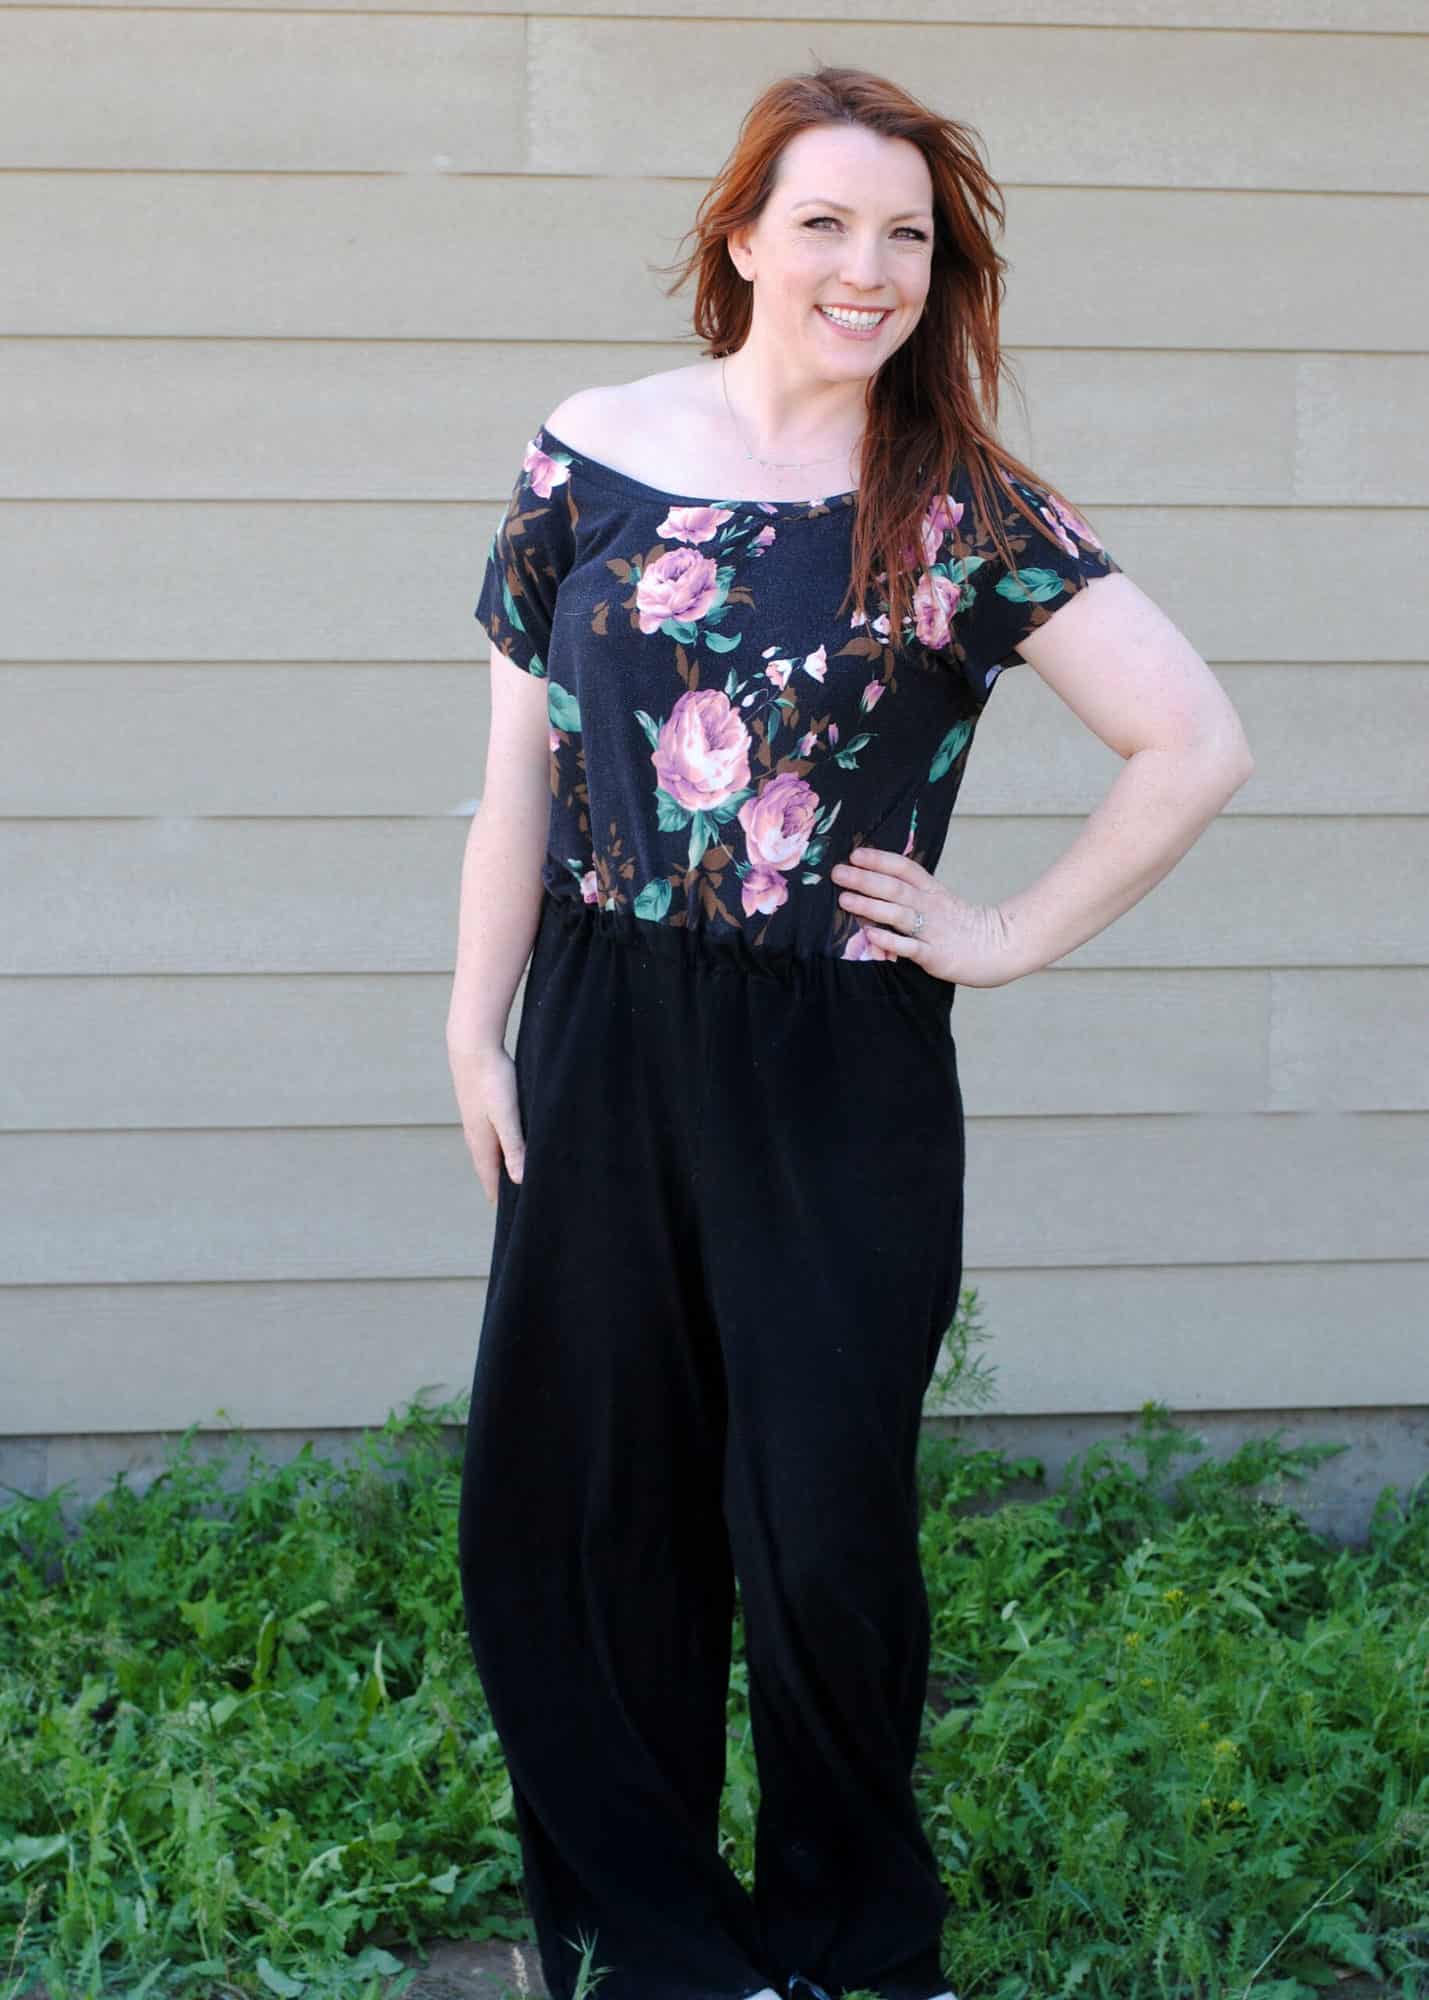
I absolutely love the look of a wide-leg jumpsuit, and this hack gives me exactly the look I’ve been looking for!
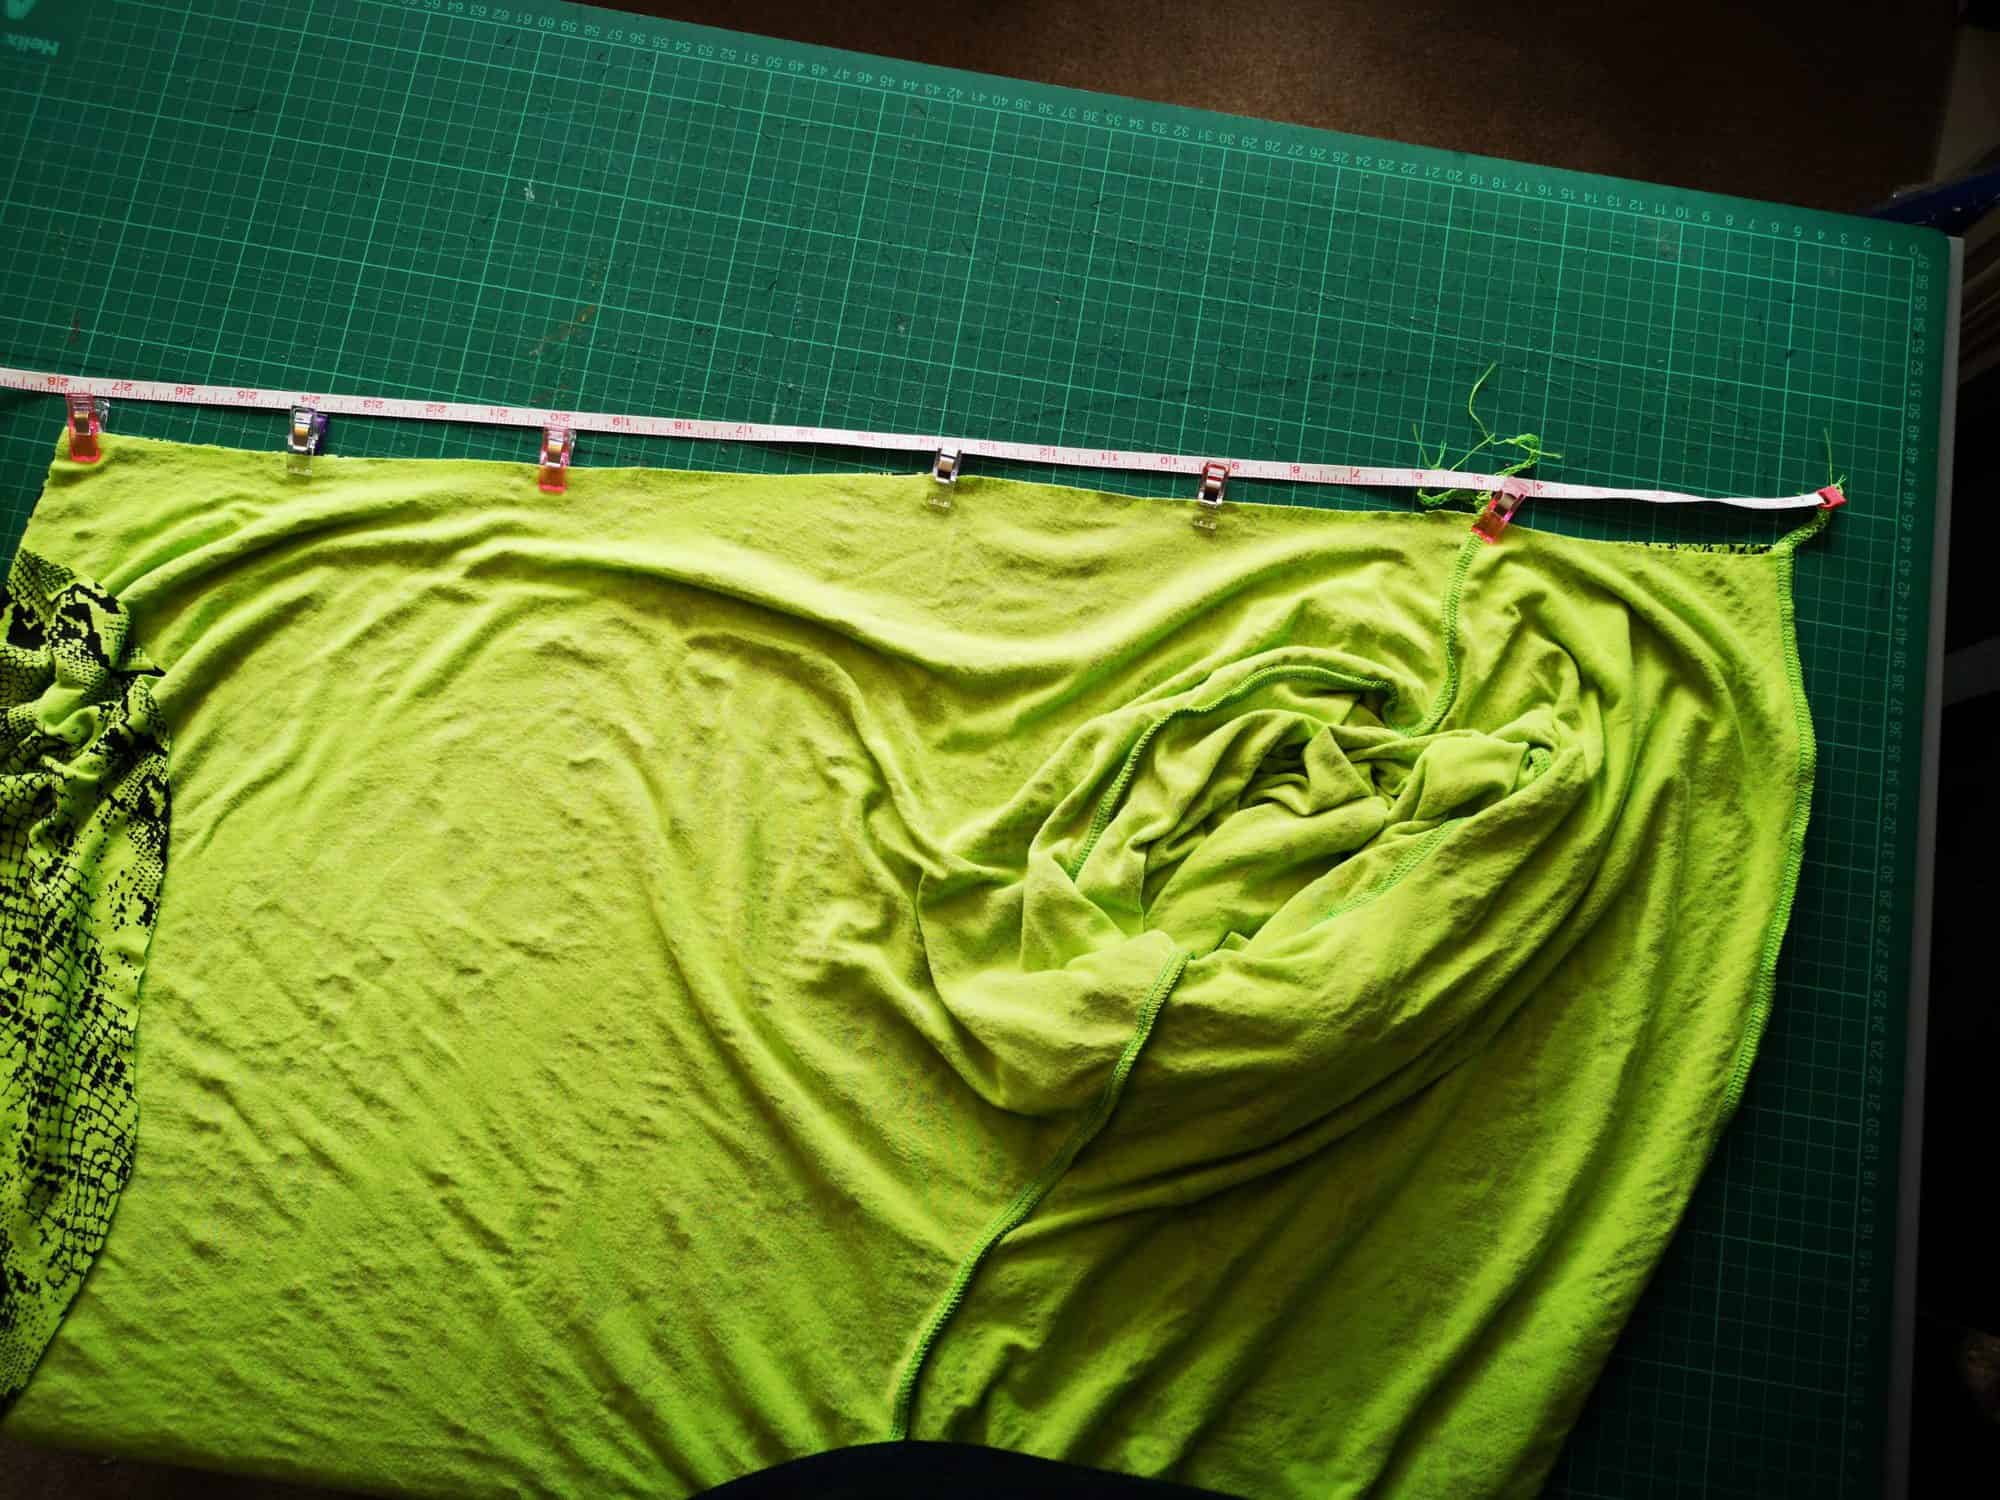
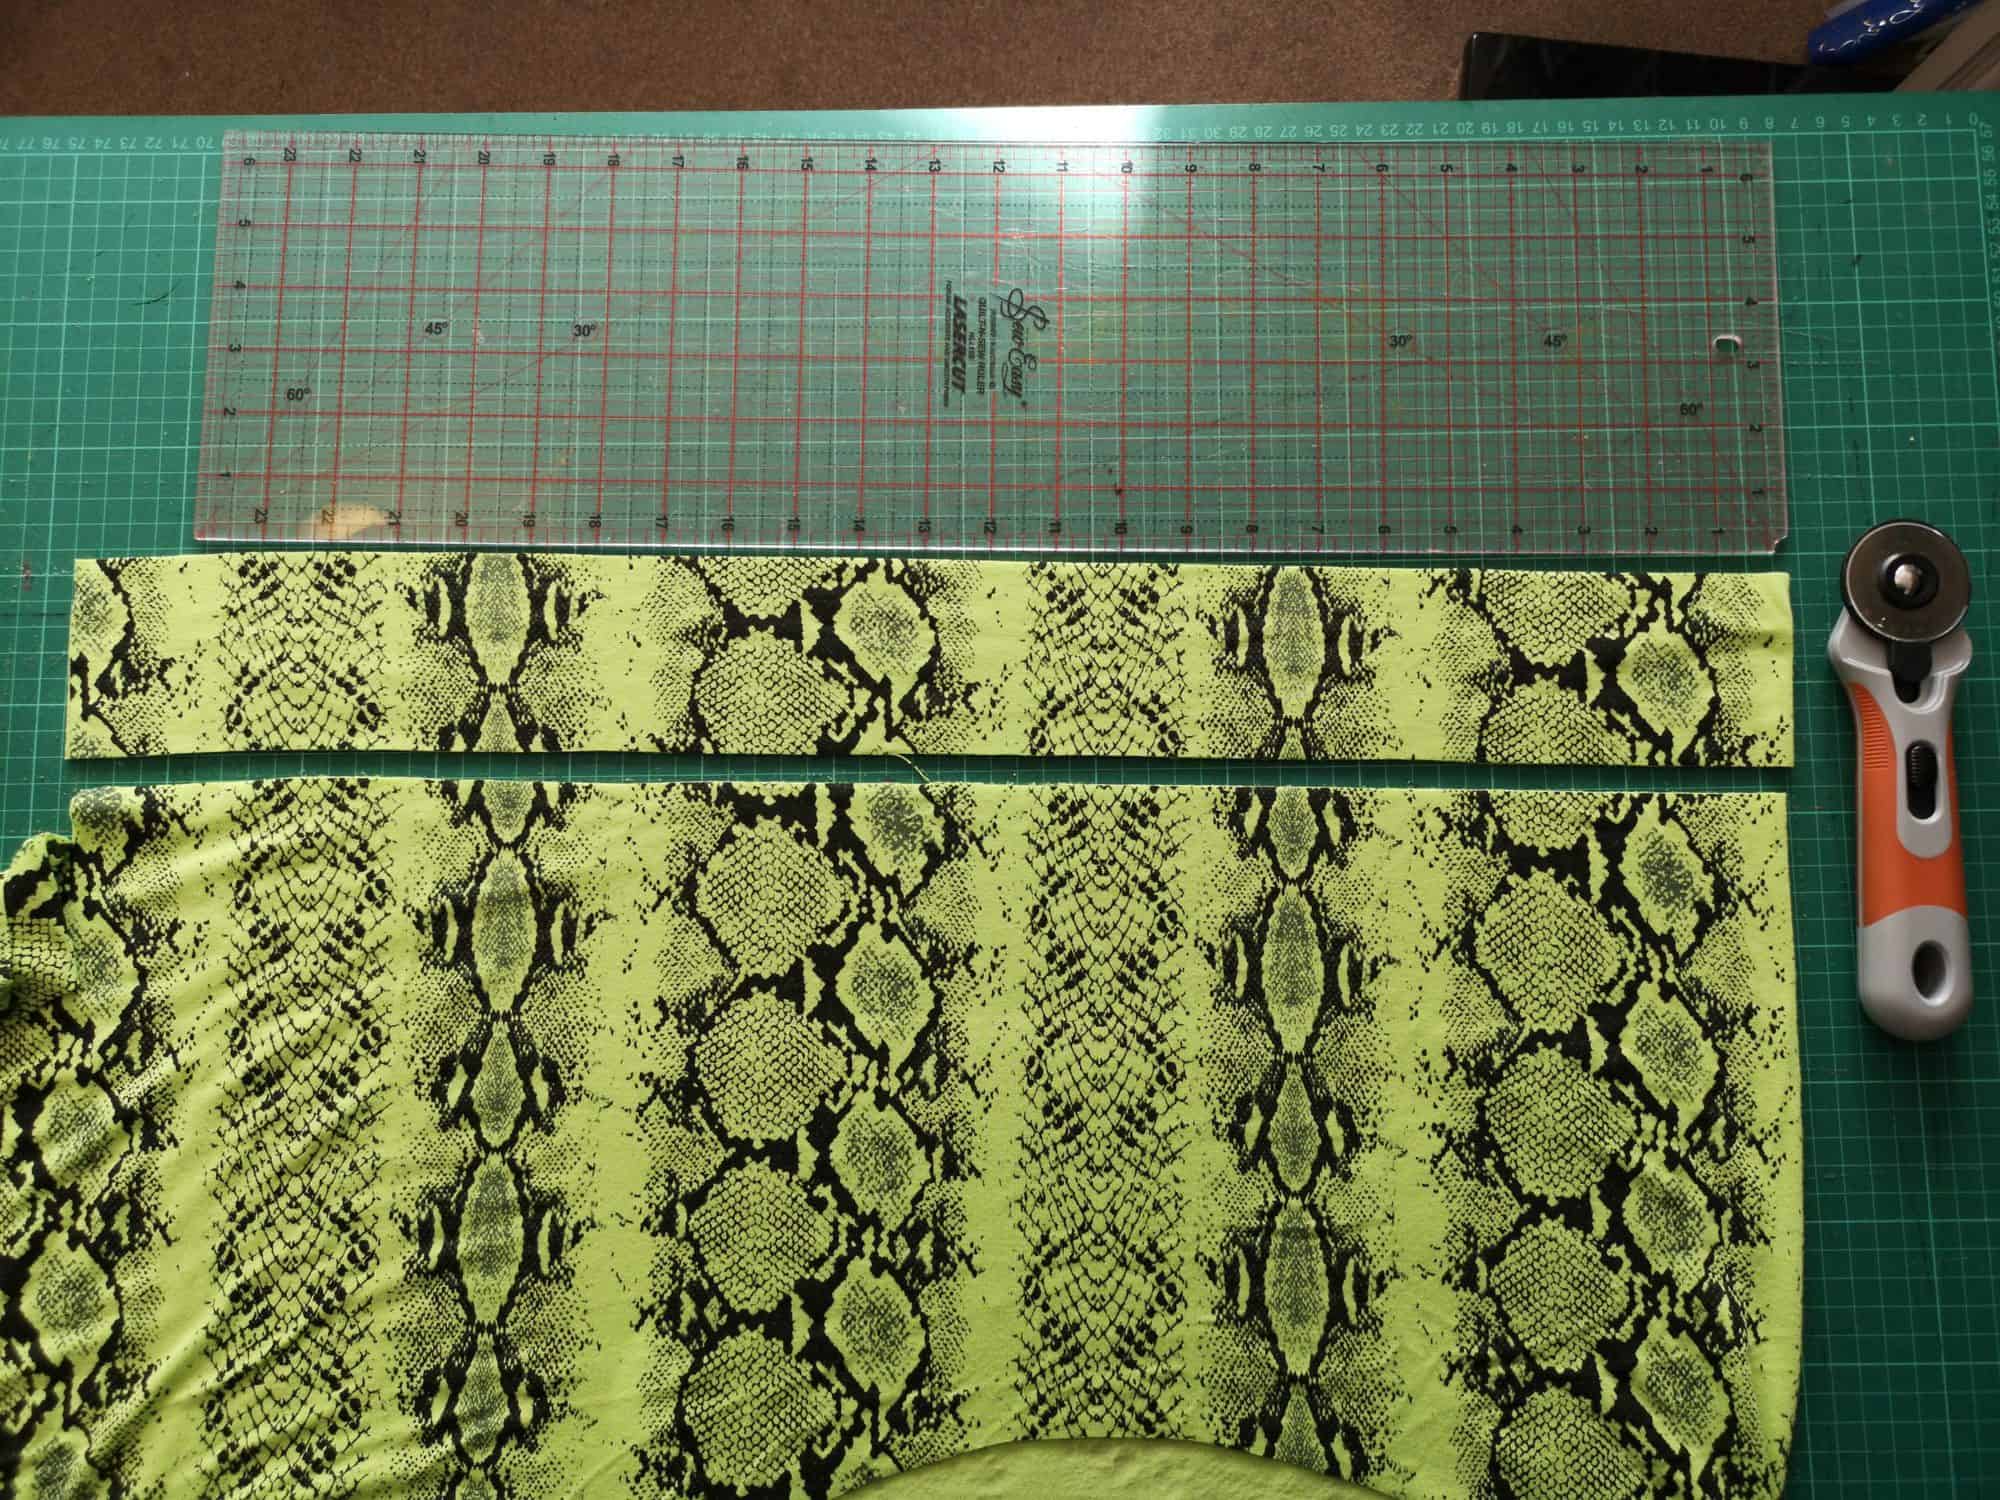
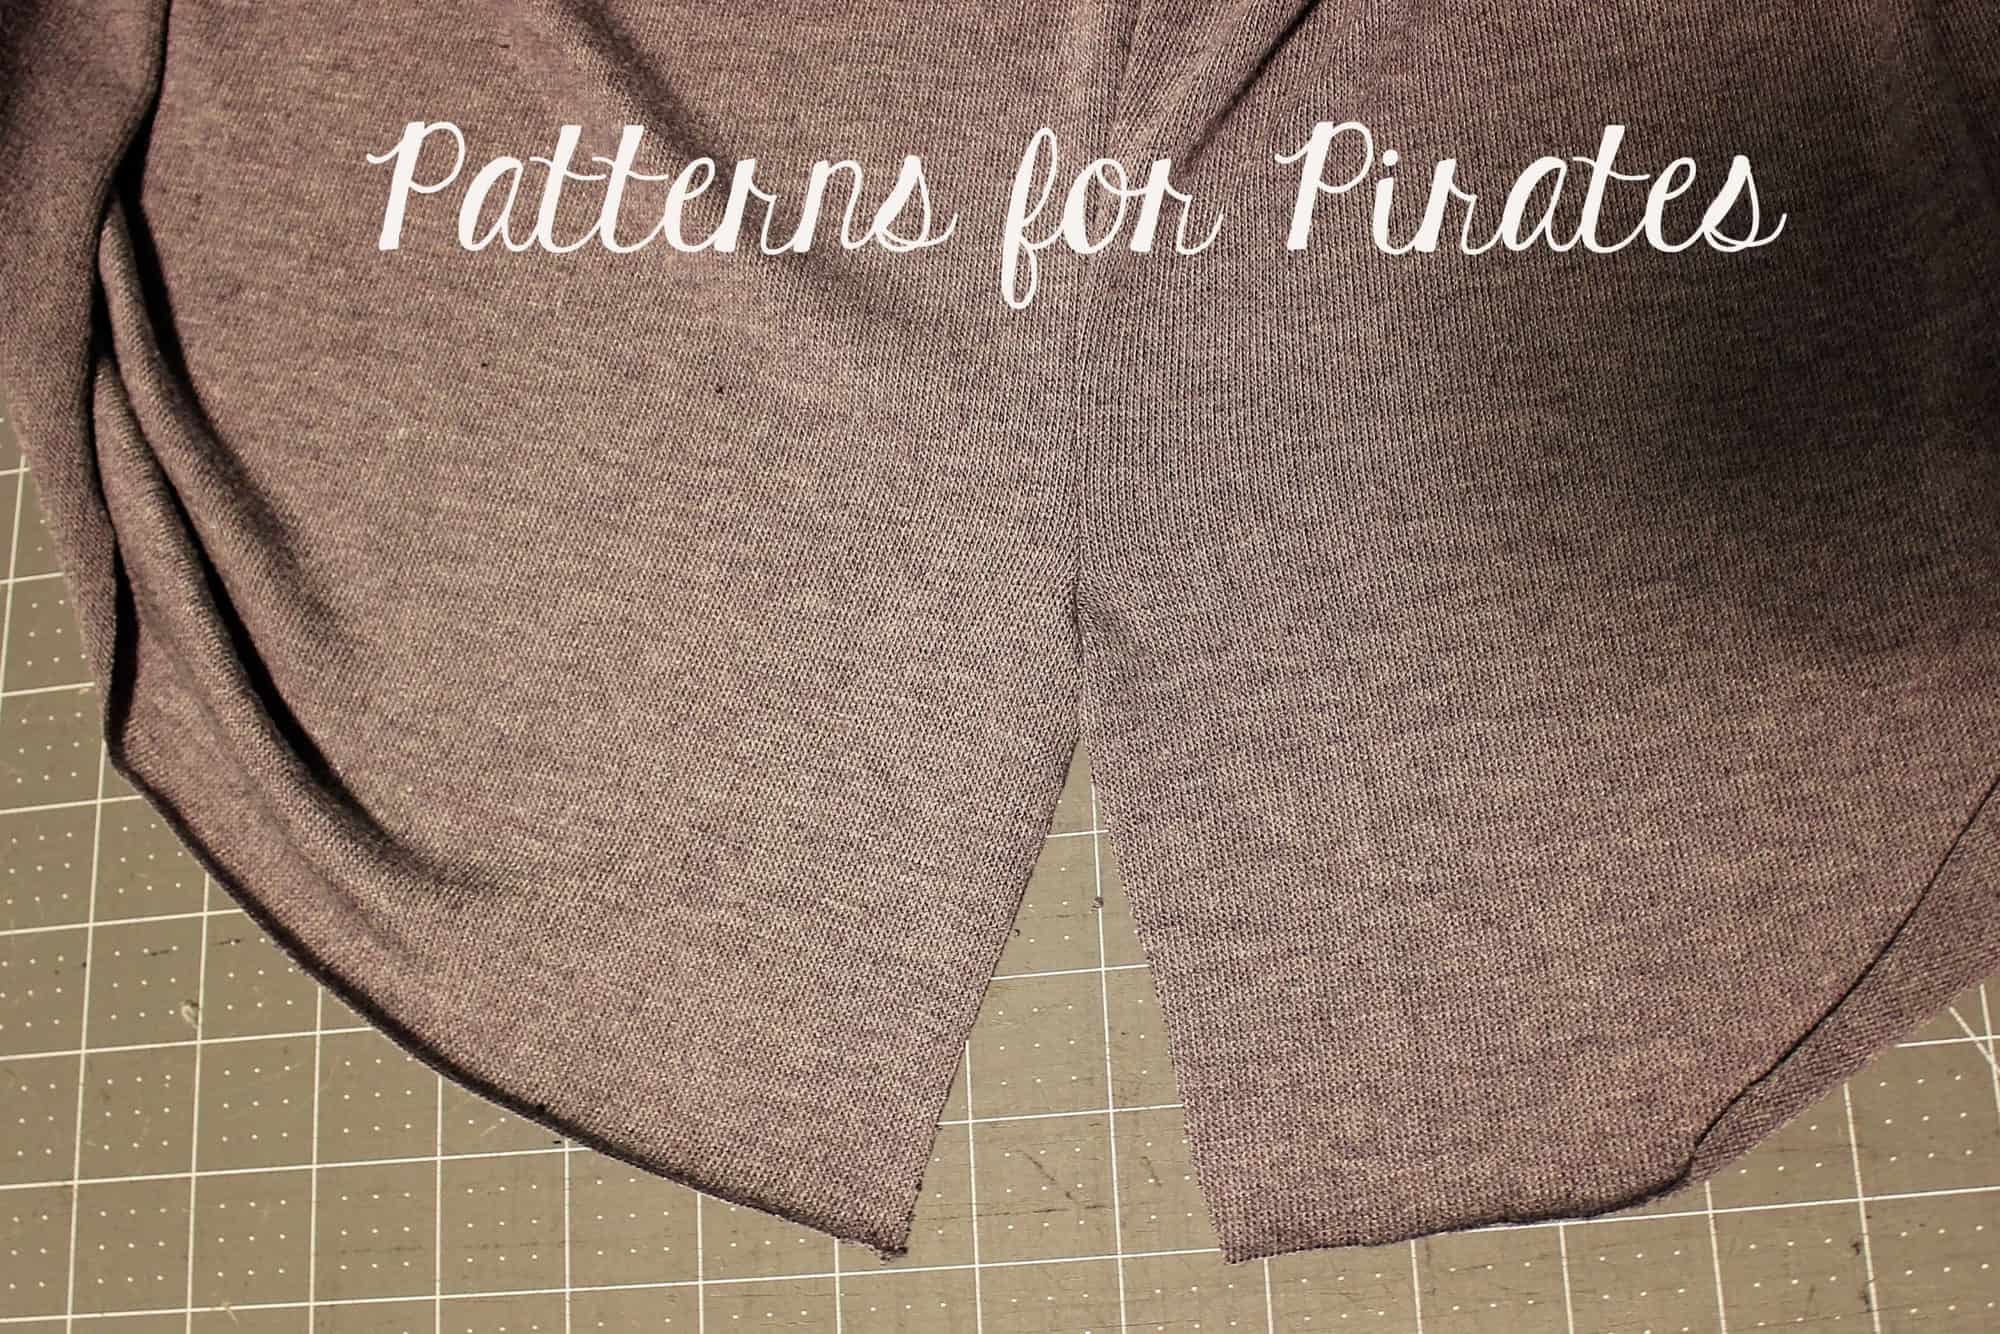
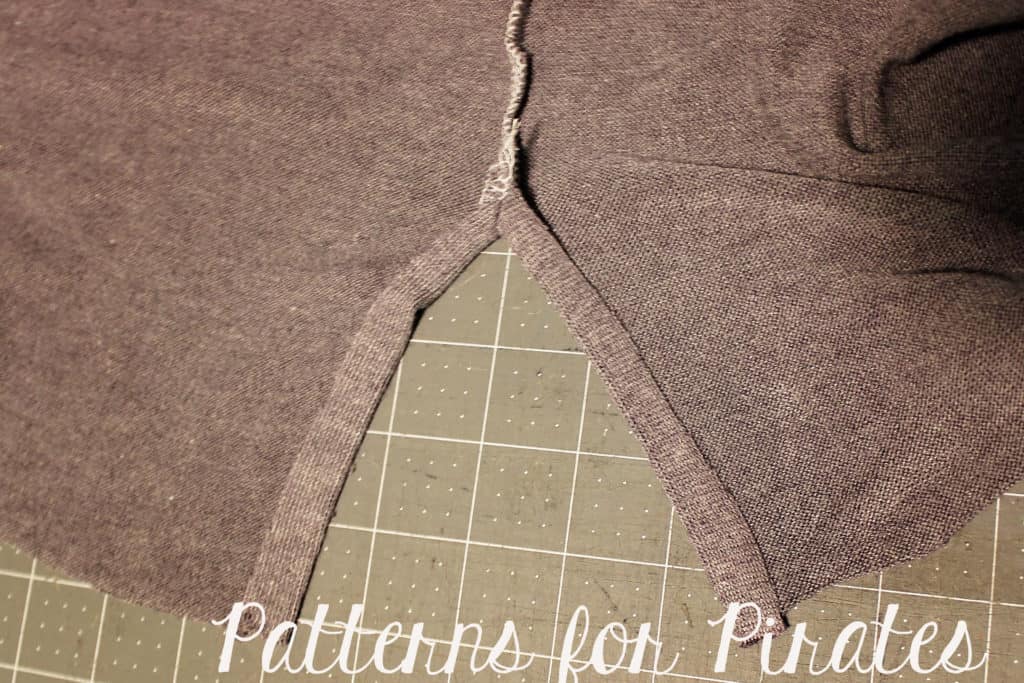
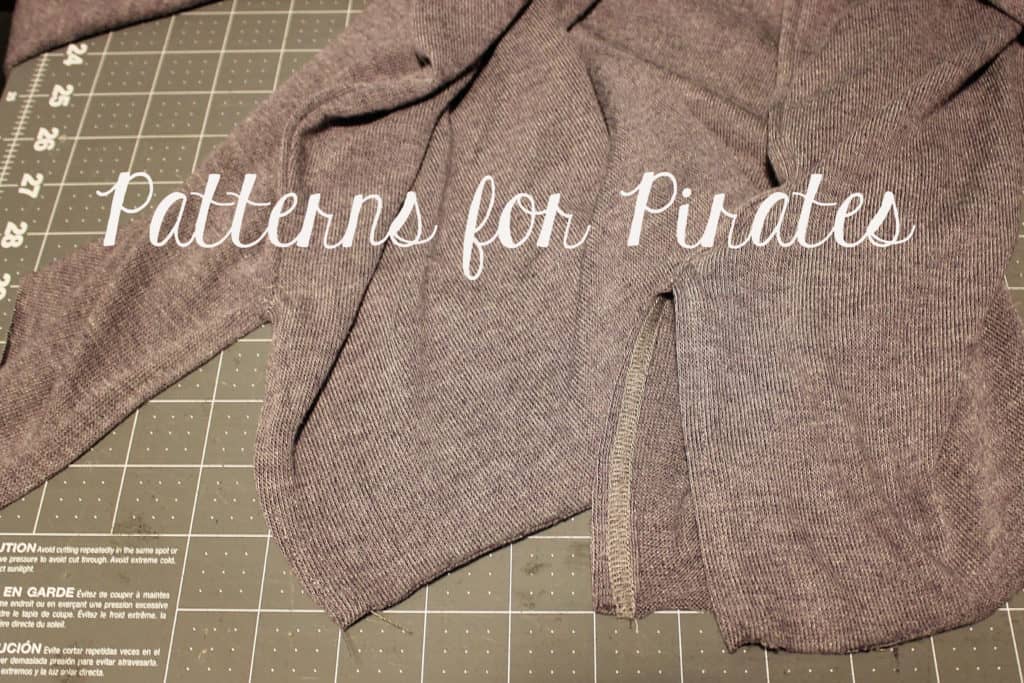
First off, we need to make our new pant leg pattern pieces using the existing front and back shorts pieces. I laid mine on top of the jogger legs as a guide for length. Using a straight edge and marker, I drew a straight line down from either side of the shorts pieces, ending 3 1/2” below where the jogger piece ended (this is to account for the added length of the jogger cuff). After doing this for both front and back pieces, you now are ready to cut out your new wide-legged pants!
Sew up the romper as directed, hemming pant legs 1”. Now take a step back and admire your new trendy jumpsuit!
…..
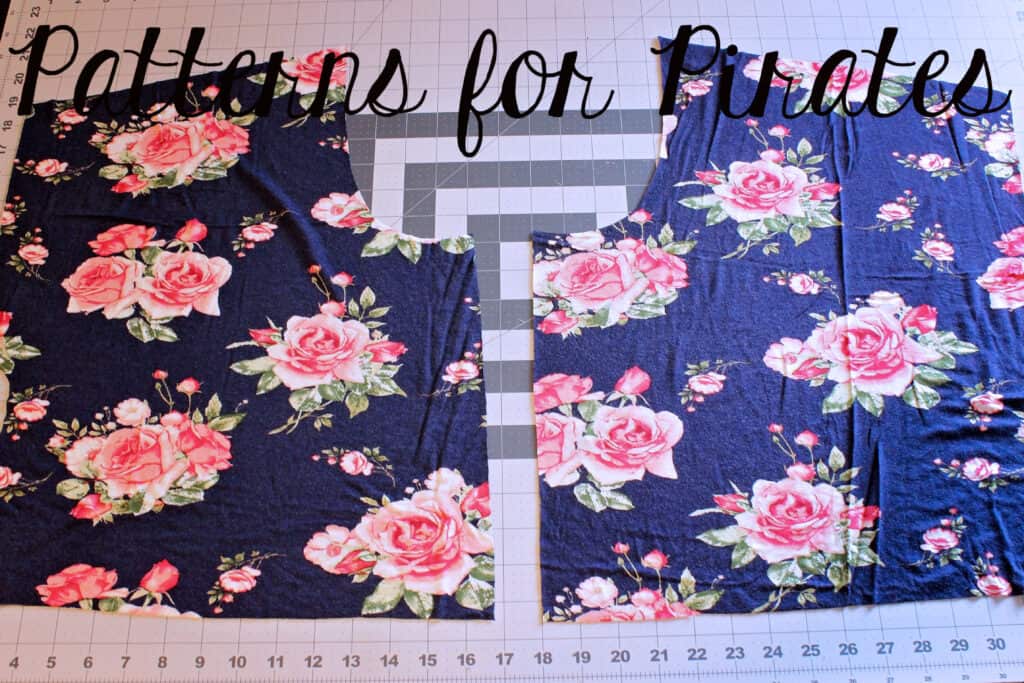
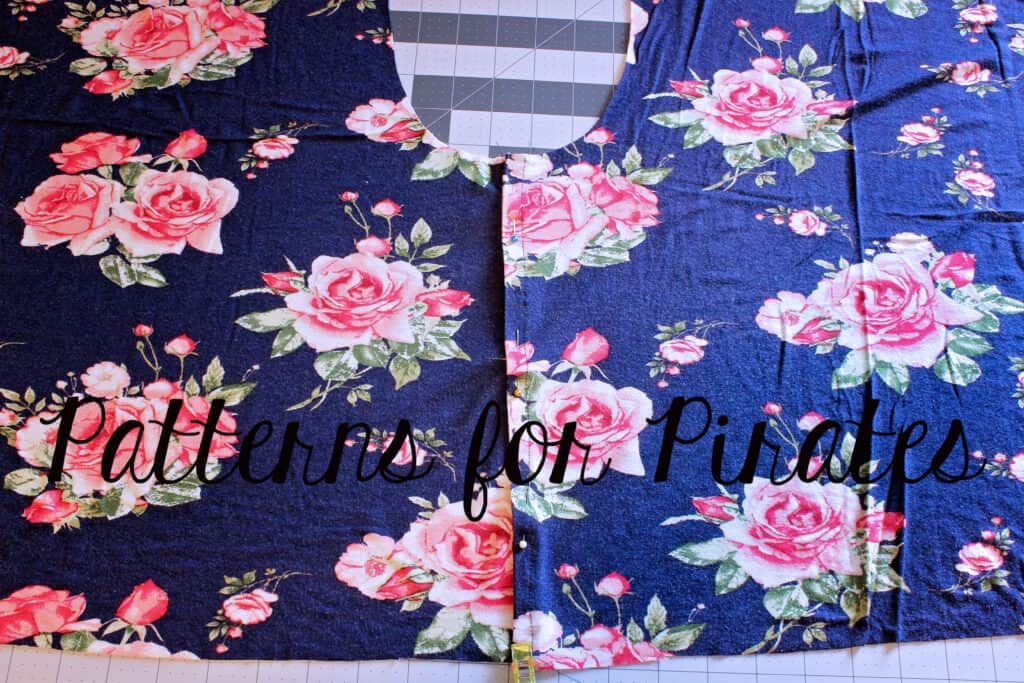
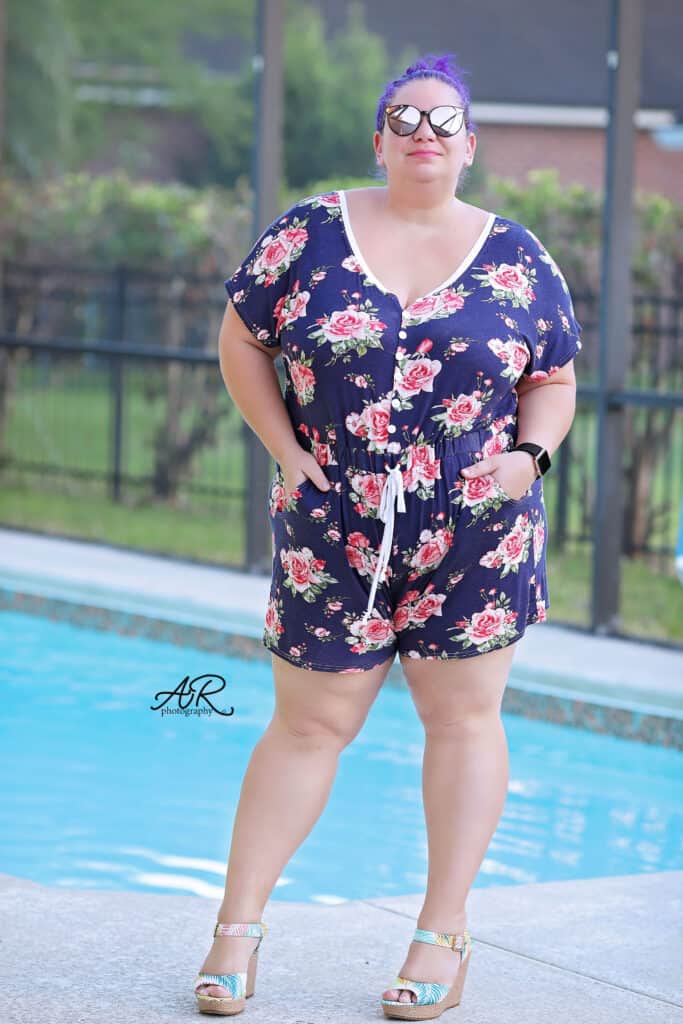
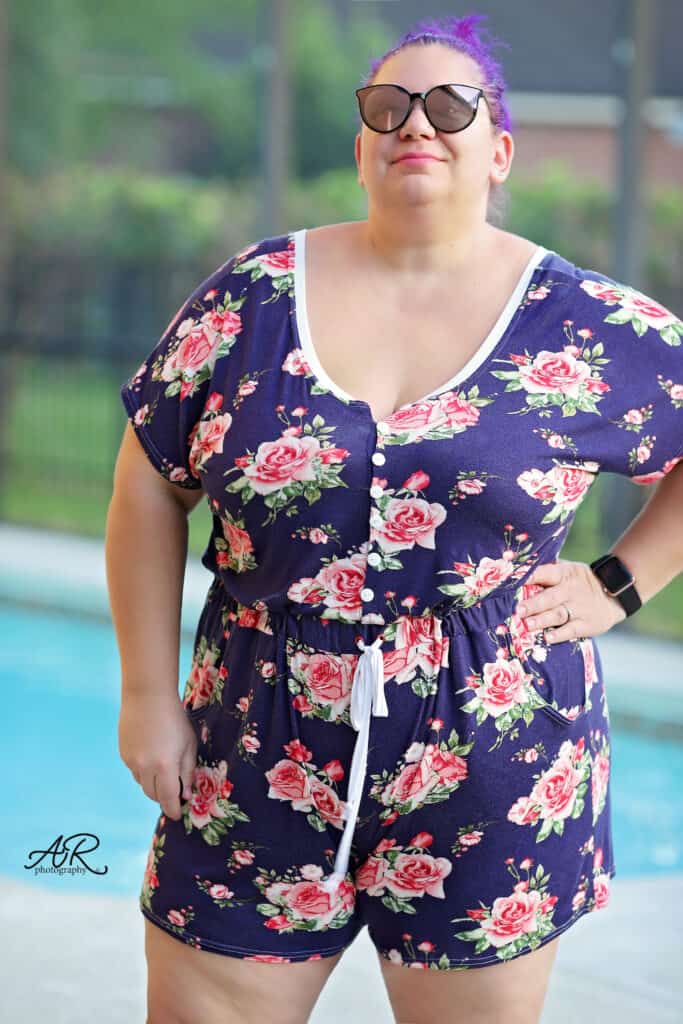
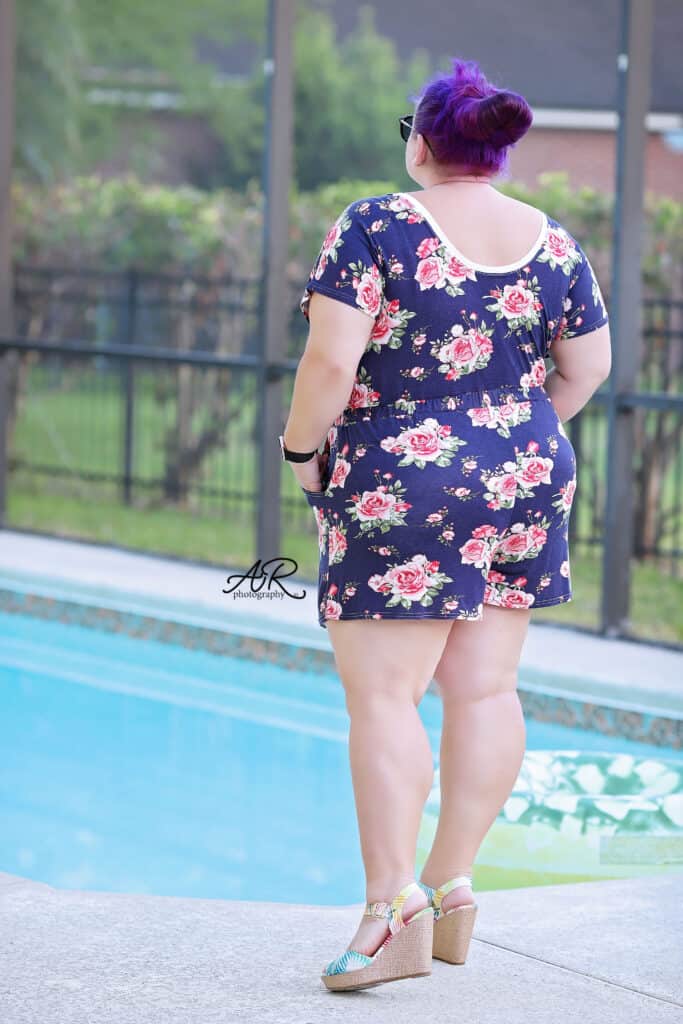
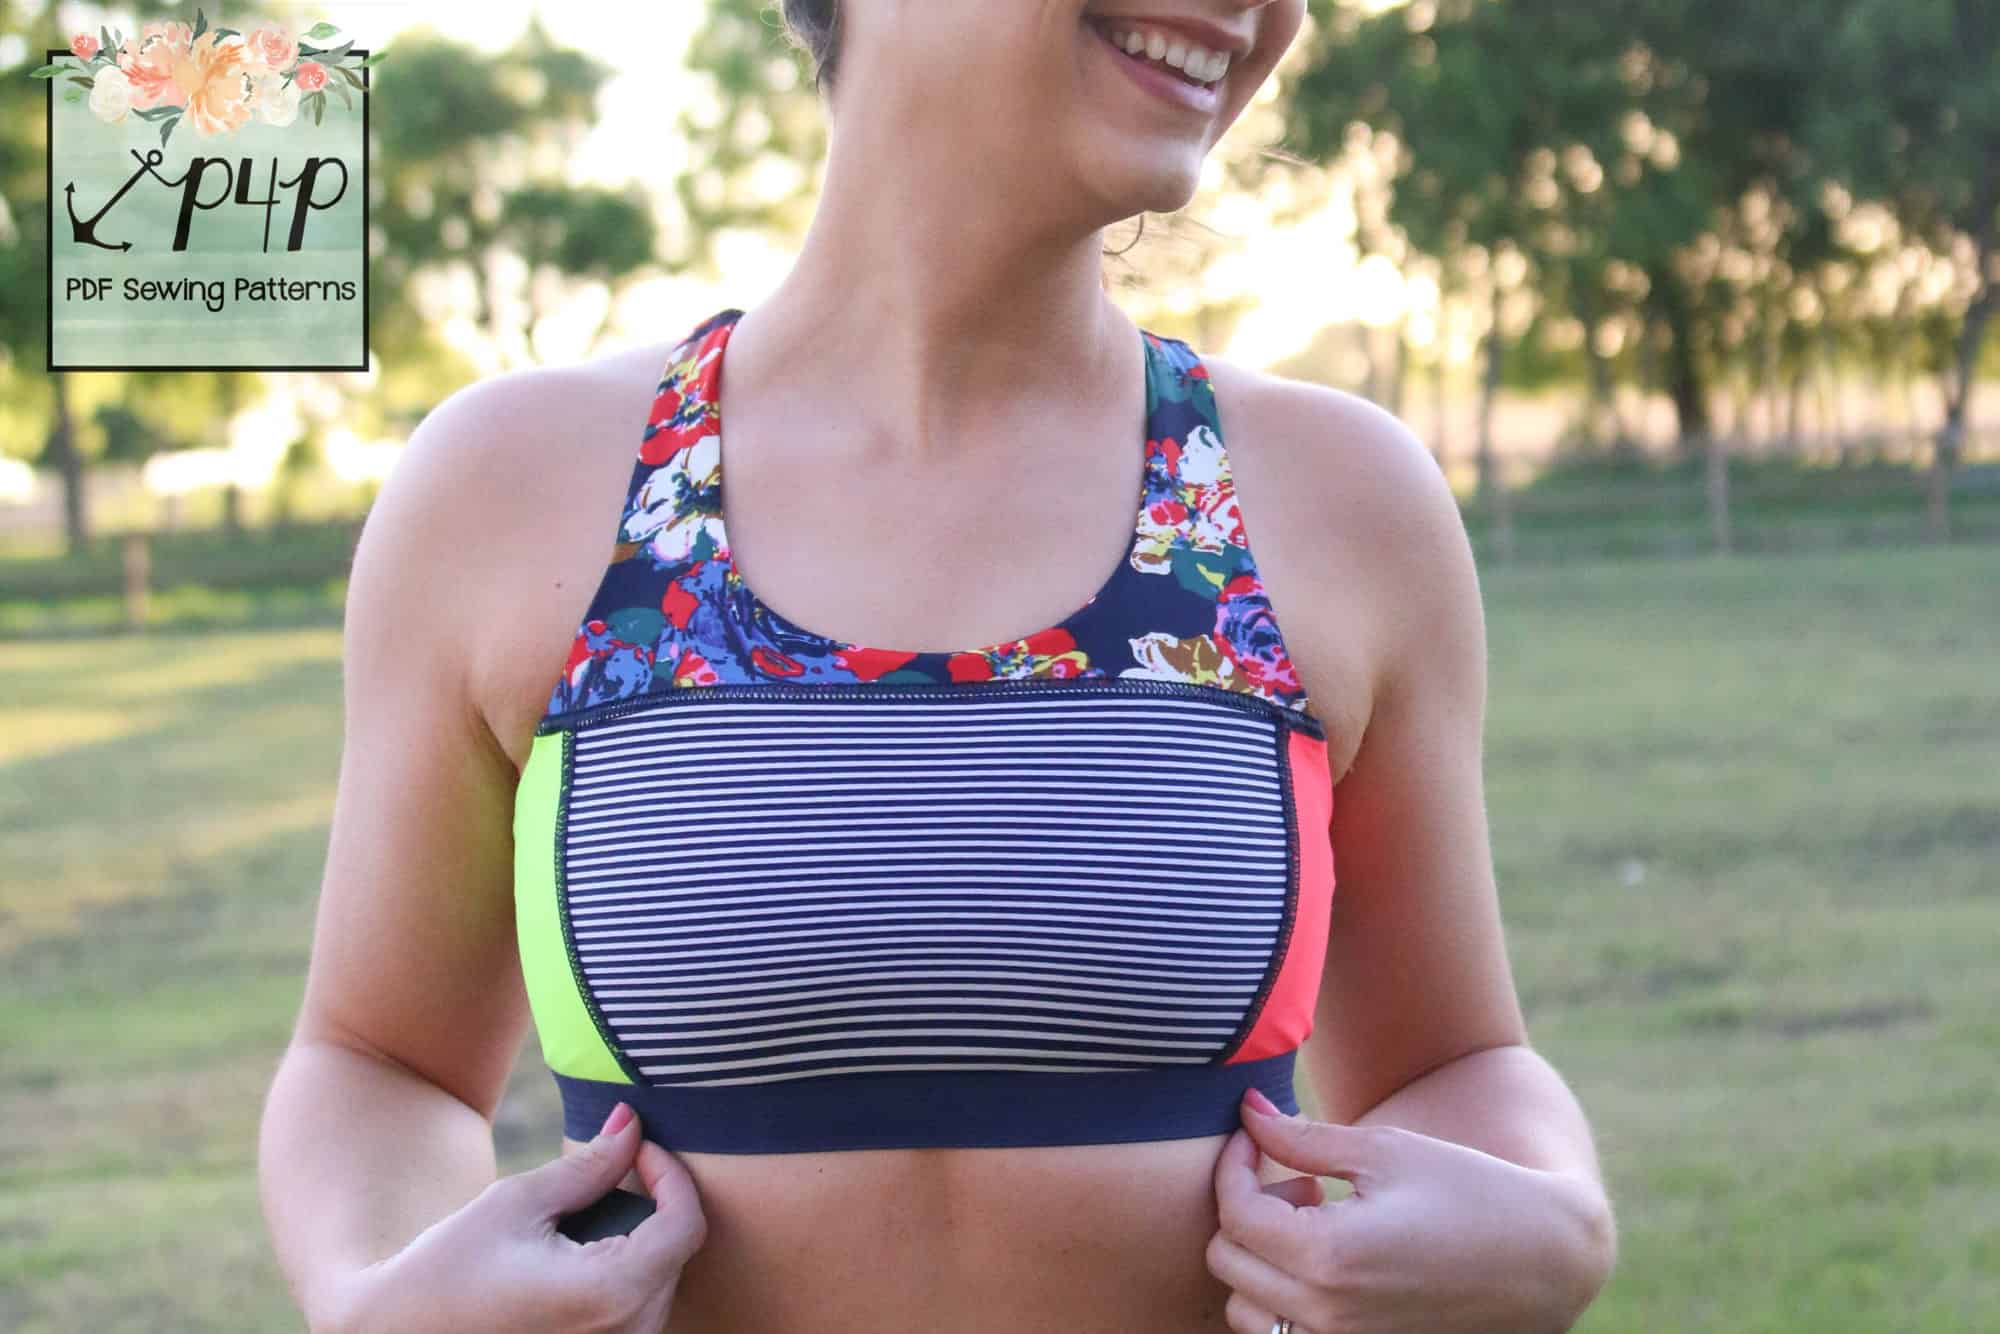
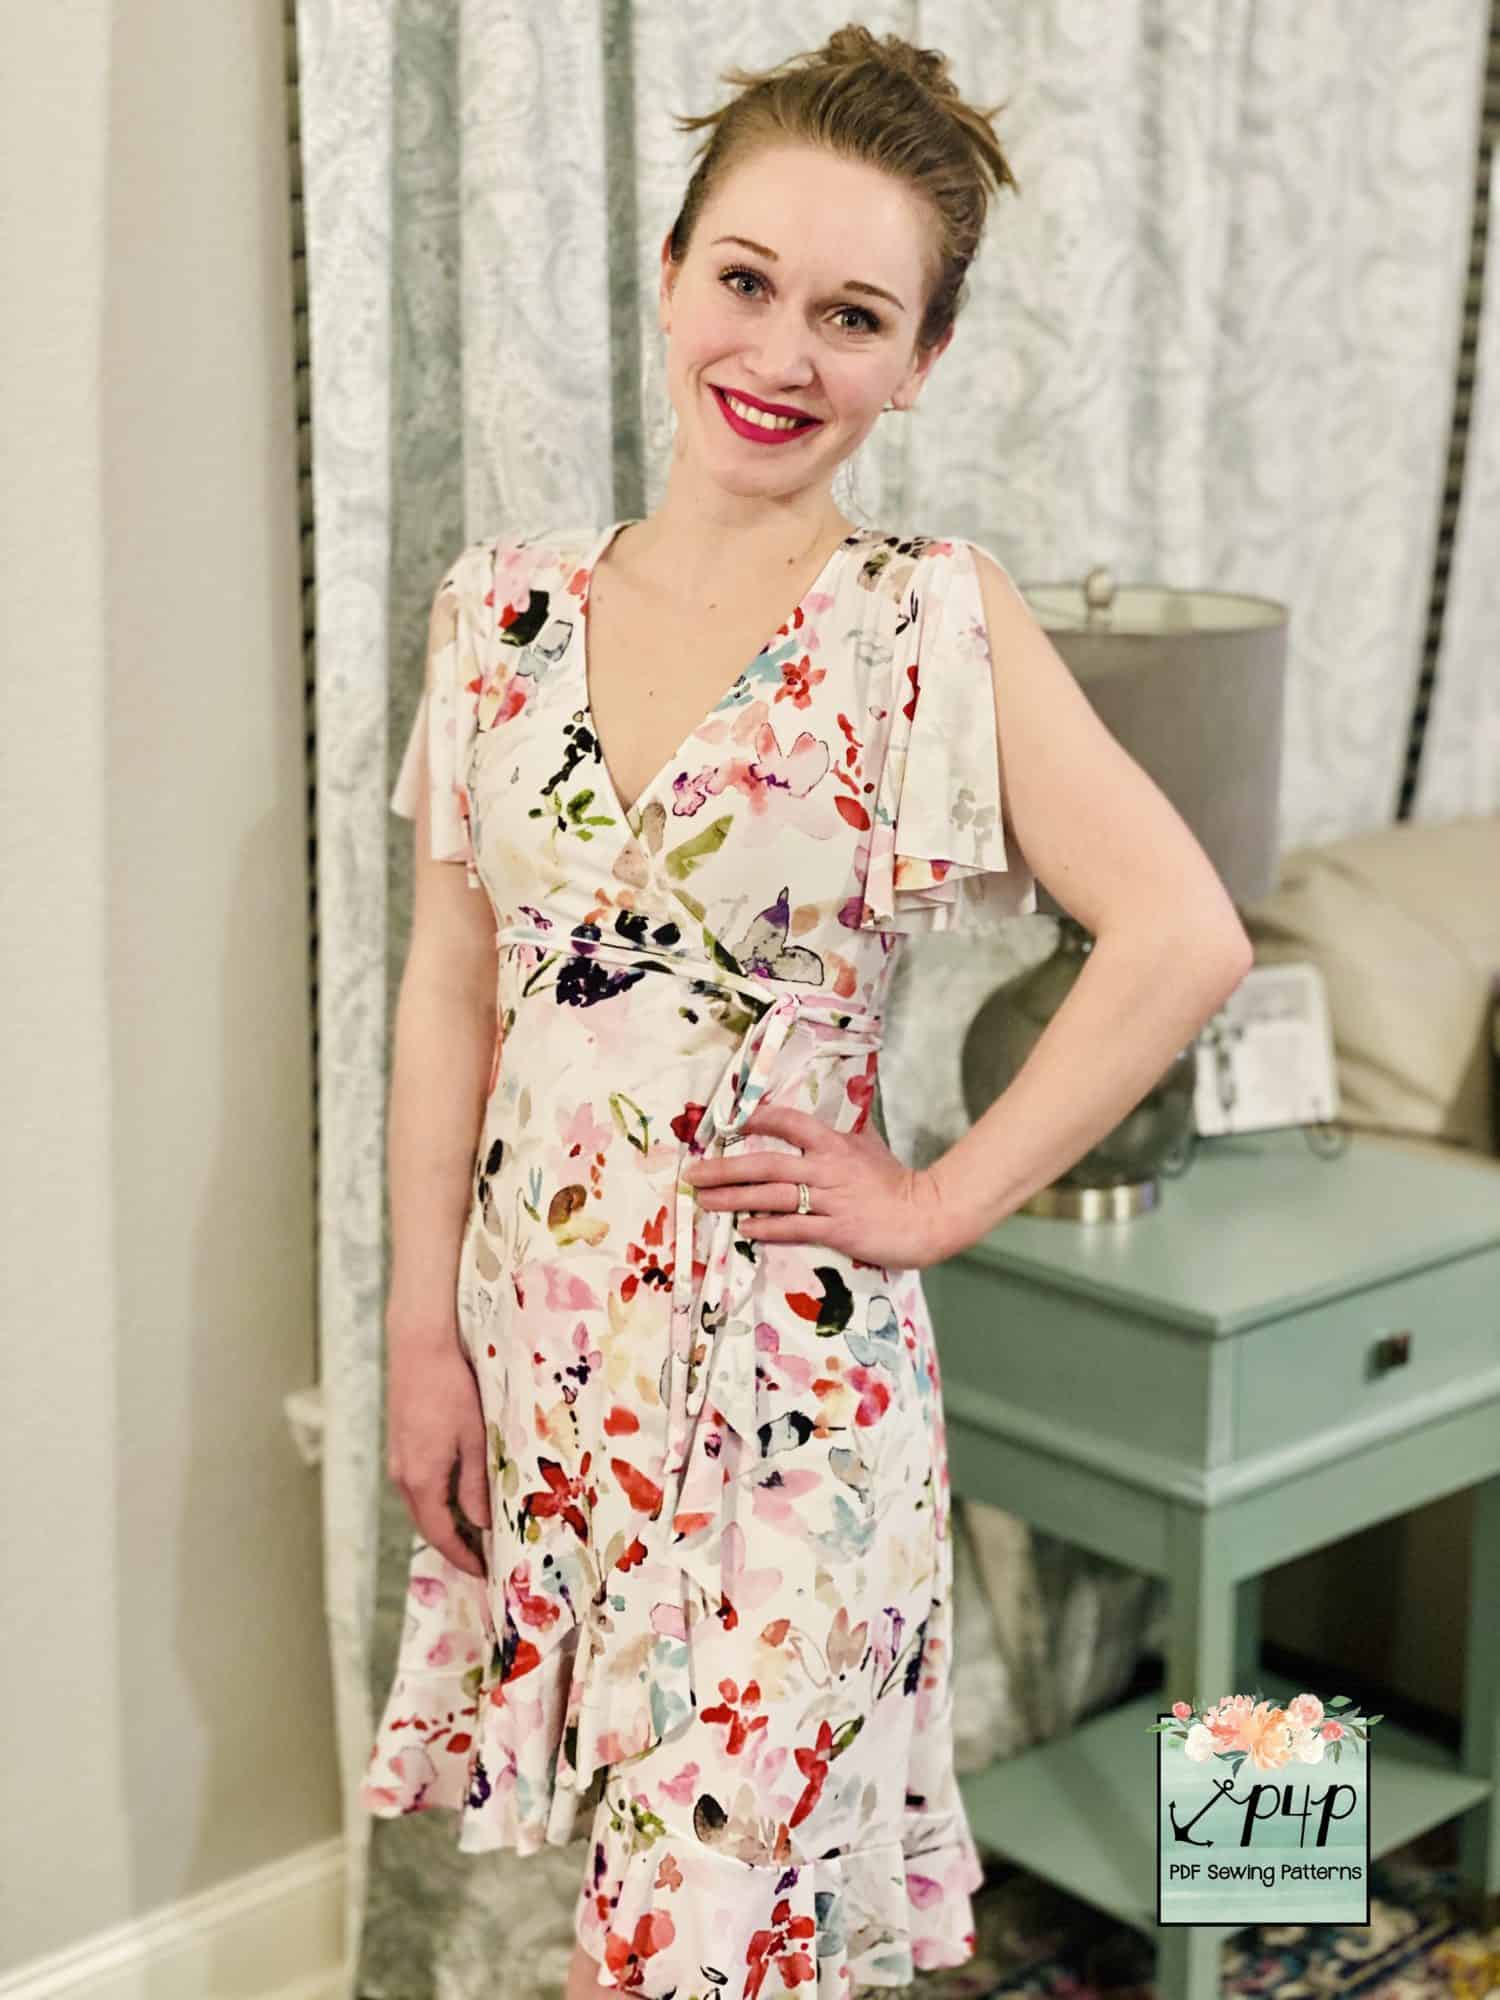
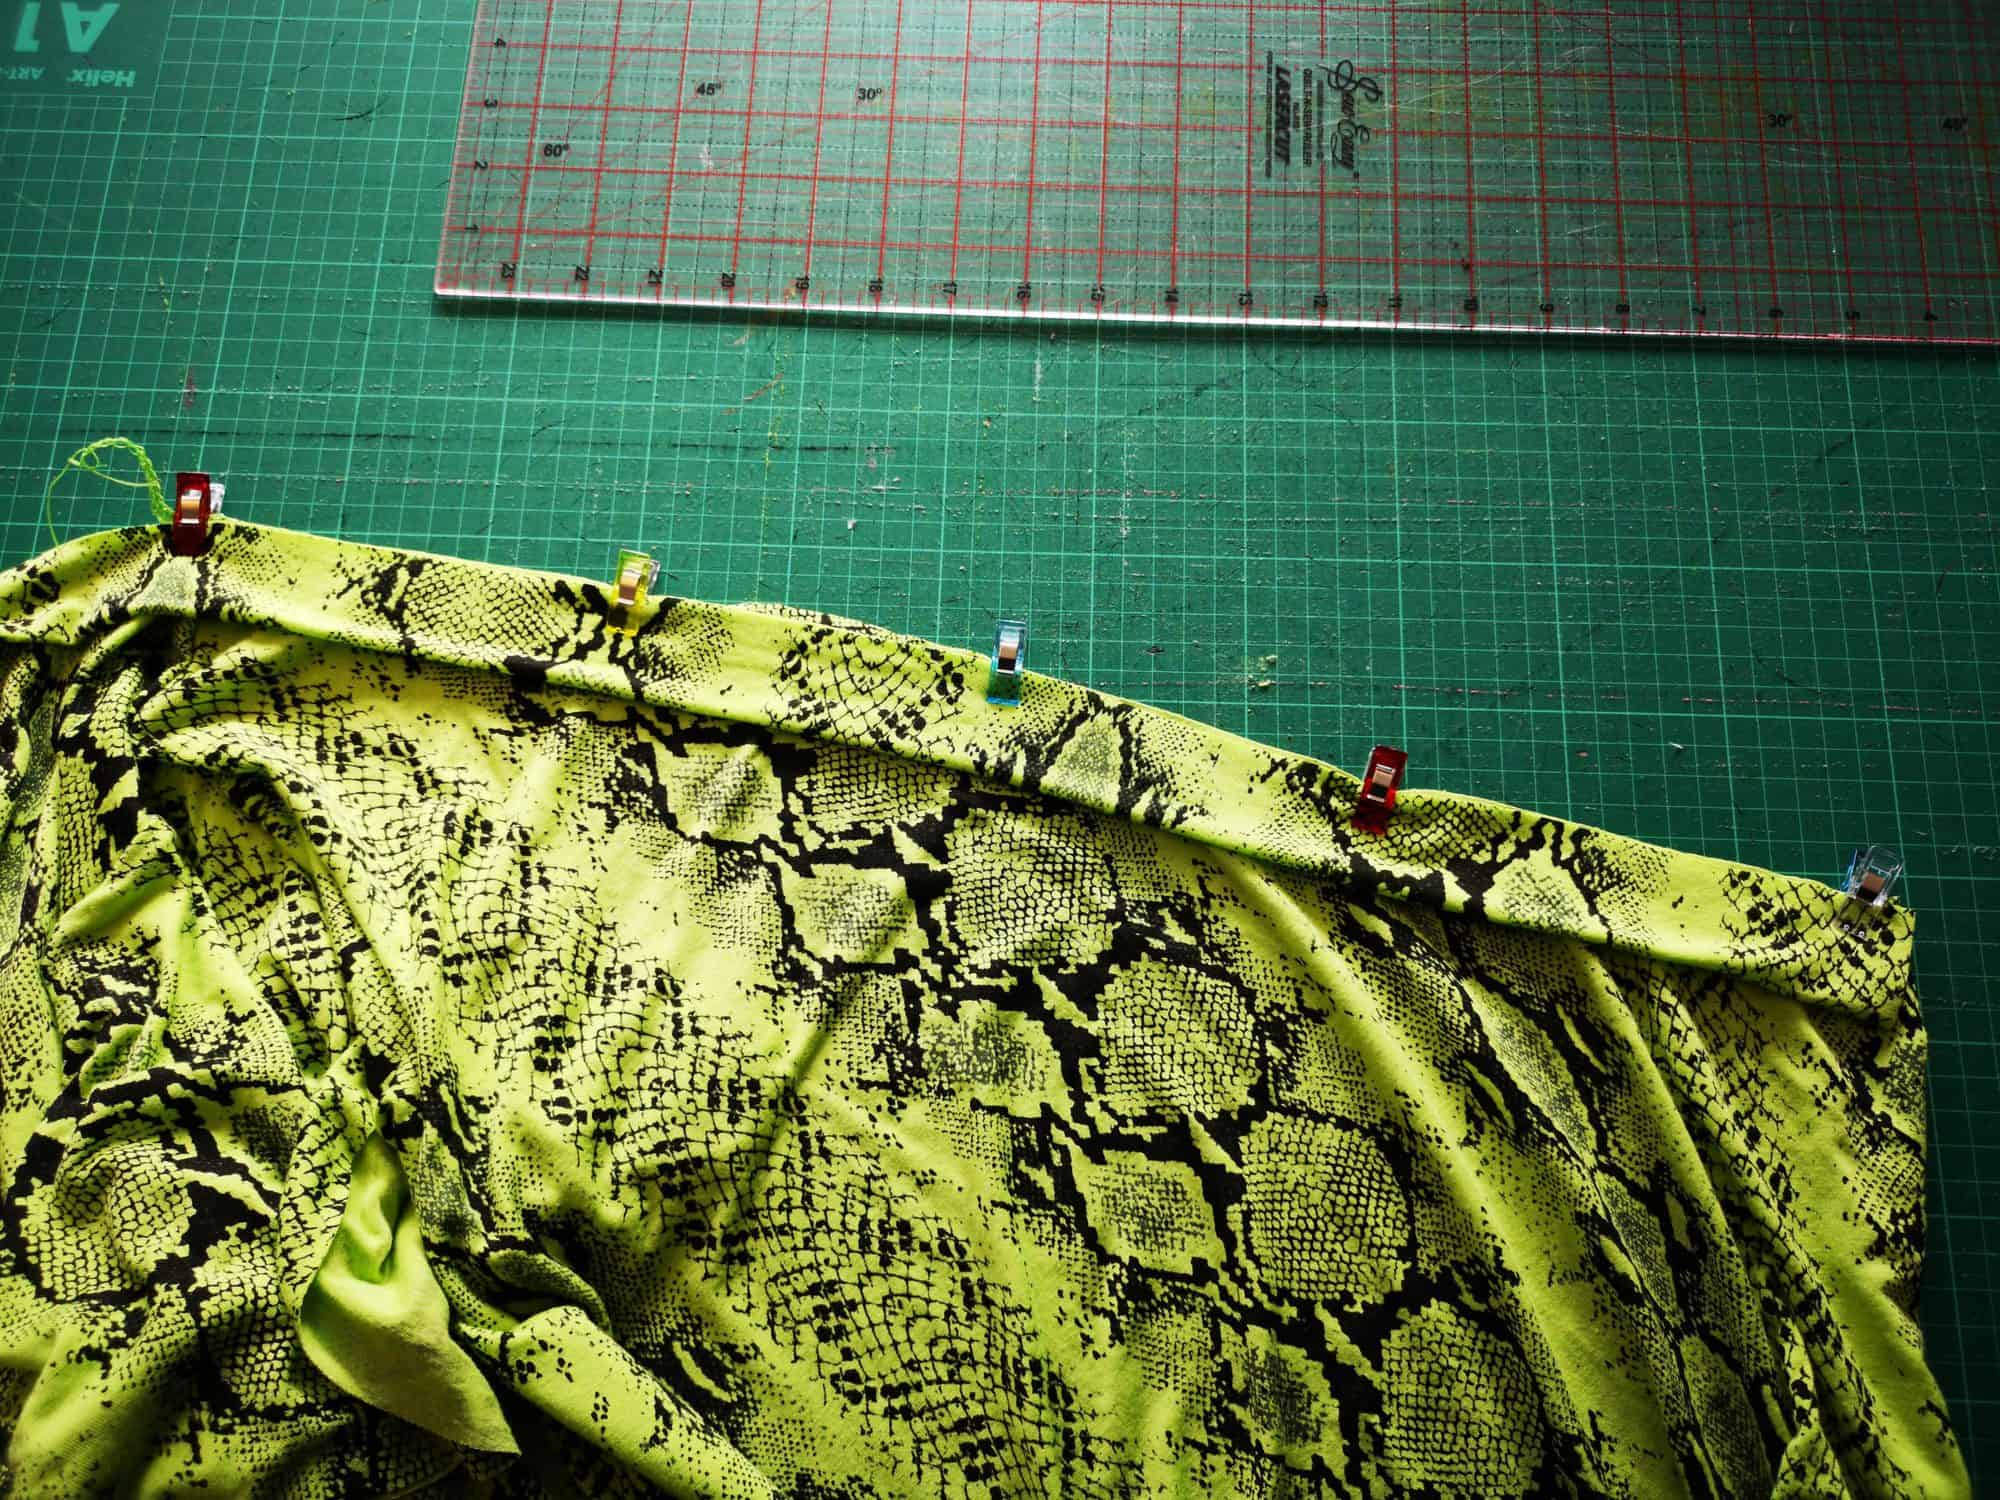
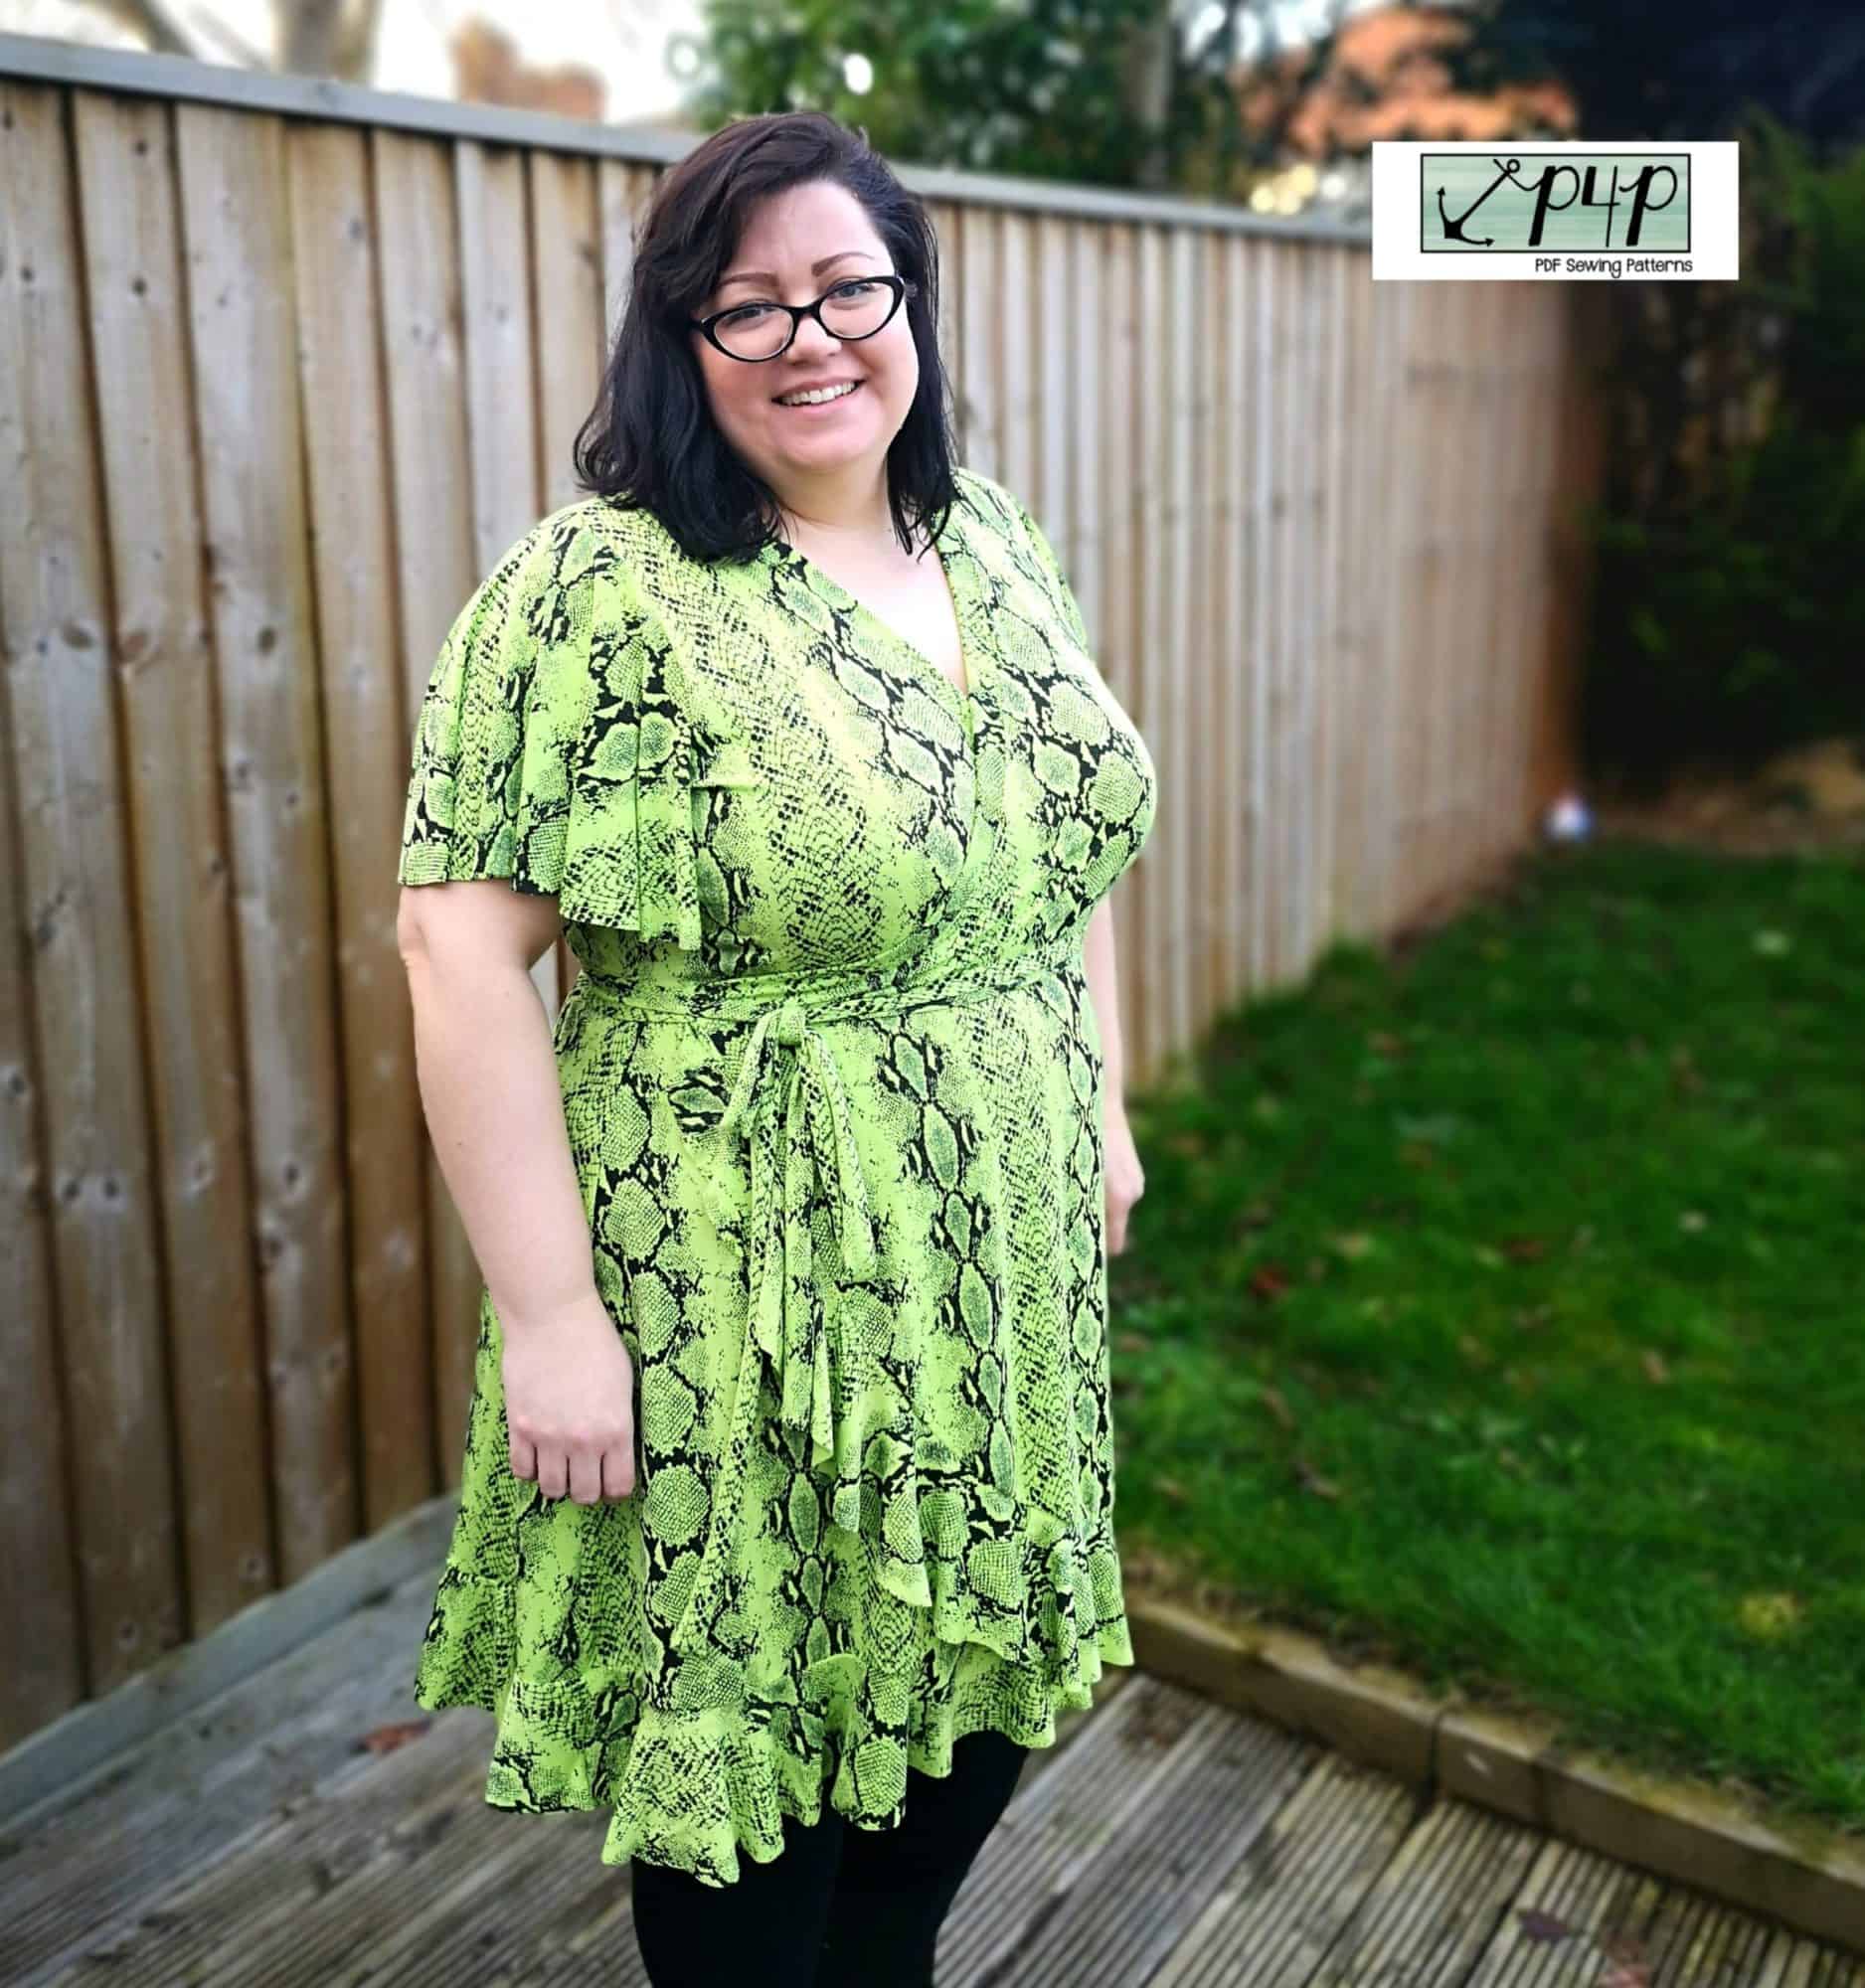
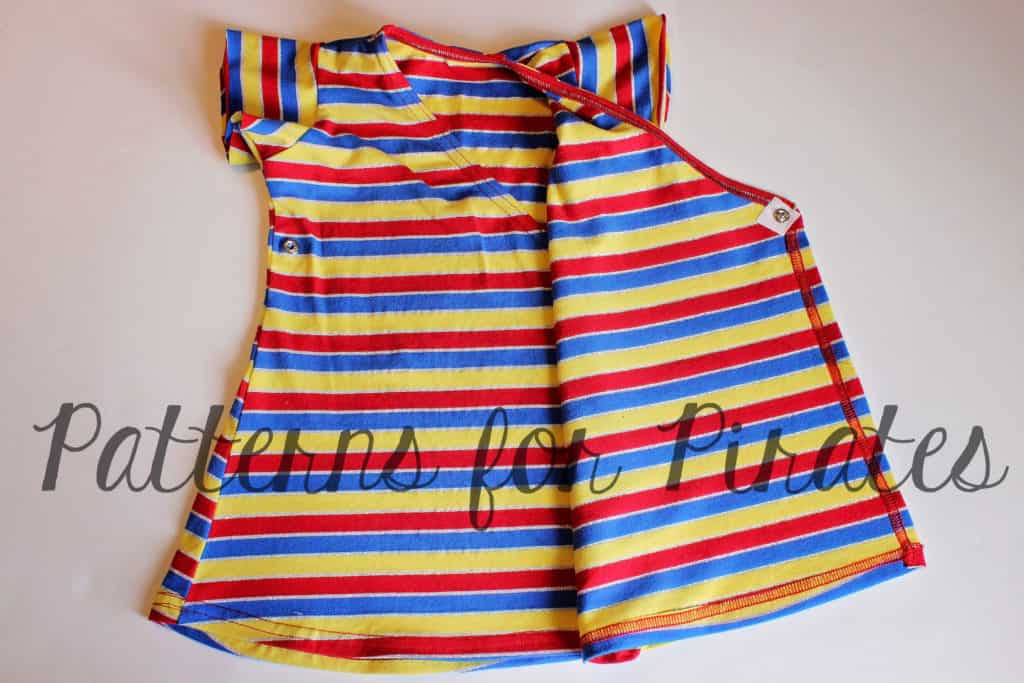
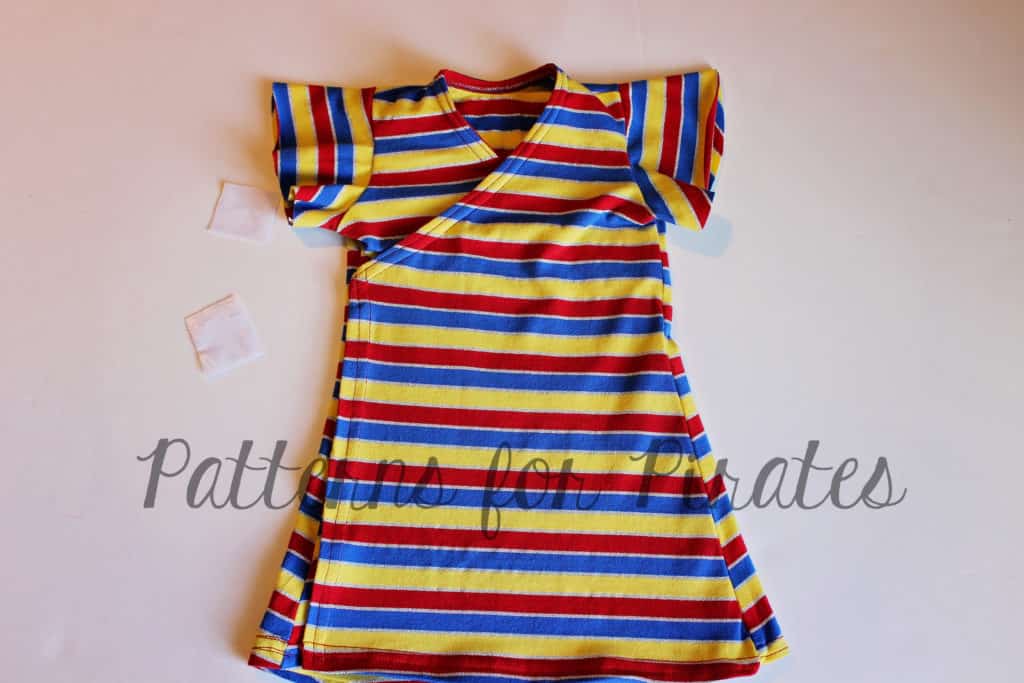
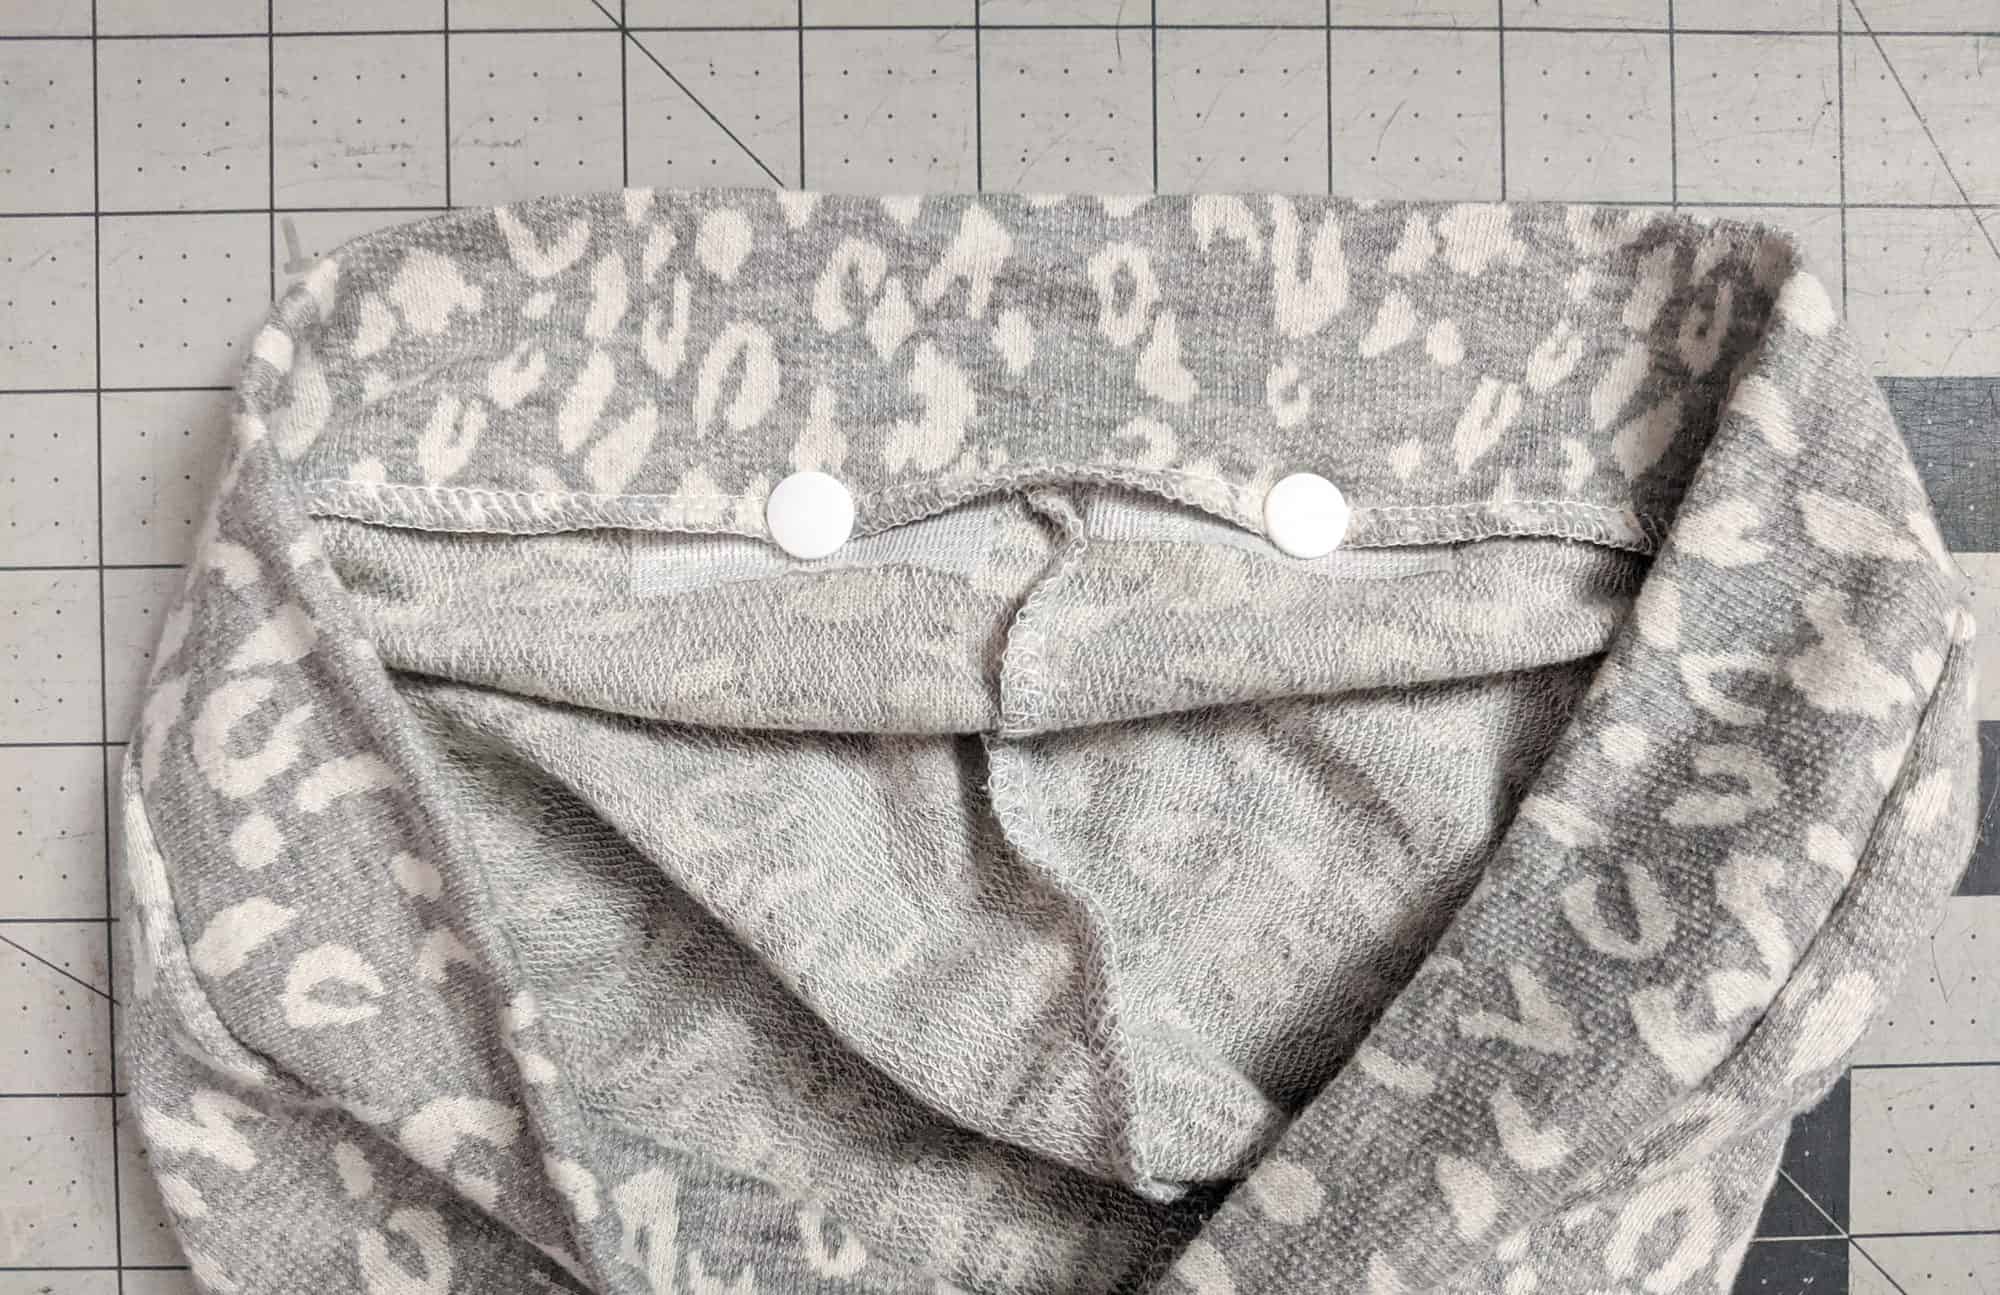
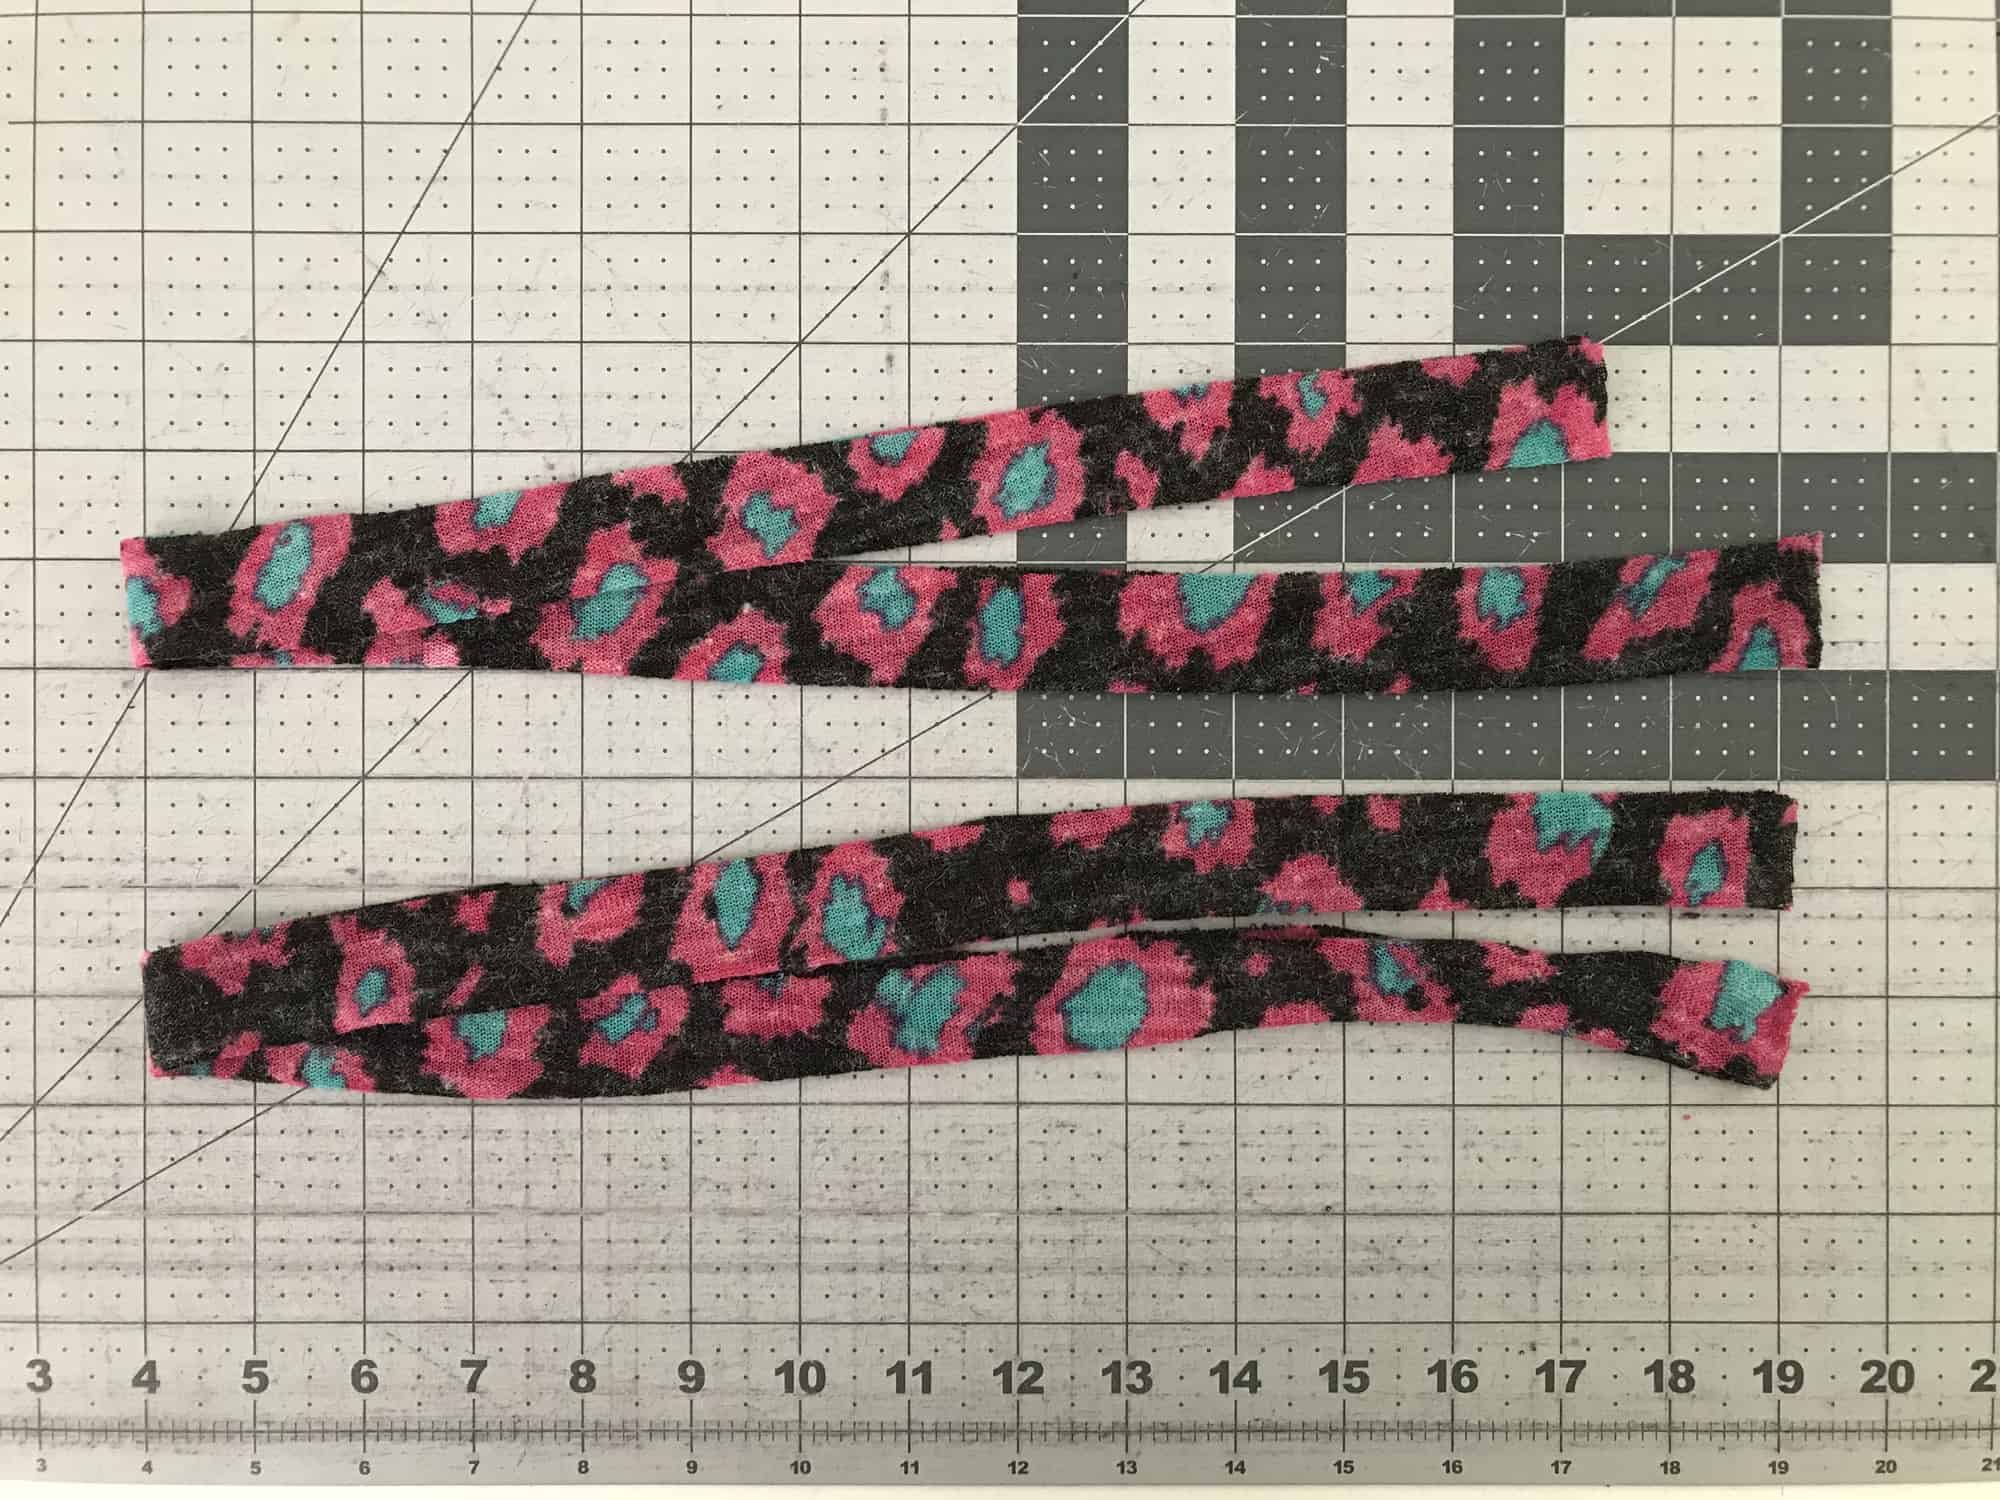
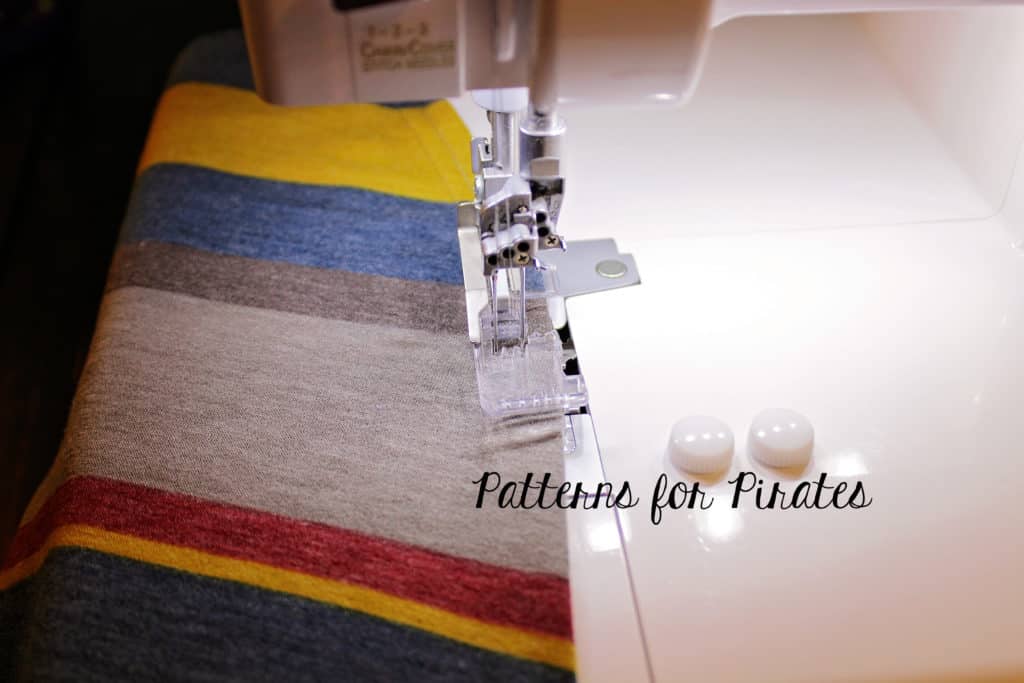
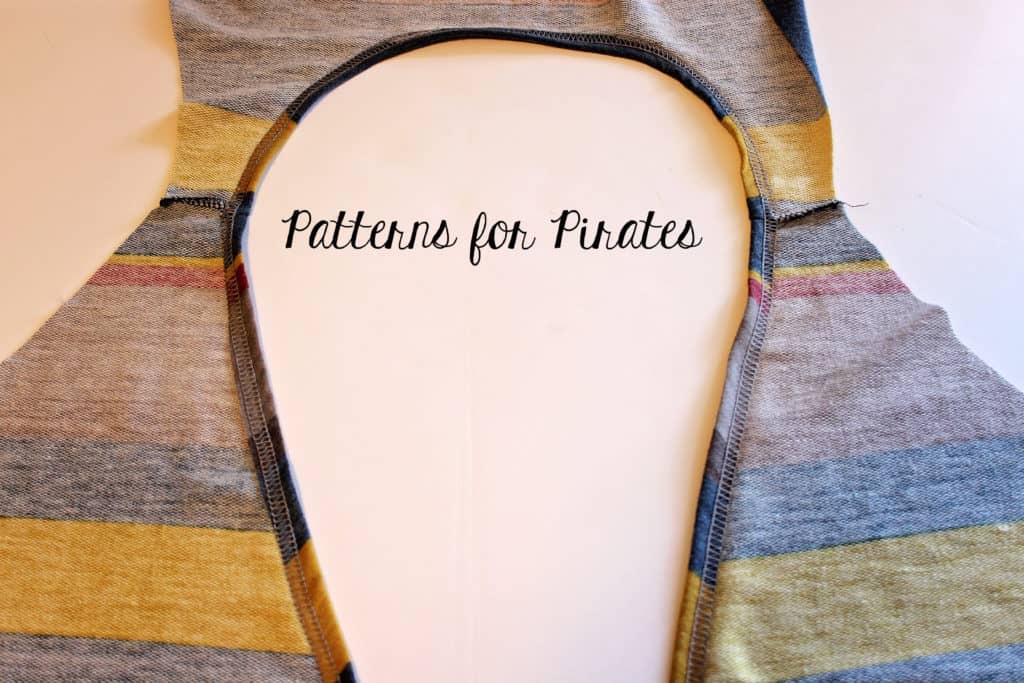
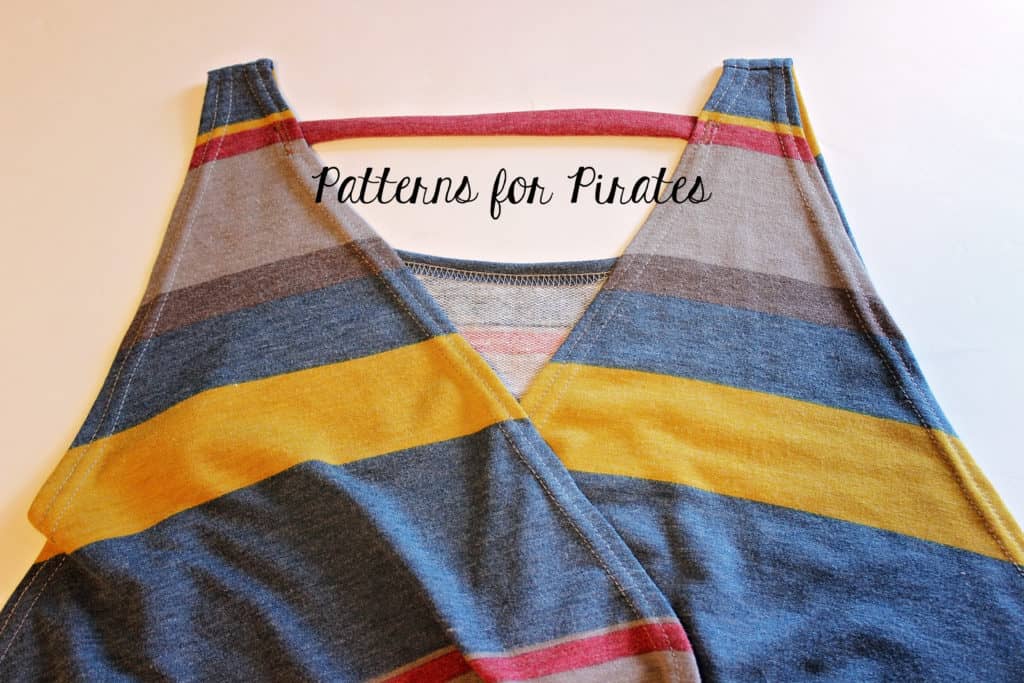
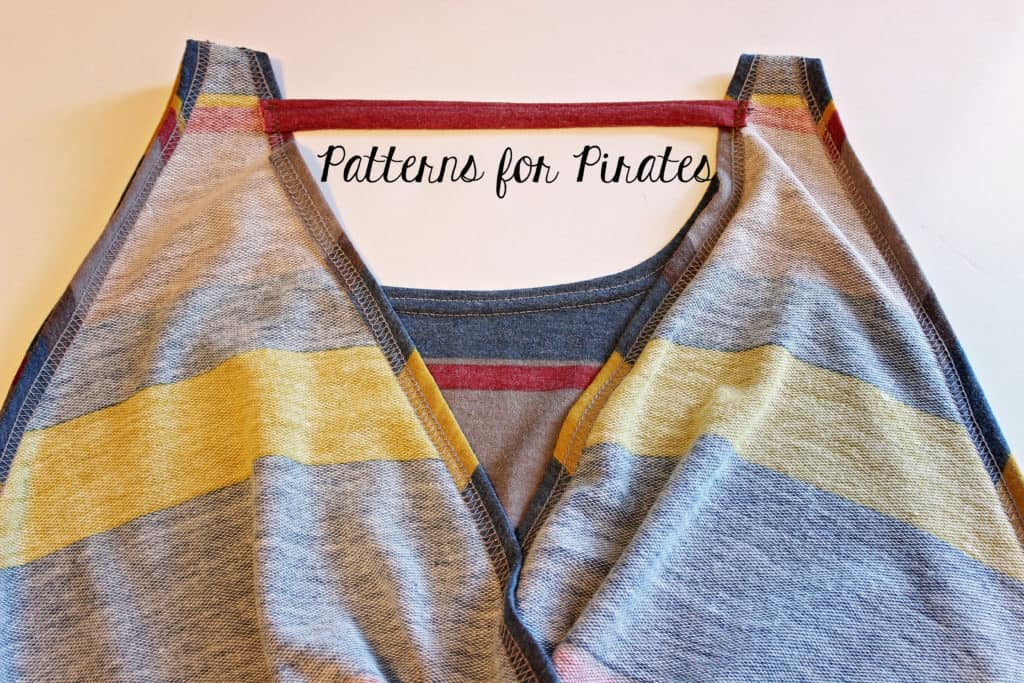
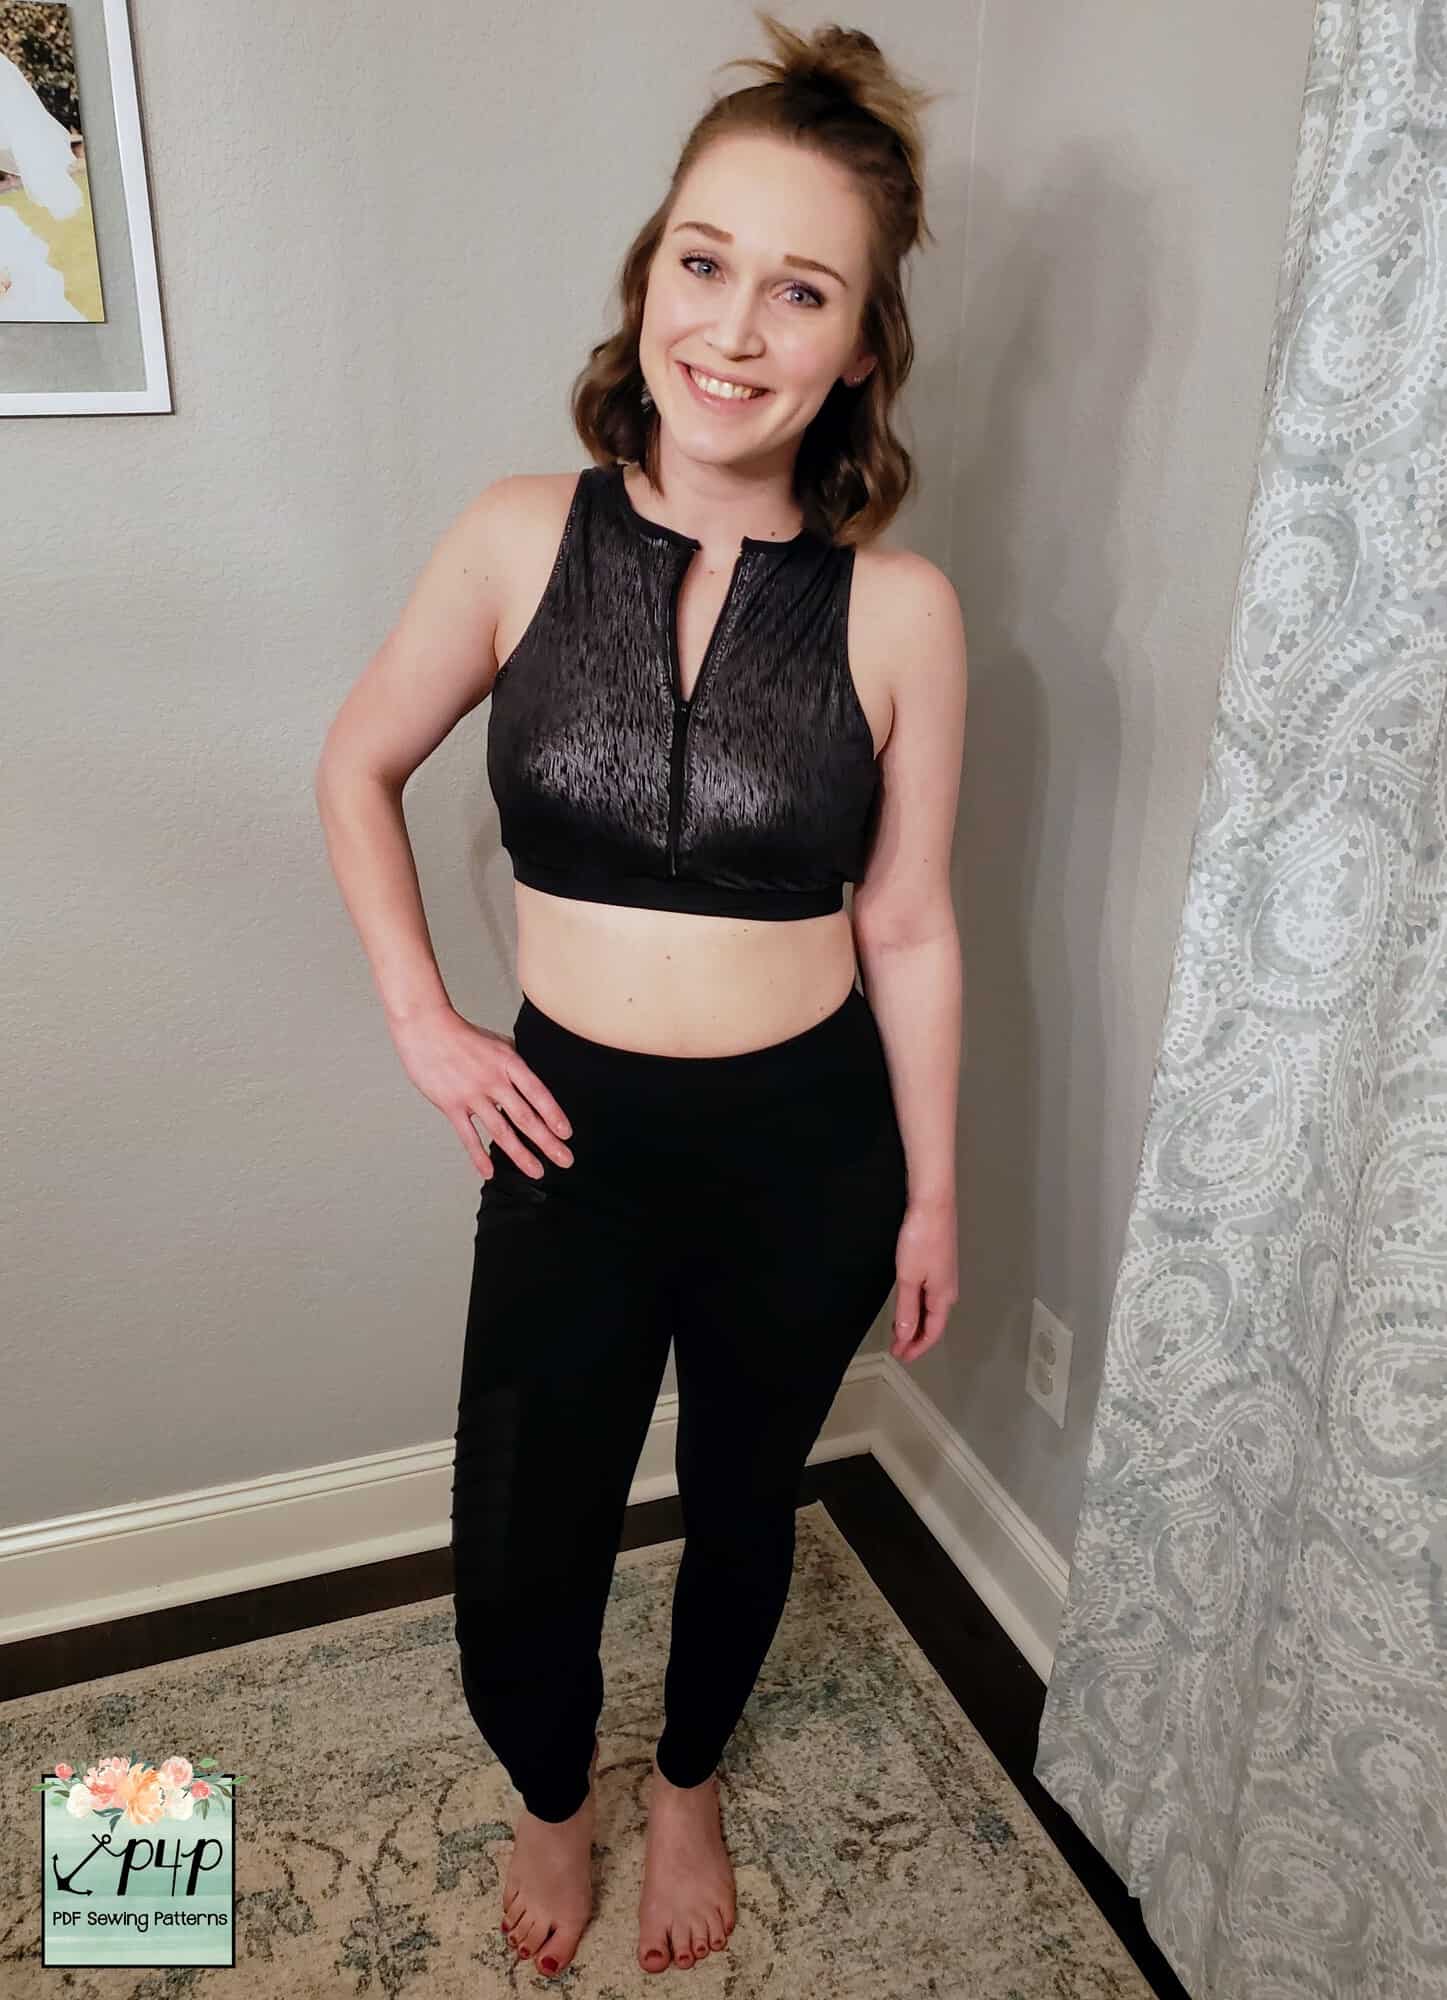
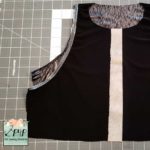
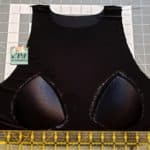
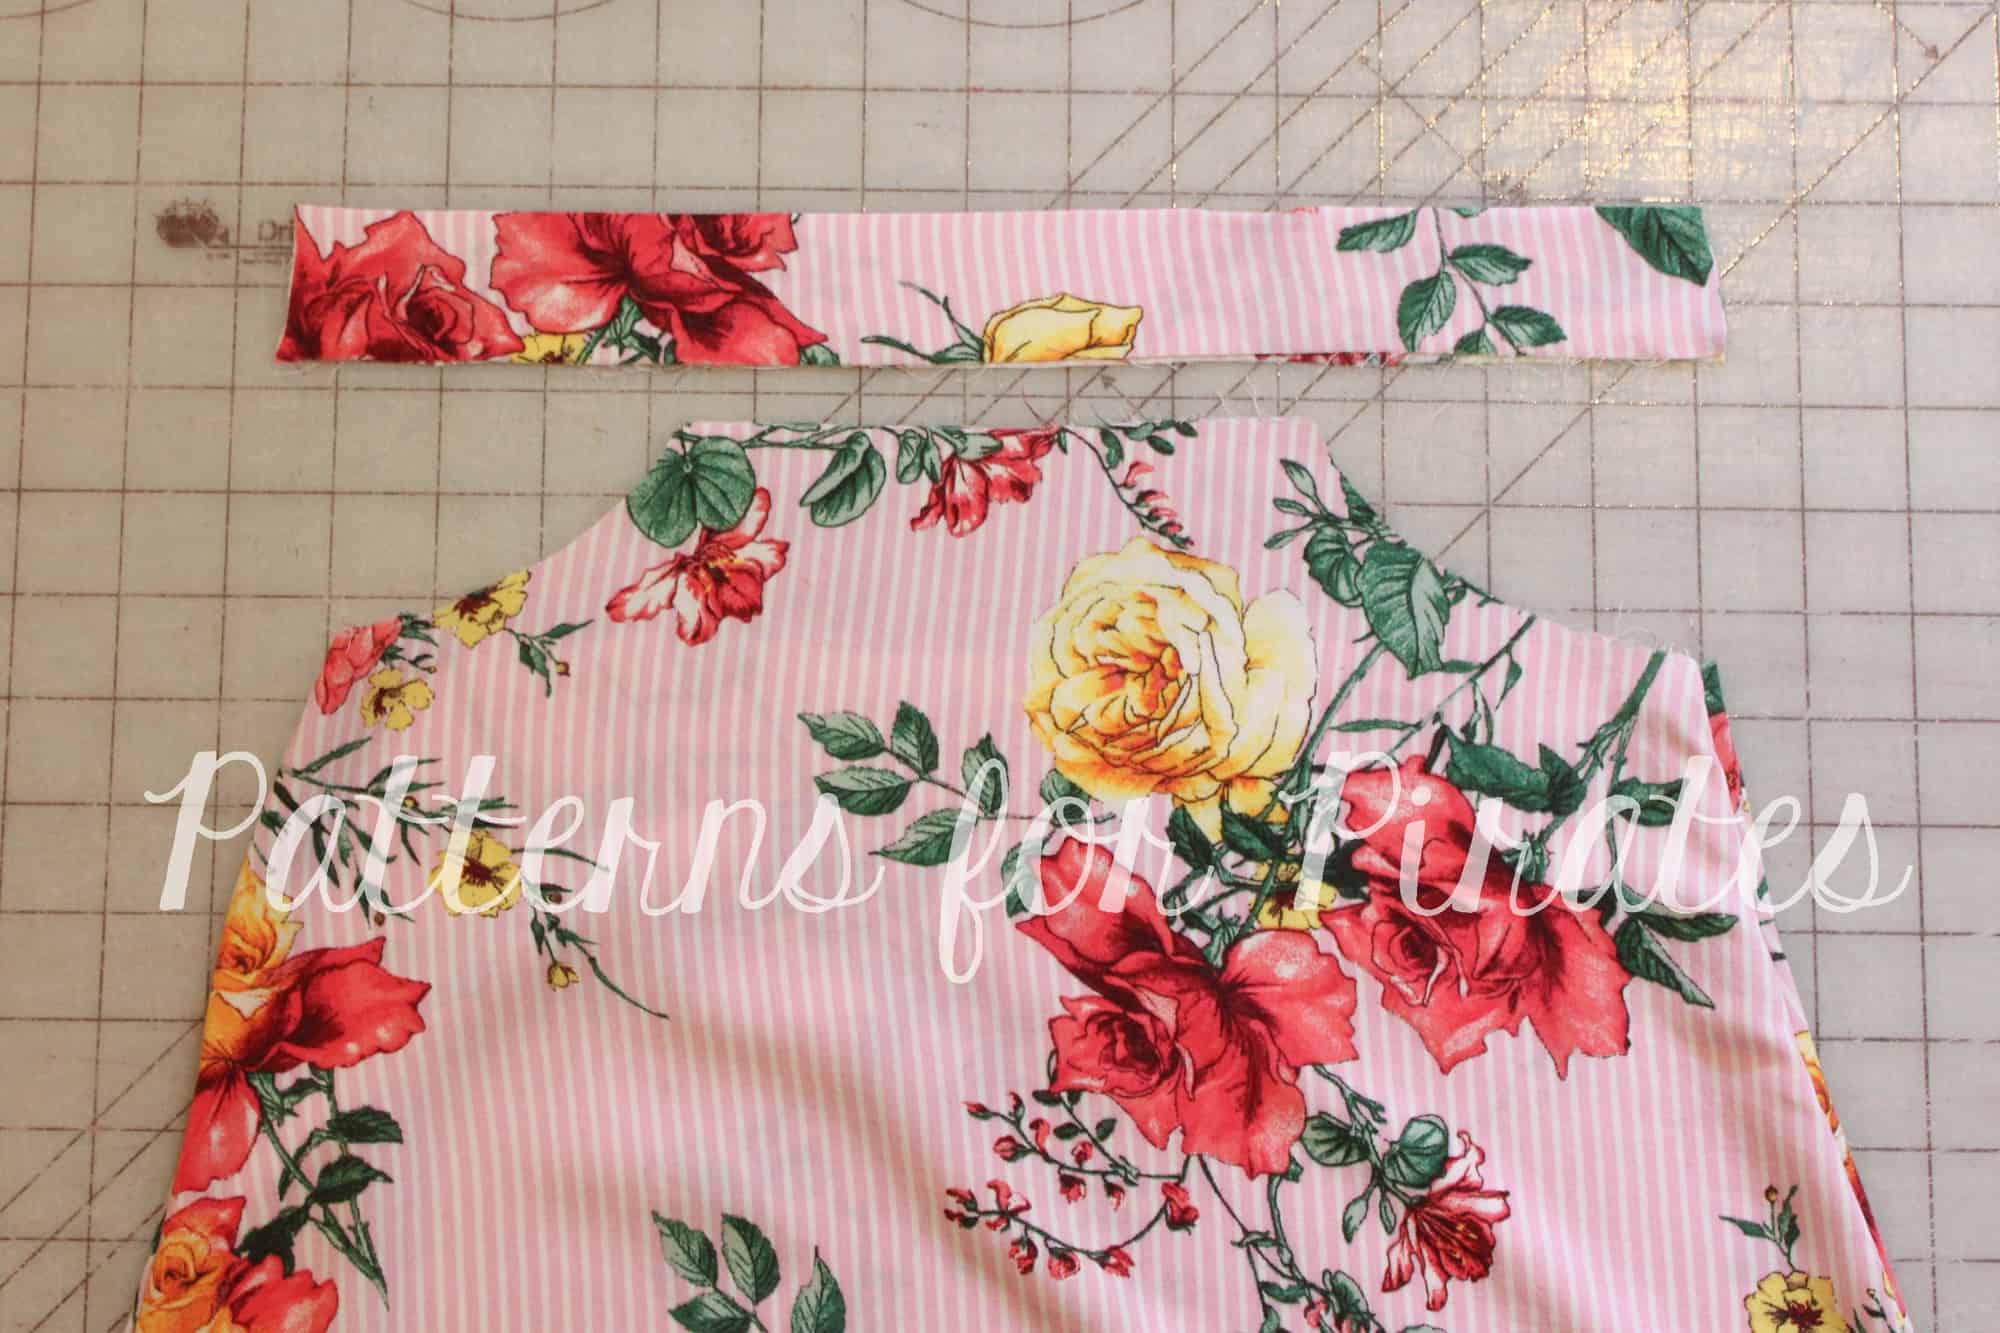
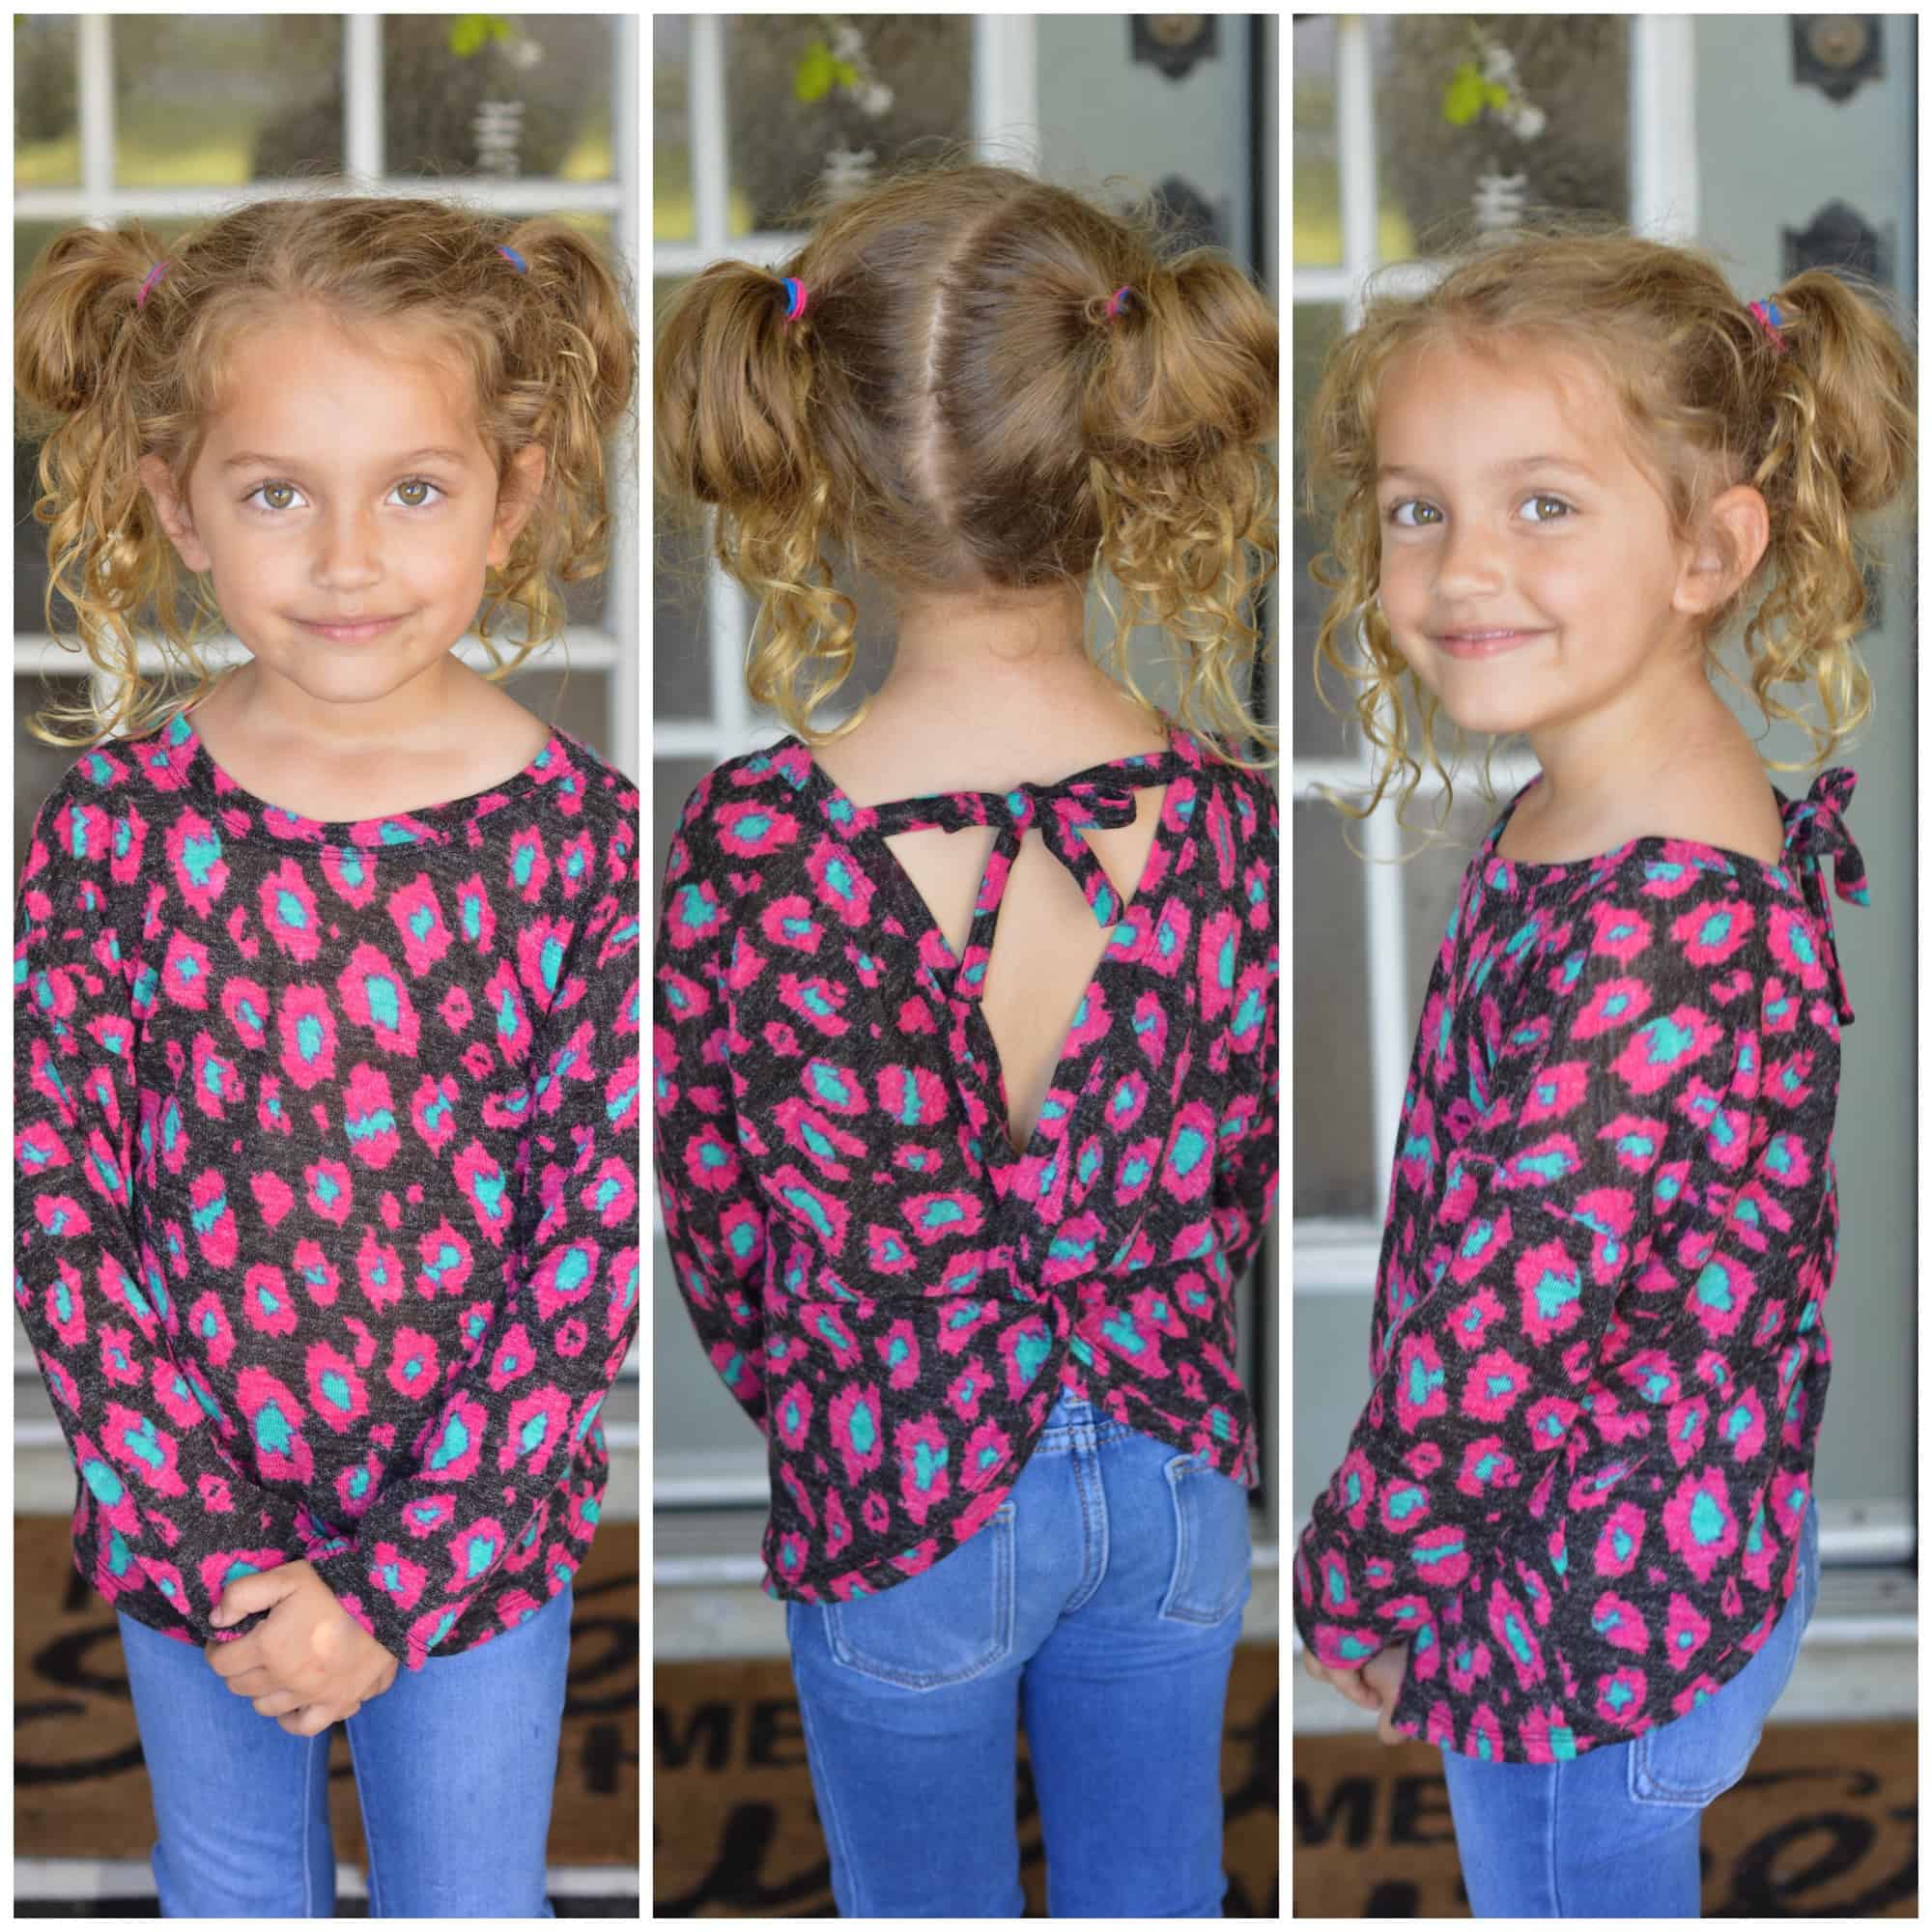
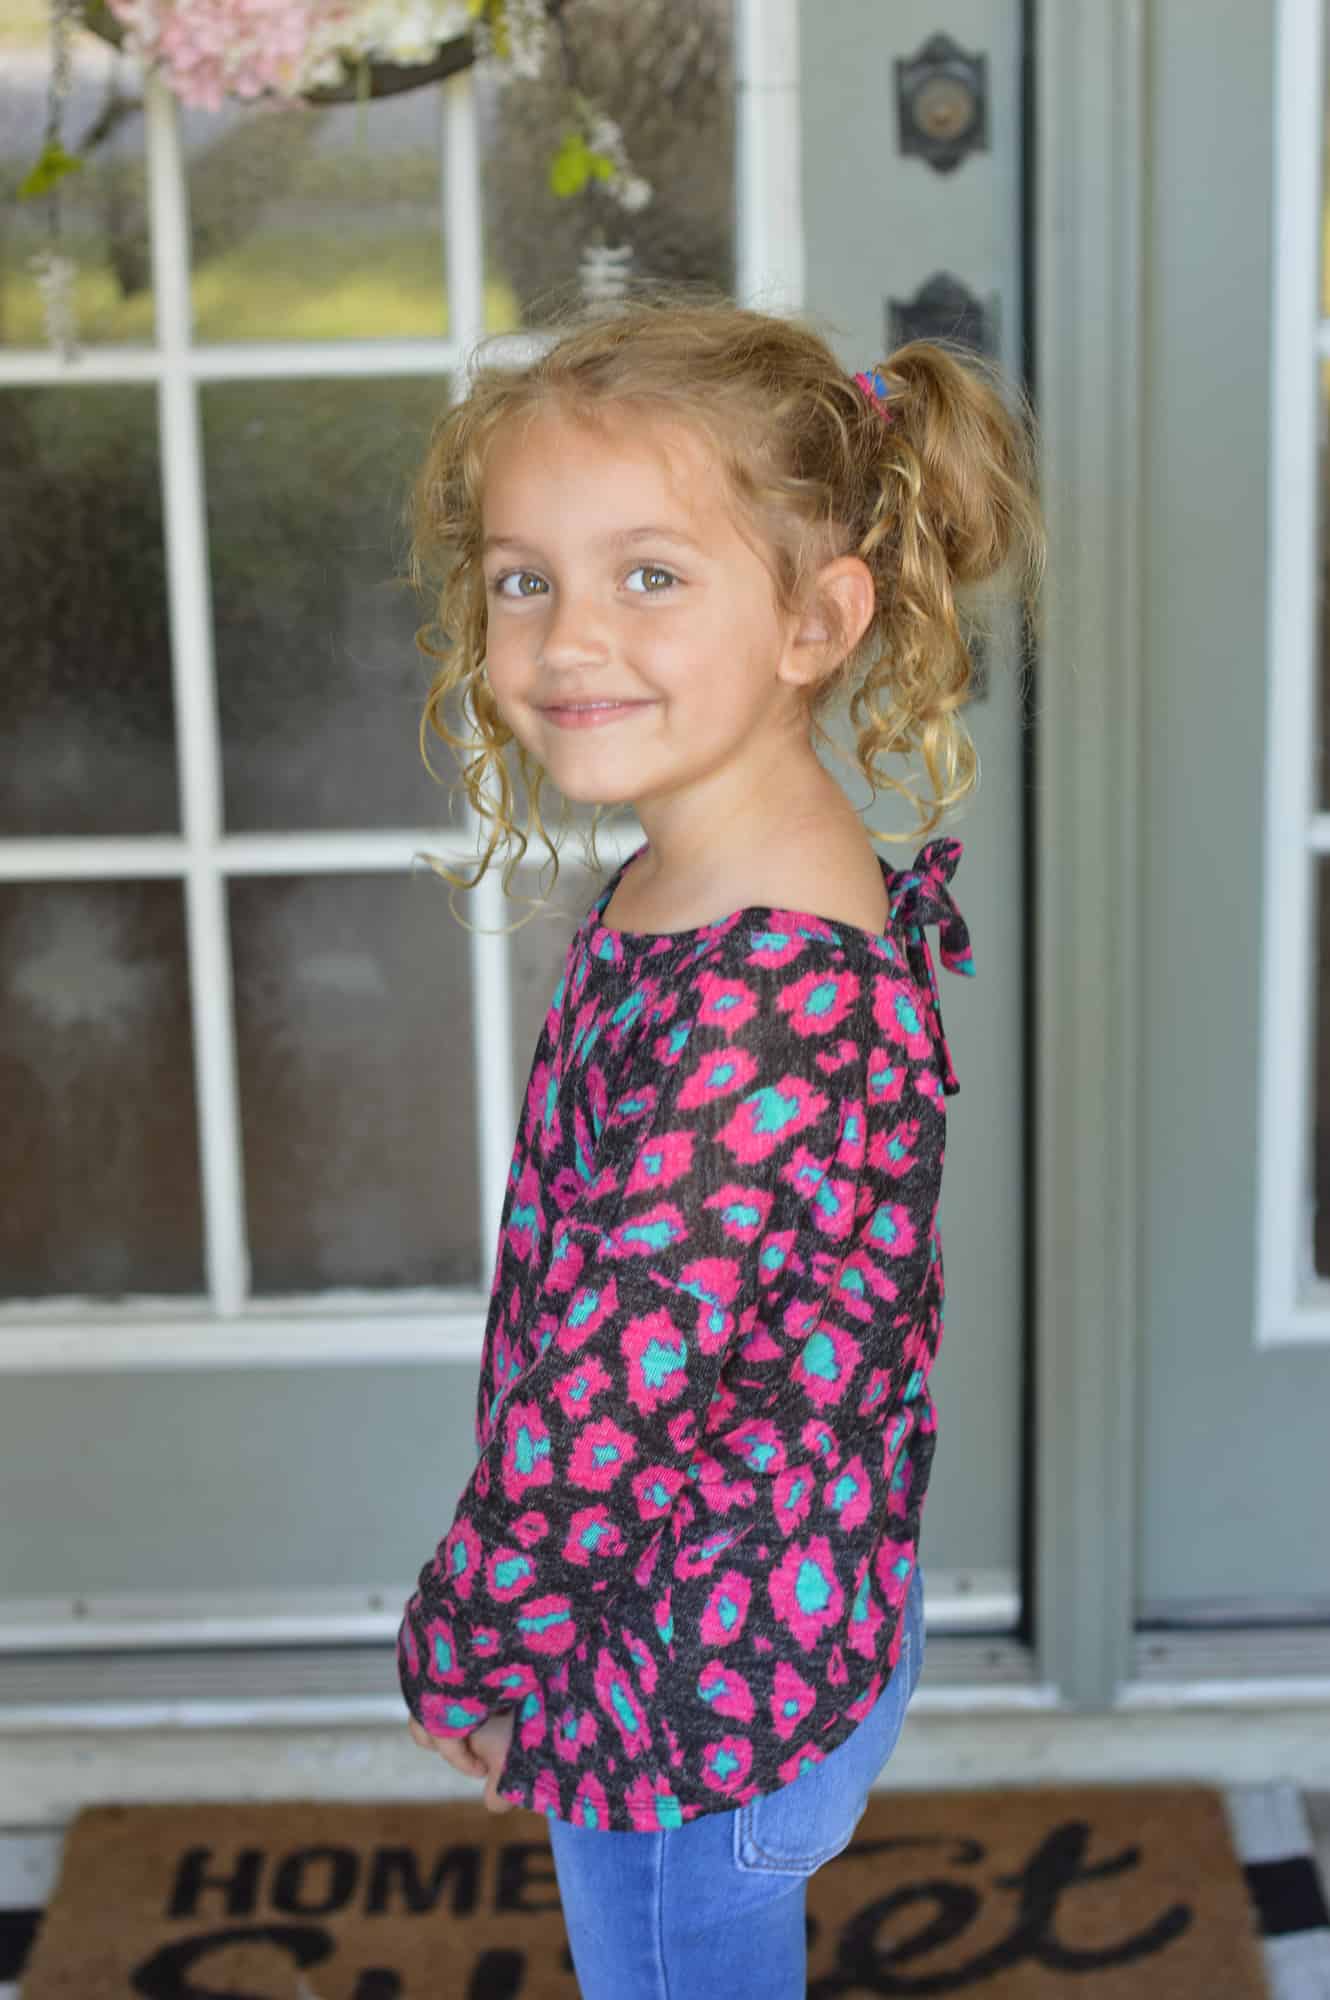
Faux buttons placket

Inspired once again by Pintrest and a photo Katy showed me, I made myself a faux button up Runabout romper. Want to see how I did it? Keep reading!
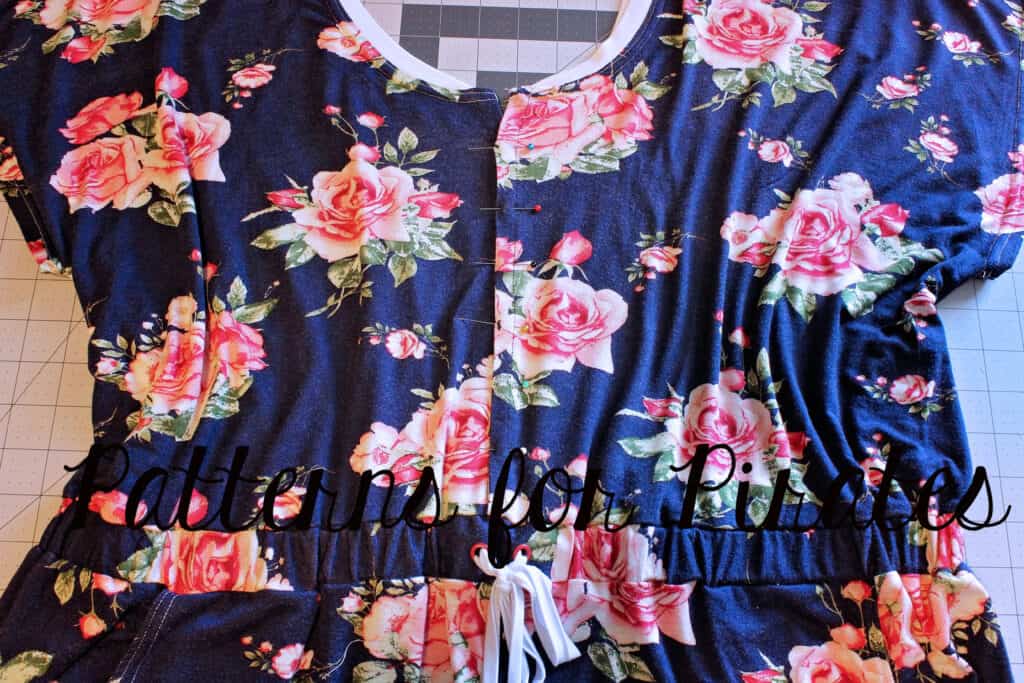
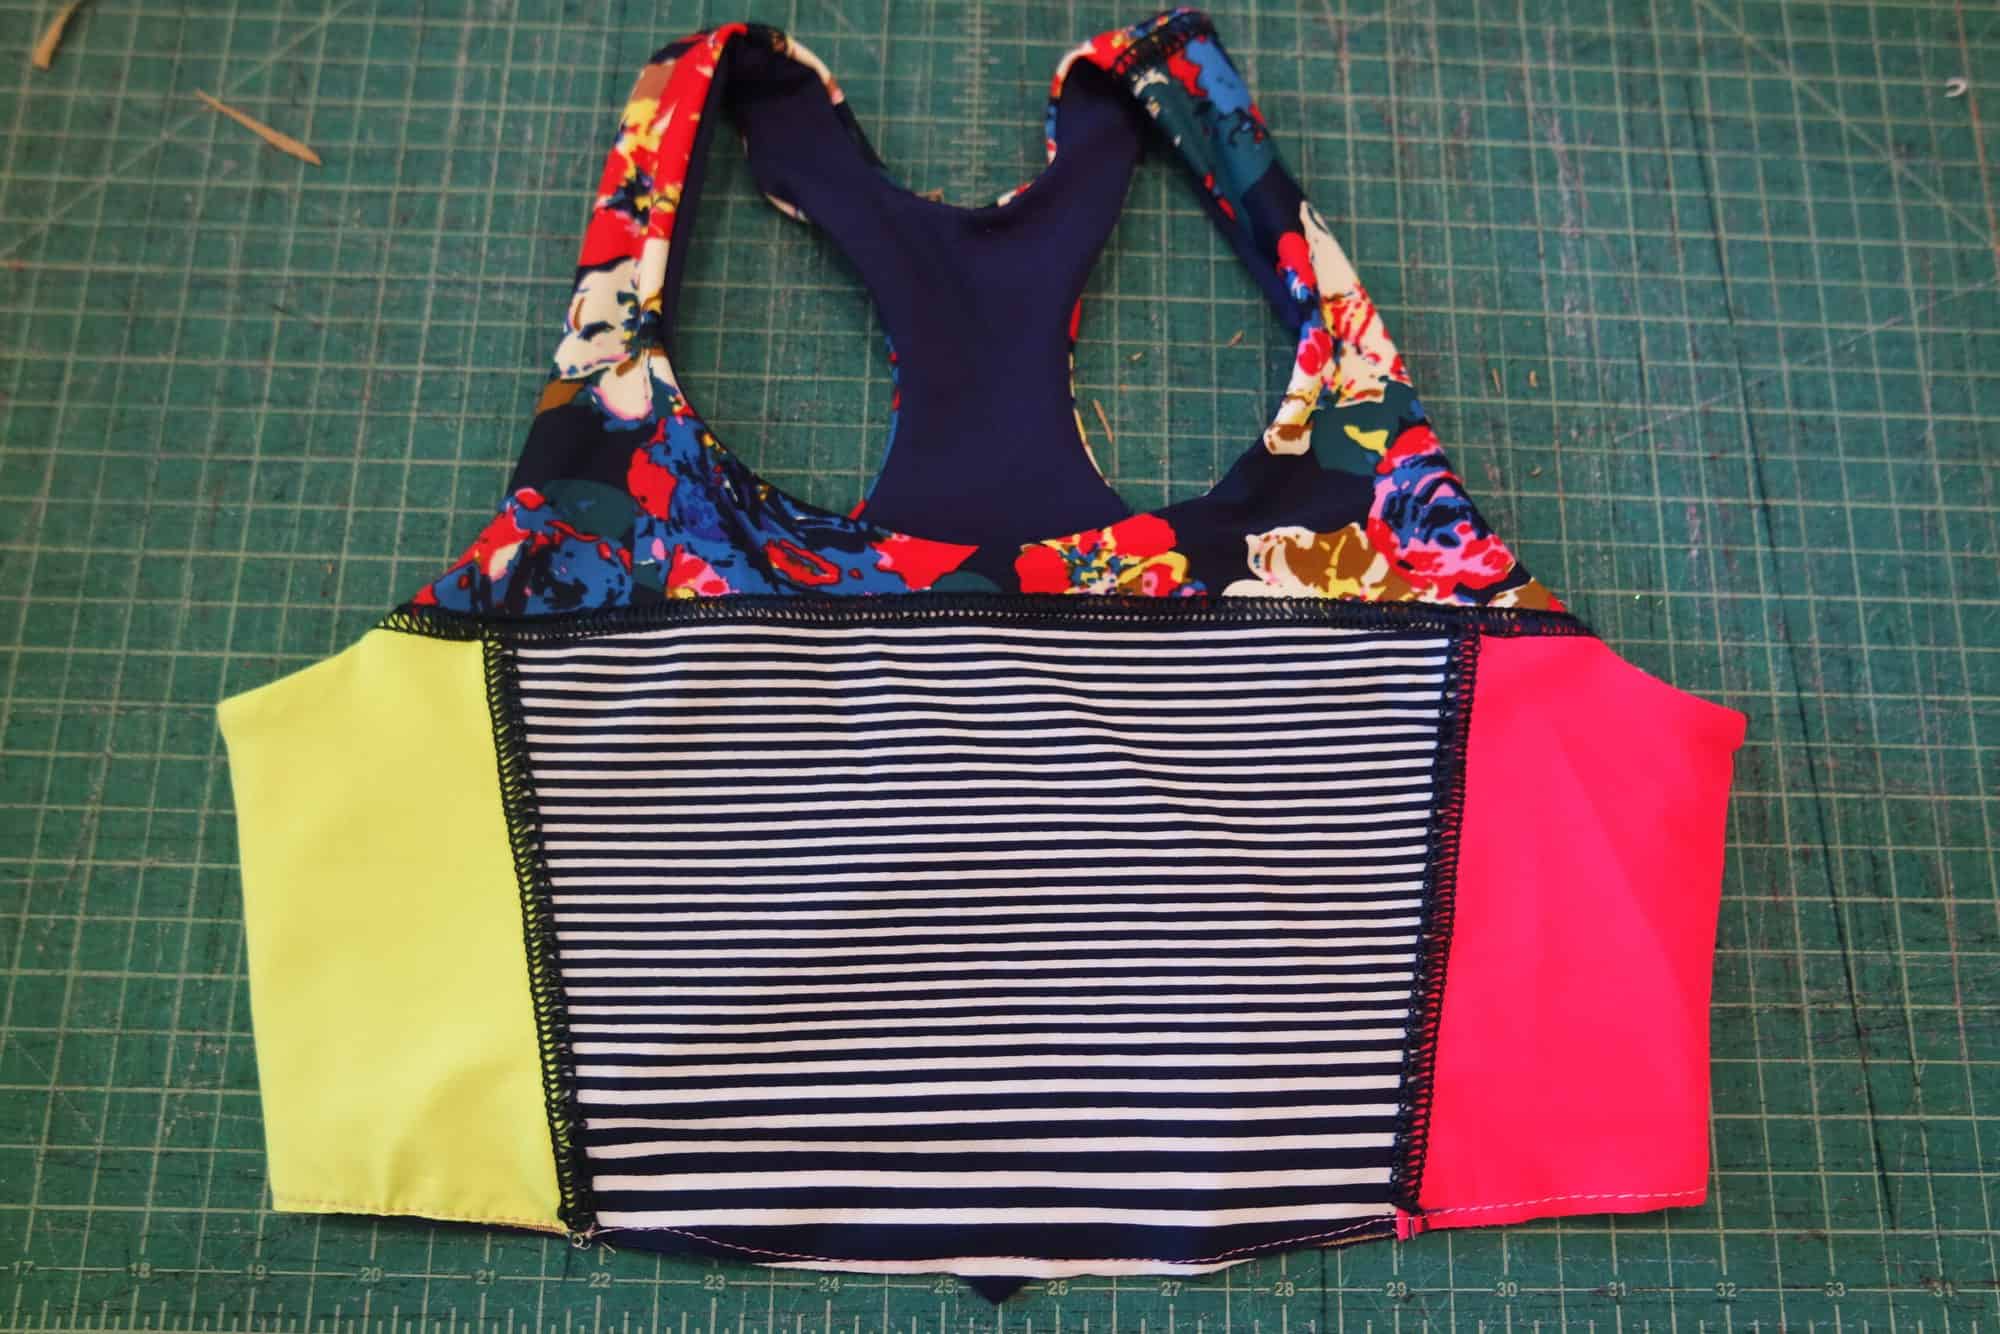
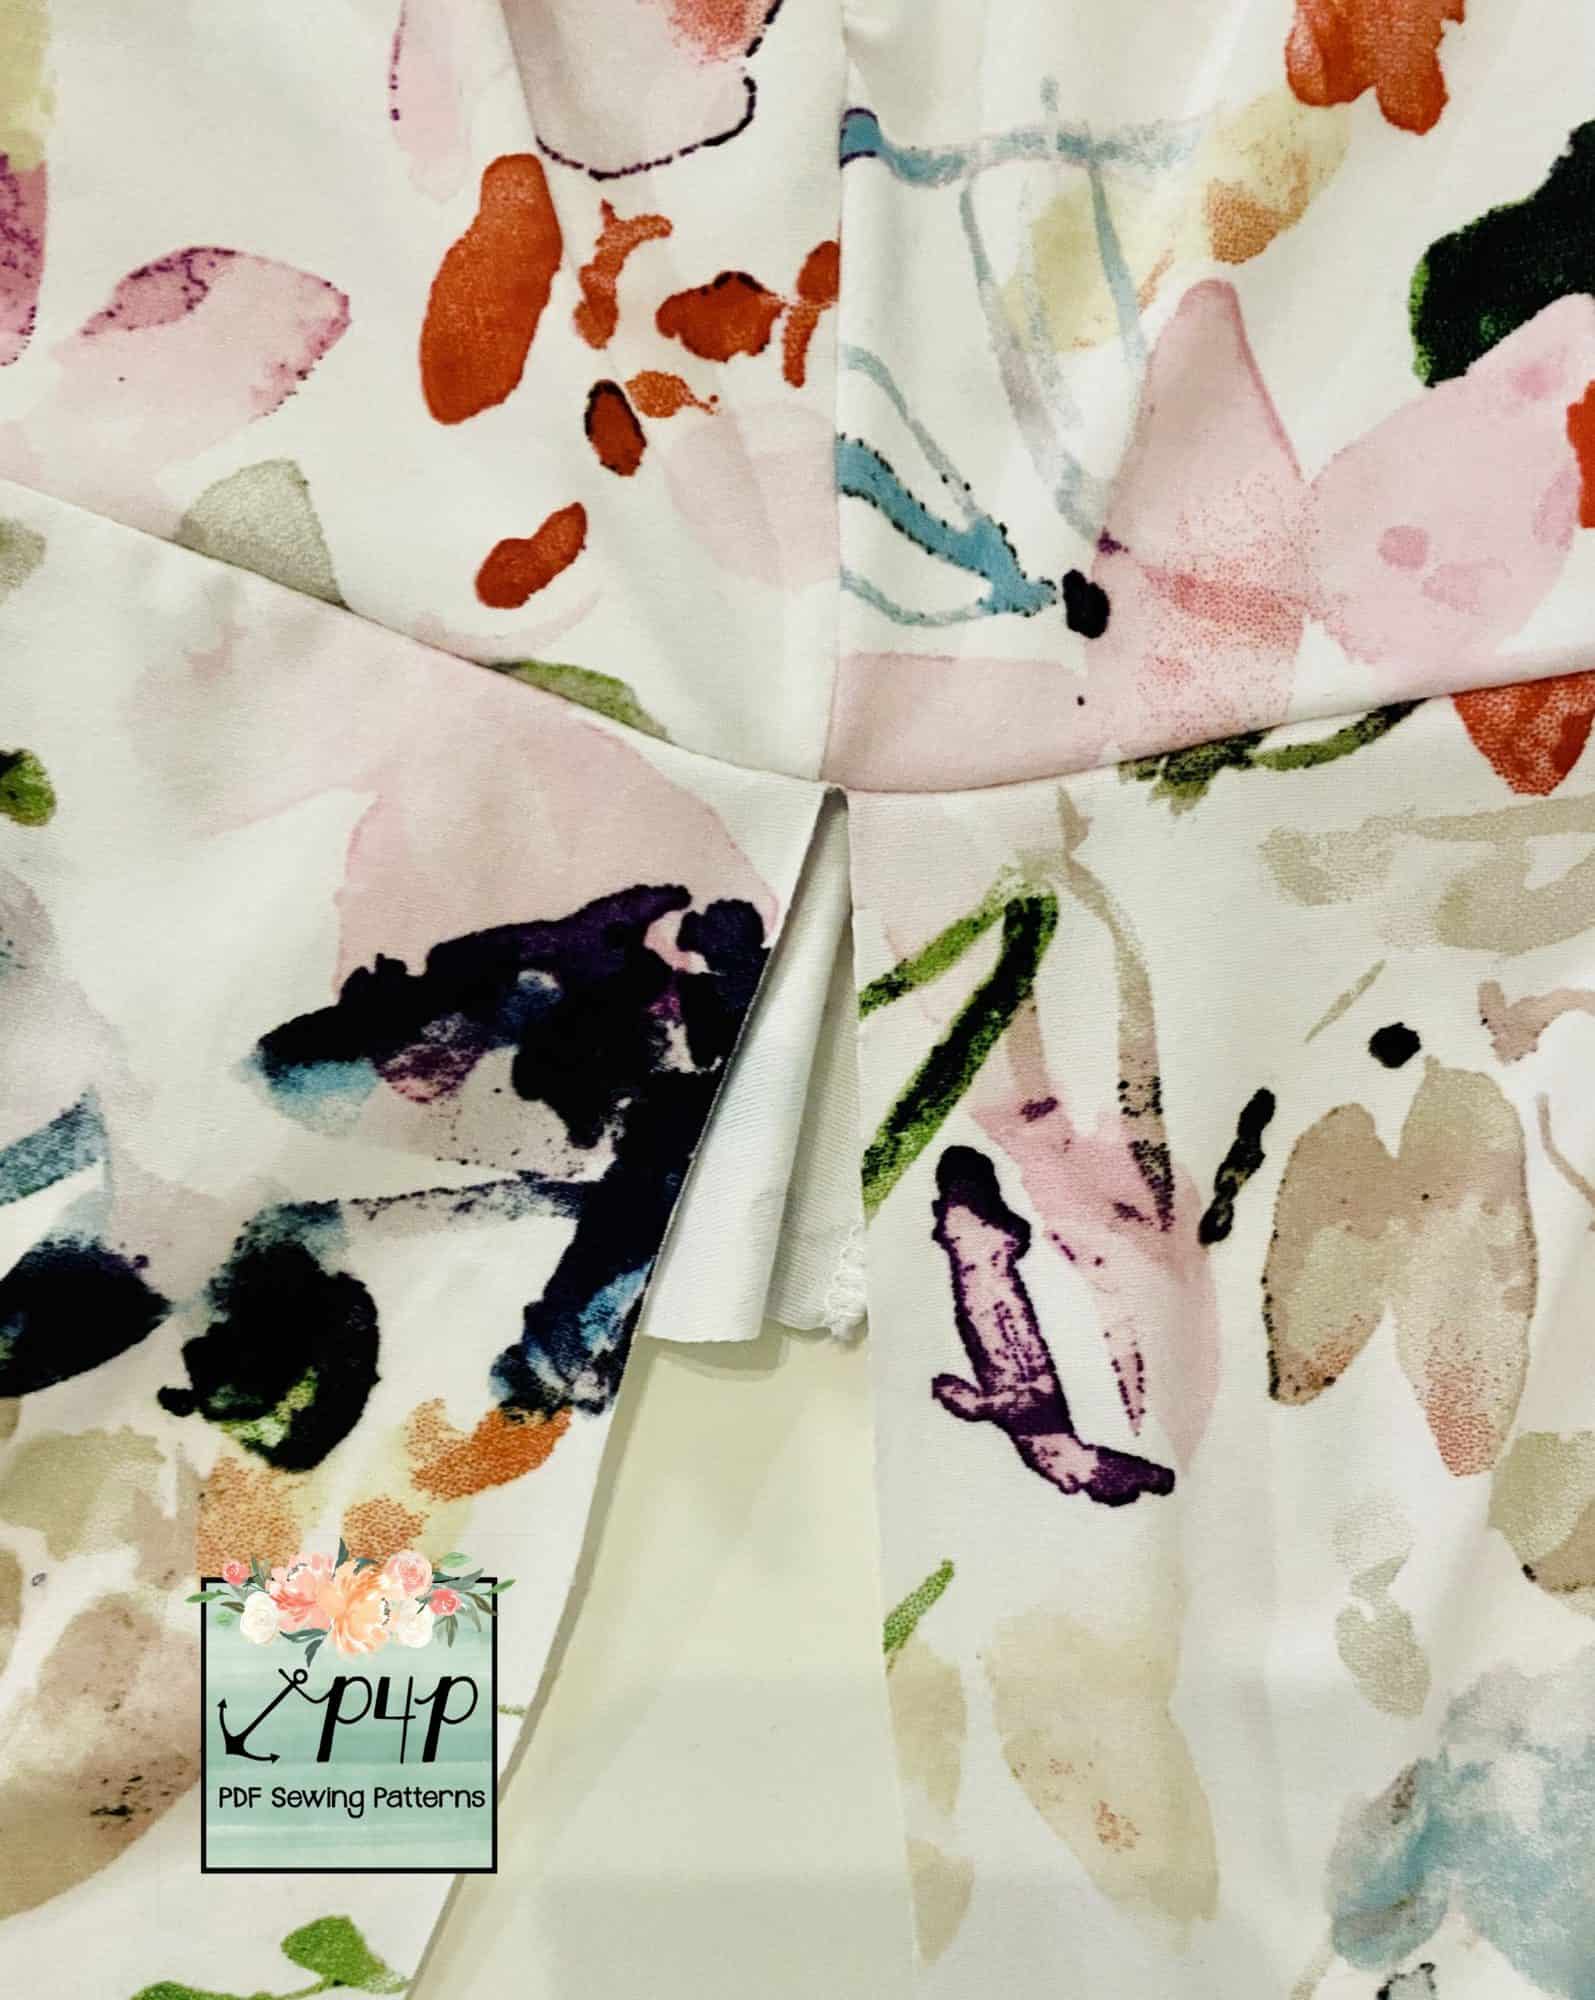
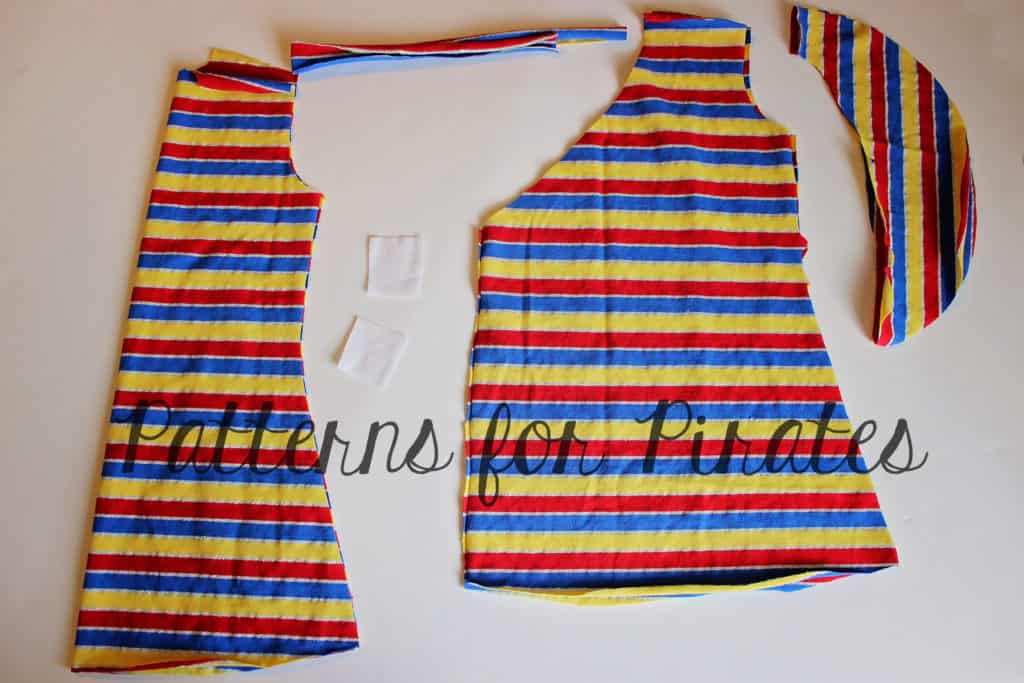
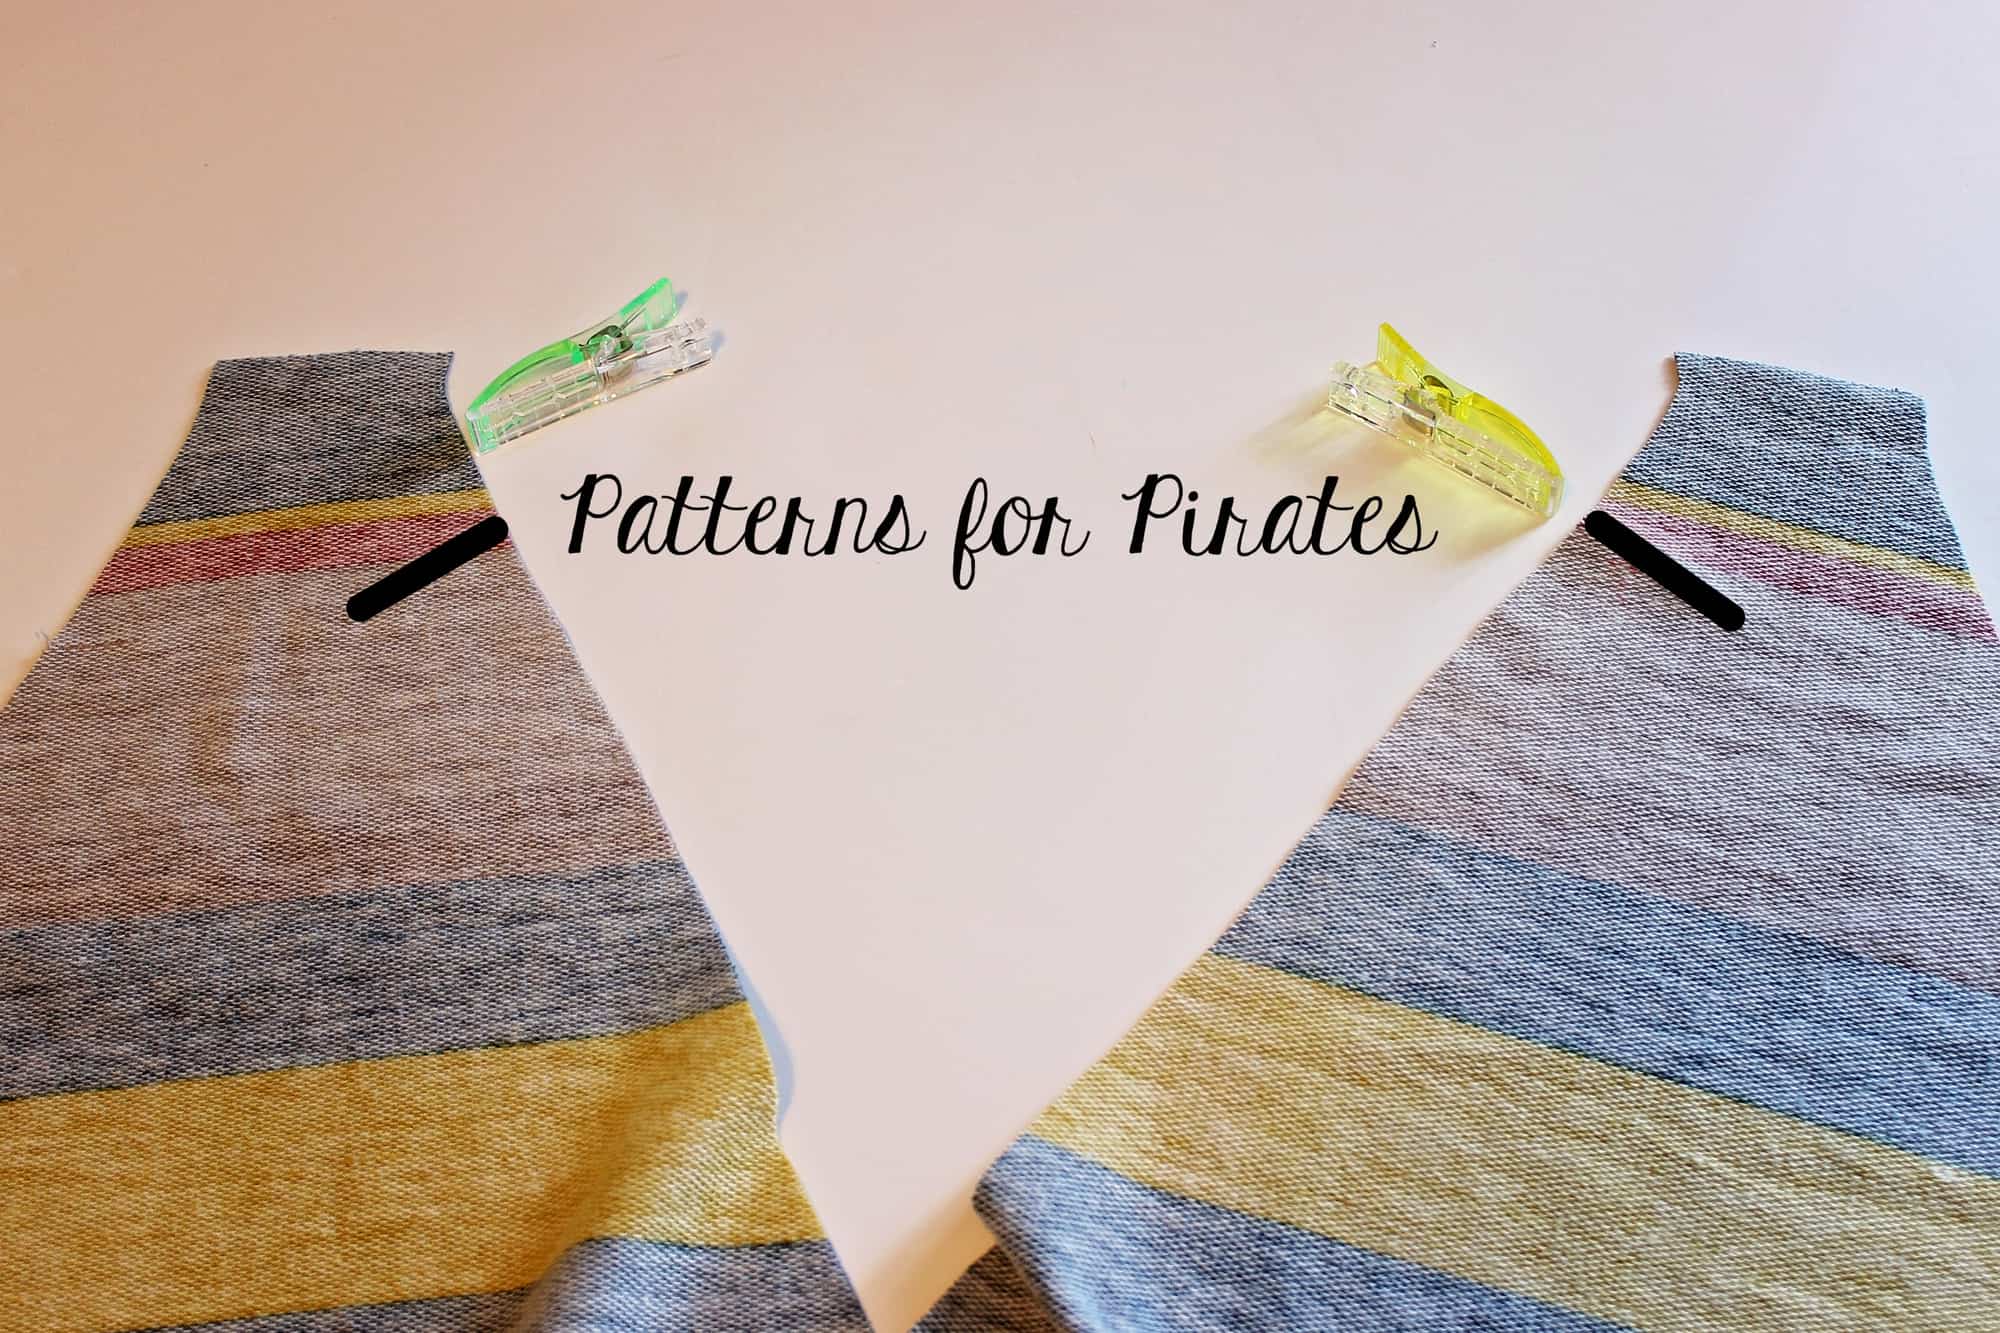
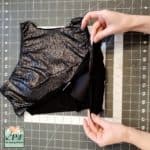
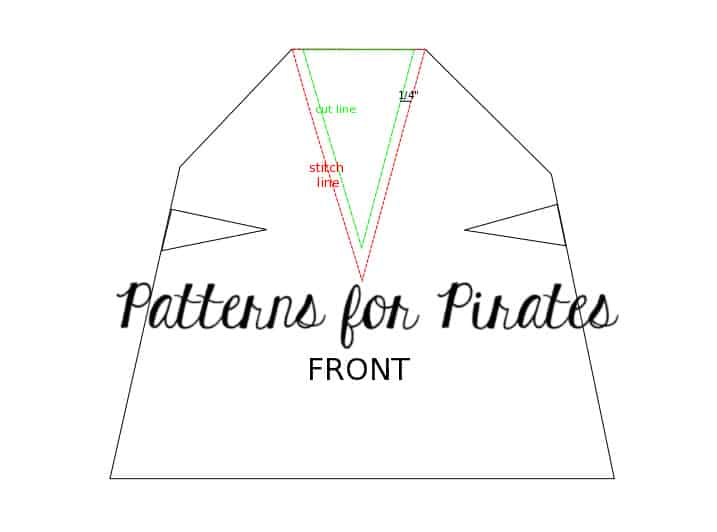
I cut the pieces exactly as in the pattern, except for the front bodice. The front bodice will not be cut on fold but will be two mirrored images. Using a ruler, add 1.5″ extra width to the center of the front bodice. Cut two mirror images!
If you are using a projector, like I am, simply place a ruler along the fold line to measure the 1.5″. Cut along the ruler for the center bodice.
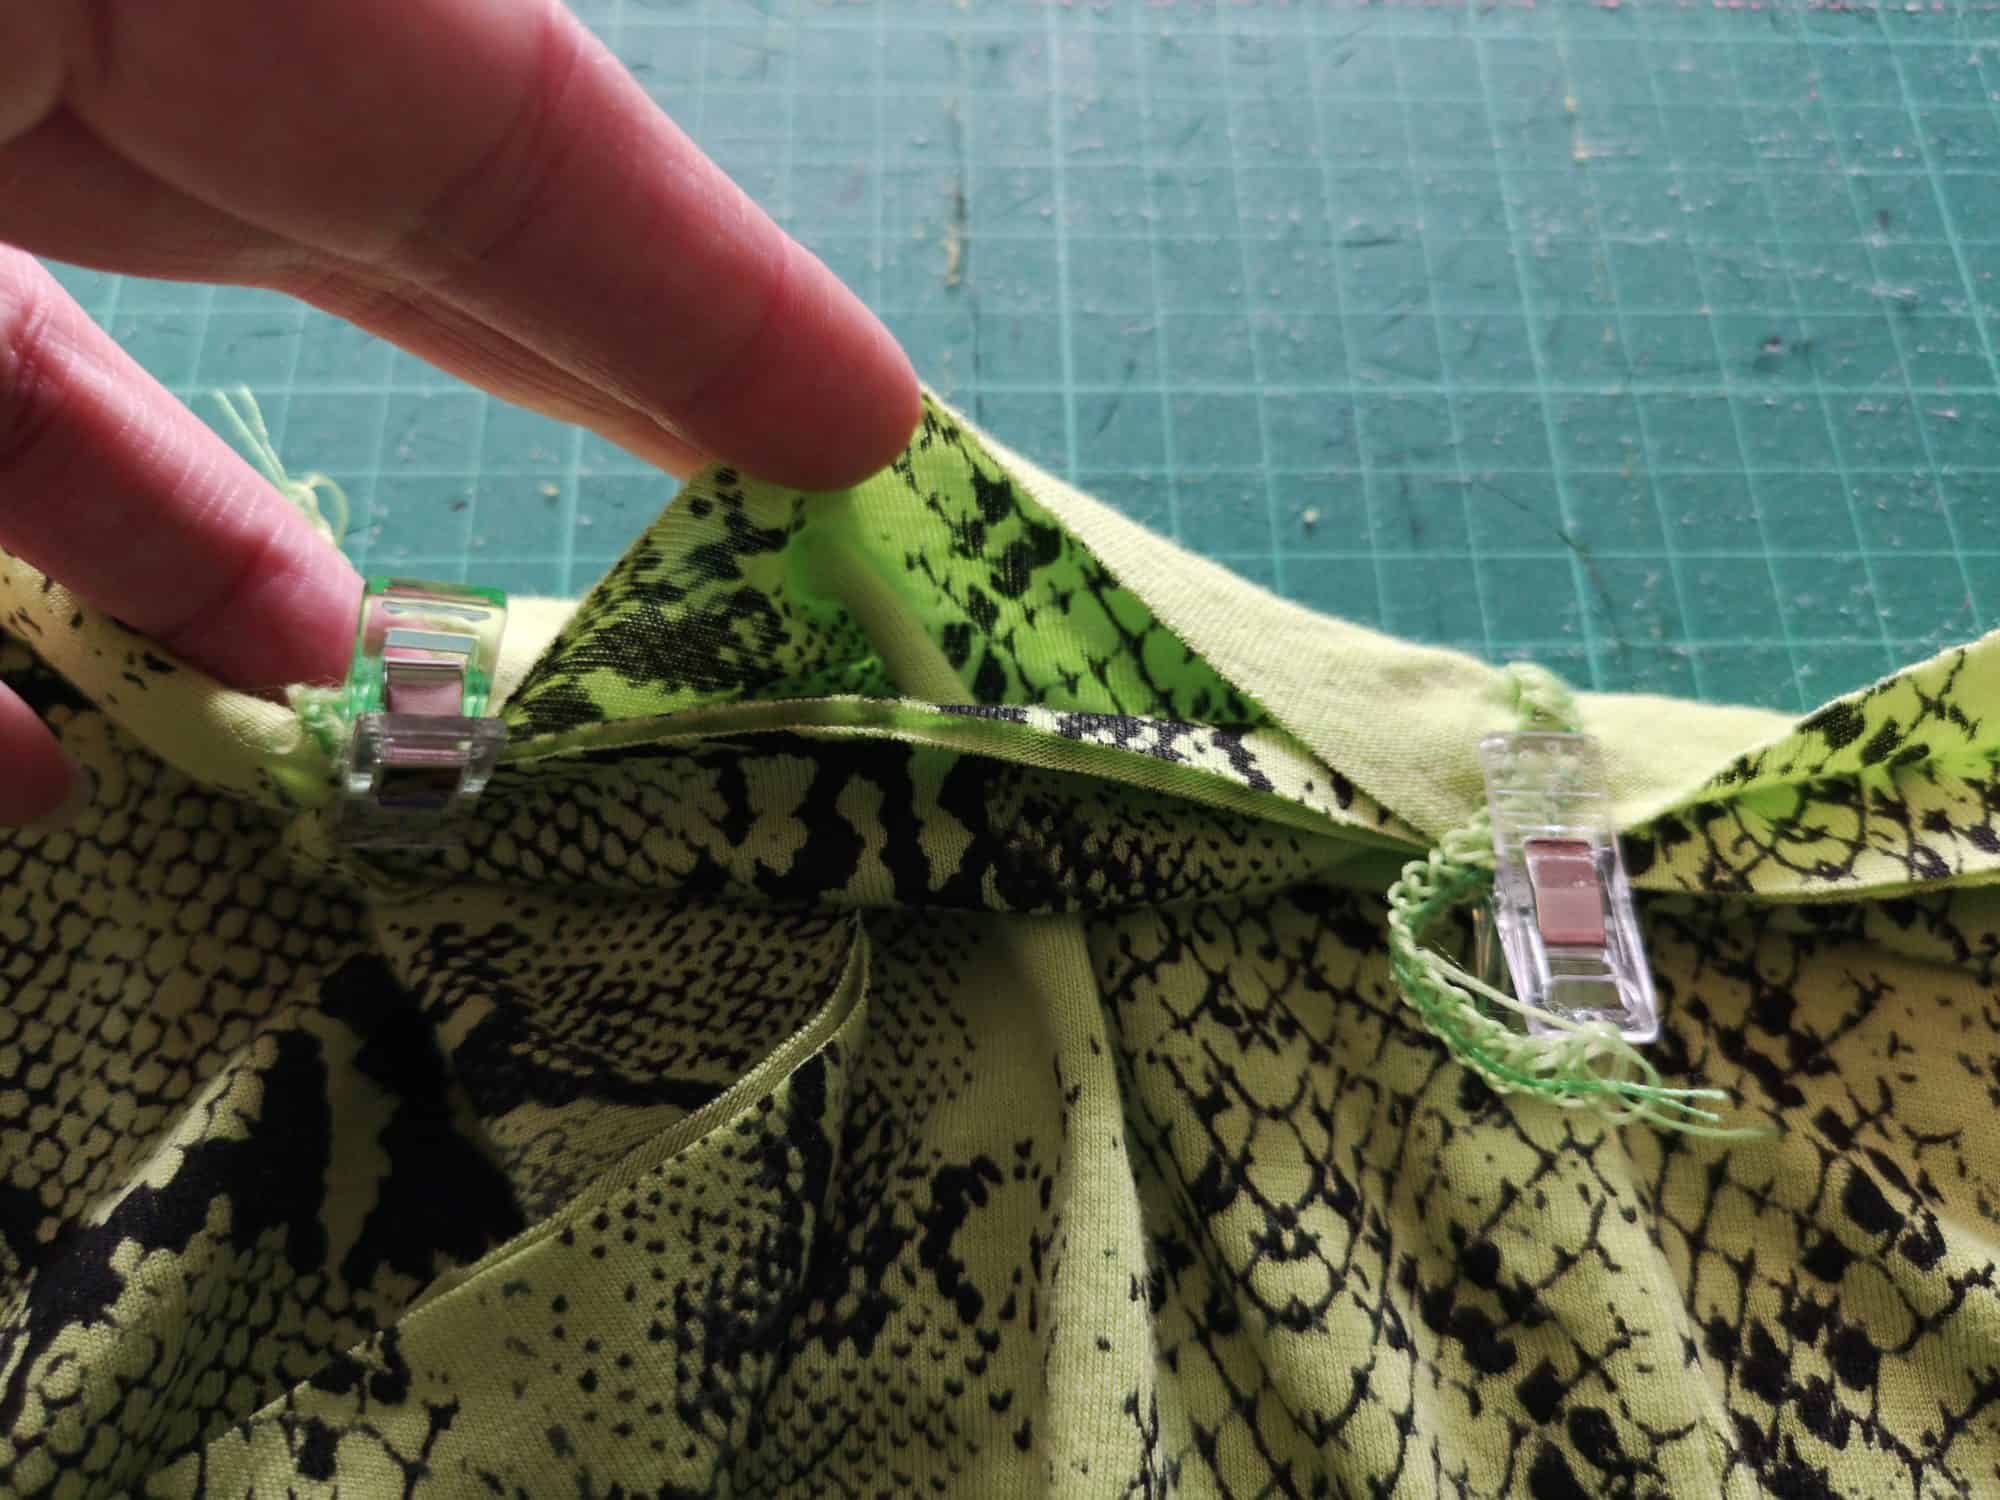
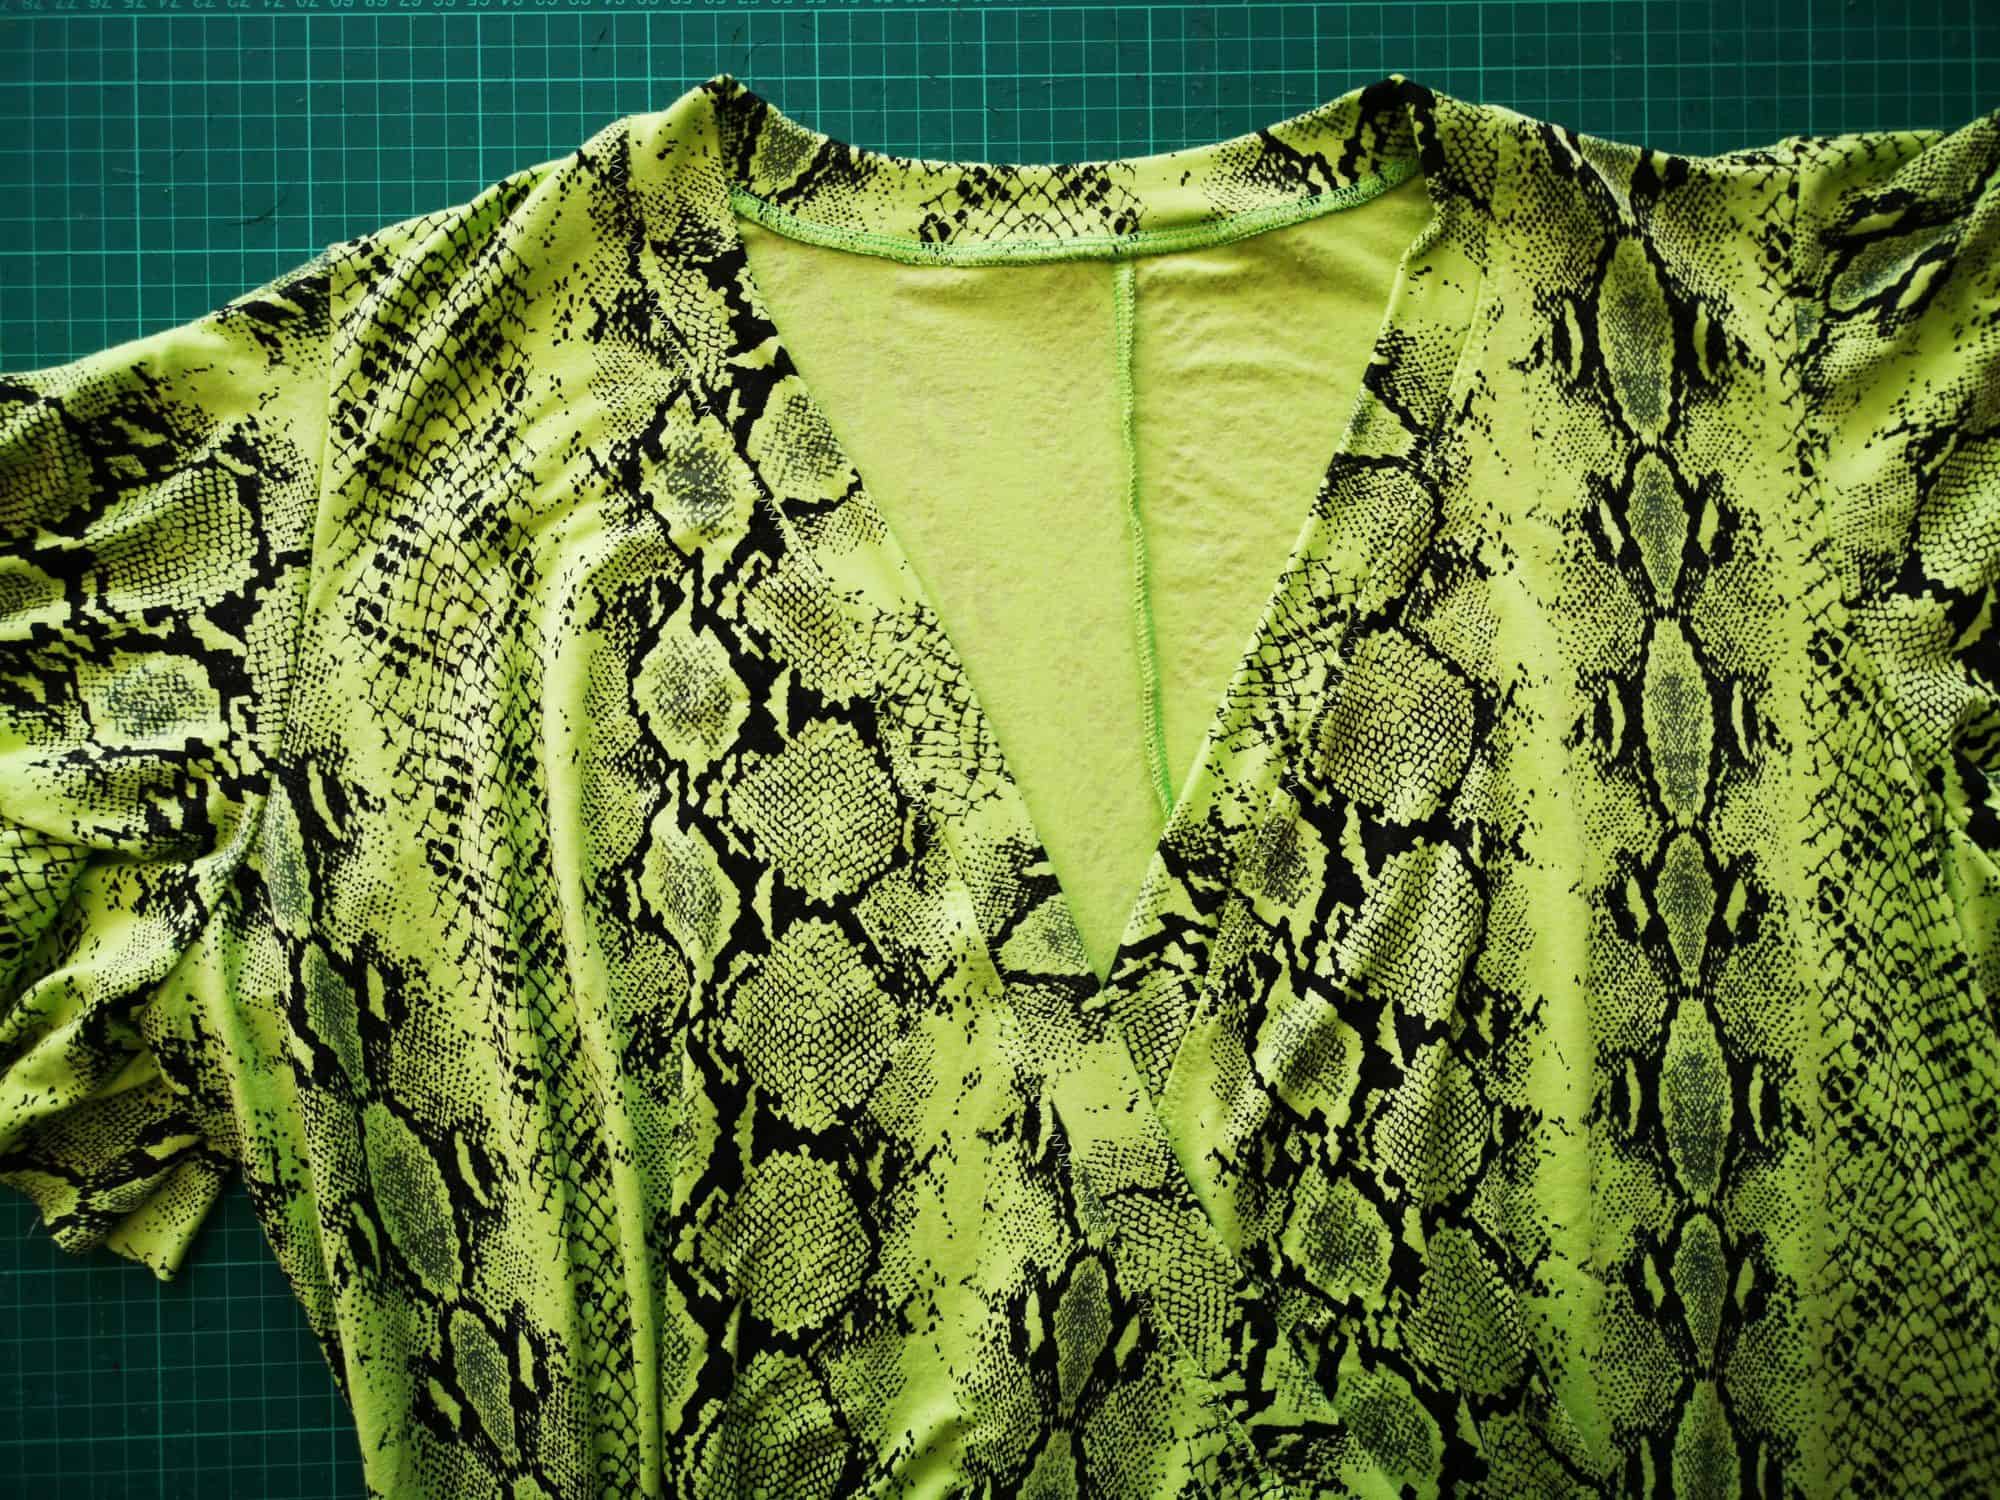
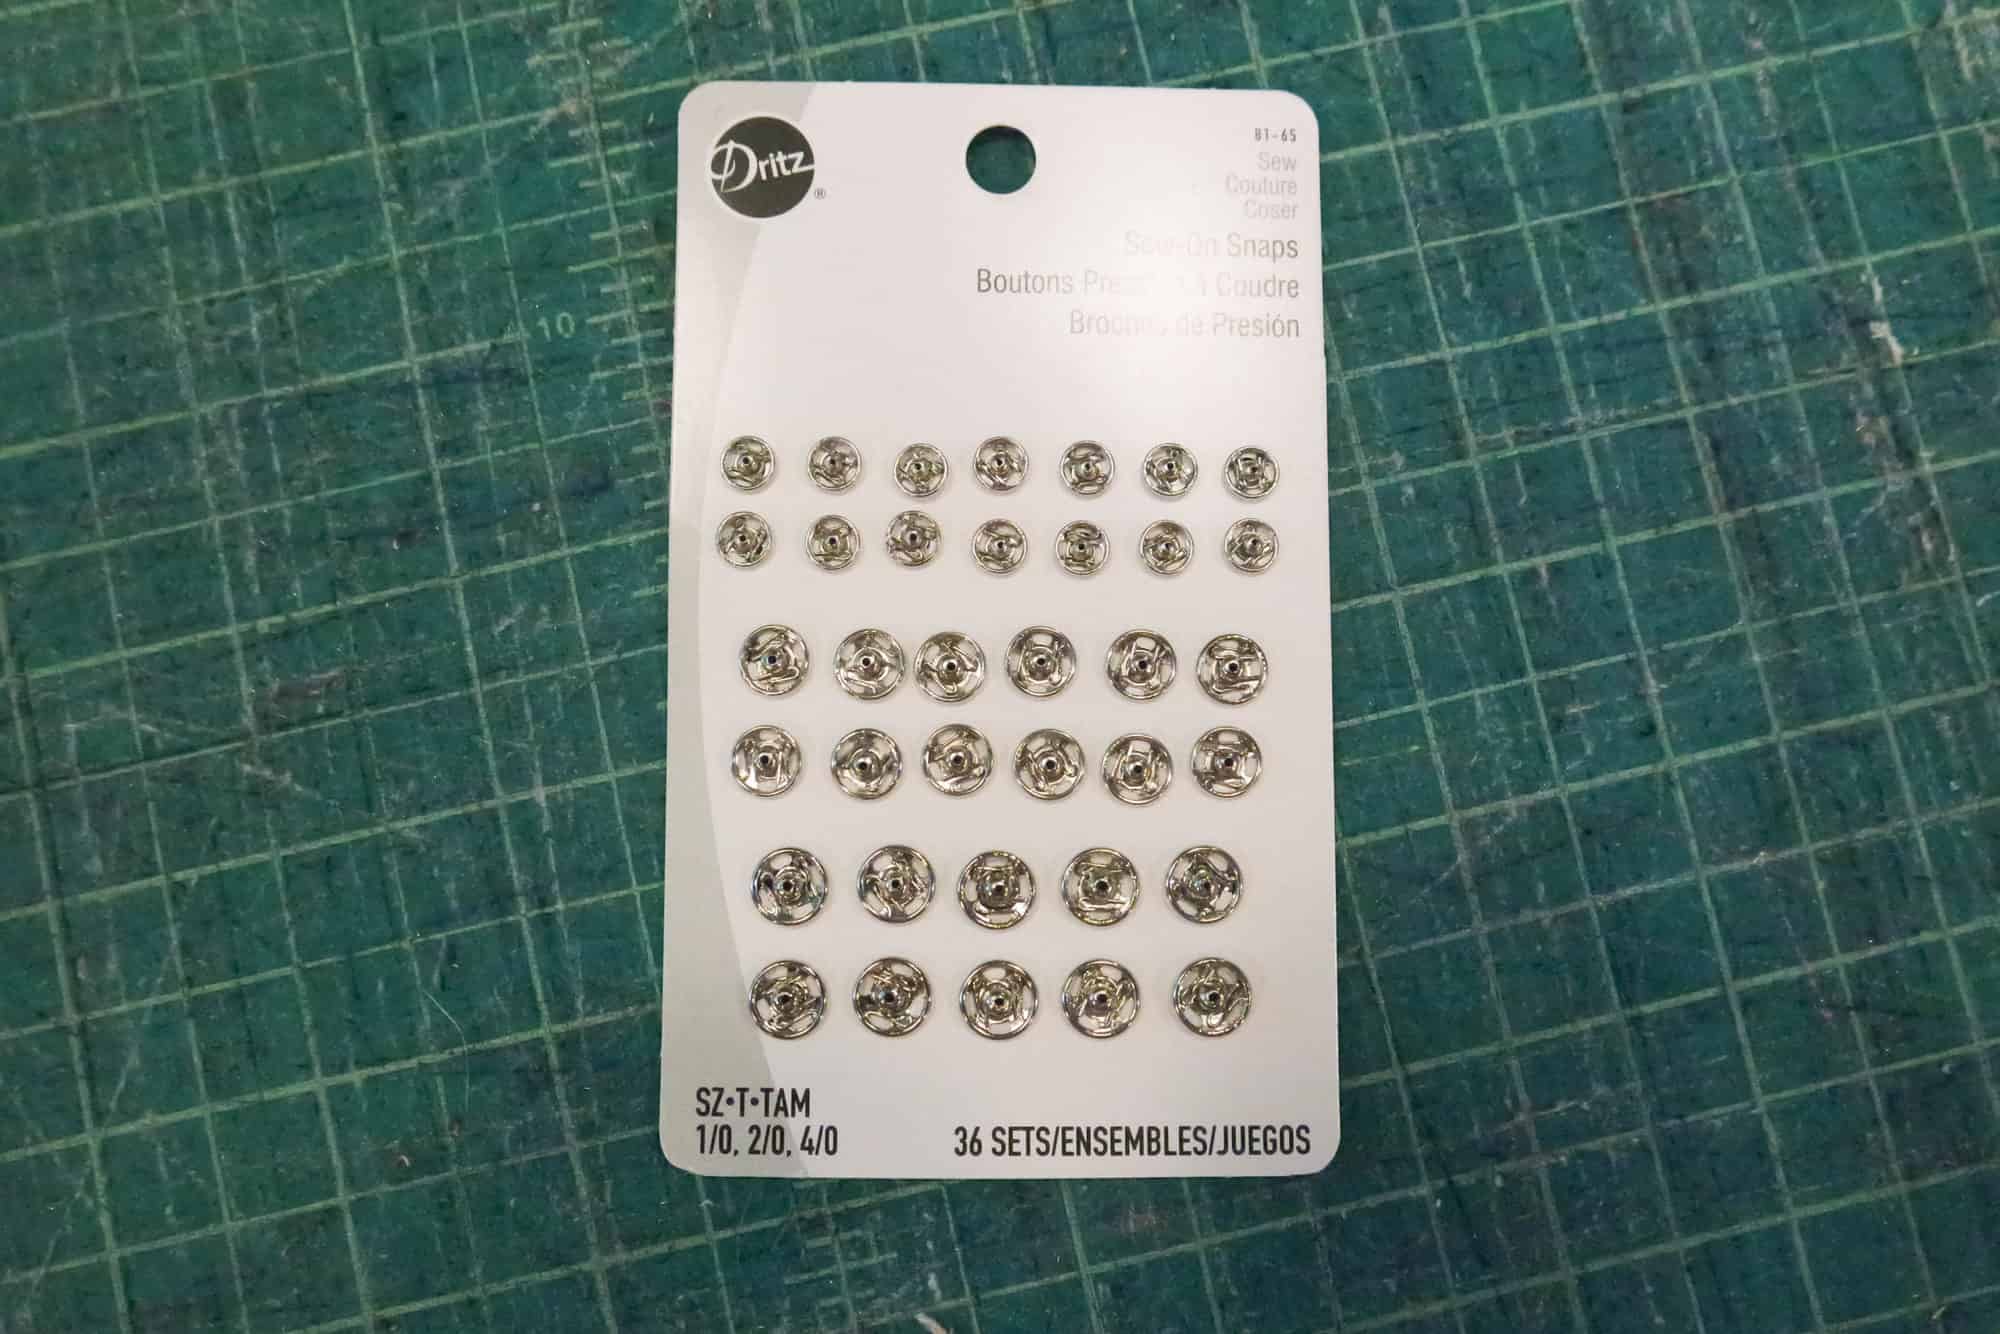
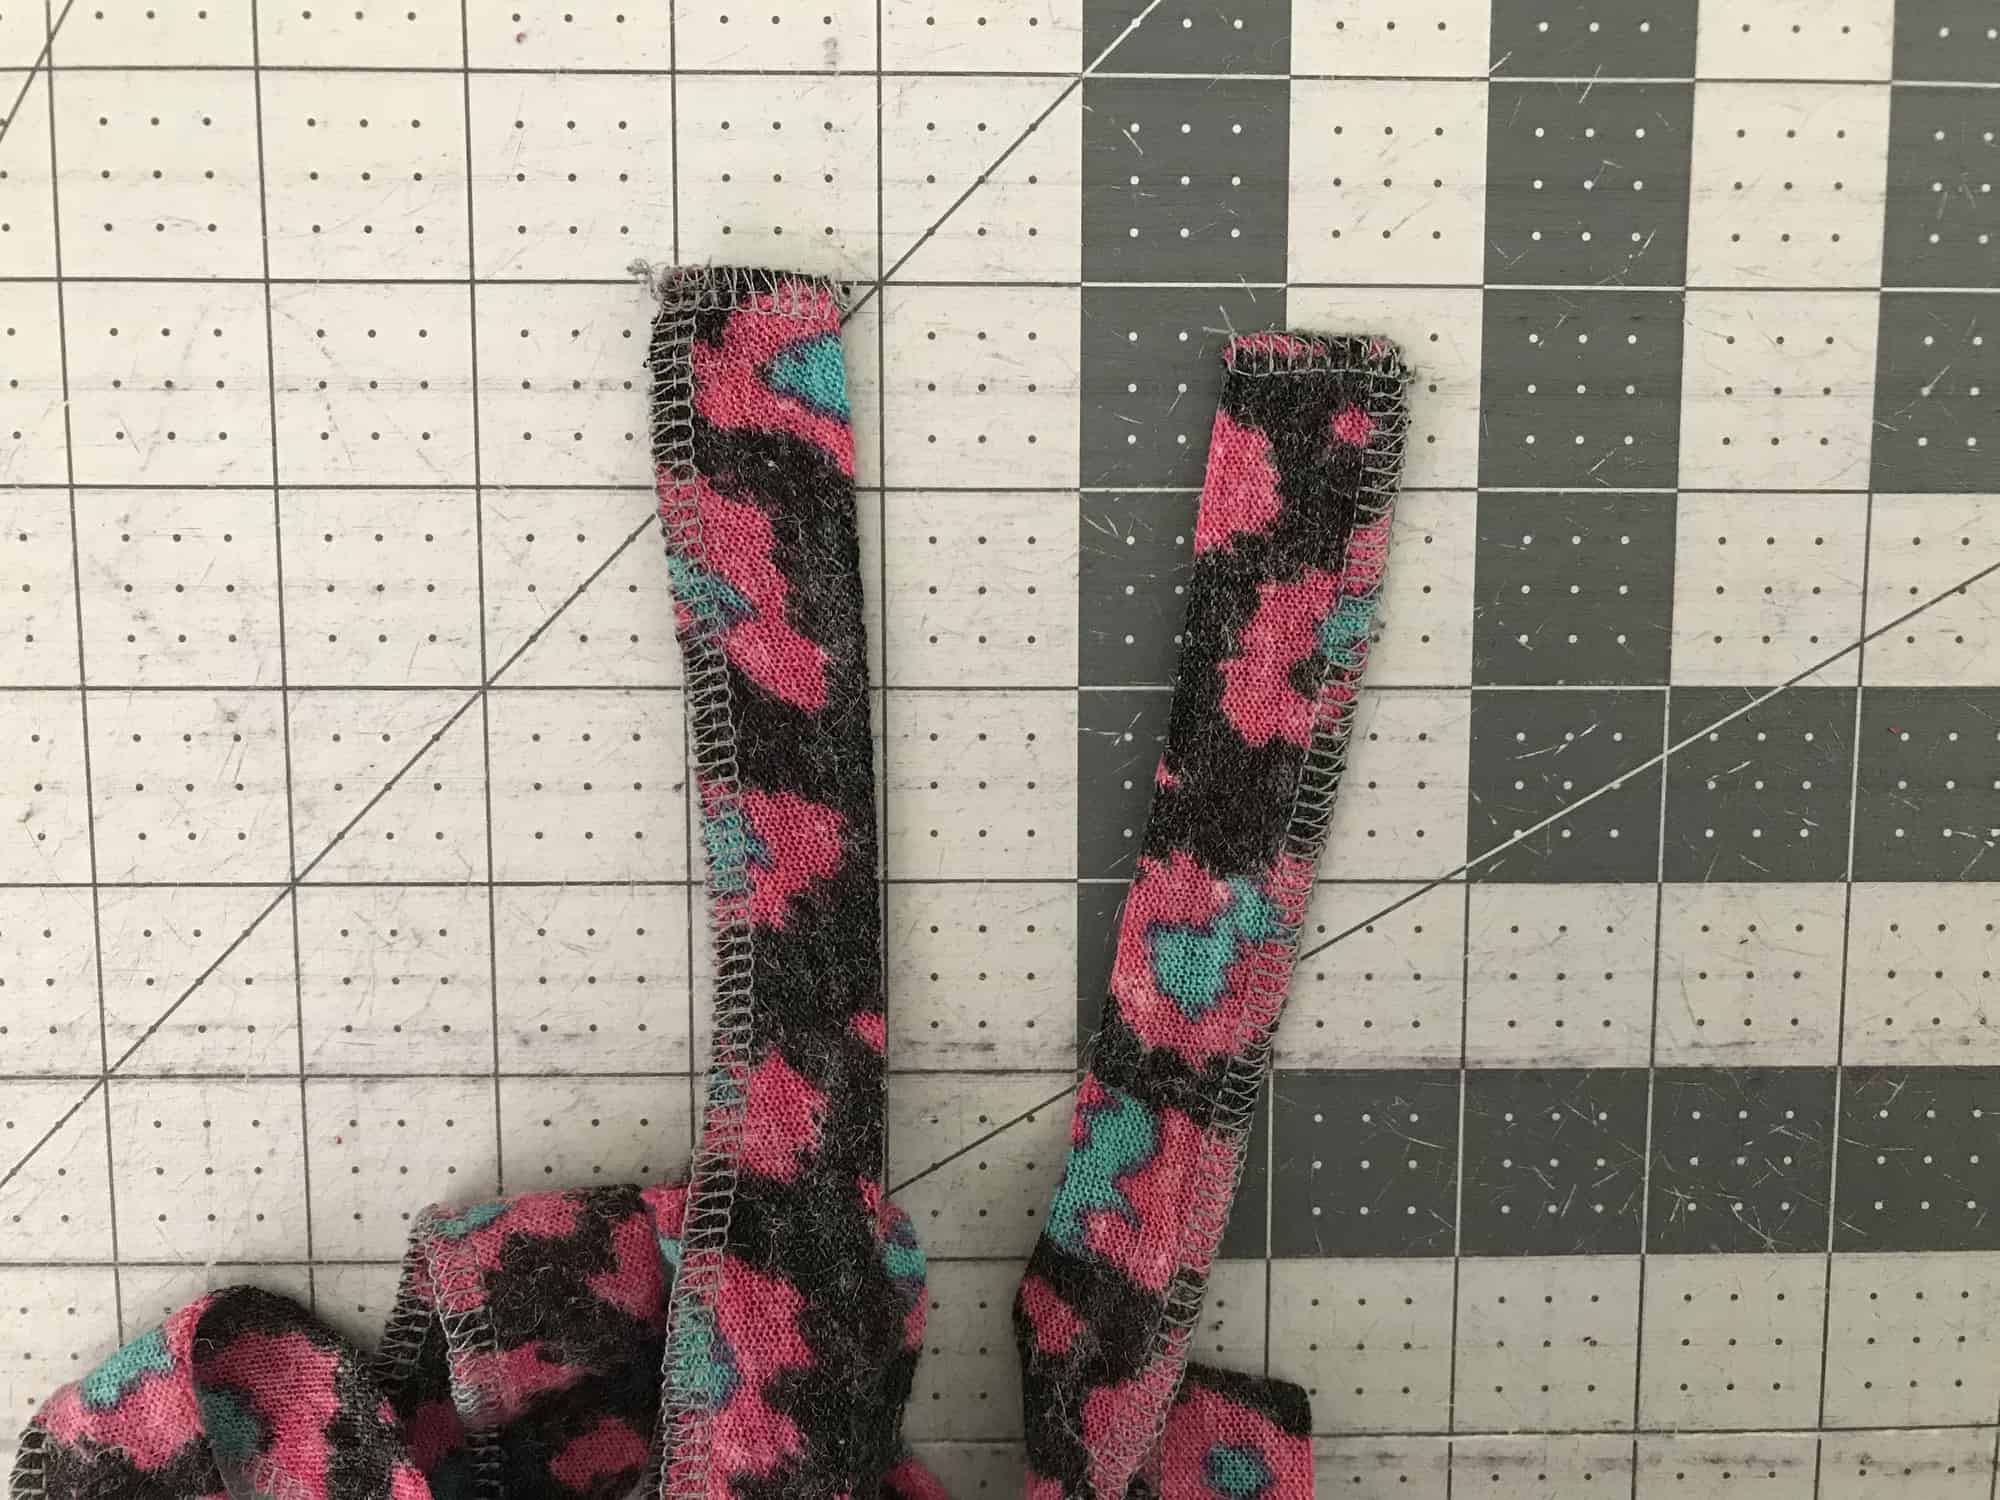
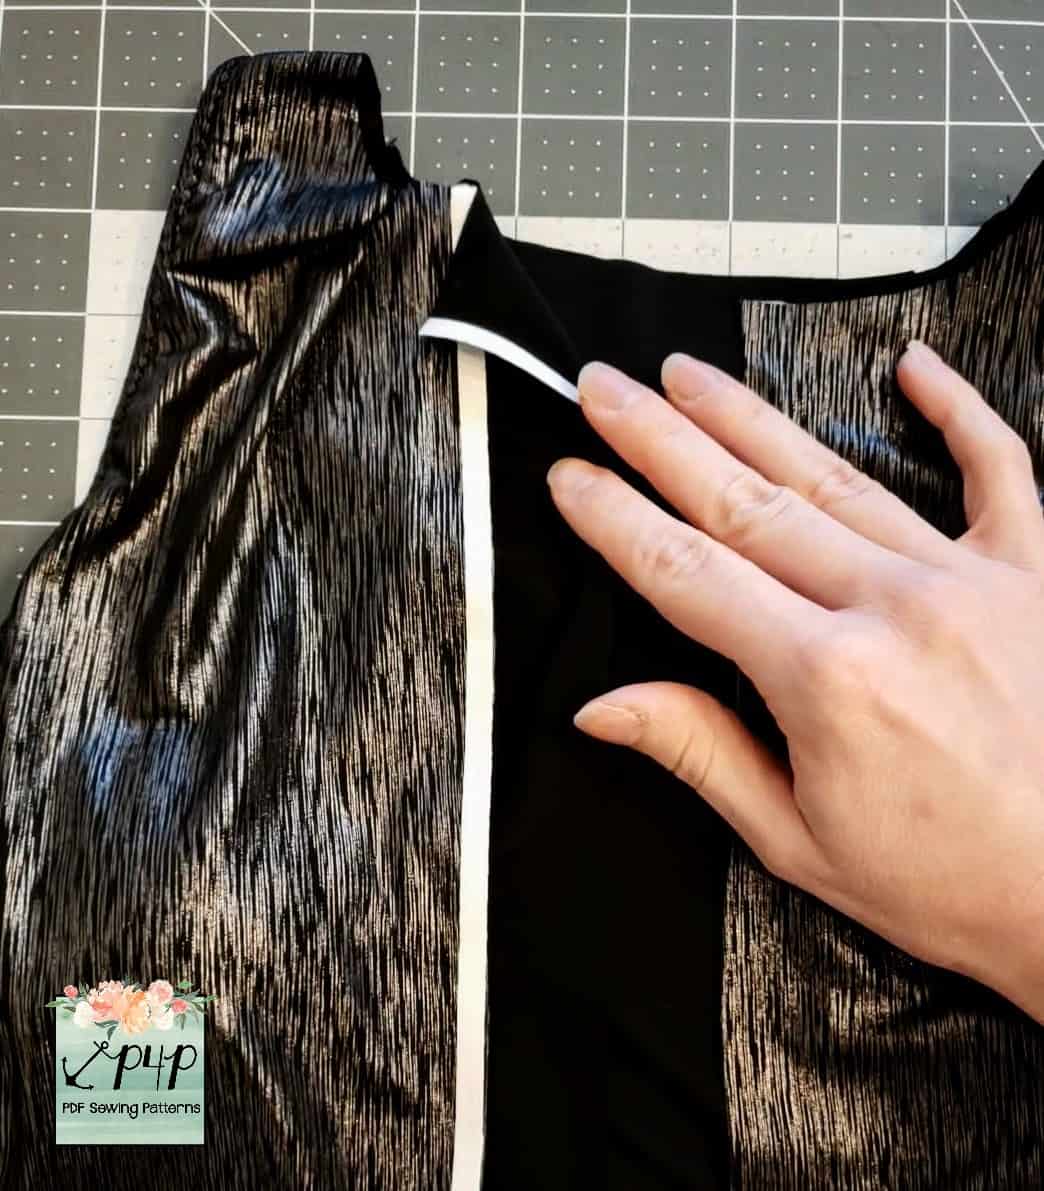
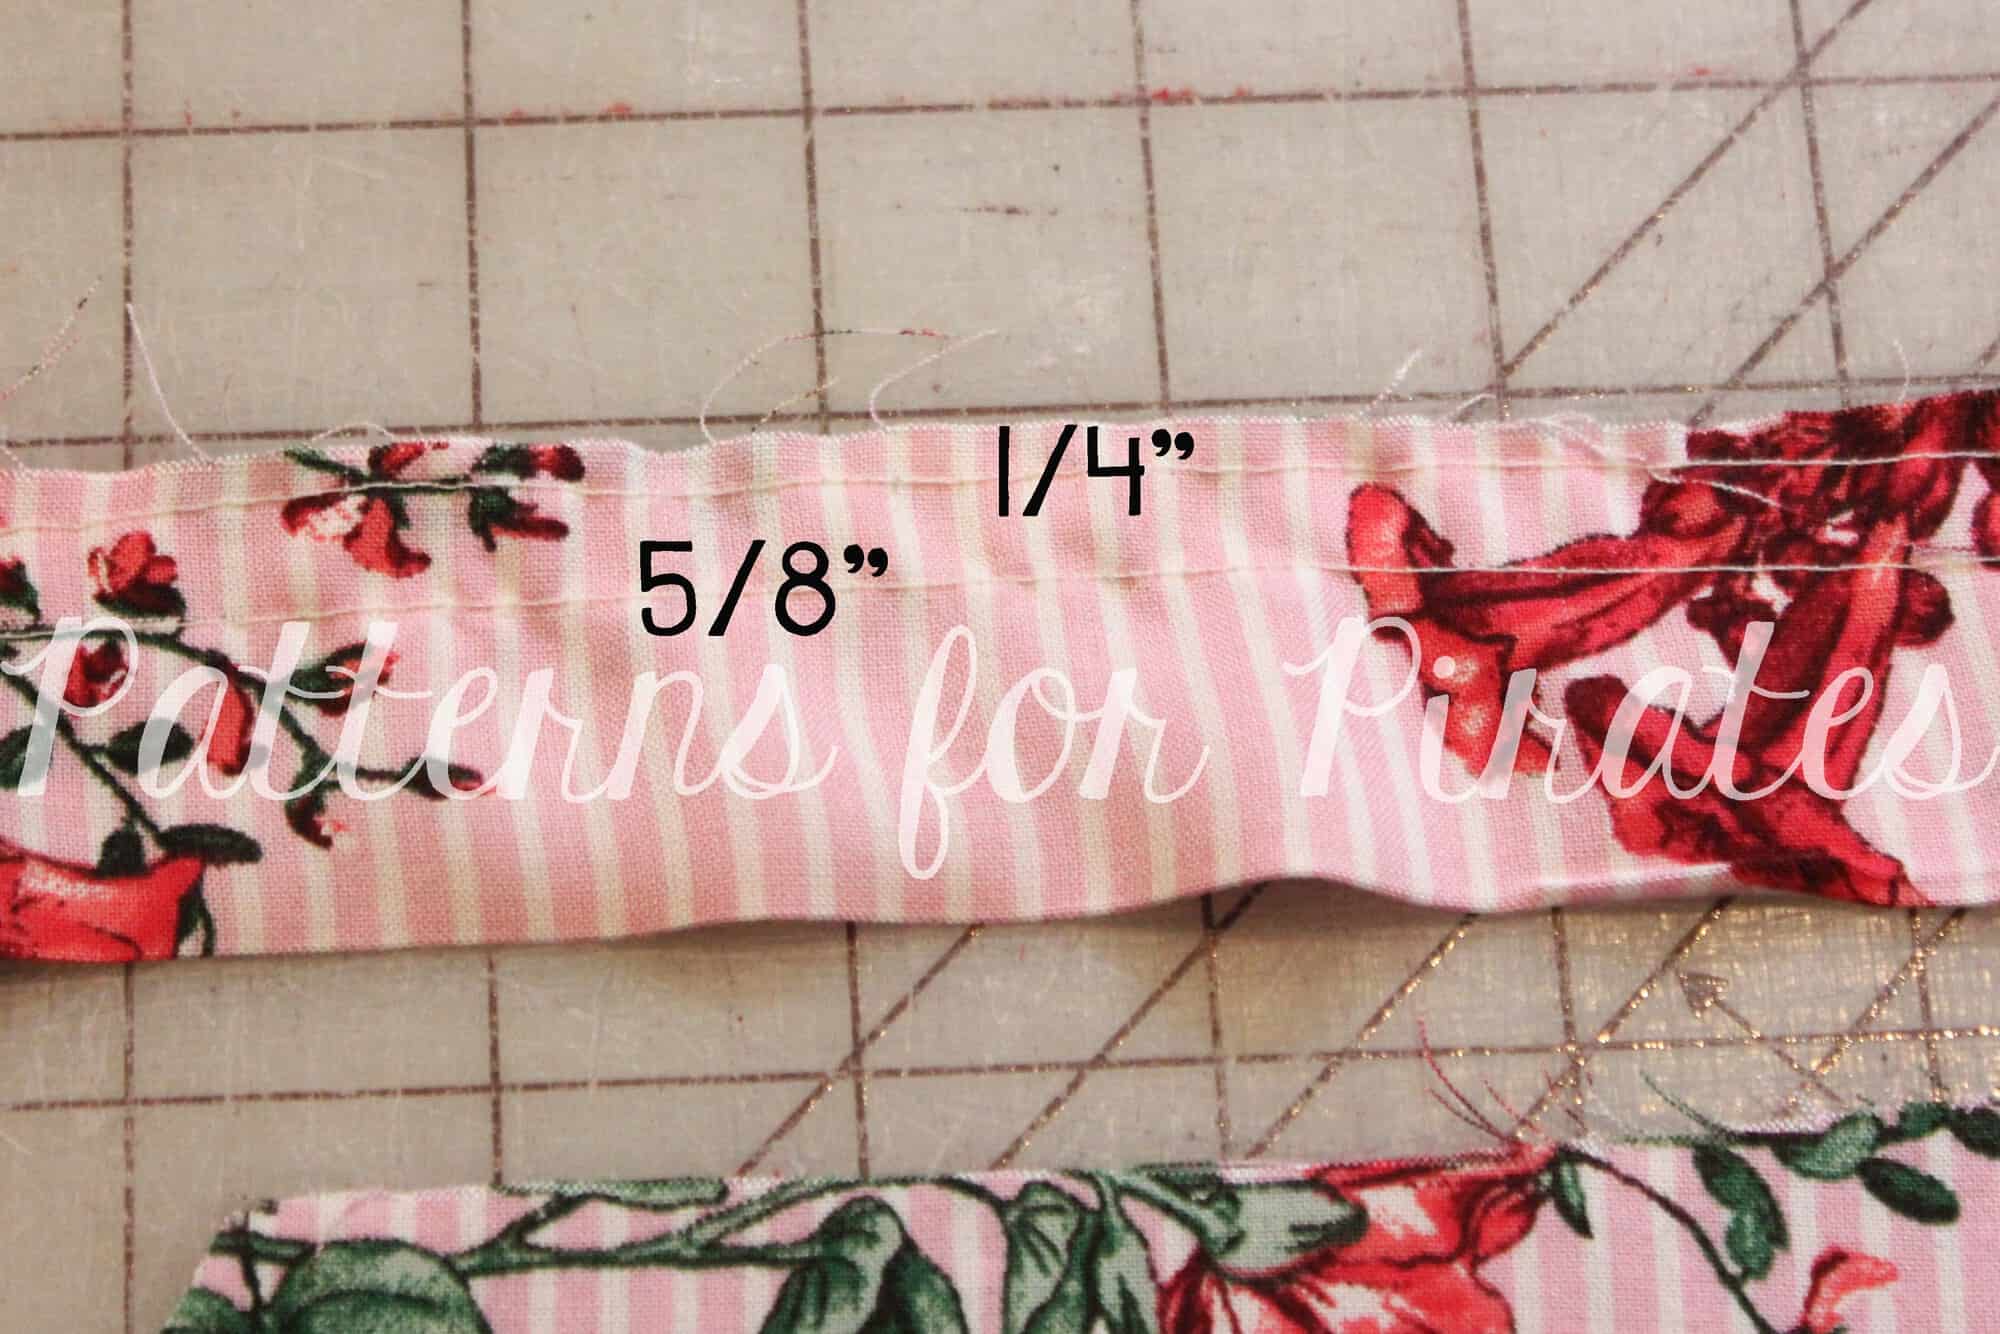
Turn the two bodice pieces wrong side up and fold 1/2″ along the center, press. Fold again another half an inch and press again. If you are adding faux buttons like I am, you don’t really need interfacing. If you plan on adding real buttons and make buttonholes, or add snaps then you should add a 1/2″ wide strip of interfacing along both sides of the front bodice.
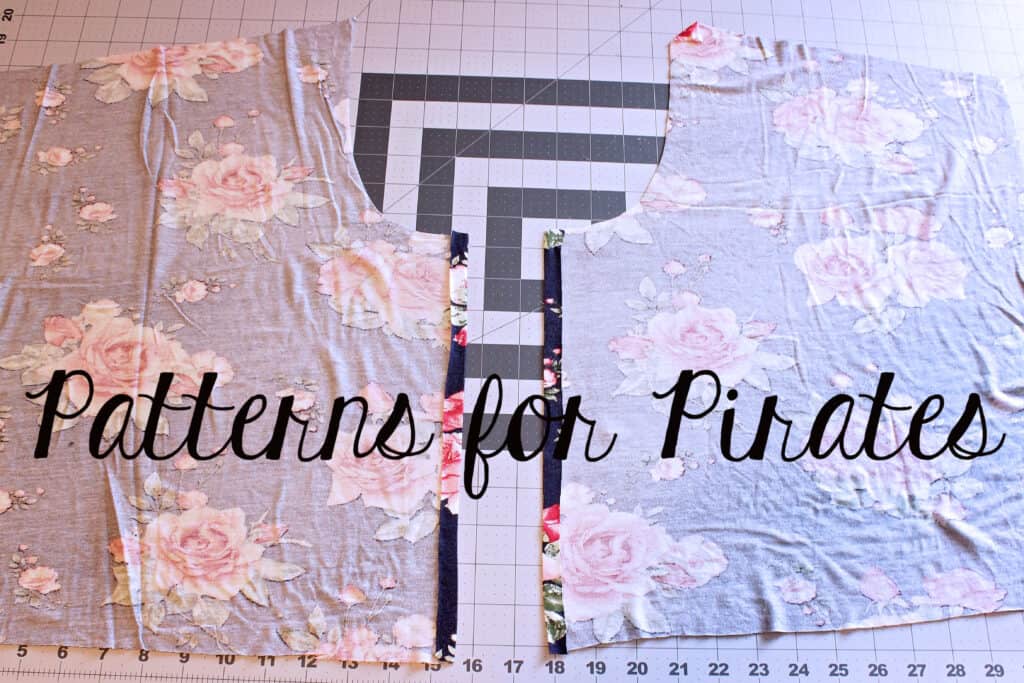
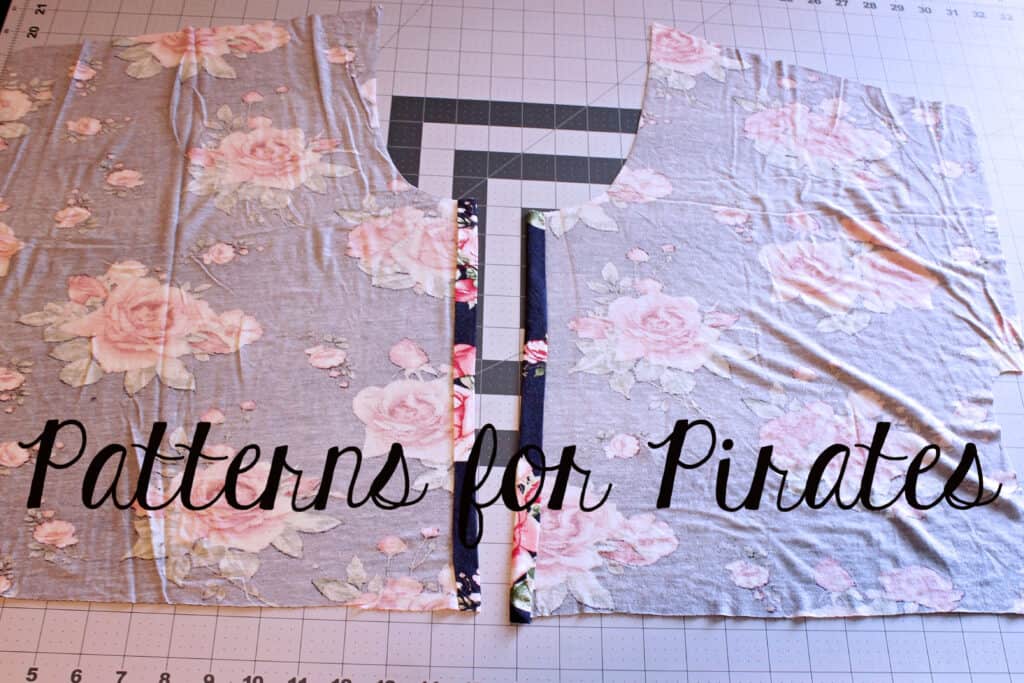
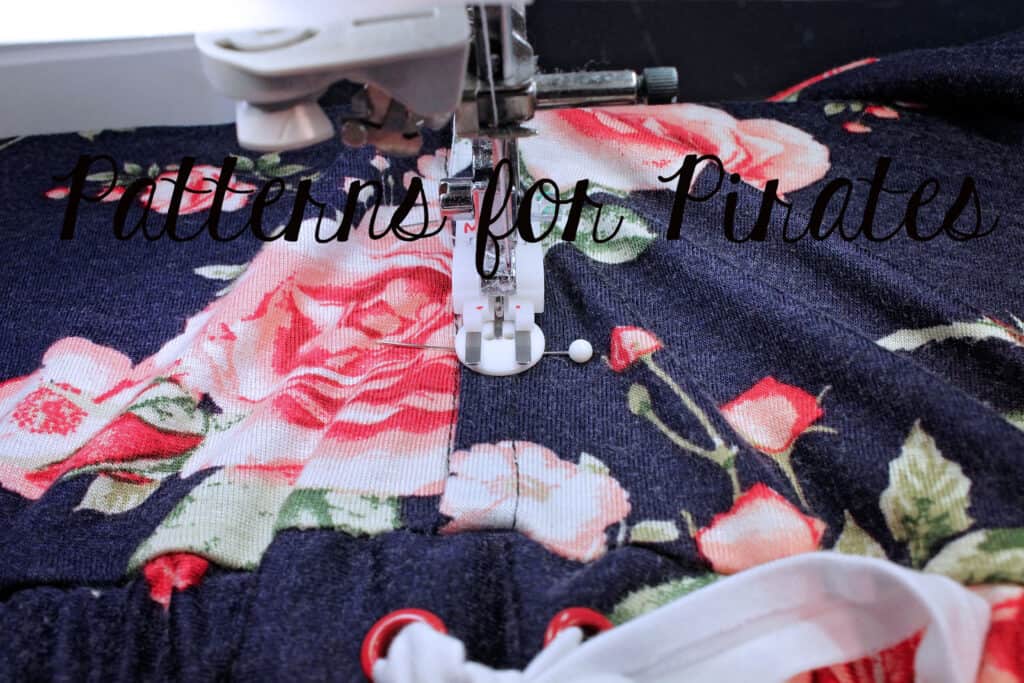
Sew the folded hems down with a scant 1/2″ seam allowance.

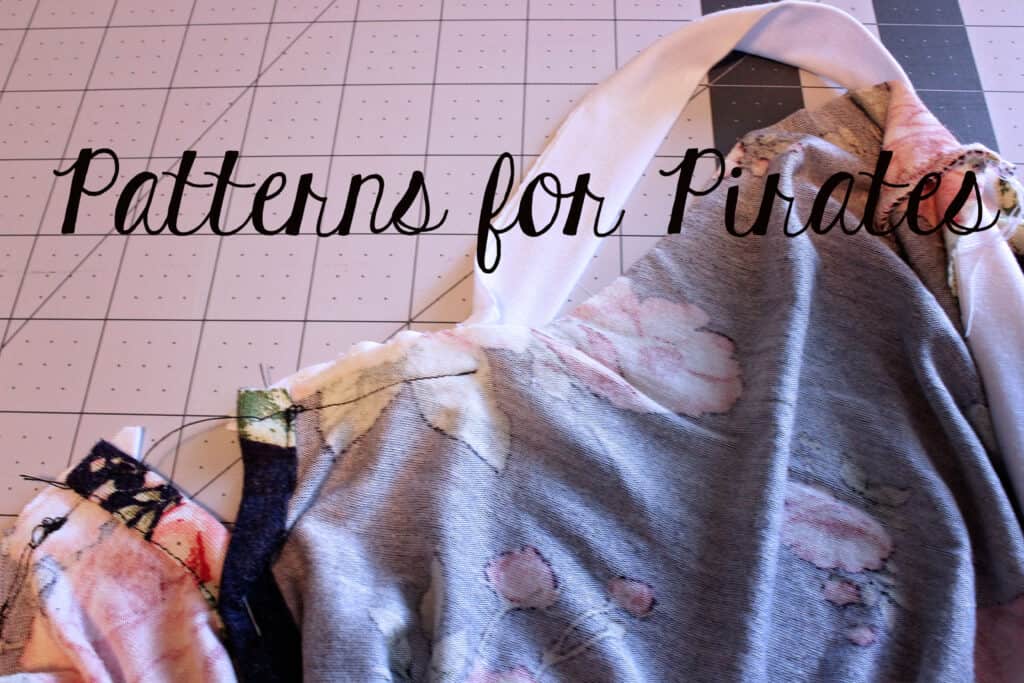
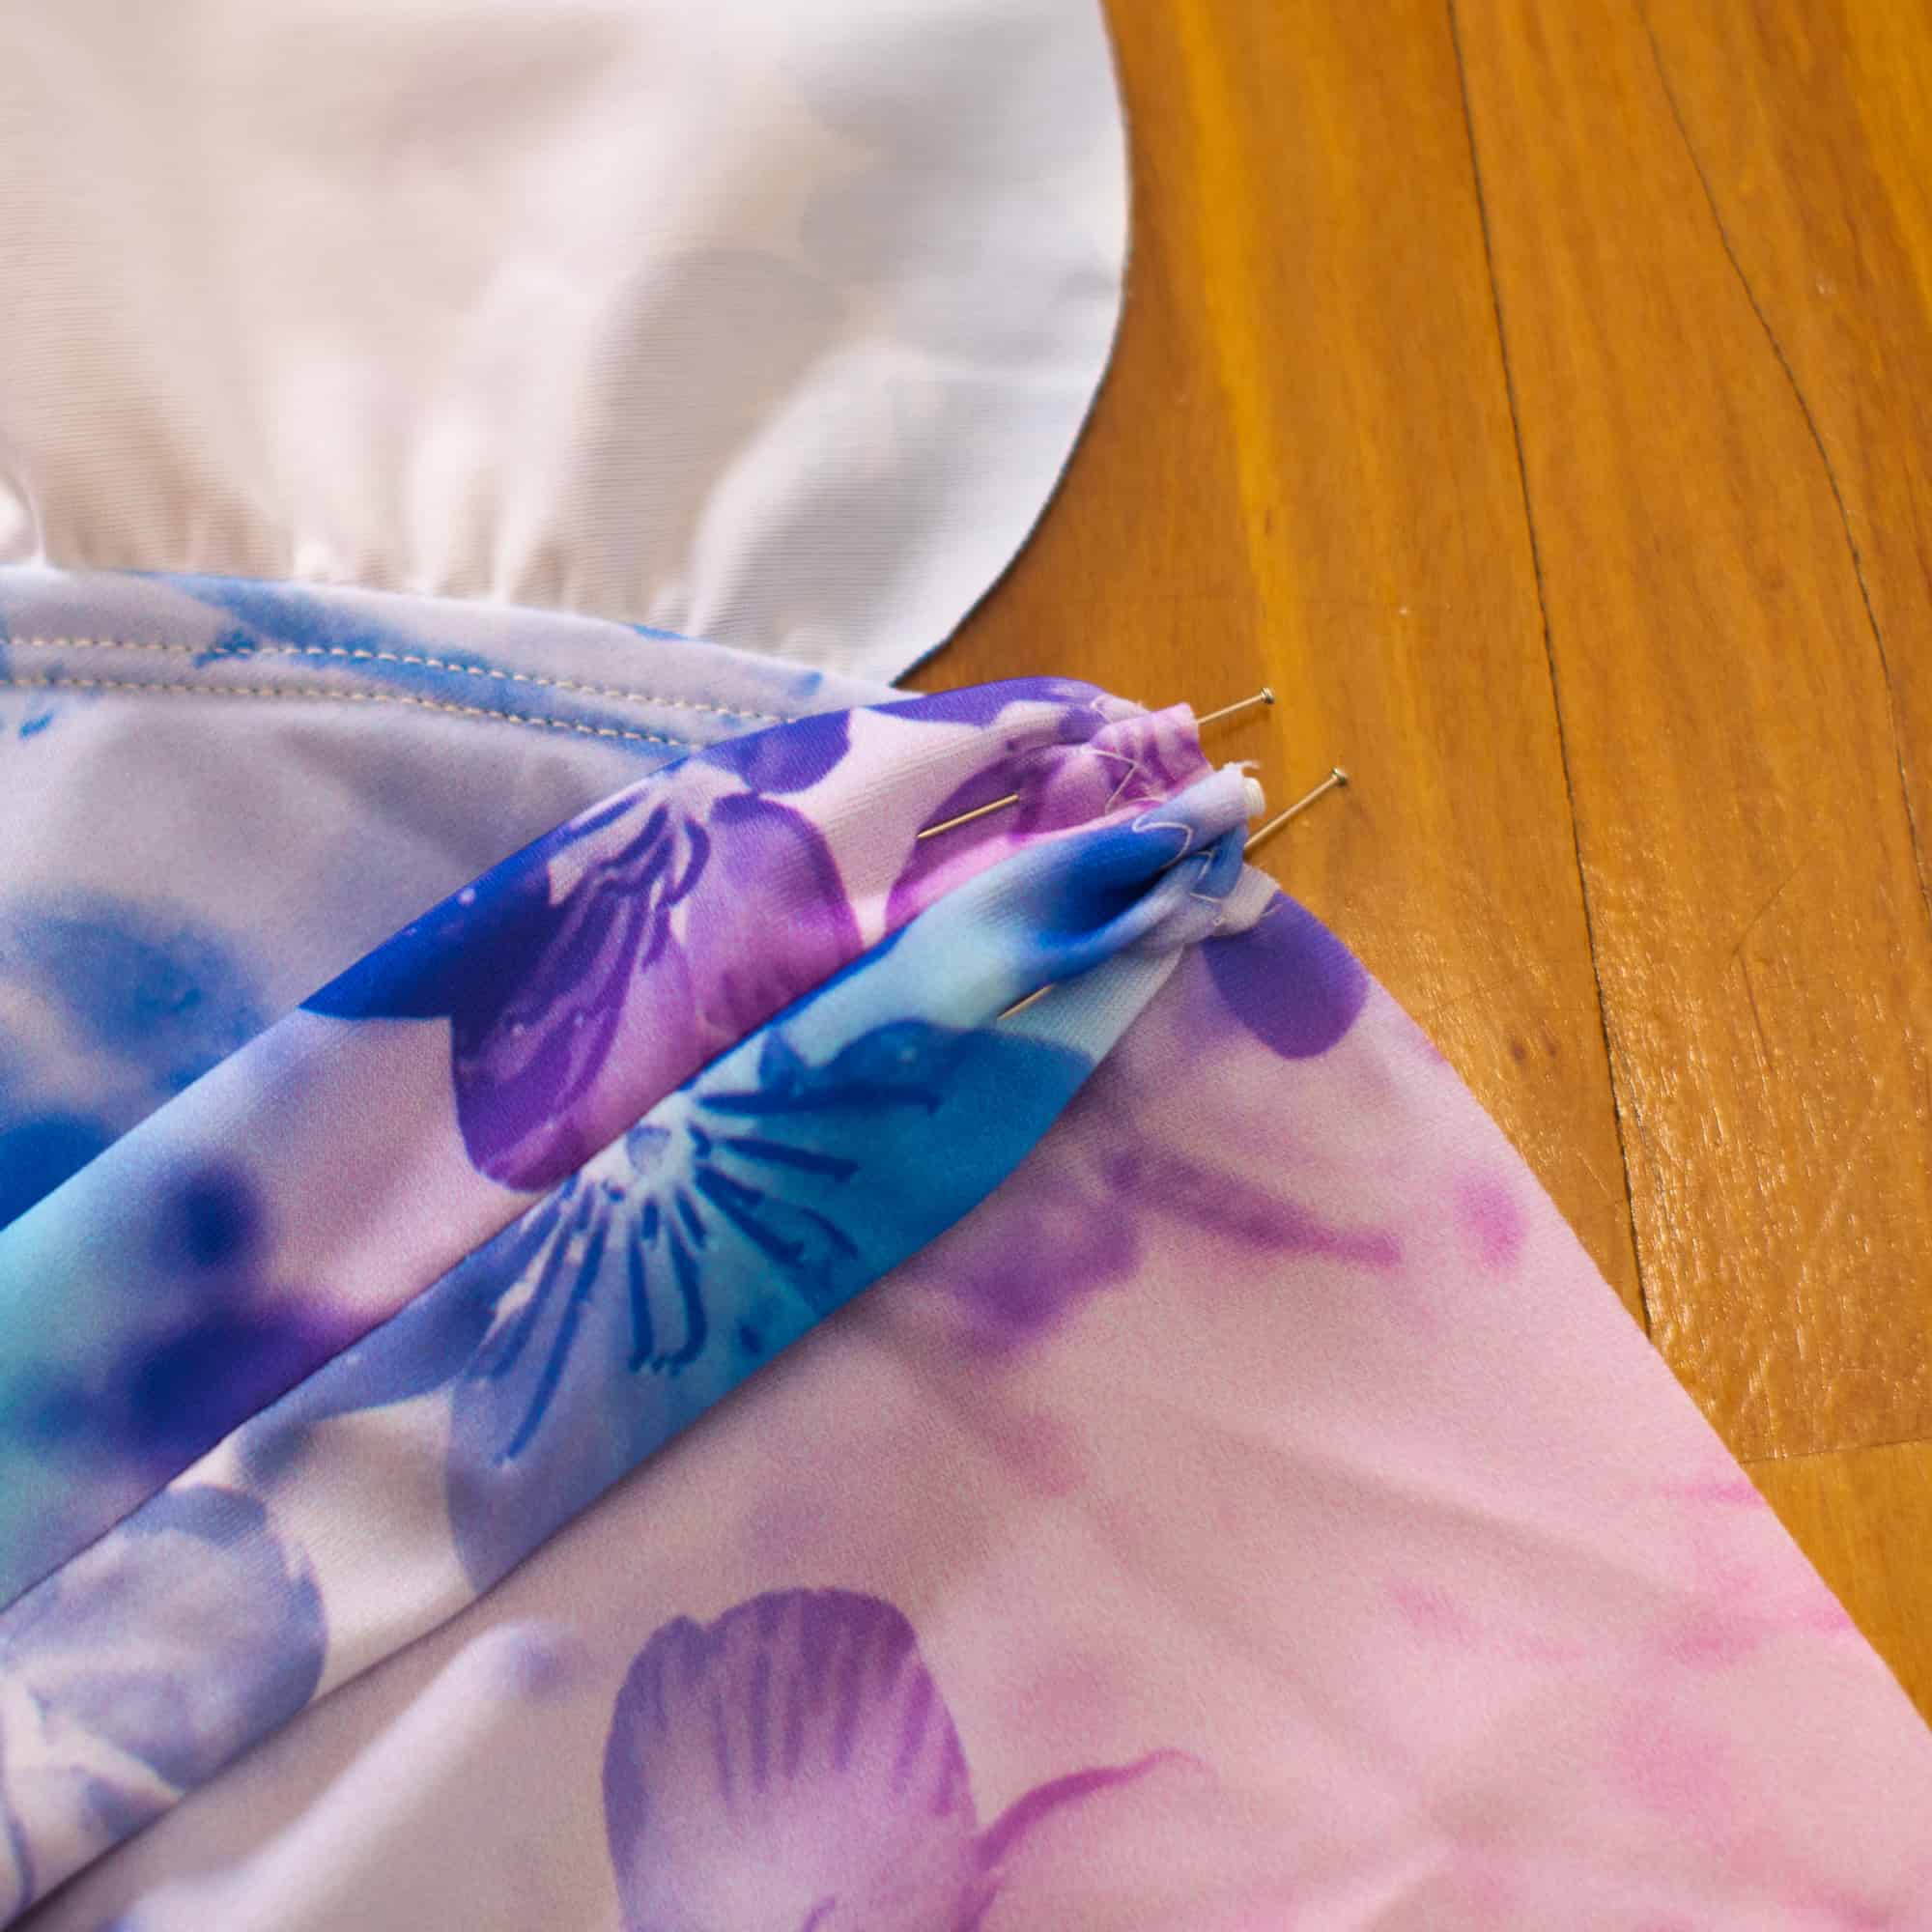
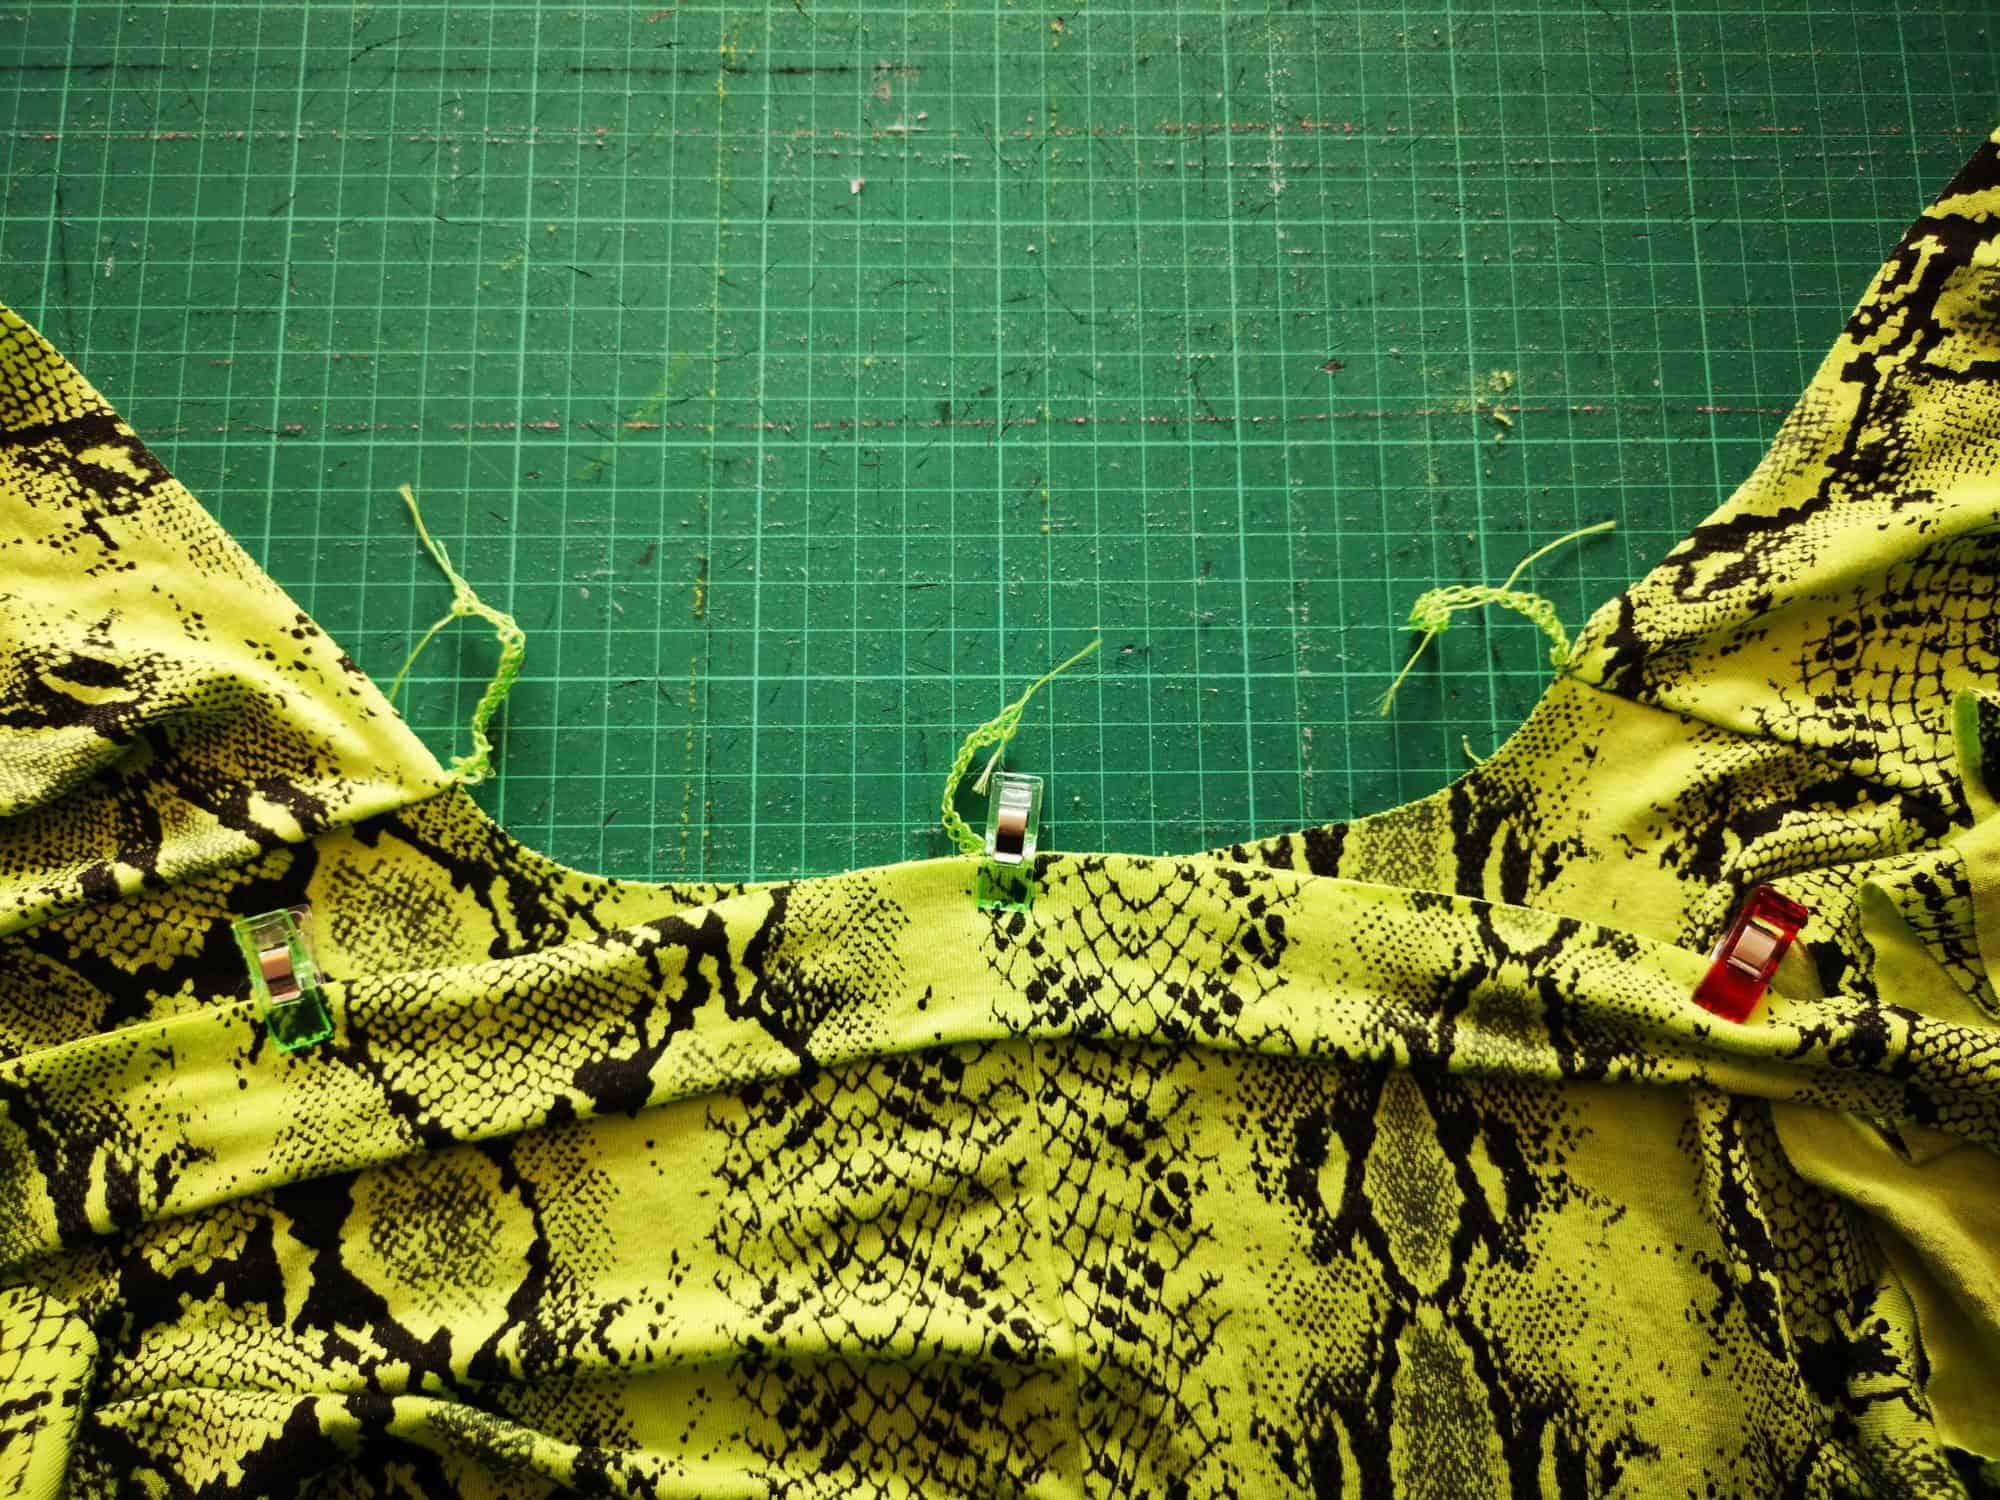
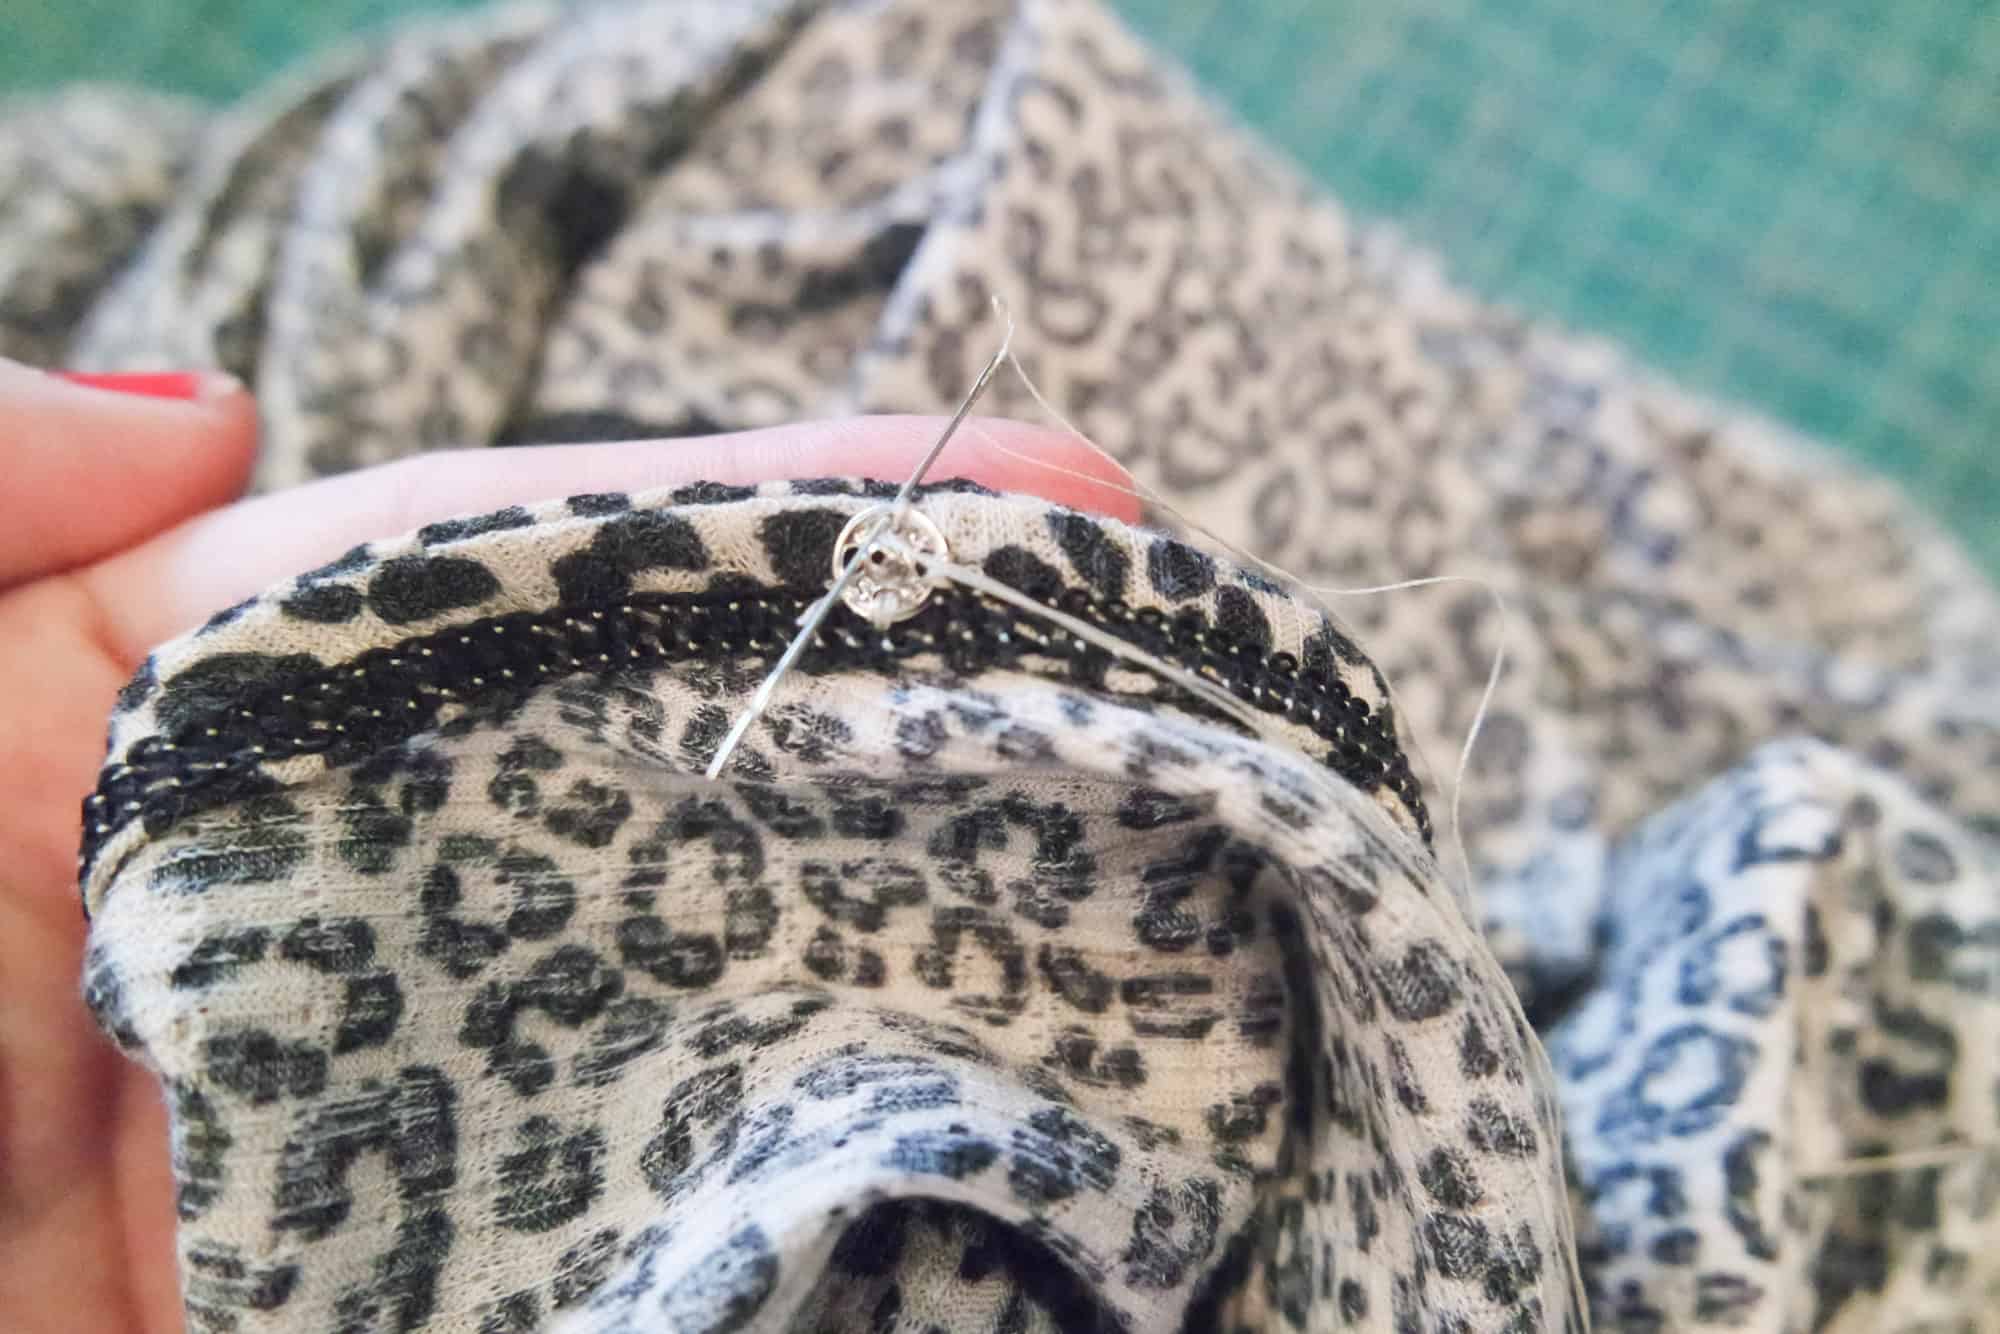
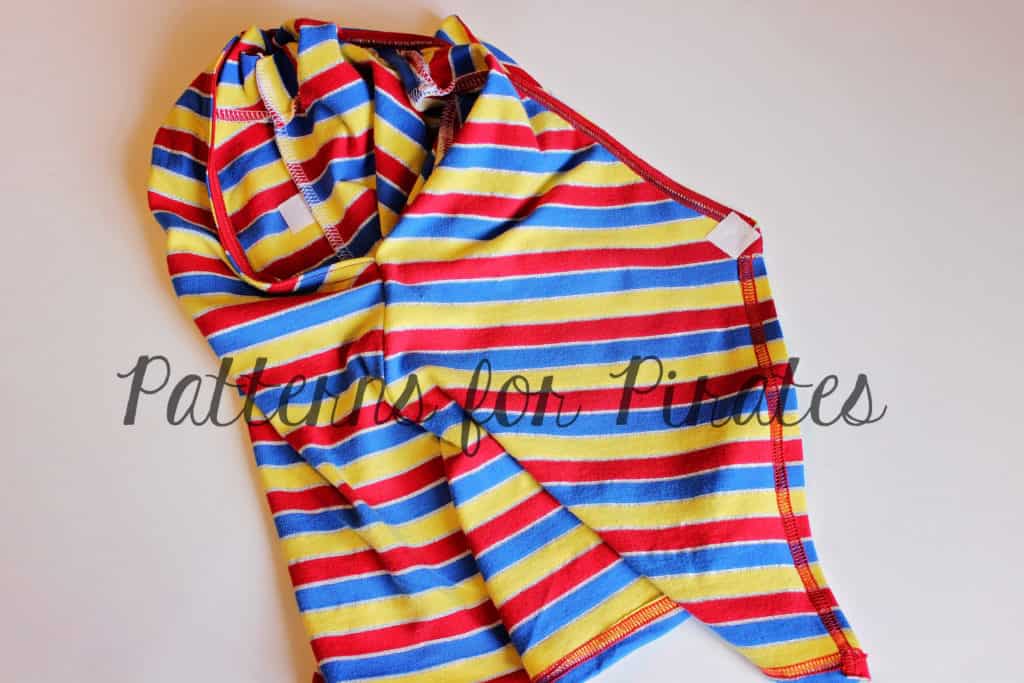
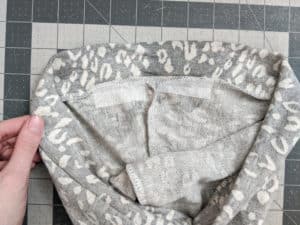
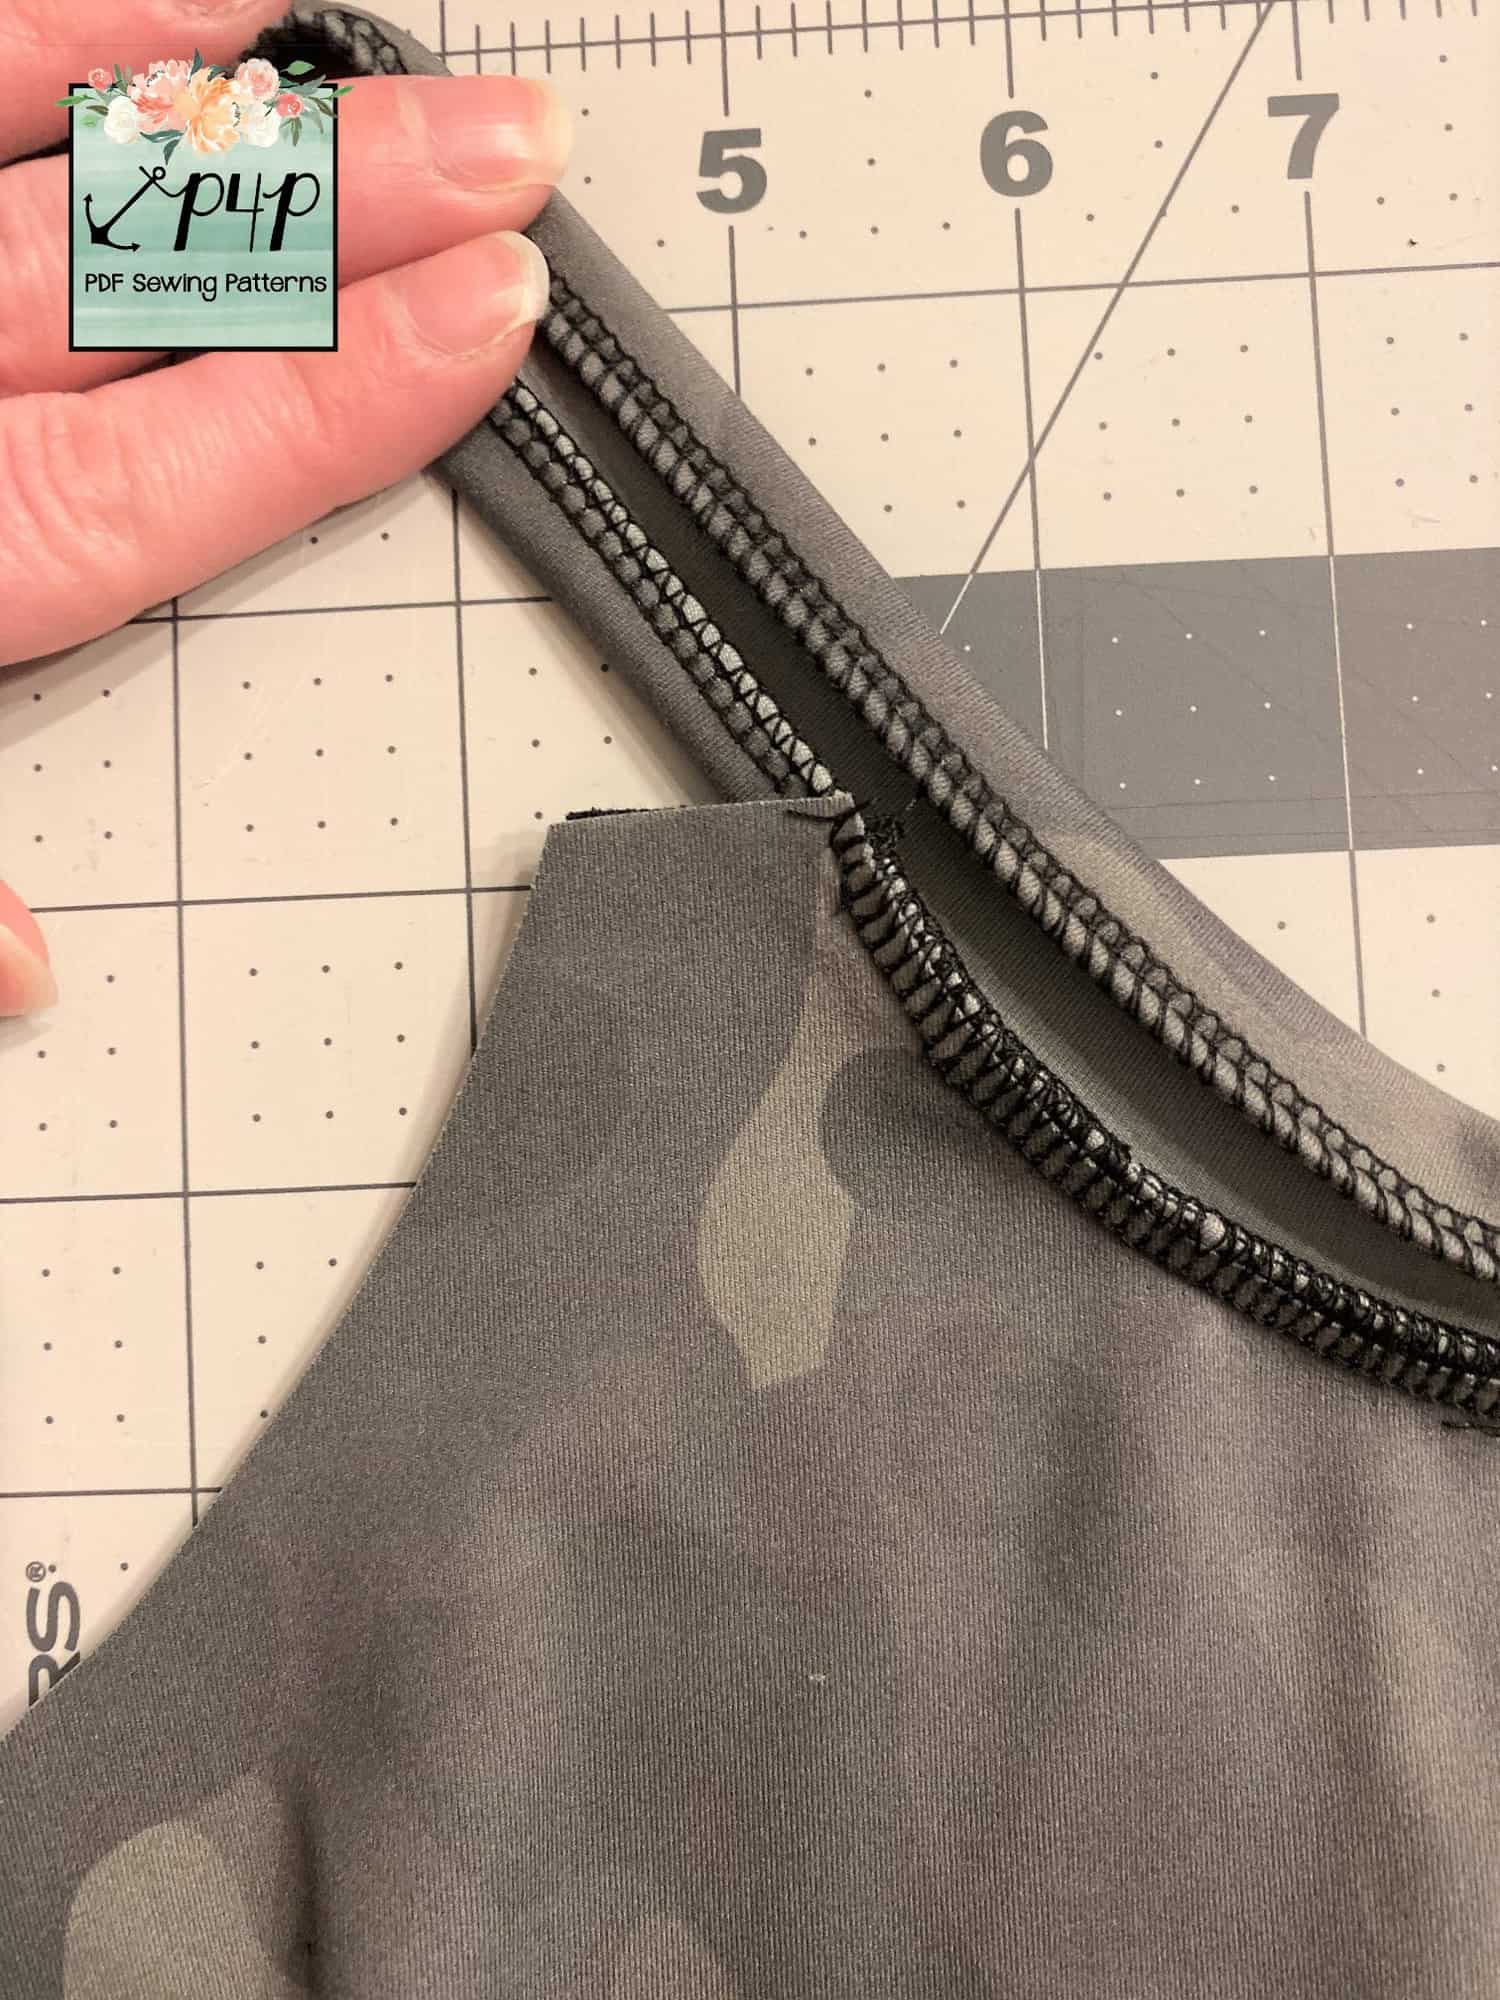
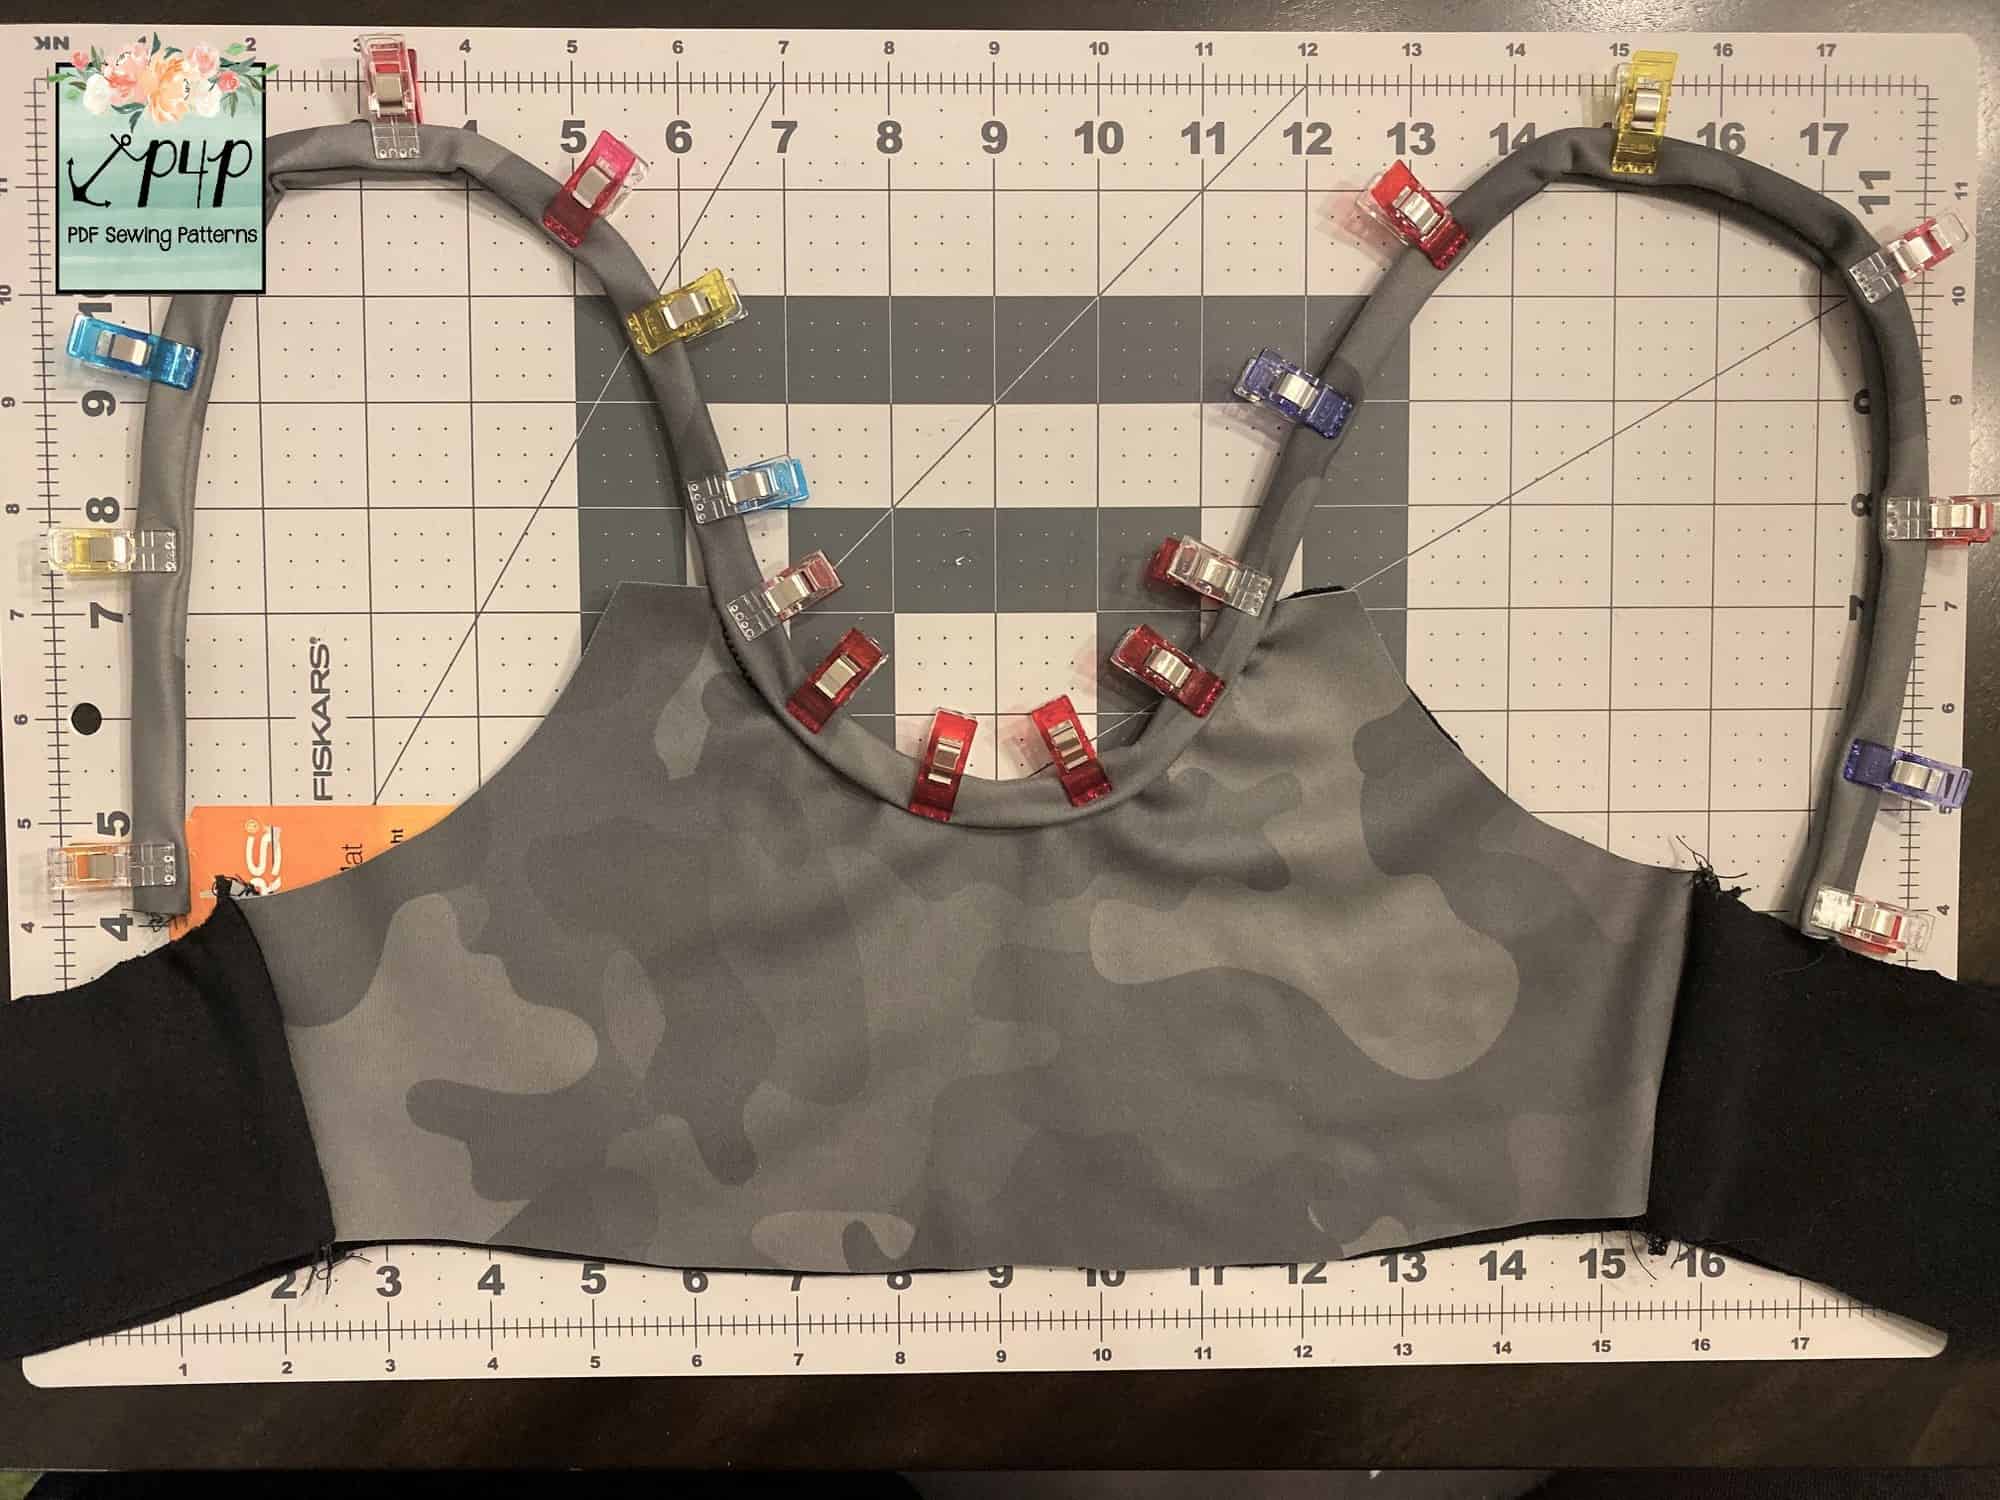
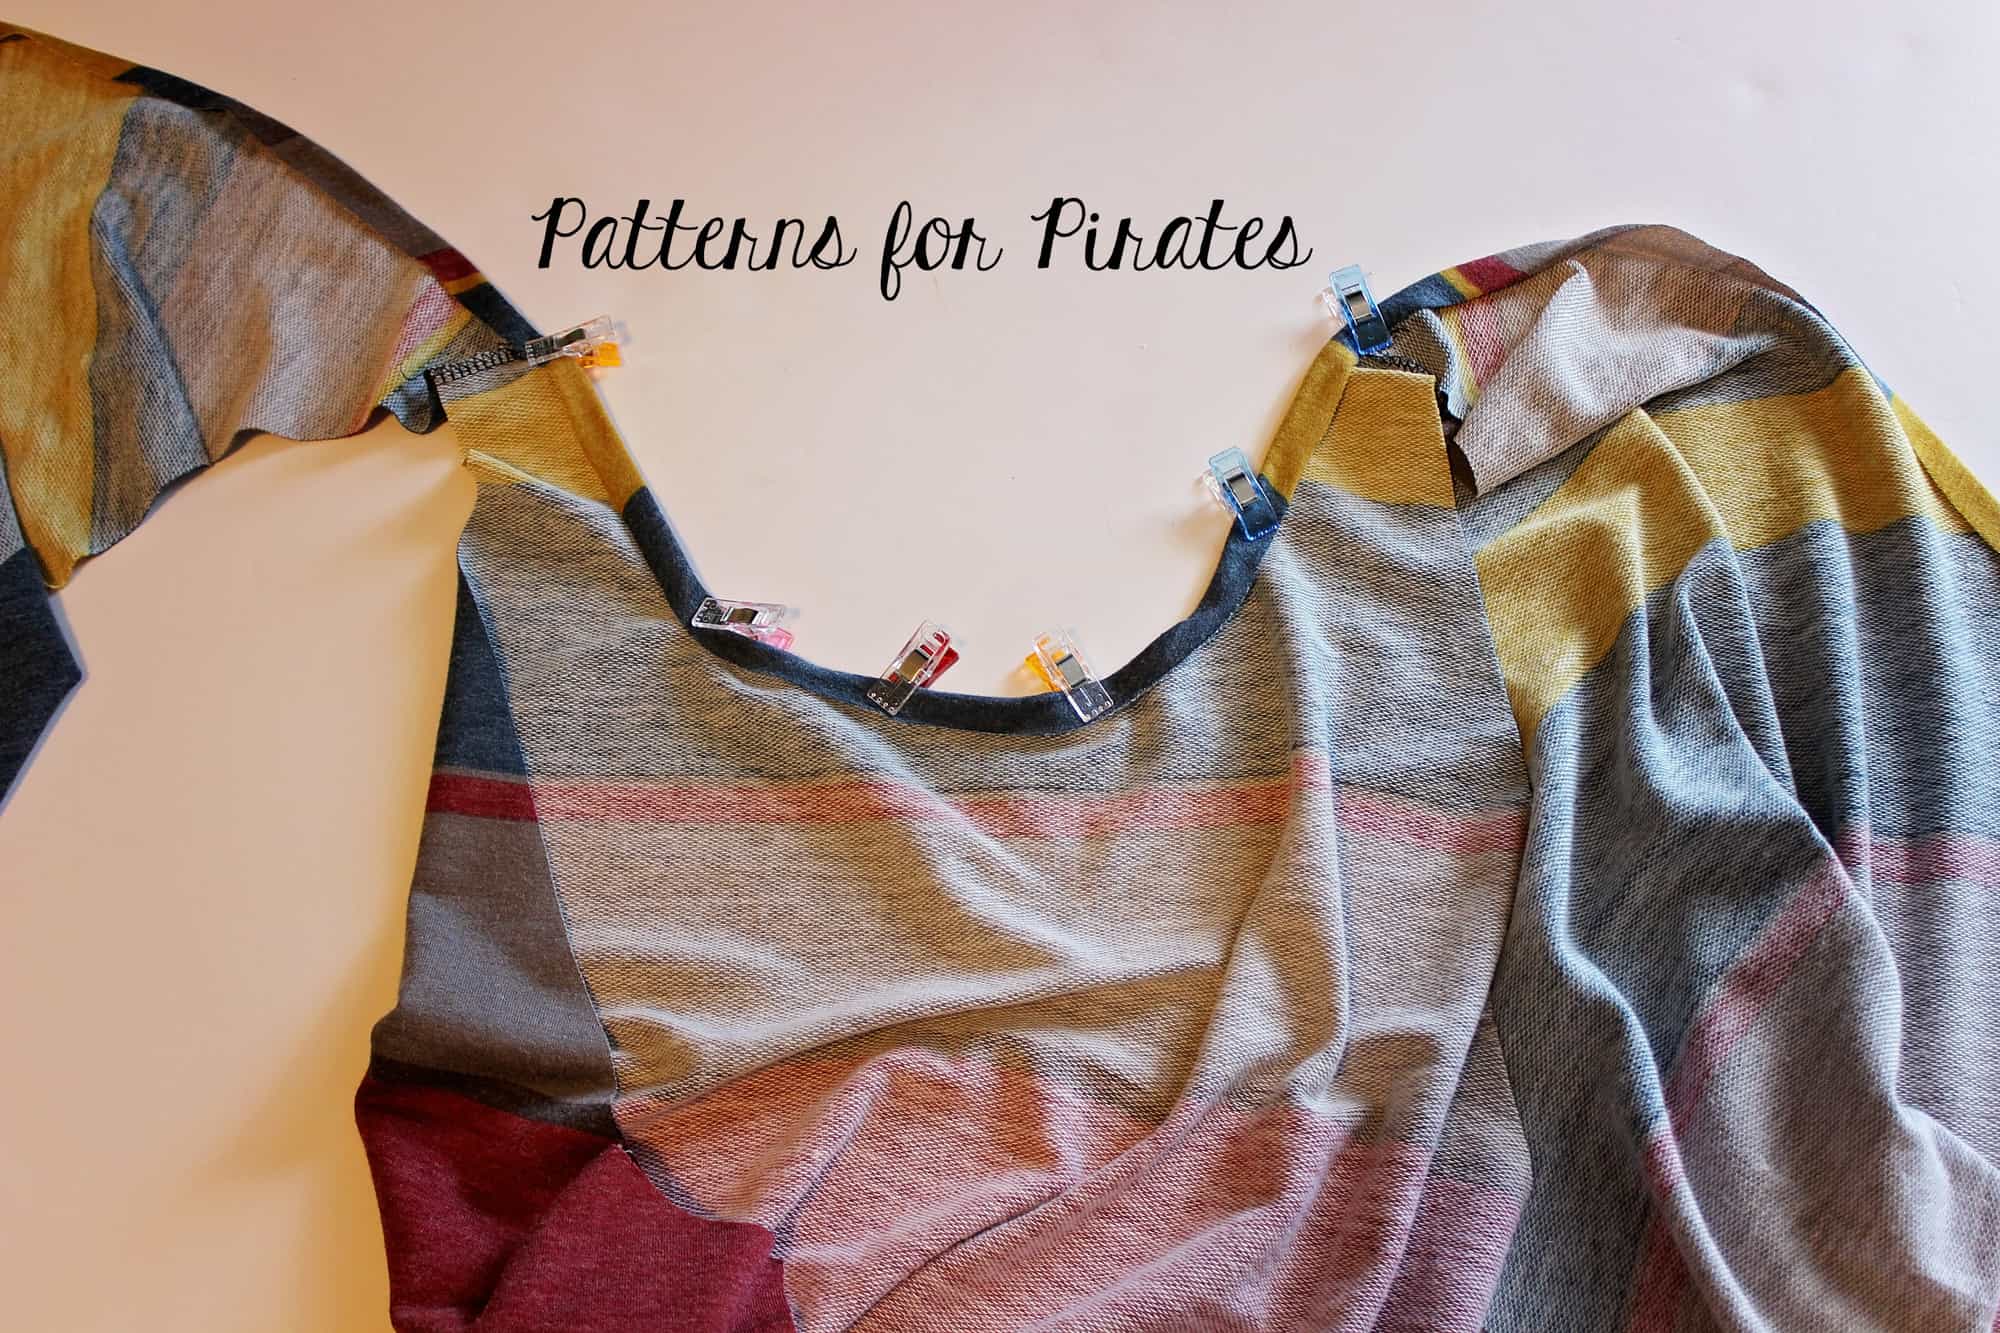
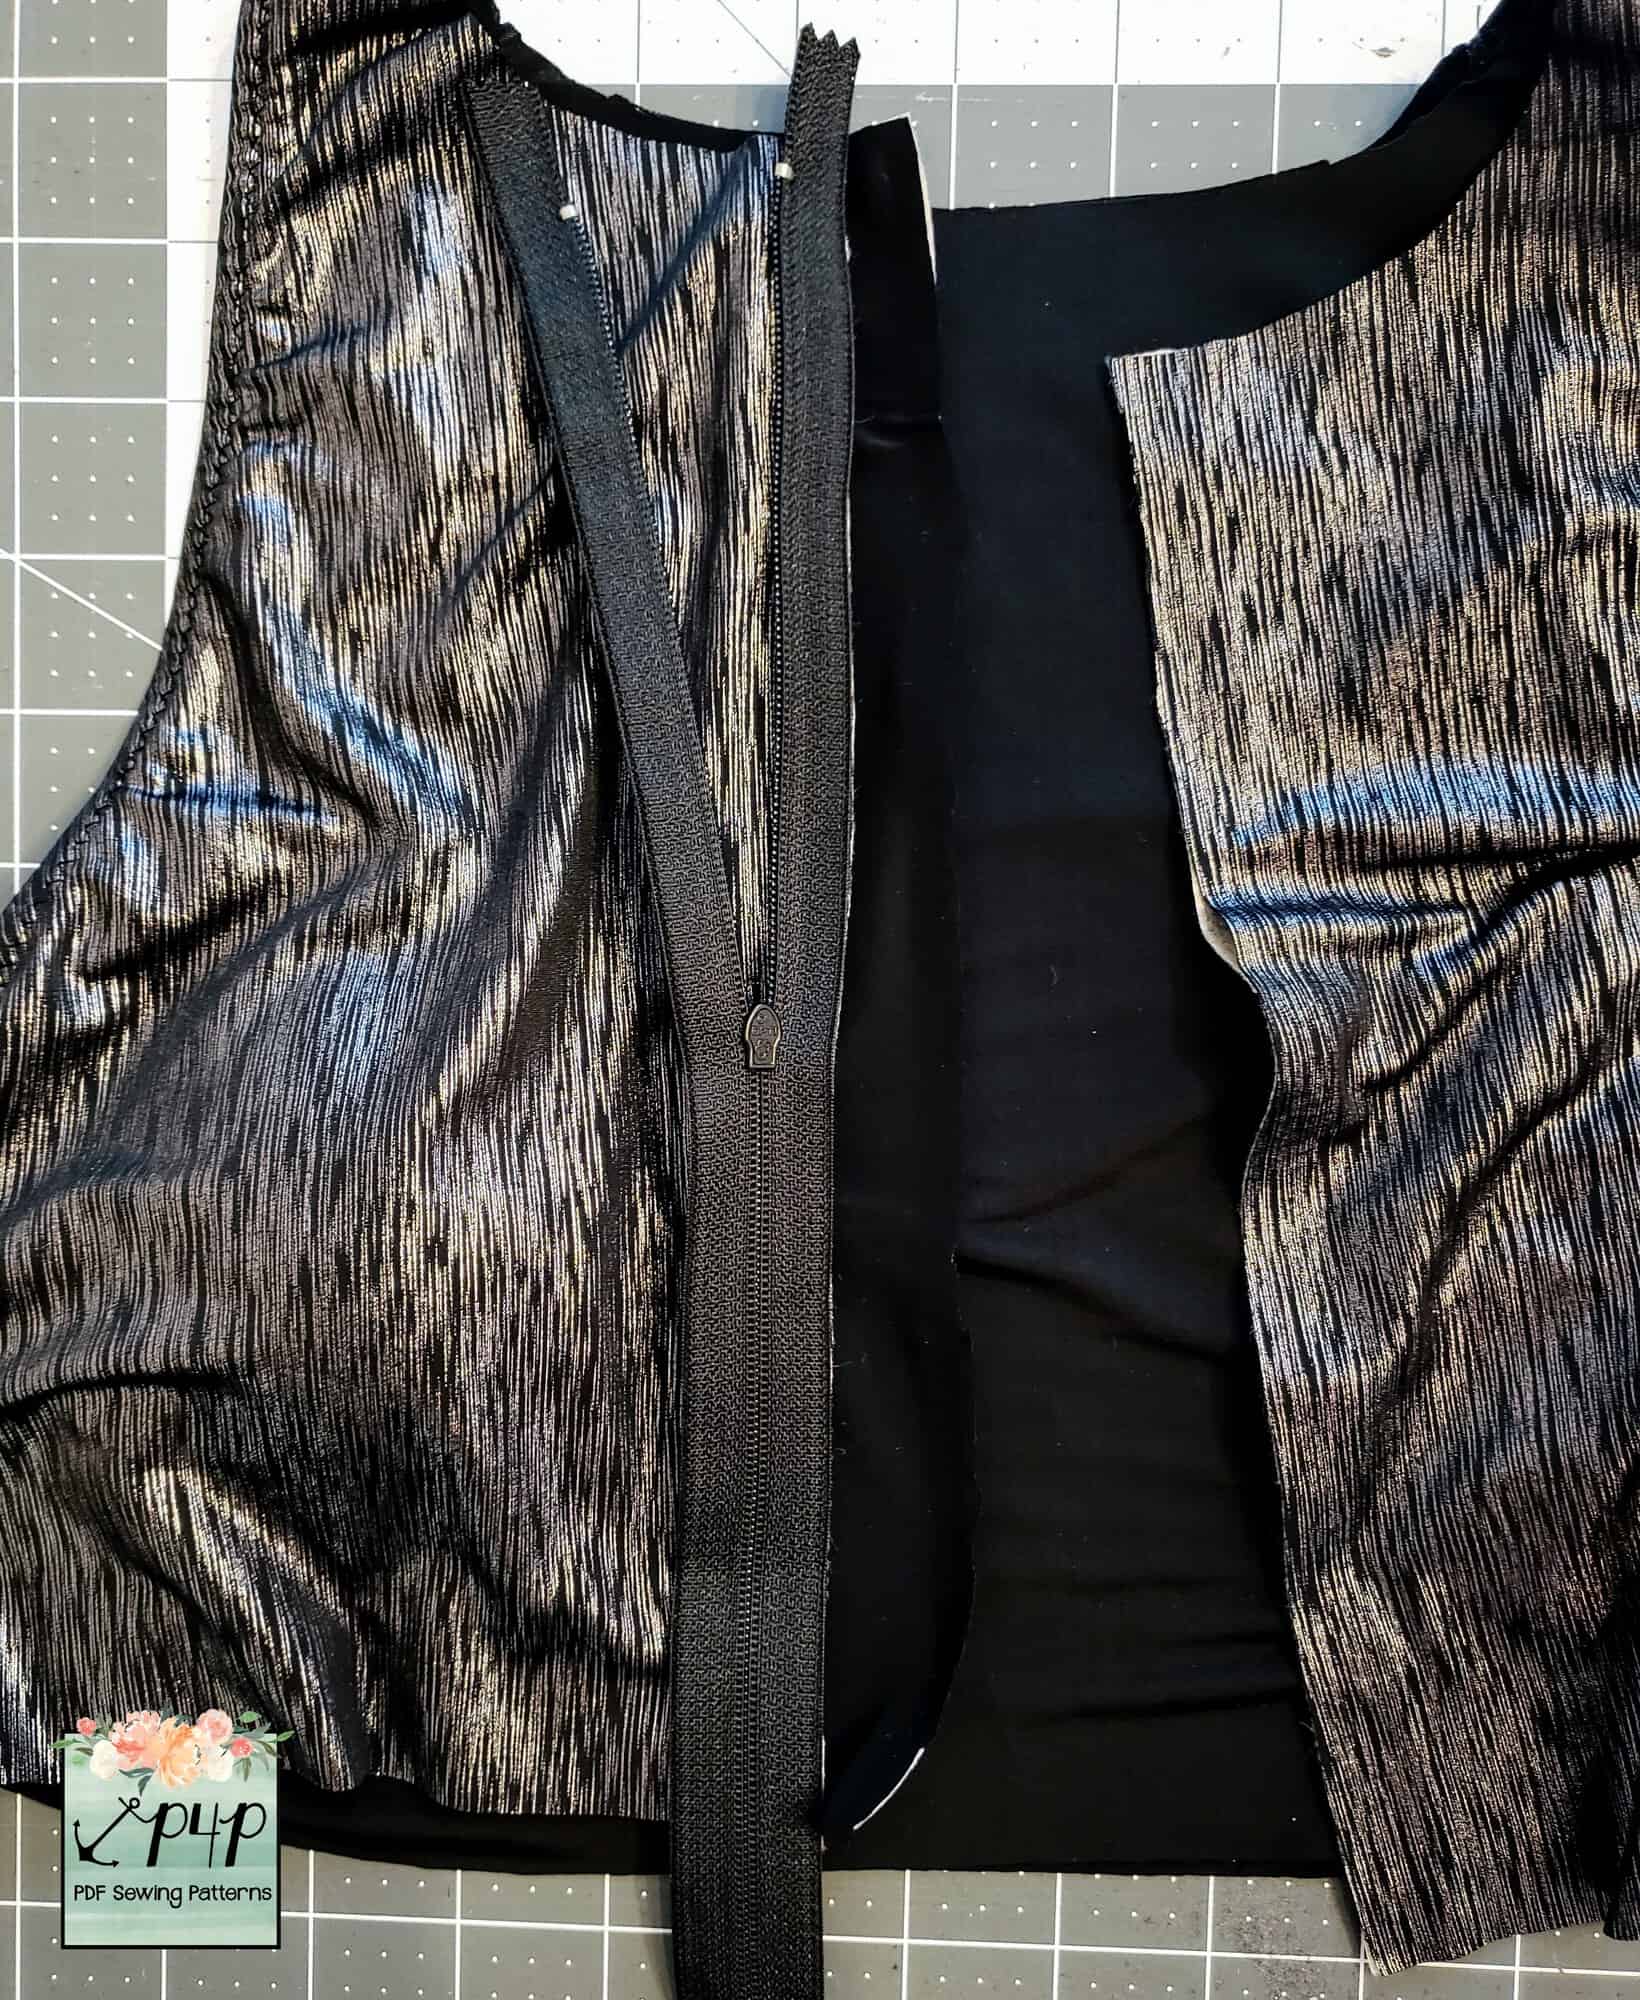
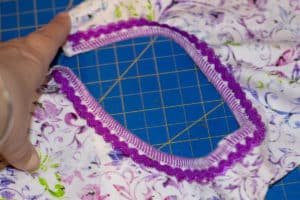
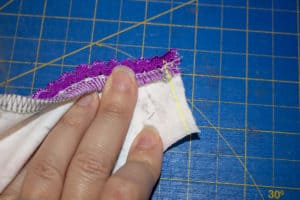
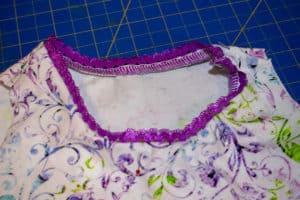
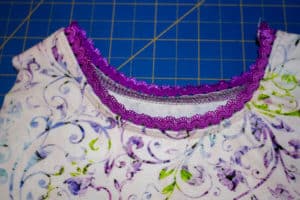
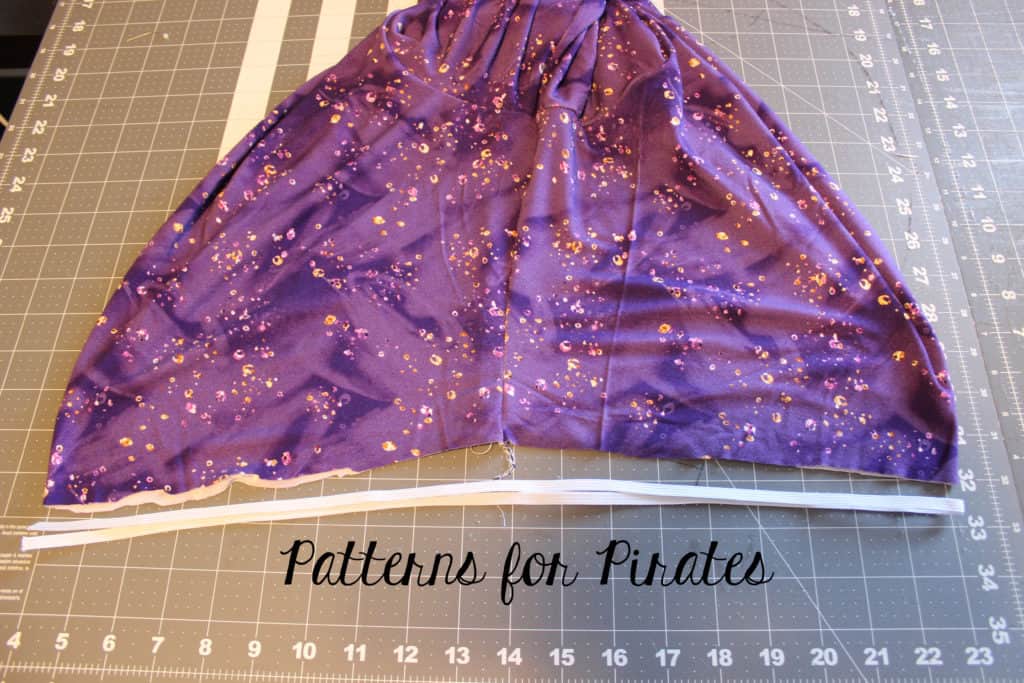
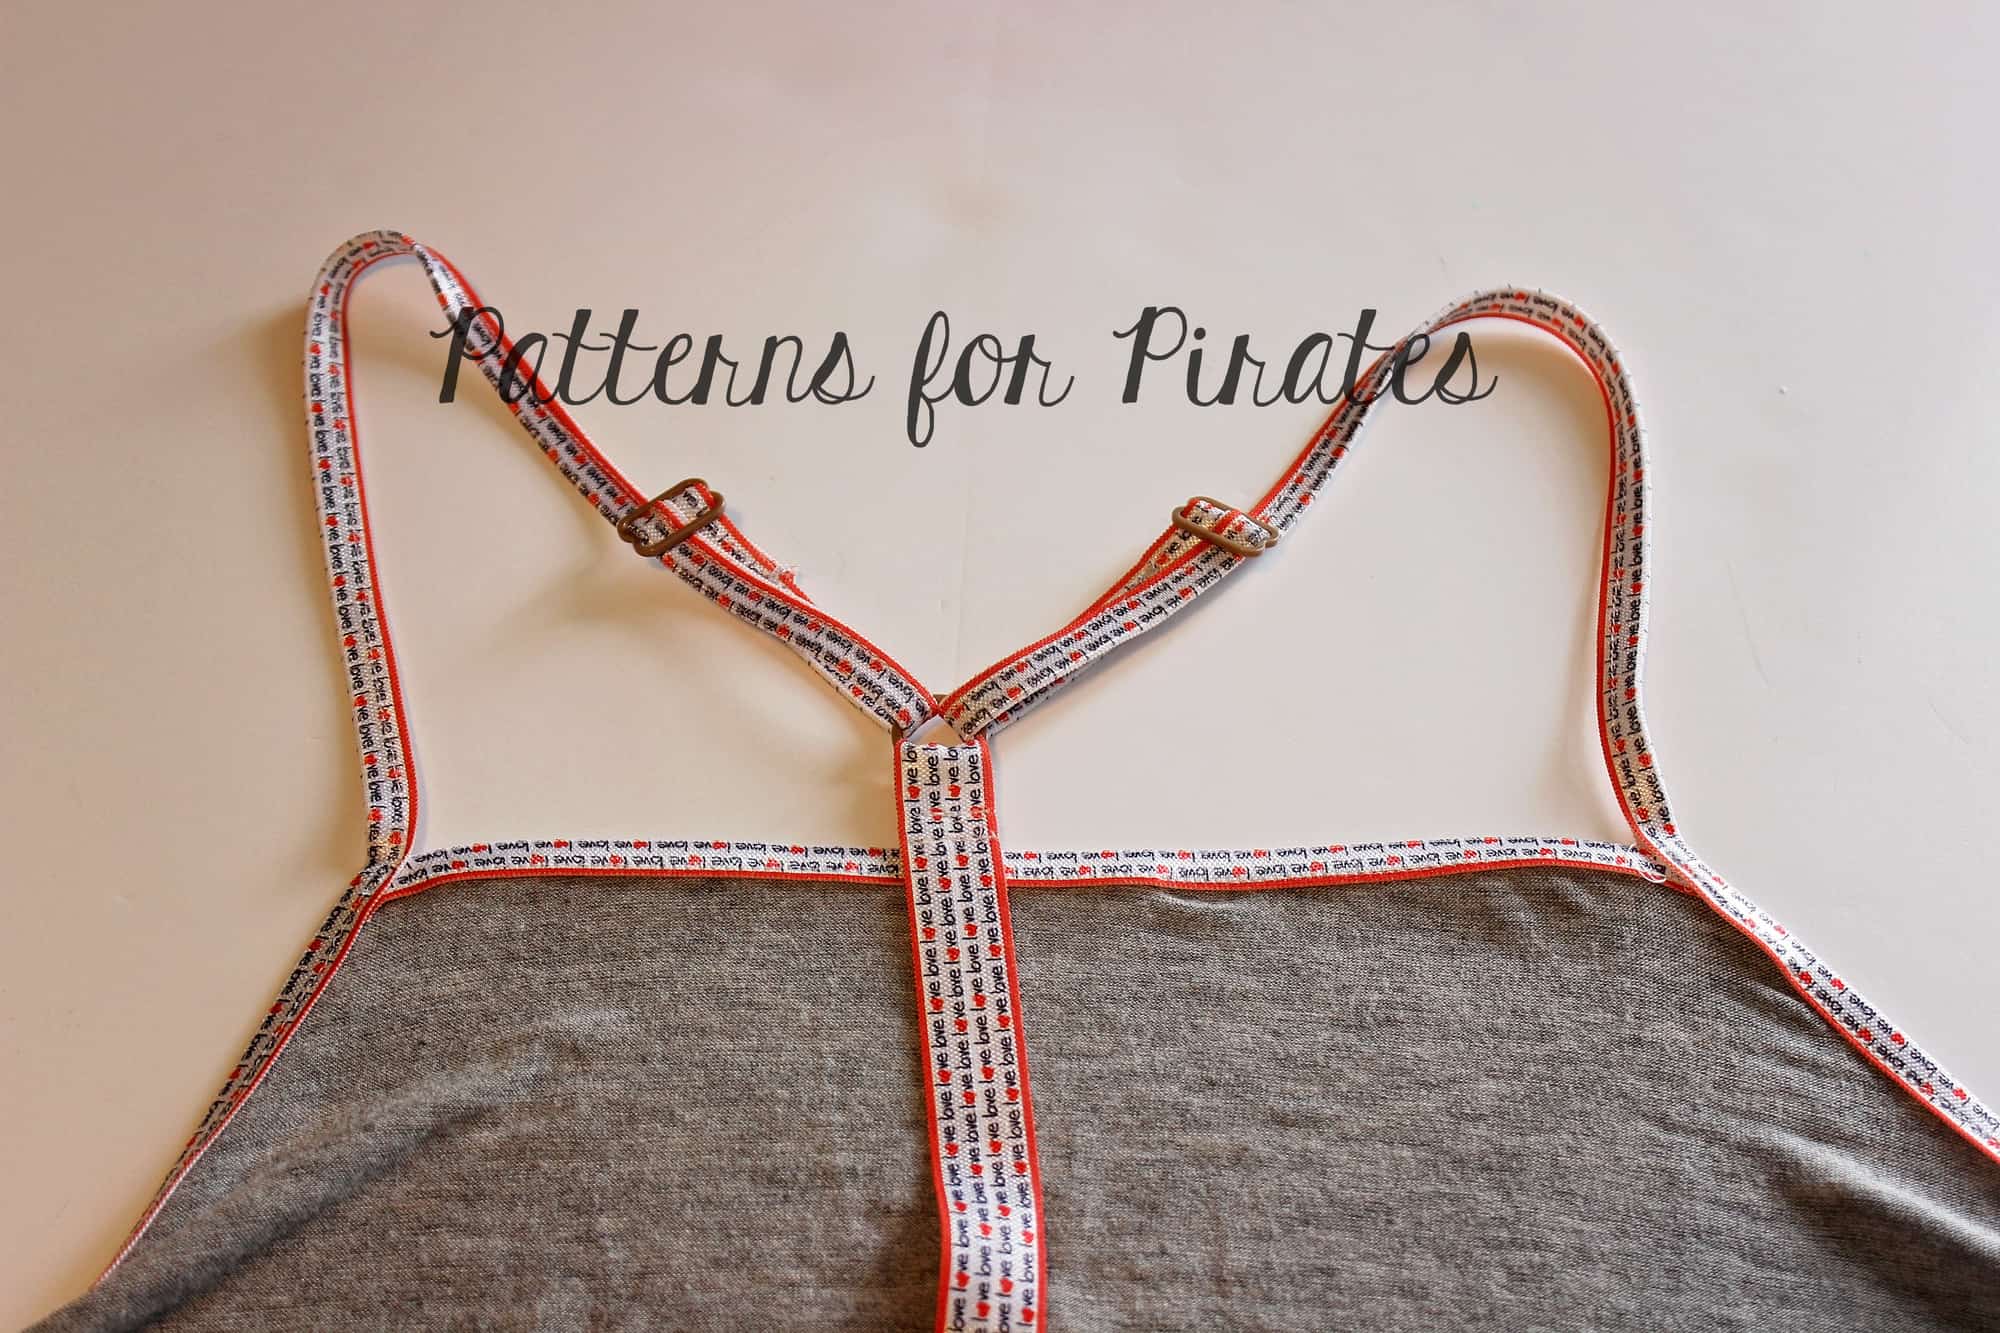
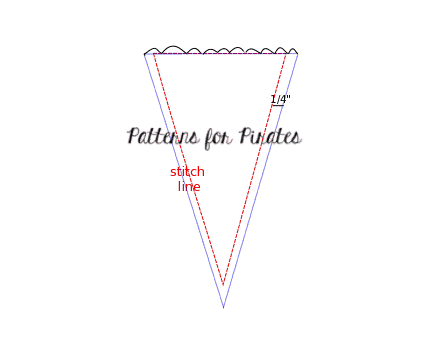
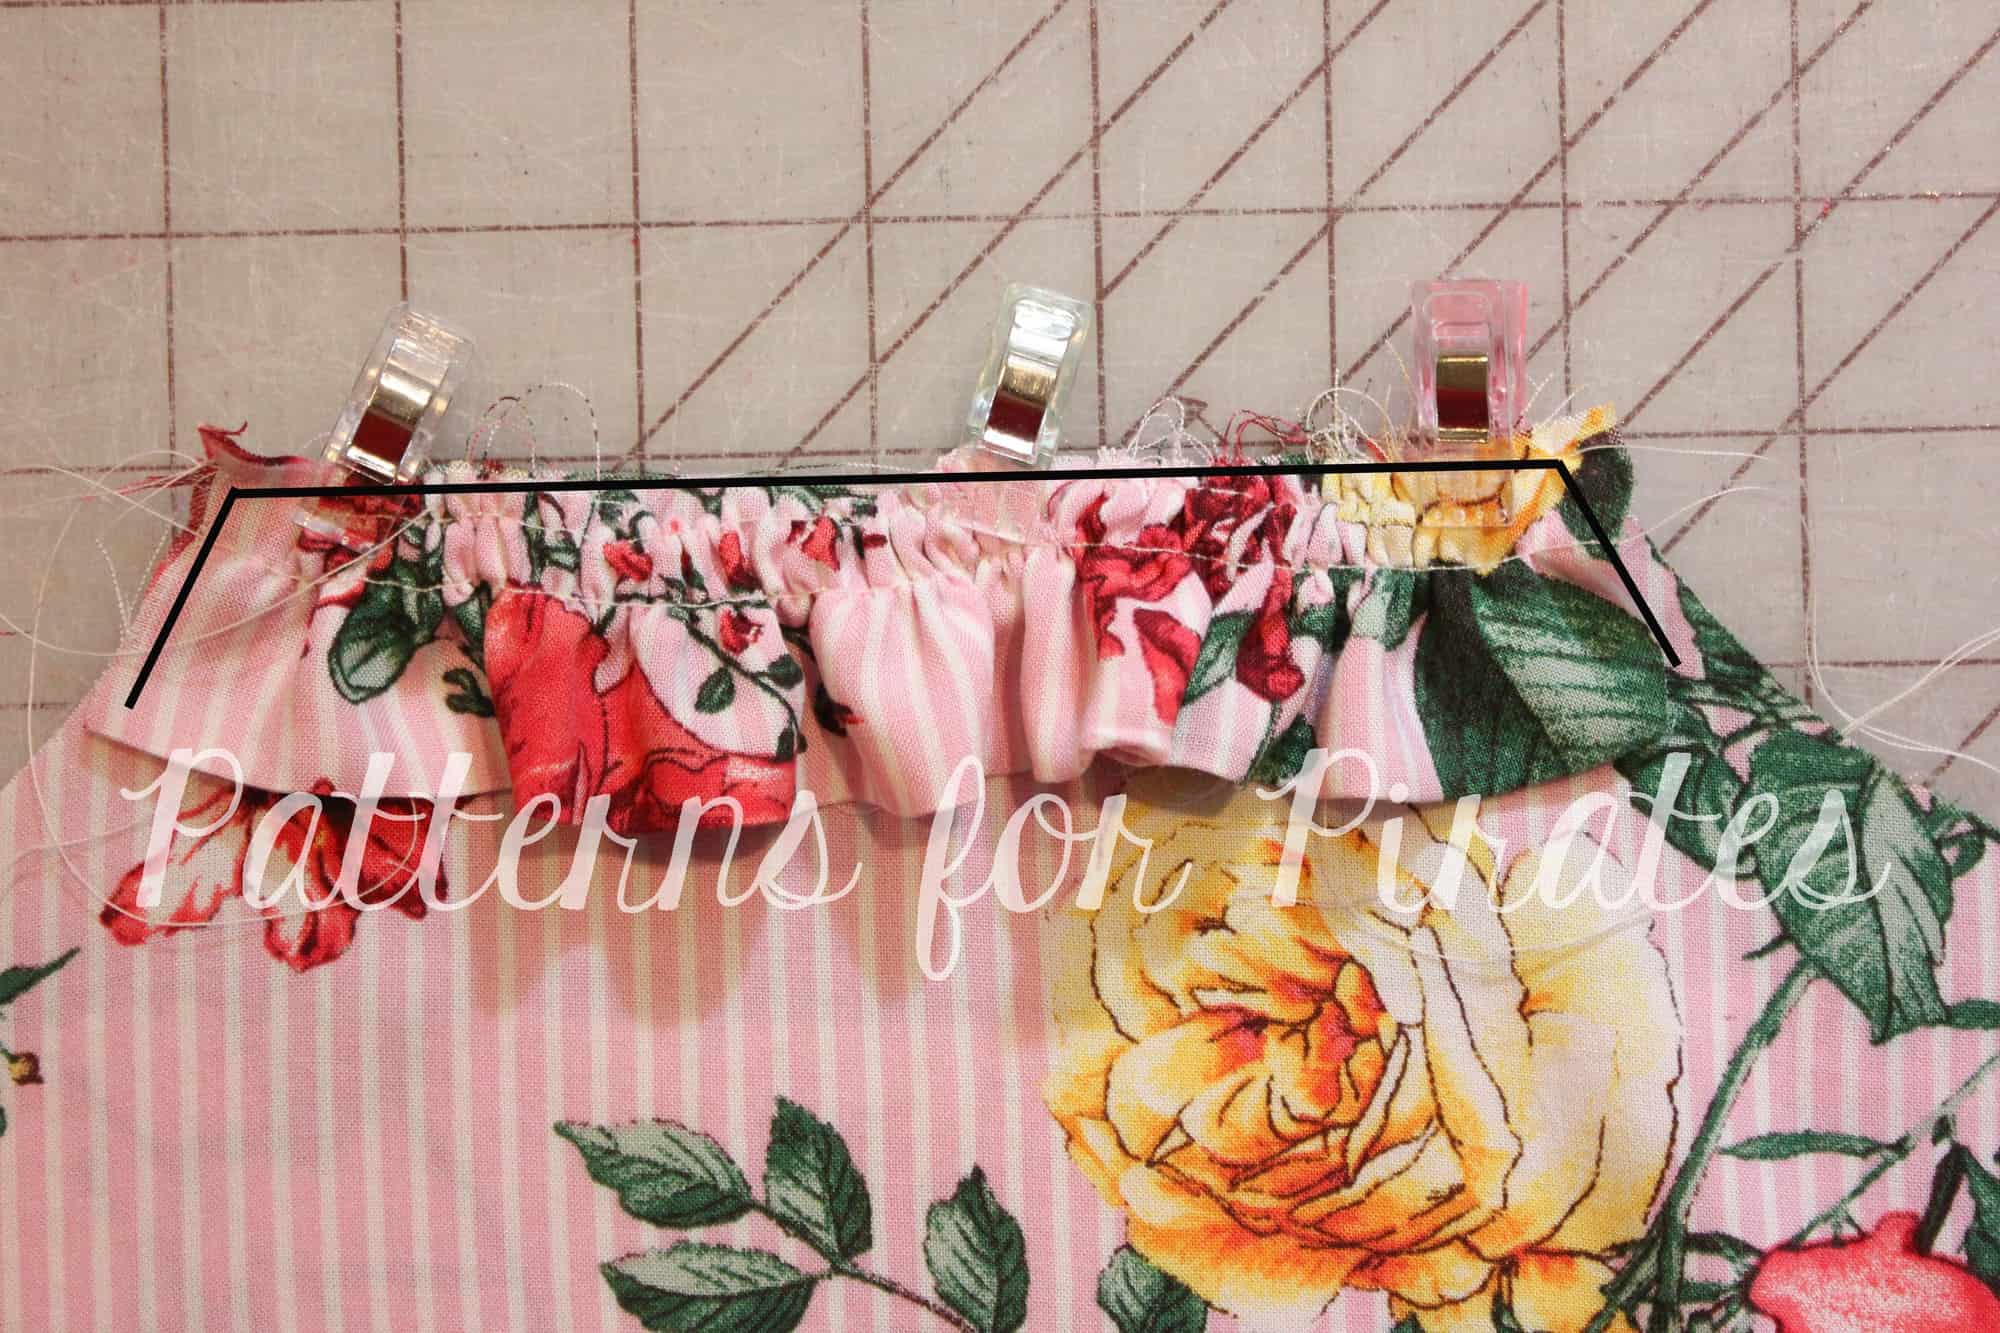
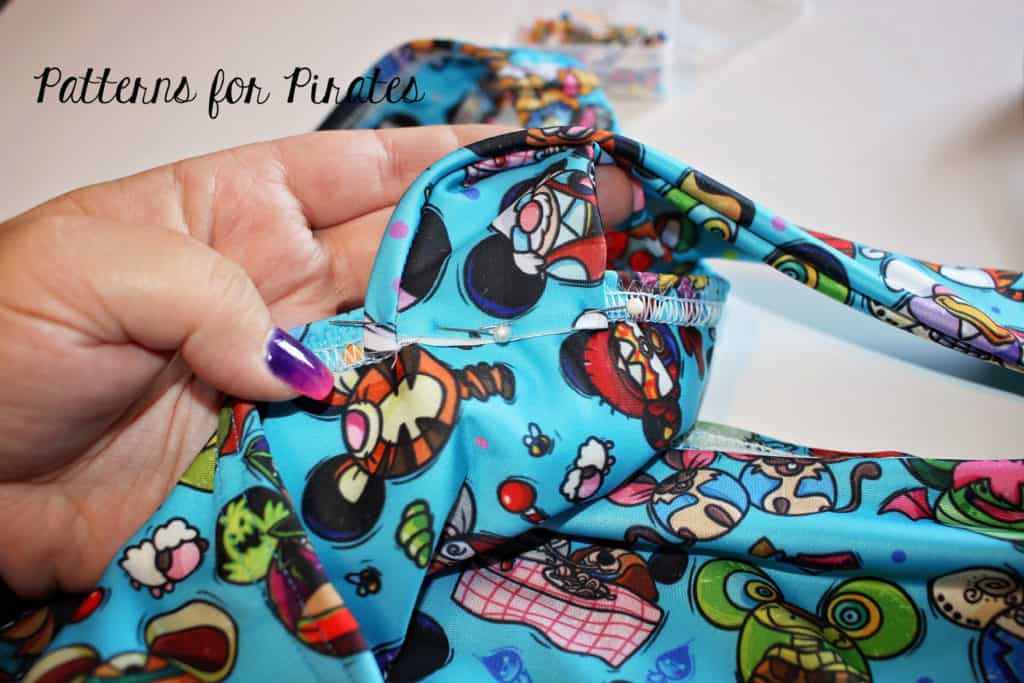
Time to make the neckband. Fold it in half width wise and then again length wise. Curve the raw edge as shown below. You will now have a long necknand, Henley style. Fold it again along the length and press.
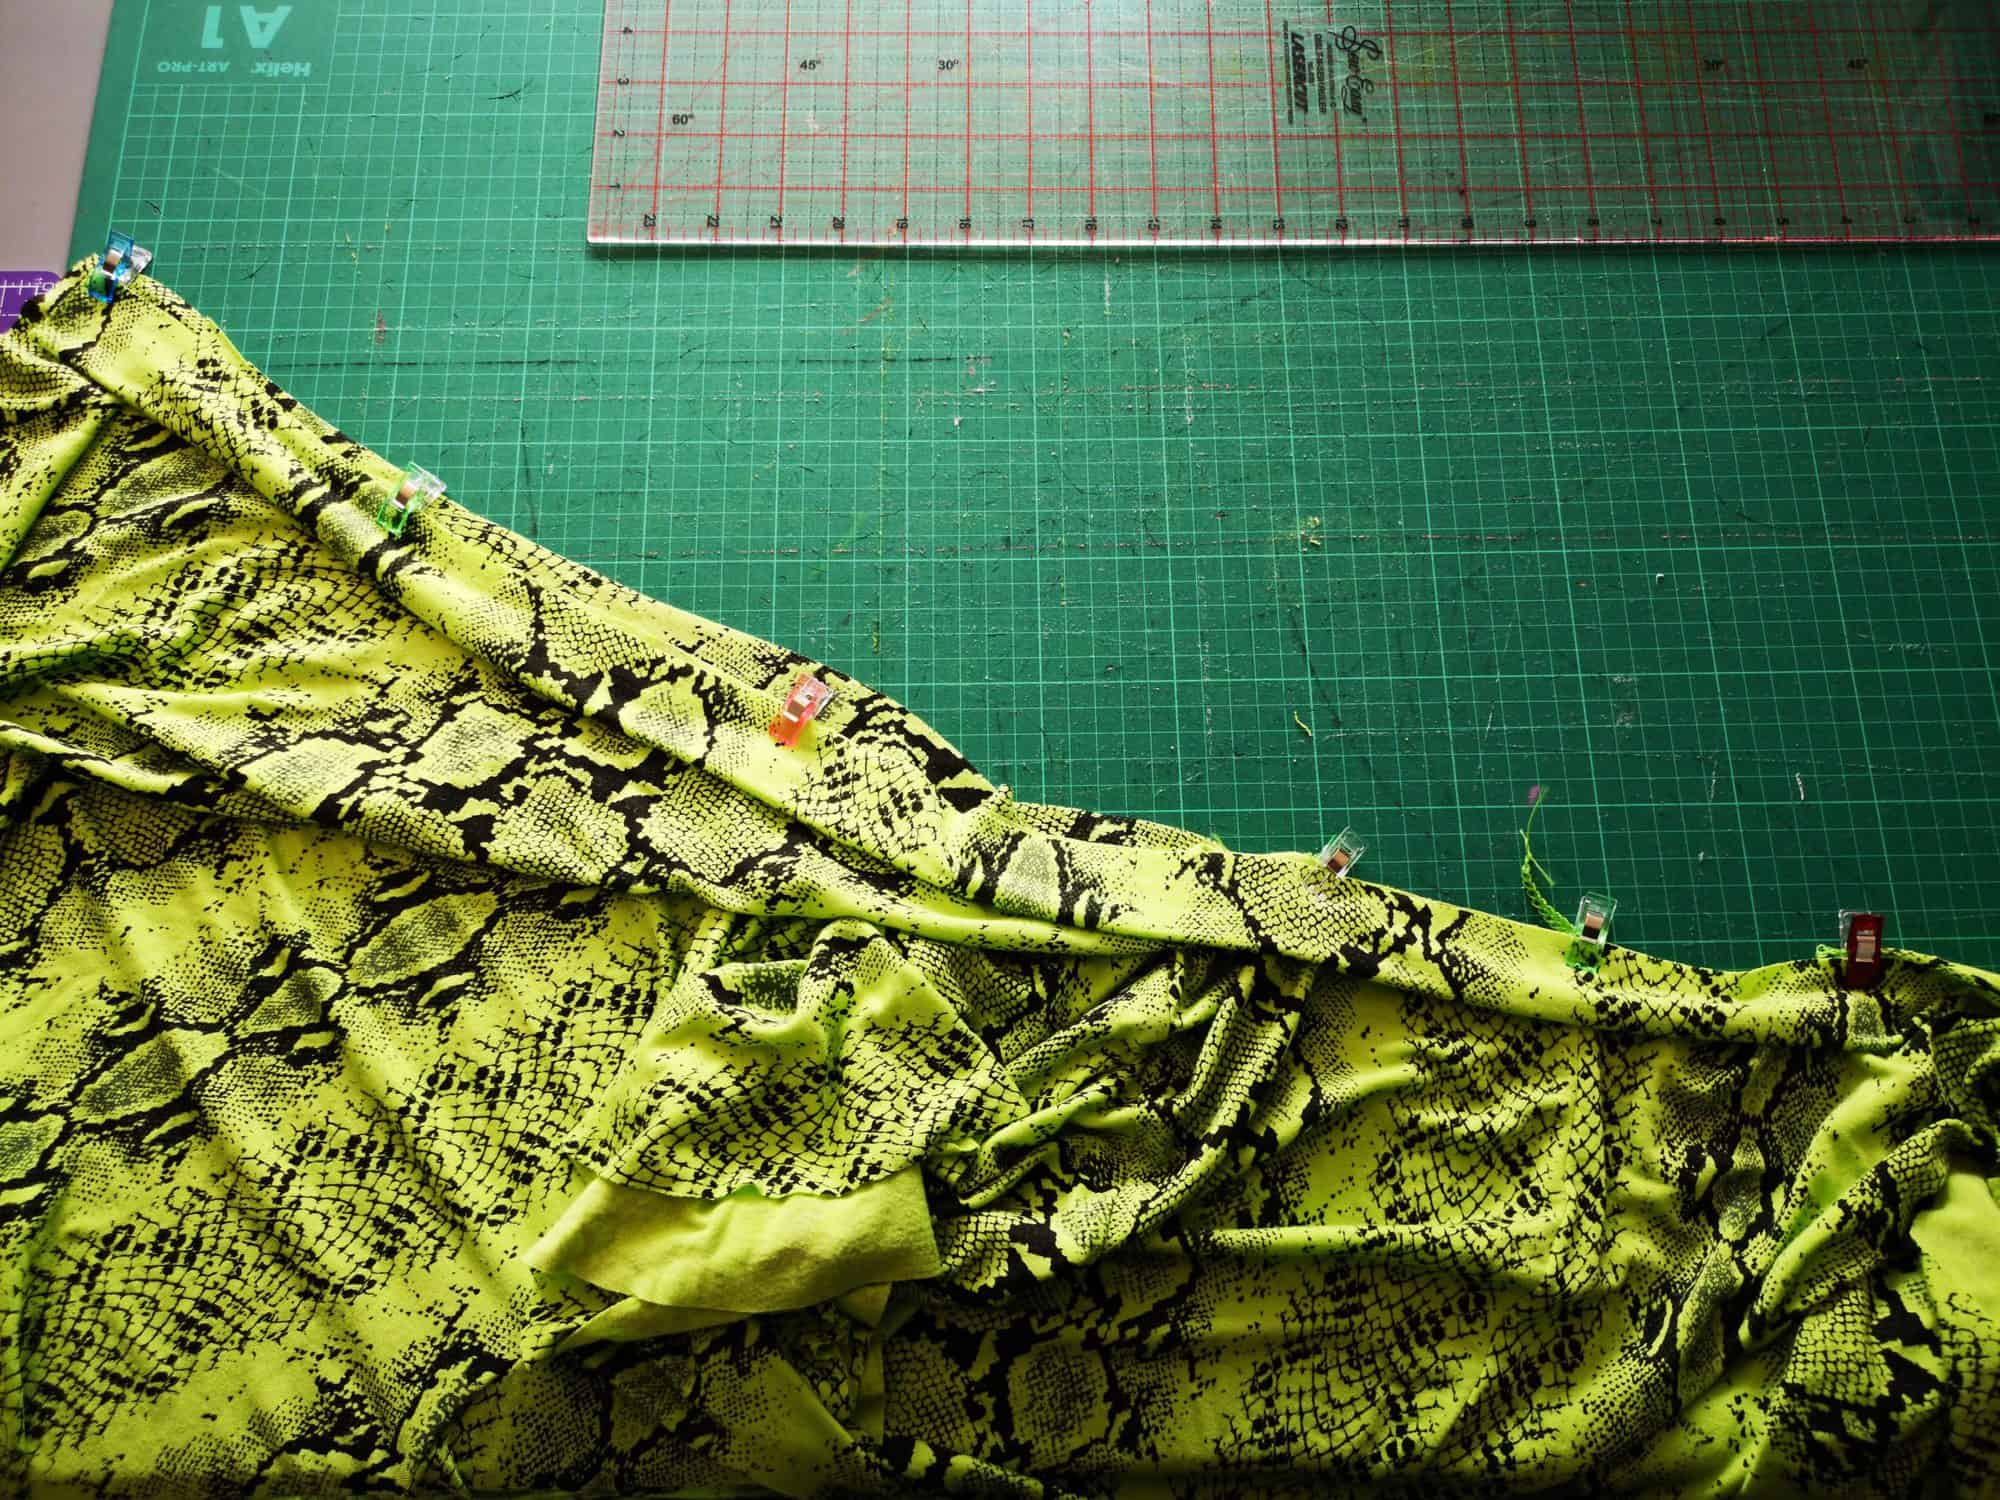
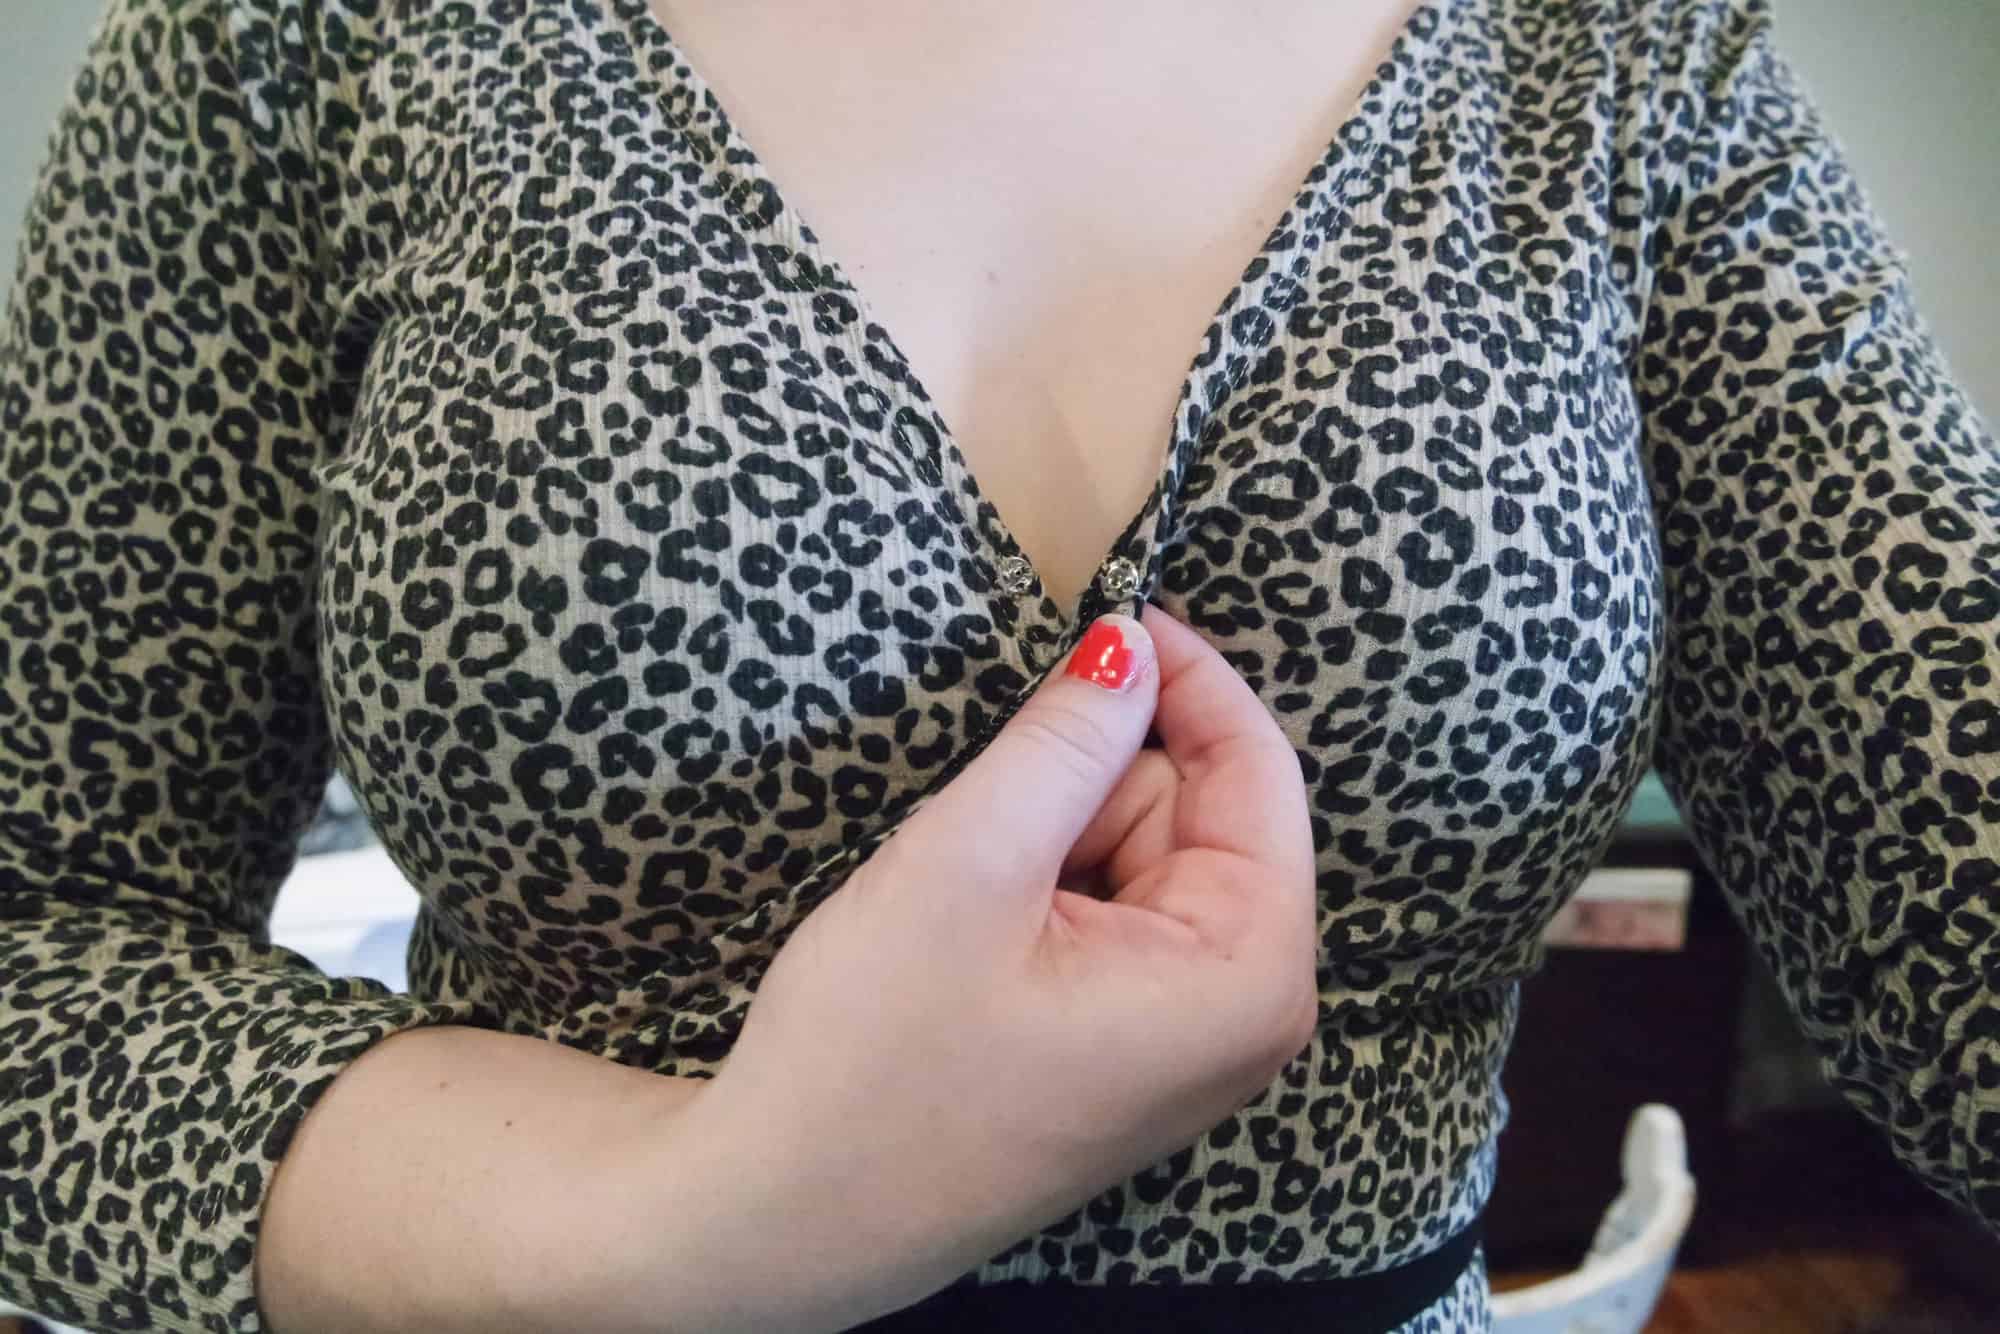
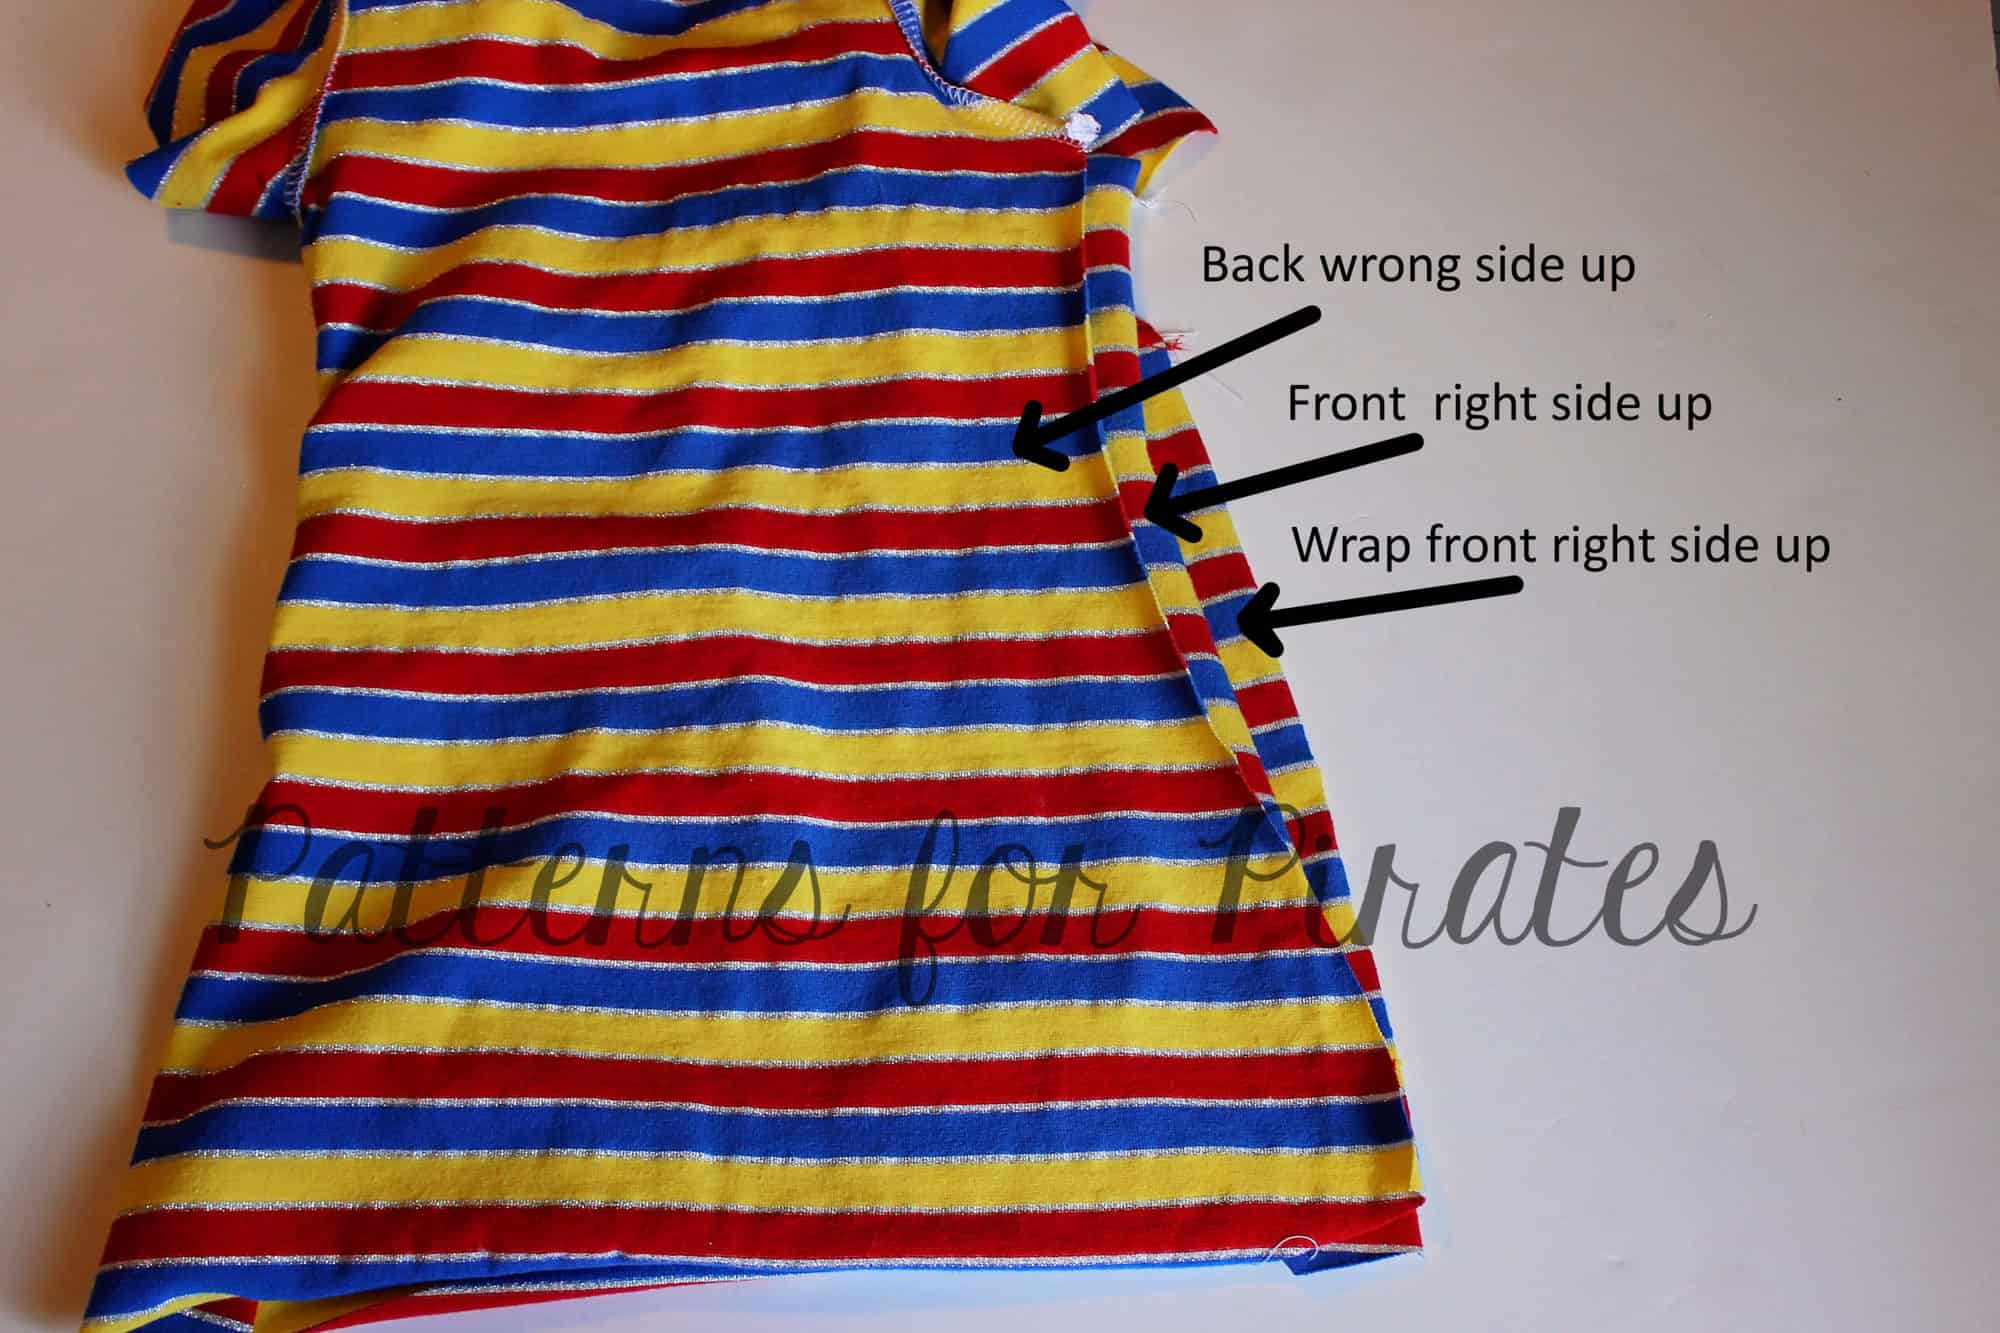
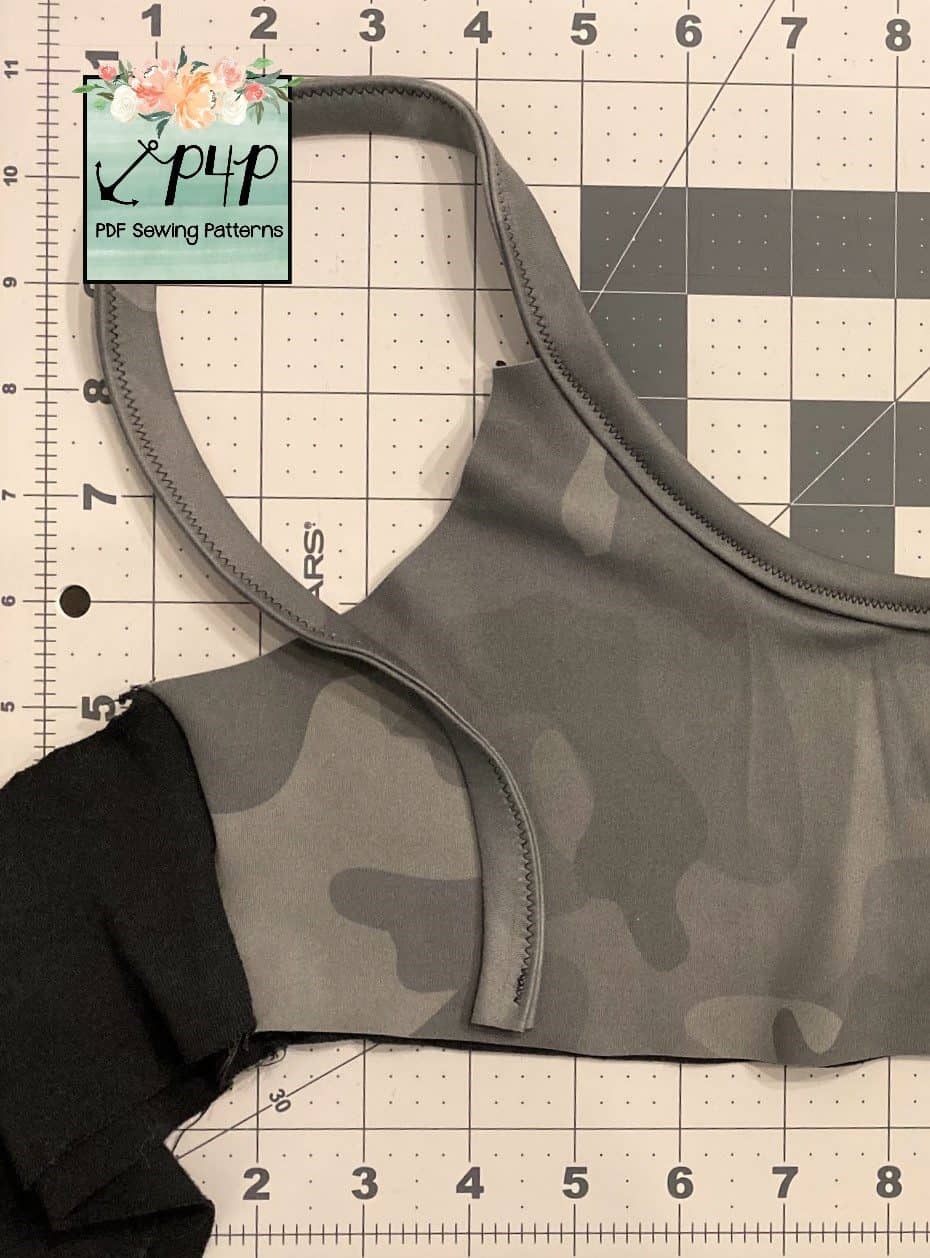
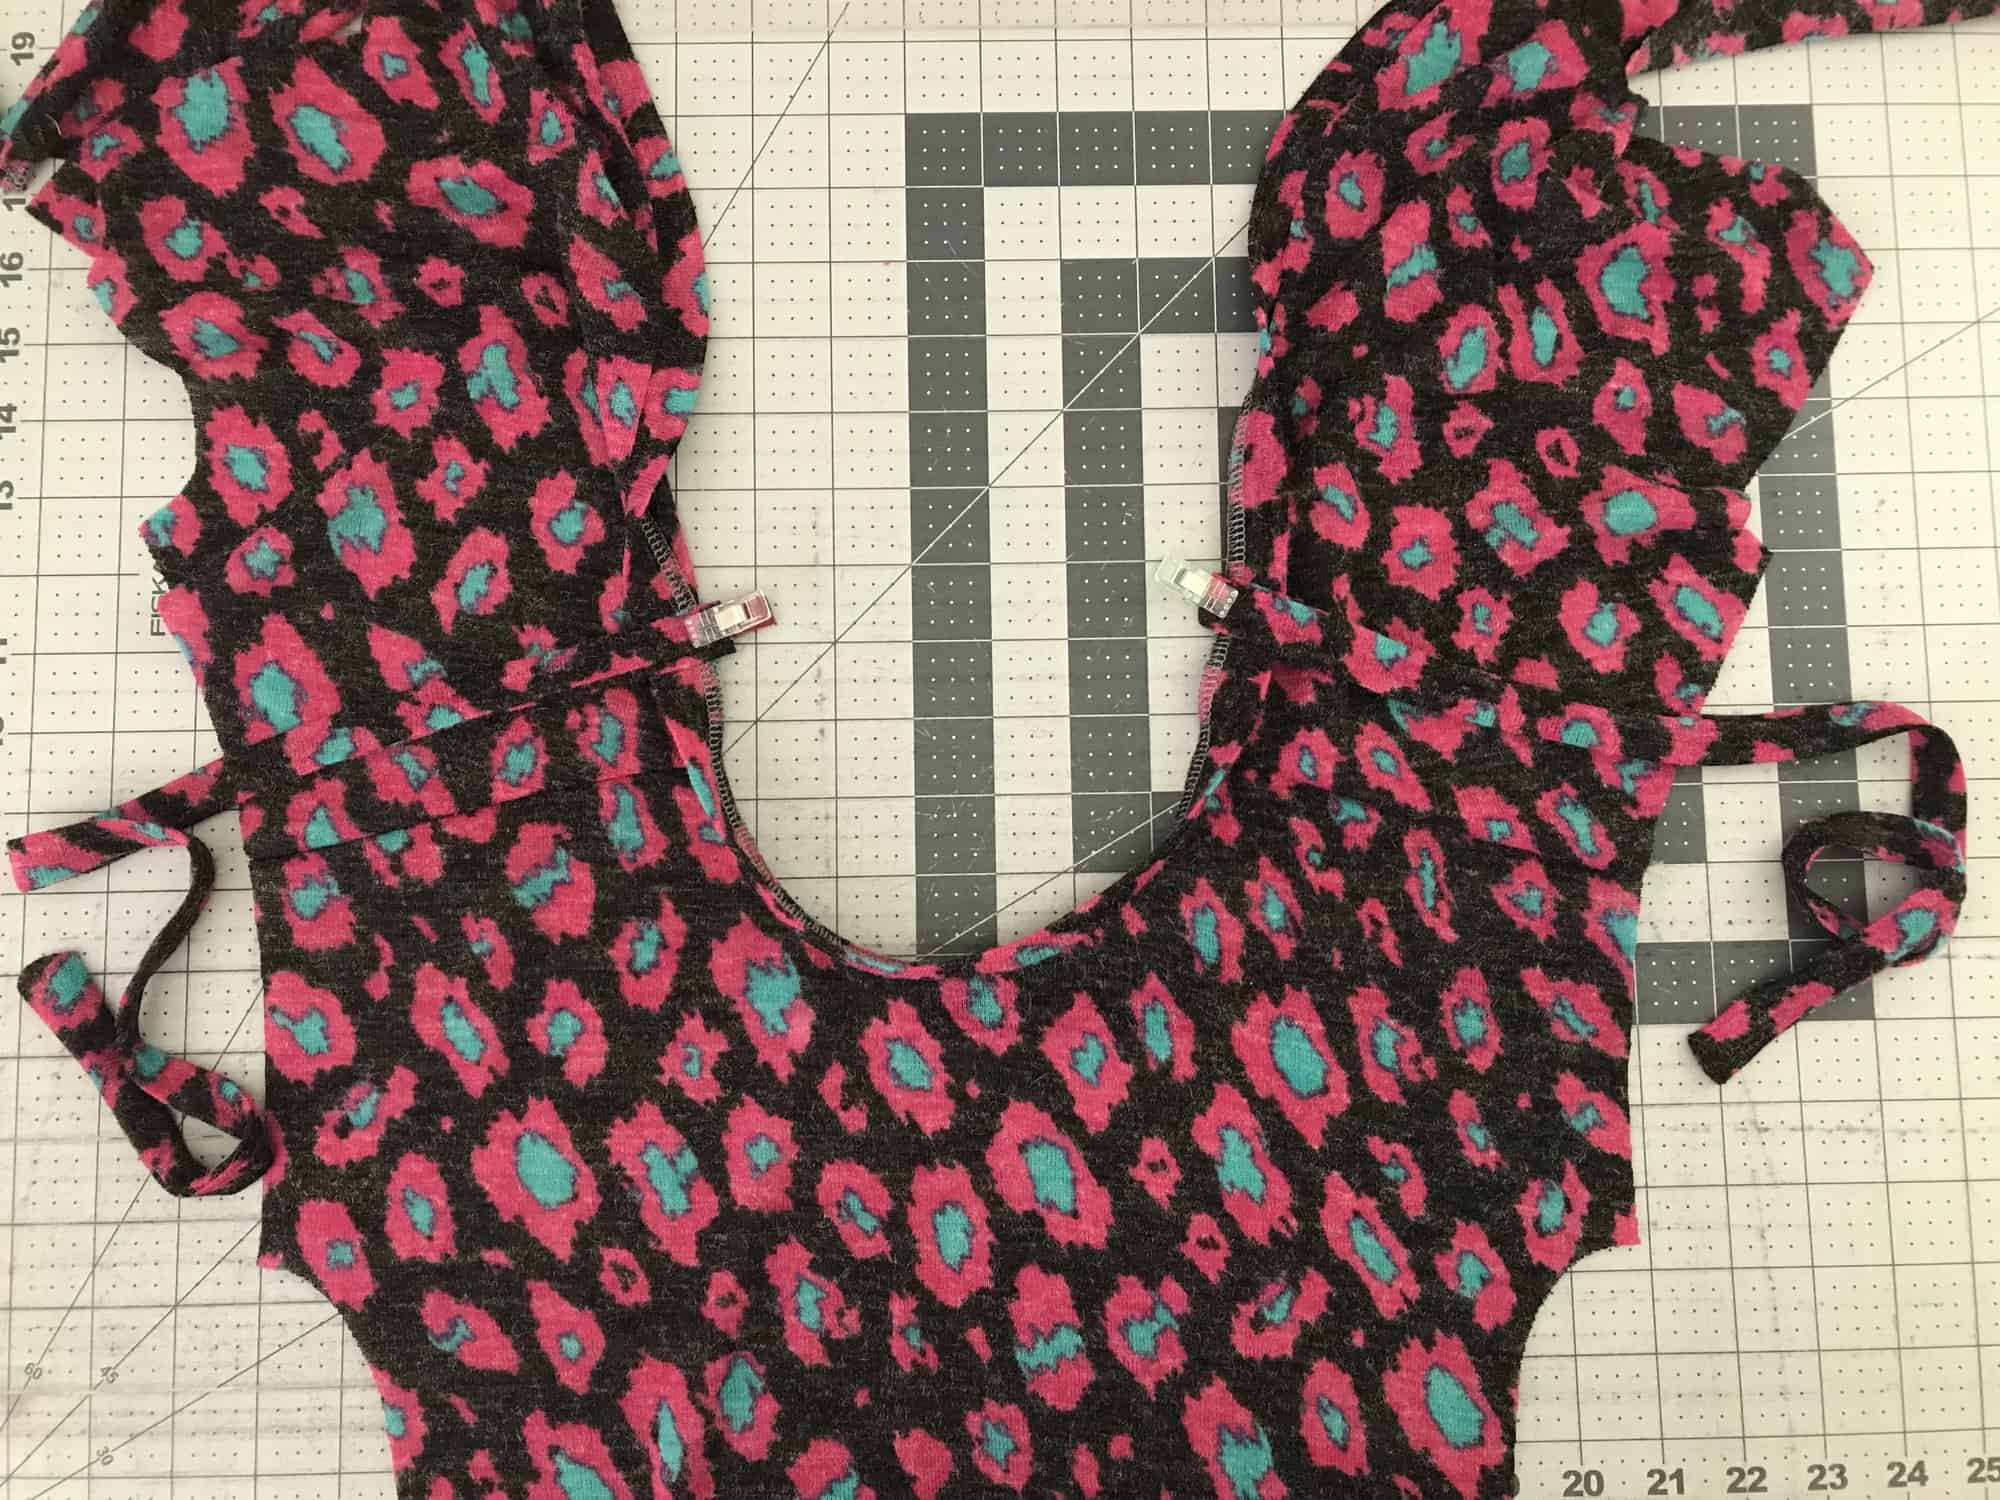
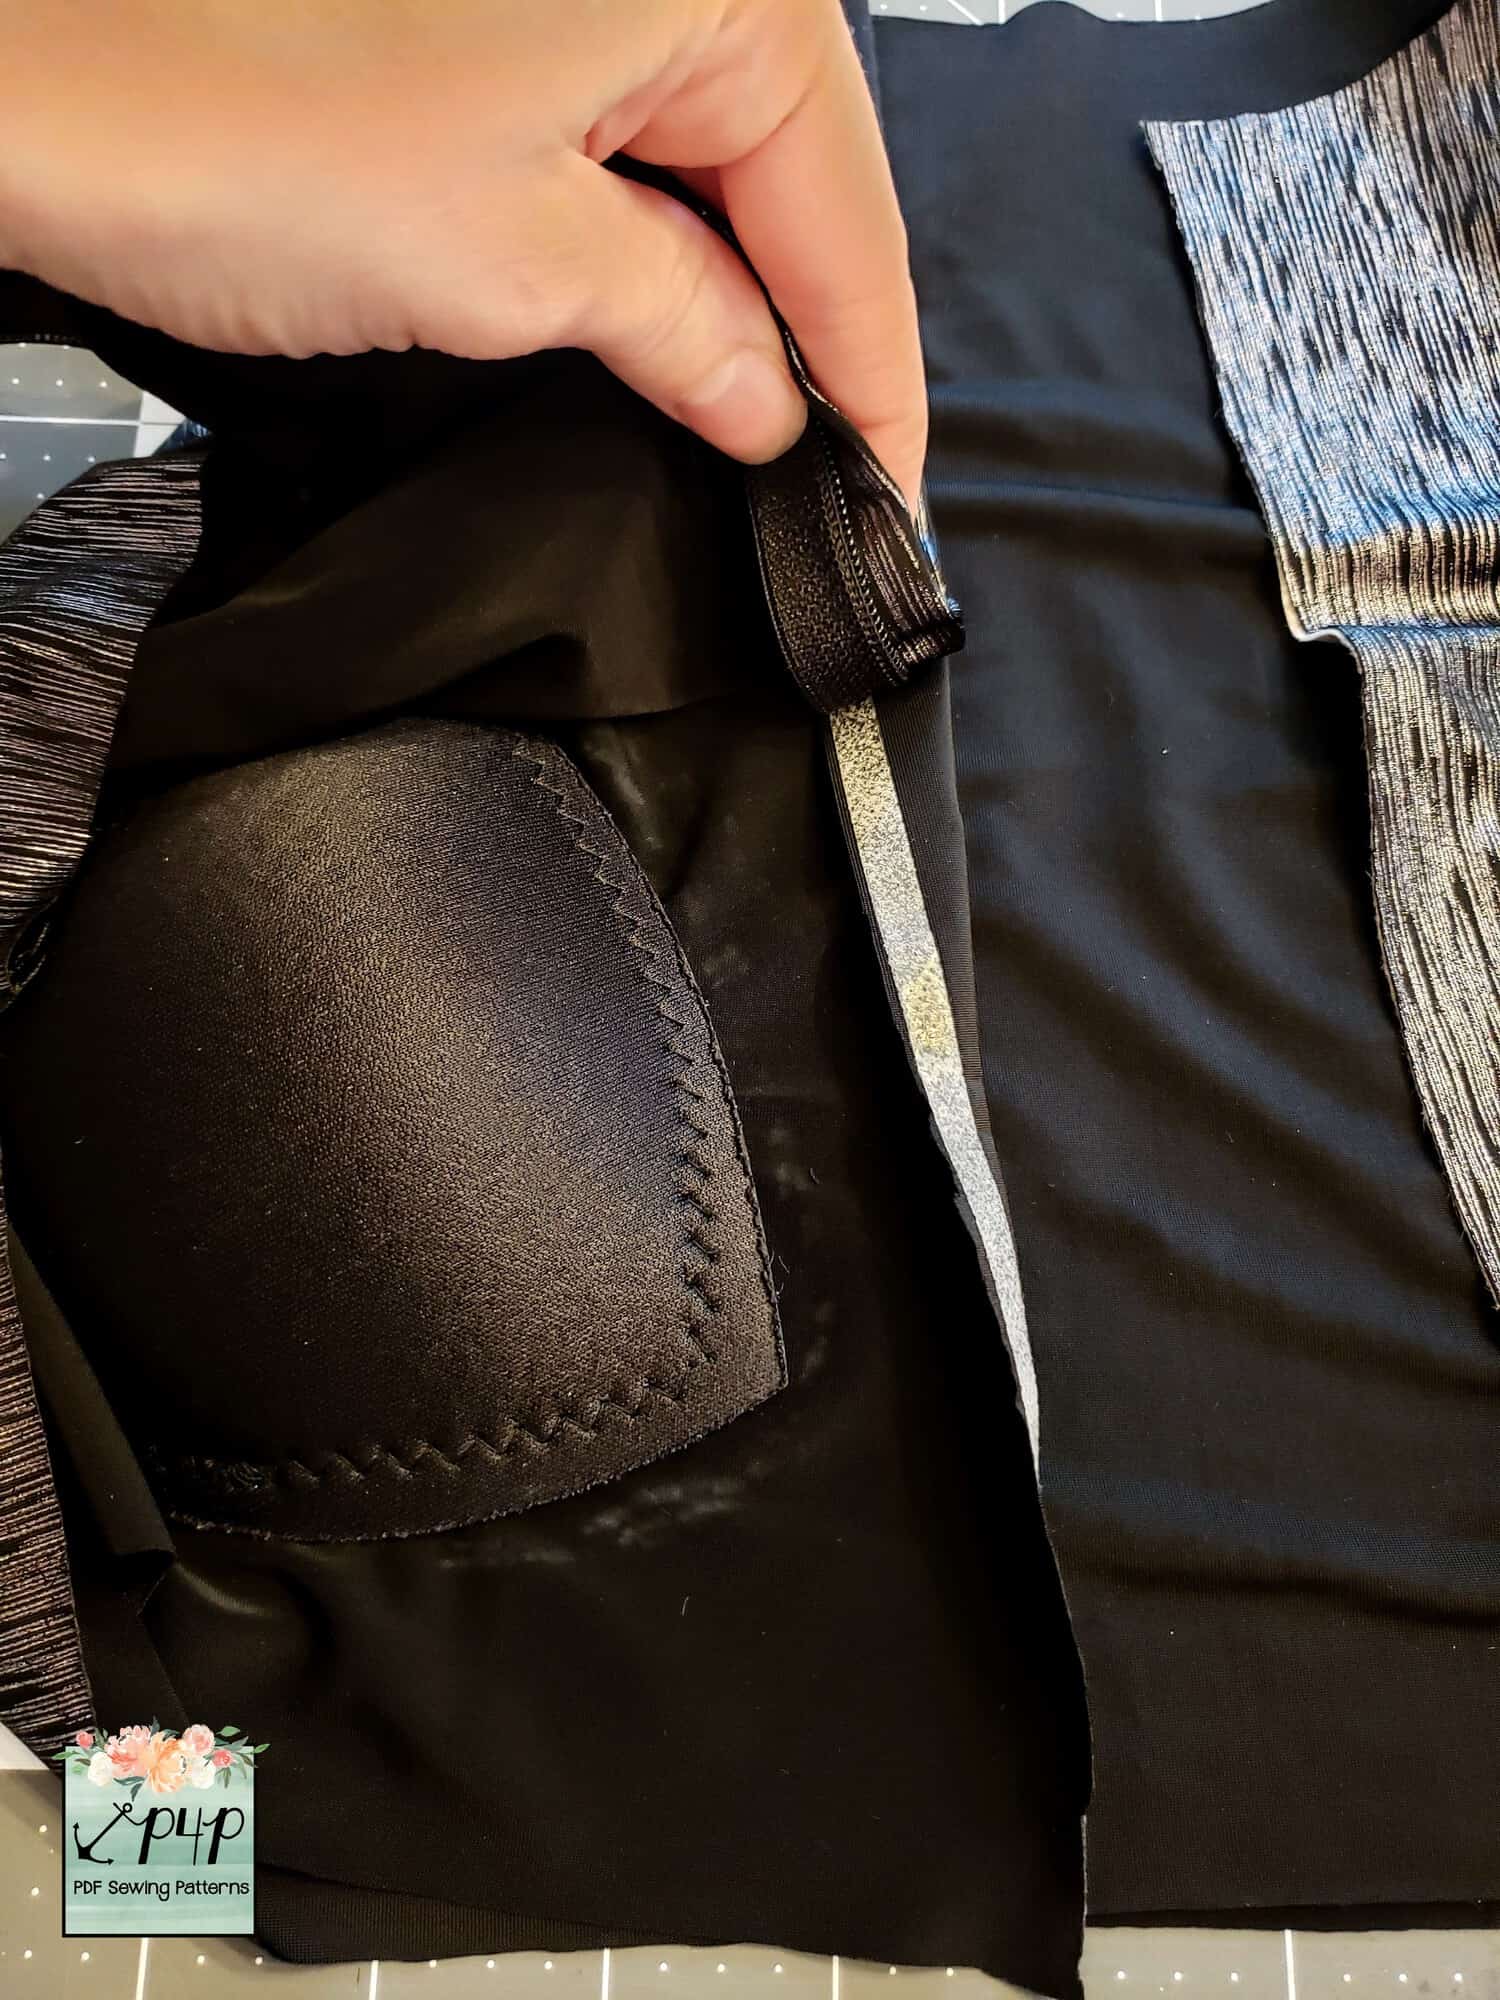
Overlap the center fold of the bodice 1/2″ and pin it in place. You will now treat that piece as the front bodice from the pattern. Sew the dress or romper as in the tutorial. Pin the neckband starting with back center and working your way to the two fronts. Sew in place with 1/2″ seam allowance using a stretch stitch or your serger.
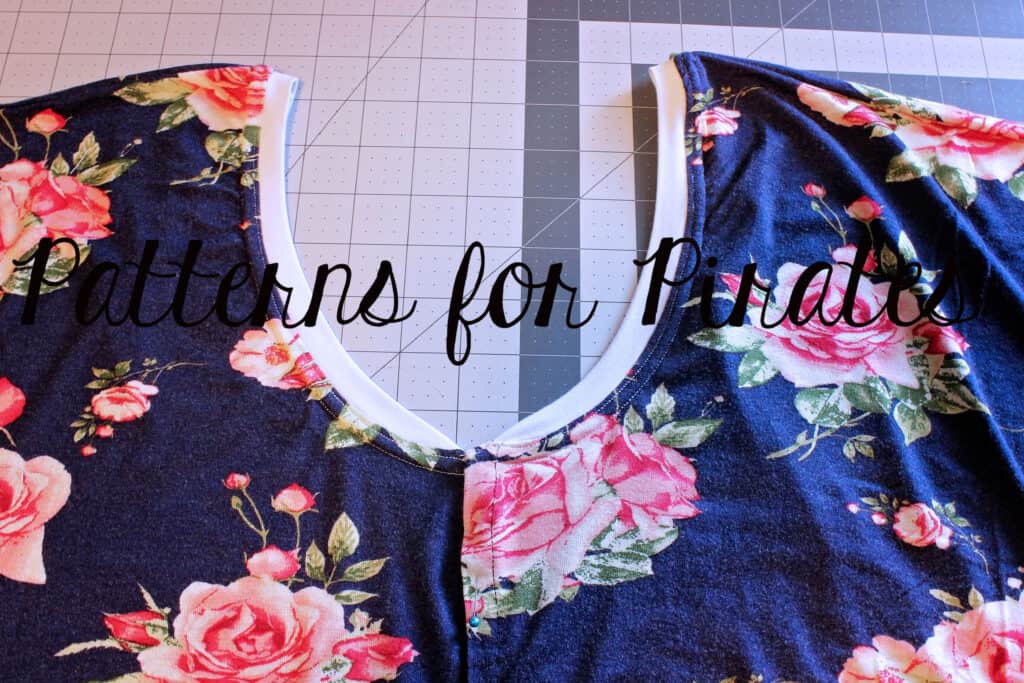
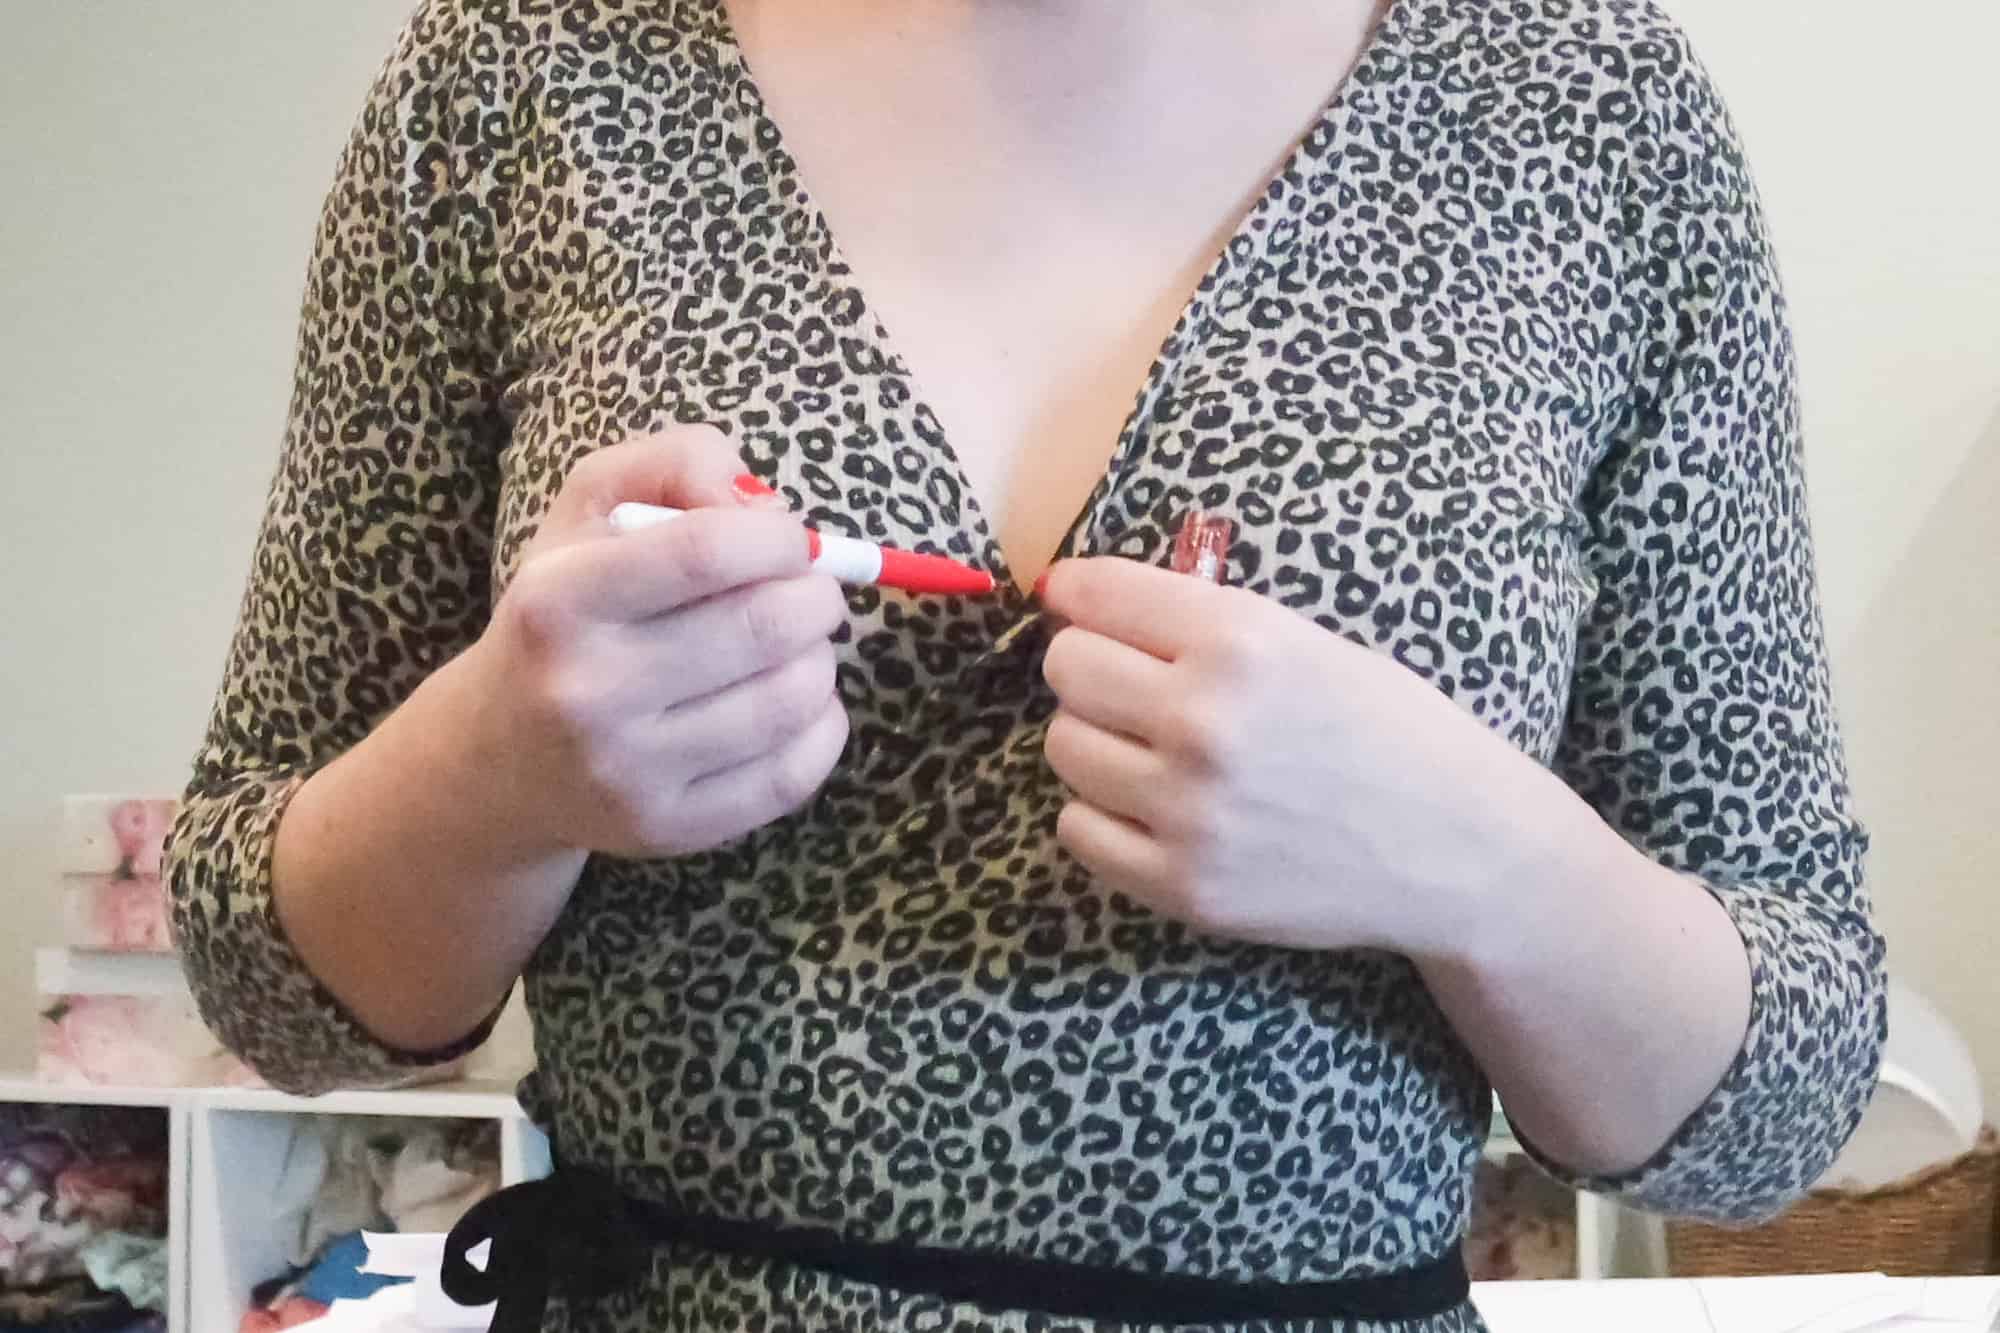
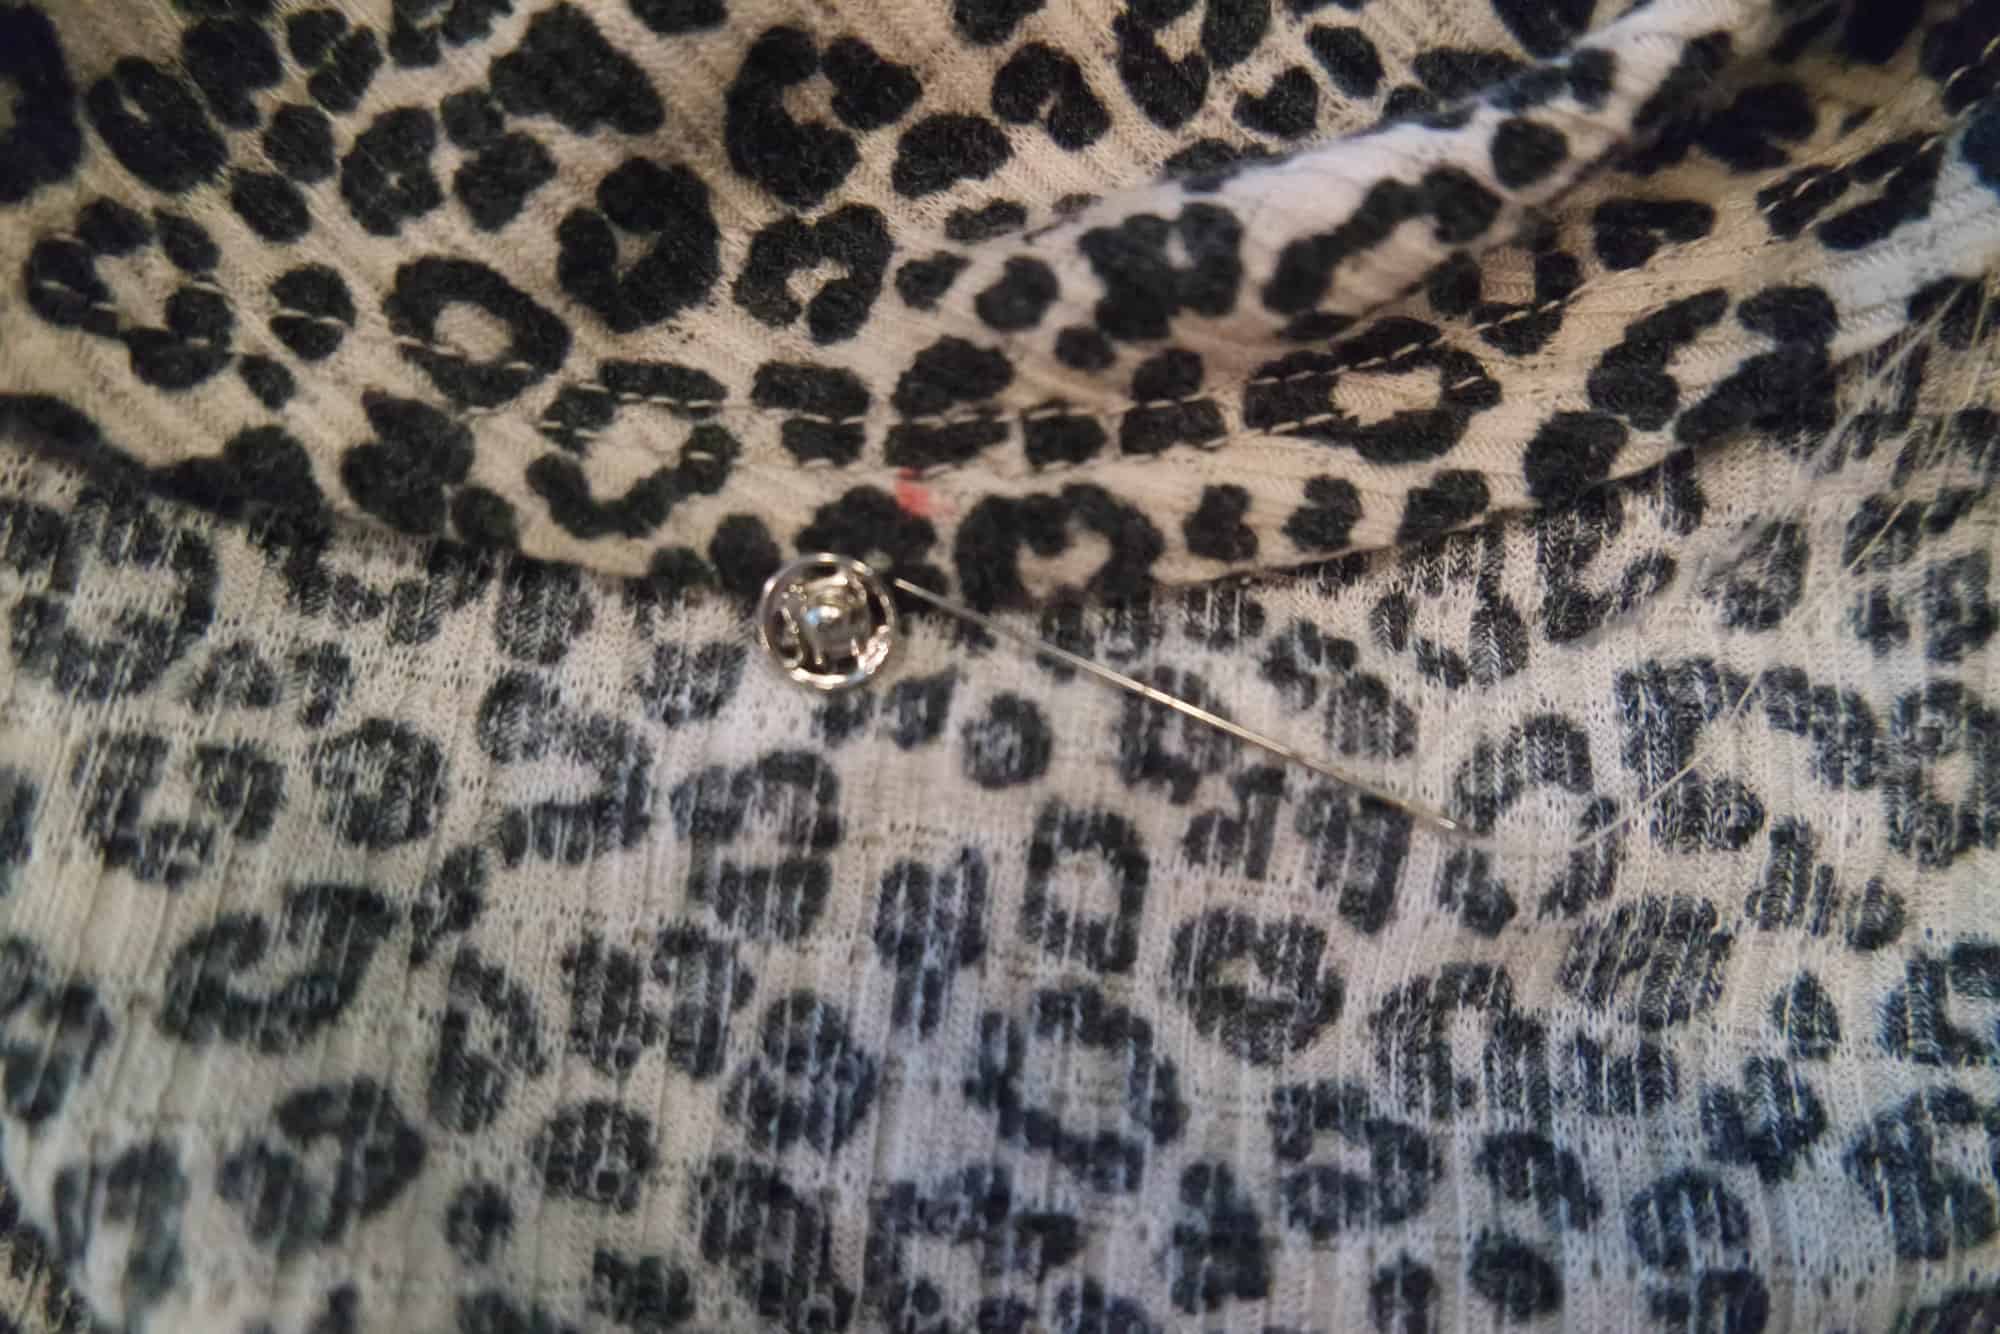
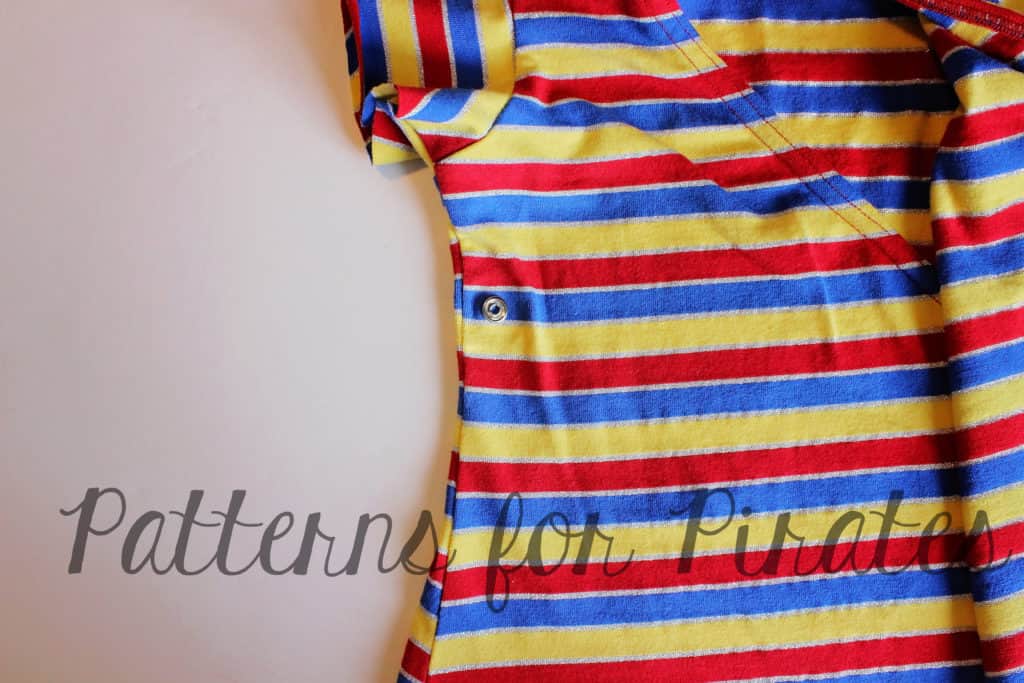
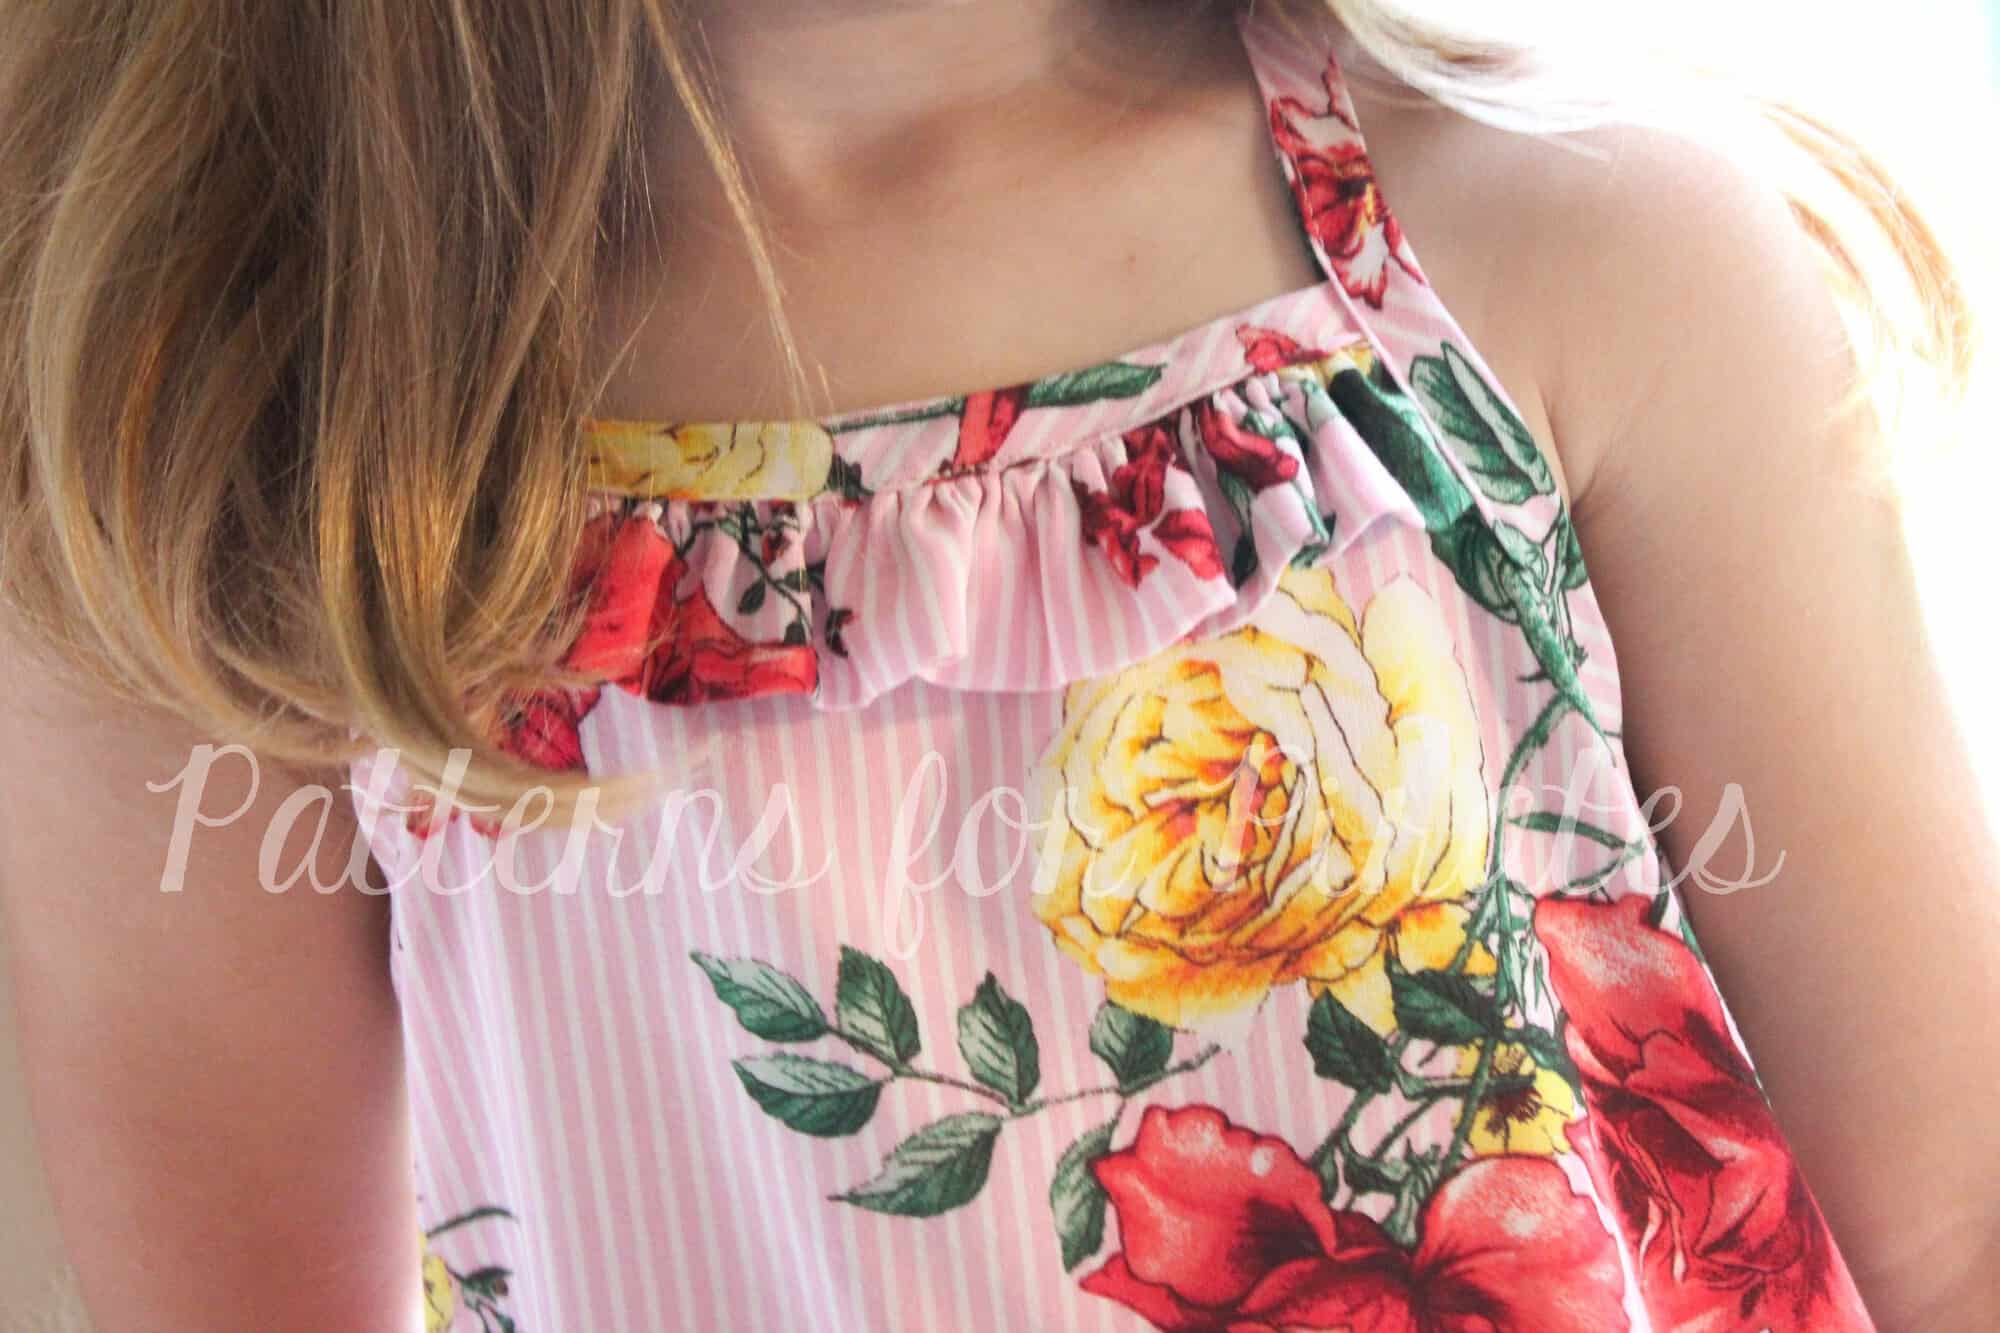
Now it’s the time to decide if you want a real button up or just the look of one. The buttons do not need to be functional, they can be there just for looks. I have sewn the buttons through all layers about 1.5″ away from each other. The top button is only attached to one side, just a personal style preference. Super easy! If you would like functional closures you will sew buttons on one side and button holes on the other.
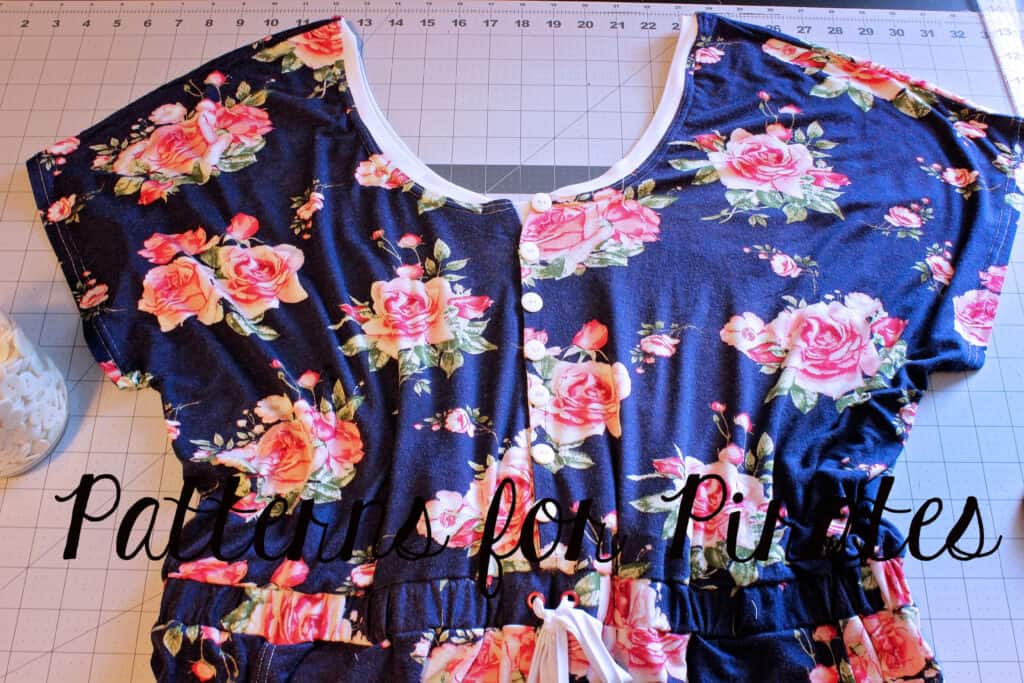
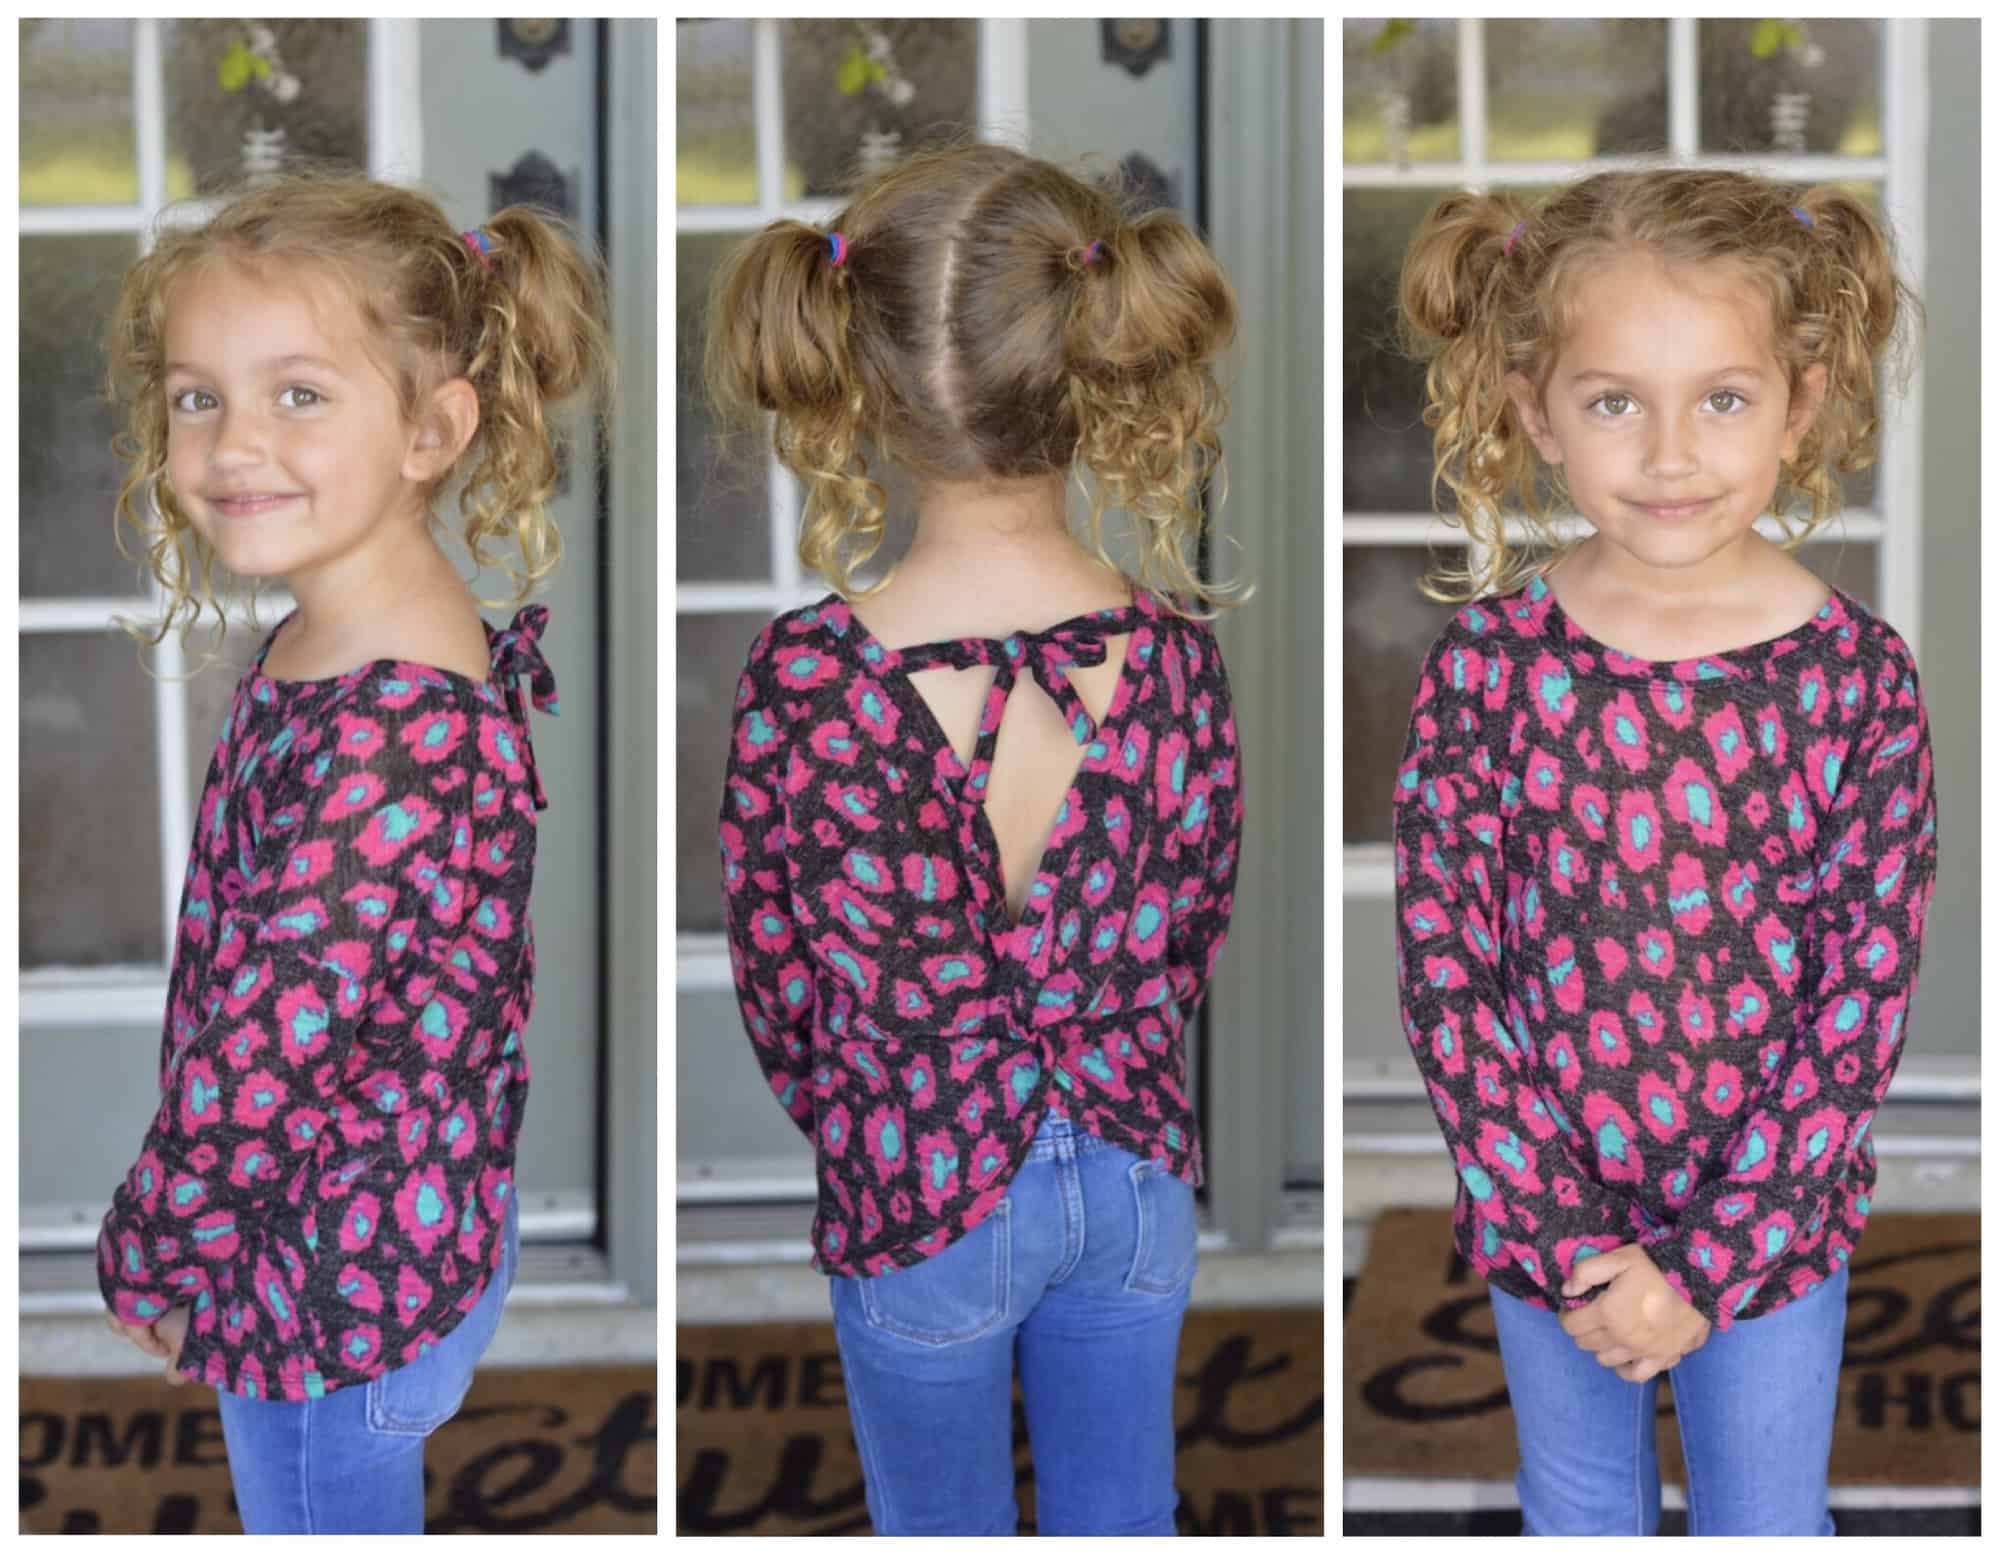
All done!! Time to enjoy your new romper!

Hope you enjoyed these easy mods to the Runabout pattern as much as we enjoyed making them for you. Don’t forget to show off your creations in the Patterns for Pirates Facebook group or #p4p on Instagram so we can admire them too.


