Patterns for Pirates

P4P stylish, modern, wearable patterns

  • Home
  • Blog
    • Frequently Asked Questions
    • Pattern Releases
      • Free Patterns
    • P4P University
      • Fitting
      • Sewing with Stretch, Knit Fabrics
      • Sewing with Woven Fabrics
      • Sewing Machines
    • Sew-A-Longs
    • Fabric for Pirates
    • Pattern Hacks
    • Announcement
      • Blog Tours
      • Contest/Giveaway
  • Shop
  • Bundle Discounts
  • Flash Friday
  • Gift Cards
  • My Account
  • Cart

X Factor Sew Along – day 4

August 27, 2020

Day 4 is here! Today we add the neckband and the back band.  If you are new to sewing with knits or simply would like a refresher, take a look over our P4P University Neckbands 101 blog post. This blog shows you how to create the crew neck.  The most important thing to keep in ming when creating and adding the crew neckband is to press, press, press! 

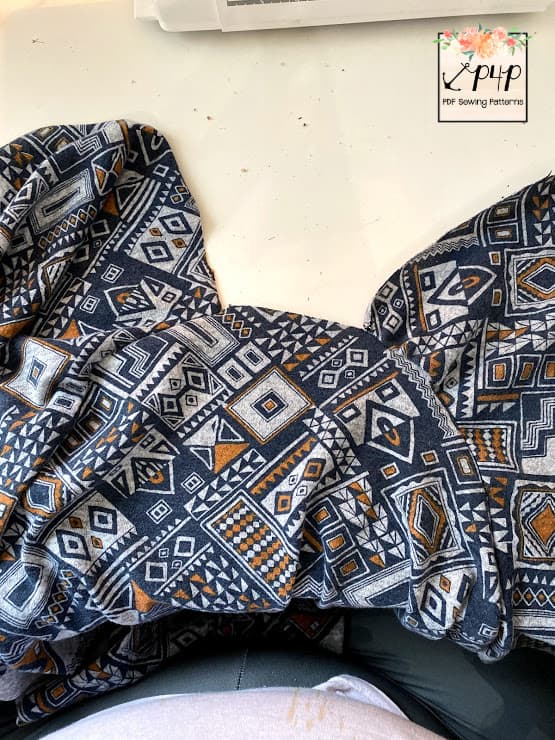
In the Day 4 video below I walk you through creating and adding the V neckband. This is a slightly different way of creating the neckband than I showed in the P4P University V neckband blog. This time we will overlap the ends creating the V point that way. I highly encourage you to add the V part of the neckline with the sewing machine, instead of a serger. It will make for a more precise stitch and a neater look.

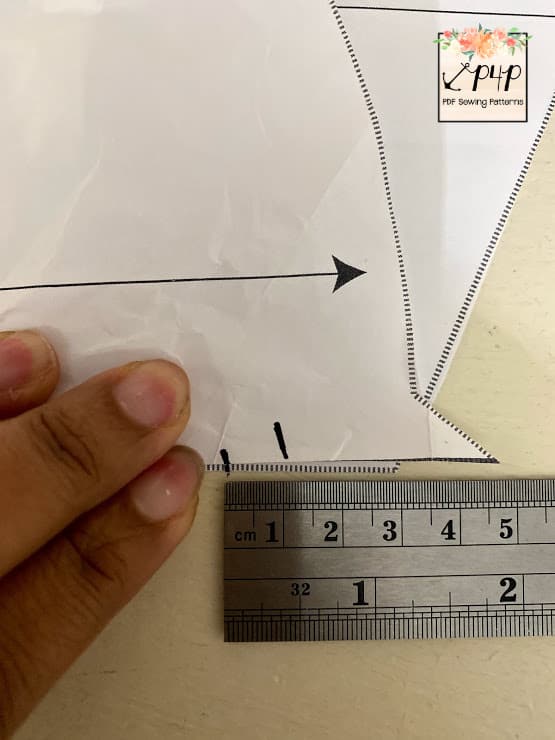
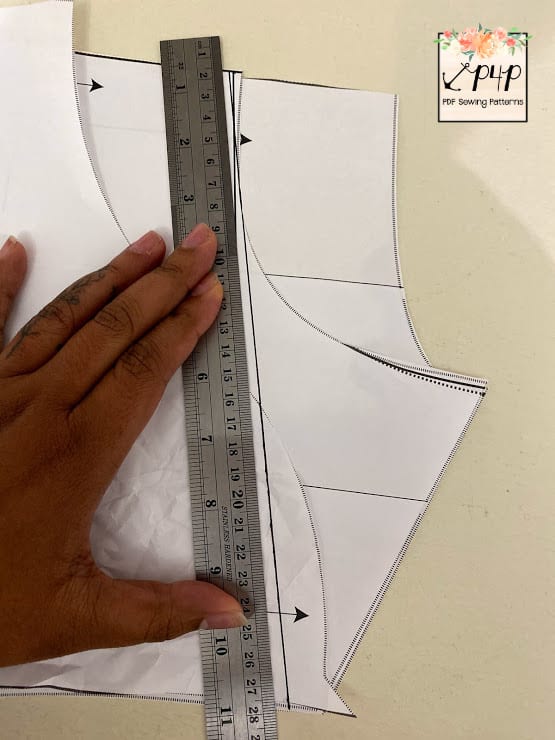
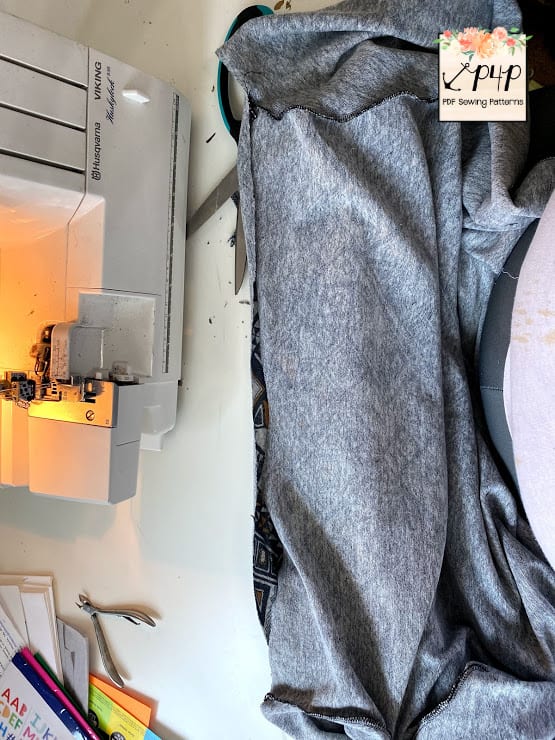
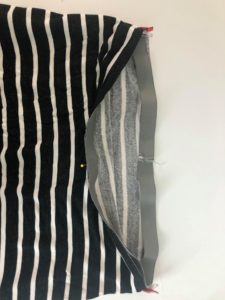
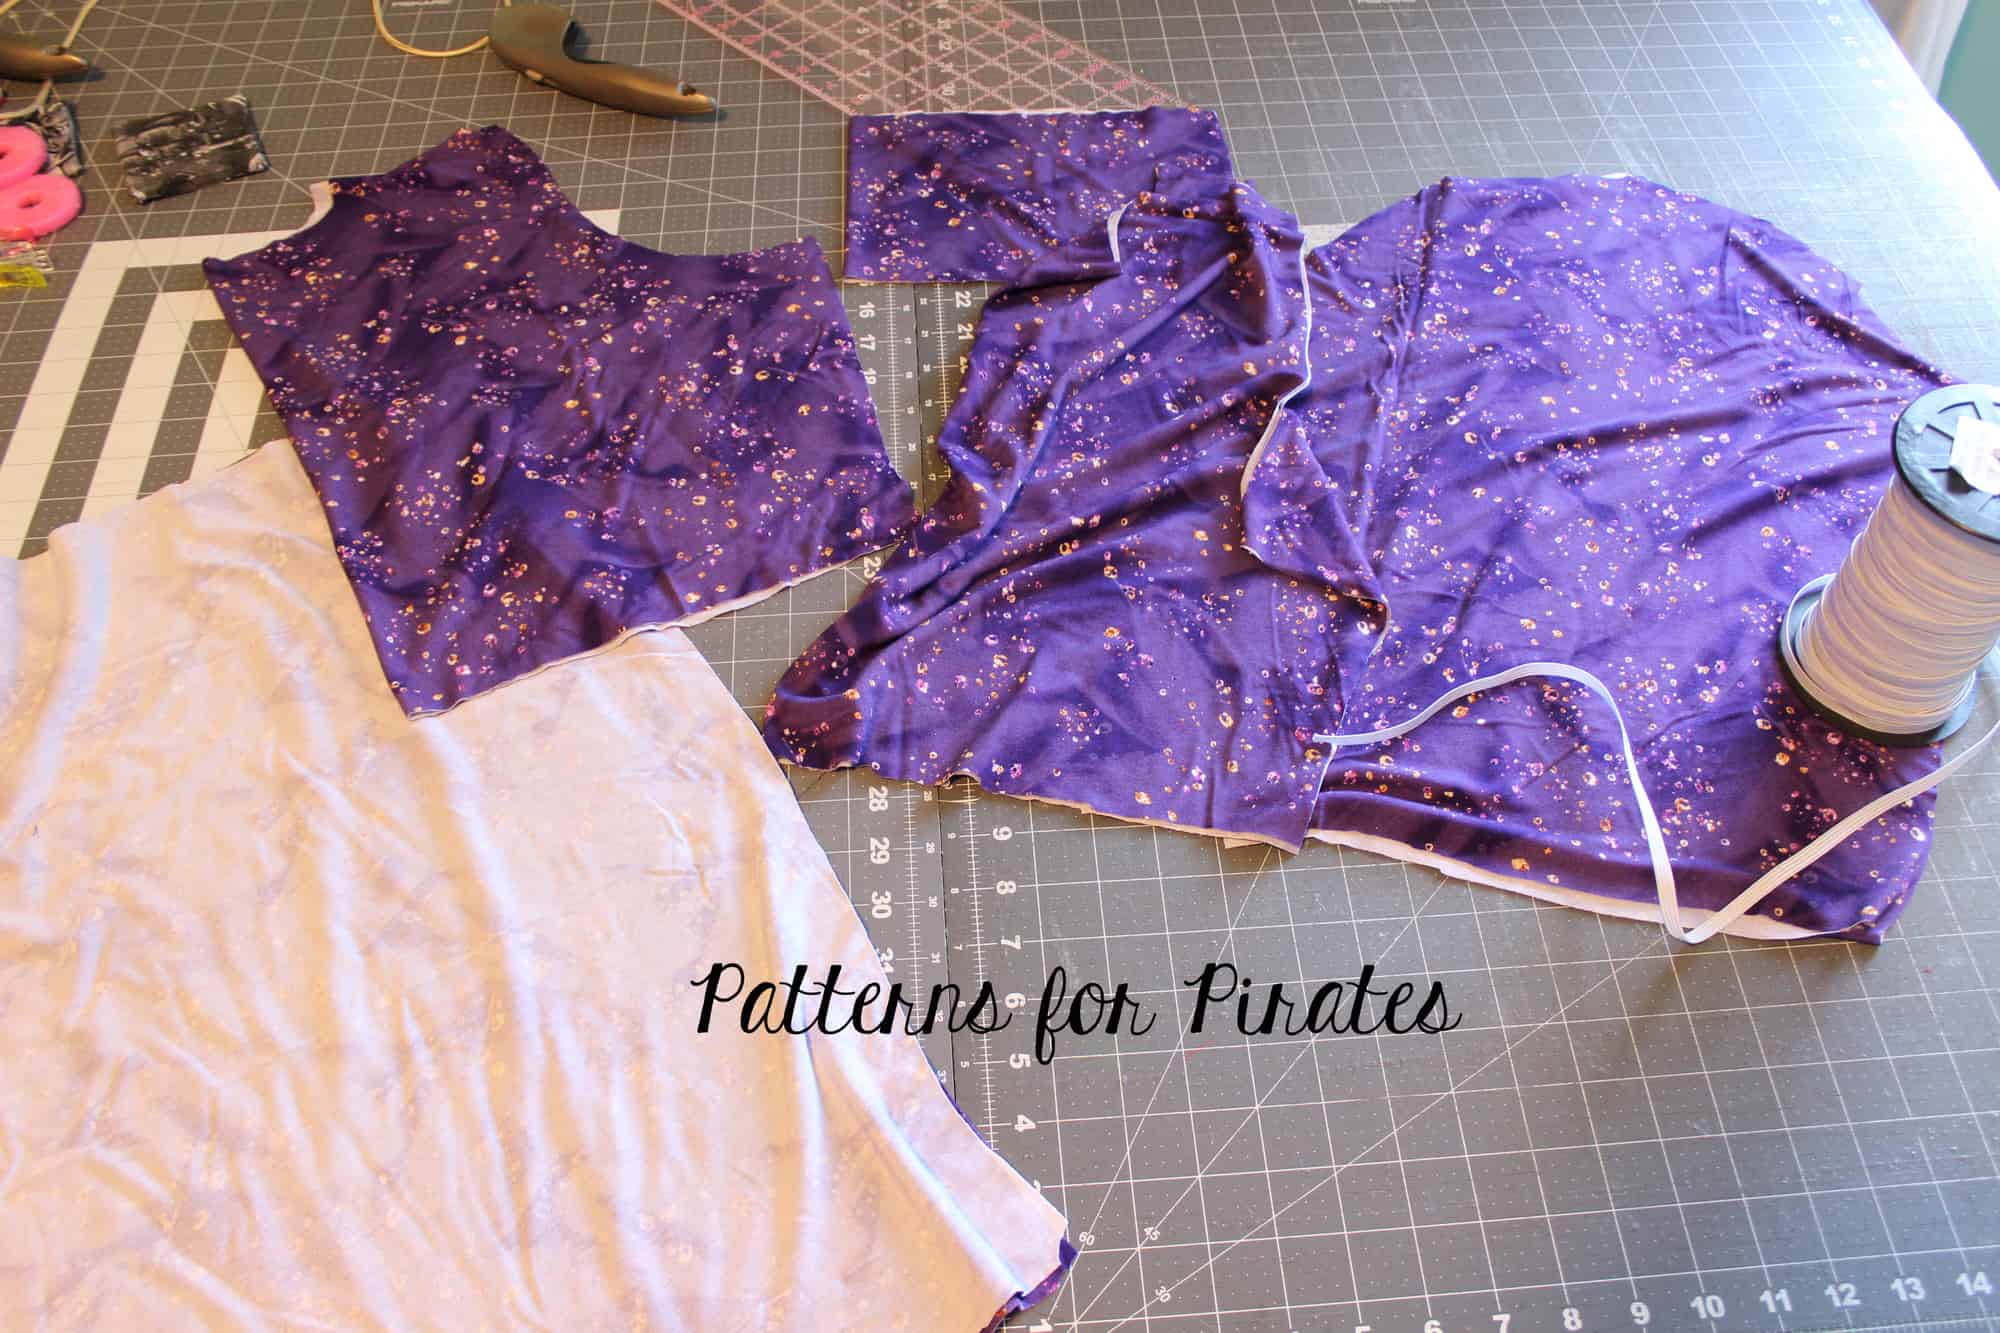
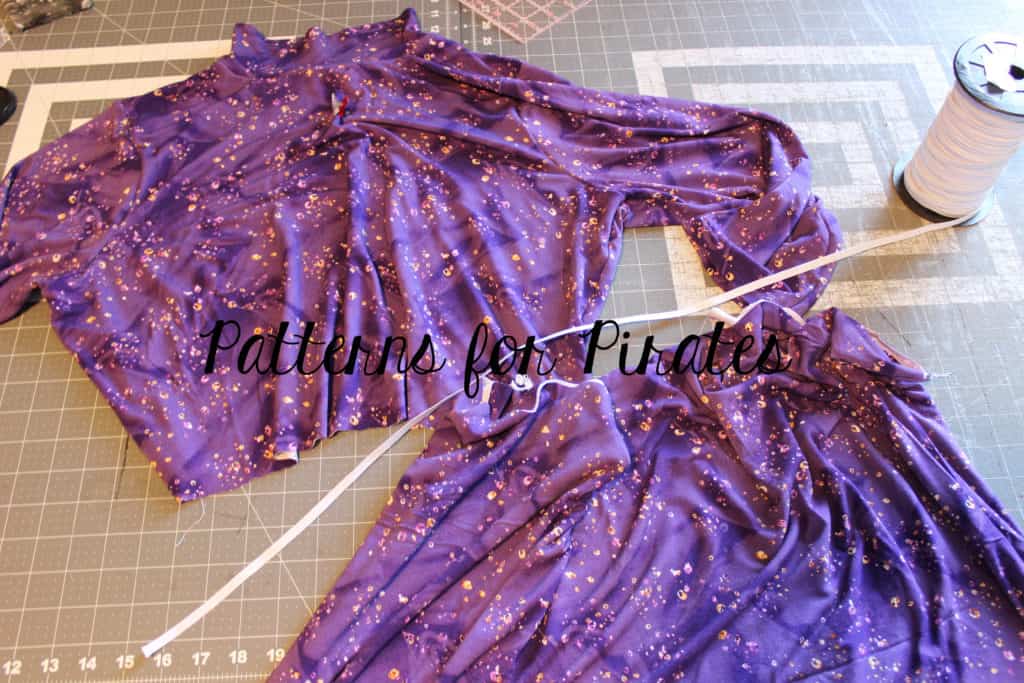
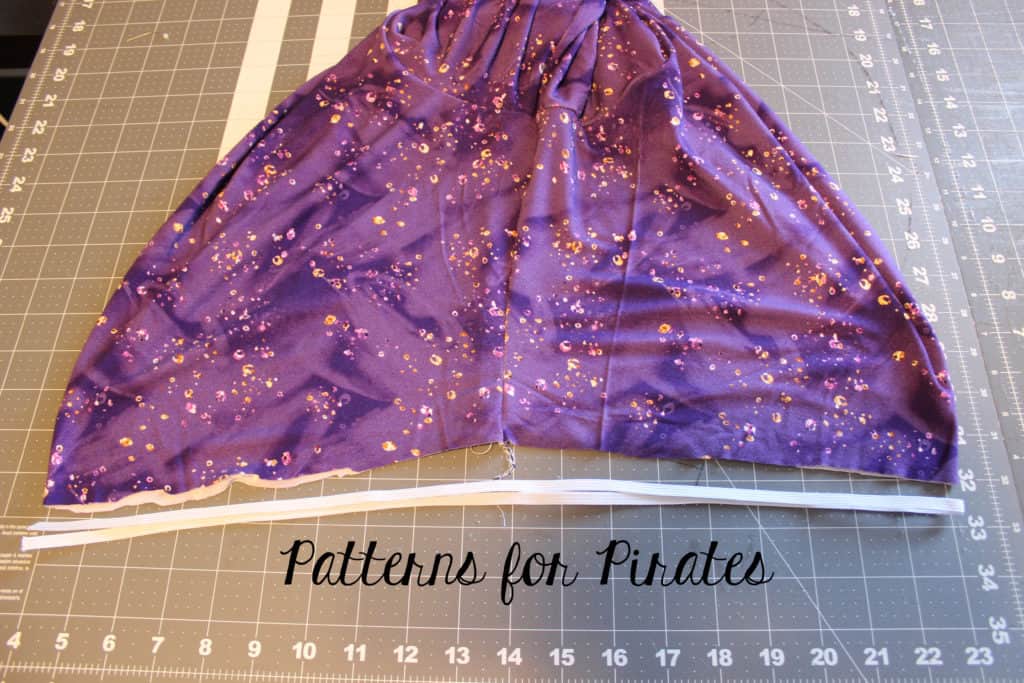
Last step is to stitch the back band to the front one. Keep in mind that the front band is attached to the bodice. Overlap the parts that will become the waistband one time (doesn’t matter if you overlap left on top of right or vice versa).  With the right sides together sew the side seams of the band following the 1/2″ seam allowance. 

Don’t forget to add your check in photo to the comments of Day 4 in the X Factor sew along album. See you back here tomorrow! 
 

X Factor SAL | day 1

X Factor SAL | day 2

X Factor SAL | day 3

X Factor SAL | day 4

X Factor SAL | day 5

X Factor SAL | day 6

X Factor SAL | day 7

Filed Under: Frequently Asked Questions, Sew-A-Long, Uncategorized Leave a Comment

X Factor Sew Along – day 3

August 26, 2020

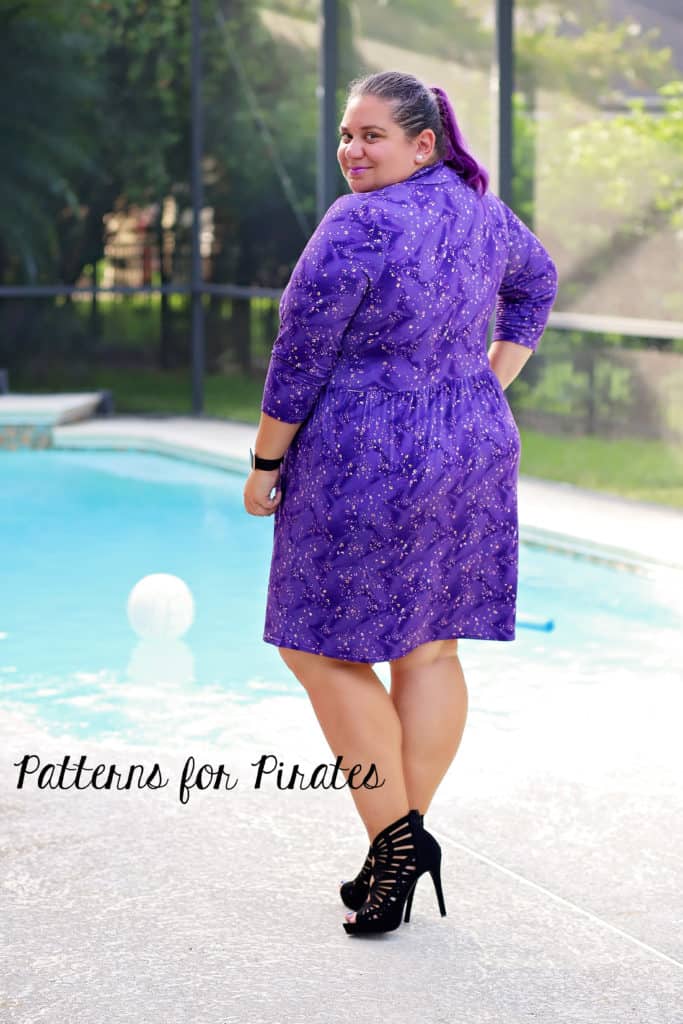
Ahoy, pirates! Today’s steps include adding the sleeves or armbands (for the tank option) and sewing the side seams. I have decided to make a long sleeve dress to wear on chillier Florida days. 
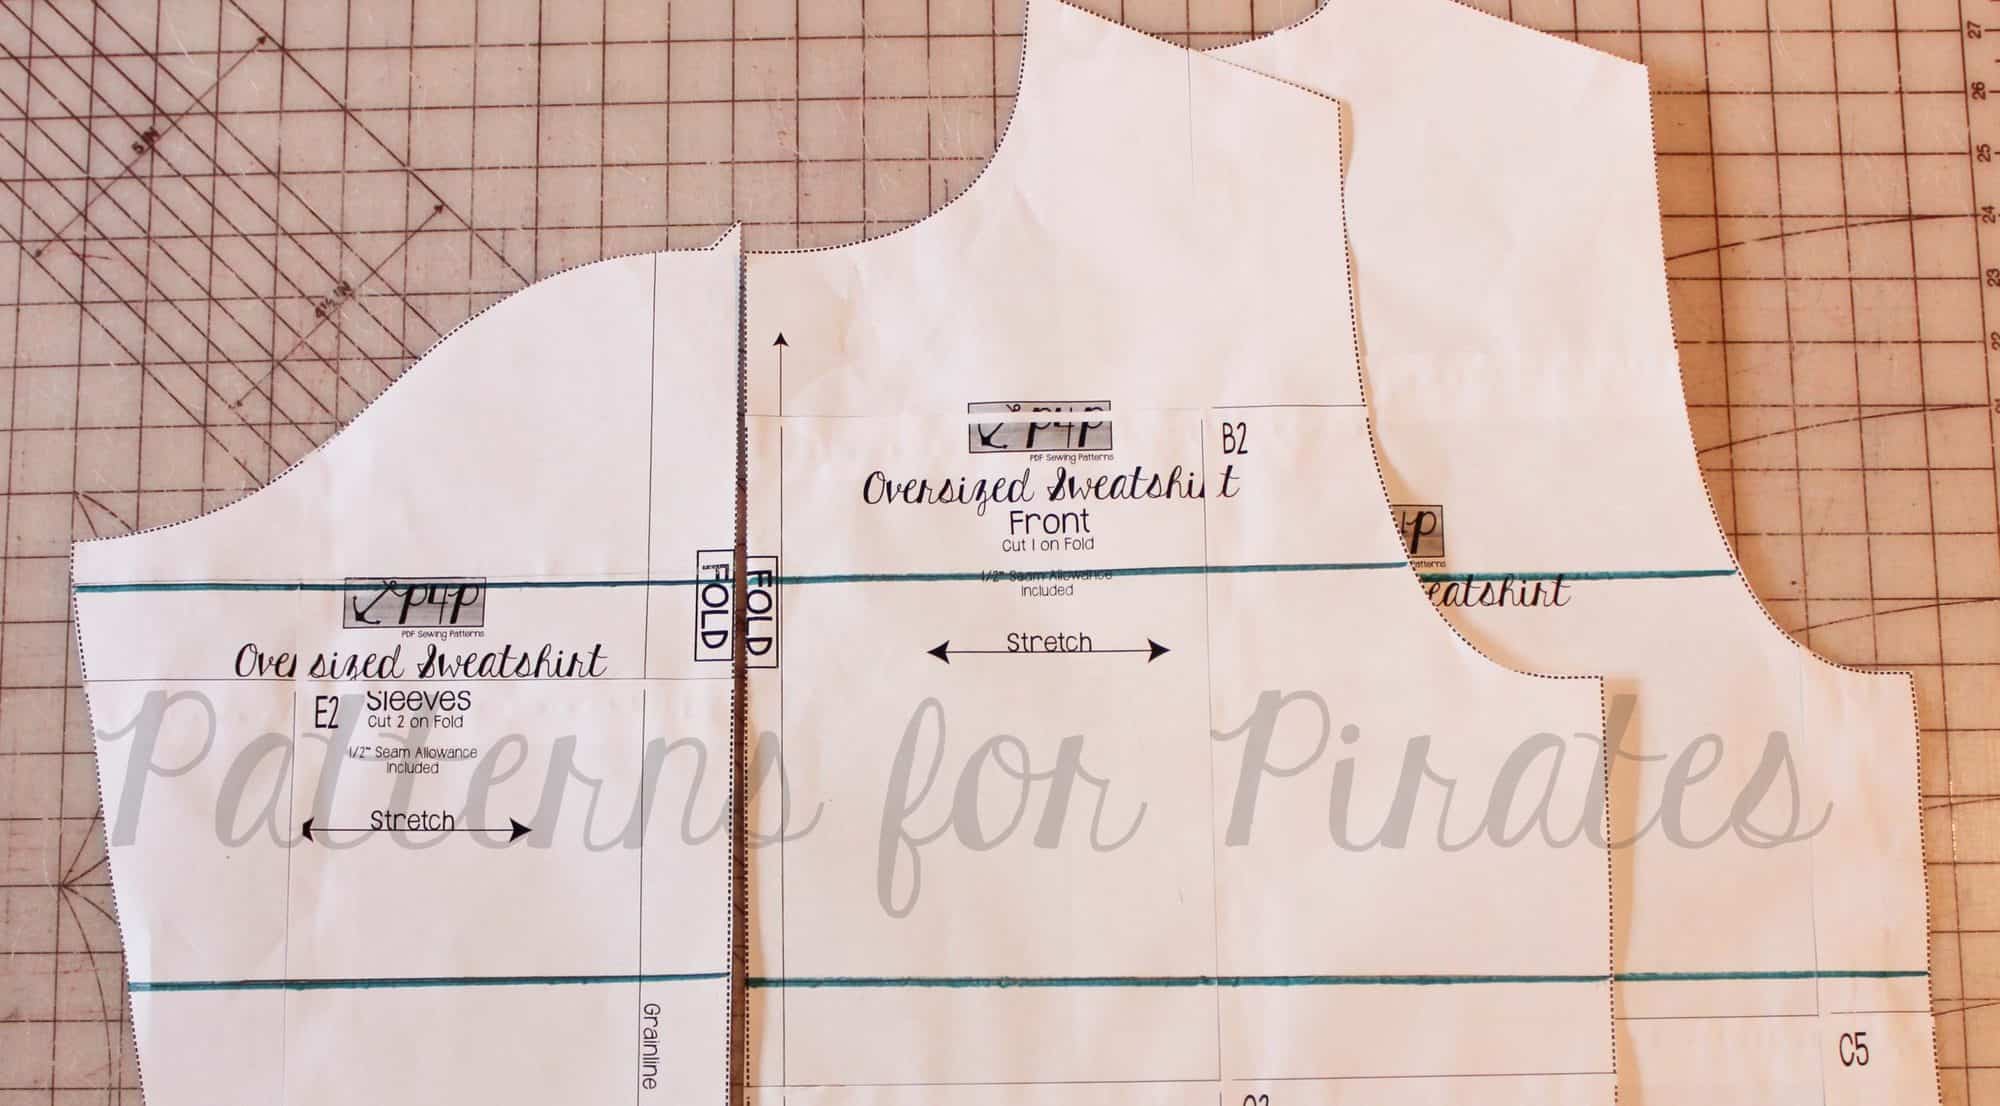
  • For the short, 3/4 and long sleeves start by pressing a memory a 1/2 hem. If you are doing the cuffed long sleeves style, you will not be needing the memory hem. 
  • If you opted for the tank style, start by pressing the bands lengthwise, wrong sides together. Open them up and sew the short ends to create a loop. 

Tip: when pinning the sleeved to the arm opening start with the shoulder seam, then pin the two outer corners. This will make easing the sleeves into the opening very easy. There shouldn’t be any stretch, but you will ease the concave curve into the convex one. 

When adding the arm bands to the tank option, you want to avoid stretching the band too much on the front and back. The most stretch should be at the armpit and shoulder. This will help ensure that the bands lay nicely when worn. 

Day 3 video is below. As always, don’t forget to add your progress photo to the comments of today’s check in photo in the sew along album. 


X Factor SAL | day 1

X Factor SAL | day 2

X Factor SAL | day 3

X Factor SAL | day 4

X Factor SAL | day 5

X Factor SAL | day 6

X Factor SAL | day 7

Filed Under: Frequently Asked Questions, Sew-A-Long, Uncategorized Leave a Comment

X Factor Sew Along – day 2

August 25, 2020

Welcome to day 2 of our X Factor Sew along. Today is a pretty easy and quick day. We sew the front seam of the bodice and the shoulder seams. Place the two mirror front bodice pieces right sides together, matching the center seam. Using your sewing machine, stitch a couple of inches at the bottom with a 1/2 seam allowance. You can sew the rest of the front seam with the serger if you prefer. 

Once this step is completed you will sew the shoulder seams right sides together, following a 1/2″ seam allowance. 

Tip: Add clear elastic to the shoulder seams to strengthen them and make sure the shoulders don’t stretch throughout the day. 

We have included two FULL pattern sew ups in the tutorial (see page 7). Judy has covered all options in the two videos so you can always refer to them throughout the week. 

Upon completion of today’s steps snap a picture of your progress and add it to the day 2 check in photo comments in the X factor SAL album located in the P4P & M4M sew along group.


X Factor SAL | day 1

X Factor SAL | day 2

X Factor SAL | day 3

X Factor SAL | day 4

X Factor SAL | day 5

X Factor SAL | day 6

X Factor SAL | day 7

Filed Under: Frequently Asked Questions, Pattern Release, Sew-A-Long, Uncategorized Leave a Comment

X Factor Sew Along – day 1

August 24, 2020


Welcome to the X Factor Crop and Dress sew along! 
In the next 6 days we will be sewing together the newest P4P pattern. Join us for a chance to win some fabric and pattern money and have fun alongside our community! If you have not purchased your copy yet, you can buy the adult X Factor here, the youth one here, or you can get the bundle and save. If you are still undecided which style to make, our Round Up blog will give you a glance at all options included, from sleeve lengths to necklines. You can also use the Easy Hacks blog for added options.

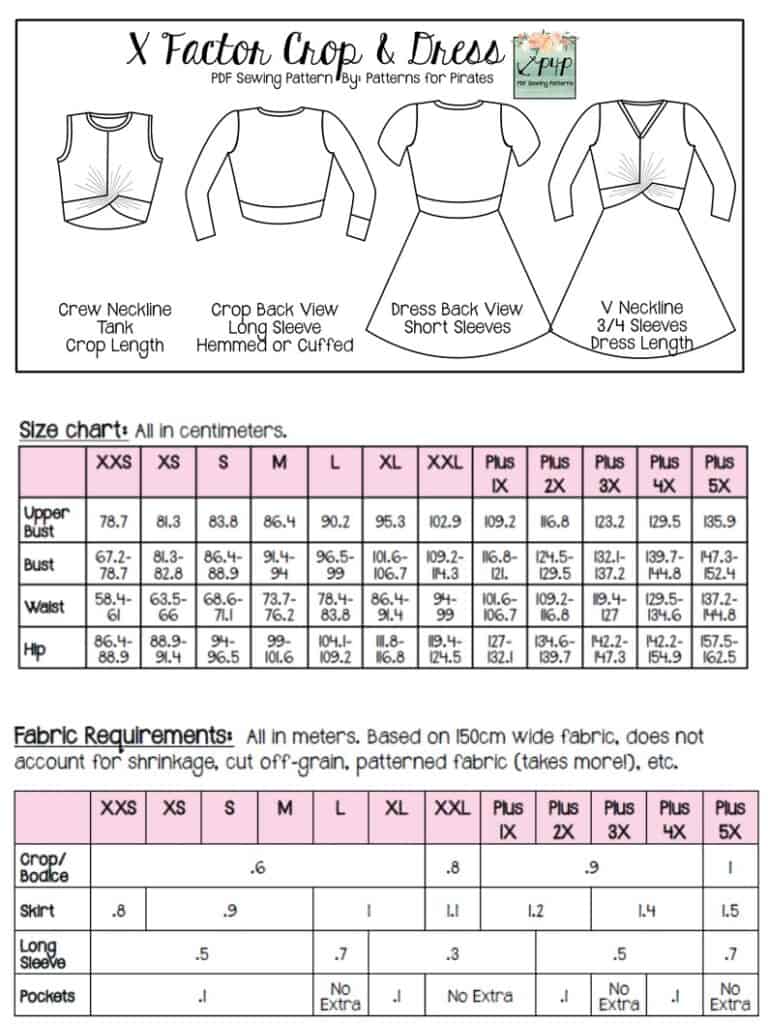
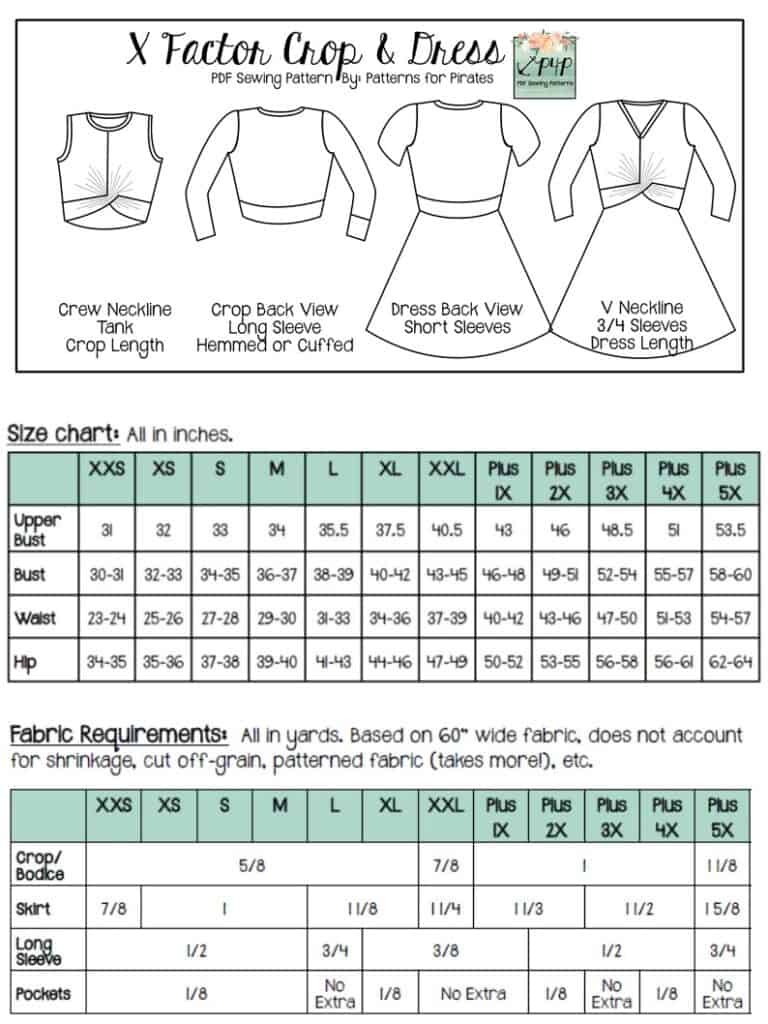
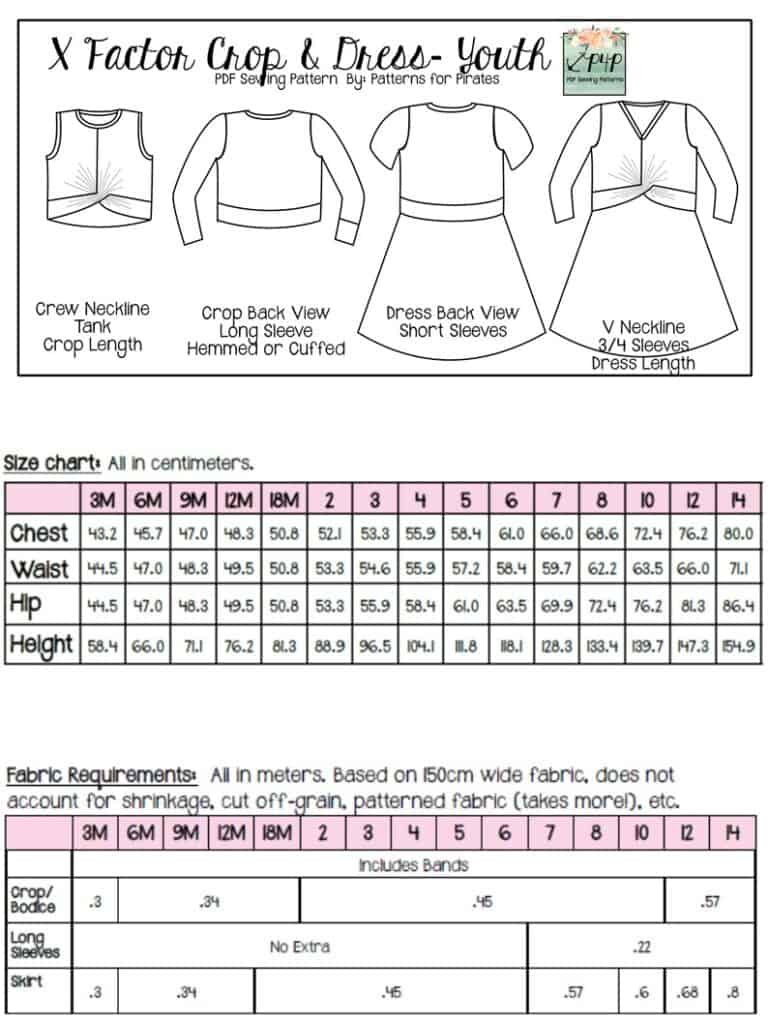
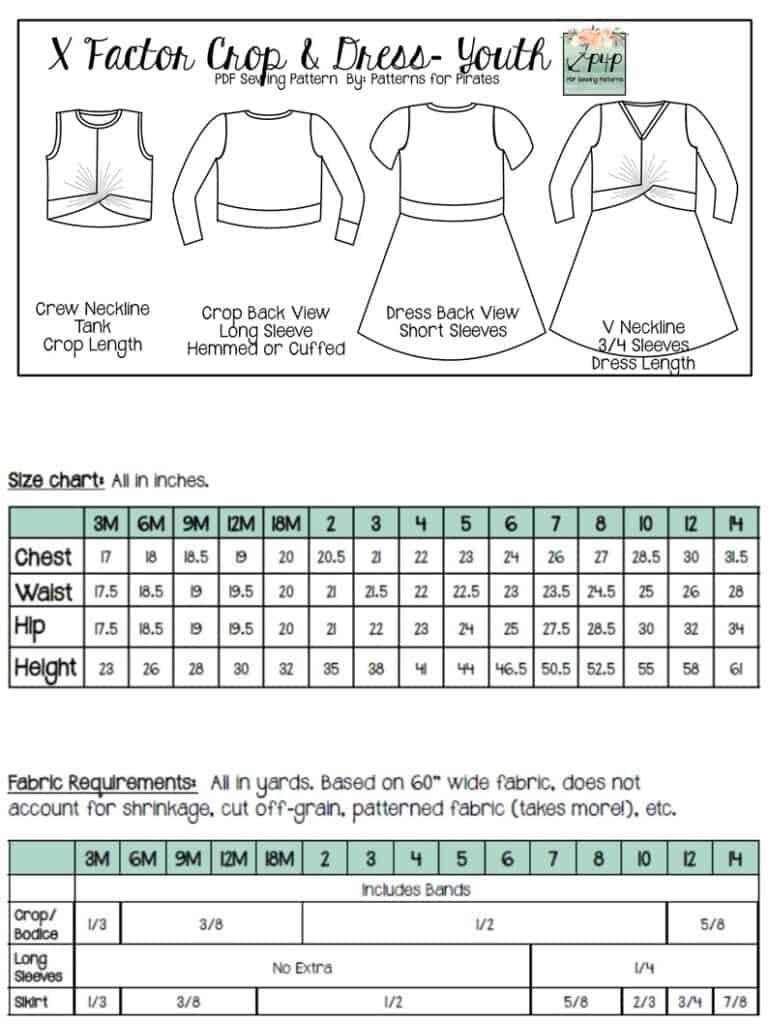
Let’s start by taking the measurements needed for the best fit. P4P has an amazing blog that gives you tips for accurately taking your measurements. You can read all about it here. If your measurements put you in a different size for chest/waist/hips be sure to check out our P4P University blog and grade to achieve the perfect fit. The X Factor patterns include videos as well. On page 3 you will notice an active button that will take you to the video about adding or removing length. Please refer to it if you are taller or shorter than 5’5″. 


Unsure about which knit type will work best for your desired look? Take a look over our P4P University Knit Types blog. We also included a cheat sheet that you can print. If you are like me and sometime are just keen on using a specific print for a specific pattern, read our Different fabric, different fit blog post before you cut your fabric. 

The P4P team has started adding Projector Files to our new patterns. If you are looking to skip printing, buying rims of paper and ink, this new innovative way of cutting your patterns may be the option for you. I am using a mix of printed and projected pattern pieces for my dress. 

The X Factor is drafted for high and 4 way stretch knit fabric. My personal recommendations are rayon spandex, bamboo lycra, ITY, Cupro and double brushed poly. You can also use athletic knit and certain sweater knits. During this sew along I will be making the V neck dress style using a stunning Mily Mae Fabrics burgundy bamboo spandex. MMF is also this sew along’s sponsor so two lucky winners will receive gift certificates to their shopping website. 


You can see the first video below, including how I use my projector file for the bodice. Once you cut the fabric, post a picture of your pretty pile in the comments of DAY 1 photo of the X Factor album in the M4M & P4P Sew Along Group. 


X Factor SAL | day 1

X Factor SAL | day 2

X Factor SAL | day 3

X Factor SAL | day 4

X Factor SAL | day 5

X Factor SAL | day 6

X Factor SAL | day 7

Filed Under: Frequently Asked Questions, Sew-A-Long, Uncategorized Leave a Comment

Oversized Sweater :: Easy Hacks

January 23, 2020

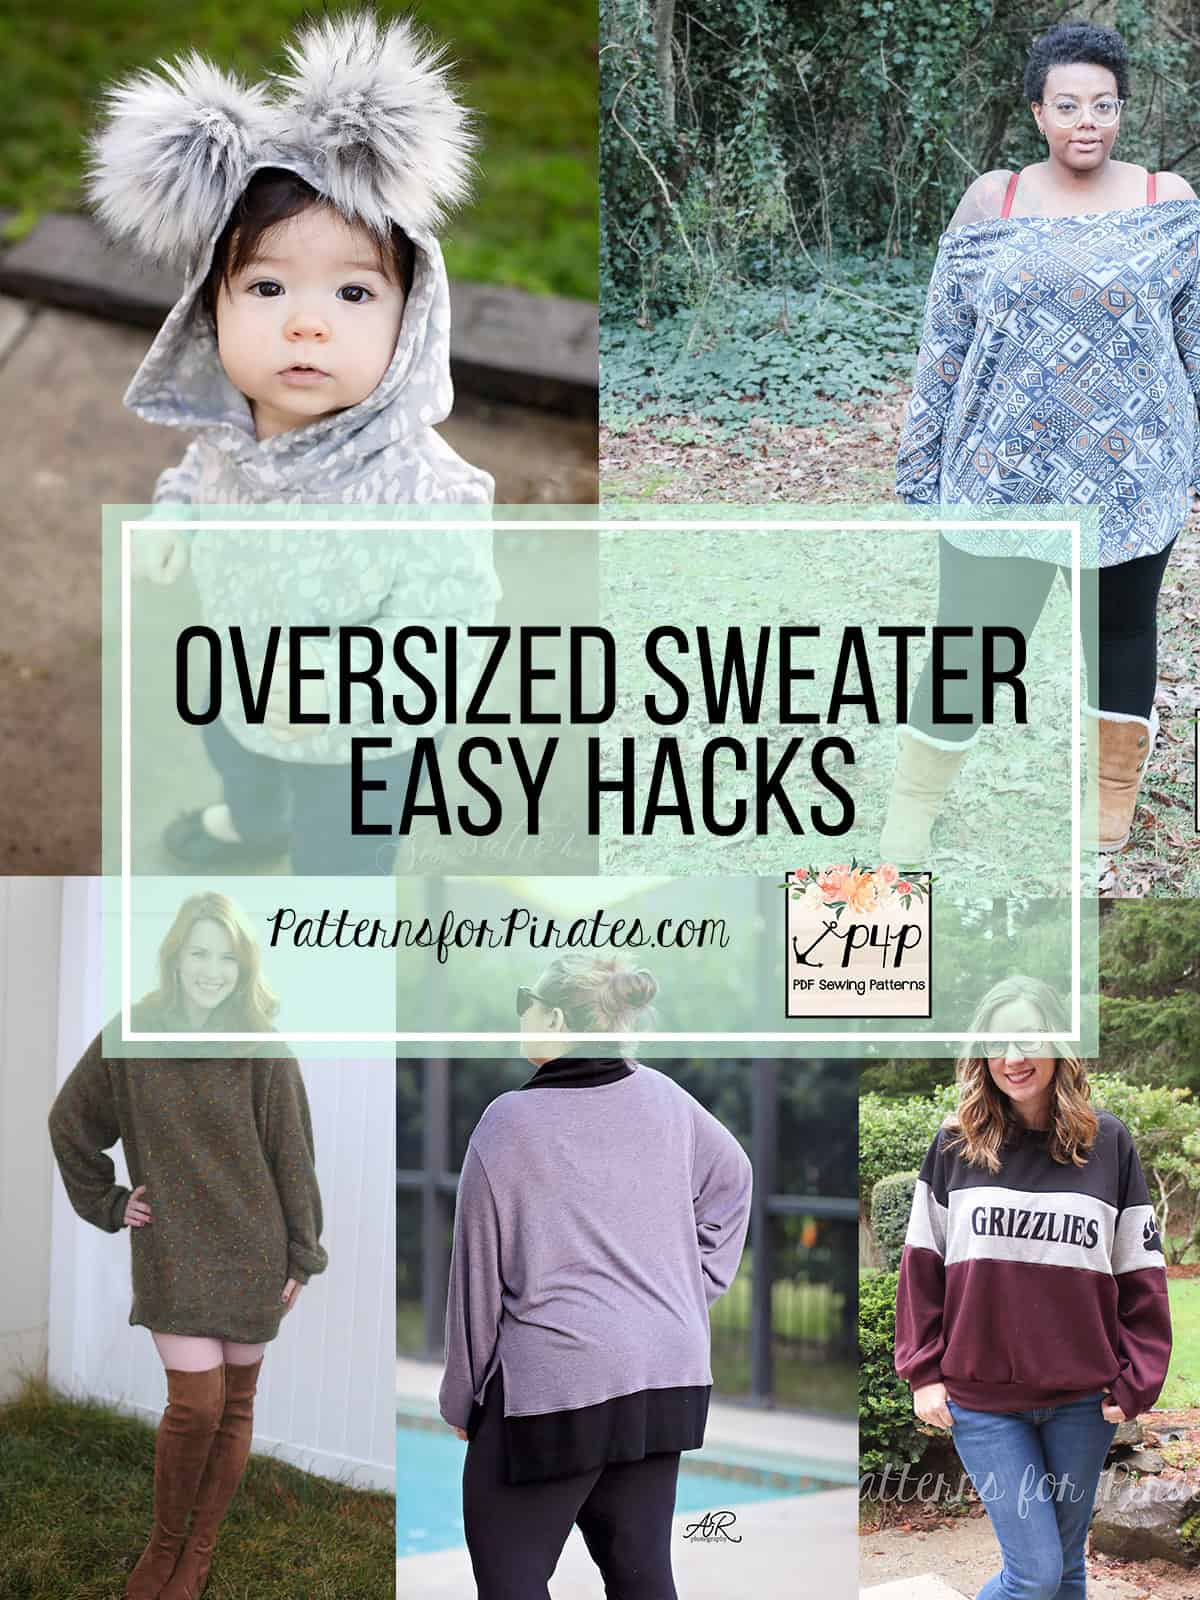
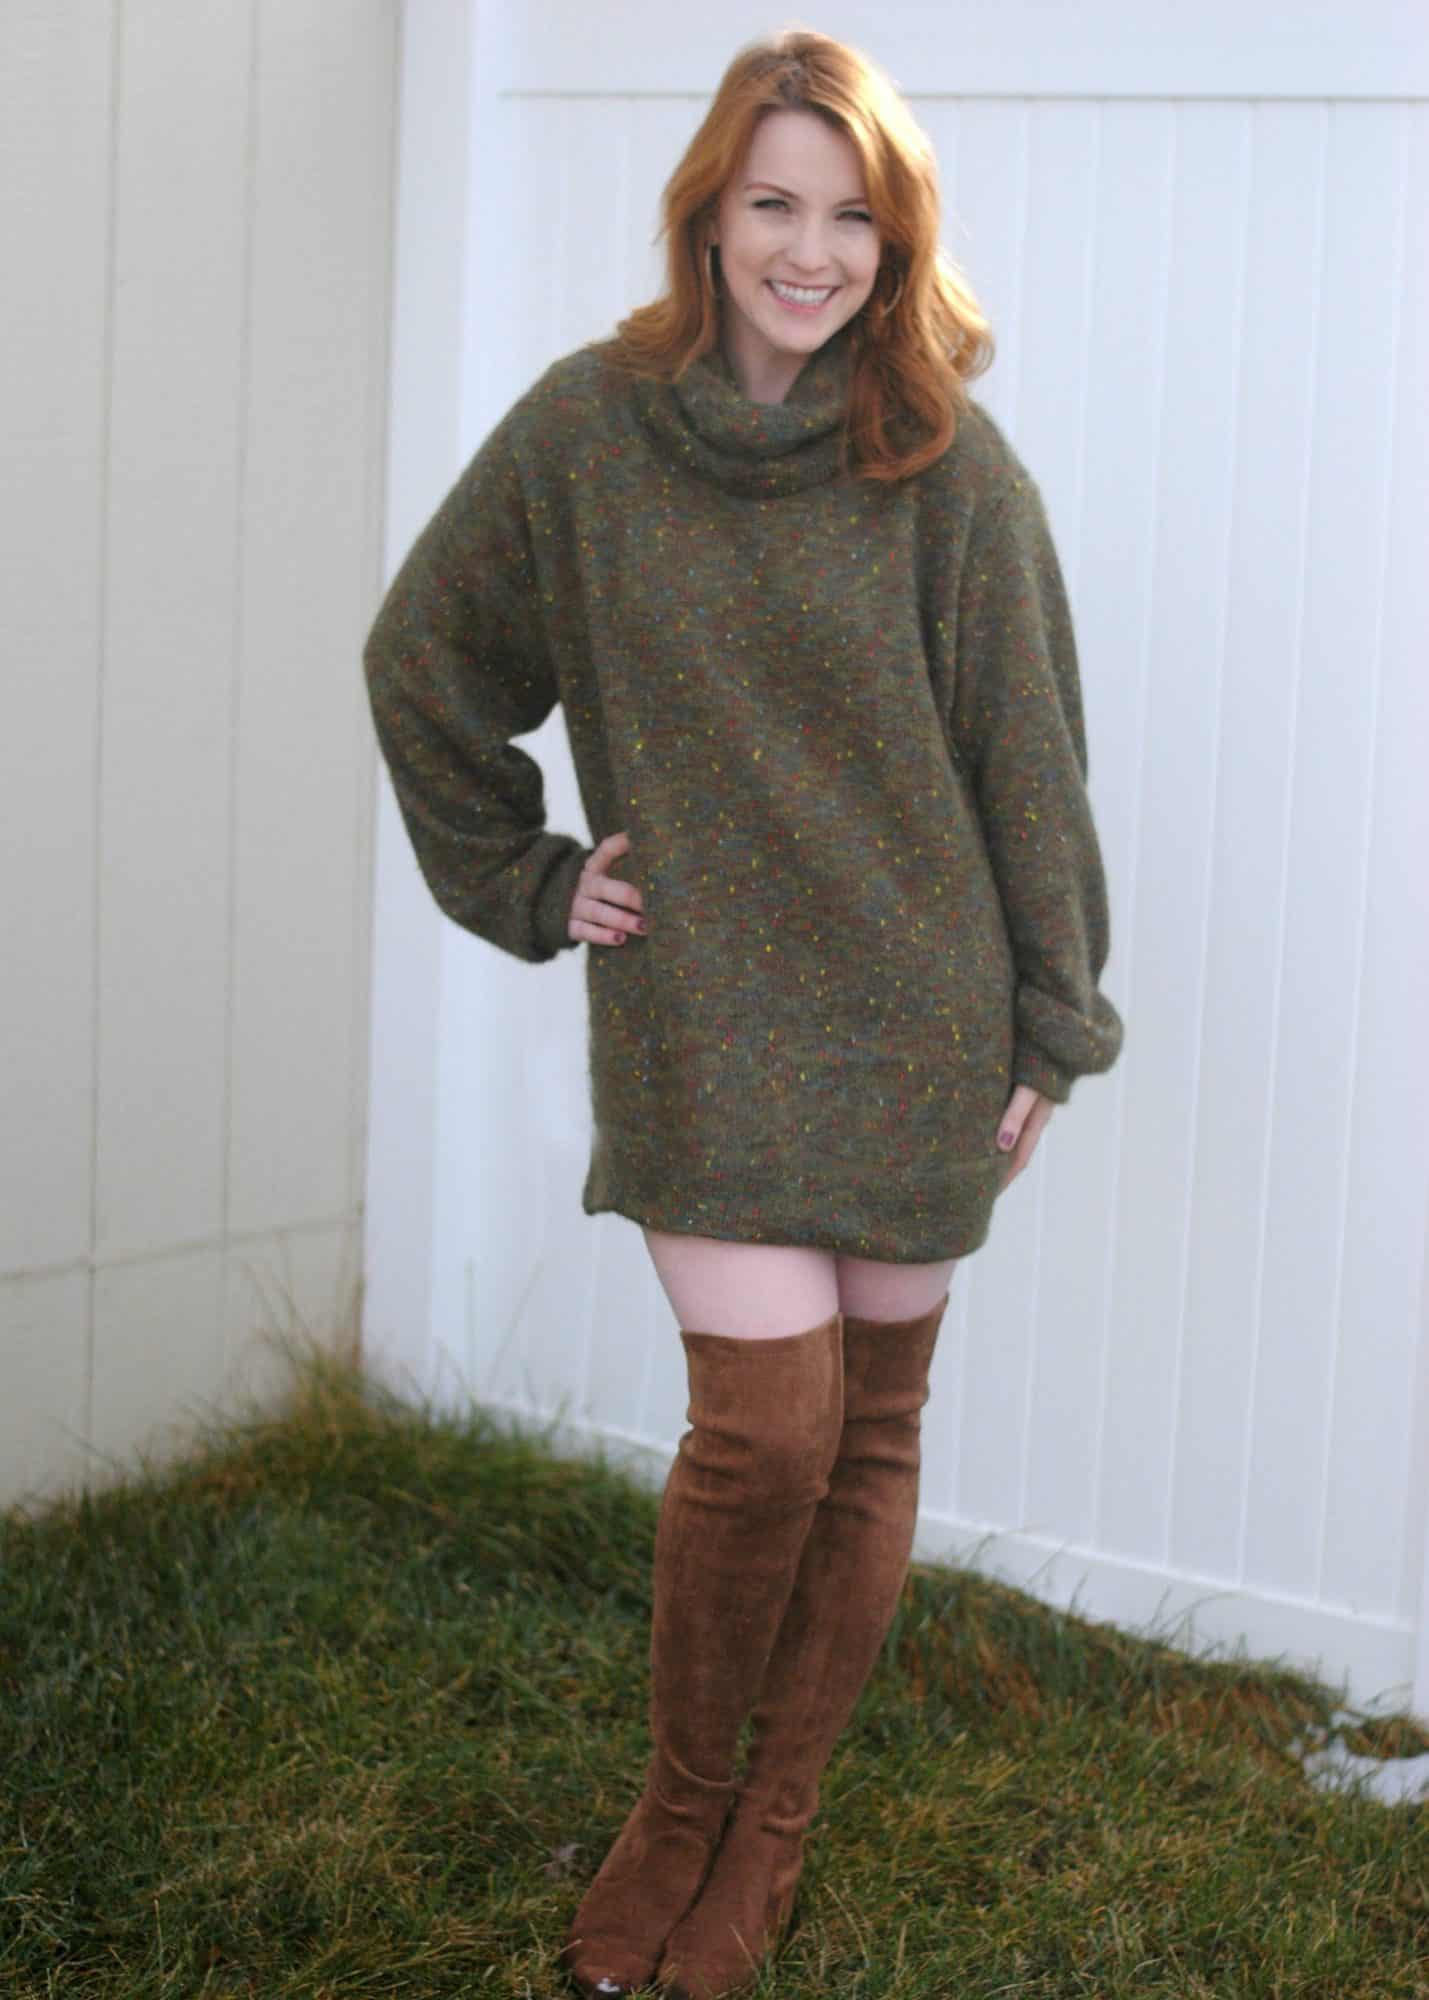
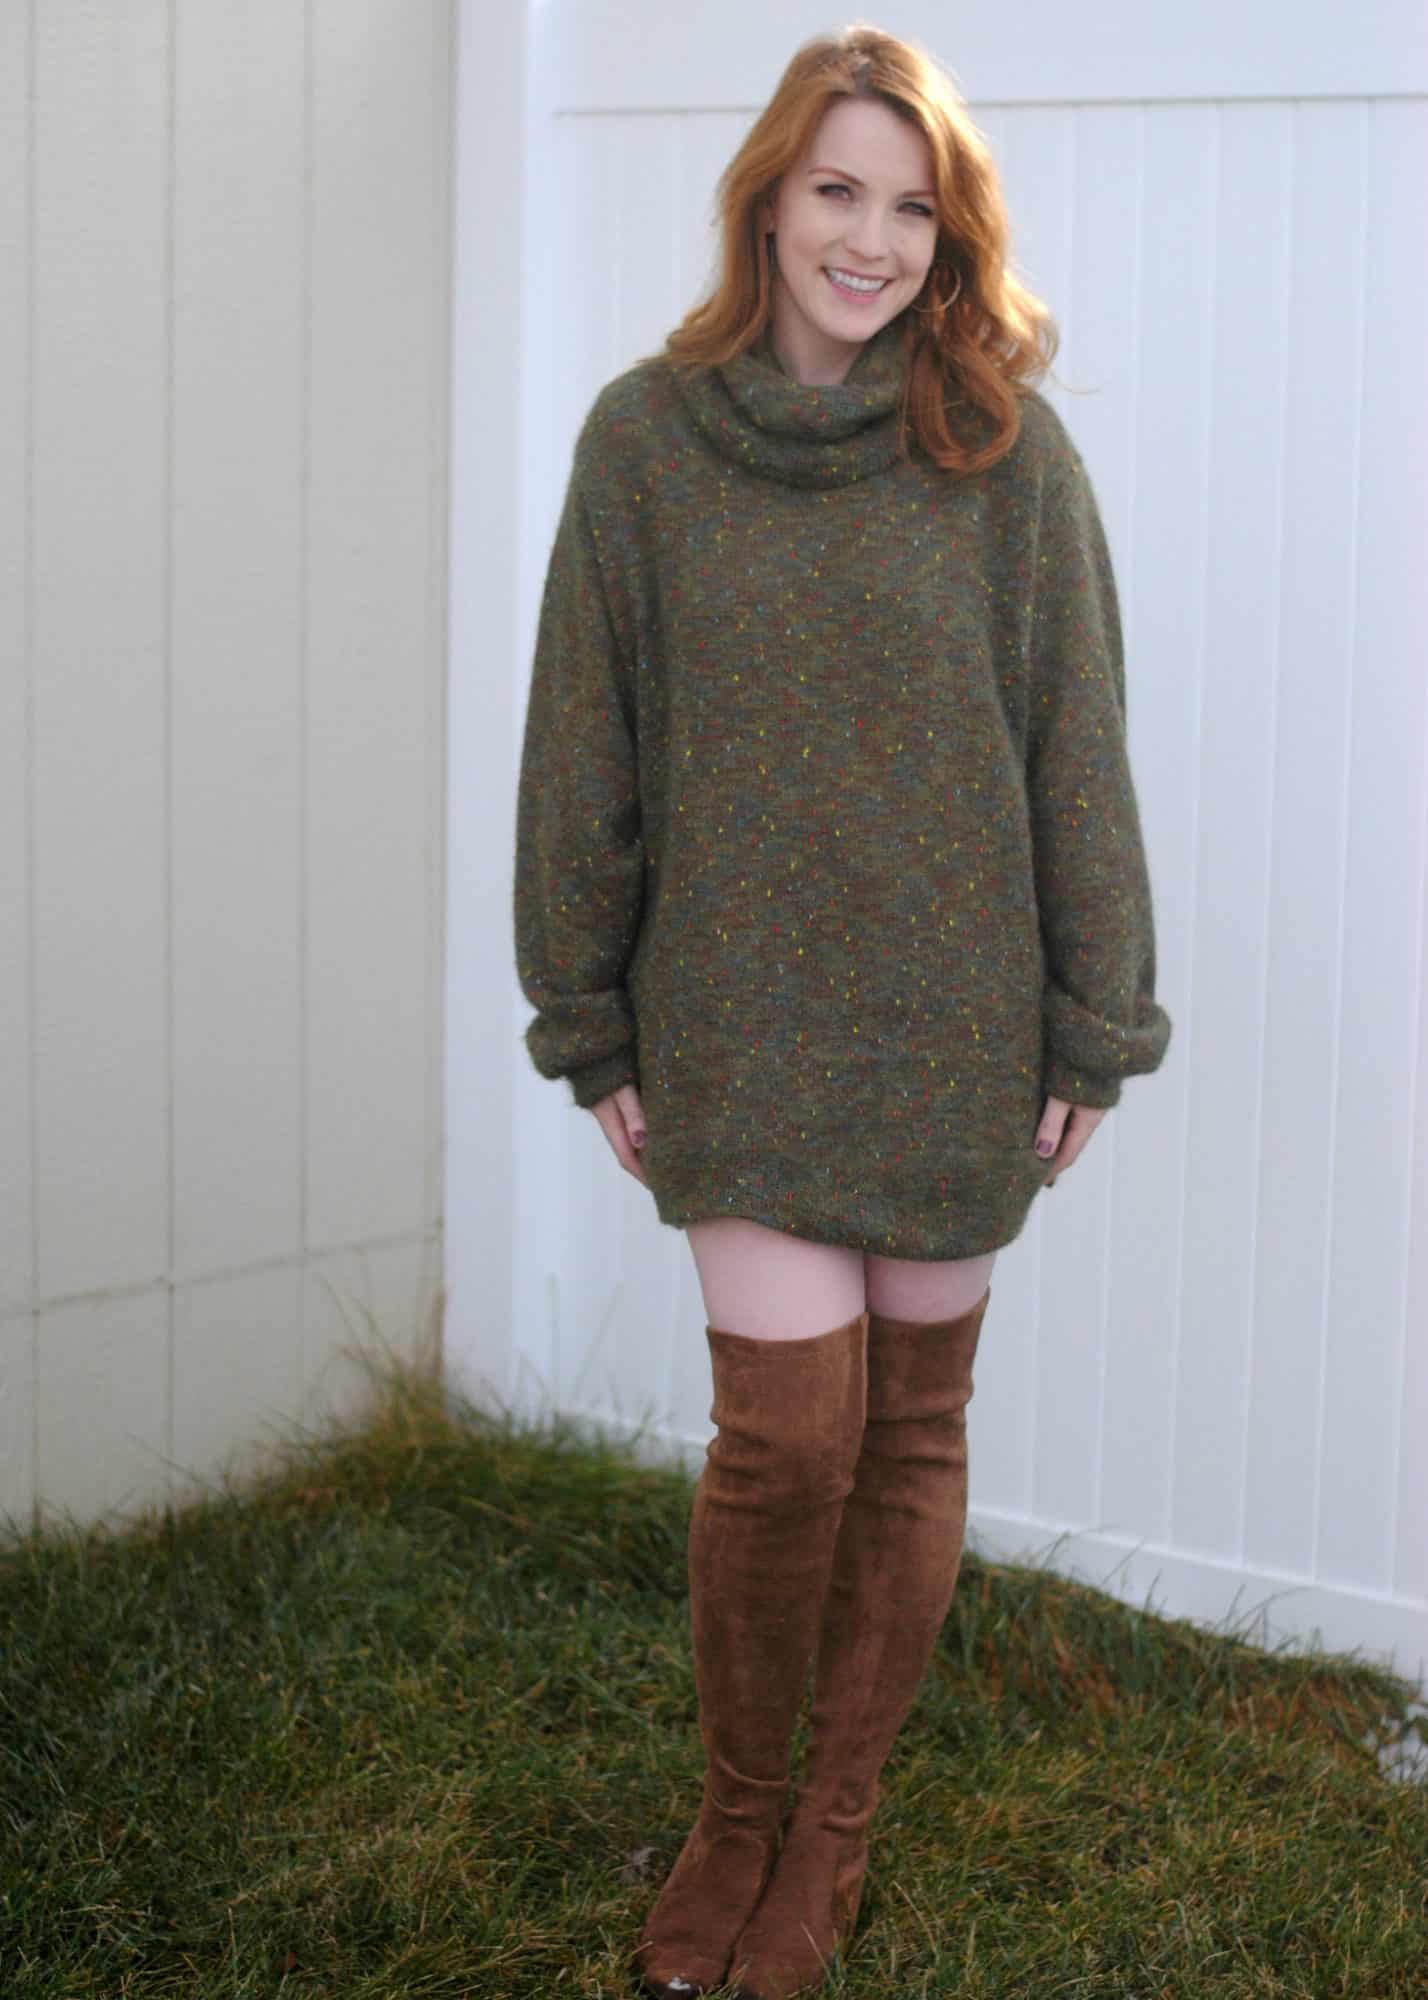
It’s here! It’s here! The comfiest, snuggliest, coziest sweater you will ever have. The Oversized Sweater includes so many options for both youth and adult but we couldn’t help ourselves…we wanted more! The P4P blog team is showing you how to make an Off the shoulder sweater, a mini dress, a color blocked one, the cutest pom poms hack ever and a higher side slit one. Enjoy!


…..

Off the shoulder

Off-the-shoulder shirts are my jam. I still remember falling all the way in love with the first one I saw Alex do for the Relaxed Raglan. This Oversized Sweater is the PERFECT top to hack into your favorite Pinteresty slouchy off-the-shoulder sweater. And it’s pretty easy! Grab your fabric and pattern pieces–let’s get started!

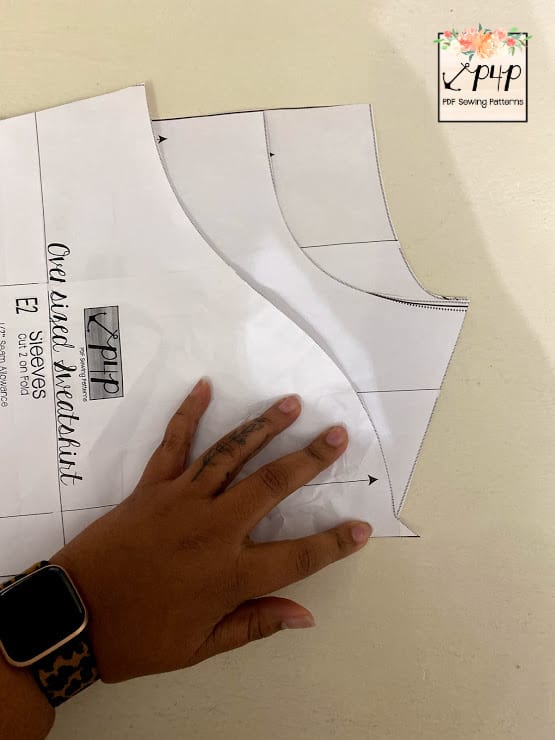
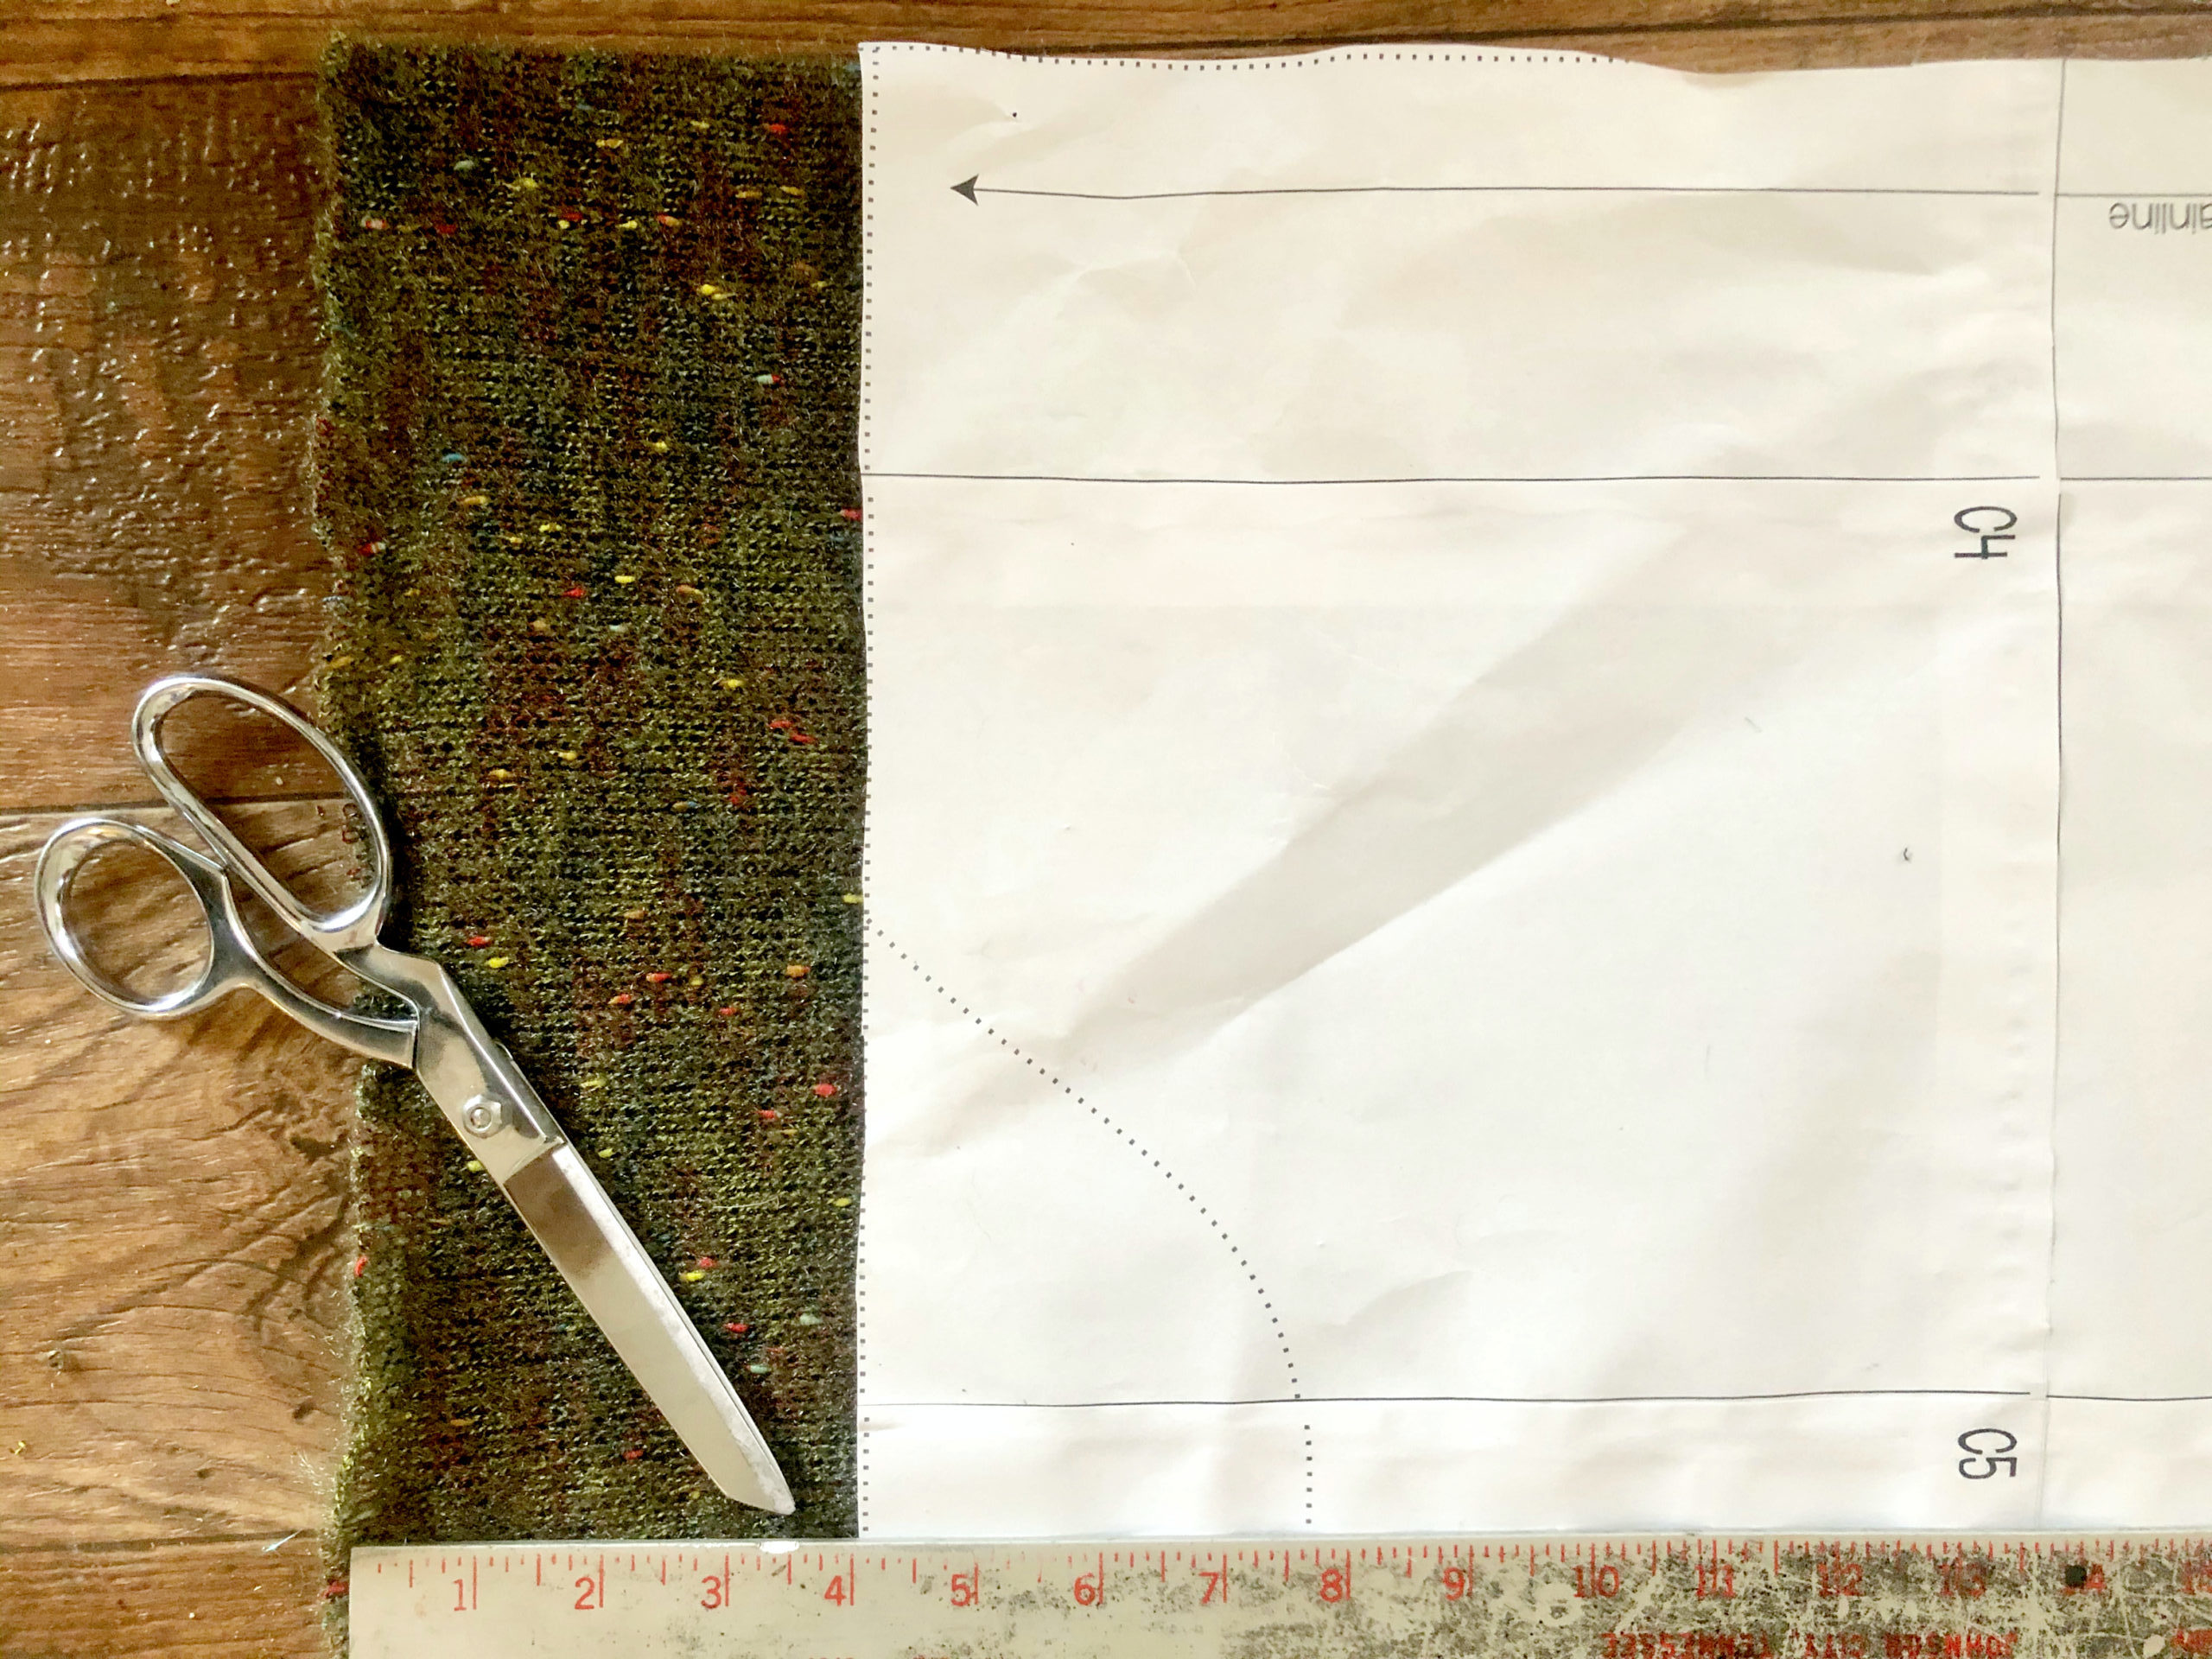
Layer your front, back and sleeve pieces on top of each other.

Measure down 1/2 inch.

Draw a line. This is going to be your new cut line.

Cut out your pieces.

**Tip: Place a clip on the front of the sweater to differentiate your pieces.

Sew your sleeves on first. They aren’t going to be sewn all the way up so remember that. You’re going to sew them on similarly to how raglan sleeves are done. They’ll look like this:

Once the sleeves have been attached to both the front and back pieces, it’ll look like this.

Cut a neckband 3 inches in width by 85% of your measurement of your shoulders (with shoulders down, measure around your body). Add the neckband.

Finish assembly as instructed in the tutorial and then rock the hell out of it!

I’m wearing a hachi sweater knit in a straight P1 with a curved hem.


…..

Mini dress

Next up, we have a mini dress hack. I love anything that I can wear that’s comfy, but that’s also really sexy, and this mini dress hack fits the bill perfectly.

For this version, we’ll be using the high-low hem option of the sweater.  Because the bottom of both the front and back pieces of the bodice are straight, it’s very easy to simply add length to the bottom of these to lengthen your sweater into a dress. How much length you add to the bottom of your pattern pieces is completely up to you, but I found that 4 inches was perfect for the “mini” look I was going for.

When cutting out both the front and back pieces of your sweater, simply add 4 inches to the length at the bottom of each. Please note that the high-low bands were not changed at all for this hack; only the length of the main body pieces have been altered.

Cut and sew together the rest of the sweater as described in the tutorial, and voila! You now have a cute and very trendy mini dress, ready to go!

…..

Poms

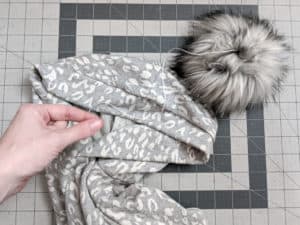
If you’re anything like me you might have an addiction to Faux Fur Poms especially on the littles! They are just so cute! I’m going to show you a quick and easy way to substitute the ears for Poms! You’ll sew your hood together exactly the same as all of the instructions but before sewing the hood I recommend marking your ear placements slightly past the seam allowance in a washable pen that way you know where to place your poms. Then I highly recommend adding interfacing where your poms will be for added durability especially if using a pom with snaps.


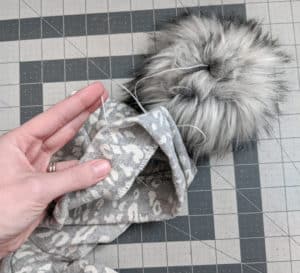
Now if you have a sew on pom you’ll sew it right along the markings you made for the ears. I recommend going directly through the seam allowance, once again for added durability.


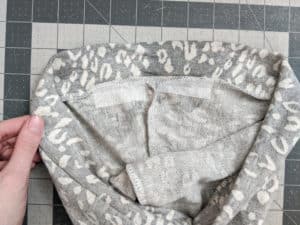
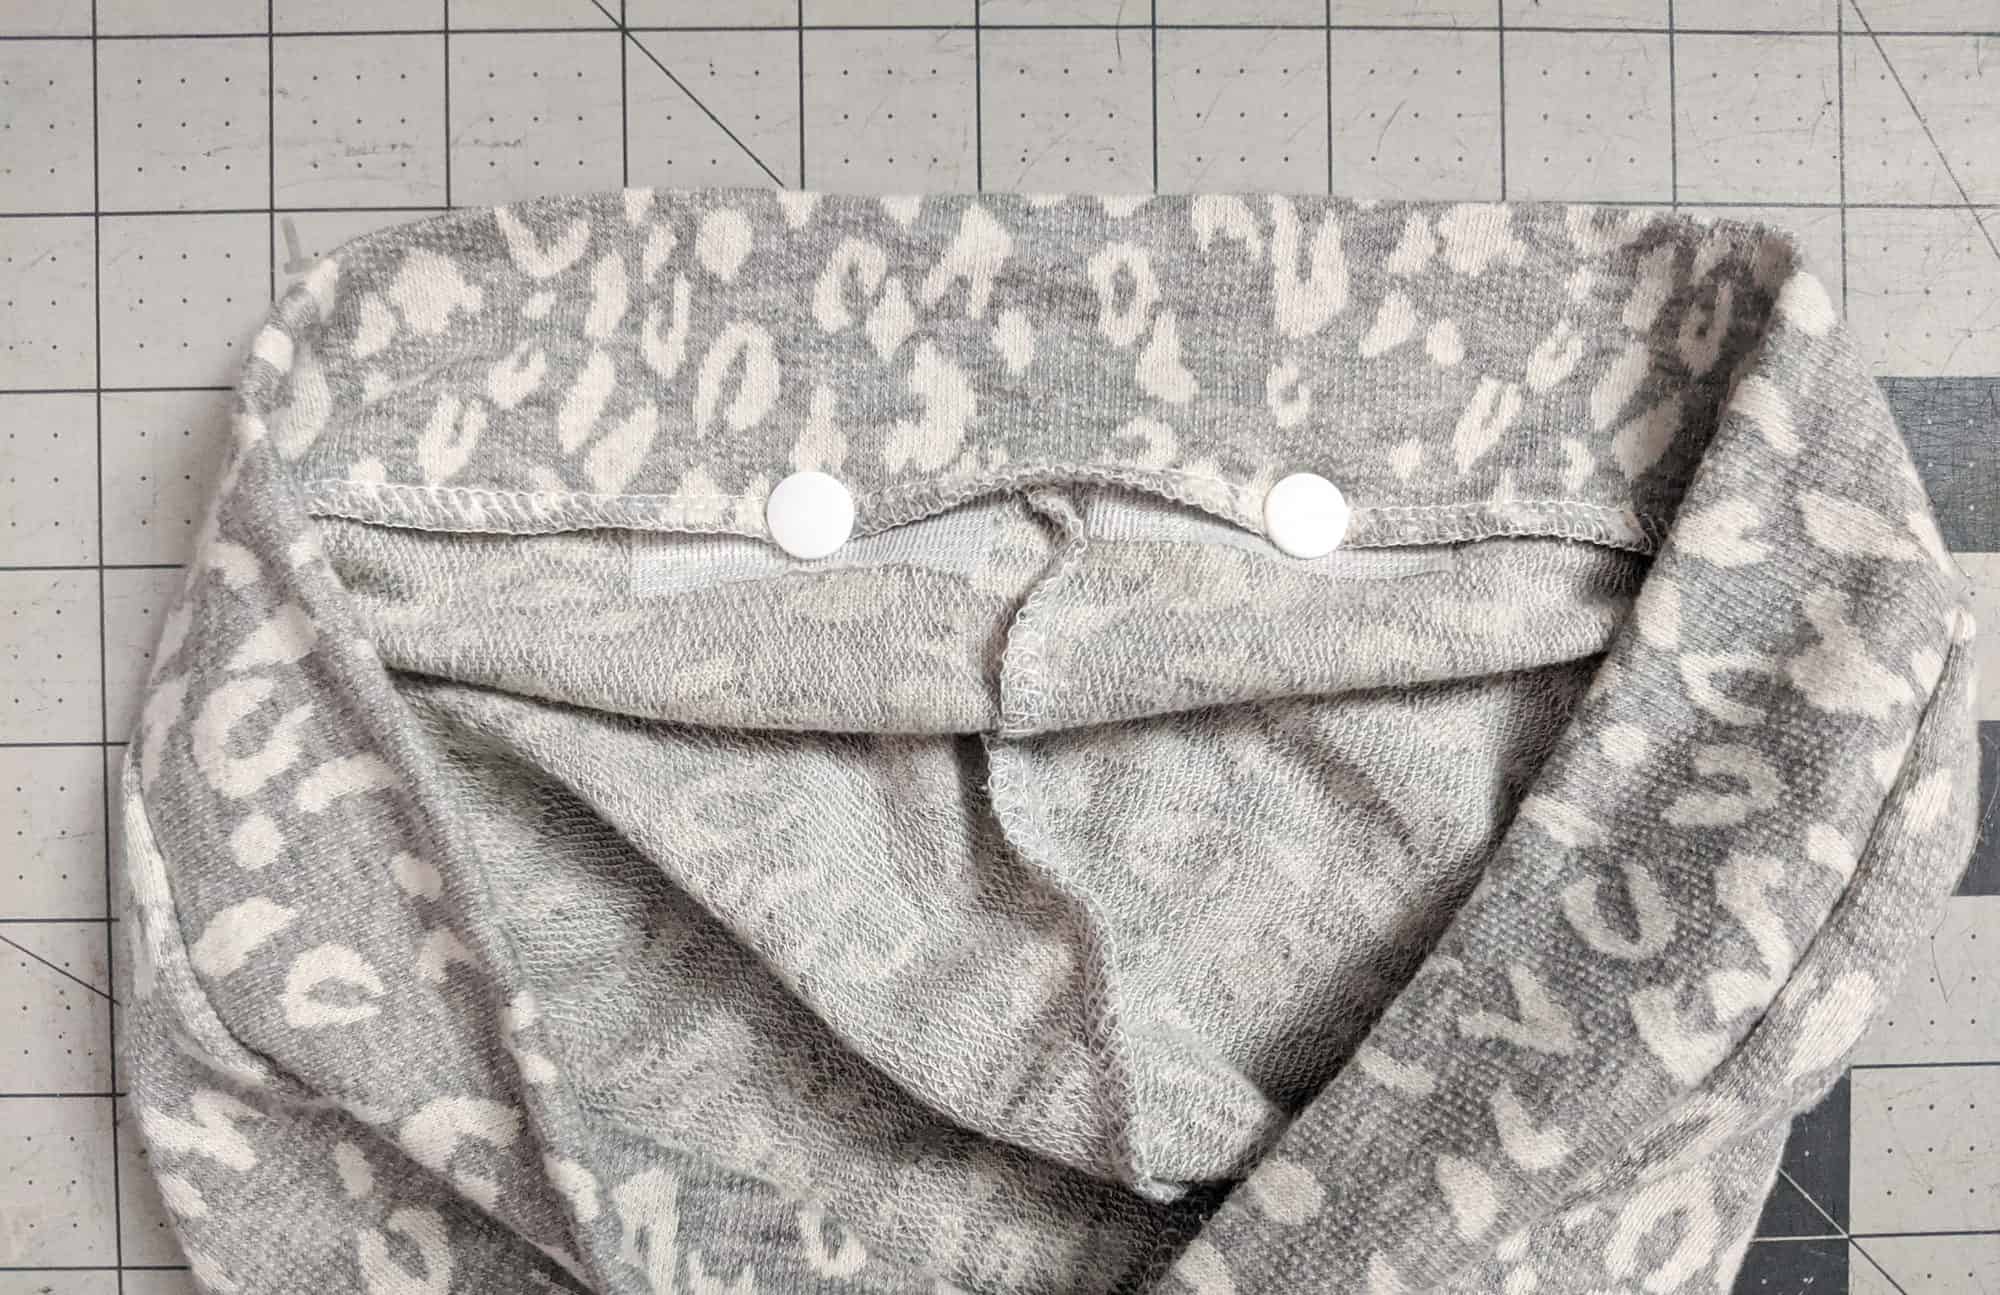
If you are using a pom with snaps (which I recommend for washing purposes as well as pom changing fun!), push your seam allowance toward the back of the hood and attach your snap through your interfacing and the seam allowance.

and wallah! You are done and now have super cute pom ears!


Happy Sewing,

Michelle


…..

Colorblocked

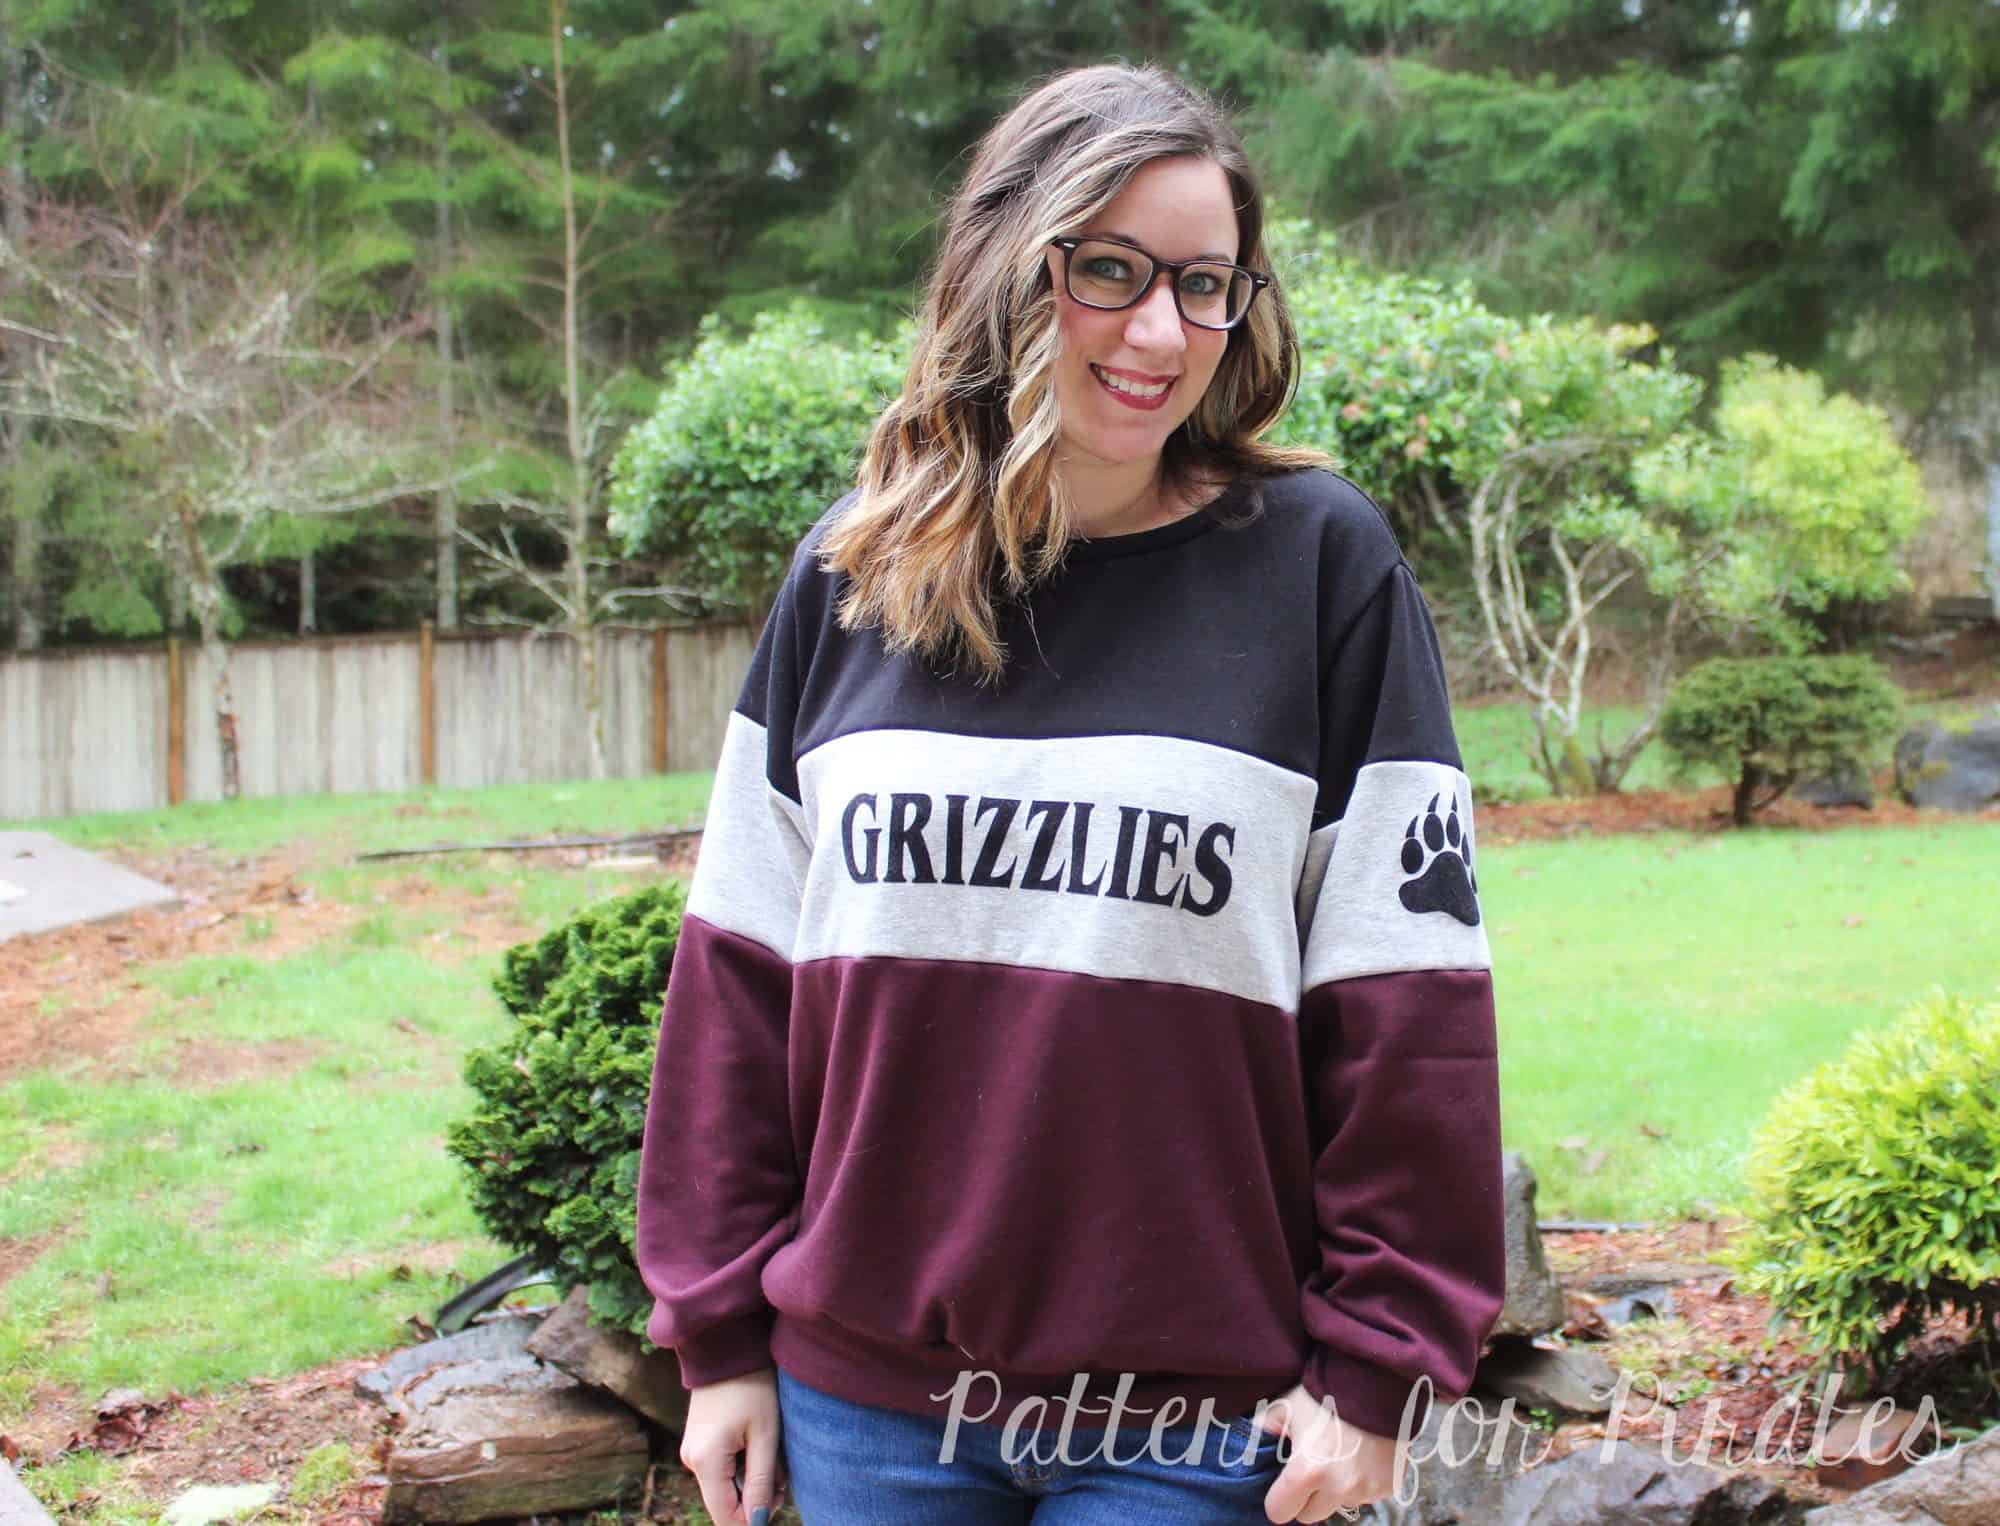
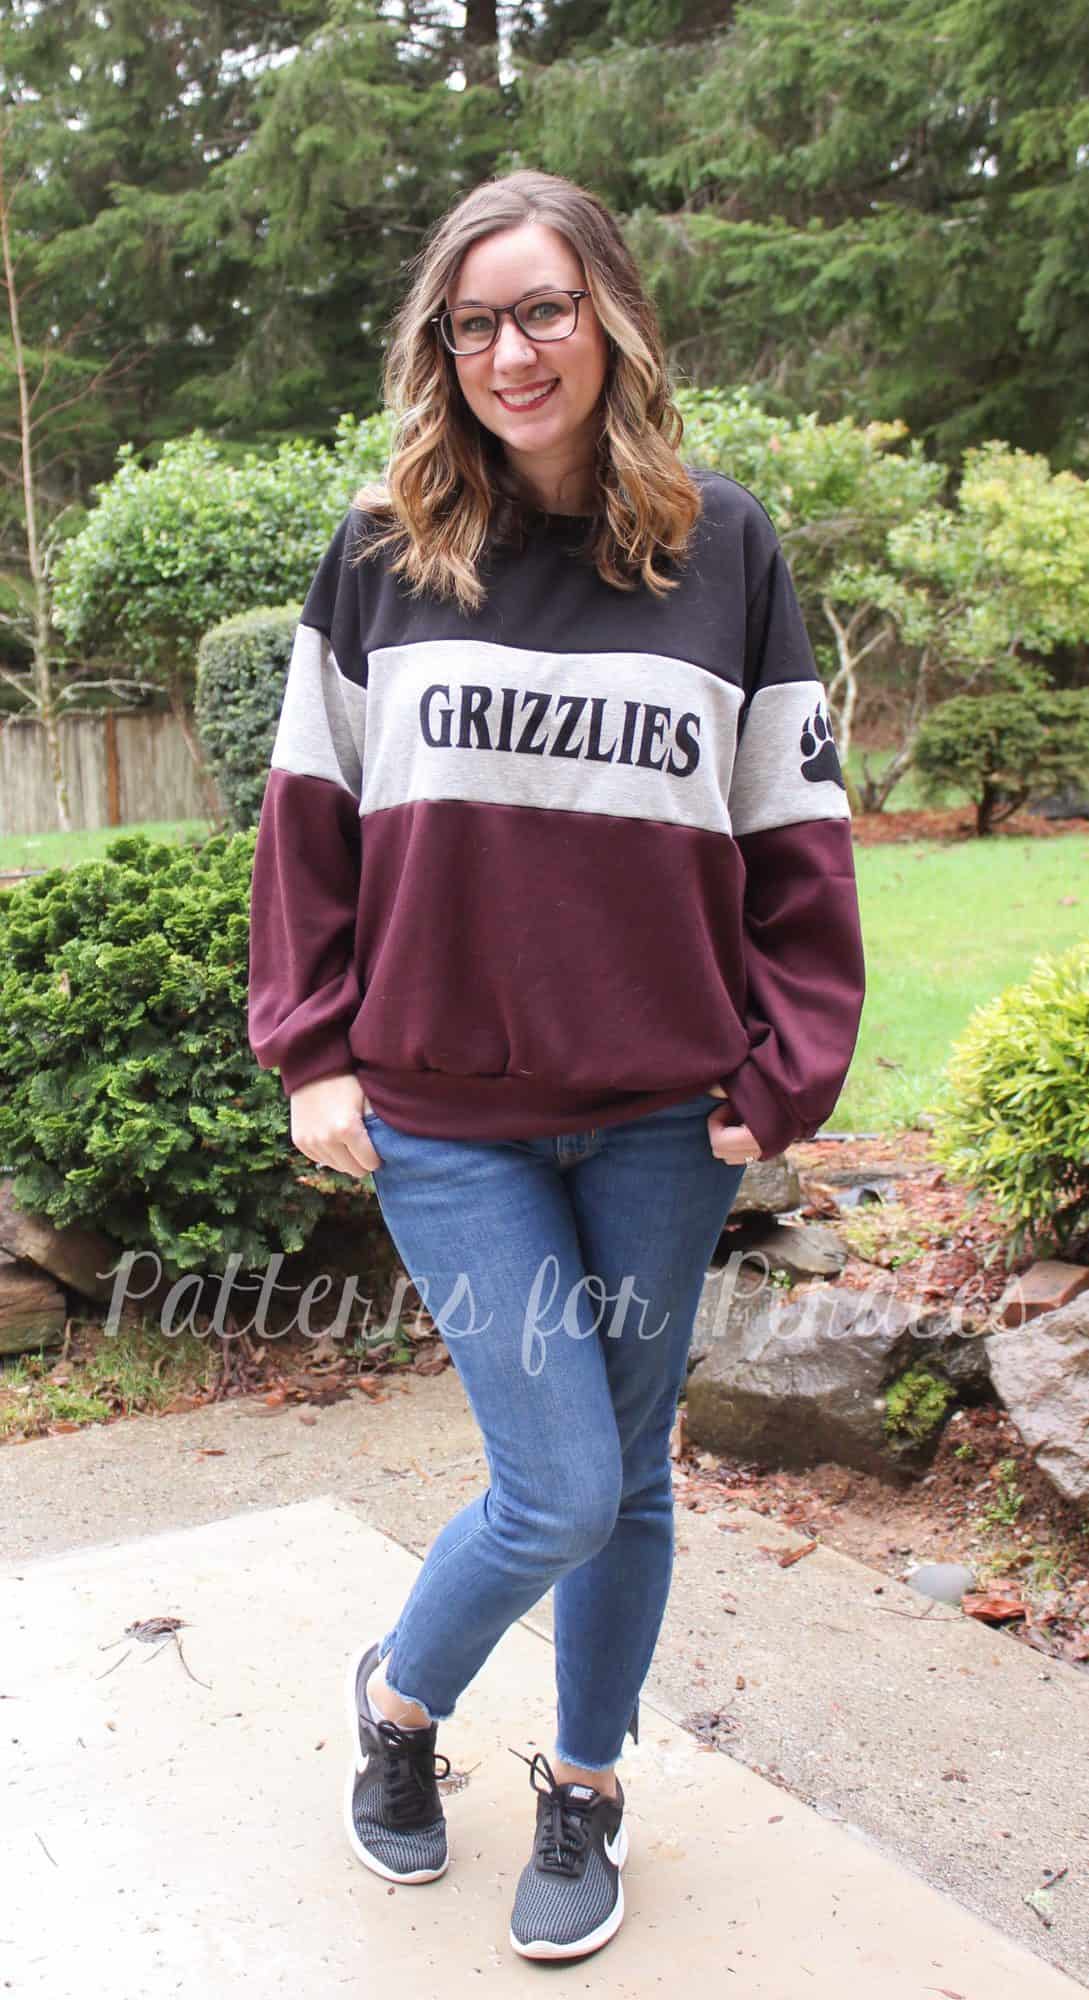
I am all in anytime that I have a chance to sport some spirit gear for our local team (Go Grizzlies!). Awhile ago, I was doing some aimless browsing and came across a colorblocked sweatshirt that was absolutely perfect. Of course they didn’t have our team colors, but the oversized sweater was the perfect starting point to recreating this sporty look.

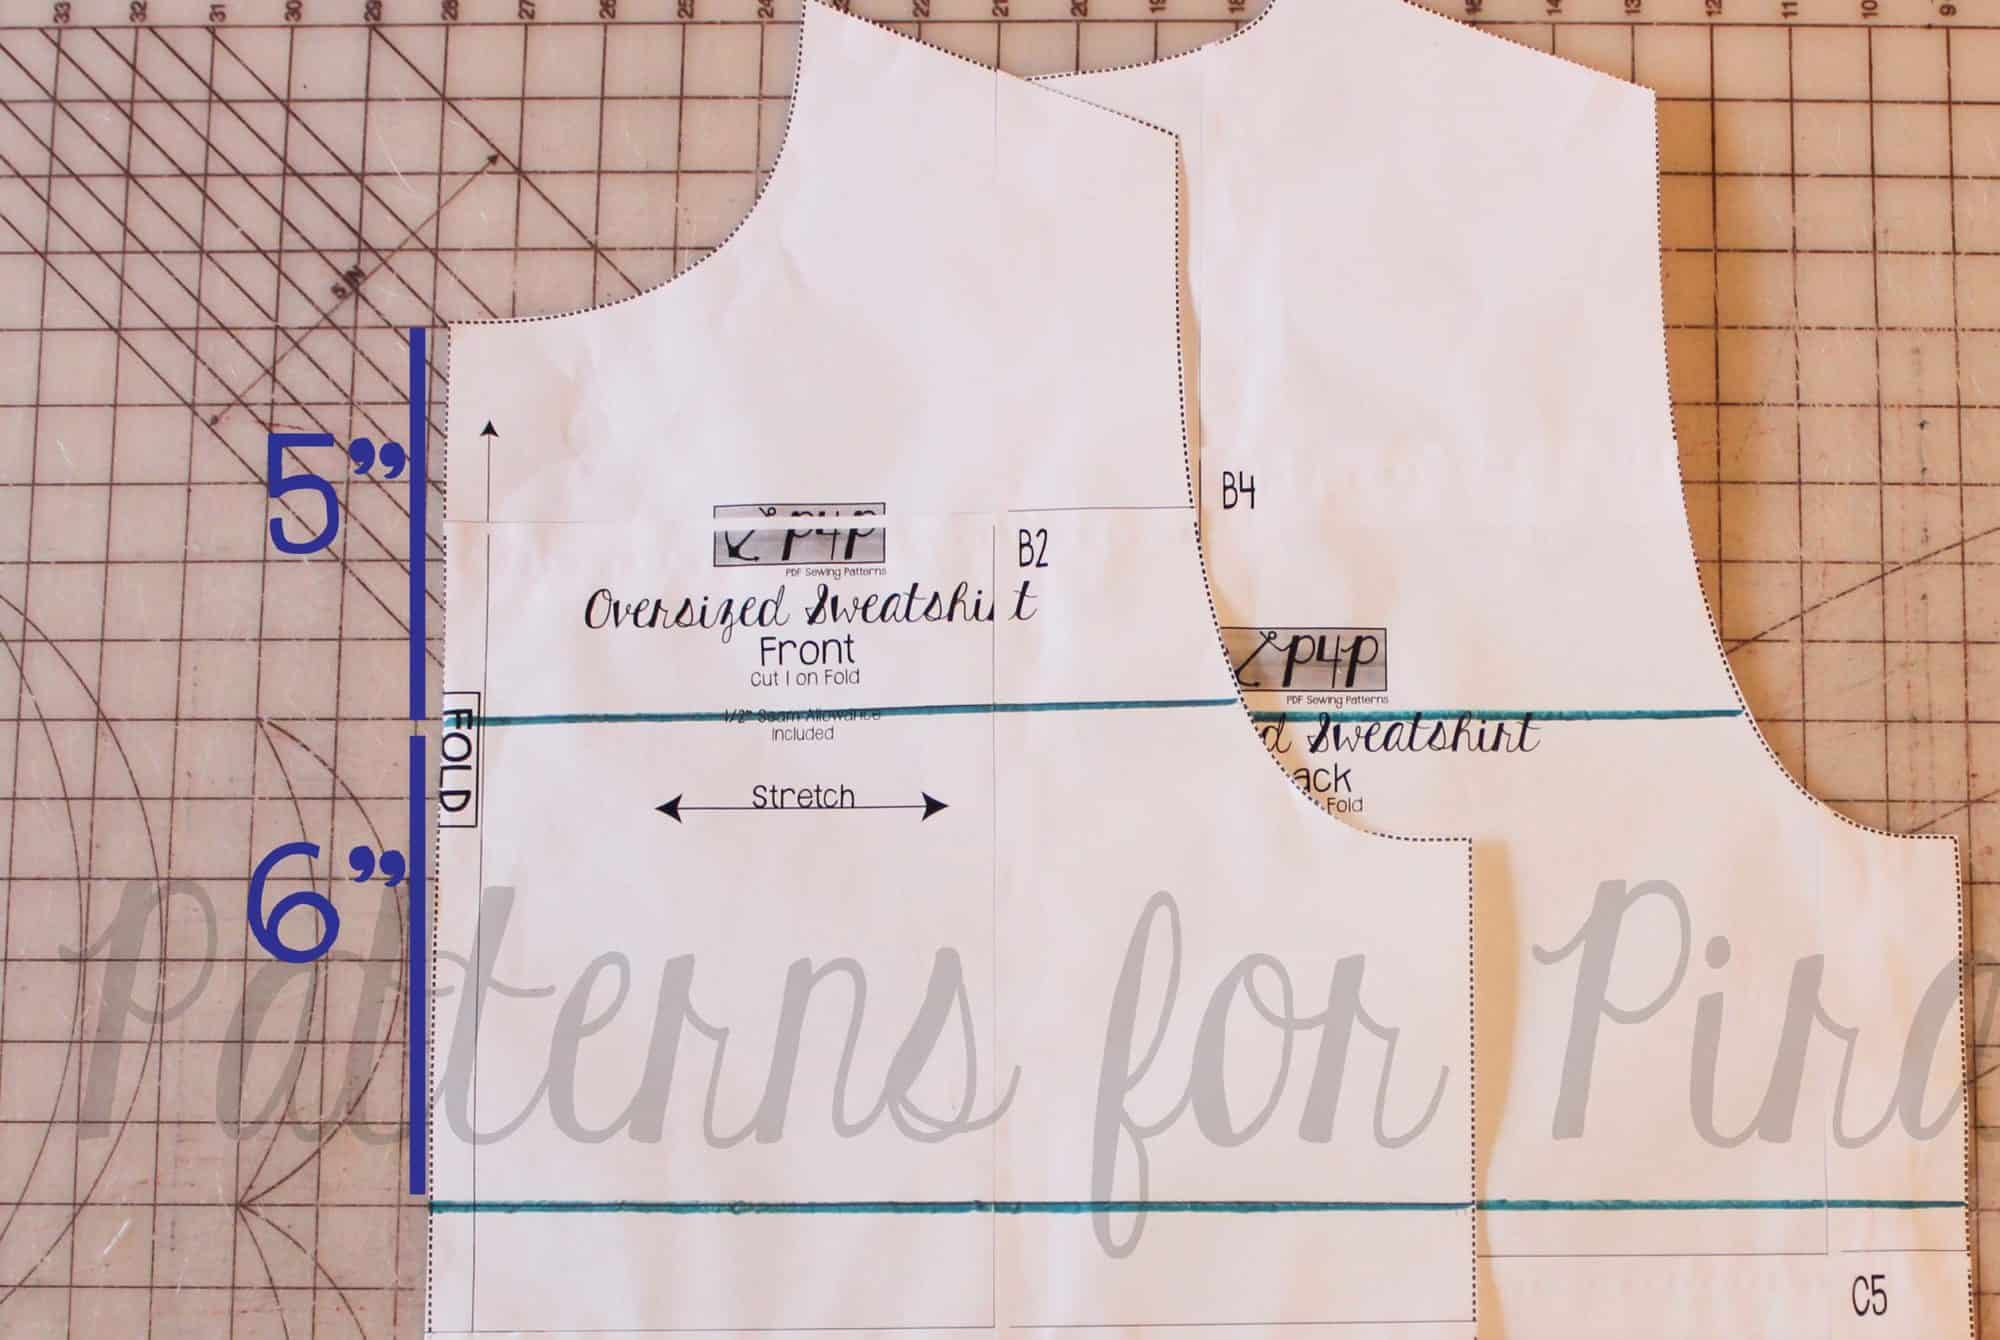
To begin, you will want to divide the front and back bodice pieces, as well as the sleeve, into the sections. For mine, I began with the front bodice piece. I measured 5″ down from the neckline and placed a vertical line. I then measured 6″ below that to create my second color block. The remaining section will be for my third color block.  For the back bodice, I lined up the bottom hemline of both front and back piece, and transferred my lines to this piece as well.

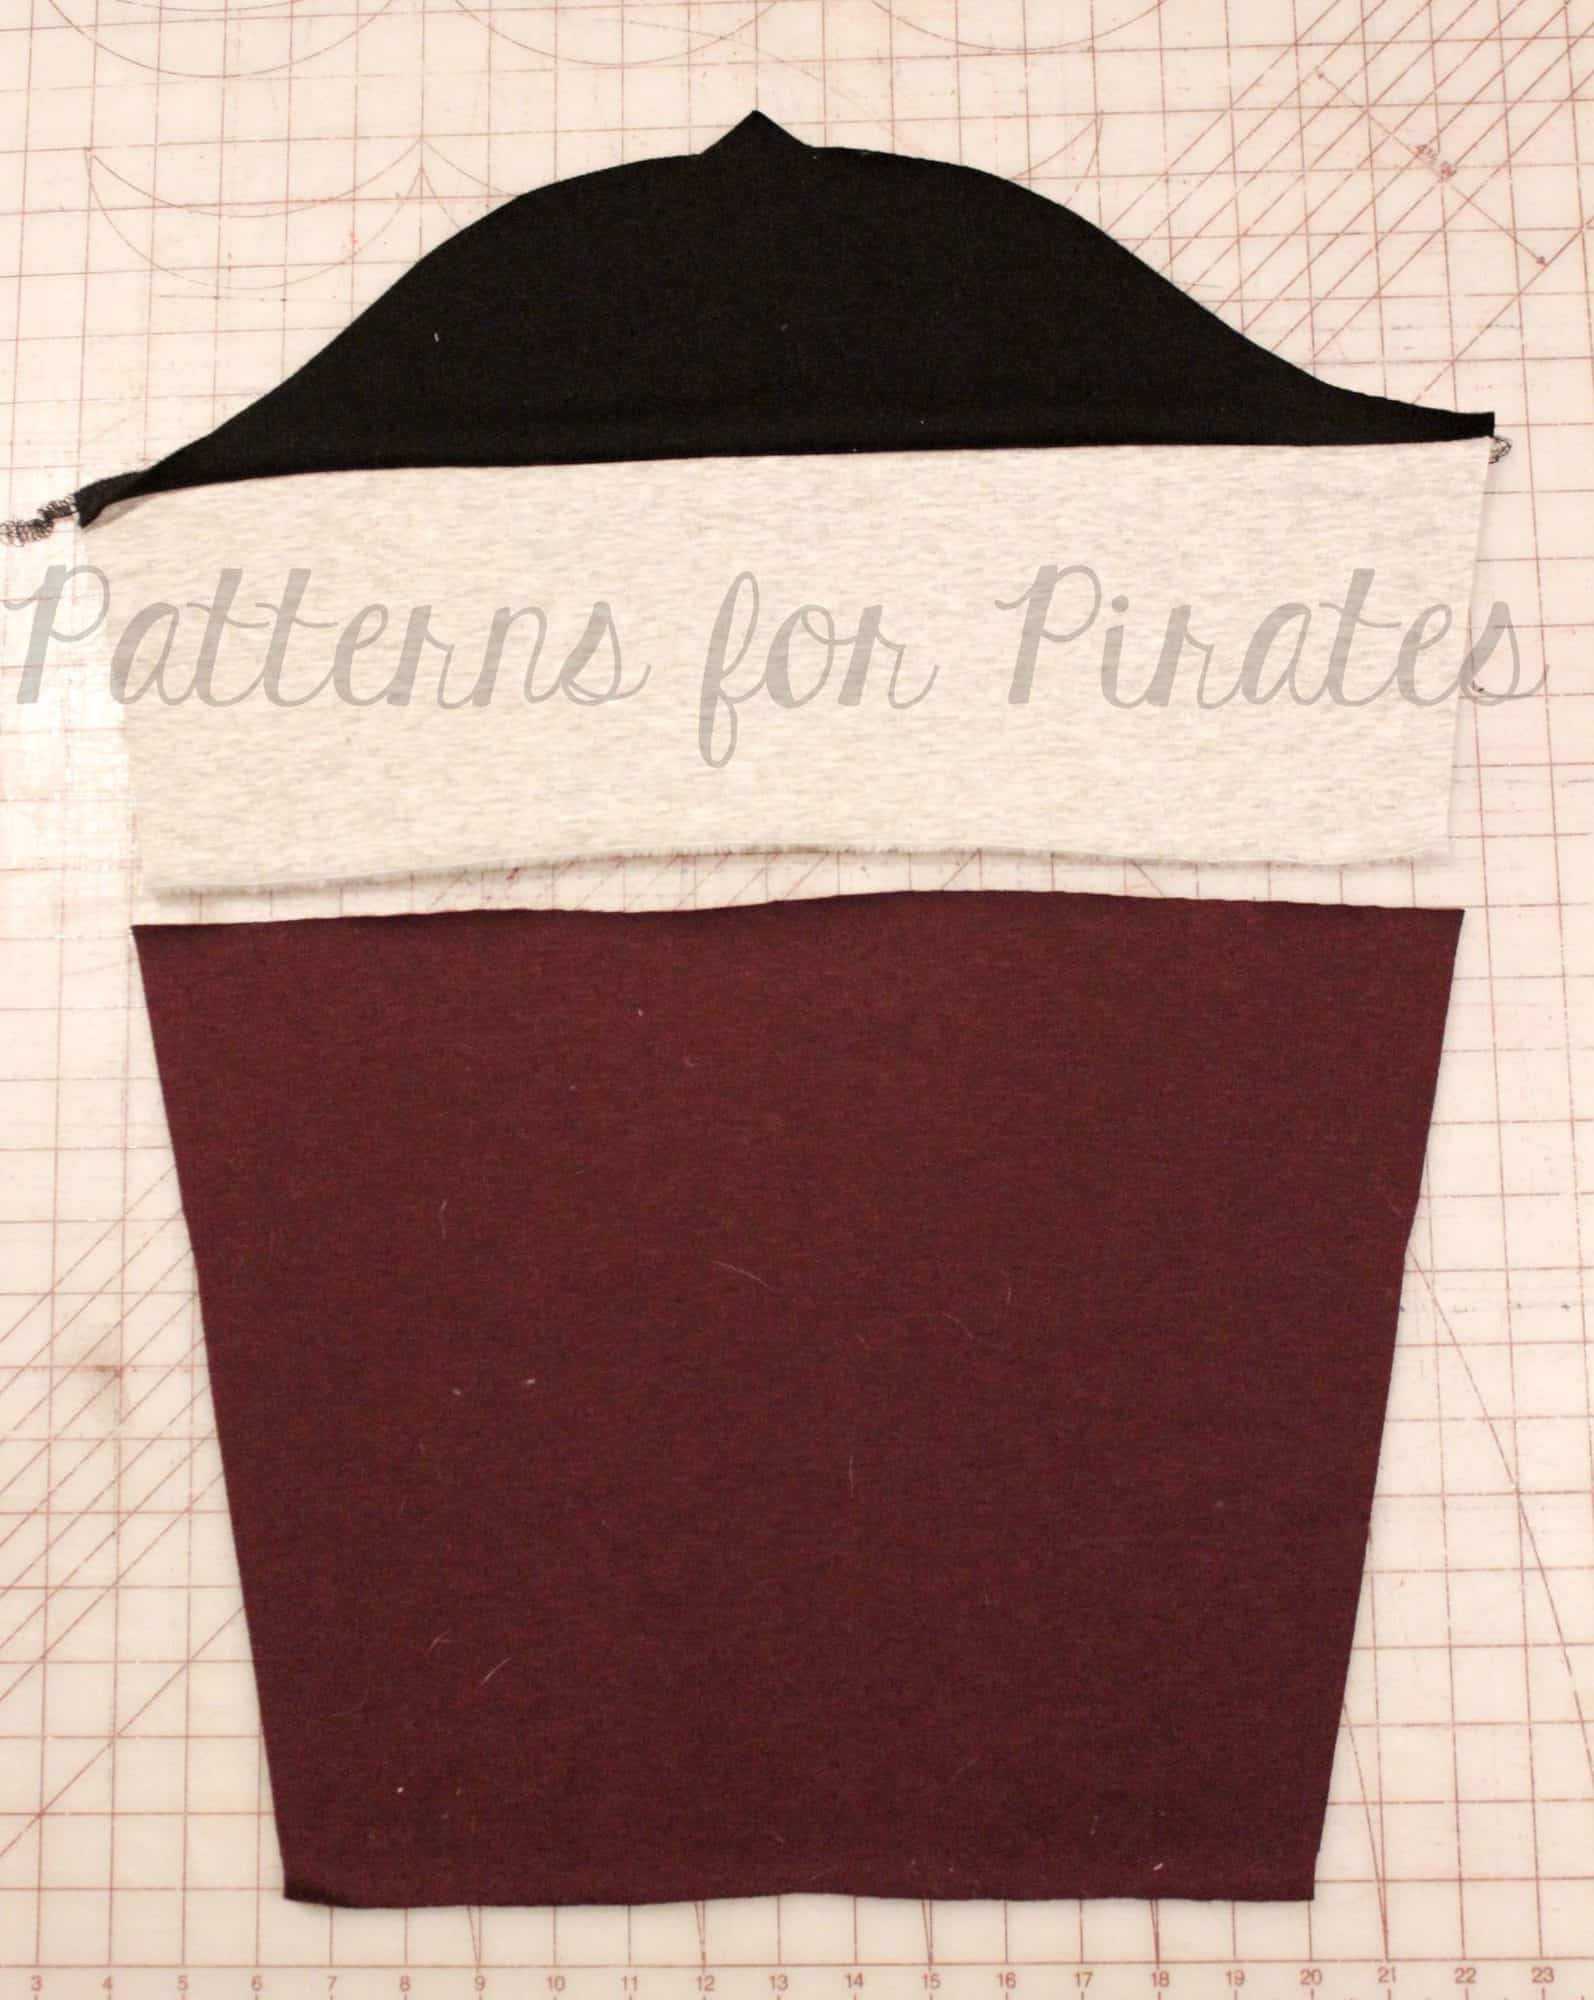
To create the colorblocked sleeve, I began by aligning to top of the sleeve with the front bodice neckline and again, transferring these lines.

Once the lines are drawn, you will then need to cut your pieces on these lines (you can also fold your pattern on each of these lines if you’d rather not cut your original). To cut the fabric, you will need to add an additional 1/2″ to each line you drew, both to the top and bottom colorblocked sections of this line, to account for the seam allowance.

Now that you’ve cut out your pieces (phew, wasn’t that fun?! haha), you will begin to reassemble the bodices and sleeves. With right sides together, match up each colorblock section and sew using a 1/2″ SA.

Once your pieces have been sewn together, you will then follow the original tutorial to construct your sweatshirt.  And just like that, you’re now ready to show off your favorite colors, prints, or school spirit all in one fun, colorblocked sweater!

…..

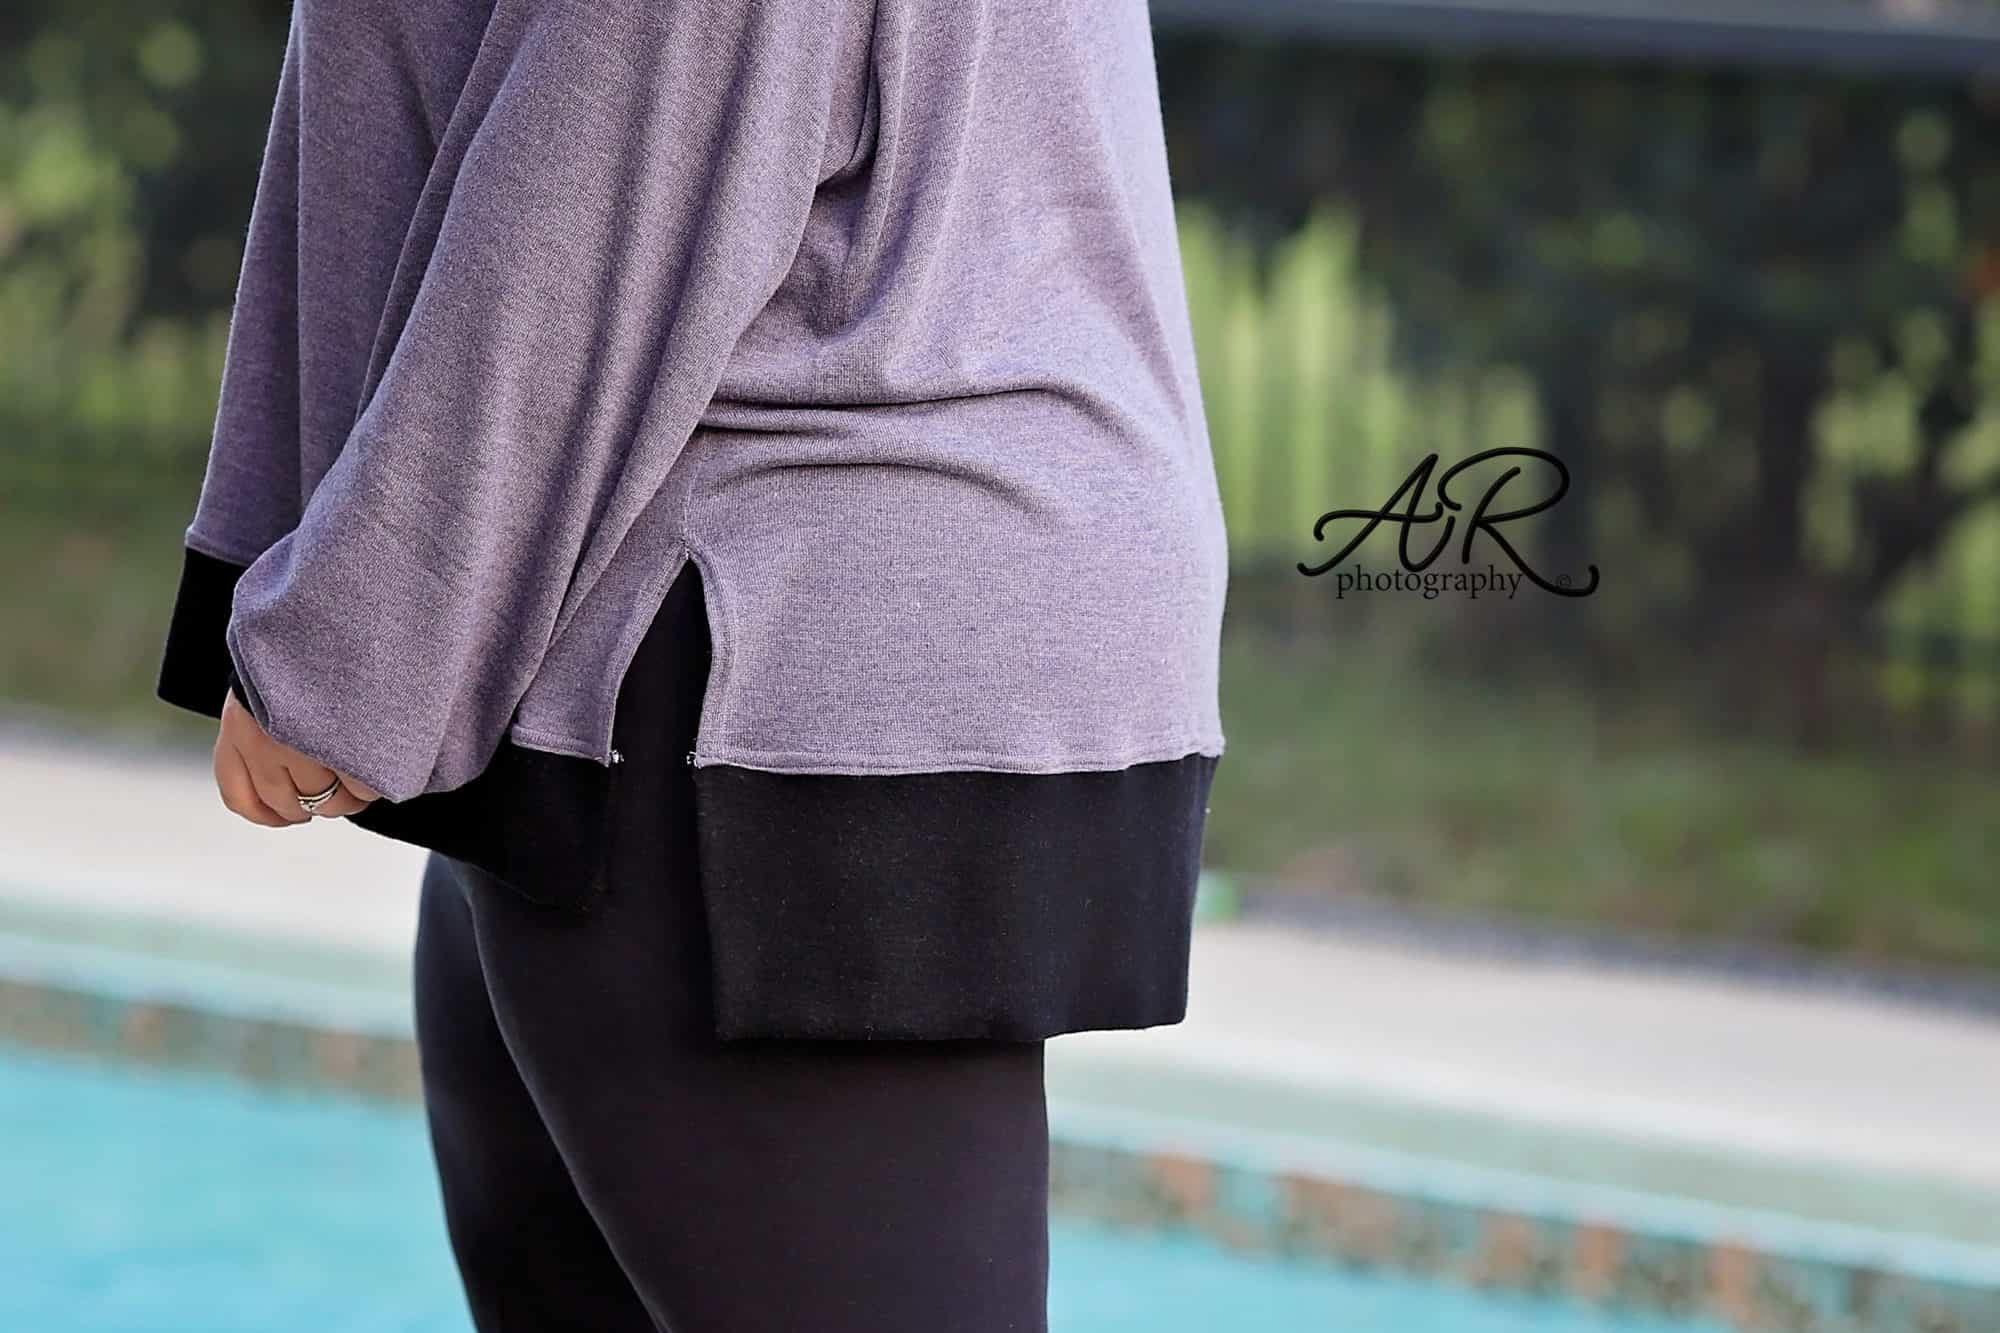
Higher side split

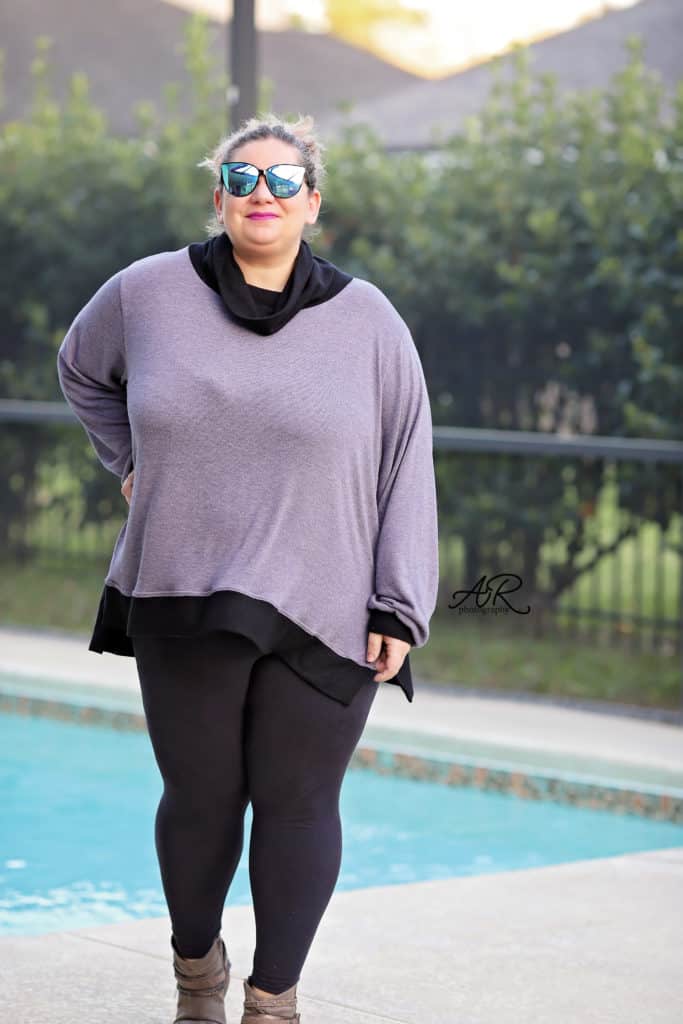
Let’s end this easy hacks series with a Pinterest inspired hack. One of the testers shared a picture of a high side slit oversized sweater and I knew I just have to have one. This is super easy look to achieve!

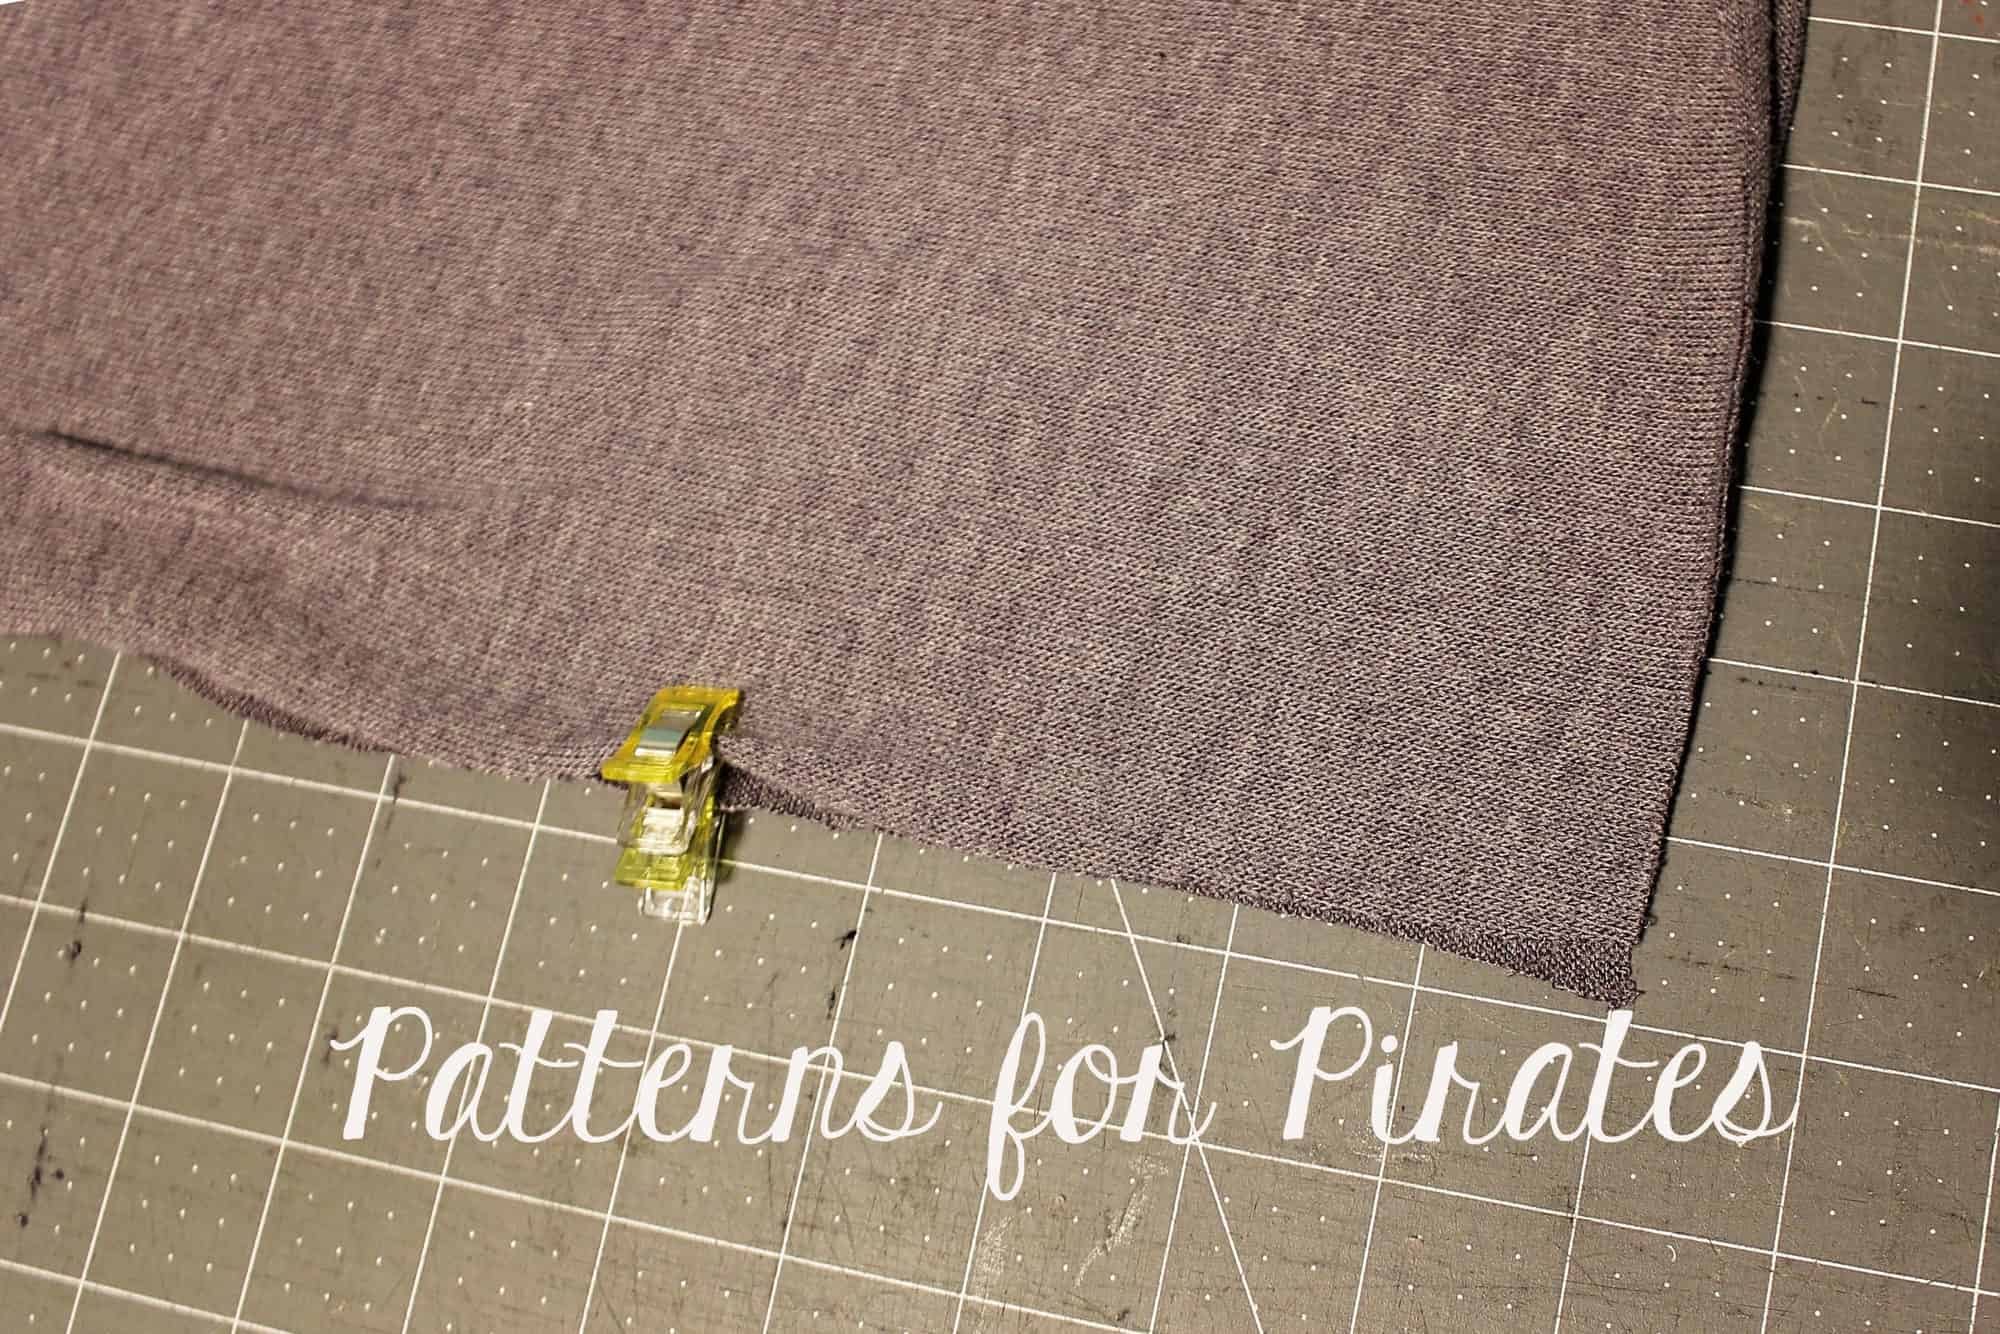
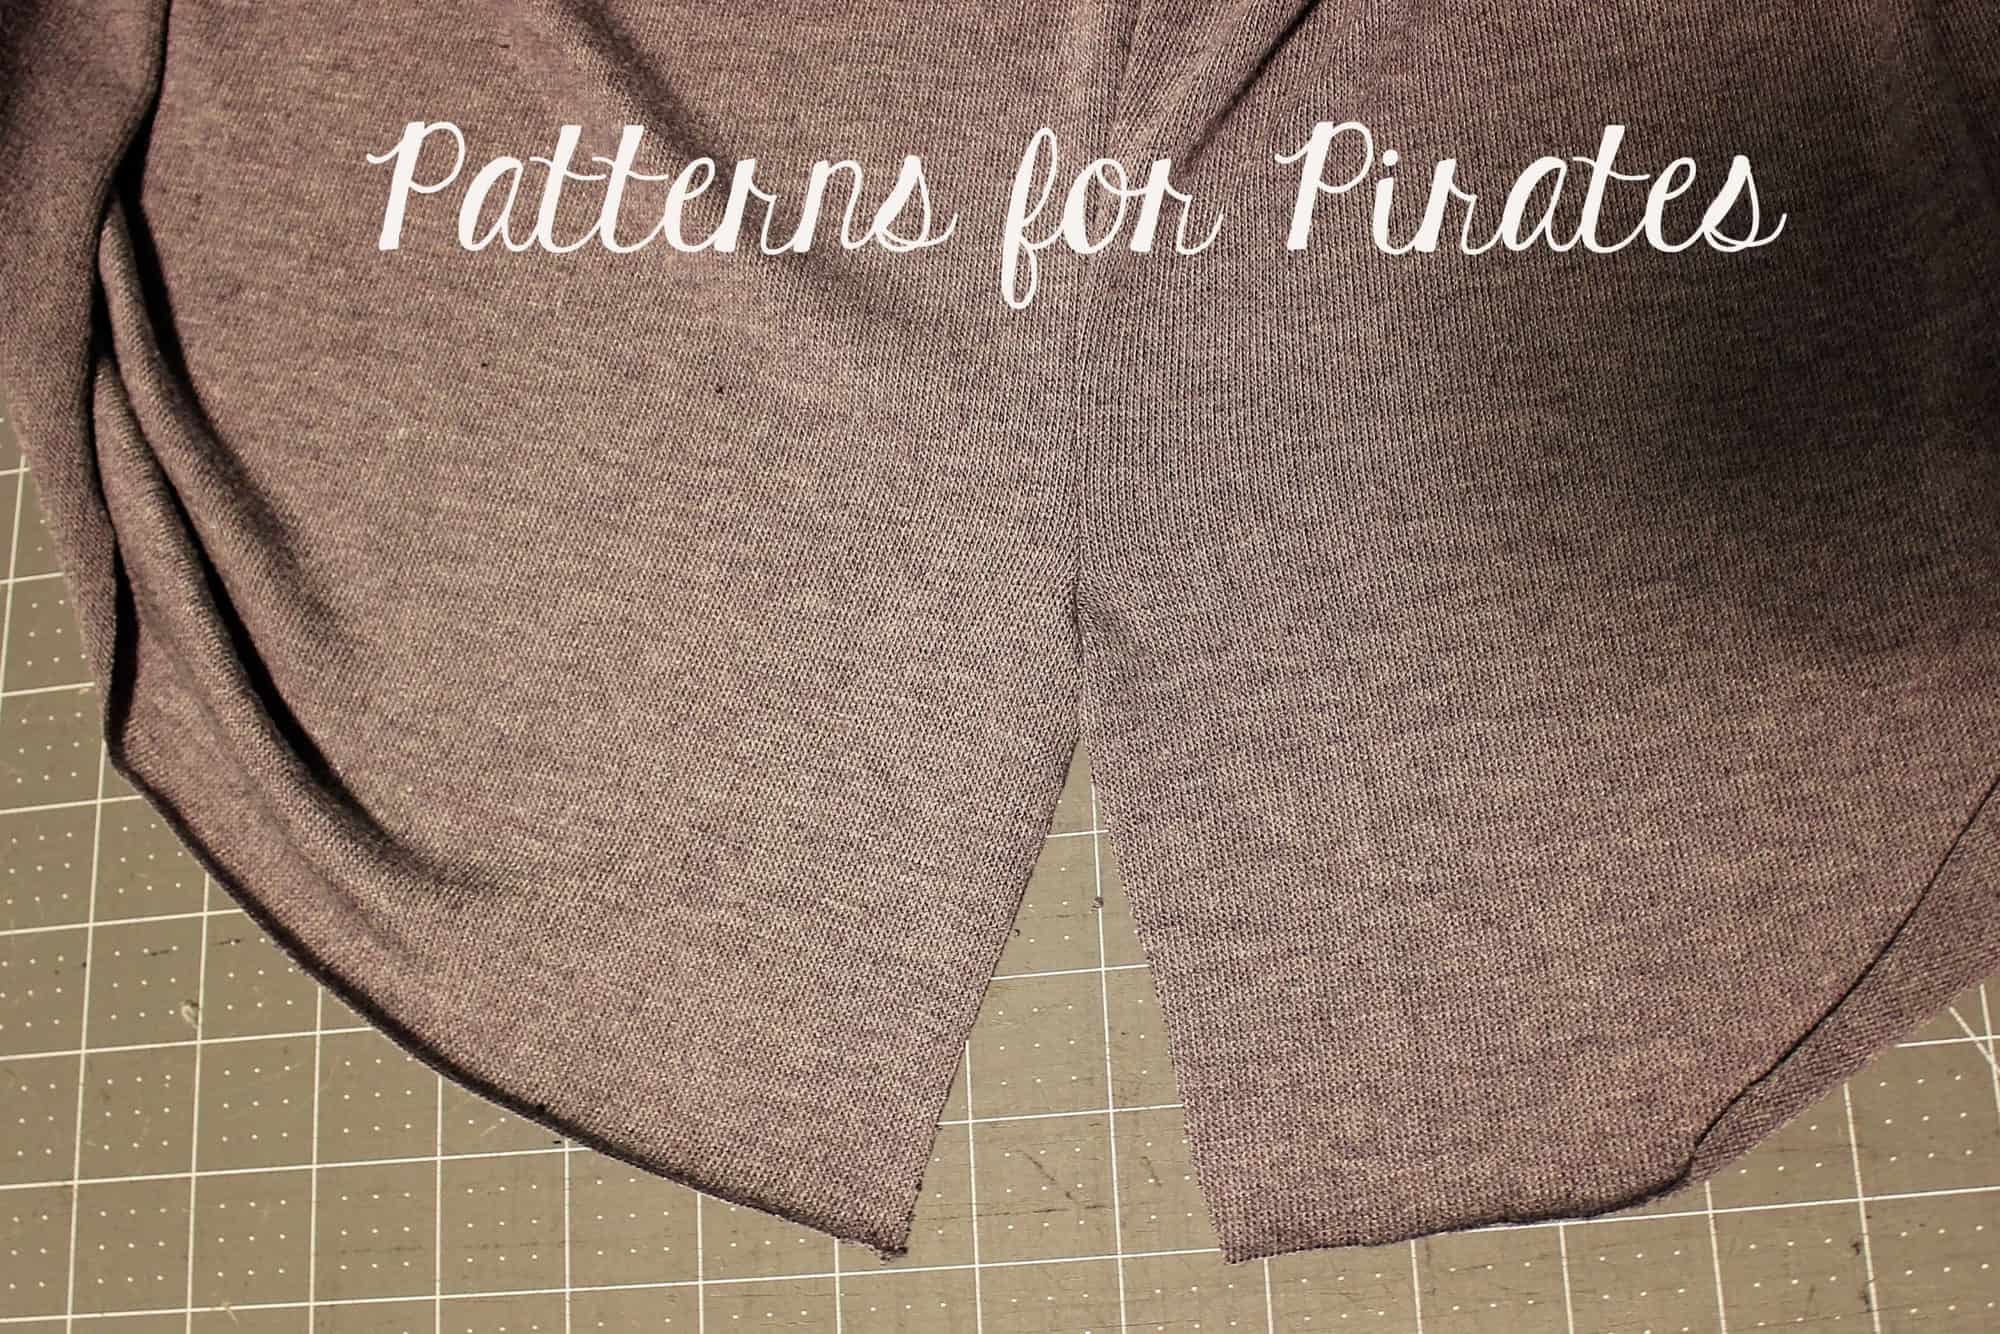
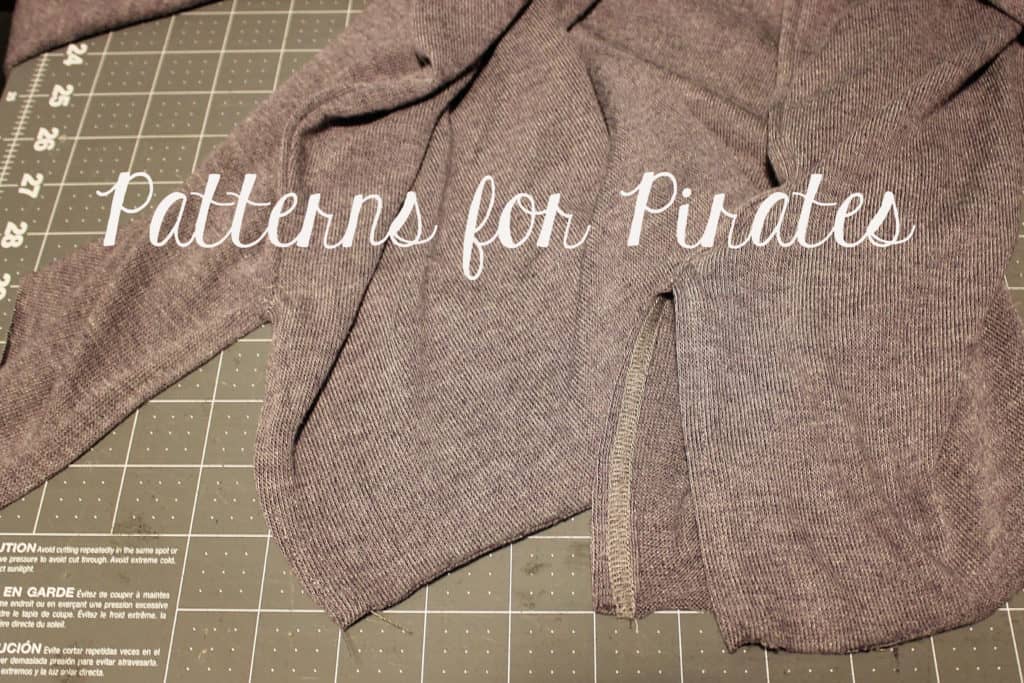
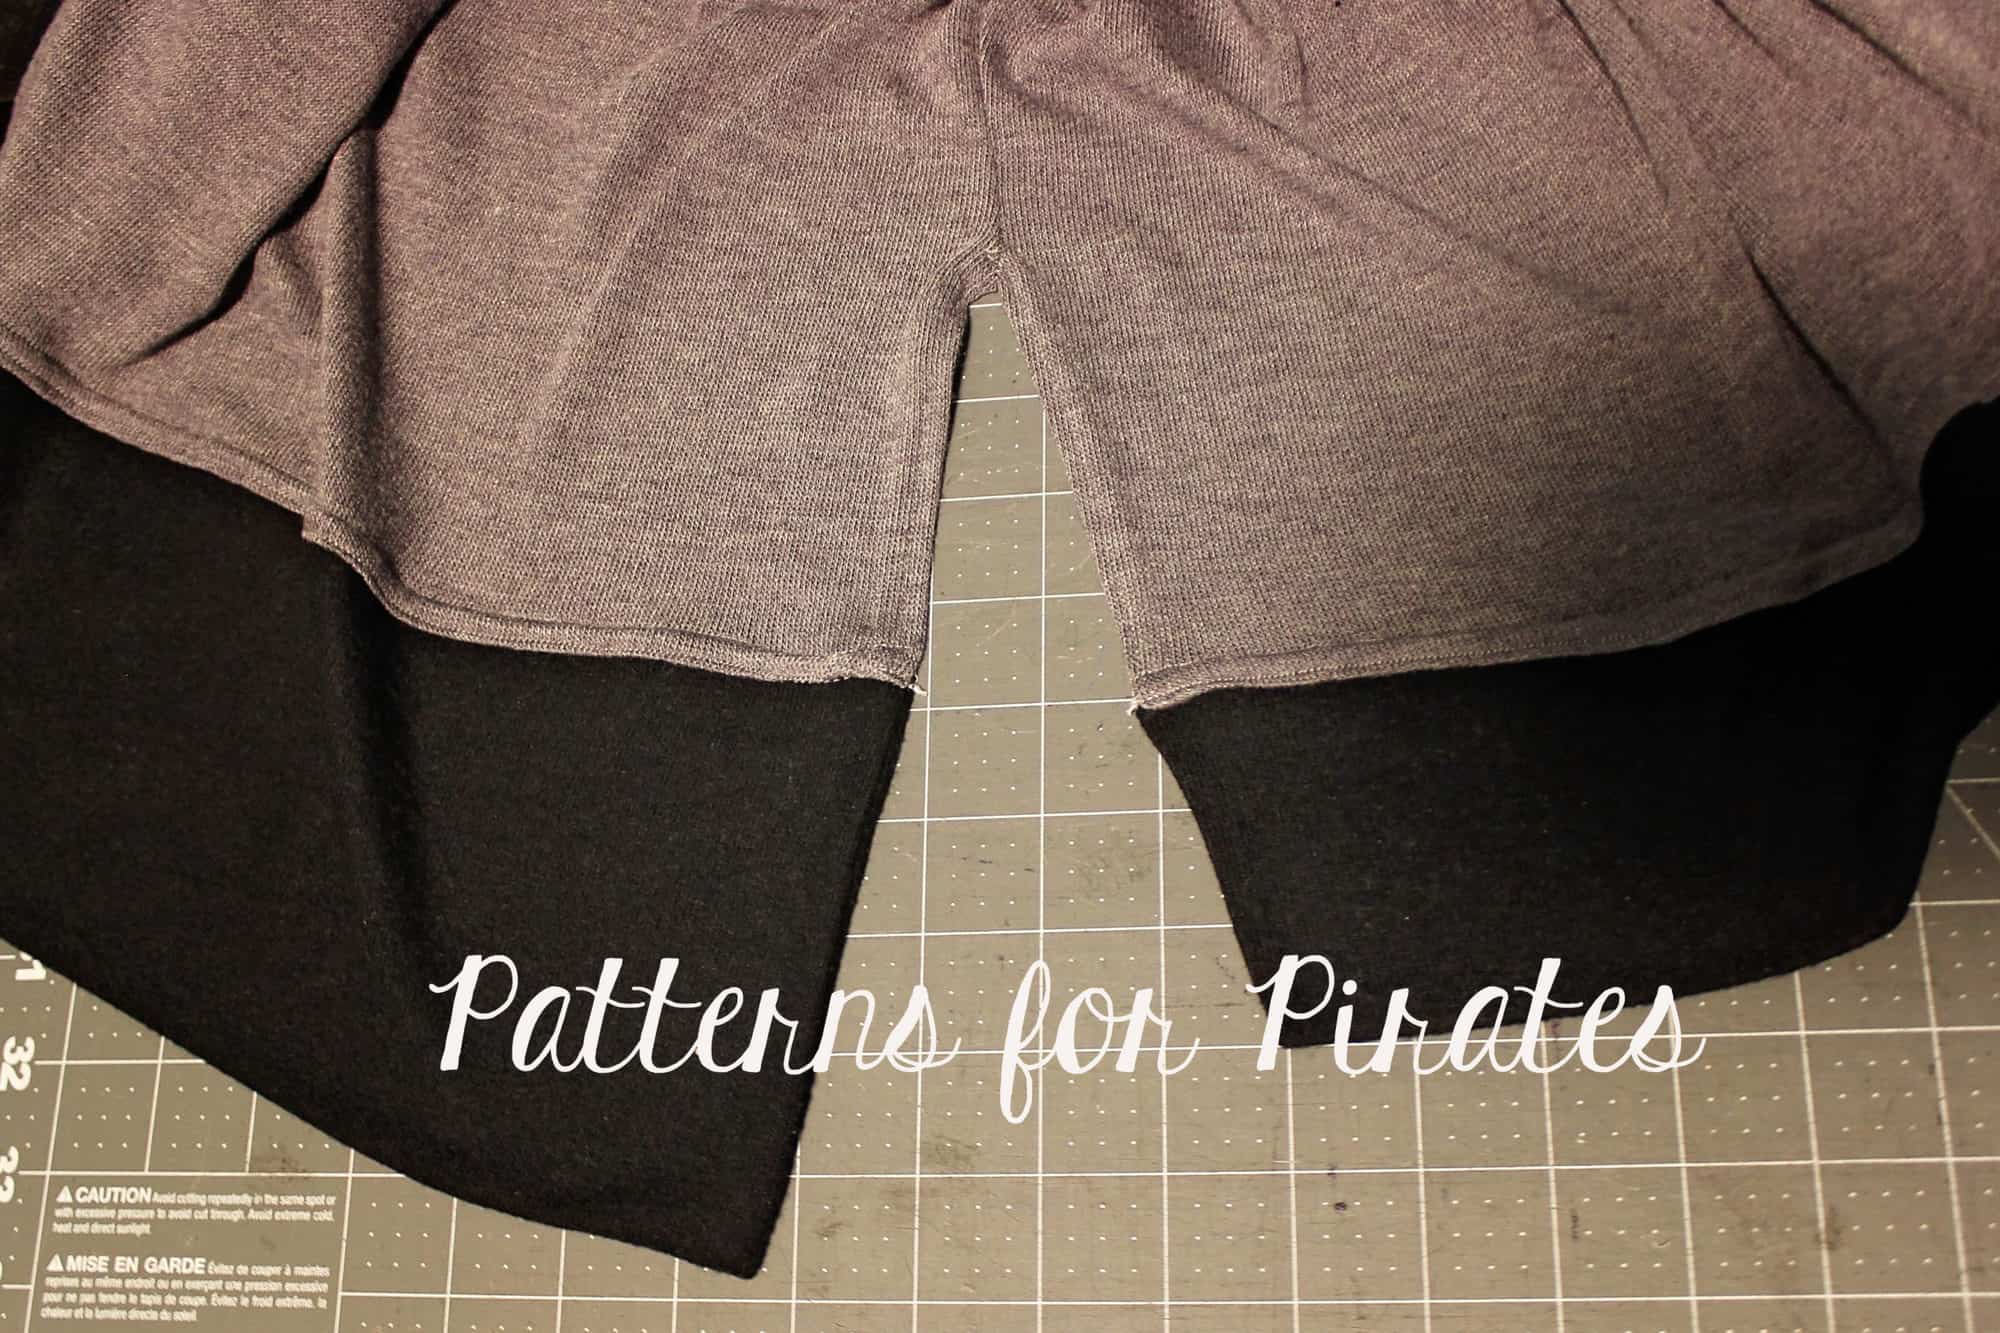
I chose to make the slit 5″ but that is just a mild suggestion. You can certainly make it bigger (or smaller) if you’d like. Mark 5″ up from the bottom raw edge on all 4 side seams. You can use pins, clips or a tailor chalk.

Sew the pattern as instructed in the tutorial but stop the at the 5″ mark. You may find this step easier to be done if you sew (at least the last few inches) with a sewing machine. Repeat the steps on the other side.

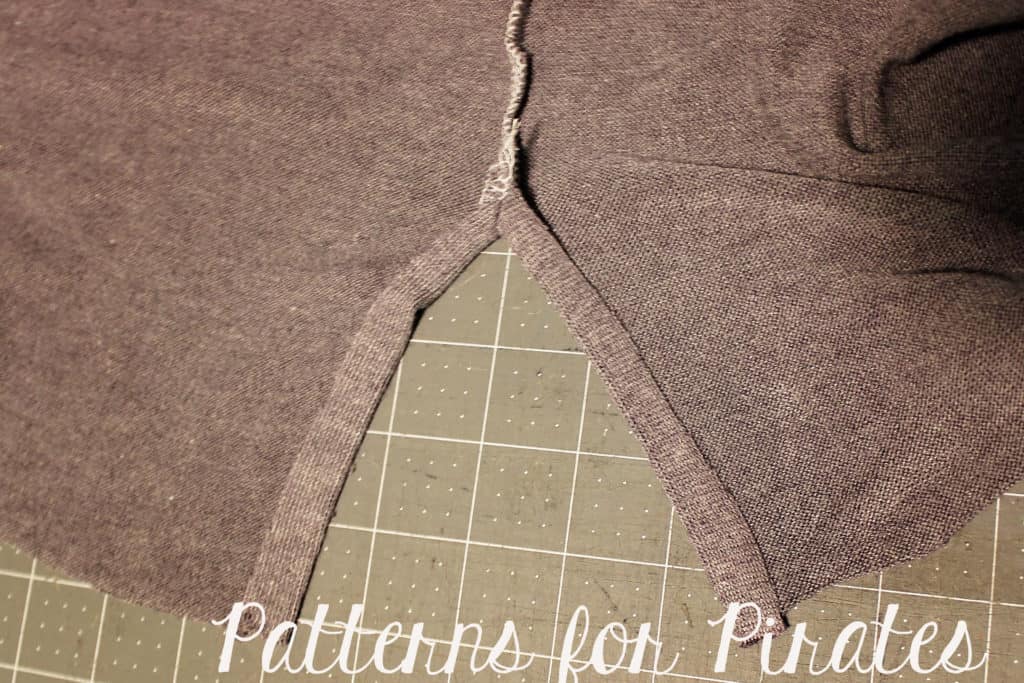
Press a 1/2″ hem on both sides of the side seam. Stitch the hem down with a zig zag stitch, twin needles or a coverstitch.


Continue adding the front and back bands ad in the tutorial. See that was super easy!

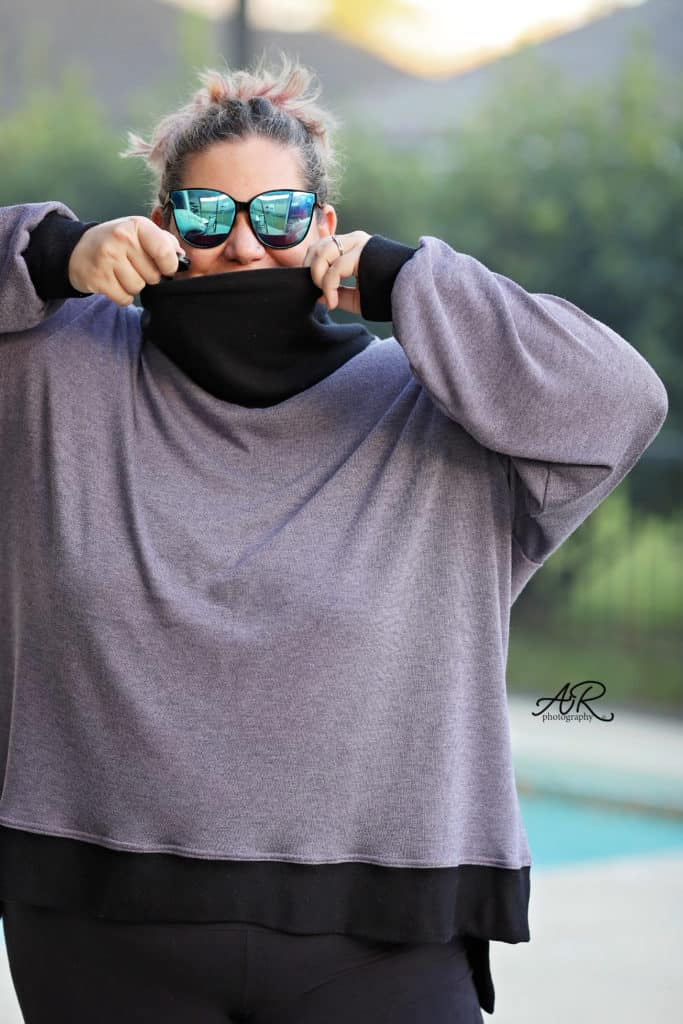
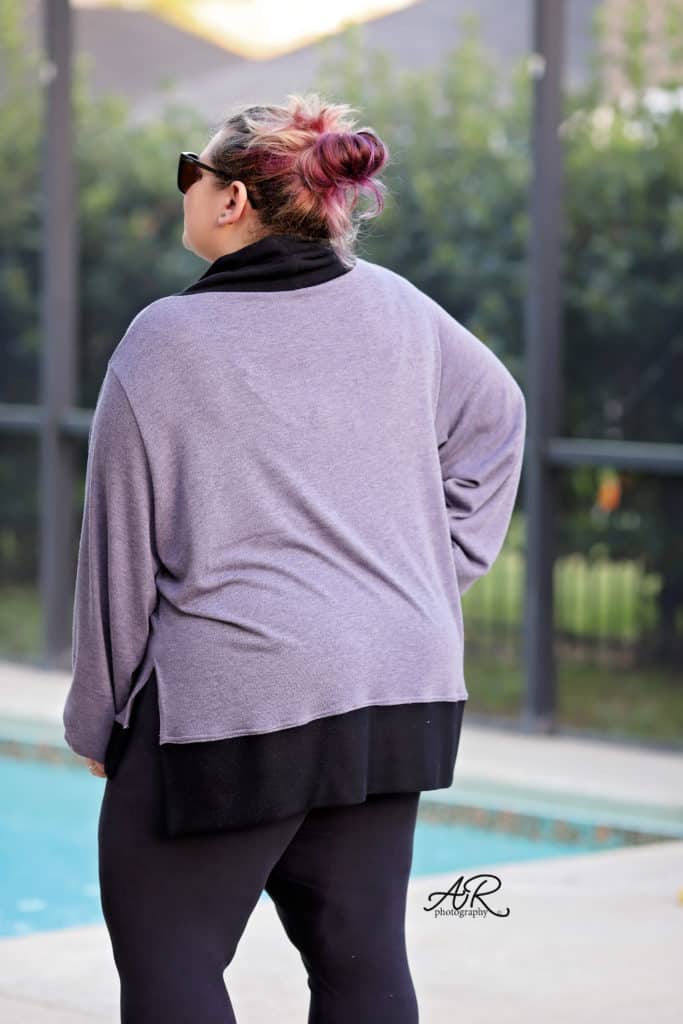
I did the hack on my turtleneck version but it would be super cute on all neckline.

Tip: If you would like to make the high side seam on the curved hem option you would have to sew the side seams the same way you do the high low option. 


Hope you enjoyed these as much as we loved making them for you. As always, don’t forget to show off your creations in the P4P Facebook group or Instagram (use #patternsforpirates) so we can ohhh and ahhh over them!

Filed Under: Pattern Hacks, Pattern Release, Uncategorized Leave a Comment

Hepburn Top and Dress – Easy Hacks

August 13, 2019

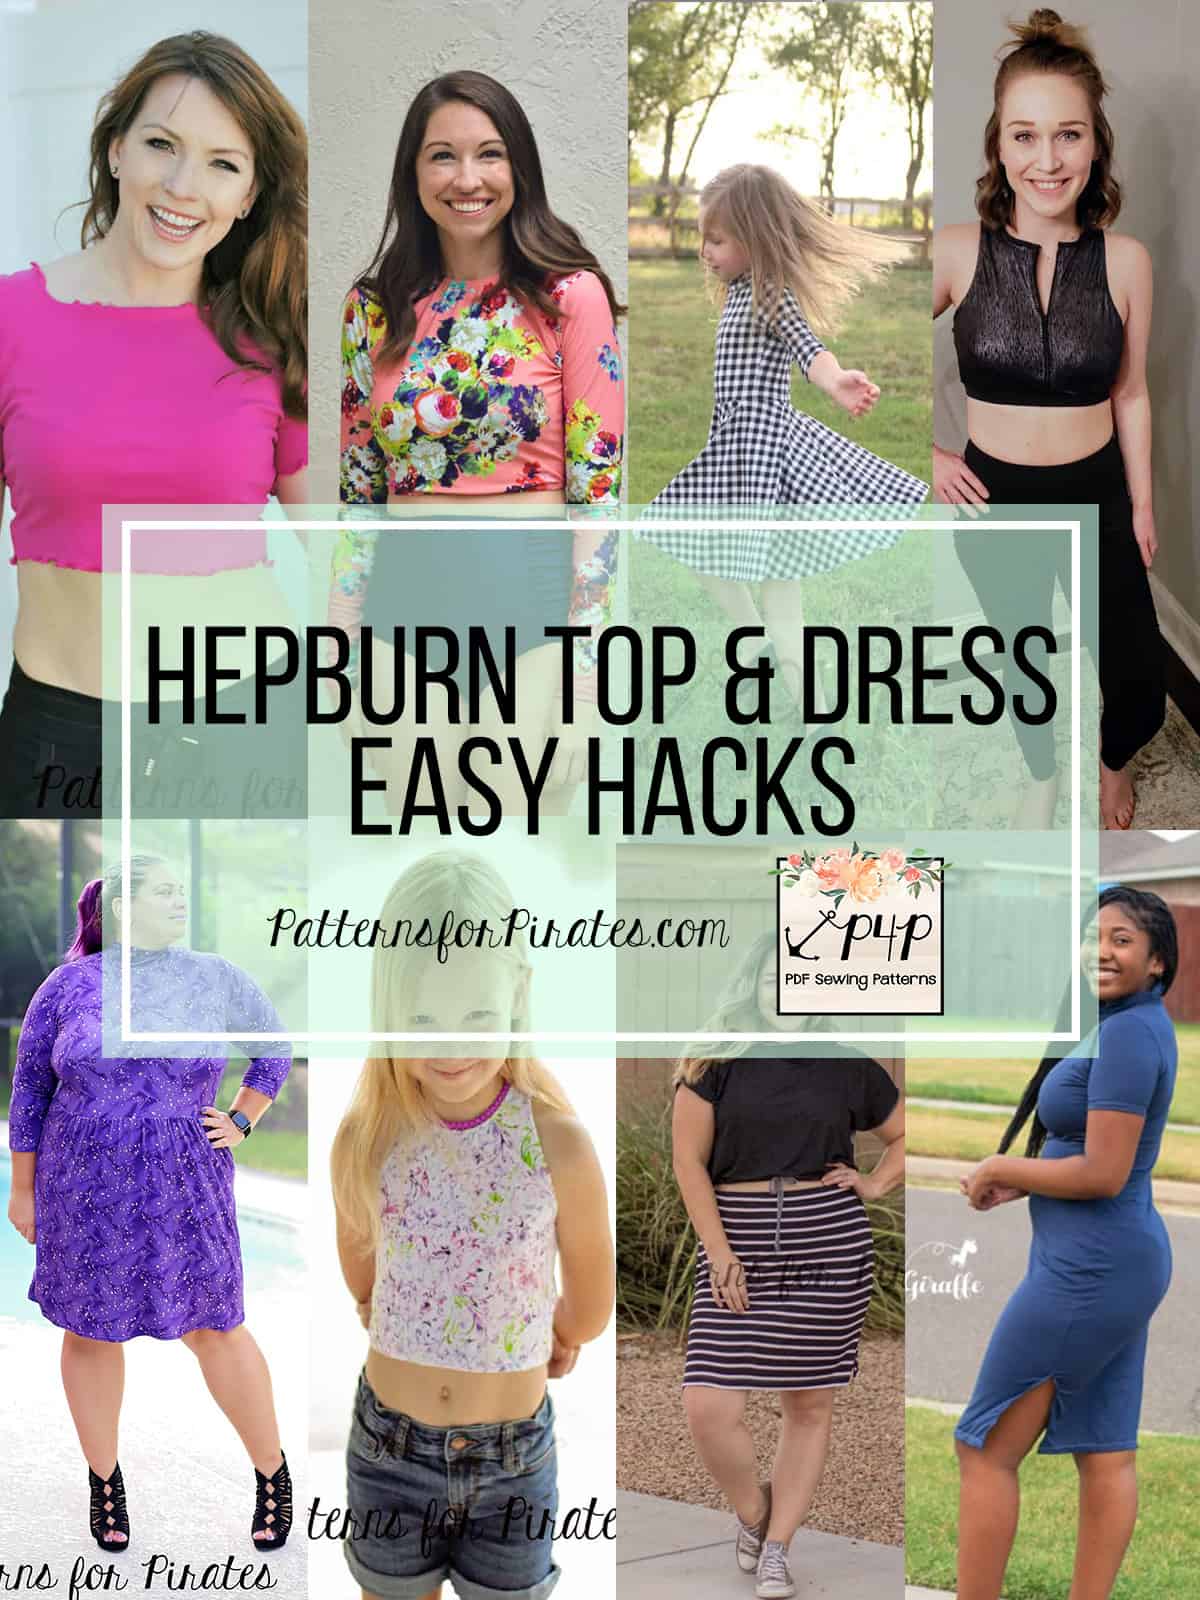
The Hepburn Top & Dress has released and it will surely become a staple in your year round wardrobe. Our amazing (and growing) team of blog contributors has some easy hacks for the new pattern. Take a look and get sewing!

…..

Swim top/rashguard

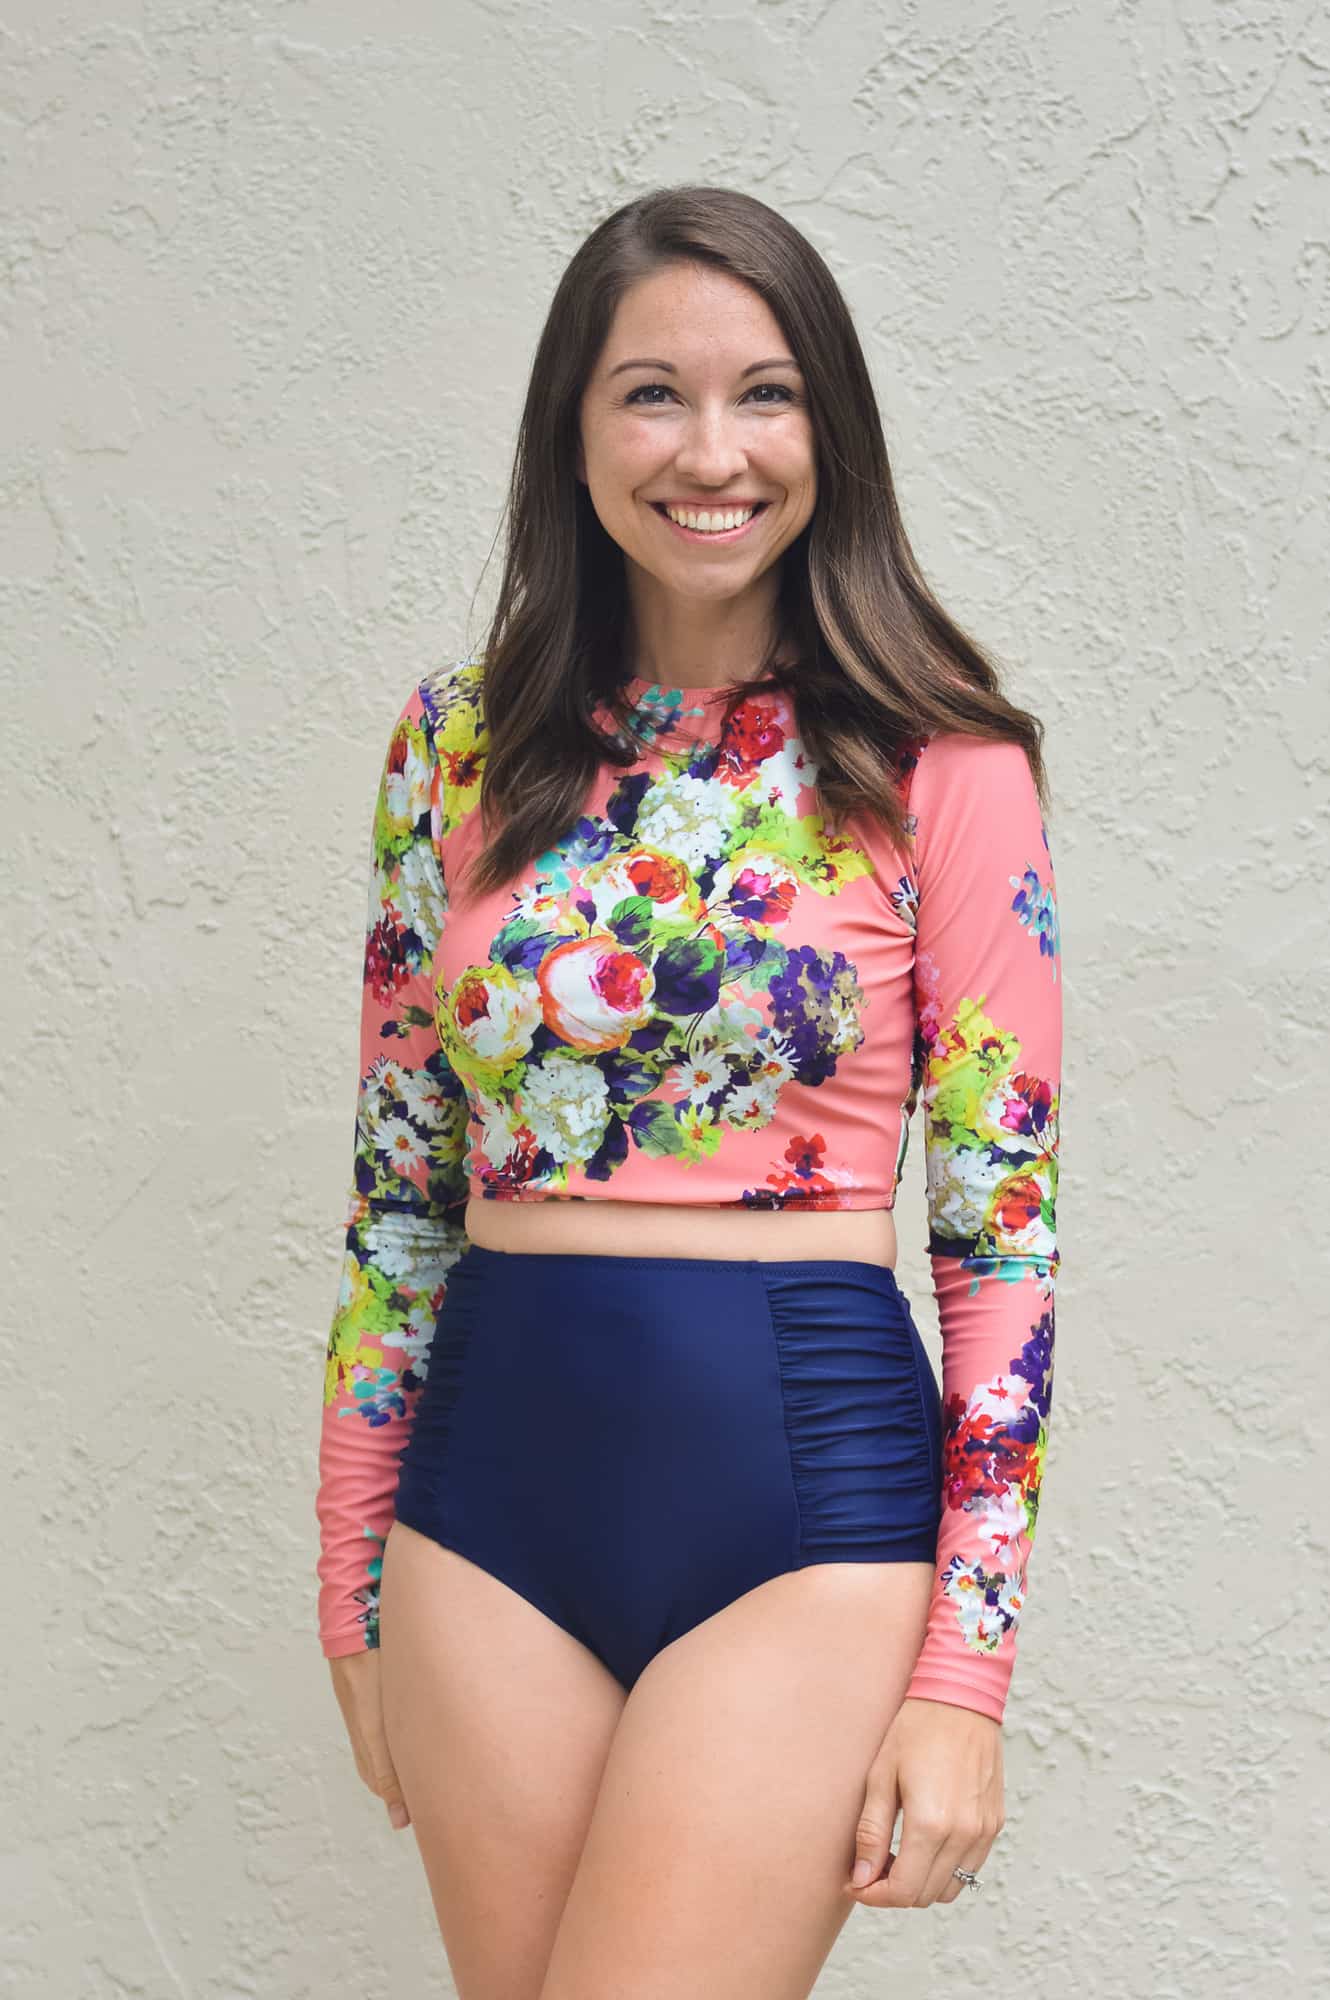
The fit of the Turtle Neck Dress is so fantastic that modifying it to be a a rashguard is very simple!

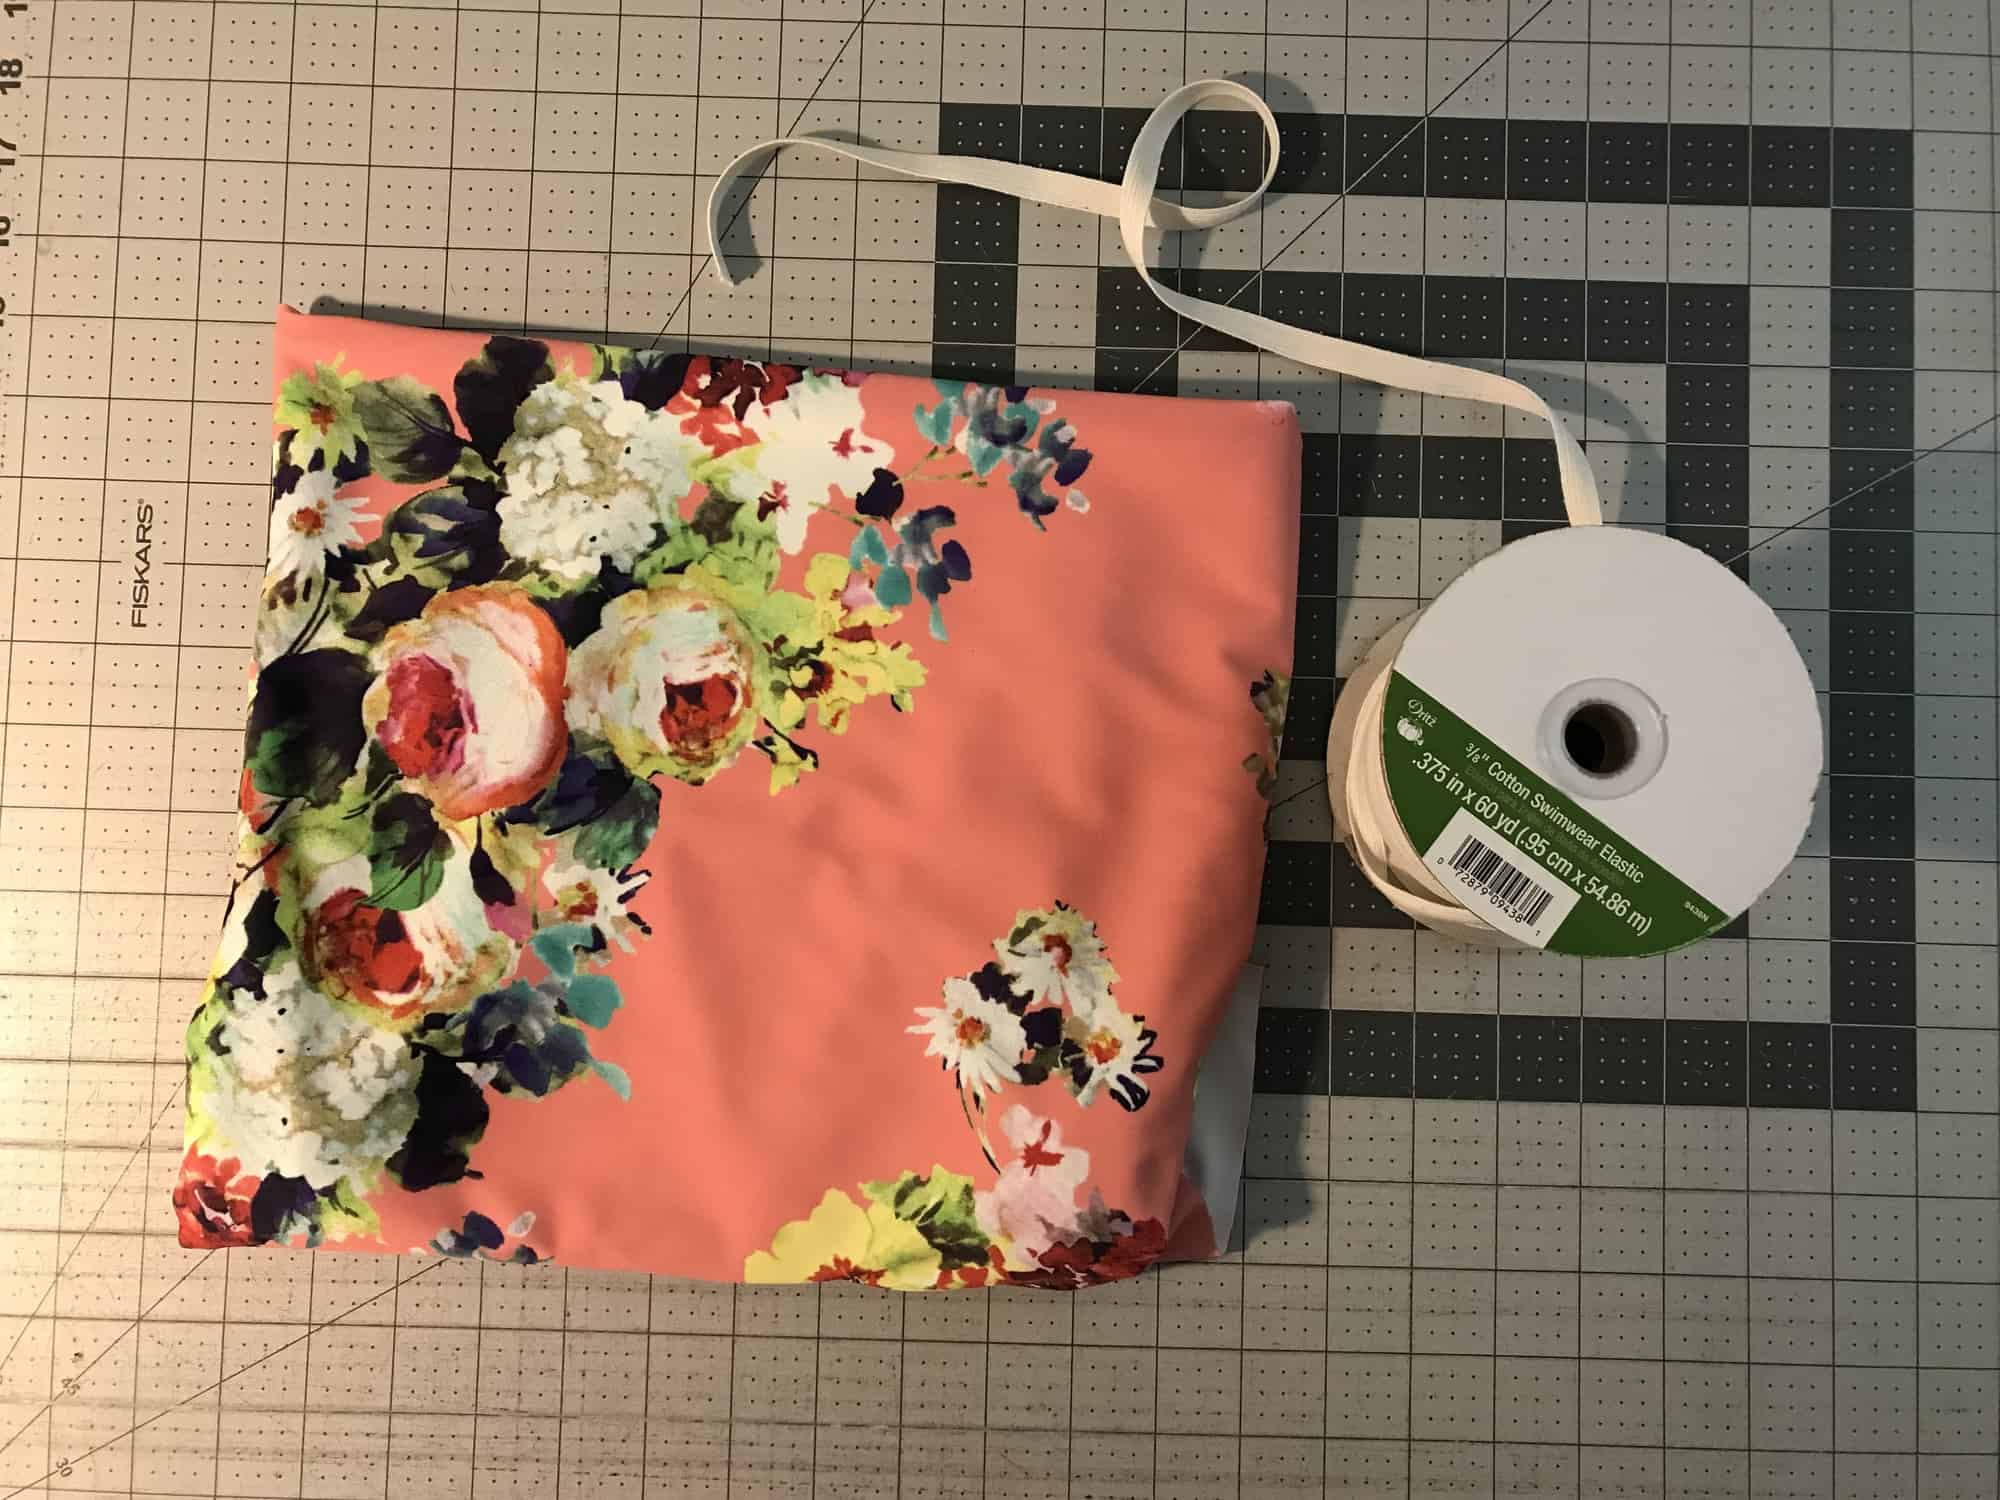
The first thing you need to do is decide which pattern options you would like to use and gather your supplies. Swap out your sweater knit for some swim knit, and your clear elastic for swim elastic.

Cut out your pattern pieces and neckline elastic according to the tutorial. For all options, you will continue on following the tutorial until it is time to hem.

If you choose to make a cropped swim top, like I am, you may want additional swim elastic for the bottom hem. This will help keep the hem from rising up while swimming. For this option, you will want to trim half an inch from the bottom of the front and back bodice pieces.


I simply wrapped the elastic around my waist and cut at a comfortable length. The elastic will be attached in the same way you attach the neckline elastic for the crew neck.

All other hemming options can follow the tutorial. Now you can enjoy your new swim top!


…..

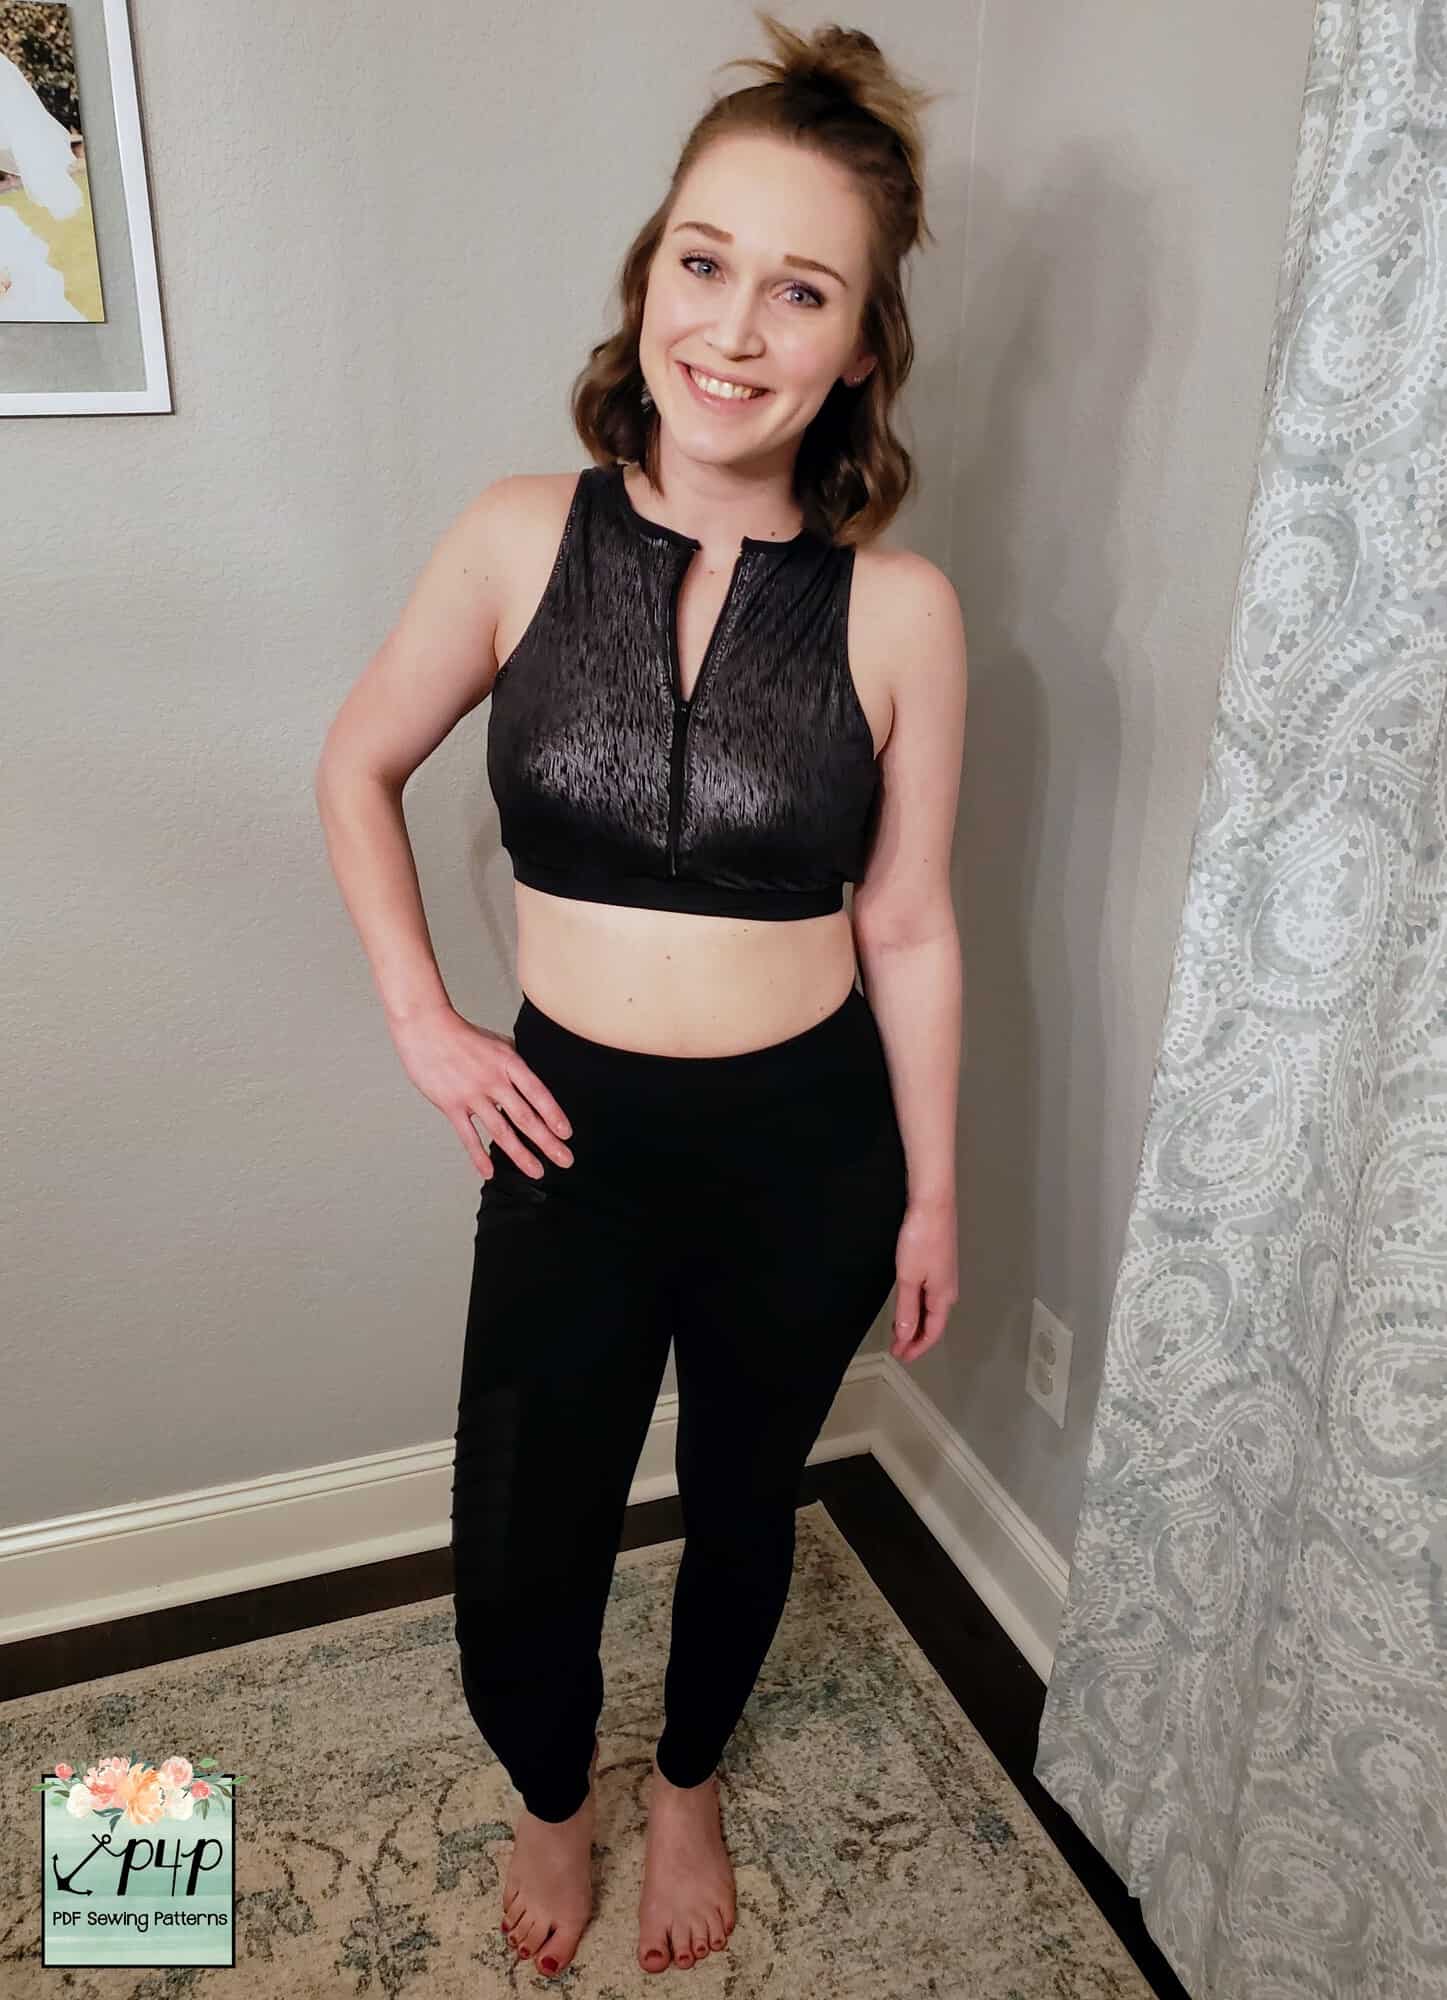
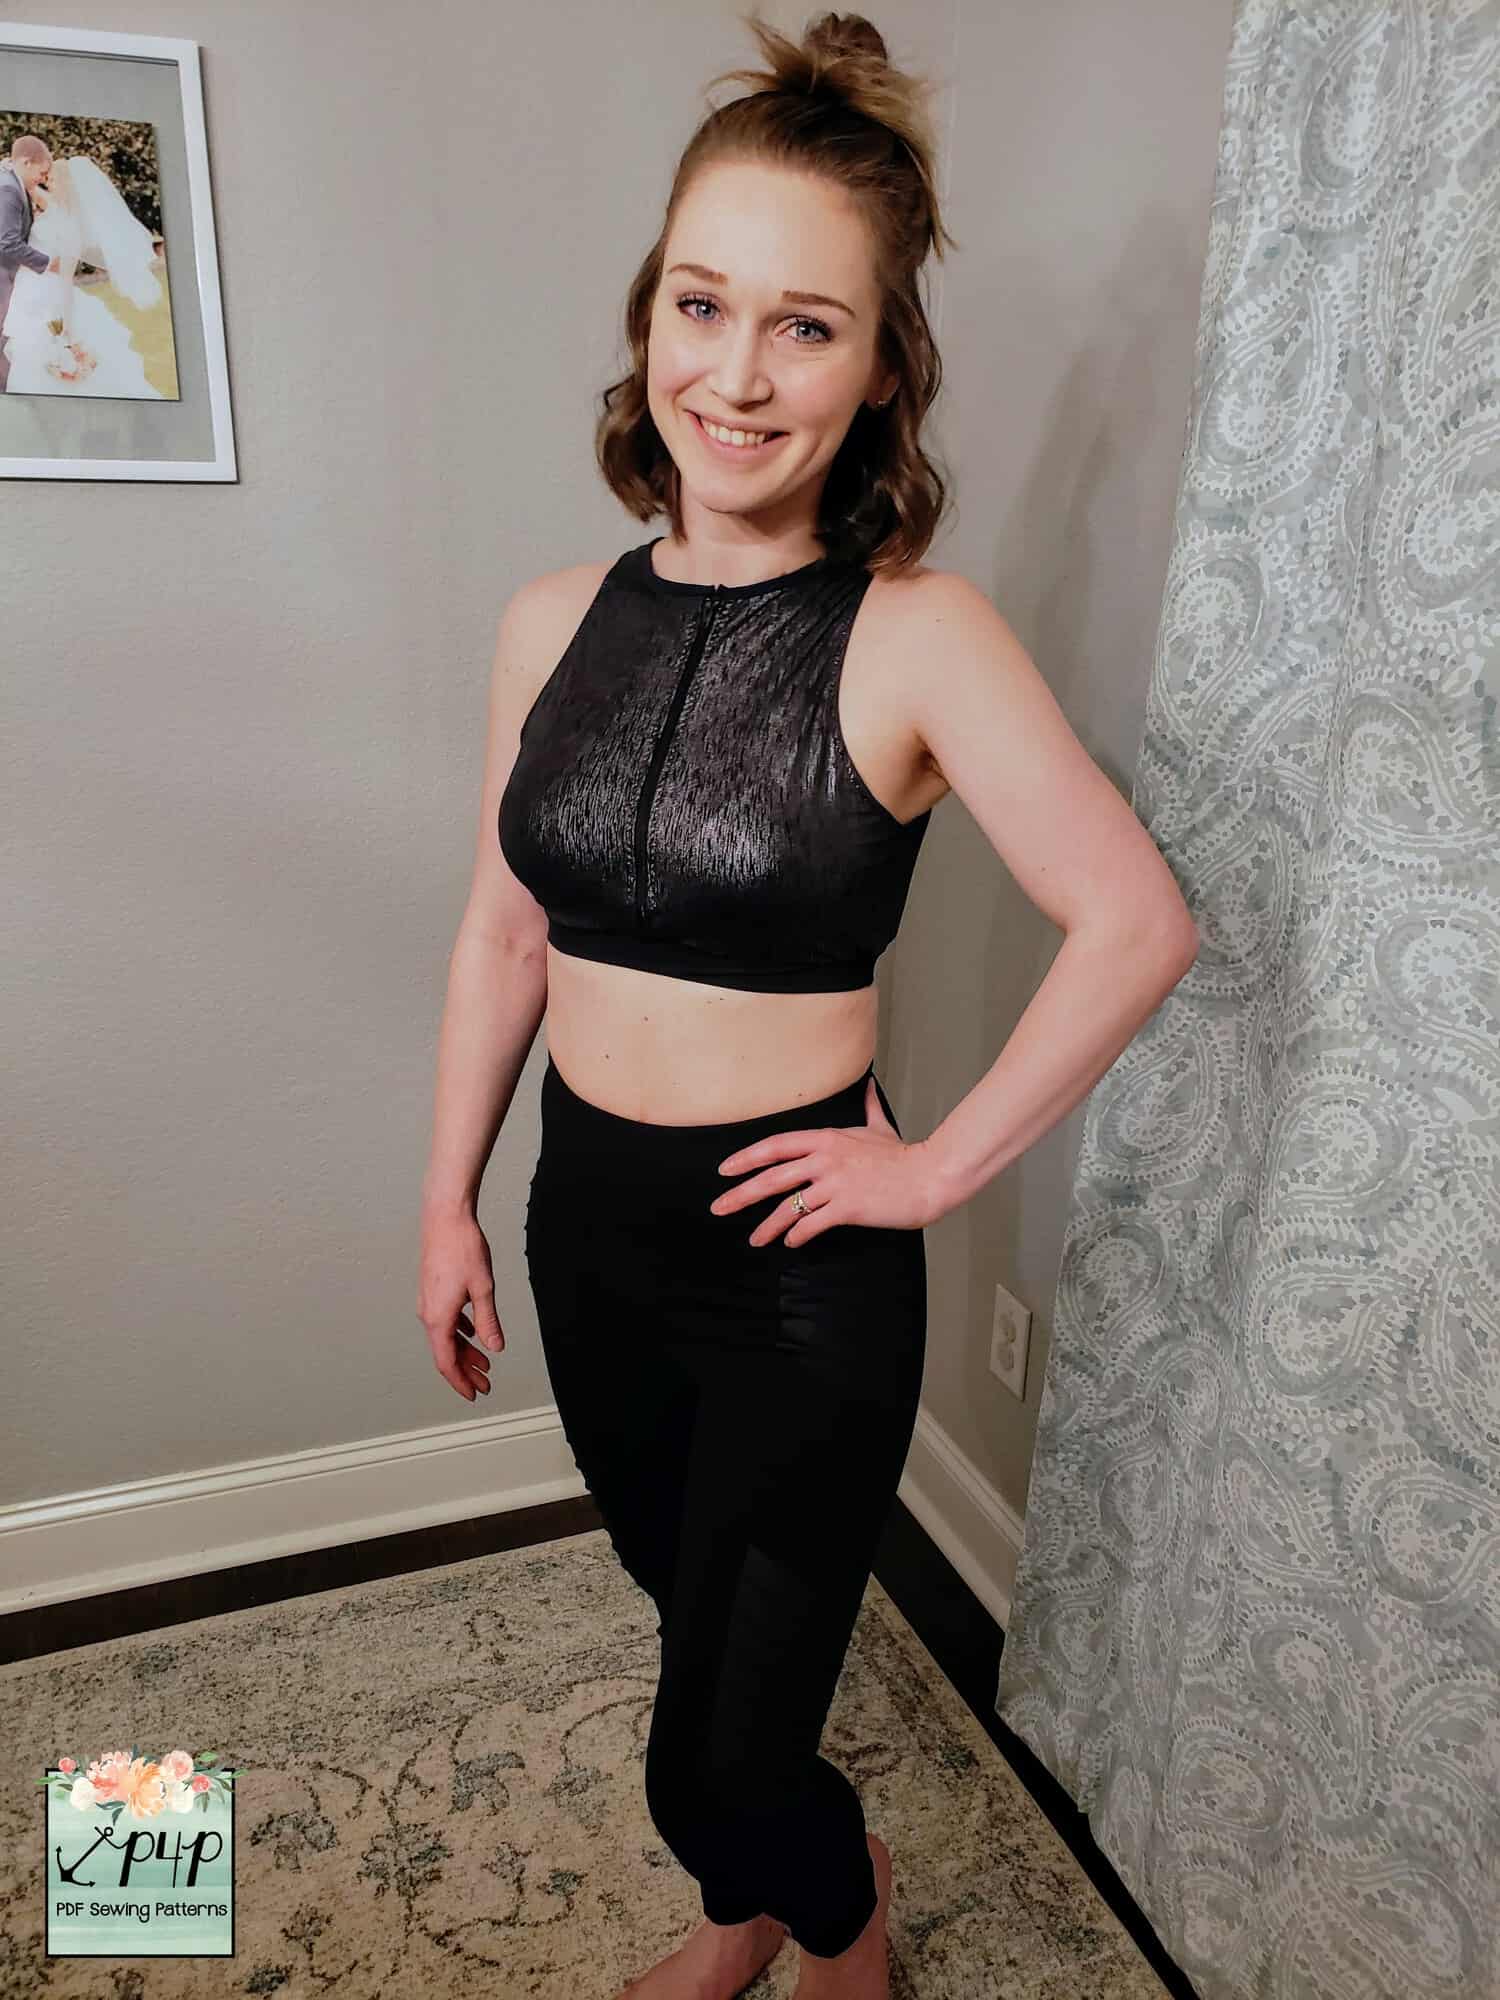
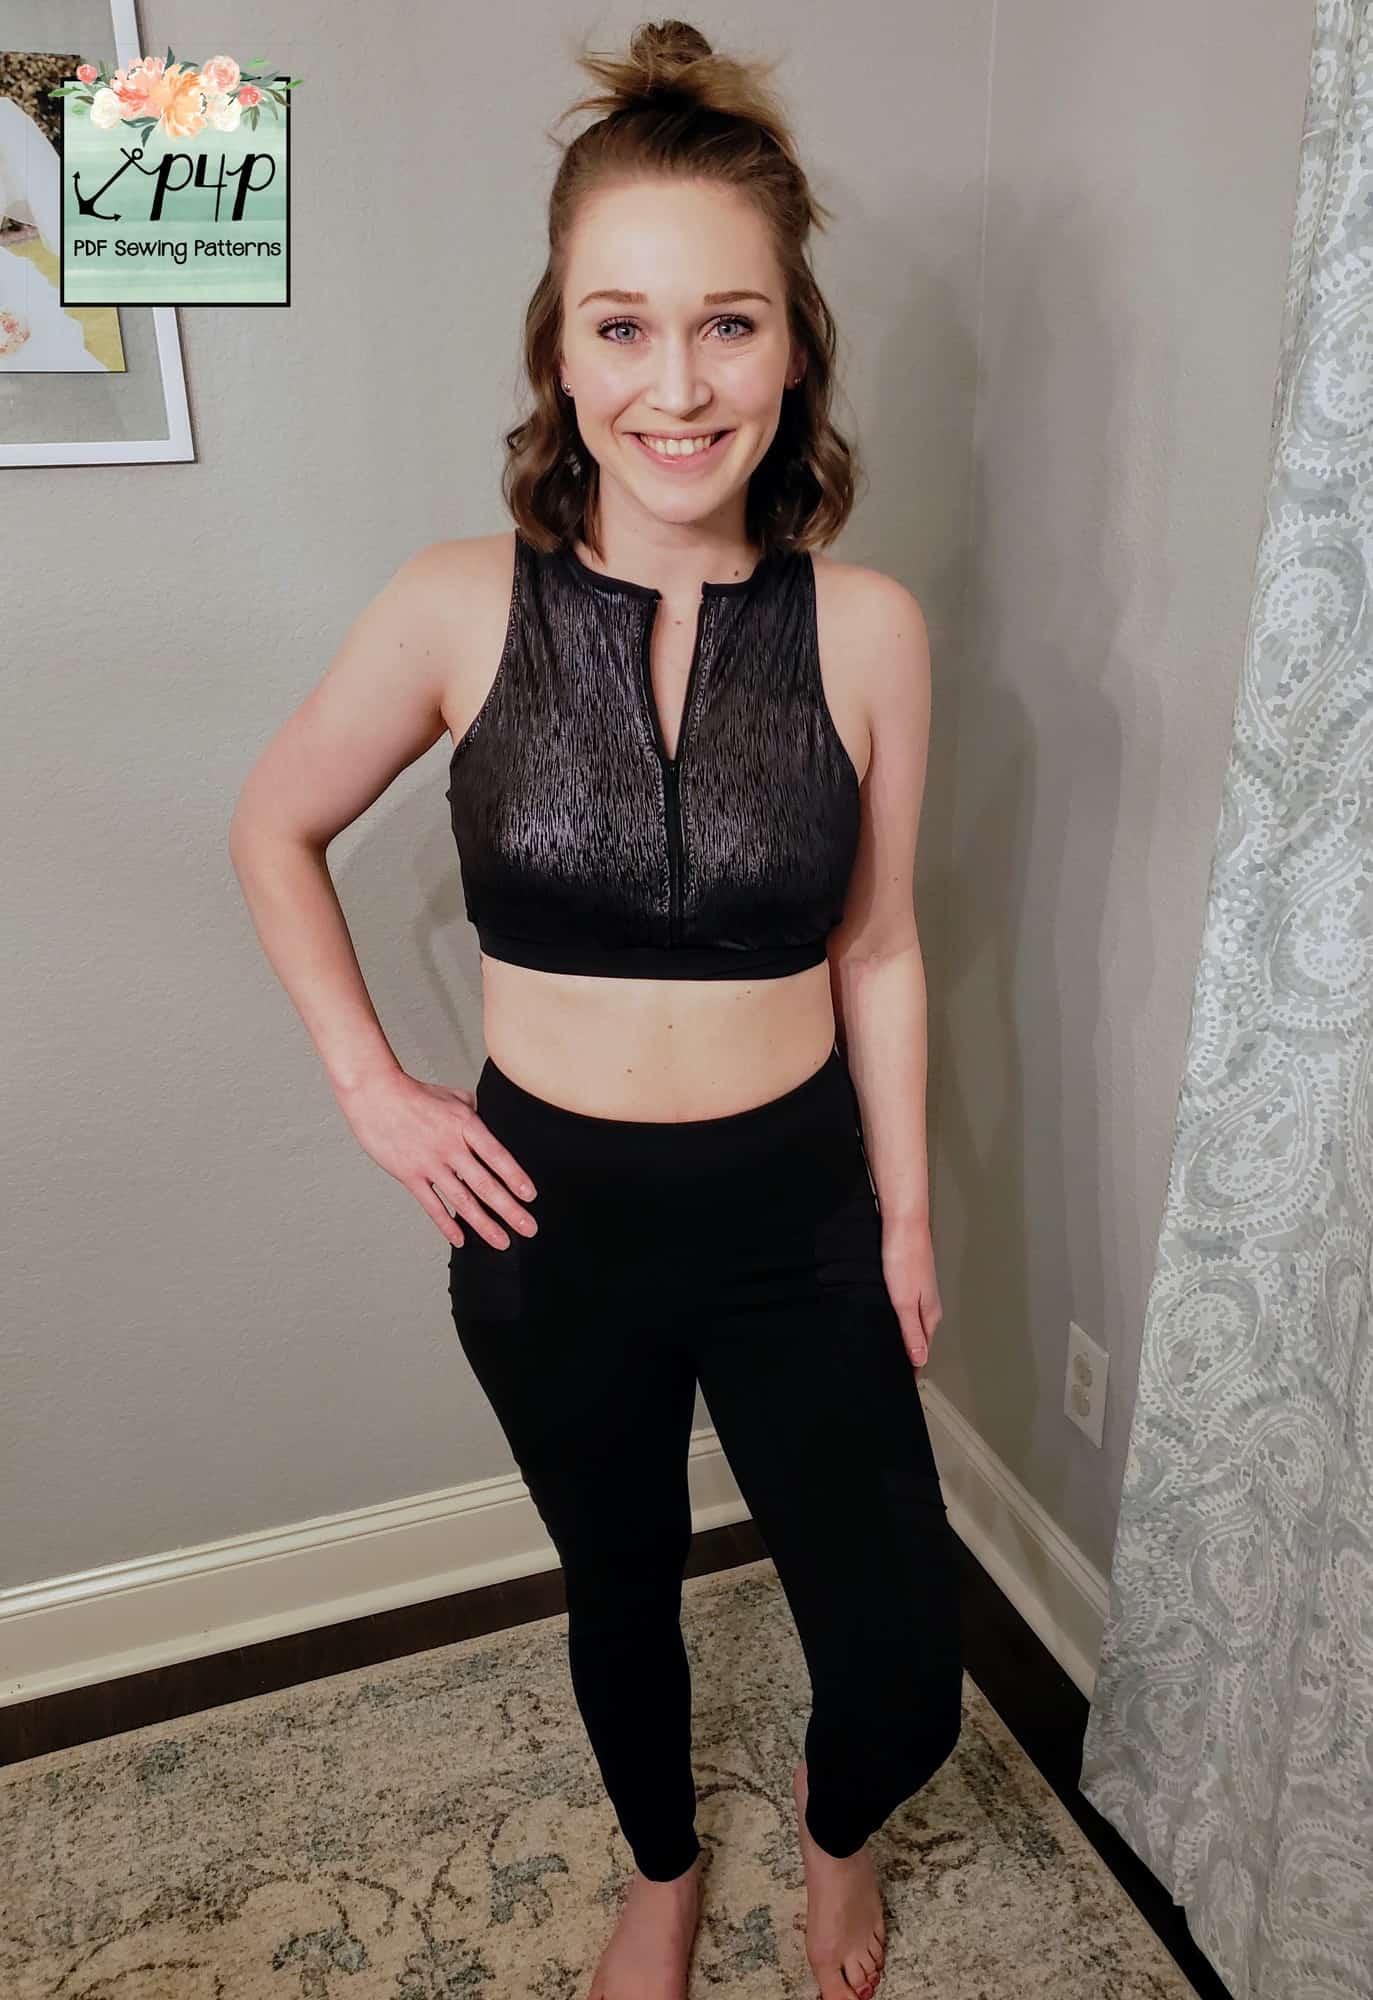
Zipper Workout Bra

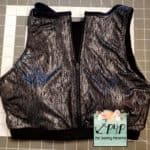
For this hack, we will be working with the crew neck, crop, tank option. In addition to the materials listed in the pattern, you will also need: 

  • Fabric for the lining
  • Zipper that is slightly longer than the shortened crop bodice (detailed below)
  • Wash away wonder-tape (our new BFF!)
  • FOE/knit binding
  • 1” elastic
  • Soft bra cups
  • (Optional Hook & Eye Closure)

1. Assemble Bodice and Lining

Remove about 3.5 inches of length from bodice pattern pieces (adjust as needed). Then cut bodice pieces from main fabric and from lining fabric.
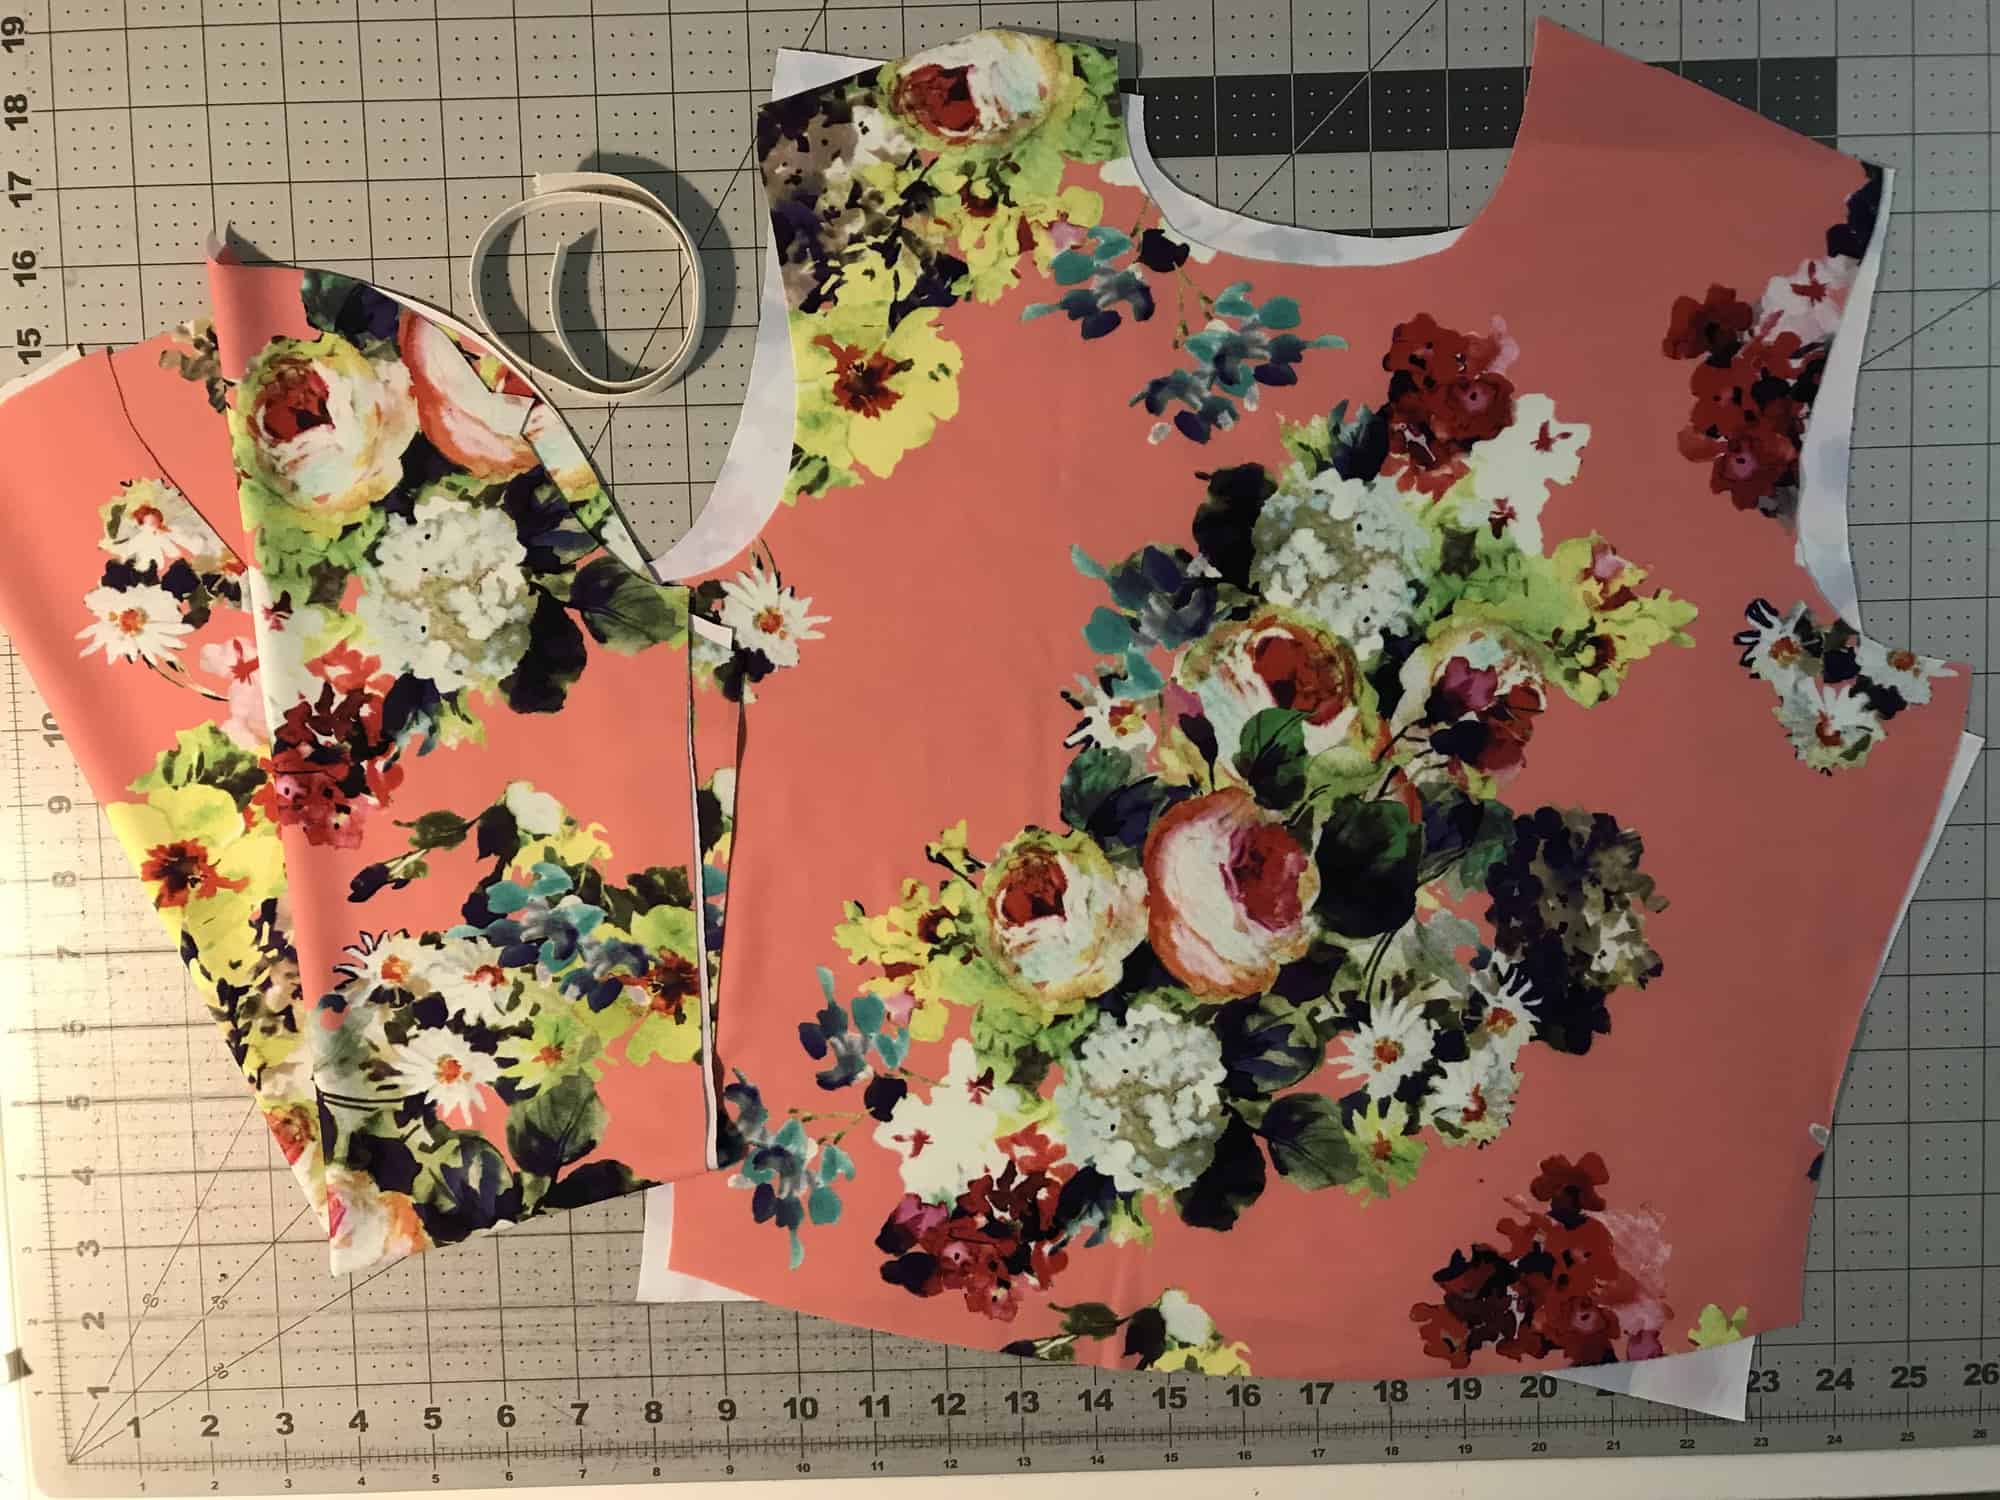
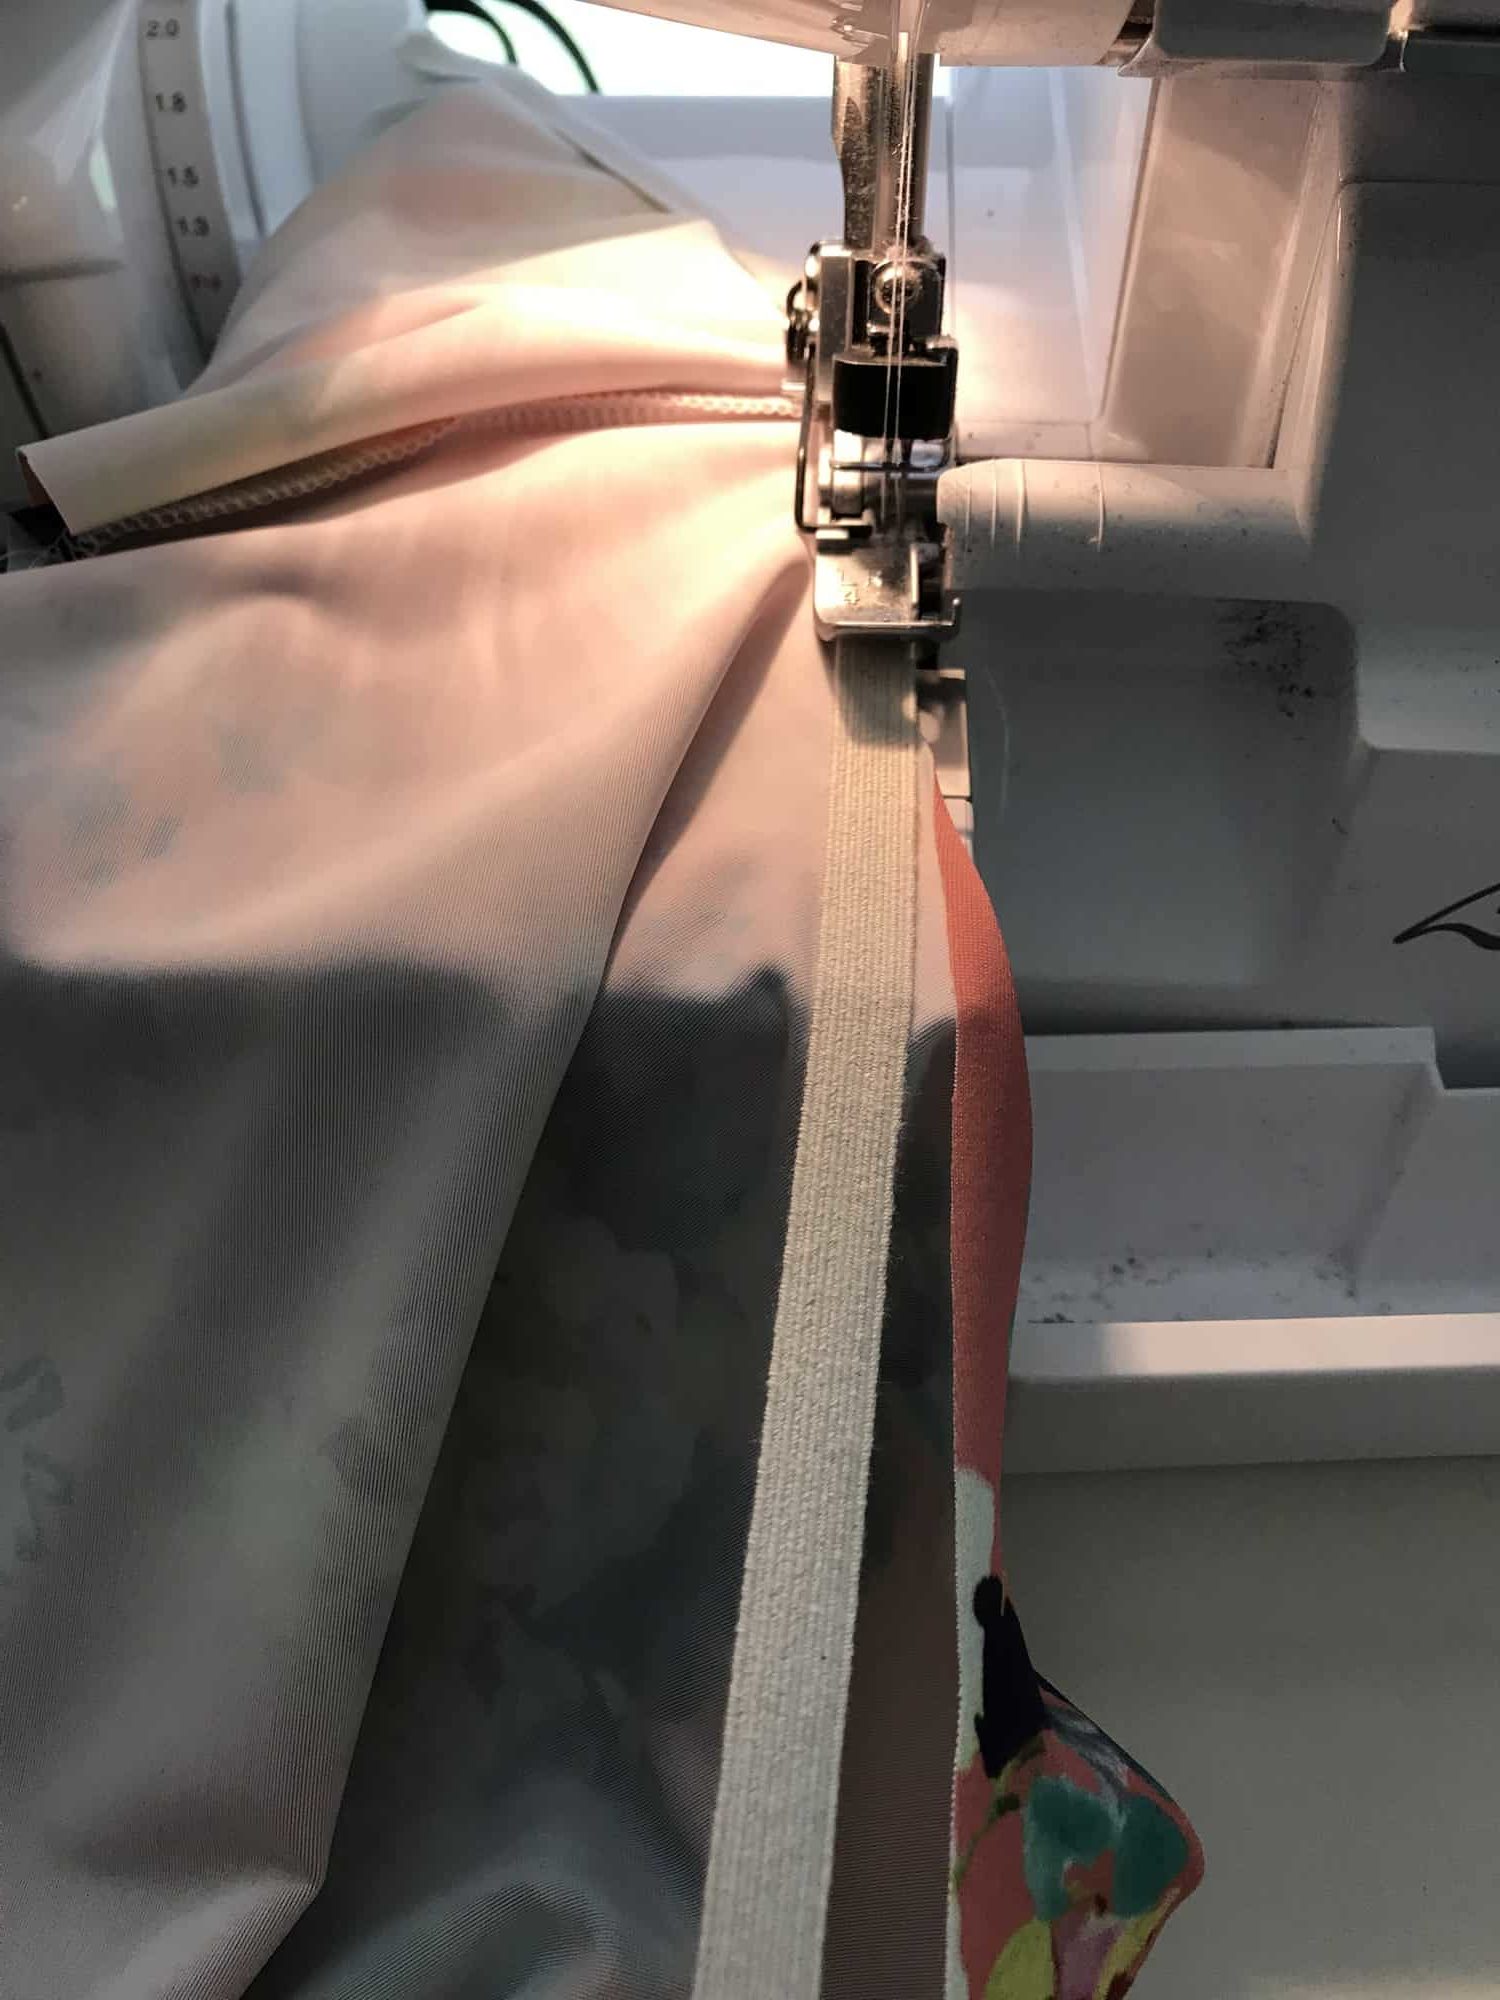
Add a strip of interfacing down the center of the wrong side of the front lining piece. Sew together bodice at shoulders, add elastic to armscyes as instructed in the pattern.
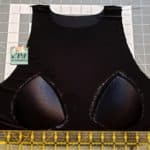
Sew together your lining pieces at shoulder seams and baste side seams. Slip lining on yourself and mark cup placement with chalk. Lay out your lining & use a ruler to align and adjust as needed.

Pin cups in place, sew on cups with a long zigzag stitch to wrong side of lining. After trying on the lining again to ensure proper cup placement, carefully remove basting stitches at the side seams.
Match armscyes right sides together, stitch armscyes with ⅜” seam allowance (pull bodice layer taut while stitching).
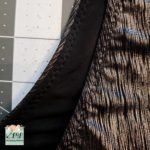
Flip right side out, press seam so elastic is flat and you cannot see lining. Topstitch while pulling slightly so elastic and fabric are taut.

Trim the extra lining that is now left over around the neckline.
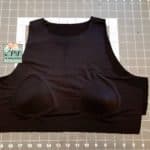
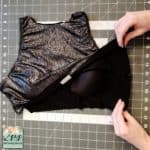
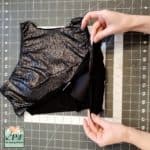
Lay bodice with bottom edges together, hold together the two lining pieces at the bottom corner, and lift up bottom corners of outer bodice pieces to meet.
You should now be holding side seams with right sides together. Match corners and seams, stitch. Repeat with other side.

2. Attach Zipper with Wonder Tape!

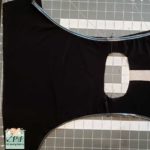
Find the center of the front neckline, cut straight down from top to bottom.

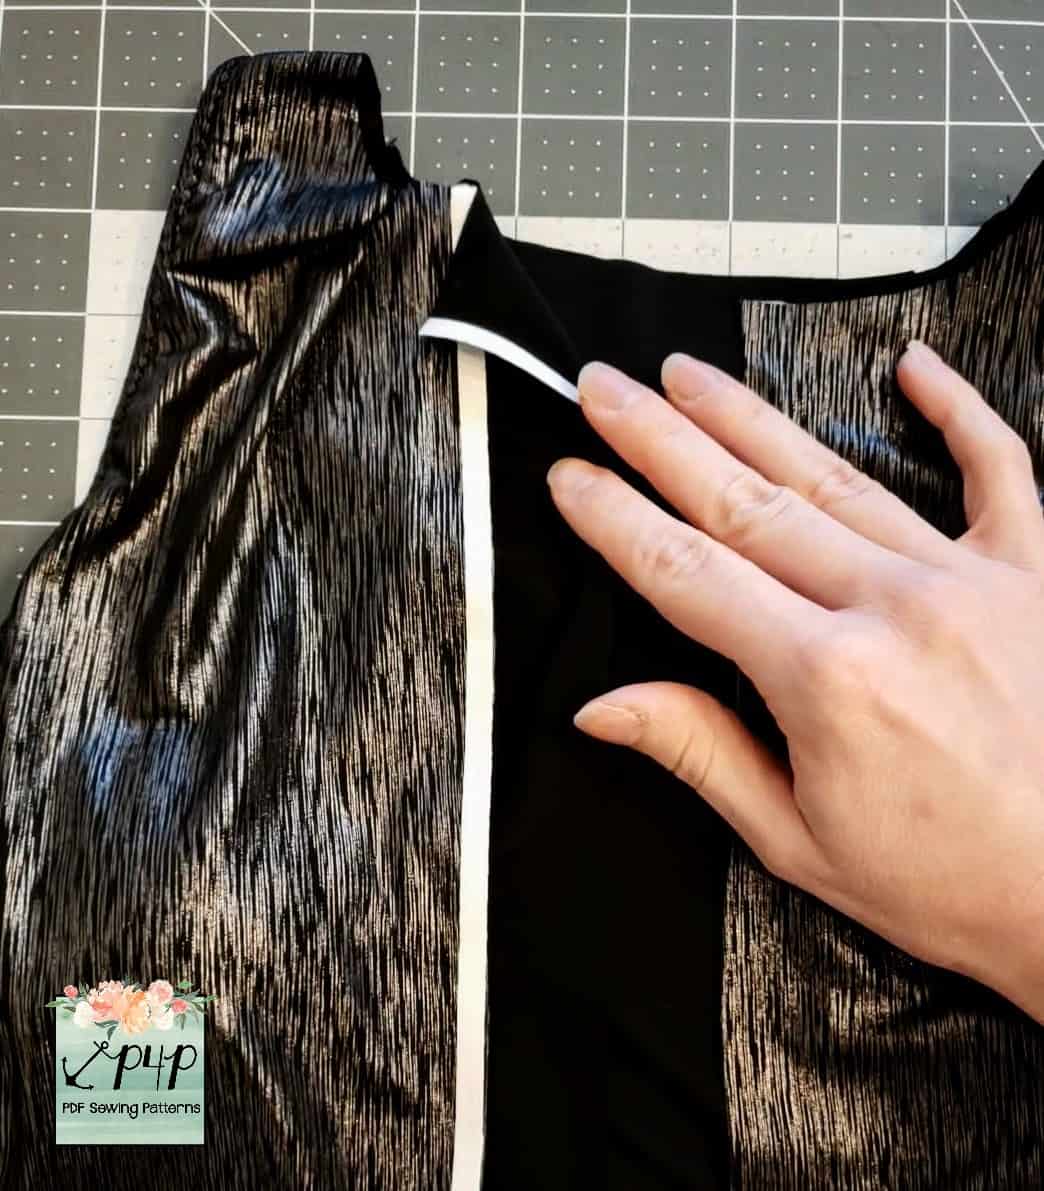
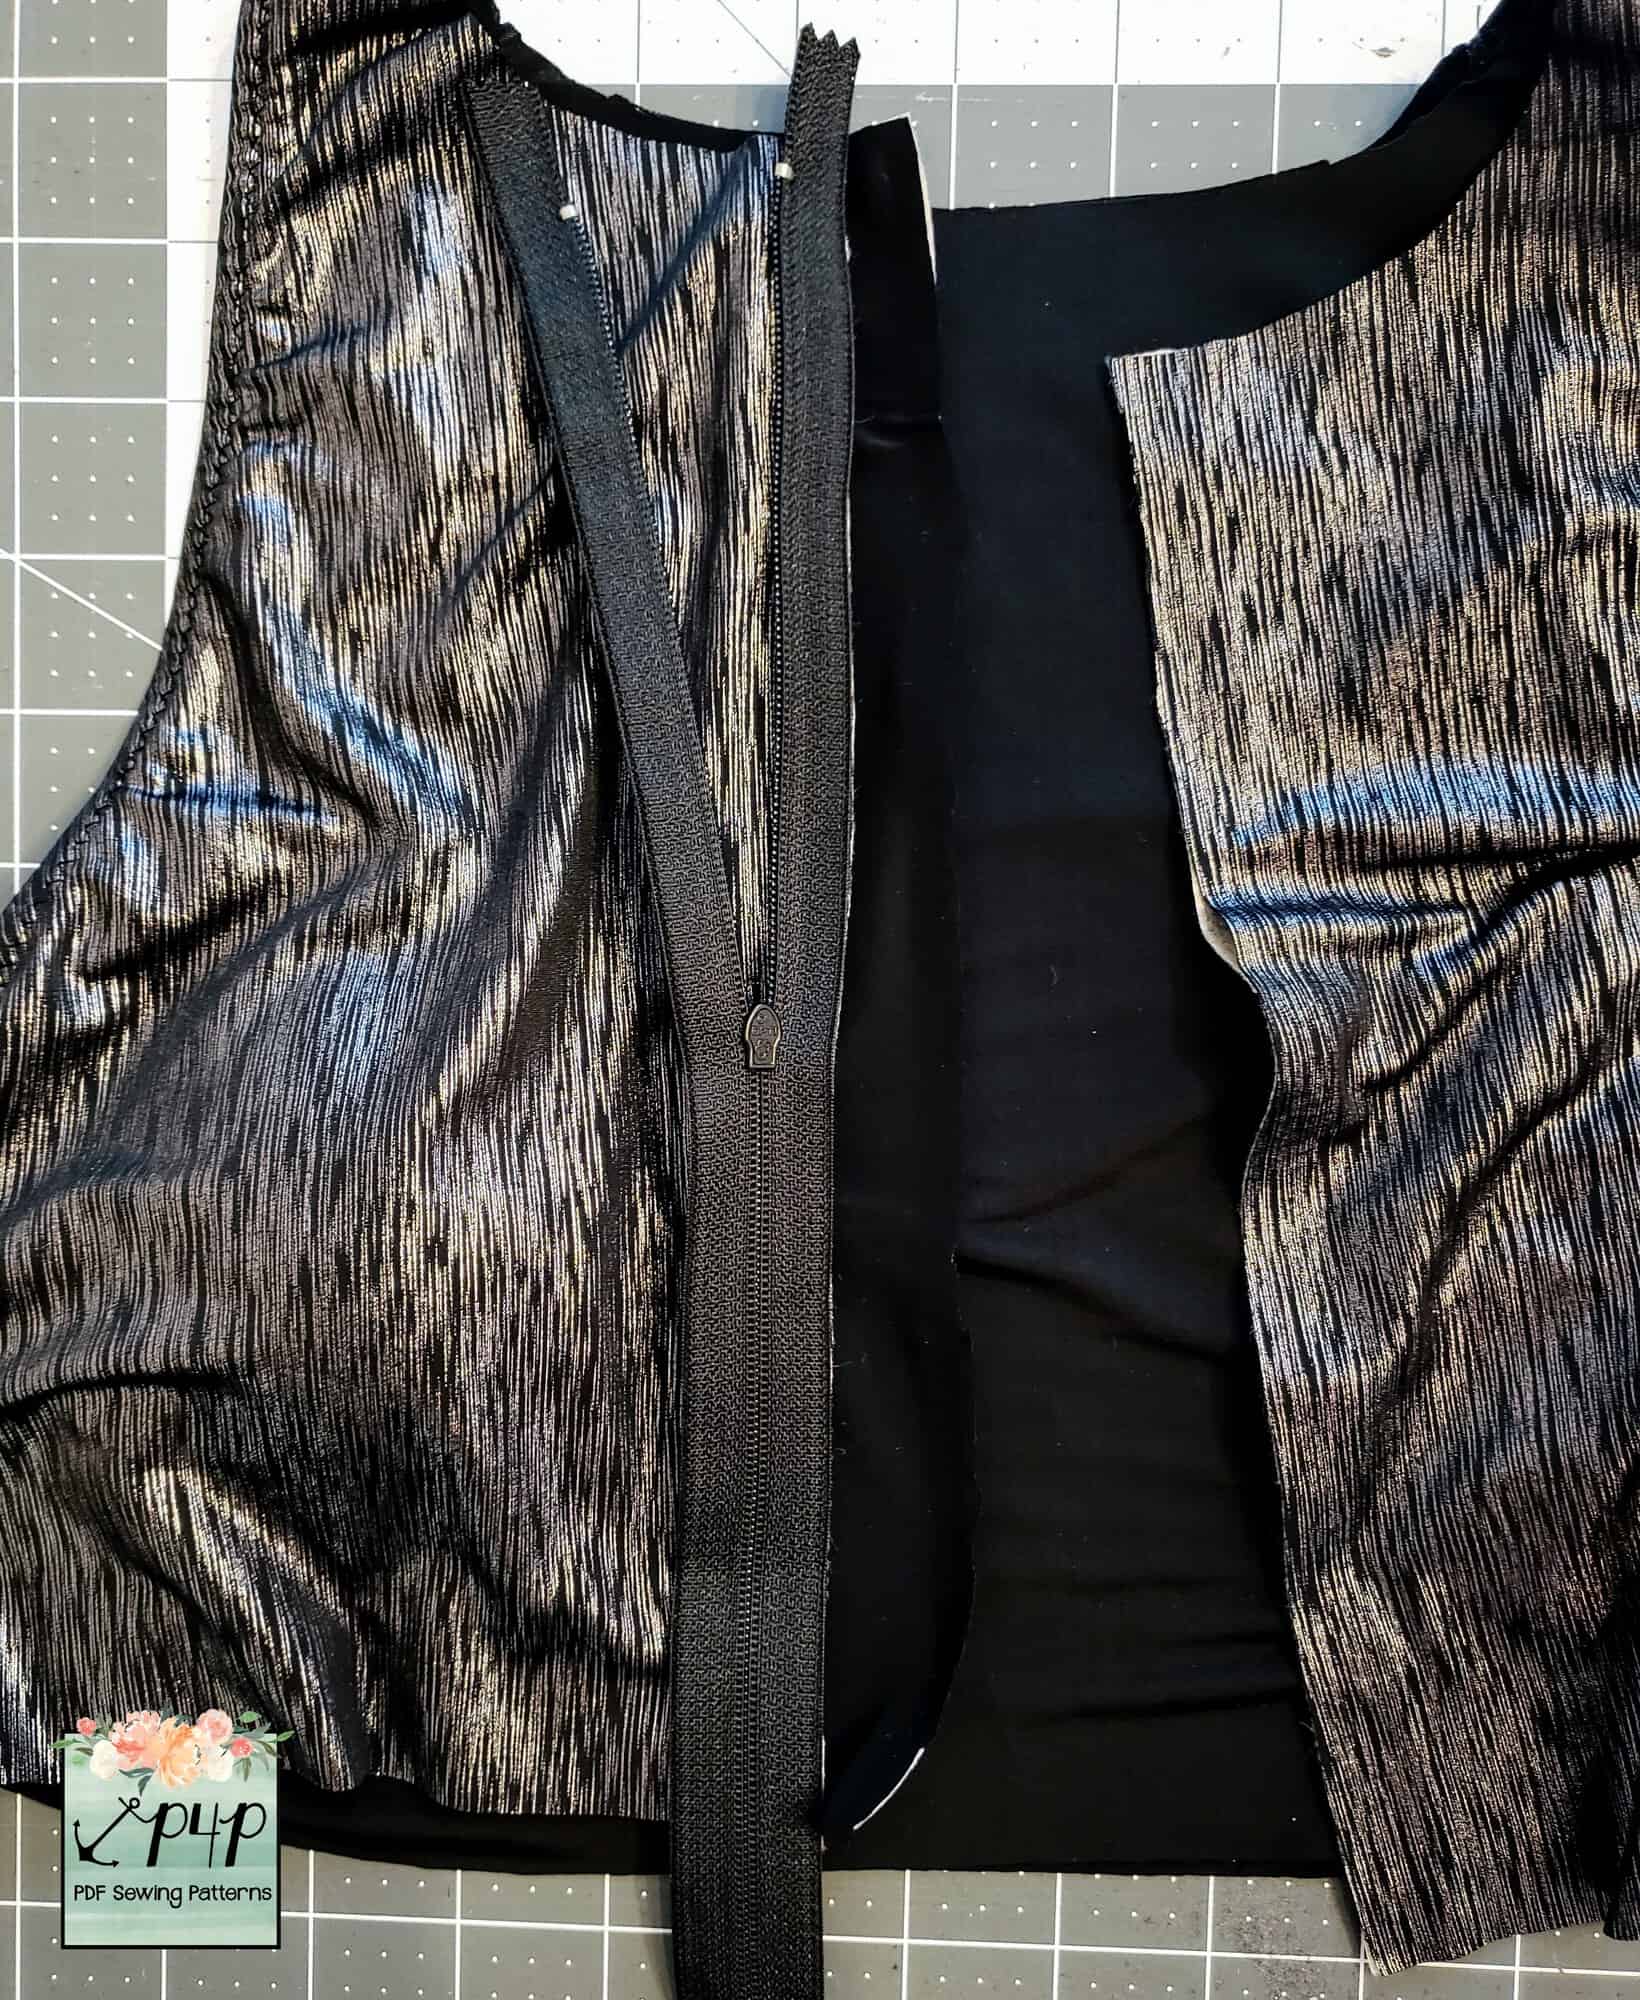
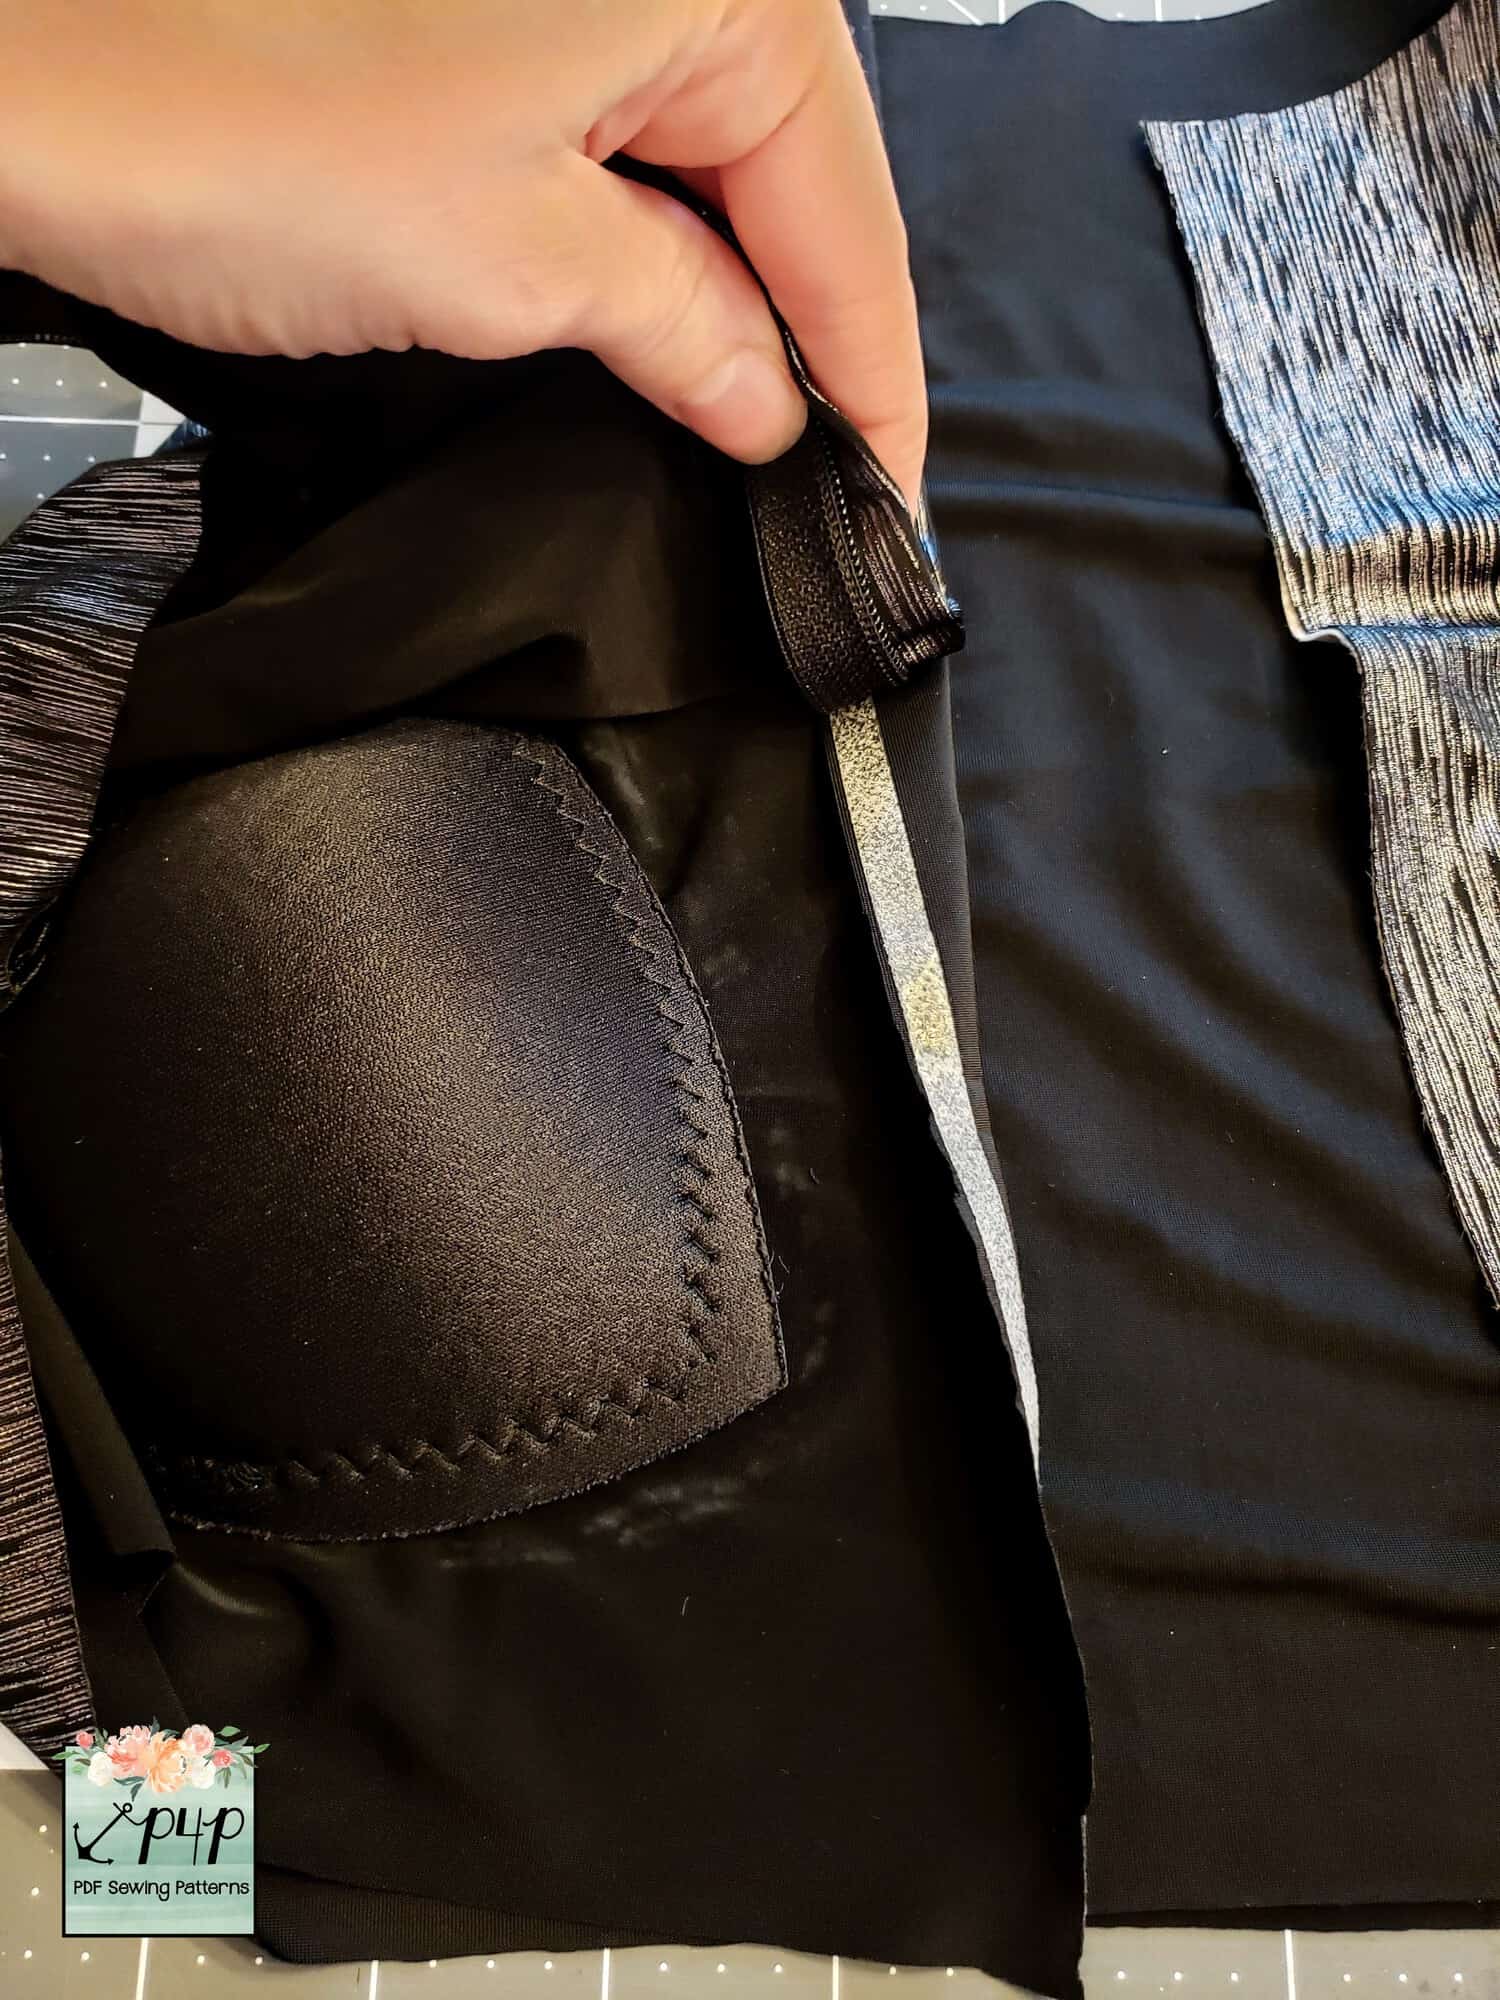
Place a strip of wonder tape from top to bottom along the edge of one half of the bodice. Do the same for the coordinating lining piece, peel off the paper strip.

With right sides together, place zipper along the edge of bodice.

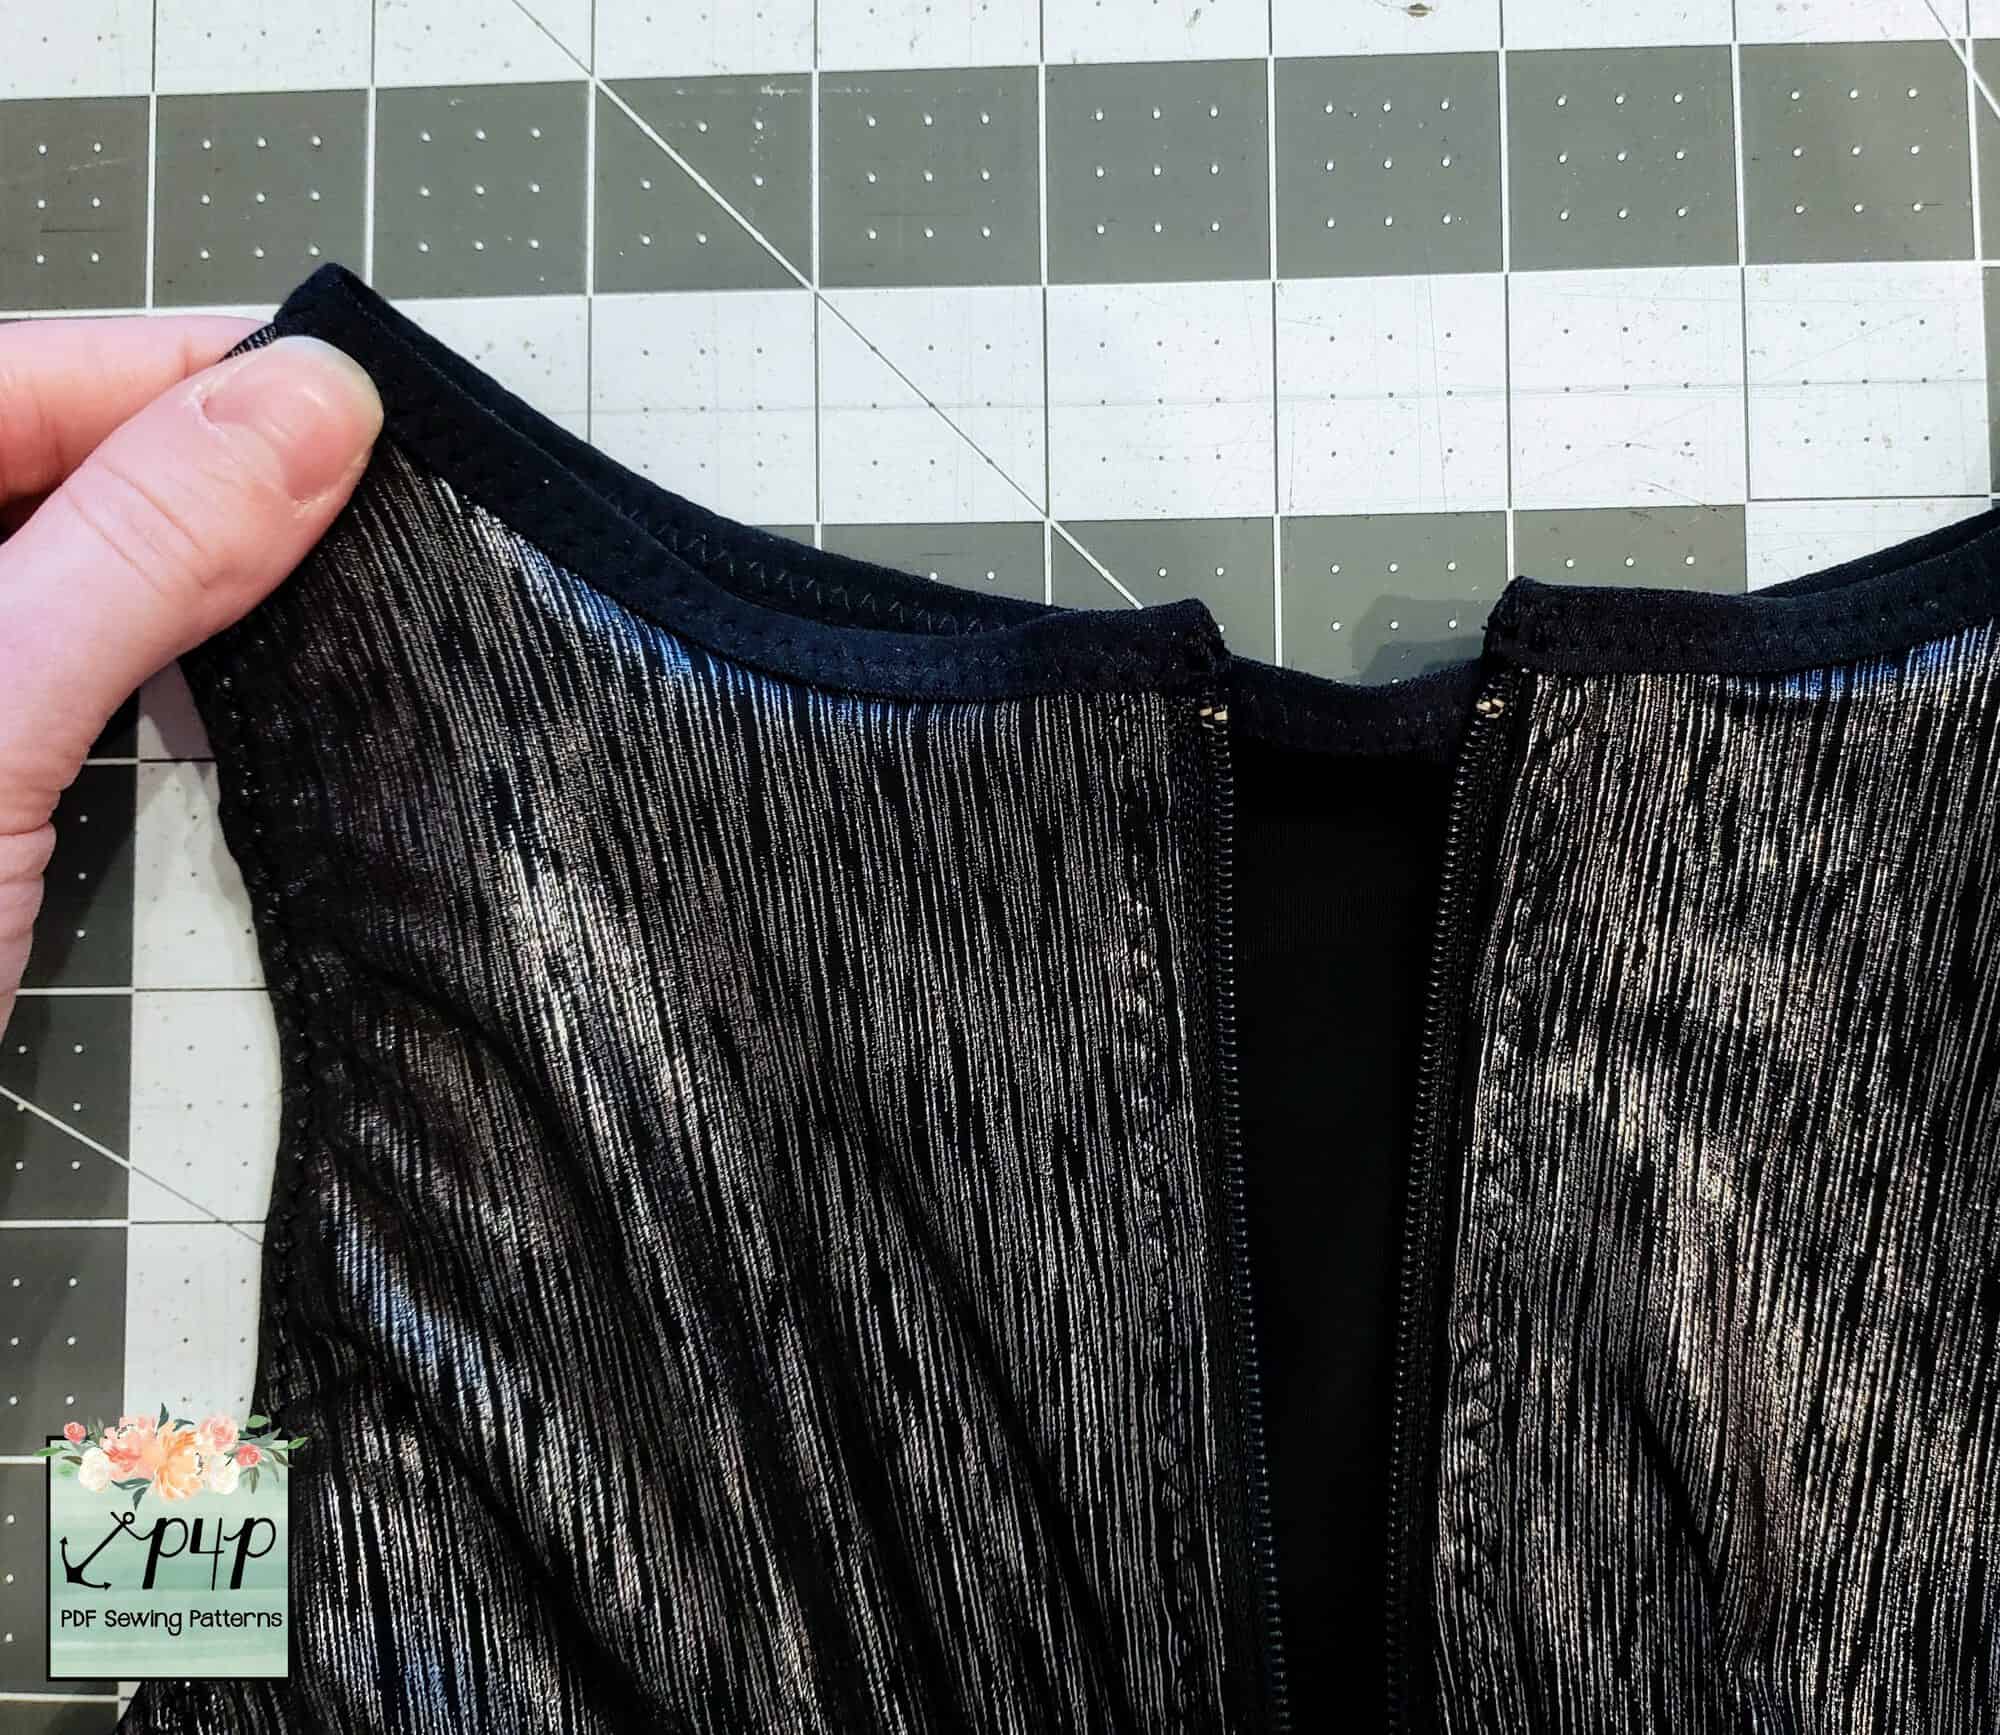
Next, peel off paper strip on lining and place wrong side of zipper along right side of lining.

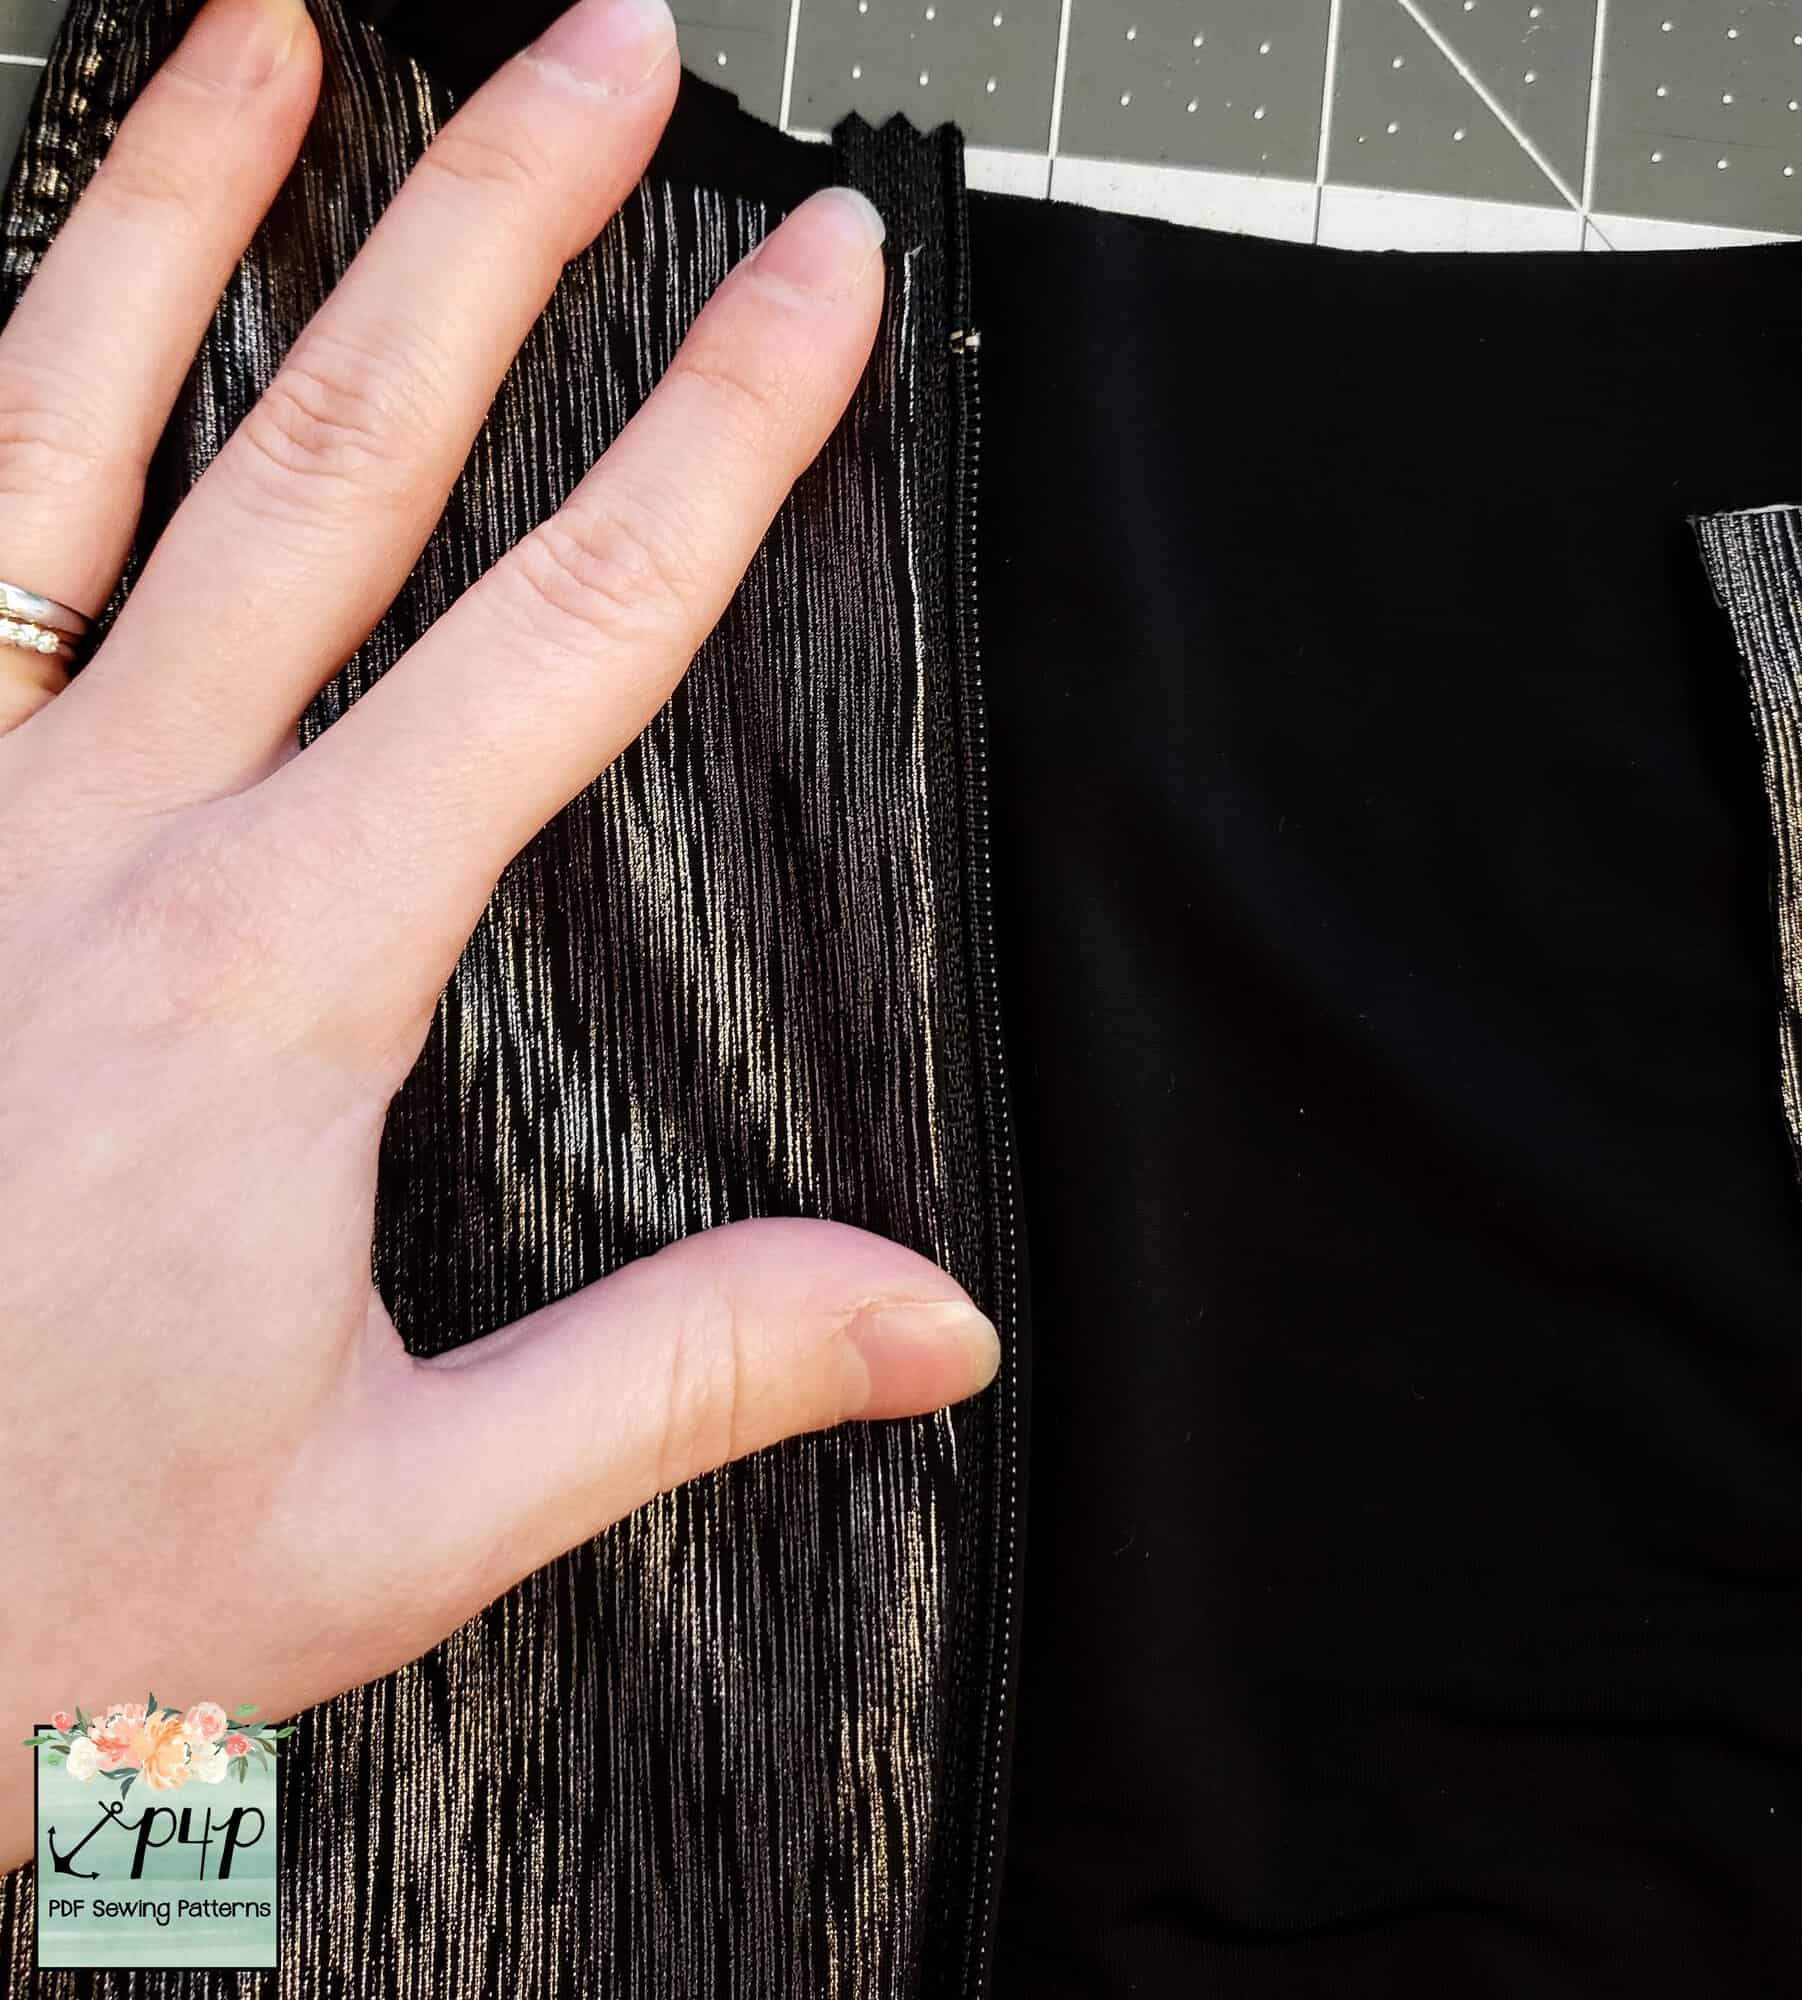
Check to be sure zipper is placed correctly, gently finger press in place. (Clip in place if needed).

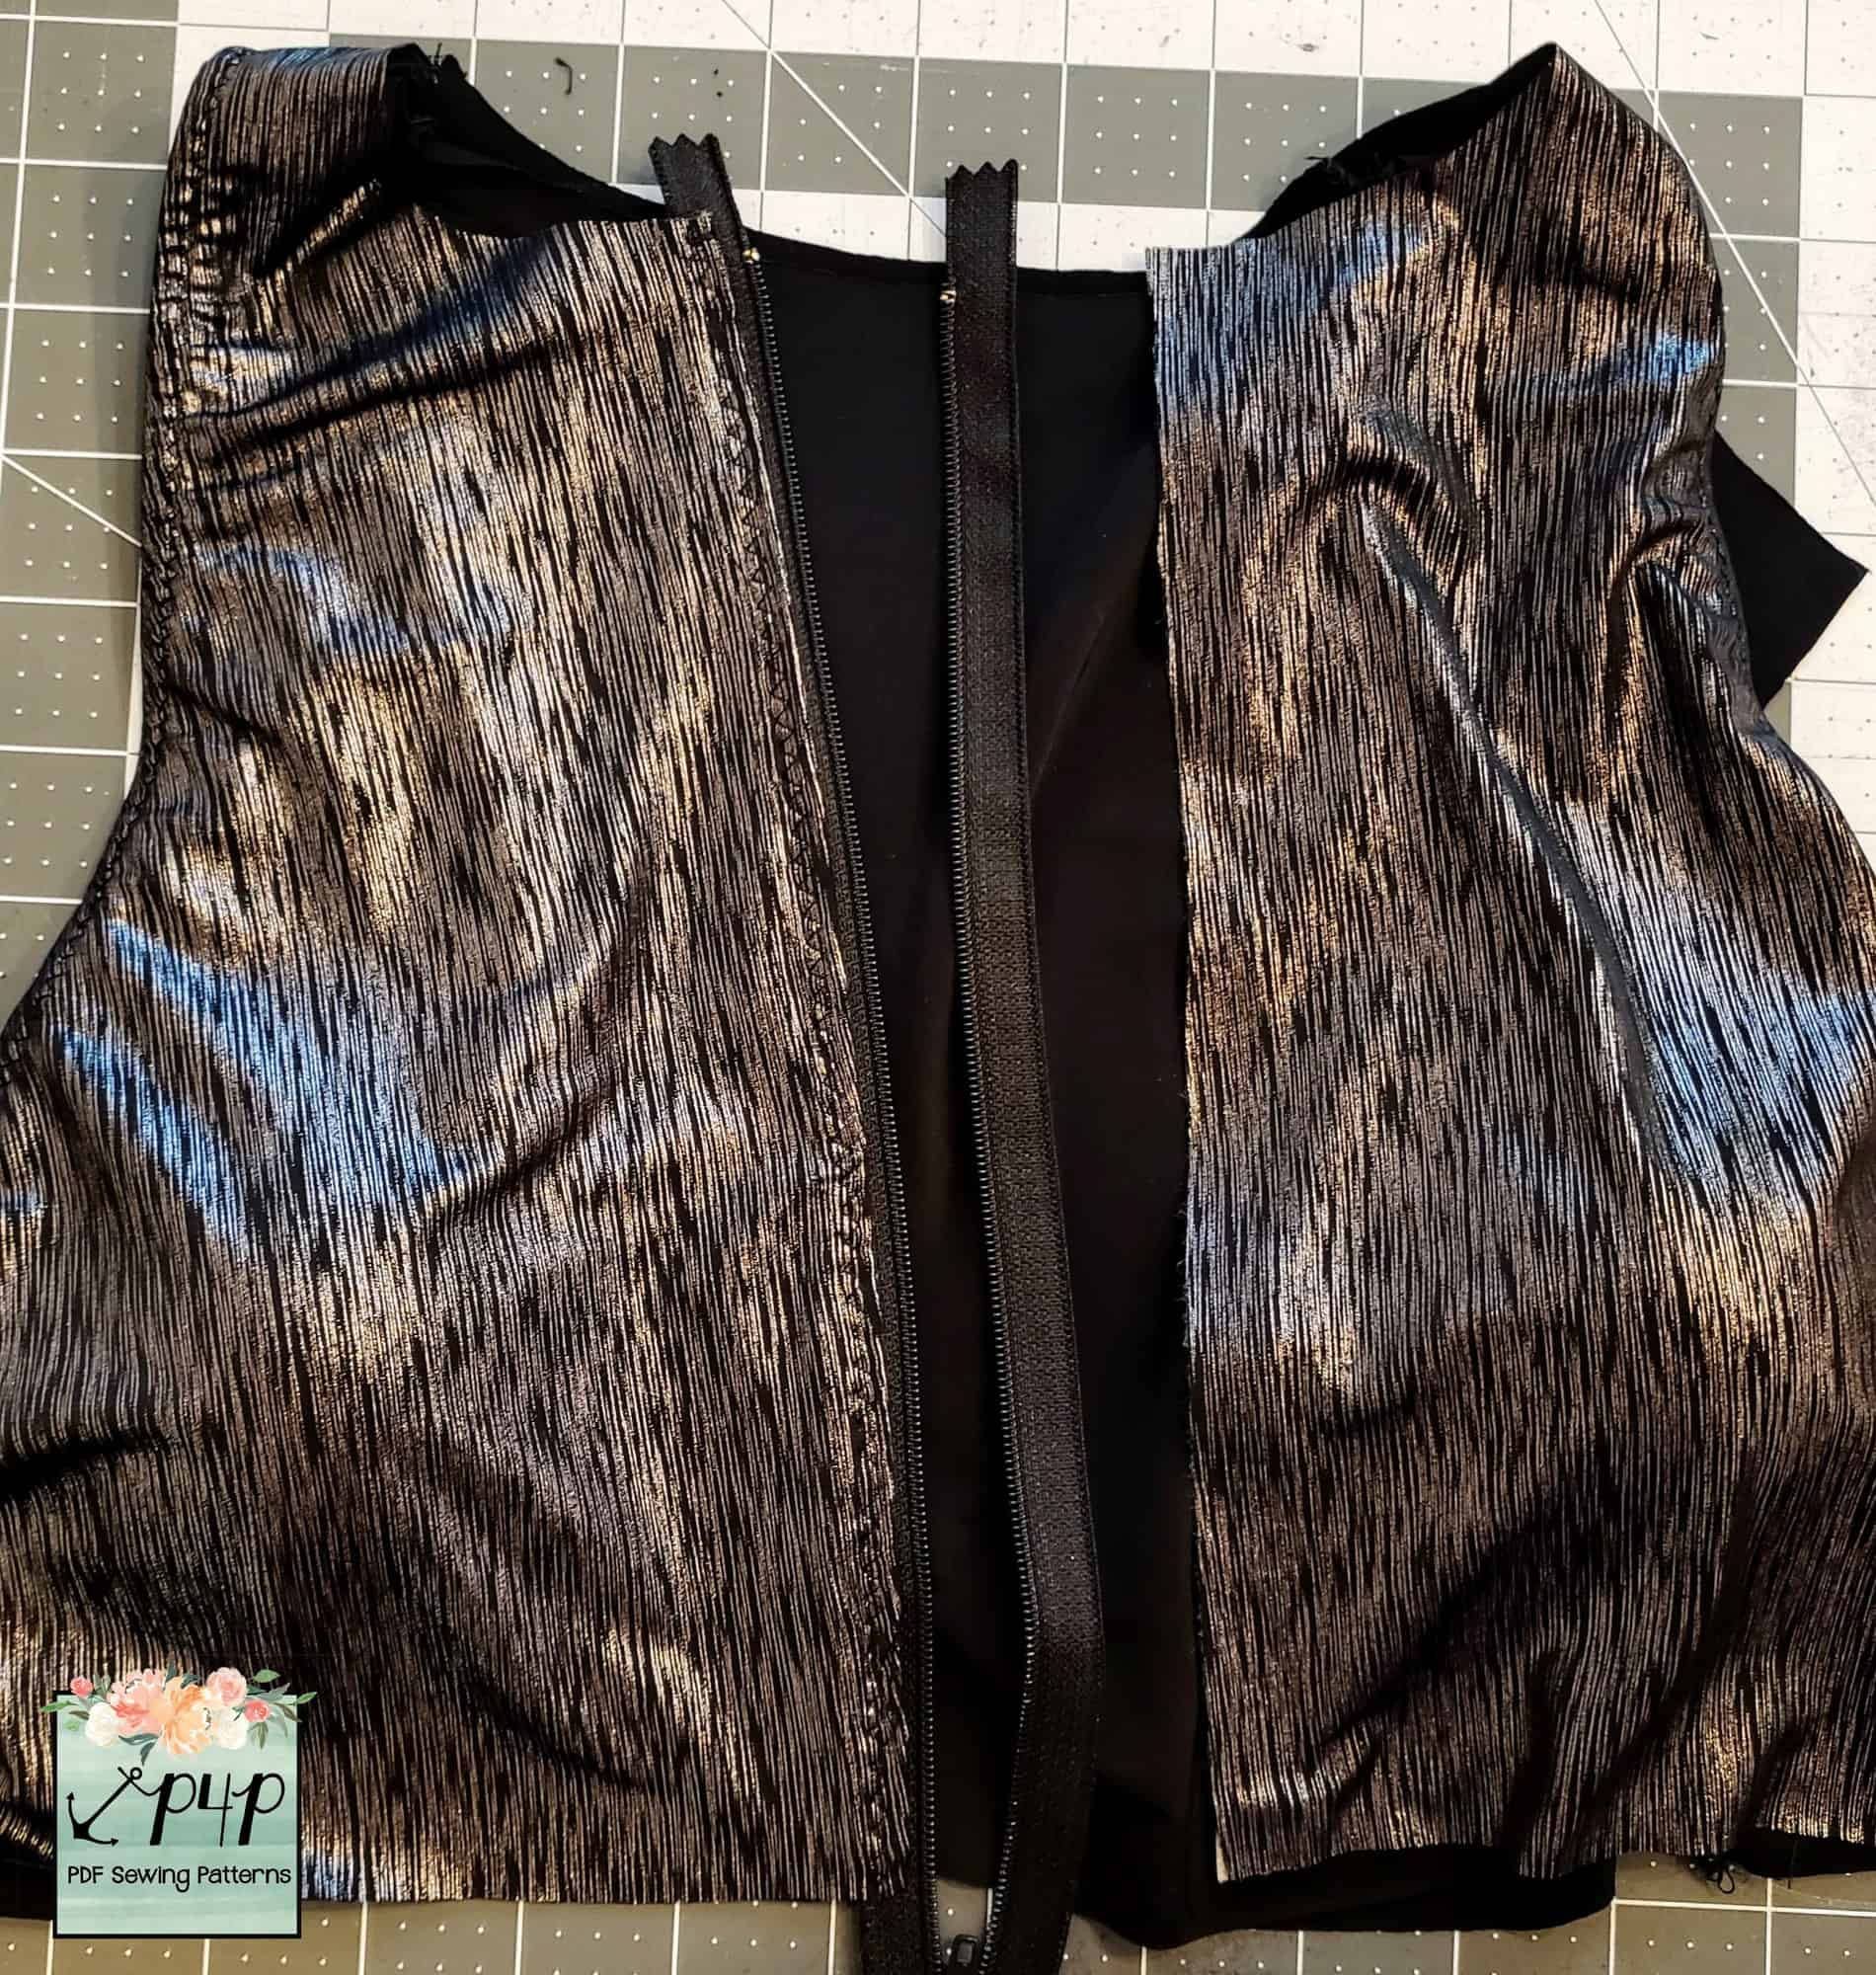
Stitch 1/4’’ away from the zipper from top to bottom.

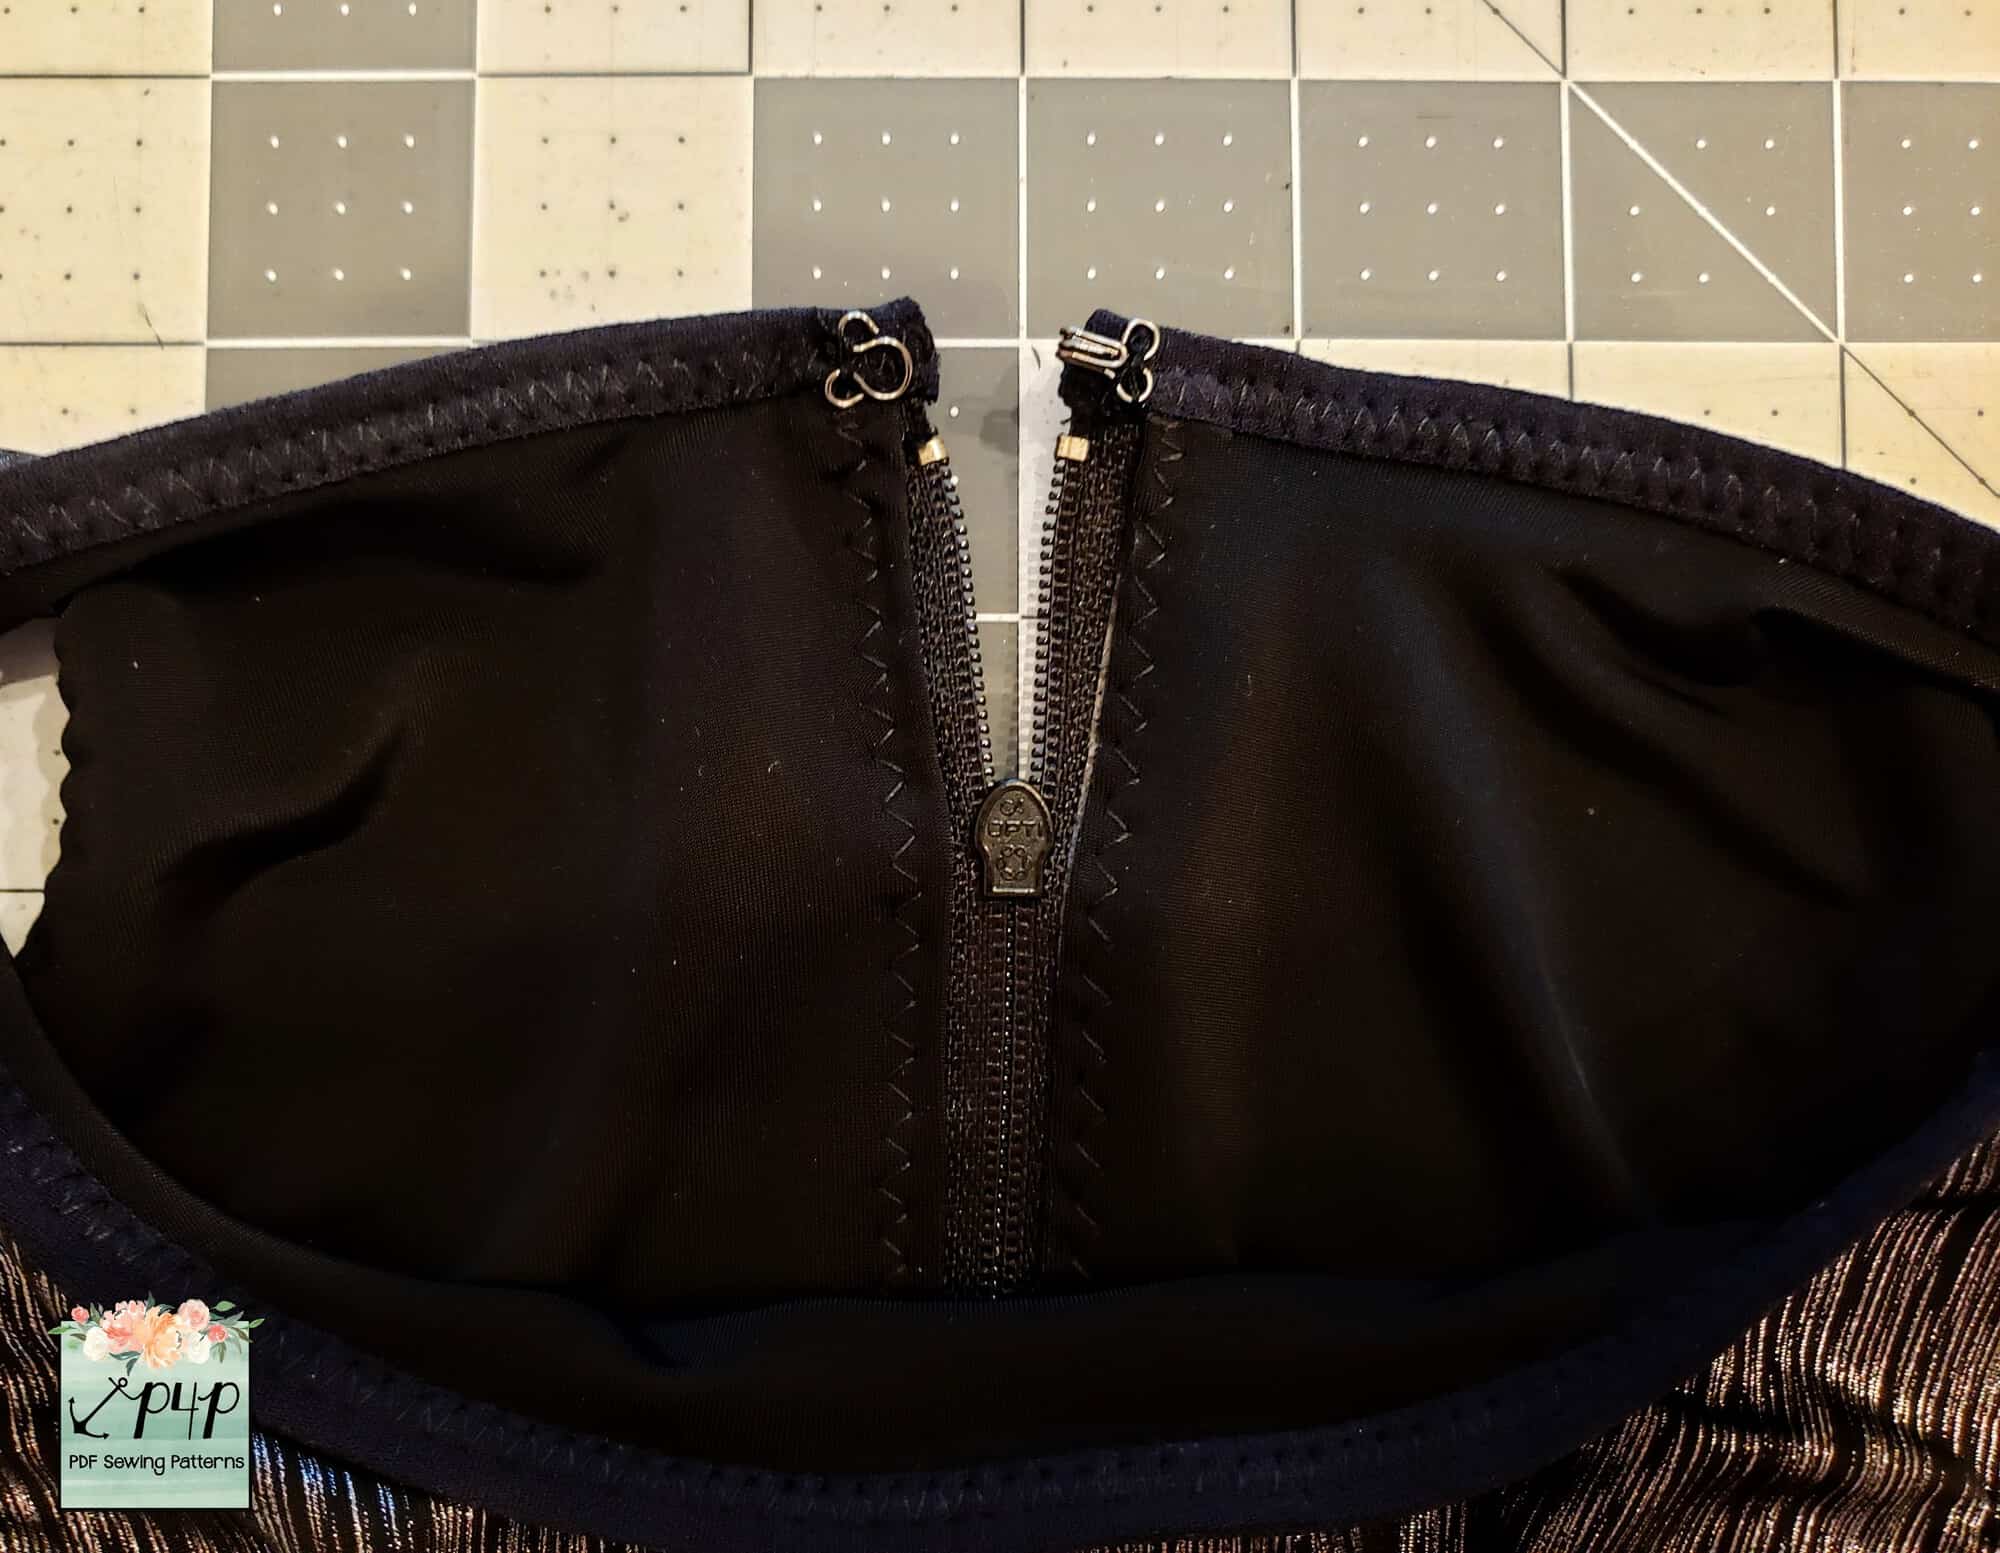
Repeat with other side. Your fully lined zipper is now attached with just two lines of stitching!! Zip up zipper, add reinforcement stitches across the bottom of the zipper, and trim the extra zipper fabric from off the top and bottom.

Finish neckline with your favorite finish. I used FOE, but you could also do a knit binding. Just be sure to fold the ends under so the edges are finished.

3. Add Bottom Band

Cut a band with the following formula (adjust length as needed): Length = 3.5” by Width = (75% of Underbust Measurement) + 1”

Fold width wise right sides together and stitch along short side.
Fold band lengthwise with wrong sides together. Cut strip of 1” elastic using the same length measurement as the band, sew together at short ends and slip into folded band.
Mark quarter points on band and on bodice. Match quartered points and stitch!

*Optional* Hand sew hook and eye closure at top of zipper.

And you are done!!!


…..

Picot trim

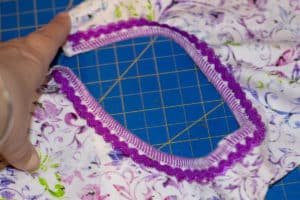
Anyone else buy tons of picot elastic thinking you are going to make all the bras and underwear? Well picot elastic can easily be used for other items and is a great finish for a necklines as well!  This is a quick easy hack and all you need that is different from the original requirements is picot elastic!

We are only going to make very minimal changes.  My picot elastic was 1/4 inch so I did not bother trimming the neckline down at all.  We are going to cut the picot the same length as what the pattern calls for for the clear elastic.

Pin or clip the center of the picot right sides together to the middle of the shirt. You can also mark quarter points if you choose but as the elastic is very close to the same length of the neckline I choose not too.
Sew or serge with a 1/2 inch seam allowance. If using a serger make sure to disable the knife so you don’t risk cutting your elastic.
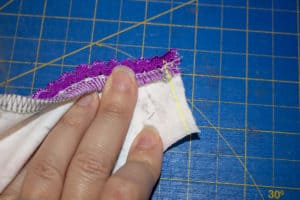
Flip your picot out with your seam allowance down towards the shirt and sew your shoulder seam with 1/2 inch seam allowance.
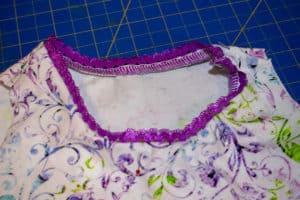
Flip your picot up, seam allowance down and pin in place.
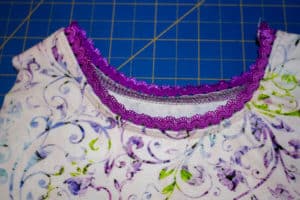
Top stitch in place, make sure that you are stitching a close to the edge of the seam allowance as you can, this prevents the picot from flipping out and showing your seam. I used my coverstitch but you can easily use your sewing machine with a zig zag or double needle as well.


Now press that top stitch cause pressing is the key to a really great finished product and finish the rest of your top as instructed.  You can also use this method for the armholes if you choose but sometimes picot can be scratchy, mine was super soft but I choose to just use it for the neckline.


…..

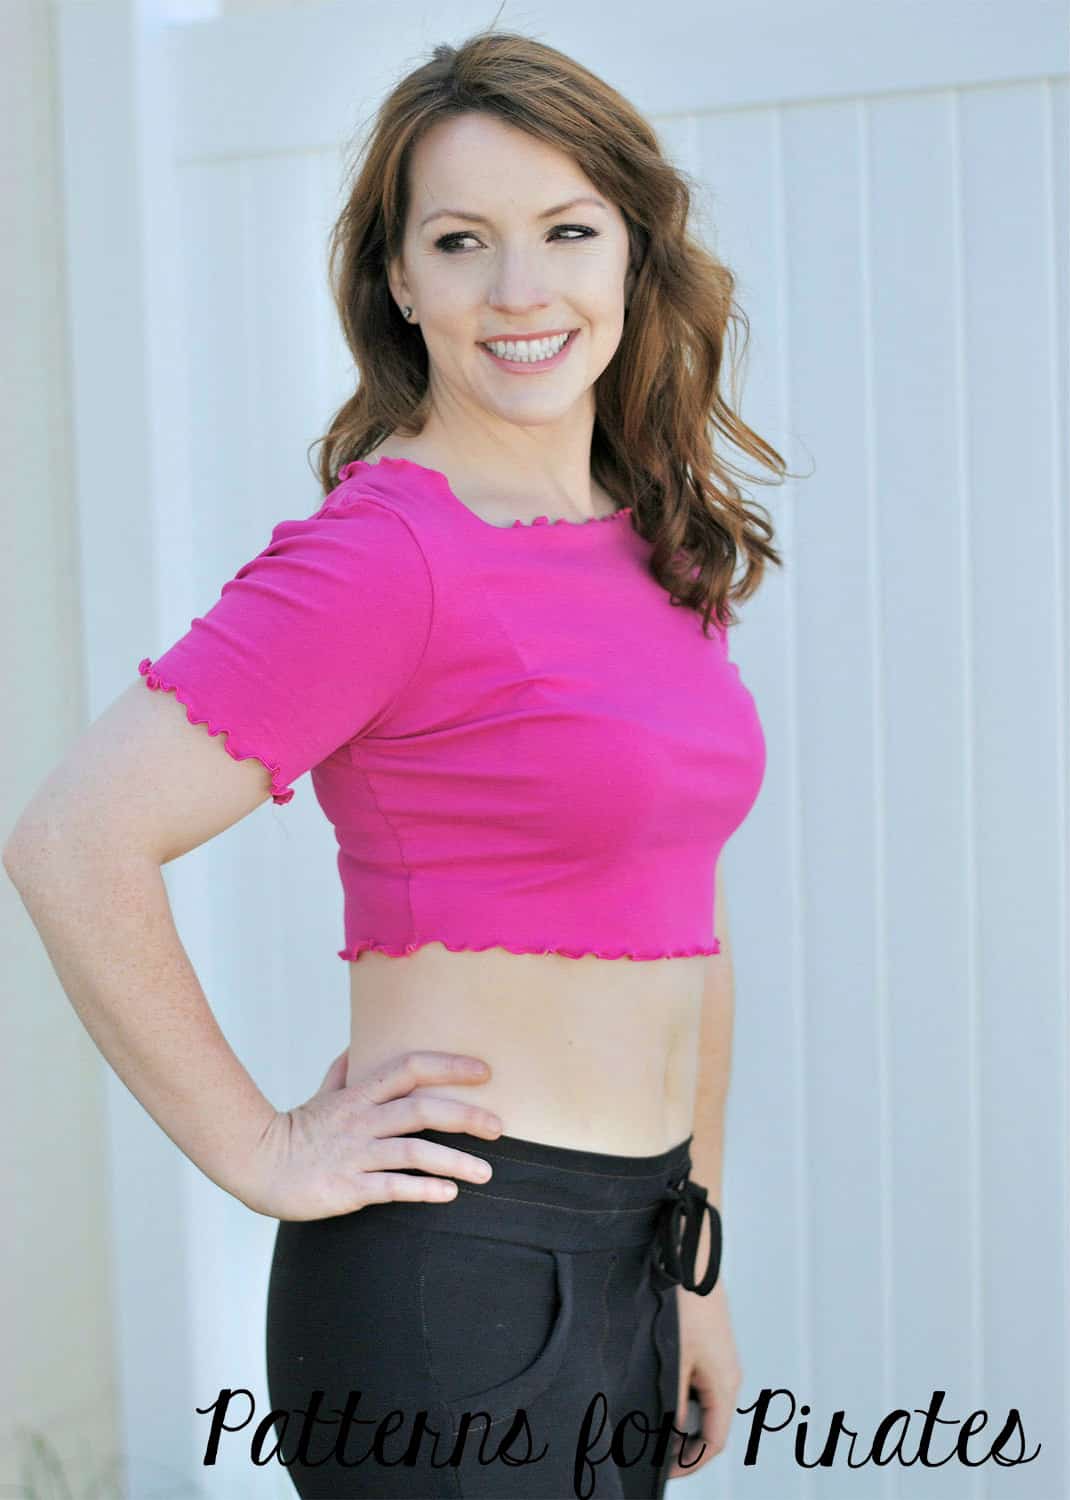
Lettuce hem

Next up we have the lettuce hem hack. This is an easy and fast way to finish your edges with a little added style!

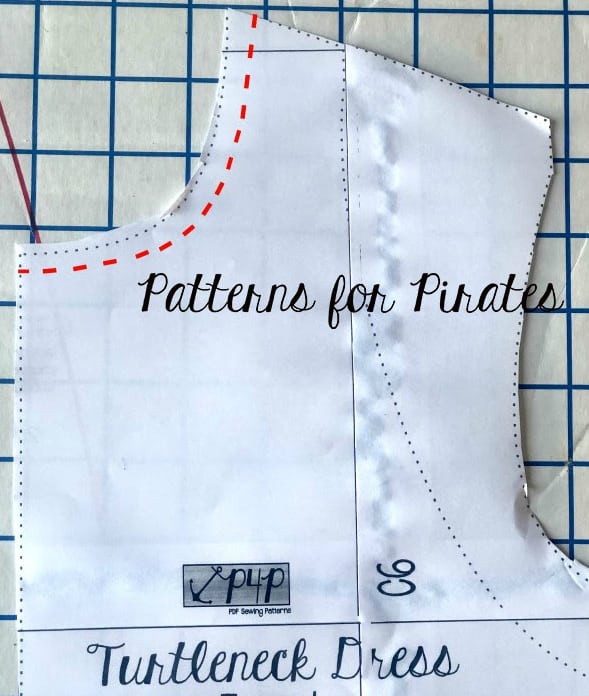
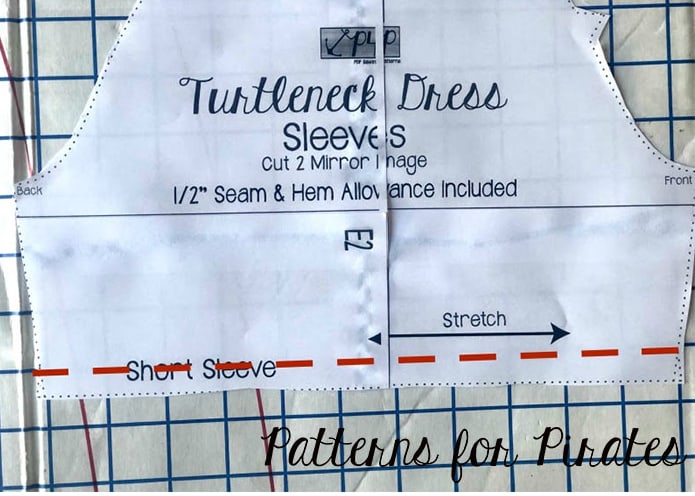
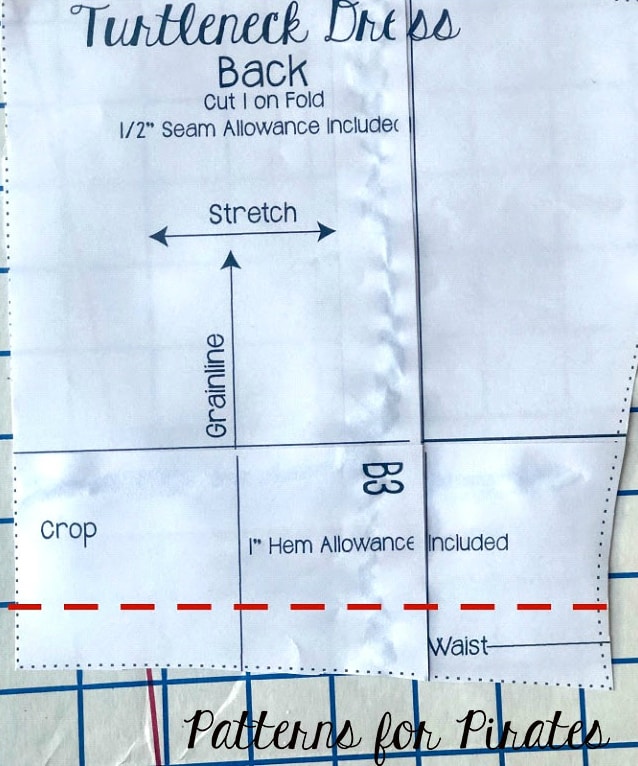
First off, we need to trim the hem allowances at the neckline, sleeve edges, and bottoms of both front and back pieces of the pattern to account for not using a traditional hem on these edges.

Trim 3/8″ off of the neckline.

Trim 1/2″ from the sleeve edges.

And trim 1″ from the bottoms of both the front and back bodice pieces.

Now that we’ve got our pattern pieces properly modified, cut and sew up your top as usual, using the new trimmed pattern pieces.

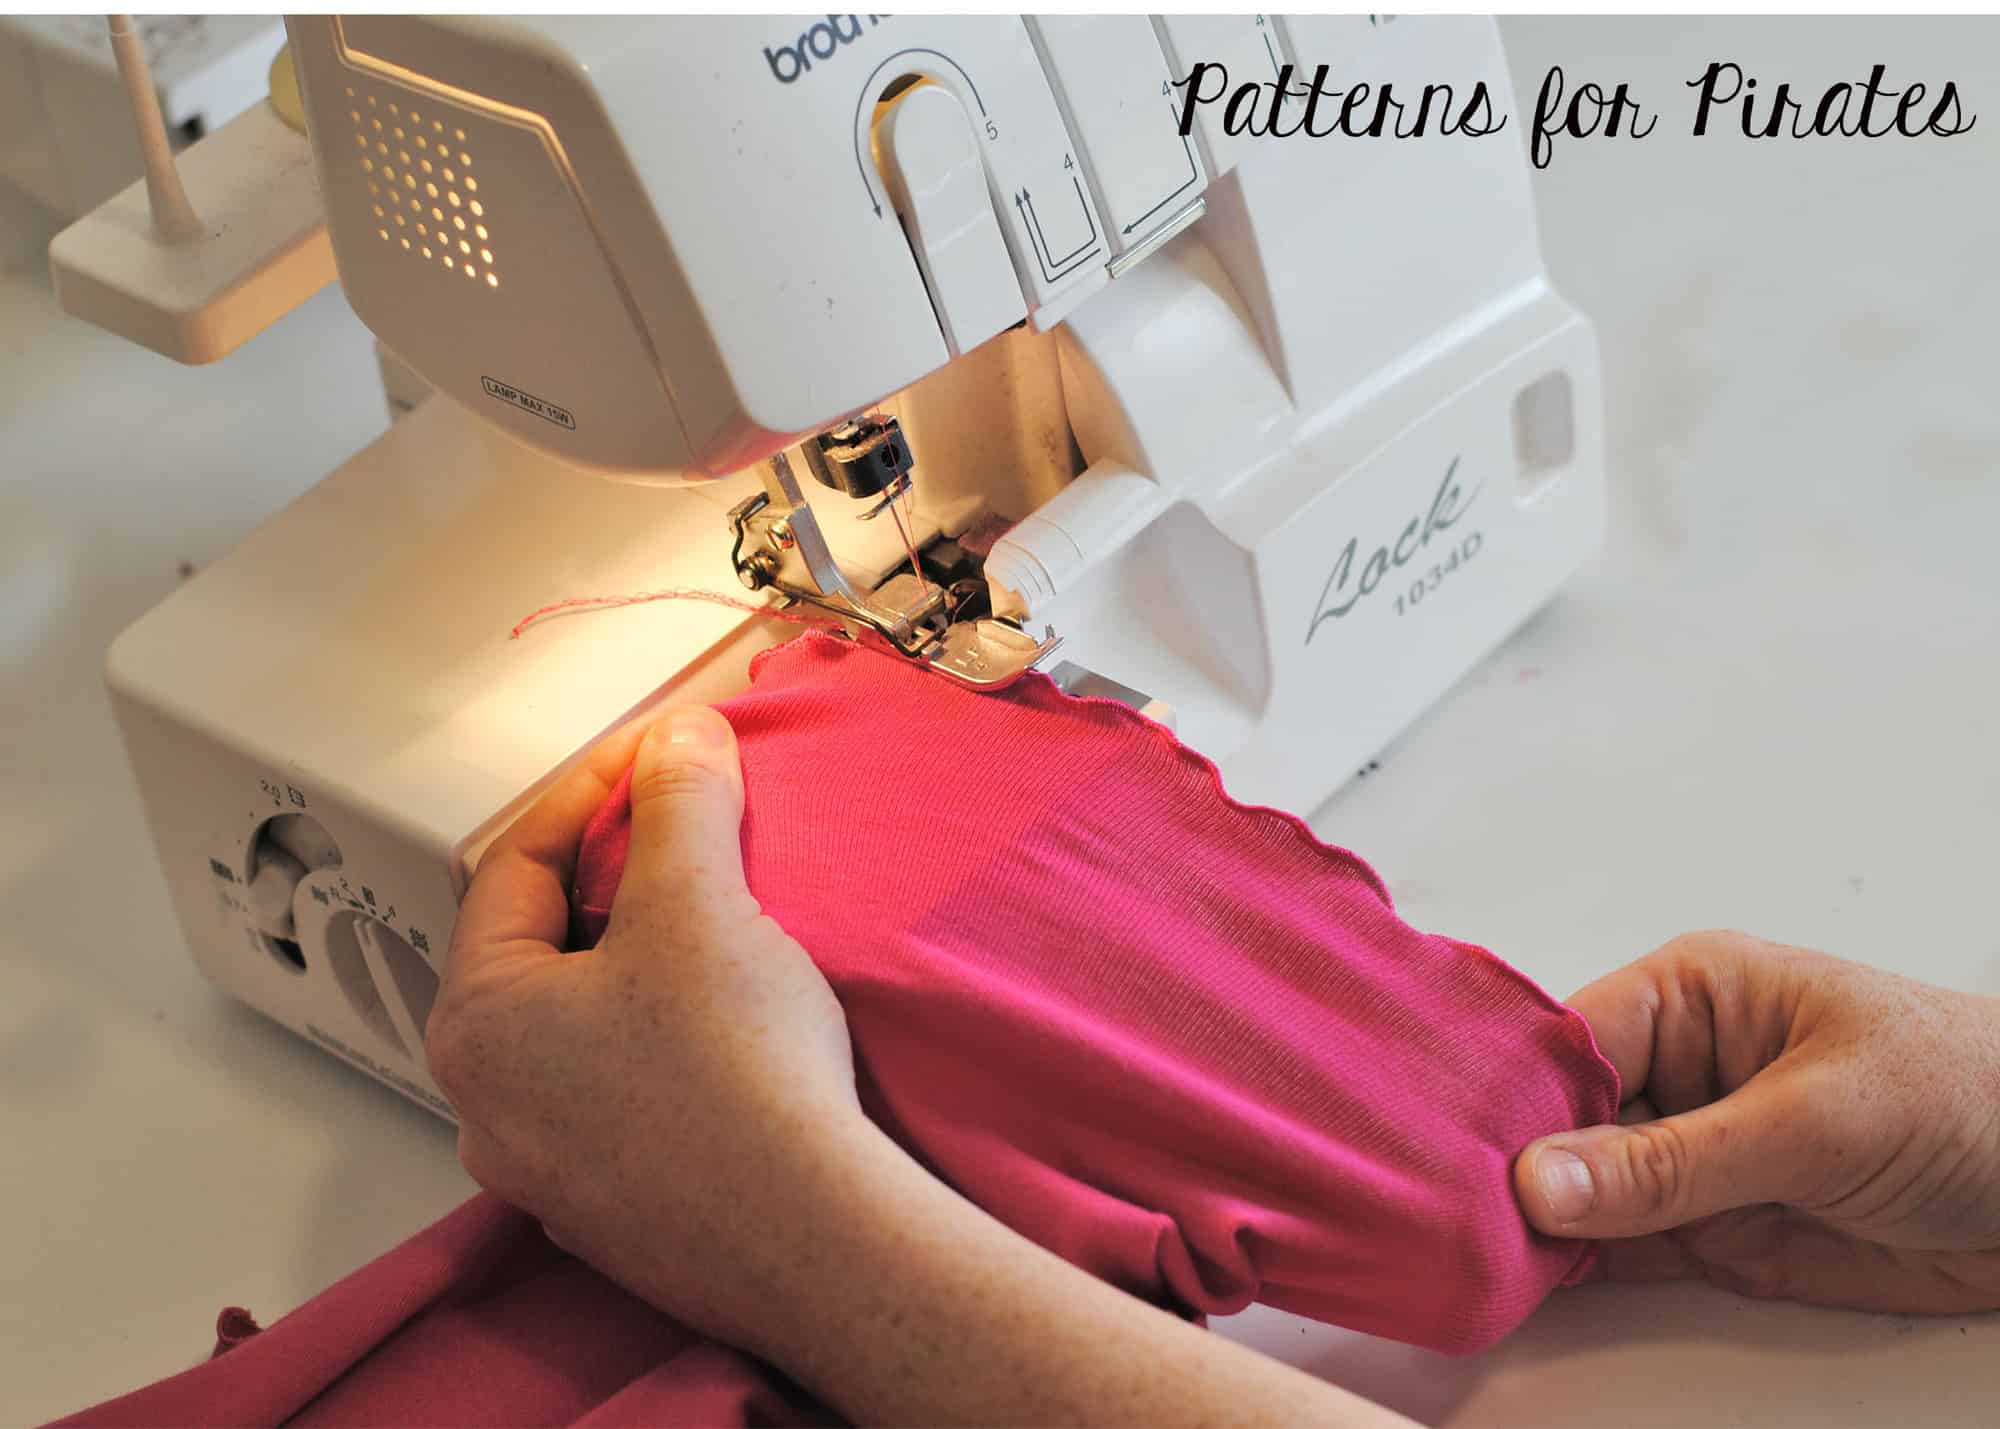
Next, set up your serger for a rolled hemline. Consult your serger’s manual for exactly how to do this on your machine, but in a nutshell, you will use only one needle, narrow the stitch width, decrease the length and increase the lower looper tension.

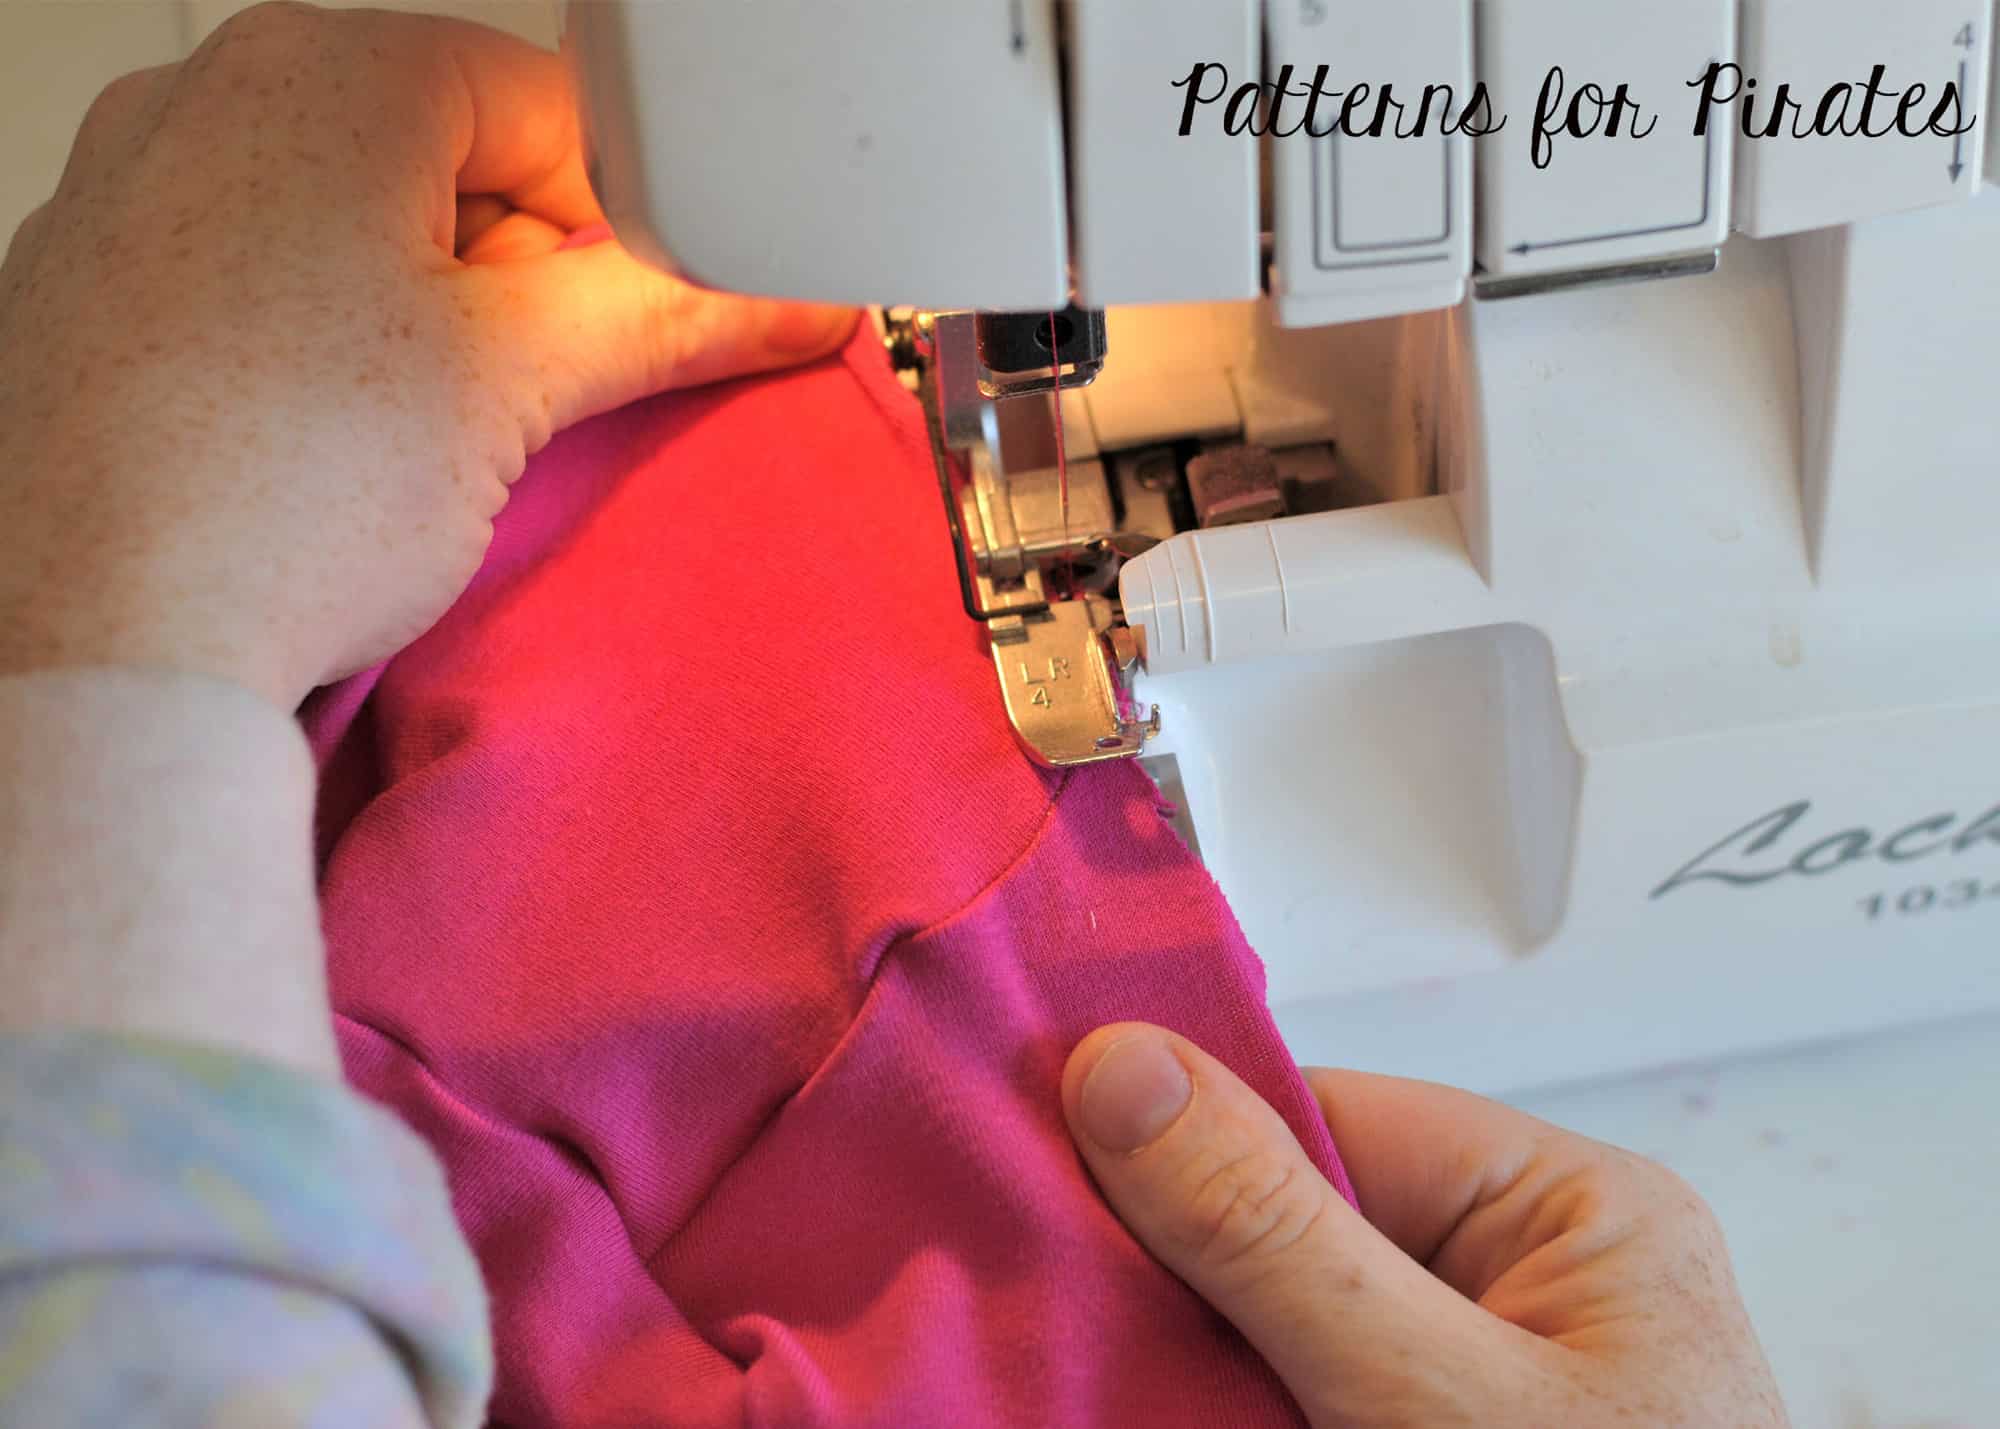
Begin with the neckline of the shirt. Sew the neckline as if you were finishing with a rolled hem, but stretch the fabric firmly before and after the presser foot. The tighter you pull, the more waves your lettuce hem will have!

Repeat on the raw edges of both sleeves and bottom hemline.

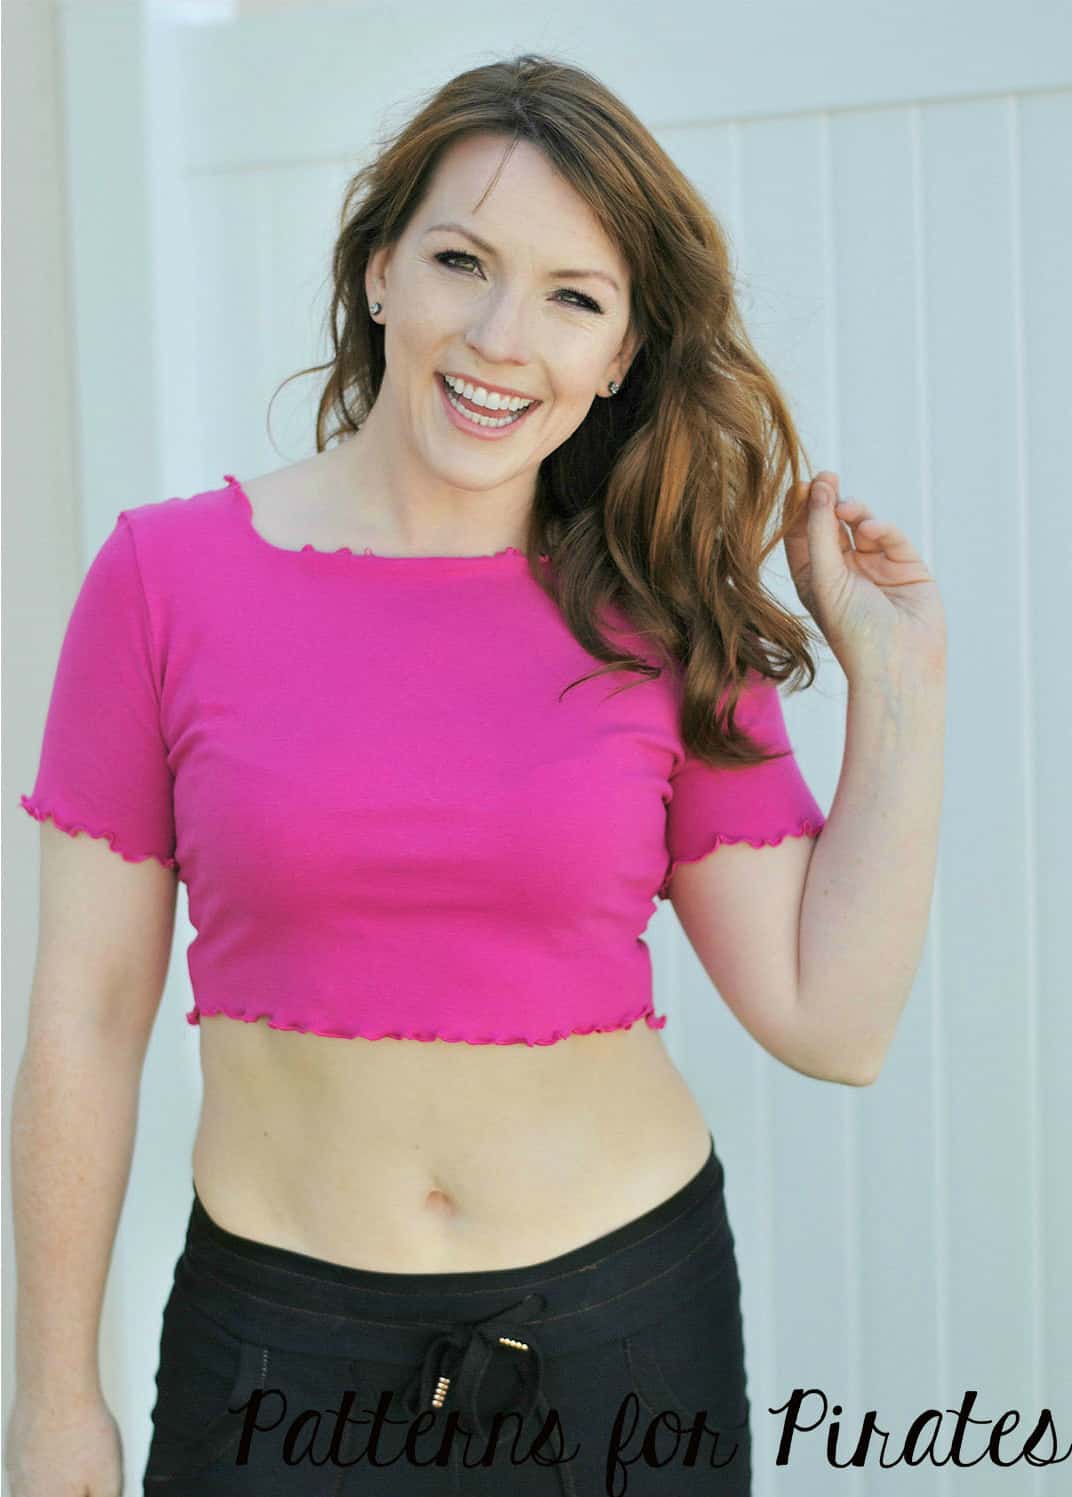
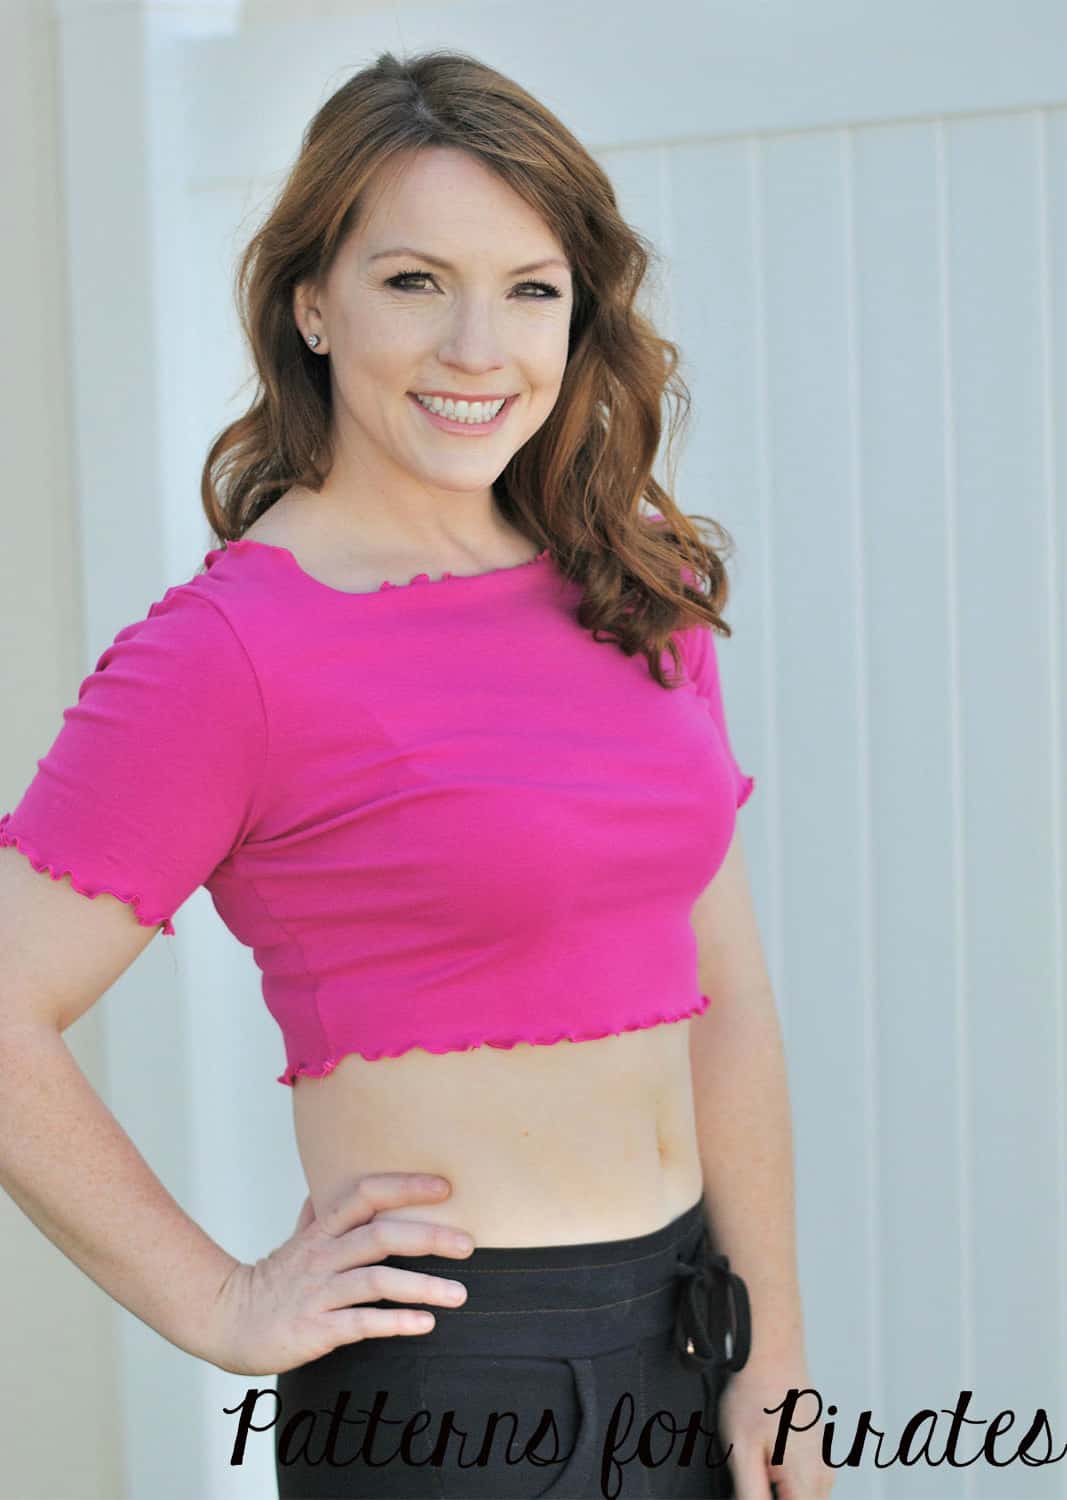
And that’s it! Now you have a beautifully finished tee with cute lettuce hems.


Caitlin

…..

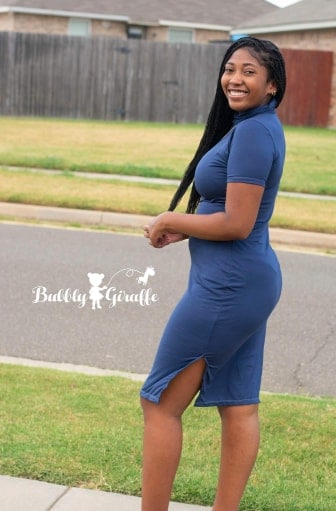
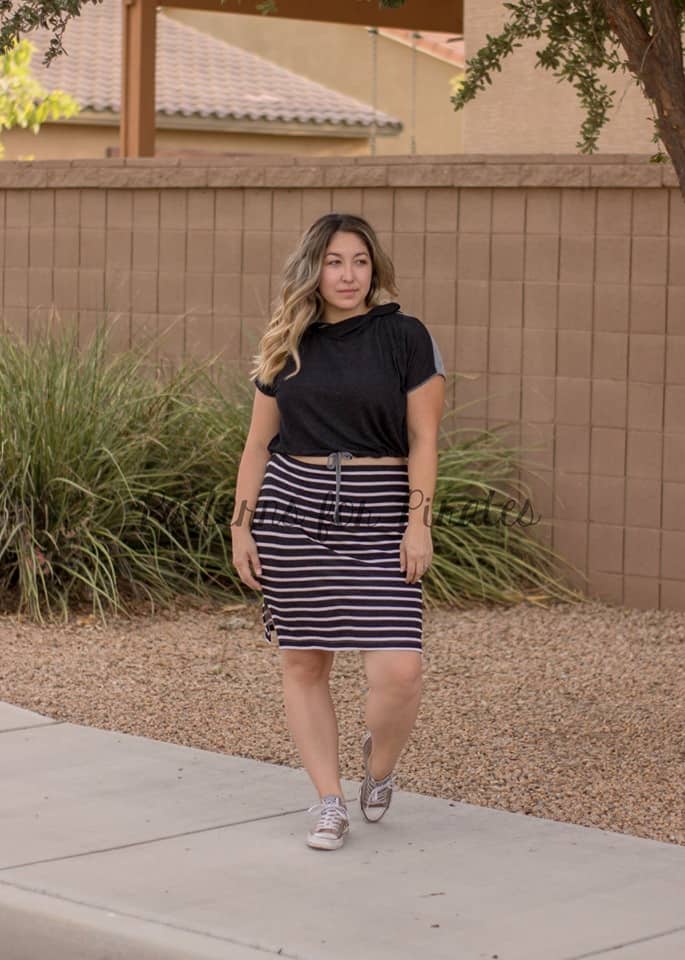
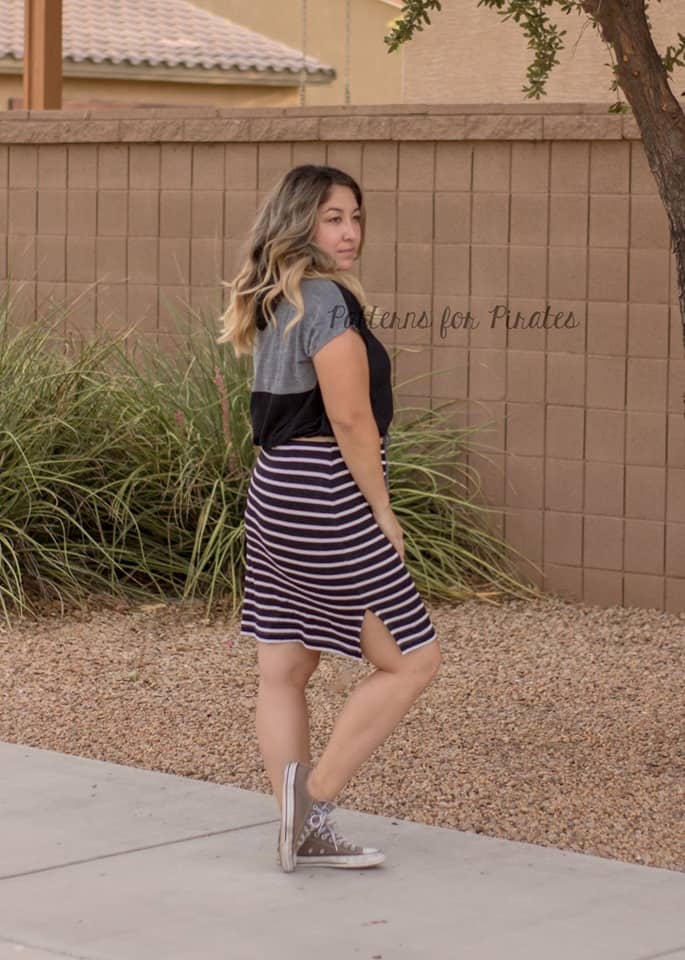
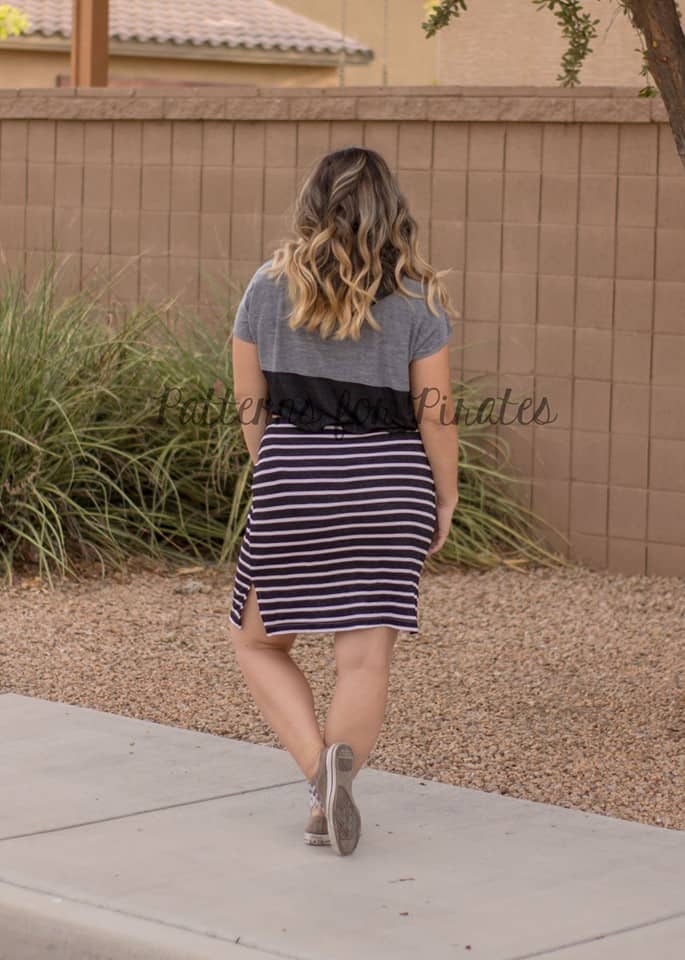
Higher side vents


Let give this dress a nice higher vent to add extra sexy to it!

 Here’s how I made this little hack.

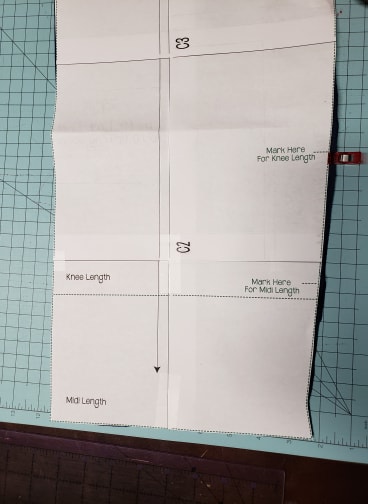
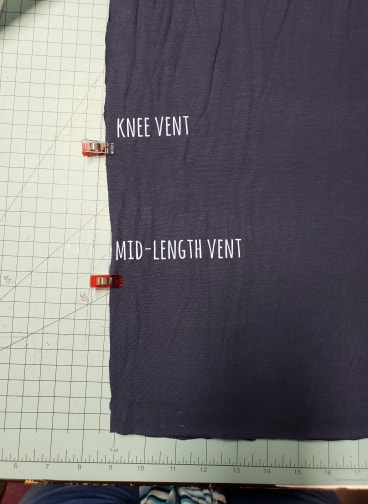
I started with cutting the mid-length version and marking the vent line for the knee length.

I continue sewing up the dress according to the instructions. 

Here is a picture to show the different vent lines. I followed the directions for the vent except I used the knee length instead of the mid length marking. 

Hope you all love this hack!!

Andrea

….

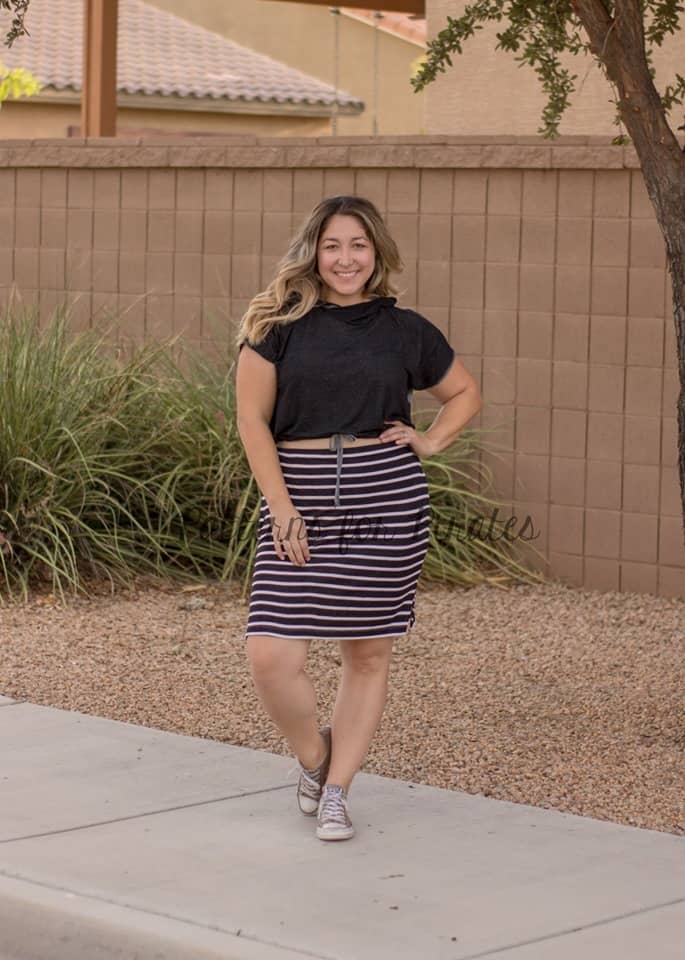
Skirt

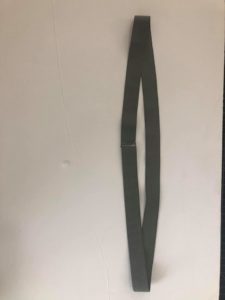
Next up we have a super easy, fun skirt hack. Nicole paired her skirt with the Sporty Piko crop but you can certainly wear it withe the cropped Hepburn top. Start by deciding where you would like the skirt to hit. Nicole is wearing a high waist style so she cut the pattern 1″ front and back pieces above the waist line. Now grab a 1″ knit elastic piece and stretch it around your waist (or high hip, depending on your skirt preference). Cut the elastic based on your waist and comfort. Sew the side seams and hem the bottom of the skirt following the tutorial instruction.

Sew the elastic in a loop.
Find the quarter point of both the elastic and skirt waist opening and match them.

Using your serger or a zig zag stitch attach the elastic to the waist.

Fold the elastic over and pin in place.
Use a zig sag stitch or a coverstitch to stitch in place.

That’s it! All you have left to do now is enjoy your new skirt.


…..

Hepburn / Boundless mash

My turn!! You know there’s nothing I like more than a good dress! So once I have sewn the dress included in the pattern I just had to try mashing it with the Boundless skirt. Here is what I did:

Cut the preferred Hepburn style (tank, sleeves, etc) CROP top. Now grab the Boundless pattern (or even the Sunshine) and cut the waist skirt (not the empire one).

Sew the Hepburn crop top as instructed in the tutorial. Now grab some 1/4″ elastic and measure the opening of the bottom hem. Cut the elastic the same size as the measurement you just took and sew it in a loop.


All you have to do now is attach the skirt to the Hepburn top following the Boundless (or Sunshine) tutorial. Boom! One top…so many new possibilities!


…..

Hepburn / Sweetheart or Me Hearties mash


We could not end this hacks series without showing you how beautiful a Hepburn / Me Hearties (or Sweetheart) mash can be. Here is what how to get the look.

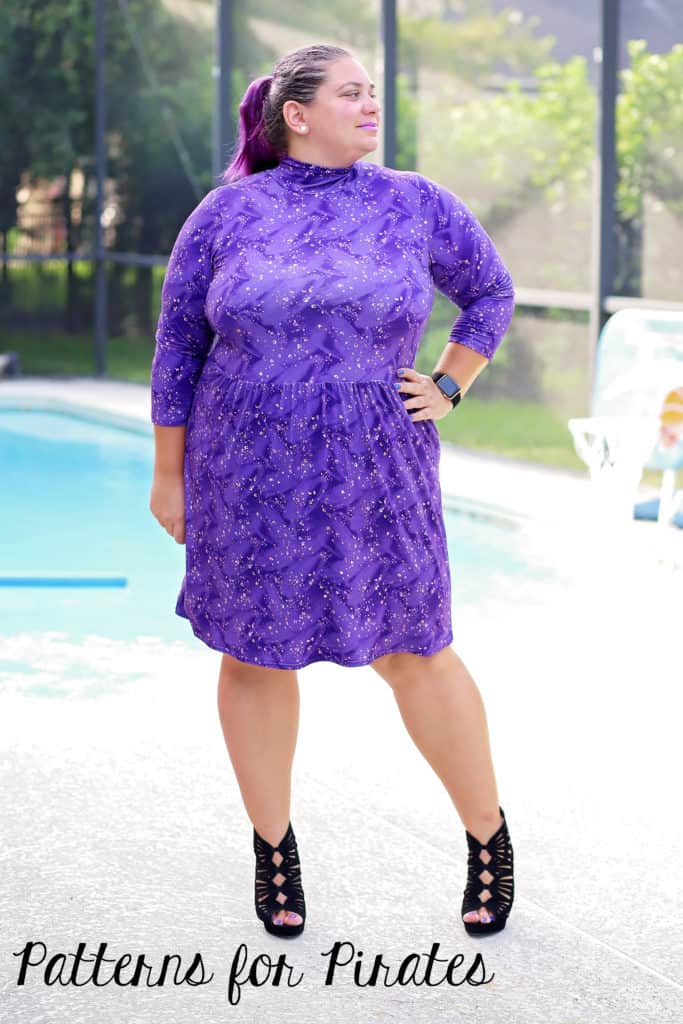
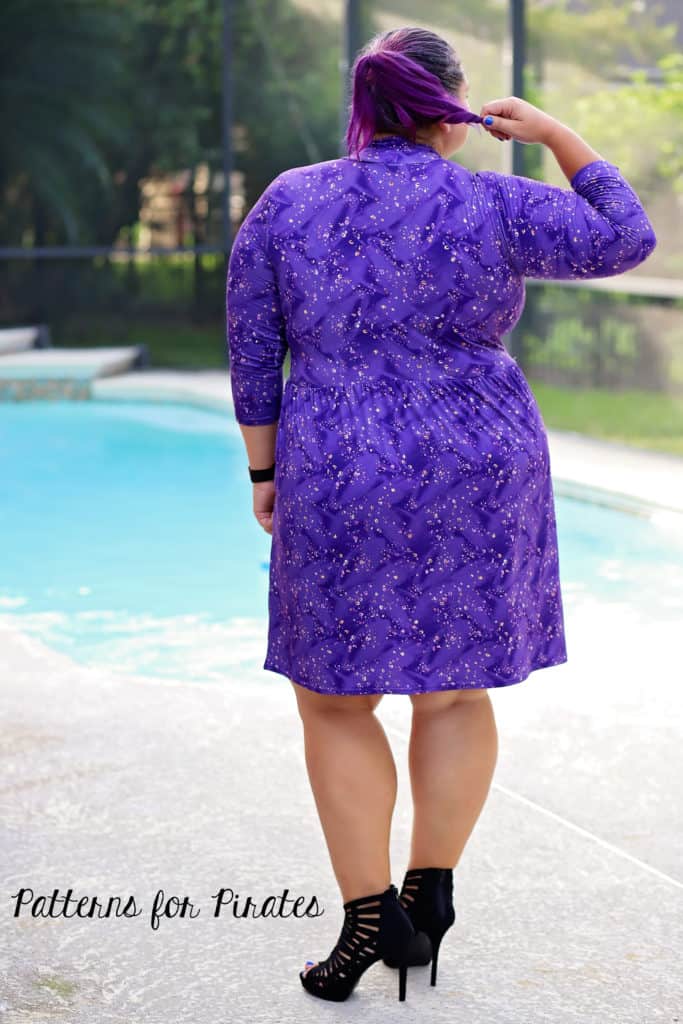
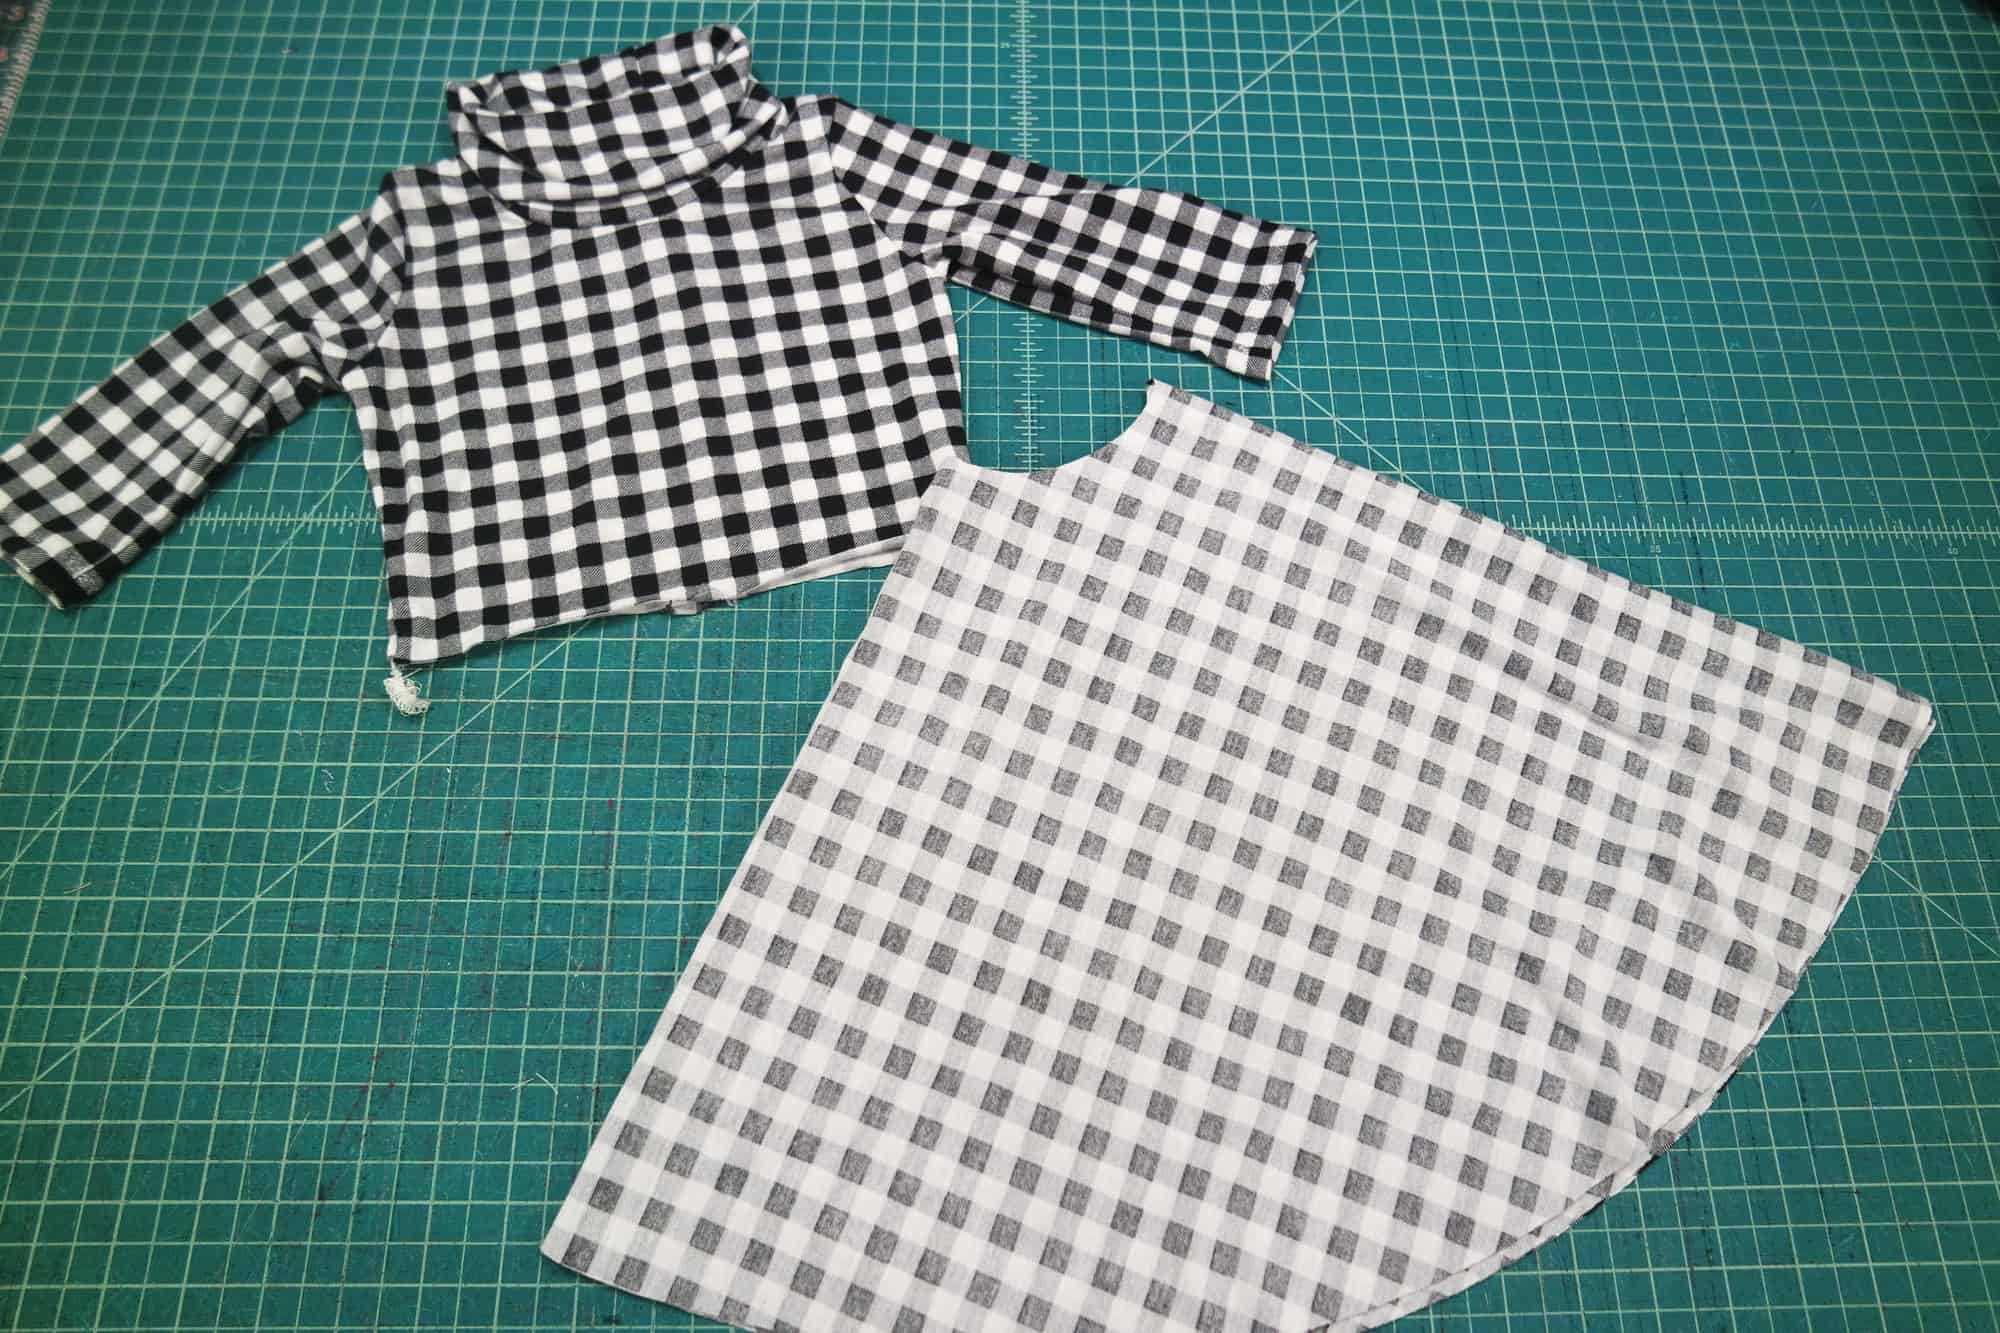
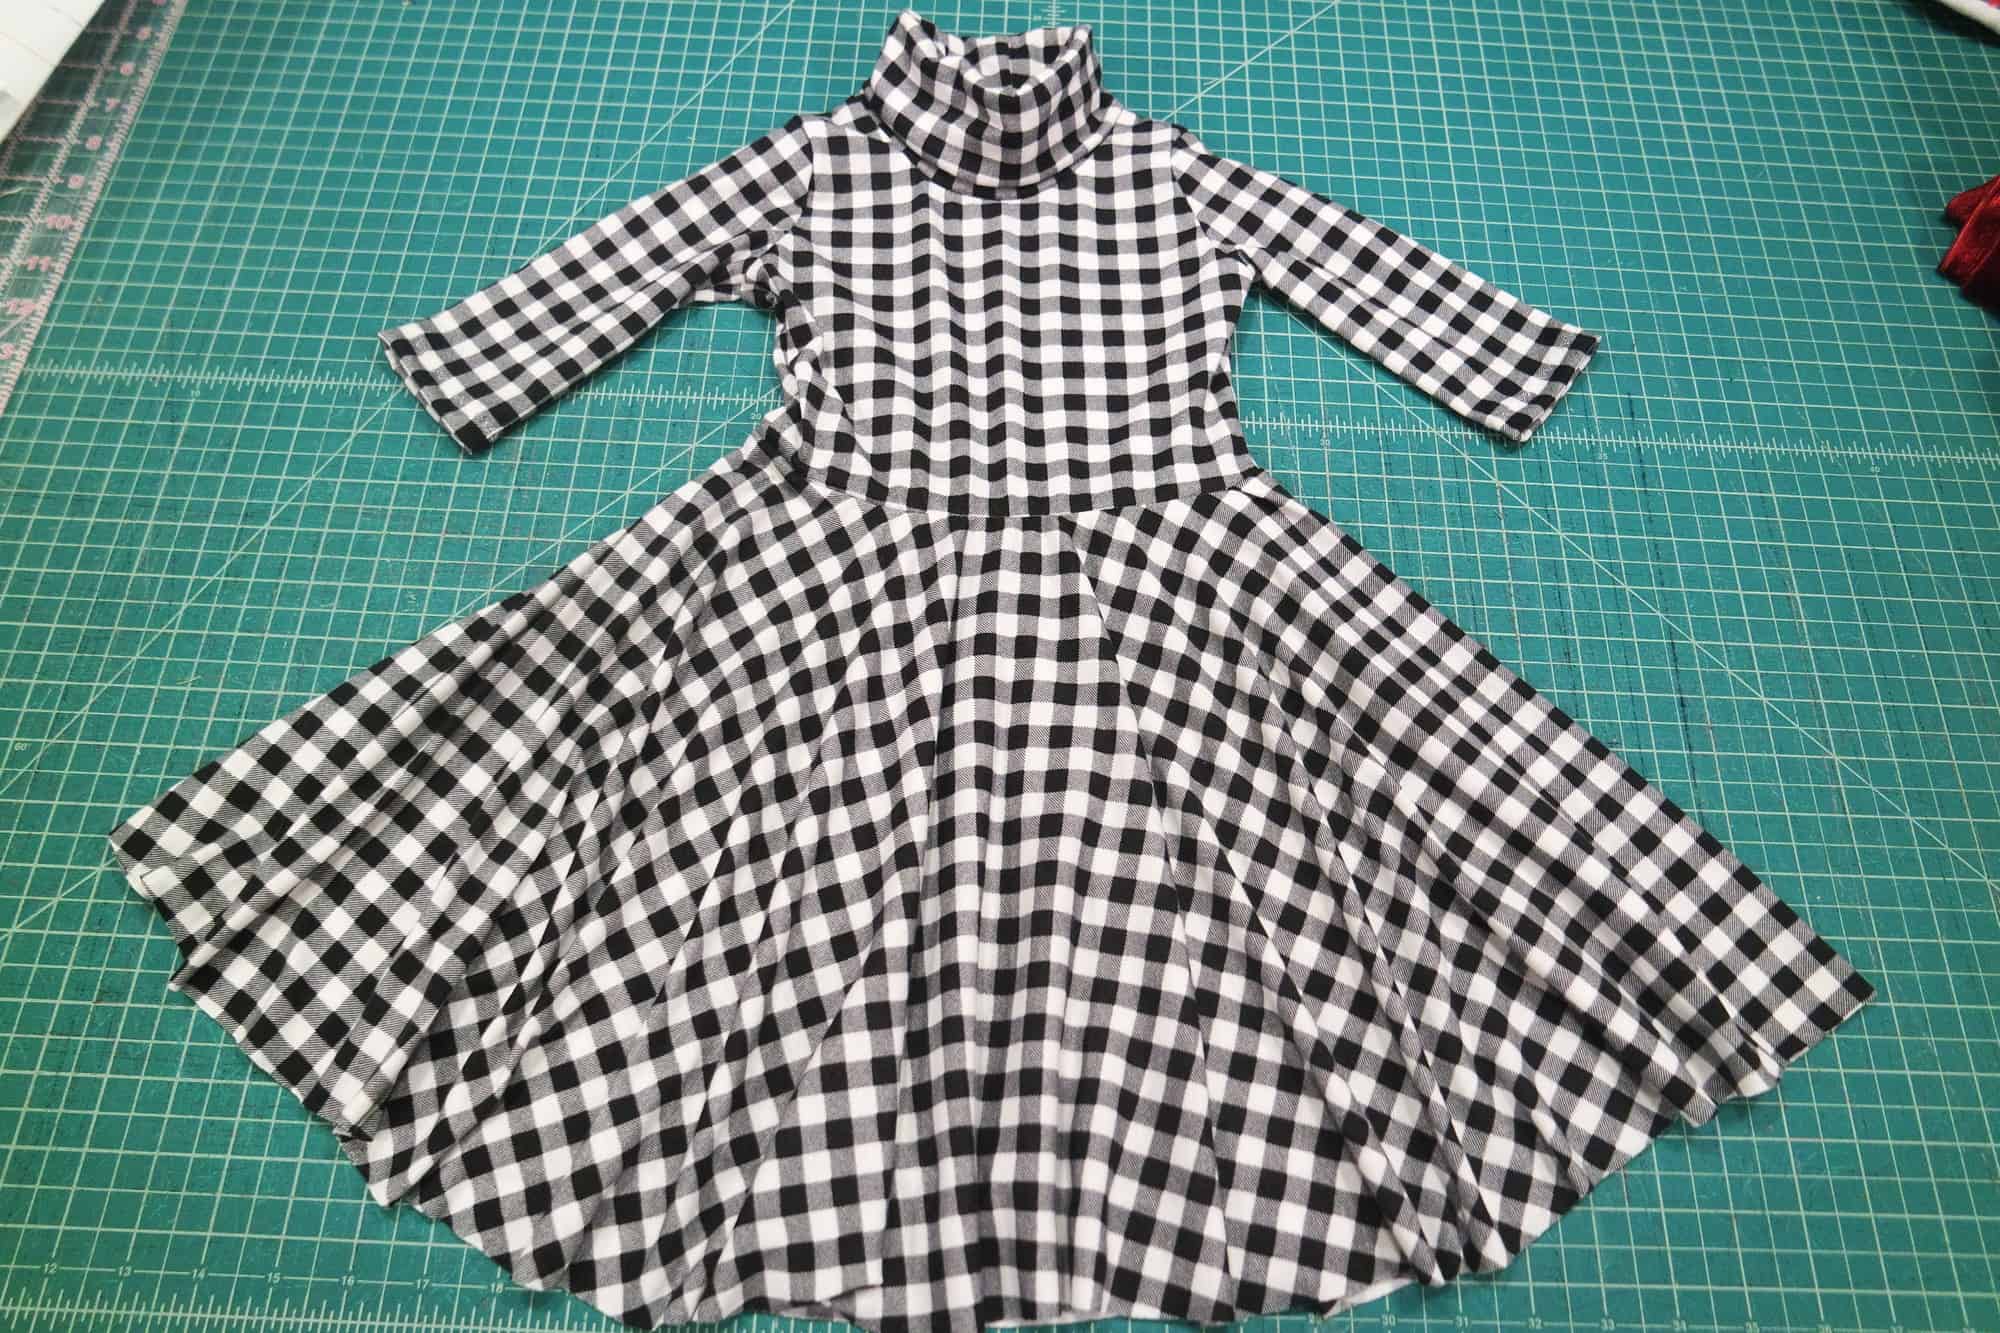
Judy has made he little star a 3/4″ sleeves, turtleneck crop top Hepburn and omitted hemming the bottom. Of course, you can choose any of the crop top styles included in the Hepburn pattern. Then she simply cut a Me Hearties circle skirt, sewed the side seams and hemmed the bottom.

All that left to do it attach the skirt to the top, following the Me Hearties instructions. Don’t forget the seam allowance is 1/2″.

Now tell me this cutie is not making you want to sew a Hepburn/Sweetheart mash for you too. I know that’s my next project!


Hope you enjoyed these easy hack as much as we enjoyed making them for you! Time to get sewing and remember to post your creations in the Patterns for Pirates Facebook group so we can all admire them.

Filed Under: Pattern Hacks, Pattern Release, Uncategorized Leave a Comment

SOS sal day 7 (winner announcements)

May 21, 2019

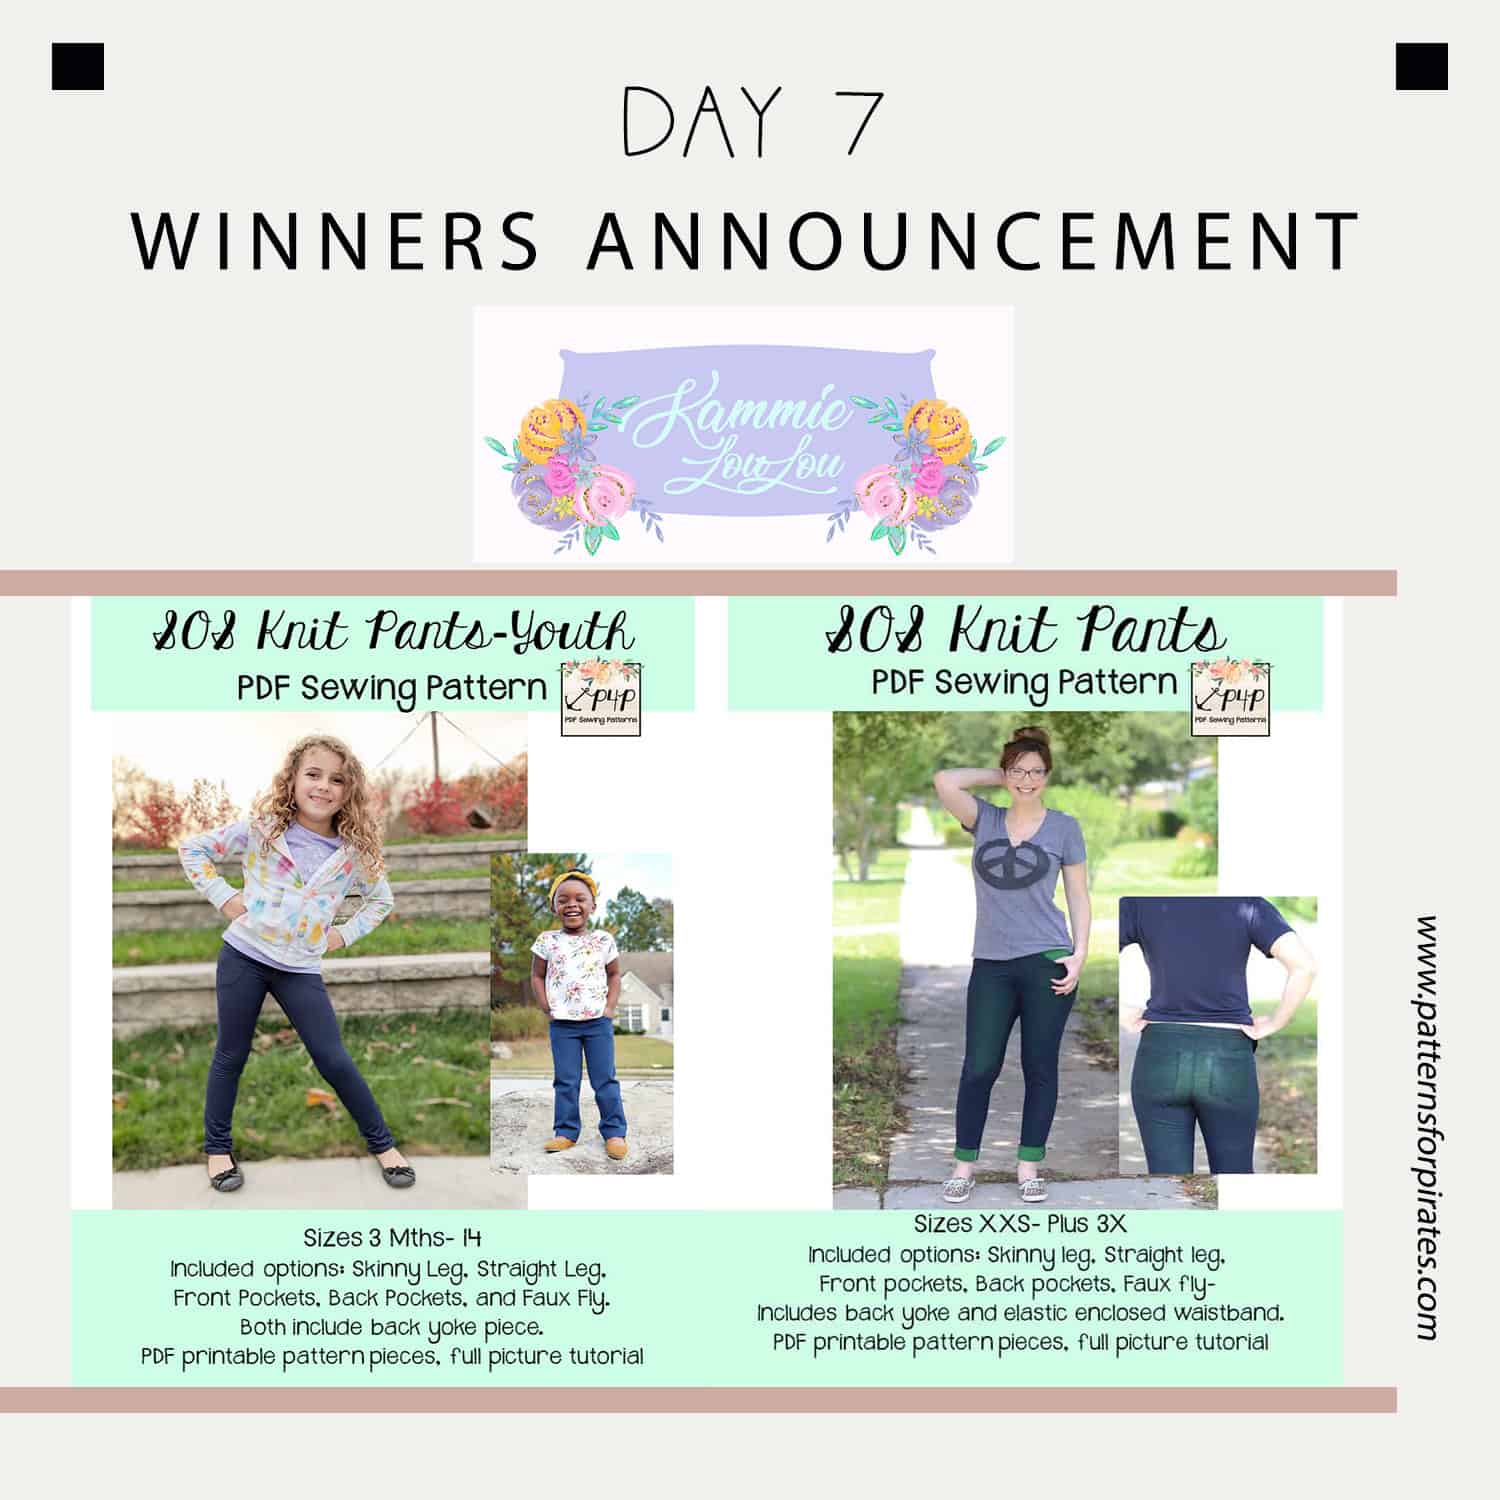
Amazing job these past 7 days! We were in awww of the beautiful creations we’ve seen and once again you have not made our job easy.

Without further ado….the first prize winner is:

Cathryn Larkin!


Congratulations, Cathryn!  You won a $20 Patterns for Pirates gift card and a $75 Kammie Lou Lou retail fabrics store credit.

As always we have a second winner too:

Leah Bashover-Nichols


Leah , congratulations! You won a Made for Mermaids $20 store credit to treat yourself to some new patterns.

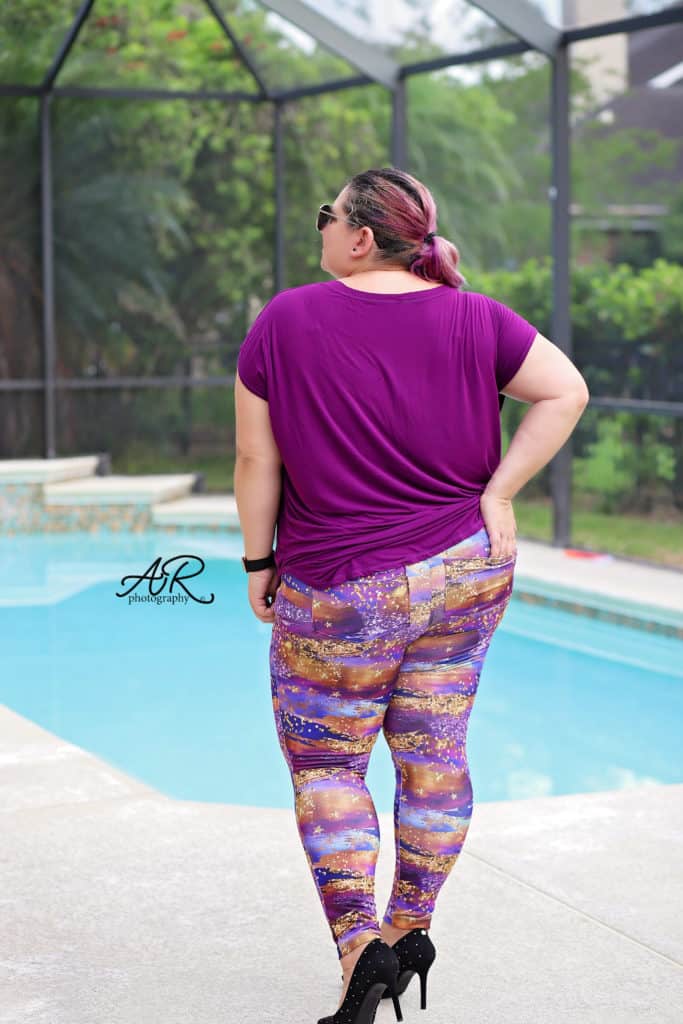
A big thank you to the SOS knit pants sew along sponsor, Kammie Lou Lou Custom Fabrics who also provided this beautiful brushstrokes athletic knit I used for my skinny pants.


Stay tuned for the mermaids’ June sew along announcement.

SOS sew along | Day 1 – Print and cut pattern

SOS sew along | Day 2 – Cut fabric

SOS sew along | Day 3 – Back: pocket, yoke, inseam

SOS sew along | Day 4 – Front: pocket, inseam

SOS sew along | Day 5 – Leg inseam, side seam, hem

SOS sew along | Day 6 – Waistband

SOS sew along | Day 7 – Winners announcement

Filed Under: Frequently Asked Questions, Sew-A-Long 1 Comment

SOS sal day 6 (waistband)

May 20, 2019

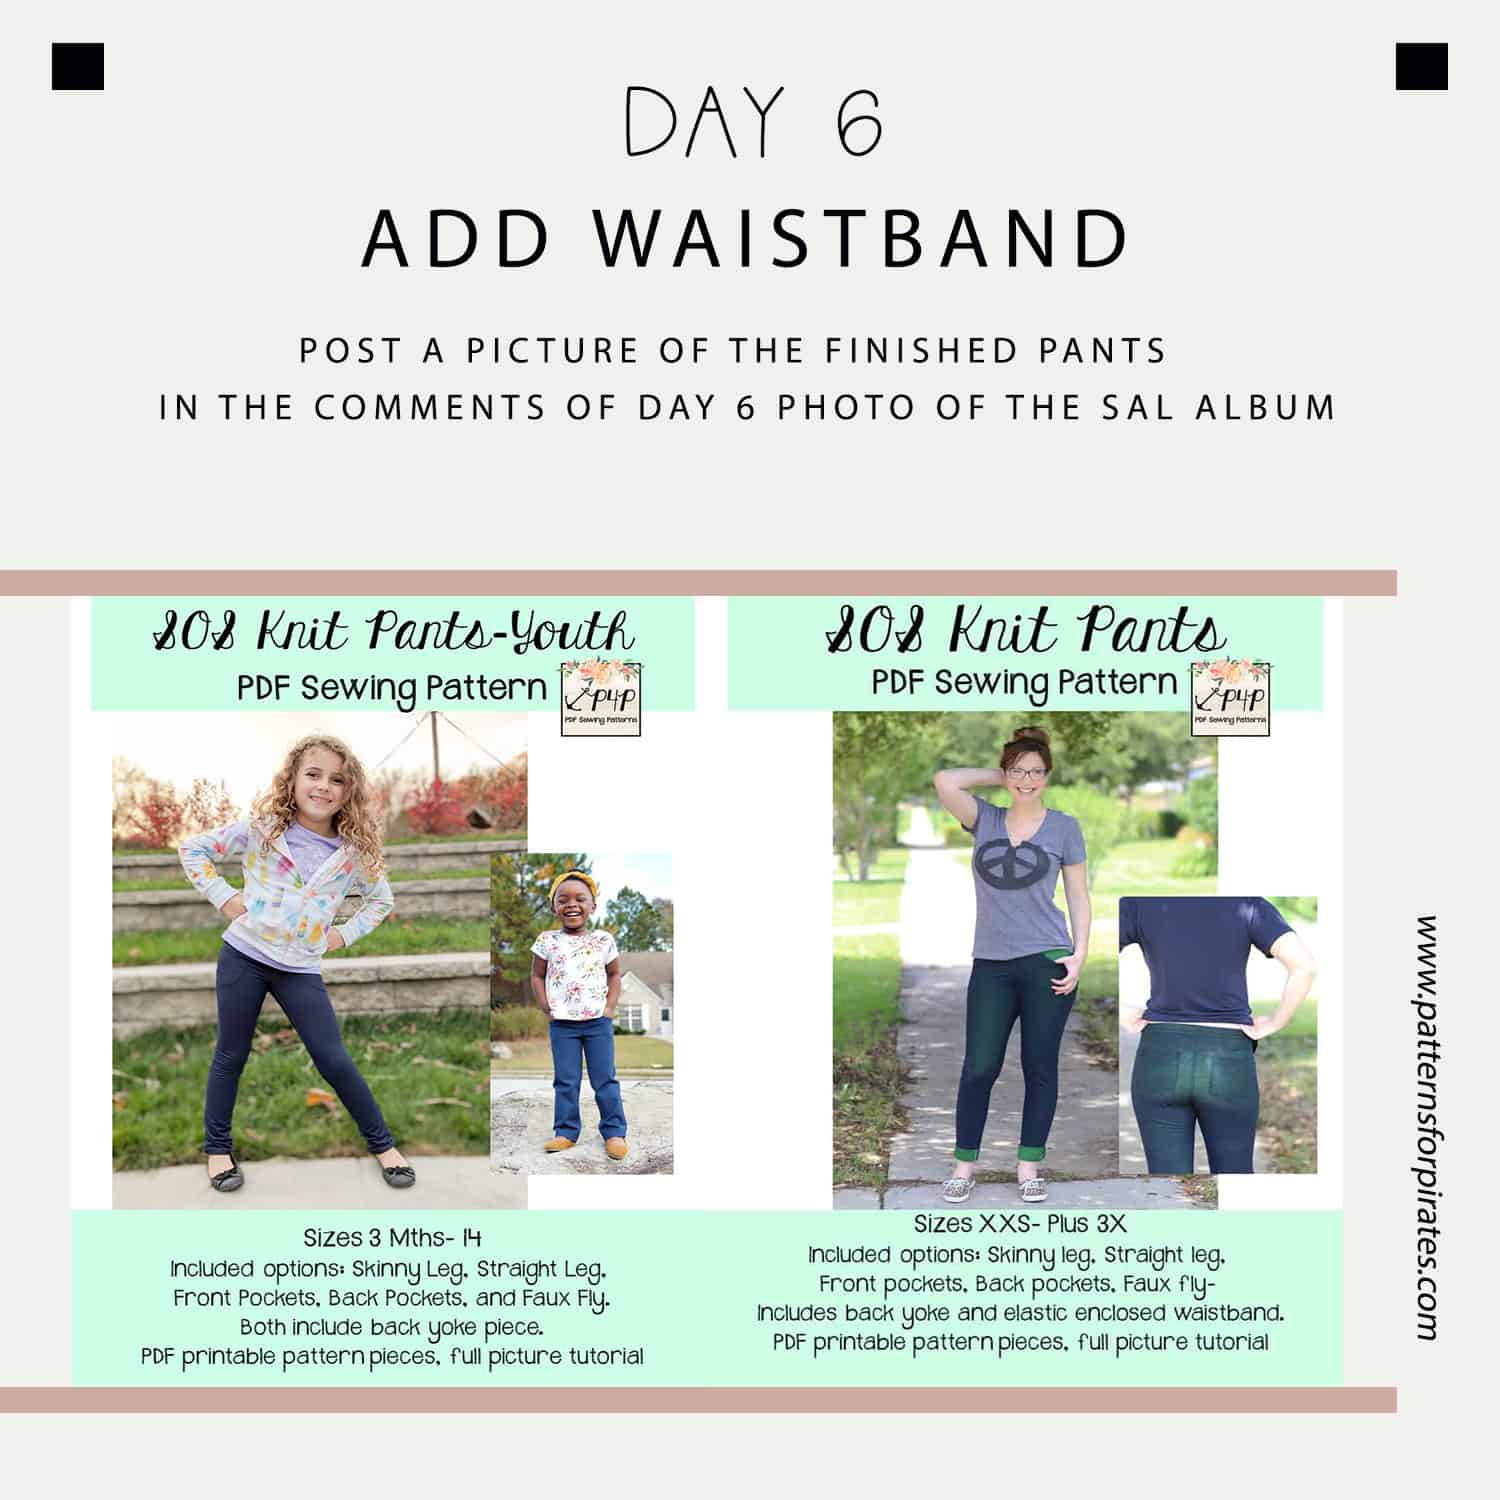
Woo hoo! We made it to the last sewing day. Today we are adding the waistband and bragging 😉 The SOS knit pants feature a mid rise (they will hit just under the belly button) with an elastic enclosed waistband. My main tip for today is to try the elastic on once you sew the loop. Not all elastics are the same, some will stretch more some will stretch less. When possible it’s always advisable to try the elastic to make sure you love the fit before you add the waistband.

If you are a fan of the Peg Legs contour waistband you can certainly replace the waistband with the contour one. I talk about how here, in the hacks blog.

Be sure to watch Day 6’s video below and post your finished SOS pants  (modeled or not) in the comments of the day 6 photo of this sew along’s album. Reminder, only photos posted in the comments of DAY 6 photo will qualify for the prize. You are most definitely welcome to share on the wall as well (the SAL group and P4P group). Good luck!

SOS sew along | Day 1 – Print and cut pattern

SOS sew along | Day 2 – Cut fabric

SOS sew along | Day 3 – Back: pocket, yoke, inseam

SOS sew along | Day 4 – Front: pocket, inseam

SOS sew along | Day 5 – Leg inseam, side seam, hem

SOS sew along | Day 6 – Waistband

SOS sew along | Day 7 – Winners announcement

Filed Under: Frequently Asked Questions, Sew-A-Long Leave a Comment

SOS sal day 5 (leg inseam, side seam, hem)

May 19, 2019

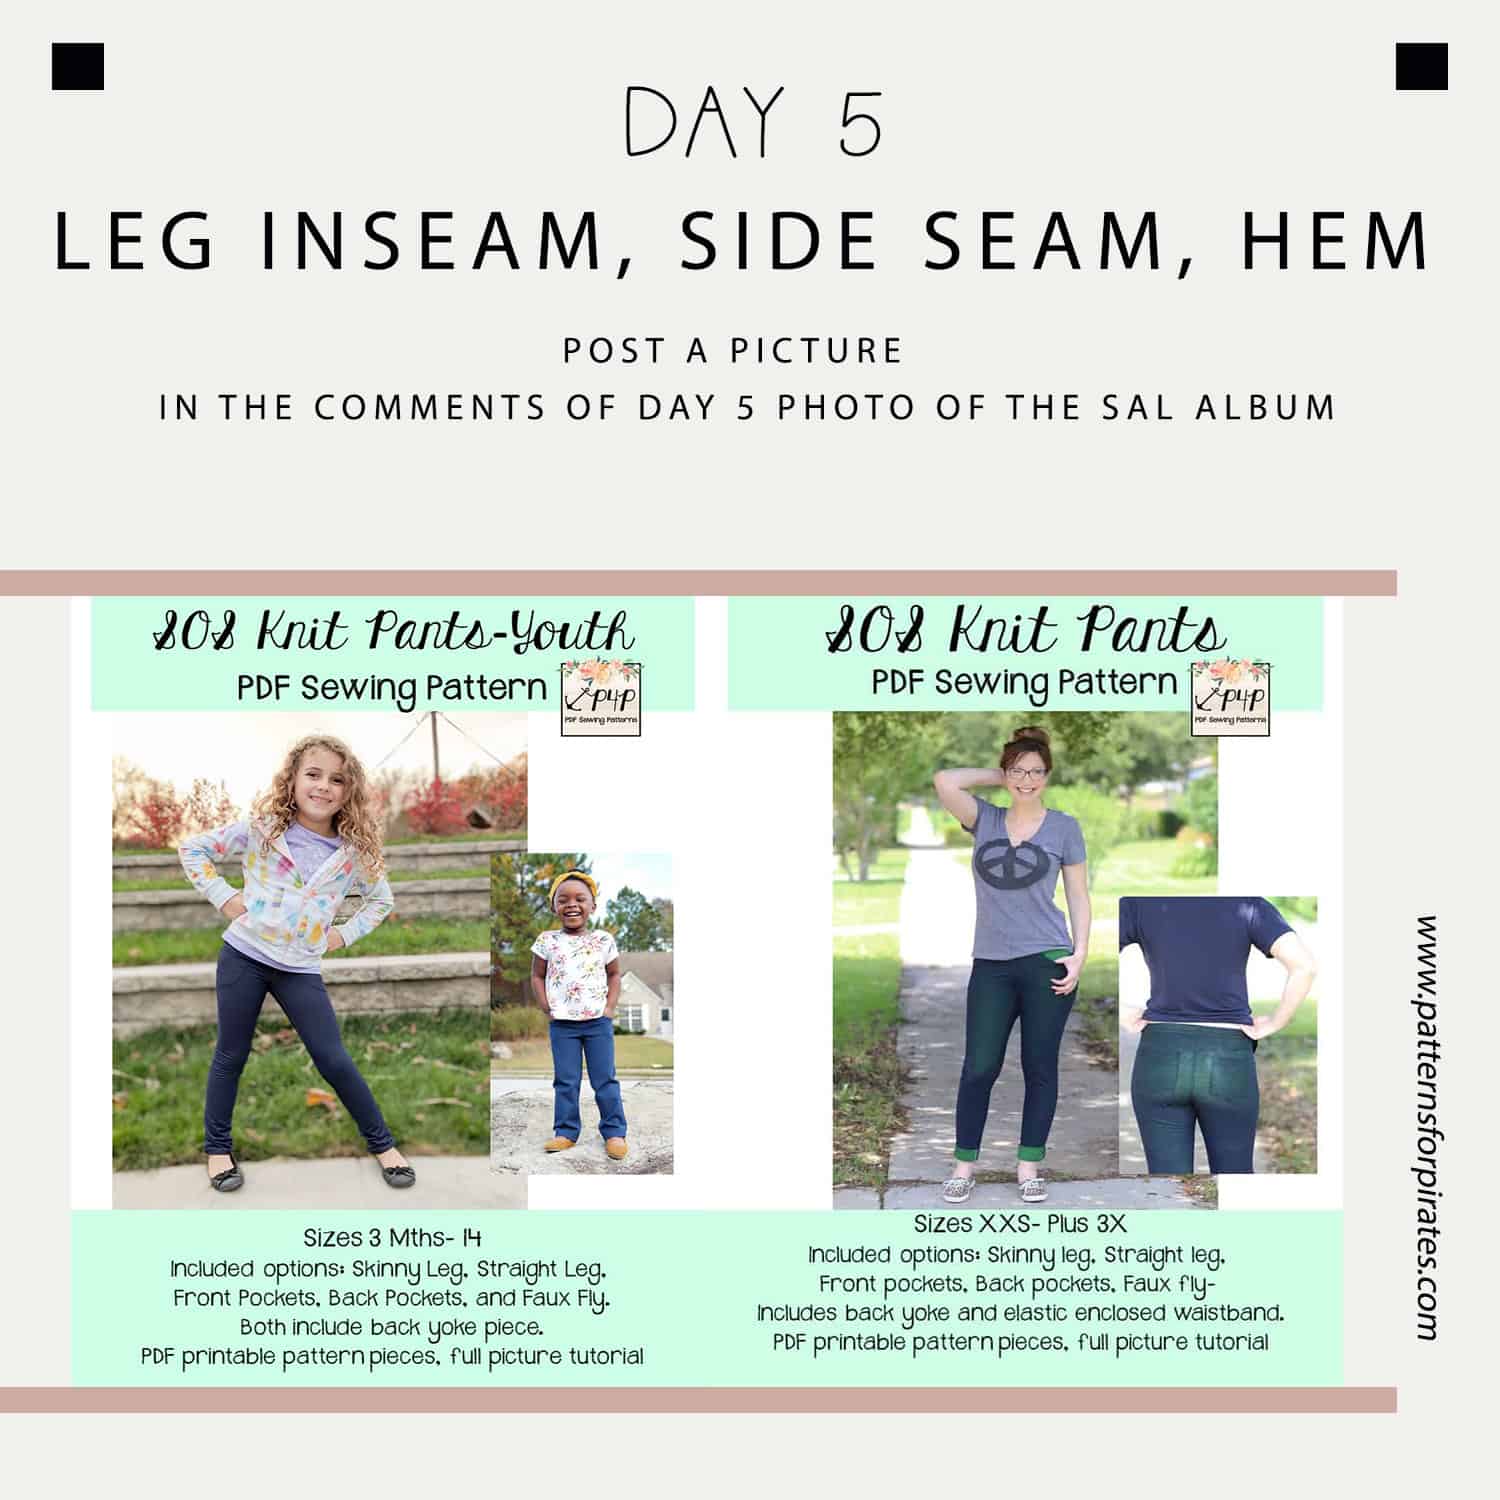
Ahoy, matey! Today our project will start to take the shape of pants 😉 Whether you have opted for the skinny, straight, youth or adult option, you will be sewing the inseam and the side seam. The video below shows you how my preferred technique. I like to pin the front to the back at the inseam, the side seams and lastly sew them.

The pattern follows a 1/2″ seam allowance so if you are using your serger, remember to remove 1/4″ with the serger blade.

Hem the bottom of each leg by folding 1″ and stitching it with a STRETCH stitch. It is very important that you do use either a zig zag, a triple stretch or a coverstitch when sewing the hem. There will be tension and stretching applied to it when putting the SOS knit pants on and wearing them so a straight stitch may pop.

Take a look over the Day 5 video below and when you complete your step, post a picture of your progress in the comments of day 5 photo of the SOS sew along album.

SOS sew along | Day 1 – Print and cut pattern

SOS sew along | Day 2 – Cut fabric

SOS sew along | Day 3 – Back: pocket, yoke, inseam

SOS sew along | Day 4 – Front: pocket, inseam

SOS sew along | Day 5 – Leg inseam, side seam, hem

SOS sew along | Day 6 – Waistband

SOS sew along | Day 7 – Winners announcement

Filed Under: Frequently Asked Questions, Sew-A-Long Leave a Comment

SOS sal day 4 (front pocket, inseam)

May 18, 2019

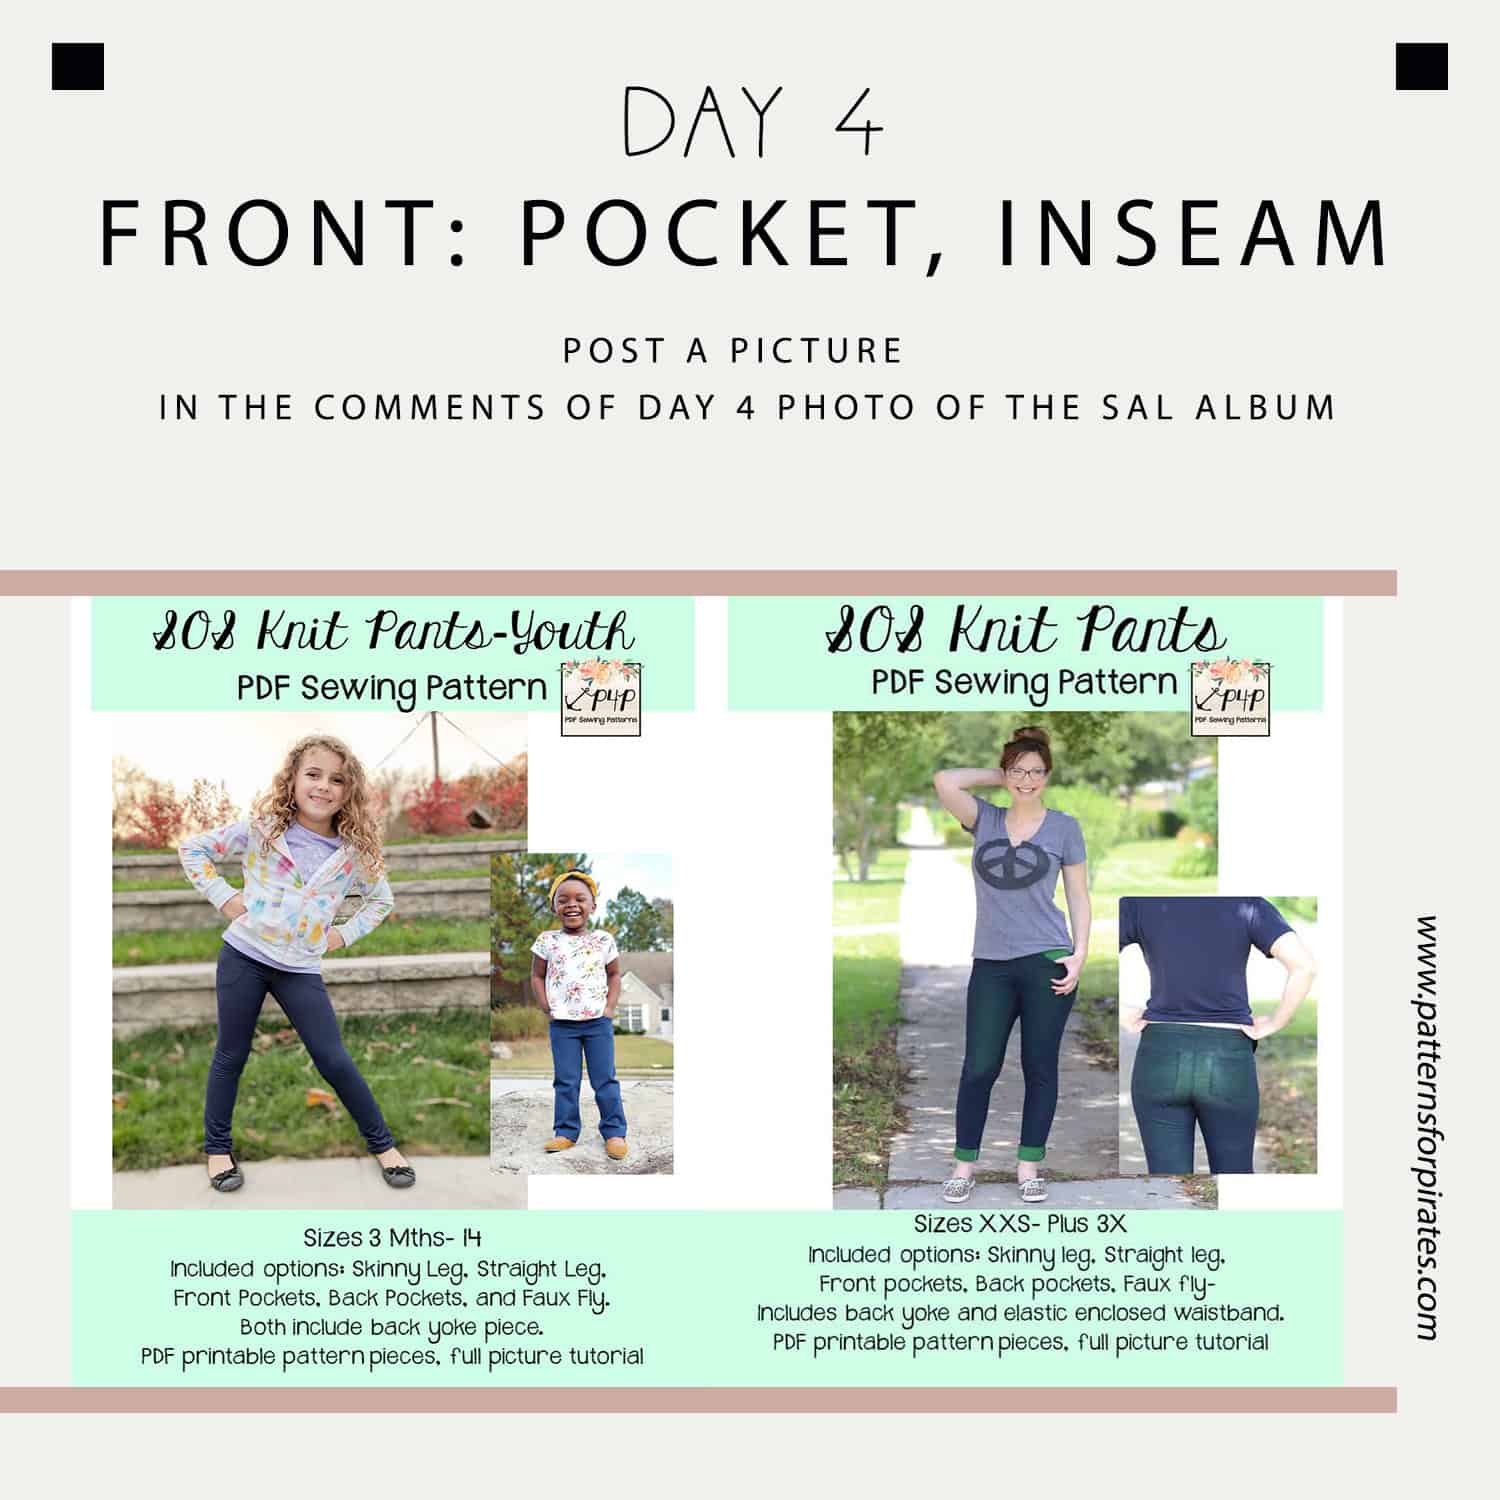
Good morning mermaids and pirates! Today, on day 4, we will be sewing the front pockets and the front seam. Let’s start with the pockets! The SOS knit pants feature slat pockets with an French seam. As I mentioned in the previous video, I strongly encourage you to use a thinner knit fabric for the pocket lining. This will reduce the bulk considerably.

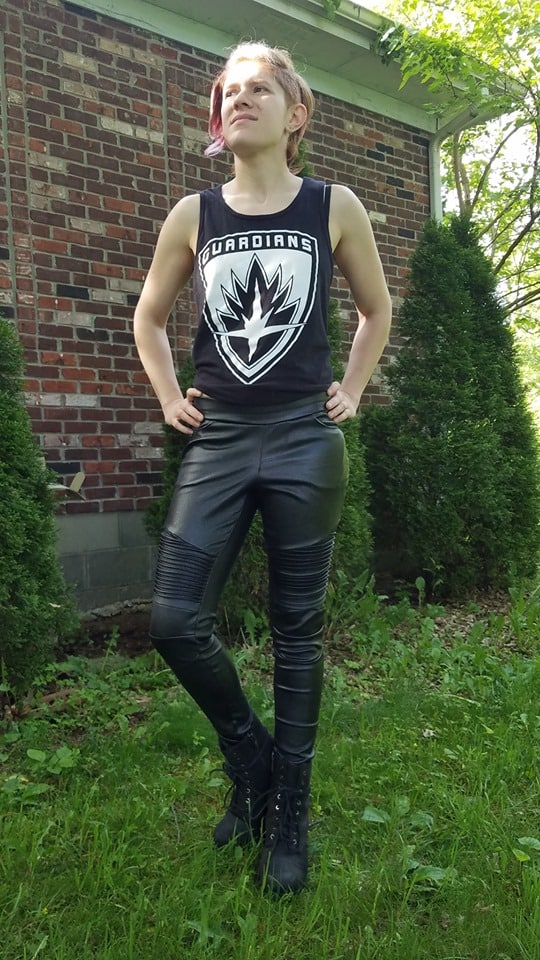
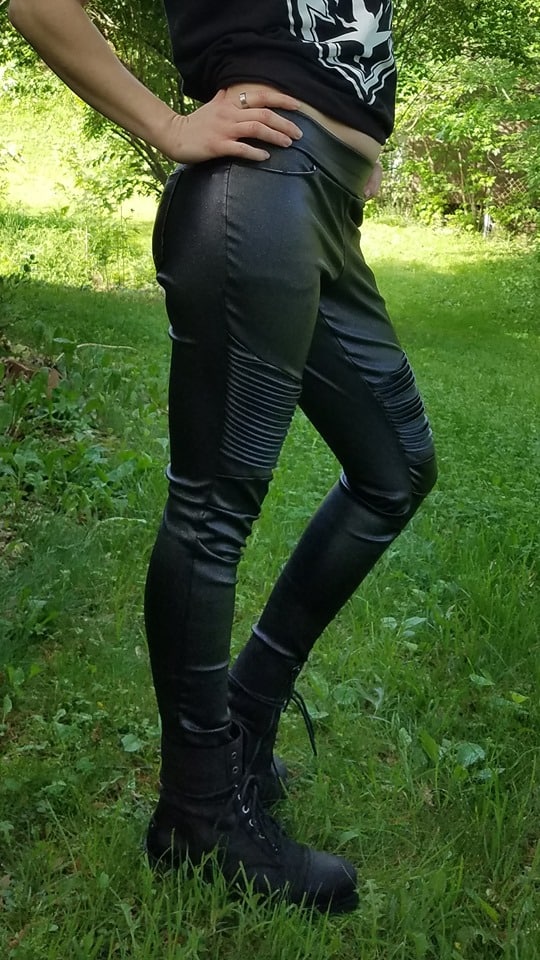
If you have opted for the MOTO HACK  (free hack and pattern on the blog) today is the day when you will be sewing the pin tucks and putting together the front legs. 

Once you added your pocket, all you have left to do today is sew the front crotch seam and make sure to post a picture of your progress in the comments of DAY 4 photo of the SOS sal album.

SOS sew along | Day 1 – Print and cut pattern

SOS sew along | Day 2 – Cut fabric

SOS sew along | Day 3 – Back: pocket, yoke, inseam

SOS sew along | Day 4 – Front: pocket, inseam

SOS sew along | Day 5 – Leg inseam, side seam, hem

SOS sew along | Day 6 – Waistband

SOS sew along | Day 7 – Winners announcement

Filed Under: Frequently Asked Questions, Sew-A-Long 1 Comment

  • « Previous Page
  • 1
  • 2
  • 3
  • 4
  • 5
  • Next Page »
Privacy & Cookies: This site uses cookies. By continuing to use this website, you agree to their use.

To find out more, including how to control cookies, see here: Cookie Policy
  • Privacy Policy
  • Refund Policy
  • Contact Us
  • About

Copyright © 2026 Patterns for Pirates

Copyright © 2026 · Genesis Framework · WordPress · Log in