Today we start sewing! Day 3 is reserved to attaching the back pocket, the back yokes and sewing the back seam.
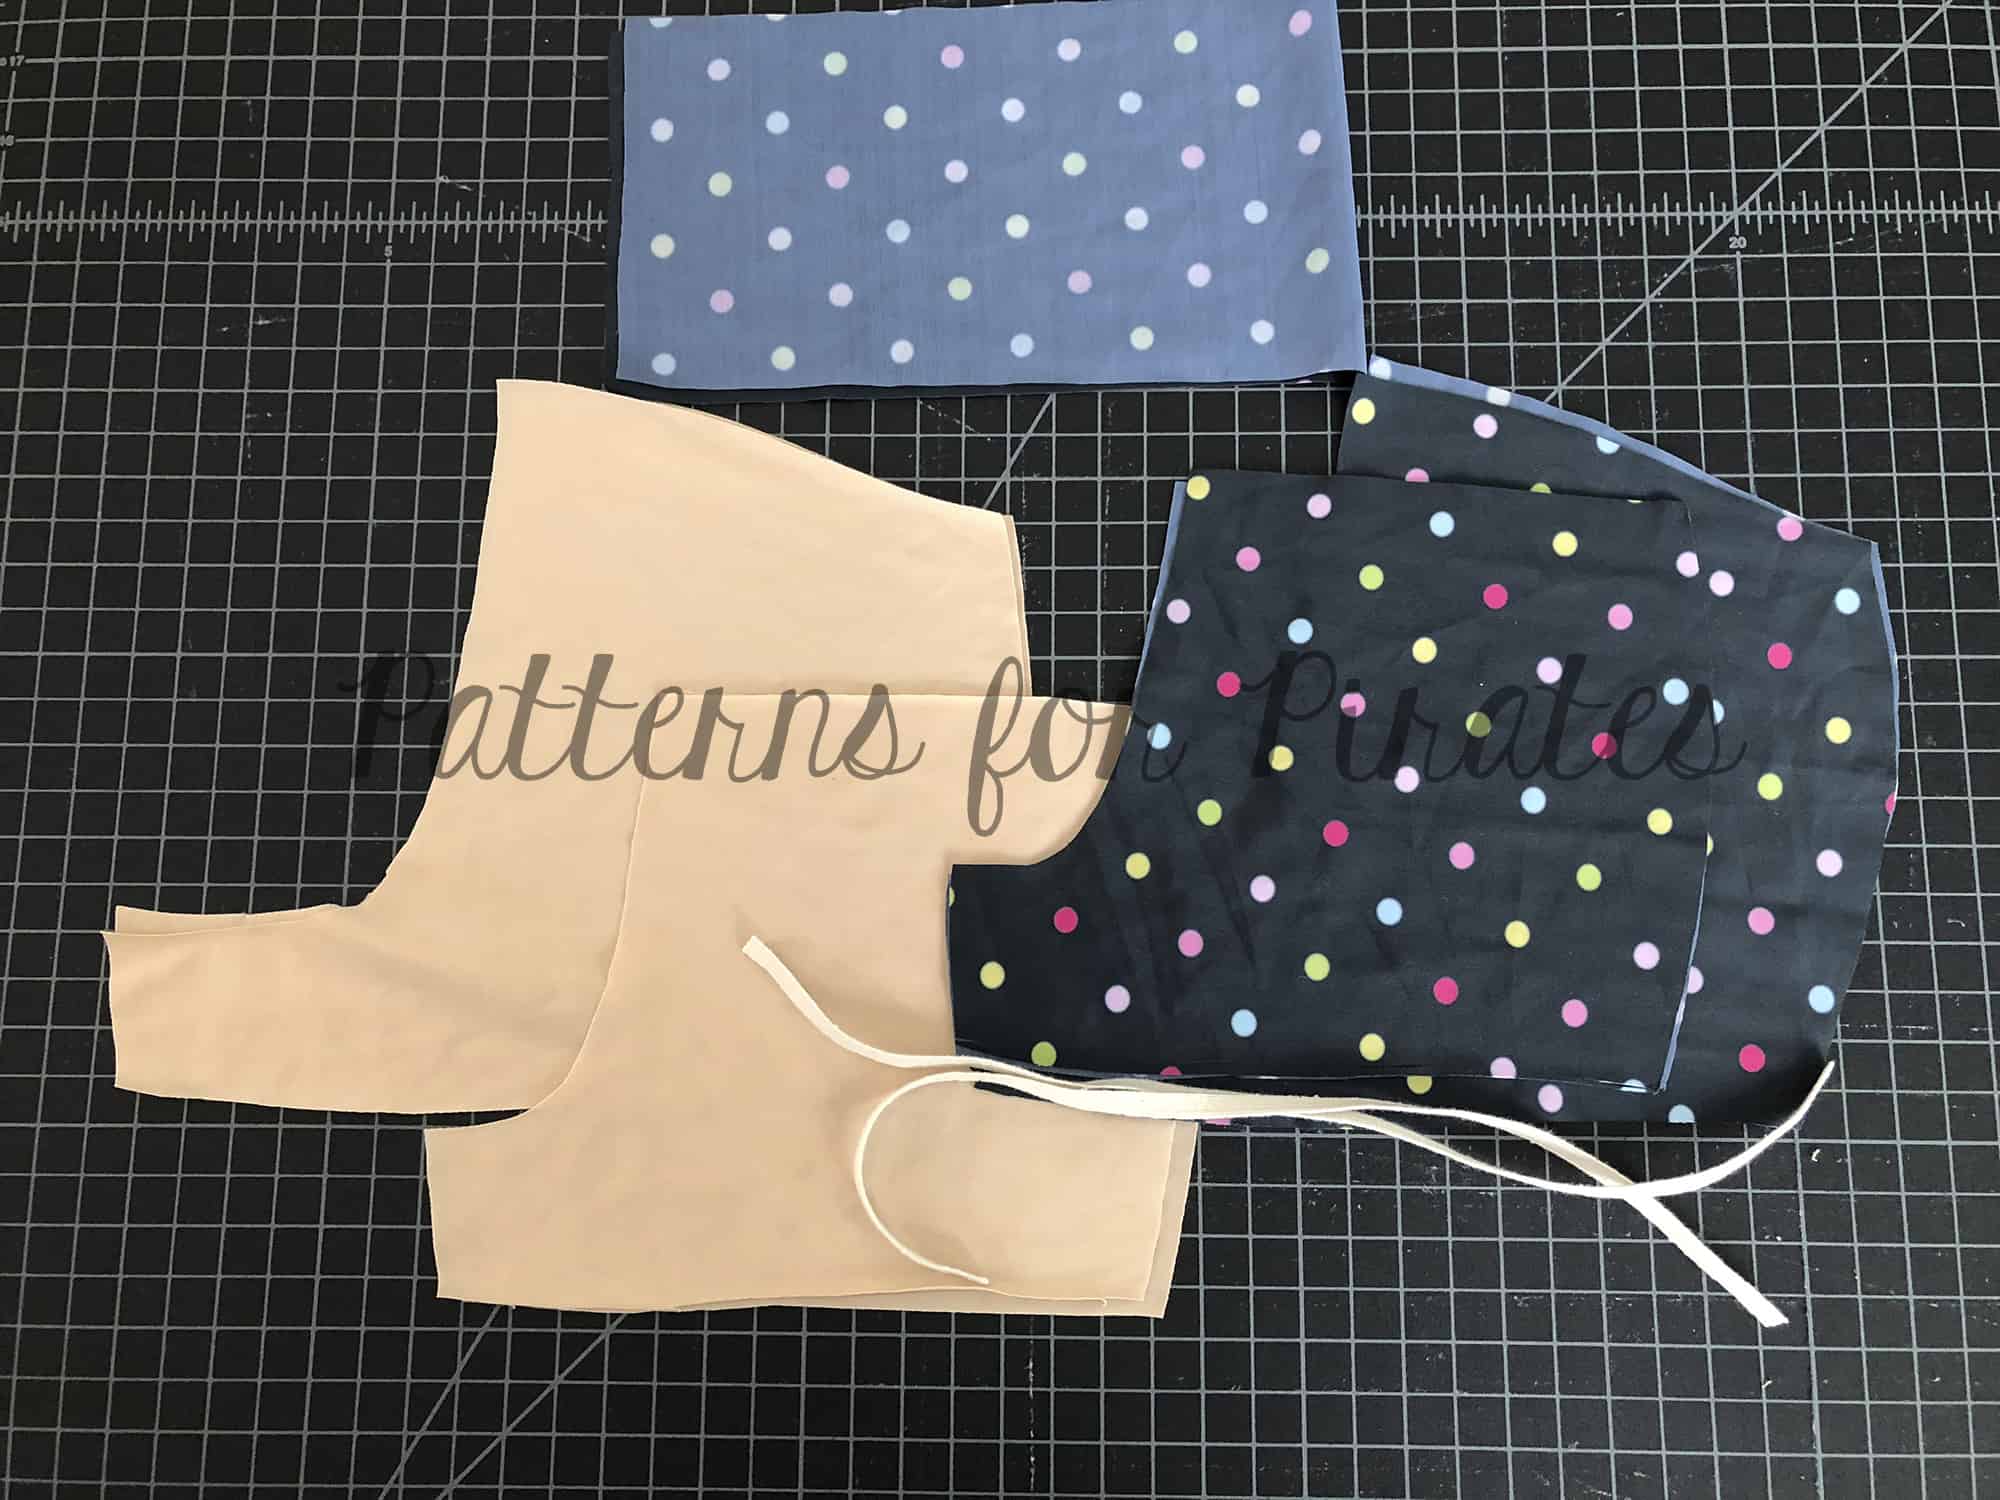
Let’s start with the back pocket (s). You can add two or just one, it’s all a matter of preference. The main thing I want to mention regarding the back pocket is the importance of BASTING it in place before you stitch it down. As Judy mentions in the tutorial, the back pocket can make or break the look of the pants. So do use the suggested pocket placement but just baste them in place and only after trying the pants on sew them down.
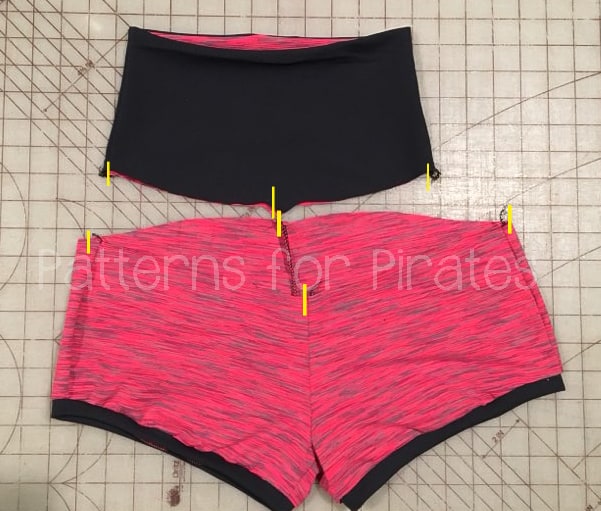
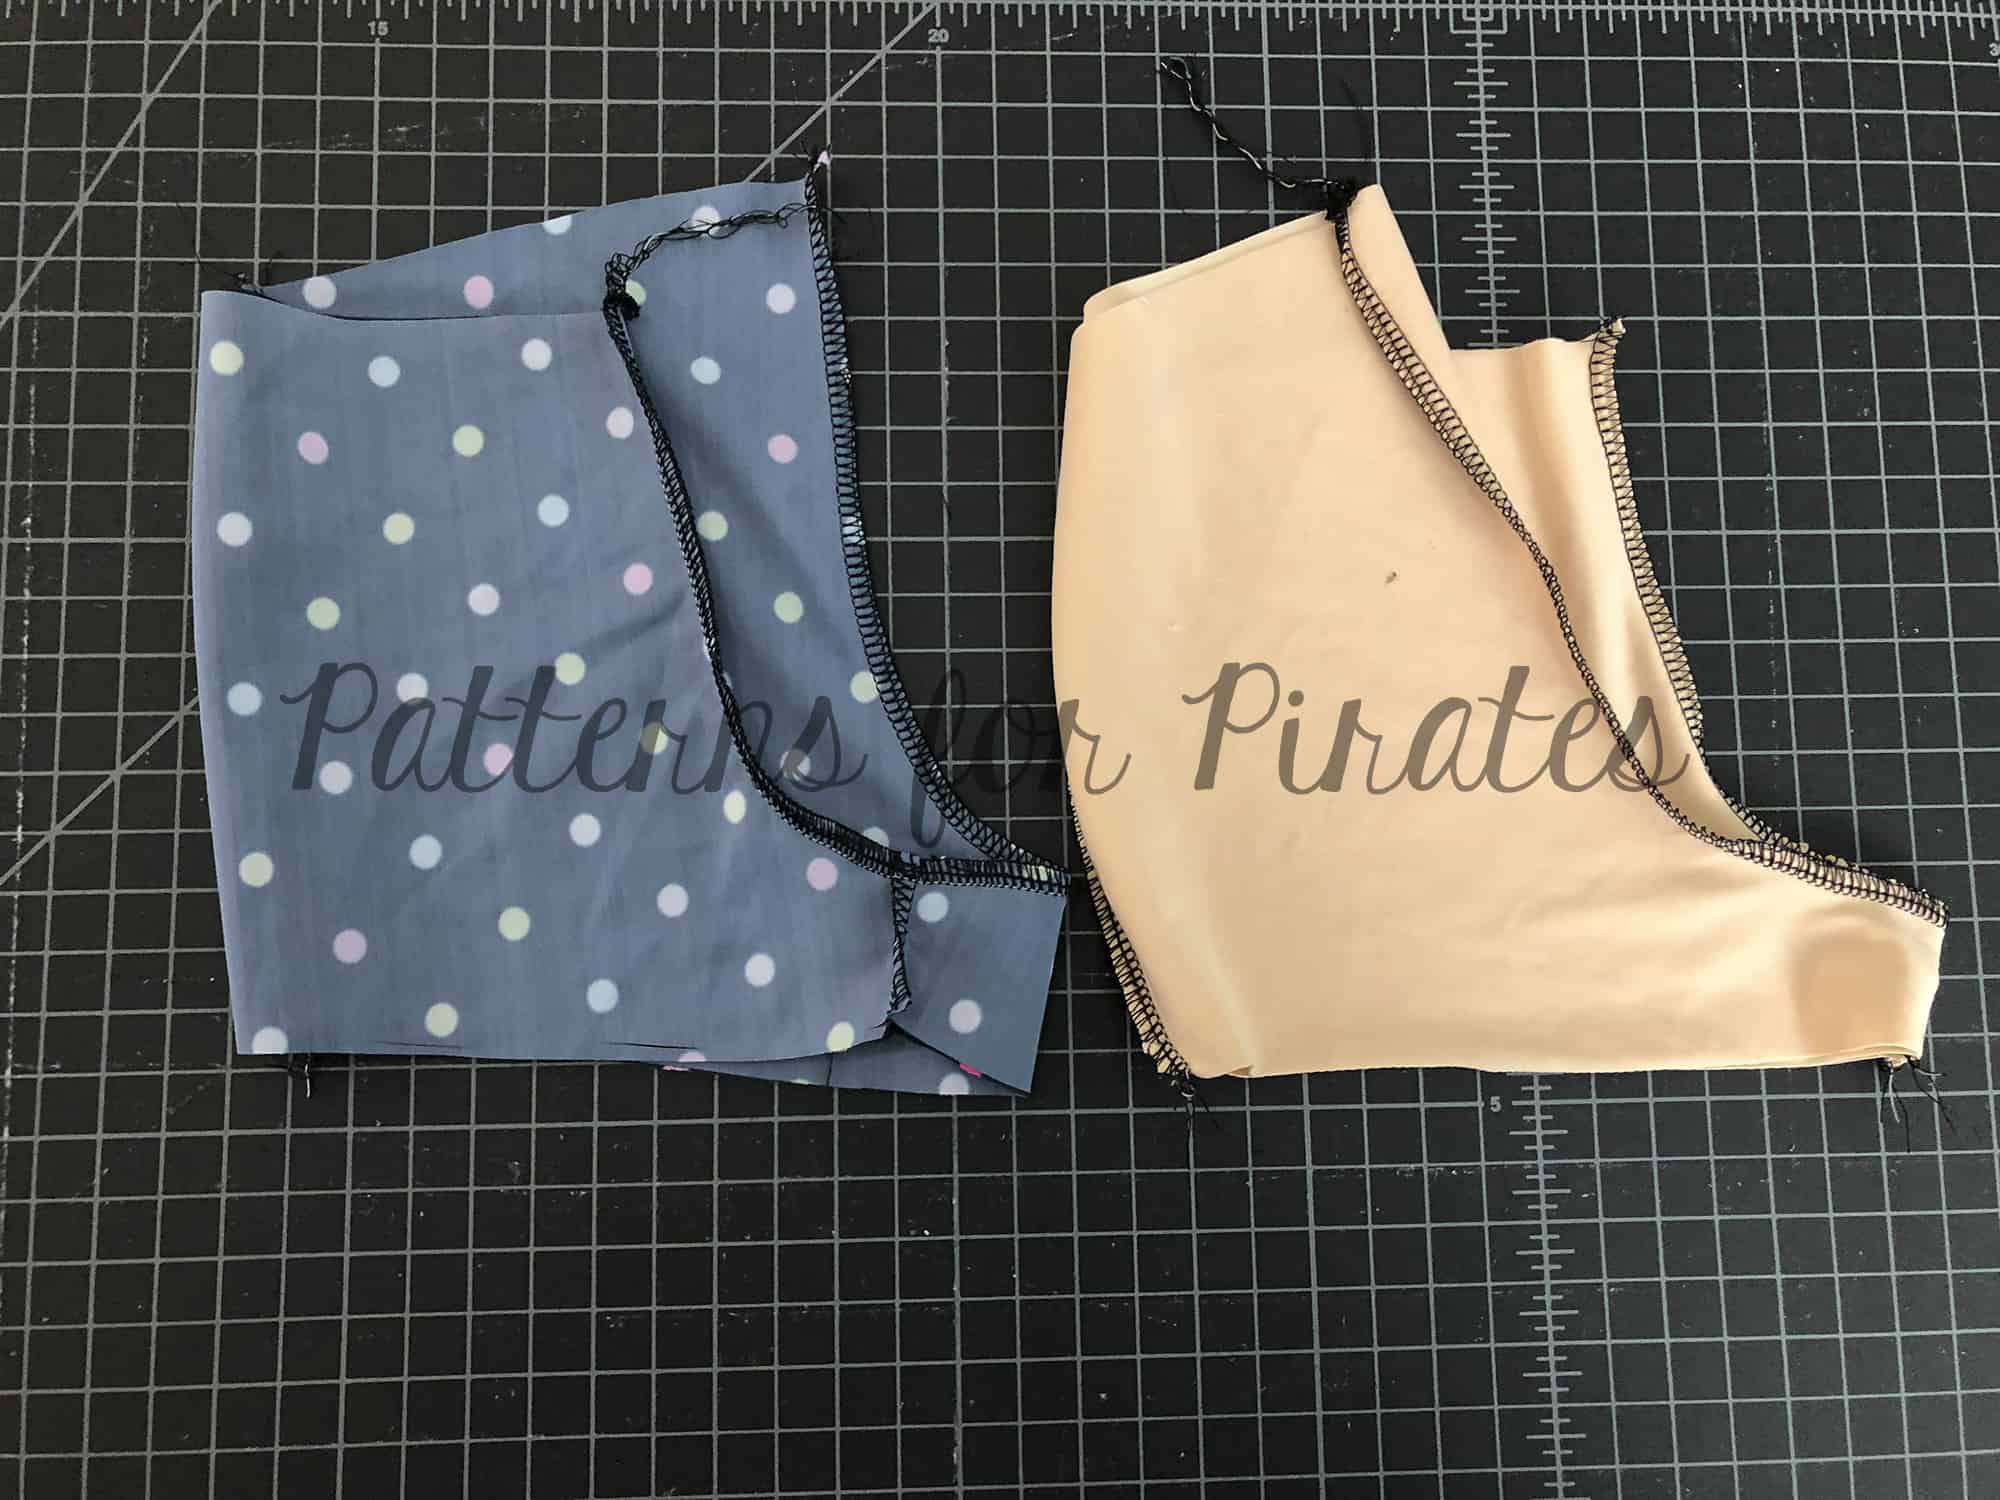
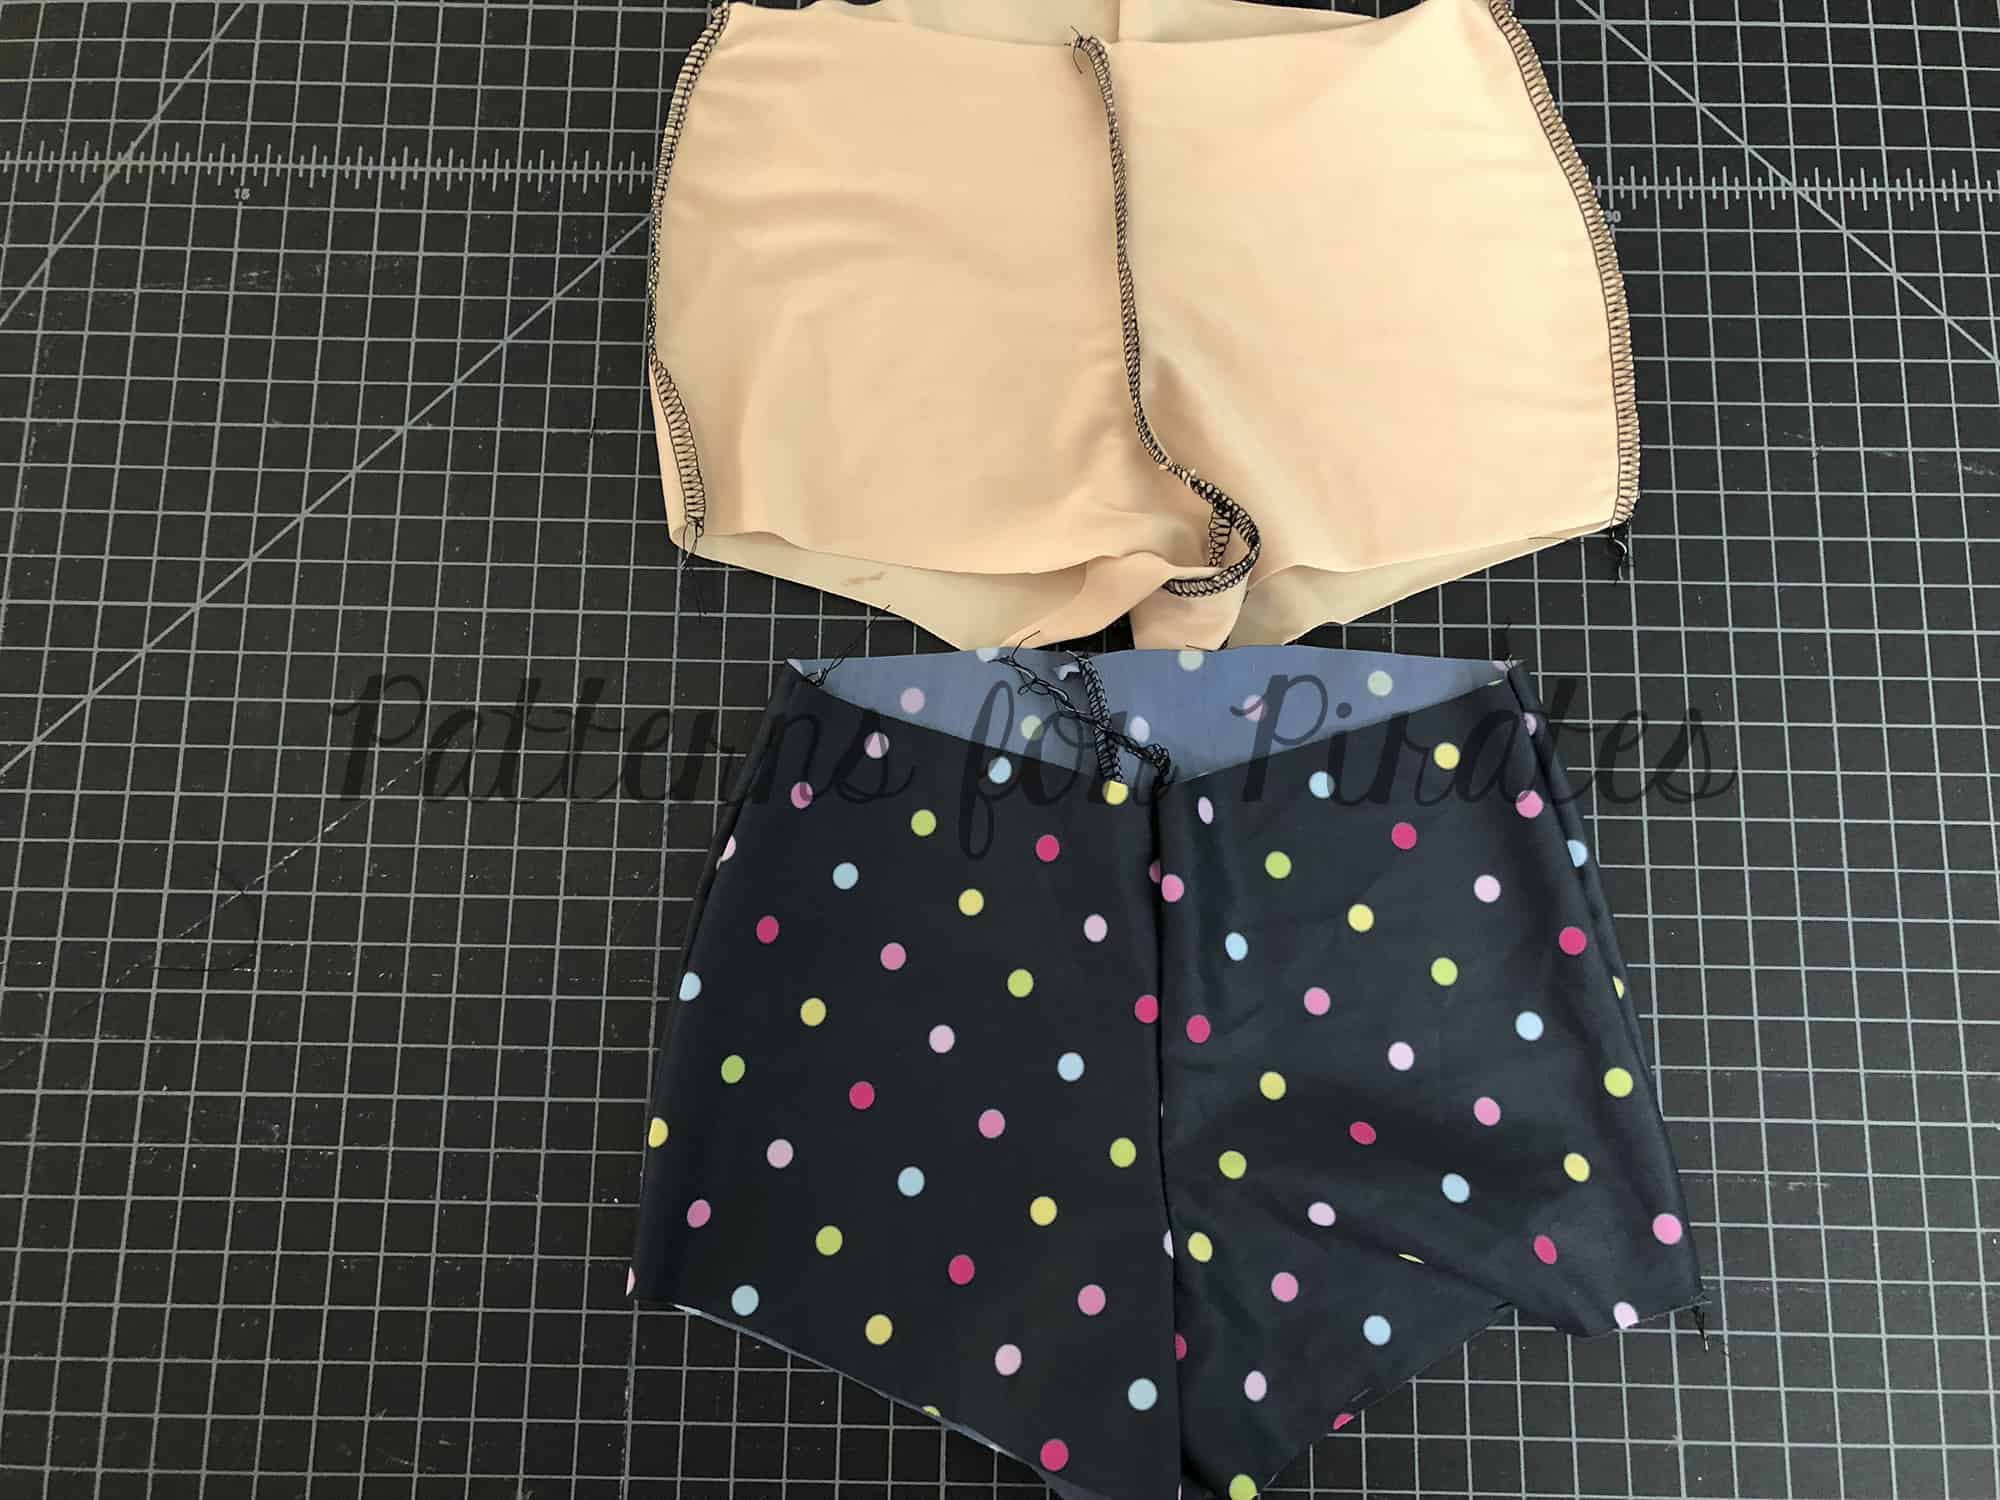
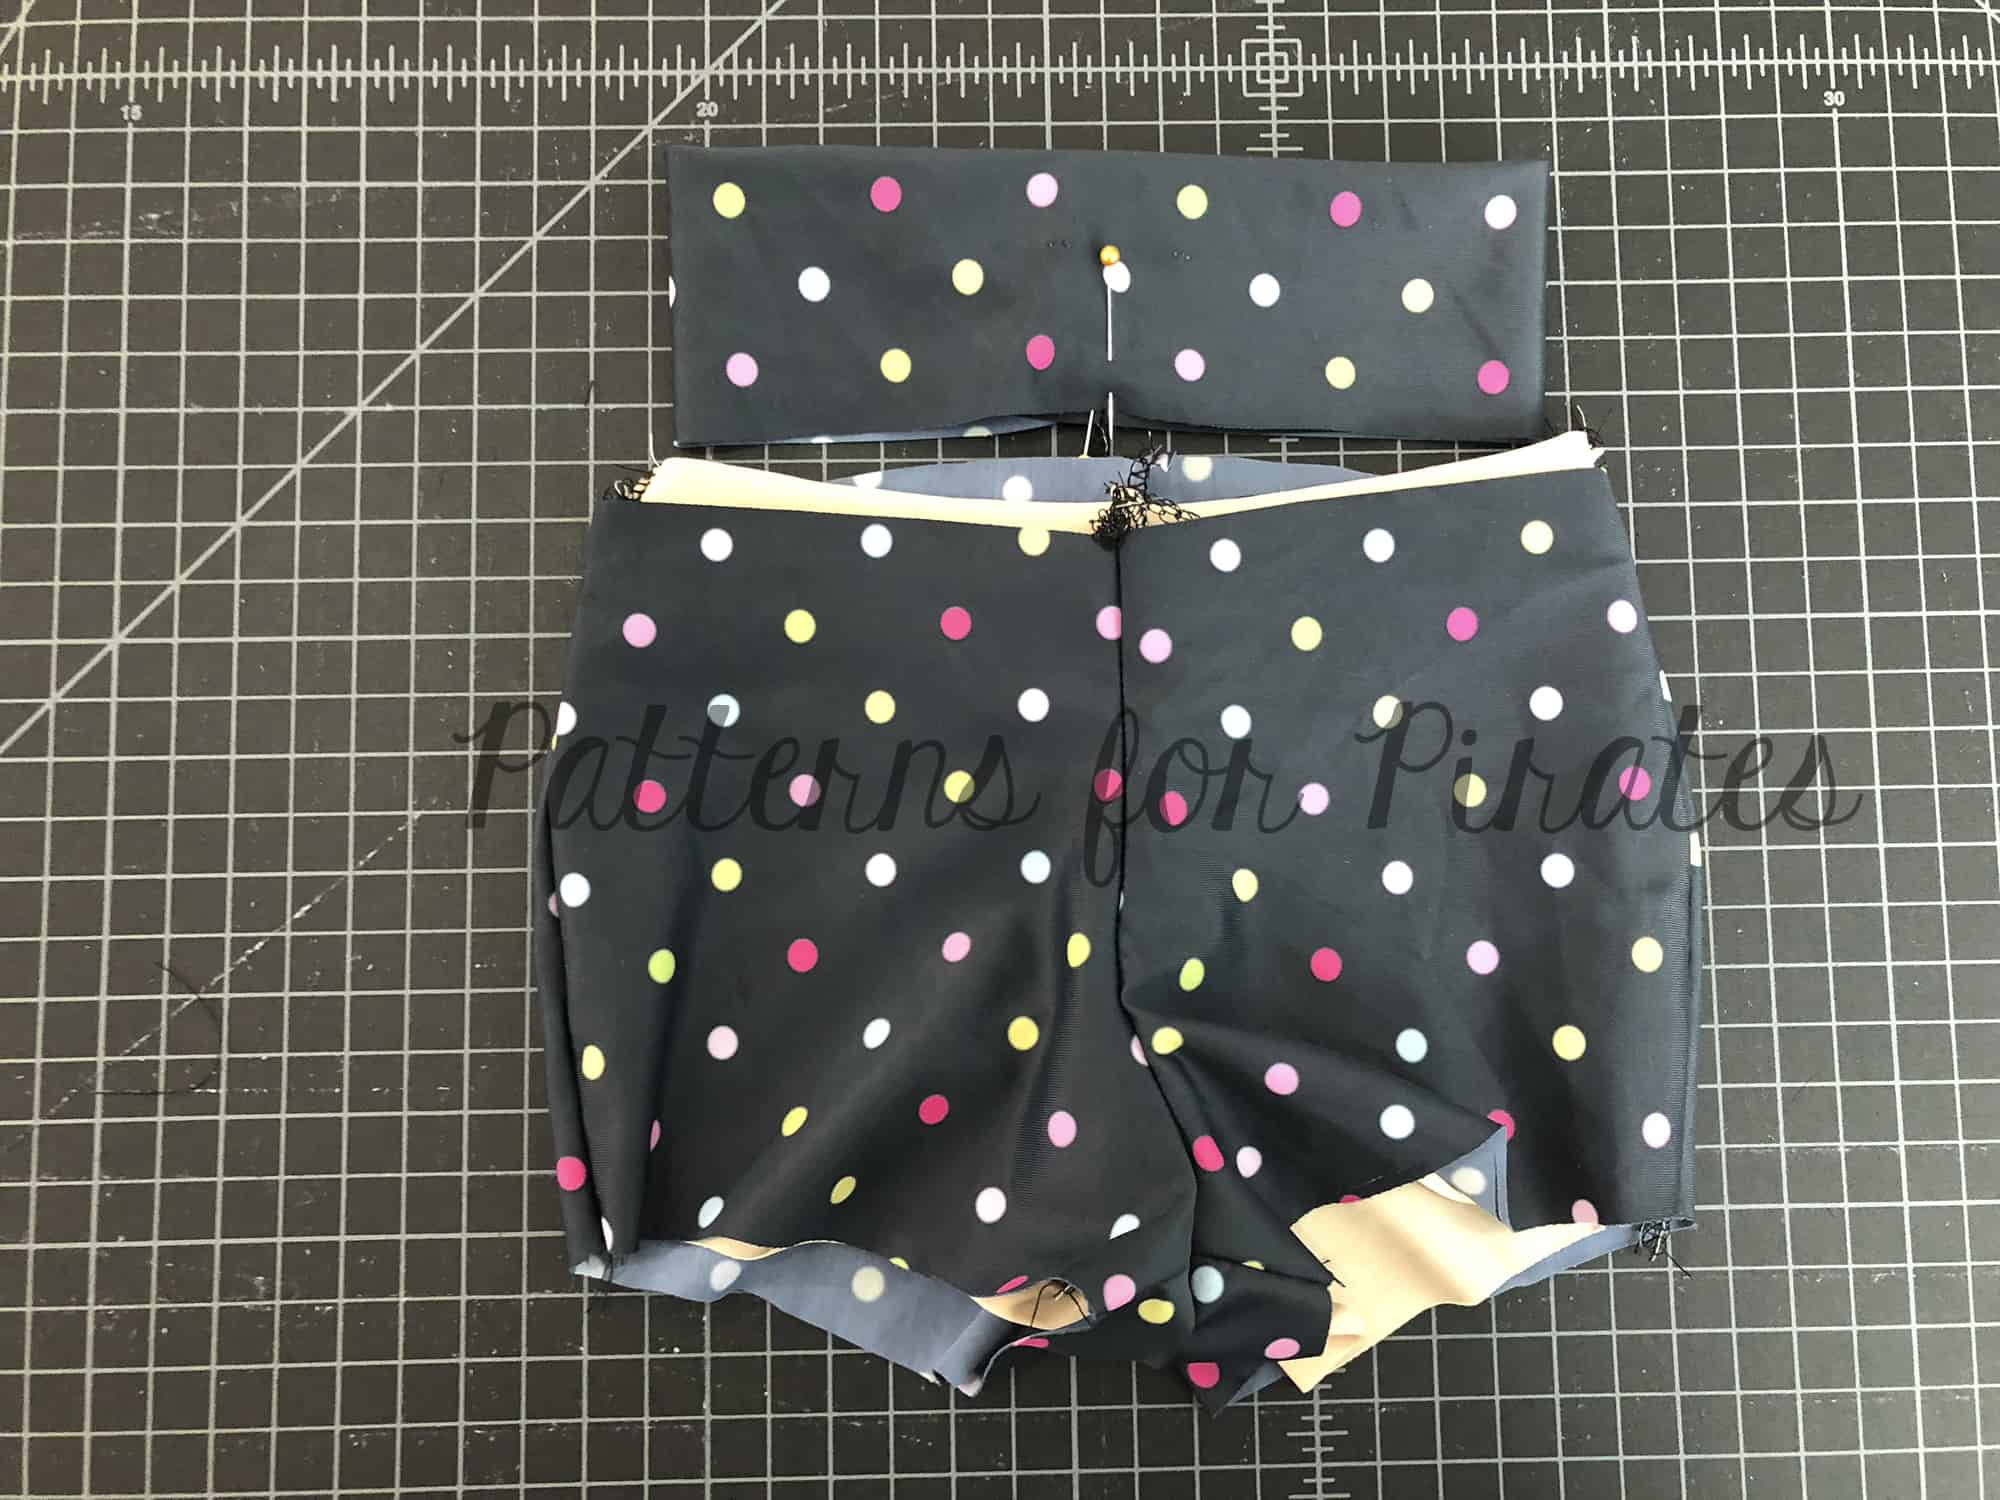
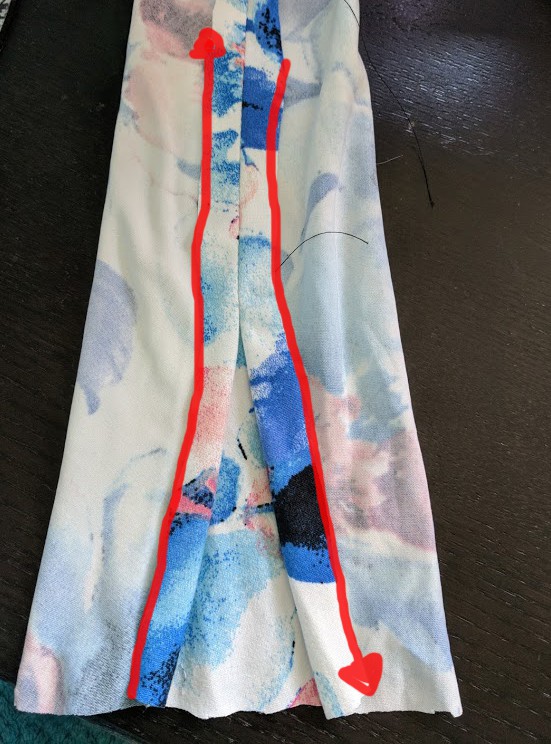
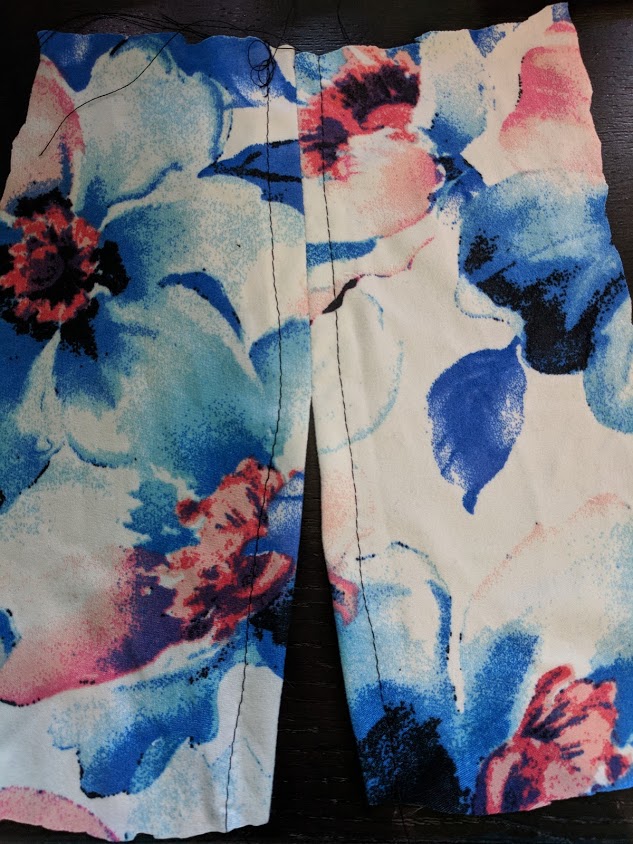
Once you add the pocket(s), it’s time to add the back yoke. This is where you will see how important having cut the notches yesterday really is 🙂 Be sure to match the notches and attach the yoke with a 1/2″ seam allowance and top stitch.
Below is a link to the Day 3 sew along video which includes the back pocket, yoke and inseam construction. Once you complete today’s steps, be sure to post a picture of your progress in the comments of day 3 photo of the SOS knit pants sew along album.
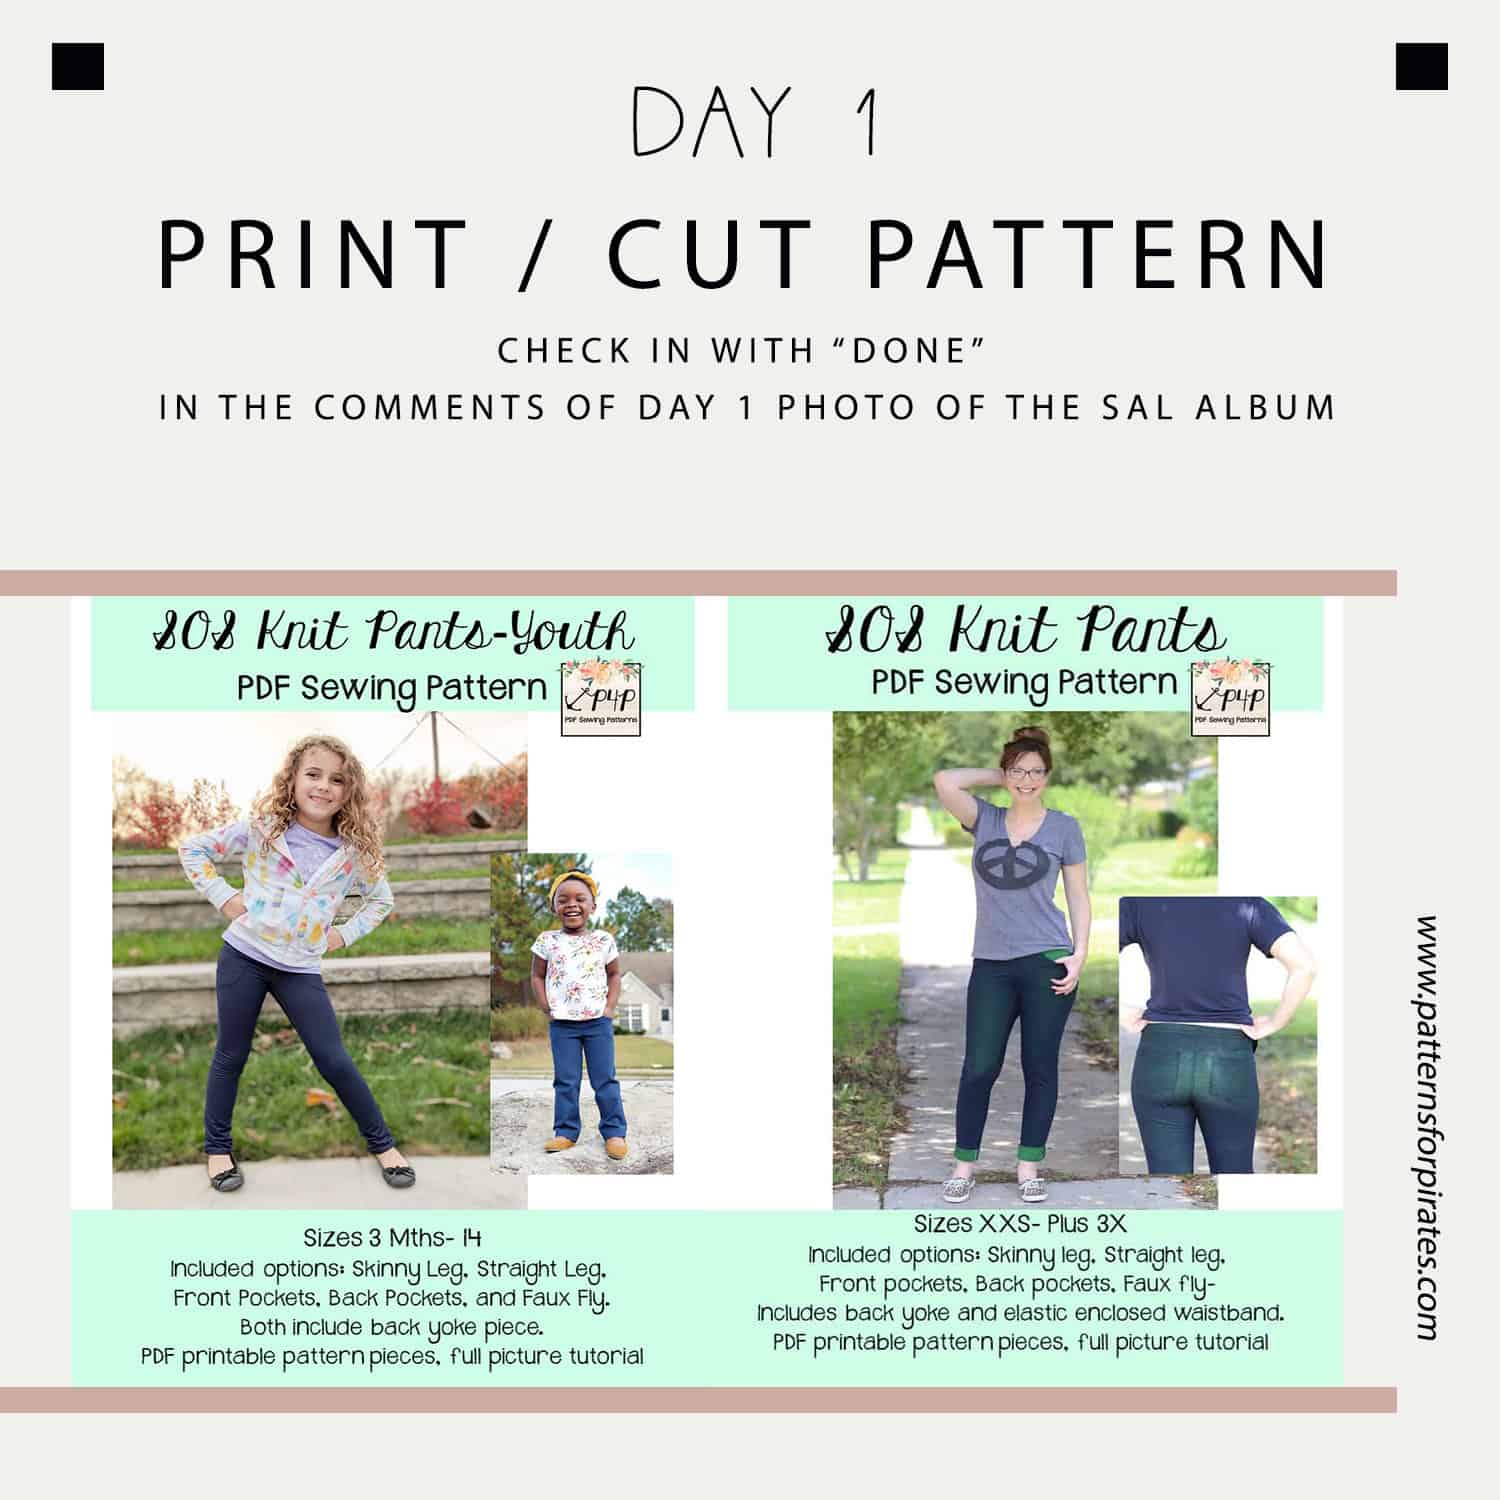
SOS sew along | Day 1 – Print and cut pattern
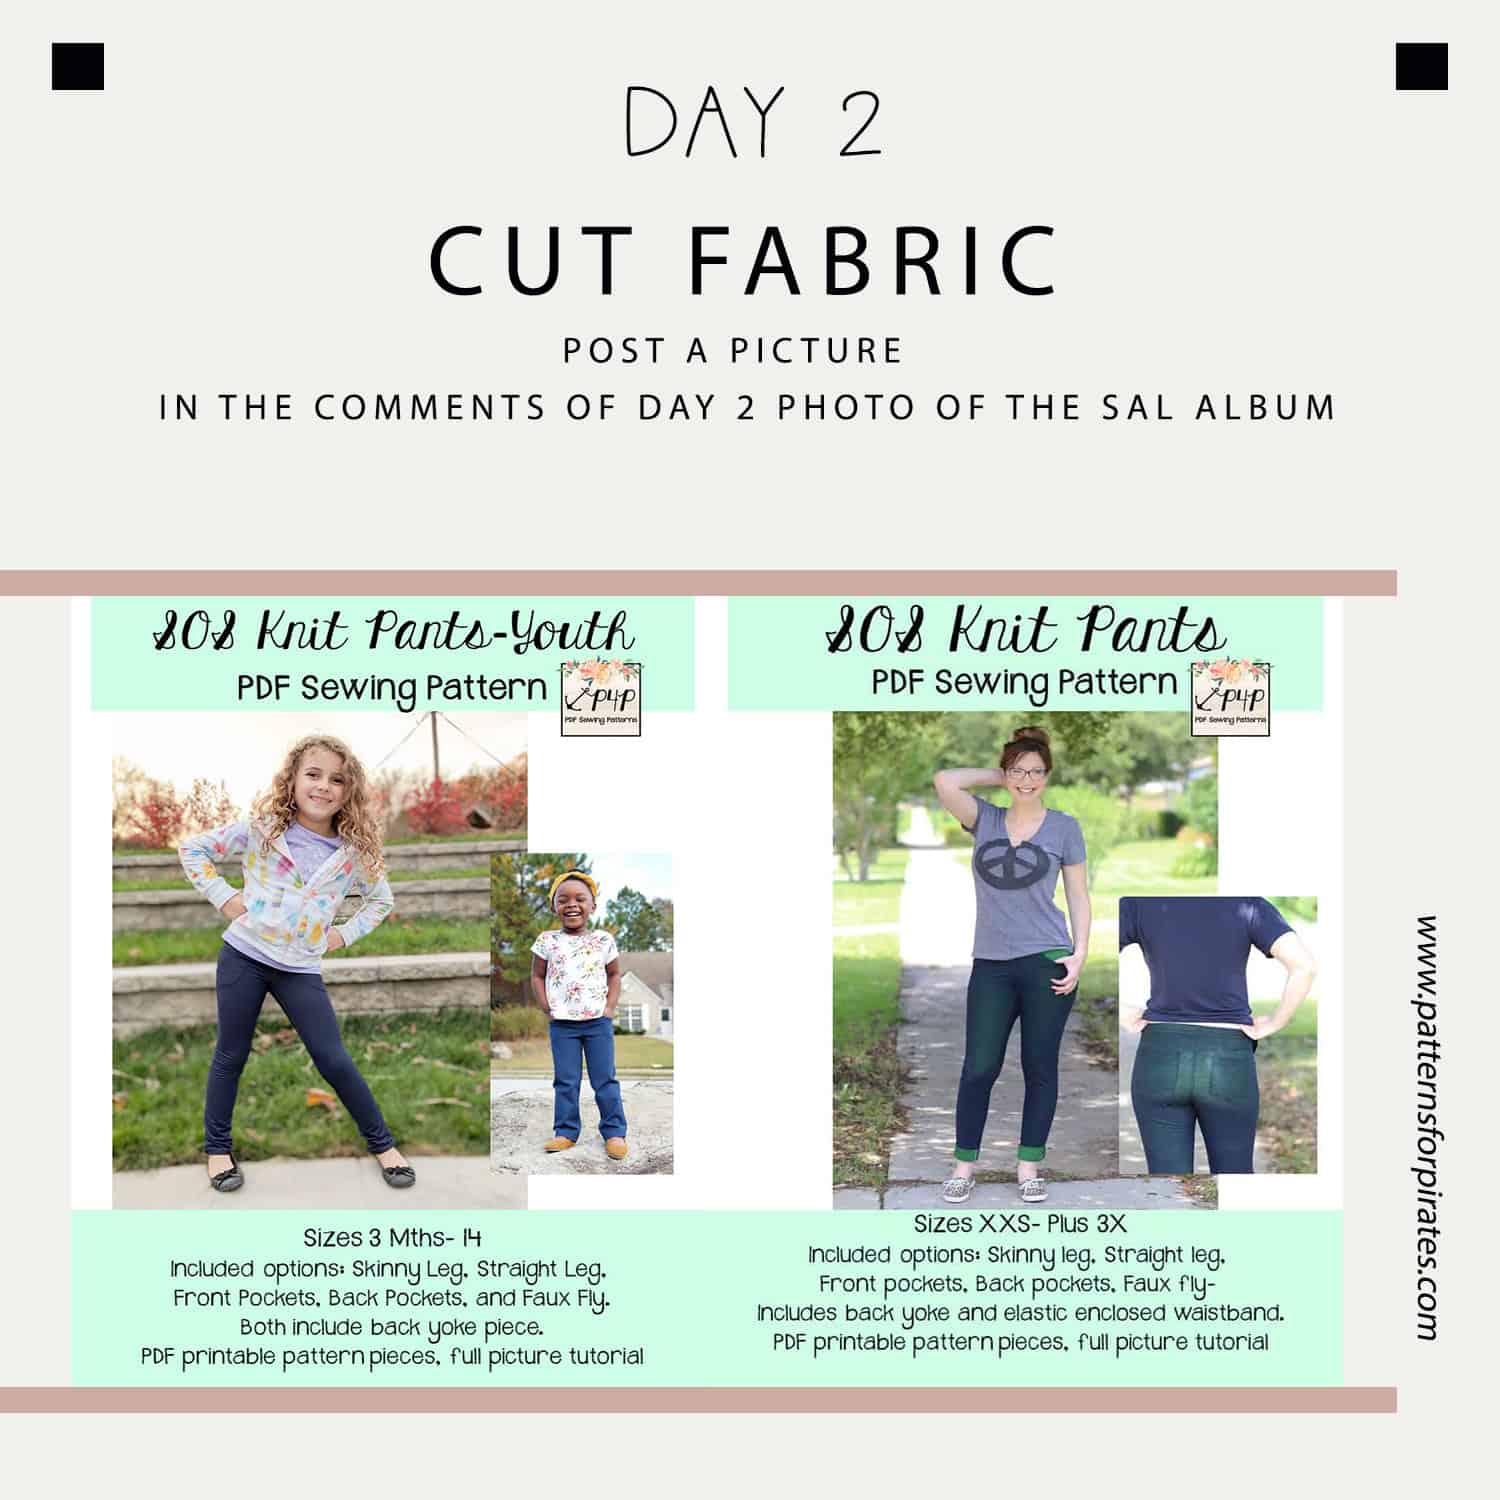
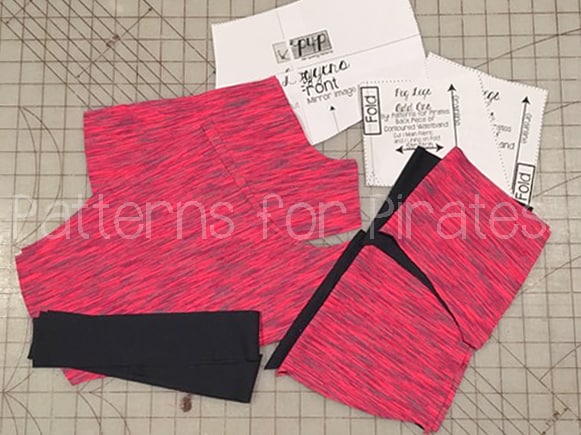
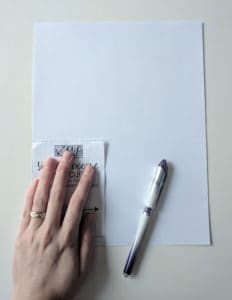
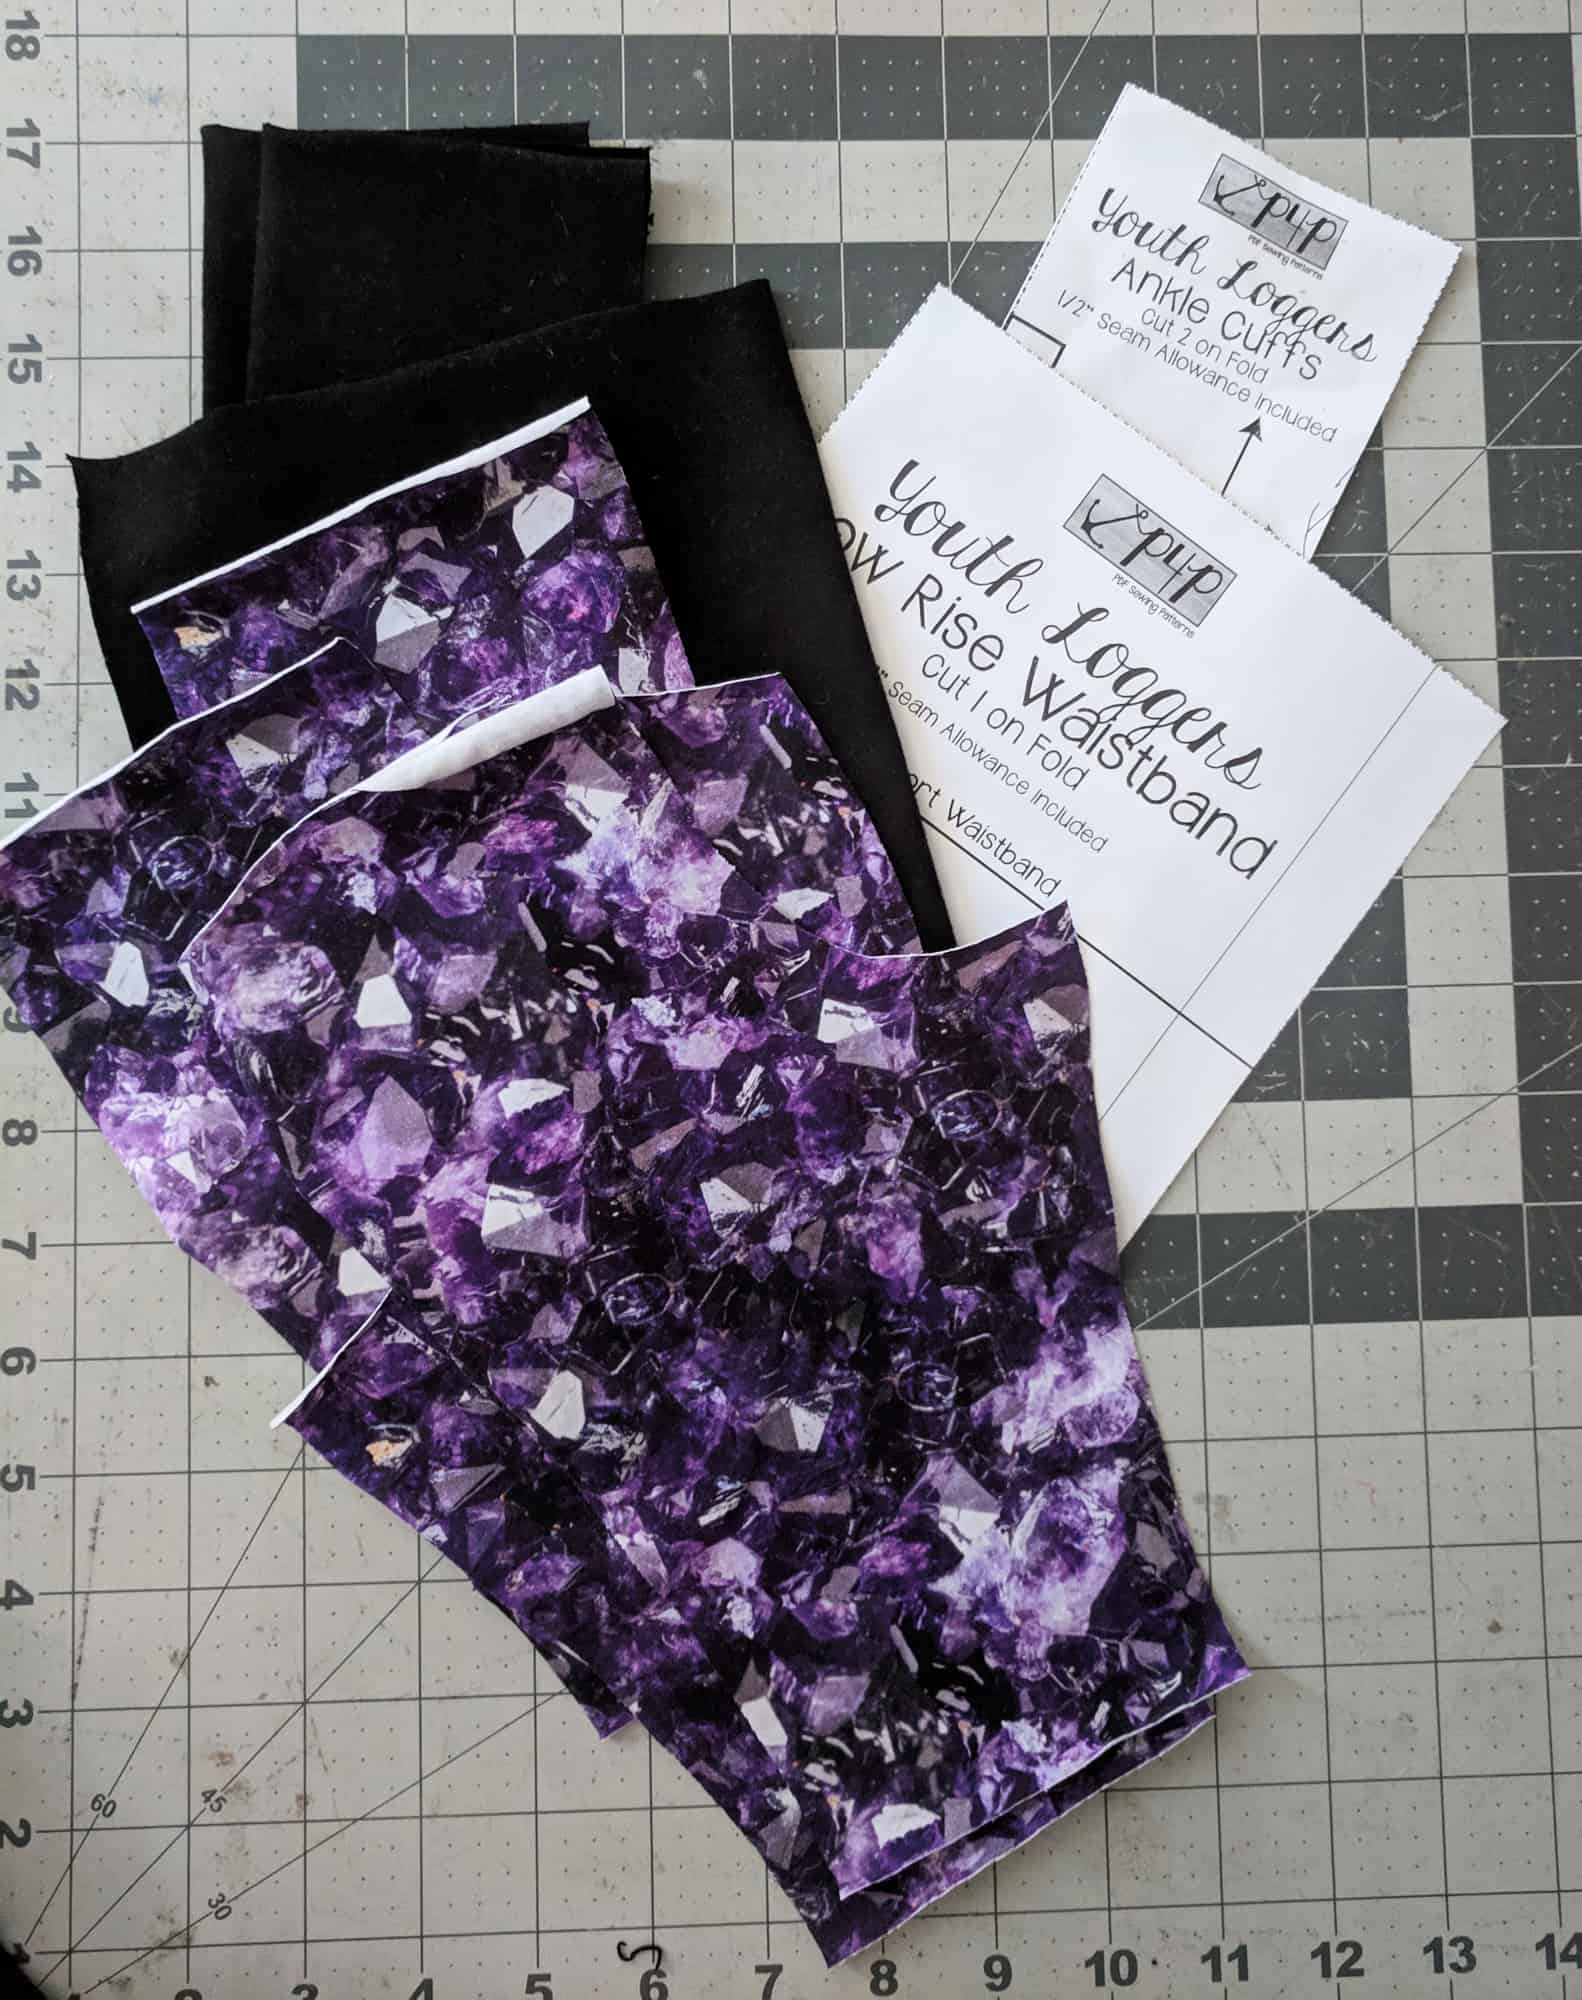
SOS sew along | Day 2 – Cut fabric
SOS sew along | Day 3 – Back: pocket, yoke, inseam
SOS sew along | Day 4 – Front: pocket, inseam
SOS sew along | Day 5 – Leg inseam, side seam, hem
SOS sew along | Day 6 – Waistband
SOS sew along | Day 7 – Winners announcement