Patterns for Pirates

P4P stylish, modern, wearable patterns

  • Home
  • Blog
    • Frequently Asked Questions
    • Pattern Releases
      • Free Patterns
    • P4P University
      • Fitting
      • Sewing with Stretch, Knit Fabrics
      • Sewing with Woven Fabrics
      • Sewing Machines
    • Sew-A-Longs
    • Fabric for Pirates
    • Pattern Hacks
    • Announcement
      • Blog Tours
      • Contest/Giveaway
  • Shop
  • Bundle Discounts
  • Flash Friday
  • Gift Cards
  • My Account
  • Cart

Palazzos Open Leg Hack

June 7, 2018


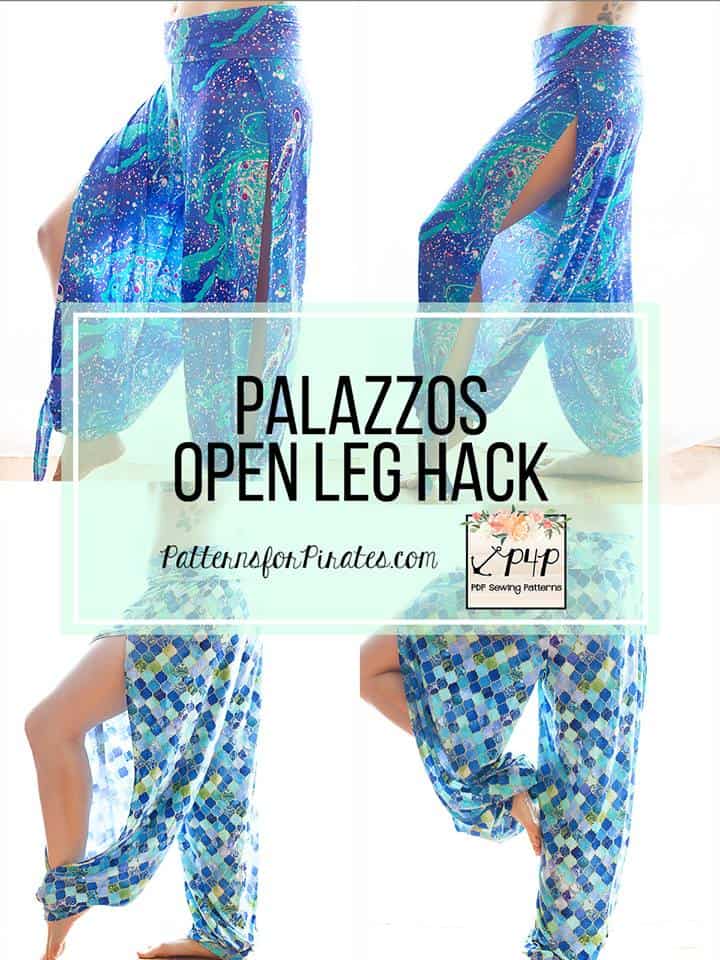
I’m so excited to bring you this fun summer hack!  These open leg pants are perfect for summertime, yoga, belly dancing, beachwear coverup, and really whatever you want them to be!   I’ll be taking you through two styles-   the overlap with a tie and the split seam with banding.  They can be mixed and match as well :).

Let’s talk about fabric,  drapey fabrics are a must for this so things like Bamboo Lycra, Rayon spandex, and Double Brushed Poly work great (although DBP is better for colder weather due to breathability).  I used Bamboo Lycra for both of my options.   I definitely recommend using a cheap muslin fabric first to make sure you get the fit you want before cutting into your nice fabric.

Now for the fun part!  Open up your Palazzo pattern and for sizing I chose to size up for a looser fit through the hips. Print your pattern and assemble as normal.

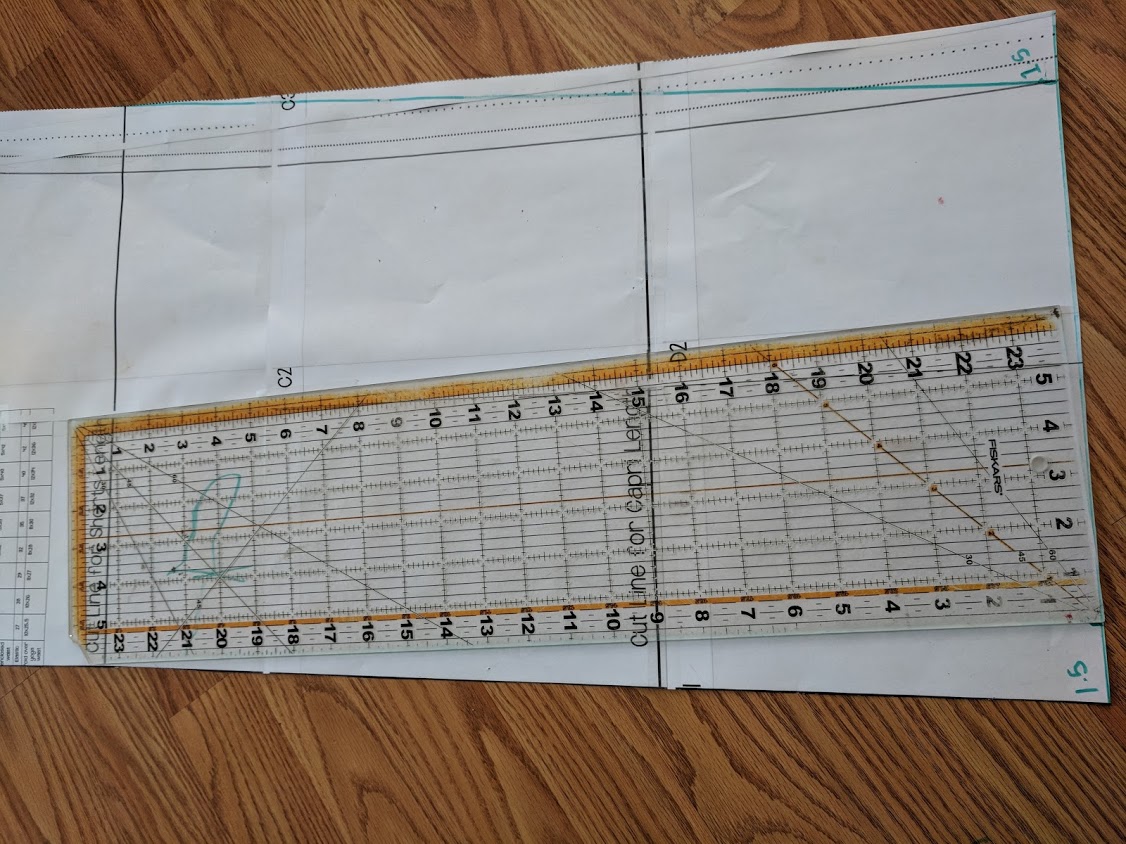
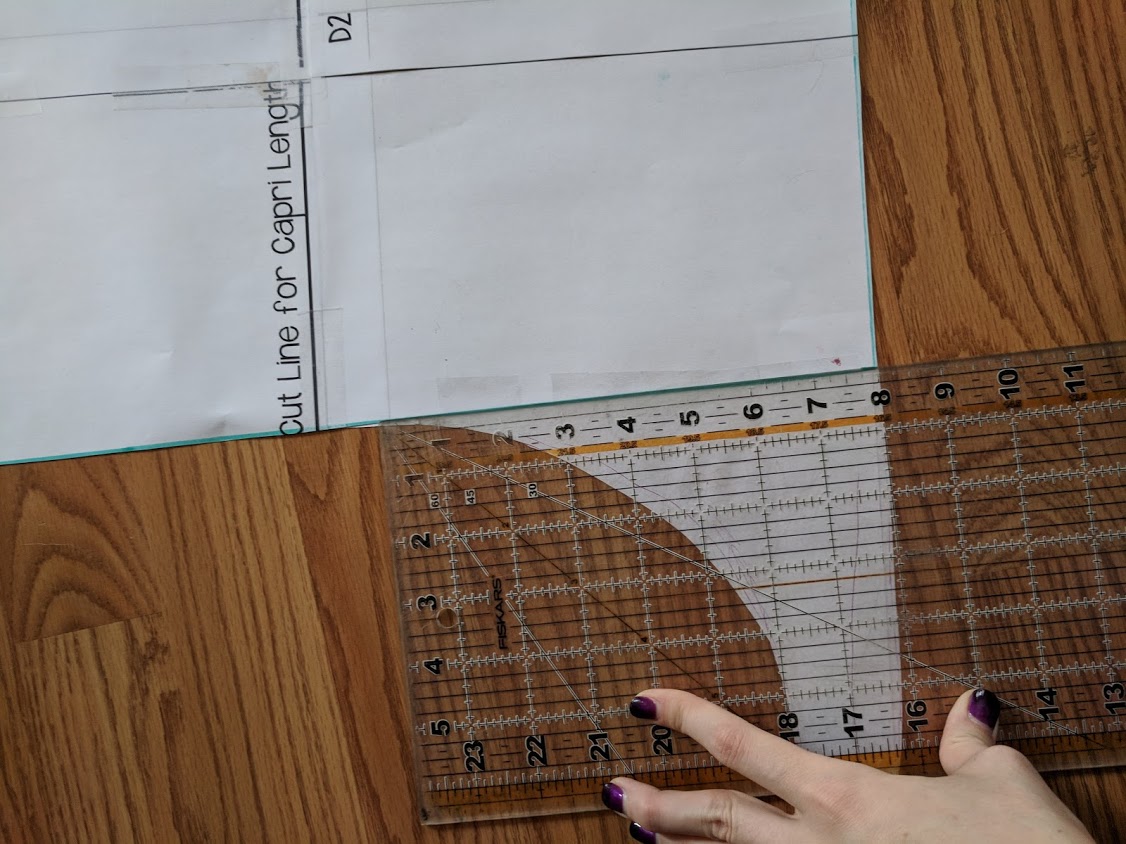
First,  you’ll need to take off some length – I took off about 3 inches.   It still left me with a lot of drape at the ankle.  It was perfect for the tie version but if you want less ankle drape you’ll need to take off more especially for the cuff version.

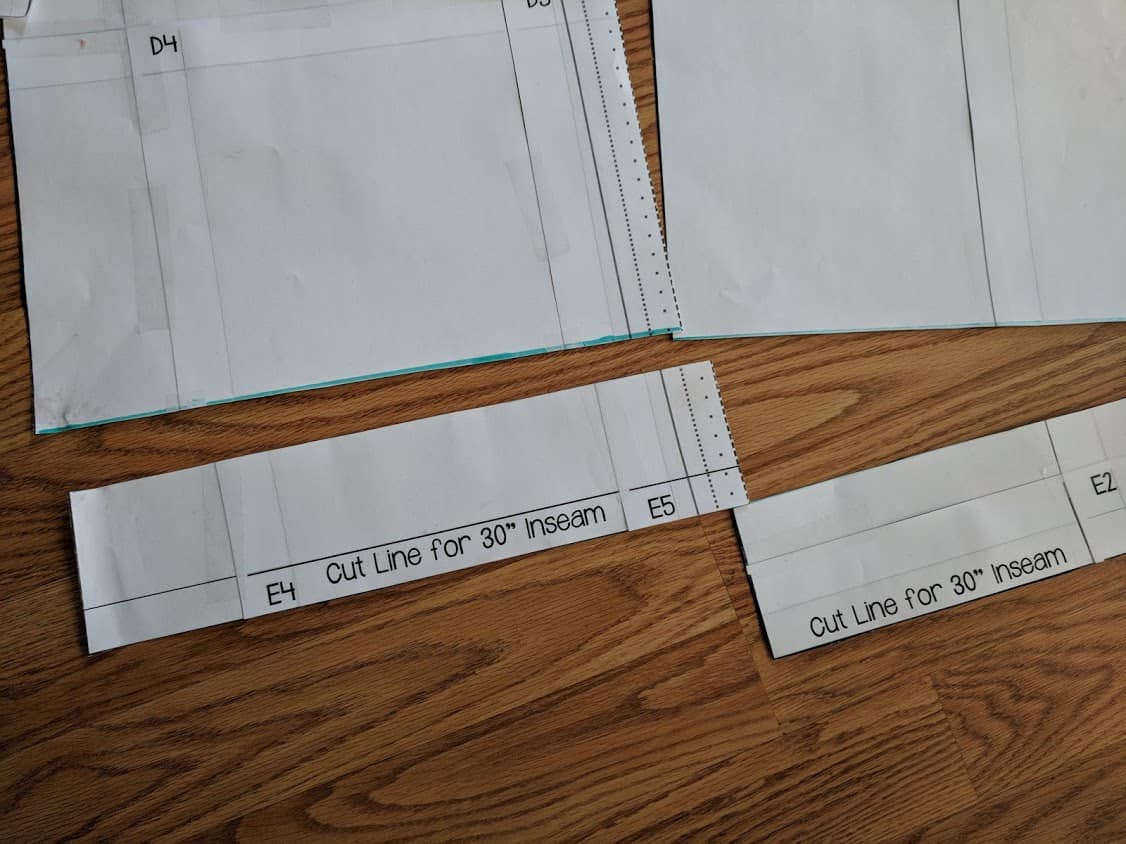
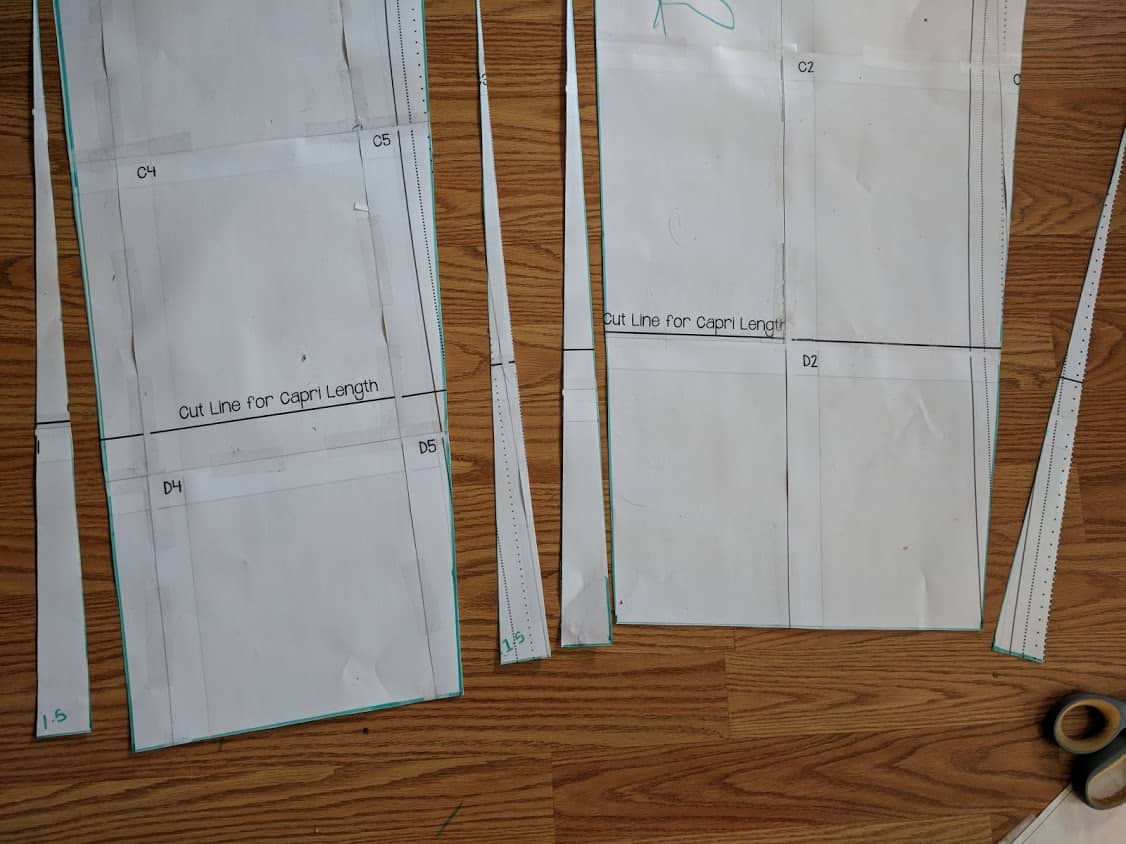
Next, you need to taper in your legs.  The amount you take in will also determine the look you want. If you want a thinner leg take them in even more. For the tie option, I marked in 1.5 inches on each side of the pattern piece for a size medium.   (If you are doing the cuff I’d recommend taking it in .5-1 inch more.)
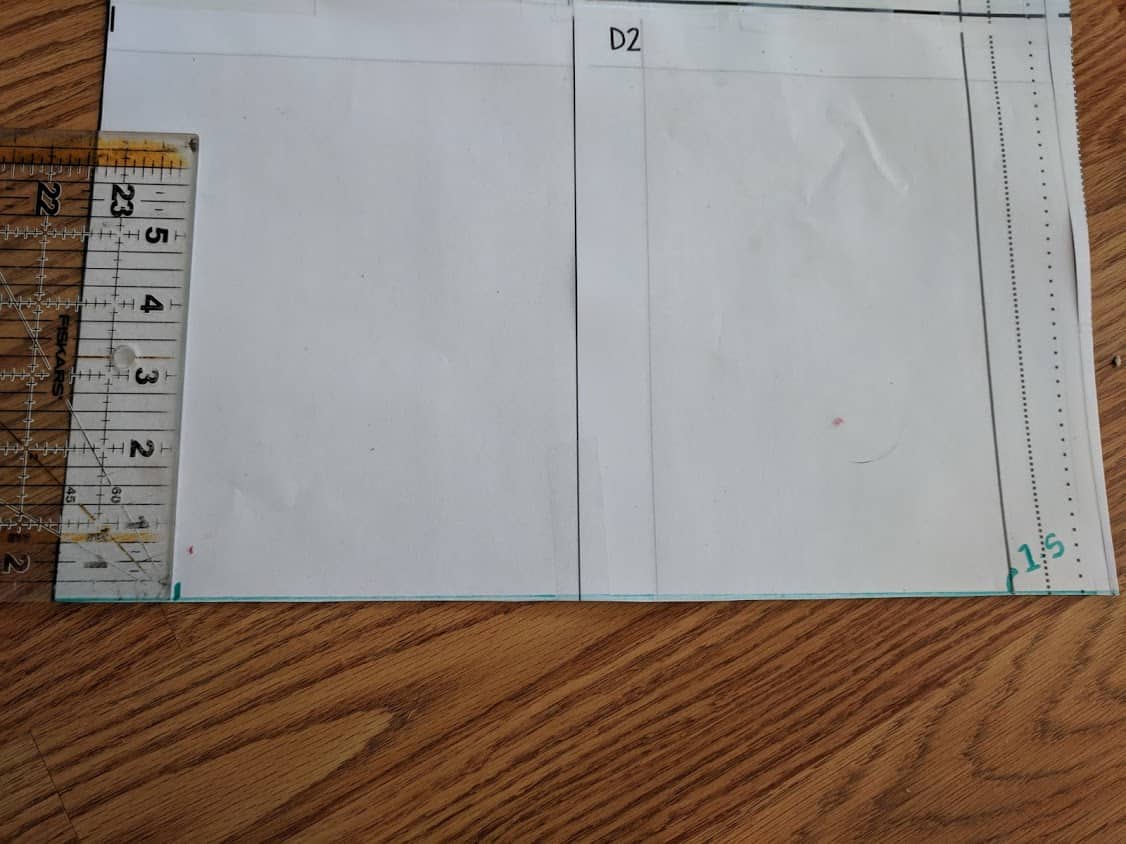
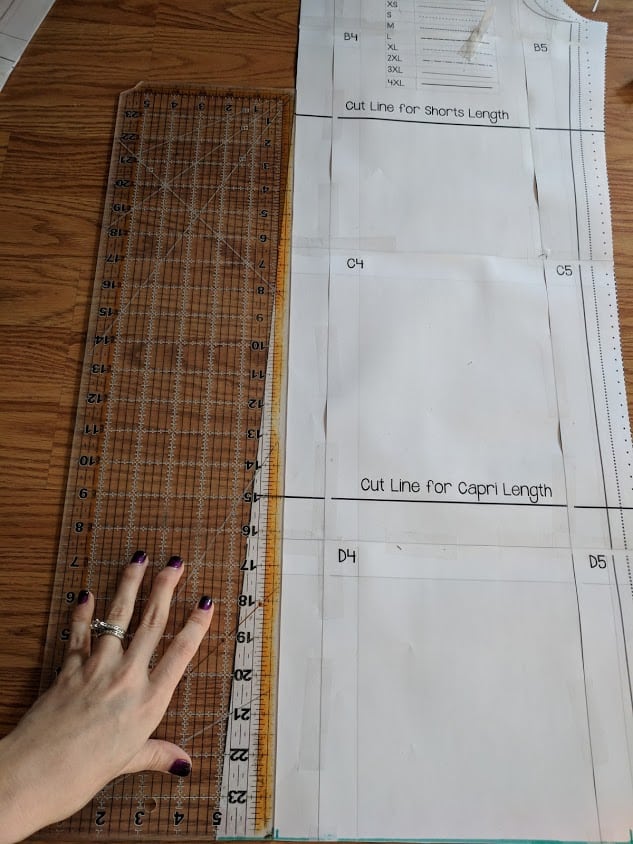
Once you have your 1.5 inches marked on both pieces you’ll take a straight edge up to the shorts cut line to create a gradual grade ending there.  Now cut those off.
 

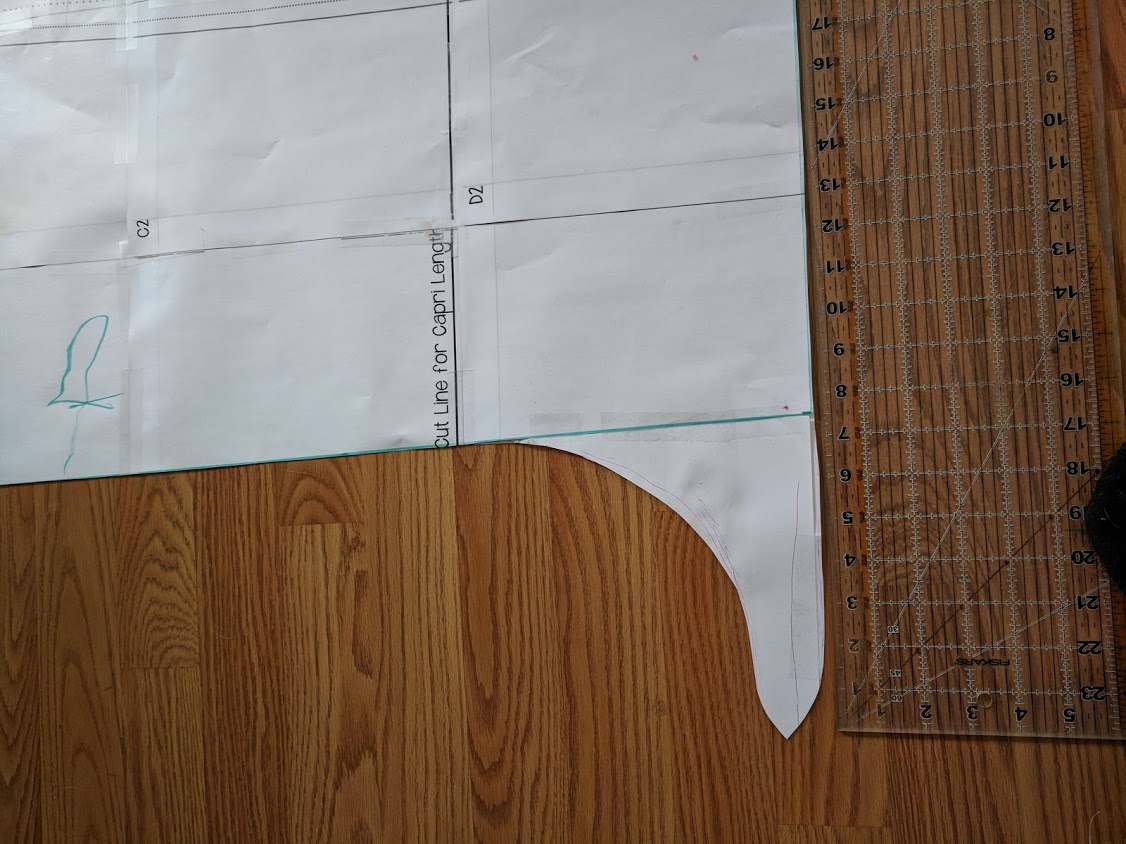
If you are doing the Cuff bottom stop here and move on to sewing.  If you are wanting the tie- you’ll need to create a tie extension on the outer leg seam.   Honestly I just kind of winged it.   The size shown here is smaller than the one in the photograph as those were a tad too long.   Here are the measurements and tie shape.  Make sure you do matching ties on both outer edge seam pieces.
 

Now cut out your fabric pieces!  For your waistband- I used the fold over yoga band and you’ll cut it at your normal size, not the upsized.

Sewing the Tie Overlap option-

The first thing you are going to do is hem the entire outside edge of the pants through the tie and along the bottom using a .25-.5 inch hem.   It’s a lot of hemming but worth it!   Do this on all four pieces.     Outside edge only- not the inner leg seam.

Next lay your front and back pattern pieces right sides together and sew up the inner leg seam as instructed in the original pattern.  Then sew the two pieces together along the crotch seam.

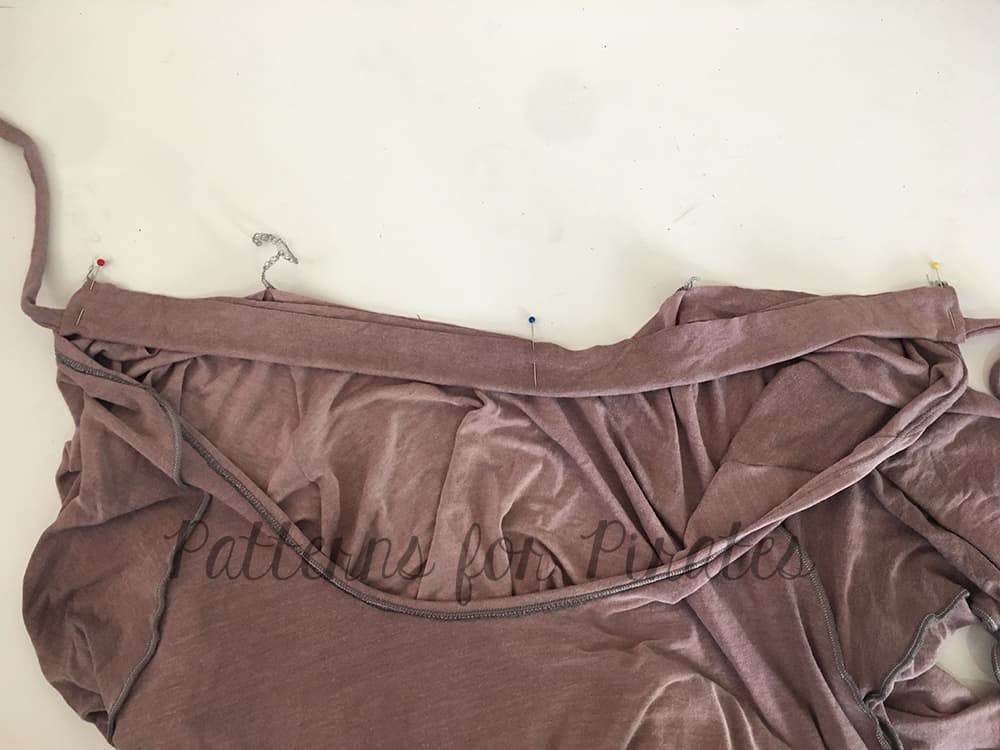
Now you are a going to put your pants on- I know it’s a little tricky as they are totally open but pull them up one side at a time.  You are going to take your front and back pieces at the top and overlap them to where you feel comfortable.  Mine overlapped about 4 inches.   Use some clips to clip it together and then baste the pieces together.  The red circled part is where you are overlapping.
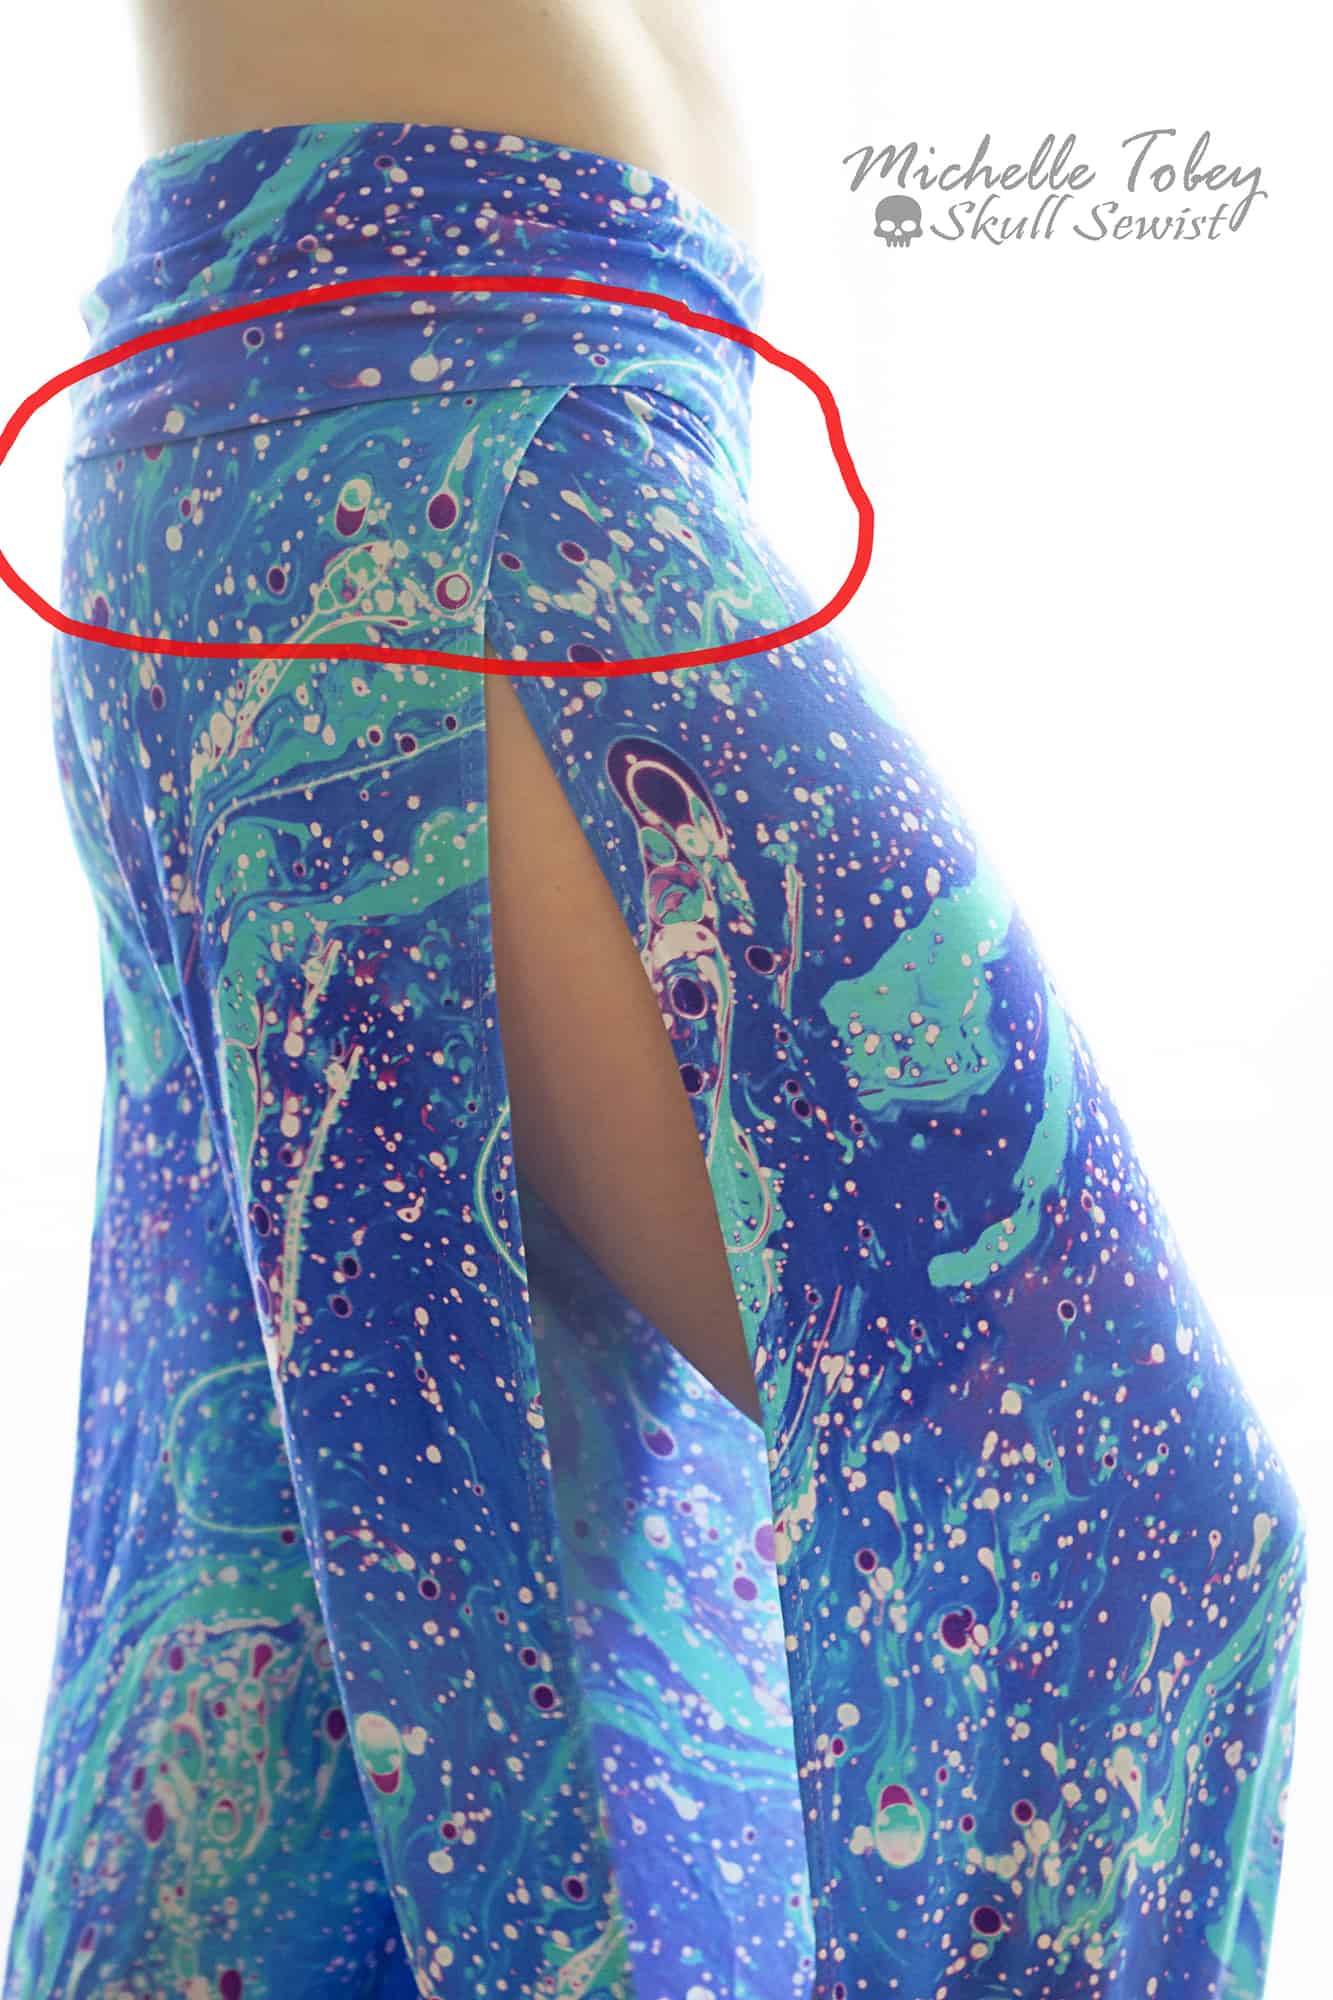
Now cut the waistband from your regular size- (not your upsize) and sew it to your pants and you are done!   If you’d like a more modest leg you can tack your opening closed however low you’d like it.  Tie your bottoms up and you are ready for some summer fun!


Sewing the Cuff option-

First I’m going to have you clip your front and back inner leg seams RST together on one leg.

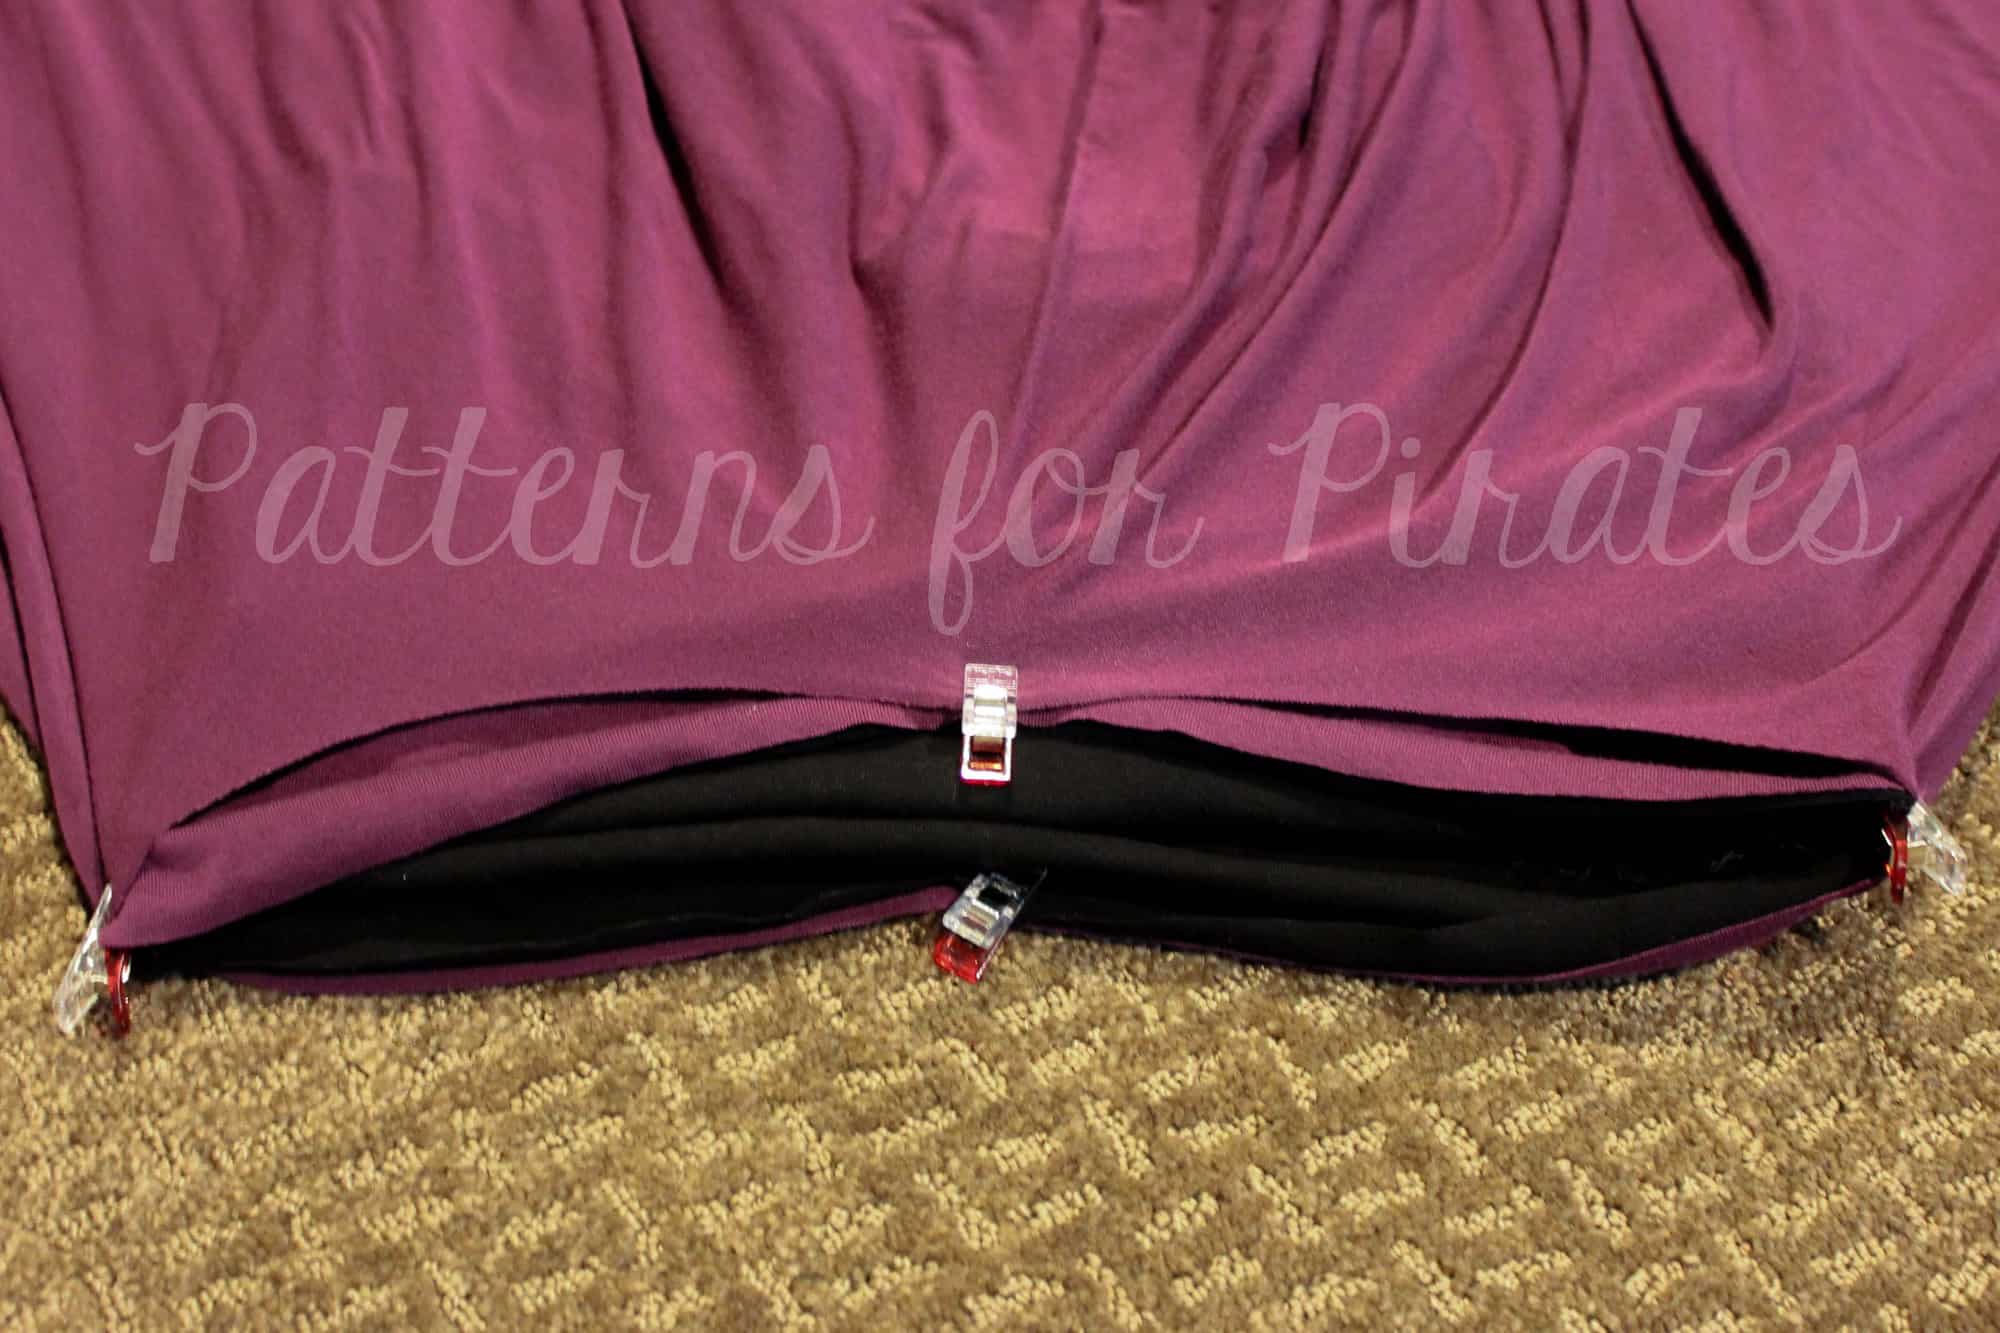
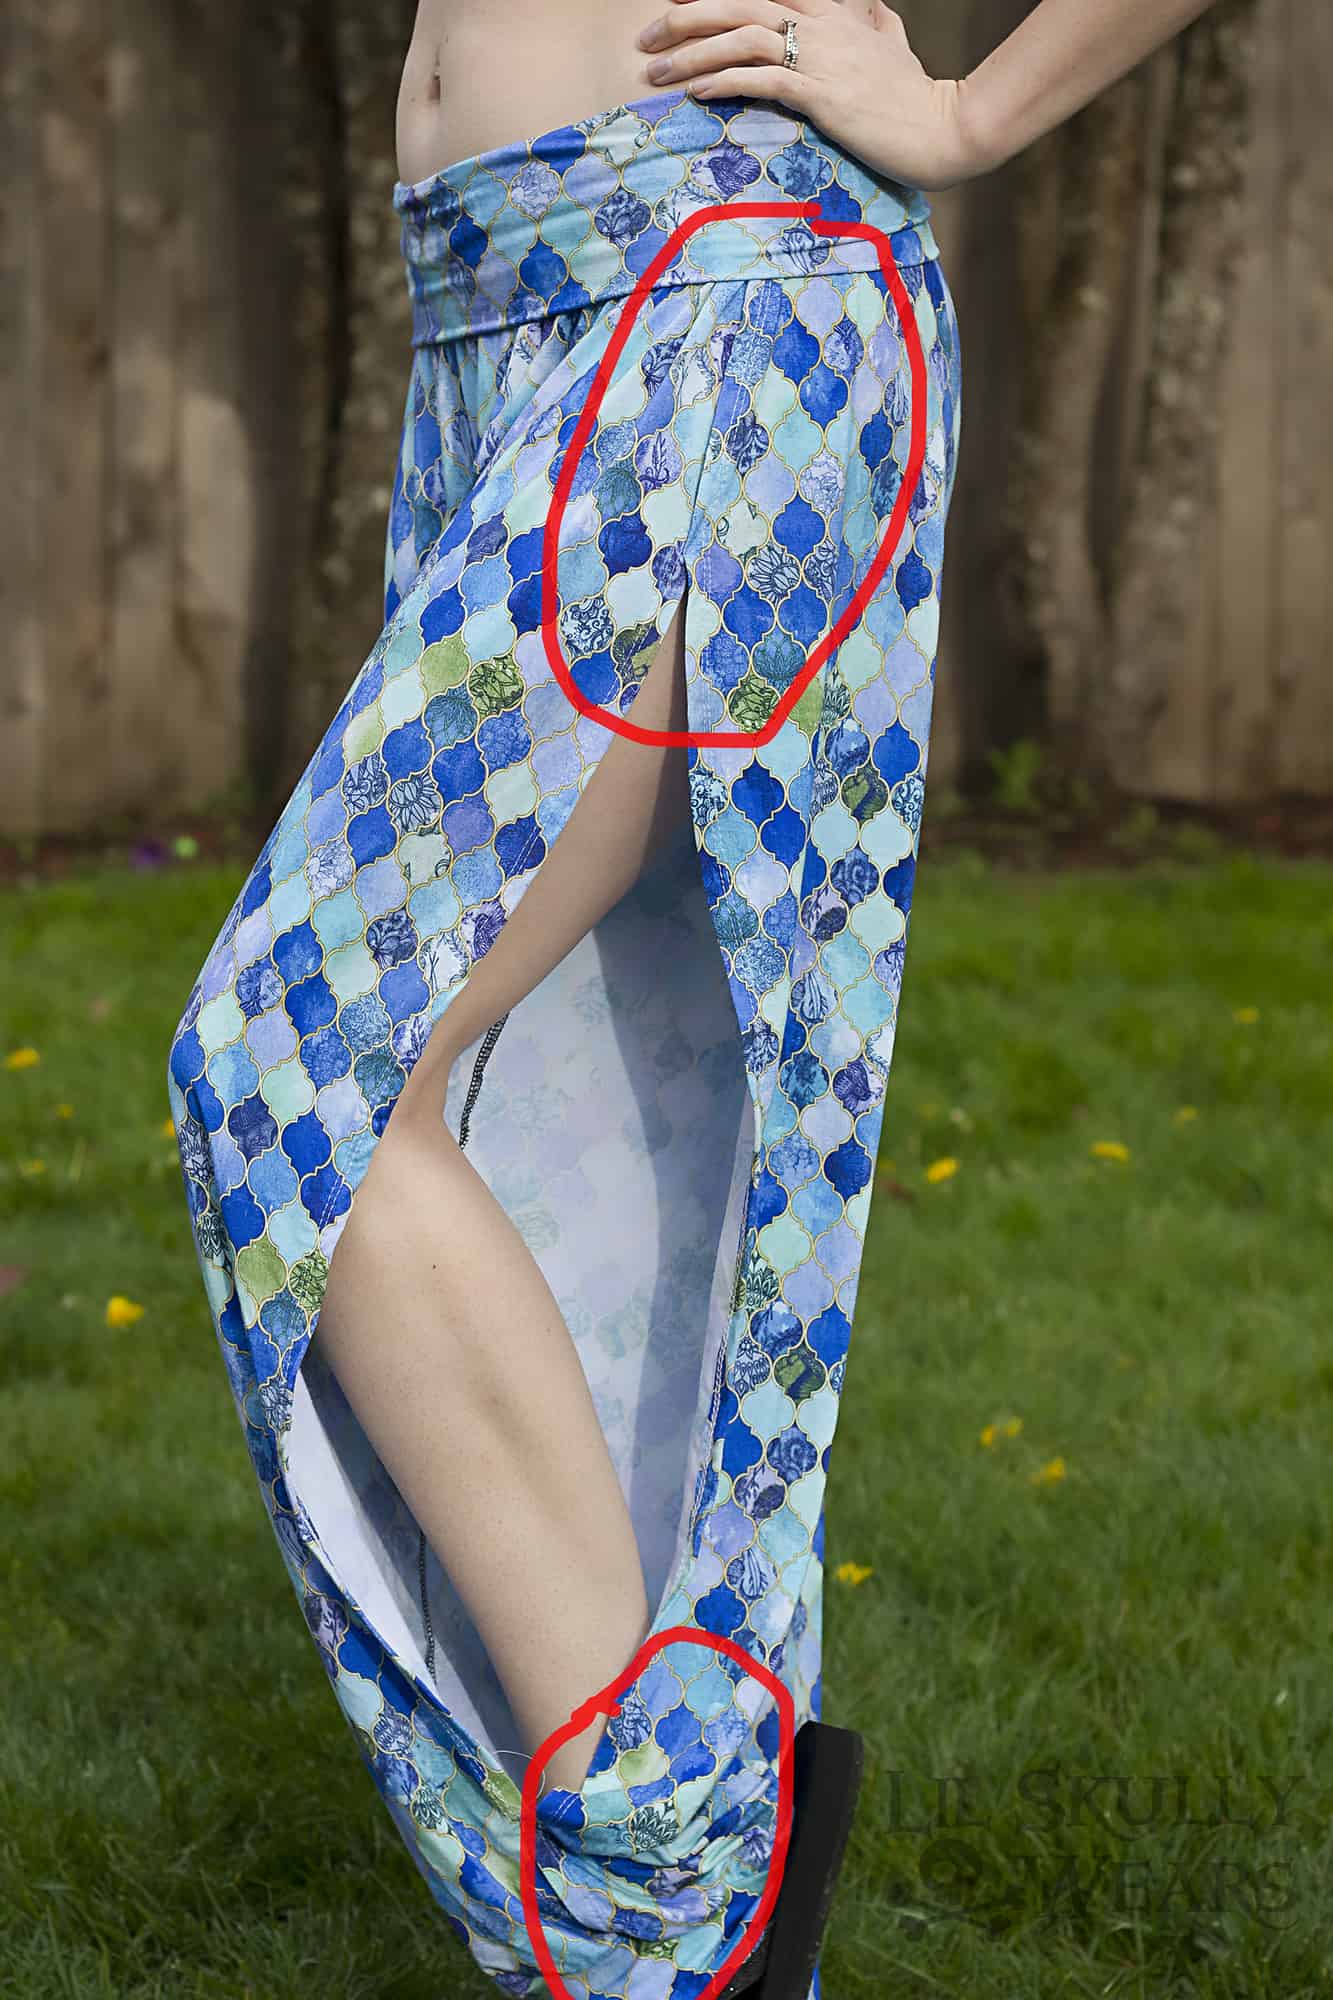
Now slip your pant leg on inside out- I know it’s a little weird as the side is totally open but at this point, you are going to figure out how big you want your slit to be.   Using clips- clip the top as far down as you’d like it and the bottom as far up as you’d like it.   Repeat on the other side.   It’s helpful if you have someone that can help you hold up the side.   You can also just guess if you want and clip on the floor.  Mine are about 8 inches from the top and 4 inches from the bottom. The photo below shows what you are clipping.
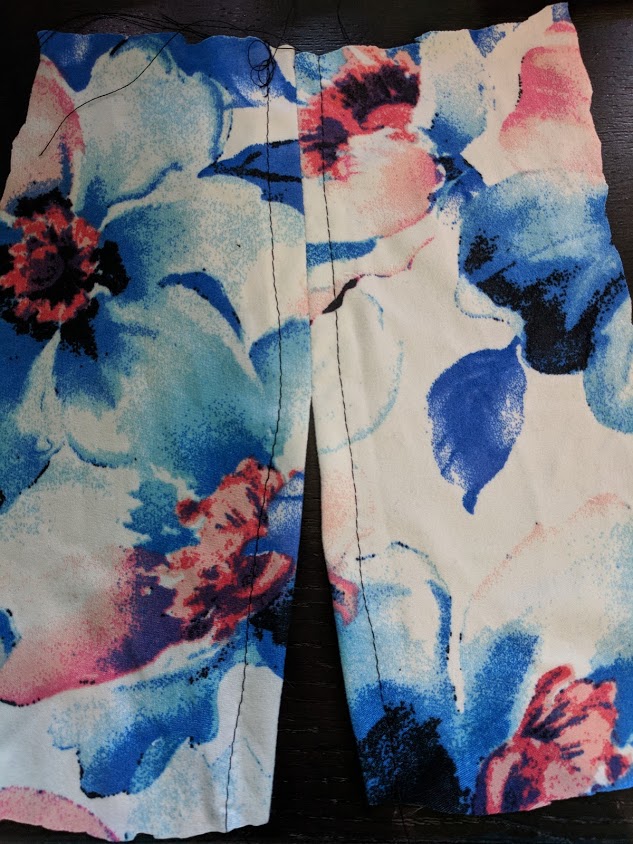
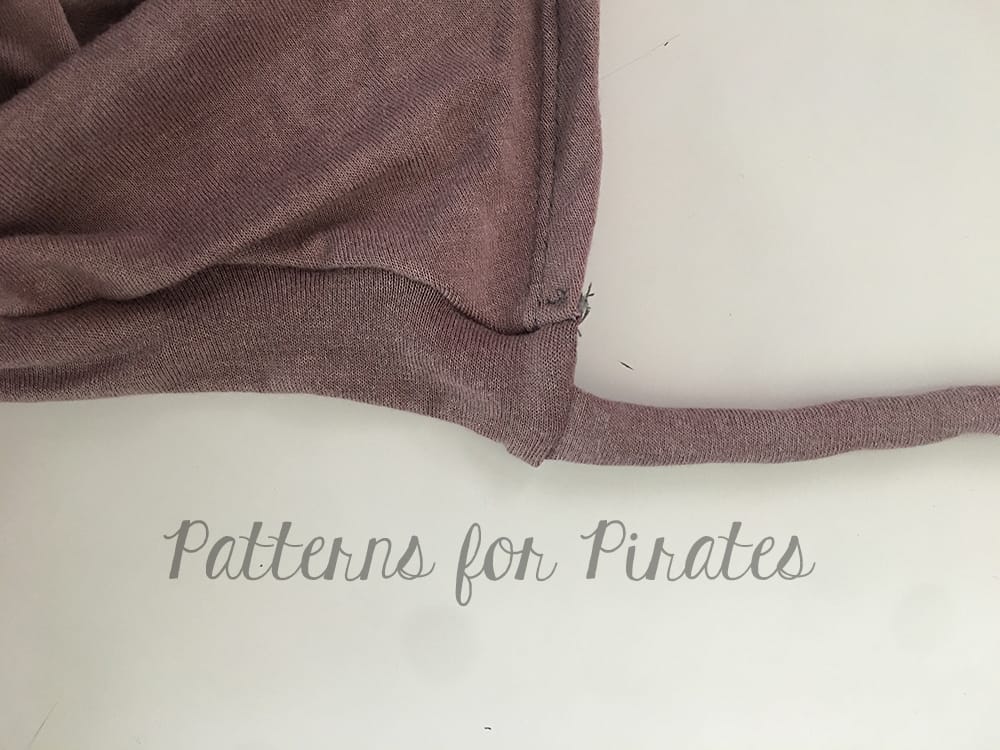
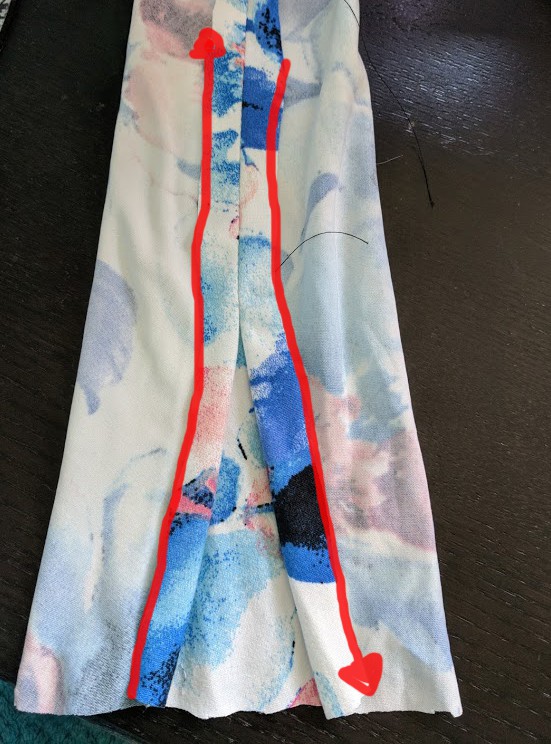
Then, using your sewing machine (you might want to baste first), sew your seam allowances together up to where you clipped on the bottom and top.    Feel free to try on again after basting to make sure this is the size you want your opening. Don’t forget to back and front stitch a few times to seal your seam.  Once you have your set opening you’ll press open your seam allowance and topstitch from the bottom all the way to the top as shown by the red lines below.    The second picture is what your finished outer leg will look like at the bottom and top.
Now go ahead and sew up your inner leg seams, crotch seams, and waistband.

Finally, for the cuff, you’ll take your bottom width of your pant and multiply it by .7.  Cut out two cuffs that are that length (going with the stretch of the fabric) by 4 inches tall.  If you’d like a different height feel free to use whatever.

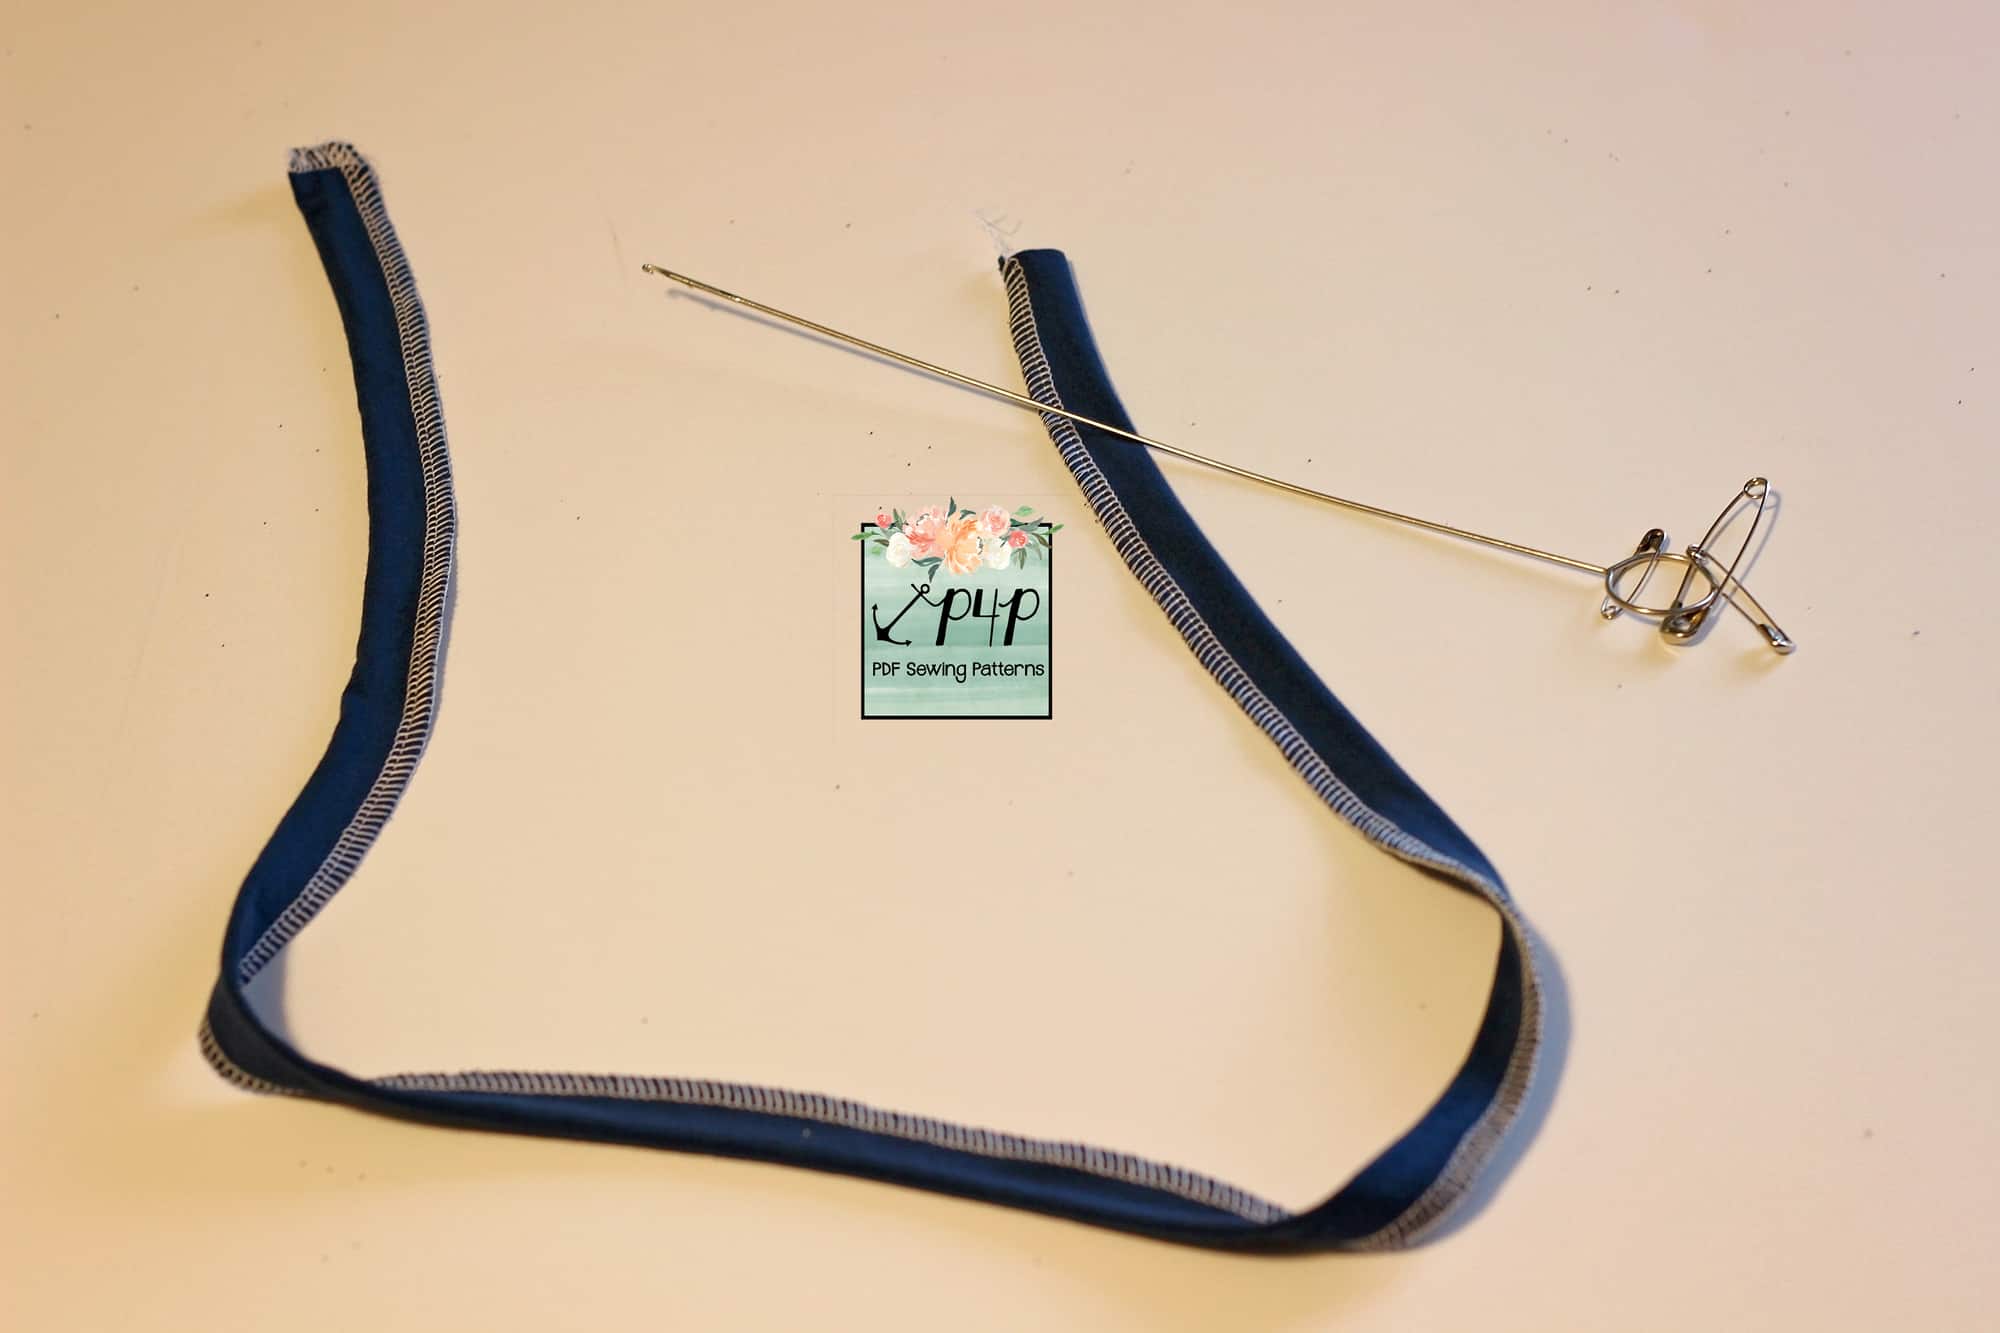
Then you will serge on your cuff stretching as you go and leave a small 1.5-2inch opening.   Now using any elastic you’d like that will fit in the cuff, find a comfortable length around your ankle and cut two pieces.   Feed the elastic into your cuff opening using a safety pin and making sure to keep one end out.   Once you have both ends out and the elastic fed through,  overlap your elastic ends and stitch using a stretch stitch.  Push the elastic back into the cuff and finish your cuff seam.

Yay!! Now you have your finished pants!!

Thank you so much and I hope you enjoy these pants as much as I do! Don’t forget to show them off in the P4P Facebook group too!

May your sails and bobbin always be full,

Michelle

 

Filed Under: Frequently Asked Questions, Pattern Hacks, Uncategorized 1 Comment

Boundless/Boho Babydoll Mash-Up

May 7, 2018

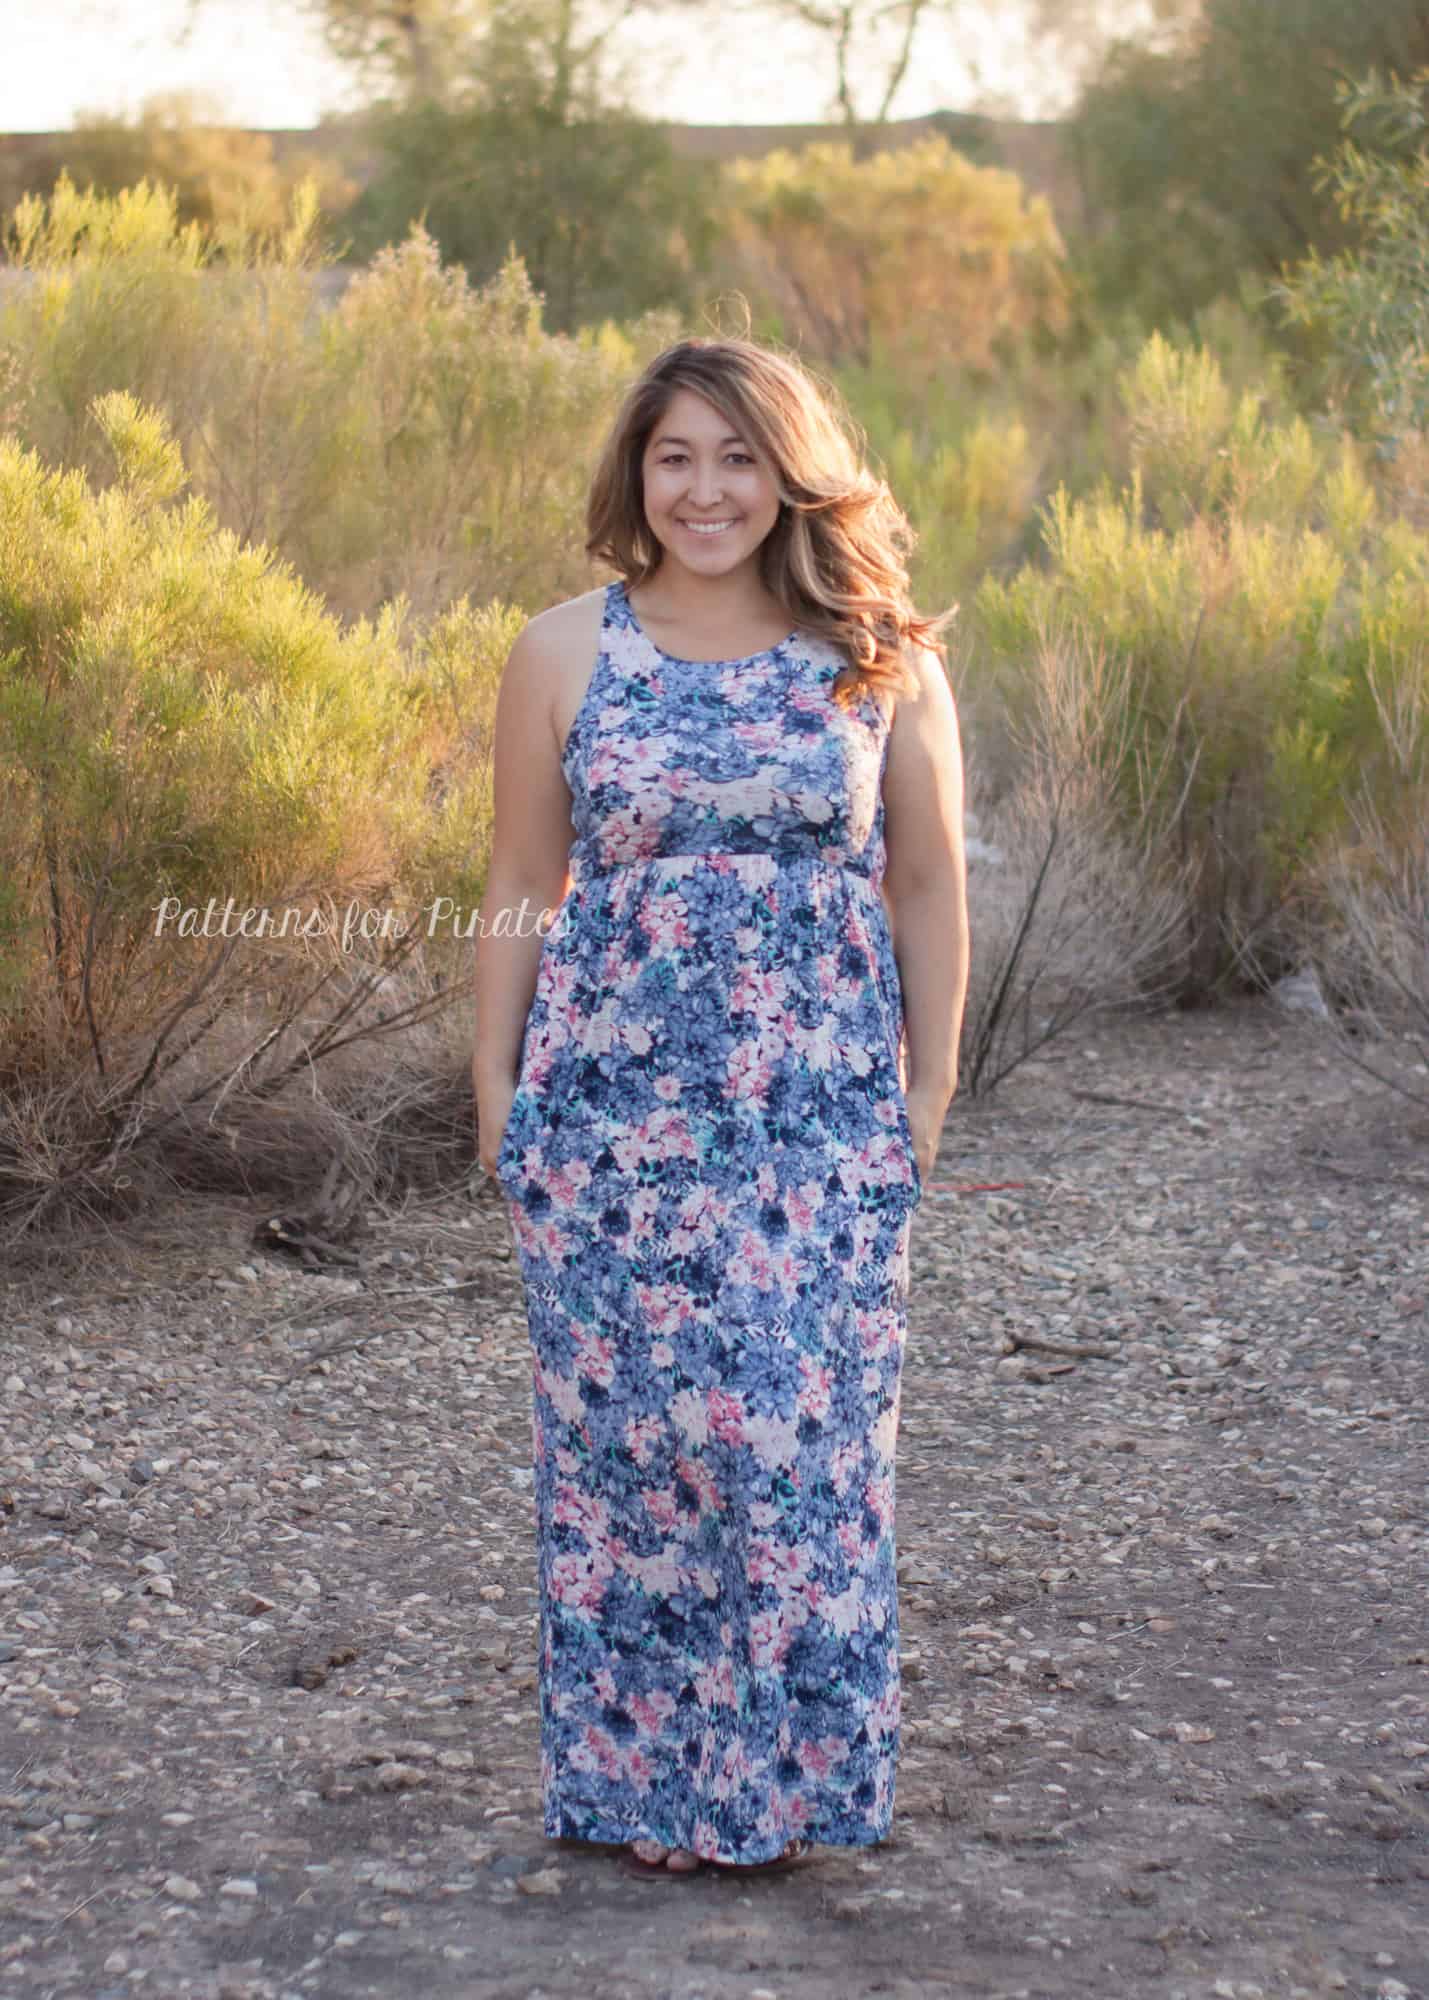
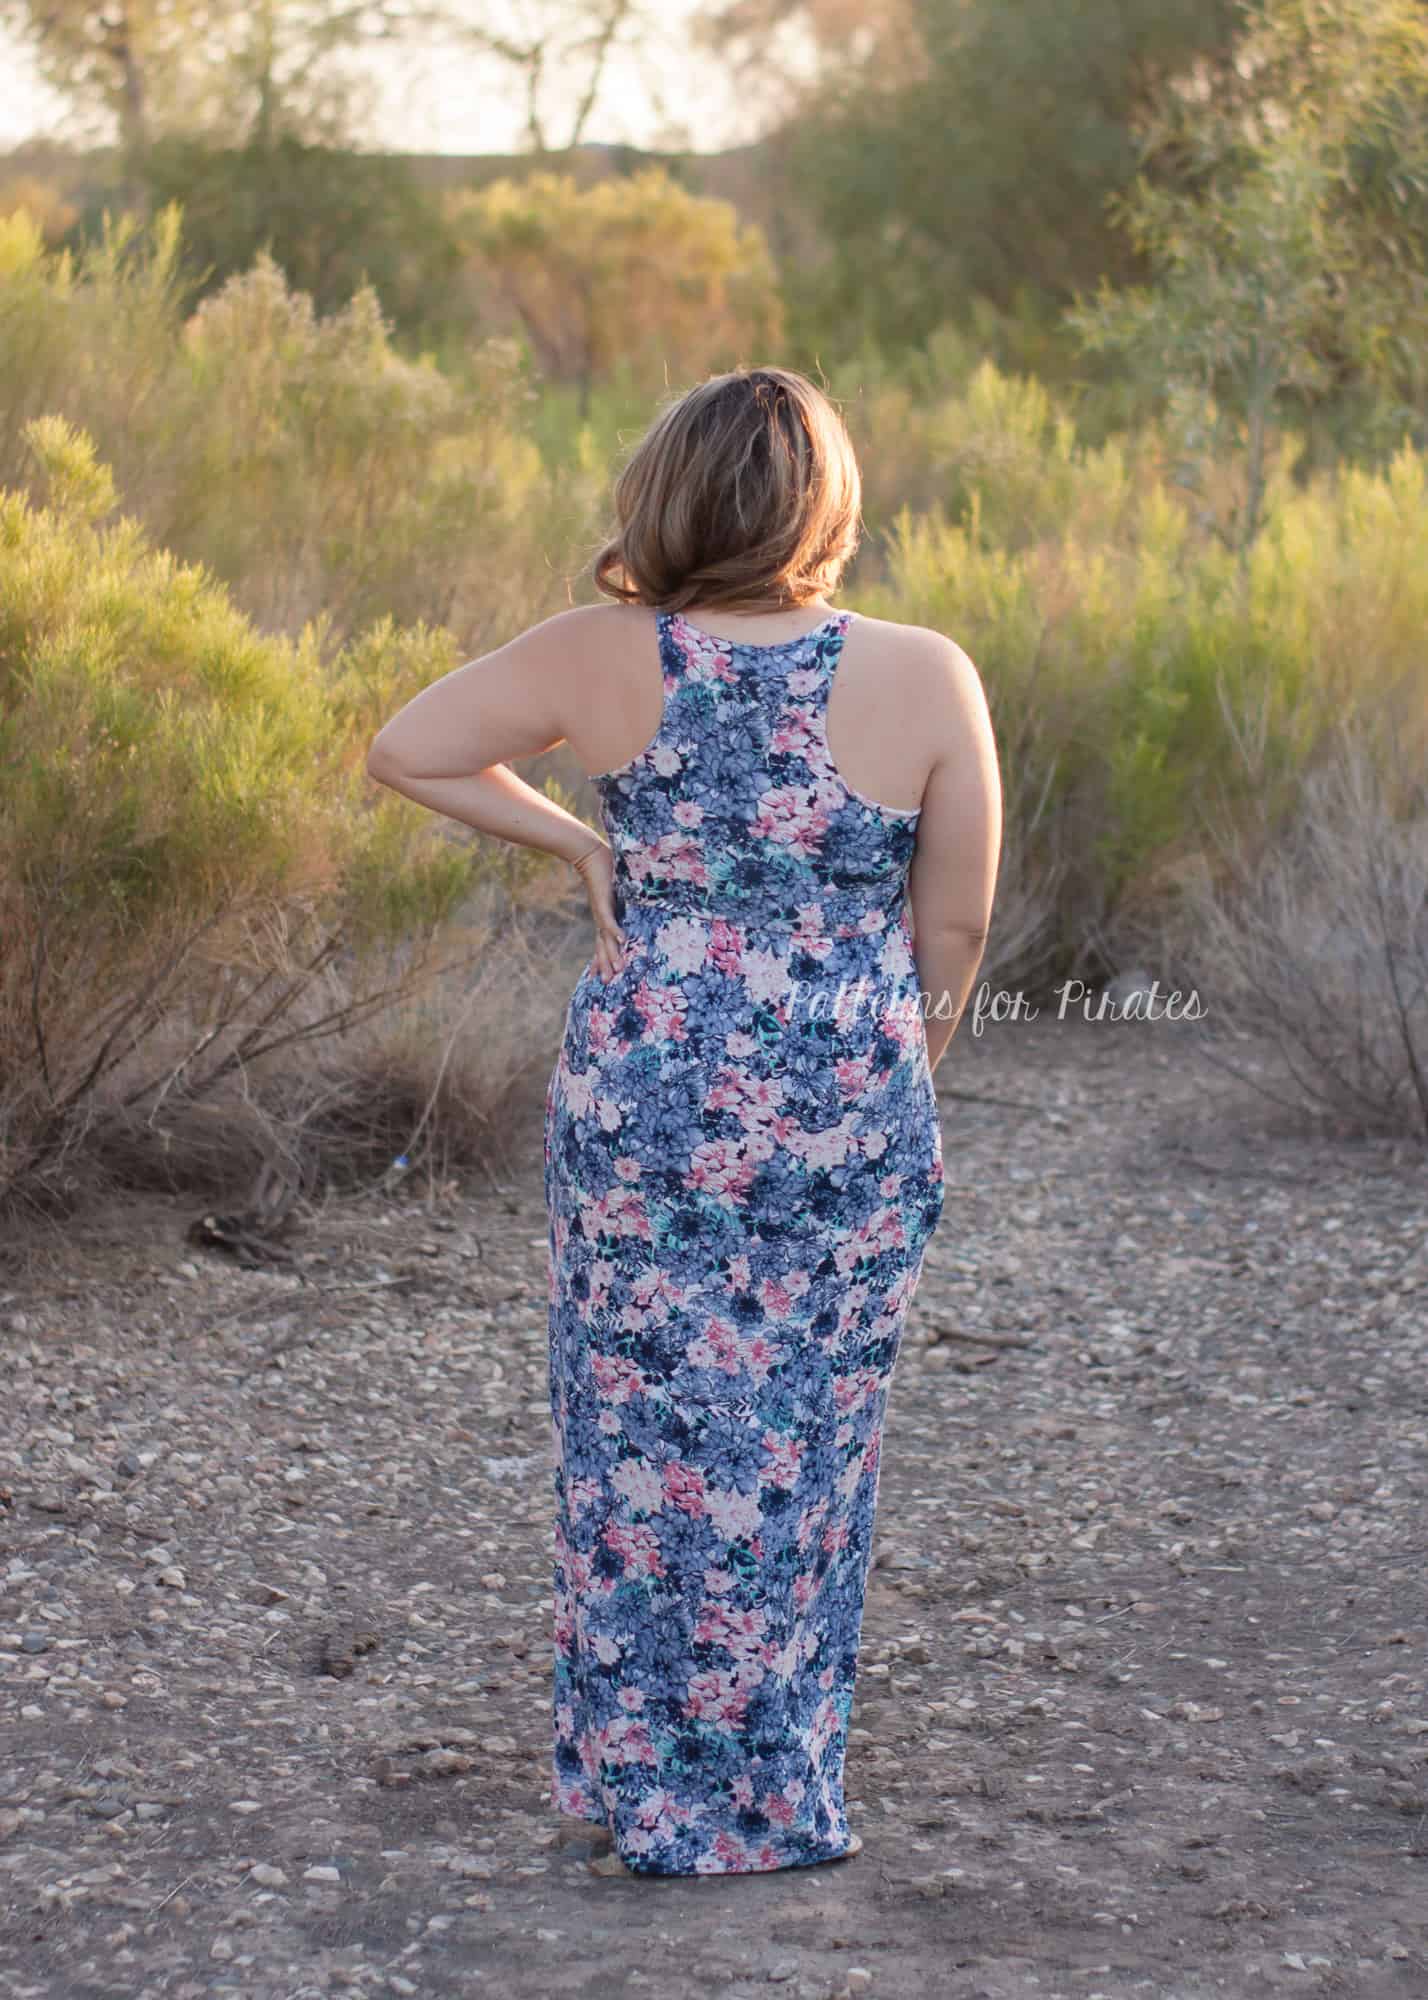
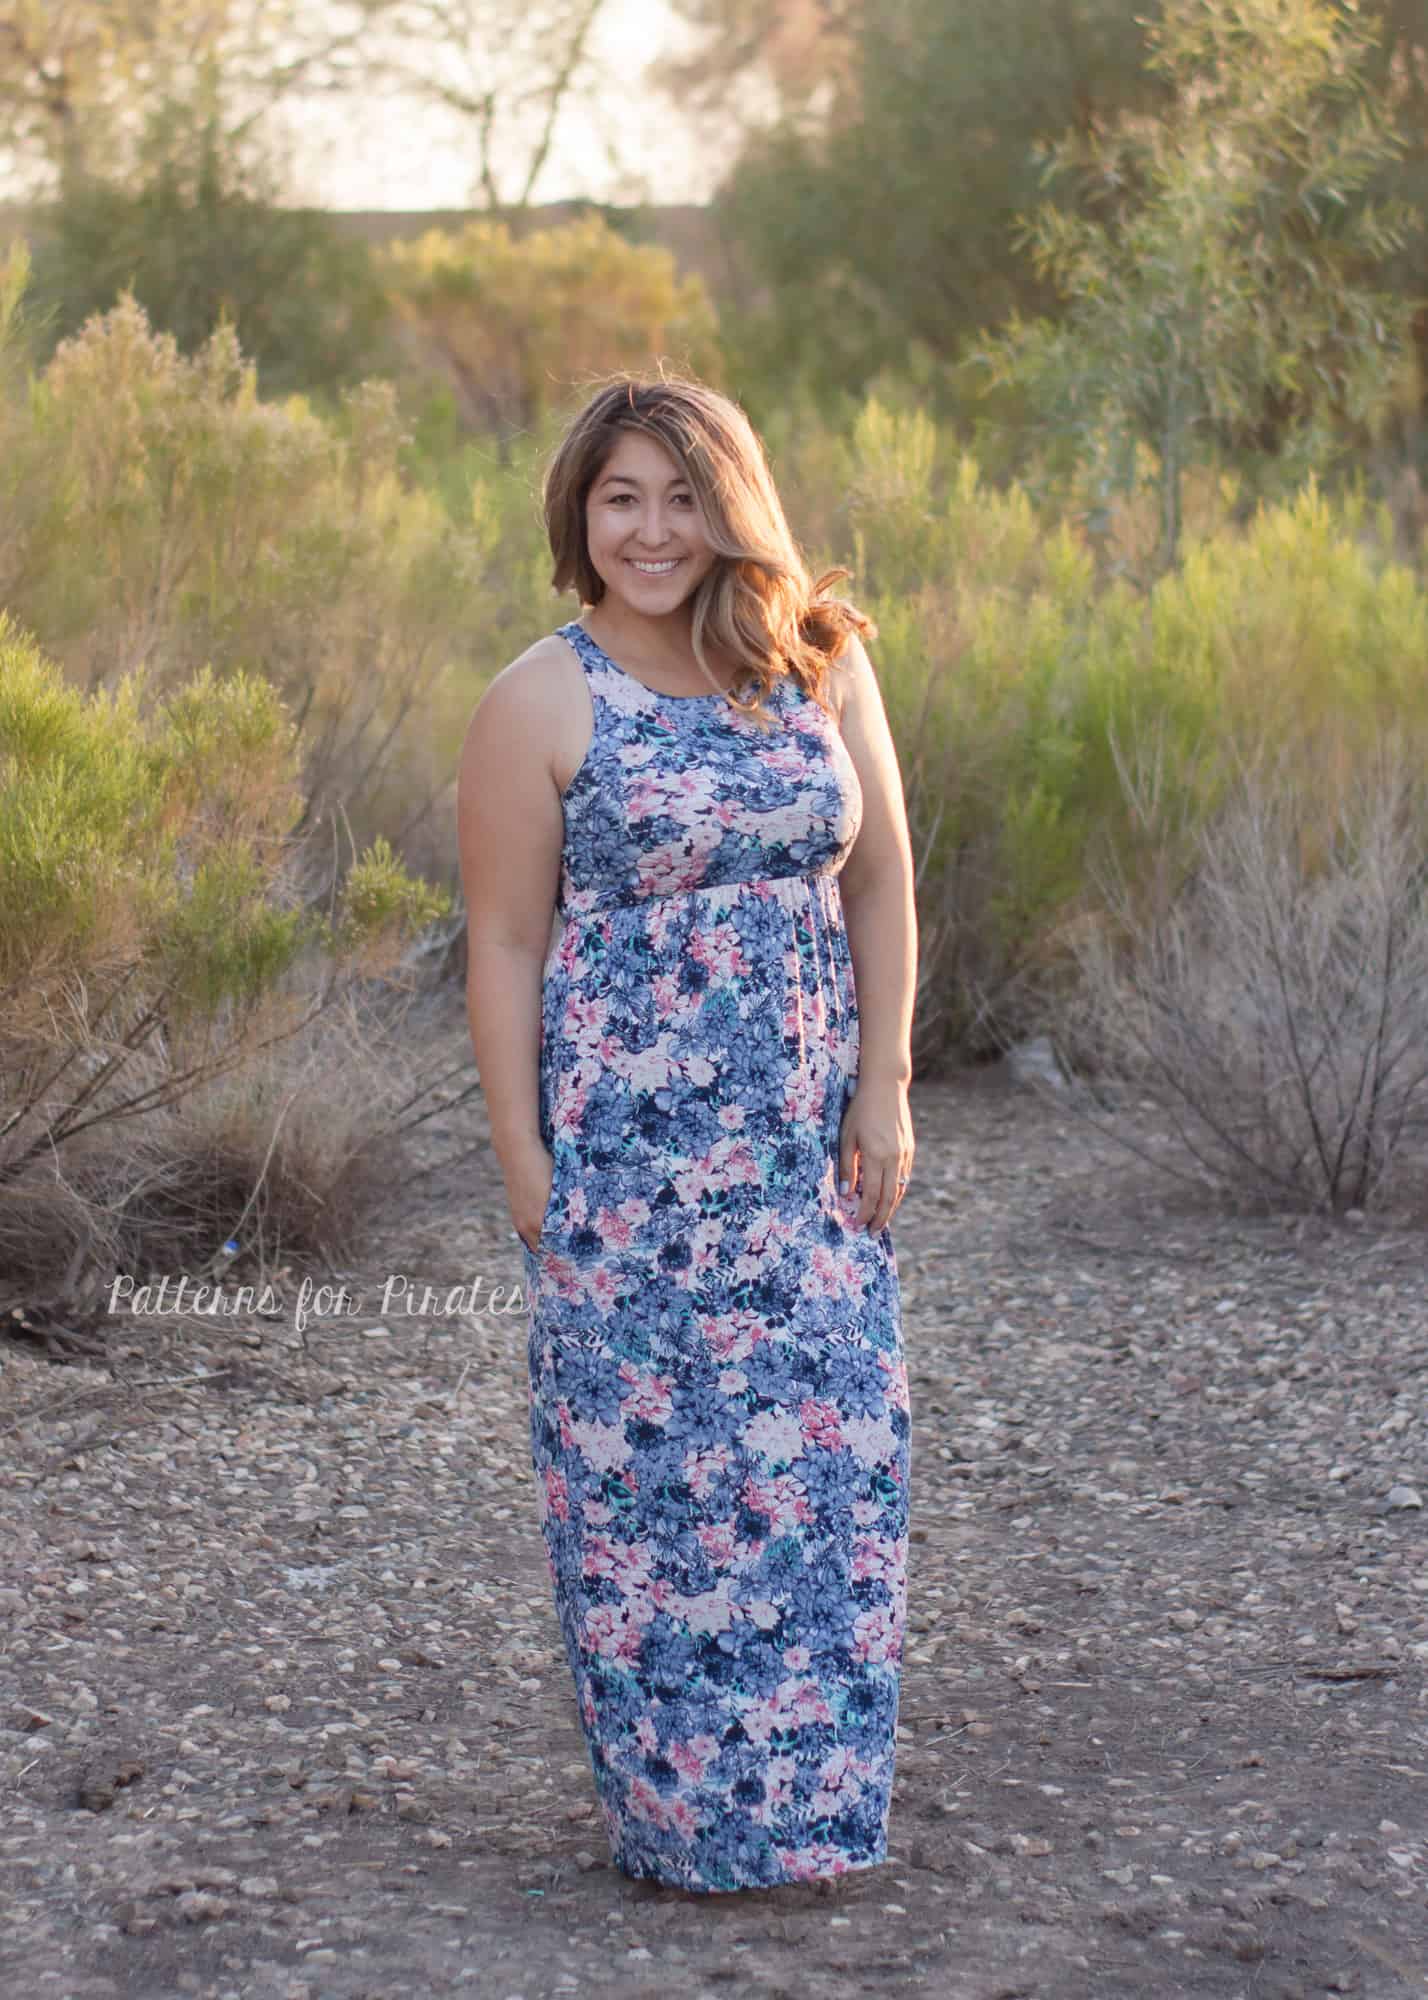
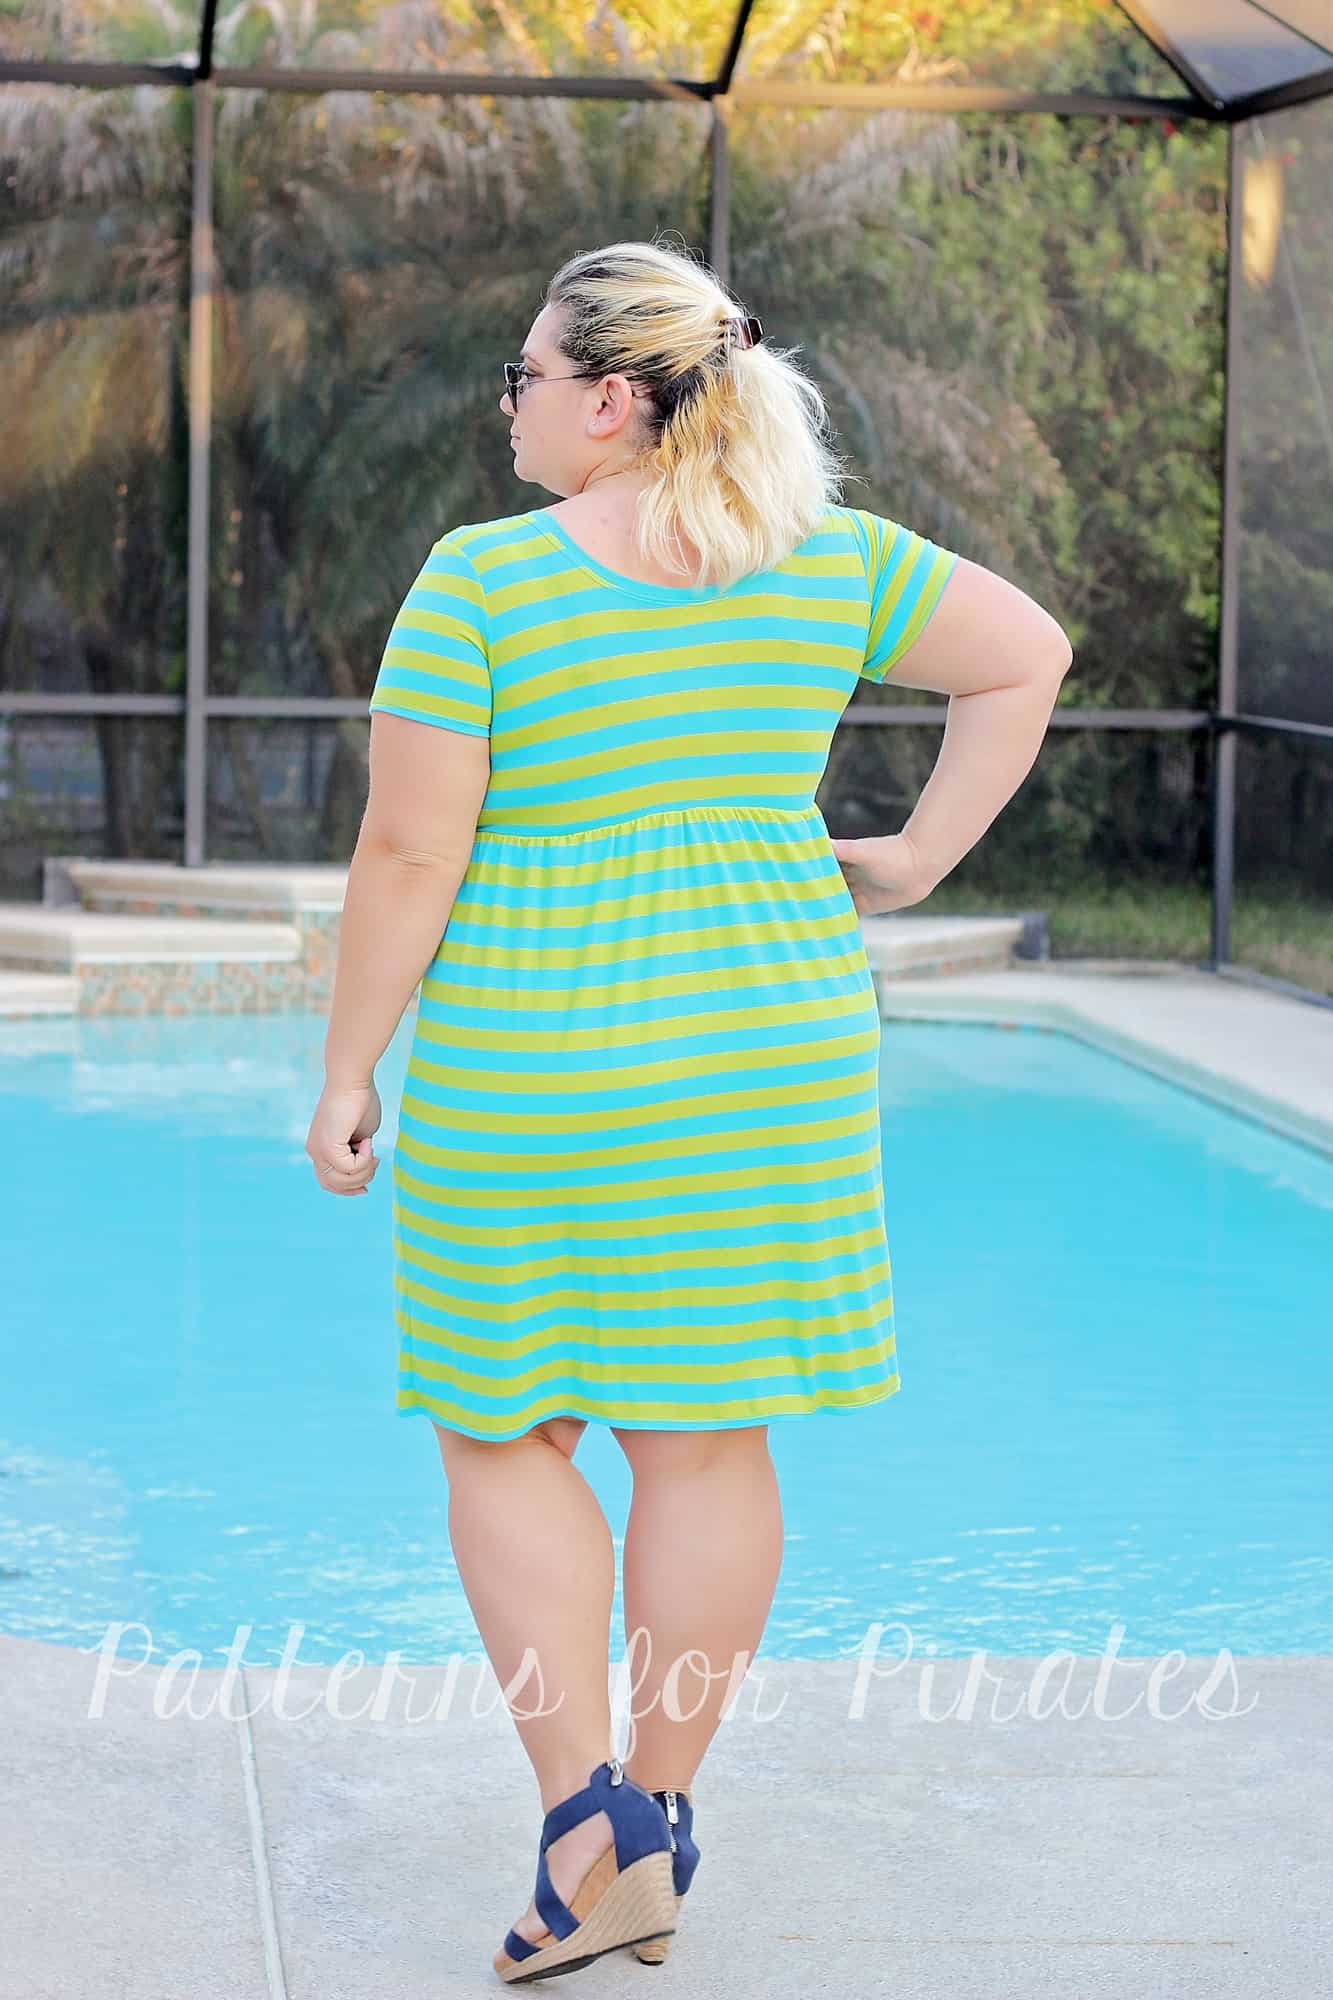
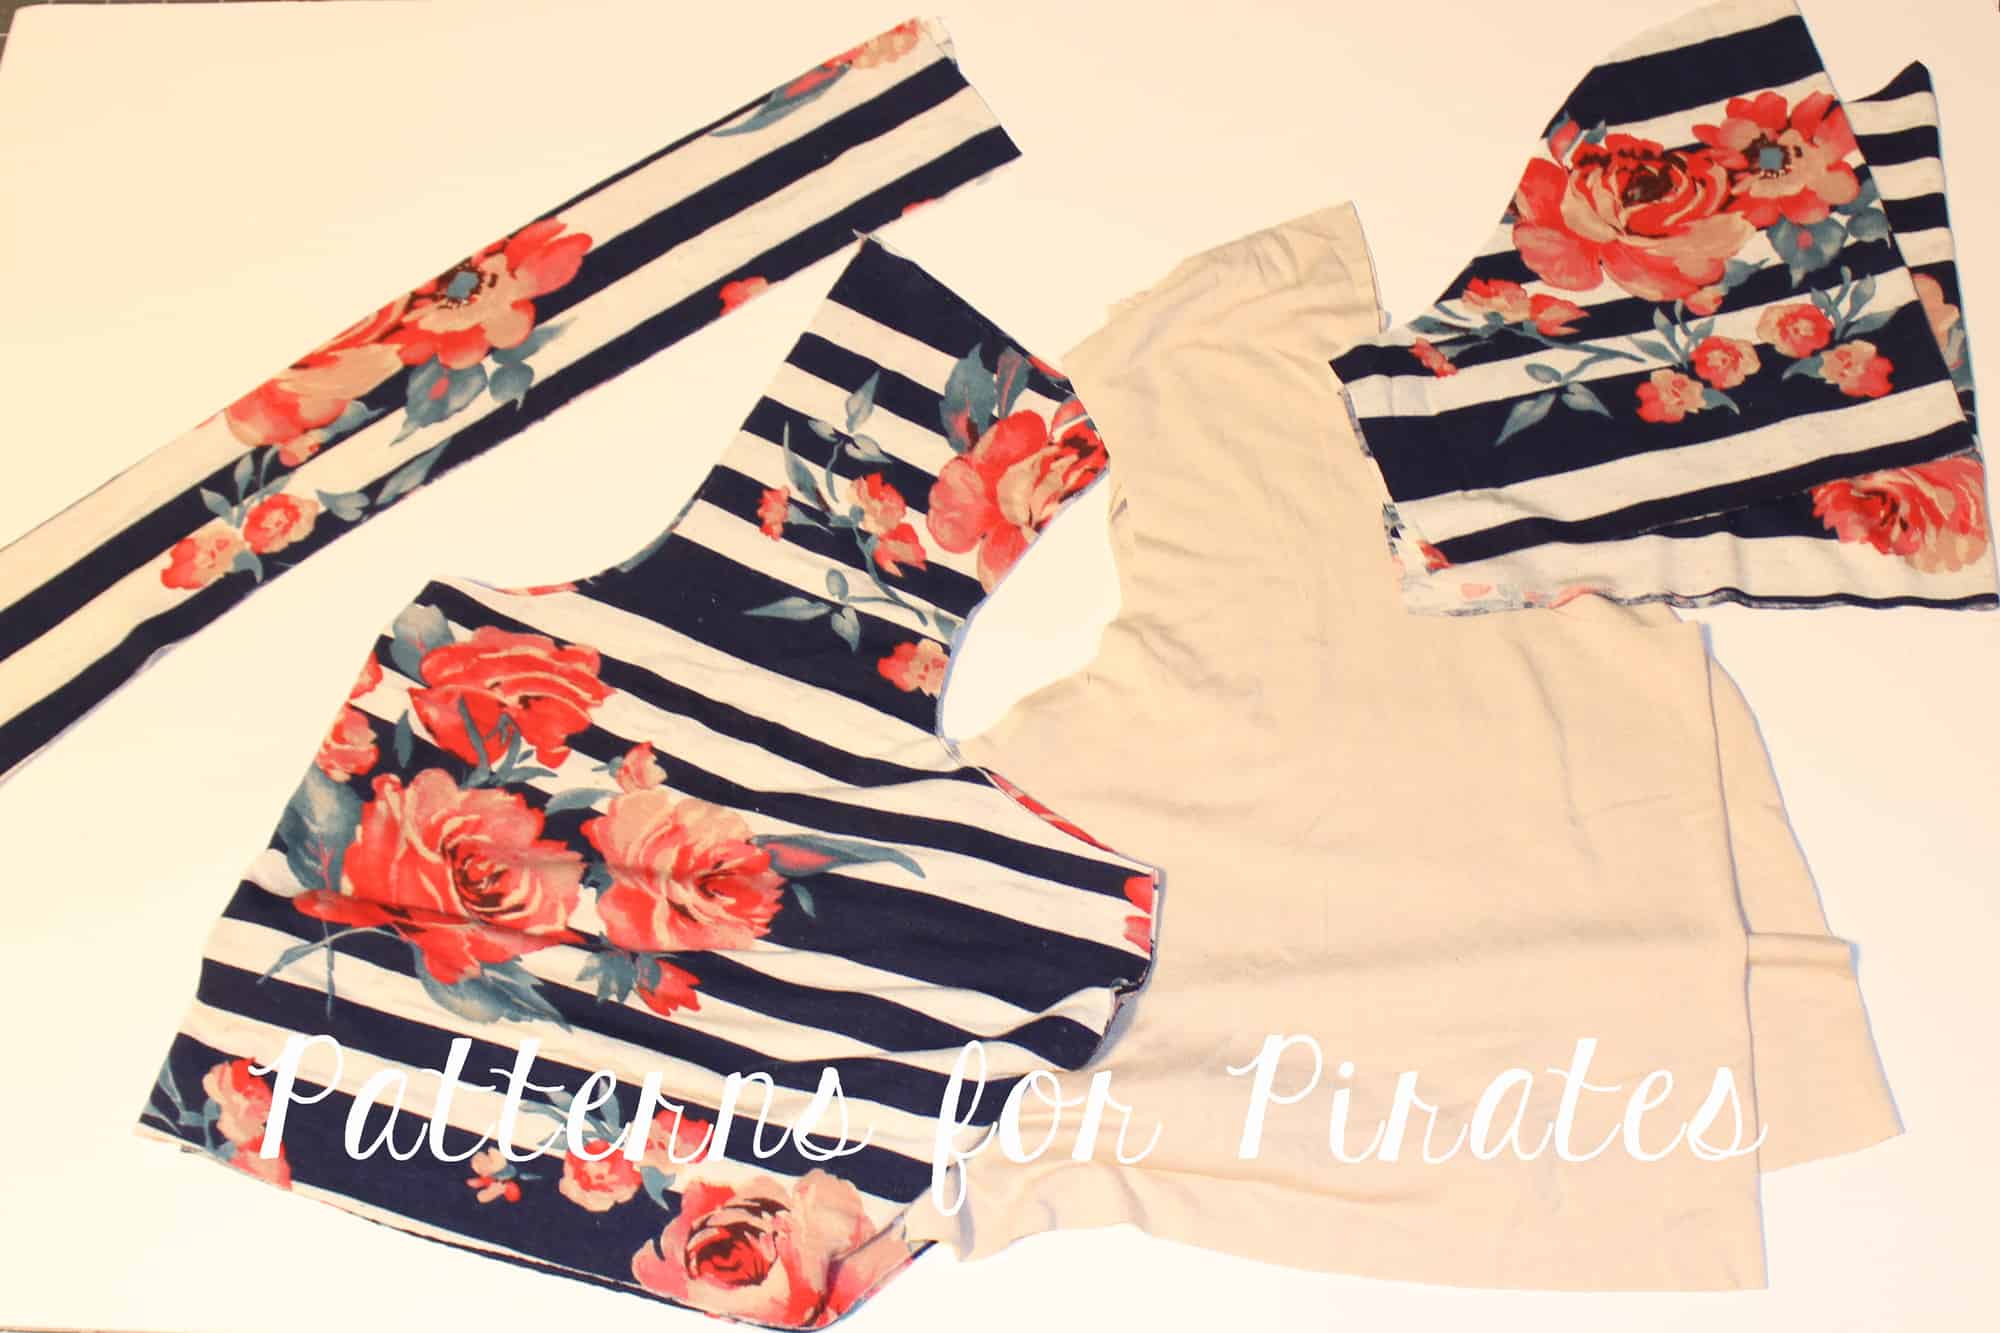
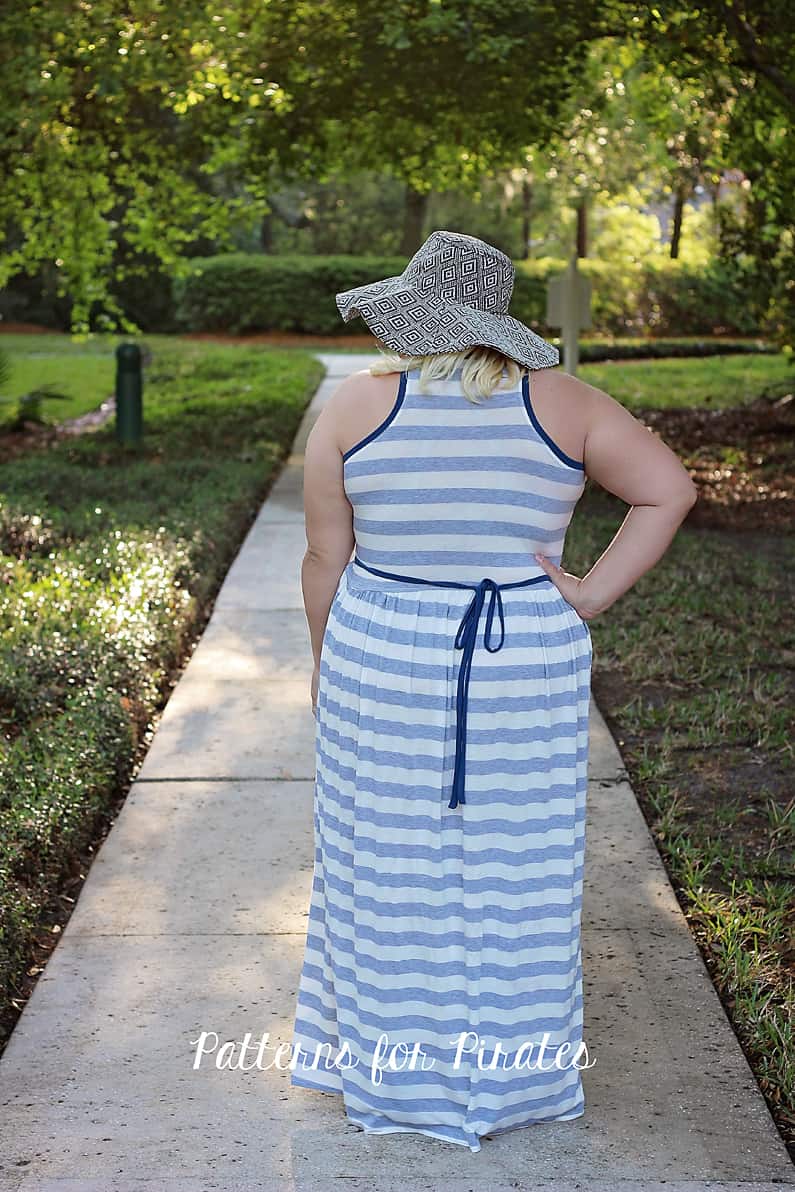
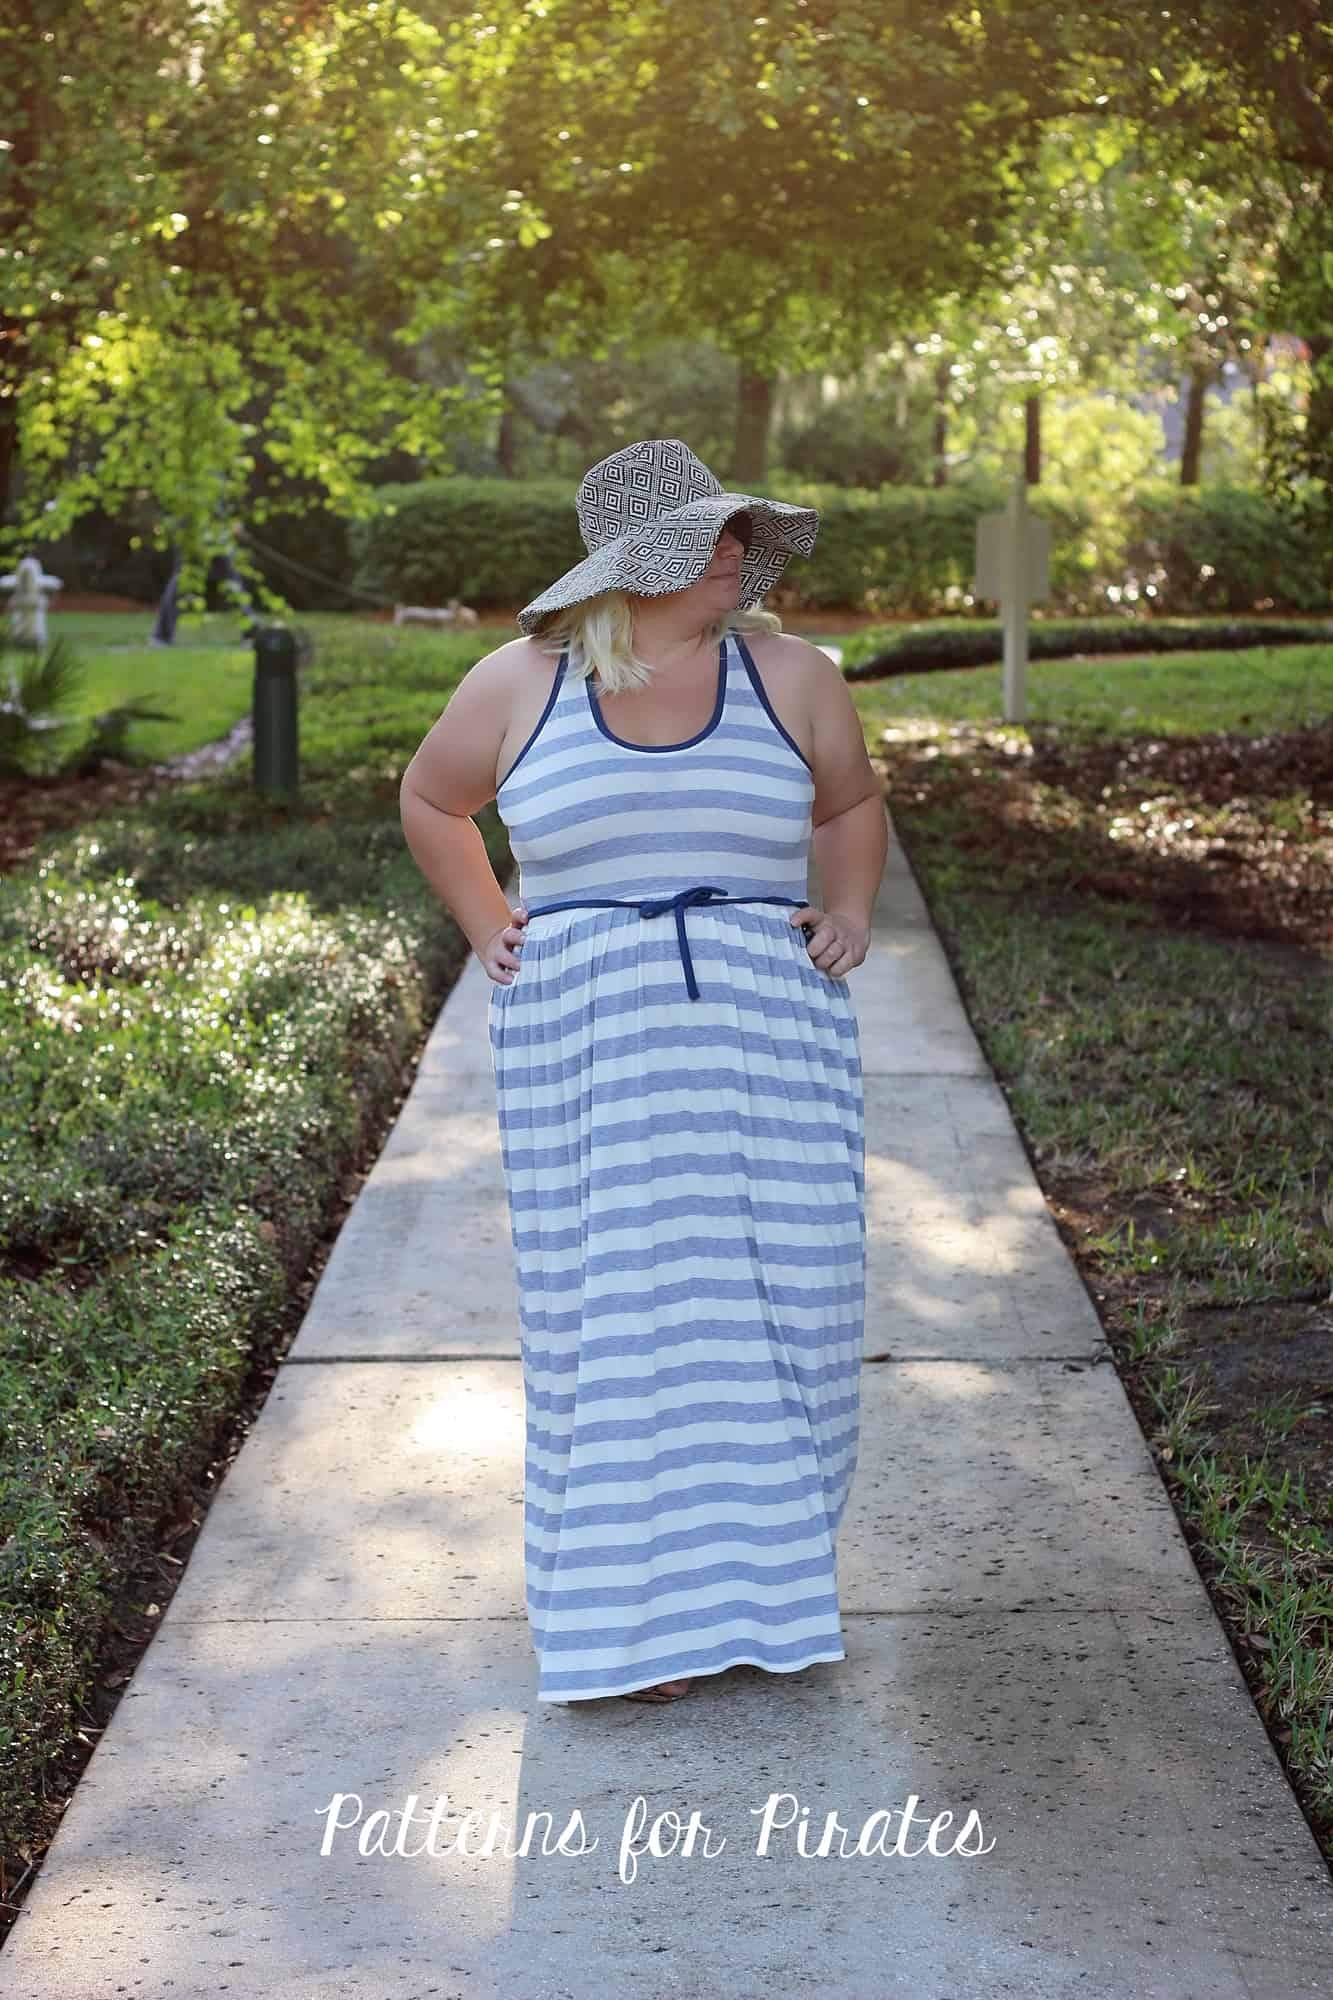
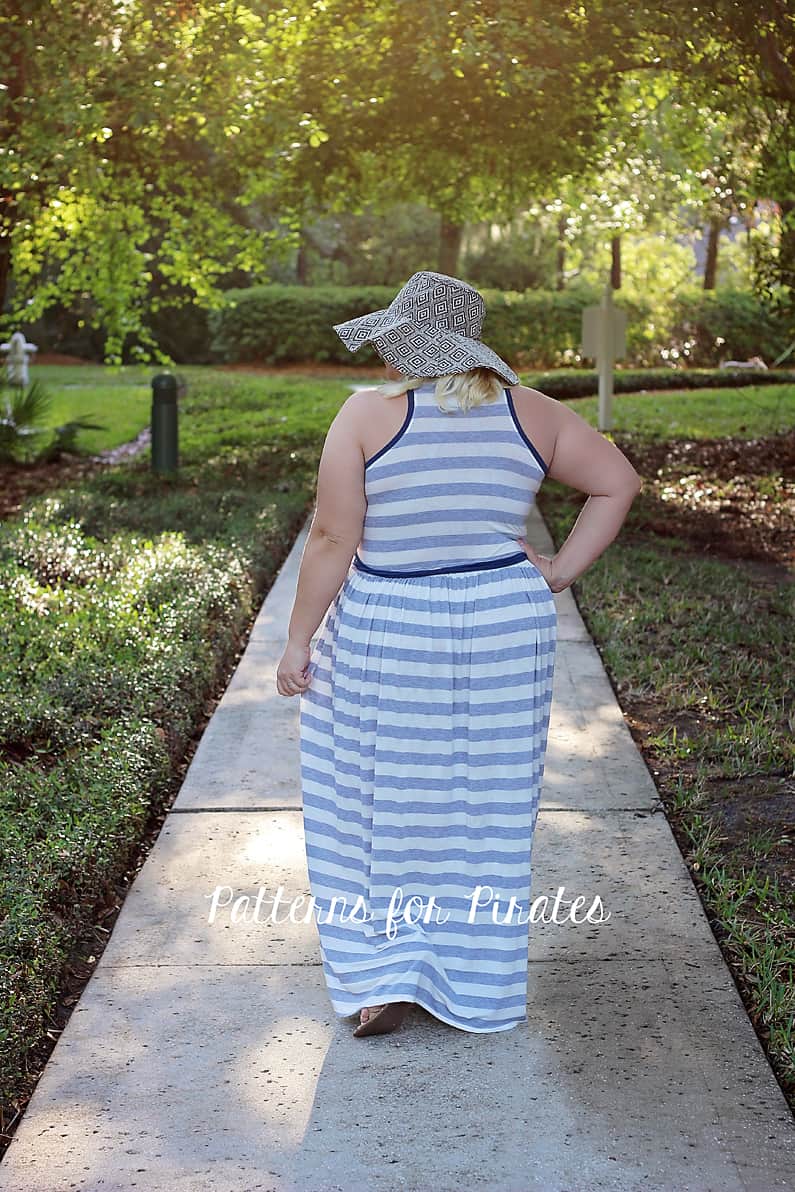
Since the original release of the Boundless Knit Dress, we have seen many requests how to make it a racer back tank dress.  With the recent release of the Boho Babydoll (which includes a racer back option), we thought it would be the perfect mashup. So, I’m here to show you how to mash and grade the two bodices to create a racer back Boundless Dress. This will also work with the Essential Tank if you prefer the shape of the racer on that tank.


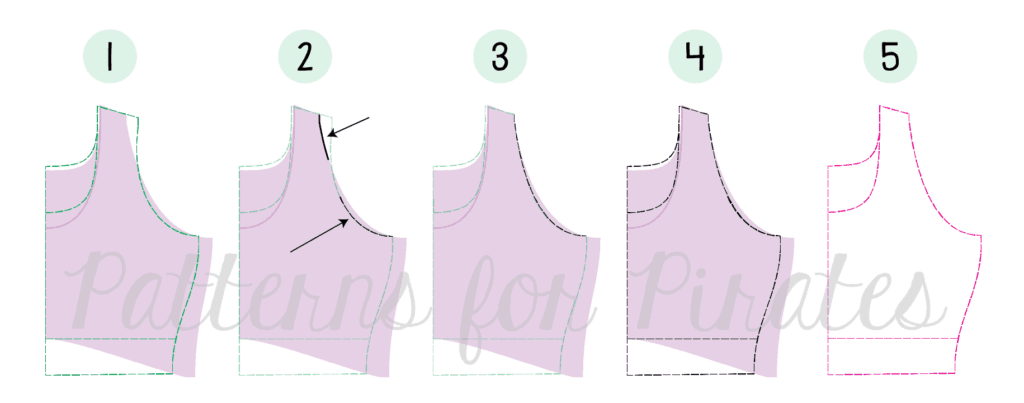
The Boundless and Boho have different amounts of ease. (read more about ease HERE.)  The Boundless is a fitted bodice with negative ease, while the Boho is a relaxed cut top with ease so we can’t really just take the Boho and adjust the width to the boundless, otherwise the armscye would be too wide and cut in across the shoulder since the overall size of the bodice is wider/larger.  The Boundless is shown here in the green dashed  lines and the Boho is the light purple.
  1. Print out both the boundless knit dress and Boho babydoll bodices and align at the shoulder seam.  We will be creating a new Boundless bodice.  You can choose which neckline you prefer as the only modification we are making here is to the armscye.
  2. Trace the upper portion of the armscye from the shoulder seam of the Boho Babydoll. Trace the lower portion of the armscye of the Boundless toward the side seam.
  3. Using a French curve, blend the upper and lower portion of the armscye previously traced.
  4. Continue tracing the Boundless along the side seam and neckline. Note- if using a 1/2″ seam allowance, you will want to widen the shoulder by 1/4″.  You can also trace as is and just use a 1/4″ seam allowance along the shoulder seam only.
  5. You now have a new Boundless front racer Boundless bodice.


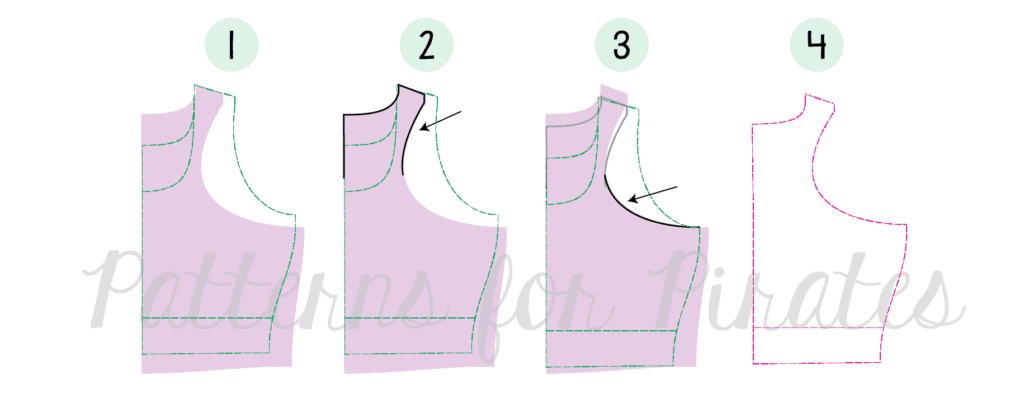
We will repeat similar steps for the back

  1. Print out both the boundless knit dress and Boho babydoll bodices and align at the shoulder seam.  We will be creating a new Boundless back bodice.
  2. Trace the Boho bodice from neckline, shoulder seam and top portion of the racer back armscye. Note- if using a 1/2″ seam allowance, you will want to widen the shoulder by 1/4″.  You can also trace as is and just use a 1/4″ seam allowance along the shoulder seam only.  
  3. Slide the Boho bodice so that it is aligned with the Boundless at the armscye and trace the lower portion of the racer back armscye to the side seam of the Boundless bodice.
  4. Use a French curve if need to match and blend the racer back curve and continue tracing the Boundless bodice.  You now have a new Boundless back bodice.

Construction of the bodice/dress is the same as the Boundless.  Cut 2 main and cut 2 lining pieces and use the burrito roll method to create a fully lined racer back.

I hope you love it as much as I do!


Filed Under: Pattern Hacks, Uncategorized Leave a Comment

Boundless – Easy Hacks

May 3, 2018

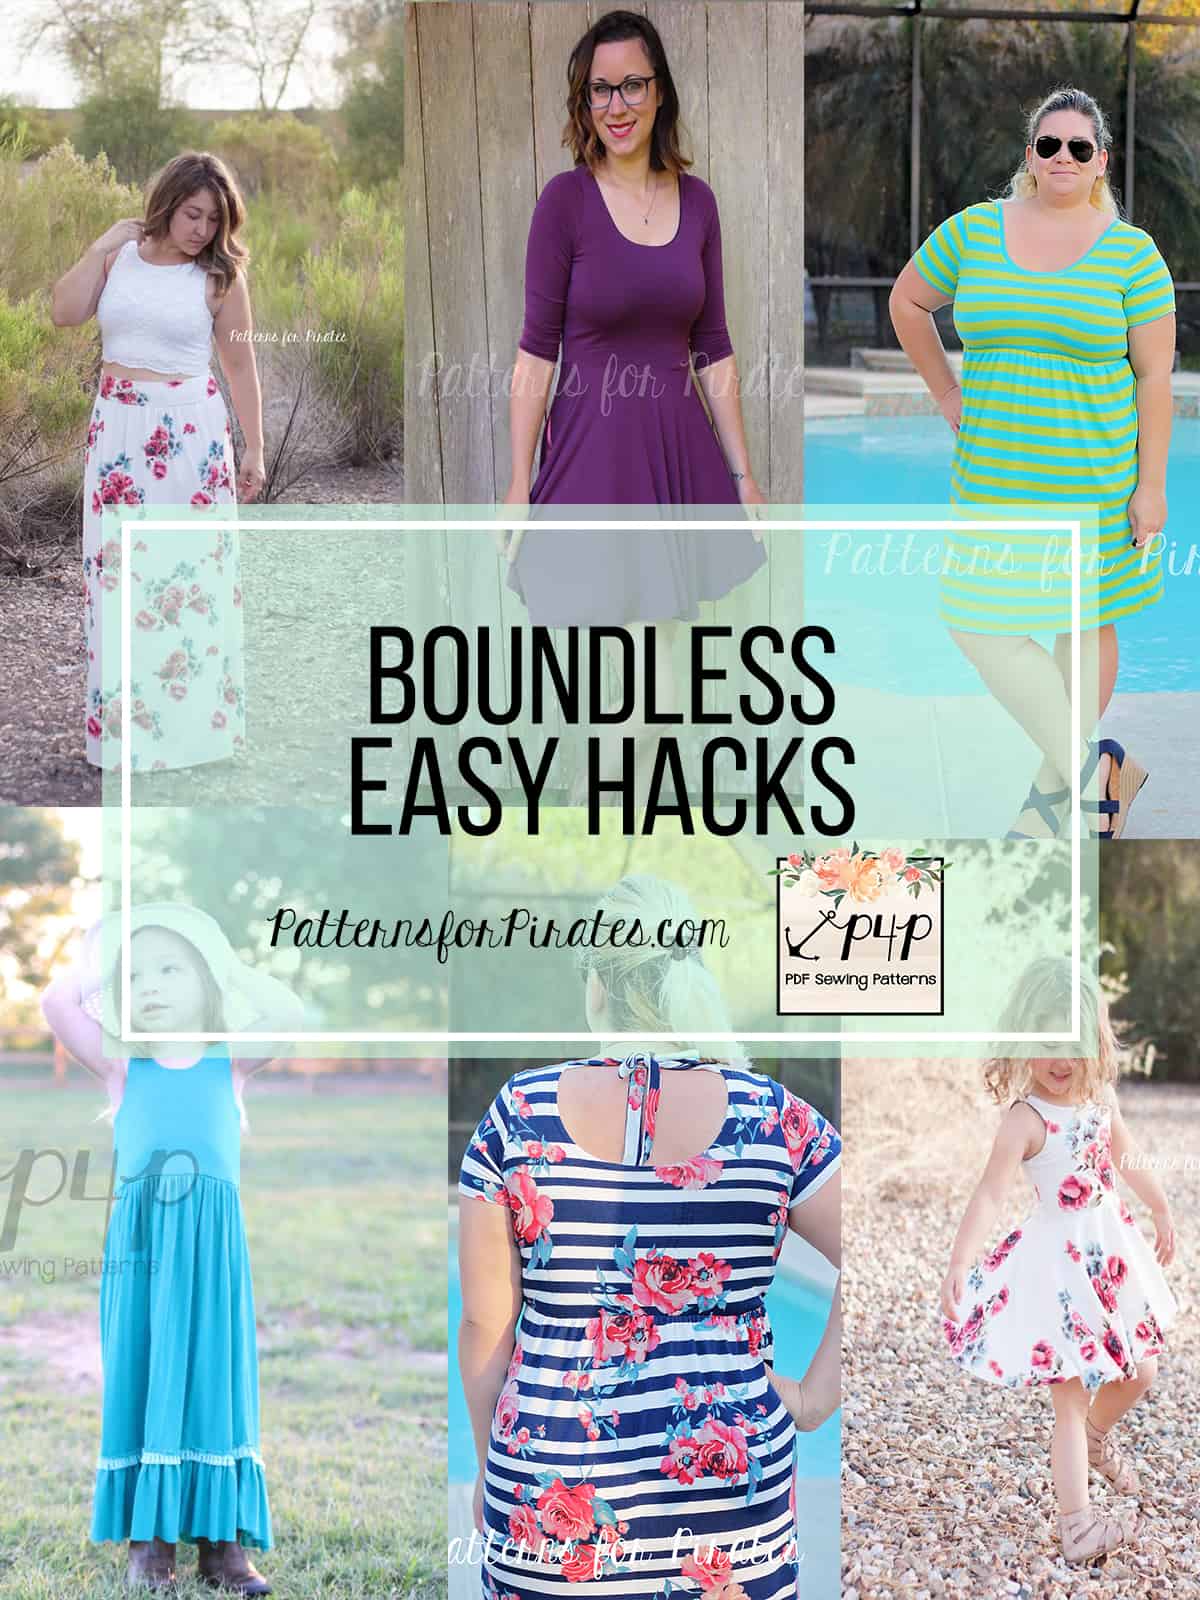
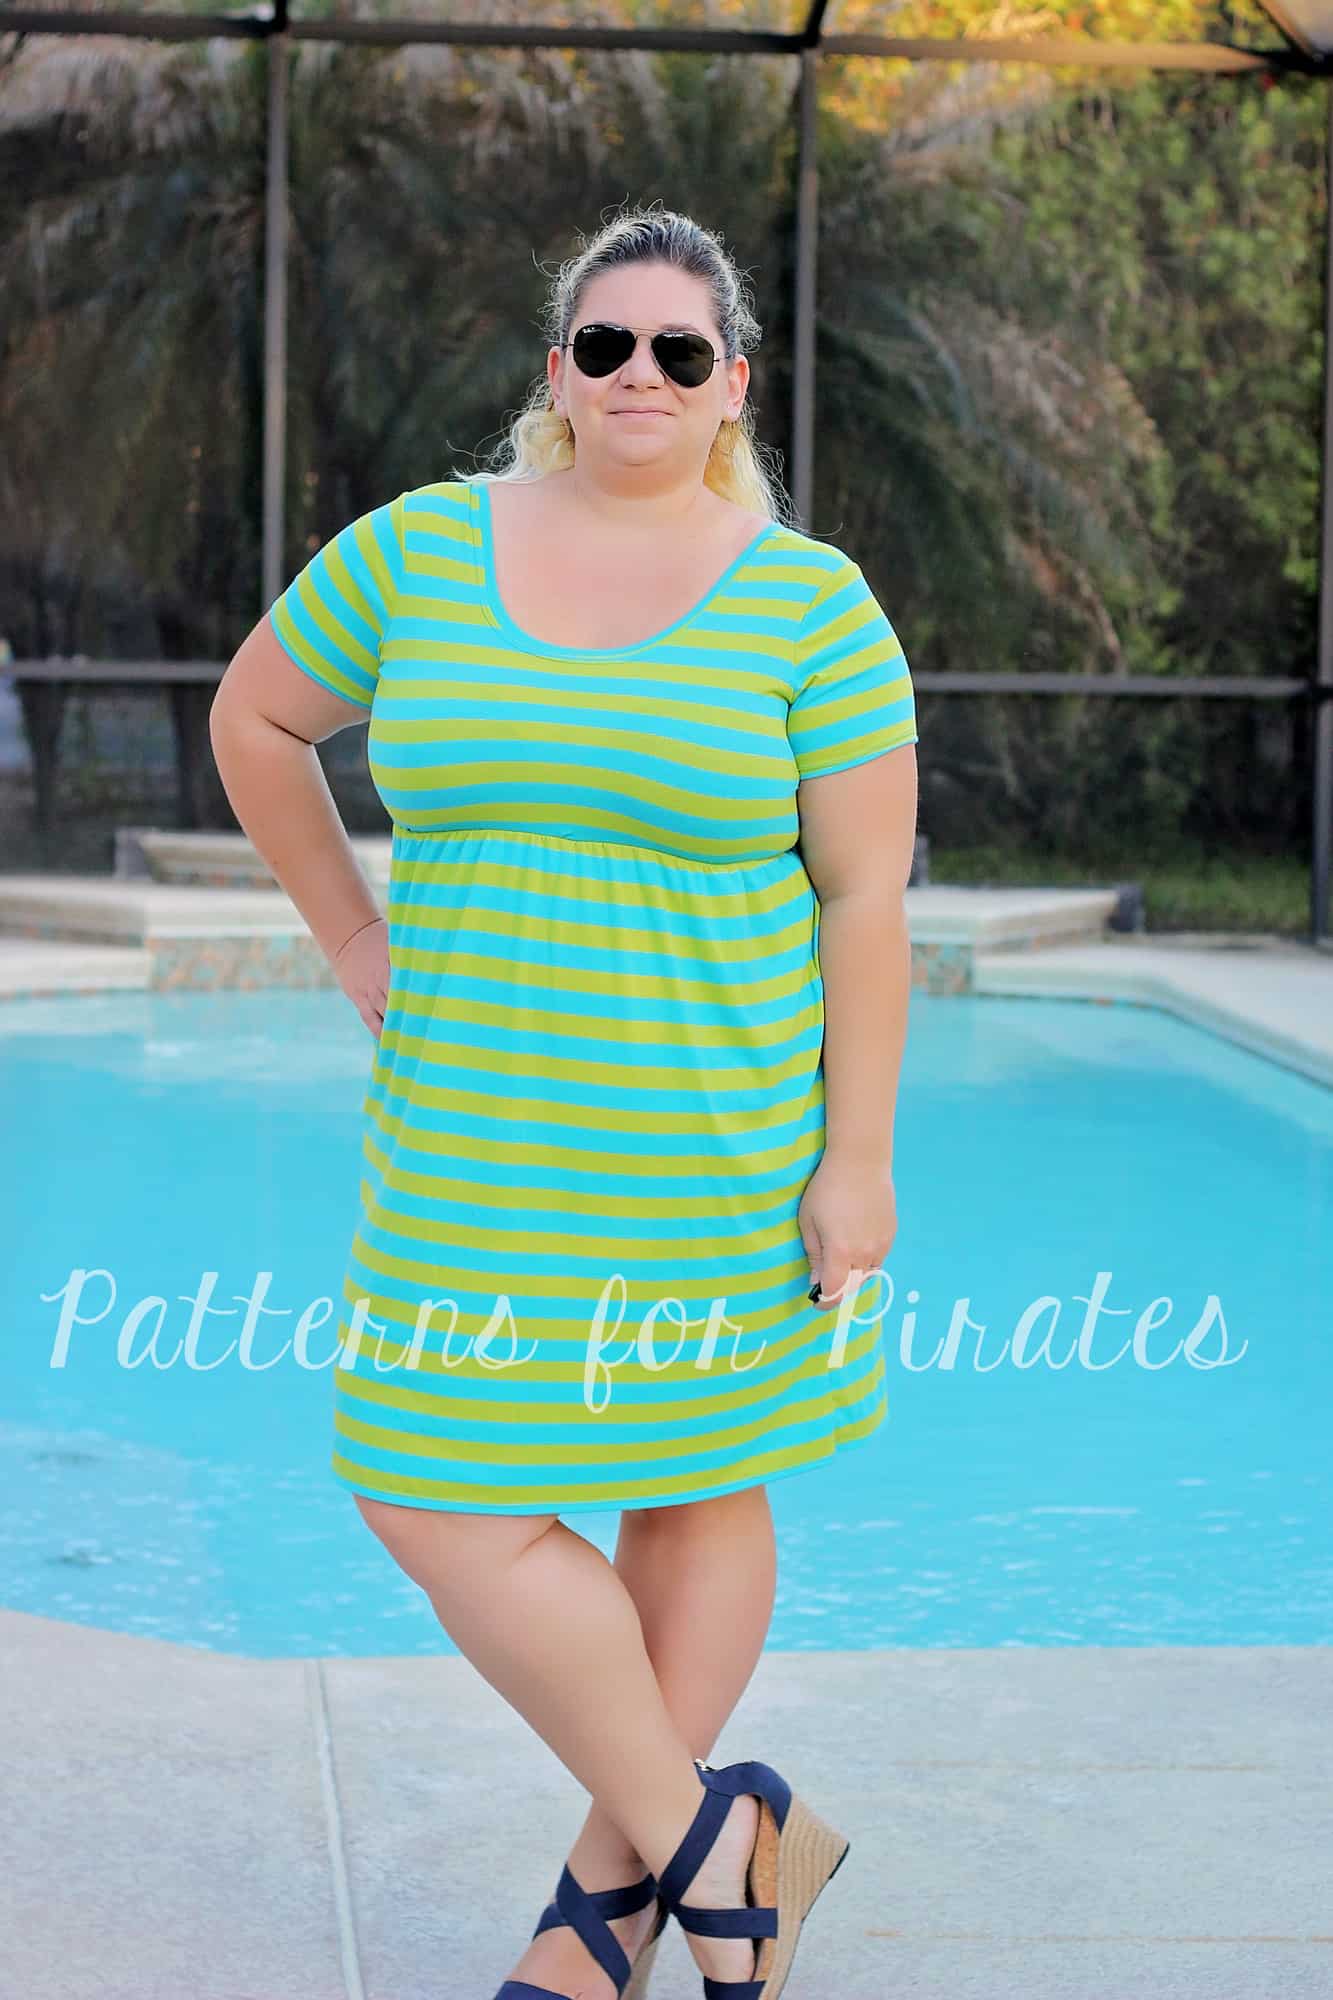
As you’ve seen, the Boundless dress got an update and we released the highly requested, youth version. We couldn’t let this double event go by without showing you some easy hacks.

…..

Neckband


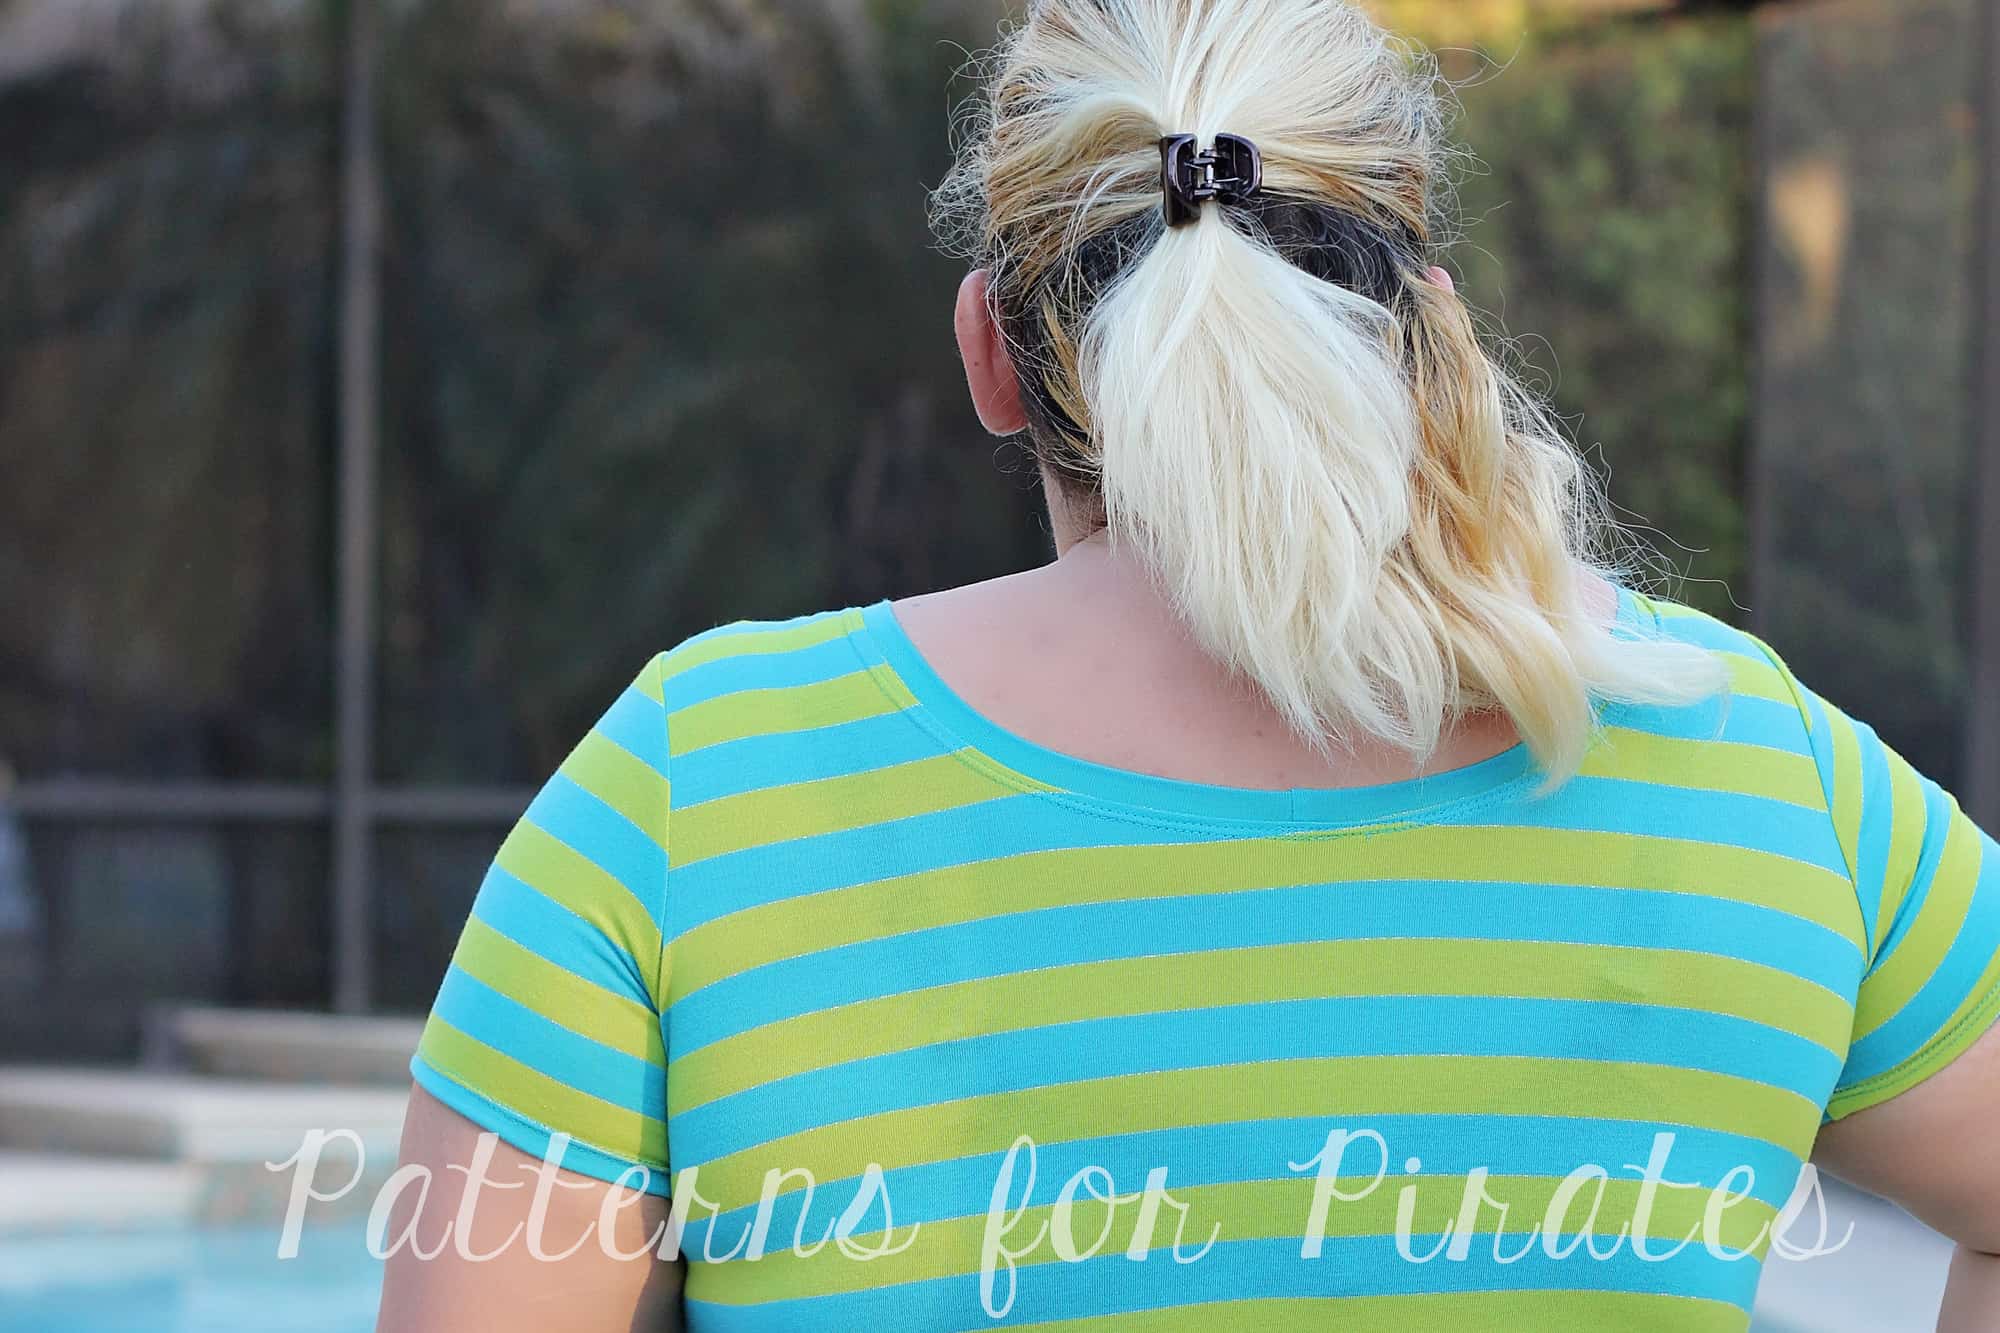
If you like the unlined option but prefer to not hem the neckline you can easily add a neckband like we have in most of our patterns.

Simply sew the dress as instructed and then grab a measuring tape to establish the neck opening. The opening will vary depending on the size and options you made (low front/back, high front/back or low front/high back)

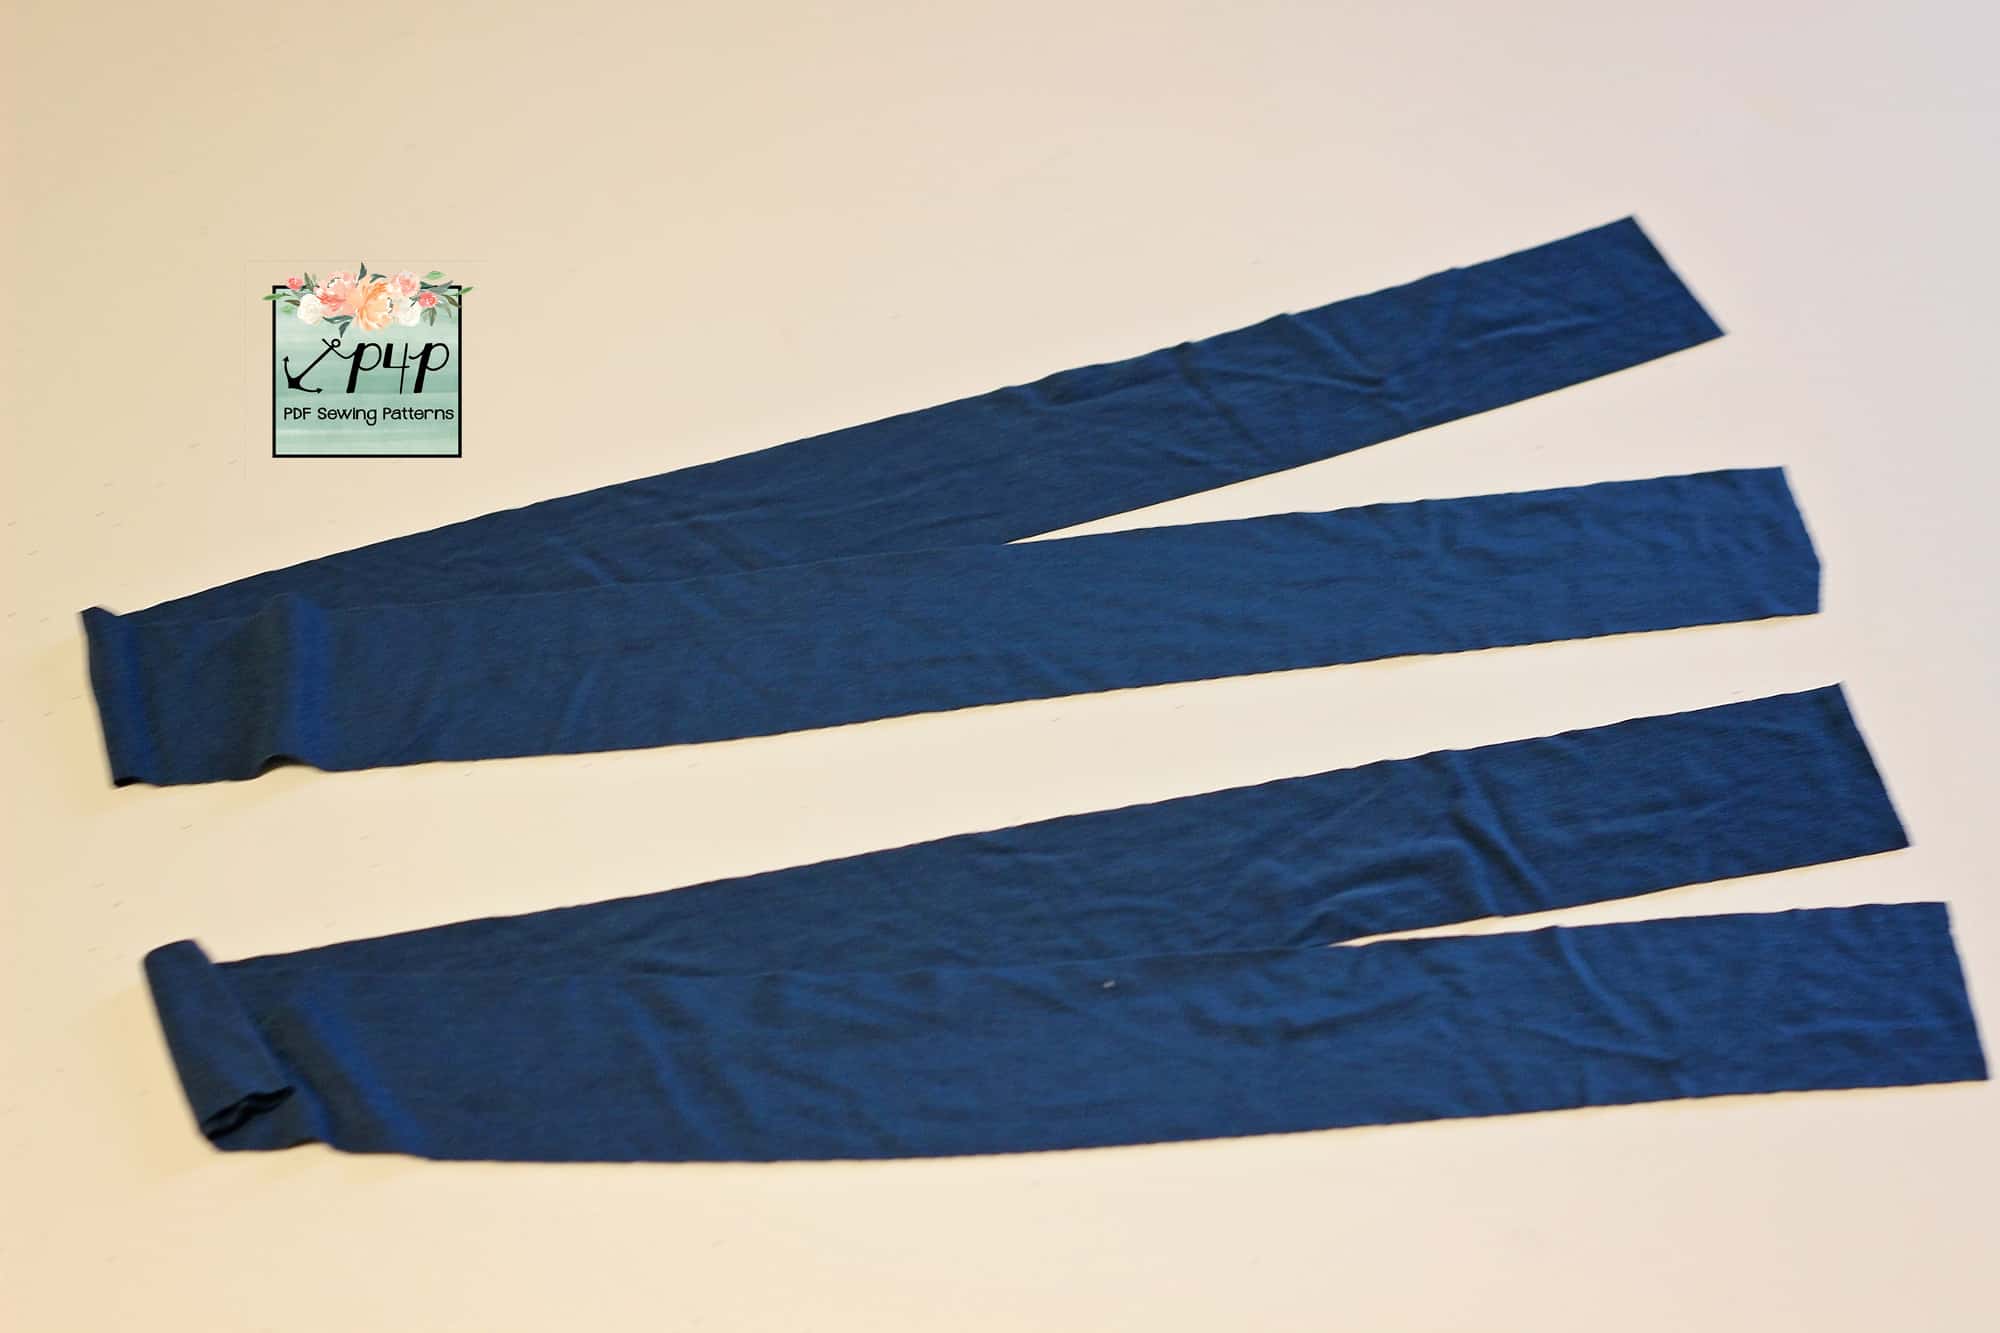
The neckband will be 85% of the neck opening plus seam allowance. For example, if the neck opening is 34″ then the neckband needs to be 34″x0.85 + 1″ which is 30″. You will cut one neckband 2″ by 30″.

NL X 0.85 +1 = NB

*NL – neckline opening

*NB – neckband length


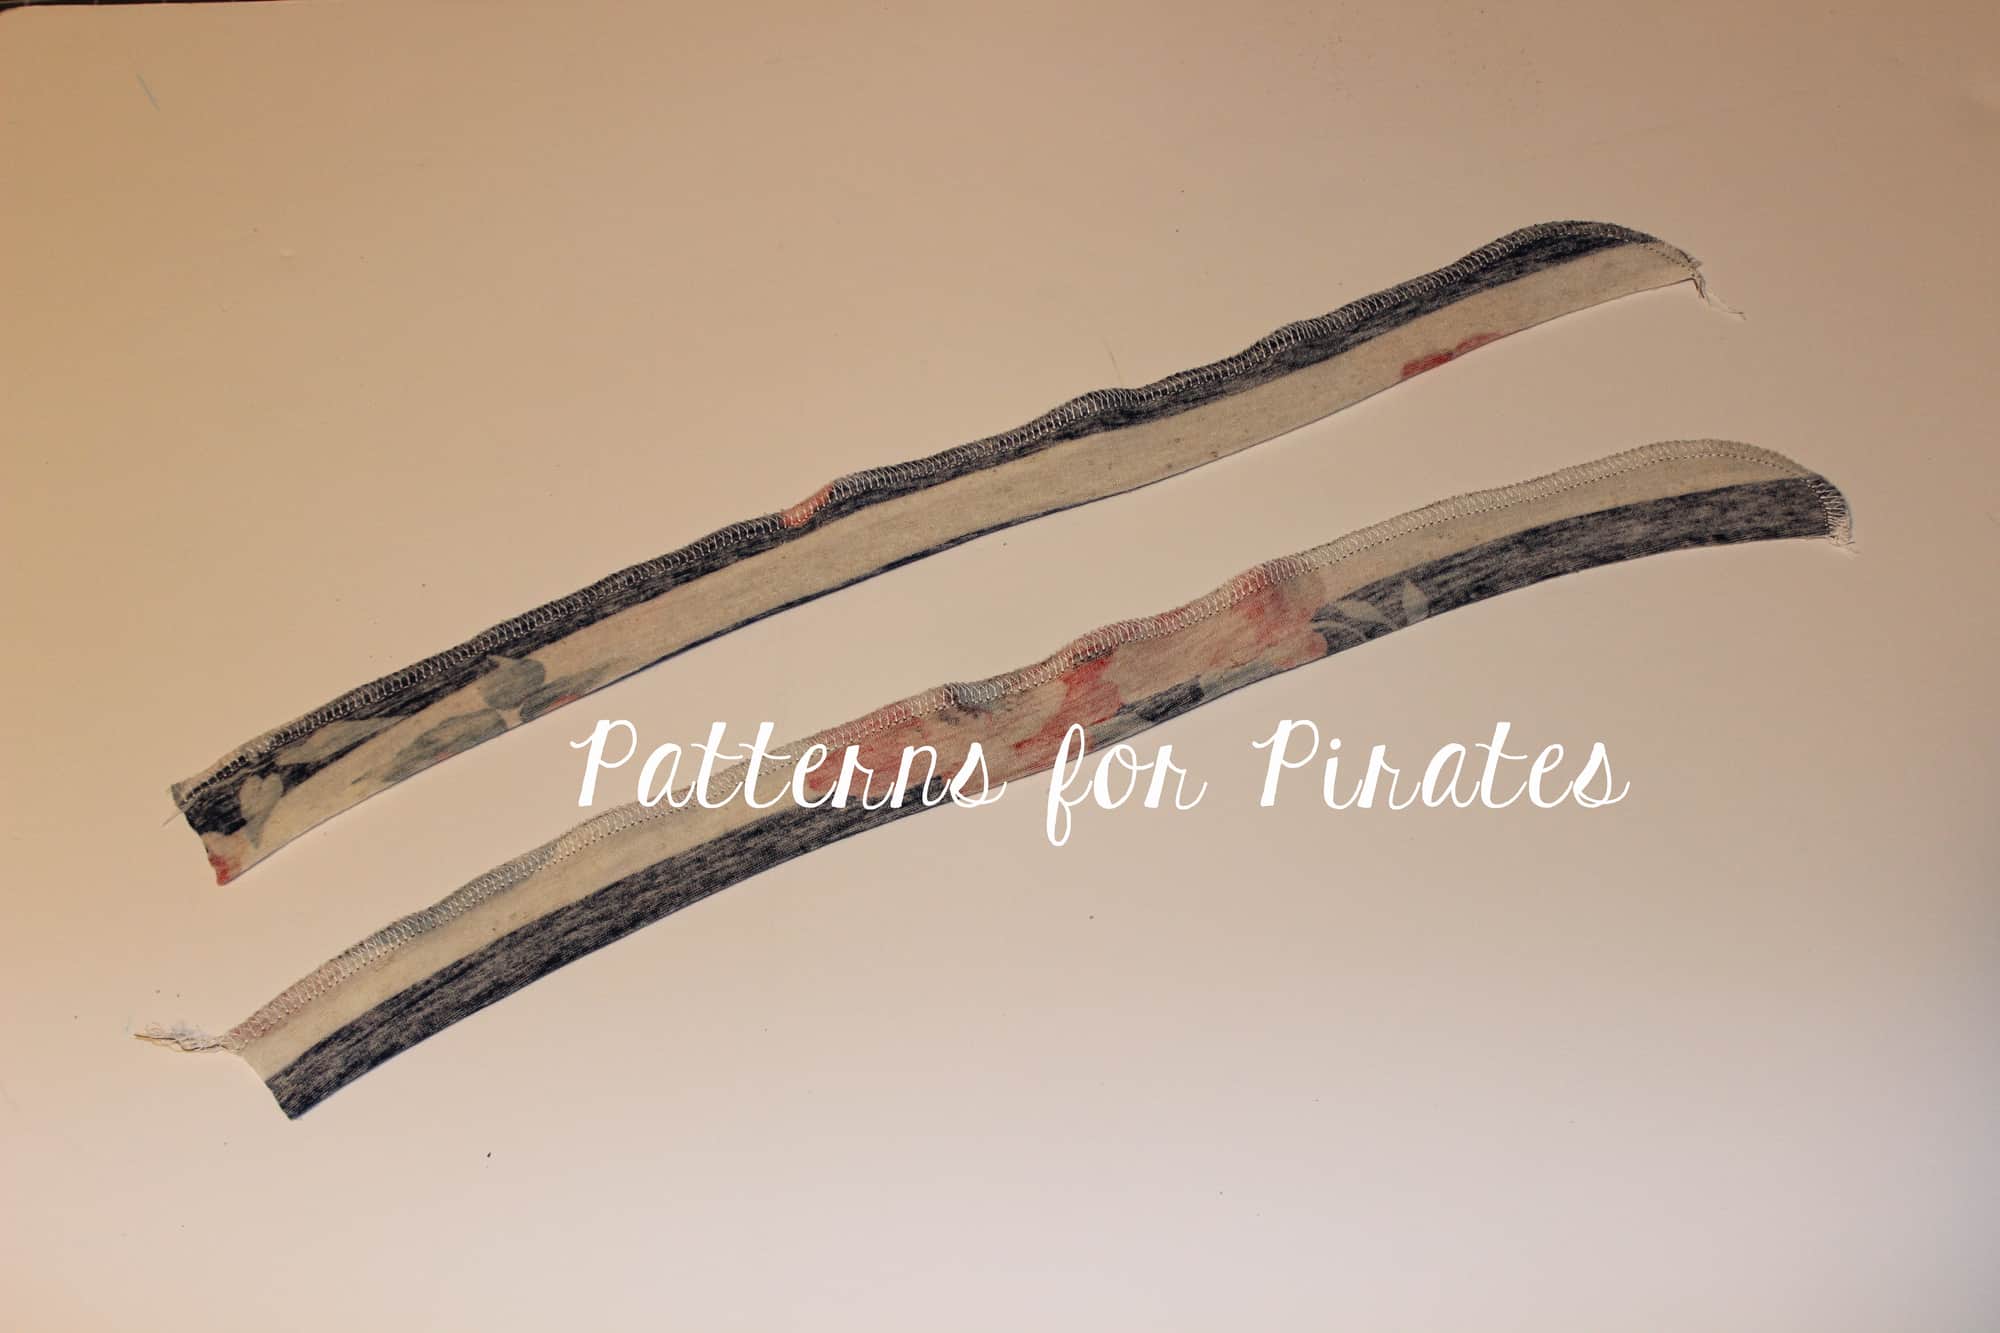
Sew the neckband right sides together at the short ends to create a loop. Press the neckband in half lengthwise and mark its quarters. Mark the quarters of the neck opening. Matching the neckband and opening quarter marks, pin and sew the neckband in place with 1/2″ seam allowance.

Note: adding a neckband will yield a neckline 1/2″ higher than the intended pattern look.

Before you get started take a look over our Neckbands 101 blog which also includes helpful videos.

TIP: If you would like your Boundless dress to still be reversible (front and back) place the neckband seam on the side shoulder. 

…..

Boundless/Sweetheart mash

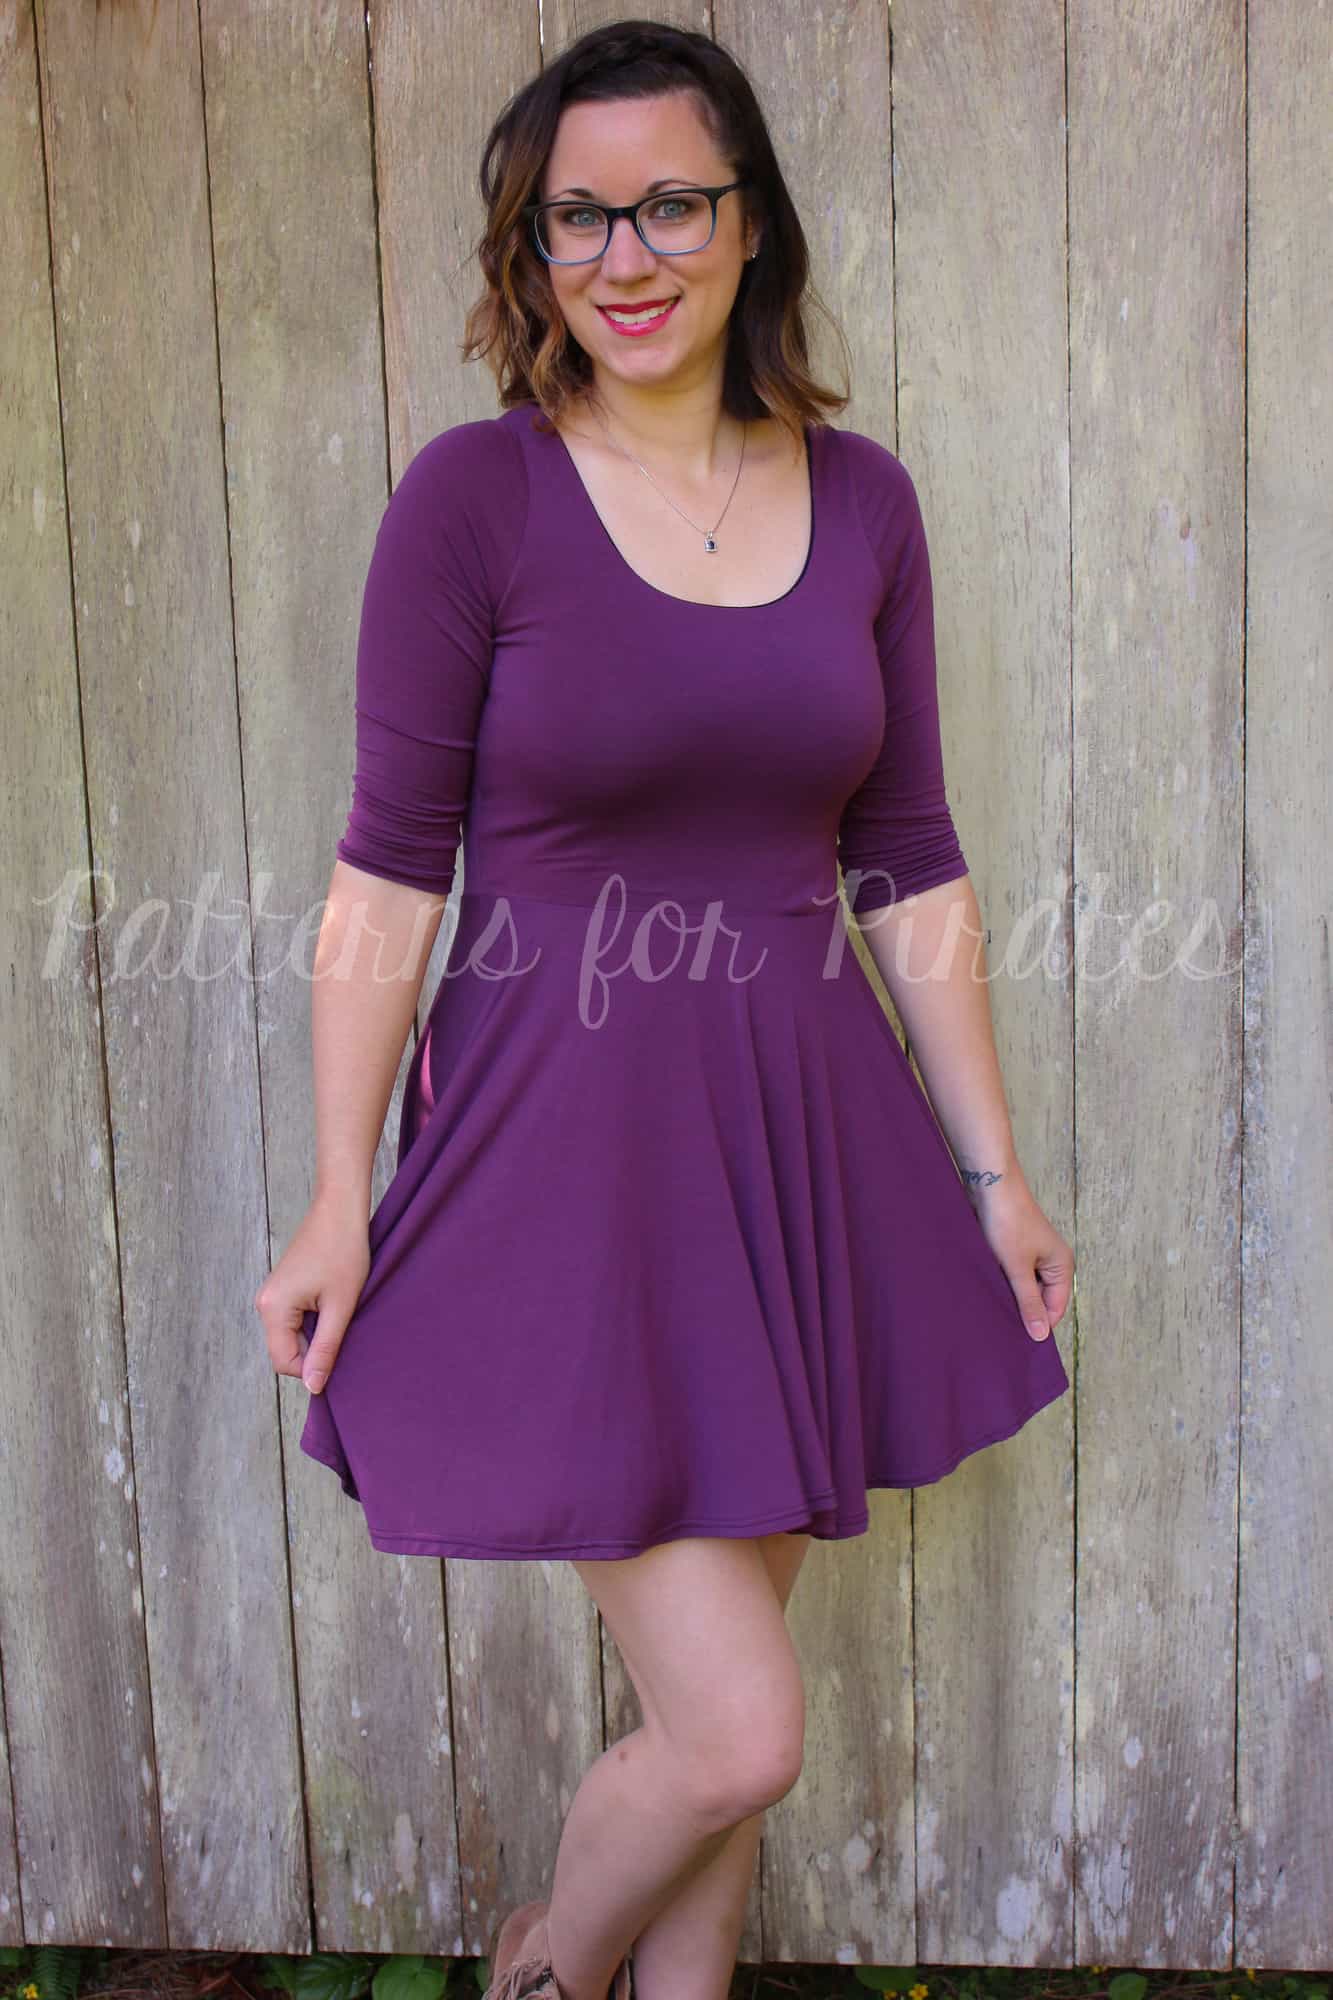
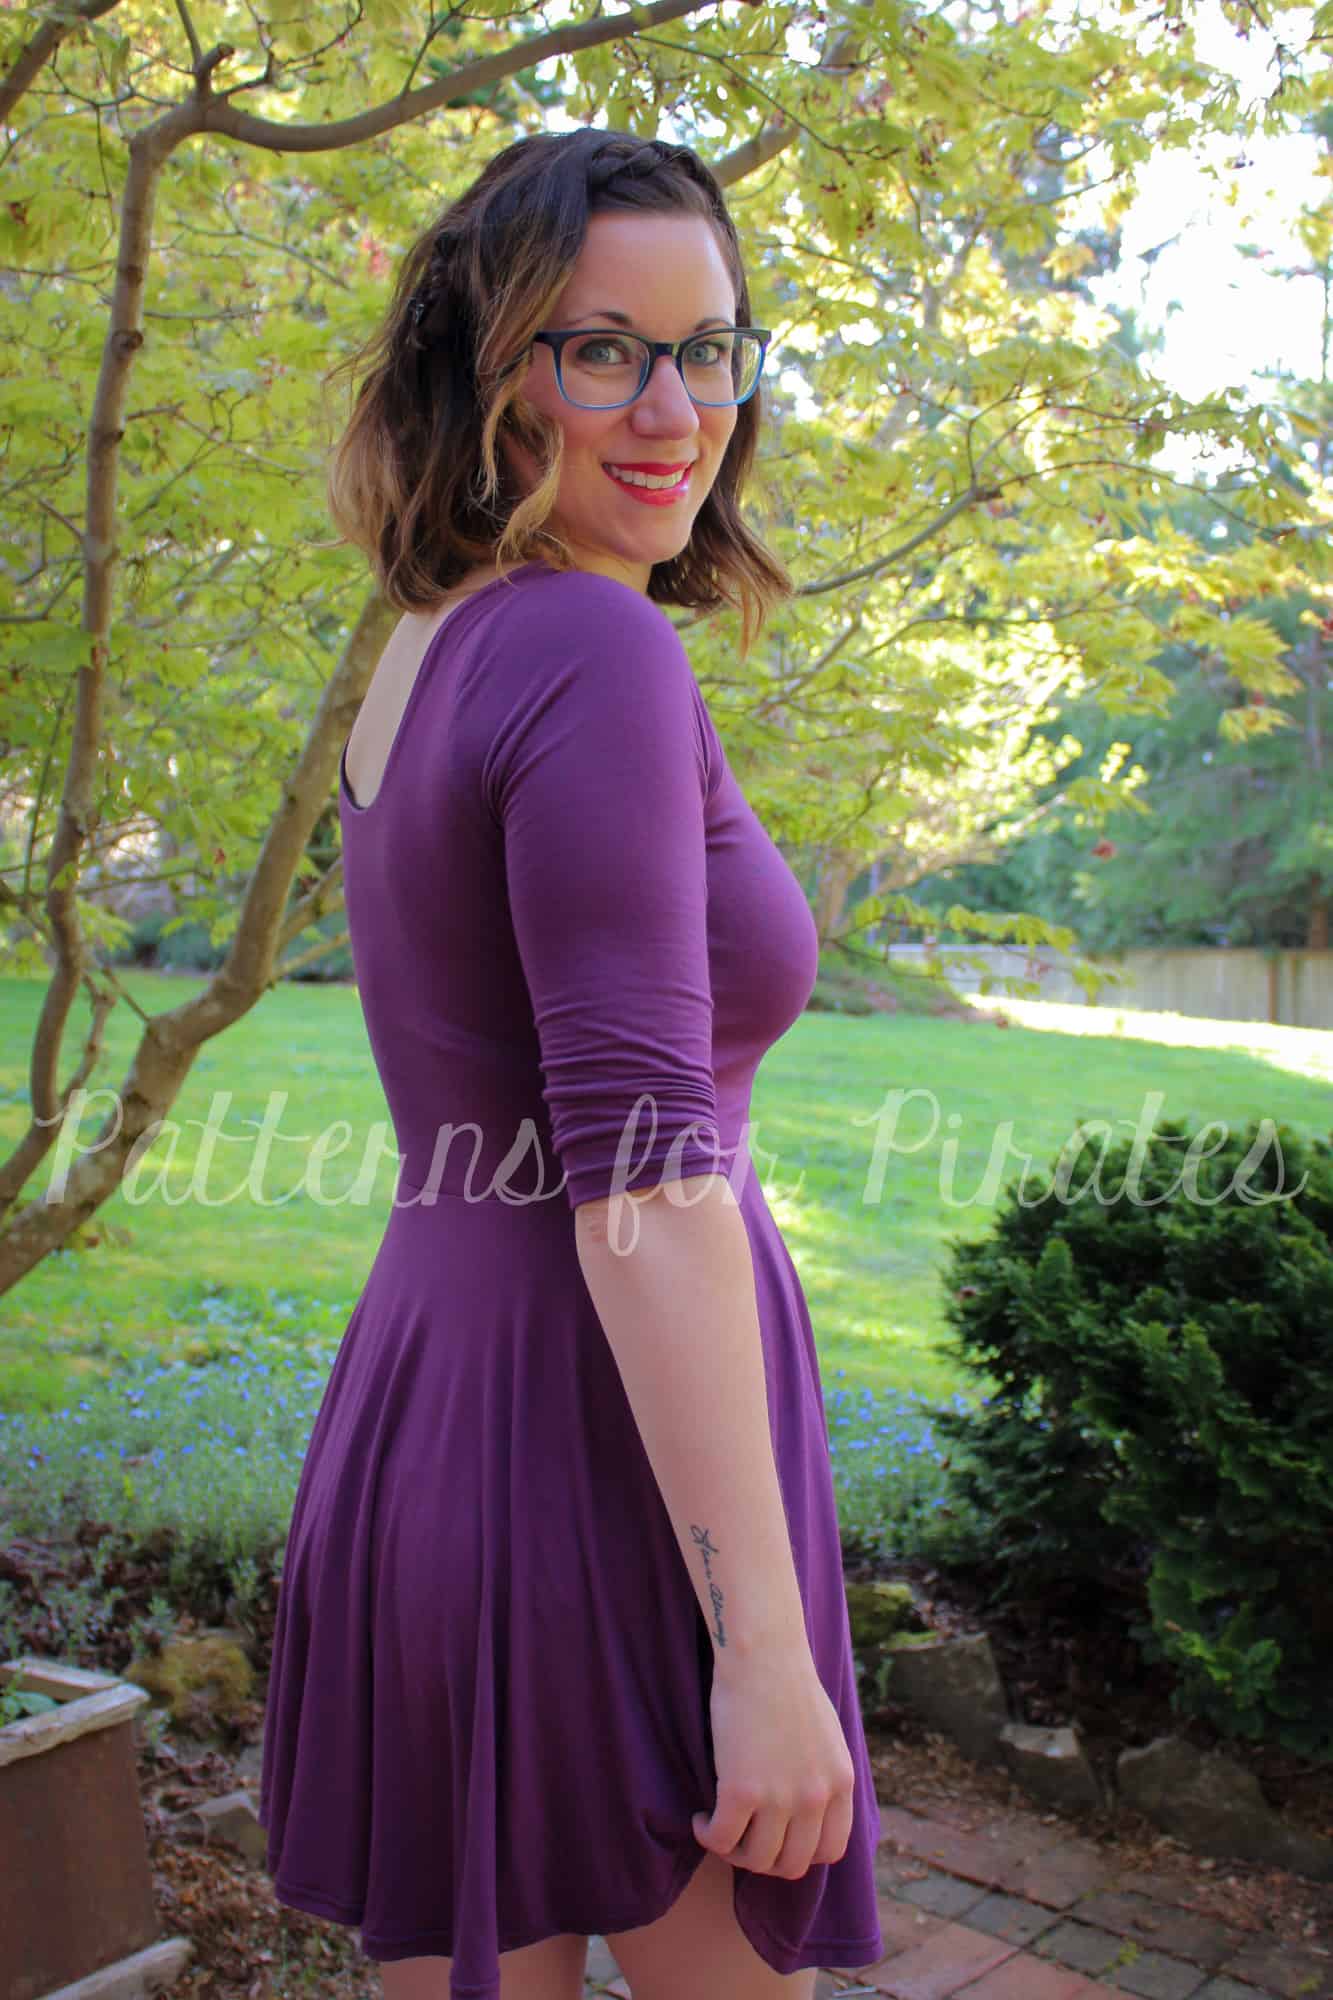
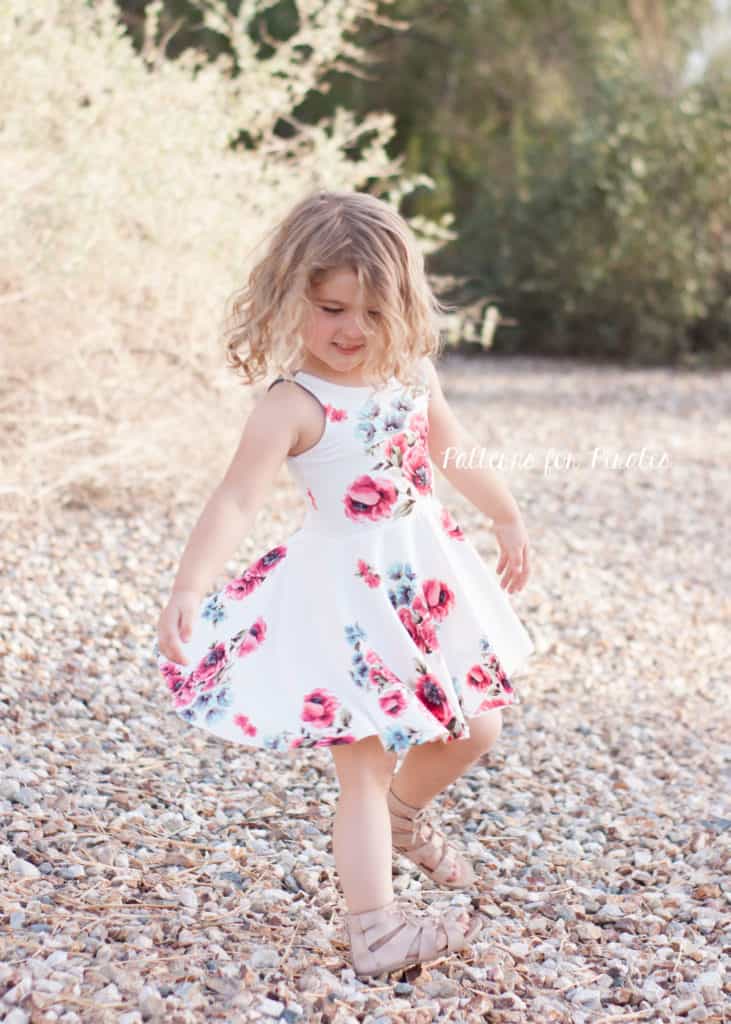
Looking for a quick and easy way to avoid the gathers on the Boundless? Or are you looking to create the perfect twirly dress? The Boundless mashes perfectly with skirt from the Sweetheart and can help to create either of this looks! If you have little ones, you can also use these same steps to pair the Boundless Youth with the Me Hearties.

Cutting Pieces:

You will need to cut out your Boundless bodice pieces as directed and based off of the options you choose. For mine, I used the lined version with the low neckline and 3/4 sleeves. For the skirt, you will need to have the skirt from the Sweetheart printed and then choose your length. I used the mini length.

Assembly:

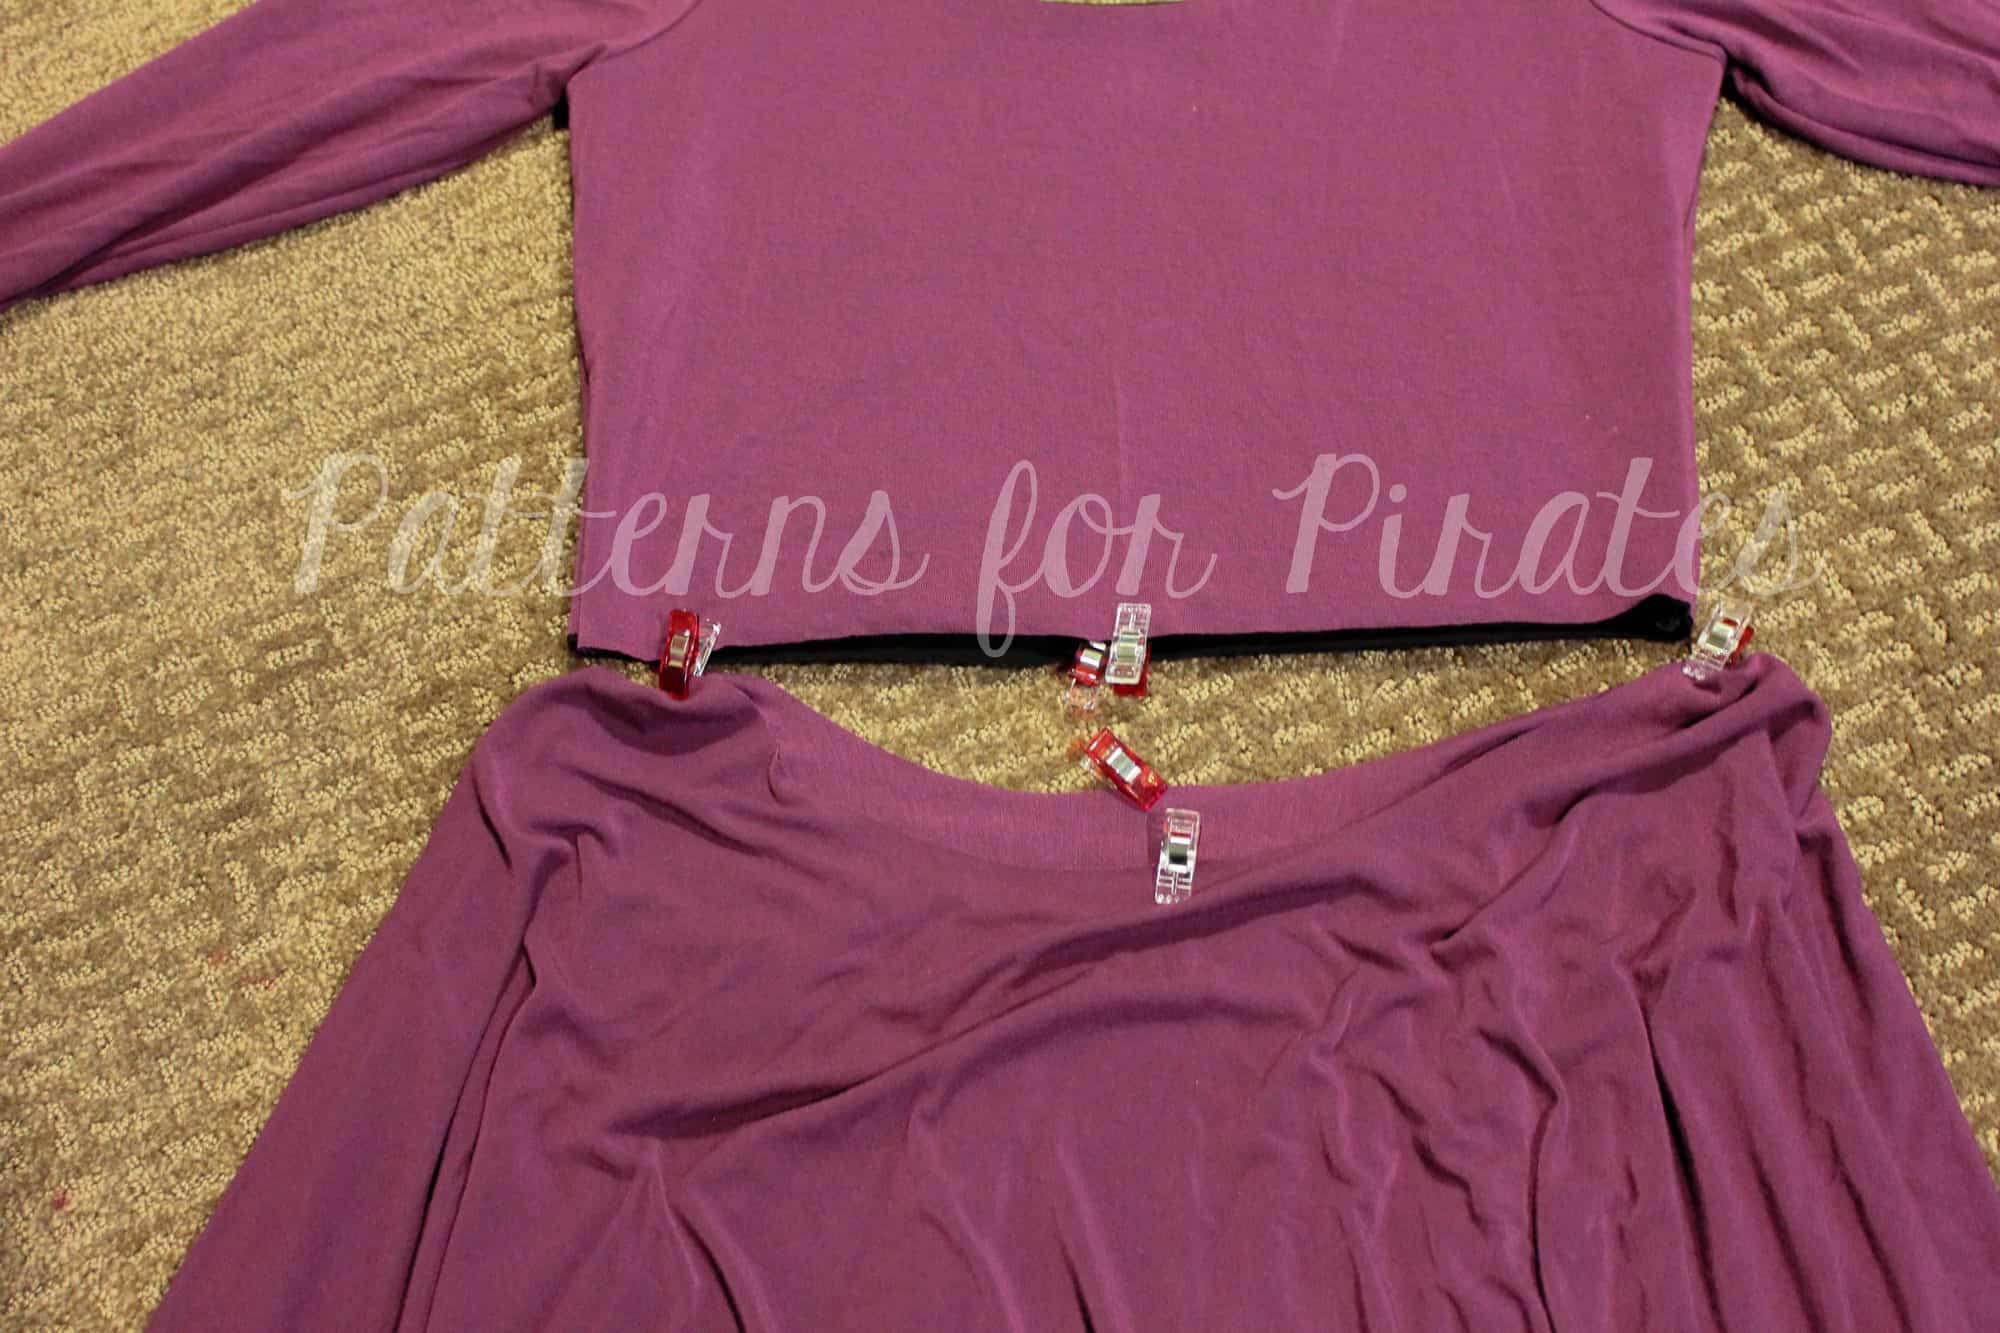
Assemble your Boundless bodice as directed. You will then need to mark the quarter points on both the bodice and the skirt.

With RST, match the quarter points and attach your skirt with your serger or stretch stitch. (Note: You may wish to place elastic in the waist to help give your skirt additional support.)

Hem the skirt and sleeves and you’re all finished!

~Erinn,

…..

Back ties


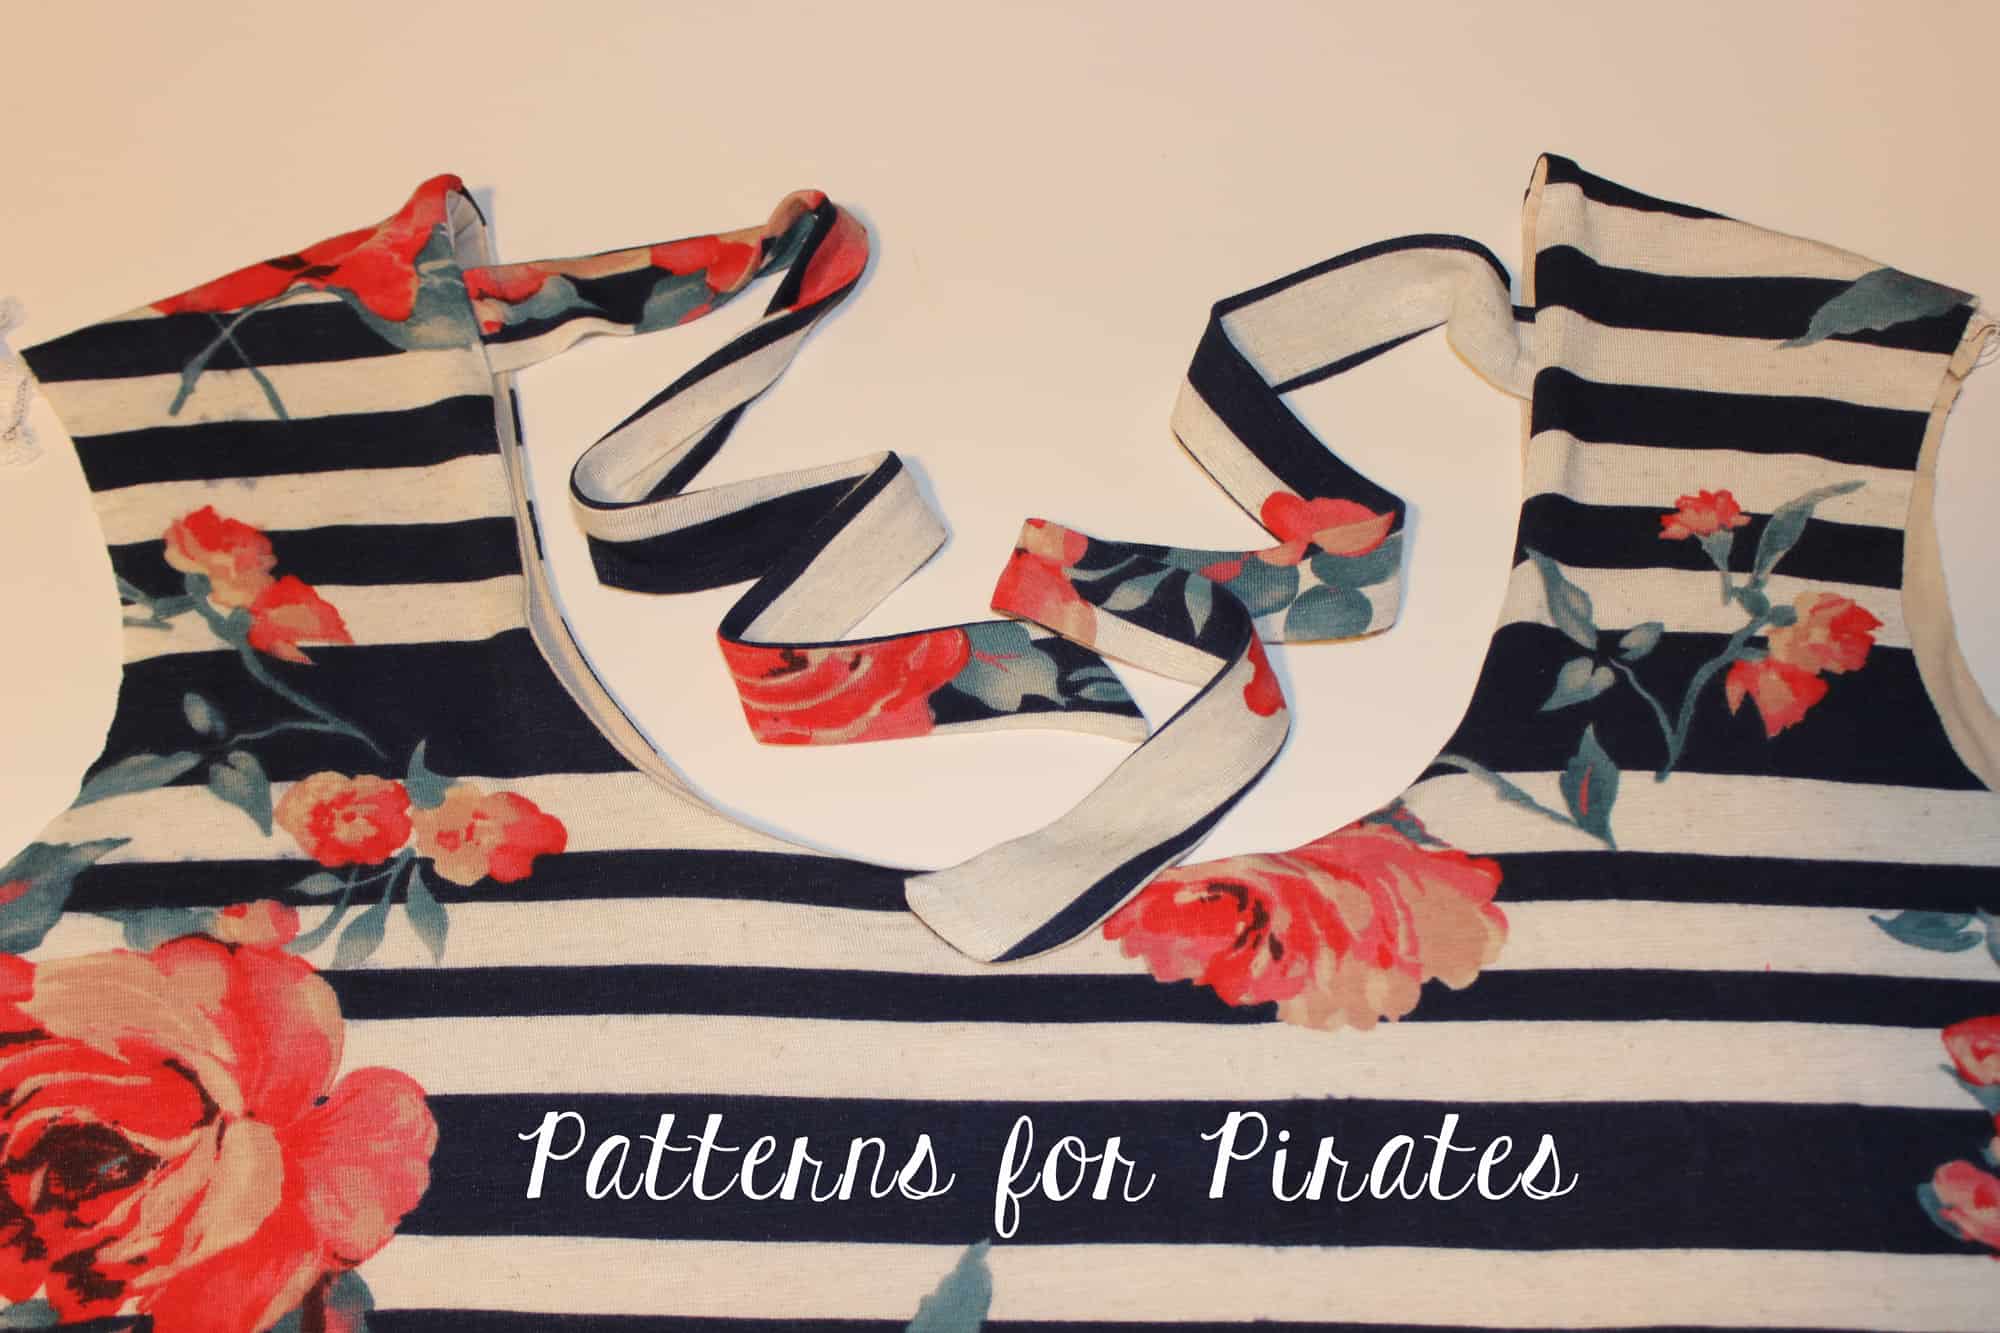
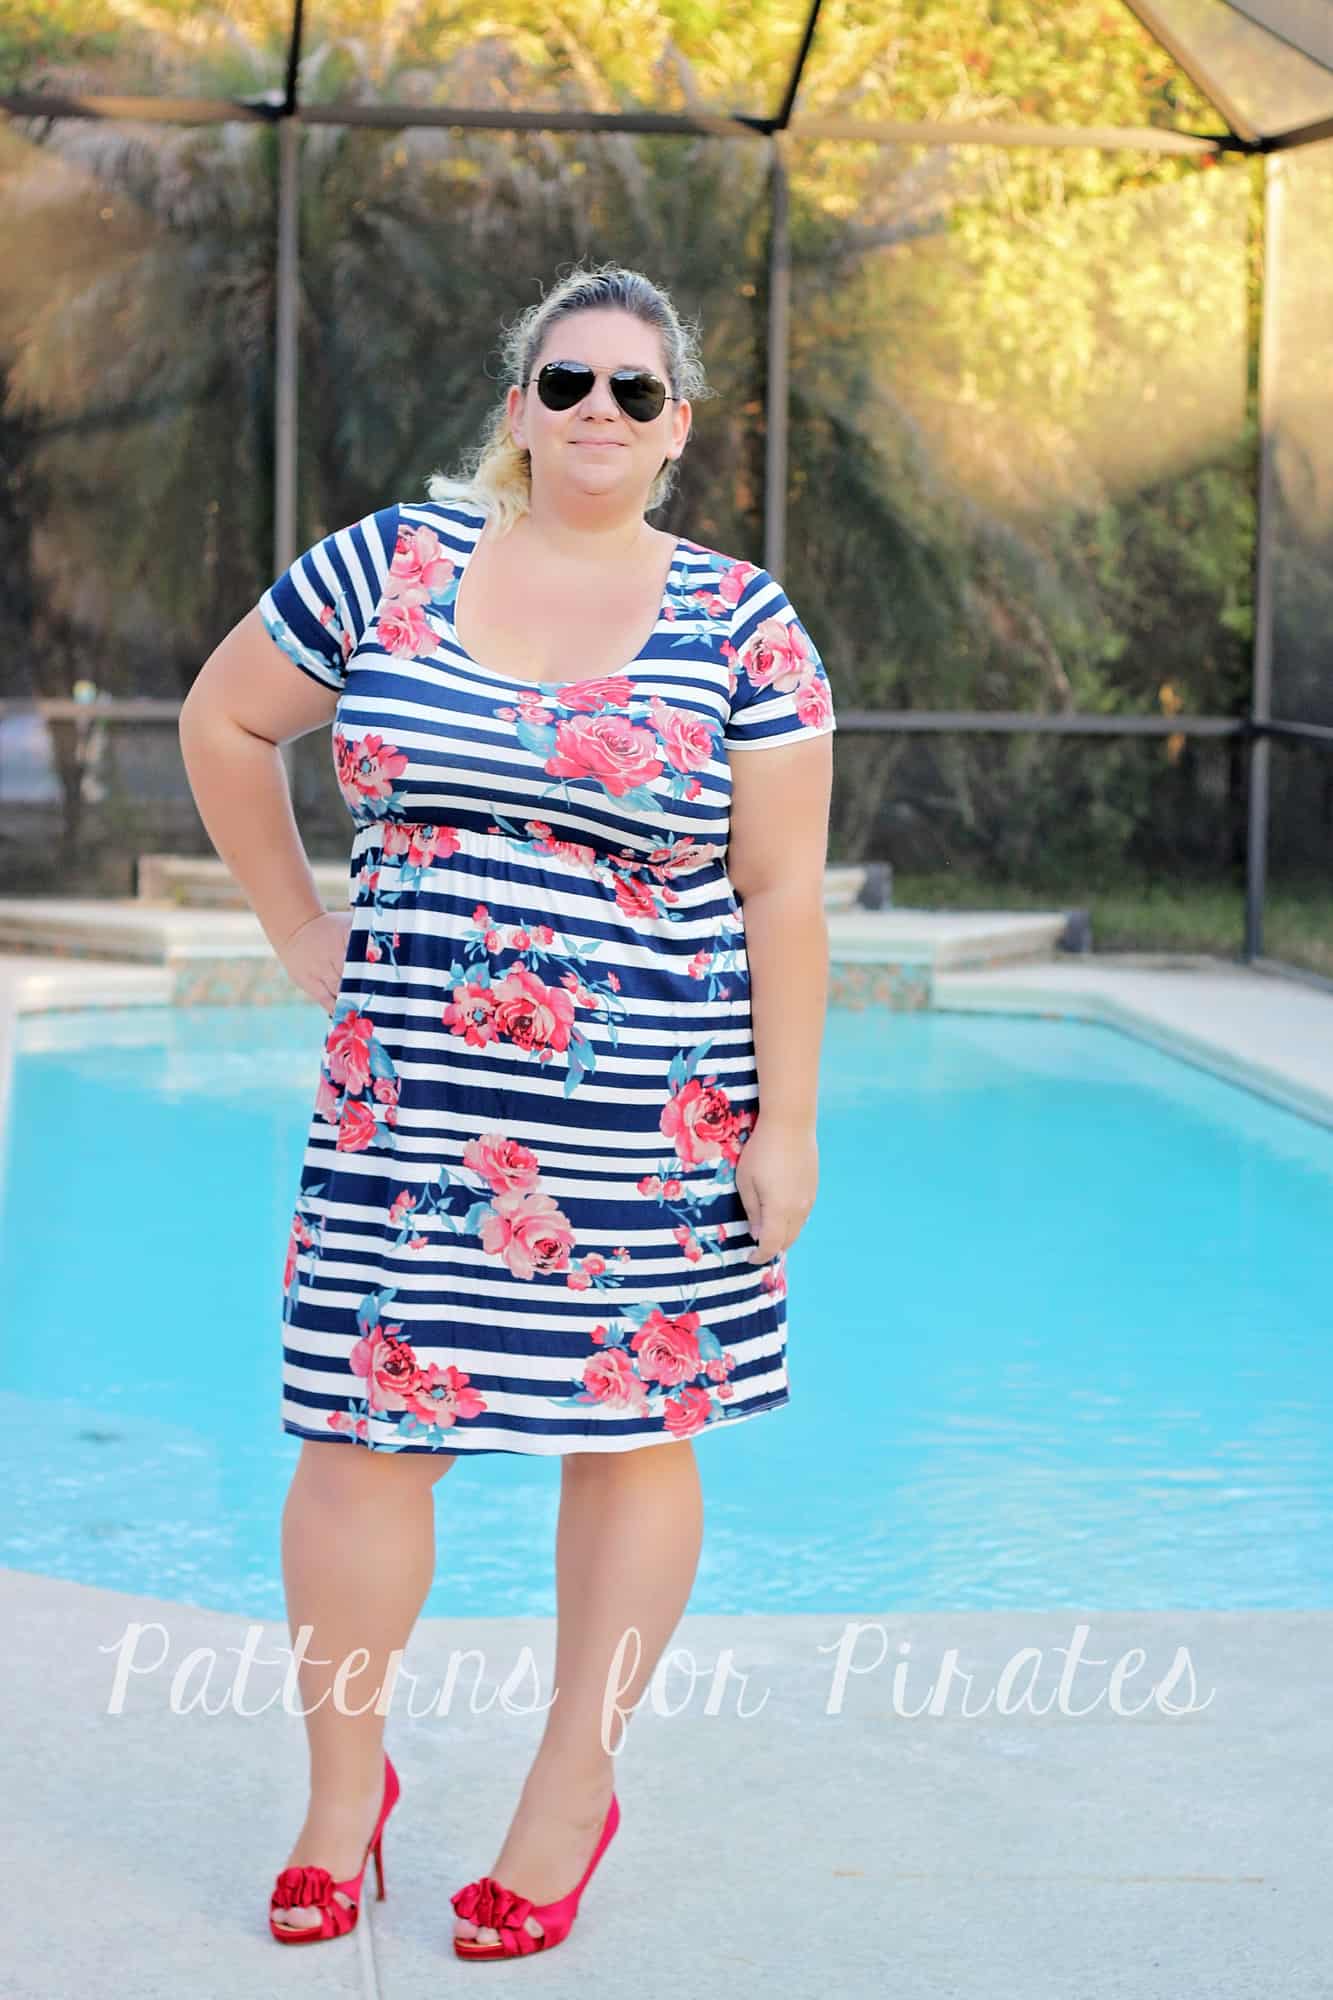
The next hack we have for you is super easy back ties. I love this hack for the lined low back option but you can certainly apply it to the high neckline cut.

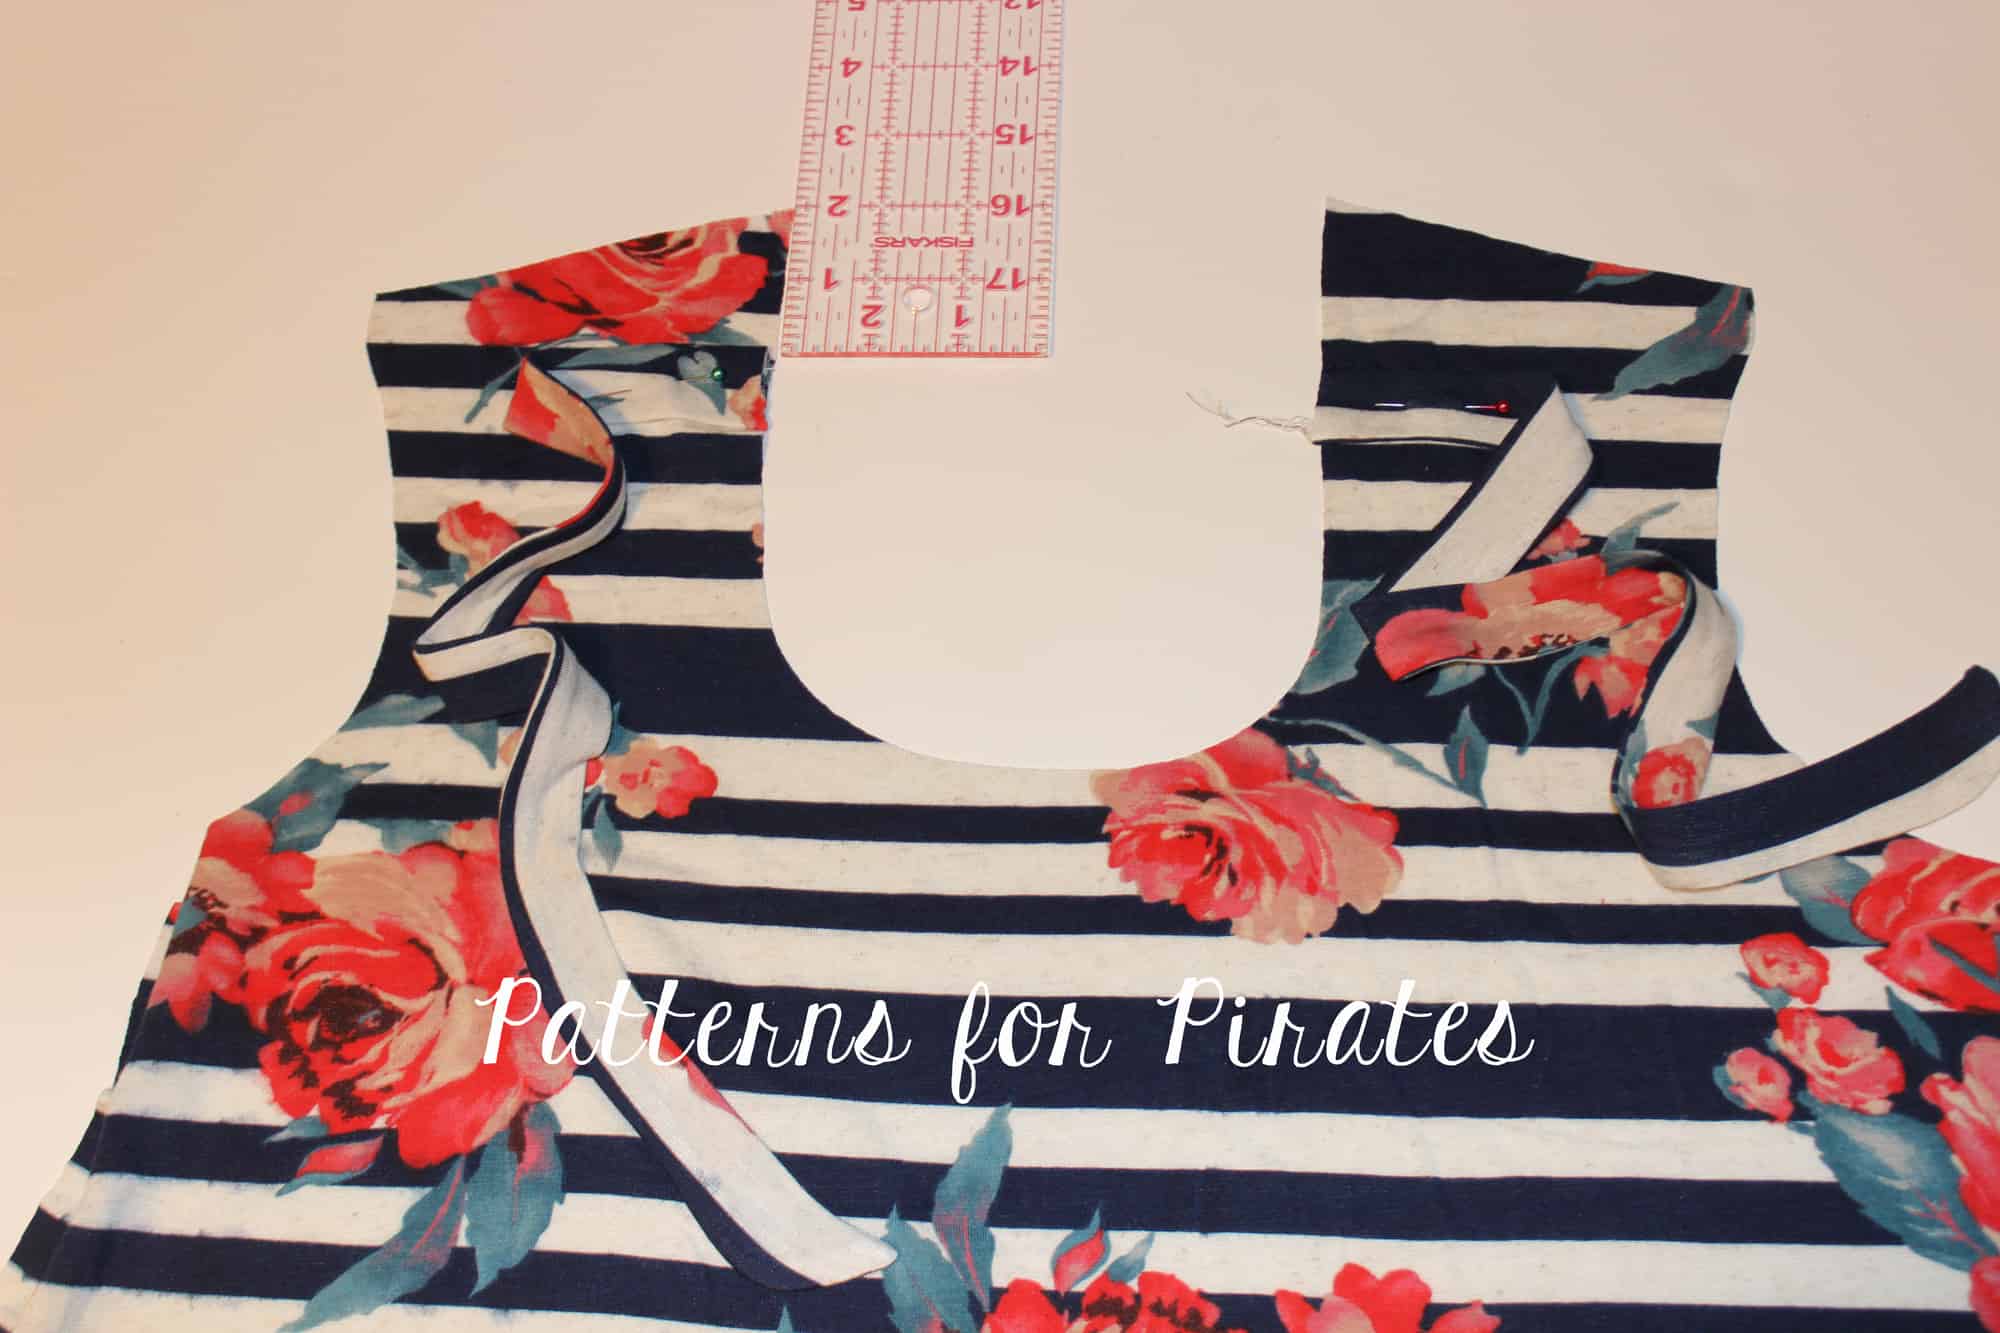
Print the pattern as instructed. Cut two trips of fabric, 3″ by 18″. You will be changing this measurements if you’re sewing a youth Boundless or if you prefer your ties narrower/wider or shorter/longer.

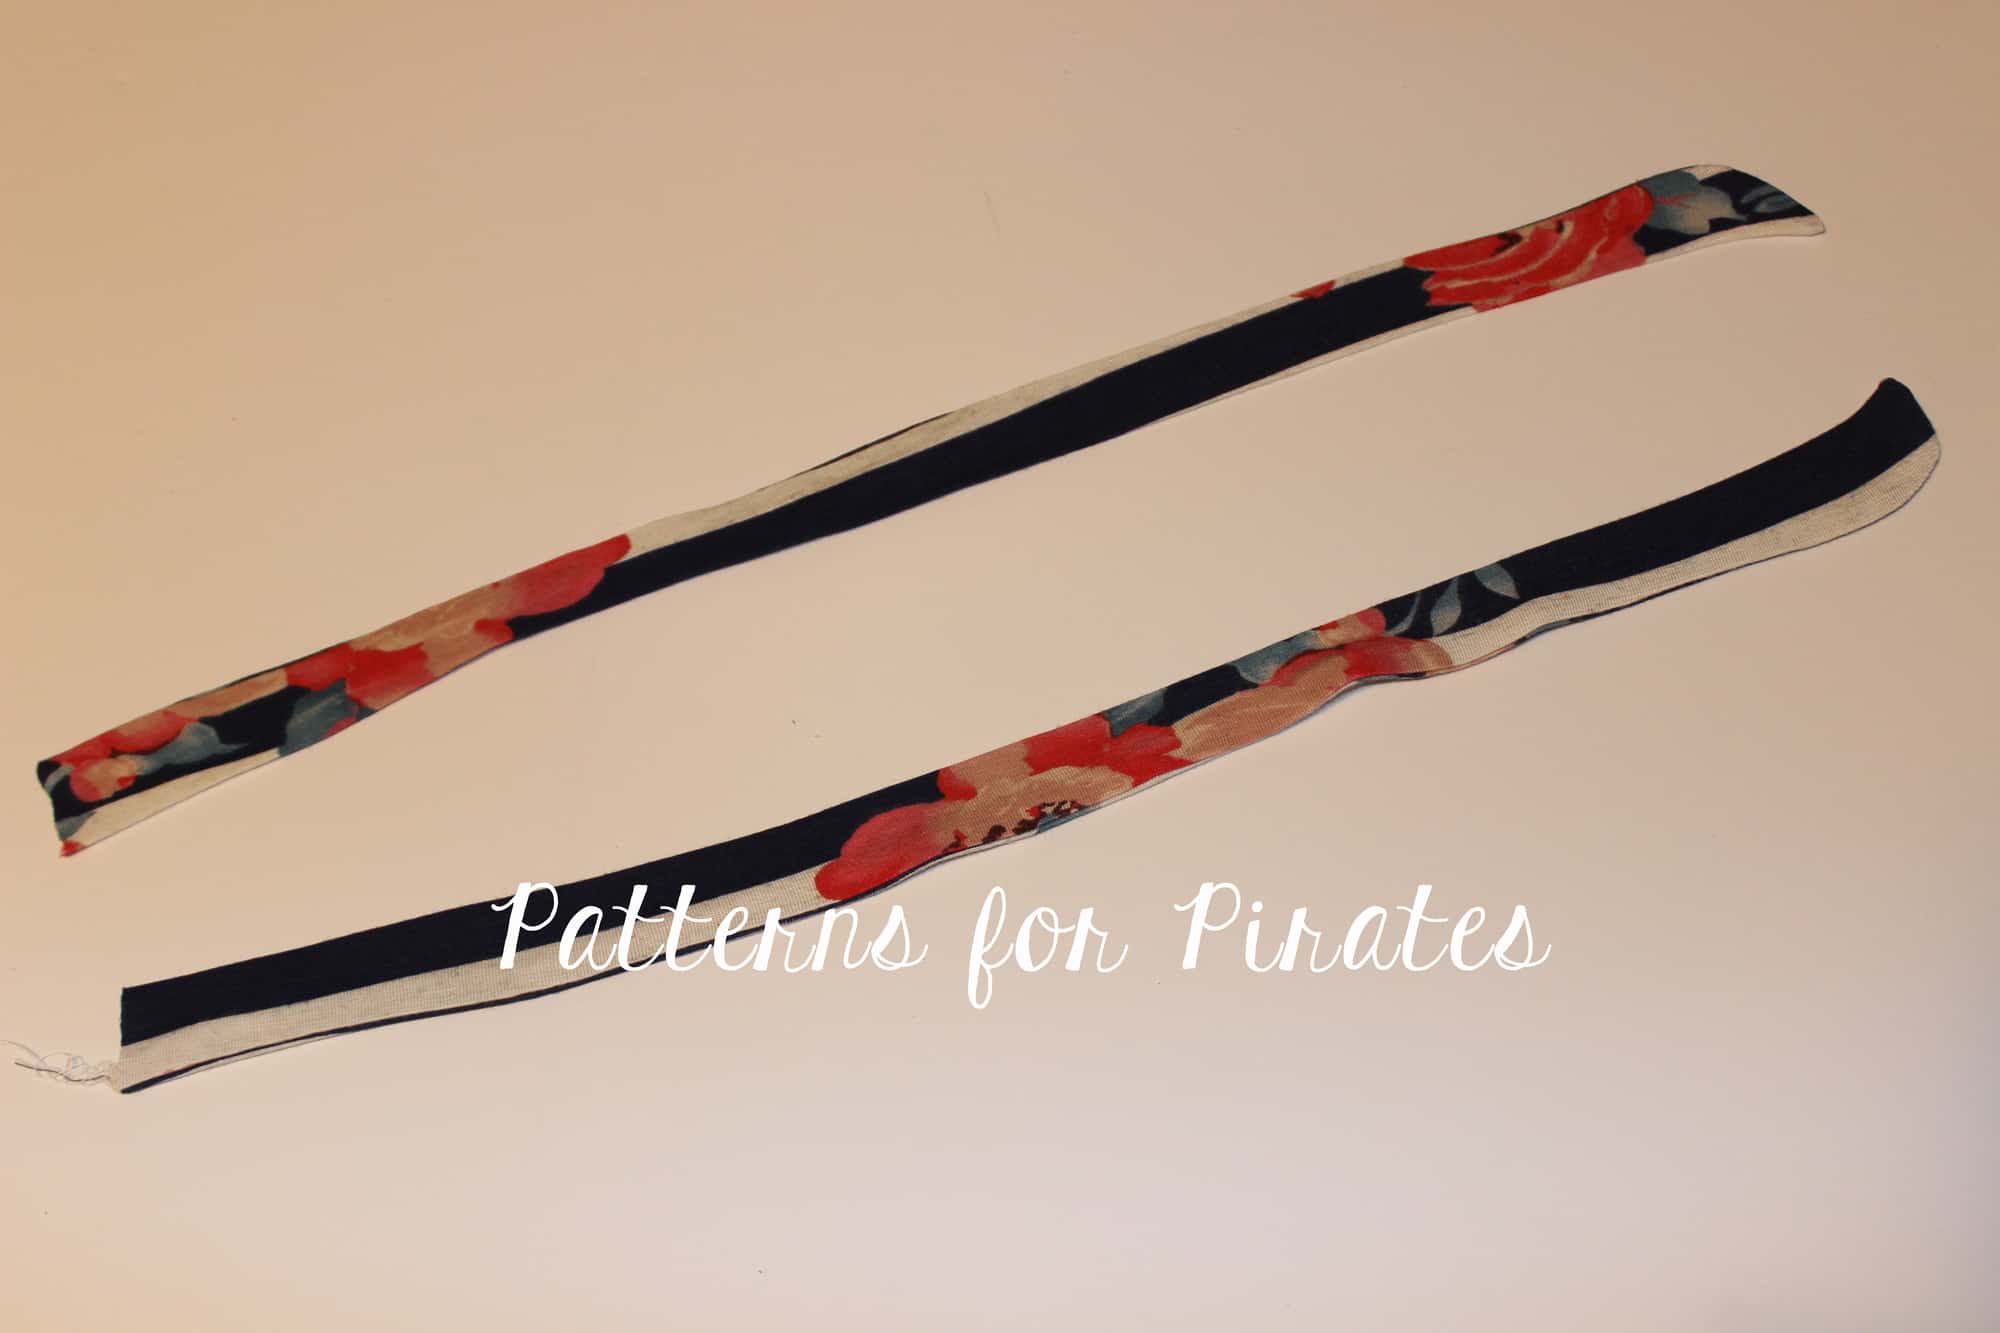
Fold the ties right sides together length wise and sew the edge with a 1/2 seam allowance leaving one of the ends open. Turn the ties inside out and press them. Optionally, you can top stitch.

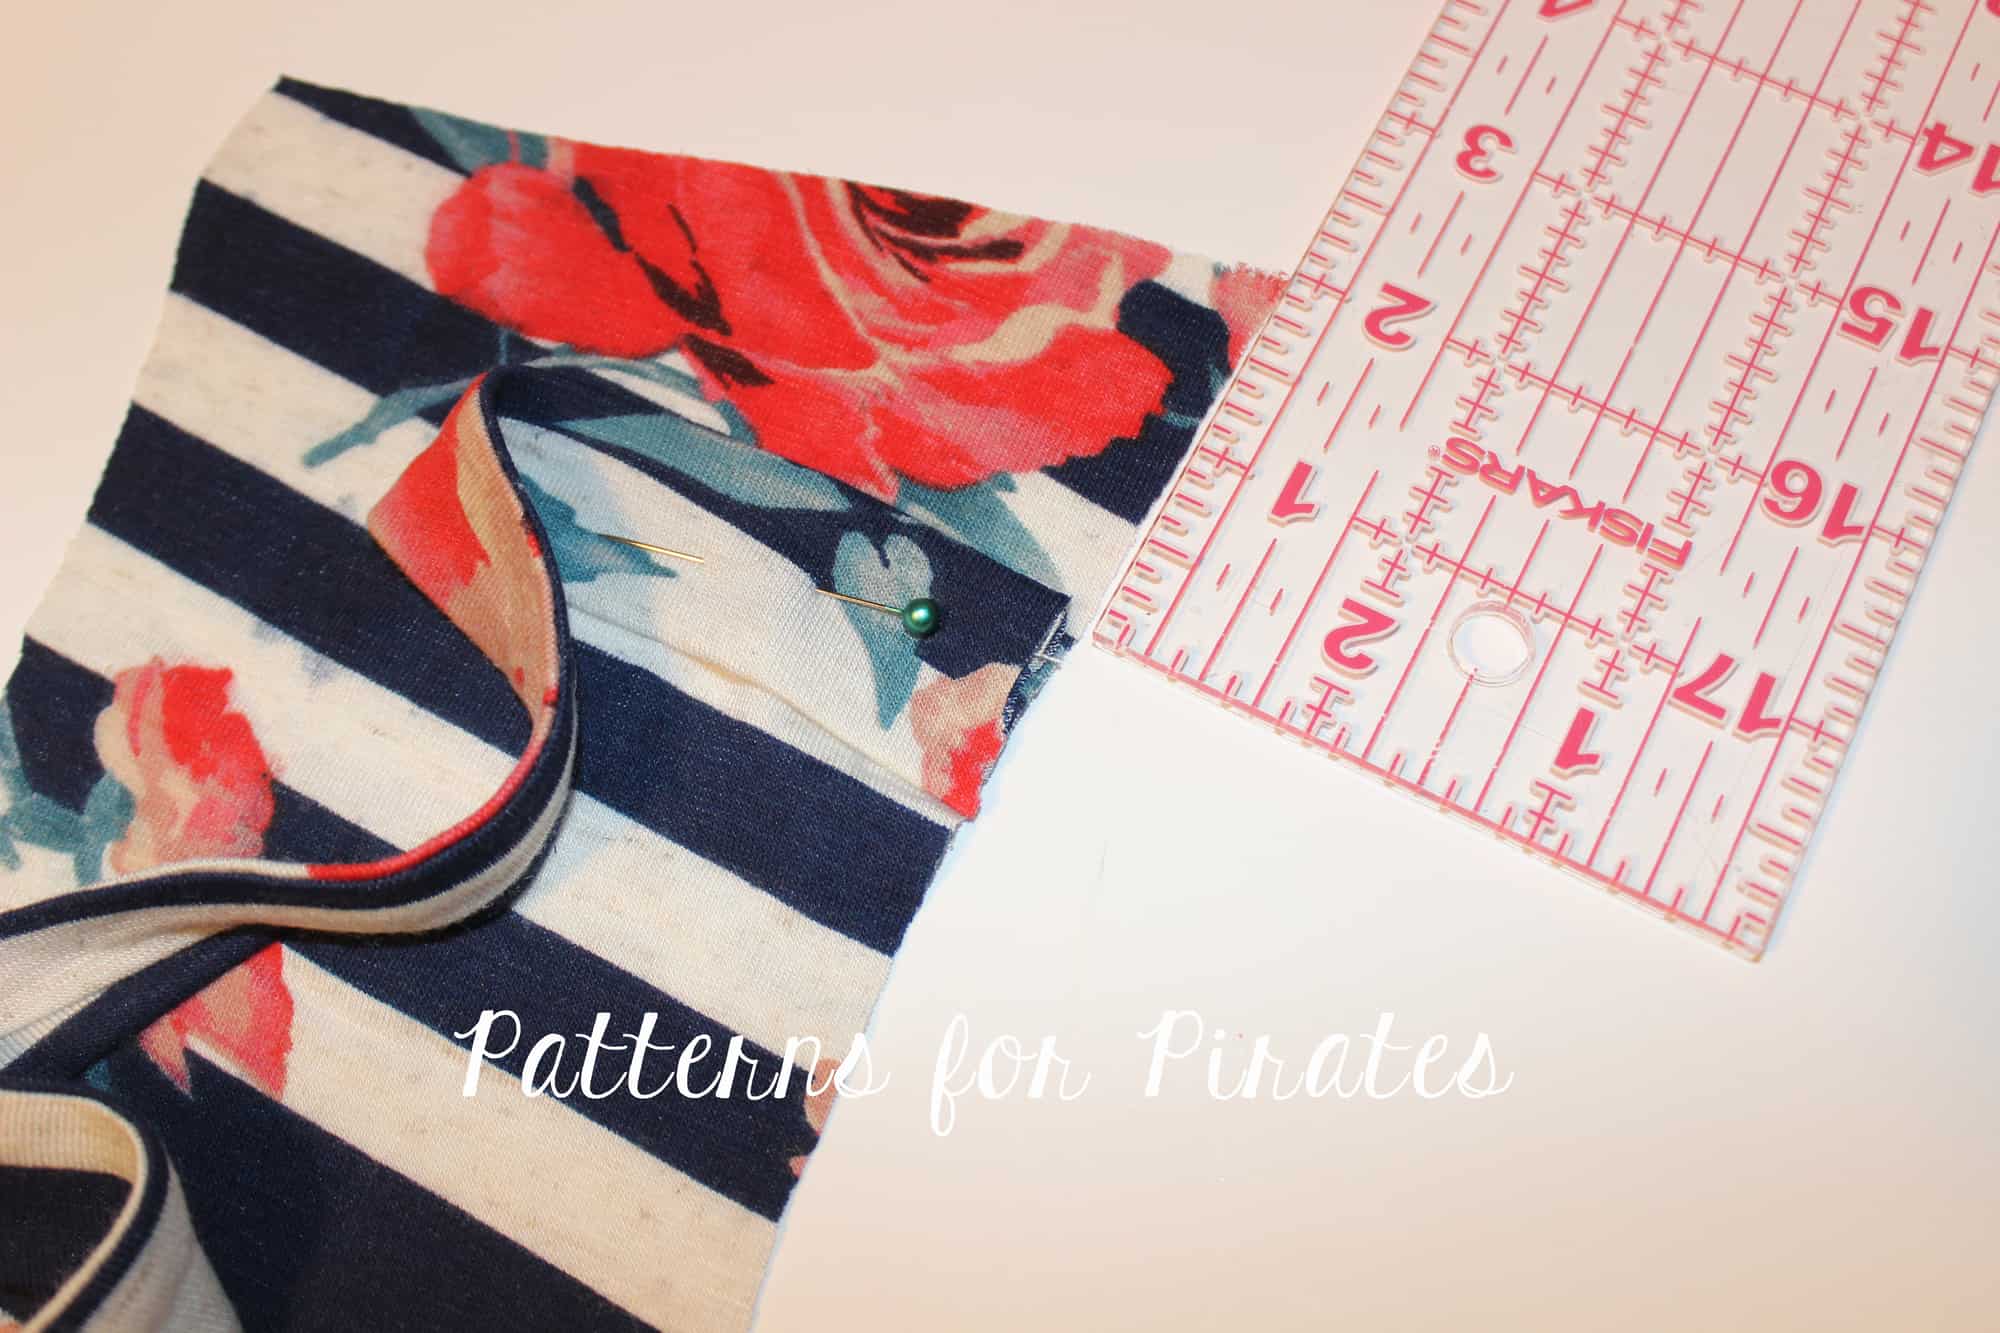
Take the back piece of the bodice and pin the open edge of one strap 2″ down from the shoulder as shown below. Repeat with the other side. Sew them in place.

That’s it! All you have to do now is sew the bodice as per the tutorial making sure you do not catch the ties.

Get creative! Using the Cross My Heart Cami straps as inspiration you can add some really fun accents to the back or the front of the Boundless dress.

…..

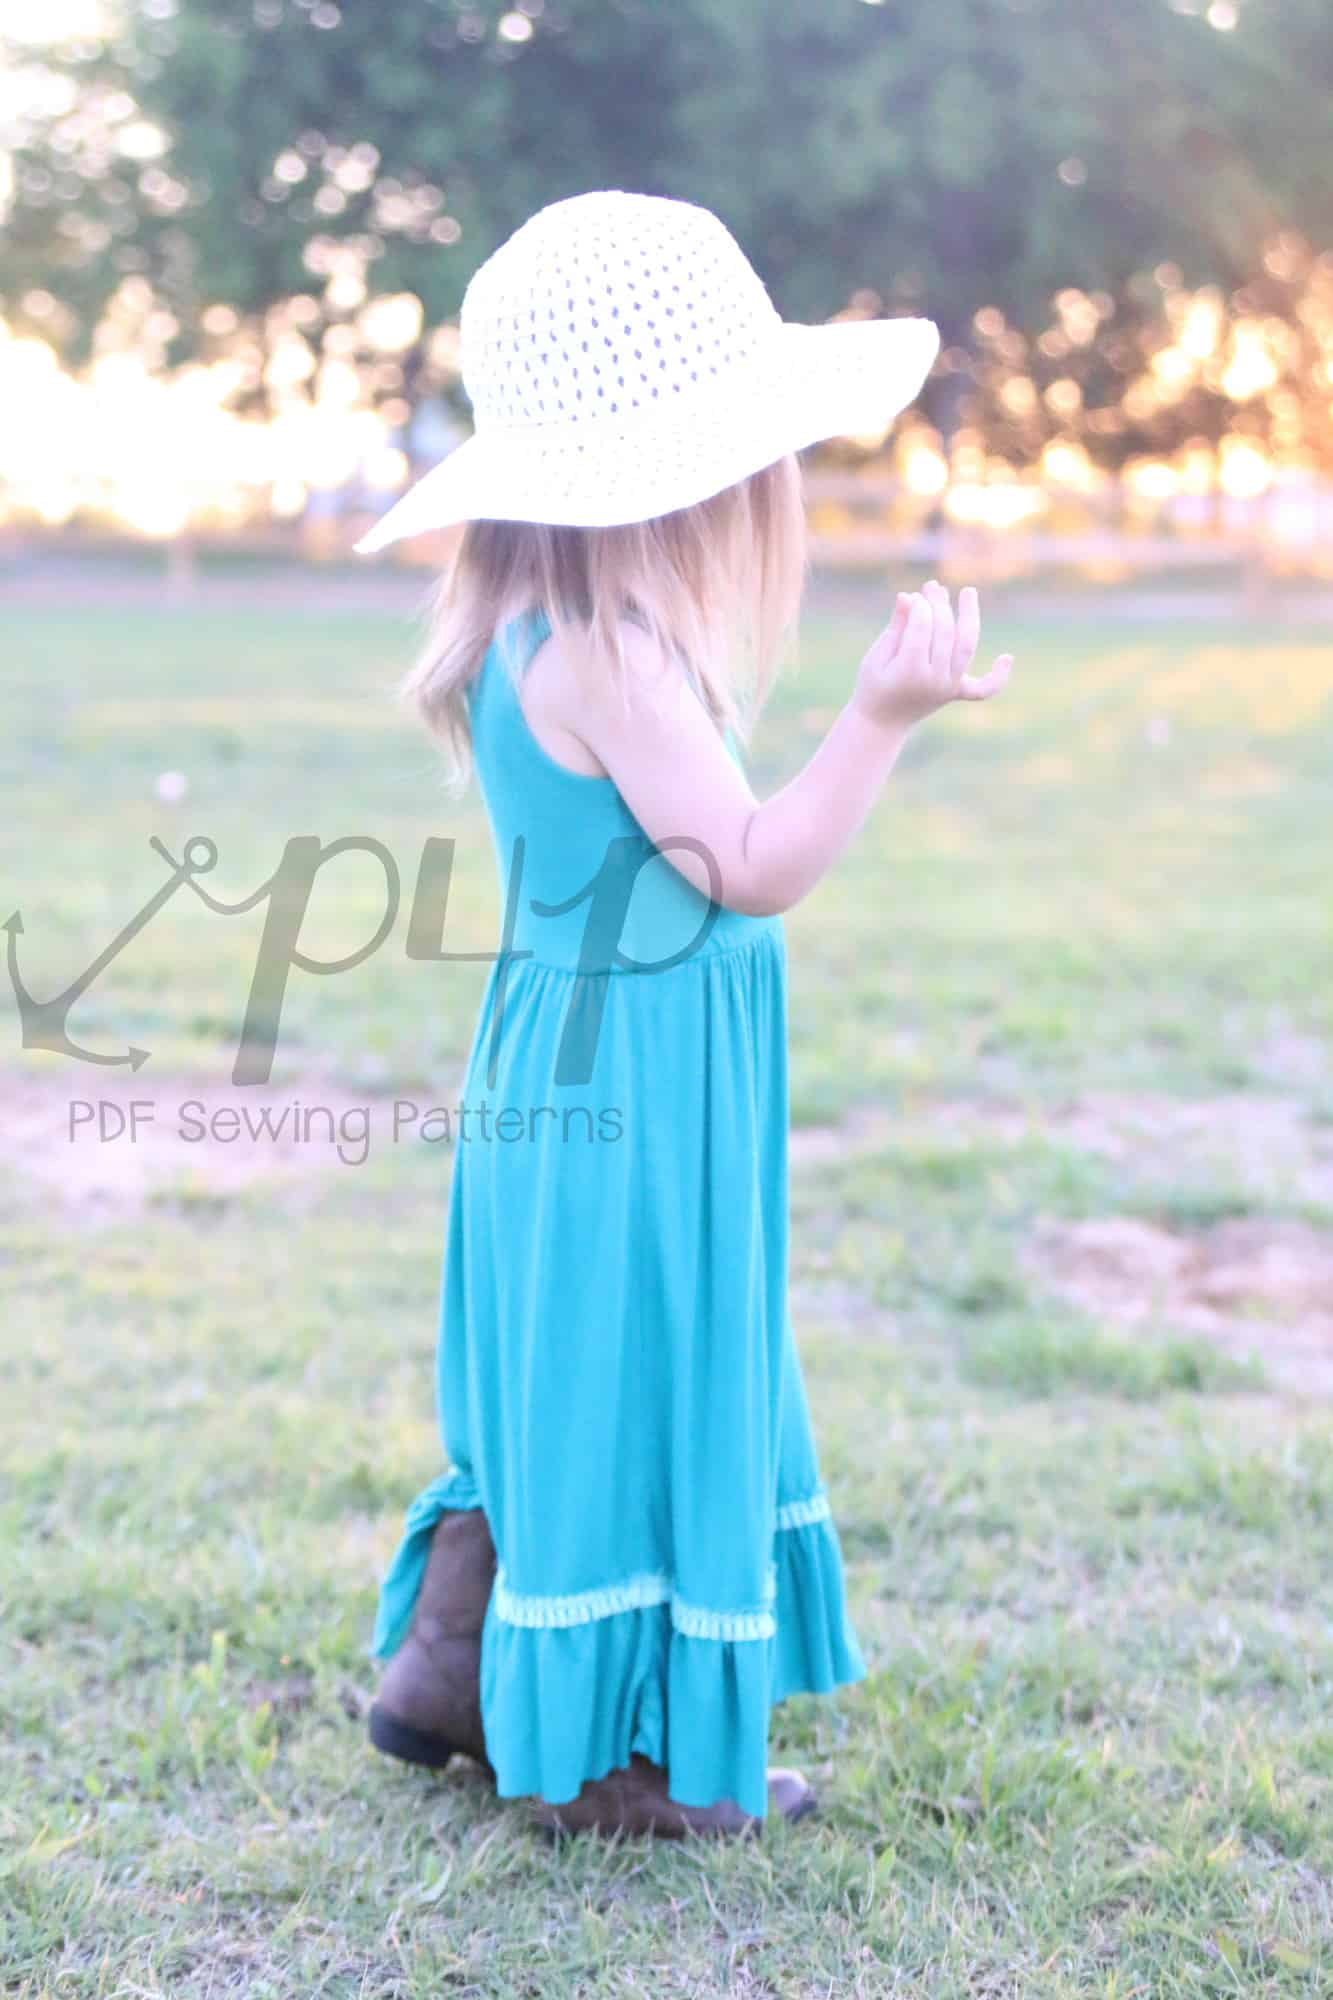
Ruffles maxi

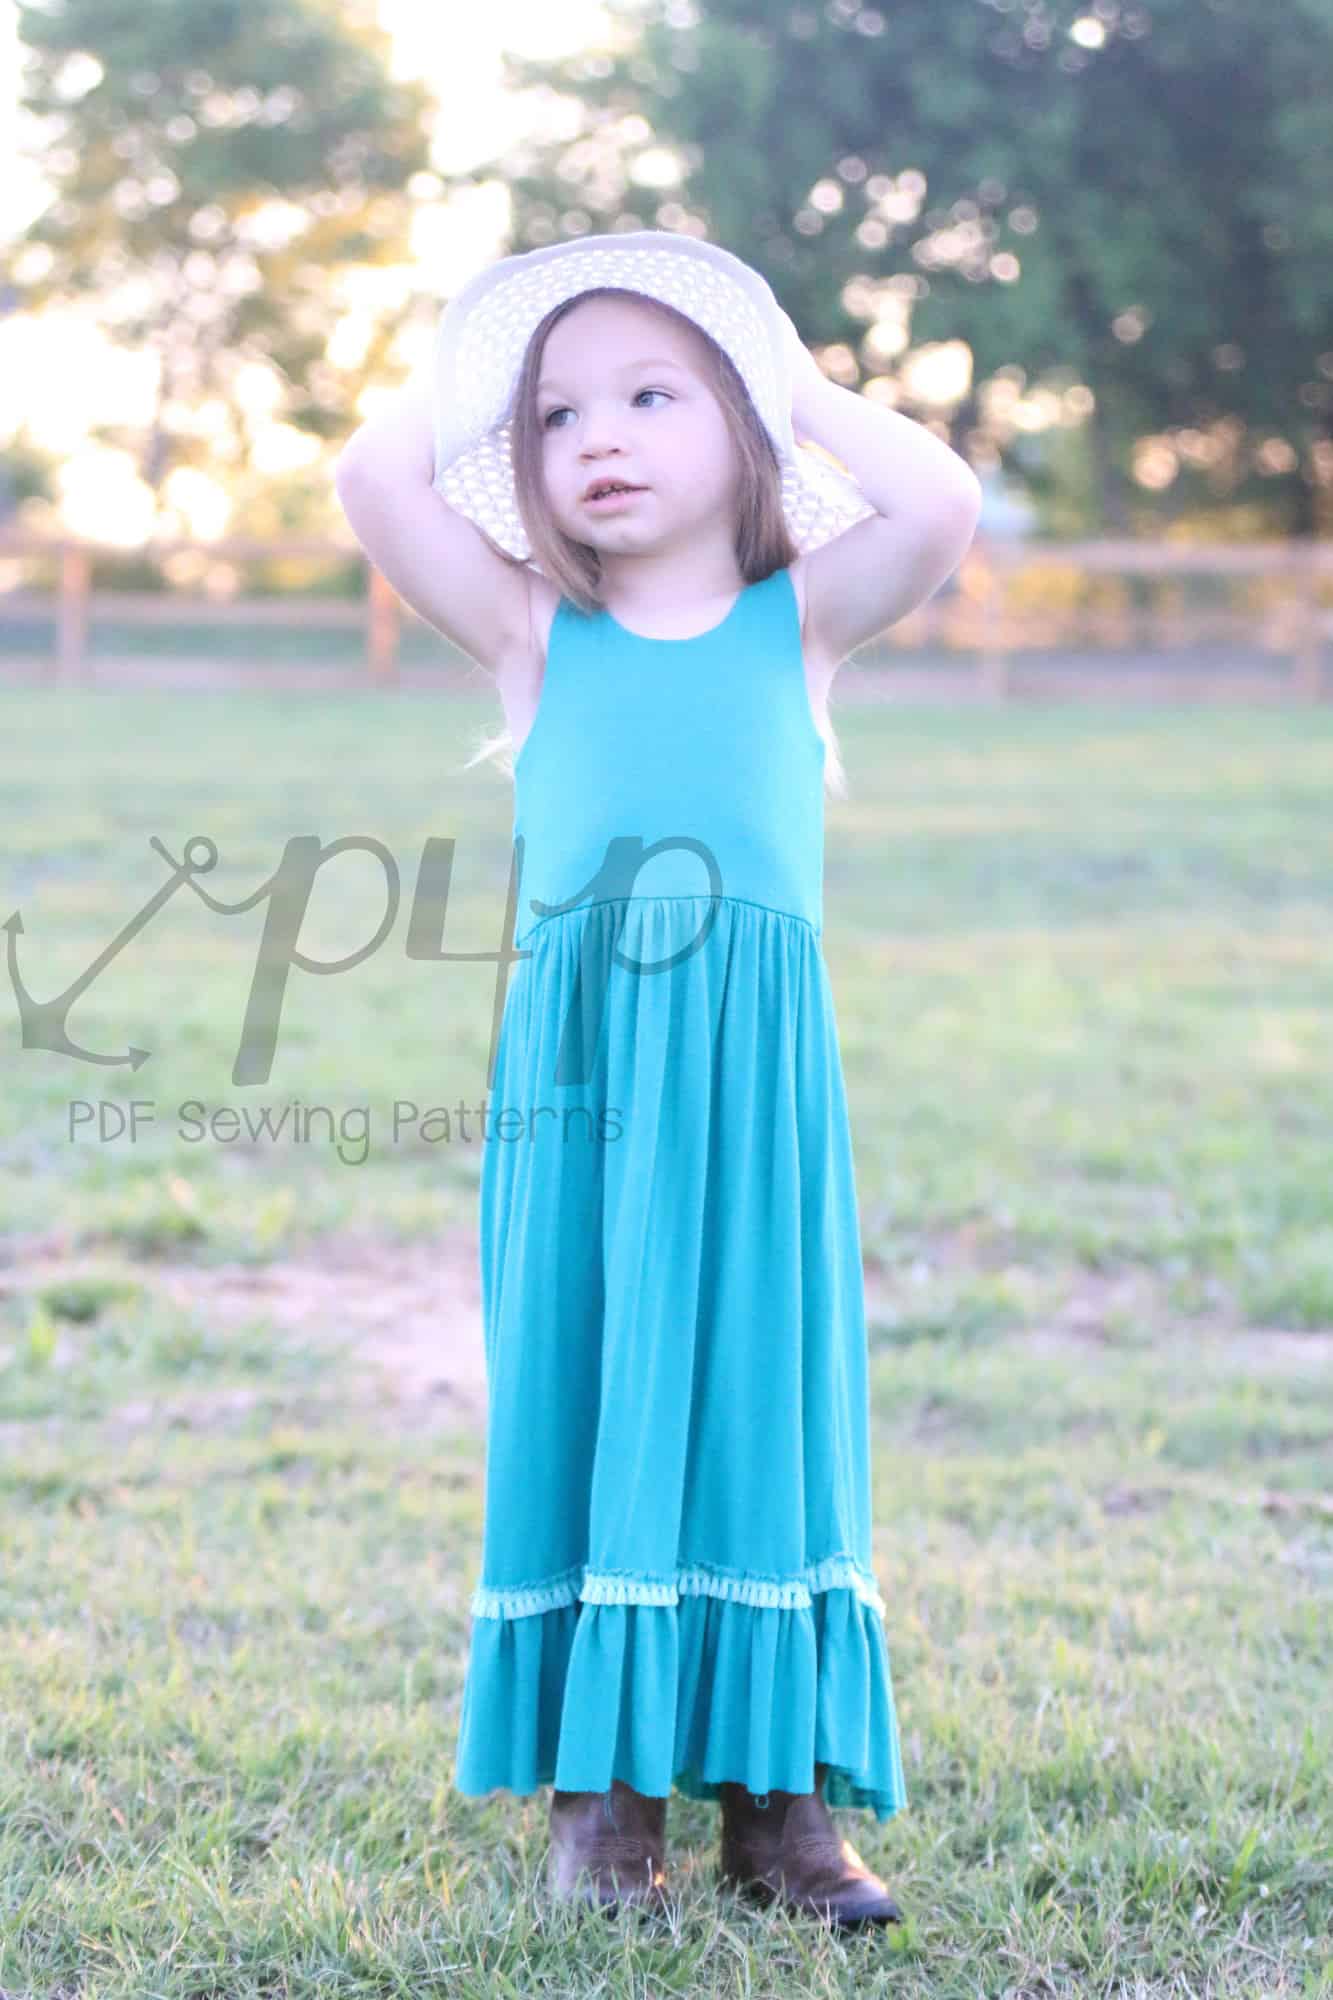
Add a little boho spirit to the maxi with this simple hack!

You will need a little extra yardage than the required maxi.  You will cut your skirt to the “below knee length” for youth (for adult I’d suggest either knee or tea depending on how deep you’d like your bottom ruffle).

To cut your ruffle you’ll take the “maxi length” and minus the “below knee length”- add 1/2″ for seam allowance- this is your length measurement.  Width will be double the width of the skirt measurement normally for that size.

Sew up your dress exactly per the tutorial until you get to the bottom hem.  Instead of hemming, we will add the ruffle.  Gather the top of the ruffle using your favorite gathering method.  I used a rayon spandex, which tends to stretch out vertically easily- so I used the double rows of basting method to avoid adding any extra weight to the skirt bottom.

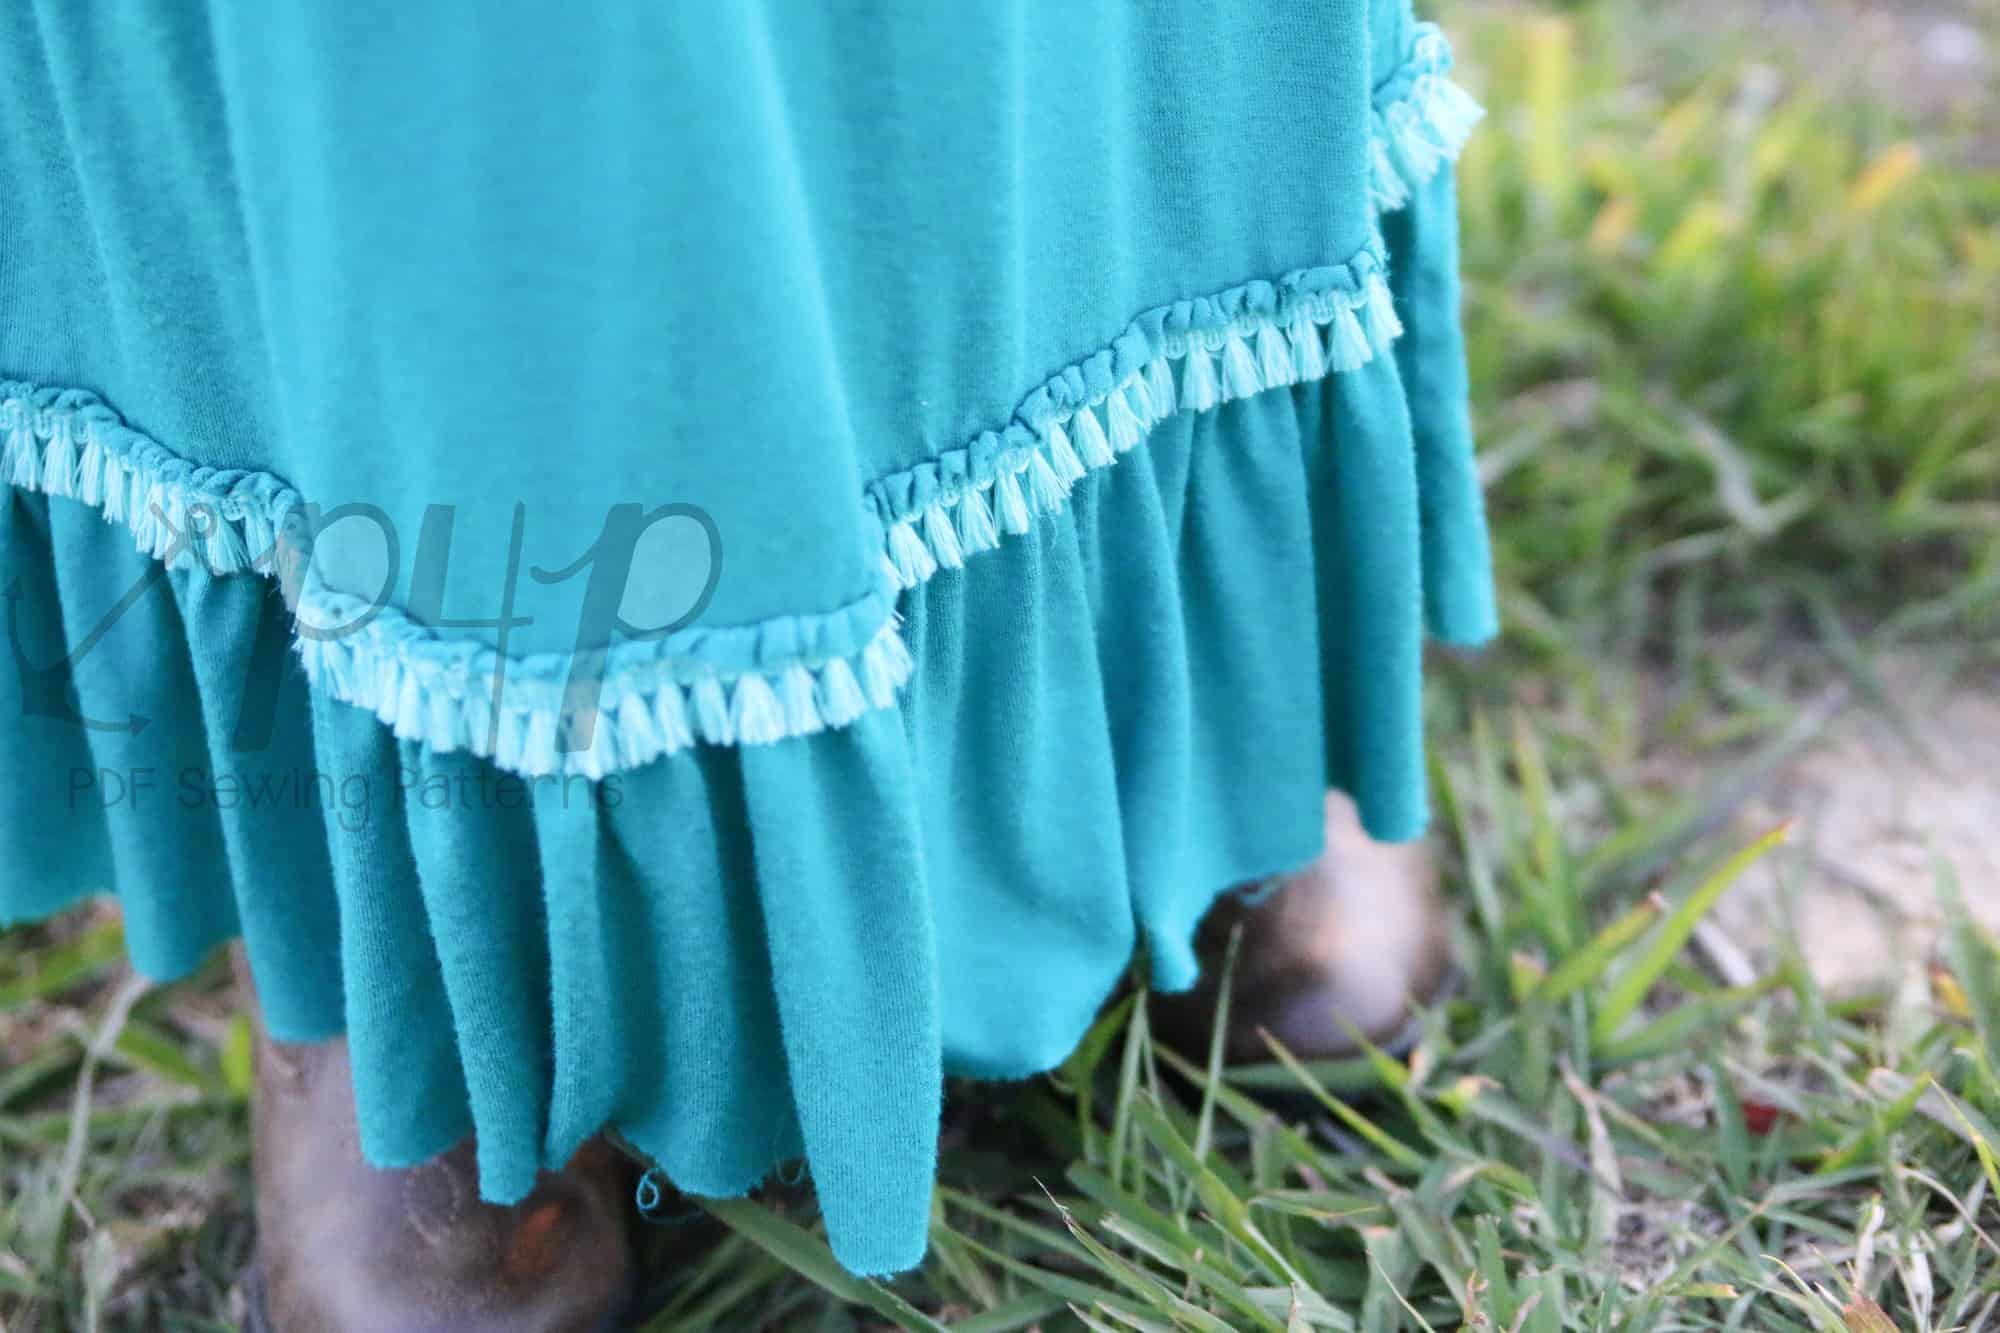
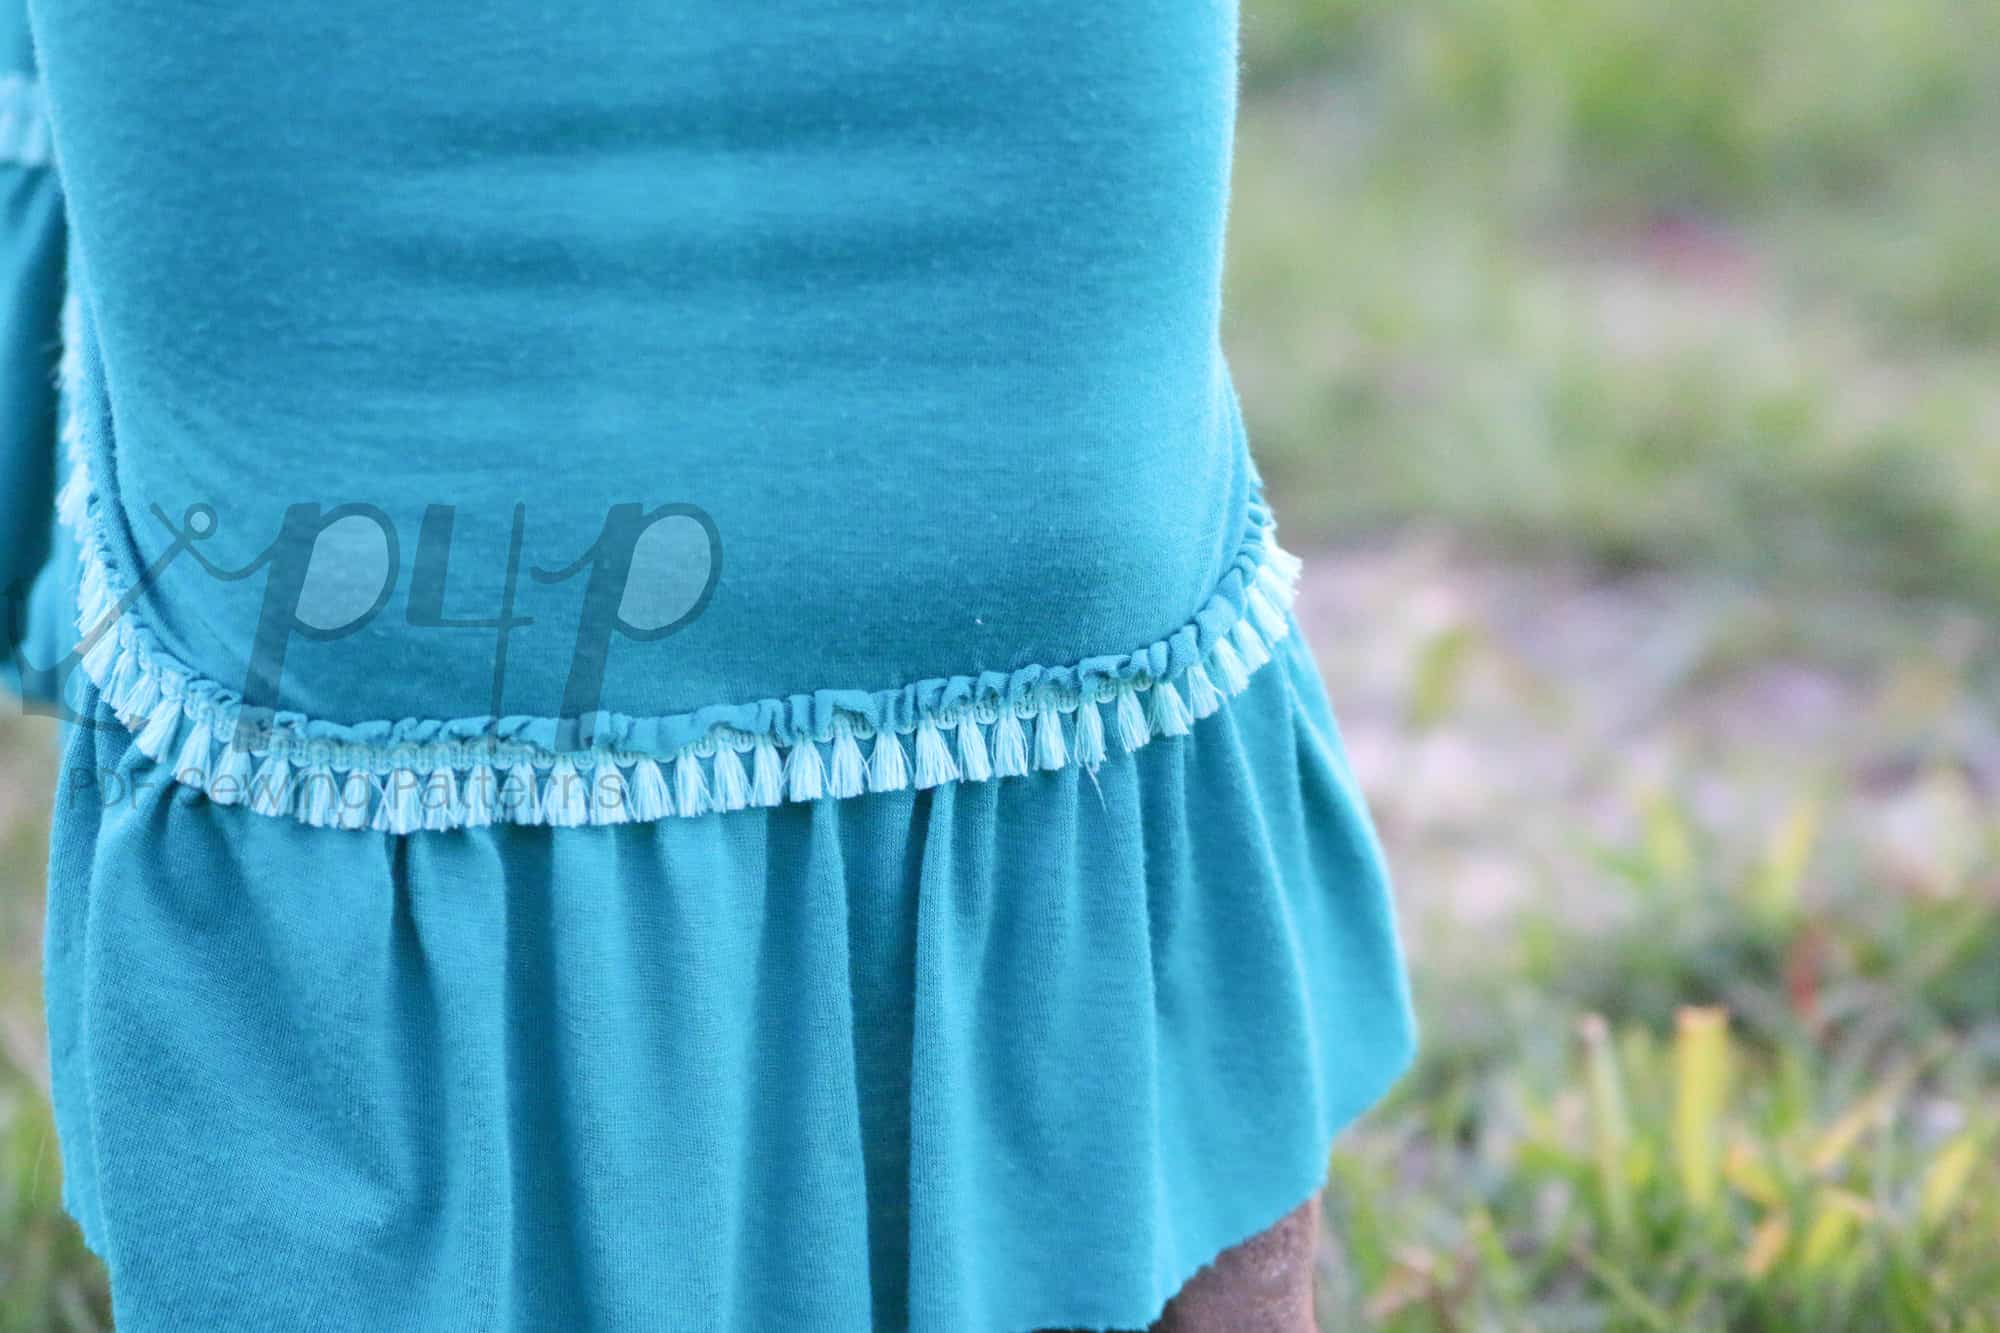
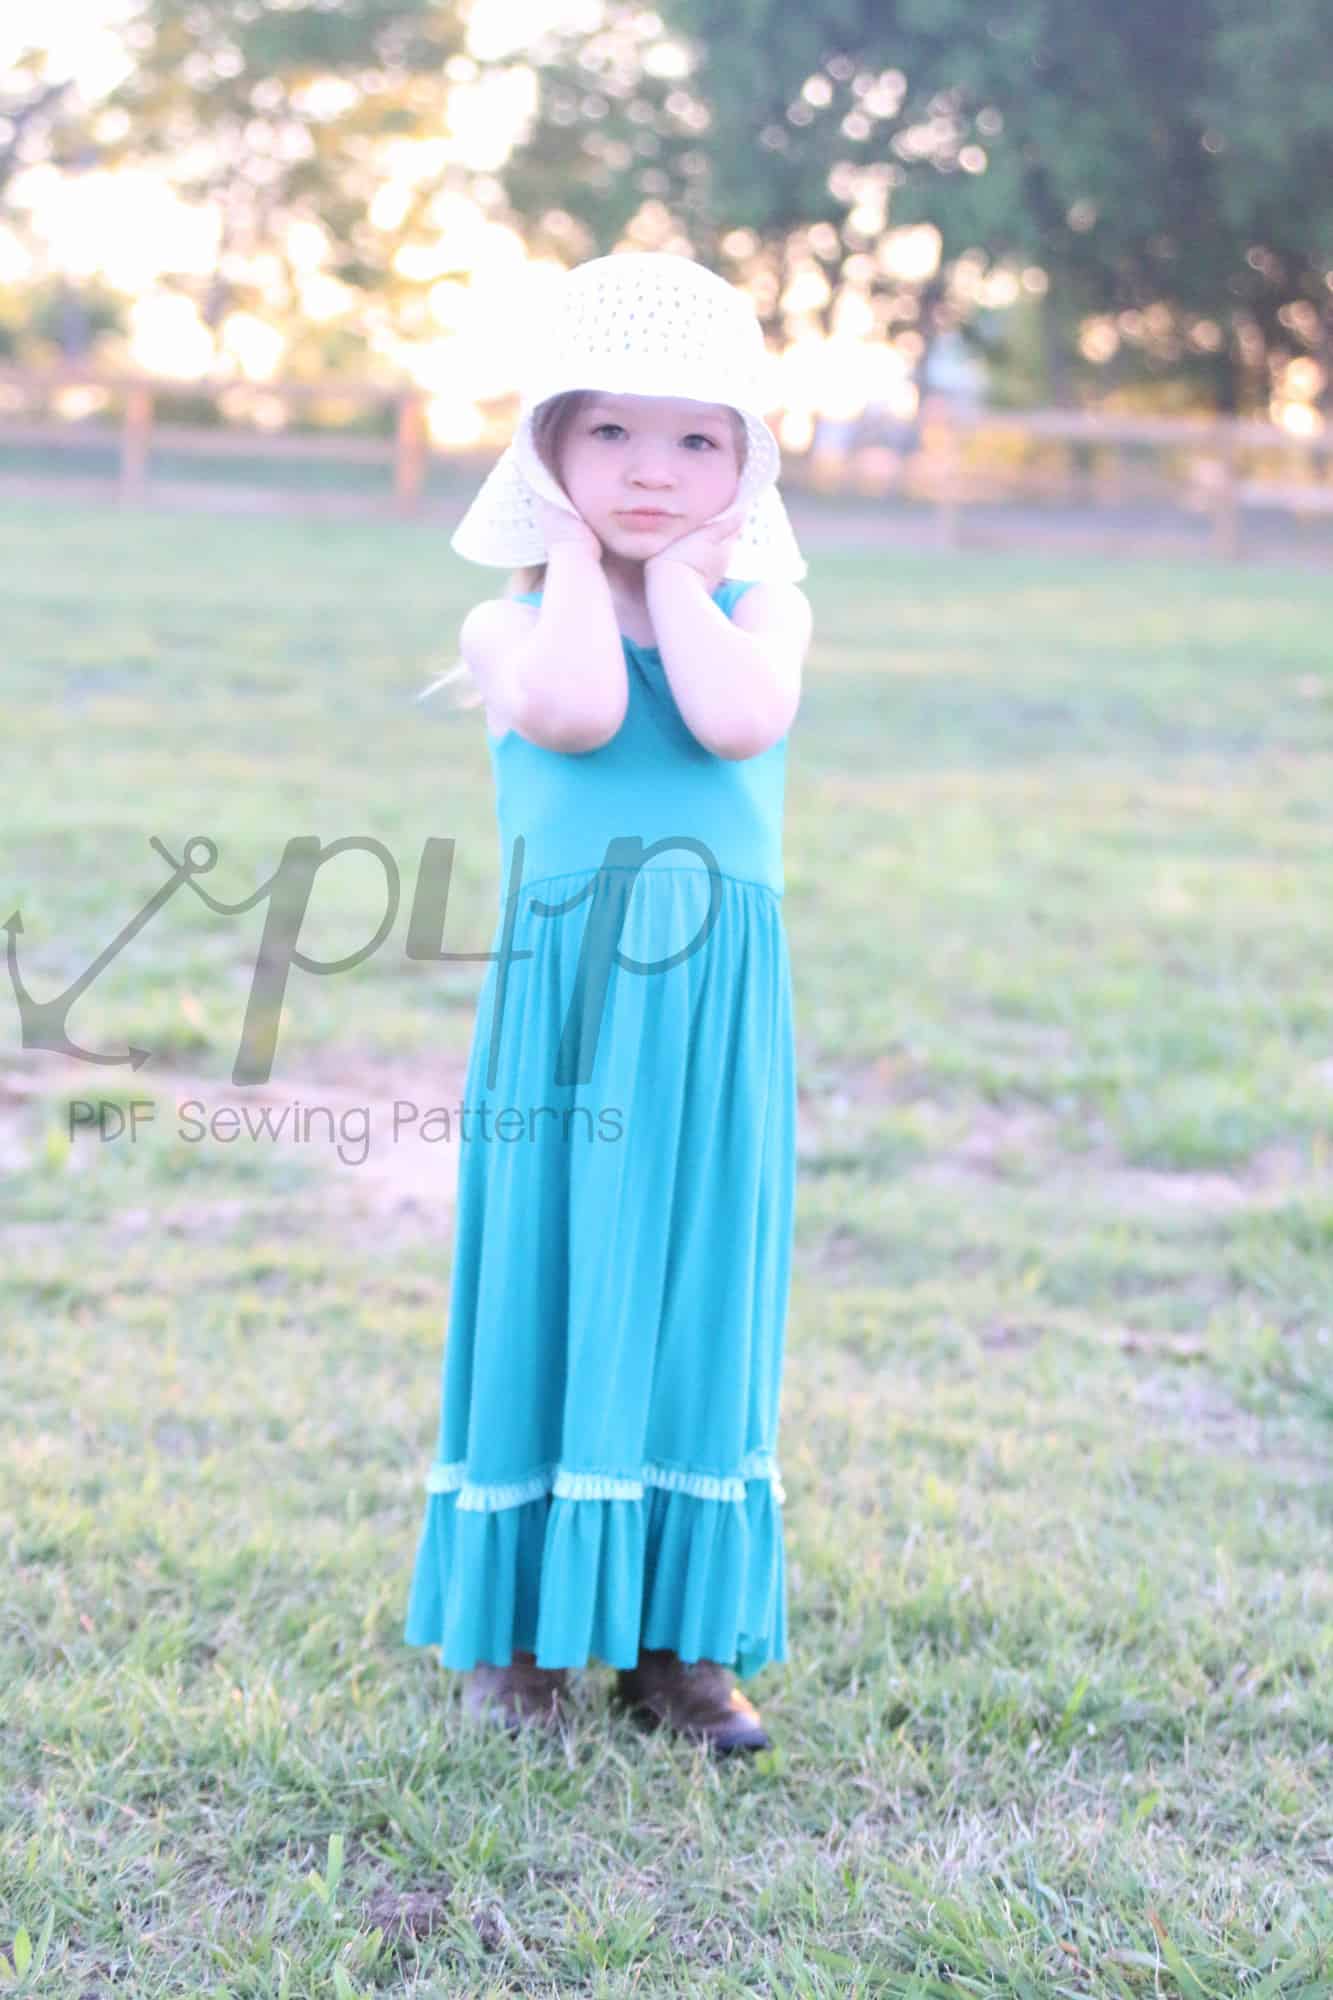
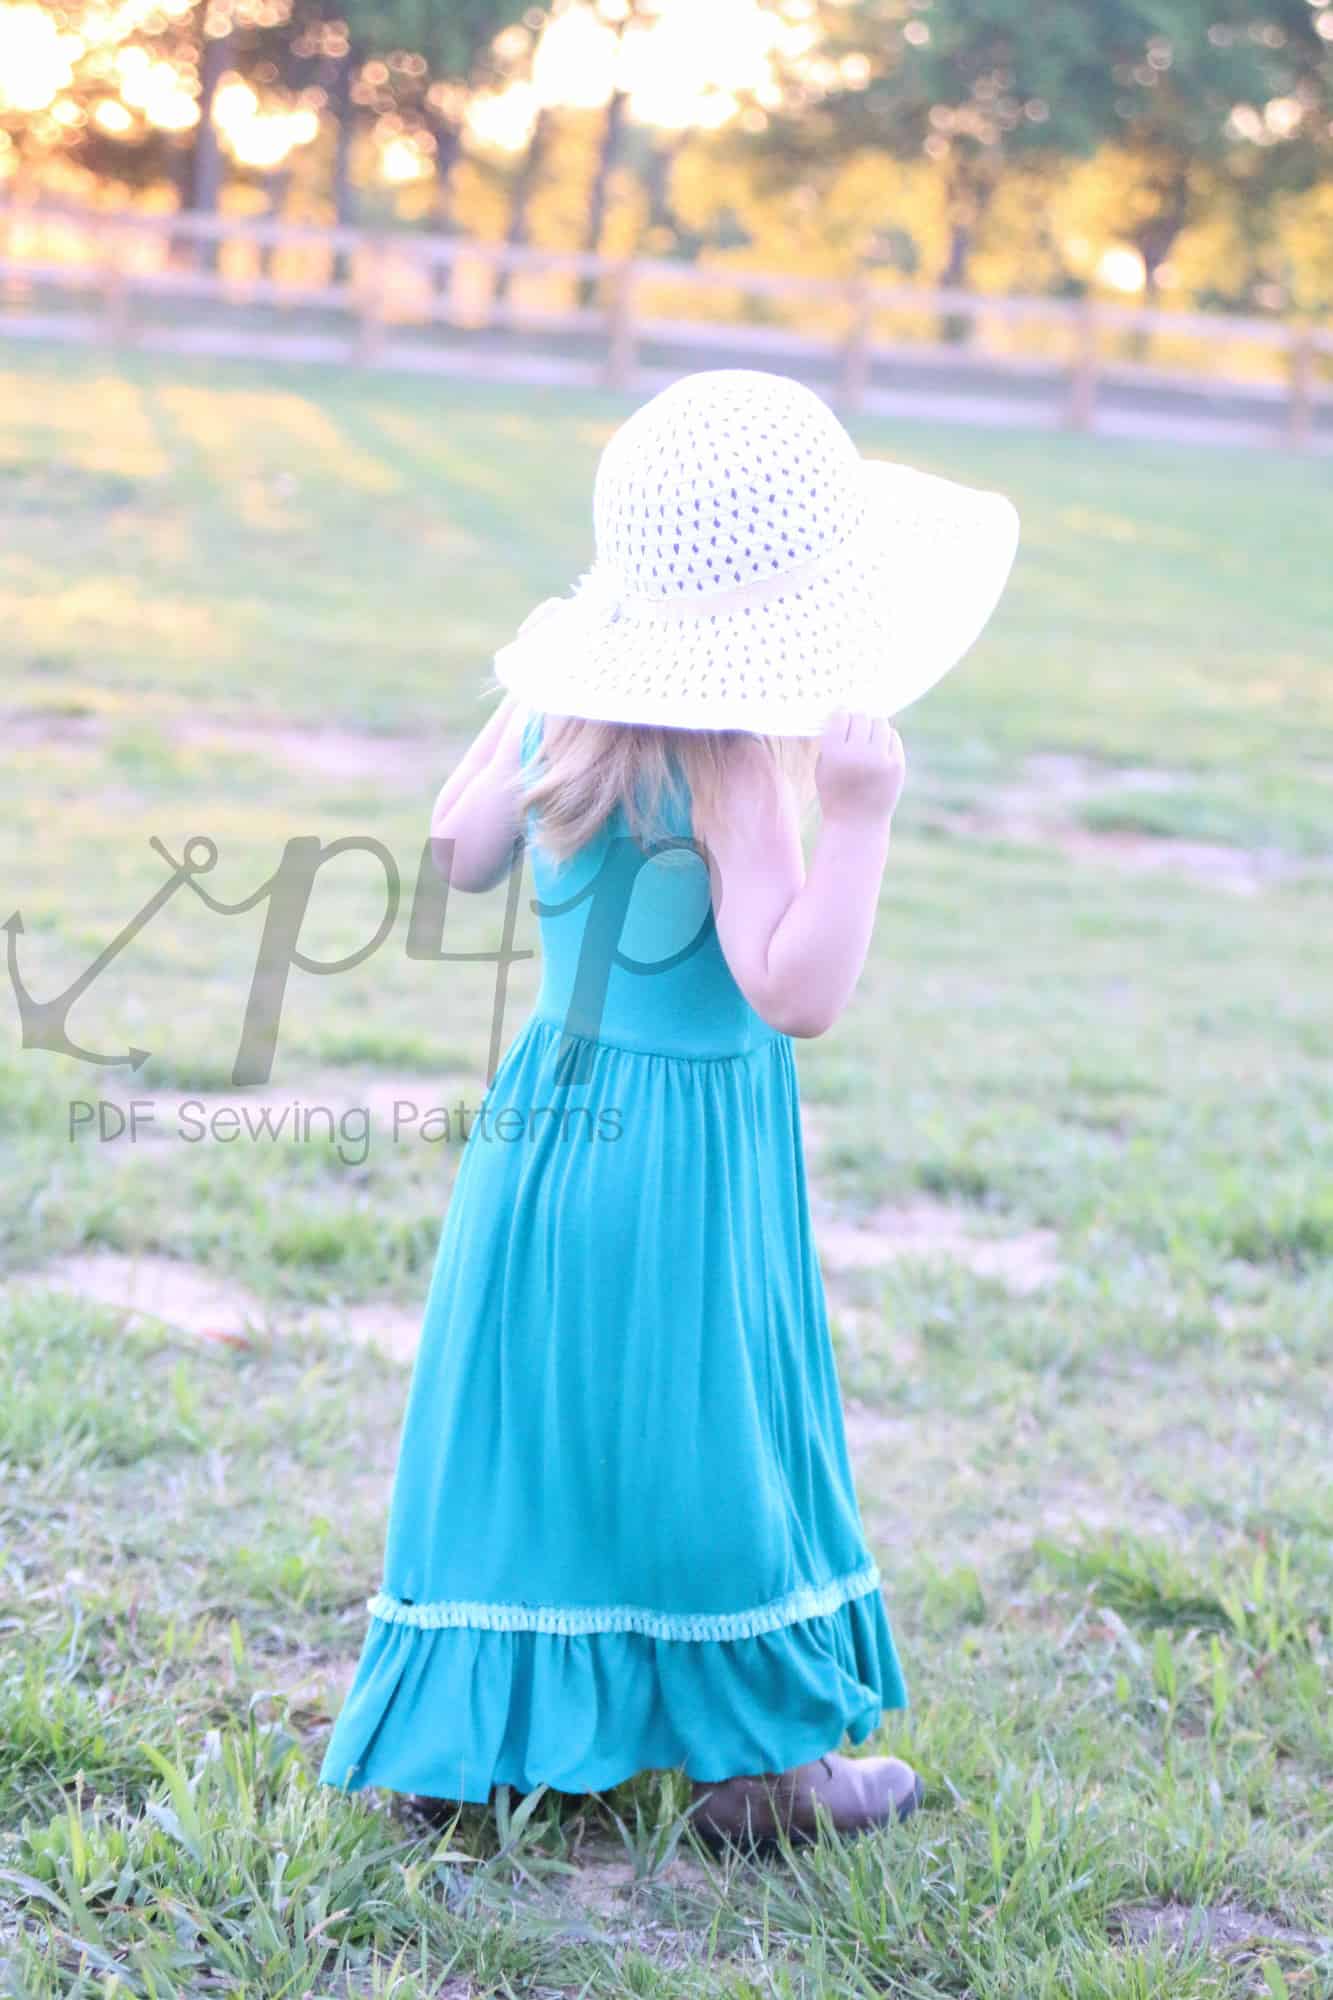
Following the popular boho look- I just overlapped the top of my ruffle to the bottom skirt hem leaving the exposed raw edge. I stitched the ruffle on top the skirt between my two basted rows with a stretch stitch.  Removed the basted stitches and gave it a press. I didn’t hem bottom edge just to match the raw edge on the ruffle (but that is just personal preference). I also added some fun trim along the gathered stitch line for some extra pizzazz 😉

My daughter just LOVES this dress! I think it might top her favorite dress I’ve ever made her so far in fact! I guess she’s a little boho baby girl, she also wants to wear this hat for every photoshoot now 😉


…..

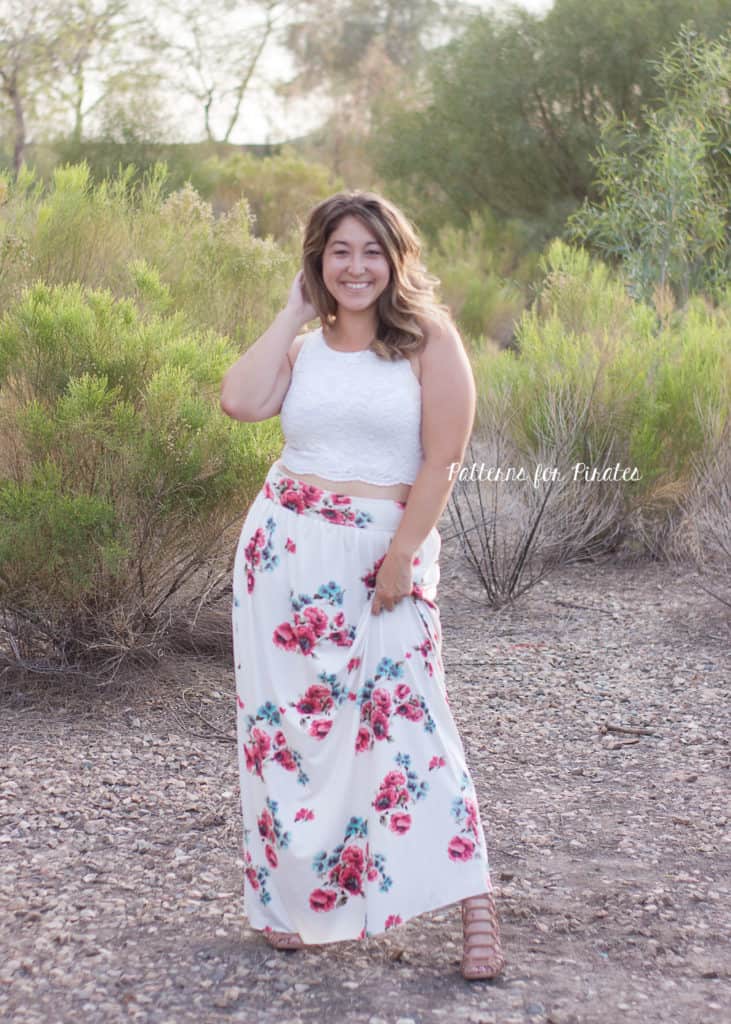
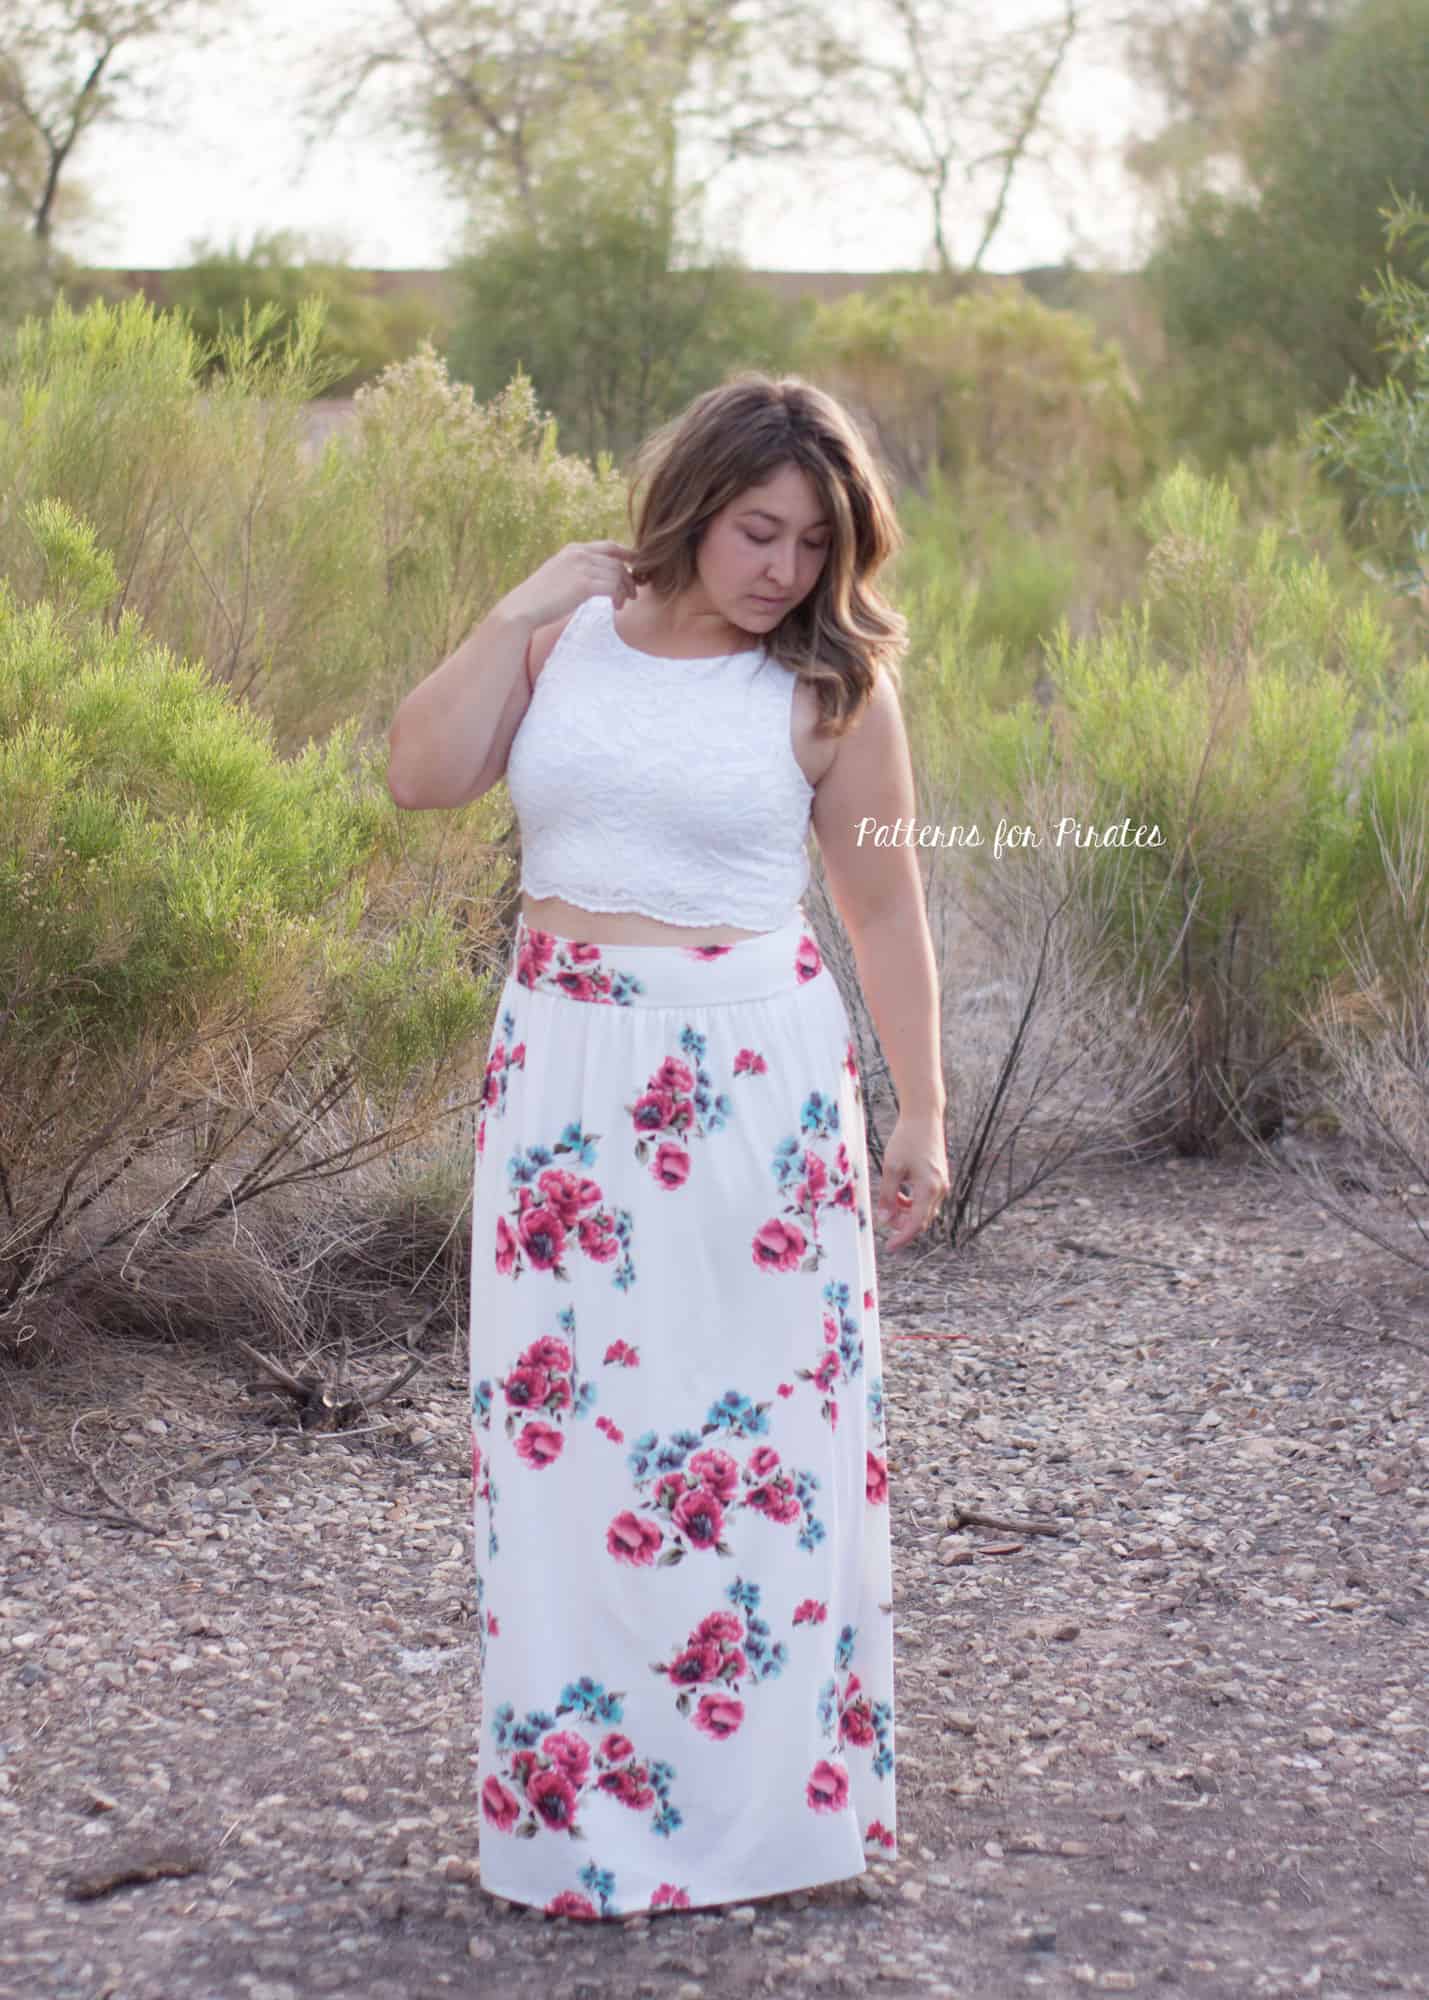
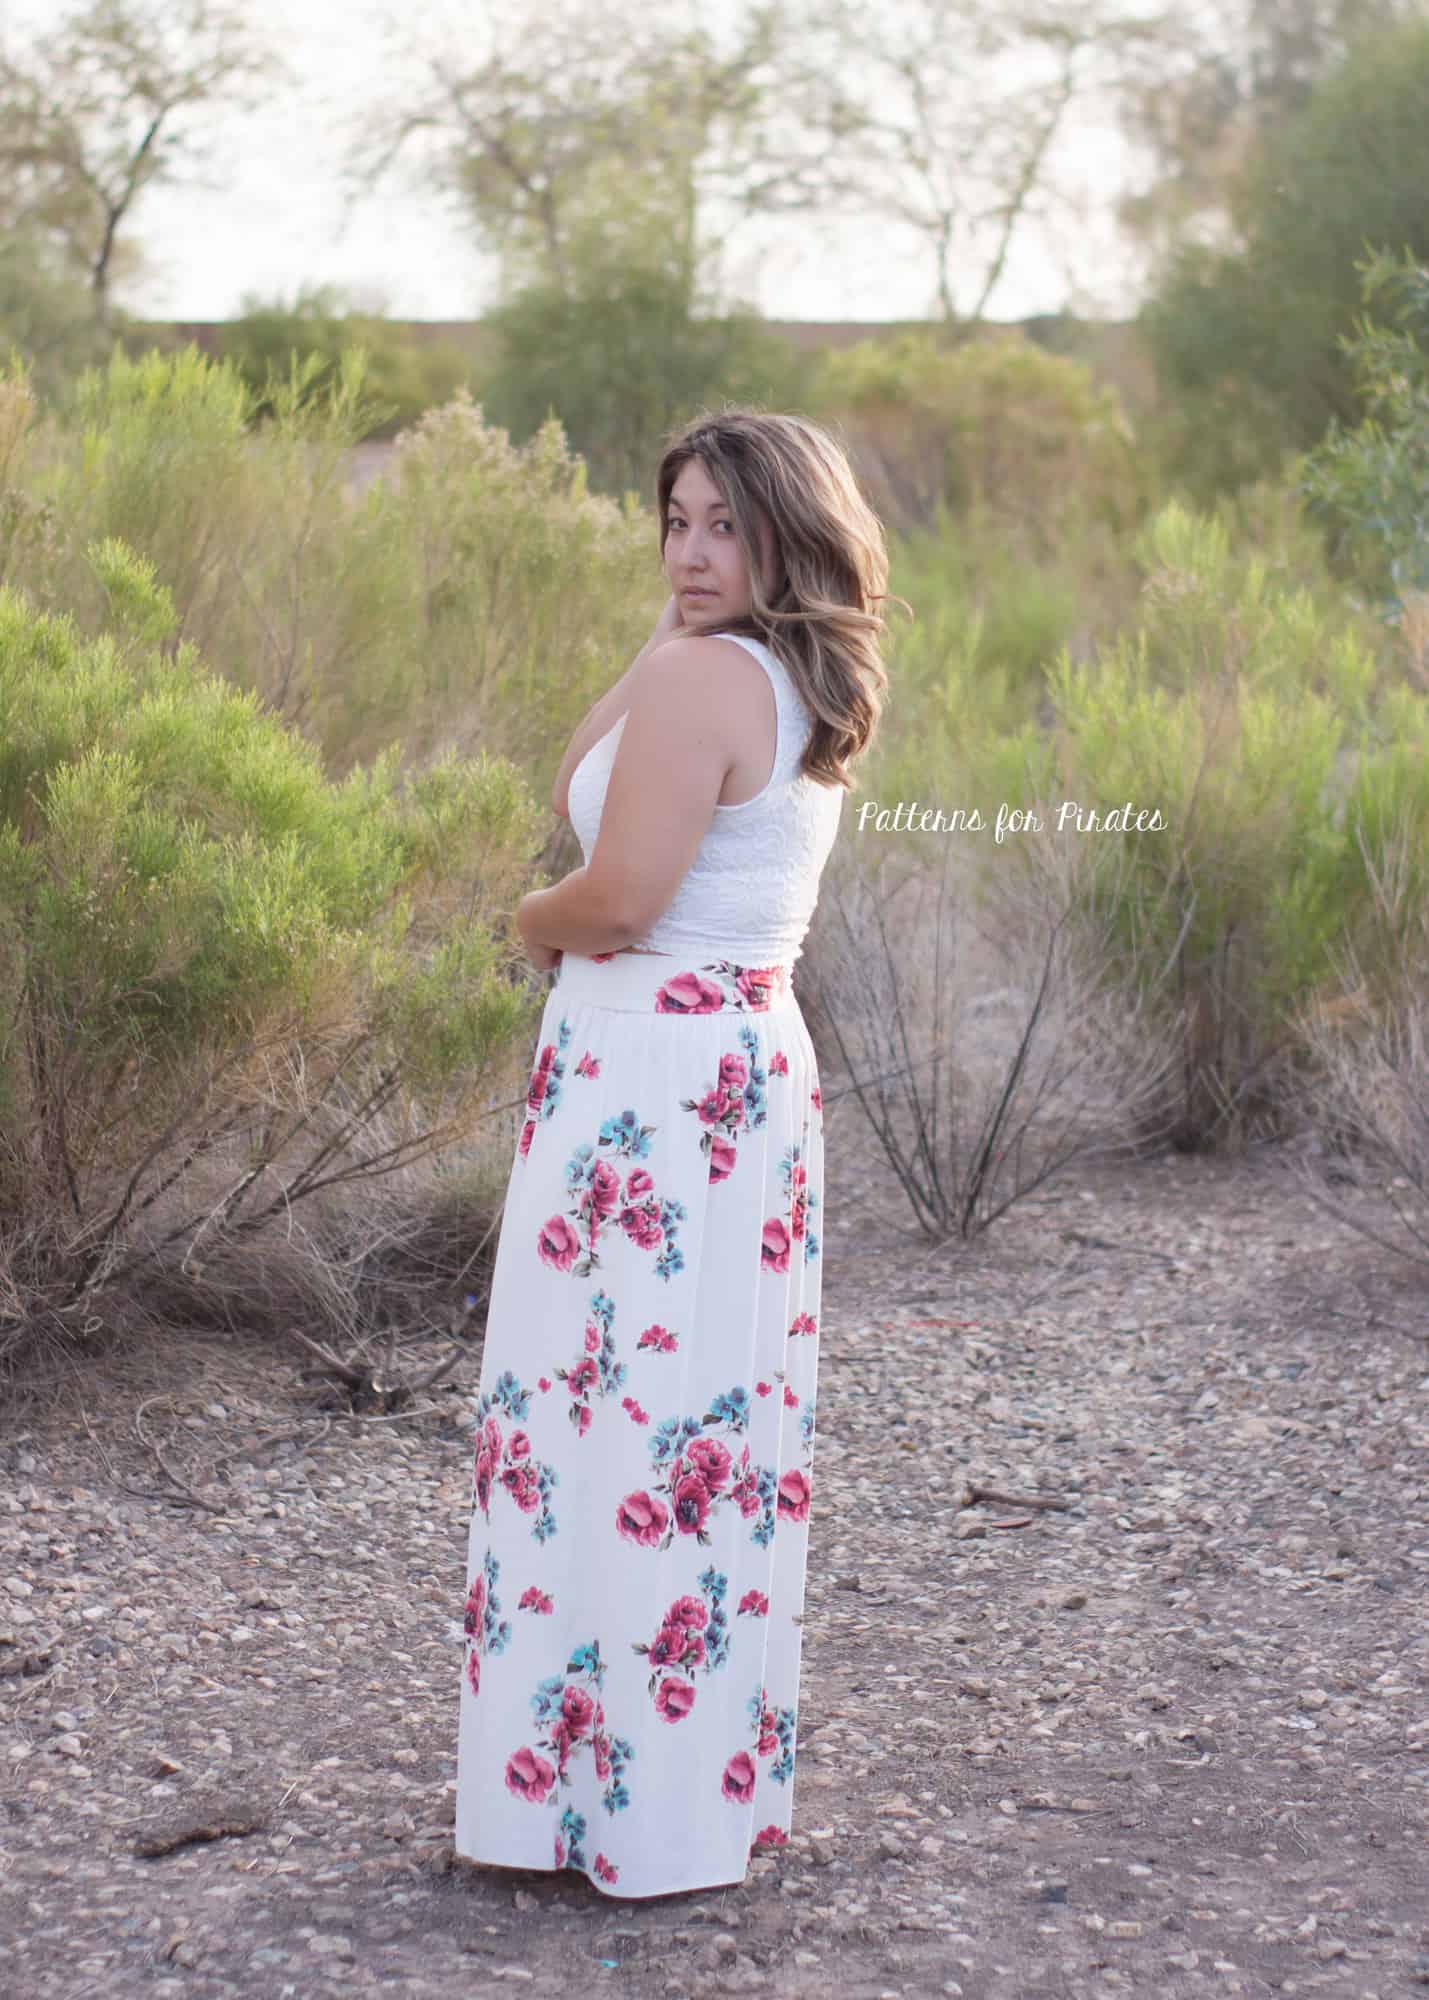
Crop Top

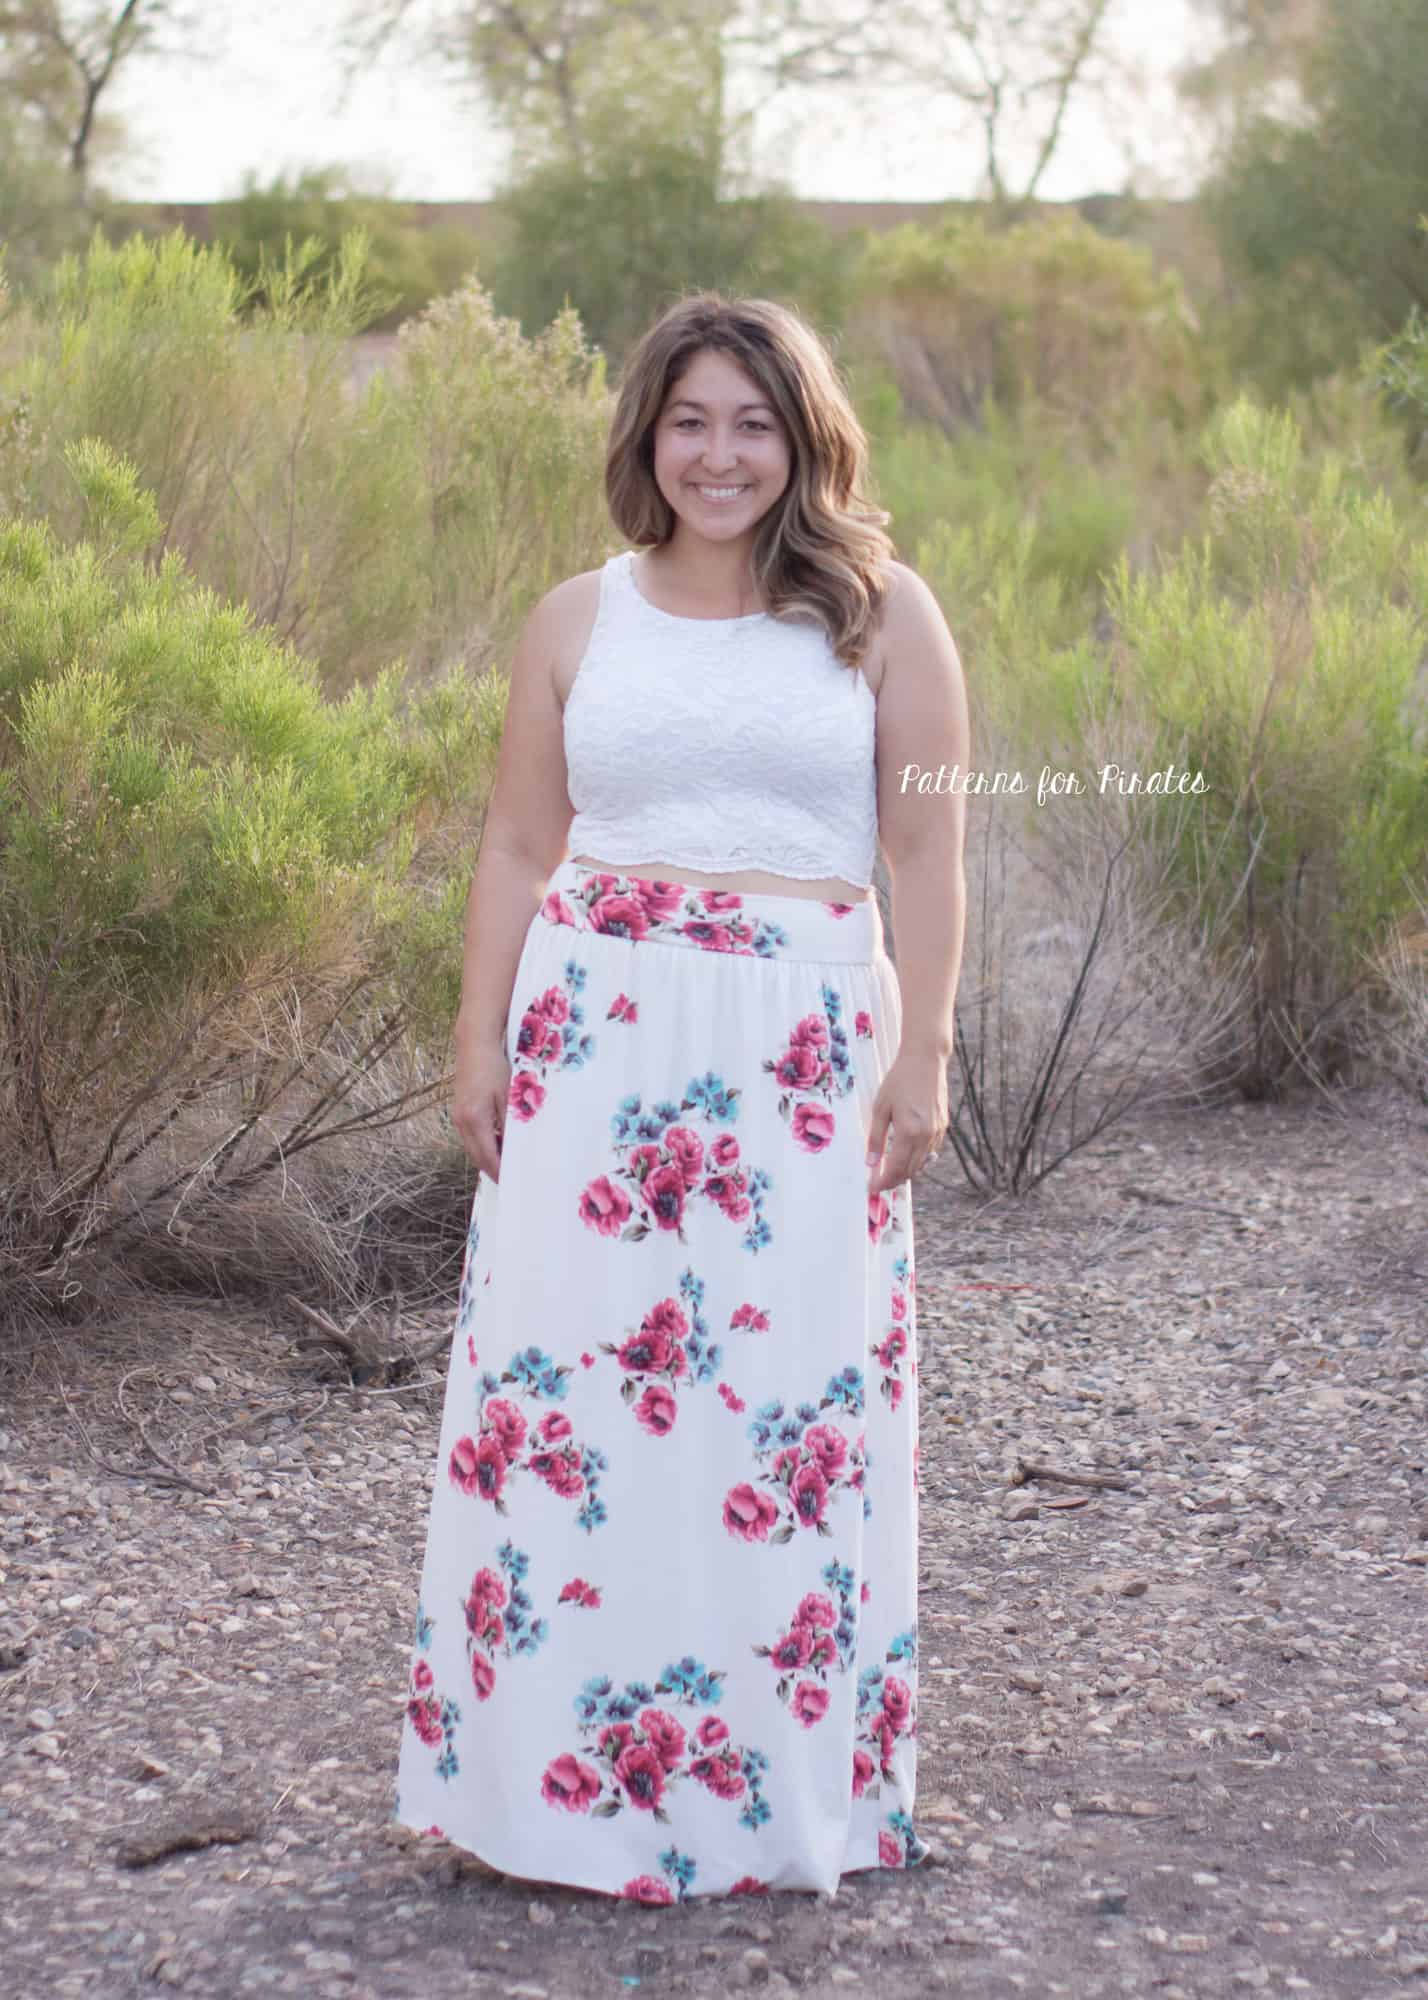
Crop tops seems to never really go out of style and we’ve seen some requests for it lately.  The Boundless bodice already has a natural waist cutline so is a great base to create a simple crop top.  Sew up the bodice as you would in the tutorial but instead of adding the skirt, just hem the bottom edge 1/2″.  If you chose to line the bodice, you can hem the main and lining towards one another, like the lined sleeve option in the tutorial.  I chose a scalloped edge lace as my outer layer, so only hemmed my lining.

For my skirt, I used the waistband measurements from our Sweetheart SAL HERE and used the natural waist skirt option of the Boundless.  I did have to shorten the skirt a couple of inches to account for the added waistband but gathered and constructed per the pattern.  Instead of attaching to the bodice, just attach the skirt to the waistband.  Super simple right?!


We hope you all enjoy the updated Boundless Knit Dress and newly released youth Boundless as much as we do.  Be sure to share your makes in the P4P Facebook Group!

Filed Under: Frequently Asked Questions, Pattern Hacks, Uncategorized Leave a Comment

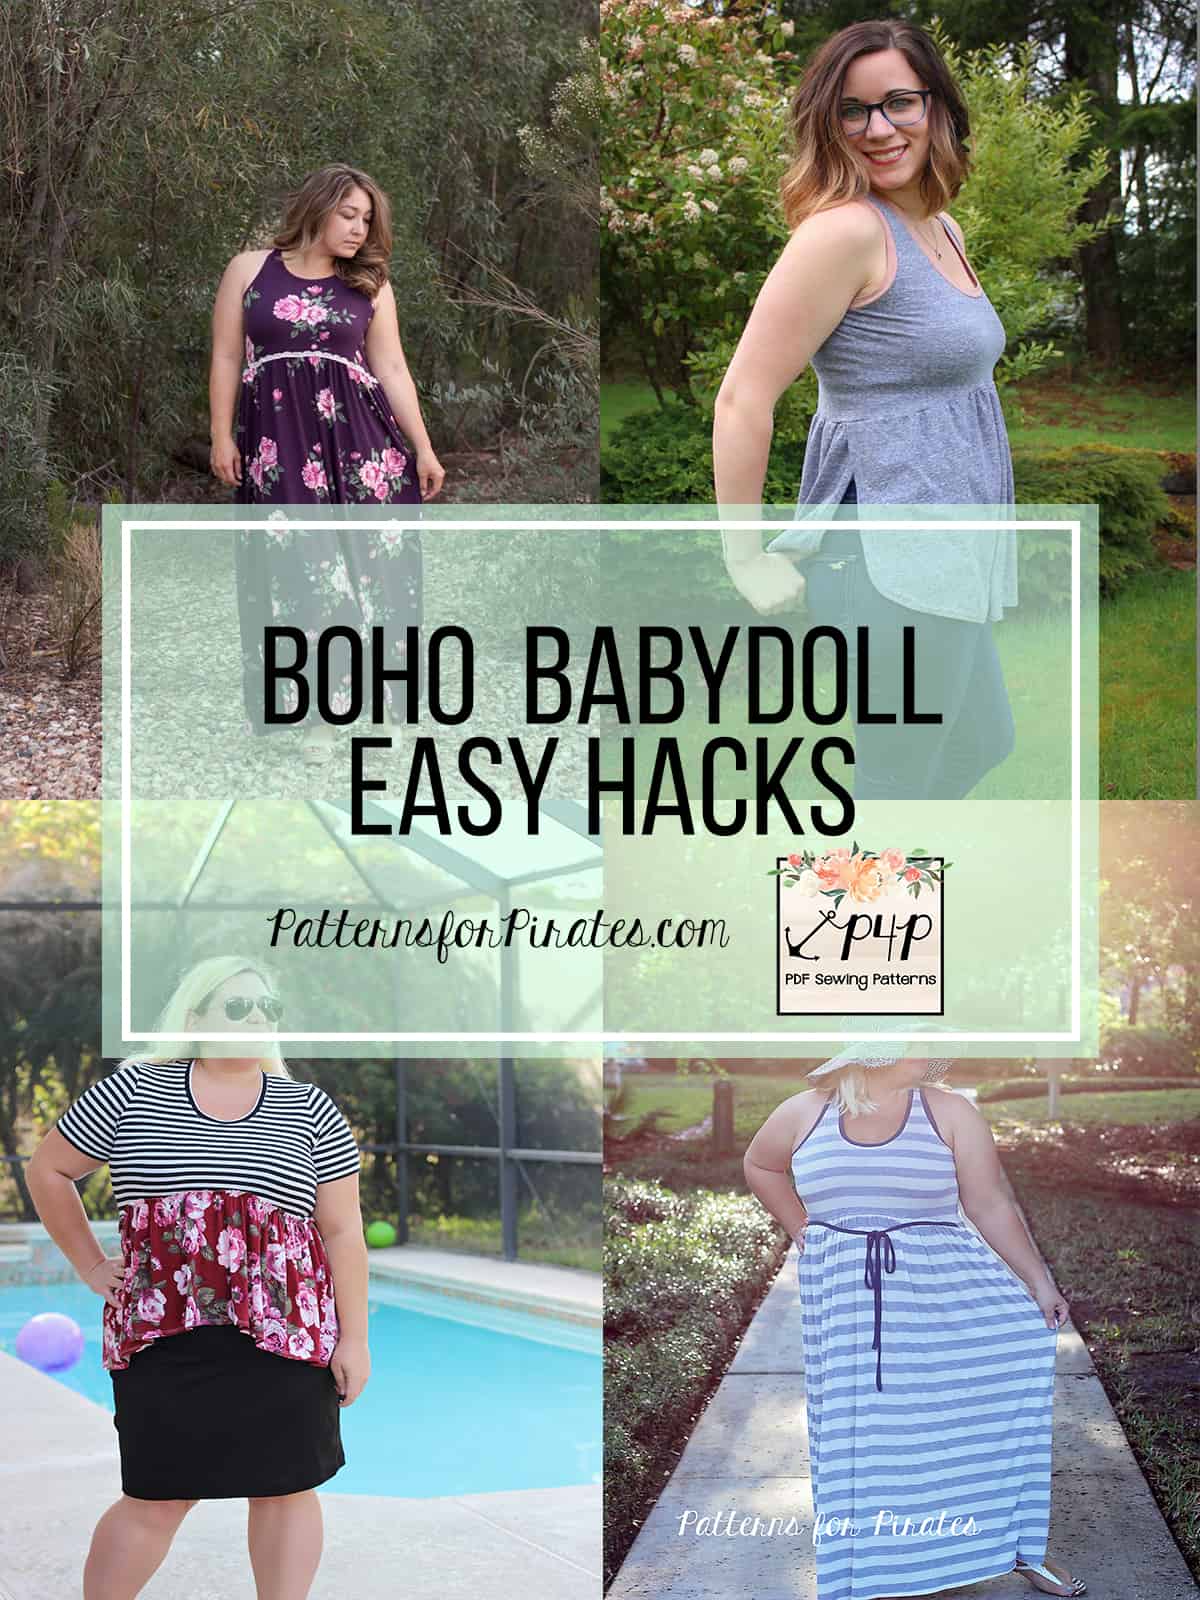
Boho Babydoll – Easy Hacks

April 4, 2018


As with all other P4P releases we couldn’t let the Boho Babydoll party start without some easy hacks that you can do for both the women and the girls tops/dresses.

…..

Waist Ties

The Boho Babydoll Dress and Shirt is a relaxed it at the waist so I wanted to start these hacks by showing you how easy it is to add some fun waist ties top it. Print and cut your pattern and fabric as you normally would and cut two tie pieces 2″ by 28-34″ depending on how long you want the ties to be. For reference my ties are 34″ because I like to be able to tie them around my waist too.

Mark a point on both the front and back bodice pieces that is 3/4″ up from the waist edge.

Fold the ties wrong side together, lengthwise and sew them with a 1/2″ seam allowance. You will be sewing one of the short ends too.

Using your favorite turning tool, turn the ties inside out and give them a good press.

Pin the ties on the front bodice at the marking point you did earlier. The bottom of the tie length will be at the 3/4″ mark. Repeat on the other side of the front of the bodice.

Optionally, you can baste the ties to the bodice before you sew the side seam.

Sew the bodice as instructed. That was easy!

You can wear your ties tied in the front…

….or tied in the back…

…or if you made them long enough you can wrap them around your waist.


…..

Split Sides


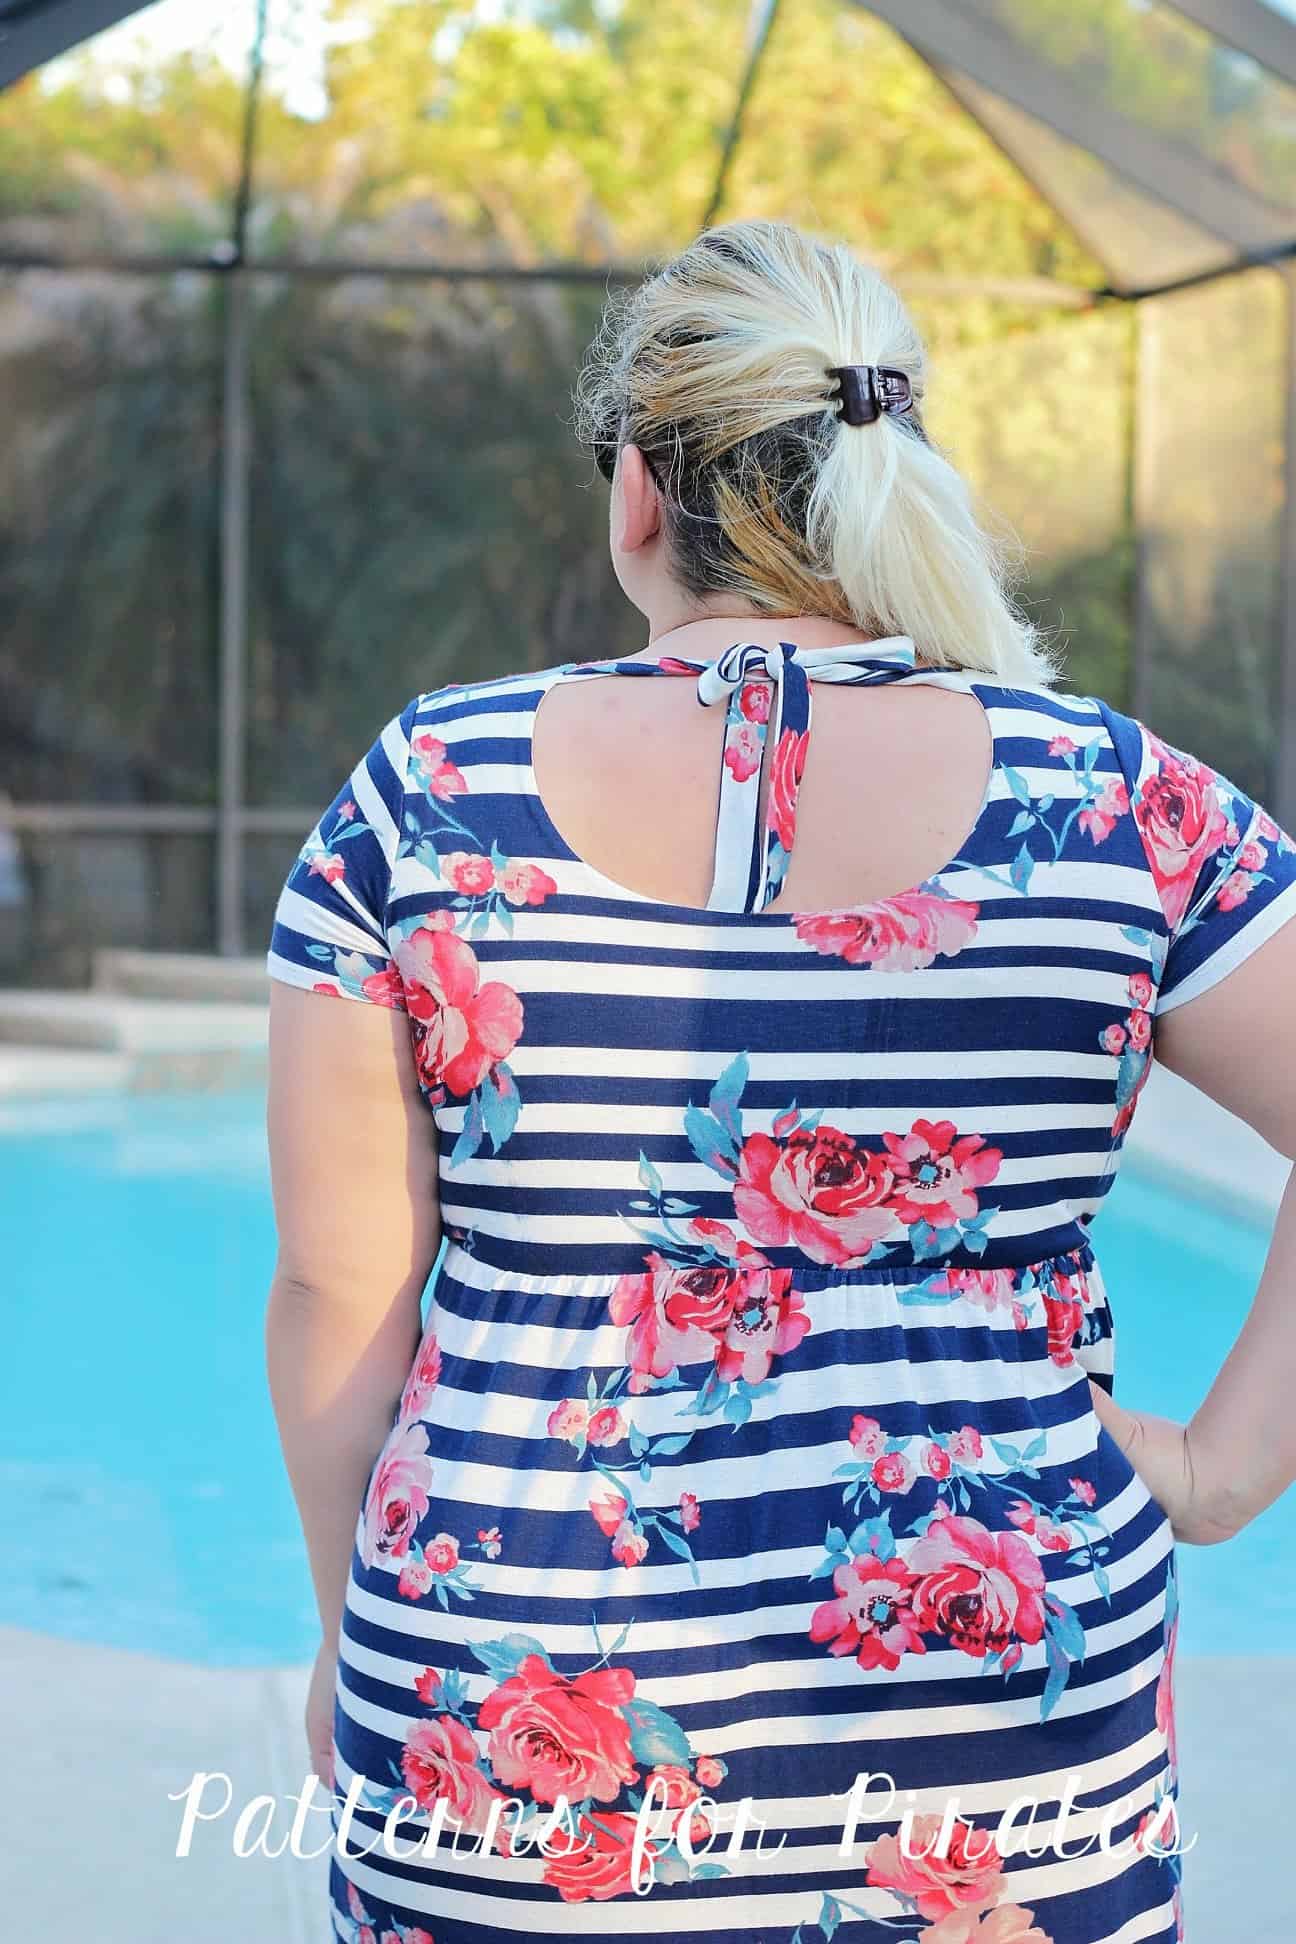
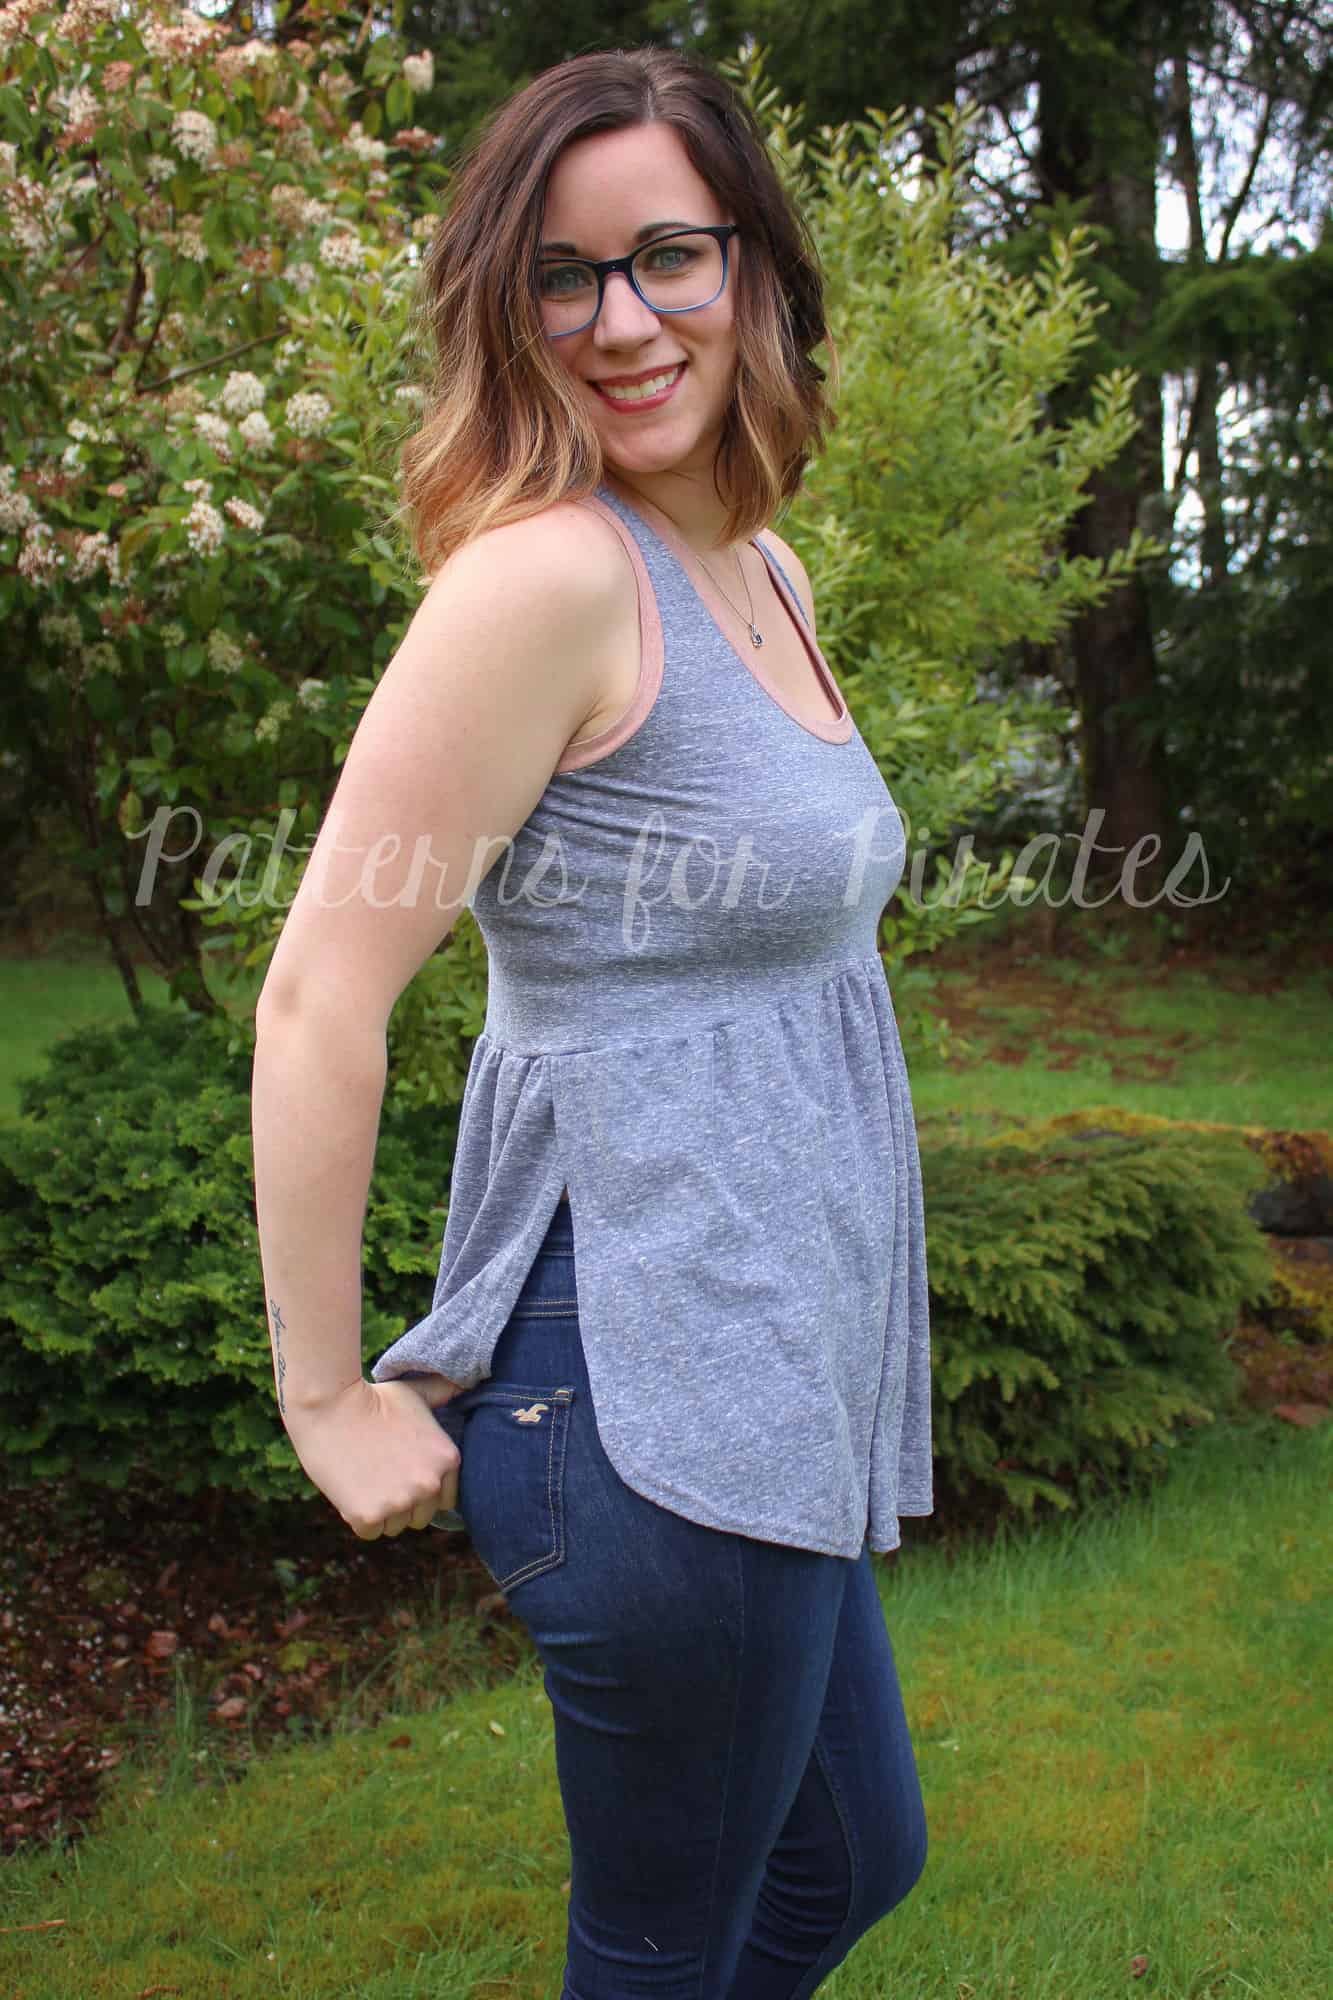
During the summers, I like to attend a lot of concert festivals. One trend that I have noticed are tank tops with flowy layers- sometimes it’s the back, other times the front, but one of my favorites is on the sides. The Boho Babydoll makes the perfect starting point to create a comfortable tank with a cute little peek-a-boo side. I can’t wait to try this out as a swim cover as well with some fun lace or mesh. You can use these simple steps below to help recreate this look.

Step 1: Cutting Pieces

Cut out your pieces as instructed, with the exception of the skirt. (You can use any of the bodice options.) The only change that I made to the skirt was to add an additional 1″ to the fold of the FRONT piece. I did not make any adjustments to the back skirt. 

Step 2: Bodice/Hemming

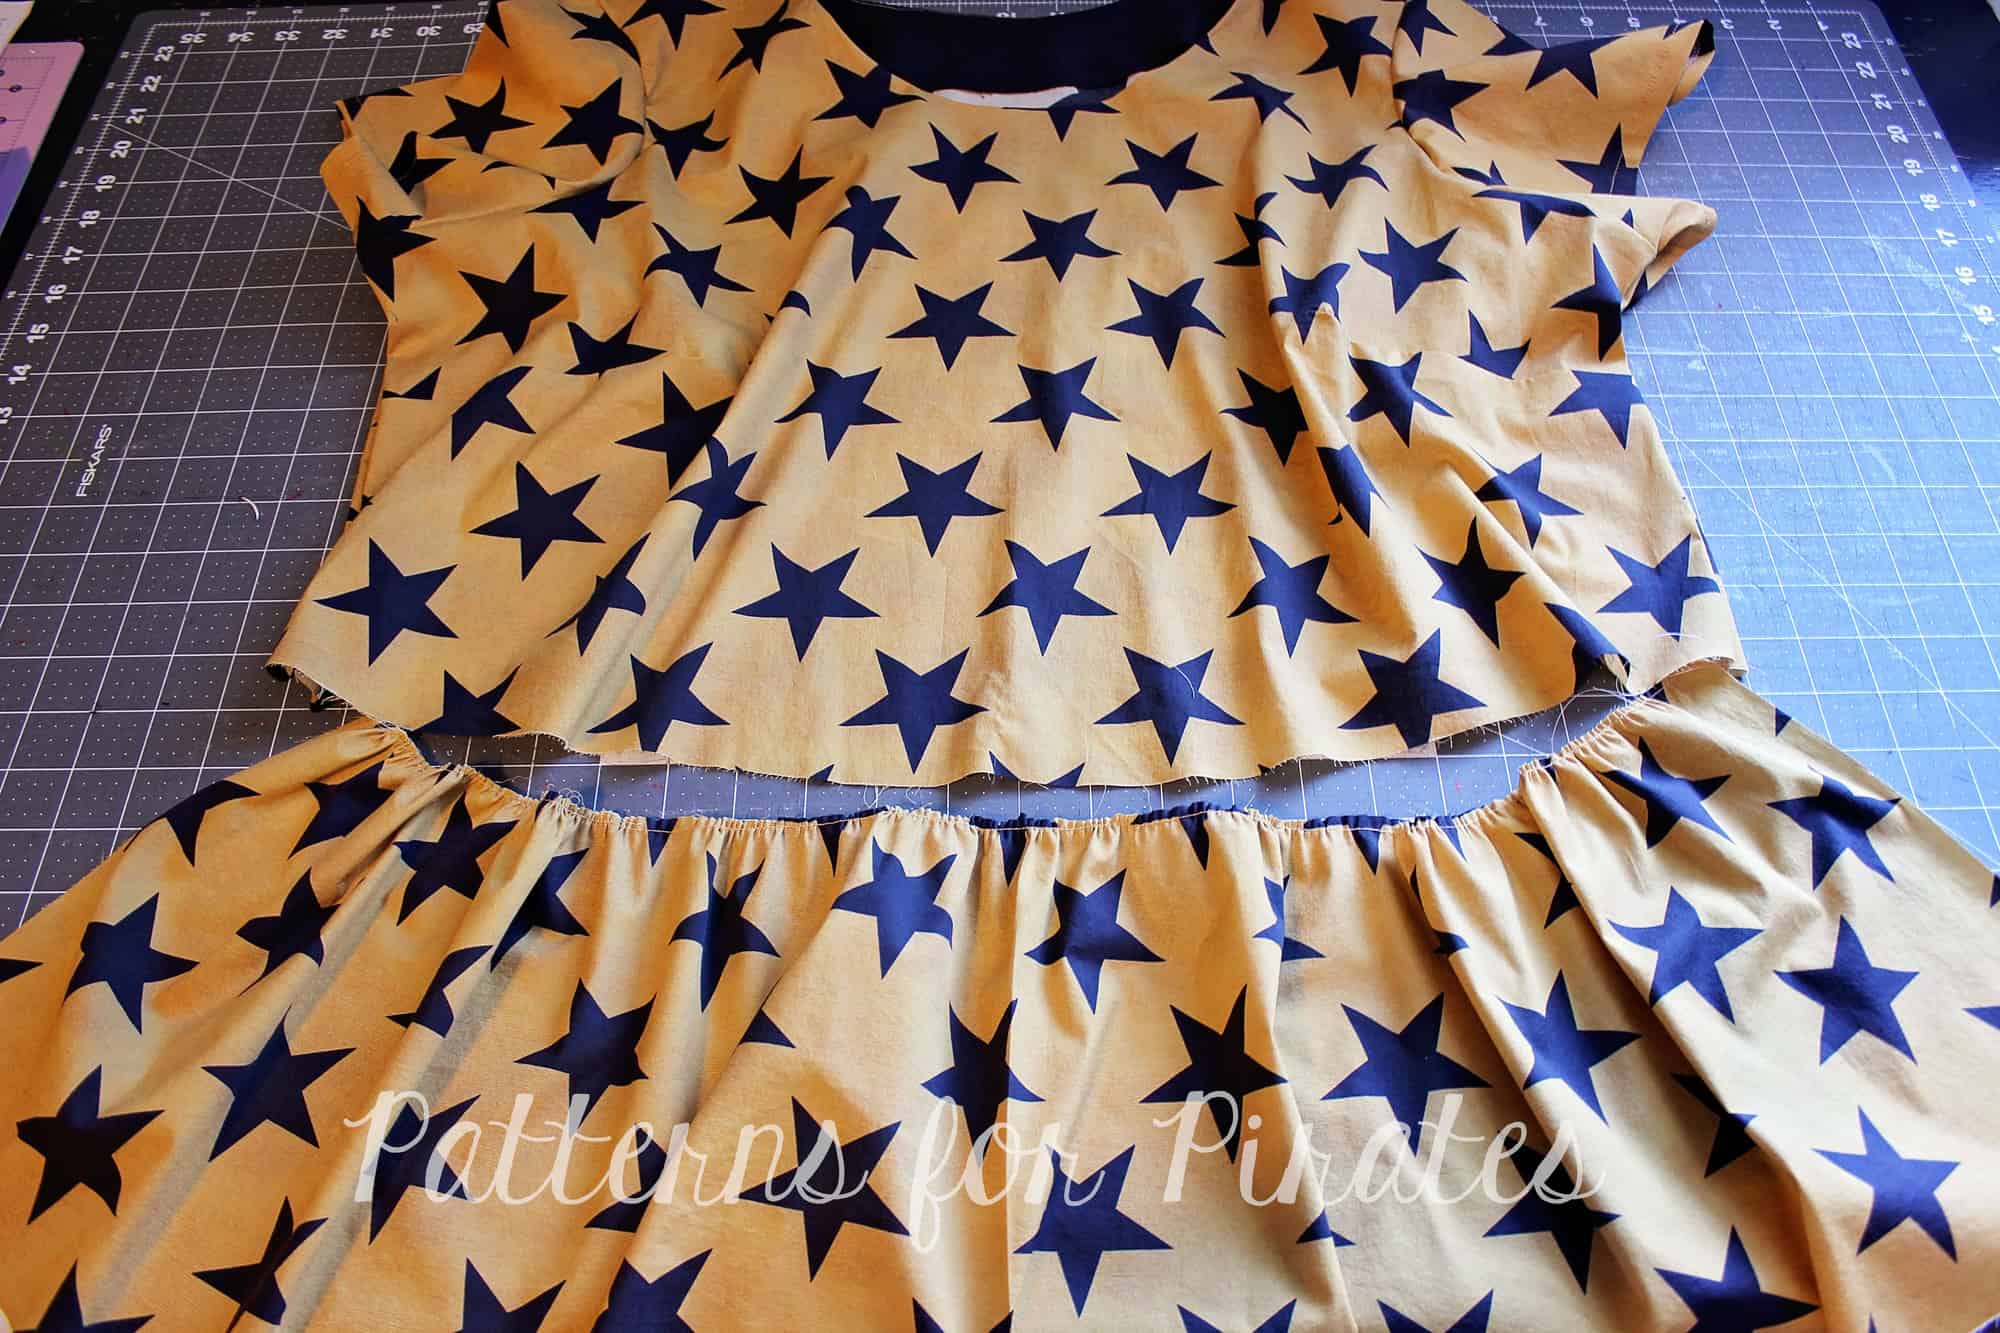
You will want to assemble your bodice as per the pattern instructions, up to the skirt. Once your bodice is finished, you will want to hem your two skirt pieces. I did remove a small piece from the corner of my skirts to help create a smoother hem.

Step 3: Attaching Skirt

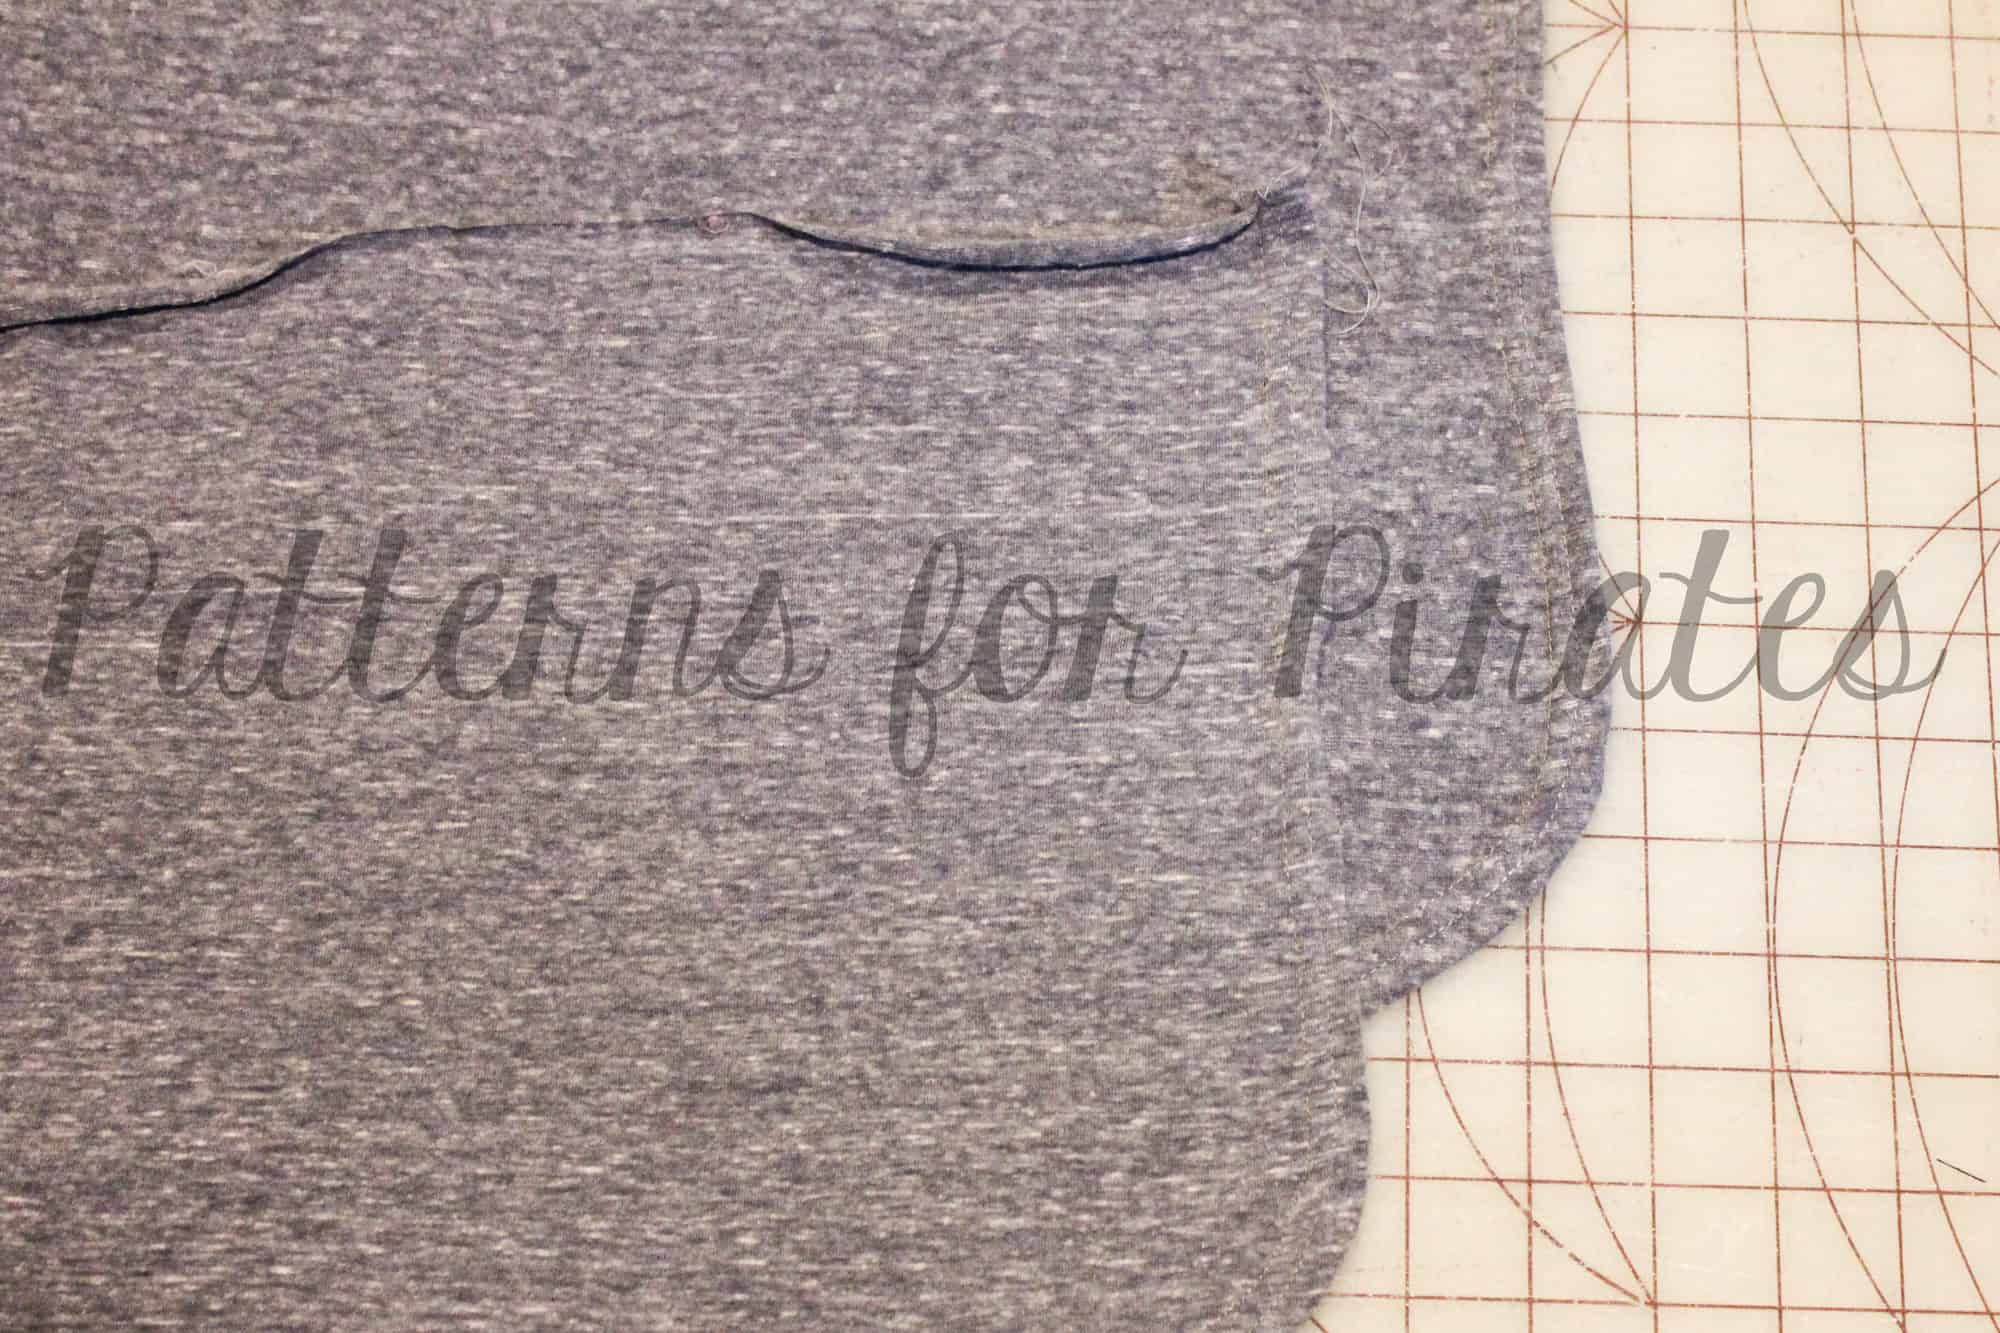
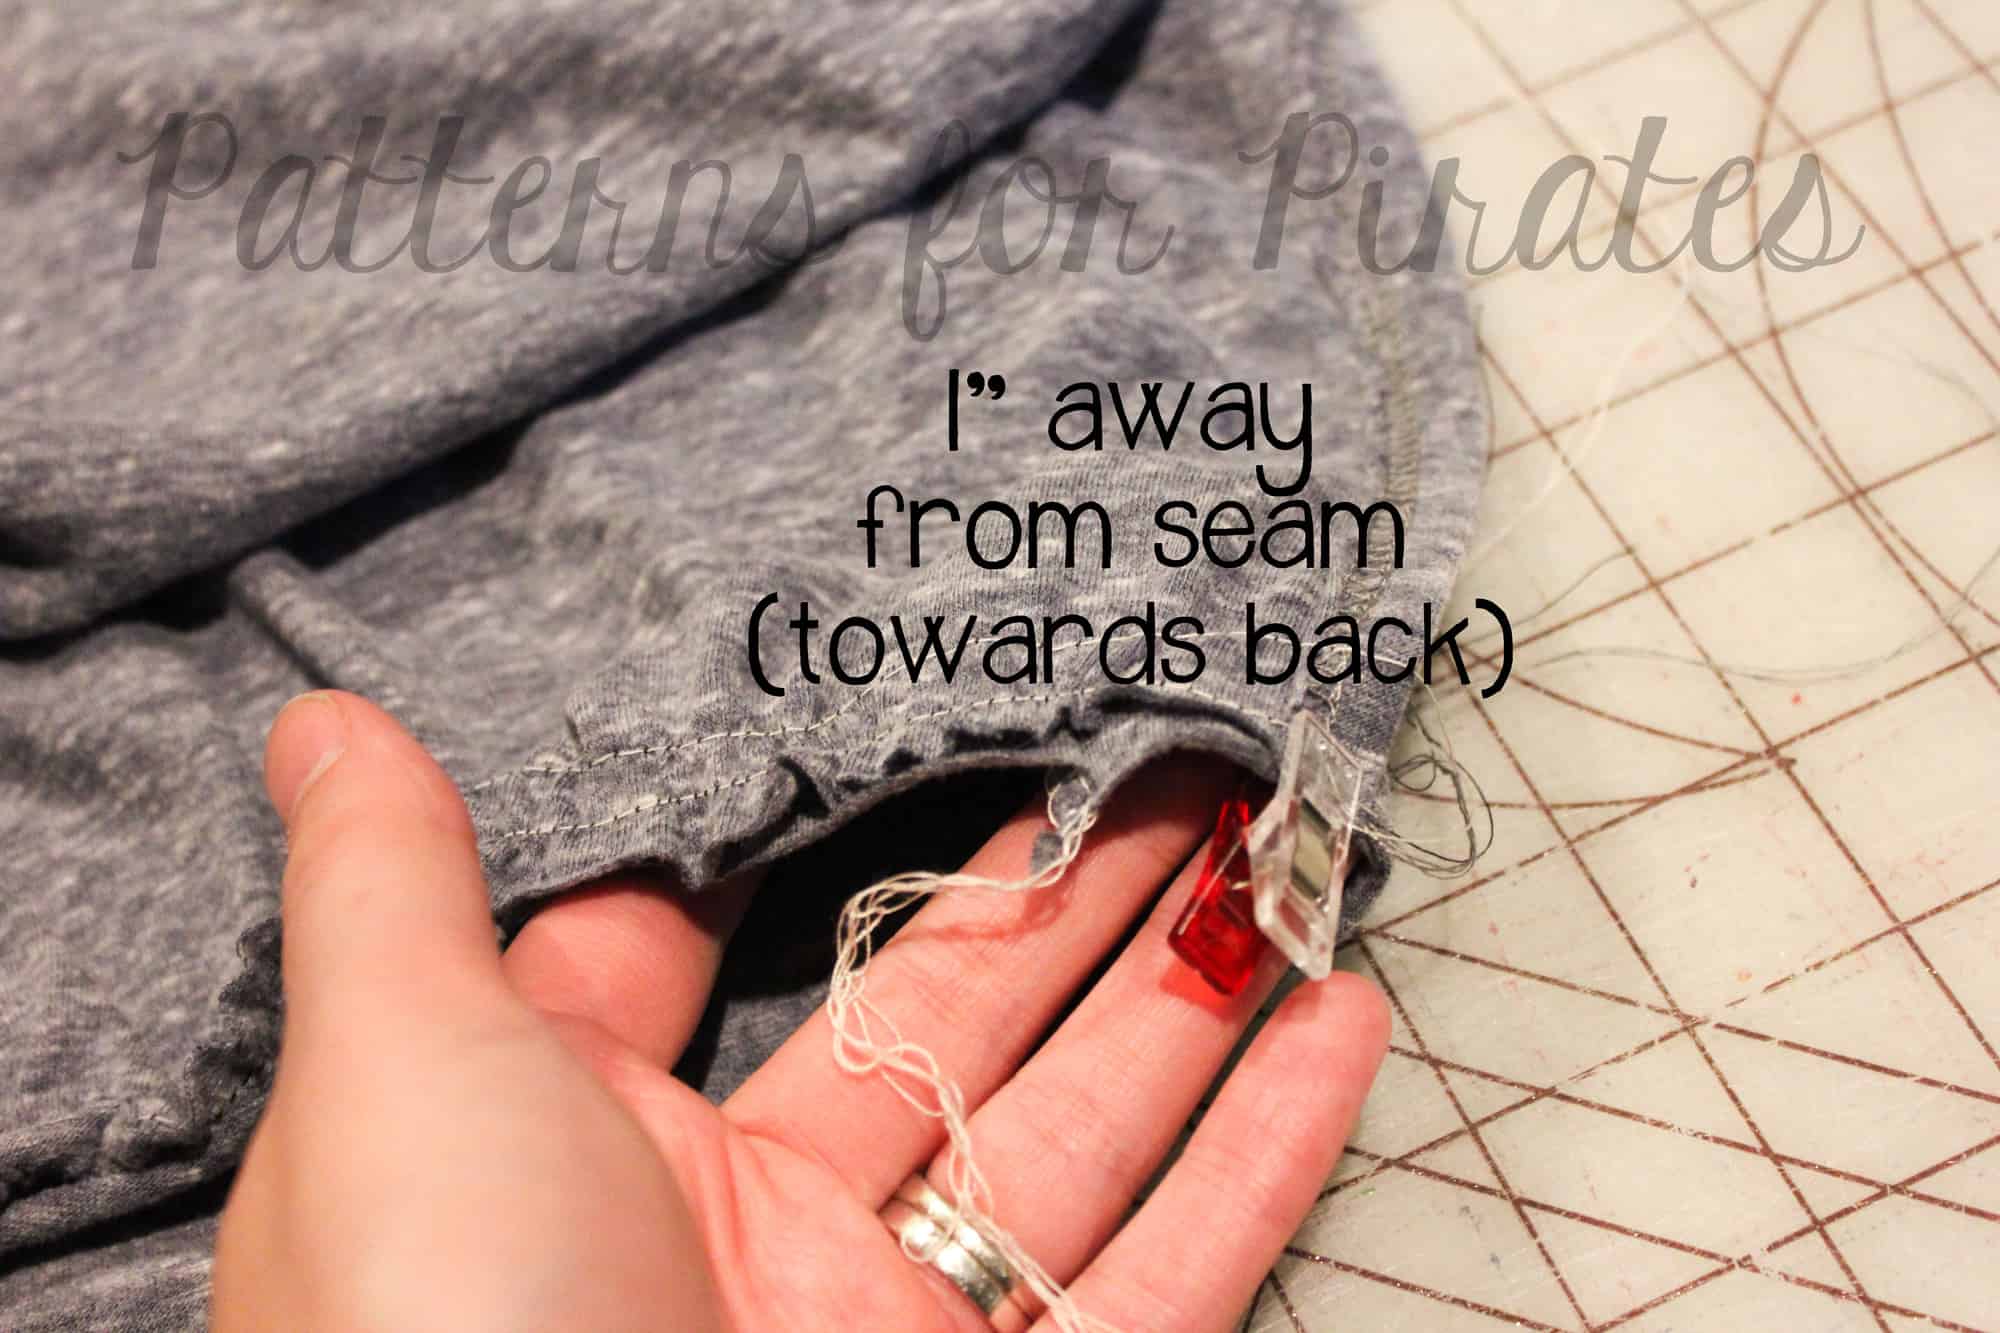
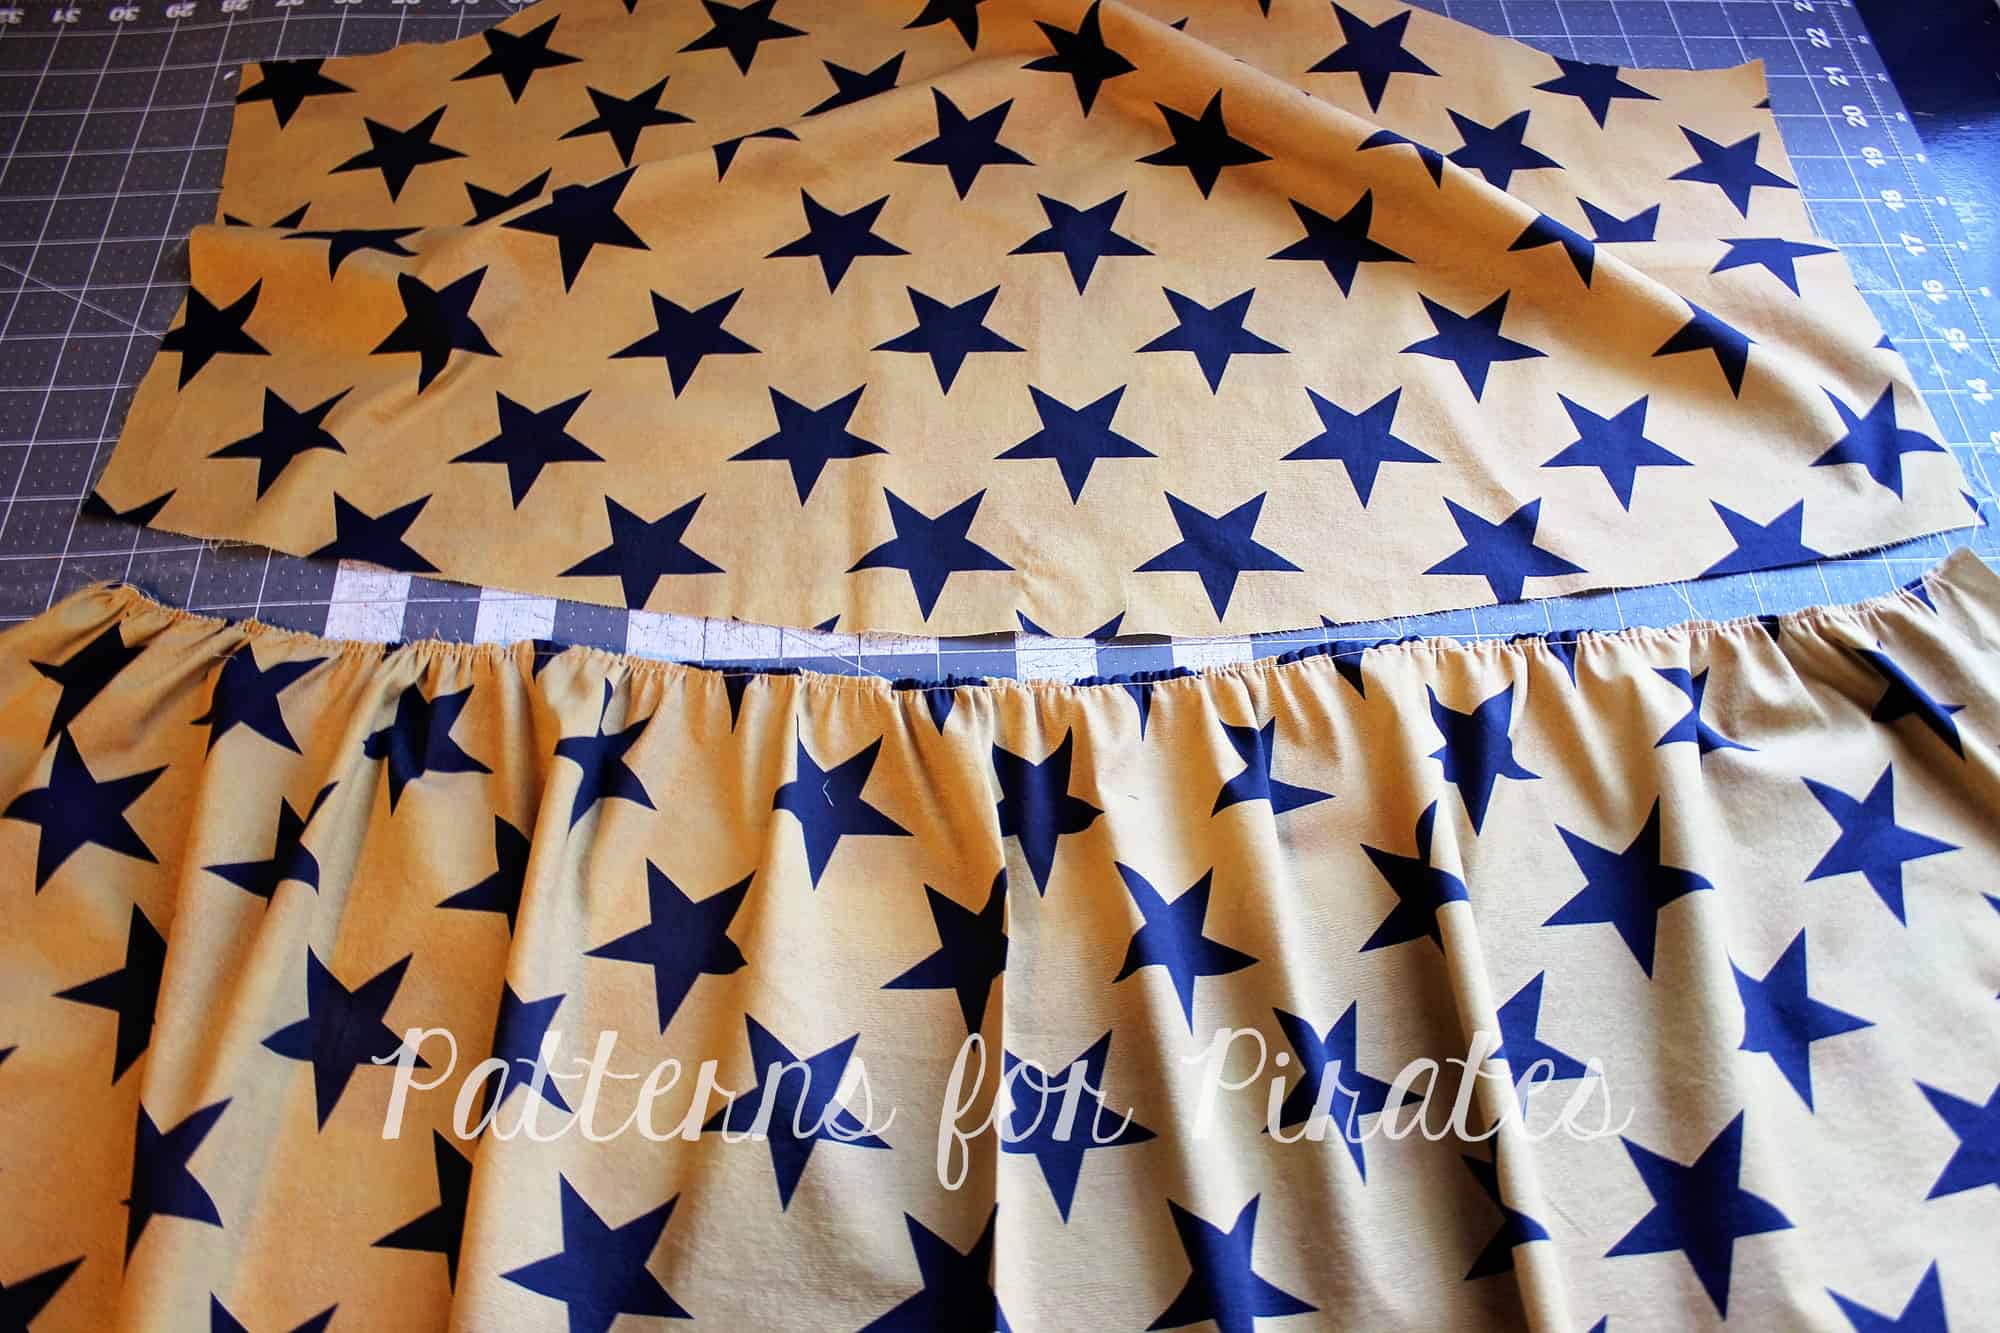
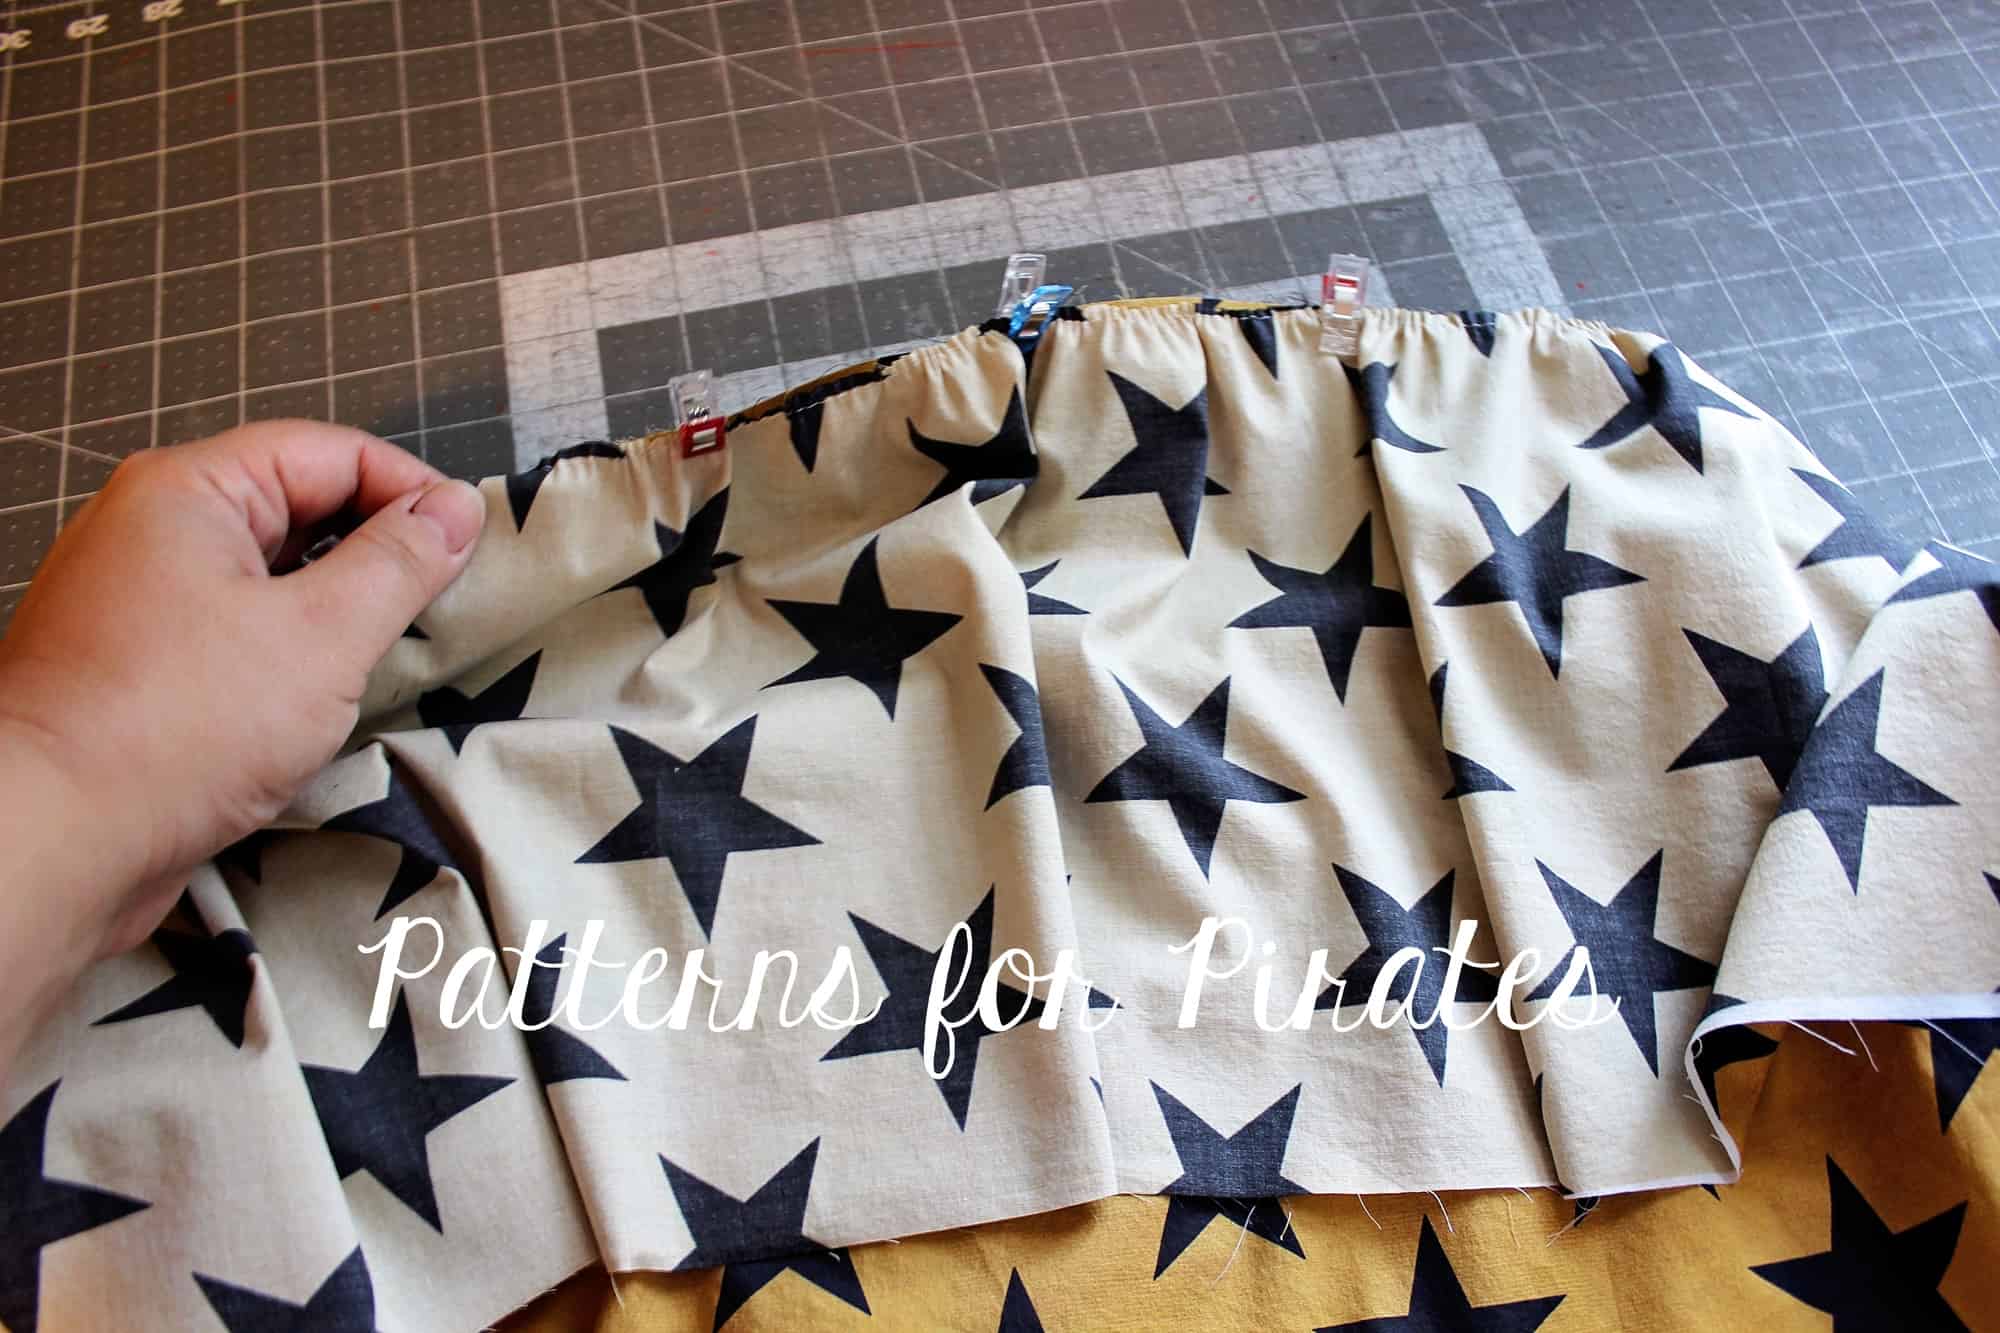
Once you’ve hemmed the skirts, you will want to create your gathering stitches. Taking your front piece, place right sides together with the front bodice and front skirt. Begin to pull your gathering stitches and even them out. Using your side seam as a guide, overlap the edge of the skirt piece 1″ past the seam and pin. Repeat the overlap on the opposite side seam.

Repeat the same process with the back skirt, however align the edge of the skirt with the side seam. 

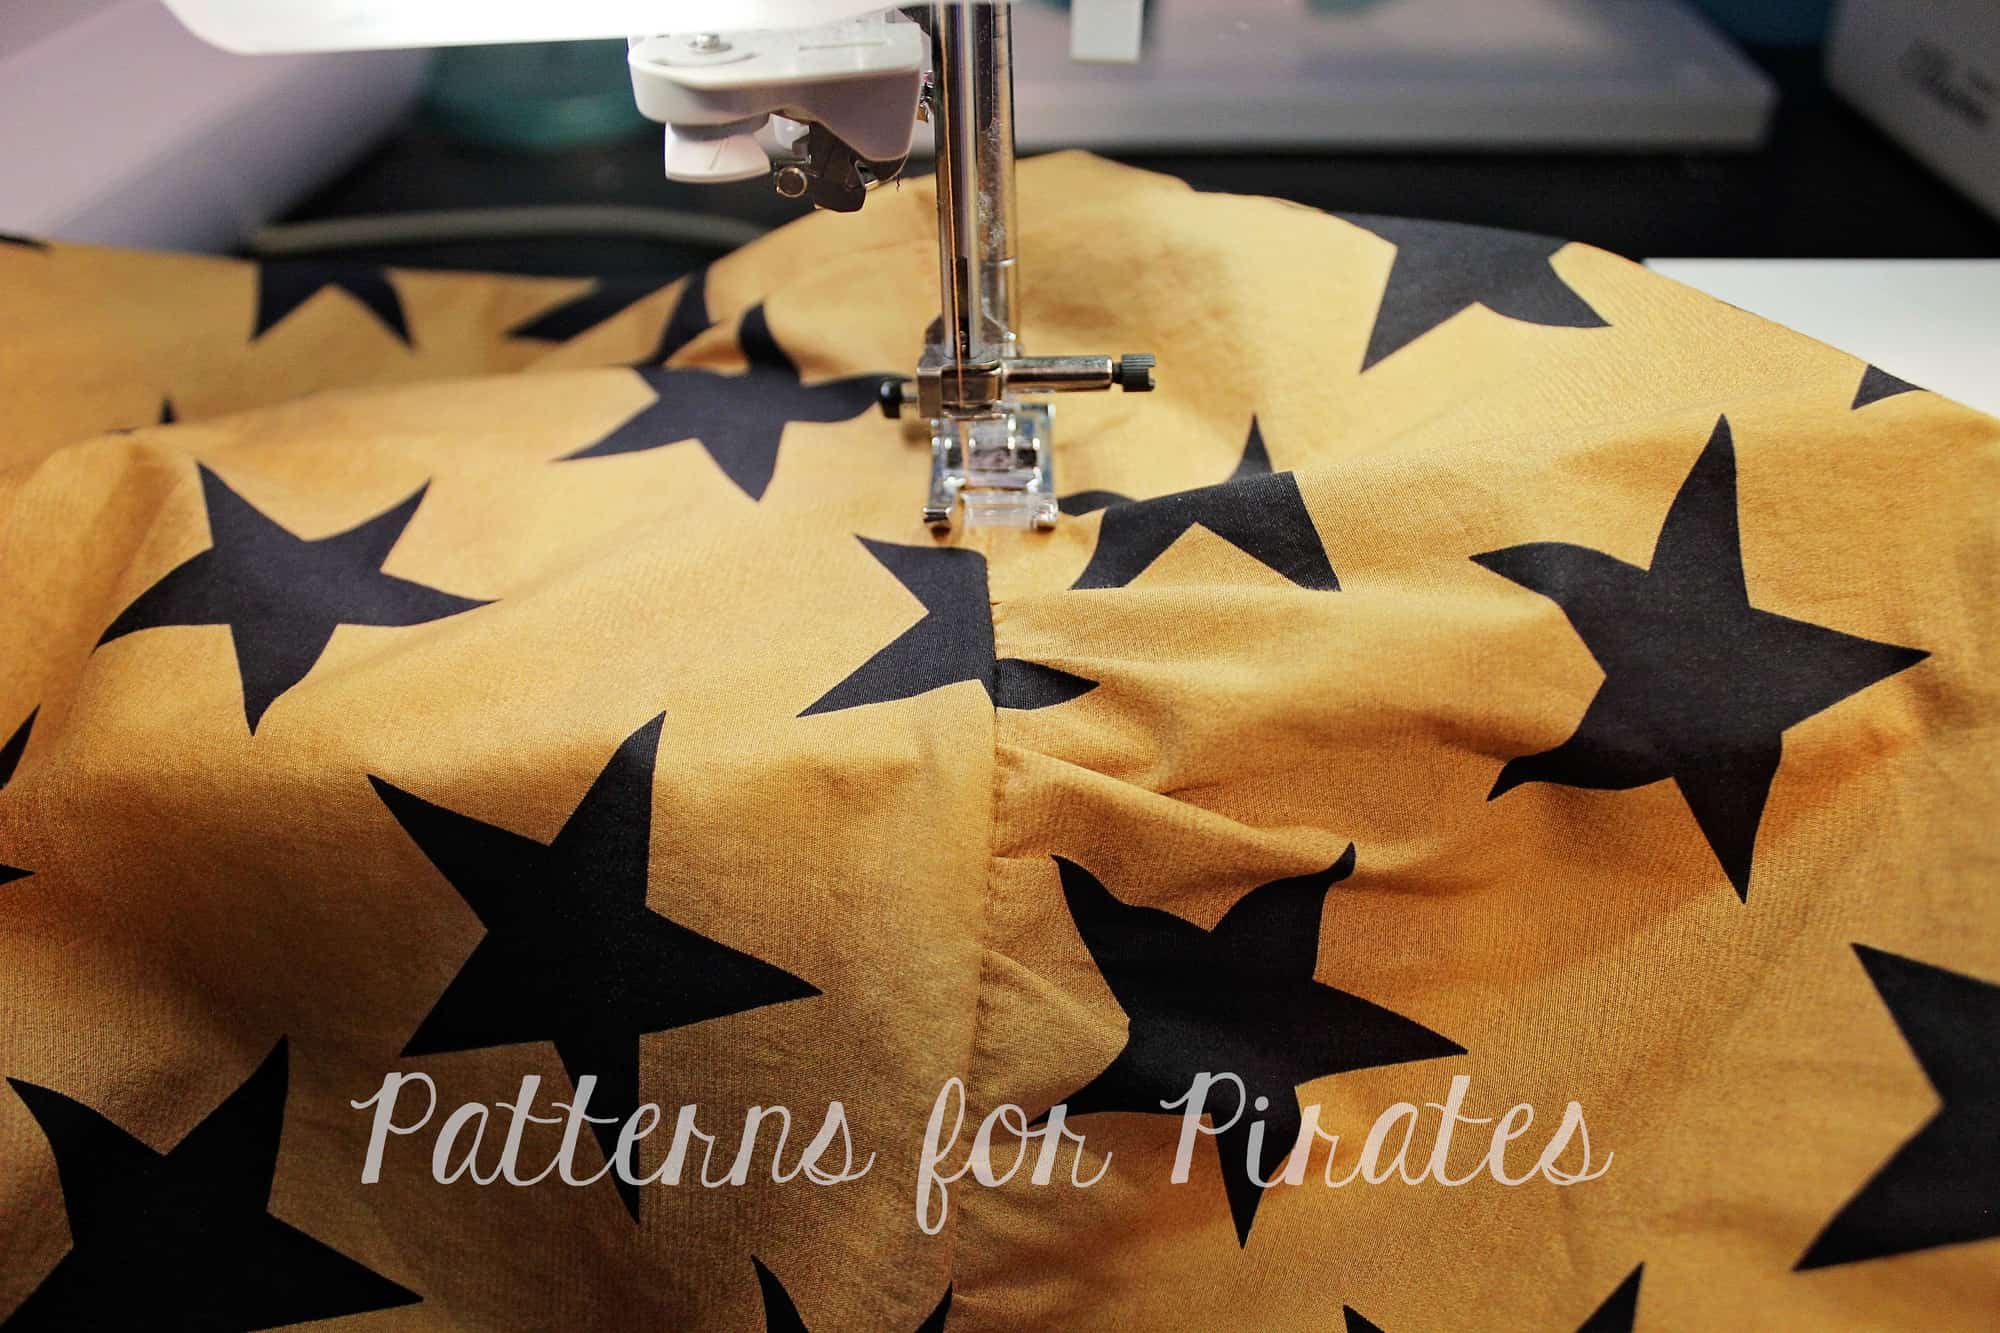
Attach skirt using a stretch stitch or serger and you’re all finished!

This hack is quick to complete and gives a fun detail to your shirt! Not only can this look be fun for everyday, but it can also be used for a swim cover and even a nursing friendly shirt! Enjoy and make sure to share your creations in our Facebook Group!
~Erinn

…..

Trim Accents


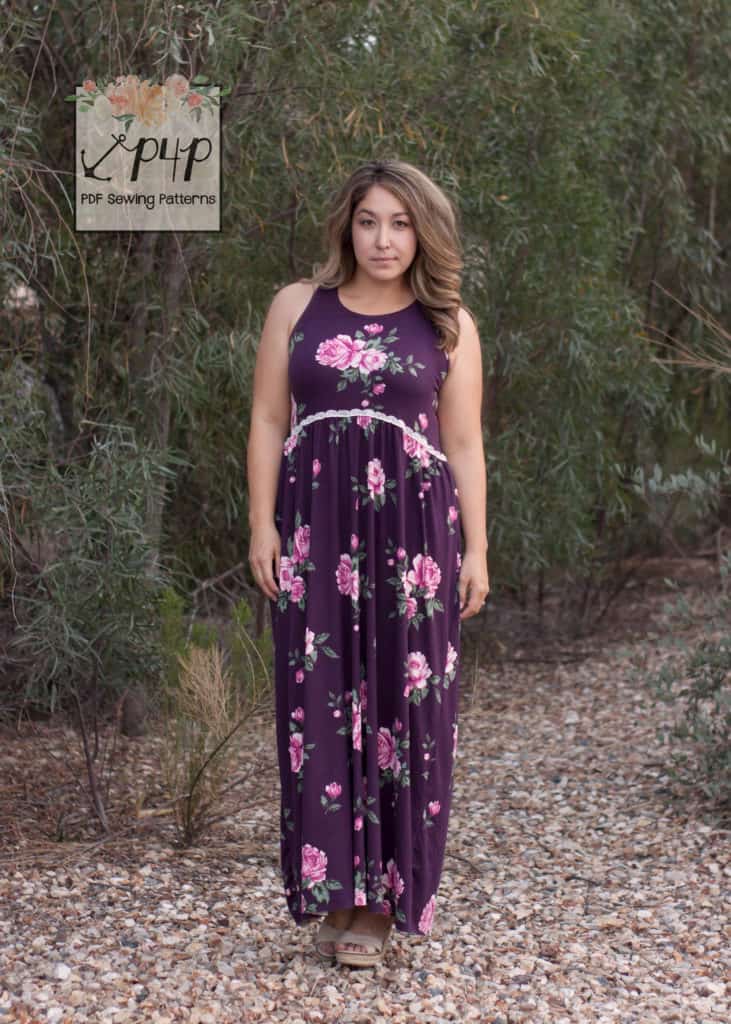
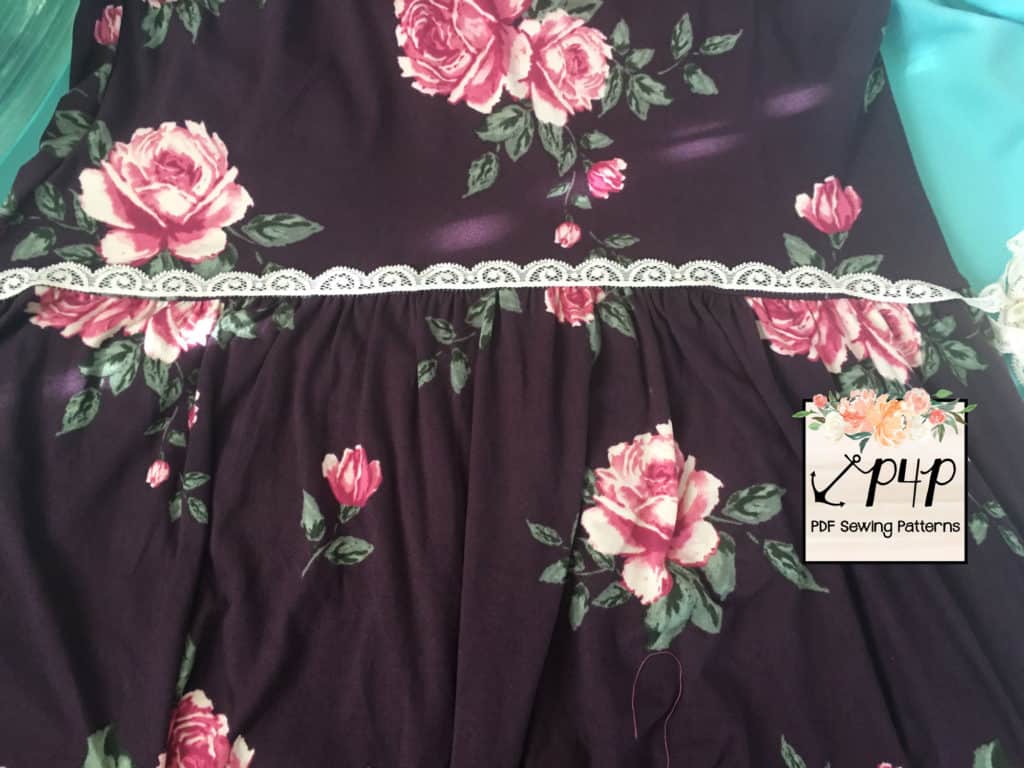
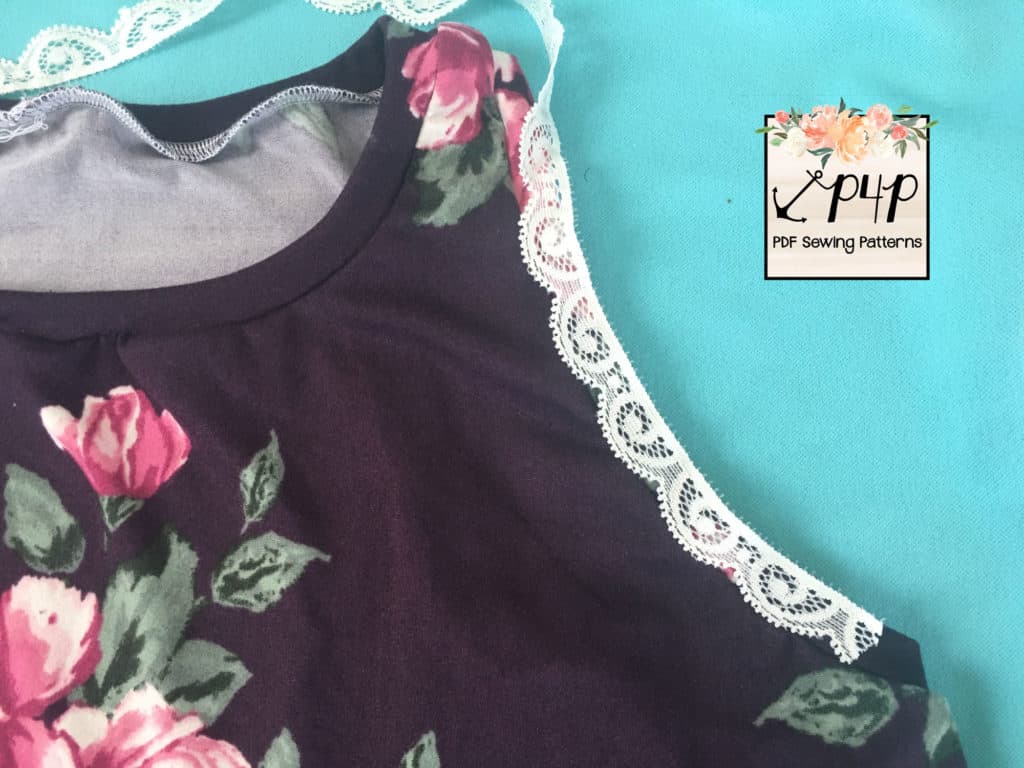
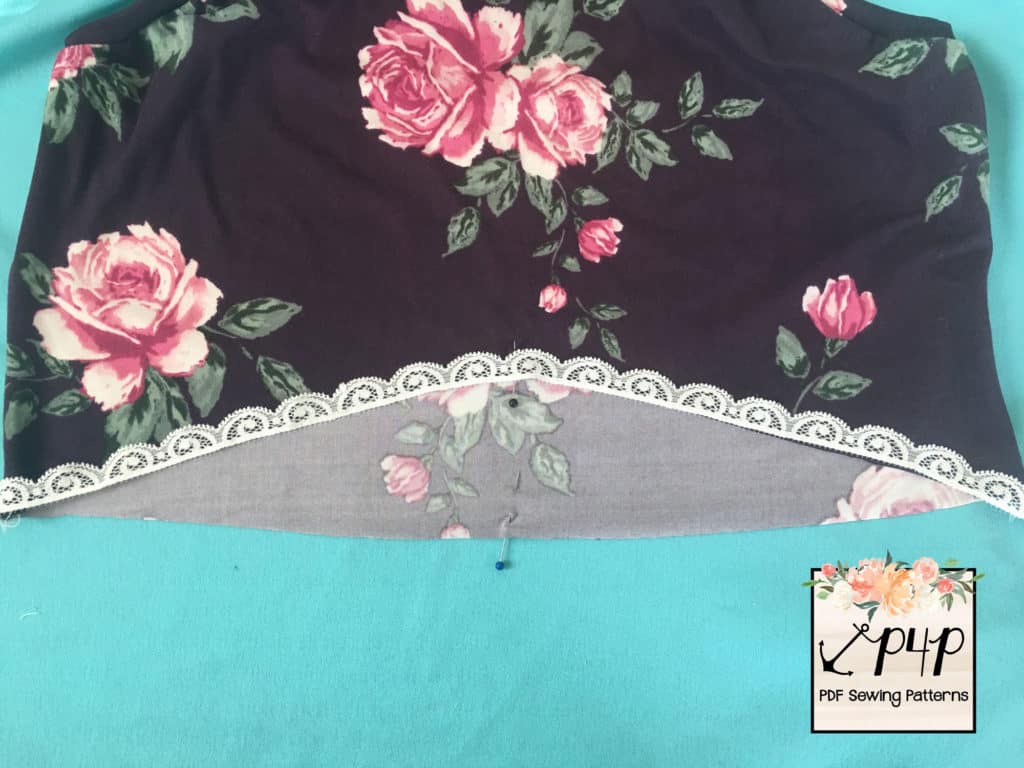
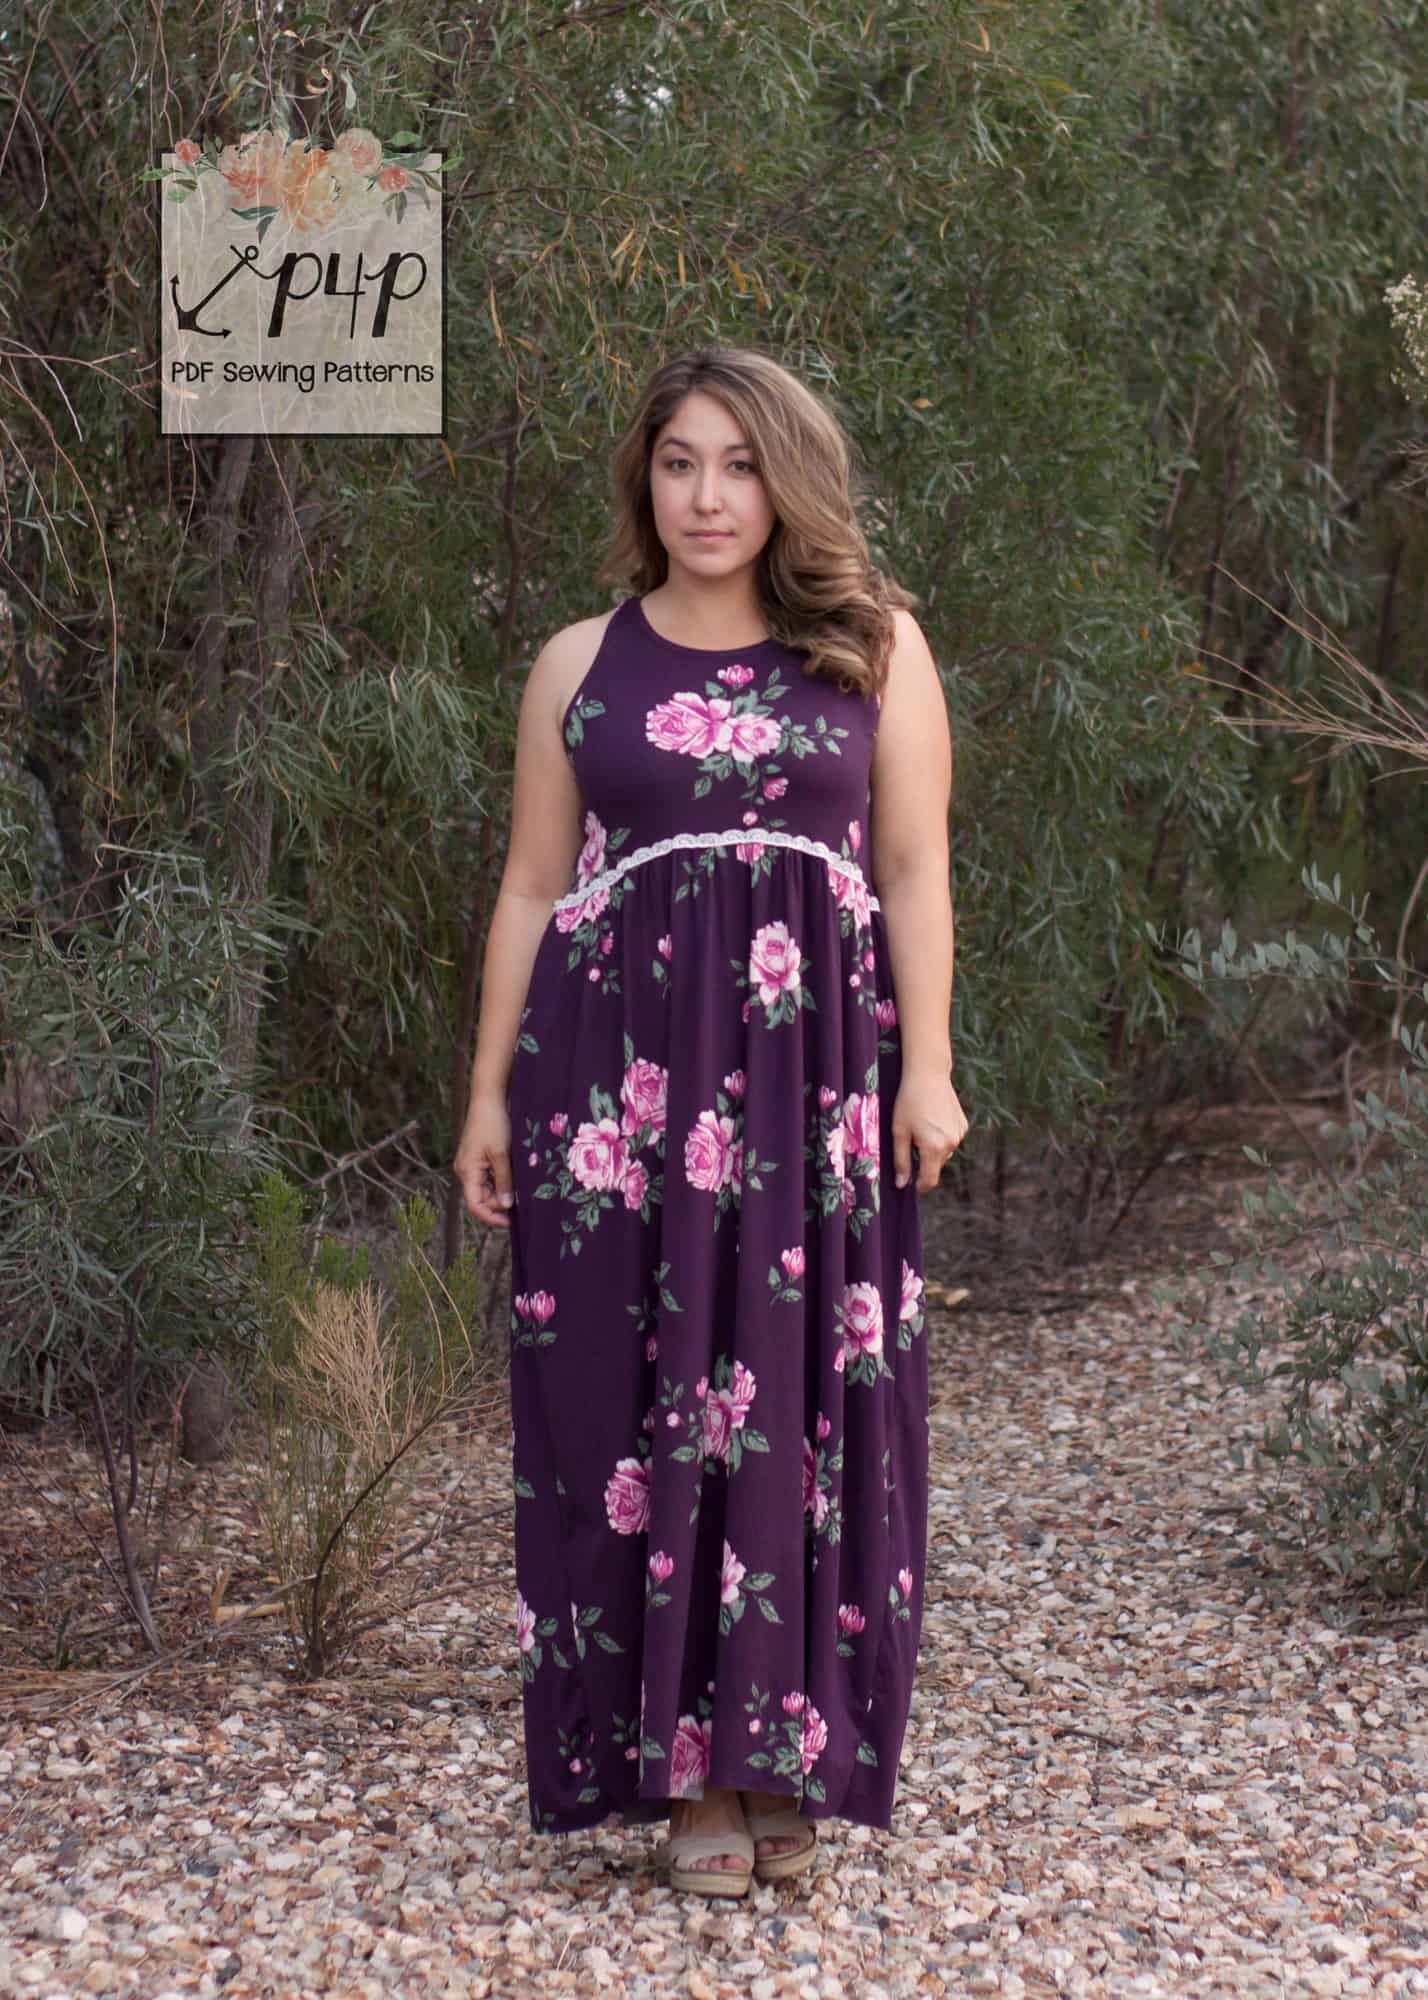
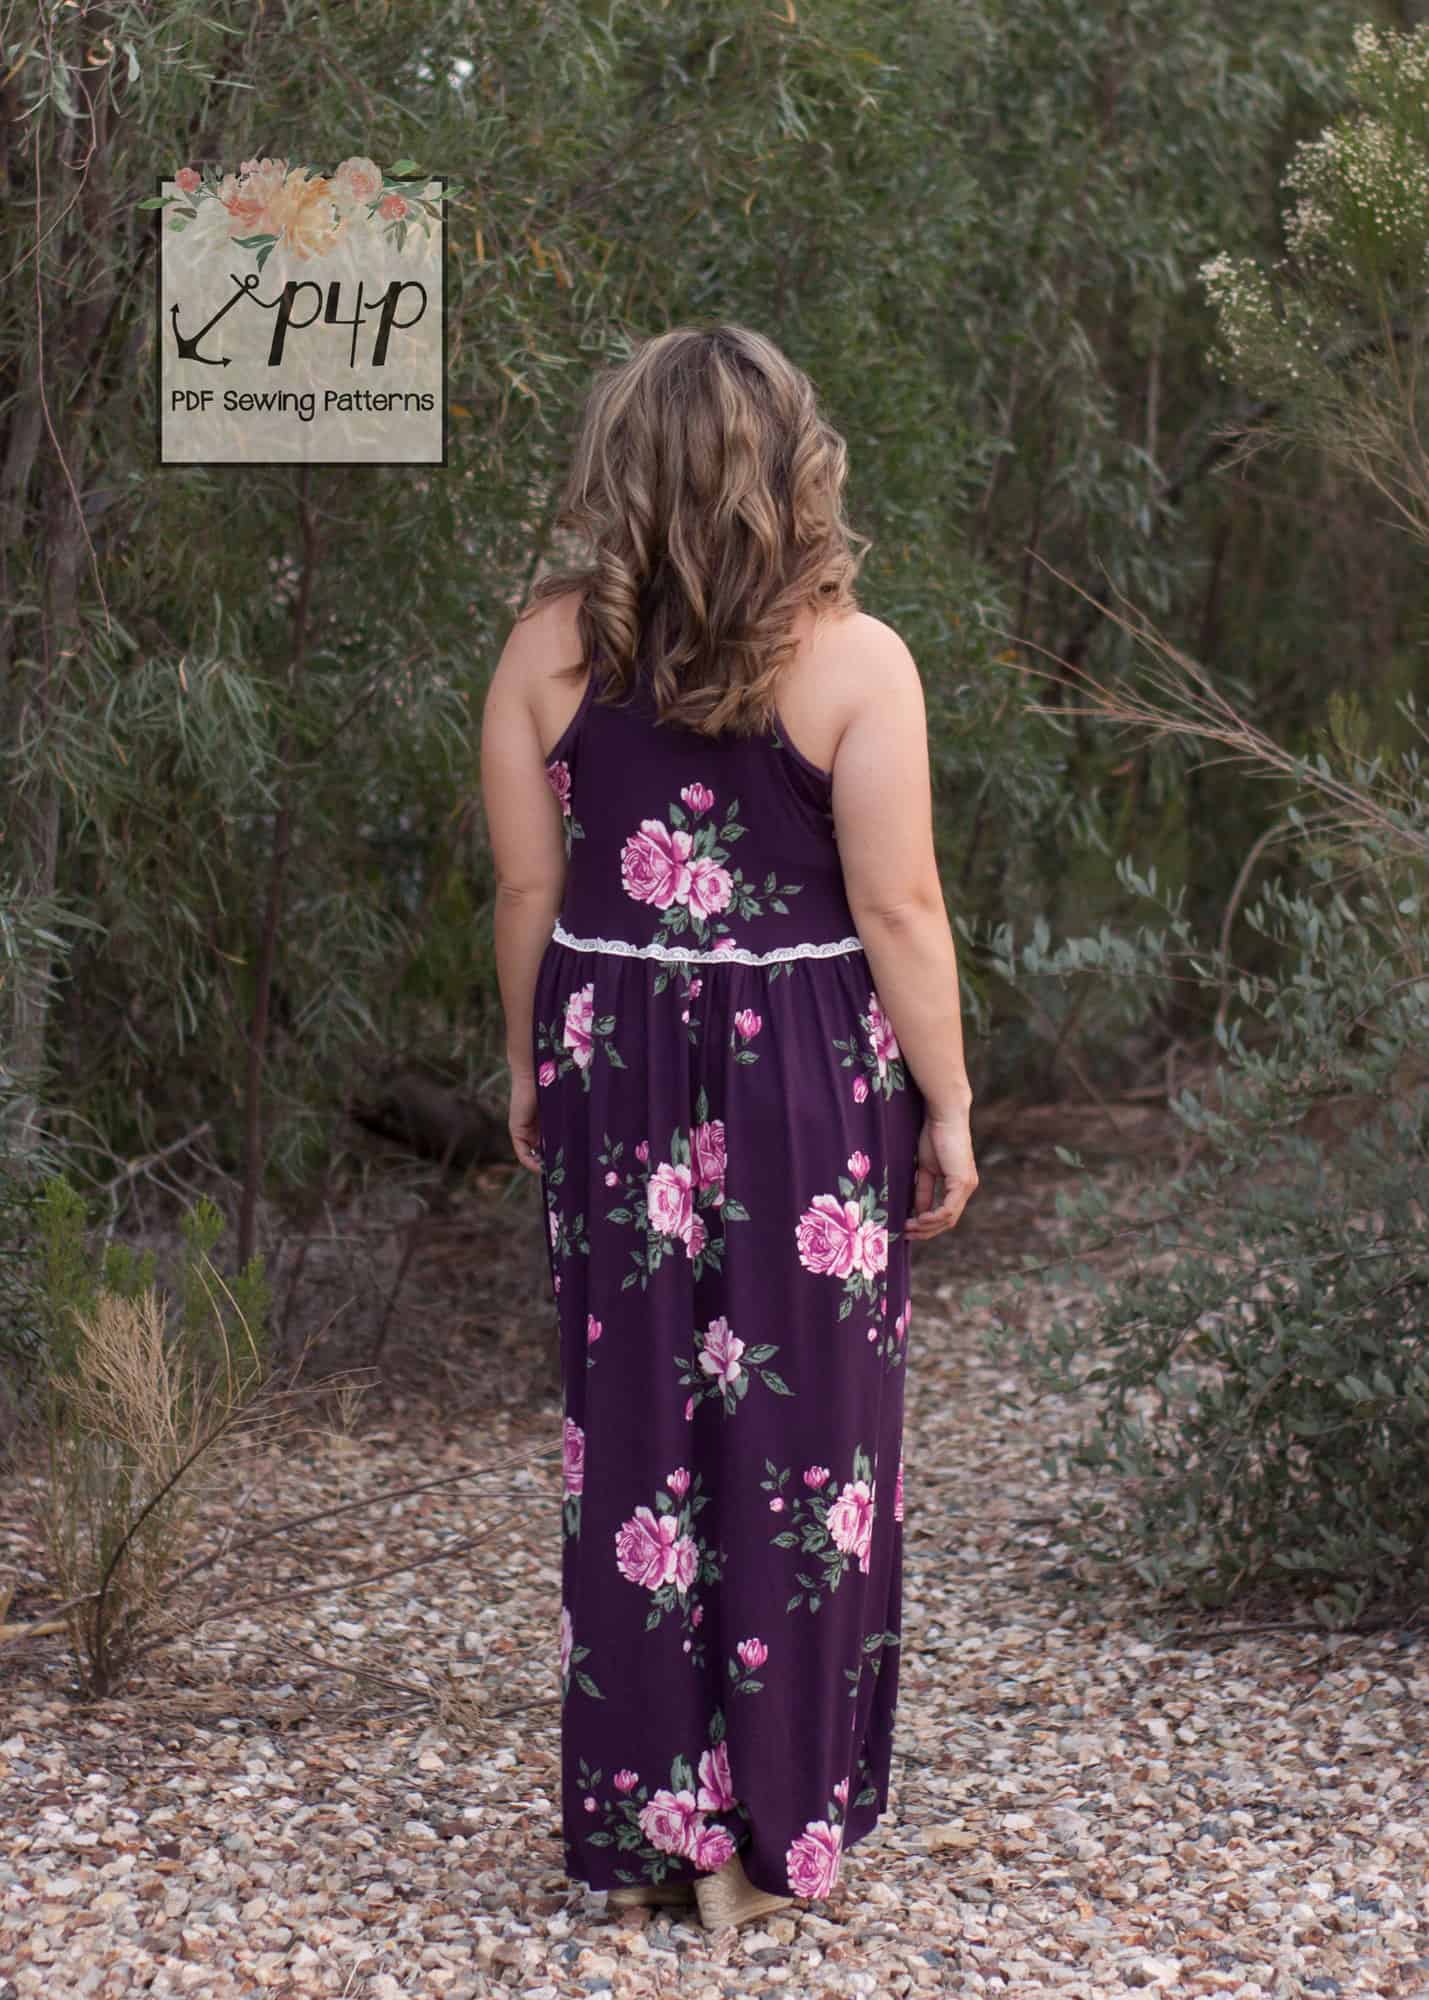
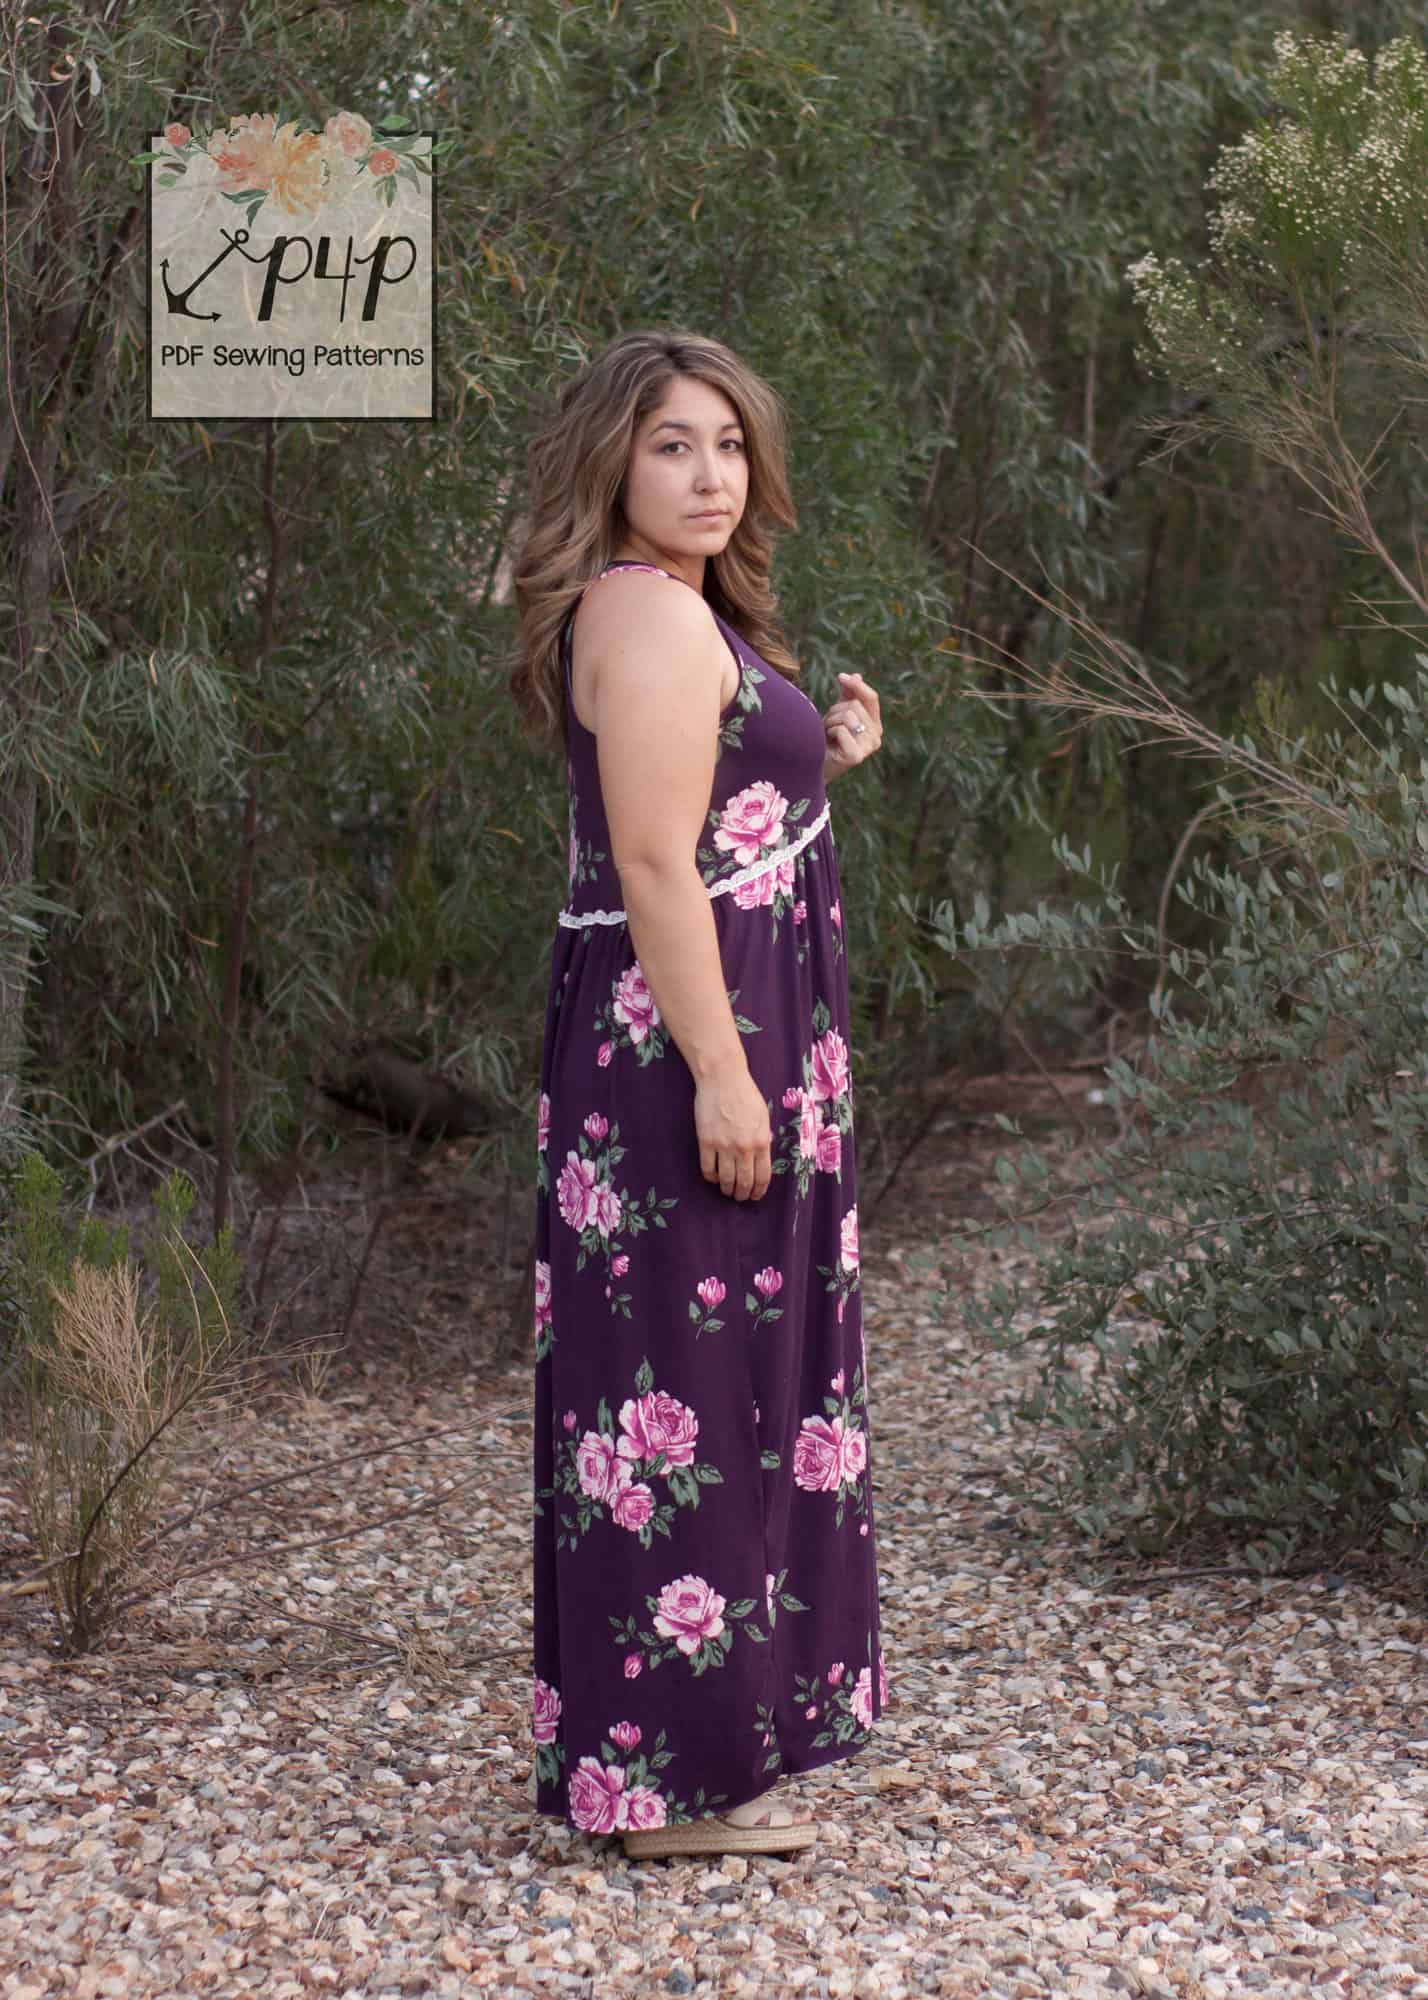
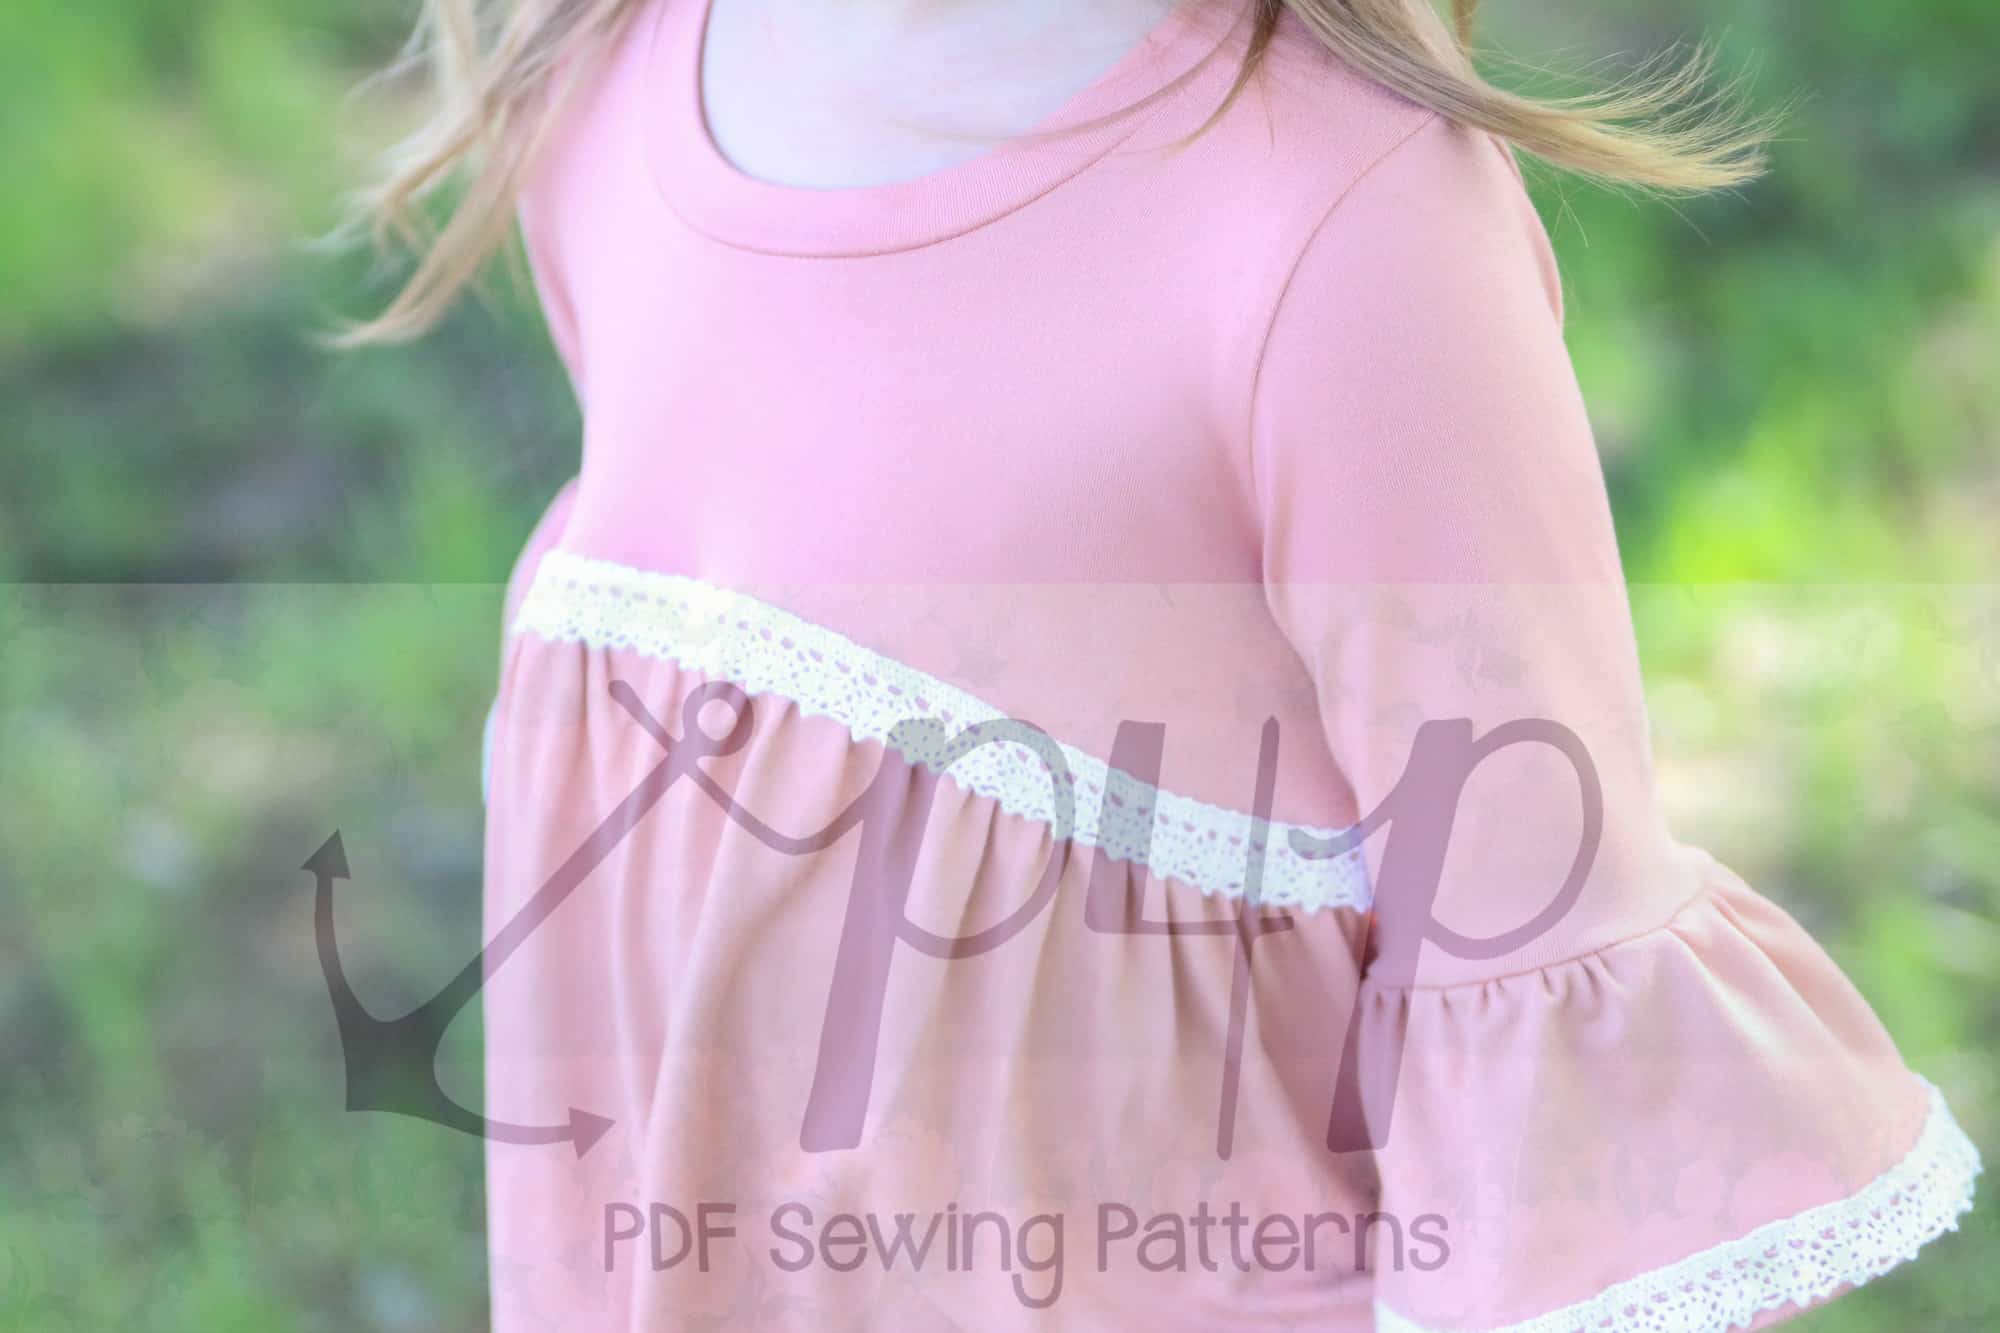
A little detail can go a long way.  The baby doll is perfect for adding lace trim details as it is not fitted through the waist so using a crochet trim or non-stretch trim is an option.  You can also add trim around the neckline and armholes but would recommend using a stretch lace as you still need to be able to pull the top over your head.  For my option, I used a pretty narrow trim so constructed my dress as usual and then topstitched it along the seam allowance.  If using a wider trim, you can baste it to the bodice prior to attaching the skirt.

Construct the top/dress first, then topsttich trim along the seam allowance.

Topstitch lace trim to the armhole and/or neckline

Baste trim to bodice edge then attach your skirt.


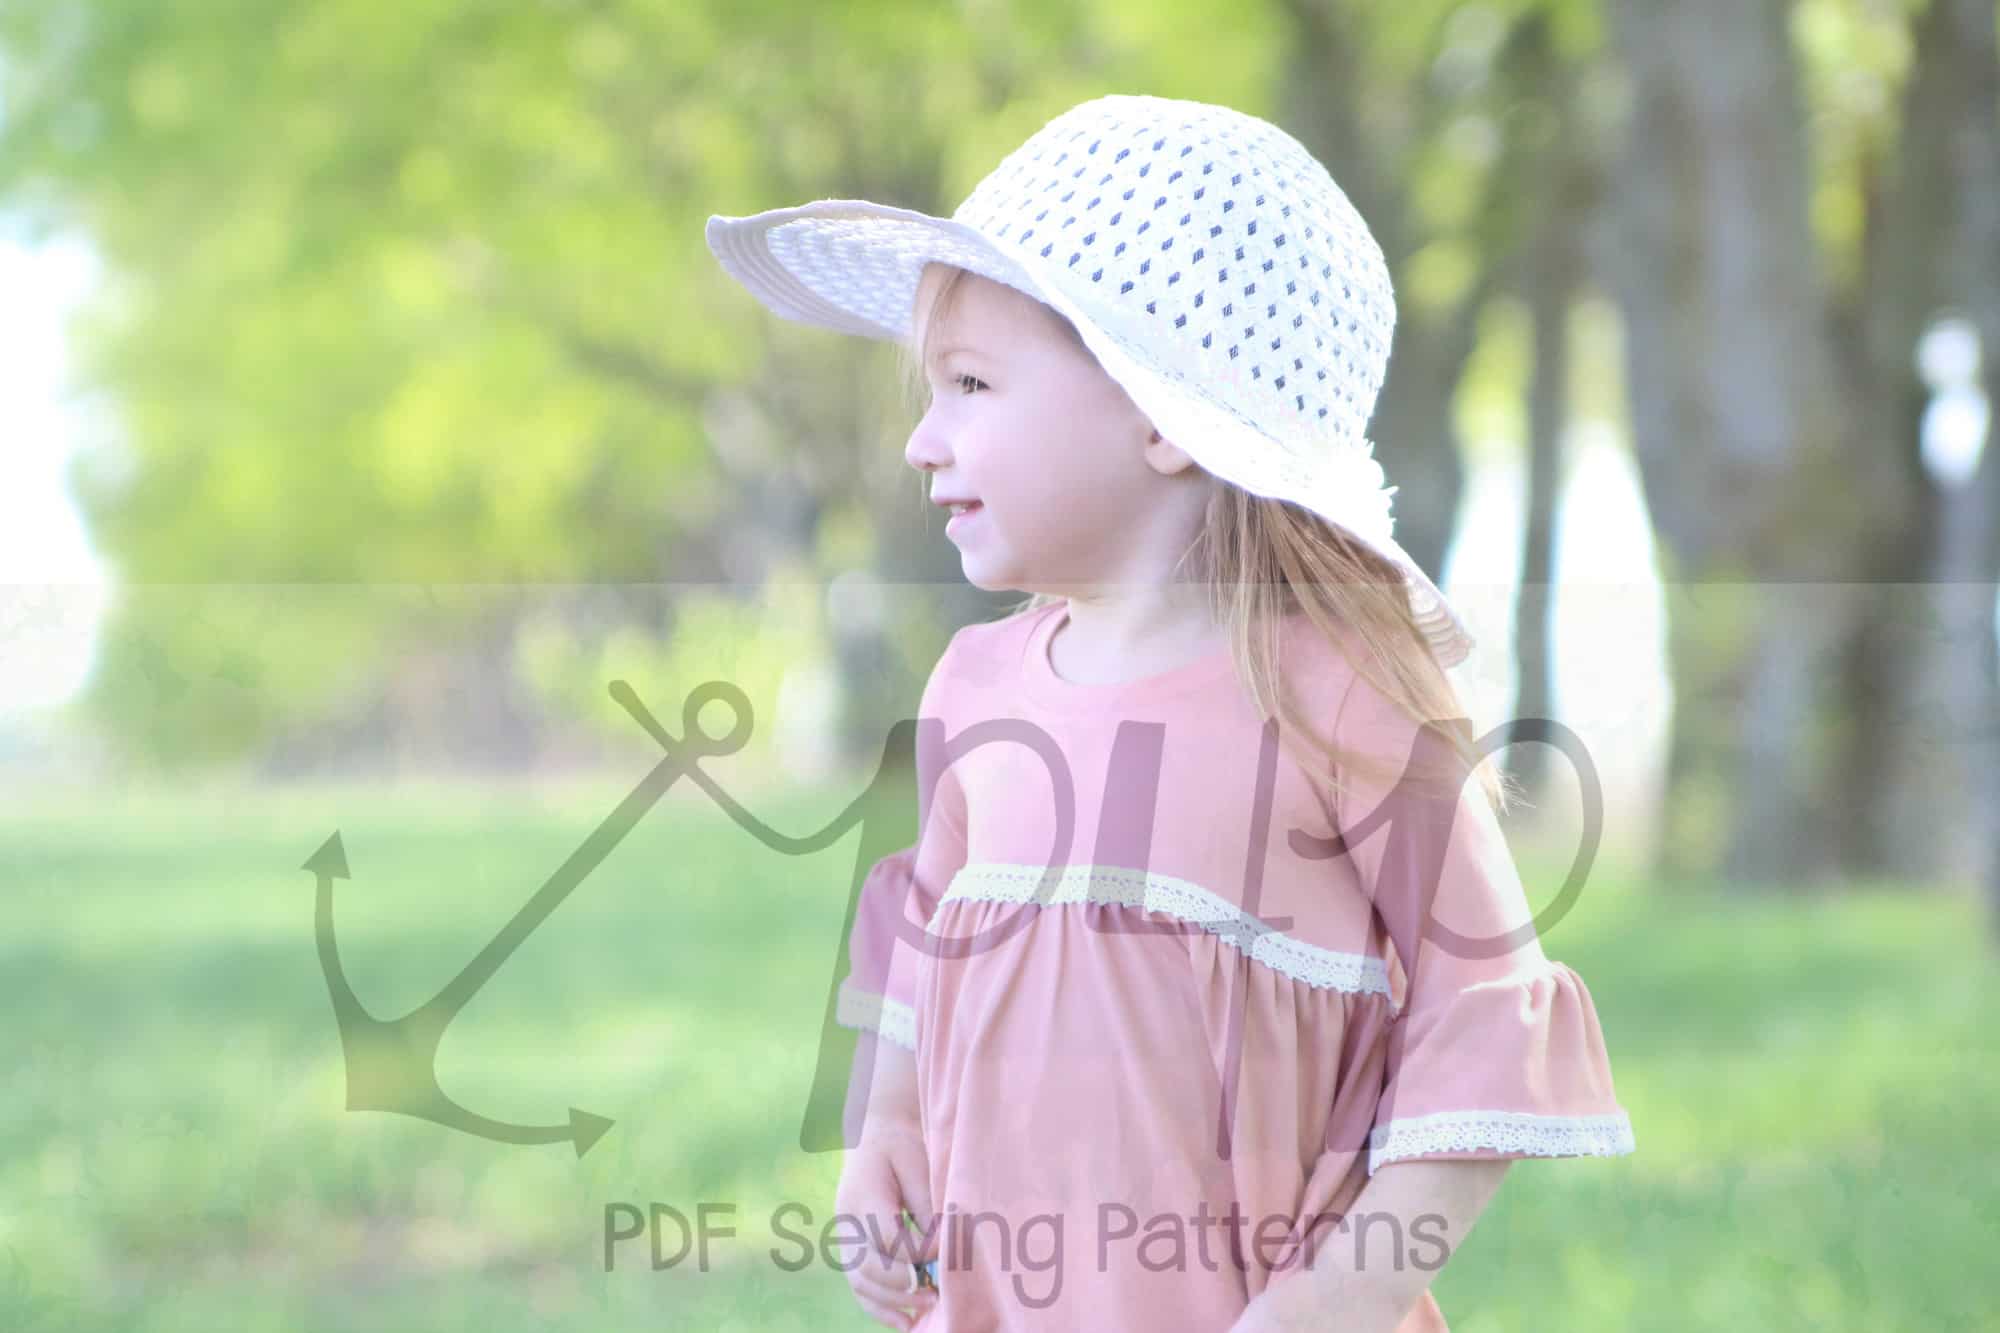
Here is another example on a youth version.  Judy used a crochet, non-stretch trim and top-stitched it on after construction to the bodice seam and the hem of the ruffle (both places that wont miss the stretch since they’re looser parts of the garment.


…..

Waist Seam Ruffle

Last but certainly not least we wanted to show you a different way to sew the skirt to the bodice. This method will give your waist a ruffled look without adding any ruffles or changing the pattern pieces.

For this easy hack you will not be modifying the pattern pieces or adding any additional ones. Print the pattern and cut the fabric for your size.

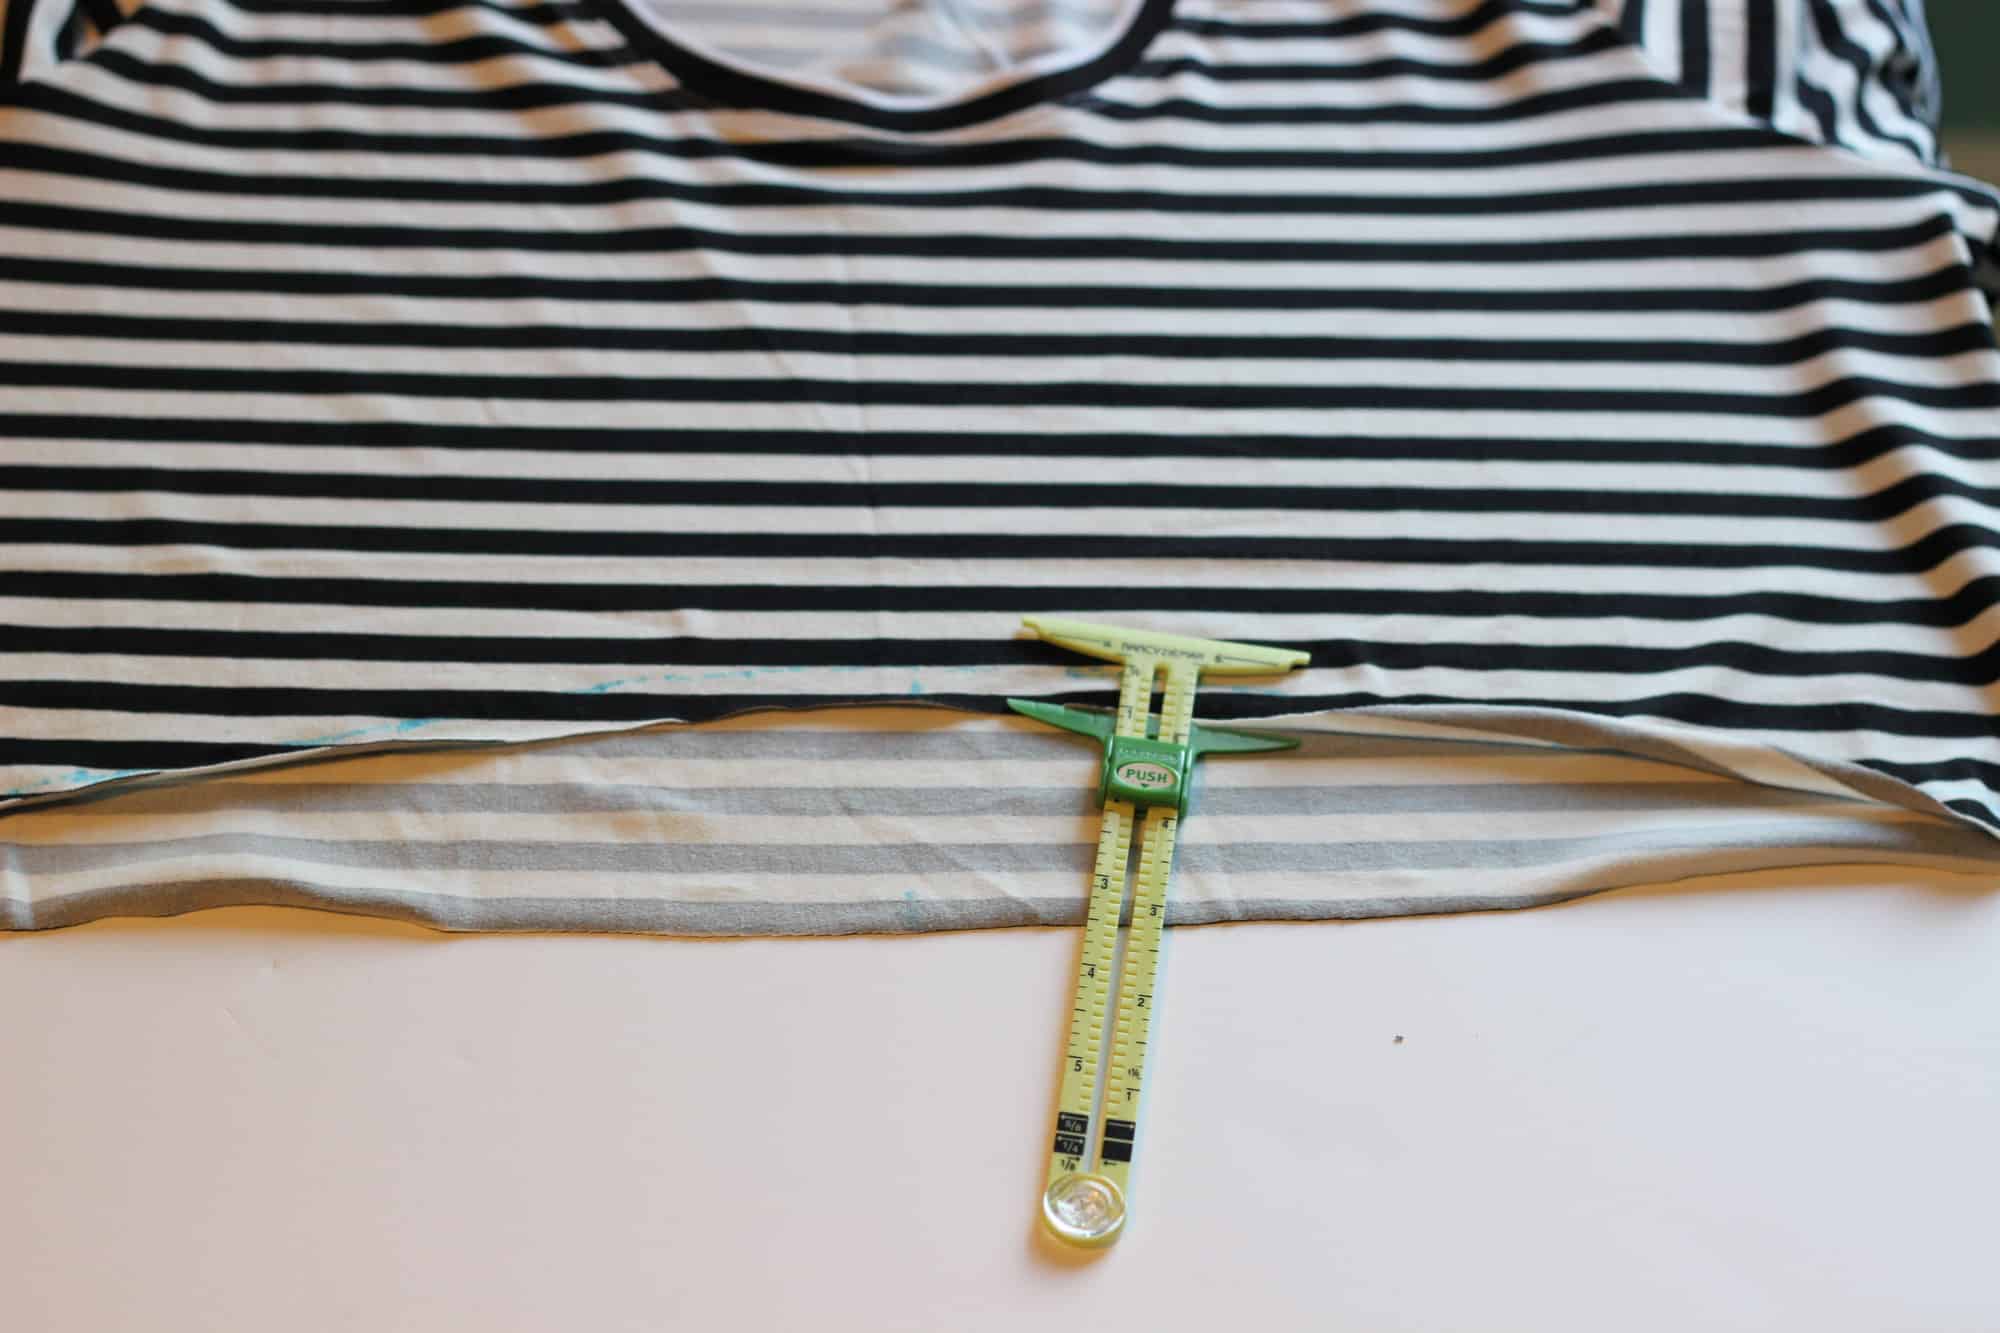
Using a fabric pen or tailor chalk mark the 1/2″ seam allowance on the bottom of the bodice.

Tip: for an extra pop of color finish the top of the skirt with a rolled hem.

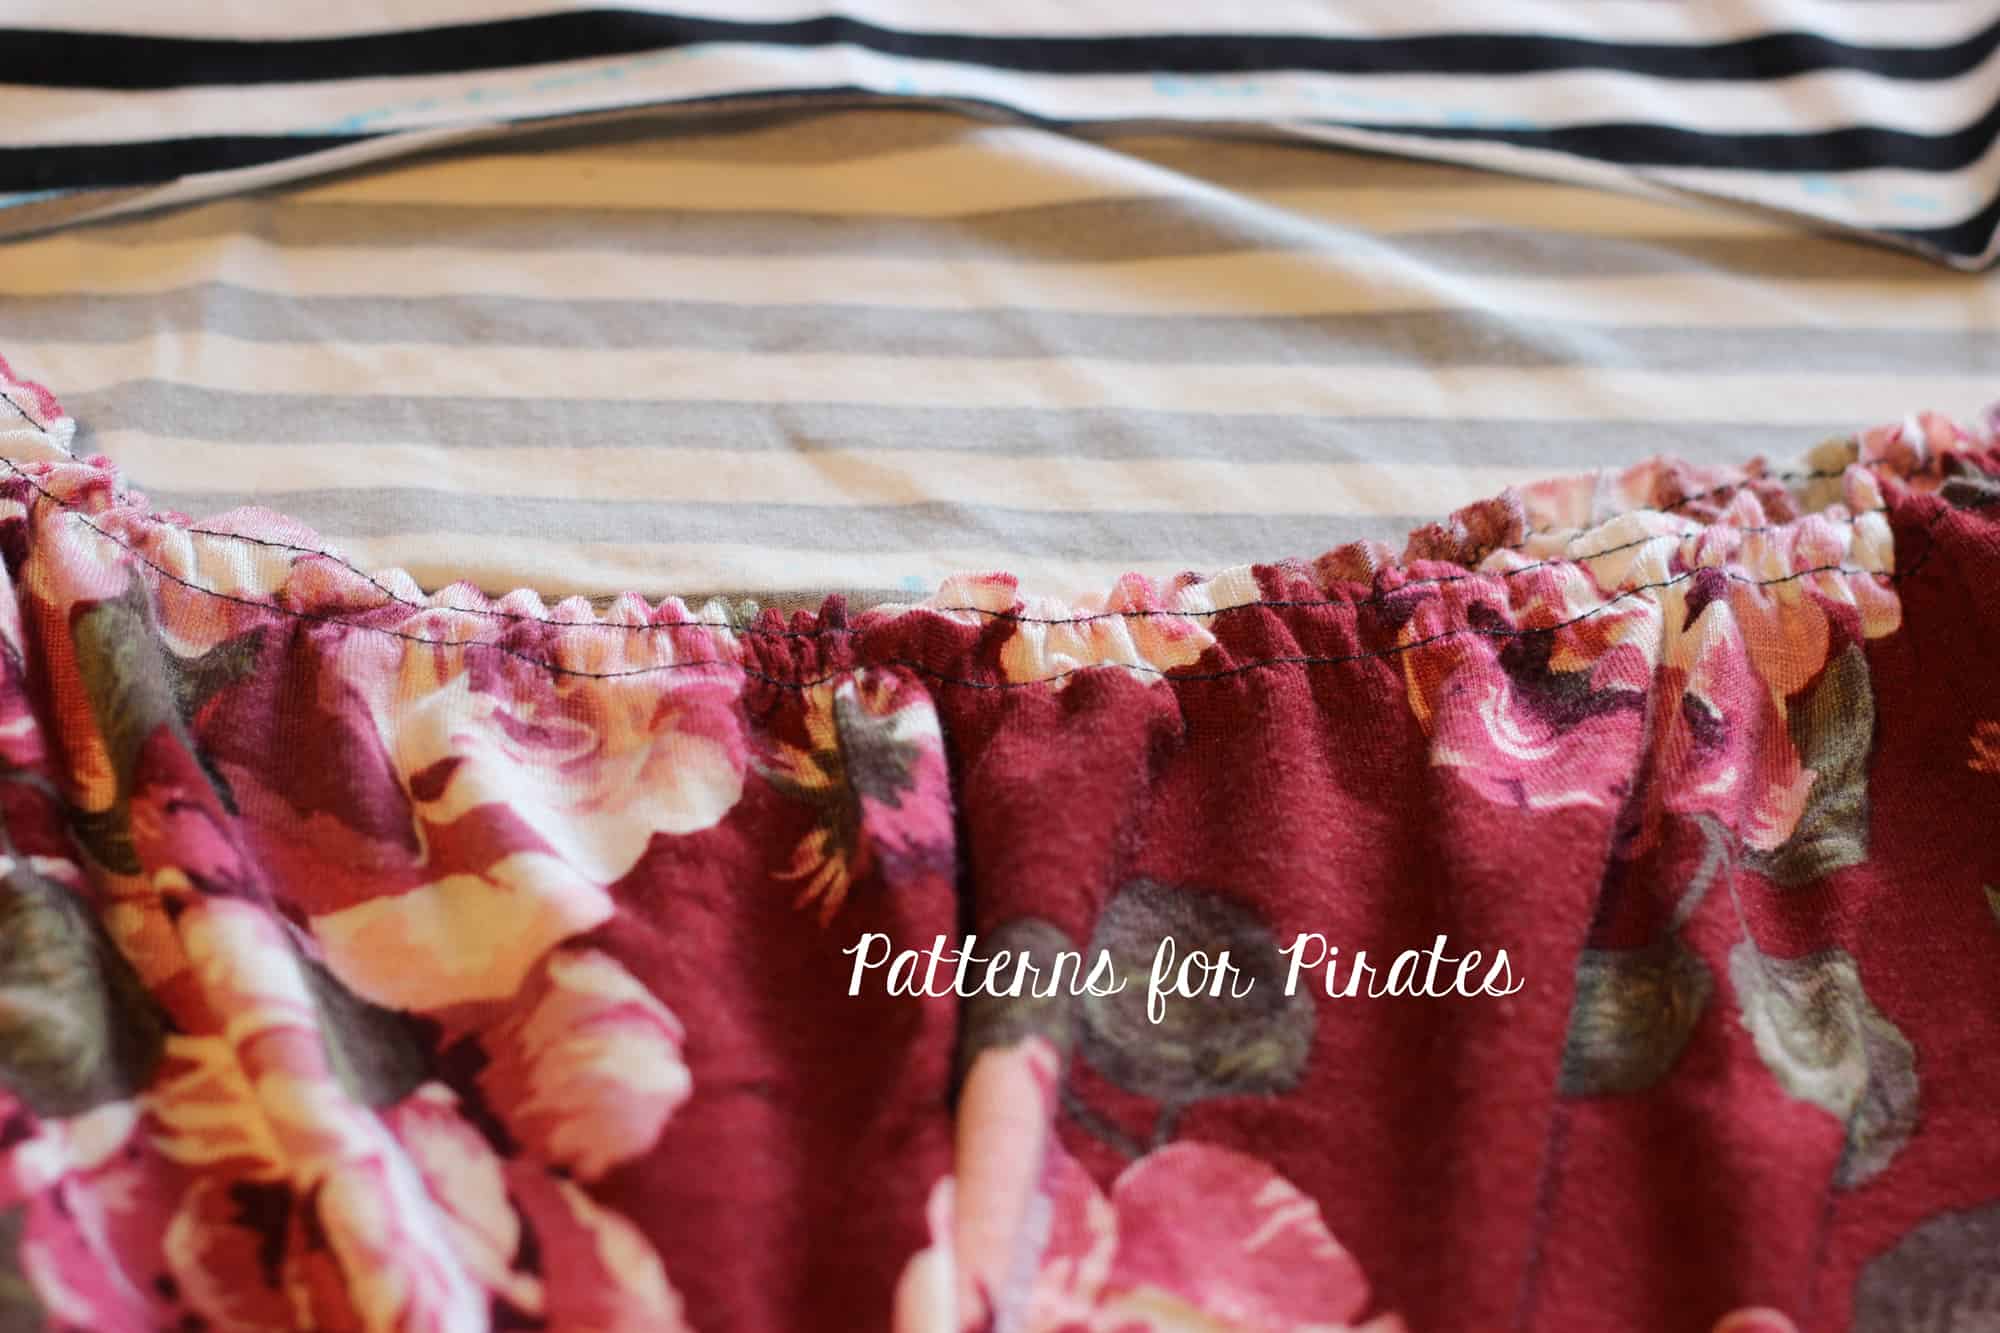
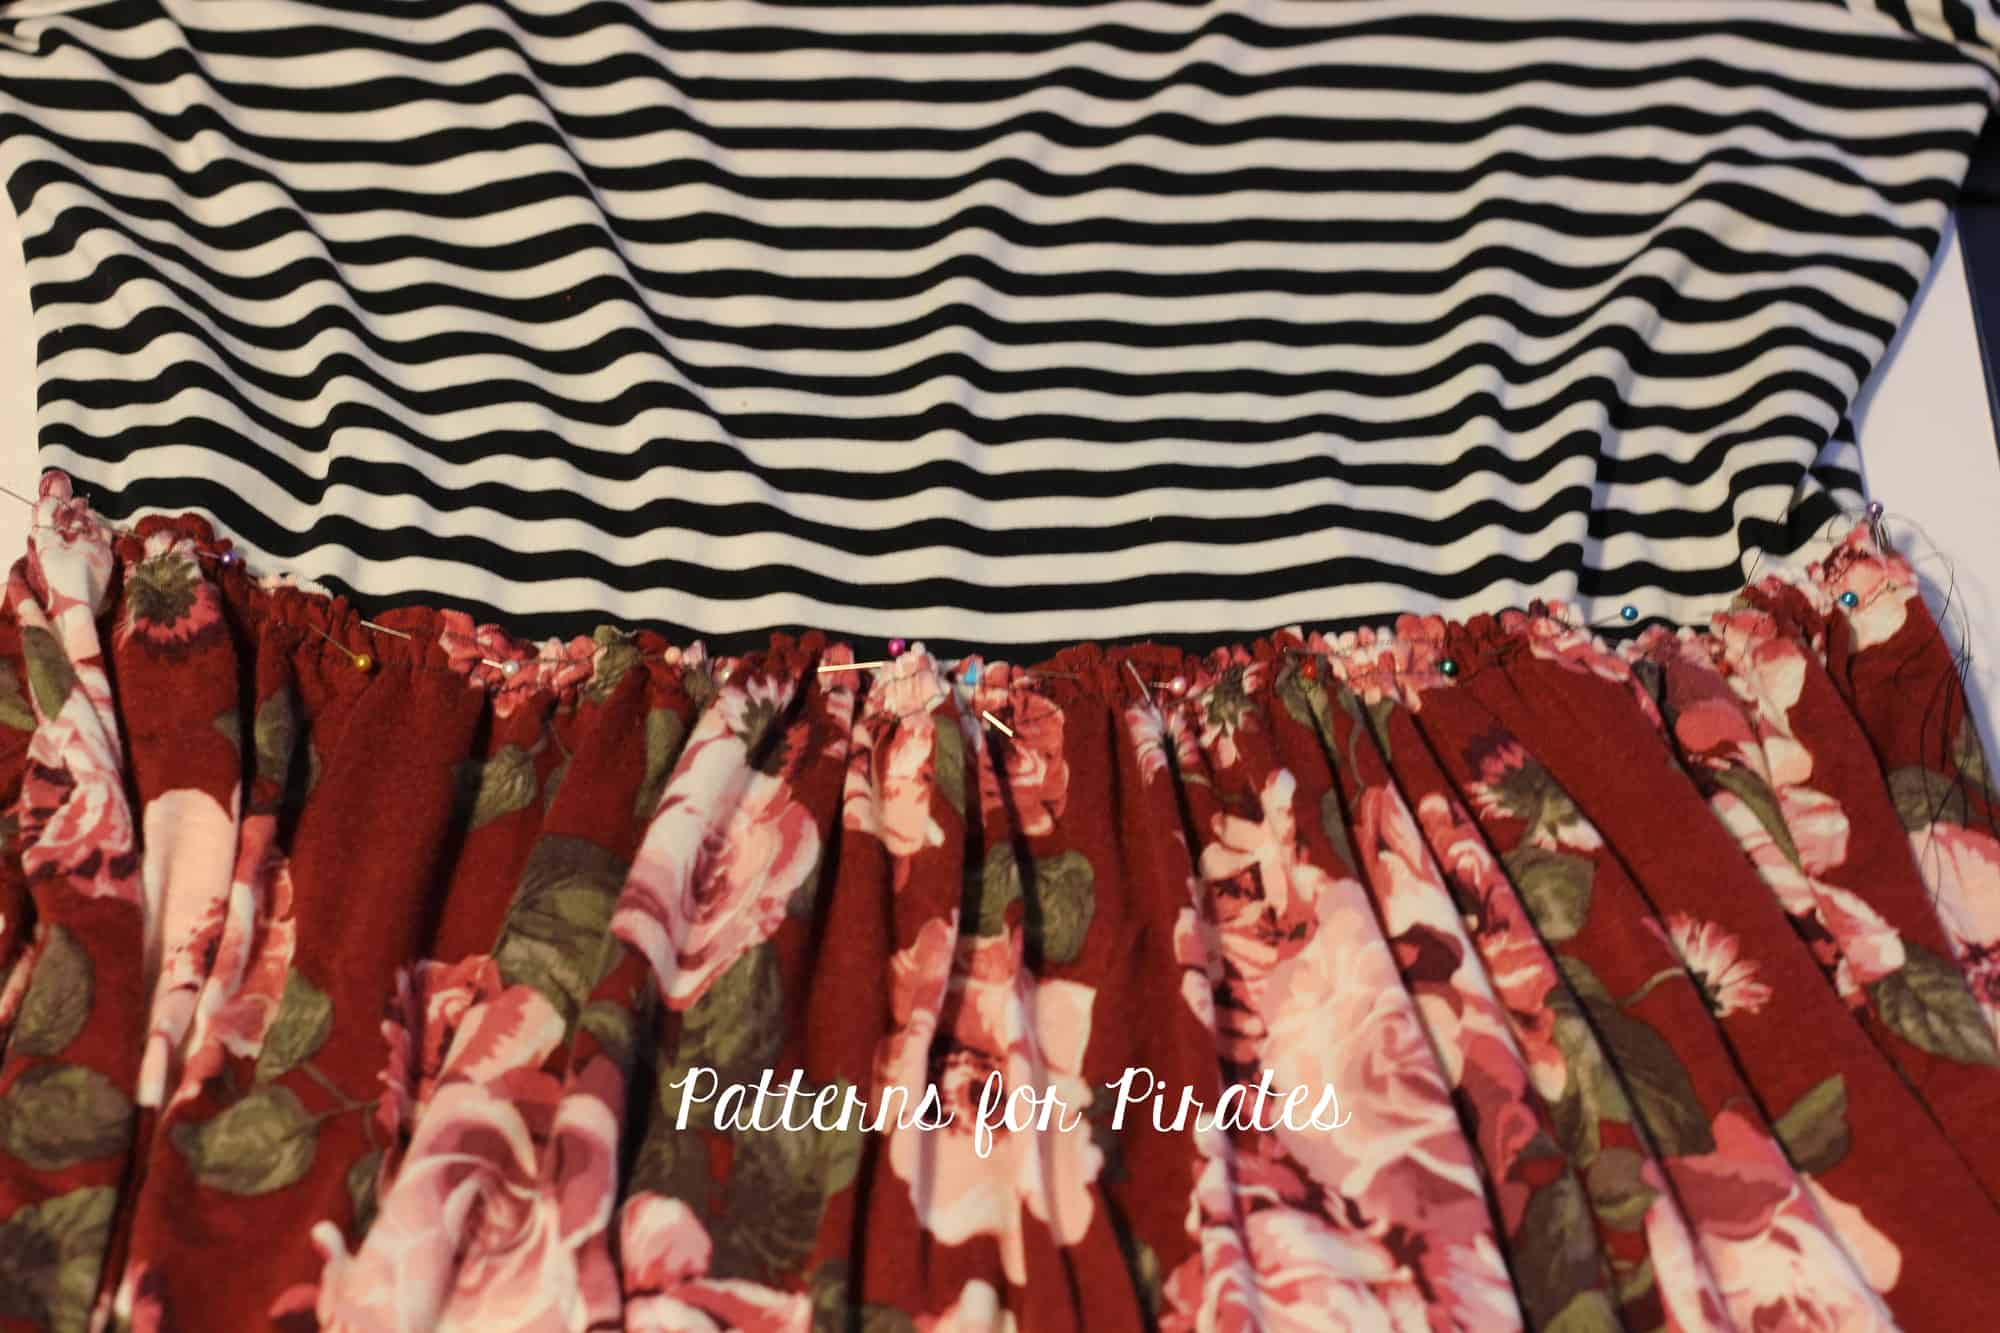
Gather the skirt using two rows of basting stitches as in the pattern tutorial. You will now be pinning the skirt to the bodice. The wrong side of the skirt will be pinned to the right side of the bodice, making sure you match the side seams and the center point.

Sew the skirt to the bodice with a zig zag stitch, a triple stretch stitch or your coverstitch. Go really slow so you can ensure a constant 1/2″ seam allowance.

Pull the basting stitches out. One should be above your zig zag stitch, one should be below.

That was all. Your new Boho shirt or dress has an extra cute waist seam now 🙂


Filed Under: Frequently Asked Questions, Pattern Hacks, Pattern Release 4 Comments

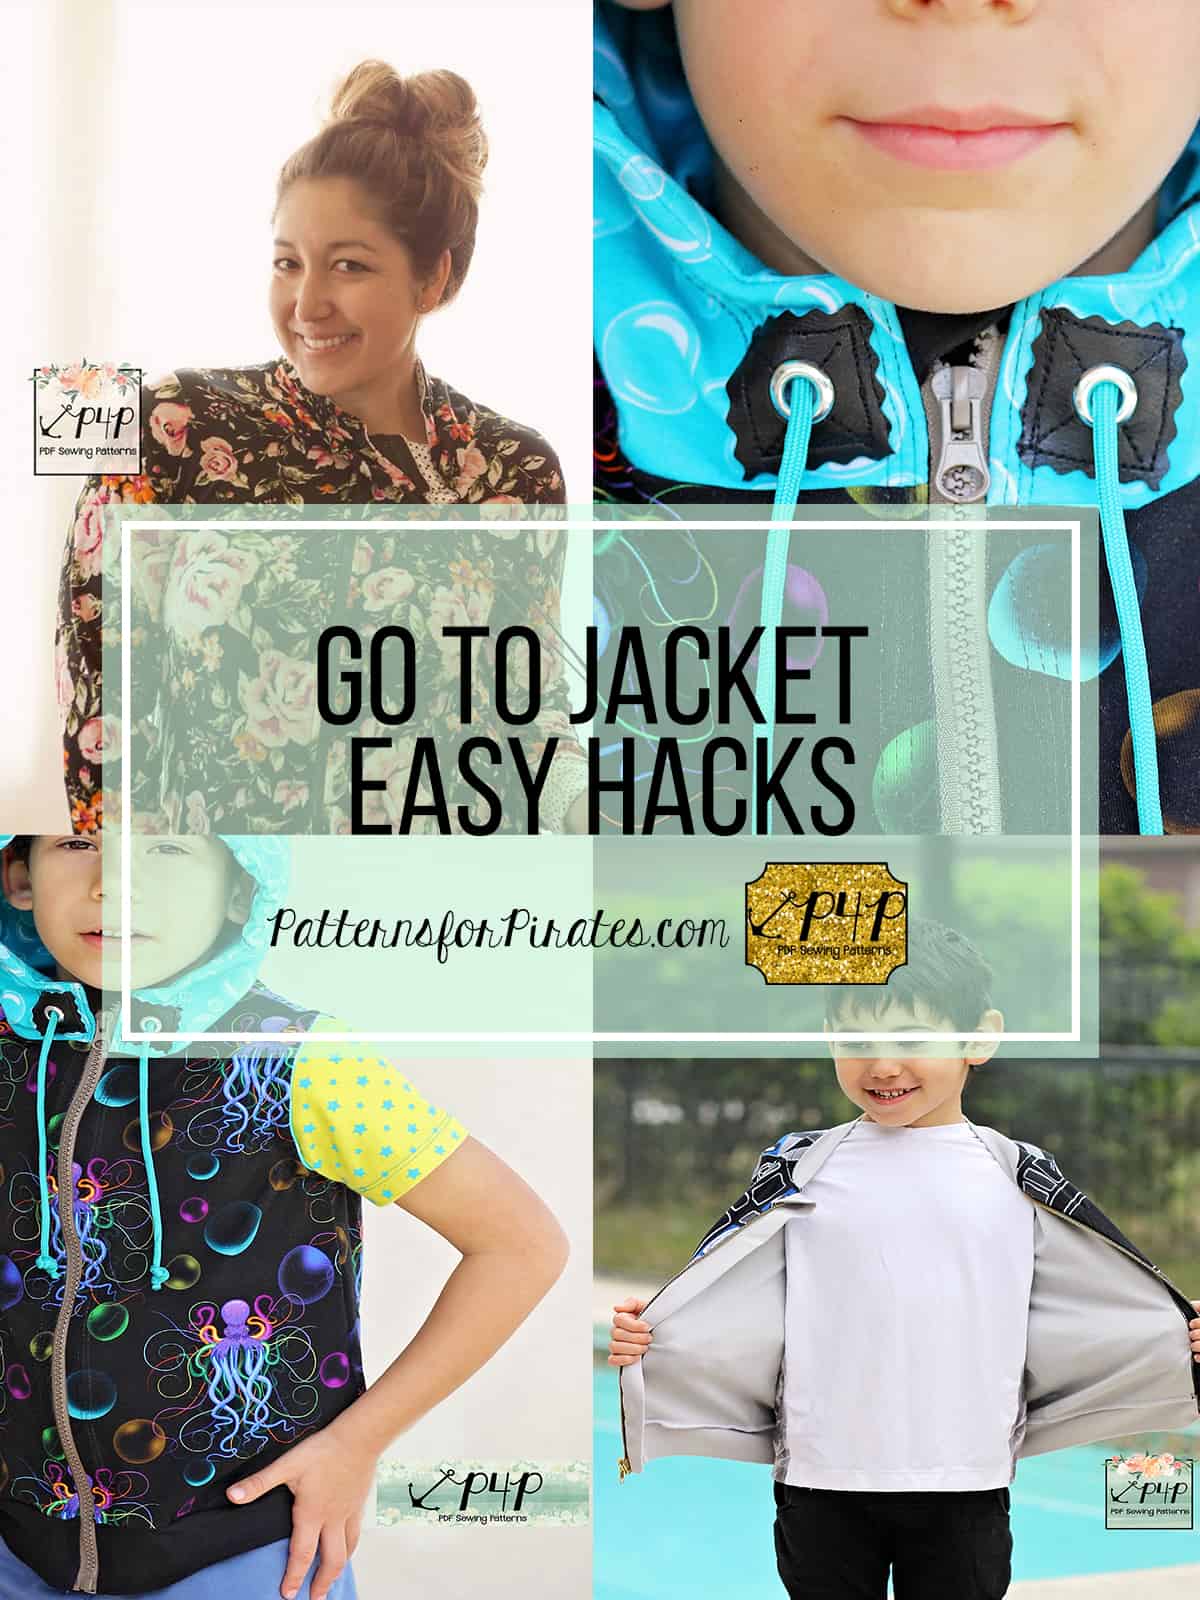
Go-To Jacket – Easy Hacks

March 4, 2018


   LINED JACKET

[Read more…]

Filed Under: Frequently Asked Questions, Pattern Hacks, Pattern Release, Uncategorized 2 Comments

Petite Pegs – easy cuffs hack

January 24, 2018

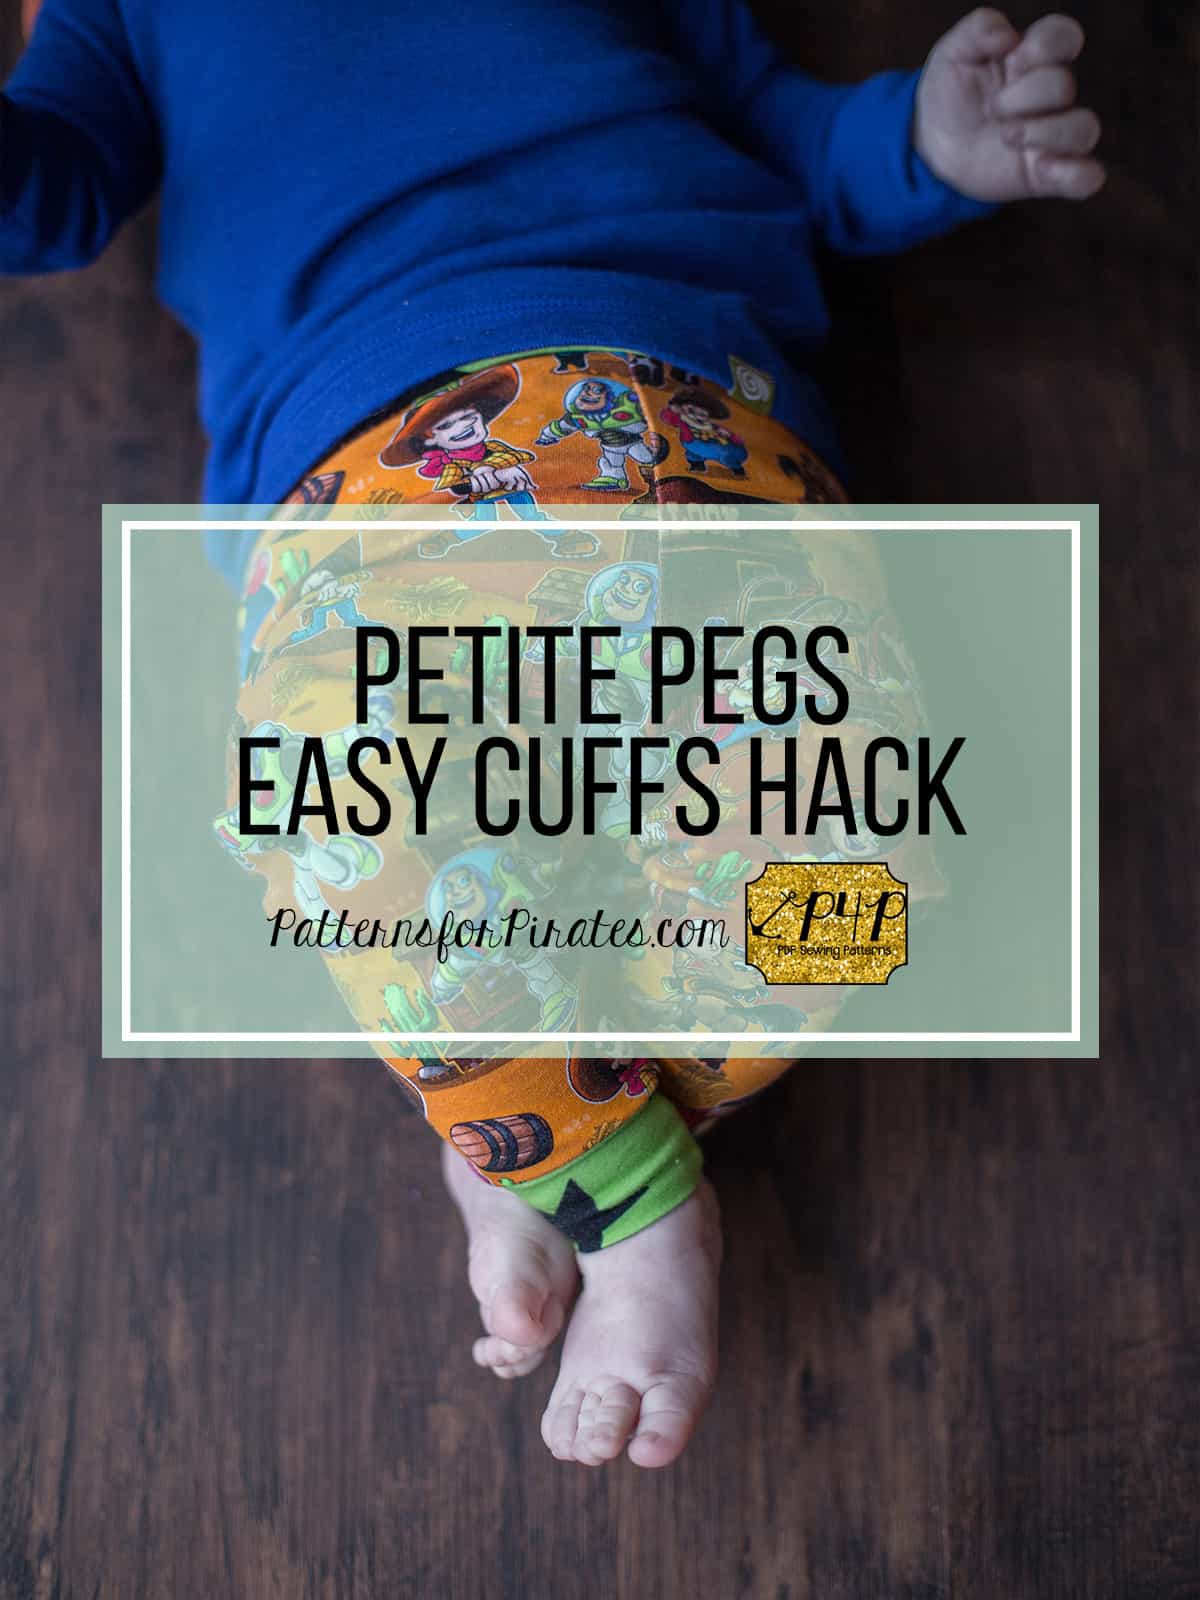
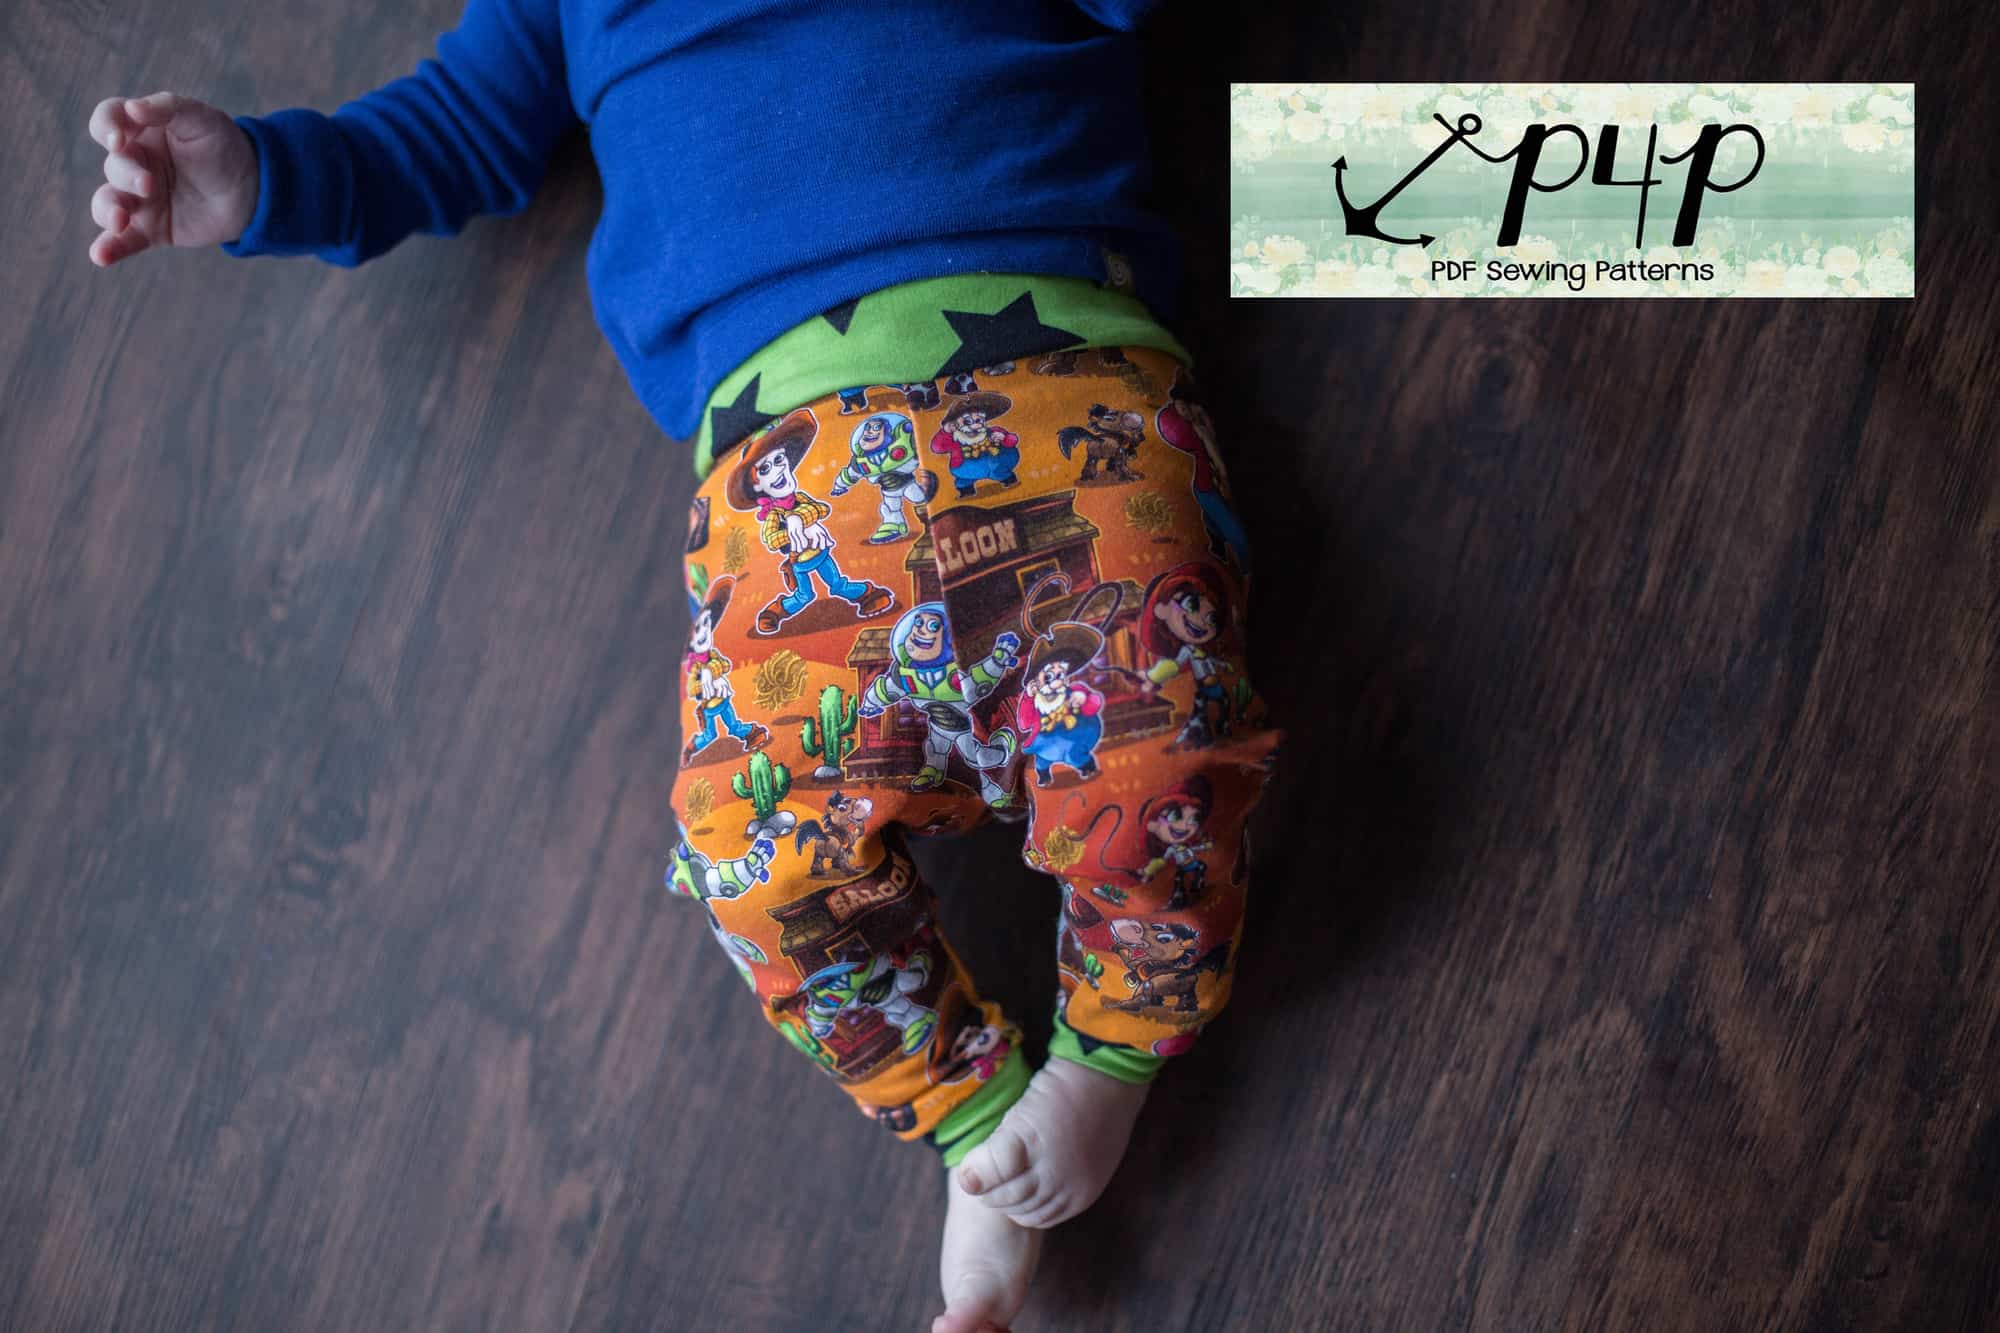
How adorable are the new Petite Pegs? So much cuteness in such a small package. If you haven’t downloaded your FREE copy, do that here. Today on the blog I wanted to show you how to add cuffs to the Petite pegs.

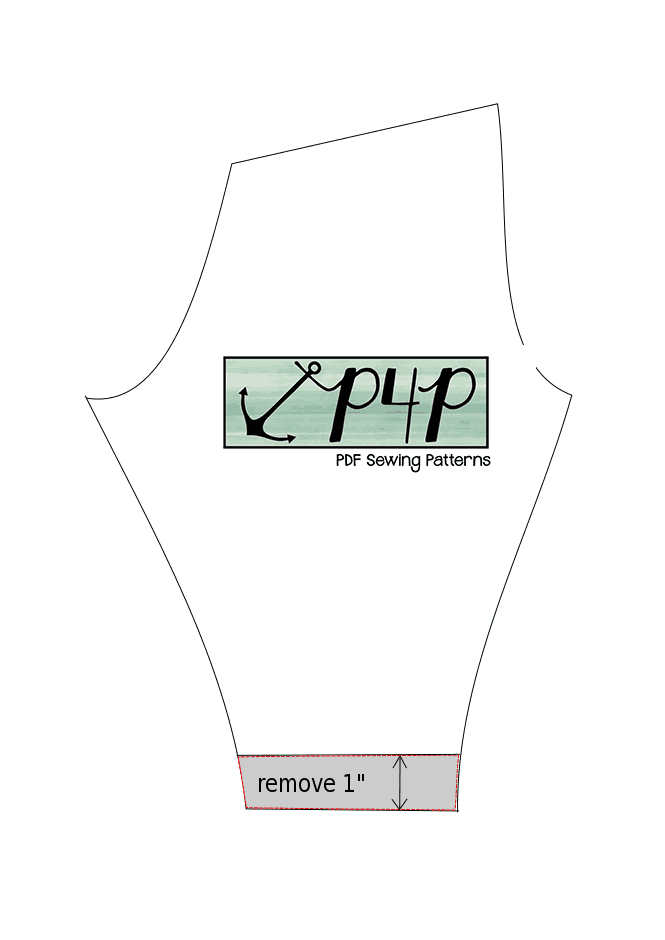
We will start by shortening the length of the Petite Pegs by 1″. To do that simply grab a ruler and draw a line 1 inch above the ankle cut line. This will be your new pegs ankle length. Cut the two mirrored legs using this new cut line.

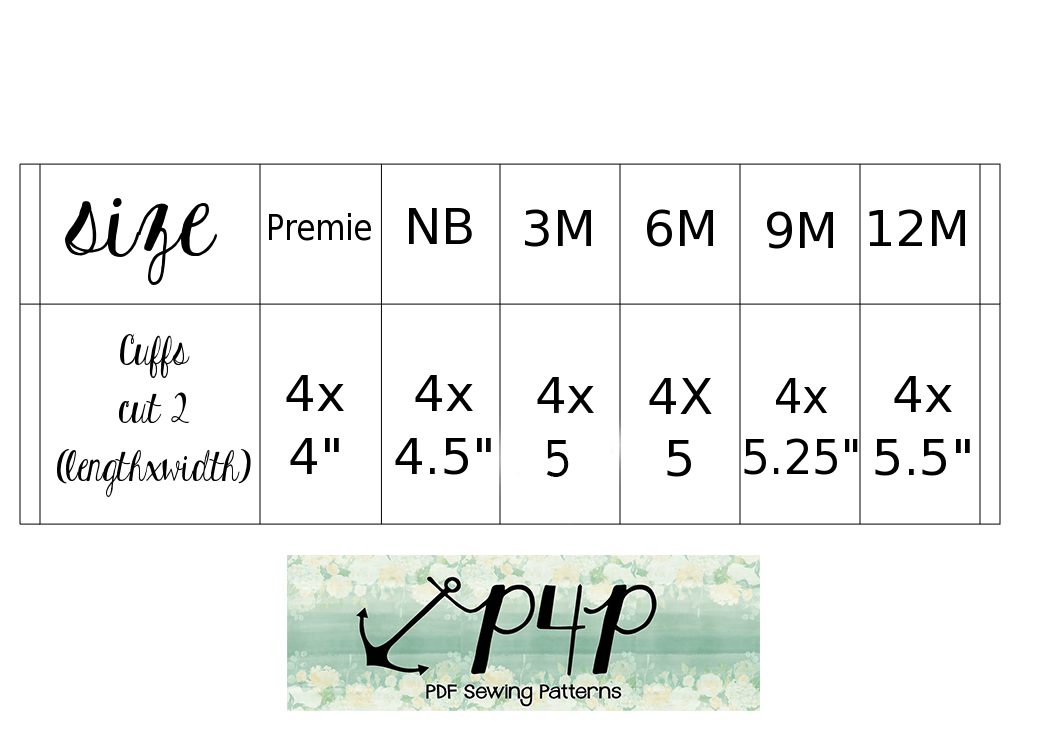
You will now be cutting the cuffs. I did the math for you so just follow the cutting chart below. Remember to cut two cuffs, one for each leg.


*If you babywear a lot you might find it helpful to double the cuff length.  This way the long cuff can be folded down over the heel. It’s a popular way to wear pants when you’re babywearing because otherwise the pant legs hike up and then the baby ankles stick out.

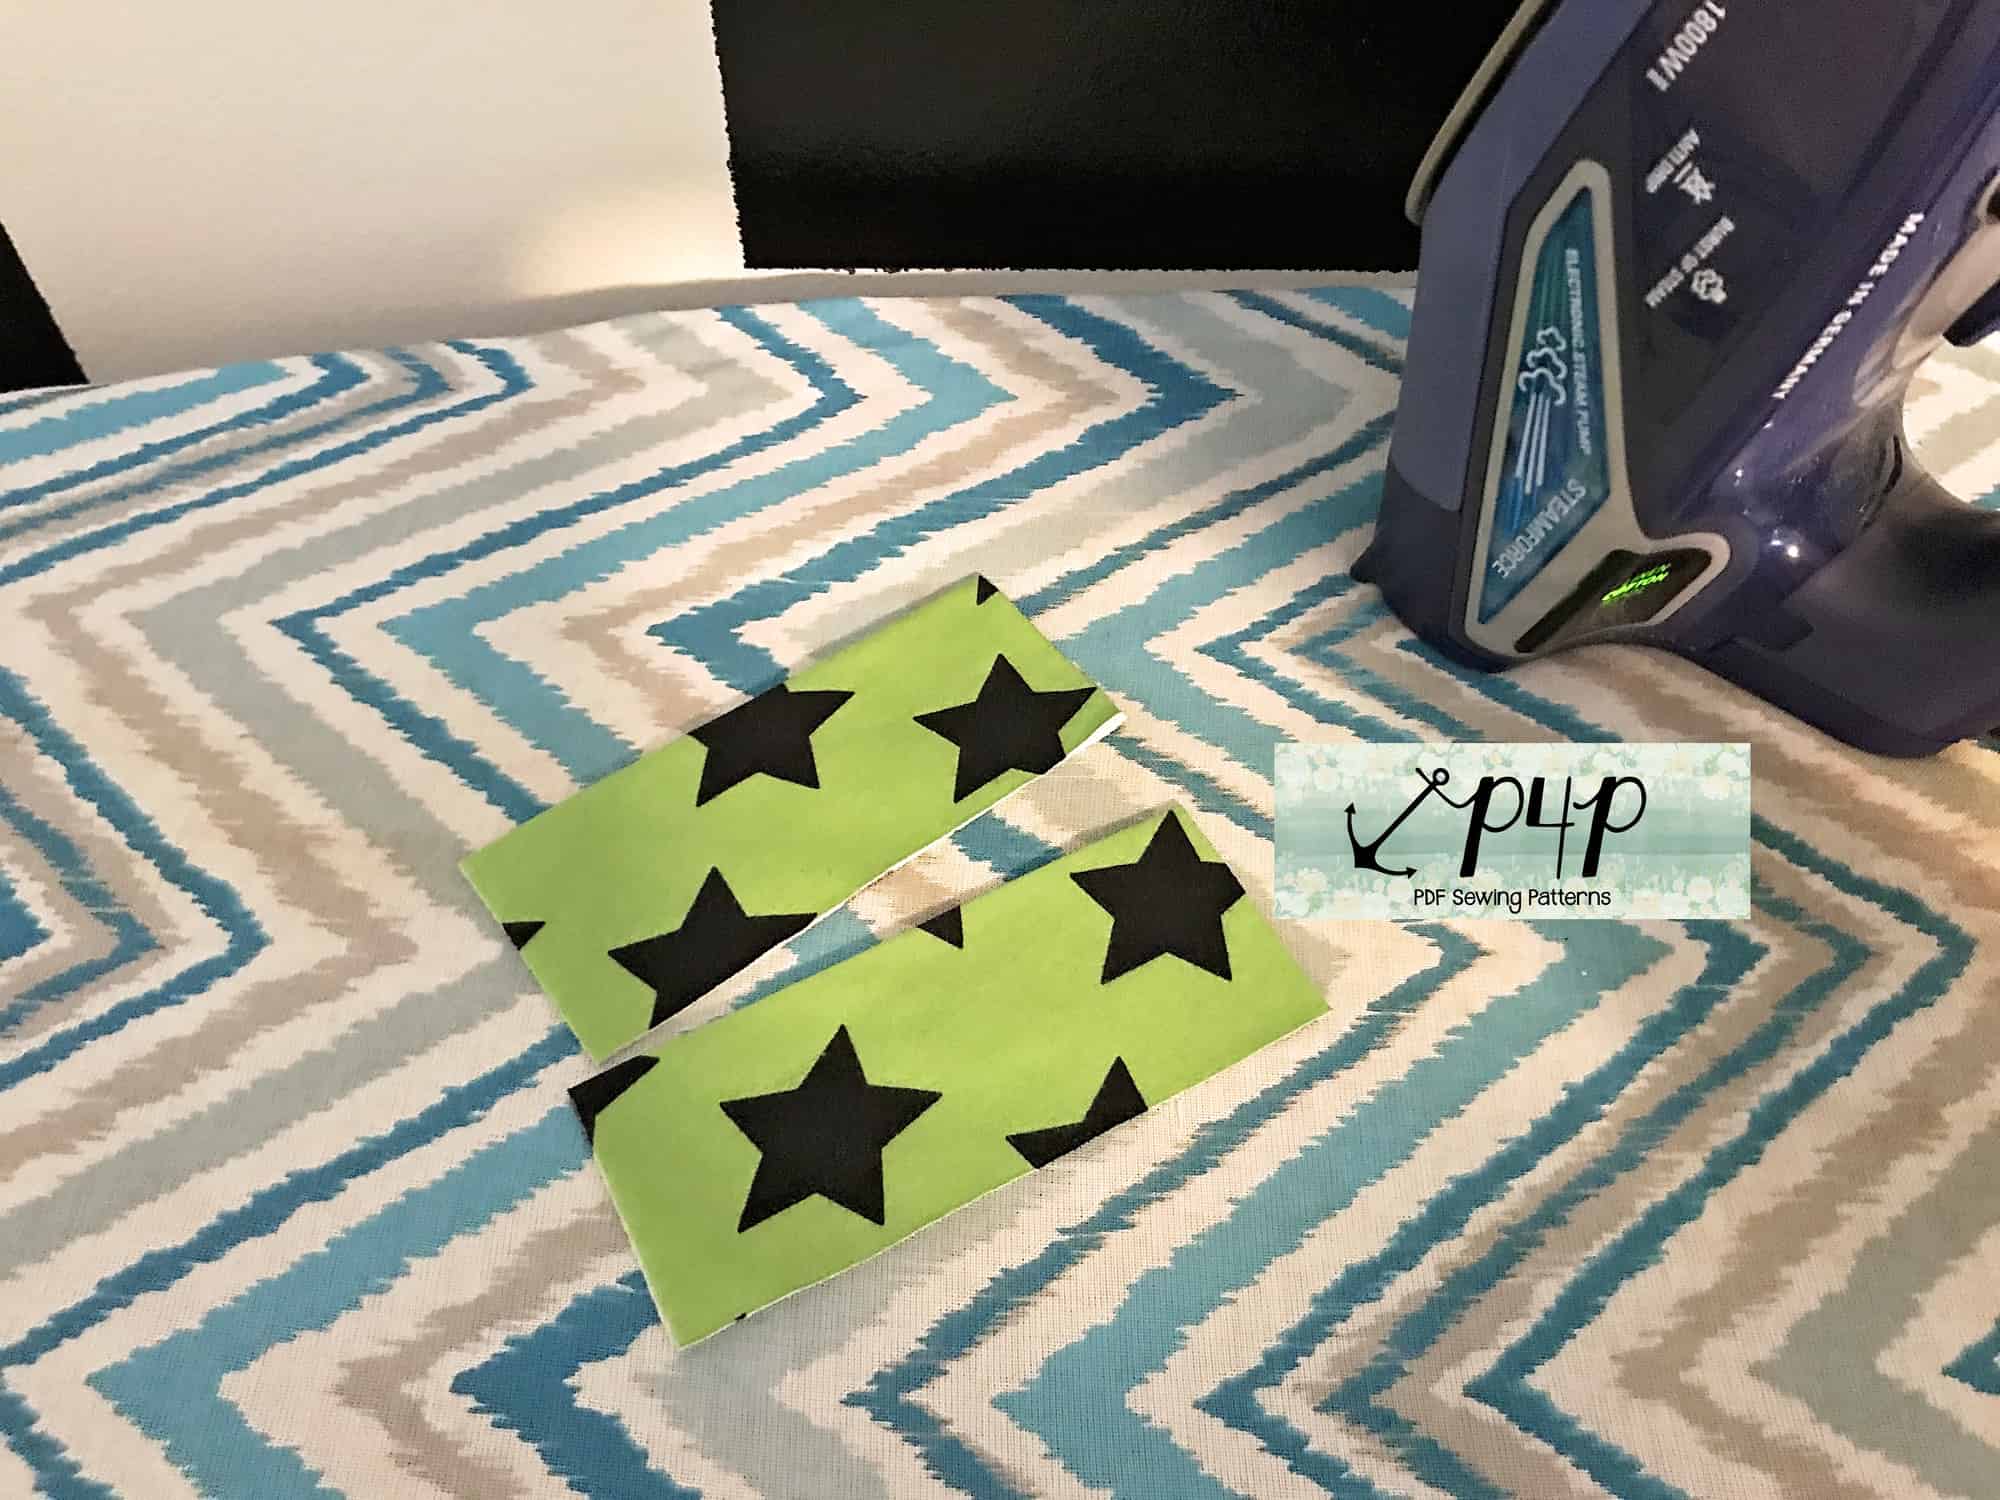
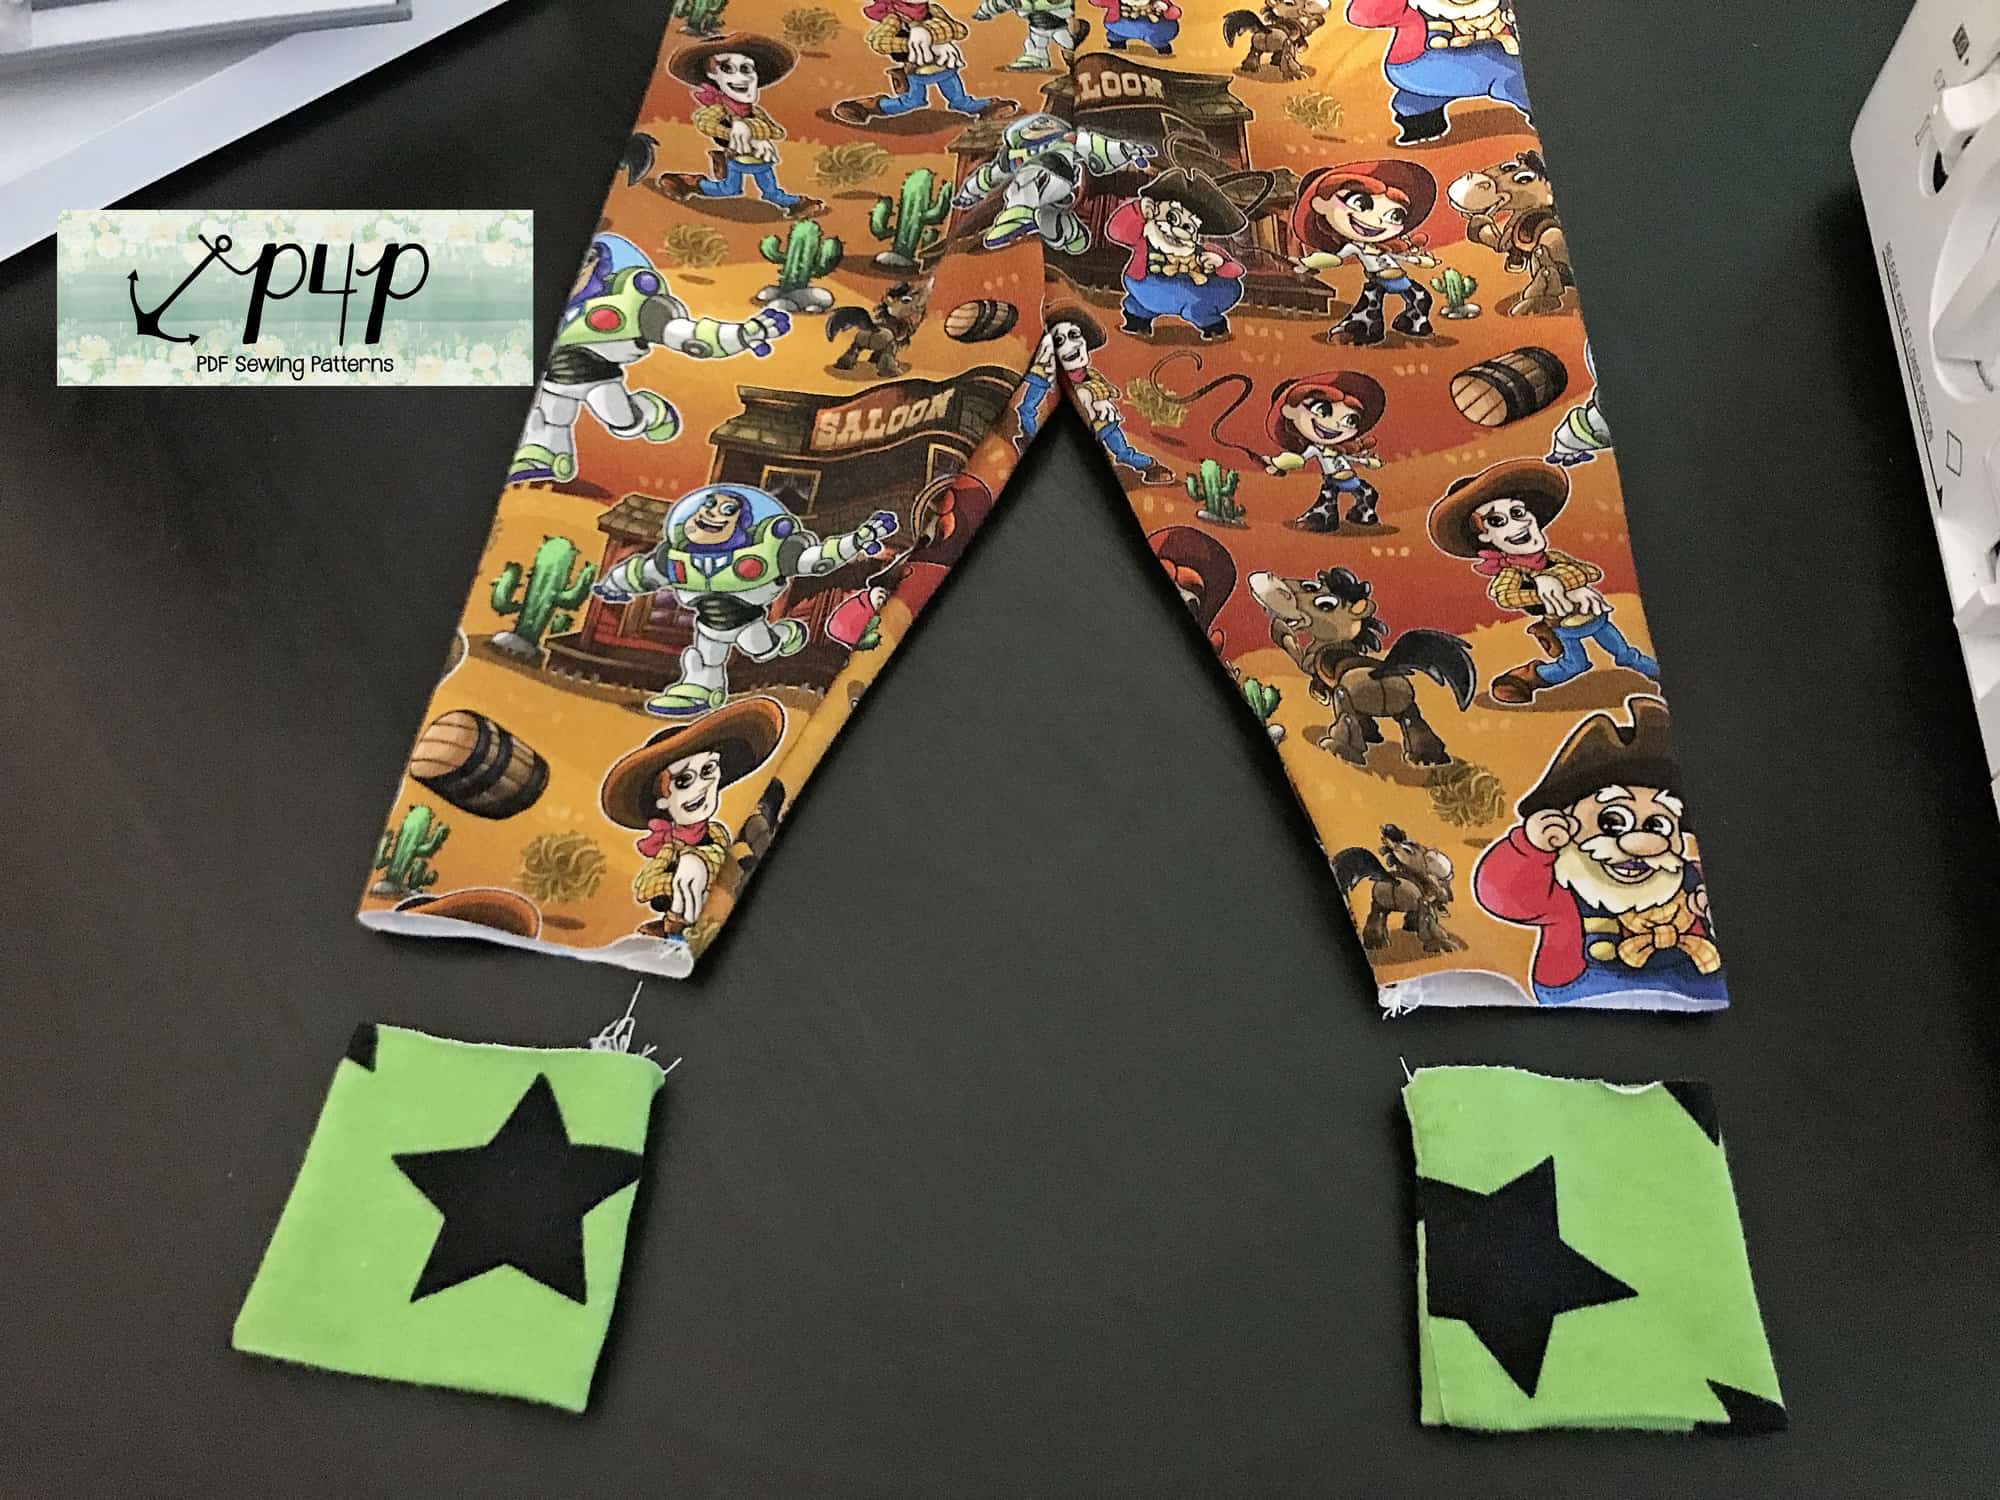
Sew the Petite Pegs as per the tutorial. Grab your little cuffs and fold them to create a memory hem. Press and steam.

Sew the cuffs to create a loop and fold them. Take a moment to look over the tips I gave you in the Knit Cuffs 101 blog. They will definitely come in handy when attaching these itty bitty cuffs to the little pegs.

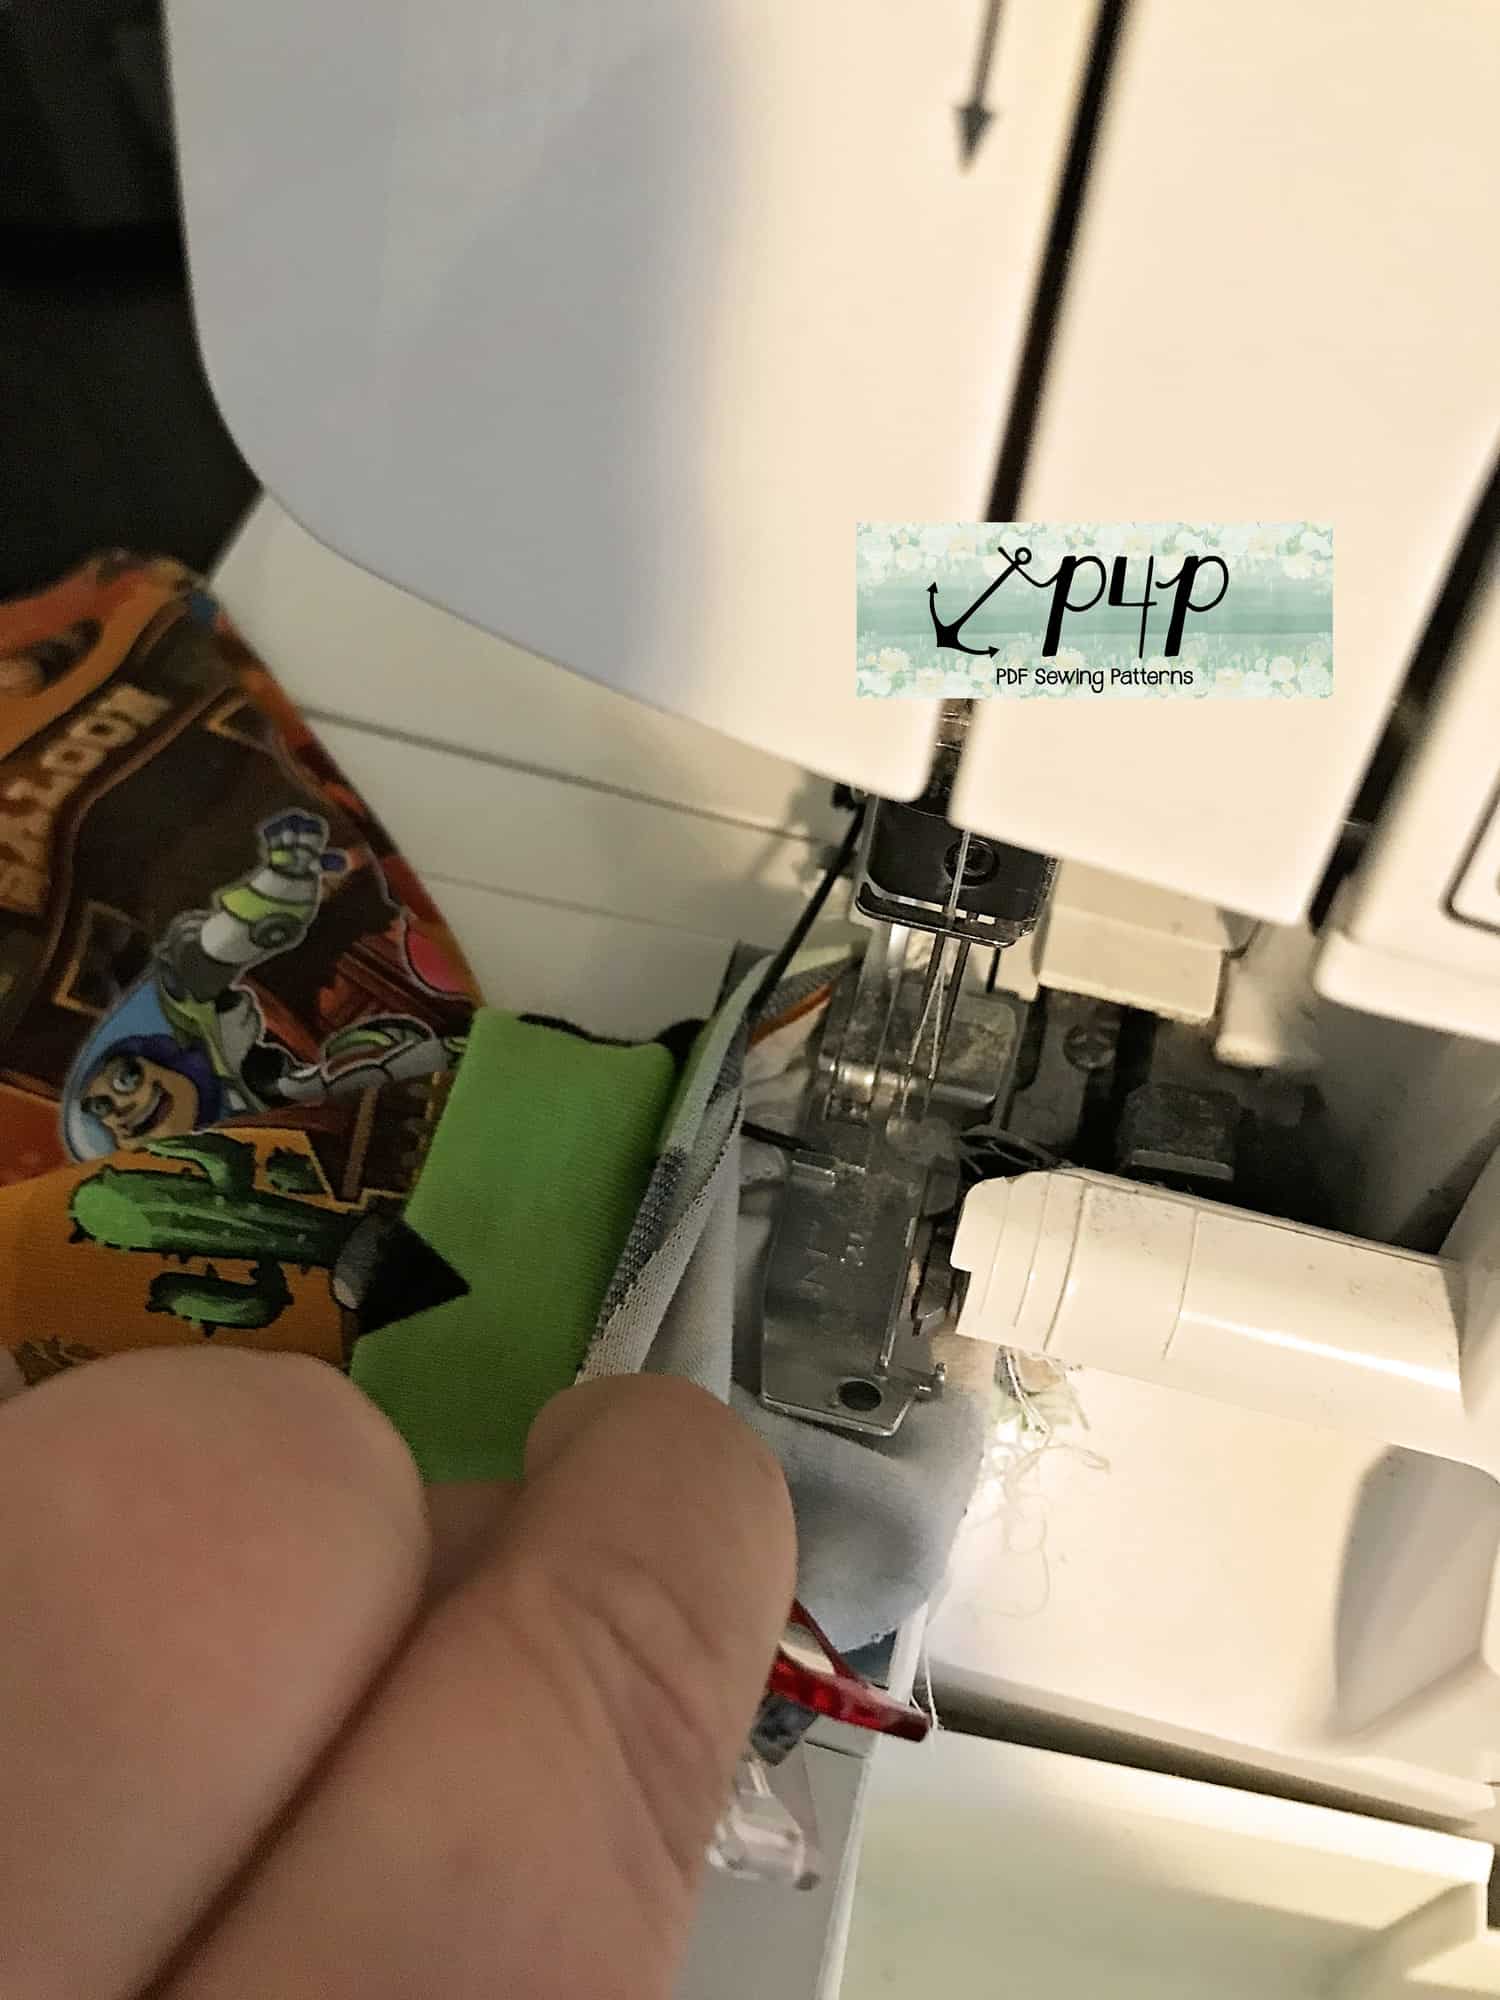
Attach the cuffs to the leg opening with your serger or the sewing machine following a 1/2″ seam allowance. Make sure you match the cuffs’ side seams to the leggings inseam. Stretch the cuff to fit the leg opening.

When attaching the cuffs you can place your serger foot on the outside of the leg (as pictured above) or inside the leg (as pictured below). You will be working with a pretty small loop so go slow!

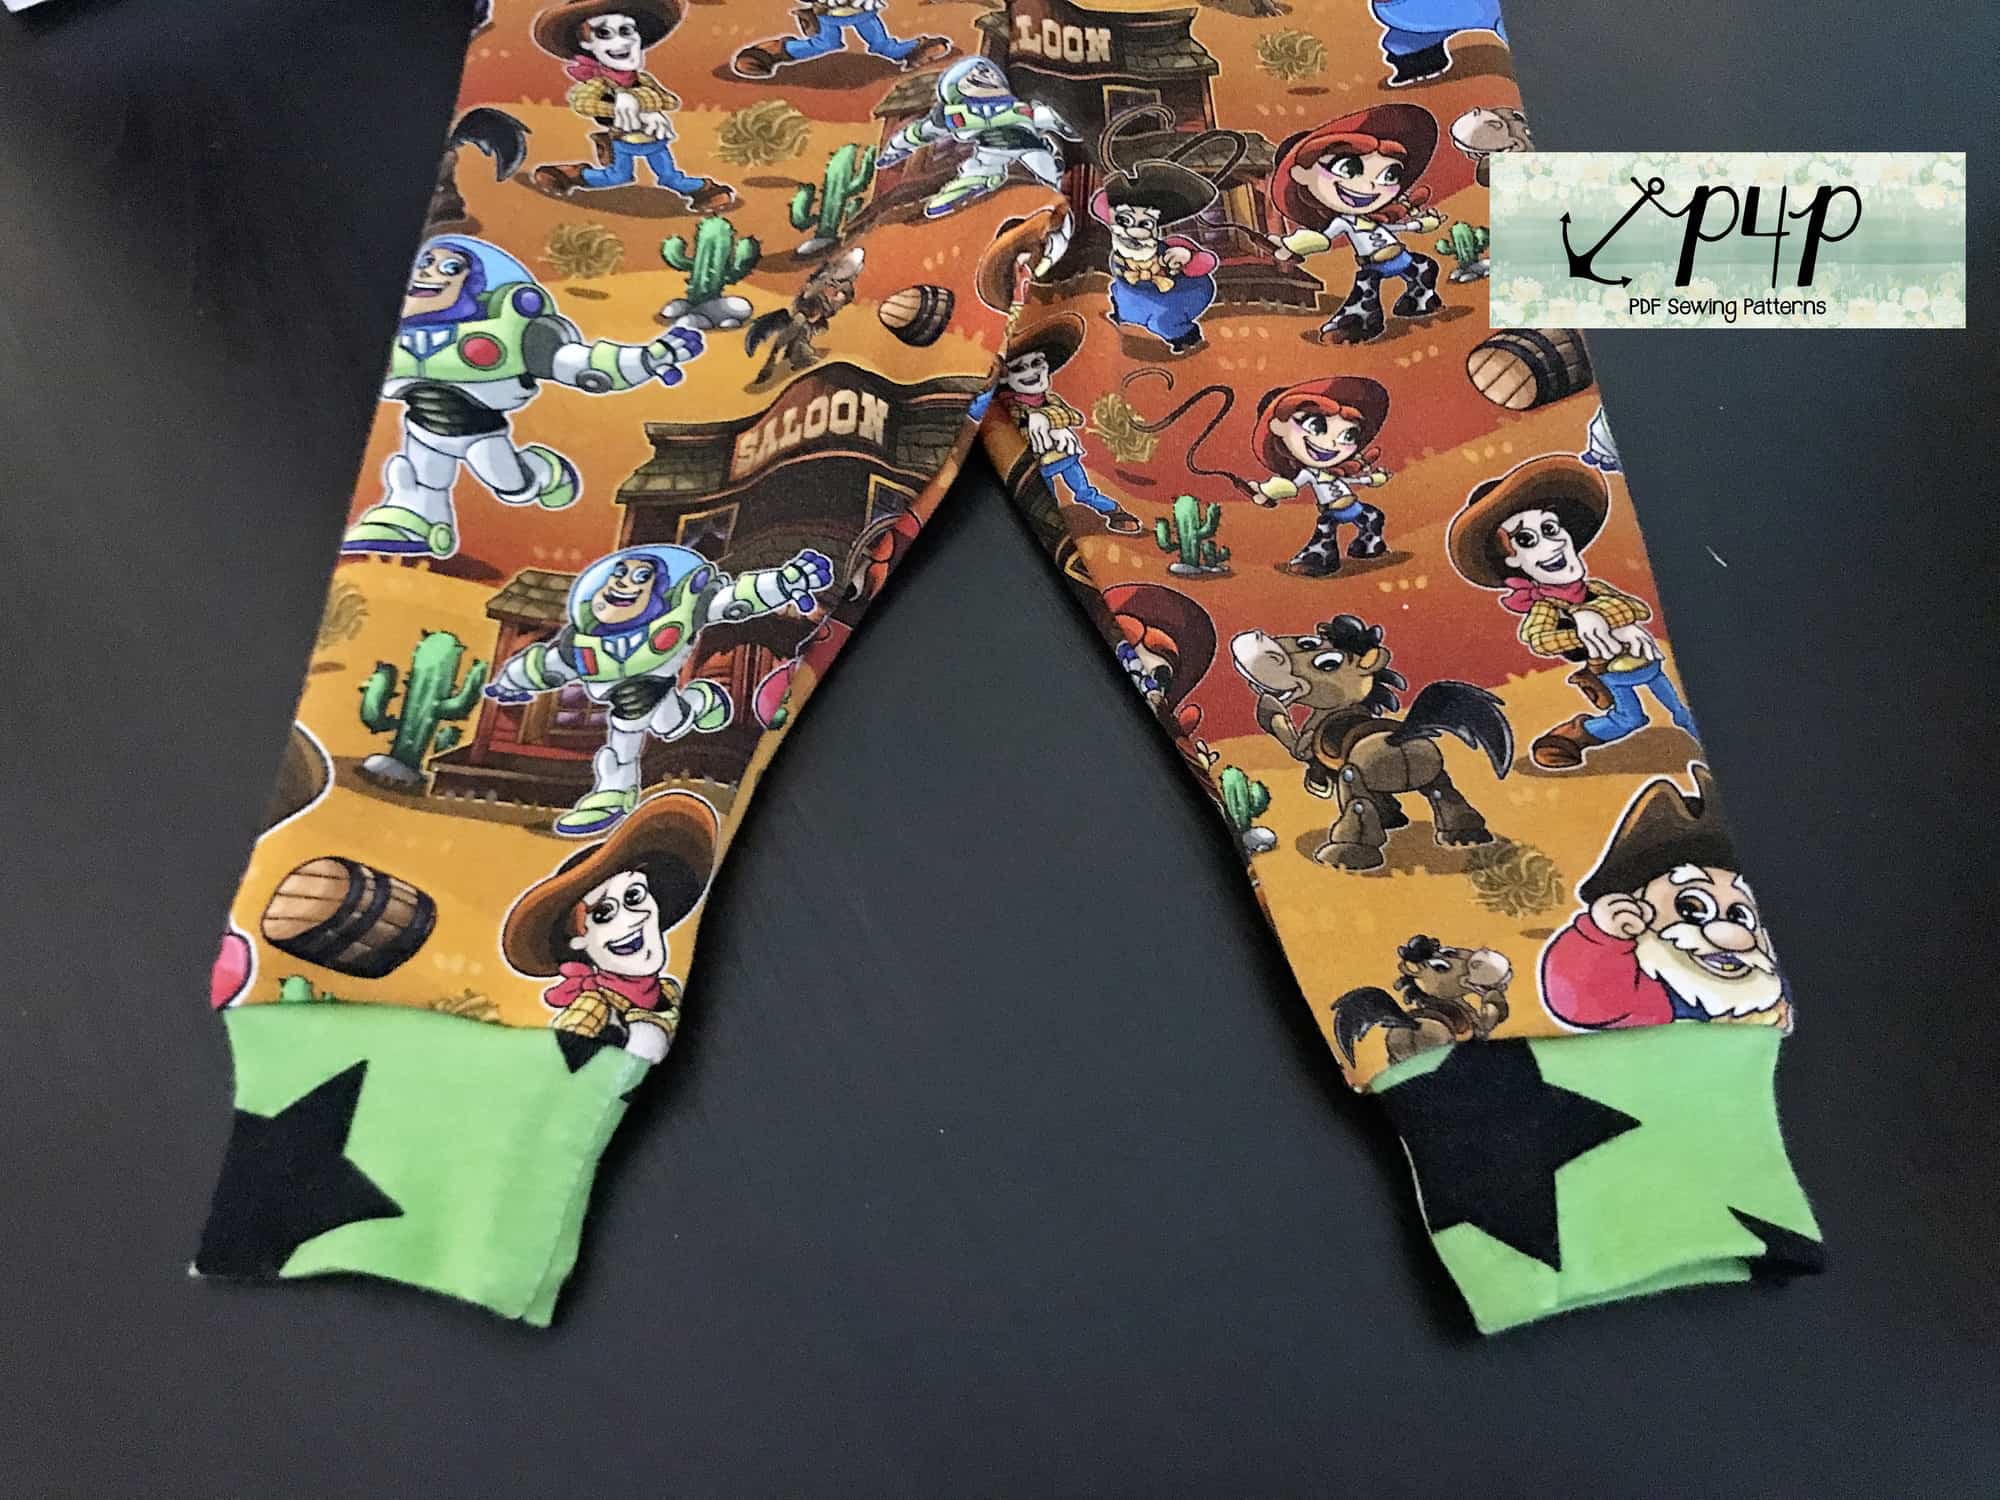
Tadah! There you have it, Petite Pegs with cuffs! I can’t wait to see your little creations!

Note: You may find it easier to attach the flat cuff to the leg instead of sewing the inseams and the cuff in a loop. You can certainly do that, you will be sewing the inseam after you attach the cuffs. You can read about some ways to finish your serger seam here.

Filed Under: Free Pattern, Pattern Hacks, Pattern Release, Uncategorized 4 Comments

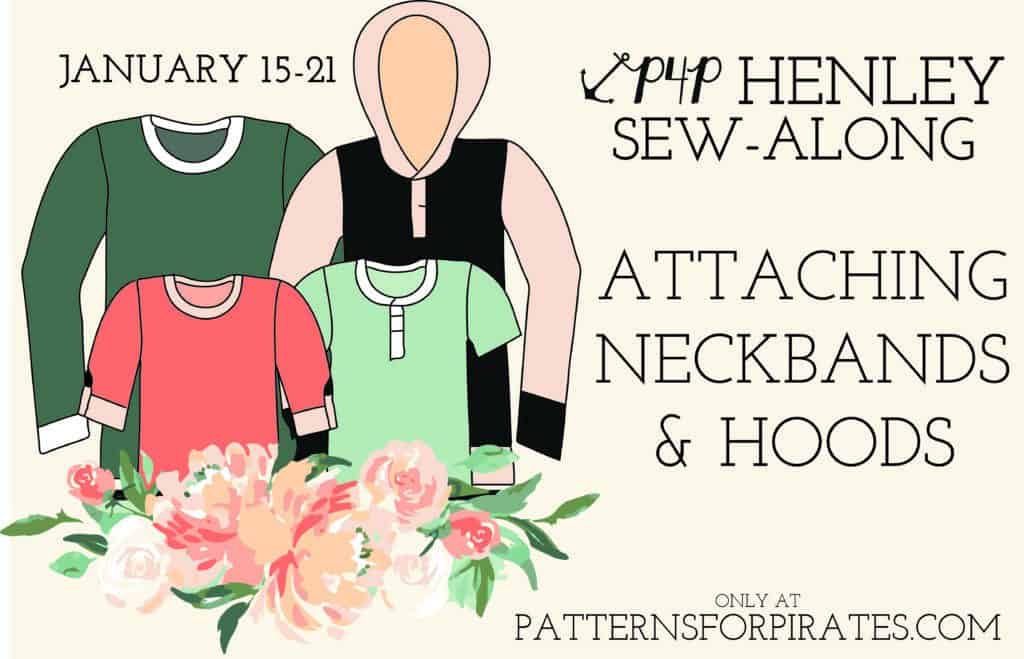
P4P Henley Sew-Along | Attaching Neckband + Hood

January 19, 2018

Welcome to the day 5 of the P4P Henley sew along. Today’s steps include adding the neckband or the hood.

  • Crew Neckband

If you have done the solid front shirt (no placket) you will now be adding the neckband as in the pattern tutorial. For additional tip, check out our P4P University Neckbands 101 blog and videos here.

  • Henley Neckband

If your sew along choice was a Henley style shirt then you would now be adding the henley neckband. This neckband is not sewn in a loop like the crew neckband was. Take a moment to watch the video below. The most important thing to keep in mind when adding this neckband is to go very slow and baste!


  • Hood (with or without the placket)

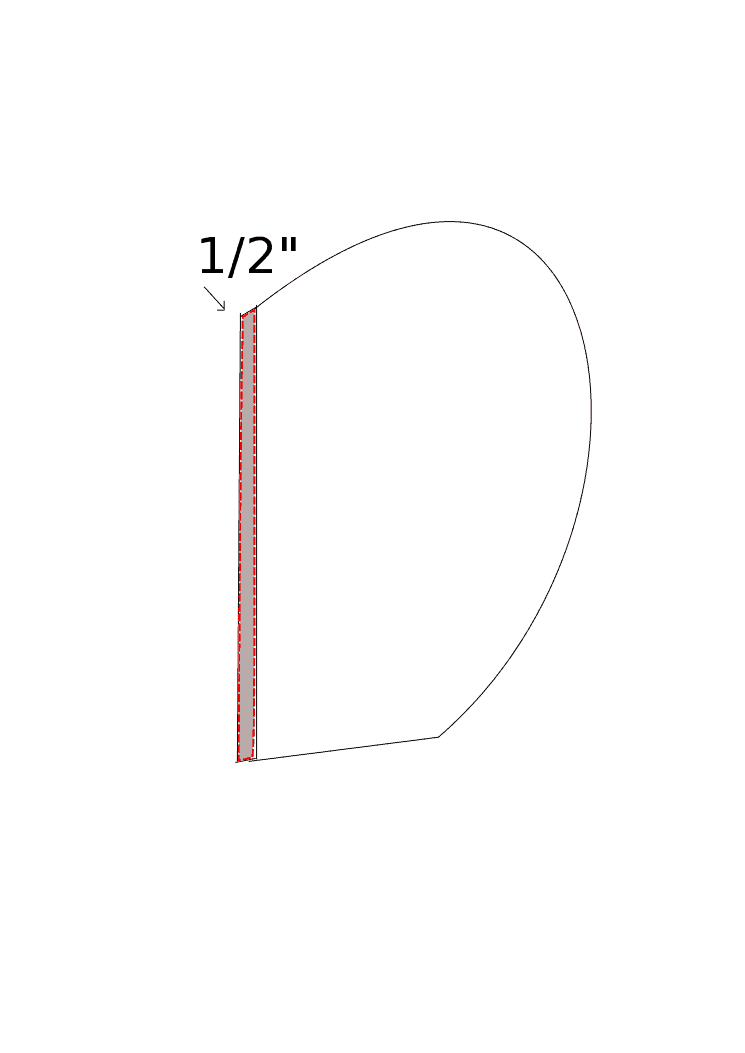
    The Henley patterns include a hood for the placket option. For this sew along we wanted to show you how easy it is to add a hood to the solid front option. The only pattern modifications you will need to make is to extend the front of the hood by 1/2″.

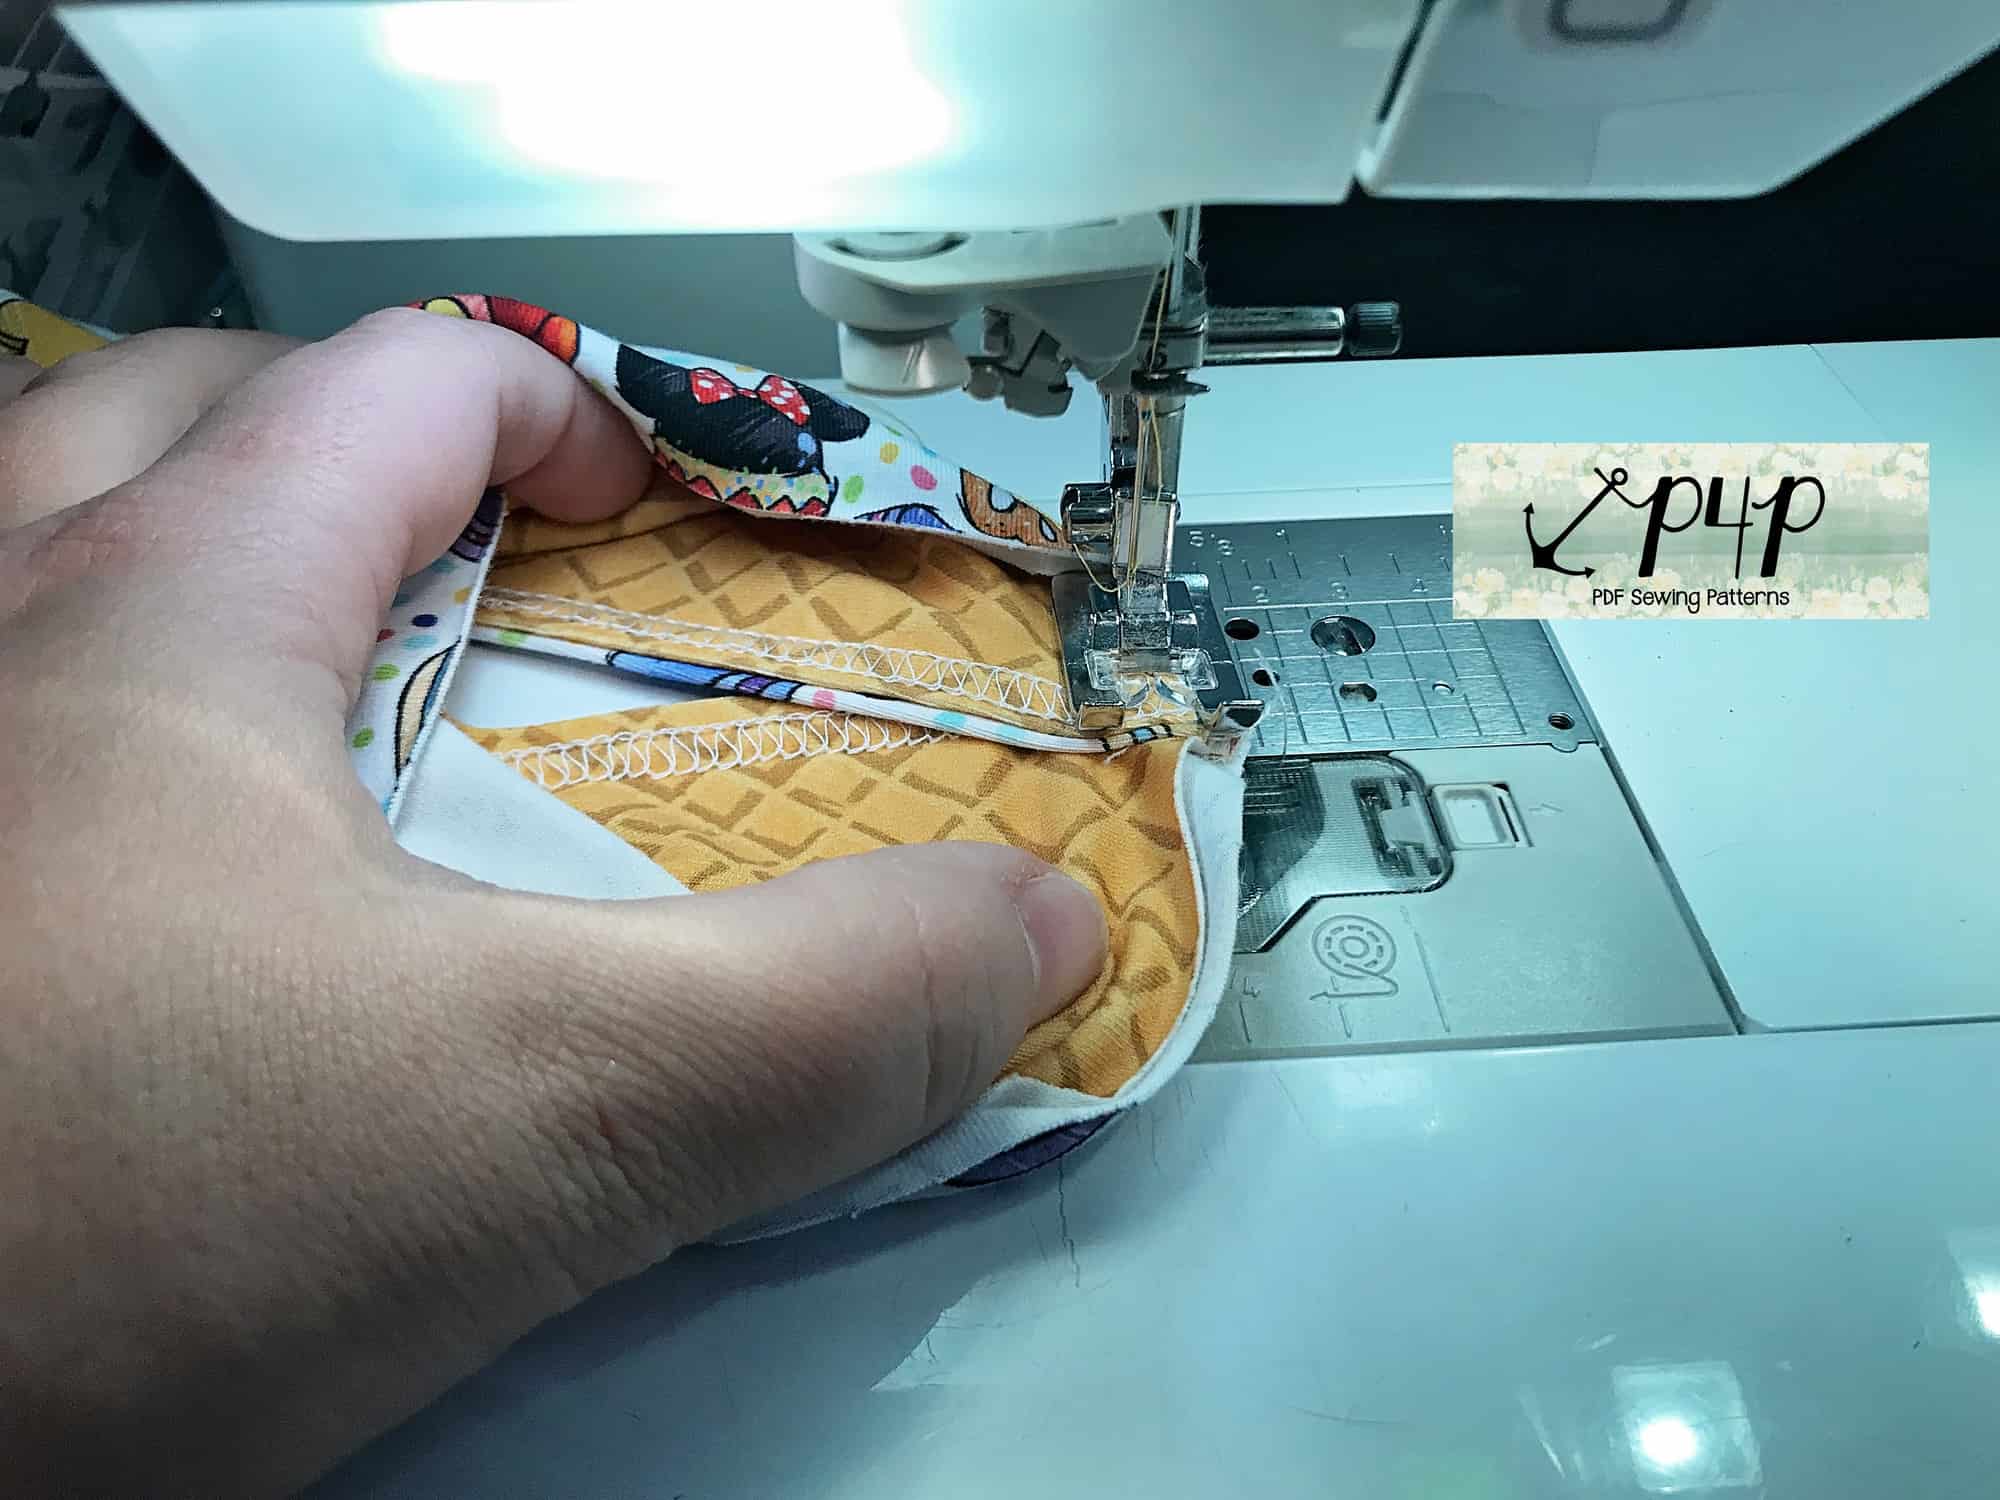
Sew the hood as per the pattern tutorial. Overlap the front neckline 1/2″ and baste in place.

Mark the quarter points of the hood and the neckline. Turn your shirt inside out and place the hood right sides together, matching the quarter points.

Sew or serge the hood to the neckline following a 1/2″ seam allowance. See how easy it was to add a hood to the plain front shirt?


**The links won’t be active until the scheduled date.

January 14: Announcement.
January 15: Choosing Your Fabrics, Printing + Measuring.
January 16: Cutting Fabric.
January 17: Placket.
January 18: Sleeves.
January 19: Attaching Neckband + Hood.
January 20-21: Catch-Up Days.
January 22: Recap + Winners Announced!

Filed Under: Pattern Hacks, Sew-A-Long, Uncategorized Leave a Comment

Faux Sleeve Hack

December 12, 2017

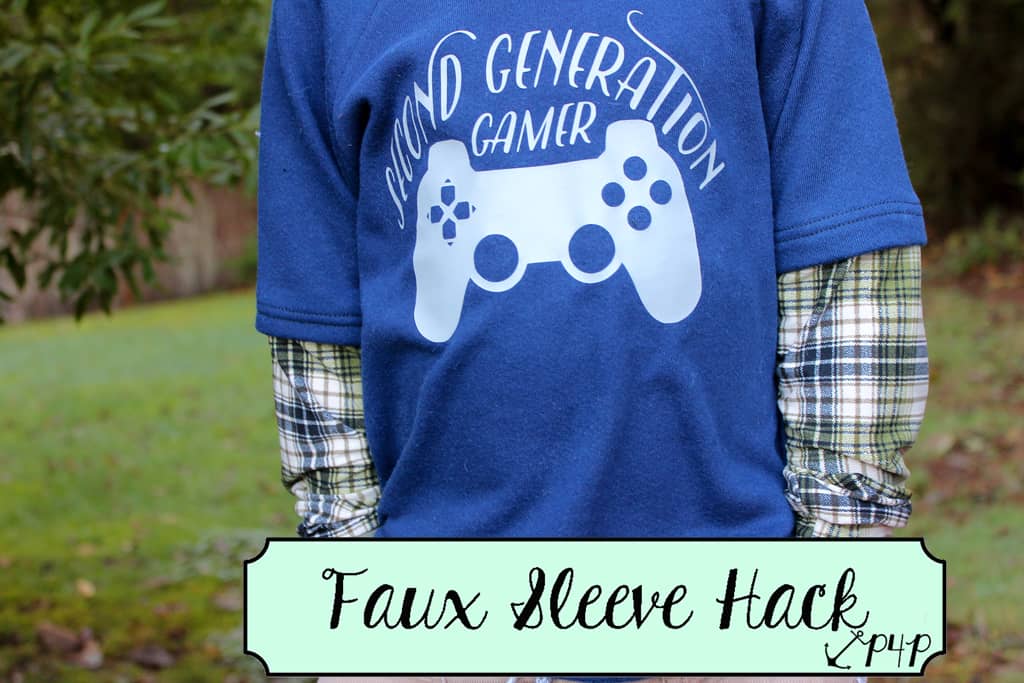
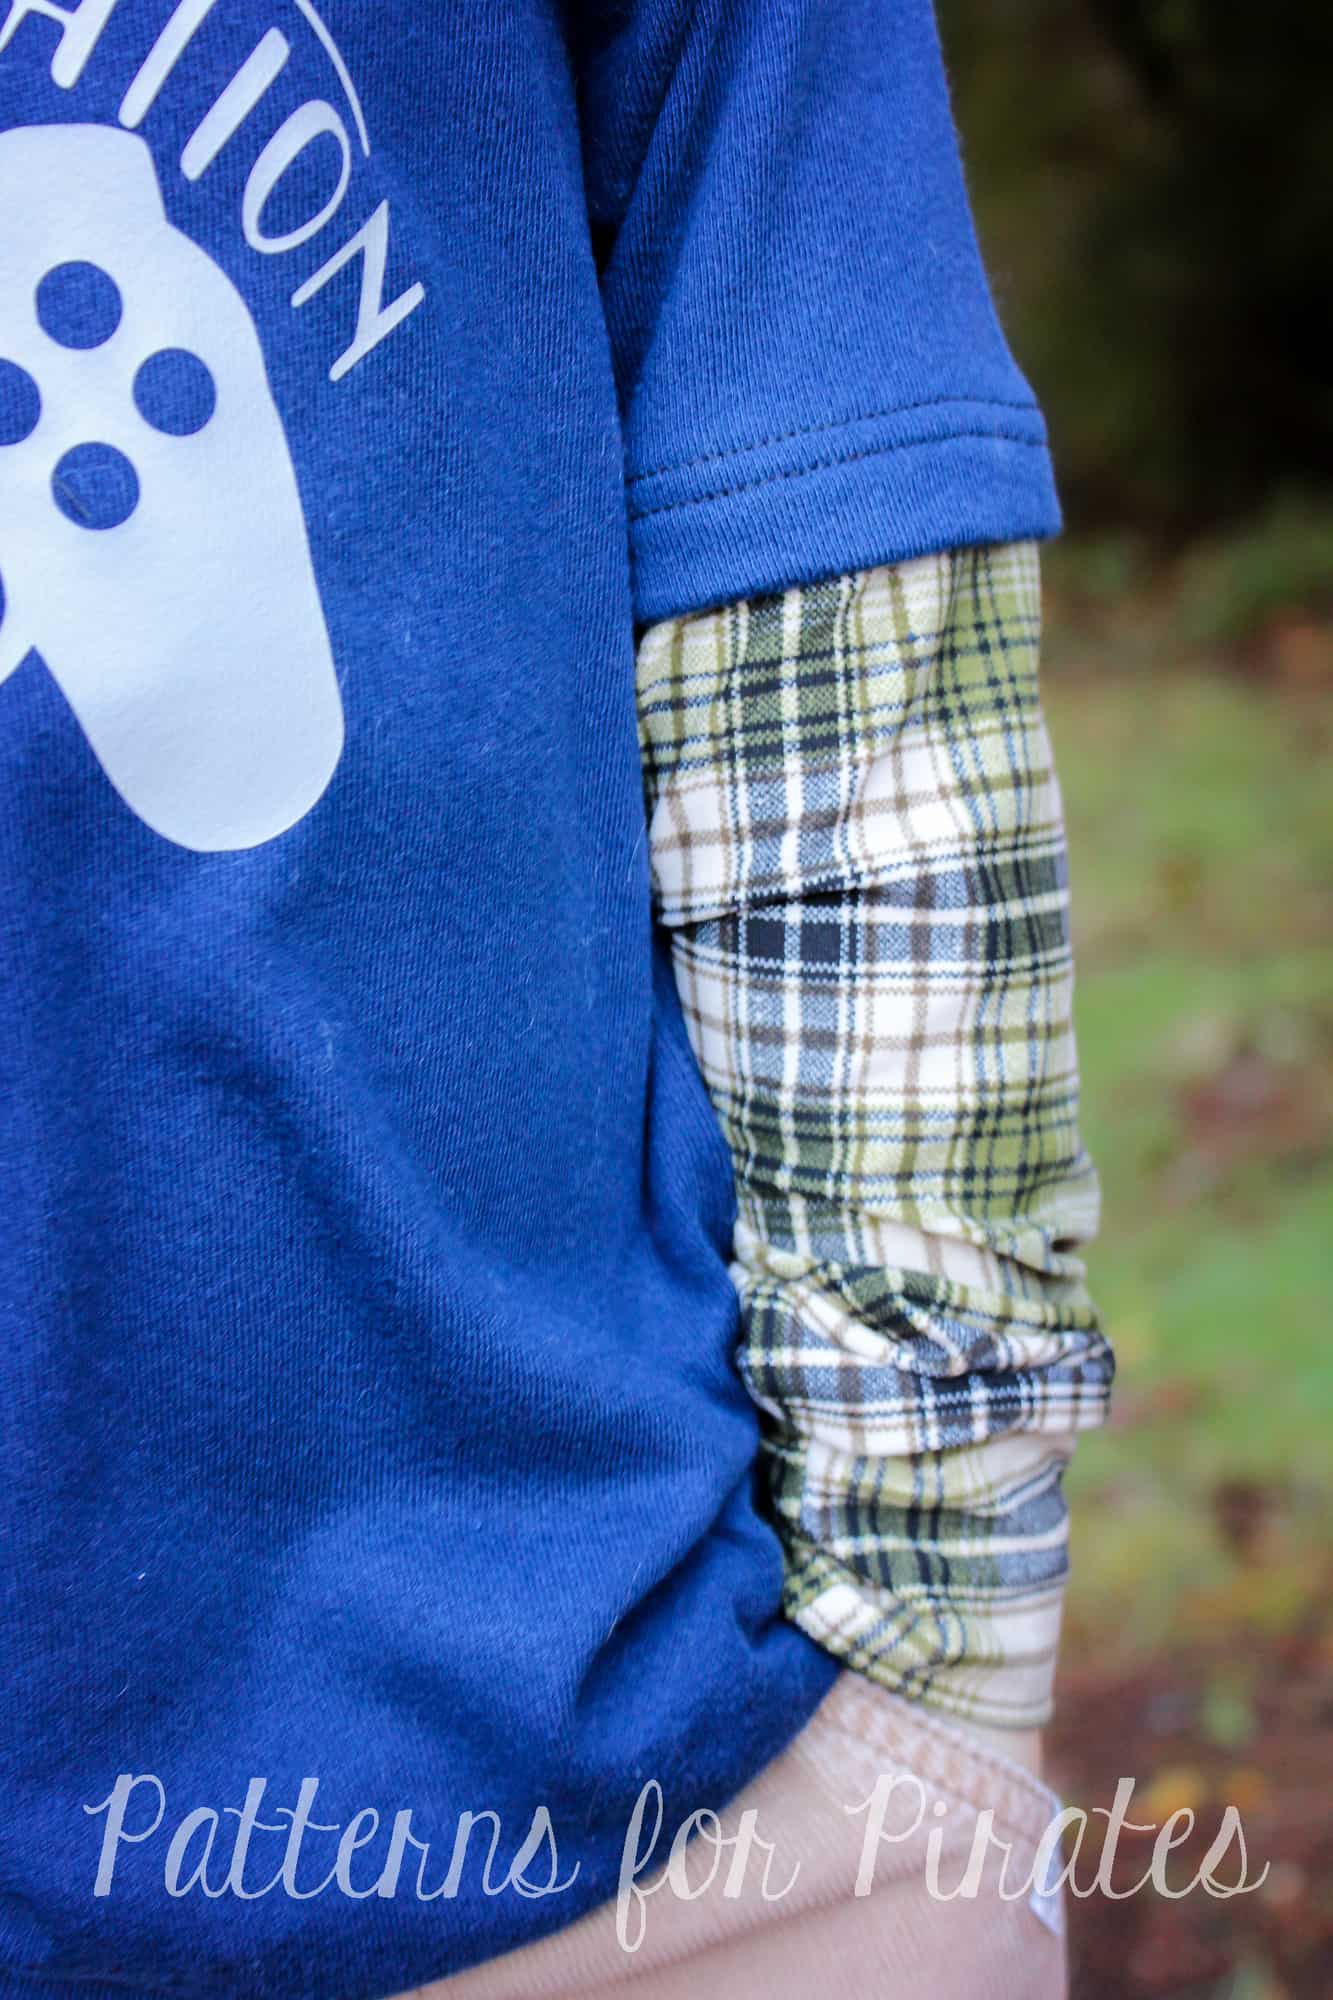
The Jolly Roger is probably one of the most used patterns in my son’s wardrobe! It’s fast, easy, and has lots of option to mix it up with the add-on pack. However, one of my favorite looks is a layered sleeve, which can be hard to accomplish when my son always wants to wear a sweatshirt! Enter- the faux sleeve! This hack is very easy to do and can also be used with other long sleeve patterns, including the Yo-ho Henley and Relaxed Raglan.

The only modification you will need to complete to achieve this look is to alter the sleeve. All other pieces will be cut out as directed and sewn as per the tutorial.

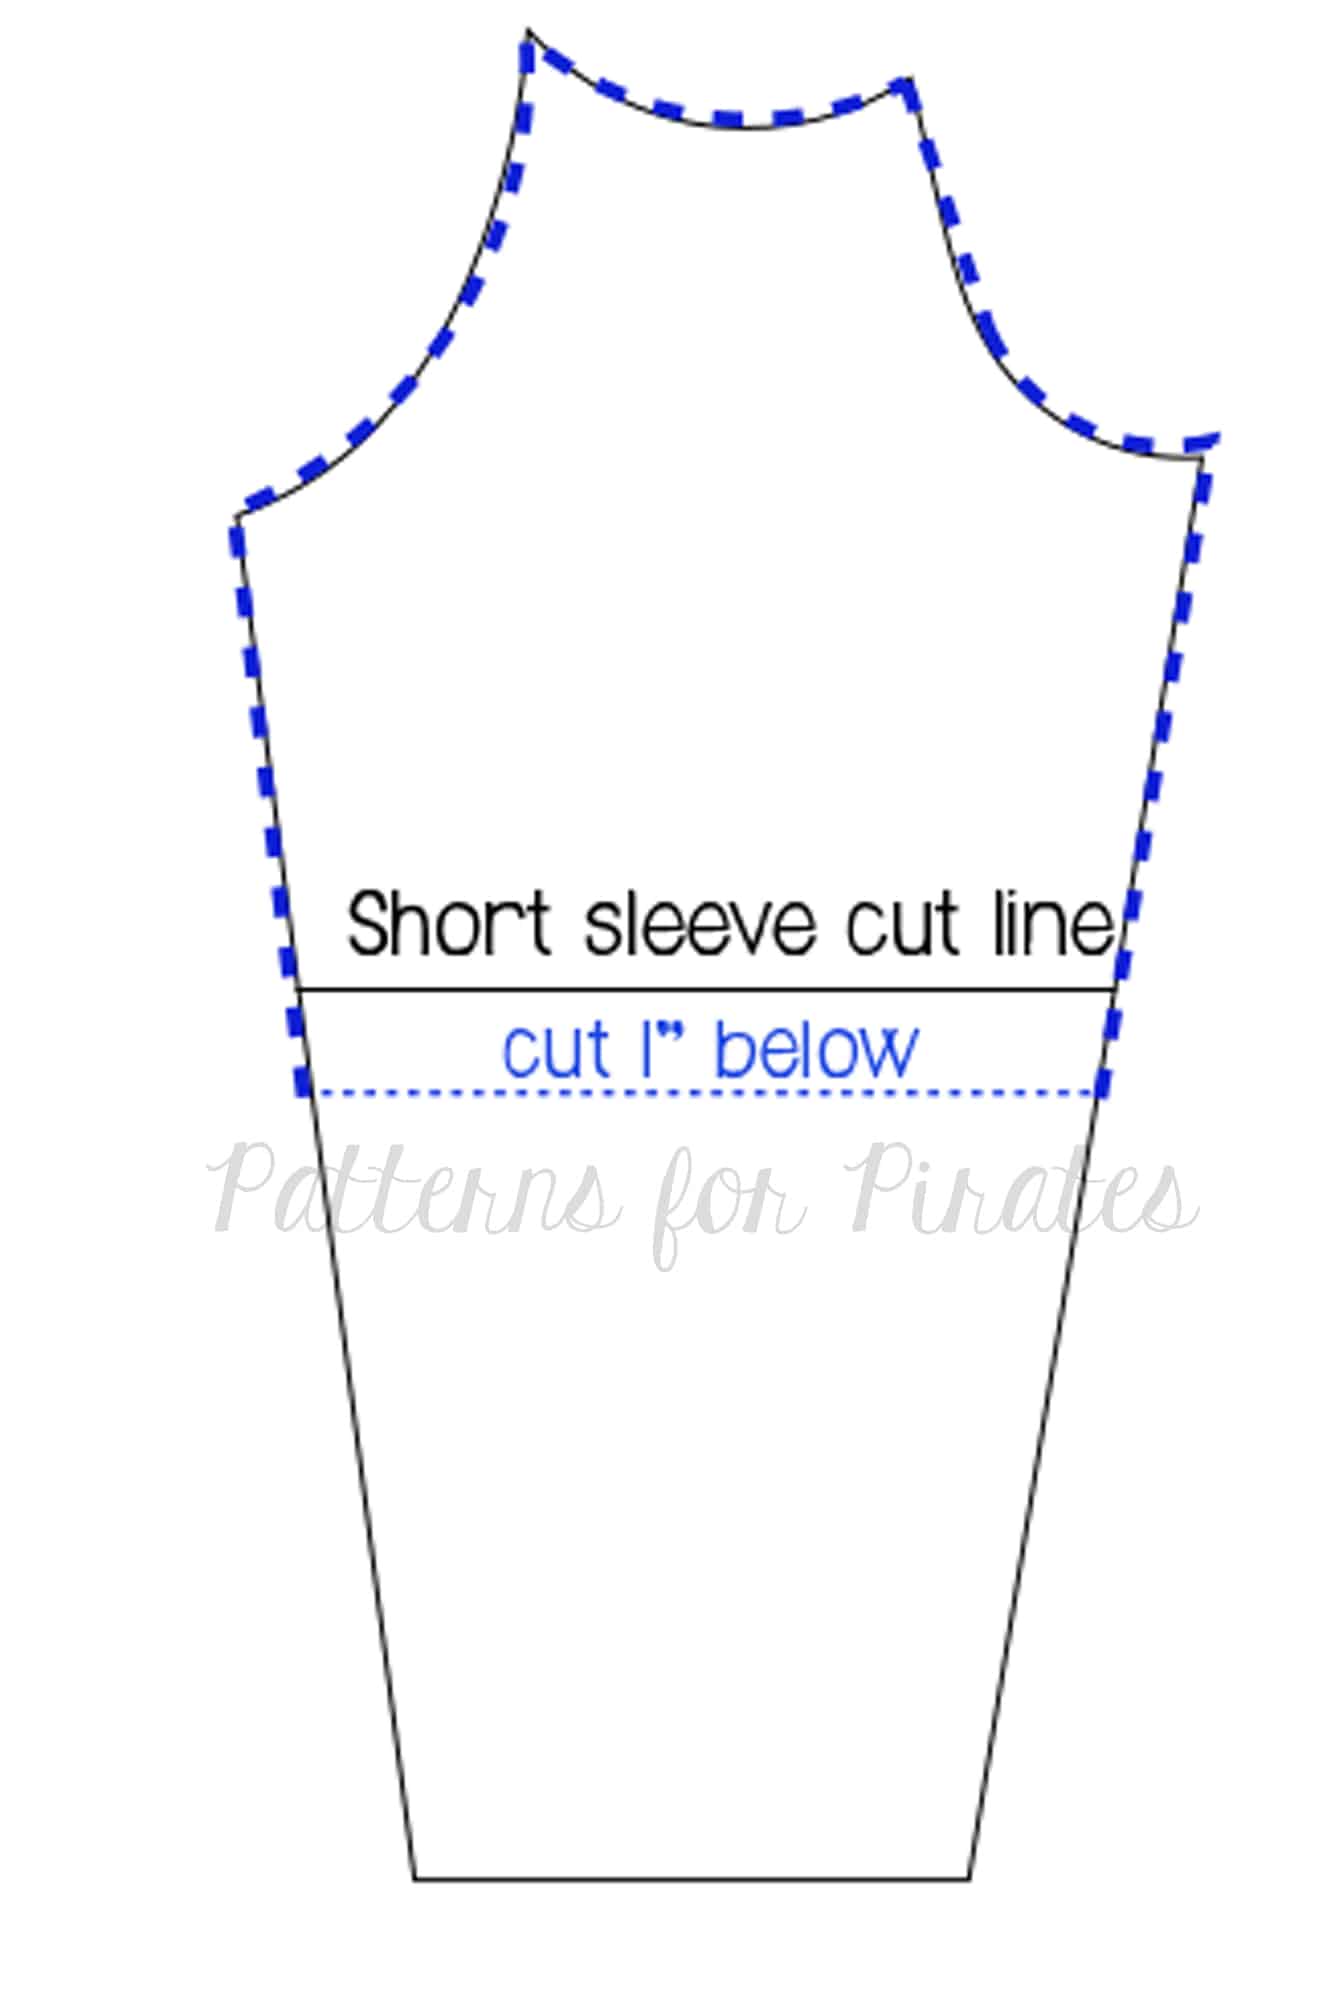
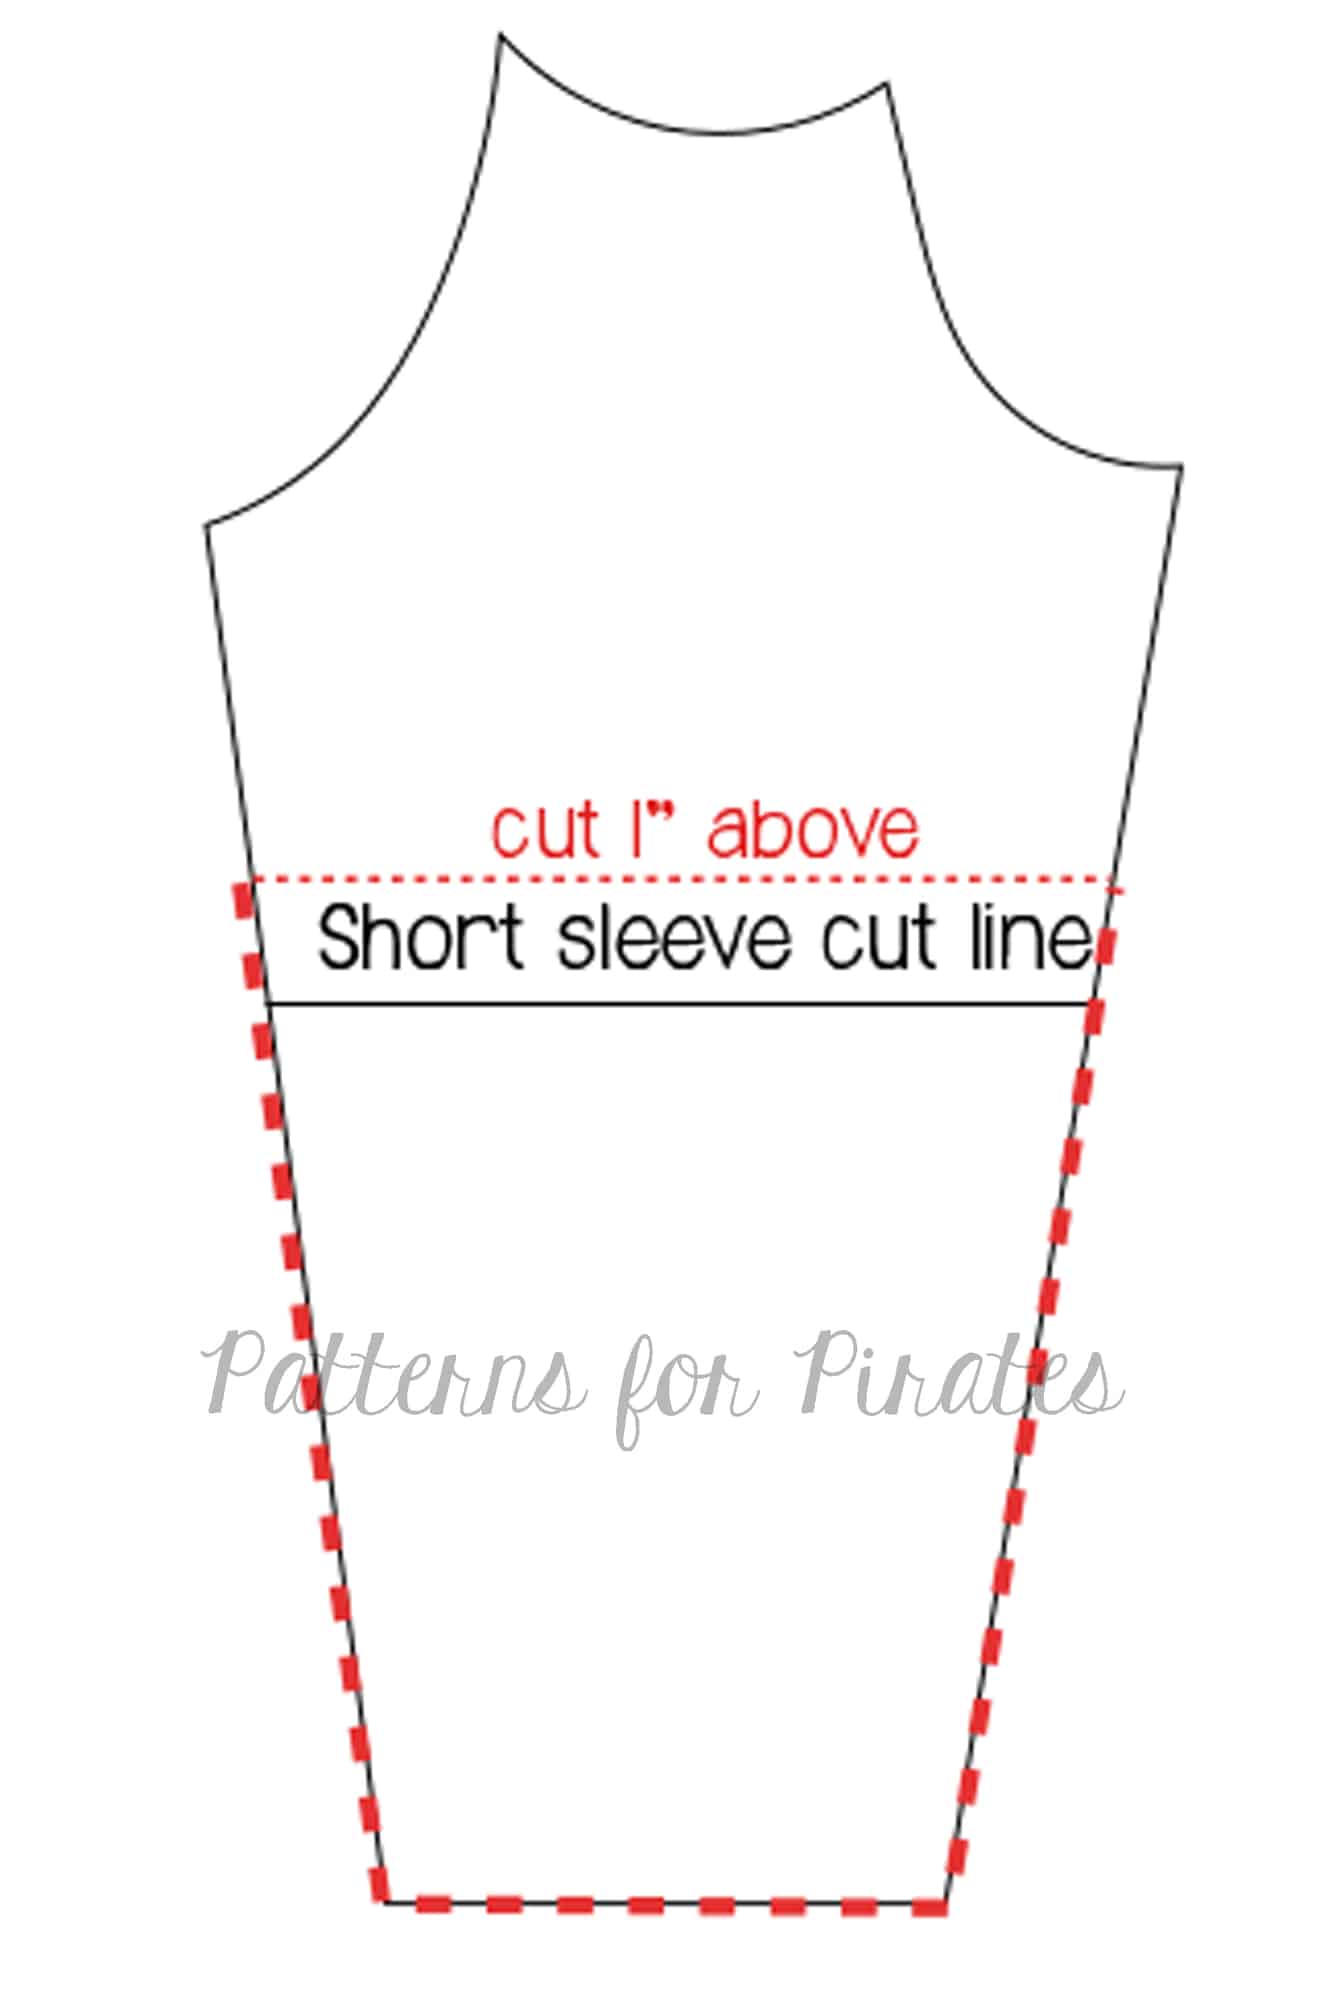
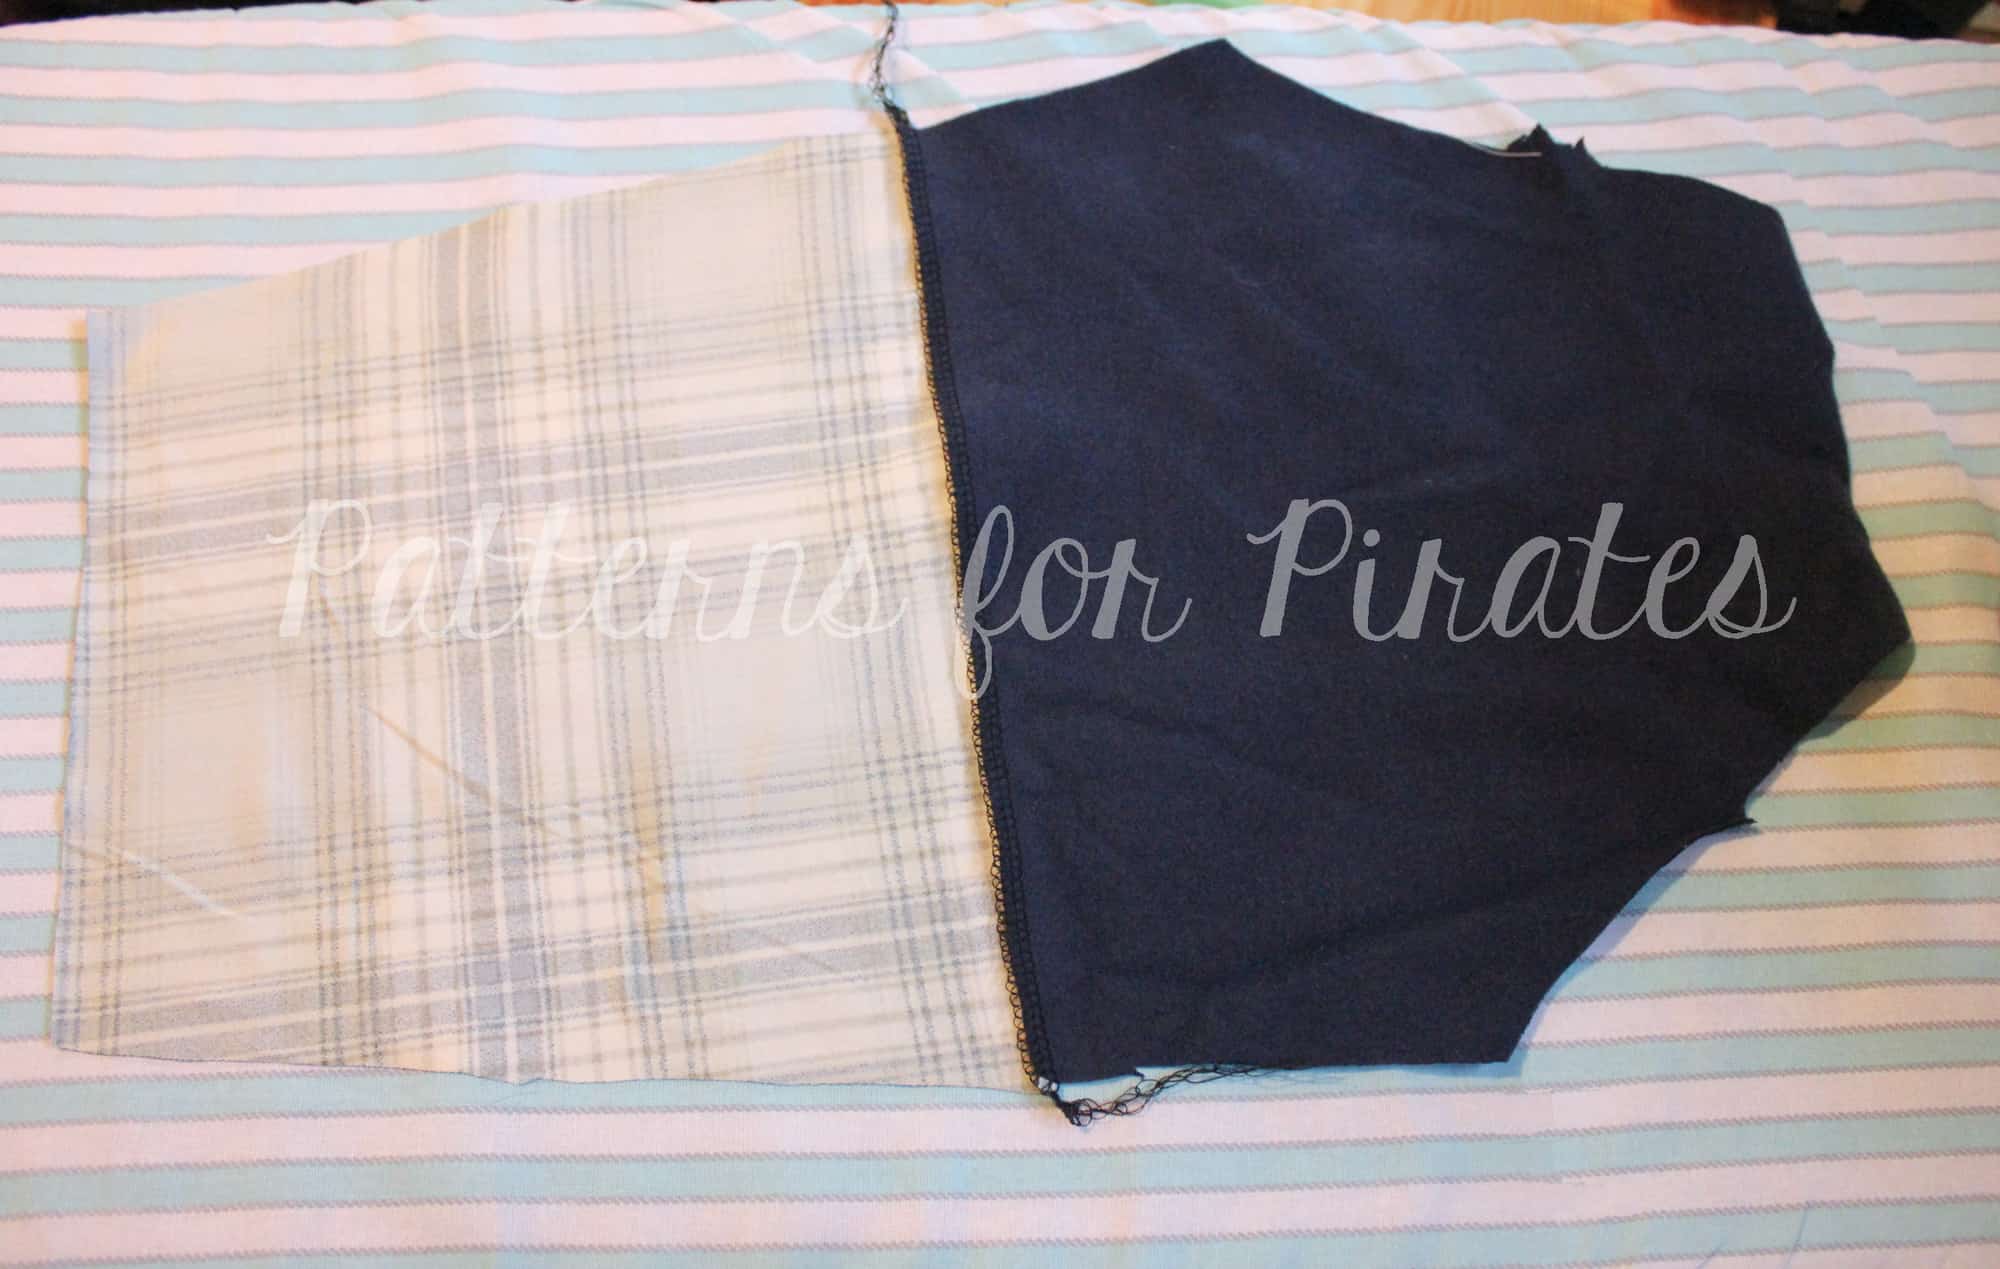
The first thing you will need to do is cut the upper sleeve piece. To do so, use the short sleeve cut line, however you will want to cut 1″ BELOW this line.  Don’t forget to cut two MIRROR image upper sleeve pieces! After cutting the upper sleeve pieces, you will cut out the bottom pieces. Using the same method, use the short sleeve cut line again, however cut 1″ above this line. Again, don’t forget to cut two MIRROR images. You will now assemble your sleeve pieces. Place right sides together and stitch using a 1/2″ seam allowance. Press your seam towards the upper sleeve piece.

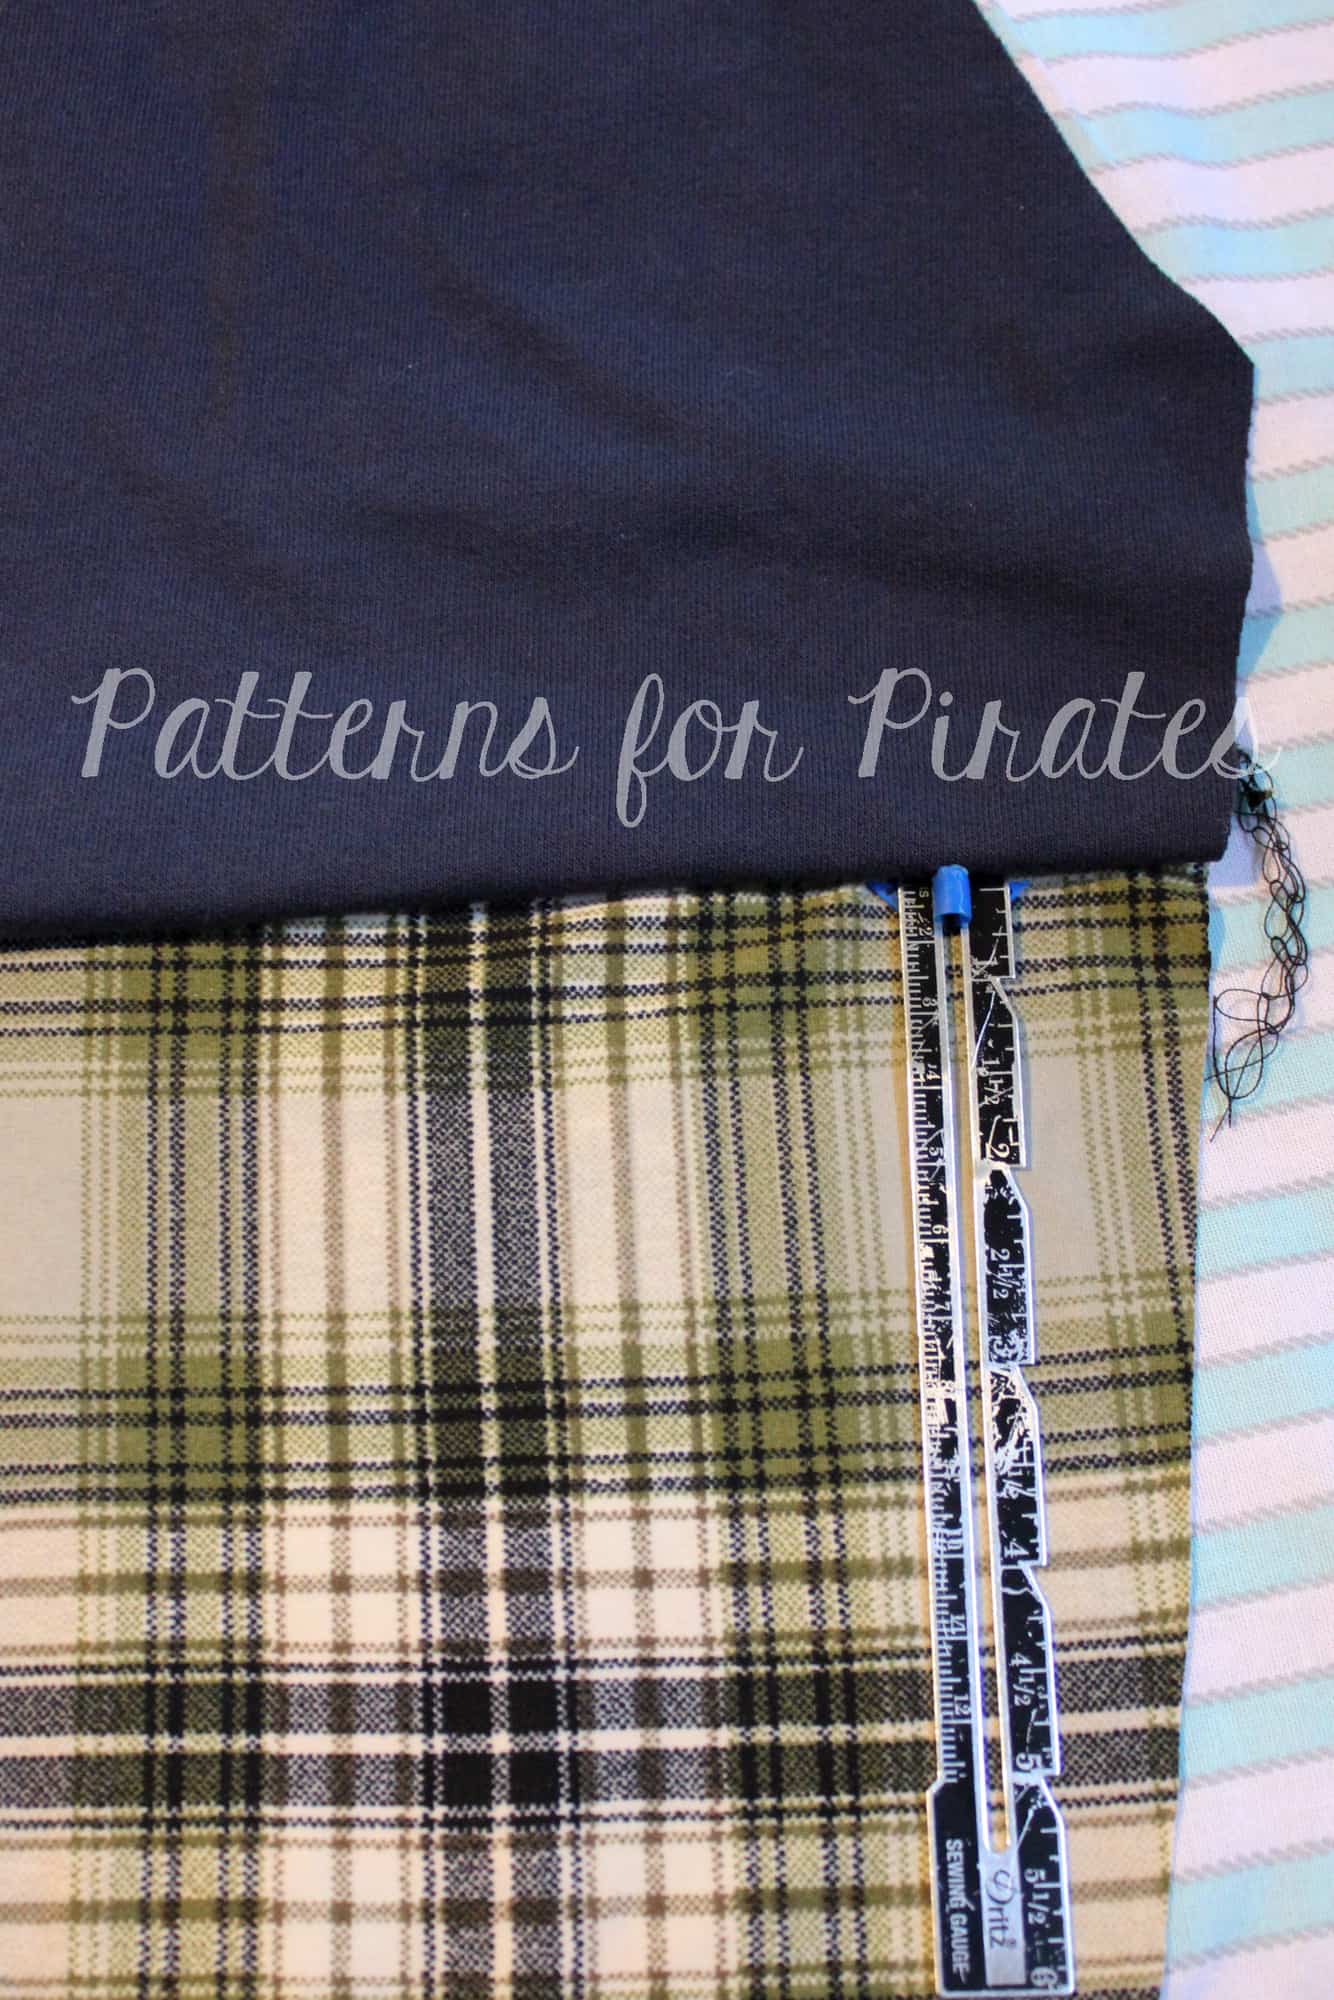
Lastly, you are going to create your faux hem where the two pieces are connected. Using a hem gauge, overlap the two pieces by 1/2″ to create the hem and press, press, press with your iron. 

Pin the hem in place, then stitch using your favorite hemming stitch. 

You will now complete the rest of your Jolly Roger Raglan (or other shirt) according to the directions. Make sure that when you are sewing the sleeve and side seam, to align the faux hem as well.

Be sure to share your creations with us in our Facebook group and I can’t wait to see what kind of fun layering ideas you come up with!
~Erinn

Filed Under: Pattern Hacks Leave a Comment

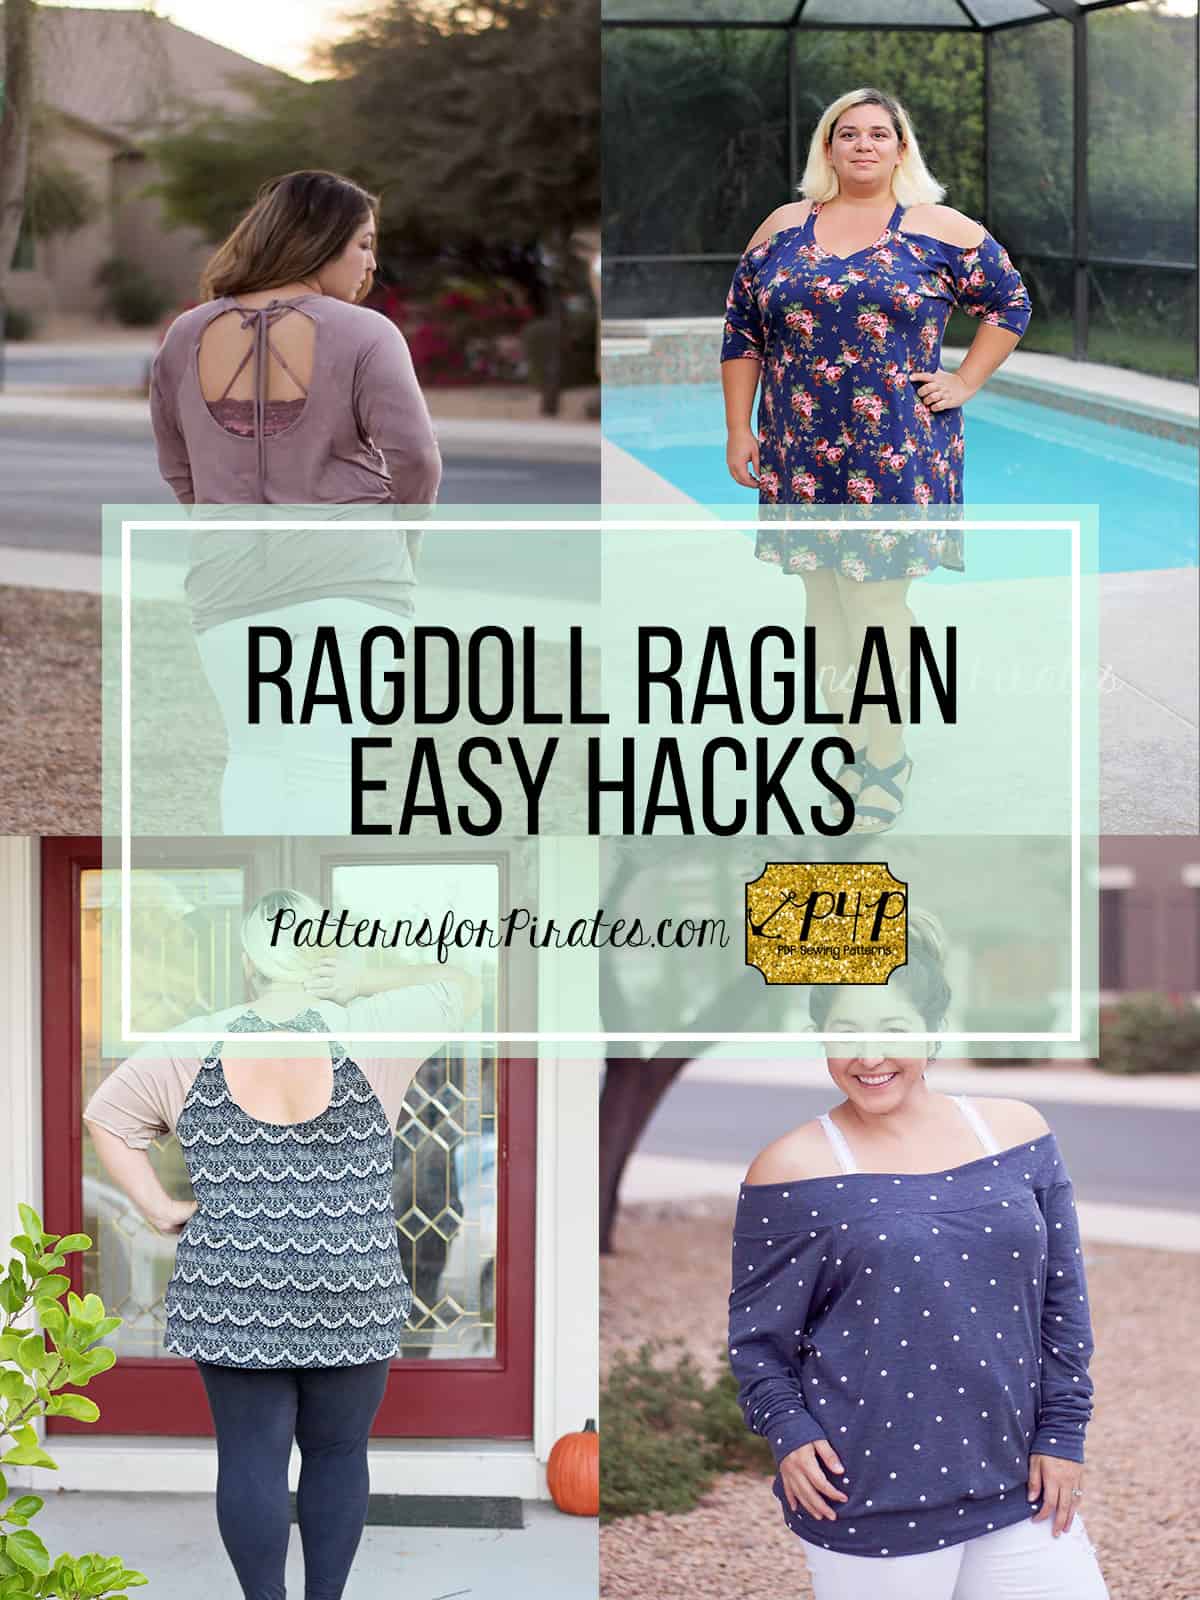
RagDoll easy hacks

November 30, 2017


. . . . .

Cold Shoulder


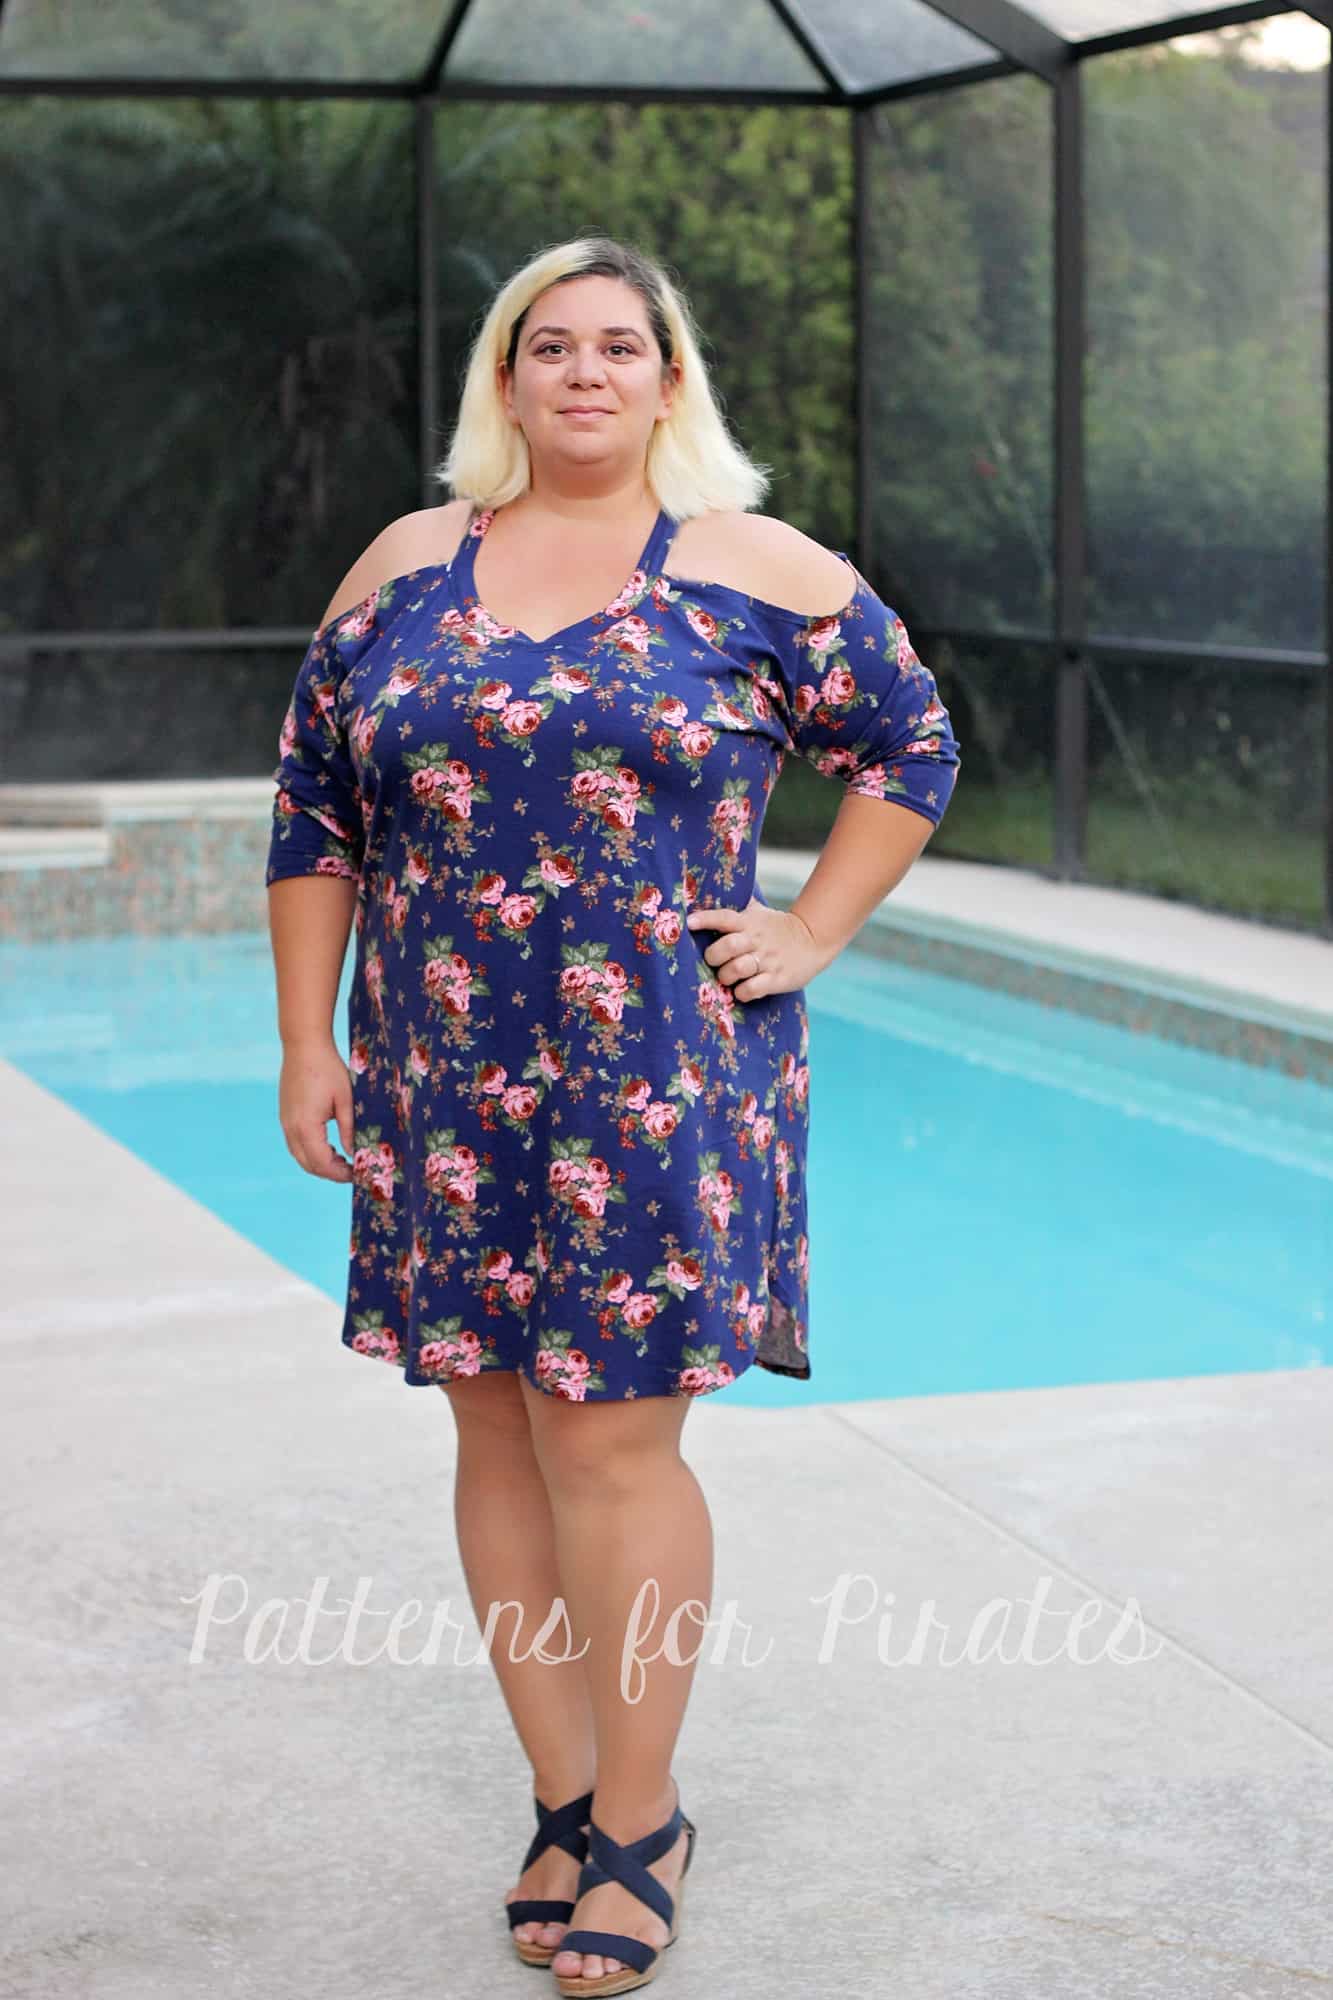
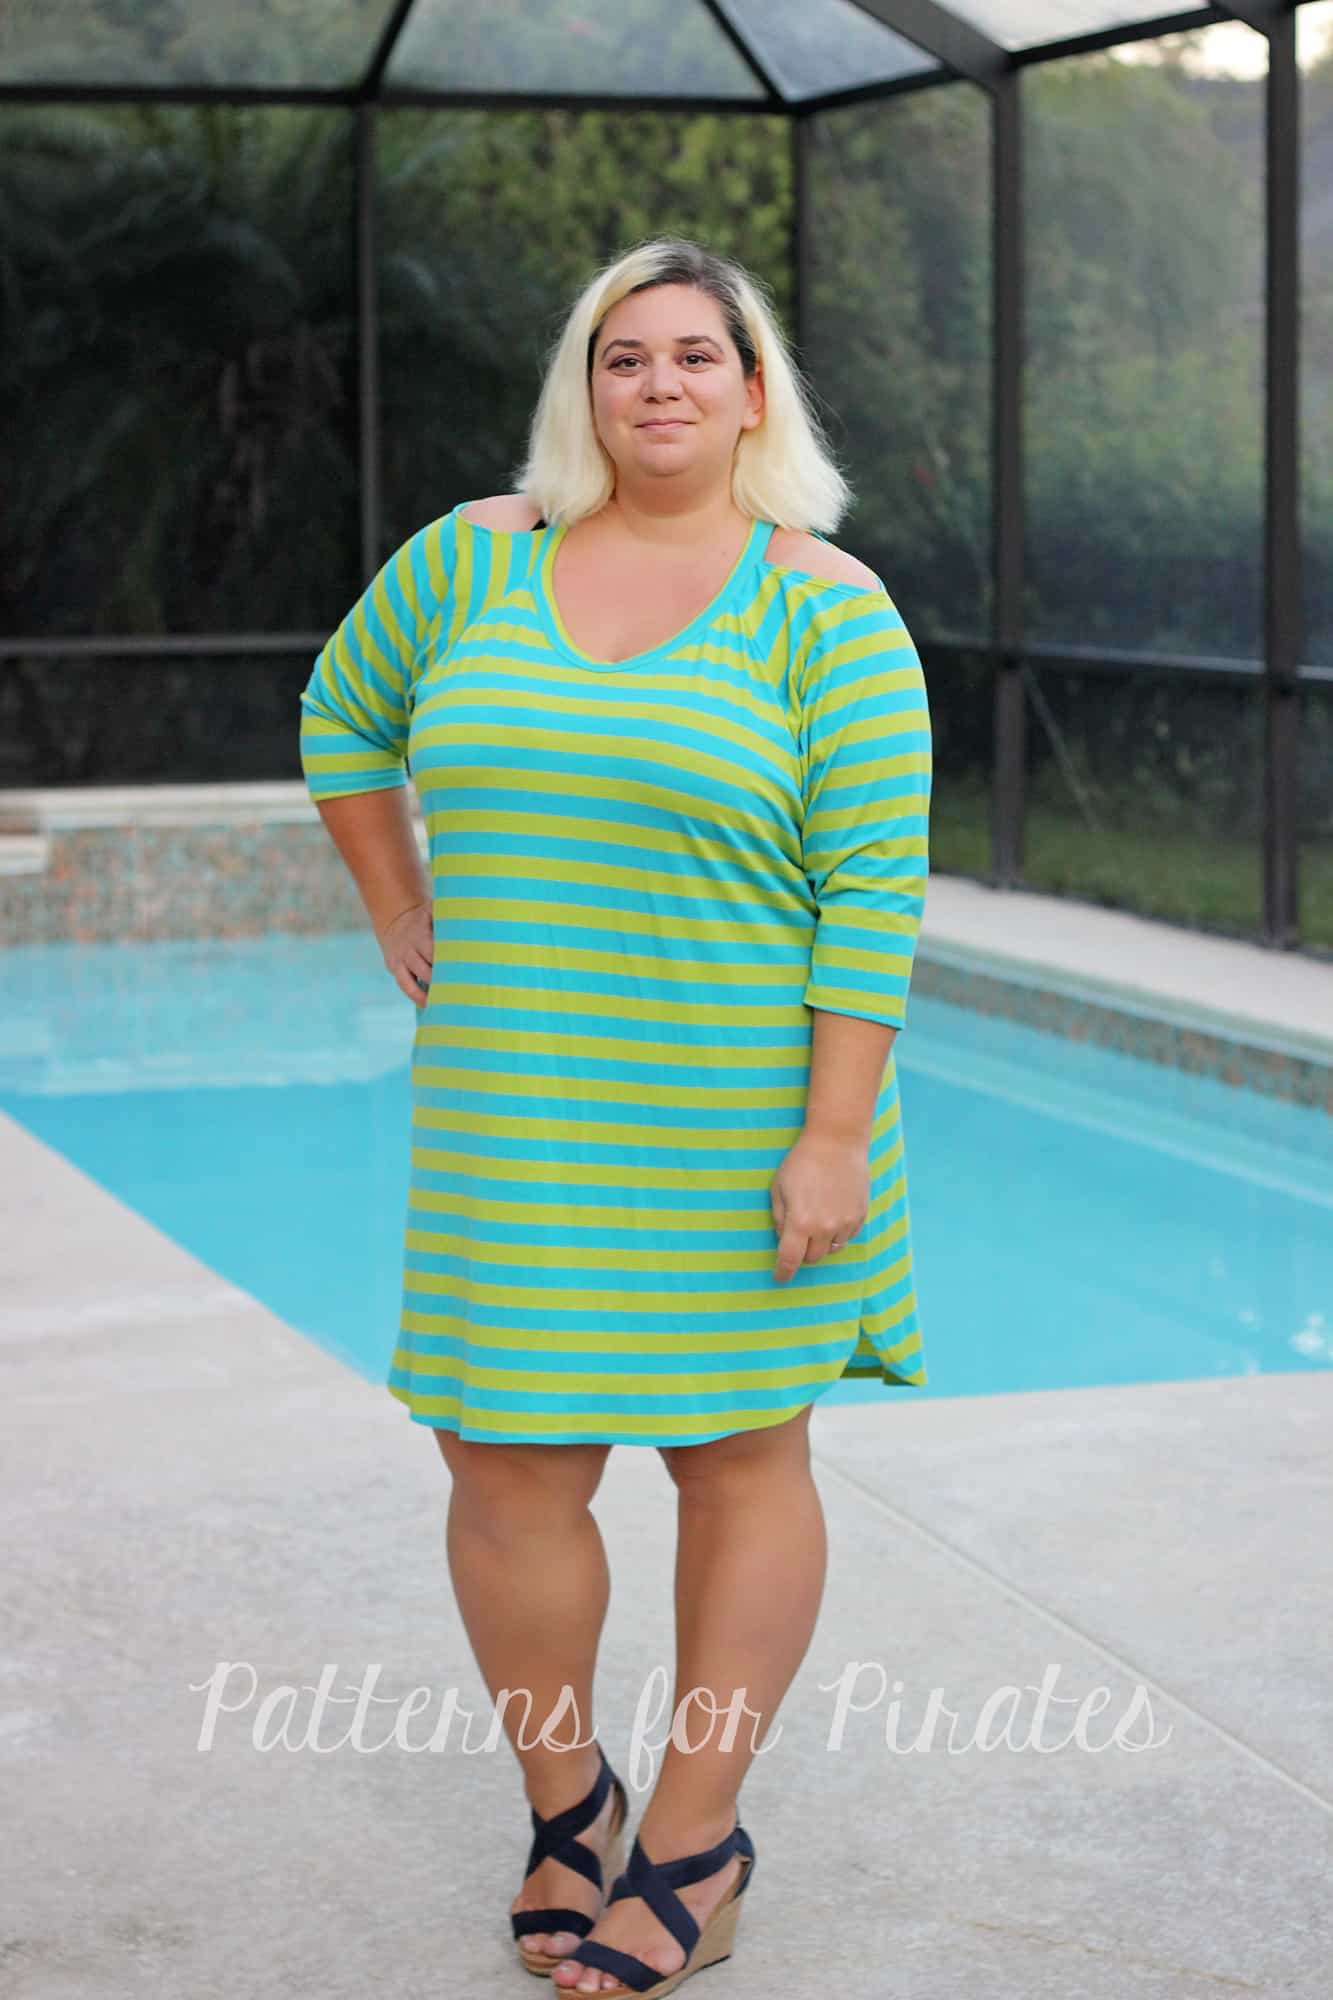
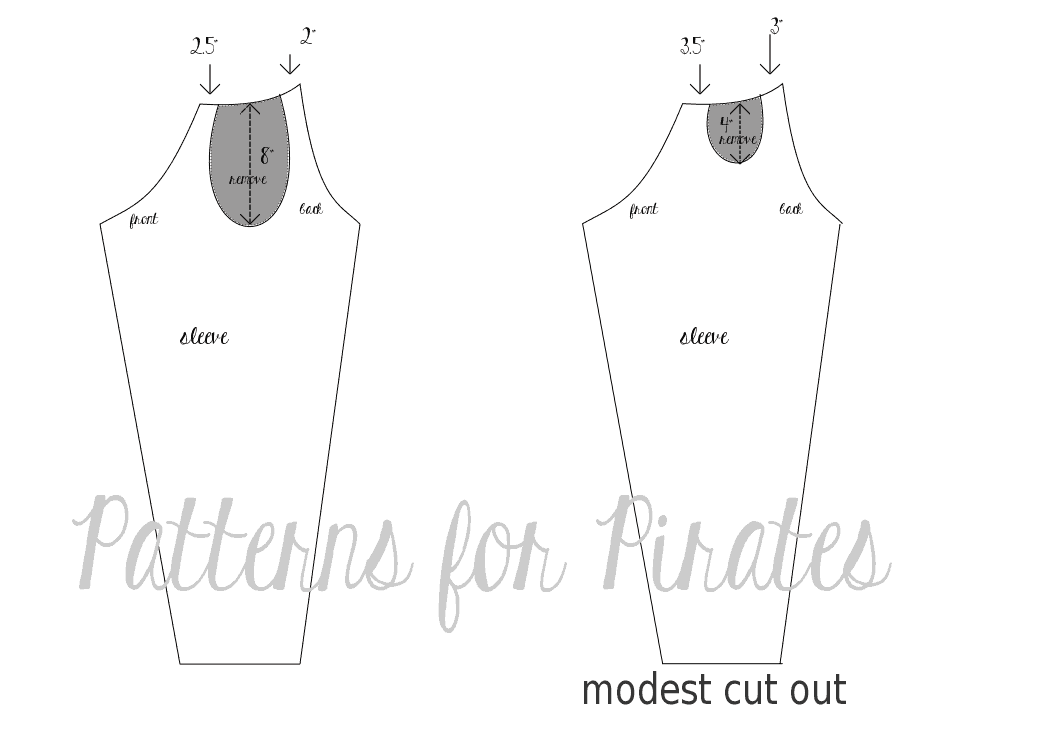
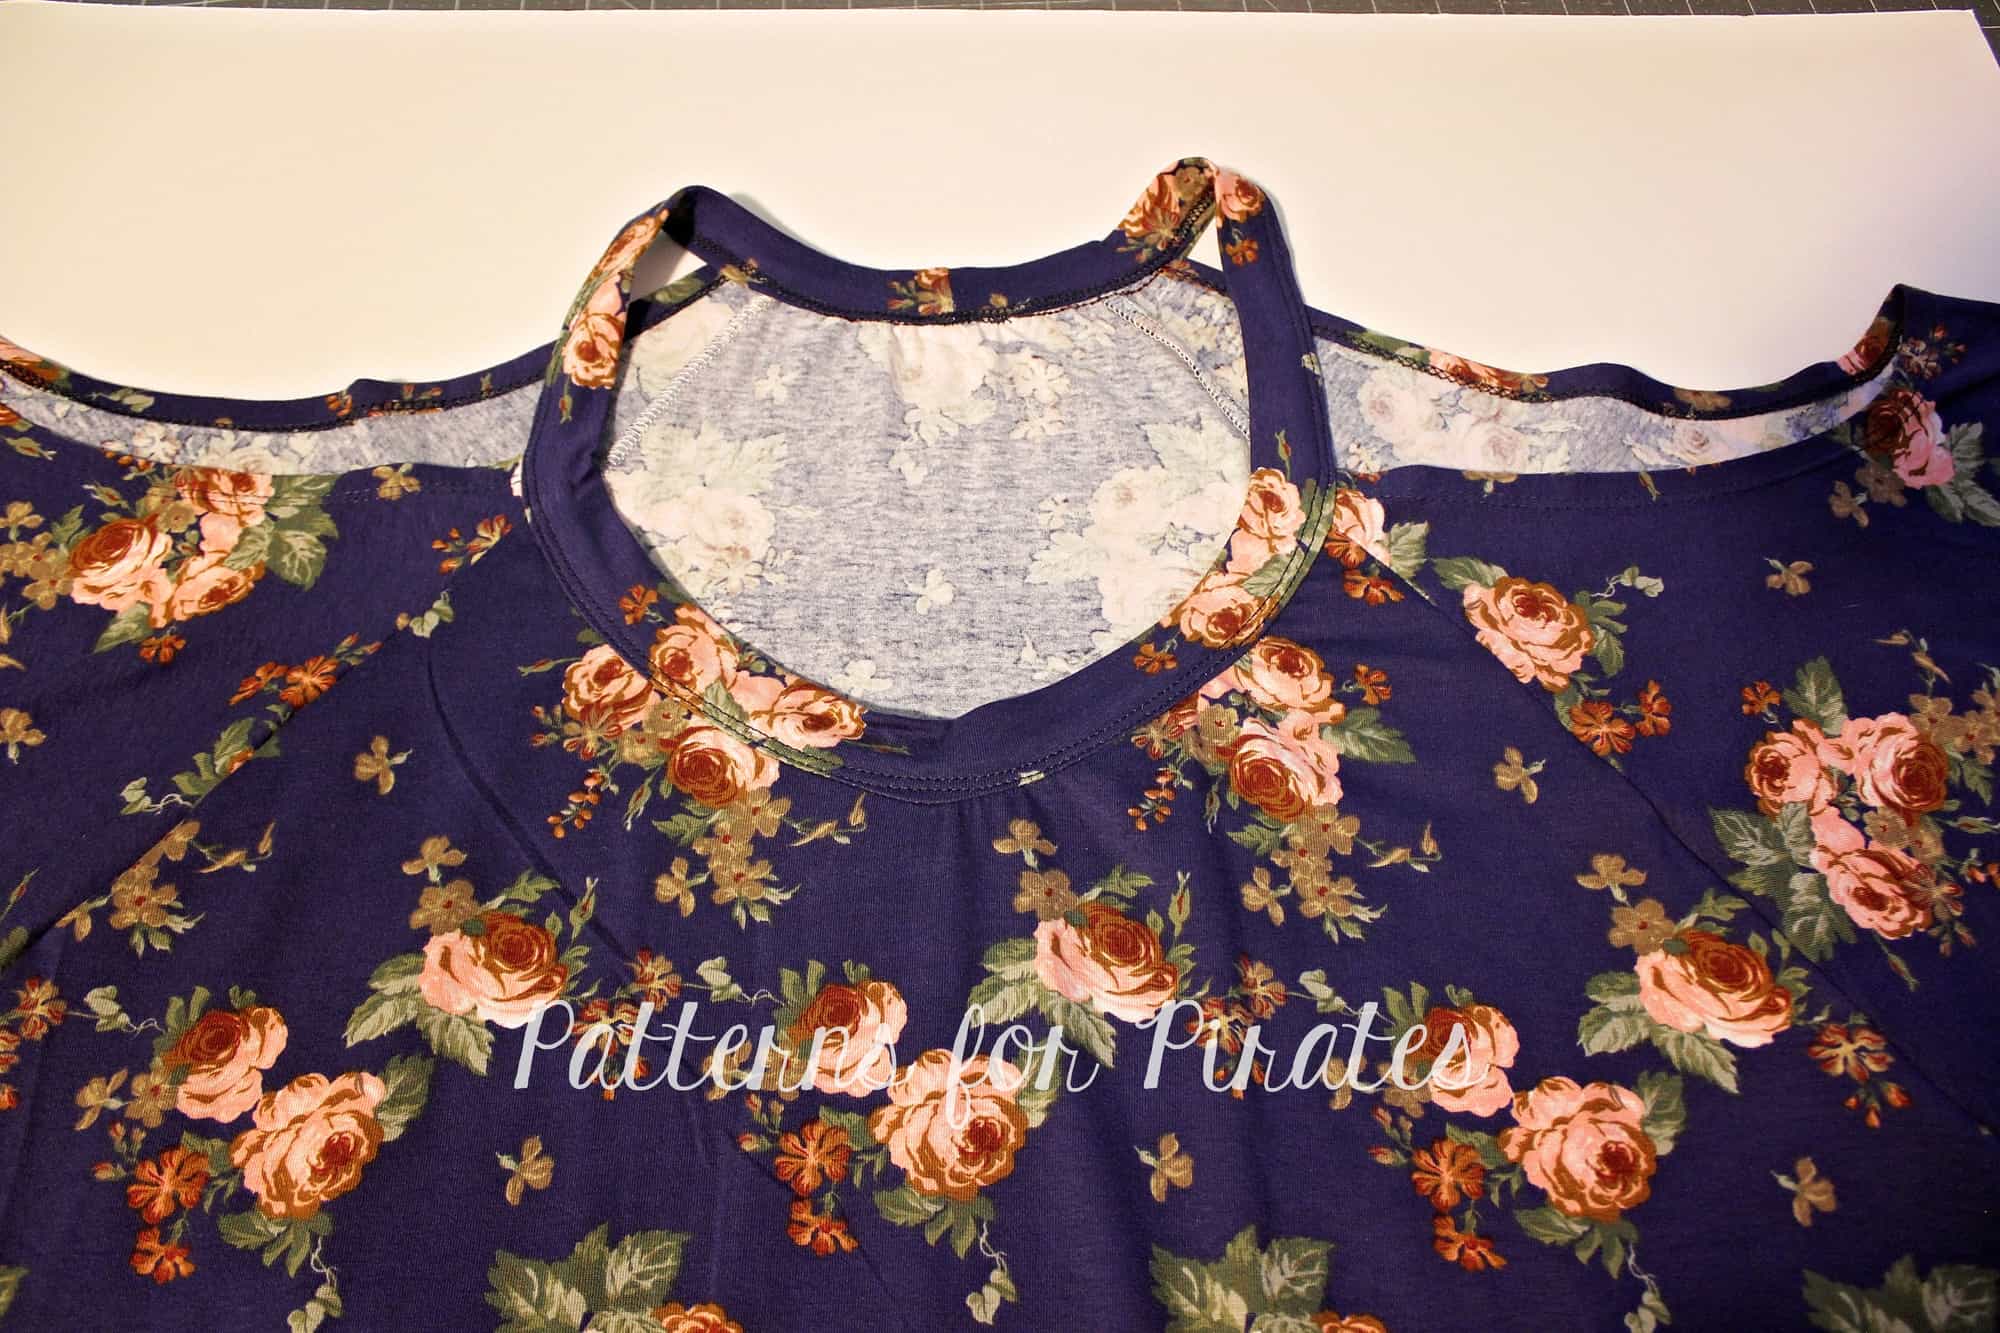
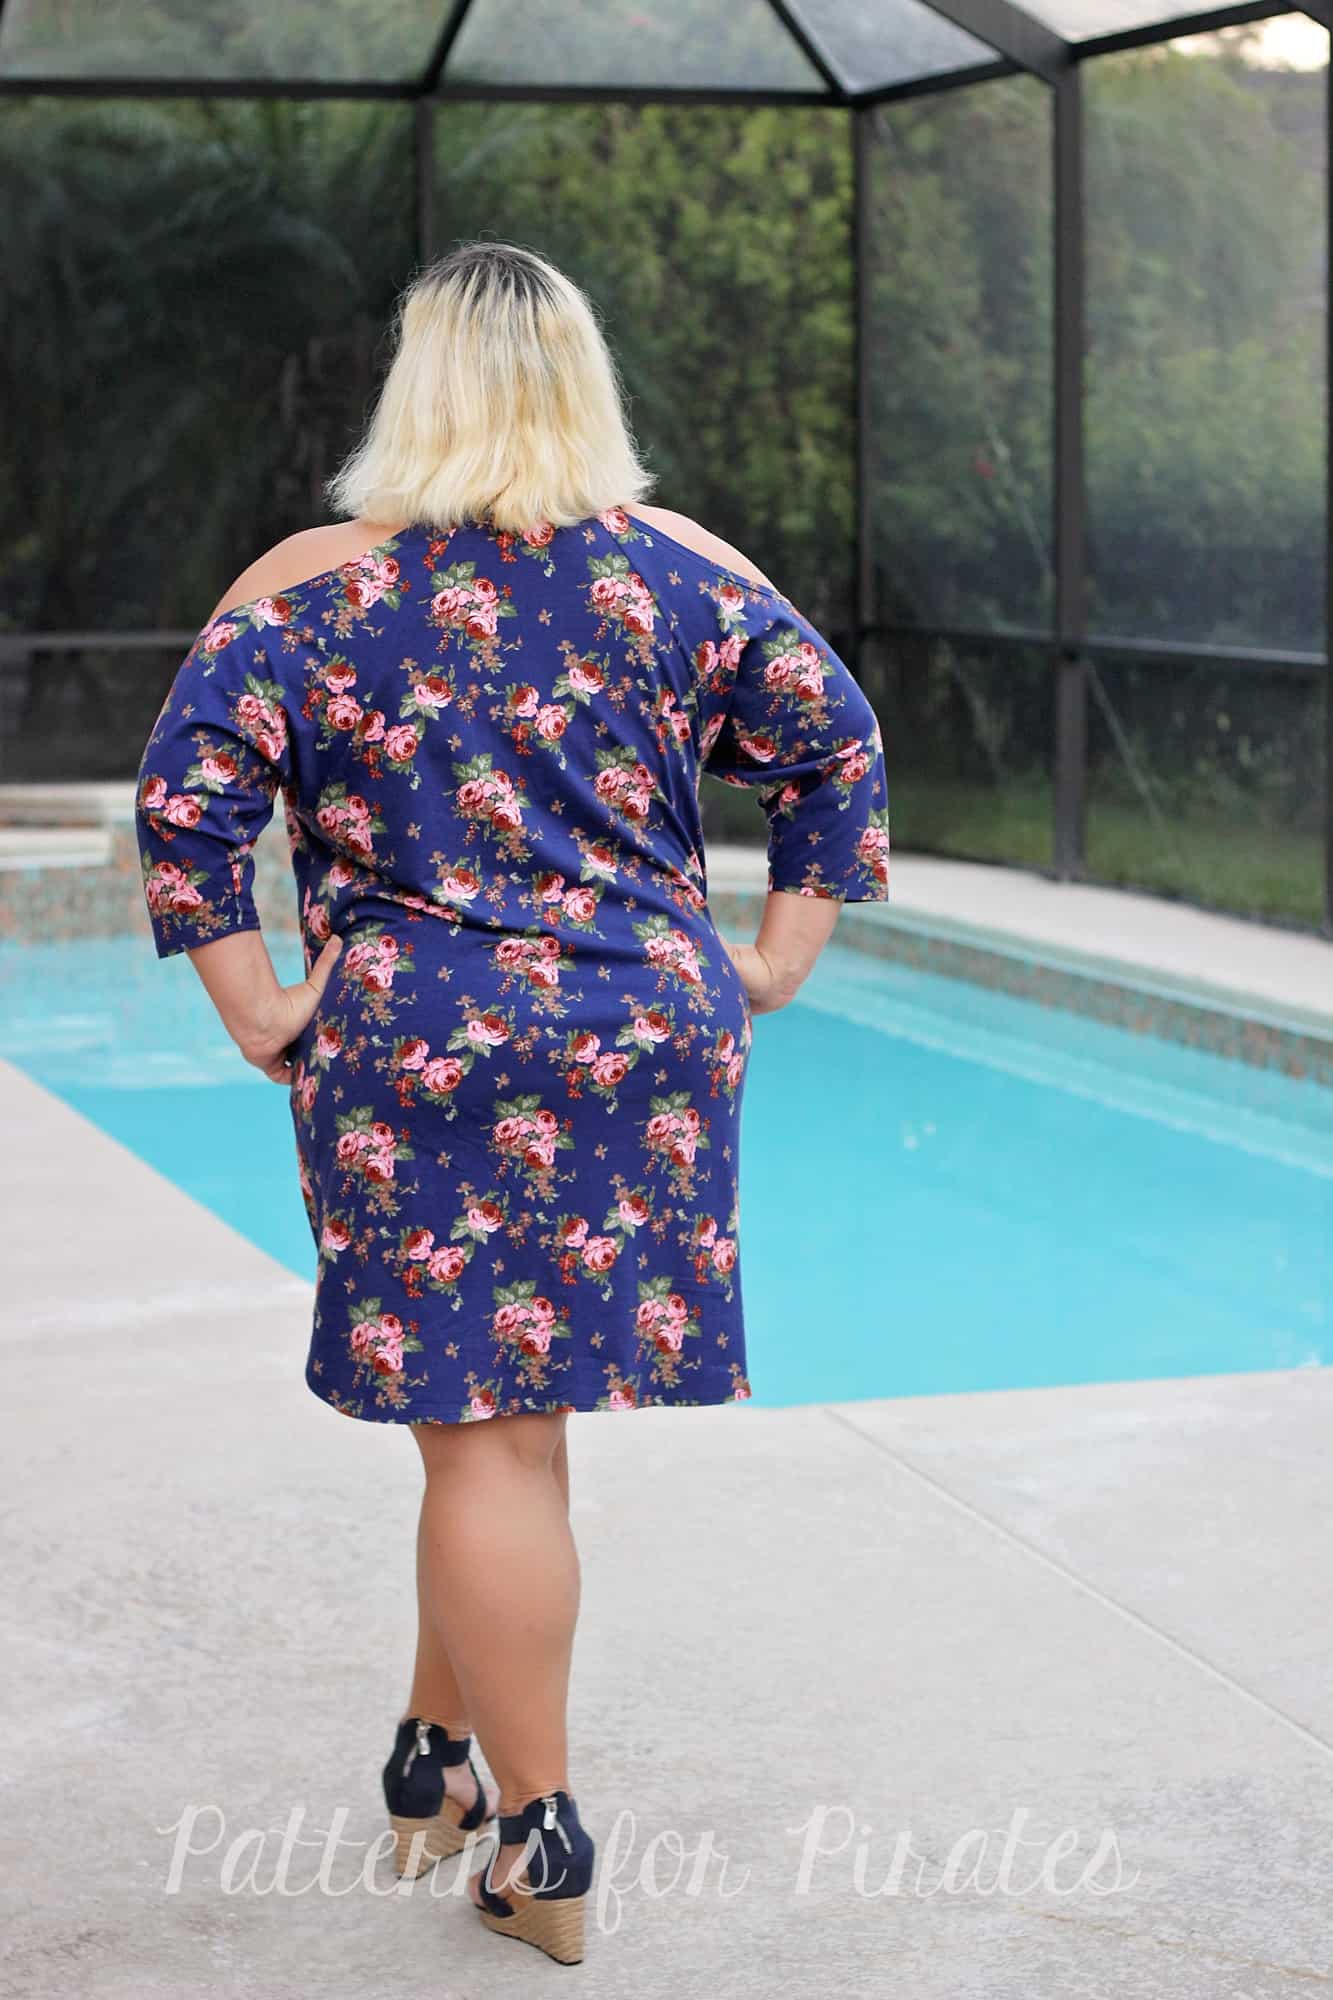
With the off the shoulder look being all the rave right now, I just had to show you how easy it is to get the look with our newest Ragdoll pattern. I will show you two different looks, one more modest and one sexier if you will. The technique will be the same for both you will just make the sleeve cut out different sizes. Feel free to play with it to get your desired cold shoulder size.

Start by printing the pattern in your size. You will be cutting out a portion of the sleeves as in the graphic below.

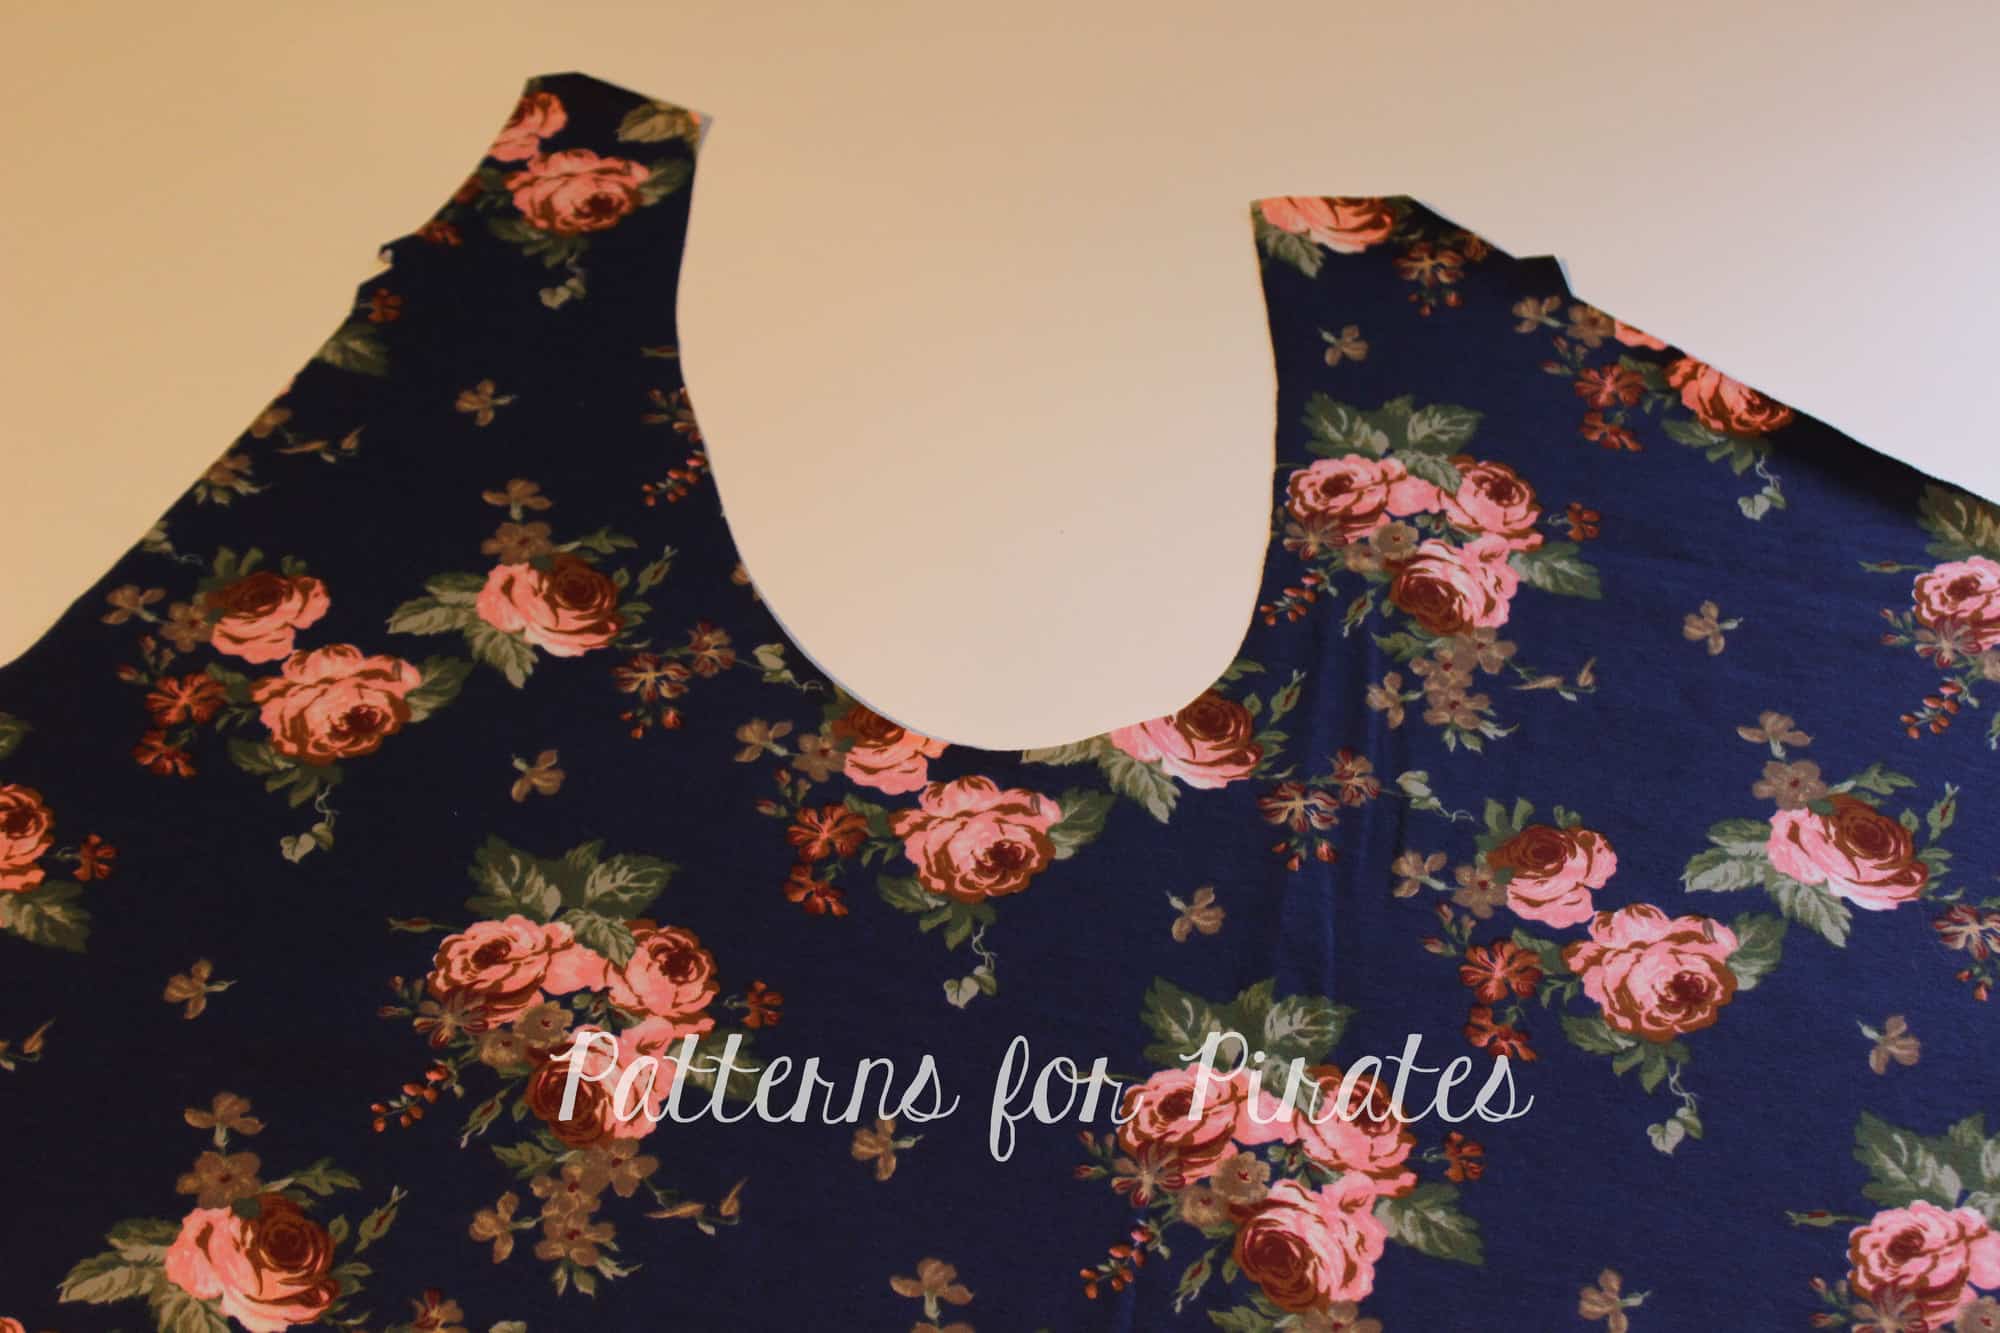
Hem the cutout using a 1/2″ hem allowance. The easiest way to do that is to steam press and pin it in place with a lot of pins (or clips). Stitch with your coverstitch, a twin needle or a zig zag stitch. Don’t forget to give it a good press after you hem it.

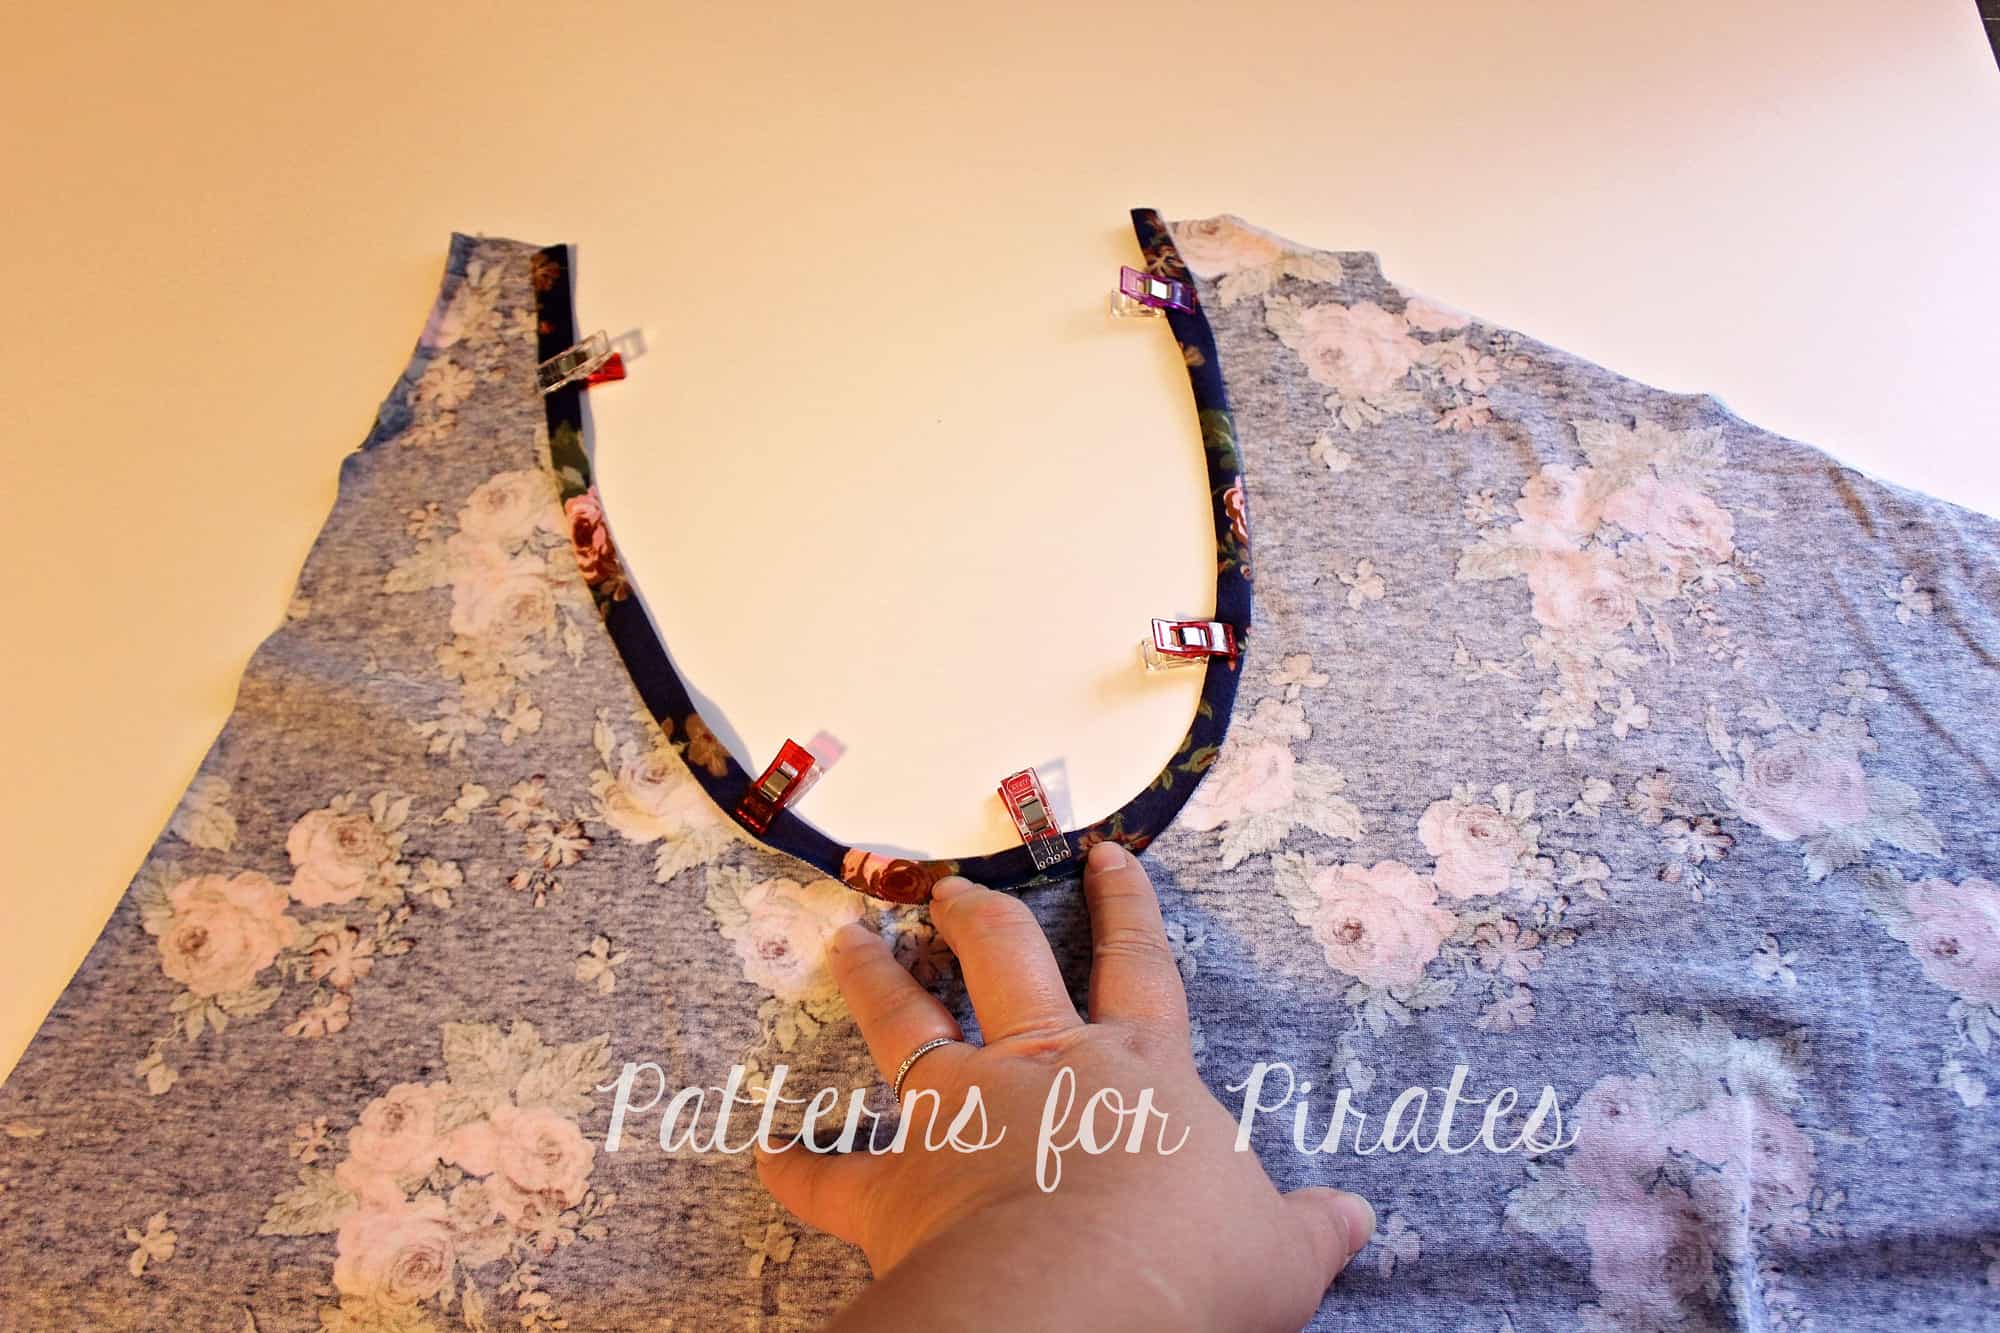
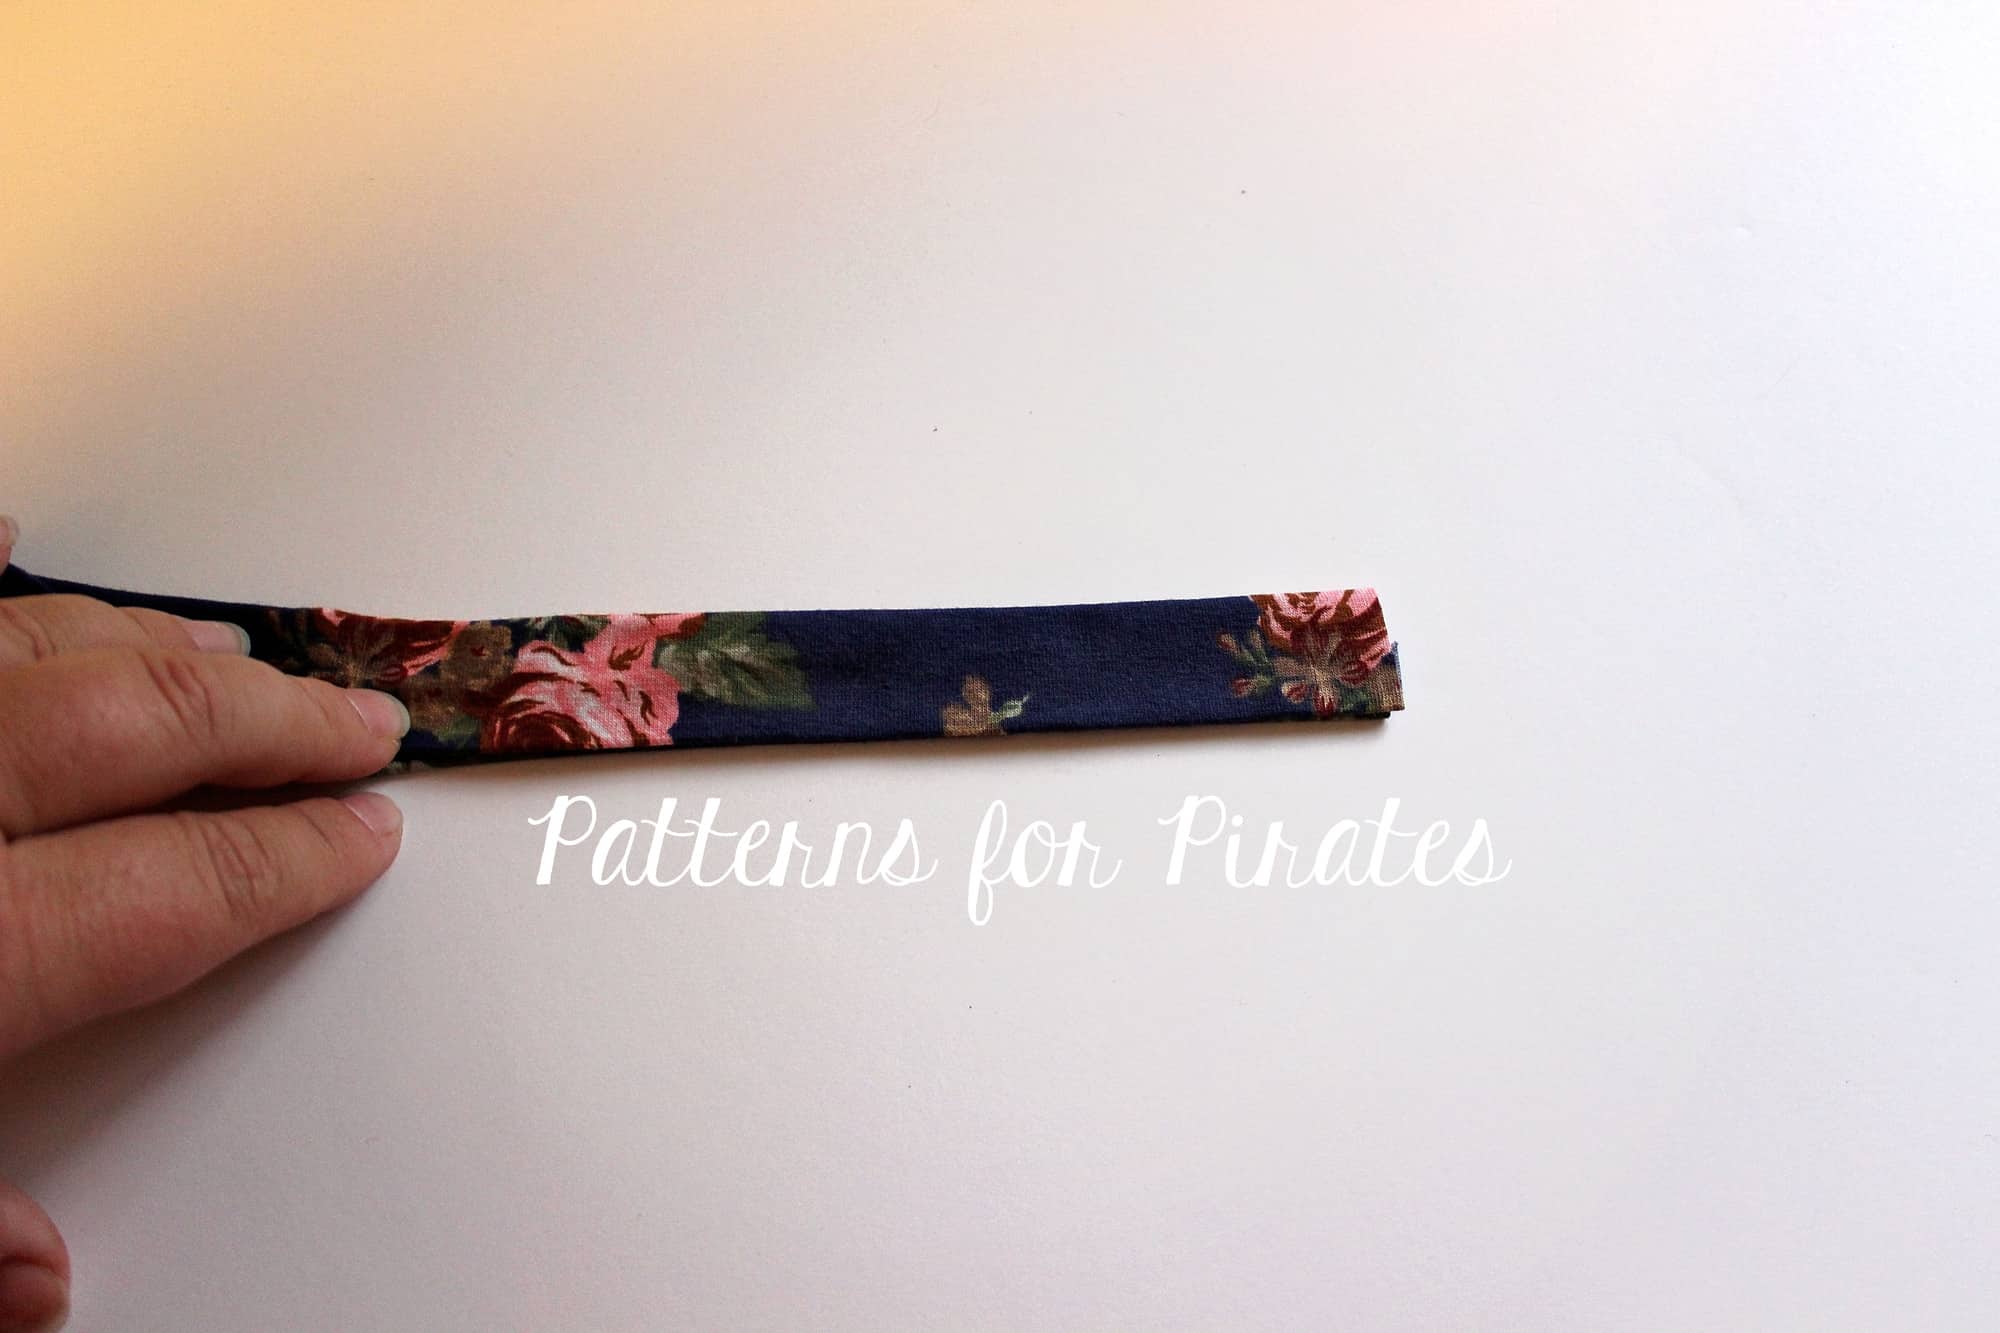
Sew the shirt or dress as shown in the pattern tutorial. All we have left to do now is attach the neckband. Press 1/2″ memory hem as shown below.

Fold the neckband lengthwise and press it really well. Sew the short sides together to create a loop. Mark the center back (where the seam is) and the center front.

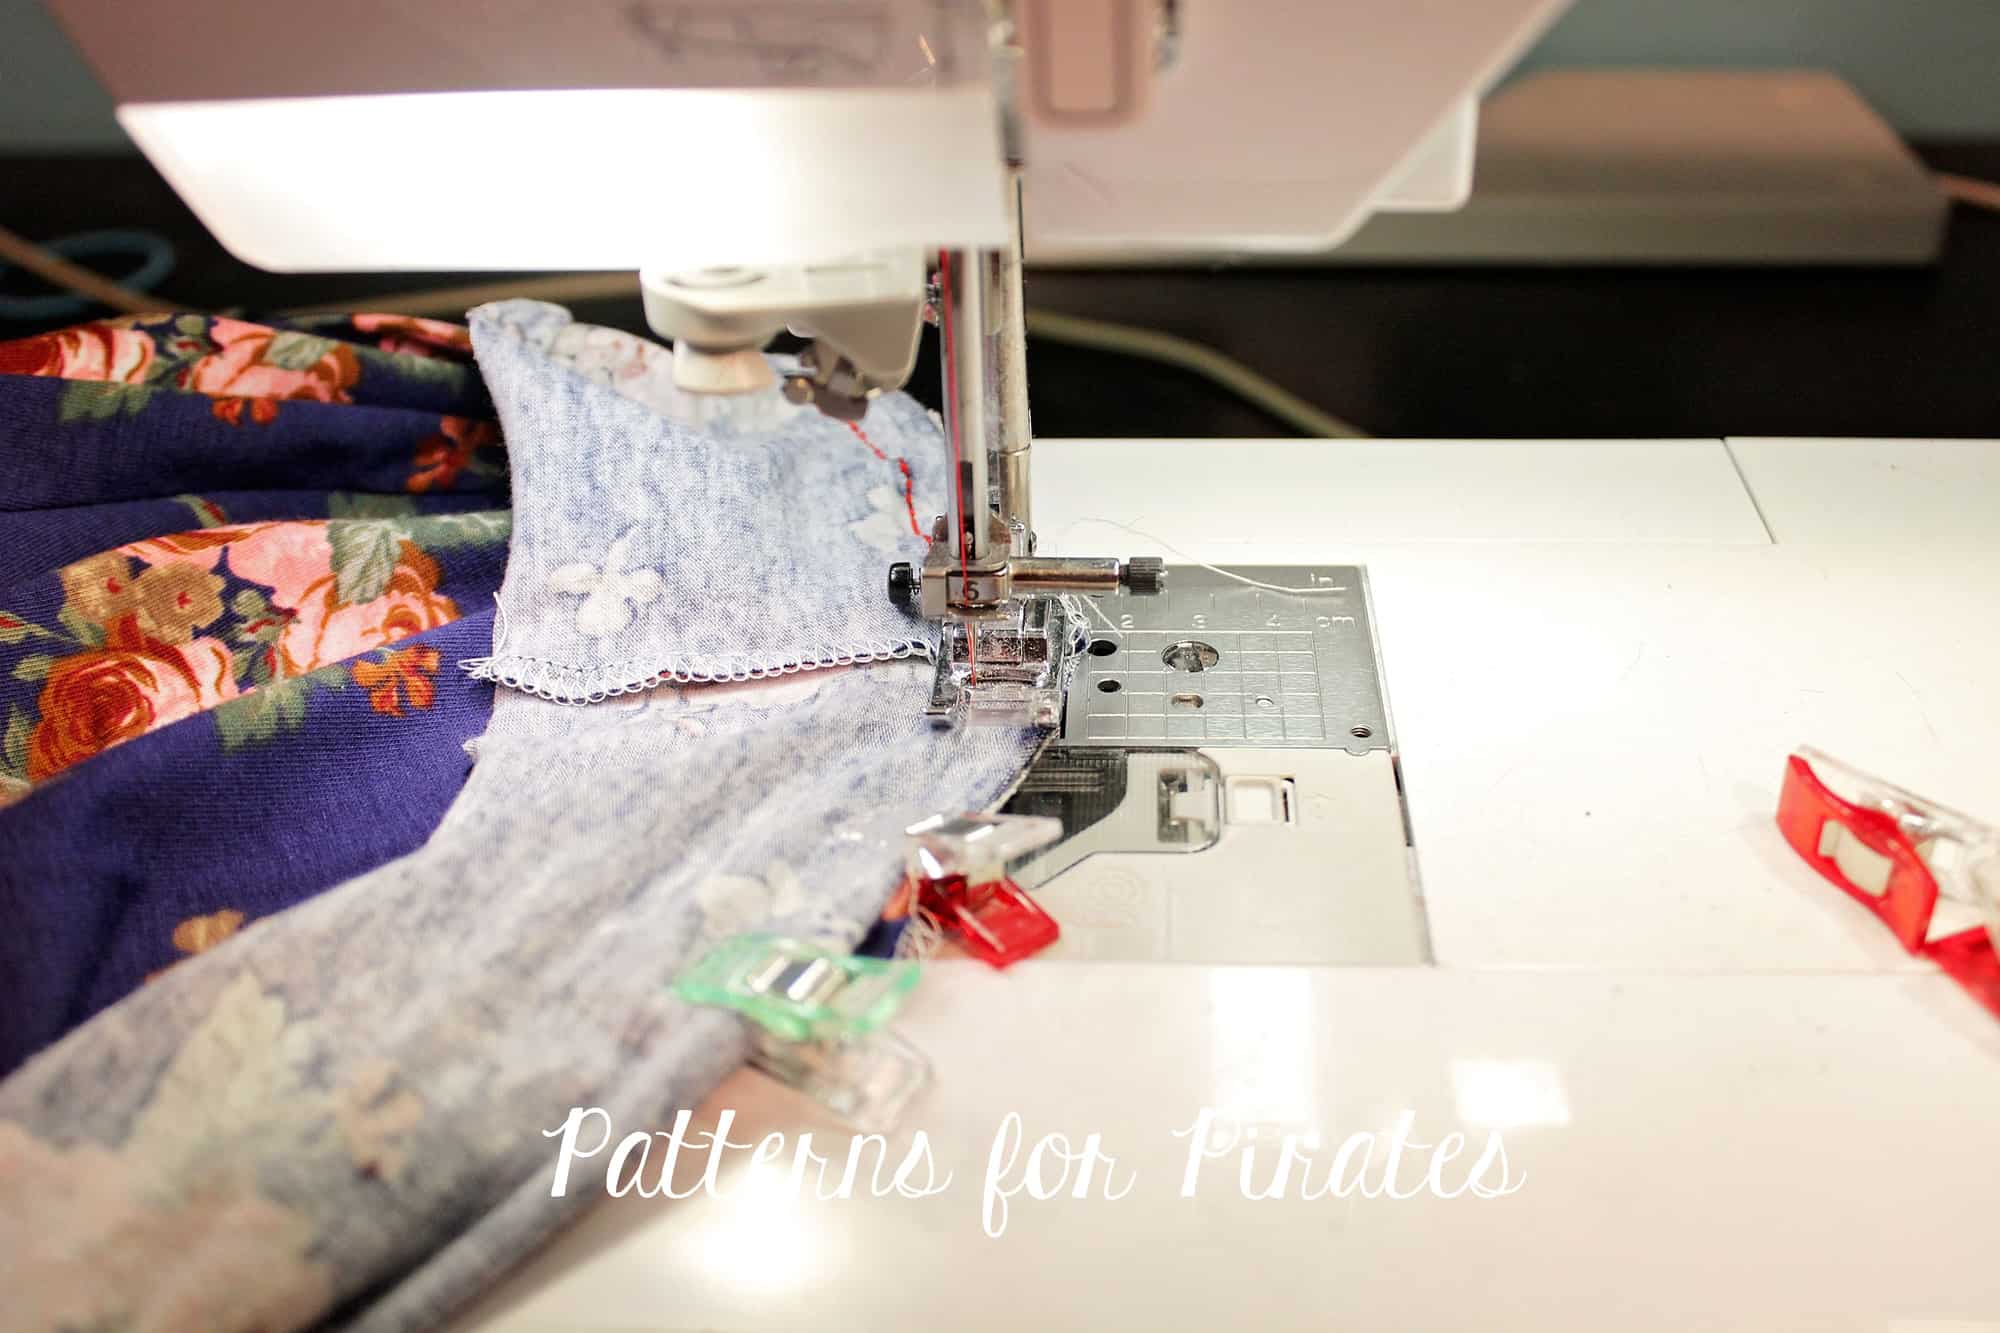
Match the center back of the neckband with the center back of the shirt. Slightly stretch the unfolded neckband and pin it to the back. Repeat for the front of the shirt. Using a stretch stitch, sew the neckband to the shirt right sides together.

Using the memory hem you created earlier enclose the front and back of the shirt and stitch the neckband with either your coverstitch machine, twin needles or a zig zag stitch.

All you have to do now is give the neckband a good steam press and show off your new cold shoulder shirt.


Play around with the cut-out size and get more looks!

. . . . .

Tie Back


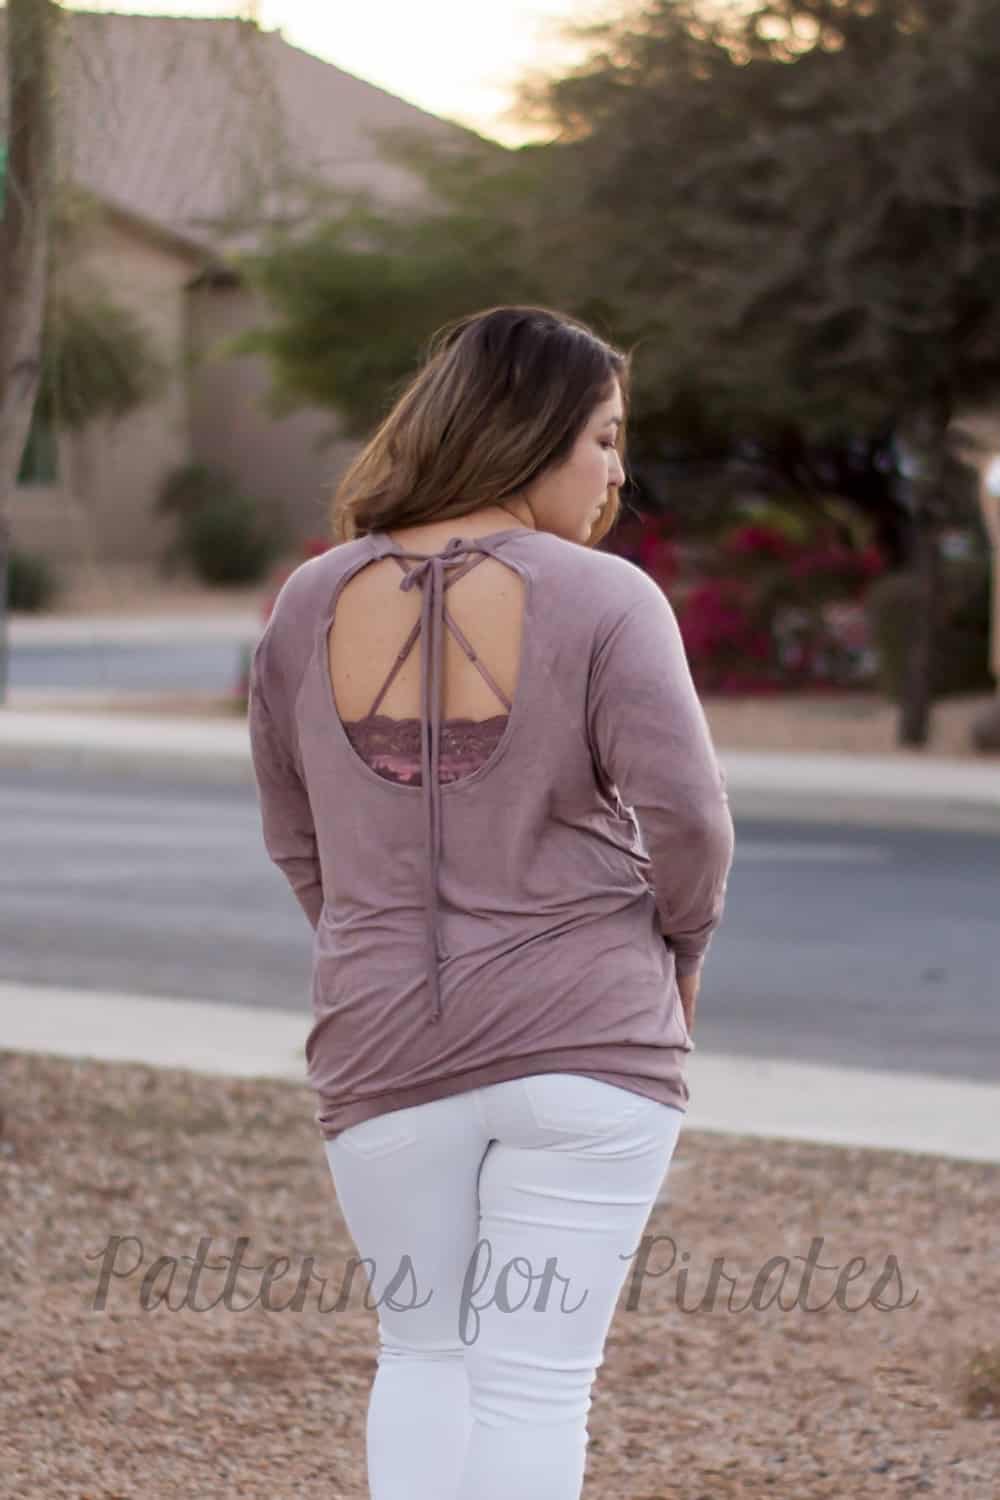
During Raglan Week last year, we showed how to create a keyhole back for the Slim Fit Raglan (here), so I knew a tie back option for the RagDoll Raglan had to be done.  Instead of binding the neckline, I decided to do a spaghetti strap style tie.  You can really use anything for your ties; lace, ribbon, etc. but will show you how to make the spaghetti straps.

Cut your patterns pieces as usual:

  • front, back with low scoop option, 2 sleeves (mirror image).
  • For the ties, I did 1.5″ x 22″.  You can adjust to your preference but found this to be a good length for me.
  • Neckband: as per pattern but less 3″ from the width measurement on the cut chart.  Example: Size large is 2.75″ x 26.75″ so my adjusted neckband is 2.75′ x 23.75″.

Construct your pattern as provided in the tutorial but skip hemming the low back curve.  We will do that after the back has been attached to the sleeves.

With right sides together stitch sleeves to front and back as instructed in the tutorial. You will have excess at the top back, do not cut off your seam allowance.
Back view.
Turn the low back curve and top portion of the sleeve under 1/2″ to the wrong side and edgestitch.

Now to create the ties.

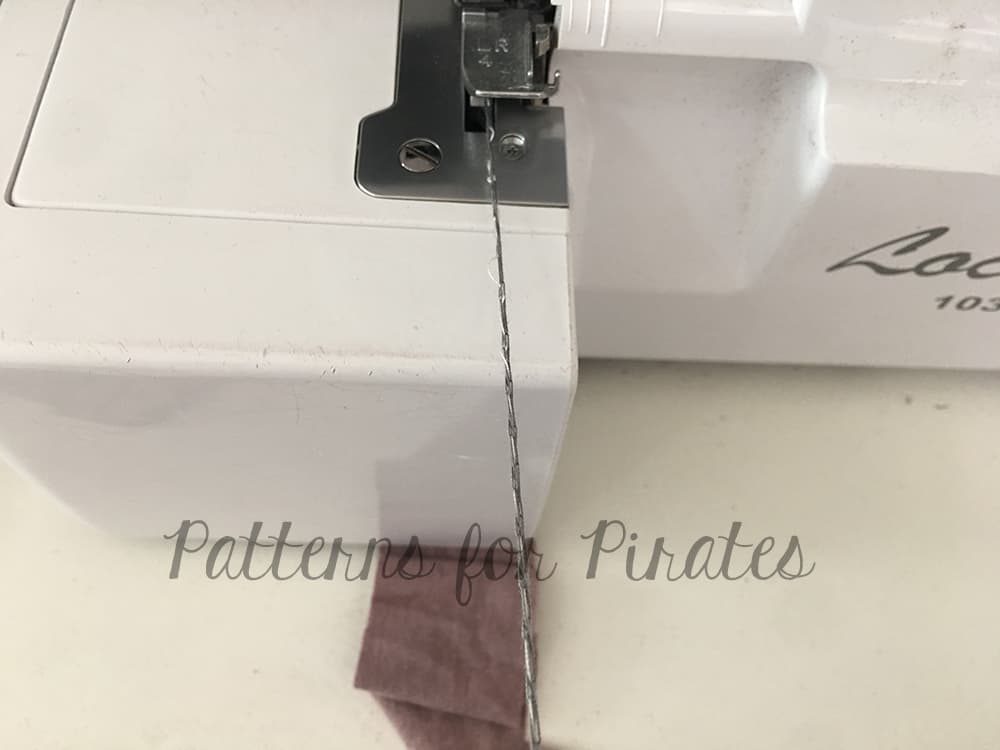
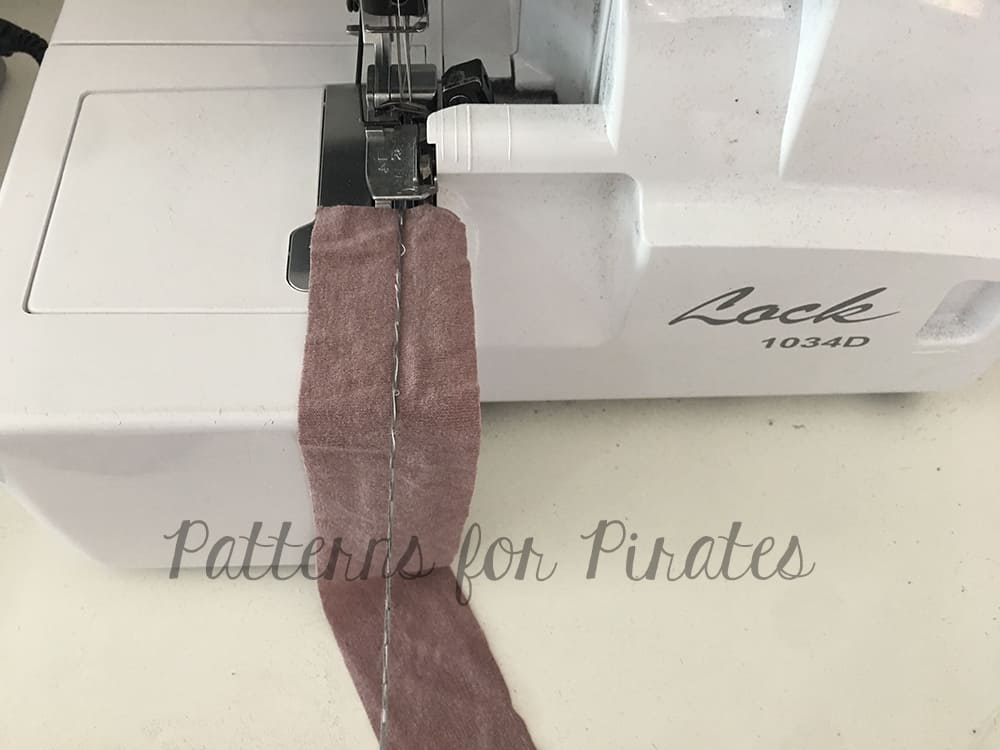
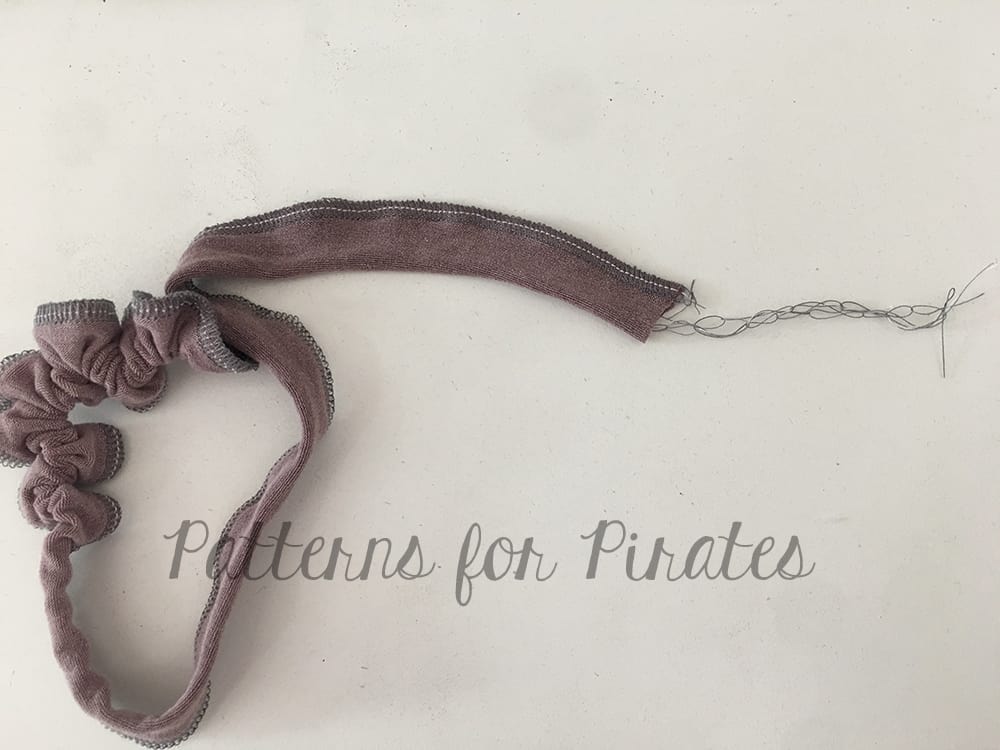
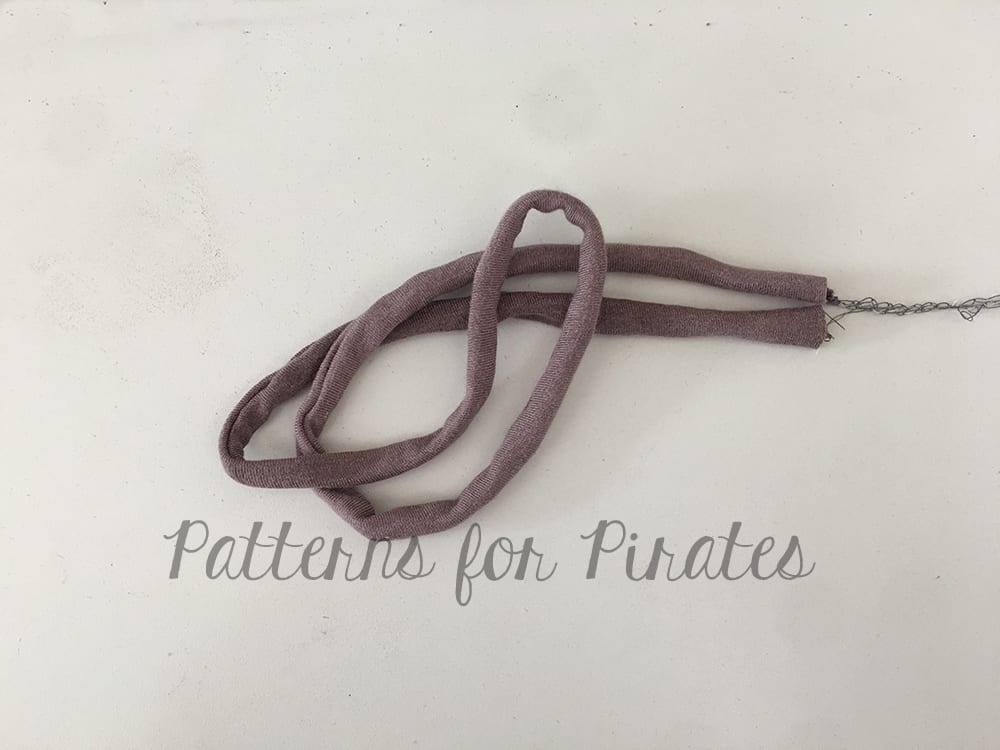
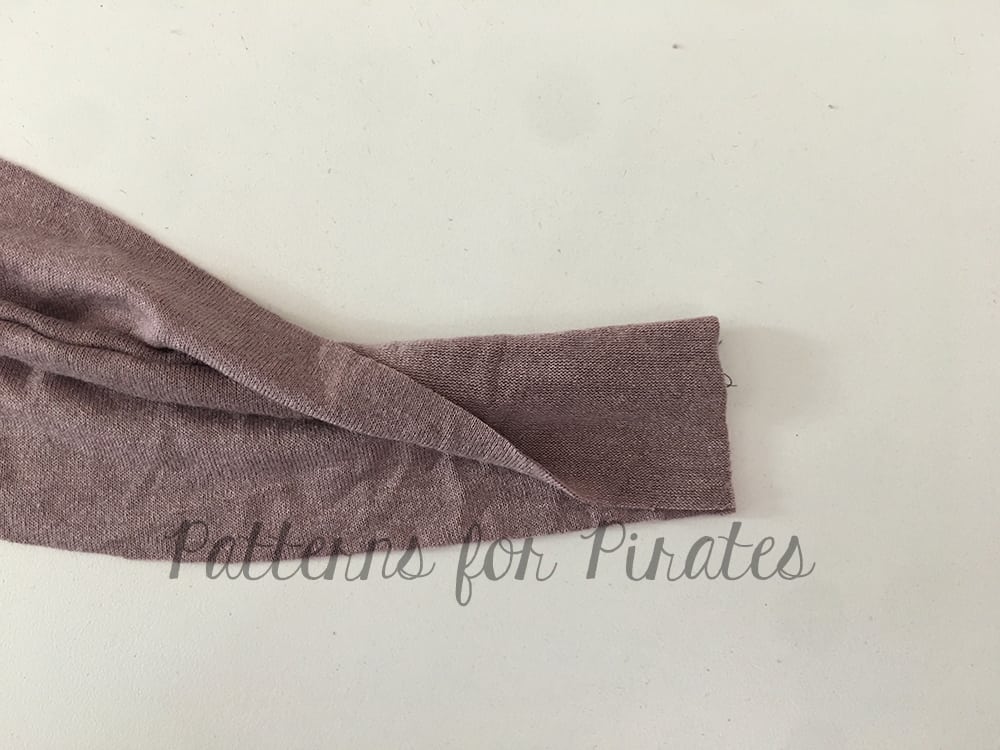
On your serger or sewing machine create a long tail at least 3/4 the length of your tie.
Place your tail on the right side of the tie.
Fold tie with right sides together over the tail.

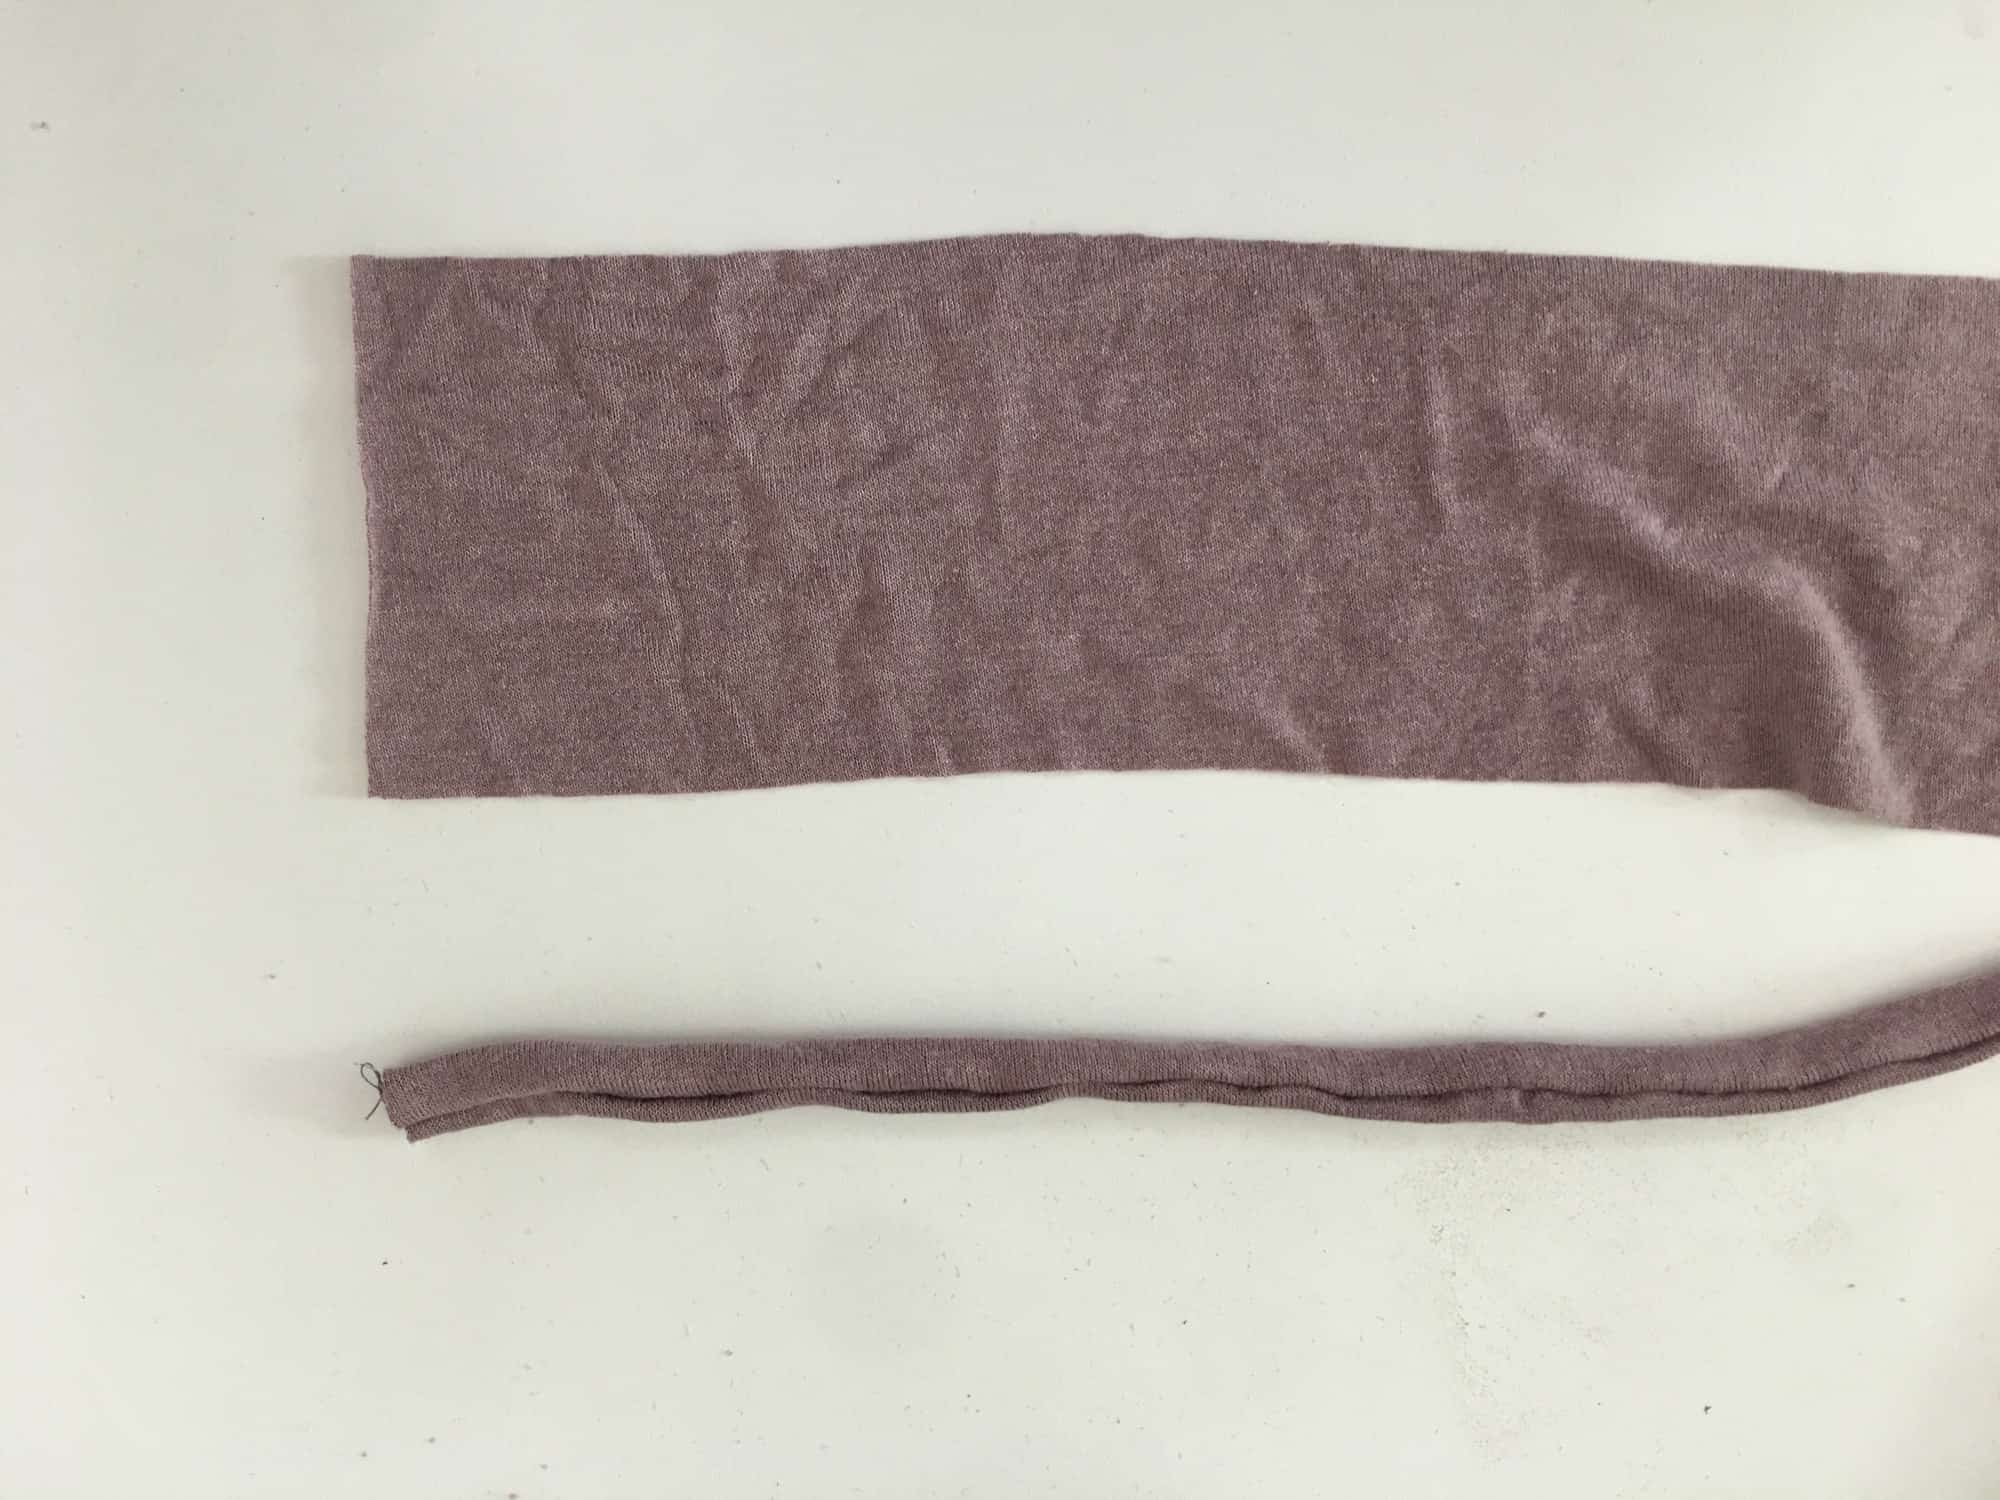
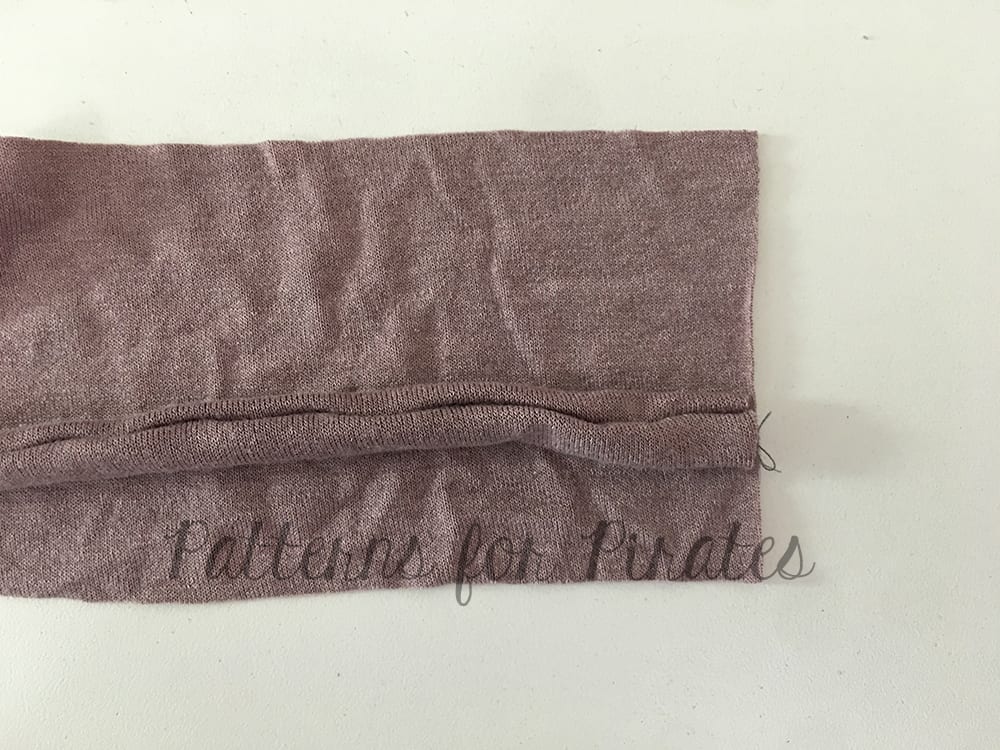
Stitch using a 1/4″ seam allowance. Be sure not to catch your tail. As you stitch, pull the tail toward you so that you have excess and does not end up enclosed in your tie.
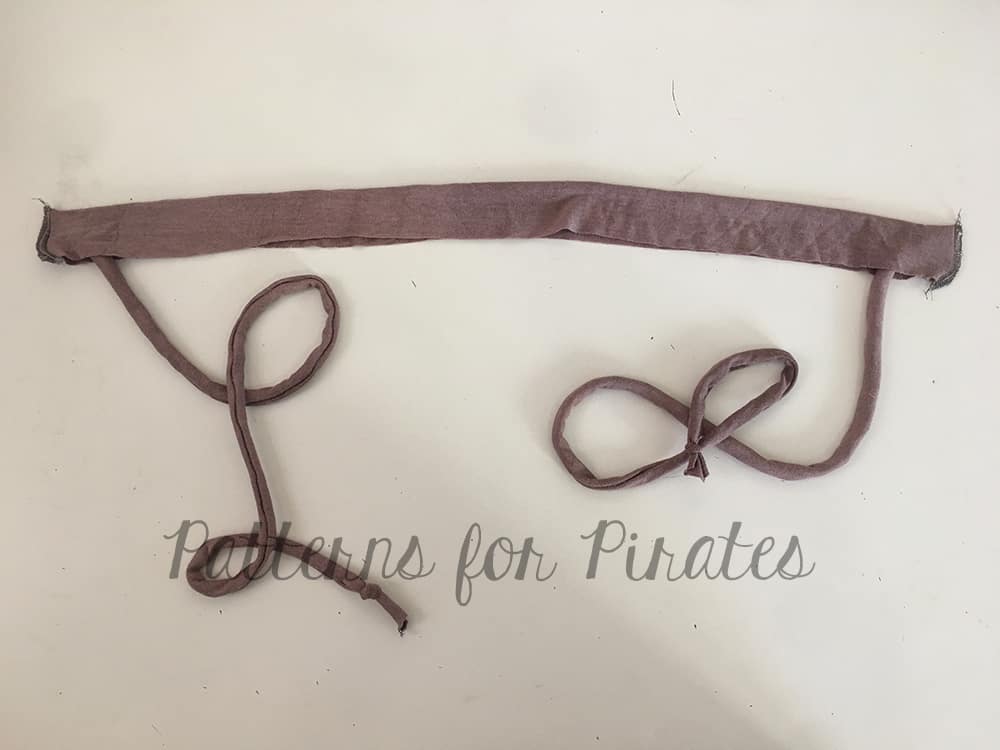
Gently pull the tail and turn your tie right side out.
Finish or knot your ends.

Now, we can finish the neckband.

Grab your ties and neckband.
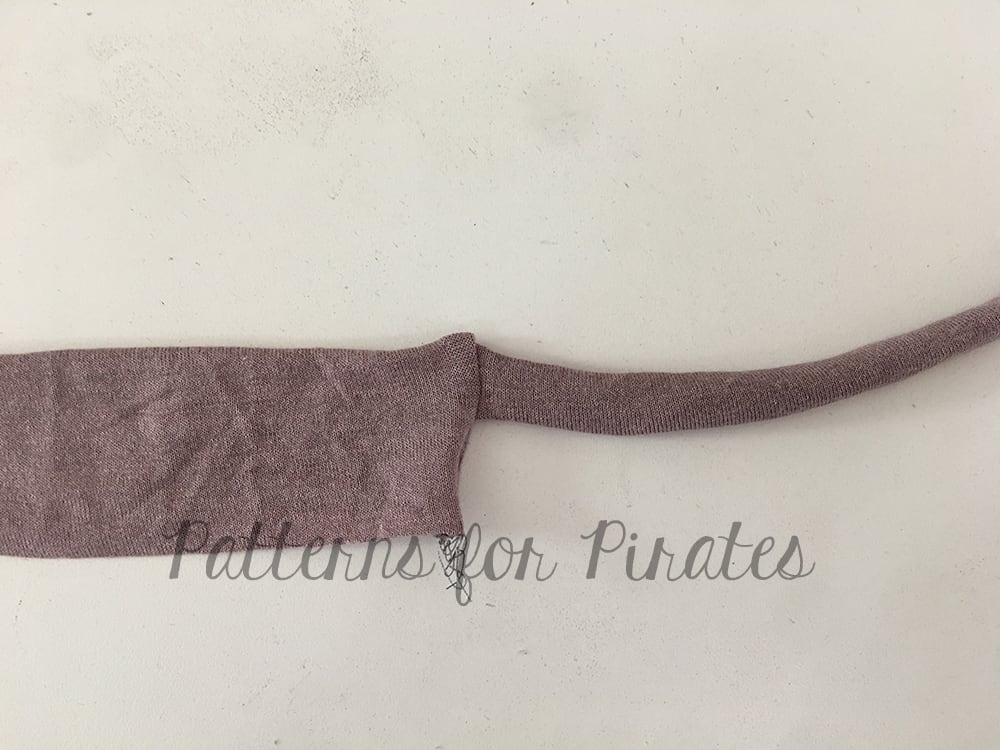
With right sides together, place one tie at one end of the neckband just below center.
Fold neckband over tie with right sides together and stitch using a 1/4″ seam allowance.
Repeat on other side.

Flip neckband right side out.
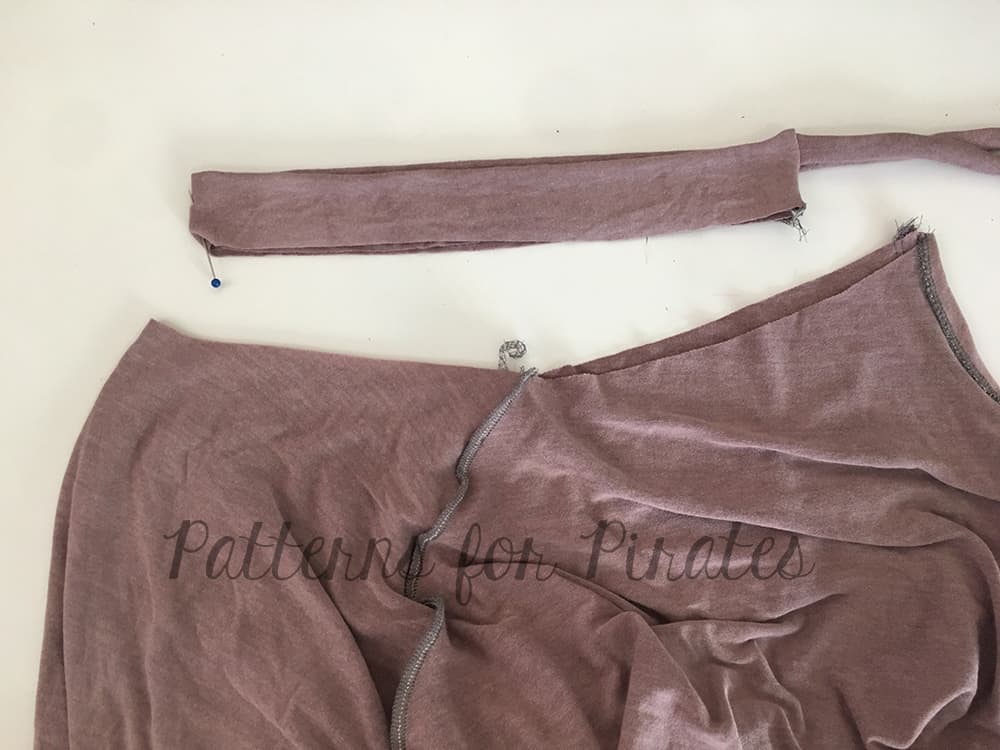
Mark center of neckband and neckline of shirt.
With right sides together, match center and each end of the neckband to the back neckline. Stitch.
Press seam allowance down and stitch a small bar tack to keep in place or topstitch entire neckline.

The tie back gives a much more open back but is perfect to show off all those strappy bralettes :).


. . . . .

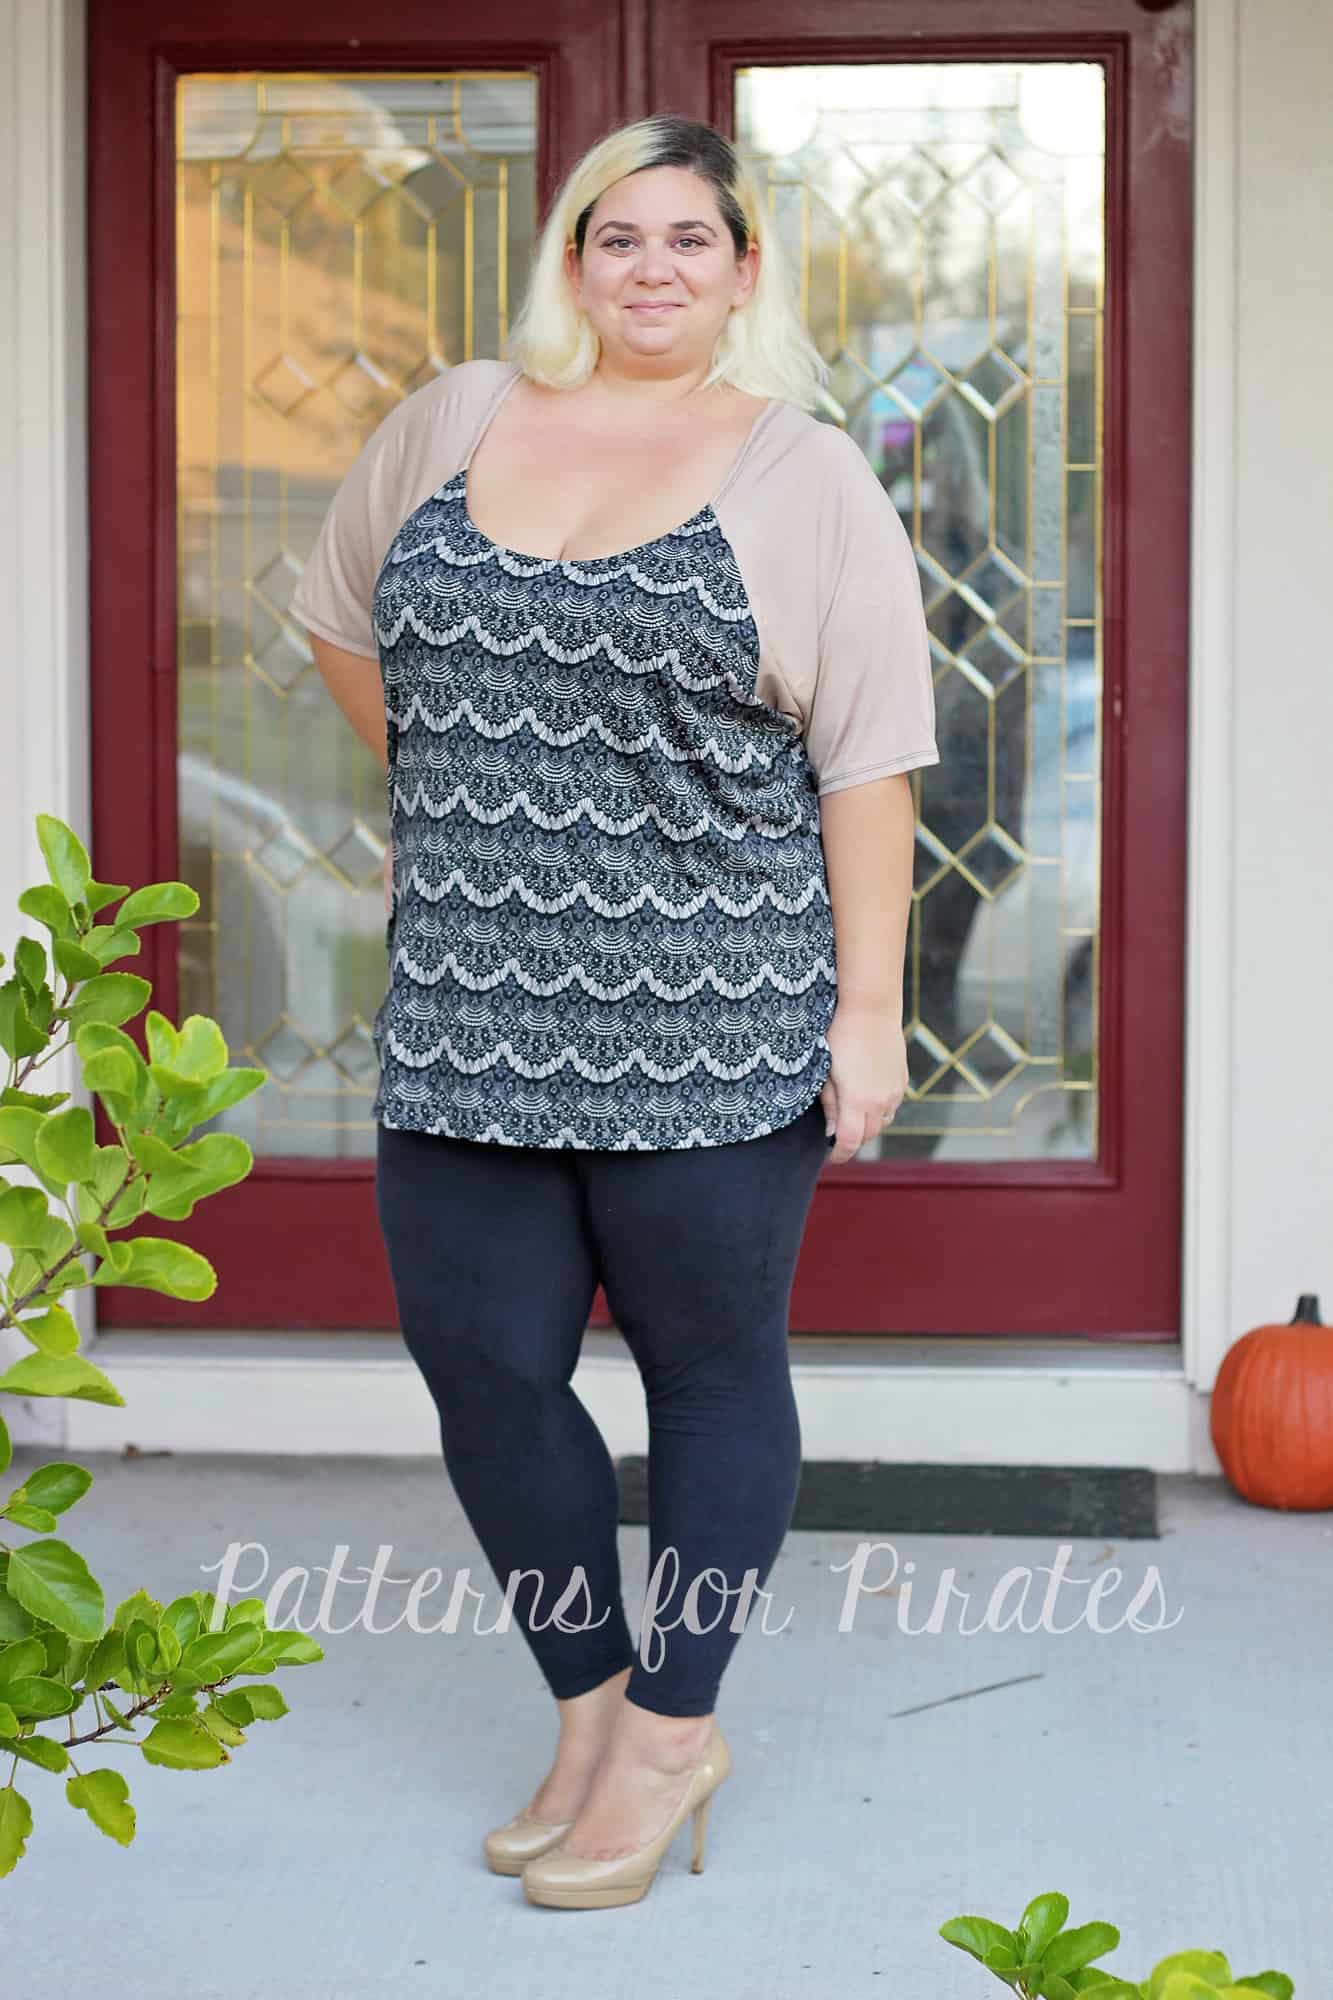
Twist Back

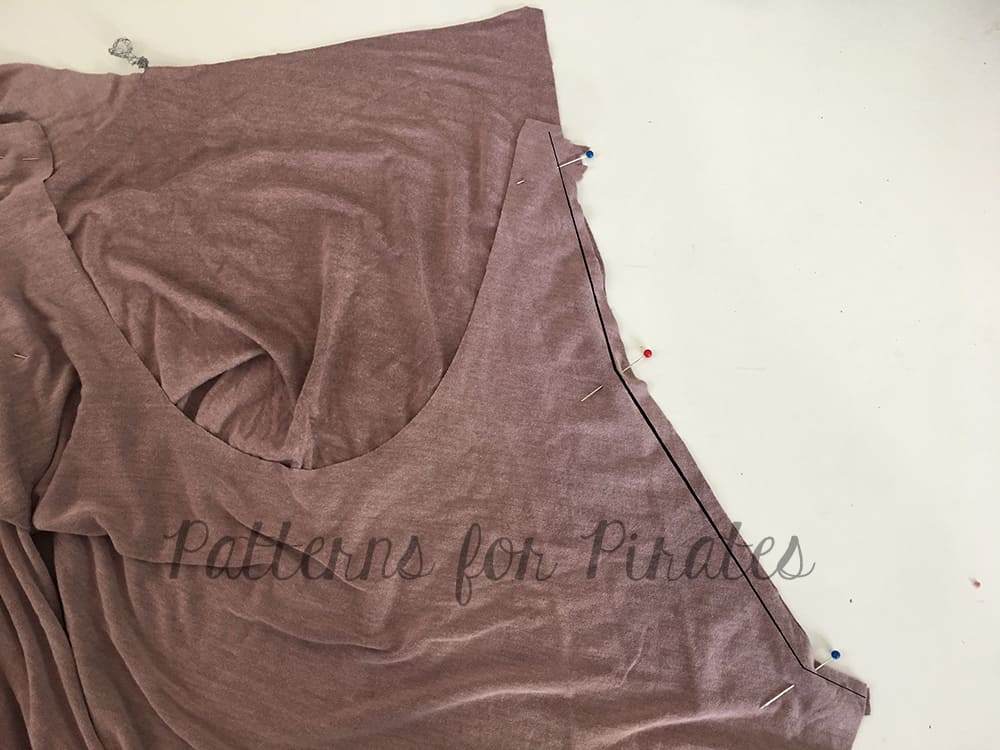
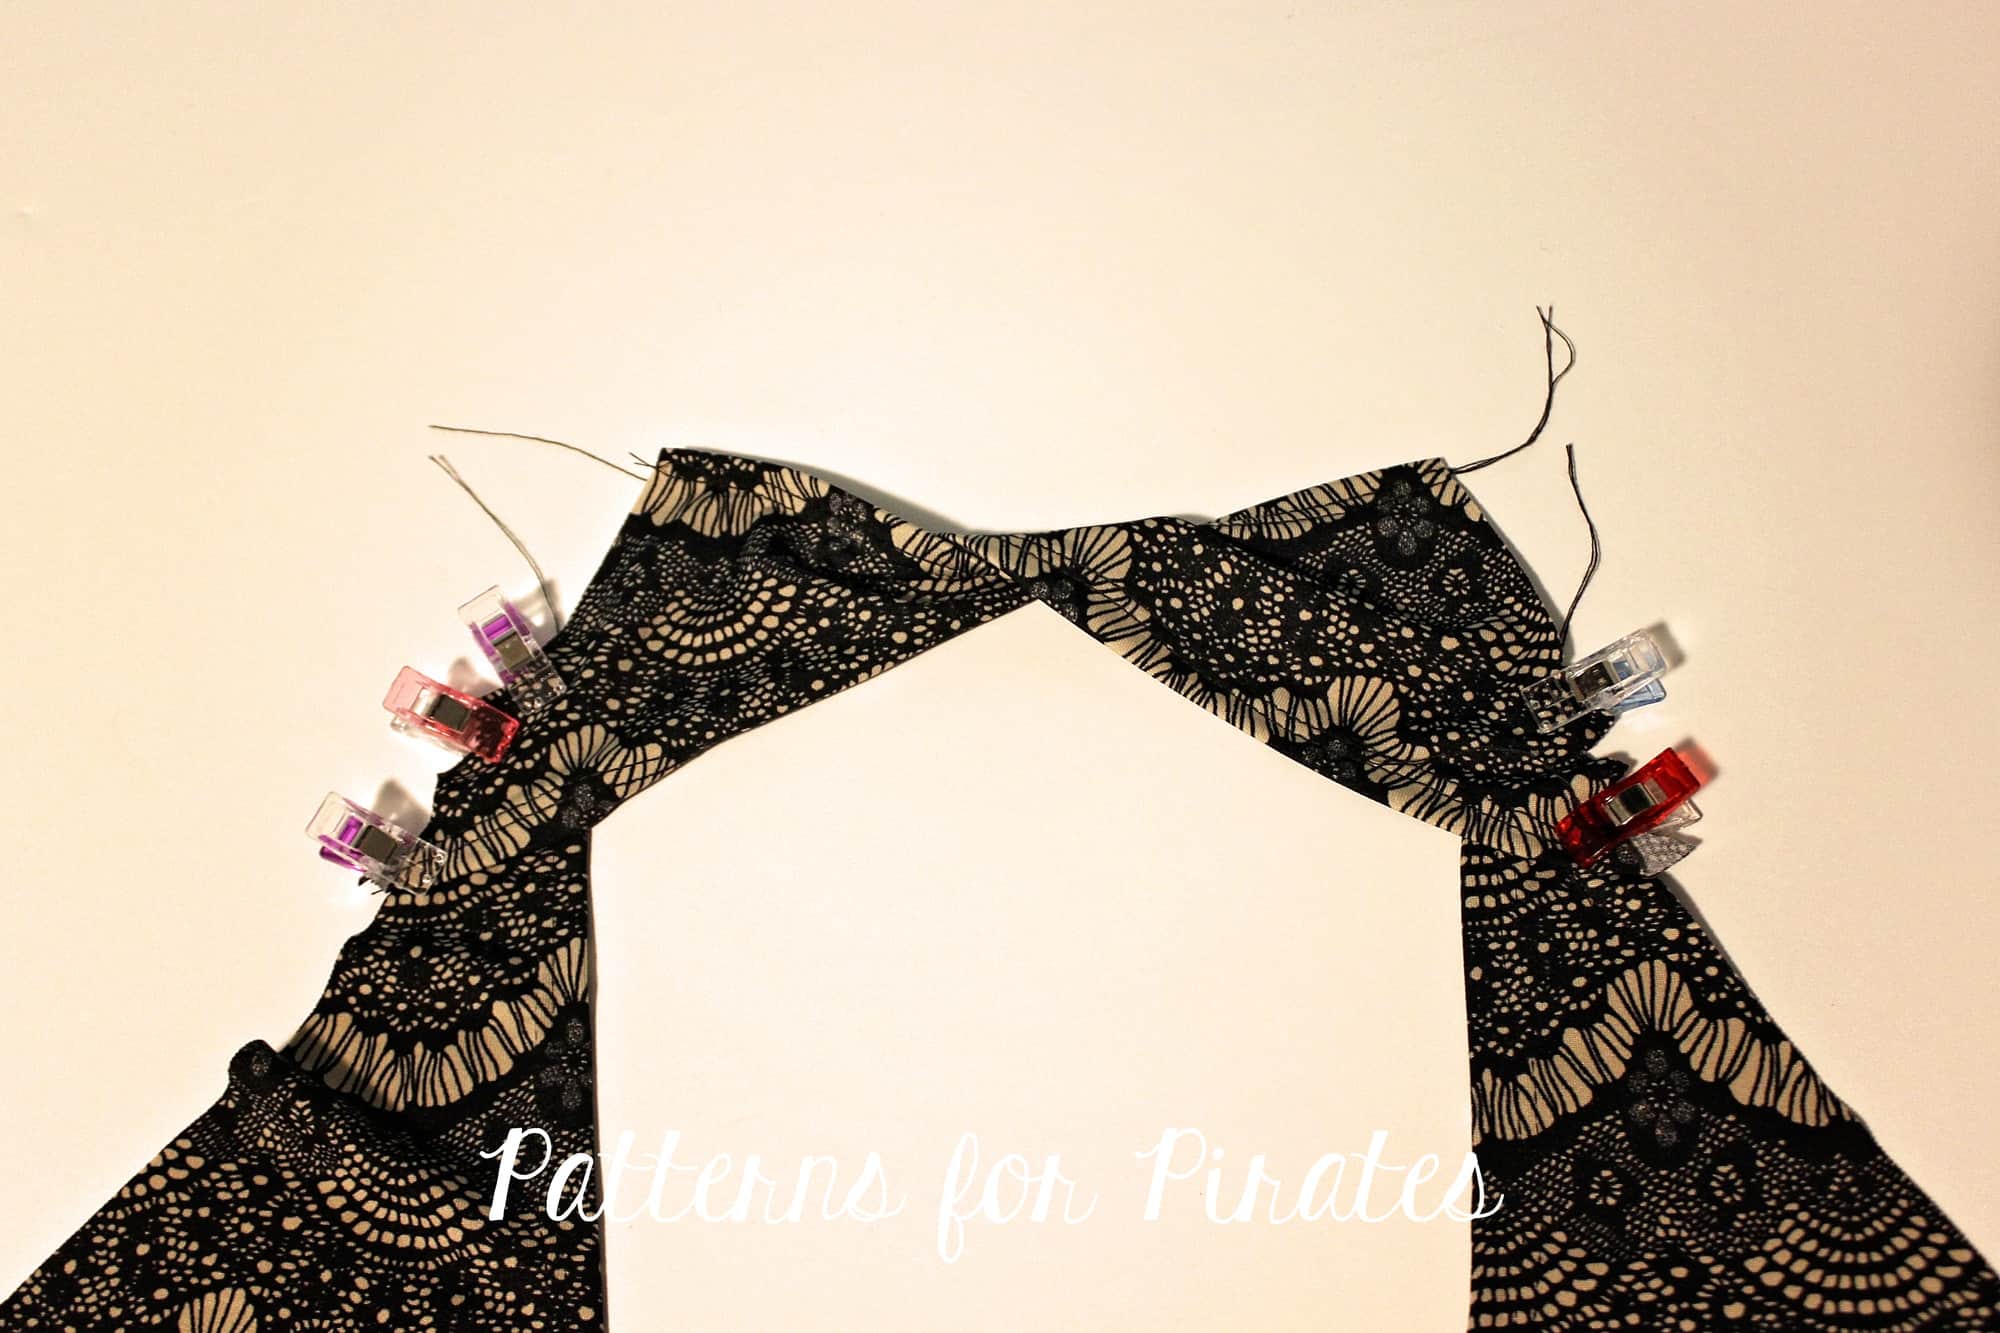
We couldn’t have ended this hack series without a twist back. For this option, you will need to print and cut the low back option. You will not be adding the neckband to this hack so the shirt neckline will be 1.5″ lower than the intended look of the pattern. You may need to wear a cami underneath (like the Cross My Heart Cami) or you can raise the neckline prior to cutting the fabric. Check out this “how to” blog!

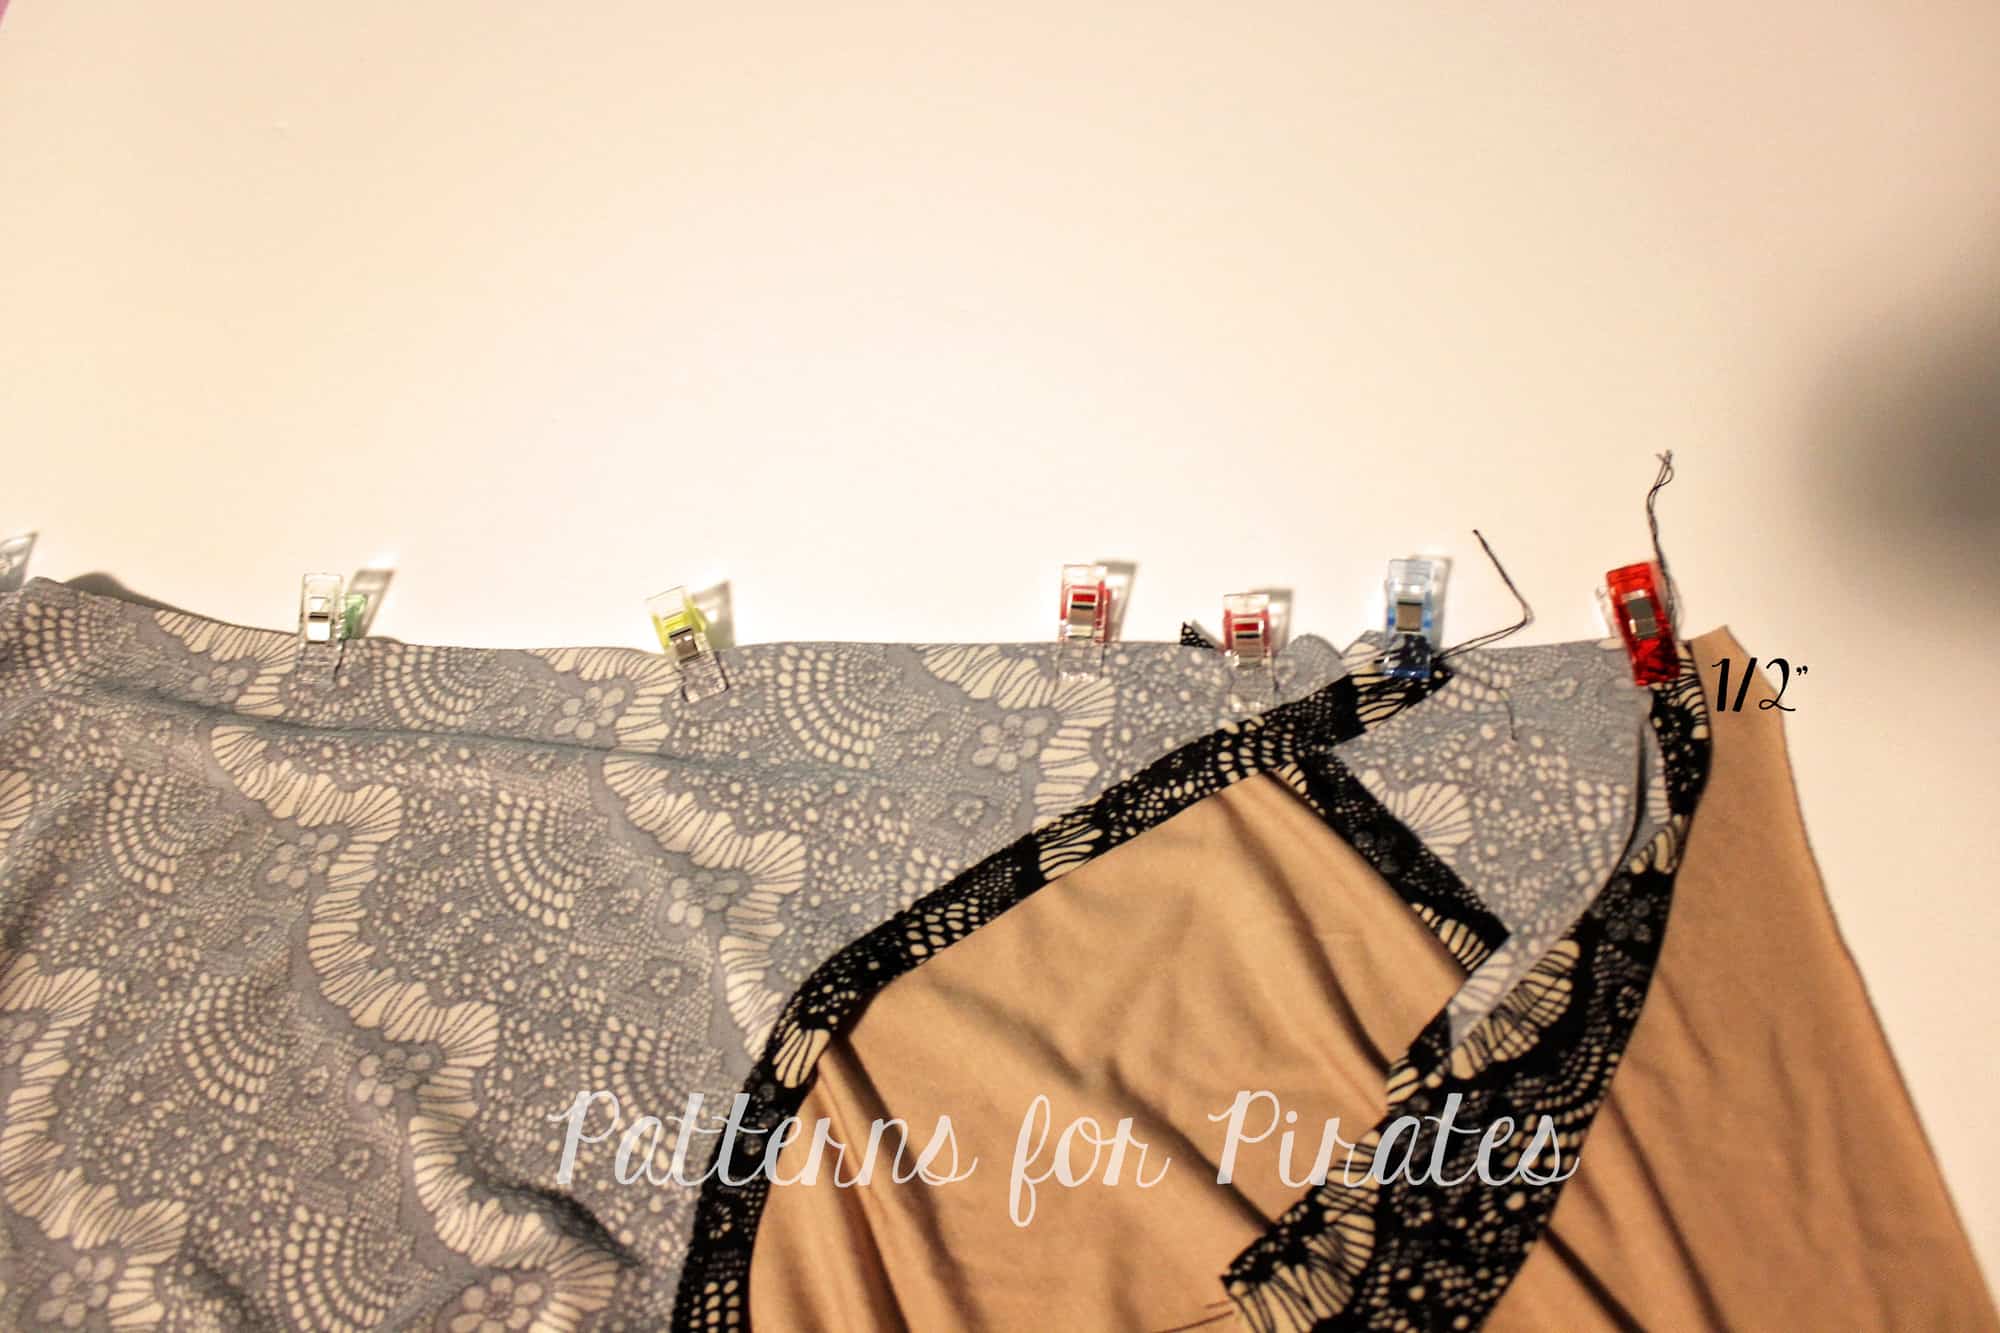
Place the back top piece 1/2″ away from the fold line.

Using a 1/2″ hem allowance, hem the top and bottom. You can use a coverstitch, a zig zag stitch or twin needles.

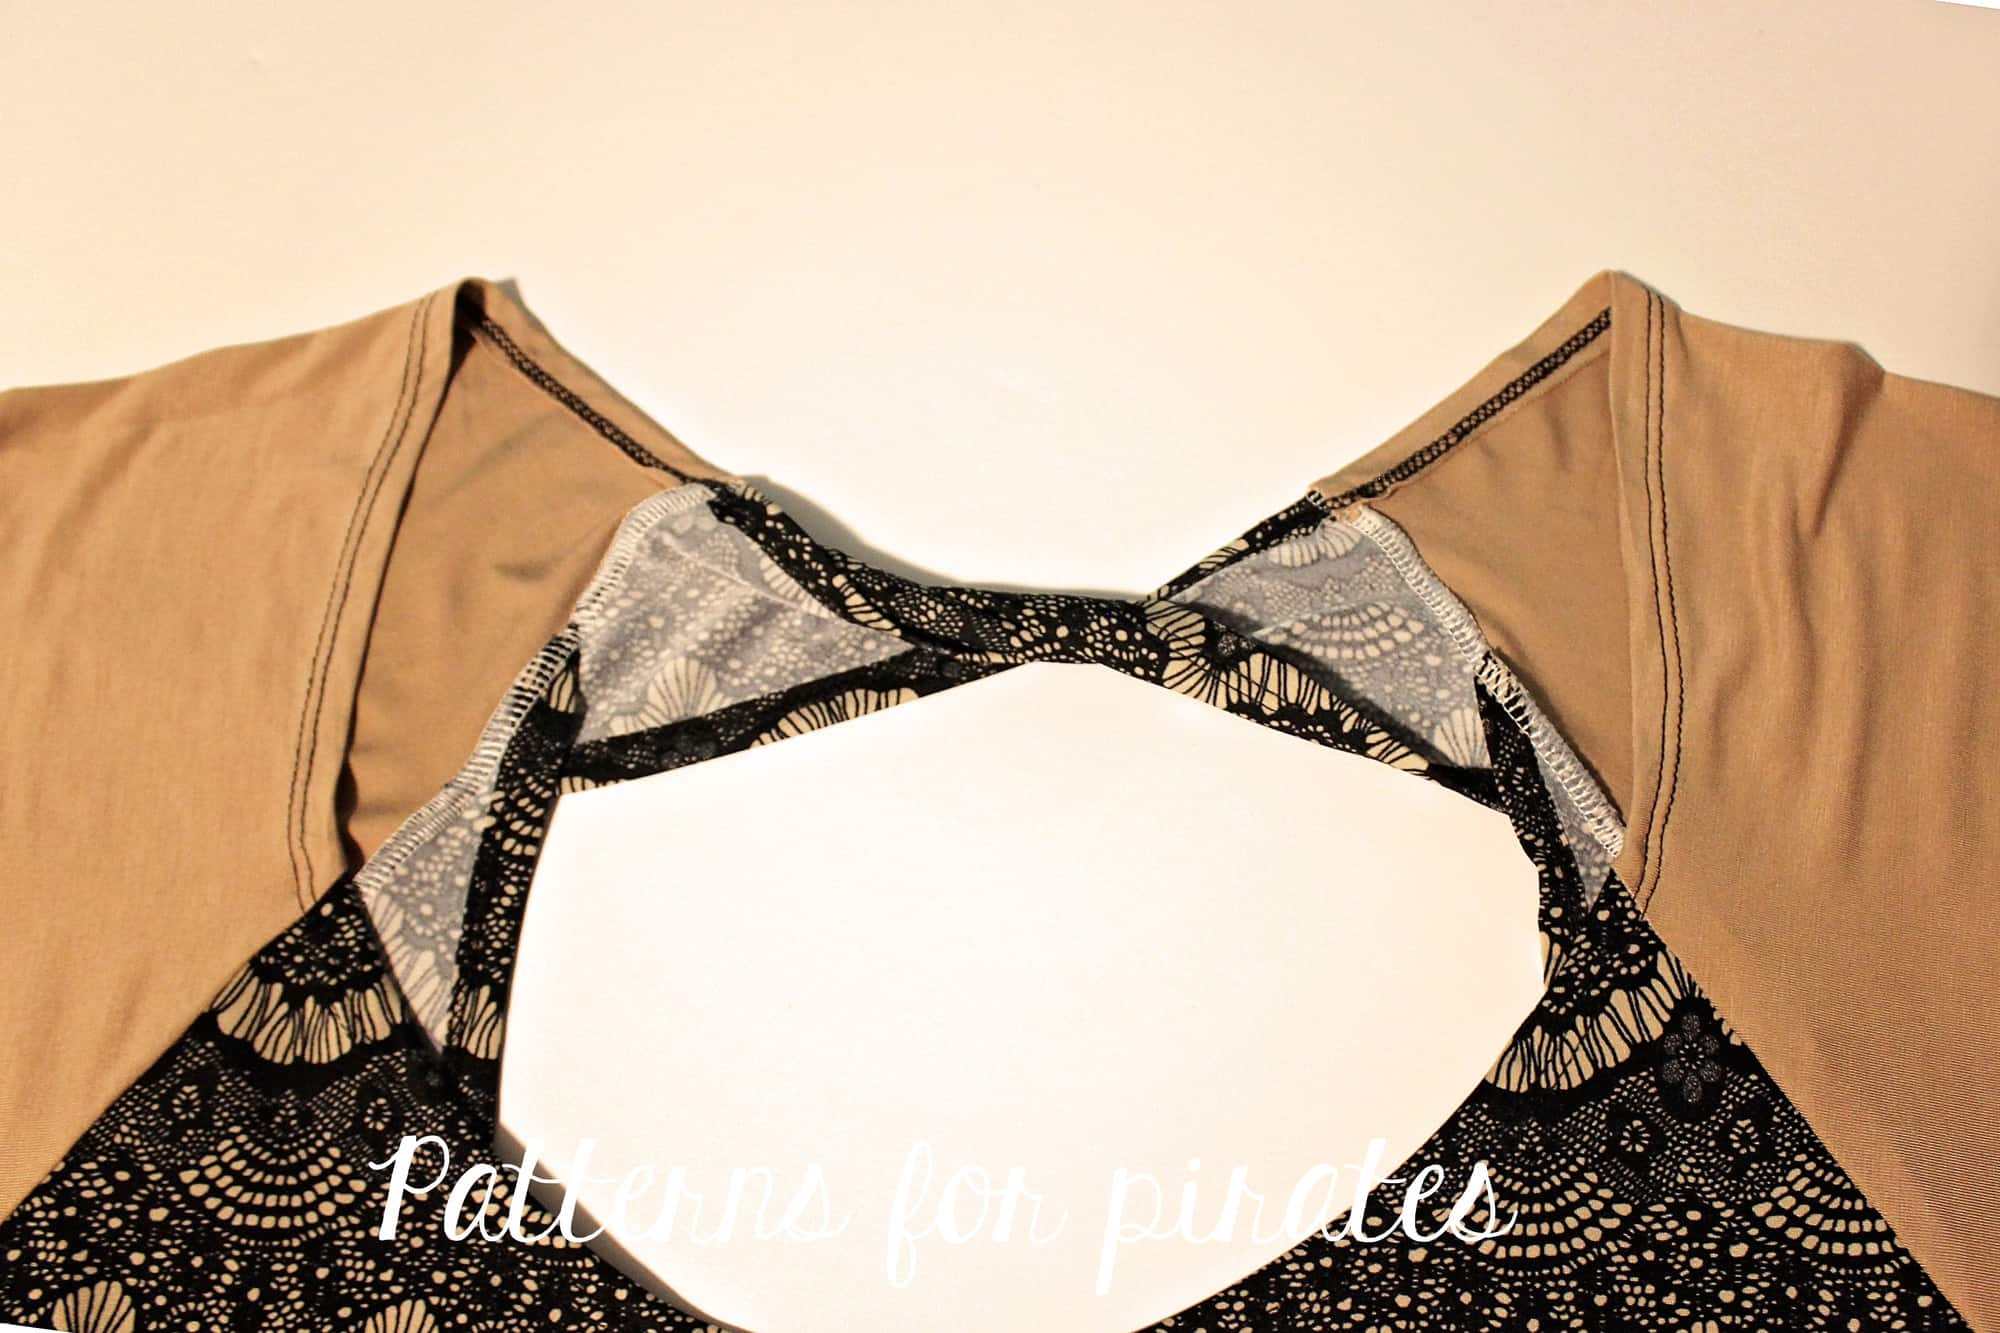
Twist the top piece twice so the right side of both the left and right sides are up. Baste the top and bottom pieces together as in the tutorial.

Attach the sleeves matching the notches. There will be 1/2″ excess fabric at the top which will be hemmed next.

Hem the neckline with a 1/2″ hem allowance. All you have left to do is give the shirt a good press and show it off!


. . . . .

Off the Shoulder

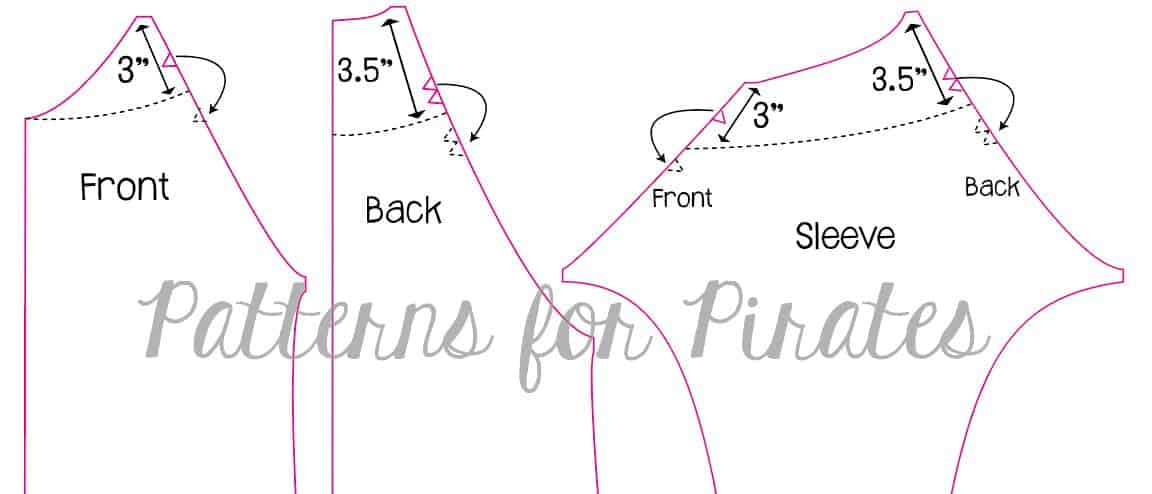
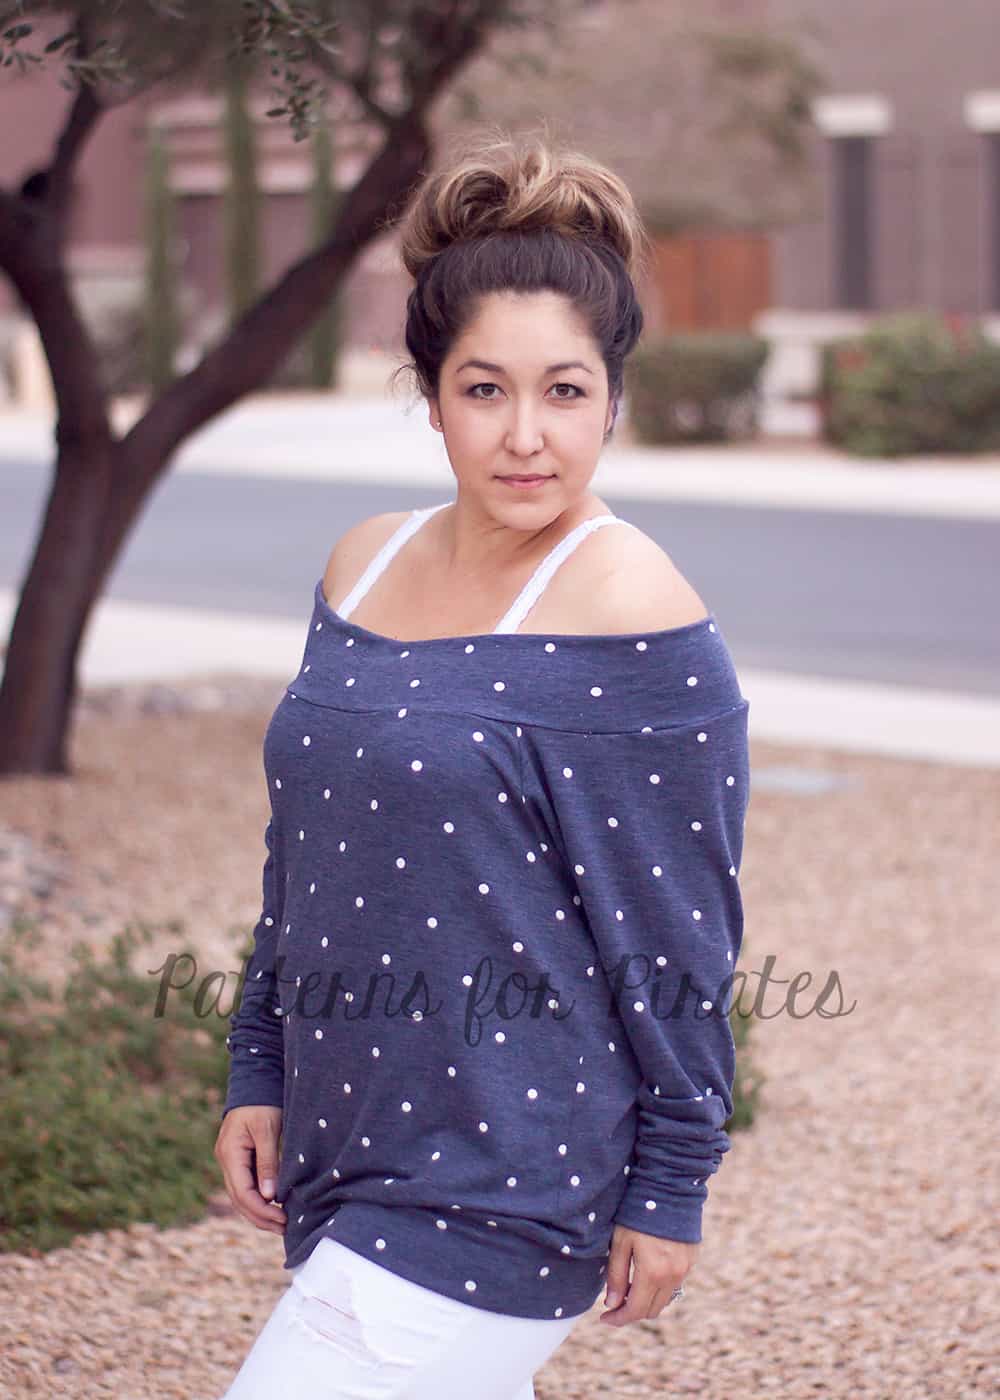
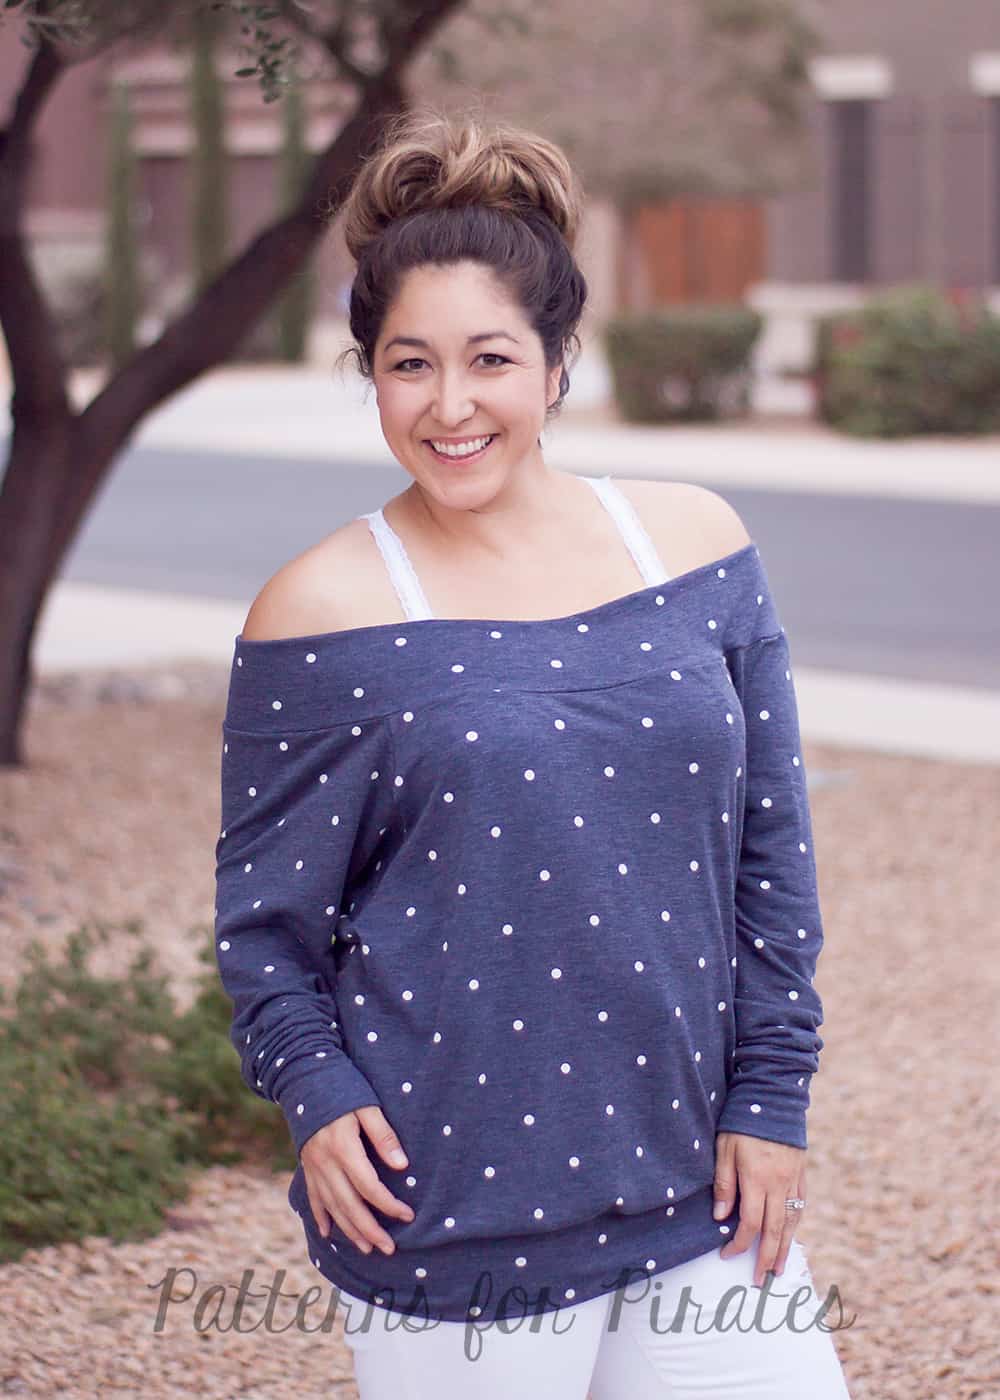
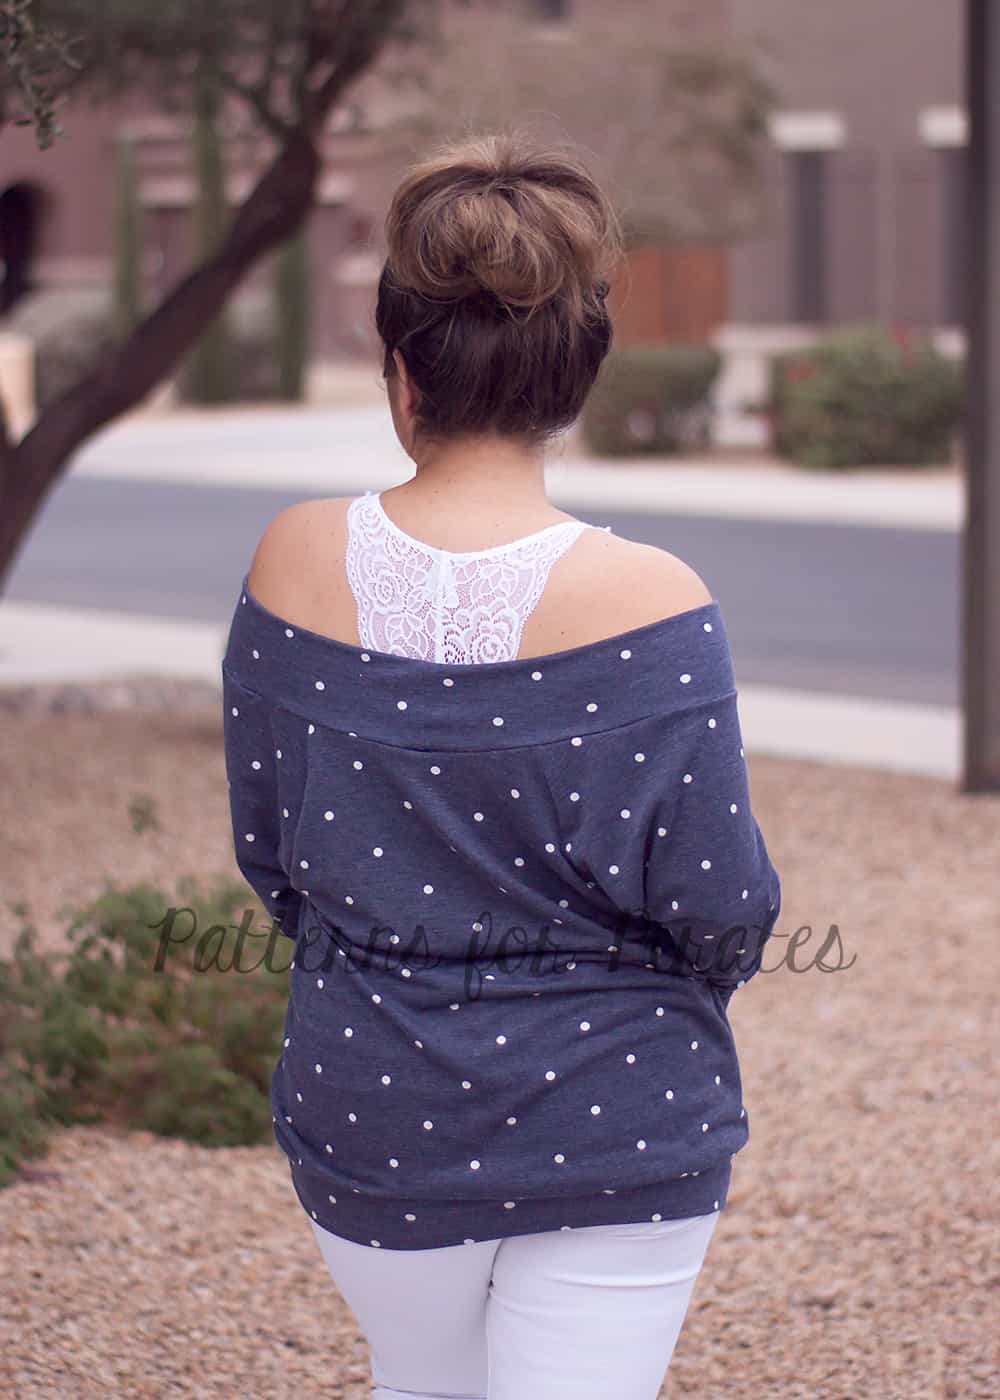
Last but not least, we couldn’t leave you without a full off the shoulder option.  Using the same idea that we did for the Relaxed Raglan (here), we’re going to remove some height to all the pattern pieces (front, back, and sleeve).  Also, be sure to move your notches to help you keep the pieces in order and you know which side lines up with one another.

For the band, I used the same measurement as the waistband in the pattern.  In hindsight, I could have made it a smidge tighter around the shoulders but as is doesn’t move around too much. Now, I didn’t measure each size, but just to be safe…..measure your neckline once you’ve completed the main pieces.  Make your band between 80-85% (plus seam allowance) of the opening.  (Unsure how to measure the neckline? Check out this blog post for more details.) Mark in quarter and stitch just like you would a waistband. As with any neckband though, be sure your band has good recovery! This will help keep it up on your shoulders. 🙂


Make a RagDoll Raglan?  Be sure so share you makes in the Facebook Group or tag us on Instragram!

Filed Under: Frequently Asked Questions, Pattern Hacks, Uncategorized Leave a Comment

Timeless Tunic – Boho hack

November 7, 2017


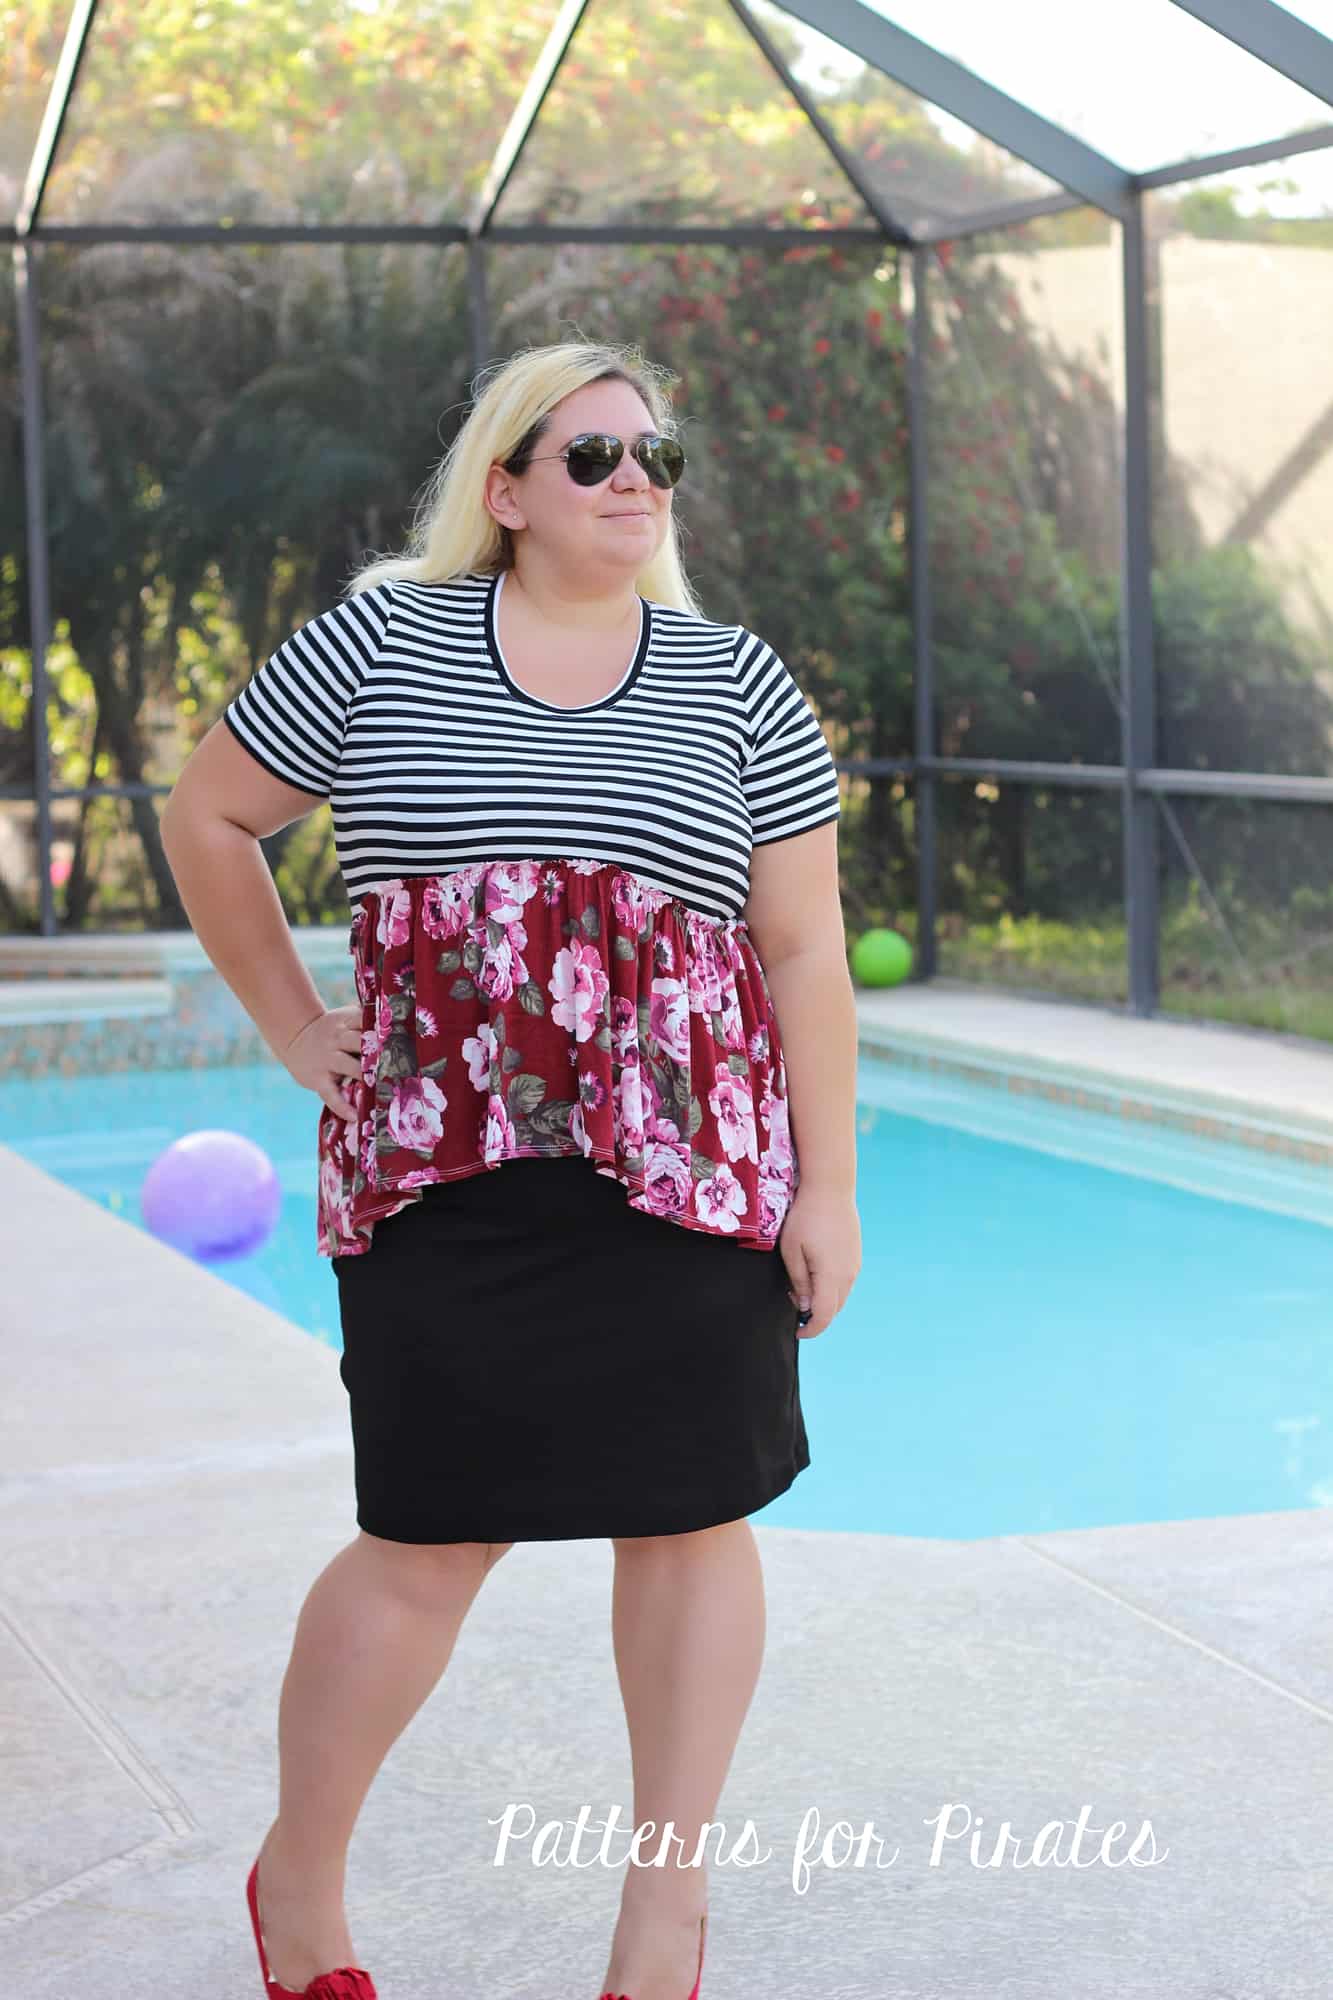
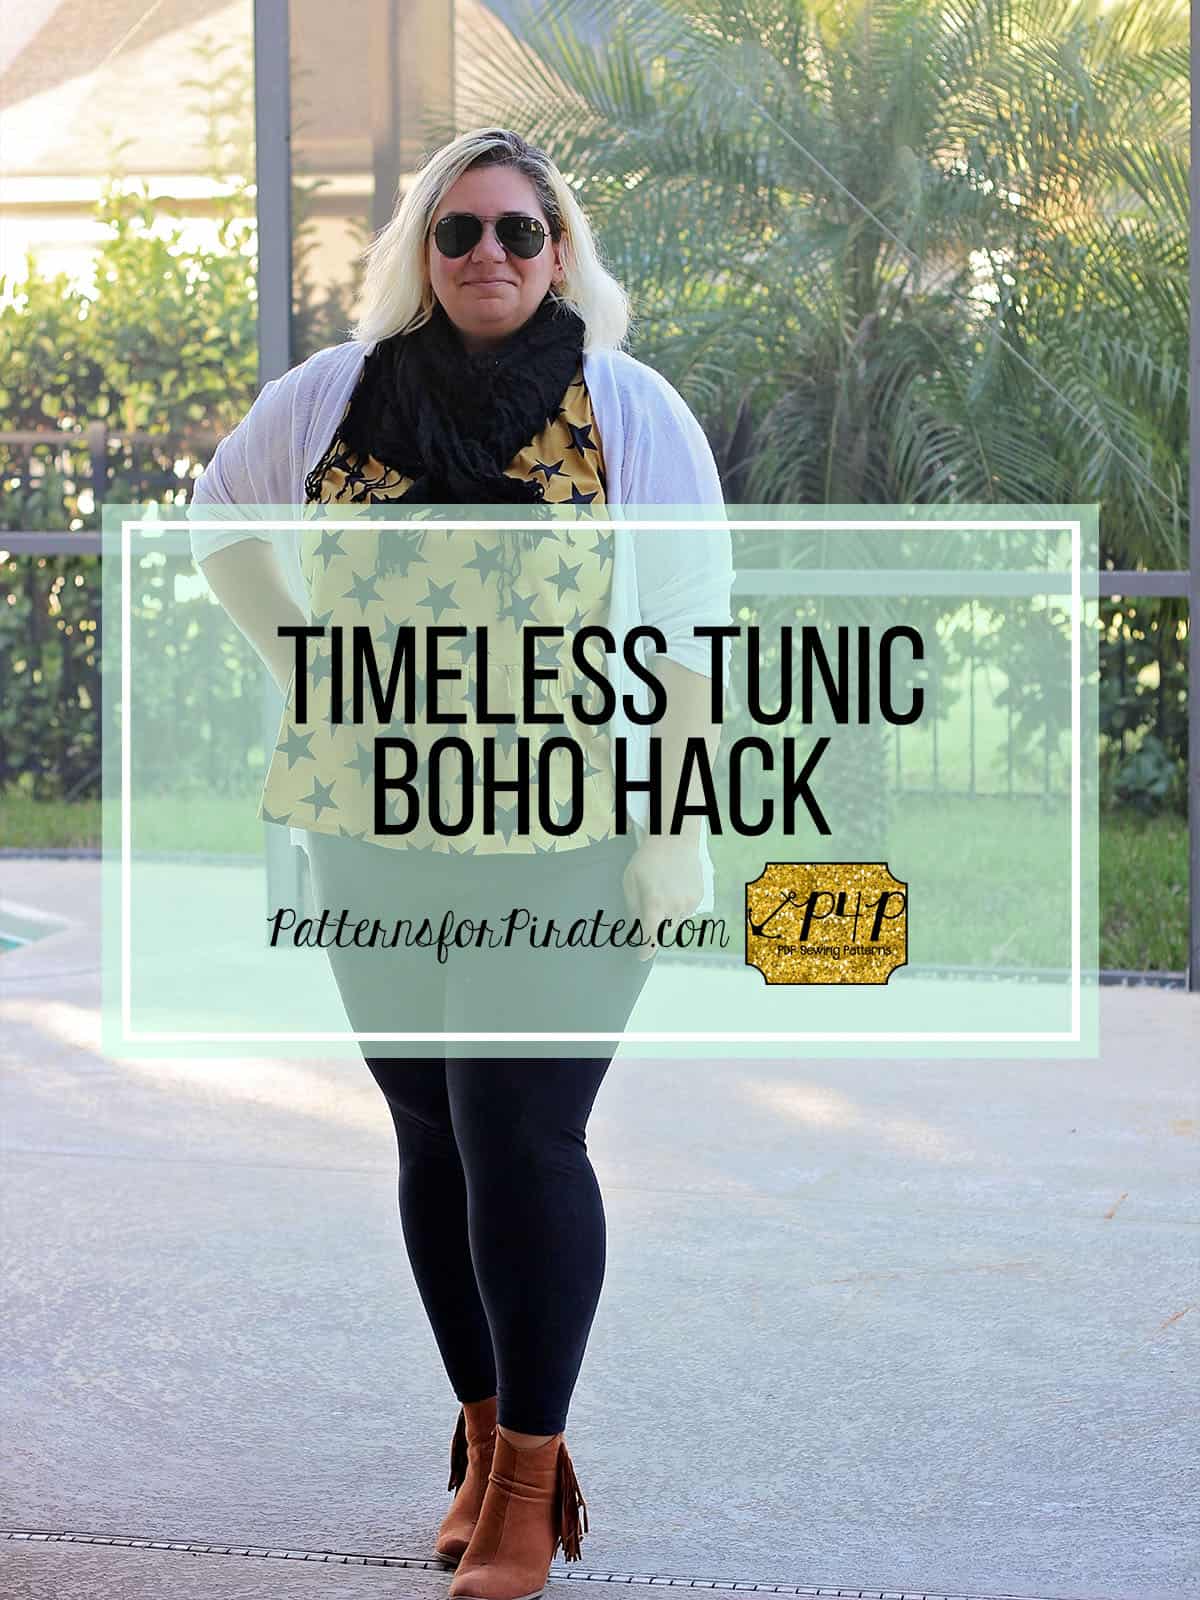
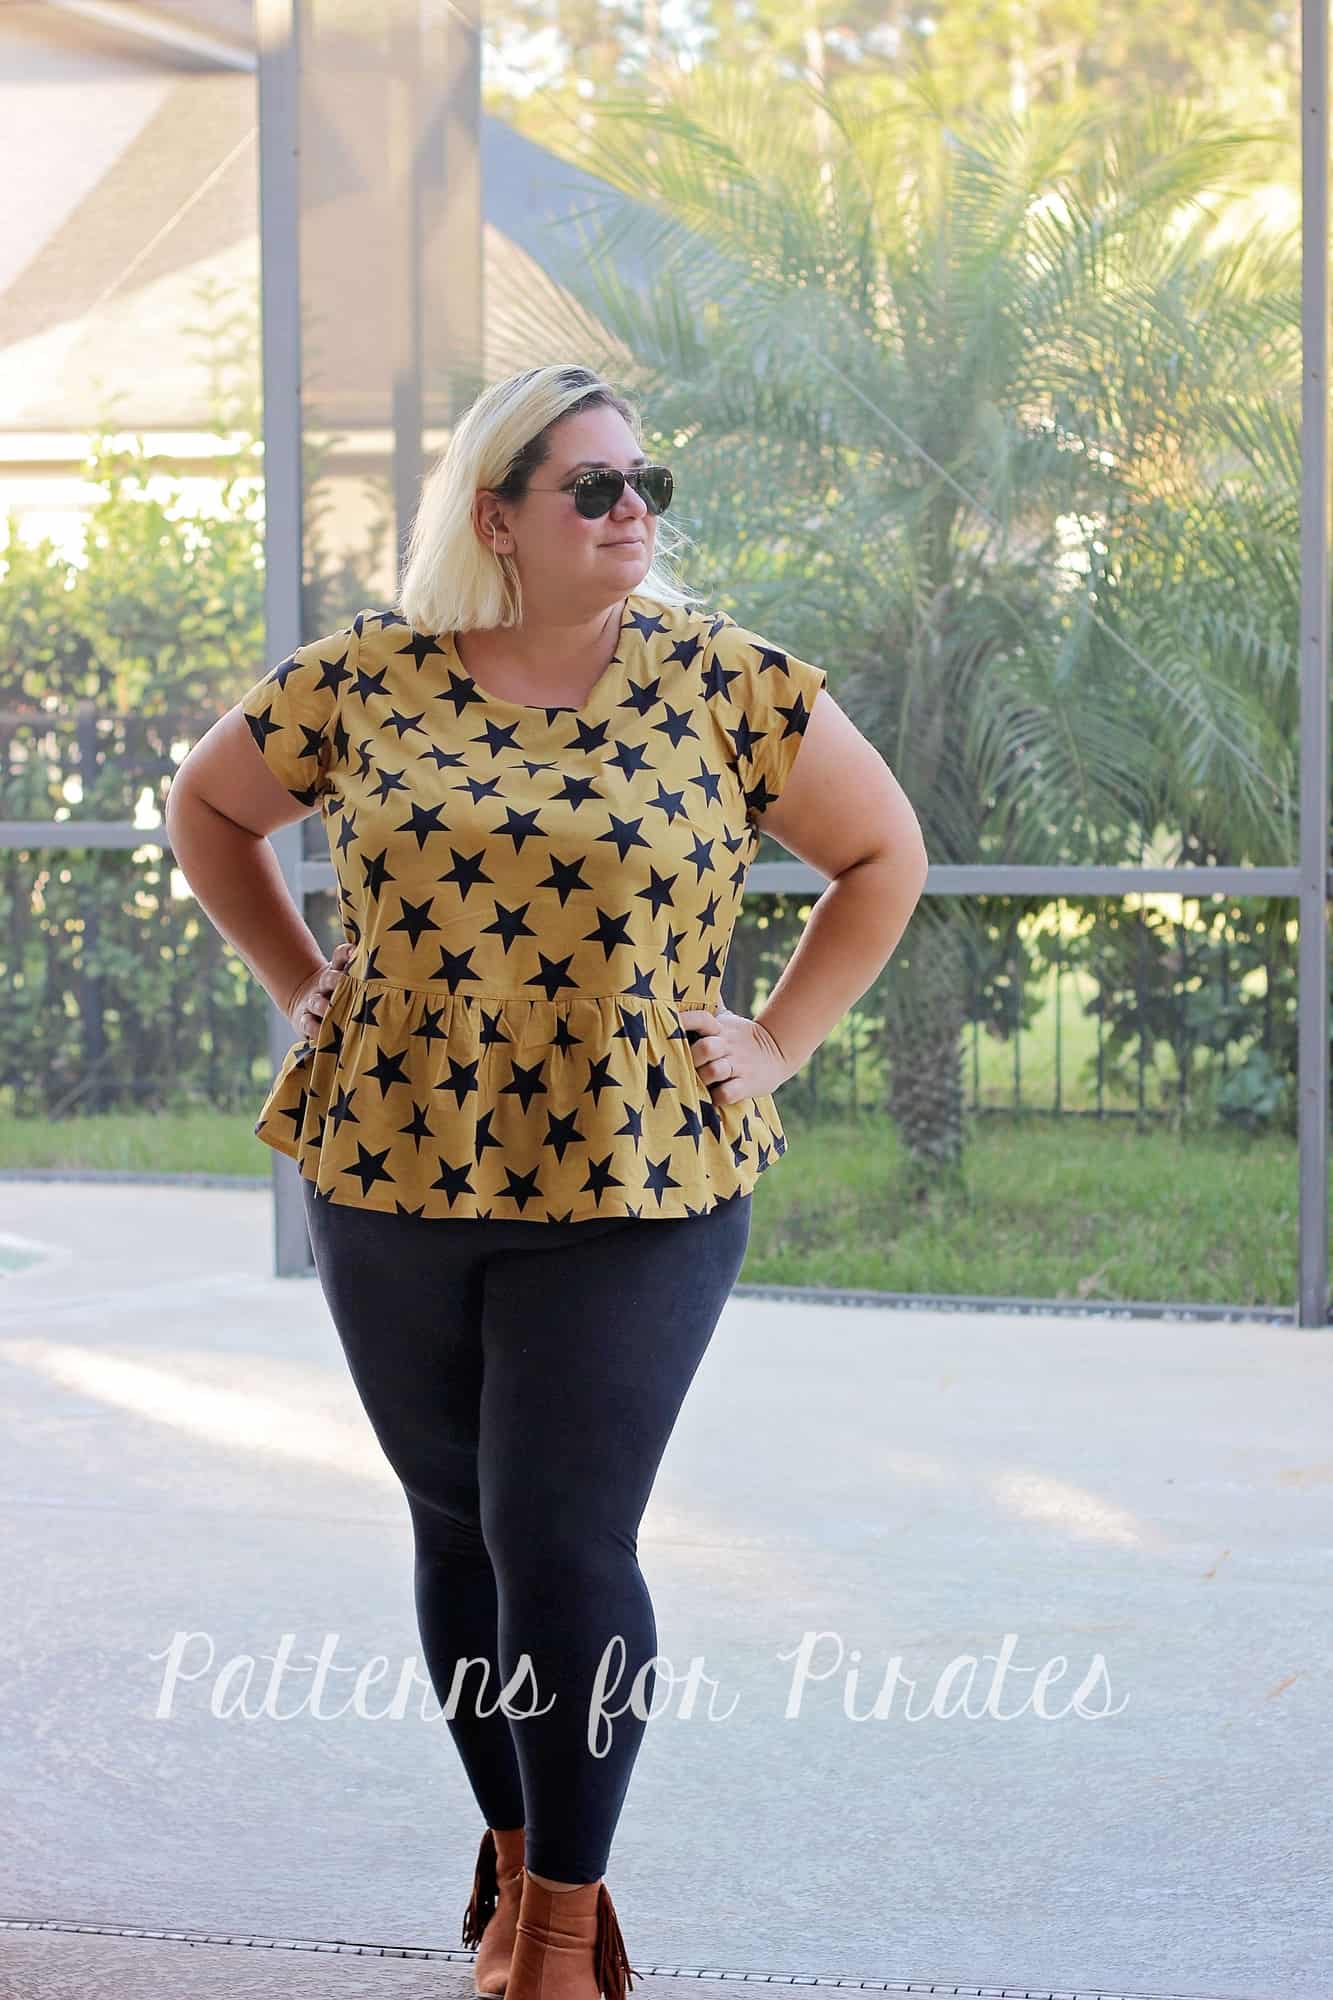
In one of my daily Pinterest browsing sessions (admit it, we all do it!) I came across some great boho tops that just screamed fall to me. Needless to say I had to have one so in today’s blog I will show you how to create this simple boho shirt using just the Timeless Tunic pattern and a few easy modifications.

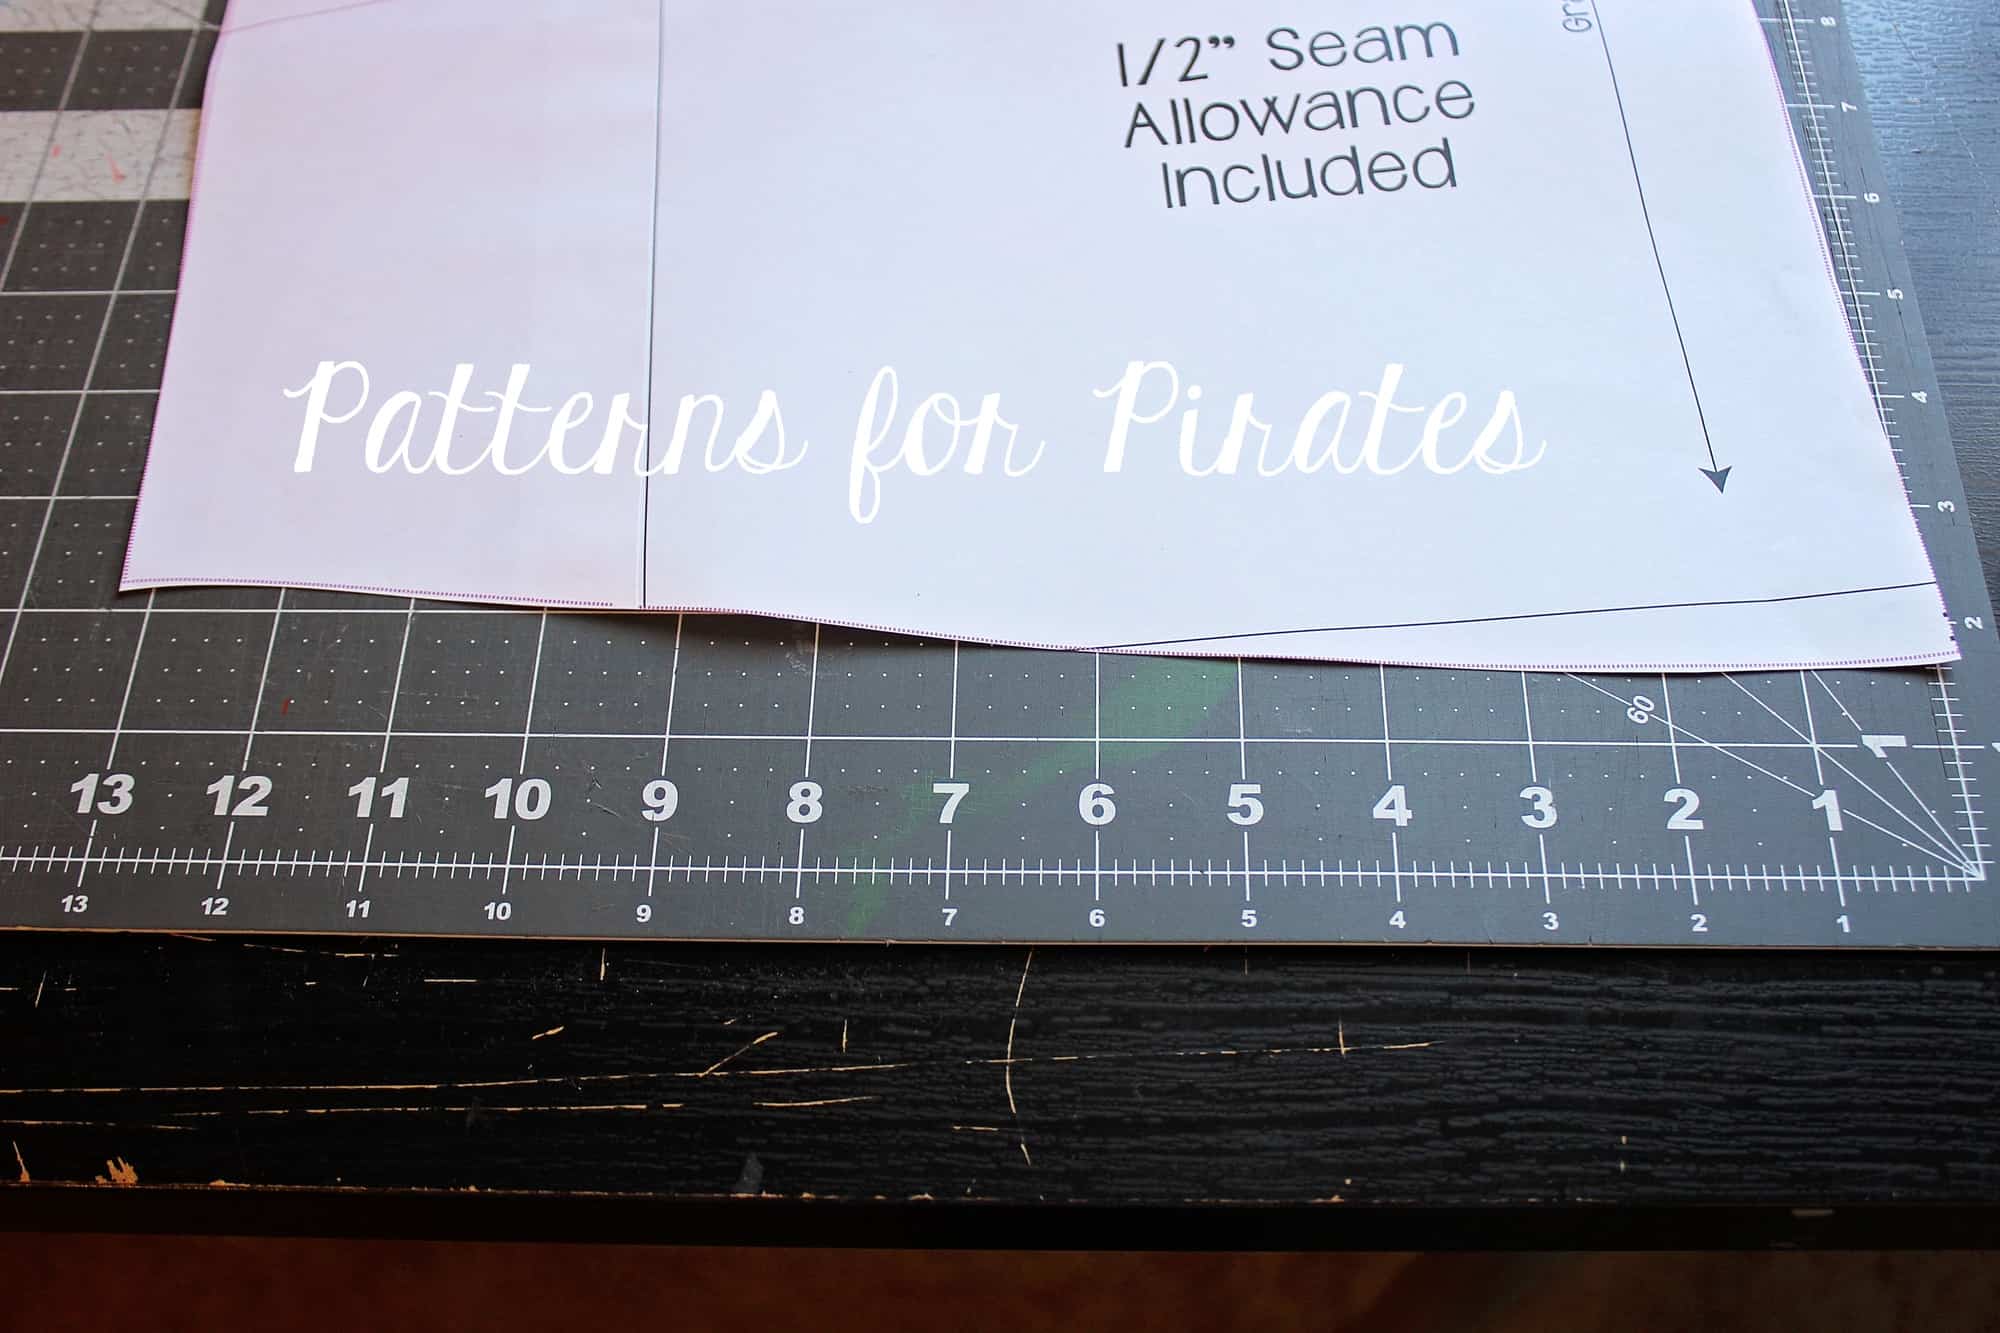
Start by printing your pattern in your size. You will only need the bodice pieces and the sleeves (if you are not making the tank option). Skip the skirt! Measure the front and back bottom width. We need that measurement to create the gathered skirt. Since the look we’re going for is a relaxed boho style we will not be adding the elastic casing or the elastic.

Cut the skirt part of the top 9″ by 1.5x bottom width. If you prefer your top longer you can certainly make the pieces 11-12″ instead of 9″. You will cut two pieces, one for the front and one for the back.

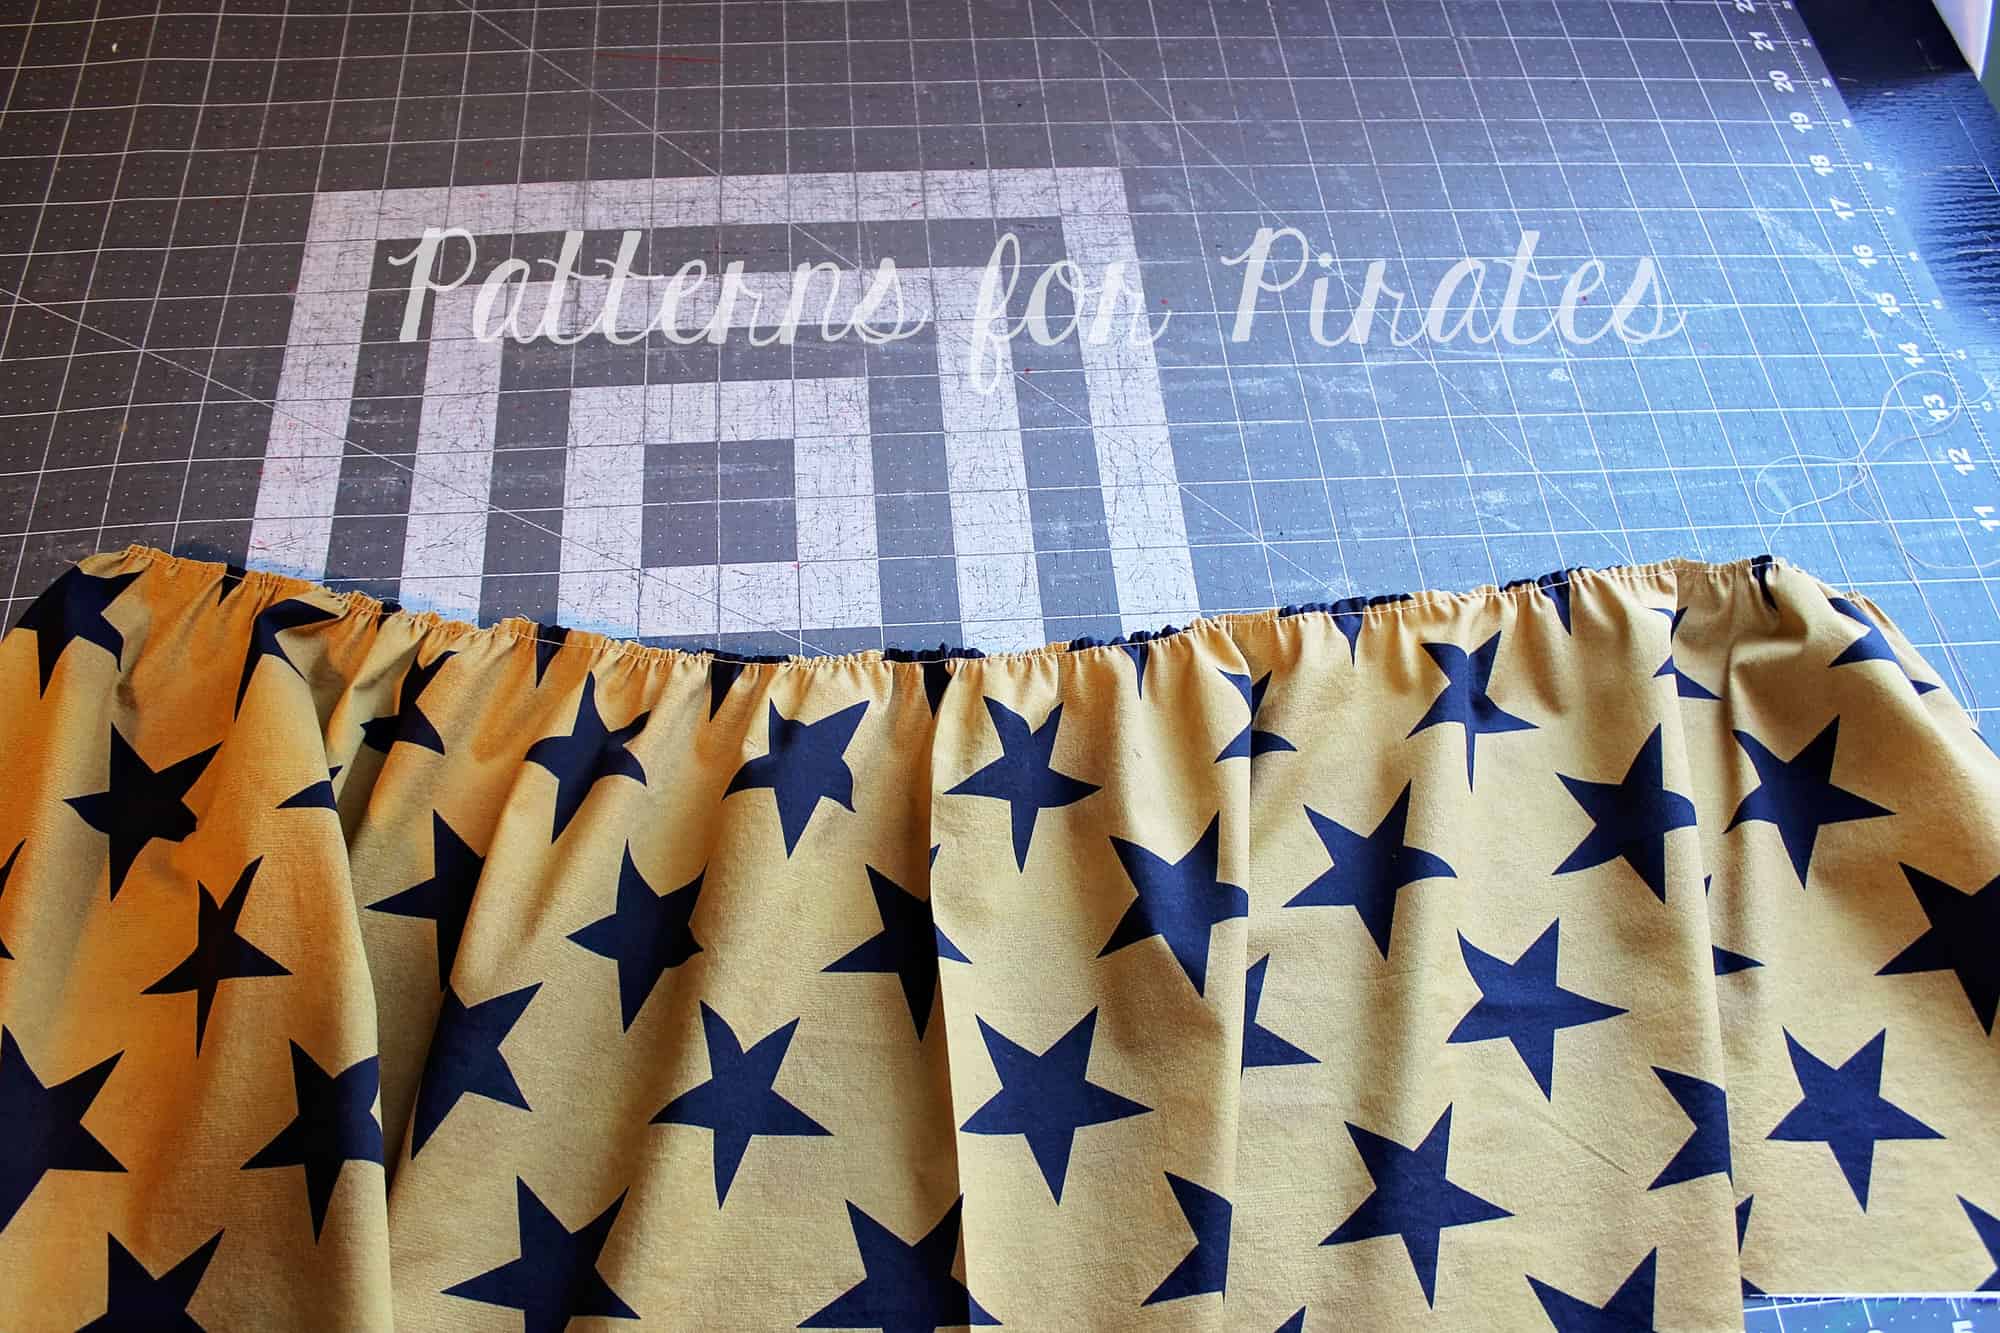
Using your favorite gathering method (serger gather, zig zag over dental floss, longest stitch/highest tension, etc) gather the top of the skirt pieces to match the bottom of the top.

Sew the top as per the pattern instructions.

Using a 1/2″ seam allowance, sew the side seams of the skirt to create a loop. Attach the gathered skirt to the top matching the side seams.

Optionally, top stitch the skirt to the top.

All you have to do now is hem the skirt (using a 1/2″ hem ) and enjoy your new boho top. I absolutely love this top paired with the Cocoon Cardigan and some SOS knit pants or Peg Legs.

I can’t wait to see your take on this top so be sure to post your creations in the P4P group.


Filed Under: Frequently Asked Questions, Pattern Hacks, Uncategorized Leave a Comment

  • « Previous Page
  • 1
  • …
  • 4
  • 5
  • 6
  • 7
  • 8
  • …
  • 12
  • Next Page »

connect with me

  • Email
  • Facebook
  • Instagram
  • Pinterest
  • YouTube
Privacy & Cookies: This site uses cookies. By continuing to use this website, you agree to their use.

To find out more, including how to control cookies, see here: Cookie Policy
  • Privacy Policy
  • Refund Policy
  • Contact Us
  • About

Copyright © 2026 Patterns for Pirates

Copyright © 2026 · Genesis Framework · WordPress · Log in