Patterns for Pirates

P4P stylish, modern, wearable patterns

  • Home
  • Blog
    • Frequently Asked Questions
    • Pattern Releases
      • Free Patterns
    • P4P University
      • Fitting
      • Sewing with Stretch, Knit Fabrics
      • Sewing with Woven Fabrics
      • Sewing Machines
    • Sew-A-Longs
    • Fabric for Pirates
    • Pattern Hacks
    • Announcement
      • Blog Tours
      • Contest/Giveaway
  • Shop
  • Bundle Discounts
  • Flash Friday
  • Gift Cards
  • My Account
  • Cart

#allP4Ptoday winners

March 31, 2017

DECEMBER

And just like that, a new year is almost here. Hope you all had a fantastic holiday season! We couldn’t end the year without announcing our last 2017 #allP4Ptoday winner!

So without further ado…our December winner is:

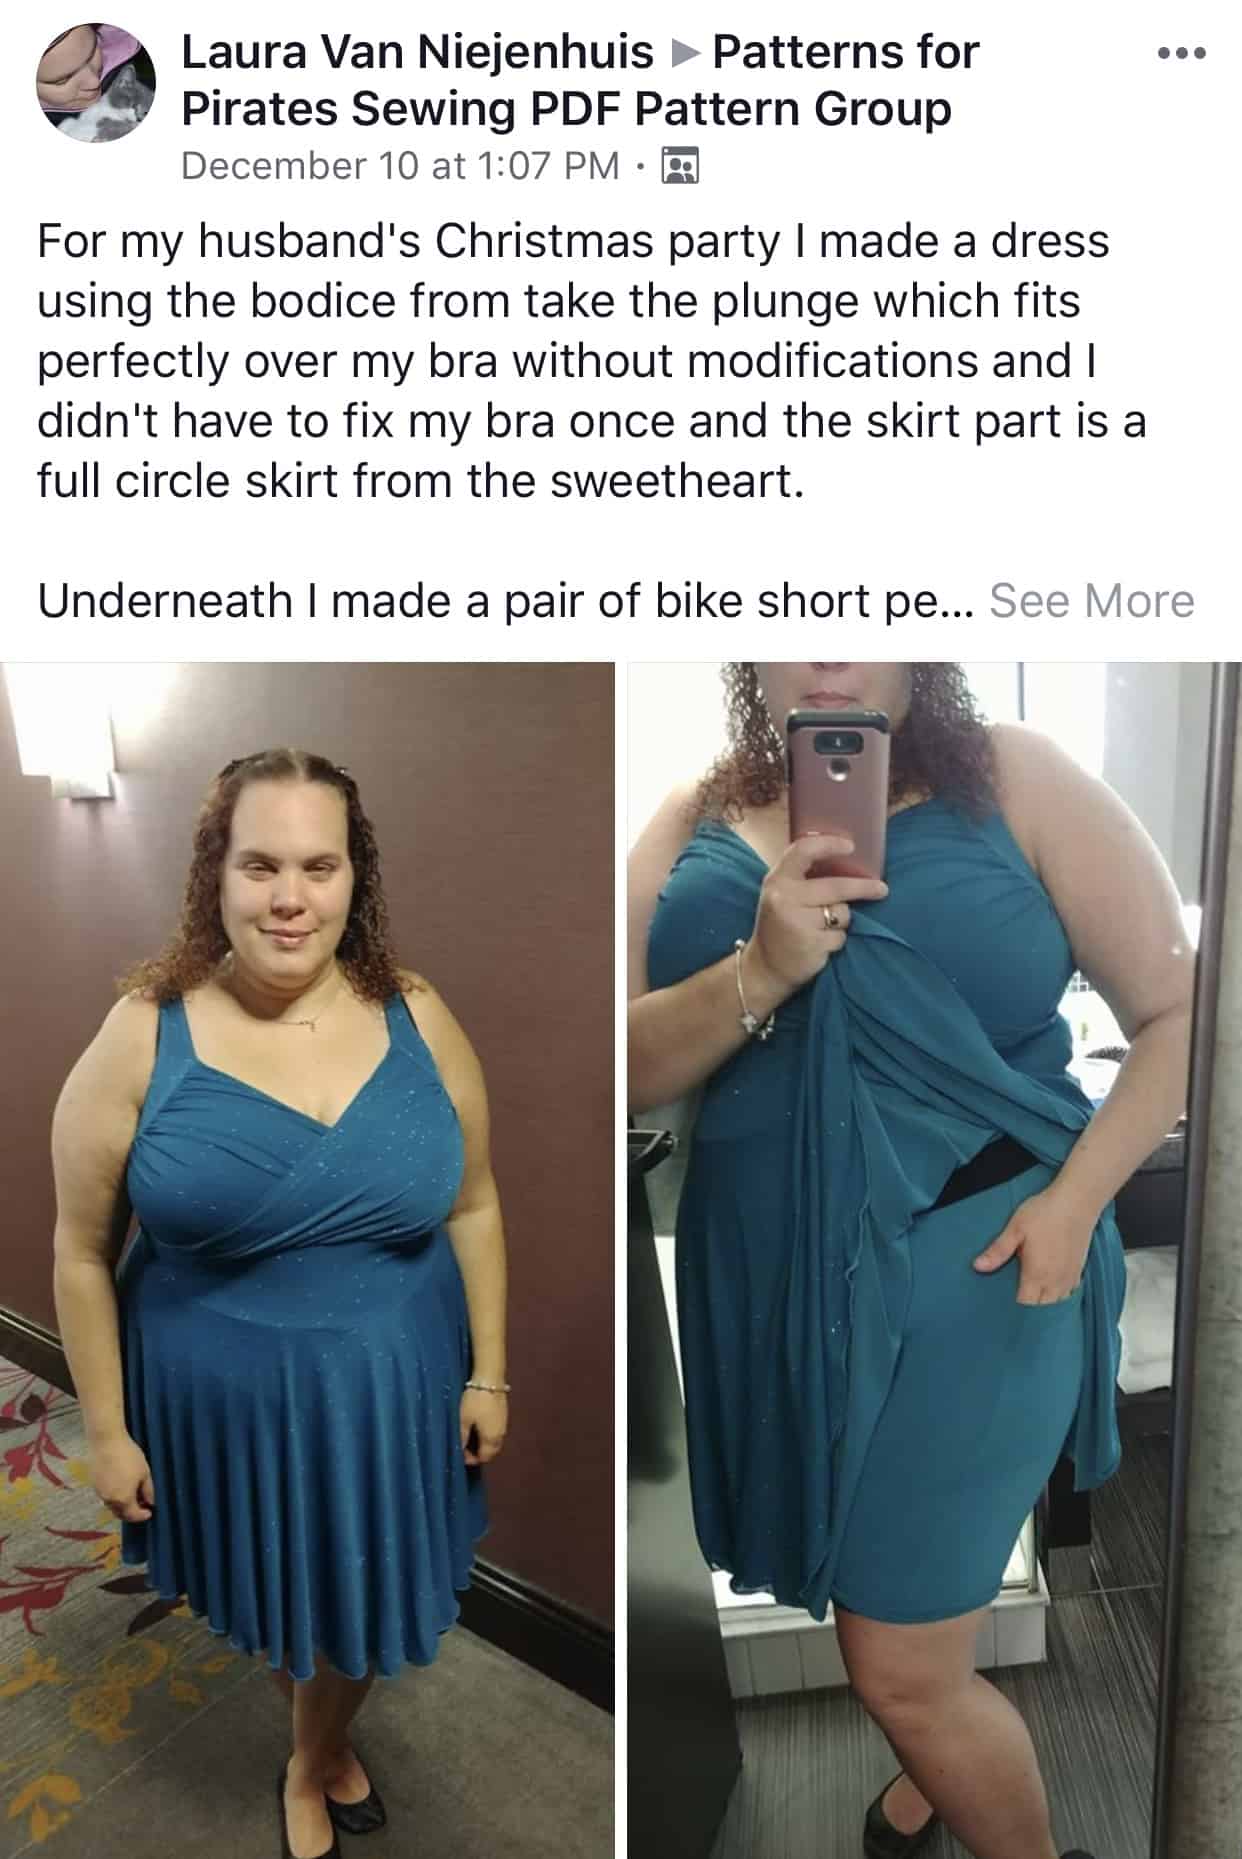
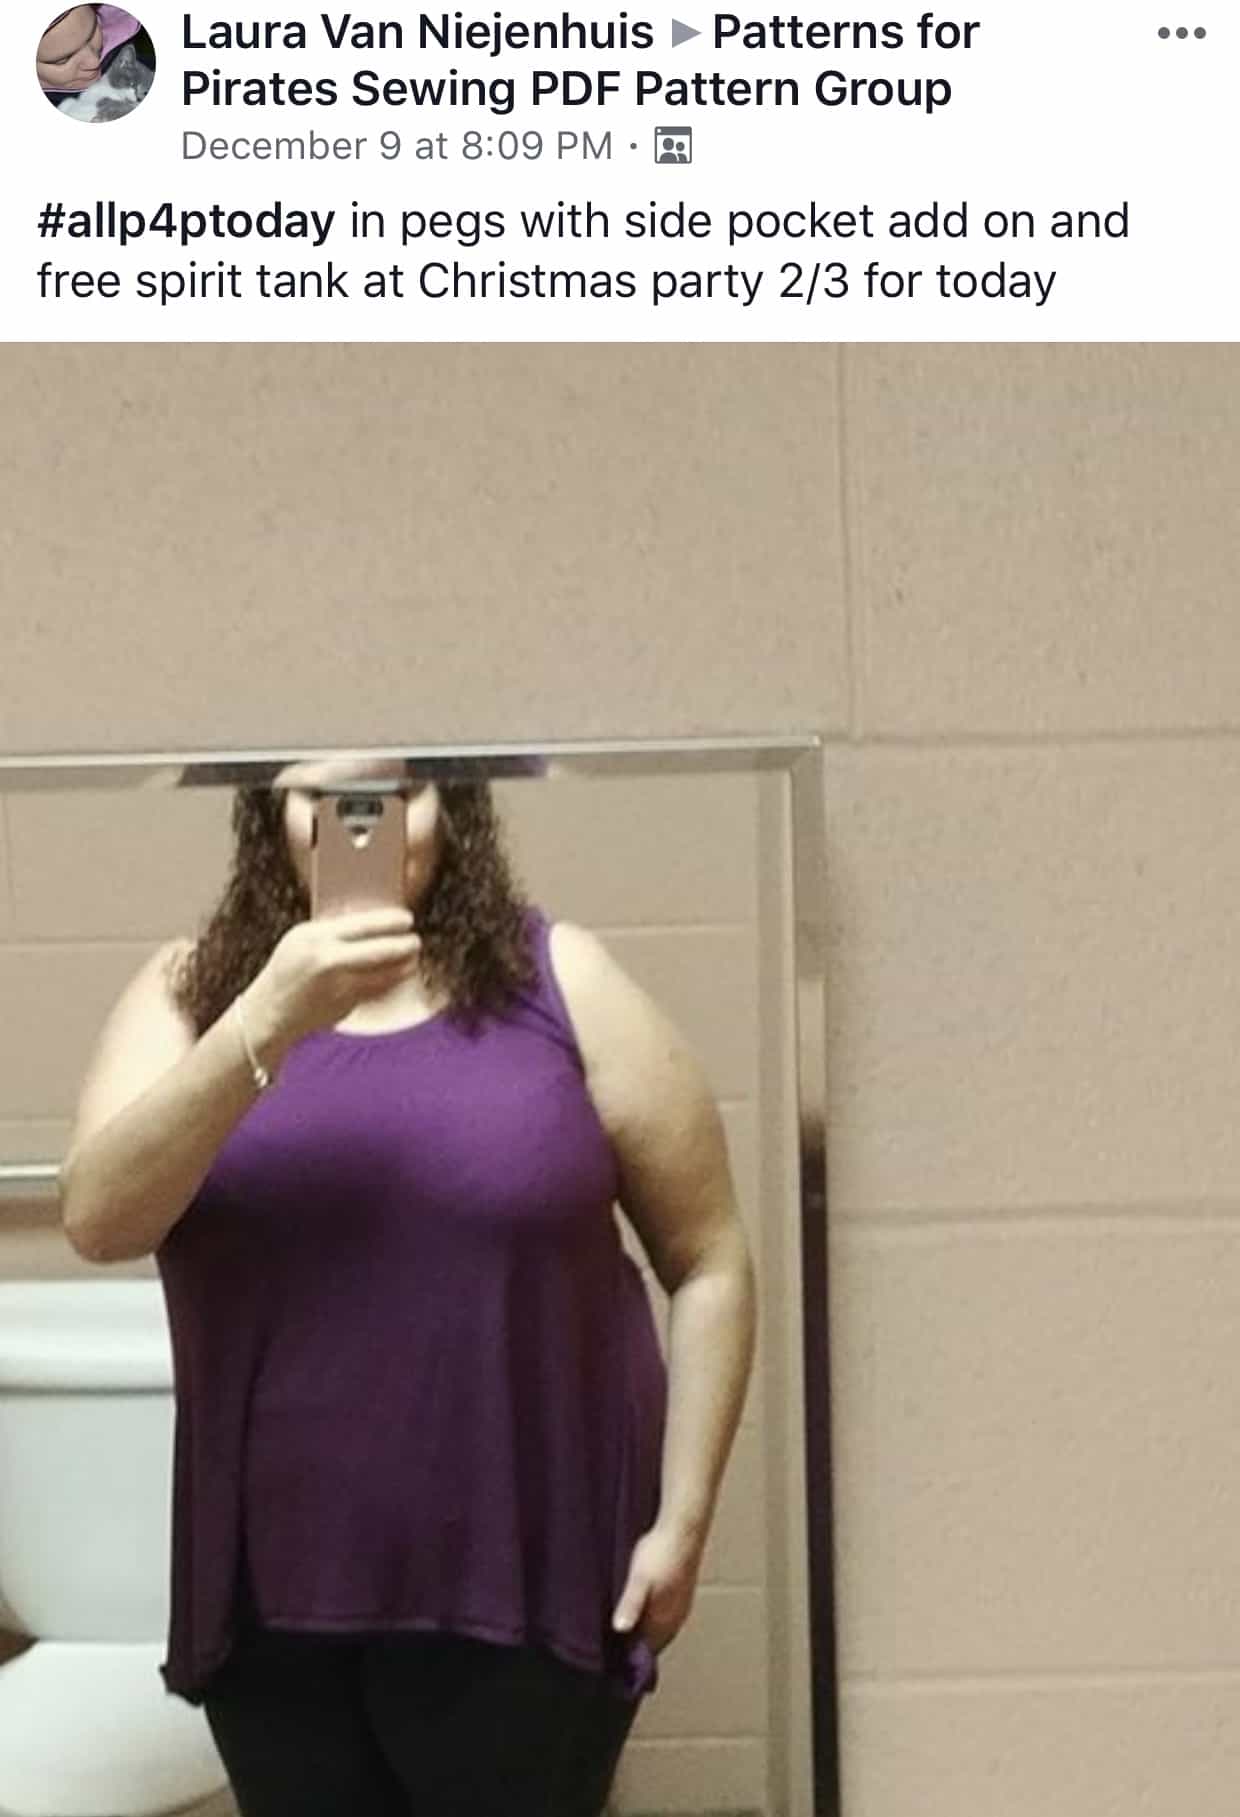
Laura Van Niejenhuis

Laura has been rocking #allP4Ptoday every month since we started the contest. From casual to party attire, Laura has made them all and looks radiant in them.

Thank you all for a fantastic 2017!🎉 Keep posting your all P4P outfits next year too, we will be watching! 😉

NOVEMBER

Ahoy, pirates! We hope you had a wobbly gobbly Thanksgiving celebration! We saw some awesome P4P outfits being shown off this month. As always choosing only one winner was super hard.

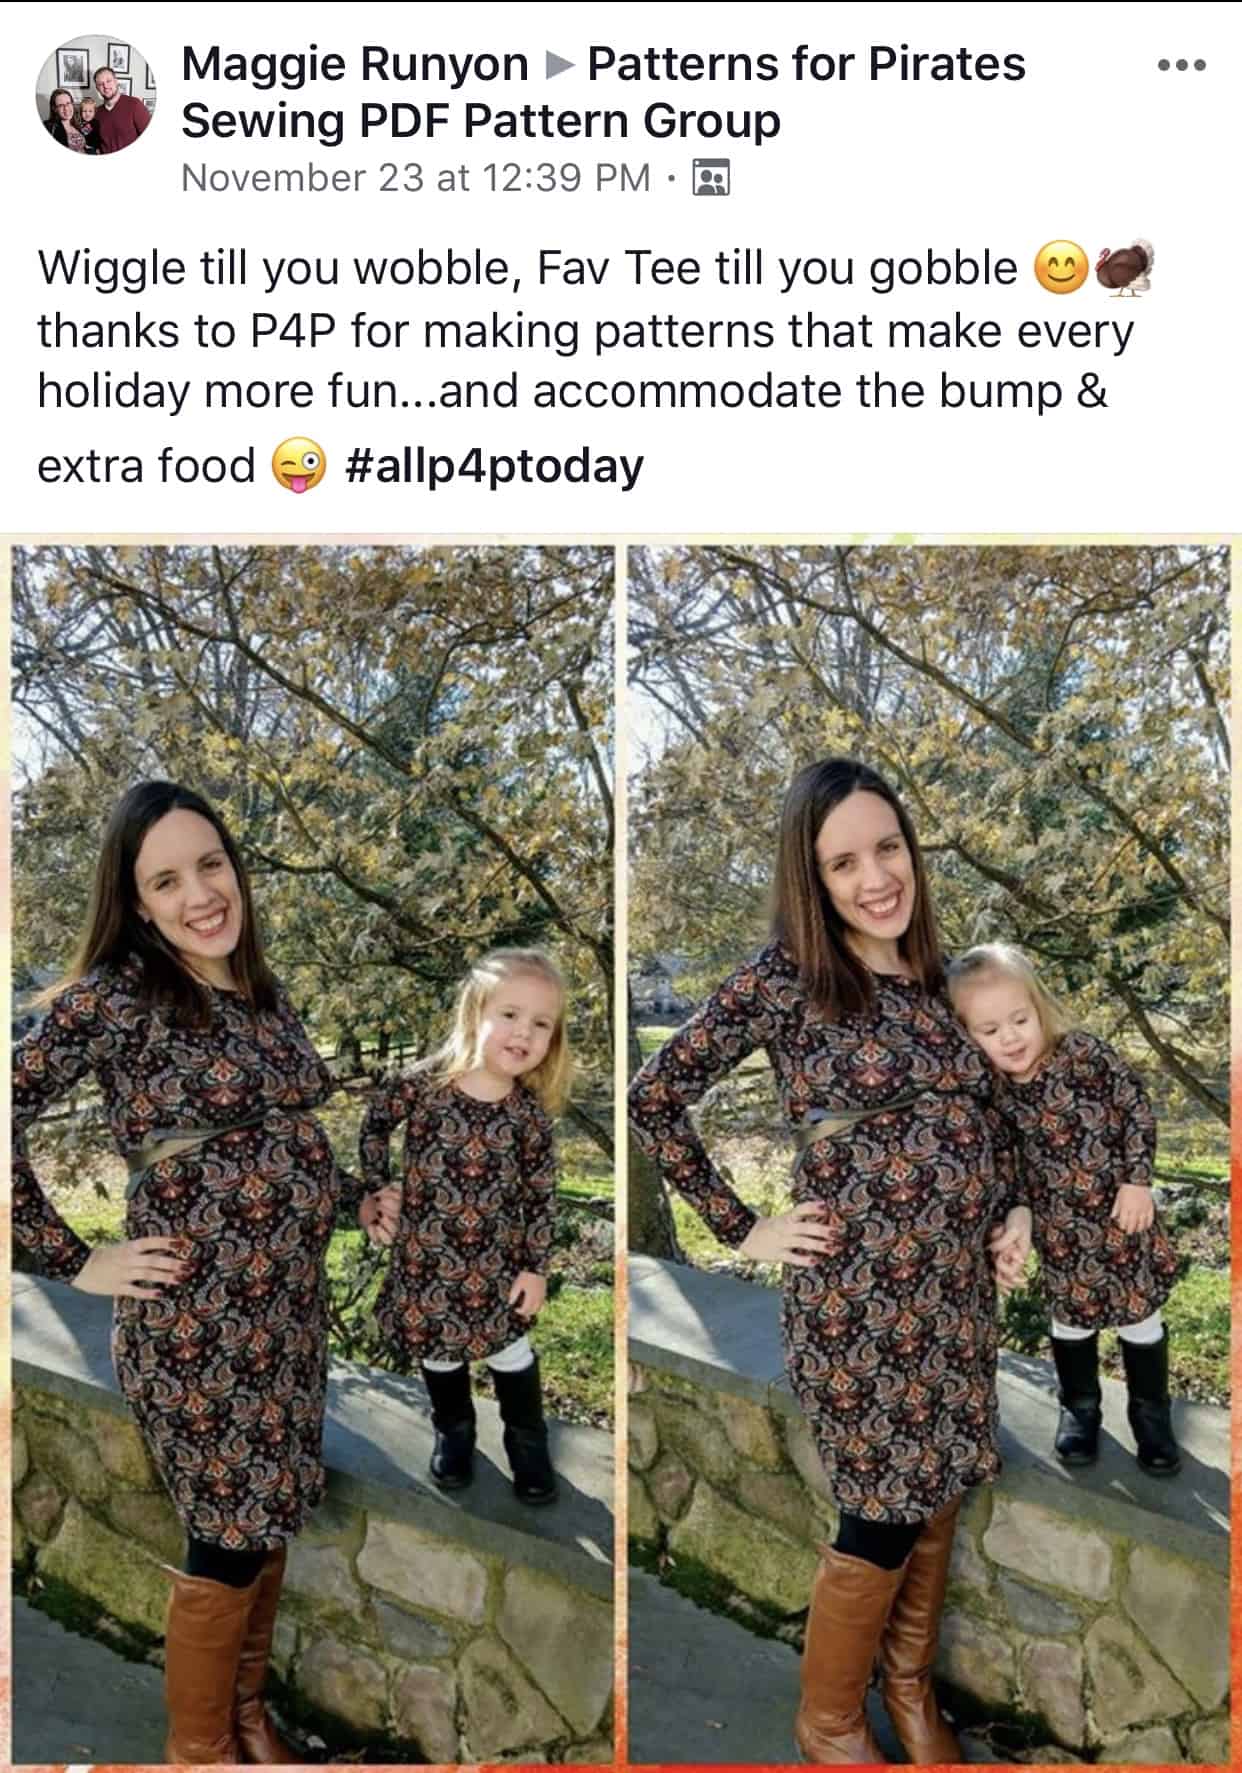
Drumroll…. our latest #allP4Pwinner is Maggie Runyon!

Maggie’s post brought a smile to all the team’s face so we just had to pick her as our November winner. She looks adorable in her Wiggle dress … but little miss stole the show in her Fav tee dress. Congratulations, Maggie!!

We can’t wait to see your holiday all P4P outfits! Use the hashtag #allP4Ptoday so we can spot you!

OCTOBER

Boo! The trick or treating month has come and gone! We absolutely loved seeing you rock the Gone Batty shirt and incorporating P4P in your fall sewing.

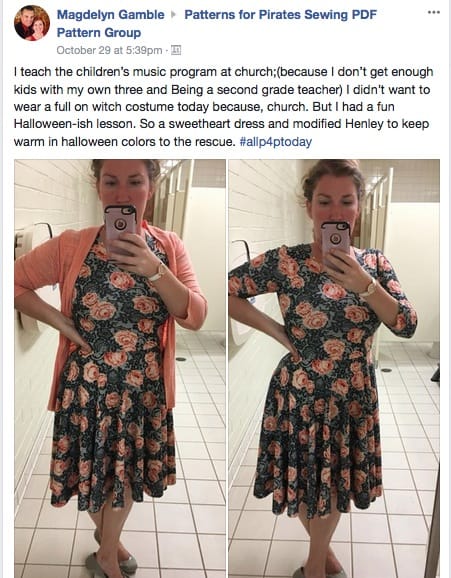
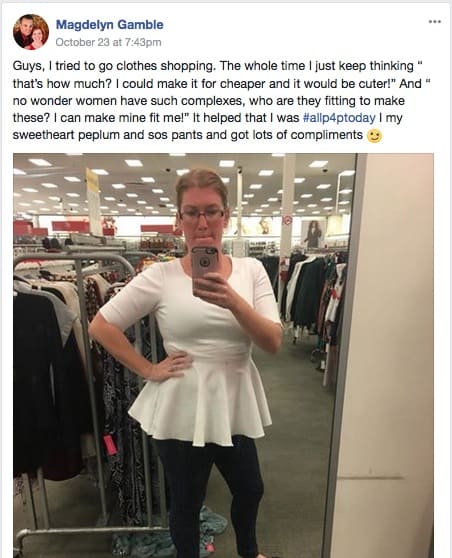
Our October #allP4Ptoday winner is…. MAGDELYN GAMBLE !

Magdelyn rocked those Disneyland family outfits! She is definitely an inspiration, she chose the perfect P4P patterns ( Henley, Peg Legs and Sugar Pie) so that everyone was comfortable for the long walks while still being “park ready” and cool.

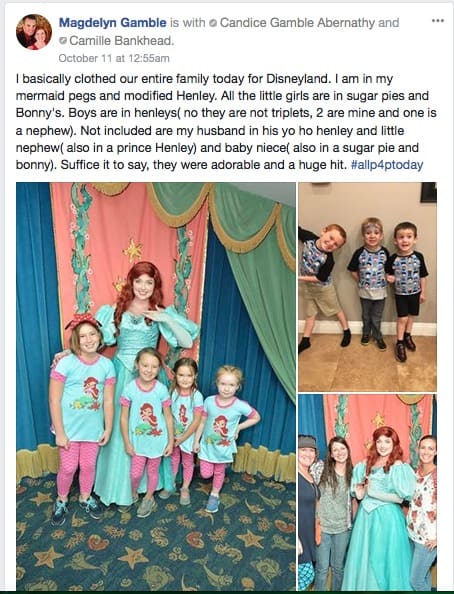
The Sweetheart  dress gets a lot of love from our October winner, she looks absolutley gorgeous in both the dress and the peplum top. Thank you, Magdelyn for sharing your creations with the P4P group.

I can’t wait to see your November entries and how you incorporate P4P in your Thanksgiving sewing. Don’t forget to add the #allP4Ptoday to your posts so we can see YOU when we search for our monthly winner.


SEPTEMBER

And just like that fall is here!!! I think most of you are just as excited as I am for some cooler weather and some pumpkin spice everything.

September P4P group wall was filled with amazing creations! We’ve seen lots of pegs, SOS and cocoons…clear sign of autumn’s arrival. So without further ado….our September #allP4Pwinner is…
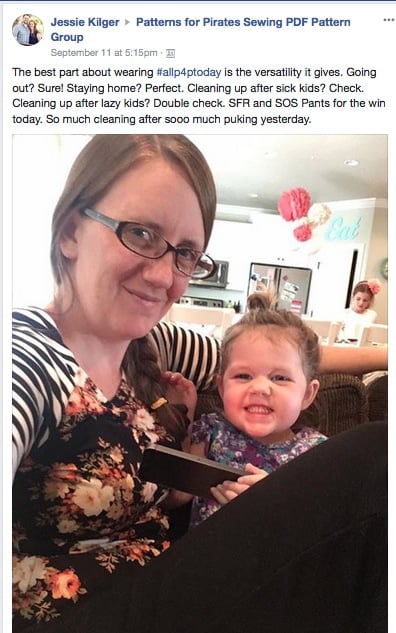
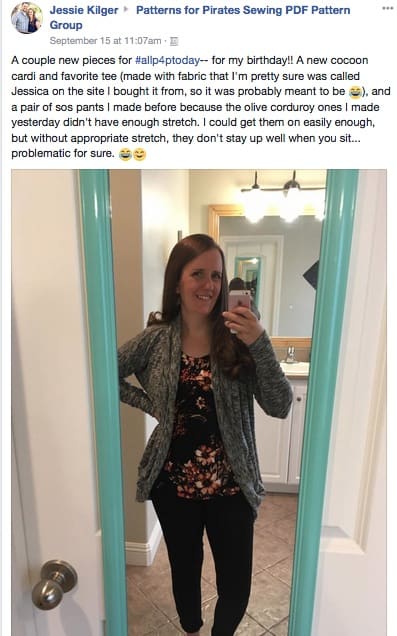
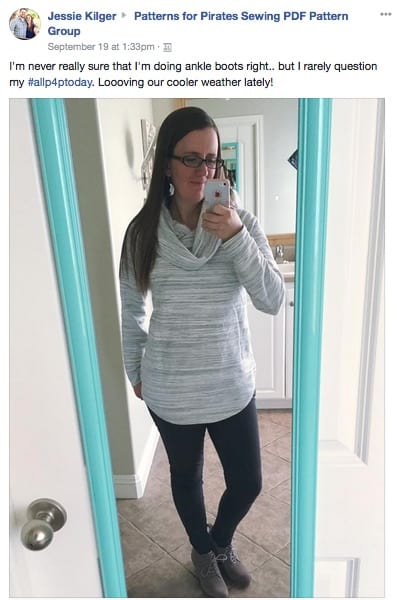
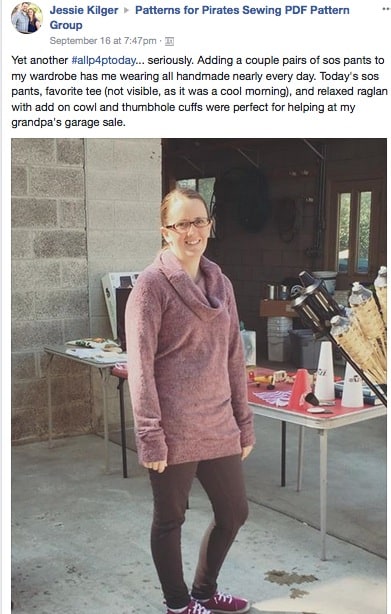
JESSIE KILGER!

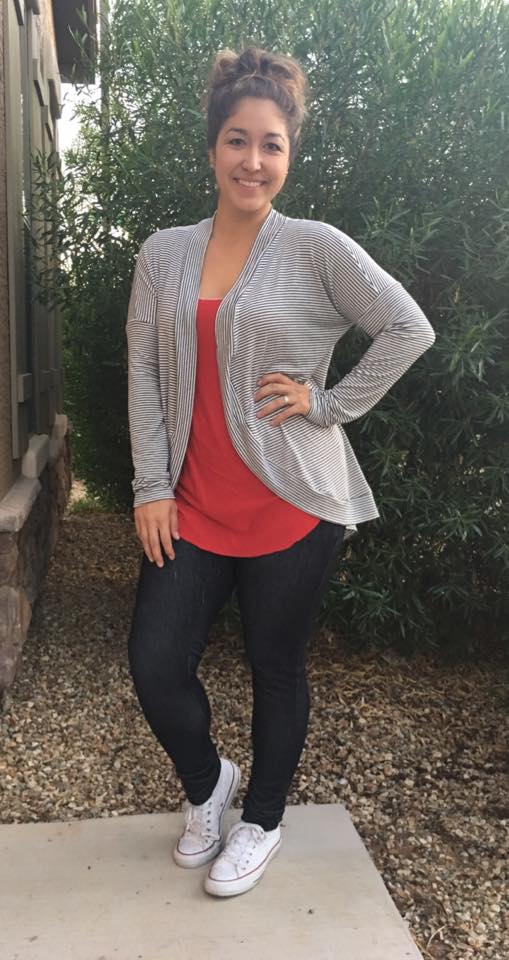
Jessie rocked her Pegs, SOS, Cocoon Cardigans and Favorite Tees like a boss! I loved how she shows the versatility of our patterns and look adorable doing it.

Keep posting those #allp4ptoday outfits in the P4P group! Maybe October’s winner will be YOU!
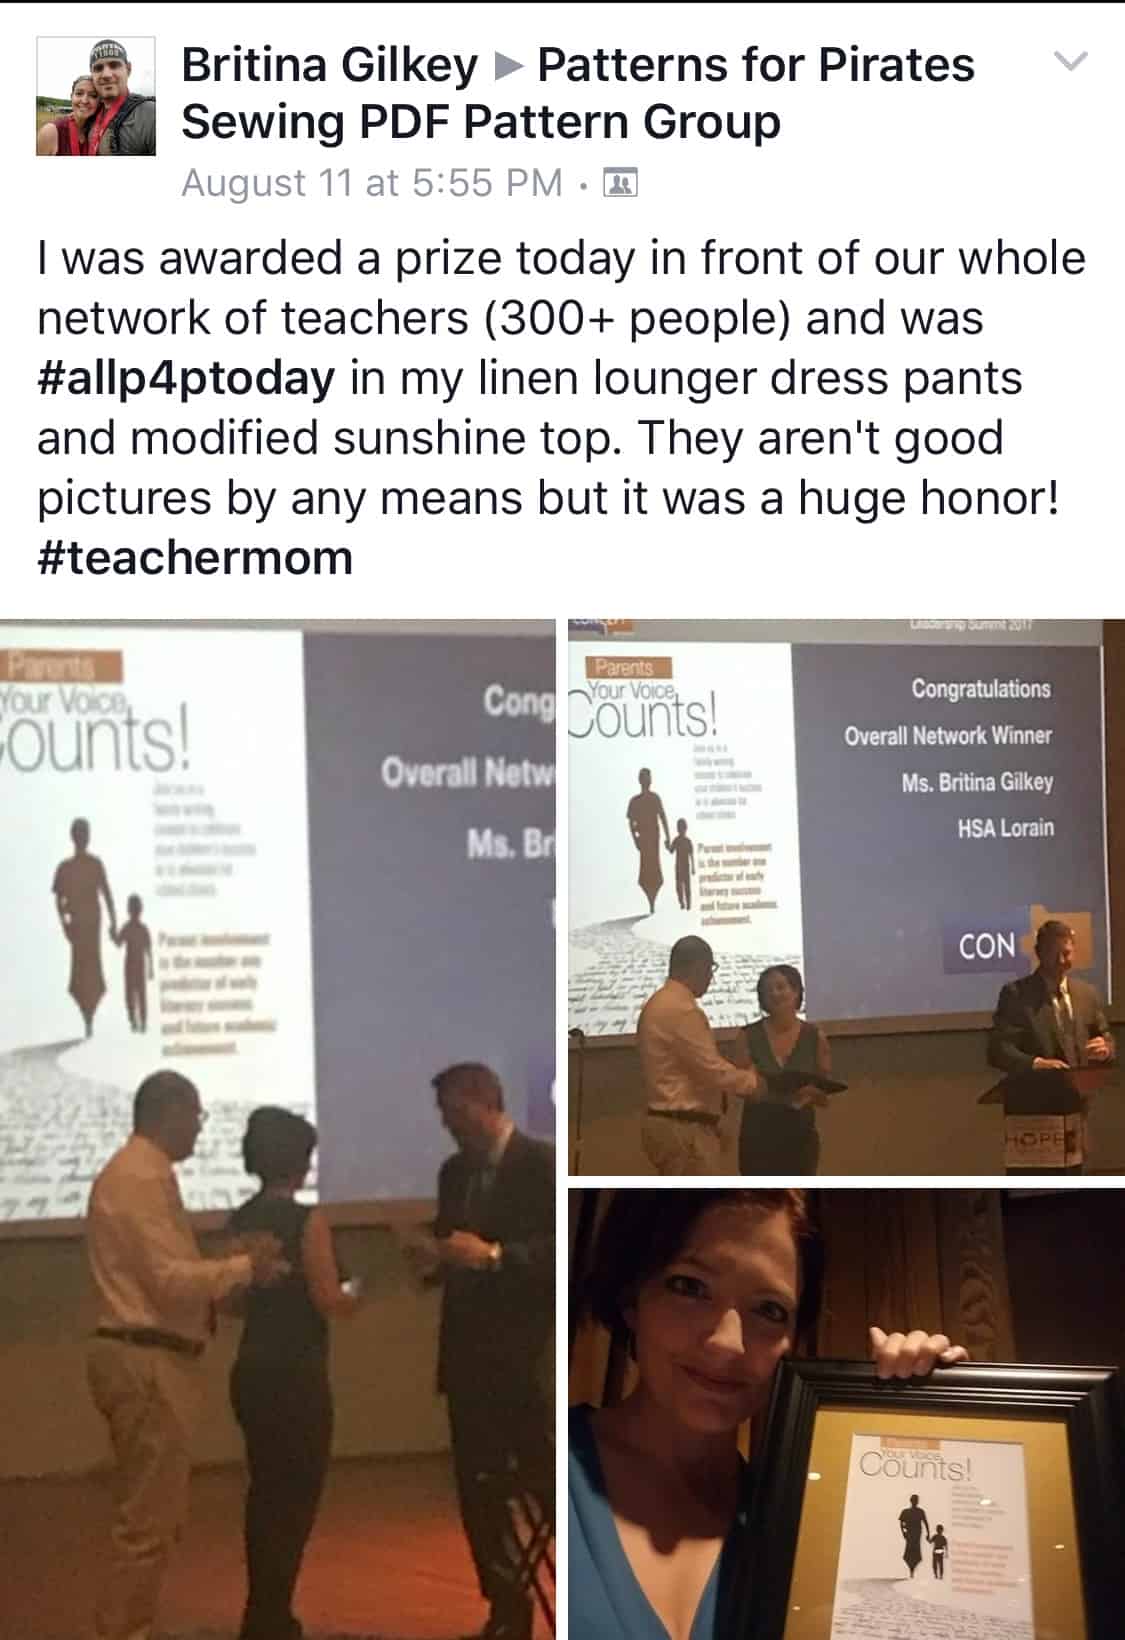
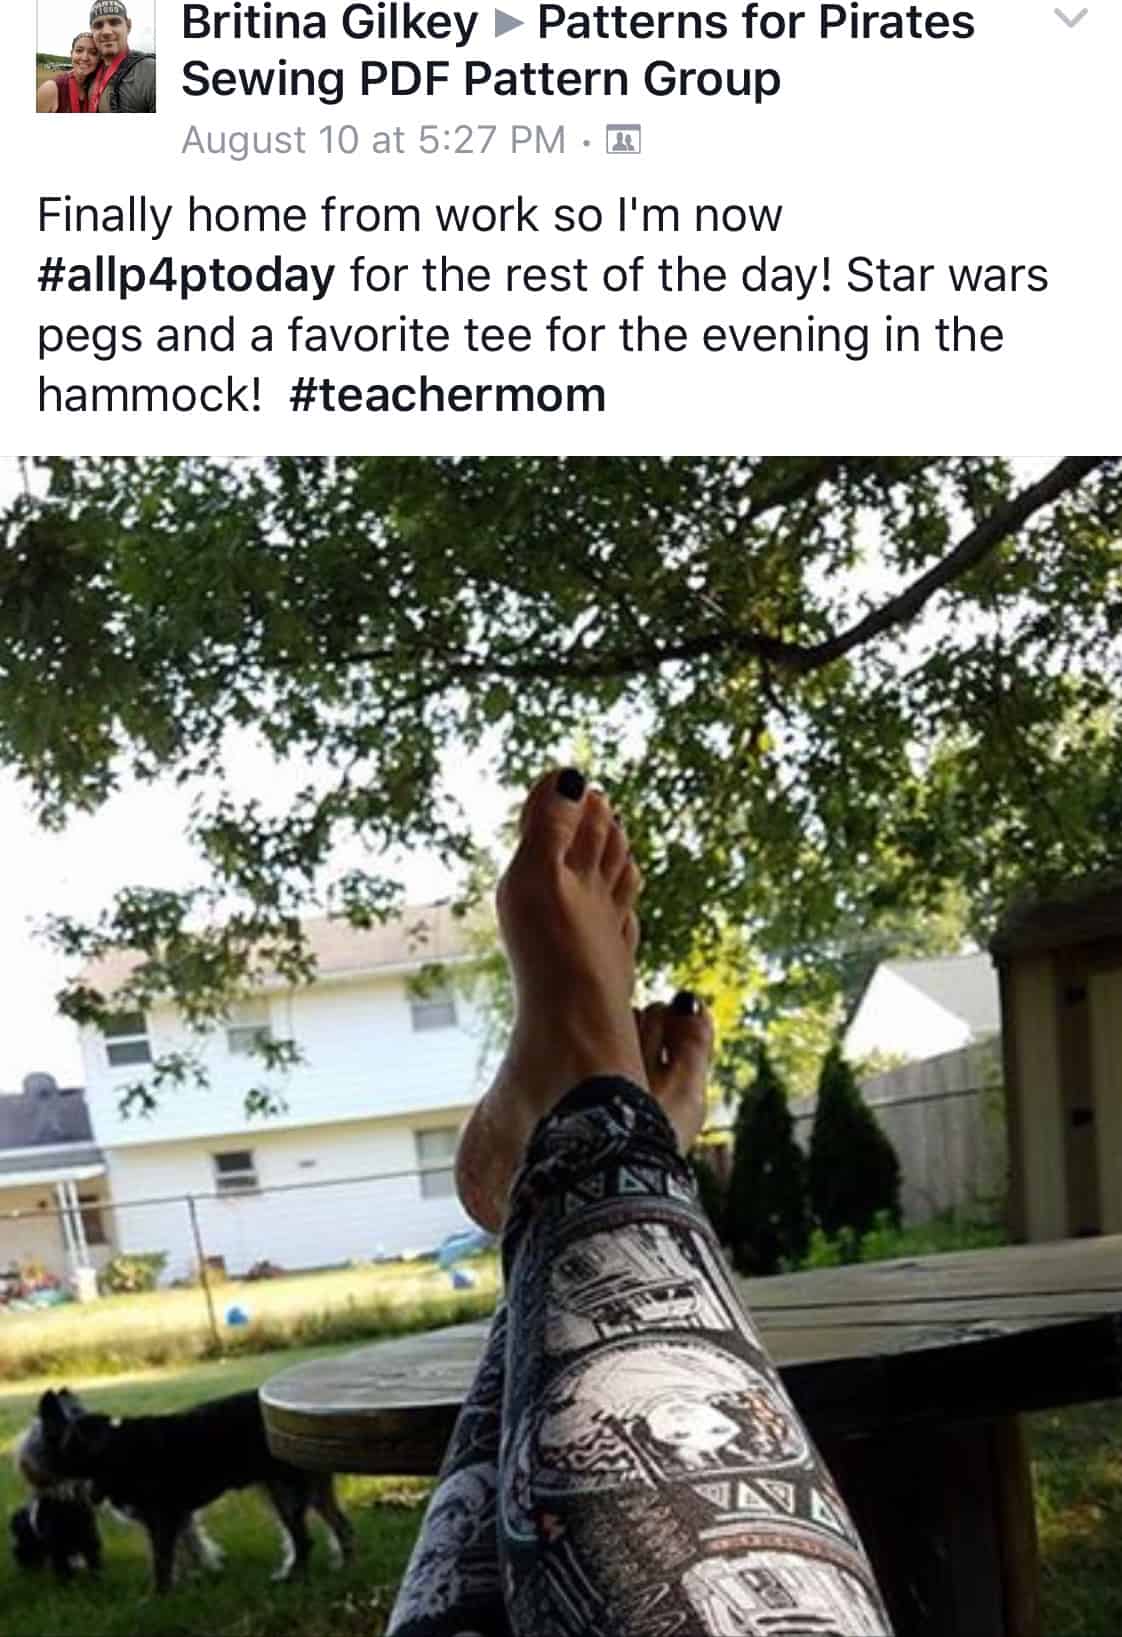
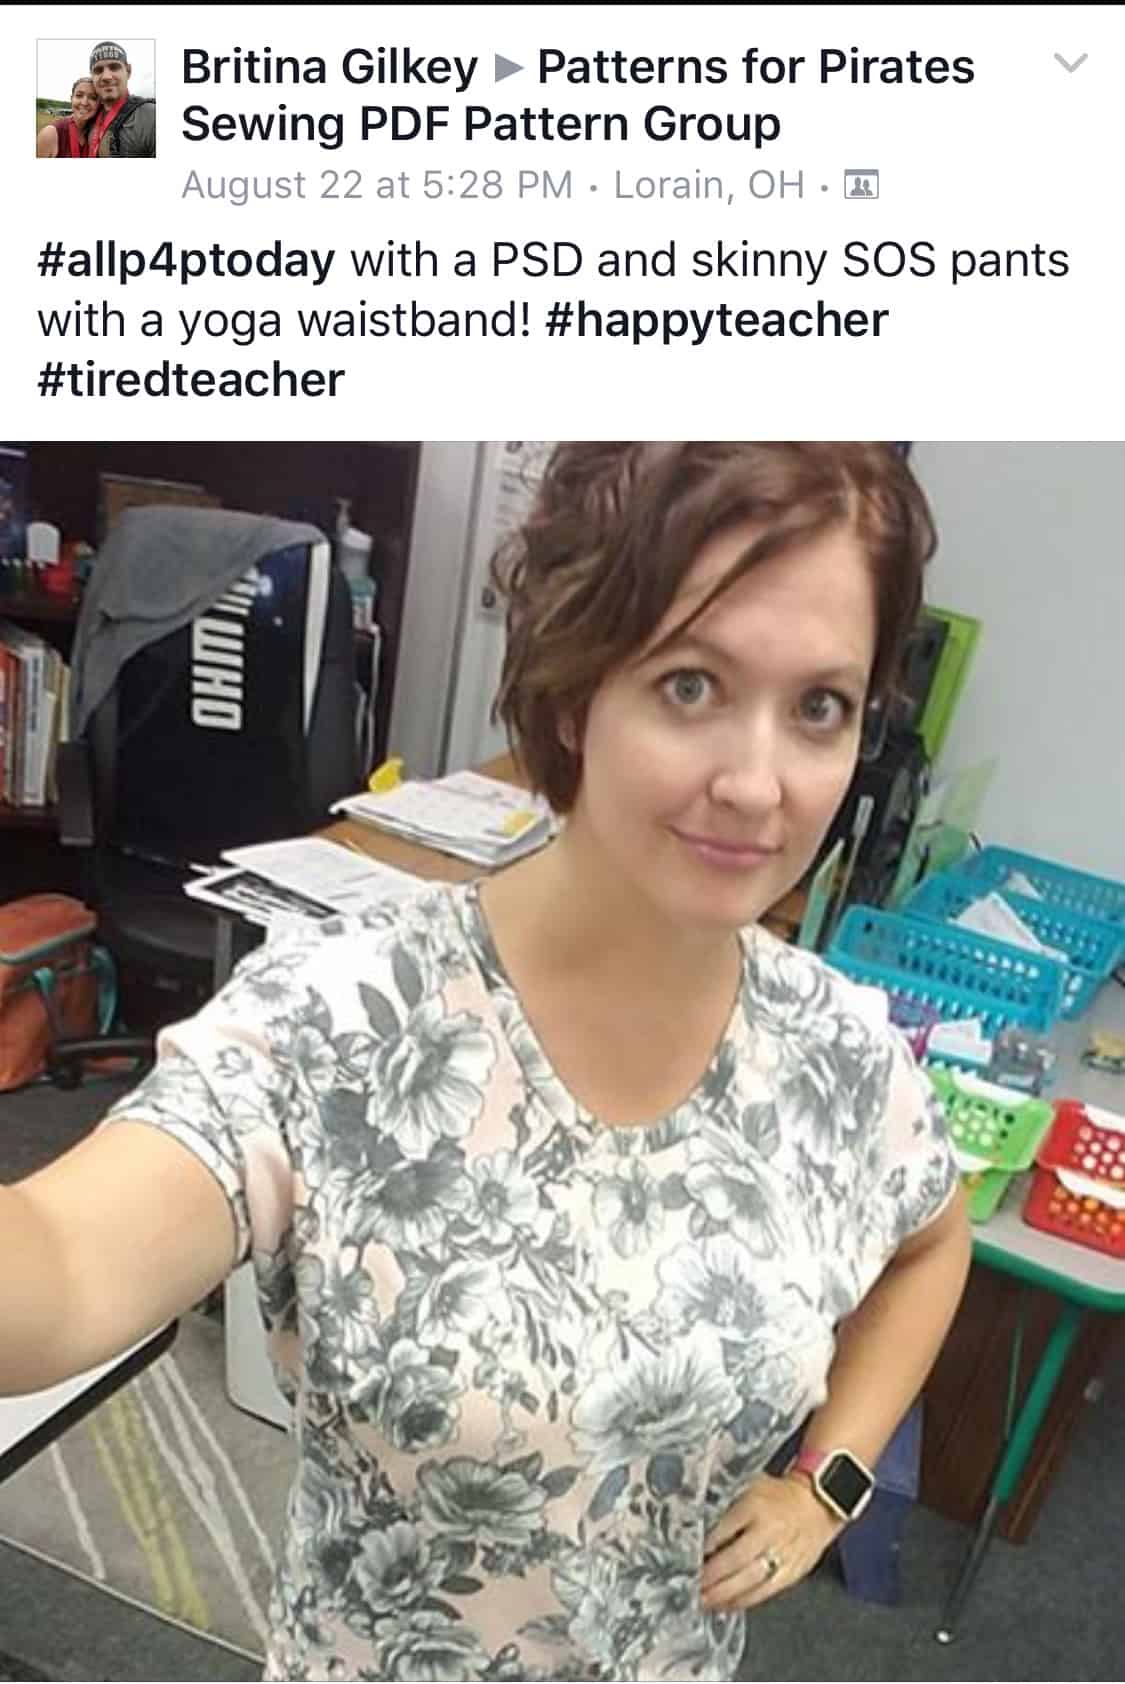
 

AUGUST

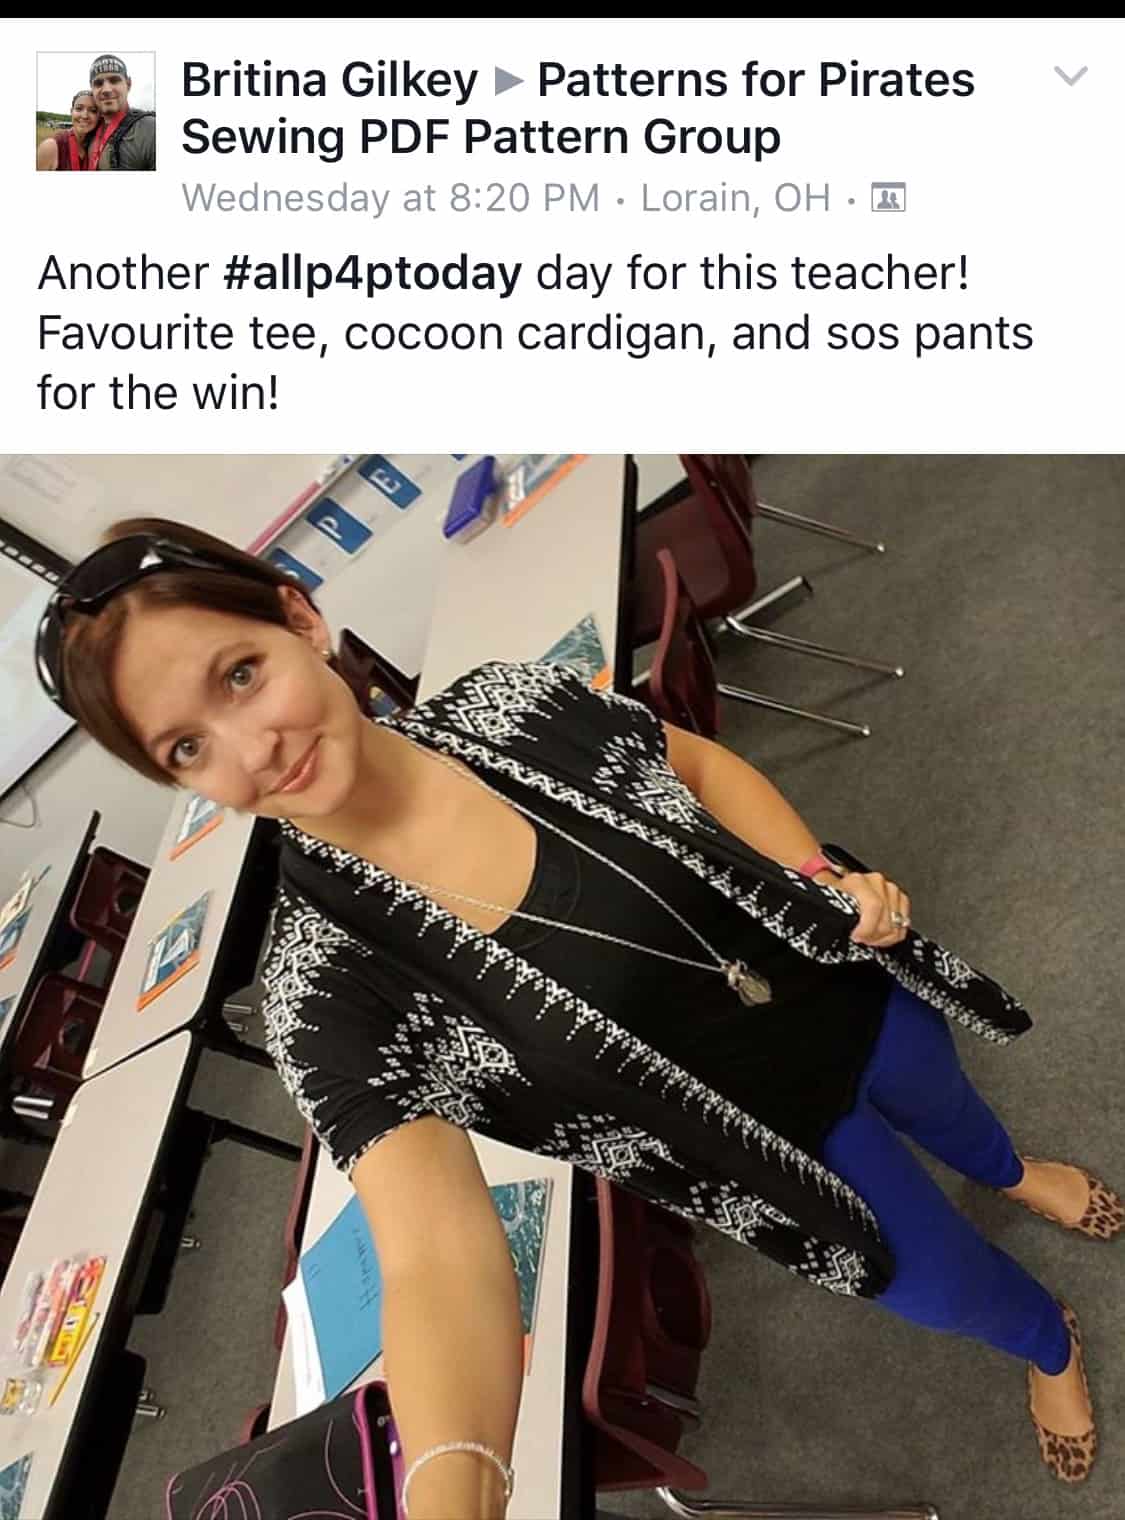
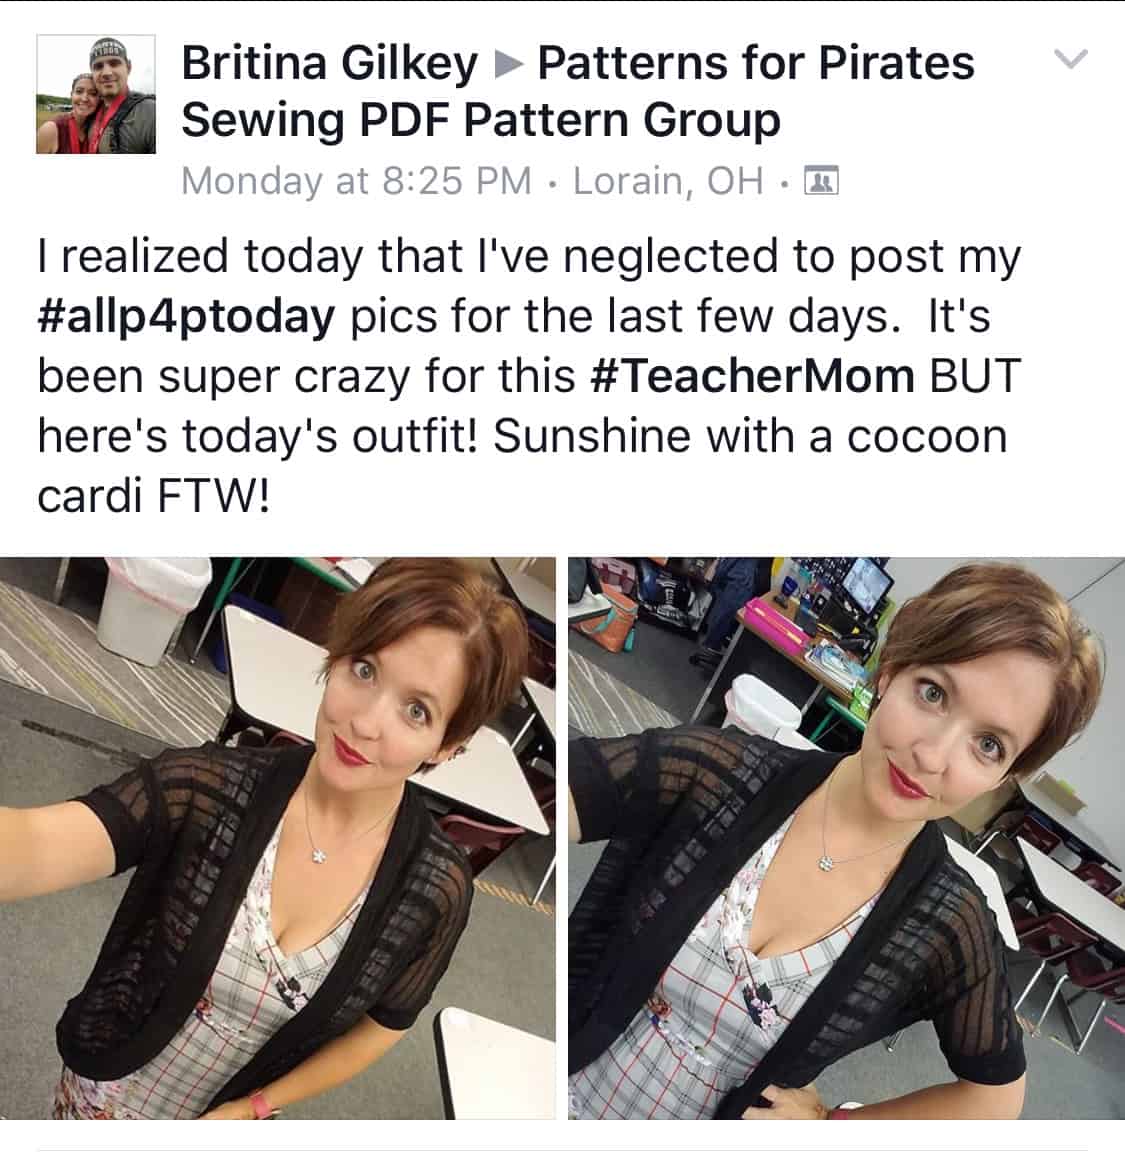
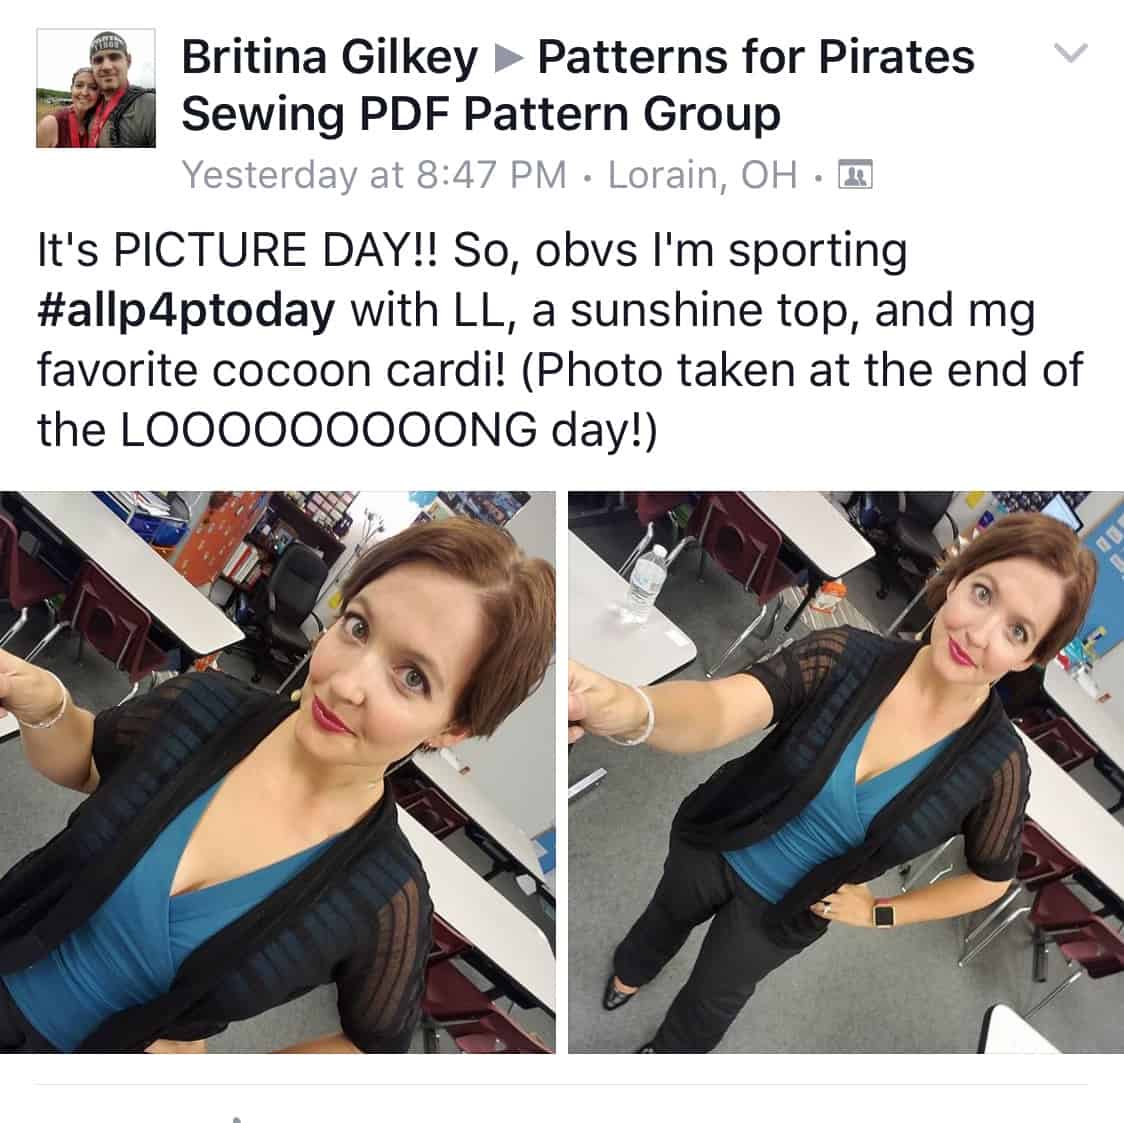
Ahoy, pirates! The month of August brought a lot of fantastic #allP4Ptoday outfits. We’ve seen kids going back to school and teachers ready for a brand new school year. One mom and teacher really stood out this month so let’s give a big “Congratulations!” to our August winner…

Britina Gilkey


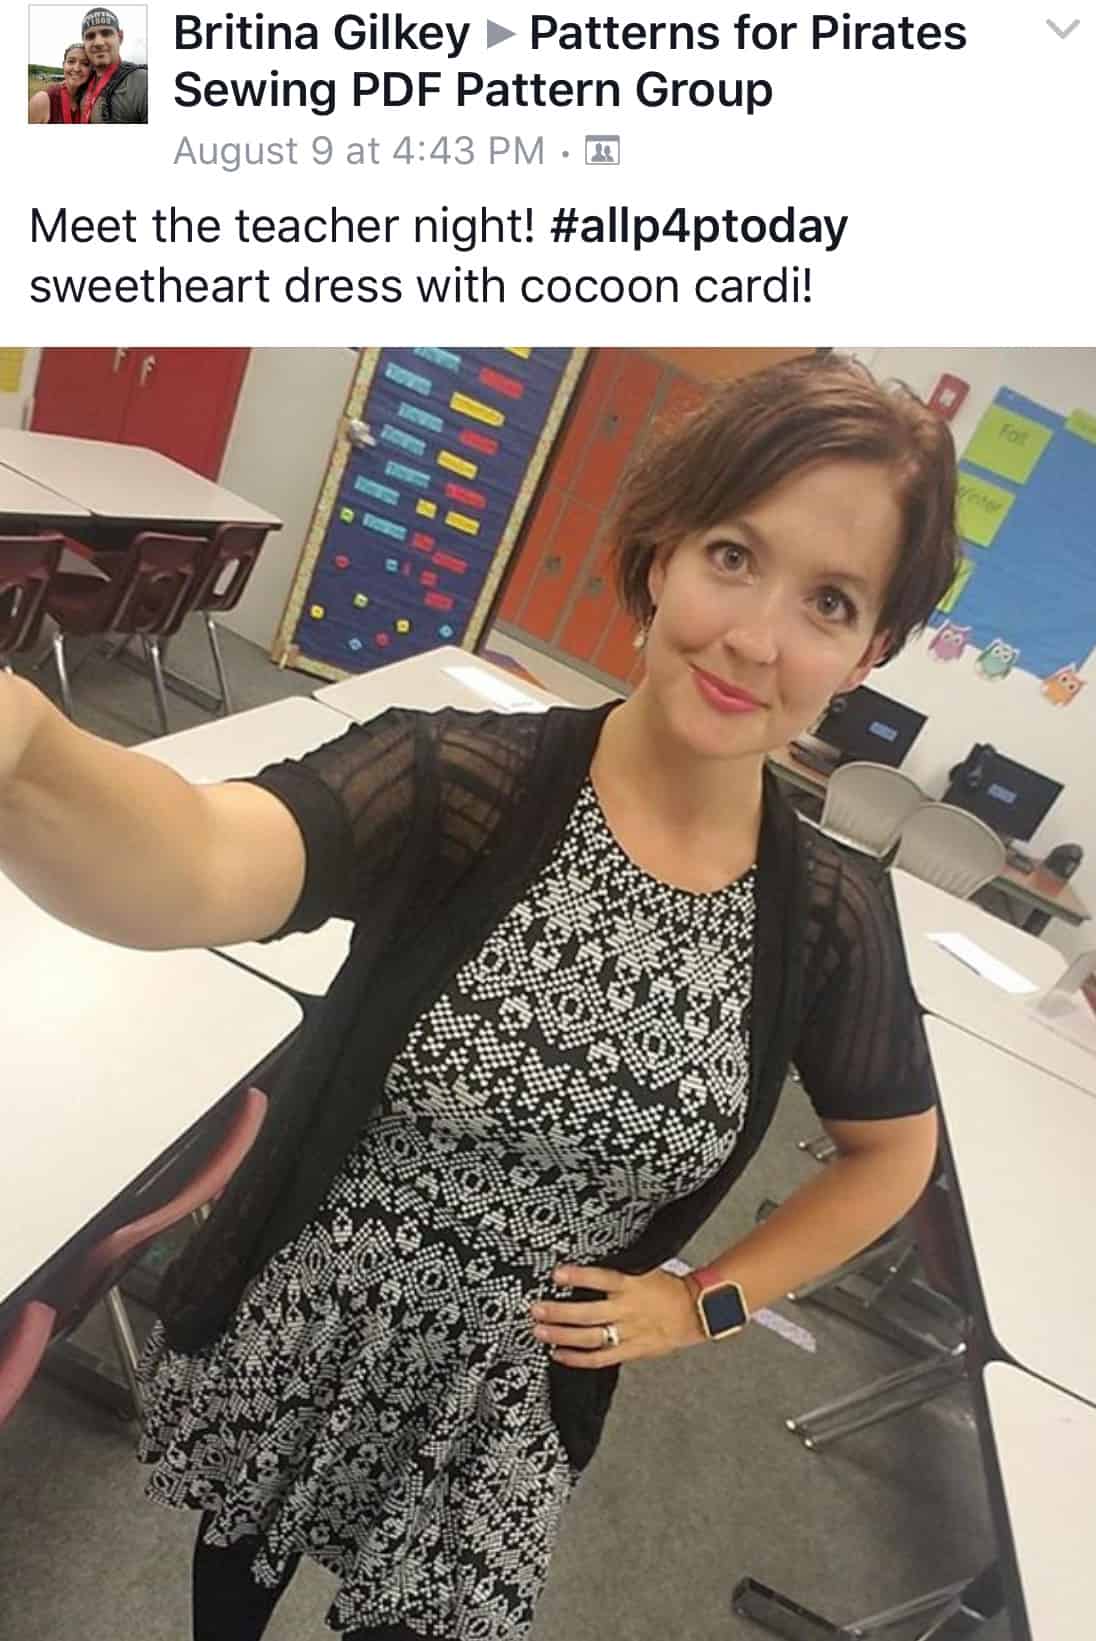
Britina really brought her A game this past month…check out how many cool #allP4Poufits she posted!

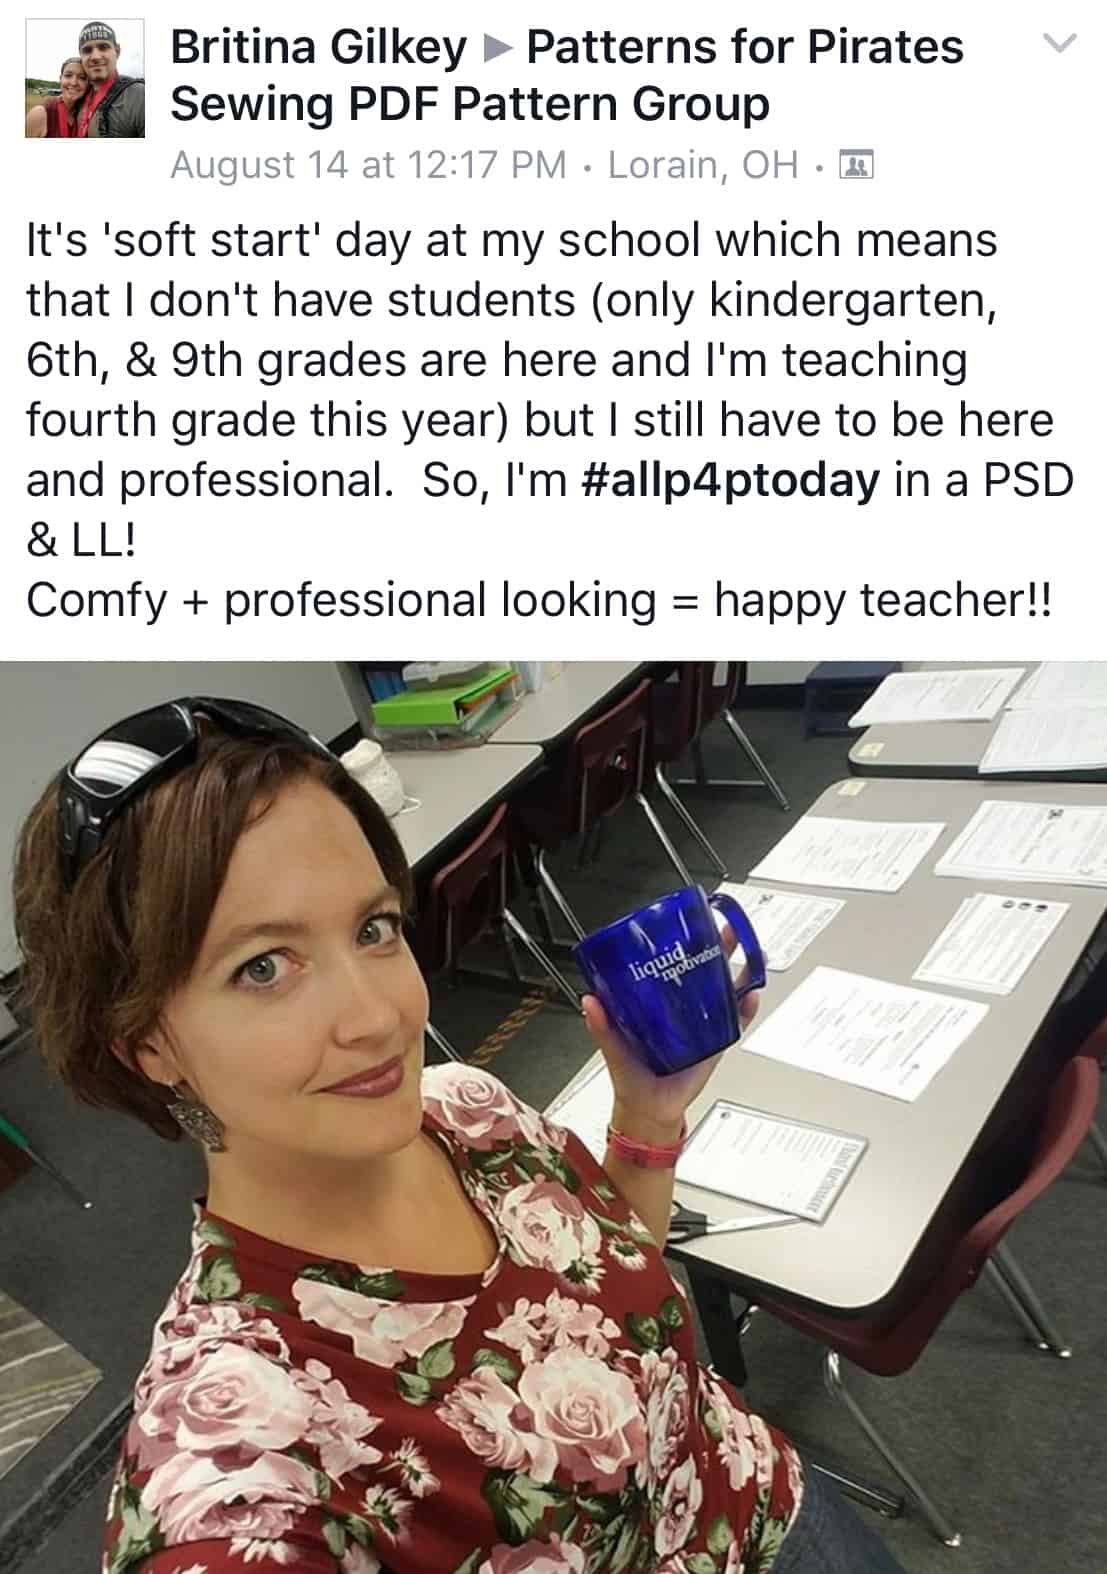
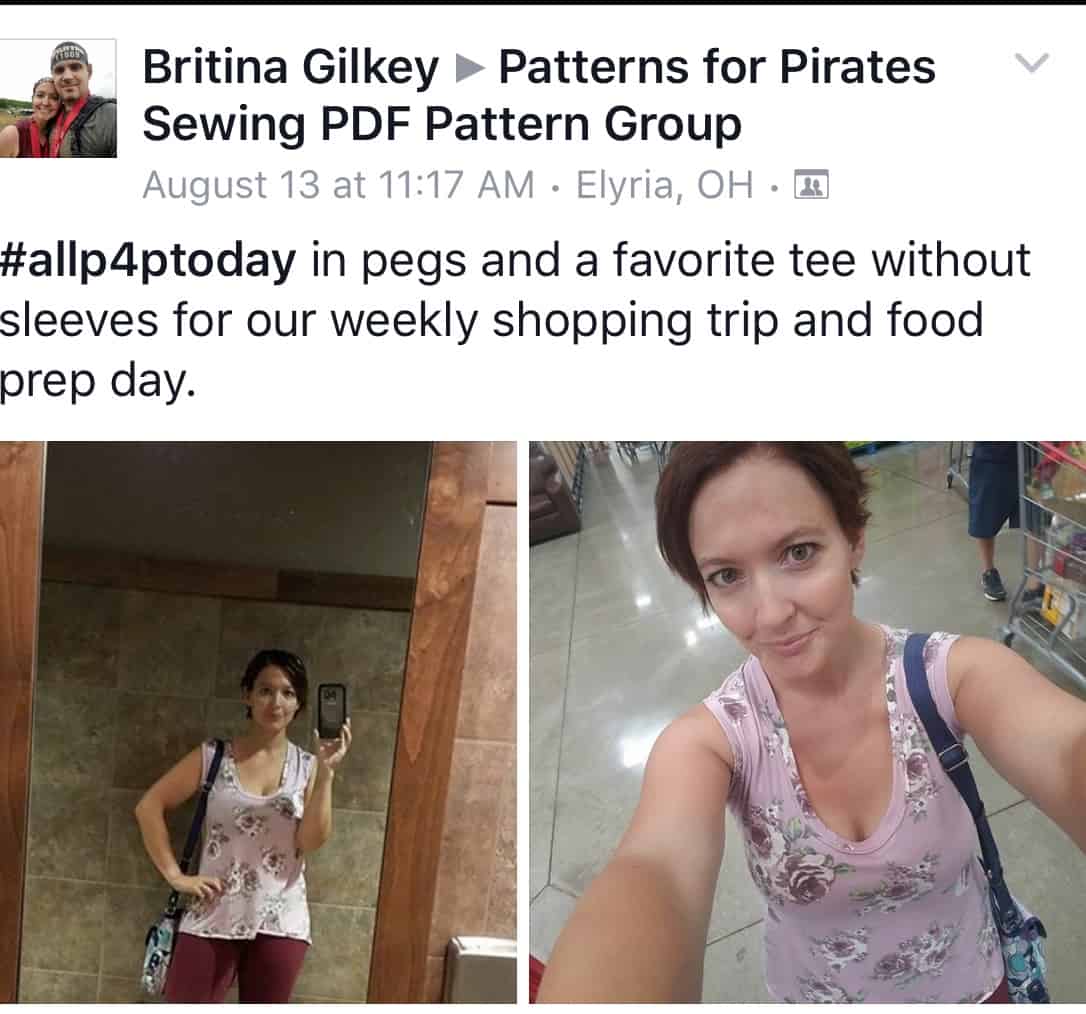
From PSD to Peg legs, she’s done it all! We were just so happy to see all the great posts.

Happy sewing, pirates and remember to hash tag your #allP4Ptoday outfits.


JULY

Another summer month has come and gone. Have you guys started sewing for fall? Personally, I am not quite ready to give up on summer just yet…so when I was scrolling to all the amazing #allP4Ptoday photos one stood out for being what summer is all about.

Our July all P4P today winner is…..

Callie Zerby

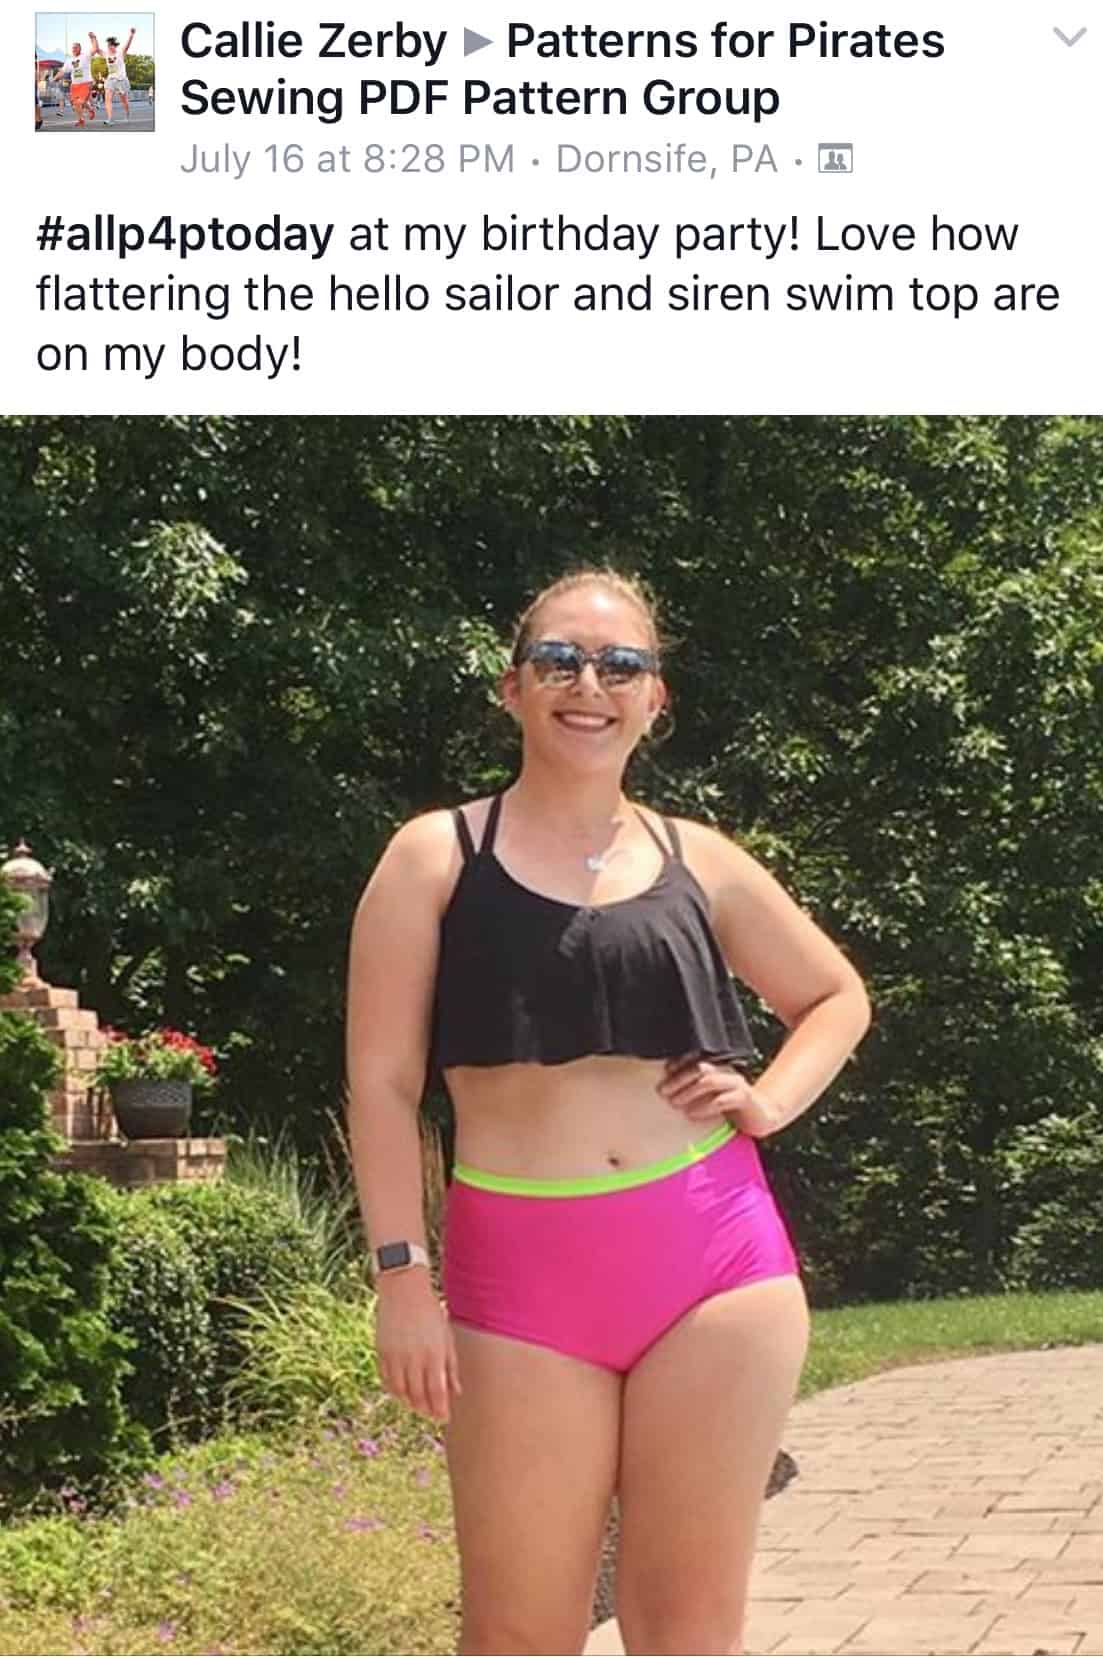
Doesn’t Callie look stunning in her Hello Sailor and Siren Swim Top ? We hope you had an amazing birthday party, Callie!

If you’re wearing all P4P, snap a pic, post it in the group and tag it #allP4Ptoday…you may be our next lucky winner!


JUNE

Summer is officially on and so are the #allP4Ptoday outfits! We loved seeing all the light and breezy creations you posted this month and the occasional layered look from our friends down under. You guys were really rocking your P4P this month and we couldn’t be more proud.

Without further ado…the June winner is:…Beth Pannecoucke !

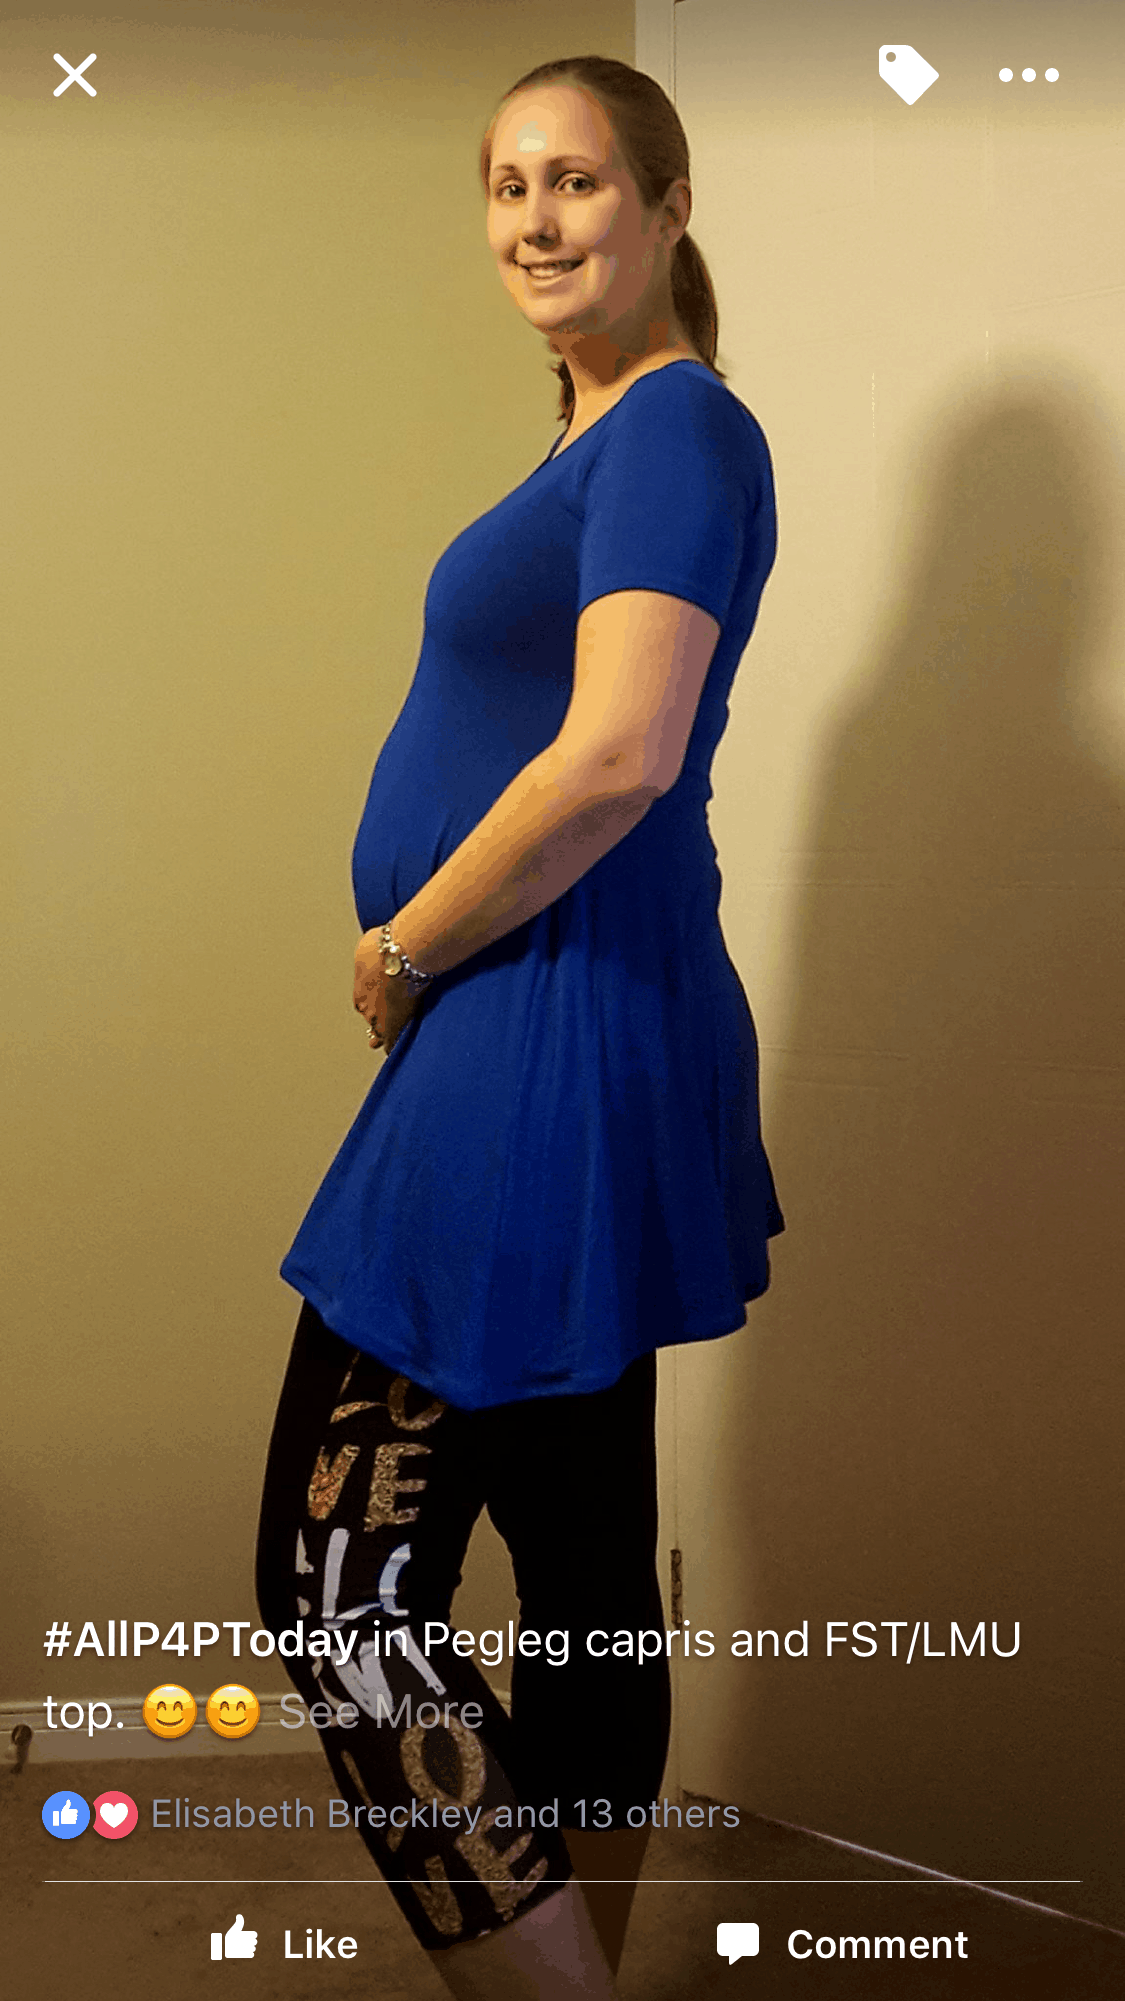
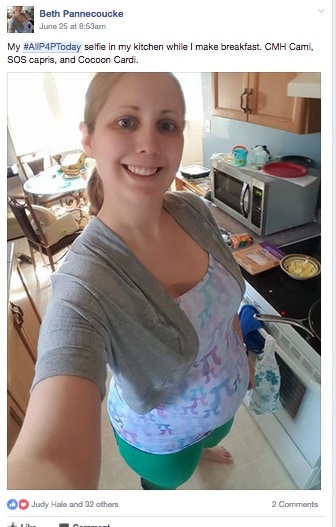
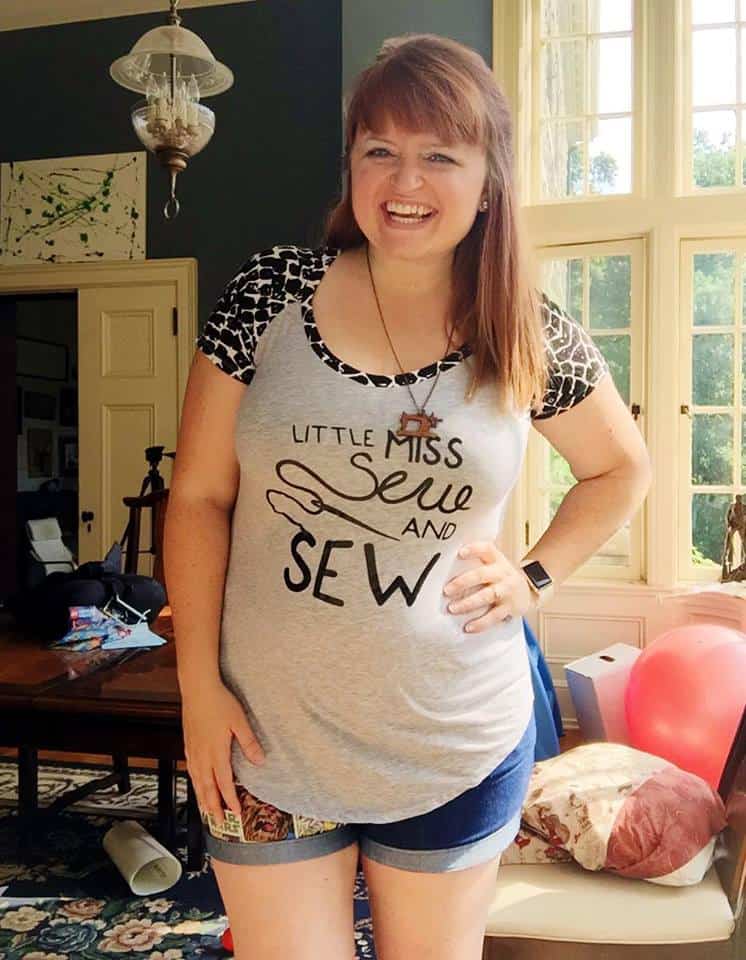
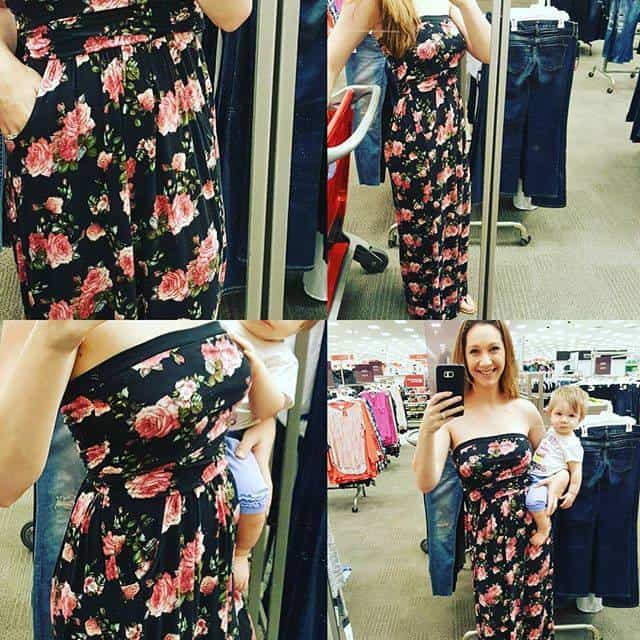
Beth has been showing off her baby bump comfy looks throughout the month so she caught the team’s eye. Just look how adorable she looks in her Favorite Tee and Palazzo short.

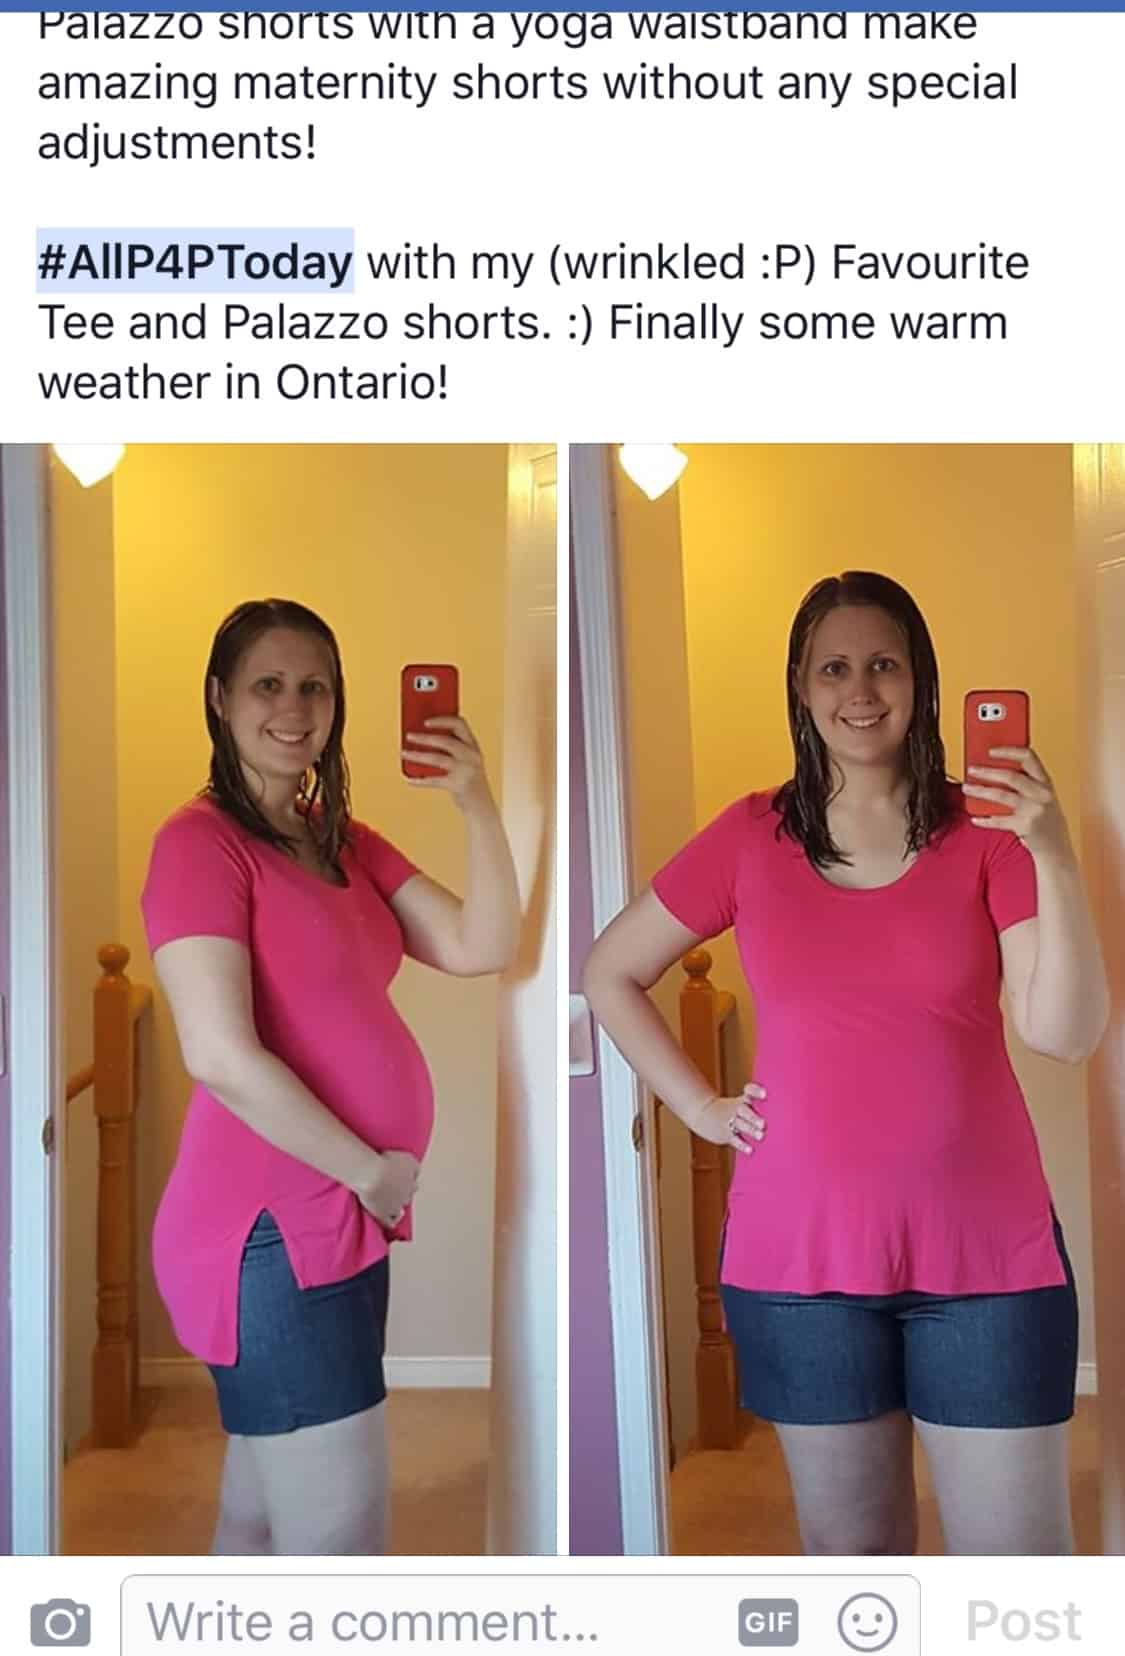
From the Cross my Heart Cami to FST and Cocoon Cardi, Beth has been rocking them all!

Don’t forget to hash tag your all P4P outfits post in August too. We look forward to seeing some of your Summer of Wovens creations too!


MAY

Can’t believe we are at the end of May already. Another month has passed and you have all outdone yourself. We’ve seen so many beautiful #allP4Ptoday outfits…you guys really like to make it hard on us to choose the monthly winner.

We’ve seen some spring outfits, some summer ones, even some special event ones. MeMadeMay was big in the Pirates land!

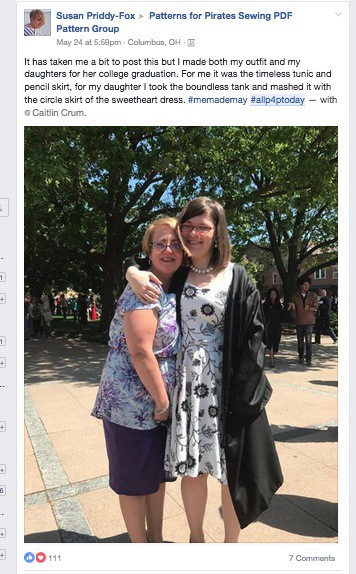
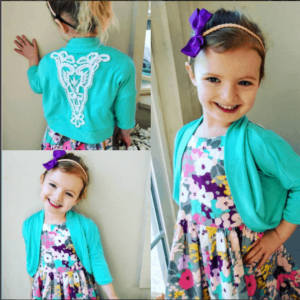
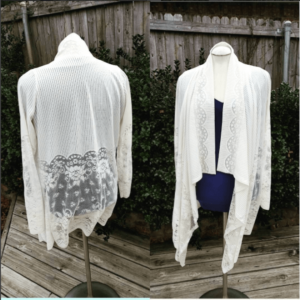
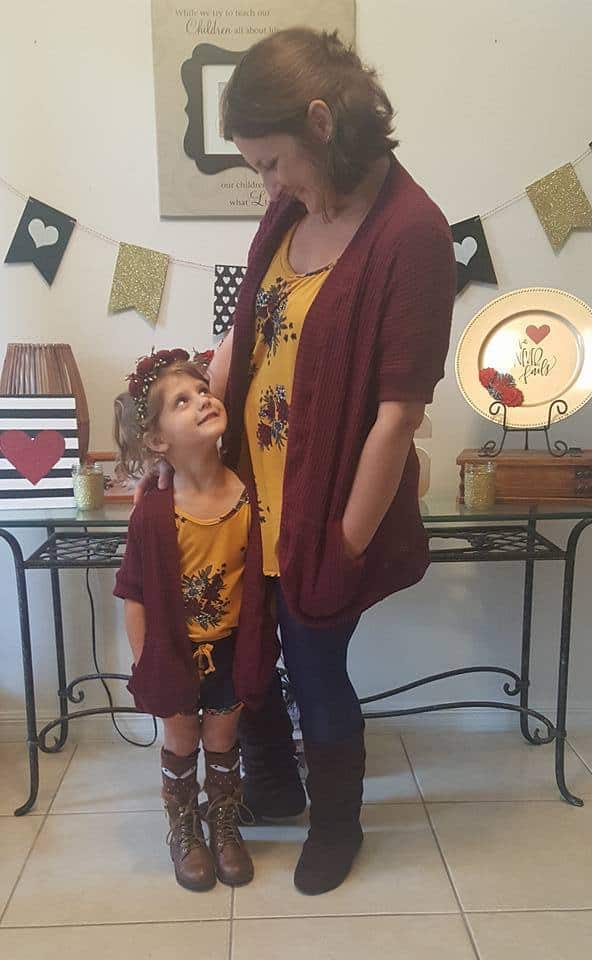
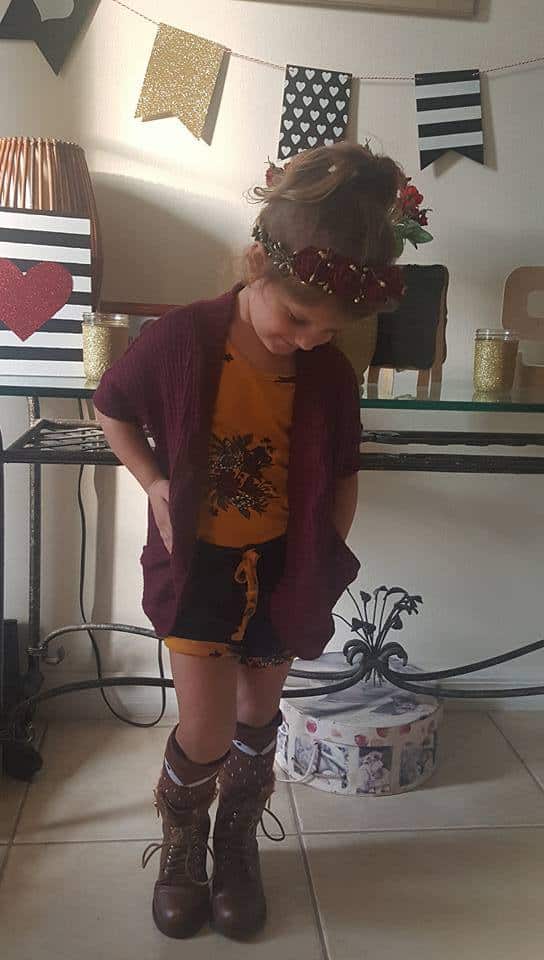
Drumroll….May’s winner is…. Susan Priddy – Fox! Susan has done a beautiful job making her and her daughter’s outfit for such a special event. Congratulations, Susan!

Don’t forget that the #allP4Ptoday contest is ongoing so keep those hashtags coming. You never know, next winner may be YOU!


APRIL

Once again you guys have not made our job easy, but that’s a good thing! We absolutely love seeing all of you rocking P4P outfits. April brought a lot of stunning Easter entries, I wish we could list them all.

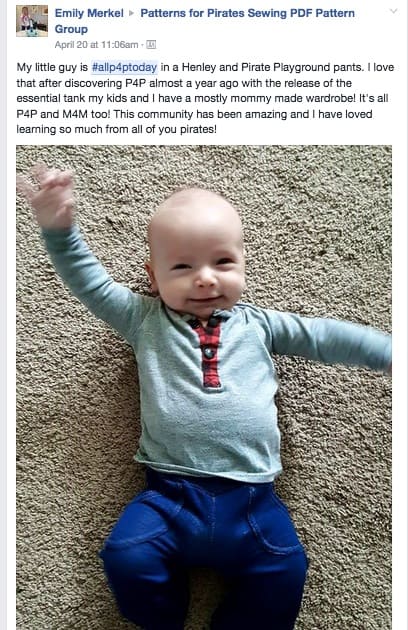
Ok, Ok…I won’t make you wait any longer. Our April winner is Emily Merkel! Just look at this cool dude and tell me you can resist his smile. I couldn’t. He is just the cutest showing off his #allP4Ptoday outfit.

Keep those hash tags coming as there will be a winner every month. Happy sewing, pirates!

MARCH

Ohh wow! You guys have not made it easy for us to choose a March winner. We loved seeing you all rocking #allP4Ptoday and everyday.

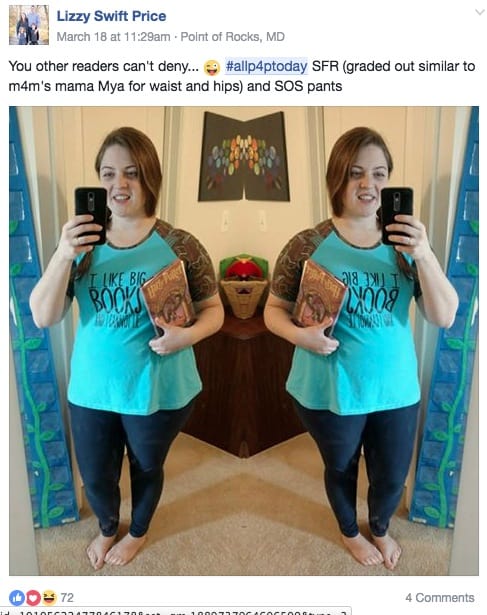
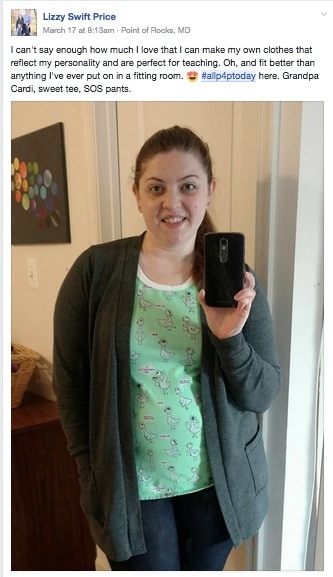
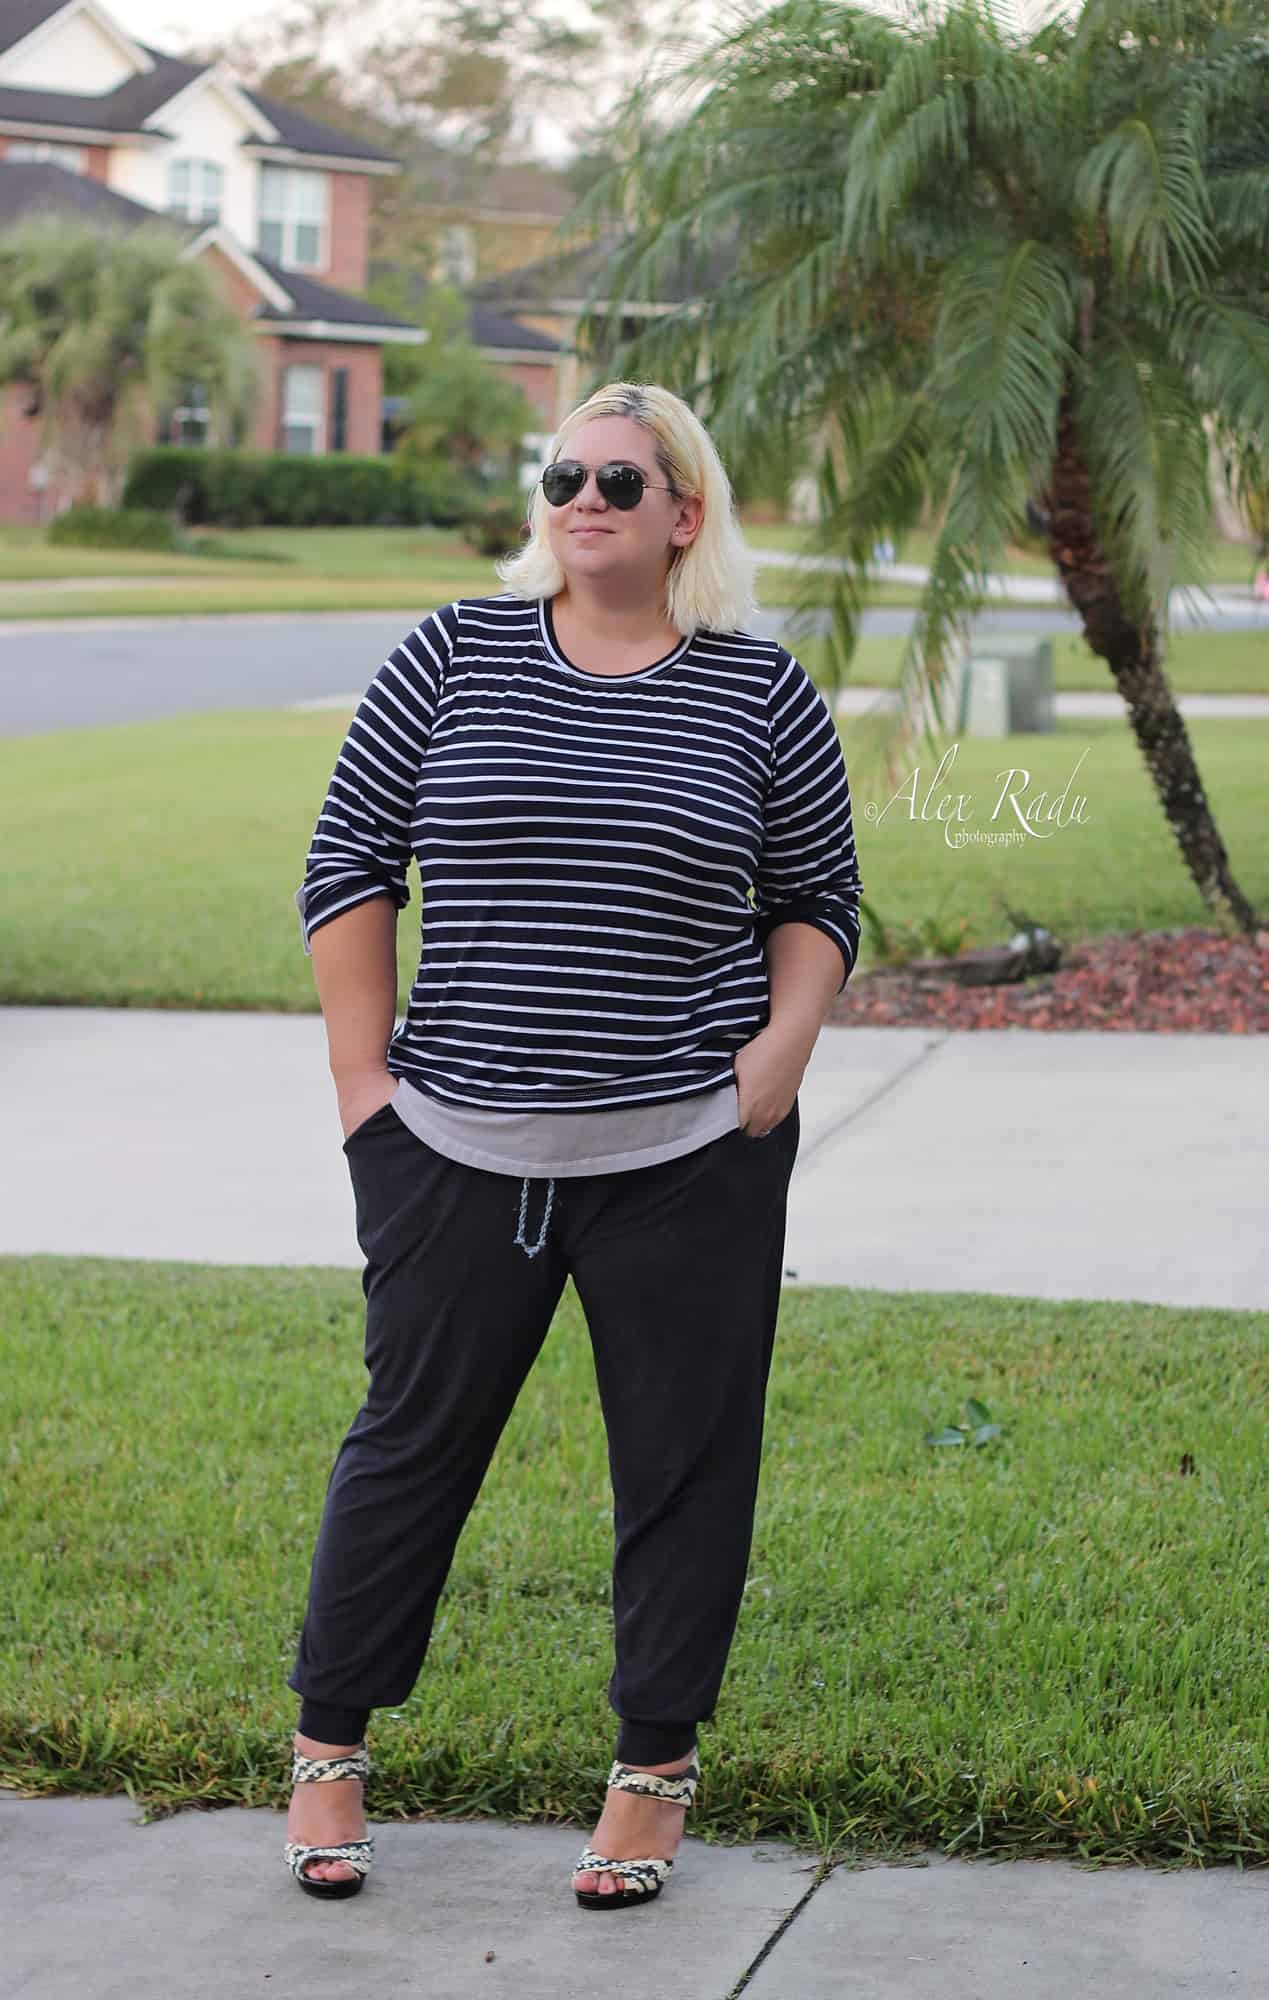
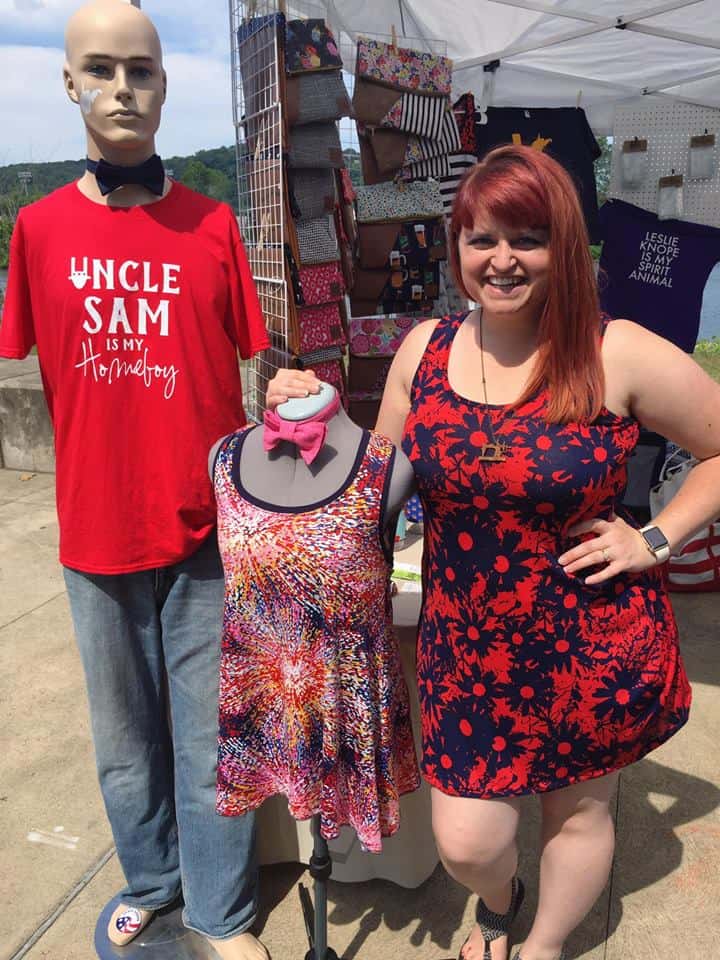
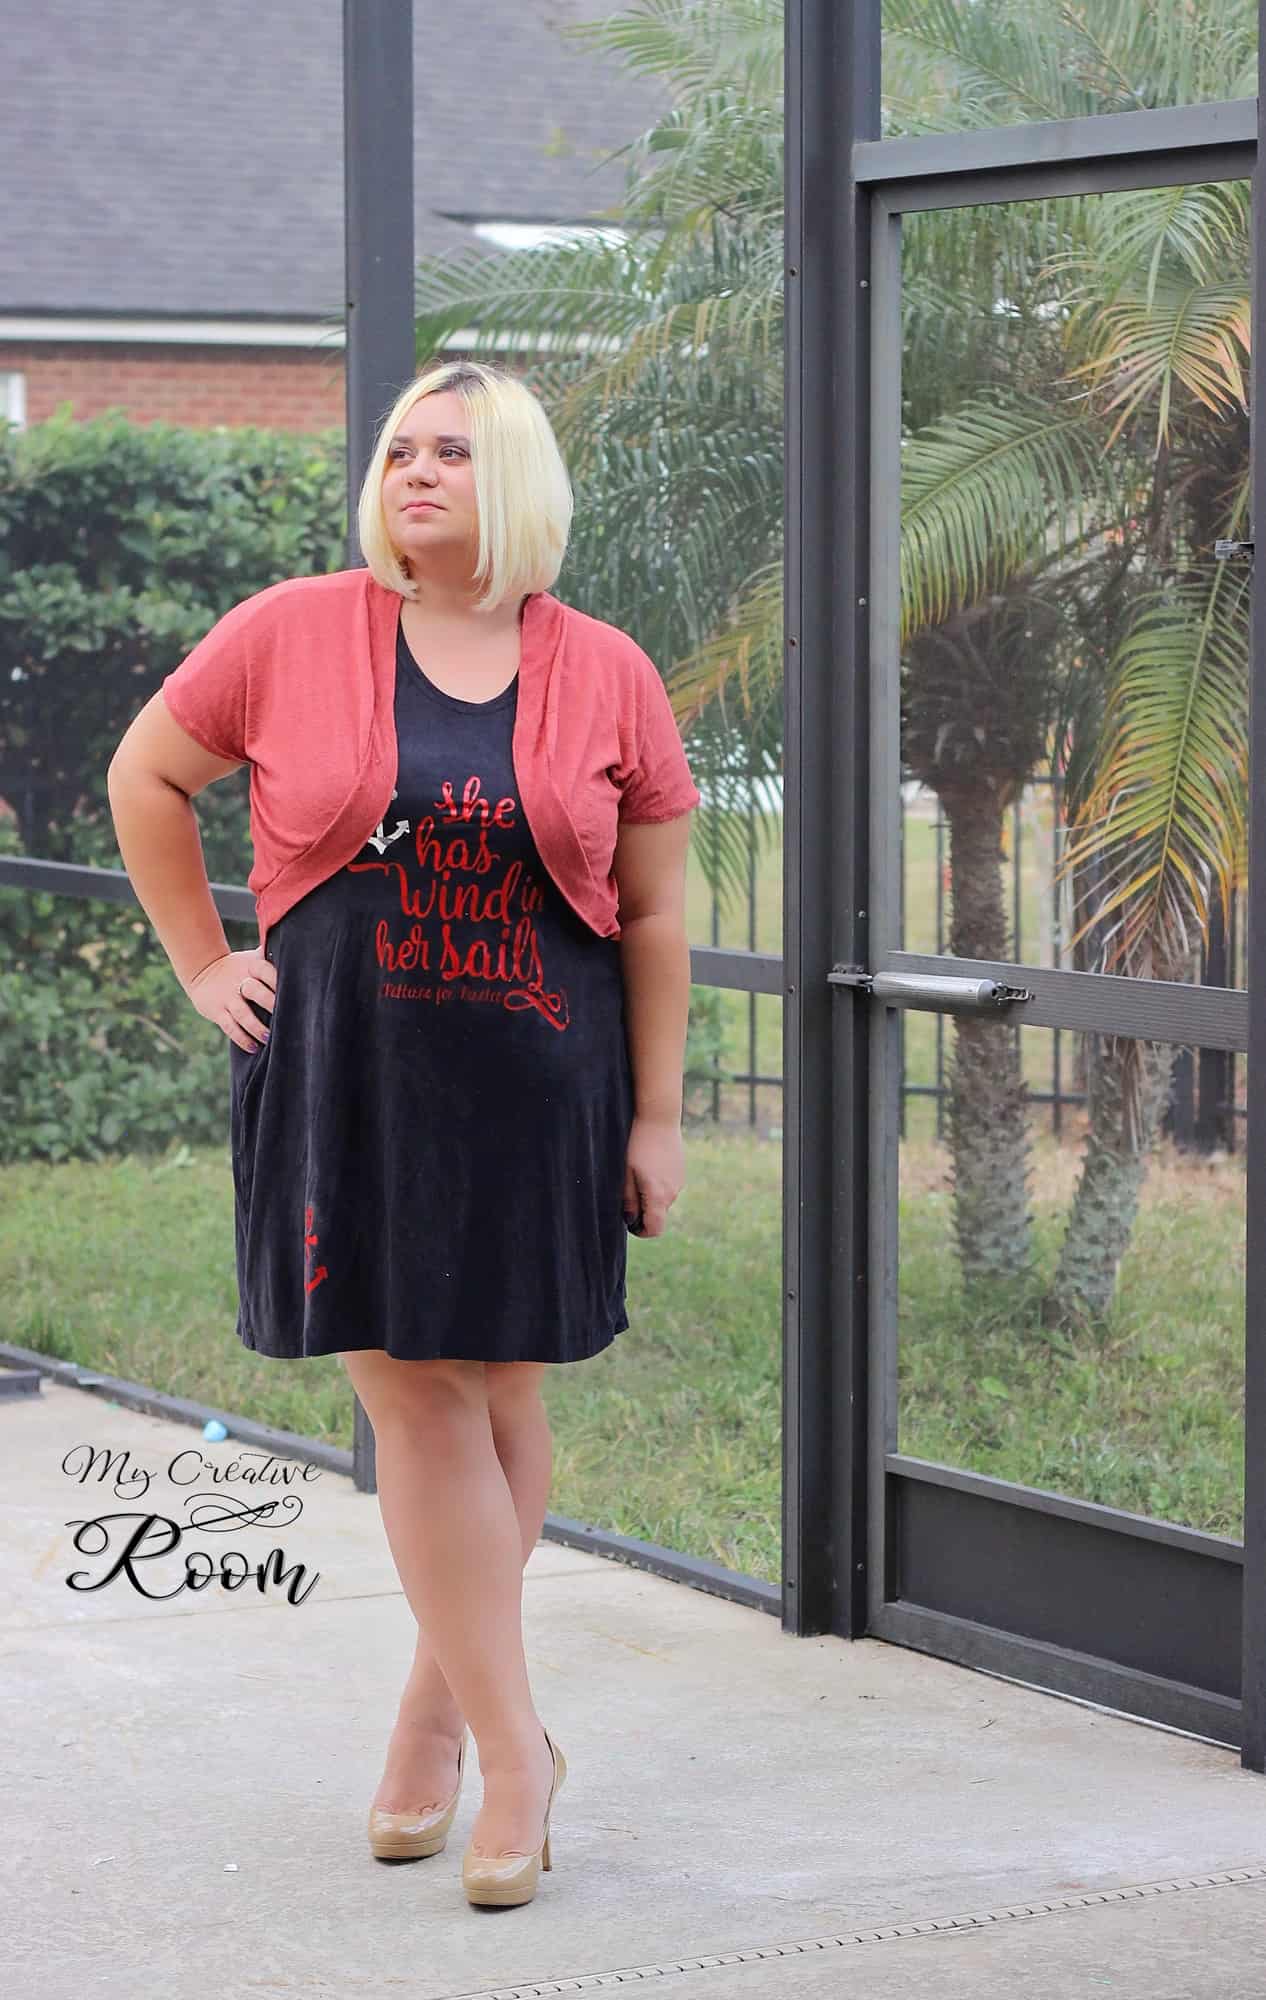
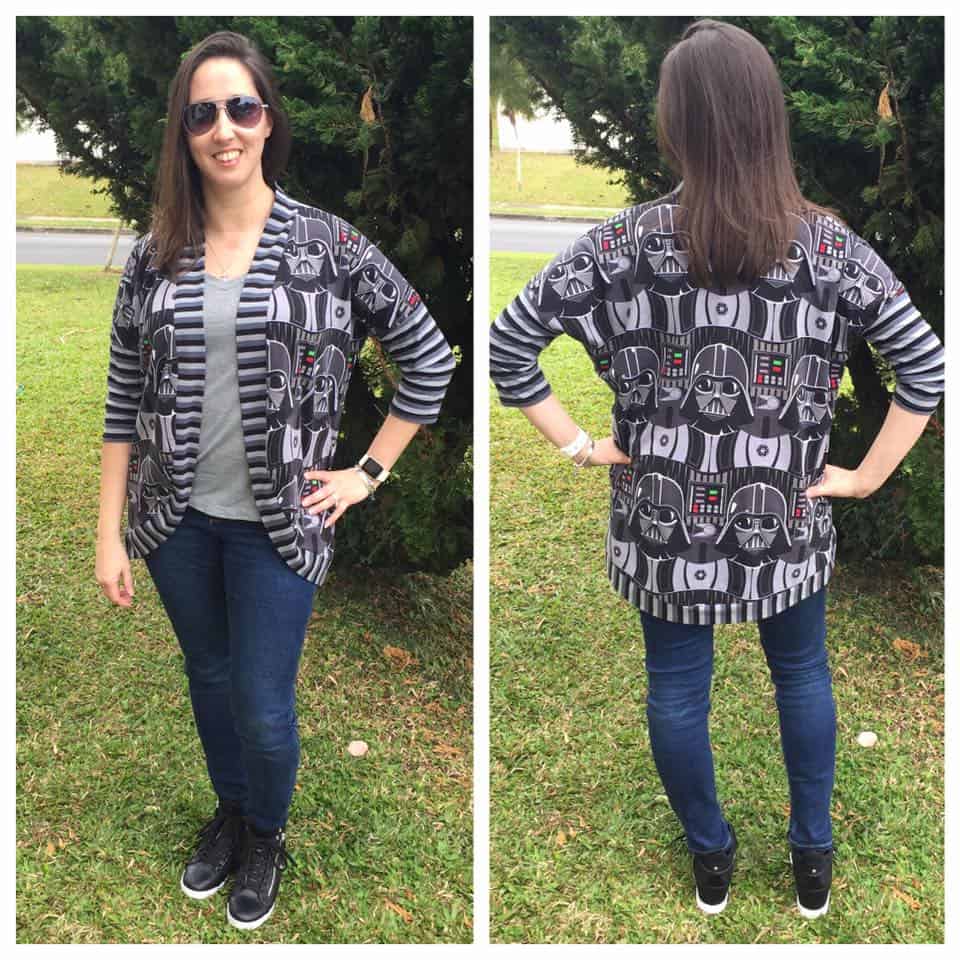
Without further ado….our March winner is….. Lizzy Price! Lizzy just shines in all her pictures and since I couldn’t choose just one of them, here are a few that stood out. I think she might just be our SOS pants queen 😉

Thank you all who posted during March and don’t forget to keep showing off those P4P outfits. Use hashtag #allP4Ptoday so we can find them and who knows? Maybe YOU will be our April winner. You can read the contest details here.

Filed Under: Contest/Giveaway, Uncategorized 1 Comment

Spring Women Capsule

March 30, 2017

As I was going though my closet a couple of weeks ago I realized that I barely have any solid color pieces. I made it a point to make more solid clothes so as soon as I learned of the P4P/M4M capsule collaboration plans I knew I have to step up my game and have a plan. I started with building just a start off, mini spring capsule. I chose the pieces based on what I feel most comfortable wearing and what will suit the hot Florida spring.

I made myself sew mostly solids…you have no idea how hard that is when you’re used to making only outfits in bold prints 🙂 . The best thing to  consider when building a mini capsule is how the pieces will mix and match together. Try to use solids that will visually complement one another.

If you do want to add print to your capsule, use prints that will include some of your colors in your solid line up. For example, I chose this dandelion Art Gallery cotton spandex for my M4M Chloe skirt because there is white and aqua in the print and the background color complements my capsule tops beautifully.

I highly recommend including a white or black top in your capsule. For my white option I chose the M4M Mama Ava because it’s relaxed fit will work with all my bottom pieces.

Layering pieces are a must when you plan out your capsule. I went with the Free Spirit Tank and a short sleeve Cocoon because I can easily transition them in summer.

The Cross My Heart Cami was a must because…just look how perfect it layers with the Pumpkin Spice Dolman and the Mama Isabel Dress.

I hope my mini capsule inspired you to try one for yourself too. I know now I am even more motivated to make a capsule for my boys. Their closet lacks solid basics pieces even more than mine…but that will change! 🙂

So there you have it…9 pieces…a lot of possibilities.

Don’t forget to check out the P4P/M4M capsule contest for a chance to win some amazing prizes!

Spring Mini Capsule Sewing & Contest

Alex

Filed Under: Blog Tours, Contest/Giveaway, Uncategorized 4 Comments

Sleeves and Their Wrinkles

March 28, 2017

I’ve scrolled past the question or remark about wrinkling around armpits a ton in sewing groups.  I’m here to talk about the #1 cause of armpit wrinkle on the sleeves.

It’s easier to understand why we have wrinkles around the armpit when we know how the sleeve was drafted.  Different sleeve types are drafted differently.


Dolman sleeves are also drafted so that there are no wrinkles when we have our arms lifted horiztonally.

Raglan sleeves are drafted so that there are little to no wrinkles when your arms are lifted.

Set in sleeves on knit tees are drafted so that there are no wrinkles when our arms are at a diagonal.

Okay, so what does that mean? When your arms are in other positions than the ones the sleeves are drafted for there will always be wrinkles/extra fabric/pulling.  Lets see a few real life picture examples!

Dolman: Shown here: The Sweet Tee Others we have in the shop are: The Pumpkin Spice Dolman and CoCoon Cardigan

Arms up (almost horizontal– I don’t stand with my arms straight out too much for pictures ;)): very little wrinkling or extra fabric and if my arm was up slightly more horizontal it would go away completely.

Arms Down: All the extra fabric is now “bunched”up under my arm when I put them down.

Arms Up:

Arms Down: in this more stable cotton spandex you can really see the difference!


Raglan: Shown here in the pink and grey: Slim Fit Raglan , Shown here in the black and leopard: Relaxed Raglan , and Shown here in youth: Jolly Roger Raglan

Arm Up: (almost horizontal).

Arms Down:

Arms Up: (again it was near impossible to find one all the way up/out but this is close!)

Arms Down:

Arms Raised: higher than horizontal. You can see the wrinkling move from under the arm to on top, it is being pulled since it is higher than the raglan sleeve is drafted at.

And another raglan set courtesy of my Little Guy 🙂

Arms Up: although it’s a close up, you can see his hands are on his hips-so not fully horizontal, but close!

Arms Down: (that look guys!  He’s a sassy one for sure…that doesn’t enjoy modeling for mama 😉 )


Set in Sleeves: Shown here: Sweetheart Dress , Shown here in youth: Henley , Shown here: fit picture from testing the upcoming youth tee 🙂 , and also in the shop we have Grandpa Cardigan , Wingman Shirt , Boundless Knit Dress , Buried Treasure Tunic , High Low Tide Top

Arms Diagonal:

One Arm Down and One Arm Extended Up: see the wrinkles are in different spots. My arm that is down creates wrinkle under the armpit area.  My arm that is extended all the way up creates them on top of the shoulder. (Also super crazy face I’m making because it was super windy 😉 ).

Arms Diagonal: the only wrinkling going on here is because I’m pulling my arm to the back (pointing my elbow backwards) unnaturally to try to show off the top.

Arms Down:

Here is a few youth examples of set in sleeves as well!

Arms Diagonal:

Arms Down:

Arms Diagonal:

Arms Down:

Arms Diagonal: (no wrinkling)

Arms Down: (wrinkling at under arm)

Arms Extended Up: (wrinkling above arm/shoulder)

If you’re realizing you have wrinkles at the bust, not sleeve we’ve also blogged about those here!

I hope this helps all you wonderful seamstresses out there creating knit garments and trying to make sure you’re getting the fit right 🙂


Filed Under: Fitting, P4P University, Uncategorized Leave a Comment

Cross My Heart Cami Hacks

March 14, 2017

So you love the X option but you also love the T option of the Cross My Heart Cami and now you’re in a pickle…which one do I make? The answer is obvious, you make both! And if you’re anything like I am, you make both style in one cami! 🙂

IMG_6658

IMG_6671

The beauty of the CMHC pattern is that you don’t even need to make any modifications to achieve this look. Simply cut two pieces of the front pattern and follow the directions for adding the T and the X details to the pieces. Finish the cami as per the tutorial and voila! You made yourself a brand new cami that can be worn both way. You can wear the X in the front and the T in the back like I did or you can wear the T in the front.

cami 2fronts

I paired this cami with a Pirate Pencil Skirt and a Sweet Tee with curved hem and an off the shoulder mod. Which styles will you be making first?

Judy made this one with two backs! Such a simple mode that can add so many more options to this pattern!

The V front and low x makes a sizzler! I mean, who doesn’t love to have that piece of clothing that you can pull out, slip on feel a little sexy every once in a while?

Are you looking for a more delicate, feminine feel?  Grab some stretch lace for an easy hack!

Here’s a simple how-to:

1. Cut the lace the same length as your binding pieces, for whichever neckline you are using.

2. After you’ve attached and folded over the binding as directed in the tutorial, pin the right side of the lace to the wrong side of the neckline/binding. In the picture below, the fabric is right side up.


3. Repeat for the back as well, if you’d like.  Then, sew it on as you top-stitch the binding, per the pattern tutorial.  Here’s how it should look all said and done; wrong side up shown on the bottom of the picture, right side up shown at the top.


4. Be sure to catch the edge of the lace on the side of the shoulder binding as you attach it.


5. Finish the shirt as the pattern tutorial directs.  That’s it – easy peasy!

~ Elisabeth


Not sure what to do with all those pretty lace appliques? Attach one to the front or back of the cami.  I happened to up-cycle one from an old shirt that didn’t fit anymore and have some knit on hand that matched perfectly!  I used to V back because of the shape of the applique.  I left the front neckline raw and stitched the lace just overlapping the top edge using a zigzag stitch.  (Knit does not unravel so no need to finish those edges).  Attach to the right side of the cami prior to doing the shoulder binding if your applique extends to the armholes.  For the main body of the applique, I chose to tack down in a few areas (center of the flowers) as the applique itself was pretty open throughout.  Easy Peasy!


Filed Under: Frequently Asked Questions, Pattern Release, Uncategorized 1 Comment

5 ways to finish a serger hem

March 9, 2017


IMG_6554

“How do you finish your serger stitch since you can’t back stitch?”; “What do I do with the long serger tail ?” ….just a few of the  serger questions we’ve seen in our group. So, today in the blog I will show you 5 easy ways to finish your serger seam. These techniques will definitely come in handy when your seams will not be enclosed in a hem or they won’t be serged over in a subsequent pattern step.

1. Let’s start with my most used one, and the easiest method since it does not involve any other tools. Serge your fabric together and chain off a 5- 6 inches tail. Simply tie a knot as close as possible to the edge and done! It will not unravel and it took you 20 seconds to do. 🙂

IMG_6537

IMG_6538

TIP: For a cleaner look you can tack down the seam with your sewing machine. Simply stitch down the serged edge half an inch  towards the back.

2. Another simple way to finish your serged seam is to snip the tail close to the edge and then add a little dab of Fray Block or Fray Check. This will prevent your seam from coming undone. This method is my least favorite since it takes a while for the liquid fray block to dry and they are not always 100% secure.

IMG_6539

3. A third way to insure that you have a nice smooth finish to your serged seam is to chain off 4-5 inches then using a needle gently unstitch the chain so you have 4 threads. Take the two needle threads and the two looper threads and tie a double knot. Carefully snip the threads as close to the knot as possible.

IMG_6540

IMG_6541

4. One of the most popular ways to finish a serger seam is the “weaving through” method. In order to do that you will be chaining off your stitches about 5 inches, then you will be using a knitting or crochet suture needle to weave the chain in the looper stitches. Grab the needle and thread the chain through the needle eye. Slowly weave the chain through the looper stitches about an inch or so. Carefully trim the rest of the chain stitch.

IMG_6542 IMG_6543 IMG_6544 IMG_6545

5. The last finishing method is the most “complex” one and it will need a bit of practice. It is not difficult, you just need to pay extra attention. Serge your seam and when you get to the end of the edge, lift your presser foot, gently but firmly pull the fabric just enough that you can flip it on the other side. Disengage the serger knife and serge in the opposite direction for an inch or two. Stop, lift your presser foot and carefully pull the fabric on the side away from the foot. Chain off a couple of inches and then cut the chain as close to the fabric as possible. In doing this “faux backstitching” you will end up with a beautiful finish that is also very secure.

IMG_6547 IMG_6548 IMG_6549

There you have it! Hope you found these 5 easy ways to finish off your seam helpful and that you’ll refer back to them when you’ll be sewing the new cami patterns that Judy sneaked on the P4P Instagram page. 😉

Alex


Filed Under: Frequently Asked Questions, P4P University, Sewing Techniques, Uncategorized 12 Comments

all p4p today

March 1, 2017

p4pcontest

One of our biggest joys is seeing you wear P4P outfits and feeling beautiful! From Slim Fit Raglans to SOS pants, from Timeless Tunics to Free Spirit tanks, we love them all!

Are you wearing head to to P4P today? Will you be rocking a full Patterns for Pirates outfit tomorrow? Post a picture in the Facebook group or on Instagram of your outfit and hash tag it #allP4Ptoday. We will pick our favorite each month. In order to qualify for the contest, the photo must be taken when you’re wearing the outfit, whether it’s at home or out and about. Selfies in the mirror in your sewing room will not count. We want to see you wearing what you’re sewing and love it!😊 The lucky winner will be receiving a P4P pattern of their choice! Sounds fun?

Just in case you need some inspiration here is some of our “all P4P” looks that we rocked this past year.

judypsd

Pumpkin Spice Dolman and SOS Pants

katy 1

Sweetheart peplum and pirate Pencil skirt

Nicole3

Boundless maxi dress and Men’s Henley

Nicole1

Essential Tank, Cocoon Cardigan and SOS Pants

Timeless Tunic and pirate Pencil Skirt

Timeless Tunic and pirate Pencil Skirt

Slim Fit Raglan

Slim Fit Raglan and SOS pants (adjusted for shorts)

Sunshine dress

Sunshine dress

Mama Bear Joggers and Women's Henley with faux layers

Mama Bear Joggers and Women’s Henley with faux layers

Essential Tank - dress length

Essential Tank – dress length

judy3

Free Spirit Tank dress with the LMU sleeves hack and the free scarf (available on the blog)

Nicole2

Relaxed Raglan and Peg legs

Sweet Tee dress and Cocoon cardi

Sweet Tee dress and Cocoon Cardigan


So get to sewing and show off your outfits, pirates! Don’t forget to hashtag #allP4Ptoday !

Alex

Filed Under: Contest/Giveaway, Uncategorized 8 Comments

P4P Cardi Week :: Winners!

January 30, 2017

Cardi Week was a blast, don’t you think?  Thank you so much to everyone who sewed along with us, and especially to those of you who shared all over the interwebs photos of your makes.  I looked through all of the #P4PCardiWeek tags and here are a few of my favorites.

Cardigan-Making Machine:
I throughly enjoyed whenever a new photo of Dolores popped up in my feed last week!  Most of her fabrics were super thrifty finds too!

16179170_1839977462886143_4062359506310936665_o 16427207_1840506522833237_2818932786858922766_n 16387163_1840543249496231_5087935388940123884_n

Favorite Nerdy Cardi:
Tamara knew the way directly to my heart was through Star Wars culture.  Isn’t this Cocoon Cardigan in Darth Vader fabric just the best in the galaxy?

16265971_10210083544796999_5724462466408082869_n

Cutest Cardi Family:
Callie and her adorable girls stole the show with these mostly handmade outfits for her and her girls.  Did you play iSpy with the two cardigans that made it into the picture?  The Carefree Cardigan with the lace details gives me all sorts of heart eyes.

16402851_10154934853029299_6640582684776568461_oScreen Shot 2017-01-30 at 9.12.27 AMScreen Shot 2017-01-30 at 9.12.41 AM

Favorite Original + Carbon Copy:
I’m sorry, but a Mommy & Me matching outfit is just too much for me to handle.  Aren’t Amanda and her little so sweet together?

16406474_10209785954218130_8006297537991369743_n 16298680_10209785954058126_3138500583483559071_n

We had an amazing week of cardi celebrations!  Did you have as much fun as I did?

Big thanks to our fabulous blogging team for showing us how easy it is to take our patterns one step further!

cardi logoSaturday, January 21: #P4PCardiWeek Announcement
Sunday, January 22: Cocoon / Butterfly Ruffle   + Lace Hems
Monday, January 23: Ribbon Tie Closure Hack
Tuesday, January 24: Carefree Cardigan Fringe Hack
Wednesday, January 25: Duster-Length Adjustment
Thursday, January 26: Kimono Ruffle Sleeves + Hem
Friday, January 27: Varsity Sweater Style Hack
Saturday, January 28: Carefree Cardigan Flannel + Vest Hack
Monday, January 30: #P4PCardiWeek Winner Announcement

Filed Under: Uncategorized 1 Comment

P4P Cardi Week :: Carefree Flannel + Vest Hack

January 28, 2017

cardi week template2

The Carefree Cardigan is such a great drape cardigan and as it has a nice loose fit you can easily use it to make a vest and because of the shape of the cardigan it will work in woven. Yep I said it you can make this vest in woven!

This is a super quick hack, start by cutting your 2 front pieces and back out of your flannel and you are going to want to choose the longer length of the two length, you aren’t going to need any of the band pieces for this. Depending on your height you may want to remove or add length. I’m a shorty so I remove a couple of inchs from the bottom and also from the front side as the drape is quite long on me.

Sew your shoulder, skip the sleeves and sew the side seams as per the directions.  Now instead of adding bands we are going to hem the armholes and all the way around your neck, down the front and across the bottom.  I serged all the way around first to finish the edges. The serged edge gives me a perfect 1/4 inch to flip and iron and then I flipped it one more time so my serged edge was hidden and hemmed all the way around as close to the fold as you can.  Another tip is to trim your corners, it just makes them a bit less bulky to hem.  Do the exact same process to your armcycles and voila you have perfect draped flannel vest! If you don’t have a serger just use a zig zag stitch to finish the edges.  Another cute option would be to fringe the front of your cardigan, you would still need to hem around the neck and down the sides but you can easily just pull the threads along the front and or the bottom till you have the amount of fringe that you would like.

IMG_6525[1]IMG_6526[1]

IMG_6527[1]IMG_6528[1]IMG_6549[1]

IMG_6542[1]

I live in Canada so I really like the extra layer that sleeves add so for this second version I cut the back and sleeves out of a knit and then cut the front pieces in a flannel.  I used the exact same construction as above with no bands and just hemmed all the way around and I have another cute cardigan but got to use my warm flannel!

20151220_132817

Now go sew up all that gorgeous plaid flannel that you have been hoarding!  – Angela Newman  

Take a look at our jam-packed schedule of cardigan love!

Saturday, January 21: #P4PCardiWeek Announcement

Sunday, January 22: Cocoon Lace Hems & Butterfly Ruffle

Monday, January 23: Ribbon Tie Closure Hack

Tuesday, January 24: Carefree Cardigan Fringe Hack

Wednesday, January 25: Duster-Length Adjustment

Thursday, January 26: Kimono Ruffle Sleeves + Hem

Friday, January 27: Varsity Sweater Style Hack

Saturday, January 28: Carefree Cardigan Flannel + Vest Hack

Monday, January 30: #P4PCardiWeek Winner Announcement

You can follow along on the blog here, or in our Facebook group.  Search #P4PCardiWeek to be able to find our posts all over social media.  And please feel free to sew-along with us on one or all of the days.  The more the merrier!

But wait, there’s more!  We wanted to create a friendly pirate-y competition with our P4P Cardi Week!

Between tomorrow and Saturday, January 28, sew up a Patterns for Pirates cardigan using one of our hacks, or by keeping the pattern as-is.  Share your photo with us on Instagram or in our Facebook group and use the tag#P4PCardiWeek We will pick our favorite and the winner will win a free P4P pattern of choice AND be featured on this blog.  Fun right?

To make it even better we have put all the cardigan patterns in the shop on sale all week (no code needed)!

Now get out there and sew some cardigans, matey!

Filed Under: Contest/Giveaway, Pattern Hacks, Uncategorized 1 Comment

P4P Cardi Week:: Varsity Sweater Hack

January 27, 2017

p4pcardiweek varsity hack main

Let’s talk game day attire…  I know we have some sports fans in the Facebook group and if your house is anything like mine, it revolves around football.  Even if it doesn’t, the Varsity style sweater is a nod to a throwback classic look.  Some months back Judy showed us how to add a stripe accent to a raglan sleeve during our #P4PRaglanWeek (read more about it HERE) .  Using the same idea, I hacked the Cpt. Mack’s Cardigan to replicate a Varsity sweater.

Print, assemble and cut your pieces as instructed in the pattern.

After looking at a few Varsity style sweaters I decided to go with 2 stripes on the left sleeve only.  You can choose a number of different fabrics to use for the stripes.  I ended up using a flocked heat transfer vinyl but you could also use knit scraps.  Placement of your stripes is your preference depending on size and quantity.  My stripes are 3/4″ wide and are placed just below the short sleeve cut line and above the 3/4 sleeve cut line.  (Note: the left sleeve is with the back of the sleeve to your right hand side when looking at the fabric with right side up. The elbow patches are show on the pattern piece.)

varsity3 varsity4

I also added an applique to the left front body.  I used the flocked heat transfer vinyl again and pressed it directly to white knit and then used Heat & Bond Hem Tape to secure in place. Top-stitching is optional but decided to keep it as is.  If you choose to add an applique, embroidery or any additional embellishments to the main body, do it prior to construction.  It is  much easier to add when your pieces are not sewn together yet.

varsity5

Another design element that I noticed when searching for inspiration was the contrasting pocket bands.   Using Patty’s idea during #P4PRaglanWeek (details HERE) I added the feature to the patch pockets.

varsity6

That’s it!  Easy, right?!?! Use your favorite team colors or maybe even your little one’s school colors for the perfect school pride cardi.  This of course can be used to hack the women’s Grandpa Cardi as well.

varsity2

IMG_8807

We’re nearing the end of the #P4PCardiWeek but be sure to take a look at our jam-packed schedule of cardigan love!

Saturday, January 21: #P4PCardiWeek Announcement

Sunday, January 22: Cocoon Lace Hems and Butterfly Ruffle

Monday, January 23: Ribbon Tie Closure Hack

Tuesday, January 24: Carefree Cardigan Fringe Hack

Wednesday, January 25: Duster-Length Adjustment

Thursday, January 26: Kimono Ruffle Sleeves + Hem

Friday, January 27: Varsity Sweater Style Hack

Saturday, January 28: Carefree Cardigan Flannel + Vest Hack

Monday, January 30: #P4PCardiWeek Winner Announcement

You can follow along on the blog here, or in our Facebook group.  Search #P4PCardiWeek to be able to find our posts all over social media.  And please feel free to sew-along with us on one or all of the days.  The more the merrier!

But wait, there’s more!  We wanted to create a friendly pirate-y competition with our P4P Cardi Week!

Between tomorrow and Saturday, January 28, sew up a Patterns for Pirates cardigan using one of our hacks, or by keeping the pattern as-is.  Share your photo with us on Instagram or in our Facebook group and use the tag#P4PCardiWeek We will pick our favorite and the winner will win a free P4P pattern of choice AND be featured on this blog.  Fun right?

To make it even better we have put all the cardigan patterns in the shop on sale all week (no code needed)!

Now get out there and sew some cardigans, matey!

Filed Under: Contest/Giveaway, Pattern Hacks, Uncategorized 1 Comment

P4P Cardi Week : Grandpa Cardi in Duster Length

January 25, 2017

After spending way too much time browsing for sewing inspiration online, one of the biggest trends I’ve notice is the amount of long cardigans, also known as the duster length. While the original duster length was worn by the adventurous horsemen of the Wild West, I’ve decided to put a Pirate’s twist on it by using the Grandpa Cardigan. And what’s not to love about the Grandpa Cardi? It’s cozy, the perfect layering accessory, and always stylish! With a few quick and easy mods to the pattern, you too will be ready to join in on one of the hottest trends!

Determining Length 
First you will need to determine how long you want your duster. For me, I chose to have it hit right around my mid-calf. I measured from my underarm to mid-calf, which was a distance of 40″ (I’m 5’7″ for reference).

Adding Length to Back and Bodice Pieces
To add my length, I traced the pattern as is, using the tunic cut length. I then placed my tape measure from the bottom of the armcyce to the edge of the tunic cut line on the front bodice piece. For an XS, this measurement was 23″, meaning that I needed to add an additional 17″ in length (you will want to measure this distance if you are using a different size). I then drew a line 17″ down from the tunic cut line, keeping these two lines parallel. Once the line was drawn, I connected the new duster length cut line  perpendicular to the original pattern. Repeat this step on the back piece.

duster cardi

Adding Length to Collar
The Grandpa Cardi is very easy adjust the length of the collar. The band is only stretched around the neckline, while there is a 1:1 ratio below the slight V. Since I added 17″ in length, I added this same amount at the end of each collar piece from the tunic cut line. This will not alter the part of the band that needs to be stretched, only add to the section that is 1:1.

 IMG_6577_edited-1

Finishing Duster Cardi
Once you have lengthened all pieces (and cut out your sleeves), assemble the pattern as per the tutorial.

And if you needed a little more inspiration, the Duster happens to pair amazingly well with the Boyfriend V-neck! You should probably just grab that one as well if you don’t already have it! Make sure to check out the bottom of the page to read about what the other ladies have in store for you during #P4PCardiWeek. ~ Erinn

1watermark 2watermark 3watermark

Take a look at our jam-packed schedule of cardigan love!

Saturday, January 21: #P4PCardiWeek Announcement

Sunday, January 22: Cocoon / Butterfly Ruffle + Lace Hems

Monday, January 23: Ribbon Tie Closure Hack

Tuesday, January 24: Carefree Cardigan Fringe Hack

Wednesday, January 25: Duster-Length Adjustment

Thursday, January 26: Kimono Ruffle Sleeves + Hem

Friday, January 27: Varsity Sweater Style Hack

Saturday, January 28: Carefree Cardigan Flannel + Vest Hack

Monday, January 30: #P4PCardiWeek Winner Announcement

You can follow along on the blog here, or in our Facebook group.  Search #P4PCardiWeek to be able to find our posts all over social media.  And please feel free to sew-along with us on one or all of the days.  The more the merrier!

But wait, there’s more!  We wanted to create a friendly pirate-y competition with our P4P Cardi Week!

Between tomorrow and Saturday, January 28, sew up a Patterns for Pirates cardigan using one of our hacks, or by keeping the pattern as-is.  Share your photo with us on Instagram or in our Facebook group and use the tag#P4PCardiWeek We will pick our favorite and the winner will win a free P4P pattern of choice AND be featured on this blog.  Fun right?

To make it even better we have put all the cardigan patterns in the shop on sale all week (no code needed)!

Now get out there and sew some cardigans, matey!

Filed Under: Contest/Giveaway, Pattern Hacks, Uncategorized 2 Comments

  • « Previous Page
  • 1
  • …
  • 23
  • 24
  • 25
  • 26
  • 27
  • …
  • 29
  • Next Page »

Featured Patterns

  • Mae Top - Bundle Mae Top - Bundle $20.00
  • Mae Bottom - Bundle Mae Bottom - Bundle $20.00
  • Loosey Goosey - Bundle Loosey Goosey - Bundle $20.00
  • Bacall Bodysuit Bacall Bodysuit $12.00
  • Privacy Policy
  • Refund Policy
  • Affliliate Program
  • Contact Us
  • About

Copyright © 2025 Patterns for Pirates

Copyright © 2025 · Genesis Framework · WordPress · Log in