Patterns for Pirates

P4P stylish, modern, wearable patterns

  • Home
  • Blog
    • Frequently Asked Questions
    • Pattern Releases
      • Free Patterns
    • P4P University
      • Fitting
      • Sewing with Stretch, Knit Fabrics
      • Sewing with Woven Fabrics
      • Sewing Machines
    • Sew-A-Longs
    • Fabric for Pirates
    • Pattern Hacks
    • Announcement
      • Blog Tours
      • Contest/Giveaway
  • Shop
  • Bundle Discounts
  • Flash Friday
  • Gift Cards
  • My Account
  • Cart

2018 Holiday Freebies :: Infinity Scarf with Hidden Zipper Pocket

December 2, 2018

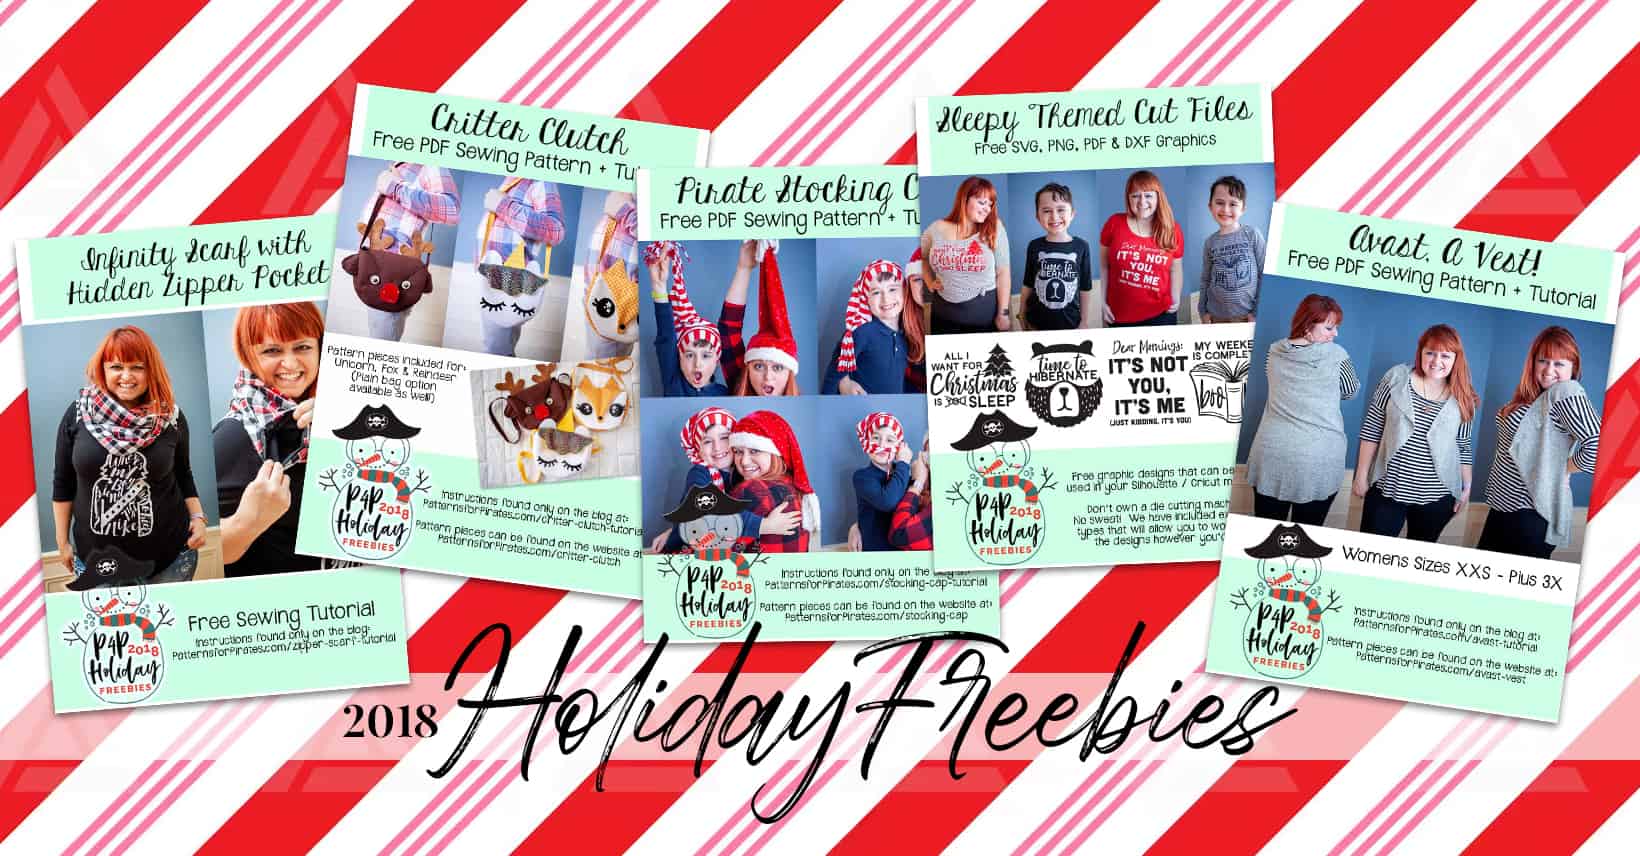
Happy December, friends!!  It is my pleasure to be back again this year with an entire week of goodies for you.  AND THEY ARE ALL FREE!  That’s right, you are about to embark on a five day journey of free sewing patterns and tutorials.  I’m excited to get started!

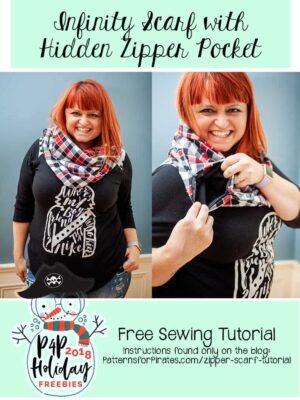
Today’s freebie is a twist on a classic infinity scarf…we added a hidden, zippered pocket to it!  It’s a perfect little space to store your phone, keys, or anything that you’d like to carry with you but don’t want to need a purse or extra hand for. It’s a super quick sew and is at the top of my gift-giving list this holiday season.

Let’s get started!
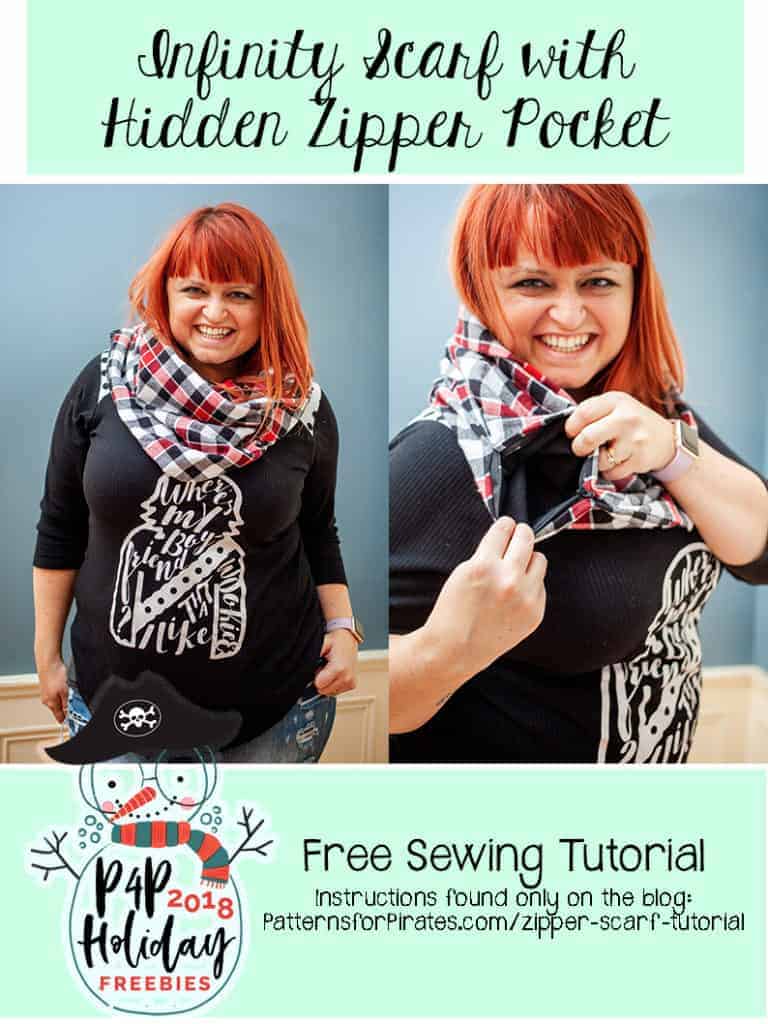
Fabric Requirements: 2 yards of knit, flannel, or a light-weight woven.

You will need:
— Main Scarf Piece: 28″ W x 72″ L (can be woven or knit. If using a knit, you may need small strips of stabilizer where you’re attaching your zipper)
— 2 pocket pieces: 9″ W x 7″ L
— 9″ Zipper **You can make the pocket bigger / smaller by adjusting the size width of your pocket pieces to match the length of your zipper.
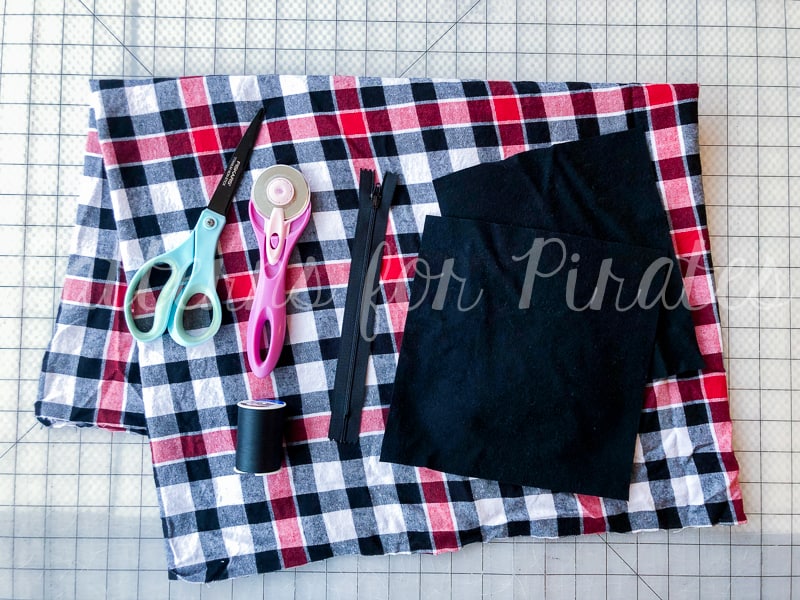
1.) With your main fabric laying RIGHT SIDE UP, lay your zipper FACING DOWNWARDS, 5″ from the edge of your fabric, along one of the long edges.
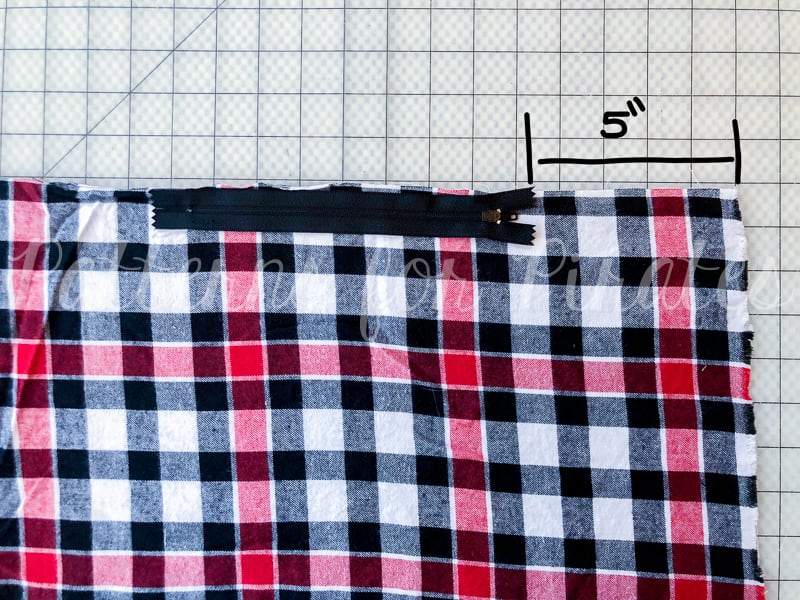
2.) Sandwich your zipper by laying a pocket piece on top, RIGHT SIDE DOWN.
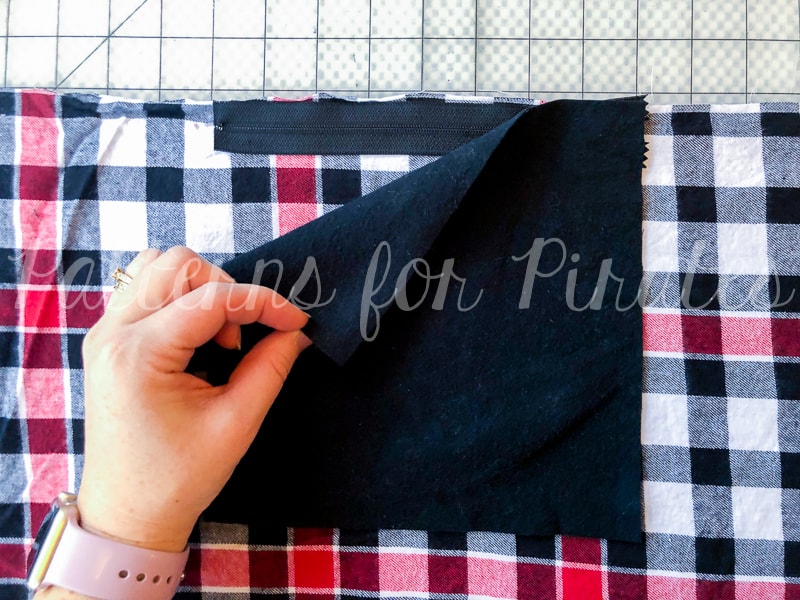
3.) Pin/clip and sew along edge, using a zipper foot to get as close to zipper as you can.
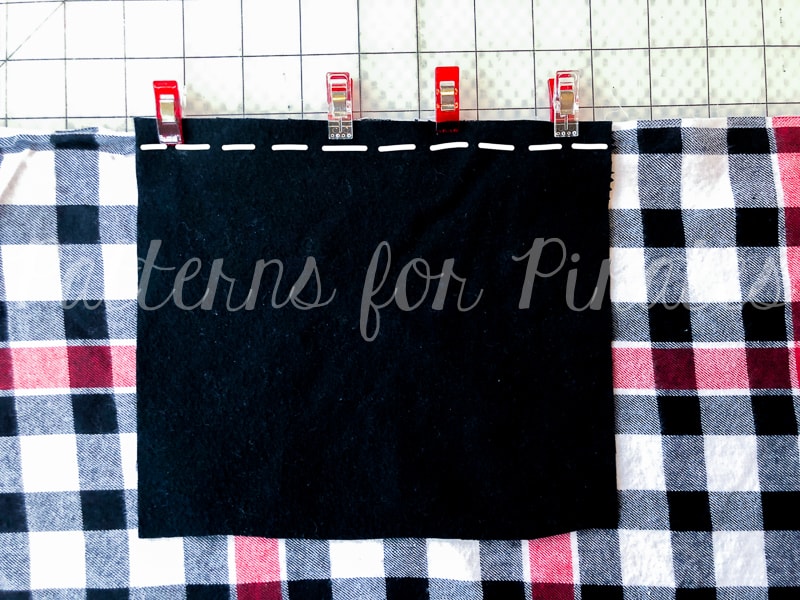
4.) Flip your pocket piece up and away from the main fabric.
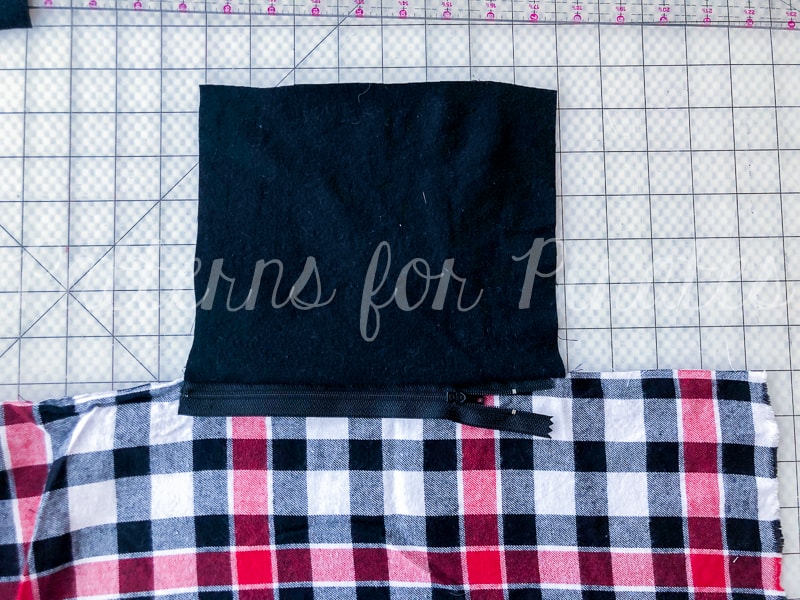
5.) Fold your pocket piece under the main fabric (their wrong sides should be touching now).
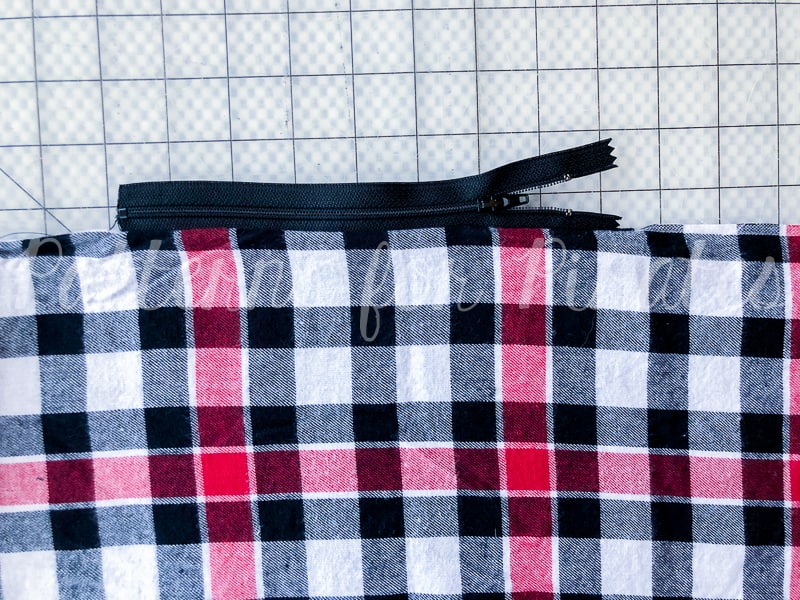
6.) Fold main fabric together, matching the long sides to each other.
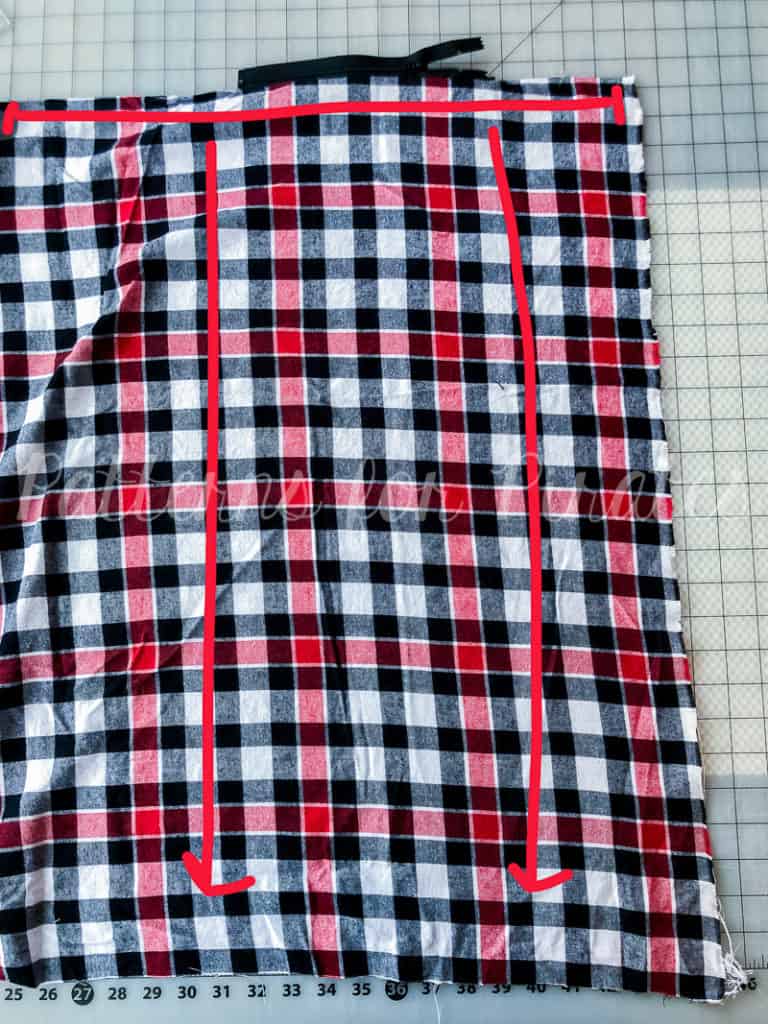
7.) Making sure you’re still 5″ from the short edge, align the unsewn side of the zipper to the opposite long edge of your fabric. Once again, your zipper should be FACE DOWN.
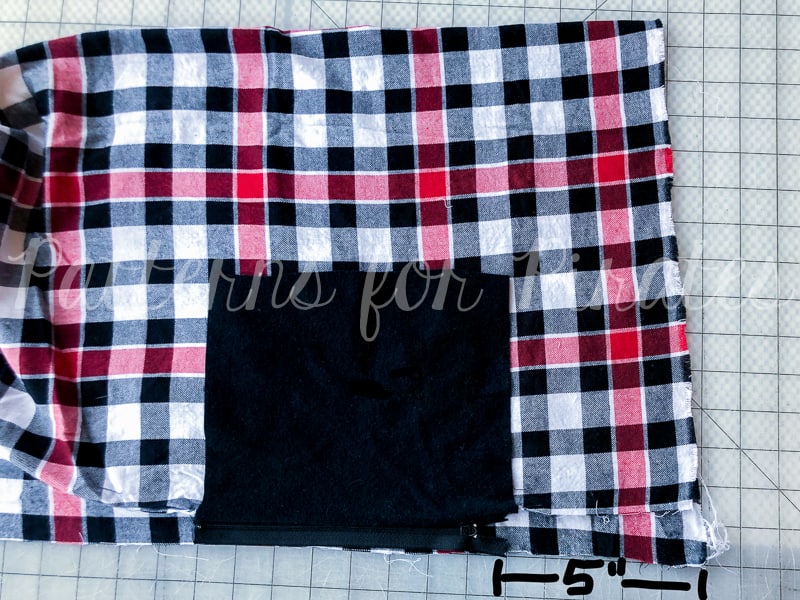
8.) Sandwich your zipper by laying your other pocket piece on top, RIGHT SIDE DOWN.
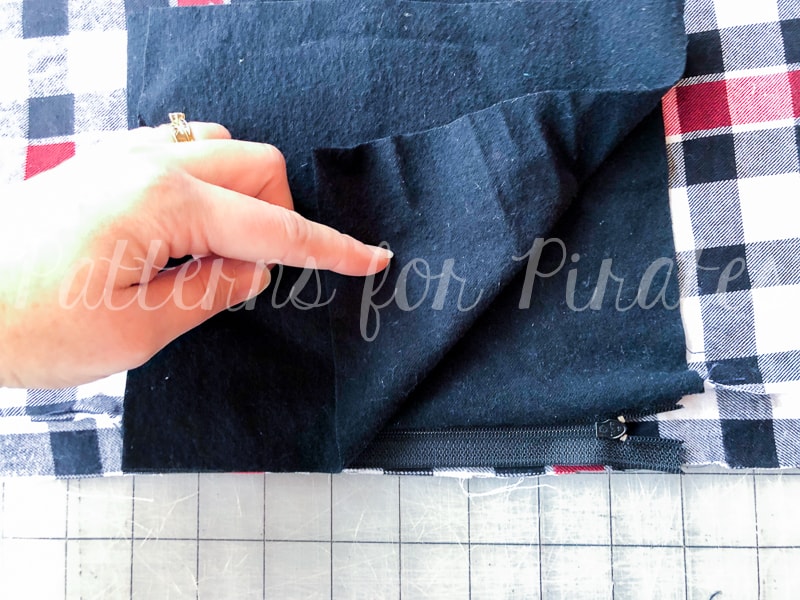
9.) Pin/clip and sew along edge.
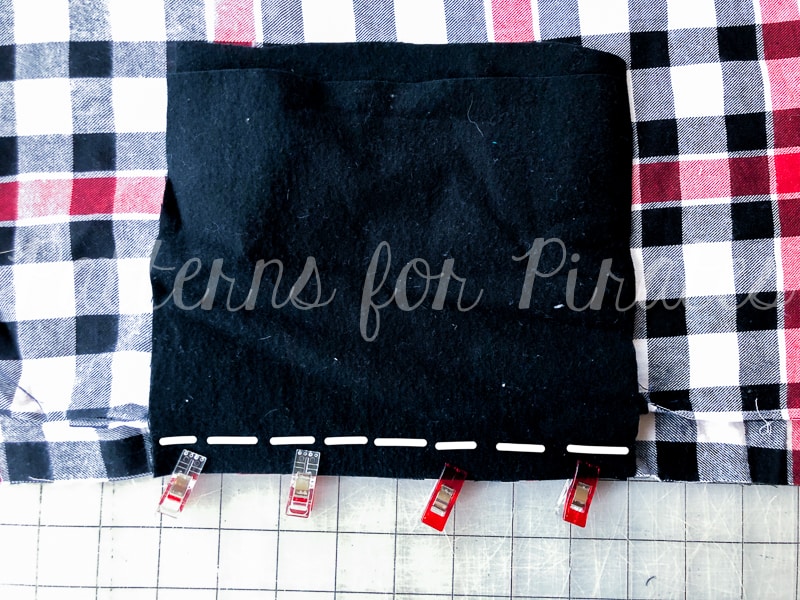
10.) For easier sewing on the next step, I like to unzip my zipper a bit, to get the pull out of the way.
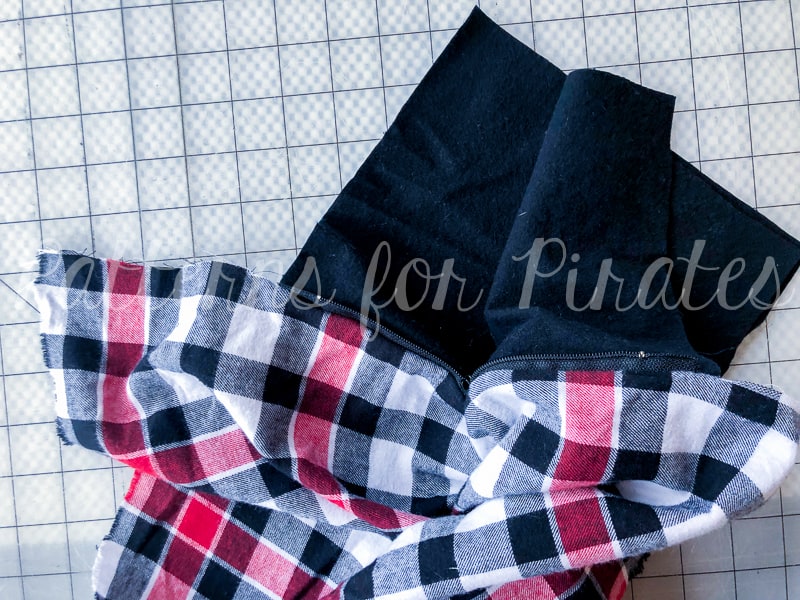
11.) With fabric still RIGHT SIDES TOGETHER, sew with 1/2″ seam allowance along long edges, and outer edges of pocket.
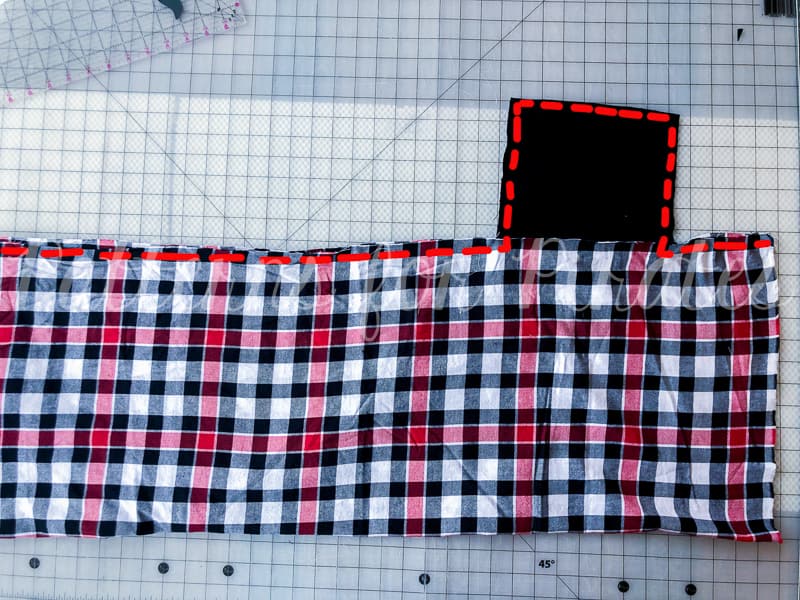
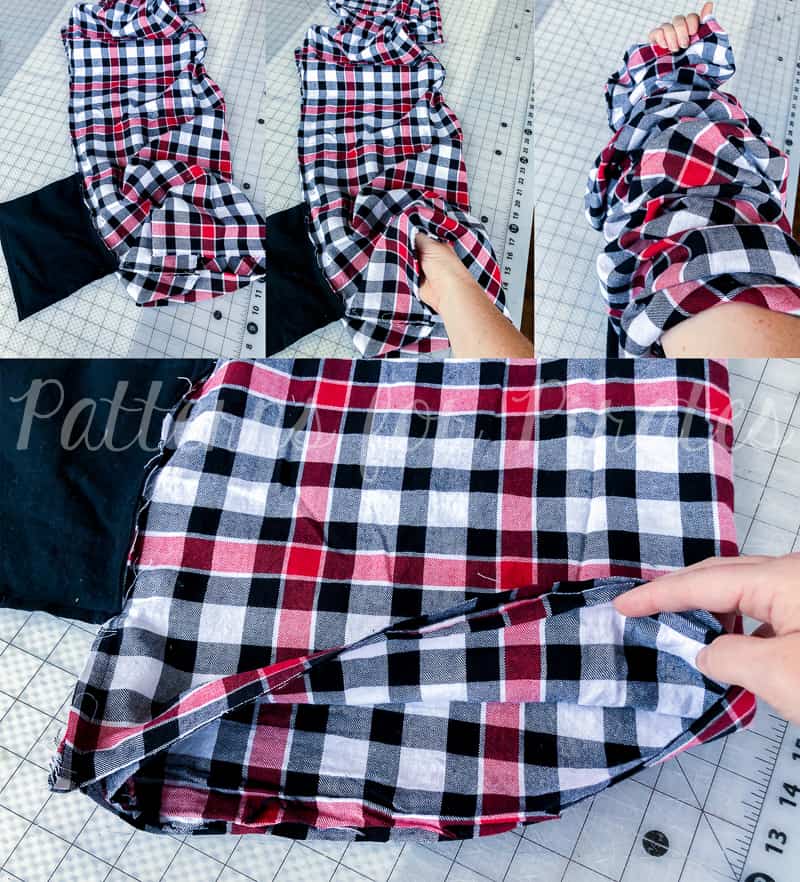
12.) This step might feel a little tricky, but it’s really not! You’re going to want to keep your fabric inside out, while folding it in half to still have right sides together, and the short edges meeting each other. I find it easiest to stick my arm all the way inside, grabbing the opposite short end, and then pulling it toward me from the inside, being careful not to twist it. Align the short edges to each other.
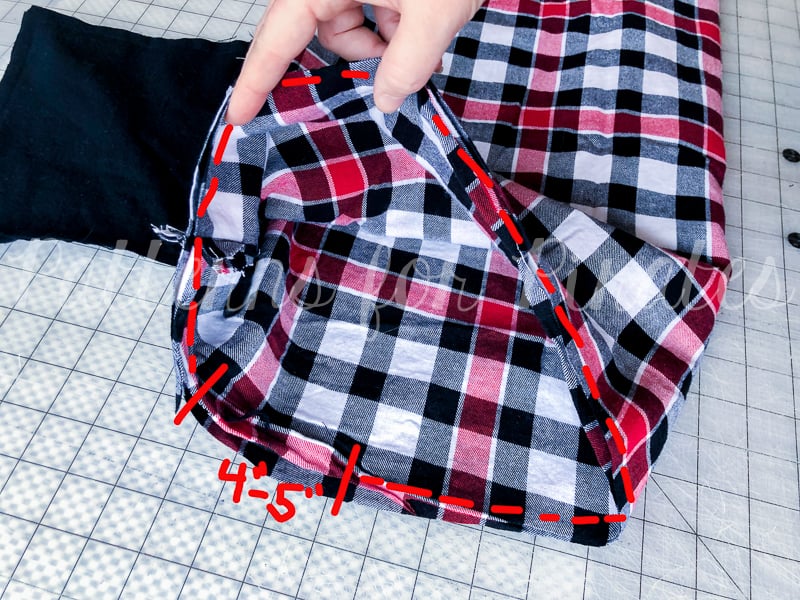
13.) Stitch the raw edges together with 1/2″ seam allowance, leaving a 4-5″ opening for turning.
14.) Turn scarf right side out, pulling the entirety of the fabric through the opening you created in the last step.
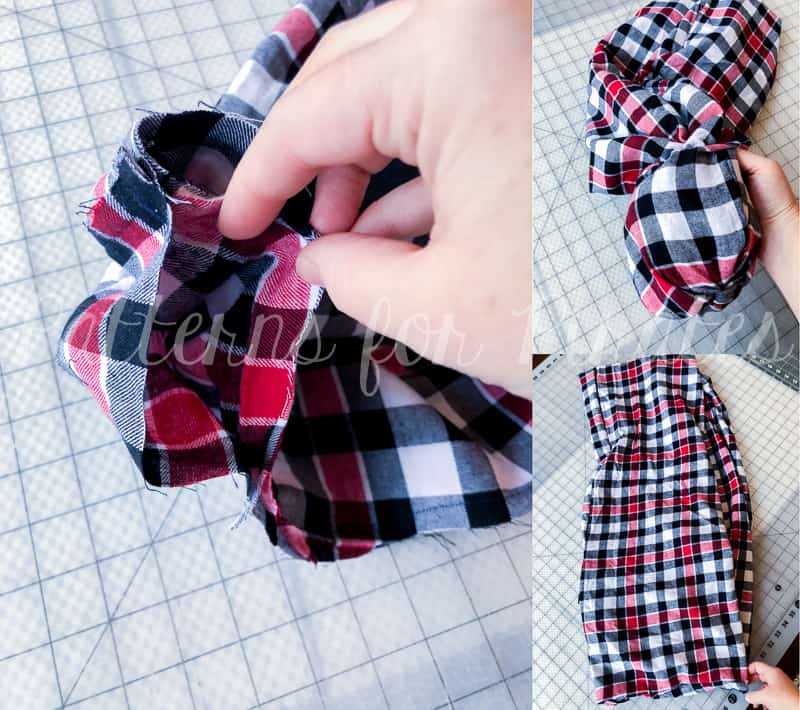
15.) Pin and close up the opening with a blind stitch. You’re finished!
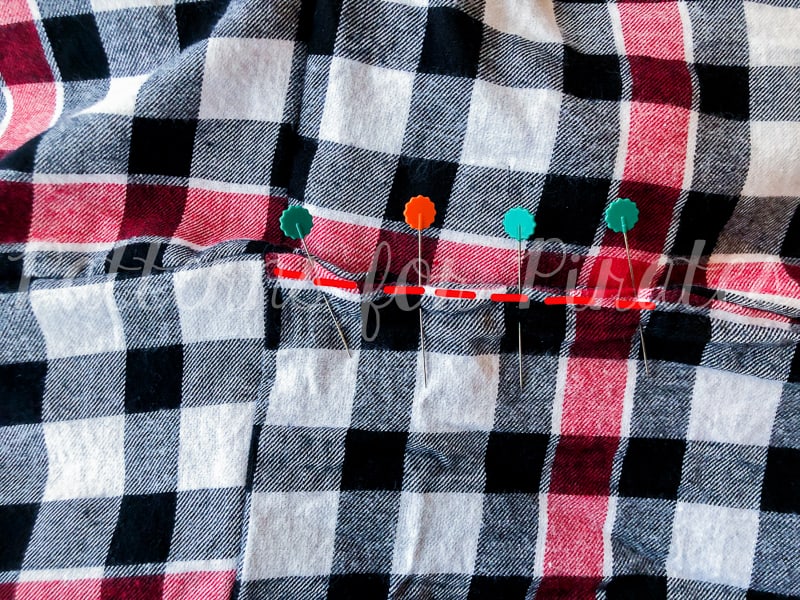
Here’s a little inspiration from our fabulous group of testers, in case you needed it.
As always, we love when you share what you’ve made with us.  Head over to the Patterns for Pirates Facebook group and show off the fabulous Infinity Scarf that you’ve managed to make from our freebie pattern!  Happy Holidays, friends!

**Since there was such a high amount of requests for a video tutorial, here you go!
Filed Under: Free Pattern, Pattern Release 49 Comments

P4P Holiday Freebies Roundup

December 1, 2018

We know that November and December can be your busiest time of year….in general, but also in SEWING!  Here at P4P, we try and make it easier on you by giving you some gift-giving ideas.  (If you’re gifting these to yourself, none of us are judging you.  Not for a second.)
Here’s a quick look back at the different series of freebies we’ve given our favorite pirates!
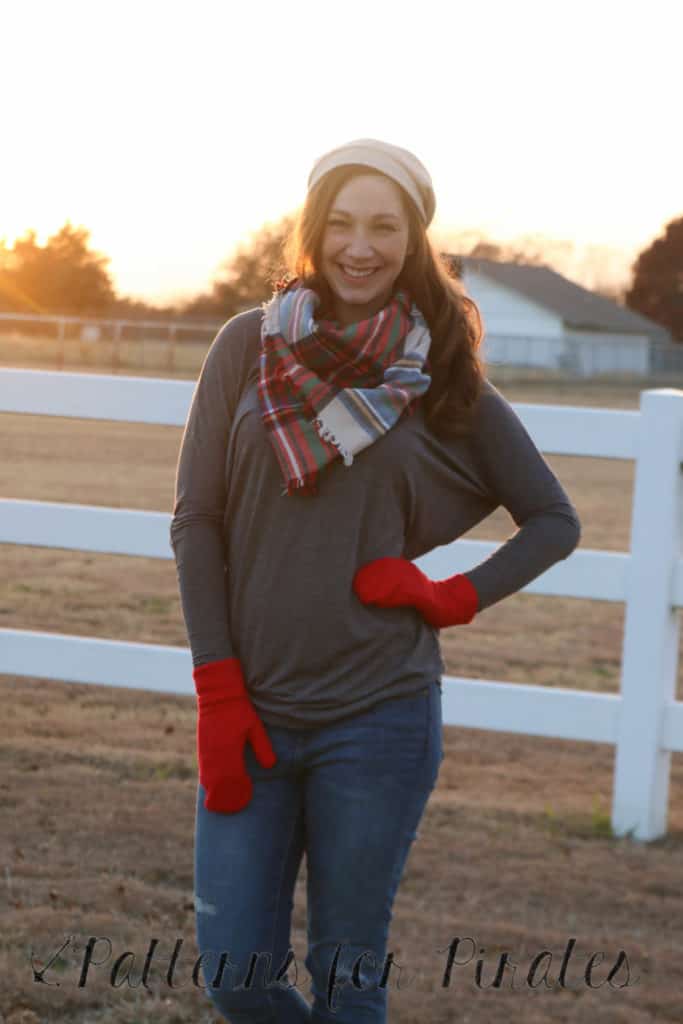
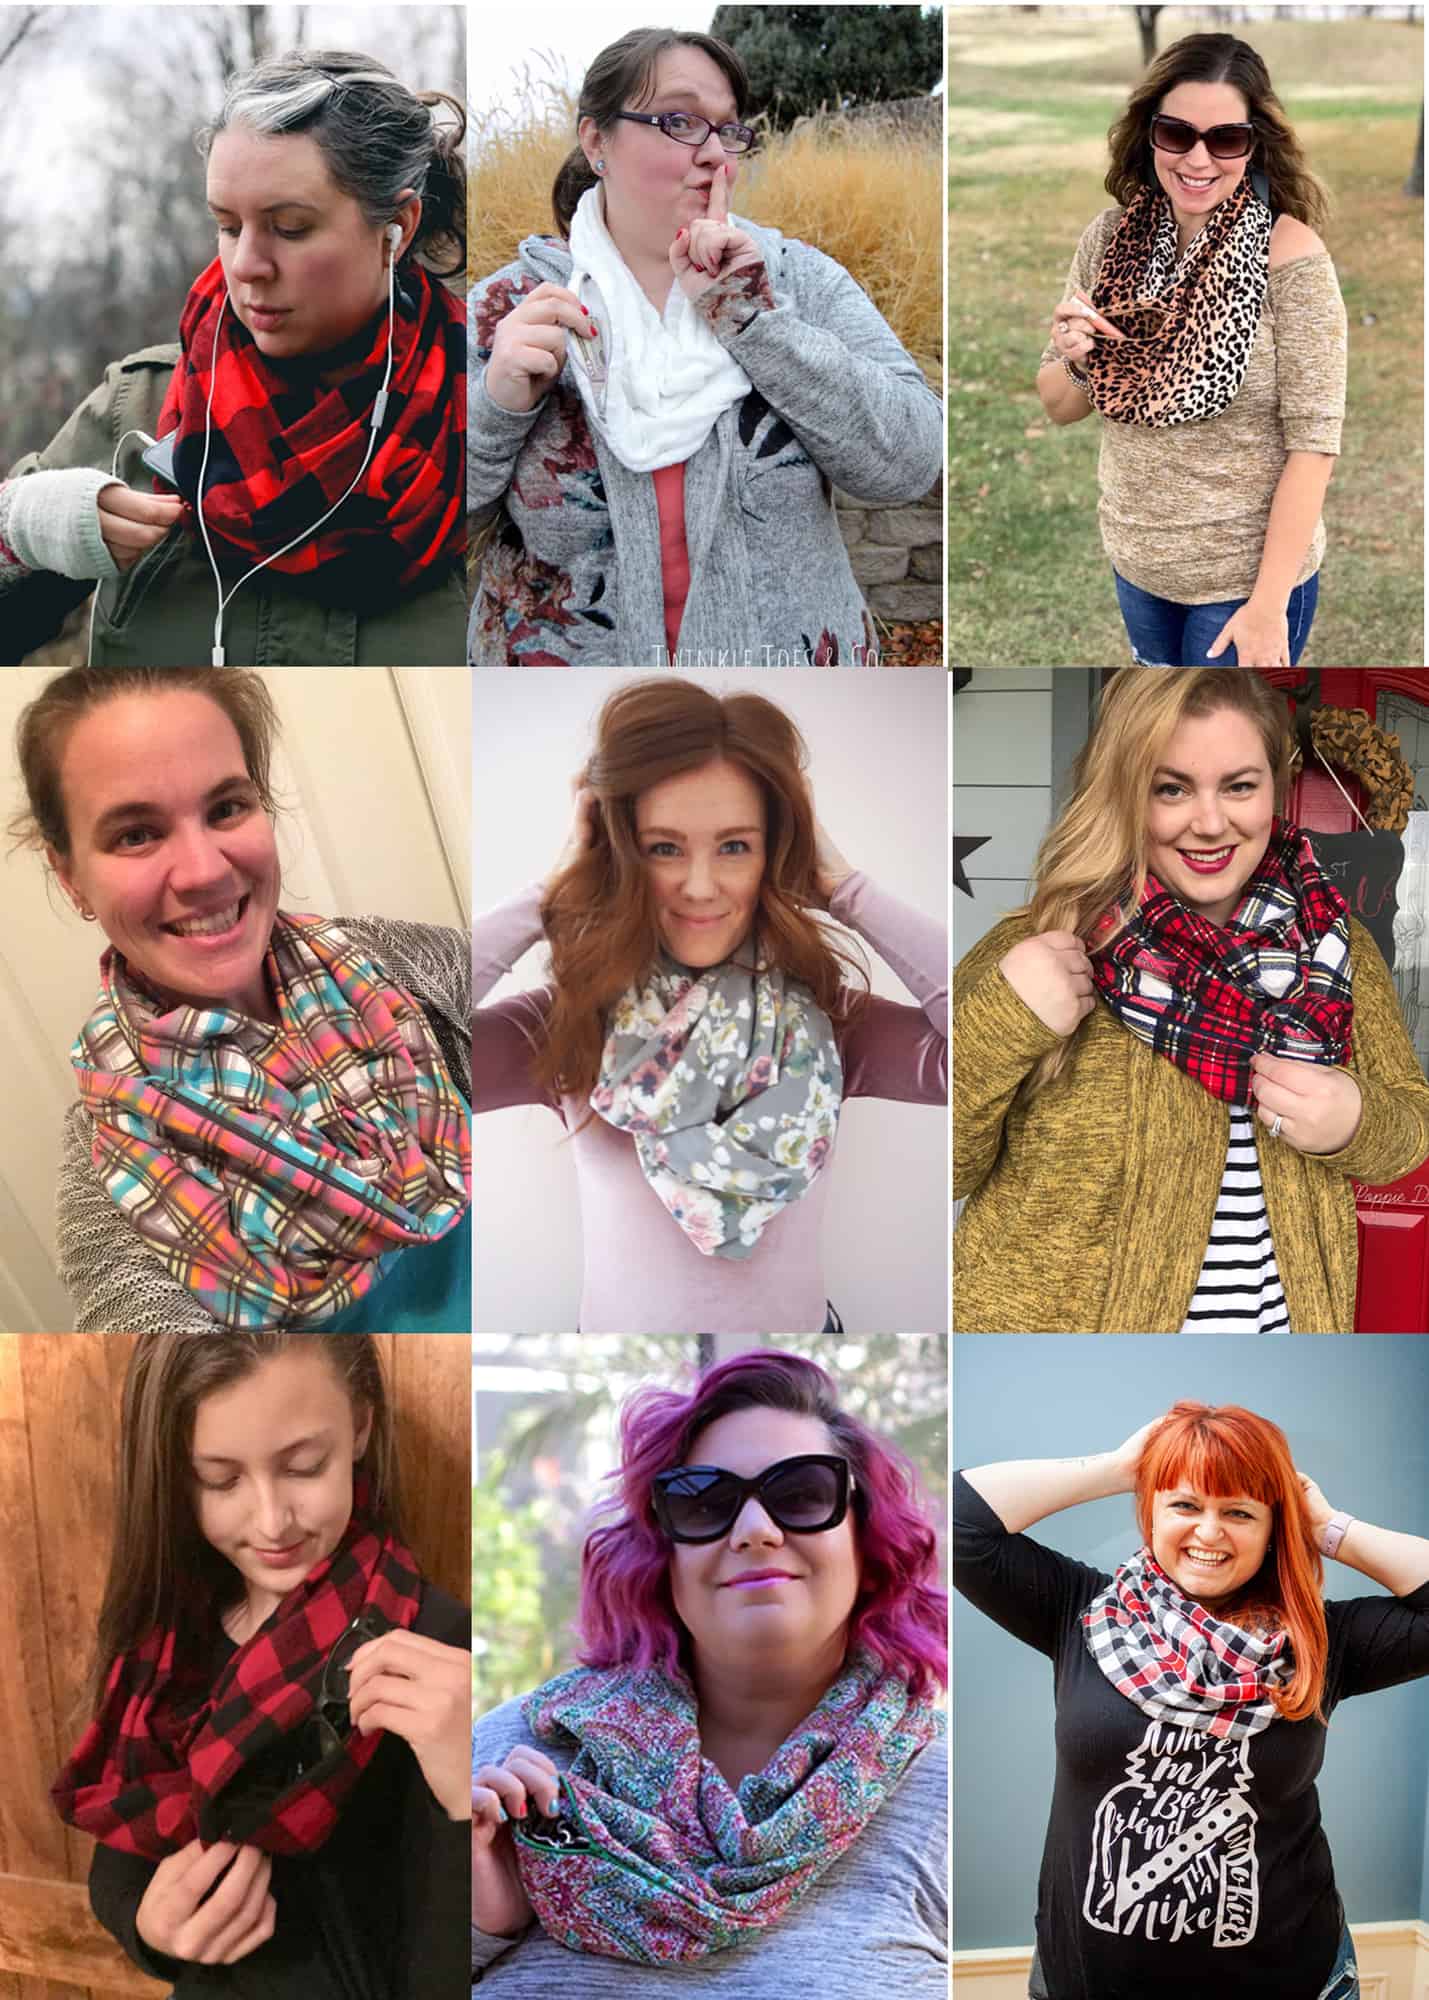
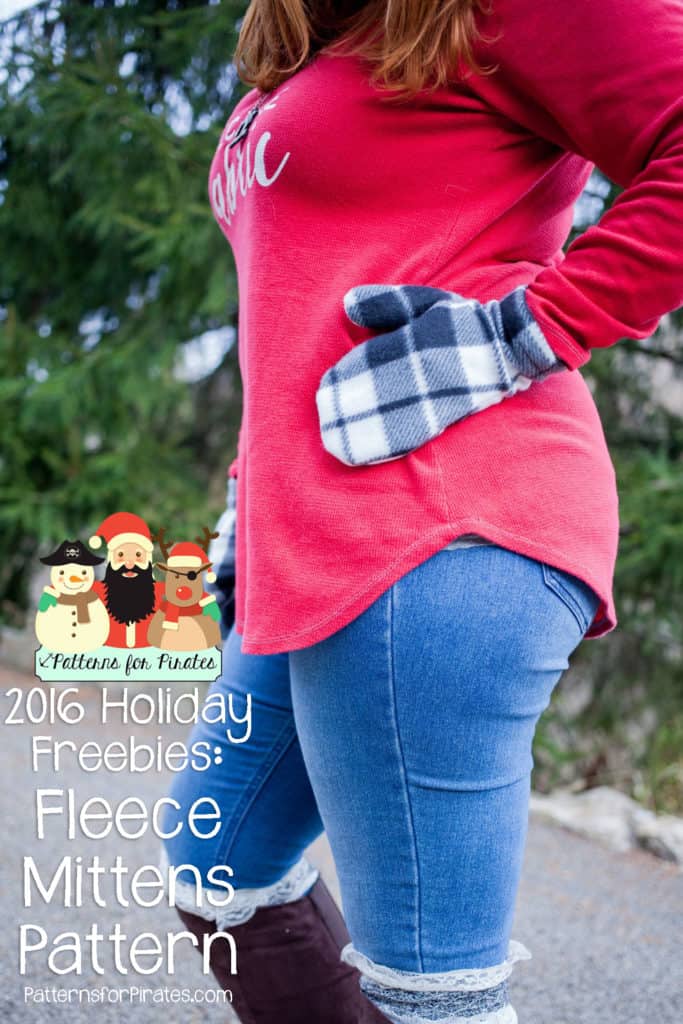
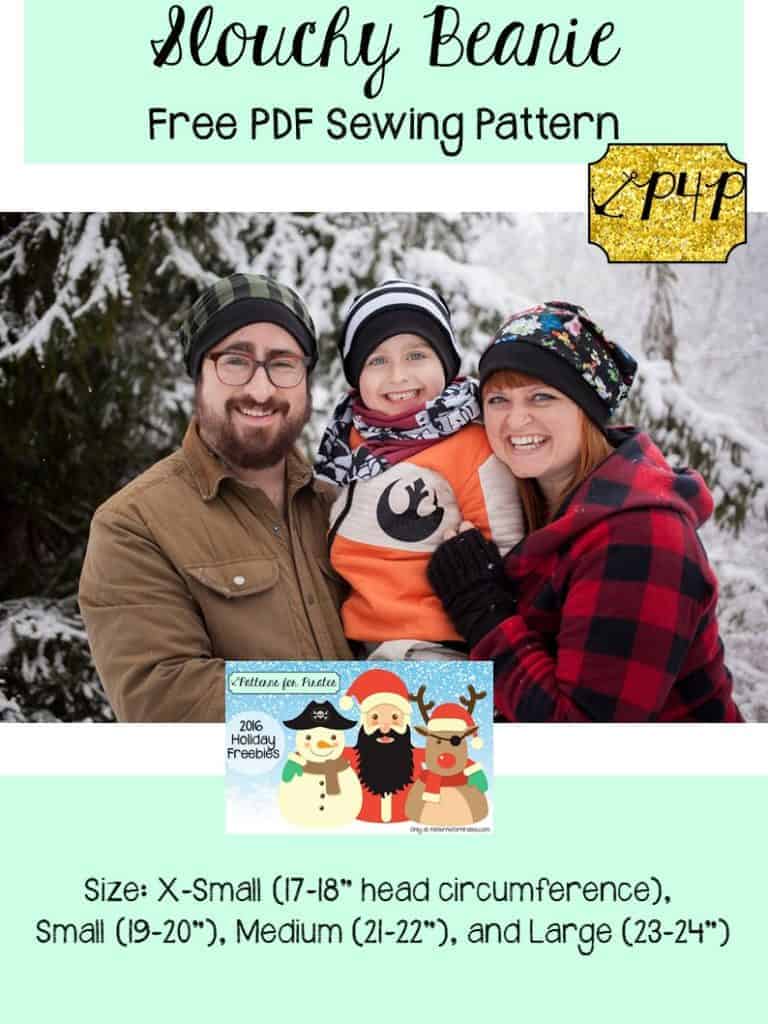
2016: FLEECE MITTENS | SLOUCHY BEANIE | BLANKET SCARF


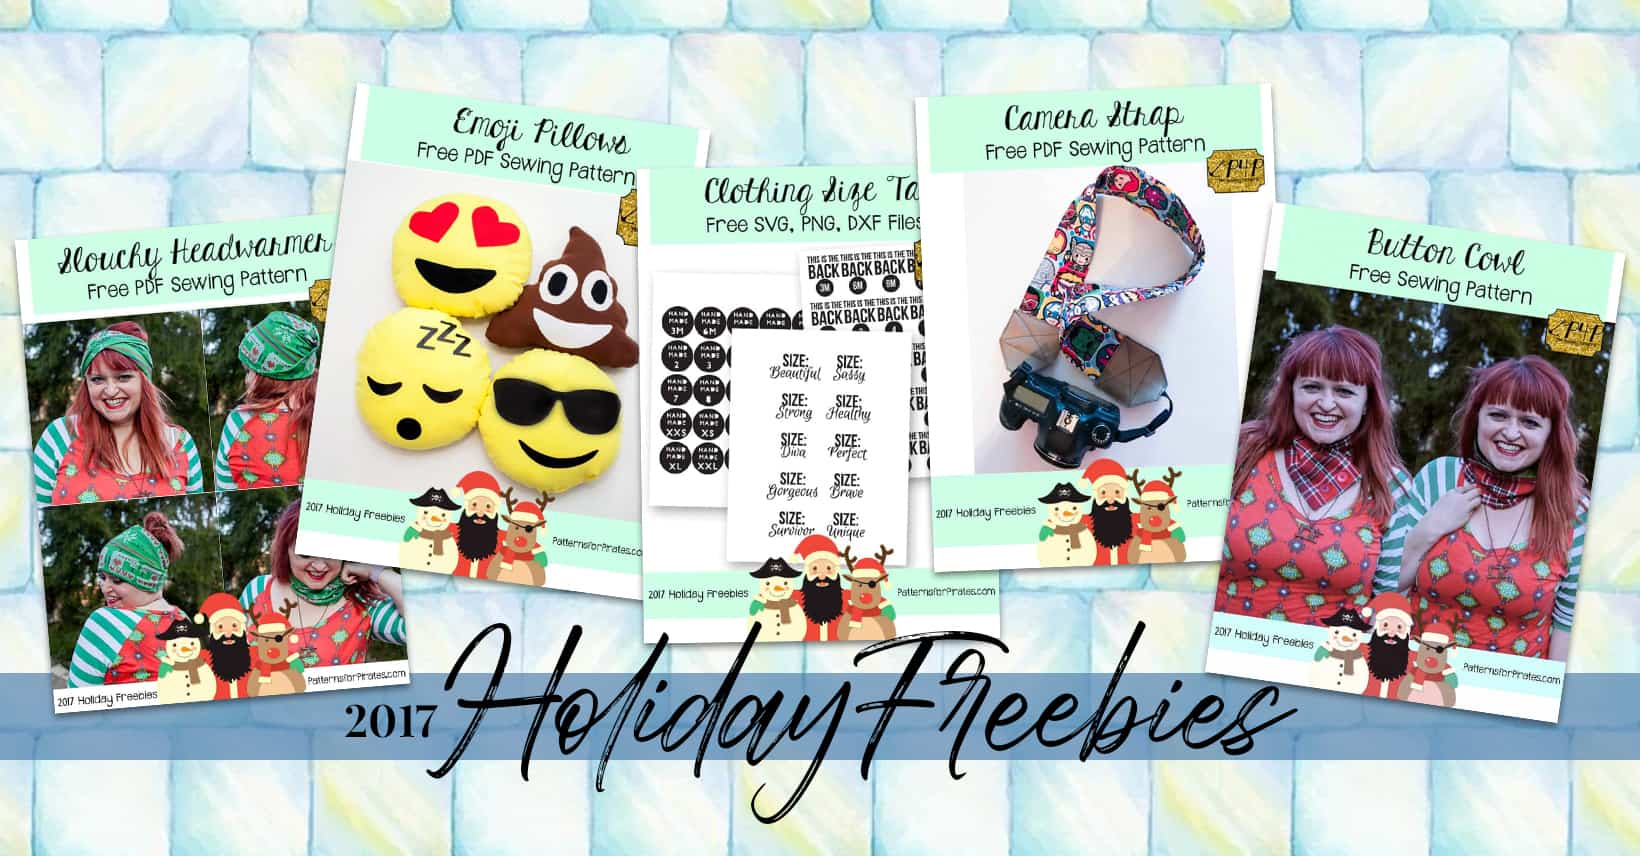
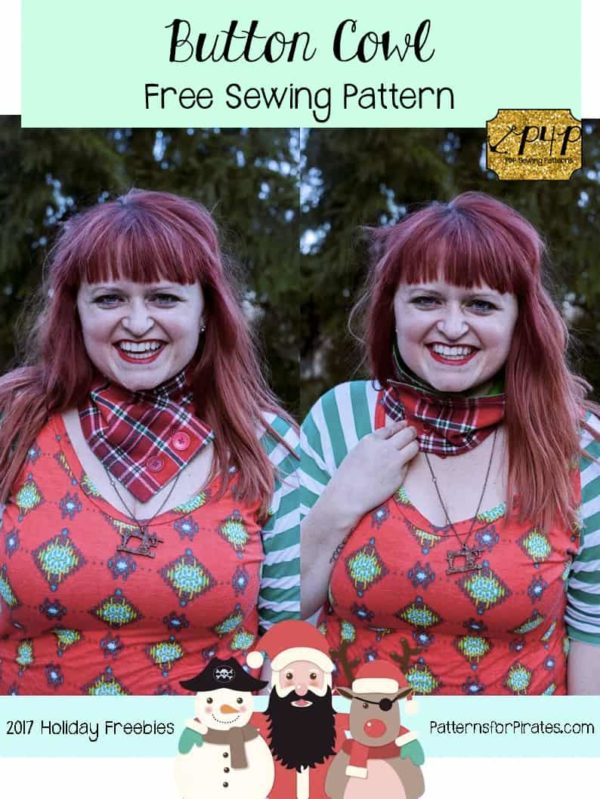
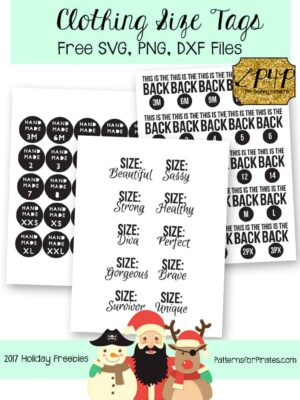
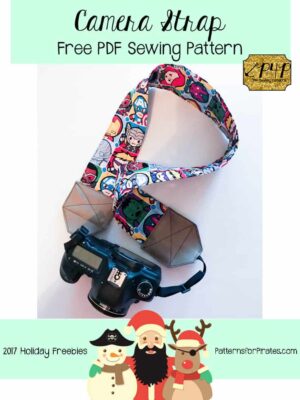
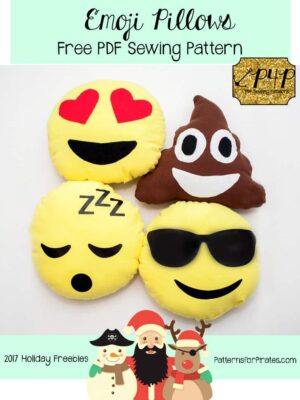
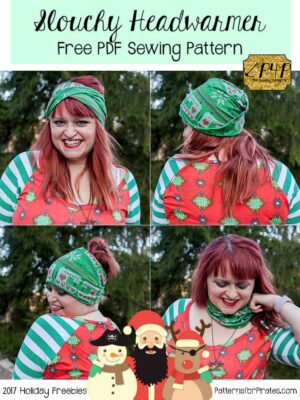
2017: SLOUCHY HEADWARMER | EMOJI PILLOWS | SIZE TAGS | CAMERA STRAP | EASY BUTTON COWL

  • Free Button Cowl
    Free Button Cowl
    Take me to the tutorial!
  • Free Size Tag Templates
    Free Size Tag Templates
    Add to cart
  • Free Camera Strap Pattern
    Free Camera Strap Pattern
    Add to cart
  • Free Emoji Pillow Pattern
    Free Emoji Pillow Pattern
    Add to cart
  • Free Slouchy Headwarmer
    Free Slouchy Headwarmer
    Add to cart

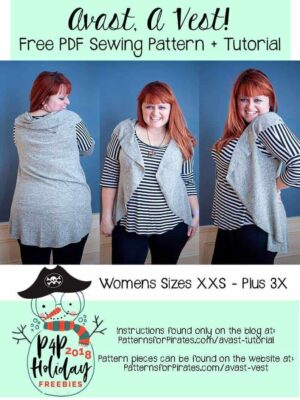
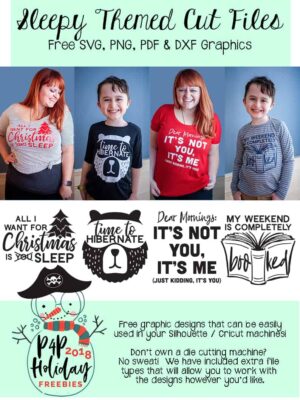
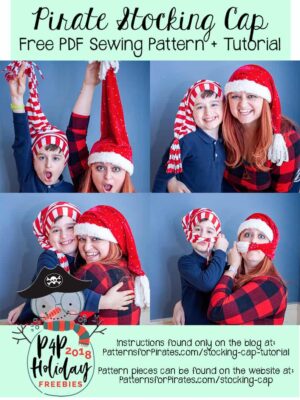
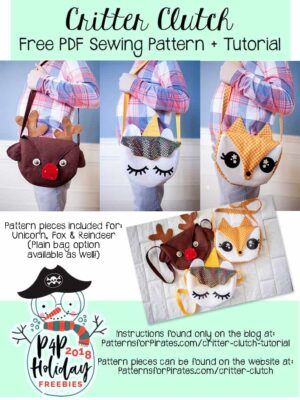
2018: INFINITY SCARF W/ZIPPERED POCKET | CRITTER CLUTCH | PIRATE STOCKING CAP | SLEEPY THEMED CUT FILES | AVAST, A VEST!

  • Free Avast, A Vest Circle Vest
    Free Avast, A Vest Circle Vest
    Add to cart
  • Free Sleepy Themed Cut Files
    Free Sleepy Themed Cut Files
    Add to cart
  • Free Pirate Stocking Cap
    Free Pirate Stocking Cap
    Add to cart
  • Free Critter Clutch Purse Pattern
    Free Critter Clutch Purse Pattern
    Add to cart
  • Free Hidden Pocket Infinity Scarf Tutorial
    Free Hidden Pocket Infinity Scarf Tutorial
    Add to cart

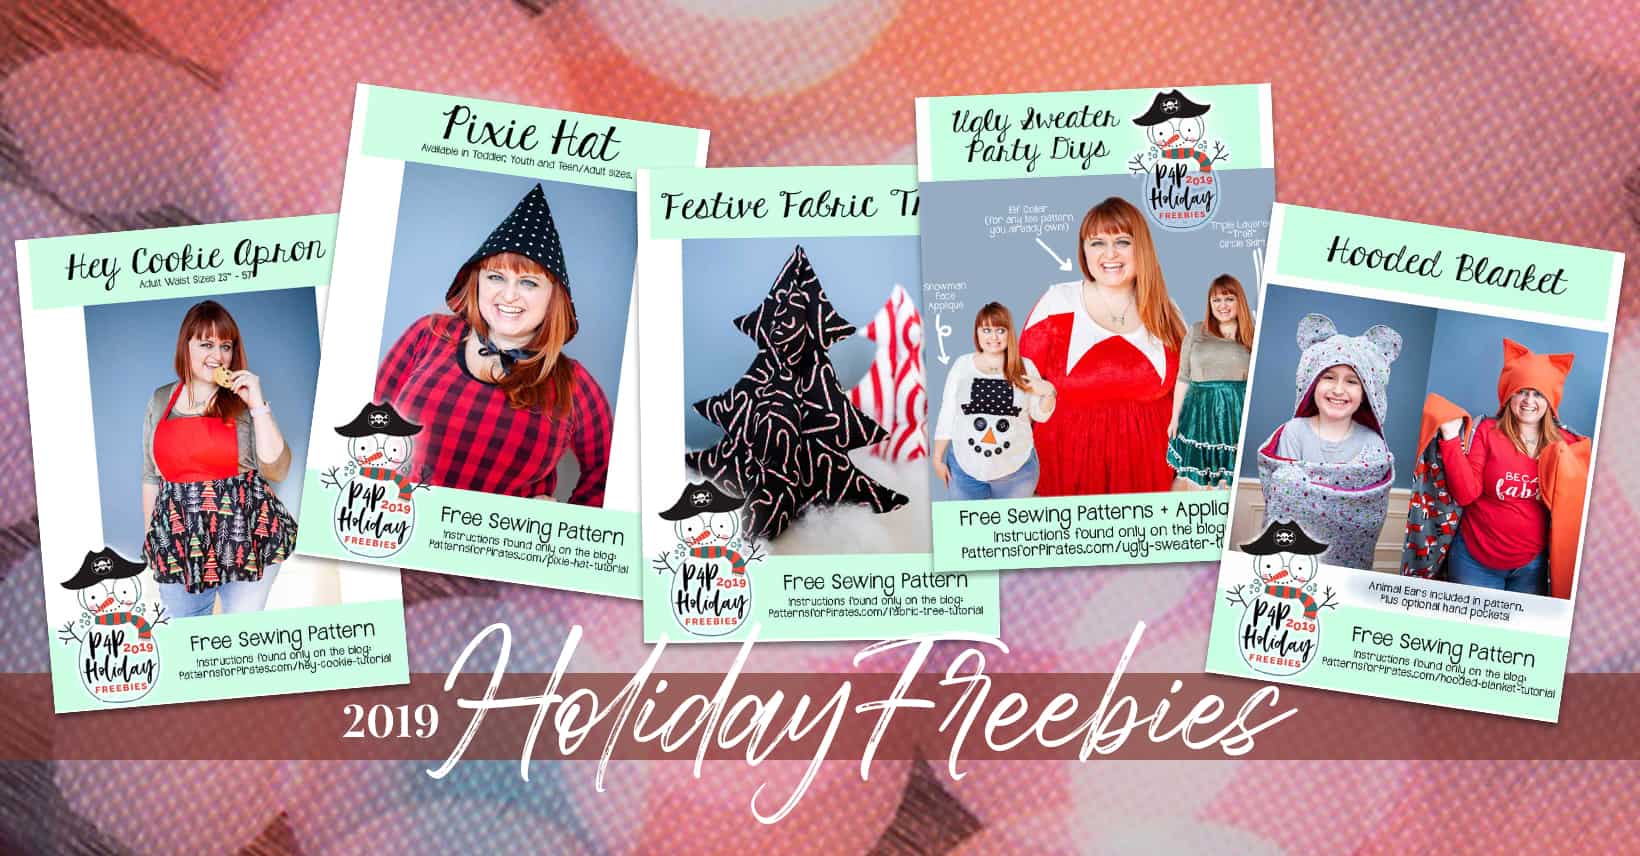
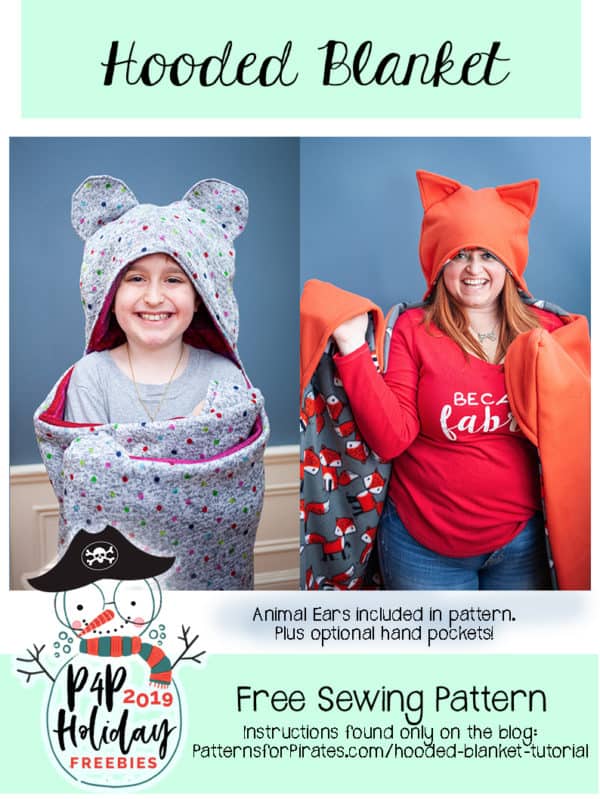
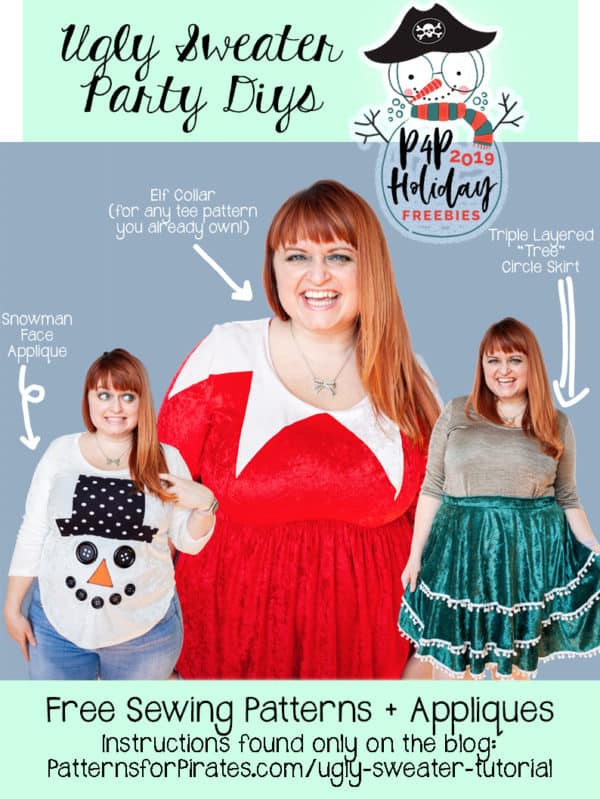
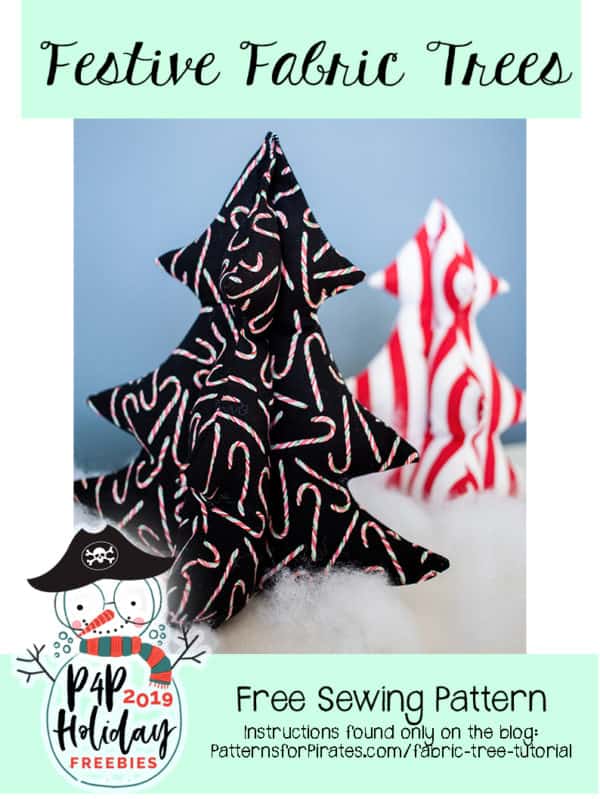
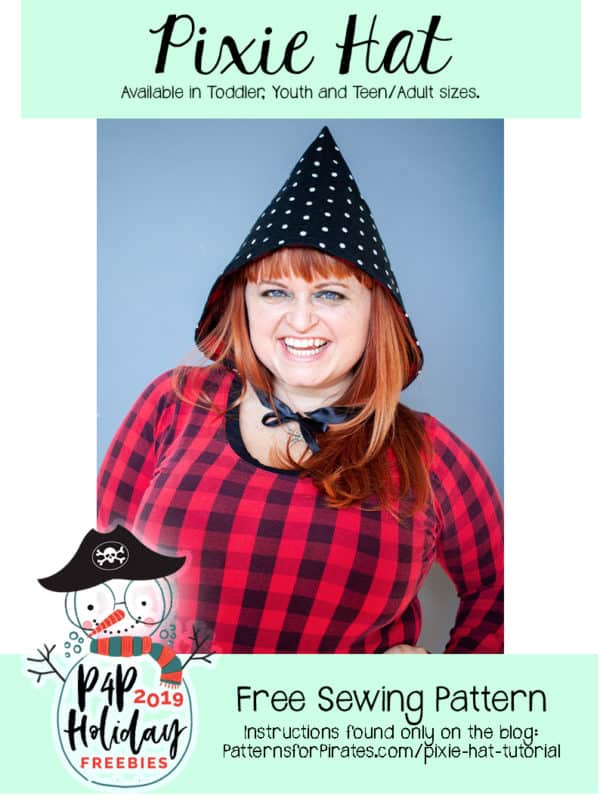
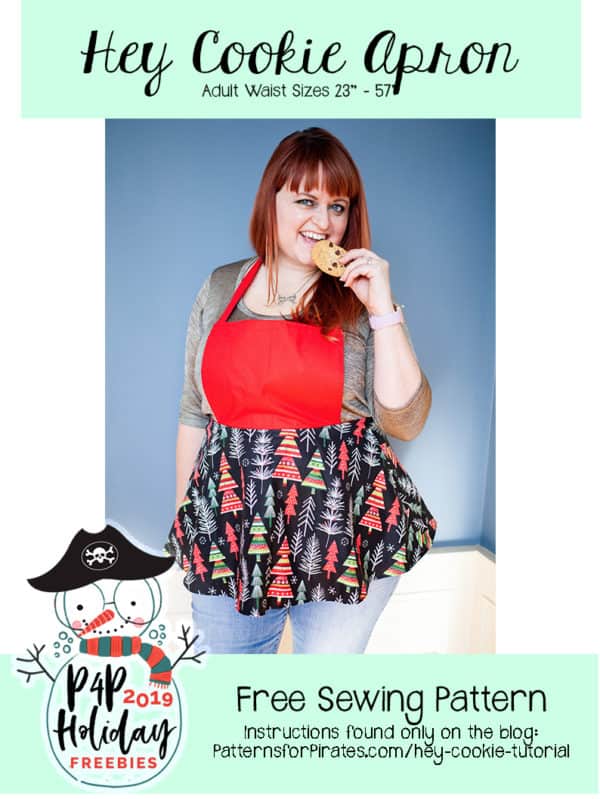
2019: HEY COOKIE APRON | PIXIE HAT | FESTIVE FABRIC TREES | UGLY SWEATER PARTY DIY | HOODED BLANKETS


  • Free Hooded Blanket
    Free Hooded Blanket
    Add to cart
  • Free Ugly Sweater Party DIY Designs
    Free Ugly Sweater Party DIY Designs
    Add to cart
  • Free Festive Fabric Trees
    Free Festive Fabric Trees
    Add to cart
  • Free Pixie Hat
    Free Pixie Hat
    Add to cart
  • Free Hey Cookie Apron
    Free Hey Cookie Apron
    Add to cart

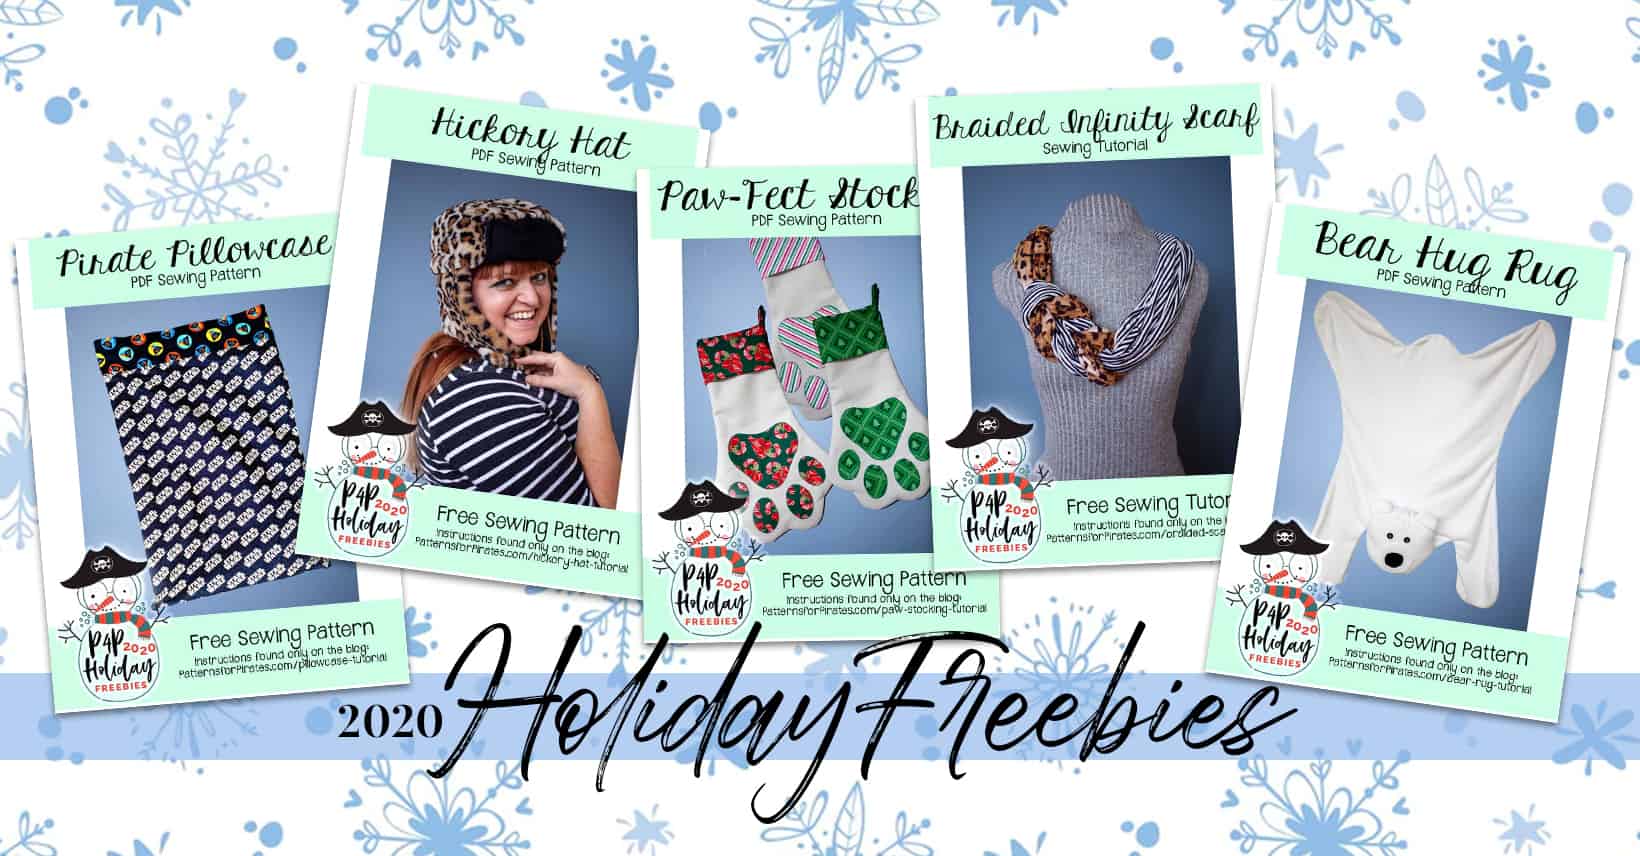
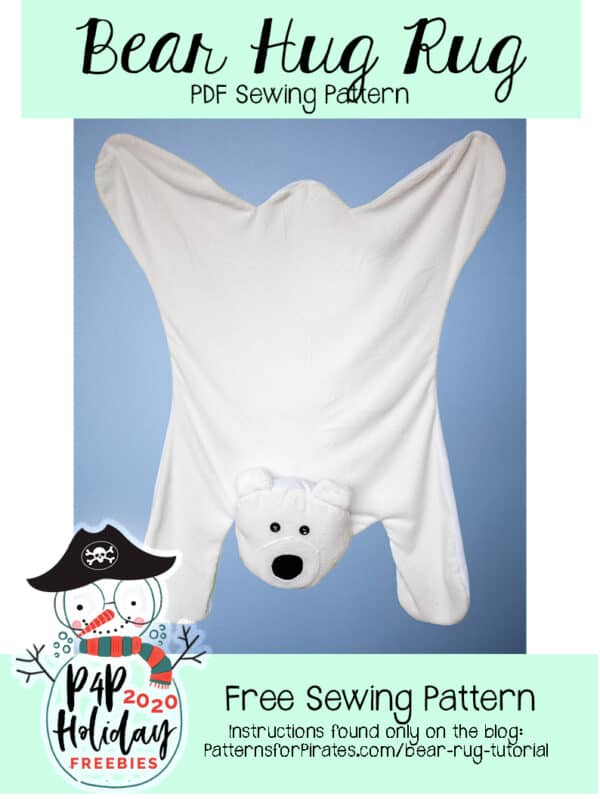
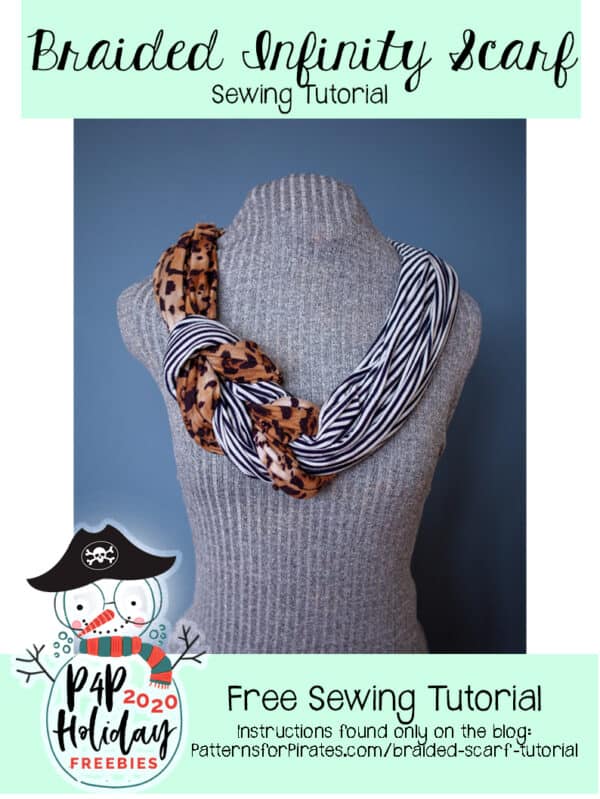
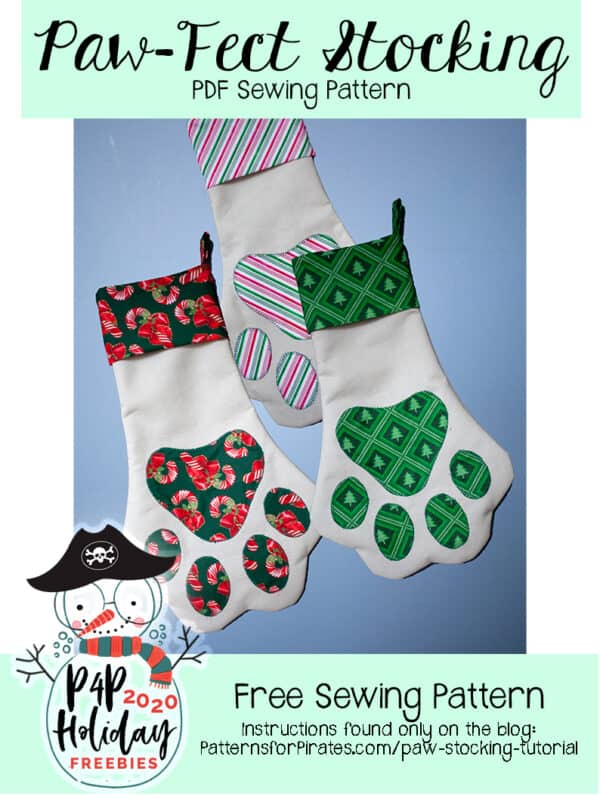
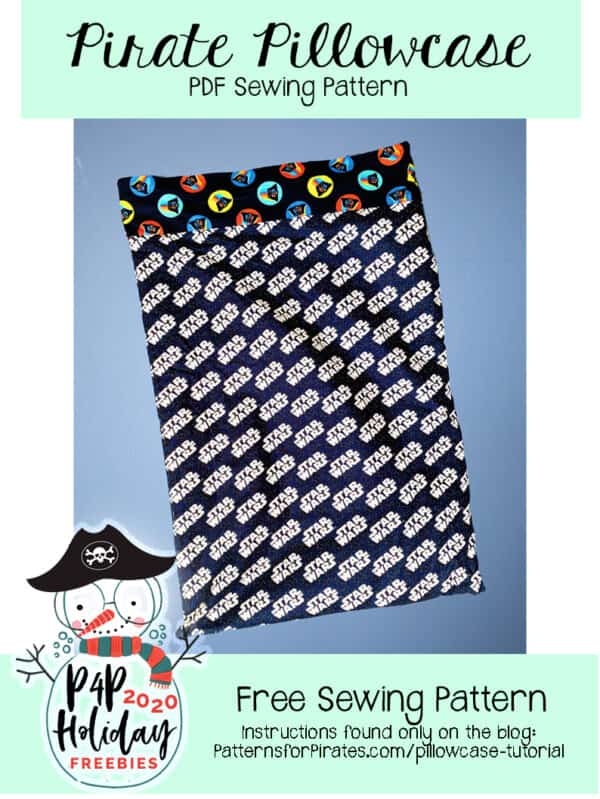
2020: PIRATE PILLOWCASE | HICKORY HAT | PAW-FECT STOCKING | BRAIDED INFINITY SCARF | BEAR HUG RUG

  • Free Bear Hug Rug
    Free Bear Hug Rug
    Add to cart
  • Free Braided Infinity Scarf
    Free Braided Infinity Scarf
    Add to cart
  • Free Paw-Fect Stocking
    Free Paw-Fect Stocking
    Add to cart
  • Free Hickory Hat
    Free Hickory Hat
    Add to cart
  • Free Pirate Pillowcase
    Free Pirate Pillowcase
    Add to cart

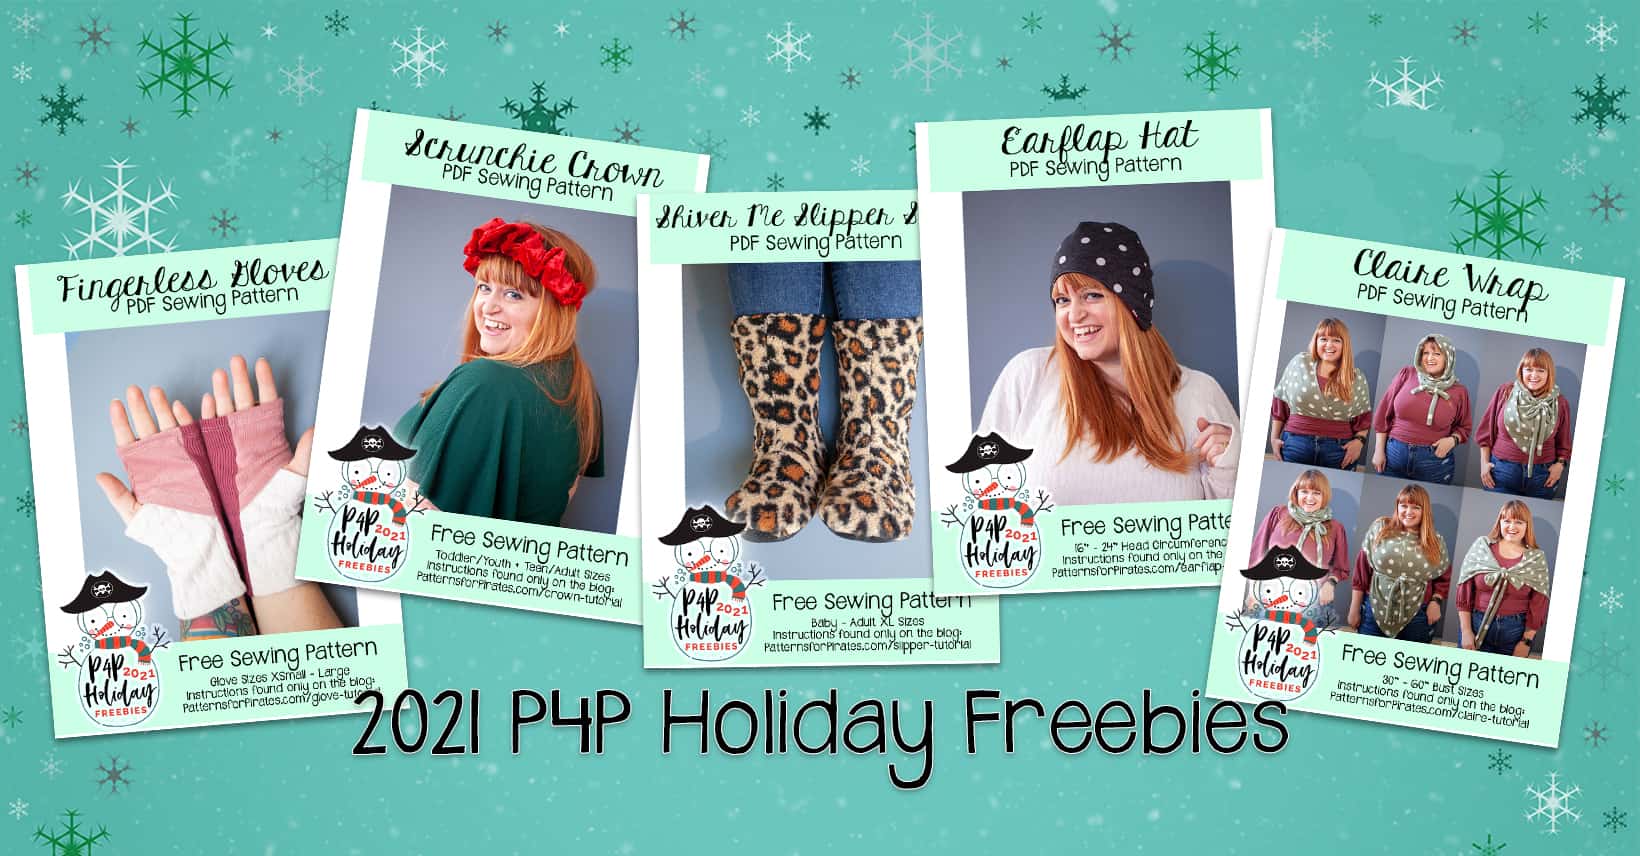
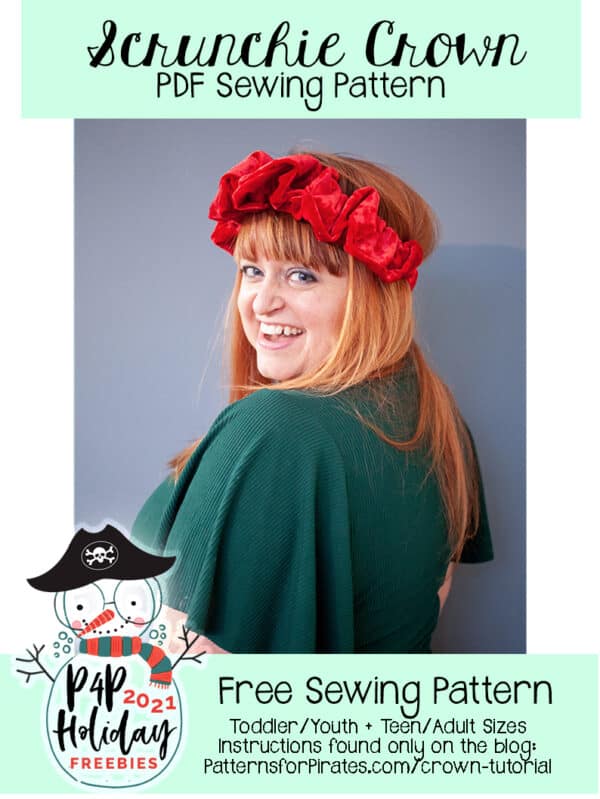
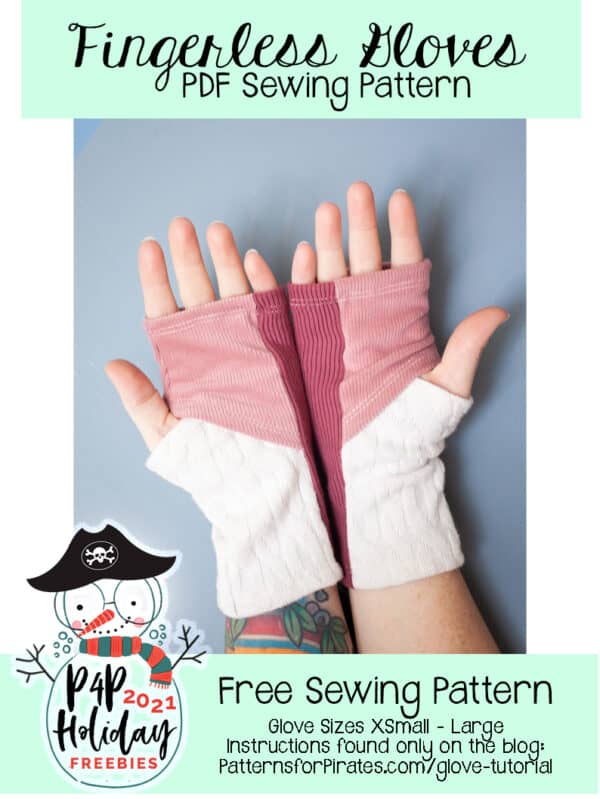
2021: FINGERLESS GLOVES| SCRUNCHIE CROWN | SHIVER ME SLIPPER SOCKS | EARFLAP HAT | CLAIRE WRAP

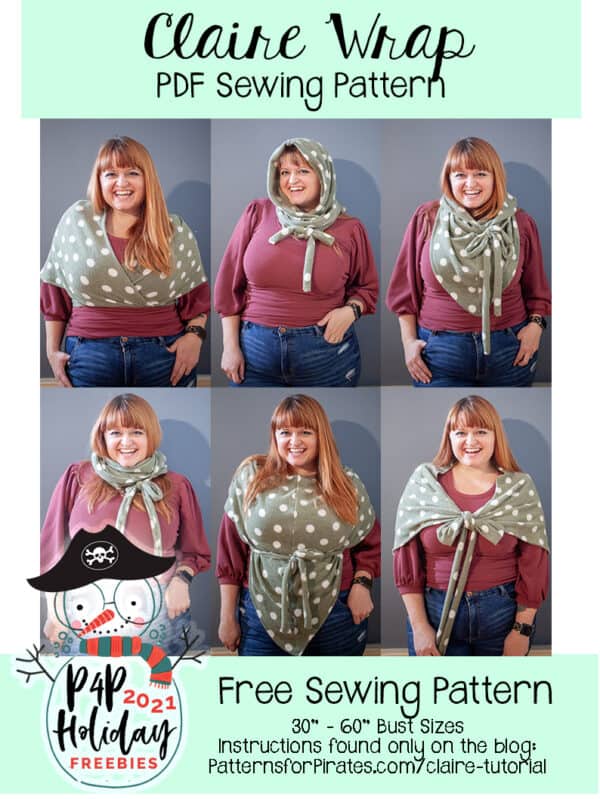
  • Free Claire Wrap
    Free Claire Wrap
    Add to cart
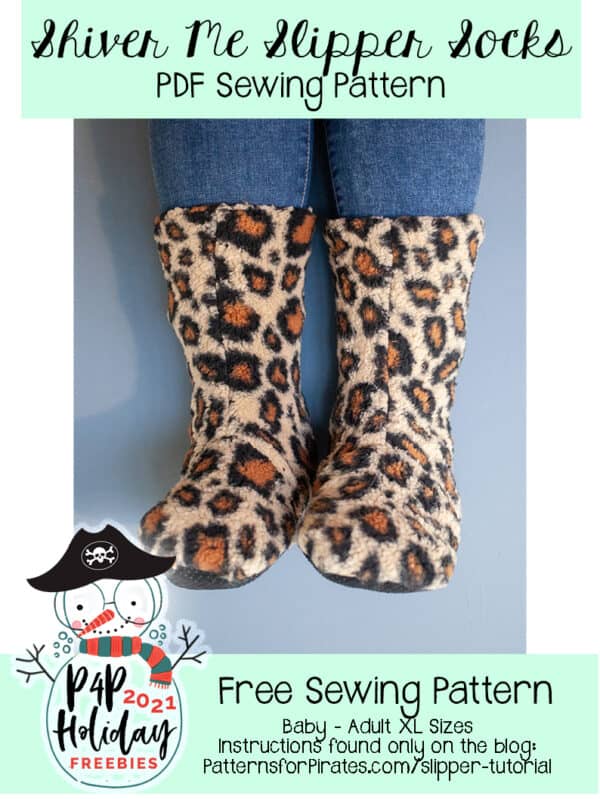
  • Free Shiver Me Slippers
    Free Shiver Me Slippers
    Add to cart
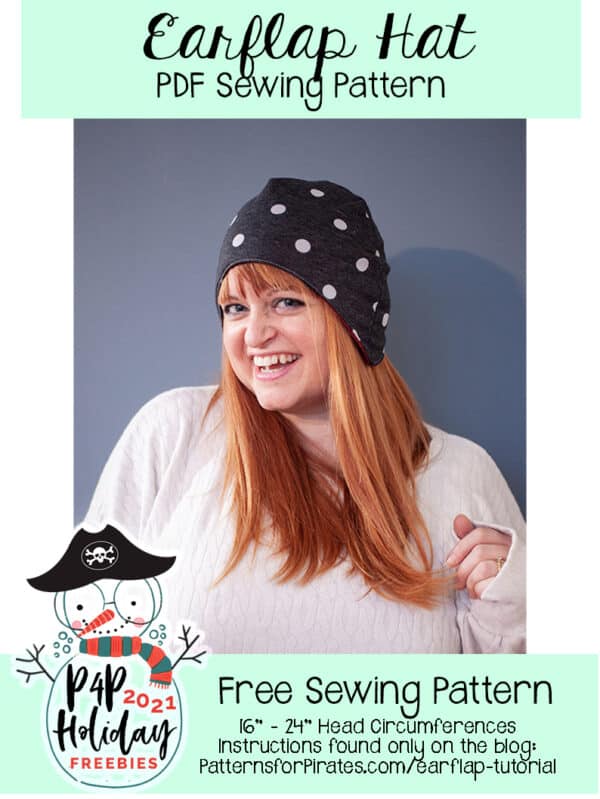
  • Free Ear Flap Hat
    Free Ear Flap Hat
    Add to cart
  • Free Scrunchie Crown
    Free Scrunchie Crown
    Add to cart
  • Free Fingerless Gloves
    Free Fingerless Gloves
    Add to cart

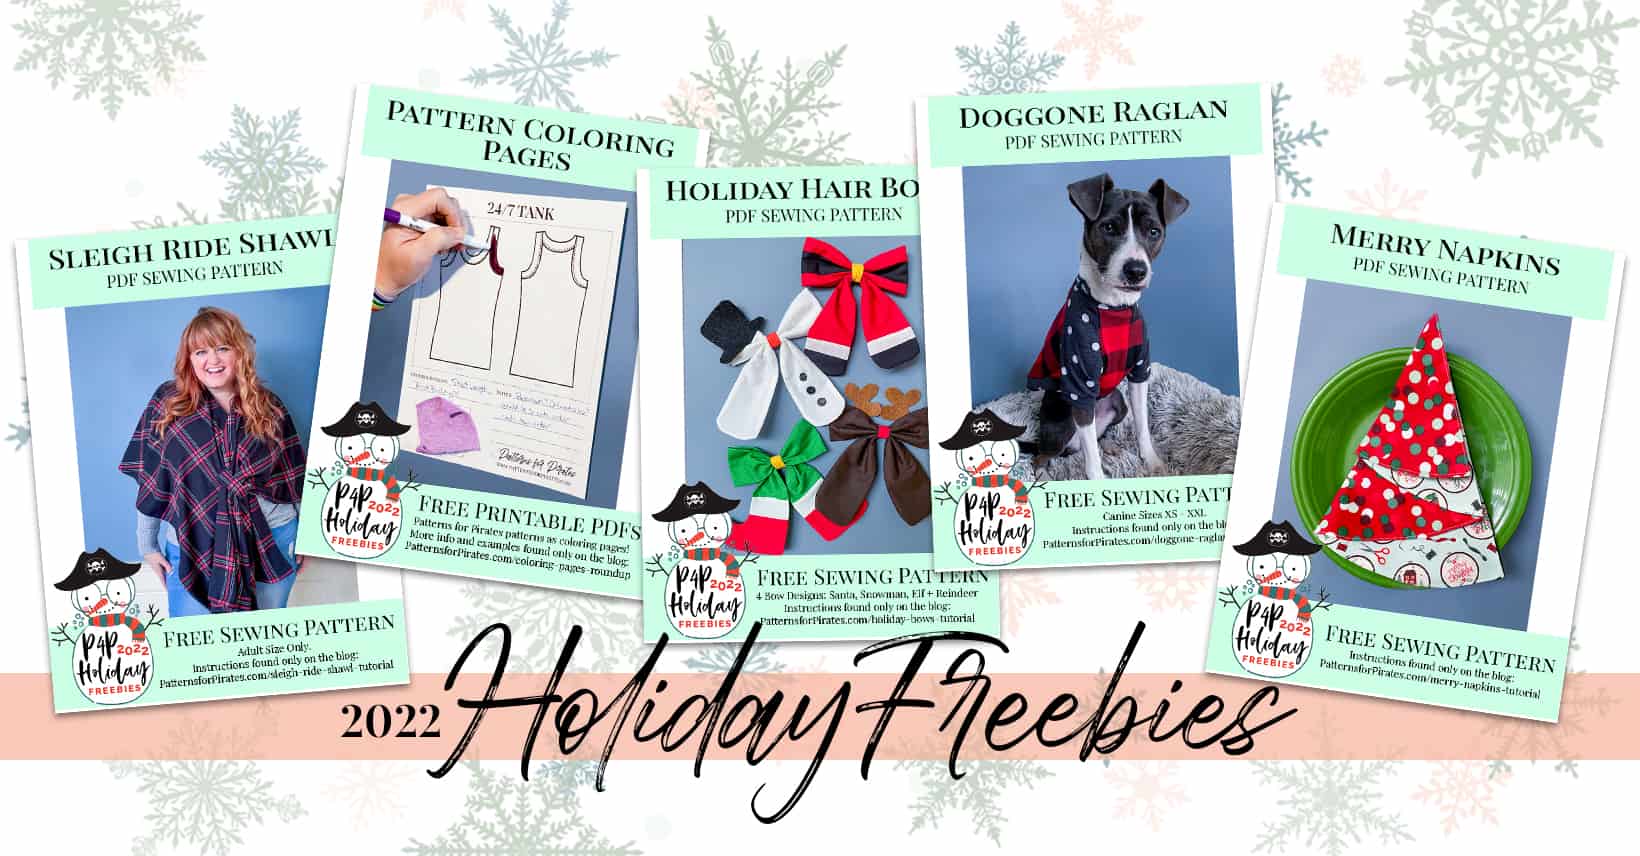
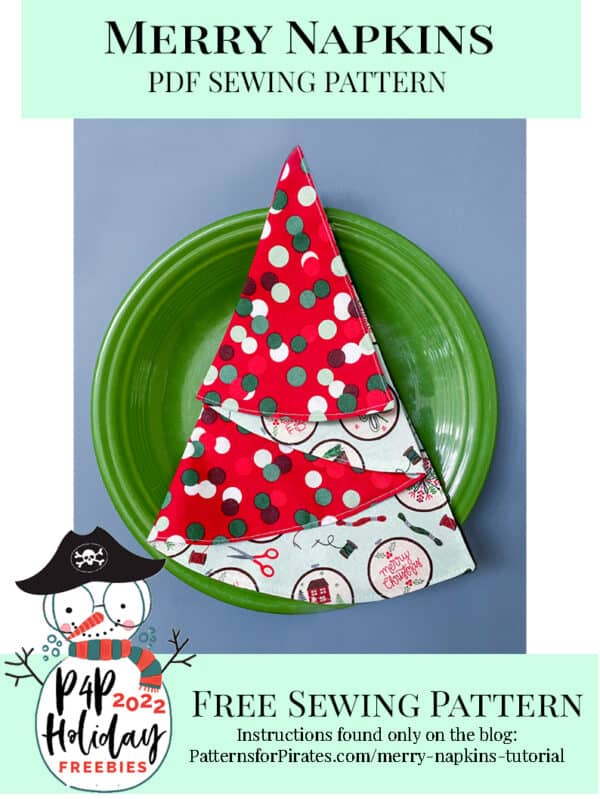
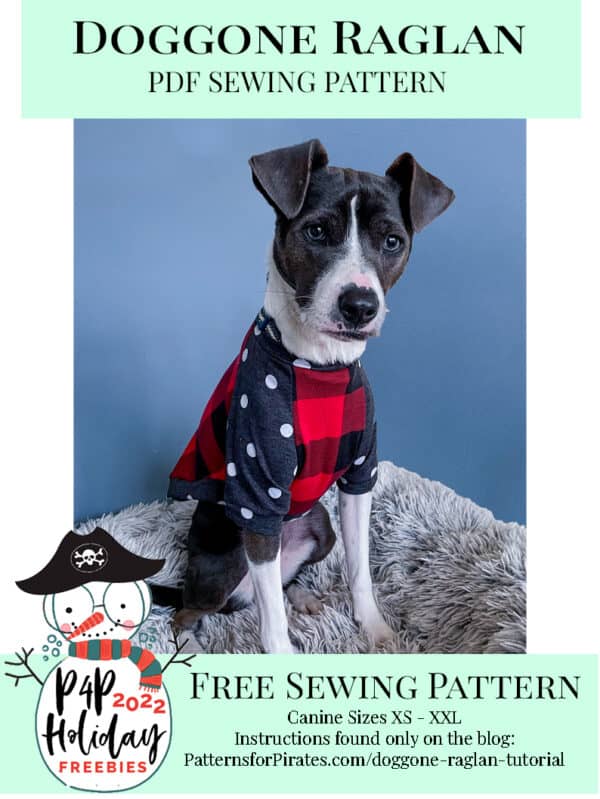
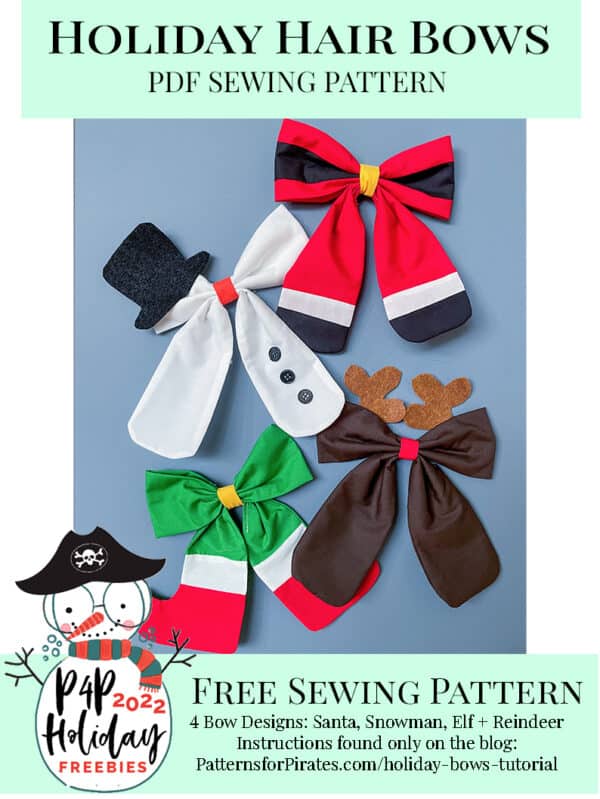
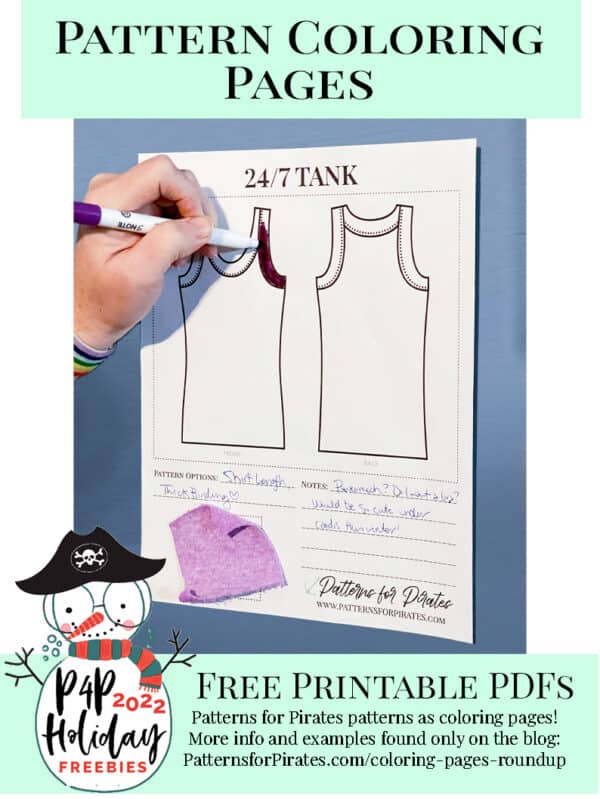
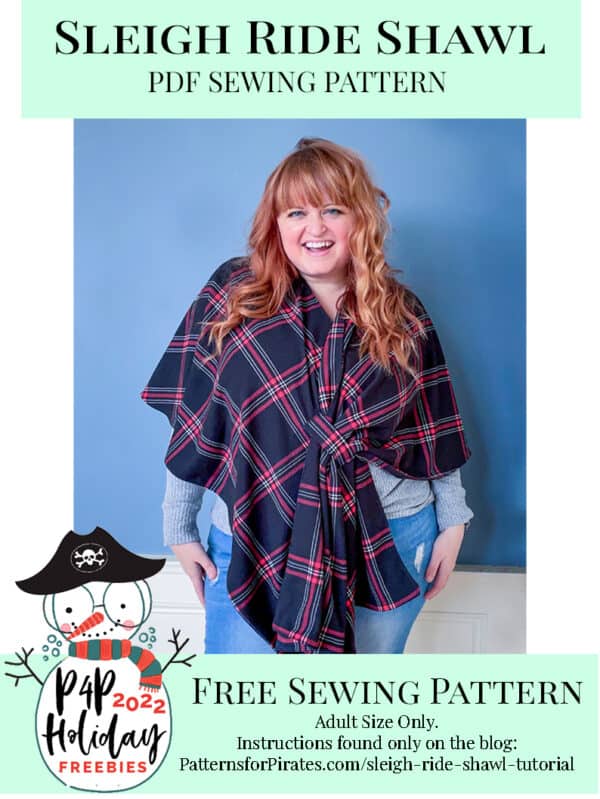
2022: SLEIGH RIDE SHAWL | PATTERN COLORING PAGES | HOLIDAY HAIR BOWS | DOGGONE RAGLAN | MERRY NAPKINS

  • Free Merry Napkins
    Free Merry Napkins
    Add to cart
  • Free Doggone Raglan
    Free Doggone Raglan
    Add to cart
  • Free Holiday Hair Bows
    Free Holiday Hair Bows
    Add to cart
  • Free P4P Pattern Coloring Pages
    Free P4P Pattern Coloring Pages
    Buy product
  • Free Sleigh Ride Shawl
    Free Sleigh Ride Shawl
    Add to cart

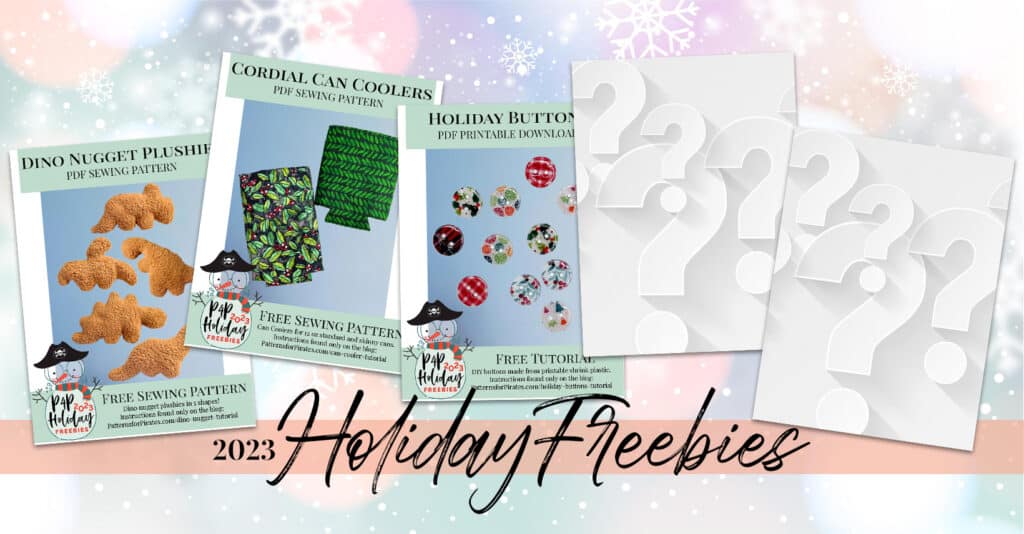
2023: DINO NUGGET PLUSHIES / CORDIAL CAN COOLERS / HOLIDAY BUTTONS / ??? / ???

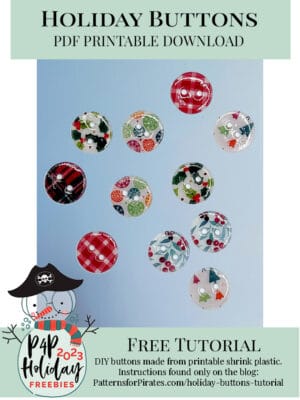
  • Free Holiday Buttons
    Free Holiday Buttons
    Add to cart
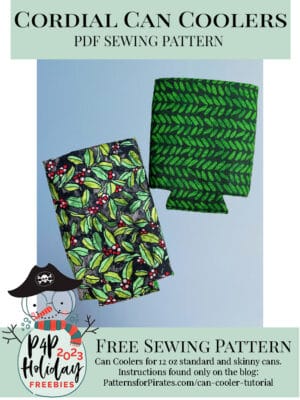
  • Free Cordial Can Coolers
    Free Cordial Can Coolers
    Add to cart
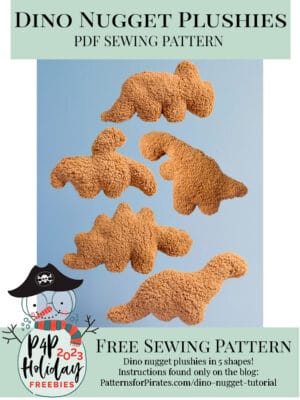
  • Free Dino Nugget Plushies
    Free Dino Nugget Plushies
    Add to cart

Filed Under: Free Pattern 2 Comments

Trick or Treat Bag :: Free Sewing Tutorial + Pattern!

October 28, 2018

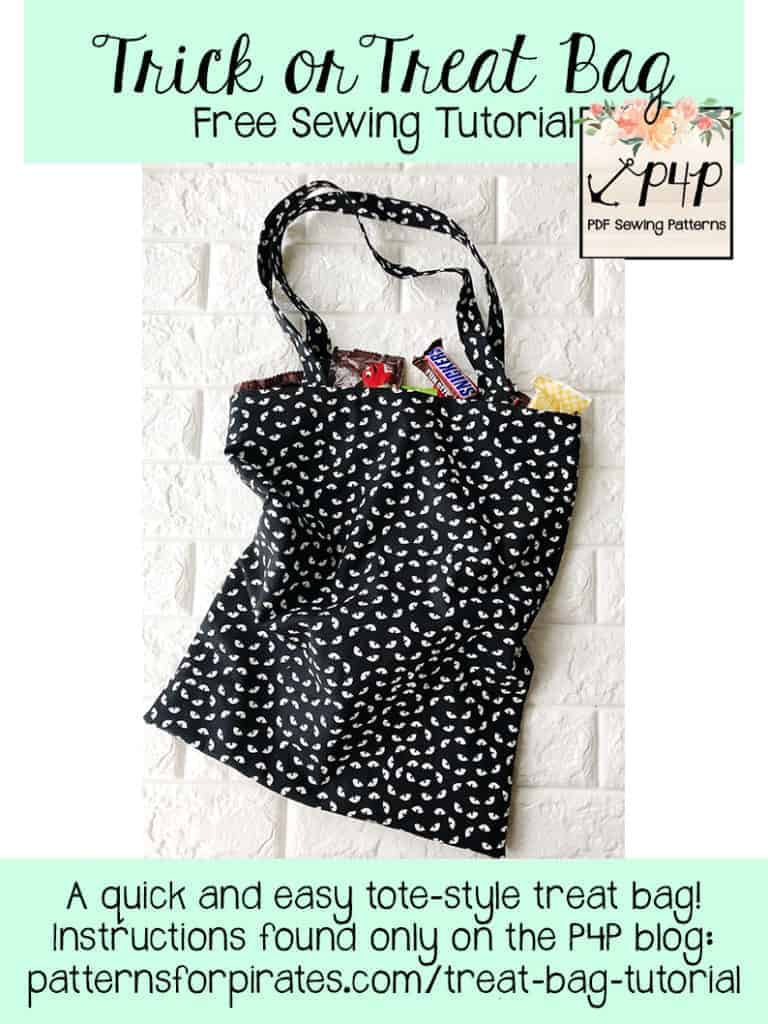
Let’s get to it, my Pirate friends!  This my favorite time of the year: HALLOWEEN!!  It’s full of kitchy decorations, creative costumes, and lots of sewing (at least for me!) and is also the start of the holiday season.

We are all treats and no tricks this year, by giving you a quick and easy Trick or Treat Bag that you can whip up in no time for your littles — or yourself!  It doesn’t take much fabric and is a great way to finally use up all of that fun cotton woven that you keep buying while browsing the fabric store, without any actual plan of what you’re going to make with it.

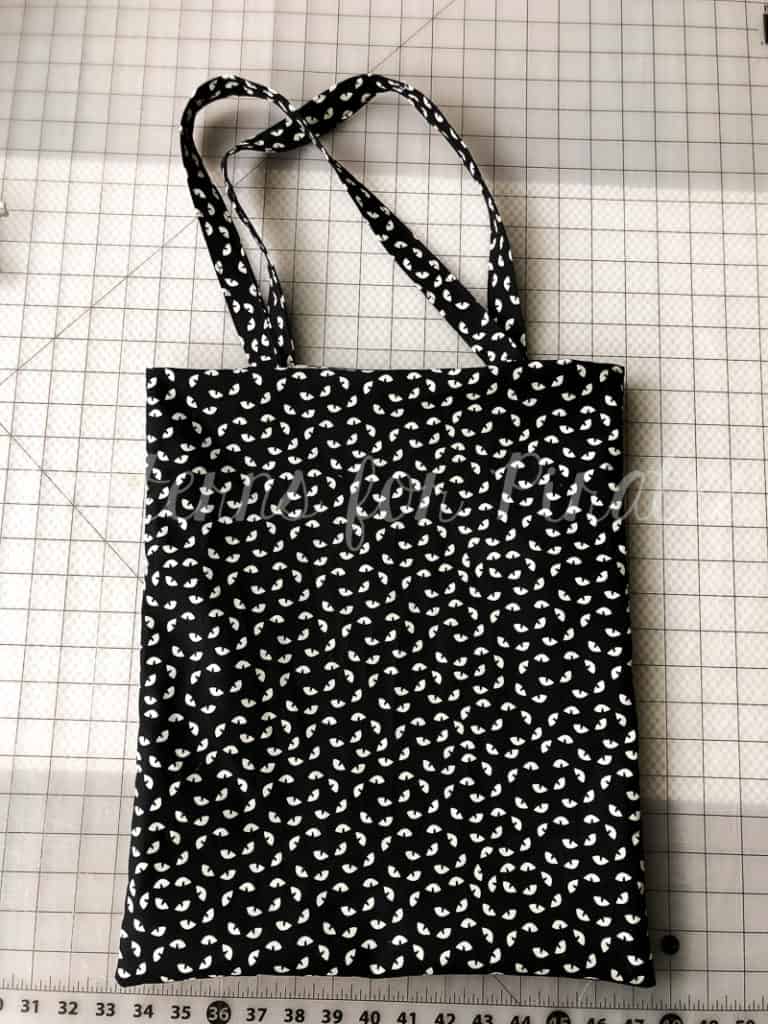
This tote is meant to be made with woven (non-stretch) fabrics.  You will need a little under 3/4 Yard of the main fabric, and 1/2 Yard of the lining fabric.  This bag ends up being reversible — so if you can’t decide between fabrics (which we couldn’t at all….the prints this time of year are SO CUTE!!), you can use it one way, and then turn it inside out and use it again.  It’s like two bags in one!

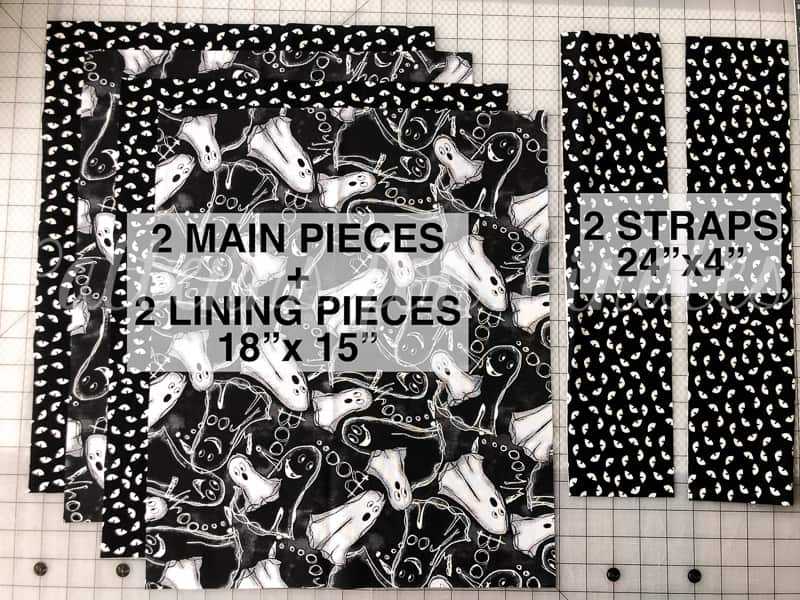
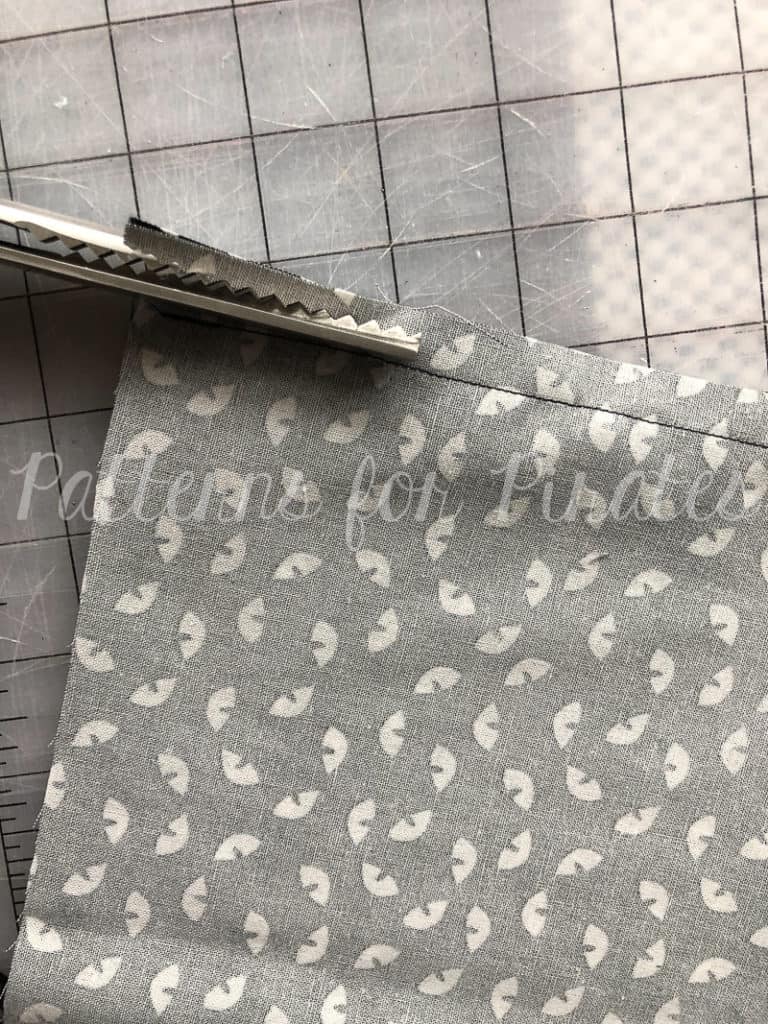
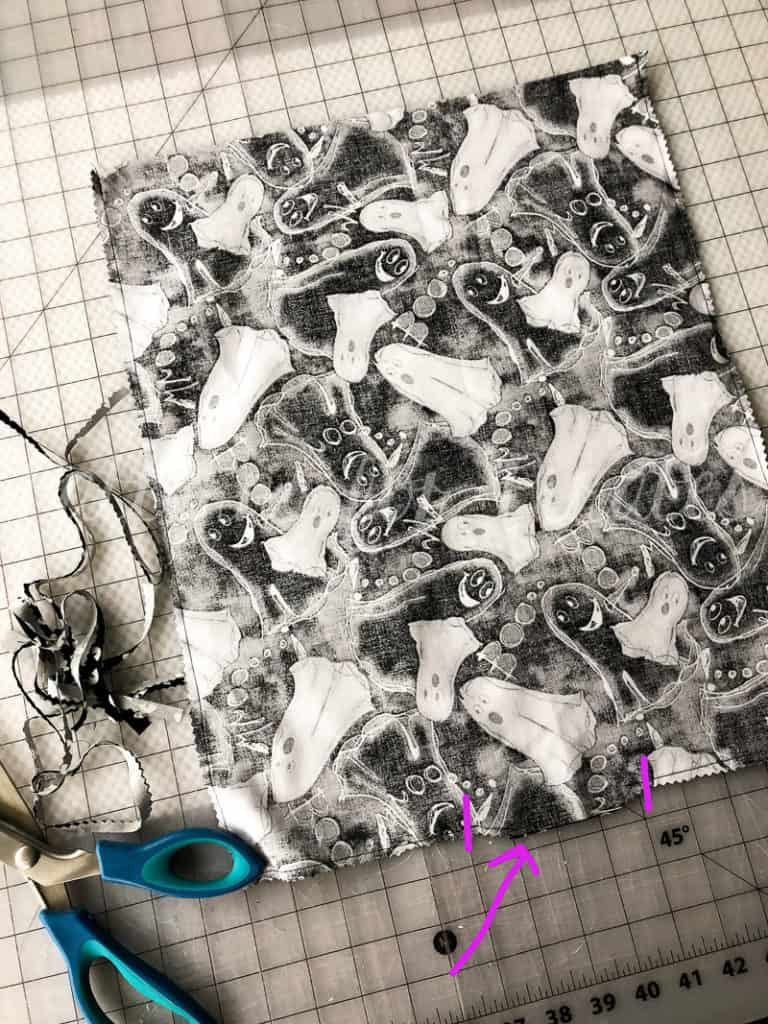
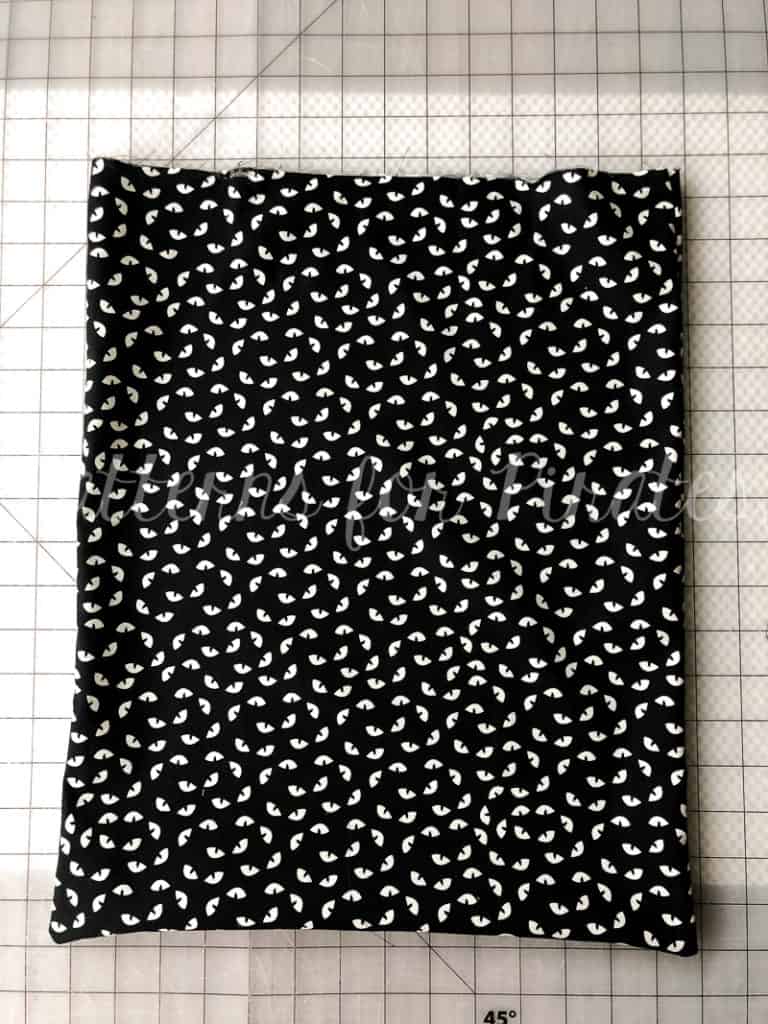
Step 1: Cut 2 Main Fabric pieces and 2 Lining Pieces 18″ long x 15″ wide.  Cut 2 Straps 24″ long x 4″ wide.

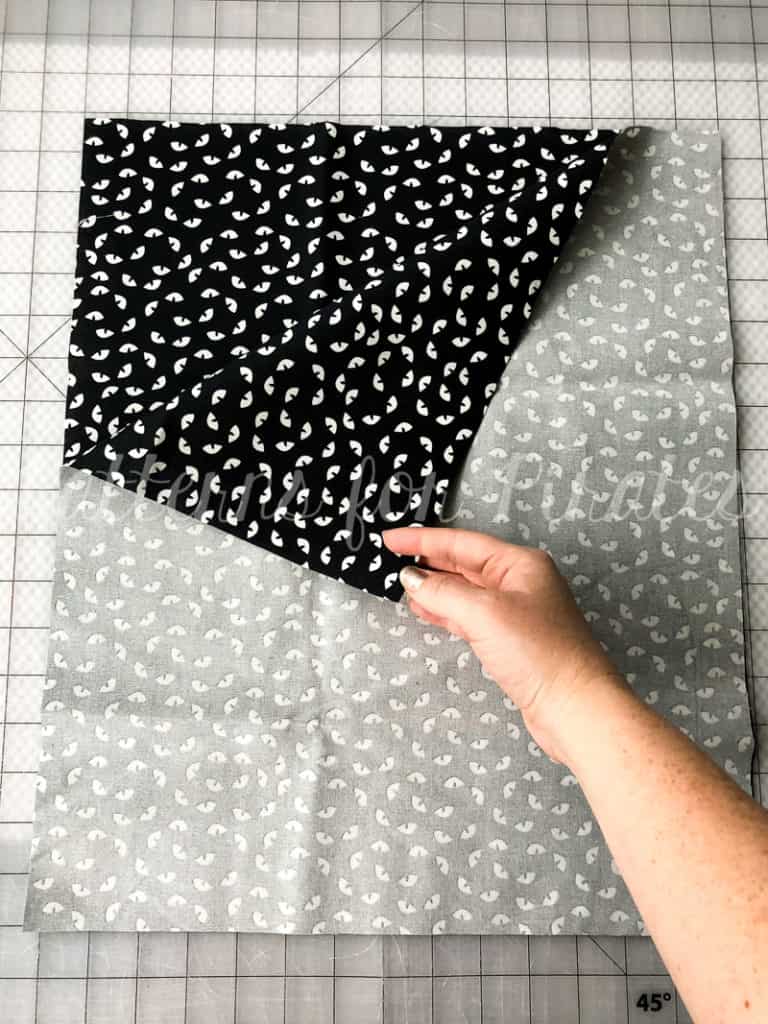
Step 2: Lay main bag pieces, right sides together.

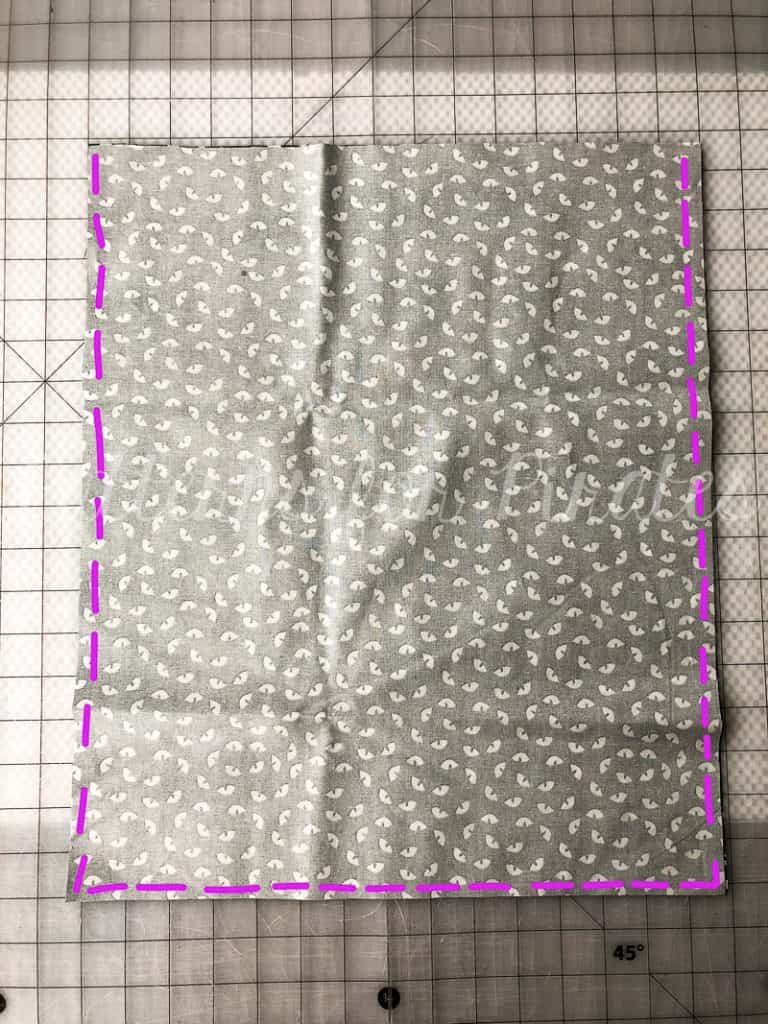
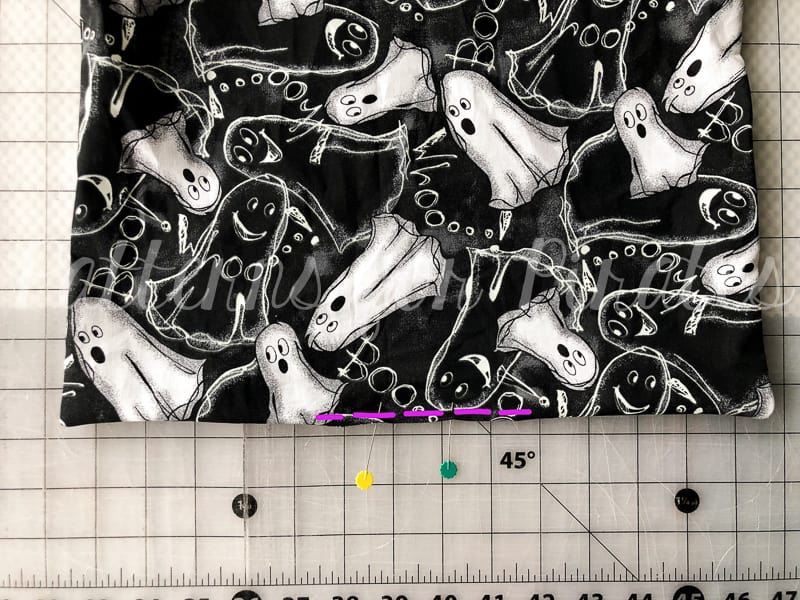
Step 3: Using 1/2″ seam allowance, sew along the side and bottom edges.

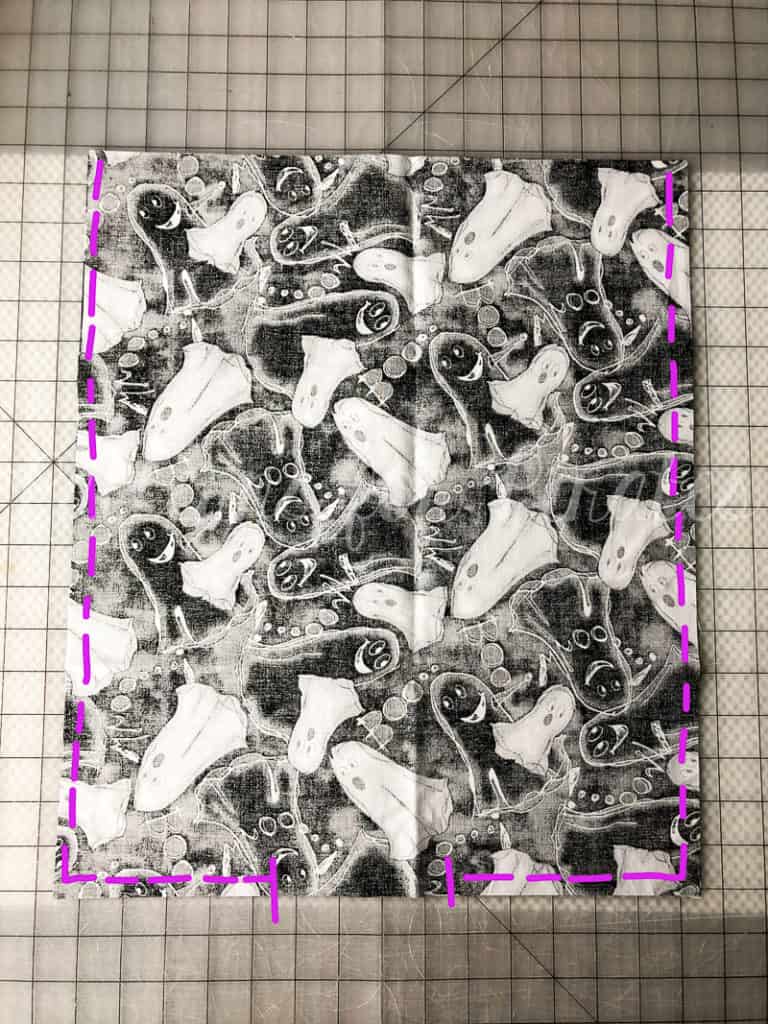
Step 4: Repeat Steps 2 + 3 with lining fabric, only this time leaving a 3-4″ opening in the middle bottom for turning.

Step 5: Trim seam allowances and corners on both main and lining pieces.  Be careful not to clip through your seams, and leave the allowance on the opening of the lining piece.  Set aside main and lining bag pieces for now.

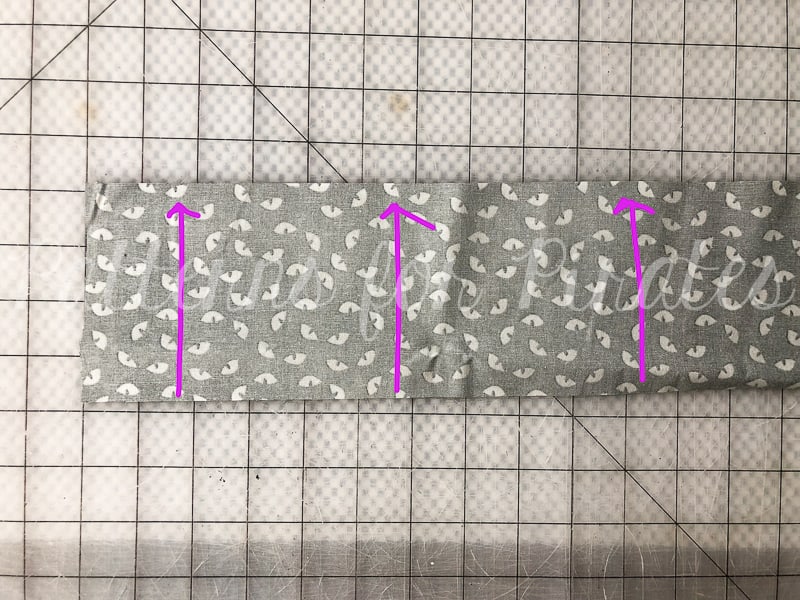
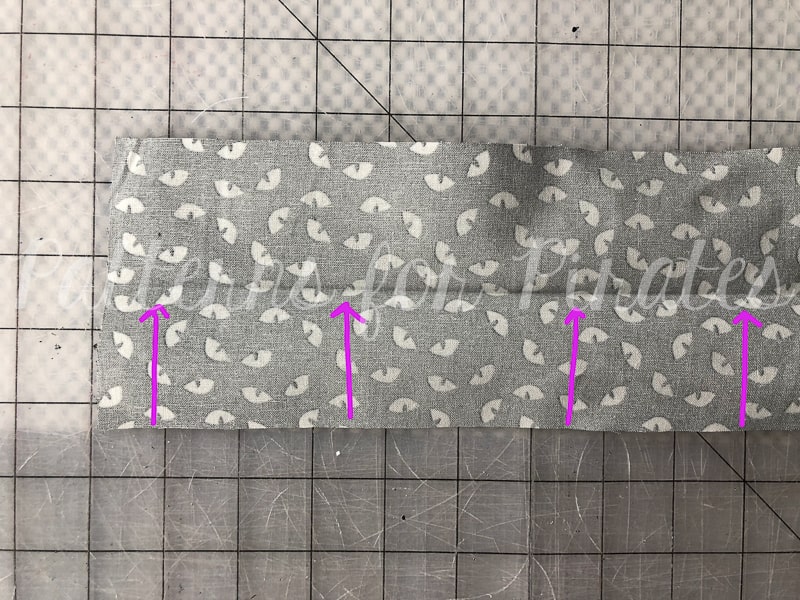
Step 6: With one of your strap pieces, lay with wrong side facing you.  Fold in half, meeting the long edges together.  Press.

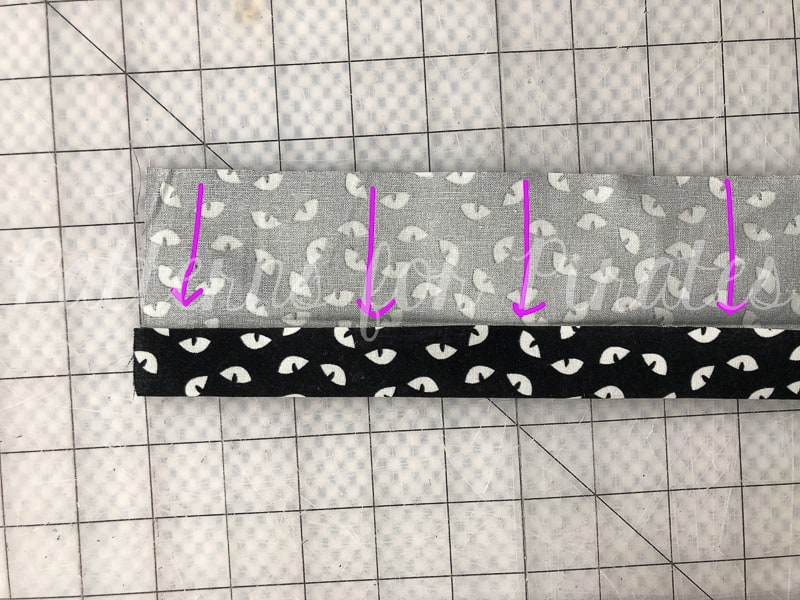
Step 7: Open up your piece and fold one of the raw edges toward the middle crease you just made.

Step 8: Repeat with the second raw edge. Press.

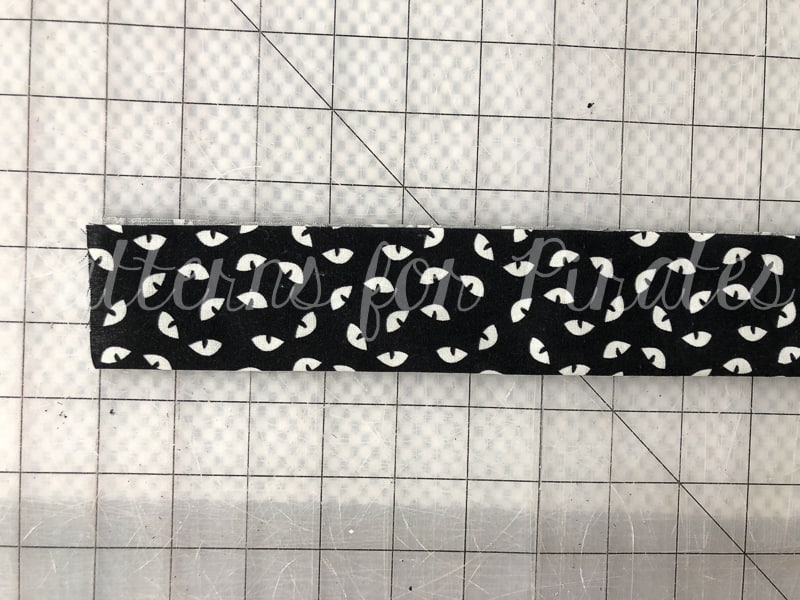
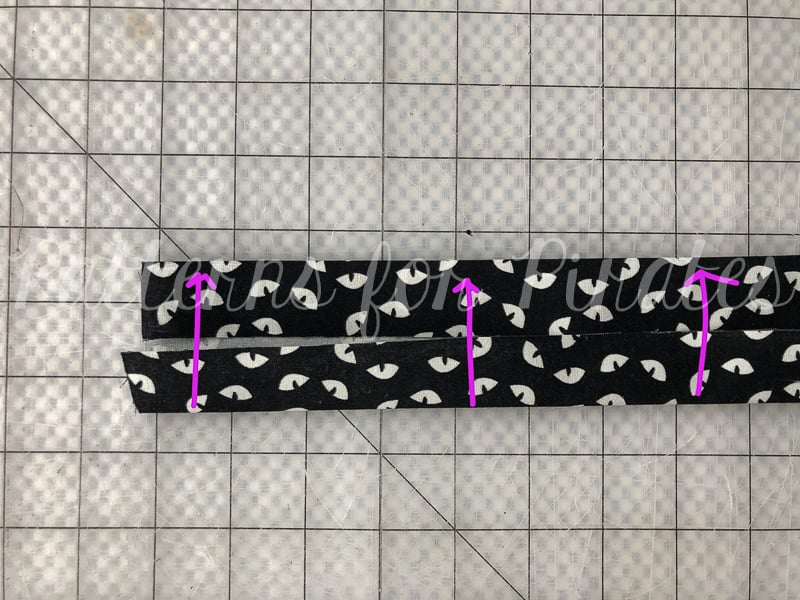
Step 9: Fold along middle crease, meeting both folded edges. All of your raw edges will be fully enclosed now.

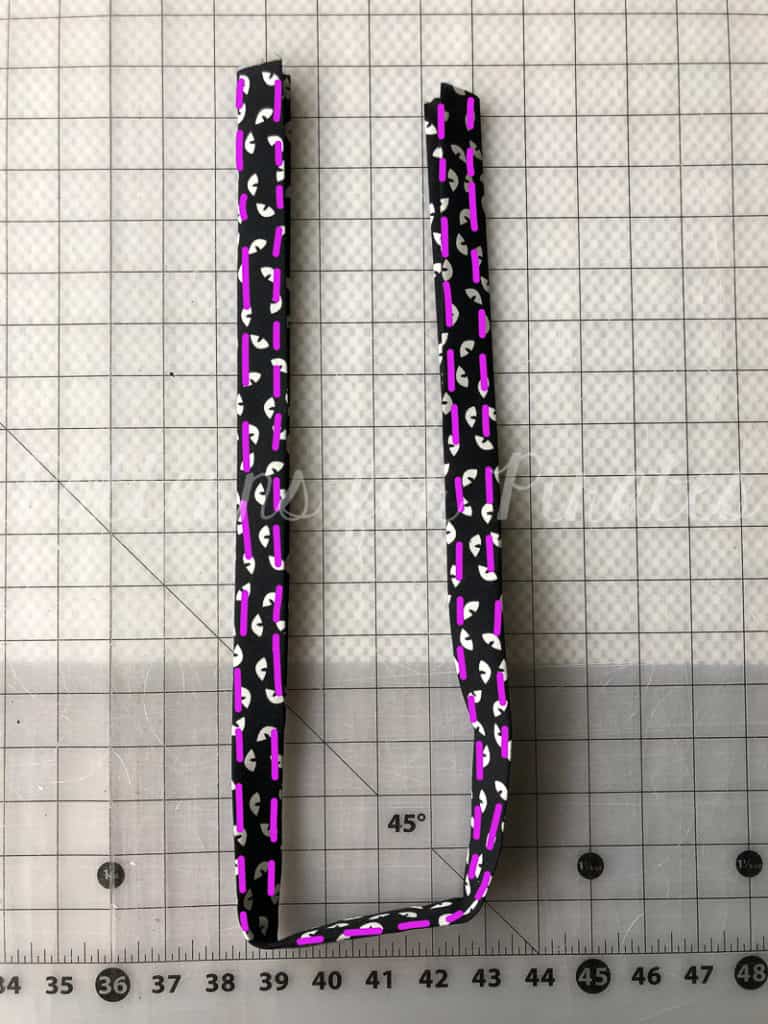
Step 10: Press you strap piece.  Then edge stitch along both long, outer edges.  Repeat with second strap.

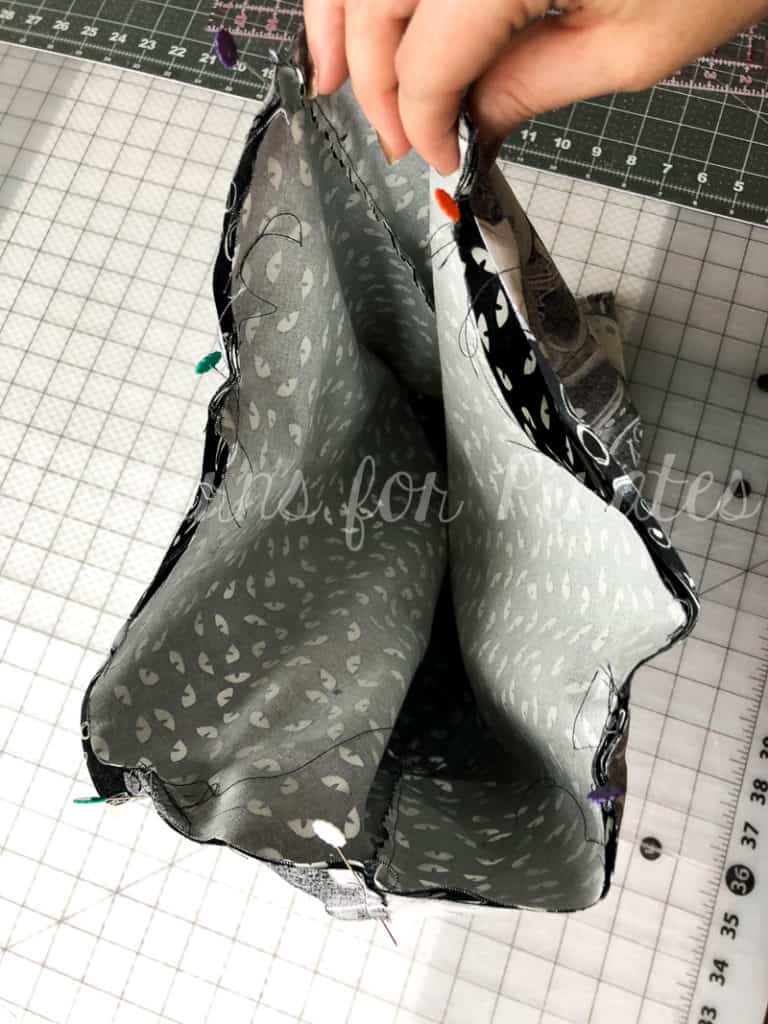
Step 11: Grab your main bag piece and turn right sides out.

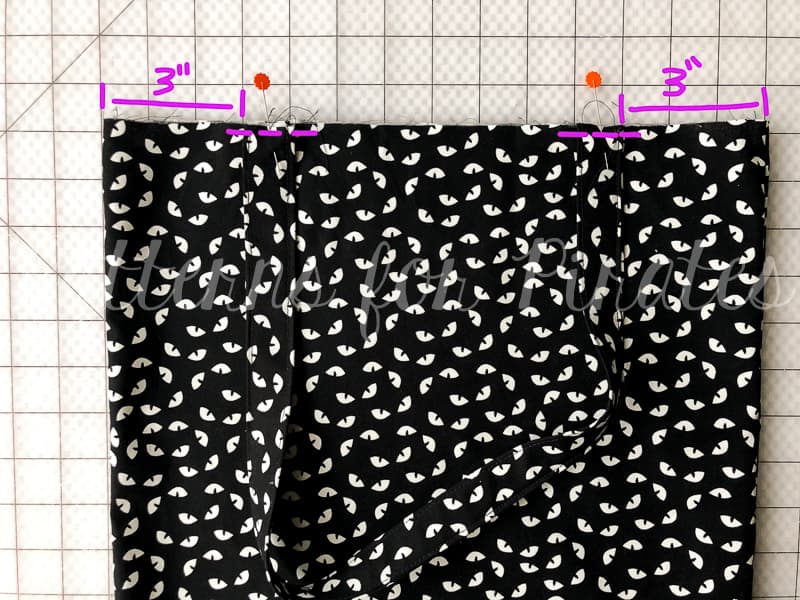
Step 12: Careful not to twist your strap, pin raw edges in place, measuring 3″ from the edge of your bag.  Baste, using 1/4″ allowance.  Repeat on other side of main bag piece, using the other strap.

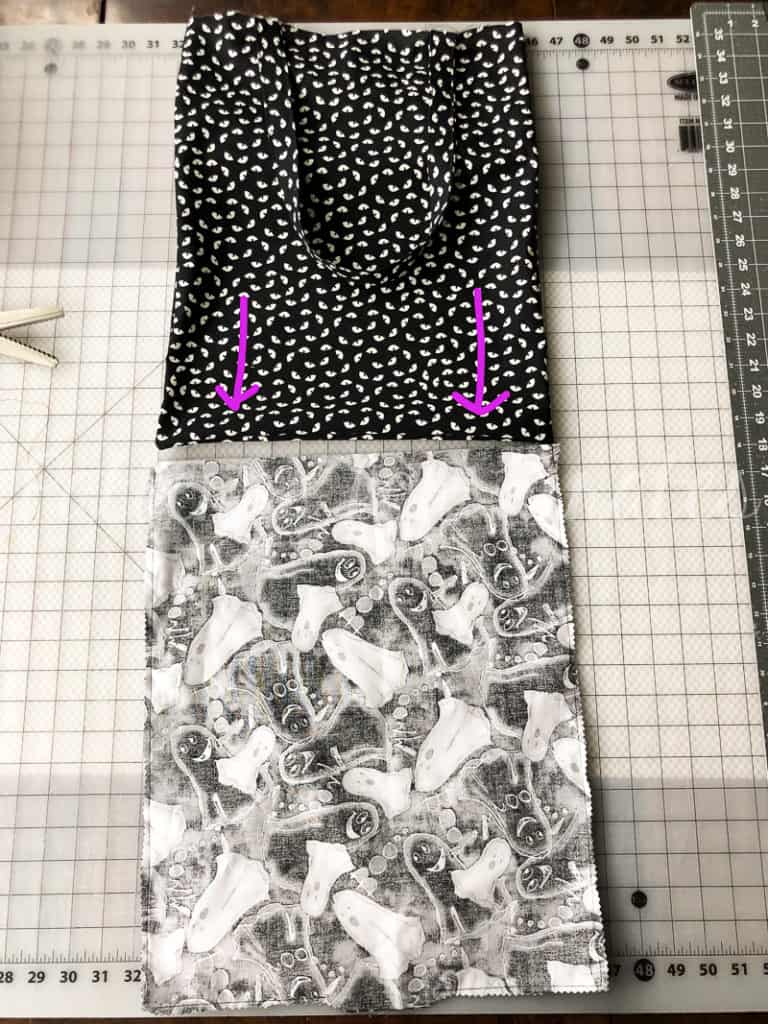
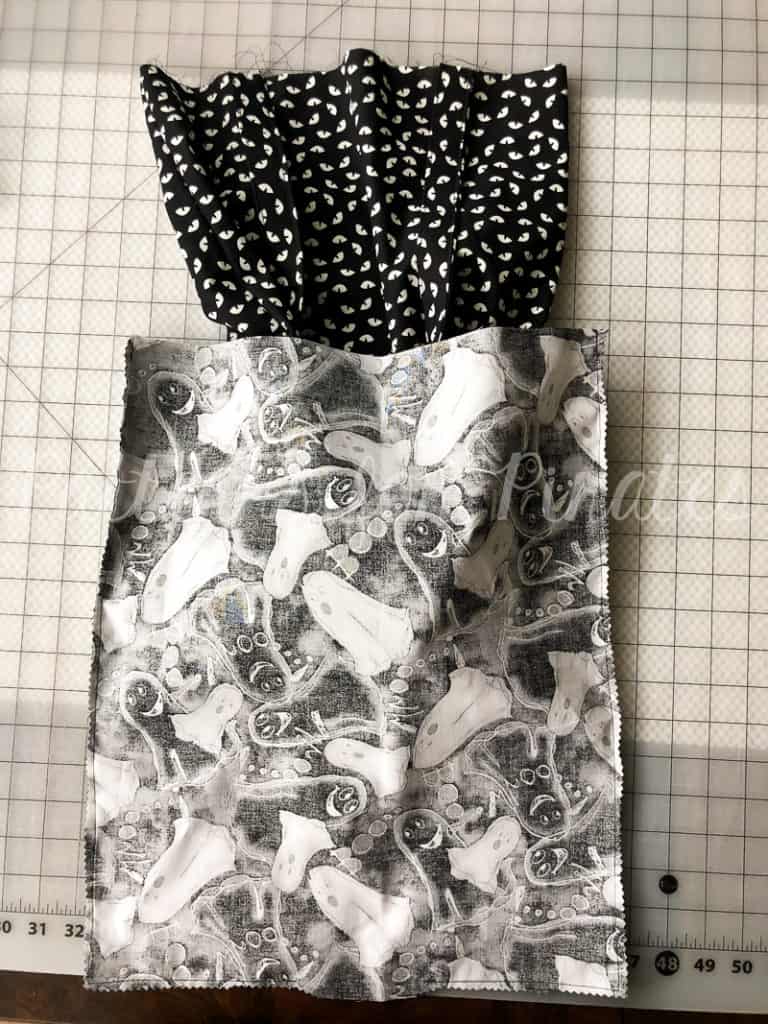
Step 13: With your main bag piece (with straps now basted onto it) right sides out, and lining piece wrong sides out, slide the main bag inside of the lining.

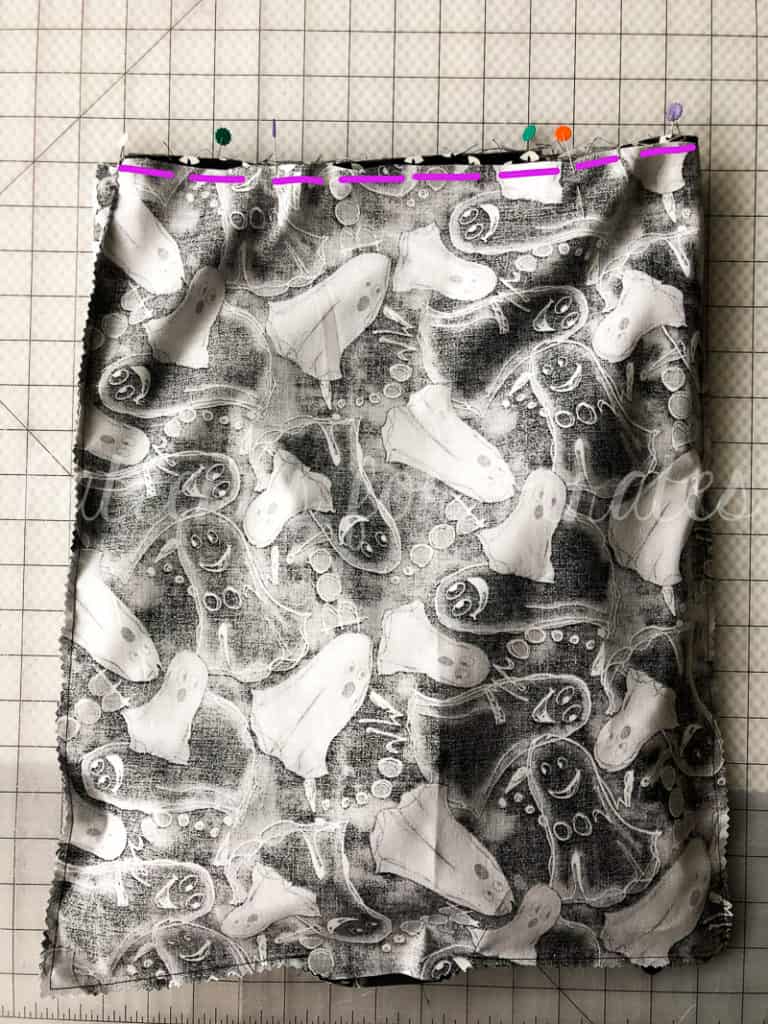
Step 14:  Align raw edges and seams, and pin in place.

Step 15: Using 1/2″ seam allowance, stitch around entire top edge of bag.

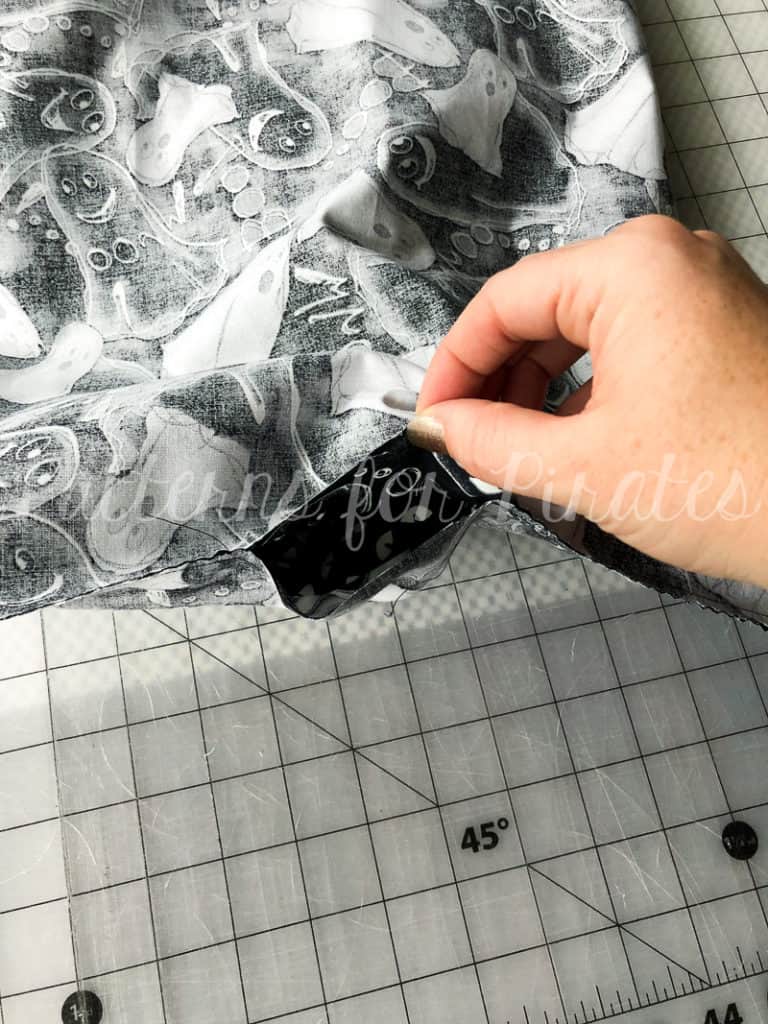
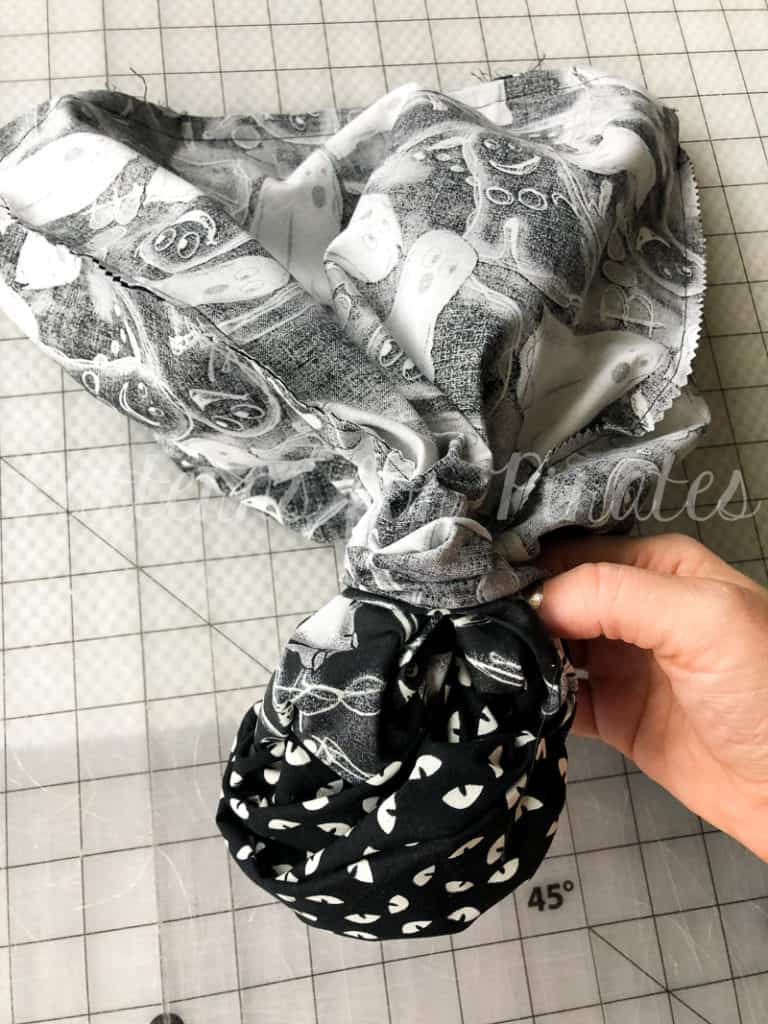
Step 16: Through the opening that we left in the bottom of the lining piece, turn your bag right sides out.

Step 17: Using your favorite stitch (I recommend doing a blind hand stitch), close the opening in the bottom of the lining piece.

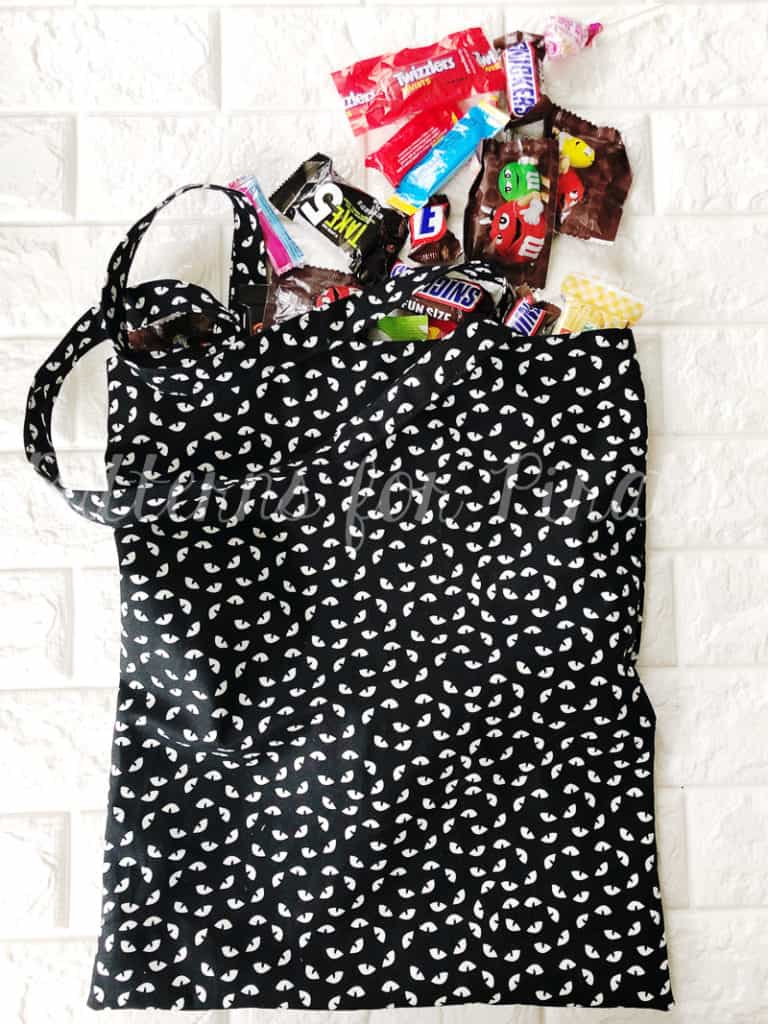
Step 18: Push lining inside of the main bag piece, press, and admire your new handiwork before your littles steal it and fill it with candy this Halloween!

Happy Halloween, friends!  I’m loving all of the costume photos that have been rolling in so far.  Can’t wait to see the rest of them (hopefully with some new P4P Trick or Treat bags in tow!)

Filed Under: Free Pattern 4 Comments

FREE Tulip Tee Pattern + 100k Sale-A-Bration Day 5!

September 14, 2018

Welcome back to our fourth day of the 100K Sale-A-Bration, pirates!

In case you missed the announcement or the freebies that have been released so far, here they are!
100K Sale-A-Bration + Grand Prize Giveaway | Free Convertible Cover Pattern | Free Mom/Girl Power Cut Files | Free Tiny Tulip Tee Pattern

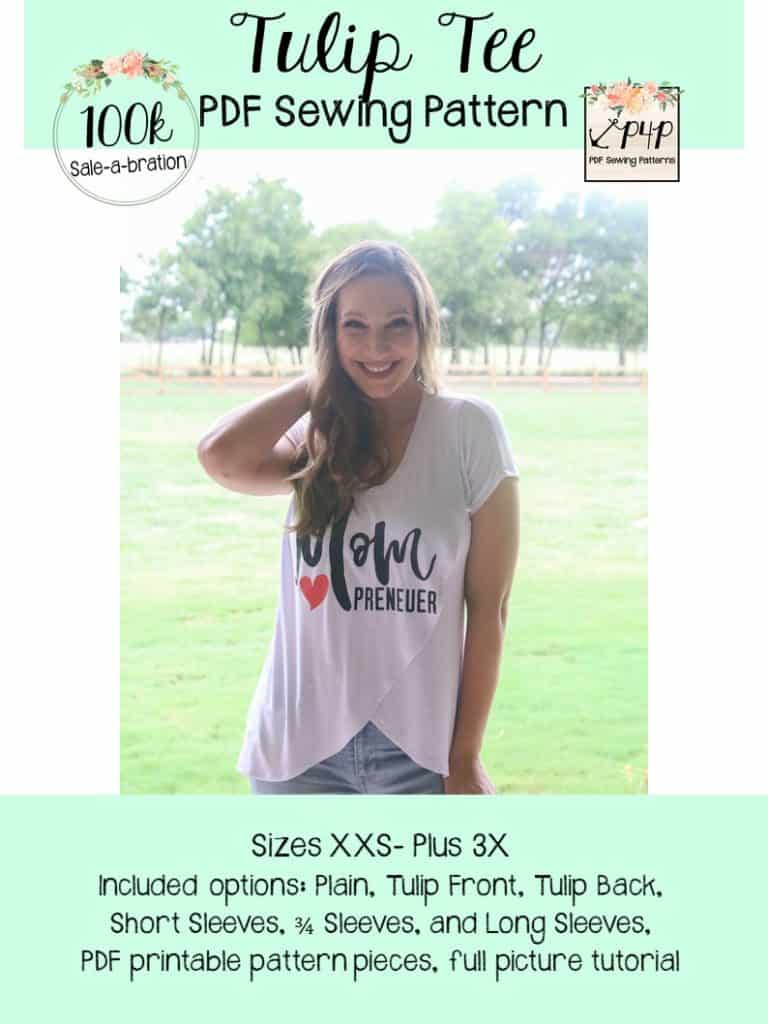
Did you really think we’d make an adorable tee pattern for the girls and not one for women too?  Obviously the ladies needed a Tulip Tee too and today’s free pattern is just that!  Whoop whoop!

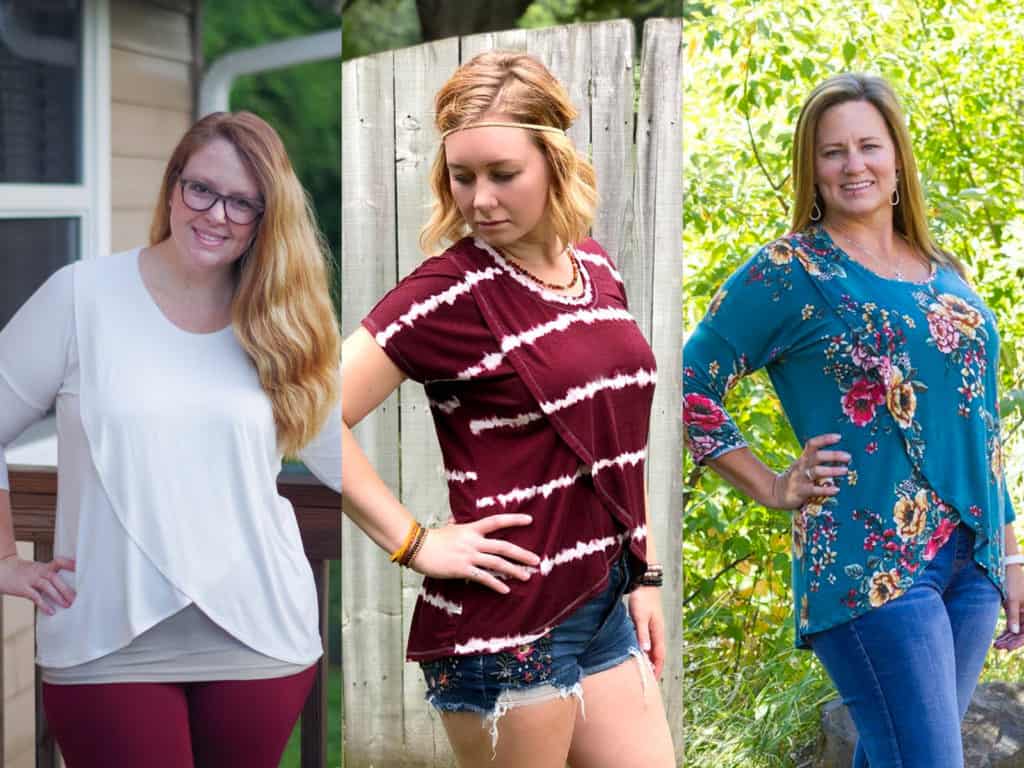
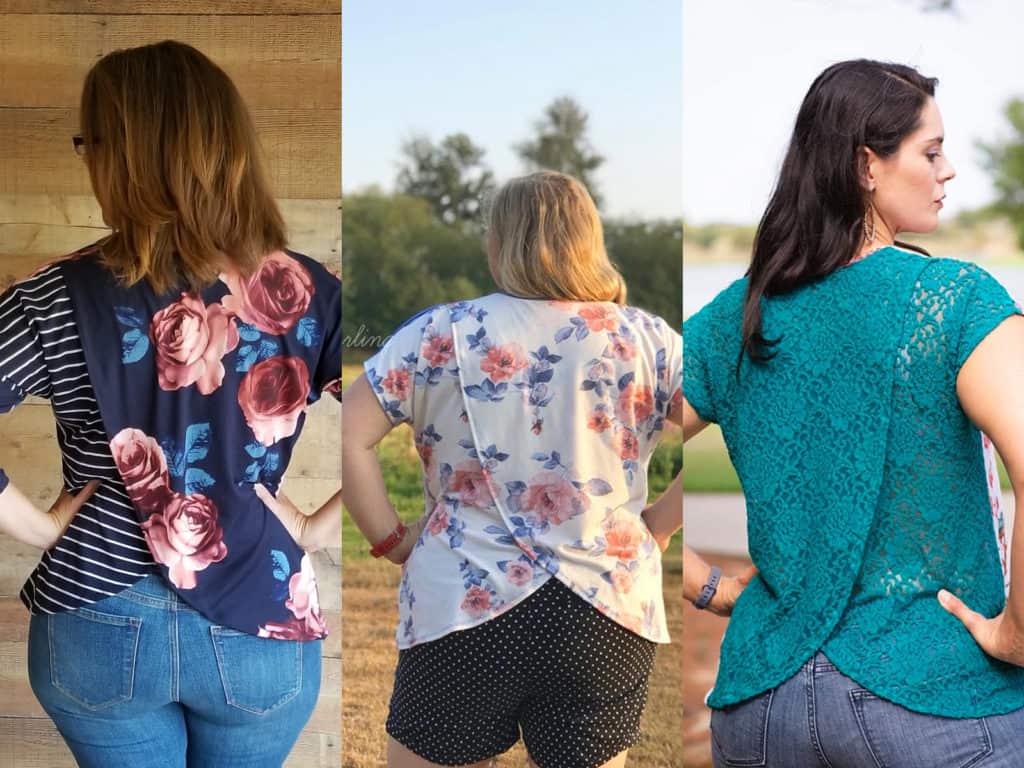
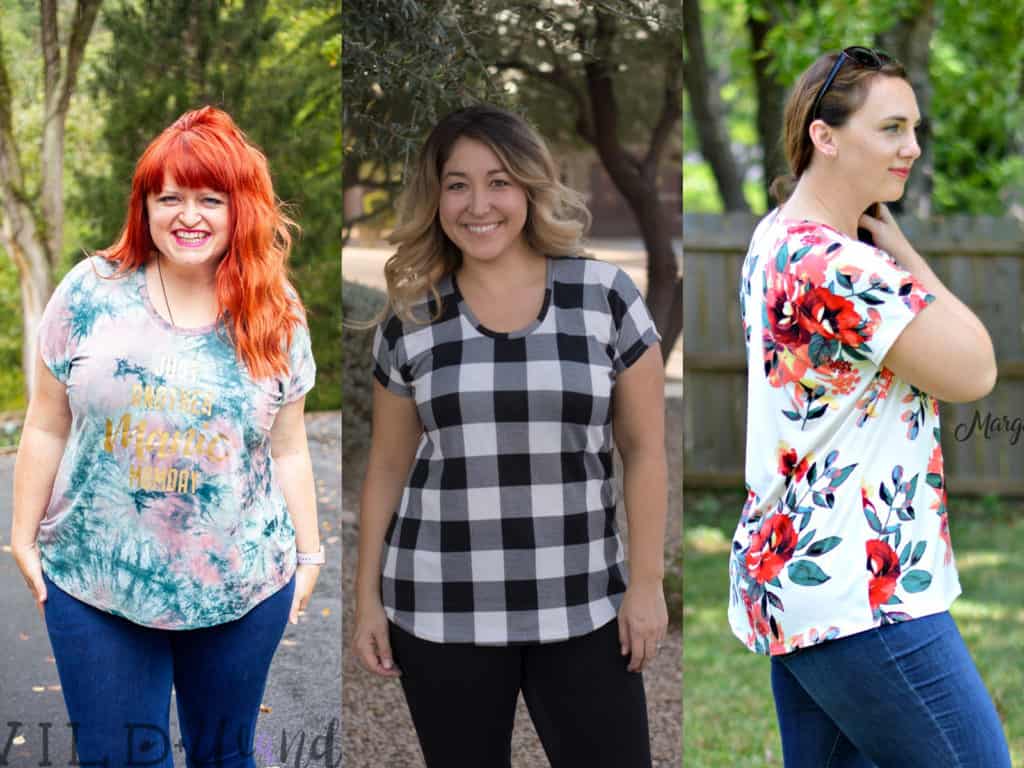
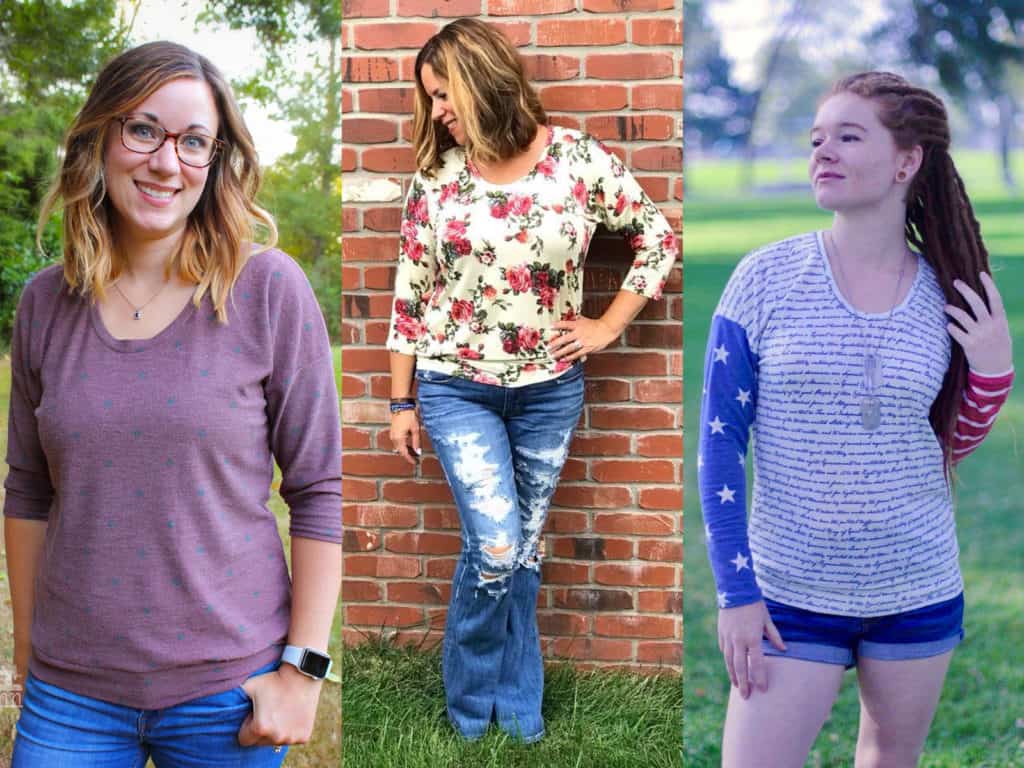
The Tulip Tee is a beginner knit pattern in a simple dolman style.  The tulip front and back options are so fun and on trend and it can be a perfect staple for anyone’s wardrobe!   It includes four bodice styles (tulip front, tulip back, tshirt hem and banded hem), 3 sleeve lengths (short, 3/4 and long), and covers womens sizes XXS – Plus 3X!  This top is a looser fitting tee.  The tulip options will give it a little more swing and feel looser than the plain option.  A fabric with good drape is recommended, for the tulip options especially, so the curves drape down to the body rather than tenting outwards.  (Favorite fabric picks would be rayon / modal / bamboo spandex blends, triblends, ITY, sweater knits, and rayon blend french terry.)  The top is a shirt length that hits toward the lower part of the booty in the back, and mid rise on the front.  It’s the perfect length for shorts, or to lengthen around an inch if you plan on pairing it with leggings.  The tulip curves hit right at the waistband of a high-rise bottom (jeans or leggings), but is easy to lengthen to your preference!

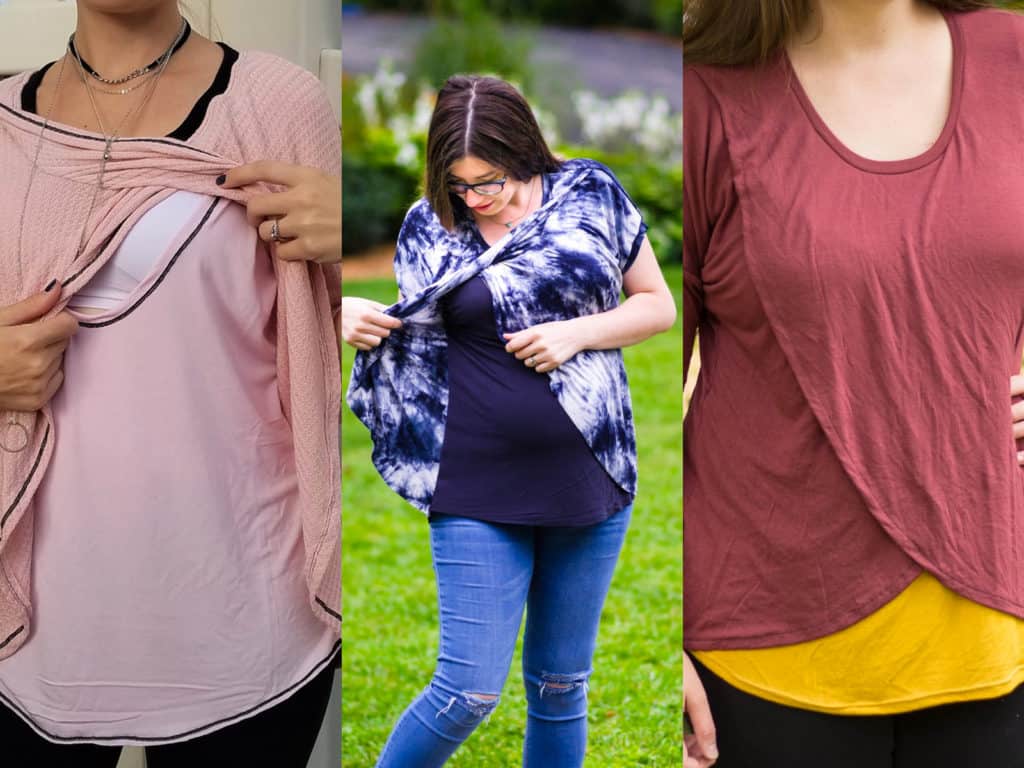
It’s also a perfect top for nursing mommas….which is why we also included a nursing under layer that gives coverage for nursing mamas while still looking stylish and feeling comfortable.

**Want to learn more about how to measure yourself / your little one for this pattern?  We’ve got you covered with an in-depth blog HERE.  And in case you’re new to Patterns for Pirates and PDF patterns in general, we have a great blog full of new user tips HERE to help you get started!  And, as with all of our current releases and updates, the pdfs now include our layers feature and can be found in Letter, A4 and A0 sizes.

Let’s take a quick peek at the options!

TULIP FRONT

TULIP BACK

TSHIRT HEM

BANDED HEM

NURSING UNDER LAYER

If that’s not enough, we have a Facebook album full of tester images for more inspiration!  (And if you wait a couple of days, we have a post coming out that is full of pattern hacks to help take this freebie even further!)

Go grab your copy of the Women’s Tulip Tee now!

Also be sure to head over the Patterns for Pirates Facebook Group and enter yourself into today’s daily drawing for the 100K Sale-A-Bration

Happy Sewing, Pirates!

Filed Under: Contest/Giveaway, Free Pattern, Uncategorized 2 Comments

FREE Tiny Tulip Tee Pattern + 100k Sale-A-Bration Day 4!

September 13, 2018

Welcome back to our fourth day of the 100K Sale-A-Bration, pirates!

In case you missed the announcement or the freebies that have been released so far, here they are!
100K Sale-A-Bration + Grand Prize Giveaway | Free Convertible Cover Pattern | Free Mom/Girl Power Cut Files 

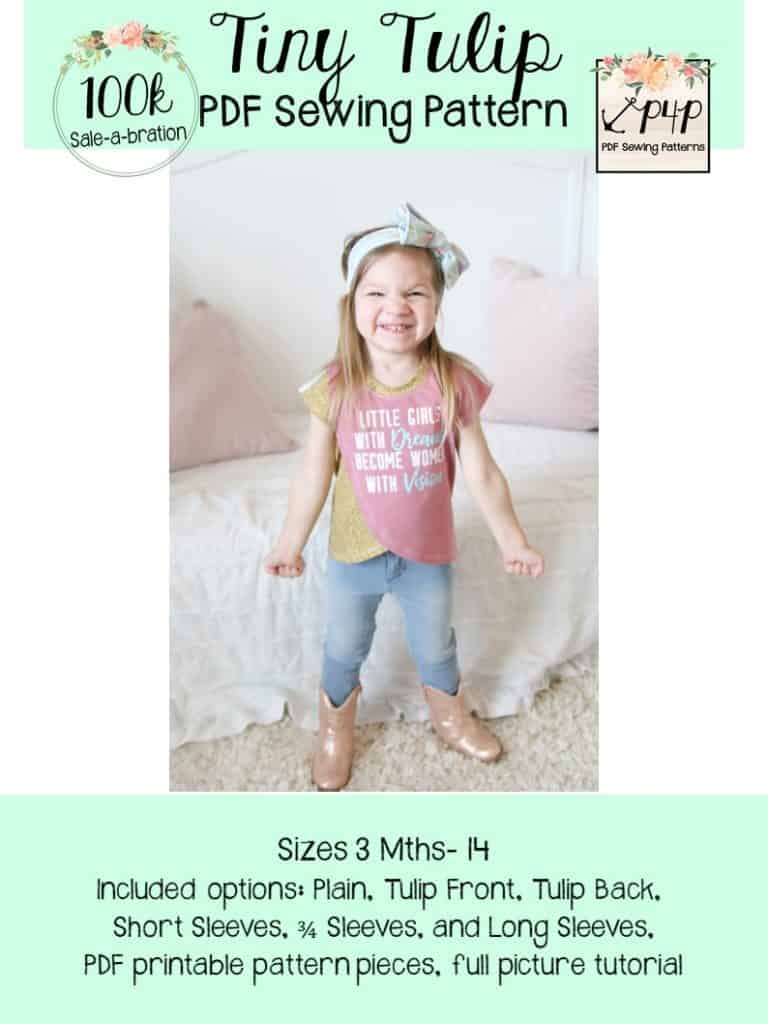
Today is another fun one because we are giving you a FREE (!!) girl’s tee sewing pattern!  Let’s welcome the Tiny Tulip pattern to our P4P family!

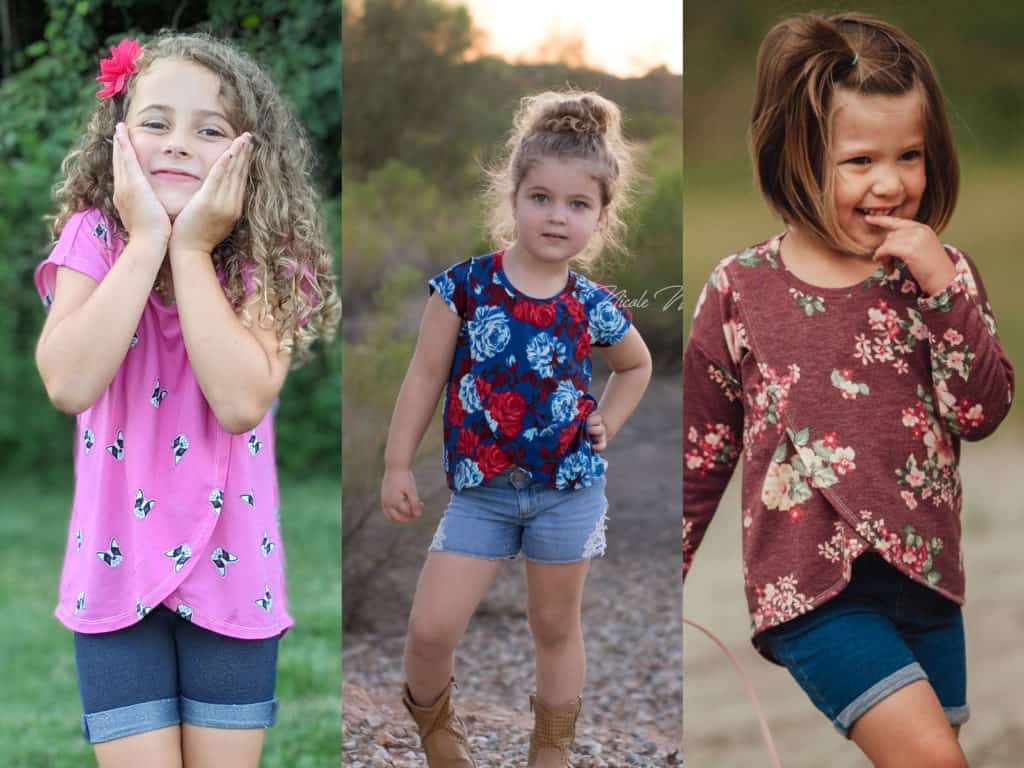
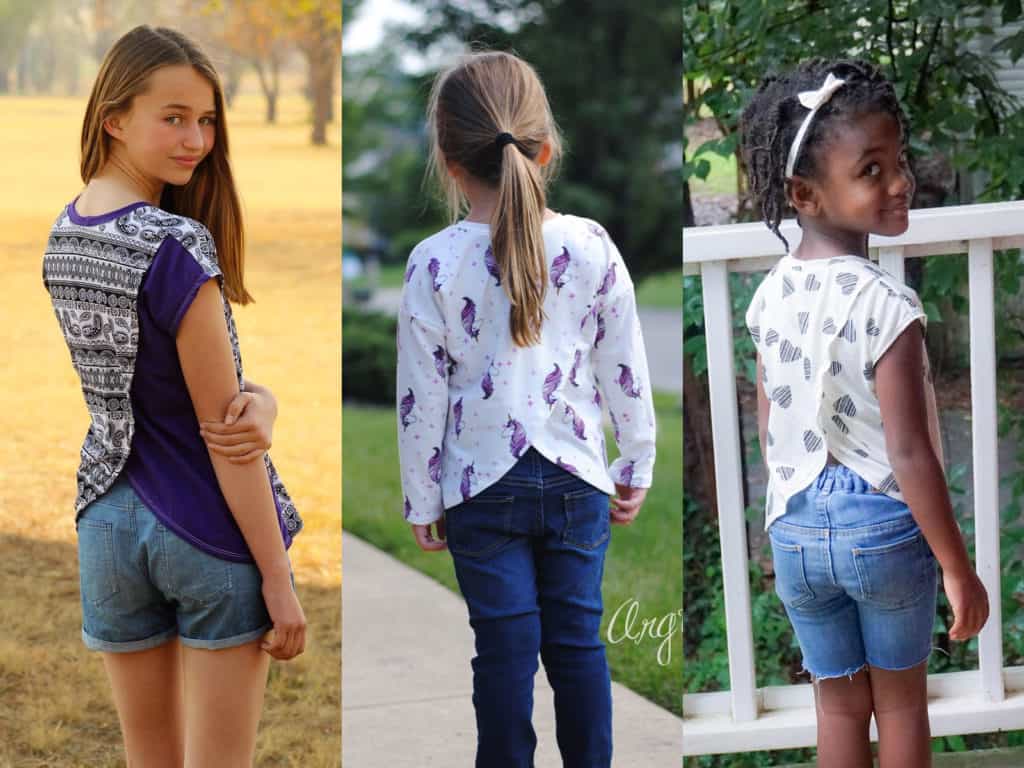
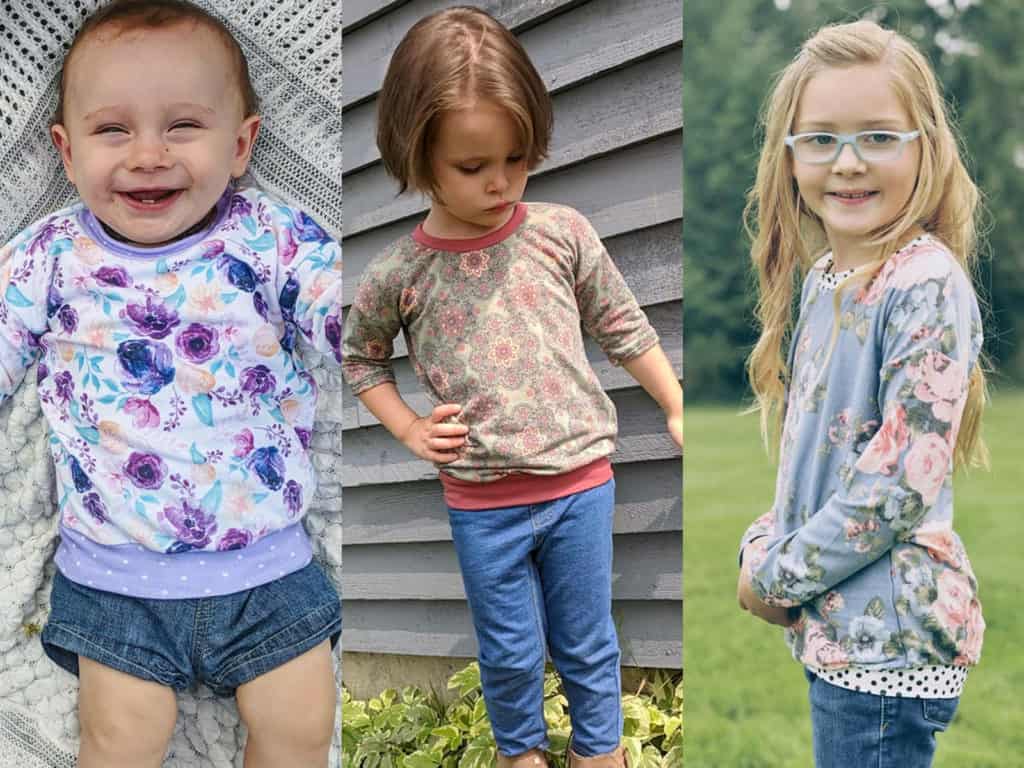
The Tiny Tulip tee is a beginner knit pattern in a simple dolman style.  The tulip front and back options are so fun and on trend and it can be a perfect staple for anyone’s wardrobe!   It includes four bodice styles (tulip front, tulip back, tshirt hem and banded hem), 3 sleeve lengths (short, 3/4 and long), and covers sizes 3M – 14!  This top is a looser fitting tee.  The tulip options will give it a little more swing and feel looser than the plain option.  A fabric with good drape is recommended, for the tulip options especially, so the curves drape down to the body rather than tenting outwards.  (Favorite fabric picks would be rayon / modal / bamboo spandex blends, triblends, ITY, sweater knits, and rayon blend french terry.)  The top is a shirt length that hits toward the lower part of the booty in the back, and mid rise on the front.  It’s the perfect length for shorts, or to lengthen around an inch if you plan on pairing it with leggings.  The tulip curves hit right at the waistband of a high-rise bottom (jeans or leggings), but is easy to lengthen to your preference!

**Want to learn more about how to measure yourself / your little one for this pattern?  We’ve got you covered with an in-depth blog HERE.  And in case you’re new to Patterns for Pirates and PDF patterns in general, we have a great blog full of new user tips HERE to help you get started!  And, as with all of our current releases and updates, the pdfs now include our layers feature and can be found in Letter, A4 and A0 sizes.

Let’s take a quick peek at the options!

TULIP FRONT

TULIP BACK

TSHIRT HEM

BANDED HEM

If that’s not enough, we have a Facebook album full of tester images for more inspiration!  (And if you wait a couple of days, we have a post coming out that is full of pattern hacks to help take this freebie even further!)

Go grab your copy of the Tiny Tulip Tee now!

Also be sure to head over the Patterns for Pirates Facebook Group and enter yourself into today’s daily drawing for the 100K Sale-A-Bration

Happy Sewing, Pirates!

Filed Under: Contest/Giveaway, Free Pattern, Pattern Release 6 Comments

FREE Mom/Girl Power Cut Files + 100k Sale-A-Bration Day 3!

September 12, 2018

Who is ready for the third day of celebrating?!  Welcome back to another round of our 100K Sale-A-Bration, pirates!

In case you missed the first day (which has an INSANE giveaway attached to it) or our second day (which includes a FREE sewing pattern), here are the links:
100K Sale-A-Bration + Grand Prize Giveaway | Free Convertible Cover Pattern

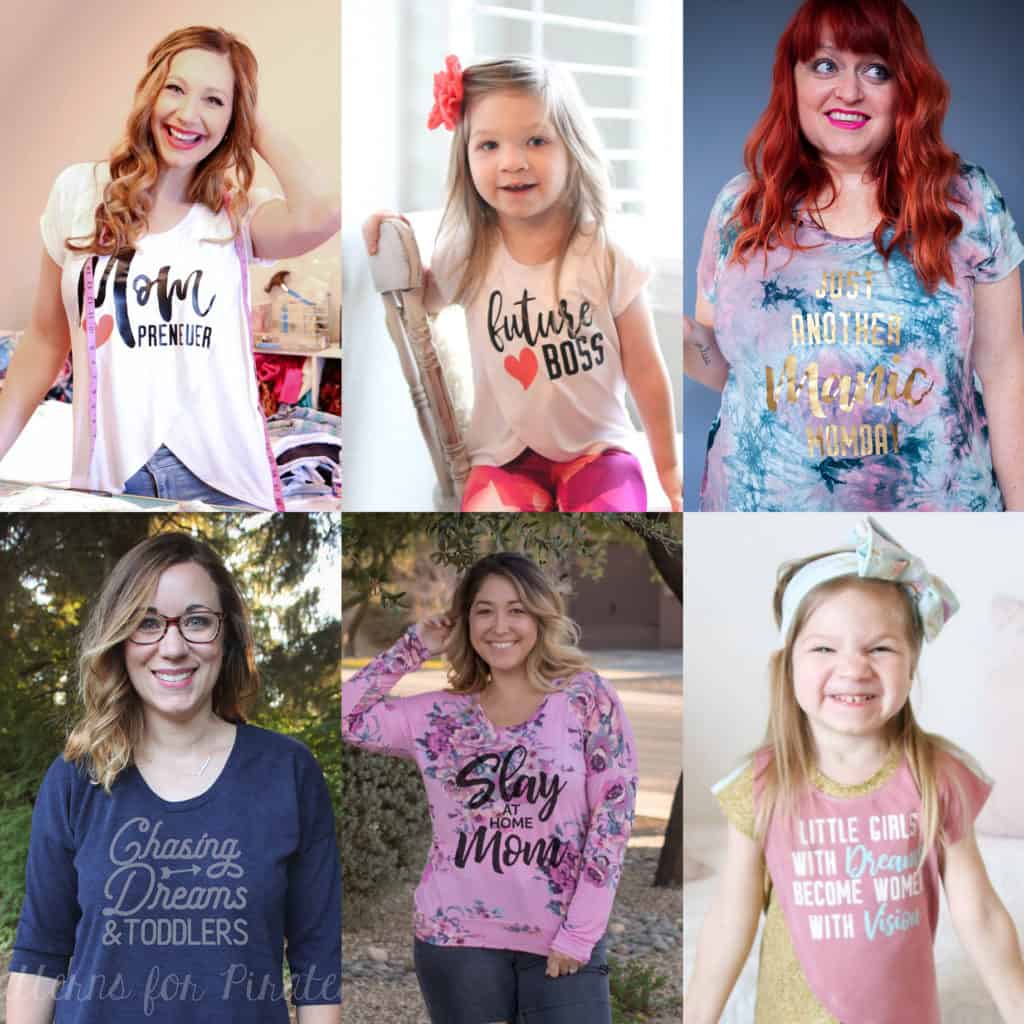
Today is another round of freebies, this time in the form of some digital cut files!

We really wanted to focus on one of our favorite topics: Strong Women.  But since we are lightly theming this week of celebrations around moms, we thought it might be fun to make the designs all about strong mommas and their little girls.  (Don’t worry, we have plans for designs geared toward boys / men at a later date!)

The designs are all packaged together with four different file types: SVG, PNG, DXF, and PDF.  They should work with most digital die cutting machines.

Don’t own a machine like a Silhouette or Cricut?  No sweat!  We have included extra file types that will allow you to work with the designs however you’d like.

— Go old school and use an iron on transfer paper and your at-home printer.
— Use Heat Transfer Vinyl and your die cutter.
— Try your hand at Freezer Paper Stenciling.

Or, head right over to our First Mate Katy’s store (she’s the designer of these and most of our cut files), and have her cut the design for you and send it your way!  You can find all of our pirate designs available in here store HERE.

Wait no longer!

Go grab your copy of the FREE Mom/Girl Power Cut Files now!

Also be sure to head over the Patterns for Pirates Facebook Group and enter yourself into today’s daily drawing for the 100K Sale-A-Bration

Happy Sewing, Pirates!

Filed Under: Contest/Giveaway, Free Pattern 16 Comments

FREE Convertible Cover Pattern + 100k Sale-A-Bration Day 2!

September 11, 2018

EEP!  Are you guys ready for the second day of our 100K Sale-A-Bration?!?!

If you missed what the party is all about, go read all about the giveaway, sale, and the pure appreciation/joy/excitement surrounding this big milestone HERE.

As we all know, the owner, designer and fearless leader behind Patterns for Pirates is Judy Hale.  P4P is such a big part of her life, and you can tell that she brings a lot of personal experiences and interests into her designs.  When we celebrated our 75K Milestone (which feels just like yesterday), our freebies were themed around the wee baby that was still growing inside of her belly.  Judy’s nesting for her third child ended with her designing and sharing the Wee Lap Tee, Petite Pegs, Teeny Beanie and Burp Cloth.

This time around, the baby boy is here and our freebies are a little more focused on the daily needs of the Momma!  It’s time to introduce you to the Convertible Cover Pattern!

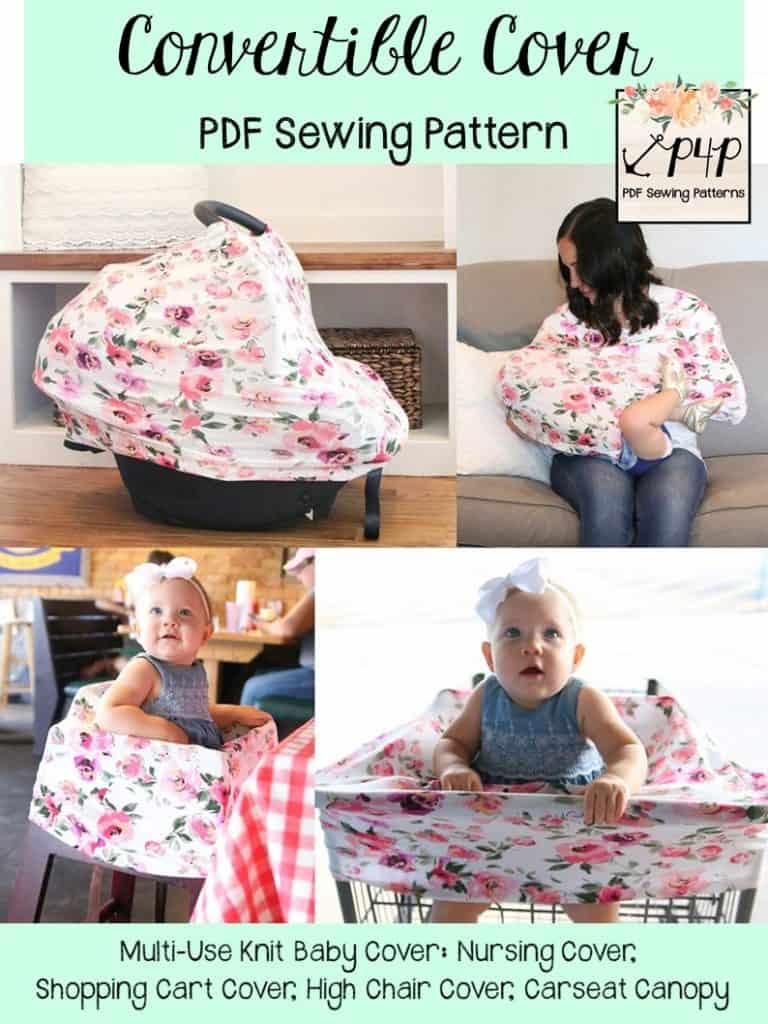
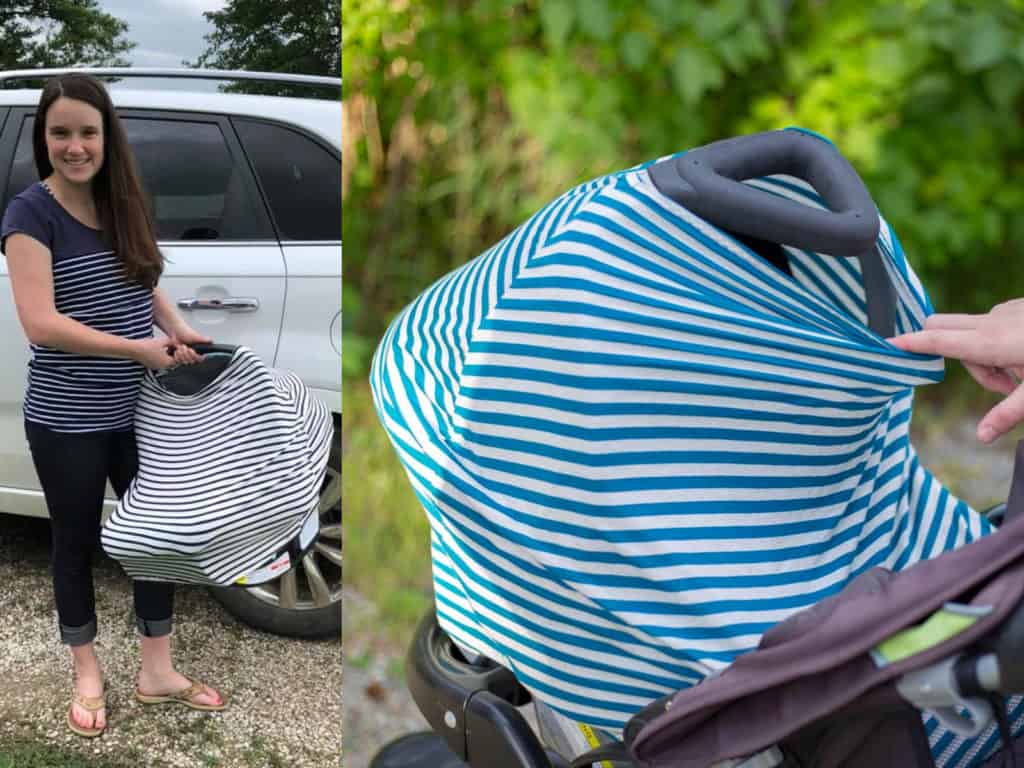
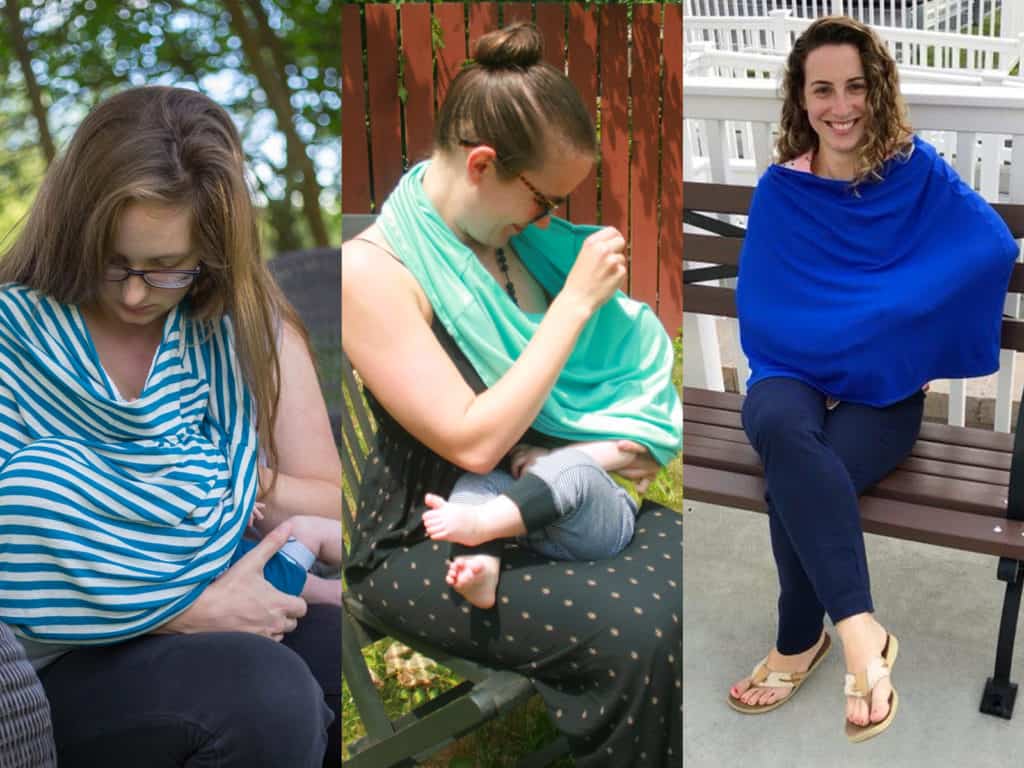
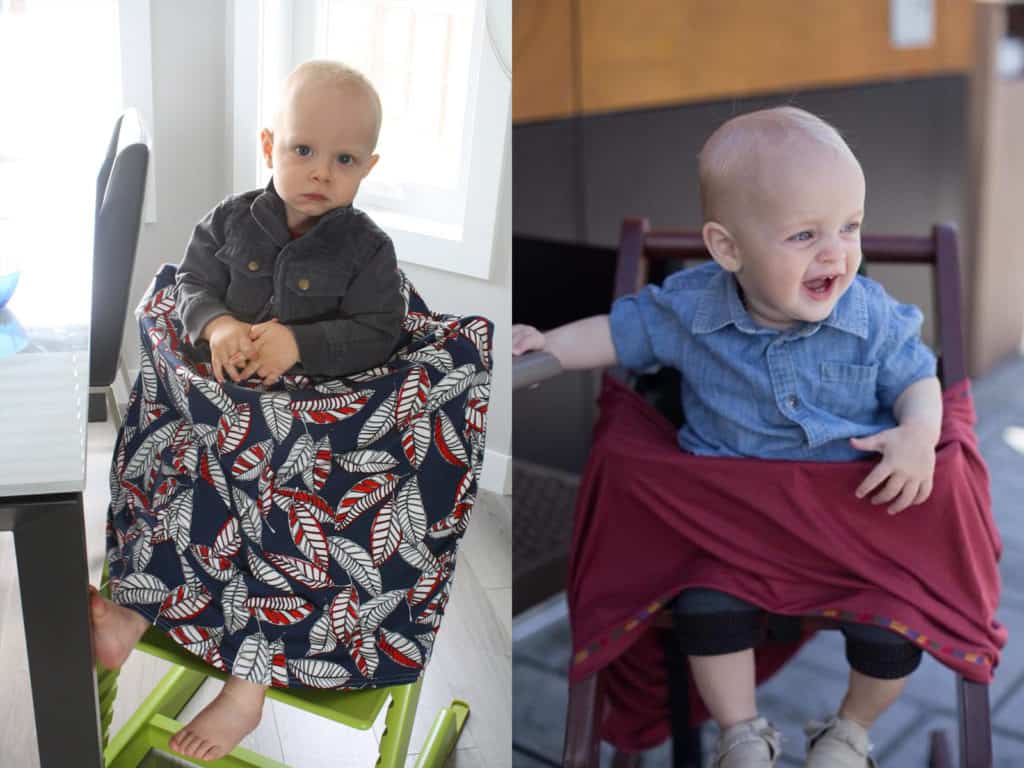
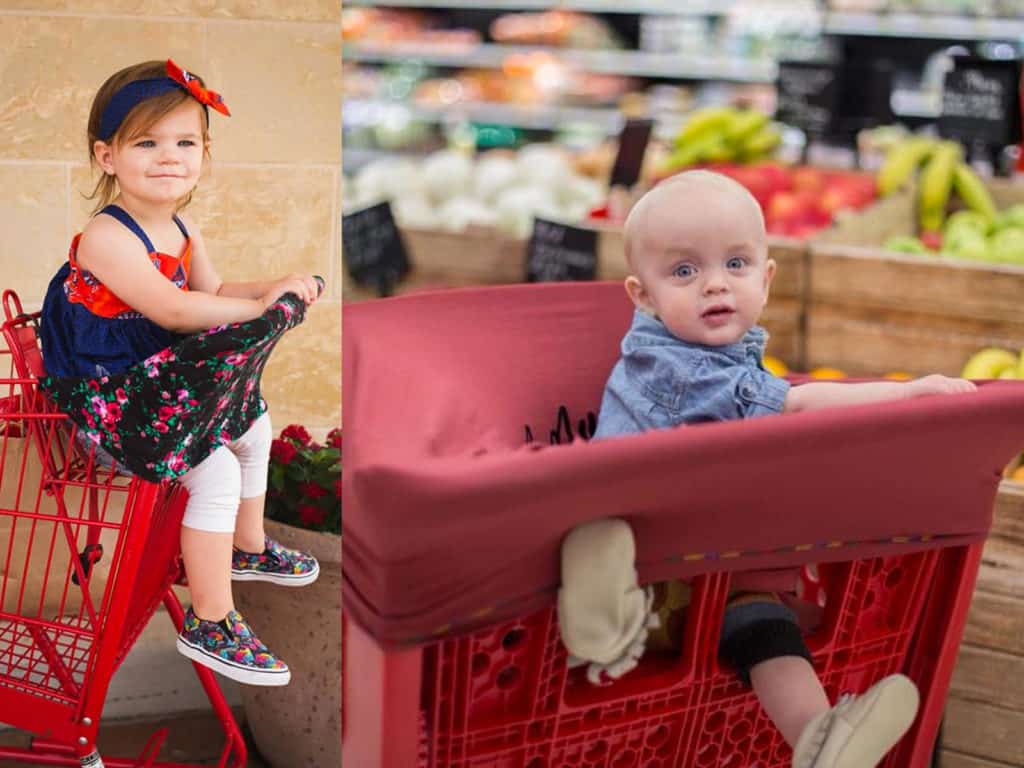
The Convertible Cover is multifunctional, 4-in-1 cover that is so easy to make, and even easier to fit into your daily routine!  You can use it as a cover for infant car seats, nursing, high chairs, and shopping carts.

You must use a breathable, lightweight fabric with a high stretch.  The fabric content is vital.  Natural fabrics that breathe are needed to keep baby safe and at a safe temperature while in use (ie: rayon spandex, modal, bamboo spandex and lightweight cotton spandex.)

**We care about the safety of your child!  Always remove cover from your child’s infant car seat before placing it into a vehicle and never leave your child covered while unattended. It is important to monitor your baby to ensure they do not overheat in warm climates or during the hot summer months. Keep the cover away from any heat source.   Please use recommended breathable fabrics, and always remove cover before placing baby into vehicle. If gifting the cover please give safety guidelines to the recipient.

Let’s take a peek at all of the ways it can be used, shall we?

INFANT CAR SEAT COVER

NURSING COVER

HIGH CHAIR COVER

SHOPPING CART COVER

What are you waiting for?

Go grab your copy of the Convertible Cover now!

Also be sure to head over the Patterns for Pirates Facebook Group and enter yourself into today’s daily drawing for the 100K Sale-A-Bration

Happy Sewing, Pirates!

Filed Under: Contest/Giveaway, Free Pattern, Pattern Release 1 Comment

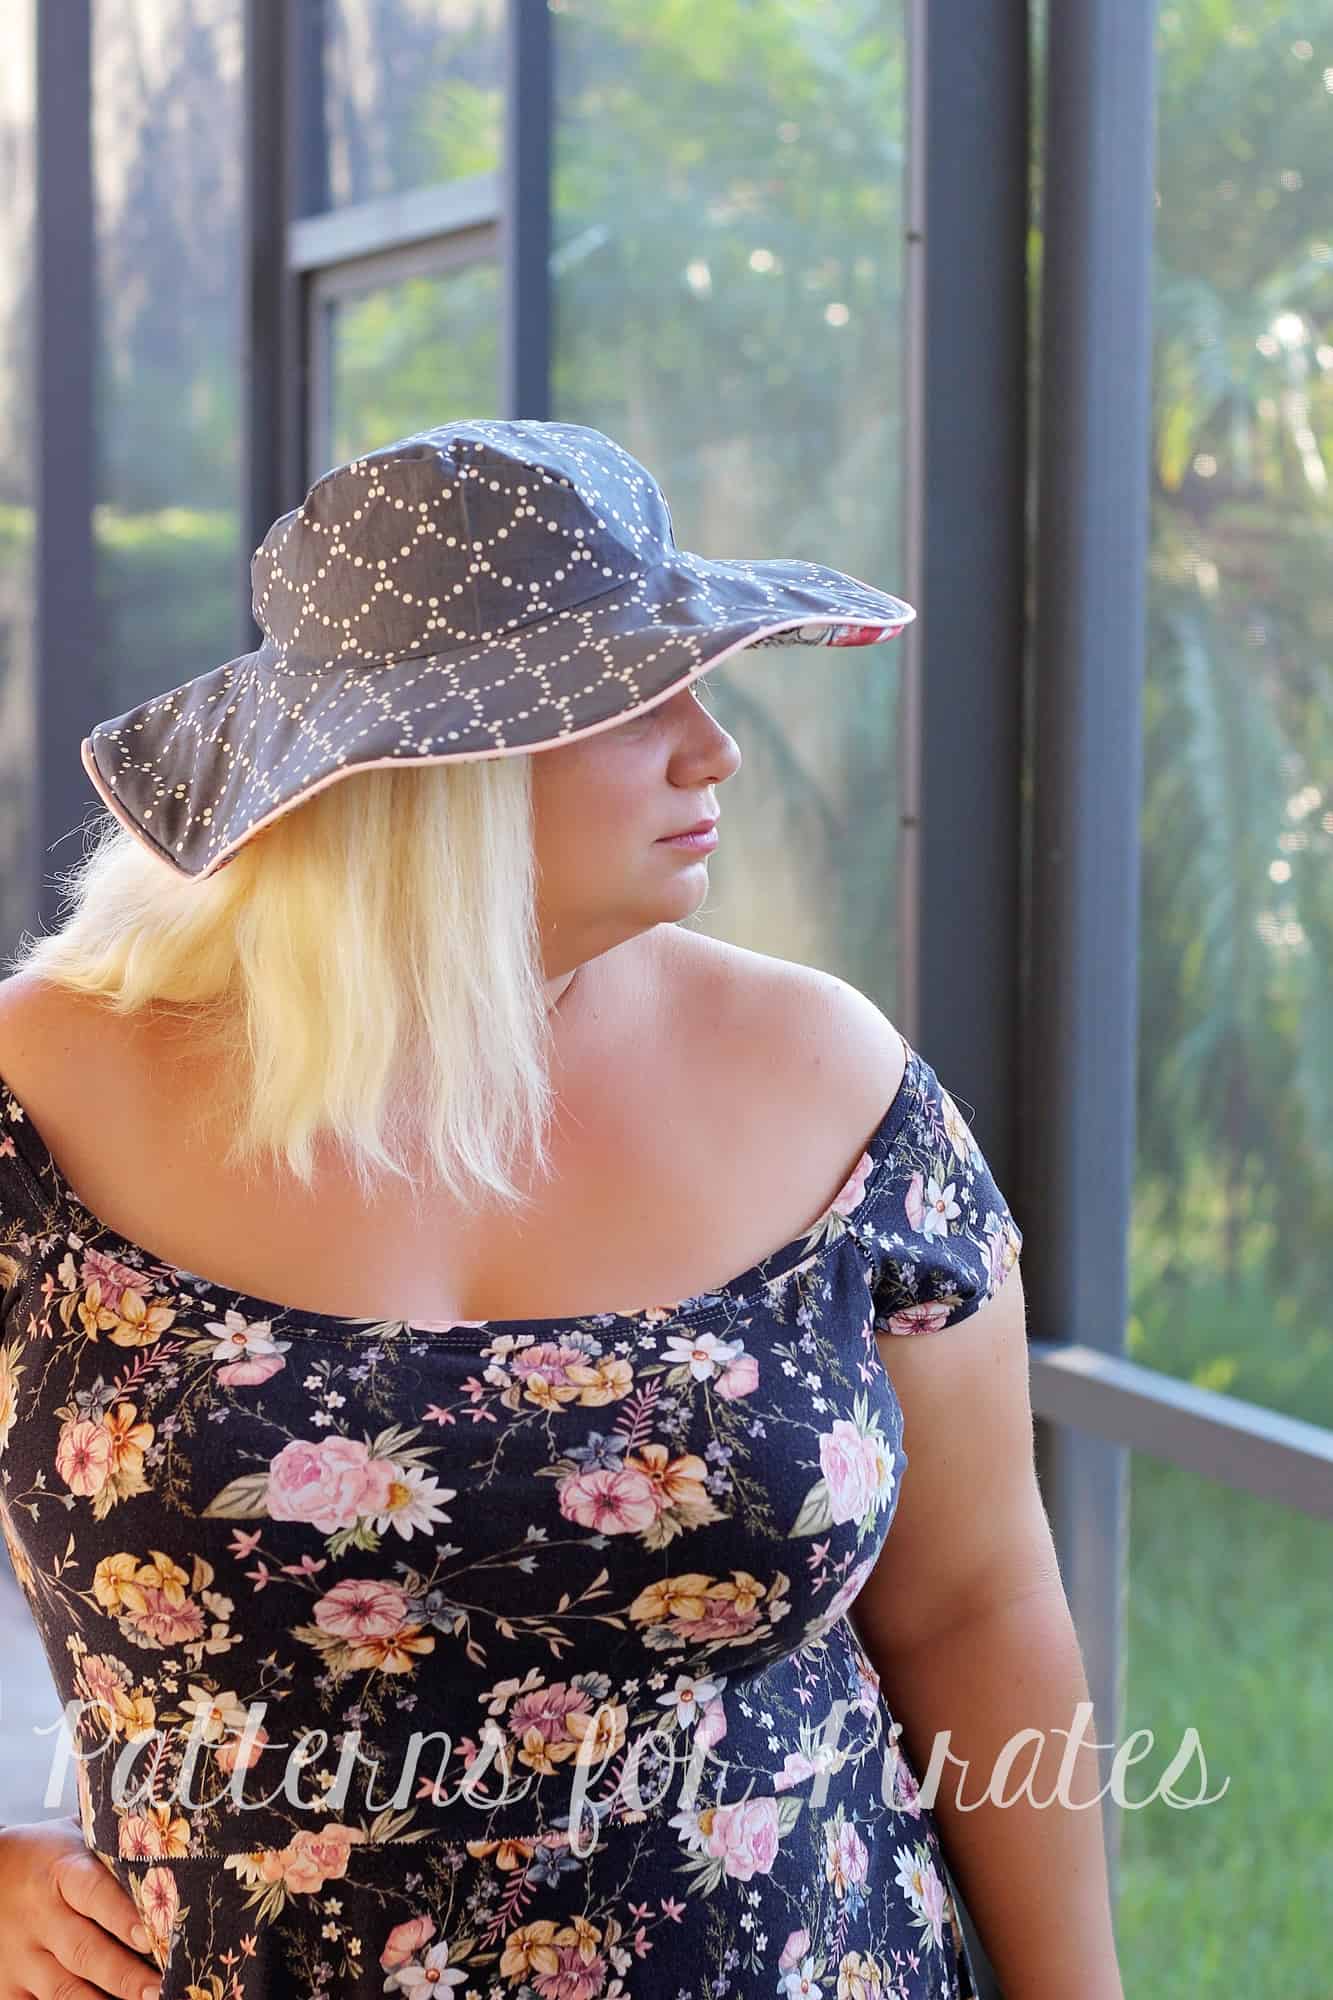
Set Sail Hat :: New FREEBIE Pattern Release + Extras!

May 22, 2018

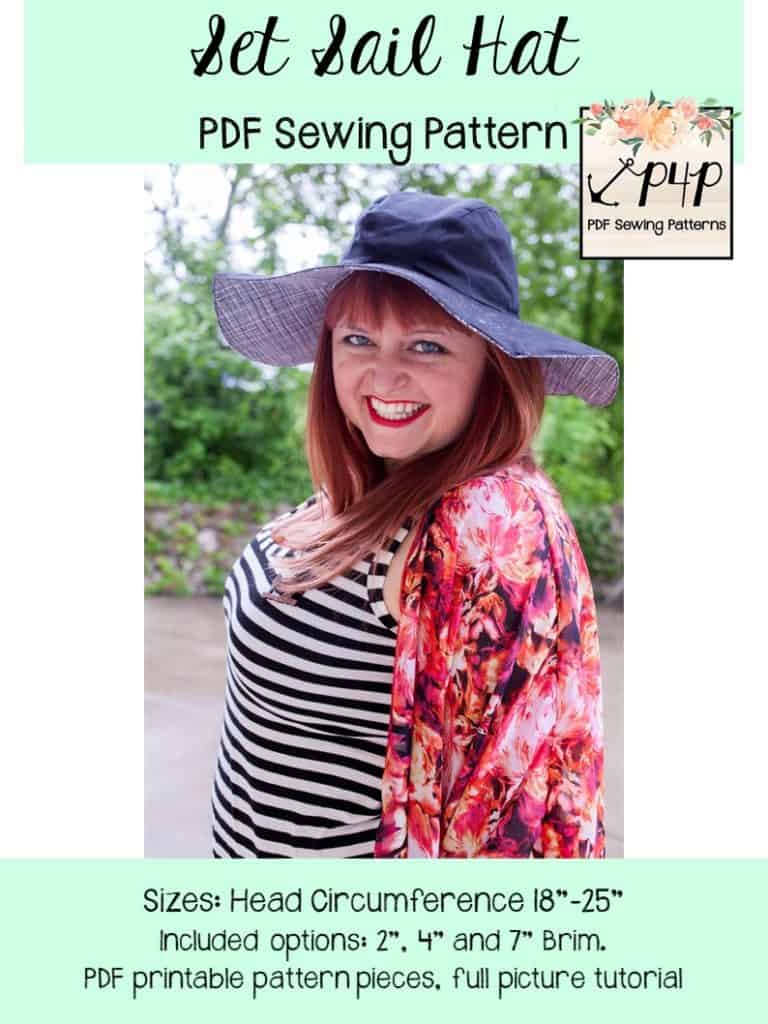
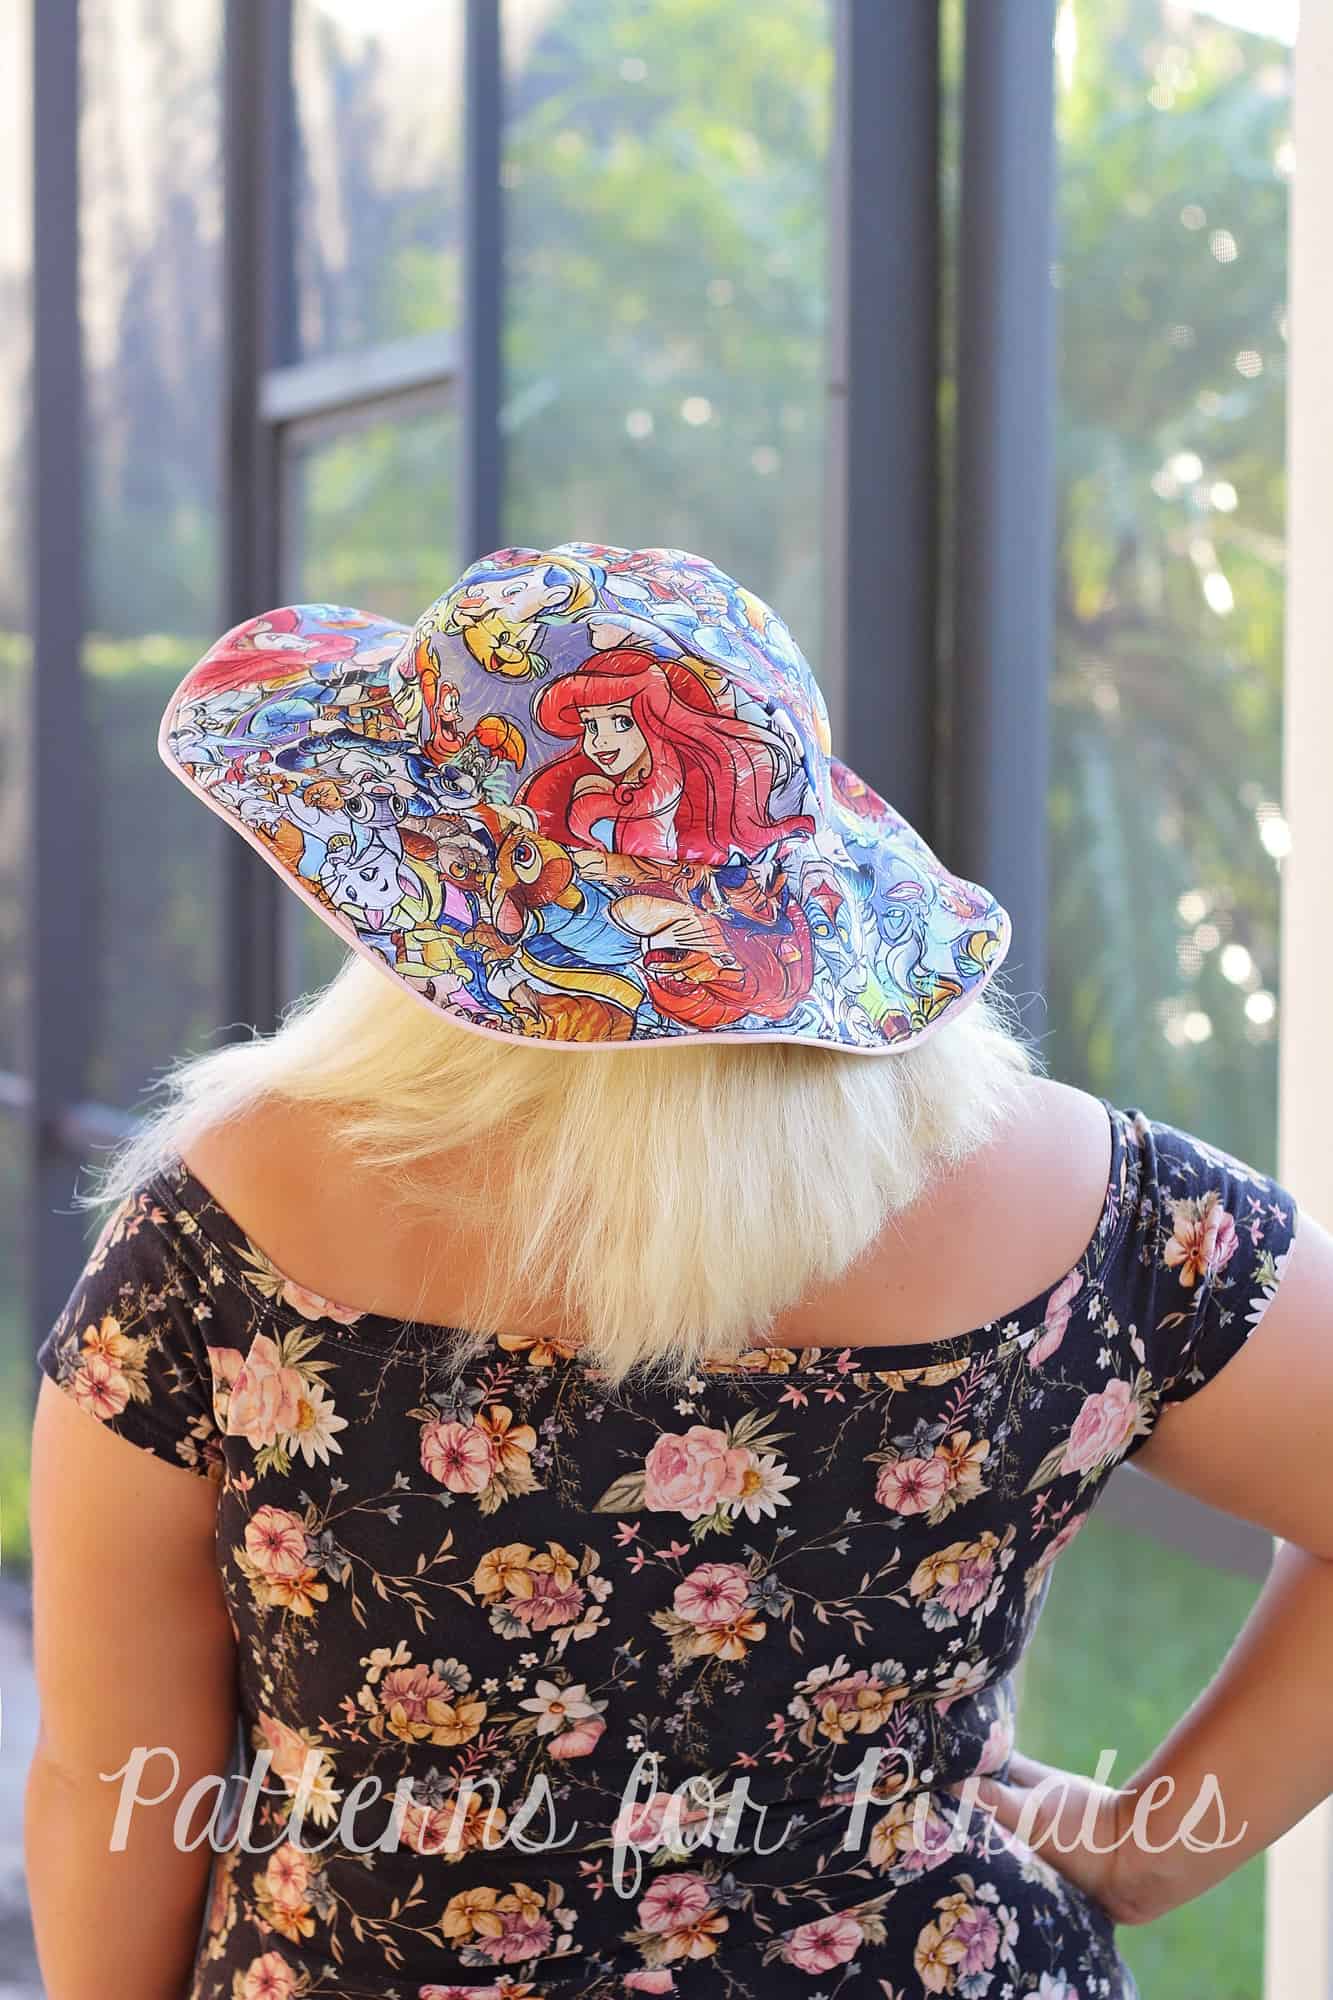
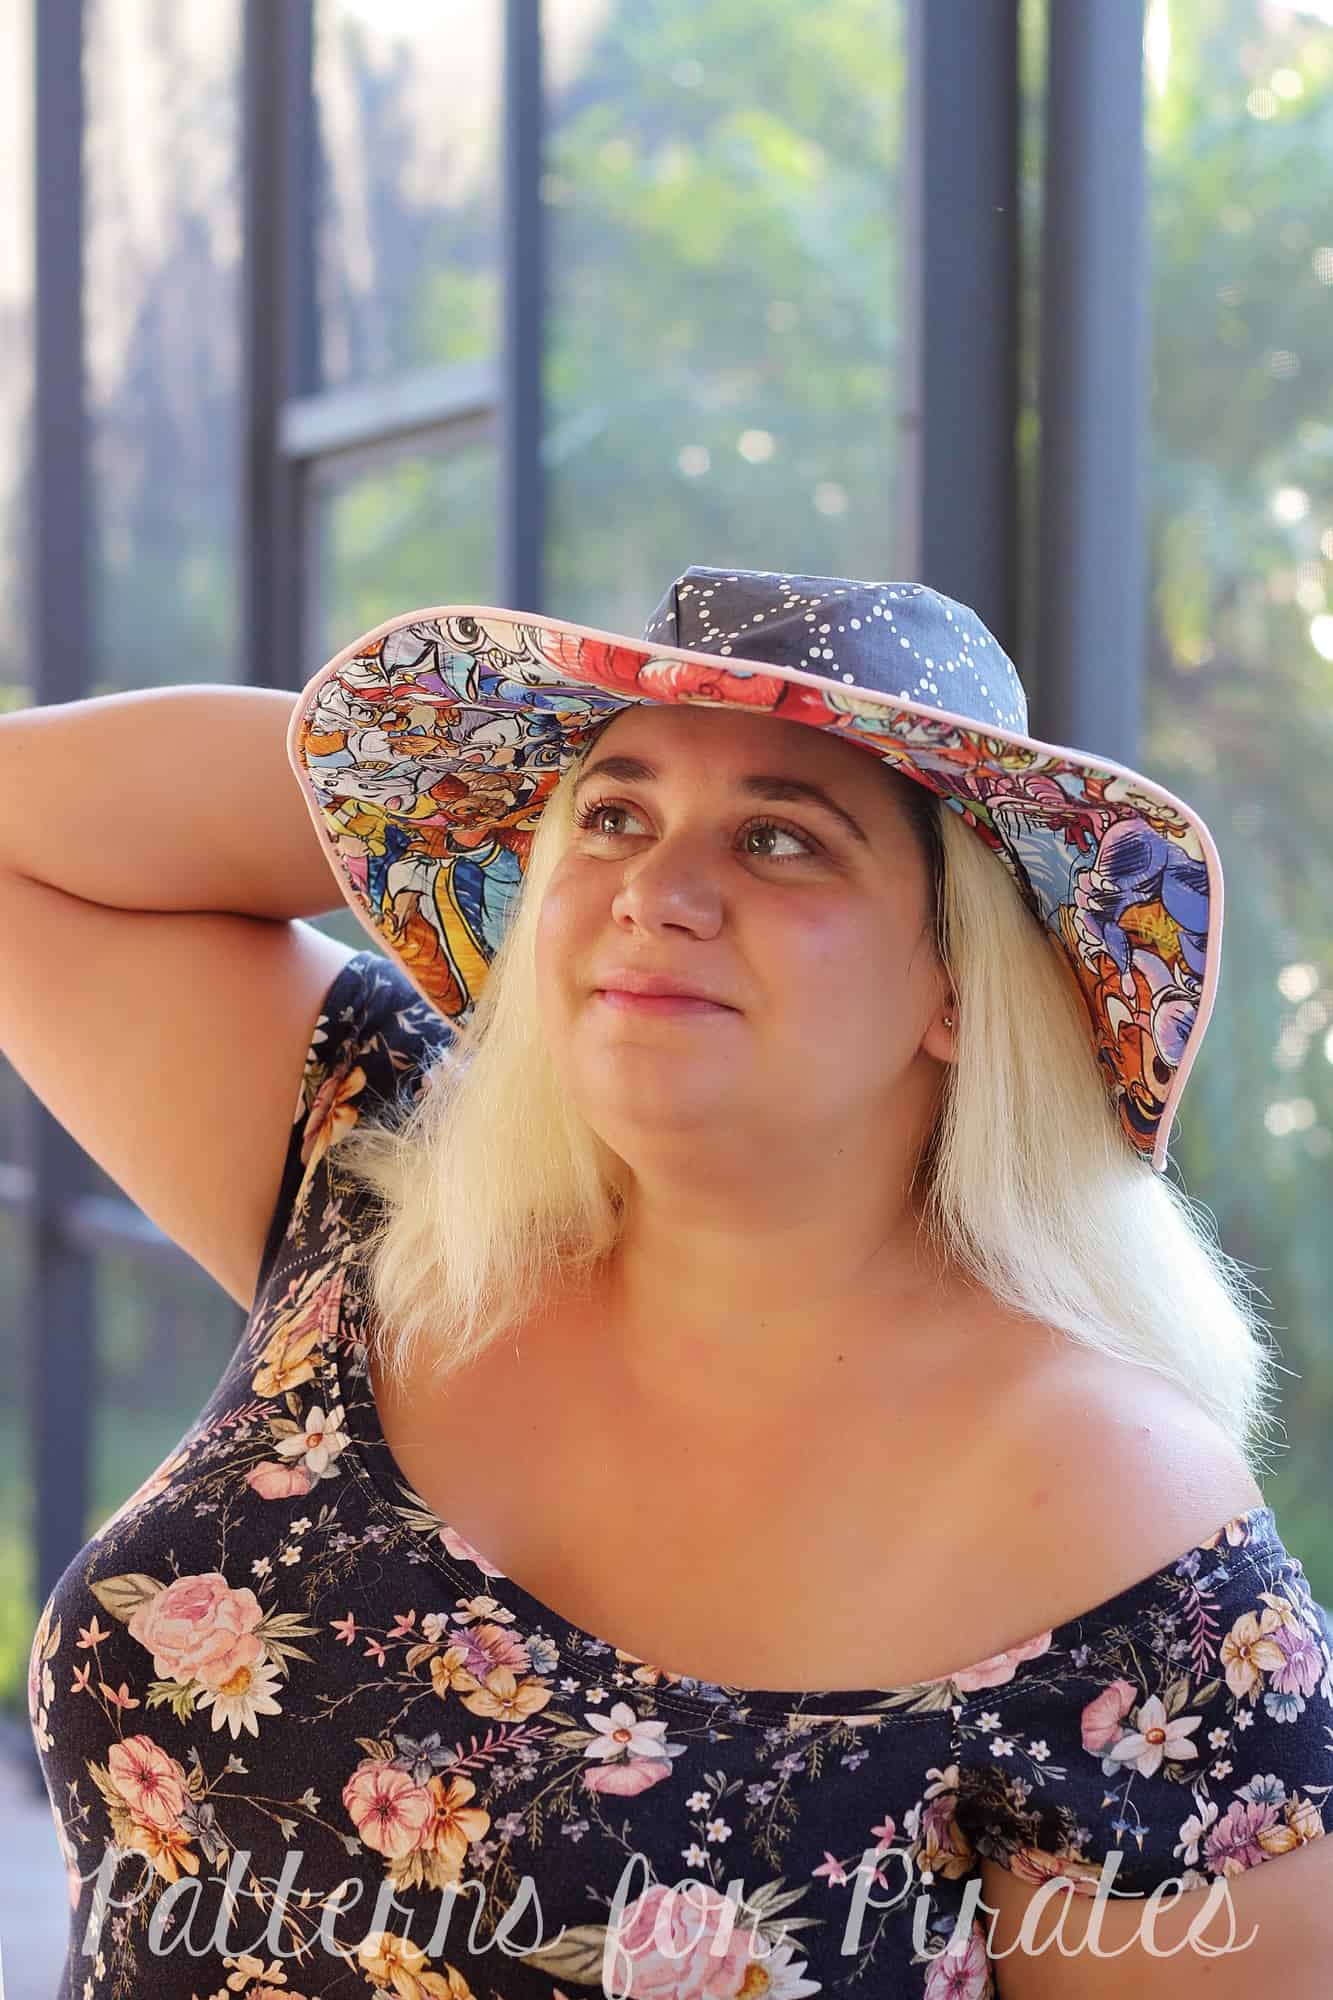
I am super-duper excited to be sharing the newest addition to the P4P pattern lineup: the Set Sail Hat.

Get ready for the quickest, cutest sew ever, my friends!  Because this hat takes minimal amounts of fabric and gives you maximum results.  And it’s reversible!  So you are practically getting two hats for the sewing efforts of one.  Perfect, am I right?

Did I forget to mention the best part??!!  It’s FREE!

The Set Sail Hat is drafted for head circumferences ranging from 18″ to 25″.  It has a three-piece cap that curves beautifully to your head, and comes ready with three brim sizes: 2″, 4″, and the ever-fabulous 7″.  To keep those brims extra sturdy, we do recommend stabilizing them with a medium-to-firm weight interfacing (we love Pellon 809!) so make sure to pick some up next time you go shopping at your local fabric store.

Here’s a quick peek at the AH-MAZING hats that our testers created!

This slideshow requires JavaScript.

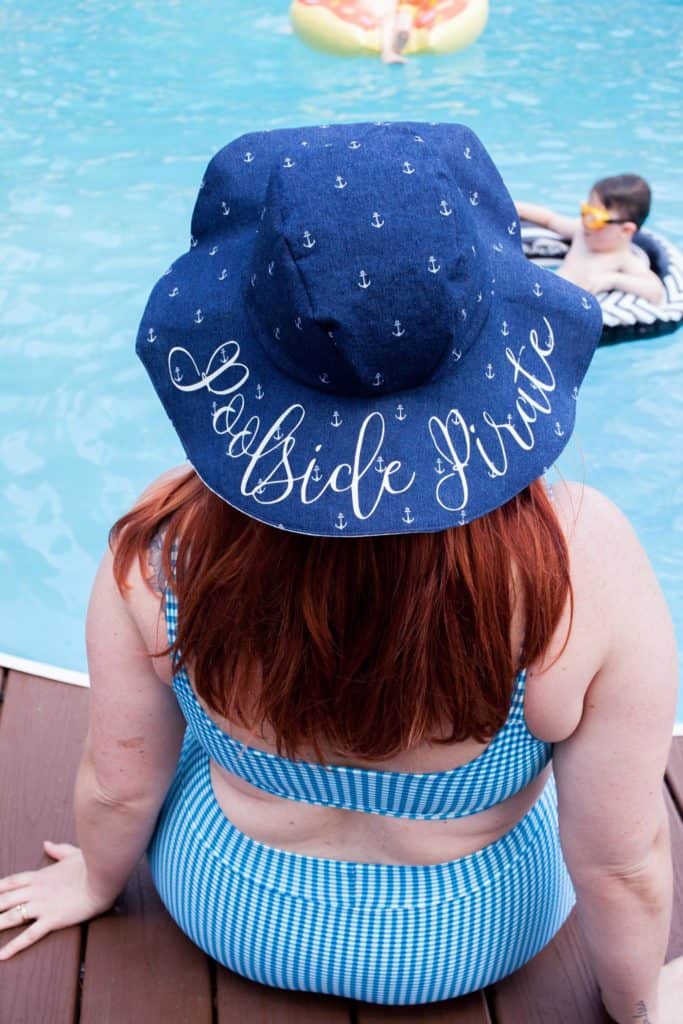
But wait!  There’s more!  We’ve been seeing “wordy” sun hats all over the place the last couple of seasons and we wanted to help you make your own.

Packaged as SVG and PNG files, you can download these phrases (which are already curved specifically for the brim of both the 4″ and 7″ hats):

  • Vacay Vibes
  • Sup, Beaches?
  • Seas the Day
  • Resting Beach Face
  • Pirate Maiden
  • Hello Sunshine
  • Do Not Disturb
  • Champagne Please
  • Boss Babe
  • Beer Me
  • Beach Please

You can find those freebies as a quick download here: Set Sail Hat Phrases


Easy Hack: Adding Piping

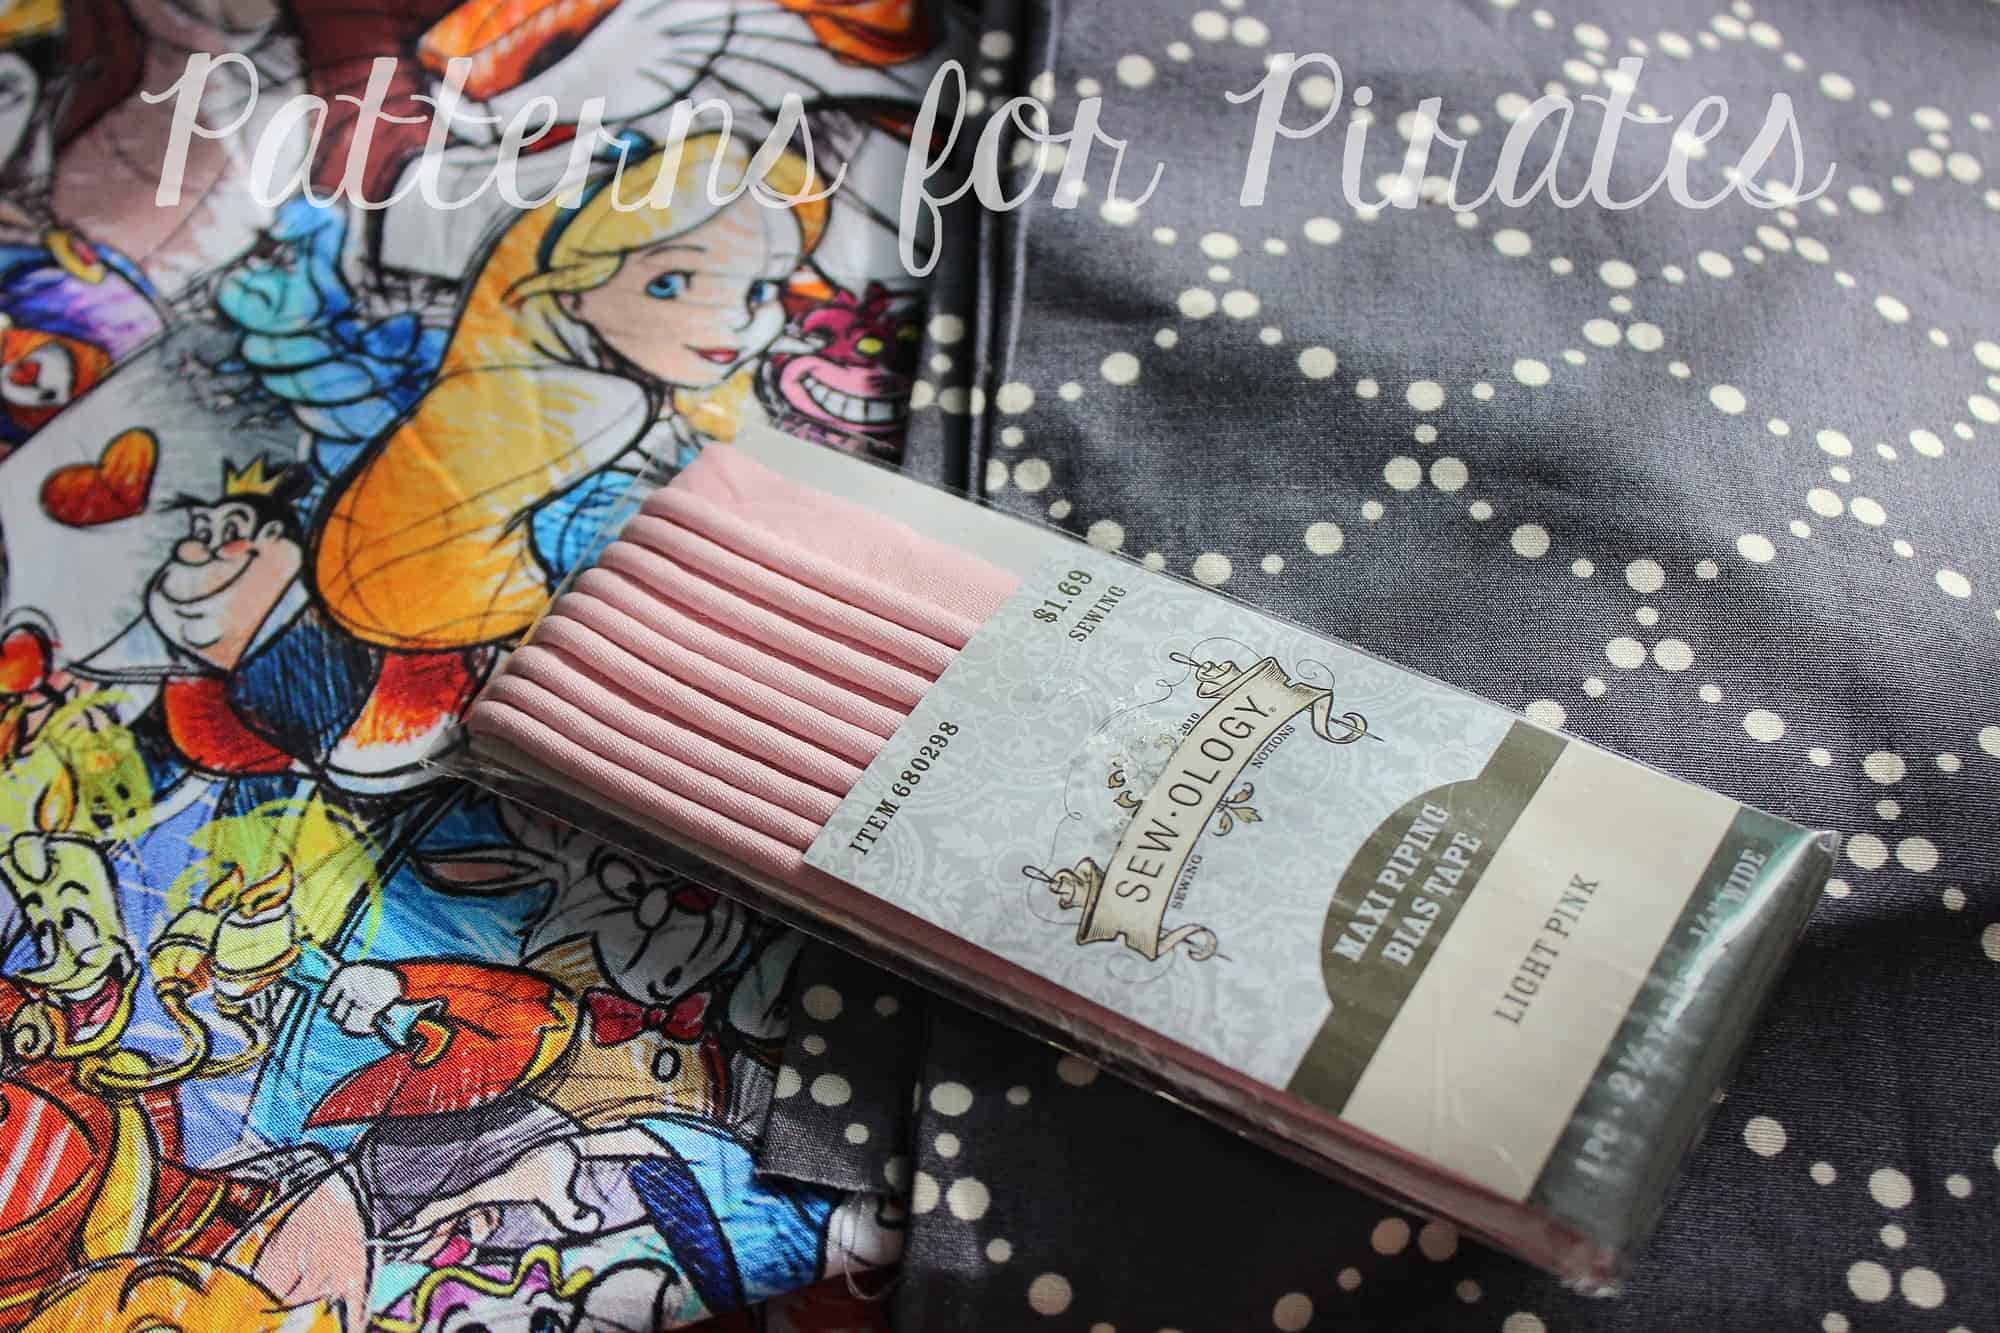
It’s not part of the original pattern instructions, but we wanted to help you with a quick tutorial on the blog.  We’ve got an easy little detail addition that makes a big impact.  We are talking about PIPING…good old fashion store bought piping. Don’t get us wrong, if you feel adventurous and want to make your own, go for it! However, our personal preference is the ease of ready made piping 🙂

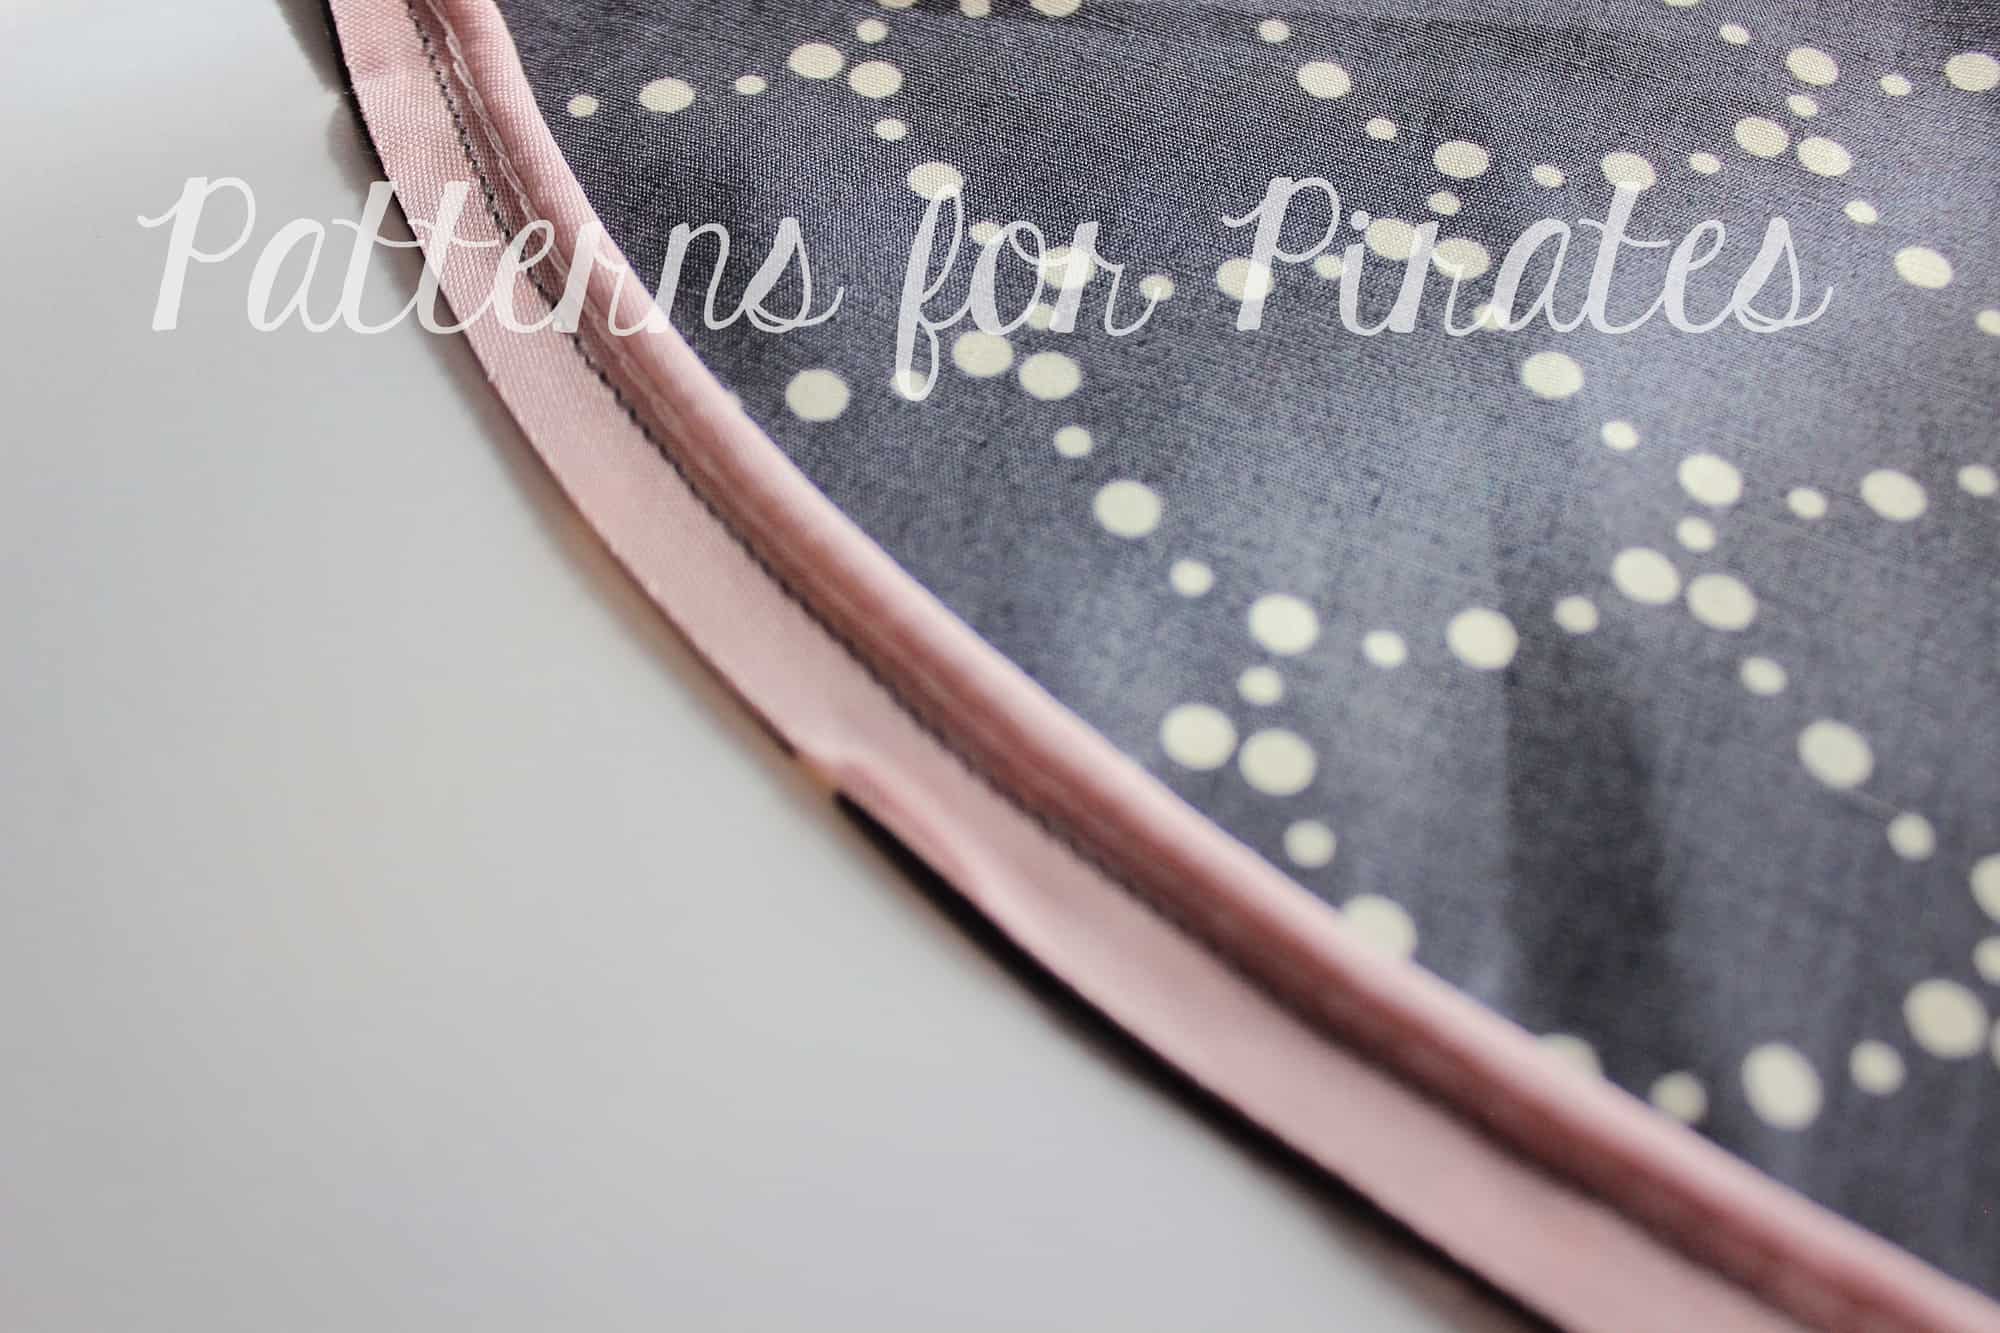
We’ll be adding piping to the brim of the hat. The 4″ brim takes a little less than a package of piping. If you chose to add this detail to the 7″ brim you will need two packs of piping. You will not have to make any changes to the pattern, simply cut your pieces as you normally would.

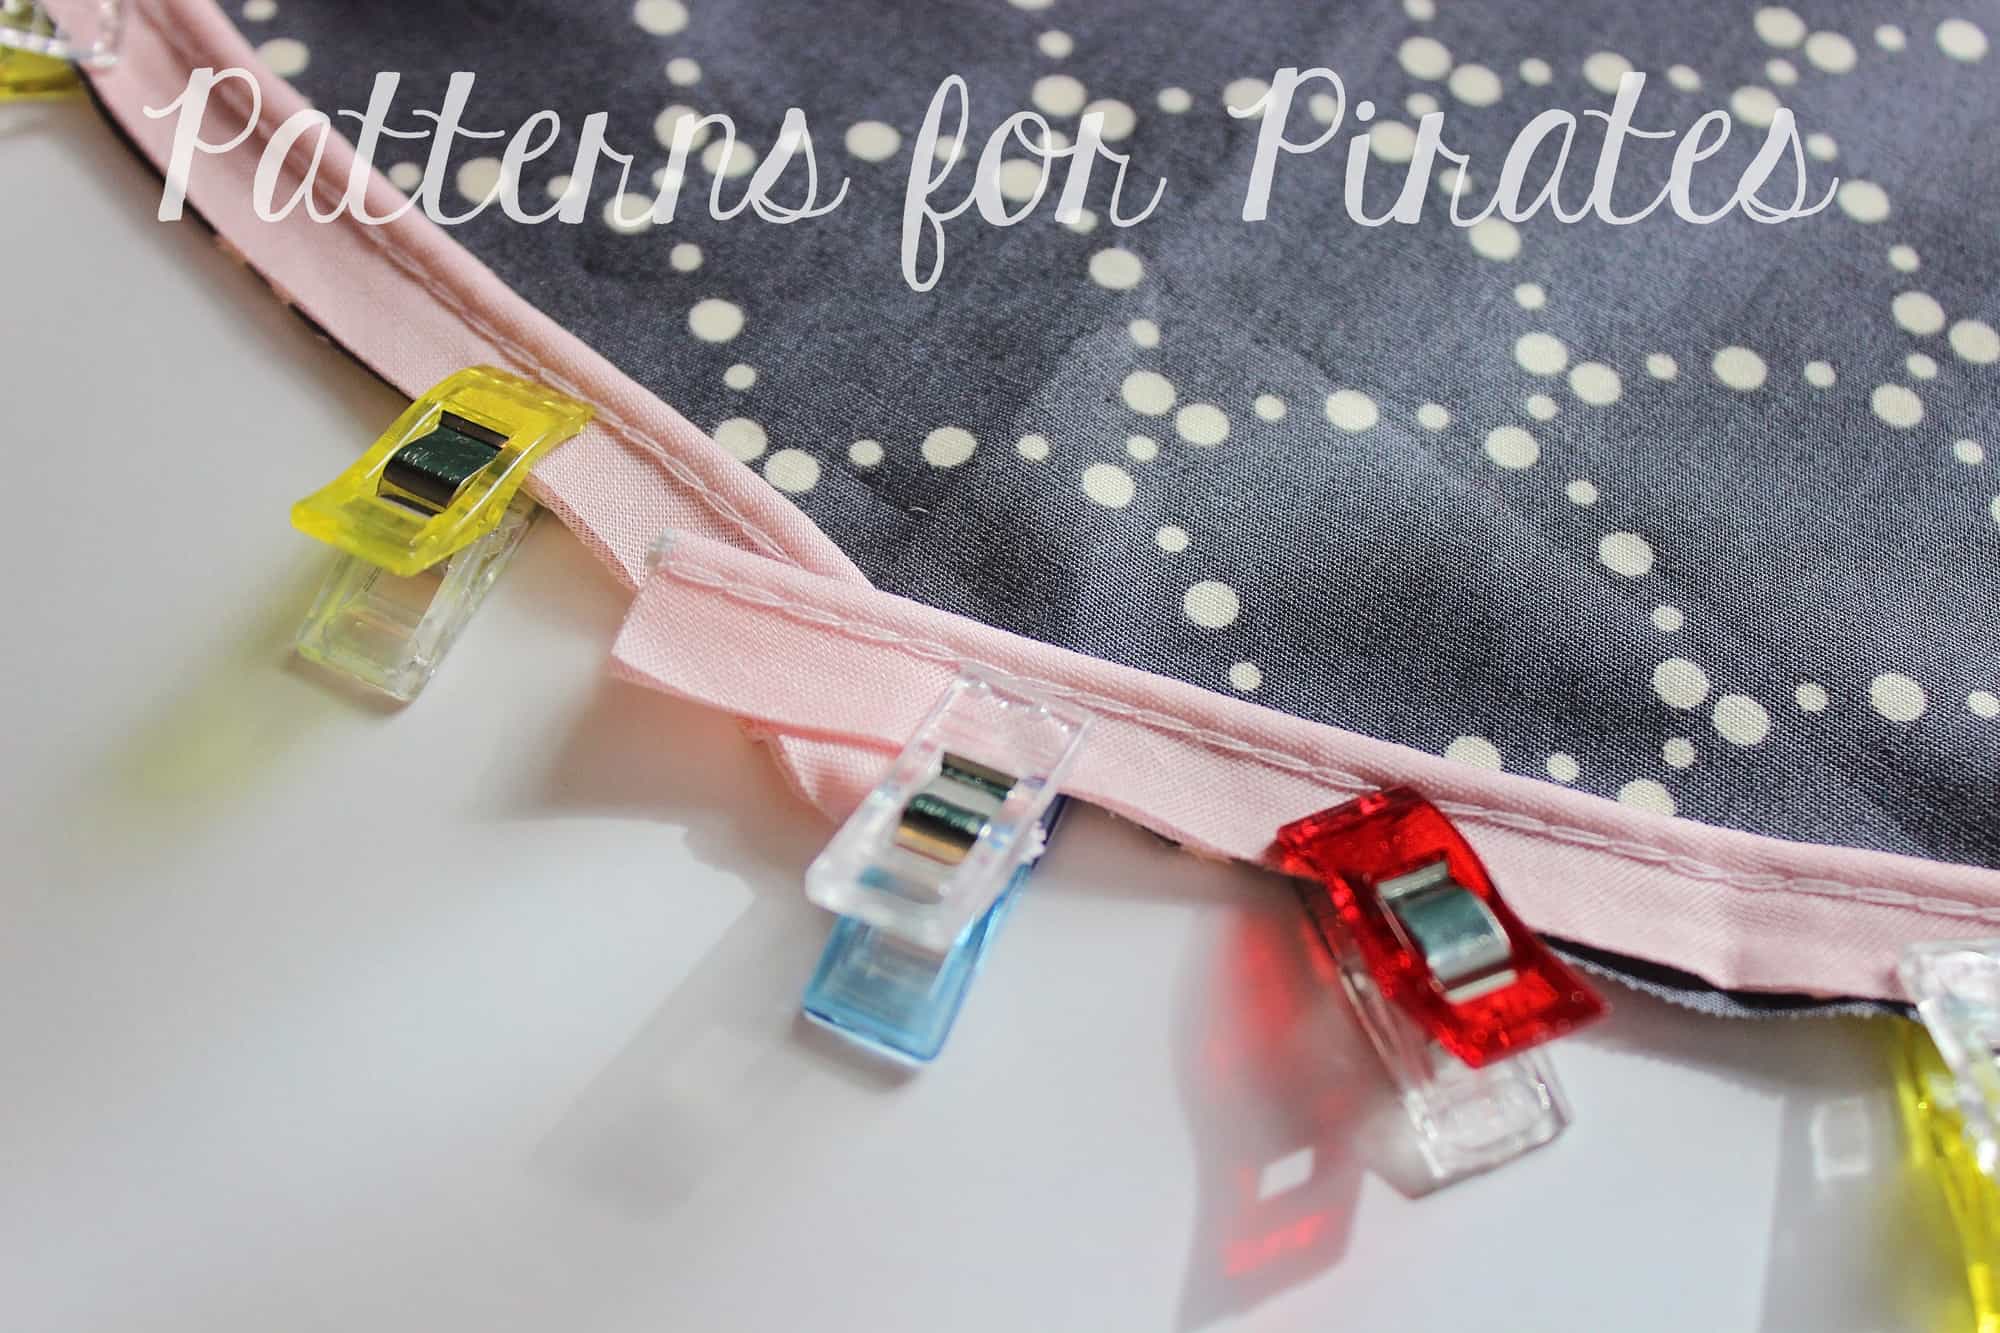
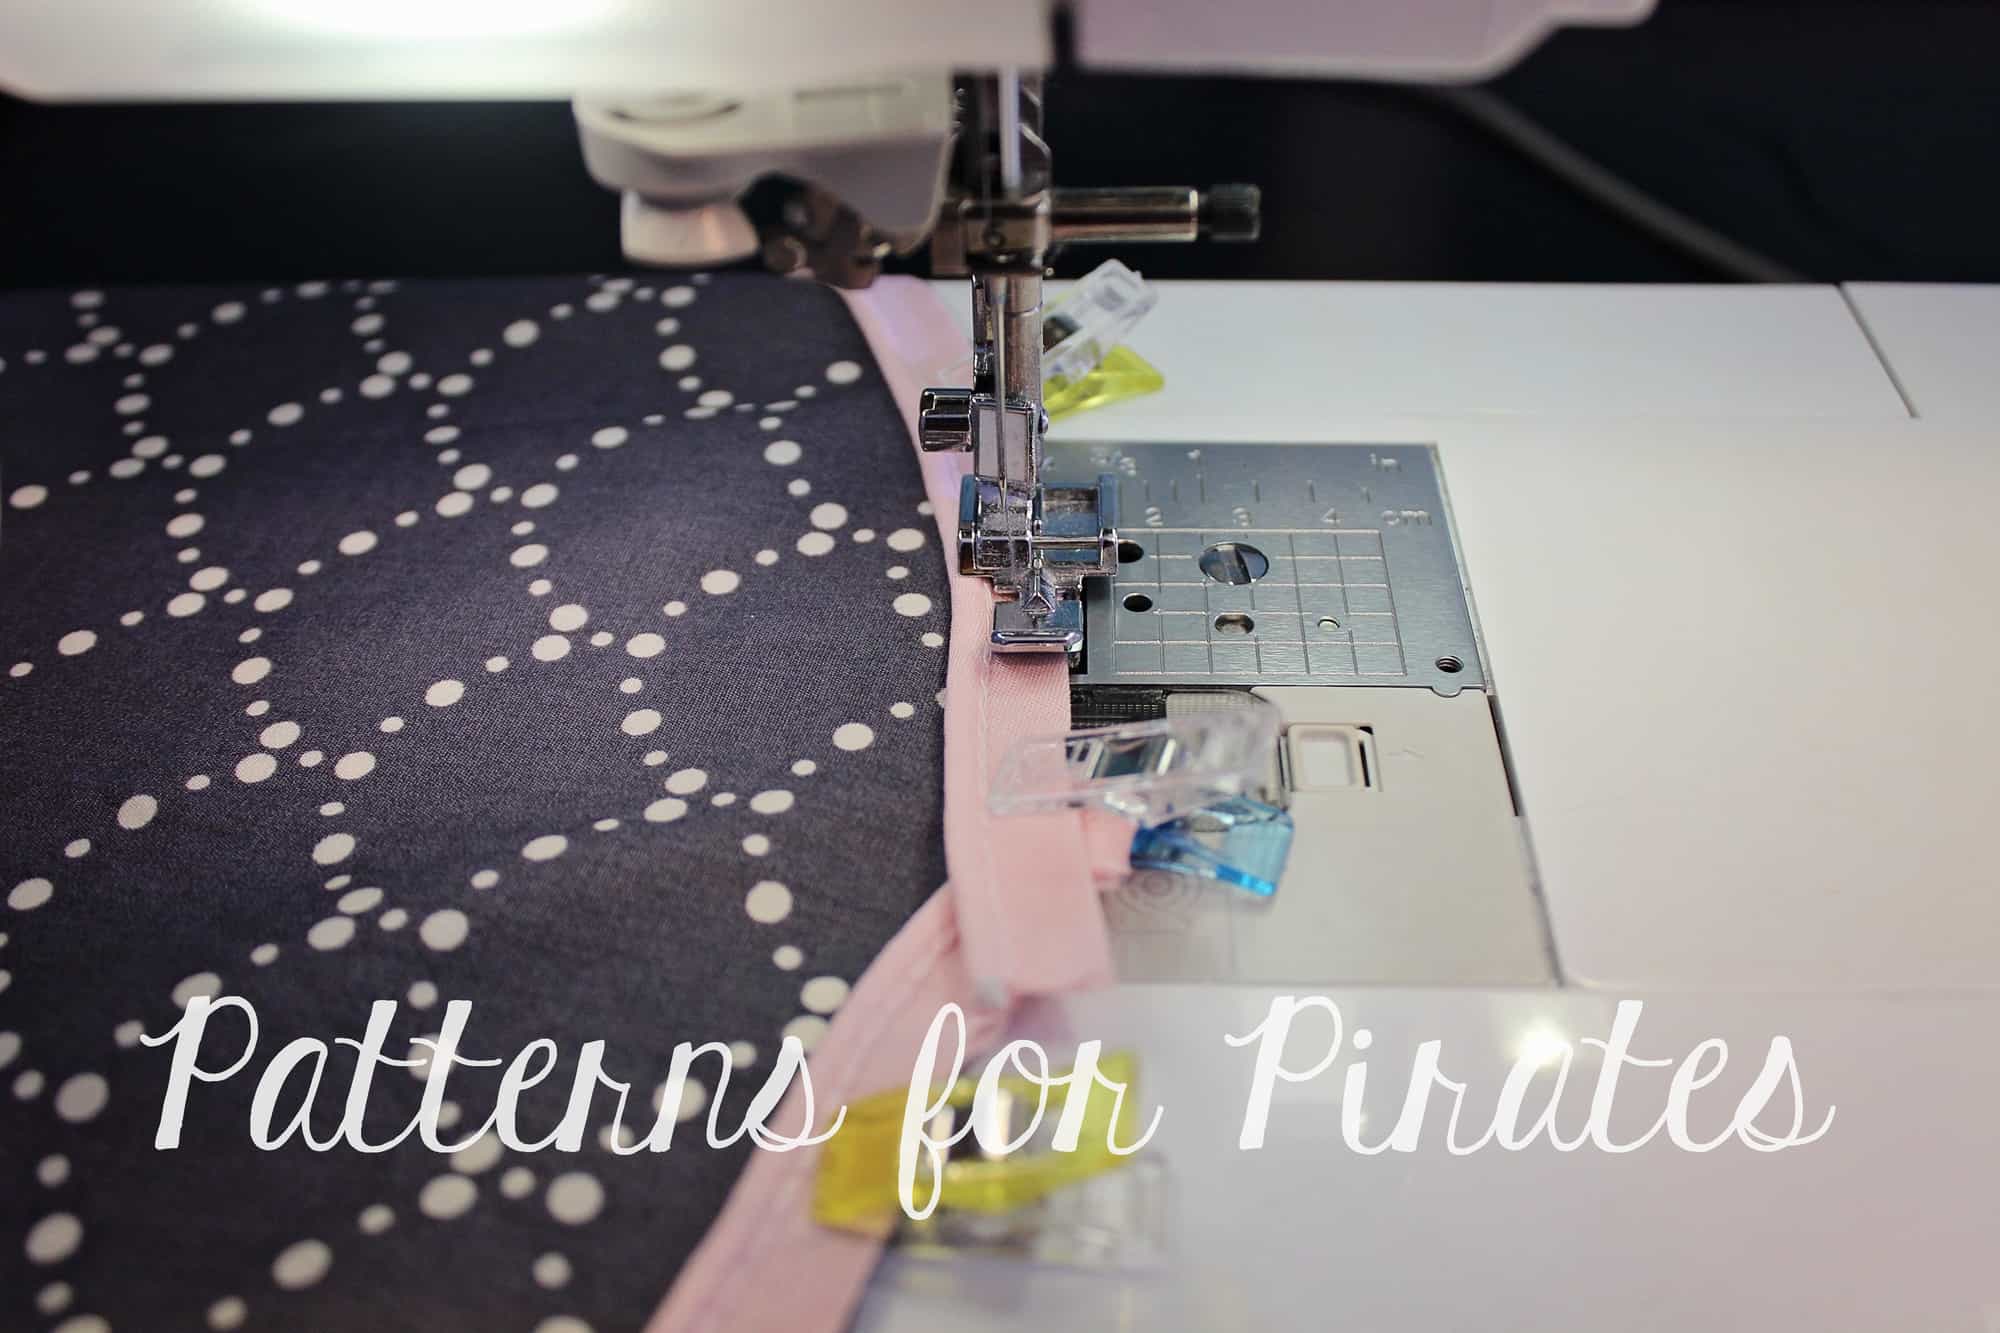
Pin or use clips to attach the piping to the outer circumference of one of the brims, lining or main. Chose what would be the back of the hat and overlap the piping there.

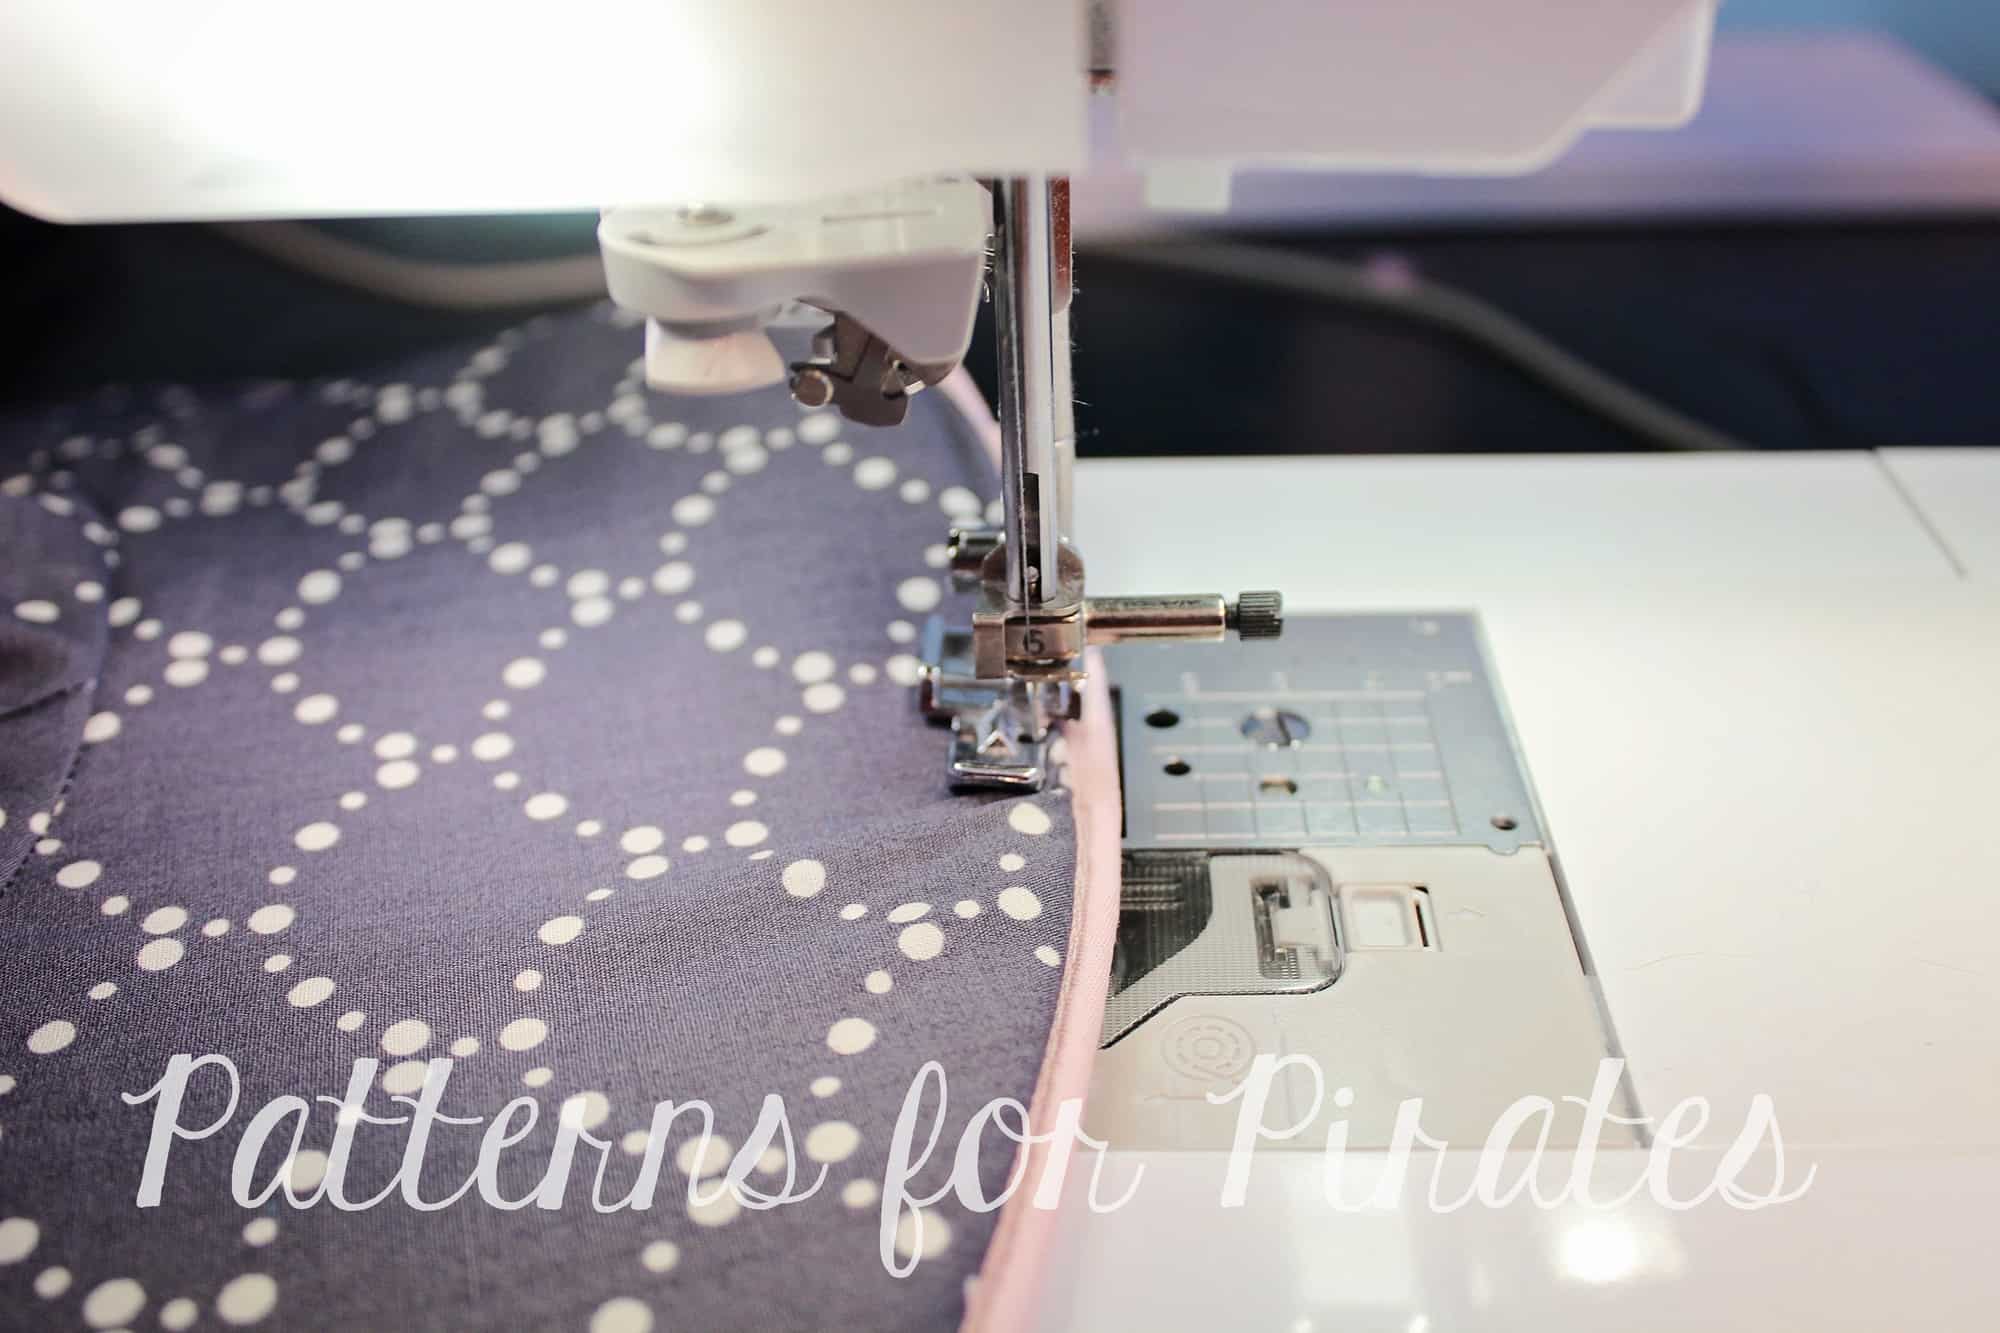
The key to successfully sewing piping is using your zipper foot. So, switch your regular foot to the zipper foot and sew the piping to the brim.

All you have left to to now is sew the hat as per the tutorial and enjoy your awesome new make!

Remember to use the zipper foot when topstitching the outer edge of the brim.

What are you waiting for?  Go grab your copy of the Set Sail Hat!  It’s always free and always fabulous!

Need some style inspiration?  Check out our Facebook Album full of amazing images from our testers.

Happy Sewing, Pirates!

Filed Under: Free Pattern, Pattern Release 7 Comments

Petite Pegs – easy cuffs hack

January 24, 2018

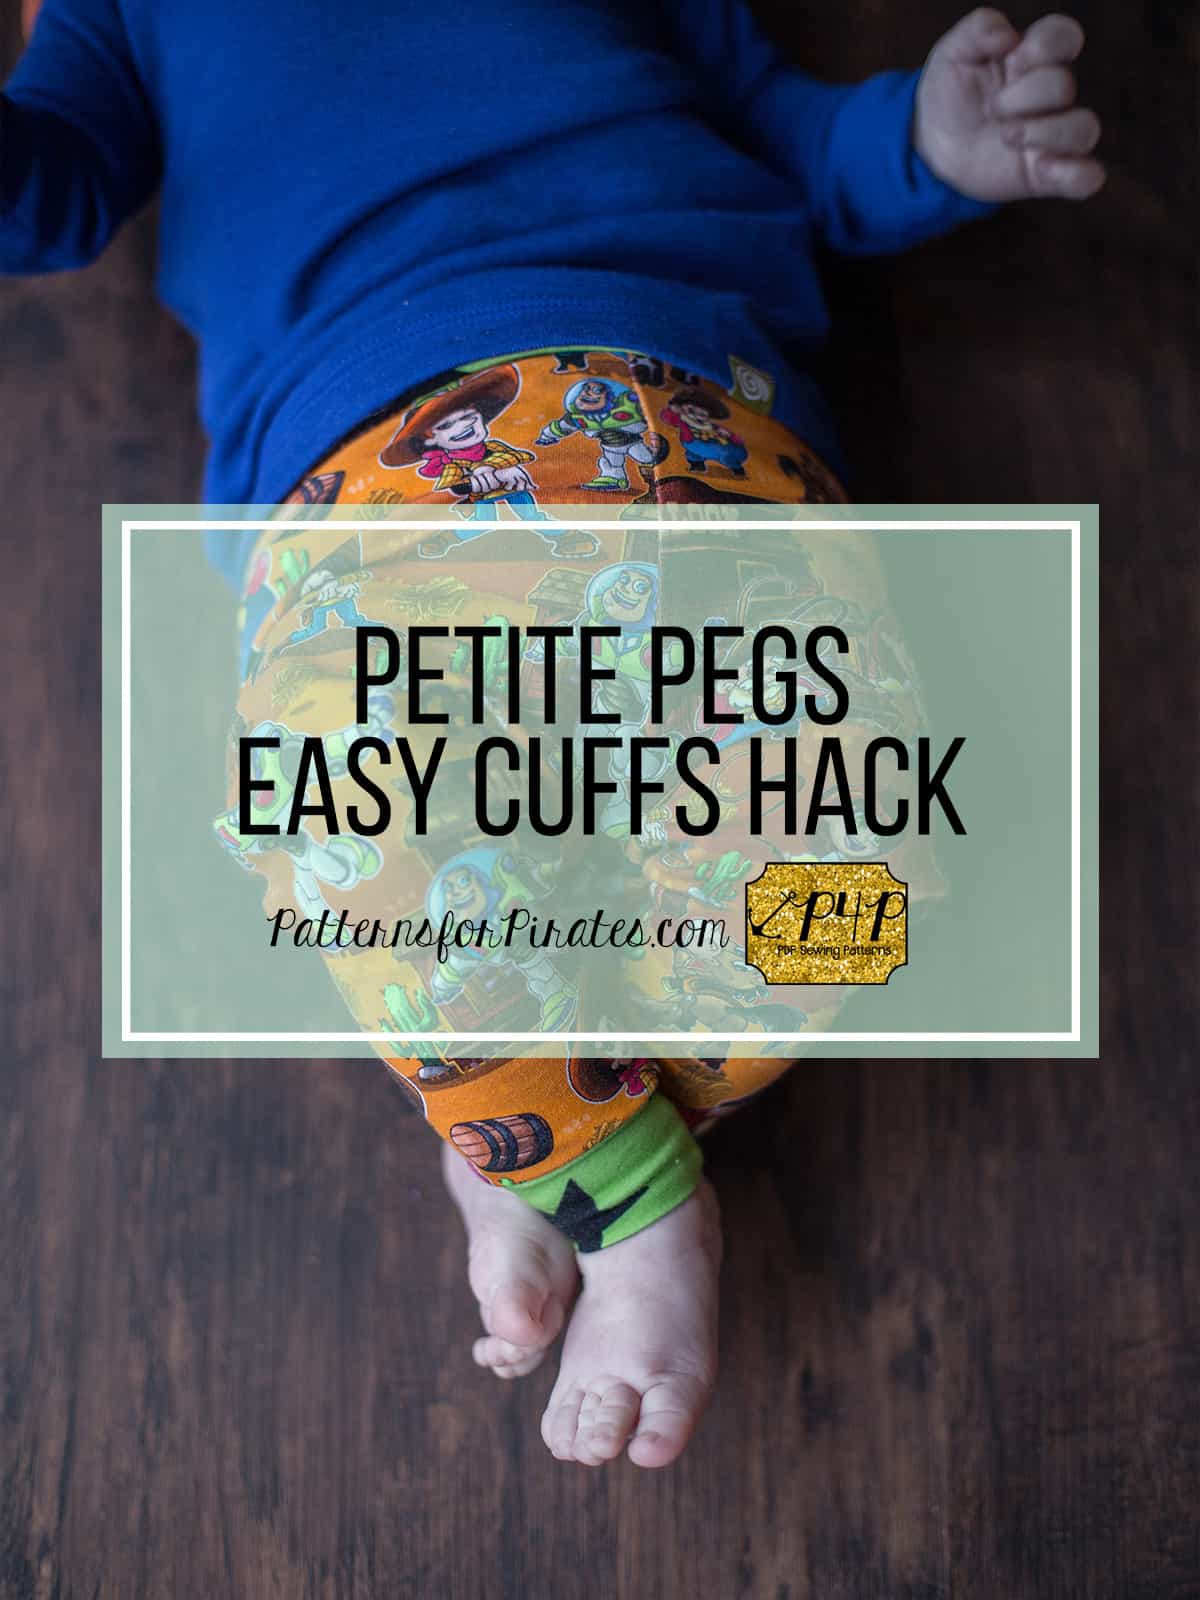
How adorable are the new Petite Pegs? So much cuteness in such a small package. If you haven’t downloaded your FREE copy, do that here. Today on the blog I wanted to show you how to add cuffs to the Petite pegs.

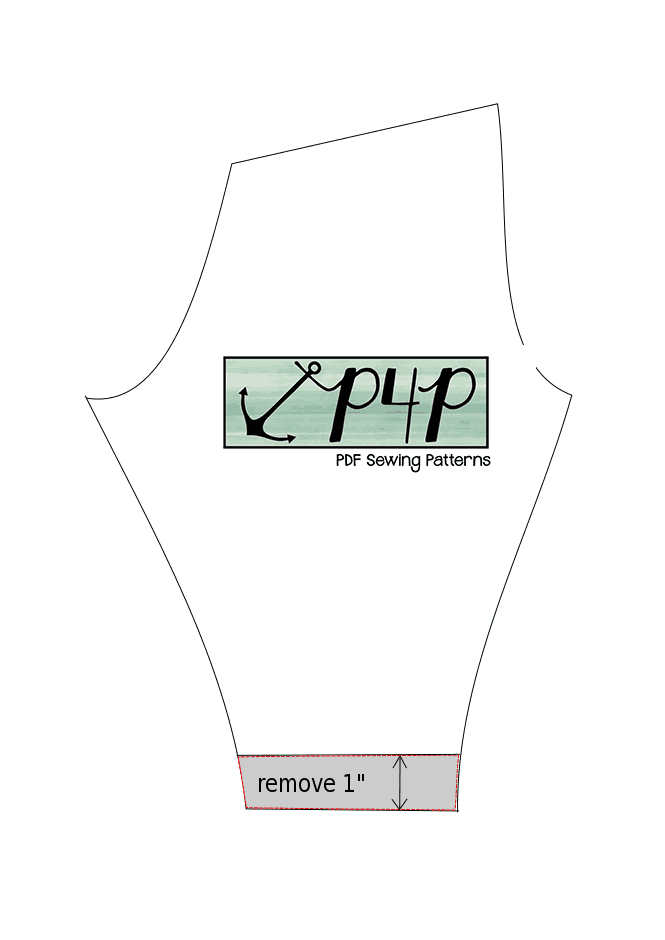
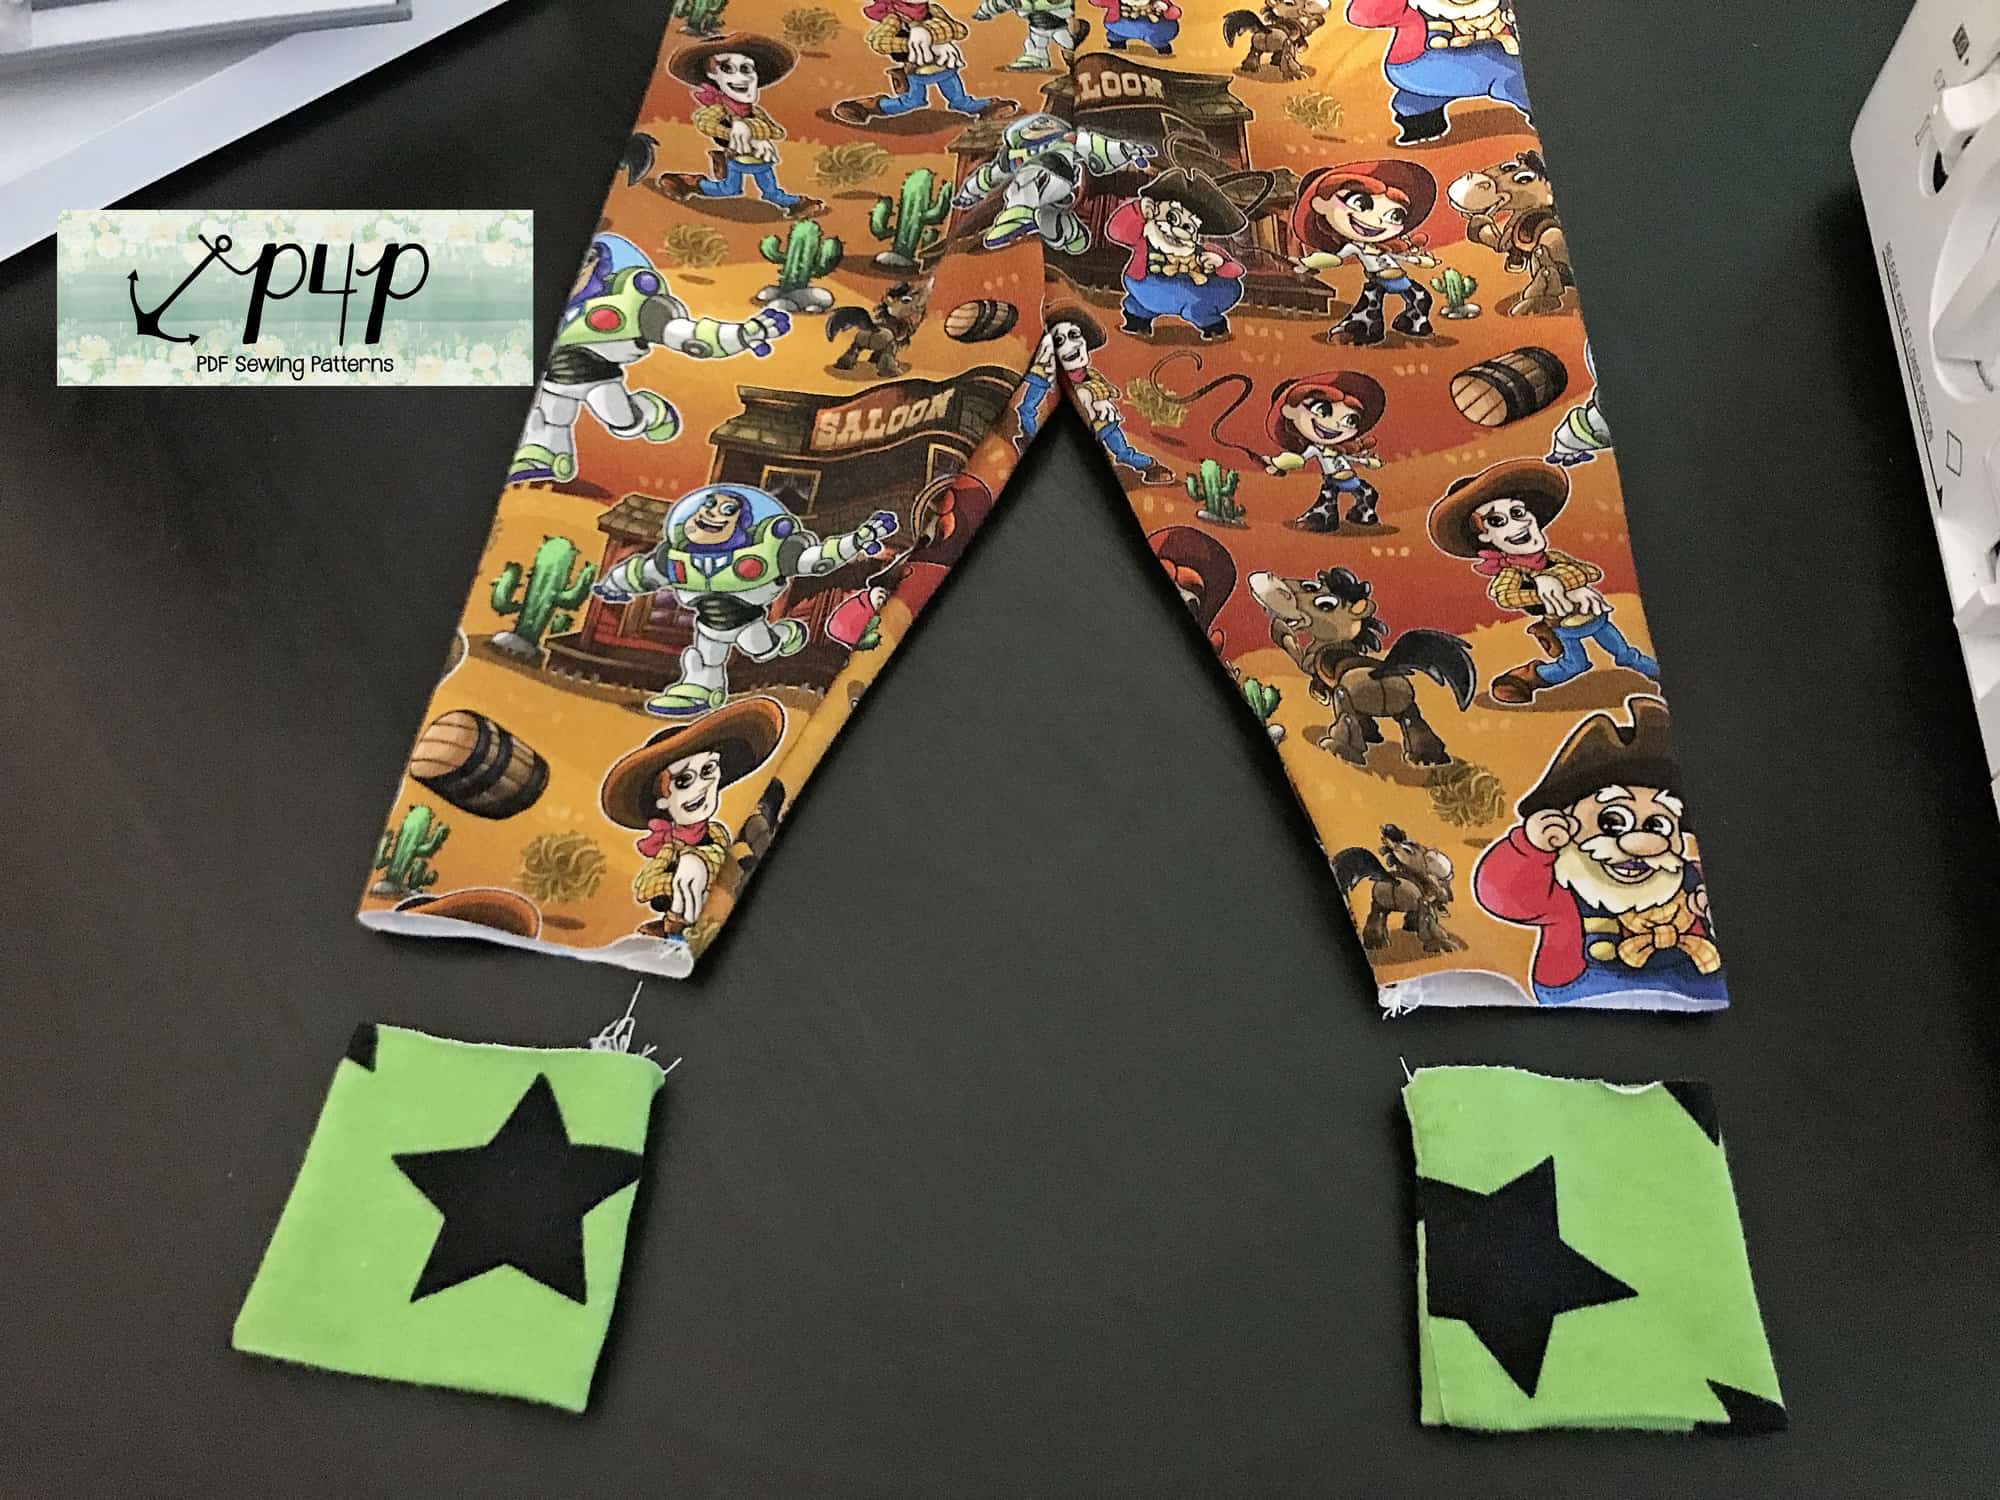
We will start by shortening the length of the Petite Pegs by 1″. To do that simply grab a ruler and draw a line 1 inch above the ankle cut line. This will be your new pegs ankle length. Cut the two mirrored legs using this new cut line.

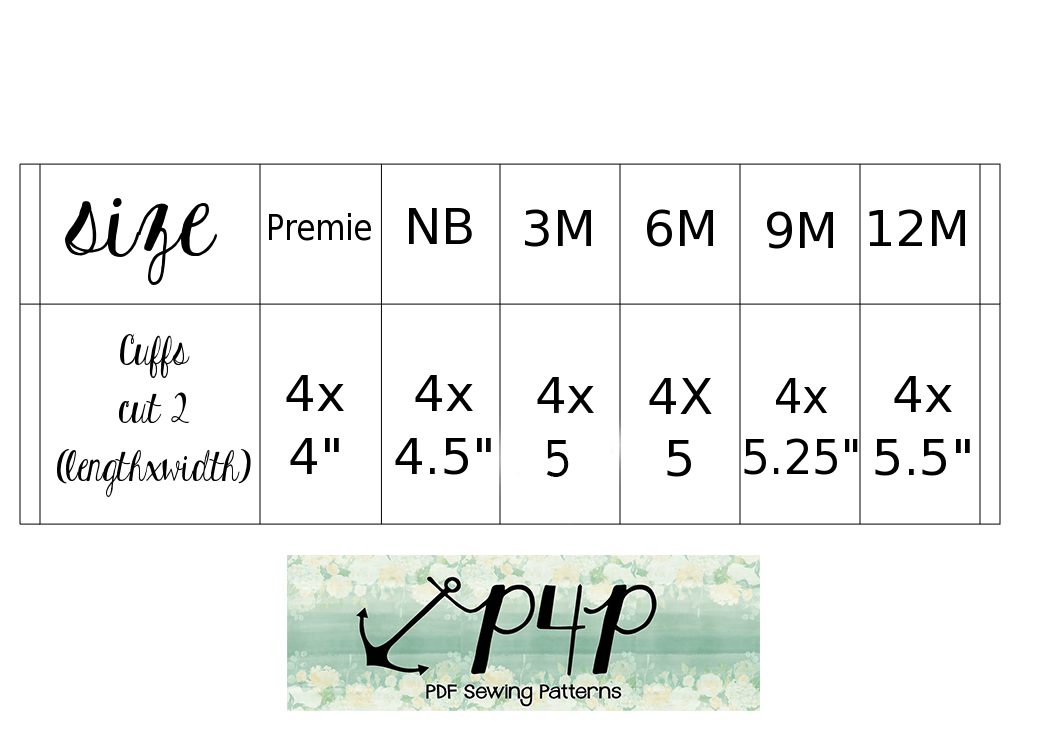
You will now be cutting the cuffs. I did the math for you so just follow the cutting chart below. Remember to cut two cuffs, one for each leg.


*If you babywear a lot you might find it helpful to double the cuff length.  This way the long cuff can be folded down over the heel. It’s a popular way to wear pants when you’re babywearing because otherwise the pant legs hike up and then the baby ankles stick out.

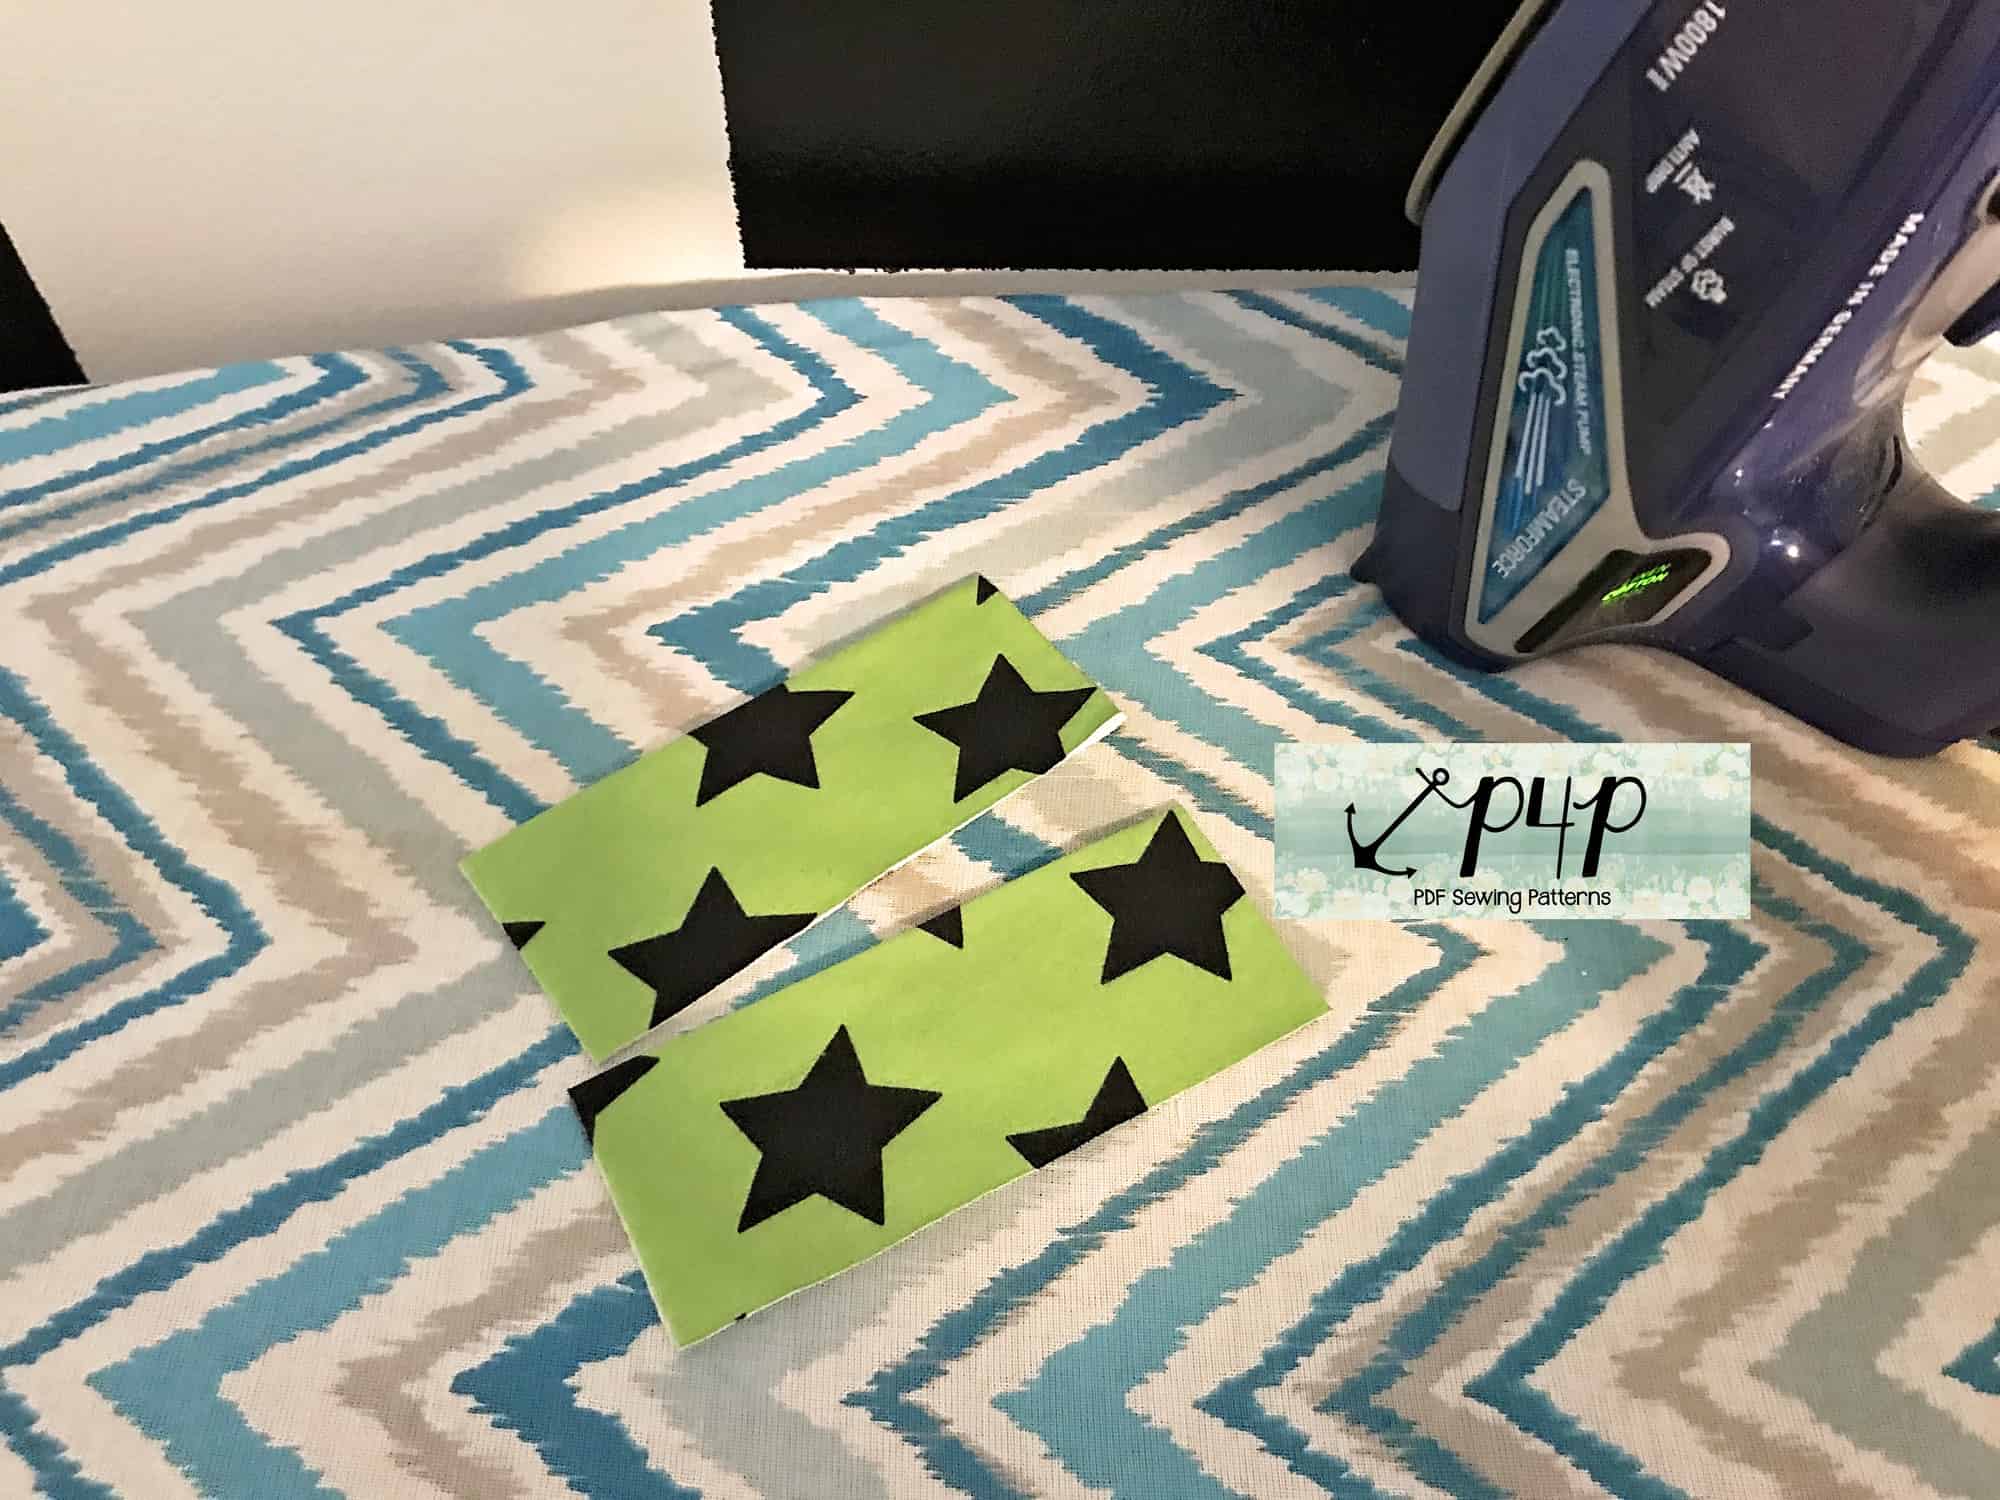
Sew the Petite Pegs as per the tutorial. Grab your little cuffs and fold them to create a memory hem. Press and steam.

Sew the cuffs to create a loop and fold them. Take a moment to look over the tips I gave you in the Knit Cuffs 101 blog. They will definitely come in handy when attaching these itty bitty cuffs to the little pegs.

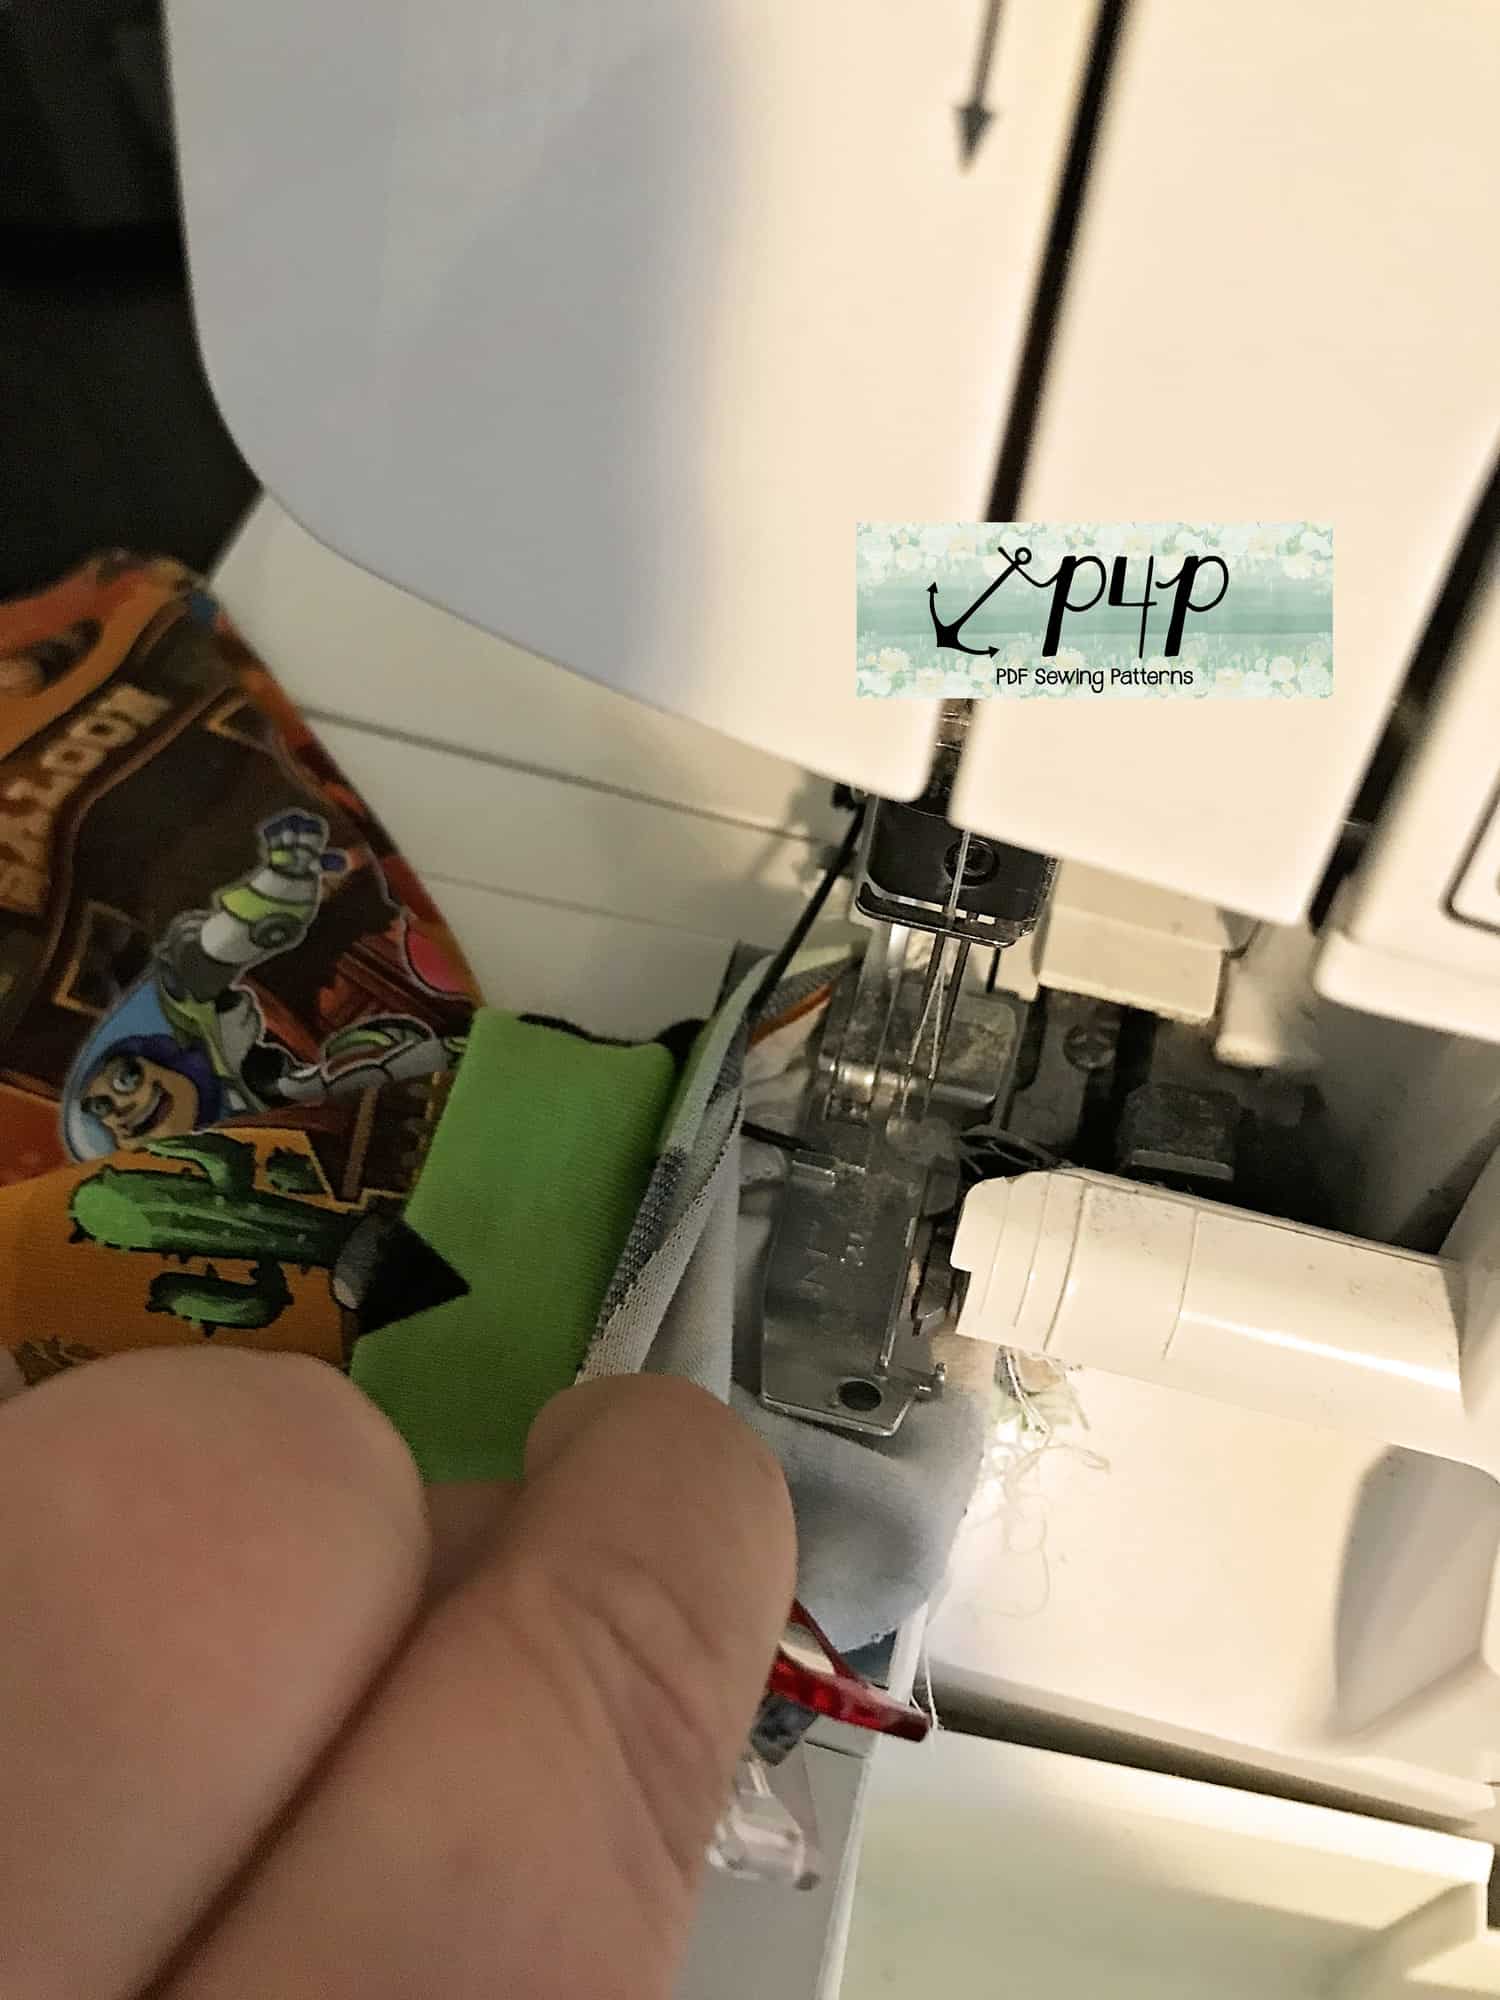
Attach the cuffs to the leg opening with your serger or the sewing machine following a 1/2″ seam allowance. Make sure you match the cuffs’ side seams to the leggings inseam. Stretch the cuff to fit the leg opening.

When attaching the cuffs you can place your serger foot on the outside of the leg (as pictured above) or inside the leg (as pictured below). You will be working with a pretty small loop so go slow!

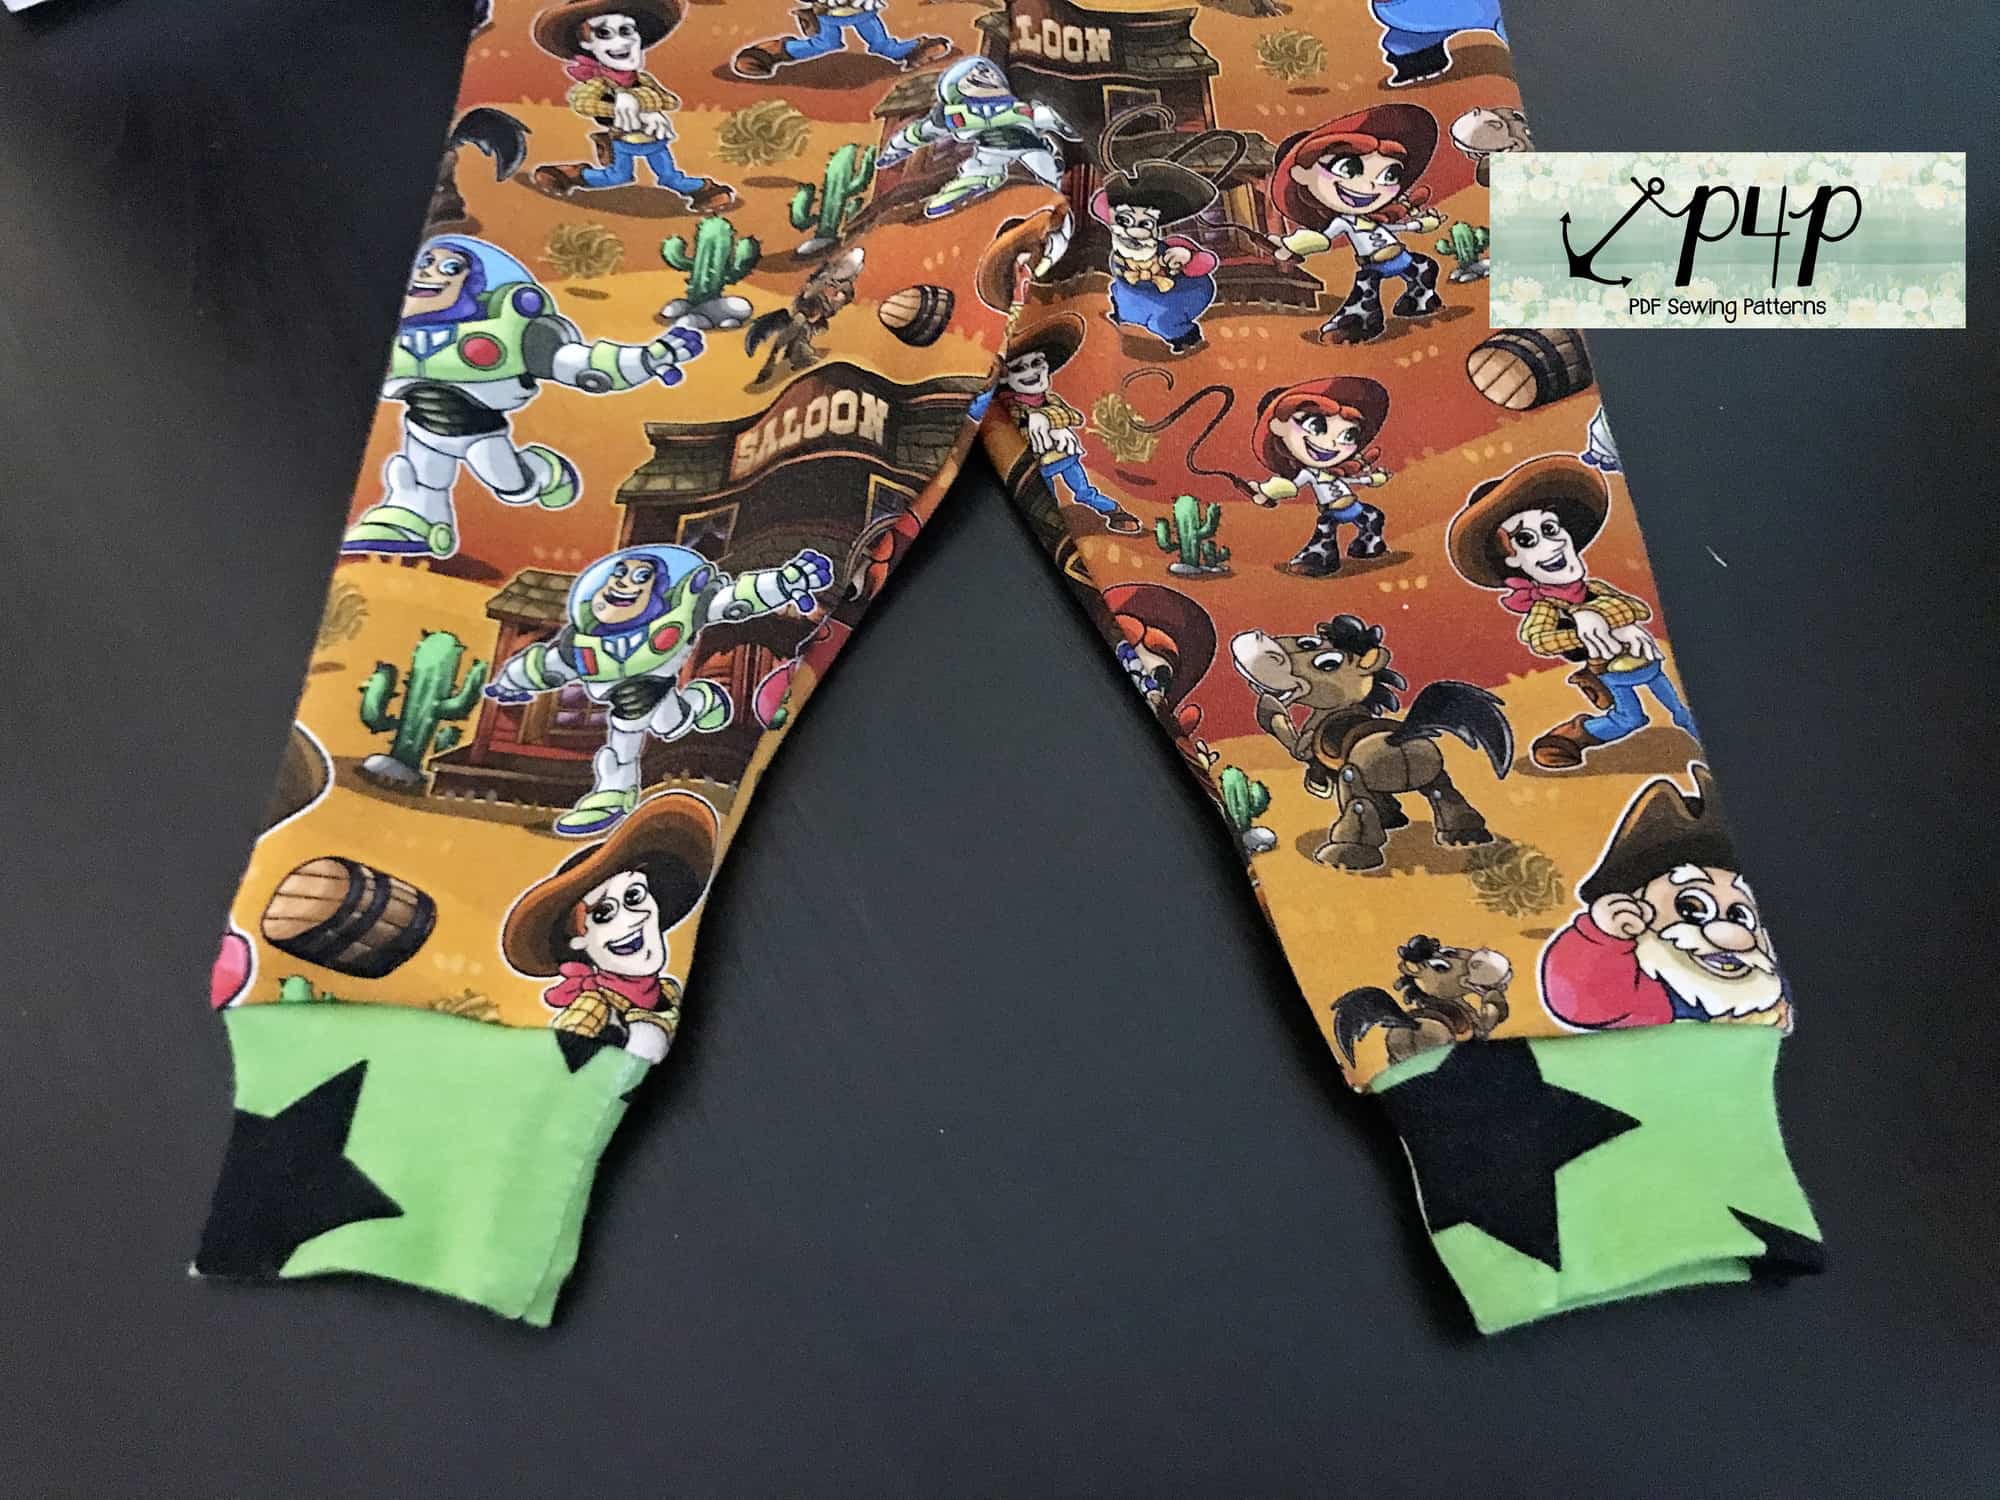
Tadah! There you have it, Petite Pegs with cuffs! I can’t wait to see your little creations!

Note: You may find it easier to attach the flat cuff to the leg instead of sewing the inseams and the cuff in a loop. You can certainly do that, you will be sewing the inseam after you attach the cuffs. You can read about some ways to finish your serger seam here.

Filed Under: Free Pattern, Pattern Hacks, Pattern Release, Uncategorized 4 Comments

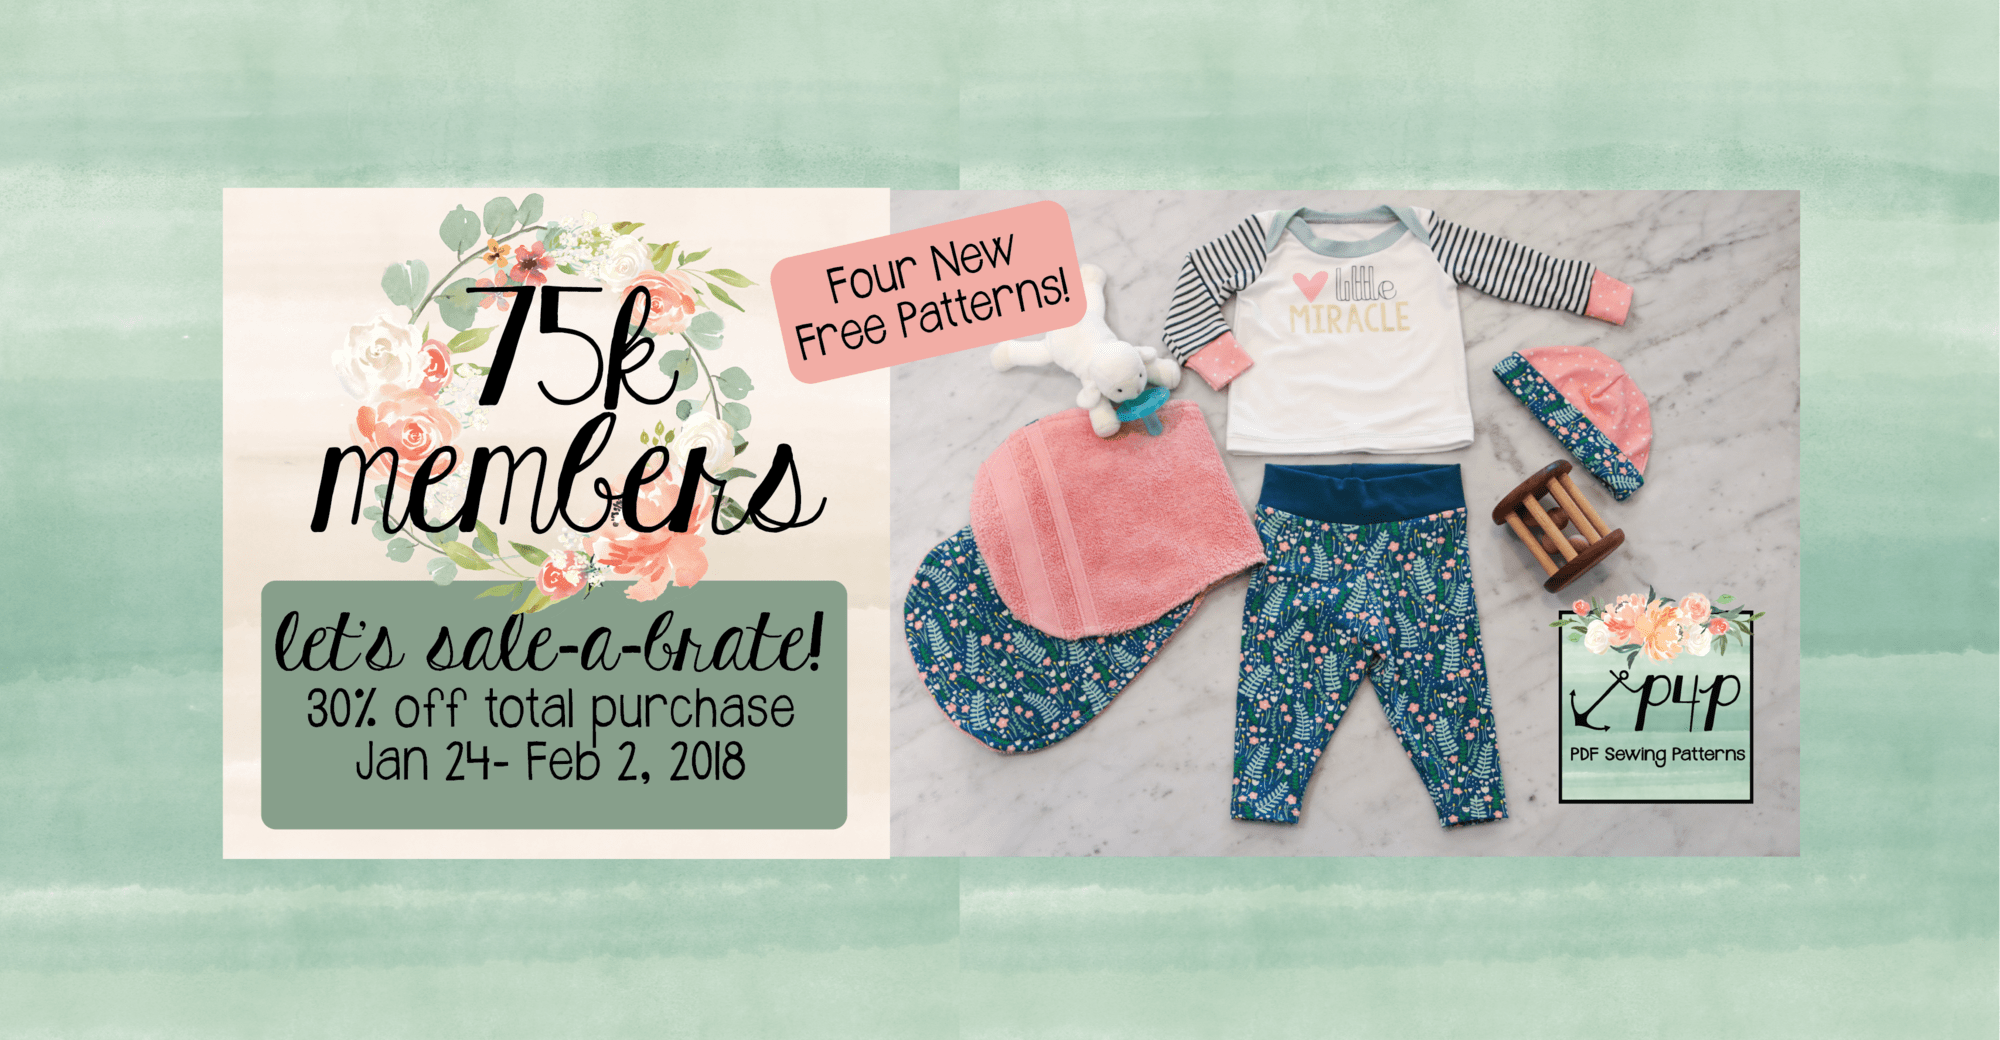
75k Member Sale-a-Bration and FREE Baby Set <3

January 24, 2018

I’m so excited to announce we’ve hit 75k members in our awesome P4P Facebook Group! <3 I love seeing all the inspiration, questions answered, fitting help, and proud first time shares in there! If you’re not a member yet, come join us 🙂

To celebrate we’re having a big sale- 30% off the total site for 10 days! January 24-Feb 2 2018 (US Central Time Zone).  There is a coupon code- 75ksale – but don’t worry it will pop up for you in your checkout! So you don’t need to worry about remembering it or writing it down!

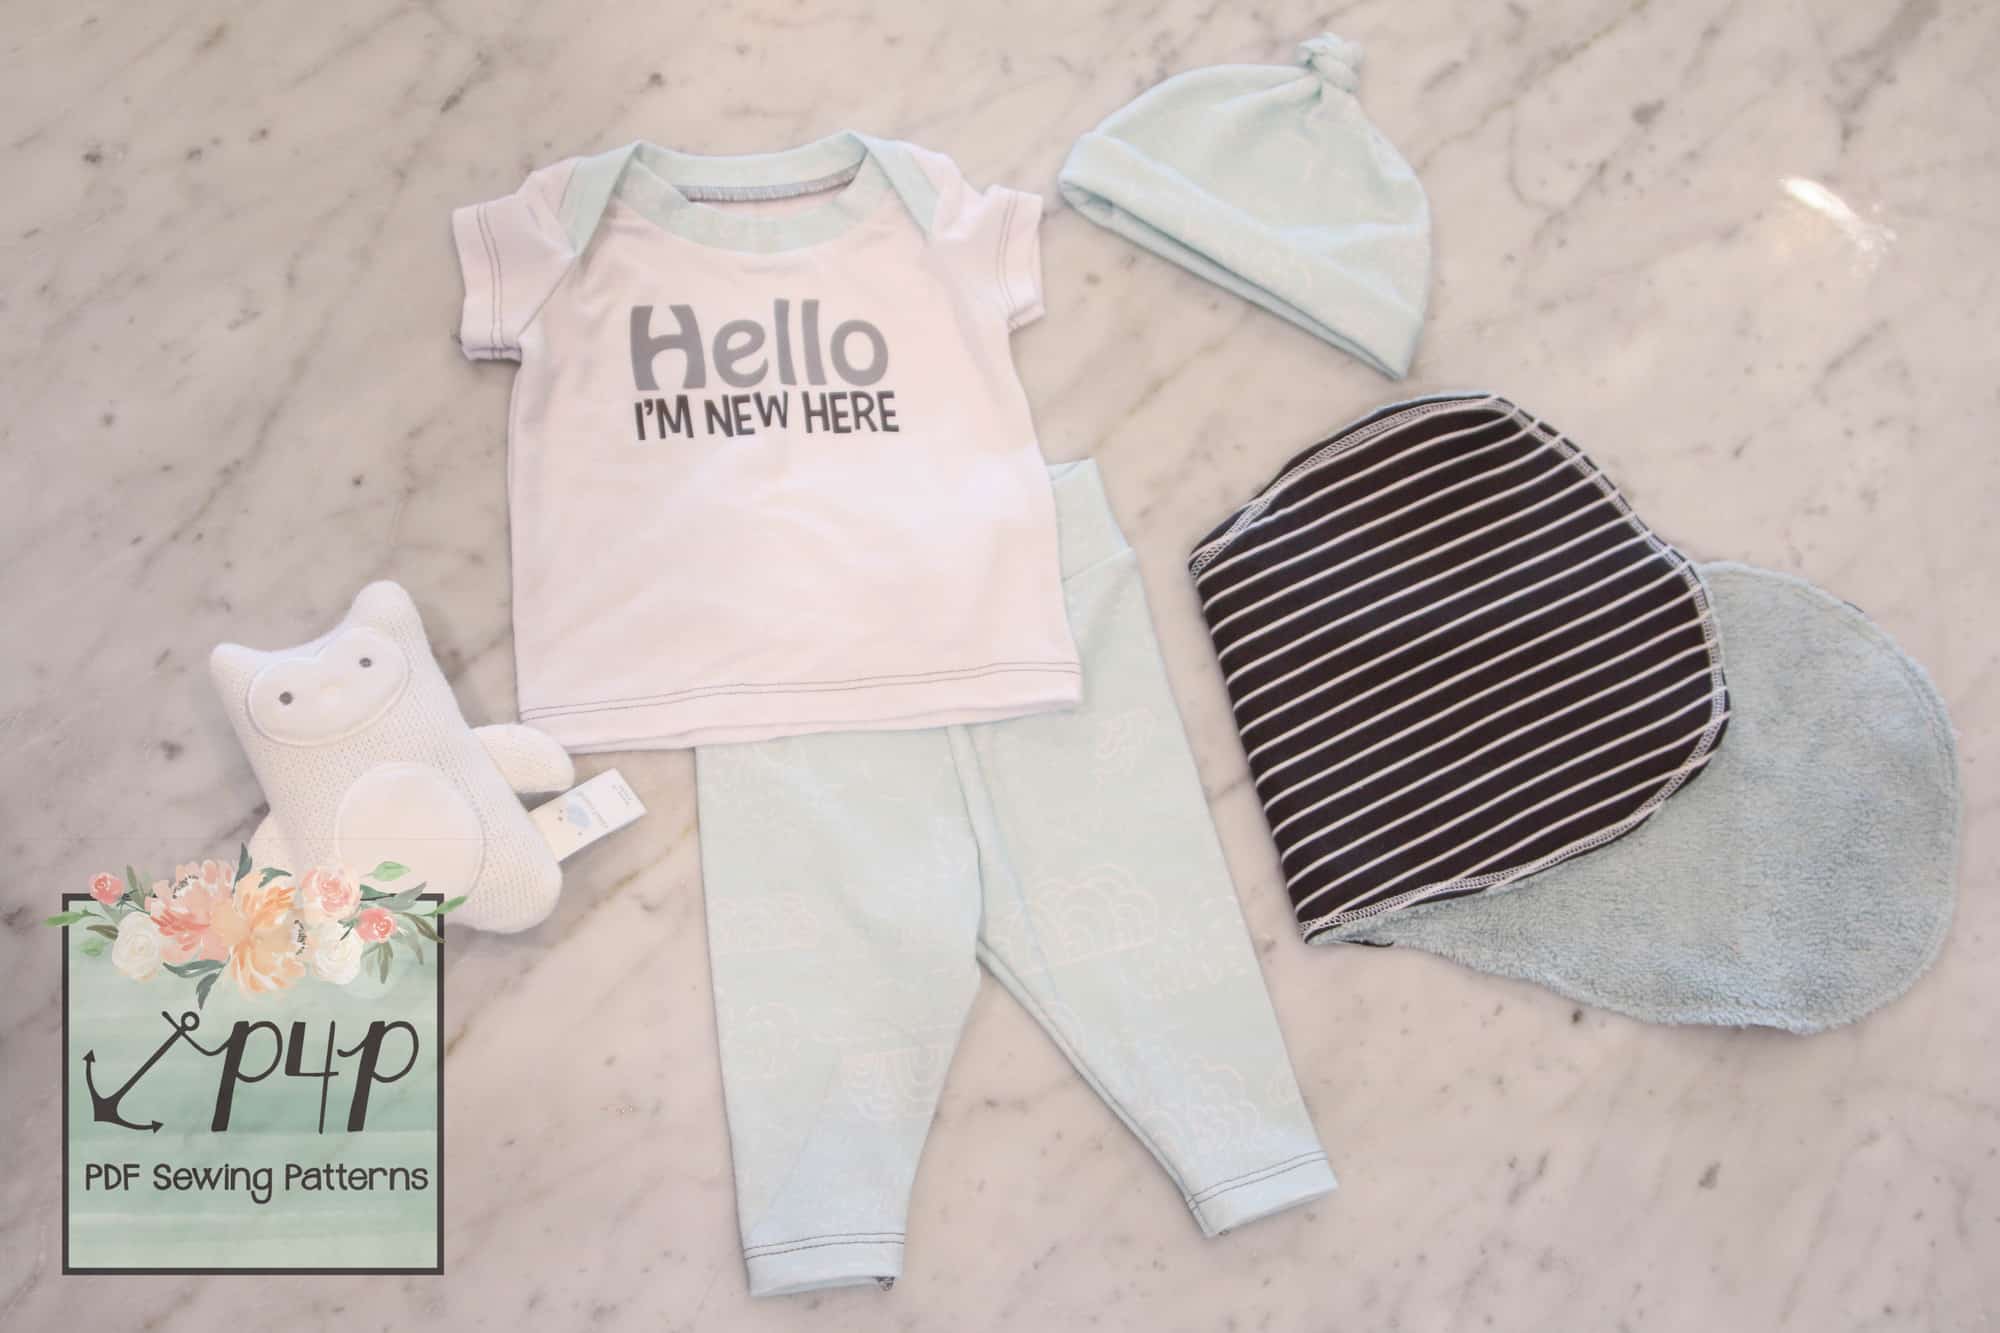
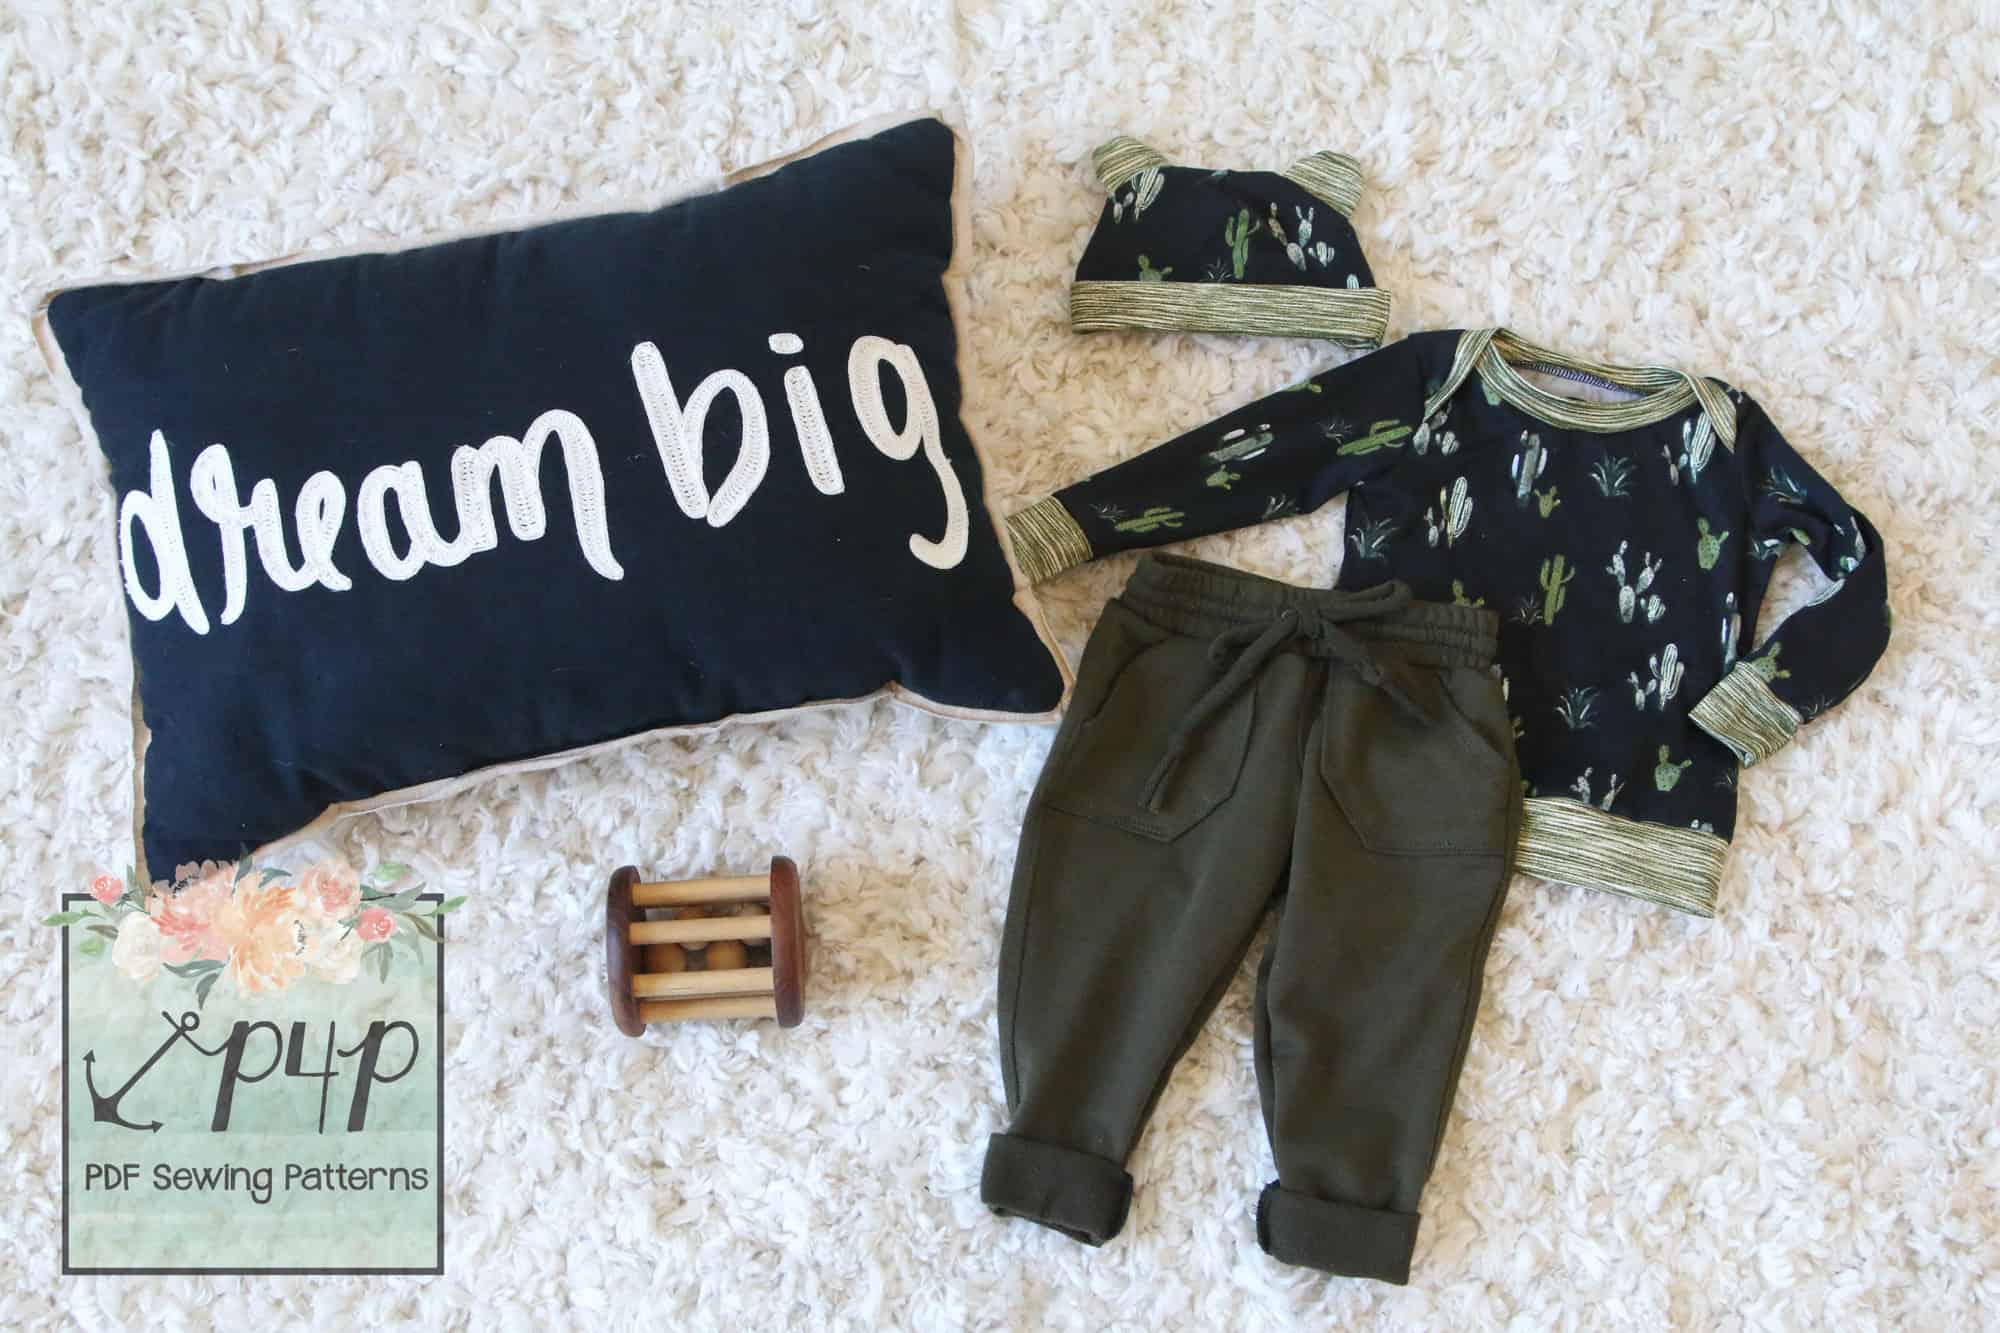
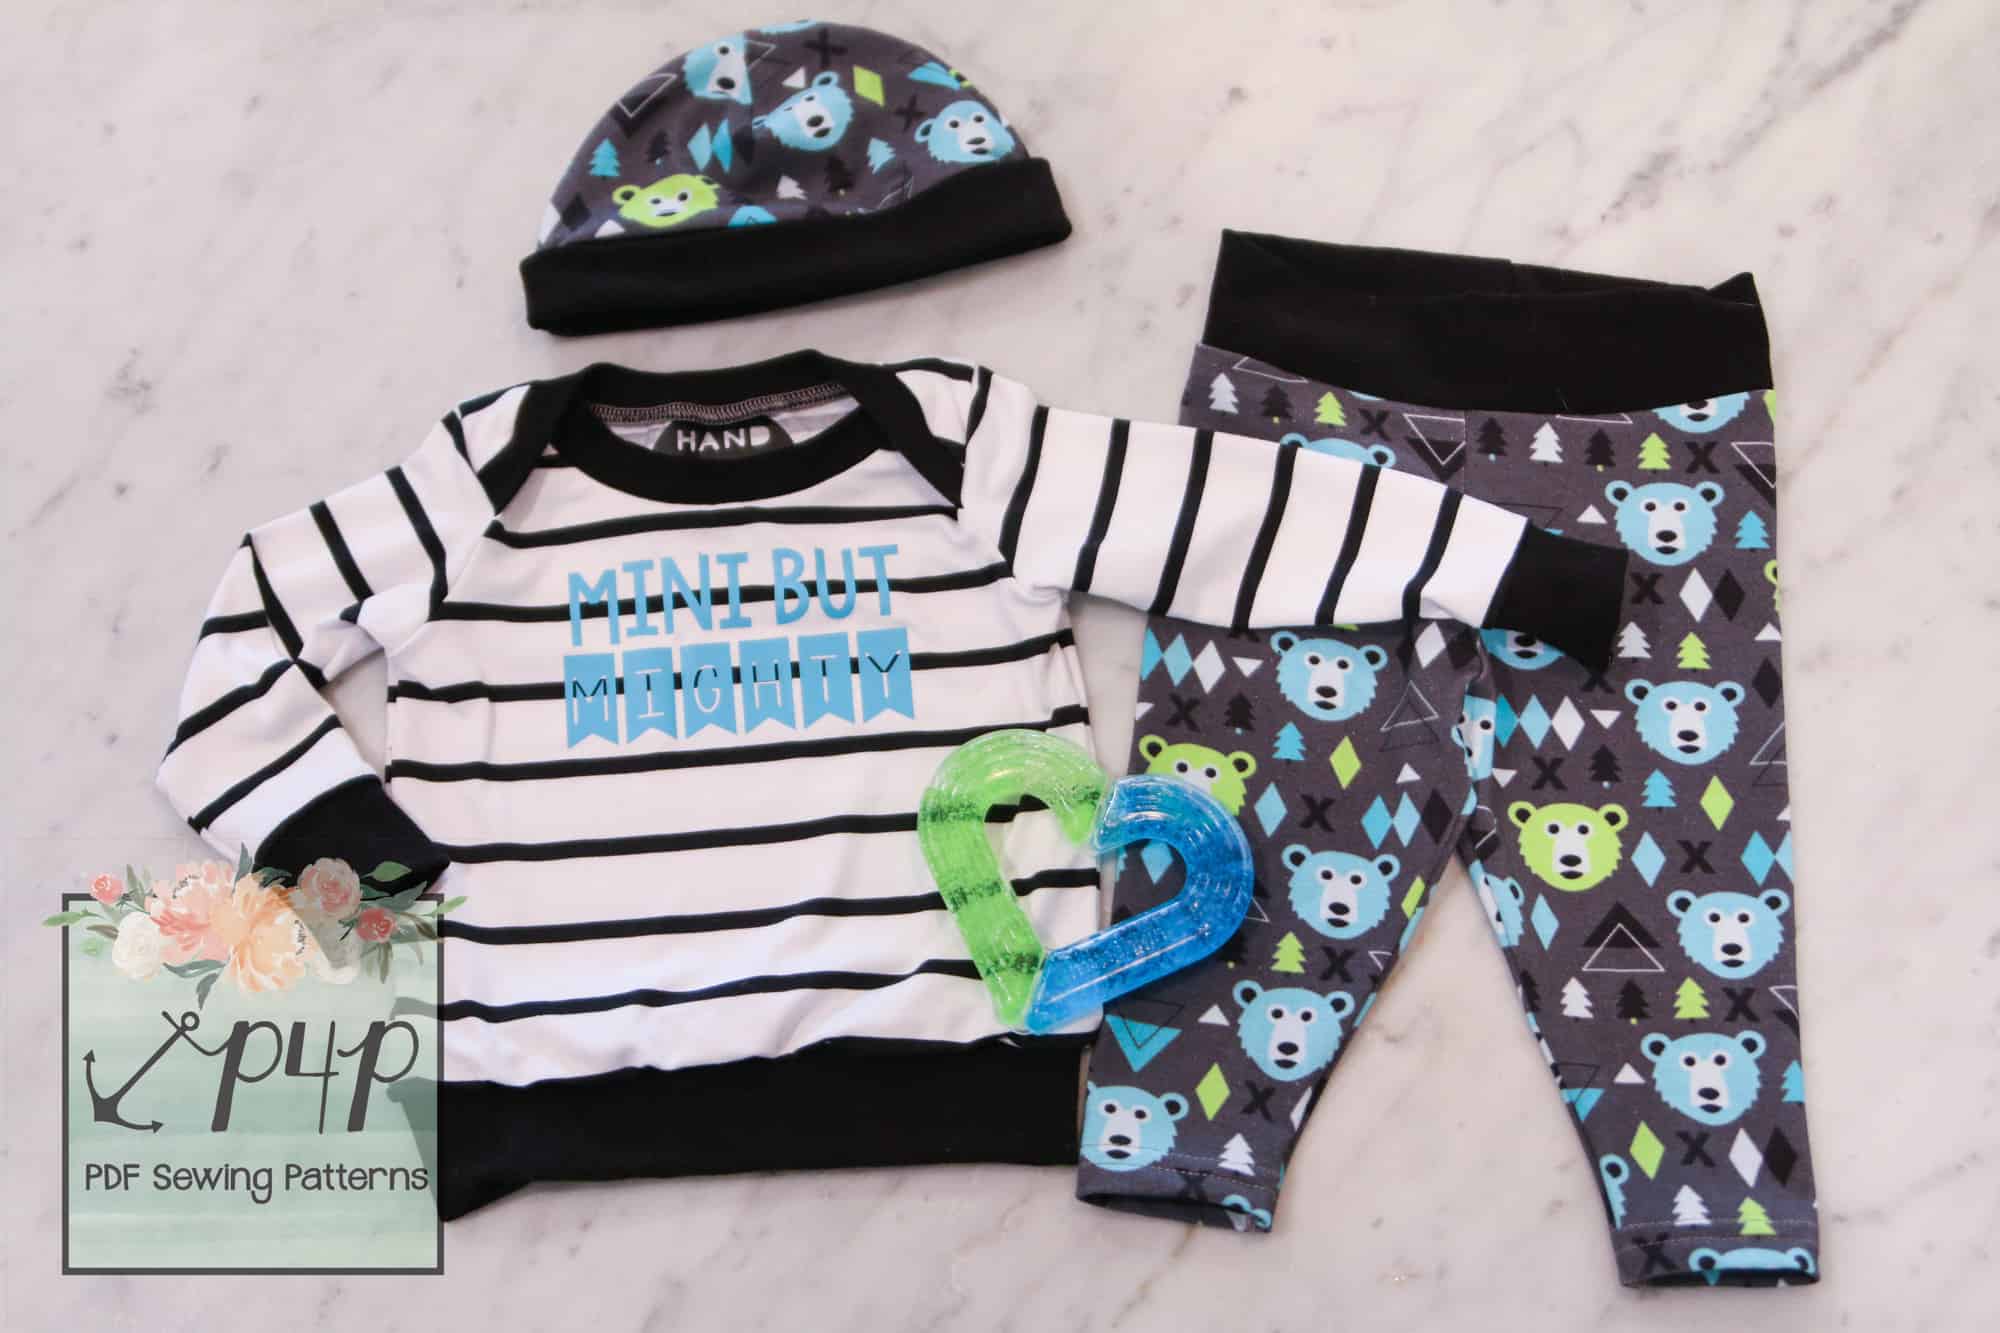
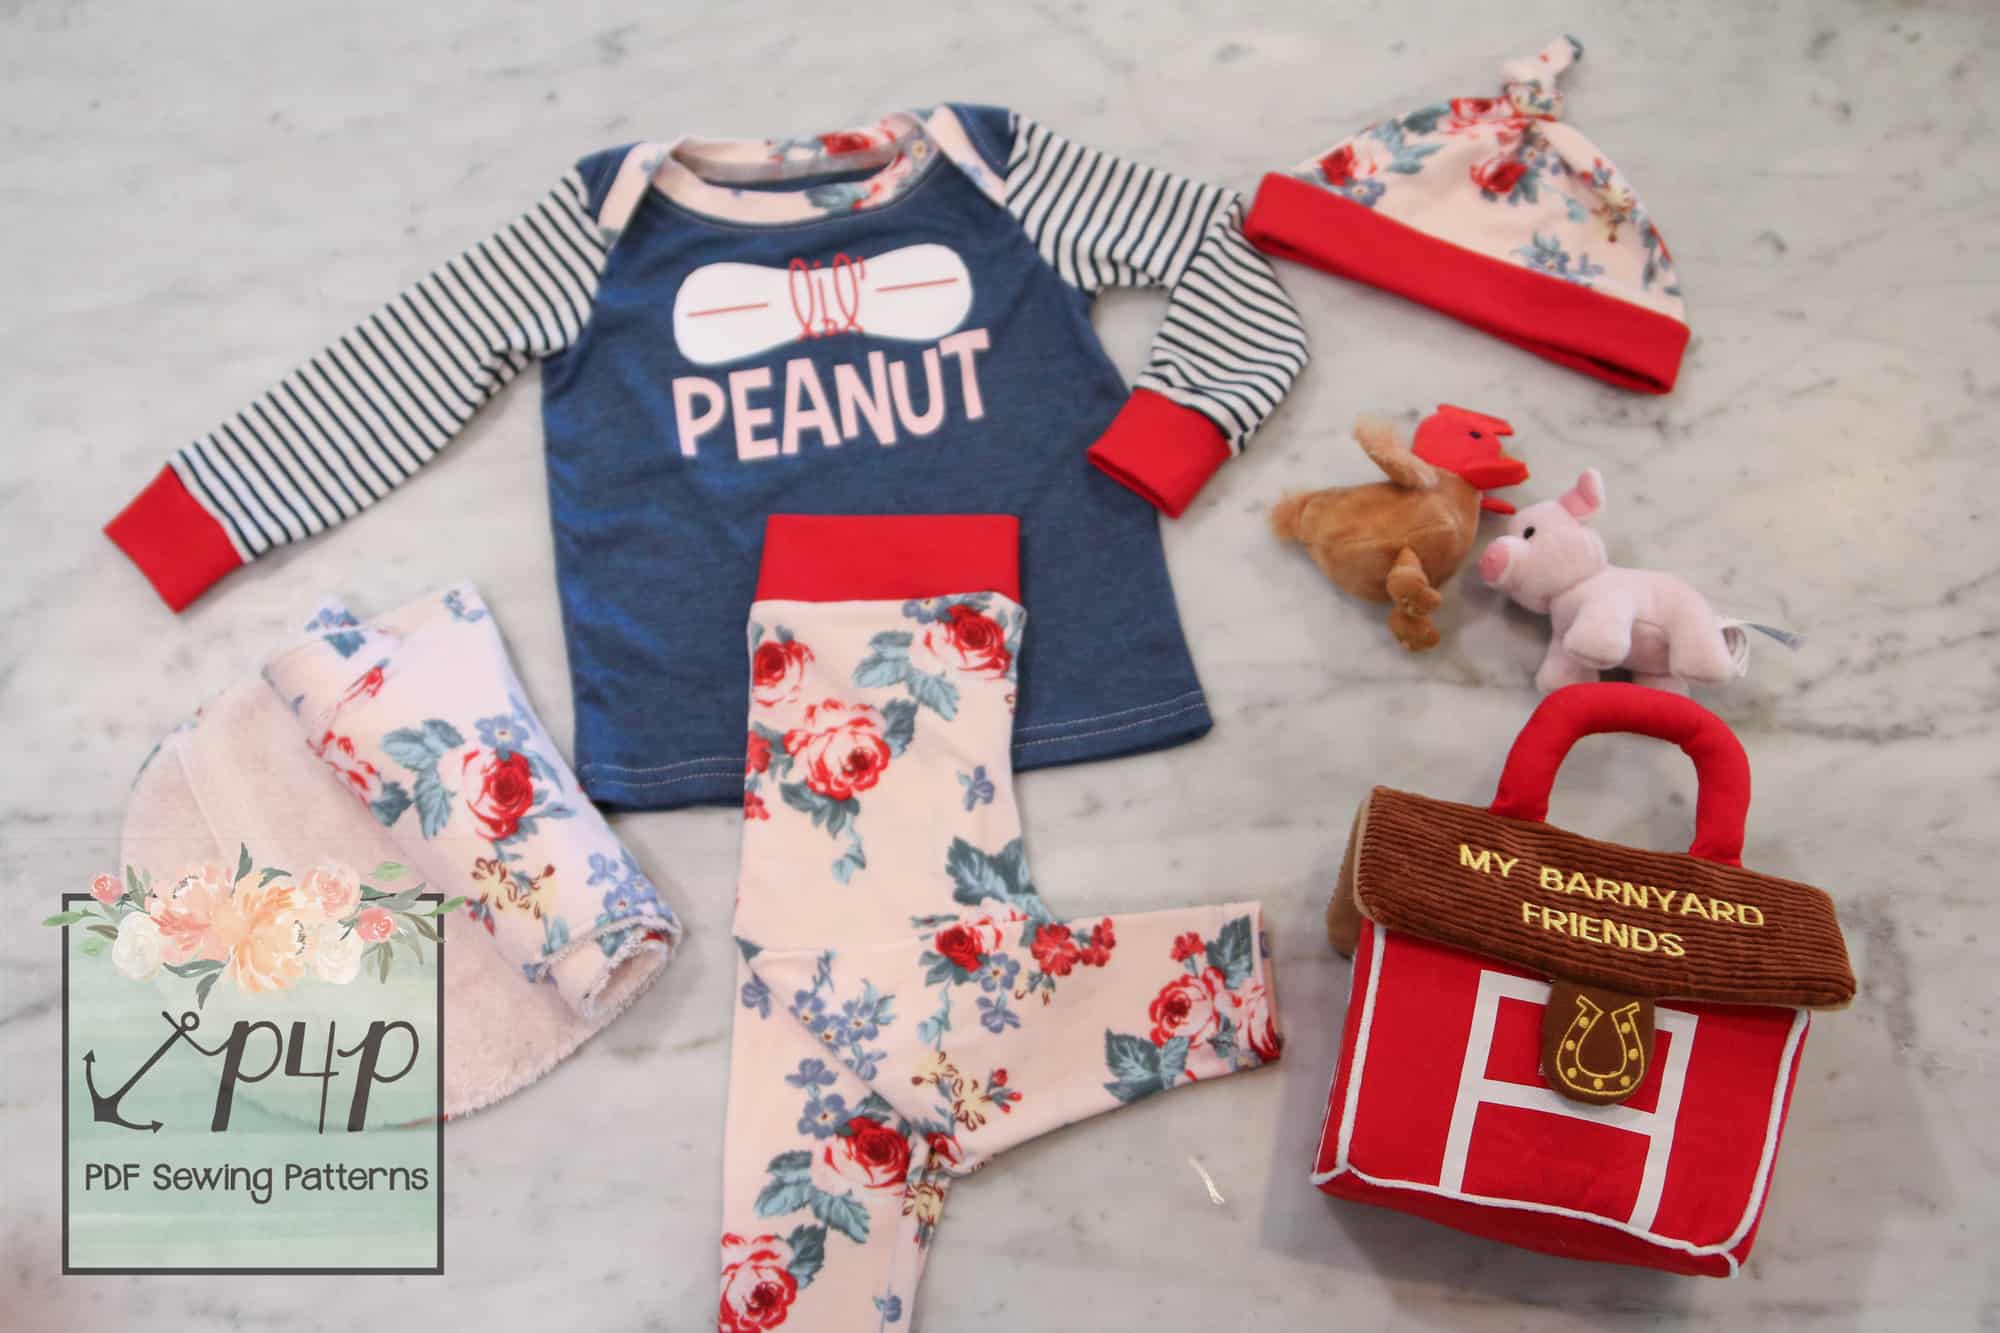
We thought we’d do even more than just a sale though and have worked hard behind the scenes to create a whole Baby Set of Free patterns for you!!! I LOVE getting invited to a baby shower and making some unique handmade items for the mama and baby! Since my patterns start at 3 months there are a few great ones I go to for baby shower gifts…BUT, I’ve always thought there were a few teeny tiny newborn size things I’d love to have a pattern for as well!

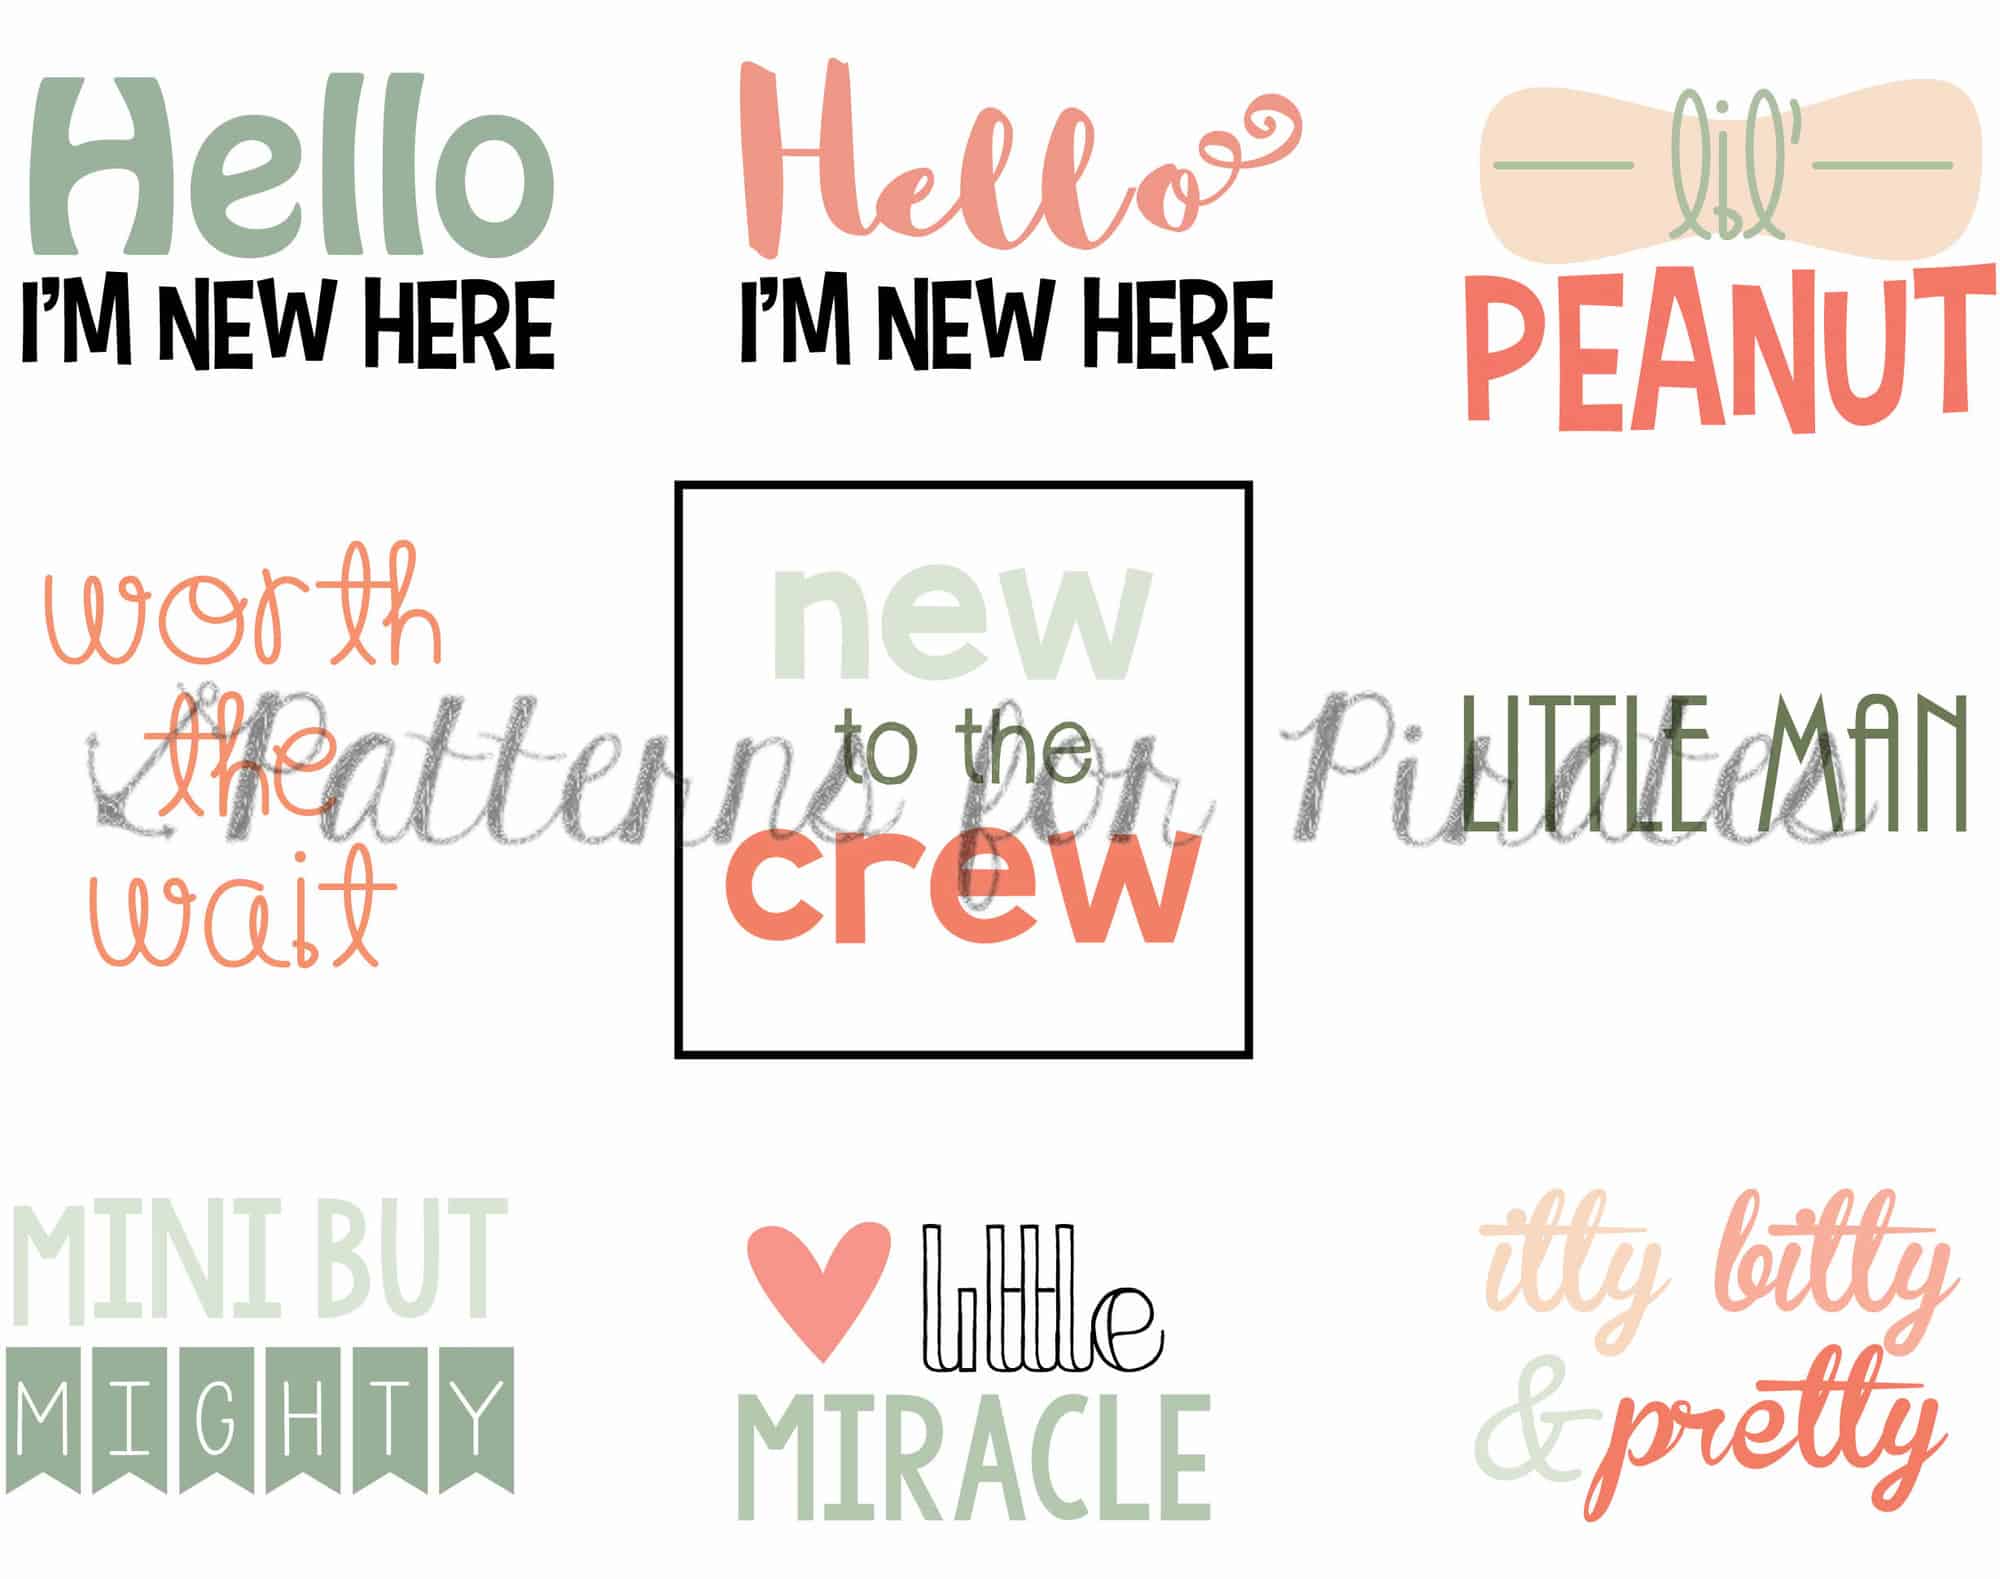
I KNEW we needed a Wee Lap Tee, the envelope style neckline makes dressing newborns easier, and OF COURSE we needed Petite Pegs 🙂 We’ve been asked so many times for baby sizes of our Free Peg Legs pattern it was a no brainer! We added the Teeny Beanie to keep those little head and ears warm and a quick and easy burp cloth too. I also couldn’t help myself to a few cute cut files to add on to the gifts as well!

So, next time you find yourself expecting to be a mama, grandma, auntie, or just invited to a baby shower you will be set with this Free Baby Set of Patterns! You can mix and match them with the other favorite P4P patterns you have that start at 3M as well! I love the Baby Bear Joggers for babies!


I love adding an adorable design to the Wee Lap Tee! I hope you enjoy them and make your baby’s wardrobe or baby gifts that much more special!


Thank you for supporting P4P Sewing PDF Patterns! <3

Filed Under: Announcement, Free Pattern, Pattern Release 10 Comments

  • « Previous Page
  • 1
  • …
  • 3
  • 4
  • 5
  • 6
  • 7
  • 8
  • Next Page »

connect with me

  • Email
  • Facebook
  • Instagram
  • Pinterest
  • YouTube
Privacy & Cookies: This site uses cookies. By continuing to use this website, you agree to their use.

To find out more, including how to control cookies, see here: Cookie Policy
  • Privacy Policy
  • Refund Policy
  • Contact Us
  • About

Copyright © 2026 Patterns for Pirates

Copyright © 2026 · Genesis Framework · WordPress · Log in